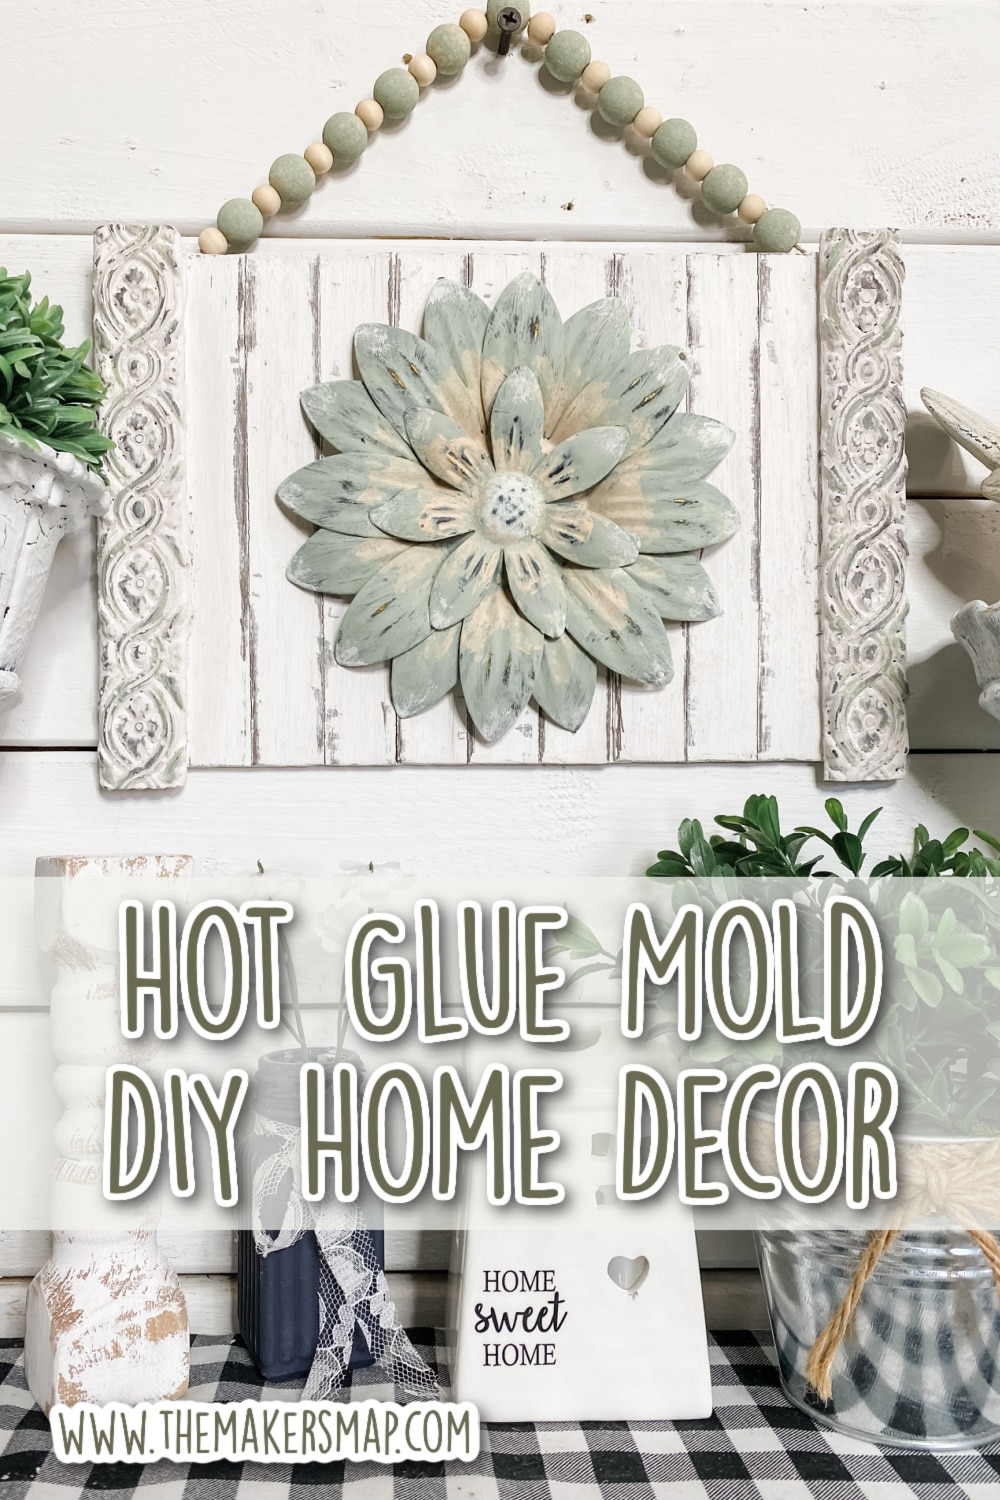
Hot Glue Mold DIY Home Decor
How adorable is this Hot Glue Mold DIY Home Decor?? Y’all know me, I am always looking for ways to do something new and creative when it comes to DIY home decor. I’ve seen DIY’ers use molds before, but I thought, “what if I used hot glue for the mold?”
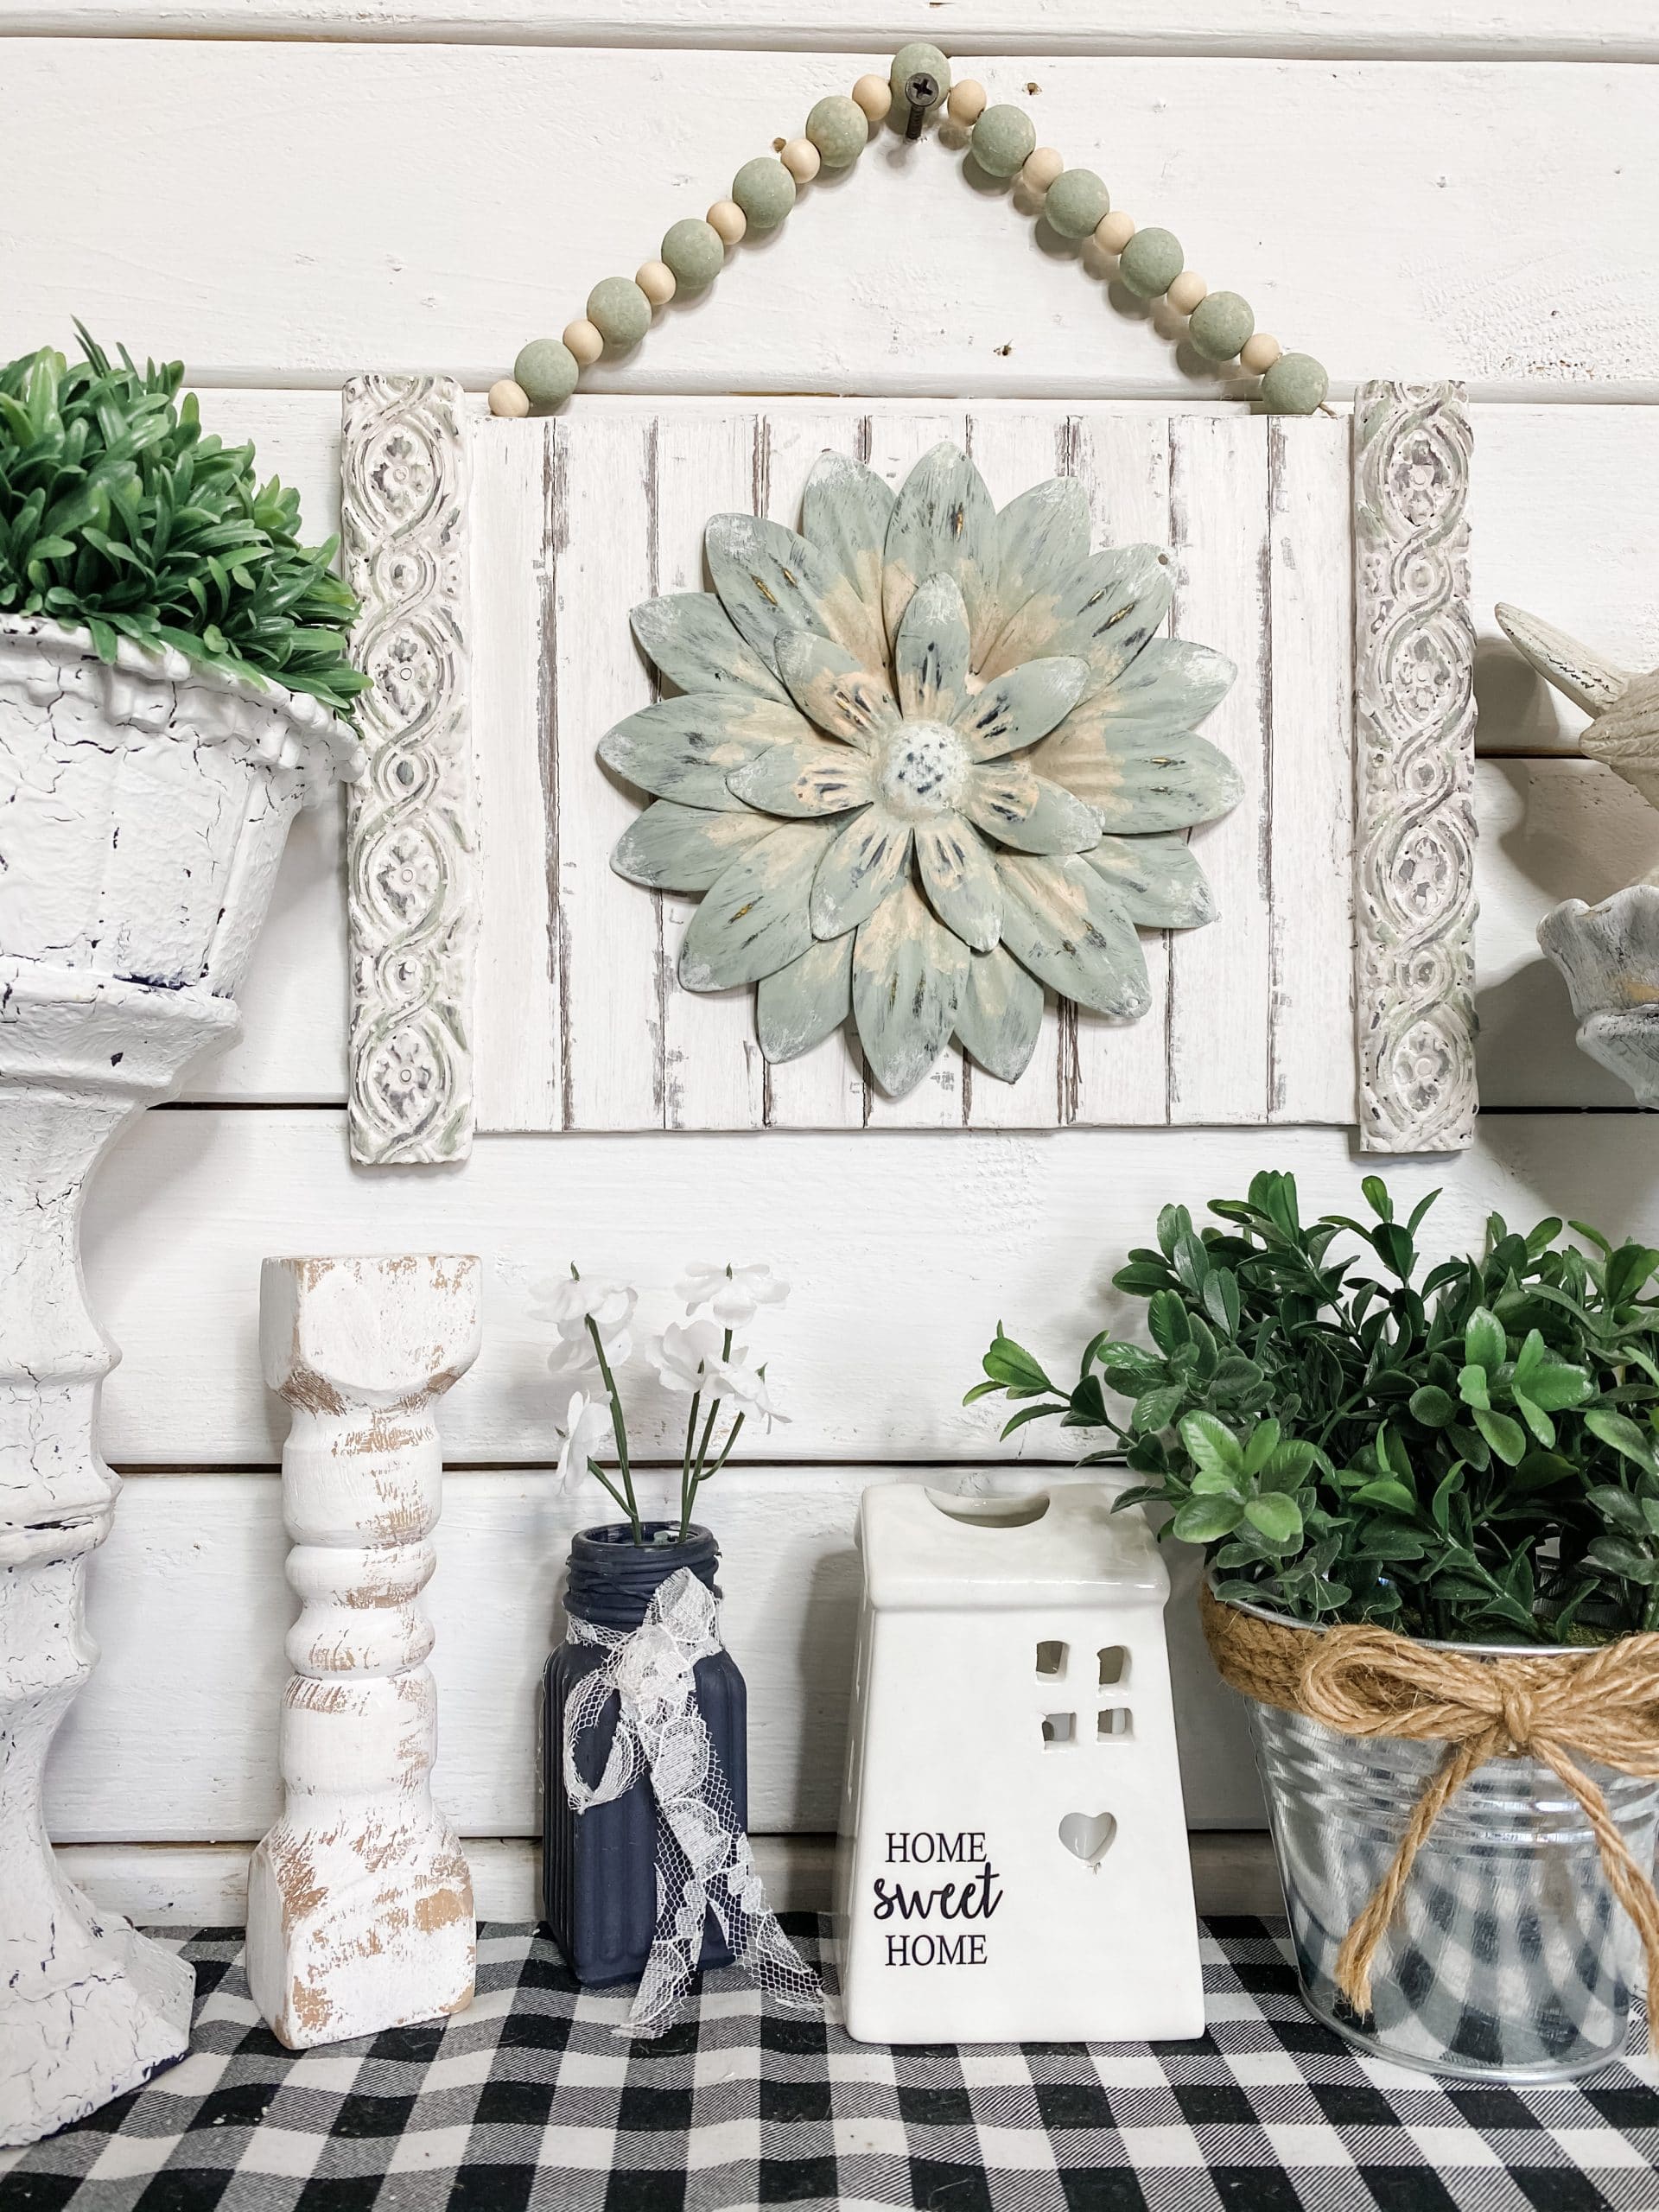
So that’s exactly what I did for this DIY home decor! The trim on this sunflower decor was made out of hot glue and an Iron Orchid Design mold!
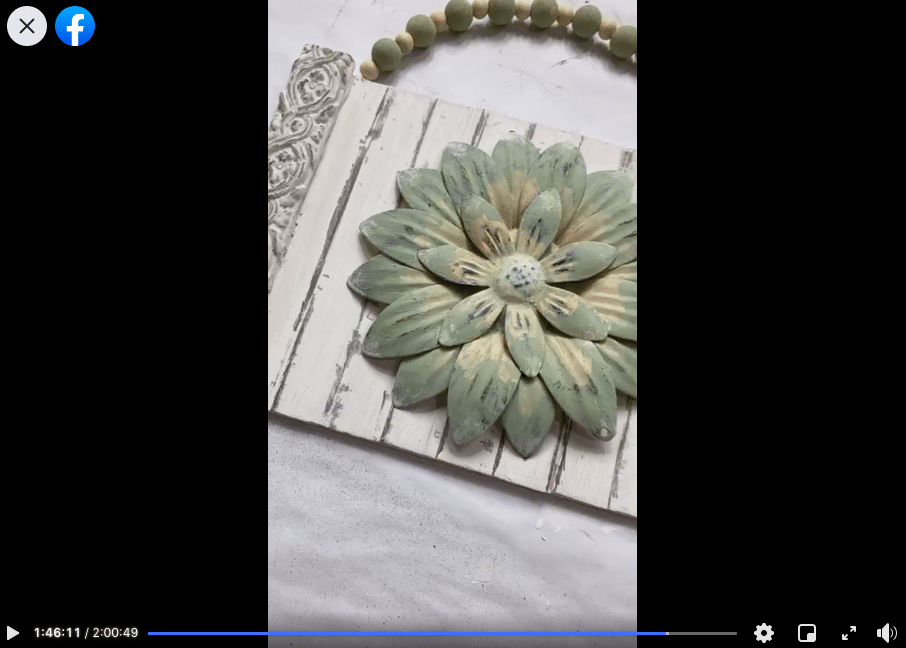
Watch the replay
Don’t believe me? Watch the replay! I recorded how to make this easy DIY decor during a LIVE video on my Facebook page, and the replay could be a great resource if you plan to make this decor yourself.
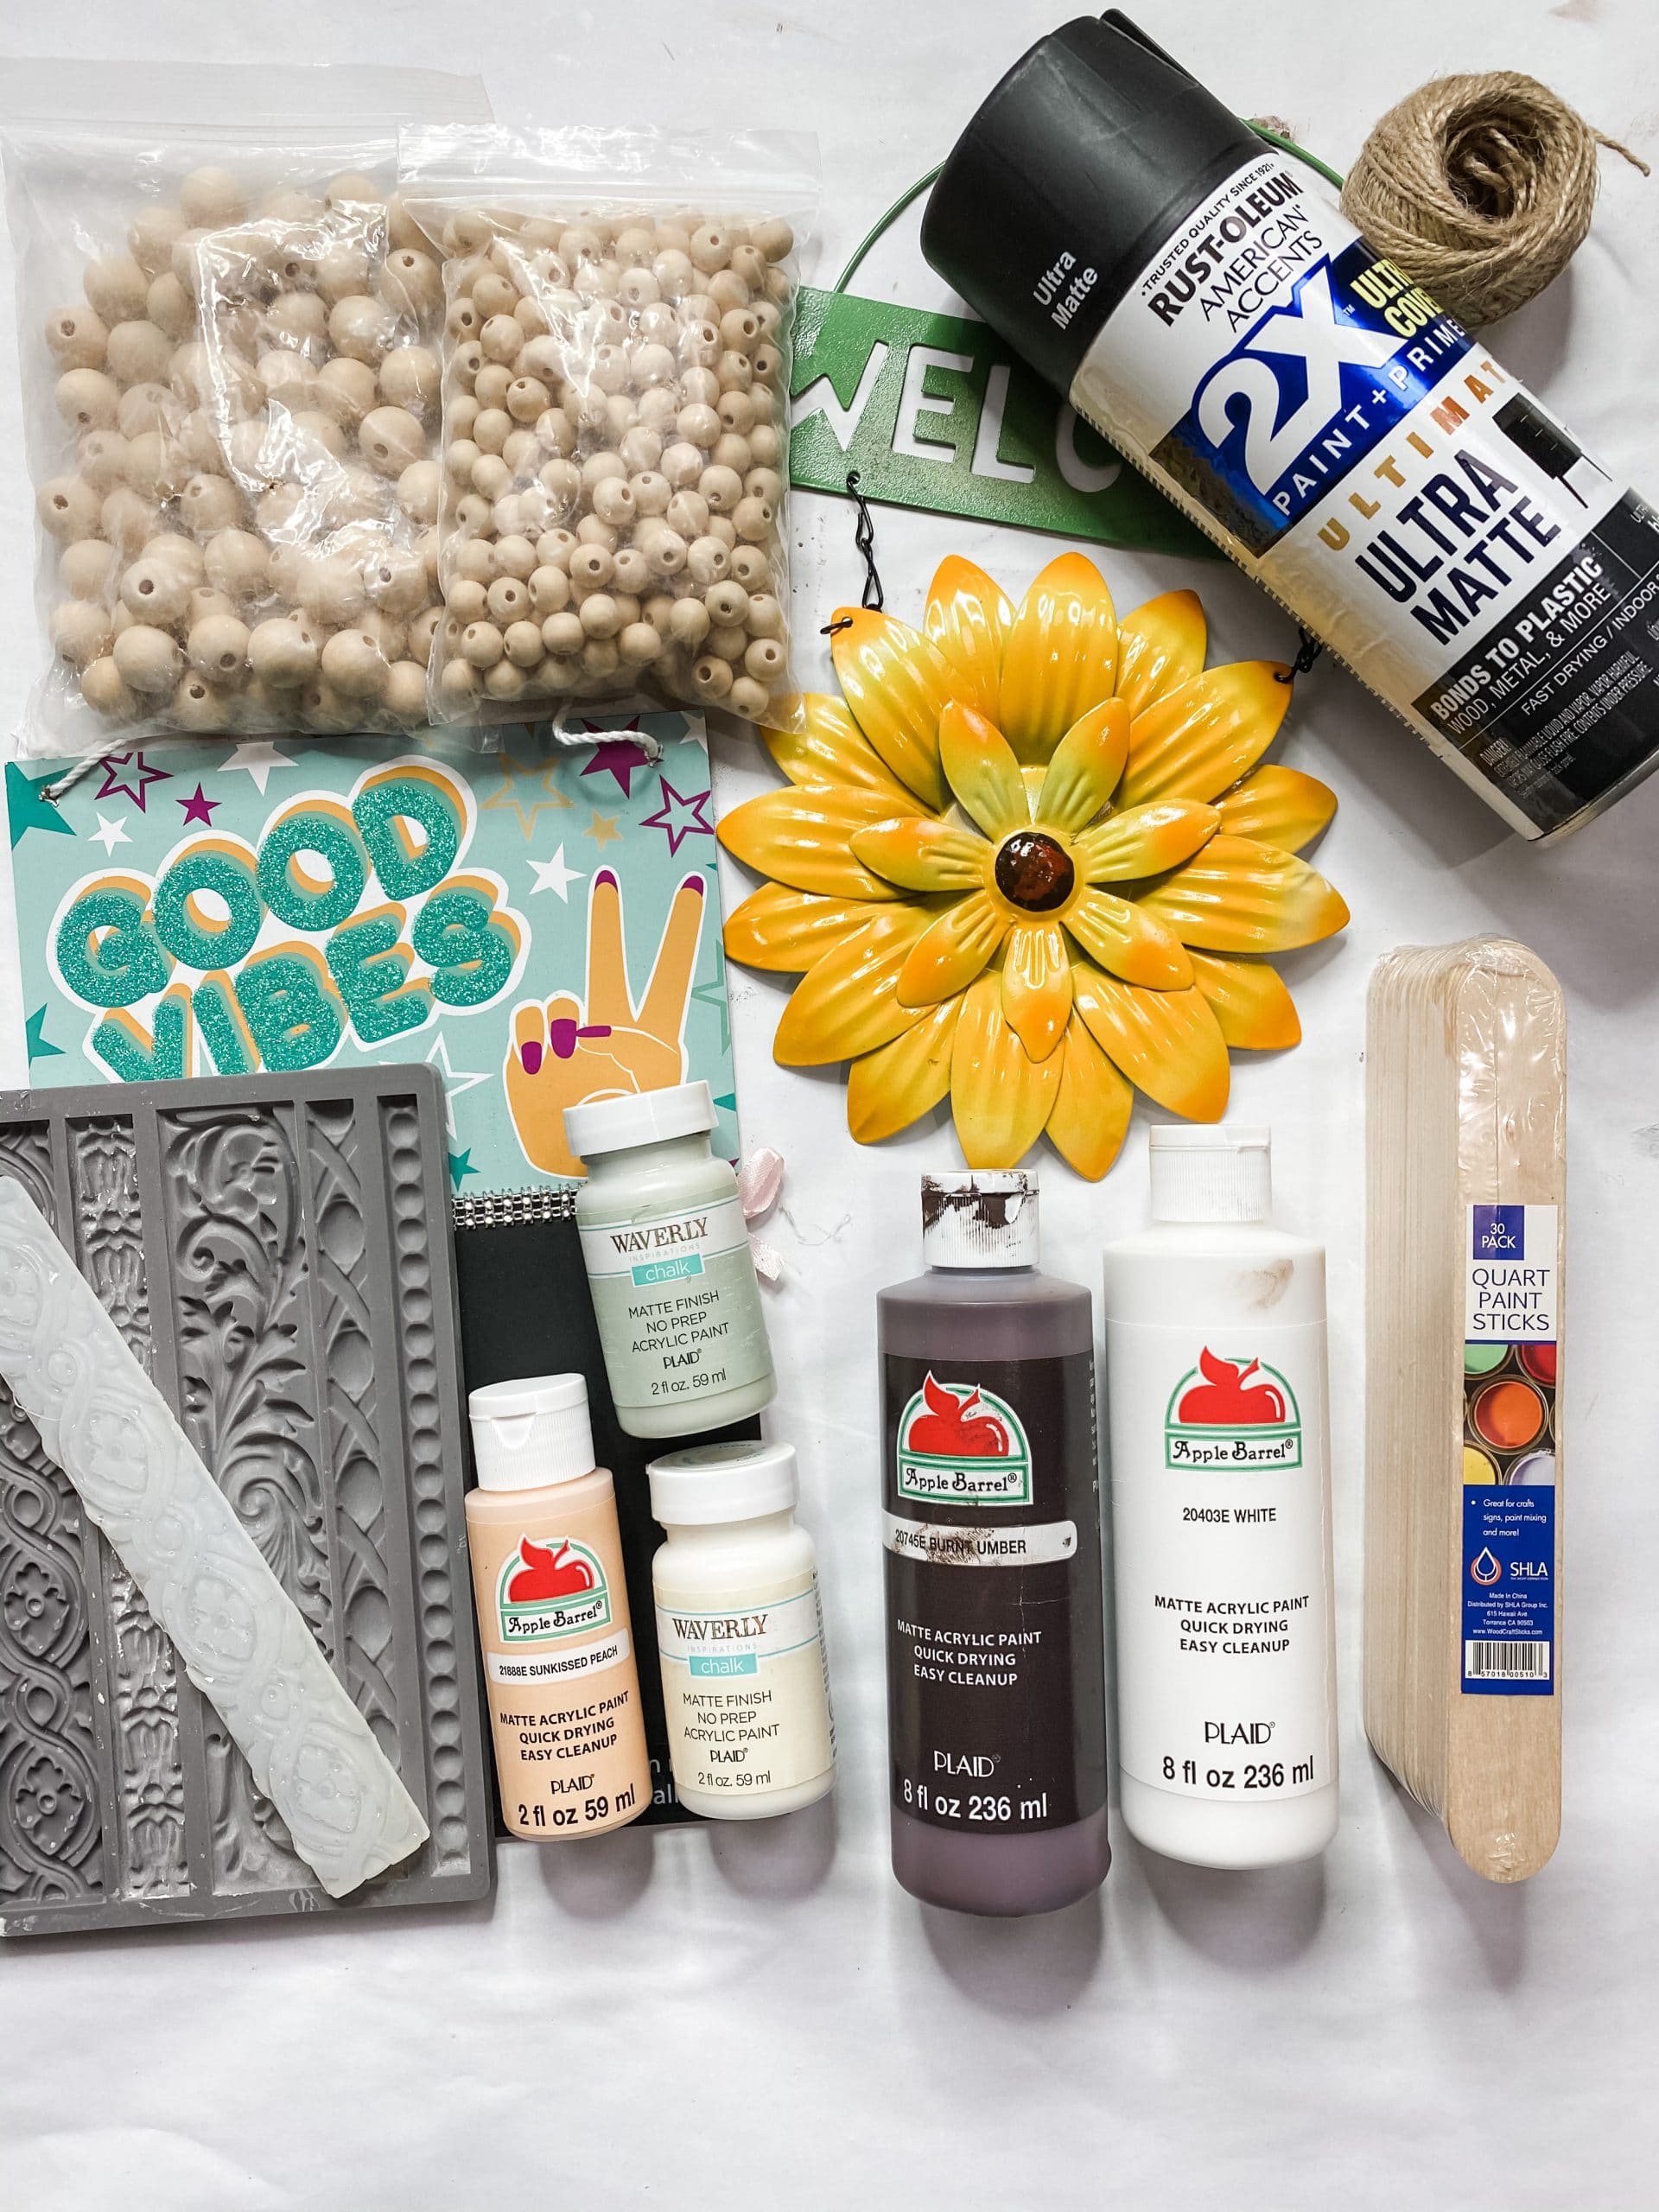
For this project, I will be using these items but you can substitute where you want.
“As an Amazon Associate, I earn from qualifying purchases.”
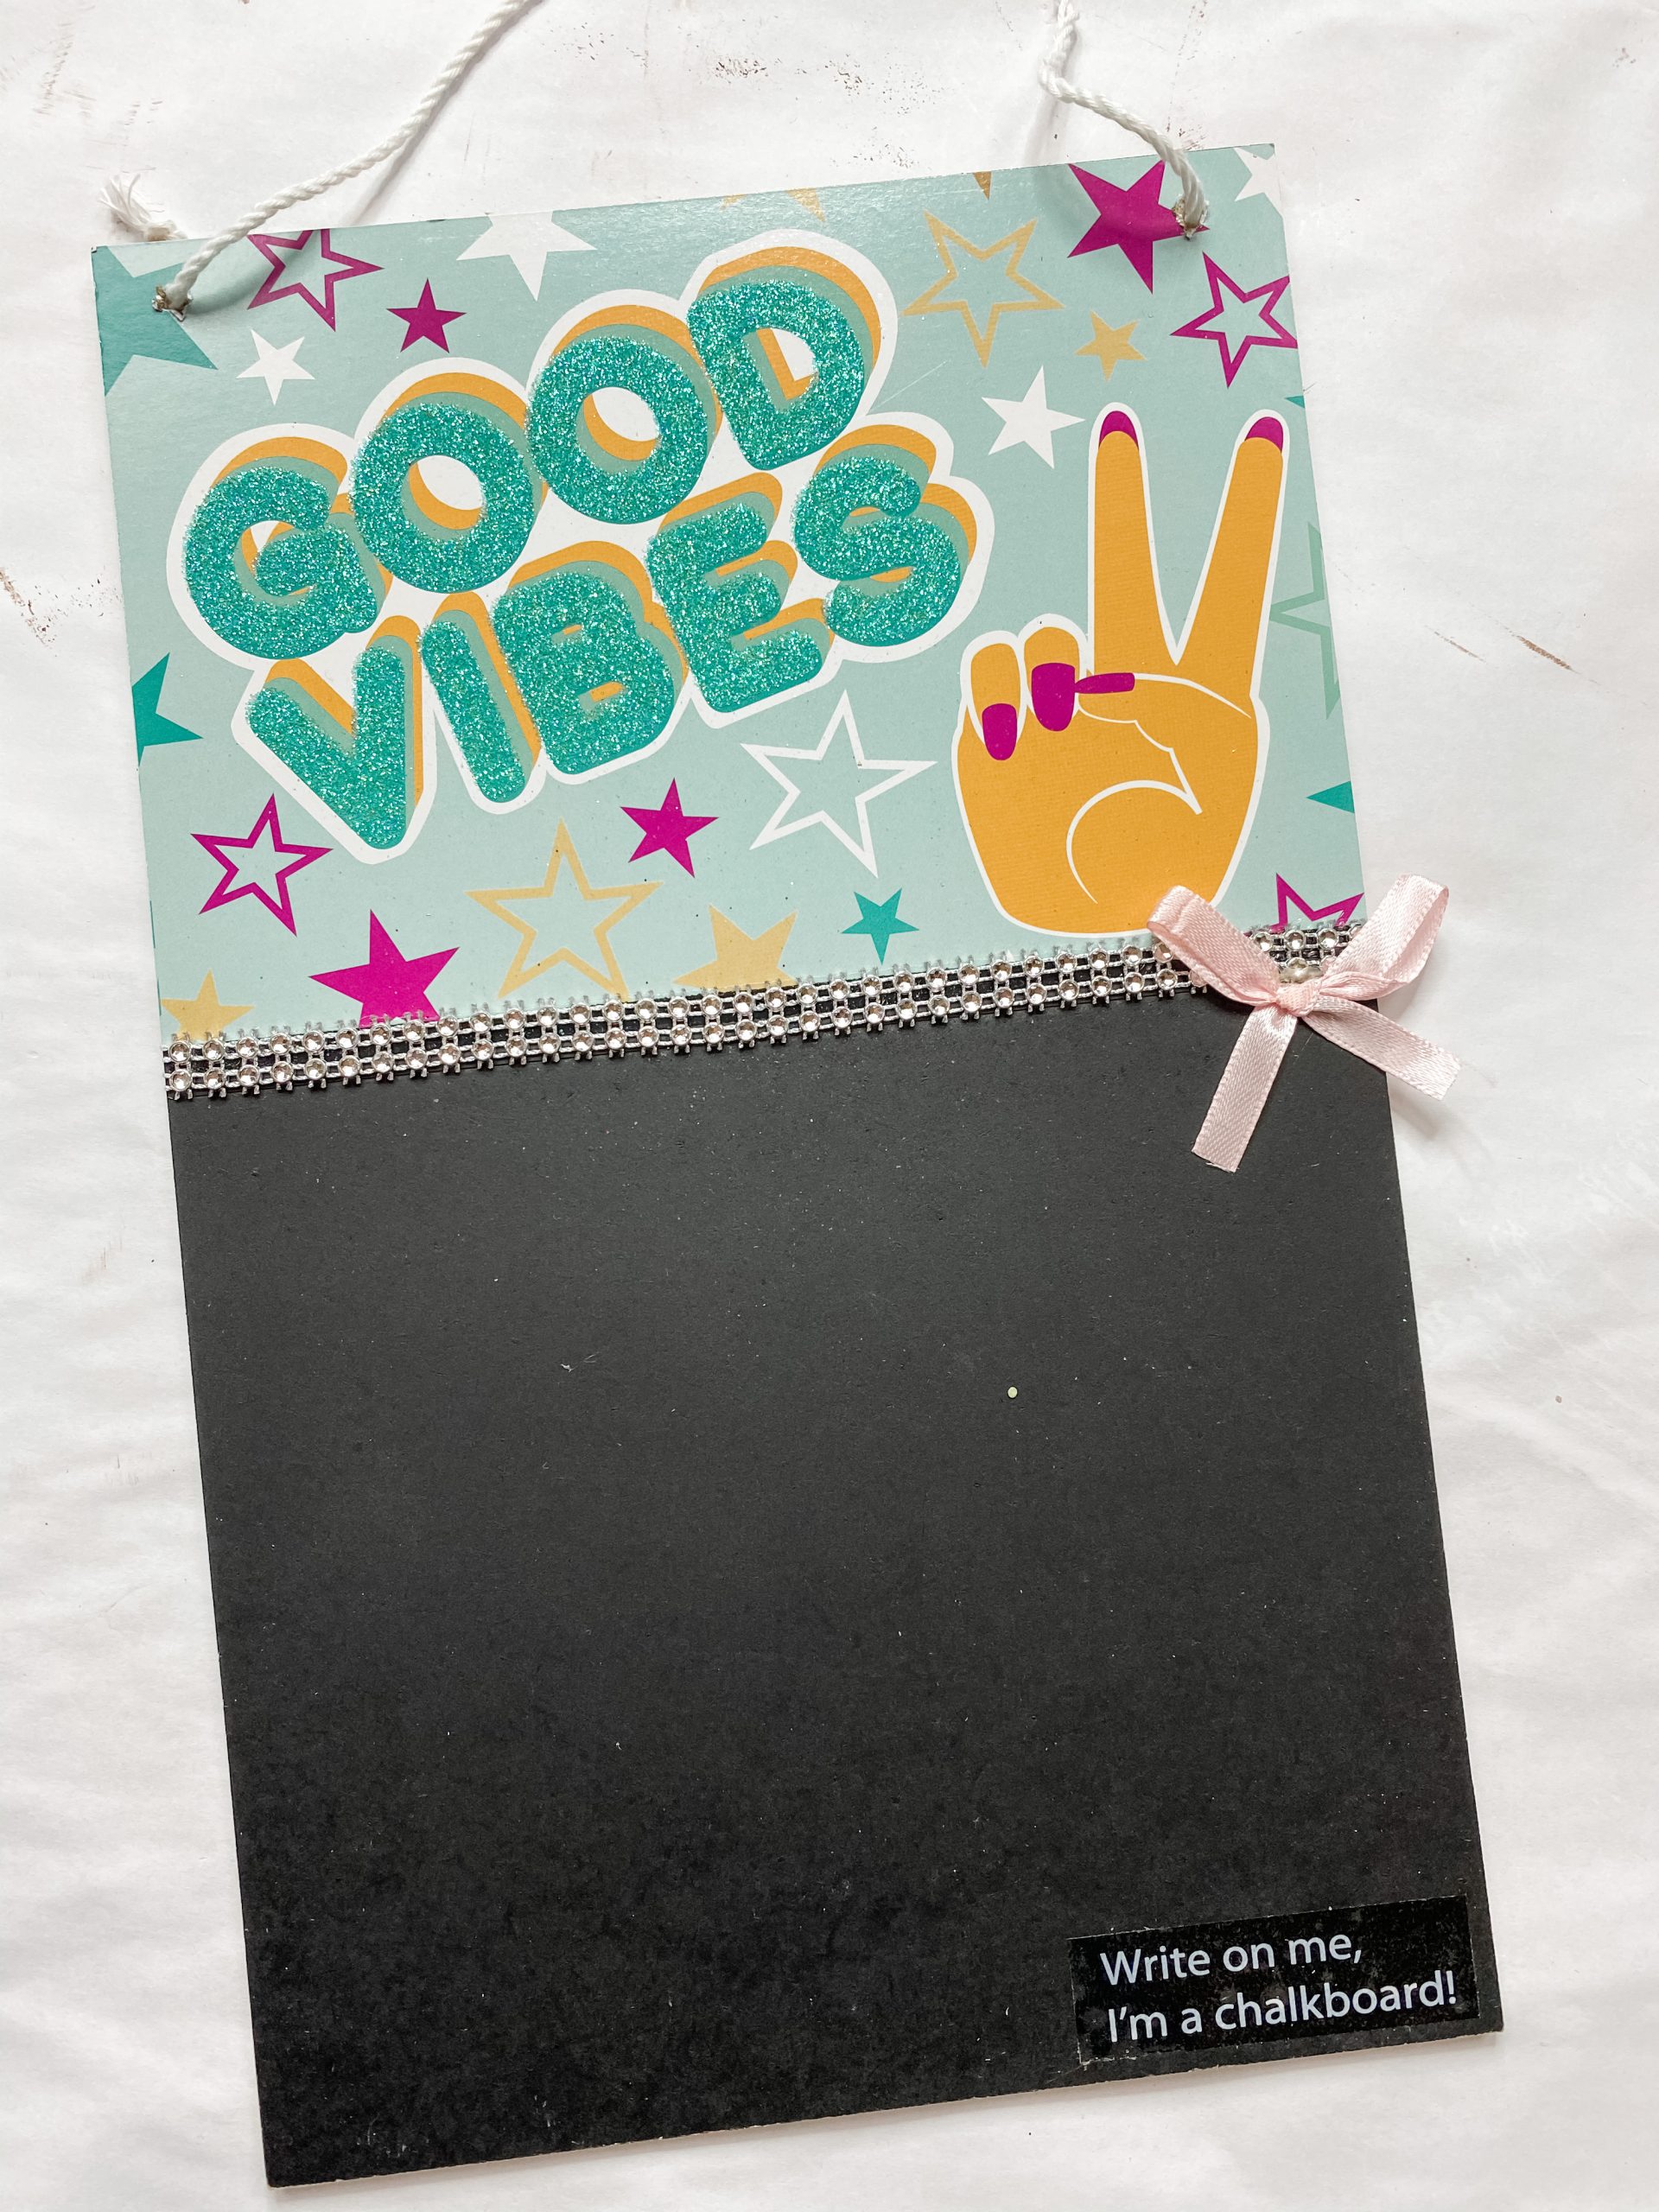
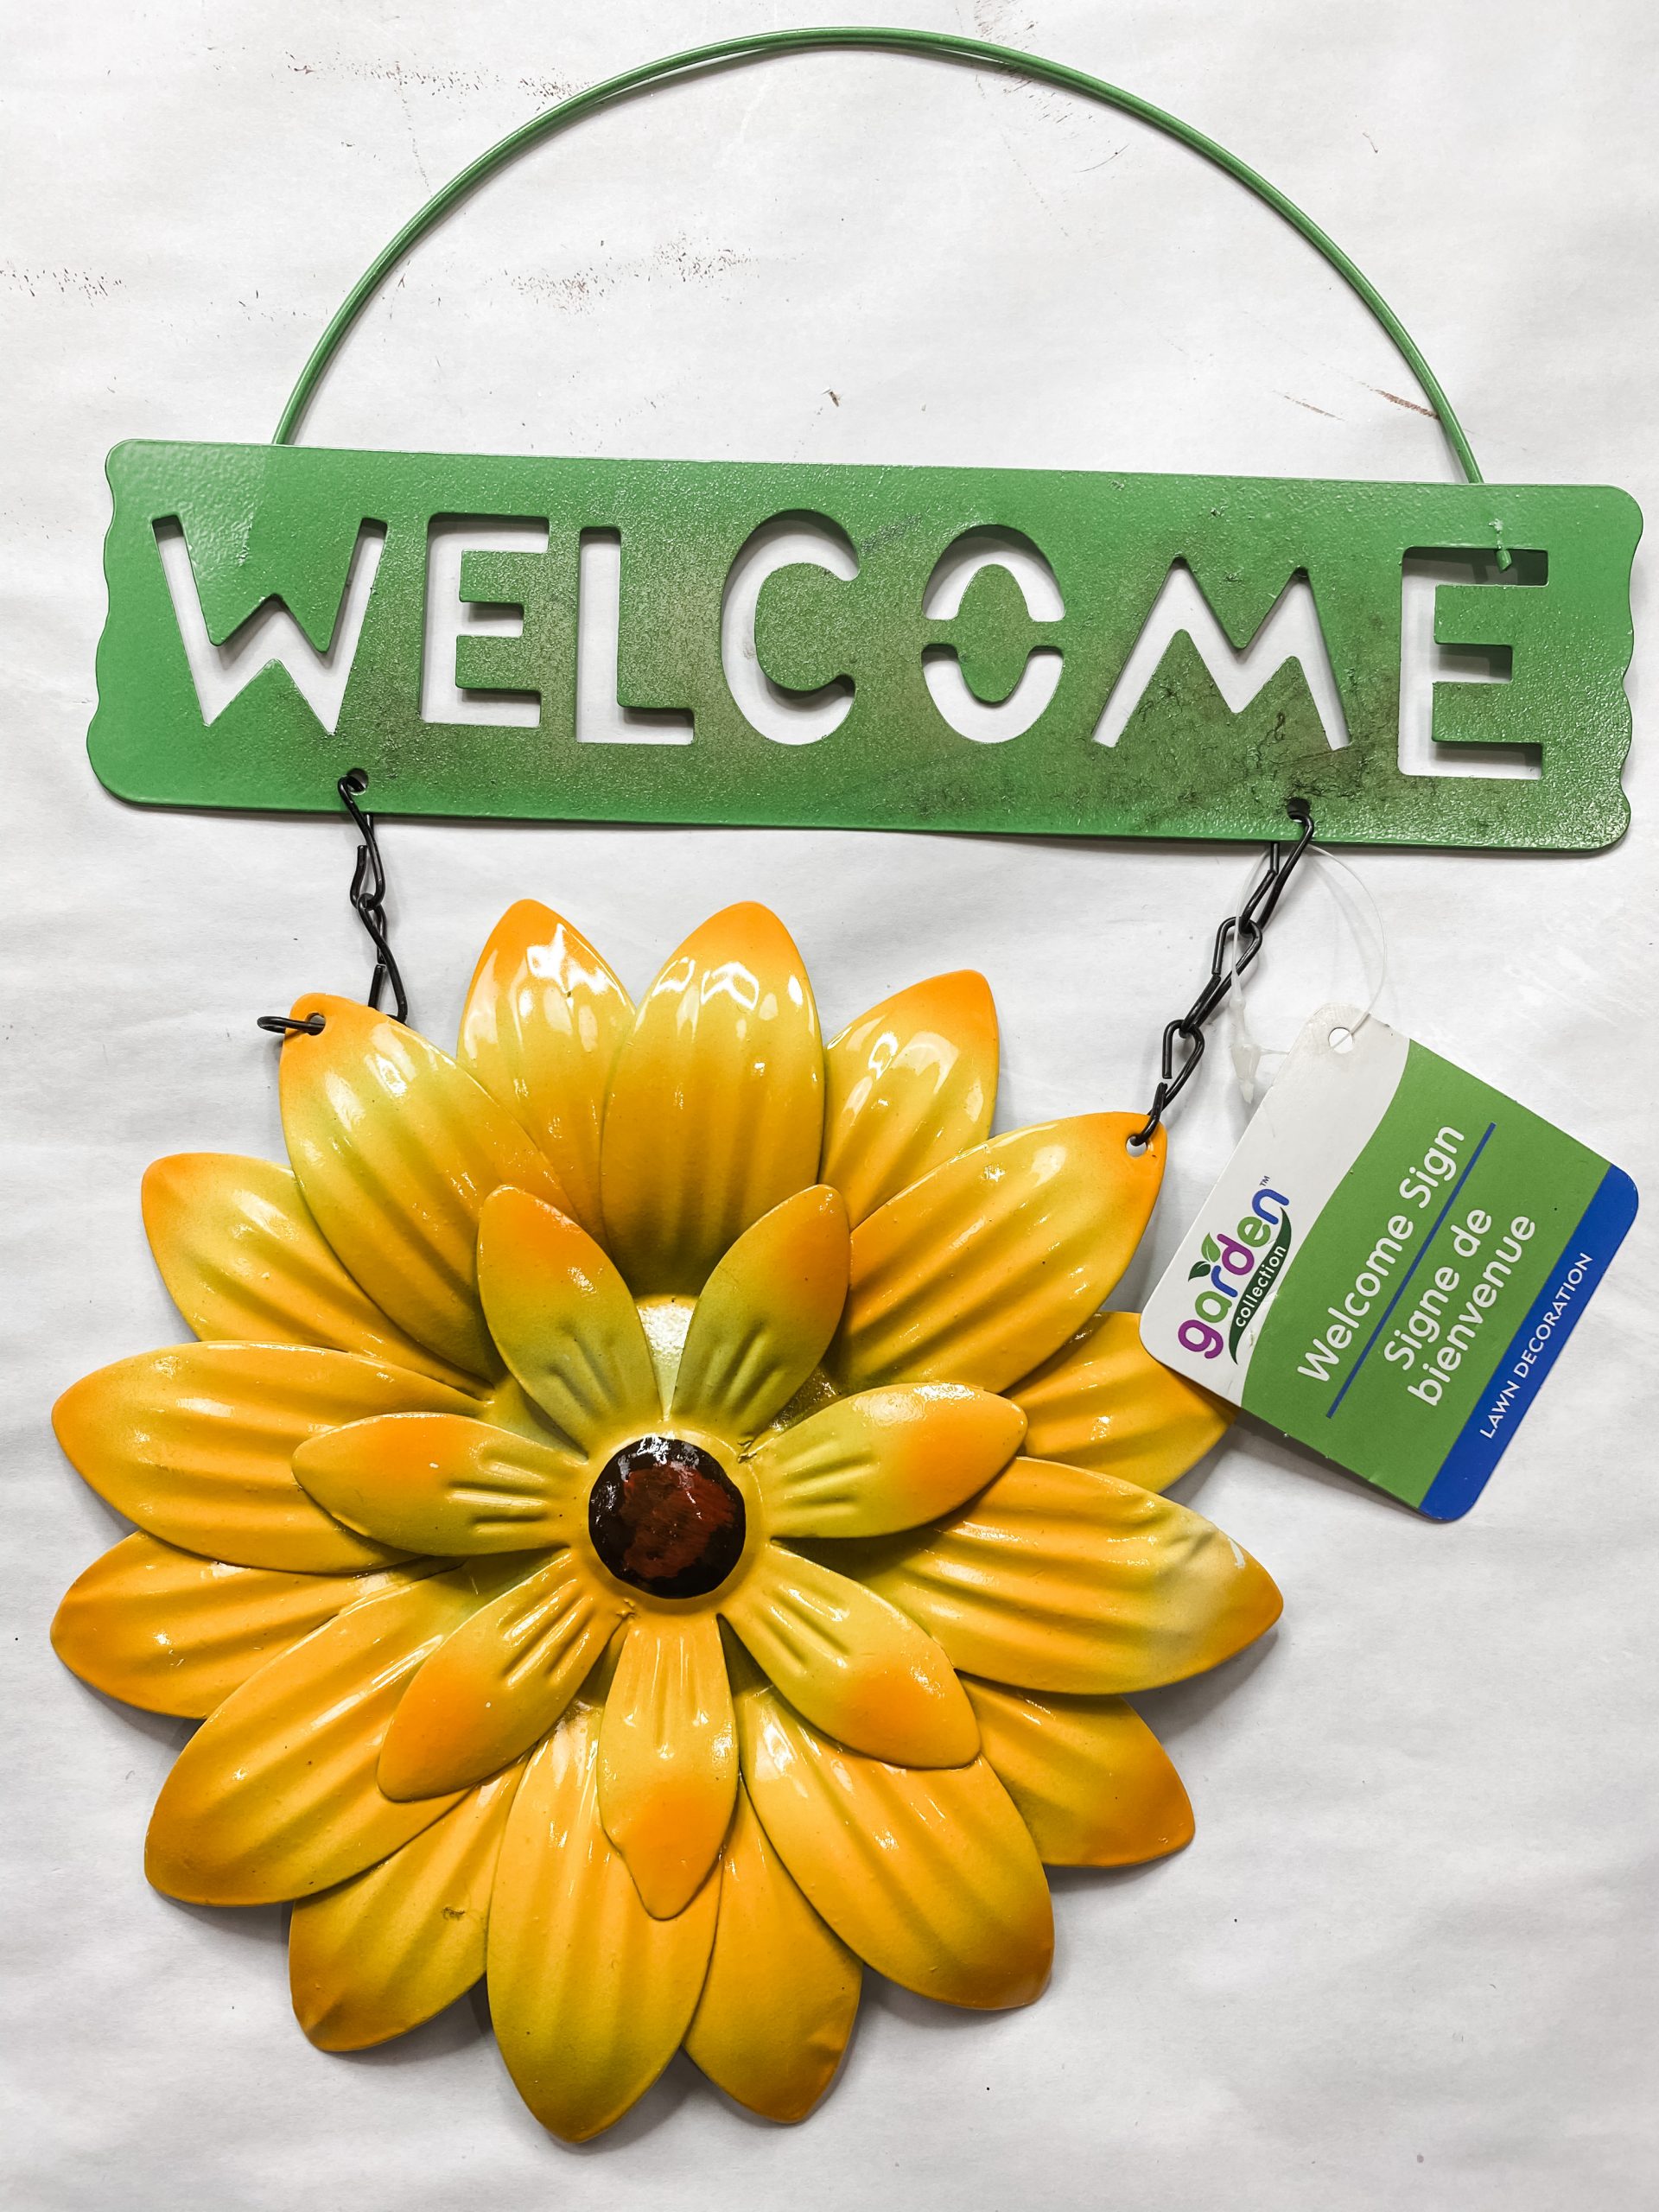
- Dollar Tree Metal Sunflower Welcome sign
- Dollar Tree Chalkboard sign
- Large wood beads
- Small wood beads
- Iron Orchid Designs Mould
- Jute Twine
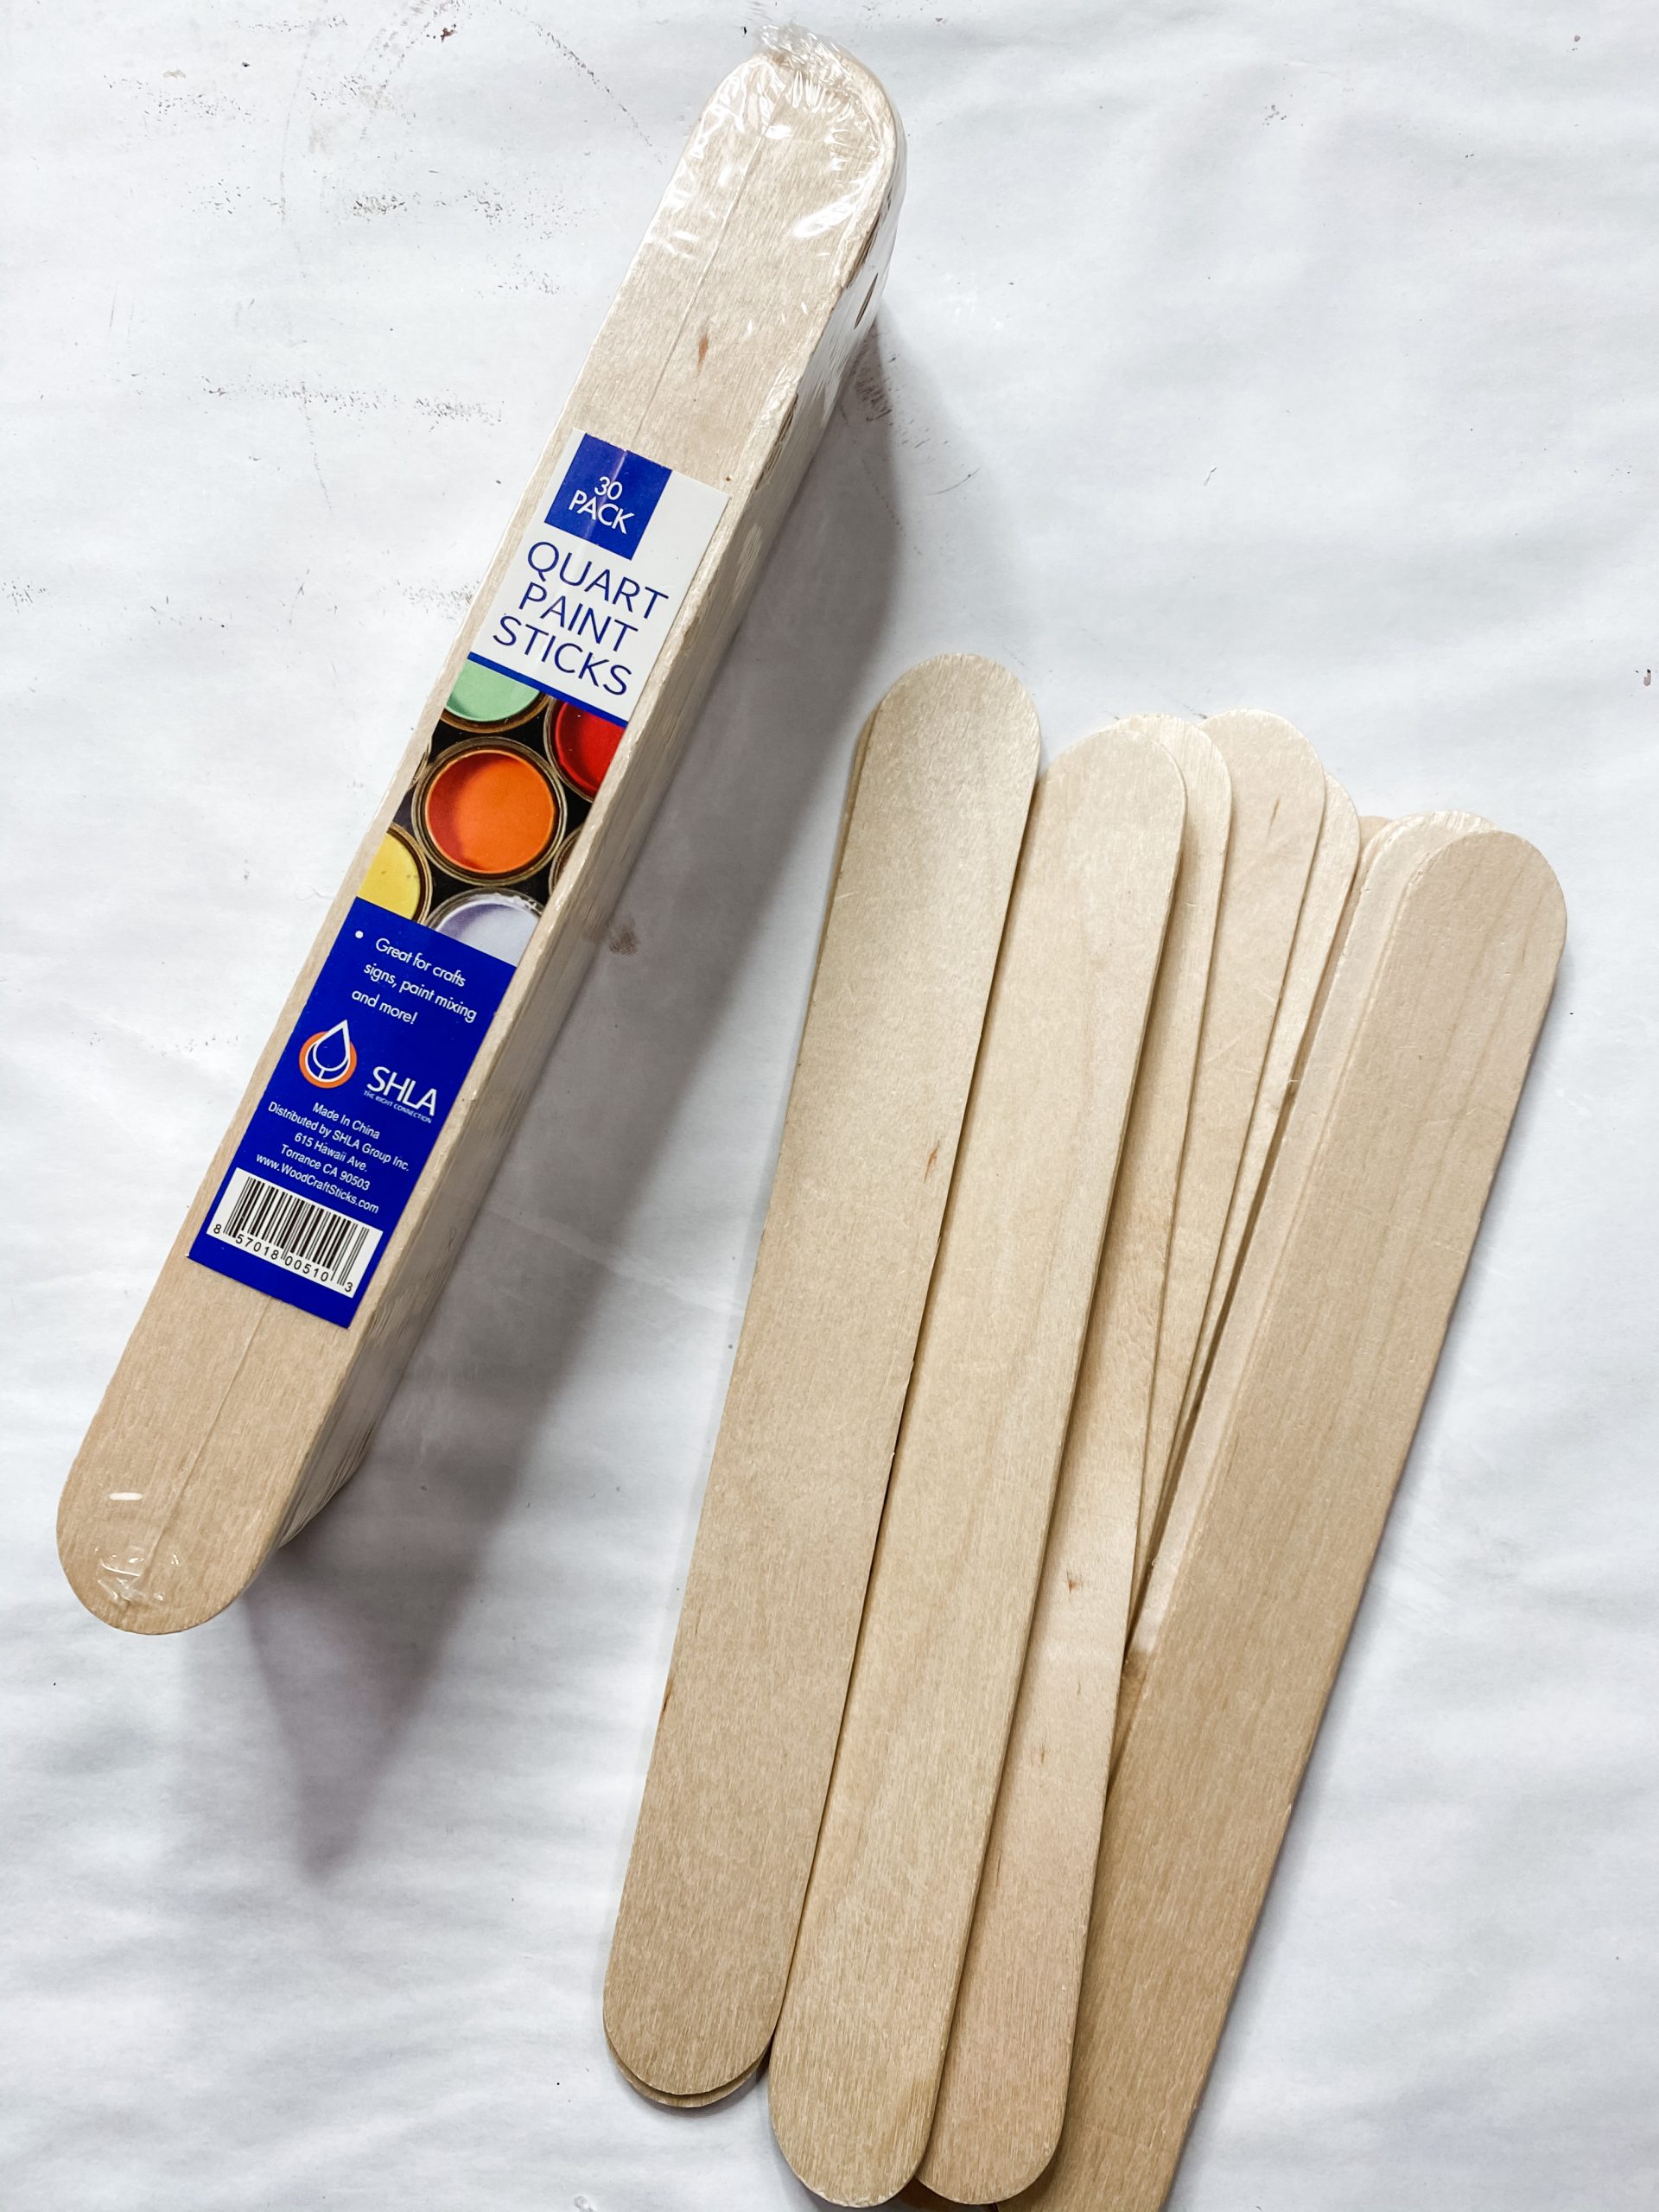
- Quart Paint Sticks
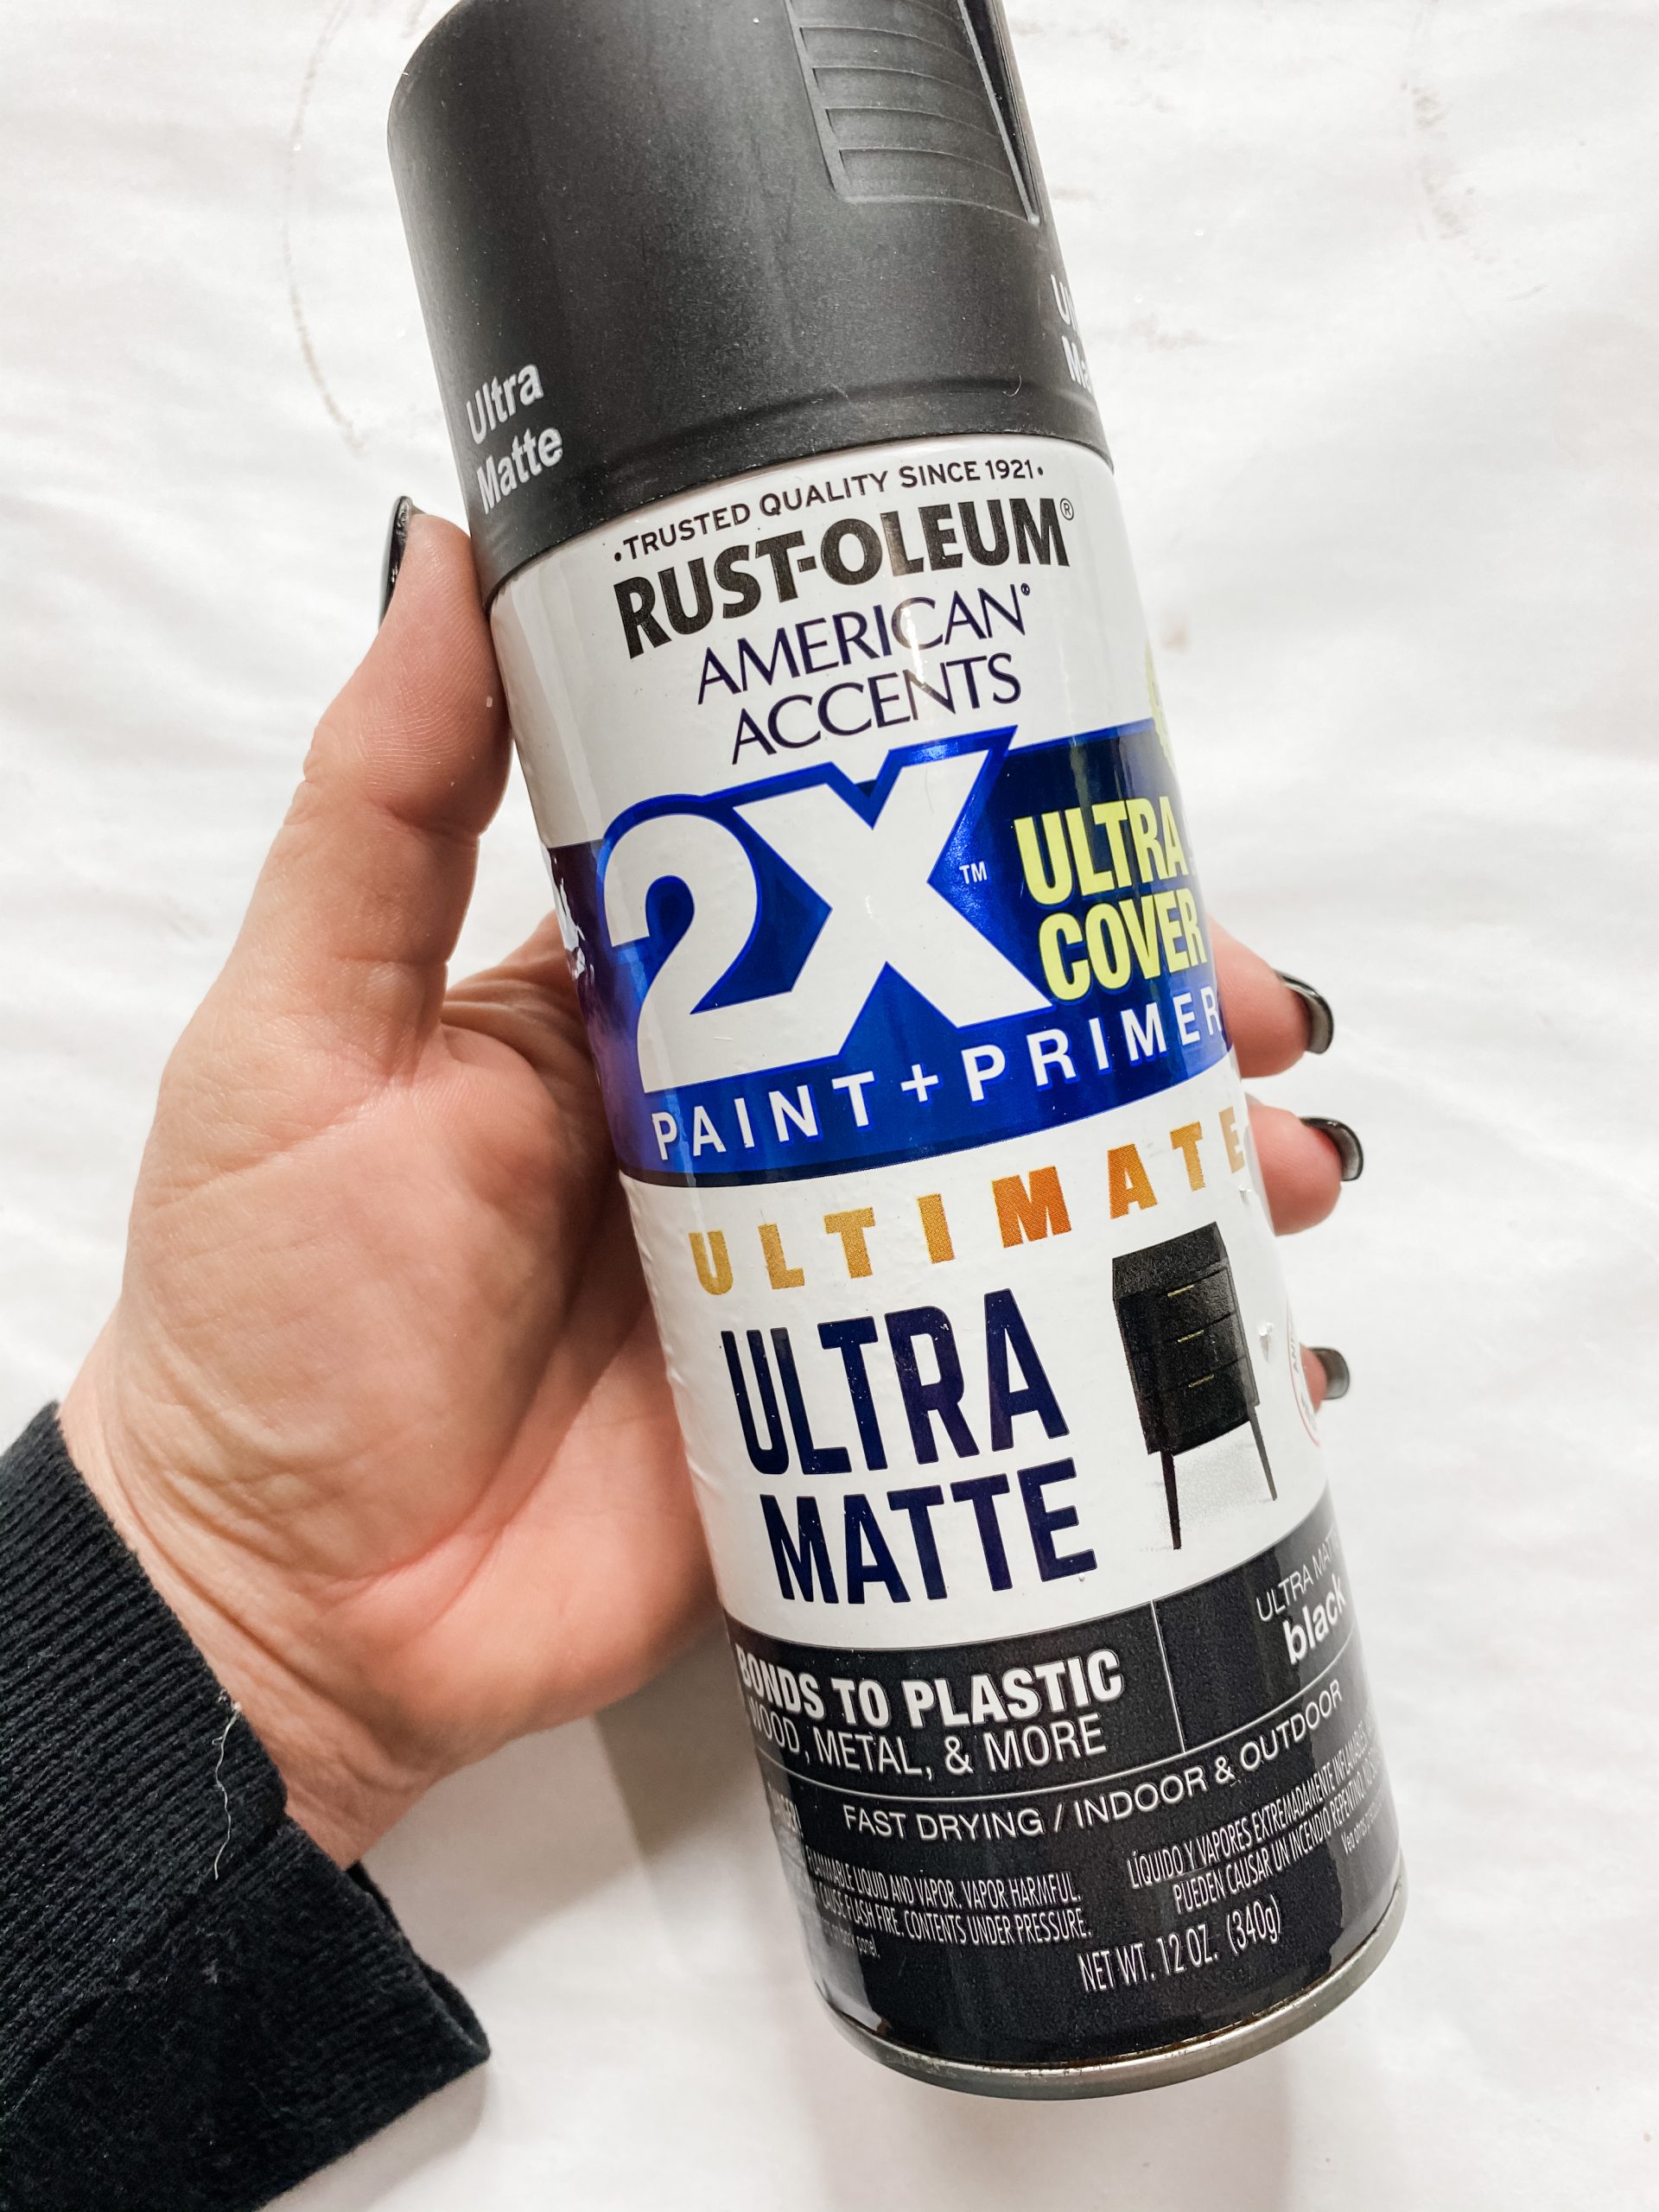
- Rustoleum Ultra Matte Black Spray Paint
- Apple Barrel White Acrylic Paint
- Apple Barrel Burnt Umber Acrylic Paint
- Waverly Ivory Chalk Paint
- Apple Barrel Sunkissed Peach Acrylic Paint
- Waverly Celery Chalk Paint
- Hot glue gun and glue sticks
- Heat Gun
How to Make a Hot Glue Mold DIY Home Decor
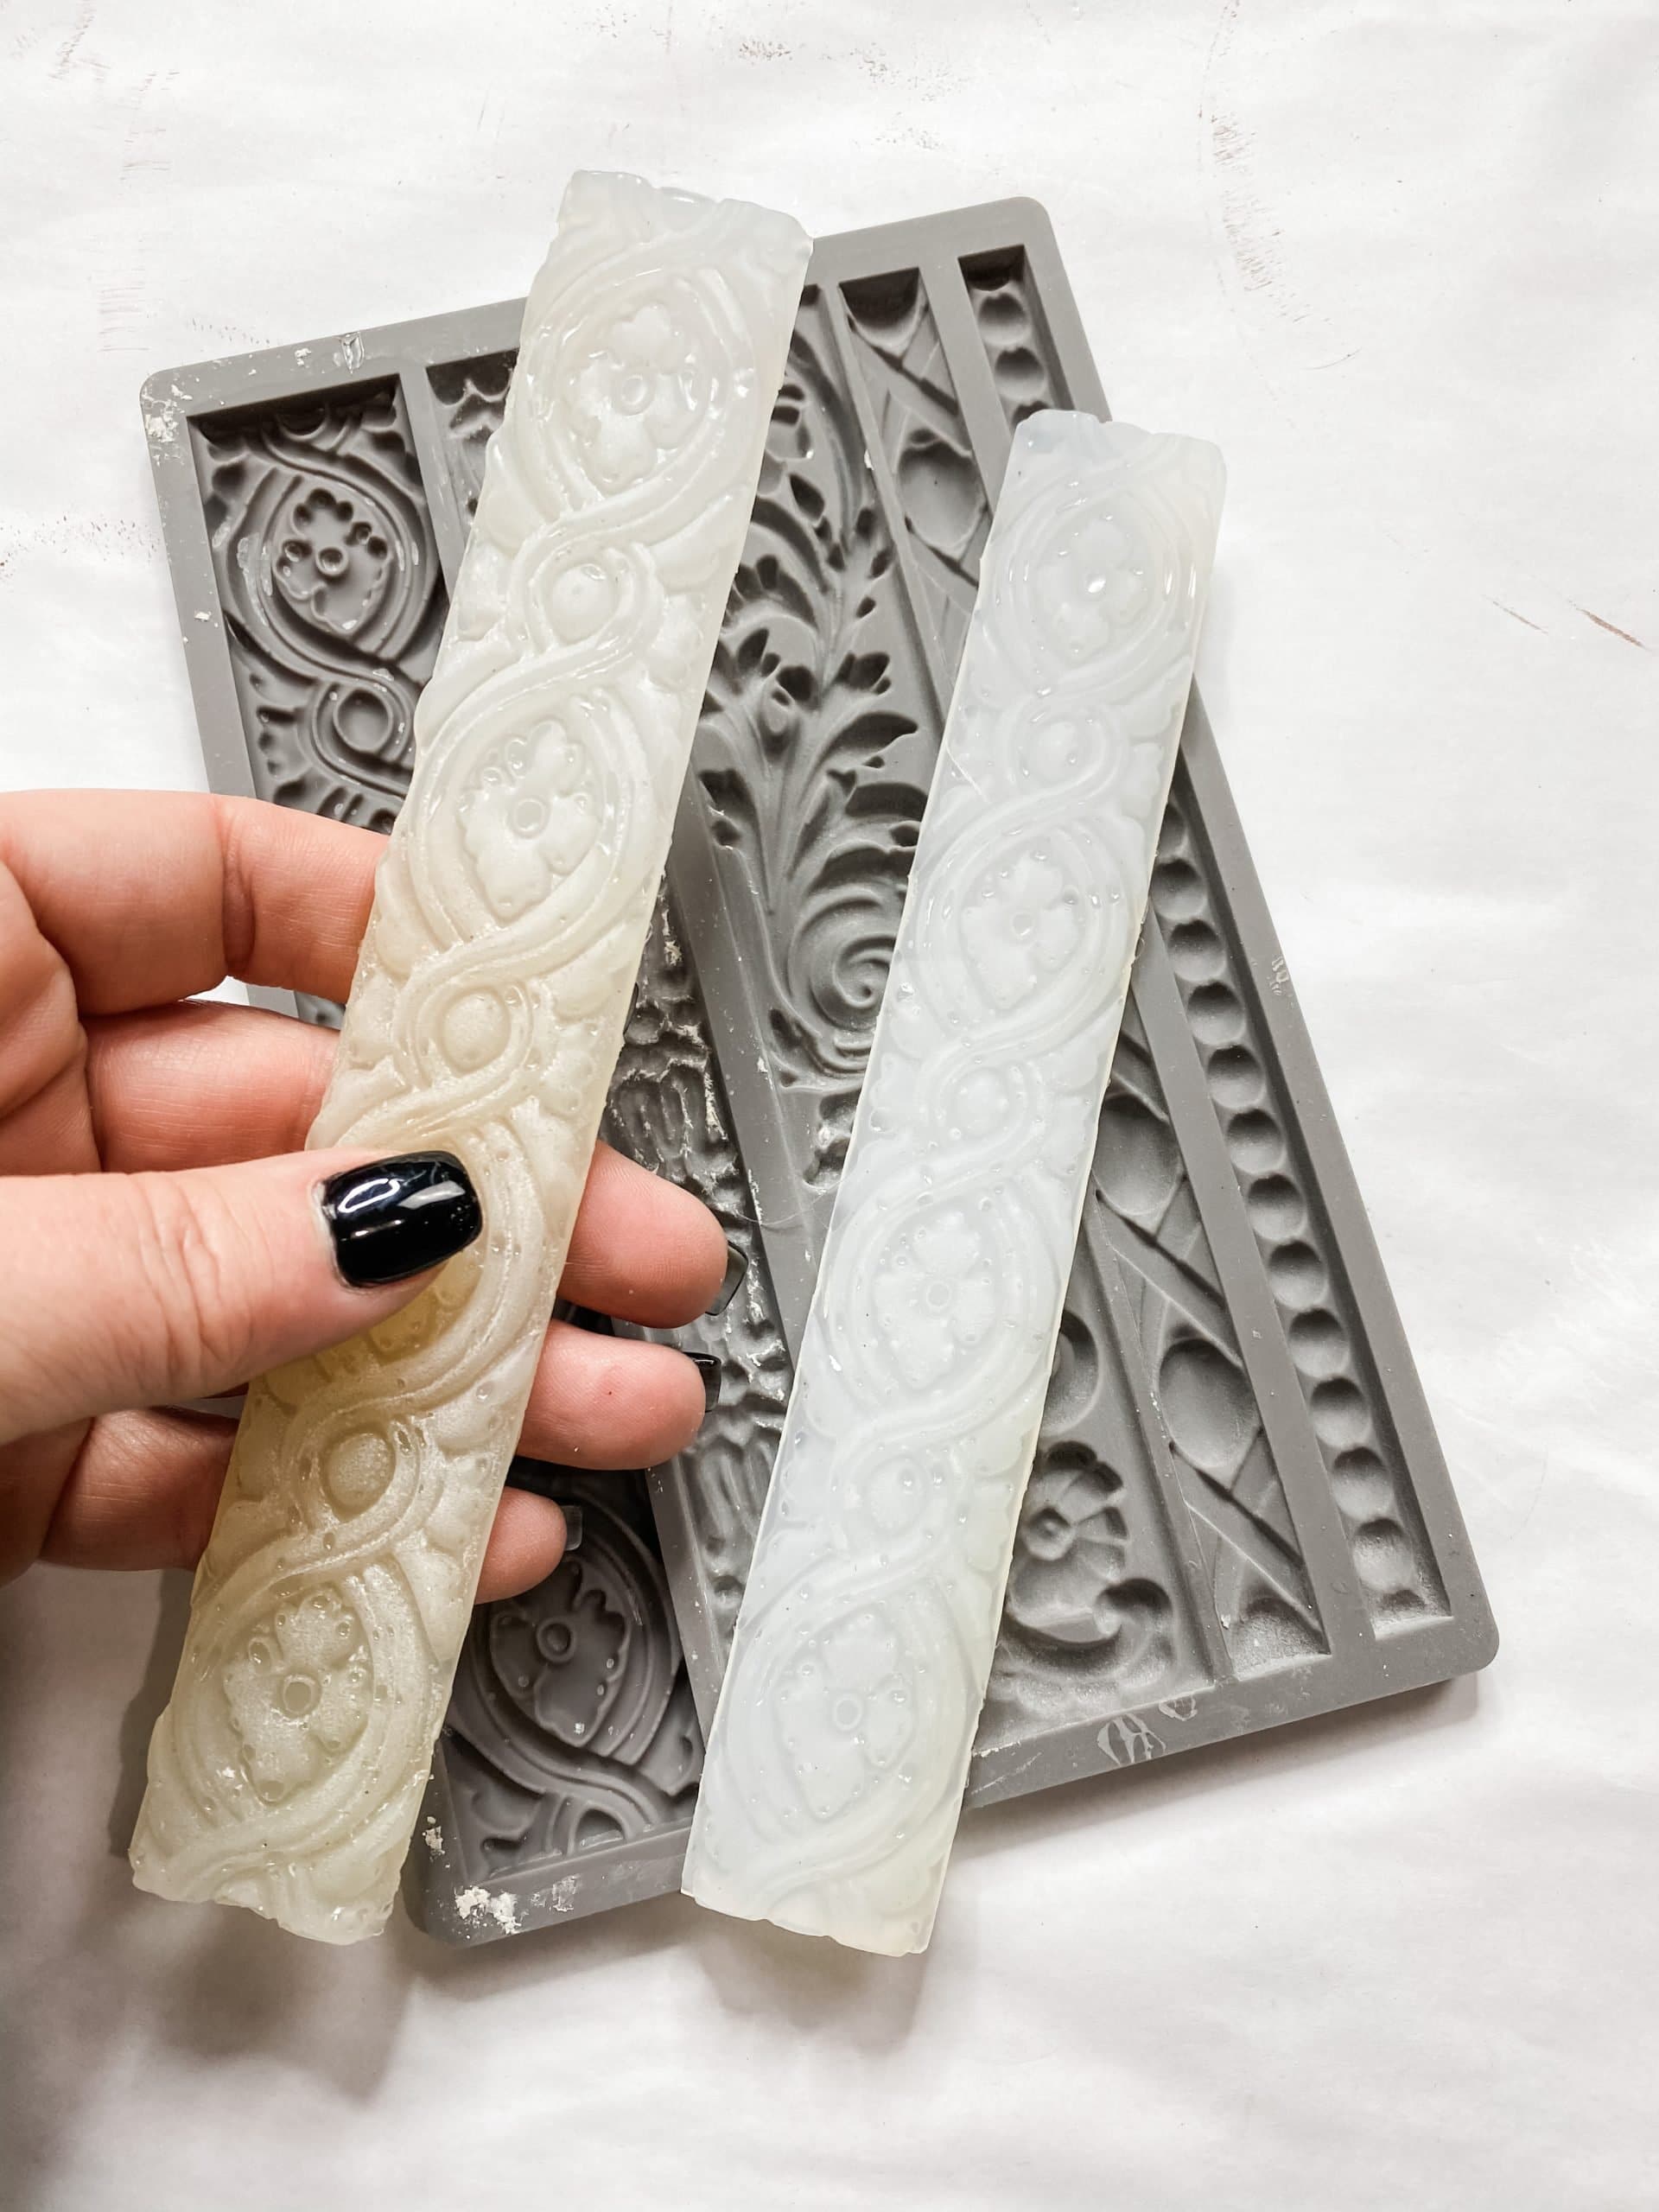
Step one of making this easy home decor is to get your mold and a hot glue gun. I used a decor mould from Iron Orchid Designs and my Surebonder hot glue gun.
You’re going to completely fill the mold with your hot glue and allow it to dry. For this craft, I filled the molds before the video, so they were dry and ready by the time I started recording.
Next, you’re going to go ahead and get the Dollar Tree chalkboard sign. I removed everything from the board to get a flat surface. Even though I planned on using the back of the board, I didn’t want anything left on the front of it.
You’re also going to remove the hanger from the chalkboard sign. We are turning the sign sideways, so we will have to attach our own hanger once we are done.
Once your chalkboard sign is ready, you’ll need your quart paint sticks. It took 11 to cover the sign. Hot glue each craft stick in place onto the back of the Dollar Tree chalkboard sign.
Then, use a pair of scissors to trim the paint sticks so they aren’t hanging over the edges of the chalkboard sign and you have flat edges all the way around.
Add your hot glue molds
Once your craft sticks are glued in place and the edges are trimmed, it is time to attach the hot glue molds. I put mine on each end of the chalkboard sign.
I chose to attach the craft sticks and hot glue molds before painting to make it easier to paint. However, if you want to do the molds a different color than the craft sticks, consider painting them before you attach them to the chalkboard sign.
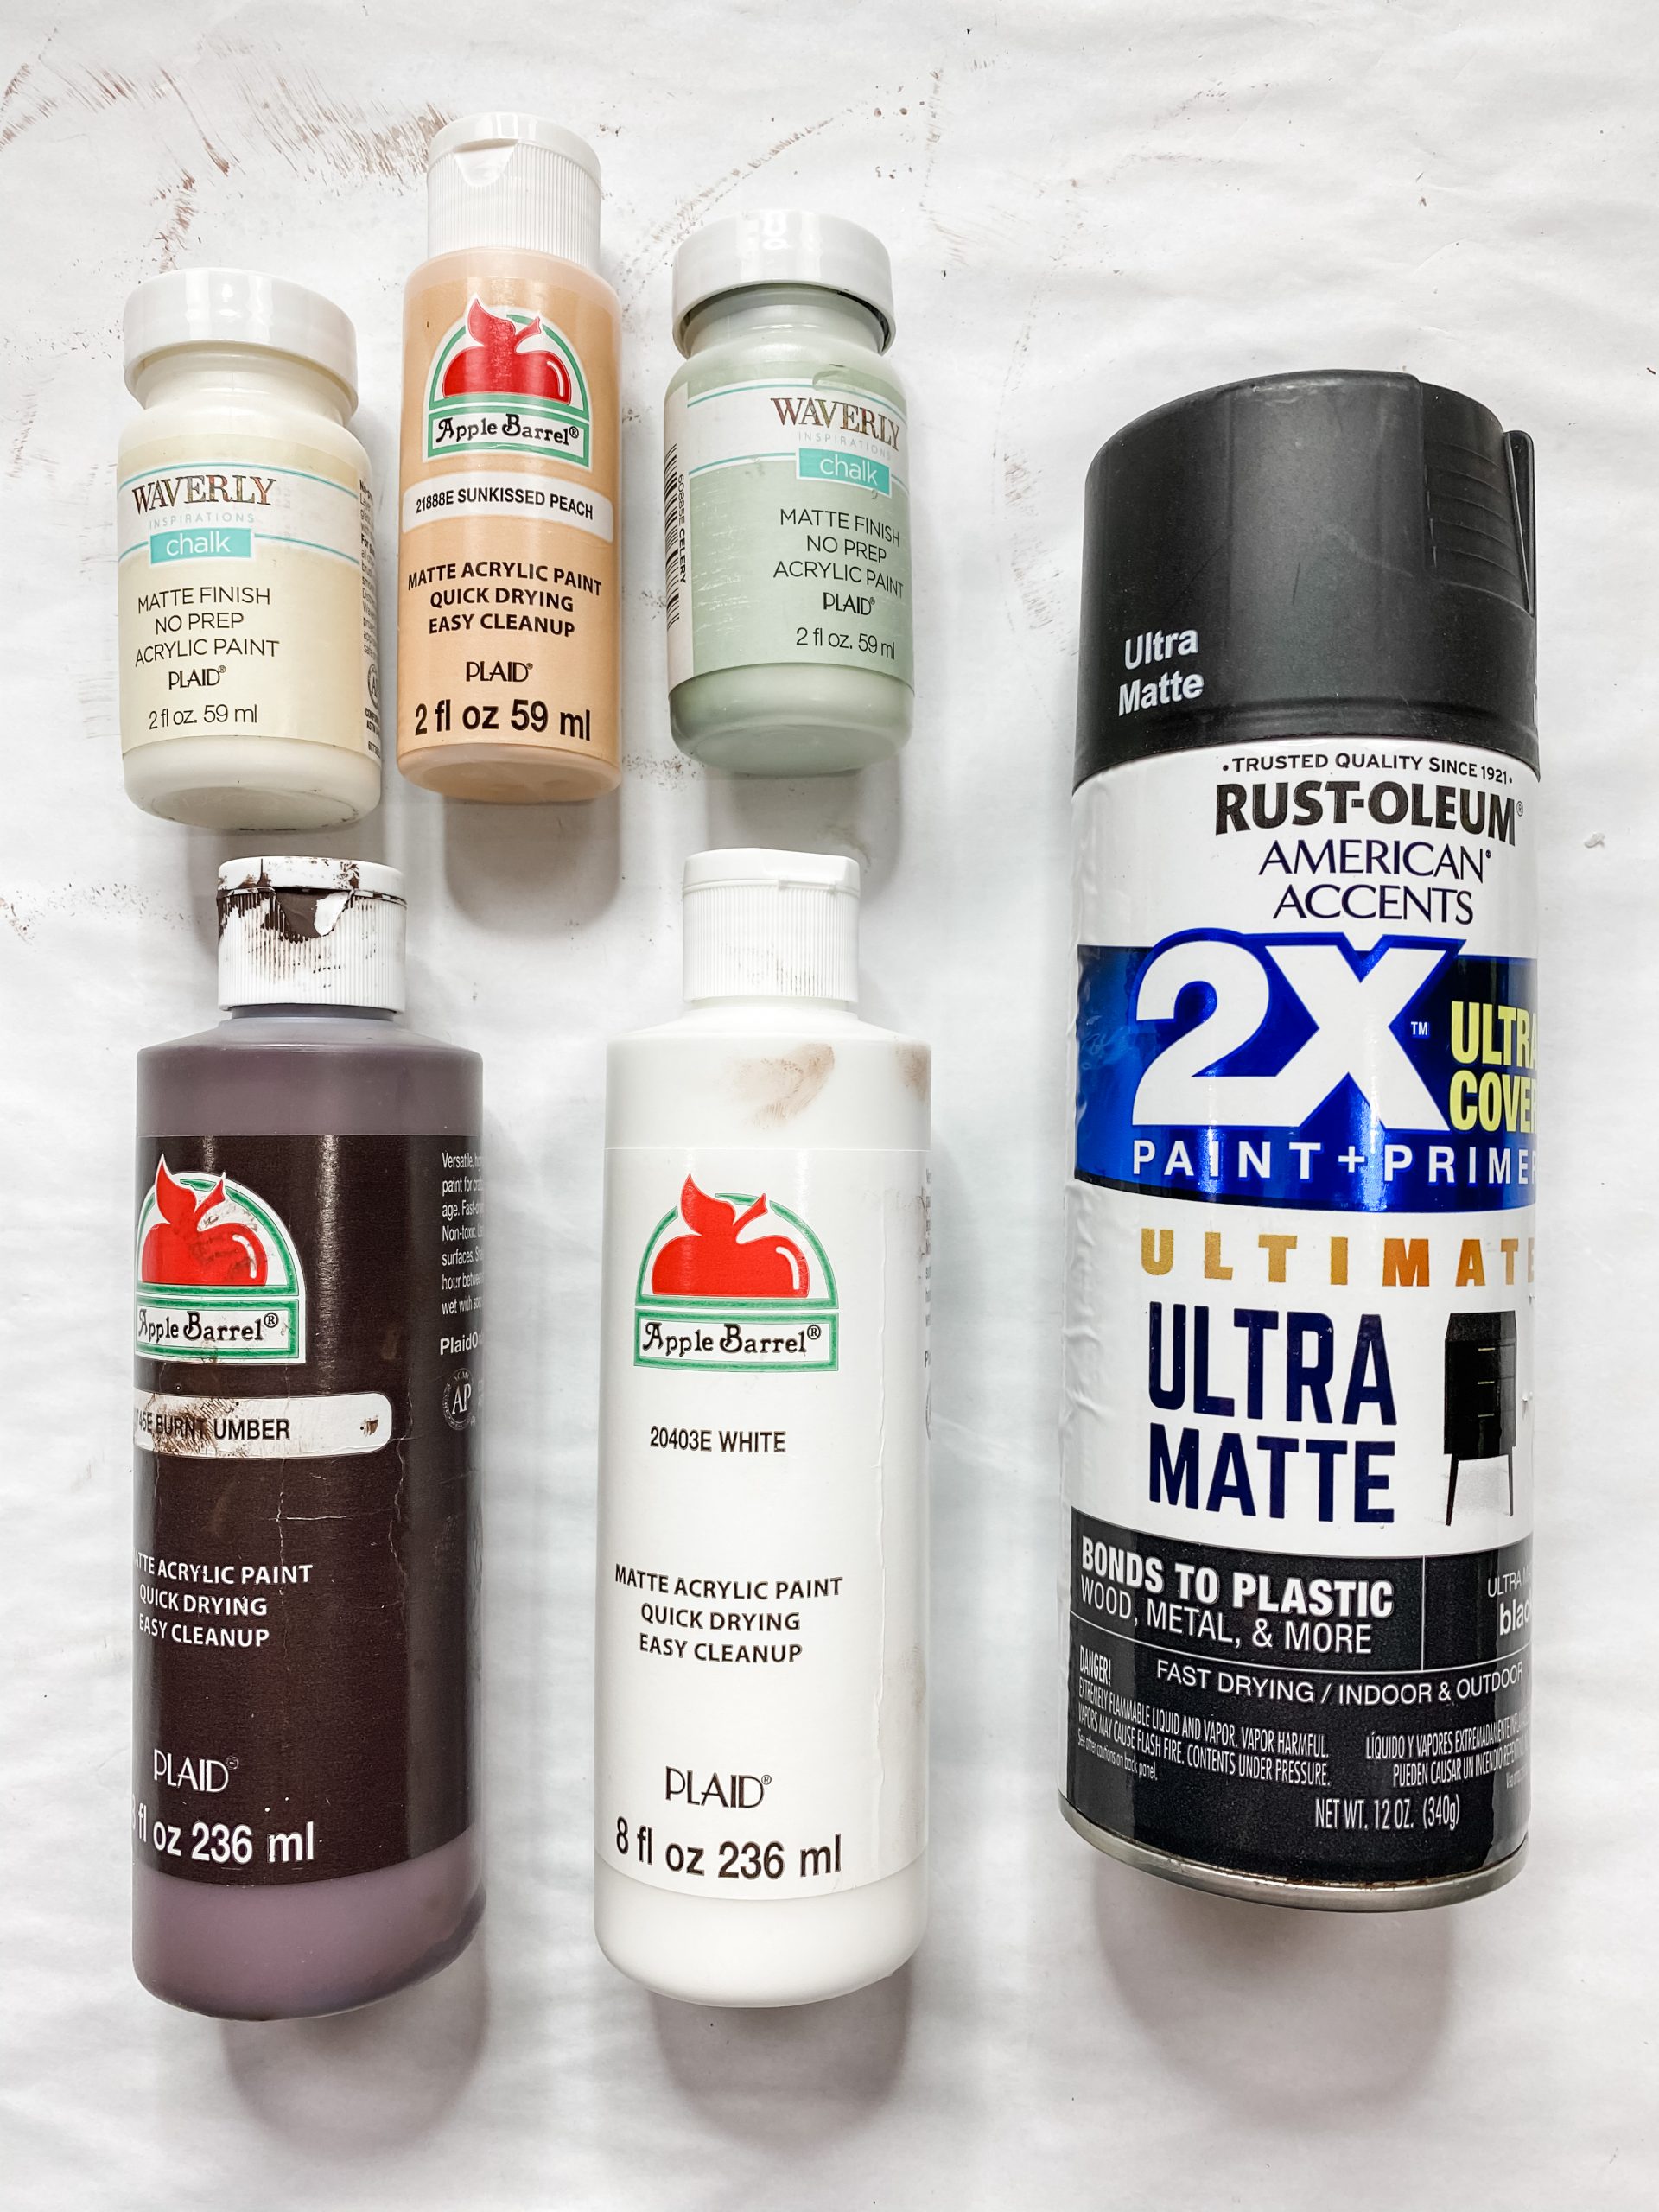
Pour the Apple Barrel Burnt Umber Acrylic Paint directly onto the craft sticks and use a chippy paintbrush to spread the paint across the entire front surface of your sign, including the hot glue molds.
Allow the brown paint to dry before moving on. I used my heat gun to speed up the drying process. If you don’t have a heat gun, you can use a hairdryer on the low cool setting.
Once your brown paint has dried, you’re going to use the Apple Barrel White Acrylic Paint and a chippy paintbrush to paint the entire surface, including the hot glue molds.
Don’t worry, we will come back and add the distressed look later. You can set the sign to the side for now. Next, we are going to work on the flower!
Everyone loves a sunflower
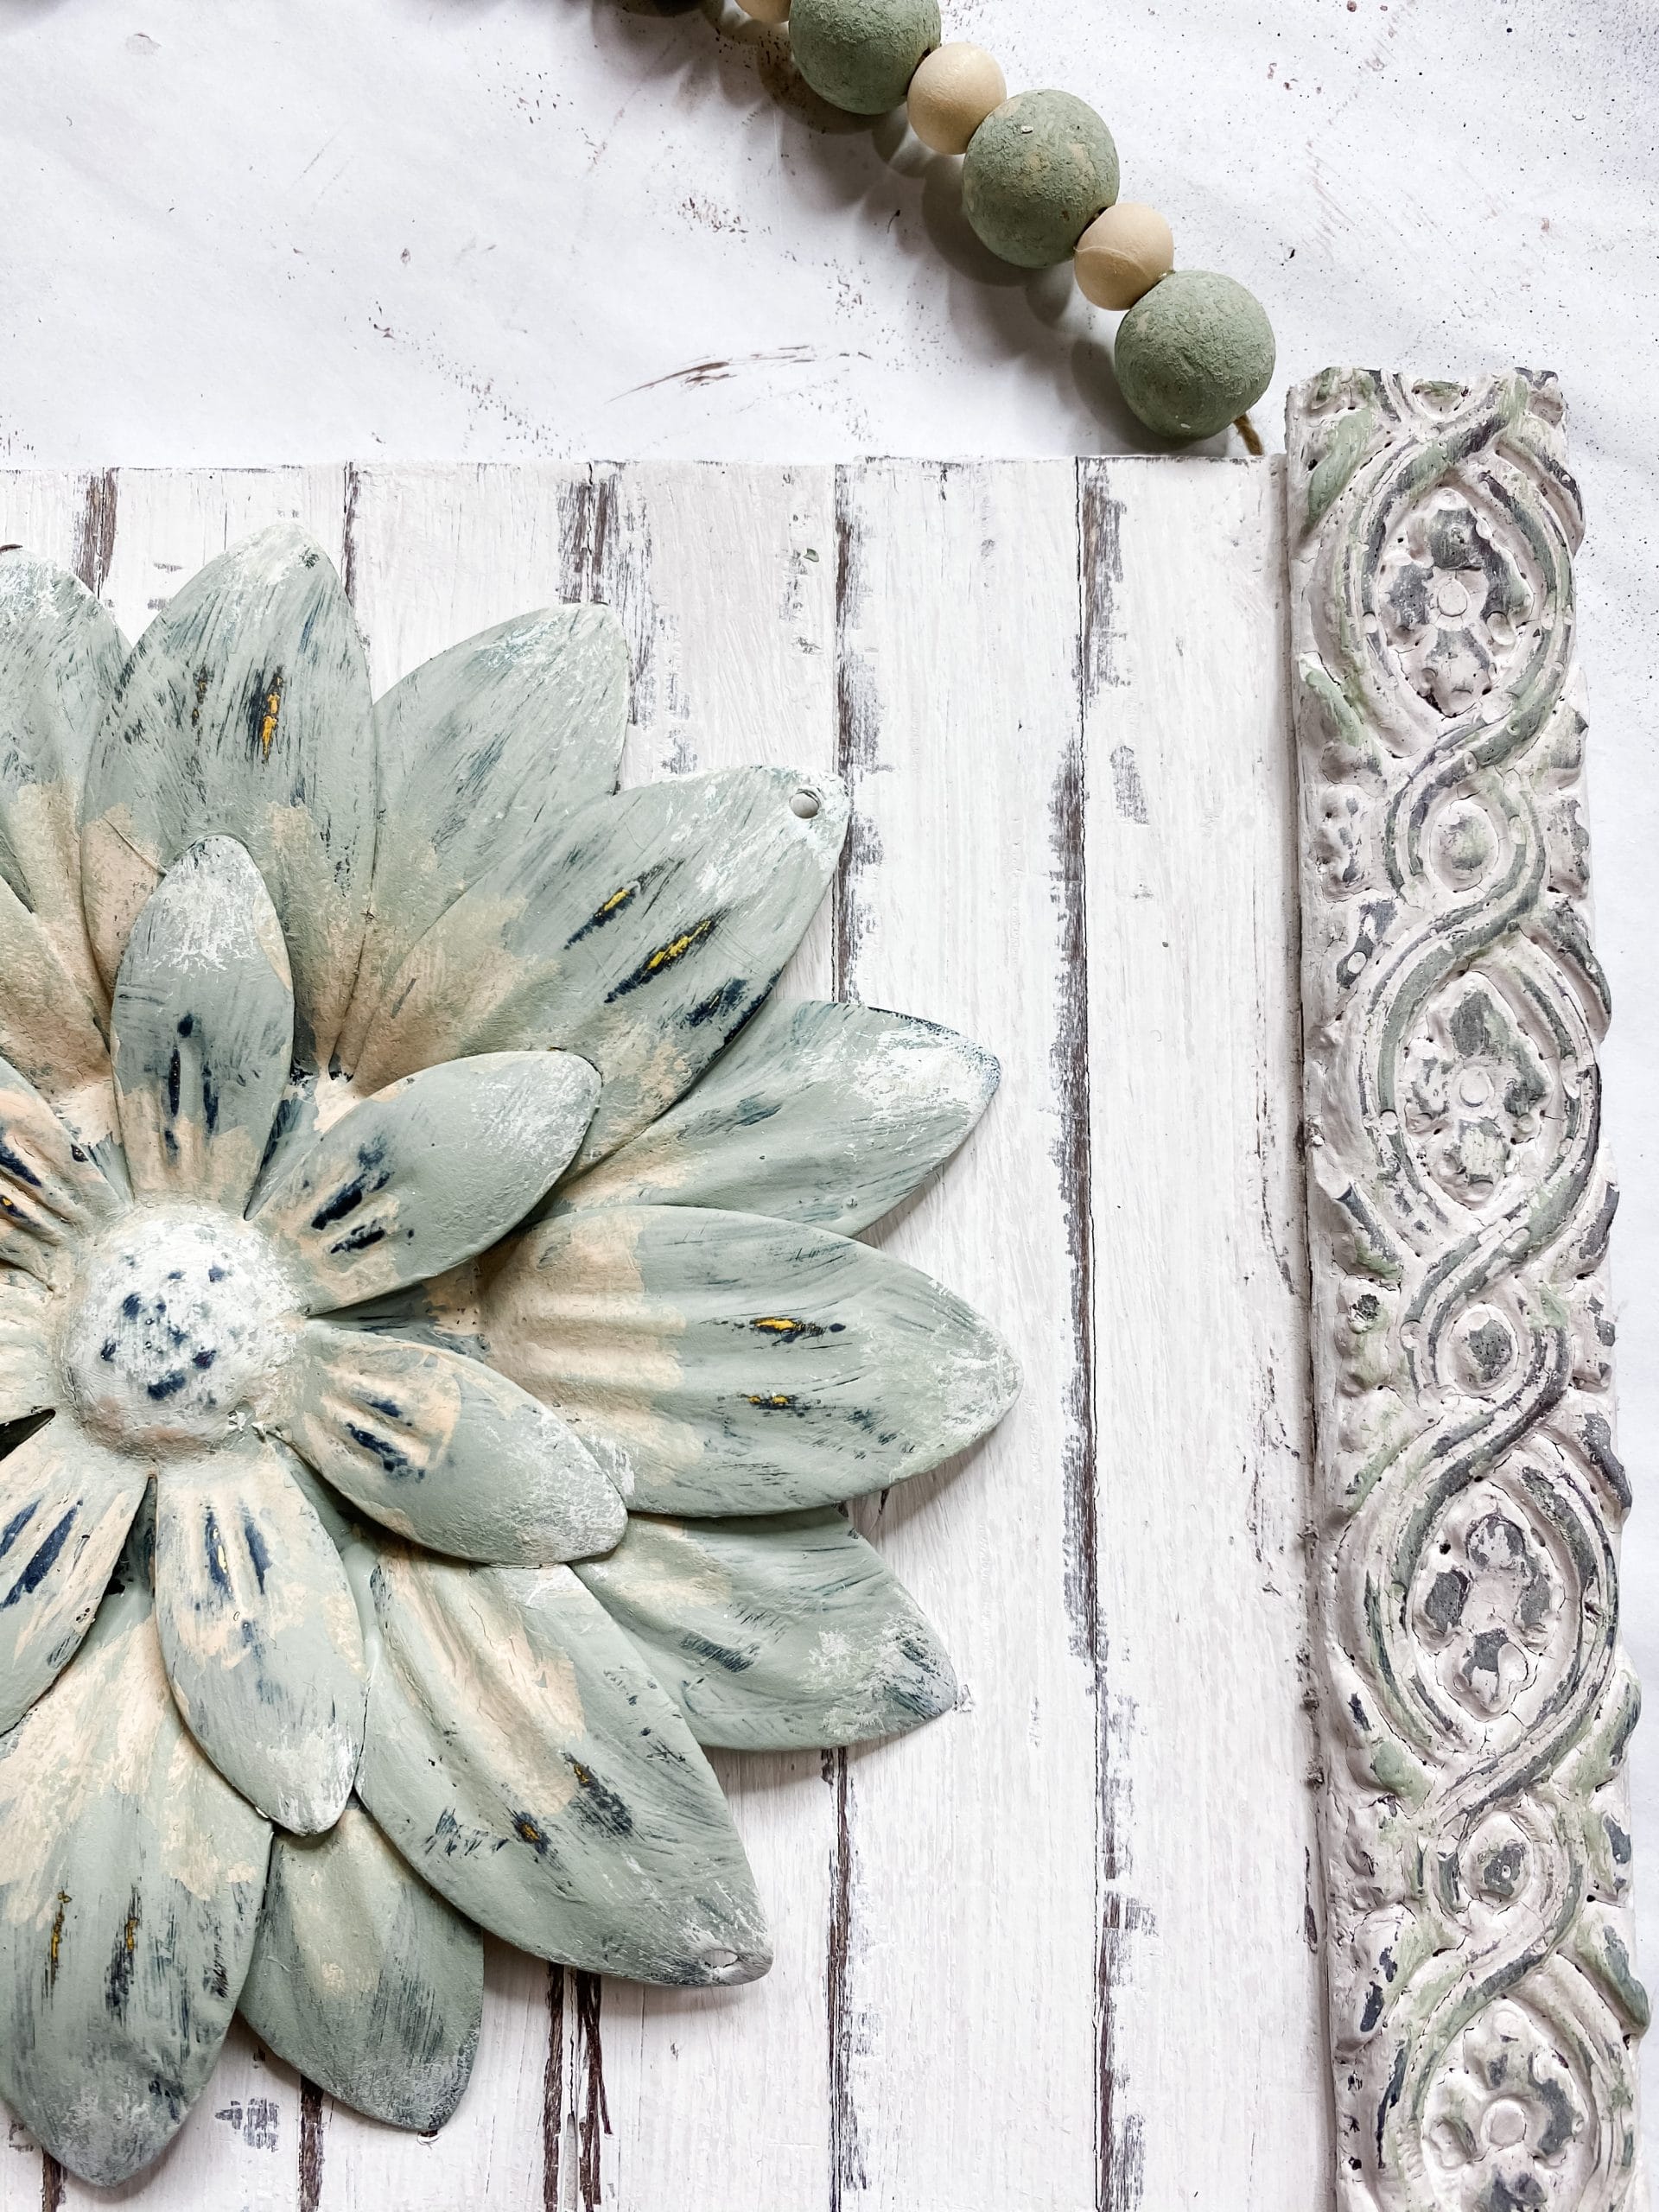
I love this Dollar Tree sunflower welcome sign, but I had to make some changes to it to make it match this DIY spring project. The first step is to remove the sunflower from the welcome piece.
I used a pair of aviation snips to cut the metal attachments, then I painted the sunflower with Rustoleum Ultra Matte Black spray paint.
I used my heat gun to dry the spray paint, then I painted the entire sunflower with Waverly Celery Chalk Paint and an artist’s paintbrush.
Then, I lightly brushed the Apple Barrel Sunkissed Peach Acrylic Paint around the center of the flower and around the top petals. This adds dimension to the sunflower.
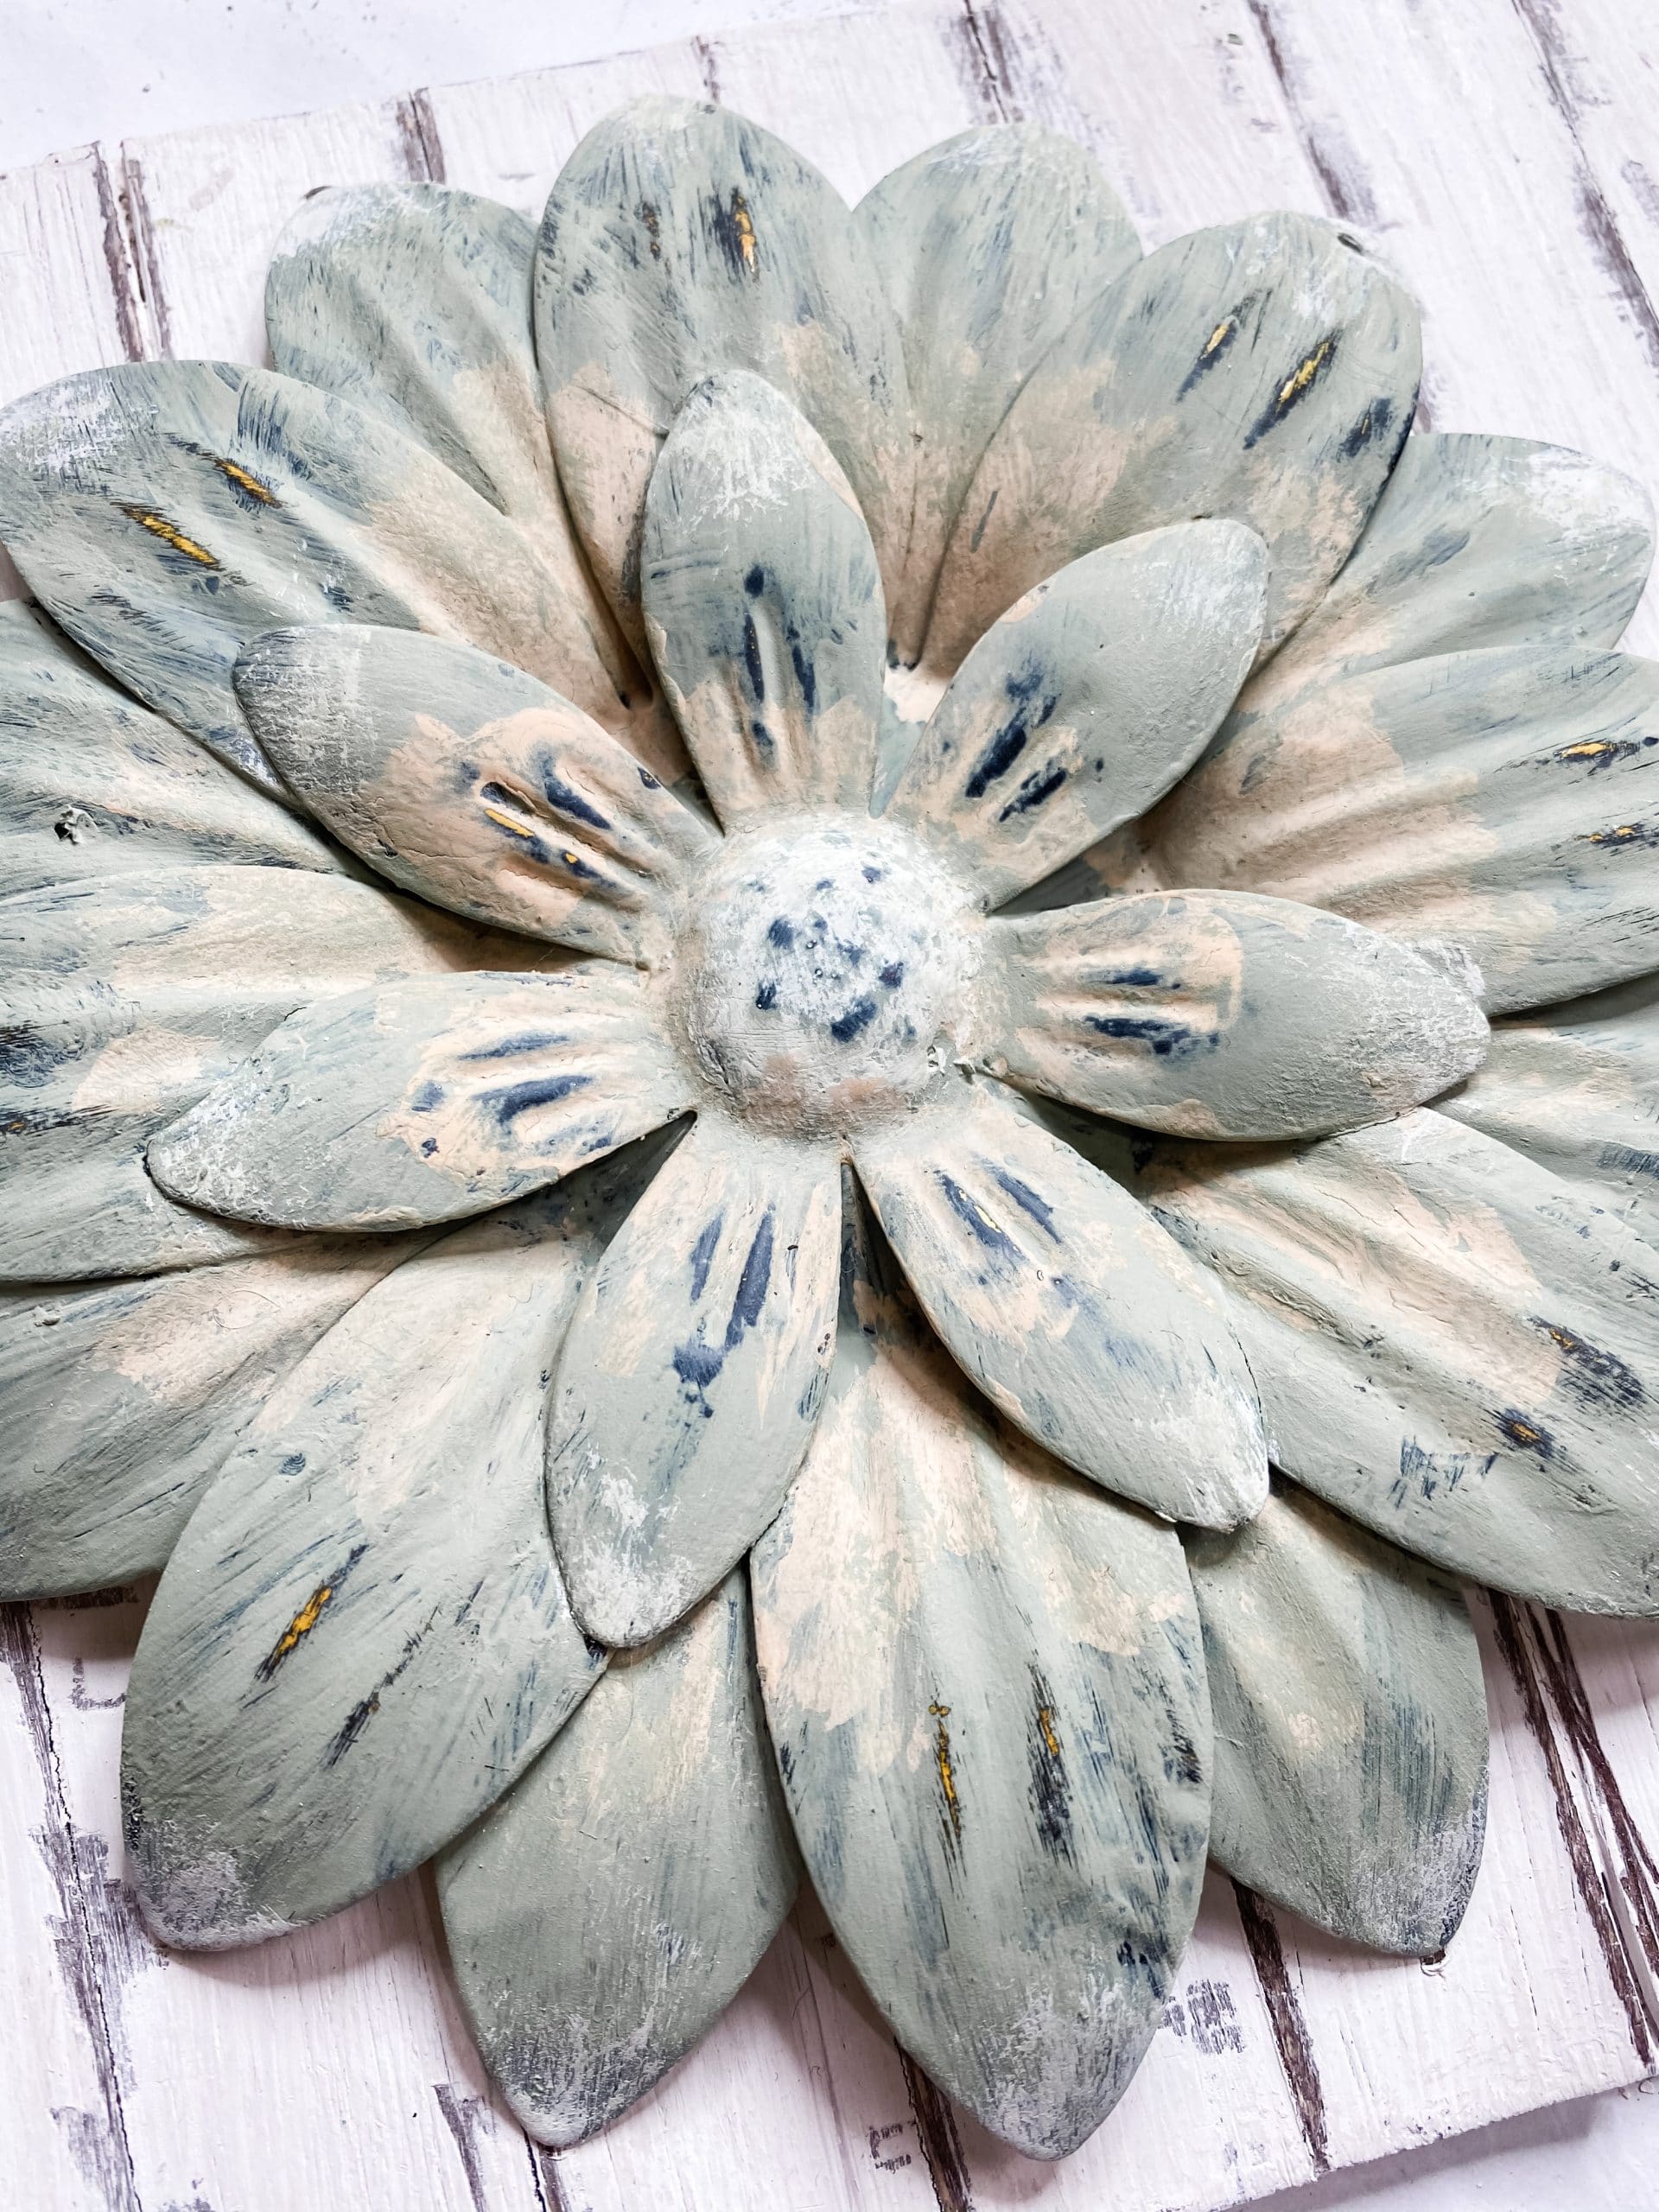
I went back over the edges of the peach paint with more Waverly Celery chalk paint to blend the peach and give it a more natural look.
Next, I used a clean artist’s brush and Waverly Ivory Chalk Paint and lightly brushed the white paint onto the ends of the petals and the center of the sunflower.
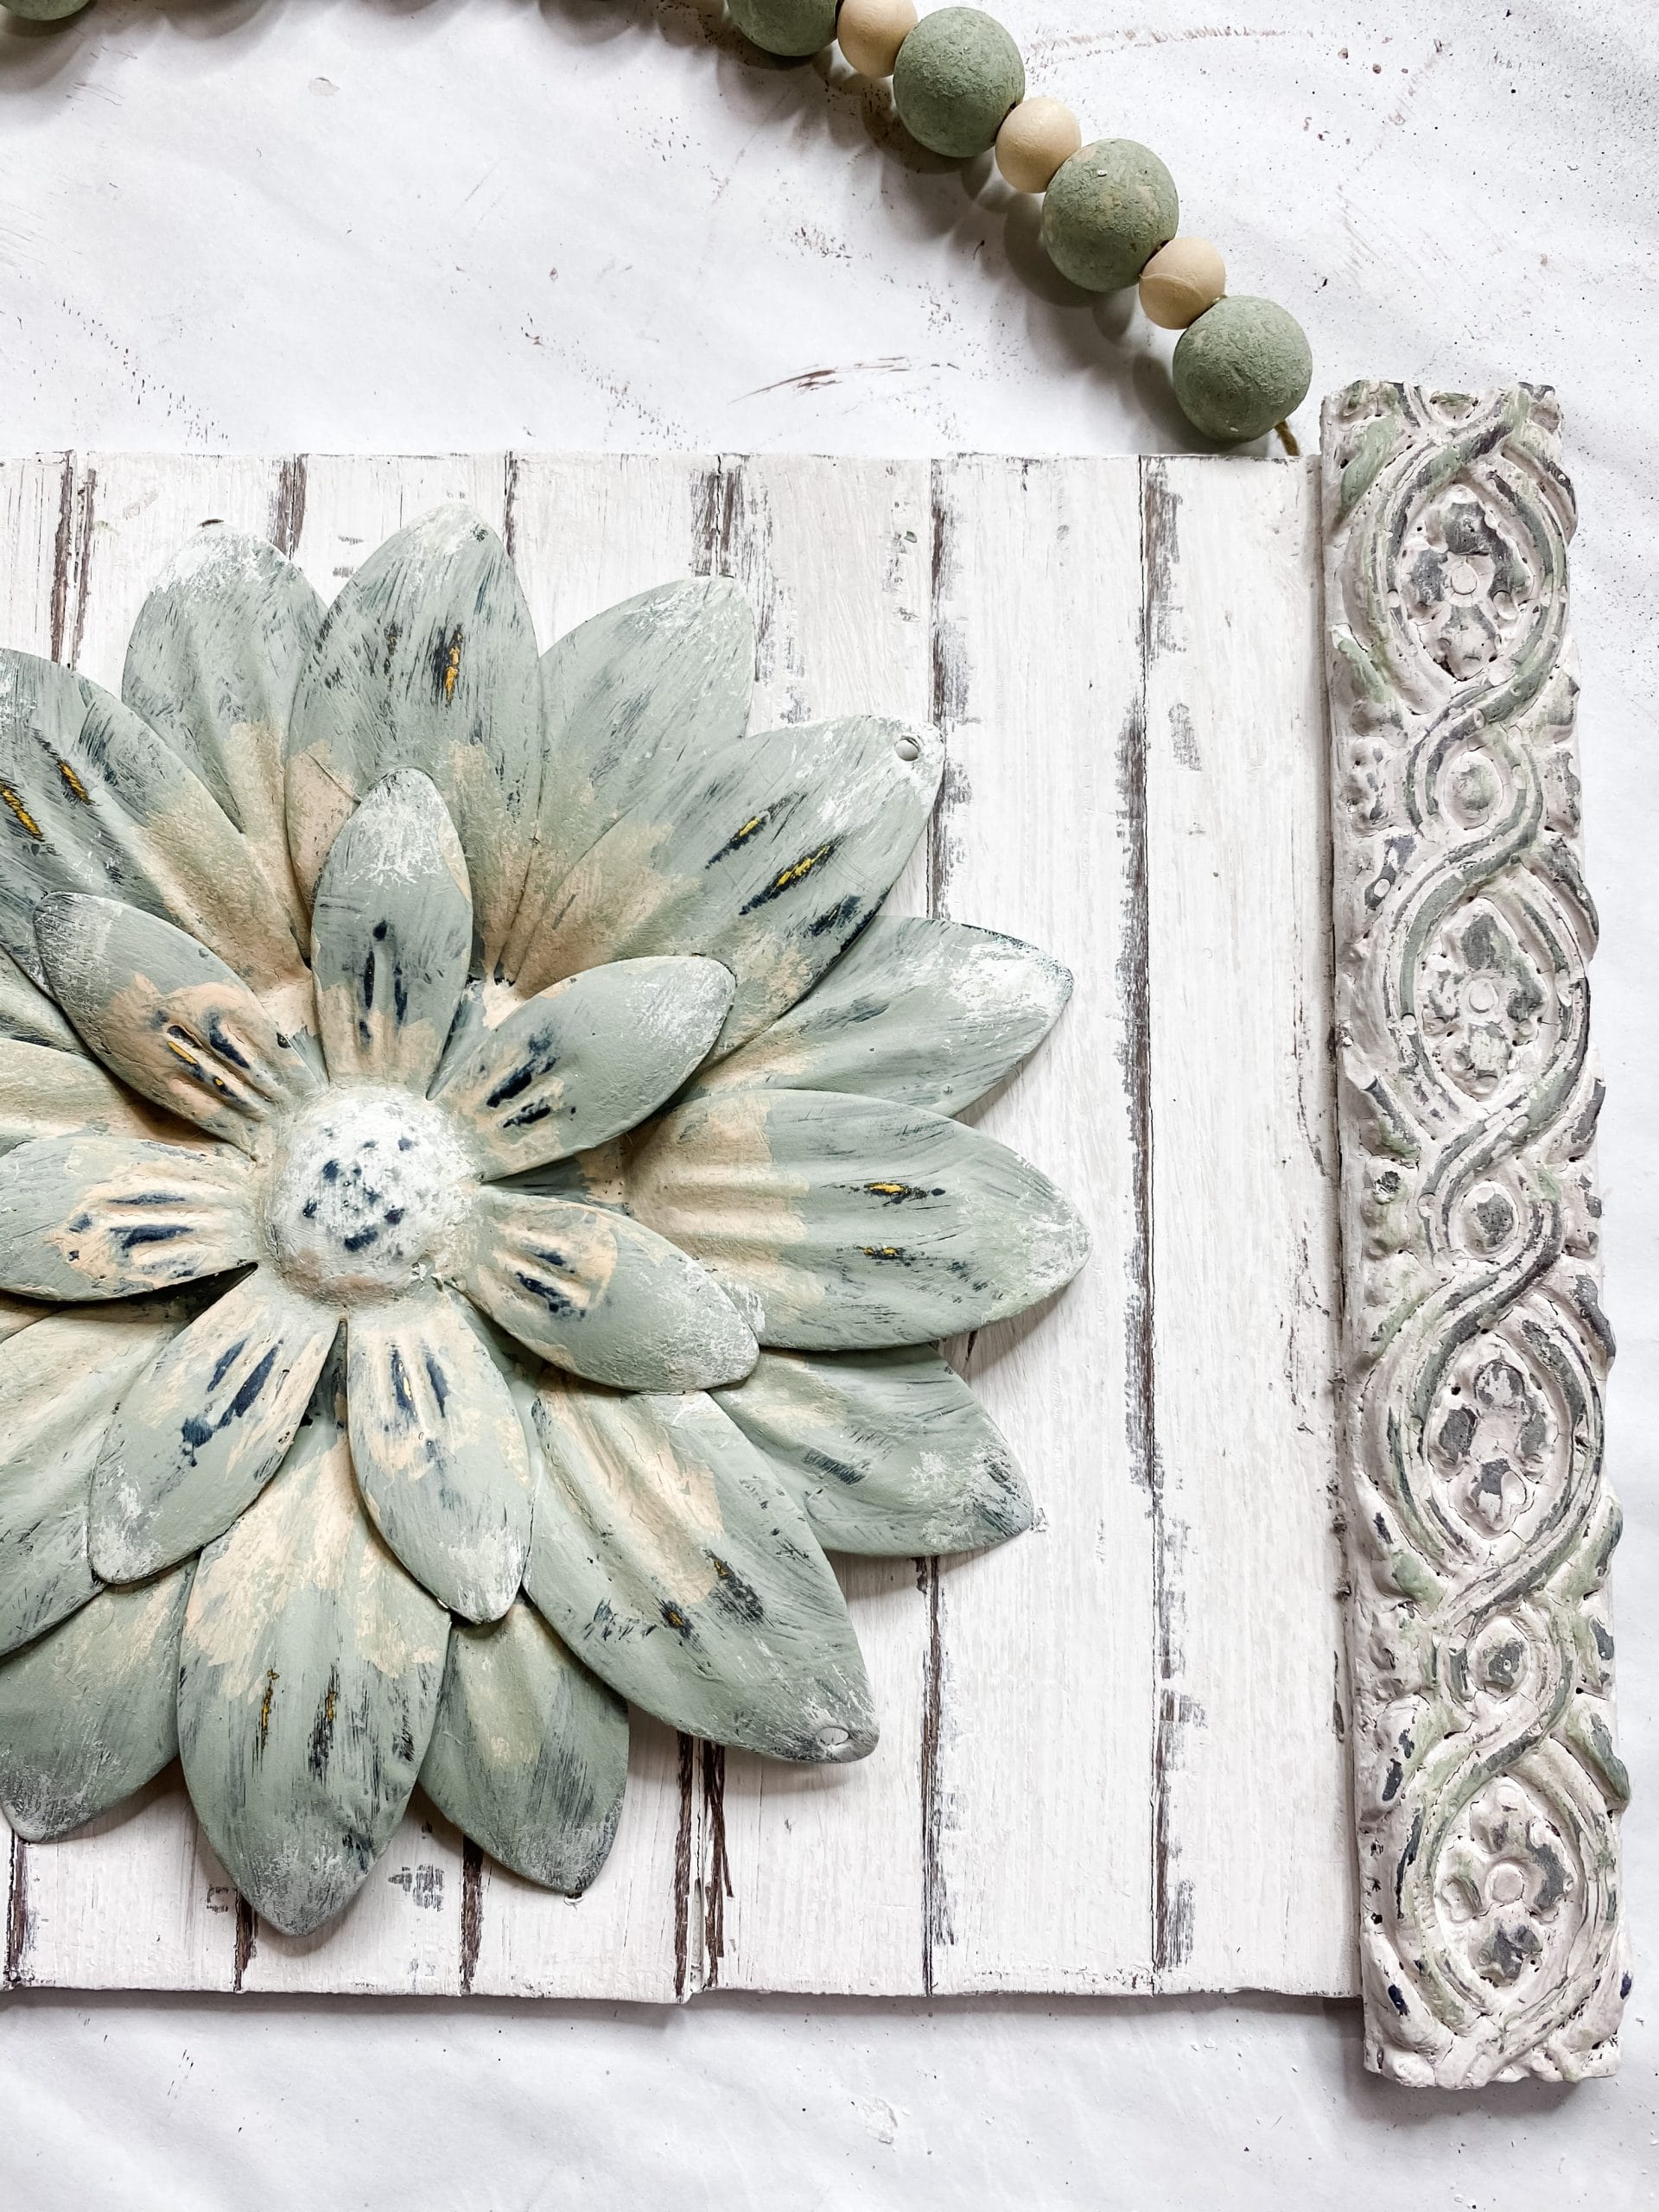
Finally, I went over the outer petals of the flower with a sanding sponge to add a distressed finish. To distress the rest of the flower, I used a wet wipe and just wiped the areas I wanted to be distressed.
Grab your painted sign now, and use a wet wipe to add the distressed finish to the hot glue mold trims. To get the distressed, aged finish on the craft sticks I used a putty knife to scrape away some paint around the edges of each craft stick.
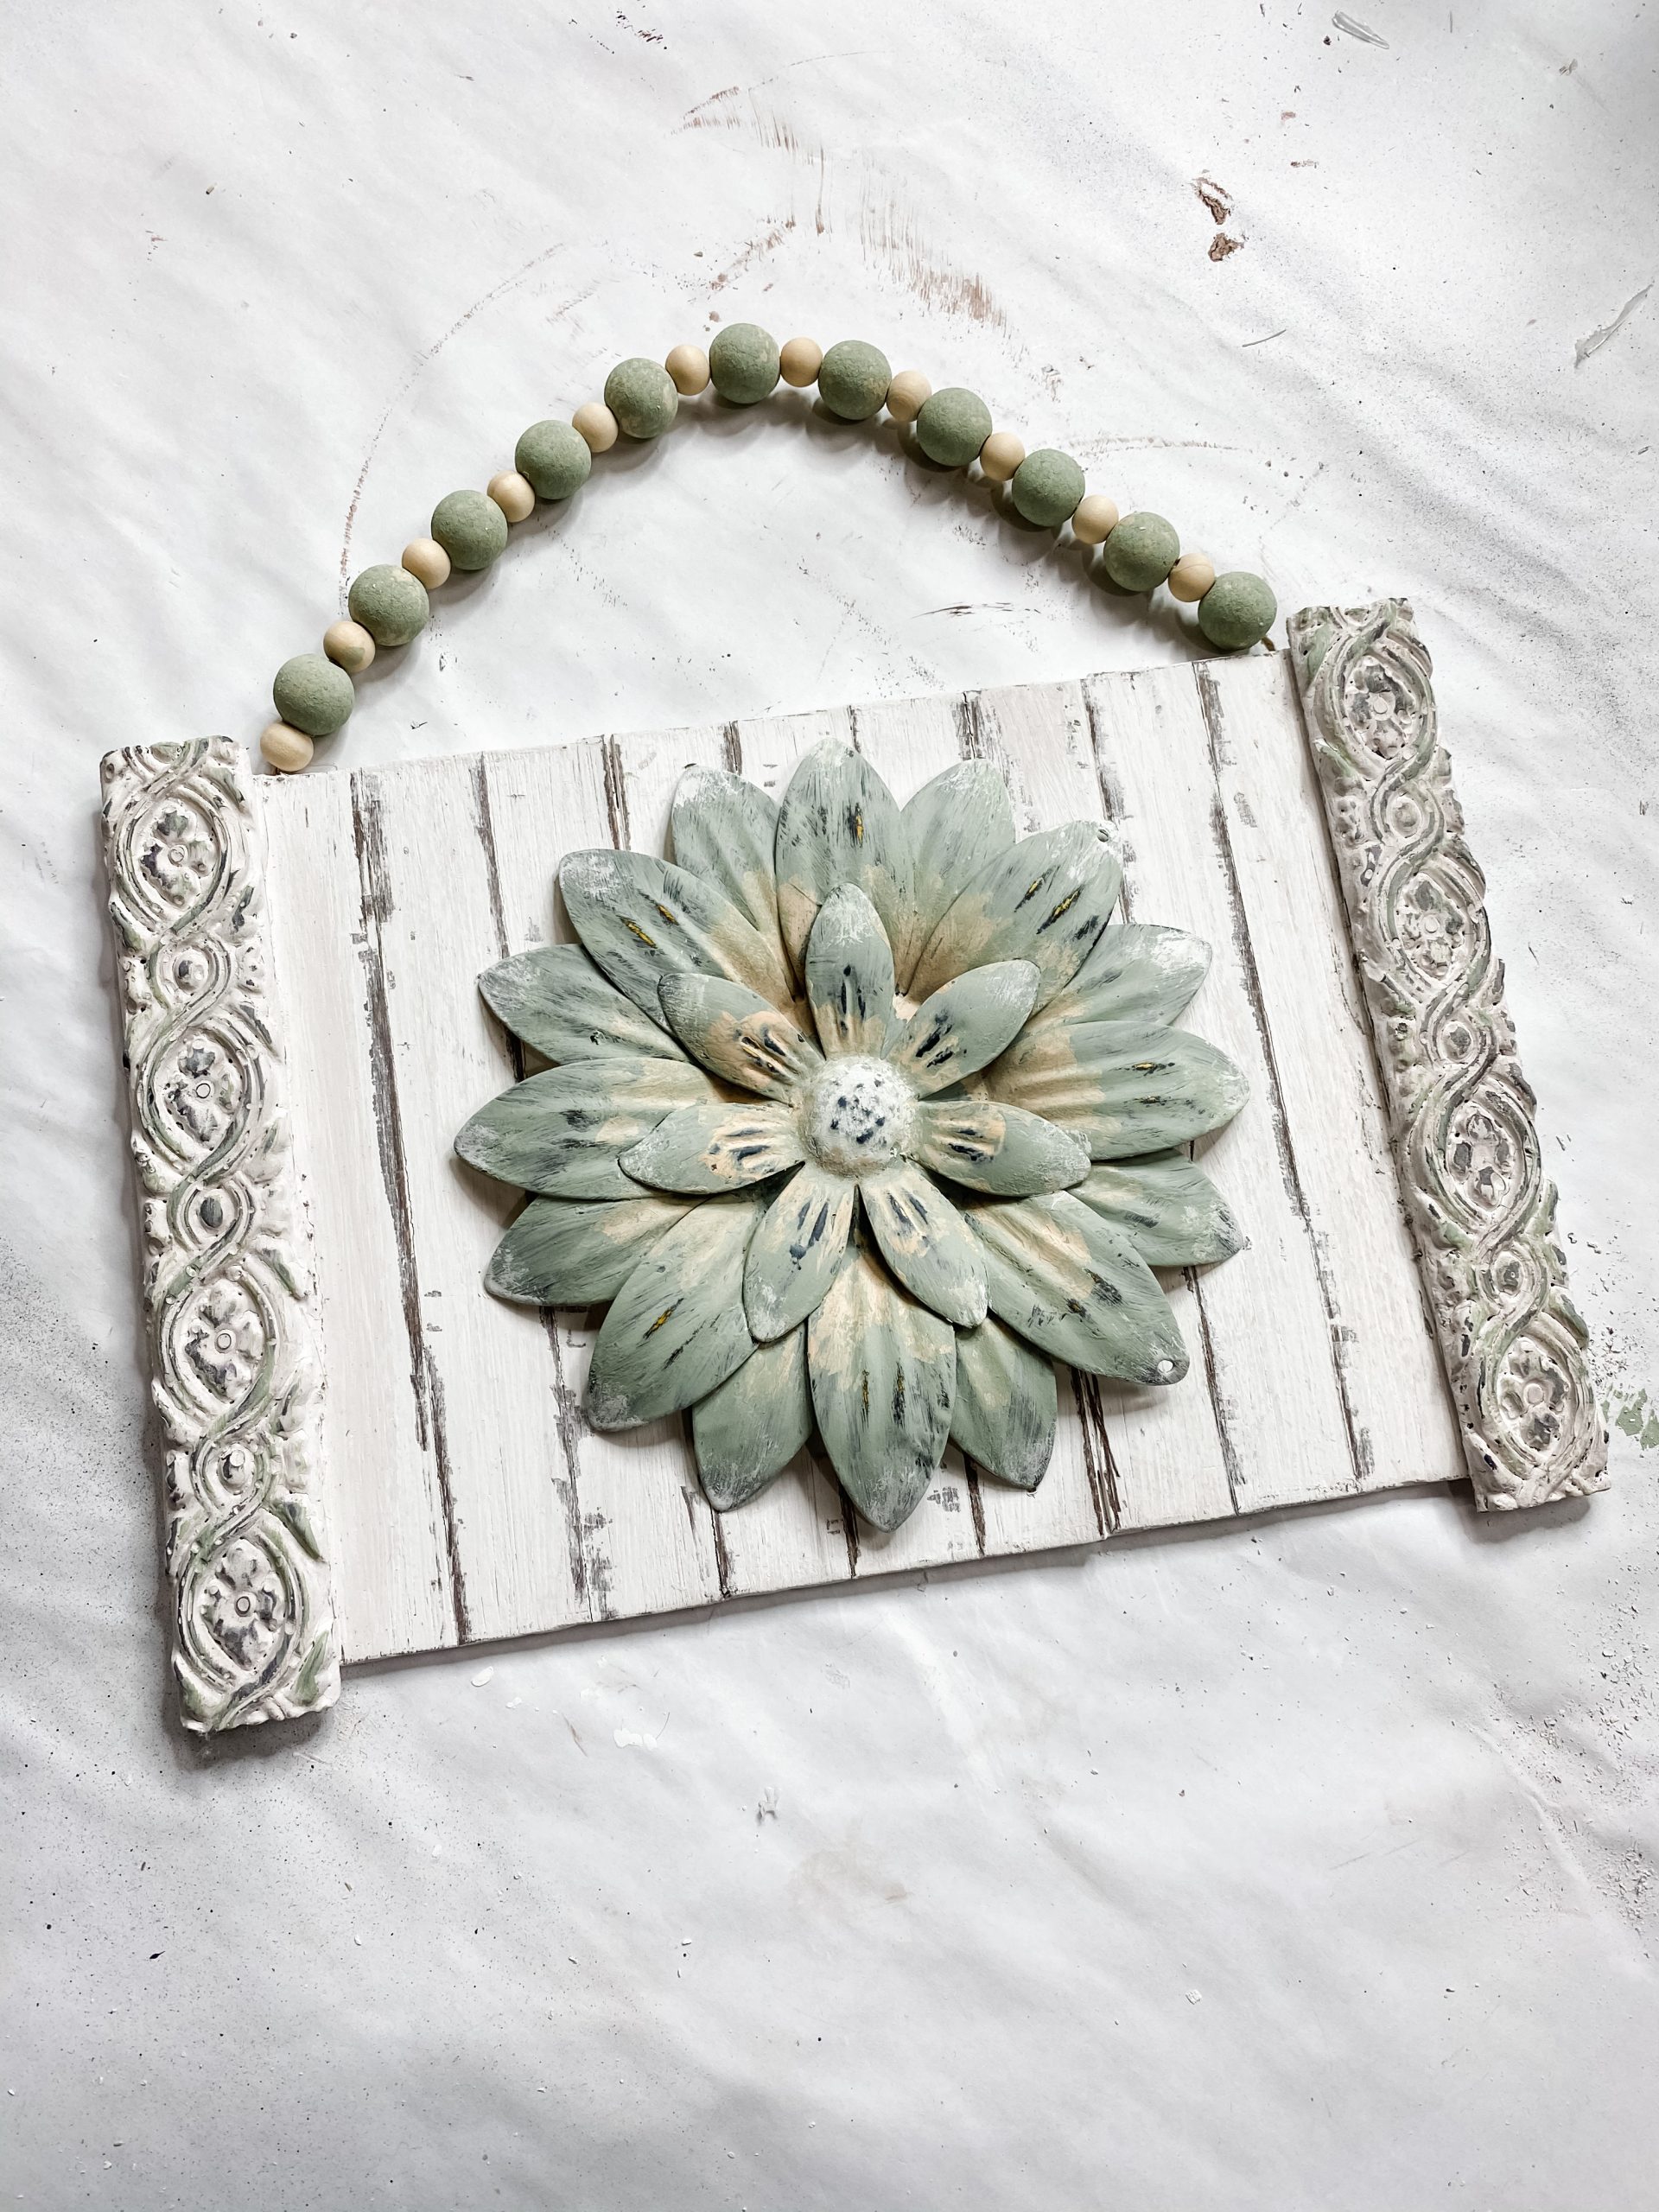
I also lightly painted a small bit of the Waverly Celery Chalk Paint onto the hot glue mold trims to help them coordinate with the metal sunflower.
Bring it together
It’s time to attach the metal sunflower to your sign! I just hot glued the sunflower to the center of the distressed sign, and then started making the hanger for this DIY decor.
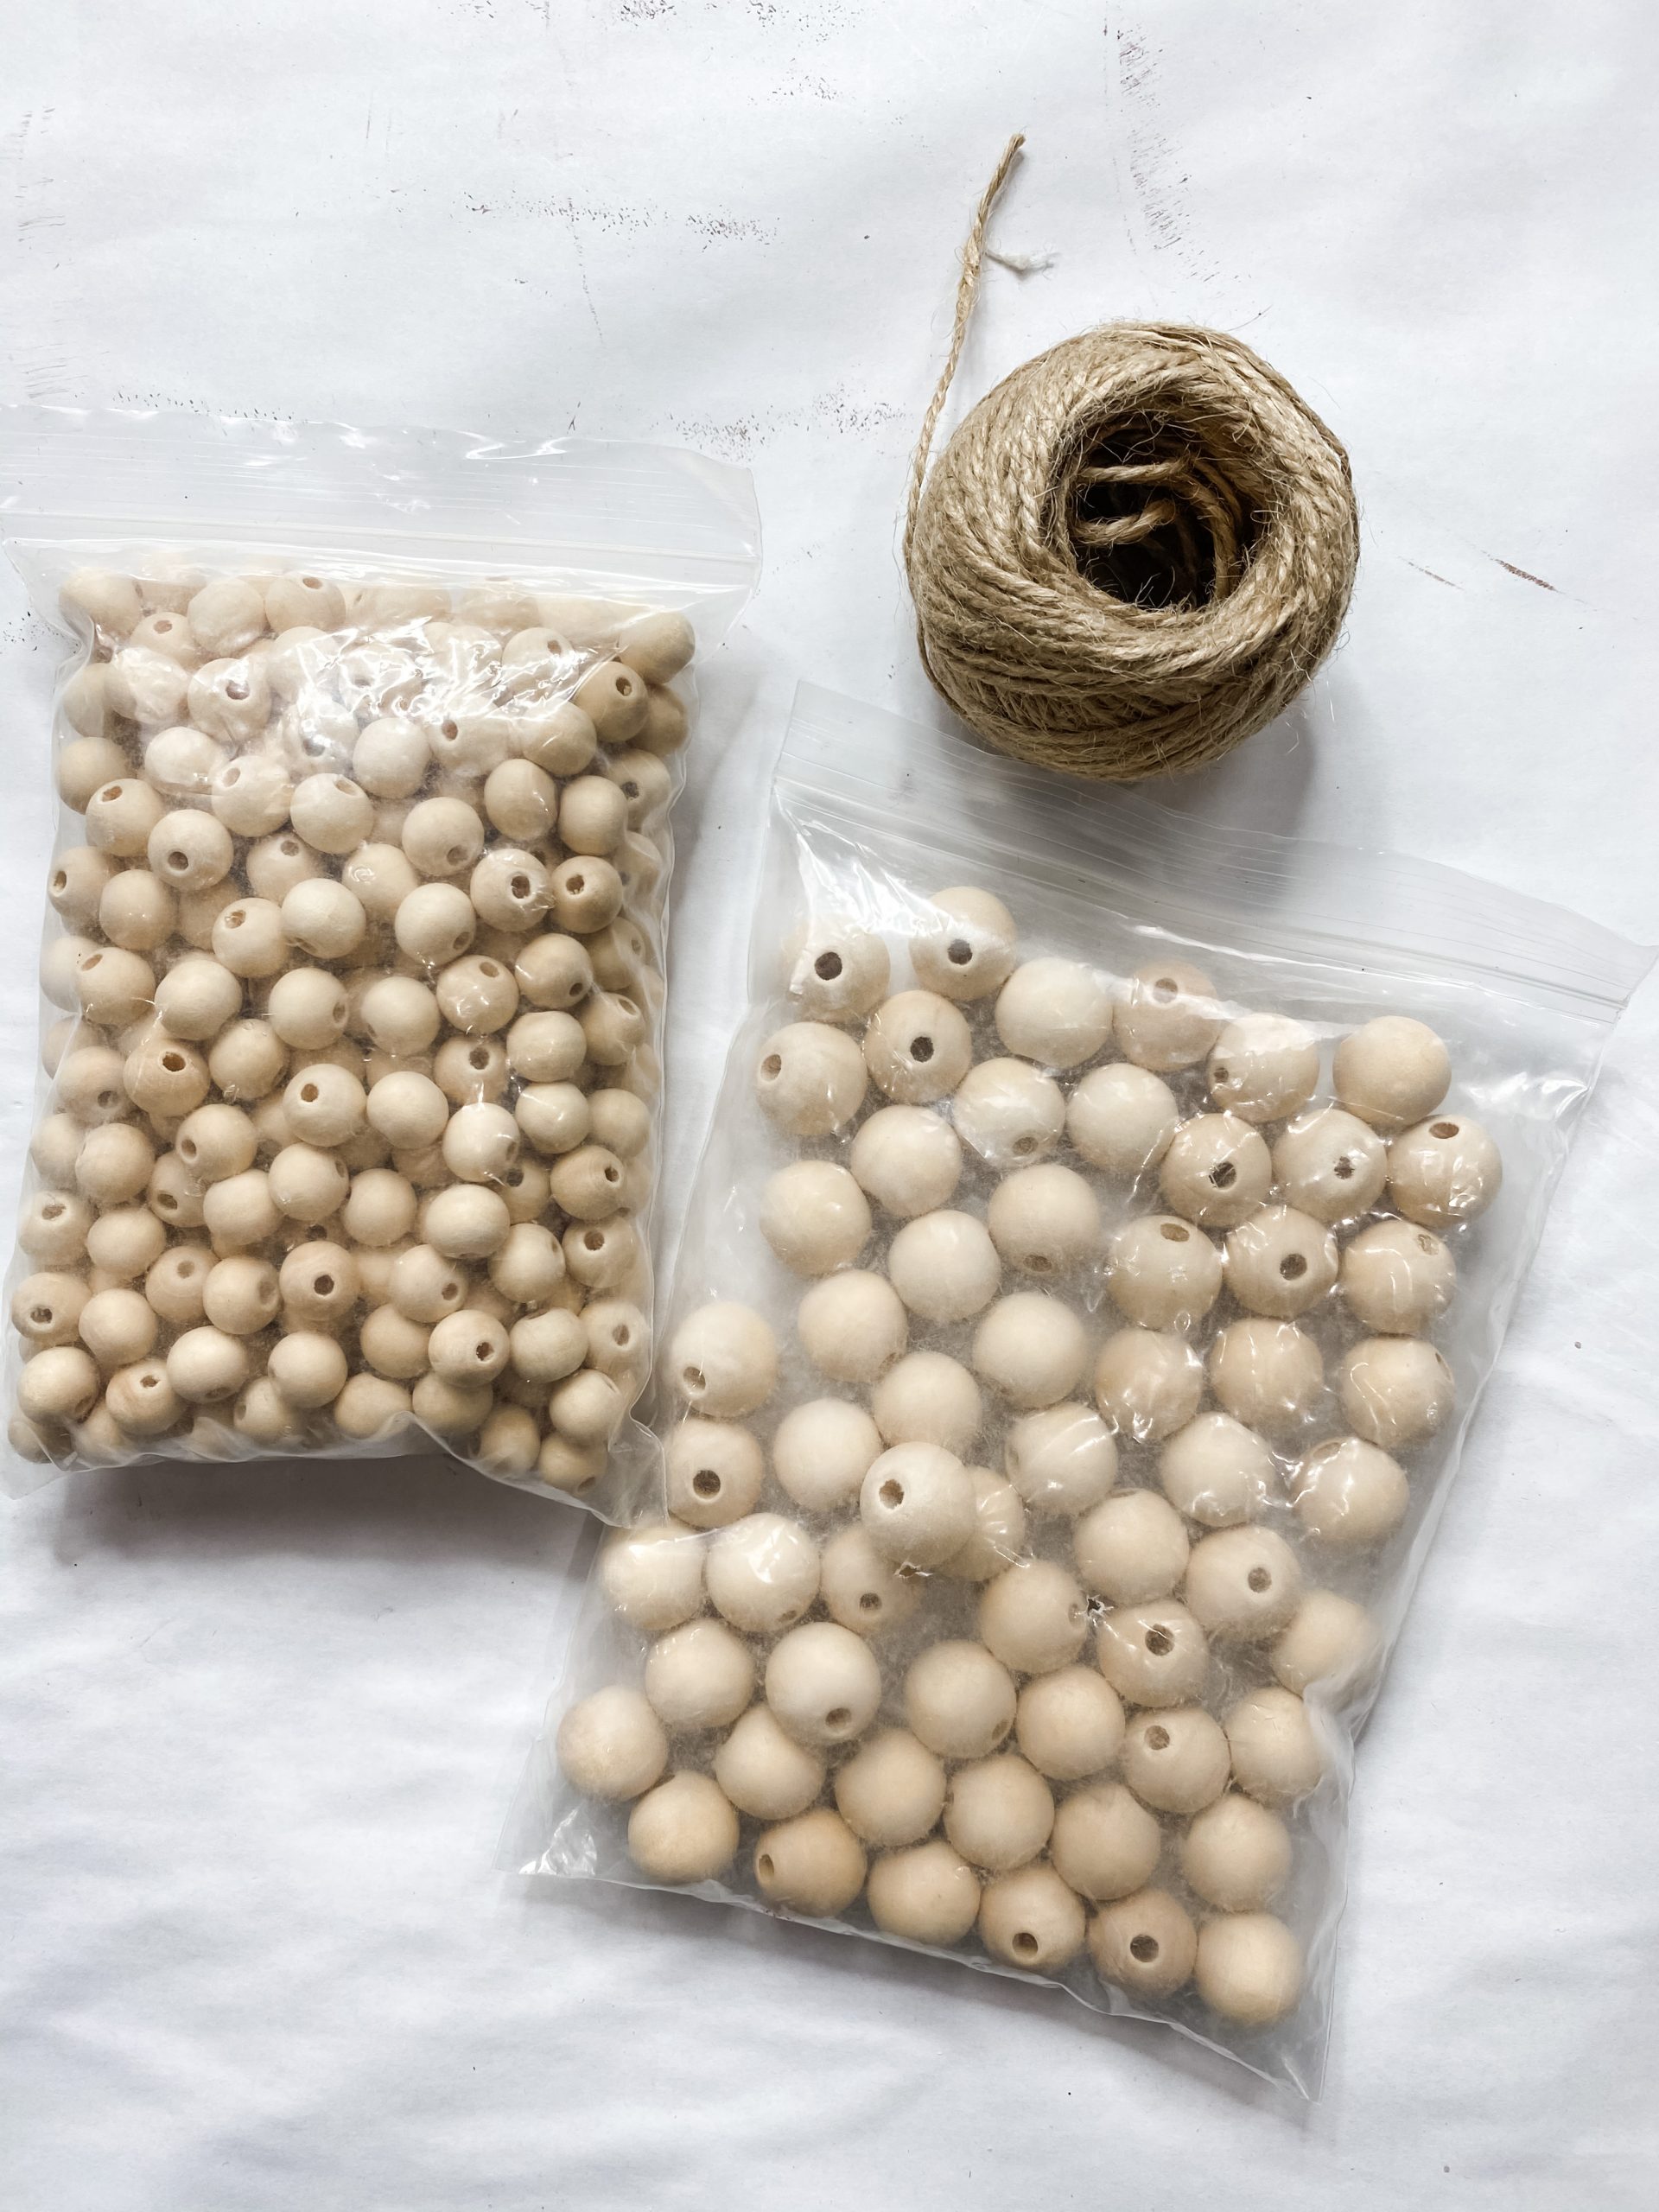
I used several large and small wooden beads and a piece of jute twine to make this hanger. You can get a pack of wooden beads in a variety of sizes on Amazon!
I stained the large wood beads with Waverly Celery Chalk Paint. To do this, put the beads in a small mixing bowl, spray them with water, pour a bit of the paint into the bowl, and swirl the beads around until they are all coated.
I kept swirling them in the bowl while I dried them with my heat gun. Once they were all dry, I threaded the painted large beads and unpainted small beads onto the jute twine, alternating as I added them.
Once your hanger is the length that you want it to be, secure the beads. You can either tie a knot next to each end bead, or you can put a bit of hot glue onto the twine and slide the end beads over the glue.
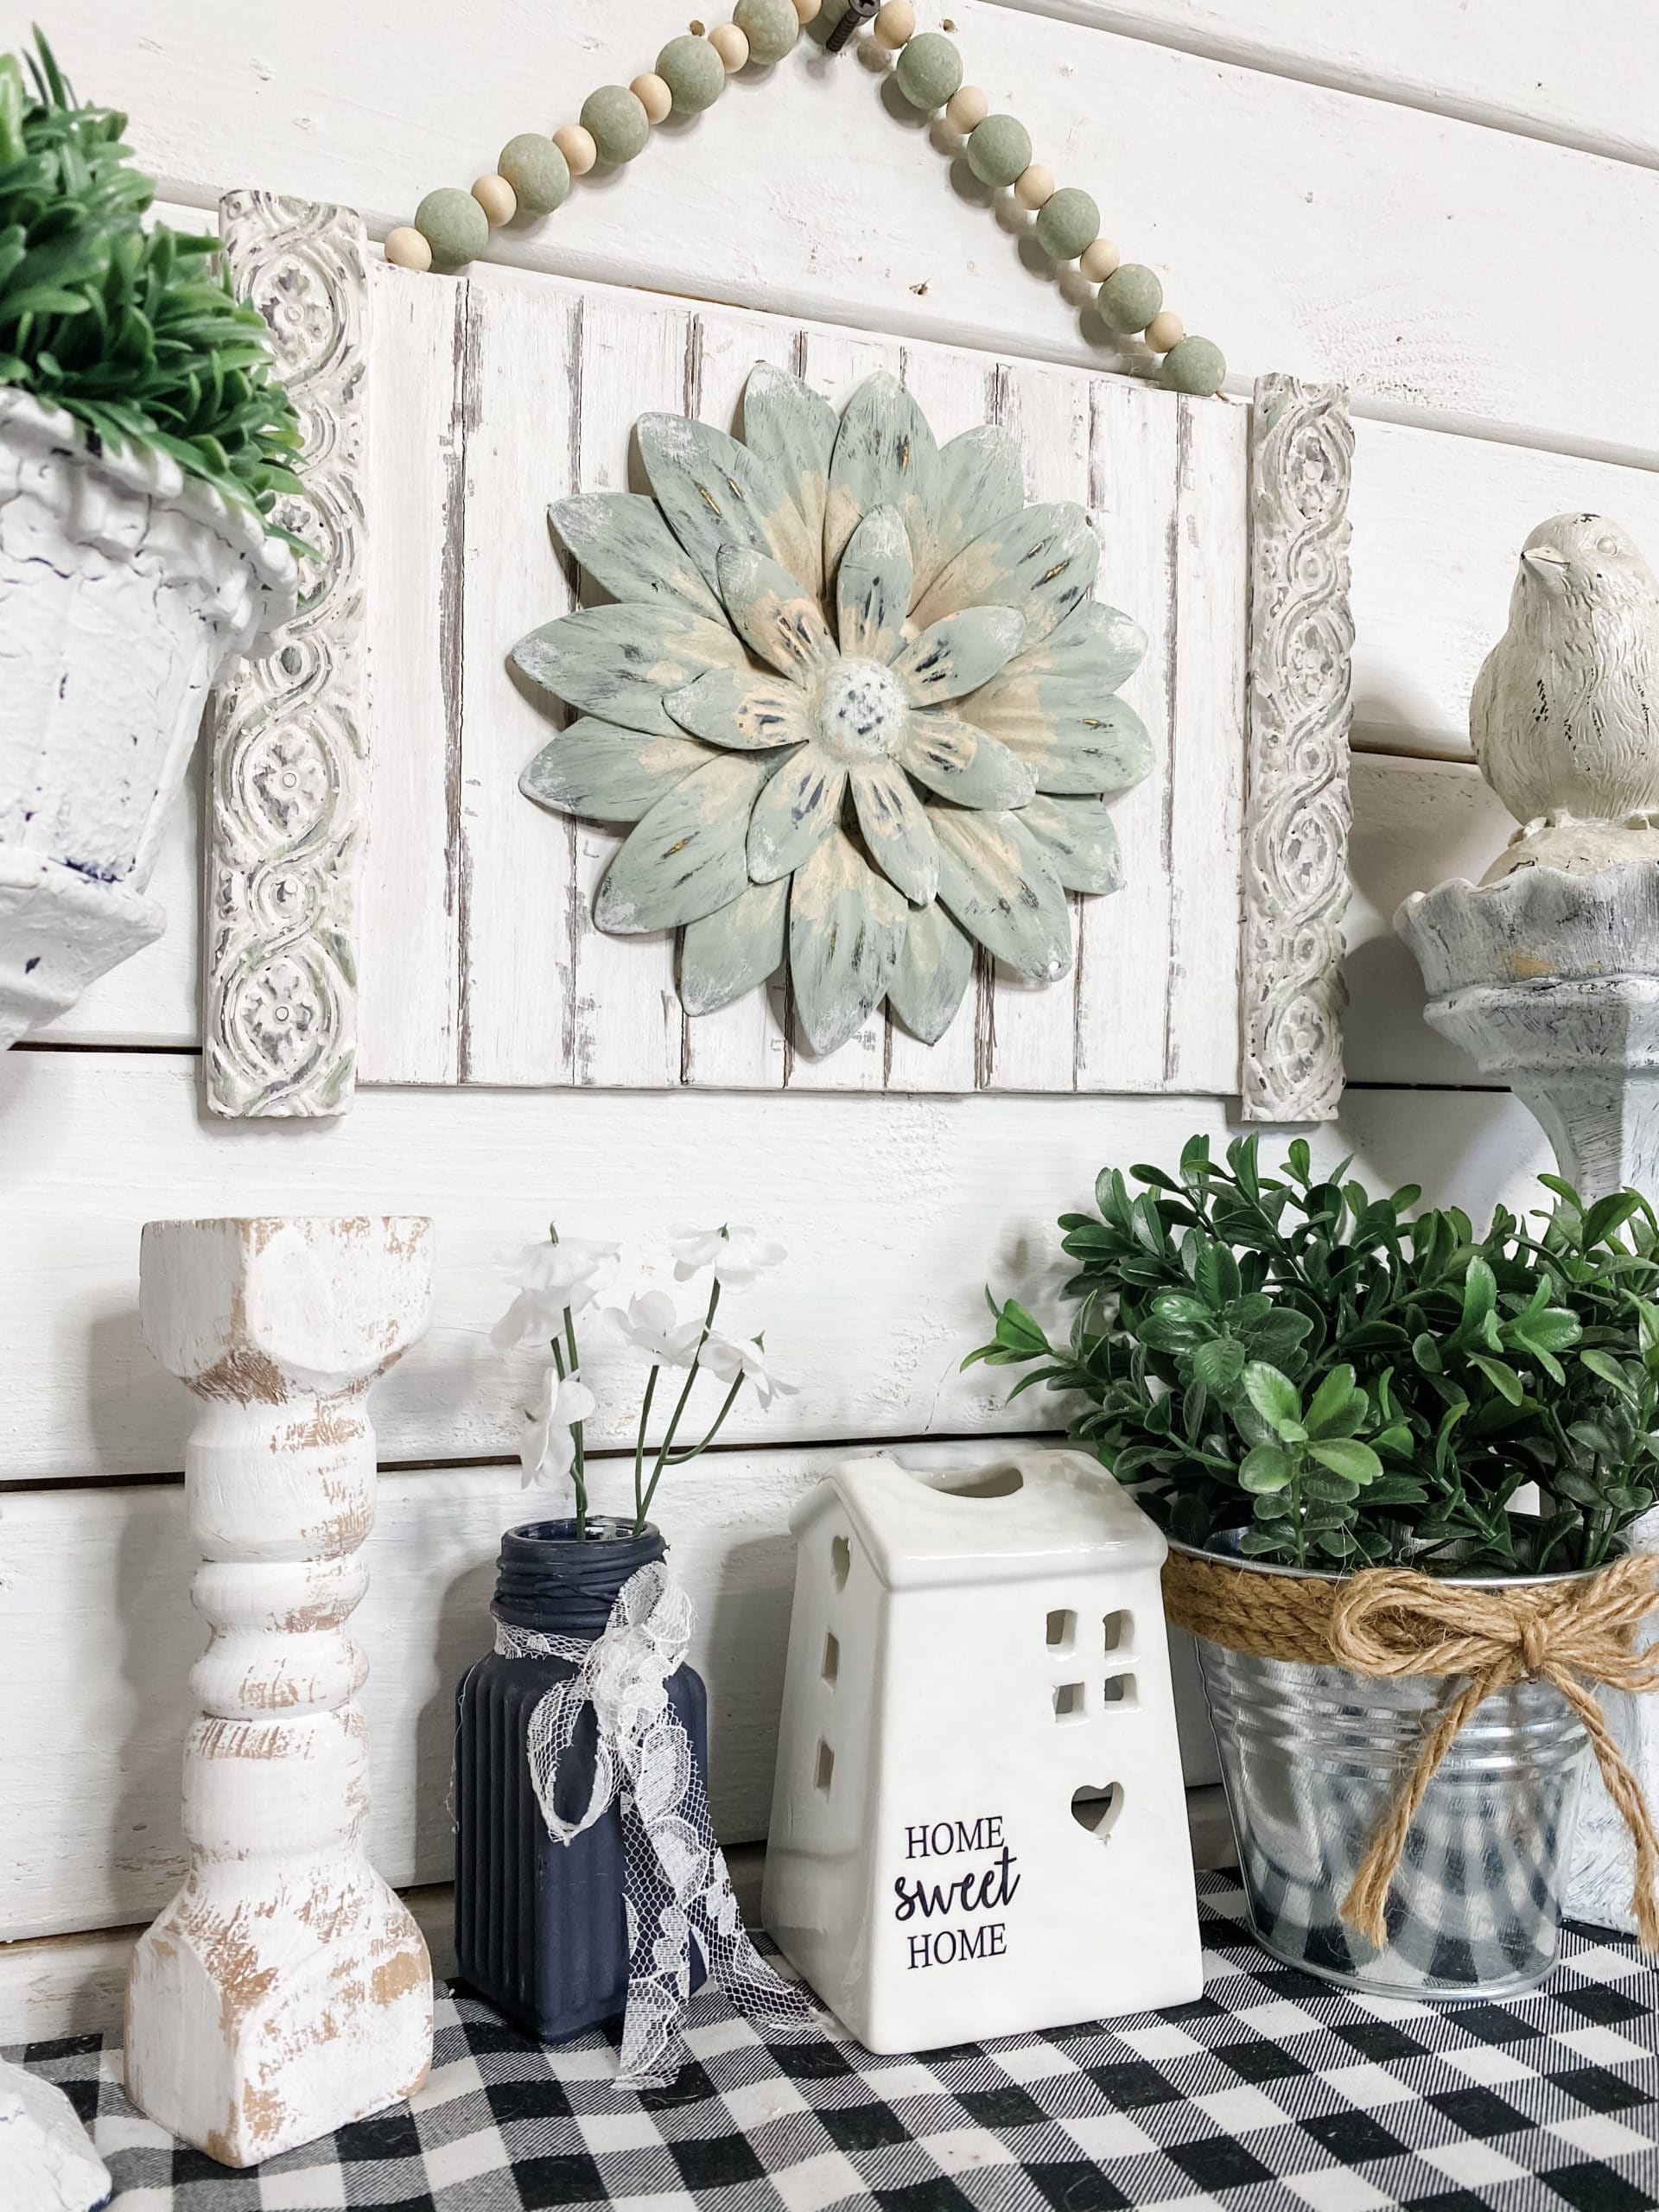
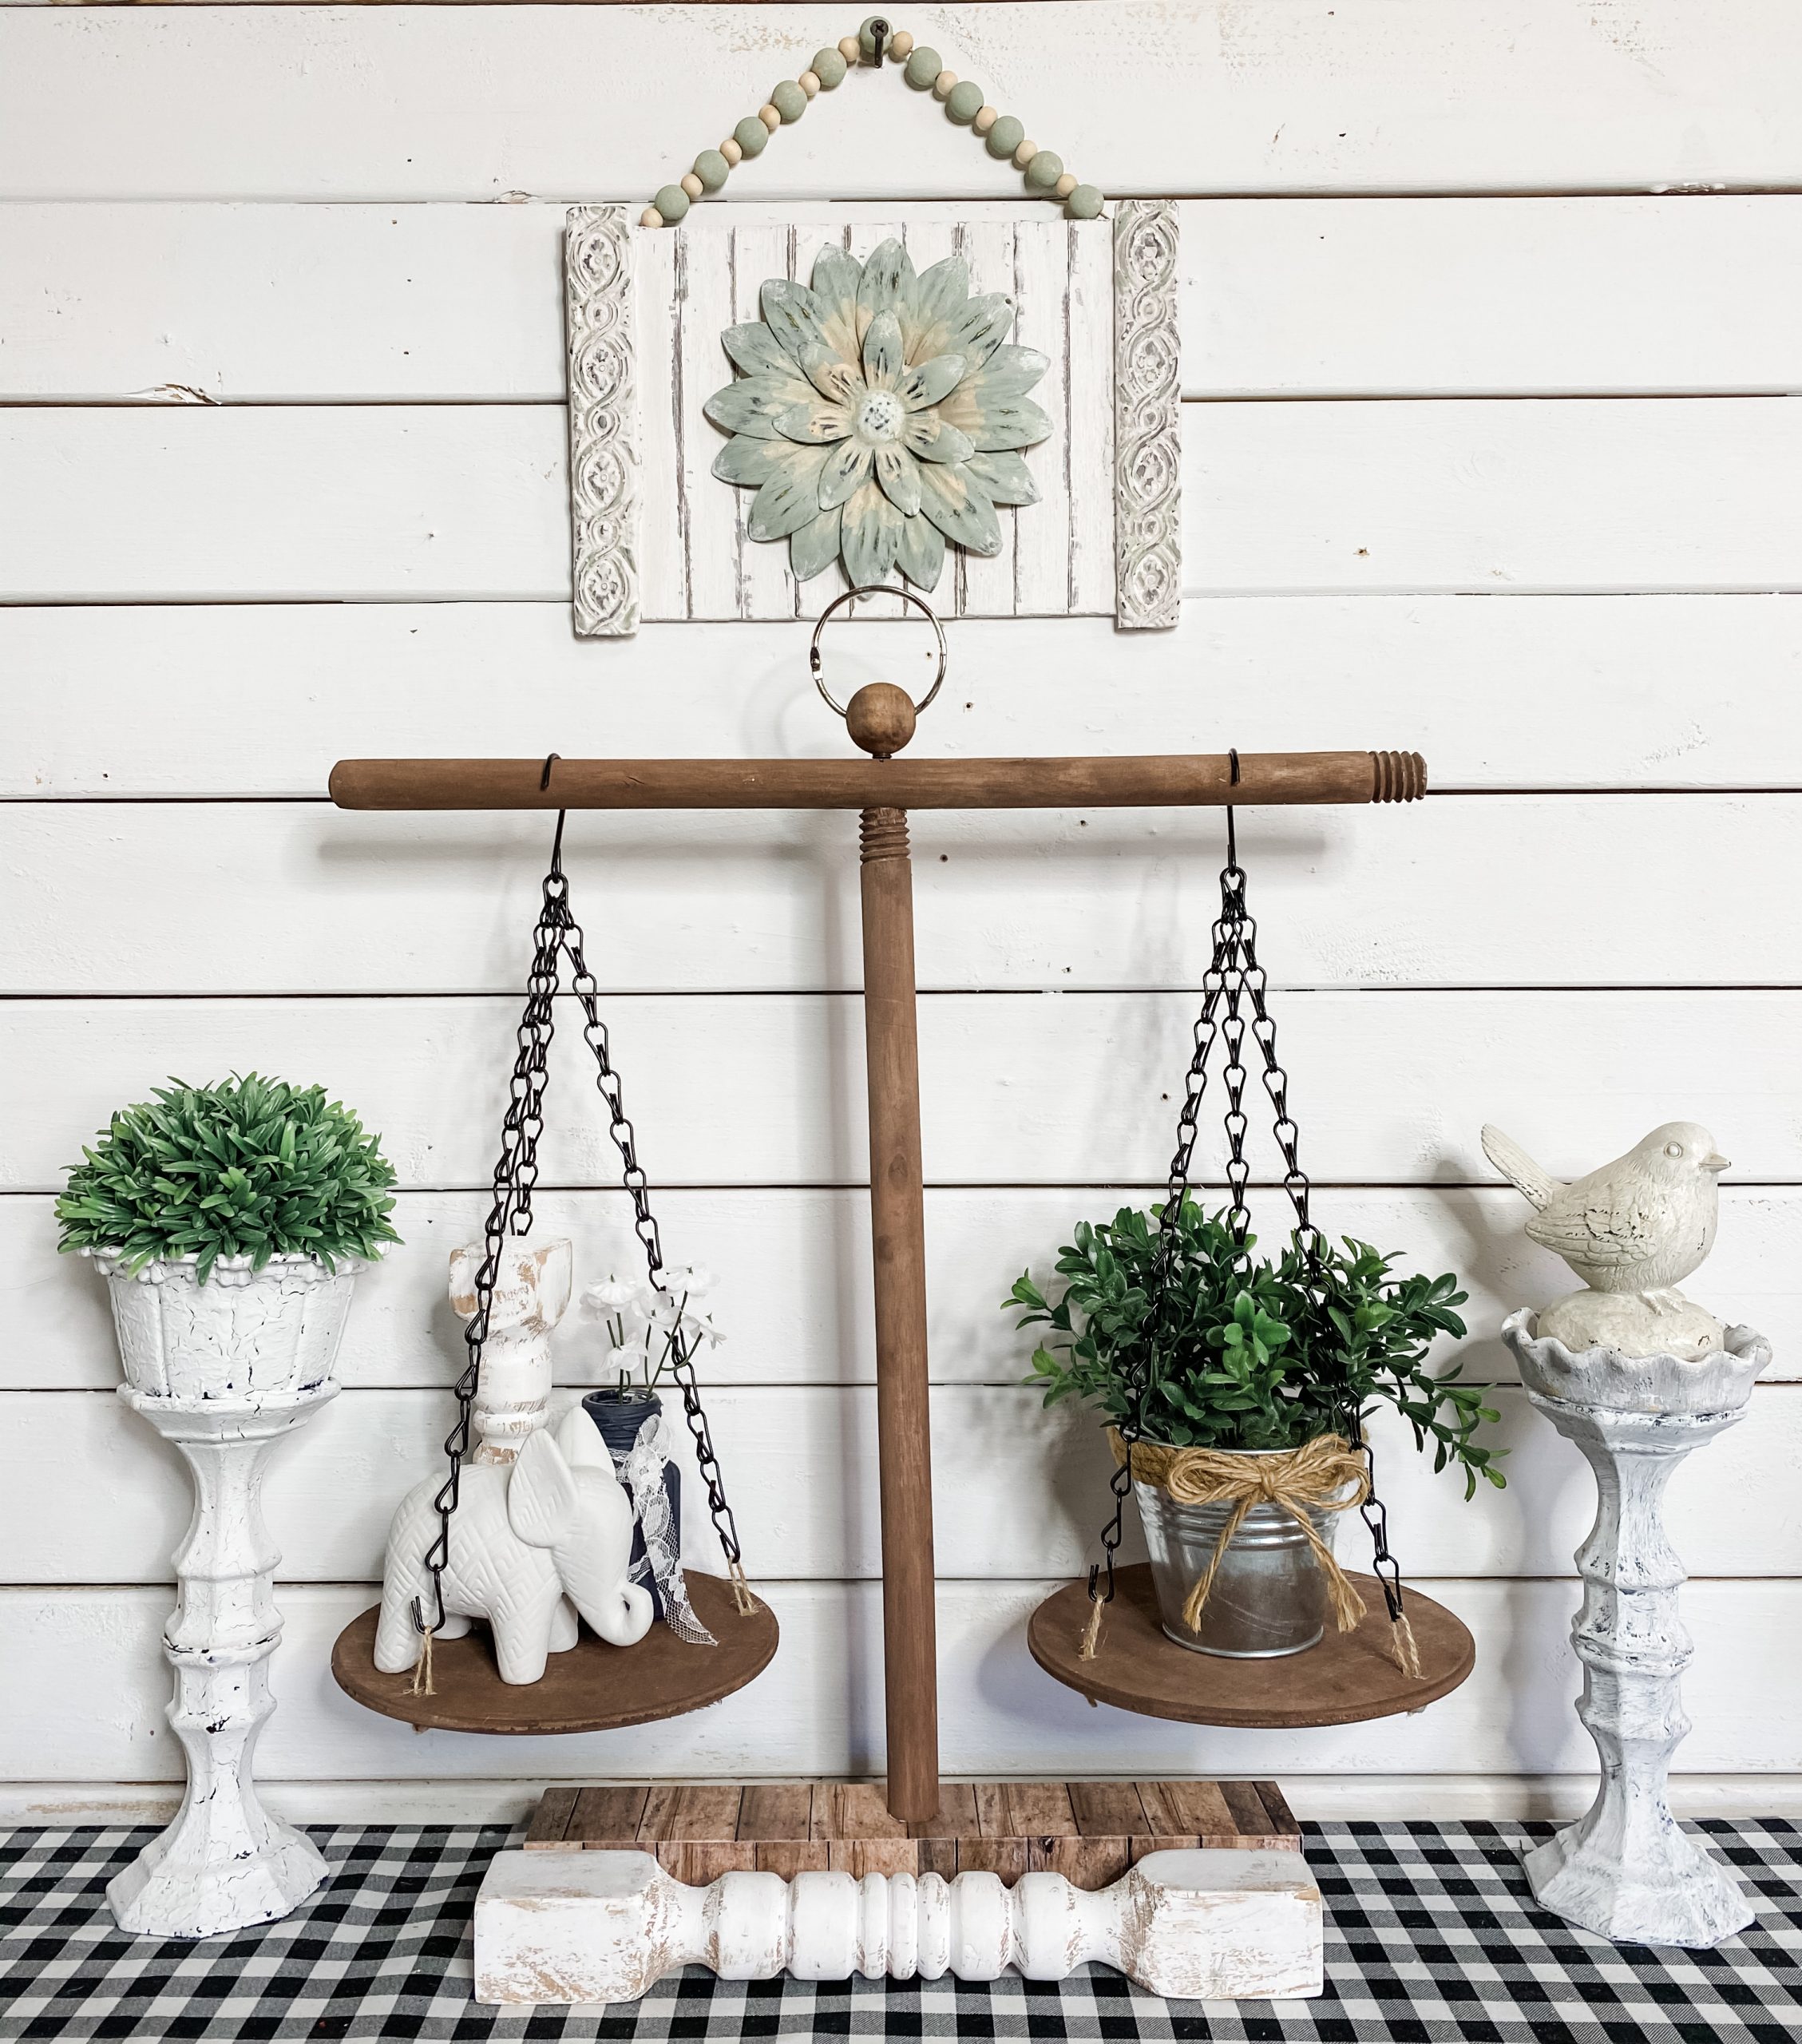
Then, you’re going to hot glue each end of the twine hanger onto the back of your DIY sign. Once your glue is dry, you’re ready to hang this adorable Hot Glue Mold DIY Home Decor anywhere in your home!
I hope you enjoyed this Hot Glue Mold DIY Home Decor as much as I did and decide to make one for yourself! I would love to see how yours turns out!
You should totally join my FREE Facebook group called On A Budget Crafts! It is a judgment-free community for DIY crafters to show off their projects and ideas.
If you loved this DIY you might also like these!
- Dollar Tree Candle Holder DIY Plant Stands
- How to Turn Spring Printables into DIY Decor
- Dollar Tree DIY Spring Decor with Free Printable
- DIY Dollar Tree Burner Cover Tiered Tray
Thanks for stopping by! XOXO Amber
You can also shop my ENTIRE AMAZON Favorites shop just click here! It’s packed full of all the things I use and love. Here is the supply list I highly recommend every creative have on hand!!
Would you also pin my blog for later and get on my newsletter alerts? I would love to have you join my #craftycrew.
Inspired? Leave me a comment below! I love hearing from my readers!

Join my free “ON A BUDGET CRAFTS” Facebook group!


This looks so high end. I remember
Watching you Live make this. Turned out GREAT. I made one too.
I watched you create this beautiful flower and I love it!🥰❤️
I’ve been doing this for years. I love how easy it is and adds such a different look. Thanks for reminding me about it. I’m going to do some today.
I love it! I’ve been loving green lately, especially the Waverly Moss and sage colored paints. I have this mould and have used it on my lives with hot glue in it. I’d love for you to check out my page @Kristy’sCraftyCottage. You’ve been inspiring me for years.. since you started. I’m in your CH club as well. ❤️
Love it!!!!