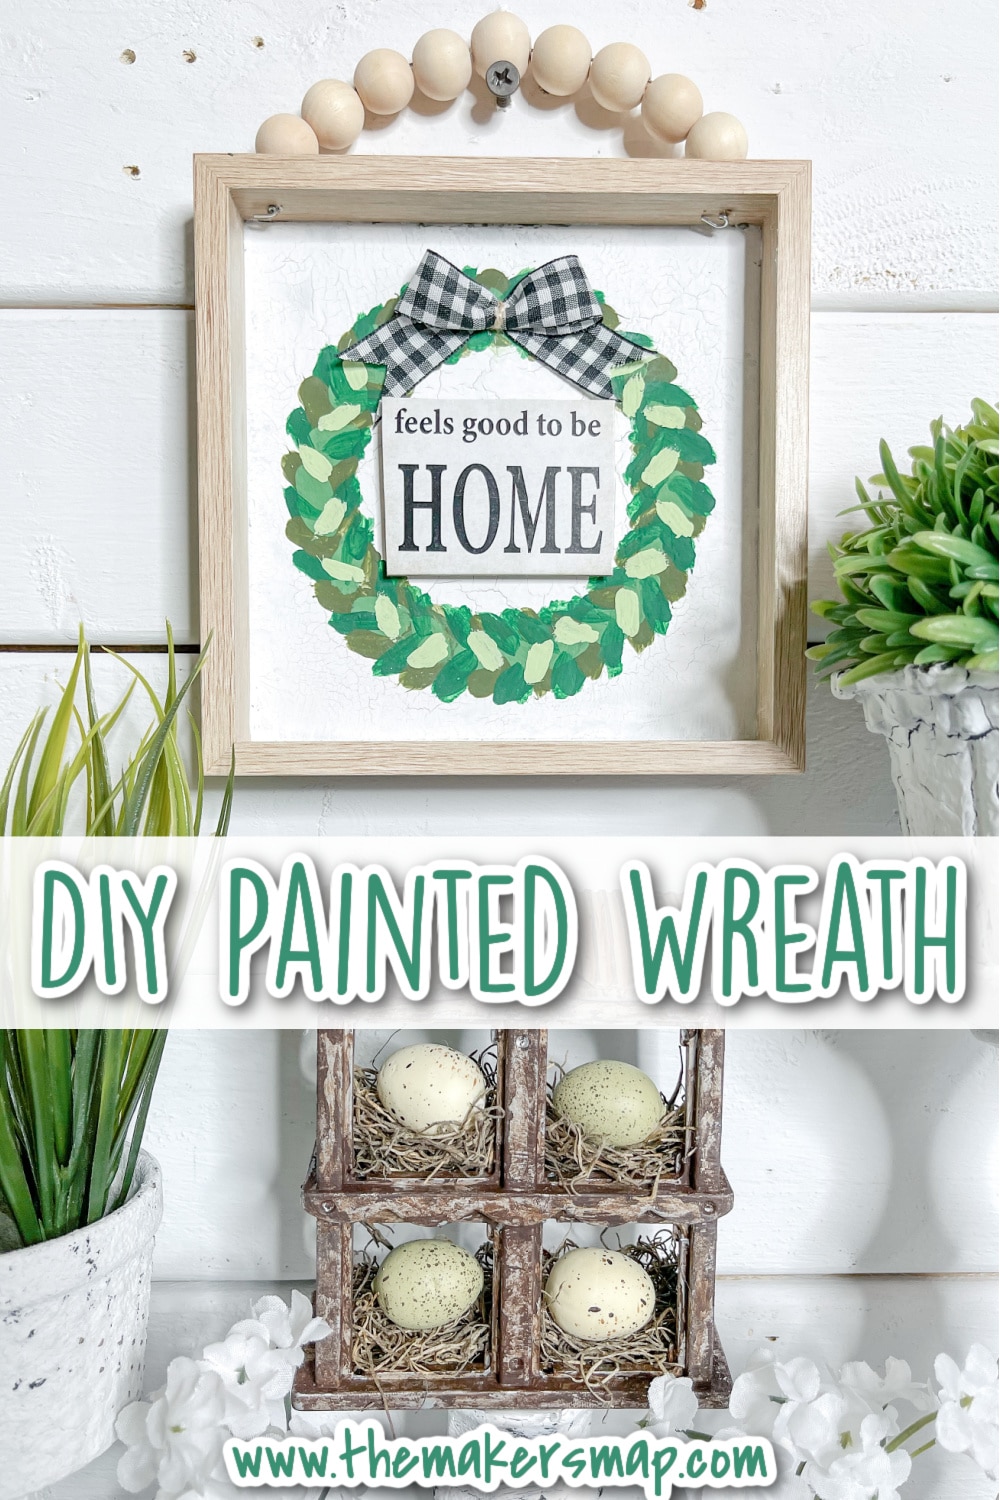
Easy DIY Painted Wreath Sign
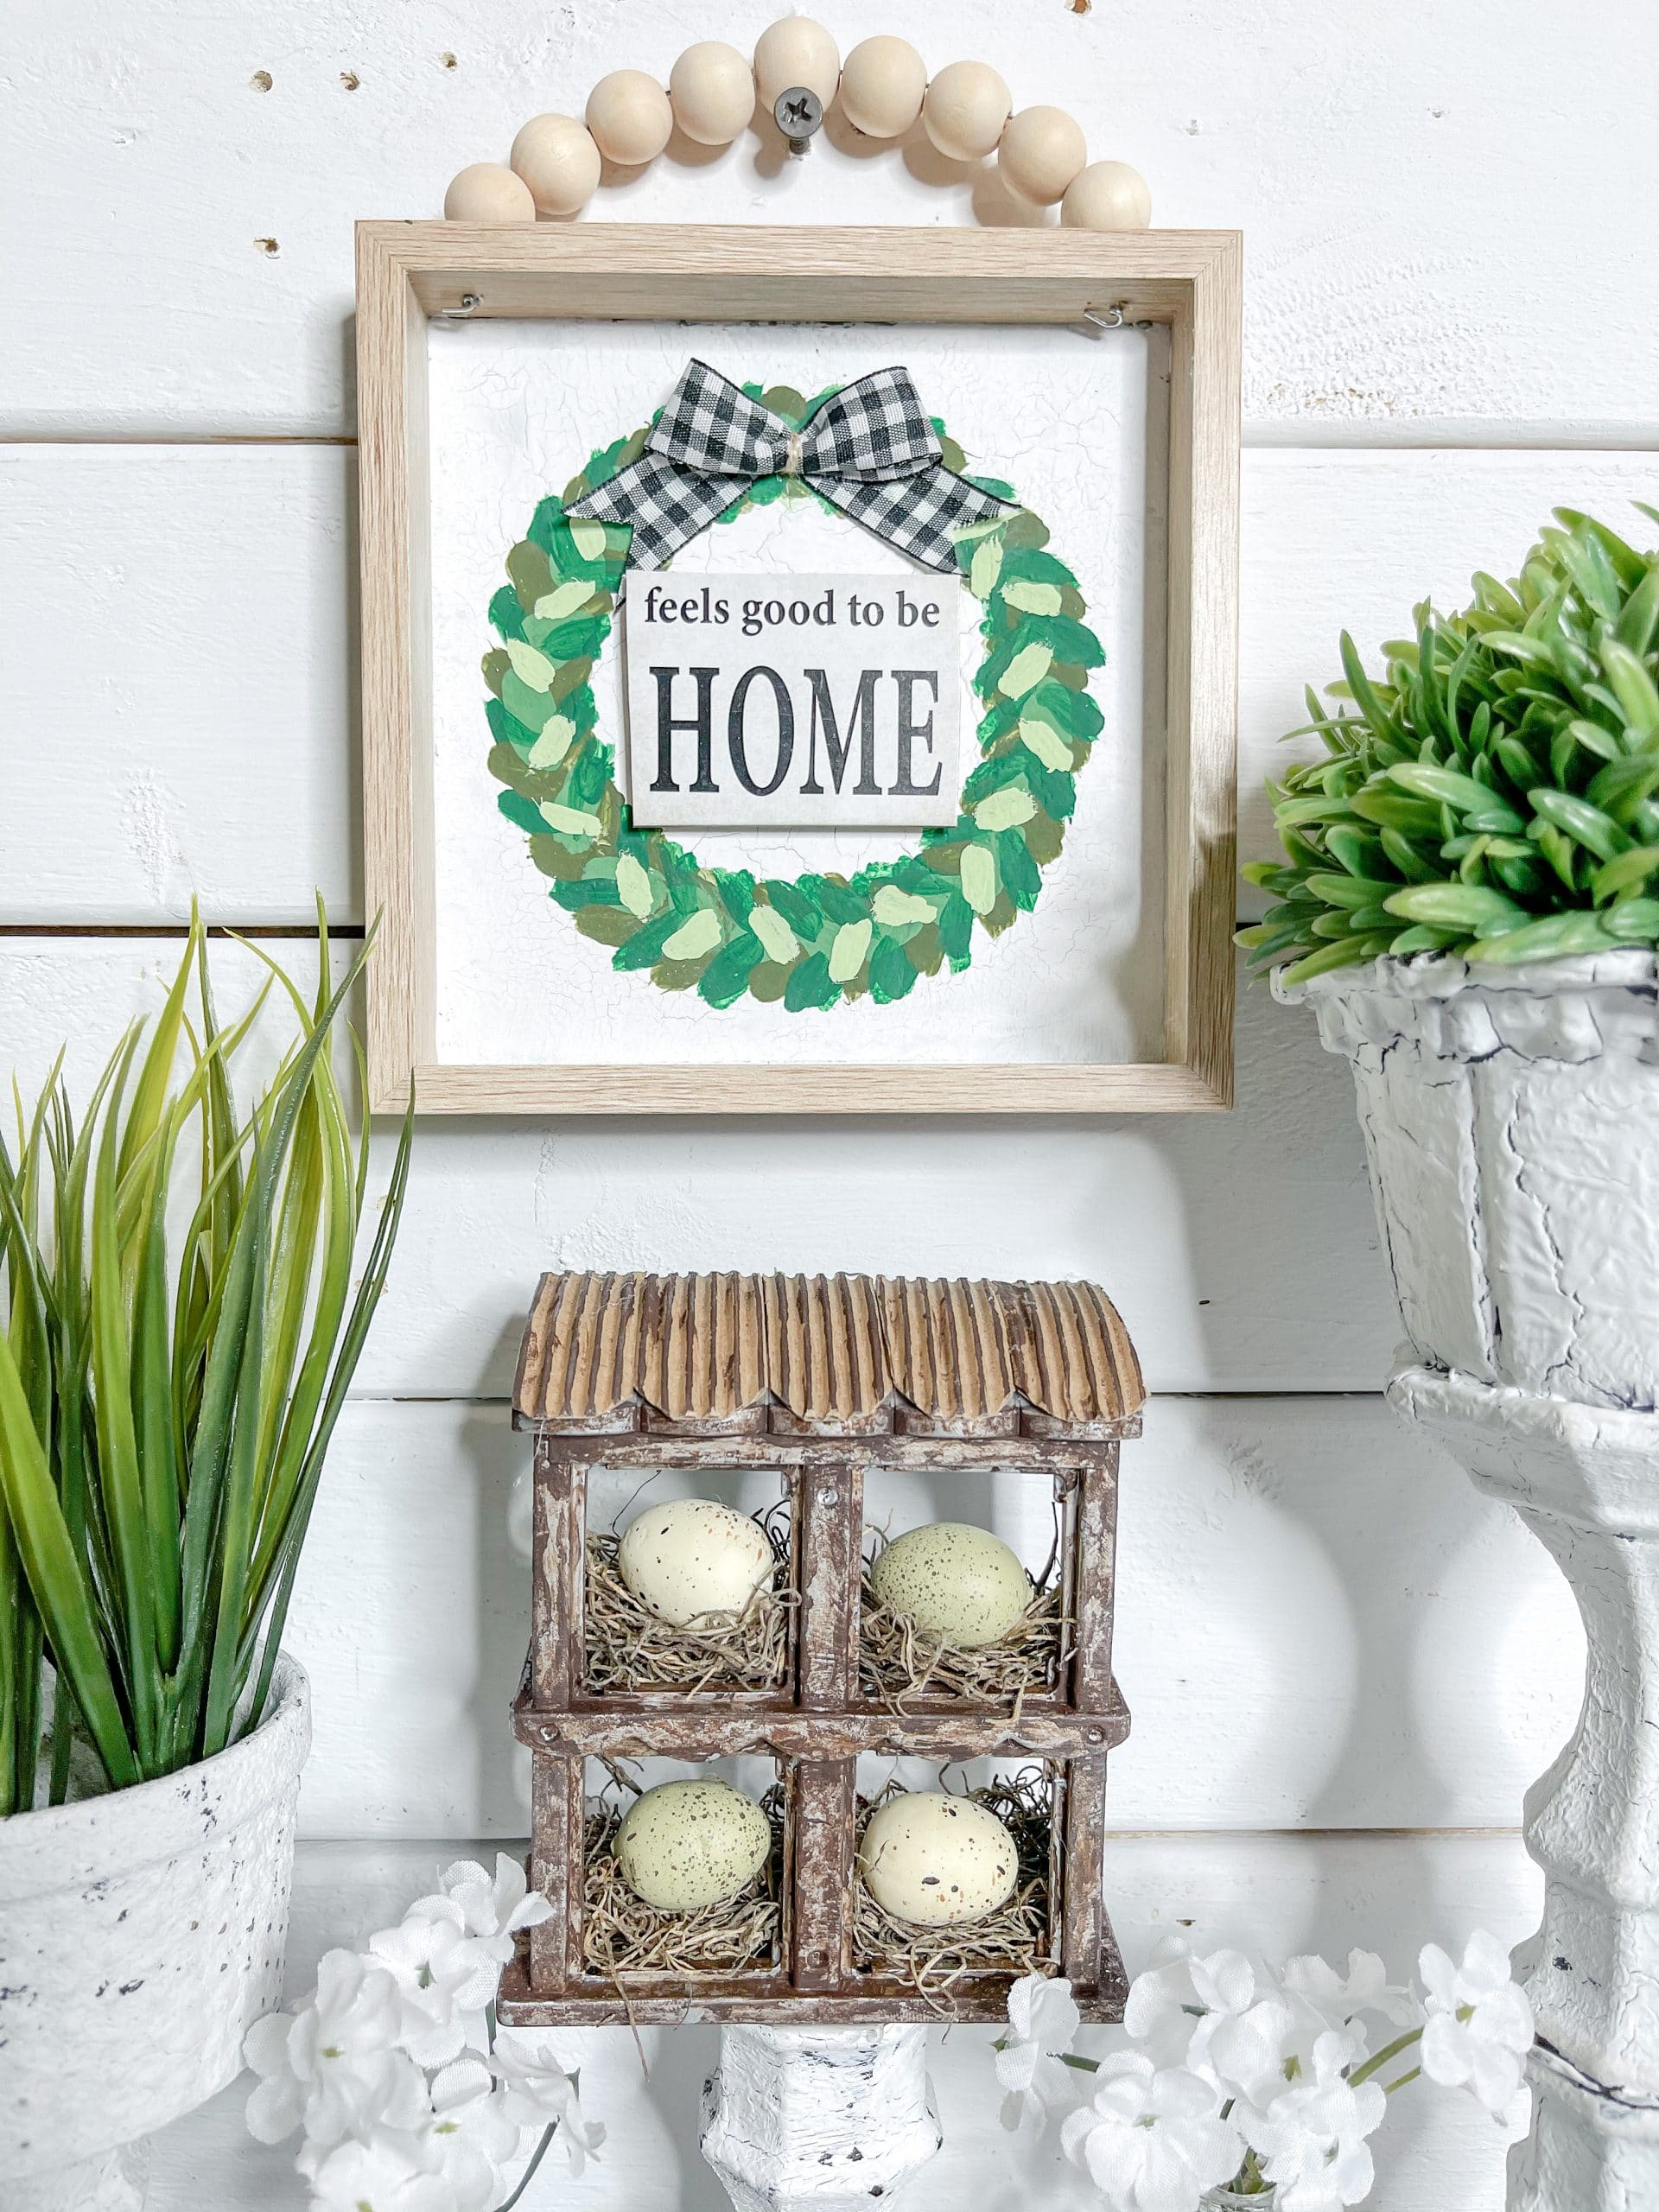
I had so much fun bringing this easy DIY painted wreath sign to life! I may be creative, but I am not a professional artist, so I don’t really do a lot of hand painted projects.
However, painting this wreath is SO easy, I couldn’t help but give it a try and share it with you! I think you’re really going to love it when you realize how EASY this DIY decor is to make!
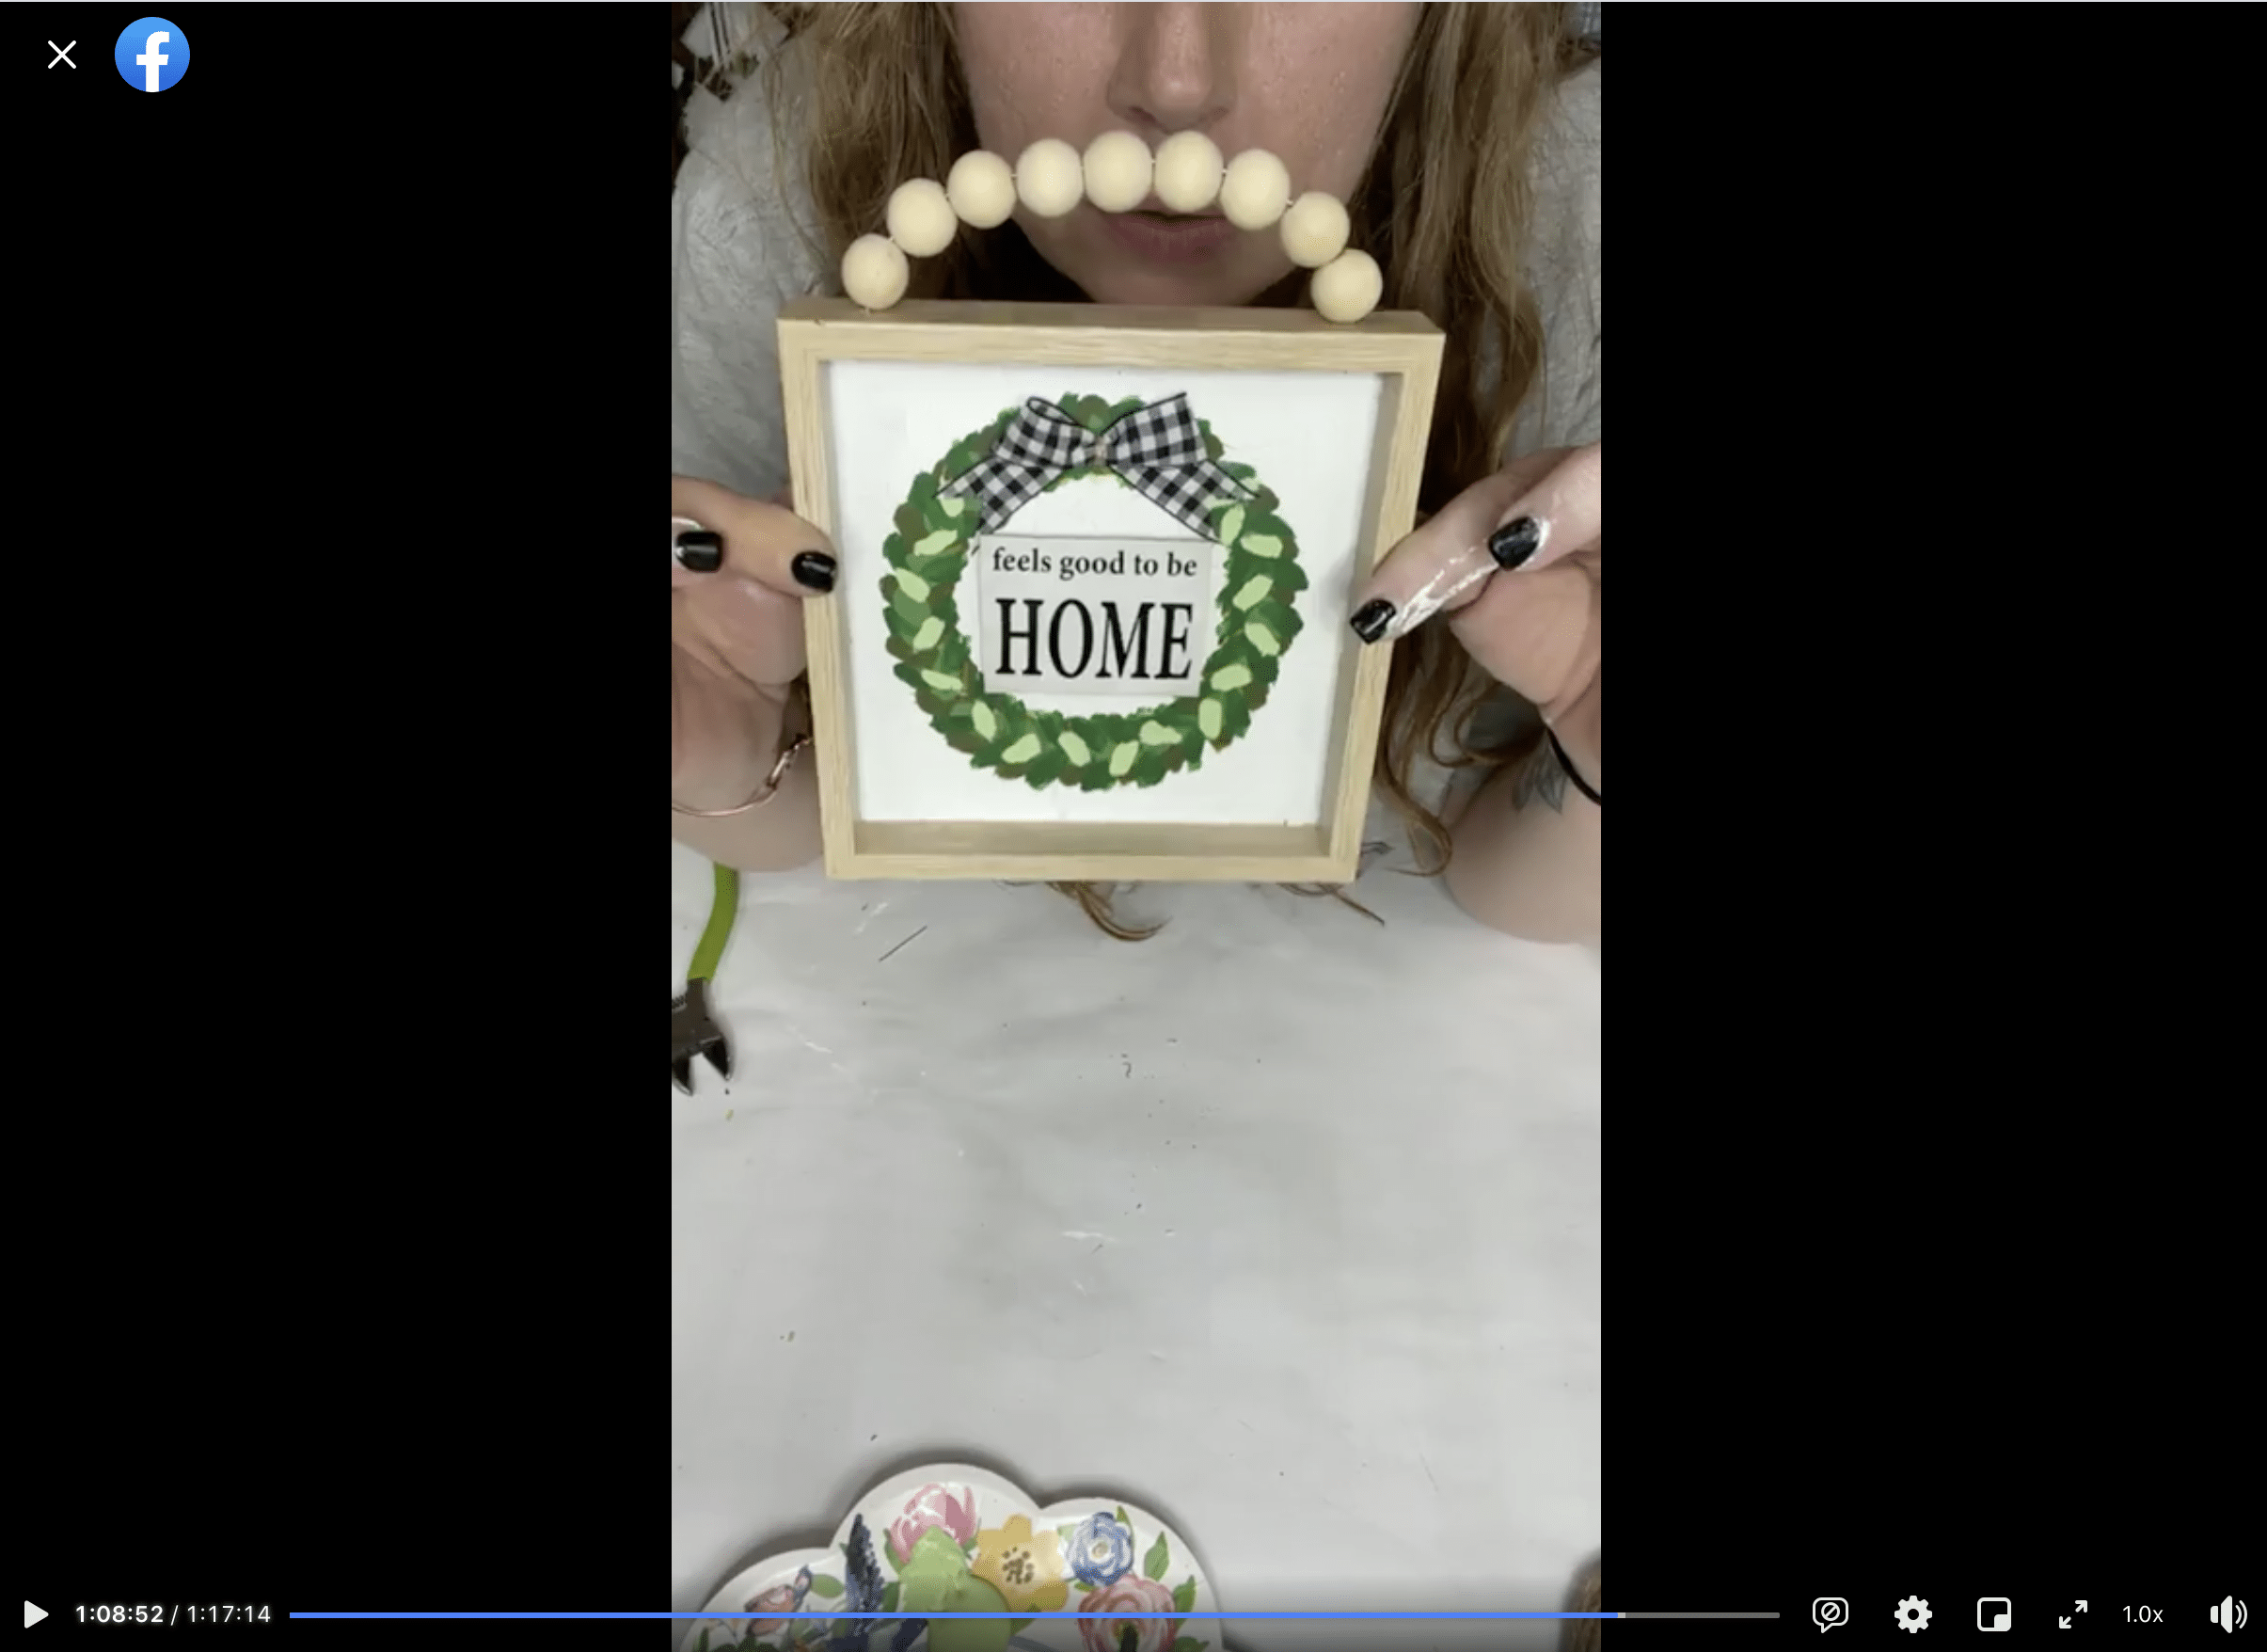
Watch the DIY tutorial
I recorded the how-to steps of making this Easy DIY Painted Wreath Sign during a LIVE video on my Facebook page.
If you want to see the DIY process, craft along, or just join in on the fun conversations, you can watch the DIY tutorial replay!
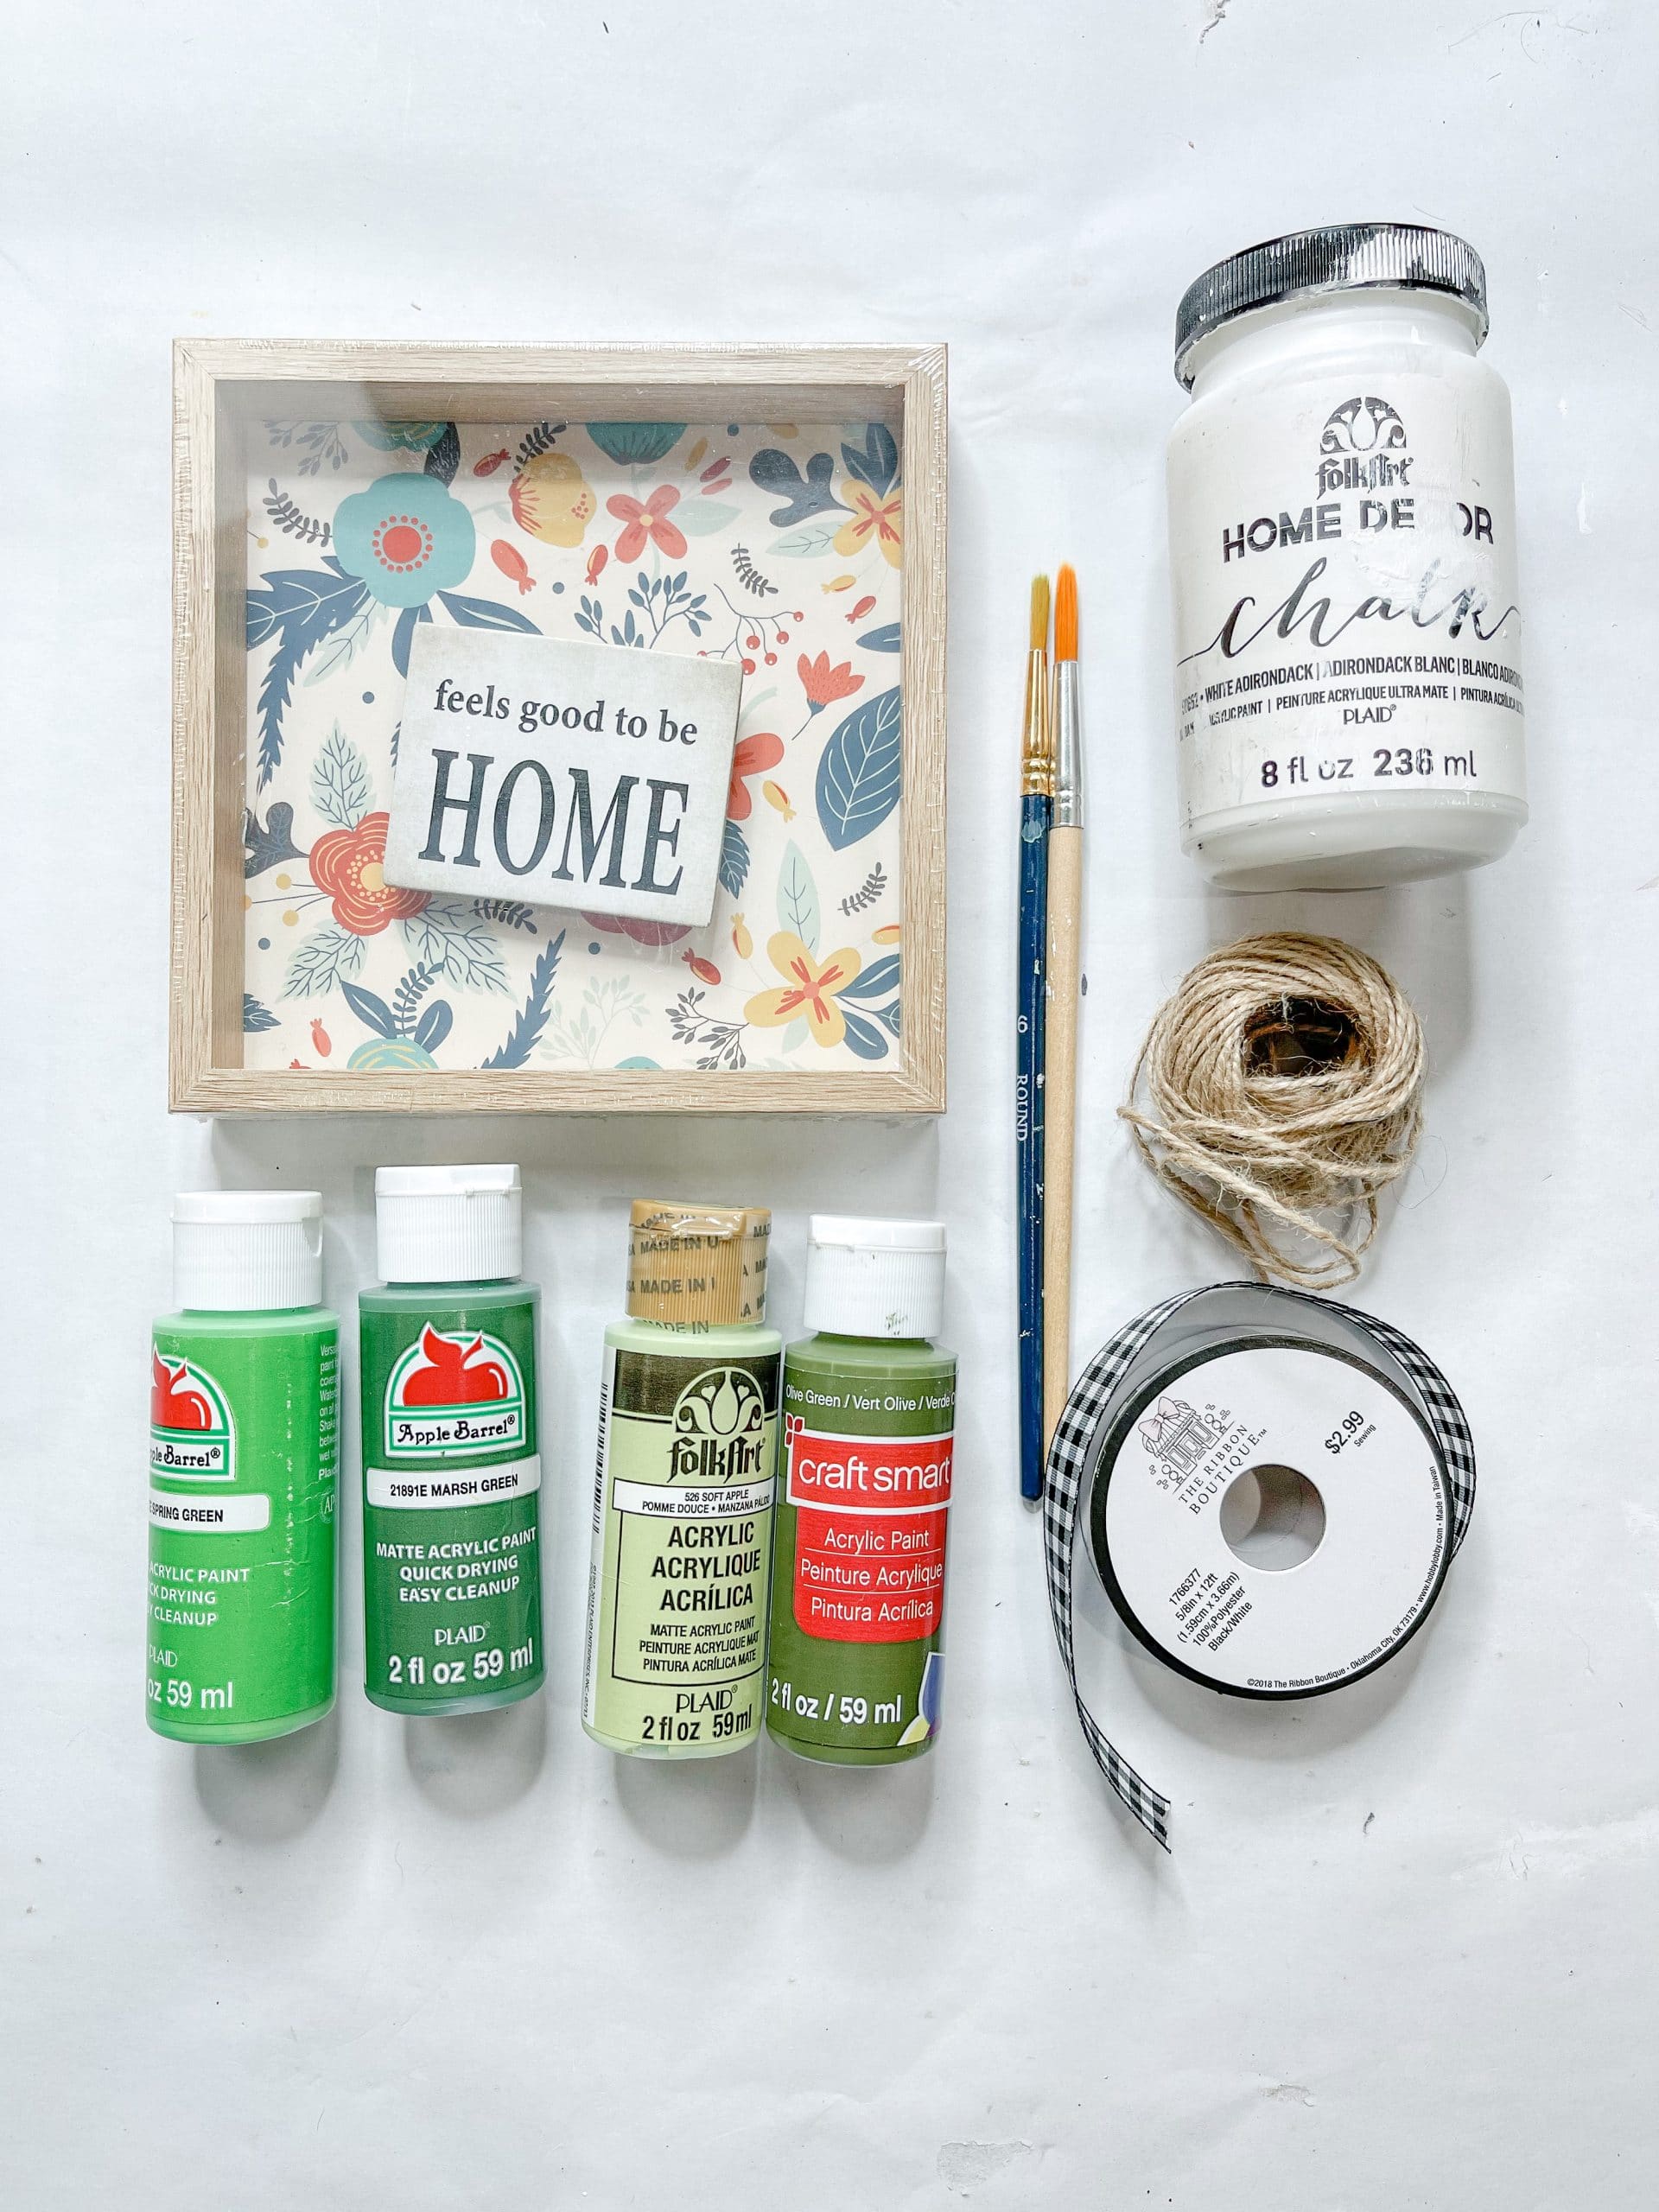
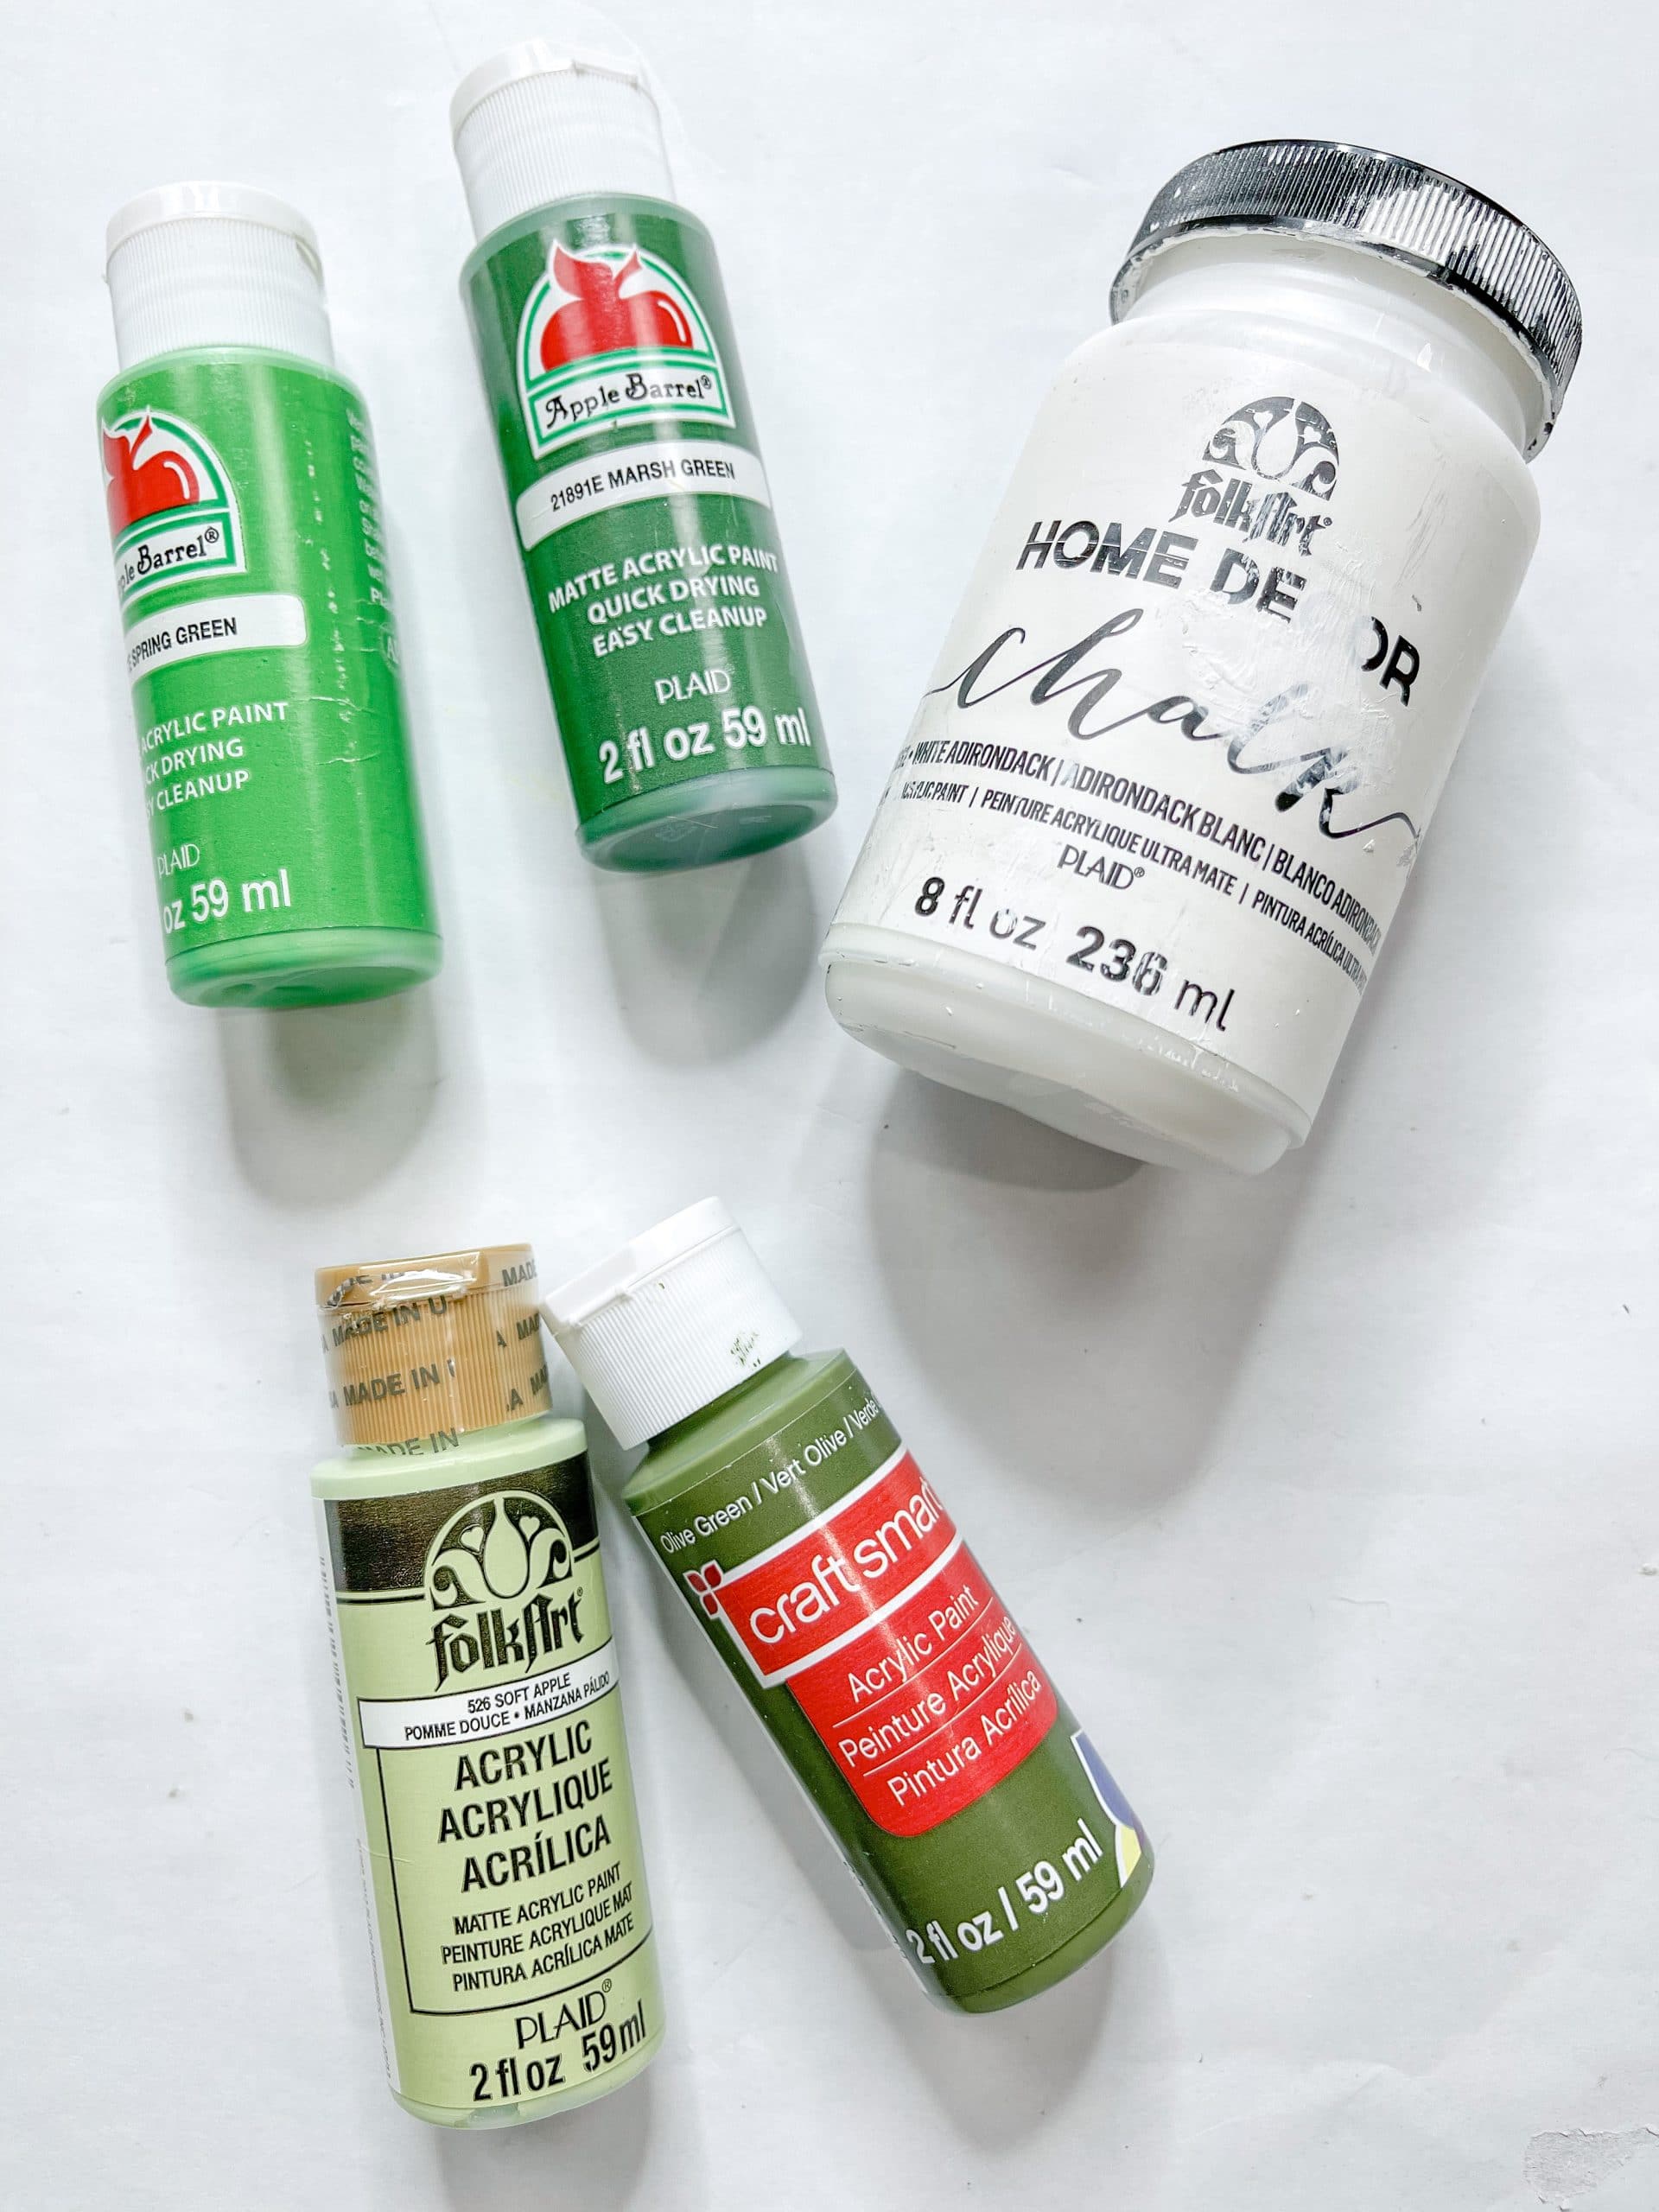
For this project, I will be using these items but you can substitute where you want.
“As an Amazon Associate, I earn from qualifying purchases.”
- Dollar Tree Sign Box
- Folkart White Chalk Paint
- Apple Barrel Spring Green Acrylic Paint
- Apple Barrel Marsh Green Acrylic Paint
- Folkart Soft Apple Acrylic Paint
- Craftsmart Olive Green Acrylic Paint
- Apple Barrel Christmas Green
- Buffalo Check Ribbon
- Jute Twine
- Wooden Beads
- Hot Glue gun
- Glue Sticks
How to Make an Easy DIY Painted Wreath Sign
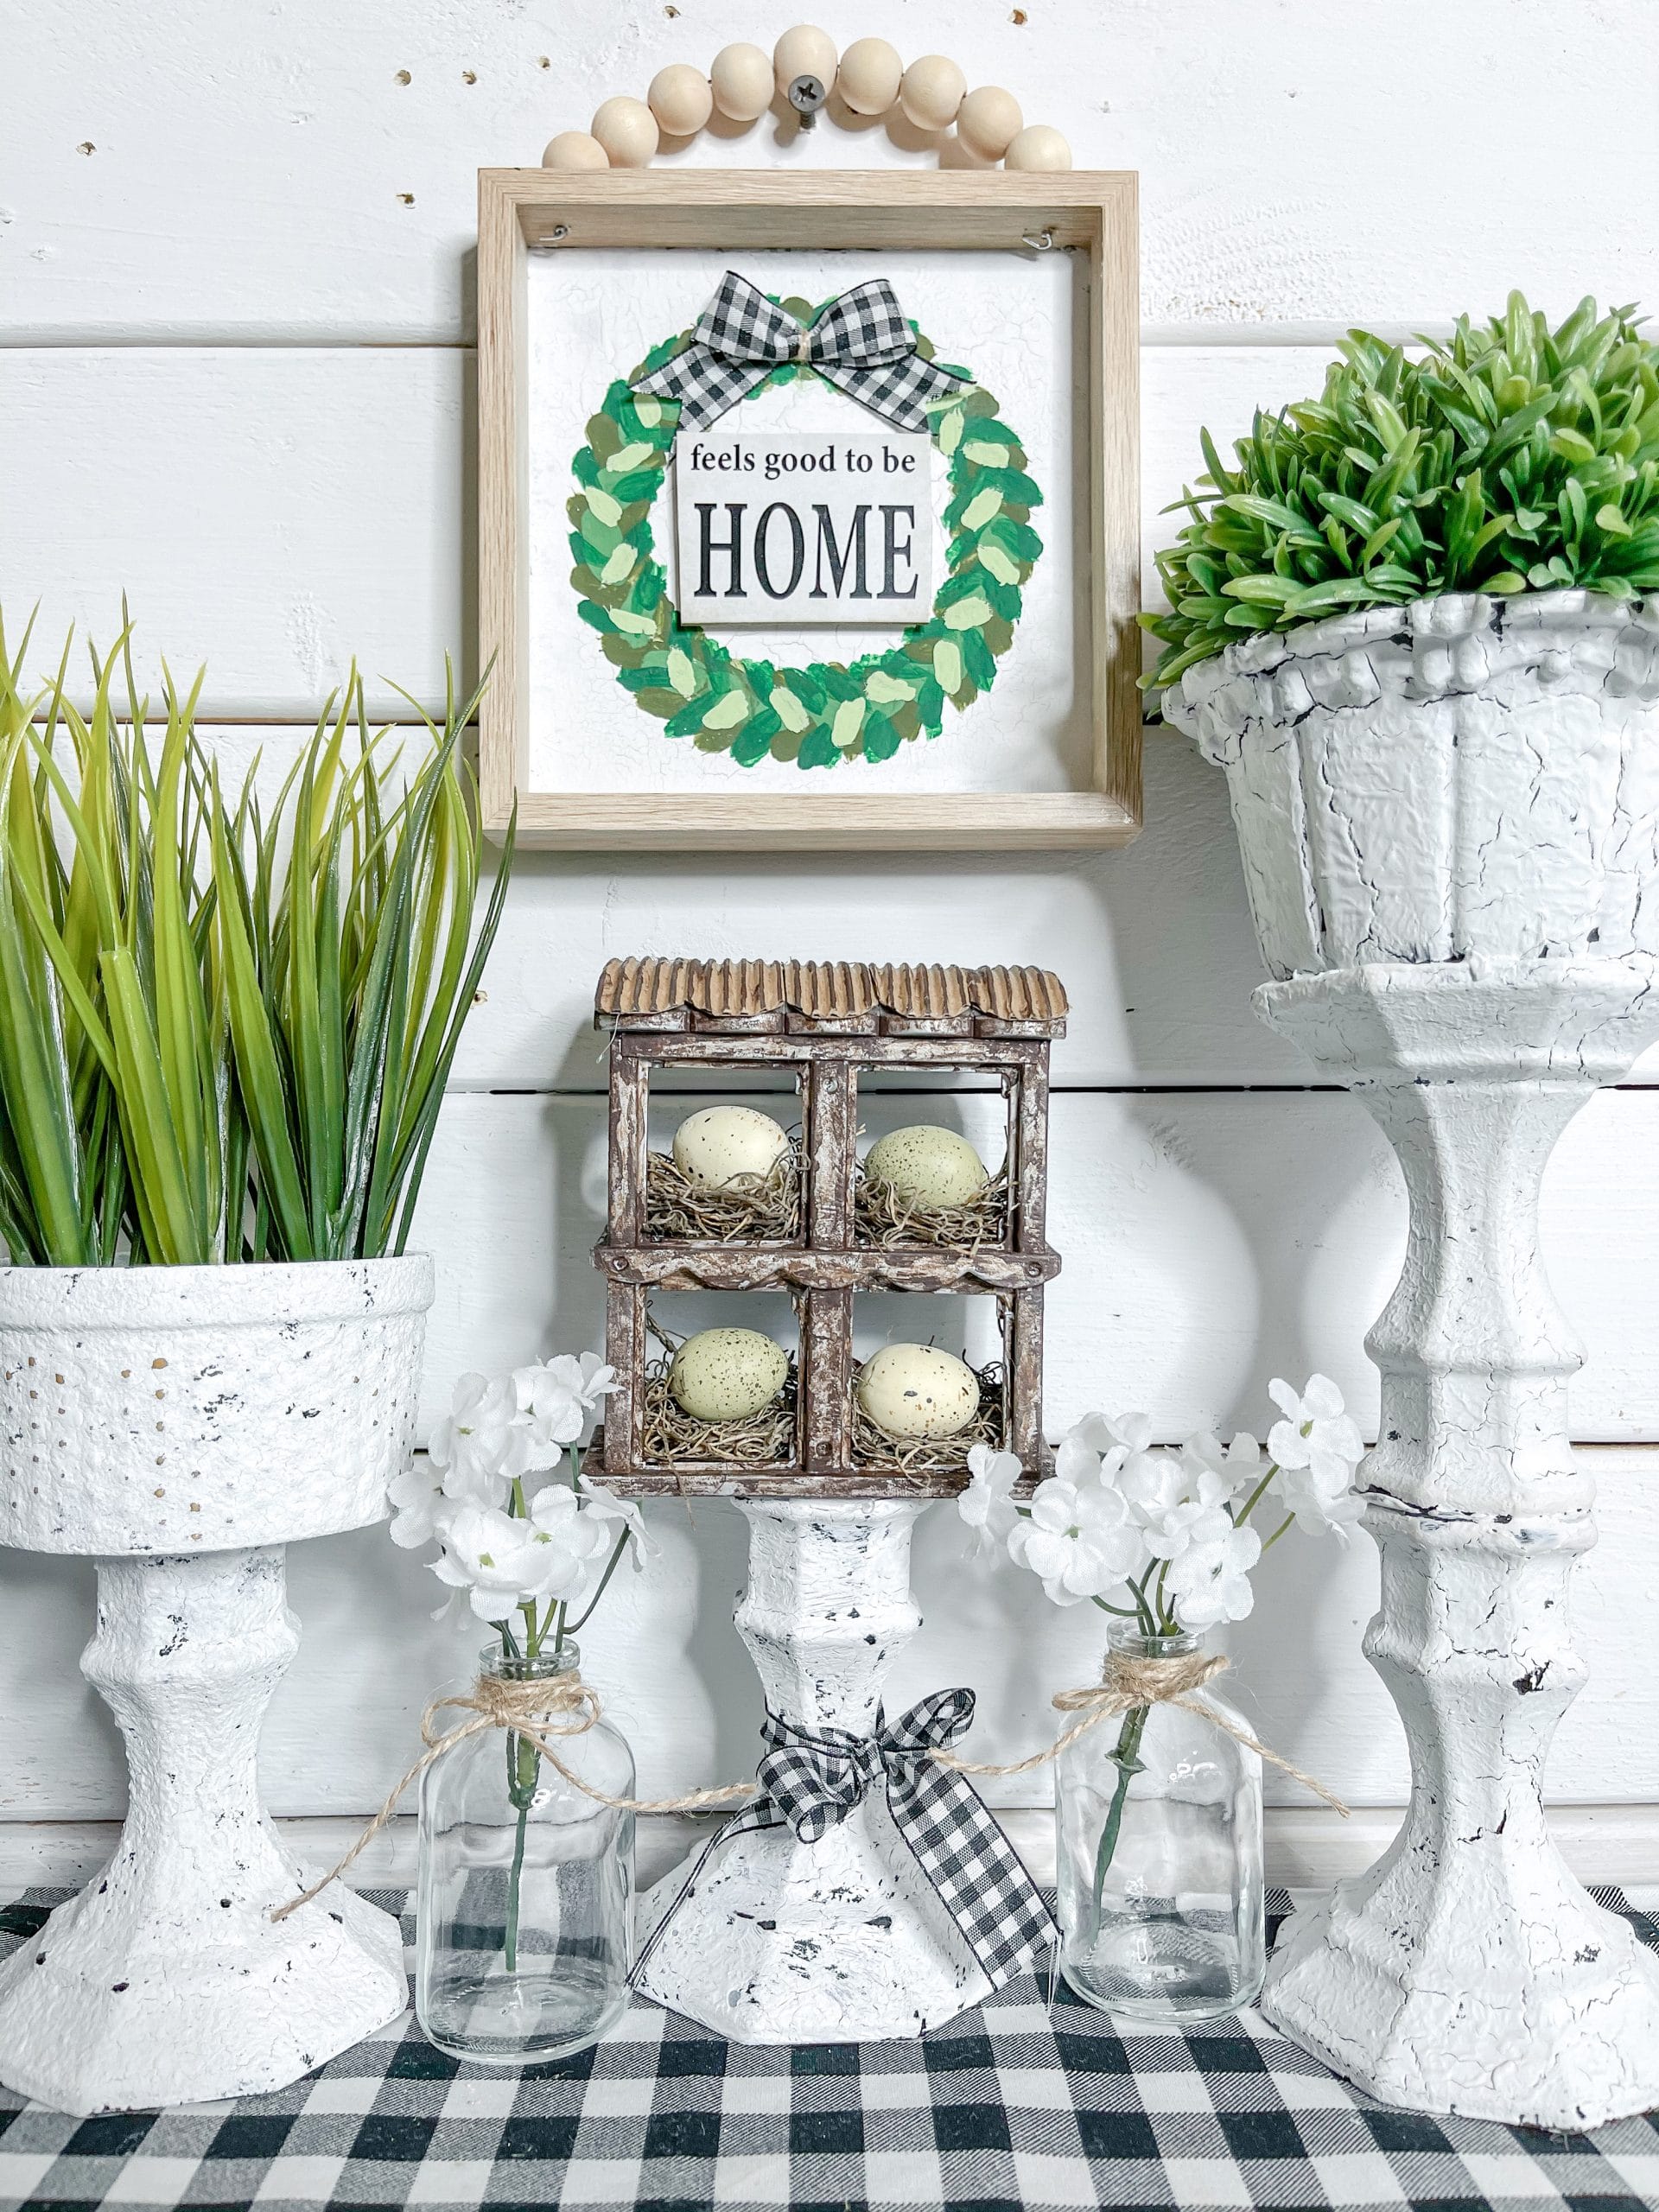
The first thing I had to do for this project was remove the “feels good to be HOME” insert in my Dollar Tree sign box.
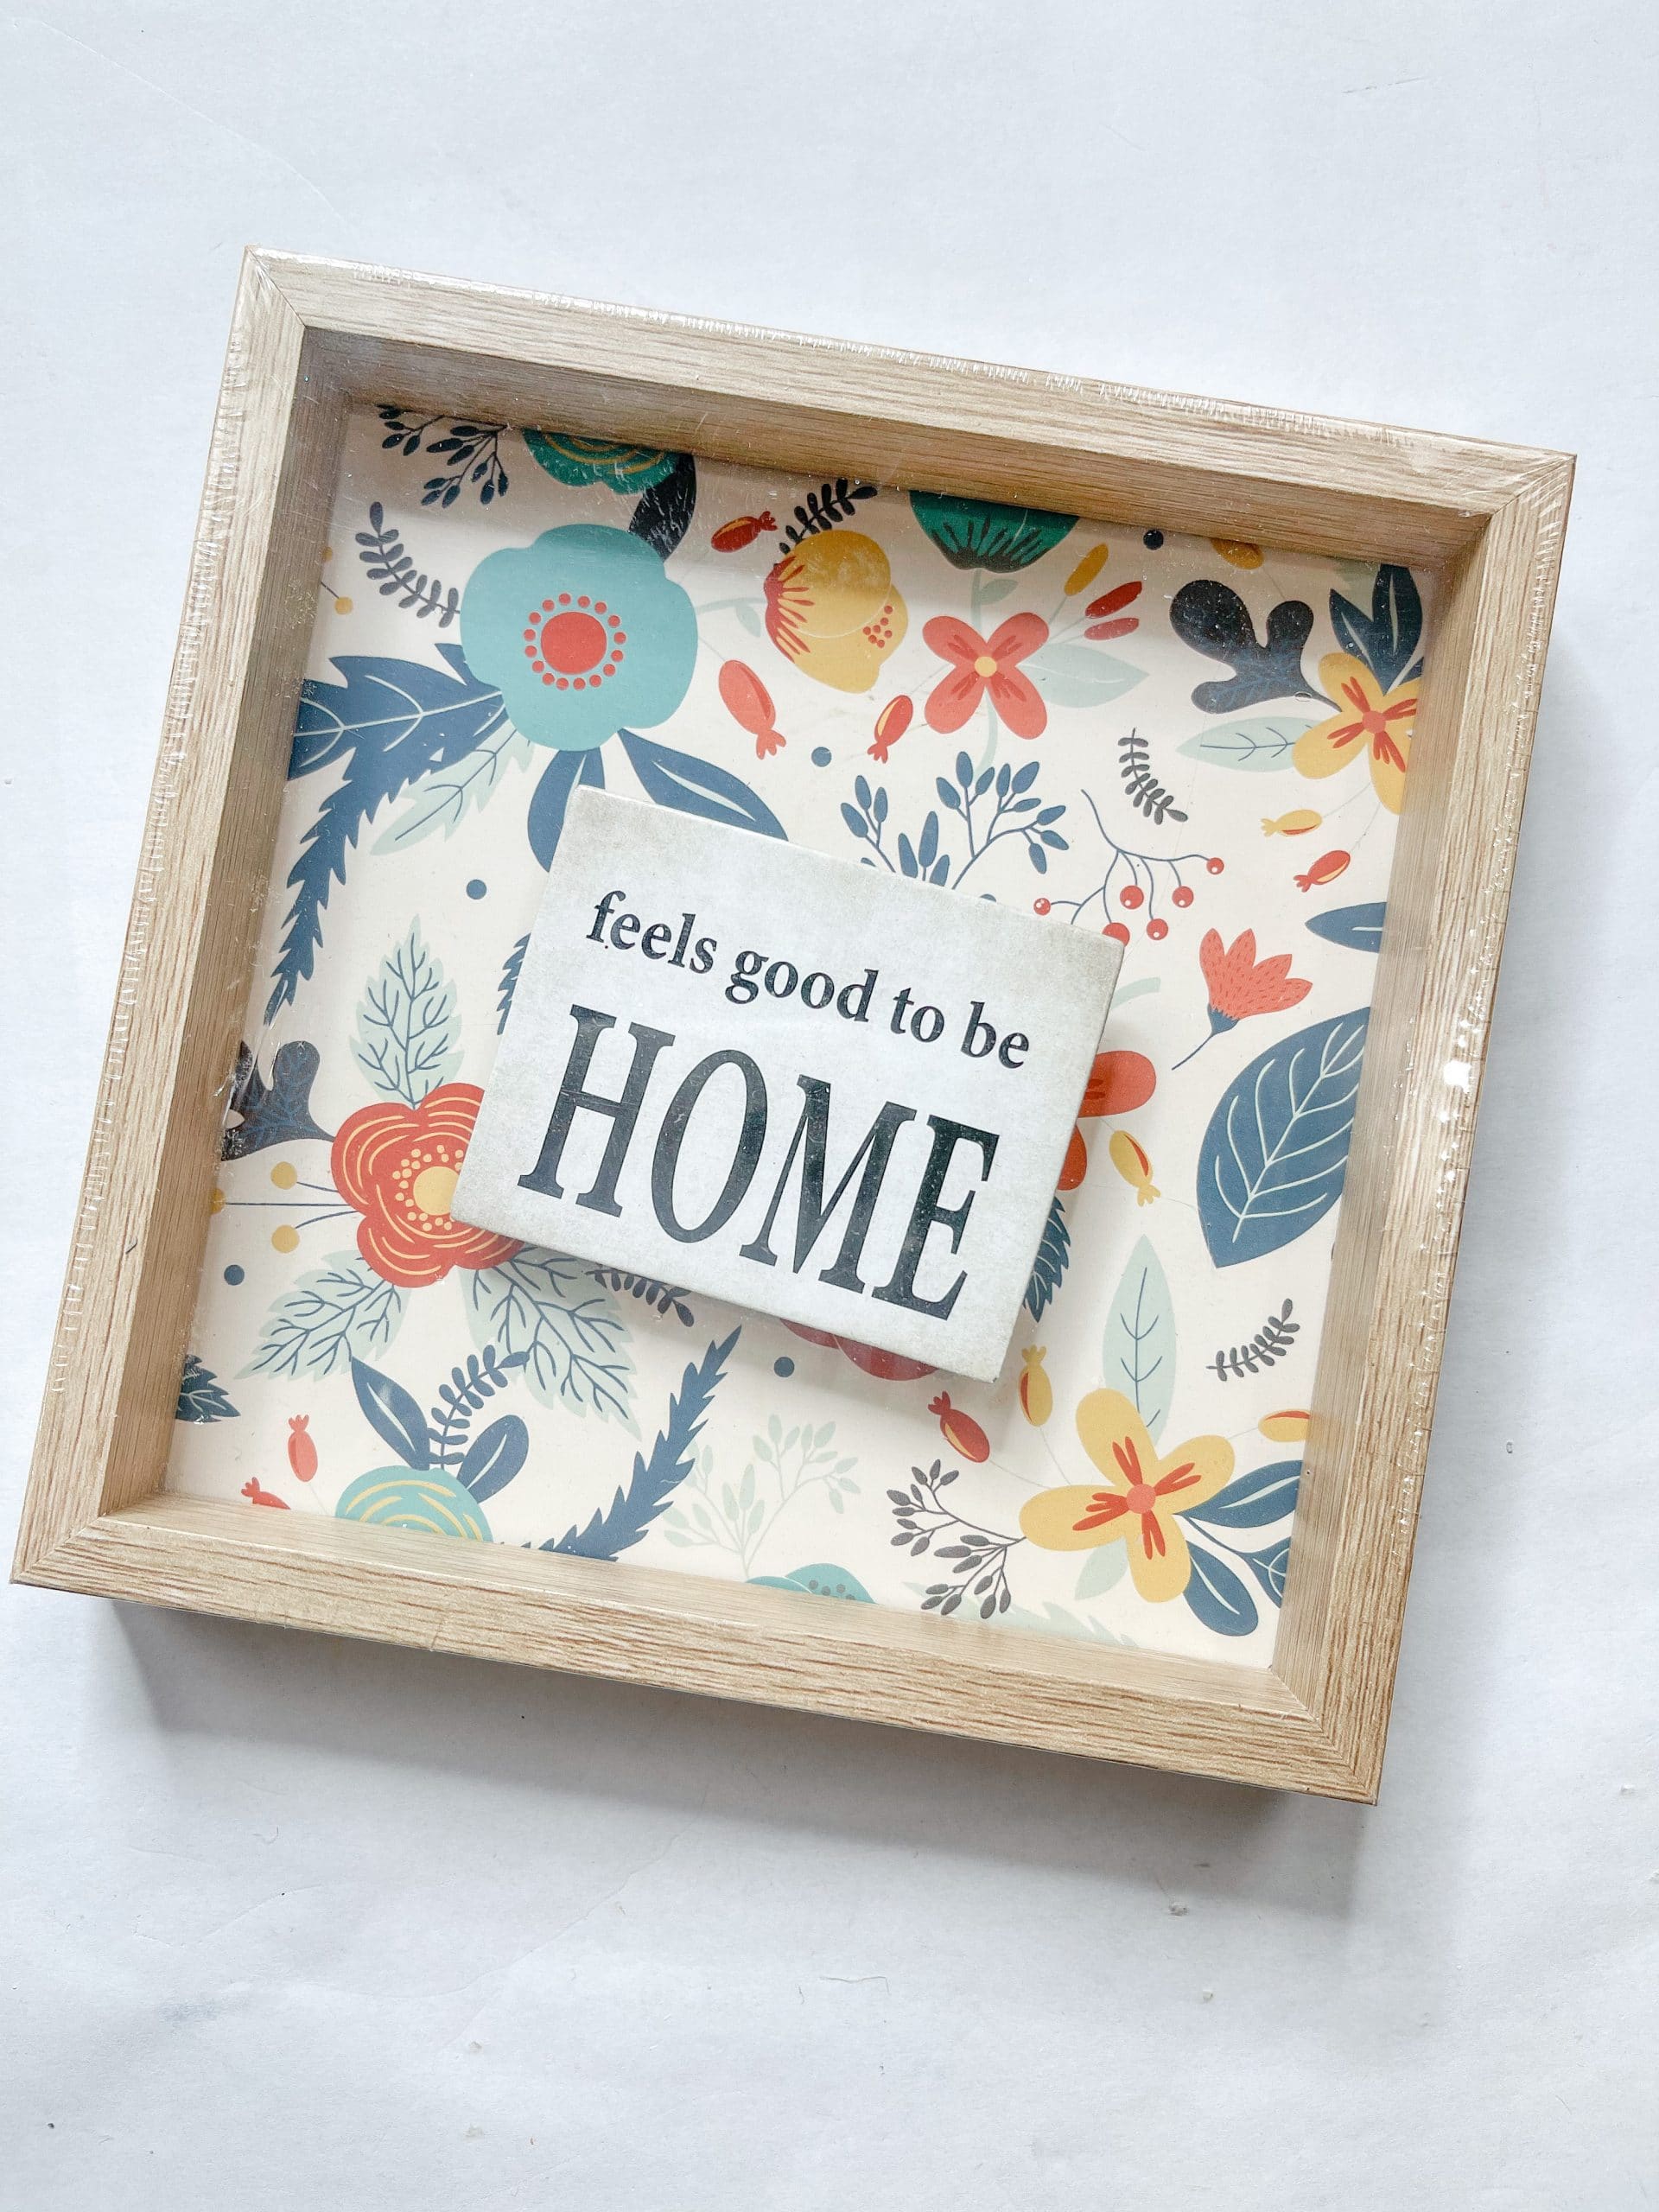
It’s so easy to just pull the insert right the sign and scrape off the cube it was glued to. Once it is removed, go ahead and paint the inside of the sign box with the Craftsmart Olive Green paint.
Then, you’re going to cover the green paint with Folkart white chalk paint. You want to make sure the green paint is completely dry before you add the white paint so it doesn’t smudge together.
How to paint a wreath
Once my white paint was dry, I put my Mod Podge container inside the sign box and traced around it’s bottom to create the shape of my wreath.
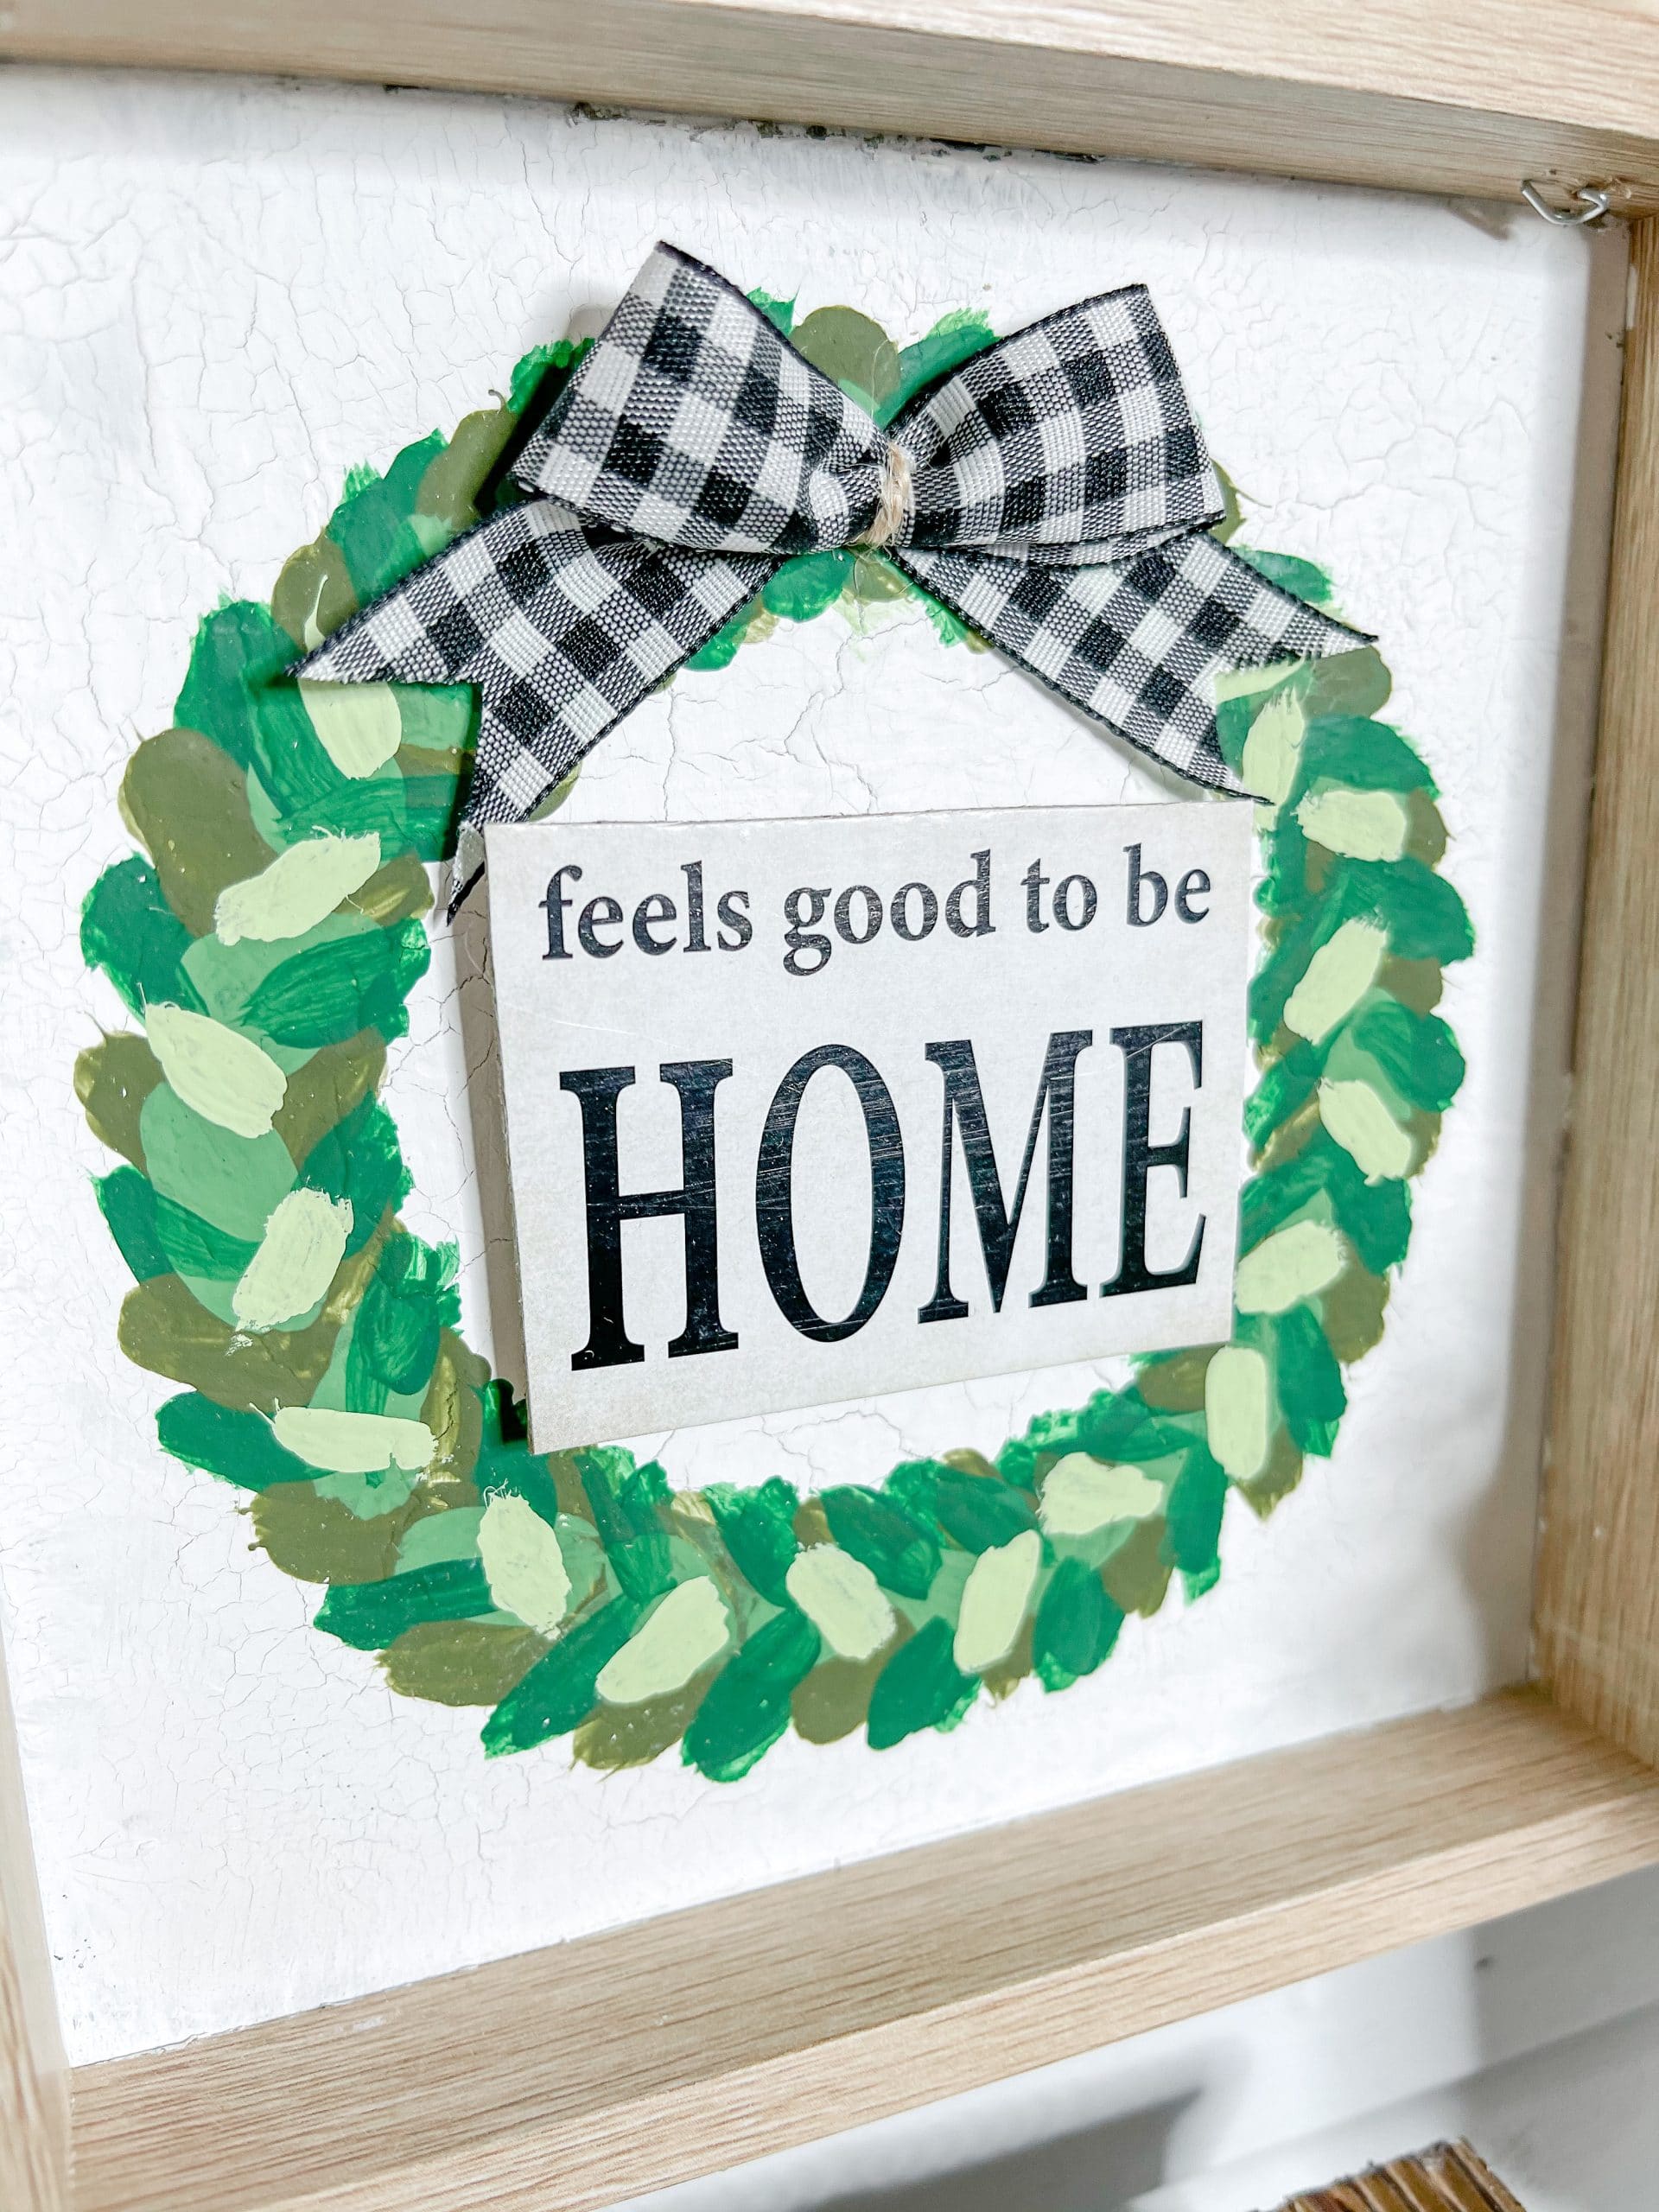
Then, I poured some of each green paint on a paper plate to get ready to paint my wreath! I started with the Christmas Green paint and painted almost little hearts about a centimeter apart, going around the line I drew.
Let that coat of paint dry (I used my heat gun to speed that up) then I went back over the paint with another coat to darken it more.
Again, let the paint dry, then take the Olive Green paint and fill in the spaces between the Christmas Green “hearts”.
Let that coat of paint dry, then apply another coat of the Olive Green paint over the first. Next, I mixed a bit of the Marsh Green and Spring Green paints together.
I used that new color to put seed like brush strokes around the wreath, alternating angles as I went. Let that paint dry, then use the Christmas Green again to make smaller leaves around the seed like strokes.
Next, I repeated the seed-like strokes with the Soft Apple Green Paint, but make them smaller than the previous ones.
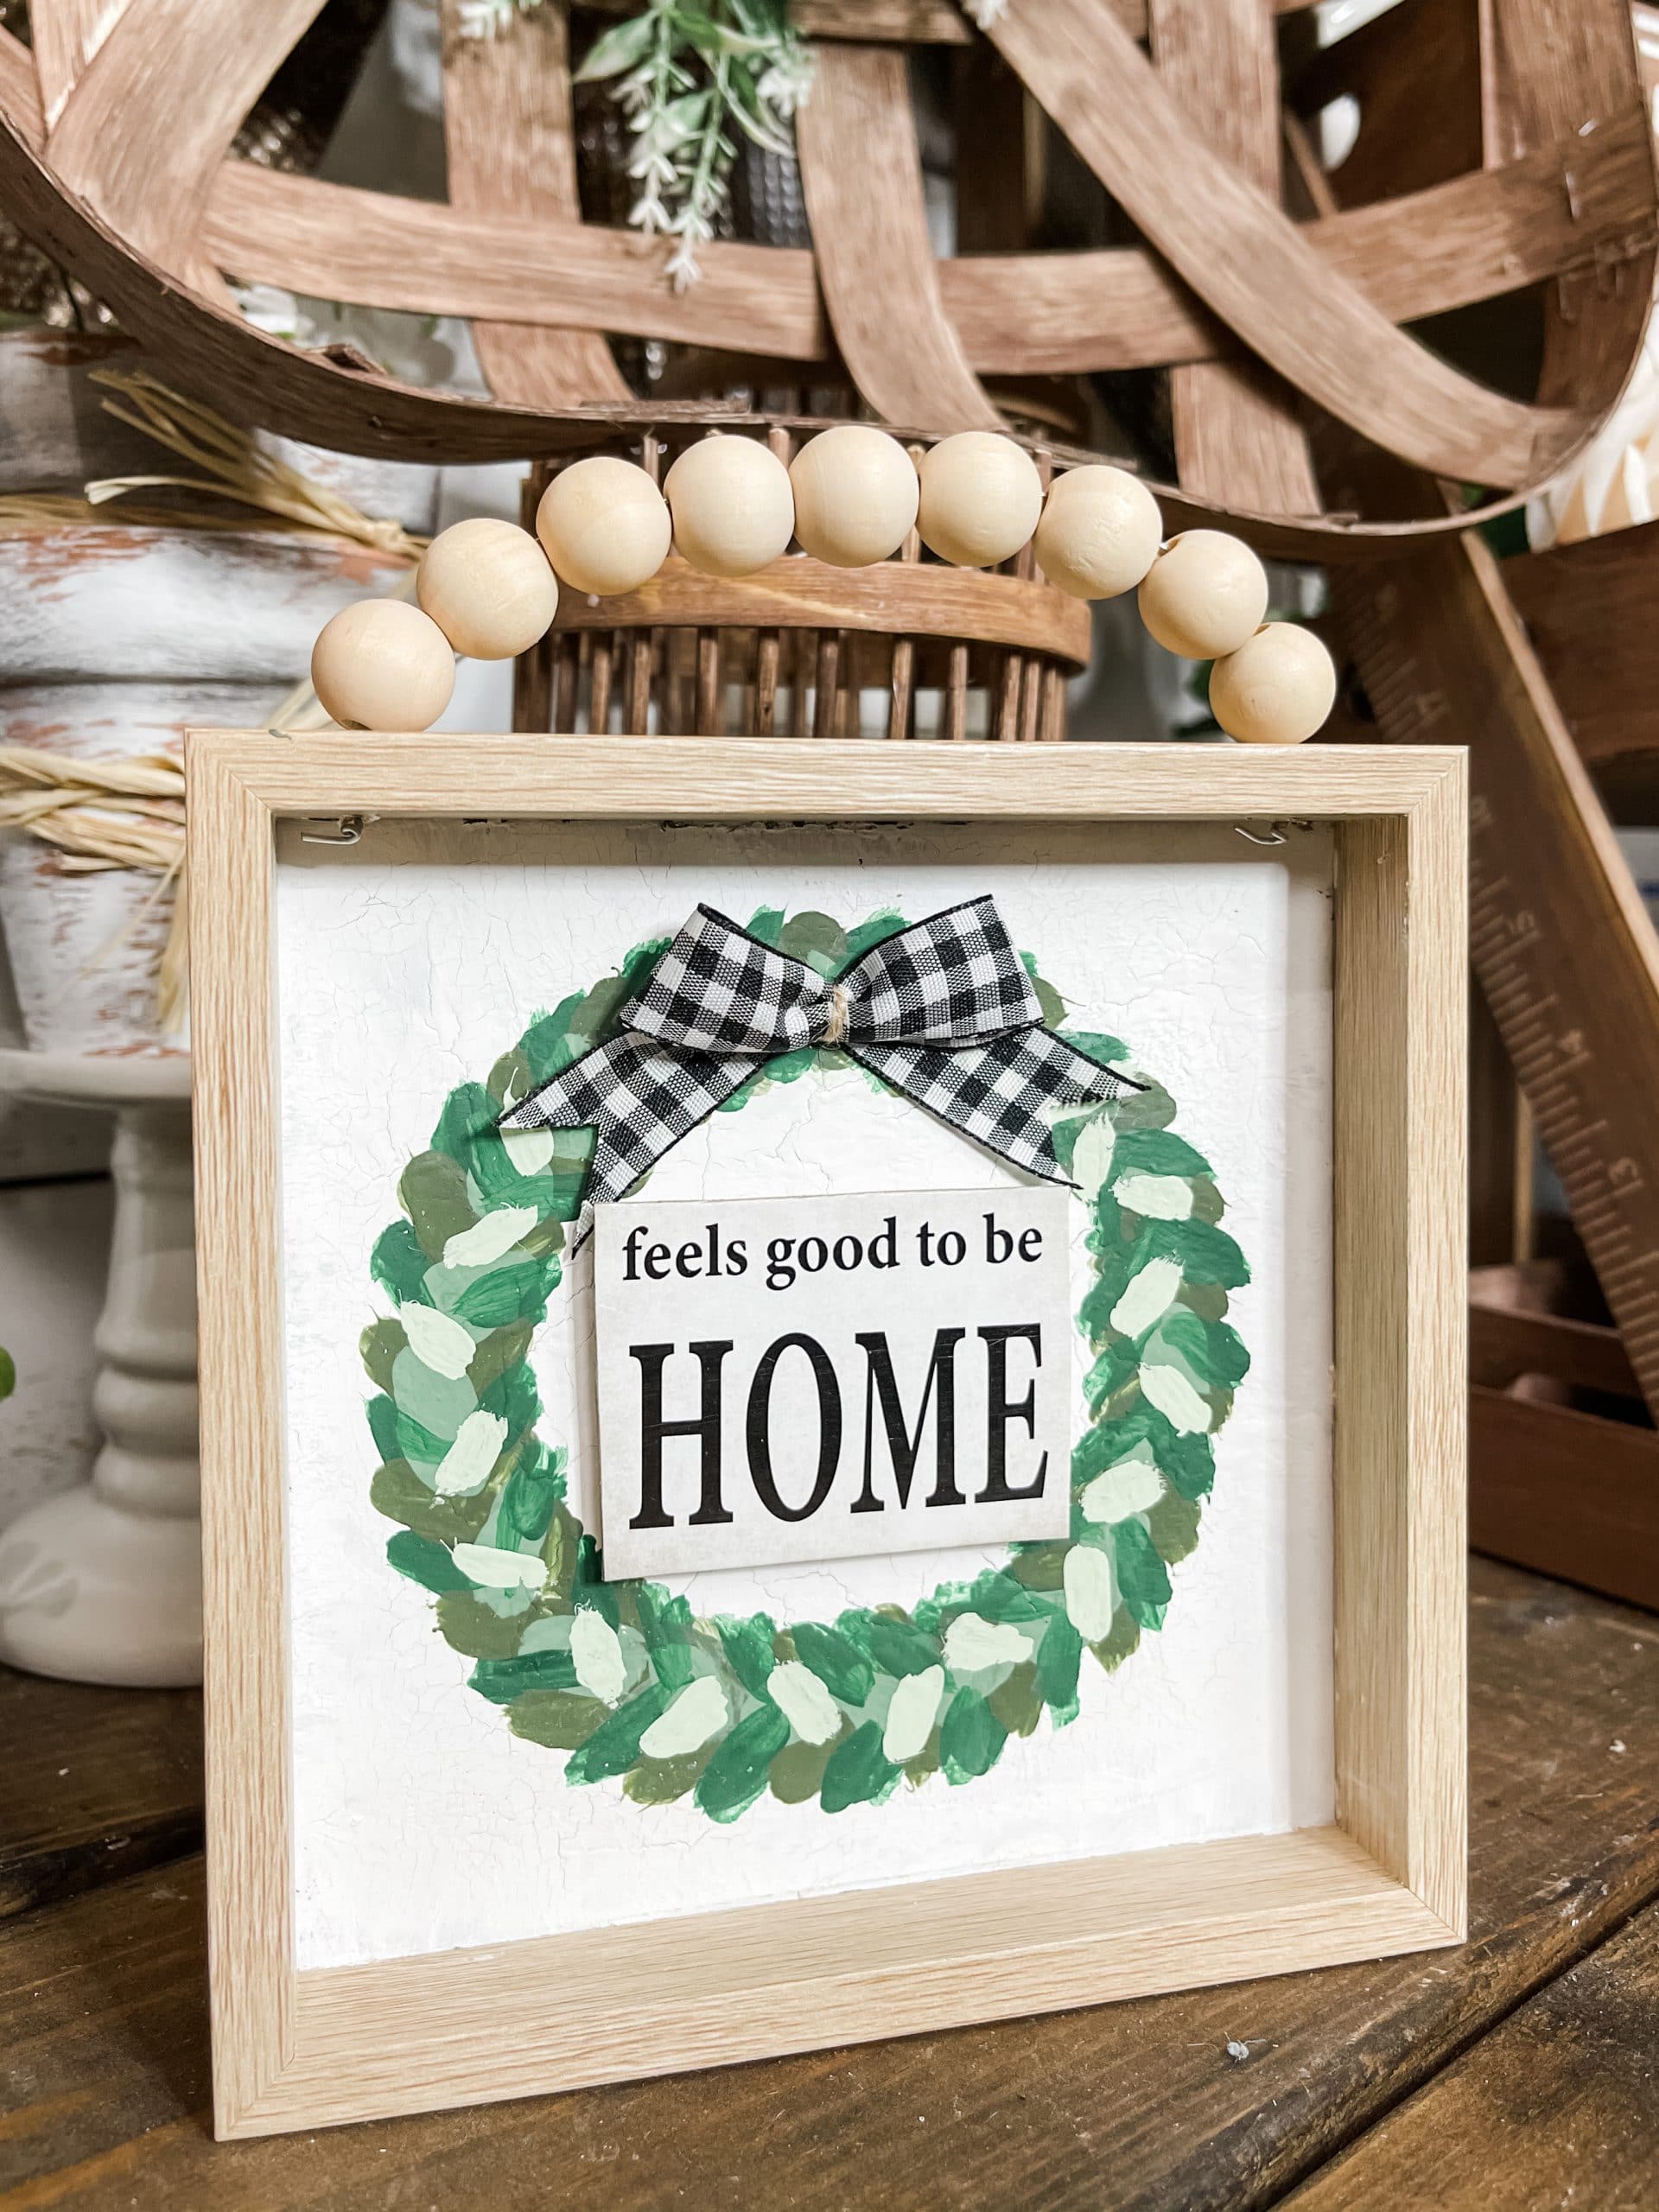
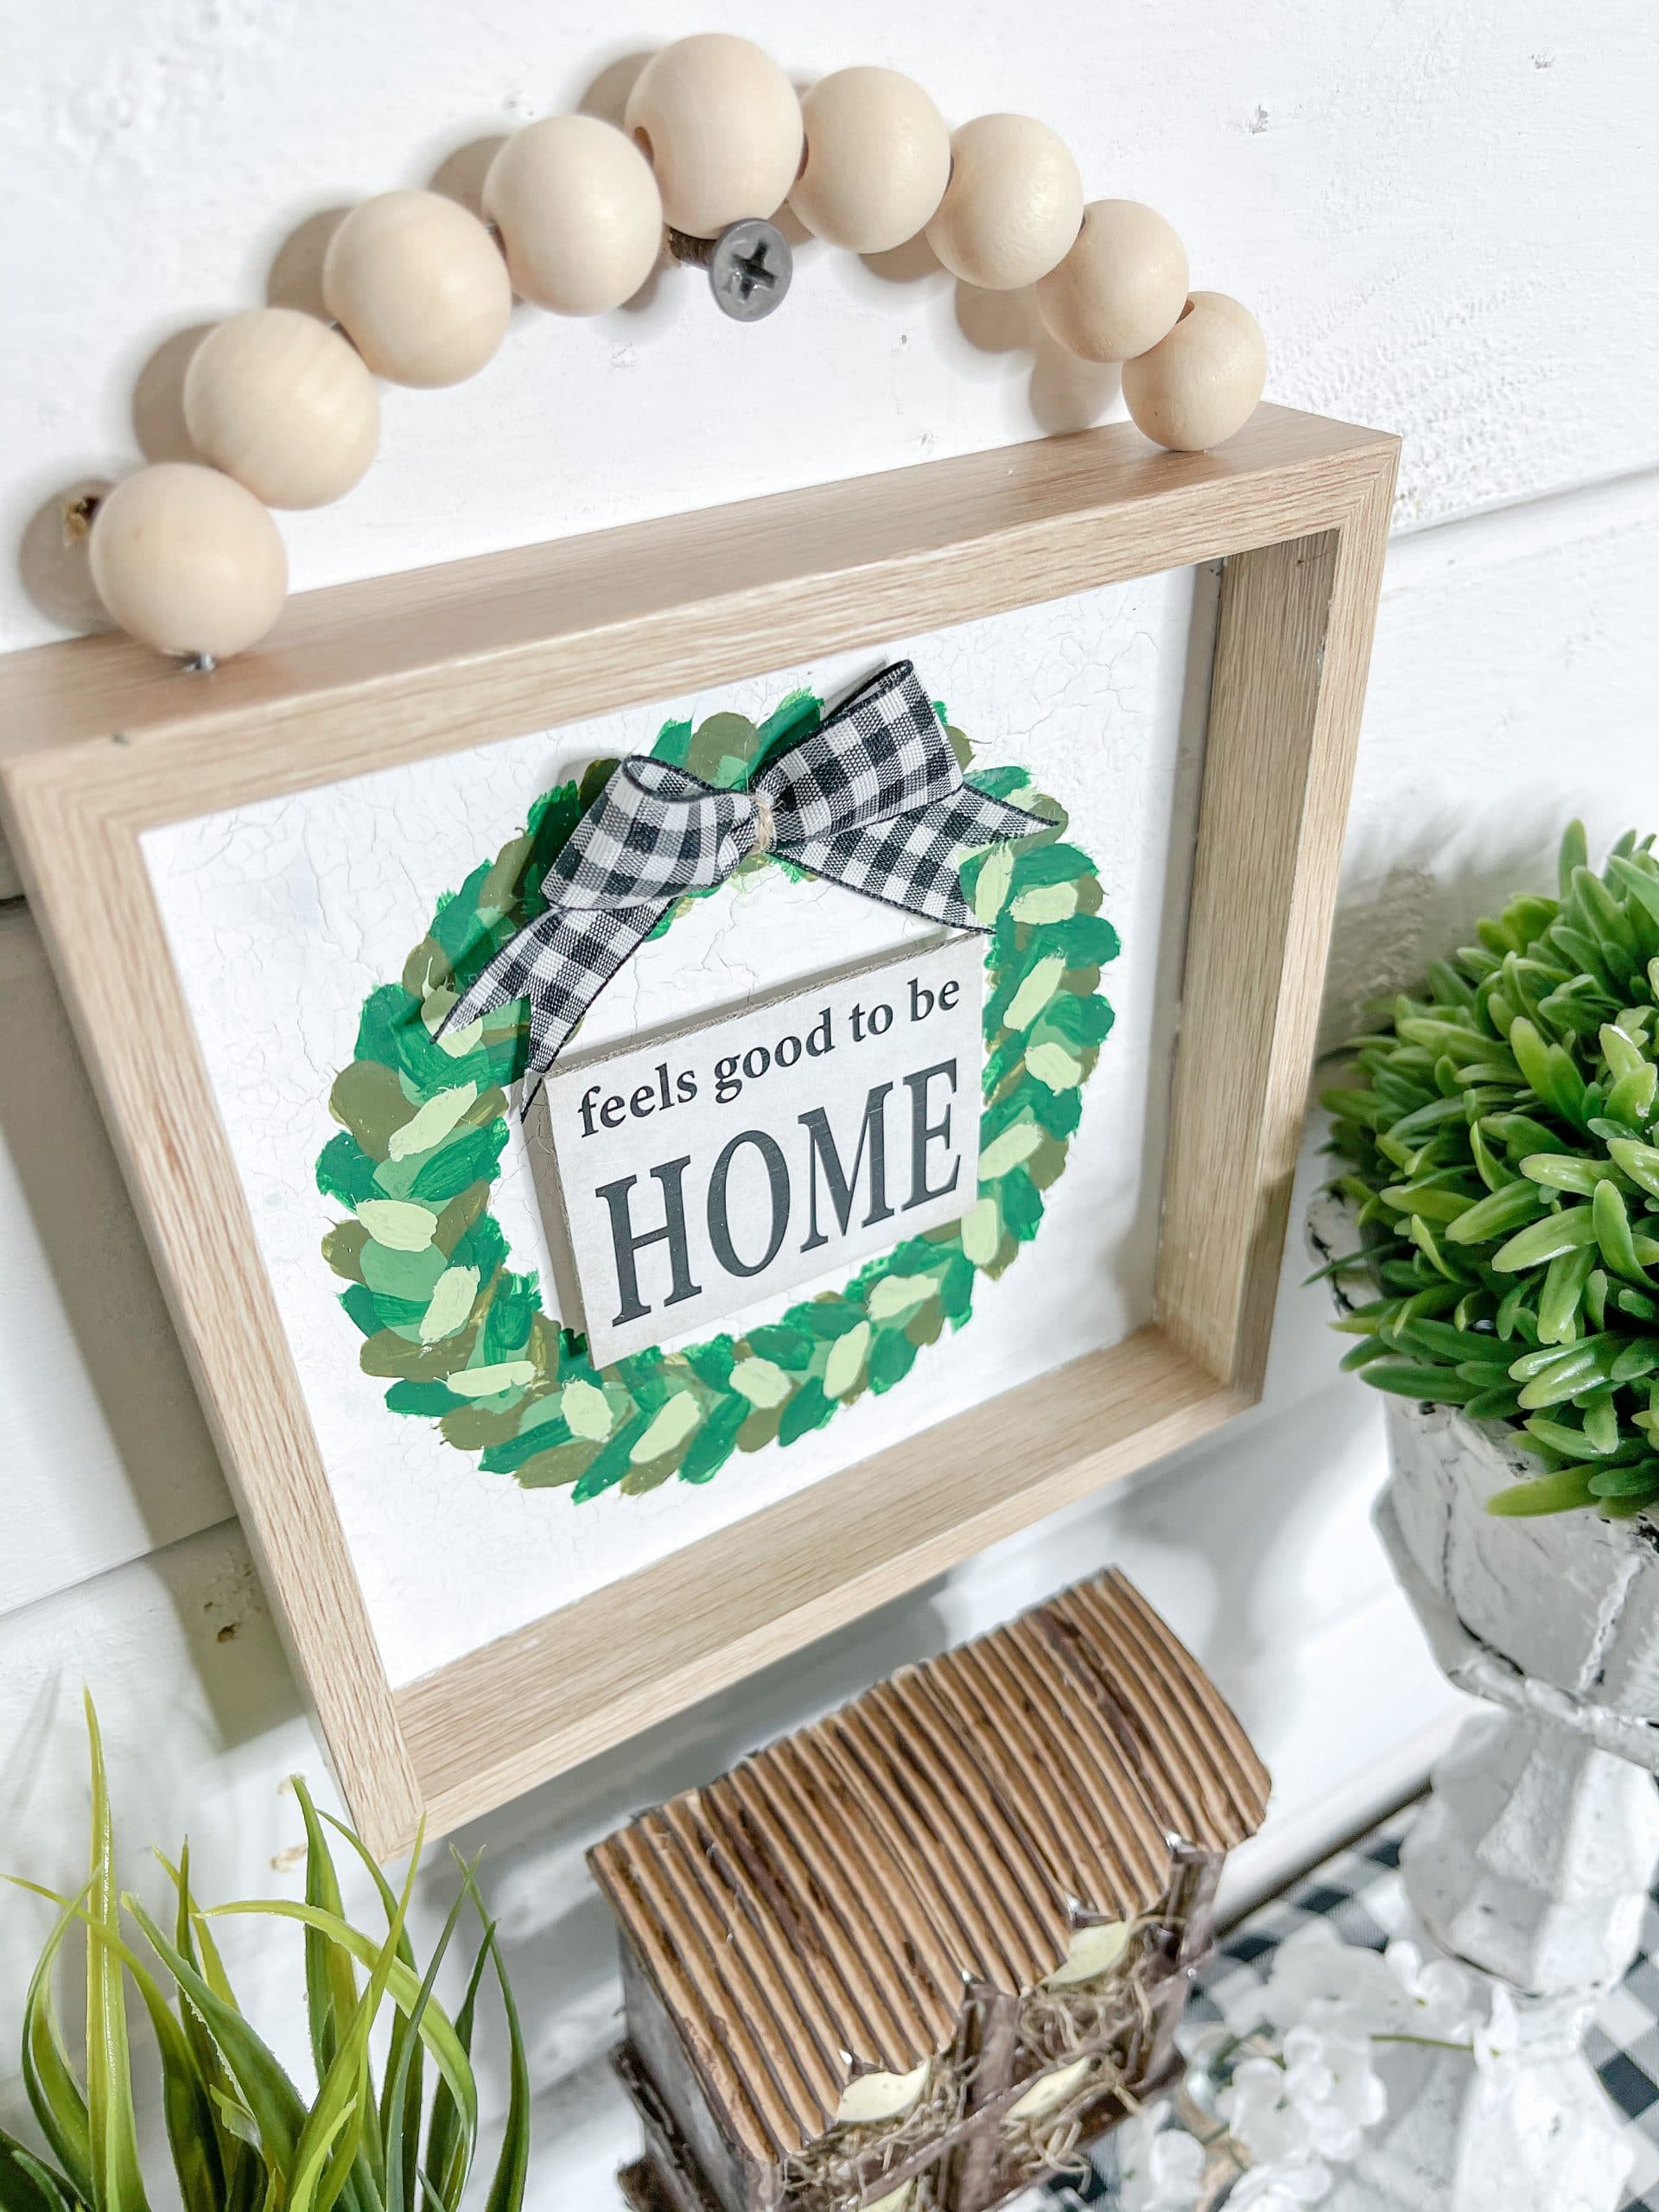
Let that paint dry while you make the little bow! I cut a strip of buffalo check ribbon and folded it into the shape of a bow. Then, secured the center of the bow with a piece of jute twine.
Trim the ends of the twine and dovetail the ends of the ribbon. Hot glue your mini DIY ribbon bow at the top of your wreath.
Next, hot glue either a wood craft cube or the original cube from the “it feels like HOME” insert back onto the insert, then hot glue it to the center of the wreath.
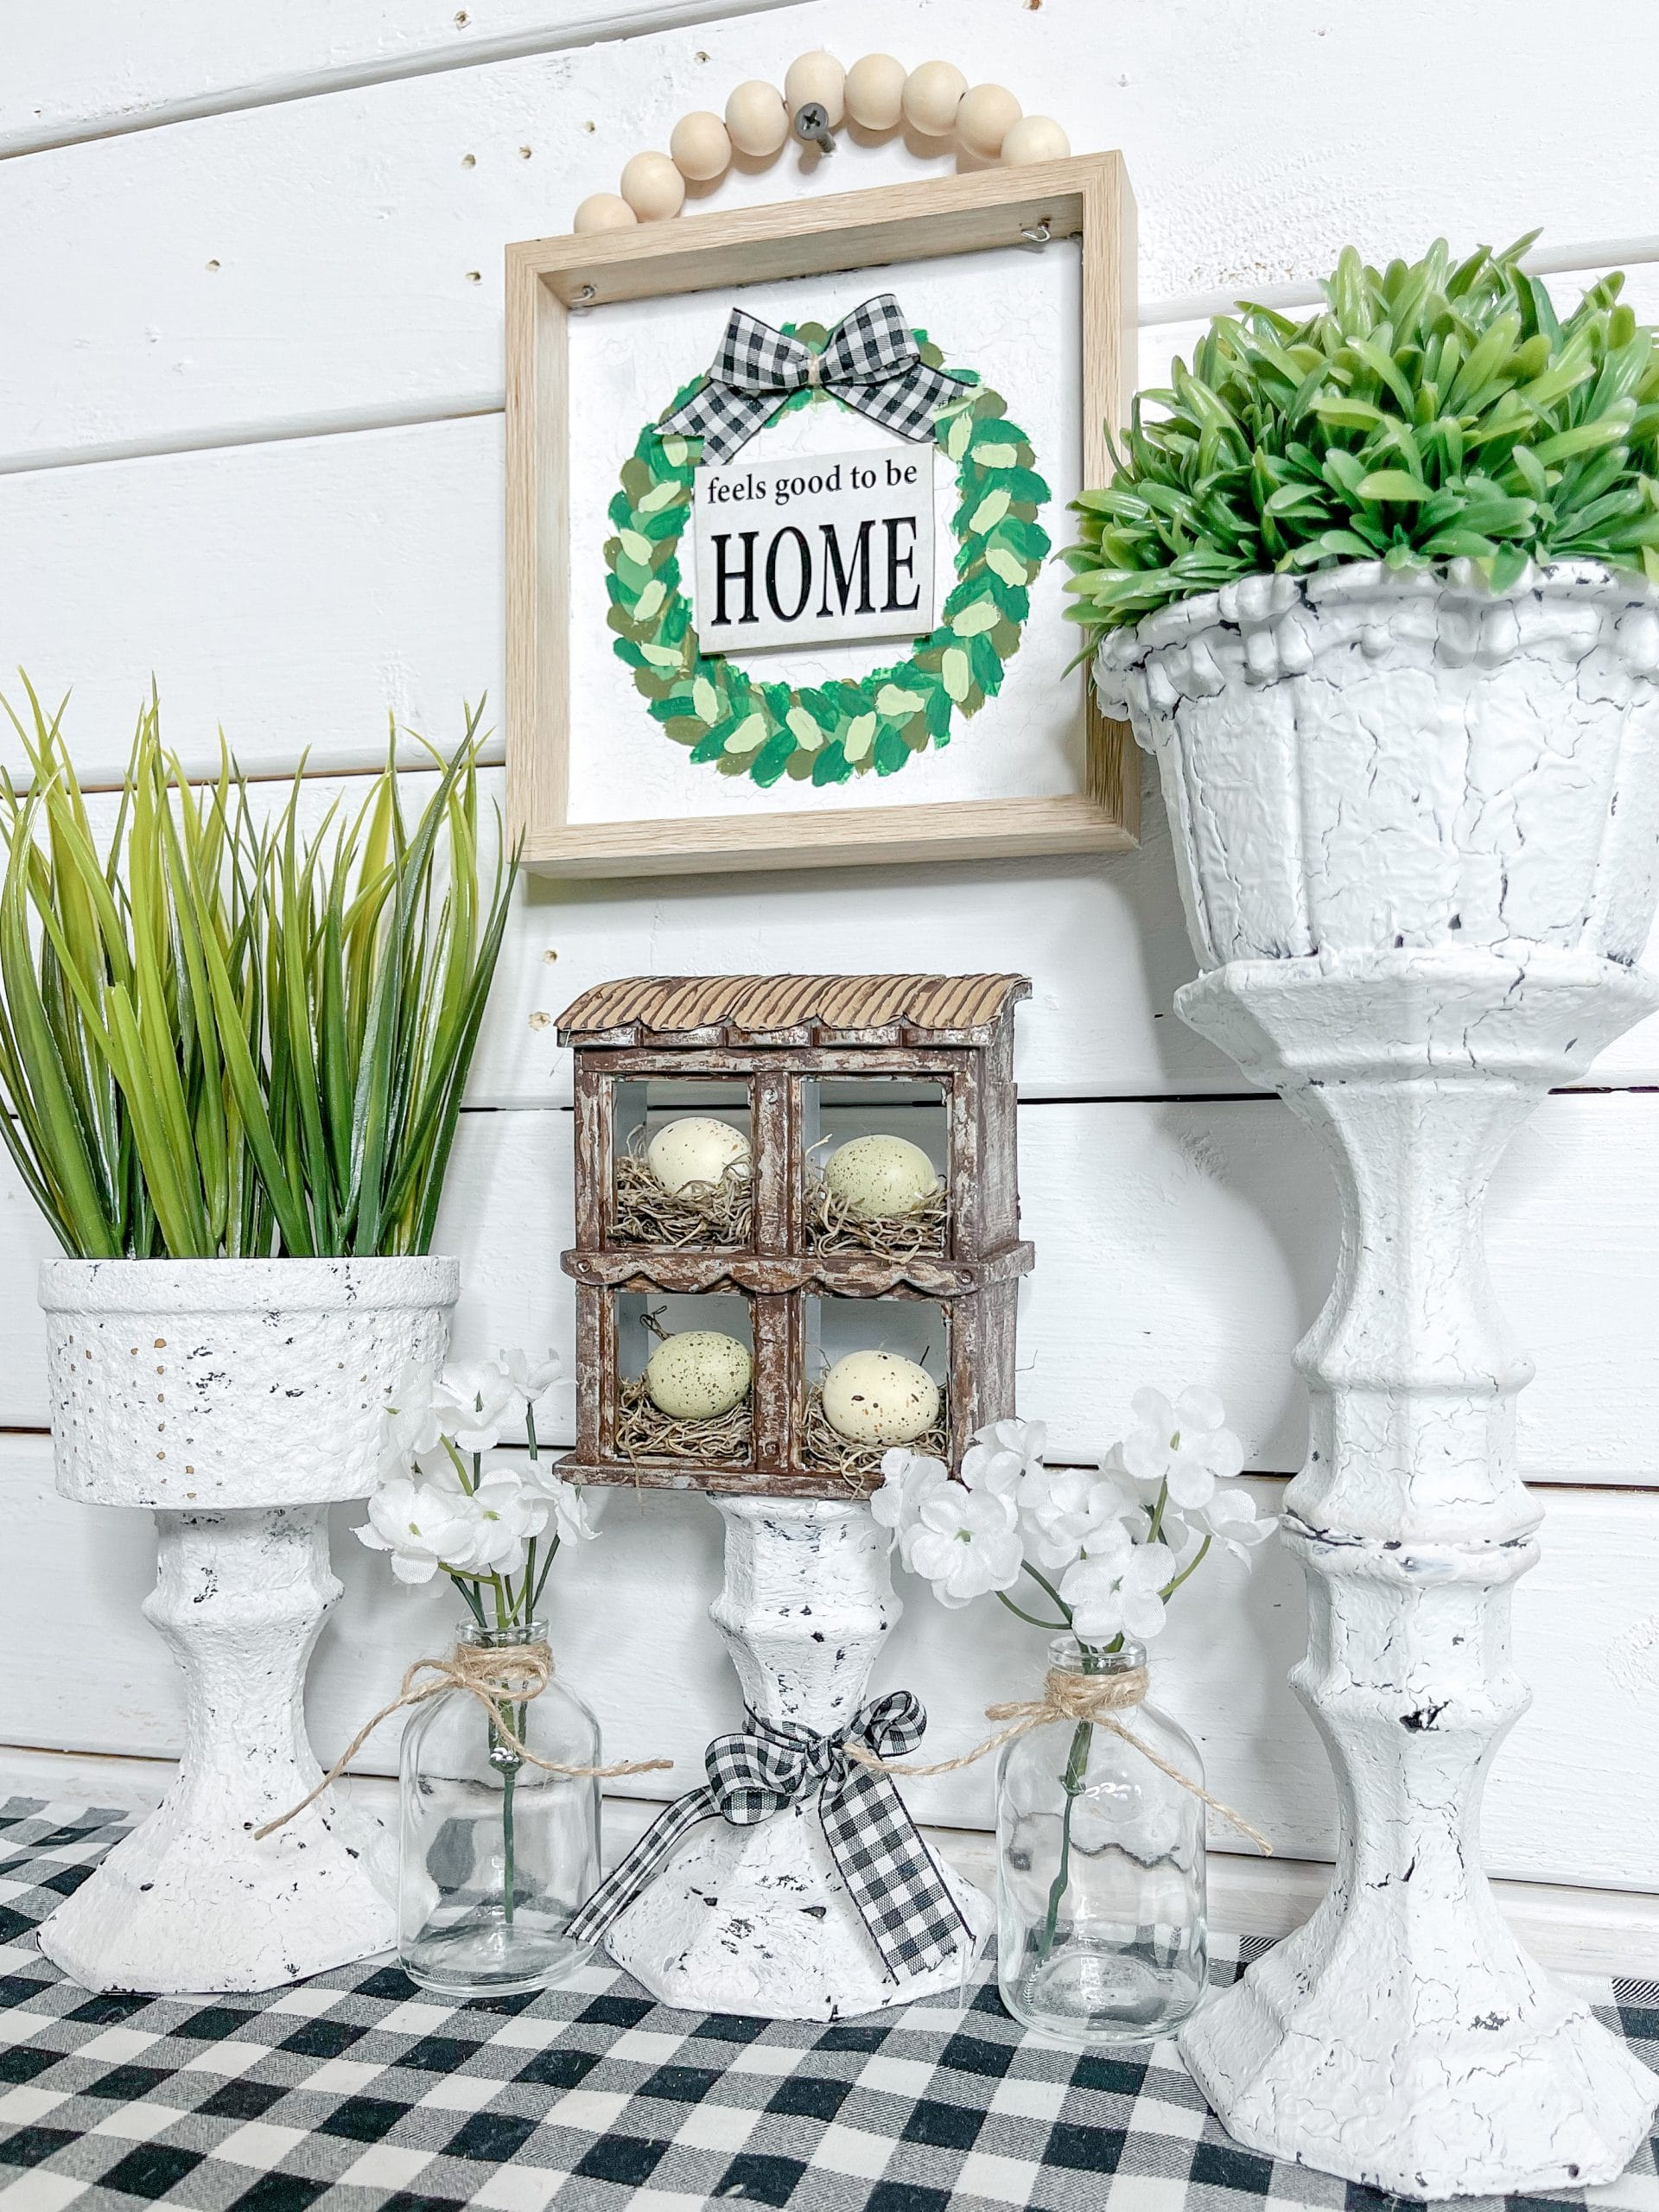
Finally, I made the hanger. For that, I used a piece of Dollar Tree wired jute cord and some wooden beads that I bought on Amazon.
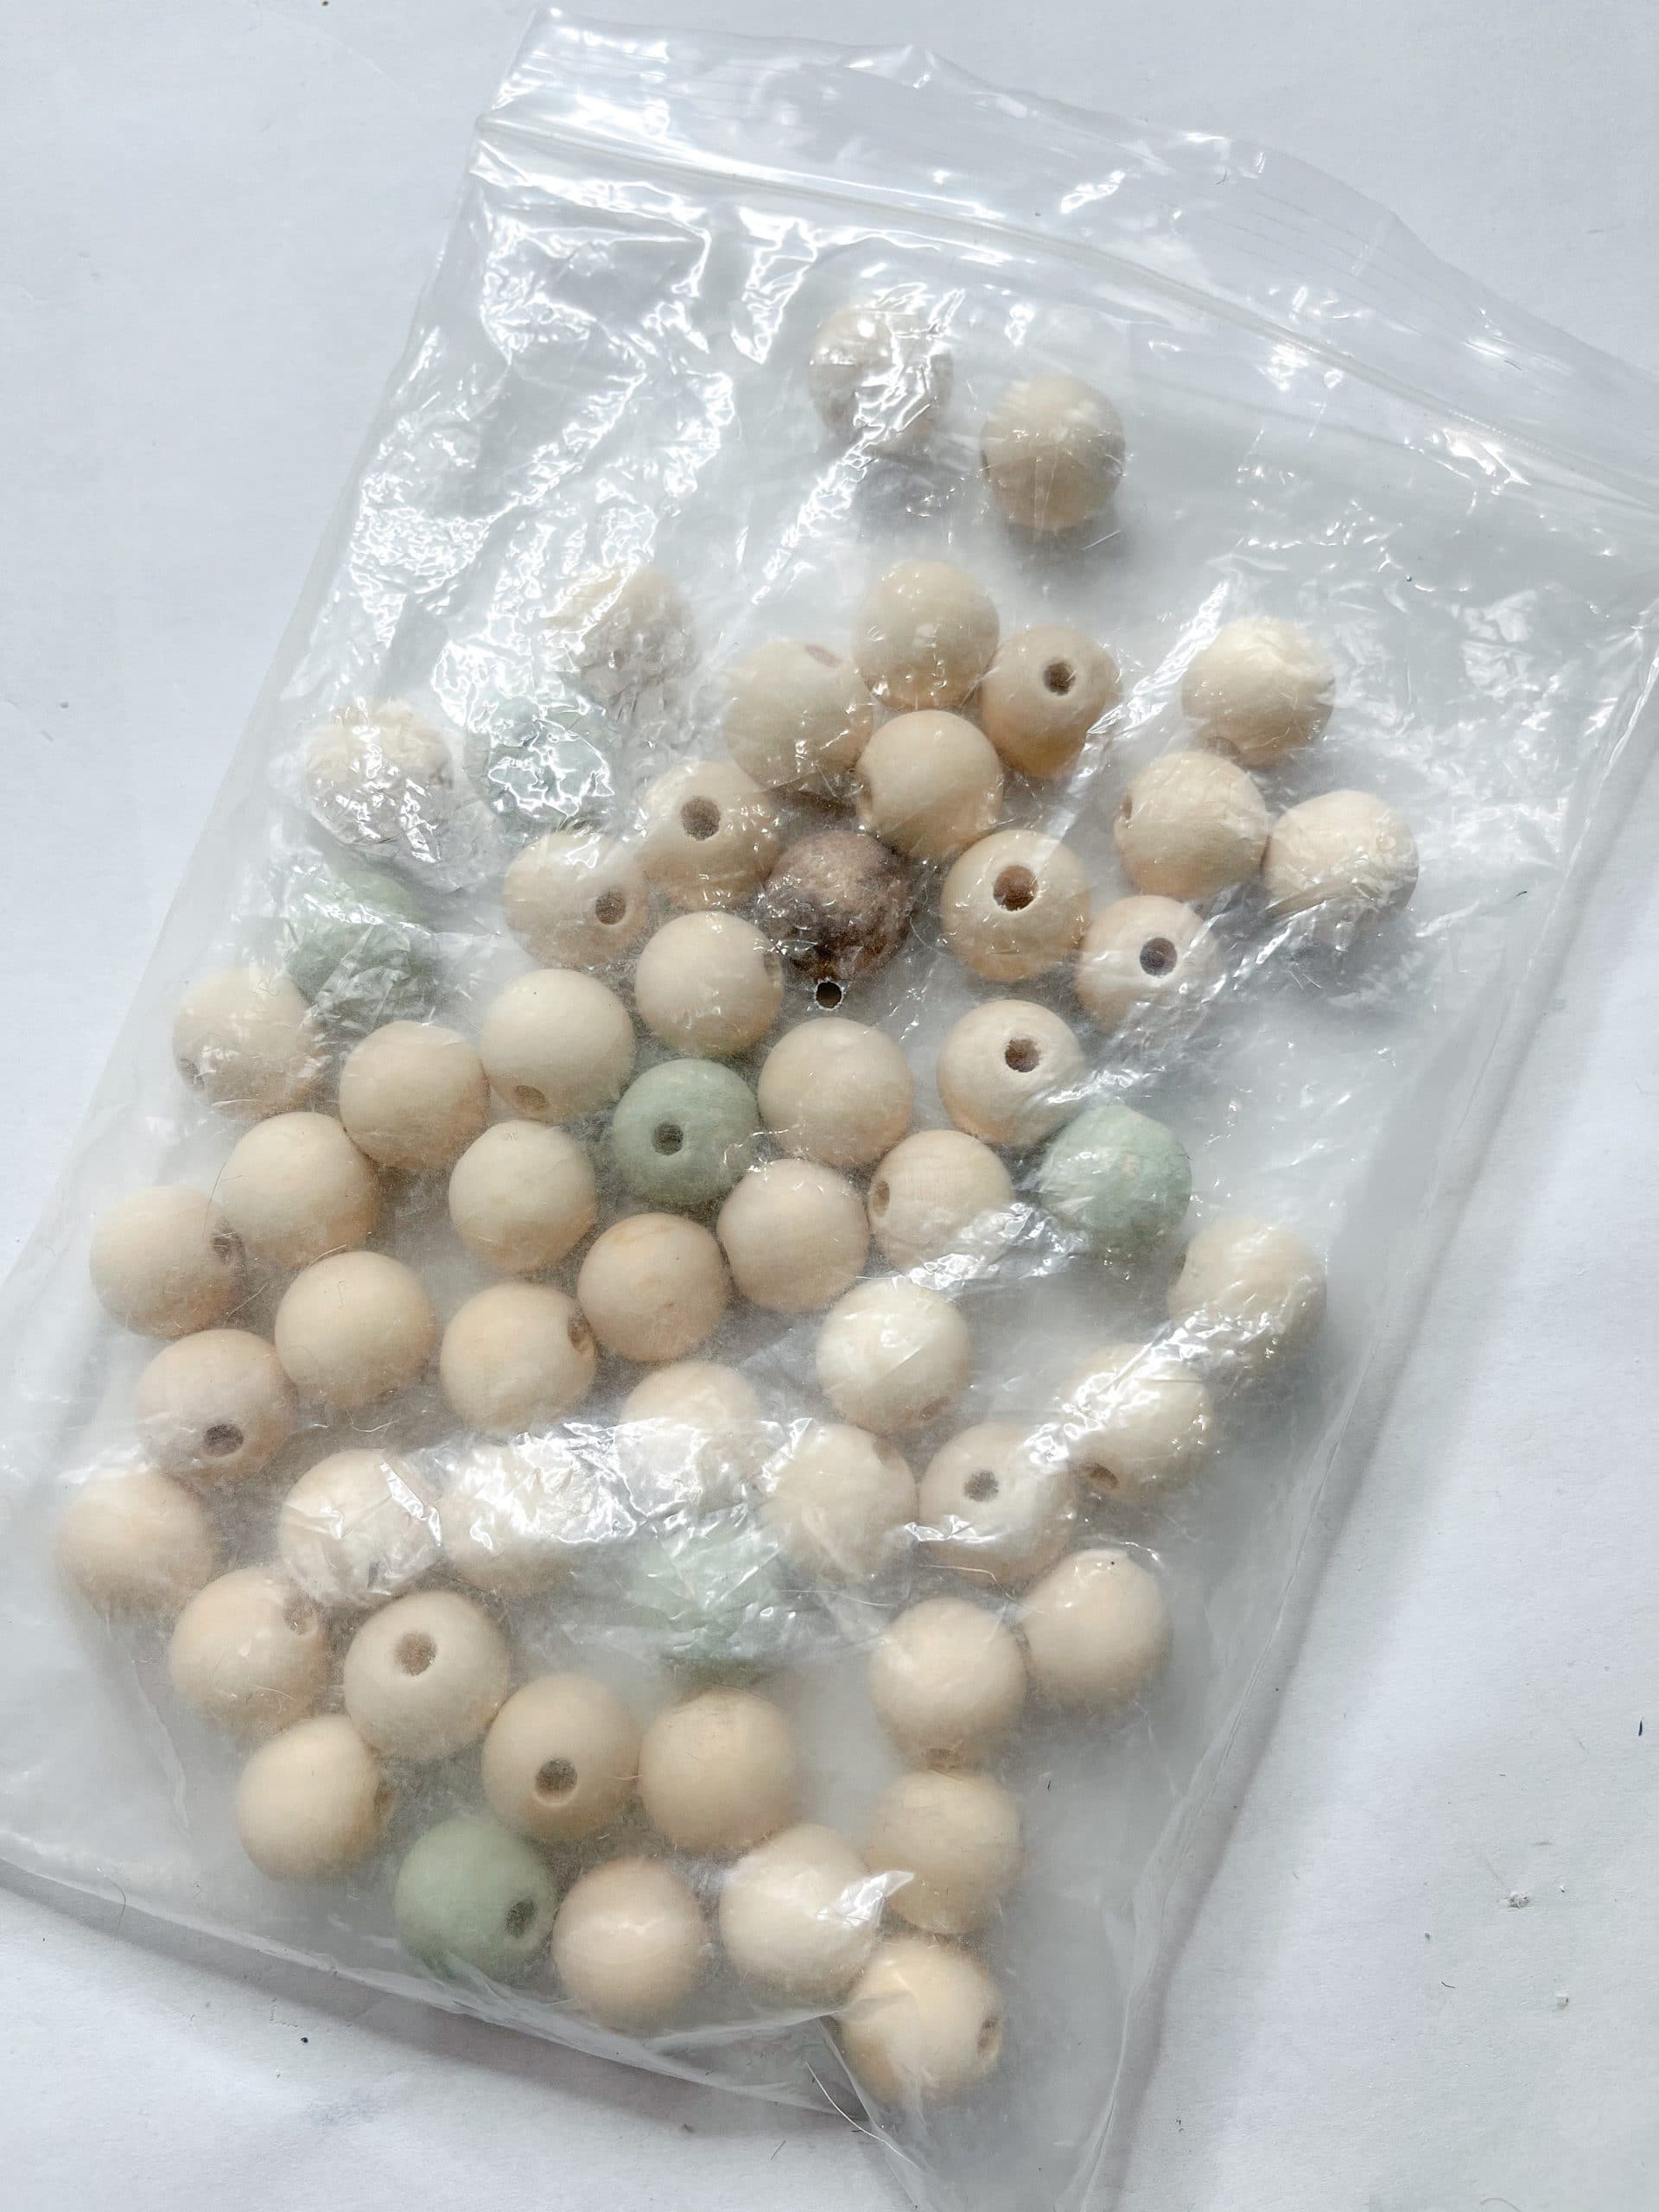
I removed the jute twine from the wire, then threaded my wooden beads onto the wire. To attach the wire to the sign, I drilled two holes in the top of the sign box.
Push the wire through the holes, then bend the ends back up towards the beads. Lastly, I used pliers to twist the wire and bunch it up and trimmed the excess wire.
You can add a bit of hot glue to the ends of the wire to really secure the hanger in place, if you want to, but once you attach the hanger, you’re ready to decorate!
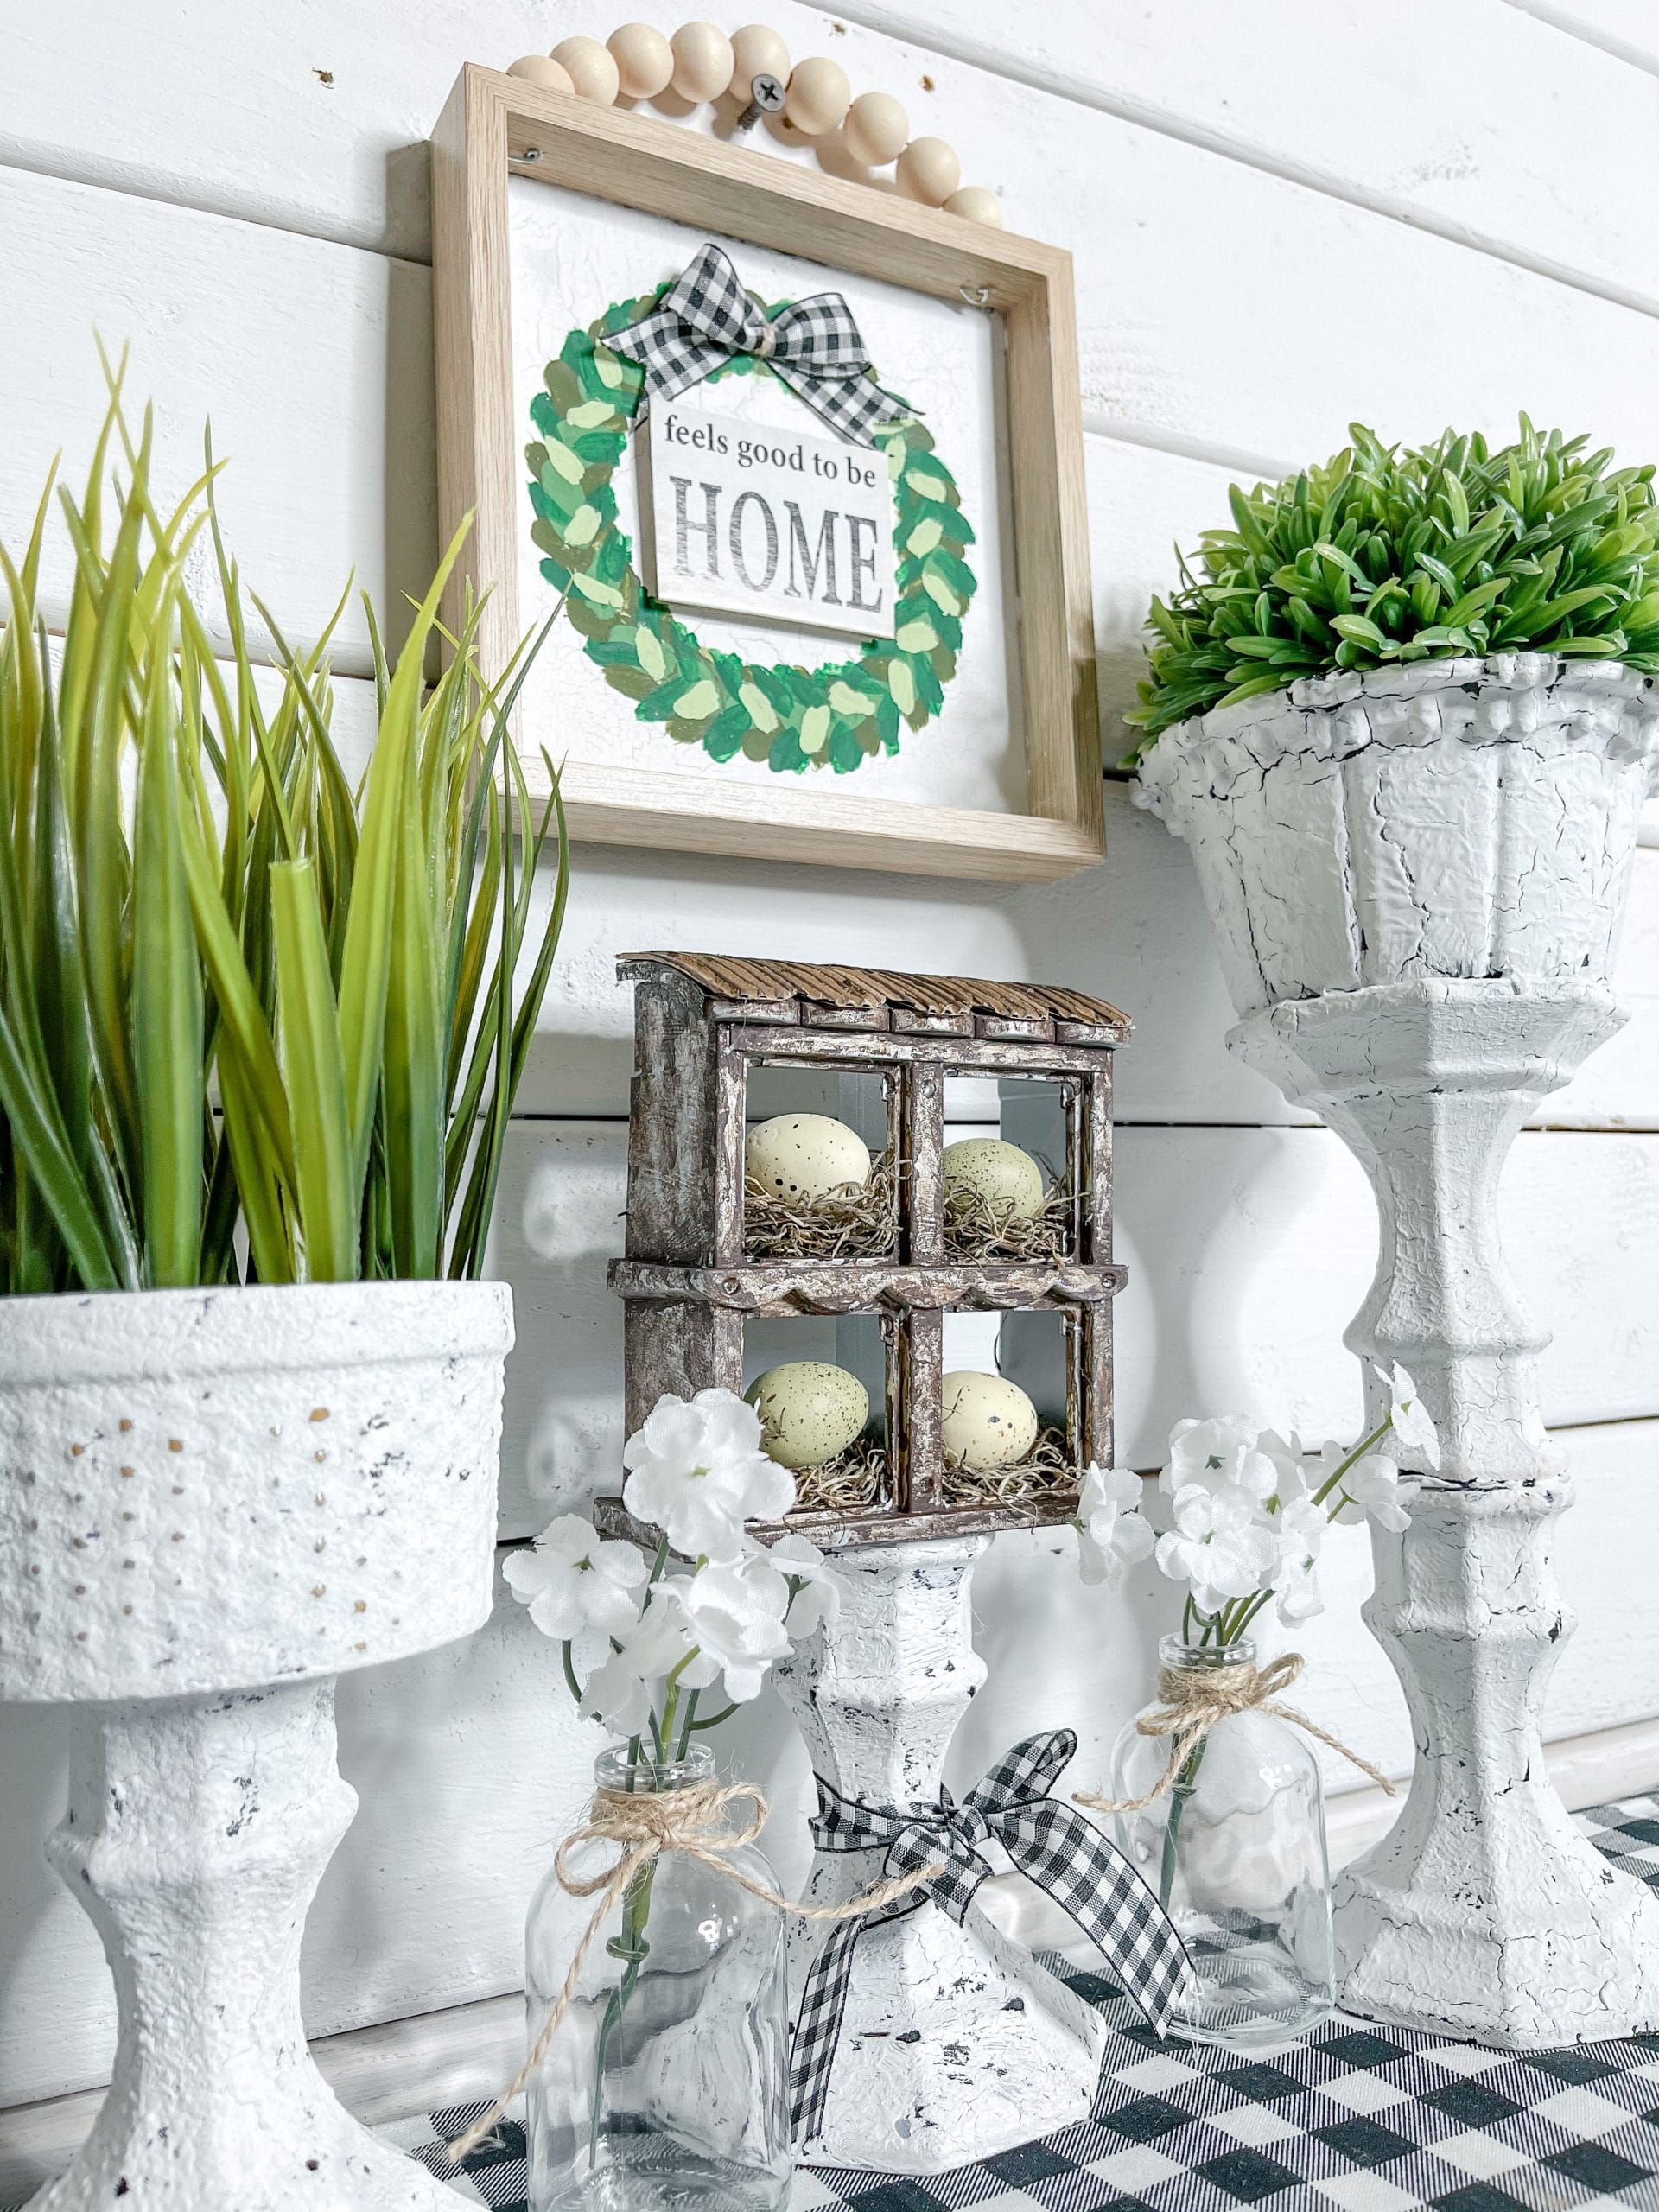
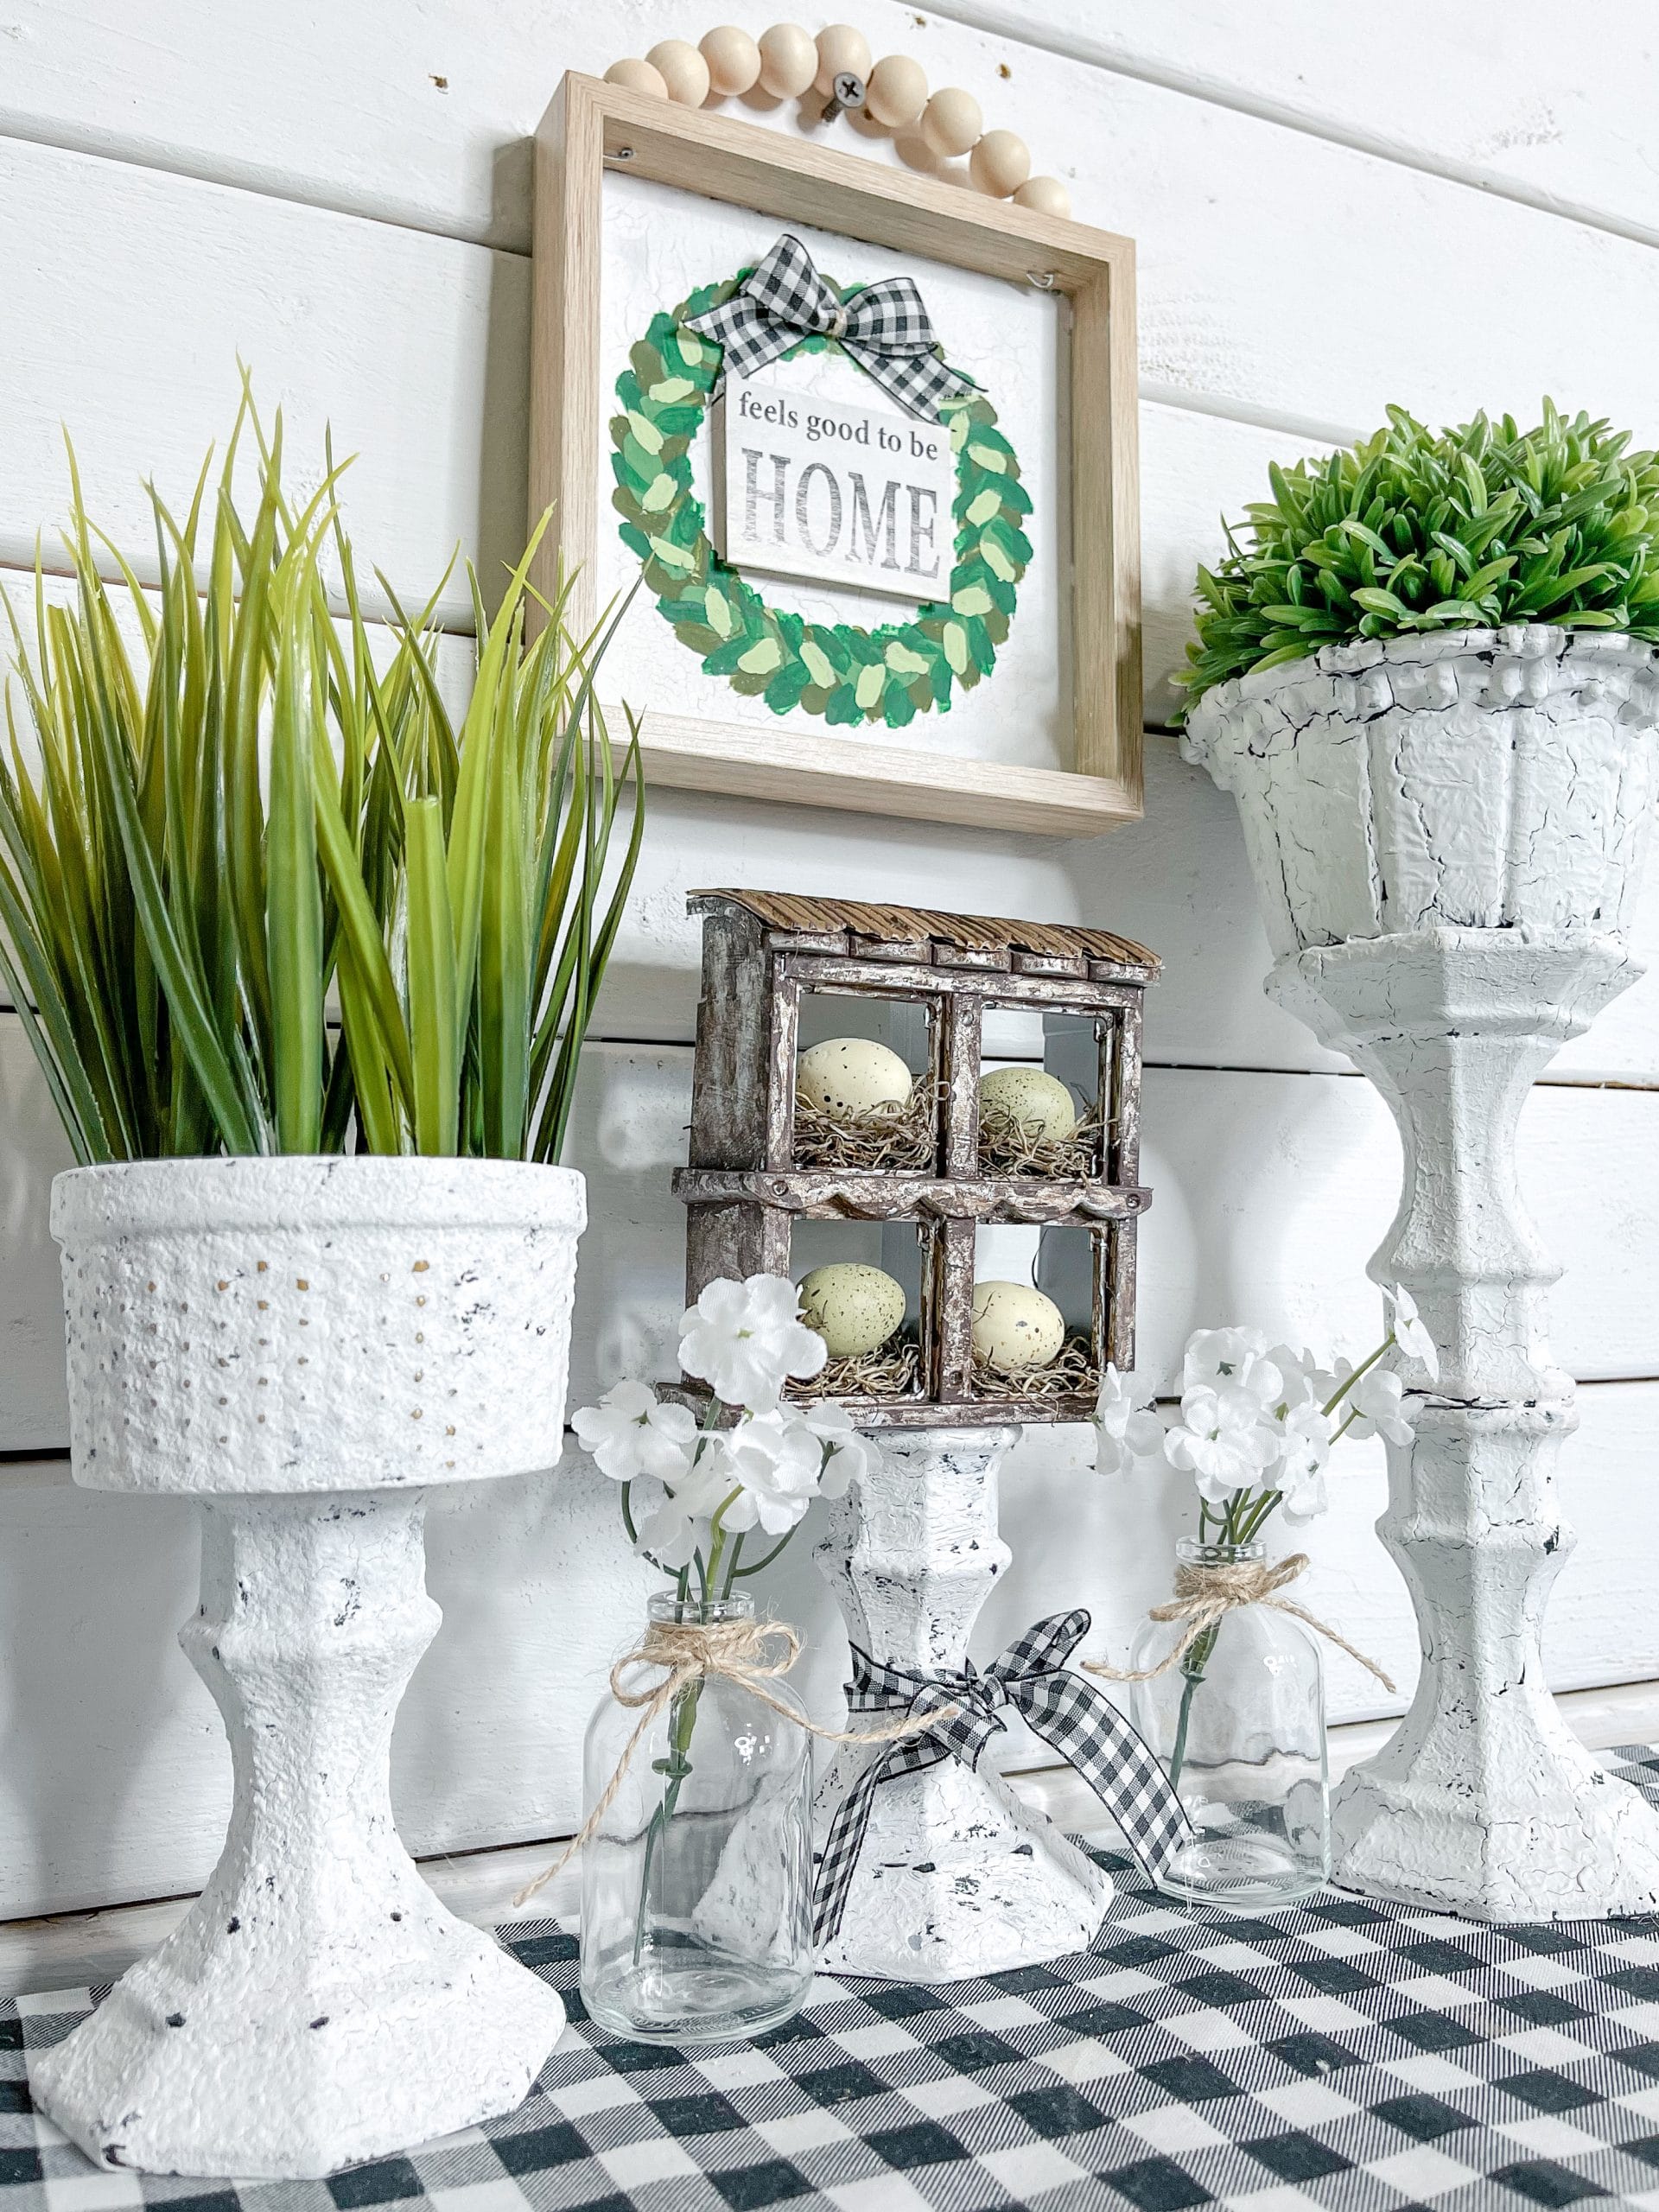
I hope you enjoyed this Easy DIY Painted Wreath Sign as much as I did and decide to make it for yourself! If you do, I would love to see how yours turns out! You can easily make this for year round and it would be super cute for Christmas too!
You should totally join my FREE Facebook group called On A Budget Crafts! It is a judgment-free community for DIY crafters to show off their projects and ideas.
If you loved this DIY, you might also like these DIY ideas!
- Hot Glue Mold DIY Home Decor
- Dollar Tree Trophy DIY Farmhouse Decor
- DIY Farmhouse Buffalo Check Gather Sign
- Simple Buffalo Check Farmhouse Plant Jar
Thanks for stopping by! XOXO Amber
You can also shop my ENTIRE AMAZON Favorites shop just click here! It’s packed full of all the things I use and love. Here is the supply list I highly recommend every creative have on hand!!
Would you also pin my blog for later and get on my newsletter alerts? I would love to have you join my #craftycrew.
Inspired? Leave me a comment below! I love hearing from my readers!

Join my free “ON A BUDGET CRAFTS” Facebook group!
Cute little sign, love it. Great painting girl