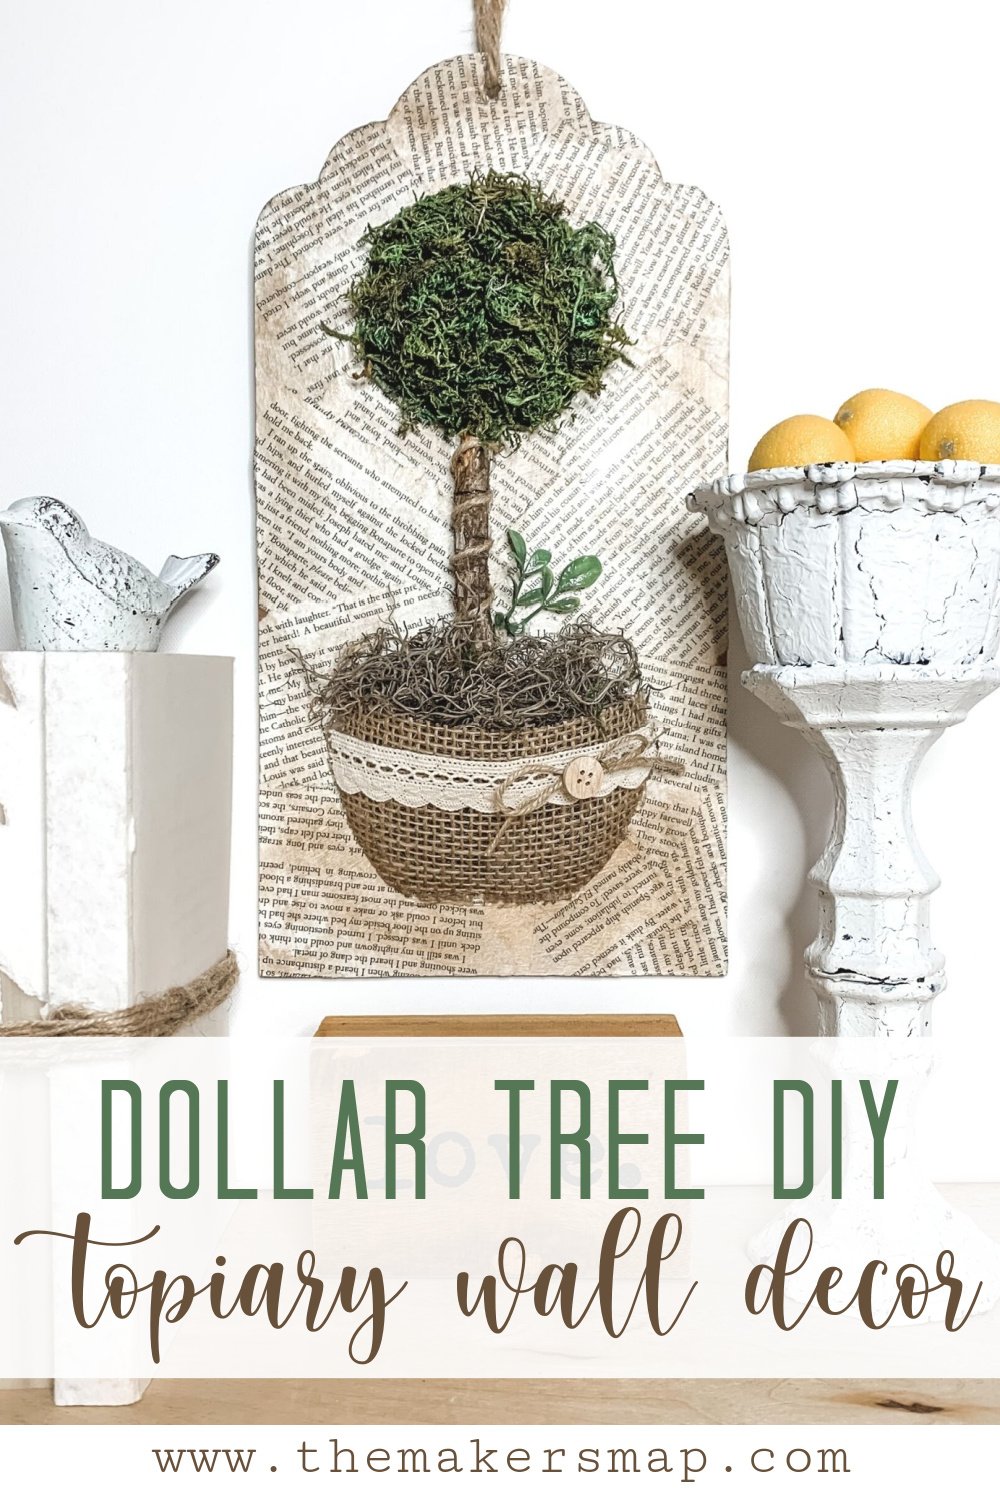
Dollar Tree DIY Topiary Wall Decor
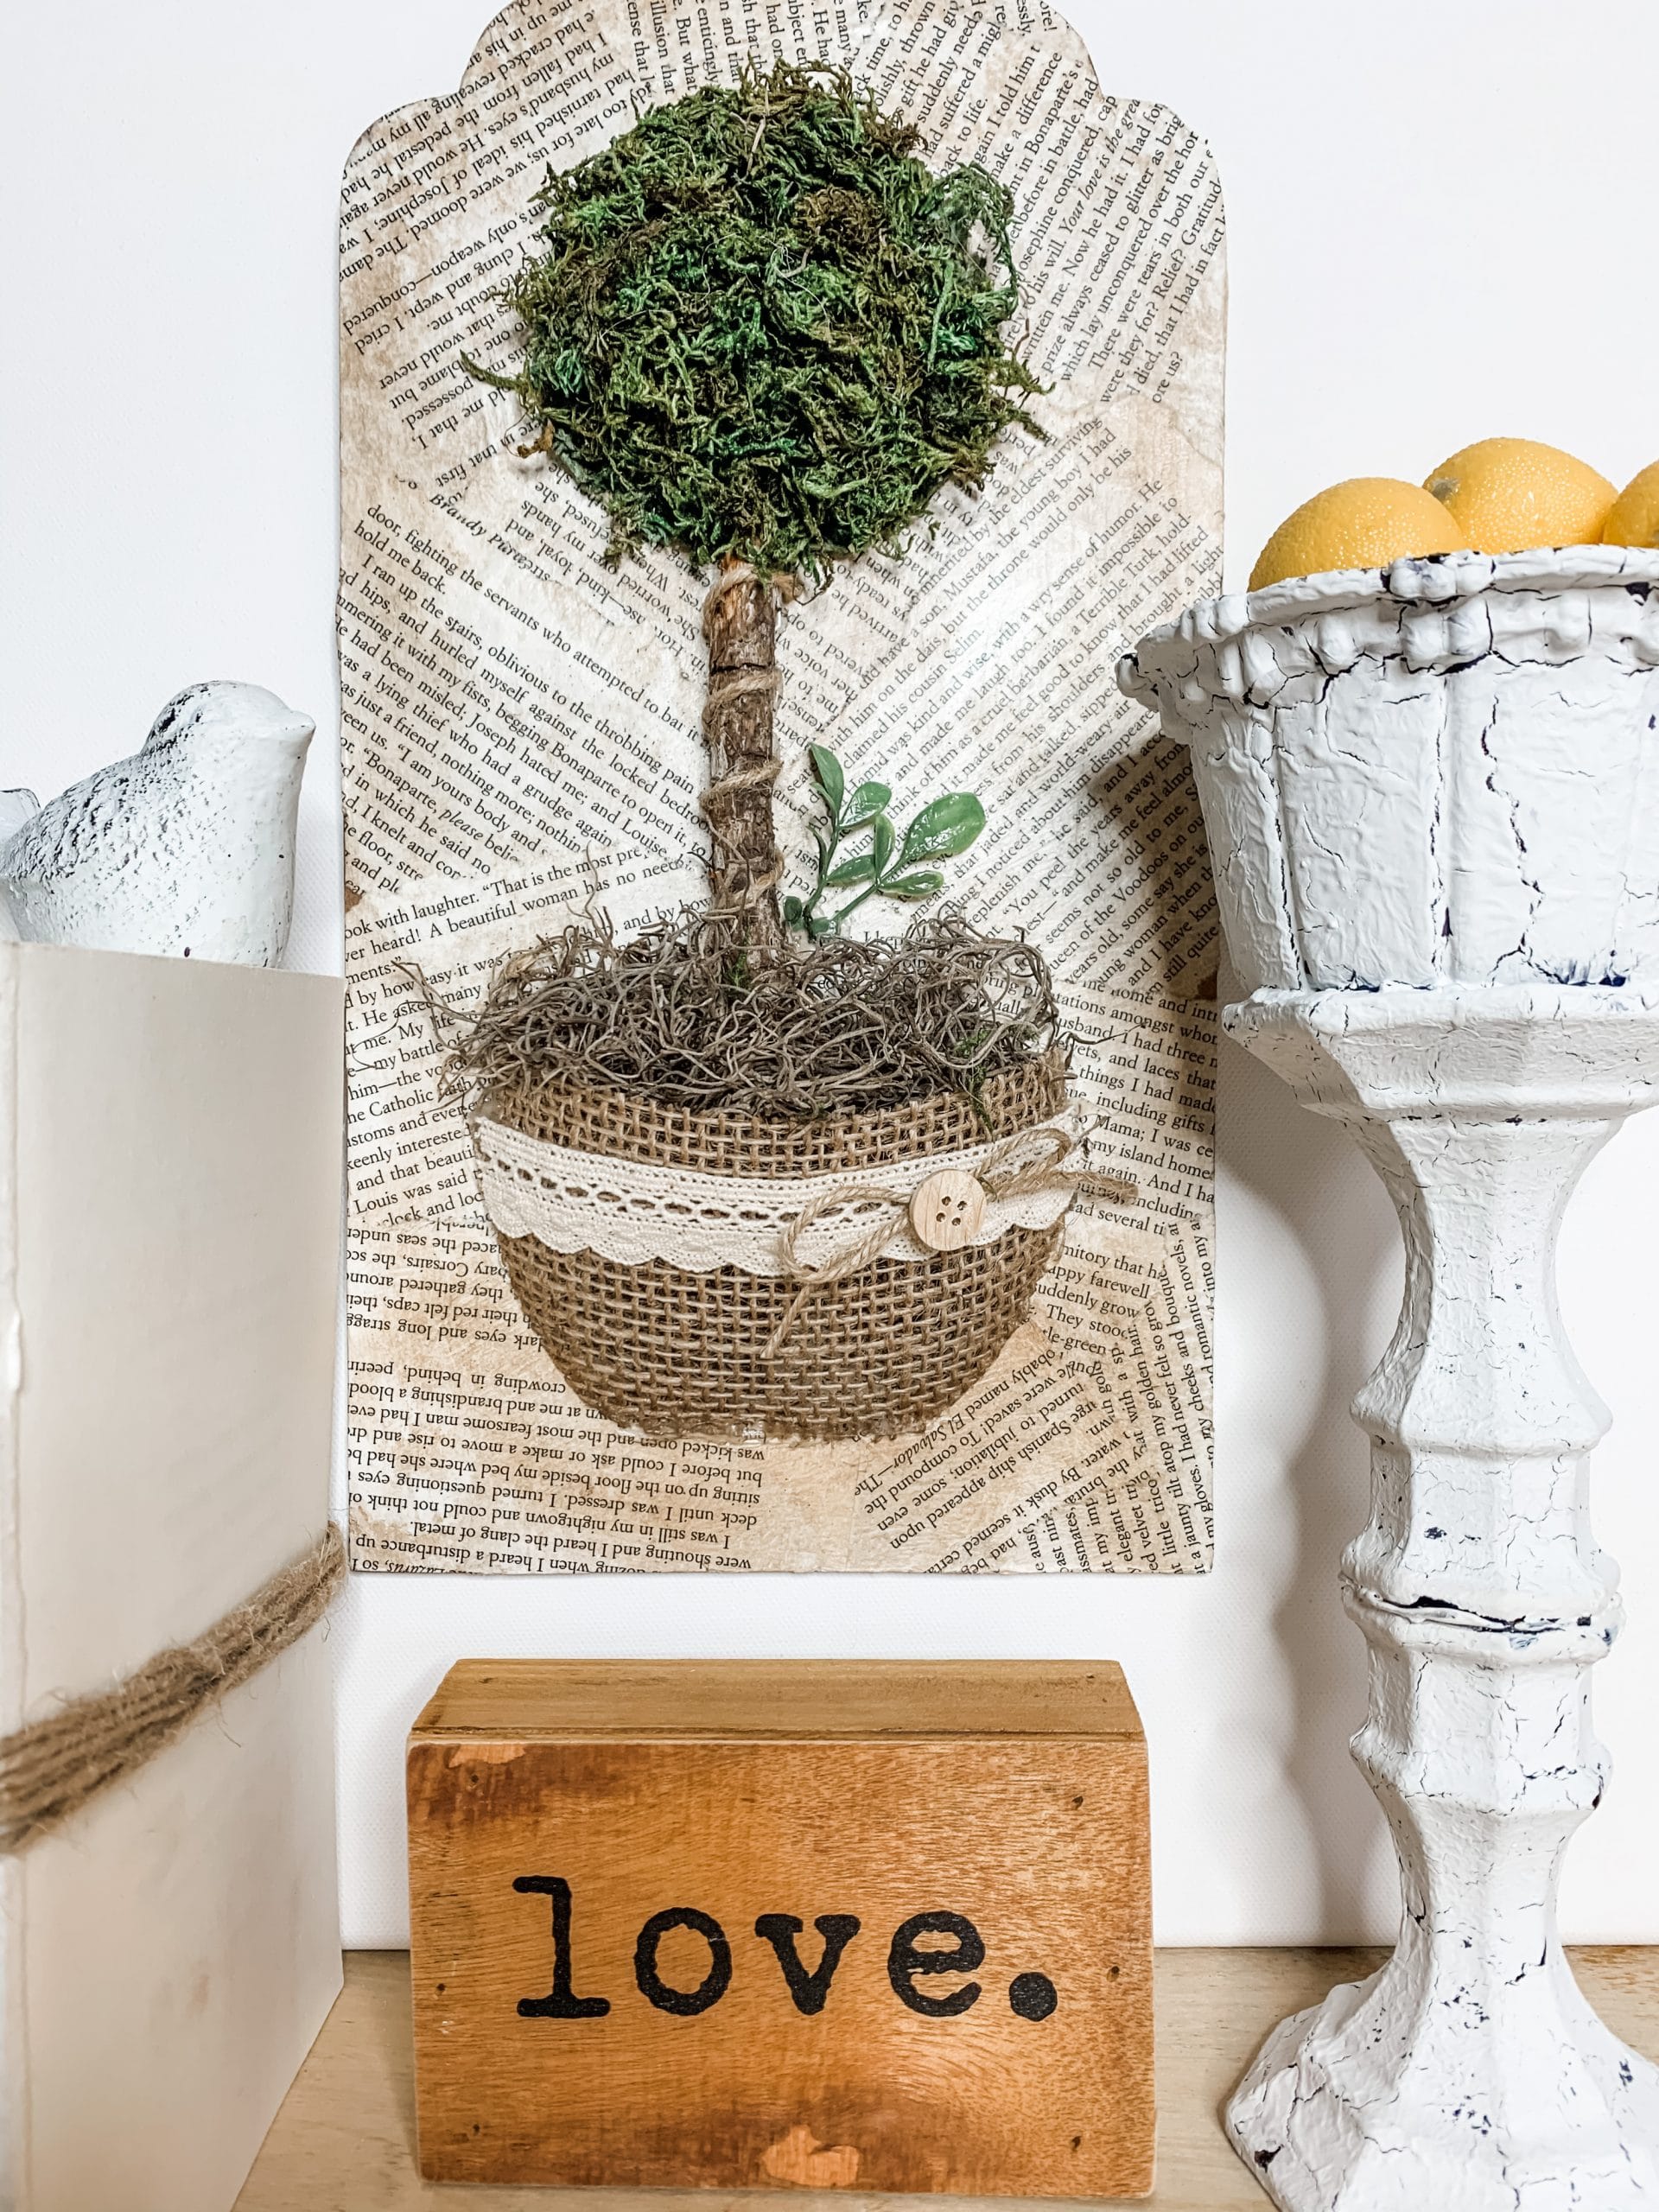
Everyone loves a good topiary, and I am obsessed with this adorable Dollar Tree DIY Topiary Wall Decor! This everyday Dollar Tree DIY wall decor is so easy to make and works with any budget!
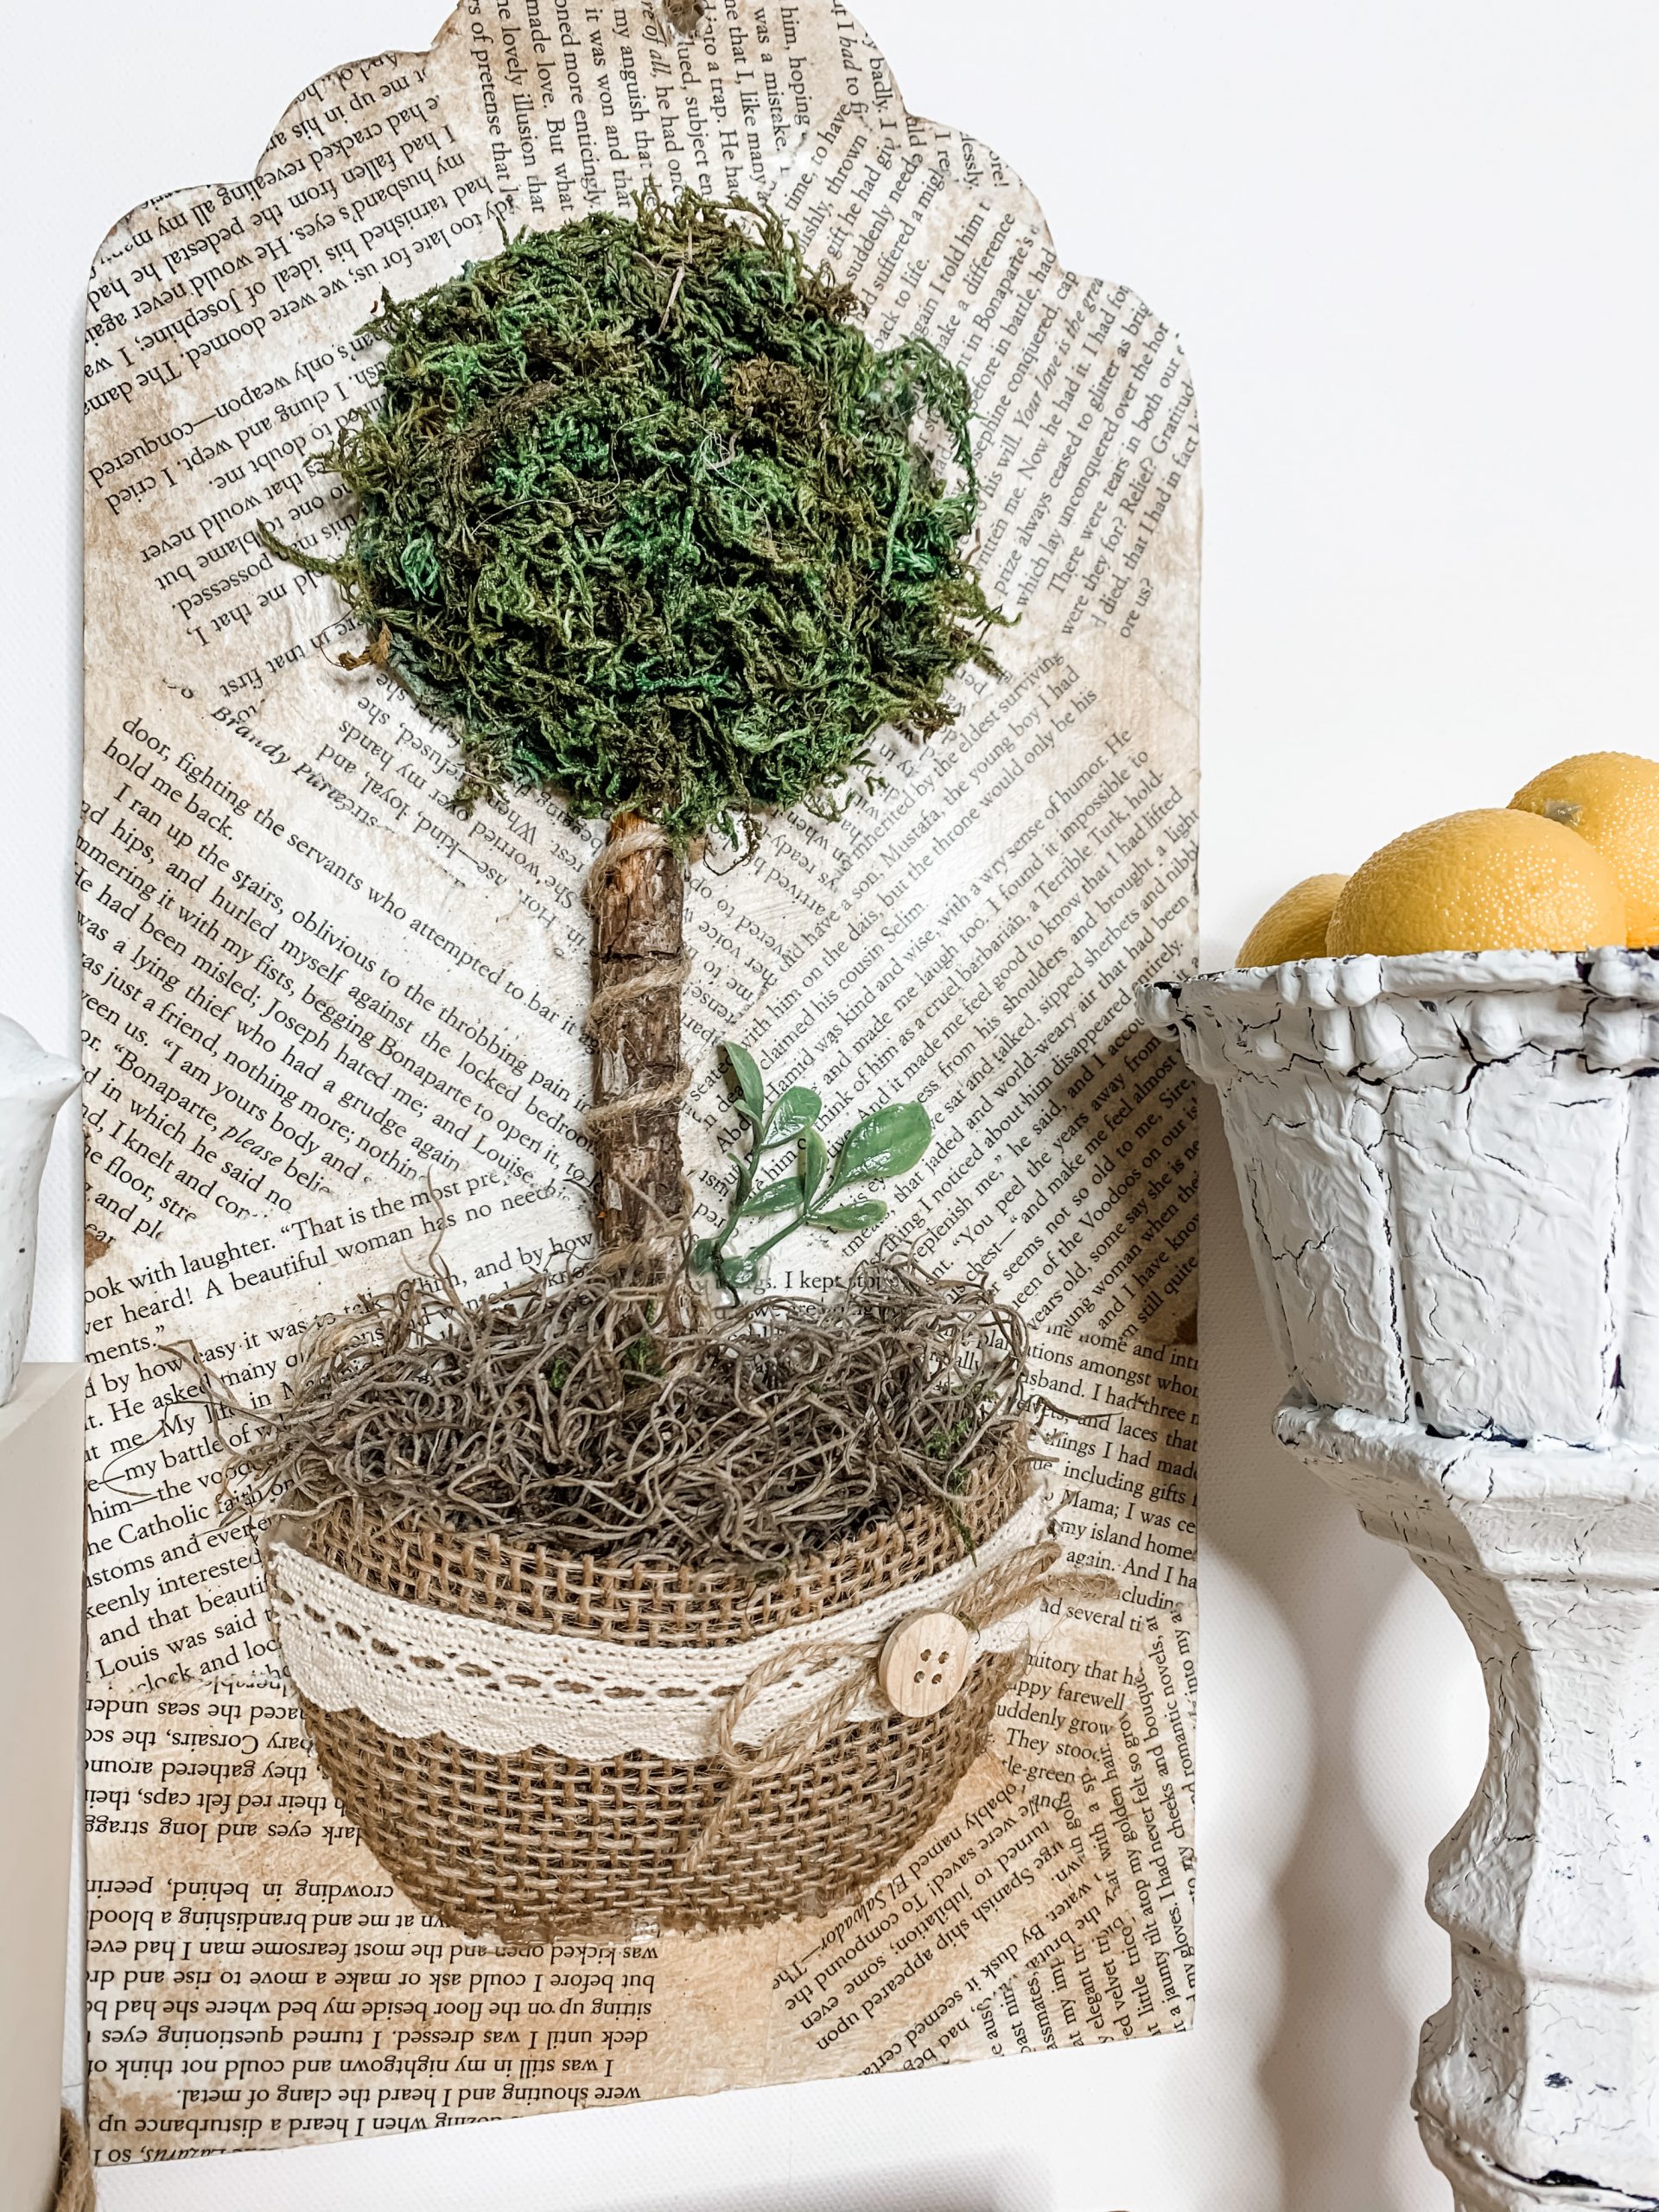
I love the detail that the aged book pages add to this project! How cute would this decor be hanging in a bathroom or bedroom??
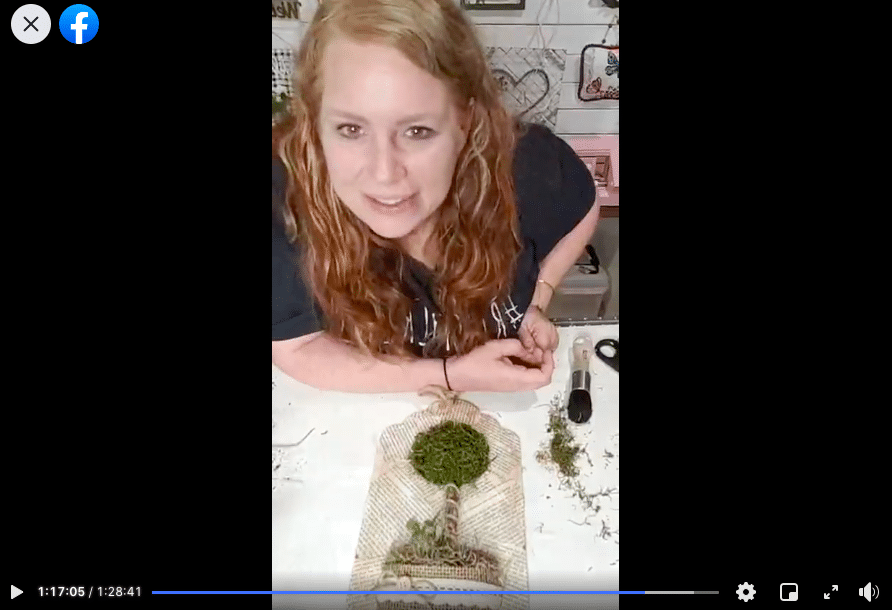
Watch the replay
Want to craft along or see my DIY techniques? You can watch the replay of this Facebook Live video to see the how-to steps or join in on the fun conversations I always have with my Crafty Crew!
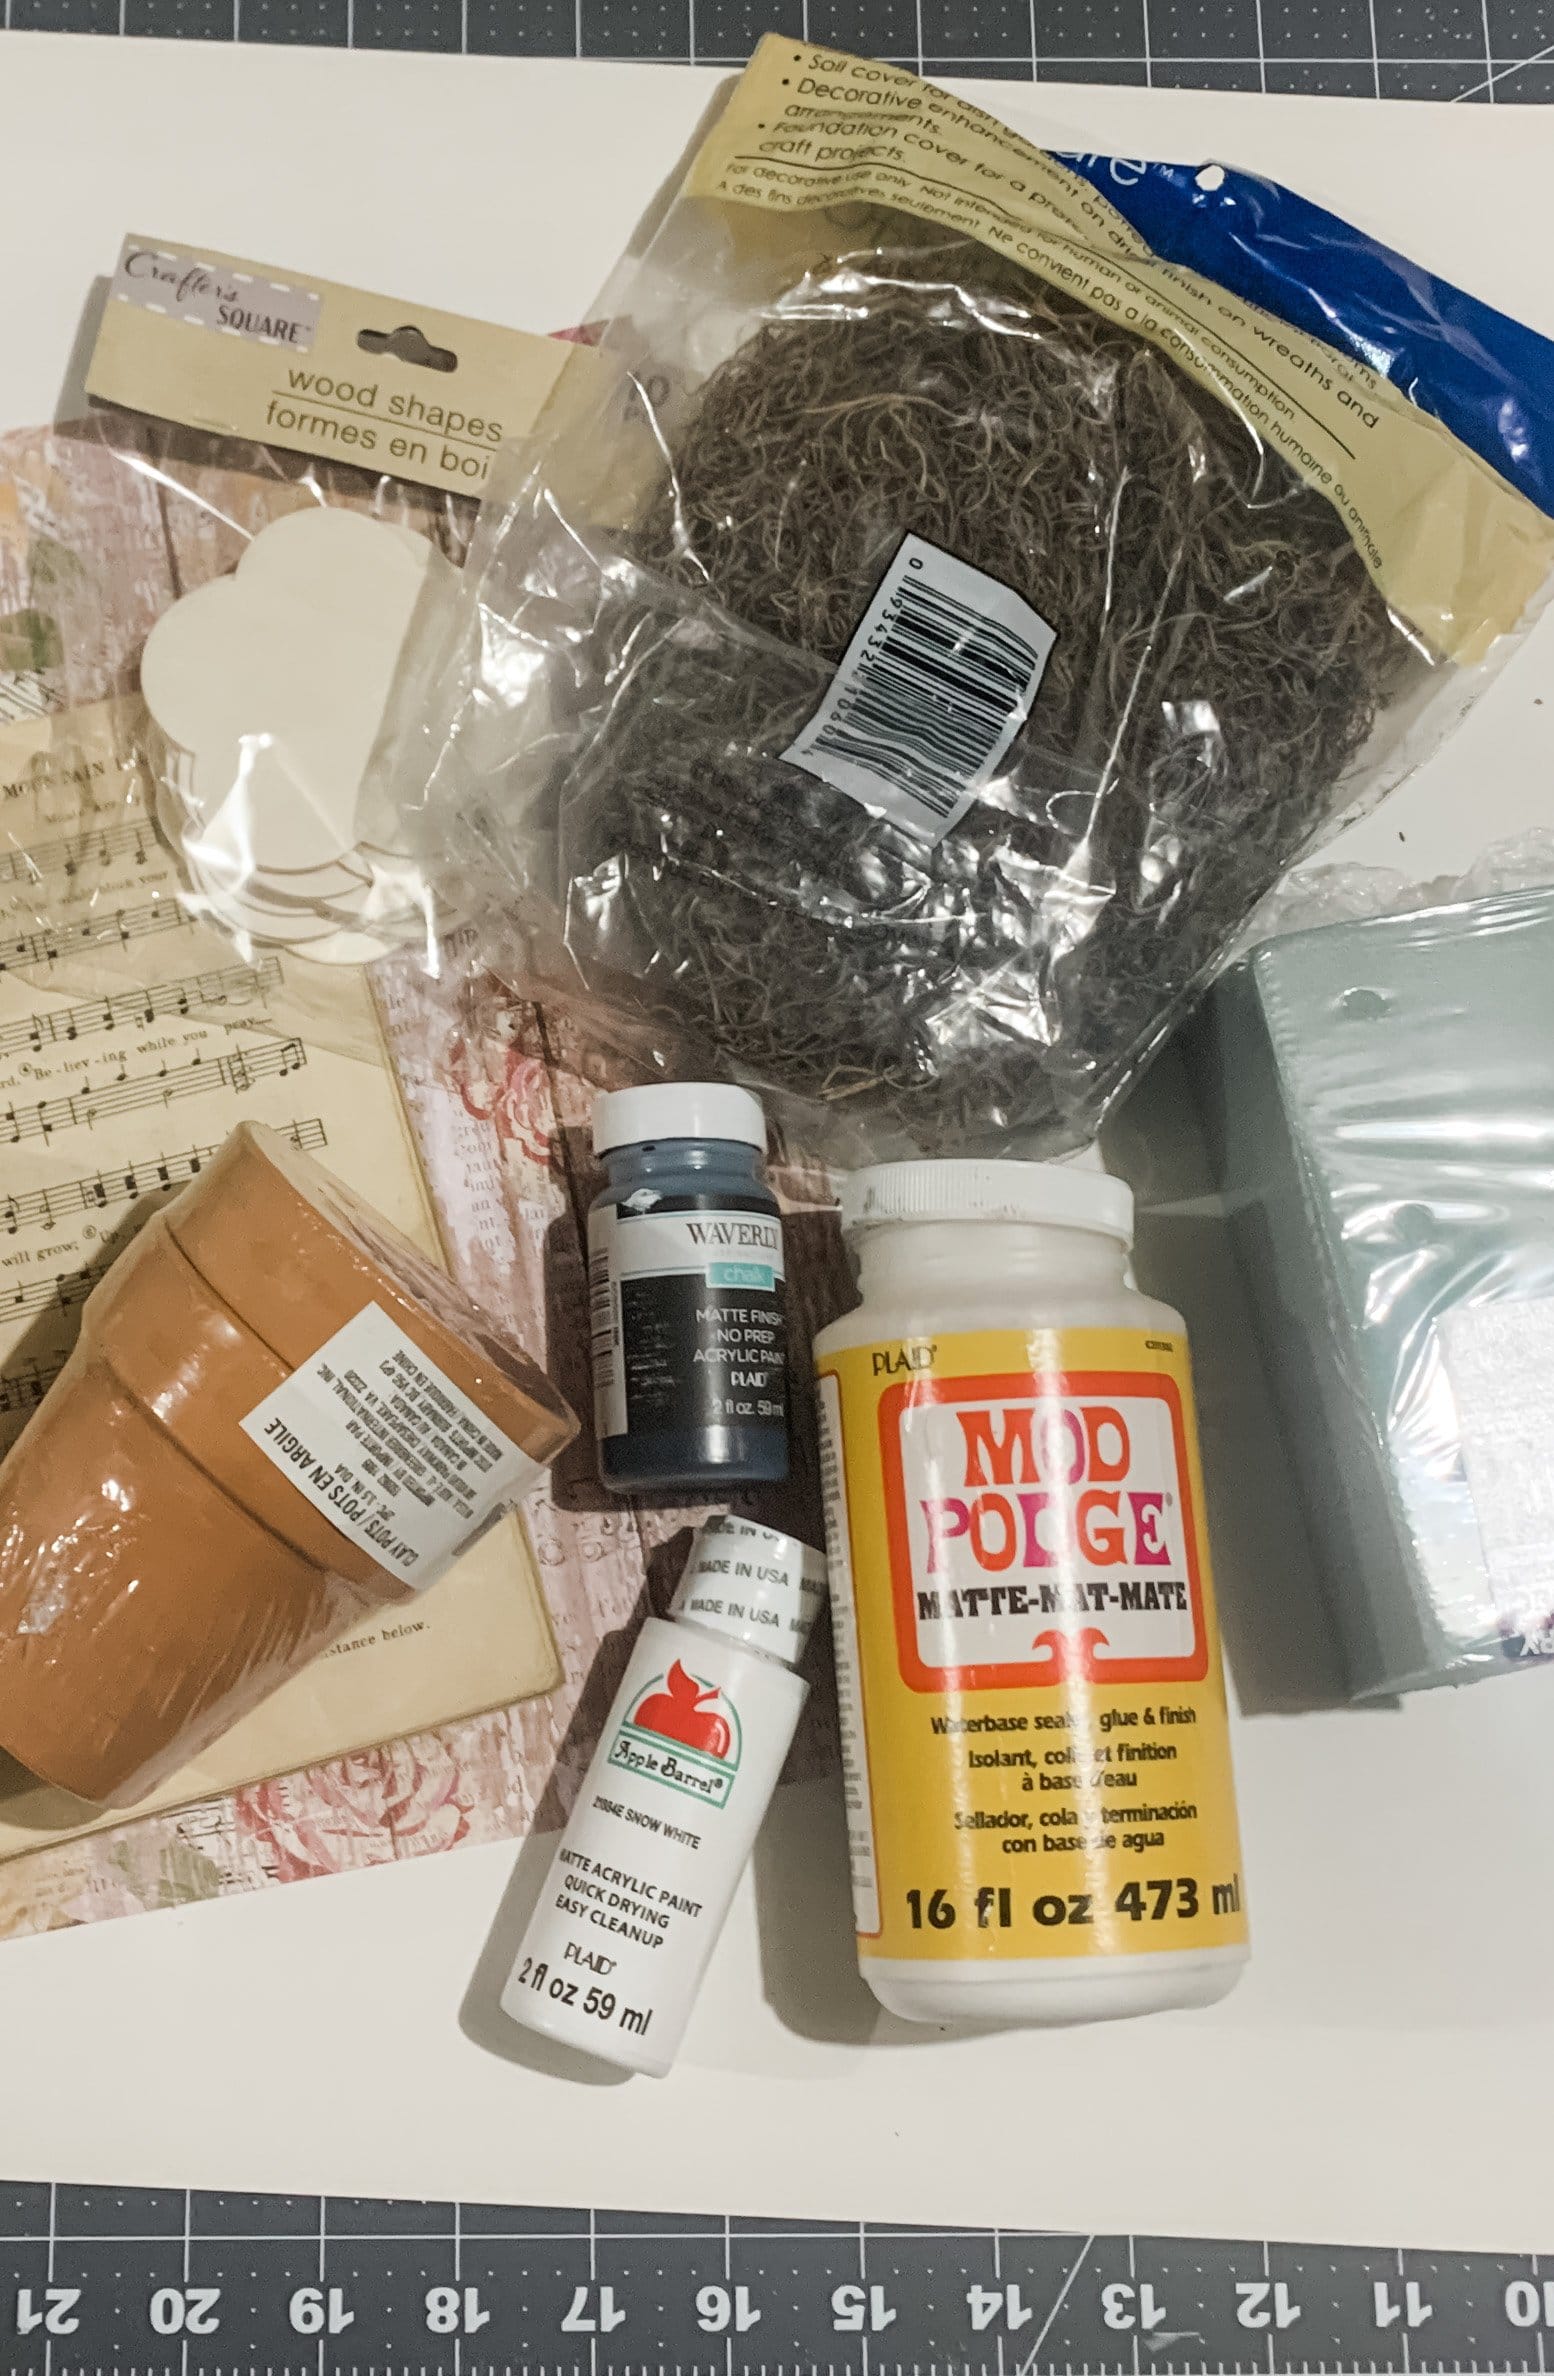
For this project, I will be using these items but you can substitute where you want.
“As an Amazon Associate, I earn from qualifying purchases.”
- Dollar Tree Tag Sign
- Dollar Tree Spanish Moss
- Green Moss (Michael’s)
- Dollar Tree Green Moss Sheet
- Dollar Tree Twine
- White Ribbon (Hobby Lobby)
- Dollar Tree Burlap Ribbon
- Dollar Tree Raffia
- Mod Podge
- Dollar Tree Book pages
- Dollar Tree Small button
- Greenery Spray
- Waverly Antique Wax
- Waverly Clear Wax
- Small stick
- Hot glue gun and glue sticks
Let’s get to the good stuff!
The Dollar Tree tag sign that I used had a rope hanger, so I started this DIY project by removing the rope hanger. This will make it easier to paint and decorate the tag, and we can always add the hanger back when we are finished.
Next, you’re going to remove the book pages you want to use. I purchased a book from Dollar Tree because, well, it was a dollar. You can use any book pages you want!
Once you have several book pages ready, apply a coat of Mod Podge to the Dollar Tree tag sign and place the book pages in an upside-down V shape, starting at the top and overlapping slightly as you go down the tag.
You can apply a small bit of Mod Podge over the edges of the book pages to keep them from peeling up and to help the overlapping pages secure properly.
Allow the pages to completely dry before you move on with this DIY project. I used my heat gun to speed up the drying process. IF you don’t have one, you can use a hairdryer on the low cool setting!
Once all the pages are completely dry, go around the edge of the Dollar Tree tag sign and use a pair of scissors to trim the excess paper from around the tag.

How to age paper
Next, grab your Waverly Antique Wax and Waverly Clear Wax. First, you’ll apply a coat of the clear wax. This will keep the paper from absorbing the antique wax.
Then, dab a very small amount of the Waverly Antique Wax onto a piece of wax paper and use a thicker paintbrush to apply the wax to your decoupaged book pages. The antique wax is going to give your book pages an aged look.
If you apply too much of the antique wax, you can dab a wet wipe over the book pages. This will help pick up some of the excess wax and blend out the areas where the wax is too concentrated.

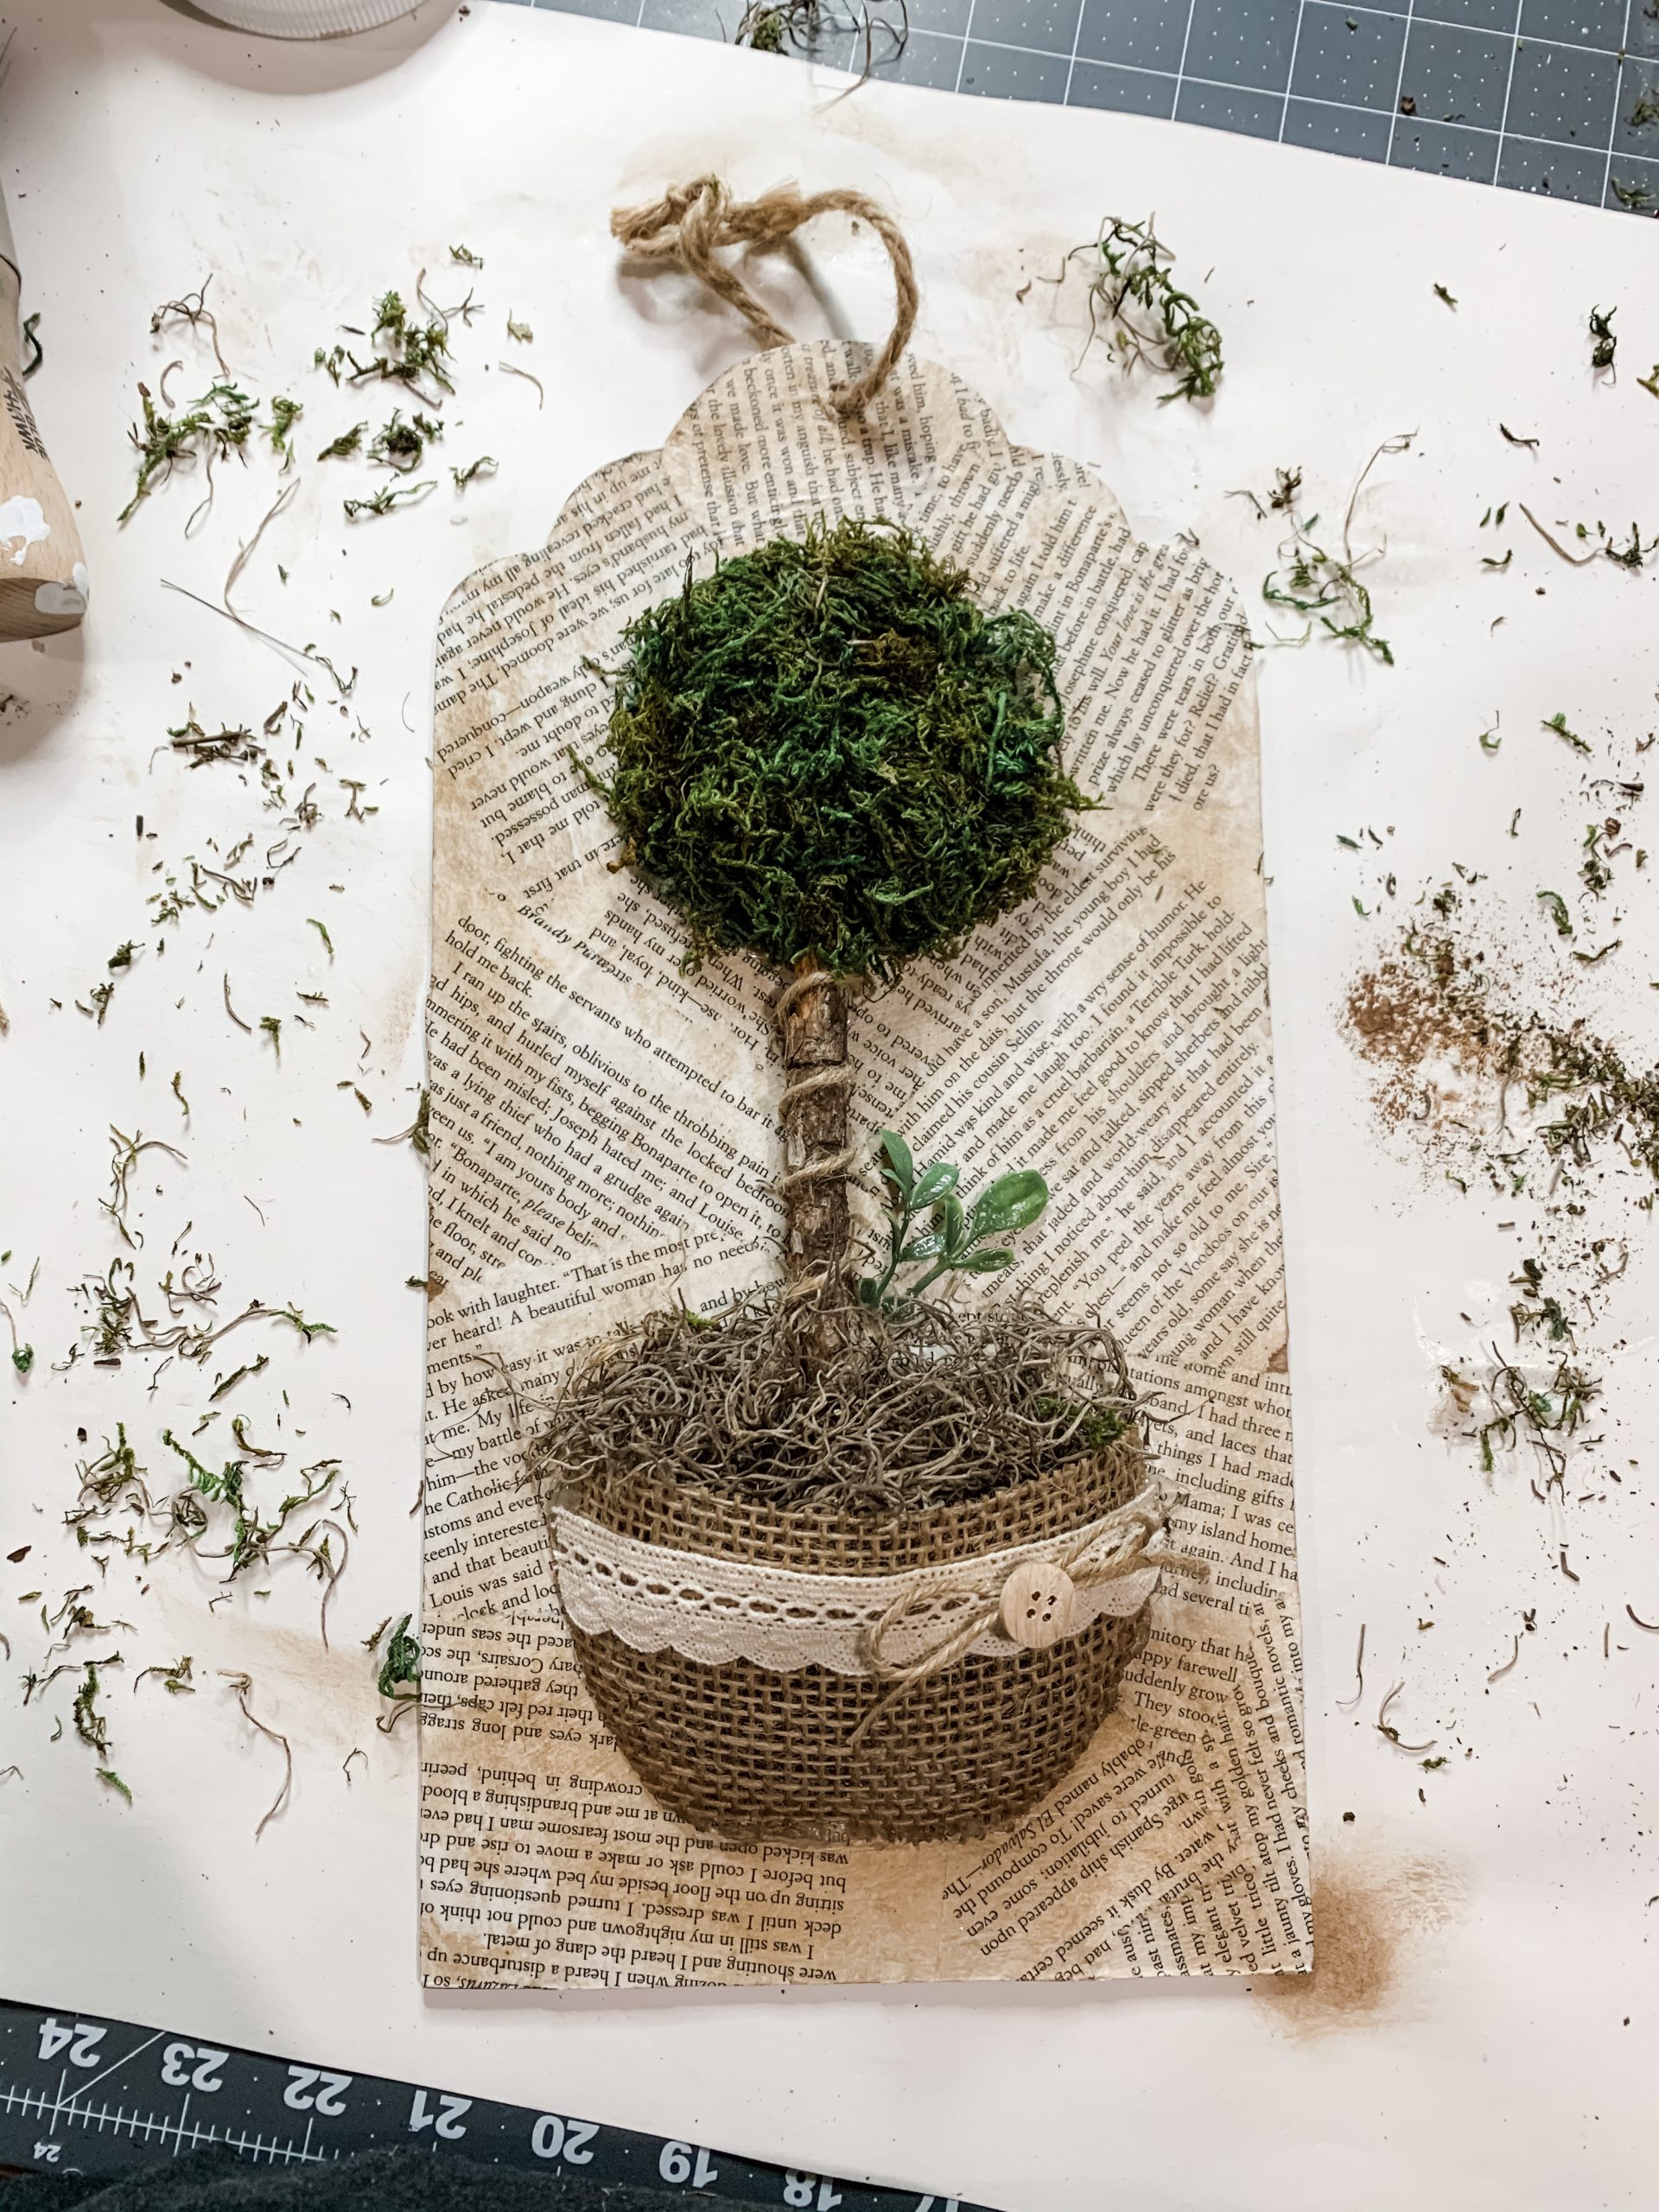
Allow the wax to dry, then grab your burlap ribbon! Cut a small strip with rounded edges because you want the ribbon to create a half bowl when you hot glue it to the Dollar Tree tag sign.
I hot glued my mini burlap ribbon bowl towards the bottom of my tag. This is going to be the pot of our DIY topiary!
I grabbed a small stick from my yard to be the stem of my topiary. You can also buy sticks, but I don’t see the point when I have a mini forest in my backyard!
Before I hot glued my stick to the tag, I wrapped jute twine around the stick in wide loops and hot glued the twine down as I went. Then, simply hot glue the stick onto the tag with the bottom piece inside the burlap ribbon faux planter.
Add a bit of moss
Cut a circle out of your Dollar Tree green moss sheet. This is going to be hot glued just above the top of your stick. Then, stuff some Spanish moss into your burlap ribbon planter.
Now we need to add dimension to our topiary. I did this by hot-gluing green moss (from Michael’s) to the green moss circle. Pile it up as much as you want. You can go back with scissors and round out the moss pile.

Once you’re happy with your green moss ball, you can start embellishing your DIY topiary decor! I hot glued a strip of white ribbon across the burlap ribbon planter.
I thought the base of my topiary was just a little too bland, so I grabbed a small greenery spray and hot glued it into the Spanish moss at the base of my topiary.

The finishing touches
Next, tie a little bow out of jute twine and hot glue it onto the white ribbon strips towards one side of the planter. For a bit more embellishment, I hot glued a little button over the center of my jute twine bow.
Lastly, I poked a hole through the book pages to expose the hole in the Dollar Tree tag and I reattached the original rope hanger that I removed at the beginning of this project.
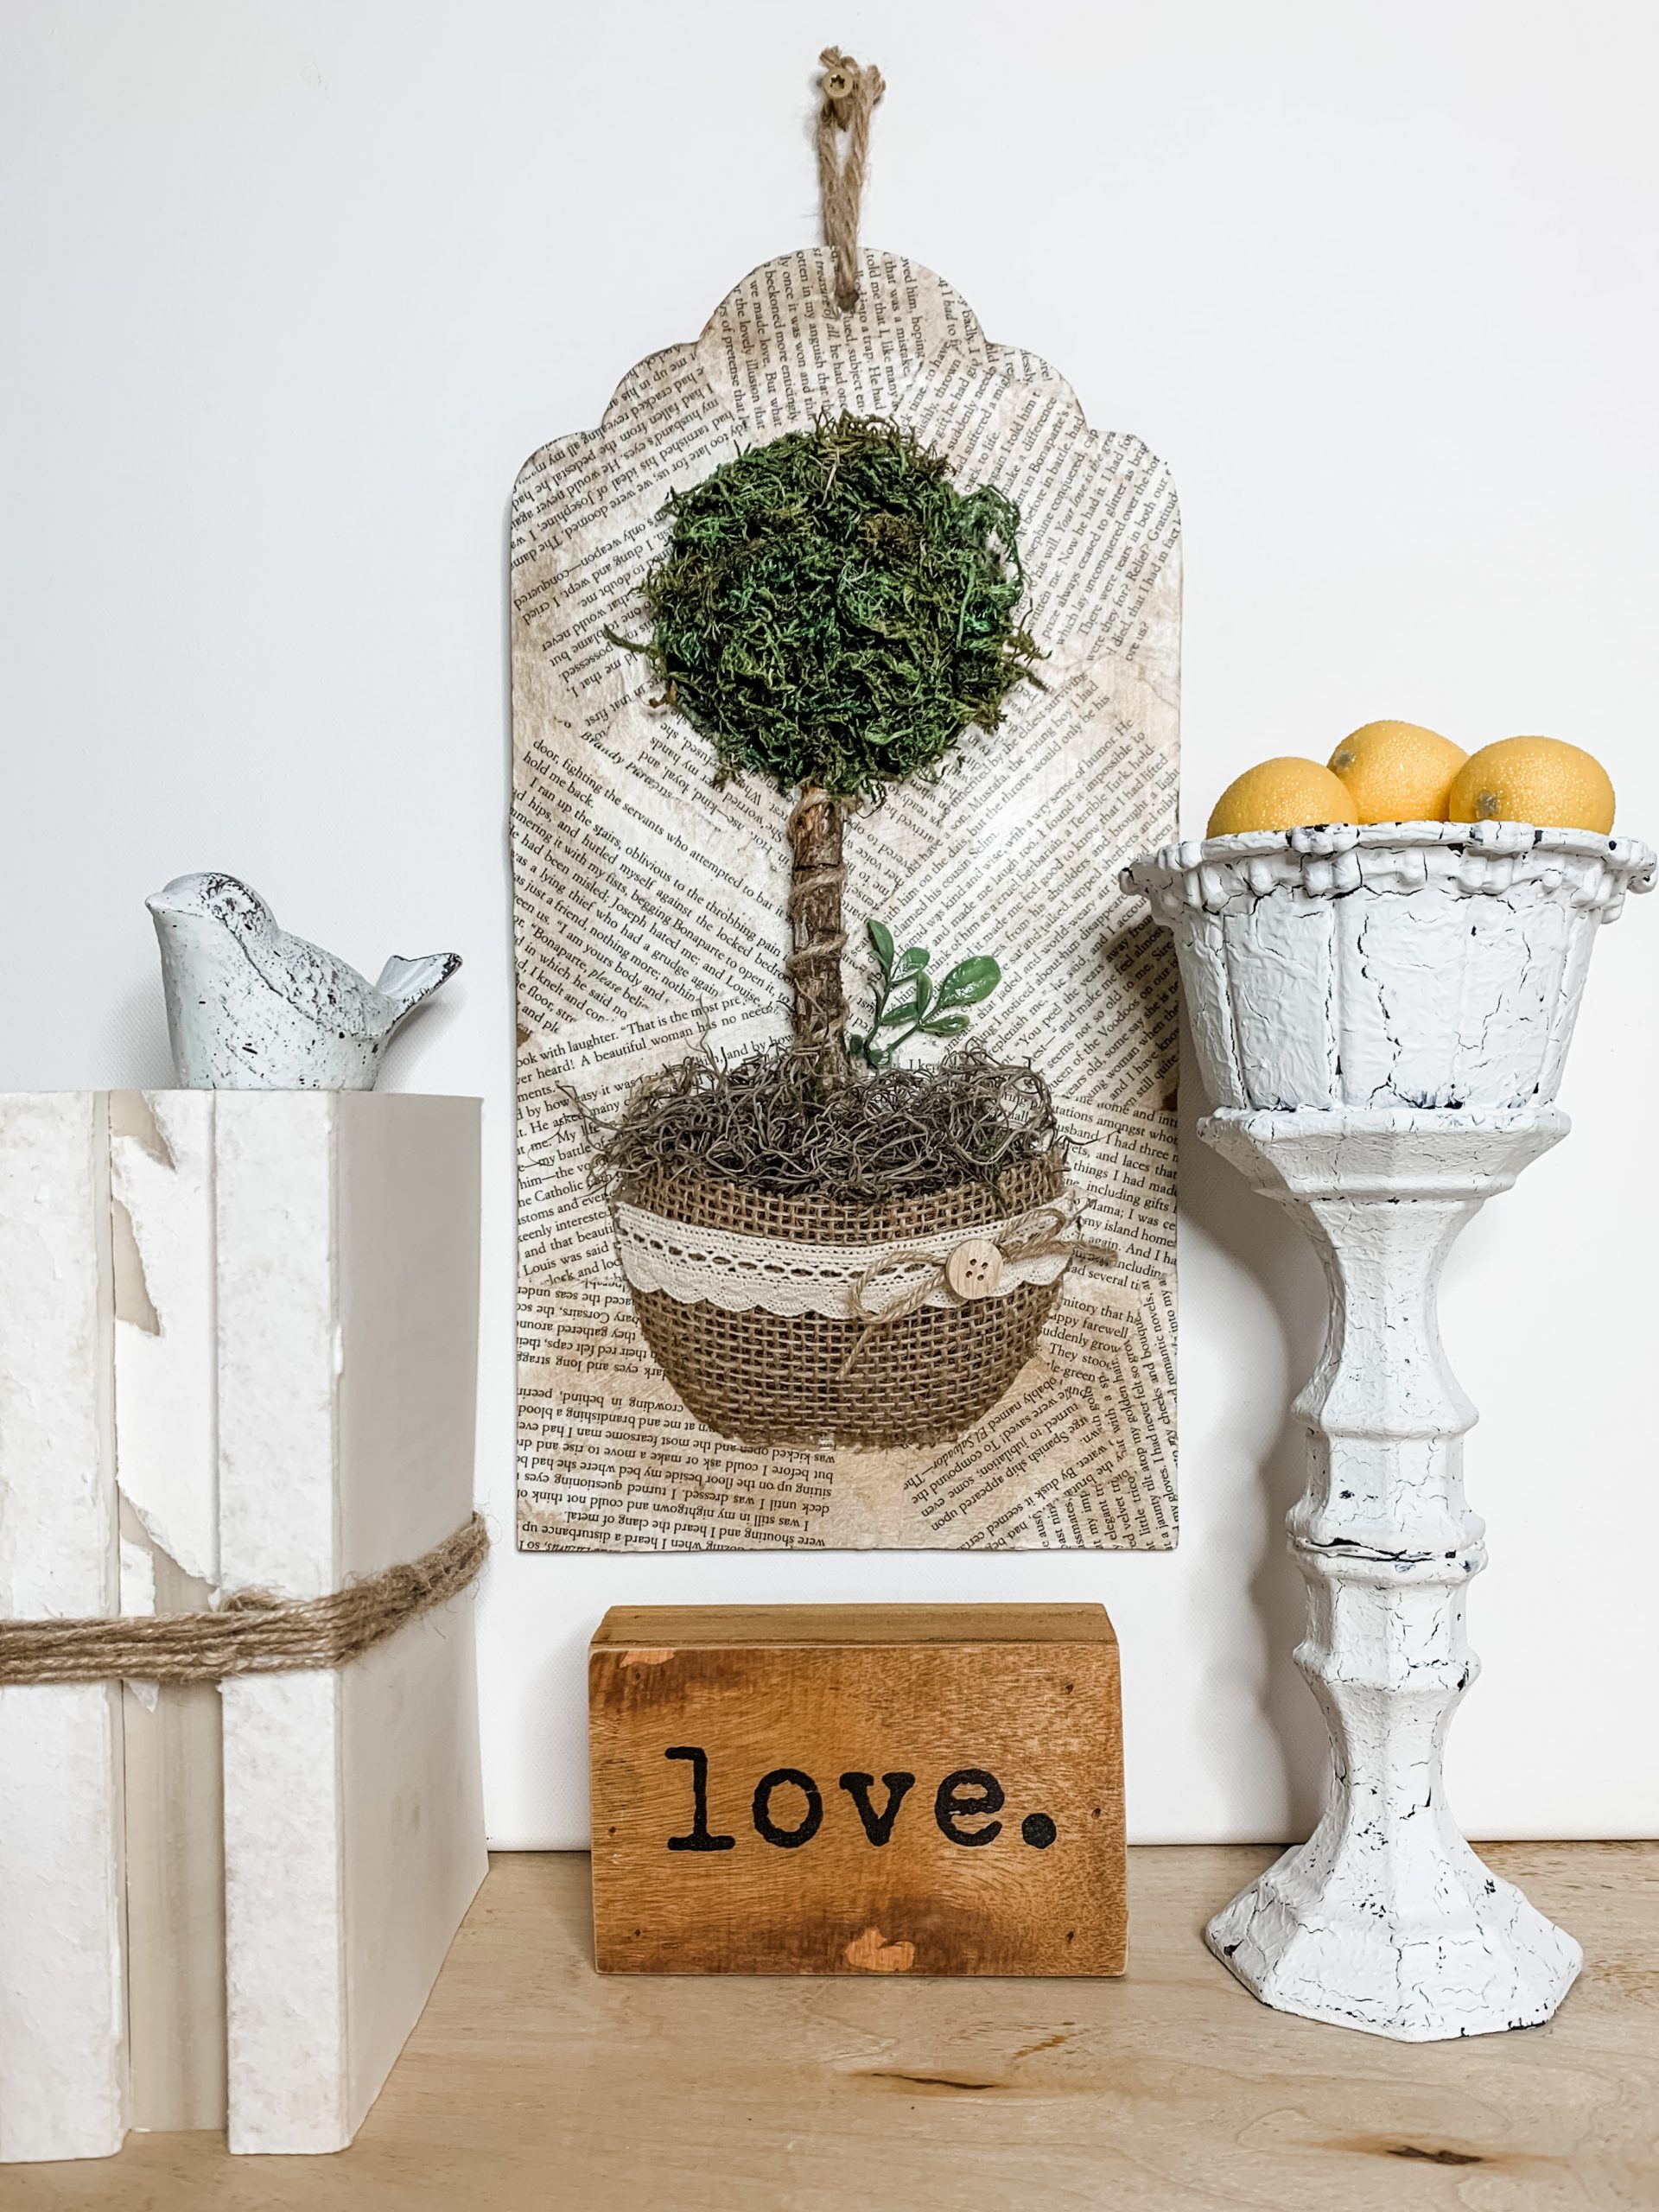
I hope you enjoyed this Dollar Tree DIY Topiary Wall Decor as much as I did and decide to make one for yourself! I would love to see how yours turns out!
You should totally join my FREE Facebook group called On A Budget Crafts! It is a judgment-free community for DIY crafters to show off their projects and ideas.
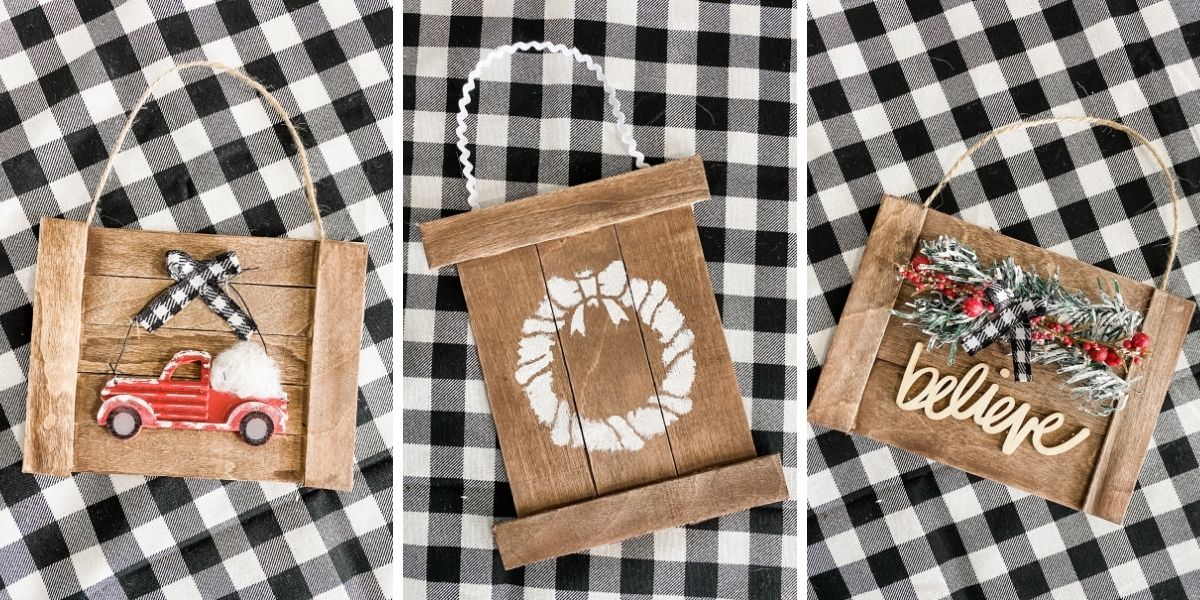
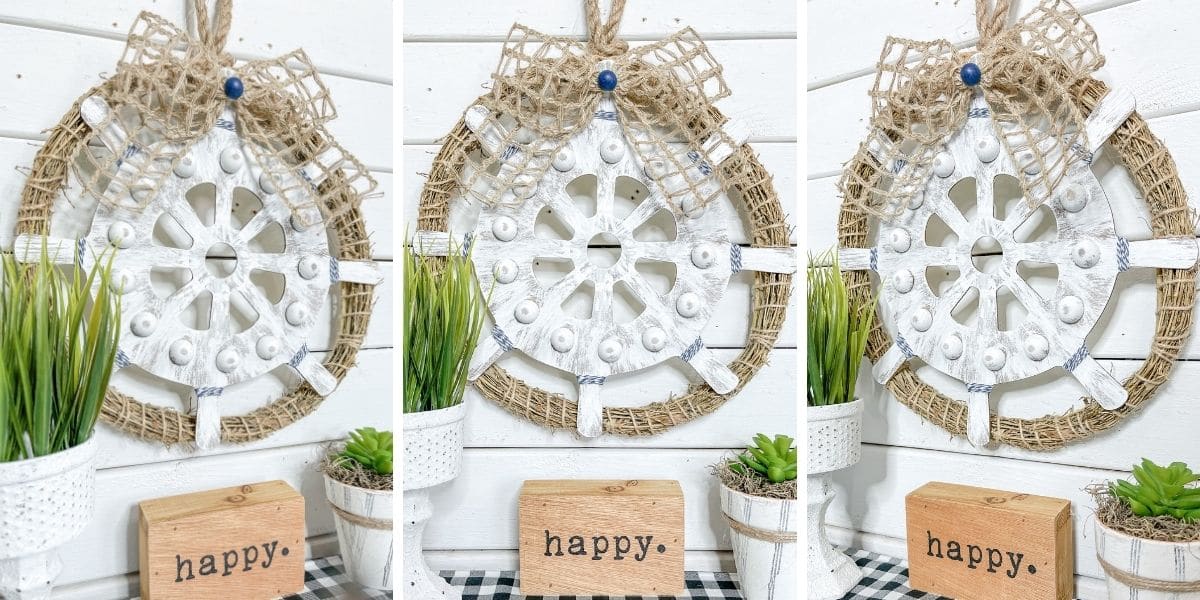
If you loved this DIY you might also like this one too!
Thanks for stopping by! XOXO Amber
You can also shop my ENTIRE AMAZON Favorites shop just click here! It’s packed full of all the things I use and love. Here is the supply list I highly recommend every creative have on hand!!
Would you also pin my blog for later and get on my newsletter alerts? I would love to have you join my #craftycrew.
Inspired? Leave me a comment below! I love hearing from my readers!

Join my free “ON A BUDGET CRAFTS” Facebook group!