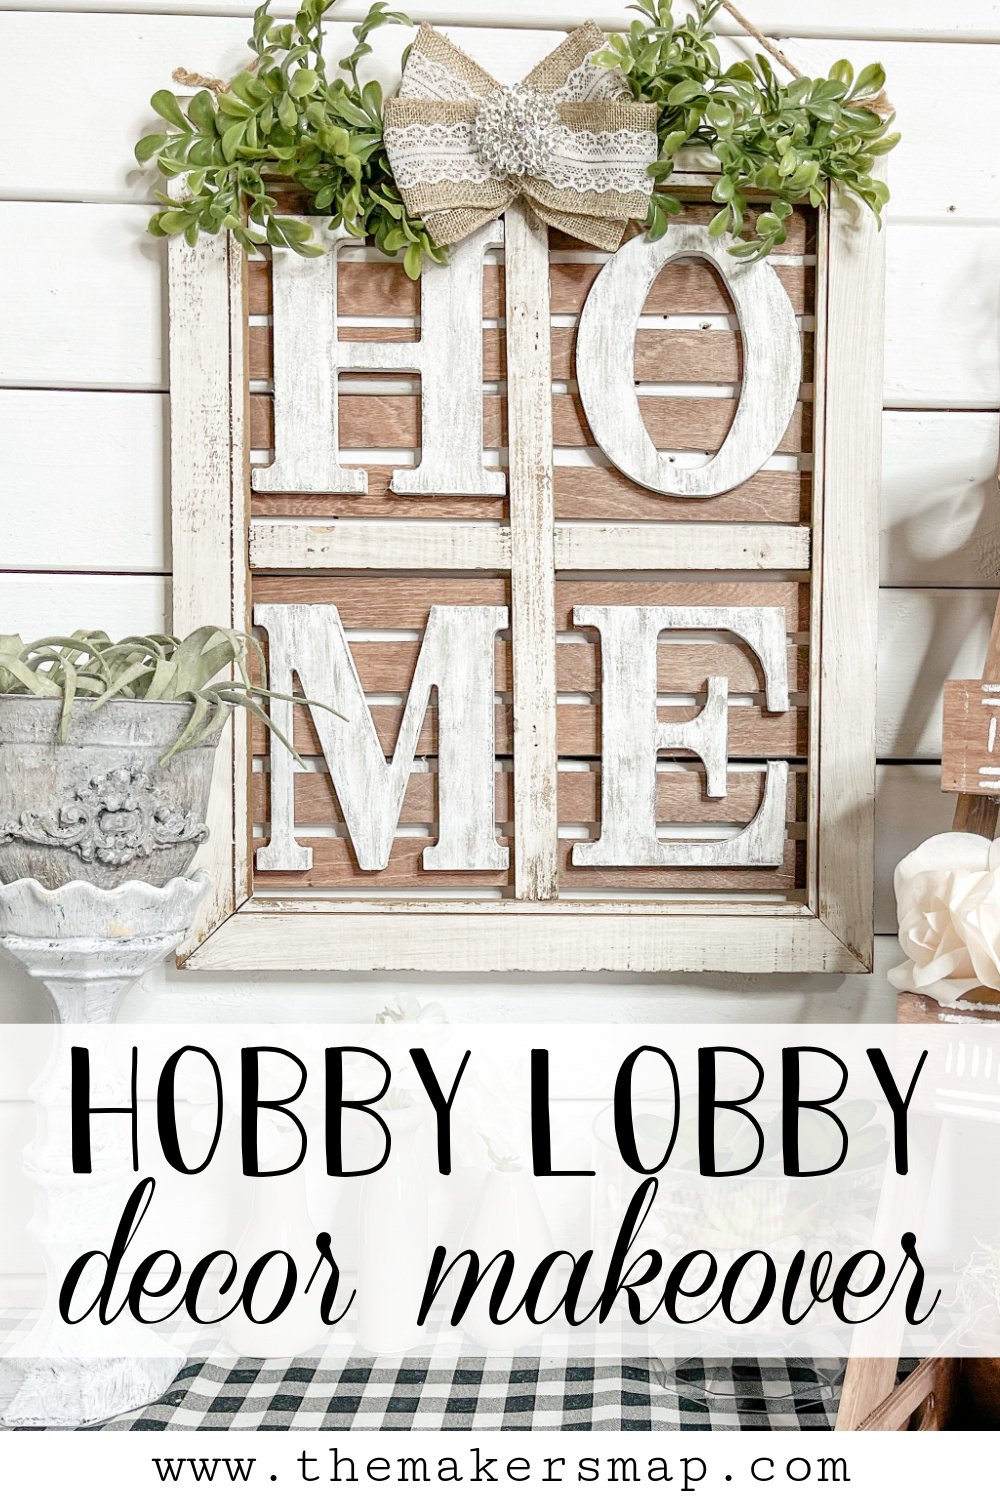
DIY Hobby Lobby Window Makeover
I absolutely love this DIY Hobby Lobby Window Makeover, and it is a great reminder that not all DIY projects have to start from scratch. Sometimes, it can be just as fun, and the project can look just as amazing when we just repurpose the decor we already have.
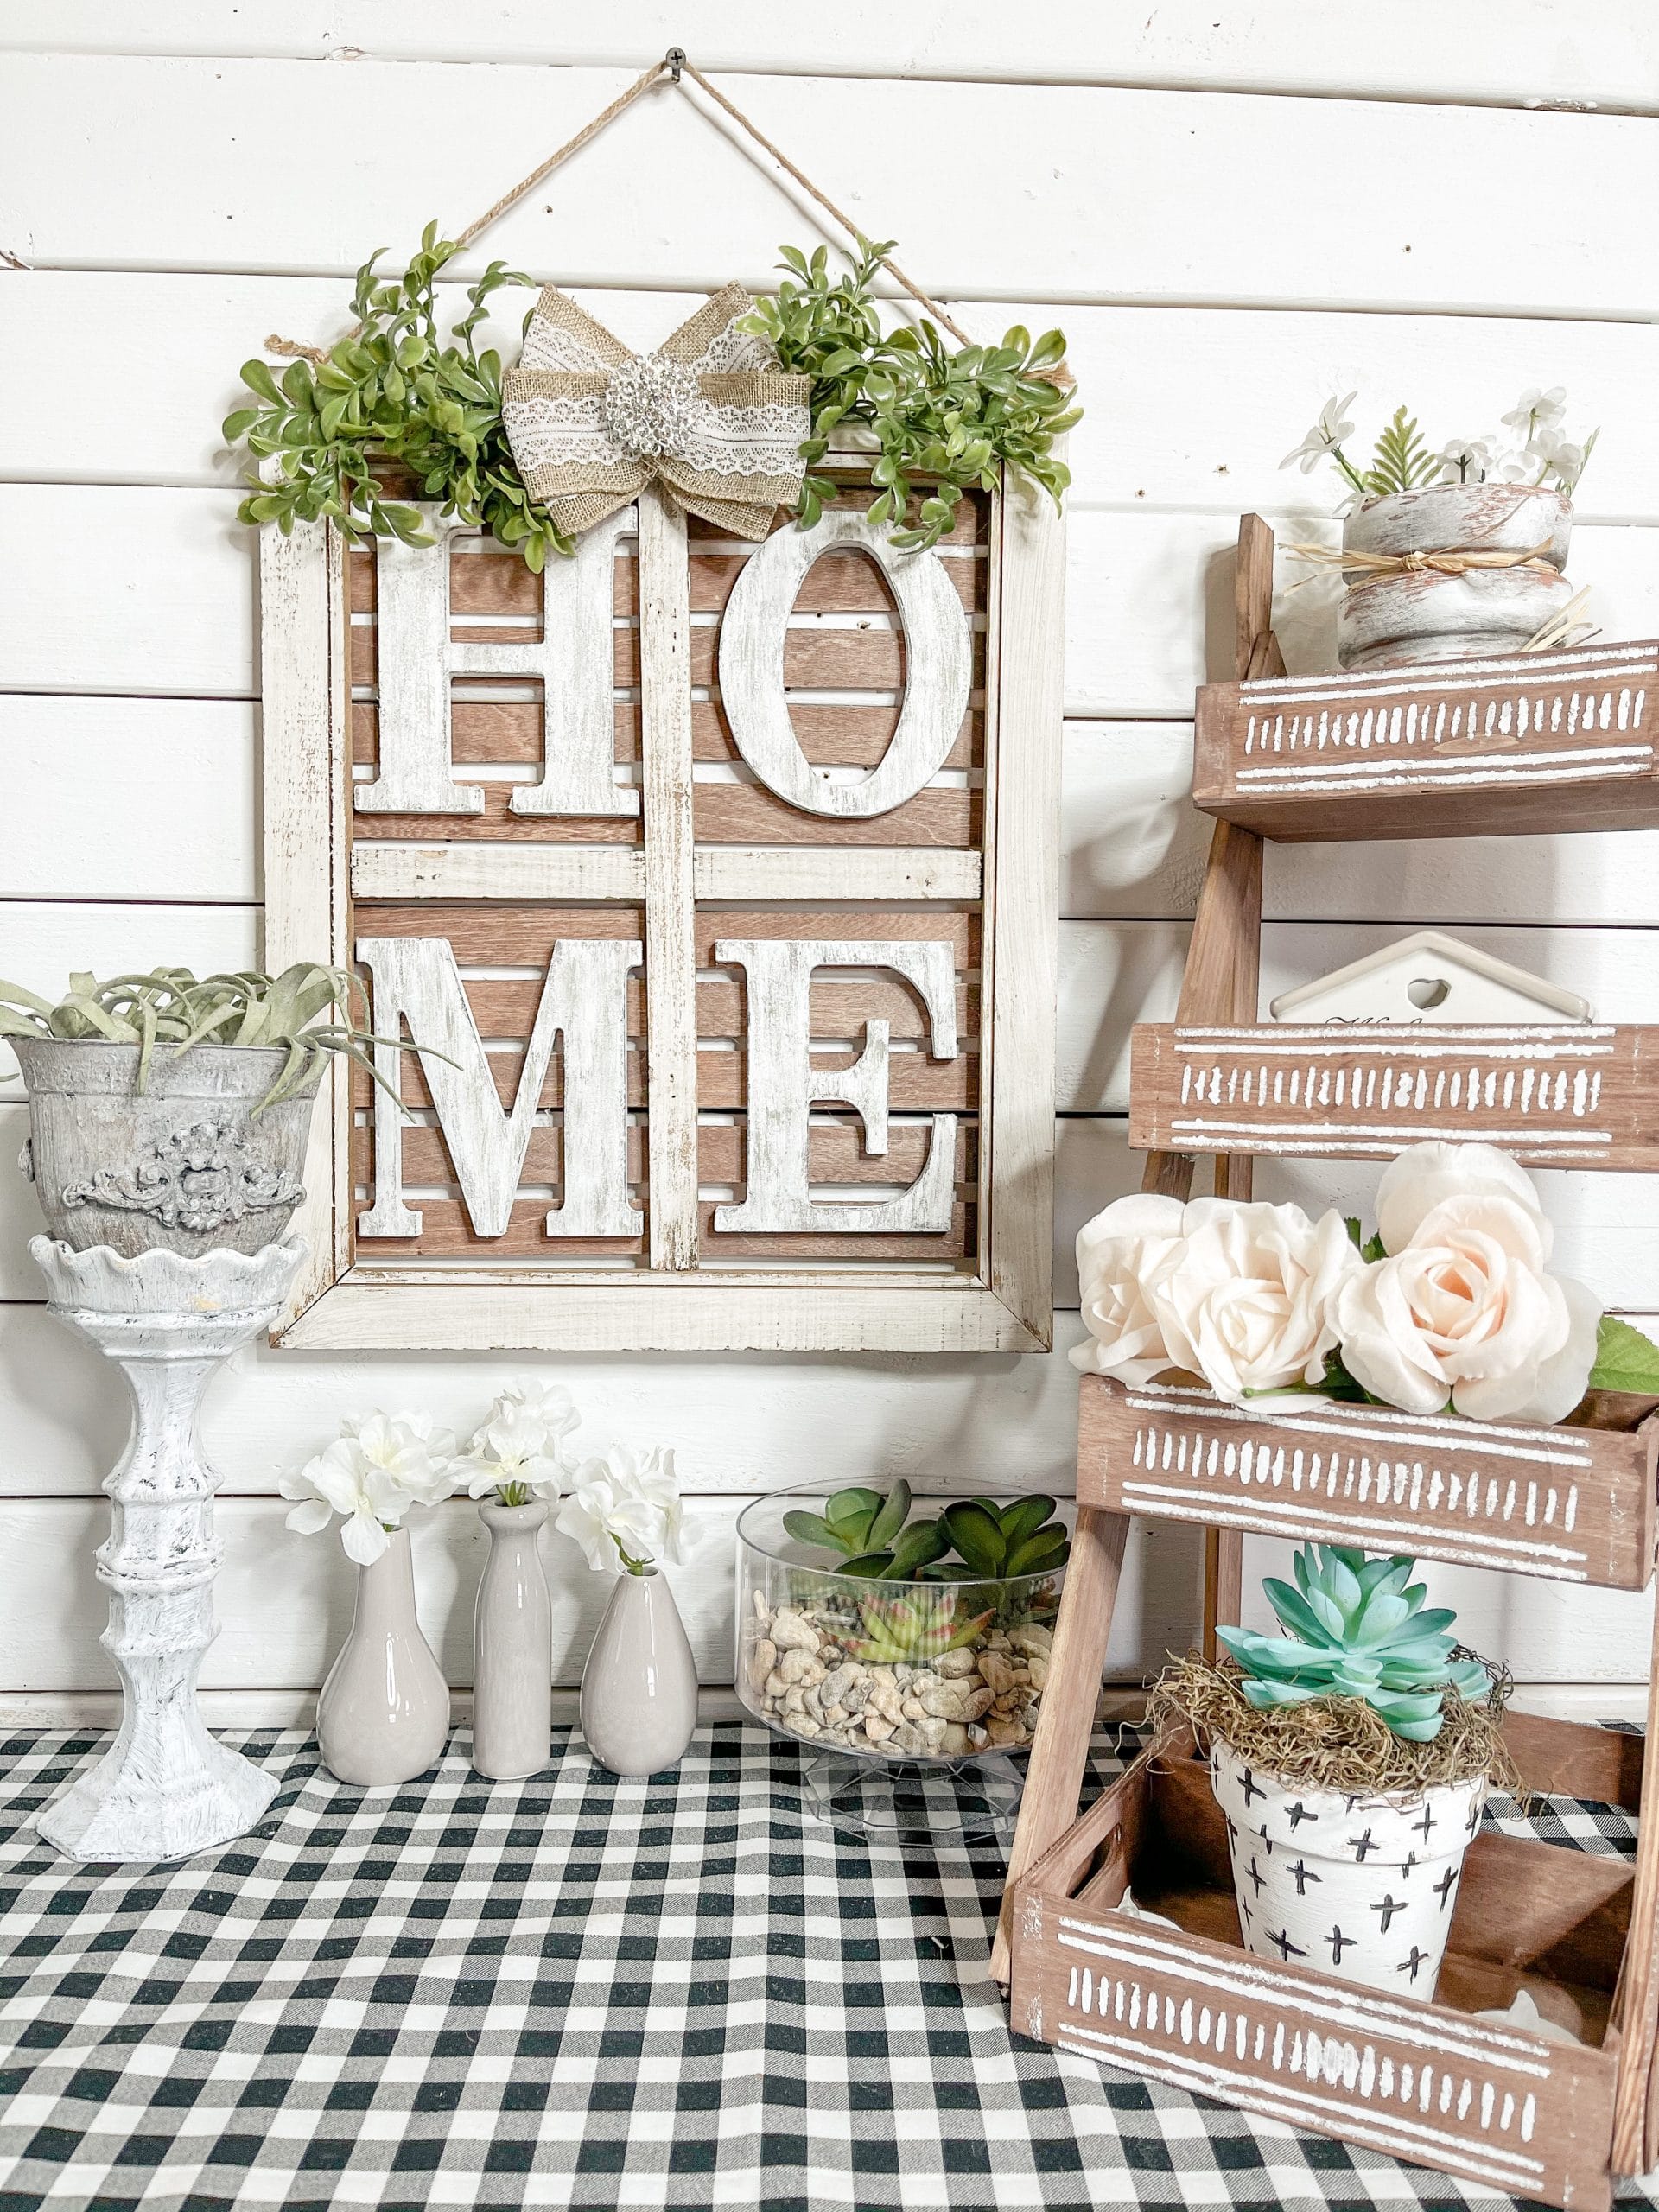
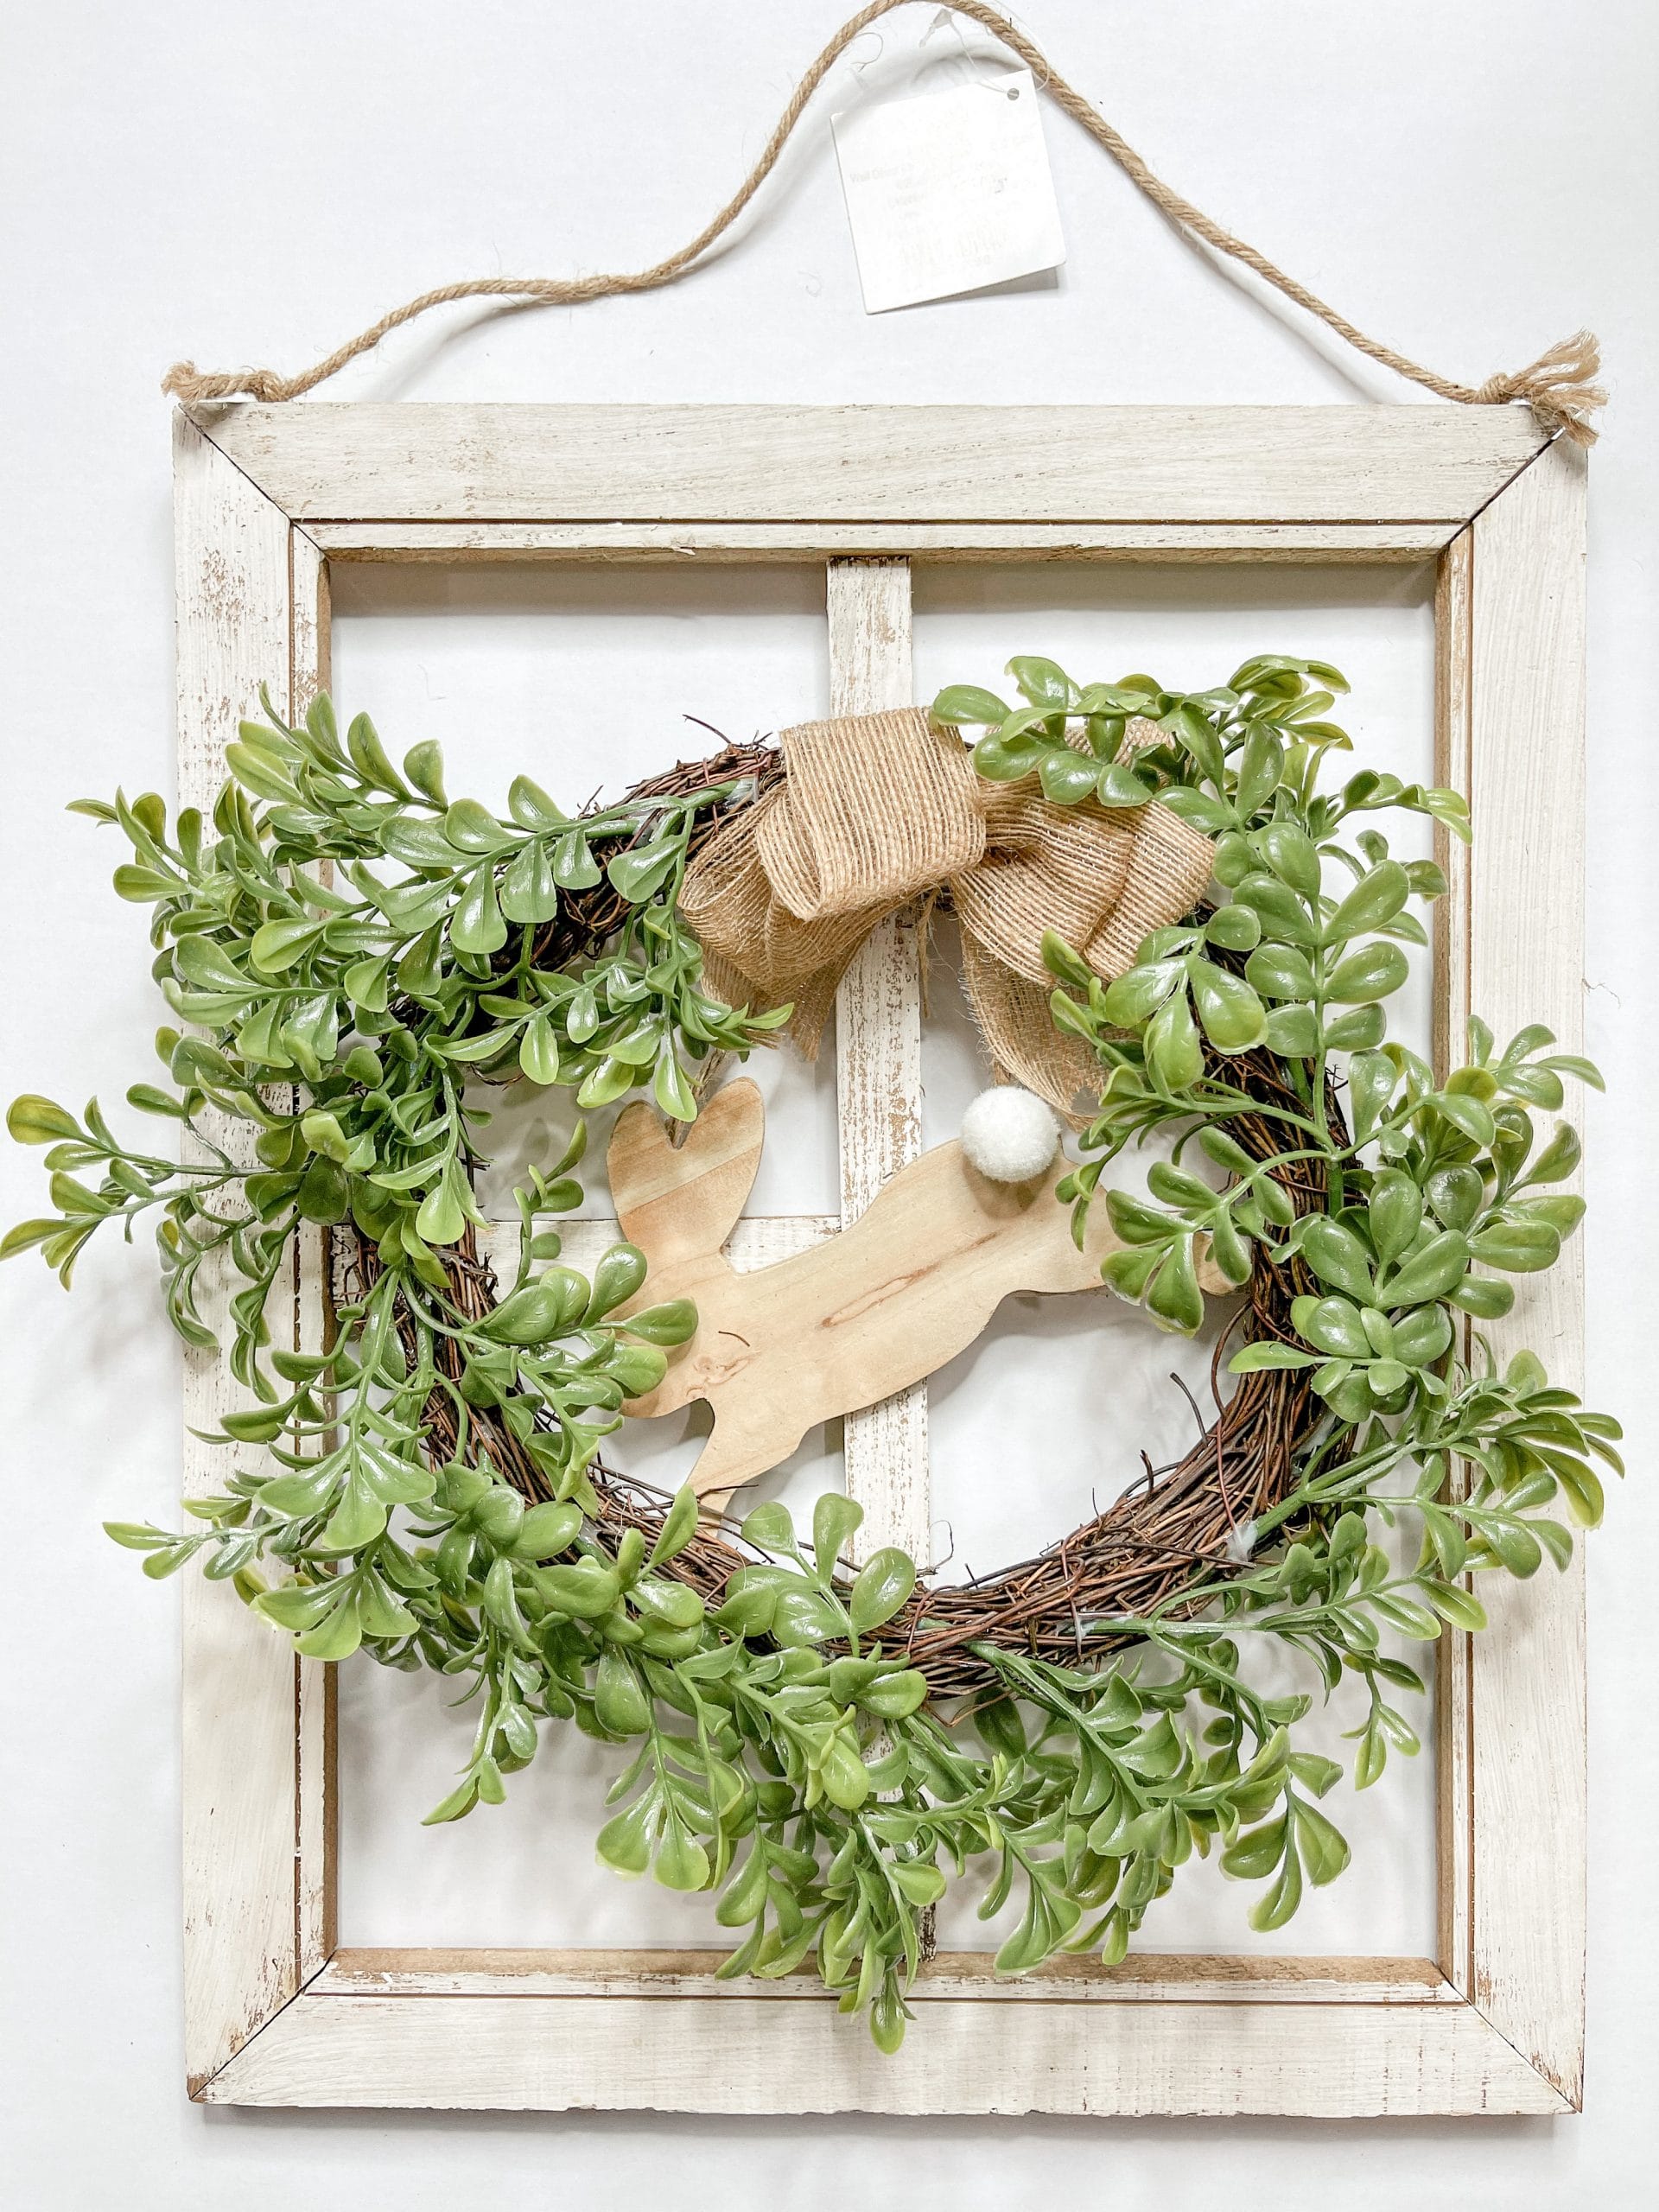
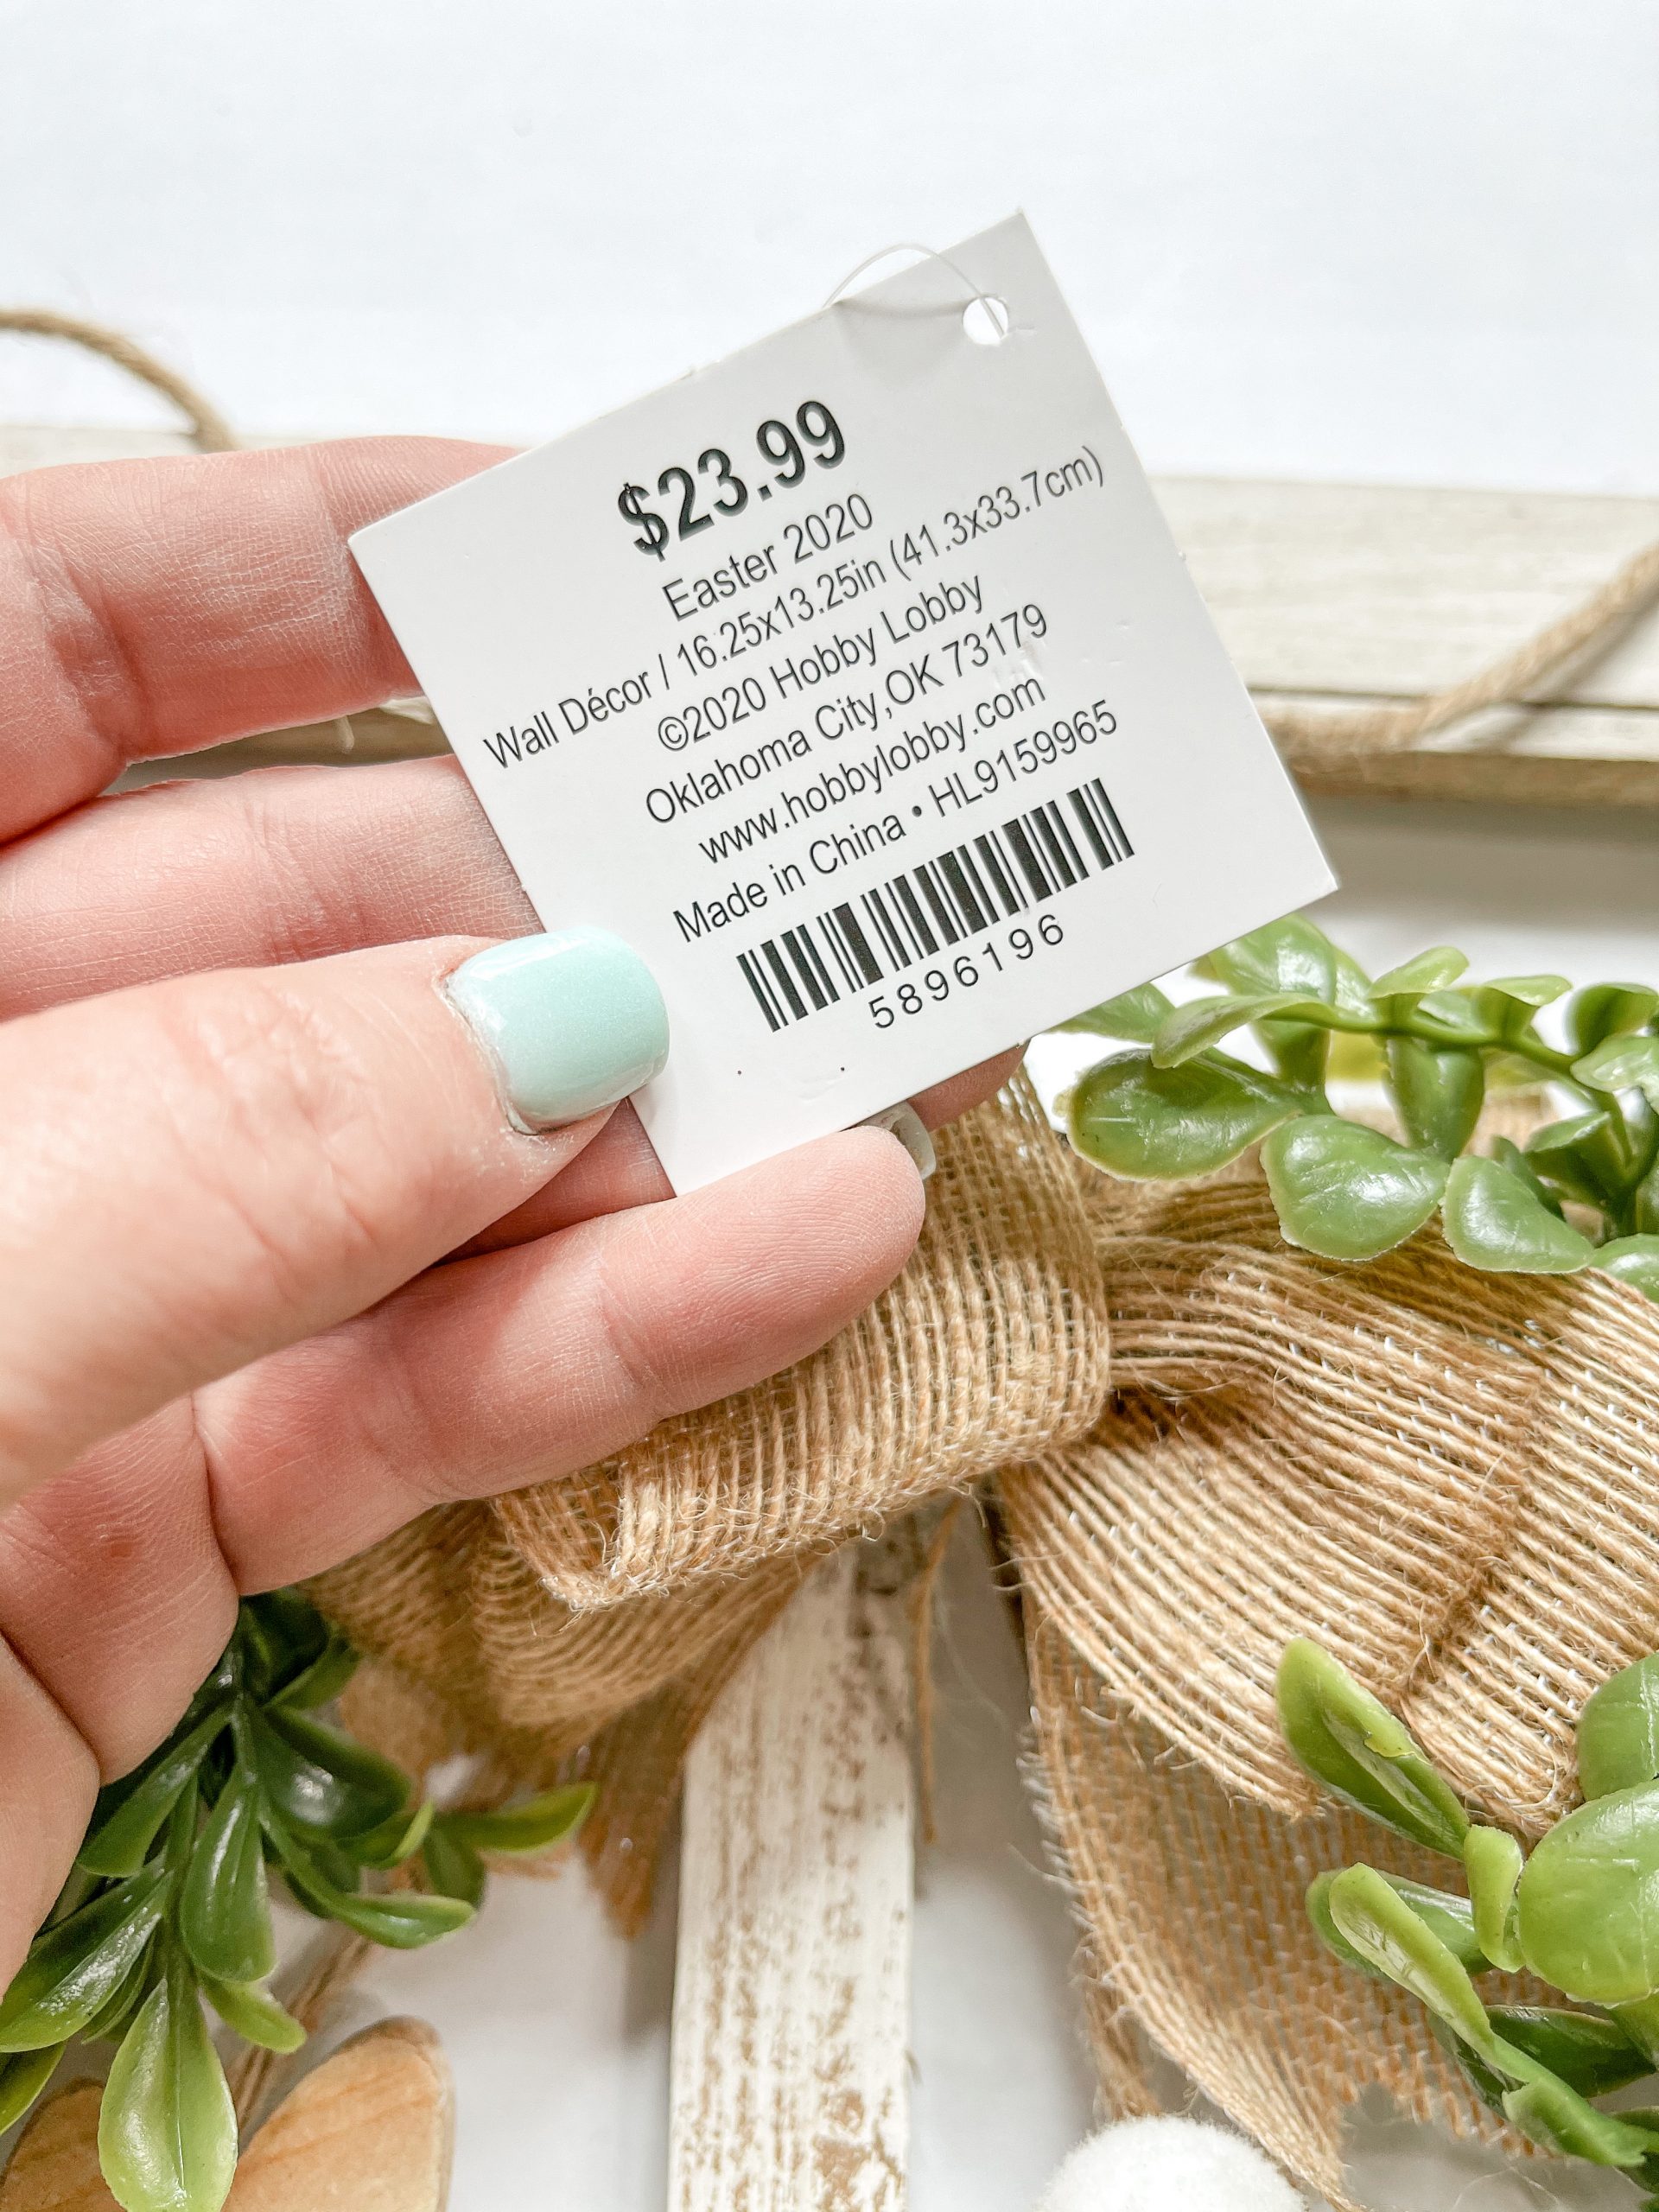
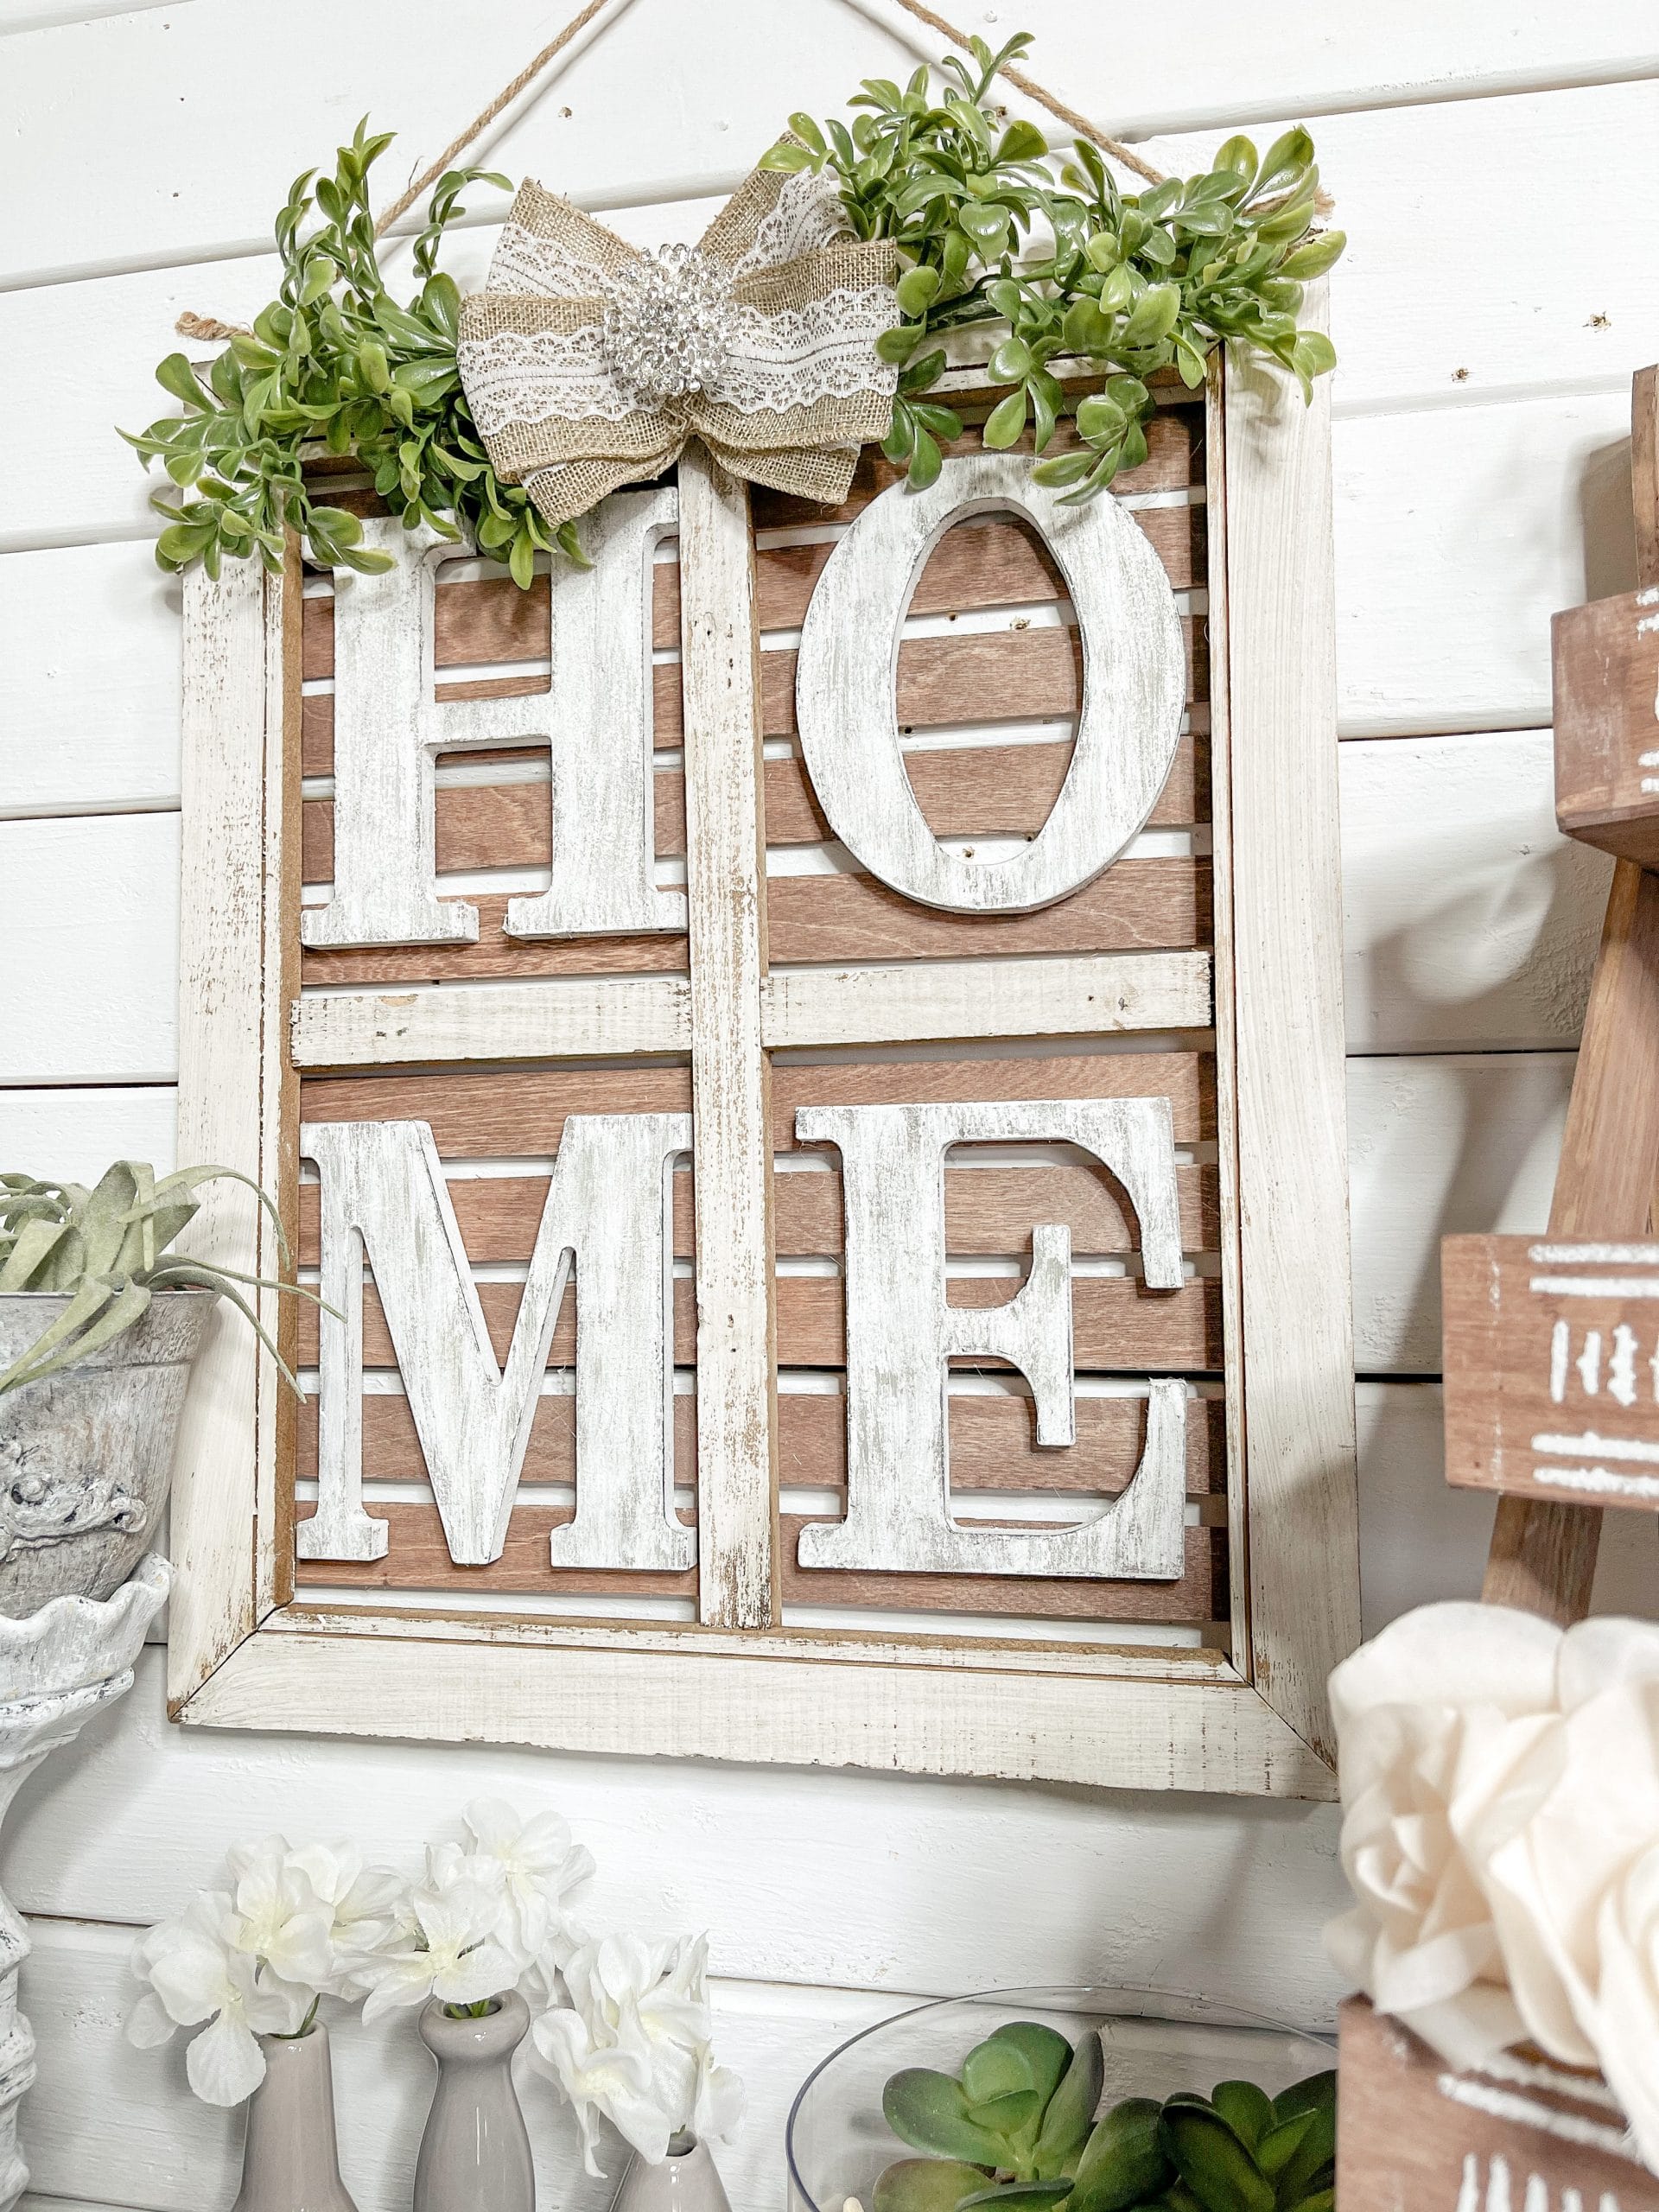
That’s what I did with an Easter window frame I found at Hobby Lobby! The window frame was already adorable exactly as it was, but I wanted something for everyday decor, and I was slightly obsessed with the window frame.
I am so excited to show you how I did this easy DIY Hobby Lobby Window Makeover, but here are some other DIY projects I think you’ll love!
- DIY Dollar Tree Planter Box
- Dollar Tree Love Sign DIY Spring Decor
- DIY Rustic Bucket Planter
- Dollar Tree Shower Organizer DIY Shelves
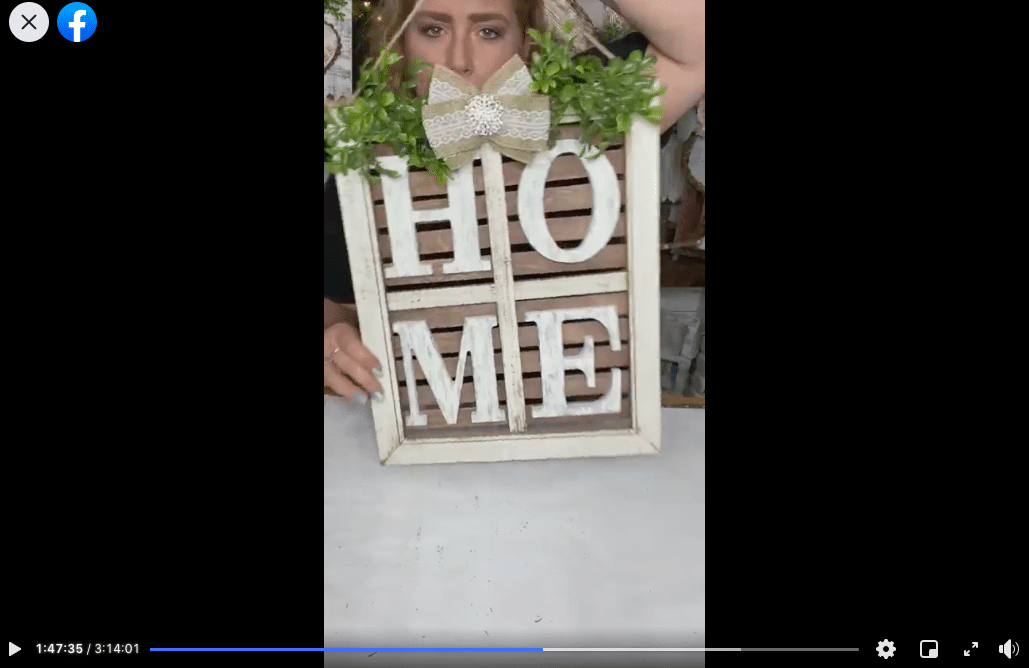
Watch the replay
This is a super simple DIY decor project, but I recorded the how-to steps during a LIVE video on my Facebook page! You can watch the replay if you want to join in on the crafting or fun conversations!
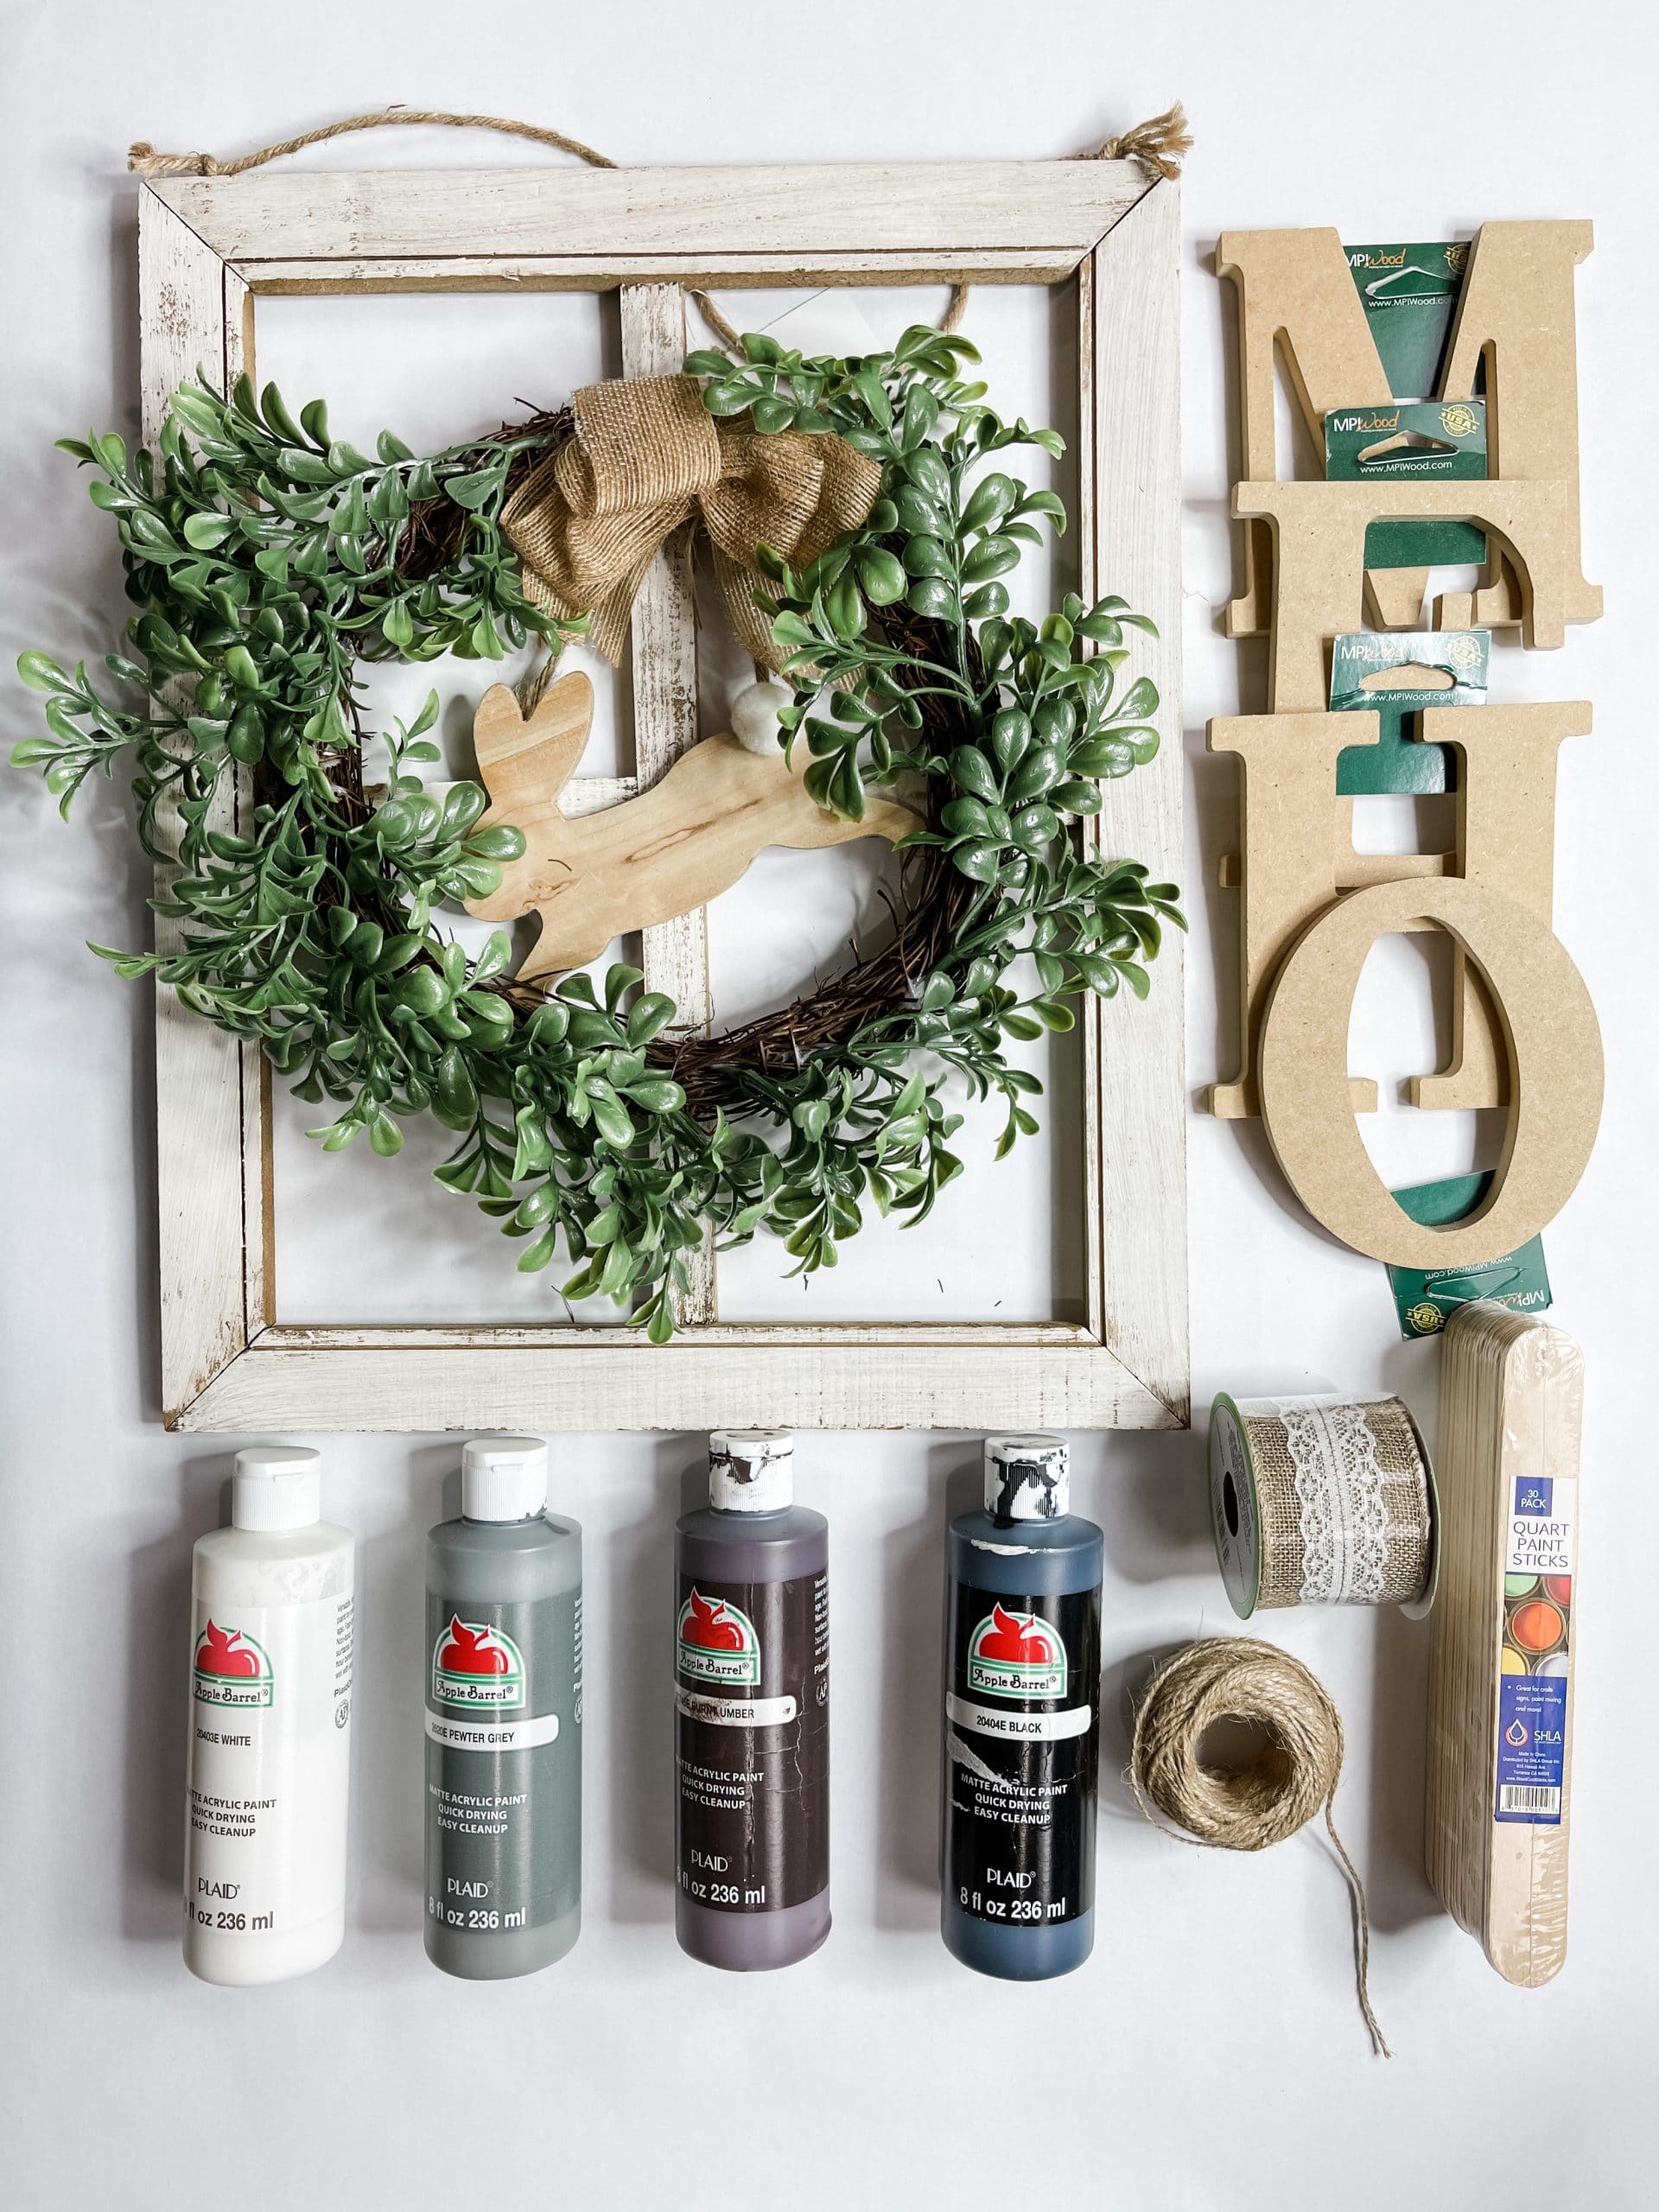
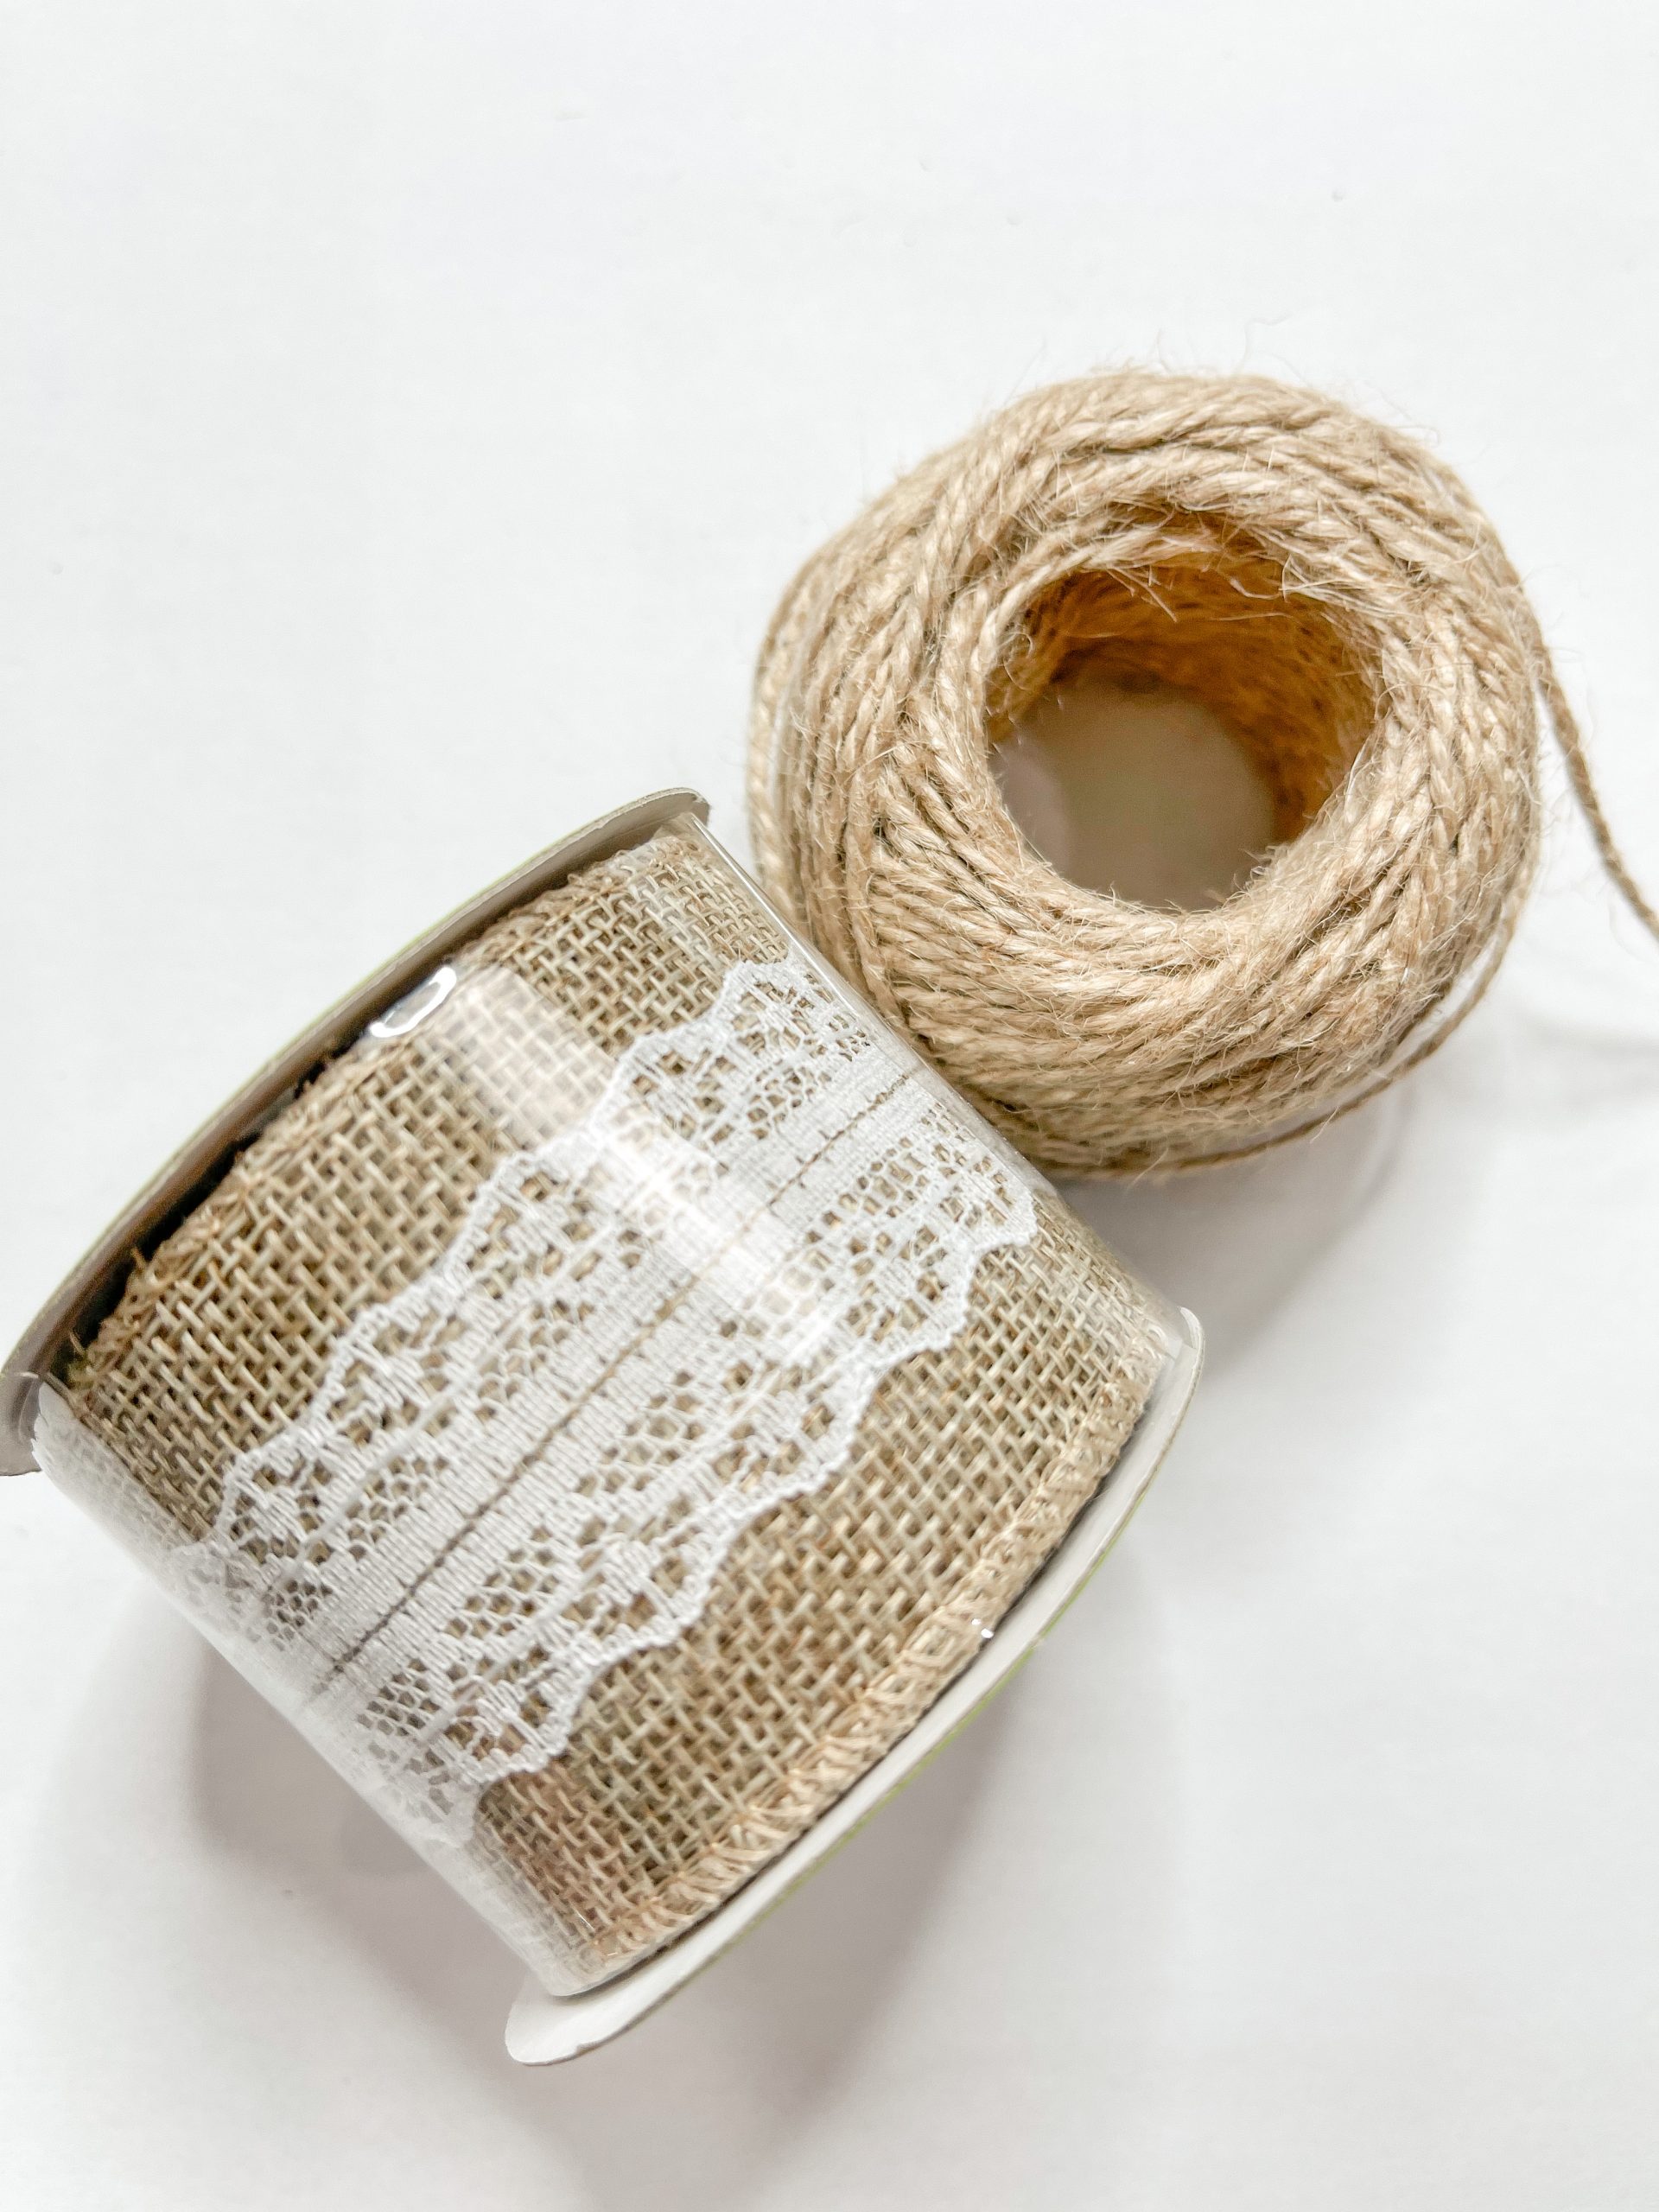
For this project, I will be using these items but you can substitute where you want.
“As an Amazon Associate, I earn from qualifying purchases.”
- Window with wreath and bunny (Hobby Lobby)
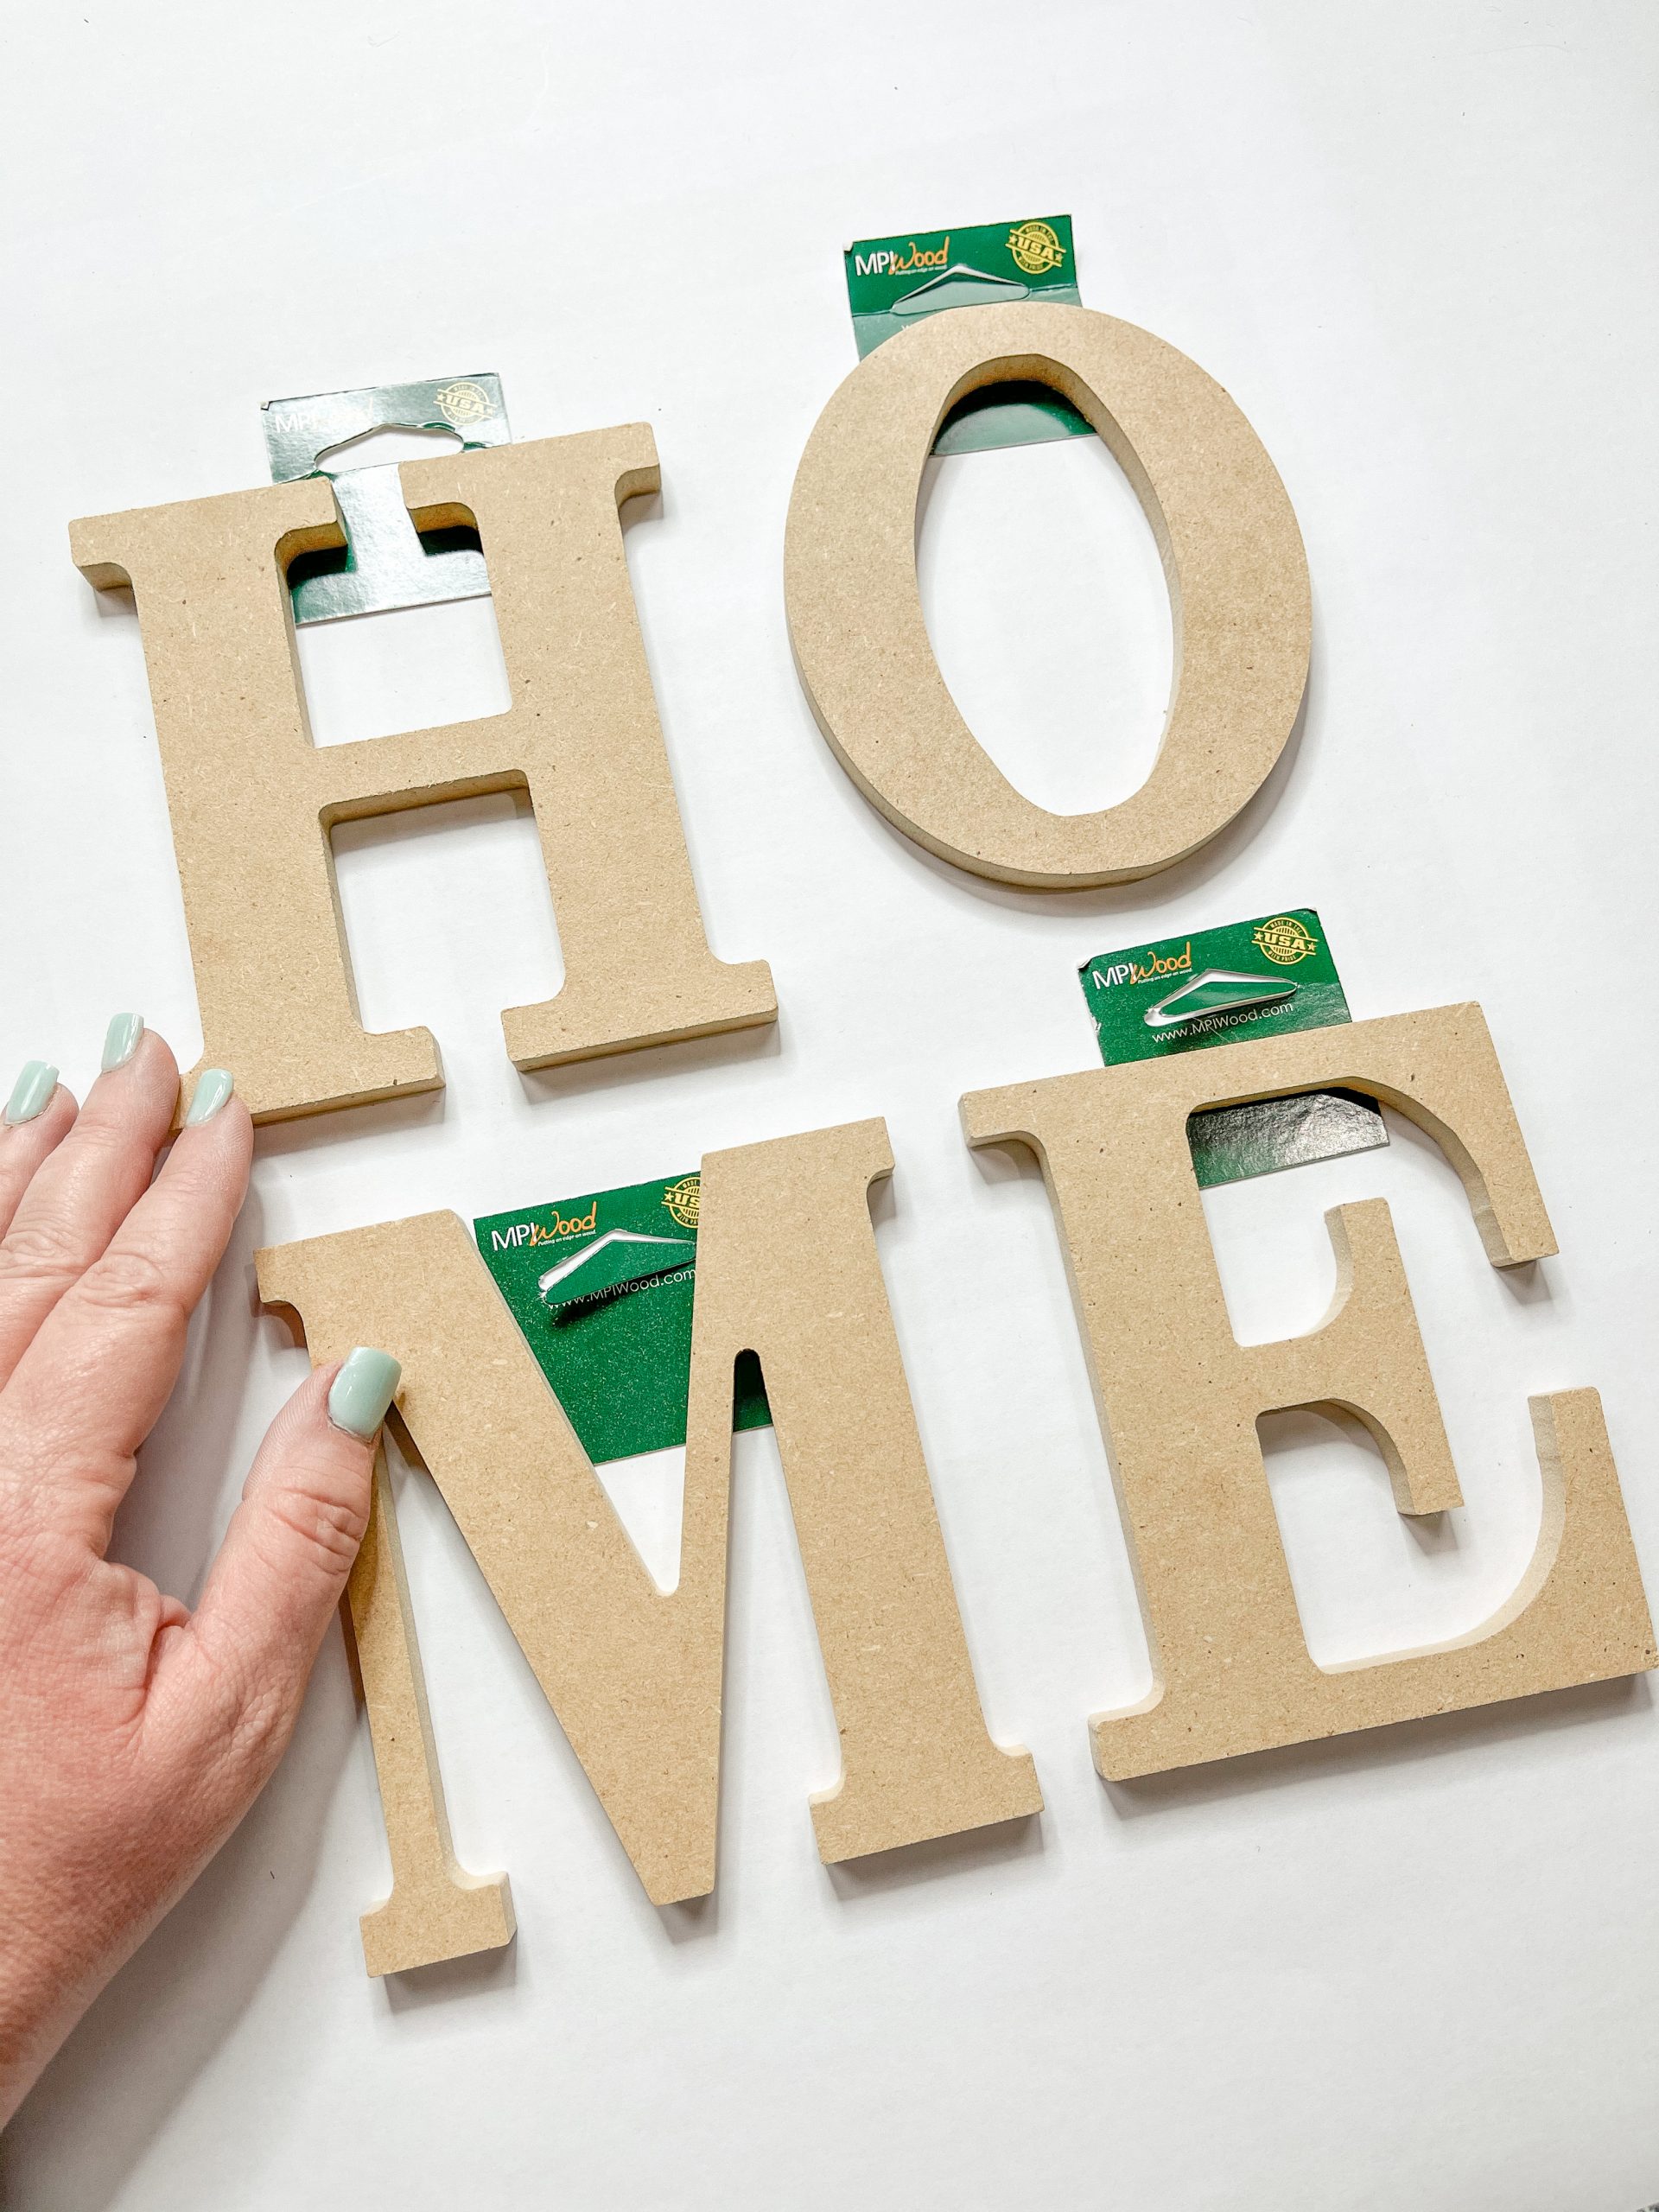
- Letters (HOME)
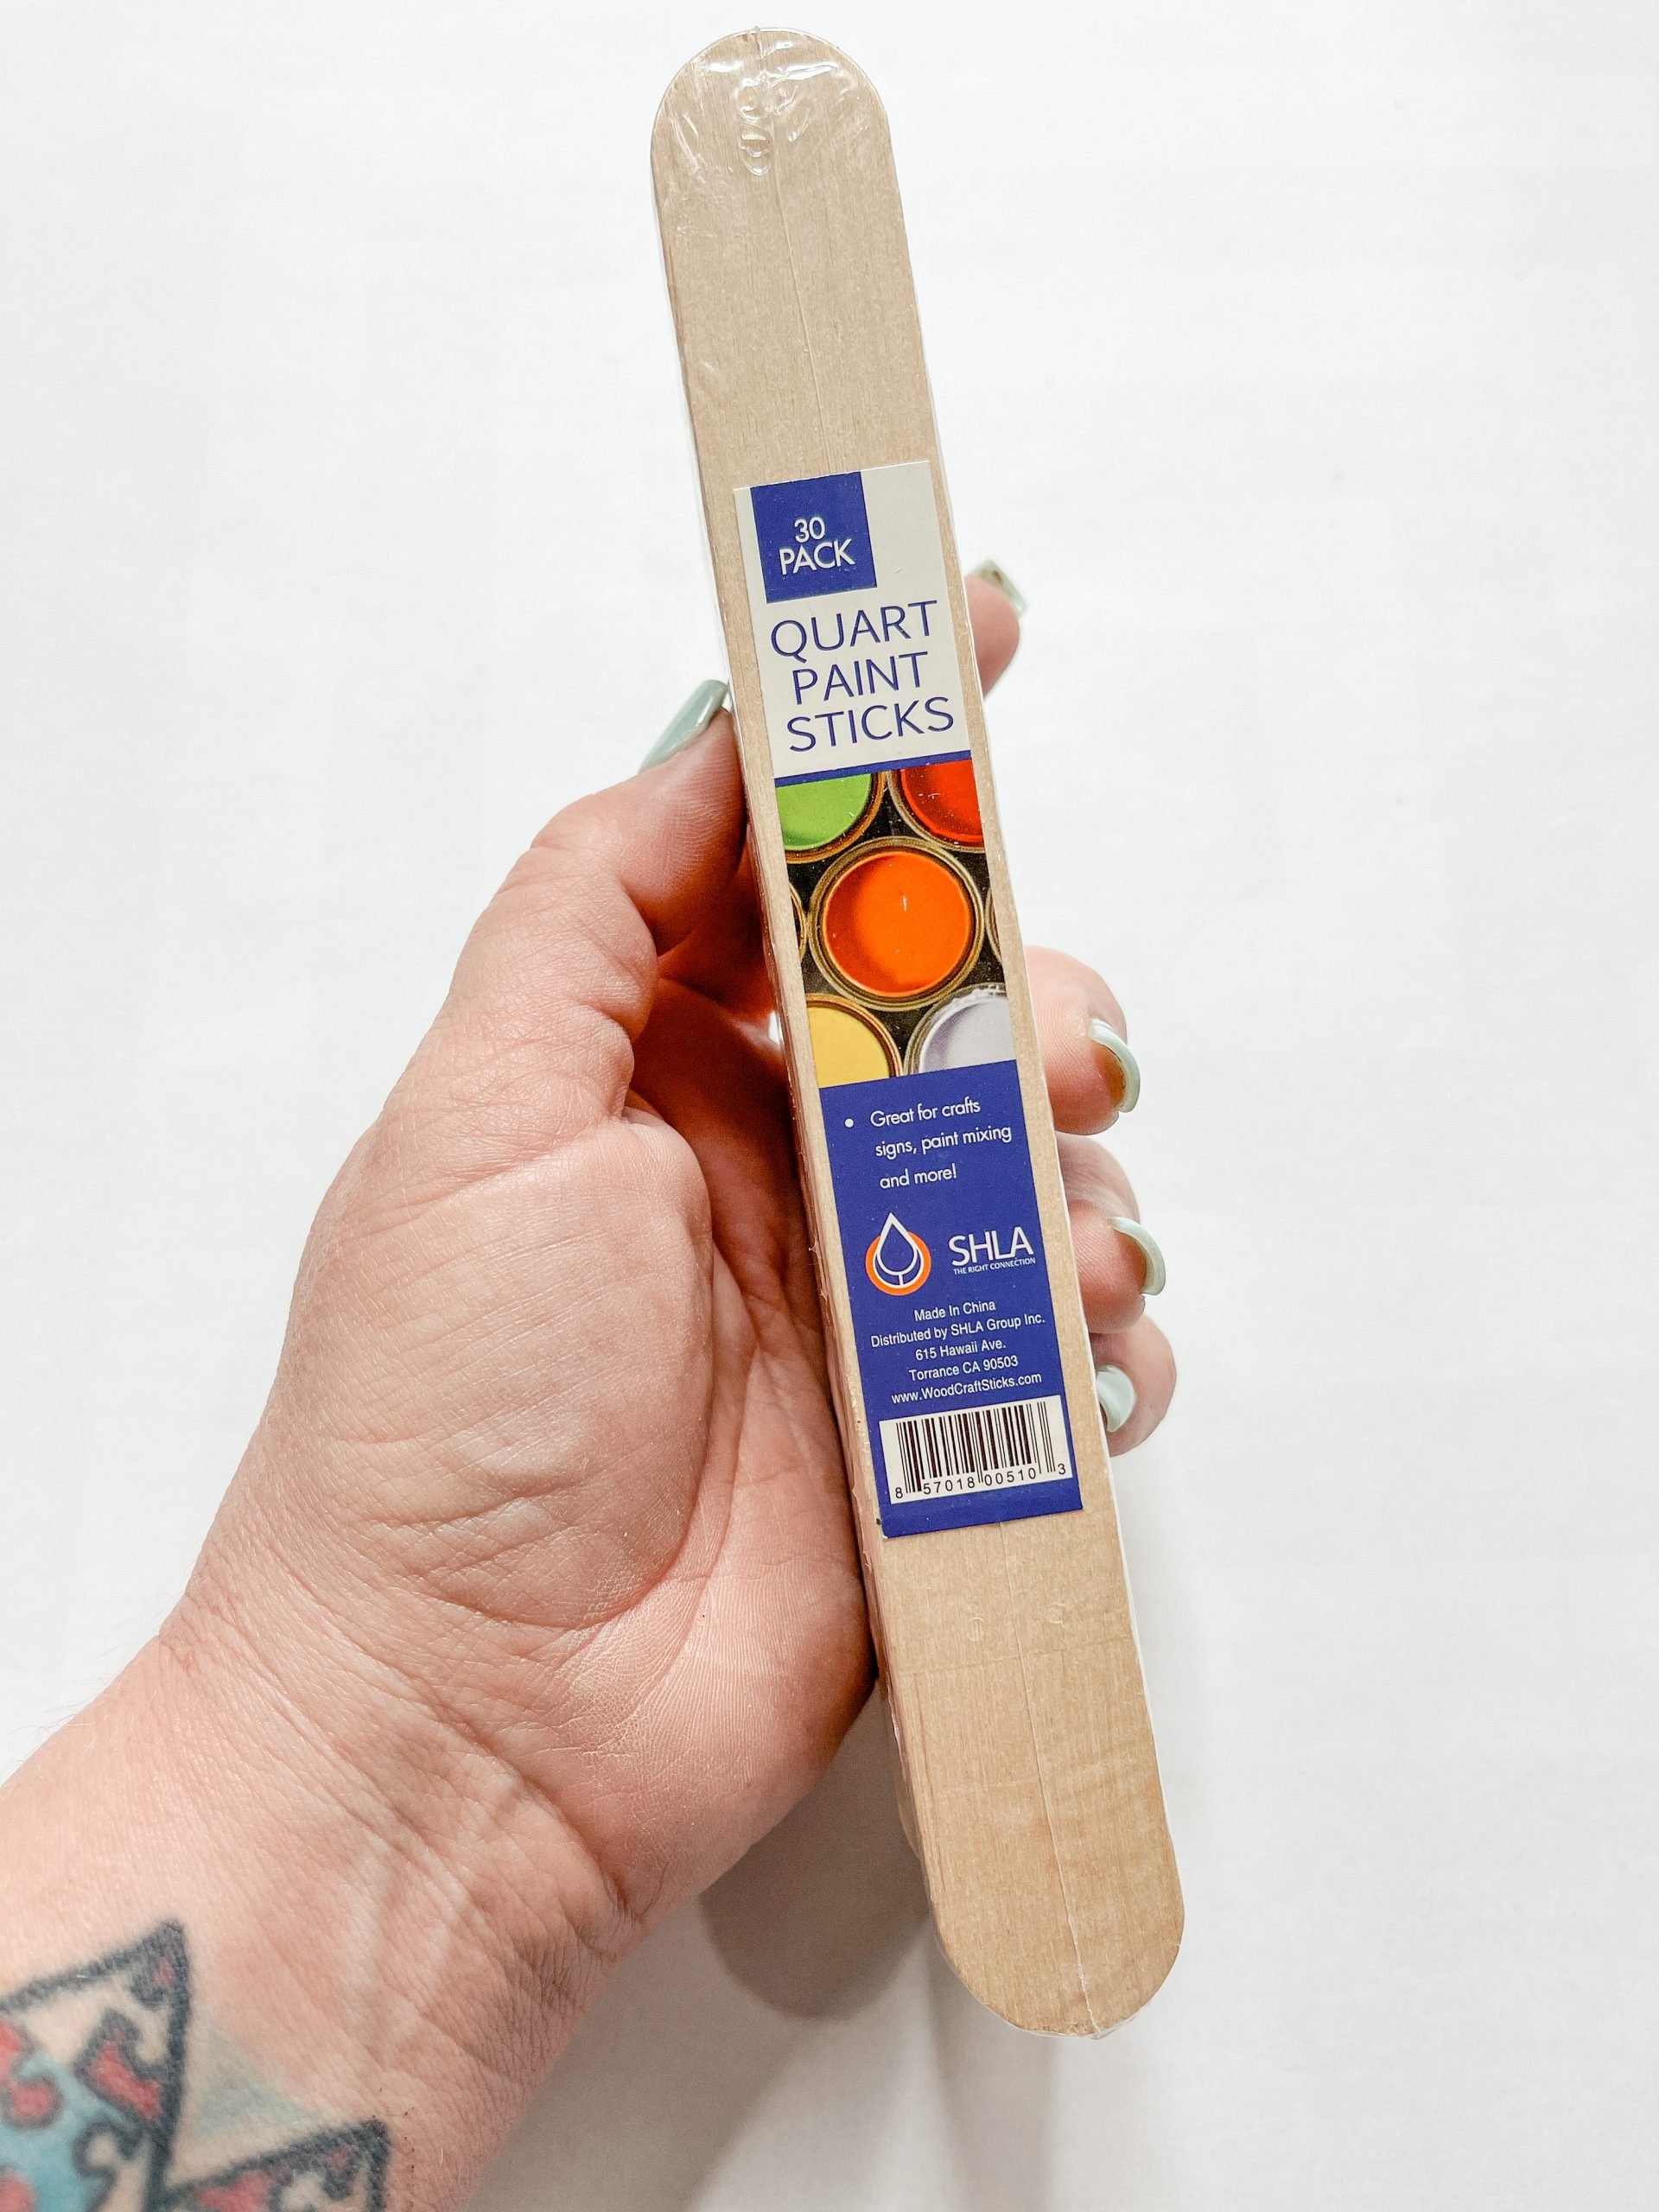
- Giant Craft Sticks
- Apple Barrel Acrylic Paint
- Pewter Grey
- Black
- Burnt Umber
- White
- Nautical Rope
- Wet Wipes
- Paintbrushes
- Hot Glue gun
- Glue Sticks
How to do a DIY Hobby Lobby Window Makeover
Start making this adorable farmhouse decor by removing the wreath and bunny from the front of the Hobby Lobby window. Then, hot glue nautical rope down the back sides of the window.
The rope makes the sides level with the center of the window so we can attach the craft sticks and plank the four squares of the window.
Next, place craft sticks over the open spaces of the window and mark where you need to trim them so they fit without hanging over the edges.
I used 25 giant craft sticks for this DIY project – five for each open space of the window. Once you have them all trimmed to the same size, it is time to stain them.
Lay all the craft sticks out, pour a bit of Apple Barrel Burnt Umber Acrylic Paint into a small mixing bowl, add a little water, and mix it together.
Then, use a wet wipe to spread the paint/water mixture onto the trimmed craft sticks. The water helps the wood absorb the paint and gives it a stained finish rather than a painted look.
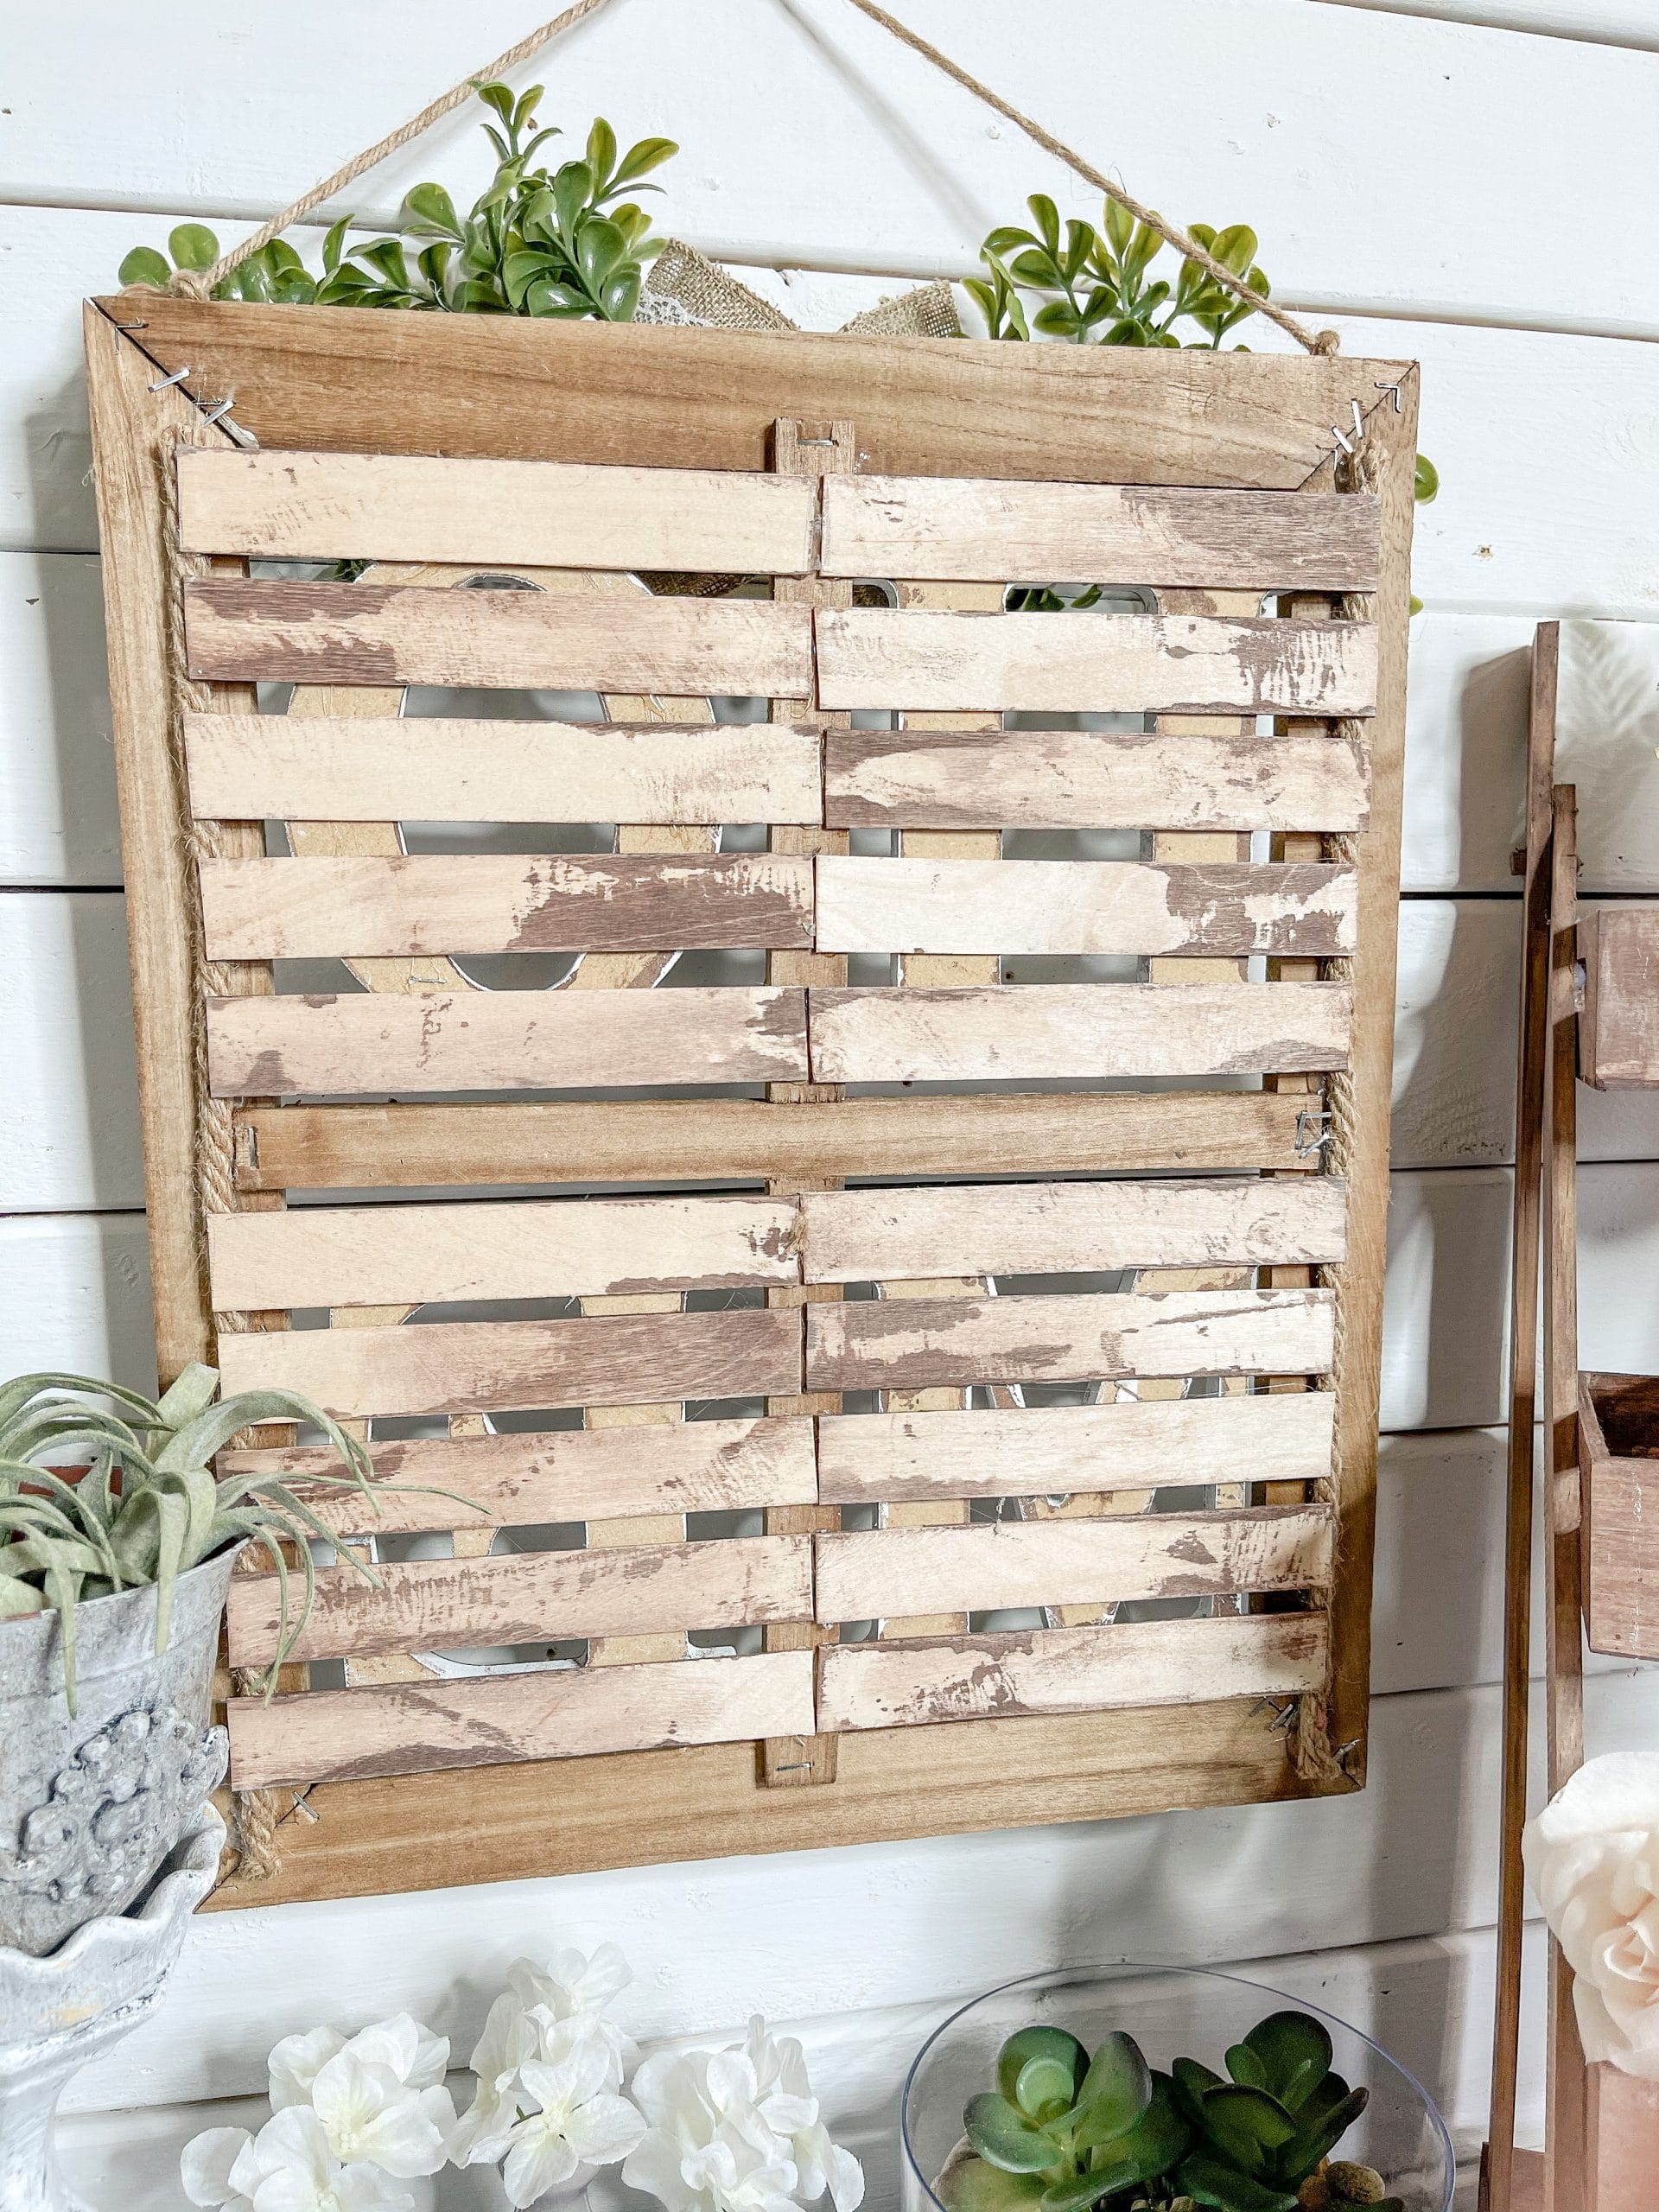
Allow the craft sticks to dry (I used my heat gun to speed up the drying process), and hot glue them across the back of the Hobby Lobby window frame.
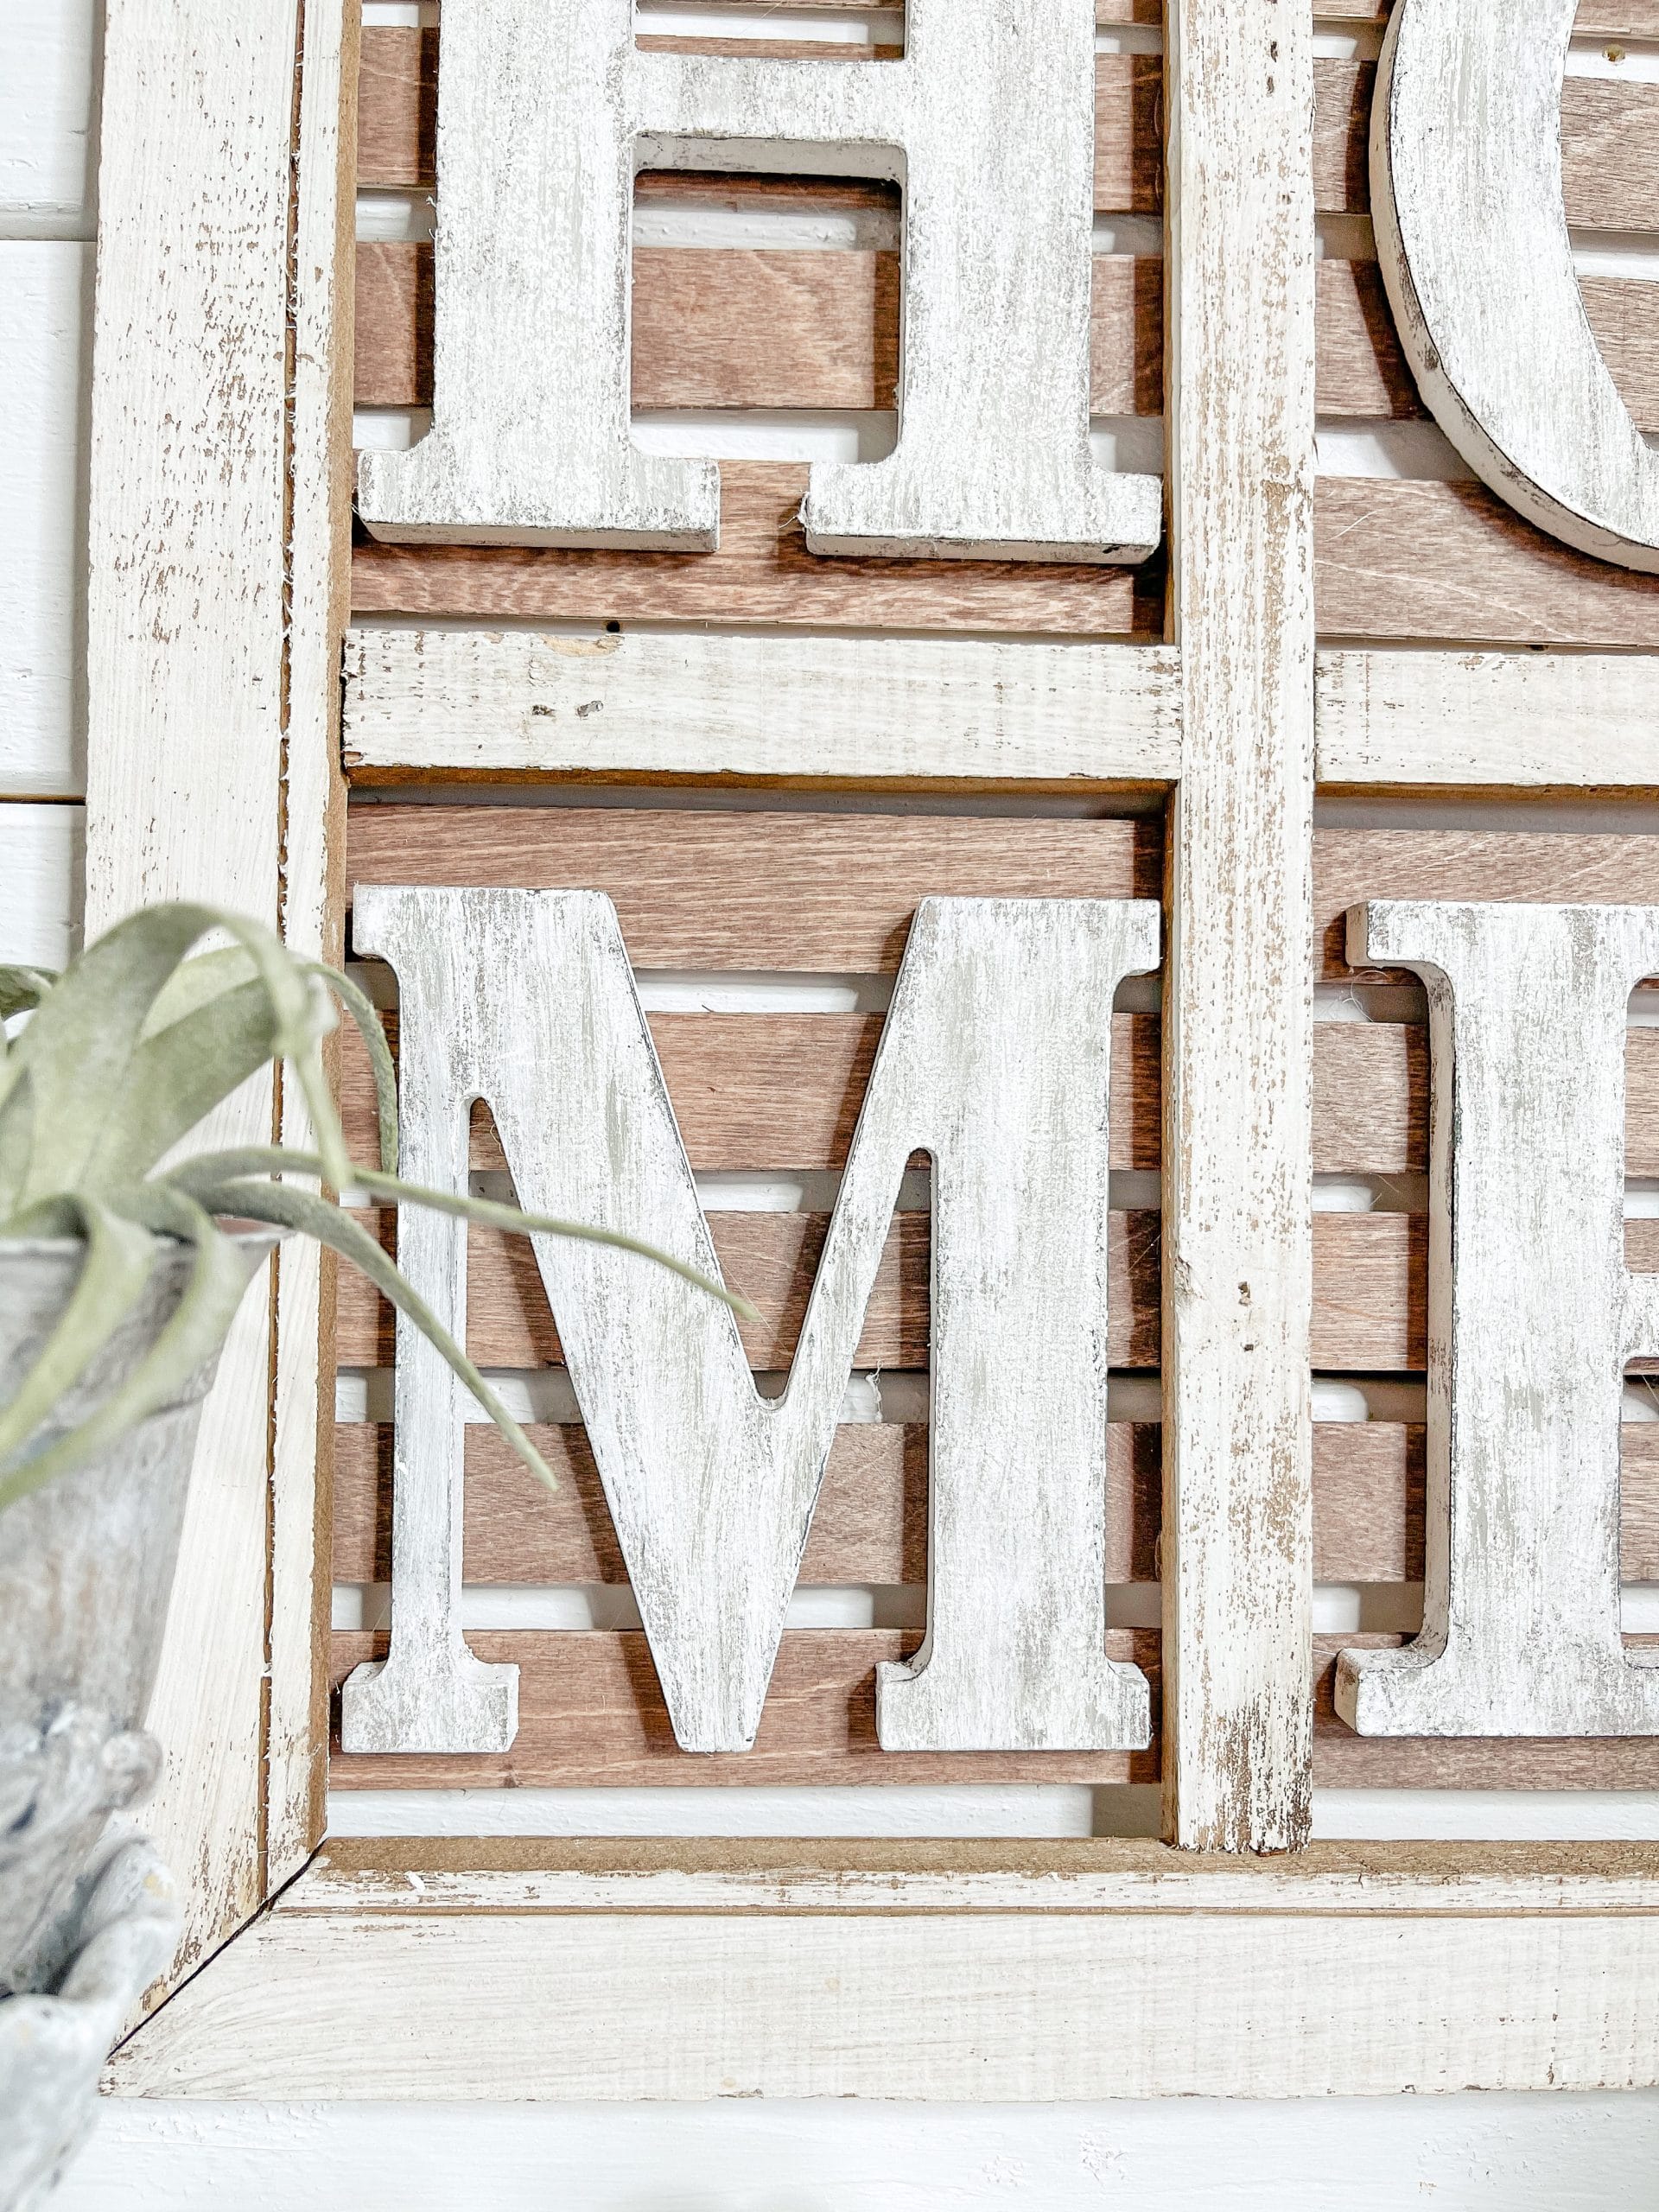
Next, use the same staining technique you used on the craft sticks to stain the letters. I made my decor say “HOME,” but you can use whichever letters you want!
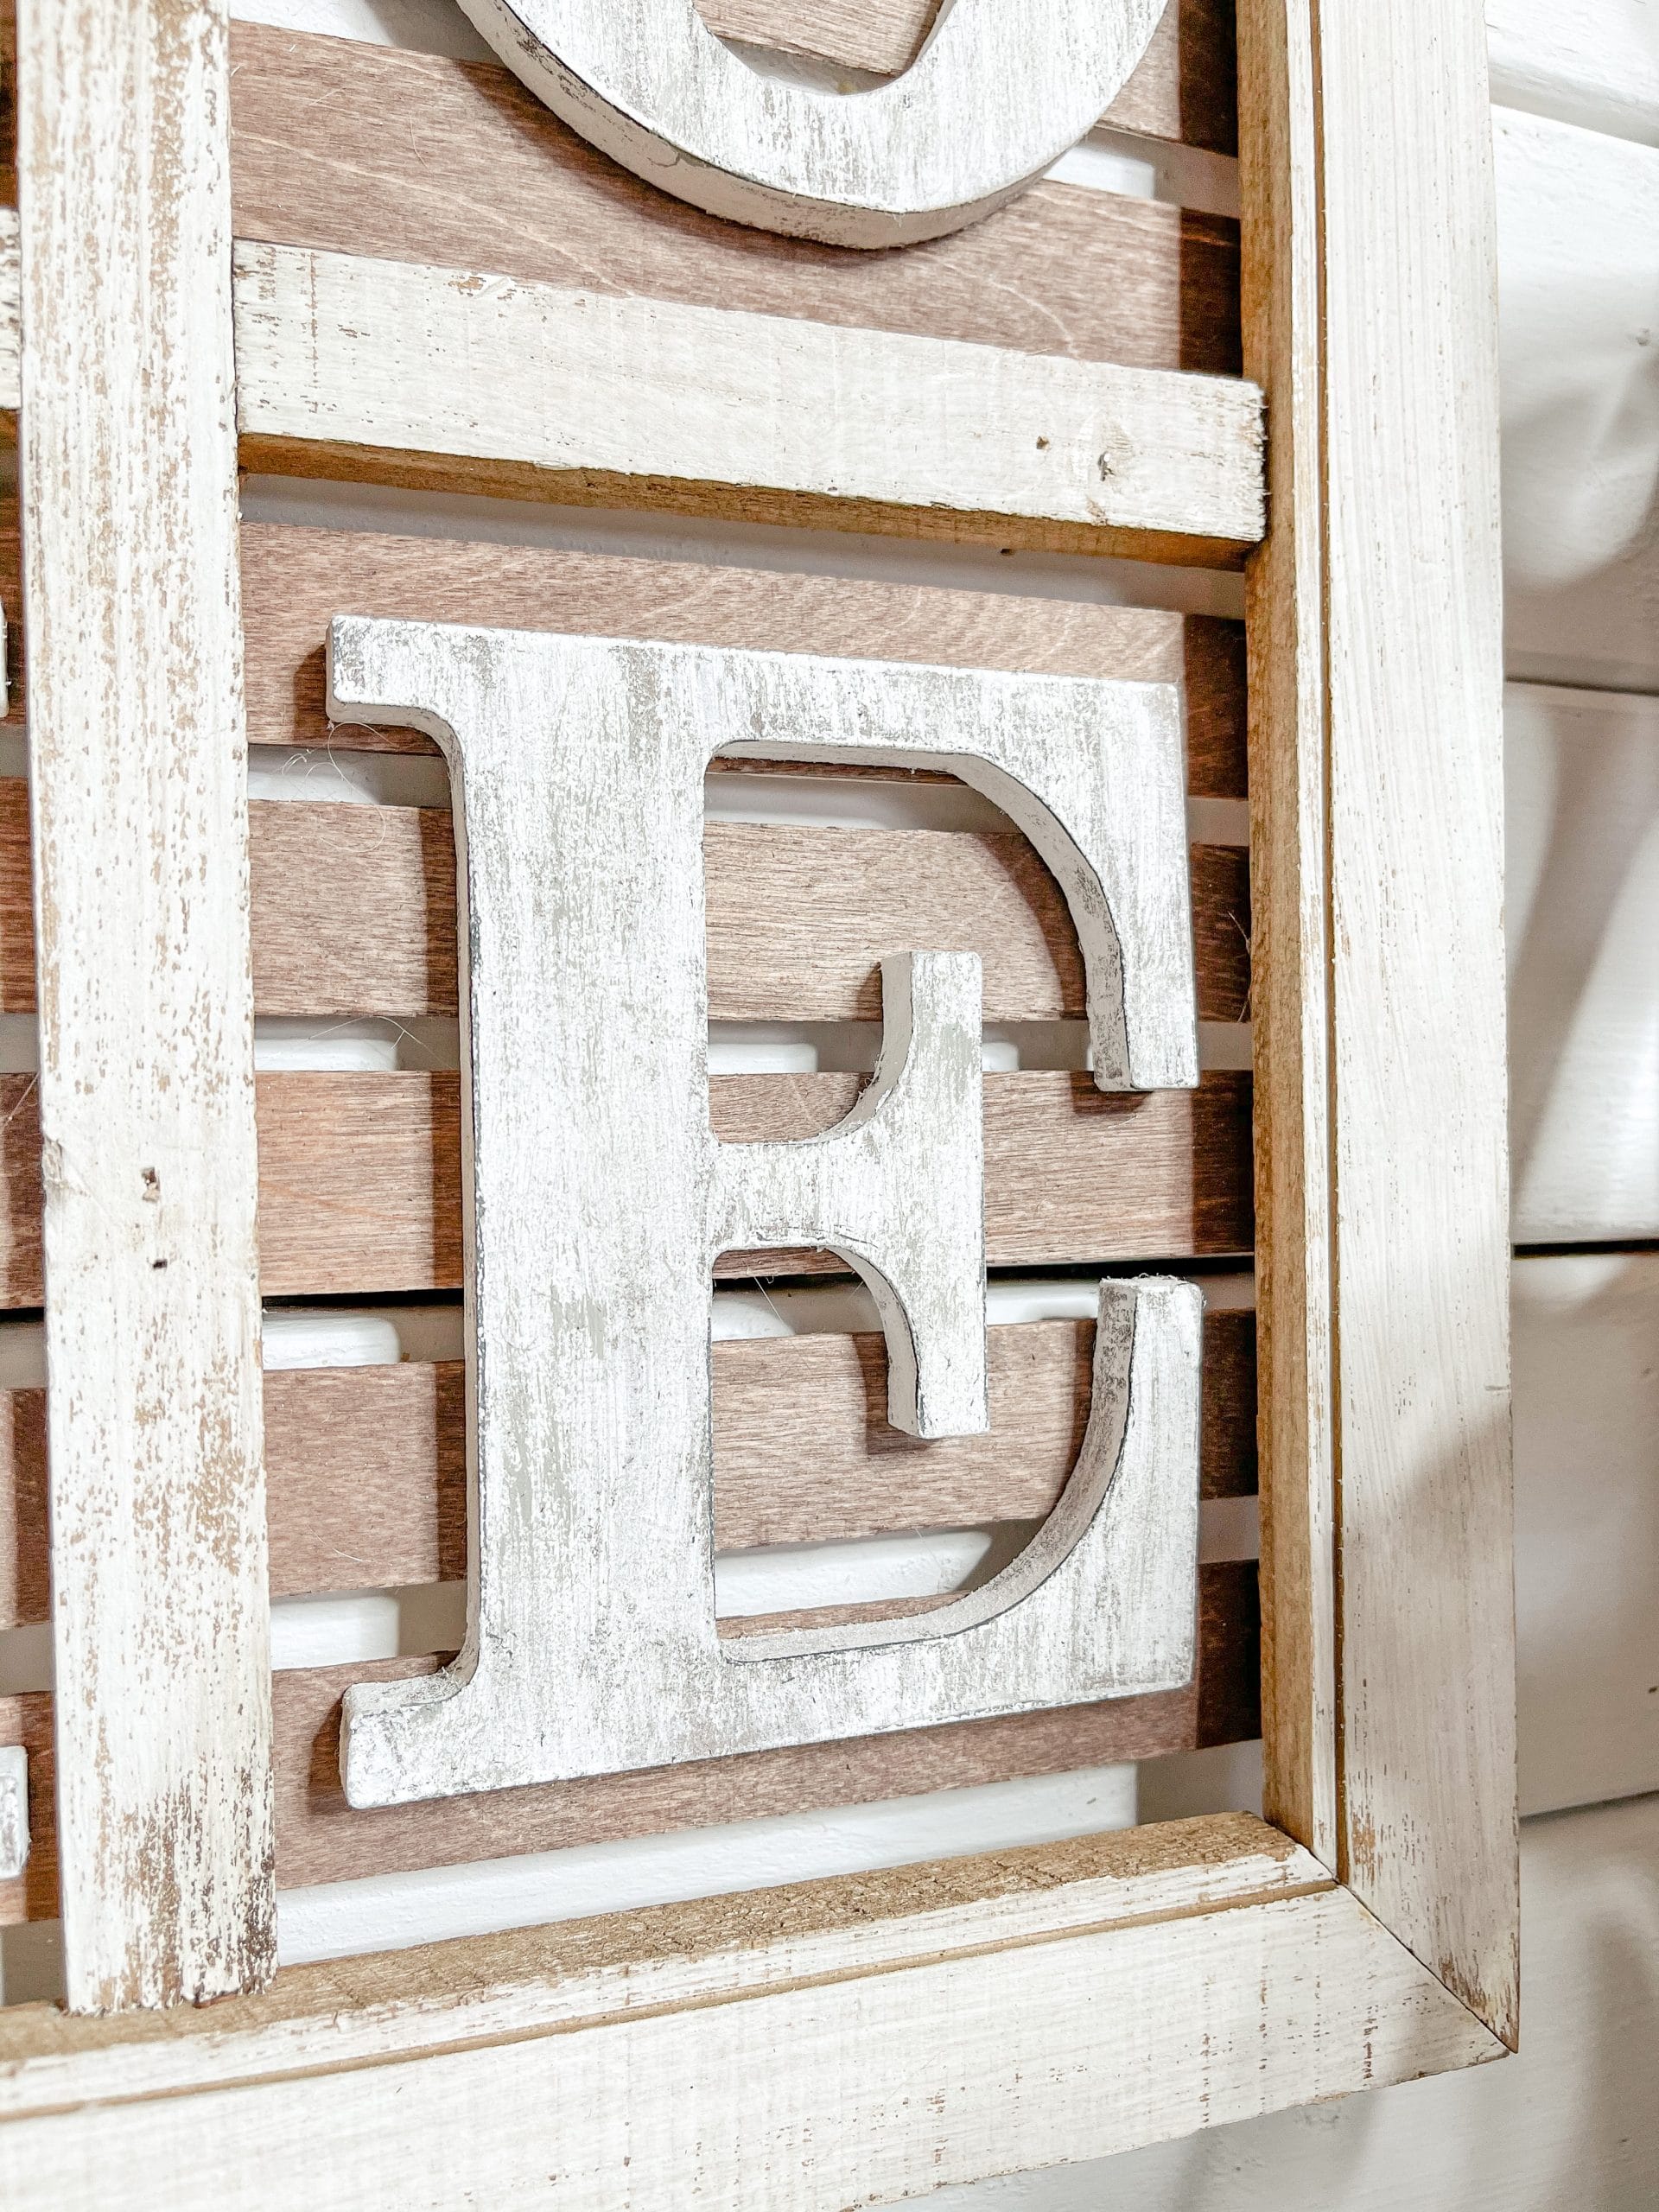
Dry the letters, then use a dry paintbrush to paint each of the letters white. Keep a light hand when you’re painting, and you’ll get an effortless distressed finish! You can always go back over the letters with a sanding sponge to distress more if you want to.
I then used Pewter Grey Apple Barrel Acrylic Paint and went around the edges of each of the letters. Adding the light grey adds dimension to the letters and creates an aged look.
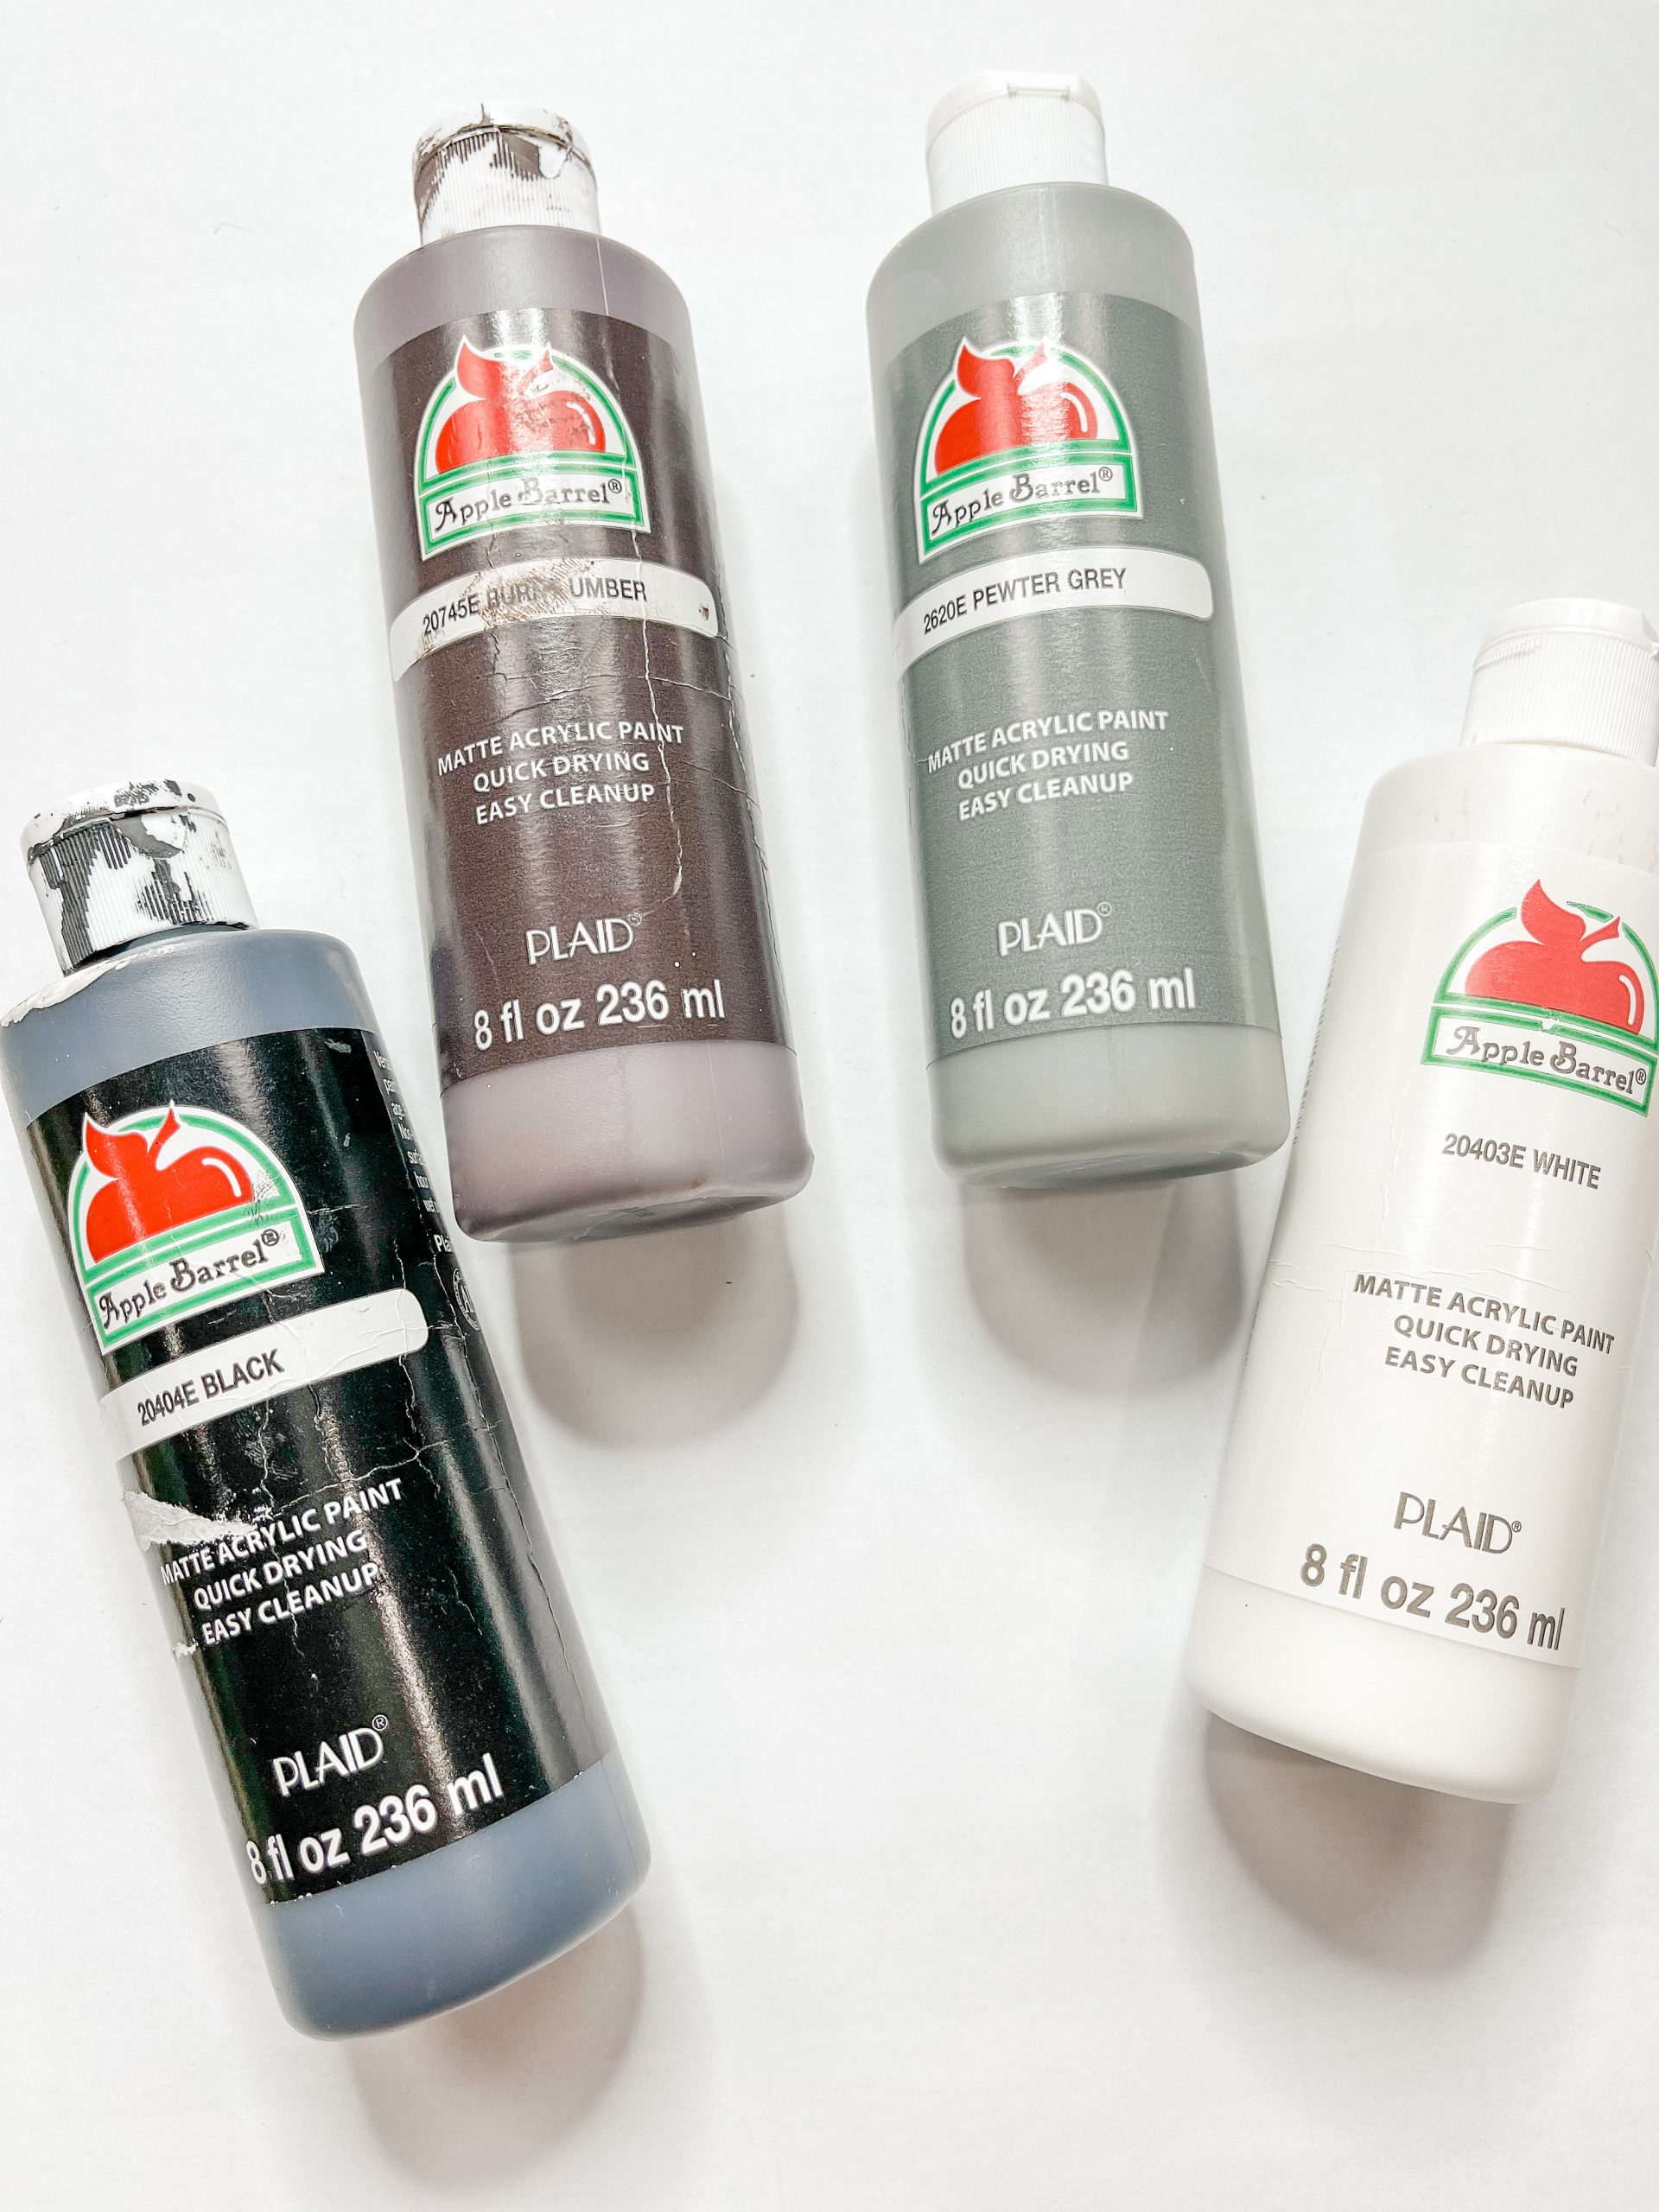
Lastly, I painted the actual edge of the letters with black paint. This helps make the letters pop, and also adds to the aged look! Once all the paint is dry, hot glue each of the letters onto the craft sticks on your window frame.
The finishing touches
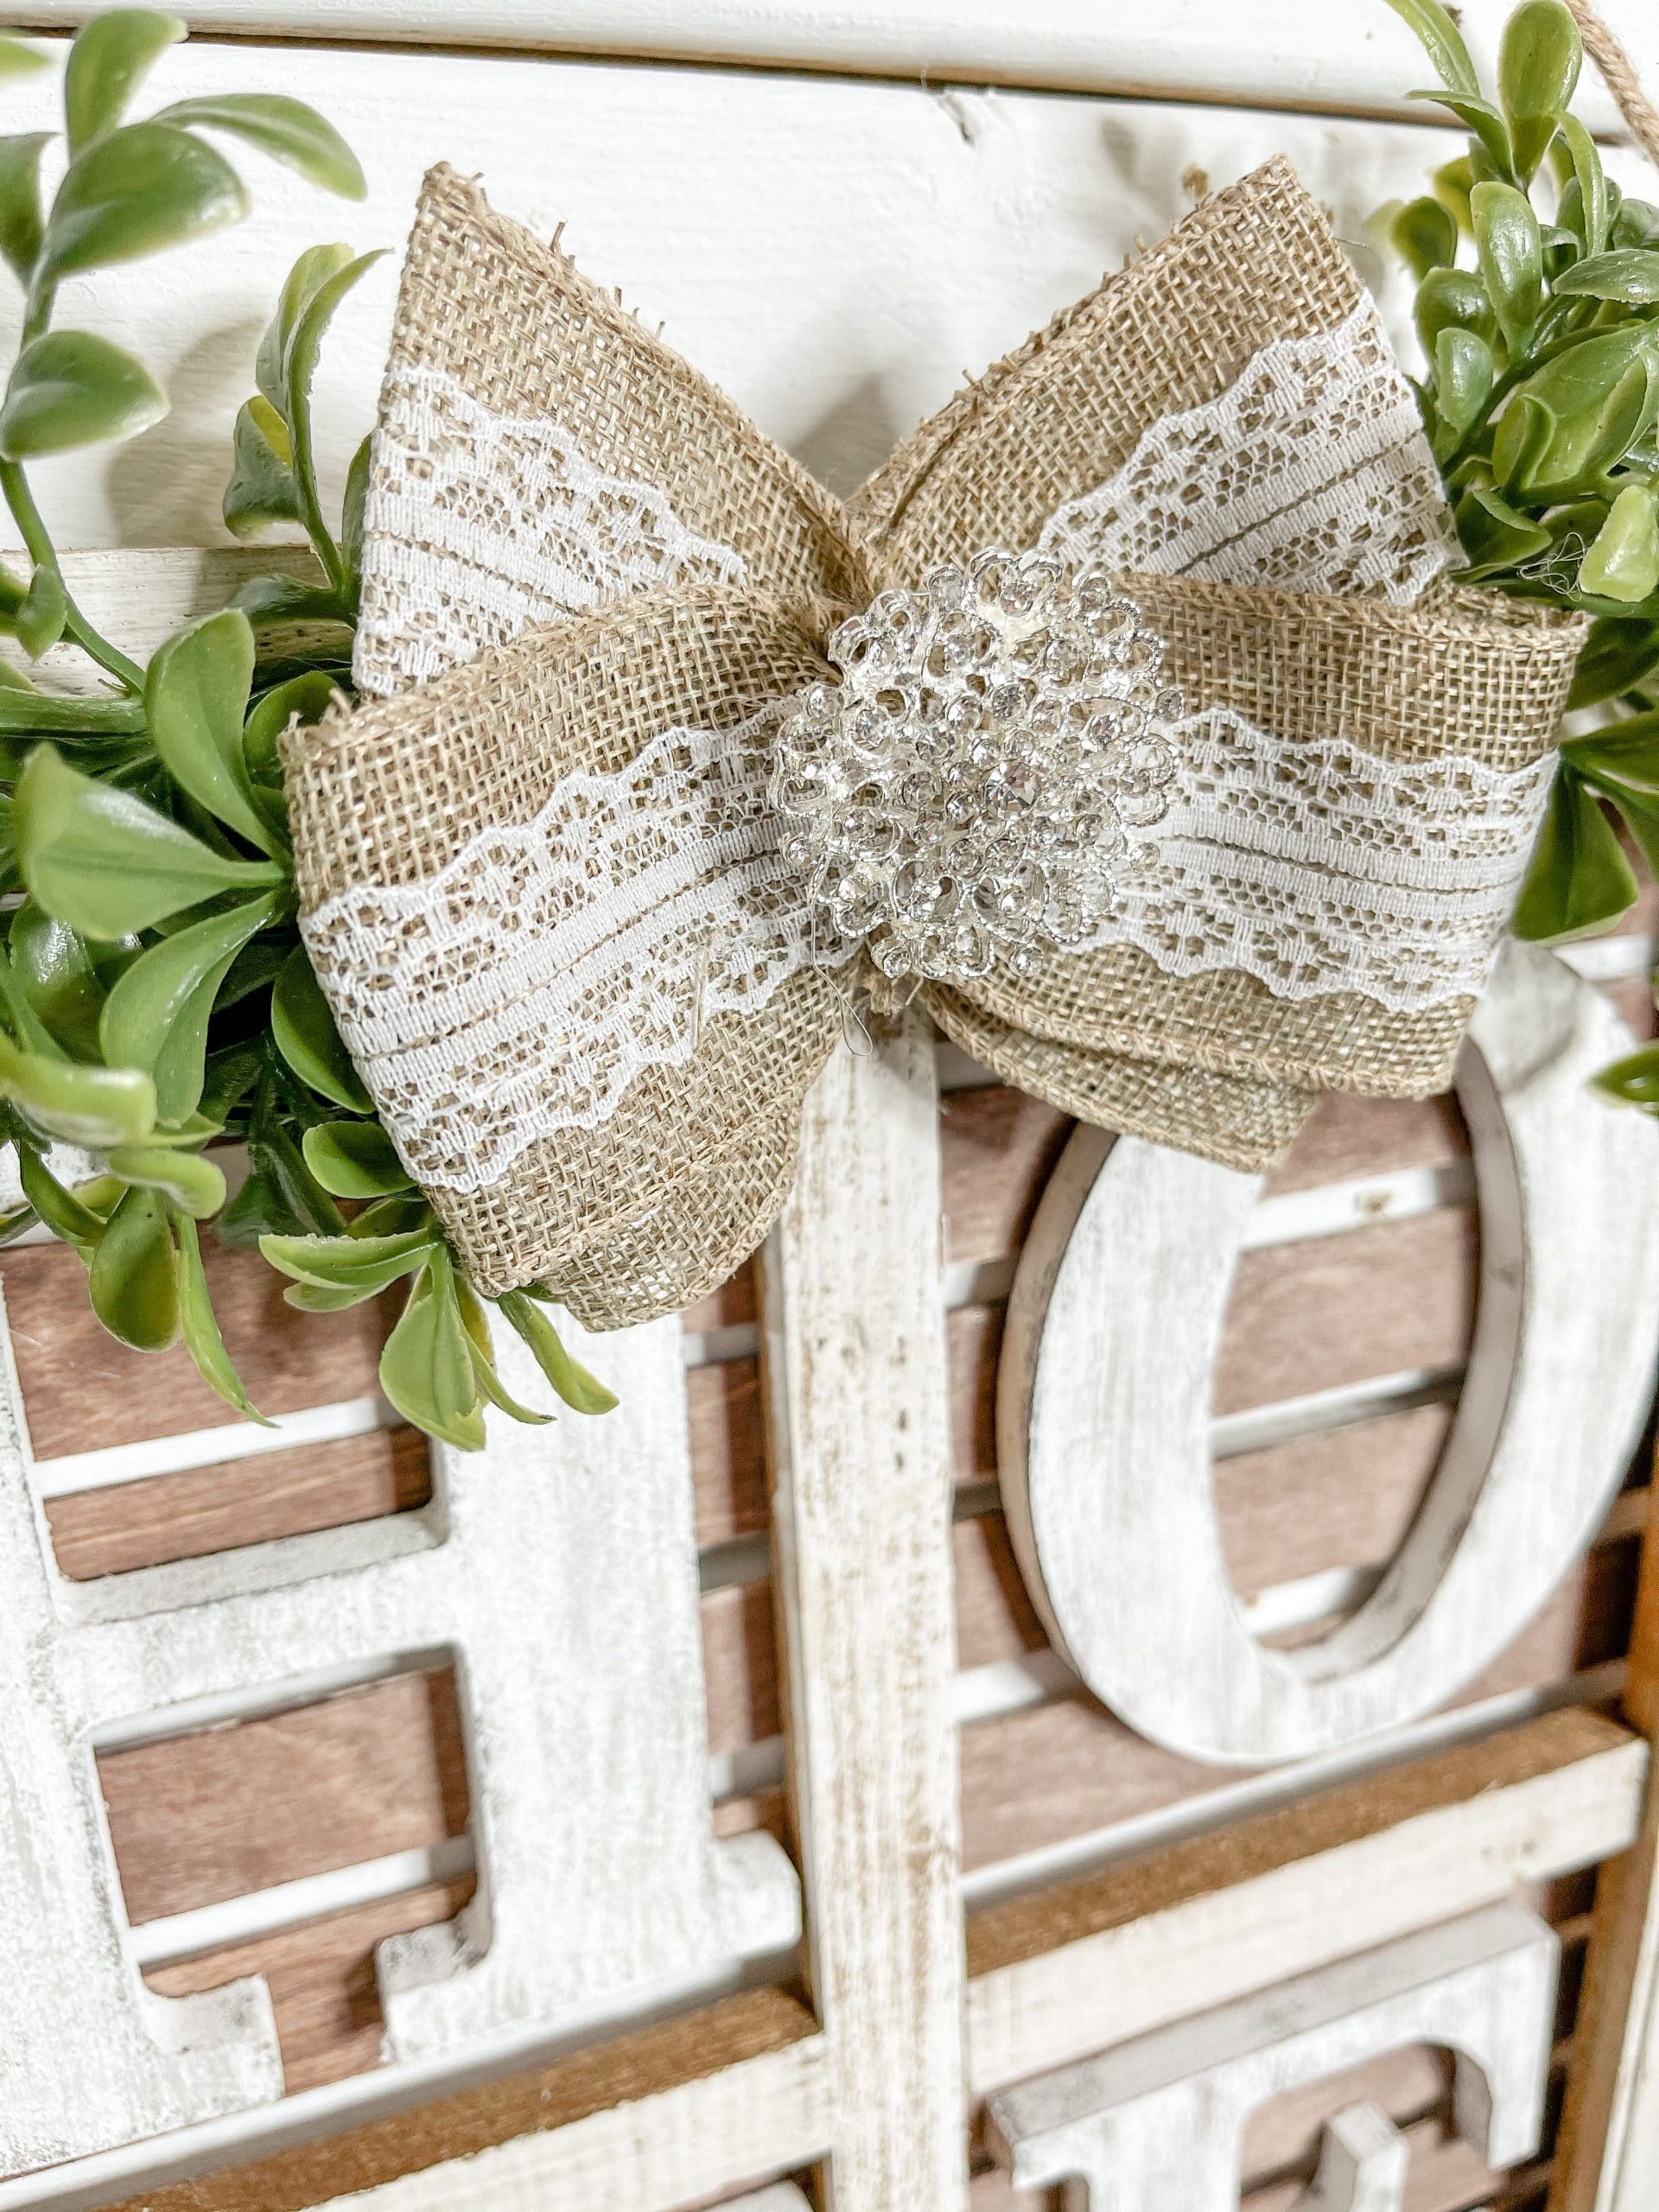
I pulled the greenery off the grapevine wreath that was on the Hobby Lobby window frame and hot glued them at the top of the window, with the stems pointing to the center of the top. I used twine to hold the stems together before I hot glued the greenery to the window.
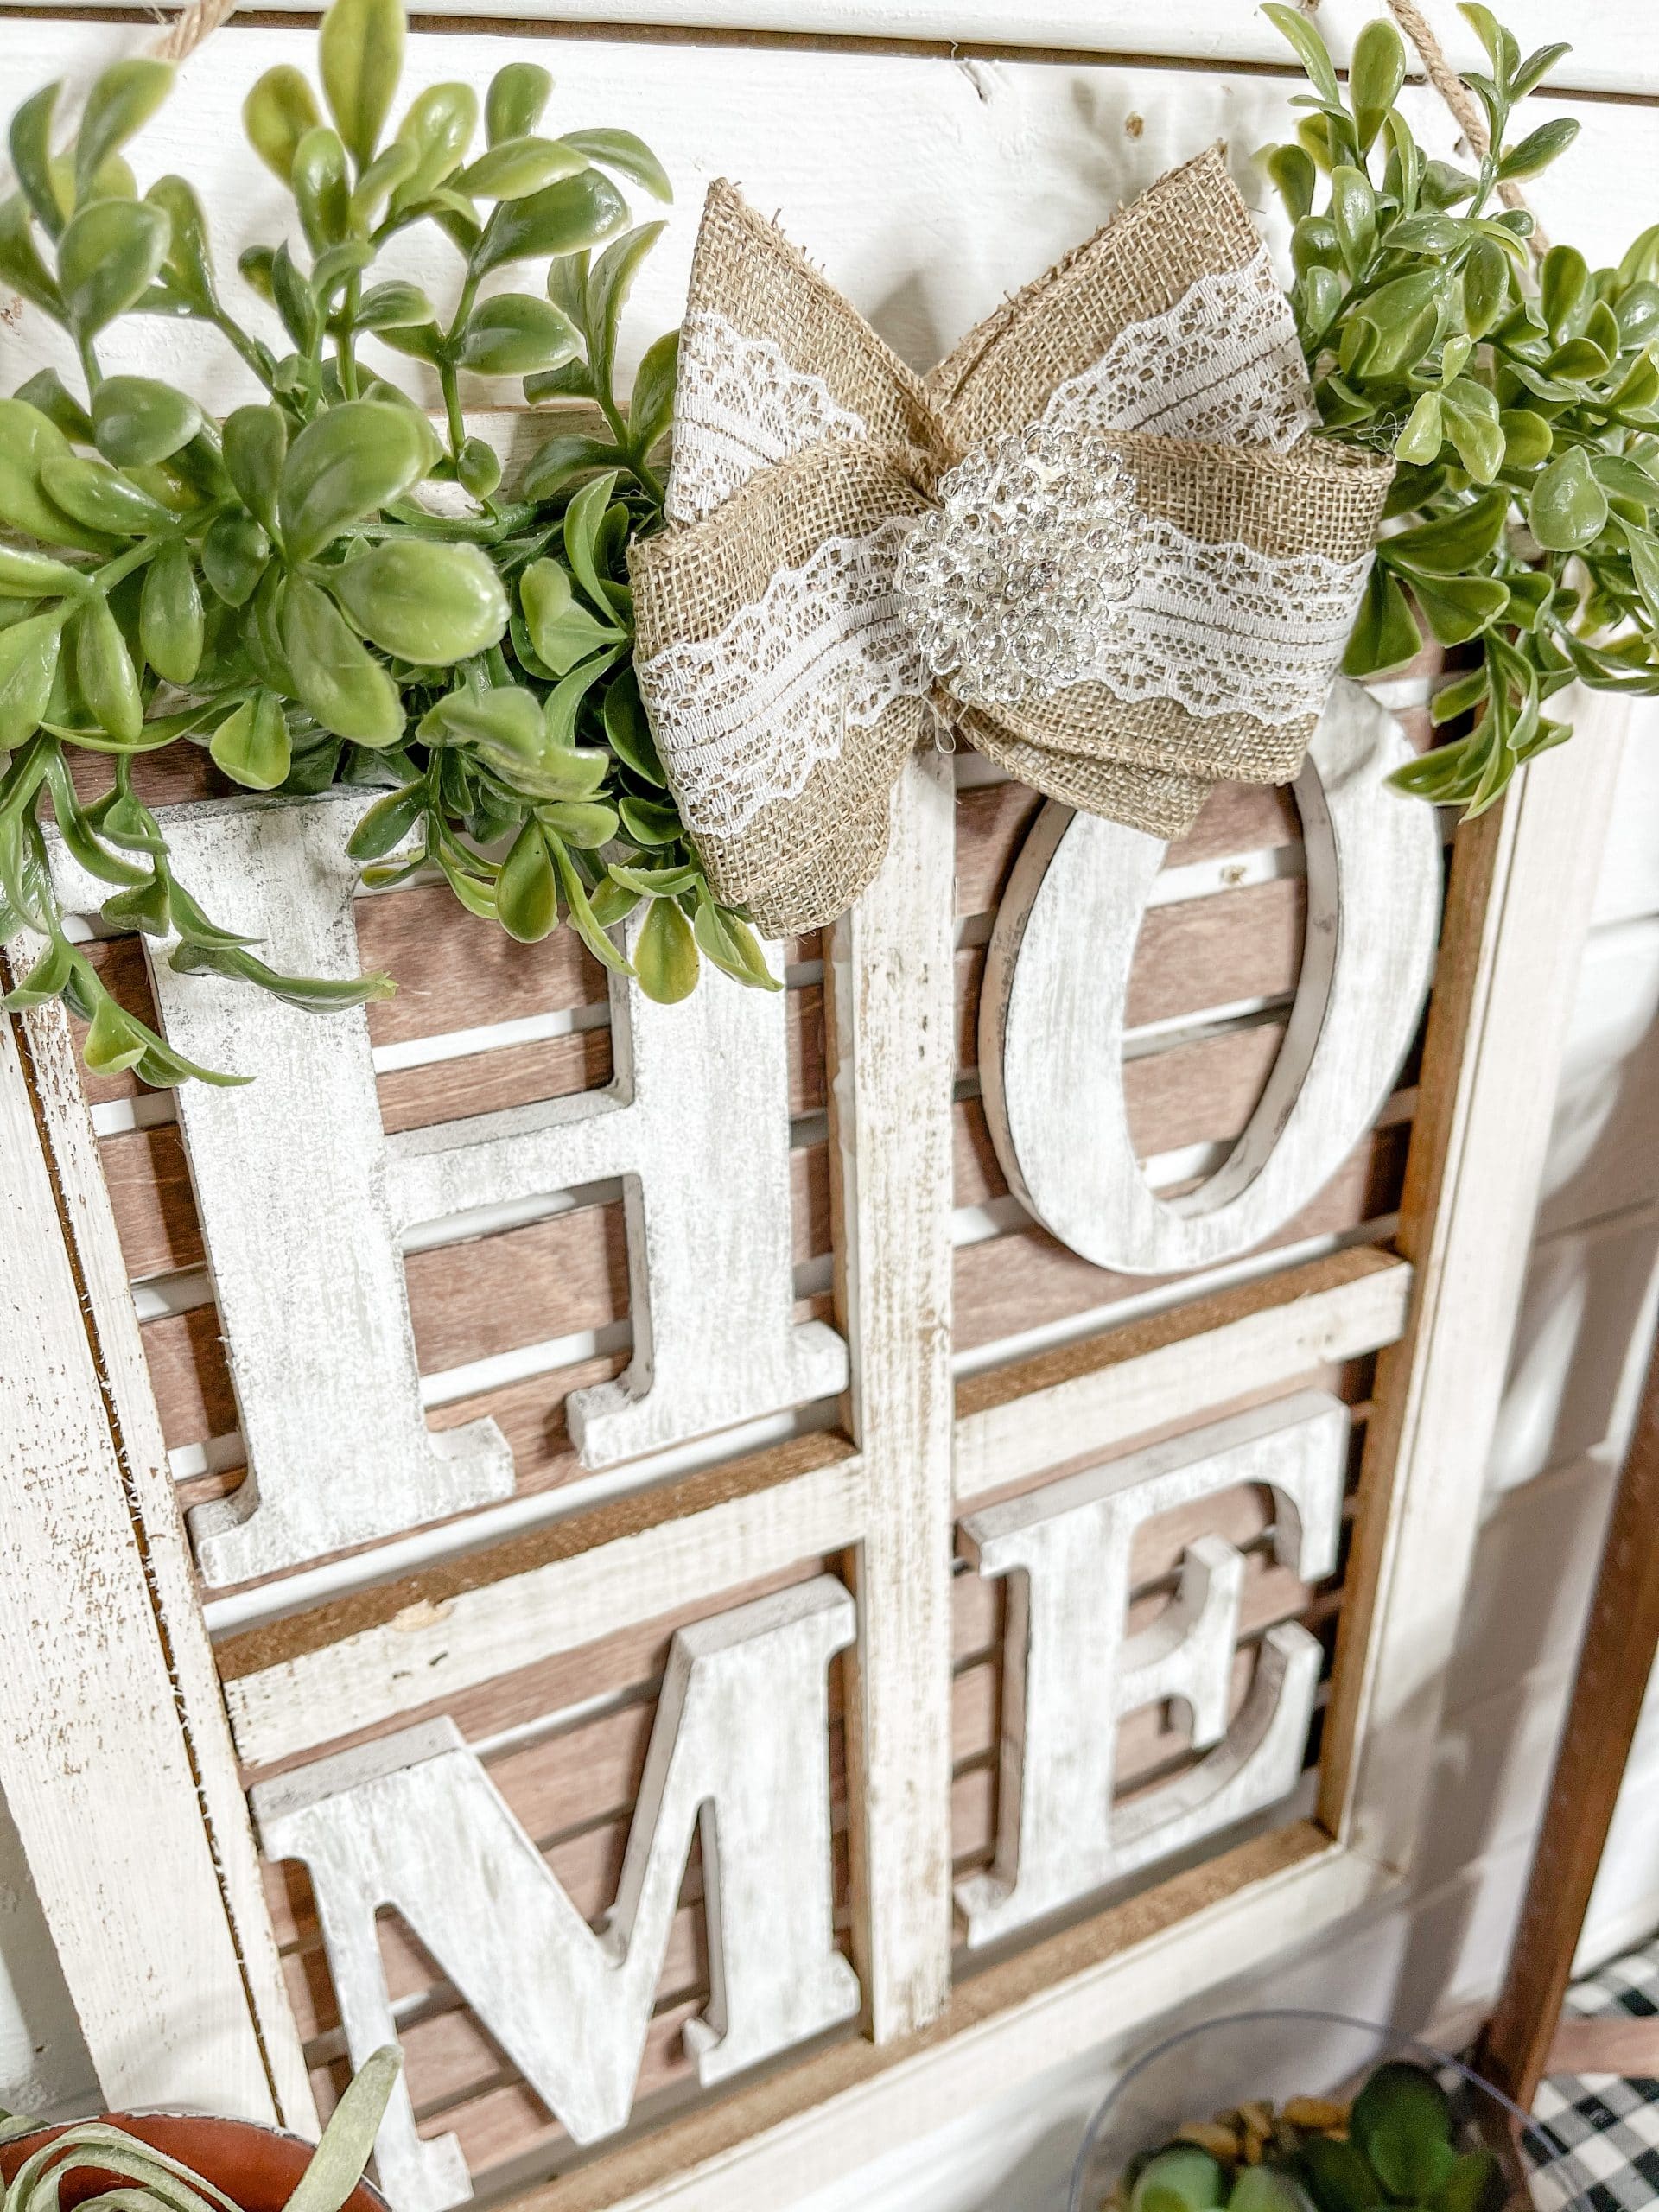
Next, I made a bow out of the burlap/lace ribbon and a piece of jute twine. Wrap the ribbon around your fingers a couple of times, then pinch the center and secure it with a piece of jute twine.
Fluff the ribbon on each side of the jute twine, and hot glue the bow over the stems of the greenery at the top of the window. Lastly, I added a super cute bling from Totally Dazzled to the center of the bow!
I hope you enjoyed this DIY Hobby Lobby Window Makeover as much as I did and decide to make one for yourself! If you do, I would love to see how yours turns out!
You should totally join my FREE Facebook group called On A Budget Crafts! It is a judgment-free community for DIY crafters to show off their projects and ideas.
If you loved this DIY you might also like this one too!
Thanks for stopping by! XOXO Amber
You can also shop my ENTIRE AMAZON Favorites shop just click here! It’s packed full of all the things I use and love. Here is the supply list I highly recommend every creative have on hand!!
Would you also pin my blog for later and get on my newsletter alerts? I would love to have you join my #craftycrew.
Inspired? Leave me a comment below! I love hearing from my readers!

Join my free “ON A BUDGET CRAFTS” Facebook group!


Can you show how you made the stand next to the home picture frame thank you
If you’re asking about the tiered triangle shelf, that was a Creative Haven exclusive project.
This looks so high end. Awesome job
Where do I find the instructions on the shelf that’s in this picture?
I was thinking the same thing! I searched the site and found the directions. Here’s the link to Amber’s instructional page:
https://www.themakersmap.com/make-a-tiered-plant-stand-organizer/
I definitely need one of these. Thanks!
I love all of your projects and dyi’s . As well as your staging of your items they are beautiful and awesome. Thank you for sharing your ideas with us. I don’t get to see your dyi.anymore not sure why but I’m still following you on your pages. Love ya kiddo good luck and best wishes on all you do.
Amber, I loved this project and I have it on my to do’s list lol! You are seriously the best girlfriend! That’s why we love you because your so much fun and your always thinking about us 😍🤗🙏🏻
Another favorite!