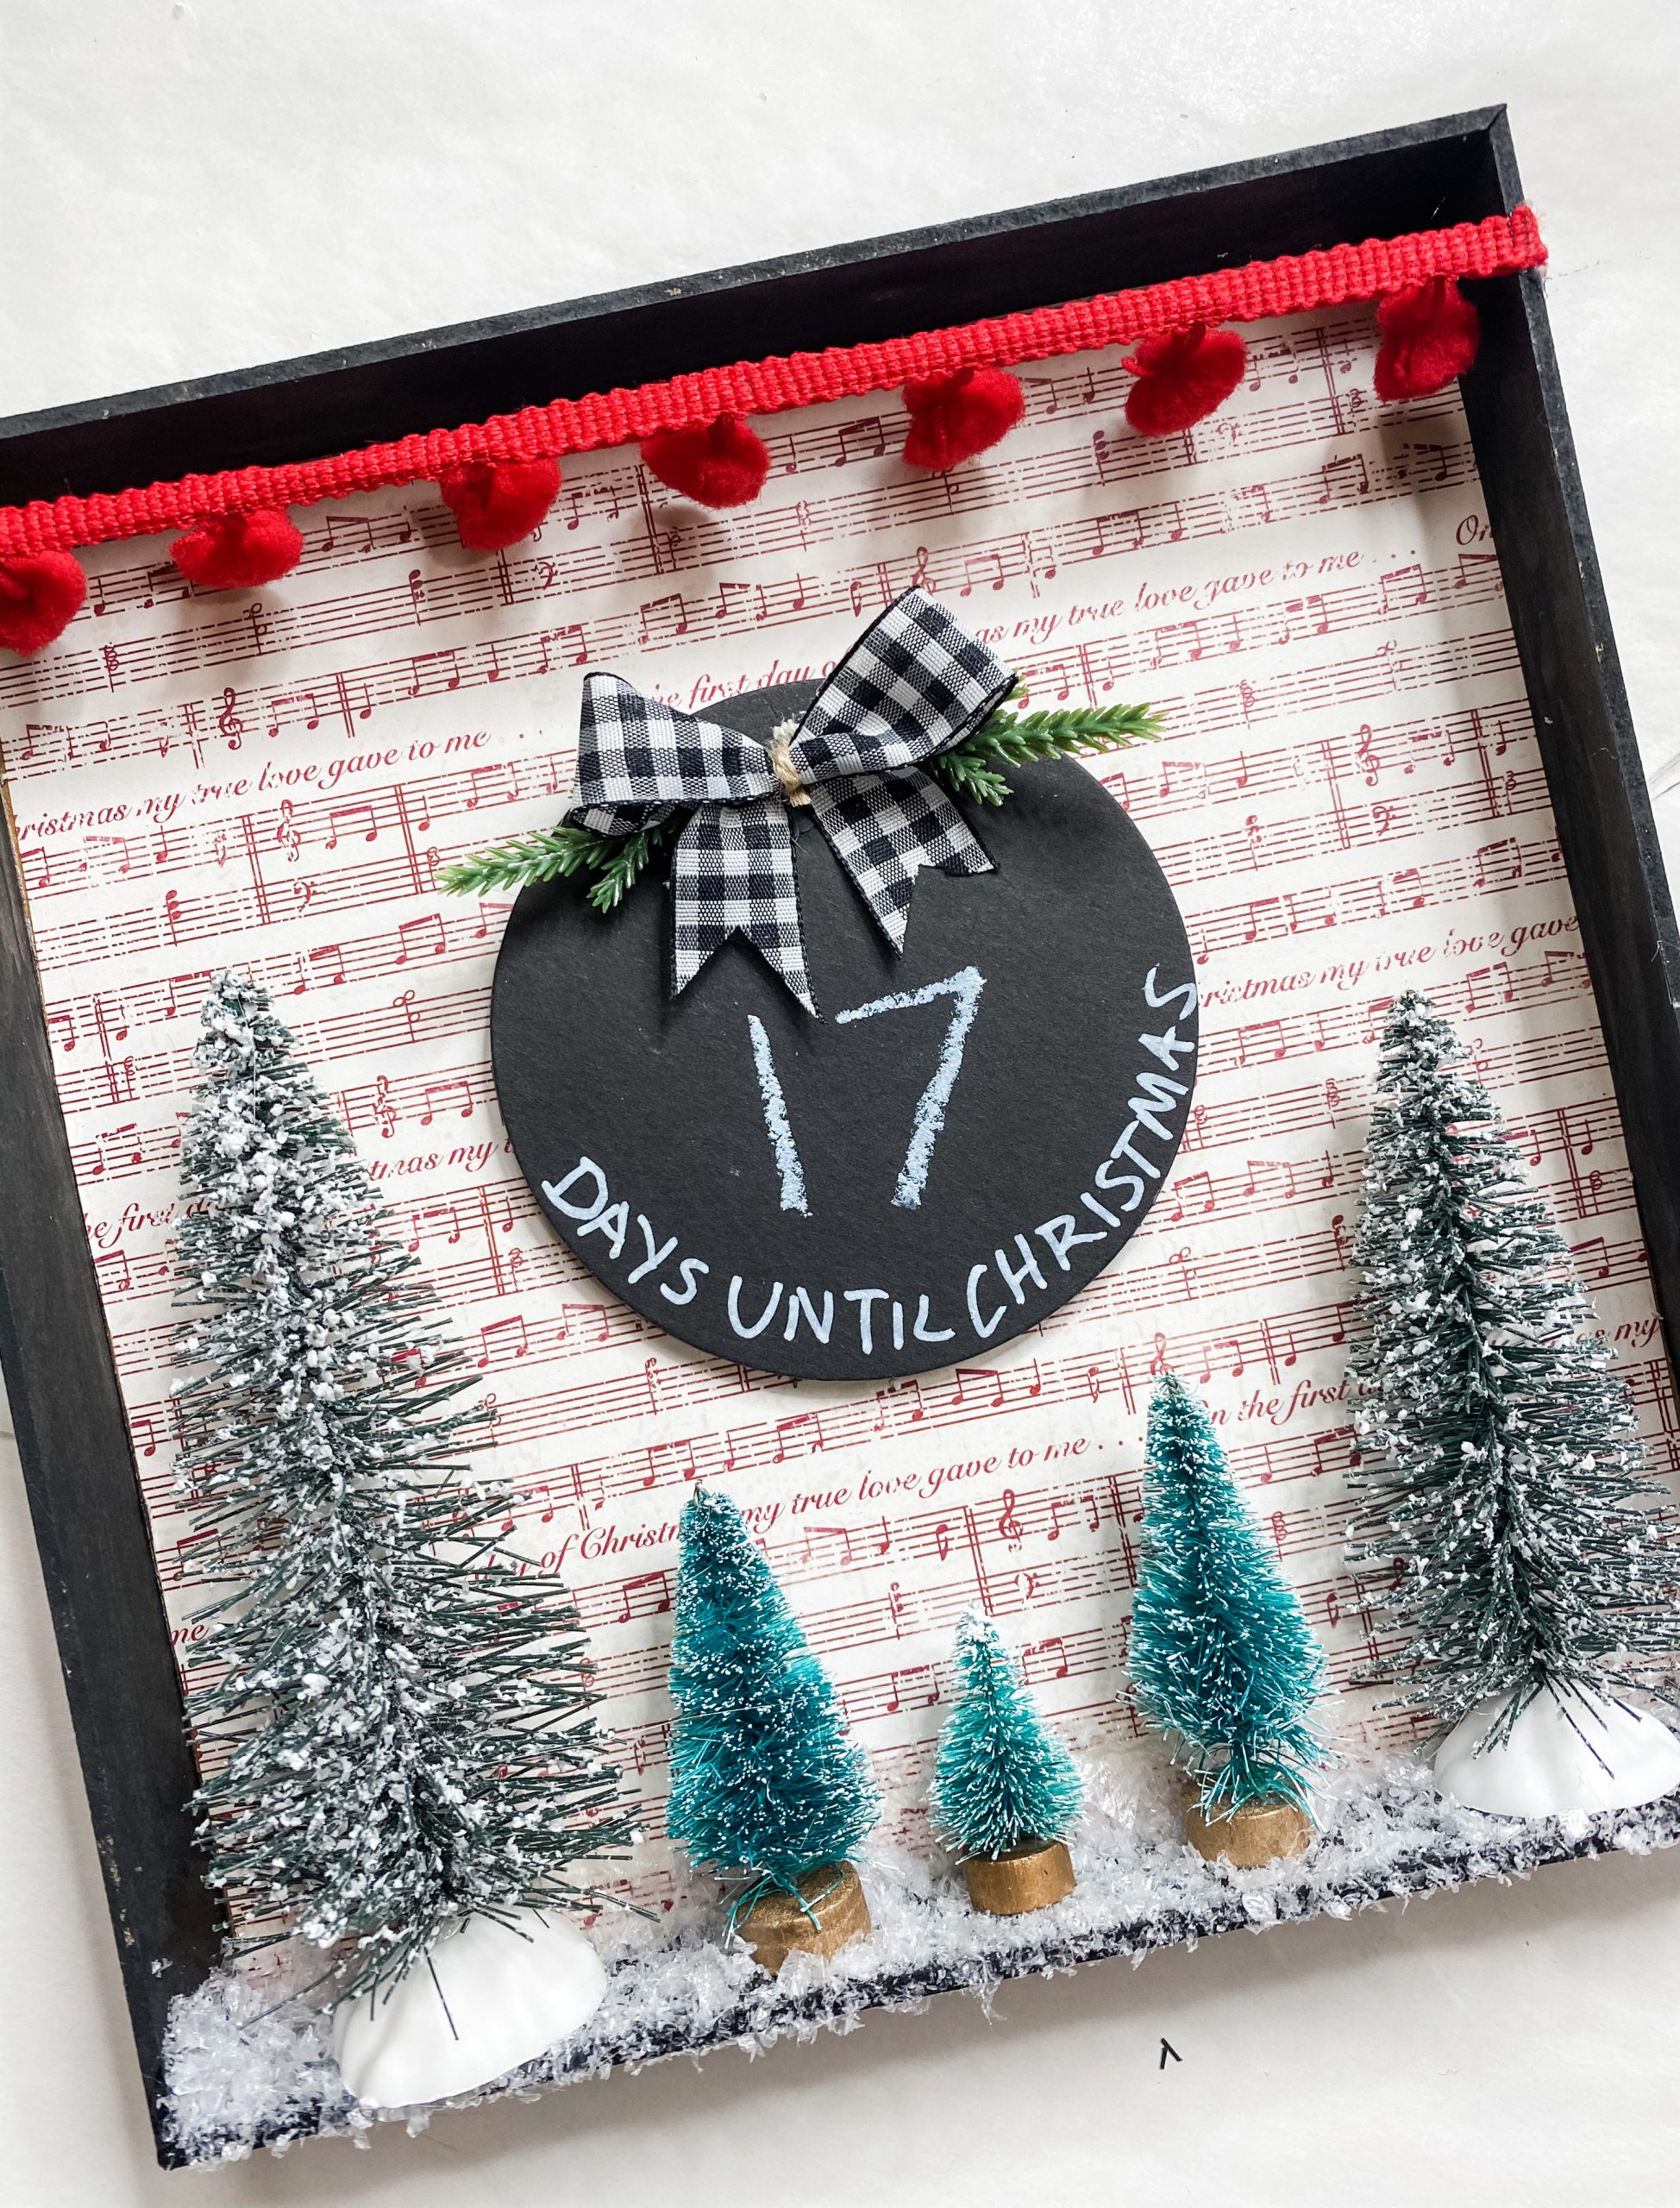
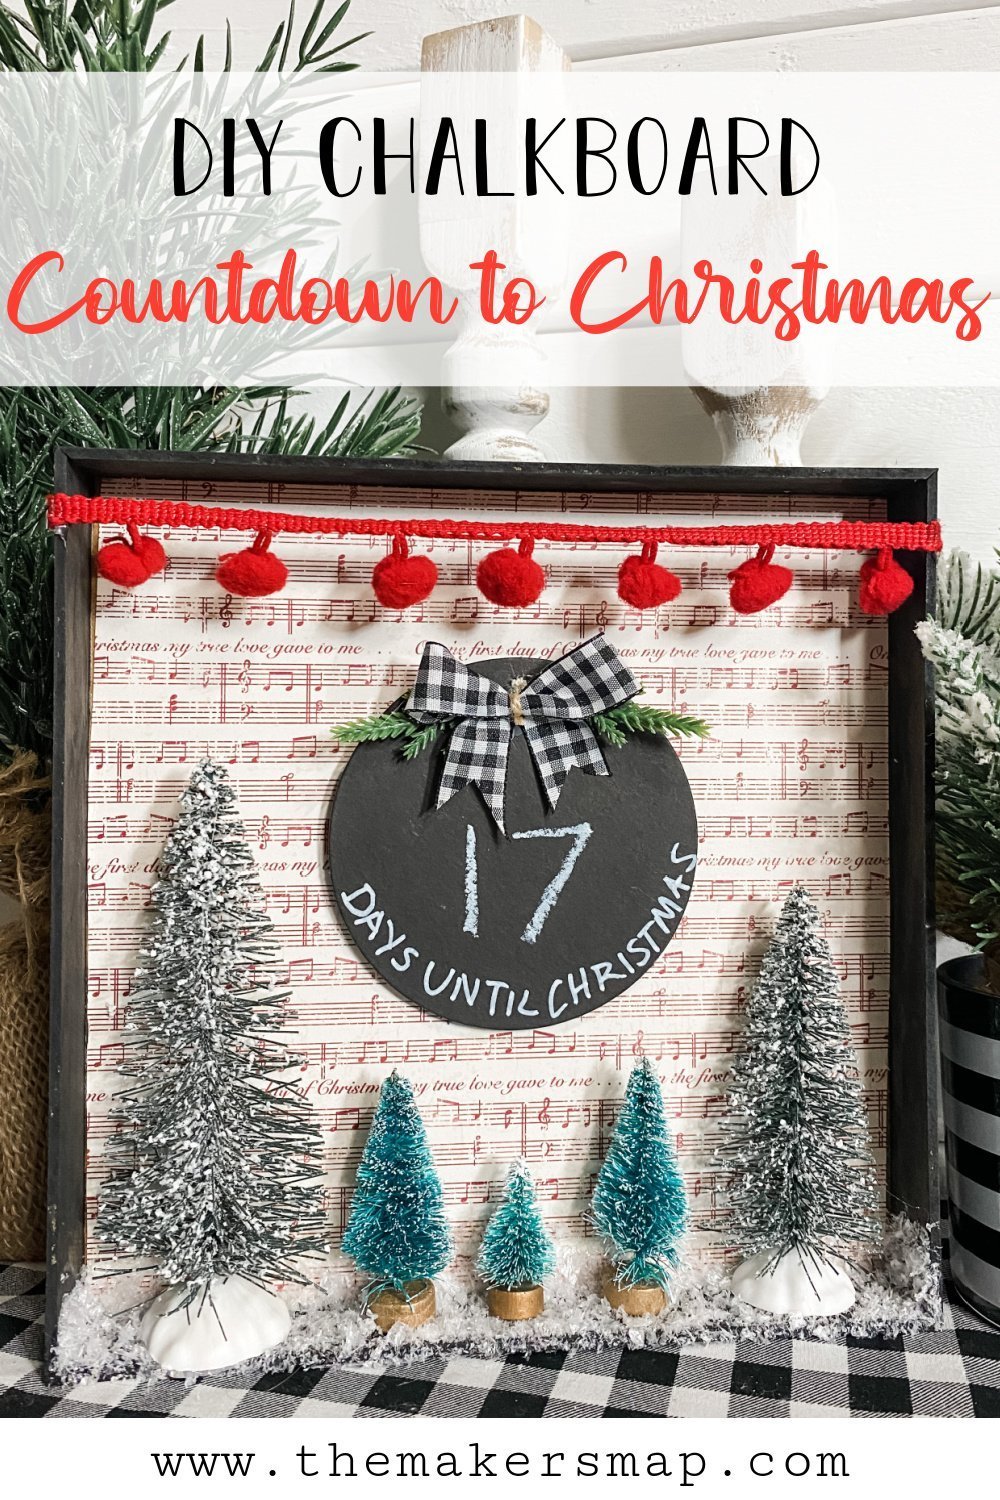
Dollar Tree Chalkboard DIY Countdown to Christmas Sign
As I’ve been thinking of new DIY crafts to do, I’ve had my granddaughter, Avery, on my mind. I am really looking forward to the day that she is old enough and patient enough to craft with me!
I came up with this Dollar Tree Chalkboard DIY Countdown to Christmas Sign and thought about how much fun it would be as a kid’s craft to do with Avery.
With super-easy steps and a little bit of mess, it would be so much fun to make this with the kids or grandkids!
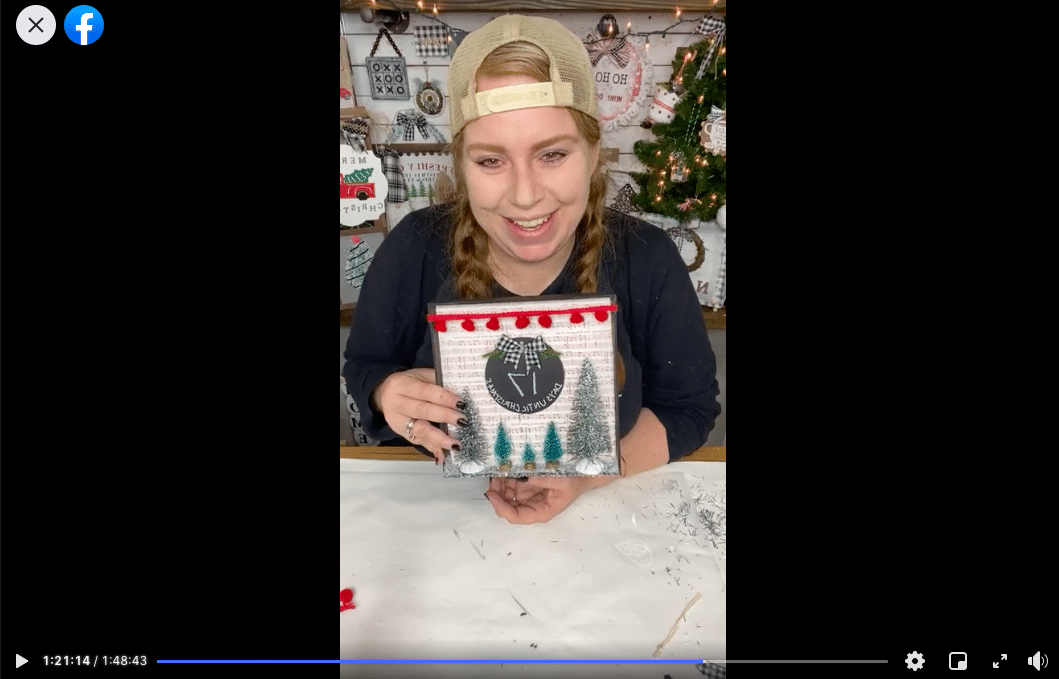
Watch the replay
Making this adorable Christmas DIY during a LIVE video over on my Facebook page was so much fun. I’m not going to lie, and it really isn’t a secret – I love to craft. It is just a passion that I have. I get these crazy ideas and I work them out in my head until I am able to bring them to life.
I could craft all day long by myself, and be happy. But I wouldn’t be fully satisfied keeping my DIY ideas to myself.
I feel called to help inspire people on how to get creative and decorate their homes on a budget. That is why I truly enjoy crafting during LIVE videos so much!
If you want to craft along or join in on the fun conversations we have during the LIVE videos, you can watch the replay over on my Facebook page!
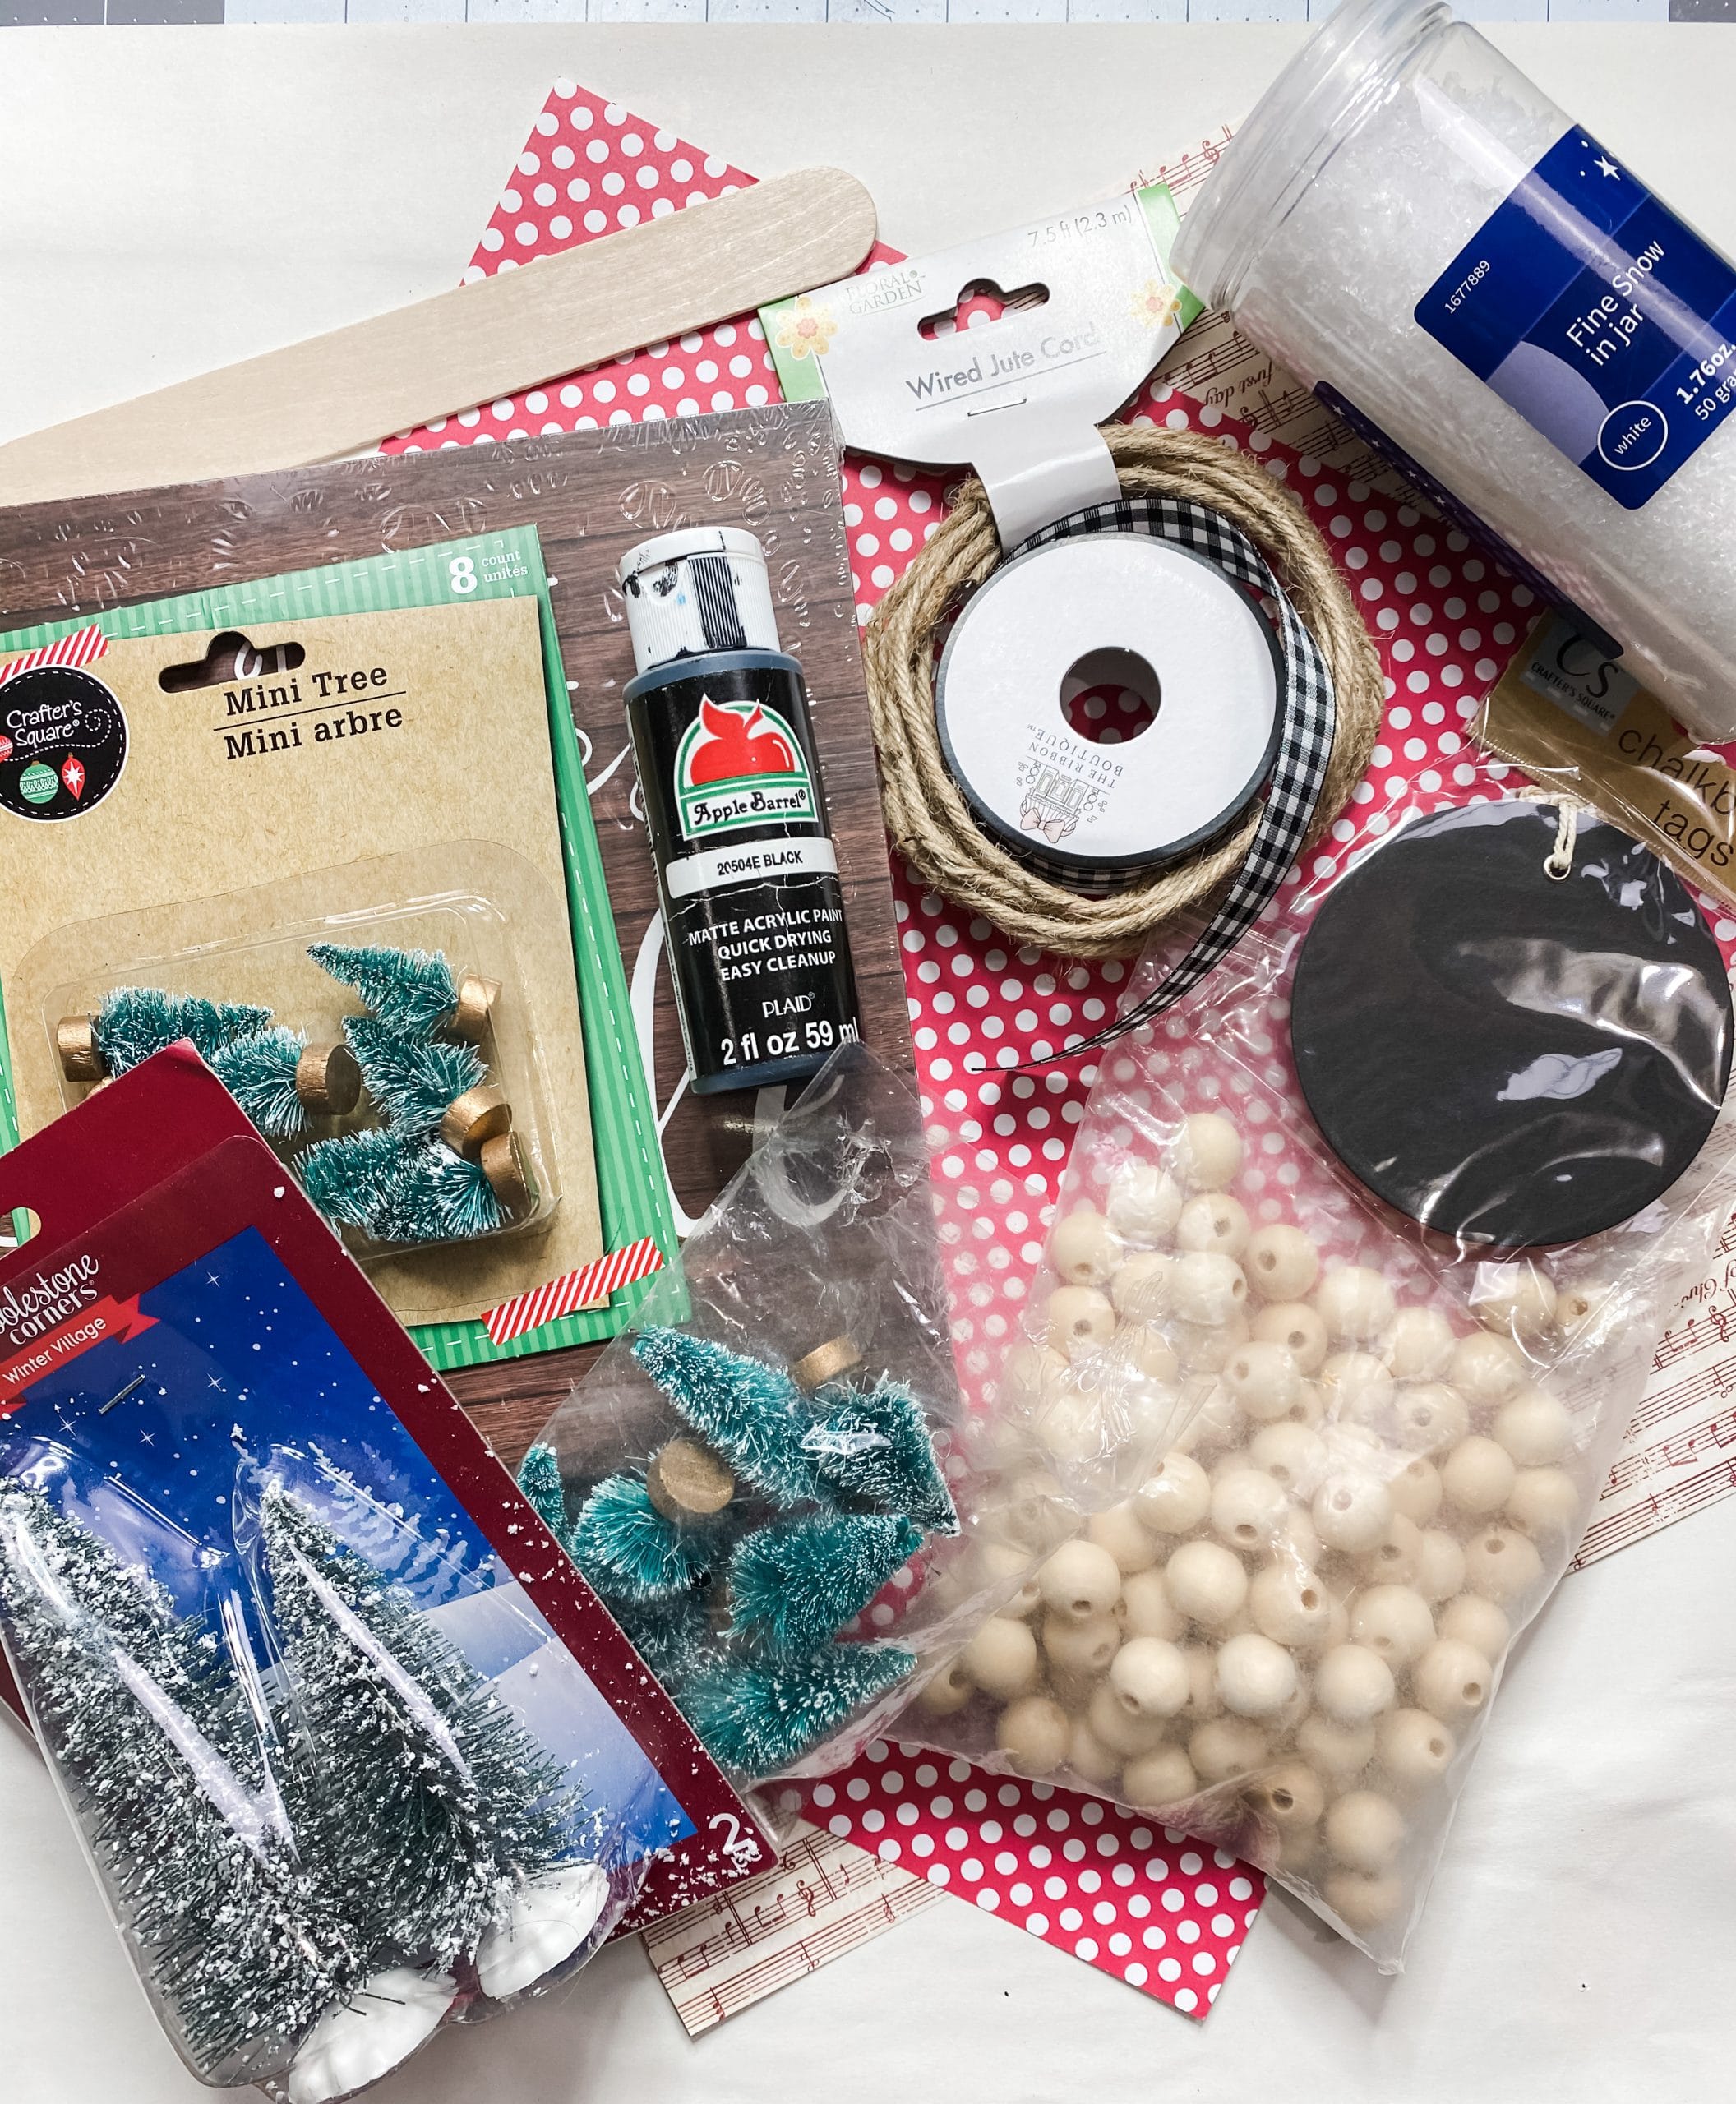
For this project, I will be using these items but you can substitute where you want.
“As an Amazon Associate, I earn from qualifying purchases.”
- Dollar Tree chalkboard circled
- Dollar Tree mini Christmas trees
- Apple Barrel Black Acrylic Paint
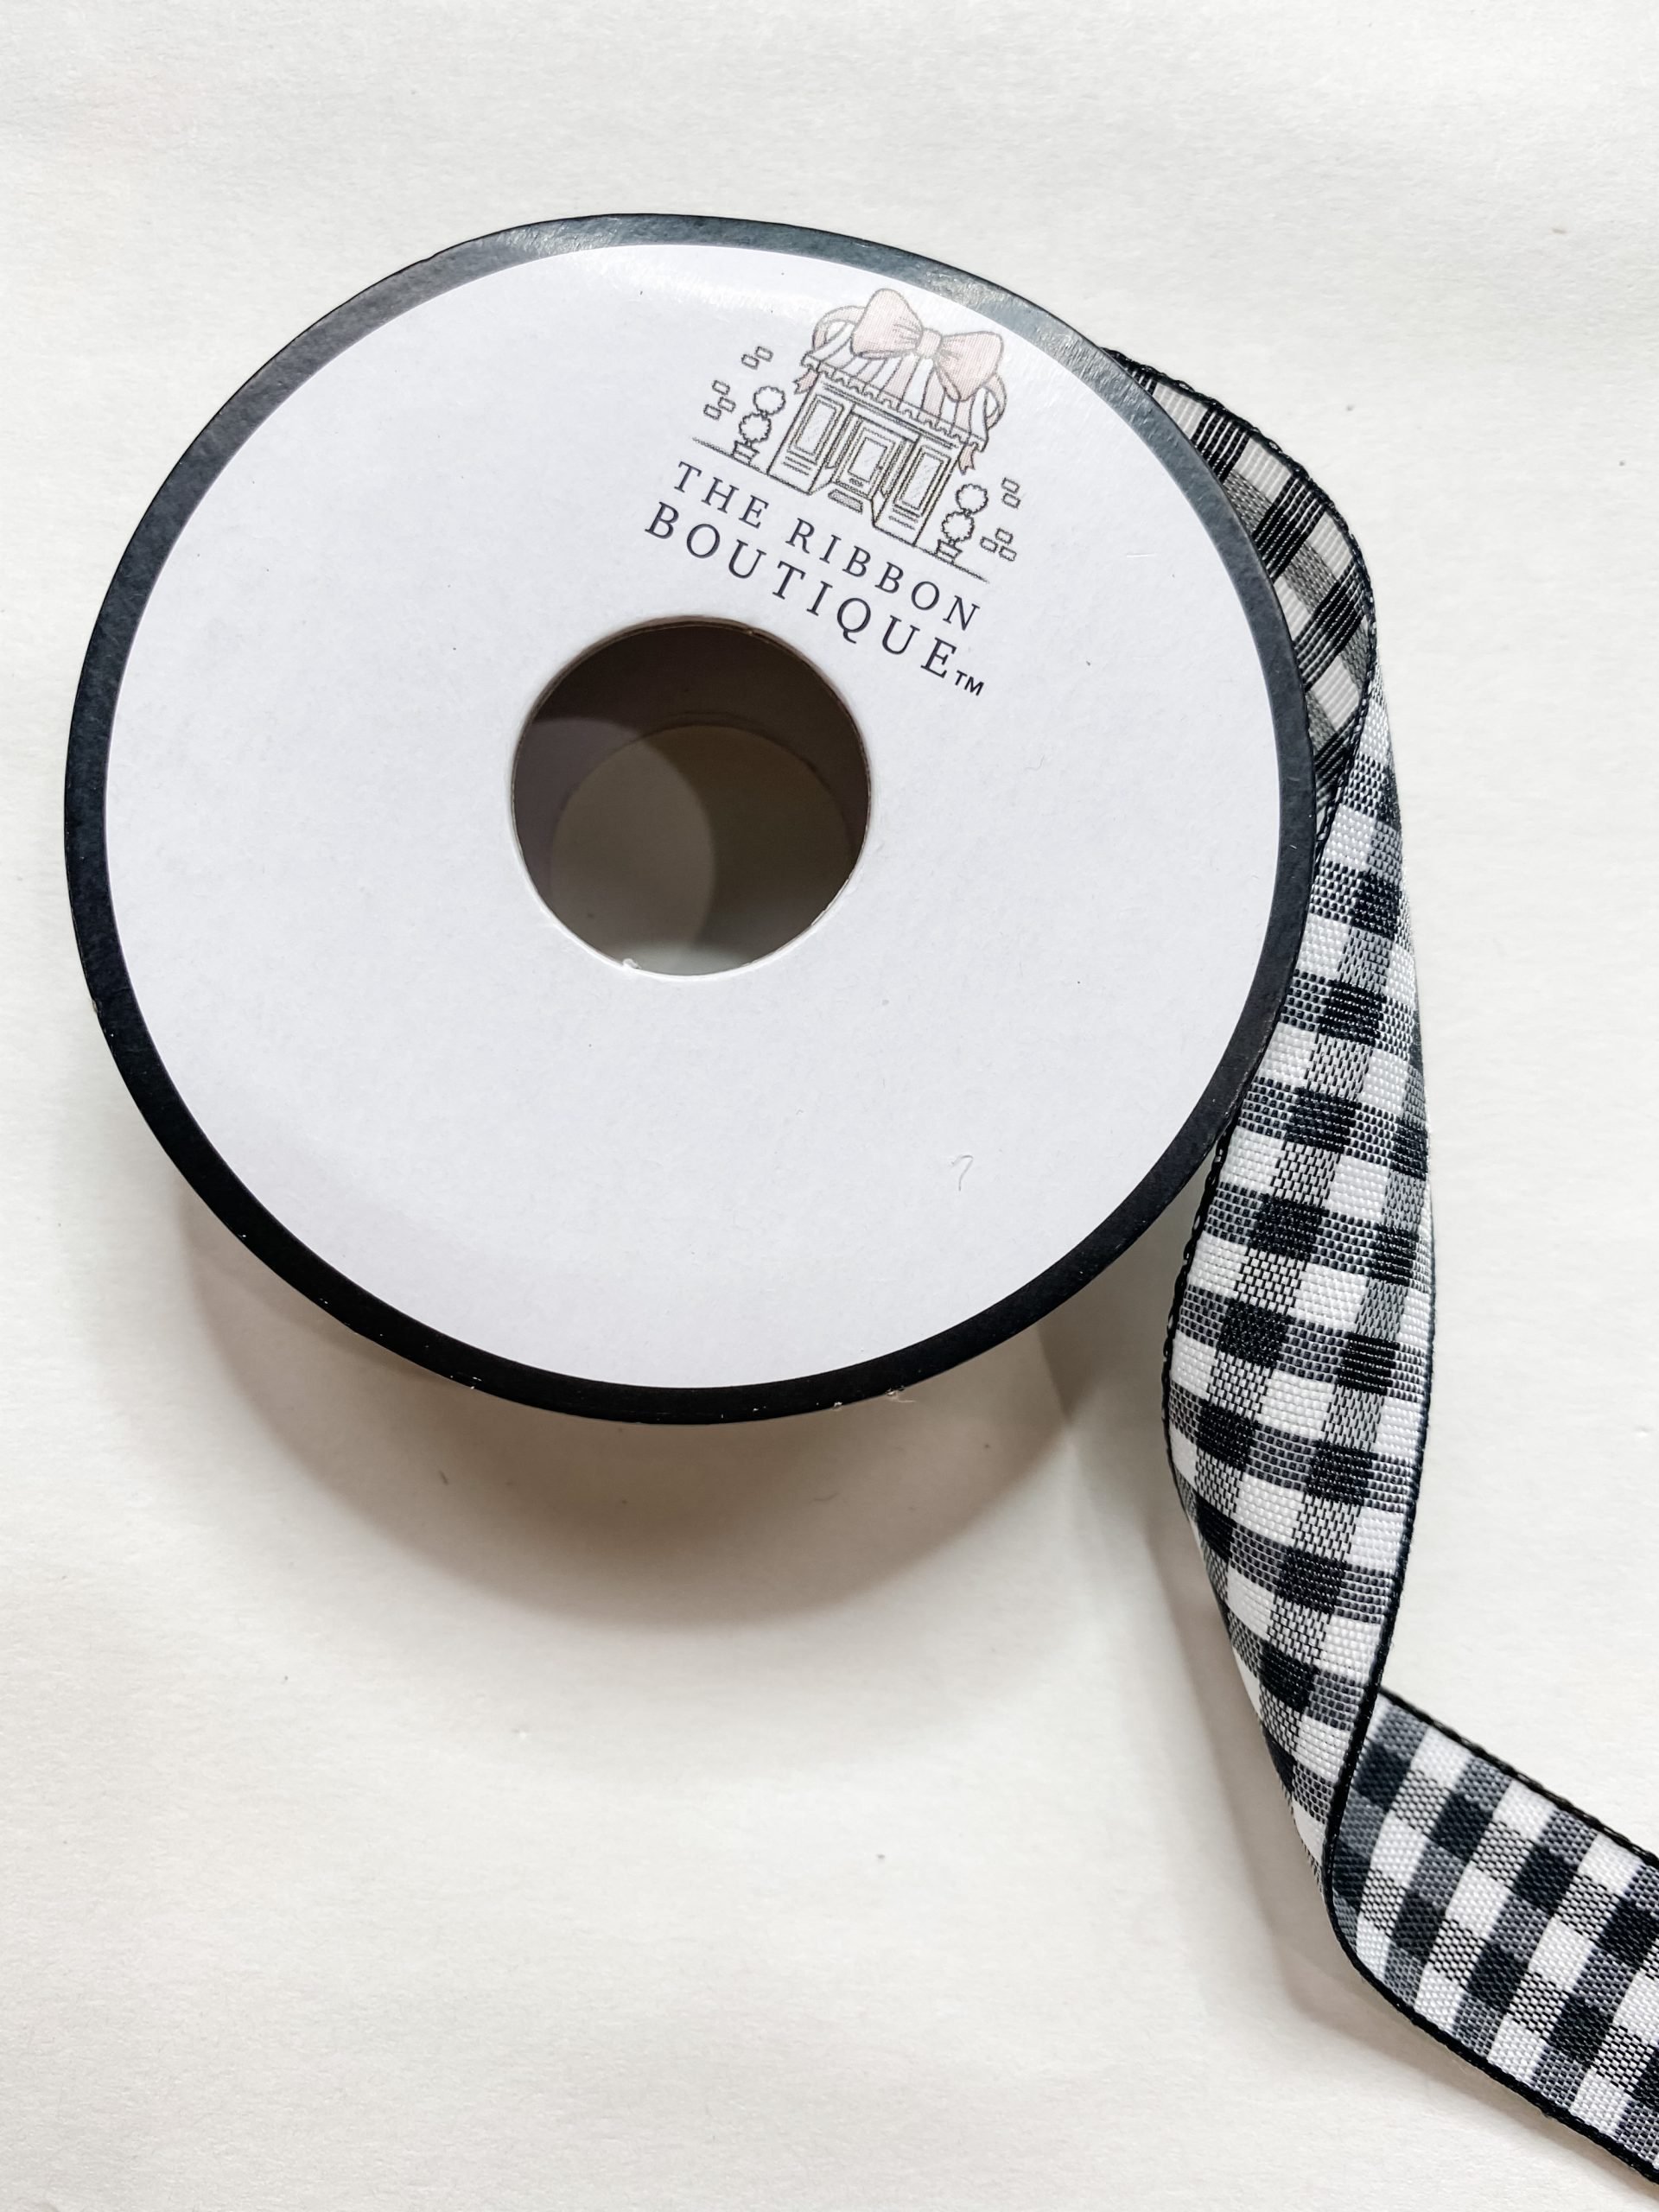
- Dollar Tree Buffalo Check ribbon
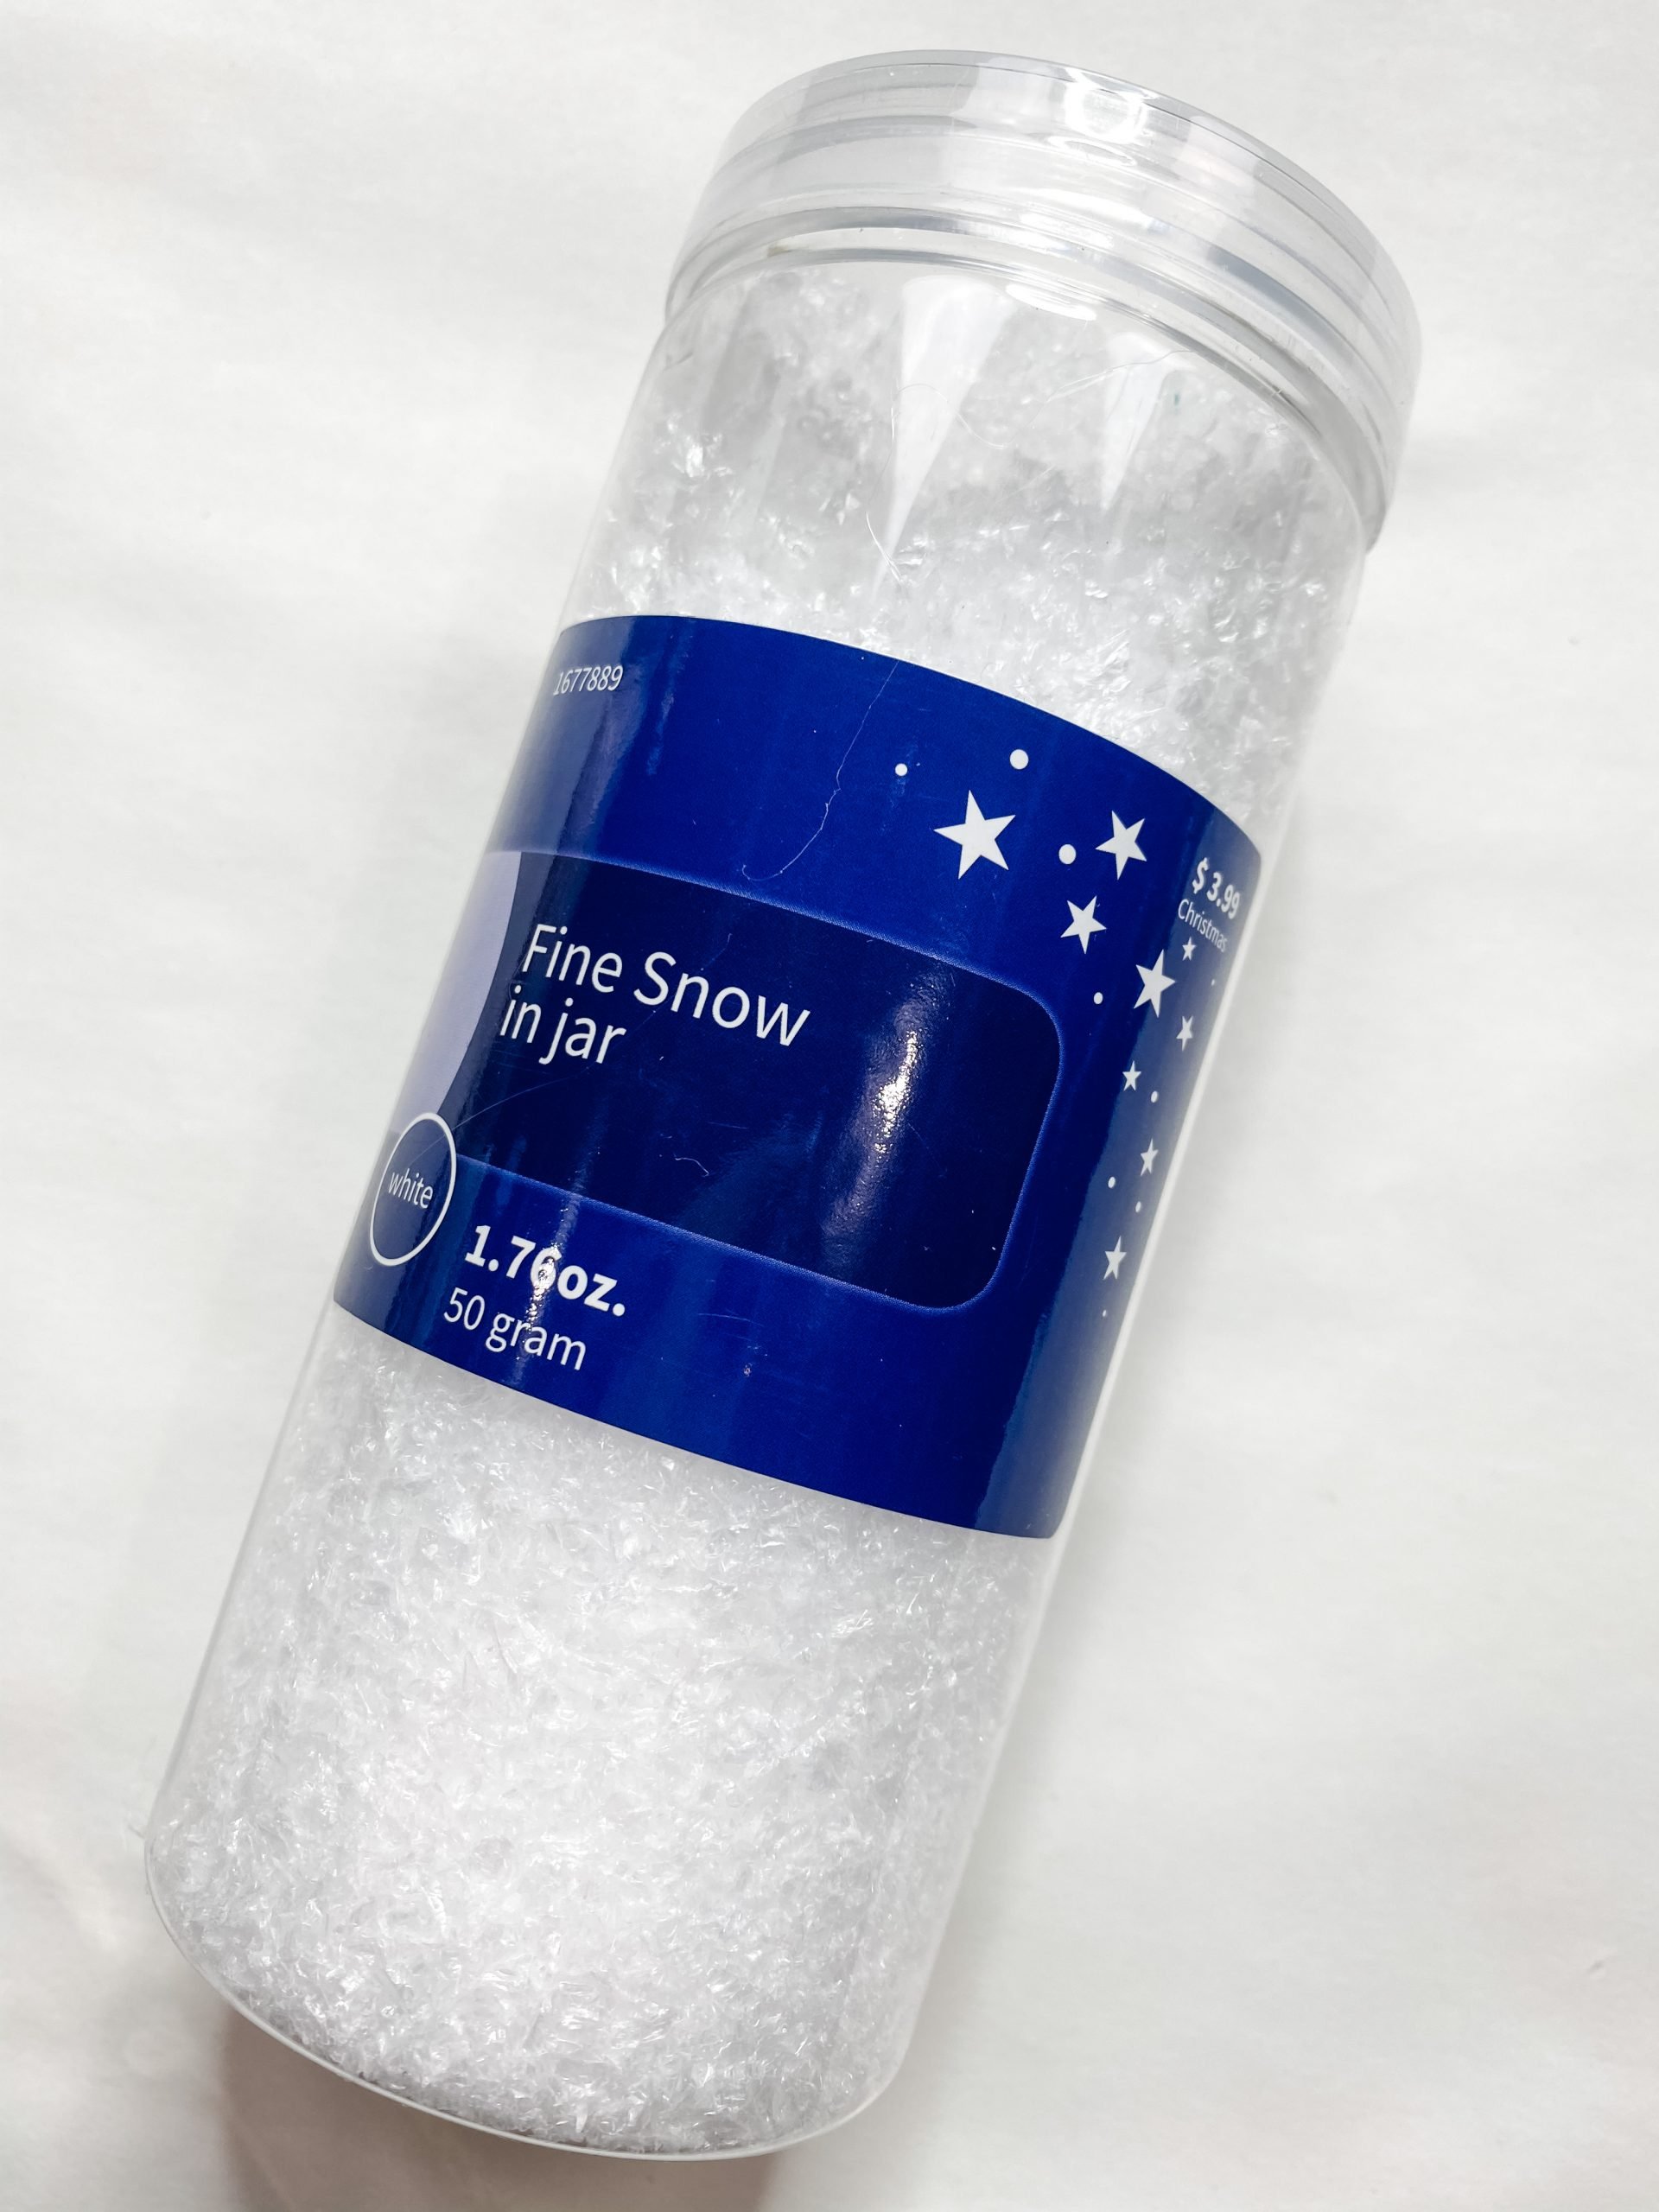
- Dollar Tree fine snow in a jar
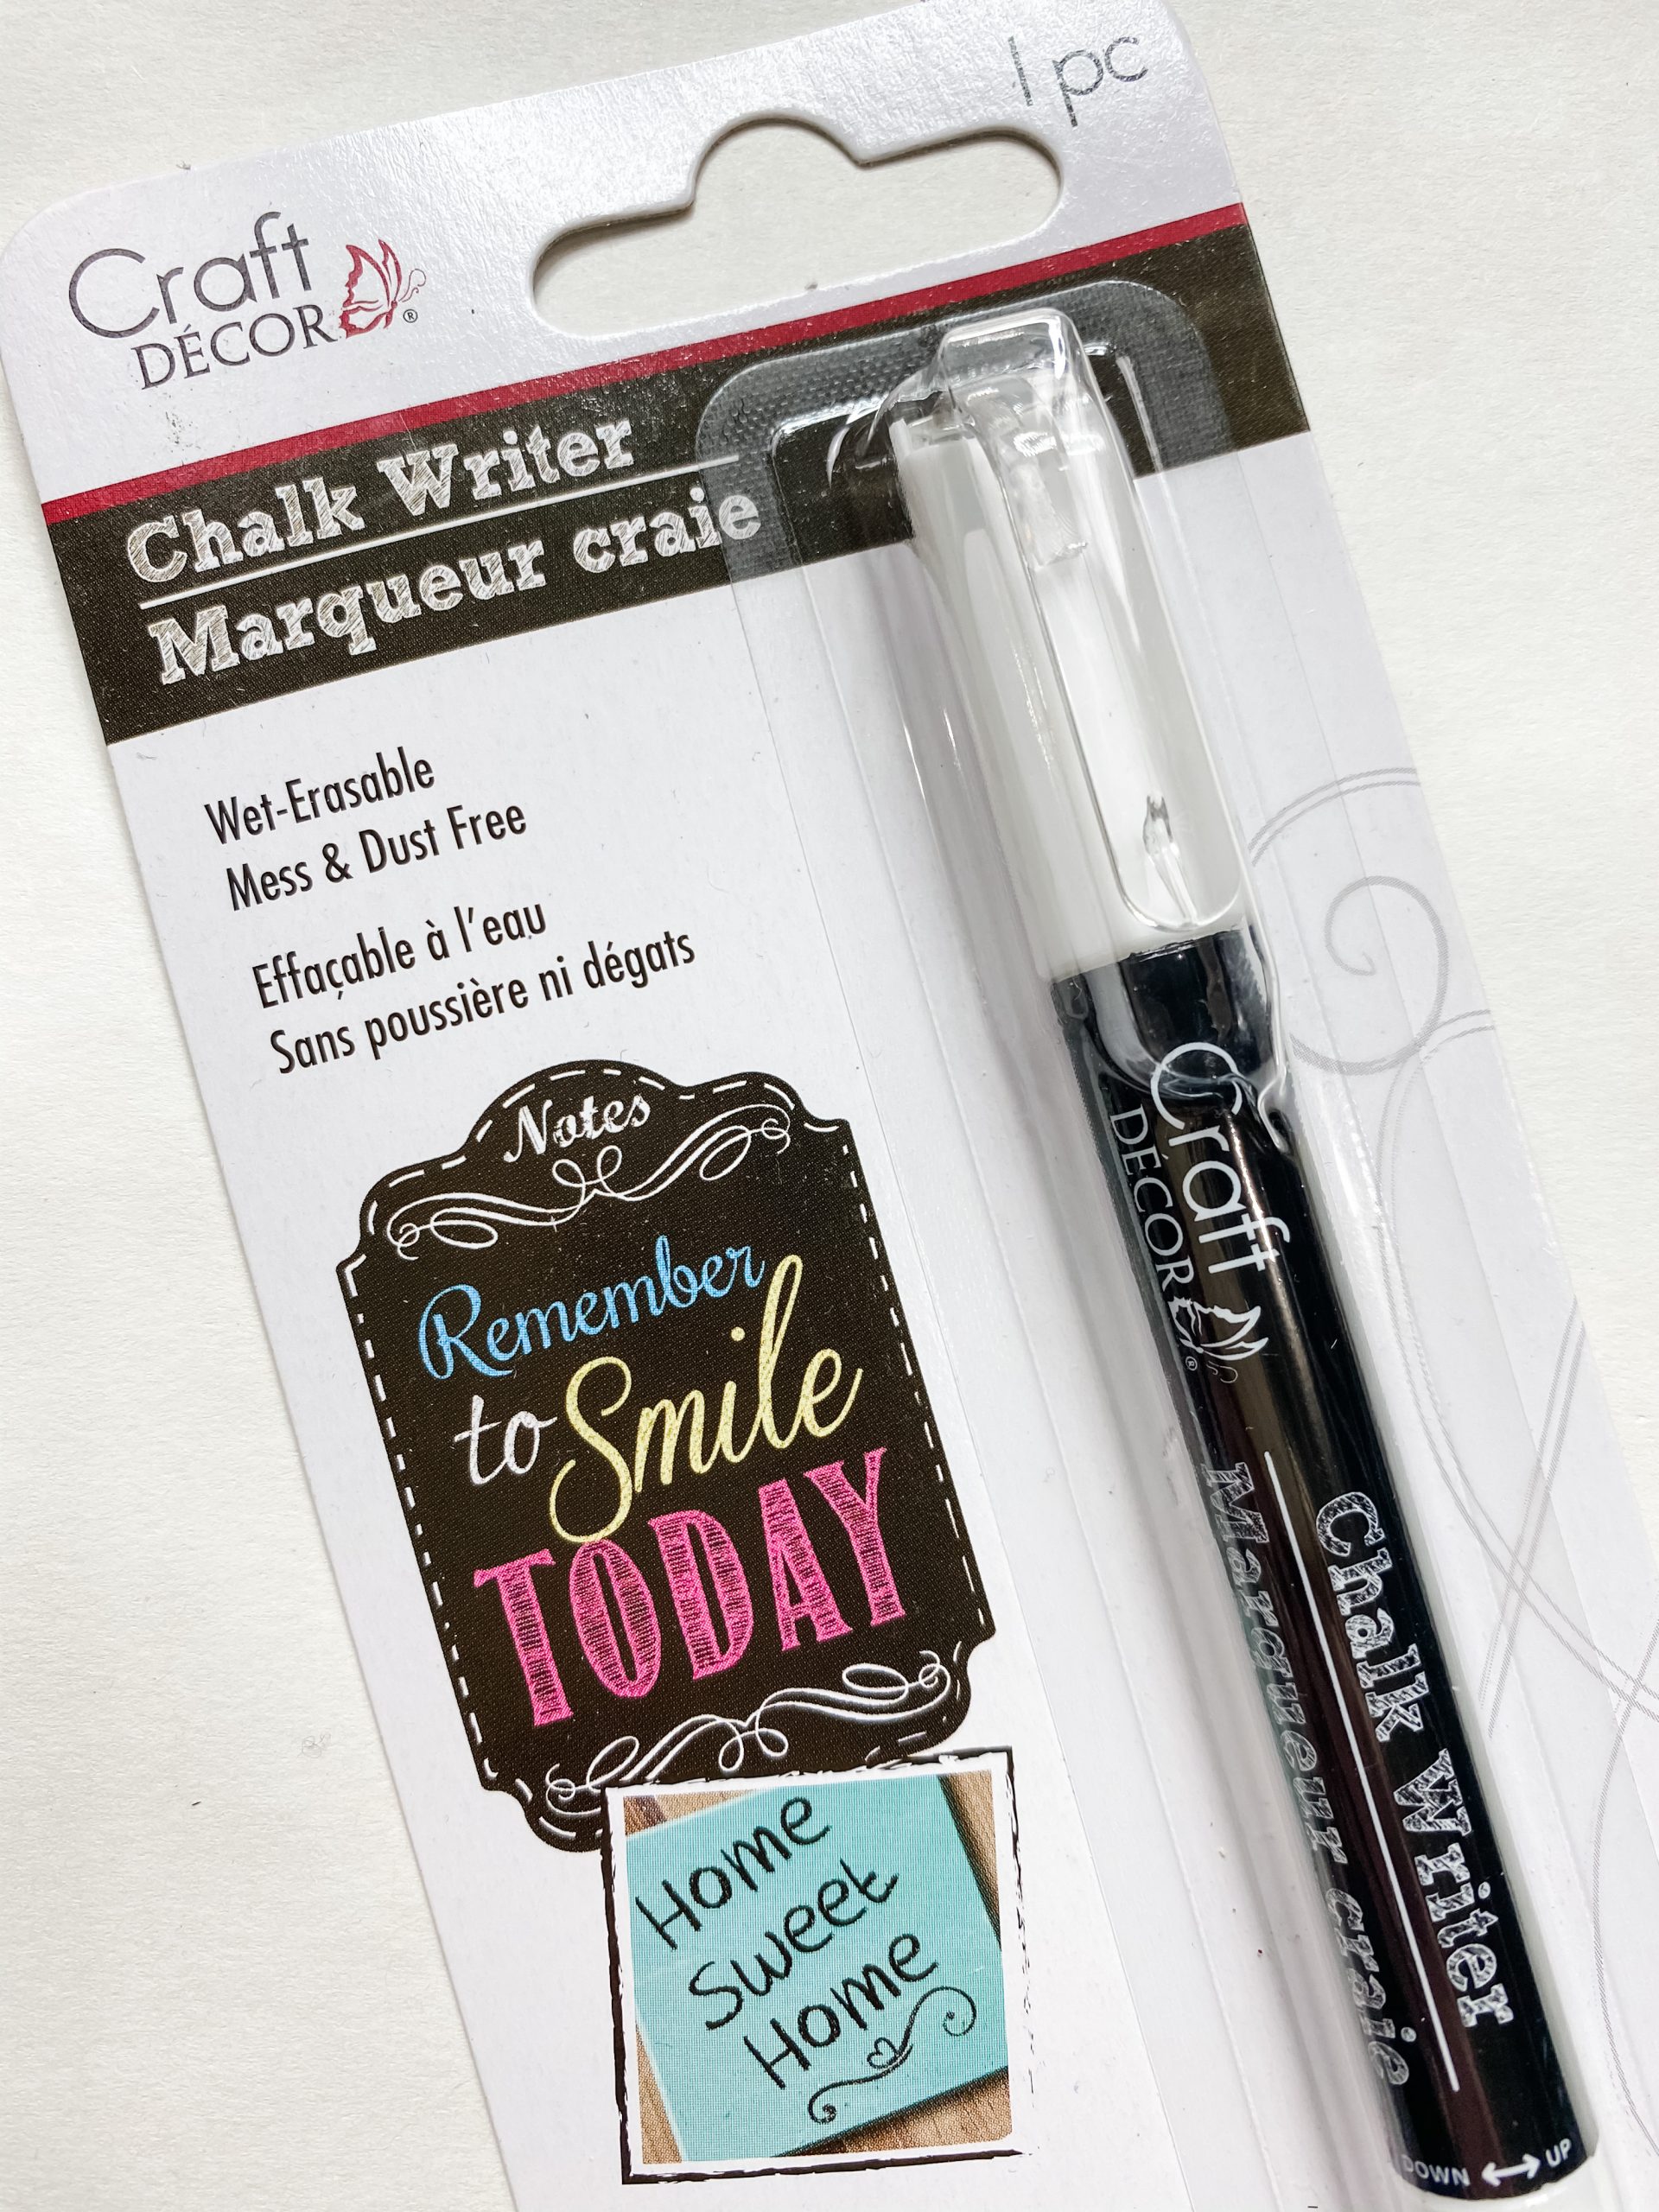
- Painter’s White Fine Tip Marker
- Dollar Tree Winter Village Christmas Trees
- Dollar Tree Sign Box
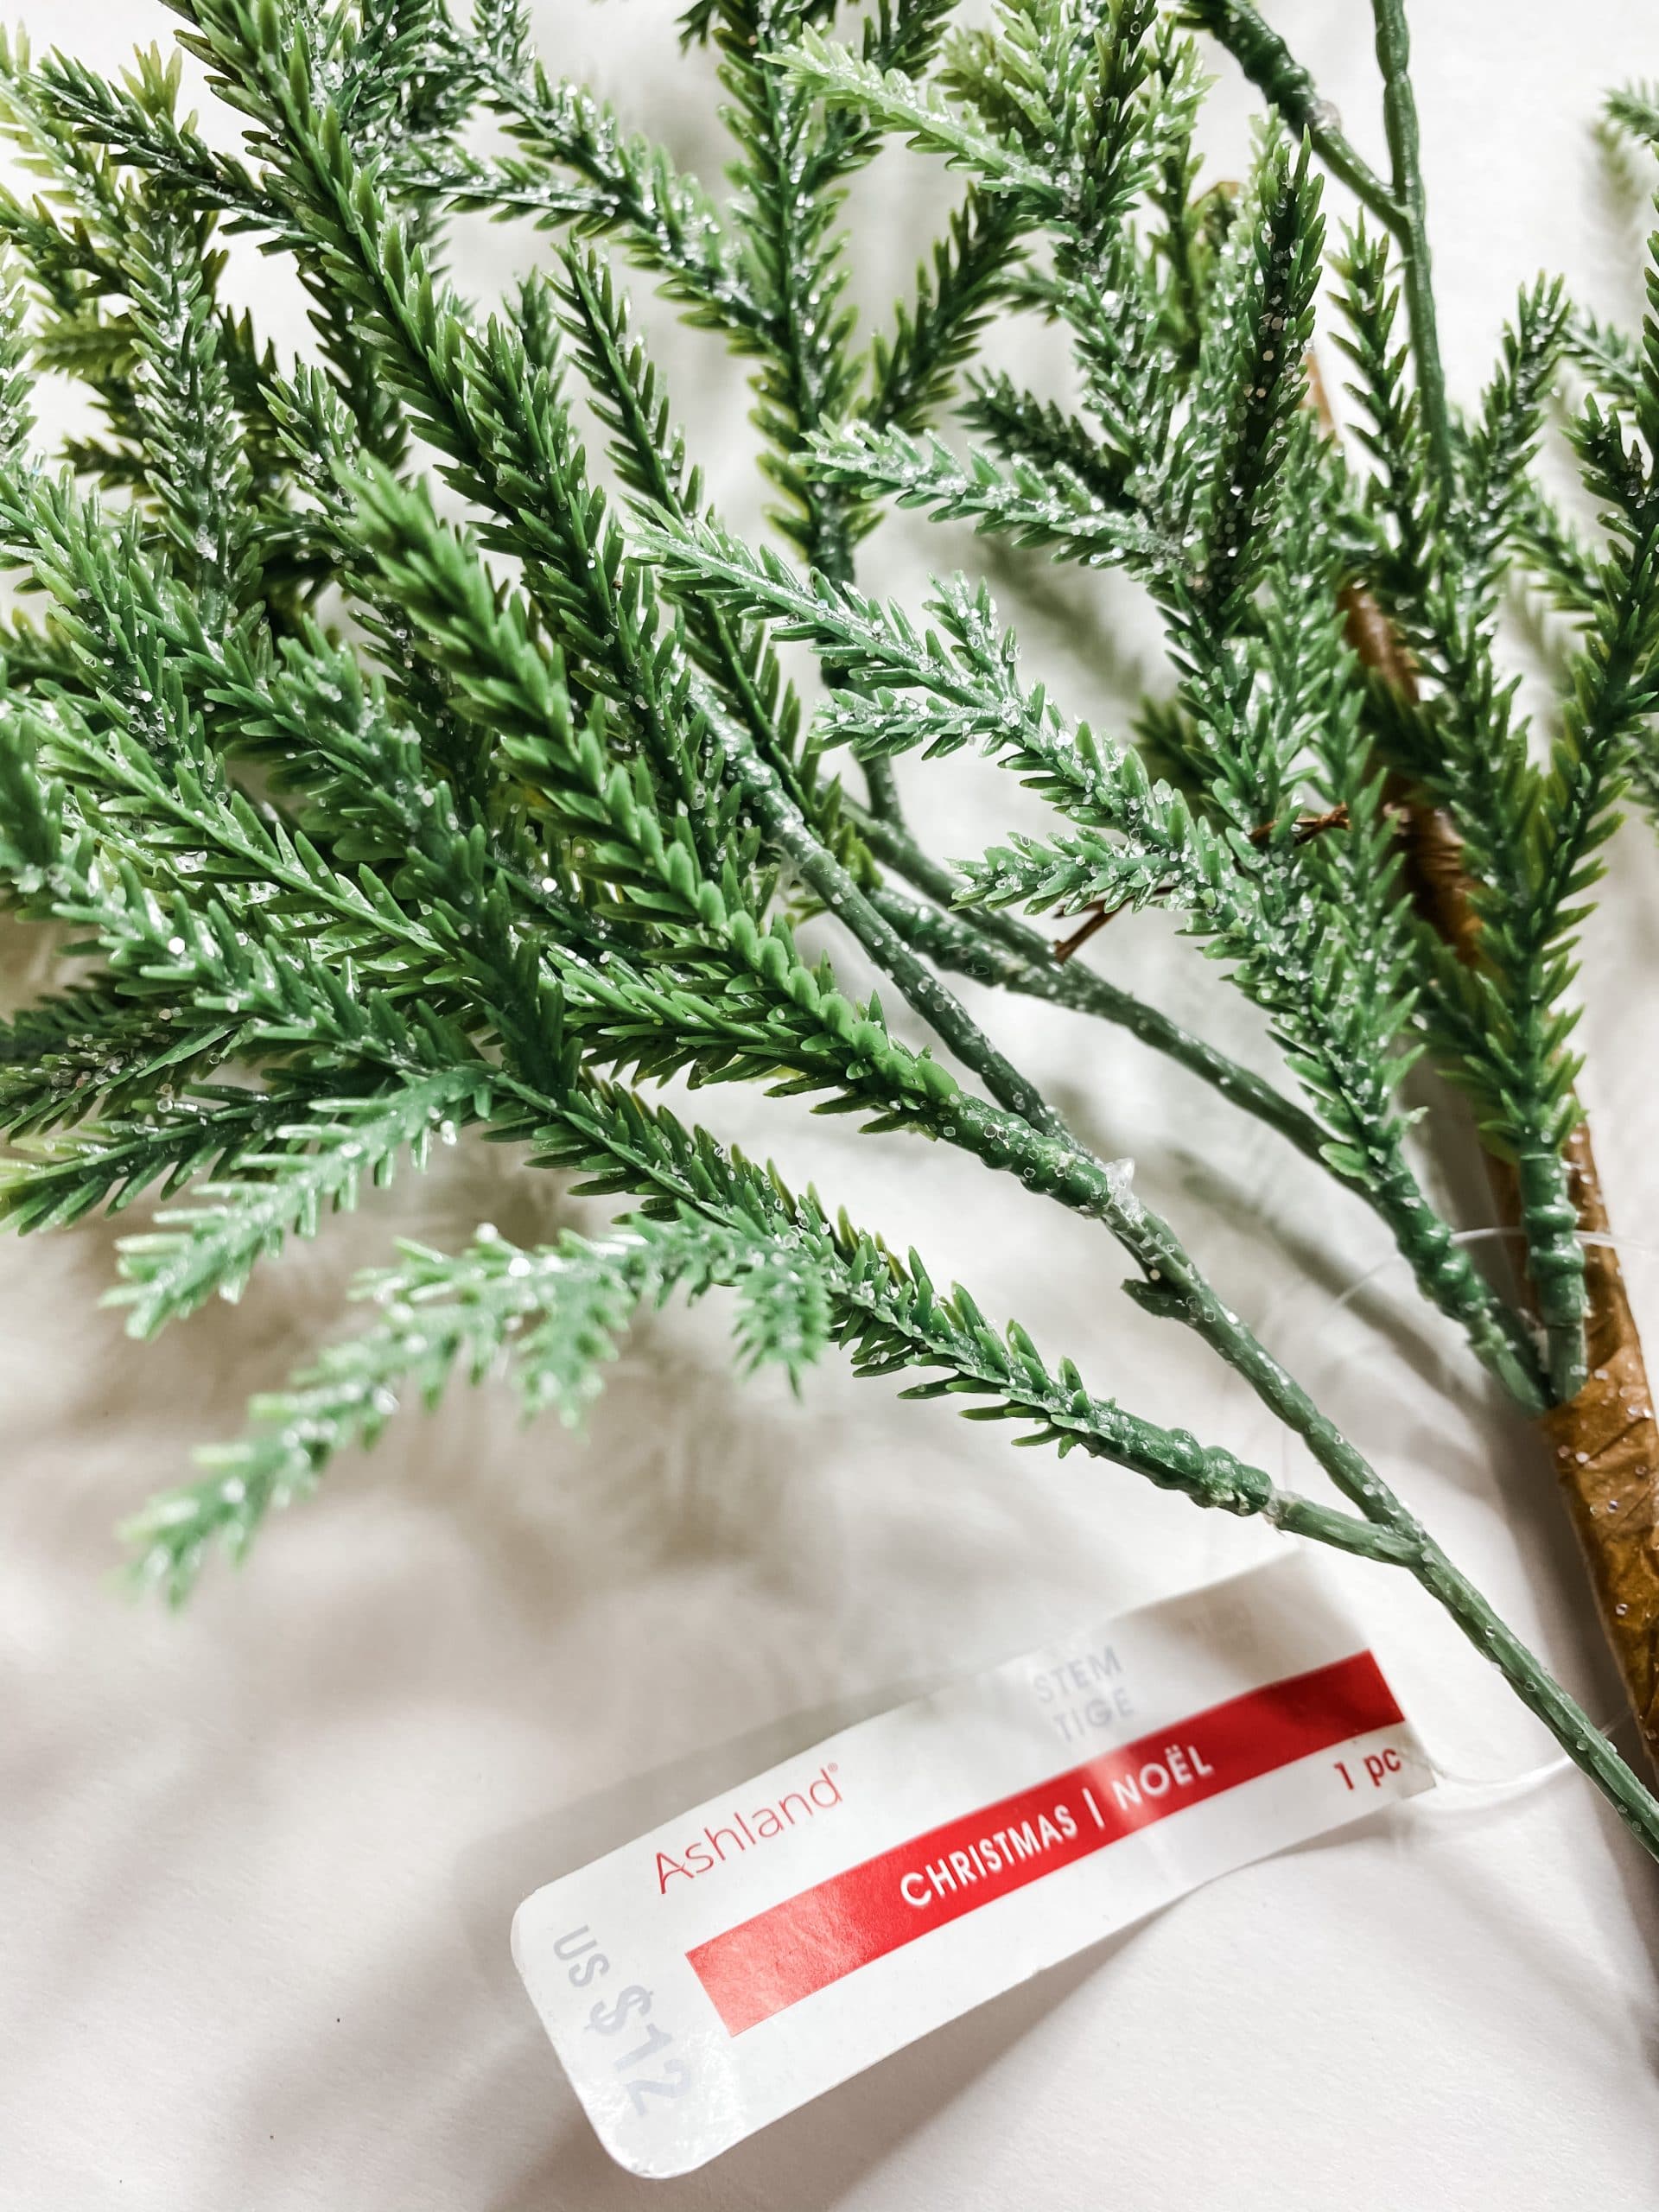
- Christmas Greenery Spray (Michael’s)
- Home Goods Red Pompom Trim
- Music Note Scrapbook Paper (Hobby Lobby)
- Mod Podge
- Glue Gun and Glue Sticks
- Heat gun
- Aviation Snips
*I did not use the polka dot scrapbook paper, wired jute cord, or wood bead pictured below*
Let’s get started!
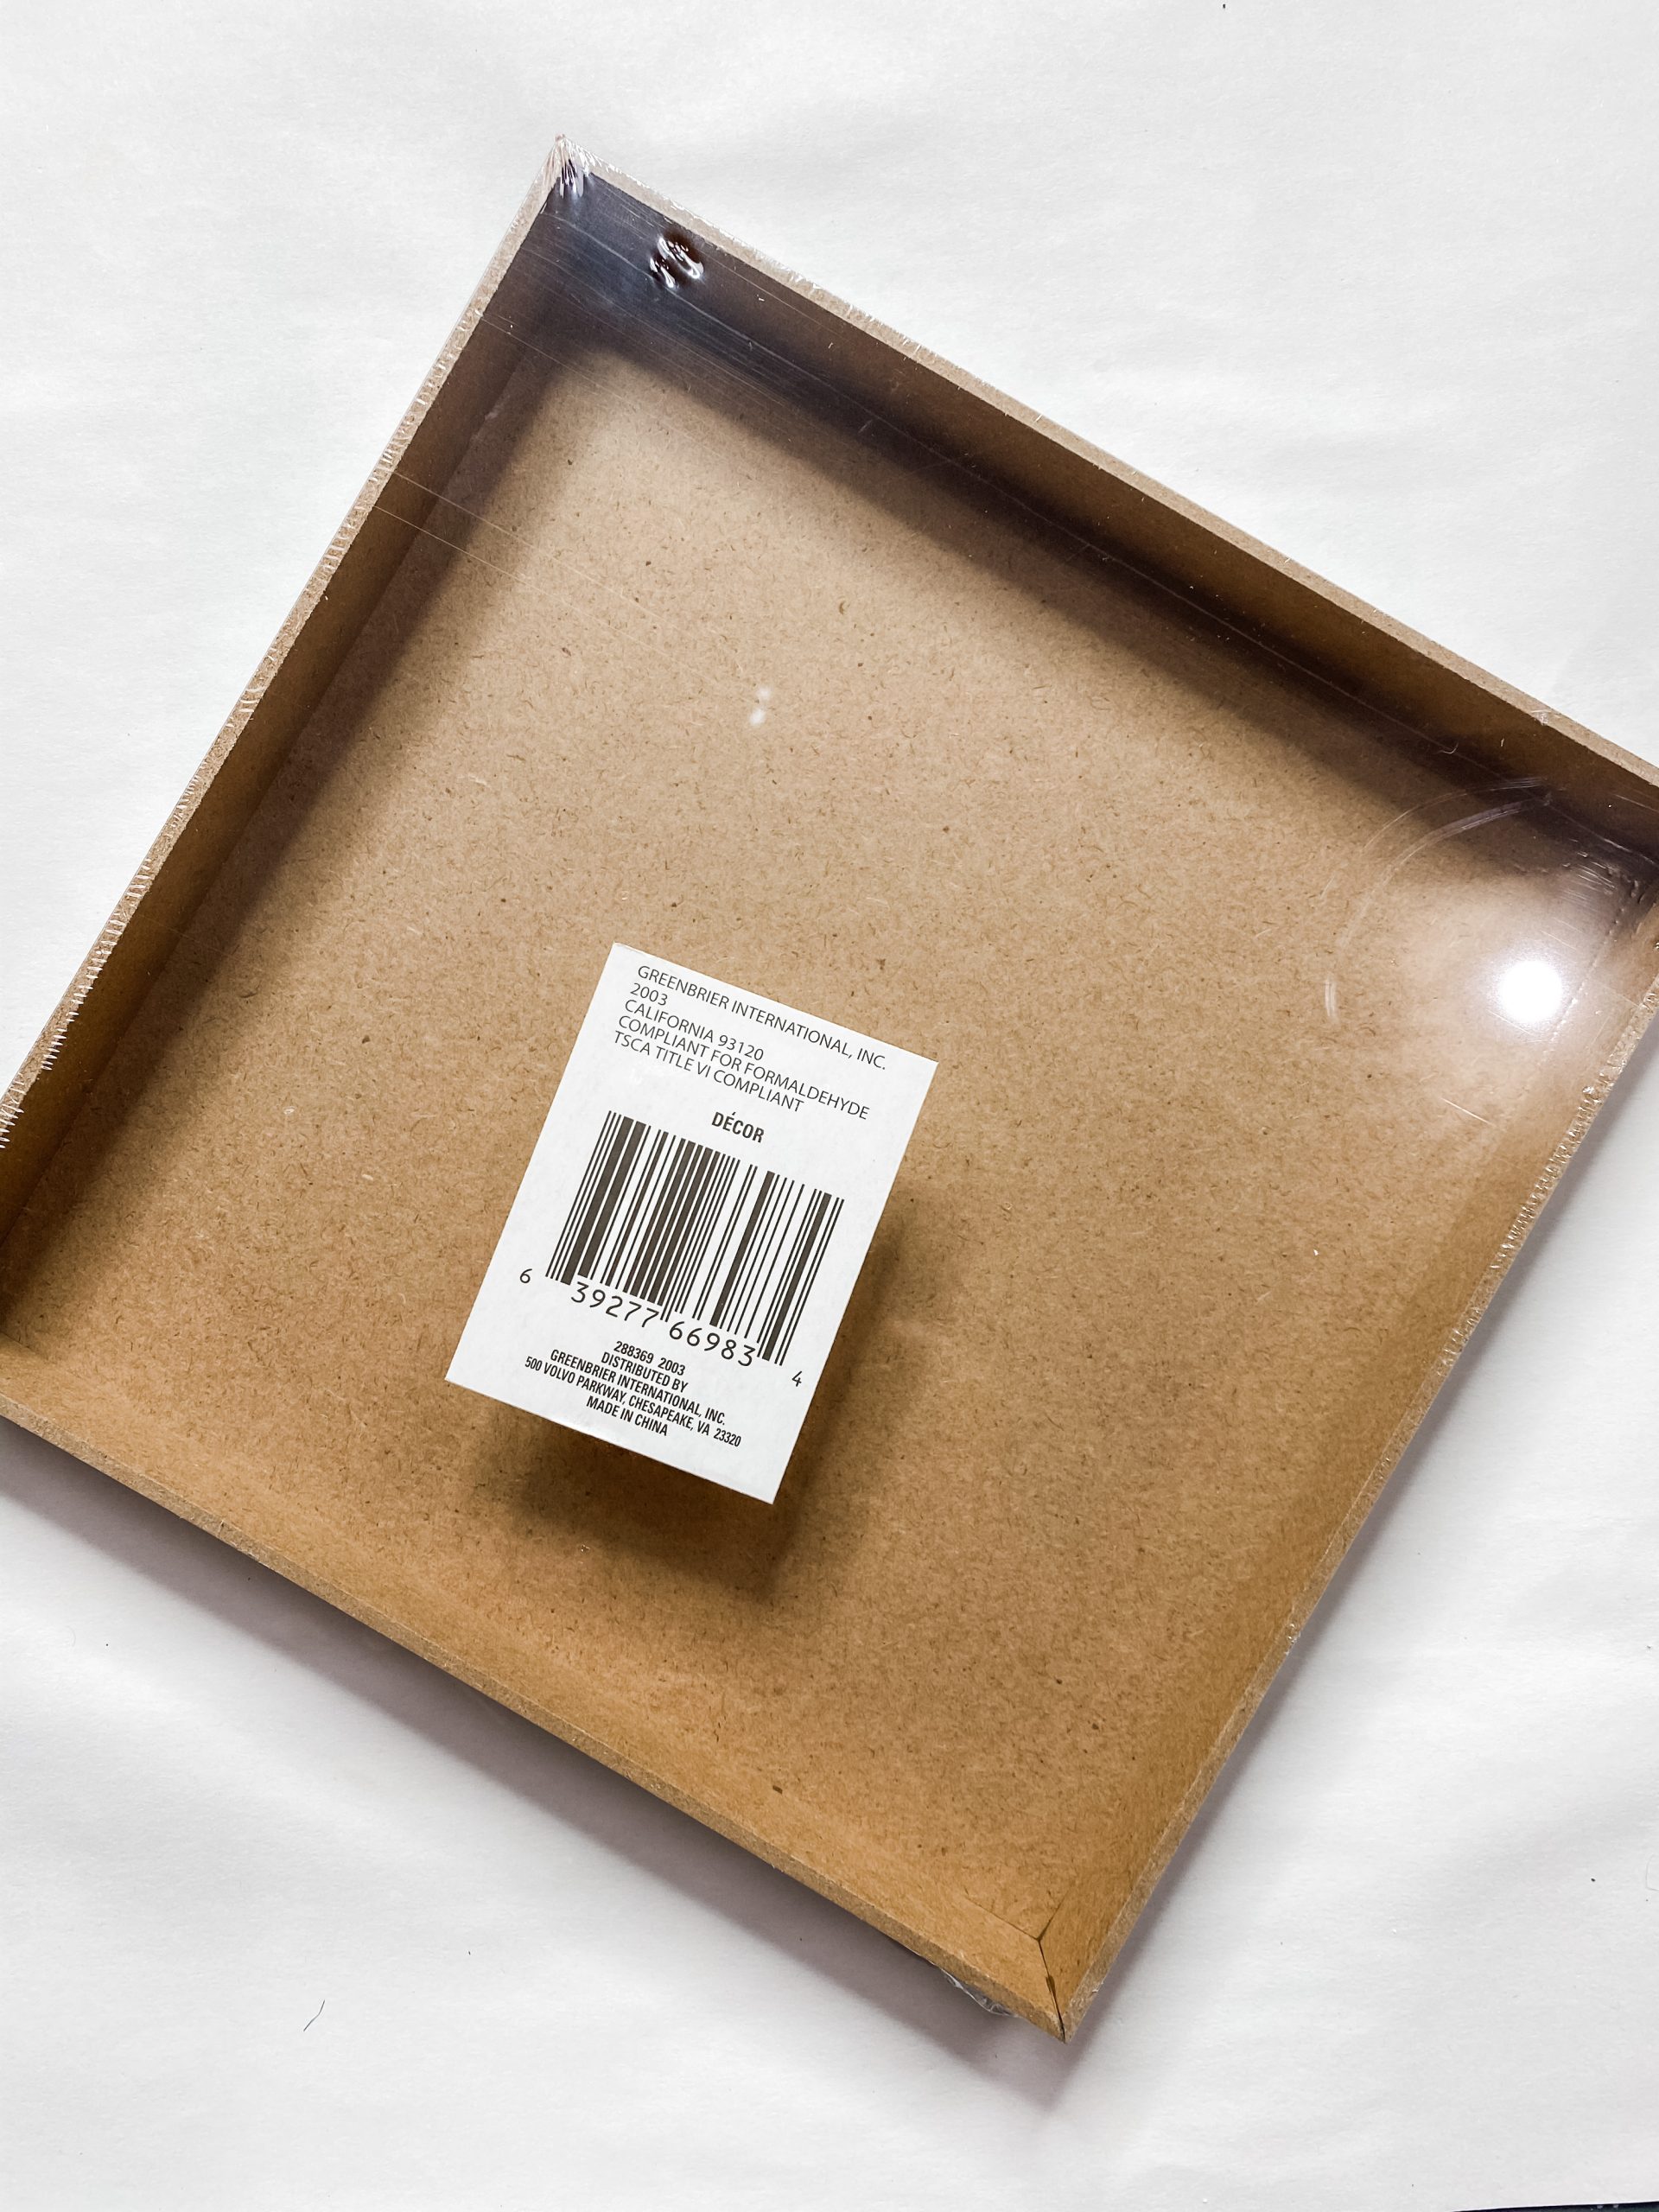
The first thing you need to make this adorable Christmas DIY is something that I think should be a staple in any craft stash – a Dollar Tree sign box. They come in various sizes and shapes, but they are so useful when you’re crafting!
For this DIY idea, I am using the inside of the sign box. First, pick your scrapbook paper. I chose a music note pattern from Hobby Lobby, but you can choose whatever pattern you like the best!
Trace the size of the sign box onto the scrapbook paper so we can trim it to the correct size. Test the scrapbook cutout to make sure it will fit and trim until you have a perfect fit.
Before we decoupage the scrapbook paper, we first have to paint the sign box. I used Apple Barrel Black Acrylic Paint to paint the inside edges and outside of the Dollar Tree sign box.
Allow this to dry before moving to the next step. I like to use my heat gun to speed up the drying process!
How to decoupage
To decoupage the scrapbook paper into the Dollar Tree sign box, you’re going to apply a coat of Mod Podge directly to the surface of the sign box.
Now, carefully place the scrapbook paper into the sign box, and try not to create any wrinkles or creases.
However, if there are creases or wrinkles, you can lay a piece of plastic saran wrap over the decoupaged scrapbook paper and smooth out the imperfections with your hand.
The saran wrap protects the scrapbook paper and prevents it from tearing or sticking to your fingers.
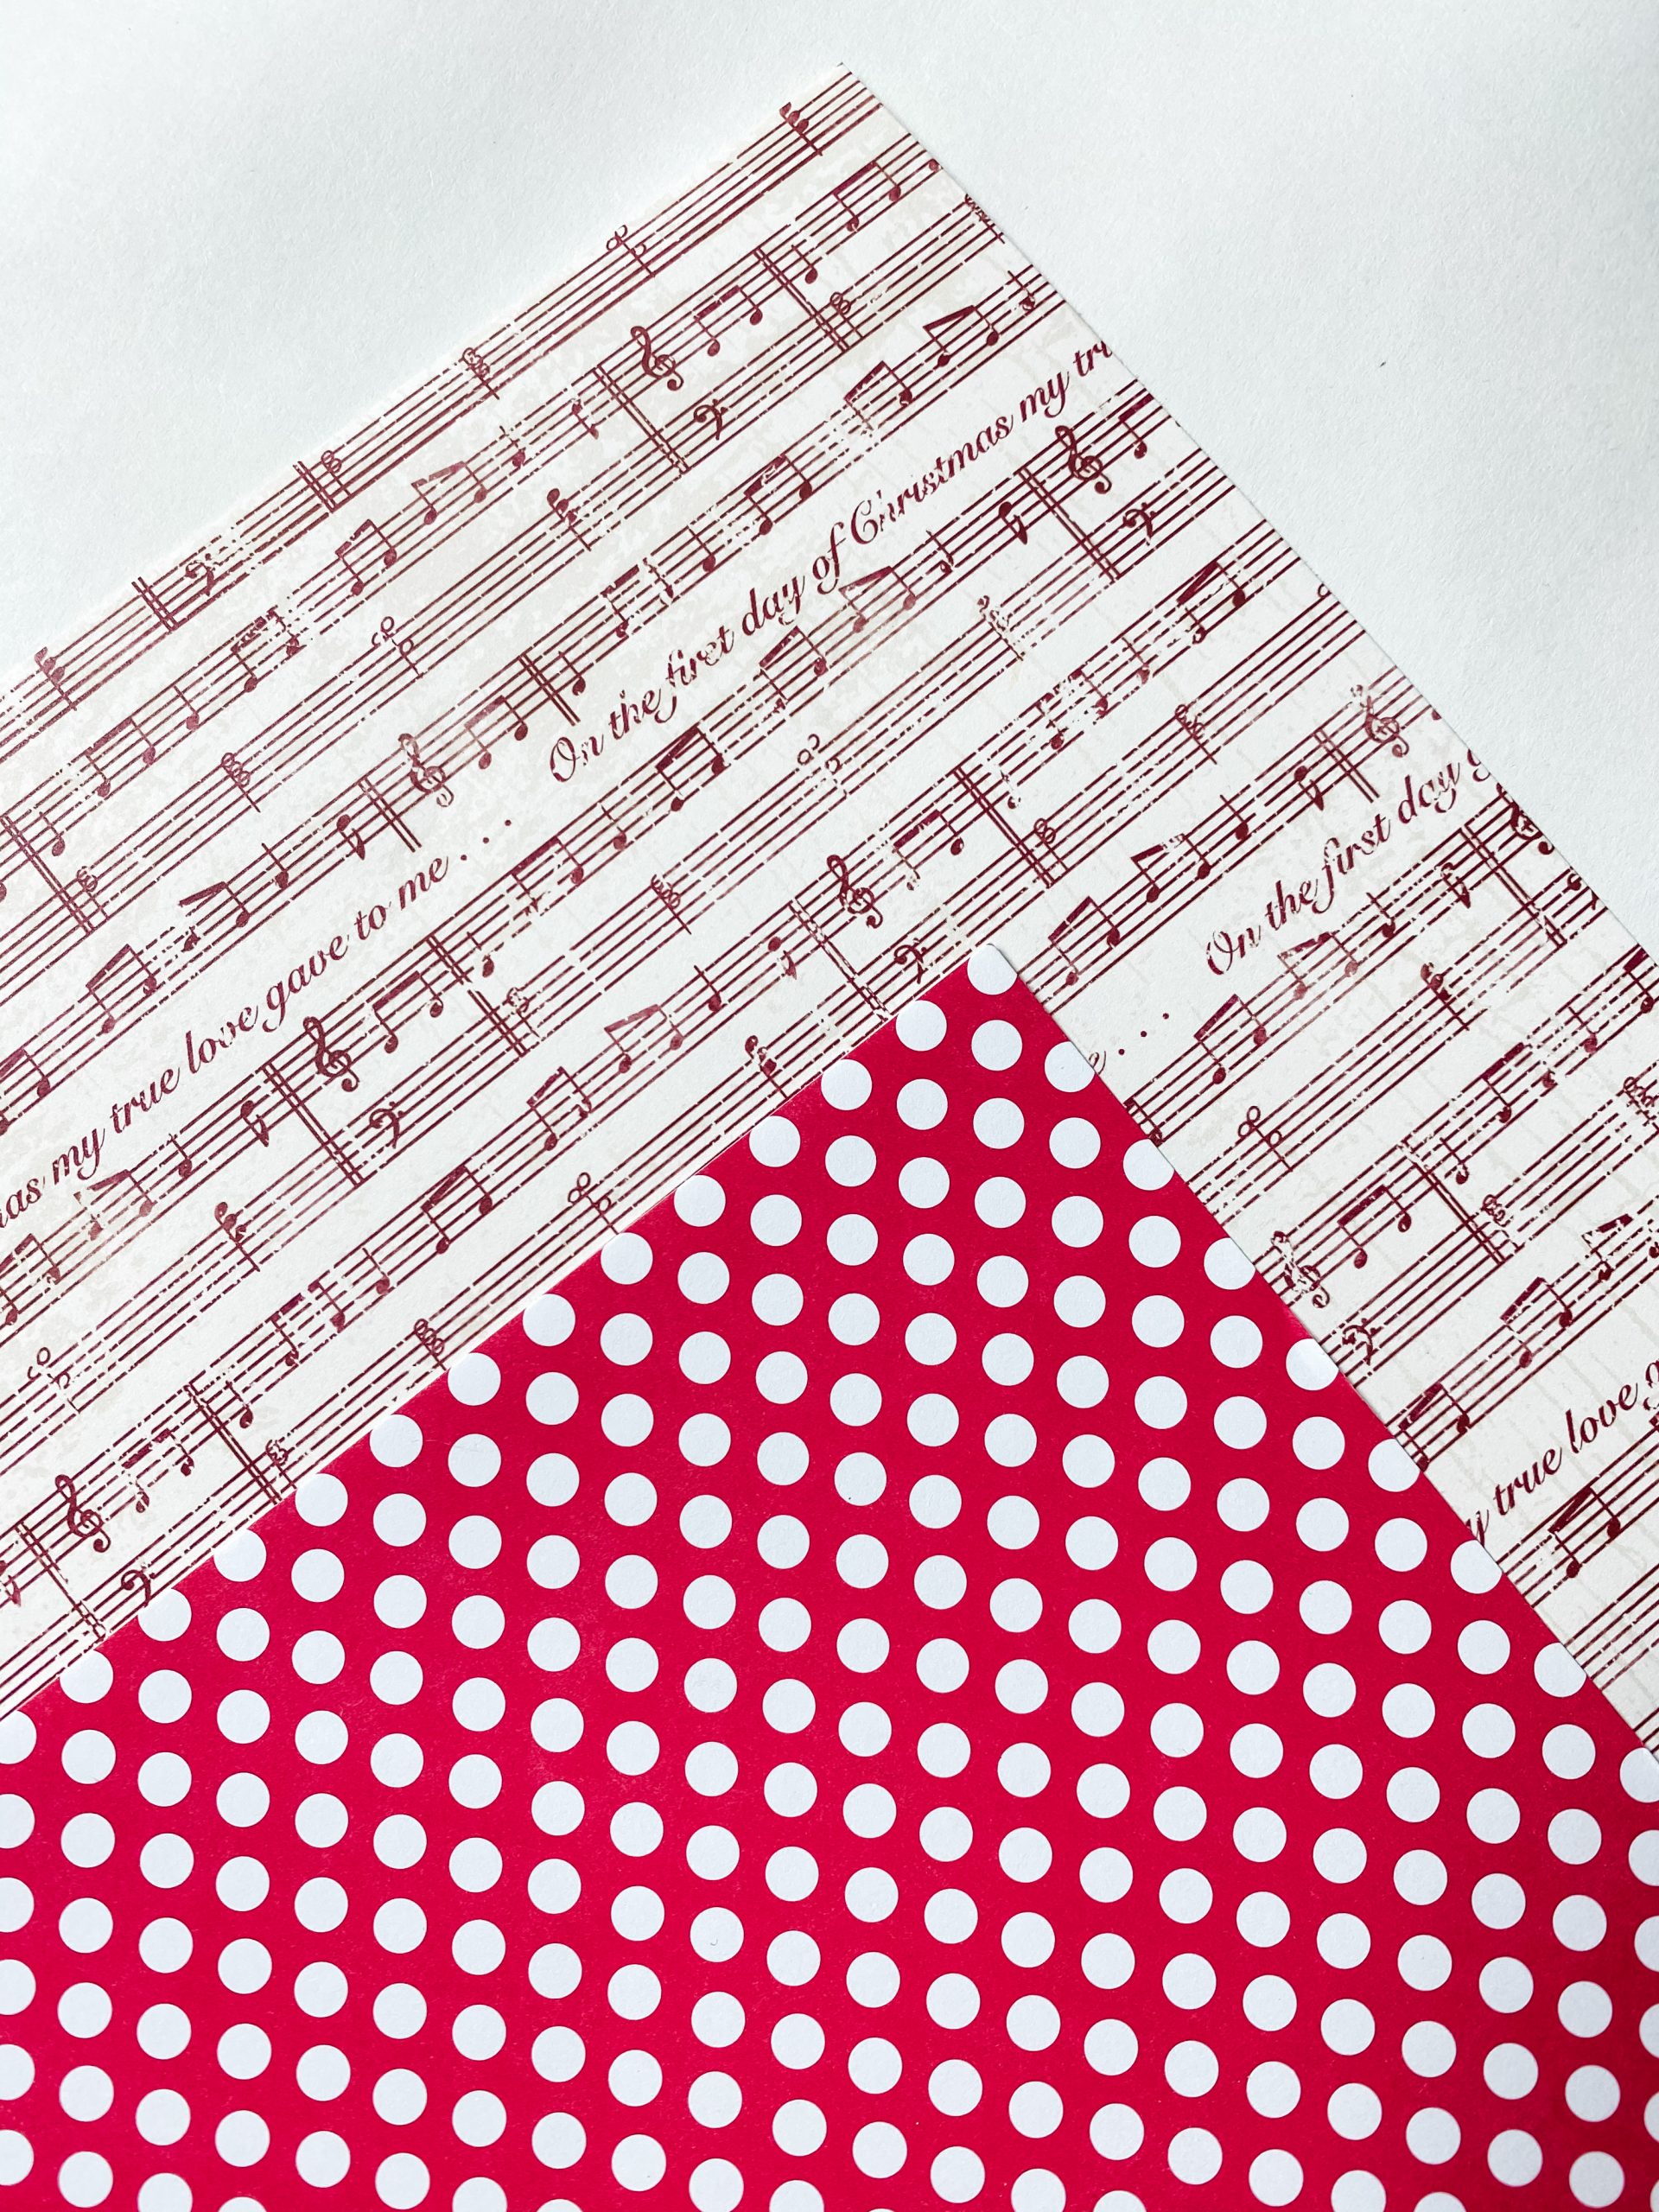
I thought about using the red and white polka dot scrapbook paper pictured above, but I didn’t think it would match the way I wanted it to for this Dollar Tree Chalkboard DIY Countdown to Christmas Sign.
However, I just want to be a source of inspiration for you, so please don’t feel like you have to use exactly what I did. If you like the polka dot paper more, use it!
Allow the Mod Podge to dry before you move on. Again, this is where my heat gun came in handy! You can also use a blow dryer on the low cool setting if you don’t have a heat gun.
Countdown to Christmas
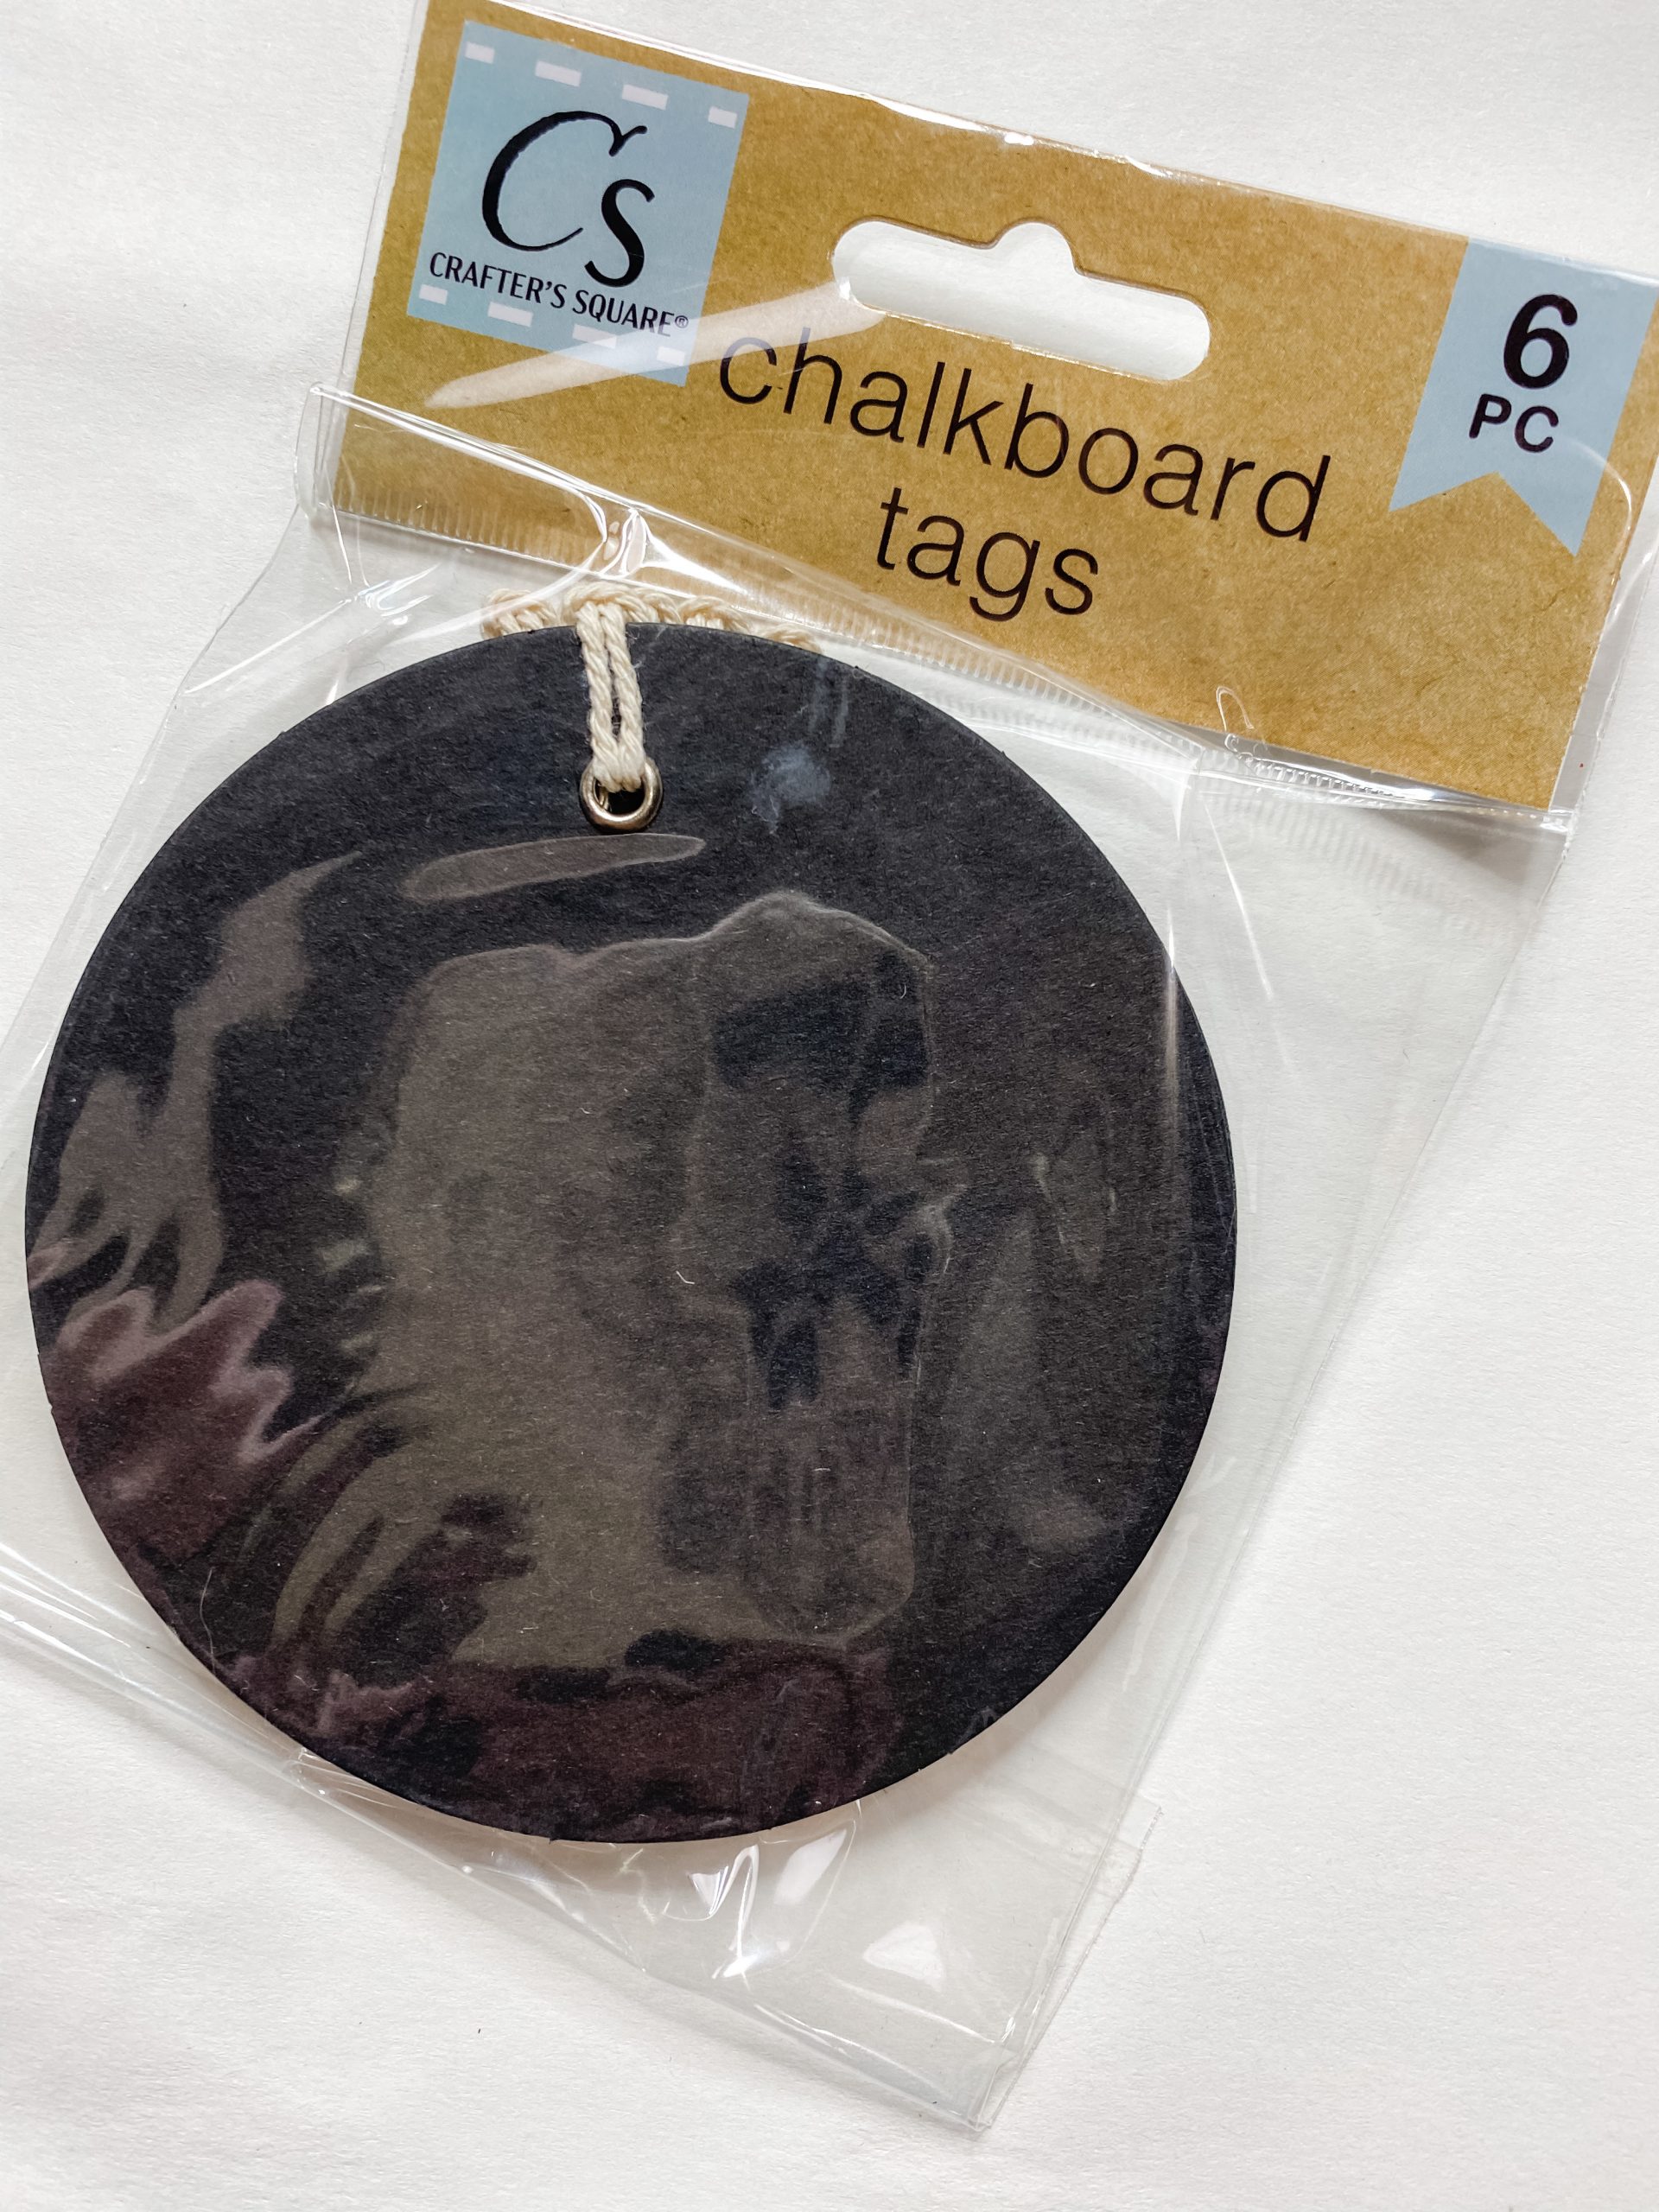
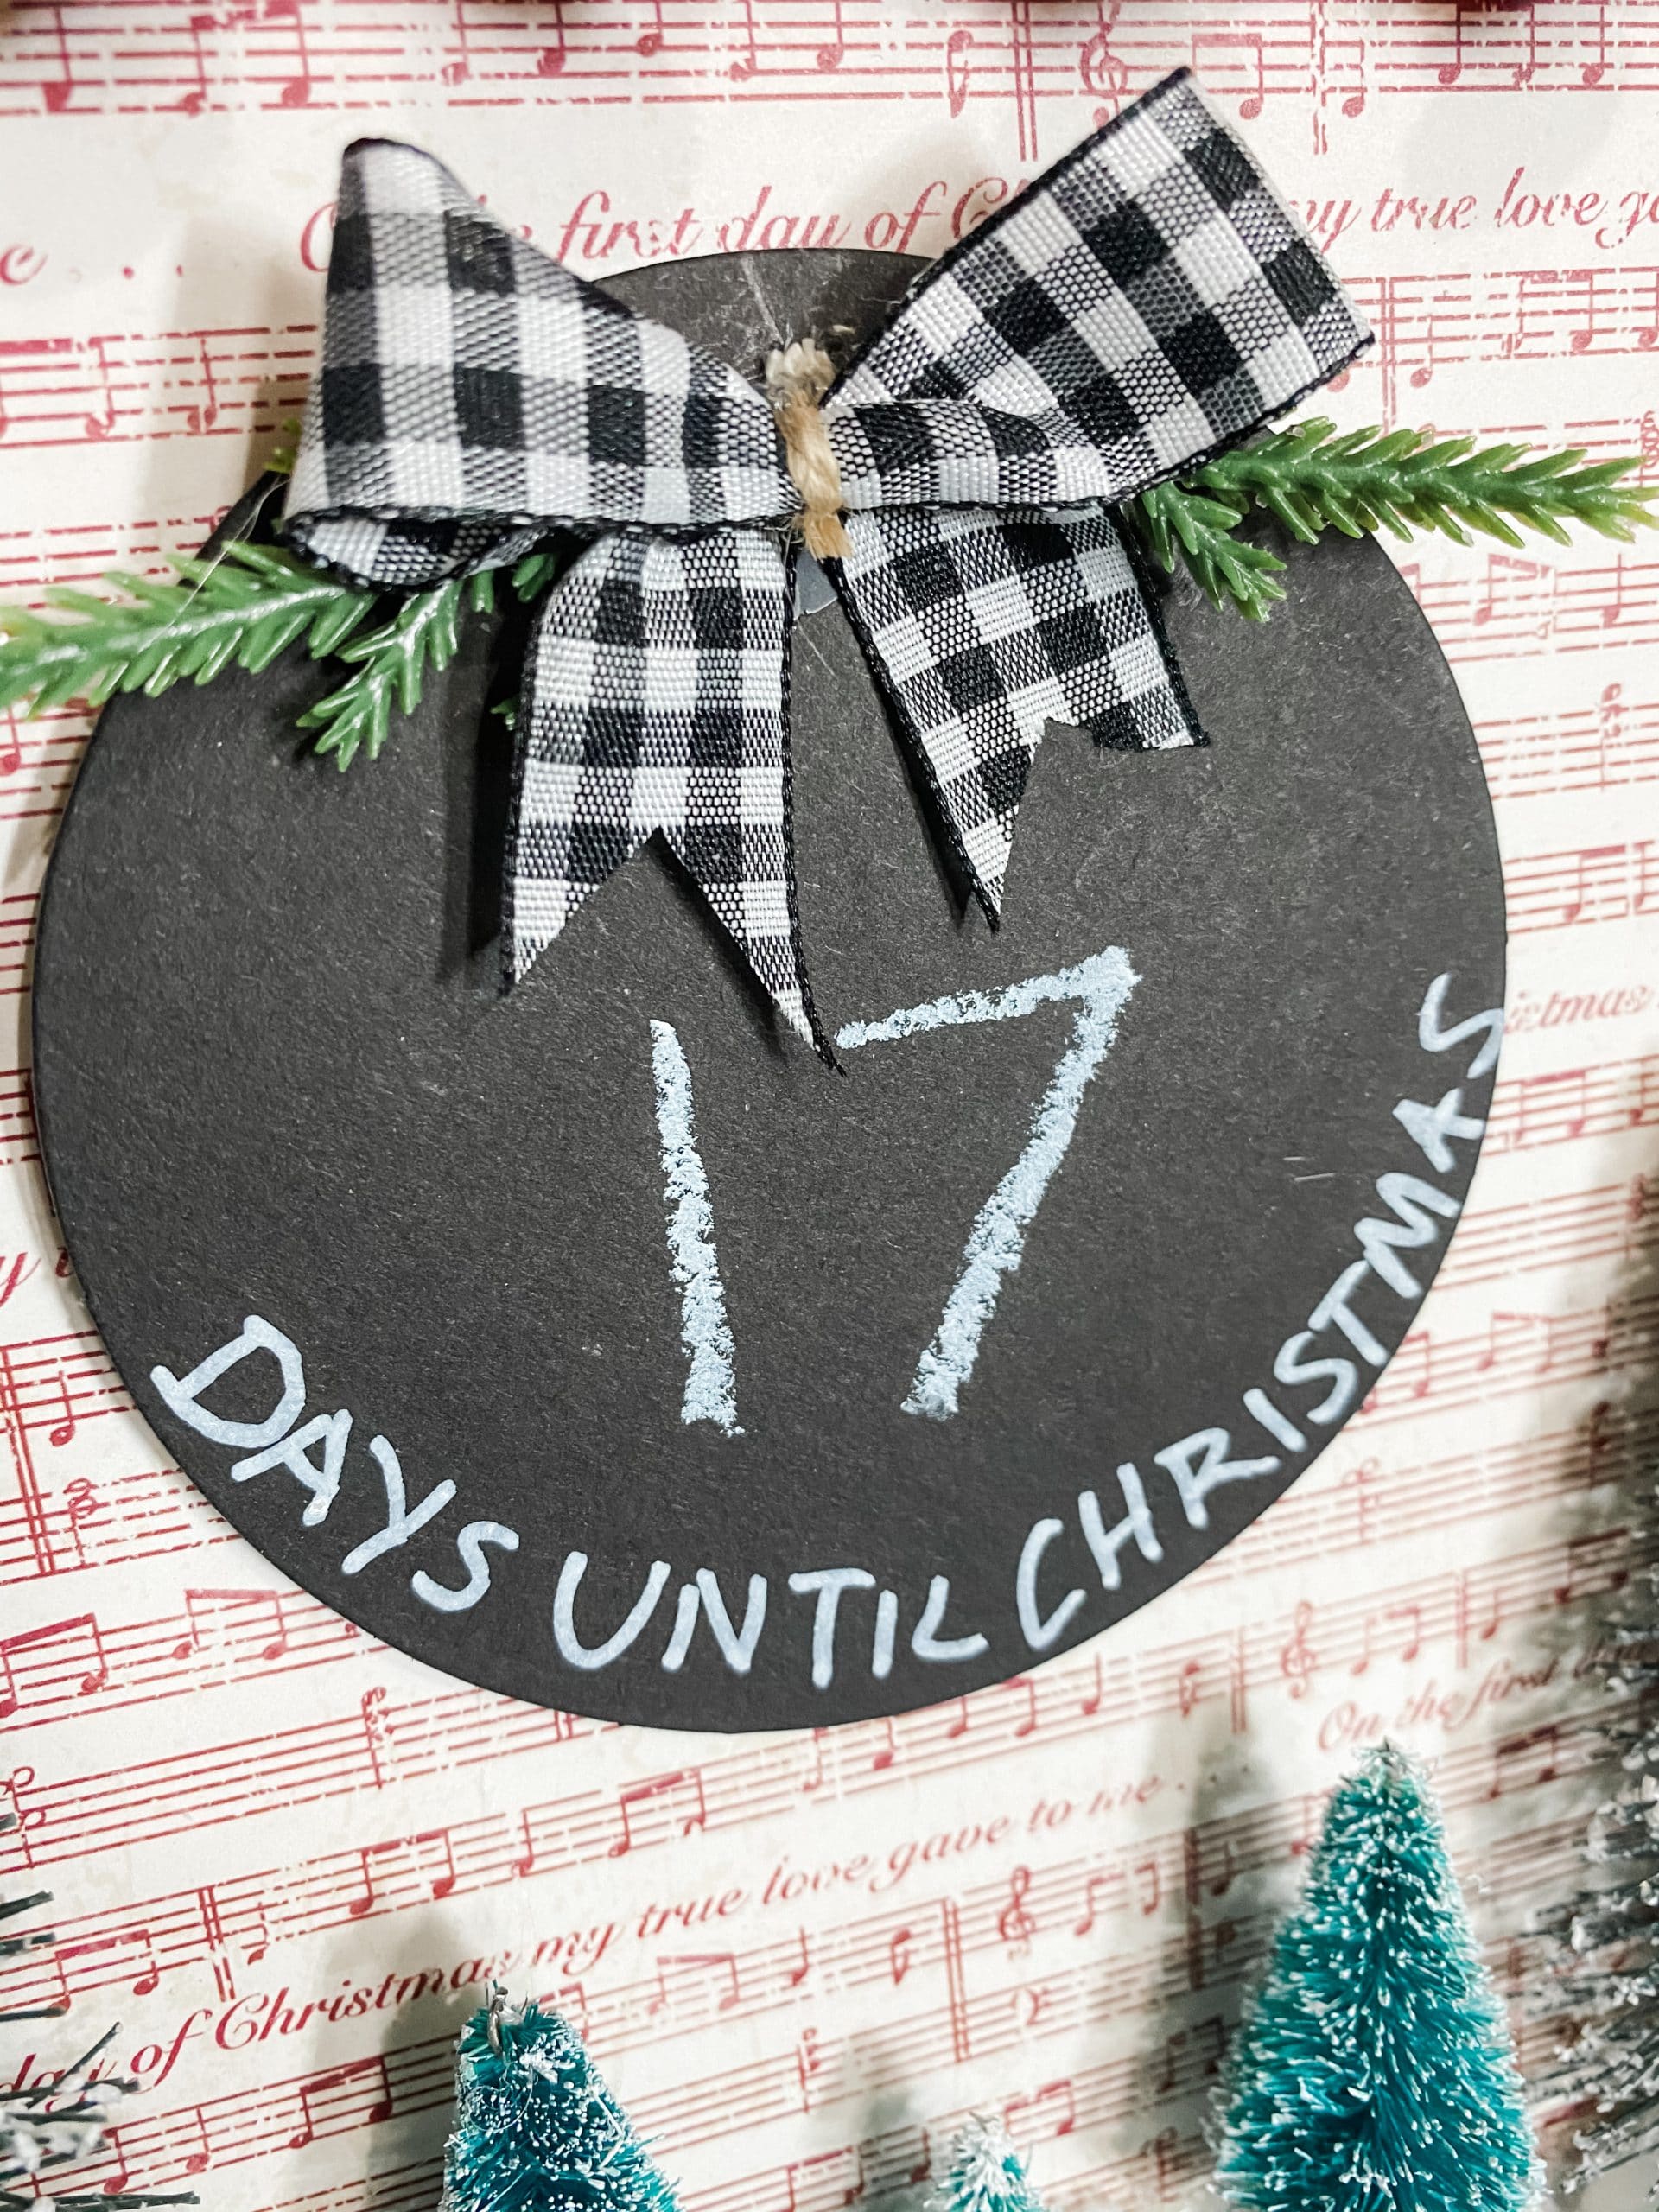
Now you’re going to get the Dollar Tree Chalkboard Tag out of its packaging. I used a Fine Tip White Painter’s Marker from Walmart to write on my Dollar Tree chalkboard tag.
This is another step that you can completely customize. I wanted my sign to be a countdown to Christmas, but you could make yours say whatever you’d like.
If you choose to make yours a countdown to Christmas, you’ll write “days until Christmas” at the very bottom of the chalkboard tag, and leave plenty of space above for the numbers to go.
Let it snow!
Before we attach our chalkboard countdown tag, we need to add the snow at the bottom of the sign box.
So, apply Mod Podge to the inside bottom edge of the sign box, and sprinkle the Dollar Tree fine snow directly onto the Mod Podge.
Put a piece of wax paper underneath the sign box to catch the extra so you can save it and put it back into the jar.
While the Mod Podge dries and adheres the snow to the sign box, let’s add some details to our chalkboard countdown sign.
I chose to add two small sprigs of greenery from Michael’s to the top of the countdown to Christmas tag.
Just trim two small pieces of the Christmas greenery spray and hot glue them into place at the top of the chalkboard tag. Don’t worry about the glue showing. We are going to cover it with a little bow!
To make the bow, I used Dollar Tree buffalo check ribbon and just folded it into the shape of a bow. Then, secure the center with a piece of twine or another piece of ribbon. You could also just hot glue the bow together. There are several options!
To see exactly how I made this little bow, you can watch the Facebook LIVE replay and fast forward to 55:39.
However you decide to secure your bow, go ahead and dovetail the ends of the bow and hot glue it into place over the ends of the Christmas greenery sprays.
Make sure you leave plenty of space under the bow and greenery for you to write the number of days until Christmas.
It’s a Winter Wonderland!
It’s time to grab all the little Dollar Tree Christmas Trees. I used one of the mini trees, two of the small trees, and the two larger trees from the Winter Village pack.

For the two larger trees from the Winter Village pack, I had to trim the bases so they would fit on the bottom of the sign box. I cut the Christmas tree bases with a pair of aviation snips. Just be careful not to cut your fingers!
Now, hot glue each of the Christmas trees to the bottom of the sign box. Hold the trees onto the Dollar Tree sign box while the glue dries to ensure a solid and secure bond.
It’s coming together now
I originally intended to drill a hole through the top of the Dollar Tree sign box for me to put the string of the chalkboard tag through. I decided against that idea and instead hot glued the ornament tag to the decoupaged scrapbook paper.
First, I cut a giant craft stick into four pieces and hot glued them onto the back of the chalkboard ornament tag. I did this to raise the tag up off the surface of the sign box and give this Christmas DIY more dimension.
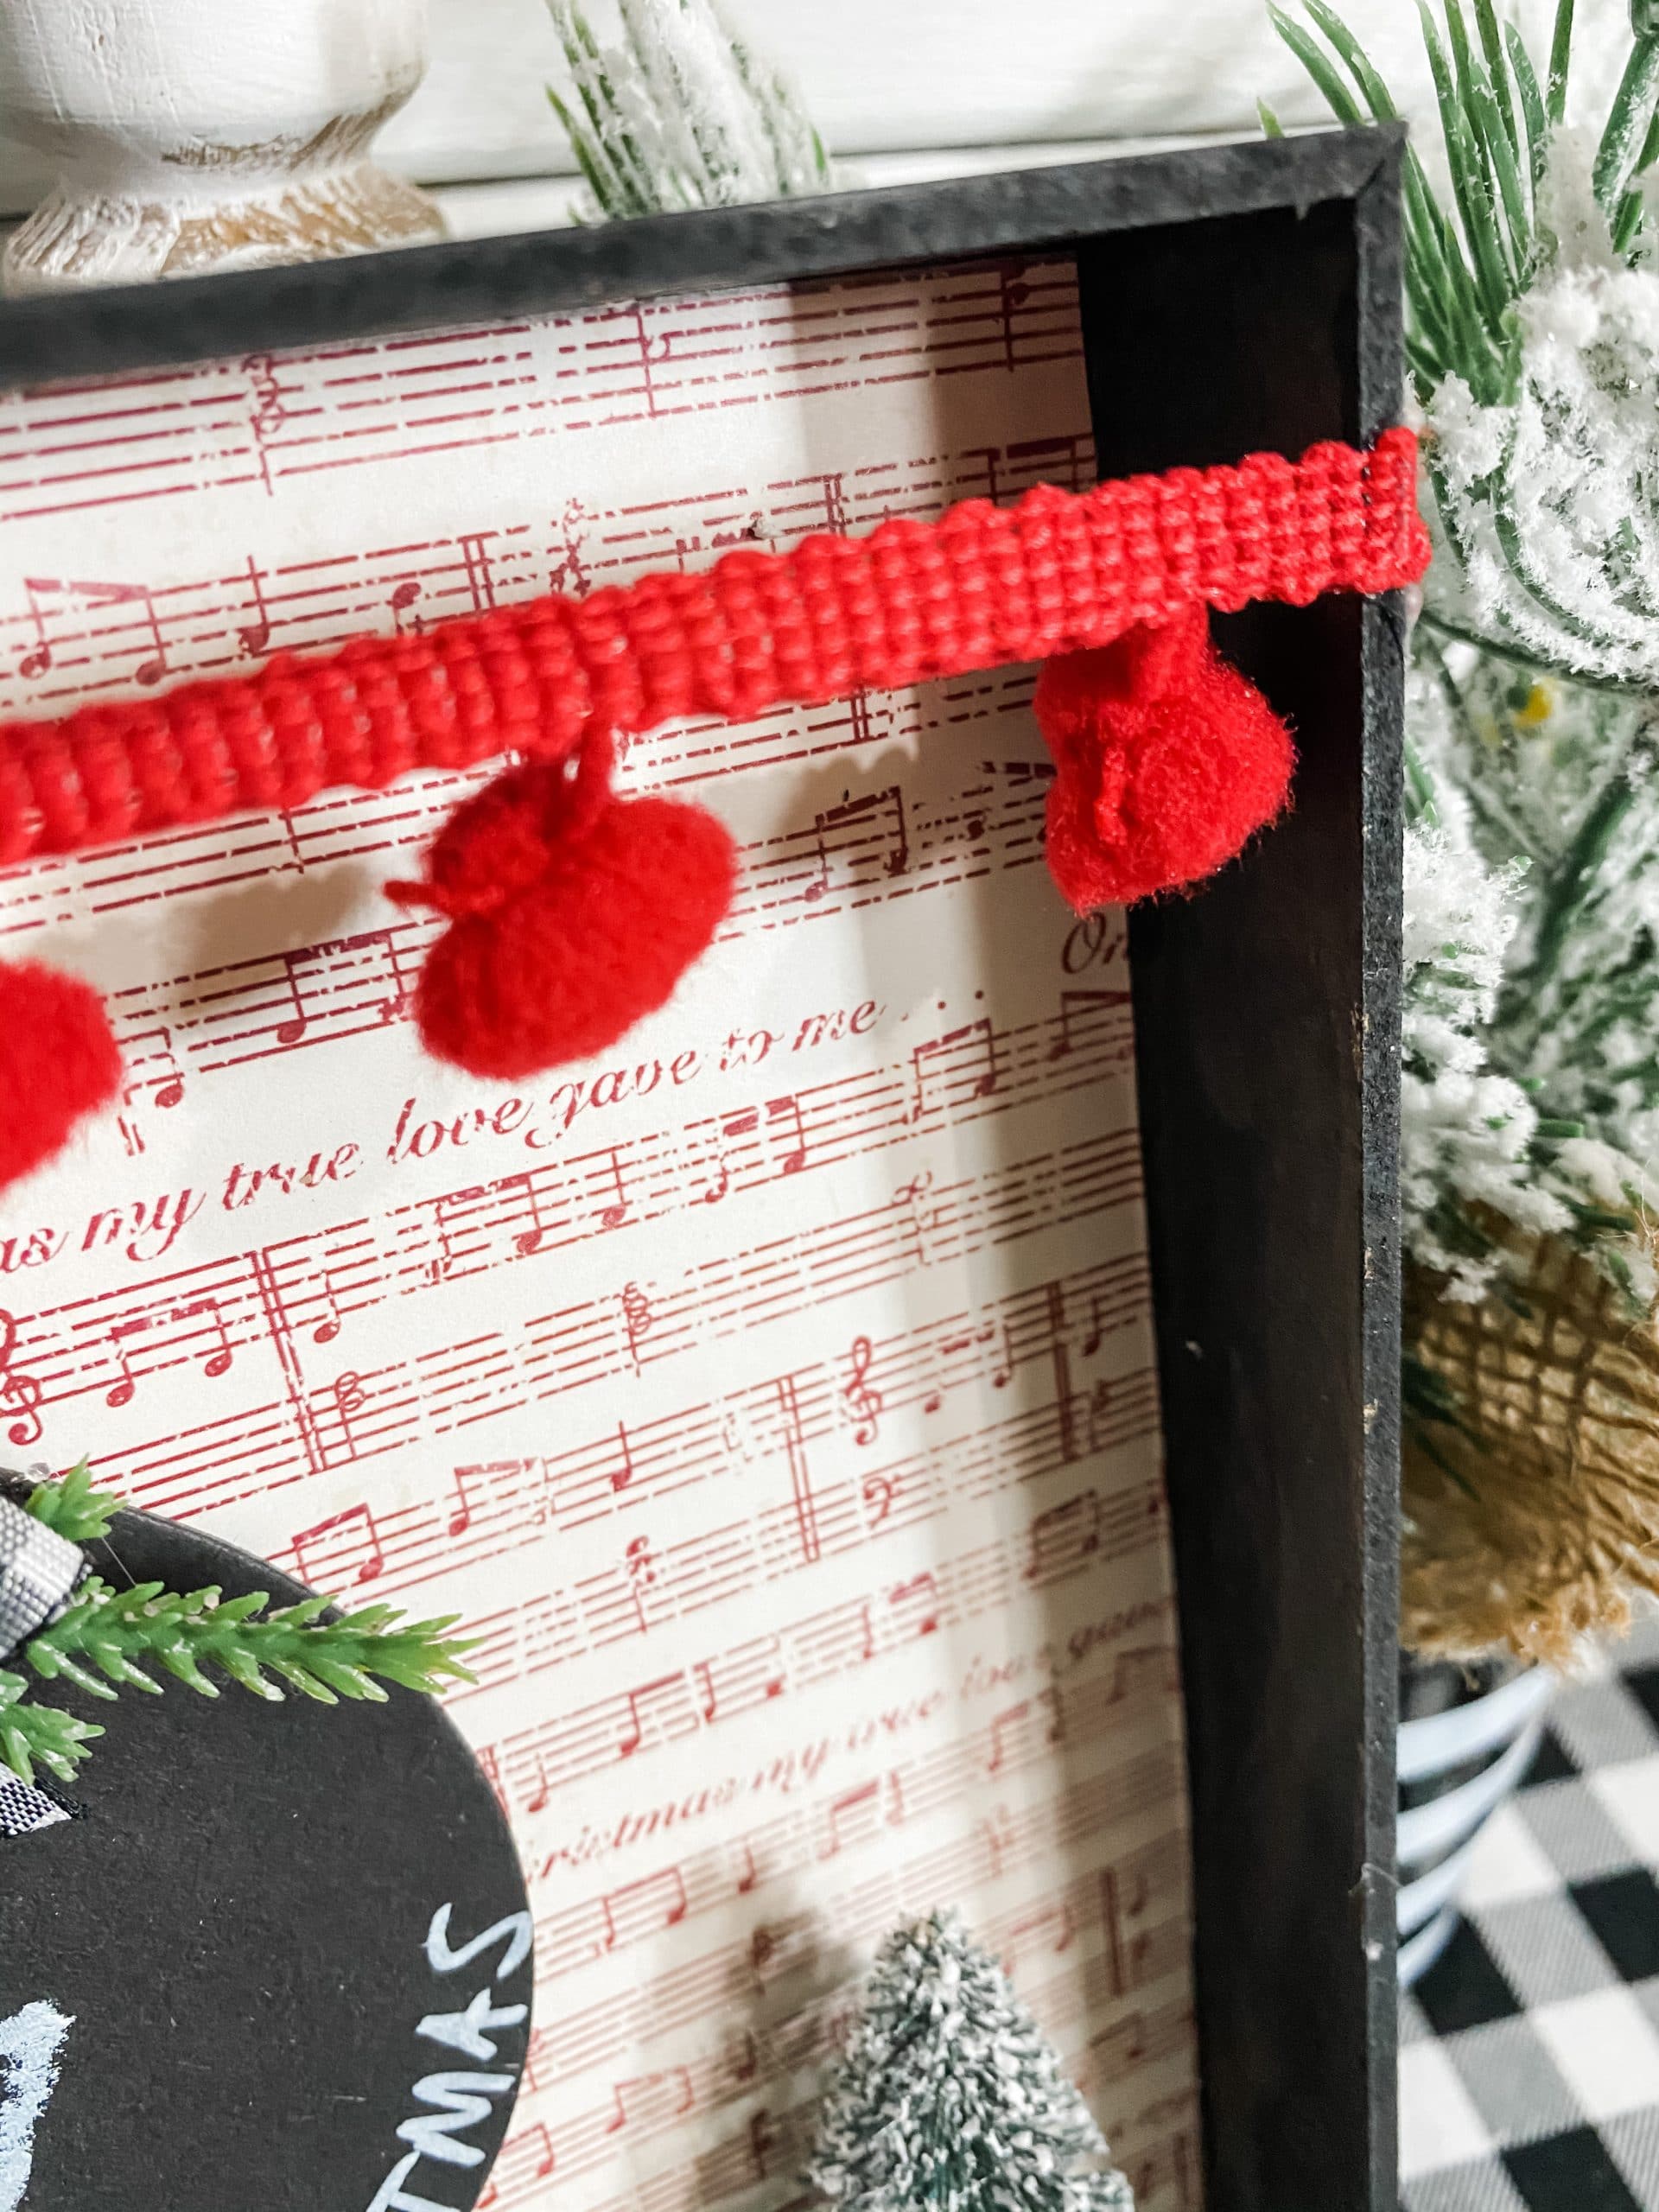
Finally, we are going to add a piece of the red pompom trim across the top of the sign box. Cut the pompom trim to the right length, then just hot glue each end to the edge of the sign box.
Now, I want to tell you about a thought that I had for this DIY that I didn’t go through with. I almost created a hanger from wood beads and Dollar Tree wired jute cord for this countdown to Christmas sign.
I realized that the wired jute cord was too thick to fit through the hole in the wood beads, so I tossed the hanger idea completely.
If you want to create a hanger for your sign, you could use regular jute twine instead of the wired jute cord, thread the beads onto the twine, and hot glue the ends of the twine to the back of the Dollar Tree sign box.
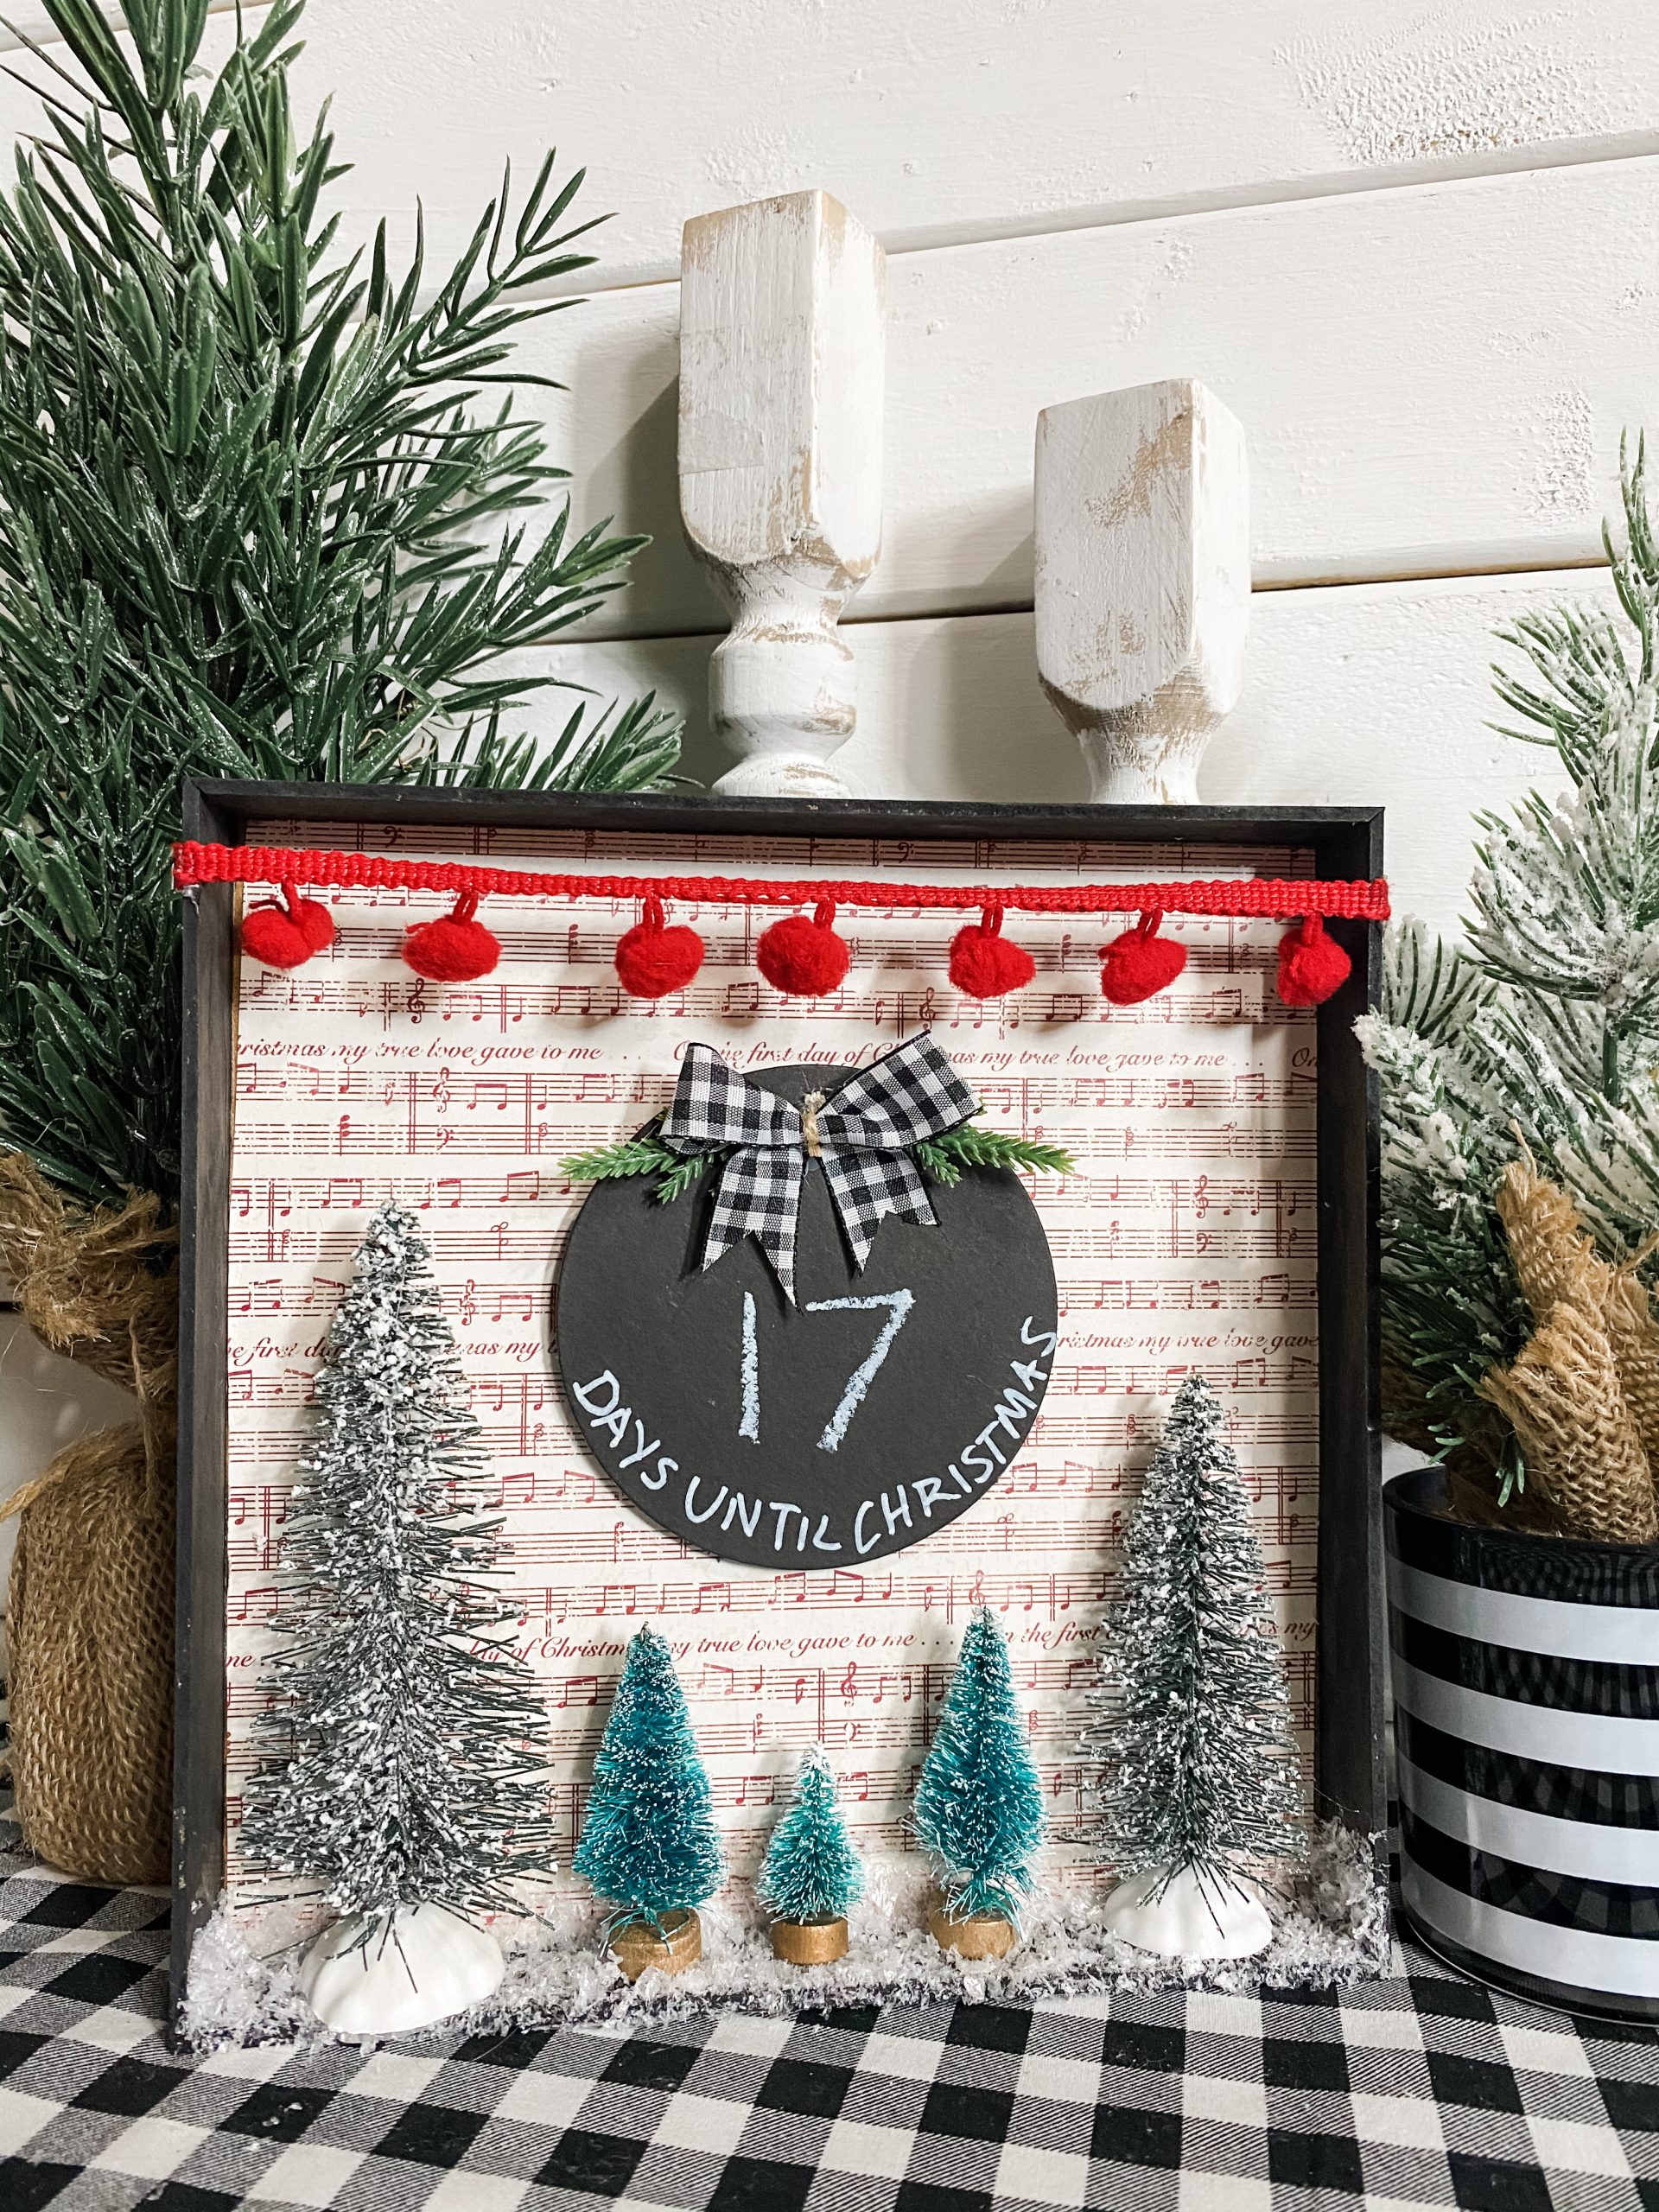
I hope you enjoyed this Dollar Tree Chalkboard DIY Countdown to Christmas Sign as much as I did and decide to make one for yourself!
I would love to see how yours turns out! You should totally join my FREE Facebook group called On A Budget Crafts! It is a judgment-free community for DIY crafters to show off their projects and ideas.
If you loved this DIY you might also like this Dollar Tree Gift Box DIY Christmas Decor!
Thanks for stopping by! XOXO Amber
You can also shop my ENTIRE AMAZON Favorites shop just click here! It’s packed full of all the things I use and love.
Here is the supply list I highly recommend every creative have on hand!! Would you also pin my blog for later and get on my newsletter alerts? I would love to have you join my #craftycrew.

Join my free “ON A BUDGET CRAFTS” Facebook group!
PIN THIS POST FOR LATER!

Adorable