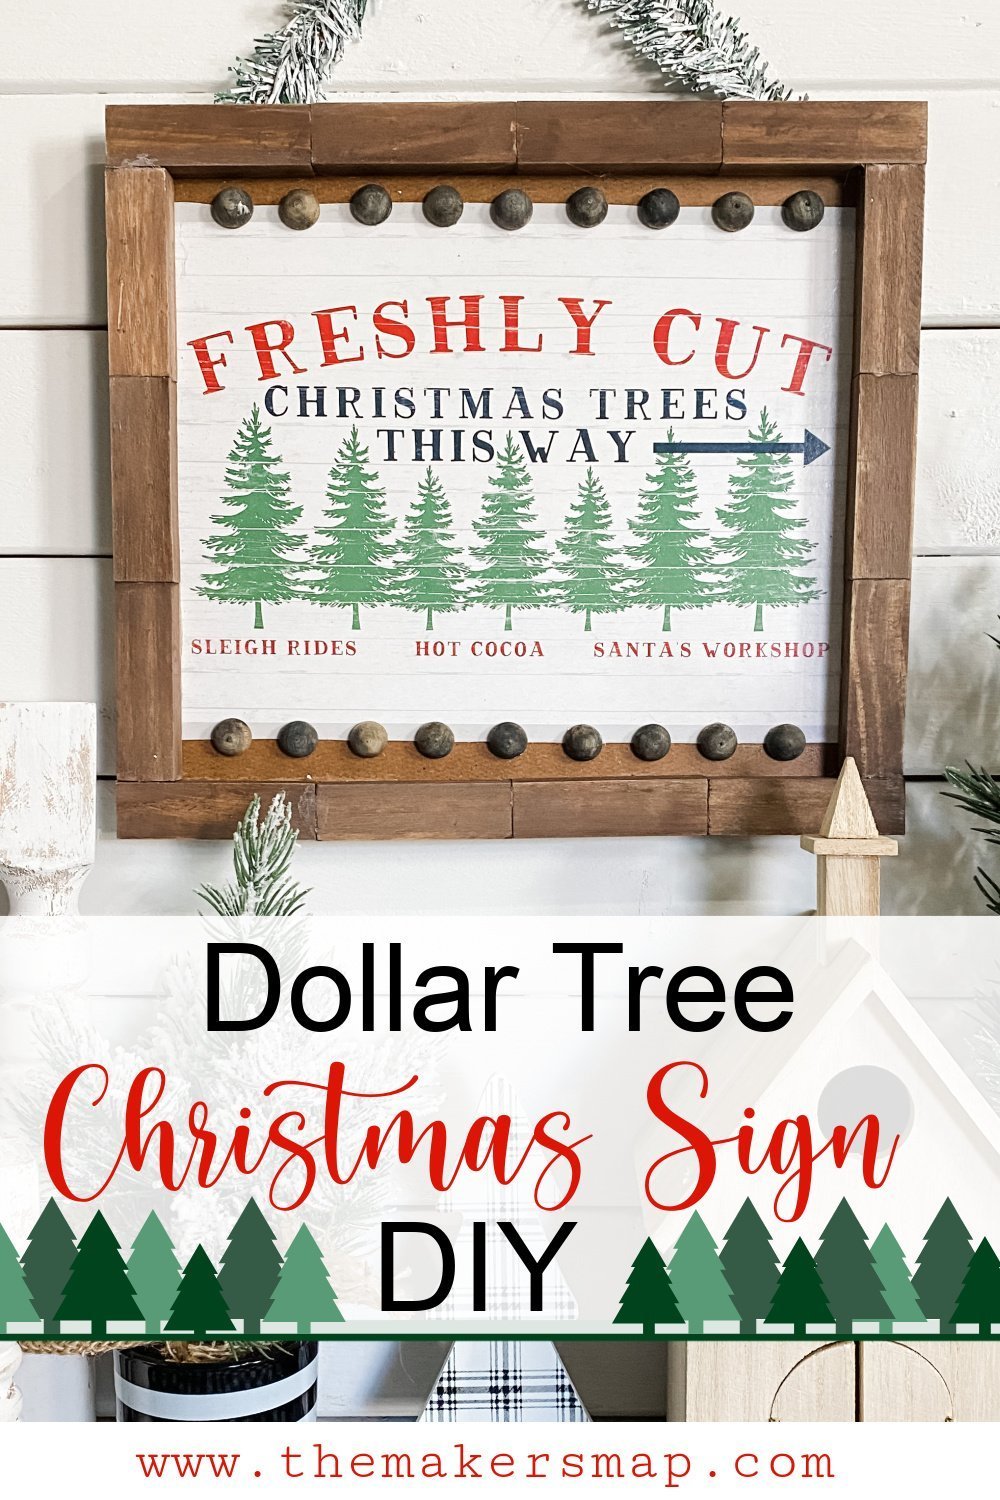
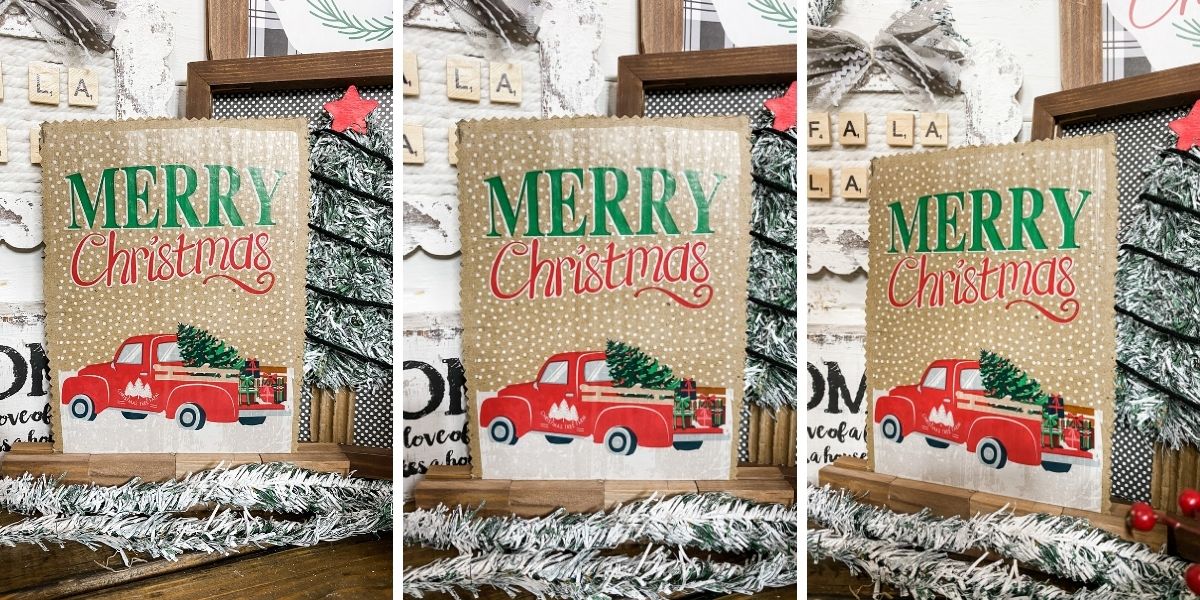
Dollar Tree Gift Box DIY Christmas Decor
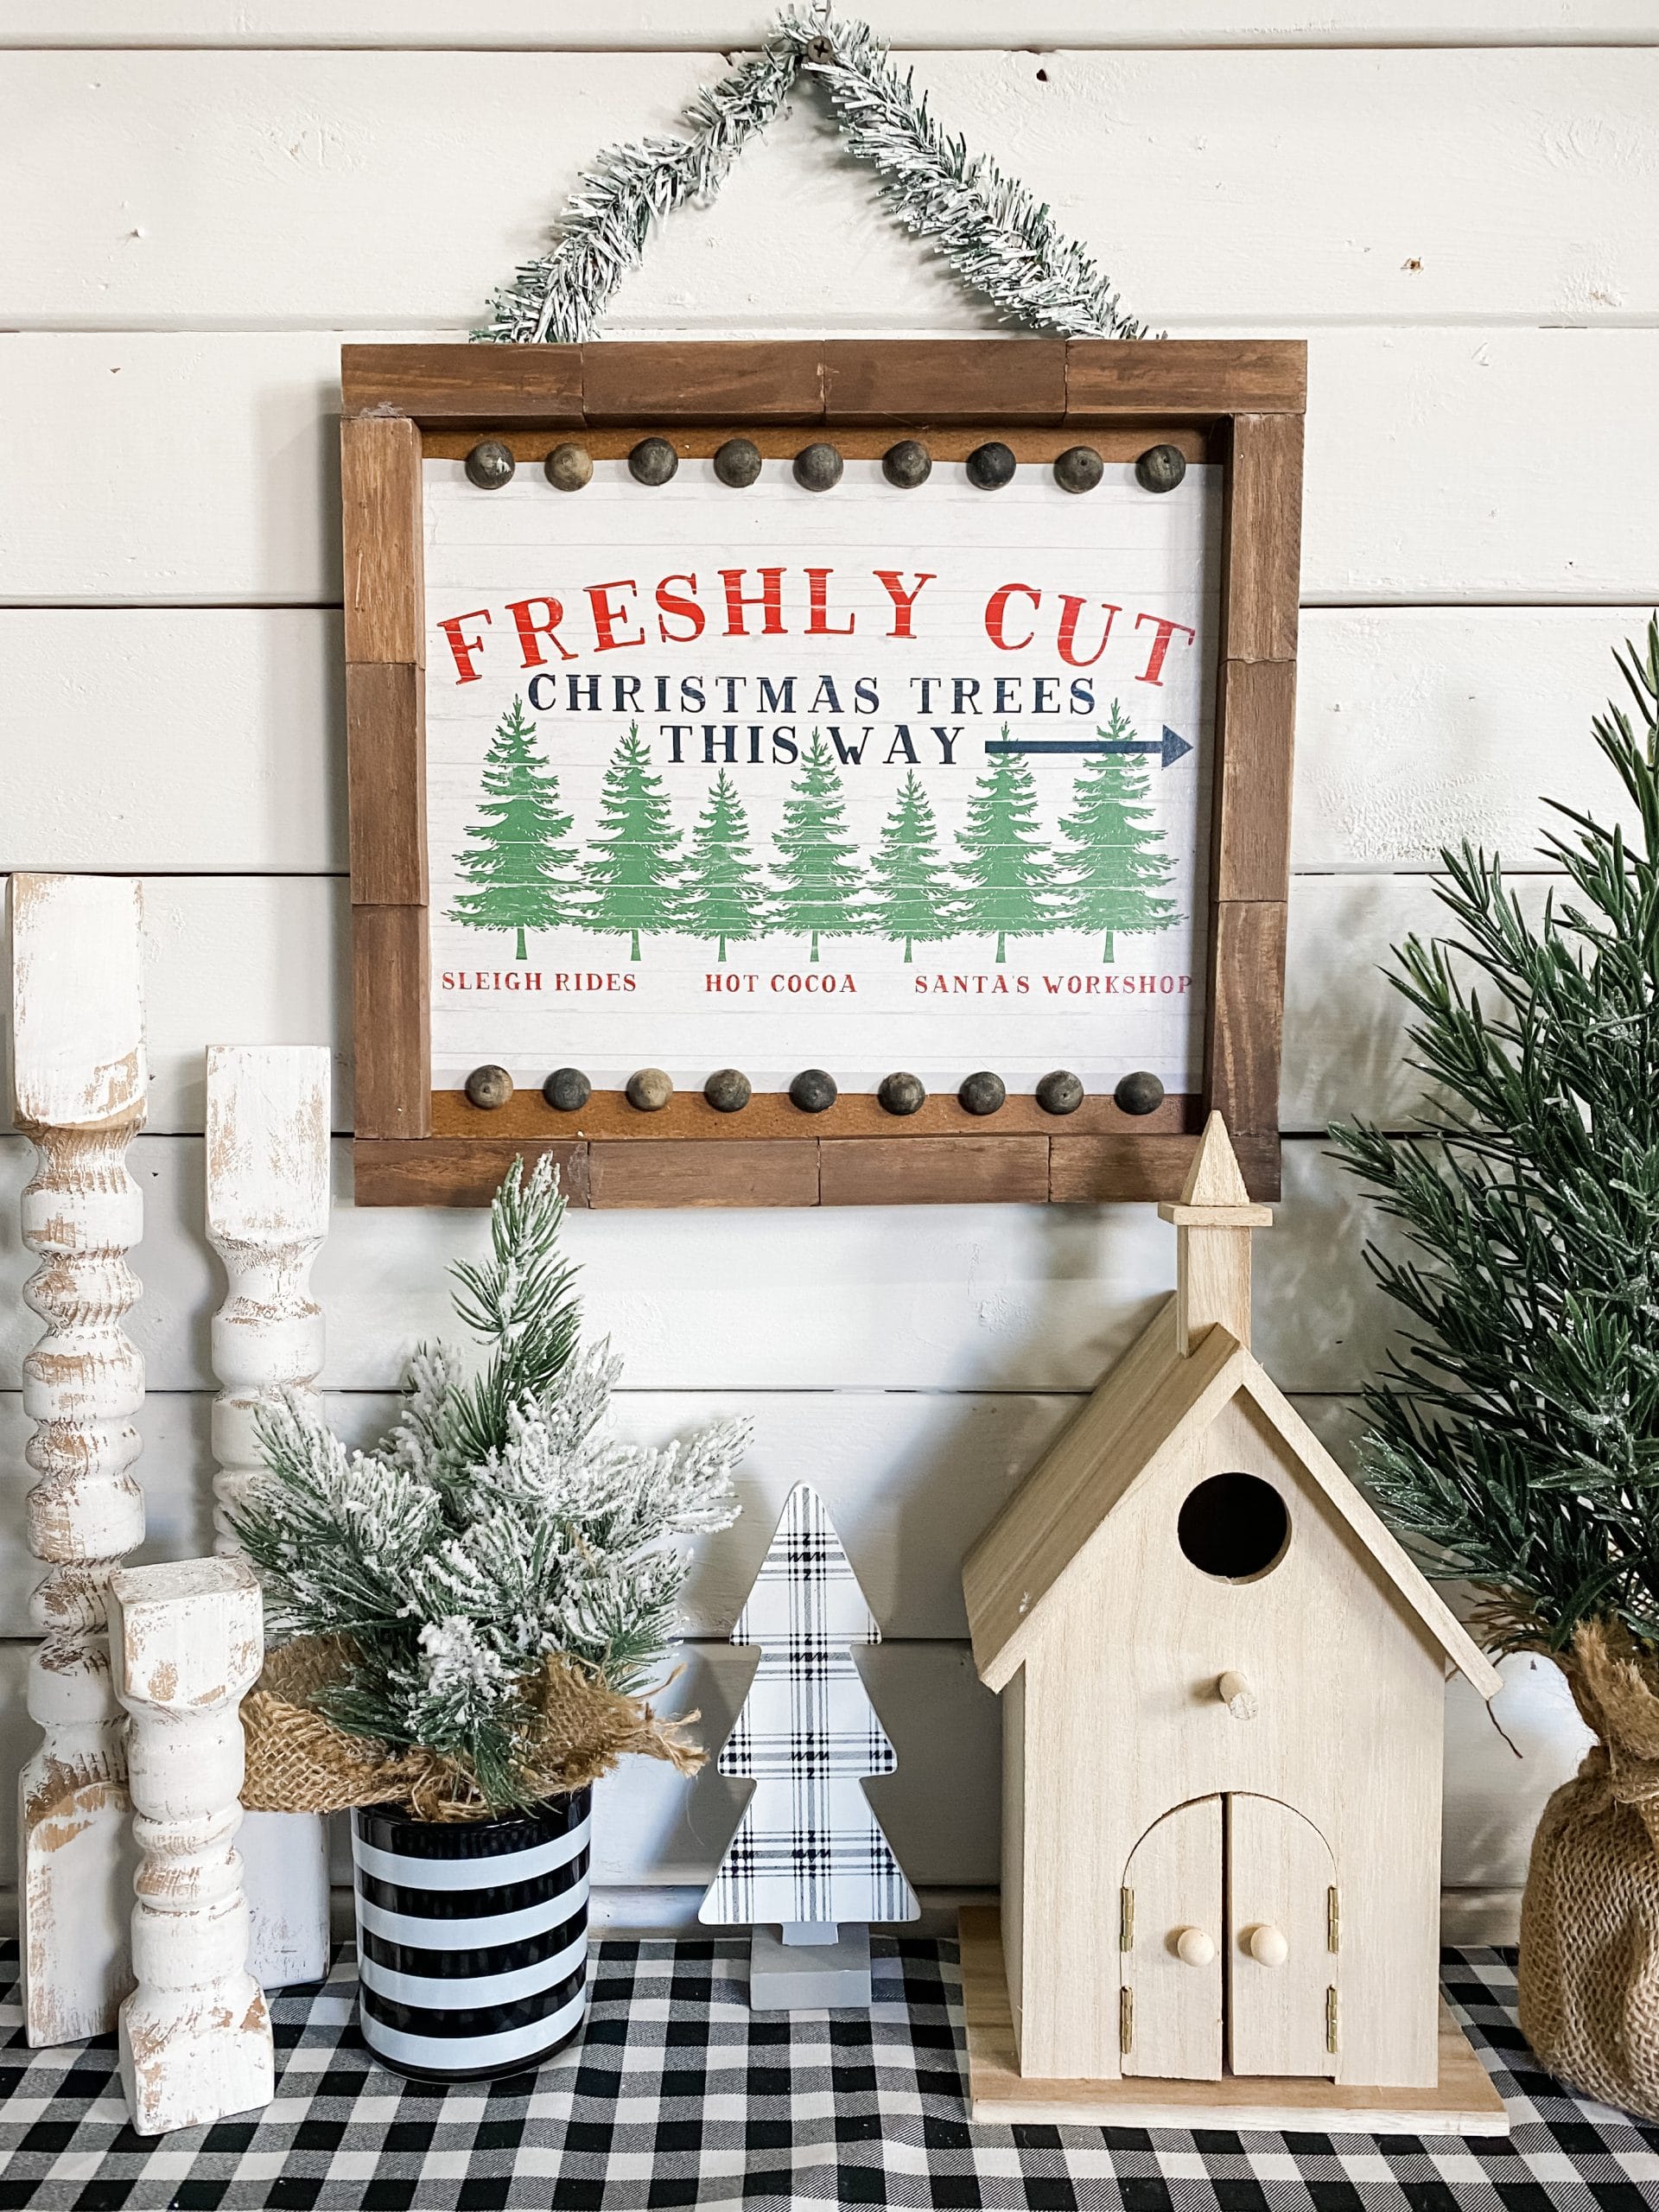
This might be one of my new favorite Christmas DIY decor crafts! I’ve decoupaged a Dollar Tree gift back and Calendar design print before, but I hadn’t done a gift box, so I thought, “why not?” I am so happy I stuck with my creative instinct and brought this adorable Dollar Tree Gift Box DIY Christmas Decor to life!
This is an incredibly easy DIY project, and would be so much fun as a kid’s craft! It’s also extremely affordable with almost all of the items coming from the Dollar Tree!
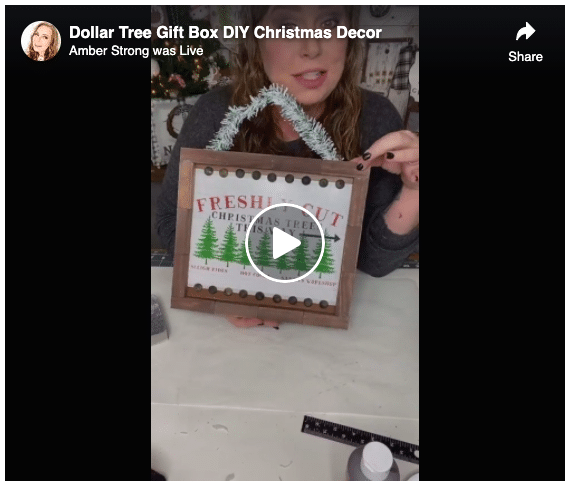
Watch the replay
I created this easy Christmas DIY decor during a LIVE video over on my Facebook page. I love sharing my DIY ideas this way because it allows my Crafty Crew to craft along, ask questions, and give their own advice!
If you want to see the step-by-step process of how I created this Christmas sign, you can watch the replay!
Now, it was done live, so there is a bit of chit-chatting and non-craft-related conversations happening. If that isn’t for you, you can always fast forward to the parts you want to see!
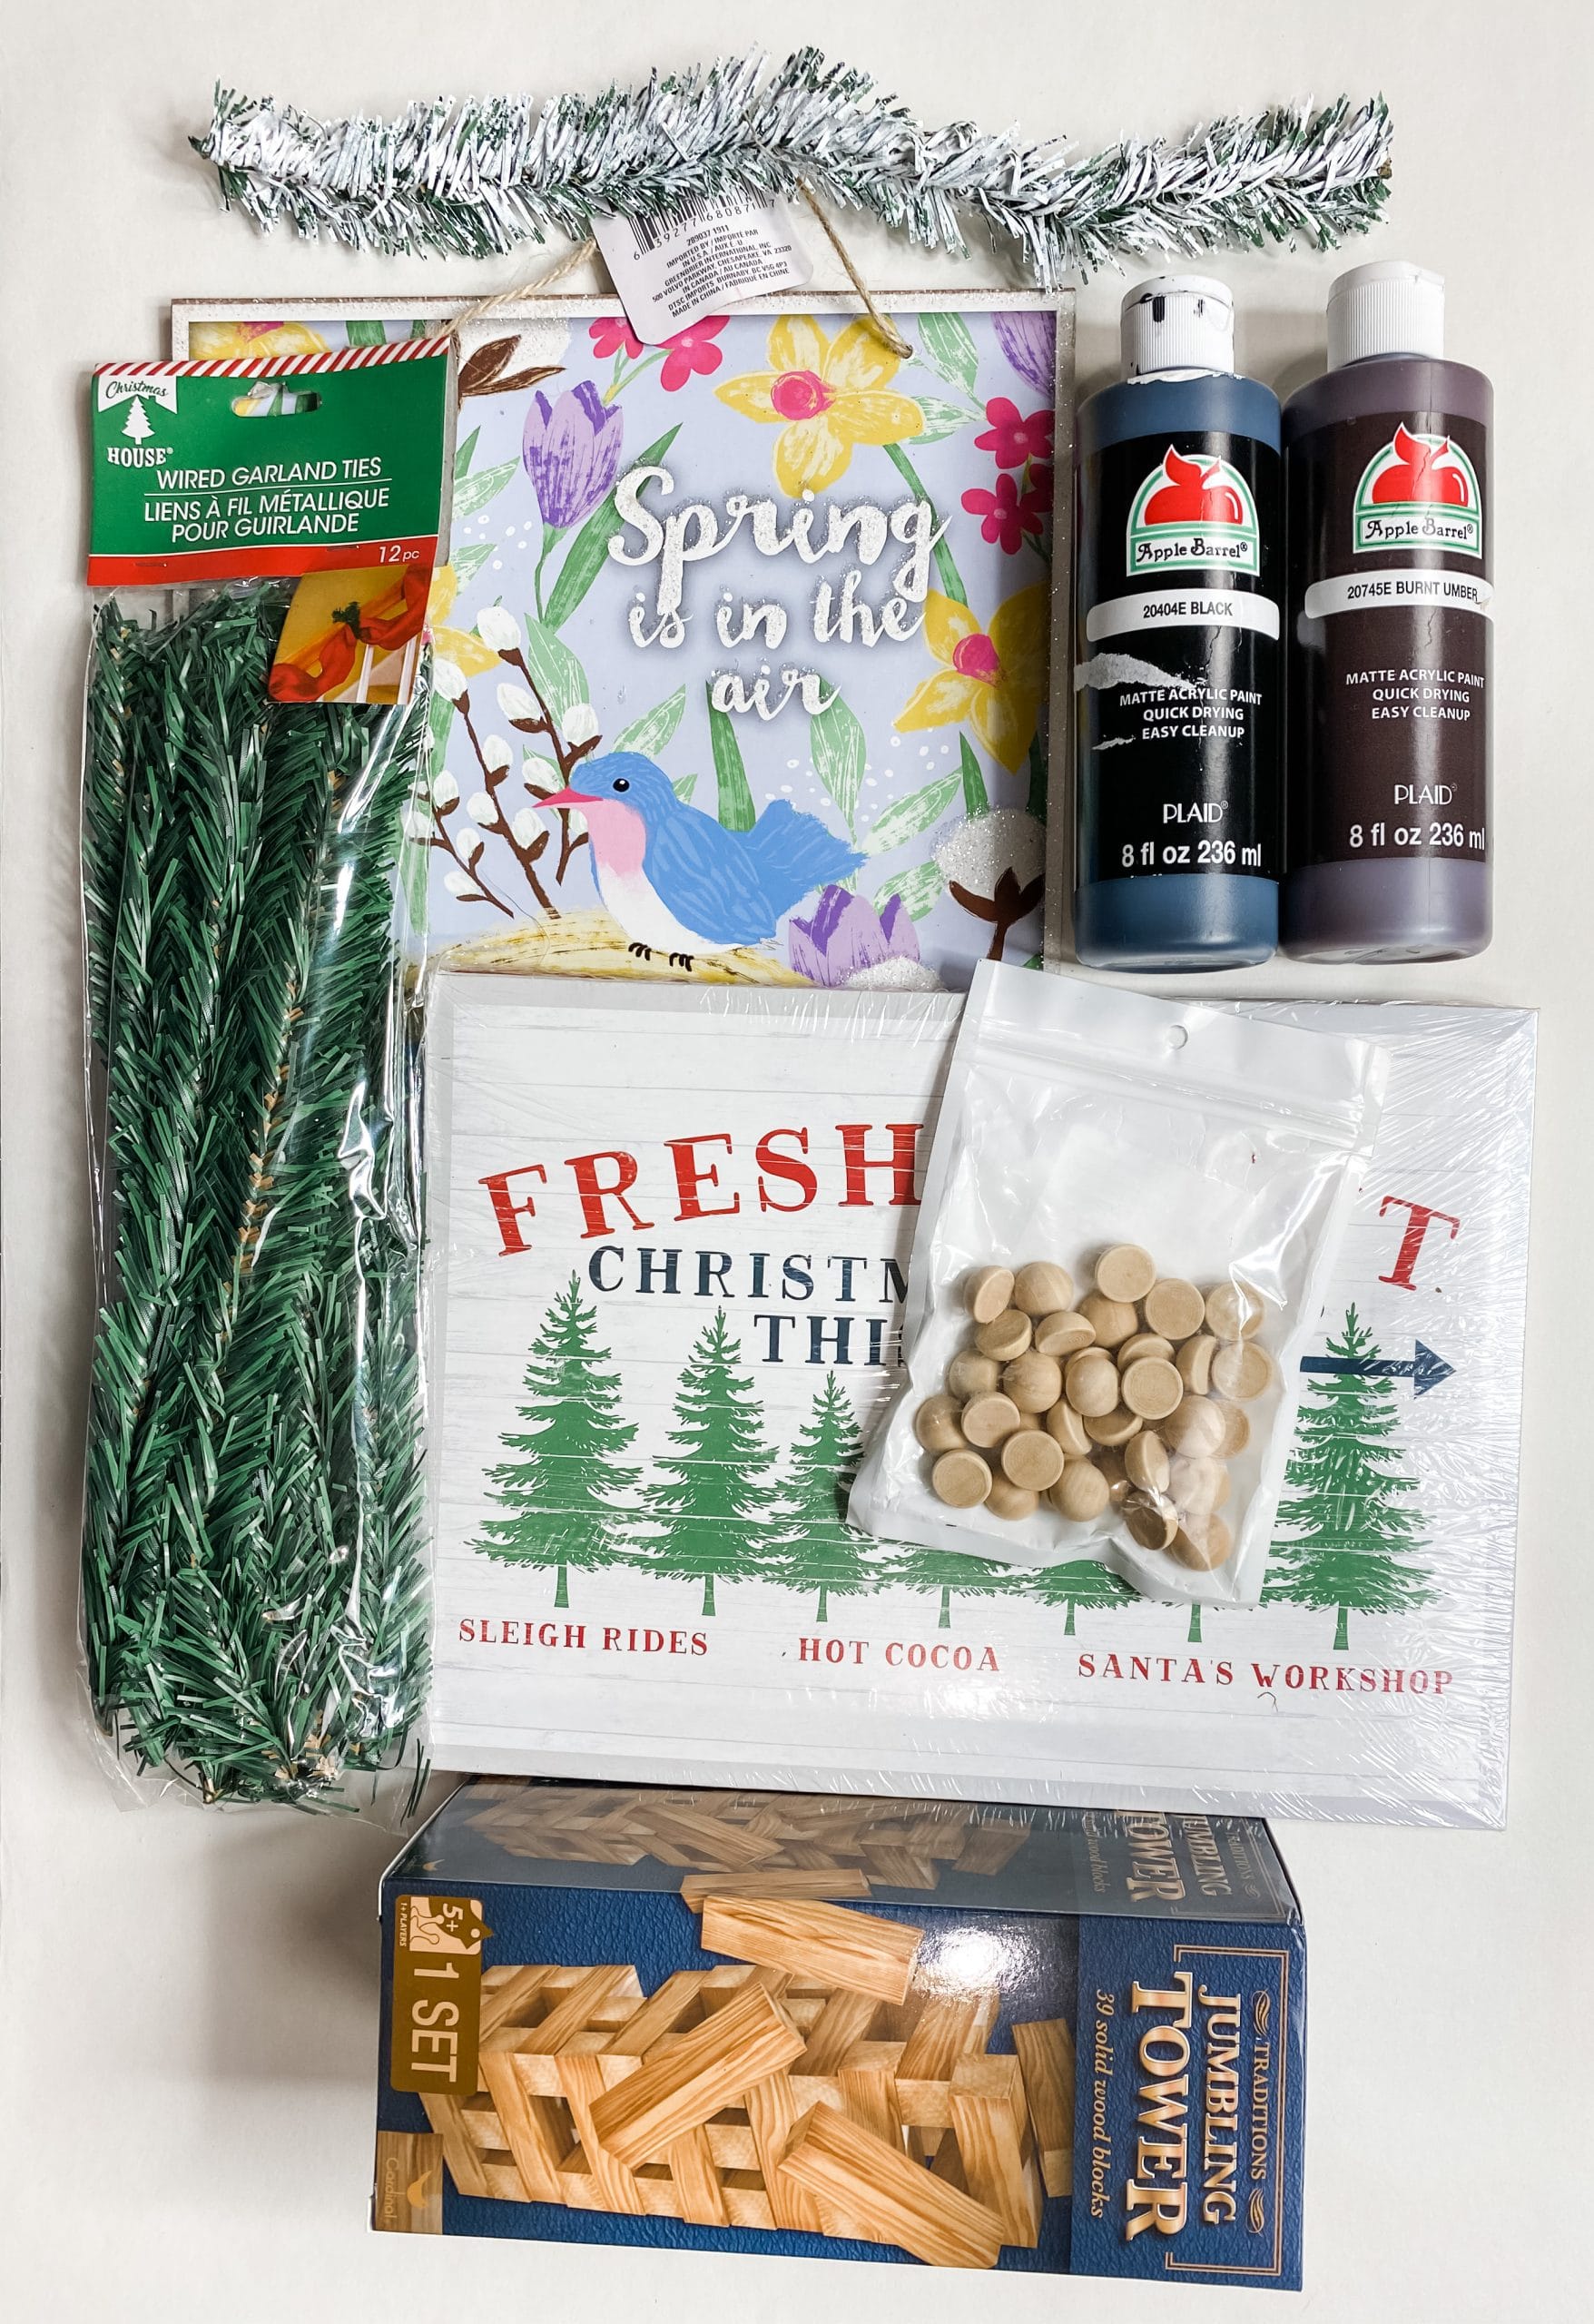
The supplies you’ll need for this project:
“As an Amazon Associate, I earn from qualifying purchases.”
- Dollar Tree Christmas gift box
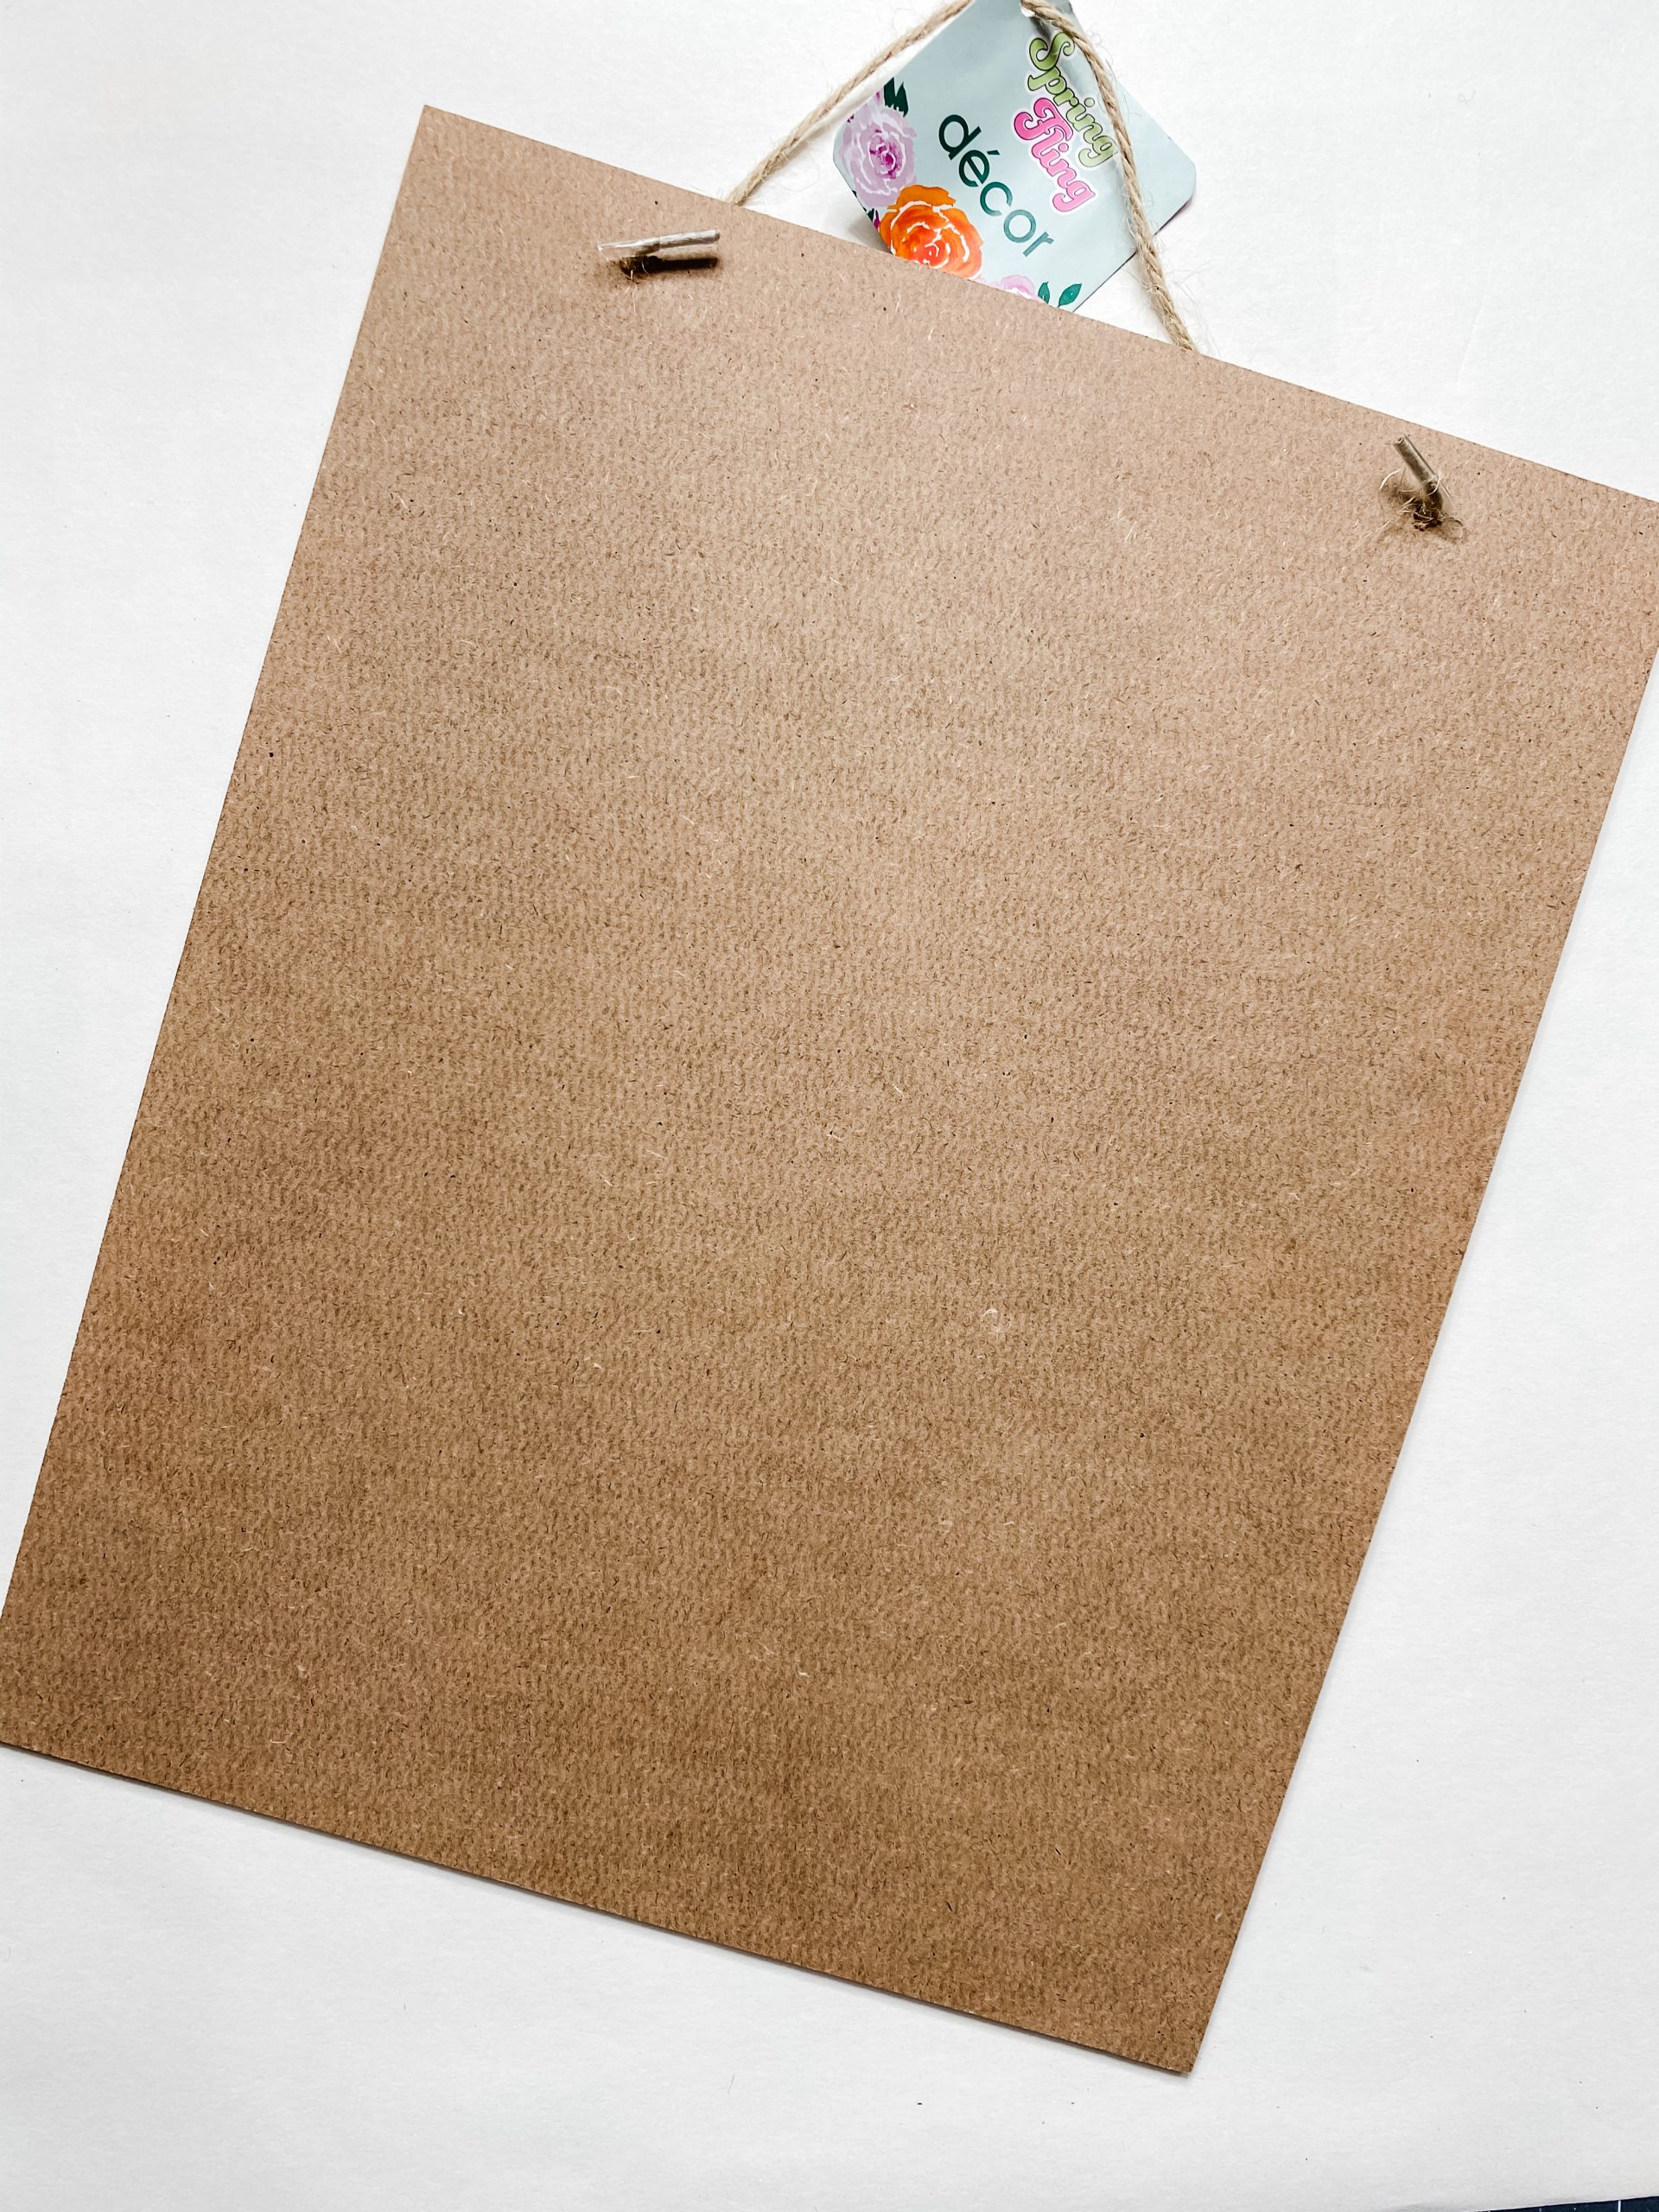
- Dollar Tree Wood sign
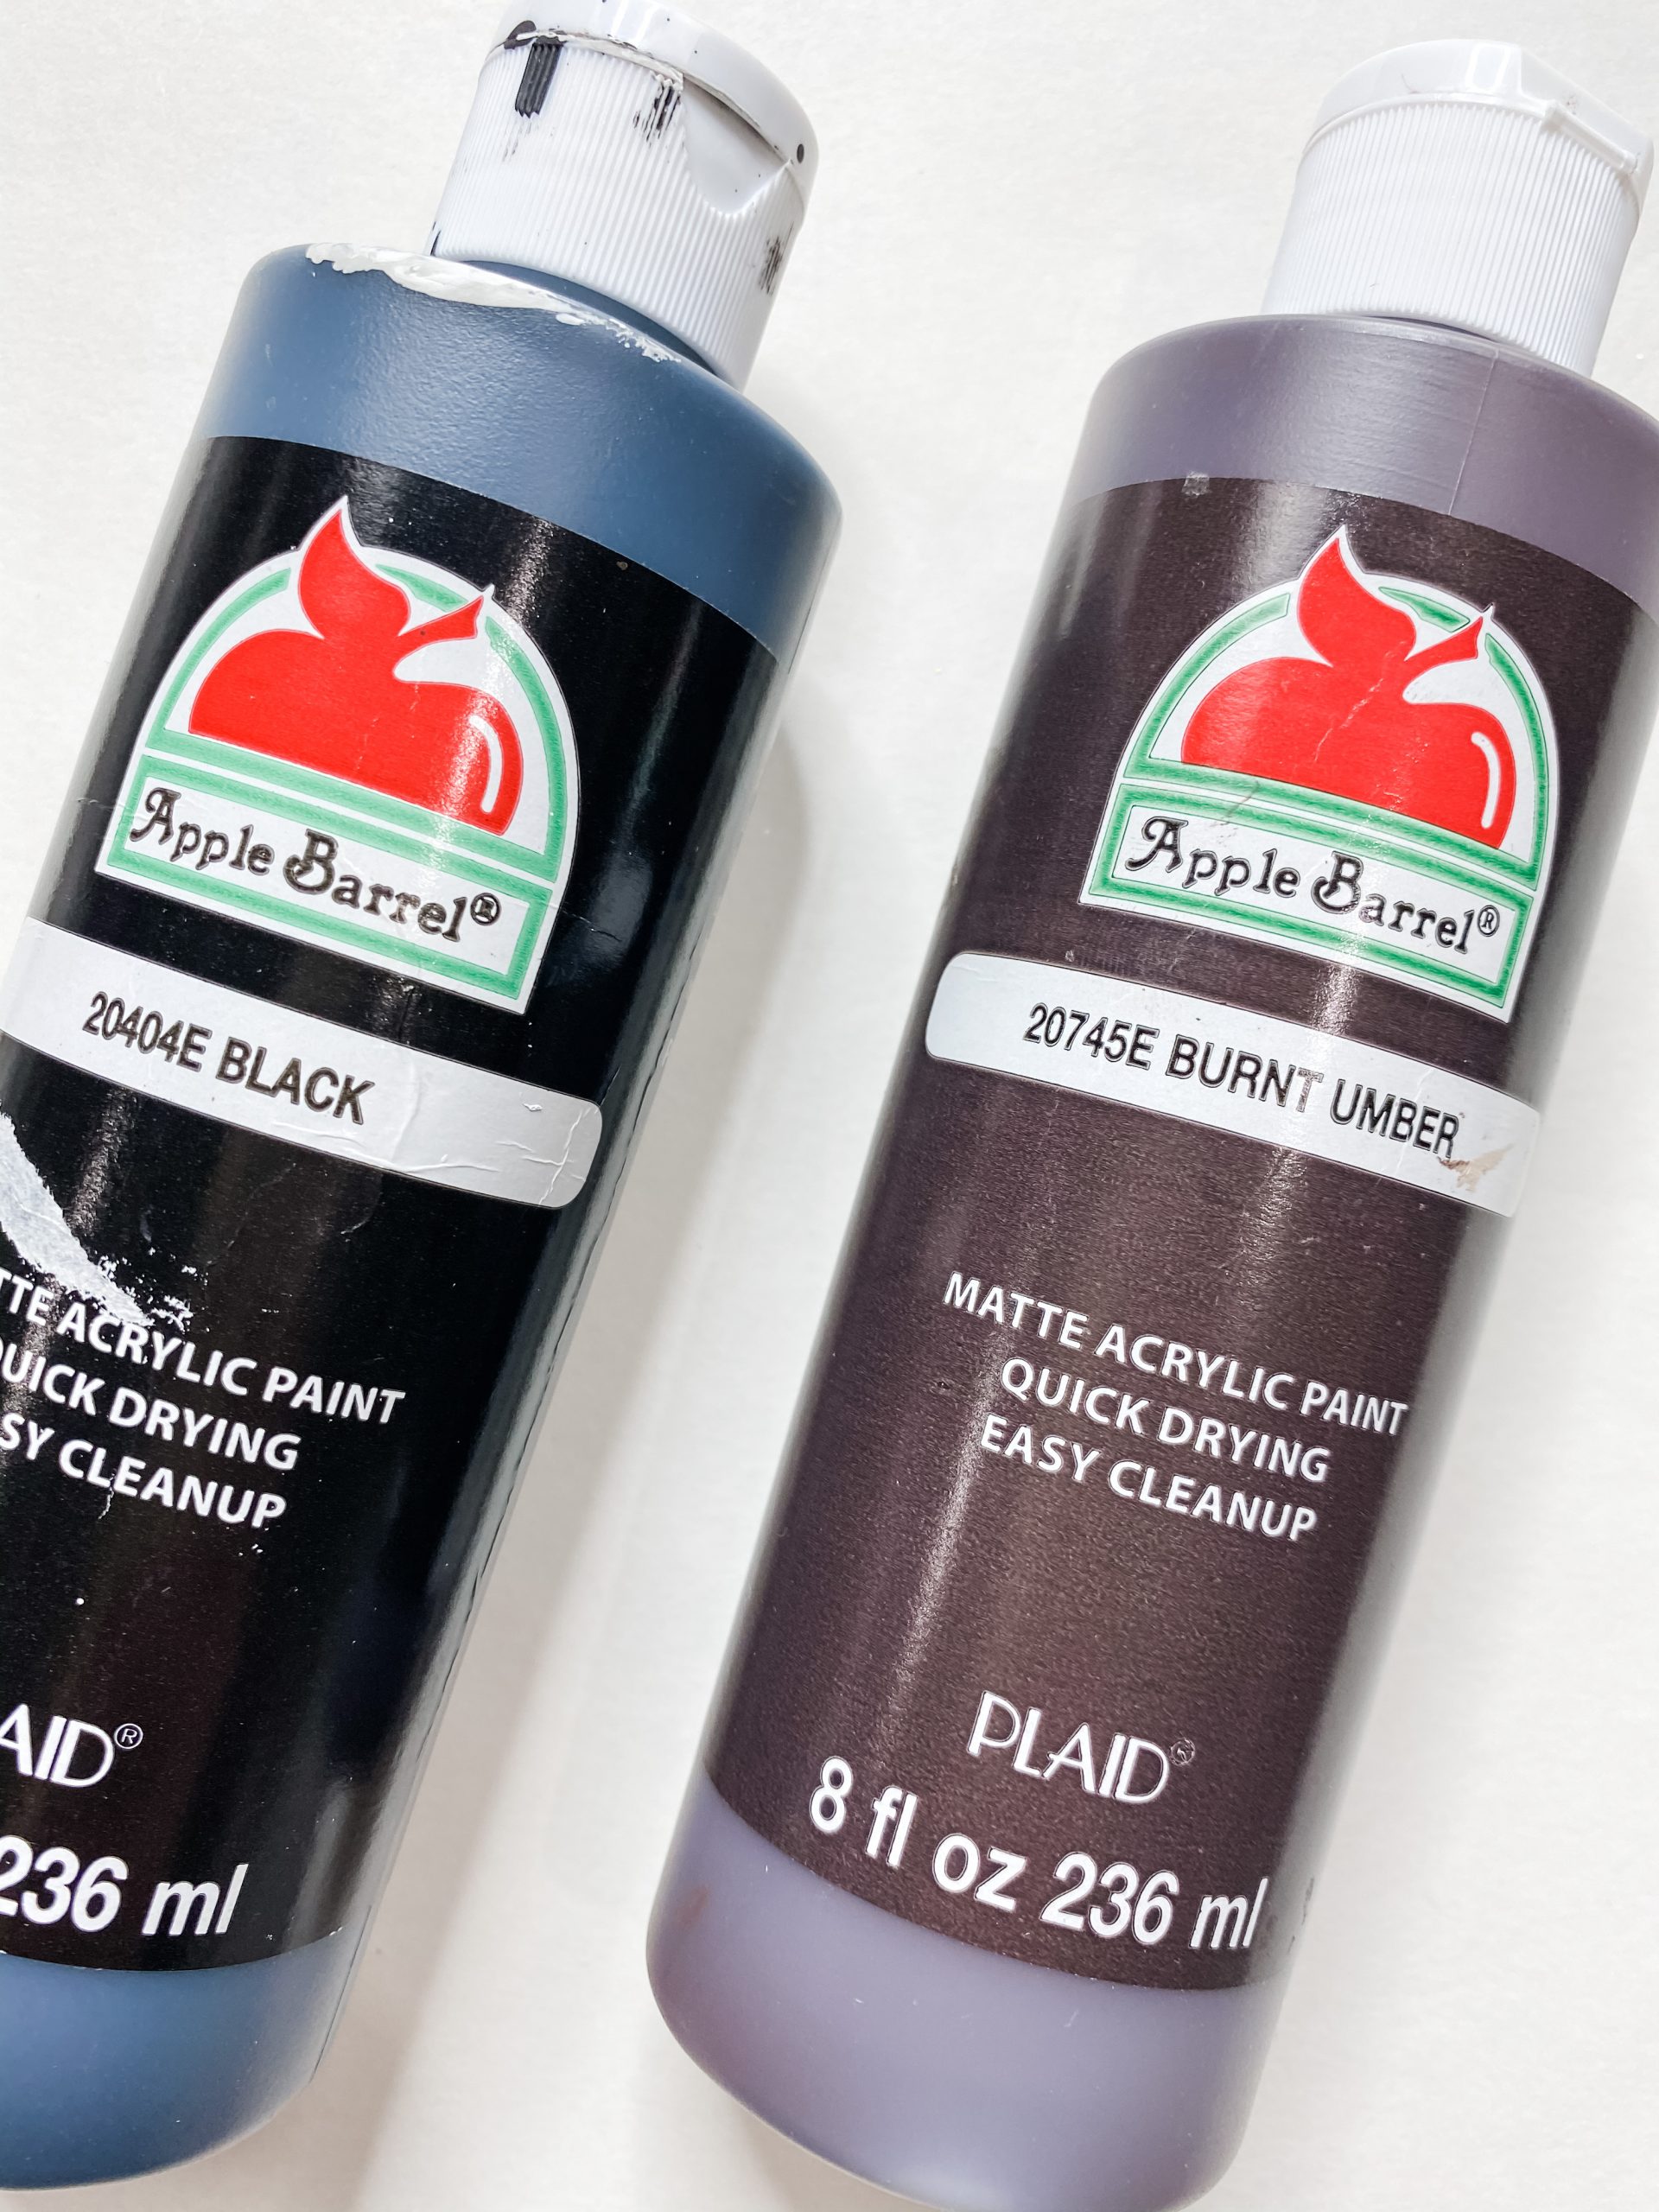
- Apple Barrel Burnt Umber Acrylic Paint
- Apple Barrel Black Acrylic Paint
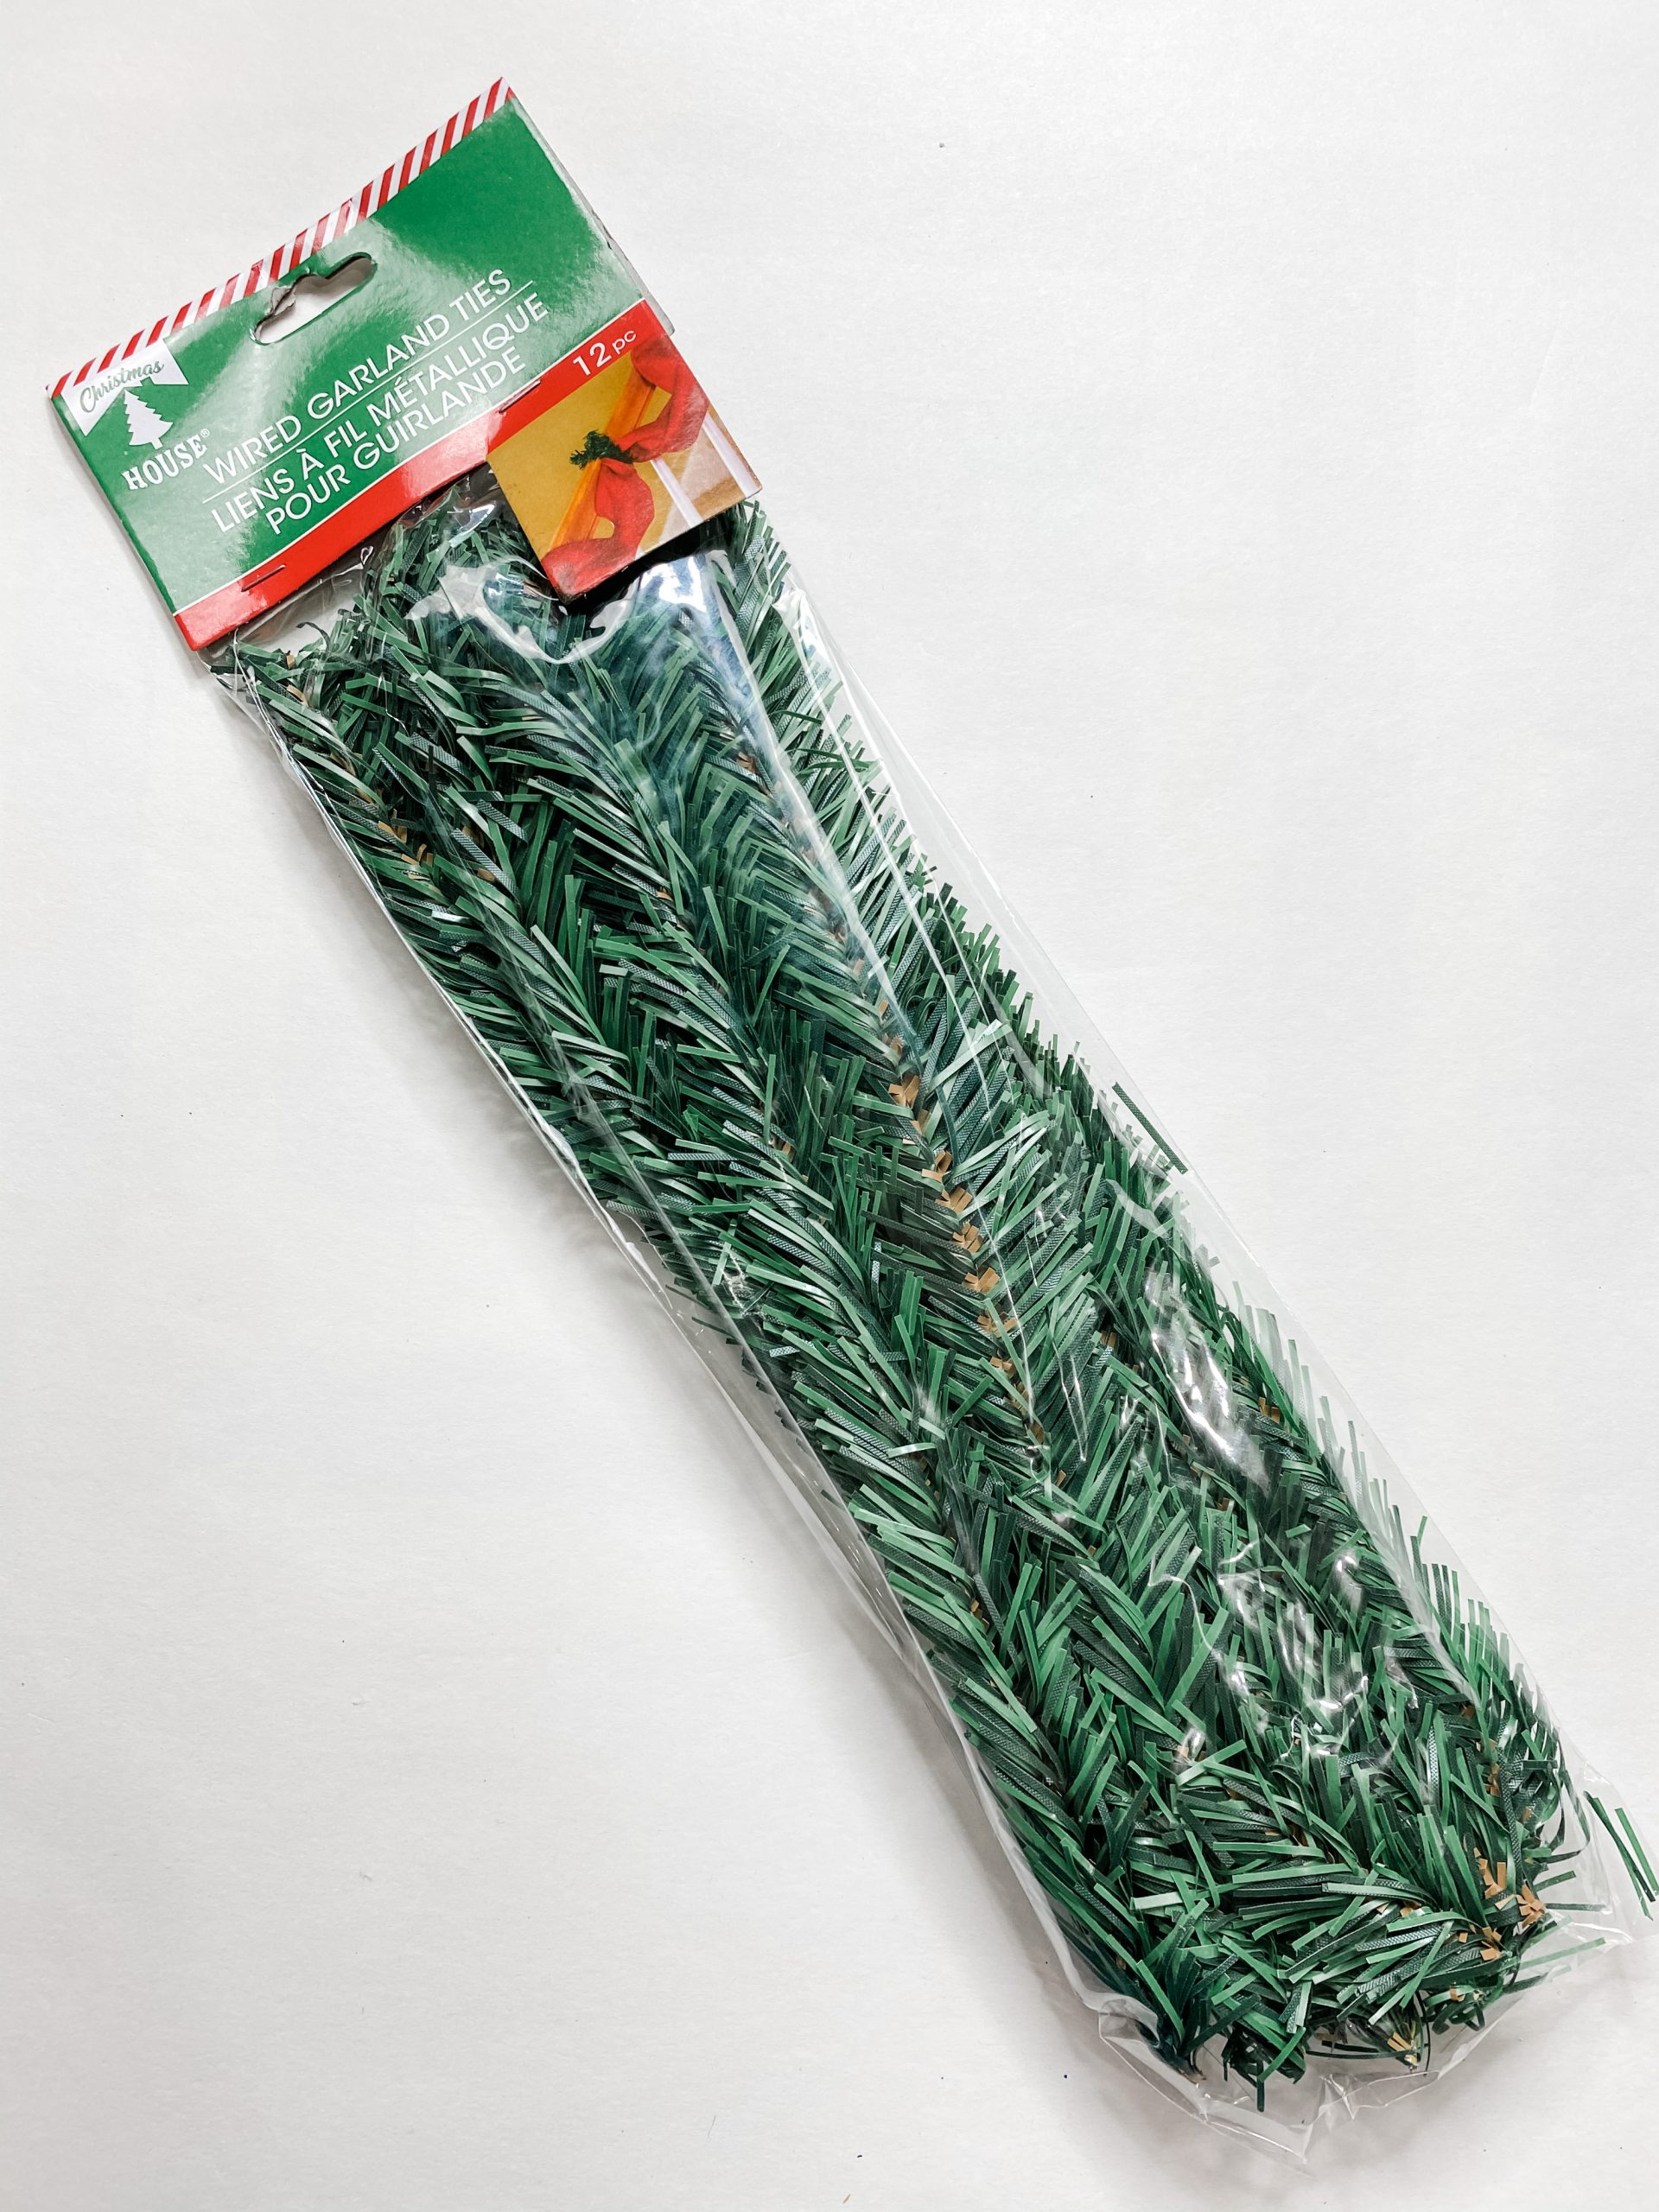
- Dollar Tree Wired garland
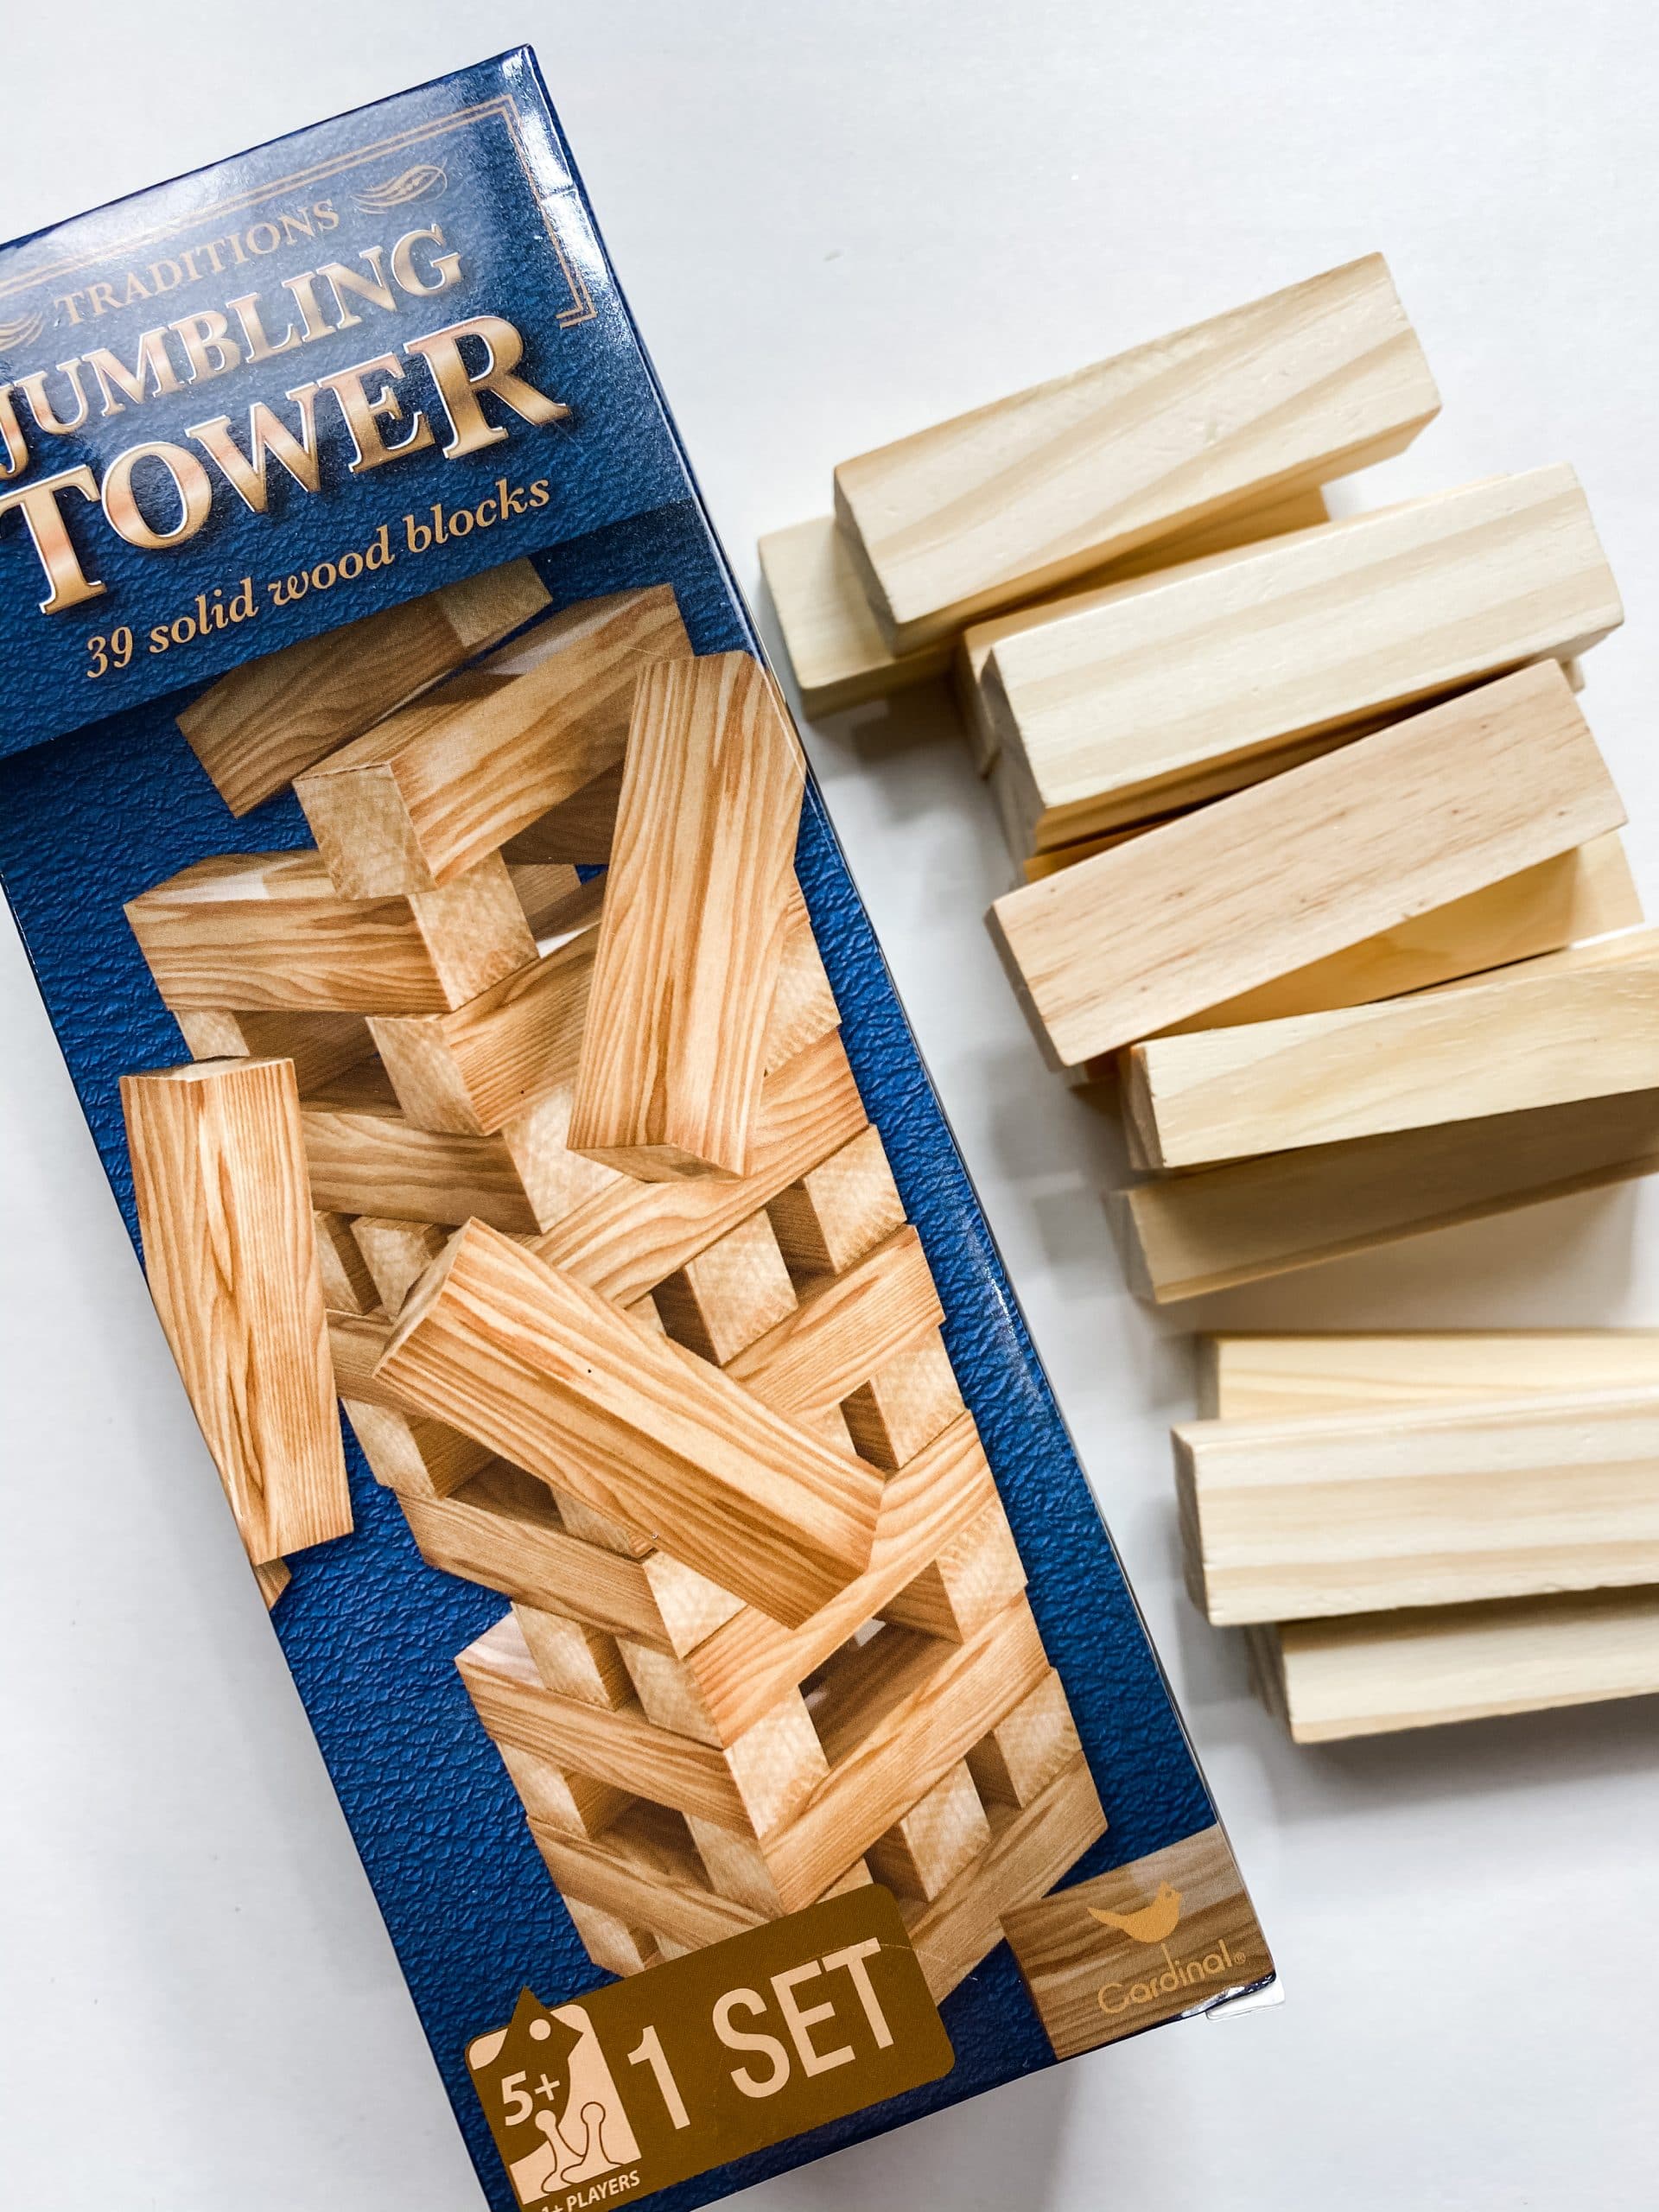
- Dollar Tree Tumbling Tower blocks
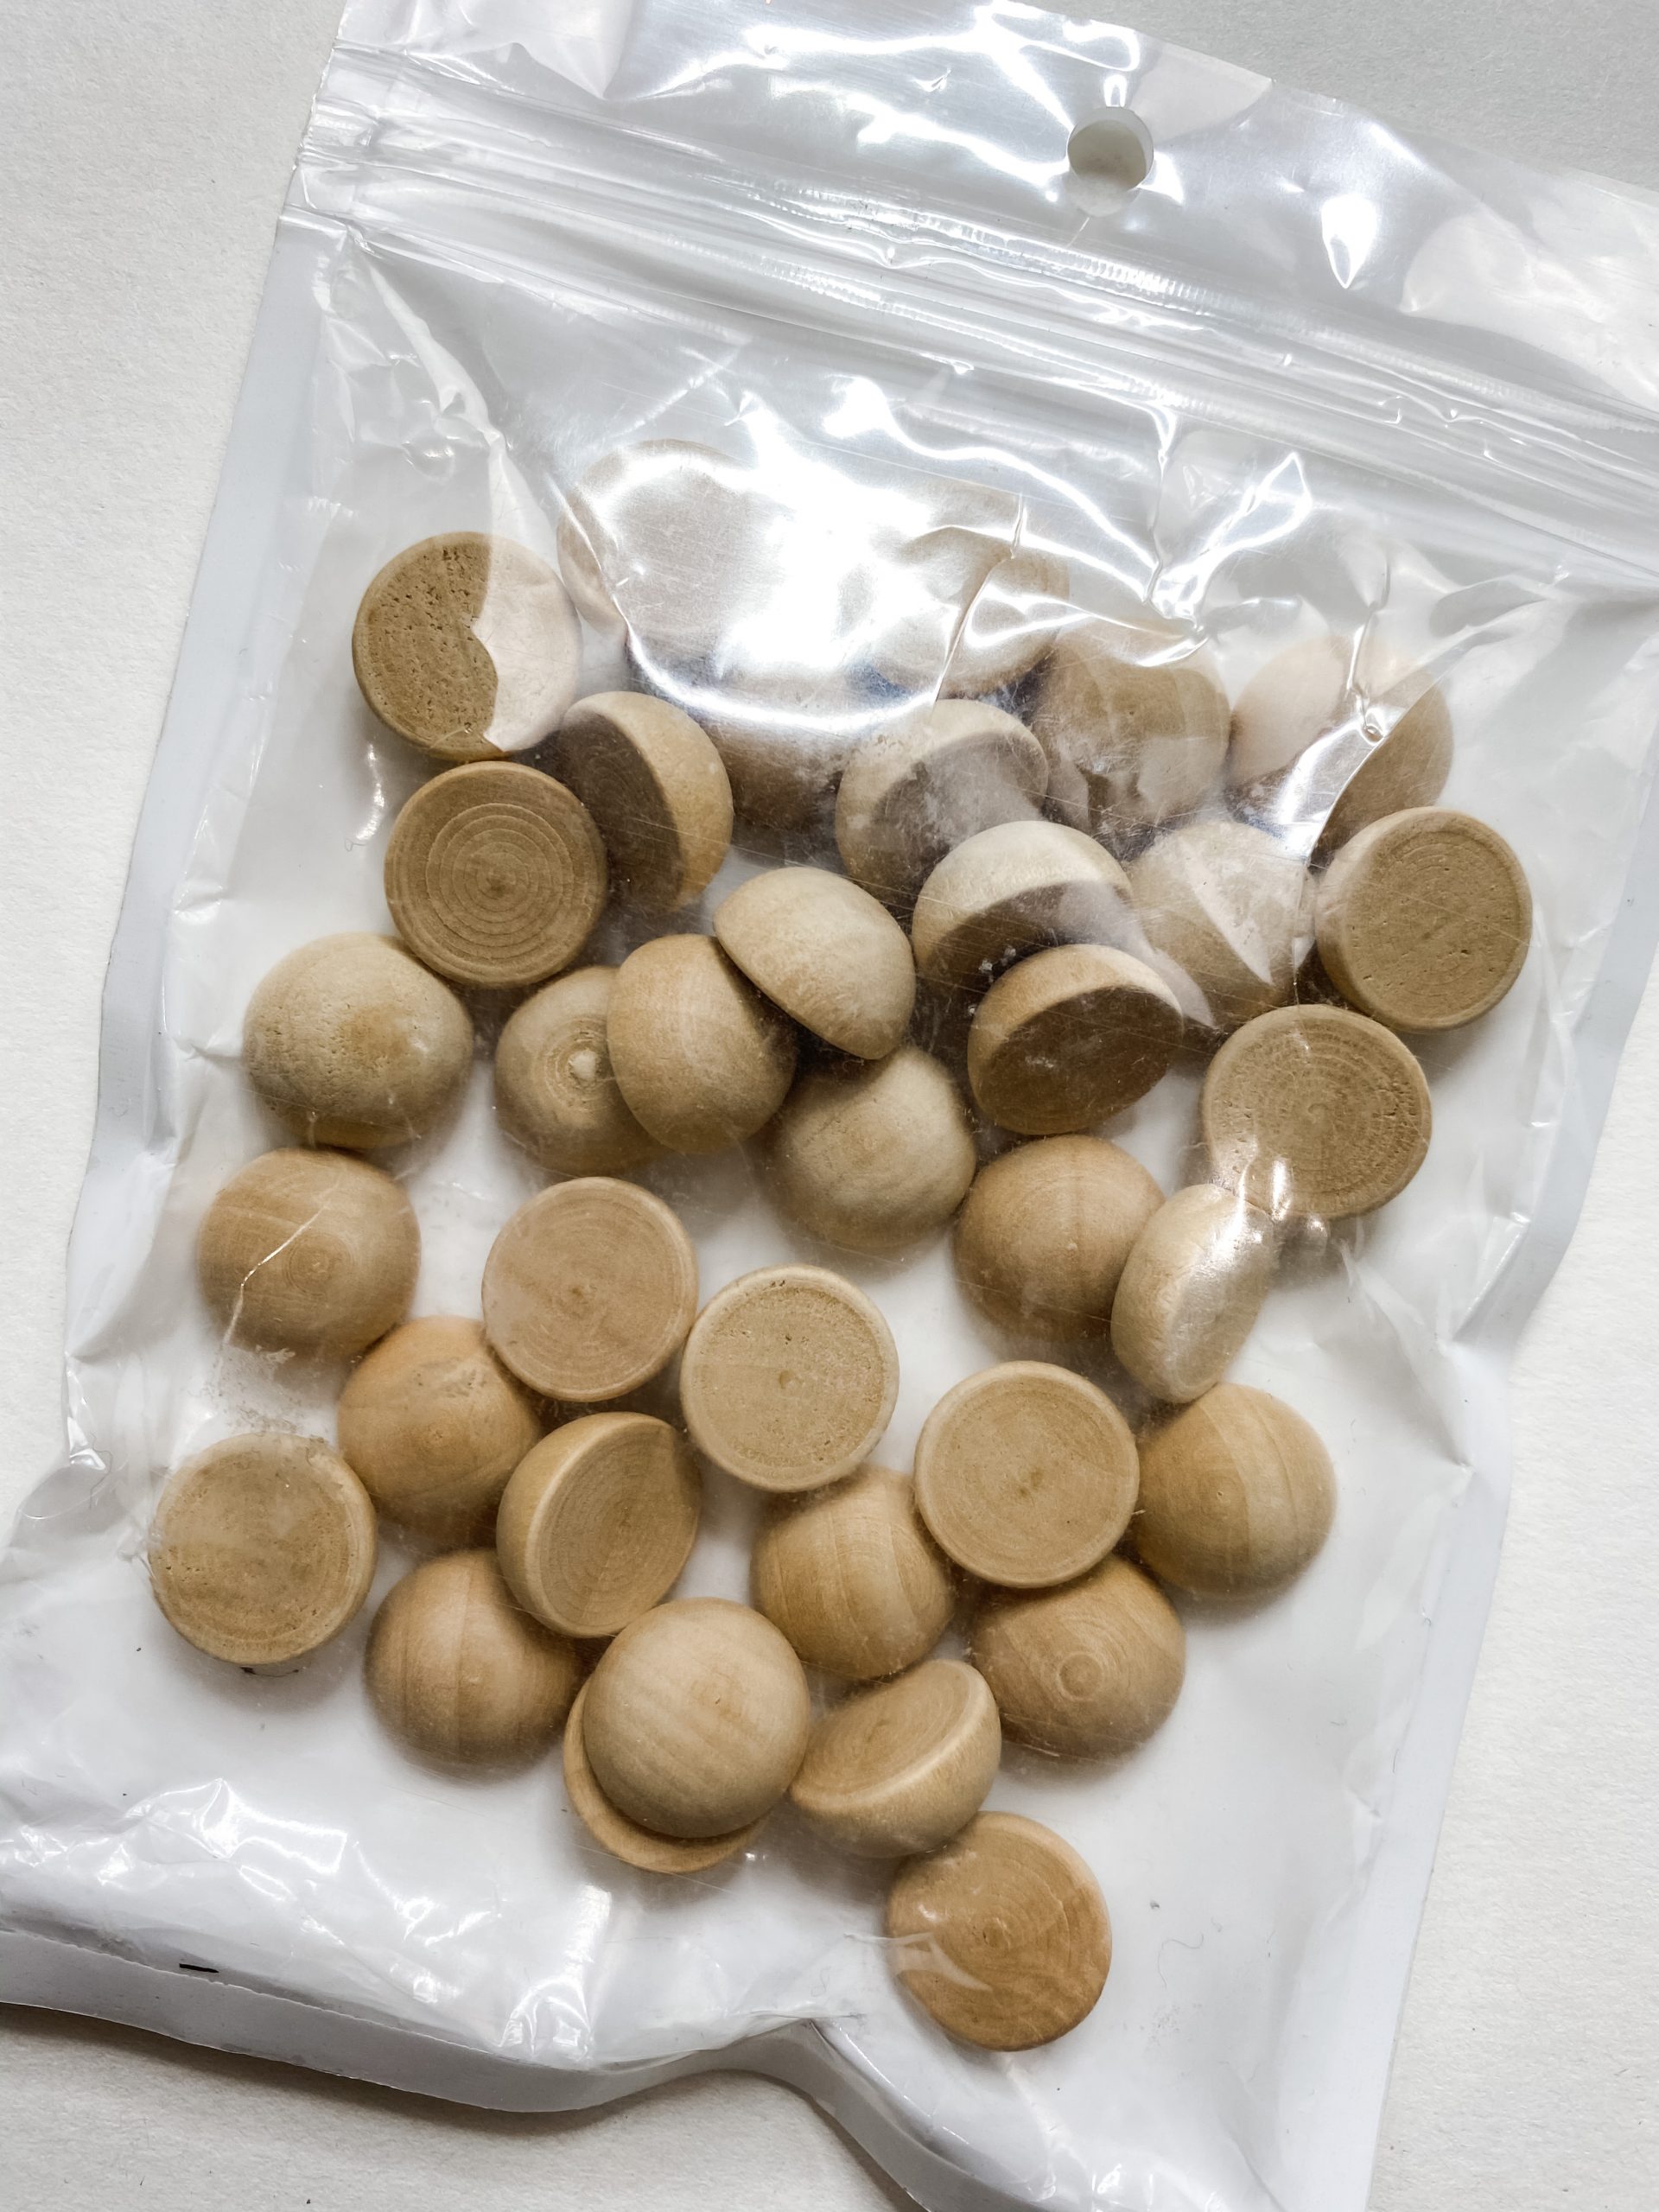
- half wood beads
- Mod Podge
- Folkart White Chalk Paint
- Glue Gun and Glue Sticks
- Heat gun
Let’s get started!
To make this Dollar Tree DIY, you’re going to start by cutting your Dollar Tree gift box to fit onto the Dollar Tree wood sign.
I decoupaged the gift box design onto the back of the sign so I didn’t have to worry about the design on the front of the sign.
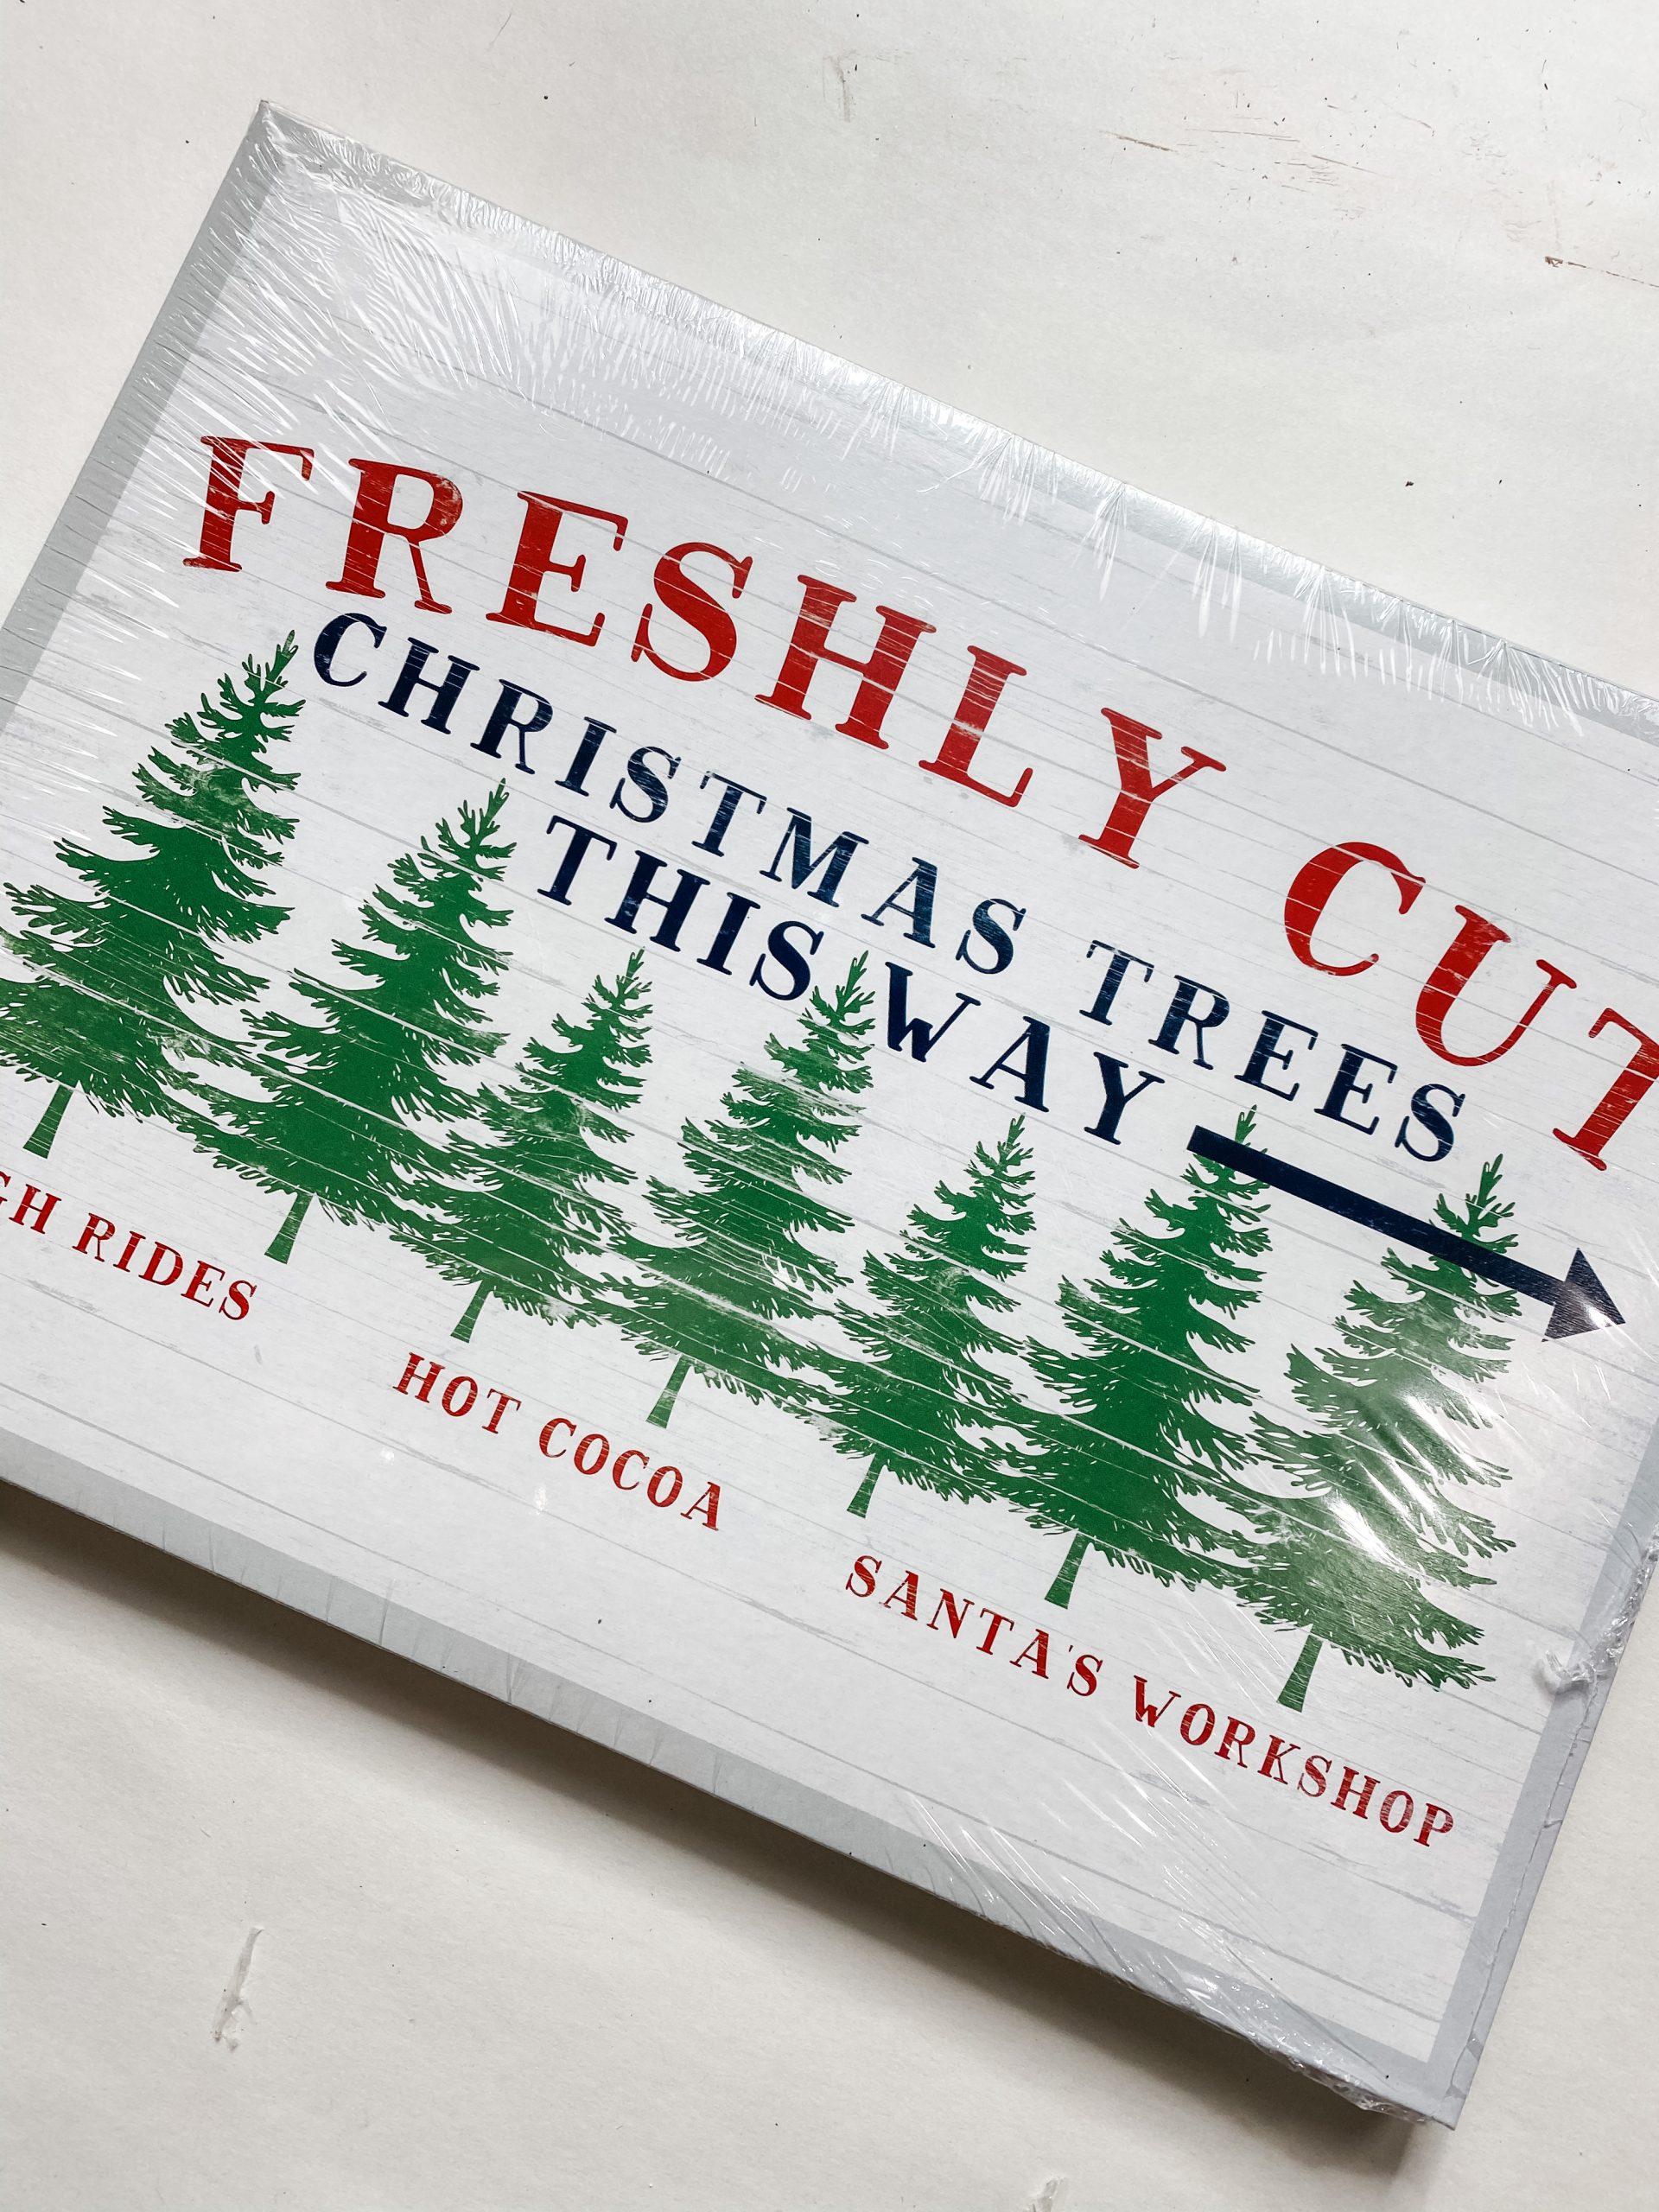
Next, apply a coat of Mod Podge on the back of the wood sign and gently press the Christmas gift box design onto the Mod Podge.
Lay a piece of saran plastic wrap over the gift box and use a rolling pin to smooth out any wrinkles or imperfections.
The plastic wrap protects the gift box and prevents it from tearing or pulling up while you’re smoothing it out.
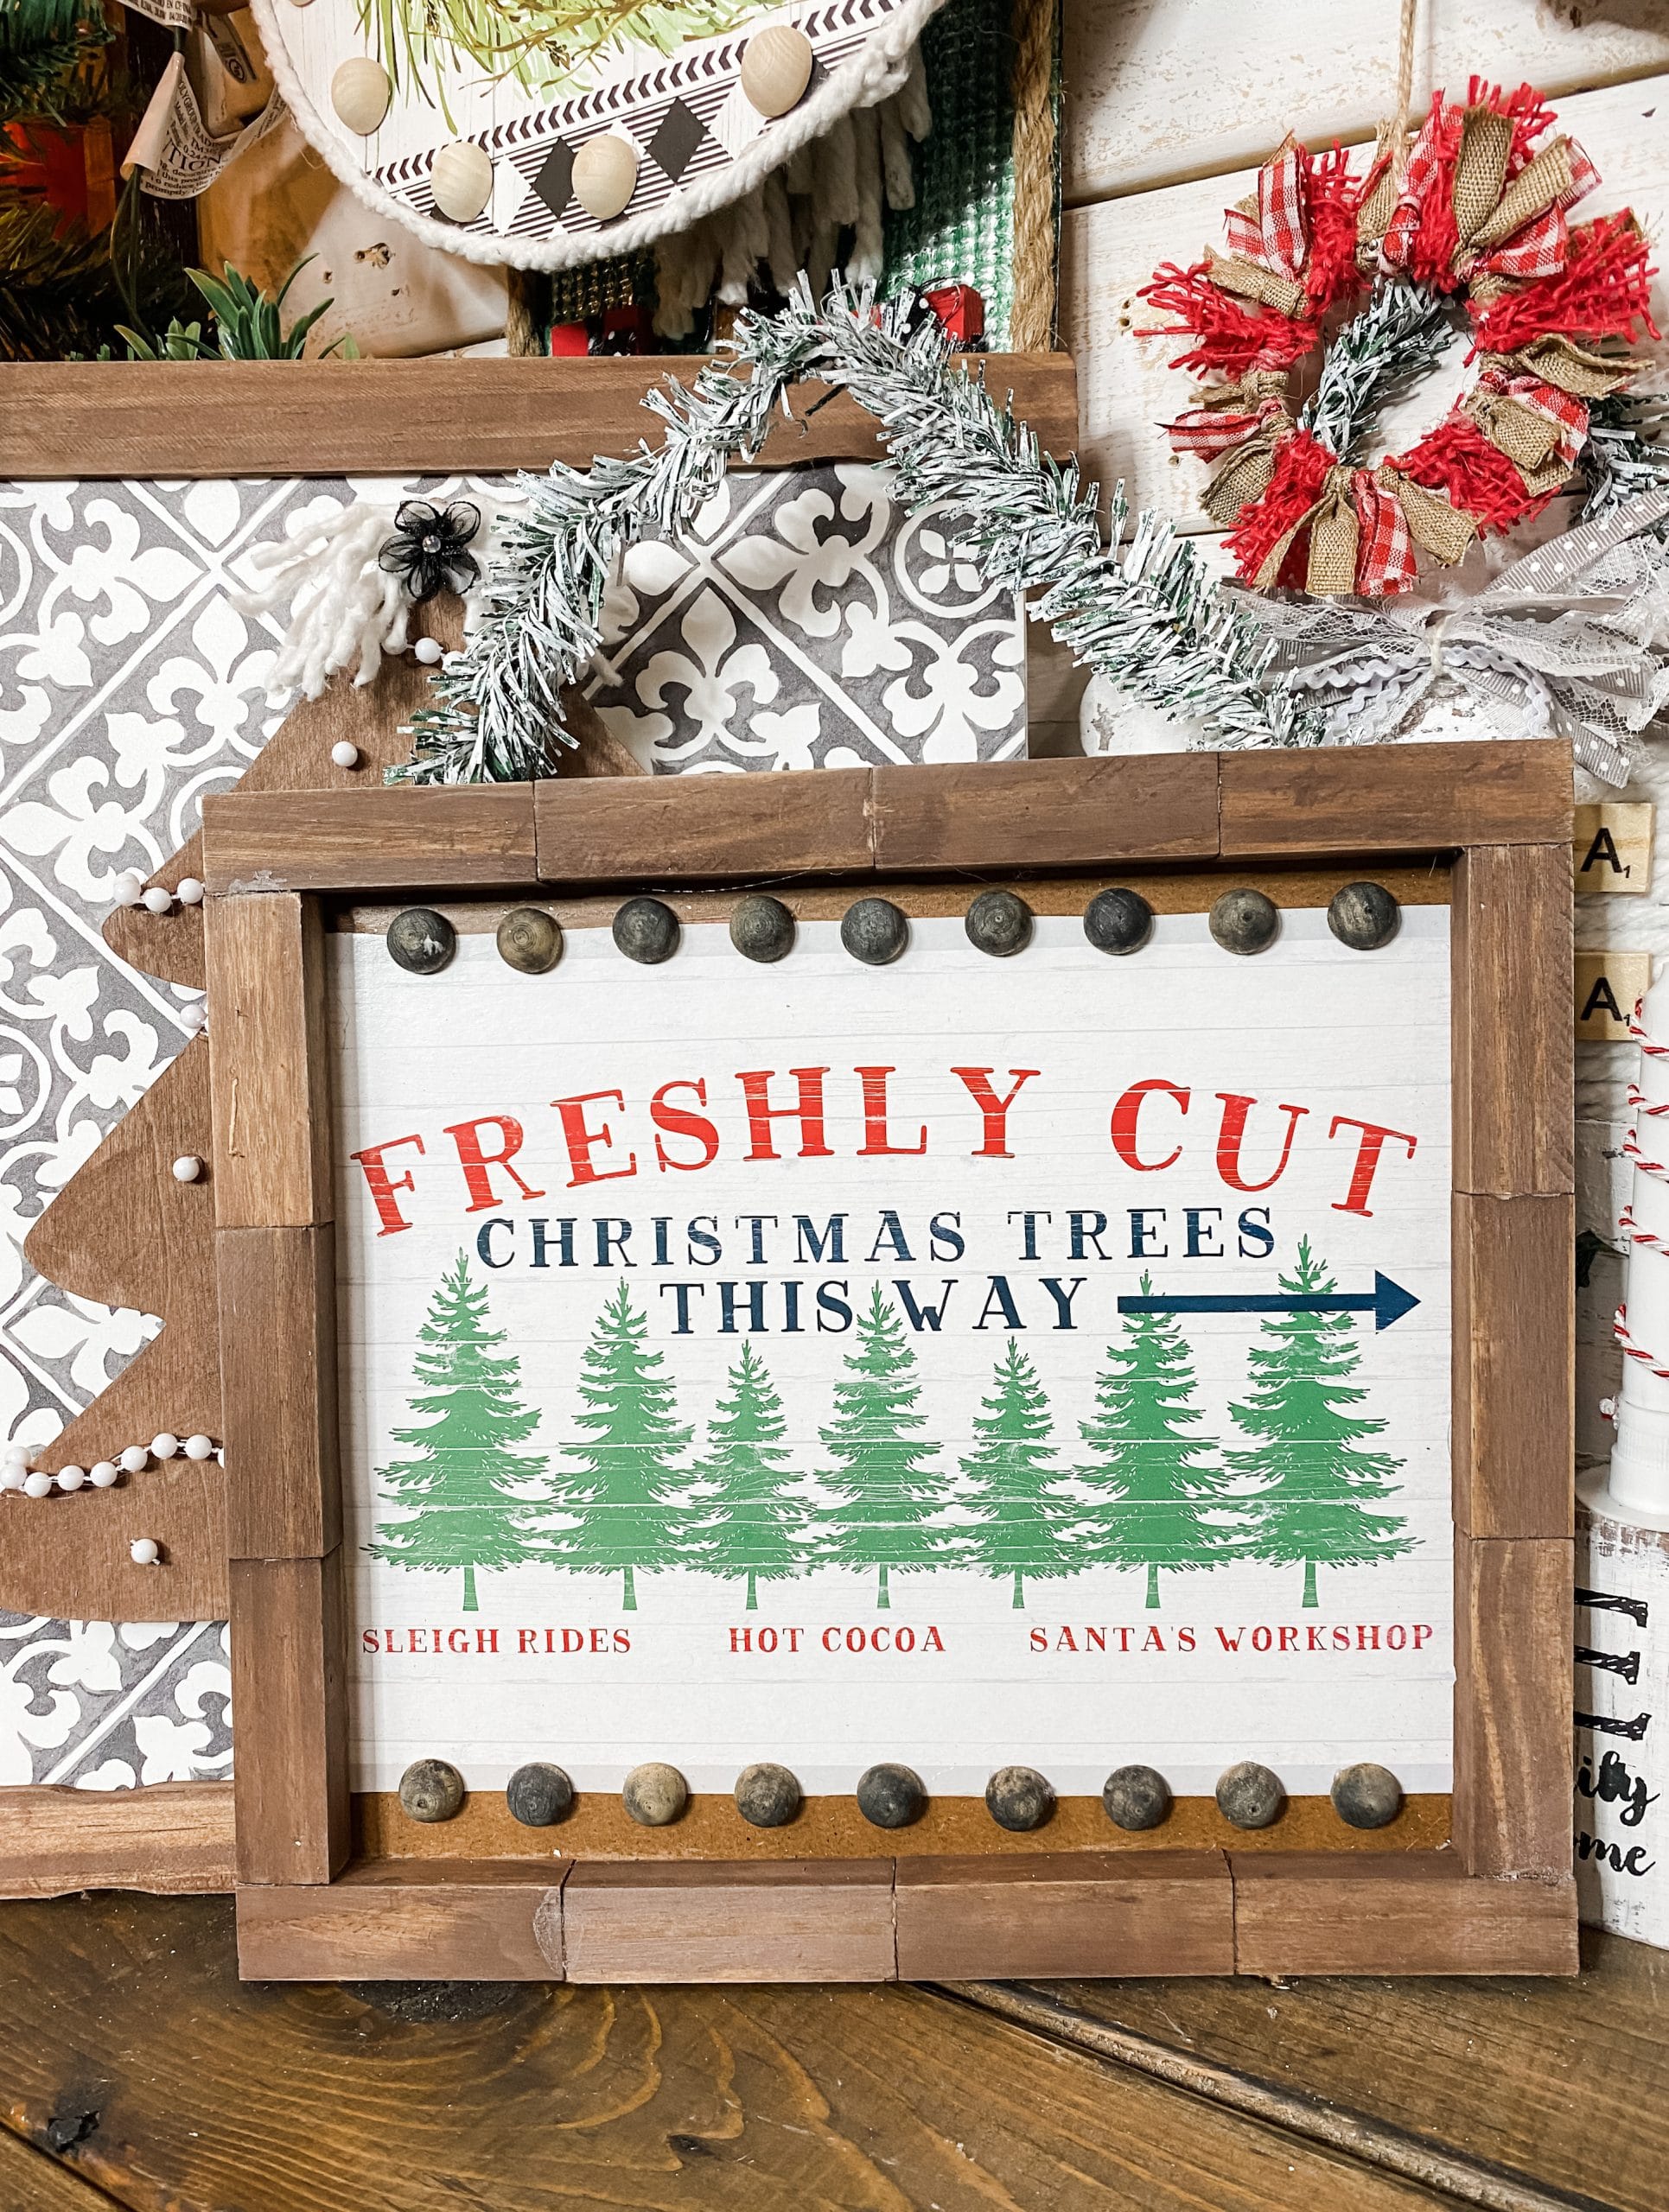
Make your frame
I used 14 Dollar Tree Tumbling Tower blocks to create the frame around this DIY Christmas sign. Hot glue the blocks in 2 strips of 4 blocks and 2 strips of 3 blocks.
I like to press the blocks against a straight edge to make sure none of the blocks are crooked. Allow the glue to dry completely before moving to the next step.
Next, stain the blocks brown. To do this, spray each strip with a water spray bottle and mix a small bit of Apple Barrel Burnt Umber Acrylic Paint with water. Then, spread the paint/water mixture across each strip of blocks with a baby wipe.
The water helps the wood absorb the mixture and gives the wood a stained finish rather than a painted look.
Make sure you allow the blocks to dry before moving on. I like to use my heat gun to speed up the drying process.
Once the wood has dried, go ahead and hot glue the Dollar Tree Tumbling Tower block strips to each other to create your frame.
You can sand the stained wood blocks with a sanding sponge if you want it to have a bit of a distressed look.
Now you’re going to attach the decoupaged wood sign to your stained wood frame. Just add hot glue around the edges on the front of the wood sign and press it down onto the wood frame.
This is going to cover up some of the empty space on the front of the sign where the Dollar Tree Christmas gift box didn’t cover.
Embellish it!
I love using half wood beads to embellish my DIY projects. I order them on Amazon, and you can get them in varying sizes. These are small half wood beads.
Before we add the beads to the wood sign, we are going to stain them with Apple Barrel Black Acrylic Paint. Use the same technique you used when you stained the Dollar Tree Tumbling Tower blocks.
So, spray the half wood beads with water, then mix a small amount of water with a bit of the black paint.
Spread the paint/water mixture around the half wood beads with a baby wipe. All of the beads won’t have the same coverage, and that is perfectly fine!
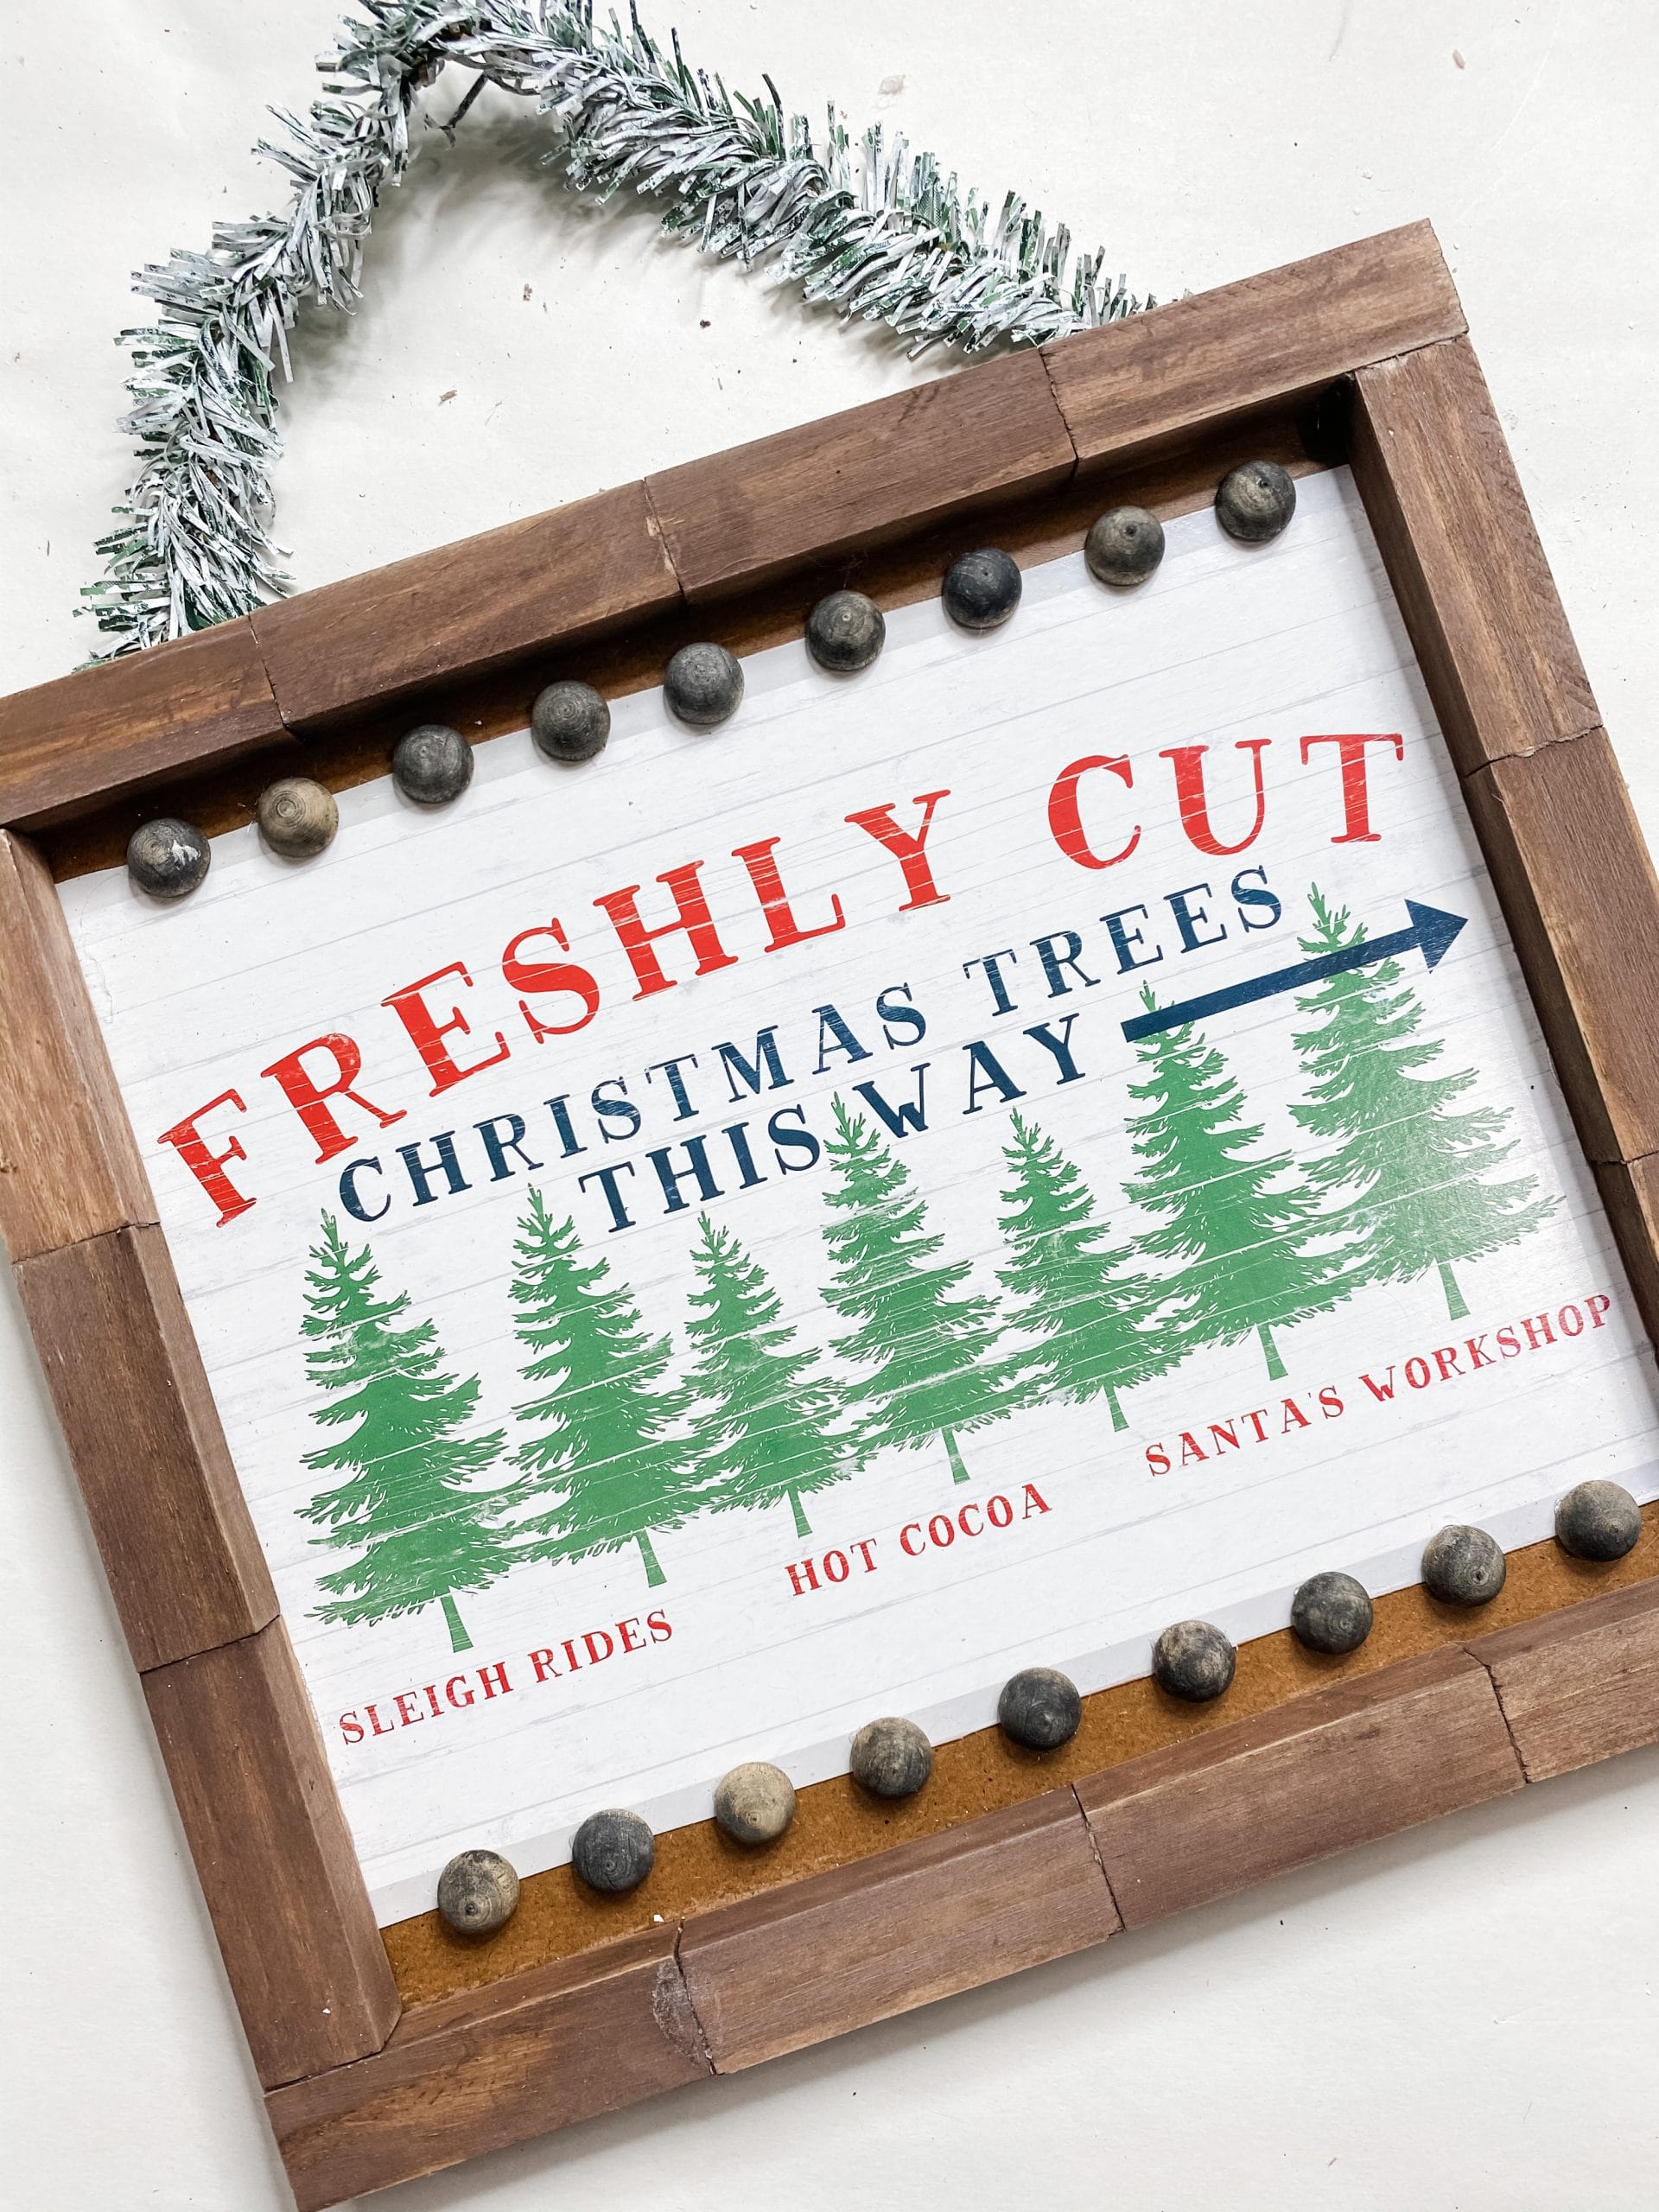
Once the stained half wood beads dry, hot glue them across the top and bottom of the decoupaged gift box.
Just add a small dot of hot glue to the back of each wood bead and press them into place on the wood sign. Try not to use too much hot glue or it will spread out from under the bead.
Make a hanger
We are almost done! All that is left to do is add the hanger! I used a Dollar Tree wired garland piece that I had leftover from a previous project.
The piece of wired garland was already painted white, but all I did was use a chippy brush to lightly brush Folkart White Chalk Paint across it.
Fold the piece of wired garland in half and hot glue the ends to the back of the wood sign. This isn’t a very heavy sign, so the hot glue should be strong enough for the hanger to hold the sign when you hang it up.
You could always staple over the ends of the wired garland or hot glue small pieces of ribbon over the ends.
I hope you enjoyed this Dollar Tree Gift Box DIY Christmas Decor tutorial as much as I did and decide to make one for yourself! I would love to see how yours turns out!
You should totally join my FREE Facebook group called On A Budget Crafts! It is a judgment-free community for DIY crafters to show off their projects and ideas.
If you loved this DIY you might also like this DIY Christmas Tree Shelf Decor!
Thanks for stopping by! XOXO Amber
You can also shop my ENTIRE AMAZON Favorites shop just click here! It’s packed full of all the things I use and love.
Here is the supply list I highly recommend every creative have on hand!! Would you also pin my blog for later and get on my newsletter alerts? I would love to have you join my #craftycrew.

Join my free “ON A BUDGET CRAFTS” Facebook group!
PIN THIS POST FOR LATER!


No I had not seen this one! Thank you for sending it to me! I never even thought about using a gift box. I will also have to check out dollar tree to see if they have any of the larger Jenga blocks. I was just at dollar tree and was just re-organizing my supplies and realized I have to put them in tubs. I think I’m getting a little carried away. However, this is an adorable DYI, so I do have a good reason to go and get gift boxes for Christmas after all! Thank you again Amber! ❤️