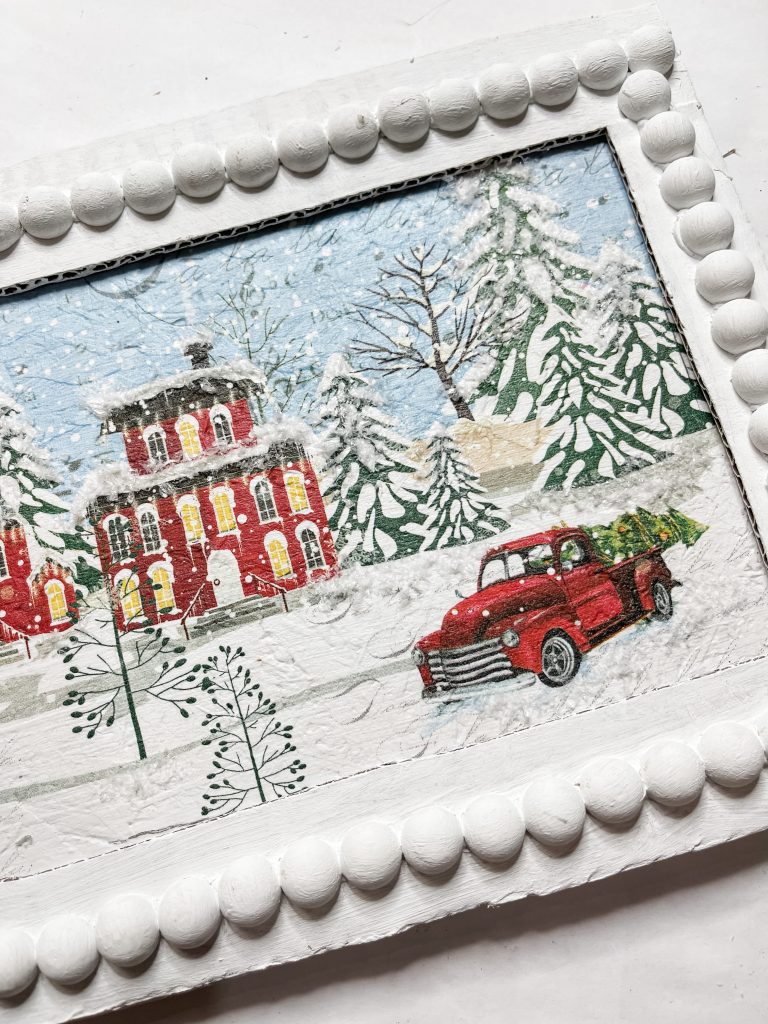
Village Scene DIY Winter Decor
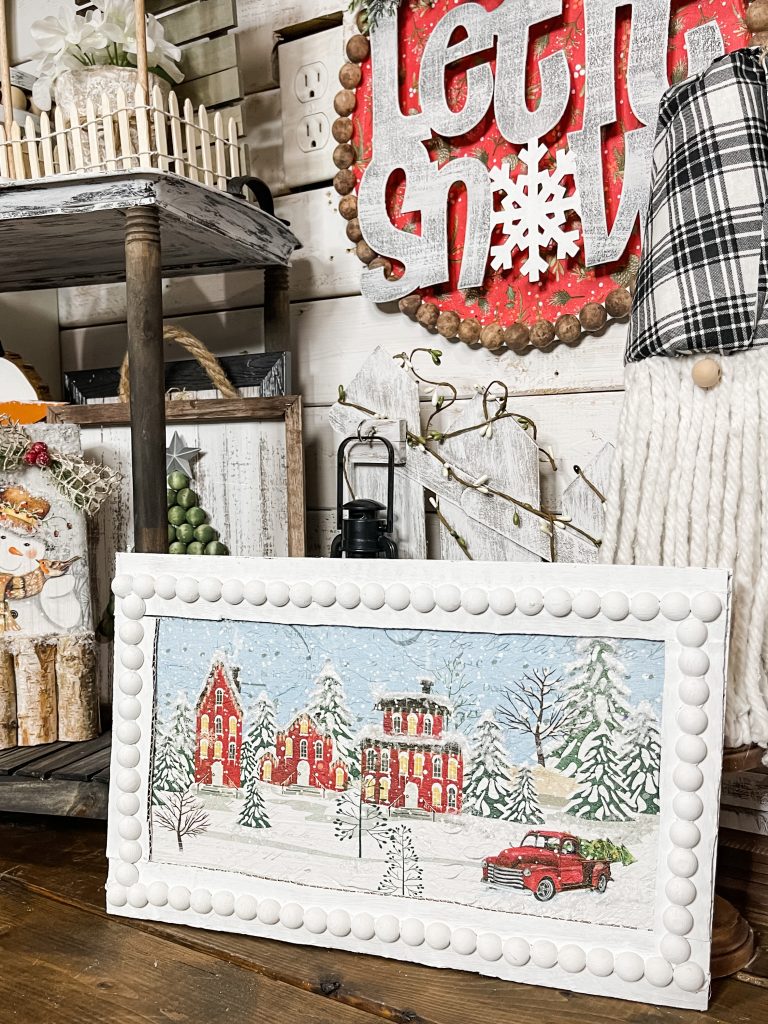
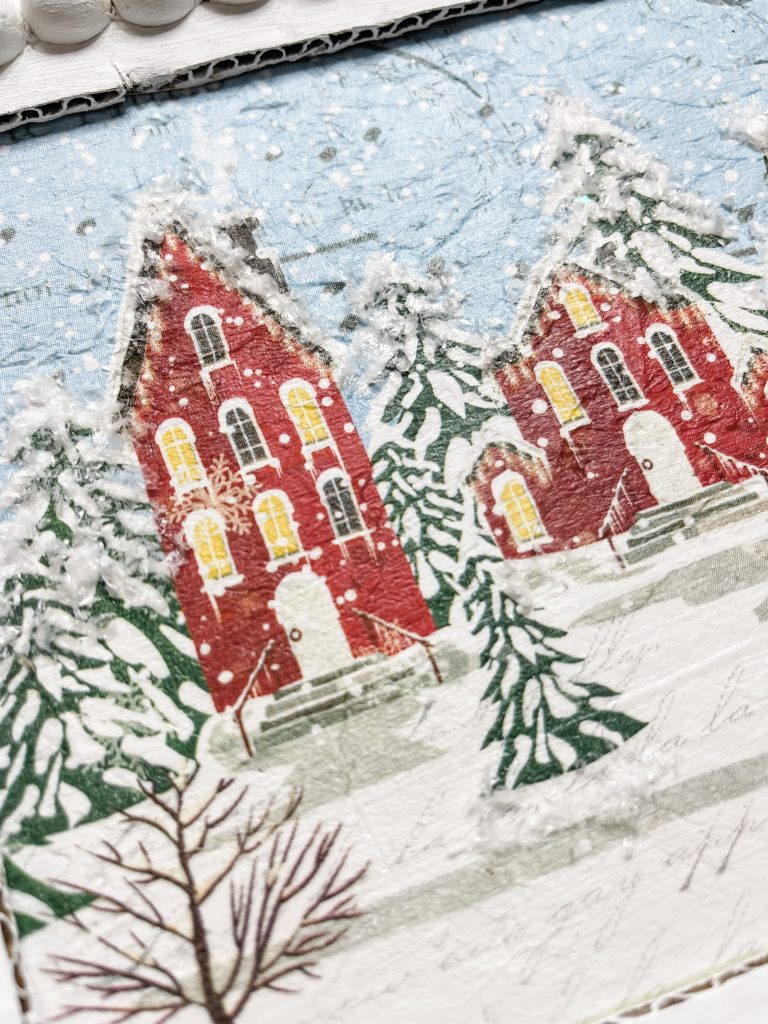
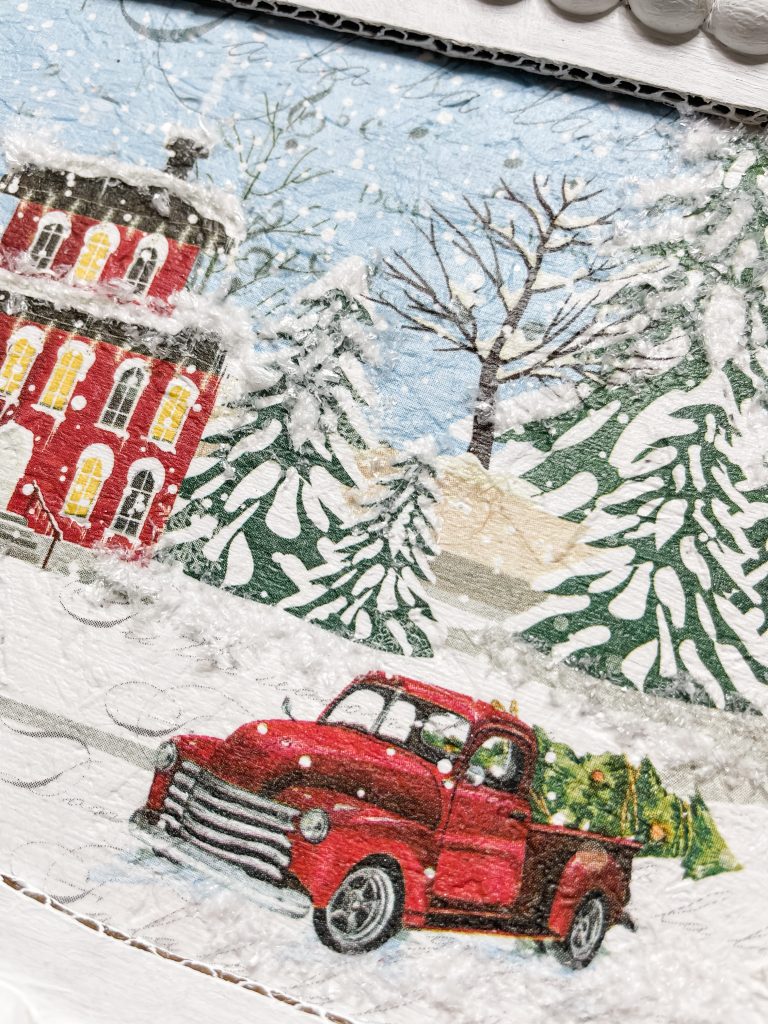
Can you believe that beautiful image is actually a napkin?? Yes, I used a paper napkin to make this adorable Village Scene DIY Winter Decor!
I’ve been using paper napkins quite a bit lately to make my own DIY home decor, and it might be a safe bet to say I’m just a little obsessed with napkins right now!
But, can you blame me? They are so versatile and easy to use for crafting! Check out these napkin crafts if you don’t believe me!
- Let It Snow DIY Door Hanger
- Christmas Tree Napkin House Shaped Decor
- DIY Christmas Napkin Large Joy Sign
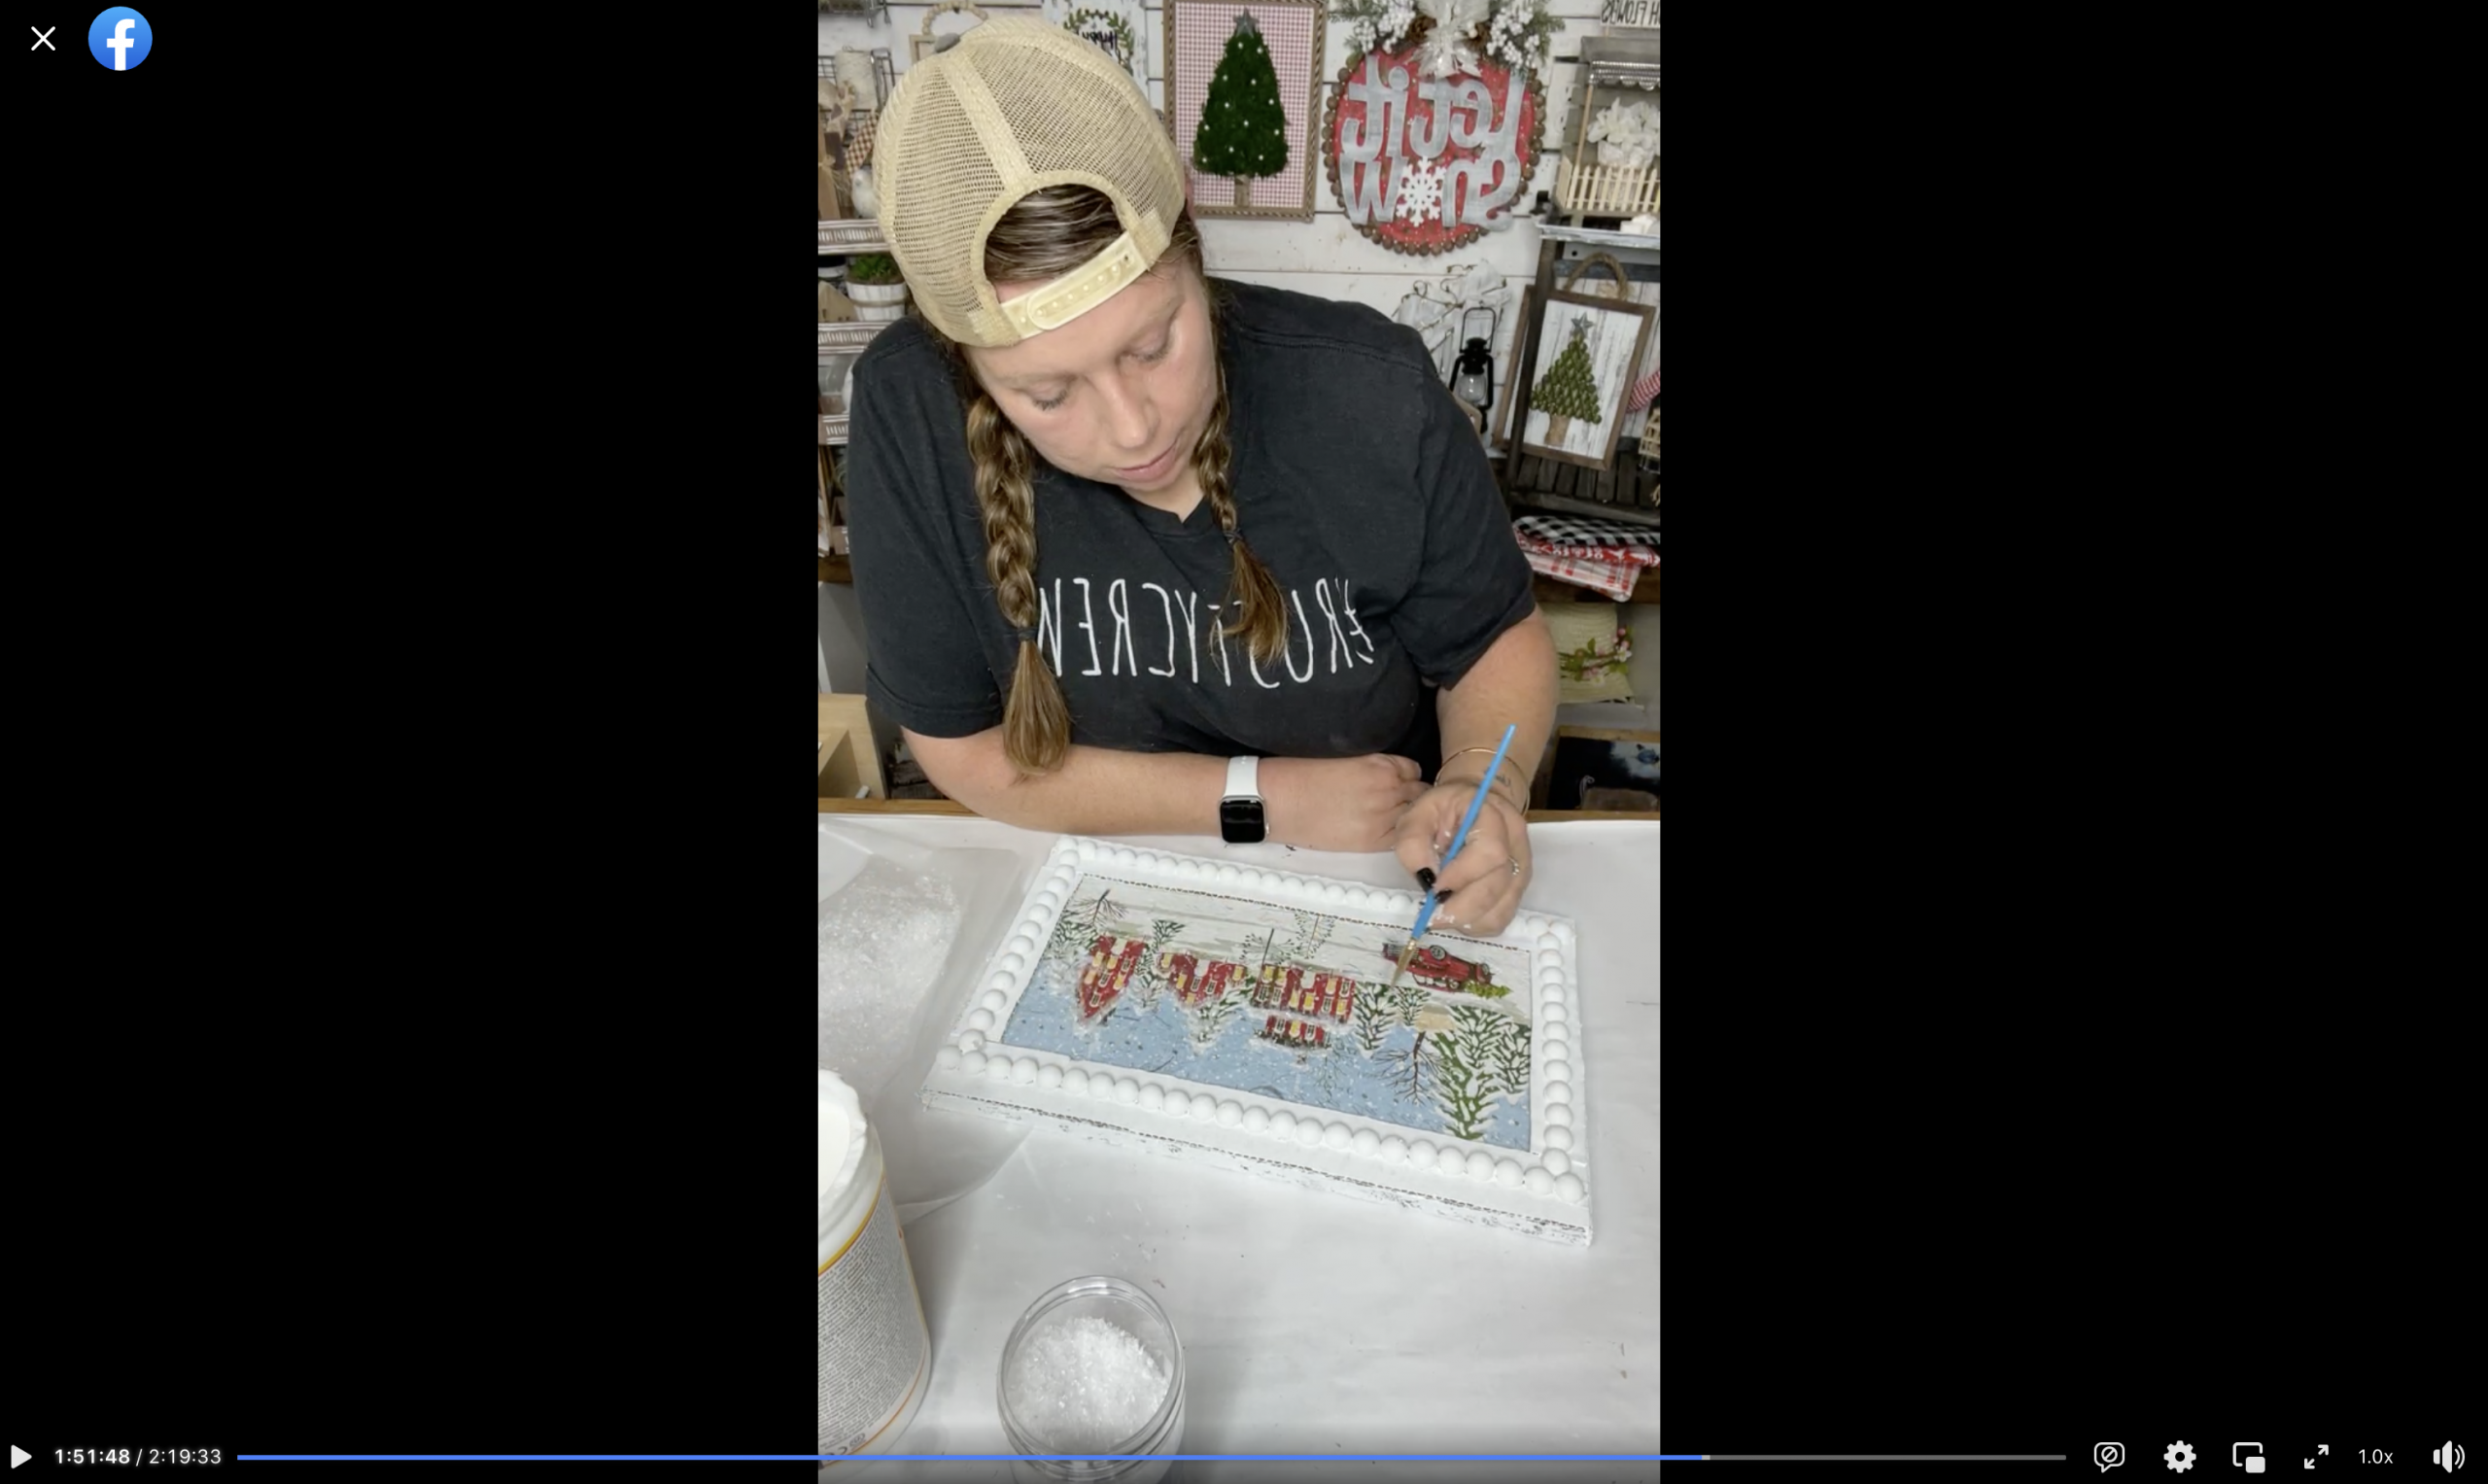
Watch the DIY tutorial
I recorded how to make this adorable village scene DIY winter decor during a LIVE video on my Facebook page.
If you want to see the DIY process, craft along, or just join in on the fun conversations, you can watch the DIY tutorial replay on Facebook!
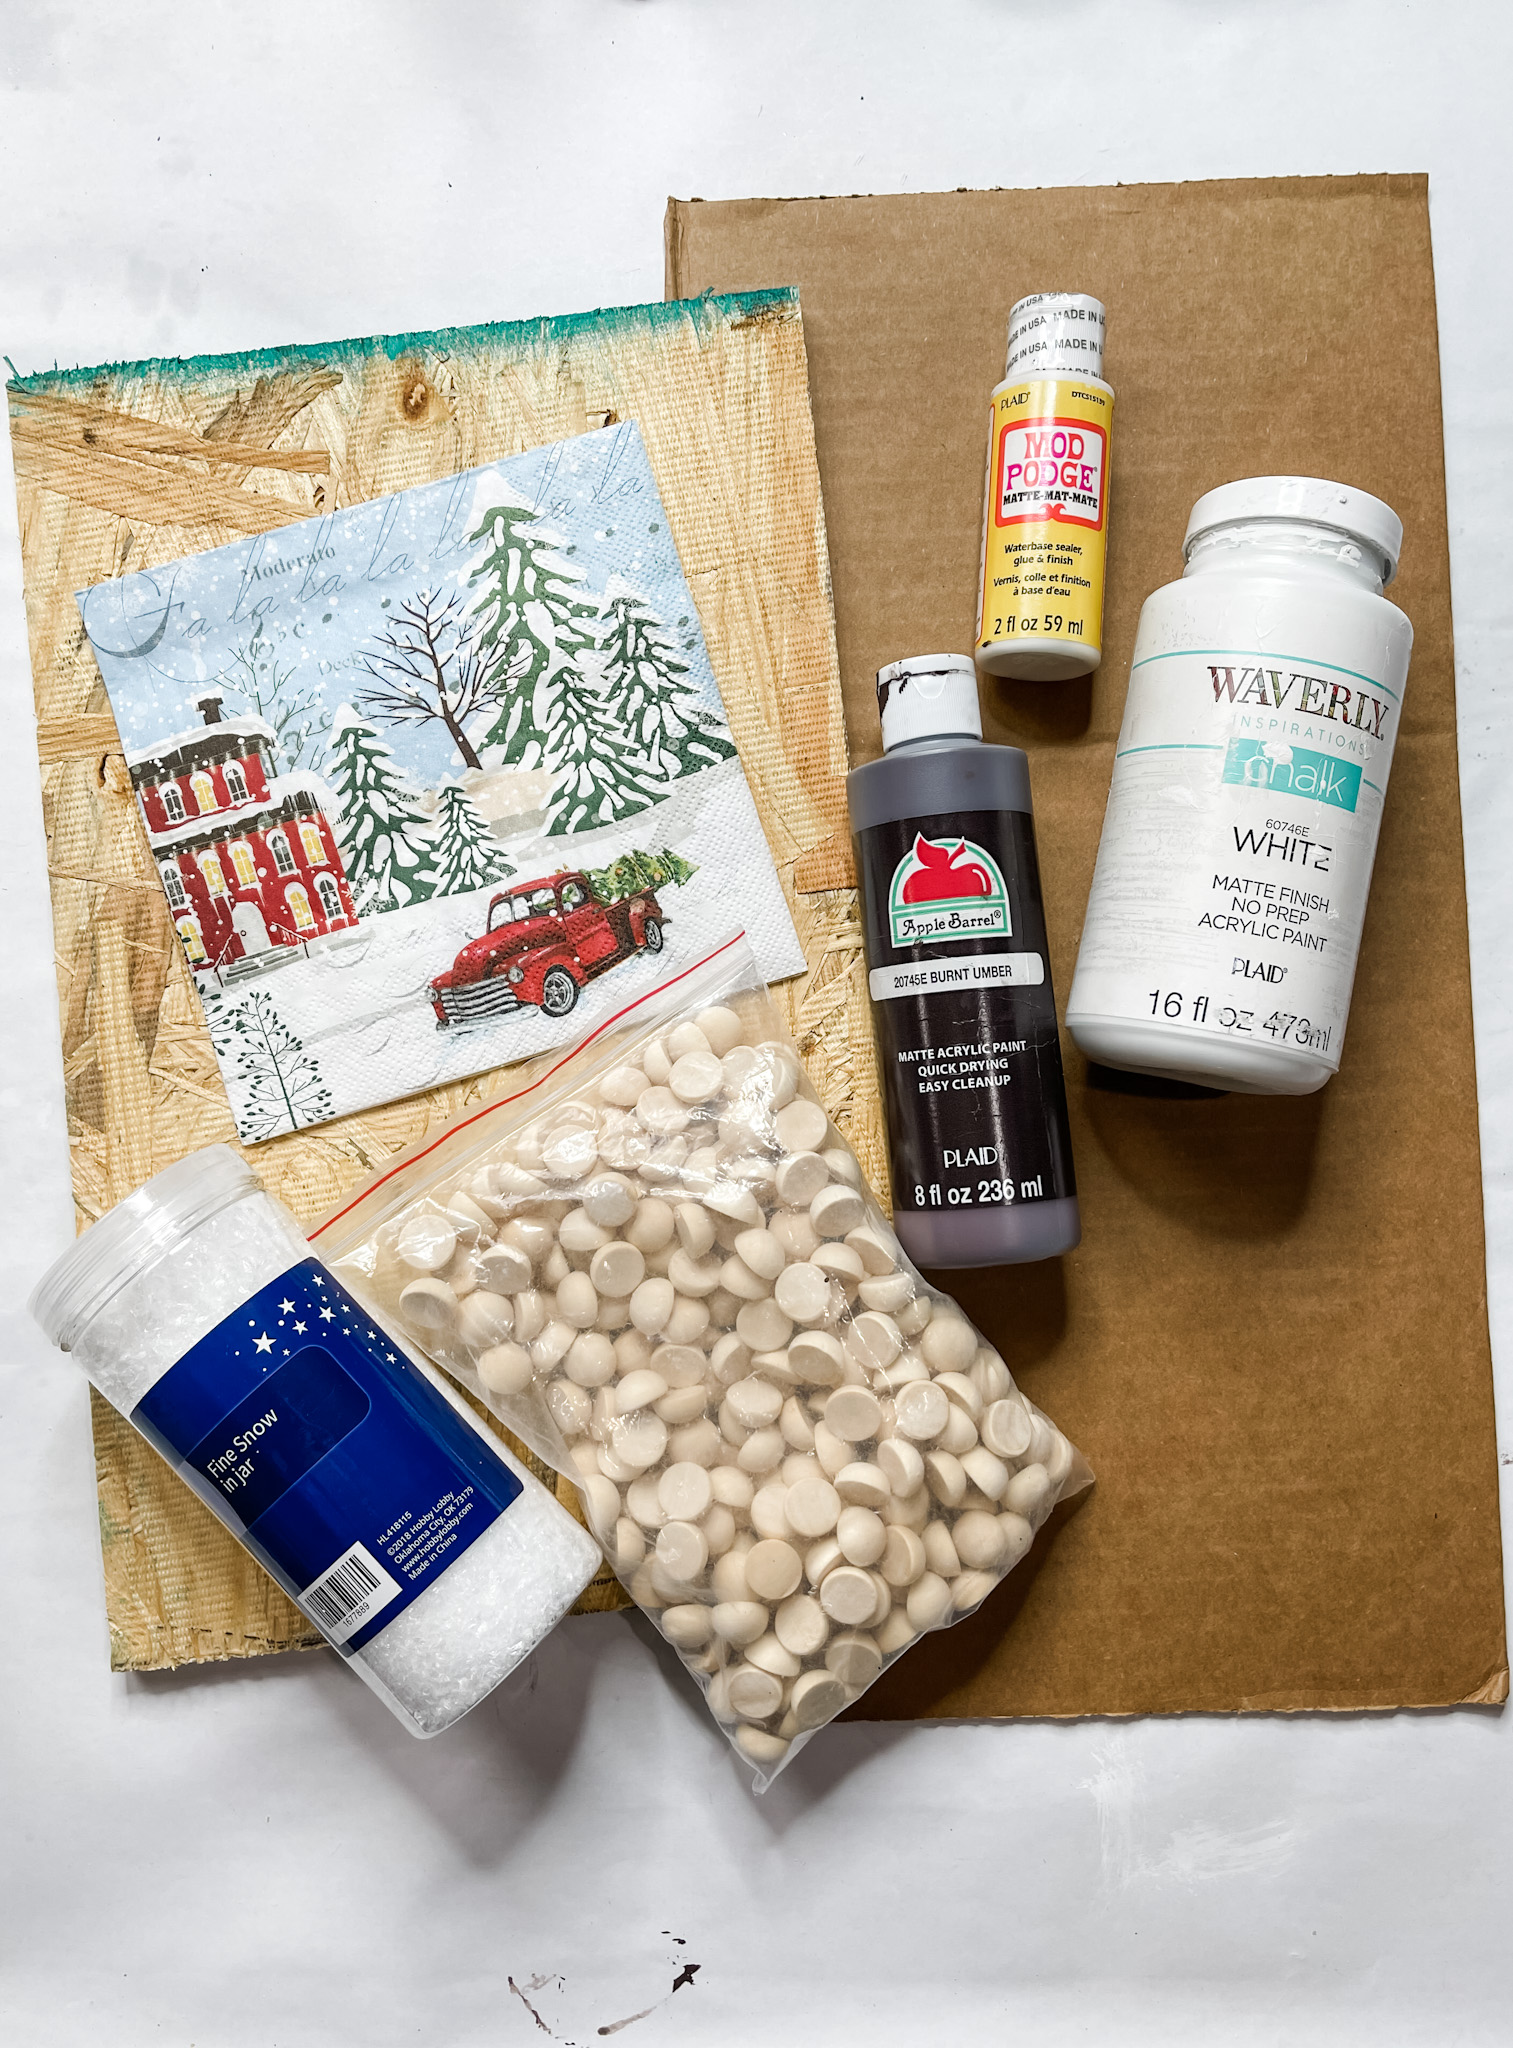
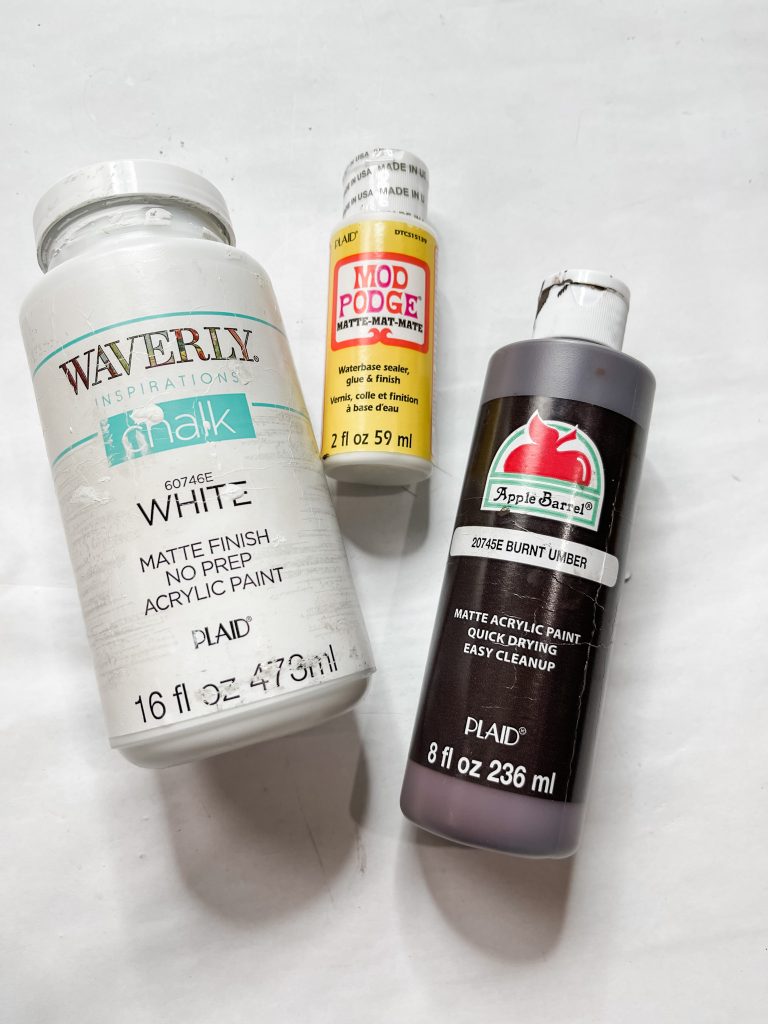
For this project, I will be using these items but you can substitute where you want.
“As an Amazon Associate, I earn from qualifying purchases.”
- Winter Village Scene Napkin
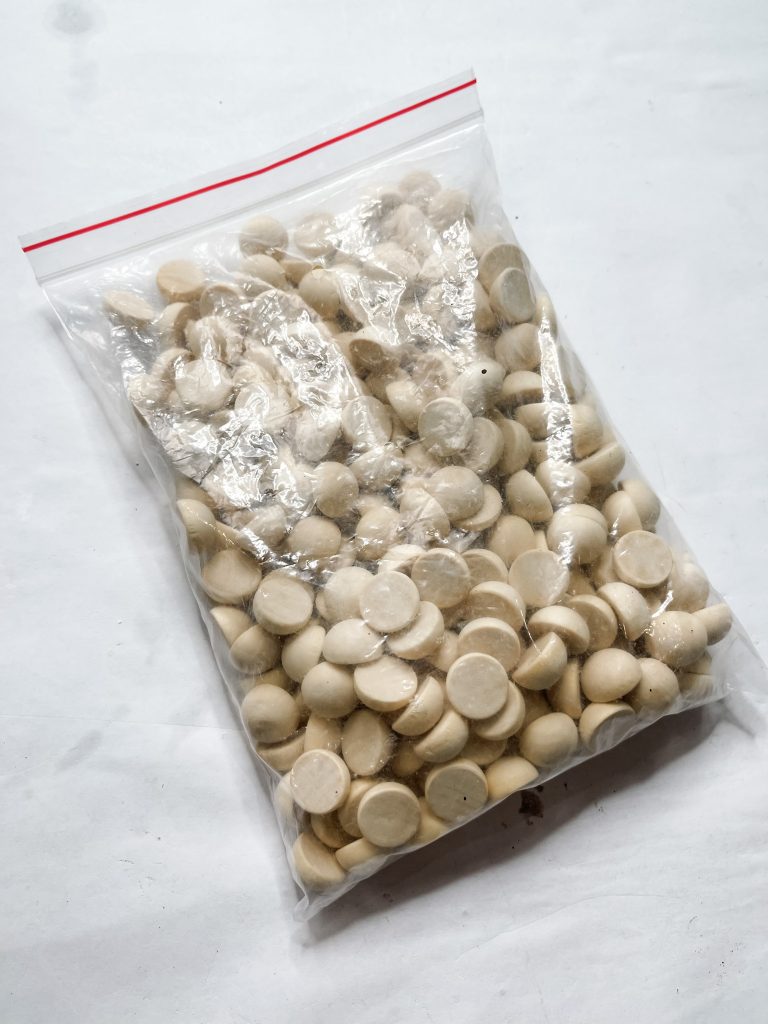
- Half wood beads
- Fine Snow in Jar
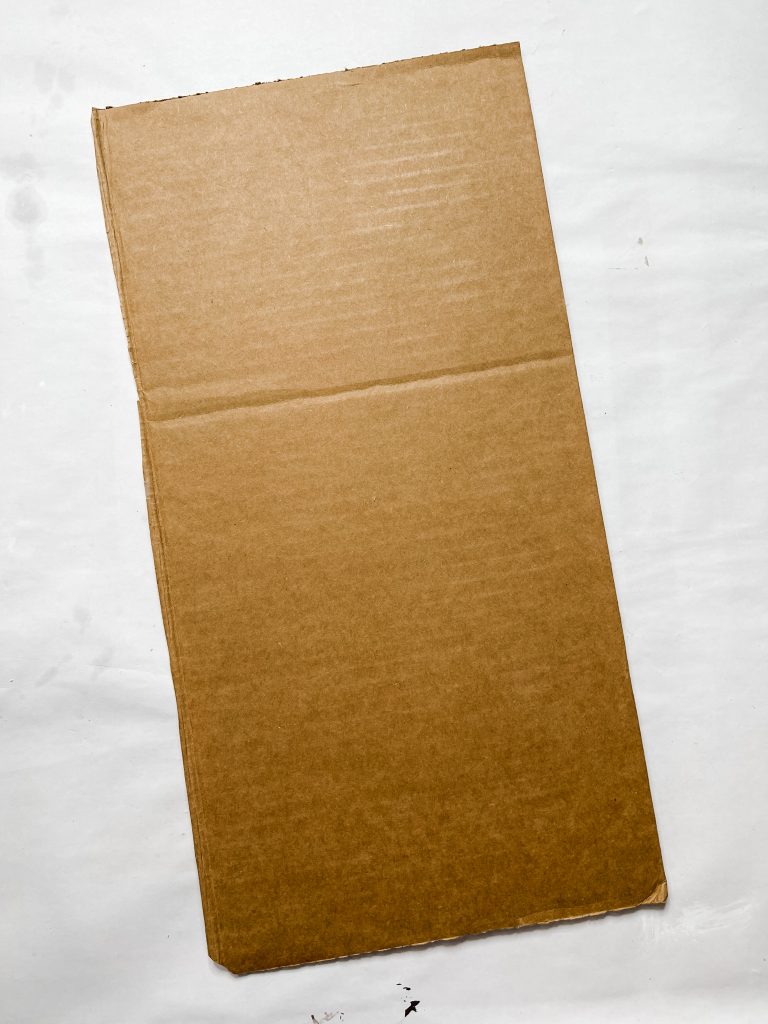
- Cardboard
- Piece of Plywood
- Apple Barrel Burnt Umber Acrylic Paint
- Waverly White Chalk Paint
- Mod Podge
- Glue Gun and Glue Sticks
- Heat gun
How to Make a Village Scene DIY Winter Decor
I started this fun winter project by painting one side of the piece of plywood with brown paint. Just pour the paint directly on the surface and use a chippy paintbrush to spread it evenly across the wood.
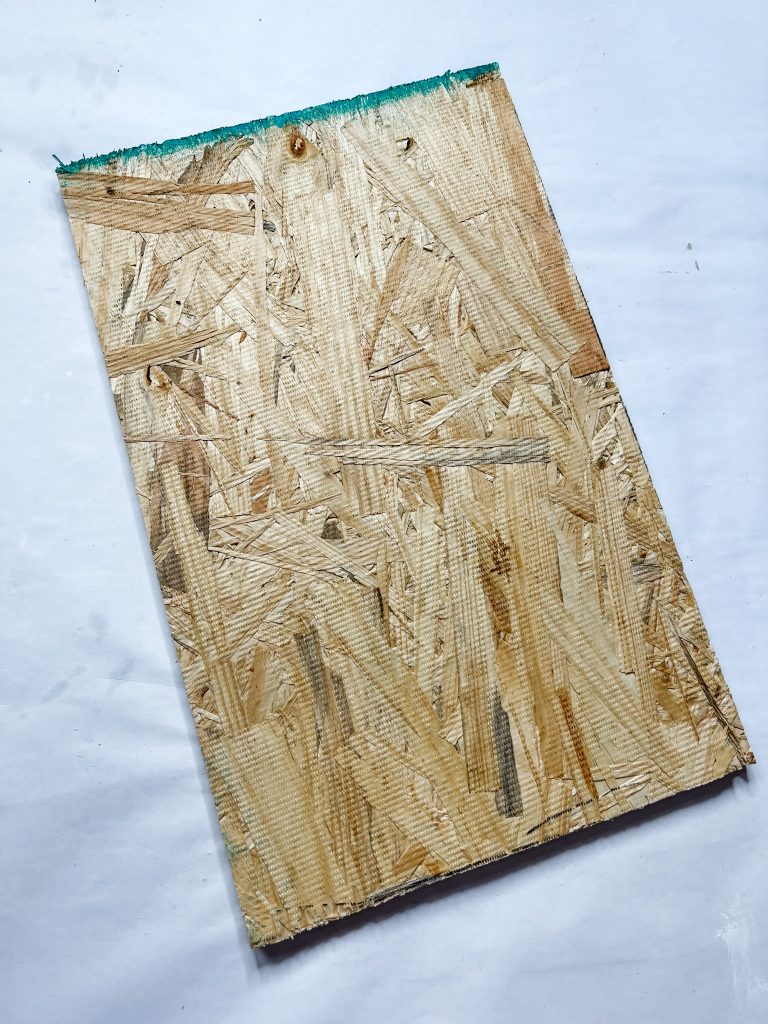
While the paint was still wet, I went over the surface with a clean wet wipe to remove the excess paint from the wood. What’s left is a stained surface! Make sure you also repeat the process along the sides of the plywood.
Allow the paint to dry completely before you move to the next step. I used my heat gun to speed up the drying process.
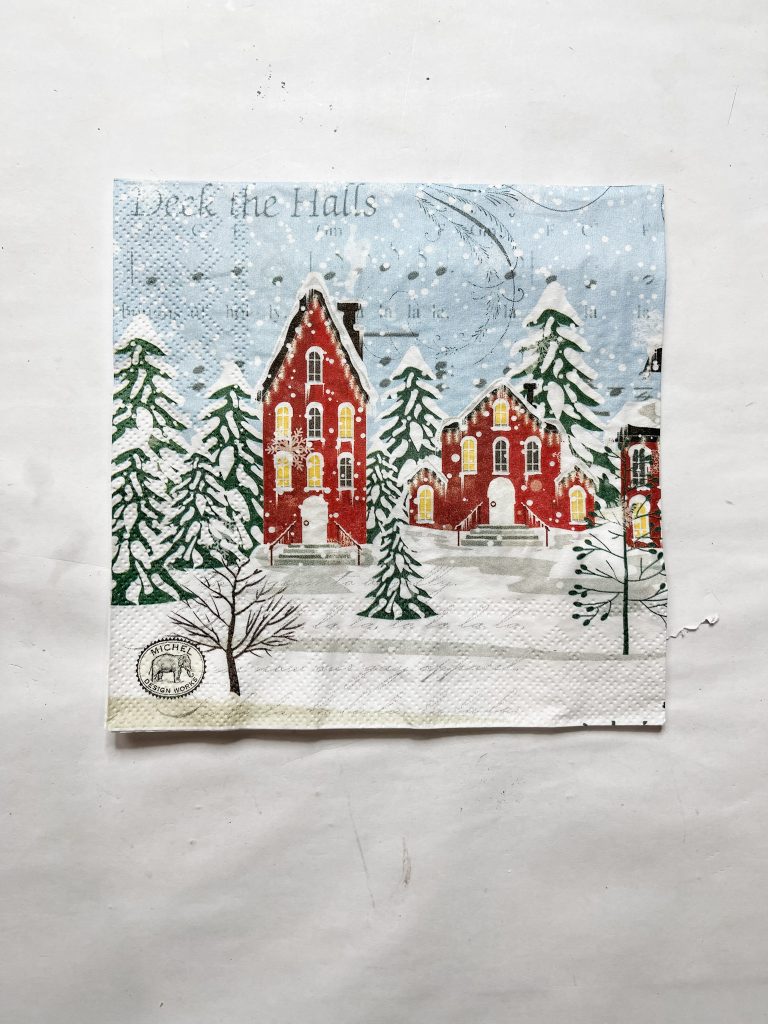
Next, I separated the plies of my winter village scene napkin. This is necessary anytime you’re decoupaging a napkin to make sure you get the most secure bond on the surface.
Then, I cut the napkin in half because the design is inverted and duplicated when you unfold the napkin completely.
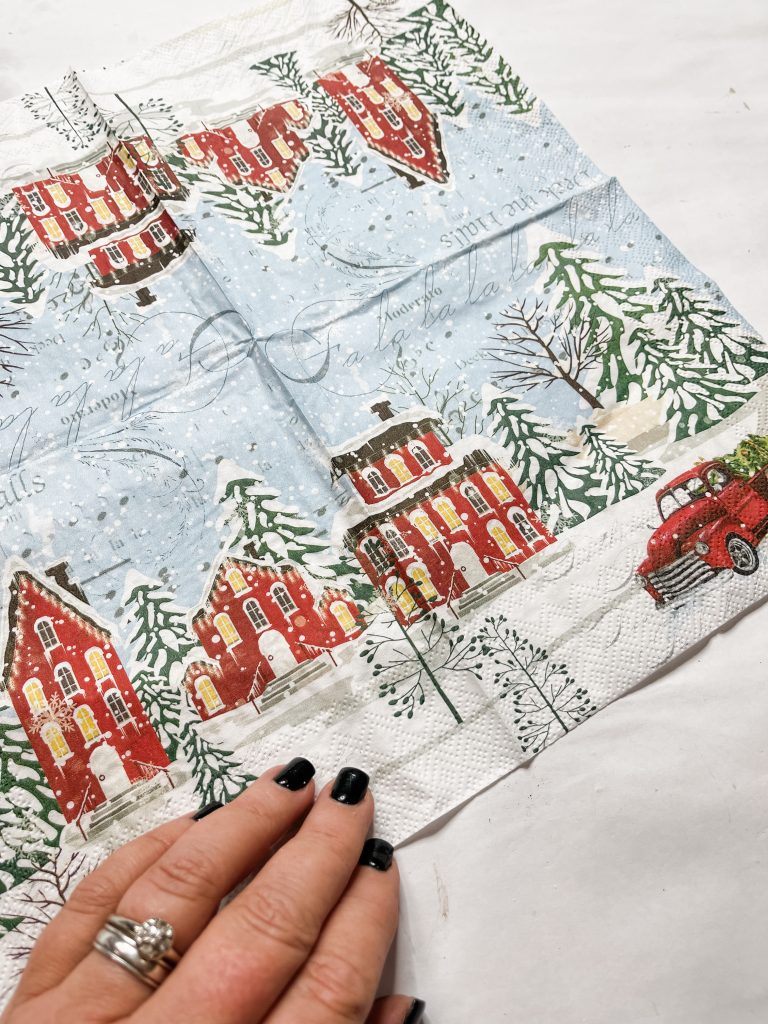
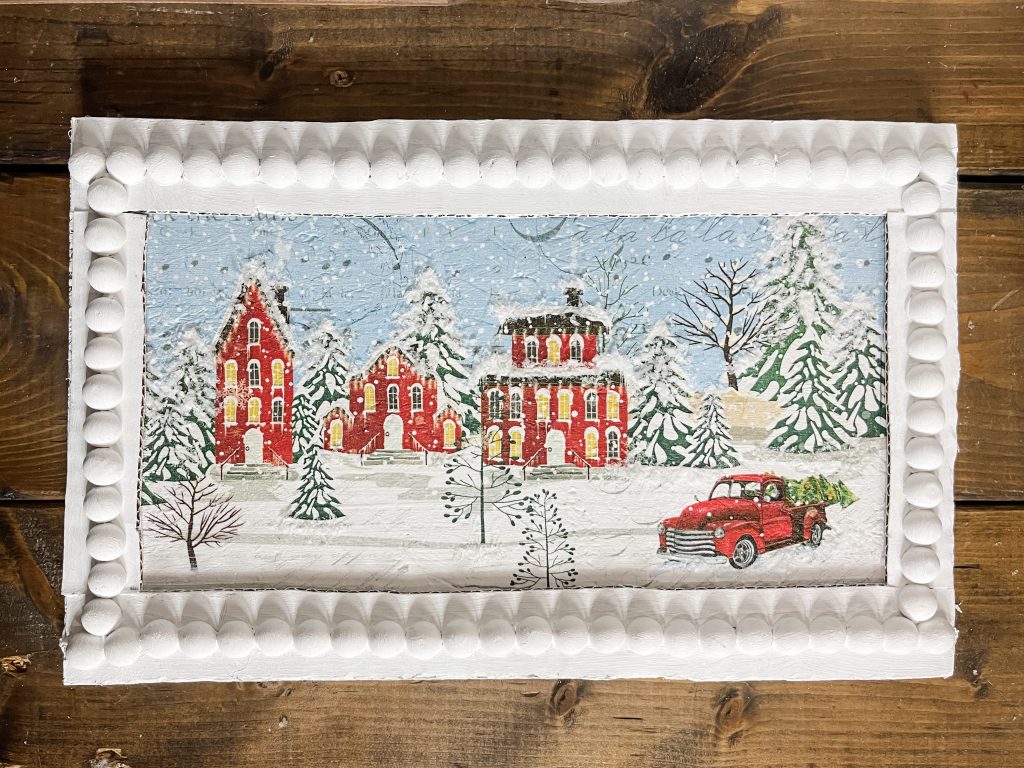
Lay the napkin on the center of the front of the wood to determine how wide you need to cut the cardboard pieces to make the frame around the napkin.
Cut the four pieces out of cardboard that you’ll need to make the frame for your winter village sign. Dry place the pieces to ensure they’ll all fit and trim them as needed.
How to decoupage a napkin on plywood
Before you can decoupage the napkin onto the wood, you need to paint the front of the wood with white paint.
When you separate napkin plies, it creates a very thin napkin. You want to paint the surface white to keep the design bright and clear because the surface color is going to slightly show through the napkin.
I used my heat gun to quickly dry the white paint on the front of the plywood. If you don’t have a heat gun, you can use a hairdryer on the low-cool setting instead.
Apply a coat of Mod Podge over the dried coat of white paint and carefully place the napkin onto the surface.
Cover the napkin with a piece of plastic saran wrap and use a rolling pin to smooth out any wrinkles or bubbles in the napkin.
I used my heat gun again to quickly dry the Mod Podge, then brushed white paint around the edges of the napkin.
Make your own DIY studded frame
To make my frame, I hot glued half wood beads across each of the horizontal frame pieces. Once the glue is dry, paint over the beads and cardboard with white paint.
Paint each of the vertical frame pieces with white paint (without the beads on them) and let all the paint dry on each of the cardboard frame pieces.
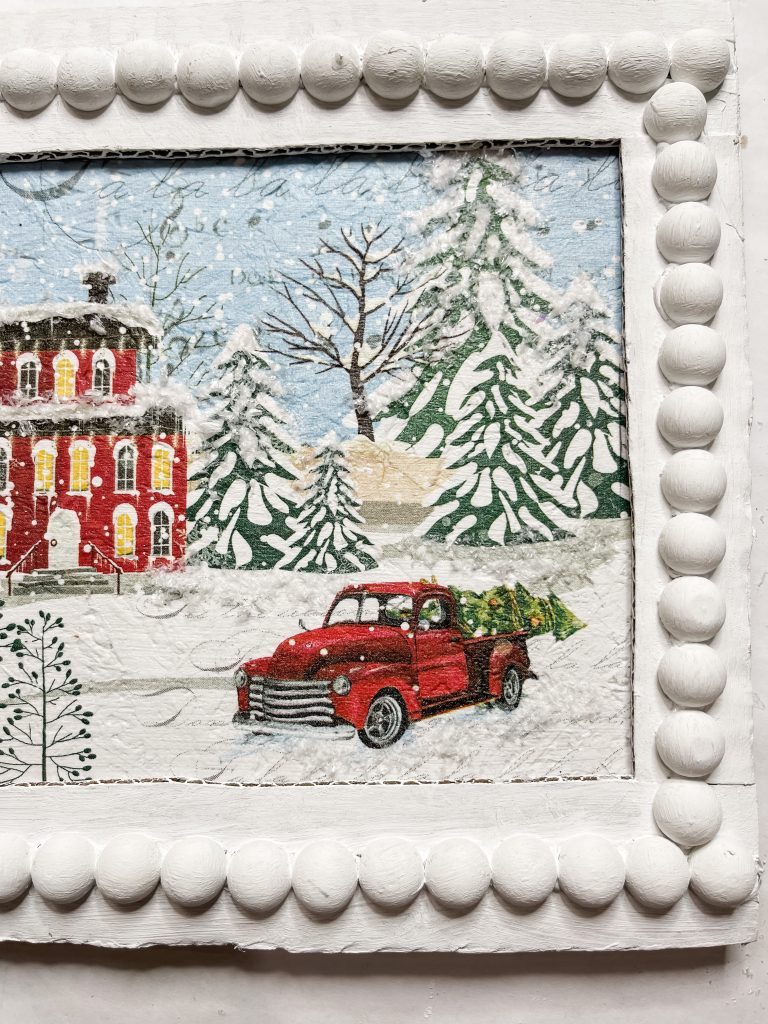
Once all the paint is dry, hot glue each of the frame pieces in place around the winter village napkin. Then, I went in and hot glued the wood beads down the center of both vertical pieces.
Let the glue dry, then paint those beads white as well. Lastly, I applied Mod Podge where I wanted the fine snow to stick and pressed it into place.
Once everything is dry, you’re ready to decorate with this adorable village scene DIY winter decor!
I hope you enjoyed this Village Scene DIY Winter Decor as much as I did and decide to make one for yourself! If you do, I would love to see how yours turns out!
You should totally join my FREE Facebook group called On A Budget Crafts! It is a judgment-free community for DIY crafters to show off their projects and ideas.
If you loved this Village Scene DIY Winter Decor, you might also like this Dollar Tree Gift Box DIY Christmas Decor!
Thanks for stopping by! XOXO Amber
You can also shop my ENTIRE AMAZON Favorites shop just click here! It’s packed full of all the things I use and love.
Here is the supply list I highly recommend every creative have on hand!! Would you also pin my blog for later and get on my newsletter alerts? I would love to have you join my #craftycrew.

Join my free “ON A BUDGET CRAFTS” Facebook group!
Amazing how cardboard, napkin and a piece of wood turned out just BEAUTIFUL. Definitely looks like something in high end store. Awesome job!
Dang I wish I had bought that napkin with my last order!! Super cute!