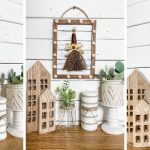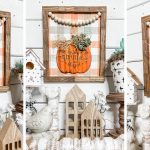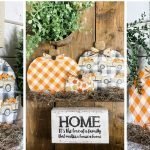
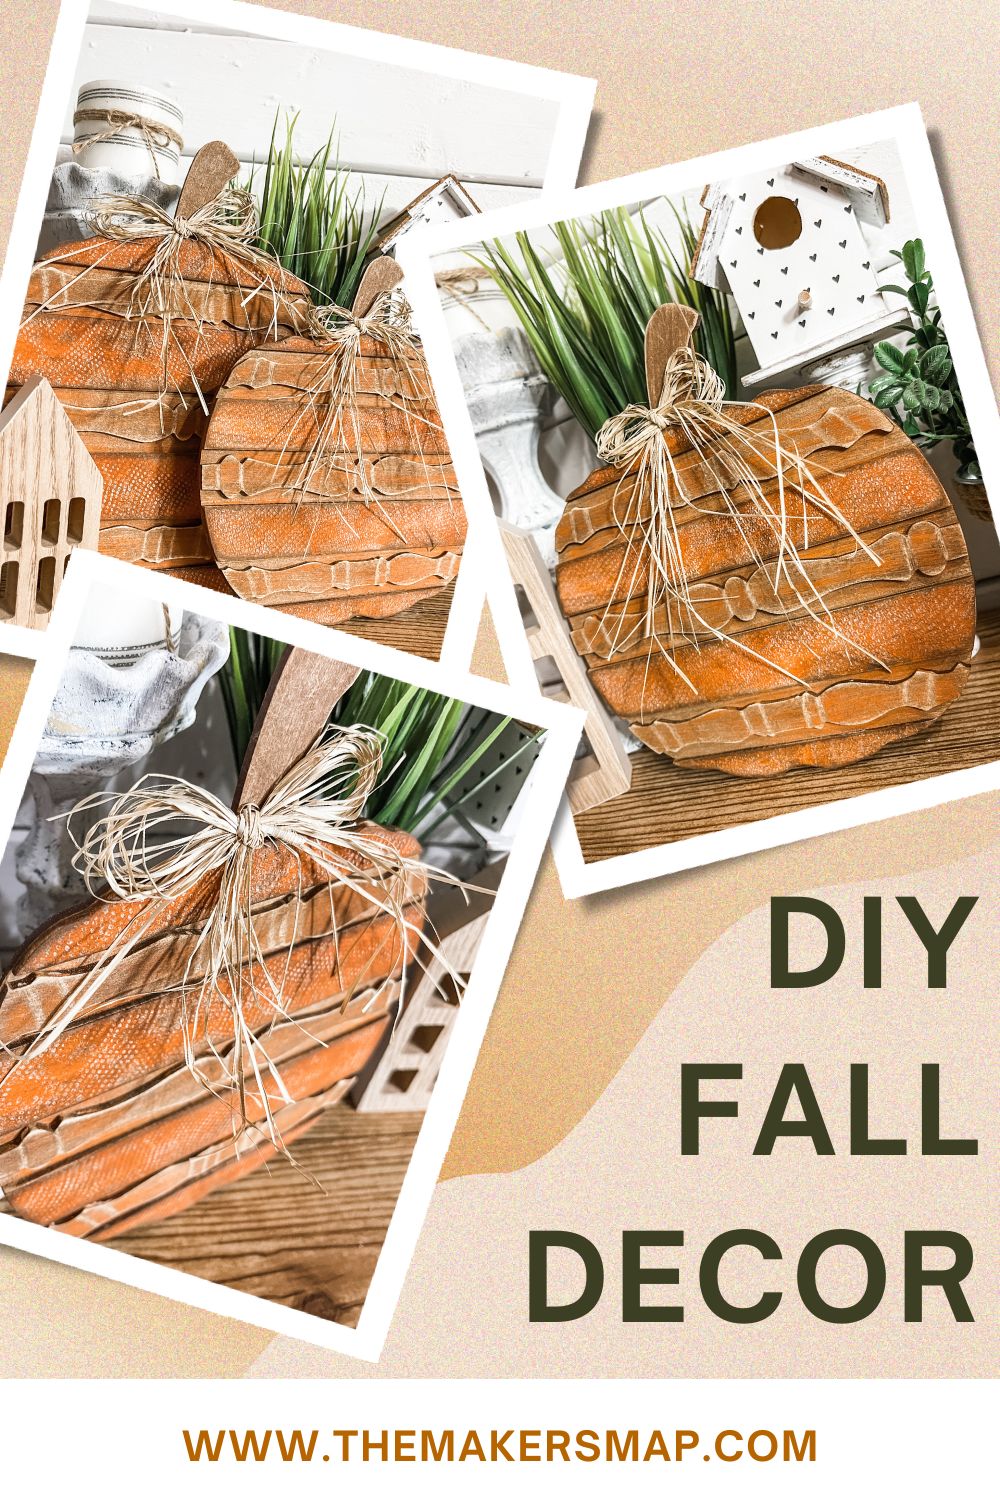
Spindle Pumpkin Fall Home Decor
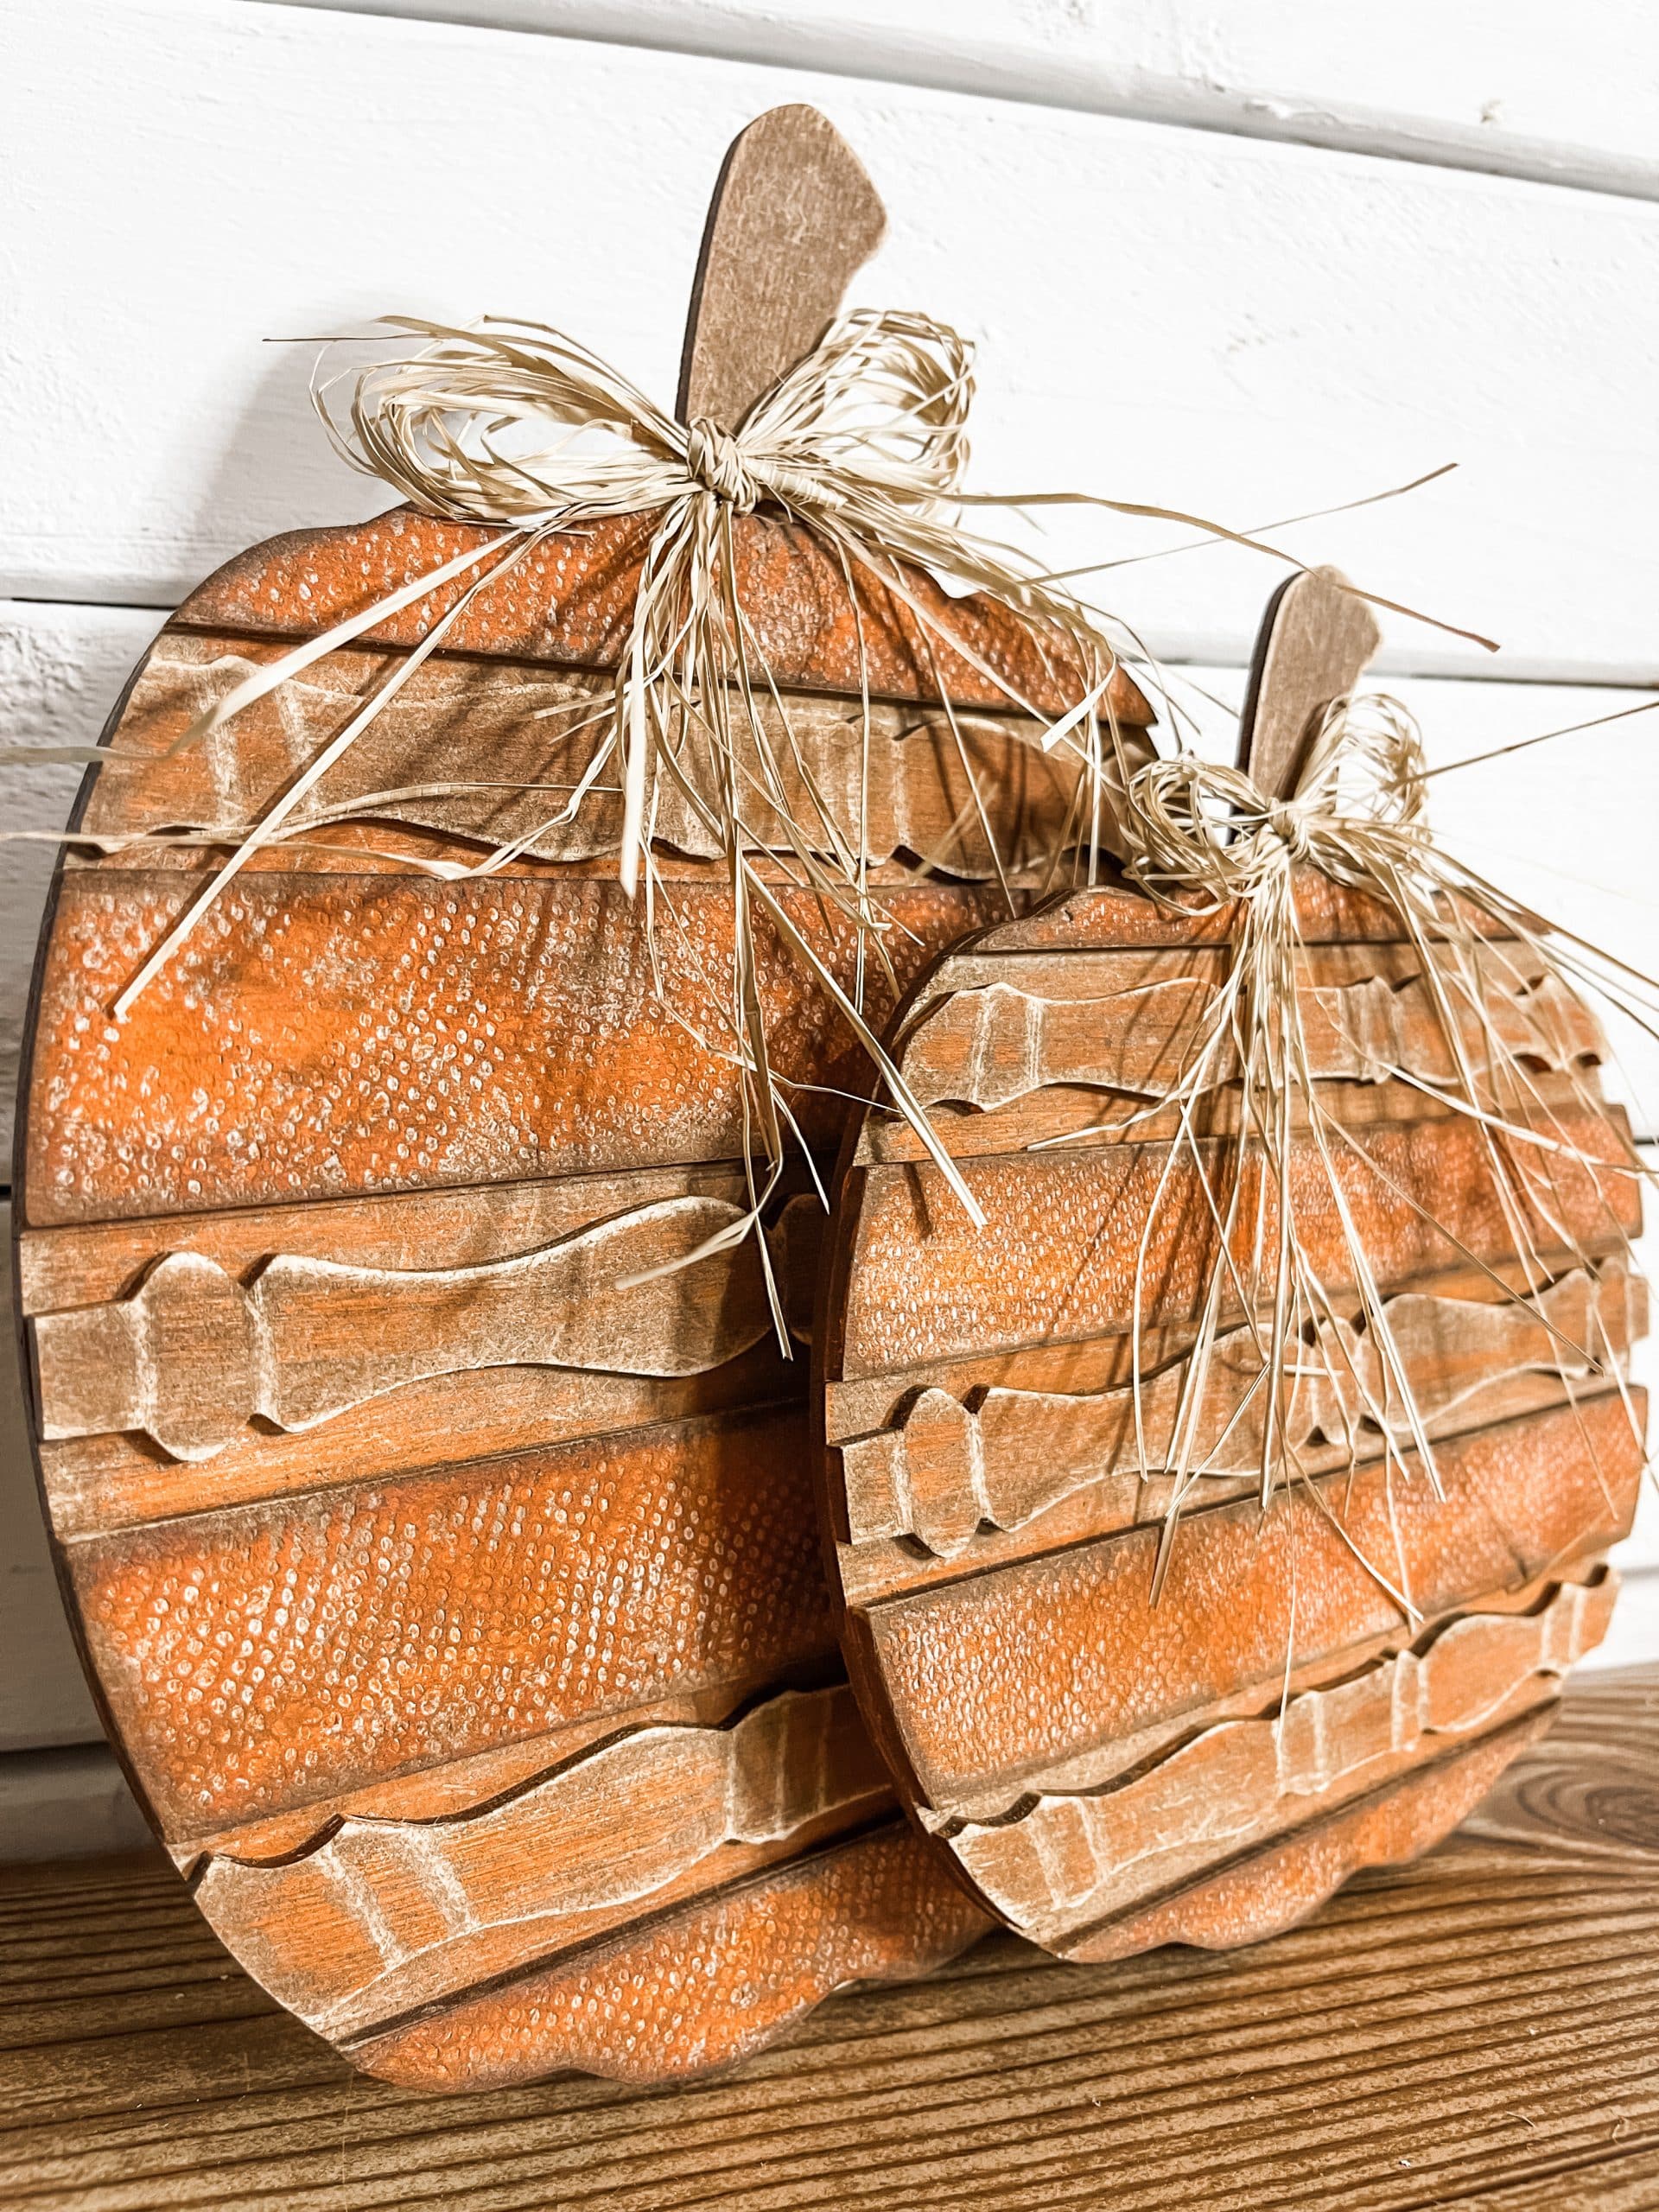
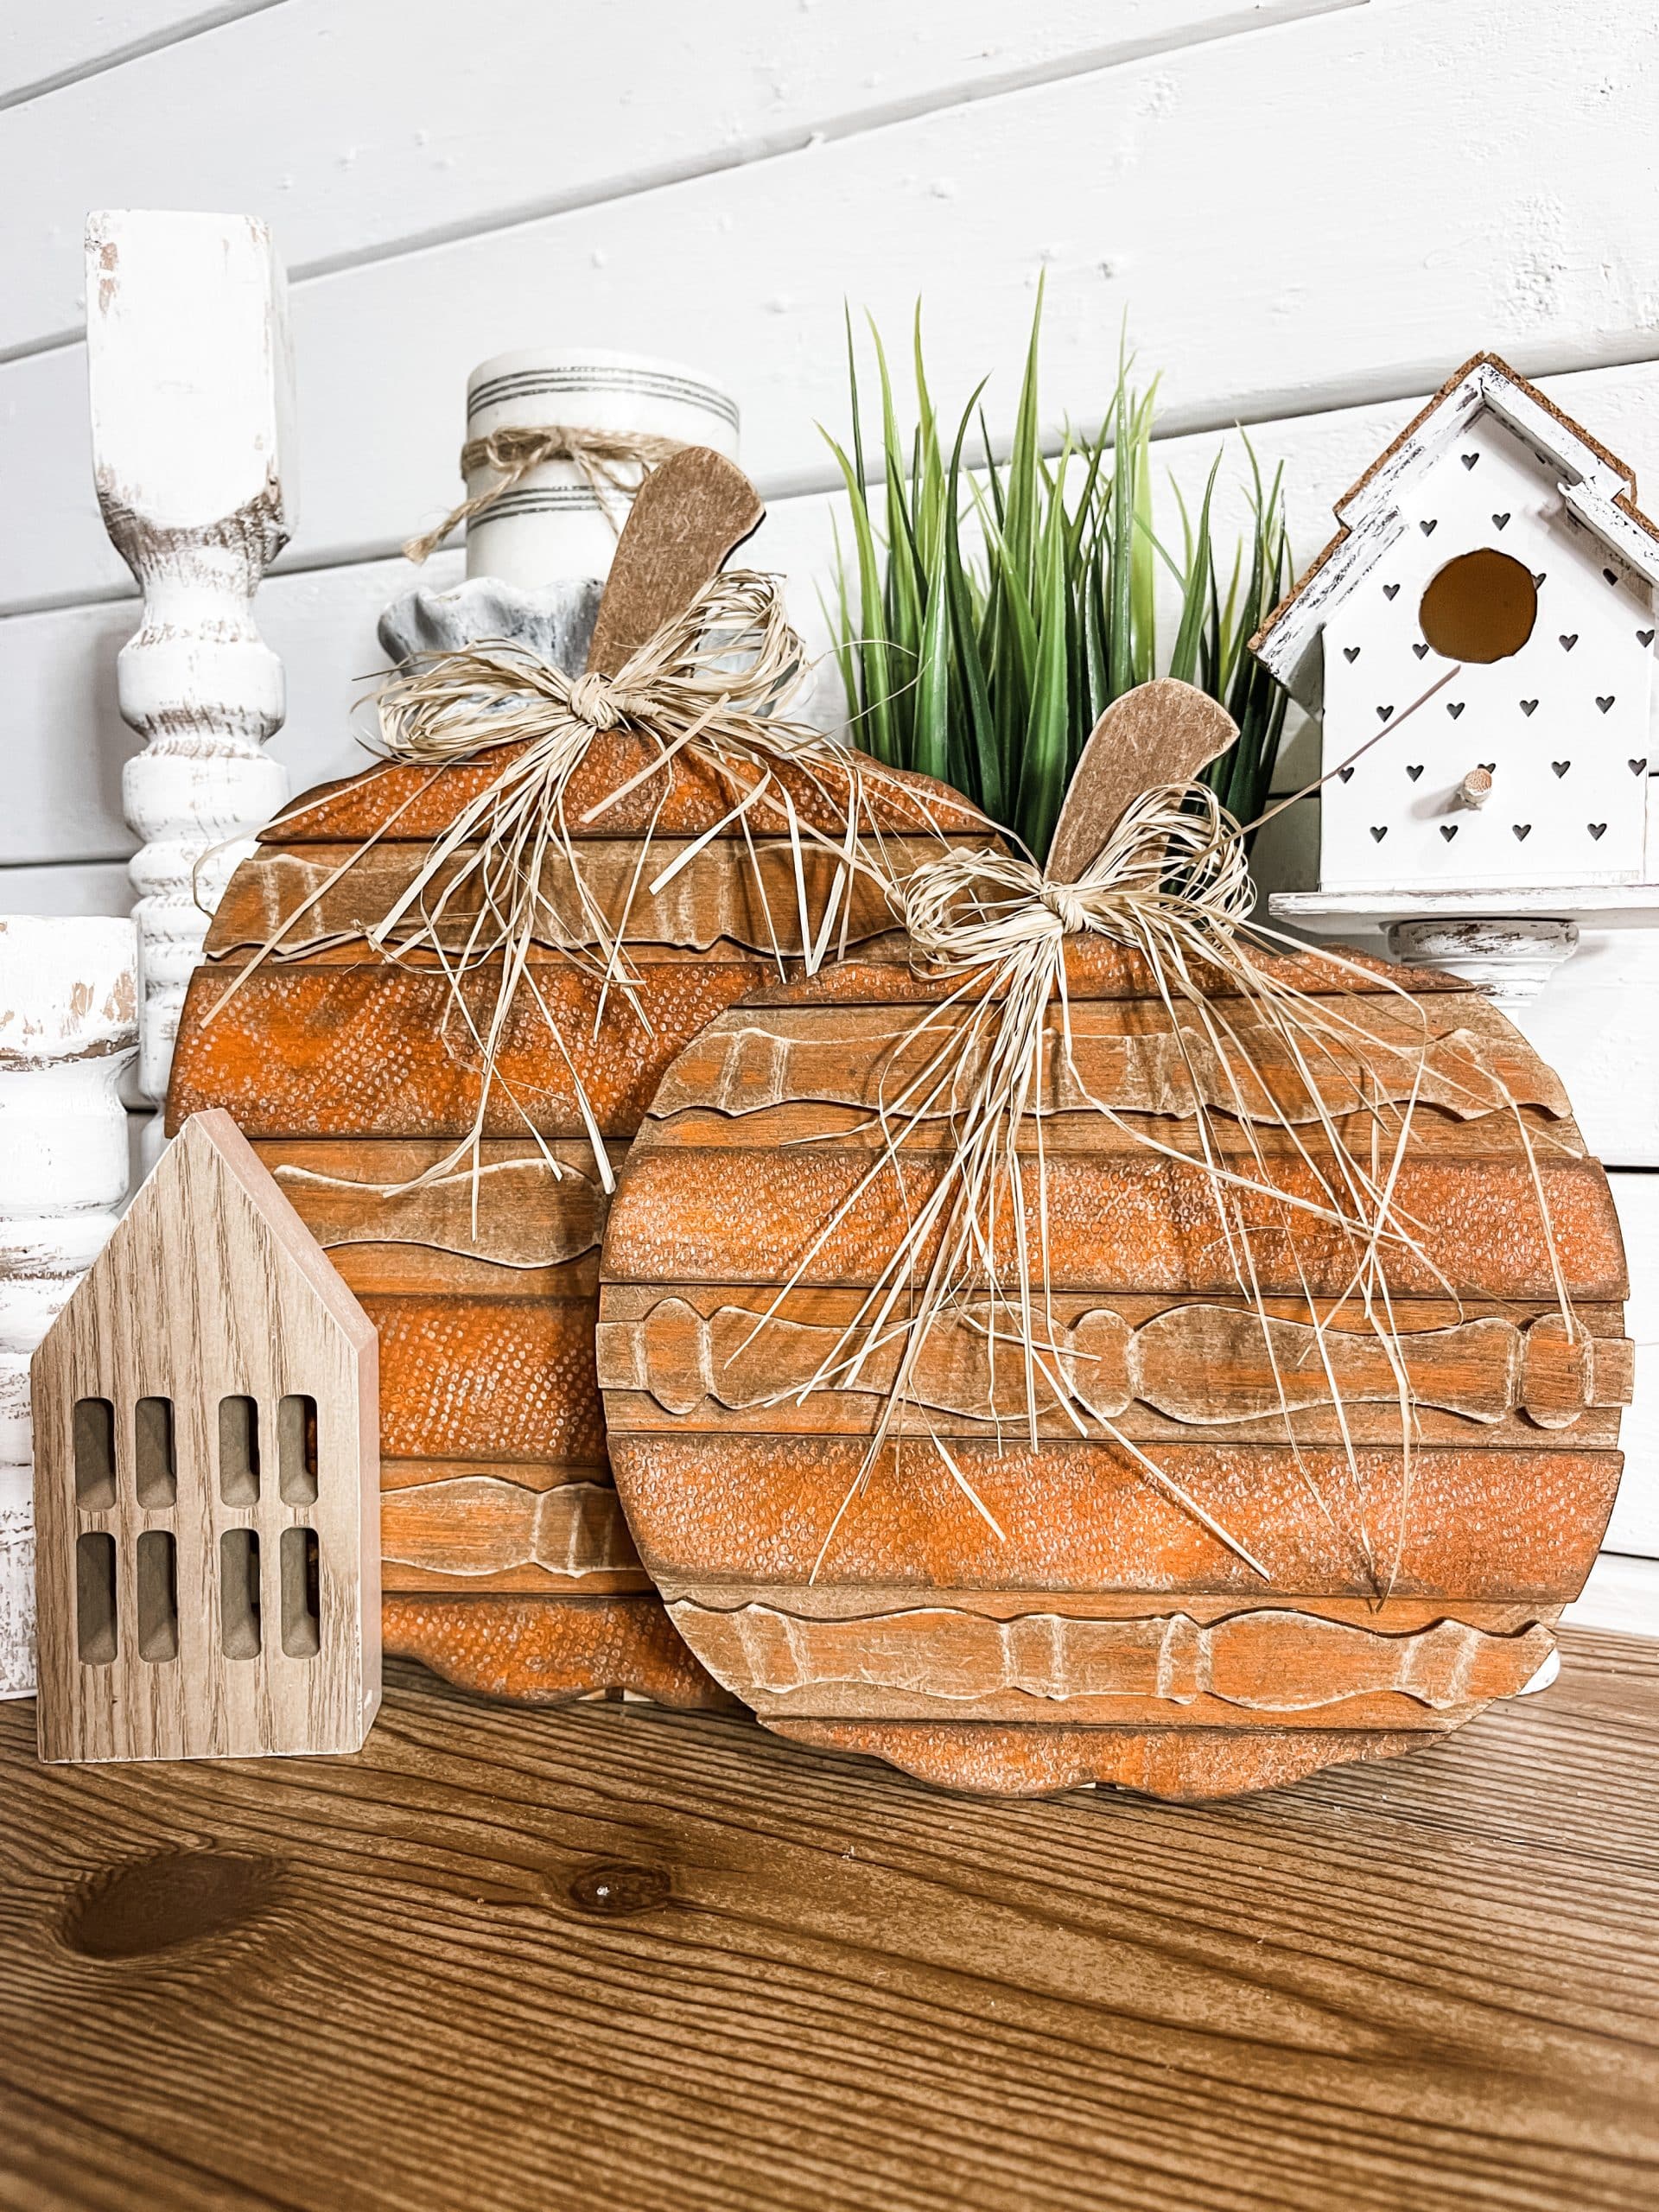
I made these spindle pumpkin fall home decor in July of 2022, so I’m sorry that I’m a little late getting them onto my blog. But, come on, these will probably never go out of style!
That’s the beauty of craft kits and DIY home decor. You get the freedom to customize each piece to match your own style and personality!
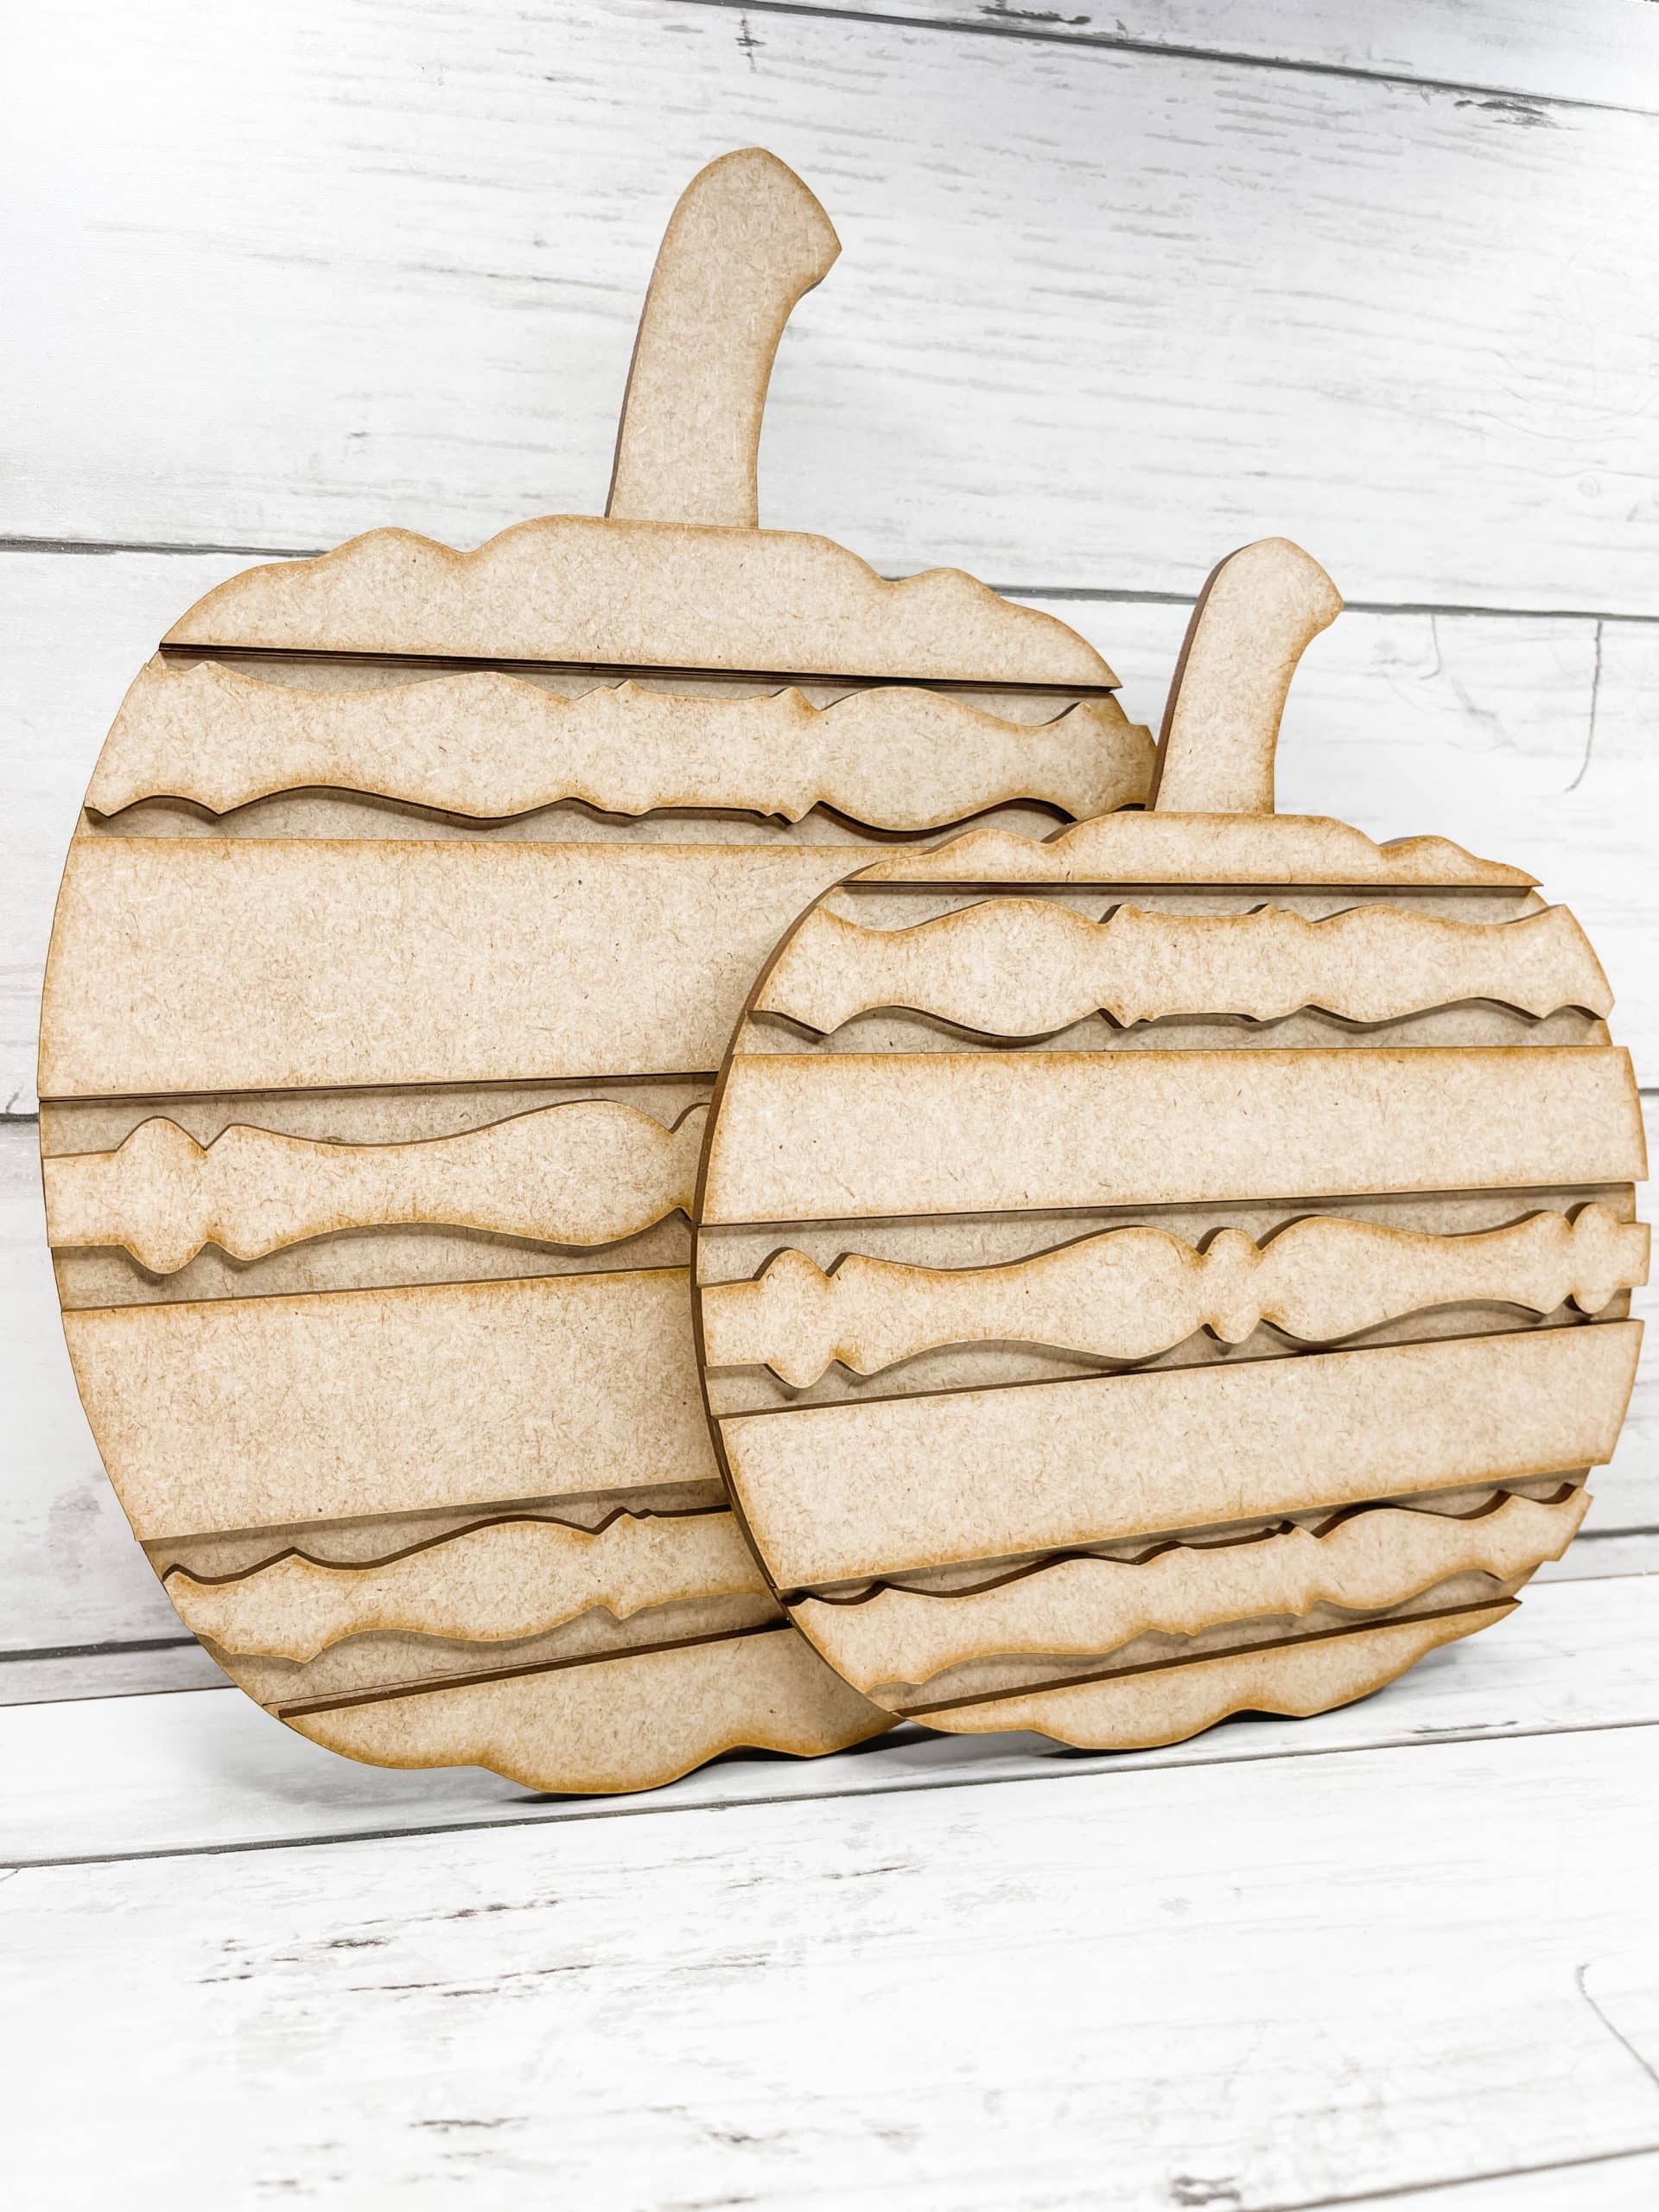
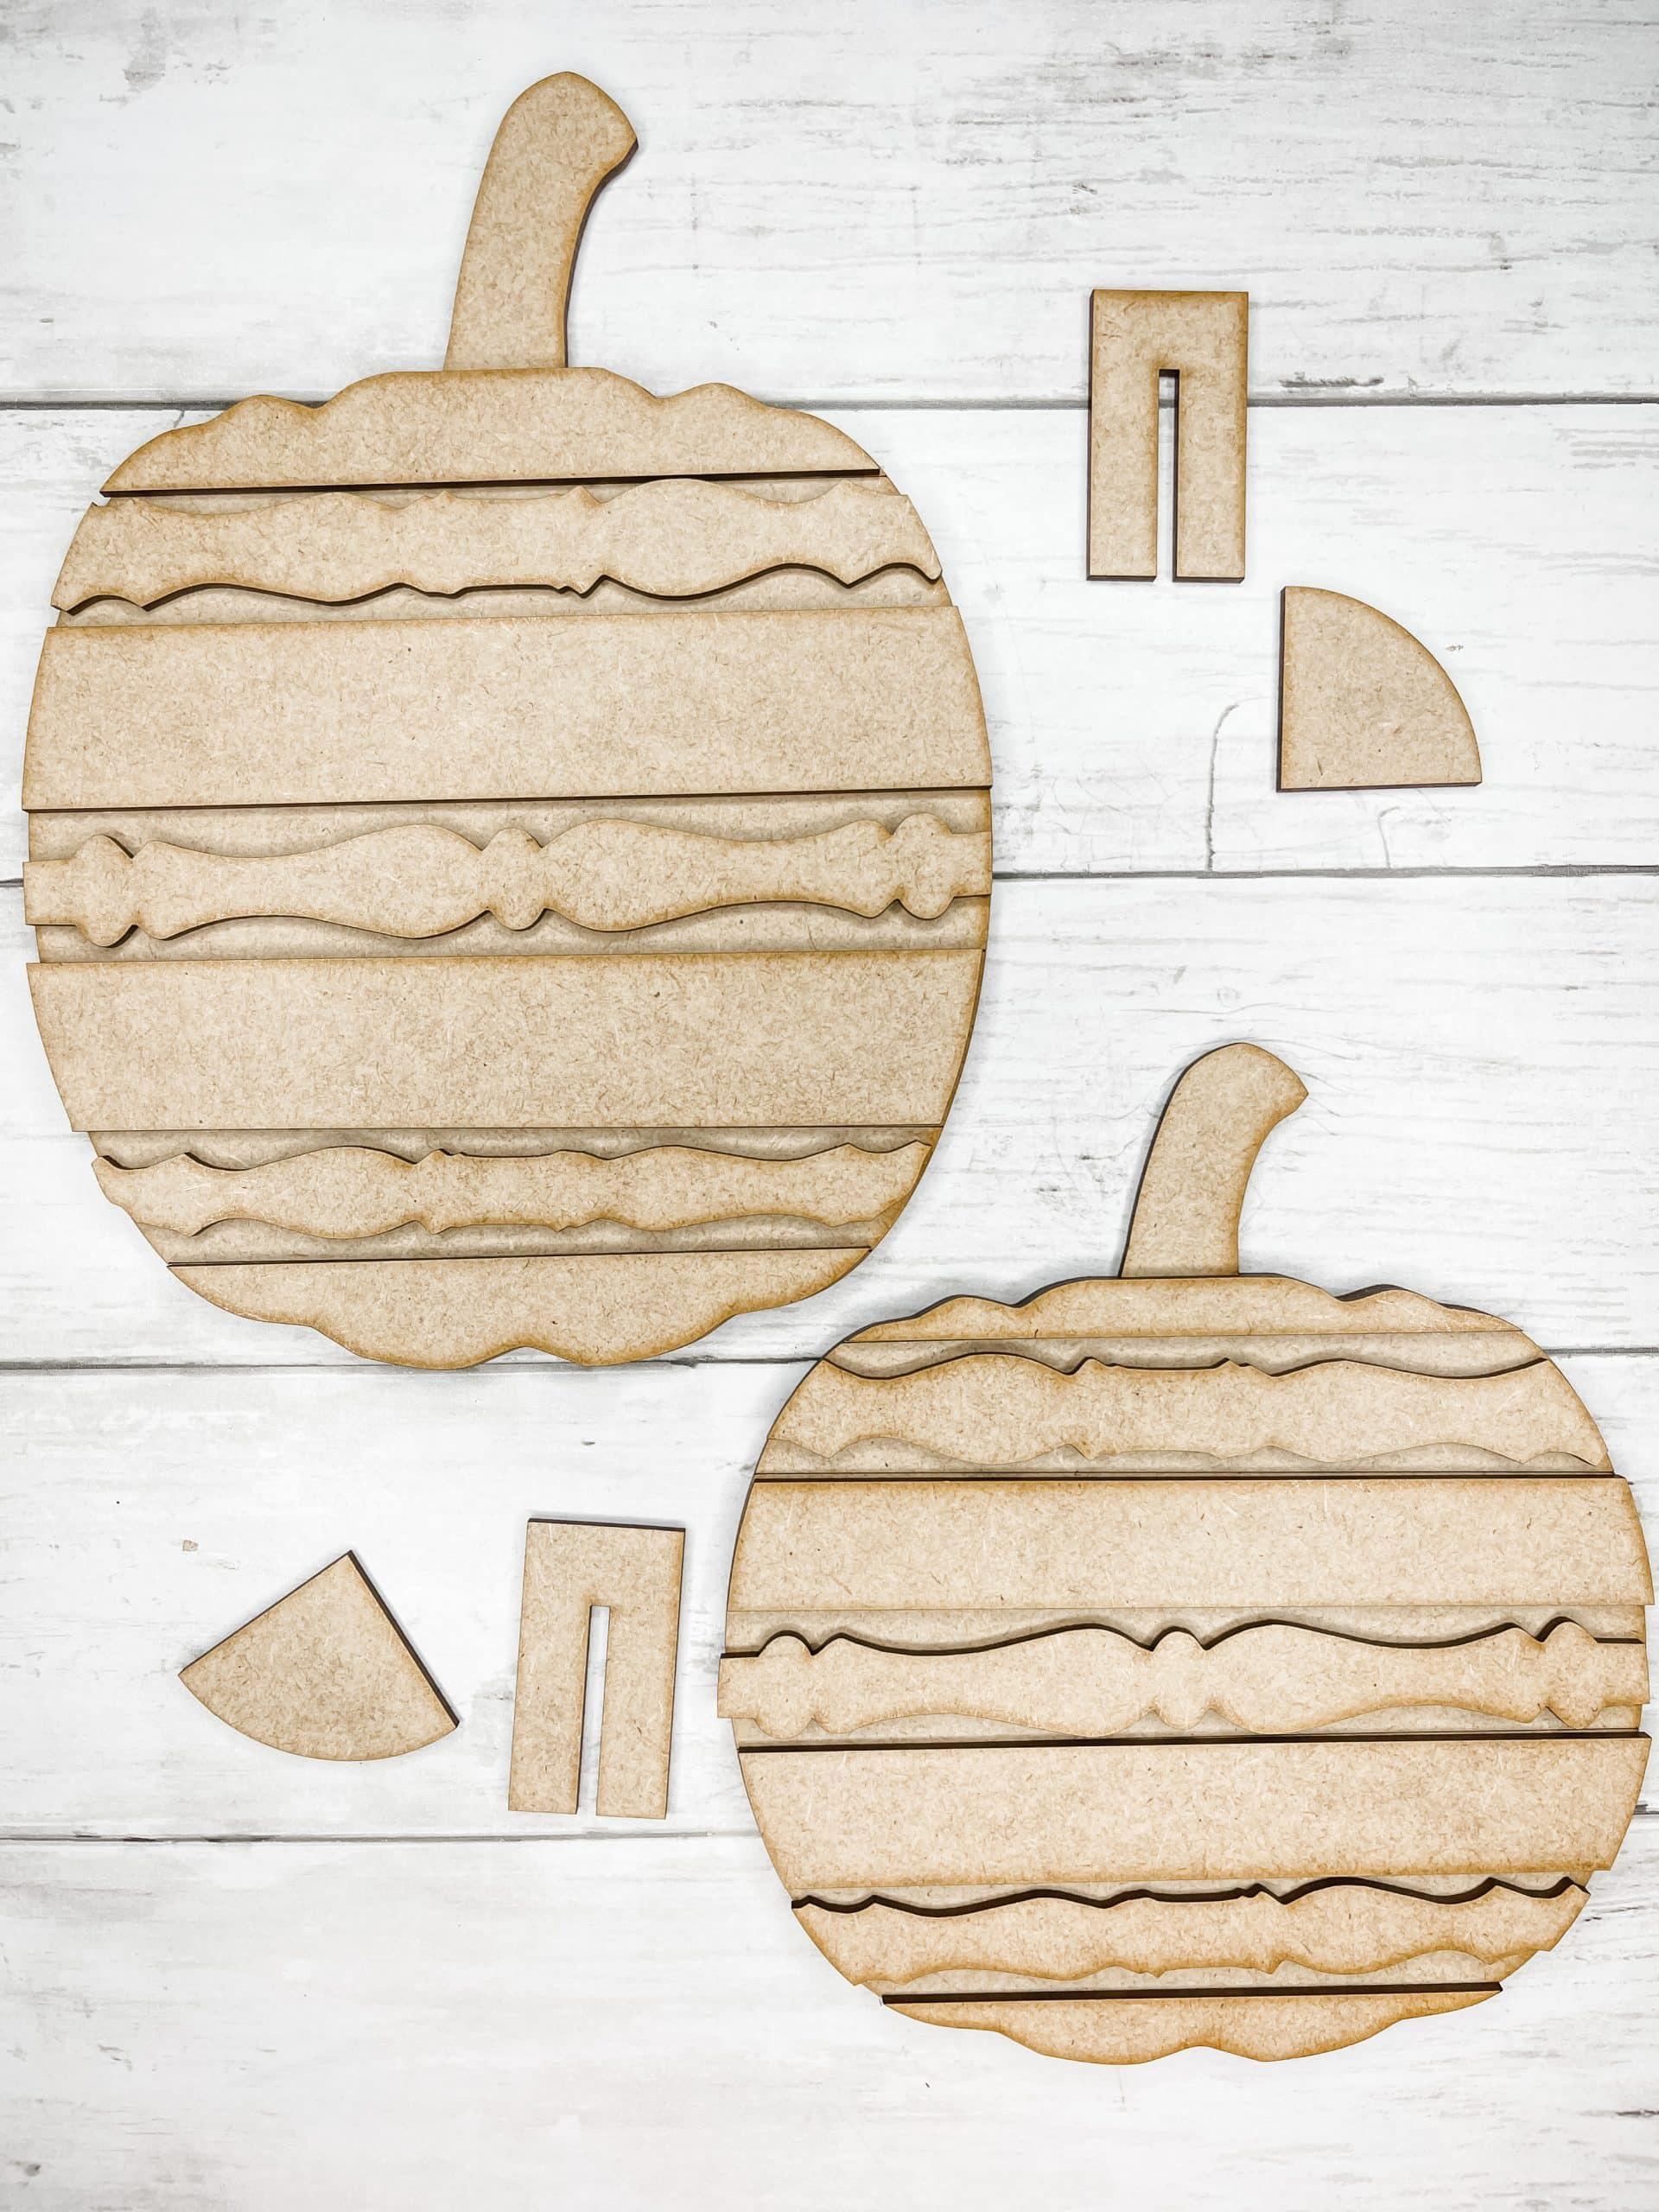
These spindle pumpkins come completely unfinished and unassembled, so you are in complete control of the final look.
Want to paint them bold colors for Fall? Go for it! Looking for ways to incorporate patterns in your fall decor? Now’s your chance! The possibilities are endless!
I started this fun Fall pumpkin DIY by sanding each piece of the pumpkin craft kits. When we cut these on our machines, it can leave a residue that affects how they take stain and paint.
After sanding, I stained each piece of the spindle pumpkin craft kit brown. You can use a bit of brown paint mixed with water or something like Waverly Antique wax.
Either way, use a wet wipe to apply the mixture to the pieces and then wipe each piece clean with a new wipe.
Allow the stain to dry completely. Next, I separated the plies of a textured paper towel and decoupaged the paper towel onto the overlay pieces for the pumpkins (not the spindles).
How to decoupage paper towels
To do so, apply Mod Podge to the overlay pieces and place the napkin onto the pieces. Cover with plastic wrap and use a rolling pin to smooth out any bubbles or wrinkles.
Again, allow the Mod Podge to dry, then remove the excess paper towel from the overlay pumpkin pieces.
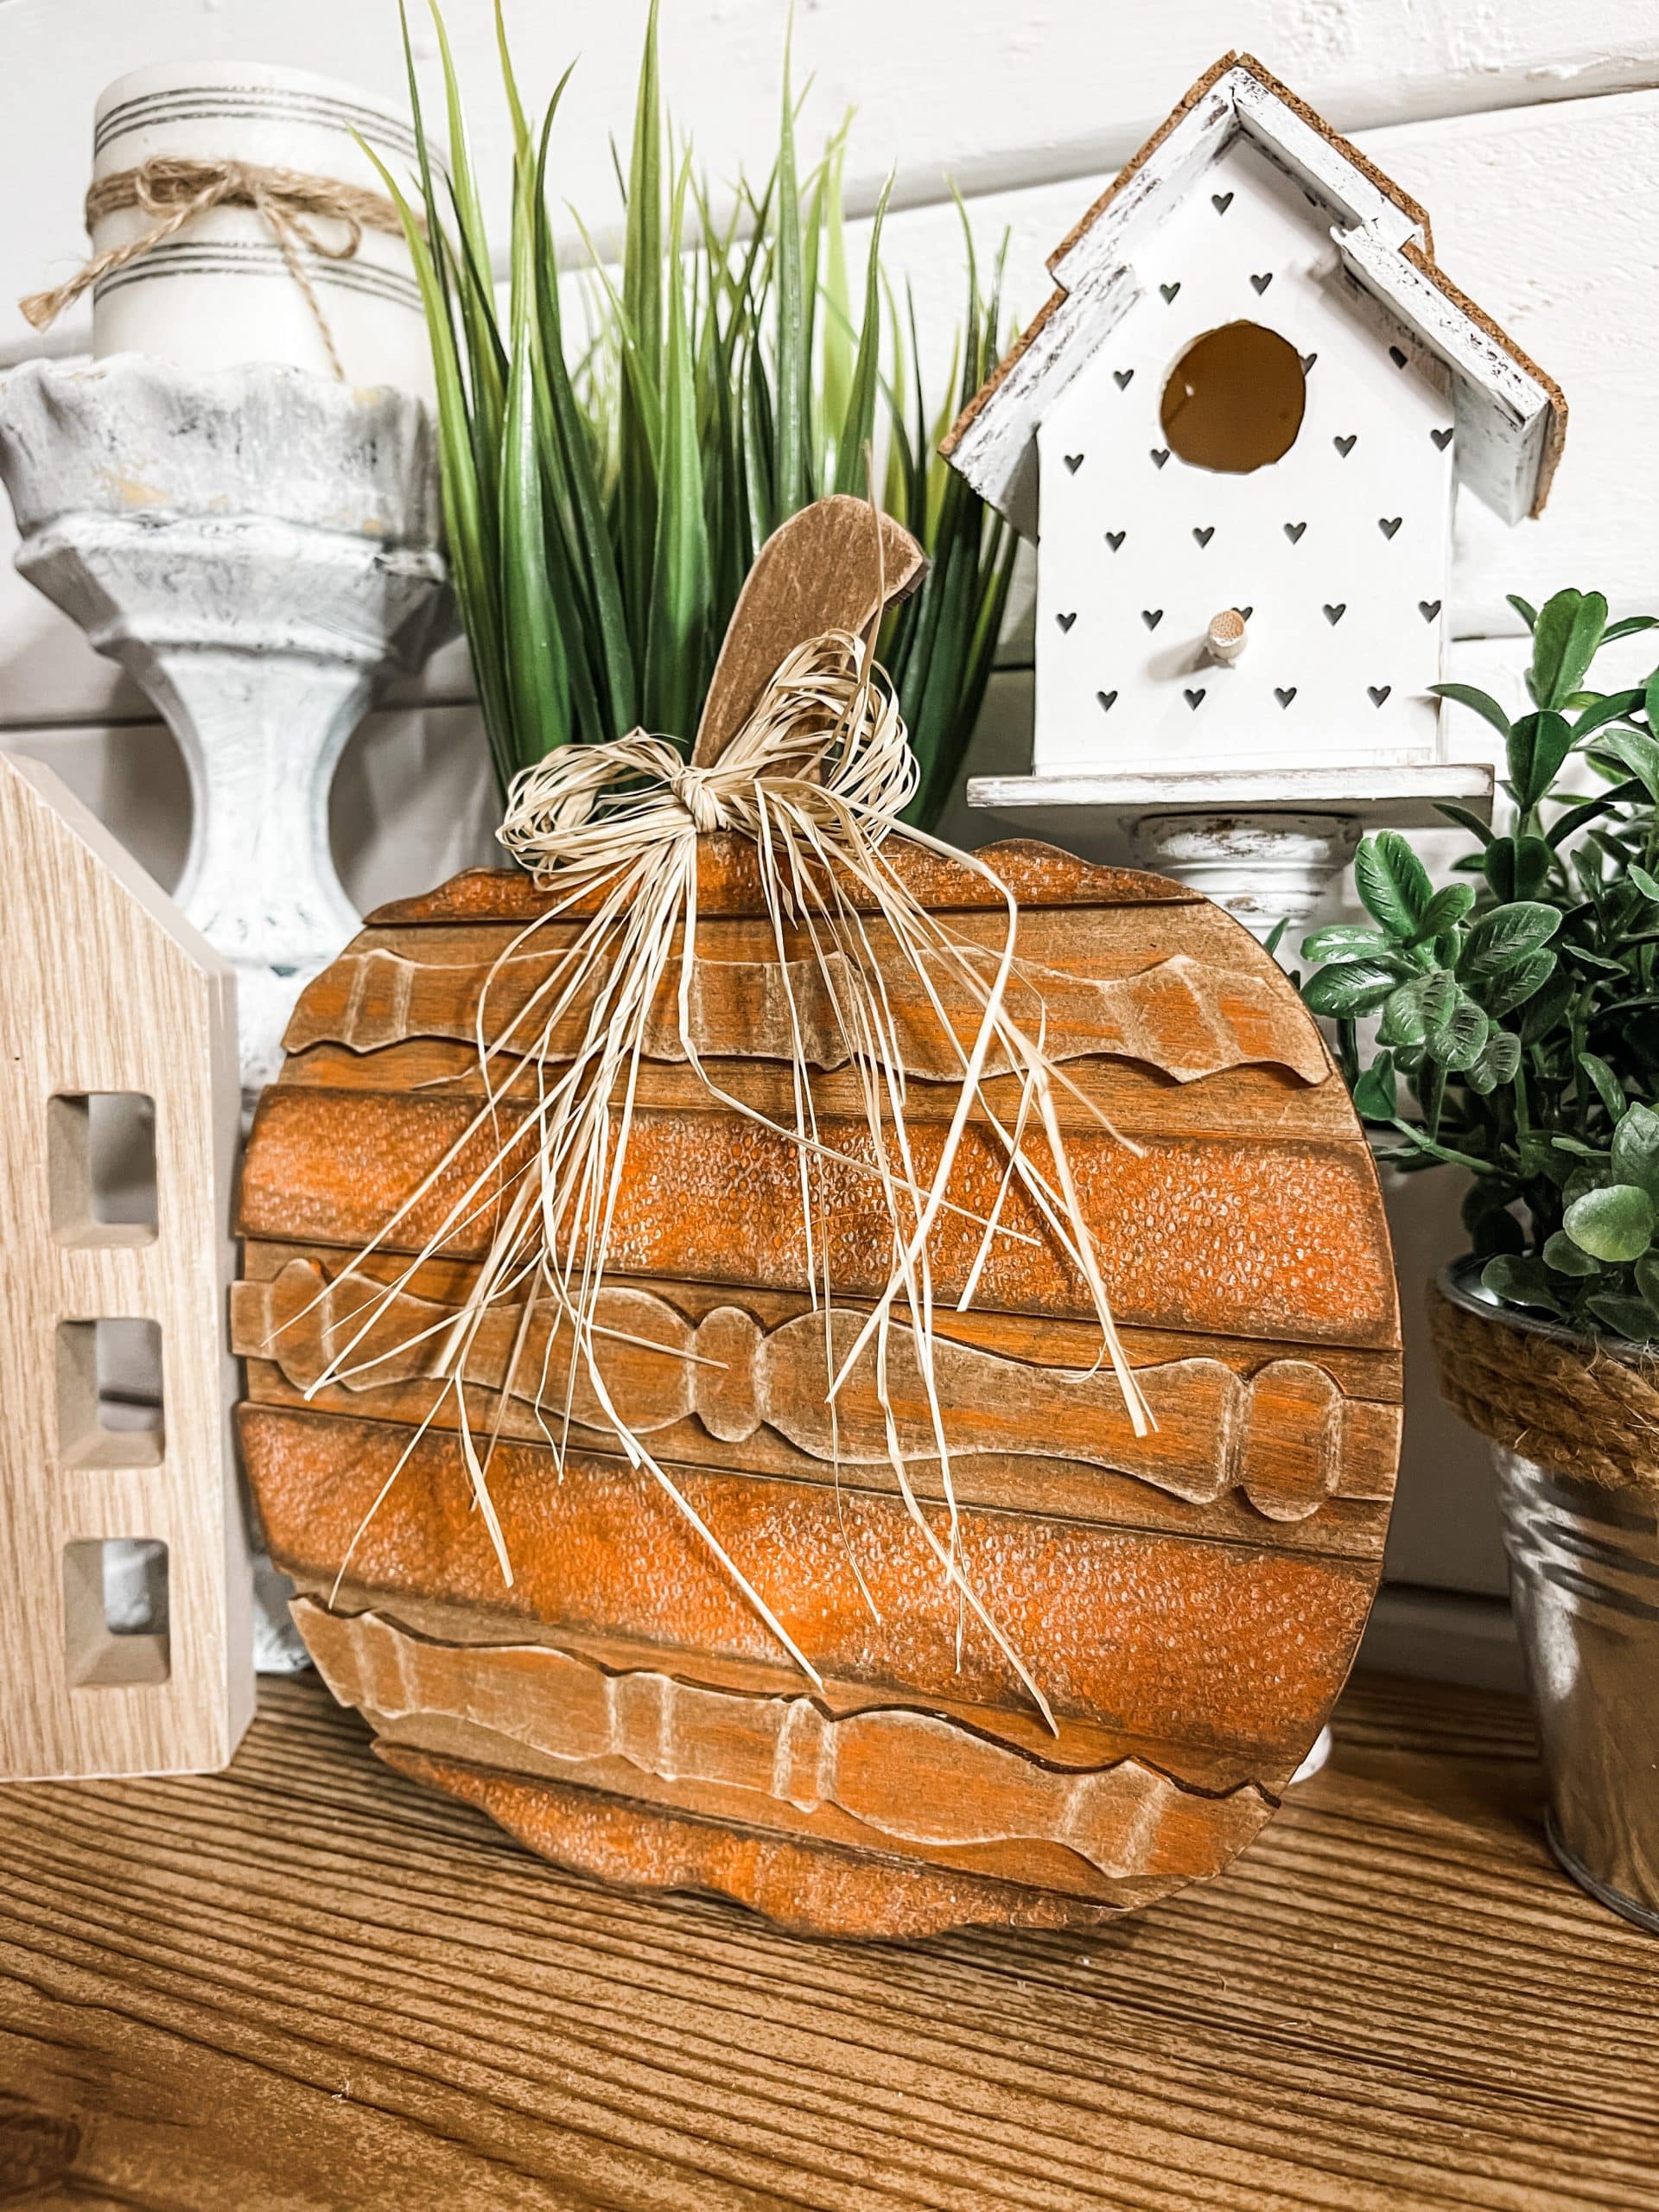
Next, I very lightly painted the spindle pieces and pumpkin shapes with white paint, dried the white paint, then painted the overlay and spindle pieces with the DecoArt spiced pumpkin orange paint.
Once all the paint was dry, I sanded each piece and added the detailing on the spindle pieces. Then, I applied a bit of the waverly wax to all the pieces and wiped off the excess.
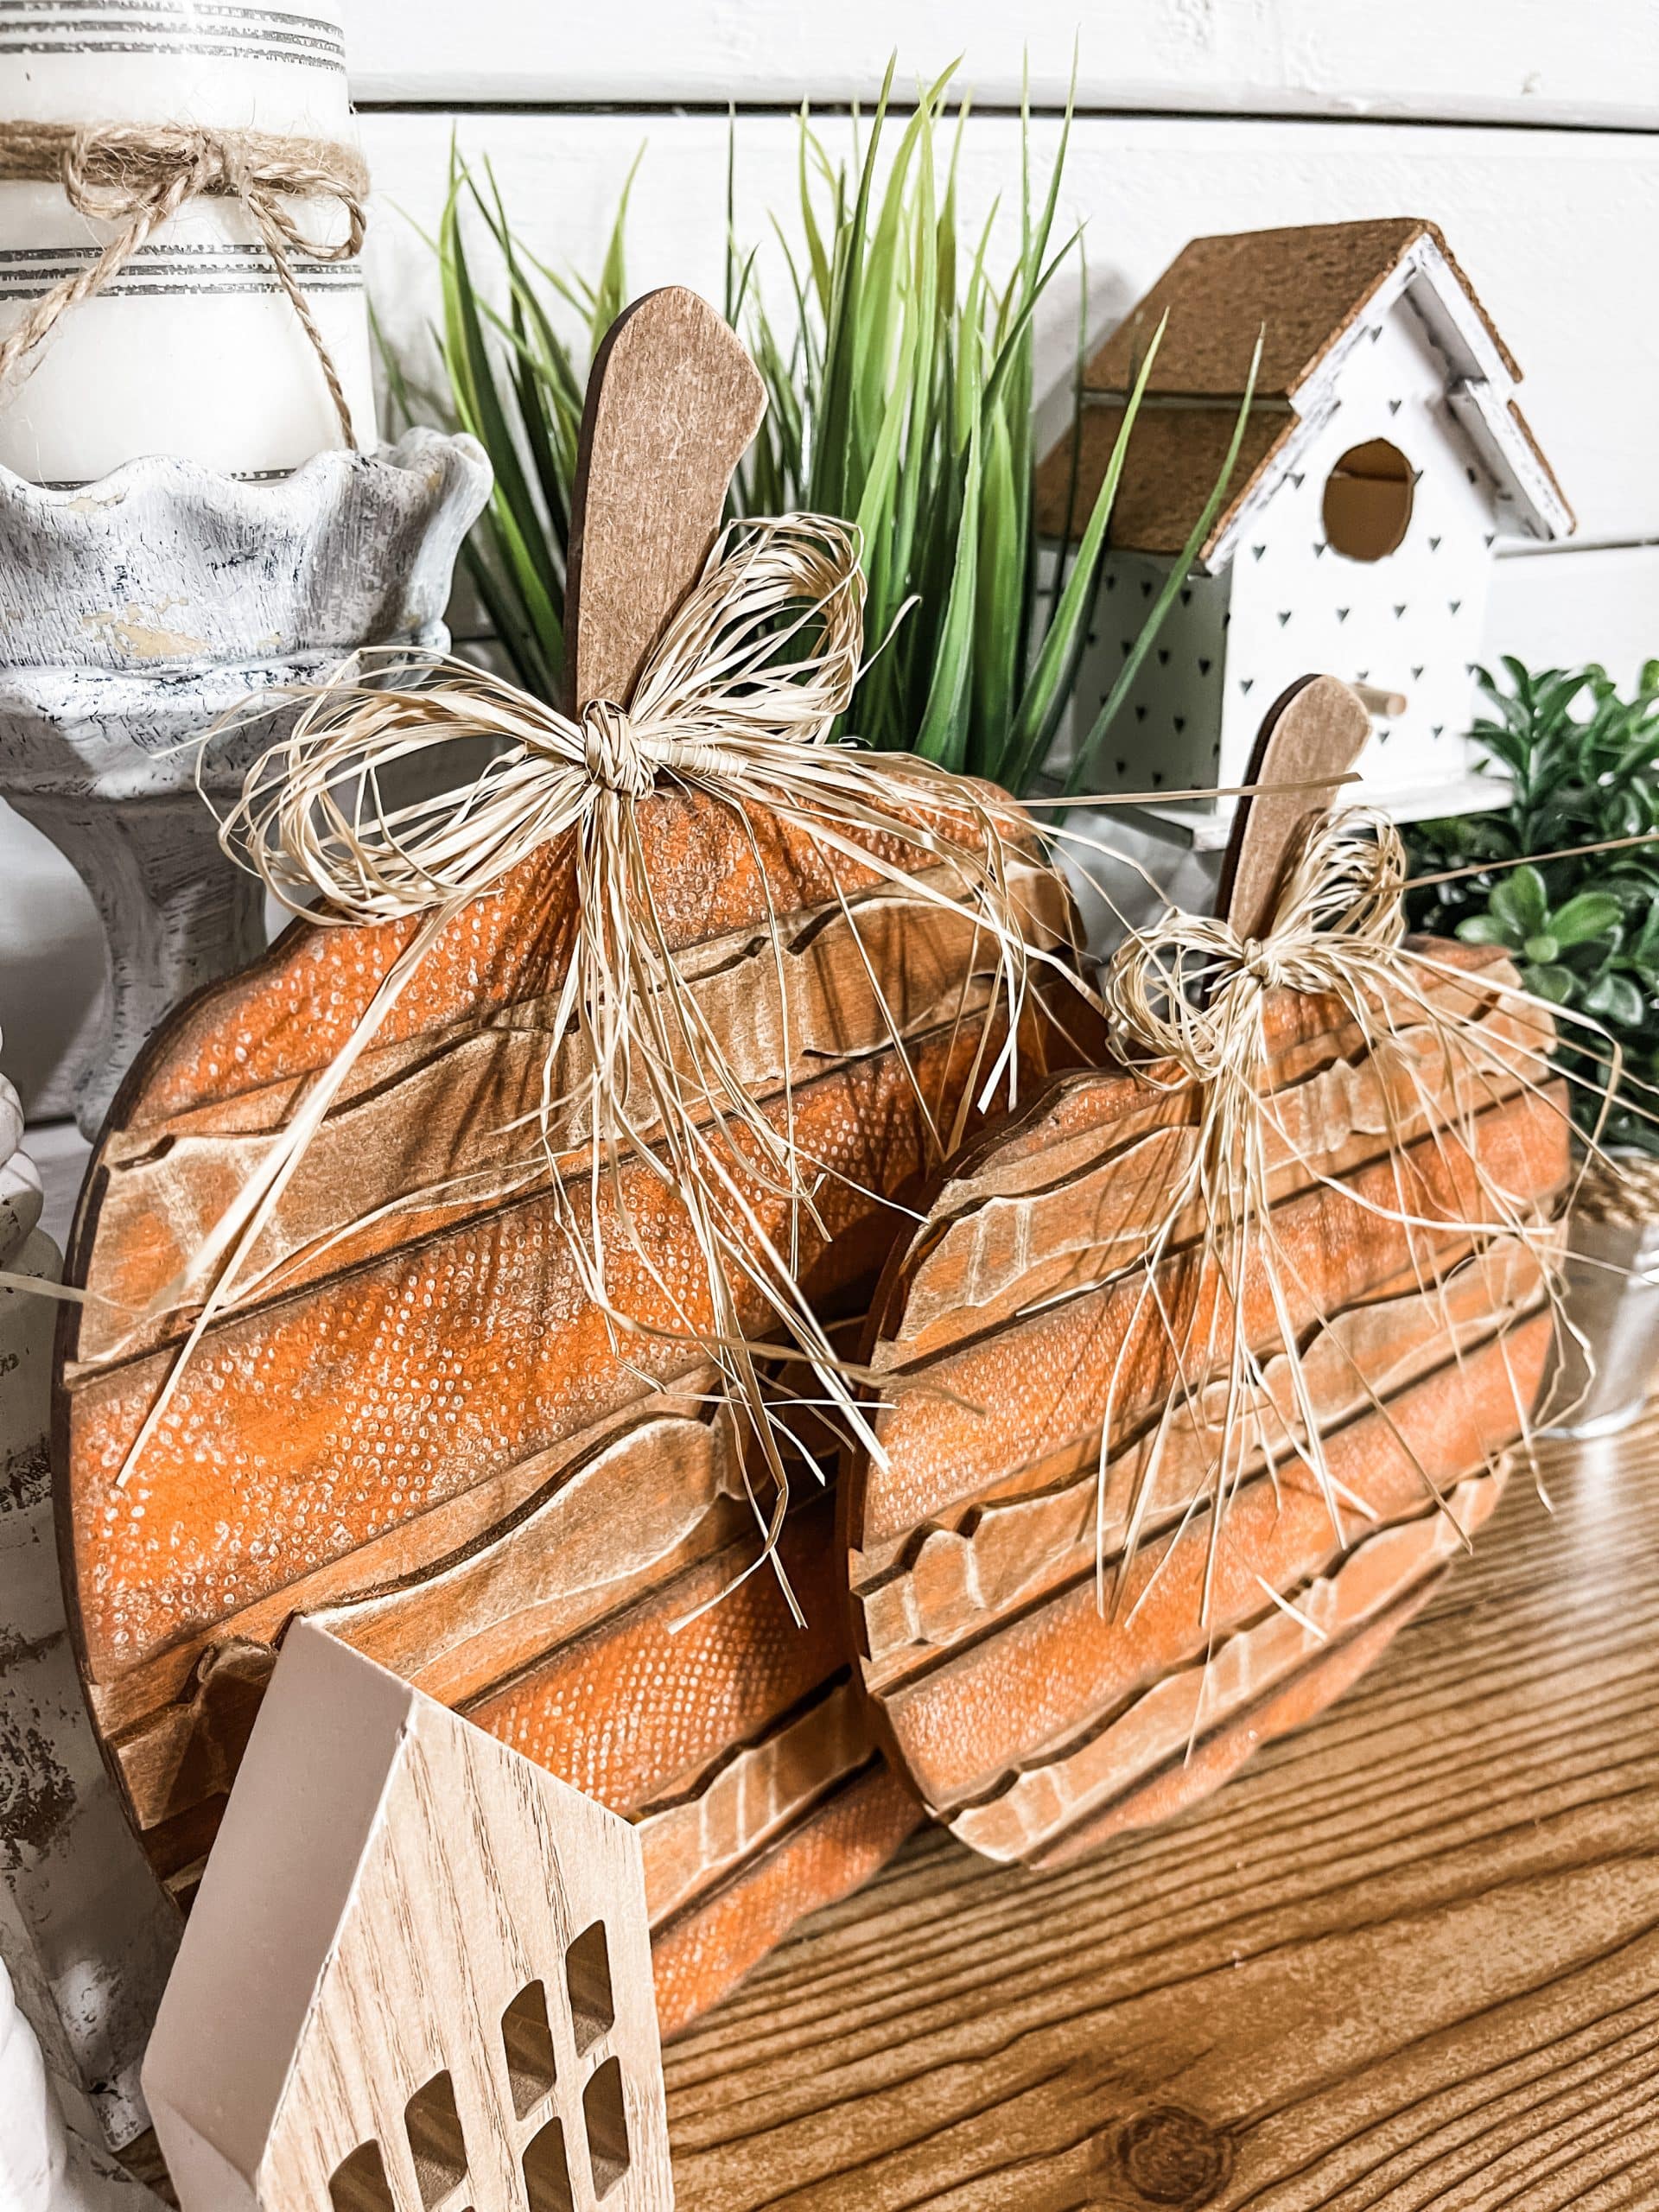
Bring it all together!
Dry each pieces completely, then you can begin assembling the pumpkin craft kits! I used Gorilla super glue to get a more secure attachment, but you can use hot glue if that’s what you have.
These Spindle pumpkin kits come with little kickstand that you can attach to the back of the pumpkins to stand them up, or you can glue a hanger to the back if you want them on a wall.
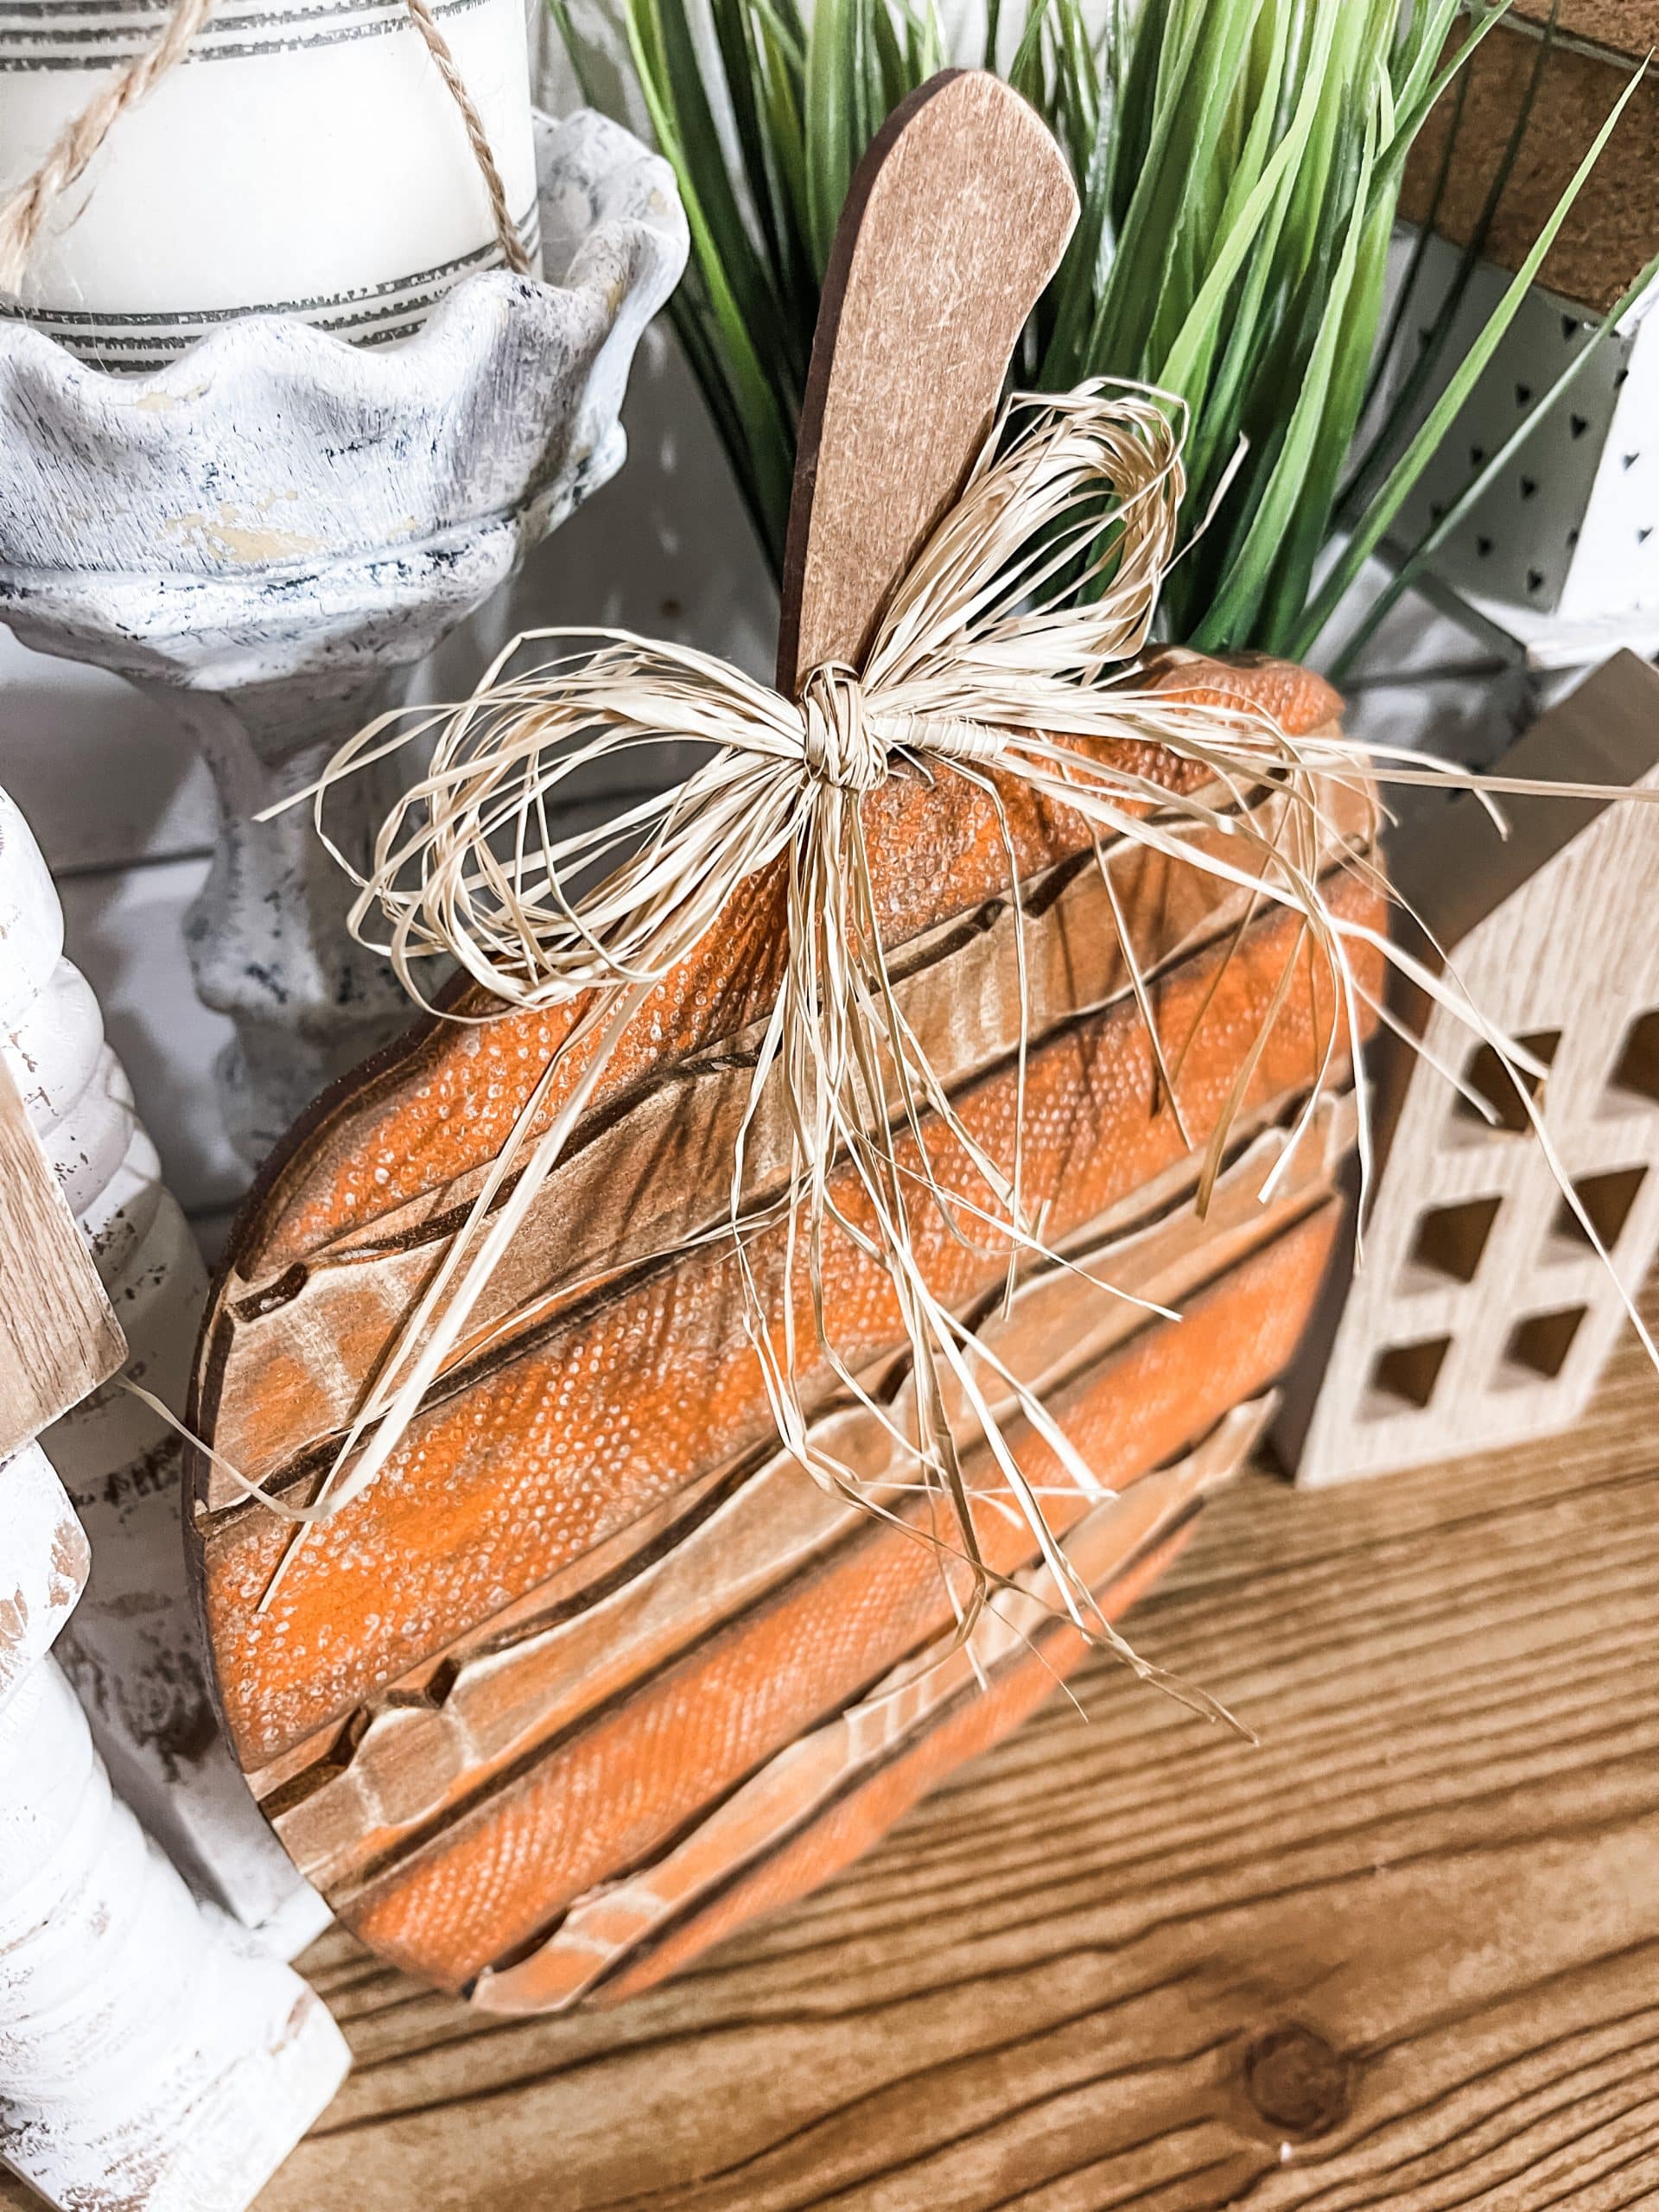
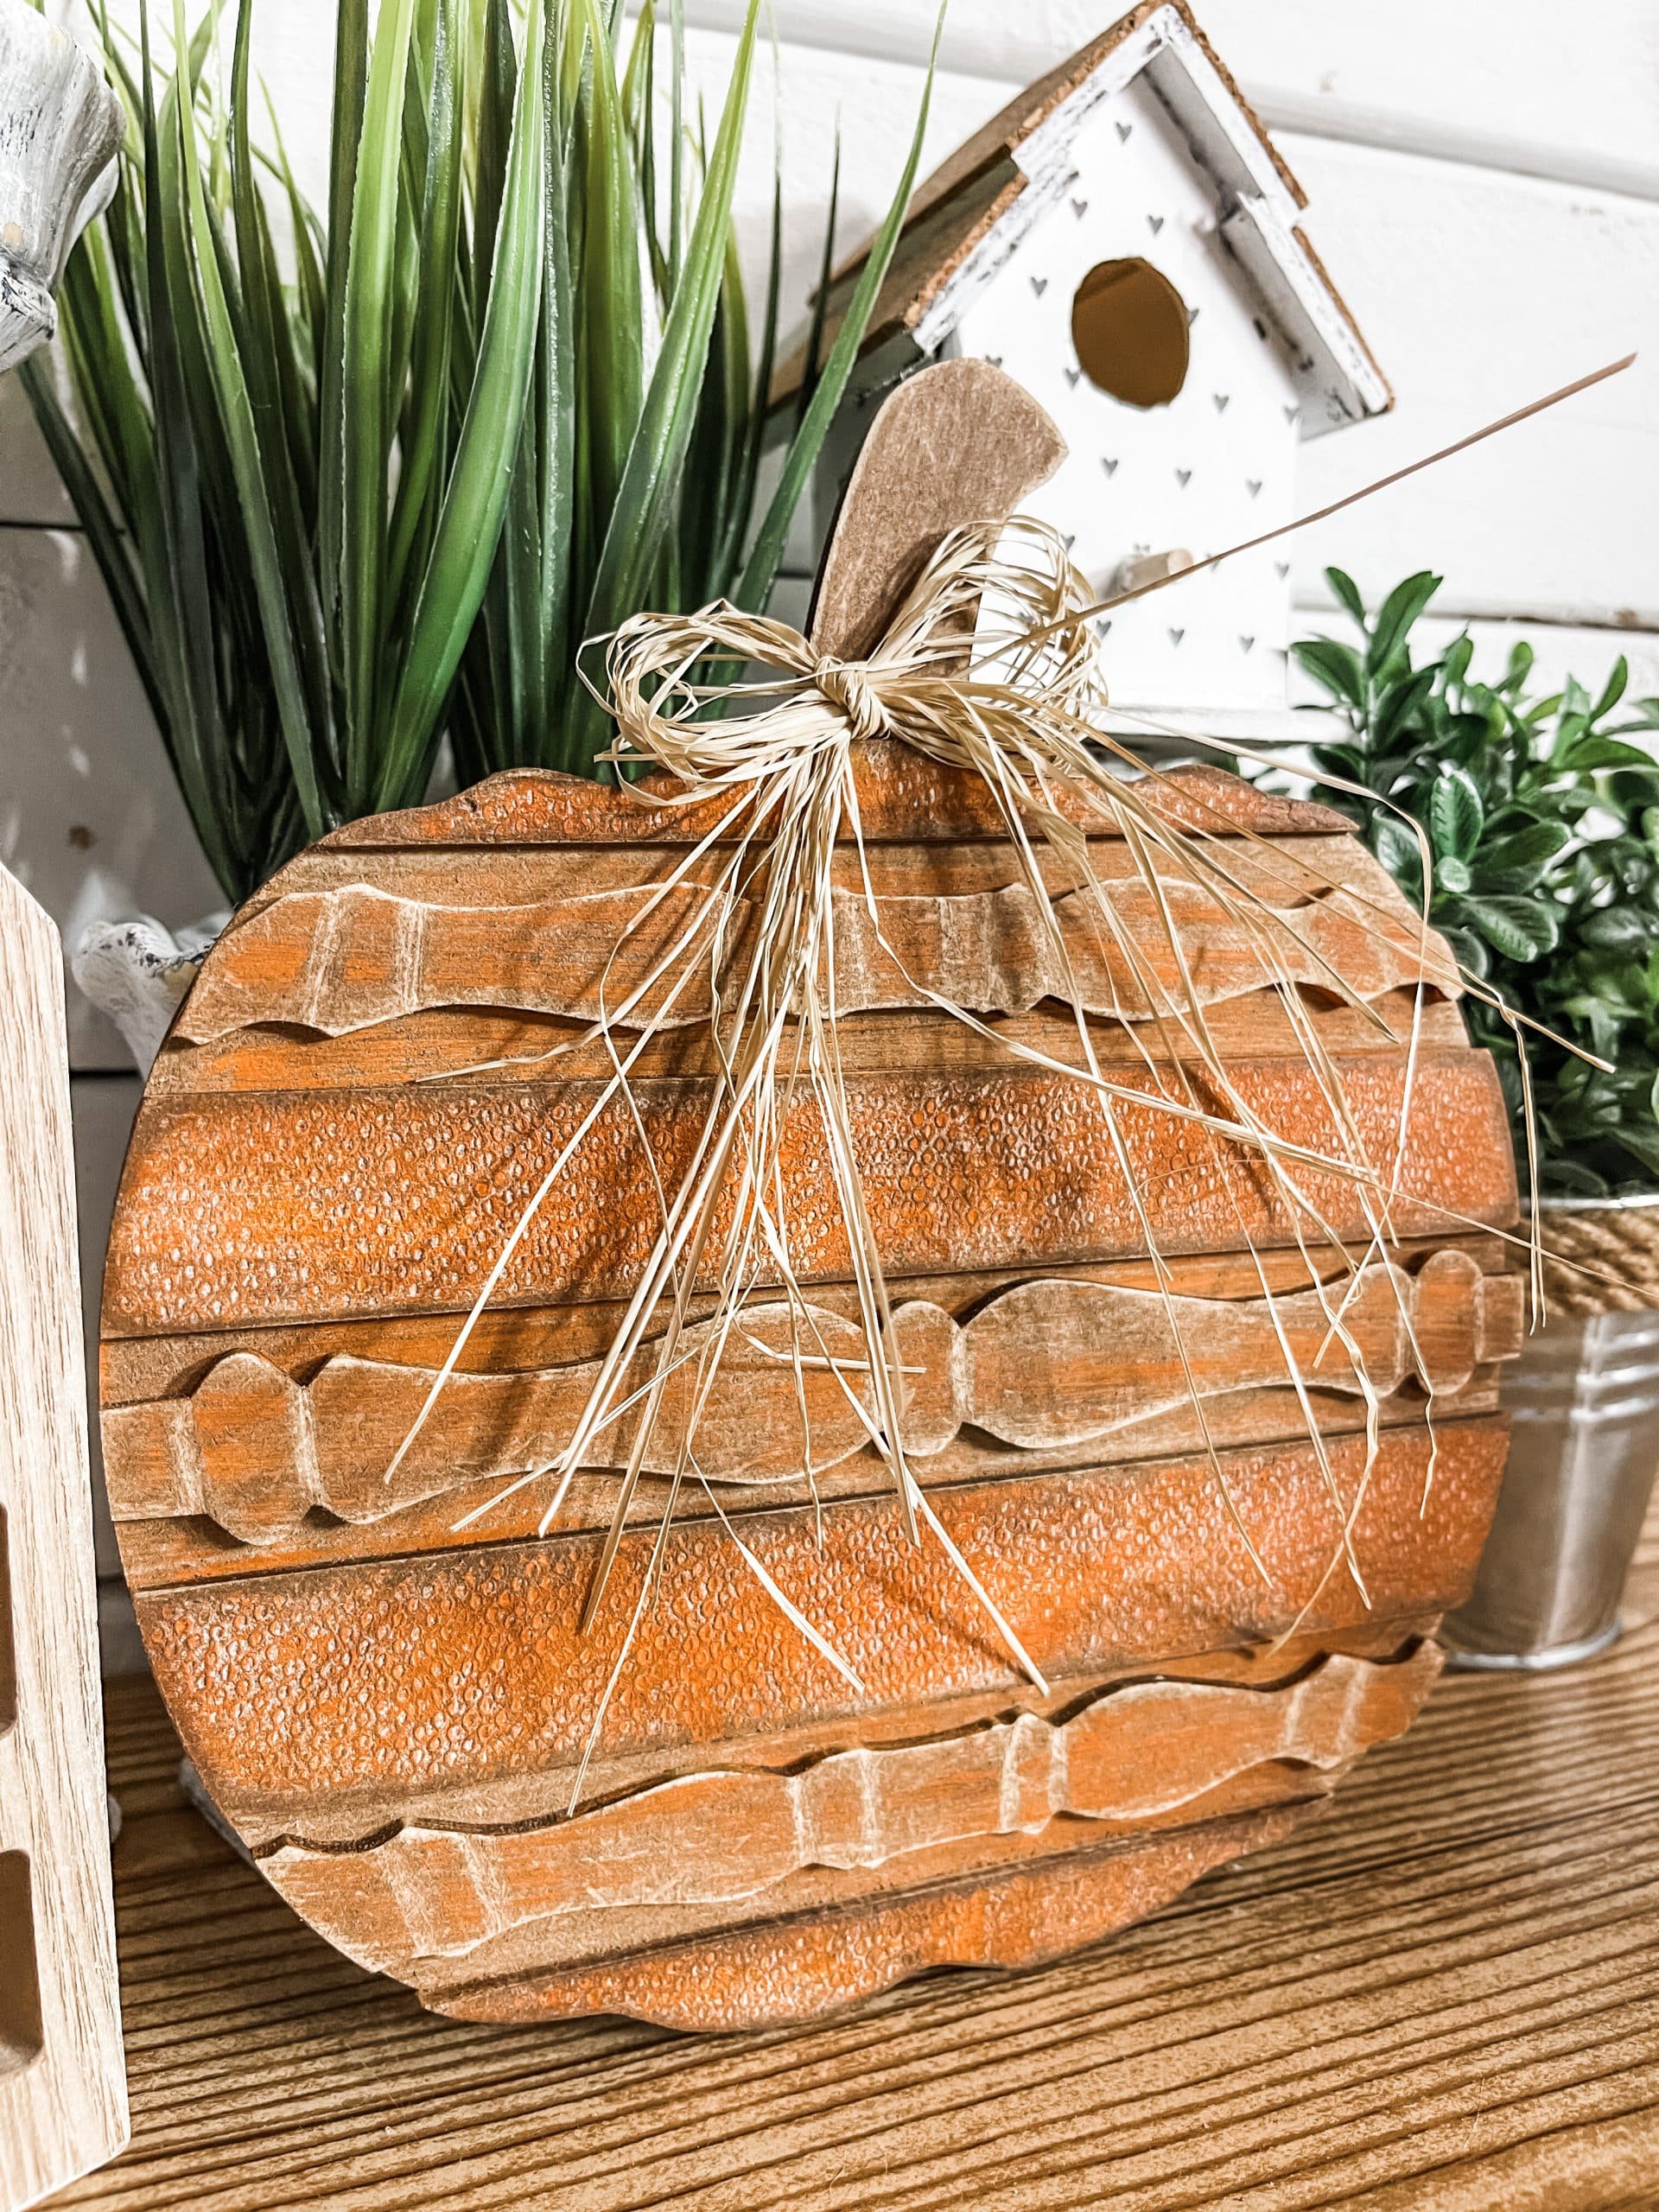
Lastly, I tied little raffia bows for each of the pumpkins and glued them onto the stems for each spindle pumpkin!
I hope you enjoyed this Spindle Pumpkin Fall Home Decor as much as I did and decide to make one for yourself! I would love to see how yours turns out!
Watch the DIY tutorial
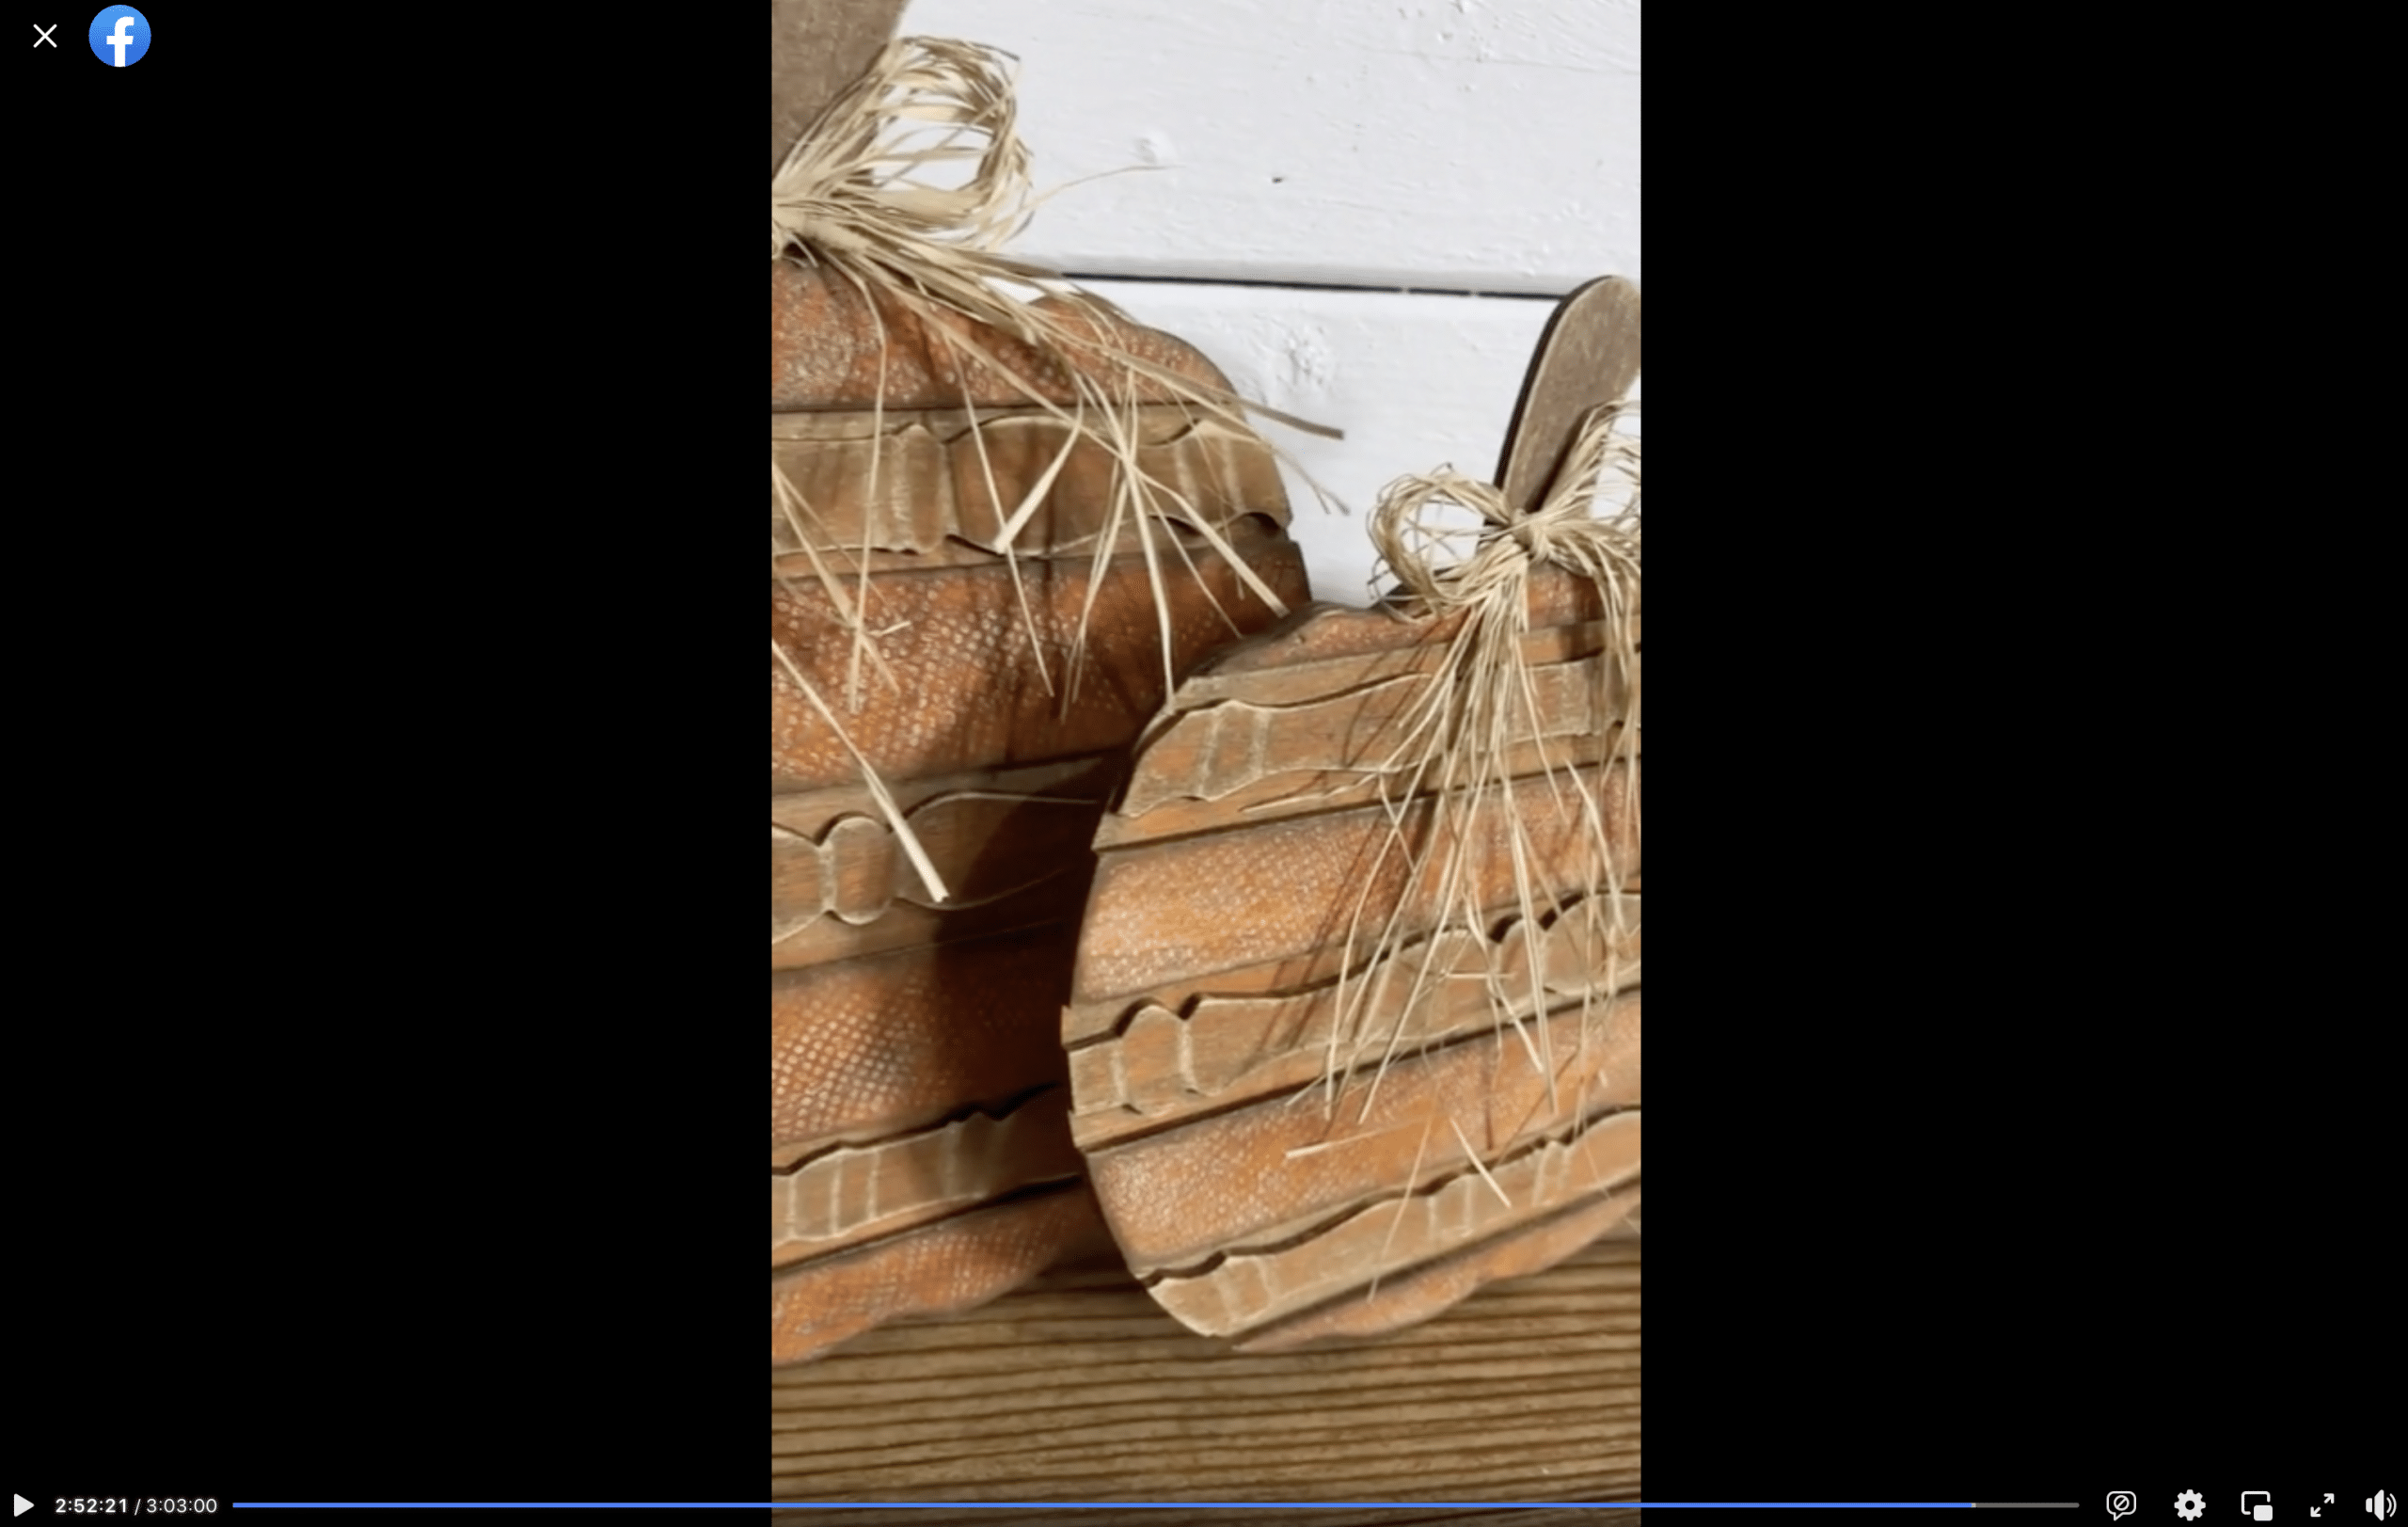
I recorded how to make this adorable Spindle Pumpkin Fall Home Decor during a LIVE video on my Facebook page.
If you want to see the DIY process, craft along, or just join in on the fun conversations you can watch the DIY tutorial replay video on Facebook!
For this project, I will be using these items but you can substitute where you want.
“As an Amazon Associate, I earn from qualifying purchases.”
- Spindle Pumpkin Craft Kit
- White Paint
- DecoArt Spiced Pumpkin
- Apple Barrel Burnt Umber
- Waverly Antique Wax
- Raffia
- Paper Towel
- Sander
- Glue Gun
- Heat gun
You should totally join my FREE Facebook group called On A Budget Crafts! It is a judgment-free community for DIY crafters to show off their projects and ideas.
If you loved this DIY you might also like this DIY Christmas Tree Shelf Decor!
Thanks for stopping by! XOXO Amber
You can also shop my ENTIRE AMAZON Favorites shop just click here! It’s packed full of all the things I use and love.
Here is the supply list I highly recommend every creative have on hand!! Would you also pin my blog for later and get on my newsletter alerts? I would love to have you join my #craftycrew.

Join my free “ON A BUDGET CRAFTS” Facebook group!