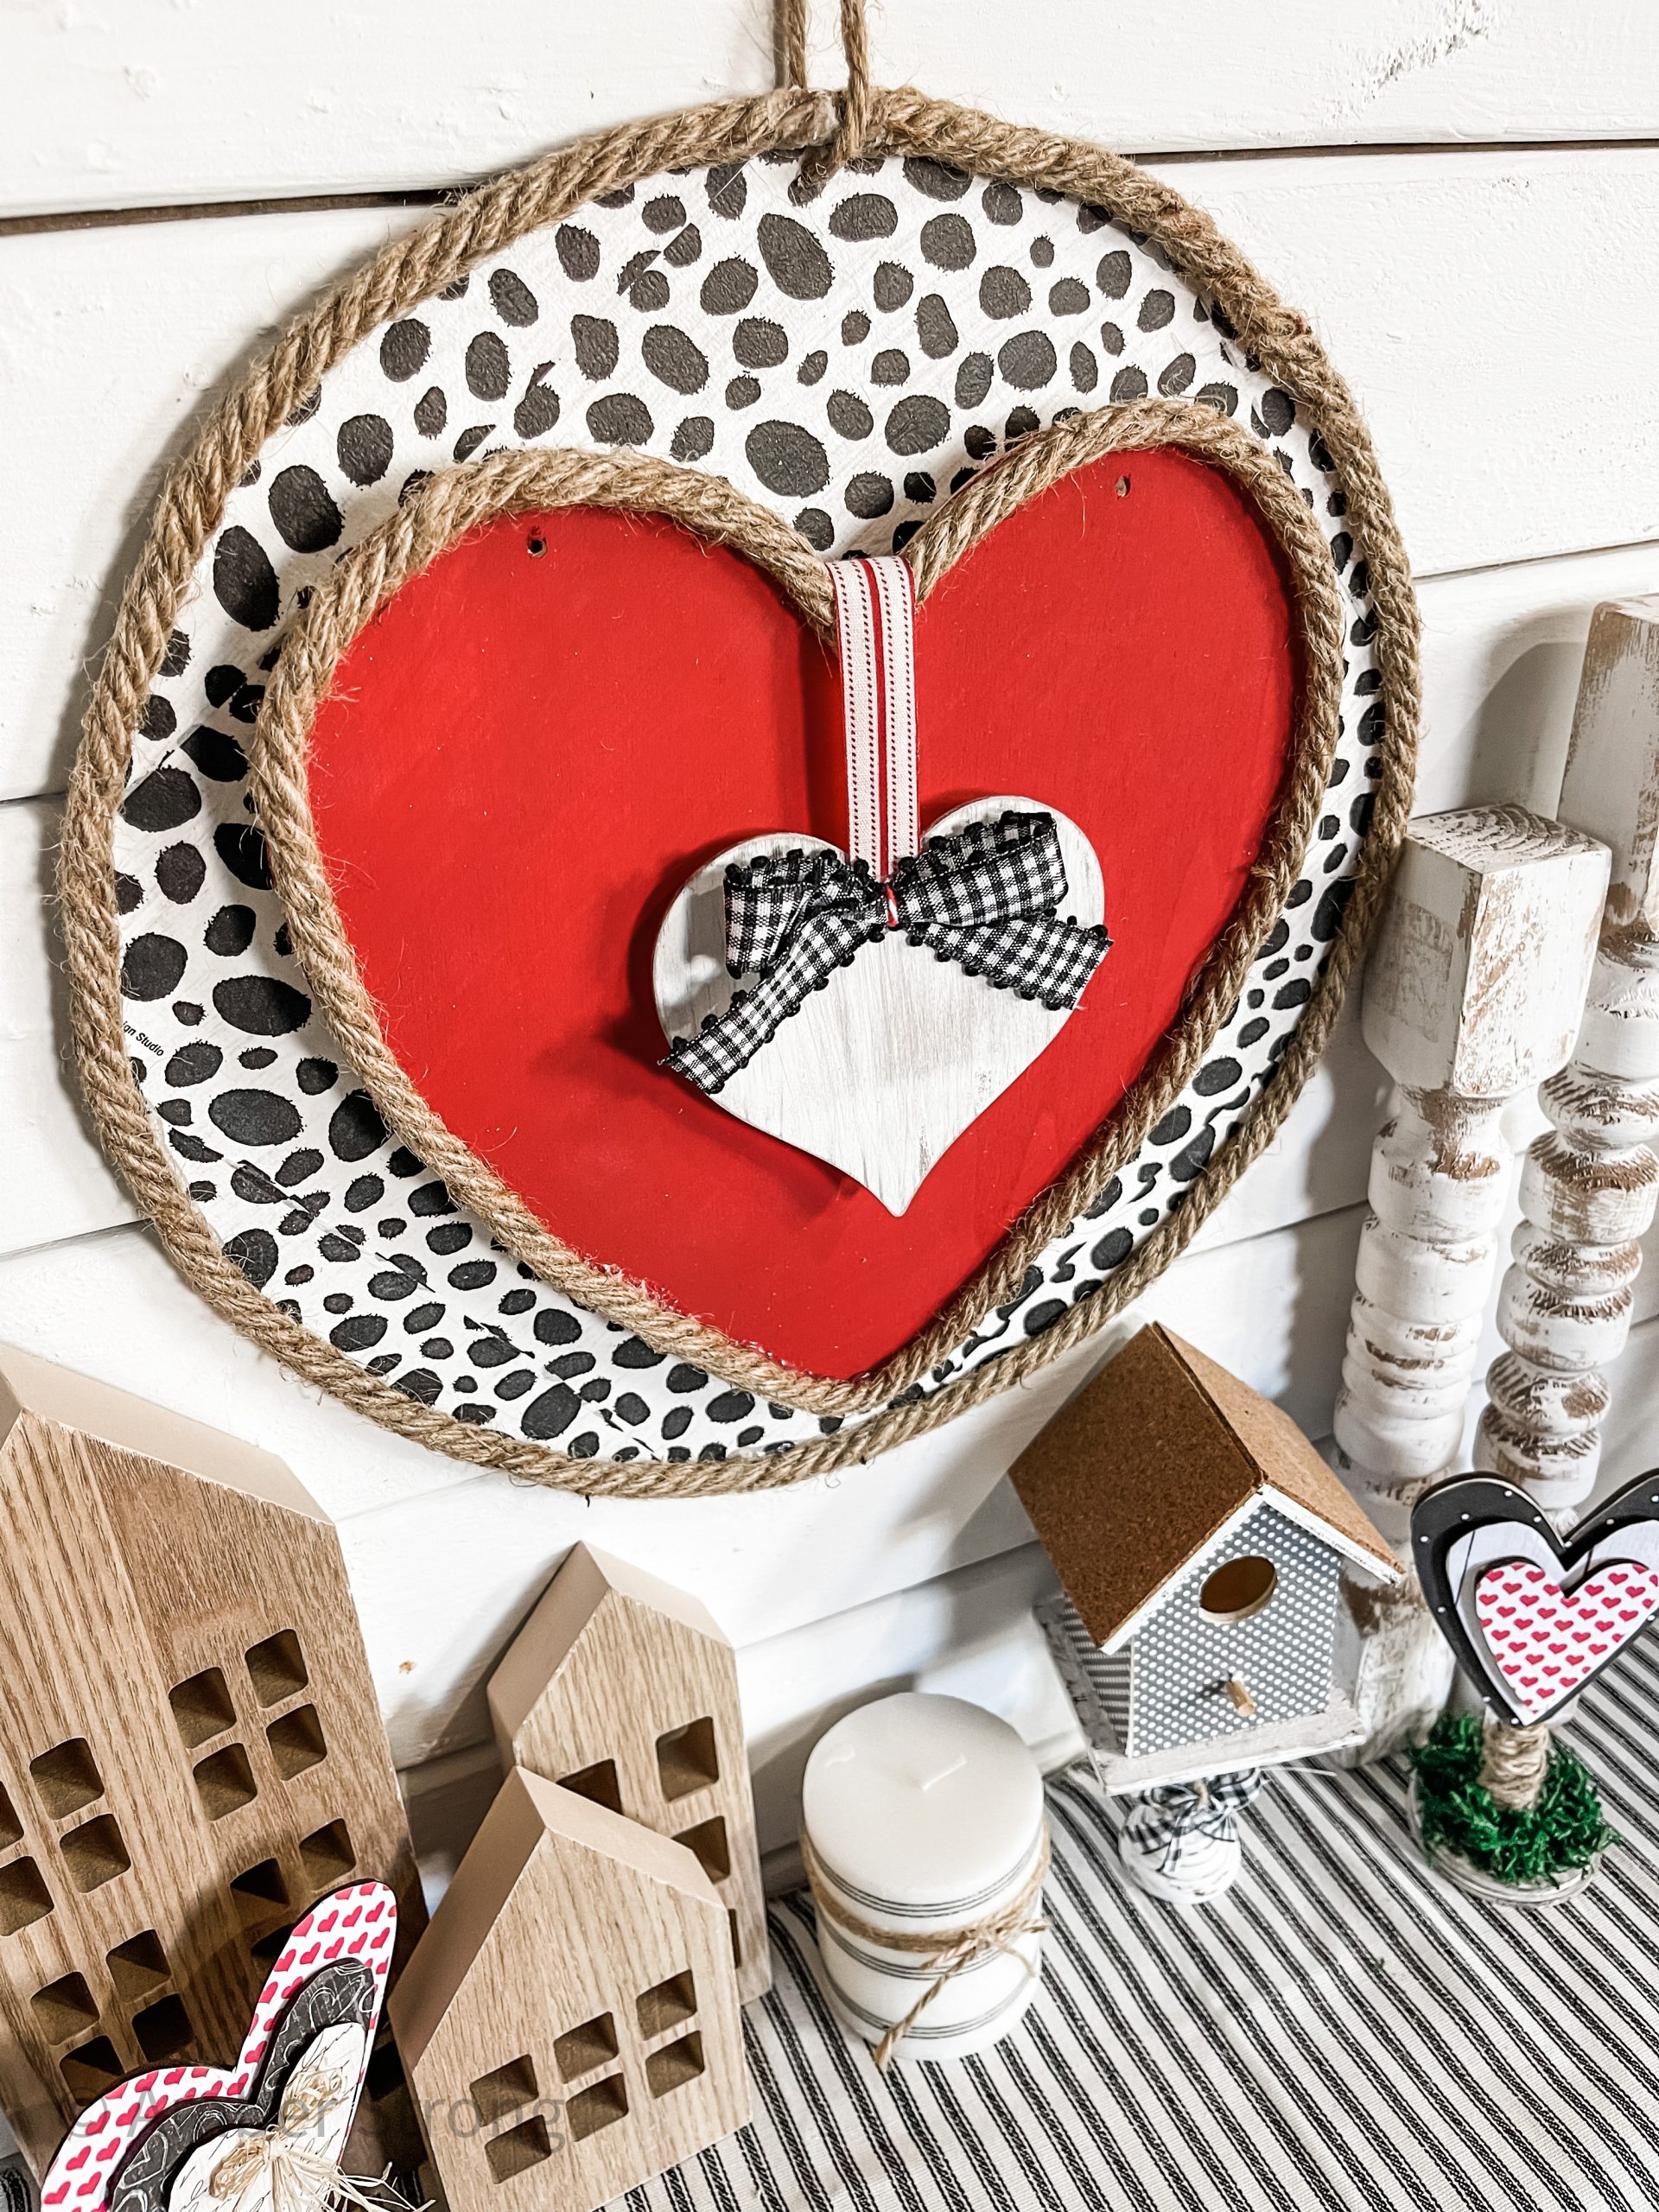
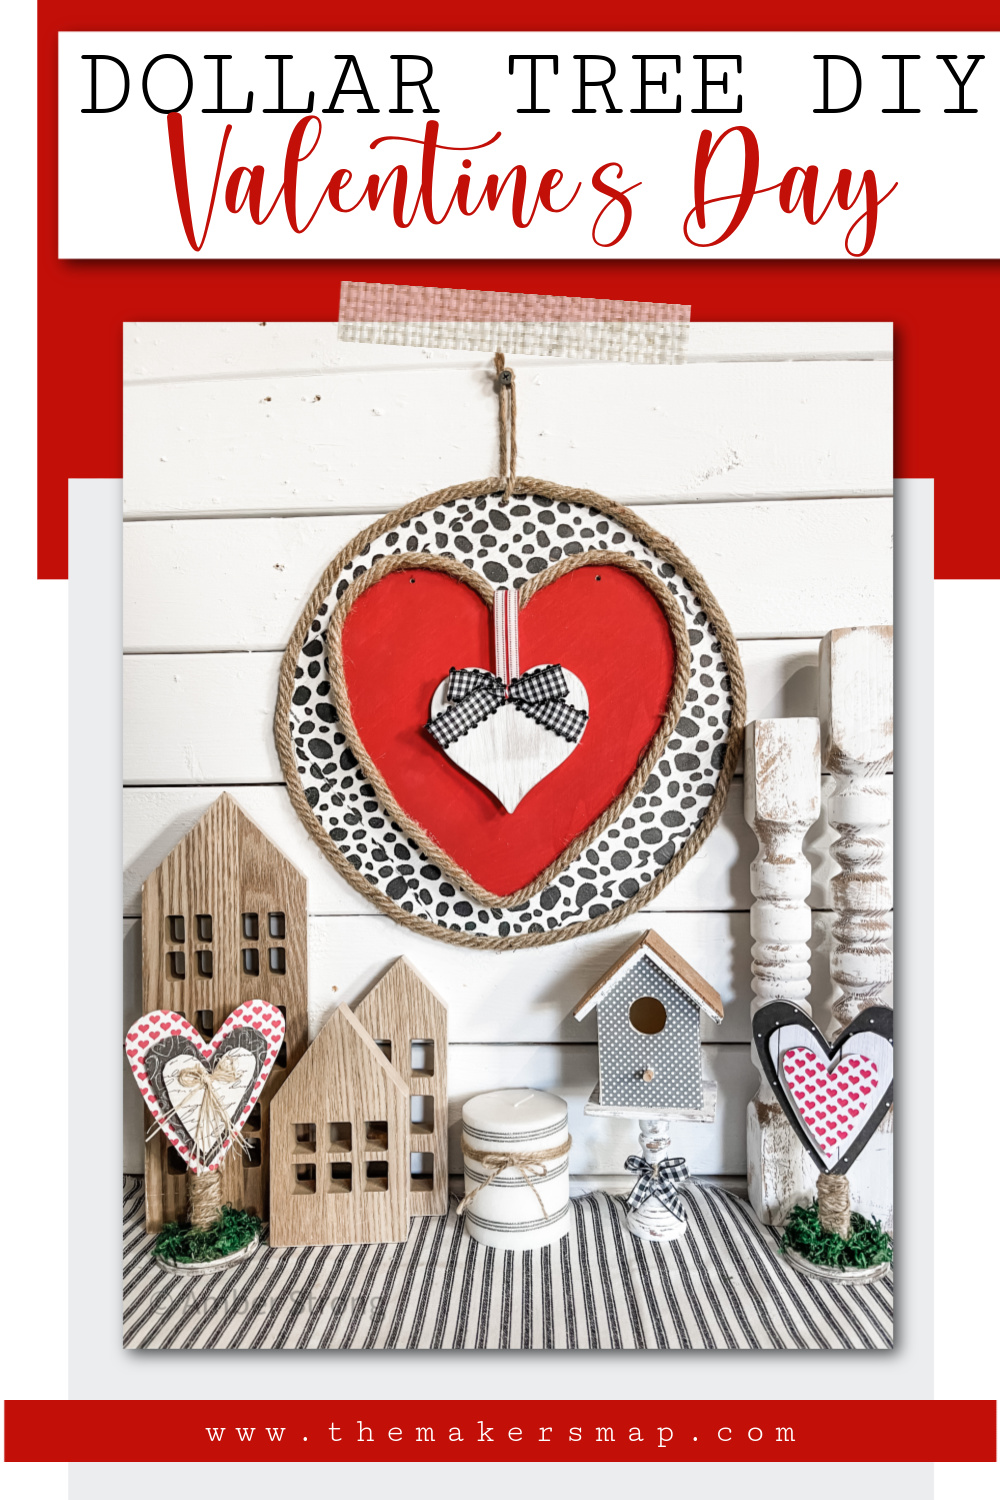
DIY Round Valentine’s Day Hanging Sign
I’m so excited to share this DIY Round Valentine’s Day Hanging Sign with you because I honestly feel like it is different than most Valentine’s Day decor crafts.
You see a lot of red, black, white, and pink in Valentine’s Day decor, so the color scheme isn’t what makes it different. To me, it’s the pattern!
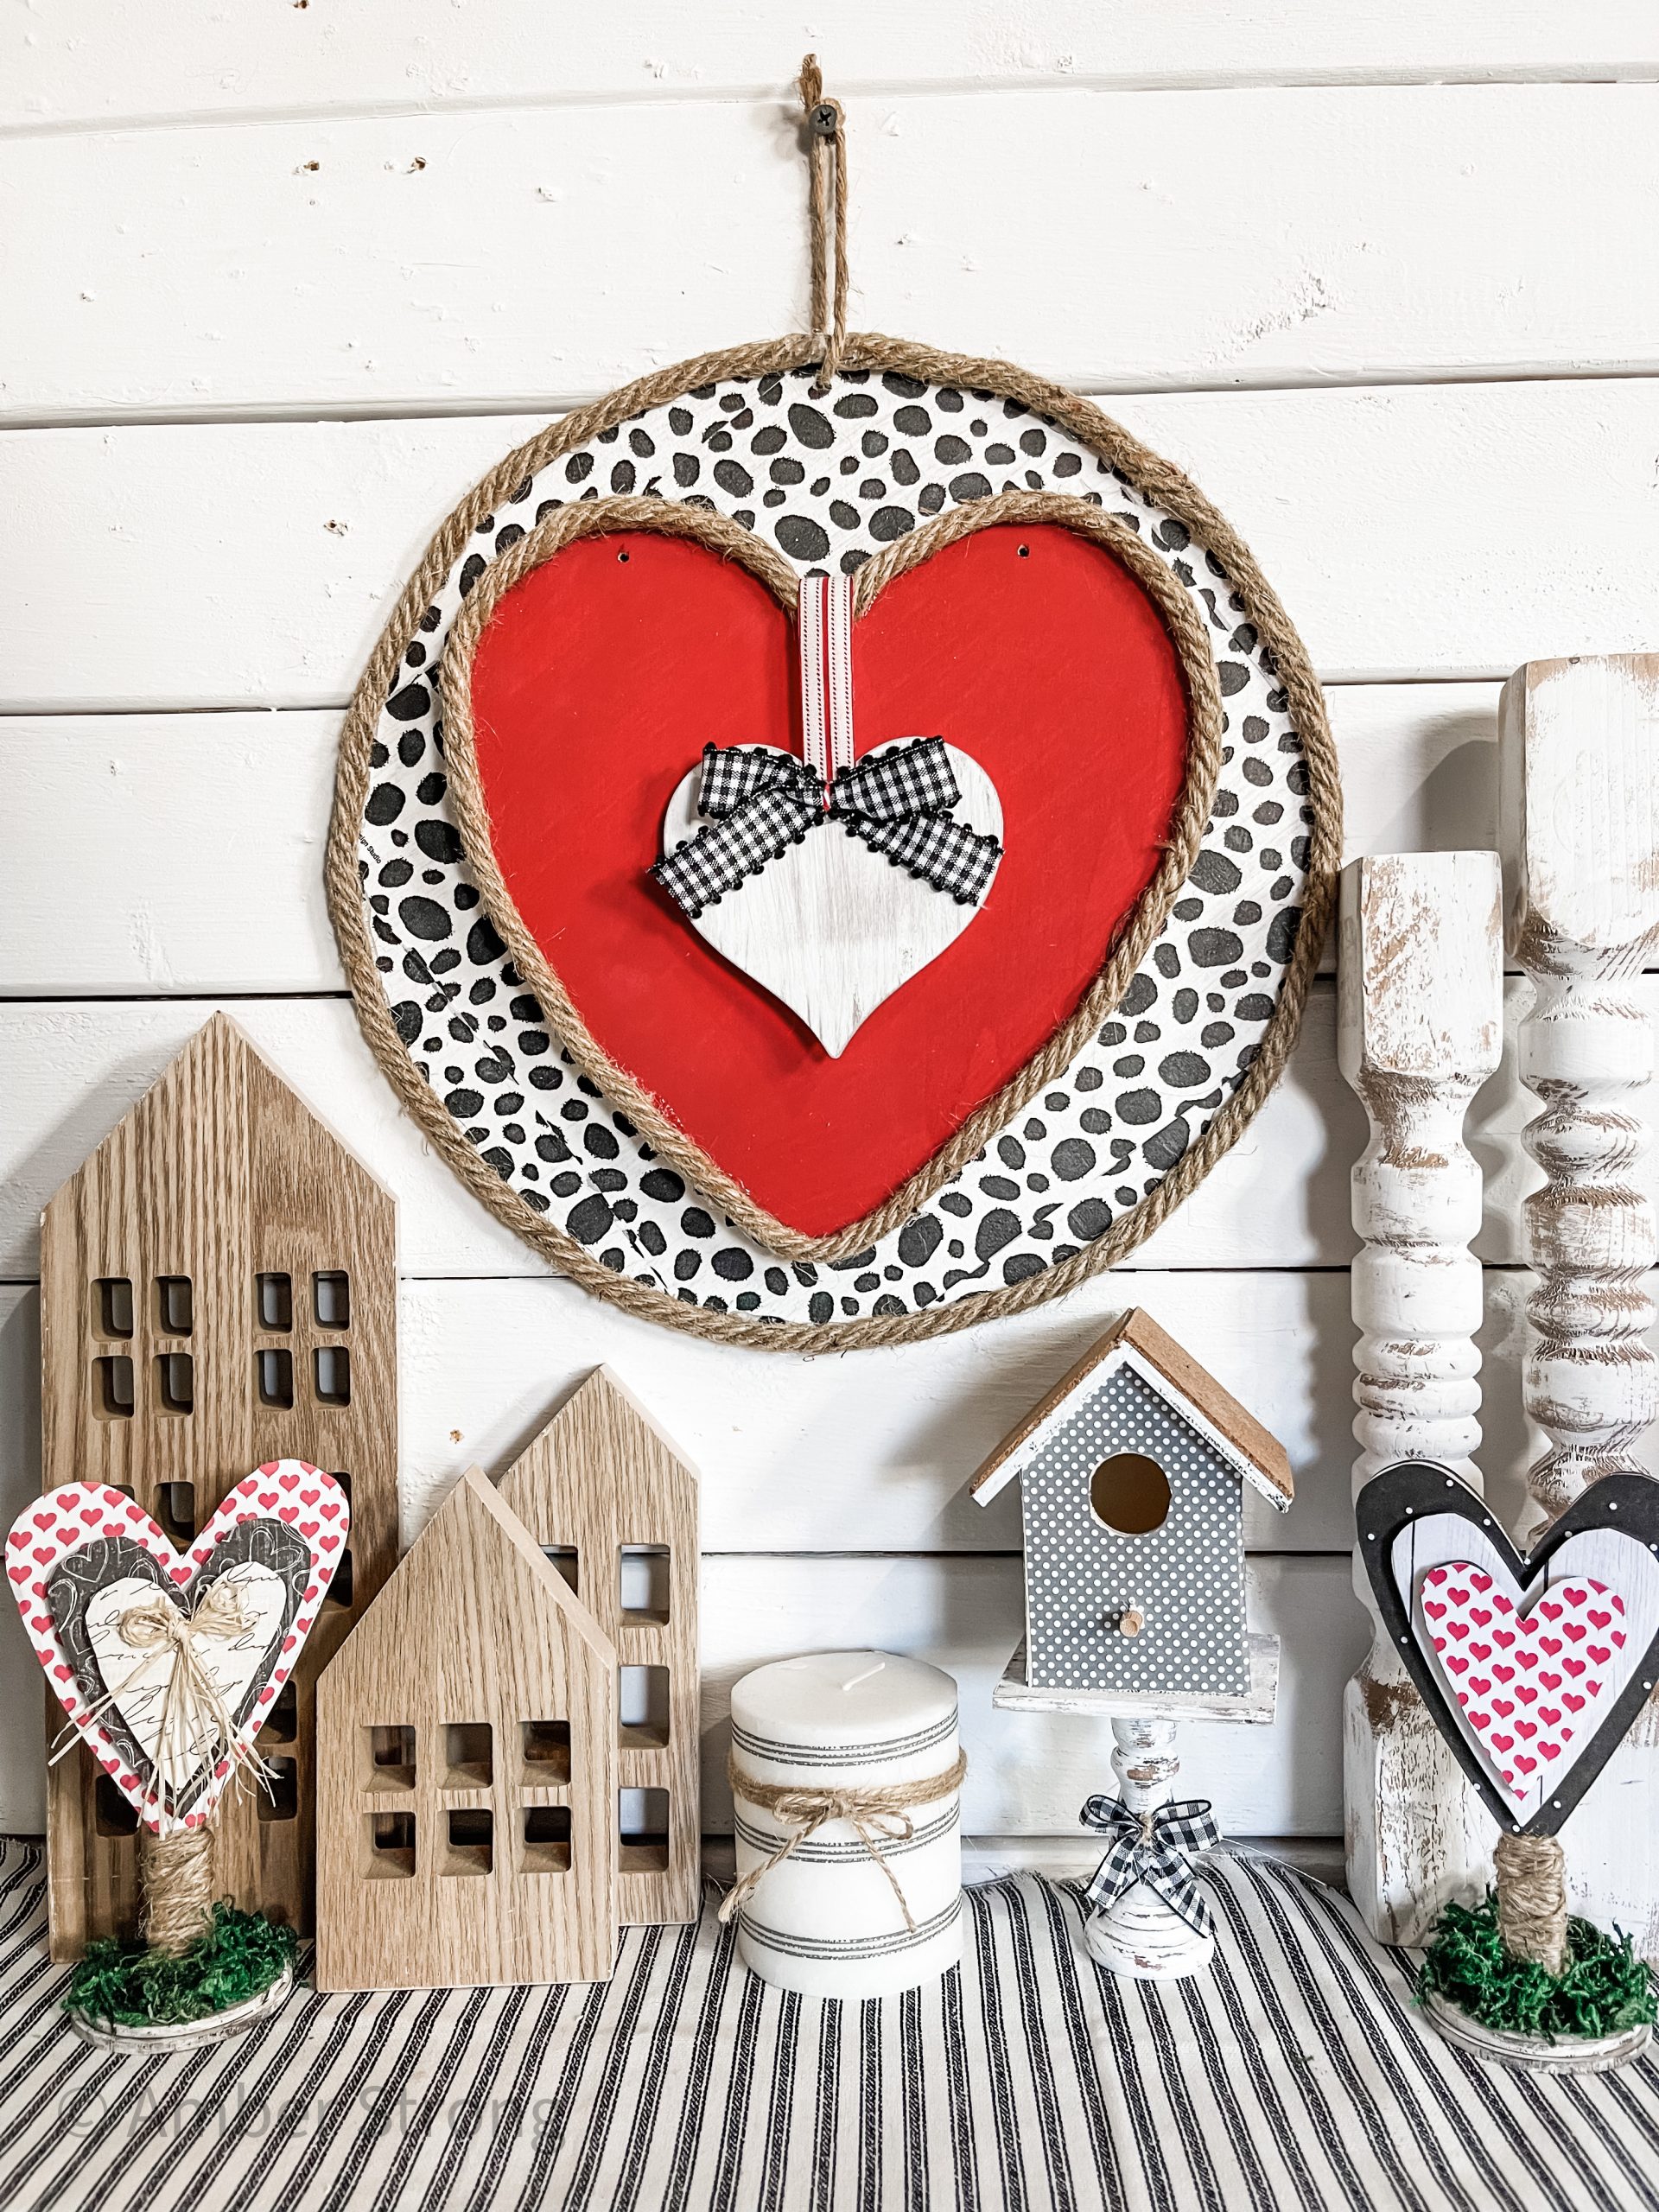
You typically see a bunch of glitter and hearts, but how often do you see such a bold pattern on Valentine’s Day decor??
More home decor inspiration
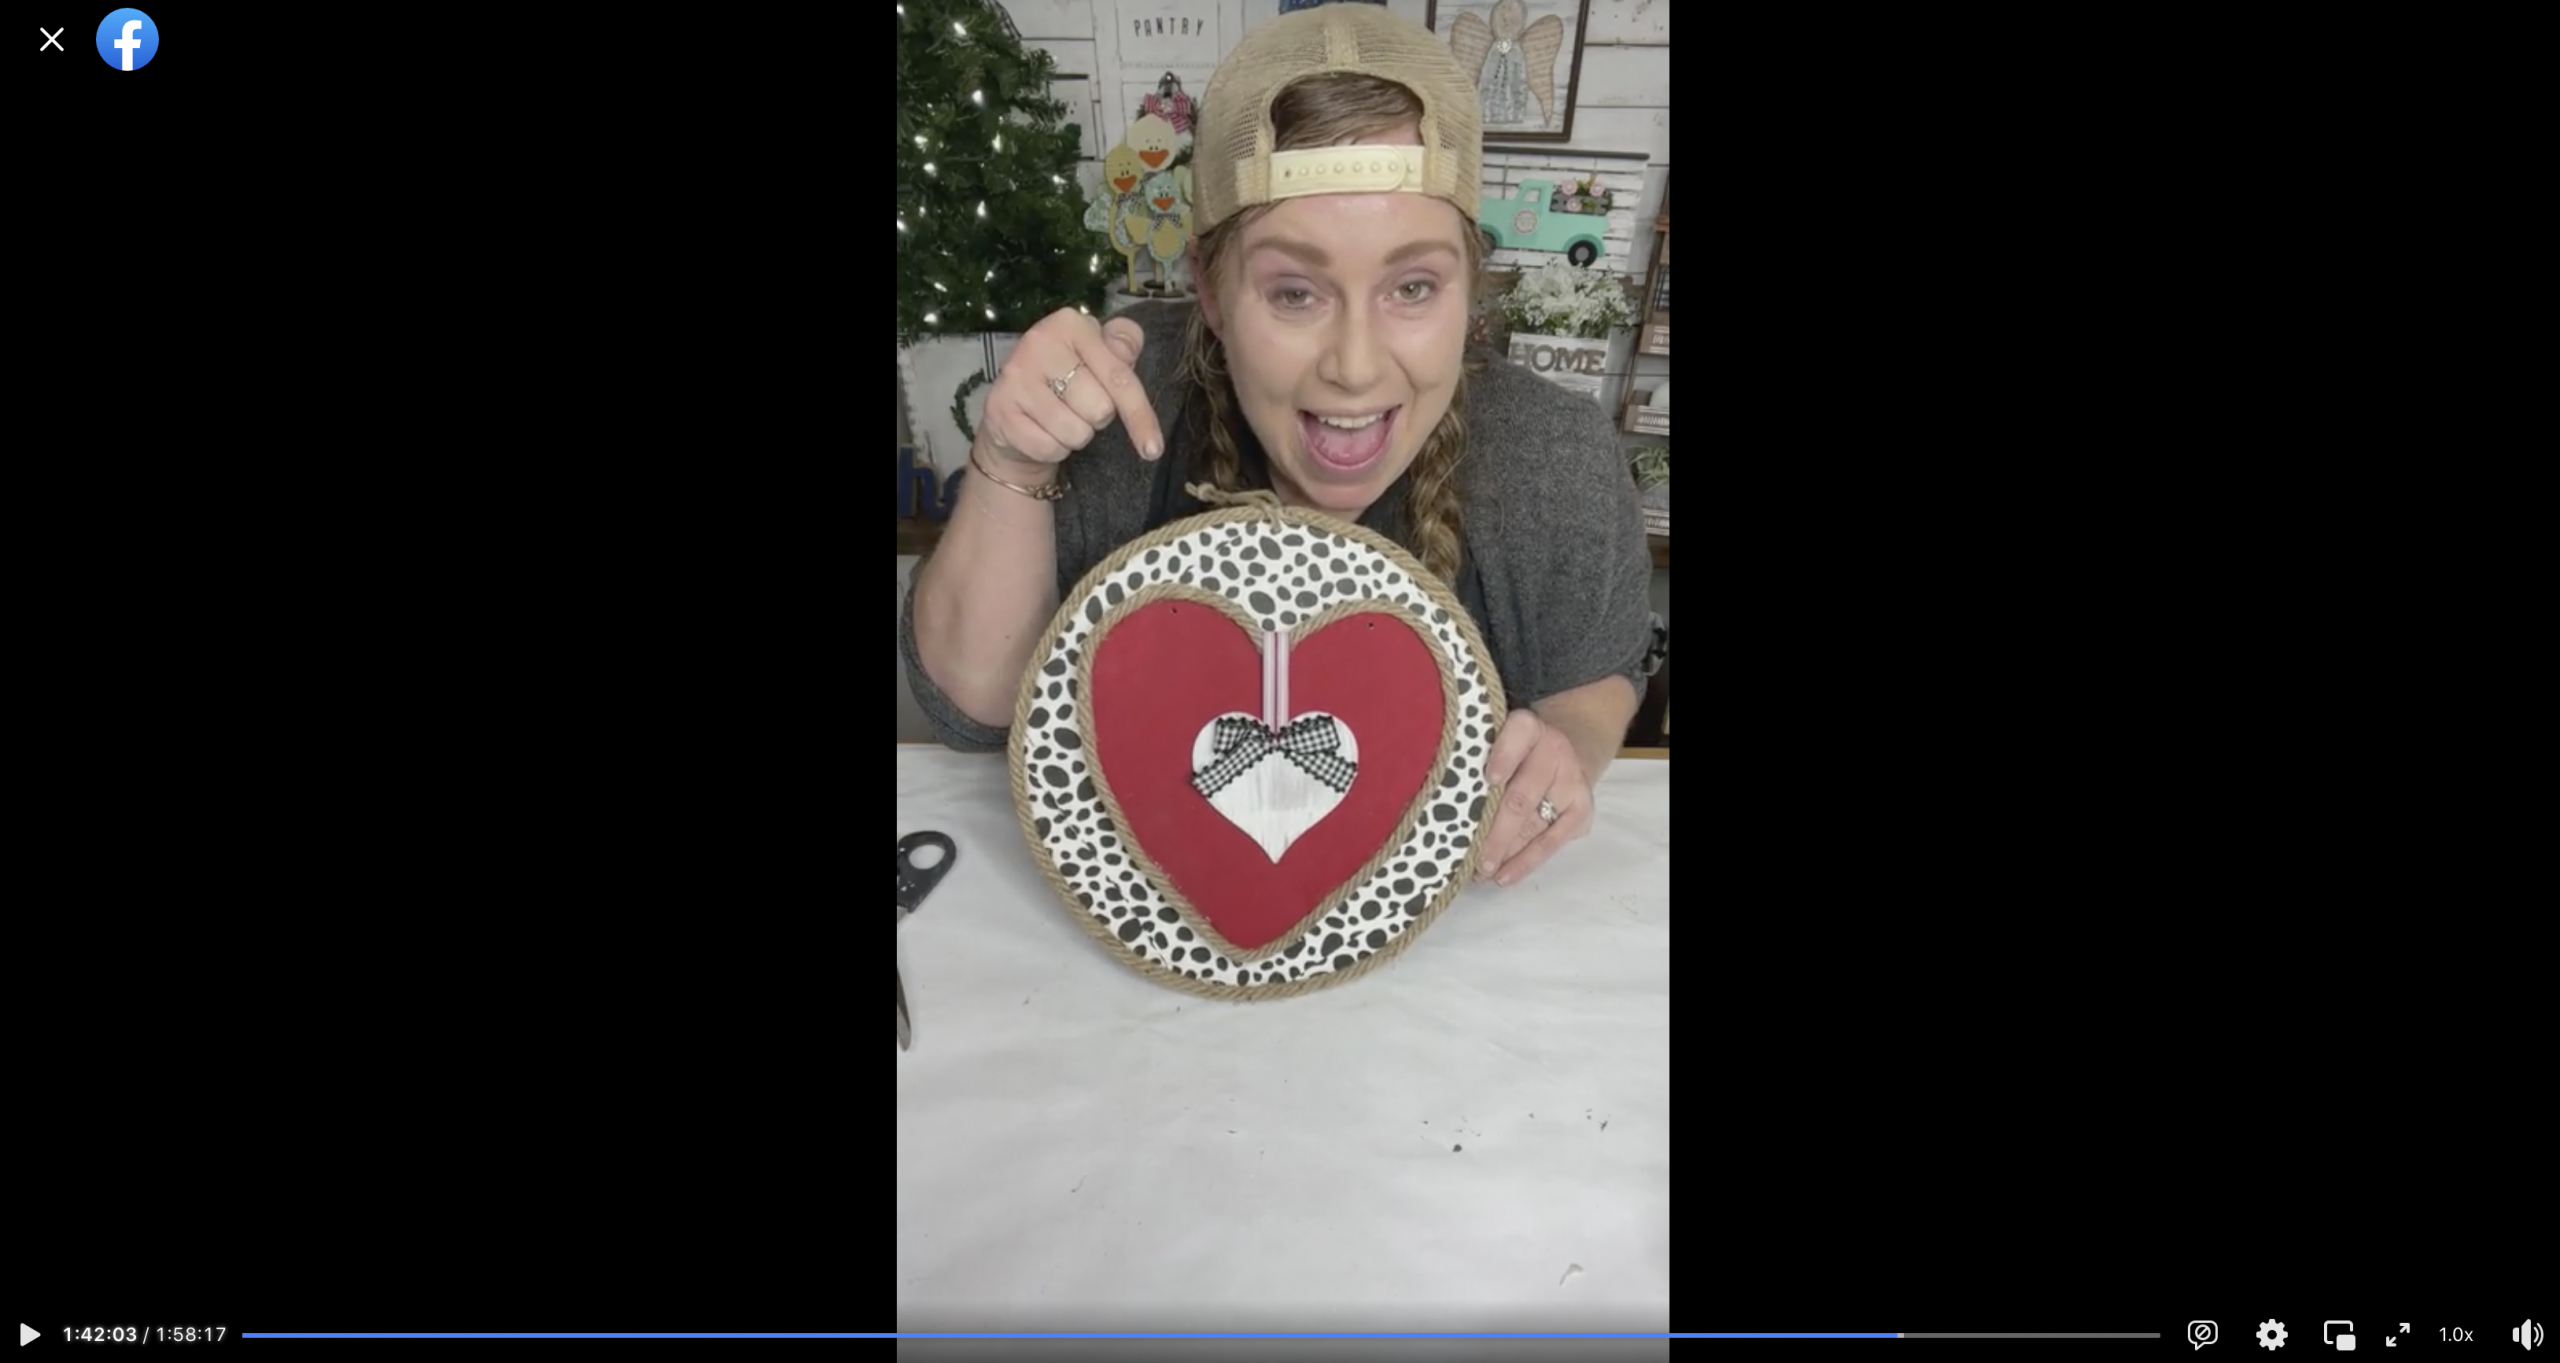
Watch the DIY tutorial
I shared how to make this adorable DIY Round Valentine’s Day Hanging Sign during a LIVE video on my Facebook page.
If you want to see the DIY process, craft along, or just join in on the fun conversations, you can watch the DIY tutorial video on Facebook!
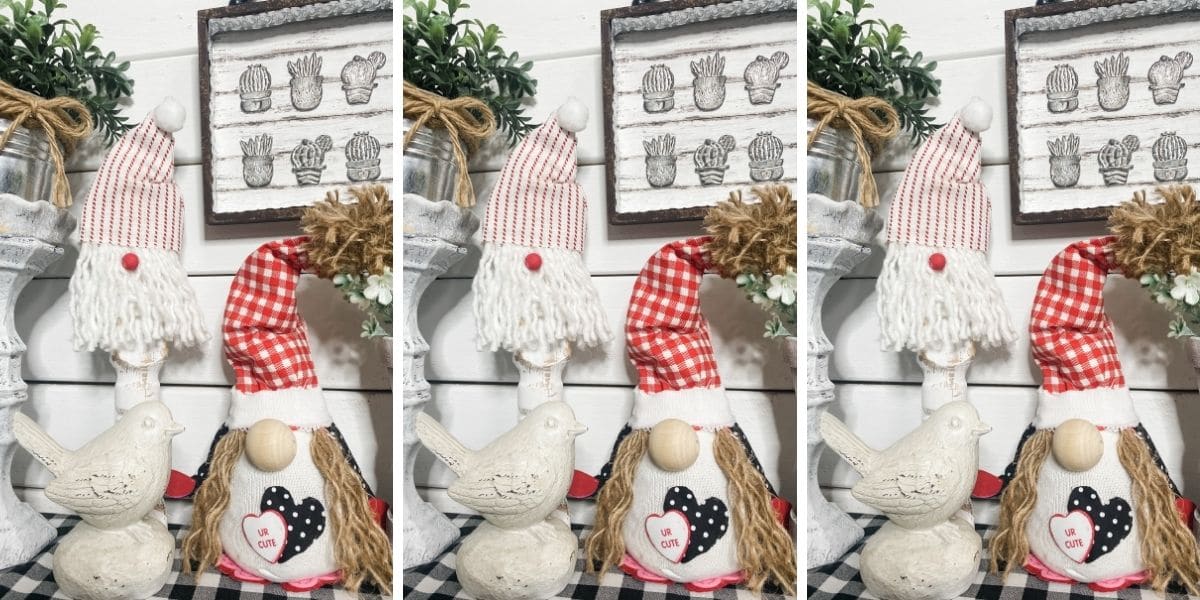
If you’re looking for more DIY Valentine’s Day decor ideas, you should check out my adorable standing hearts craft kit!
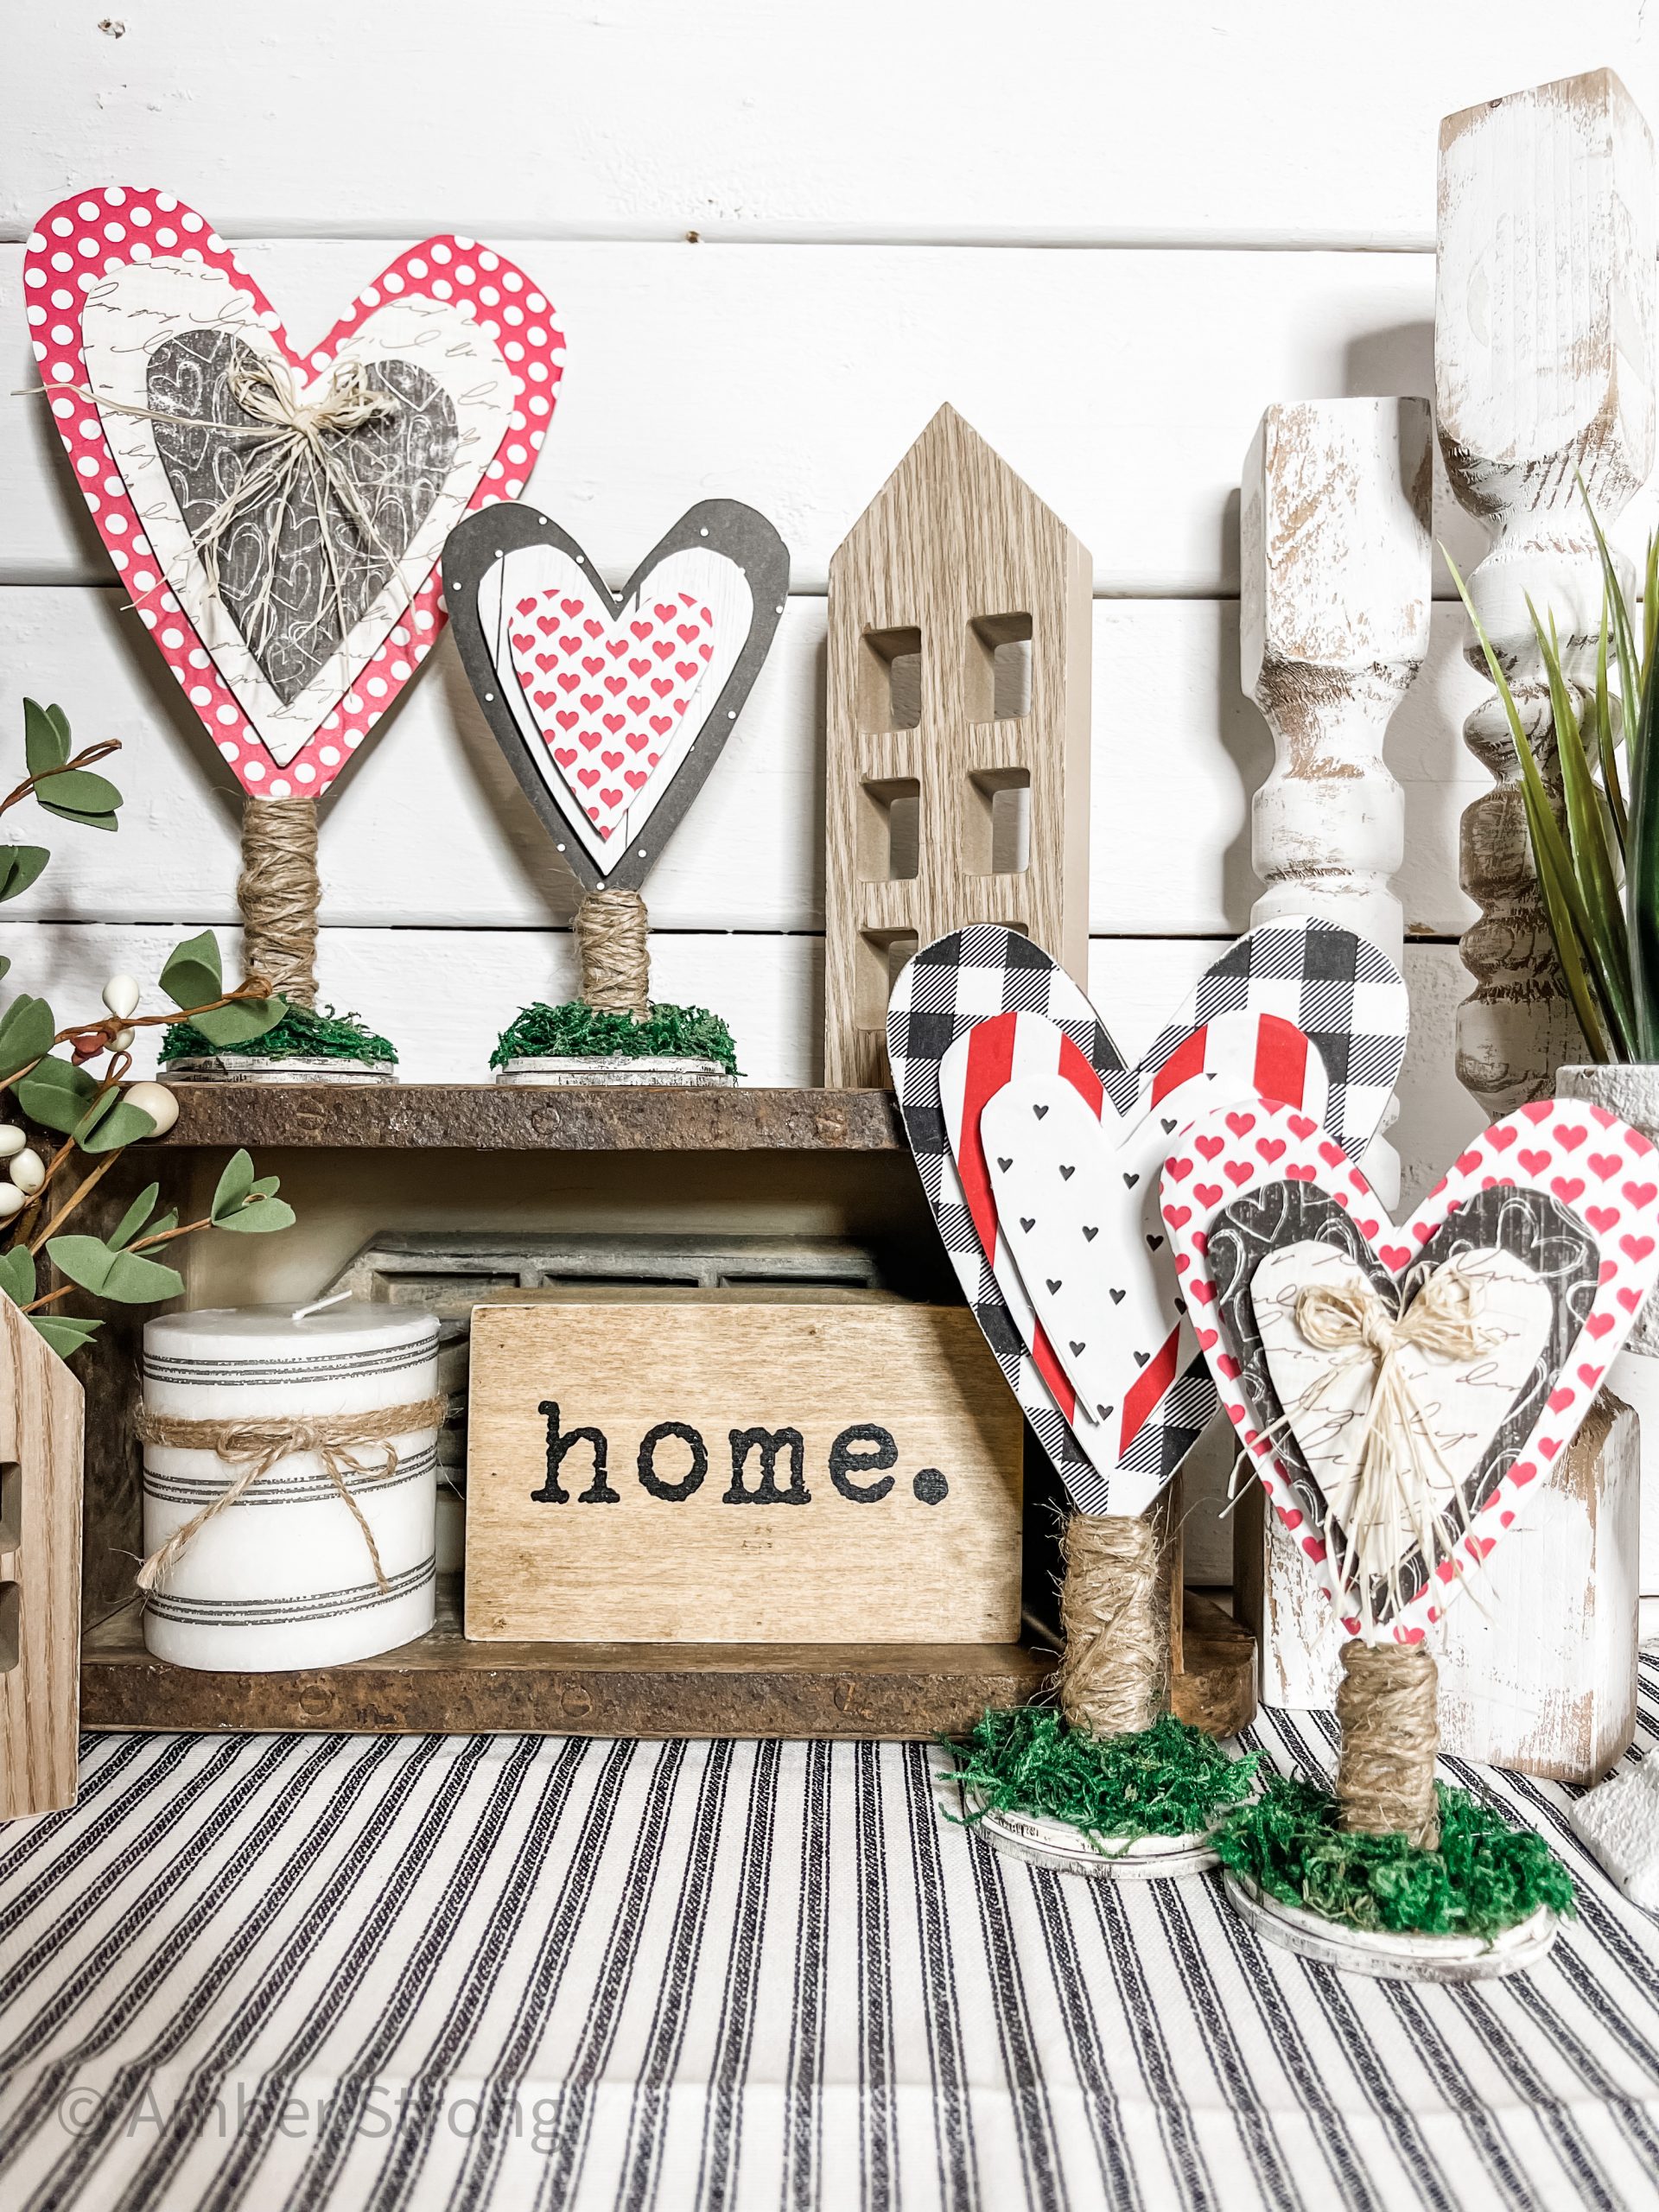
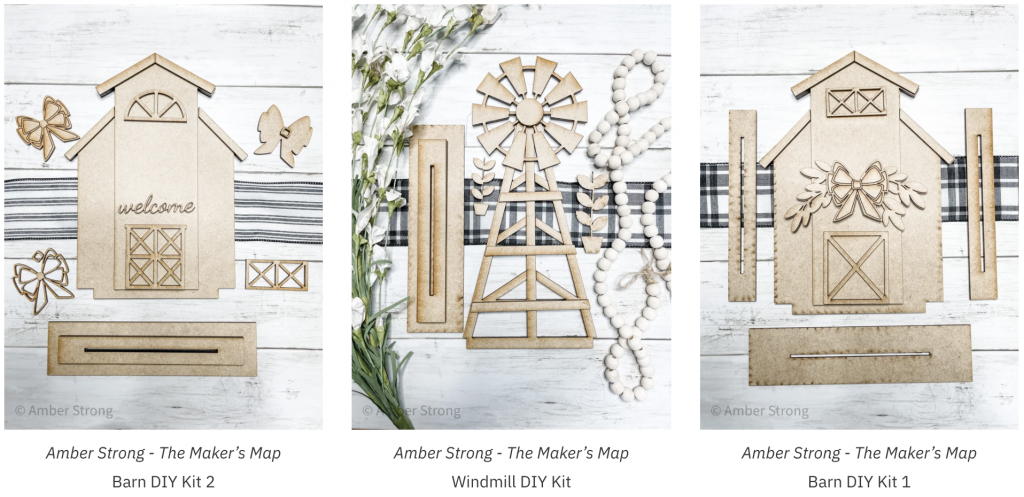
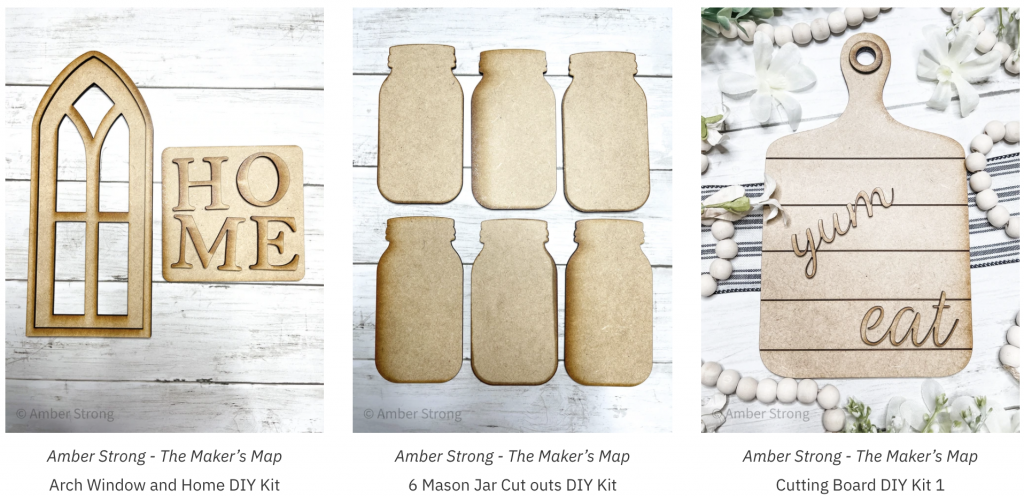
If you love these cute little standing hearts, you have to check out my other DIY kits!
Also, check out the napkin bundles available! These are great for DIY’ing with! You can decoupage them onto practically any surface and create unique, one-of-a-kind home decor!
For this project, I will be using these items but you can substitute where you want.
“As an Amazon Associate, I earn from qualifying purchases.”
I want to say, before you read this list, if you can’t find the hearts or the circle sign at your Dollar Tree, you can use cardboard instead!
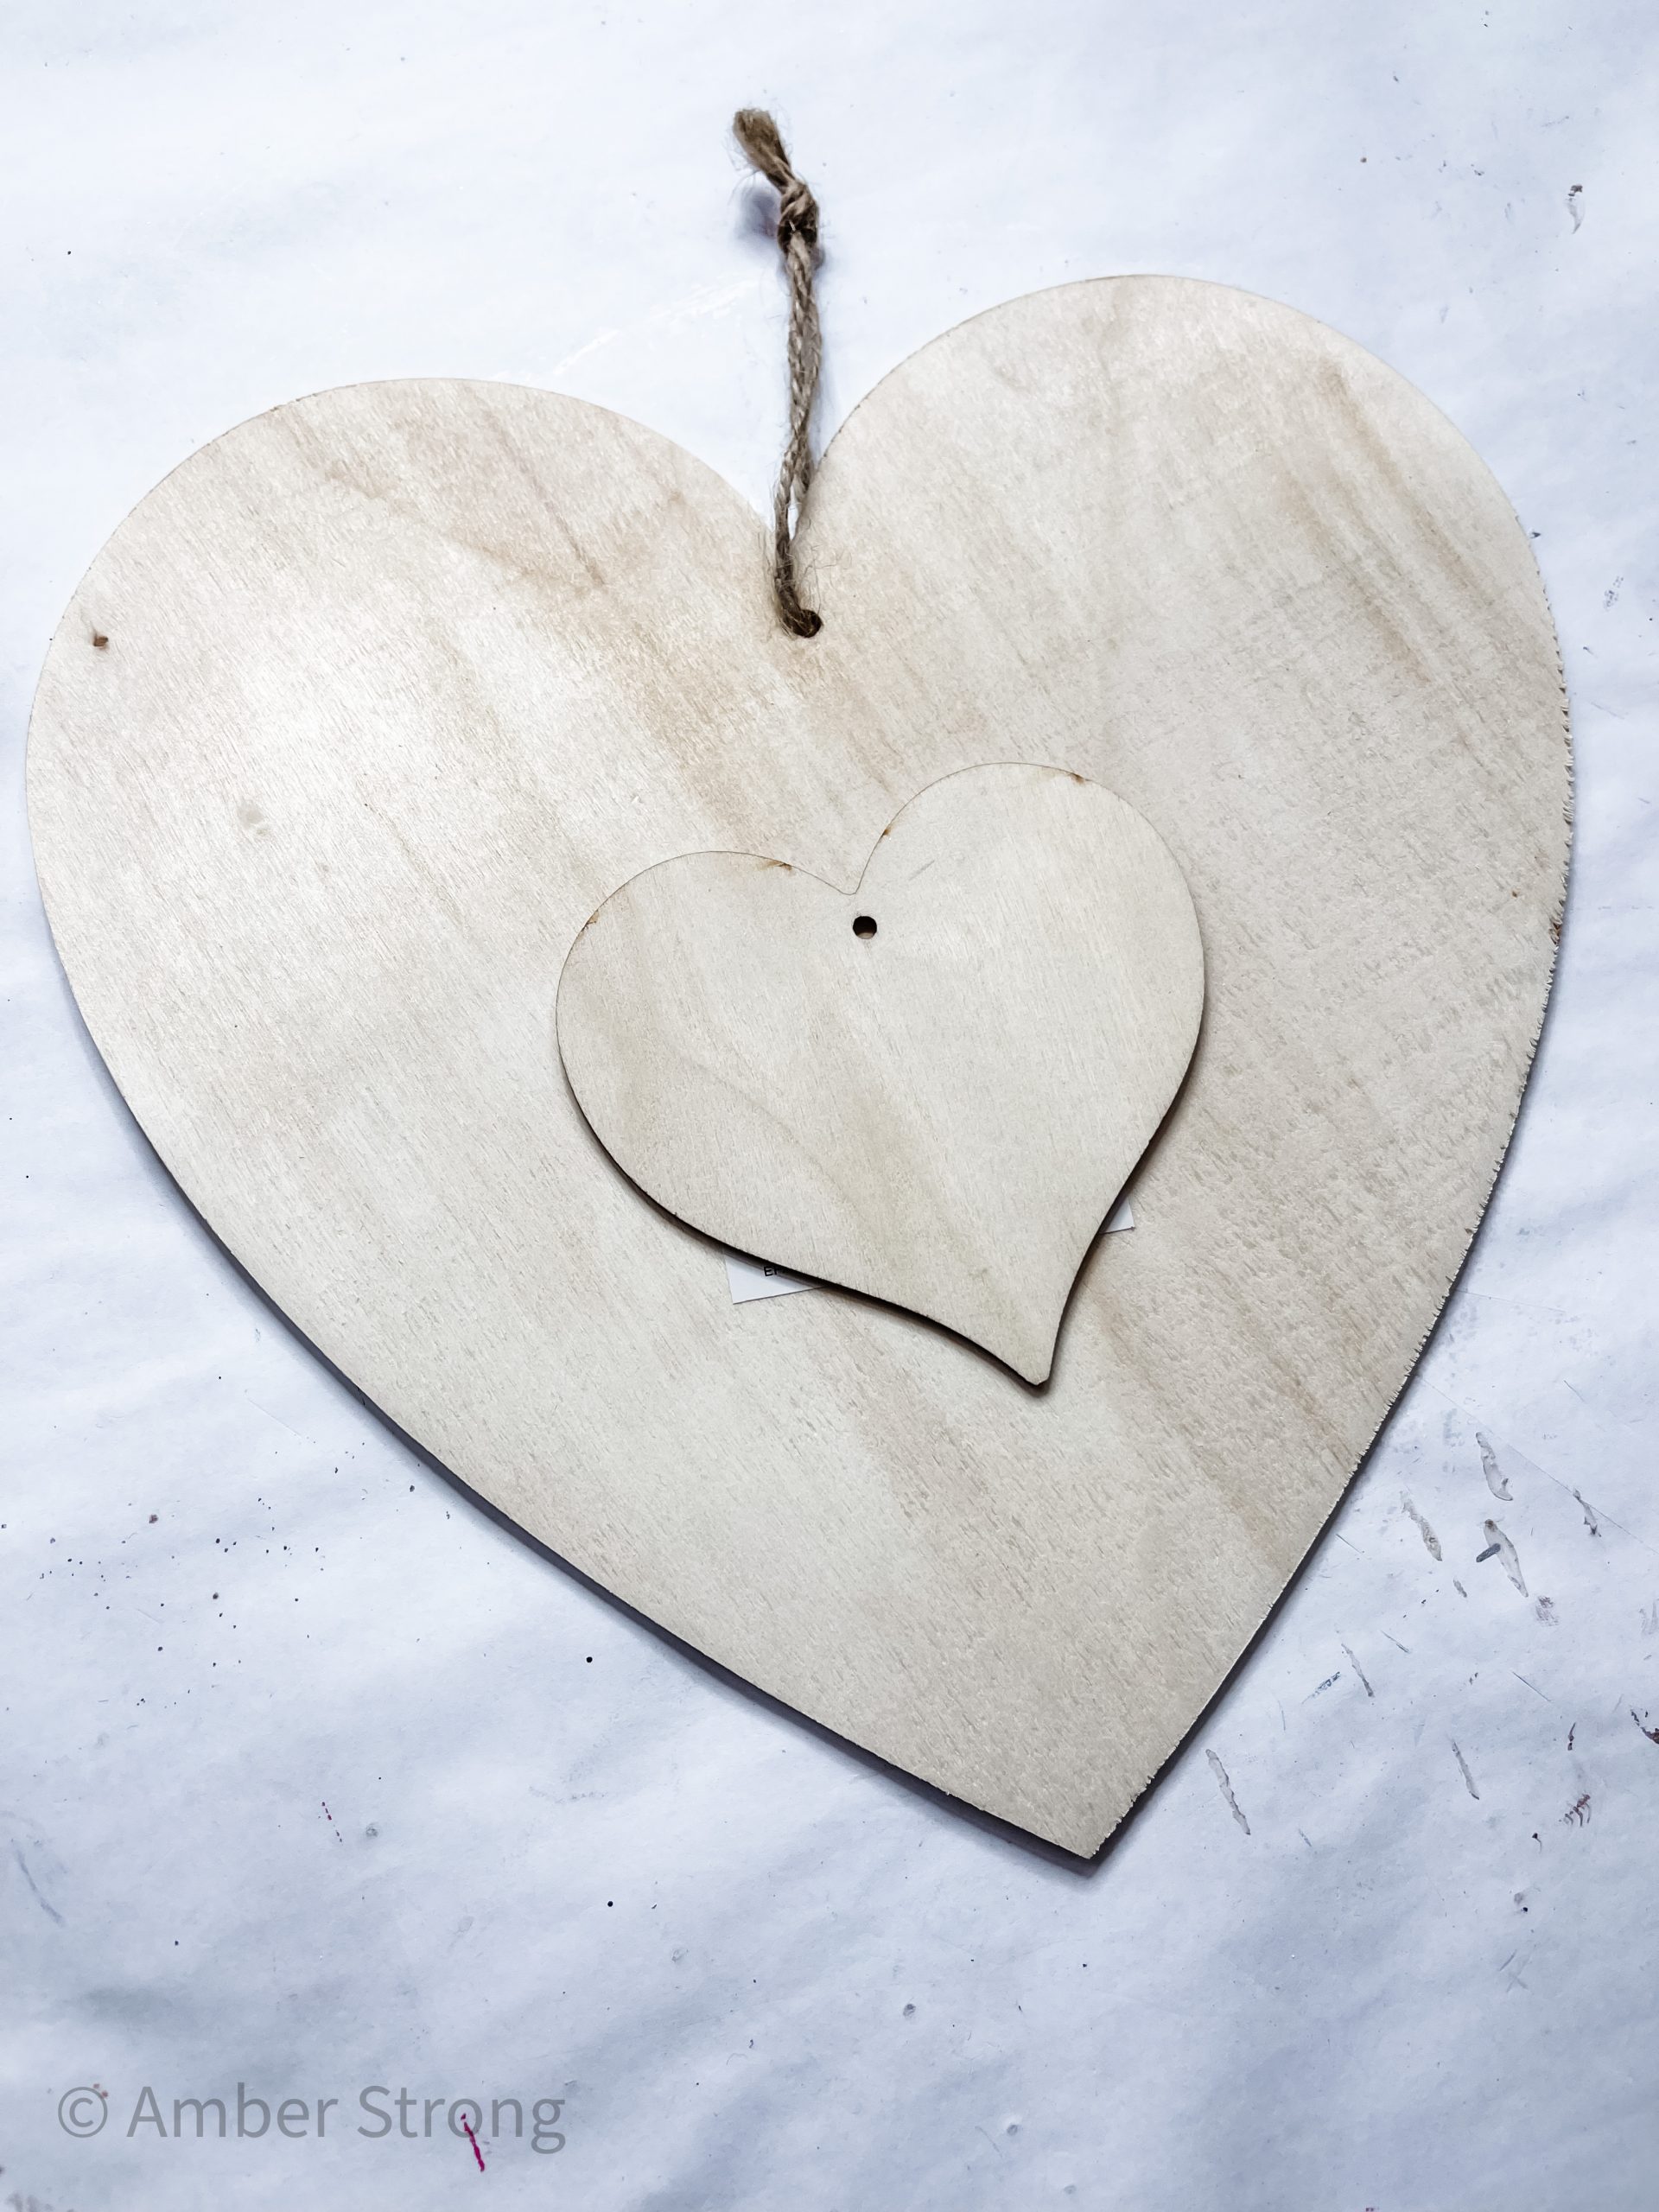
- Dollar Tree Large wooden heart
- Dollar Tree Small wooden heart tag
- Cowprint Napkin
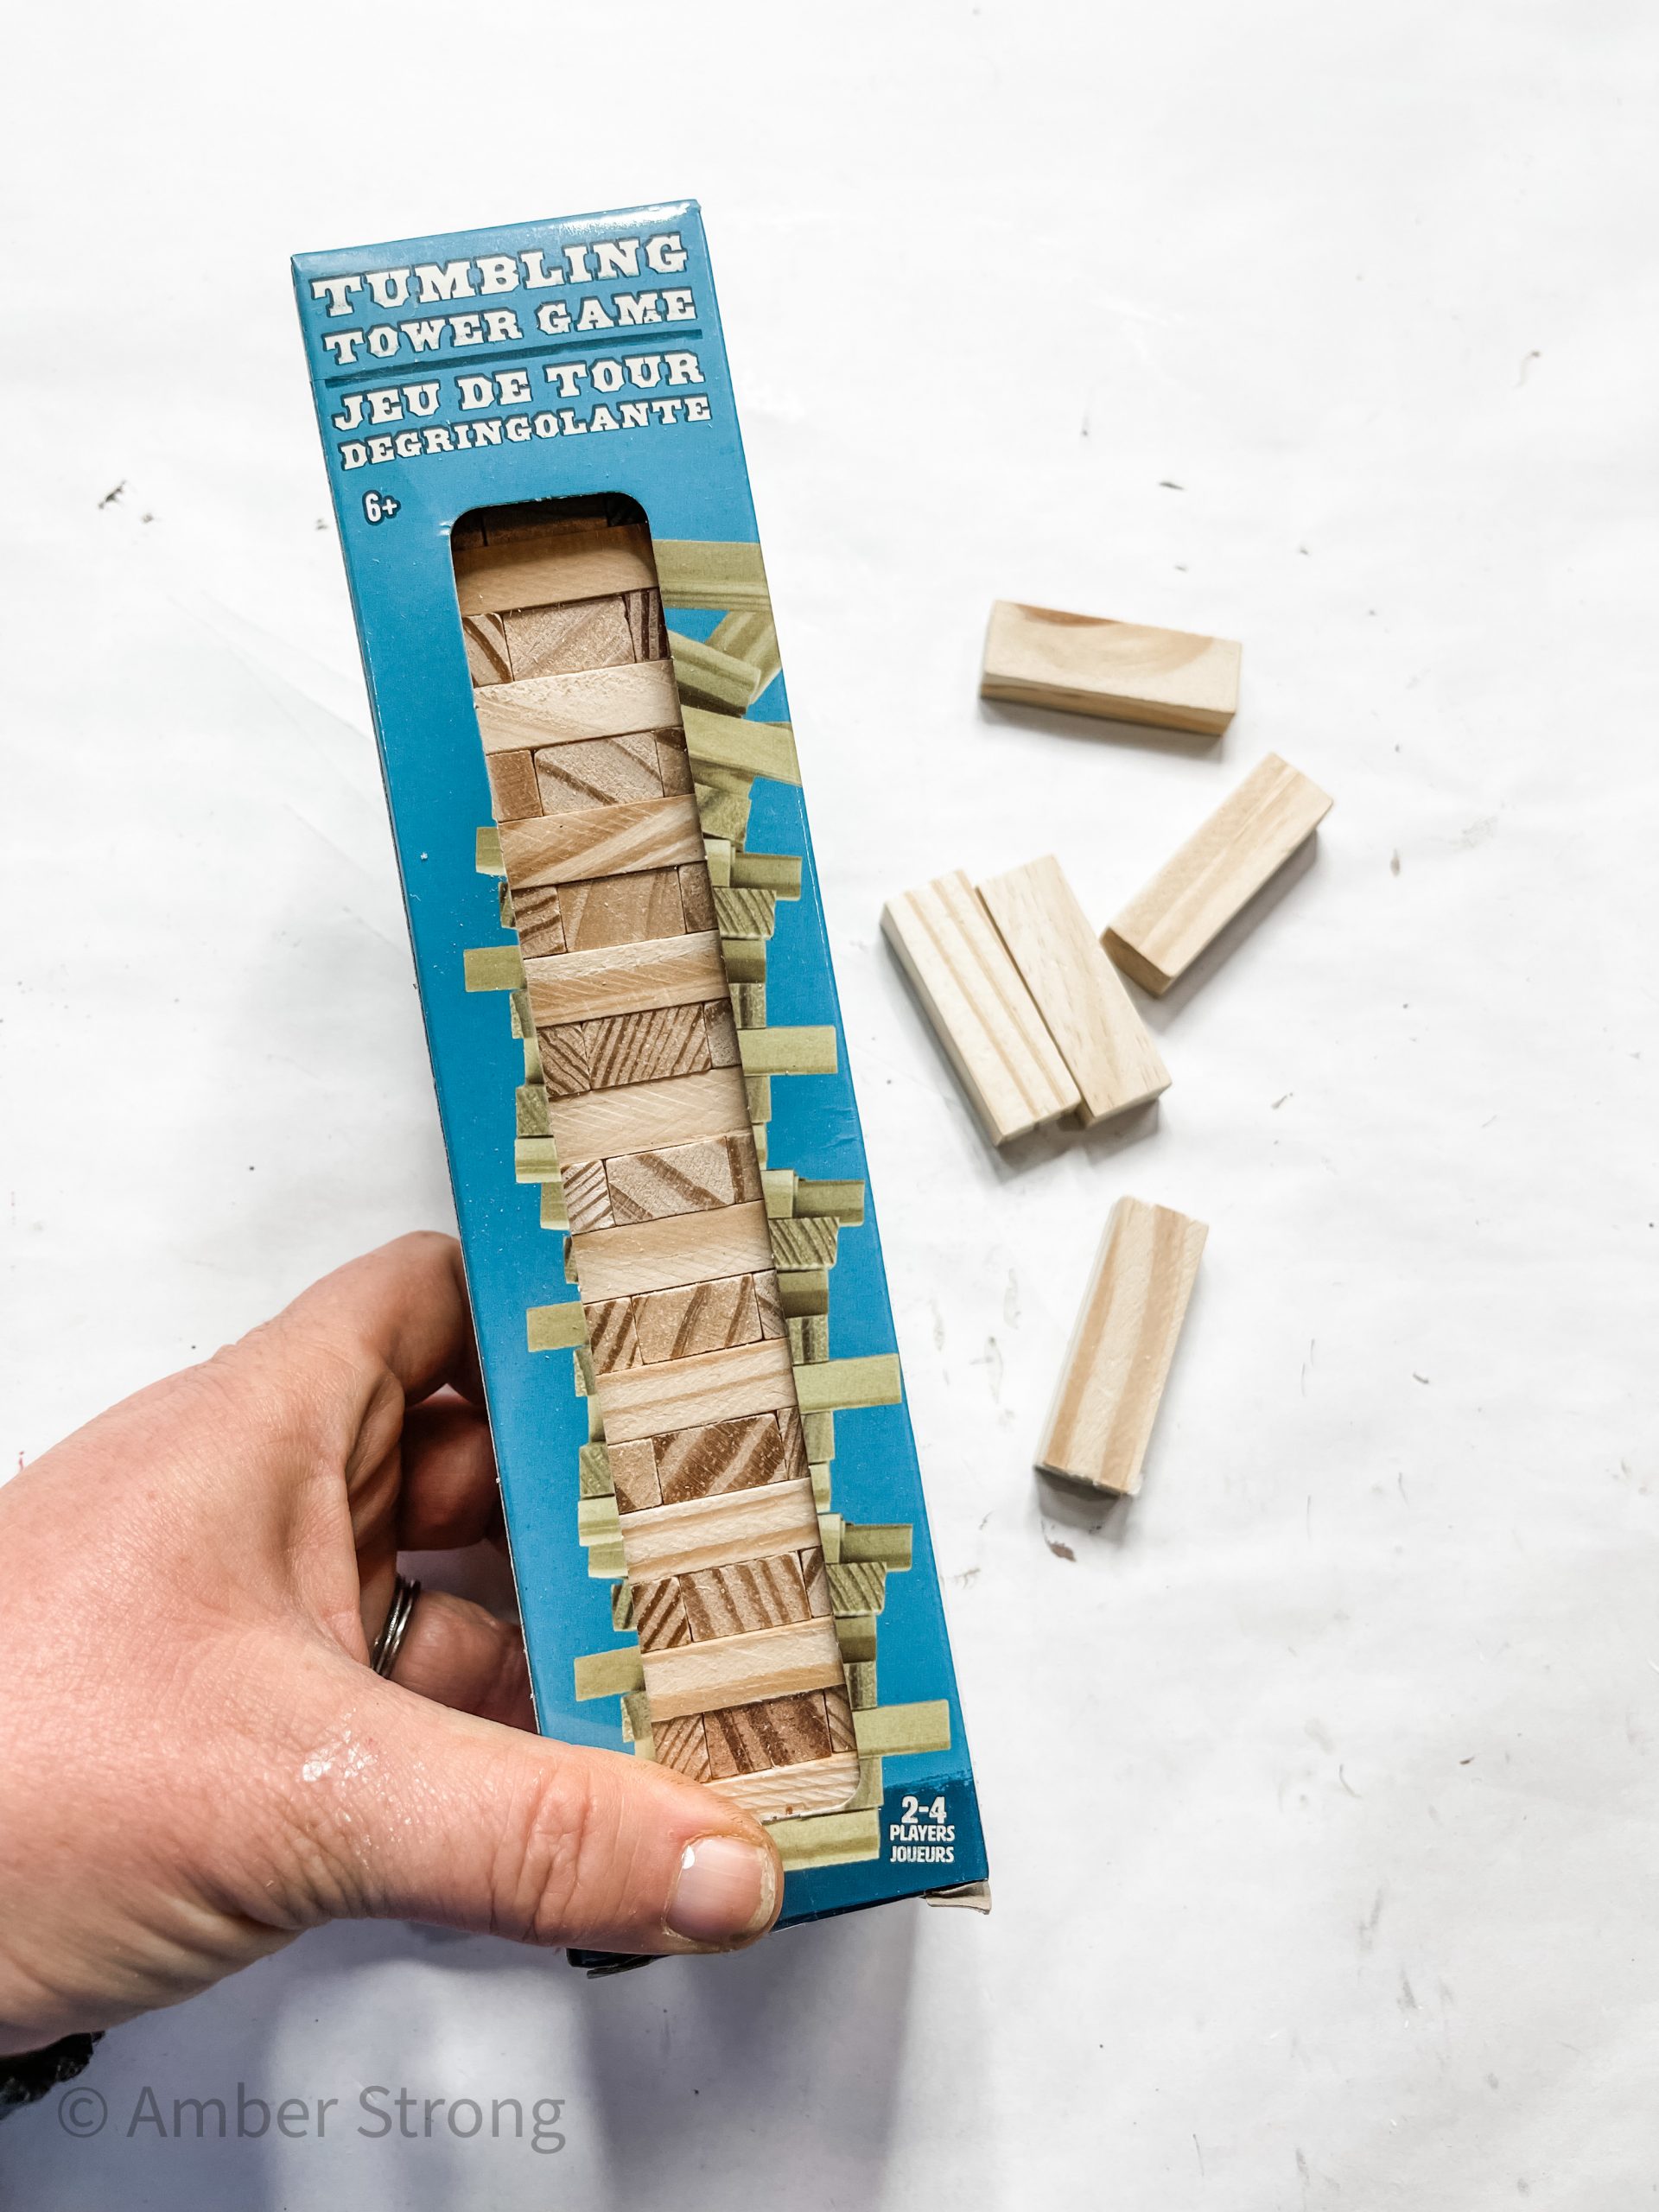
- Dollar Tree Tumbling Tower Blocks
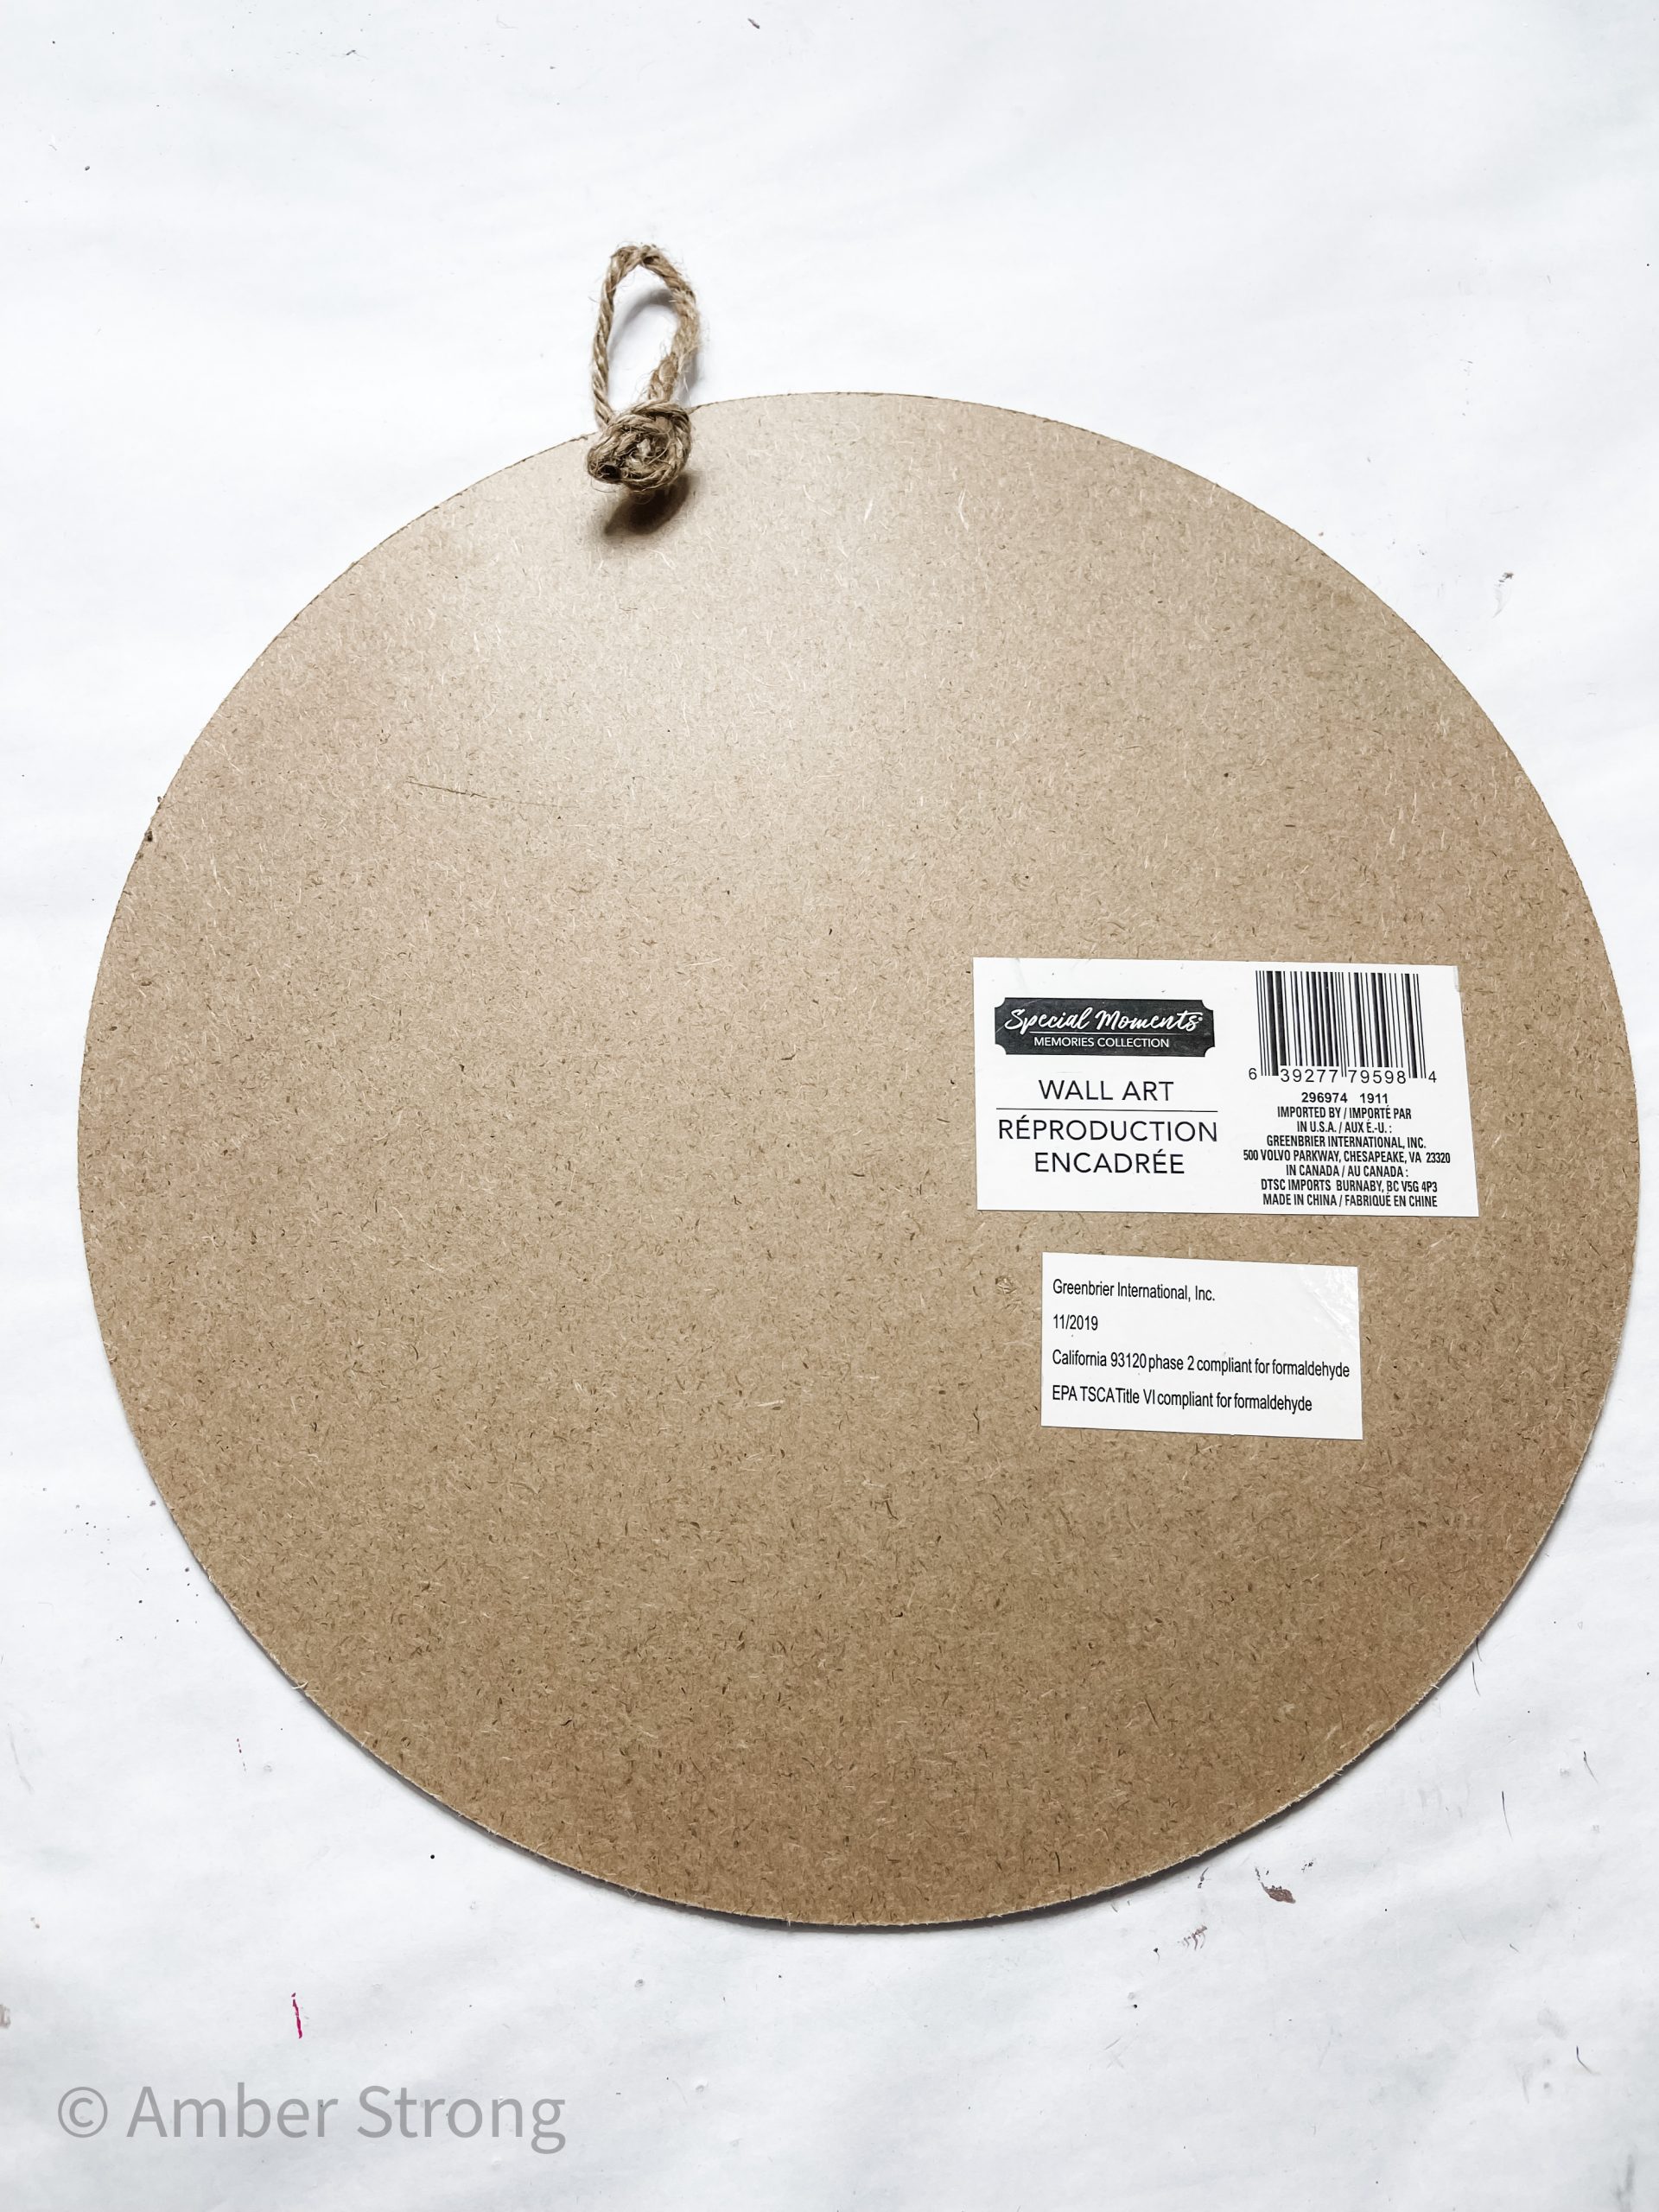
- Dollar Tree Circle MDF sign
- Ribbon of choice (thin buffalo check / wide red and white striped)
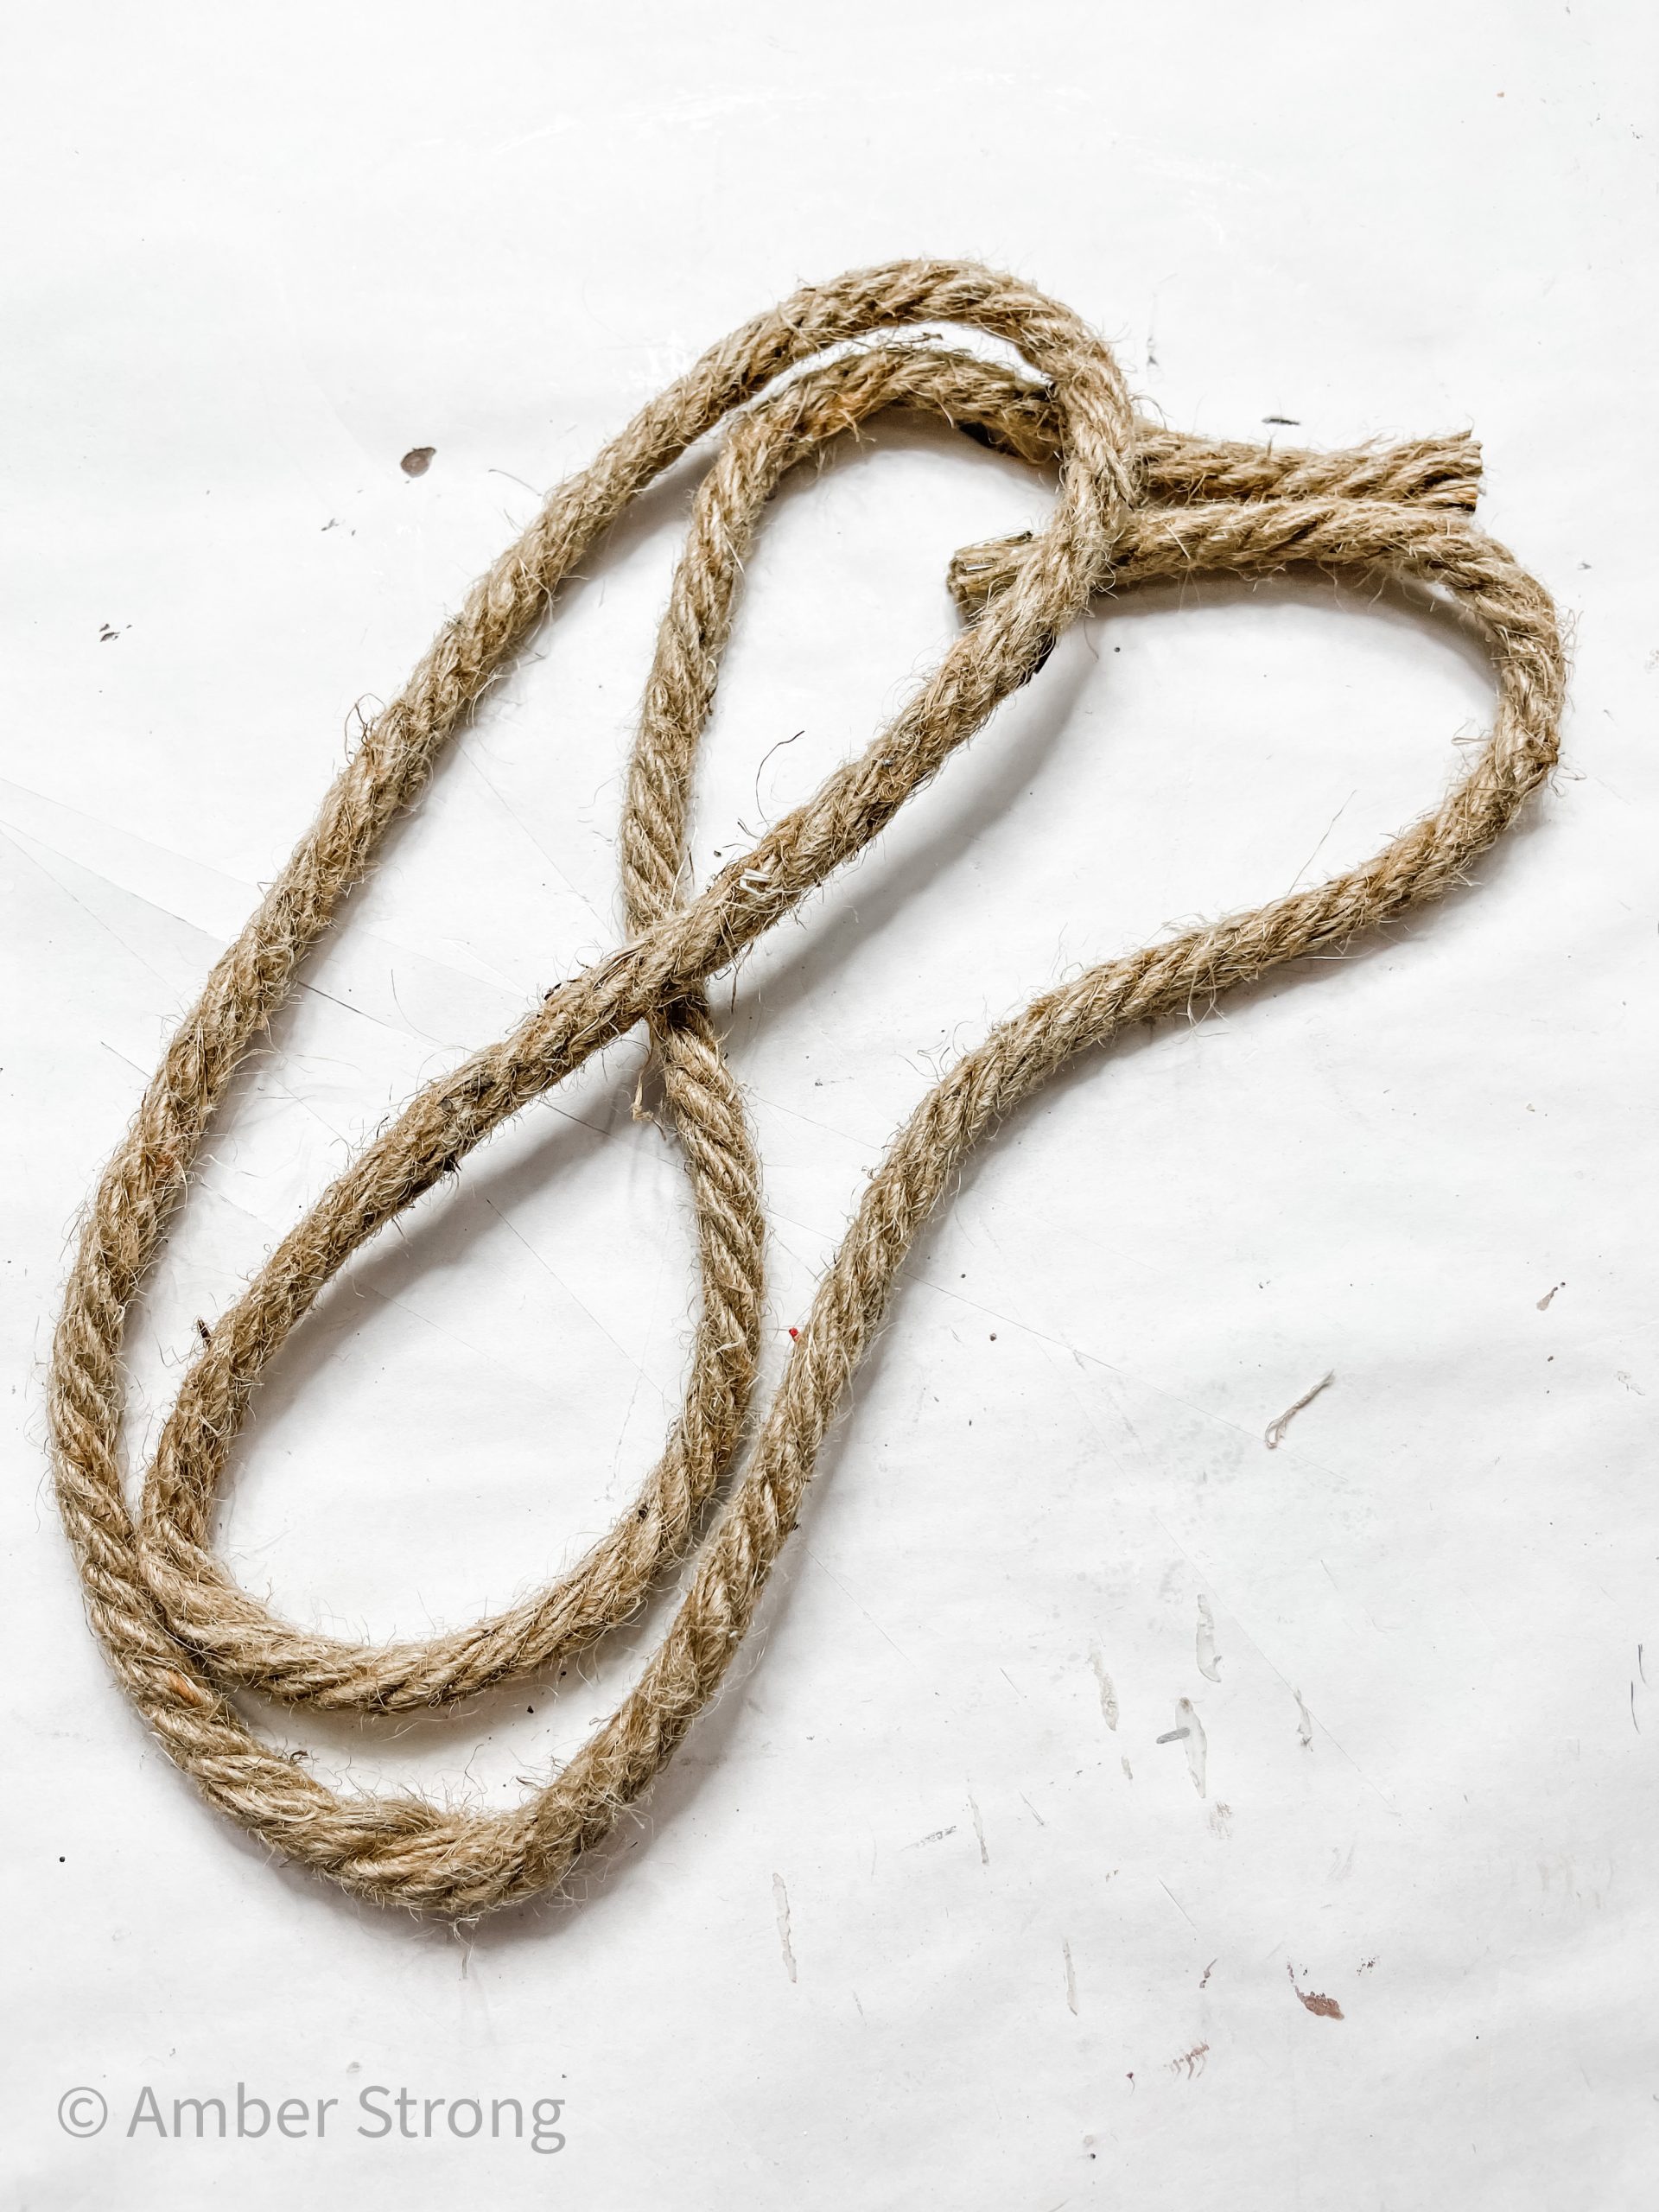
- Dollar Tree Nautical Rope
- Dollar Tree Baker’s Twine
- Apple Barrel White Acrylic Paint
- Craftsmart Flag Red Acrylic Paint
- Apple Barrel Burnt Umber Acrylic Paint
- Mod Podge
- Hot Glue gun
- Glue Sticks

How to Make DIY Round Valentine’s Day Hanging Sign
I started this adorable project by removing the stickers from the back of the Dollar Tree round sign. I like to use my heat gun to soften the glue and use a putty knife to peel up the stickers.
Then, I removed the twine hanger from the round sign as well. Once you’re left with just the round sign, you can get ready to decoupage the napkins onto the surface.
Start by separating the plies from your napkins. You need to do this anytime you are decoupaging napkins to make sure the pattern adheres securely to the surface.
How to decoupage napkins
When you’re decoupaging napkins, because you have to separate the plies, you need to paint your surface white unless it is already white.
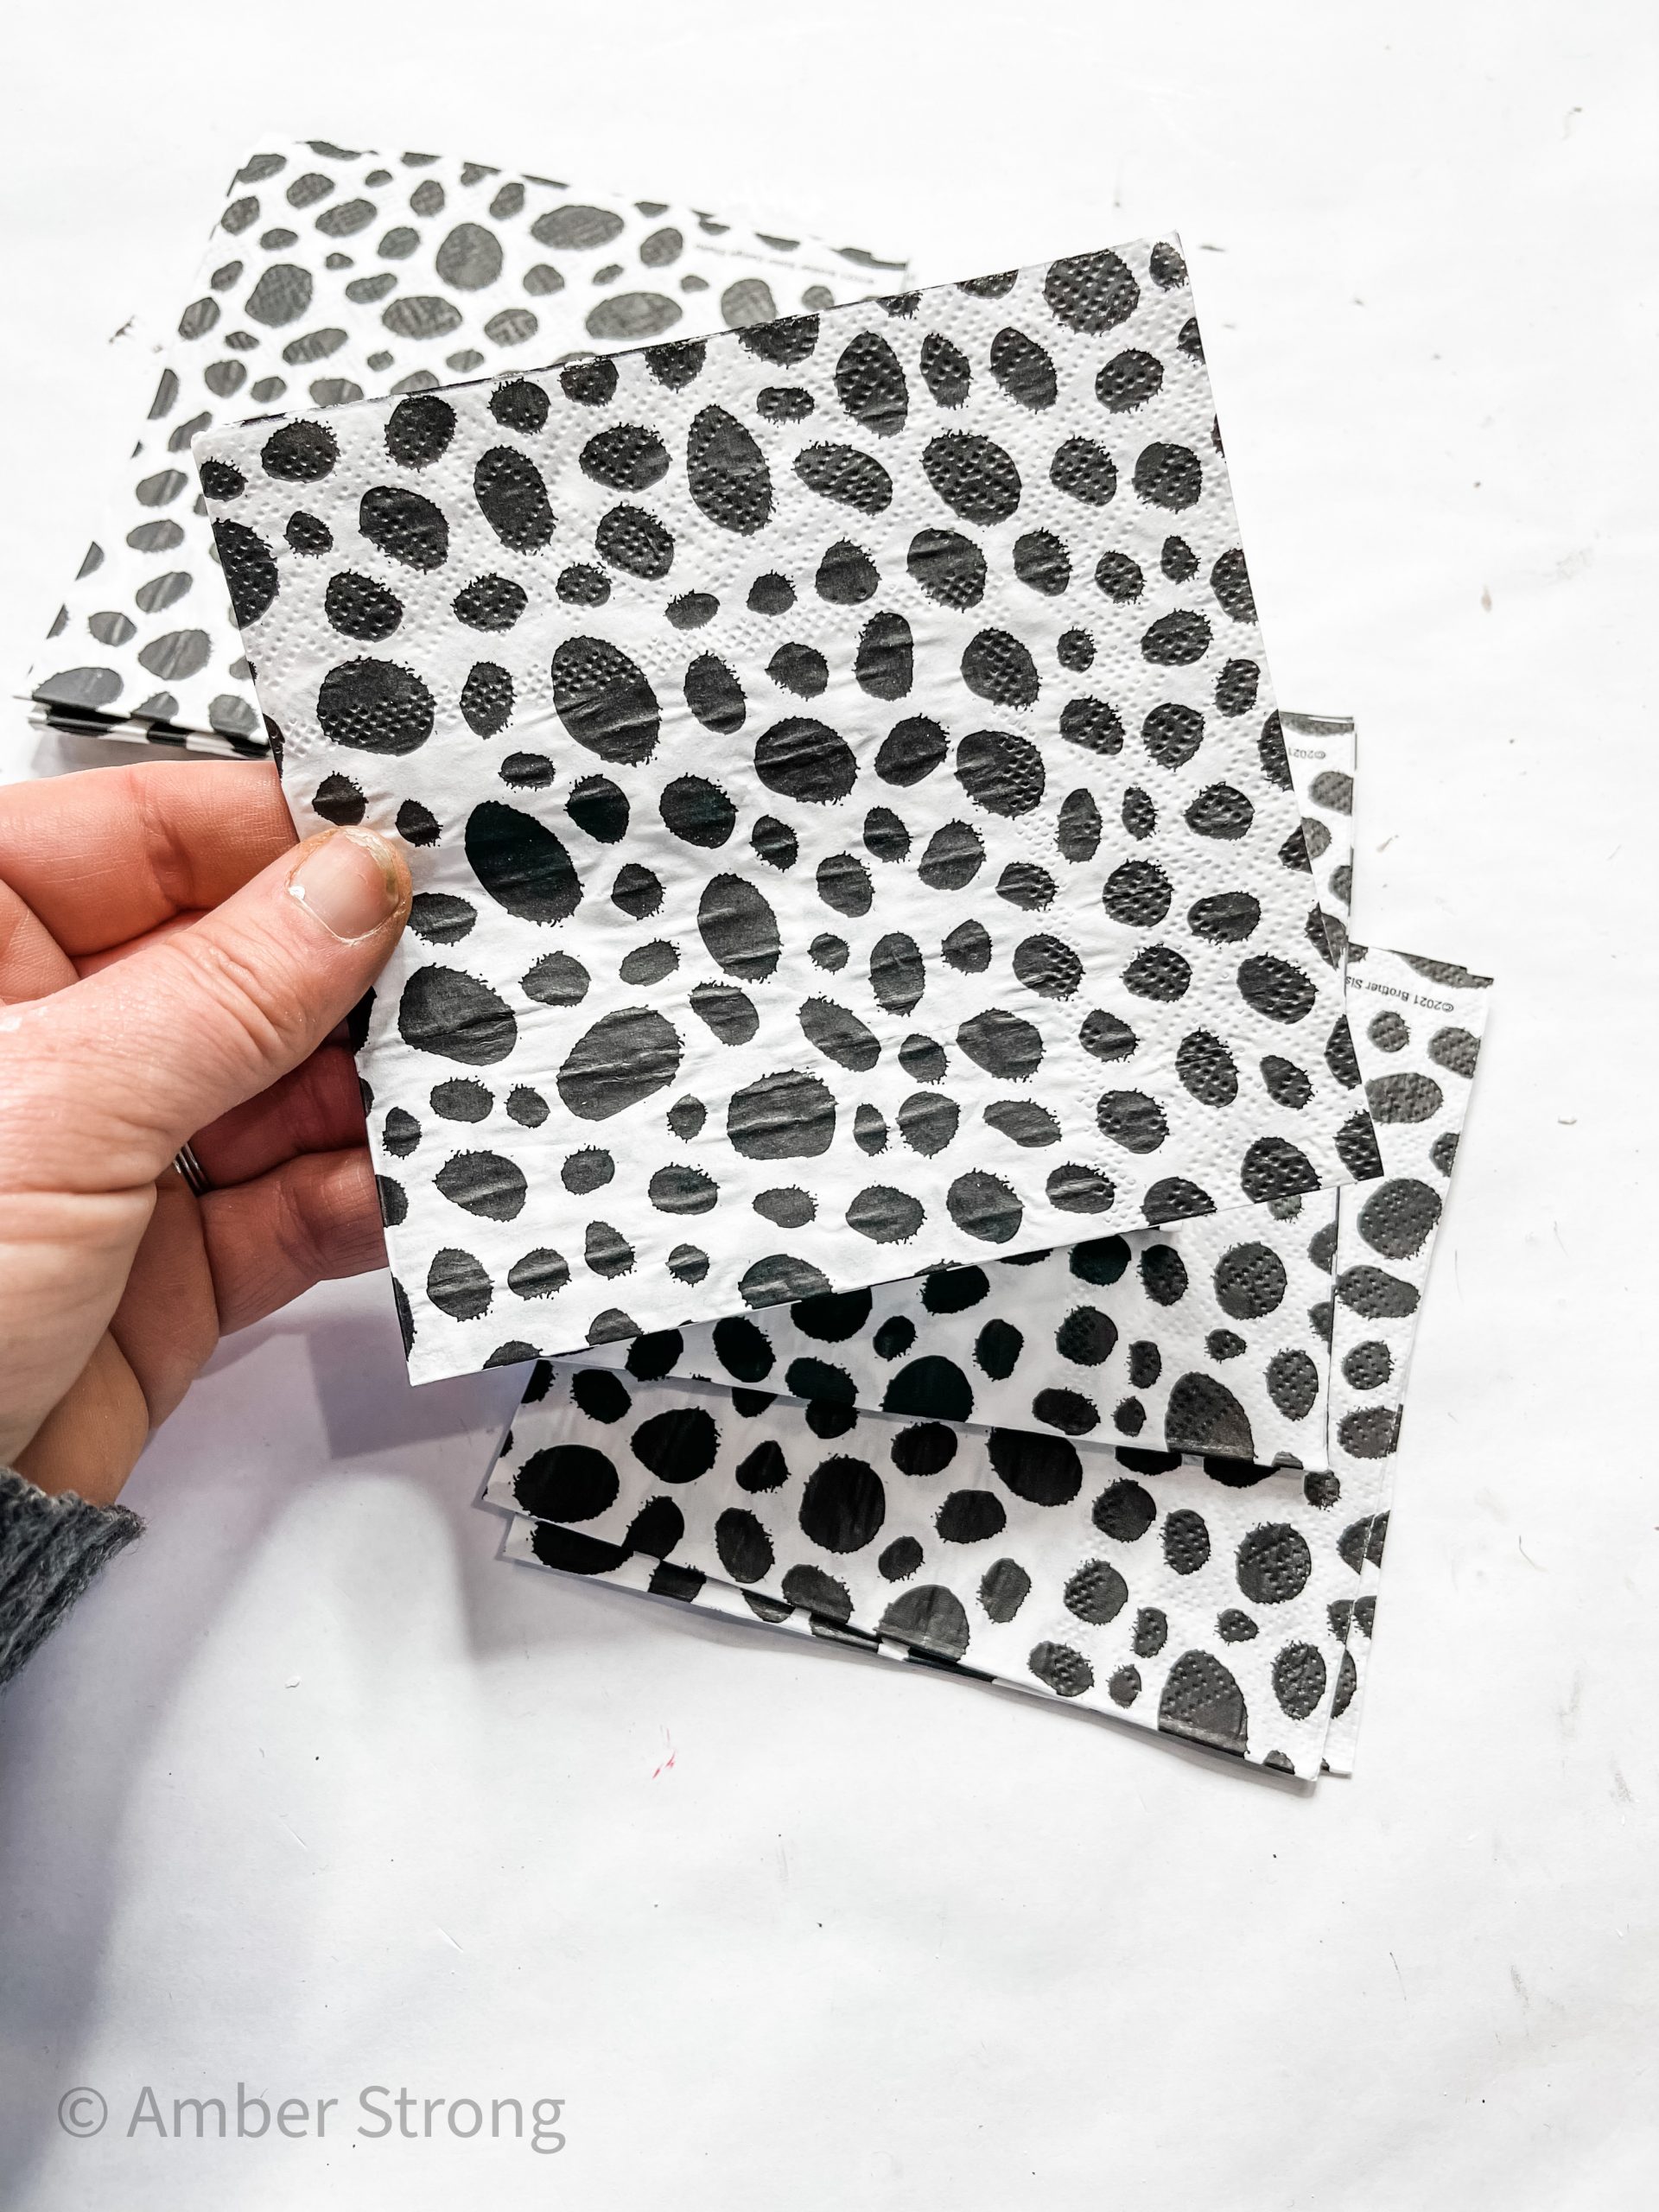
Otherwise, the dark color of the surface will show through the thin napkin ply and will darken your pattern. Paint your surface white and allow the paint to dry completely.
Once the paint is dry, apply a coat of Mod Podge to the sign and place the napkins onto the Mod Podge. My sign was larger than one napkin, so I had to piece them together to cover the surface.
Cover the sign with plastic saran wrap and use a rolling pin to smooth out any wrinkles or bubbles in the napkins, then allow the Mod Podge to dry.

Once the Mod Podge is dry, remove the napkin around the edges of the round sign. I like to use sandpaper or a sanding sponge to just tear off the extra napkin.
Decorate your wooden hearts
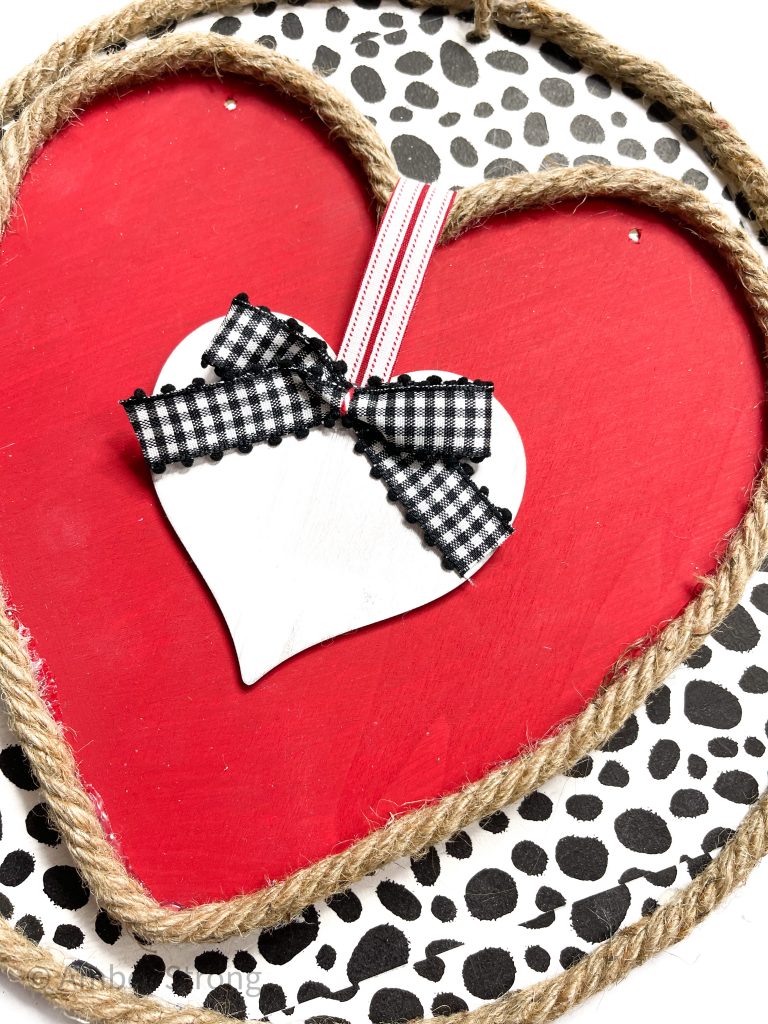
Next up I worked on the two Dollar Tree wooden hearts. I painted the larger heart with Craftsmart red paint and used my heat gun to quickly dry the paint.
Then, I stained the little wooden heart with Apple Barrel burnt umber acrylic paint. To stain the heart, pour the paint directly onto the wood and use a wet wipe to spread it across the surface.
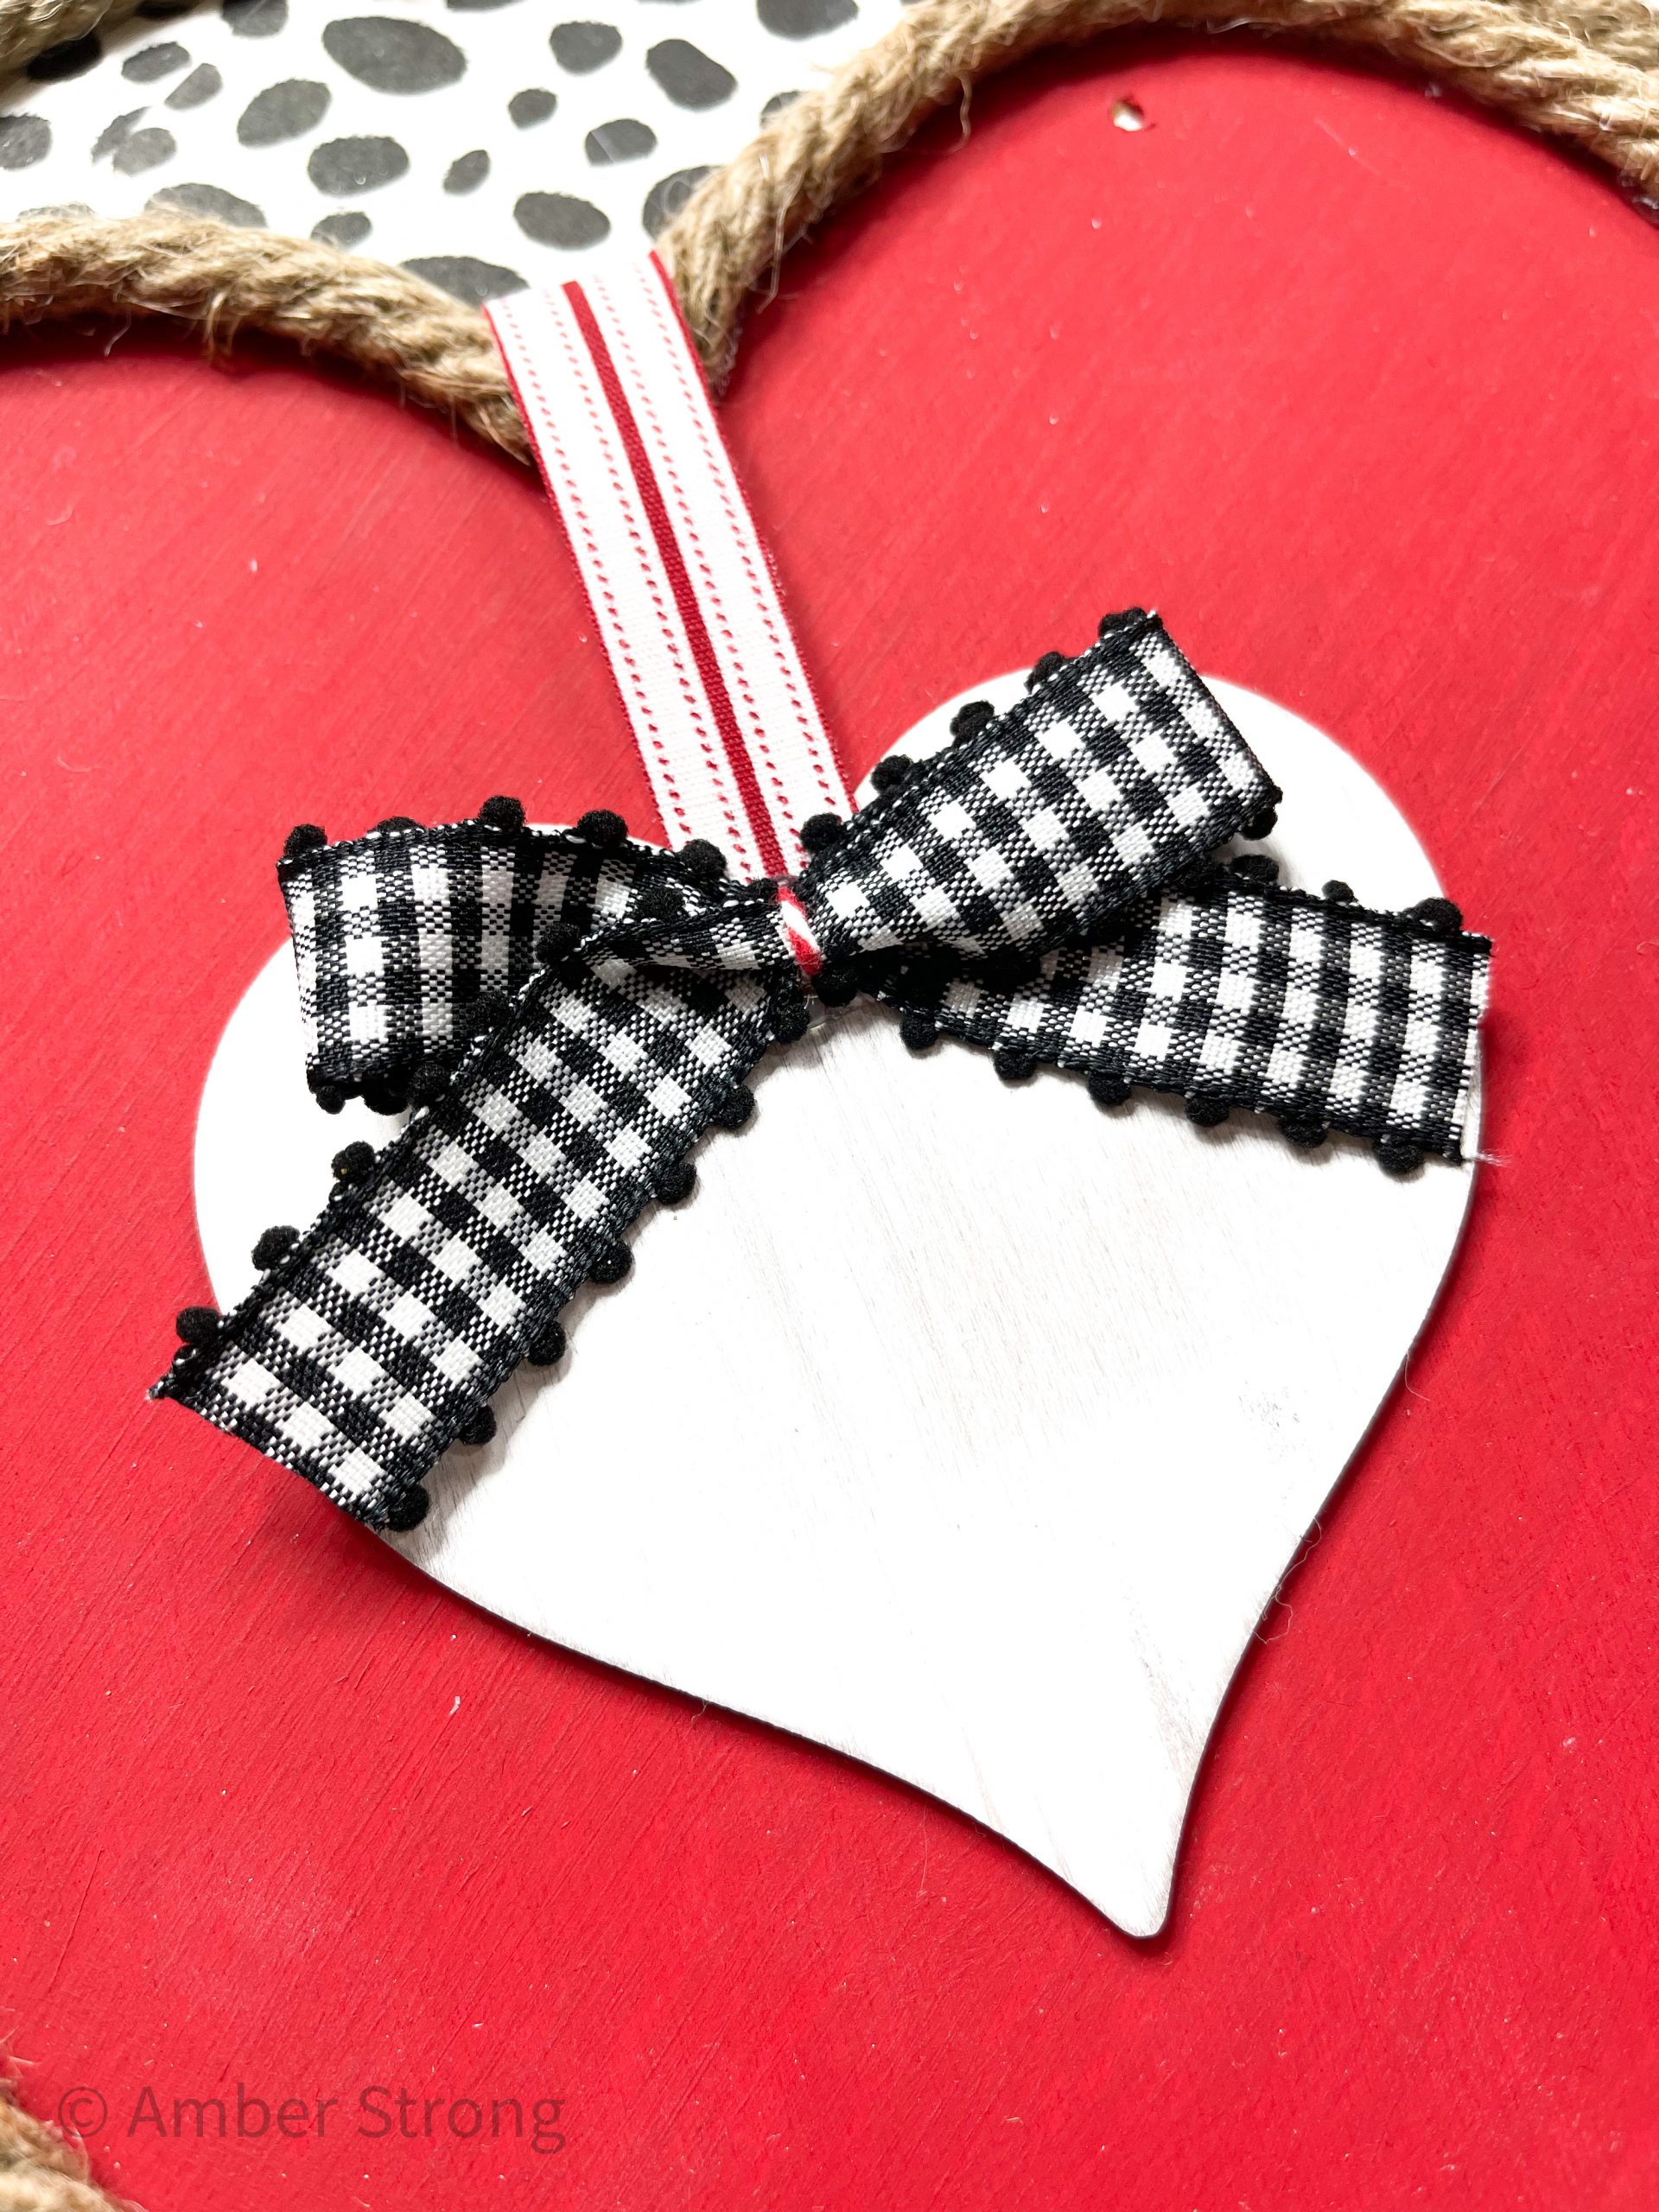
Let the heart dry completely, then lightly brush white paint across the small heart. Keeping a light hand helps you get a distressed finish.
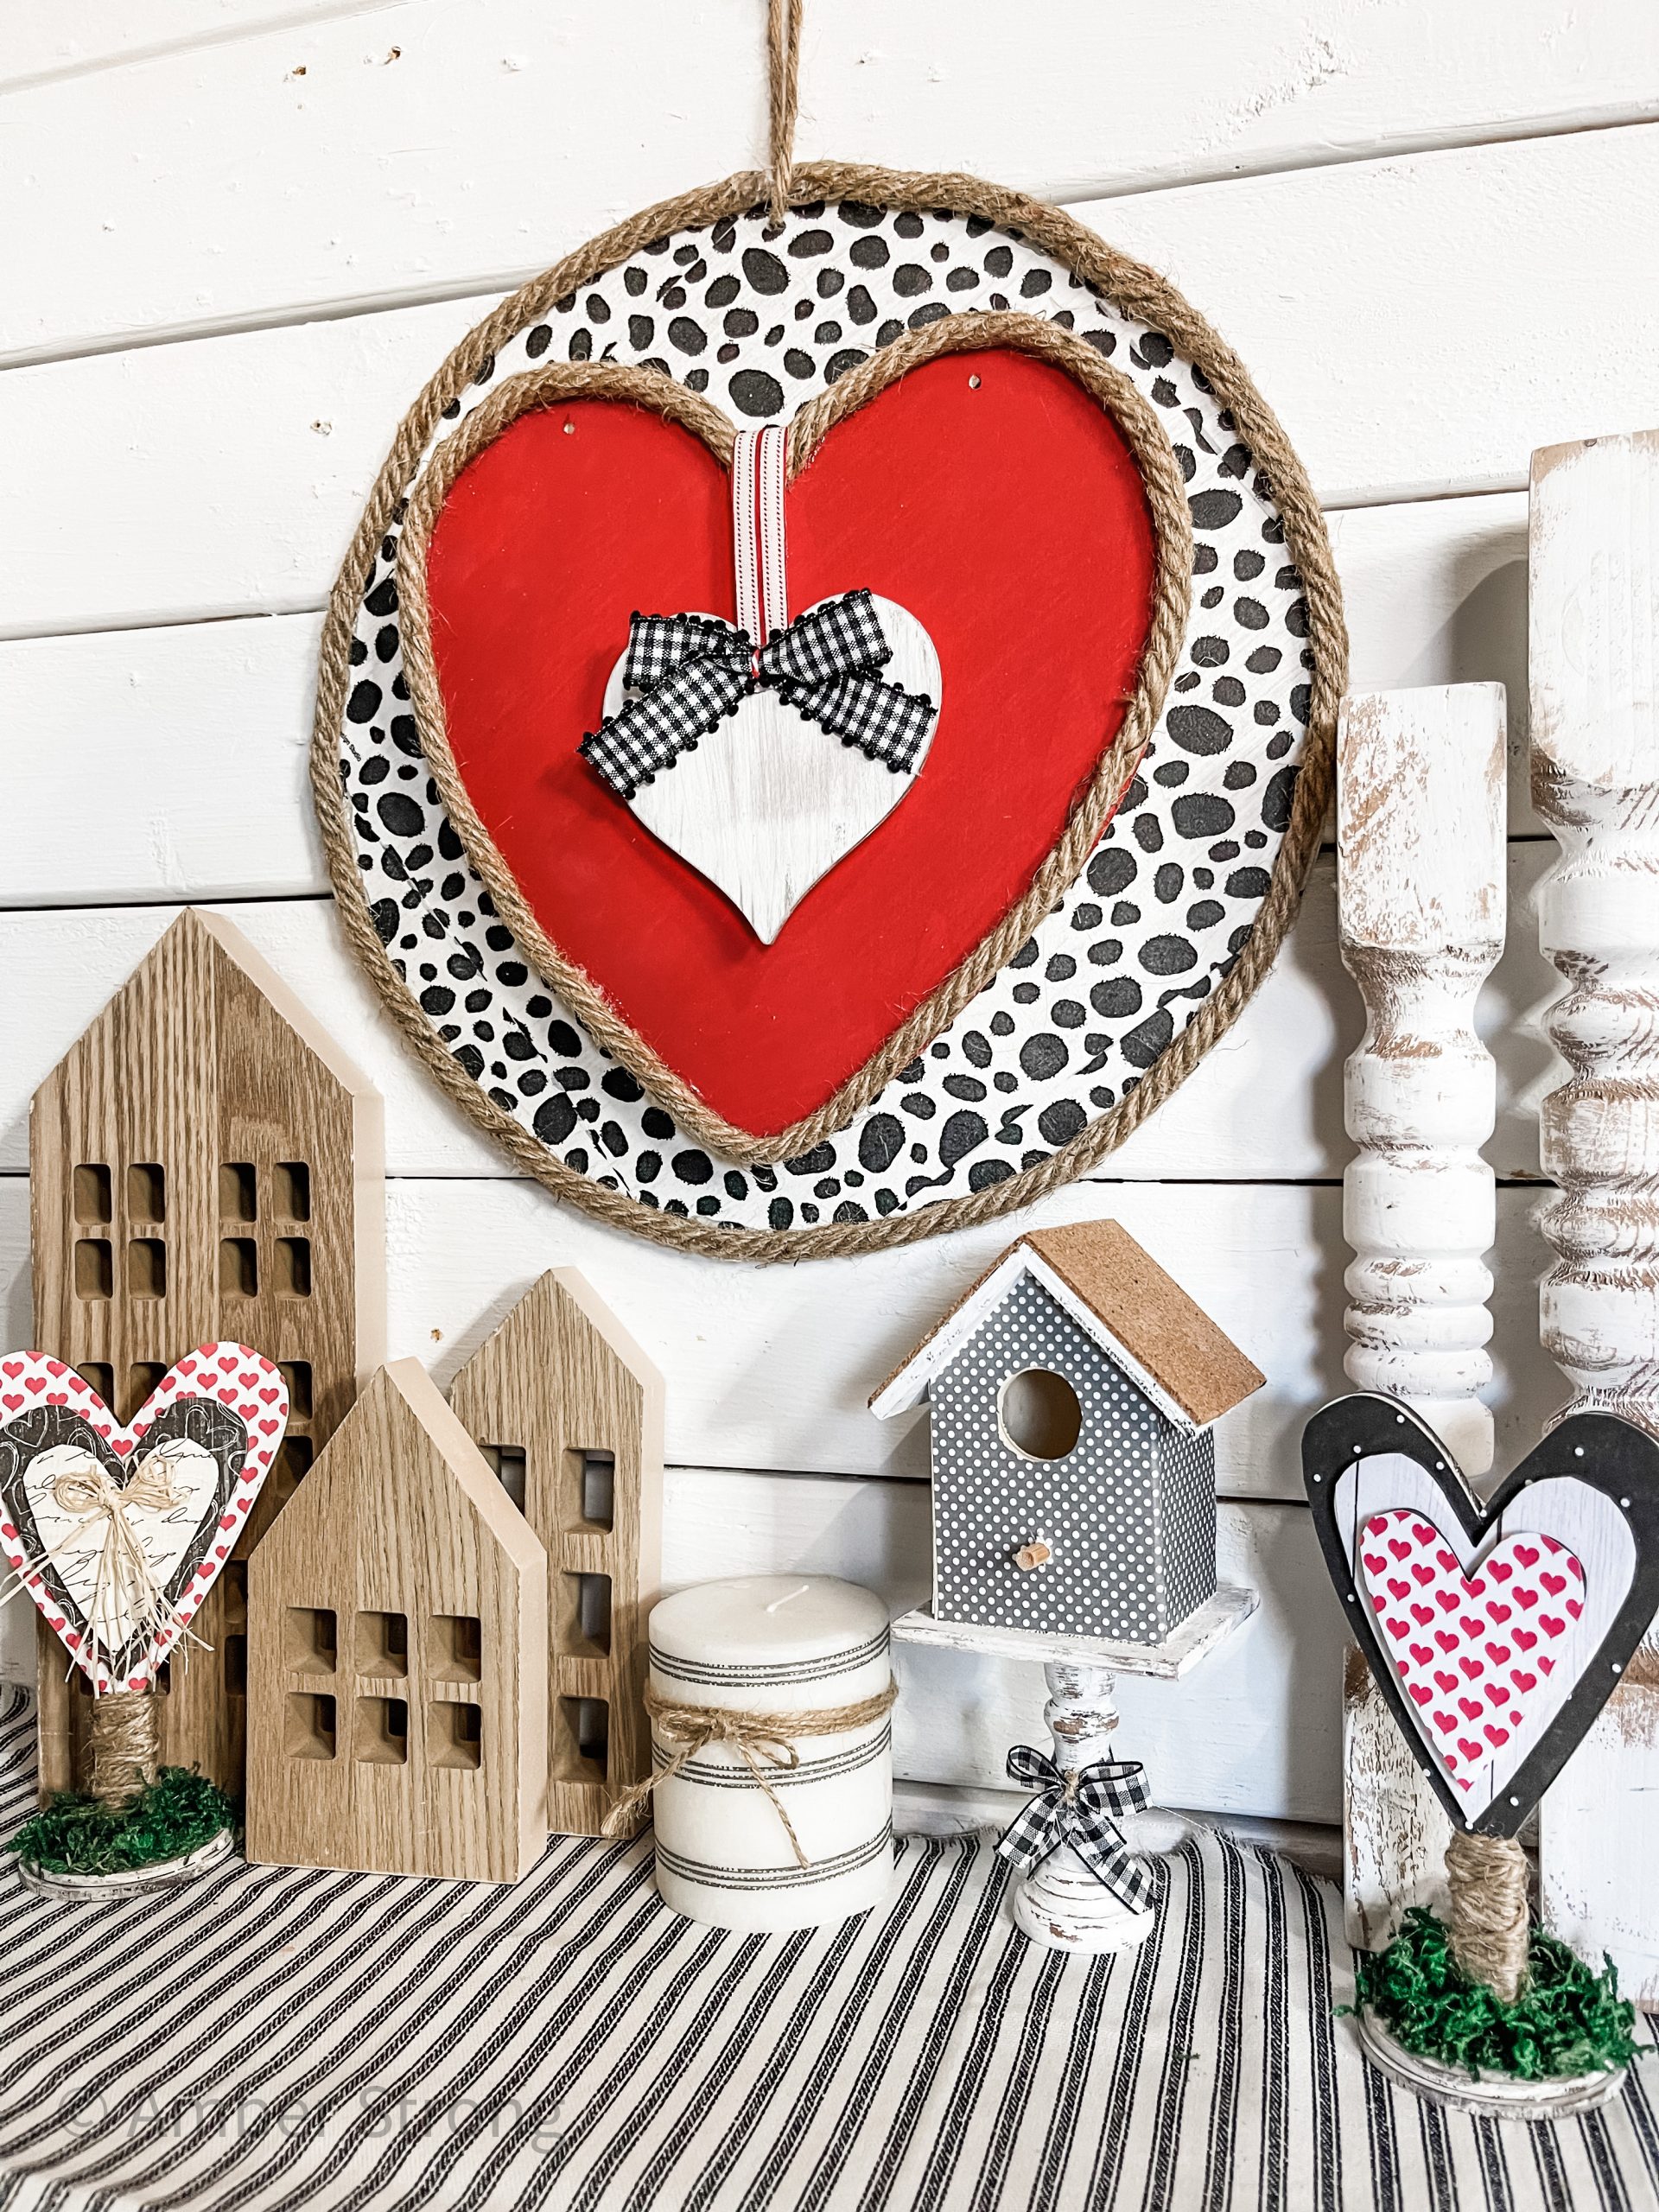
Bring it all together
Hot glue the Dollar Tree nautical rope around the outer edge of the large red heart. Then, glue the Dollar Tree Tumbling Tower blocks to the back of the red heart.
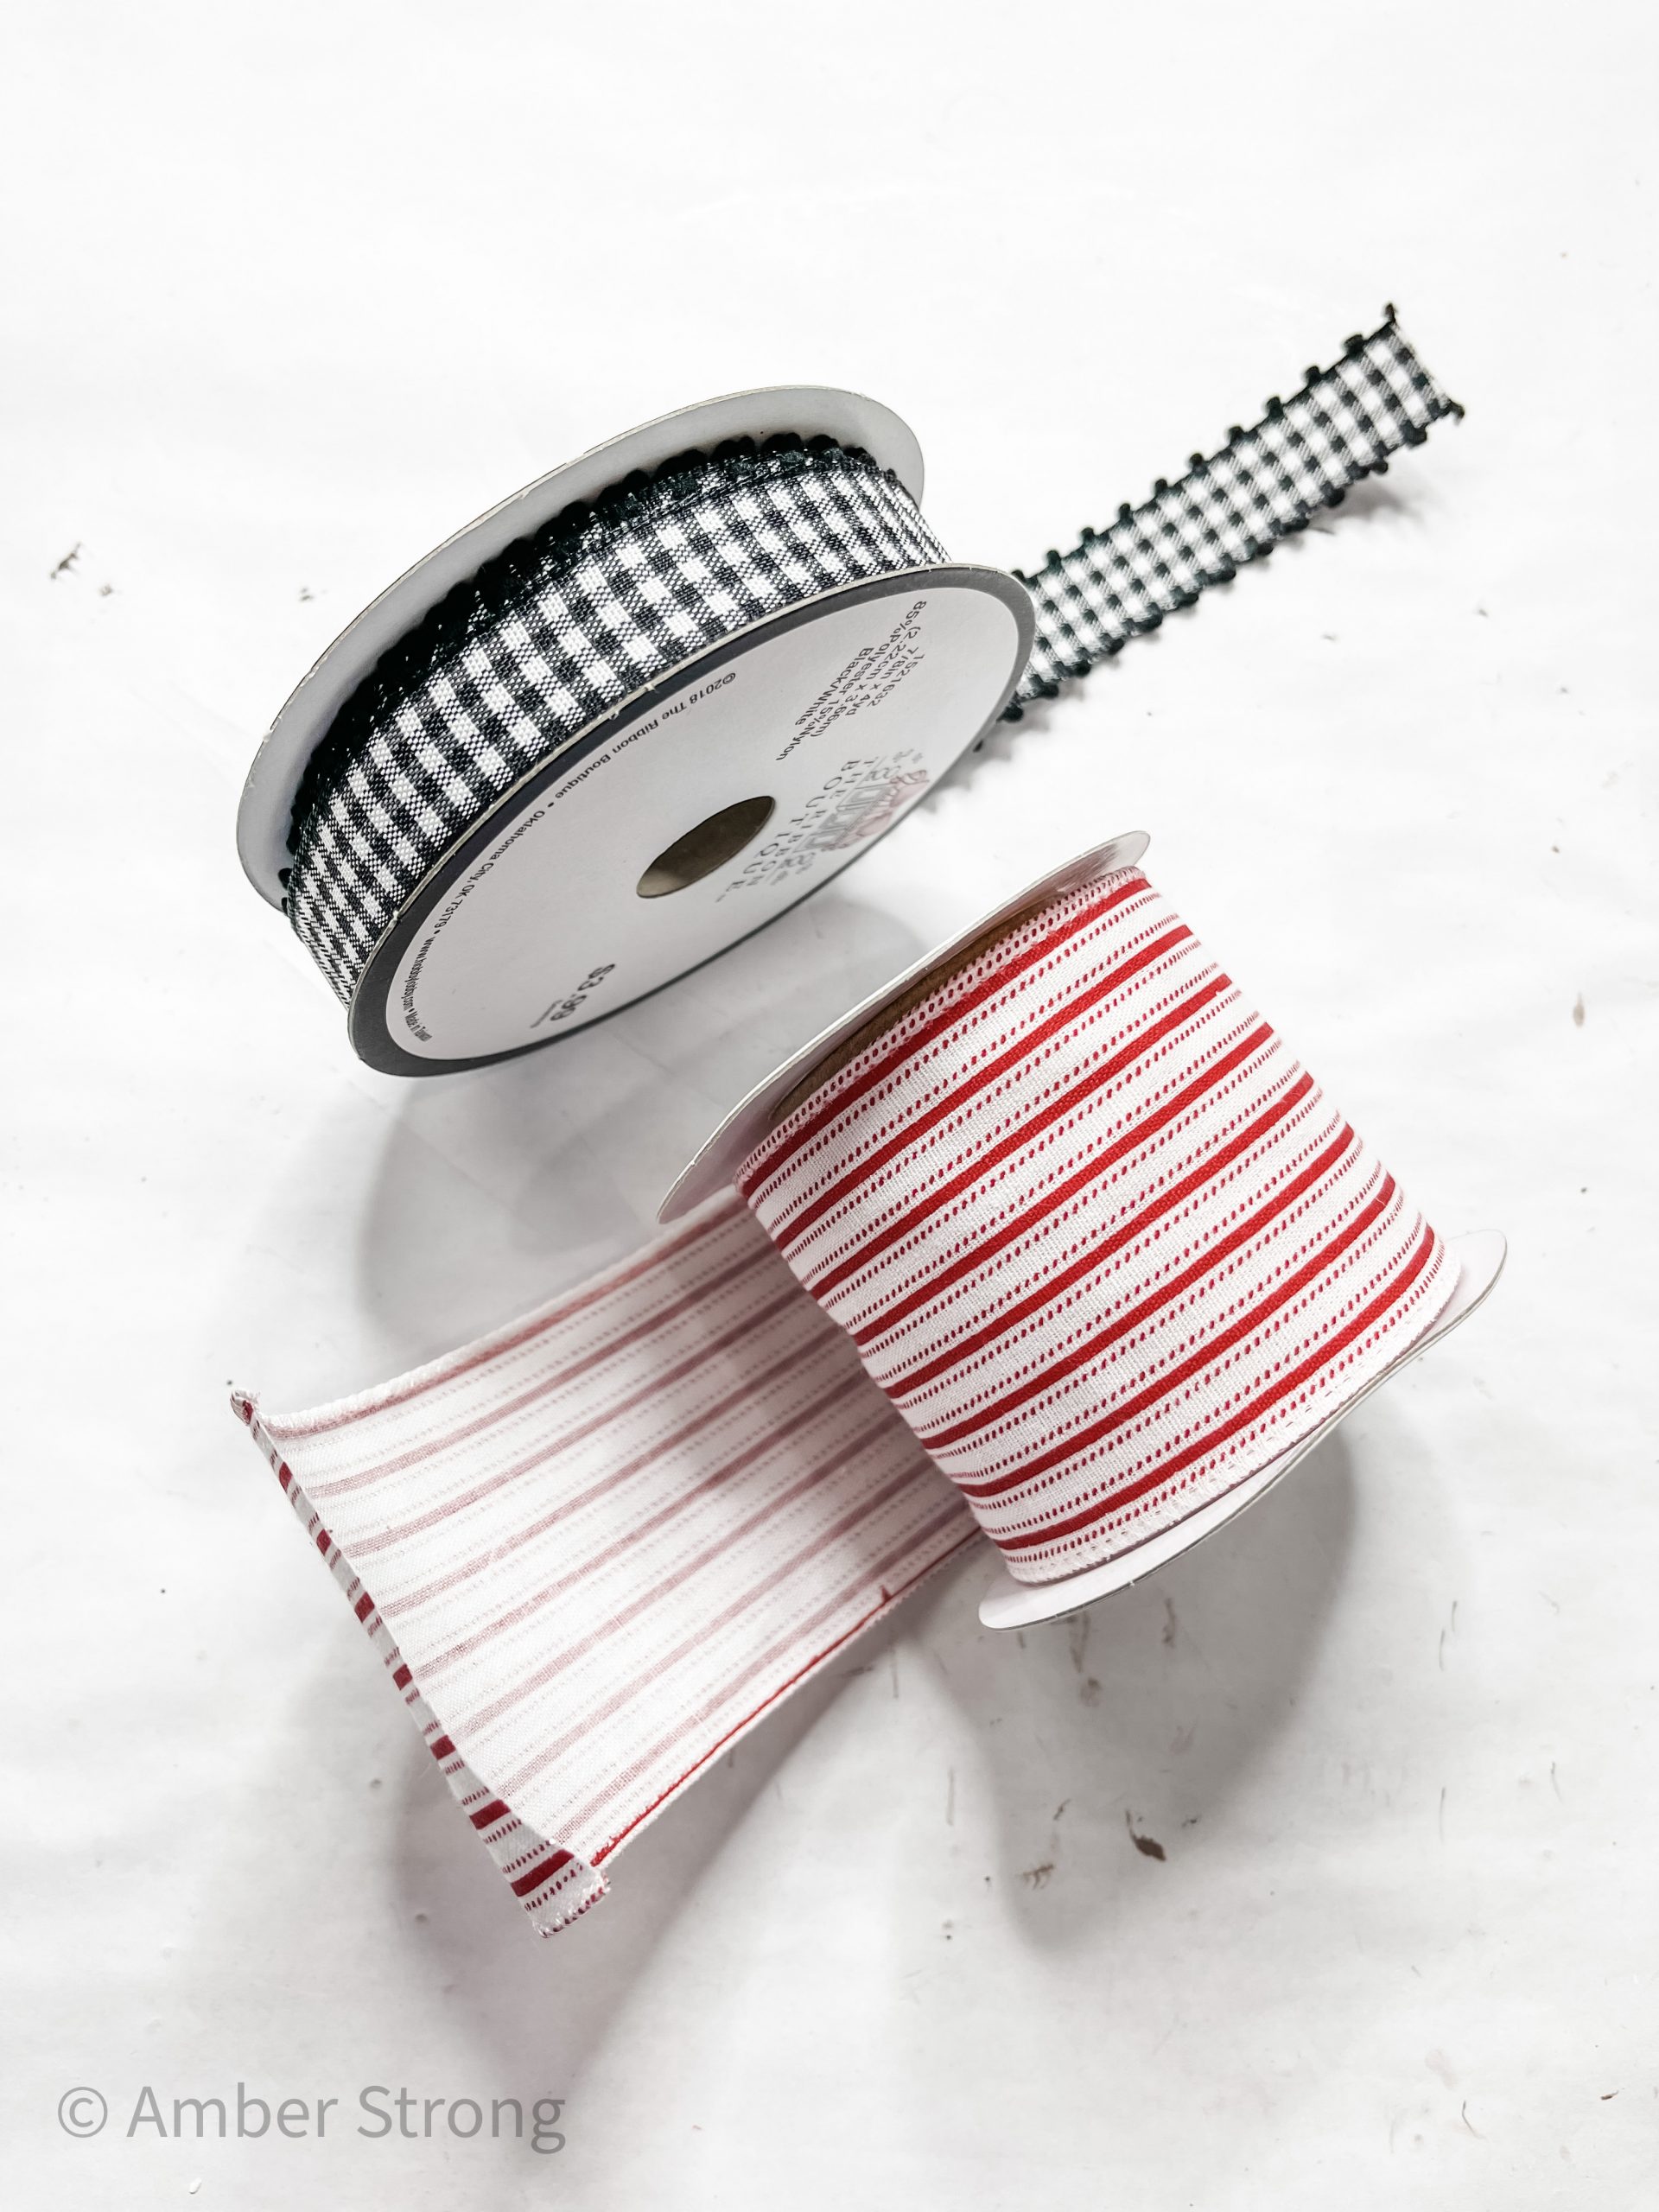
I cut a small strip from the red and white striped ribbon and used it to hang the smaller heart over the center of the larger heart.
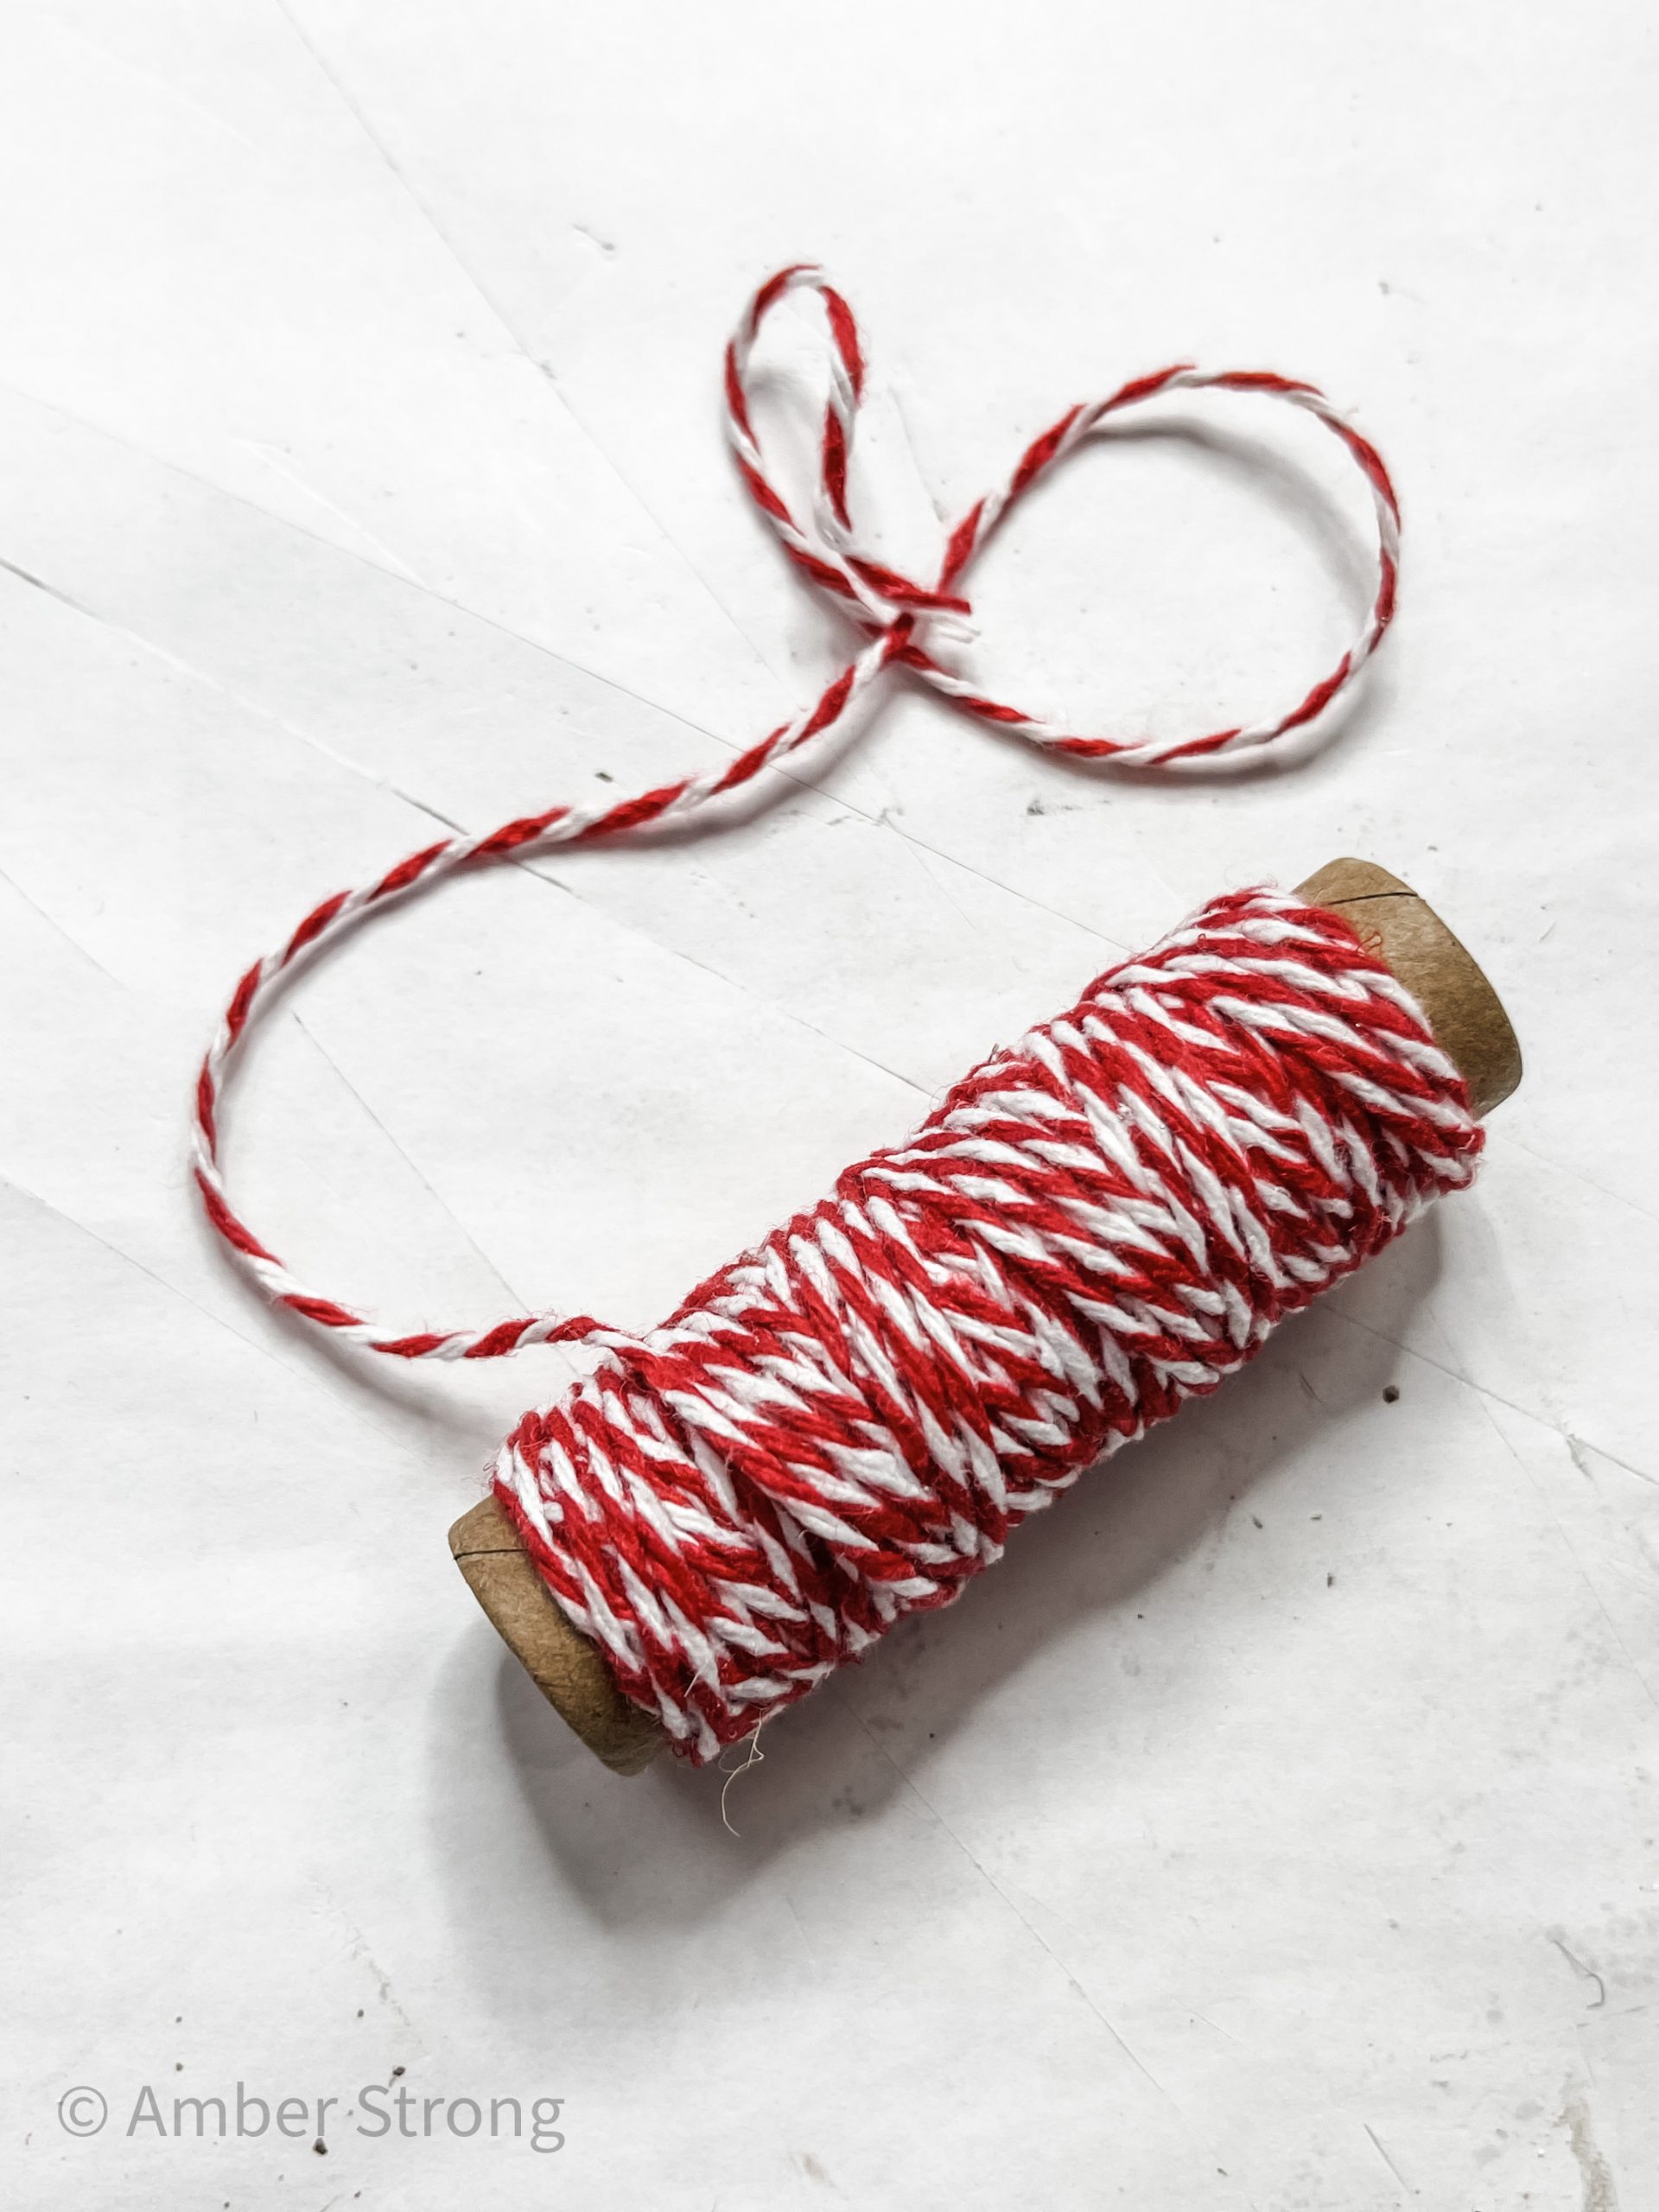
Then, tie a little bow out of the buffalo check ribbon and secure it with a piece of the red and white baker’s twine.
Glue the little bow at the top of the white distressed heart. Then, glue the red heart to the decoupaged circle sign.
I threaded the twine hanger back onto the round sign and tied it in place. Lastly, I glued the nautical rope around the outer edge of the round sign.
I hope you enjoyed this DIY Round Valentine’s Day Hanging Sign as much as I did and decide to make one for yourself! I would love to see how yours turns out!
You should totally join my FREE Facebook group called On A Budget Crafts! It is a judgment-free community for DIY crafters to show off their projects and ideas.
If you loved this DIY you might also like this Dollar Tree Mini Pallet Valentine’s Day Decor!
Thanks for stopping by! XOXO Amber
You can also shop my ENTIRE AMAZON Favorites shop just click here! It’s packed full of all the things I use and love. Here is the supply list I highly recommend every creative have on hand!!
Would you also pin my blog for later and get on my newsletter alerts? I would love to have you join my #craftycrew.
Inspired? Leave me a comment below! I love hearing from my readers!

Join my free “ON A BUDGET CRAFTS” Facebook group!

One Comment