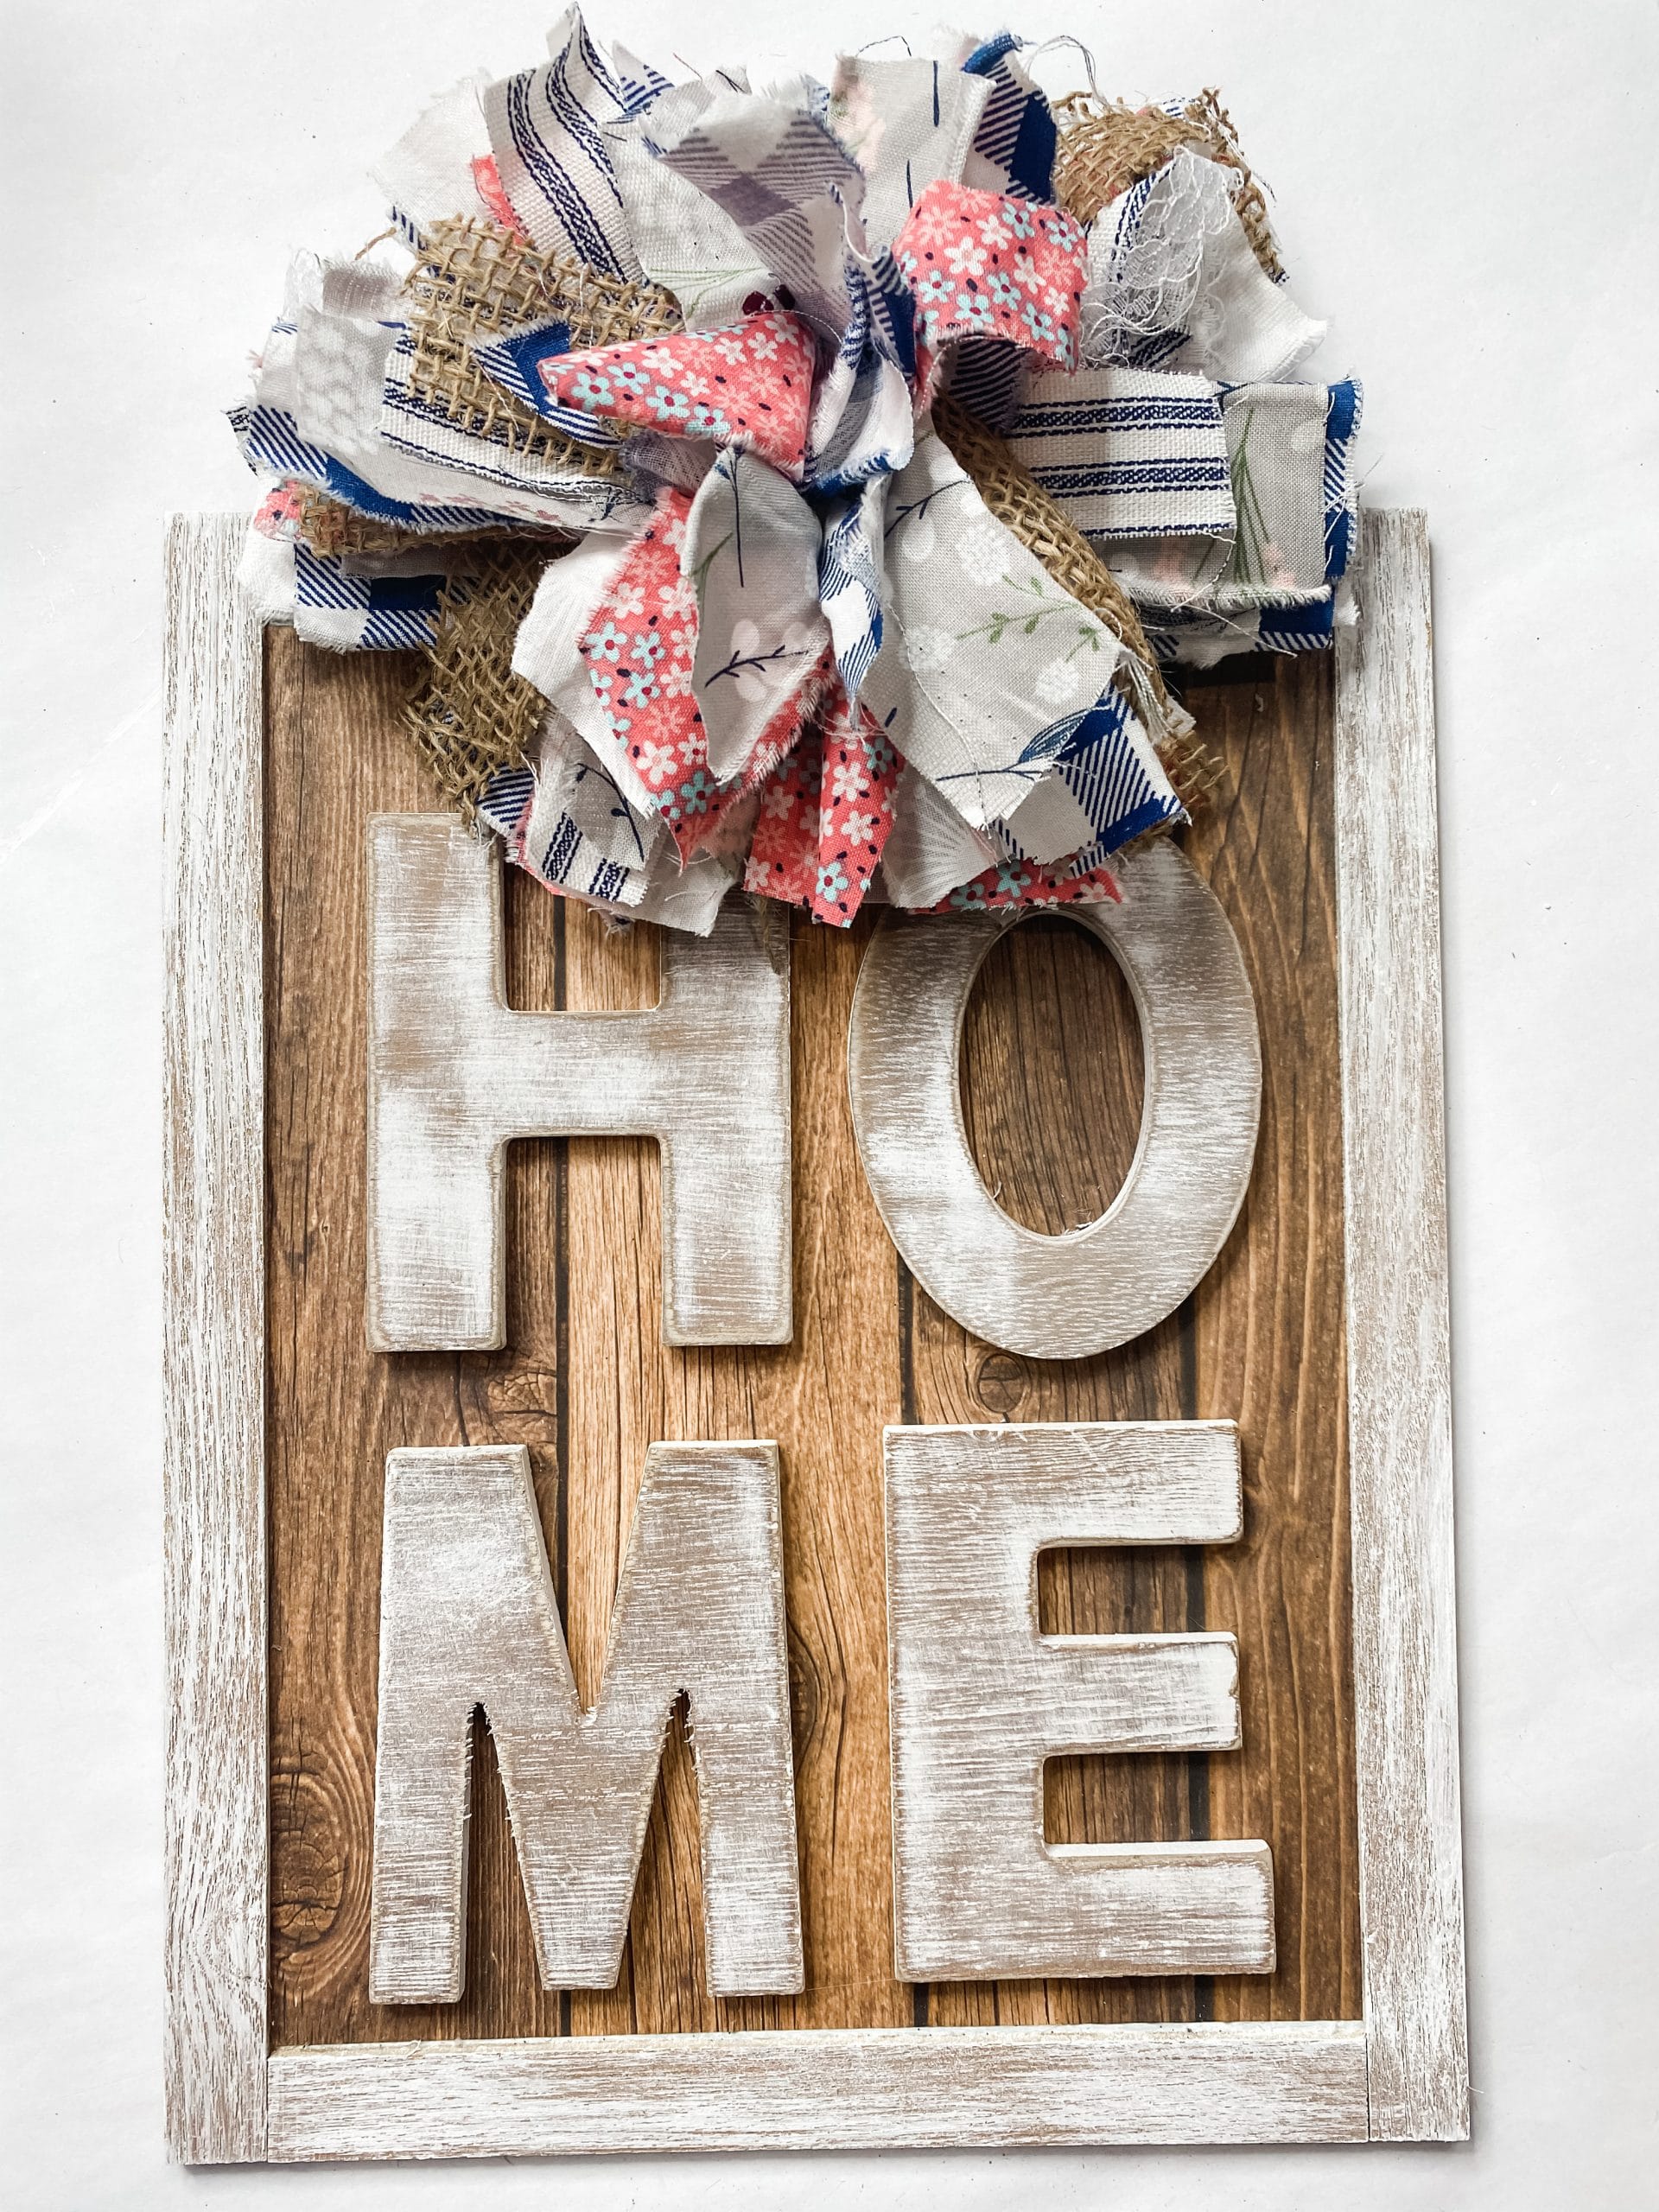
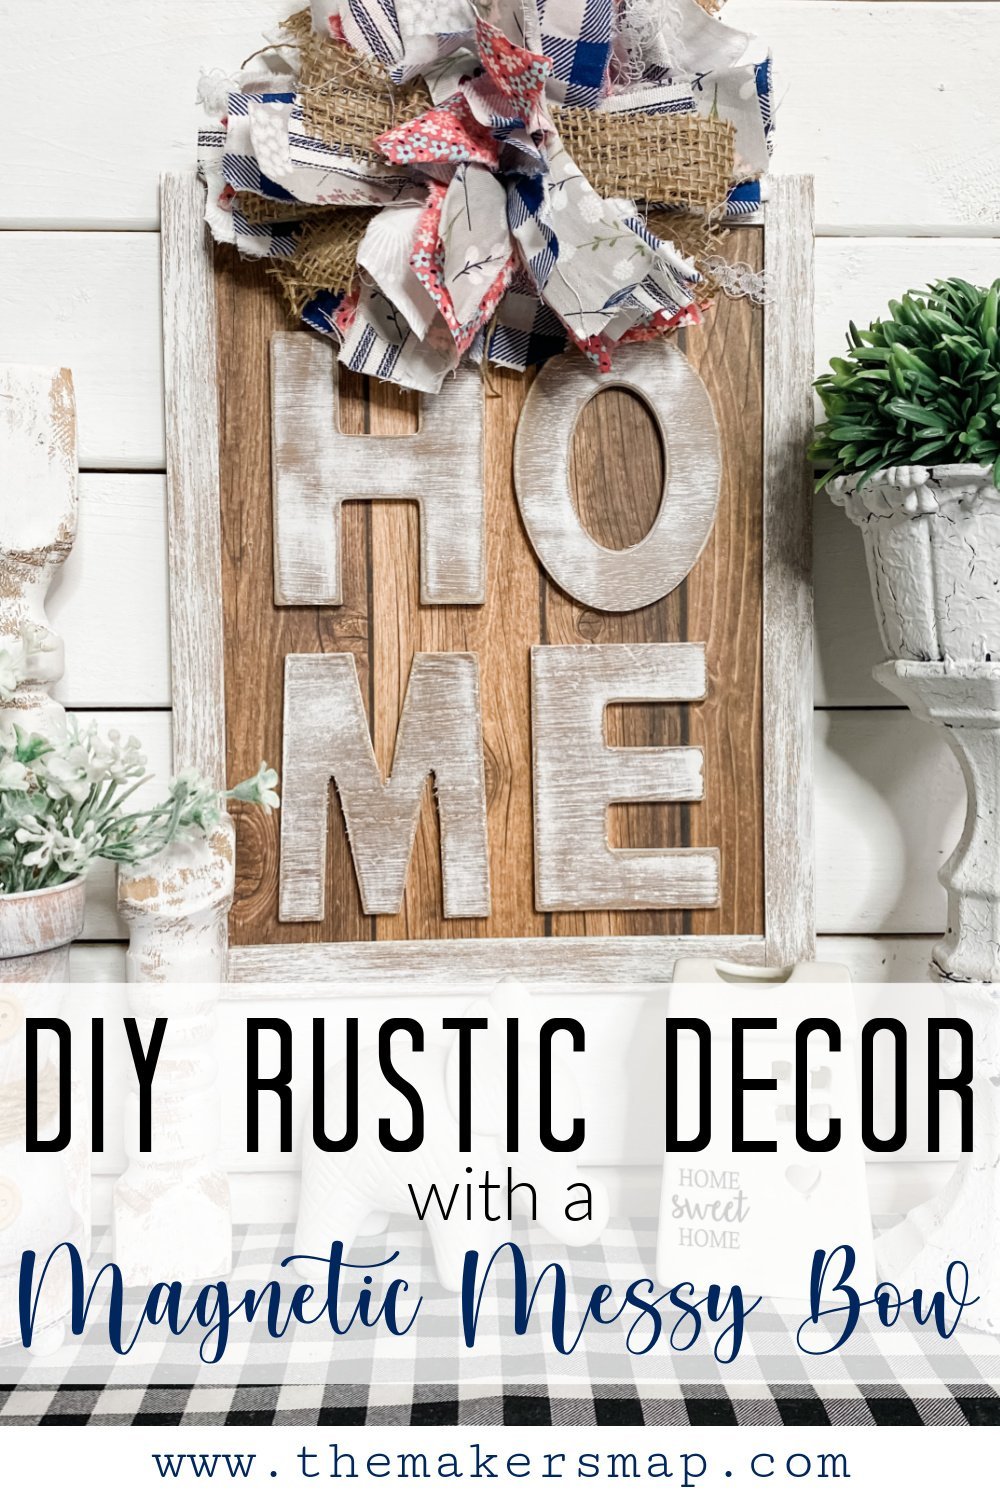
DIY Rustic Home Decor with a Magnetic Messy Bow
Does this DIY Rustic Home Decor with a Magnetic Messy Bow remind you of anything? I made a VERY similar farmhouse DIY for Christmas, but I made a changeable napkin bow for that one!
I really love this adorable DIY decor because it is so stinking easy to make! The most difficult part of making this farmhouse decor is the messy bow, and you really can’t mess up a messy bow!
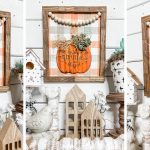
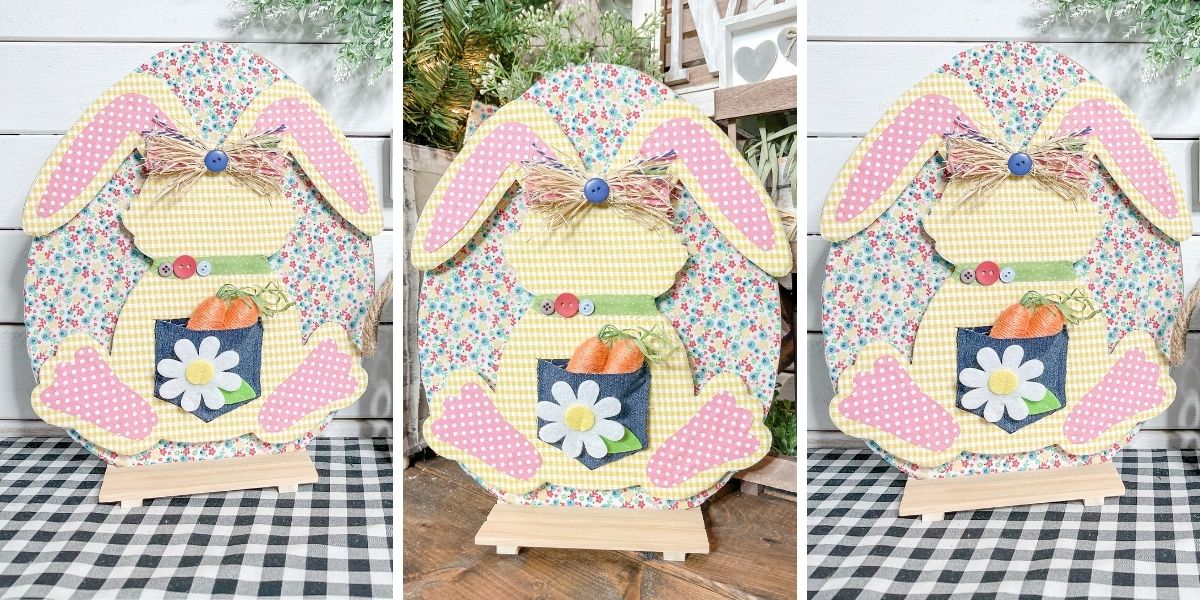
More home decor inspiration
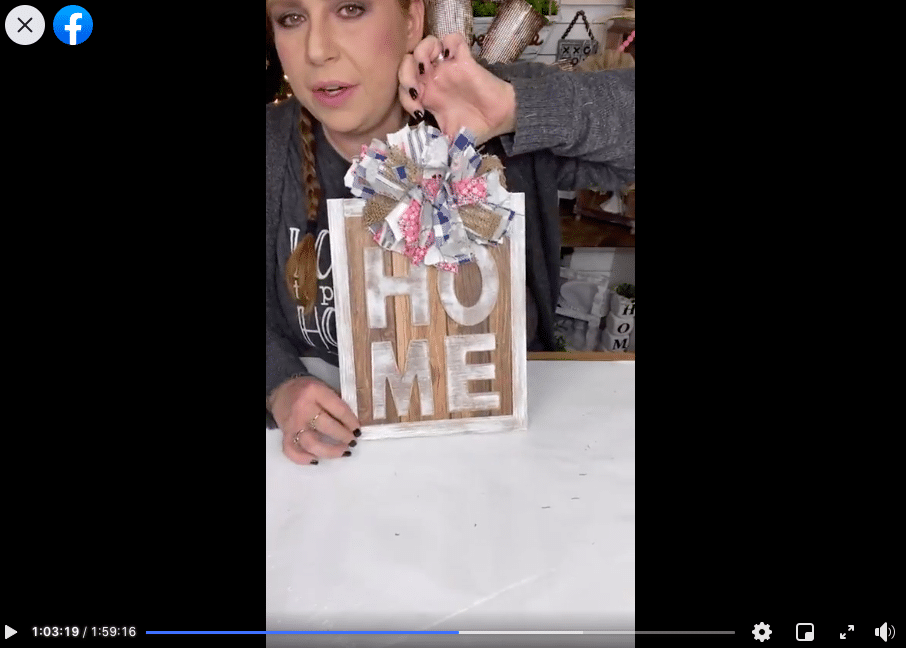
Watch the replay
If you don’t believe me how simple this DIY project is, then watch the replay! I recorded how to make this perfect rustic decor during a LIVE video on my Facebook page, but you can still watch the replay if you want to.
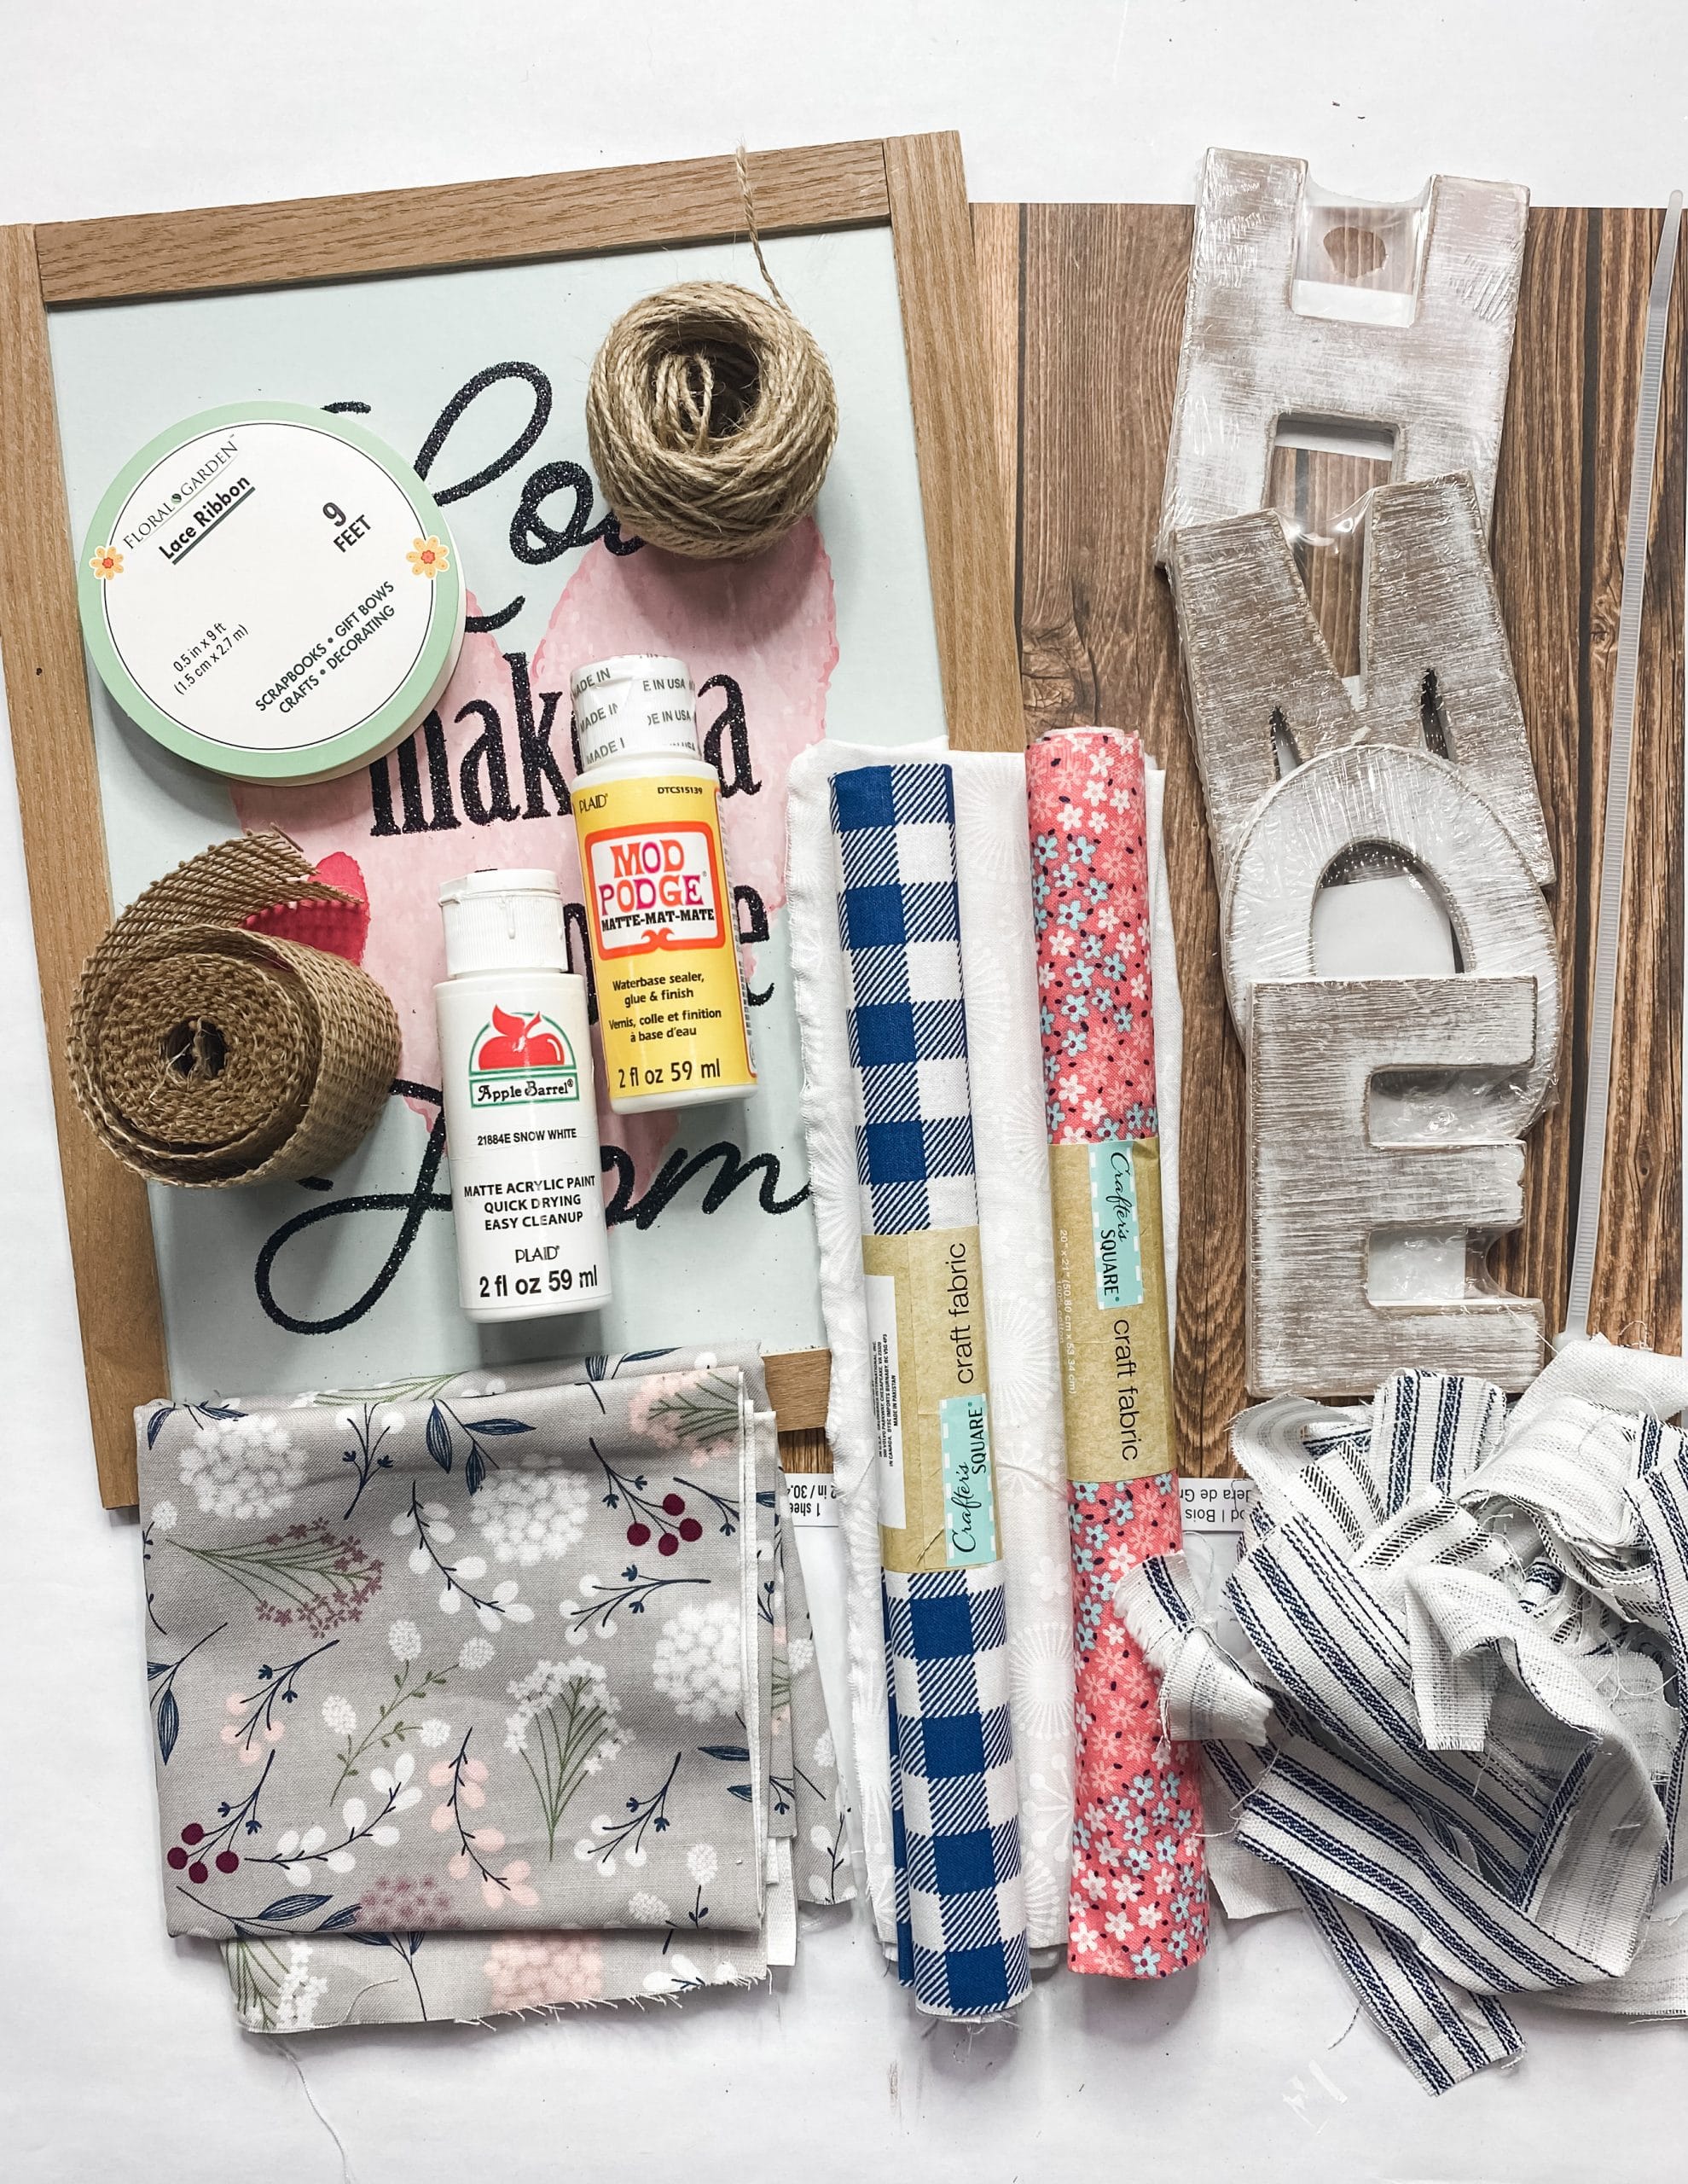
For this project, I will be using these items but you can substitute where you want.
“As an Amazon Associate, I earn from qualifying purchases.”
- Dollar Tree Framed Sign
- Dollar Tree Magnets
- Burlap Ribbon
- Dollar Tree White Lace Ribbon
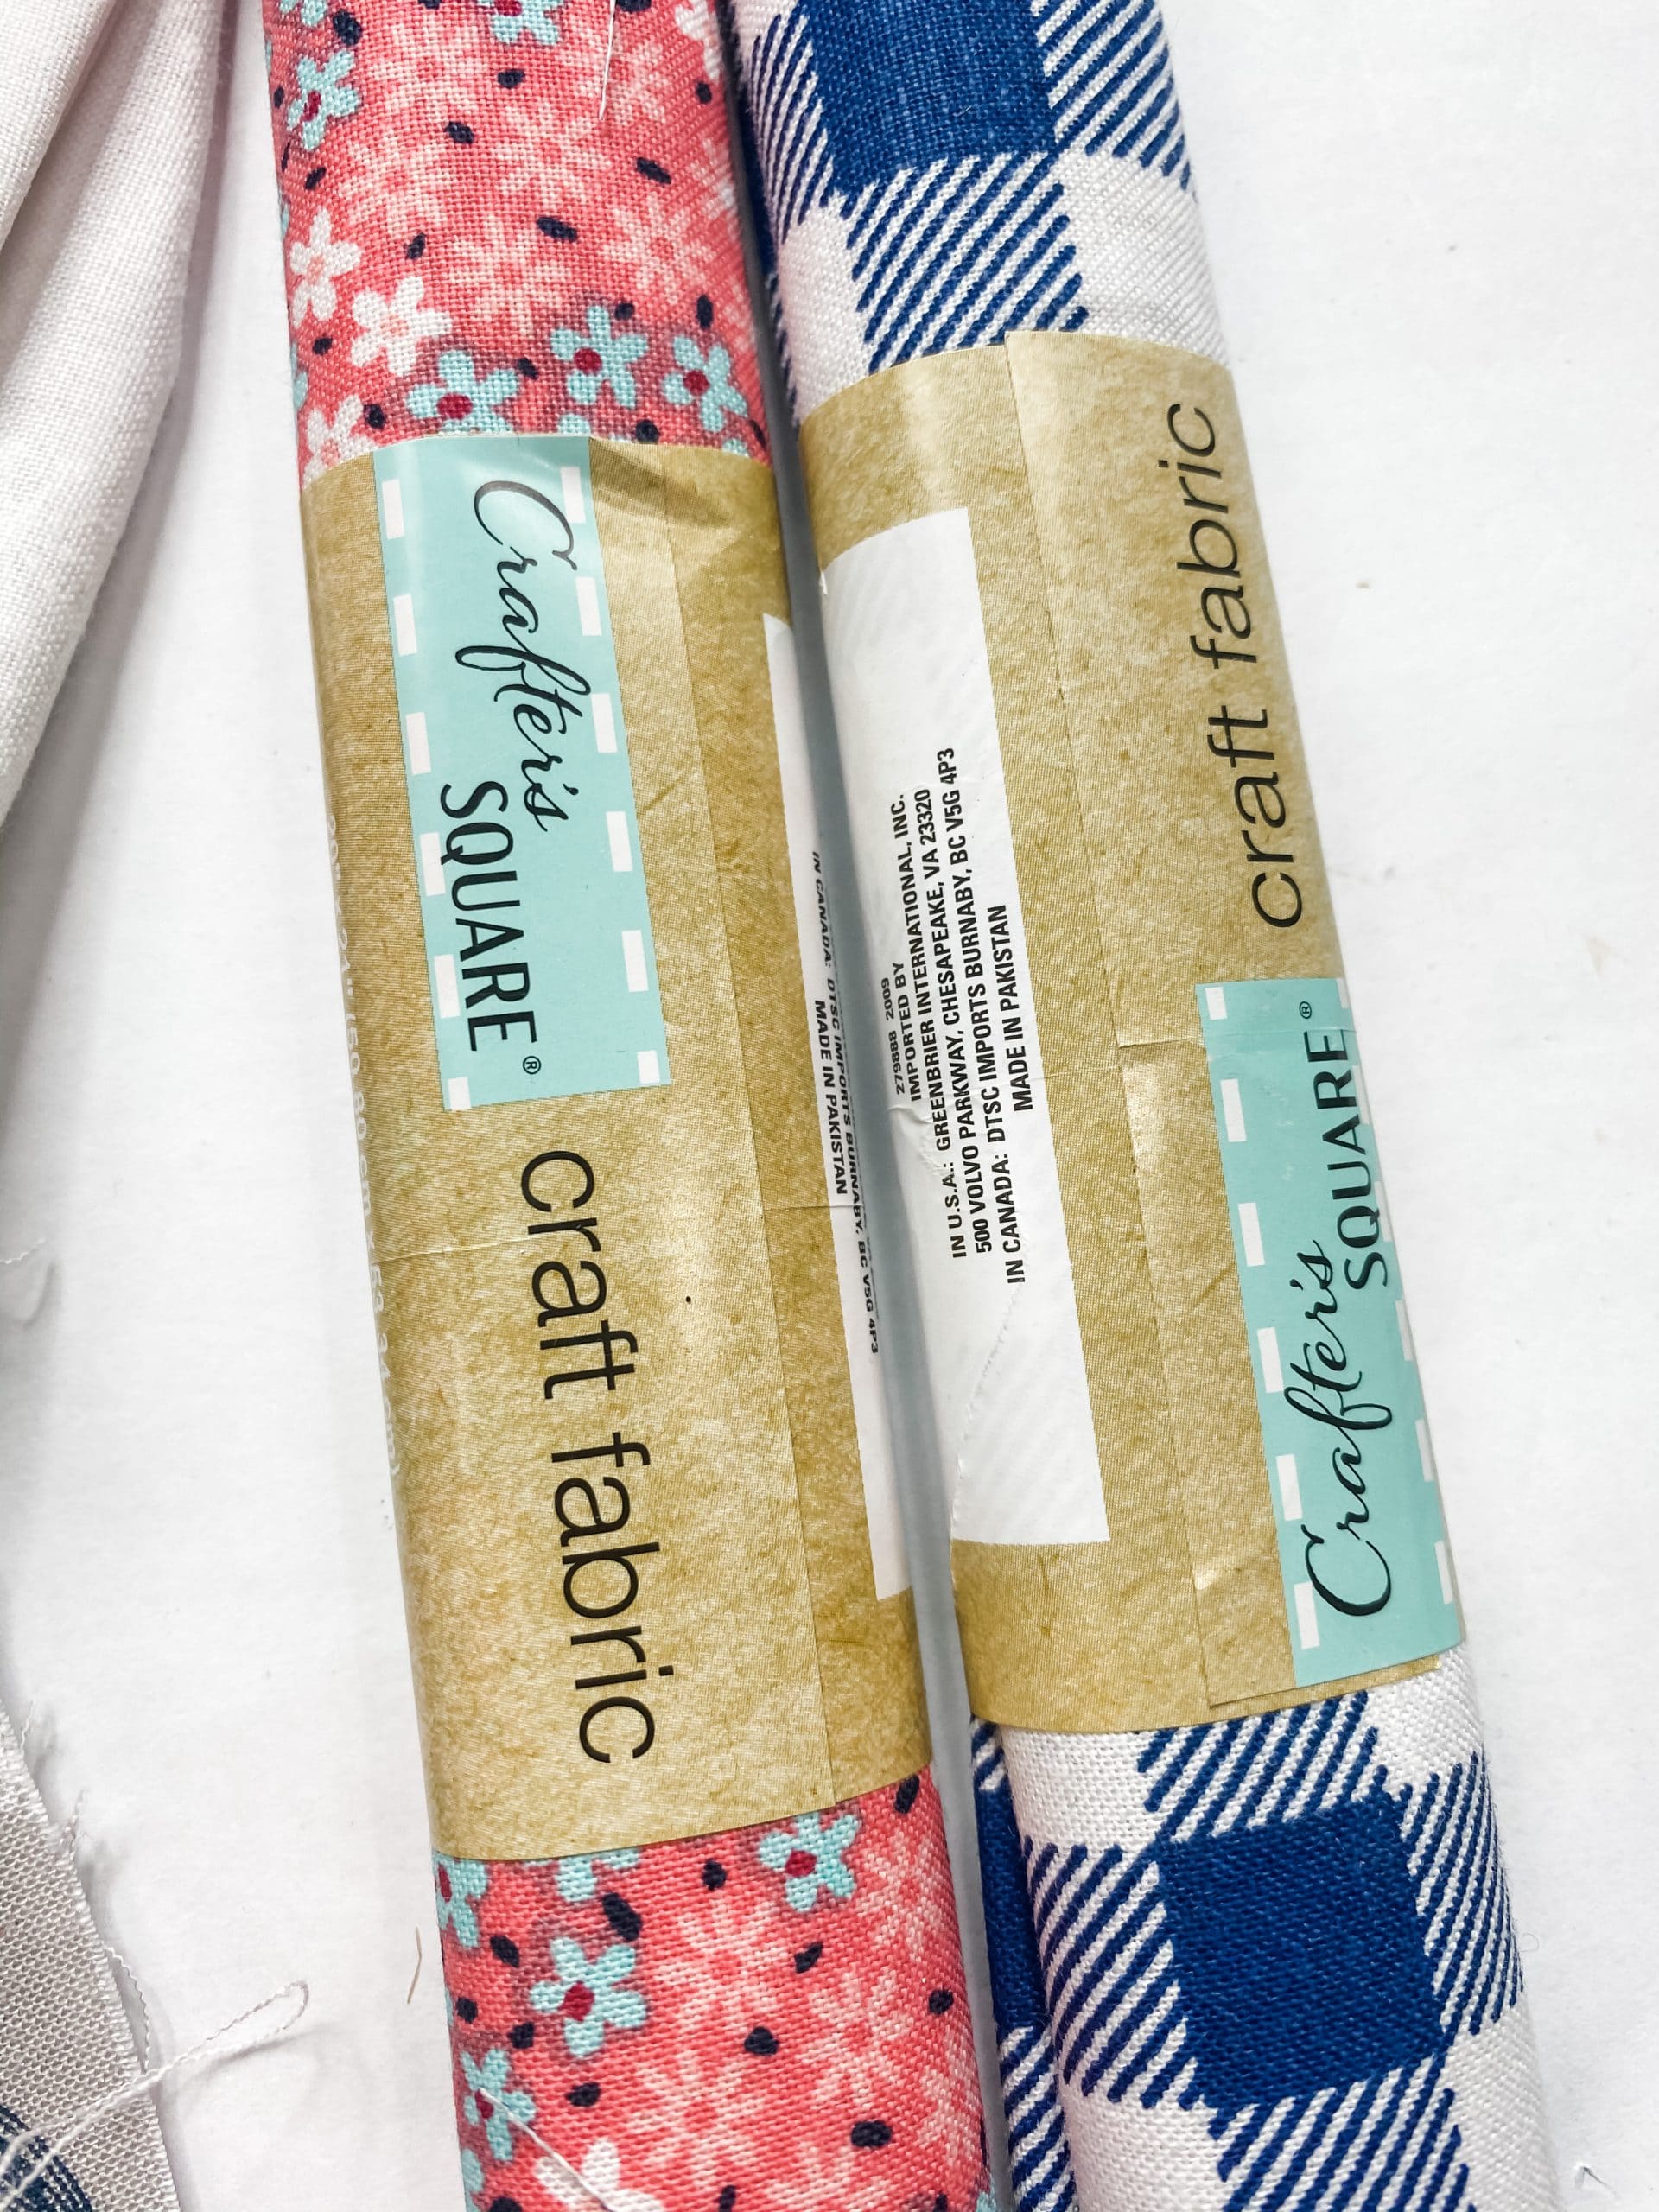
- Dollar Tree Blue Buffalo Check Fabric
- Wood Letters (HOME)
- Dollar Tree Pink Floral Fabric
- Grey Floral Fabric
- Dollar Tree White Floral Fabric
- Ticking Fabric
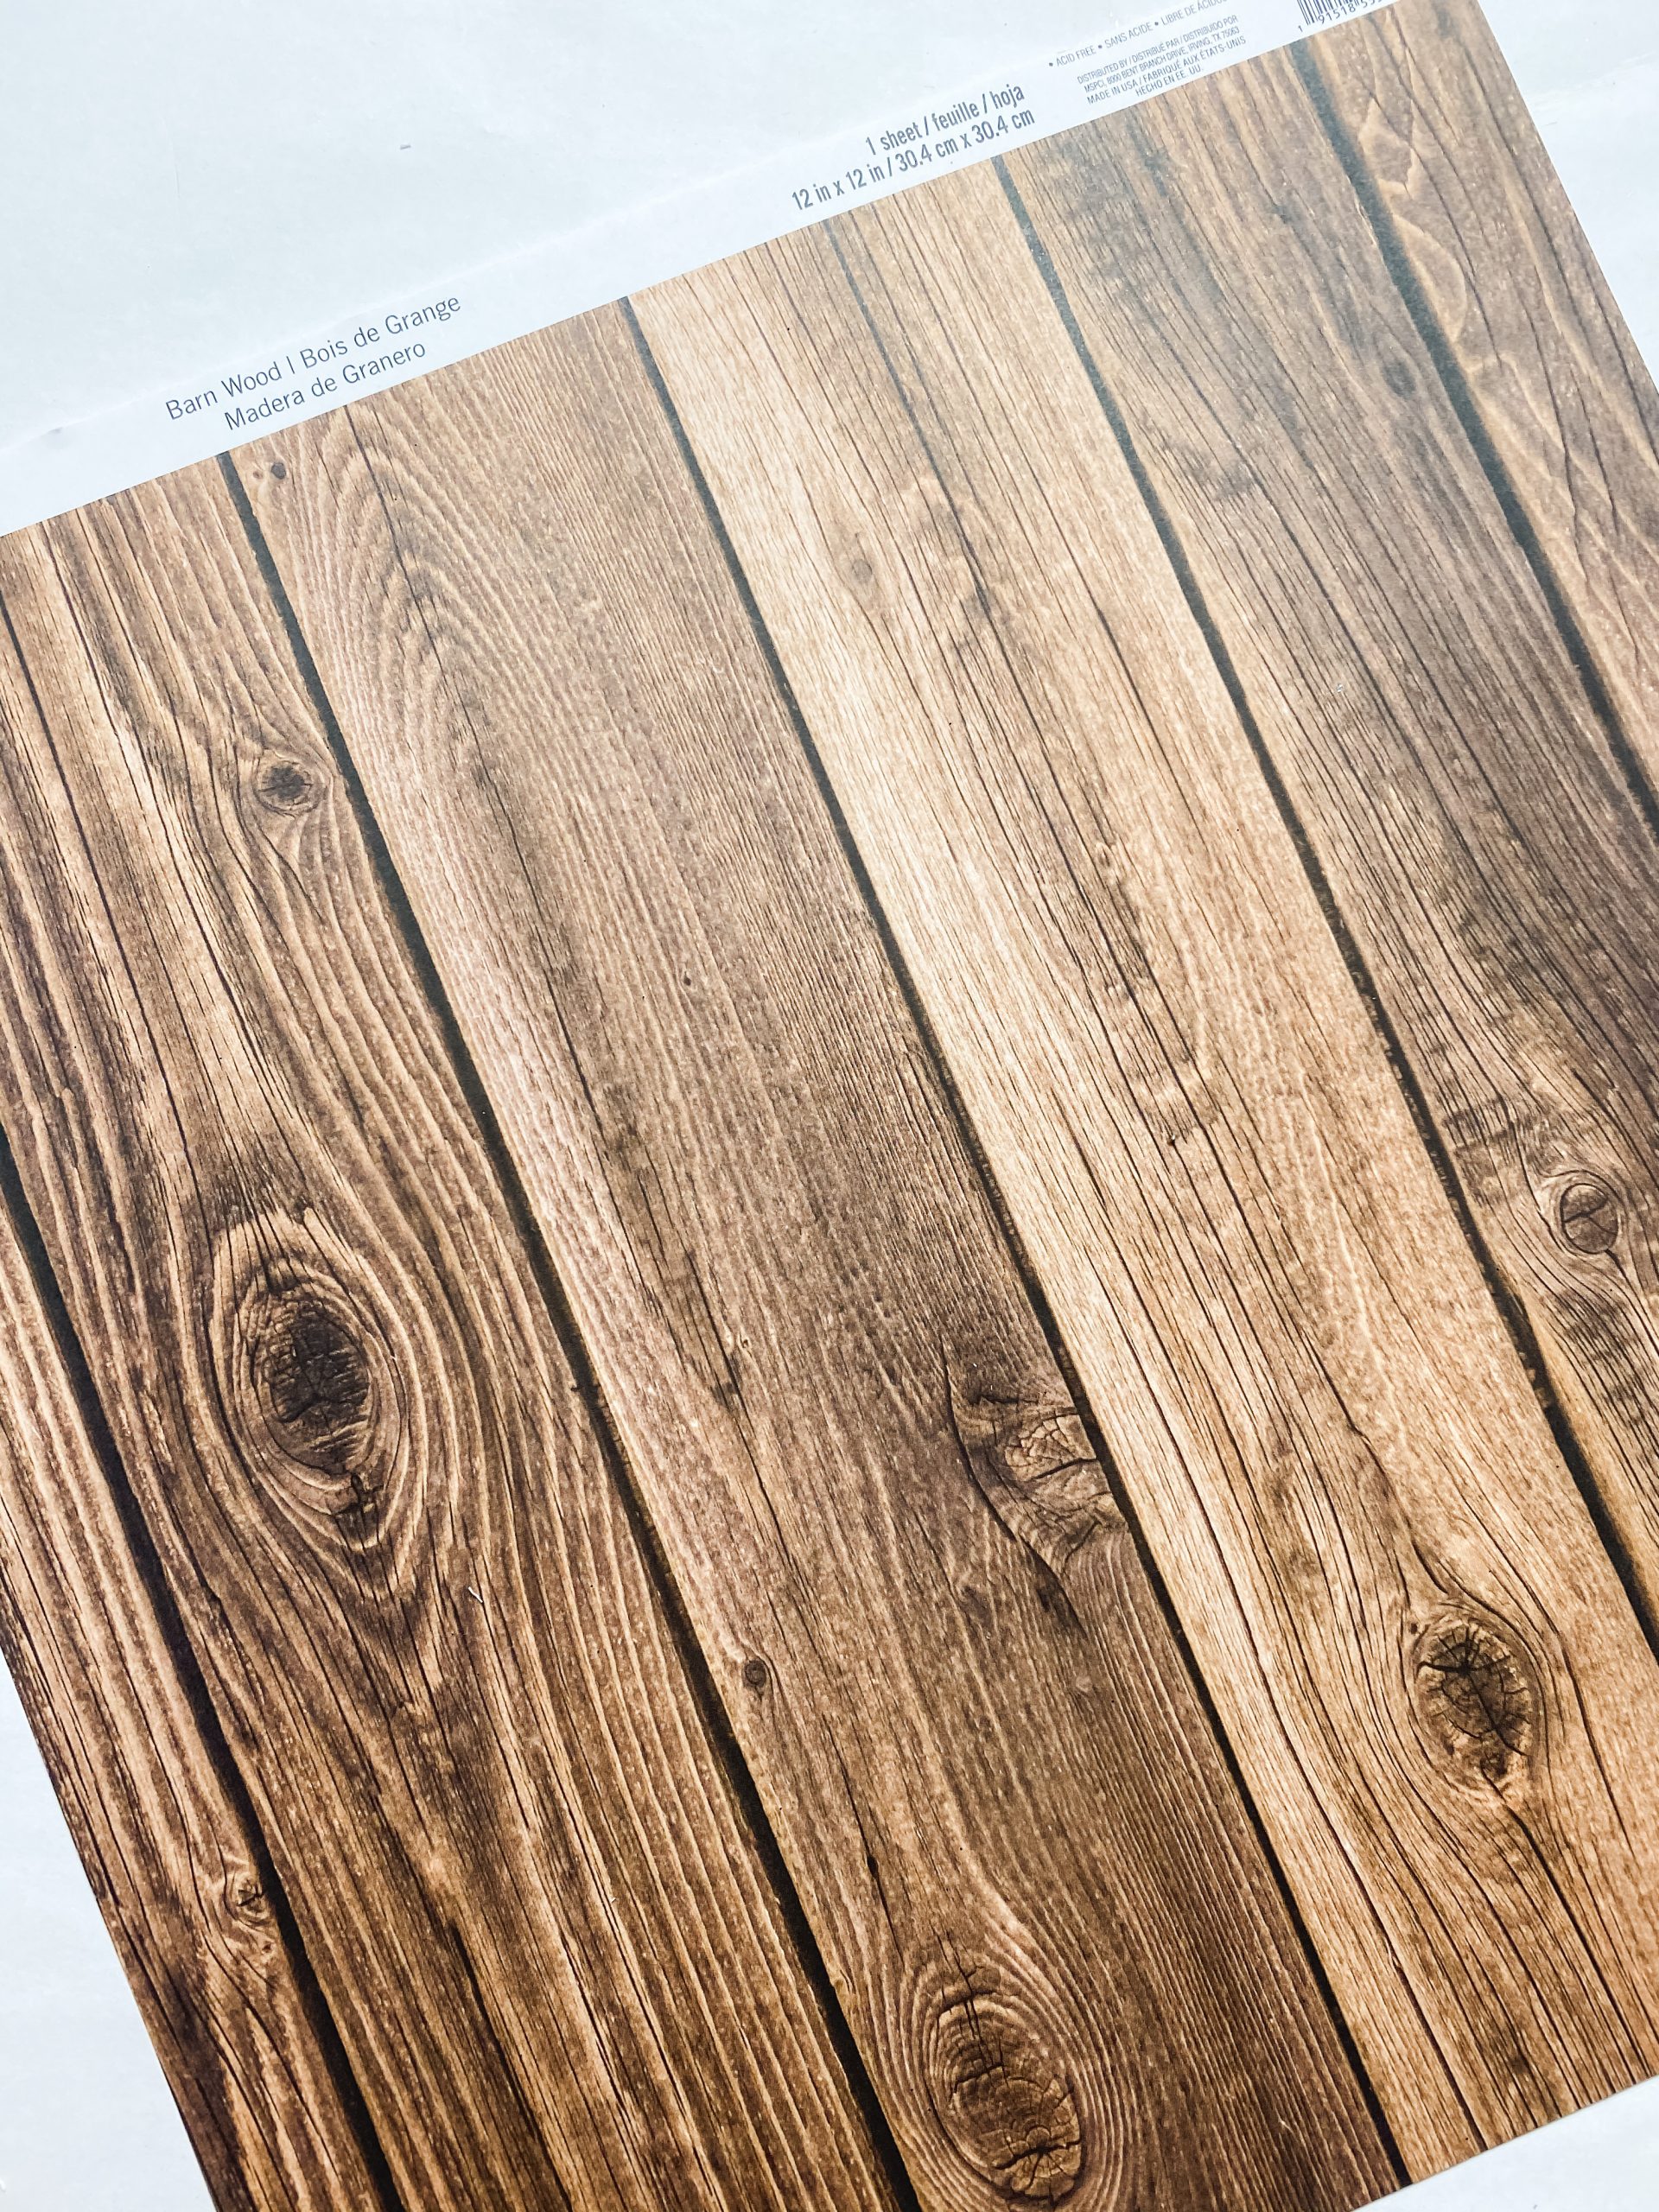
- Barn Wood Scrapbook Paper
- Apple Barrel White Acrylic Paint
- Mod Podge
- Jute Twine
- Surebonder glue gun and glue sticks
Let’s get started
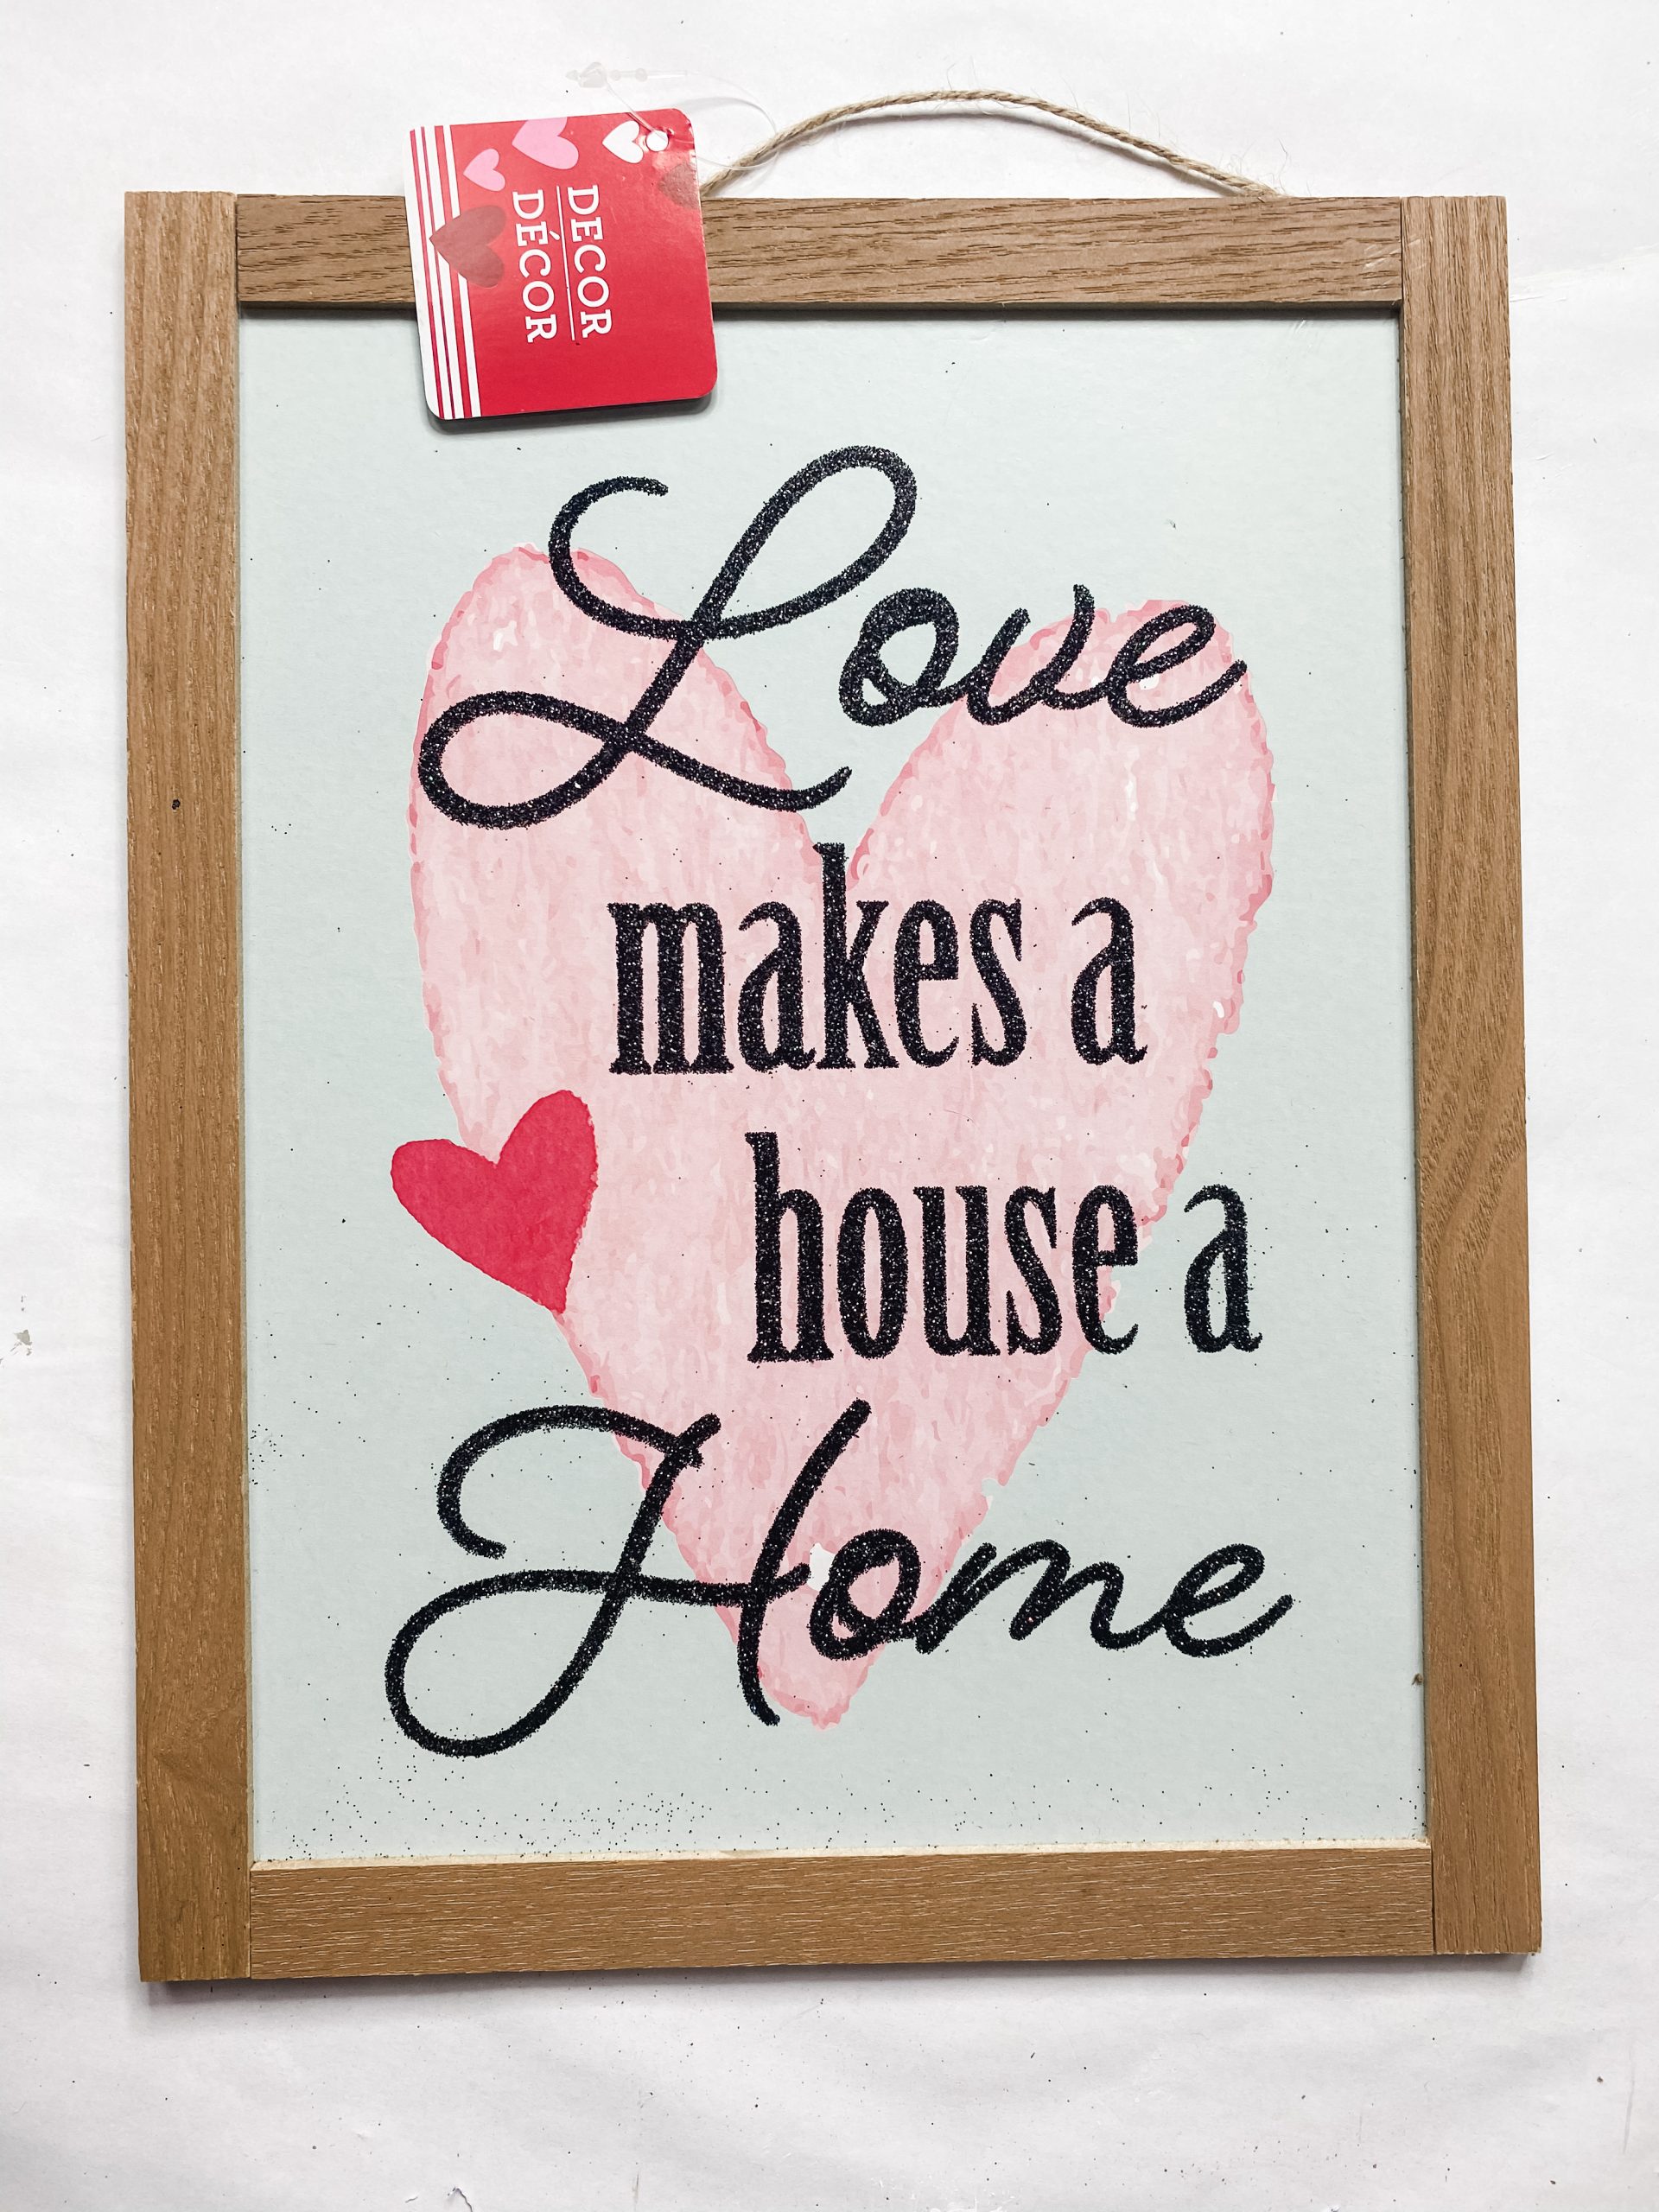
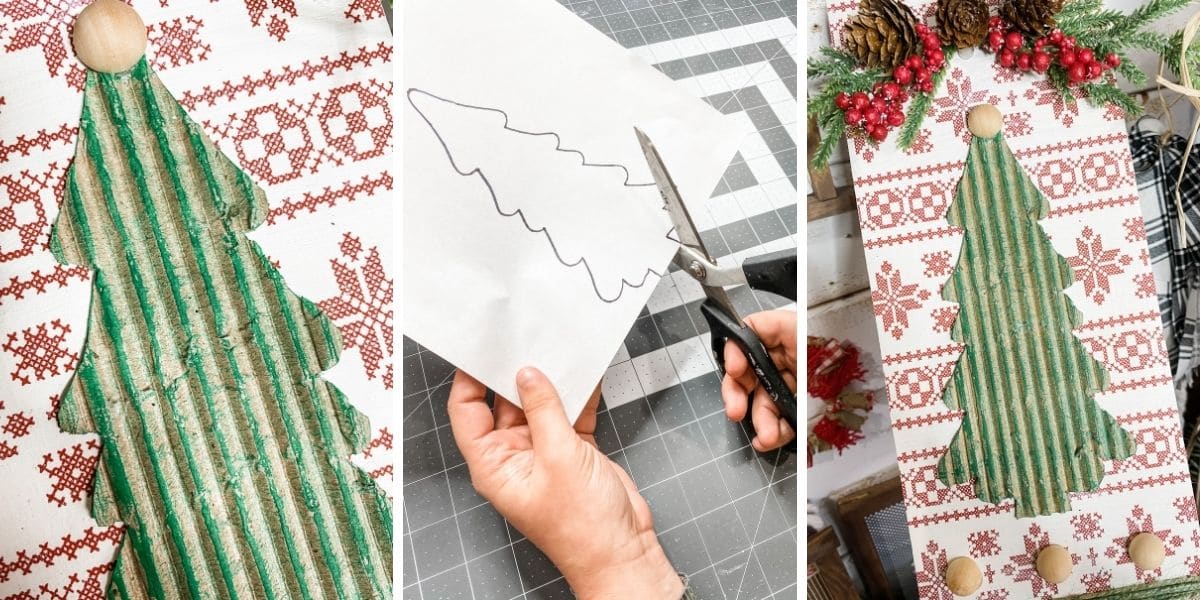
Let’s get going with this DIY project! The first thing I did was lightly brush Apple Barrel White Acrylic Paint around the frame of the Dollar Tree framed sign. Keep a light hand to get an effortless distressed finish for this wood frame!
We are going to decoupage the Barn Wood Scrapbook Paper over the printed design, and the scrapbook paper we are using has a dark pattern, so we don’t have to worry about painting over the design first.
Once the frame has dried, you need to get the scrapbook paper. I used a ruler to make sure I cut the paper to fit perfectly inside the Dollar Tree framed sign, then used a regular pair of scissors to cut the excess paper.
To decoupage the paper onto the sign, apply a coat of Mod Podge directly to the sign and carefully place the scrapbook paper onto the Mod Podge.
Try to avoid any wrinkles or creases forming while you’re placing the paper, but if they do happen, use a piece of plastic saran wrap to smooth out the imperfections. The plastic wrap protects the paper and prevents it from sticking to your fingers and ripping or tearing.
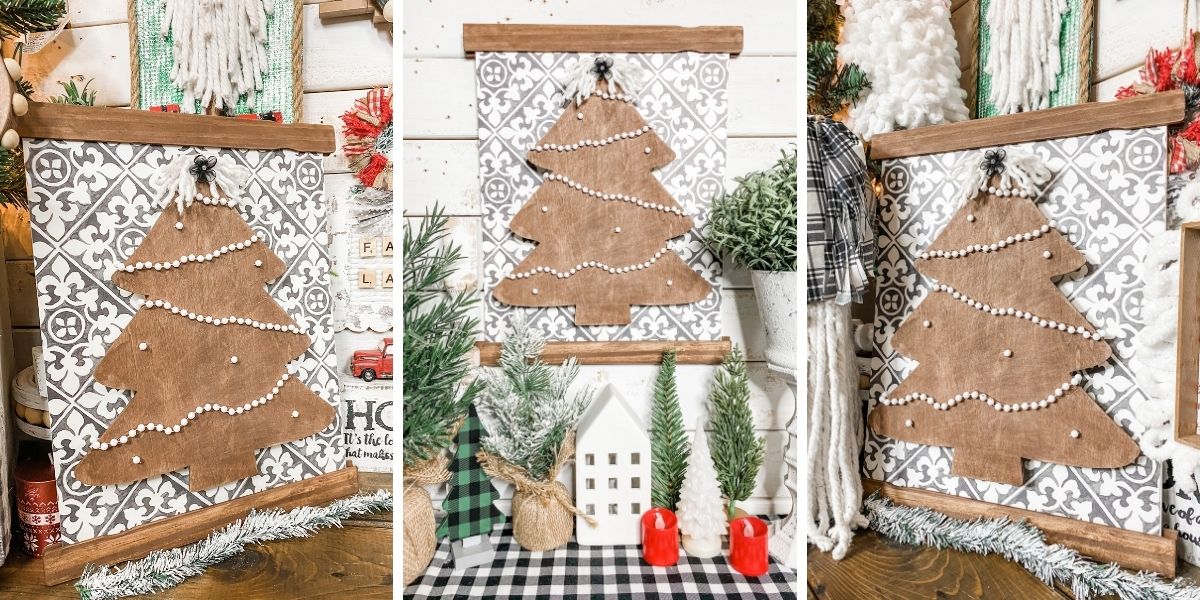
There’s no place like HOME
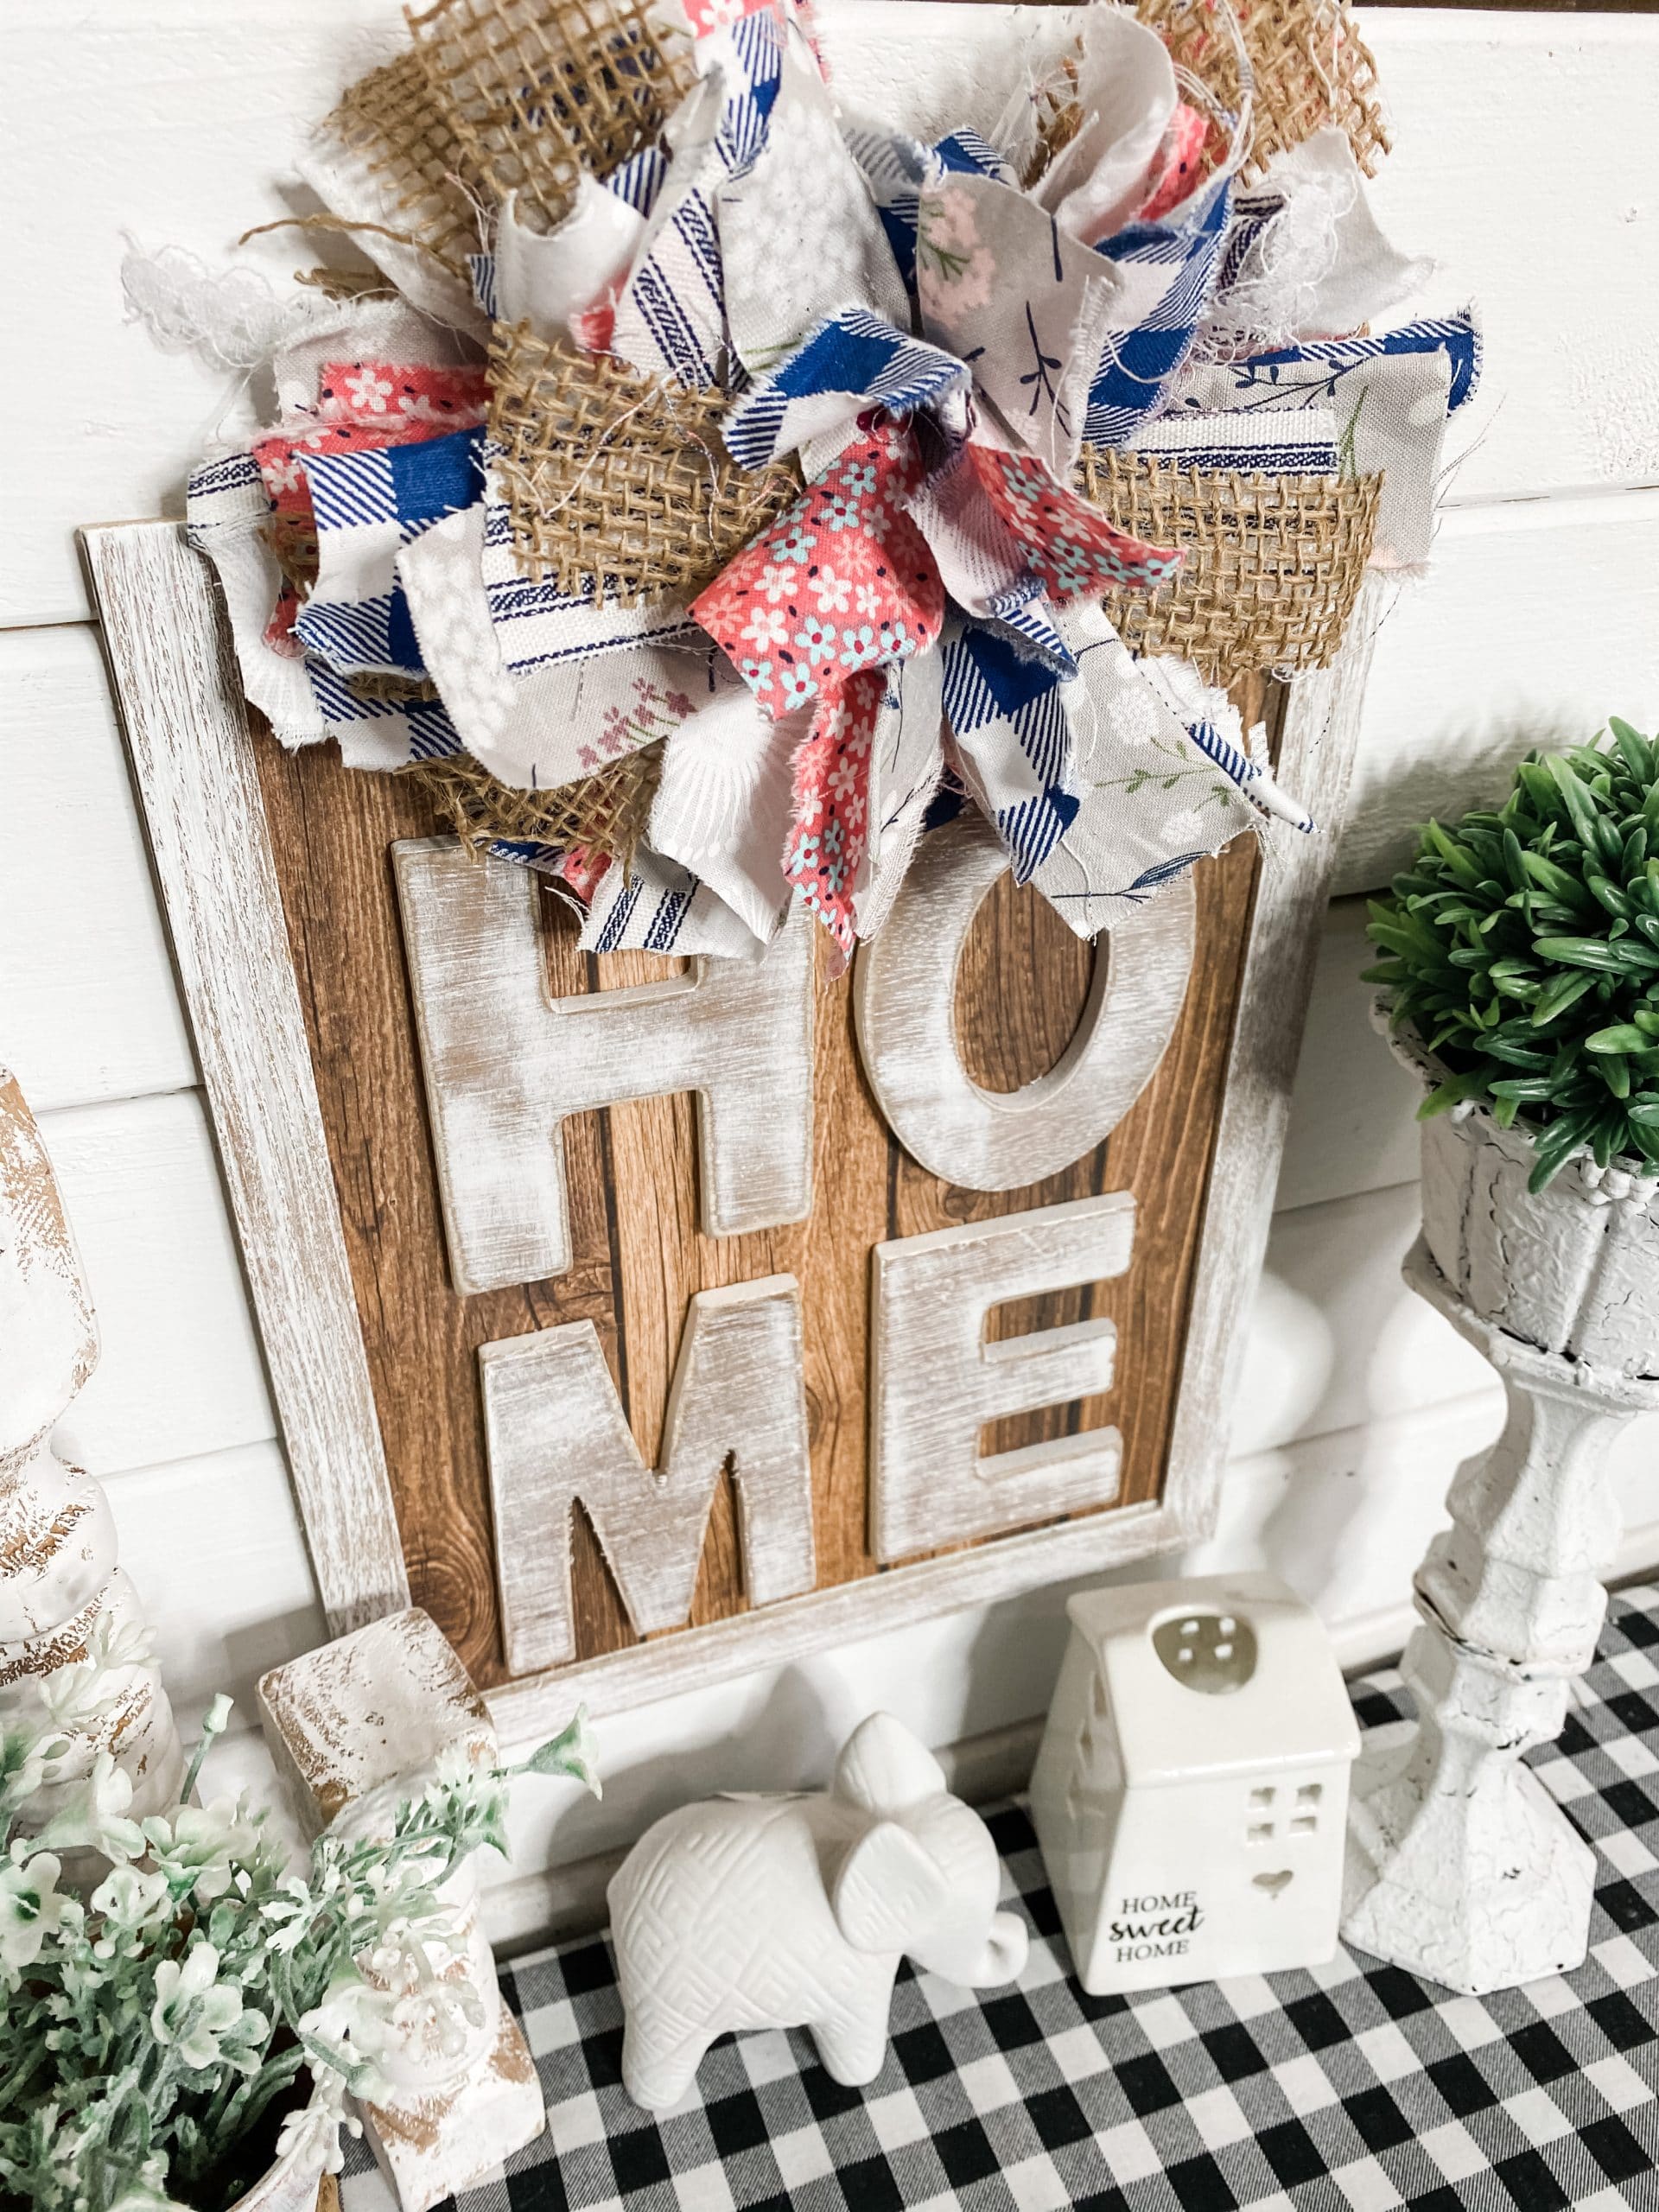
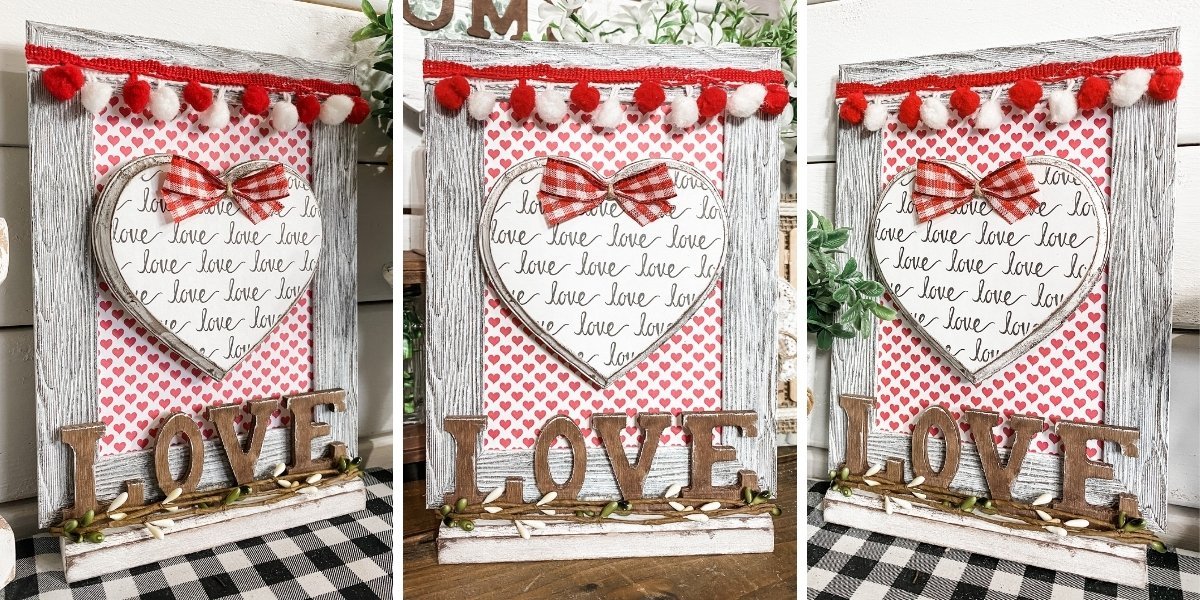
Once the Mod Podge dries (I used my heat gun to speed up the drying process), you can hot glue the Walmart wood letters onto the surface.
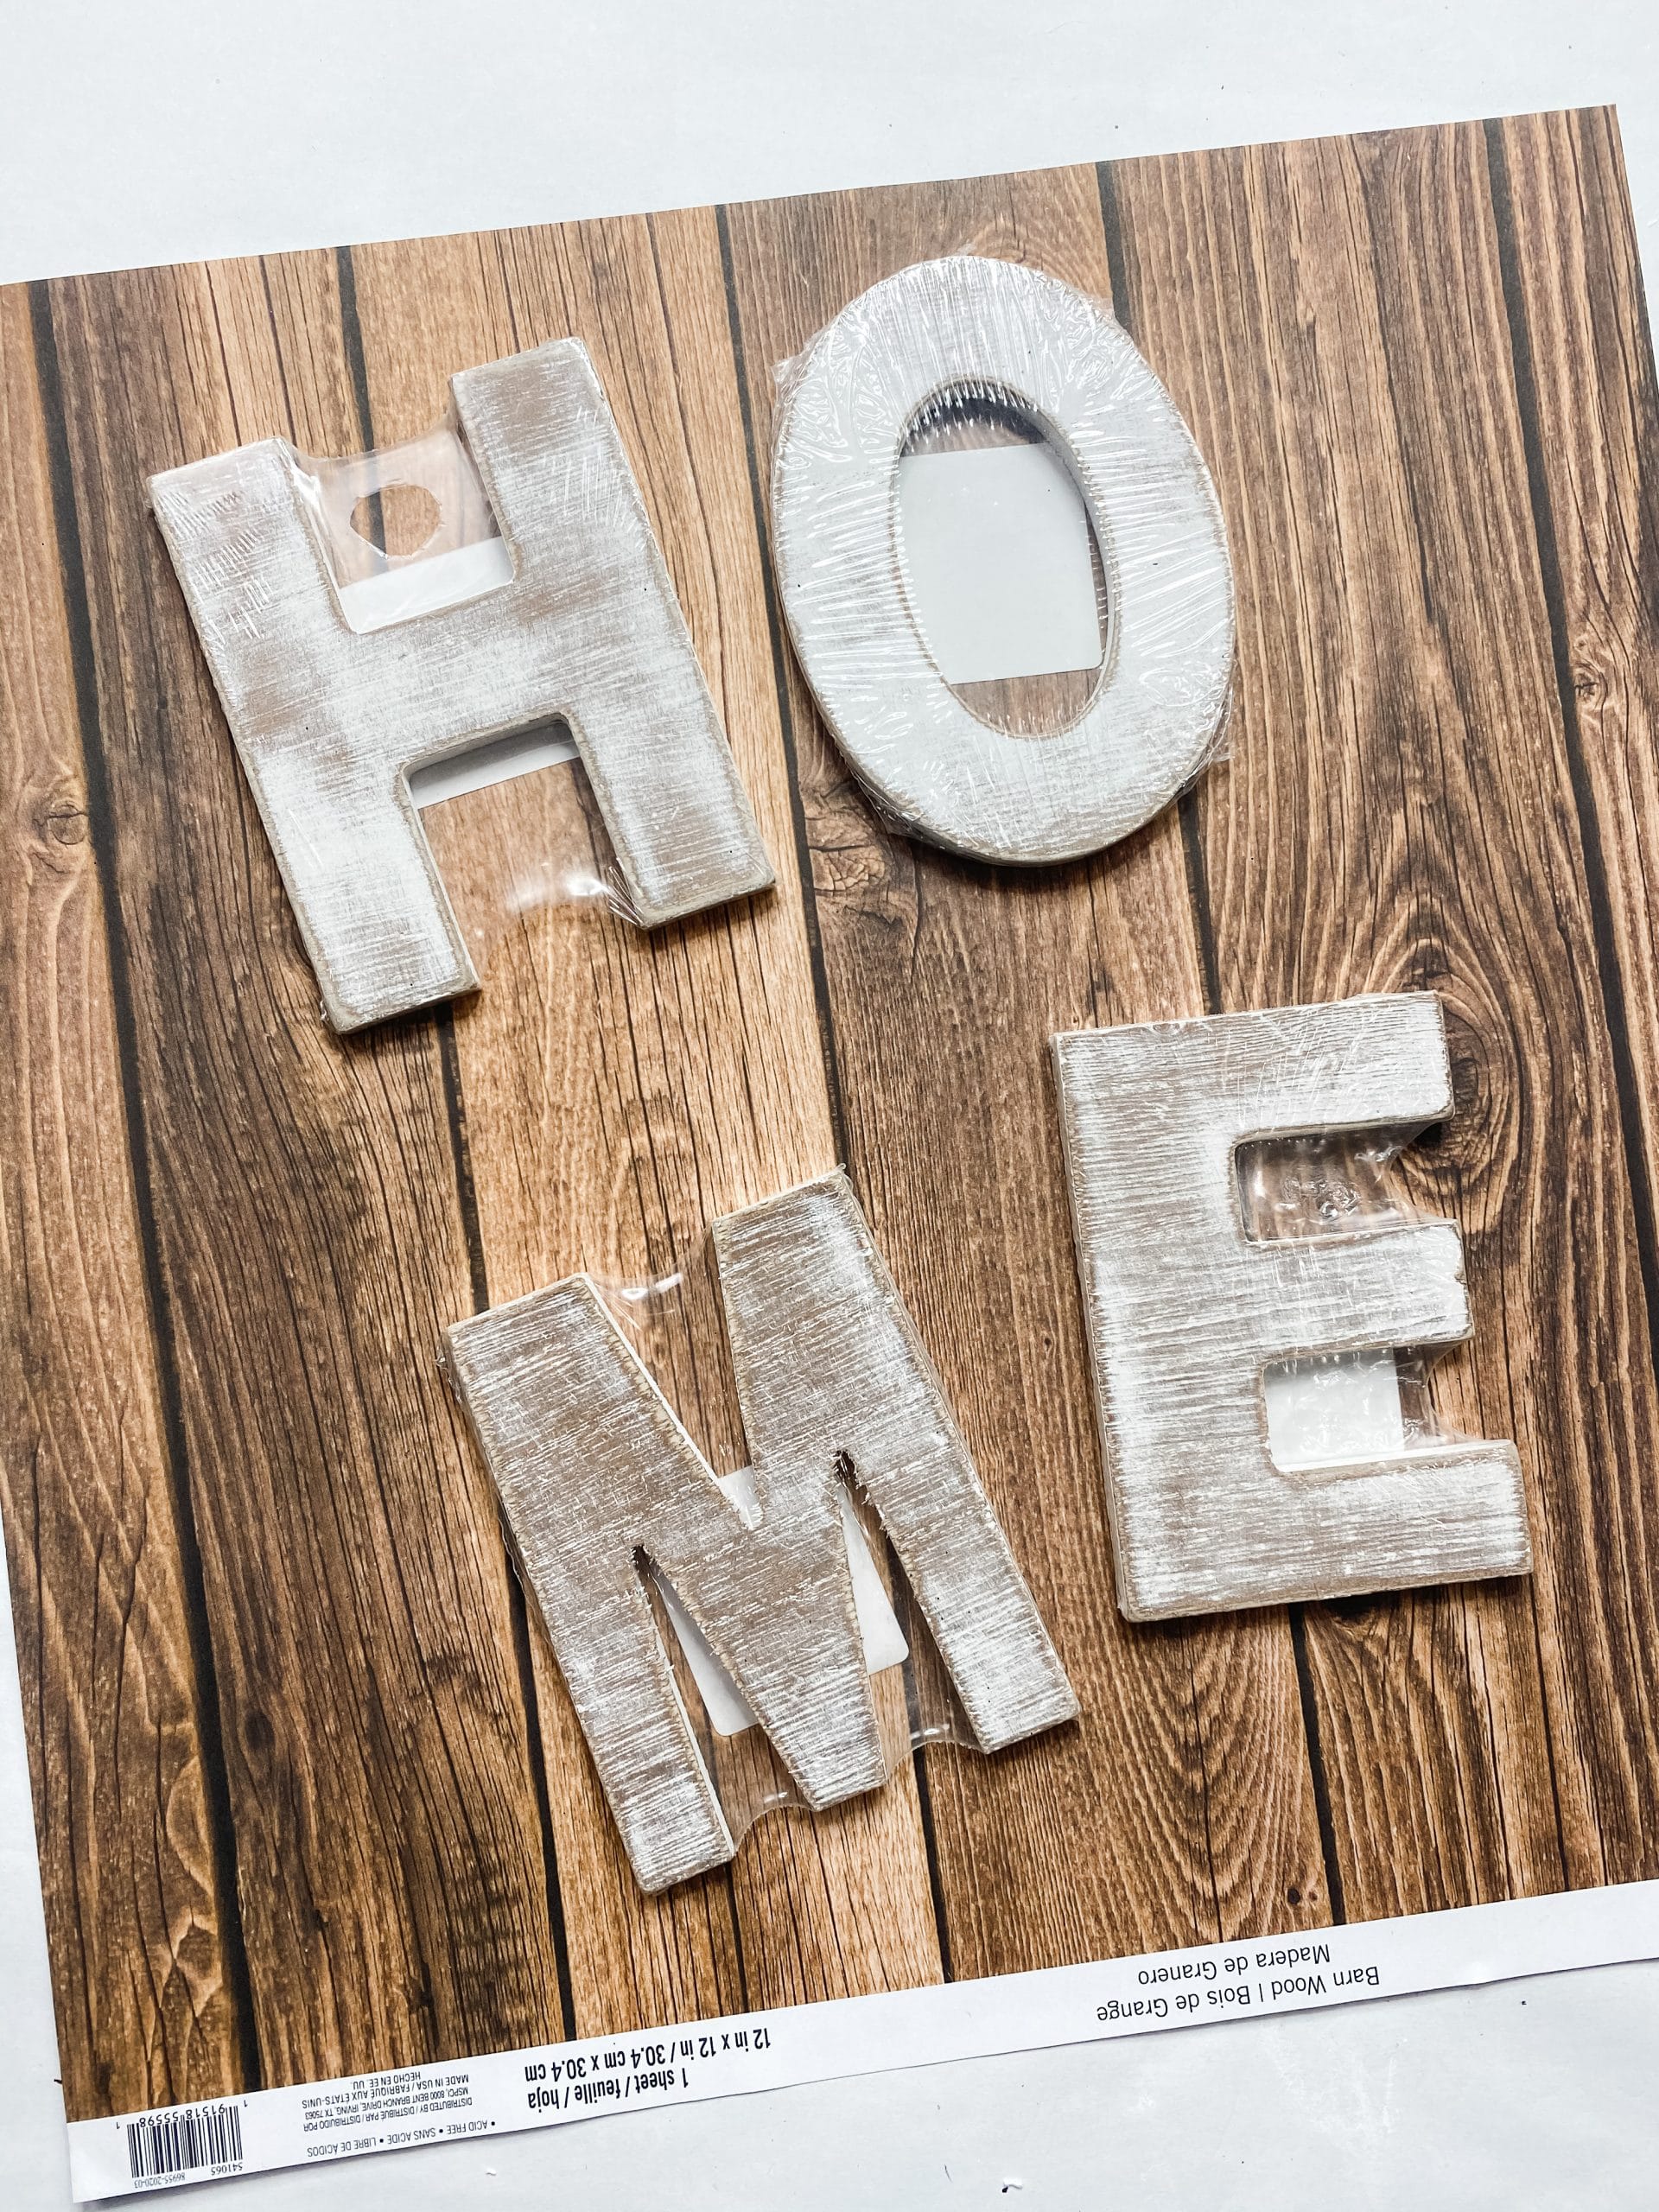
The great thing about these Walmart wood letters is they were already distressed, so all I had to do was hot glue them onto the Dollar Tree framed sign!
Prep your fabric and ribbon
The most time-consuming part of this DIY rustic decor is probably making the messy bow. For this, you’re going to need several fabric patterns and a couple of ribbon patterns.
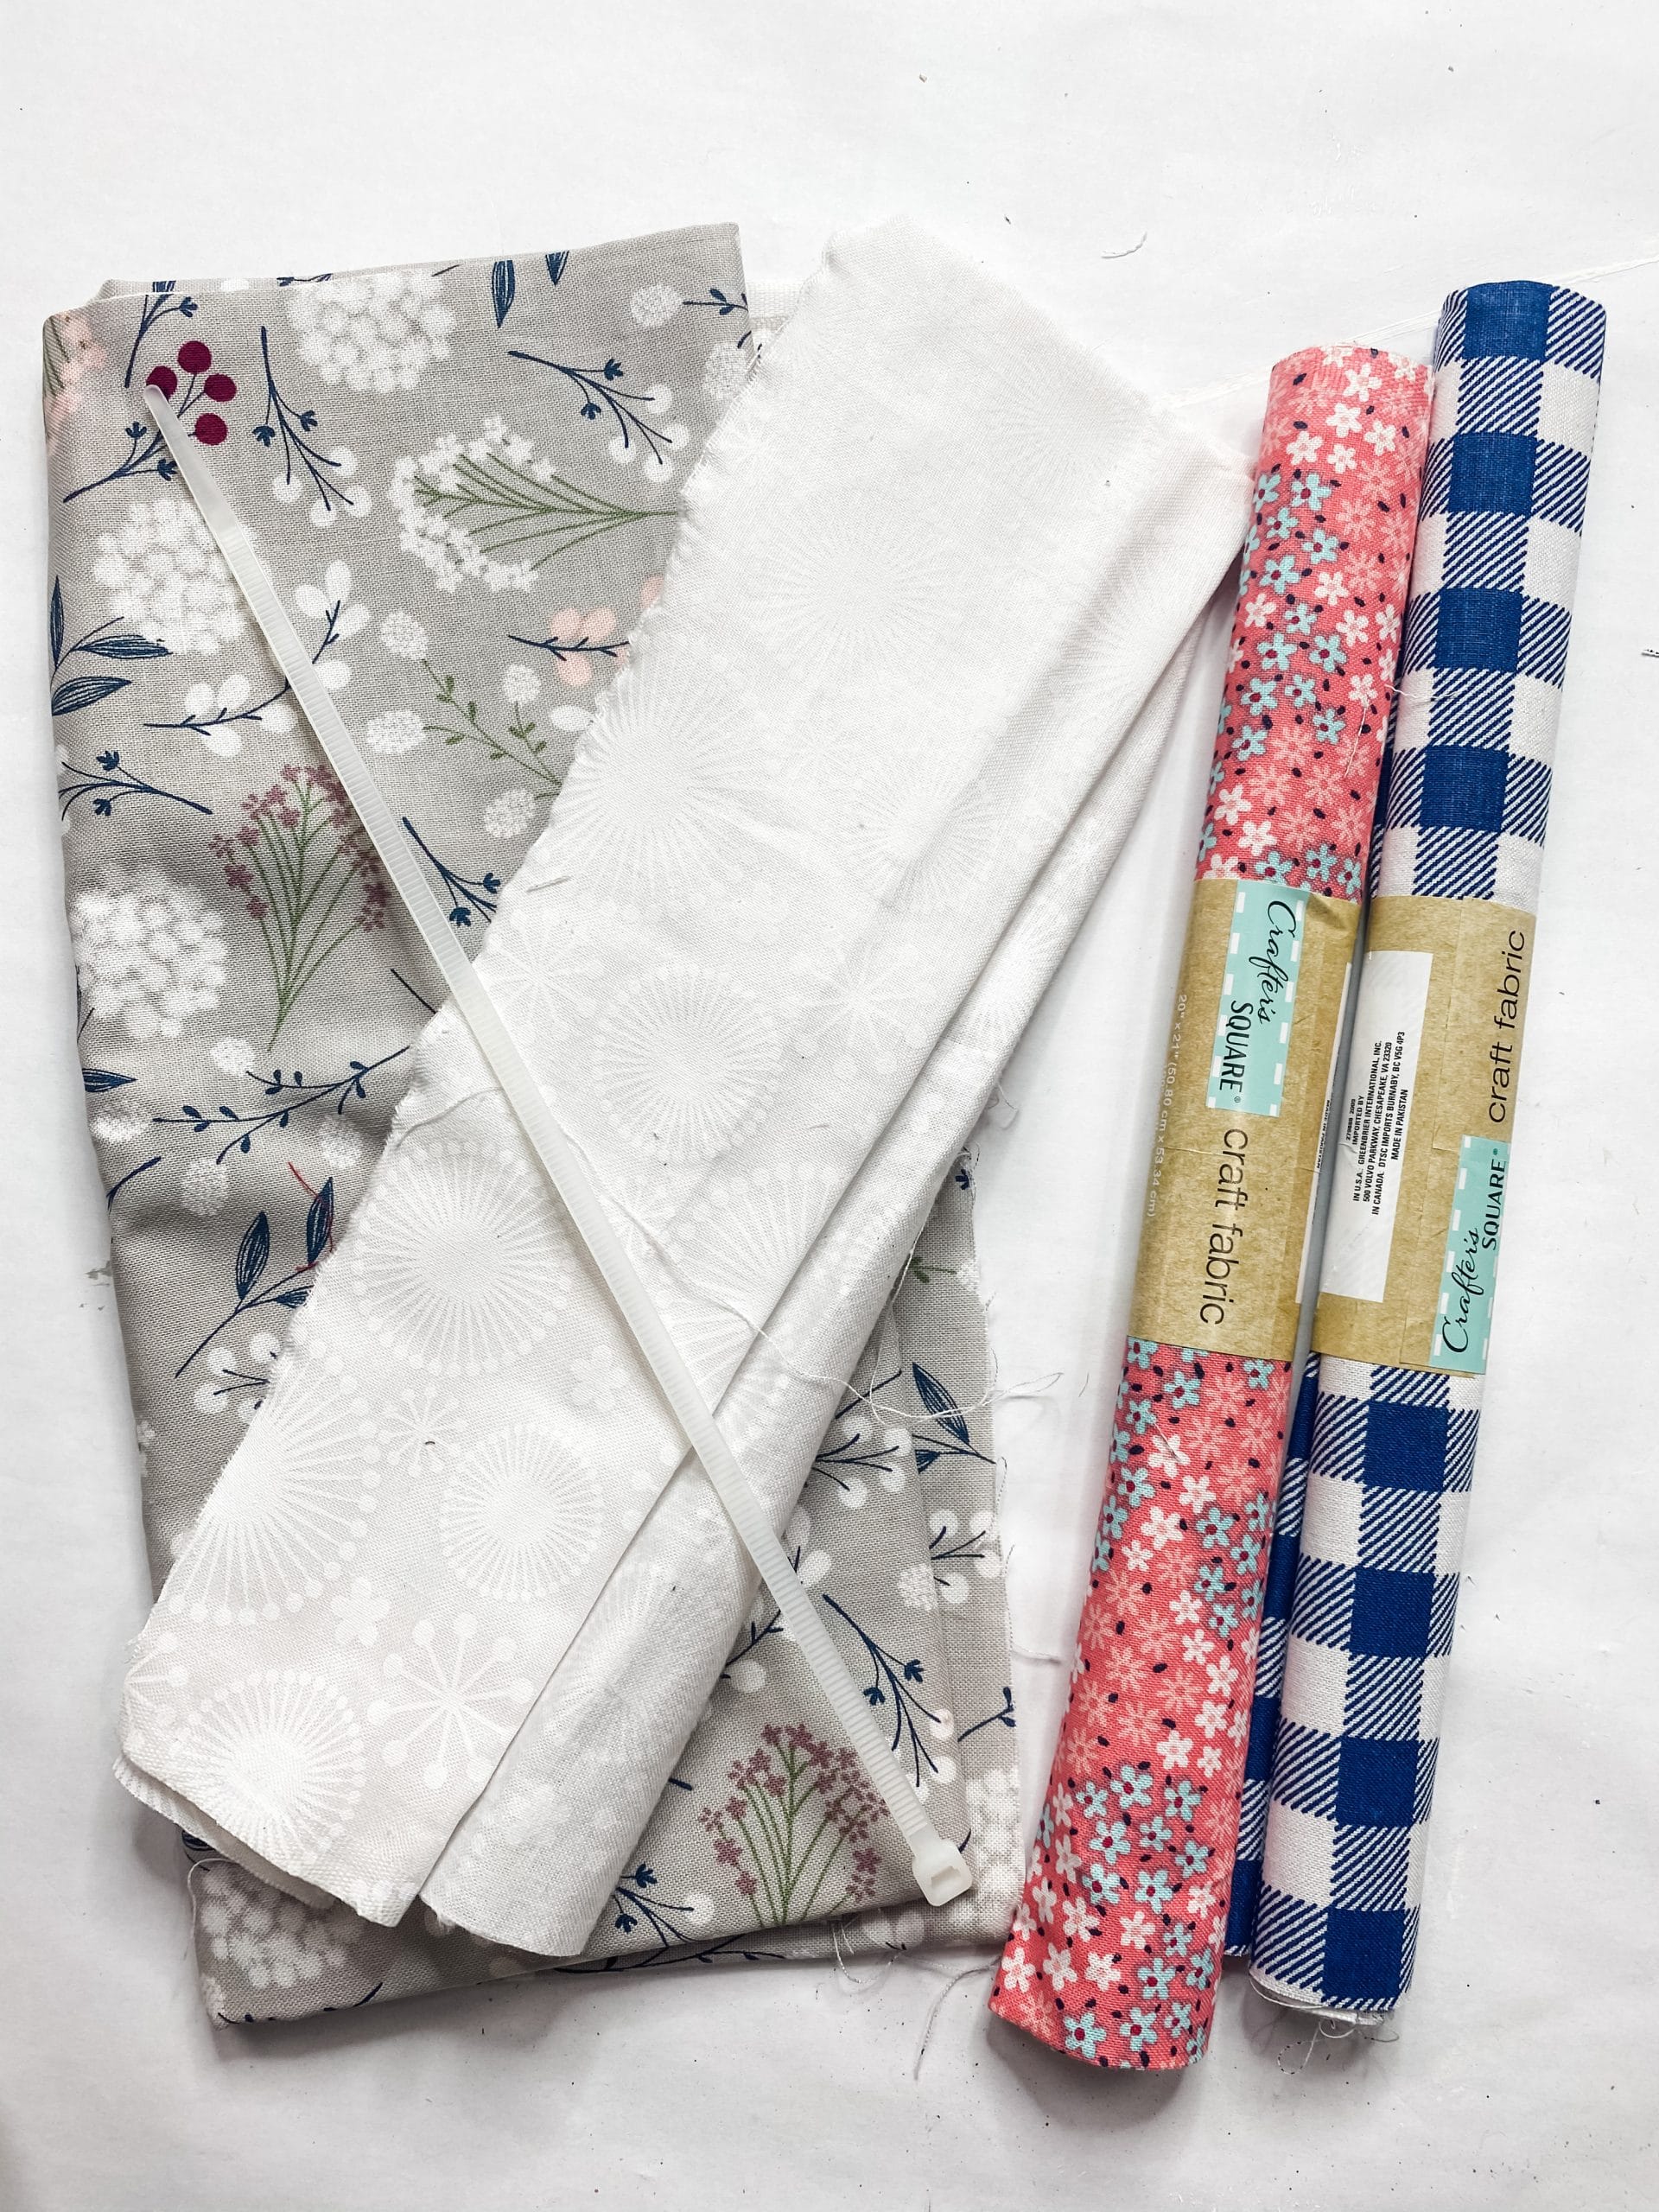
For fabrics, I used a pink floral pattern, navy buffalo check pattern, white floral pattern, and a grey floral pattern. The pink, navy, and white fabrics all came from Dollar Tree. The grey floral pattern was gifted to me by an amazing member of my Crafty Crew!
You’re going to cut several strips of each fabric pattern. Make the strips longer than you think you need them to be because at the end of assembling your messy bow you’re going to have to trim the fabric to make them even.
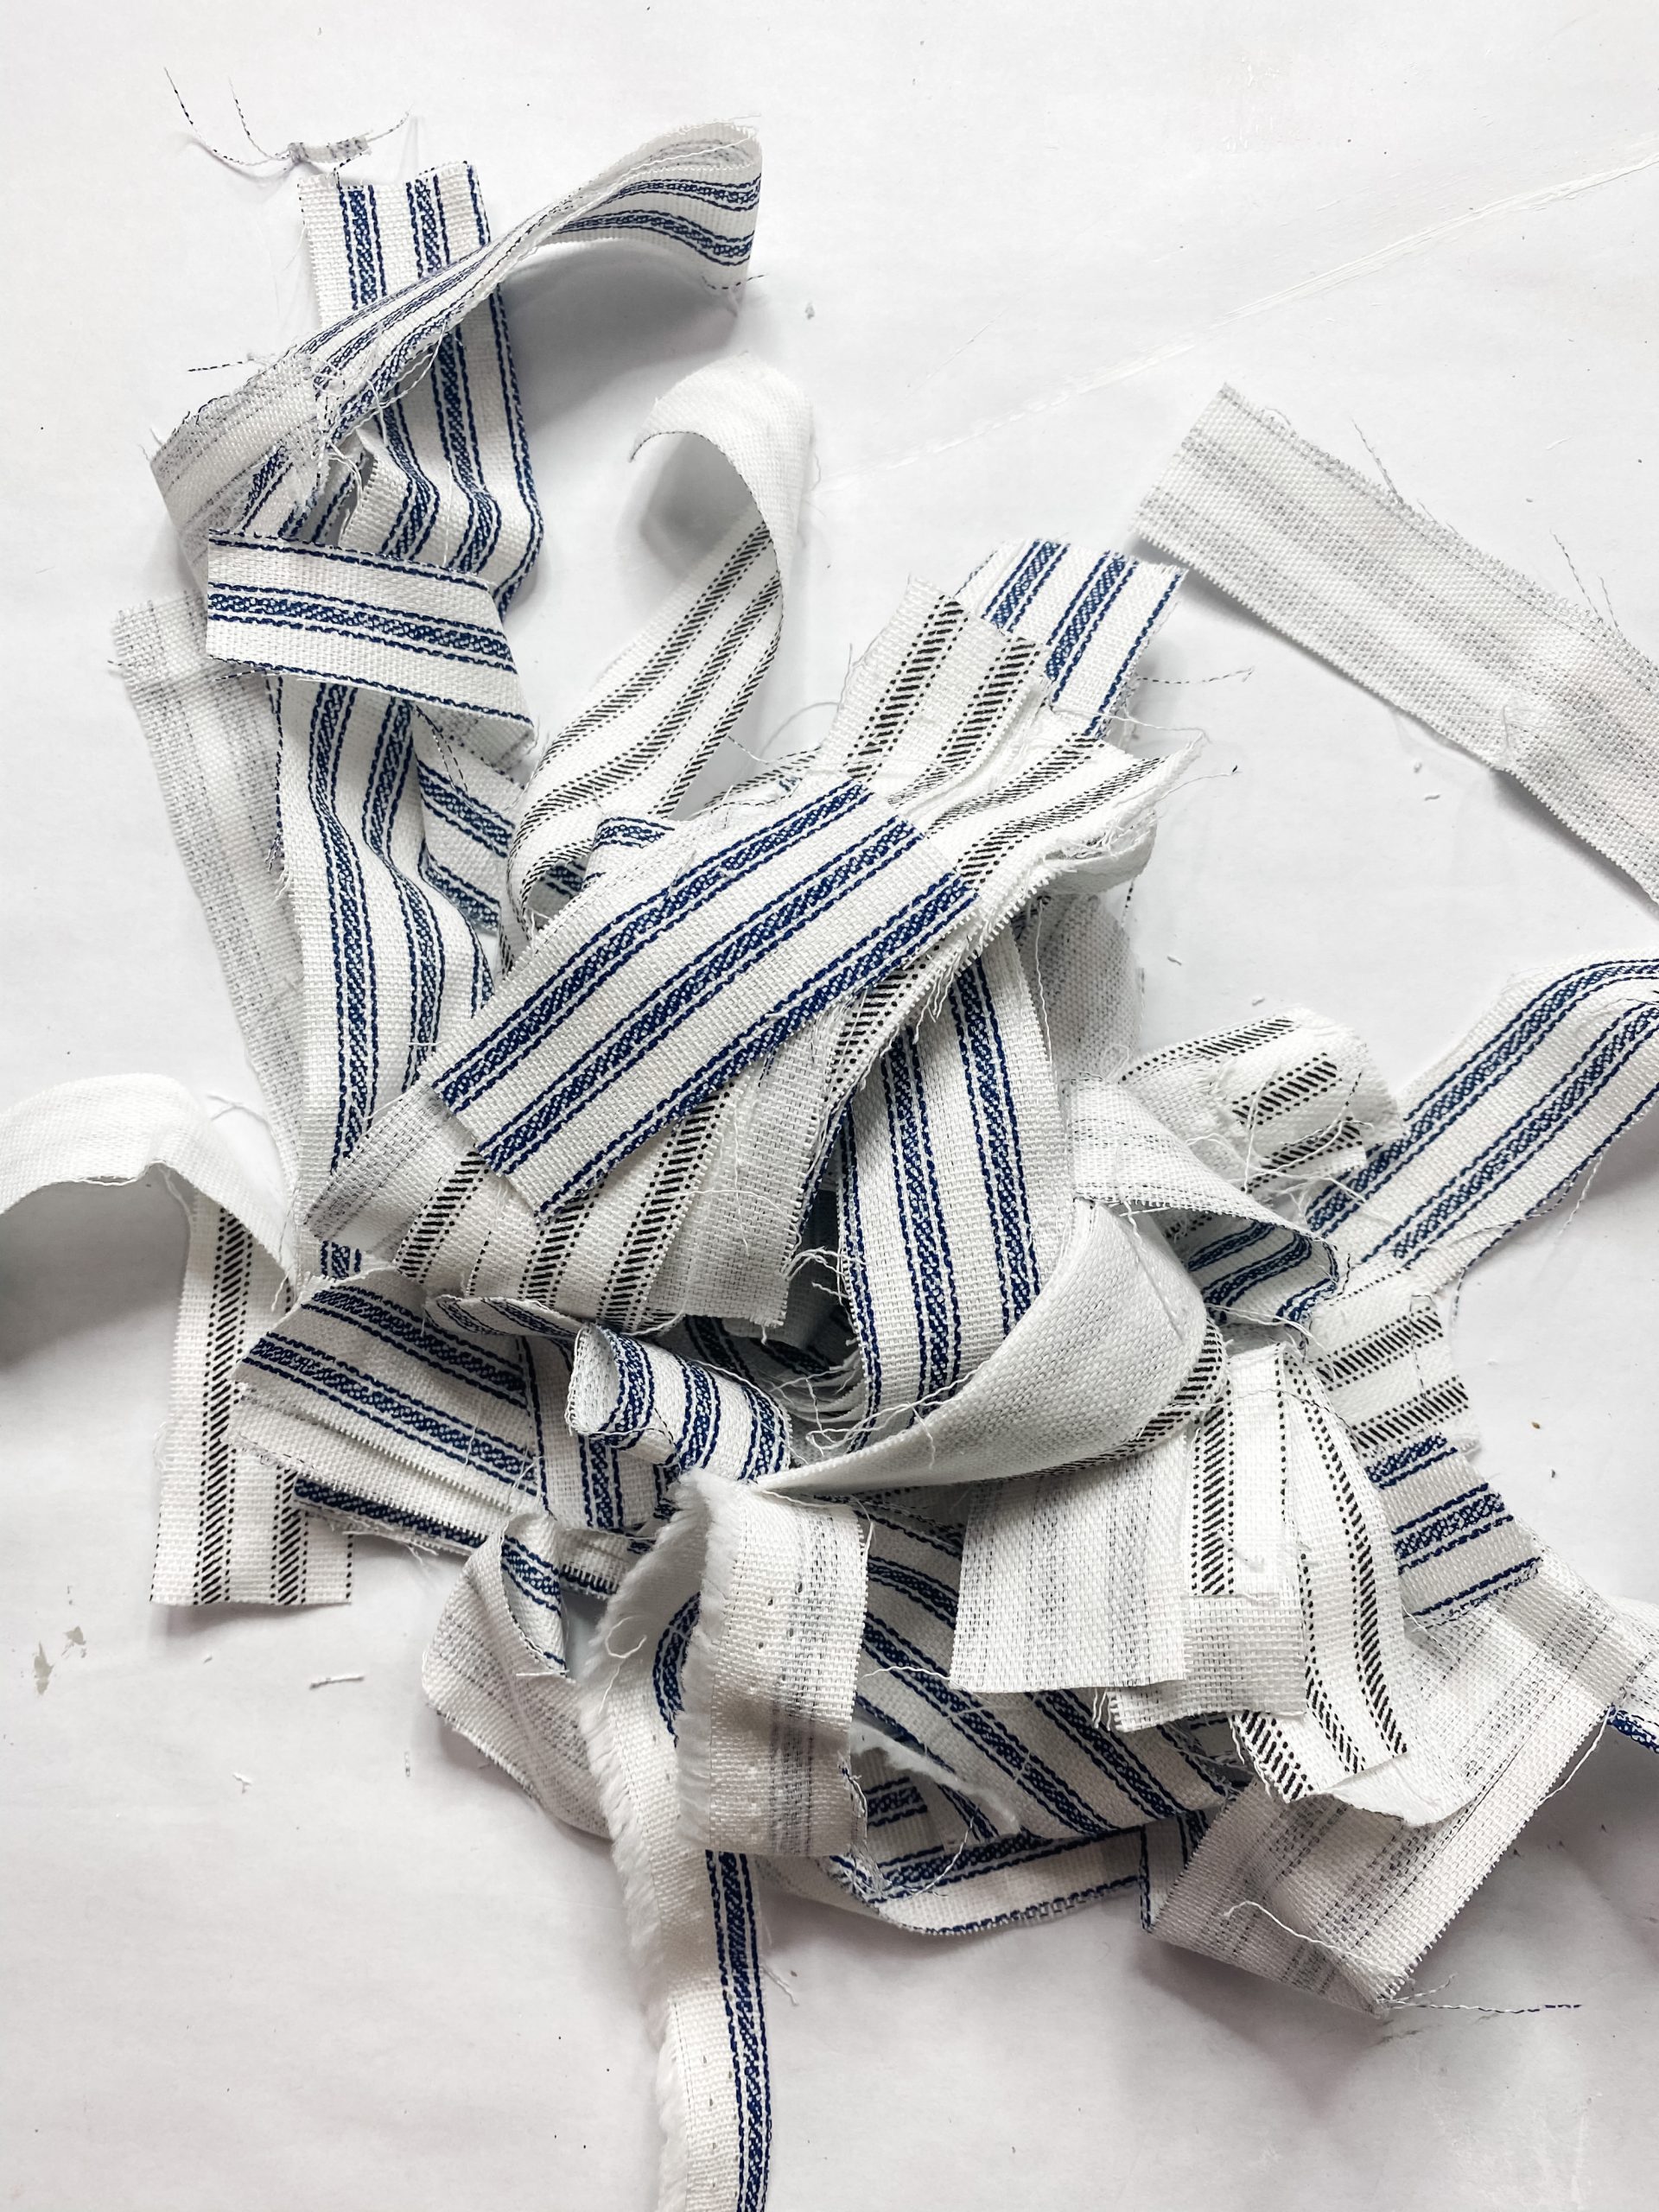
I already had these strips of scrap ticking fabric from a previous DIY project, and I thought they would go perfectly with this messy bow!
That makes a total of five fabric patterns for this messy bow. But wait, there’s more! I also used two ribbon patterns for this bow.

In addition to the five fabric patterns, I also used the Dollar Tree white lace ribbon and some thick burlap ribbon. Just like you did with the fabric, cut several strips of each ribbon.
Once you have all the fabric and ribbon strips, it is time to start making your messy bow!
How to make a messy bow
To make your messy bow out of all the ribbon and fabric strips that you cut, you’re going to place the strips in a random order in an x-pattern. Alternate the directions of the pattern strips so you don’t have two of the same pattern on top of each other.
You’ll make an X then lay a strip horizontally across the center of the X. Do this over and over again until you are happy with the thickness of your messy bow.
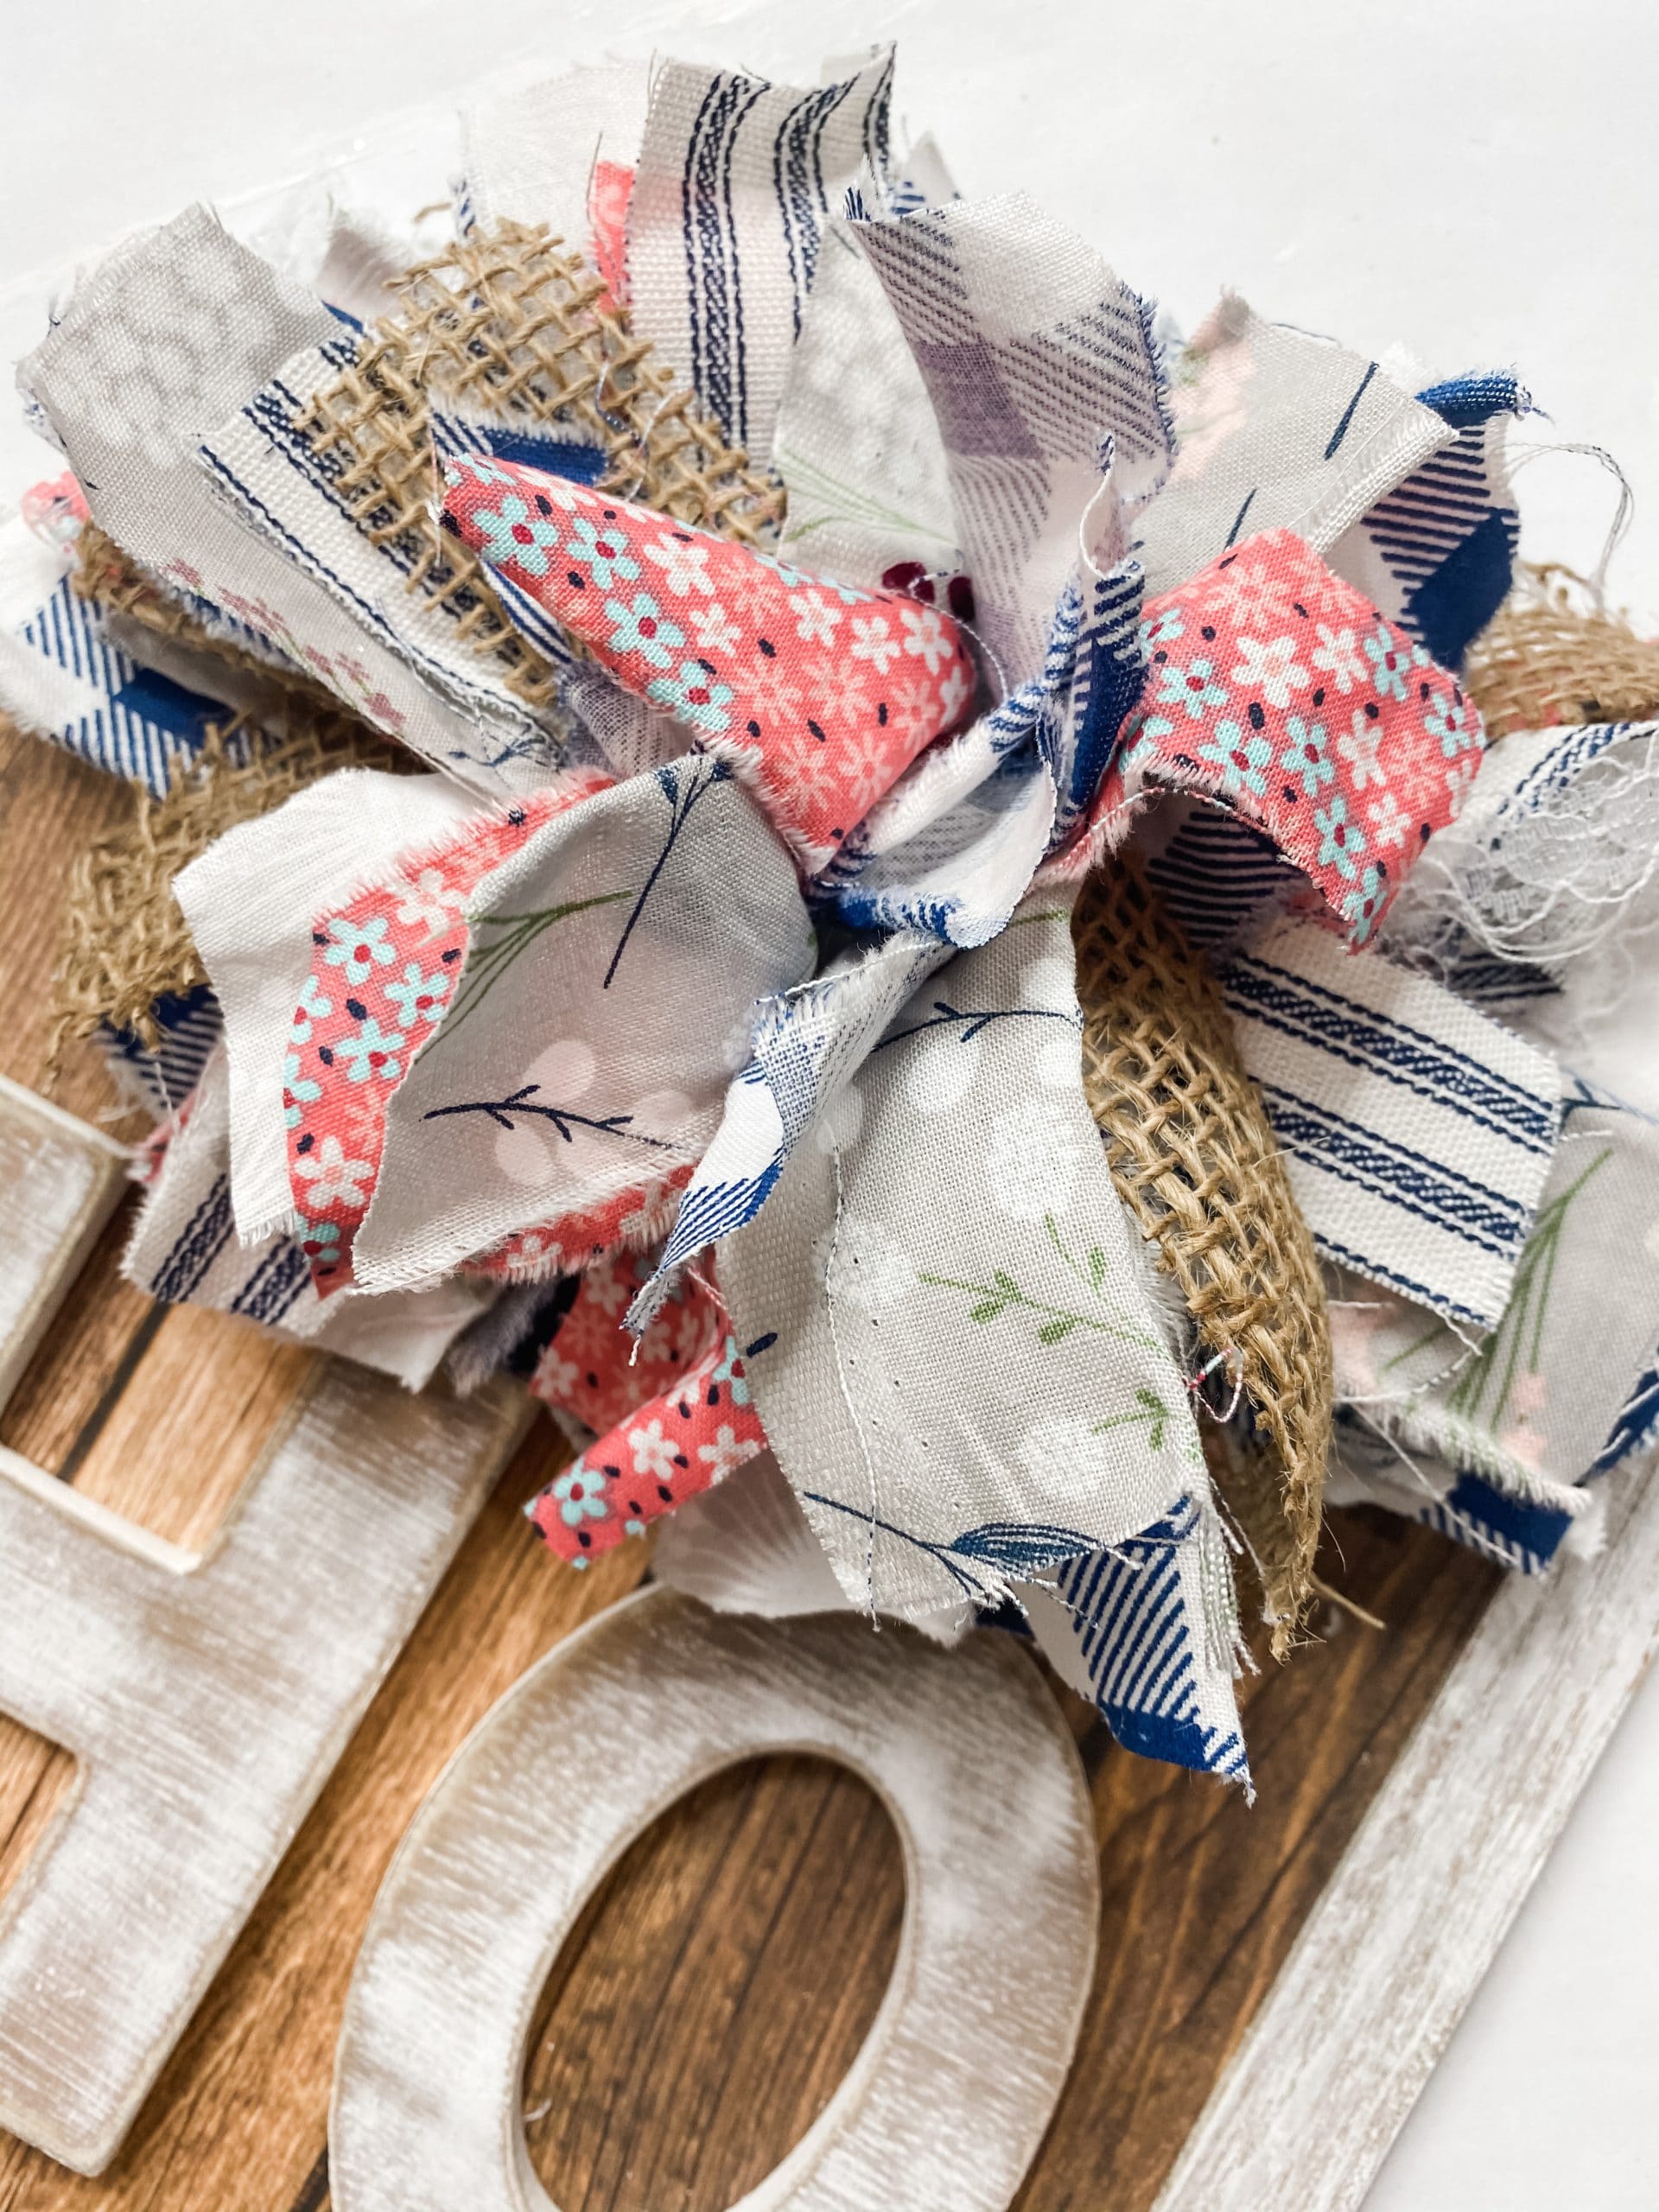
Once you’re happy with the thickness of your messy bow, you’re going to secure the center with a zip tie. Pull the zip tie tight so the ribbon and fabric strips can’t slip out.
Then you’re going to grab all the strips in your hand and pull them up like you’re making a pom-pom and trim the ends of the strips to make them even.
Fluff your messy bow back out and trim any strips that you think are too long. I like for the top strips to be slightly shorter than the rest. Cut the tail of your zip tie, and hot glue a Dollar Tree circle magnet to the back of your messy bow.
Then, hot glue another circle magnet to the top of your Dollar Tree framed sign. Now you’re able to remove your bow and swap it out for different seasons!
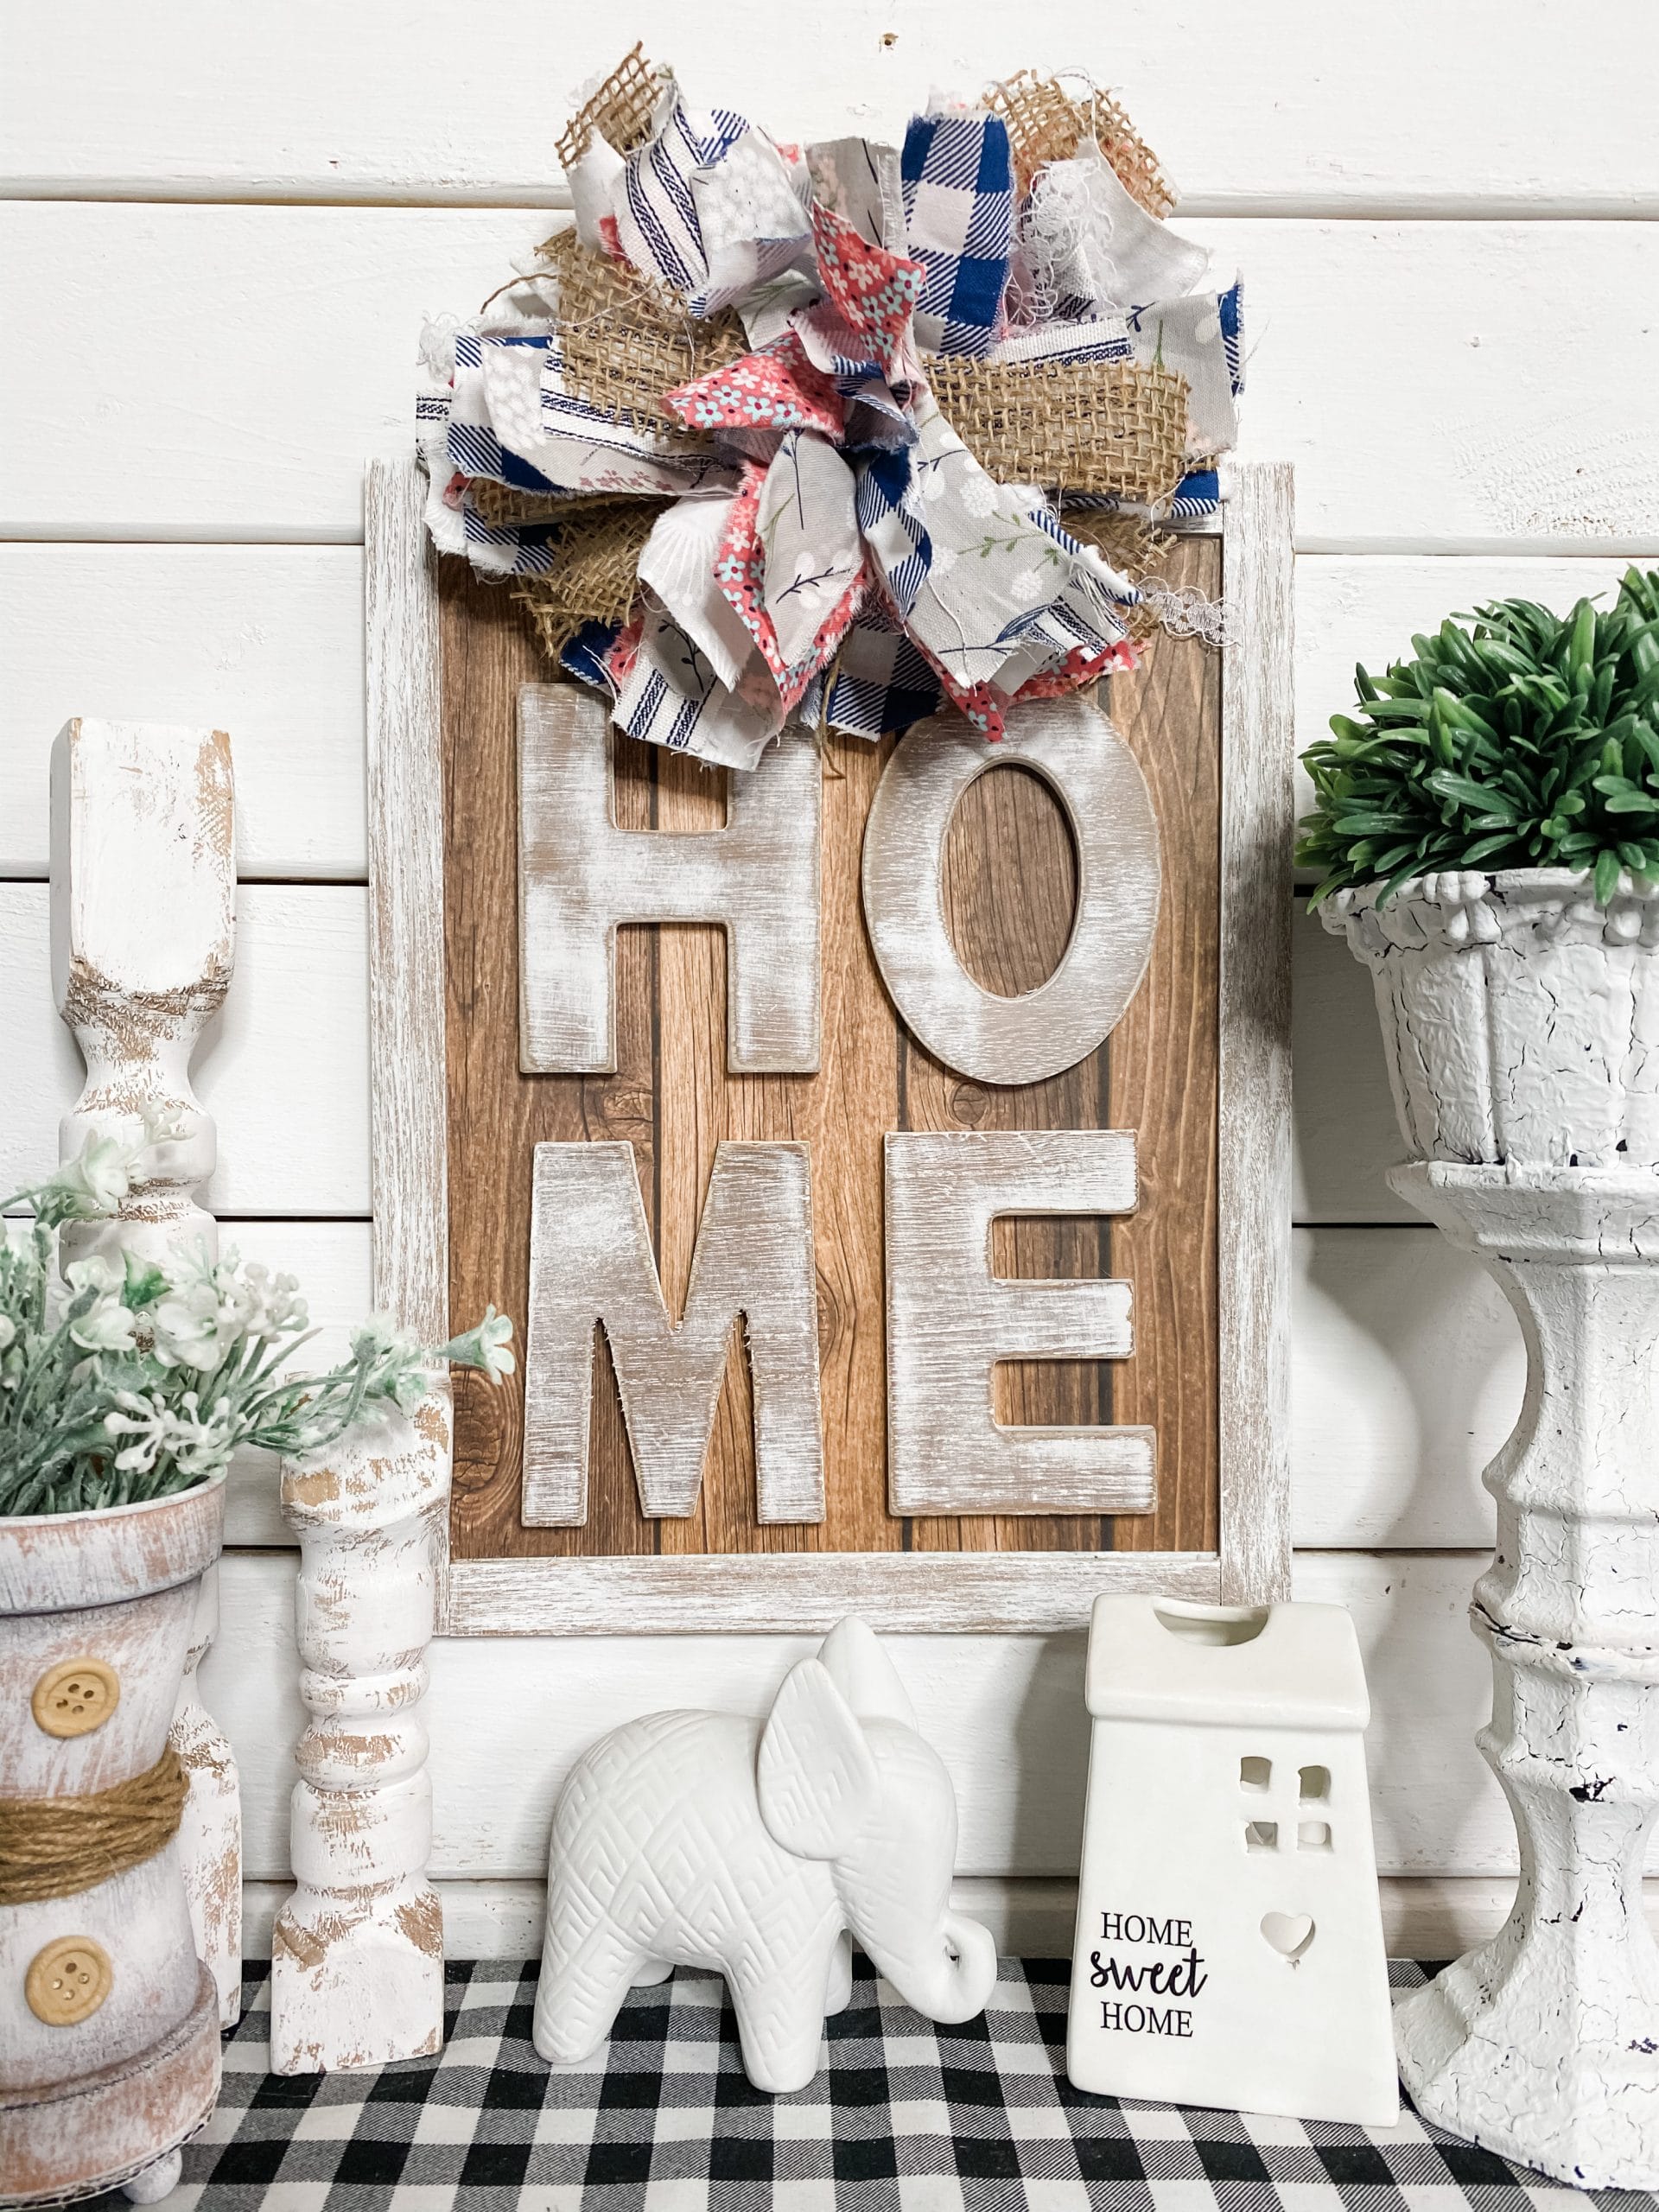
I hope you enjoyed this DIY Rustic Home Decor with a Magnetic Messy Bow as much as I did and decide to make one for yourself! I would love to see how yours turns out!
You should totally join my FREE Facebook group called On A Budget Crafts! It is a judgment-free community for DIY crafters to show off their projects and ideas.
If you loved this DIY you might also like this DIY Rustic Bucket Planter!
Thanks for stopping by! XOXO Amber
You can also shop my ENTIRE AMAZON Favorites shop just click here! It’s packed full of all the things I use and love. Here is the supply list I highly recommend every creative have on hand!!
Would you also pin my blog for later and get on my newsletter alerts? I would love to have you join my #craftycrew.
Inspired? Leave me a comment below! I love hearing from my readers!

Join my free “ON A BUDGET CRAFTS” Facebook group!


Those are so cute
Love your messy bows