Hobby Lobby Placemat Christmas Decor DIY
Have you ever seen something that is just so cute that you HAVE to make something out of it? That’s how I feel about a lot of Hobby Lobby placemats! Every time I go to Hobby Lobby, I check out their placemats, and I could not wait to use this one for my Hobby Lobby Placemat Christmas Decor DIY!
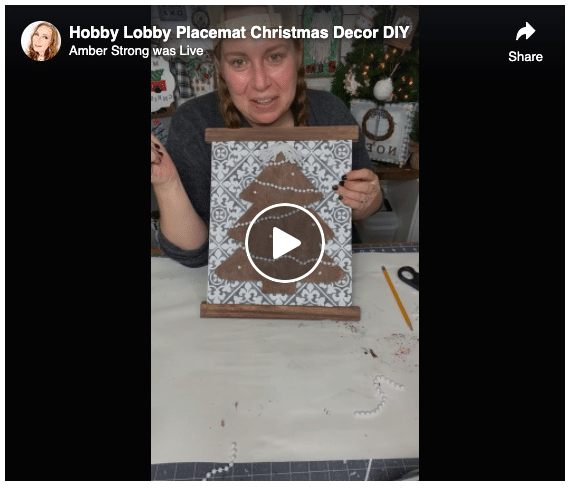
Watch the replay!
I made this adorable Christmas decor DIY during a Facebook LIVE, and I walk you through each step and show you how to make this yourself.
Now, I am a talker, so there is a bit of chit-chatting while I craft. If you only want to see the craft details, you can skip to the parts you want to see!
For this project, I will be using these items but you can substitute where you want.
“As an Amazon Associate, I earn from qualifying purchases.”
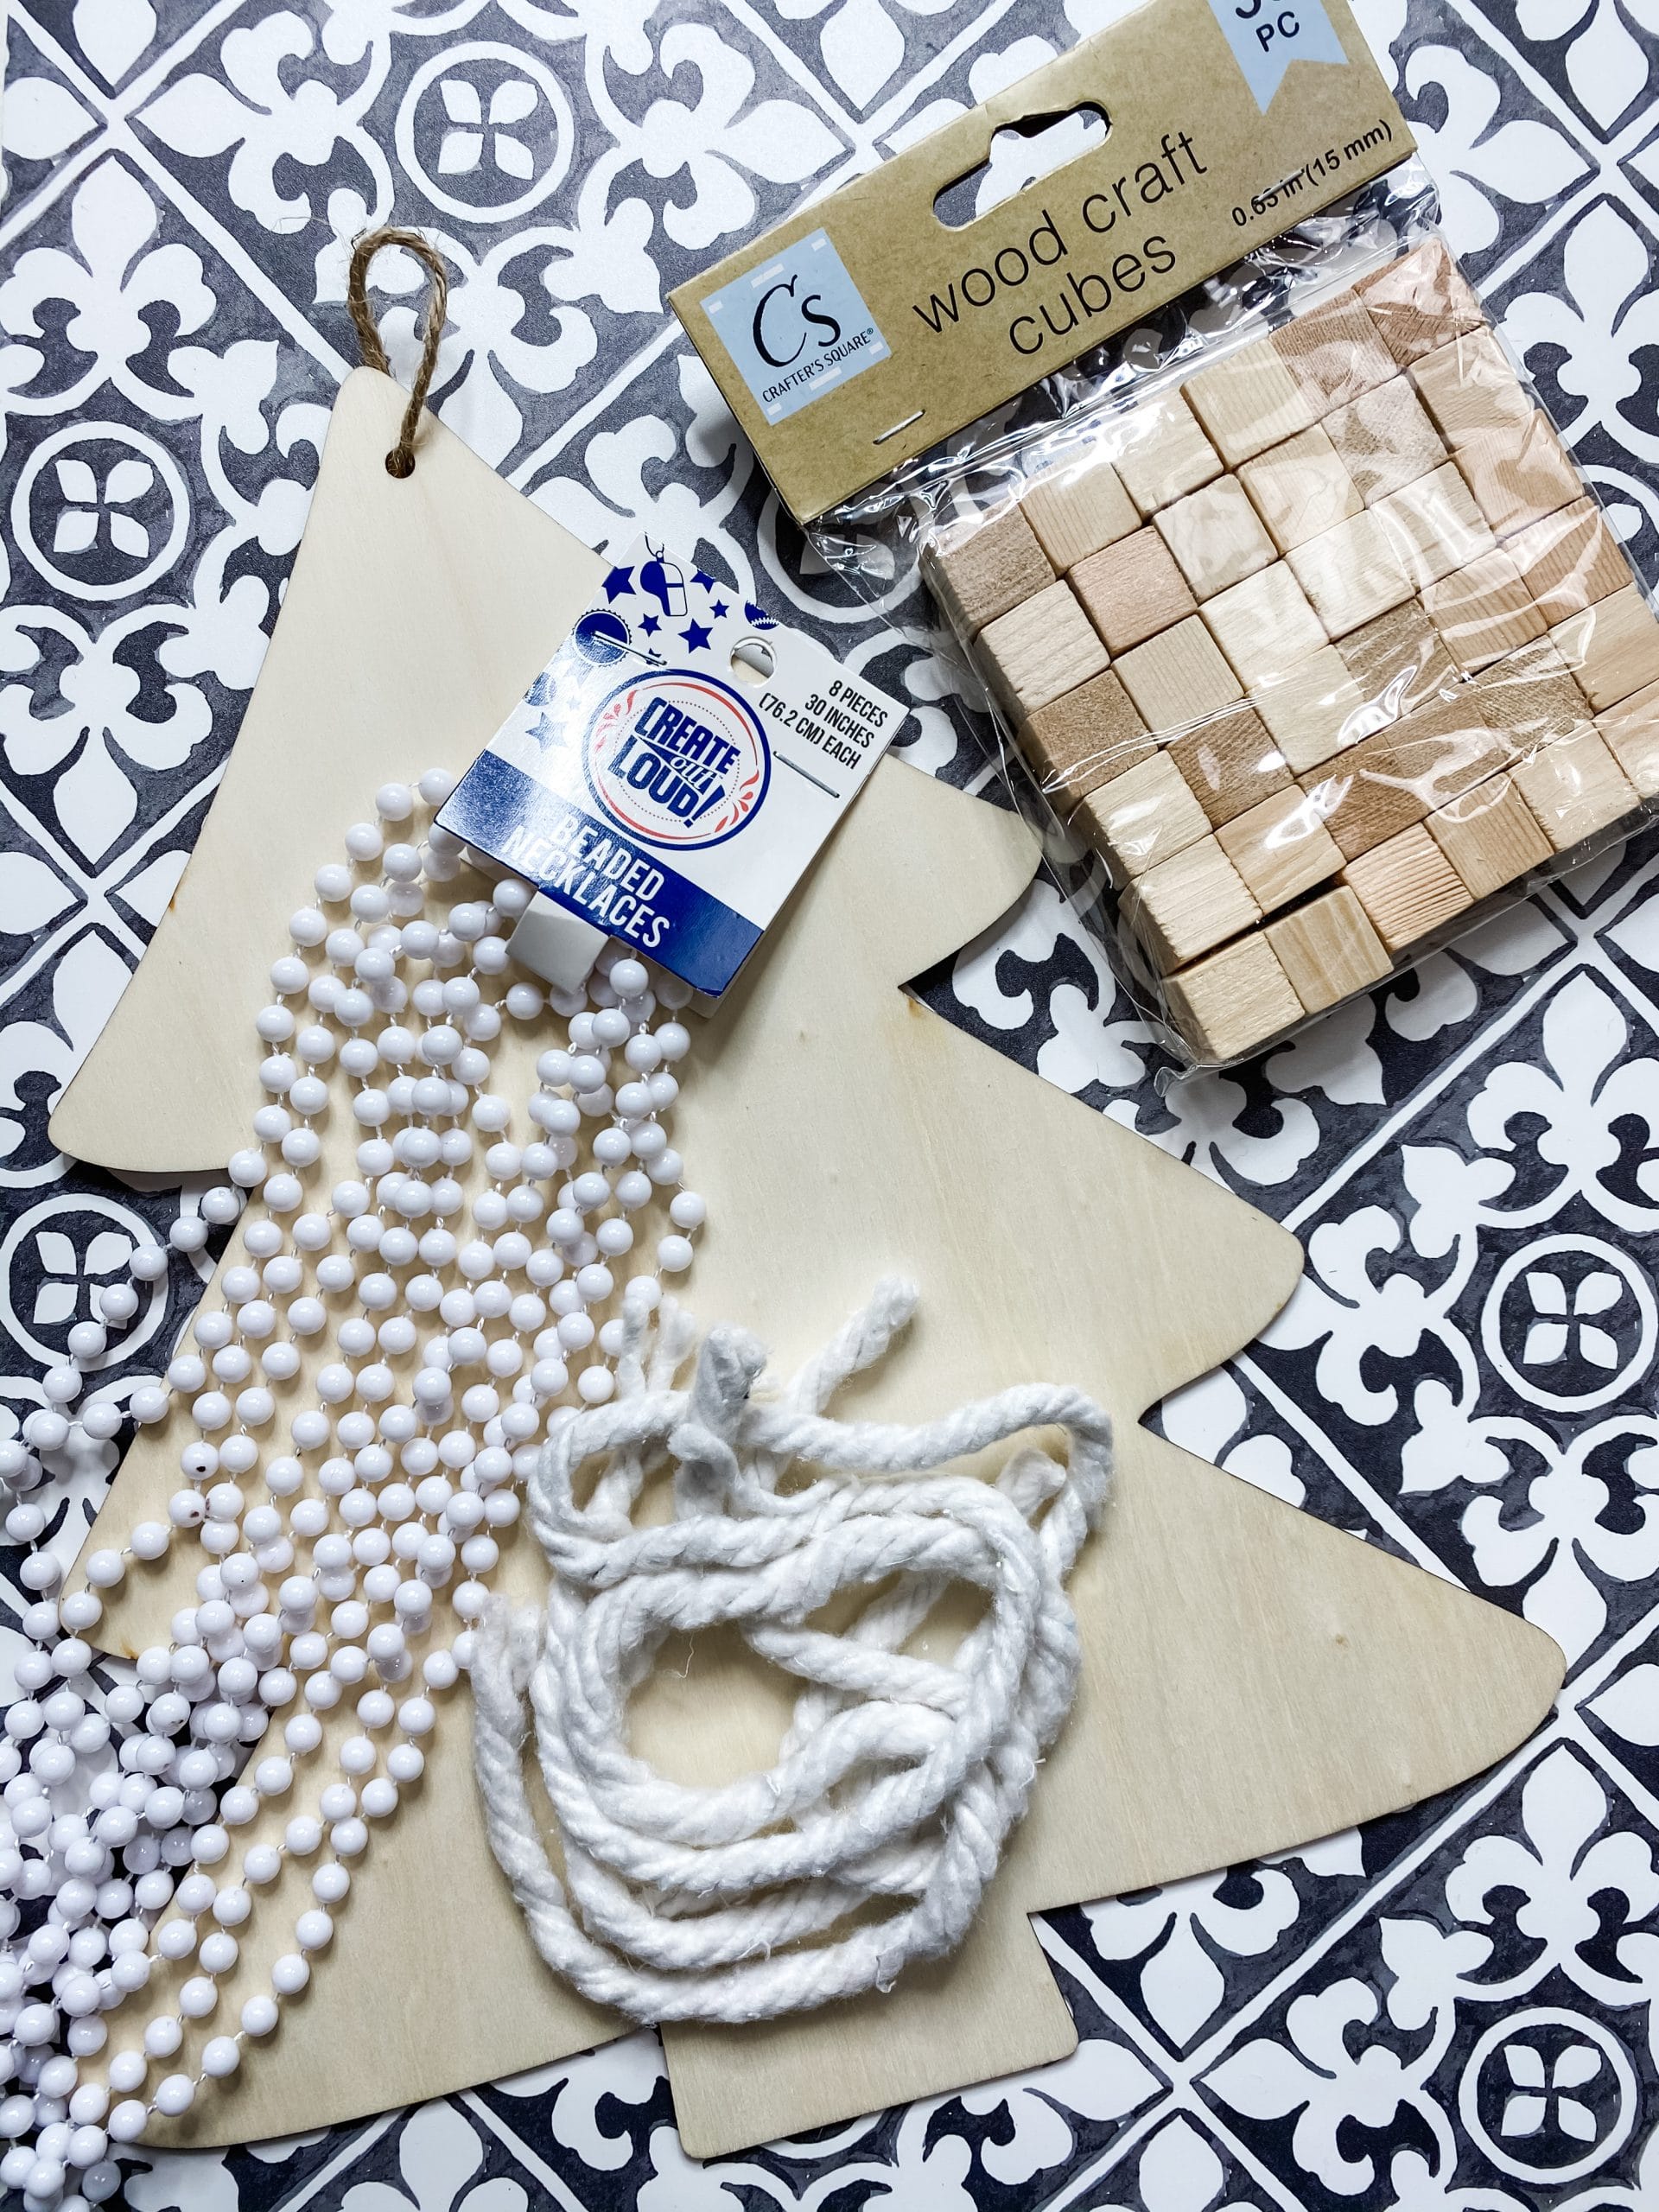
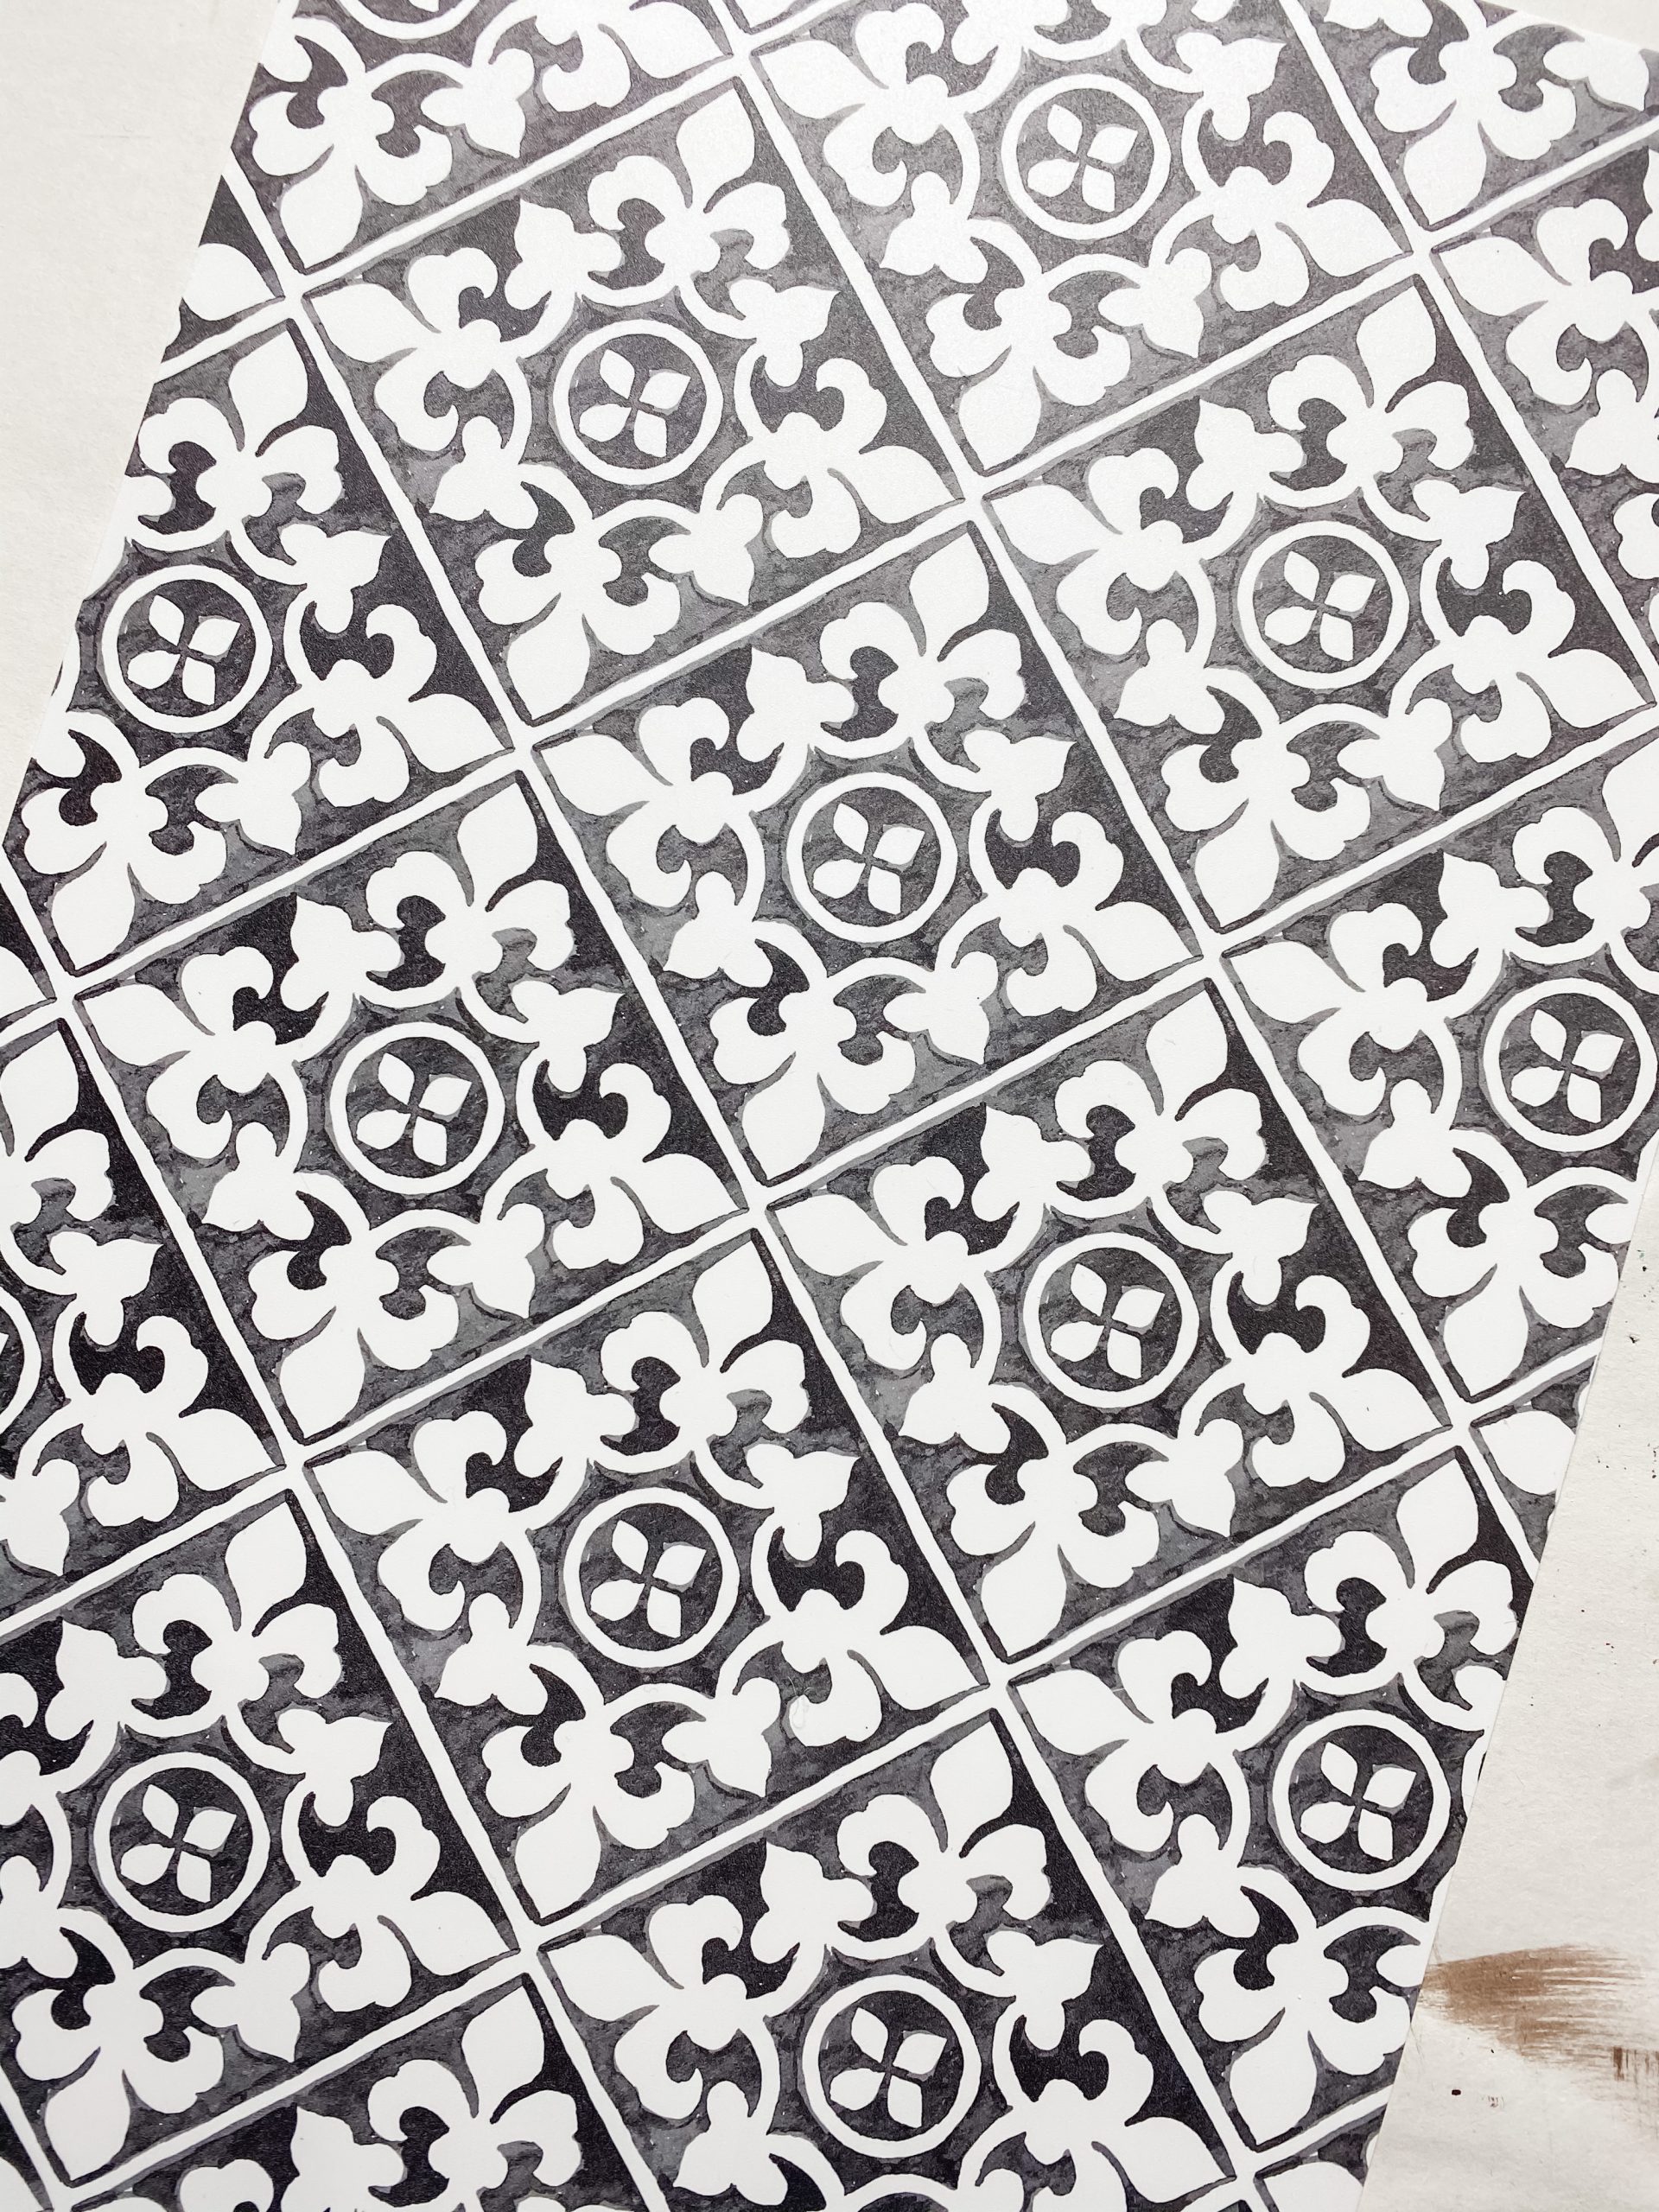
- Hobby Lobby Placemat
- Dollar Tree wood craft cubes
- Dollar Tree mophead strings
- Apple Barrel Burnt Umber Acrylic Paint
- Dollar Tree Christmas Tree cutout
- Dollar Tree white beaded necklaces
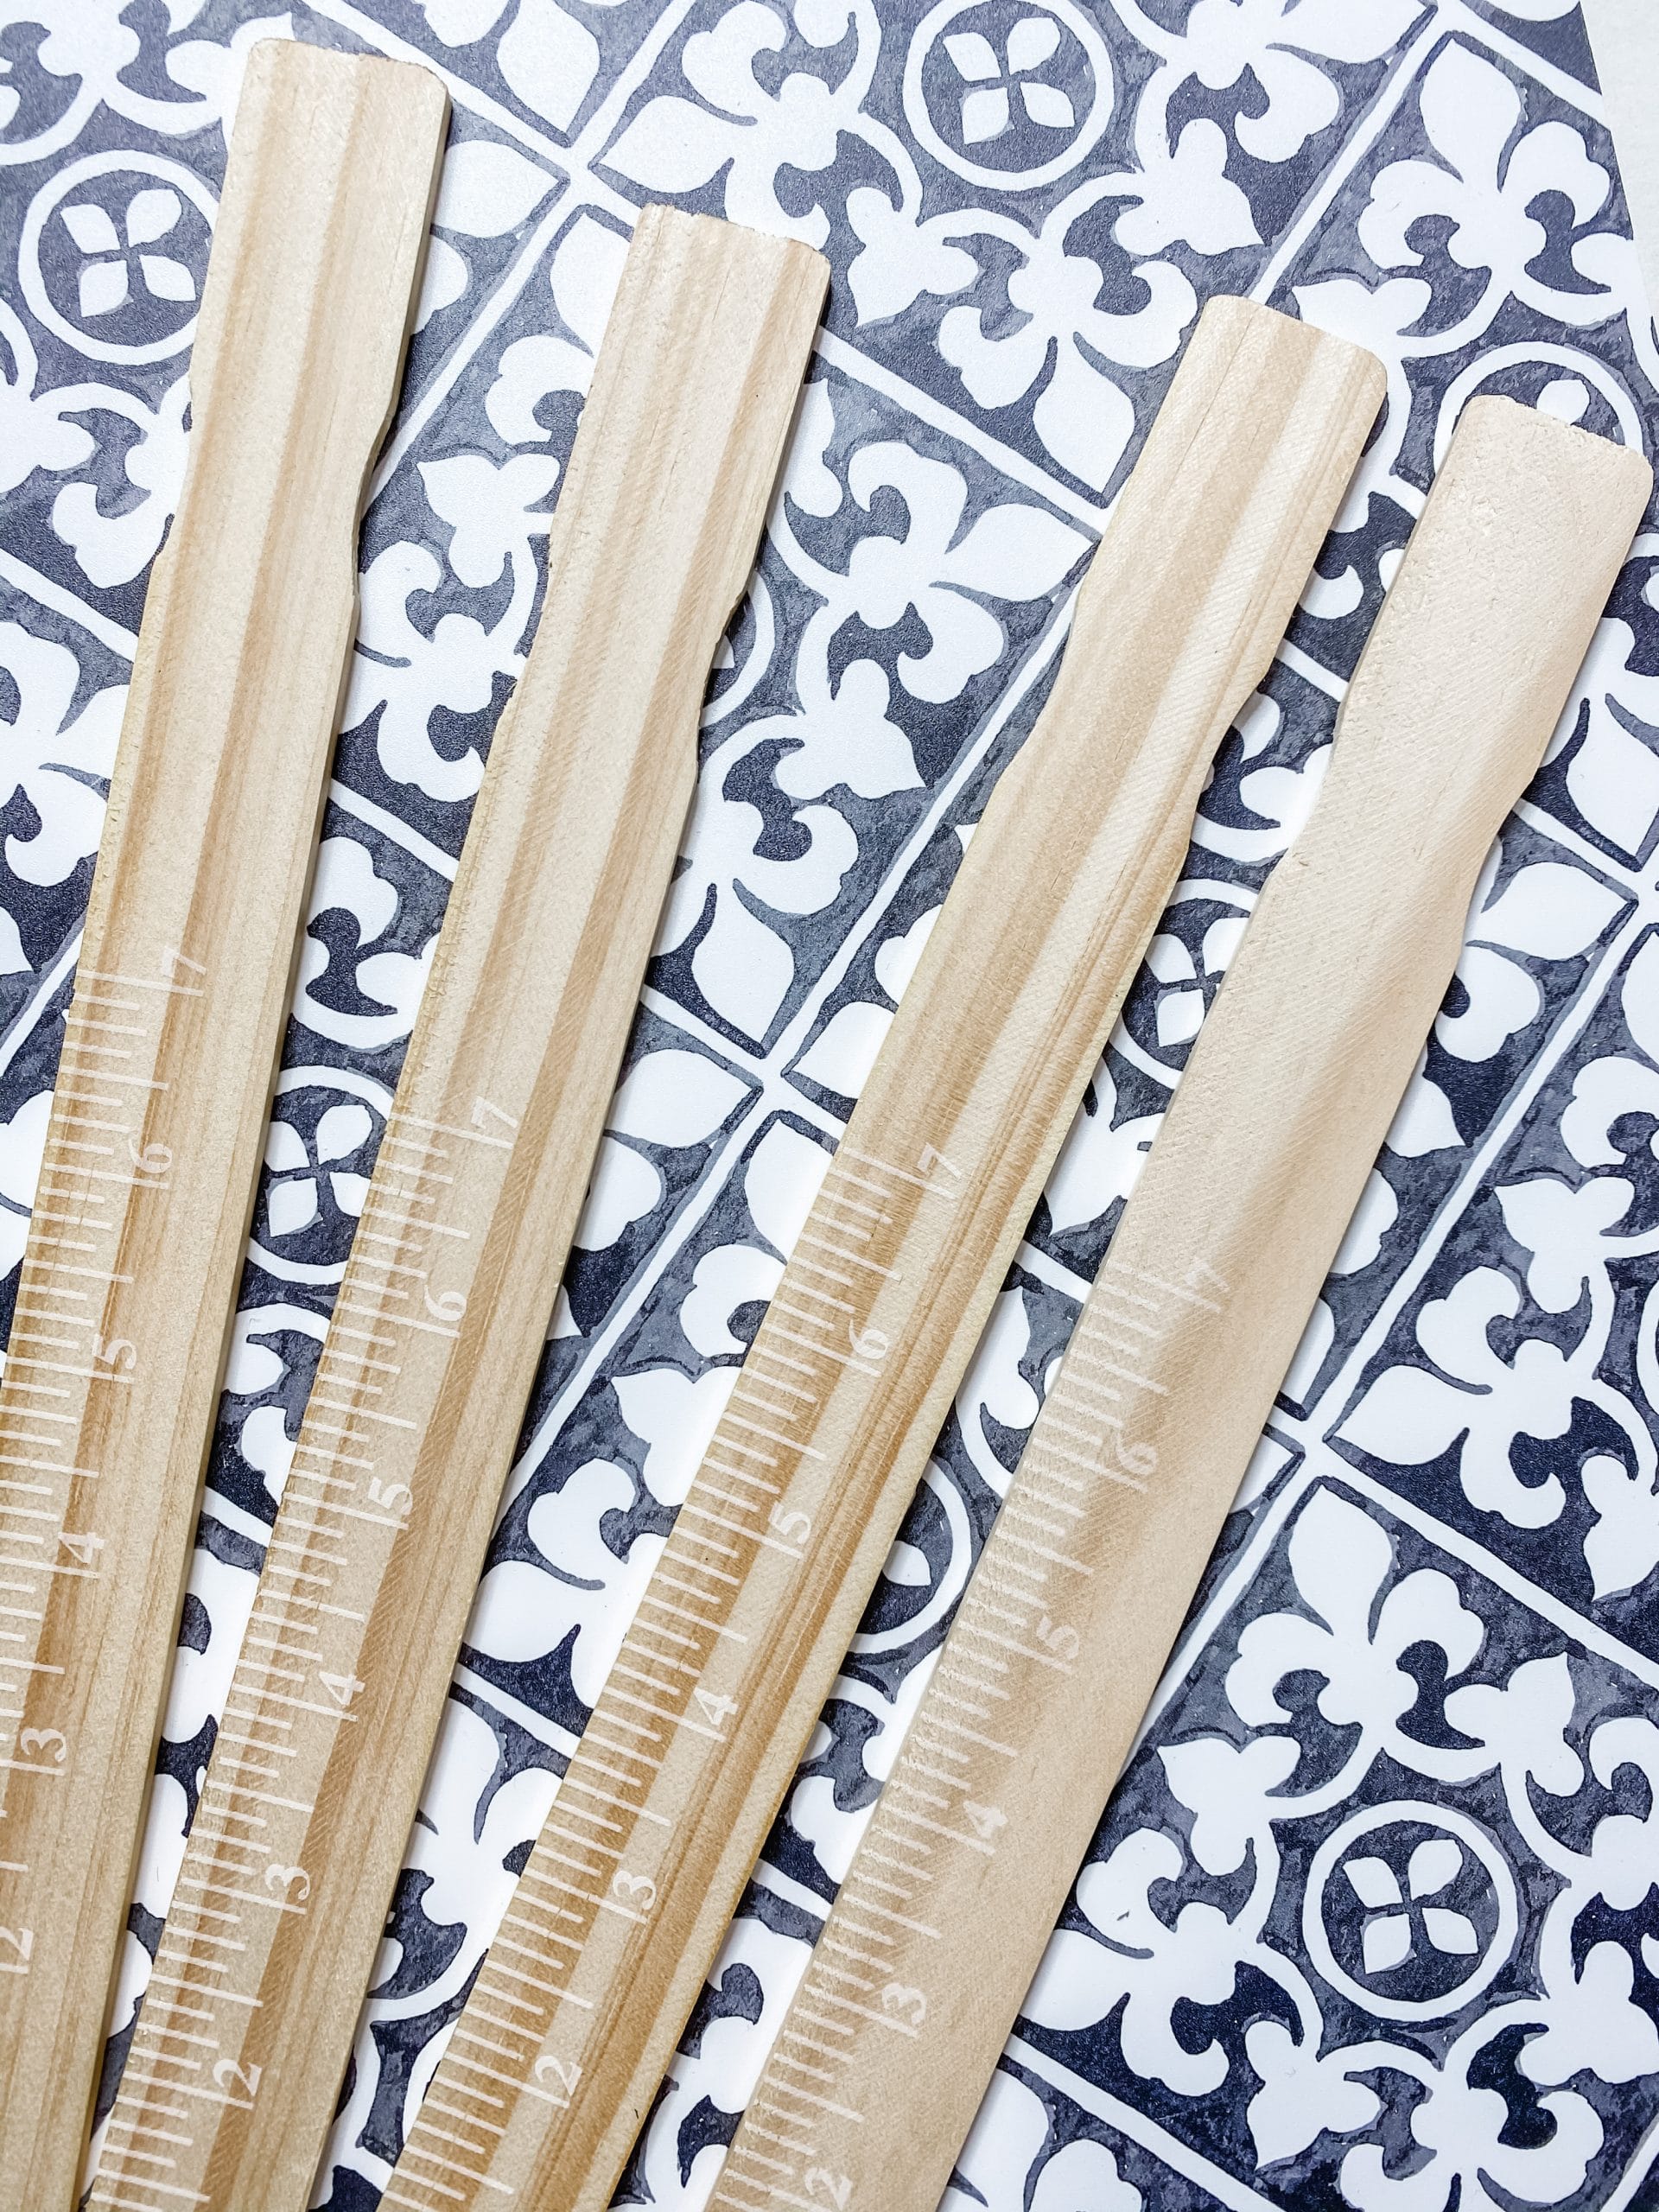
- 5-gallon Paint stirrers
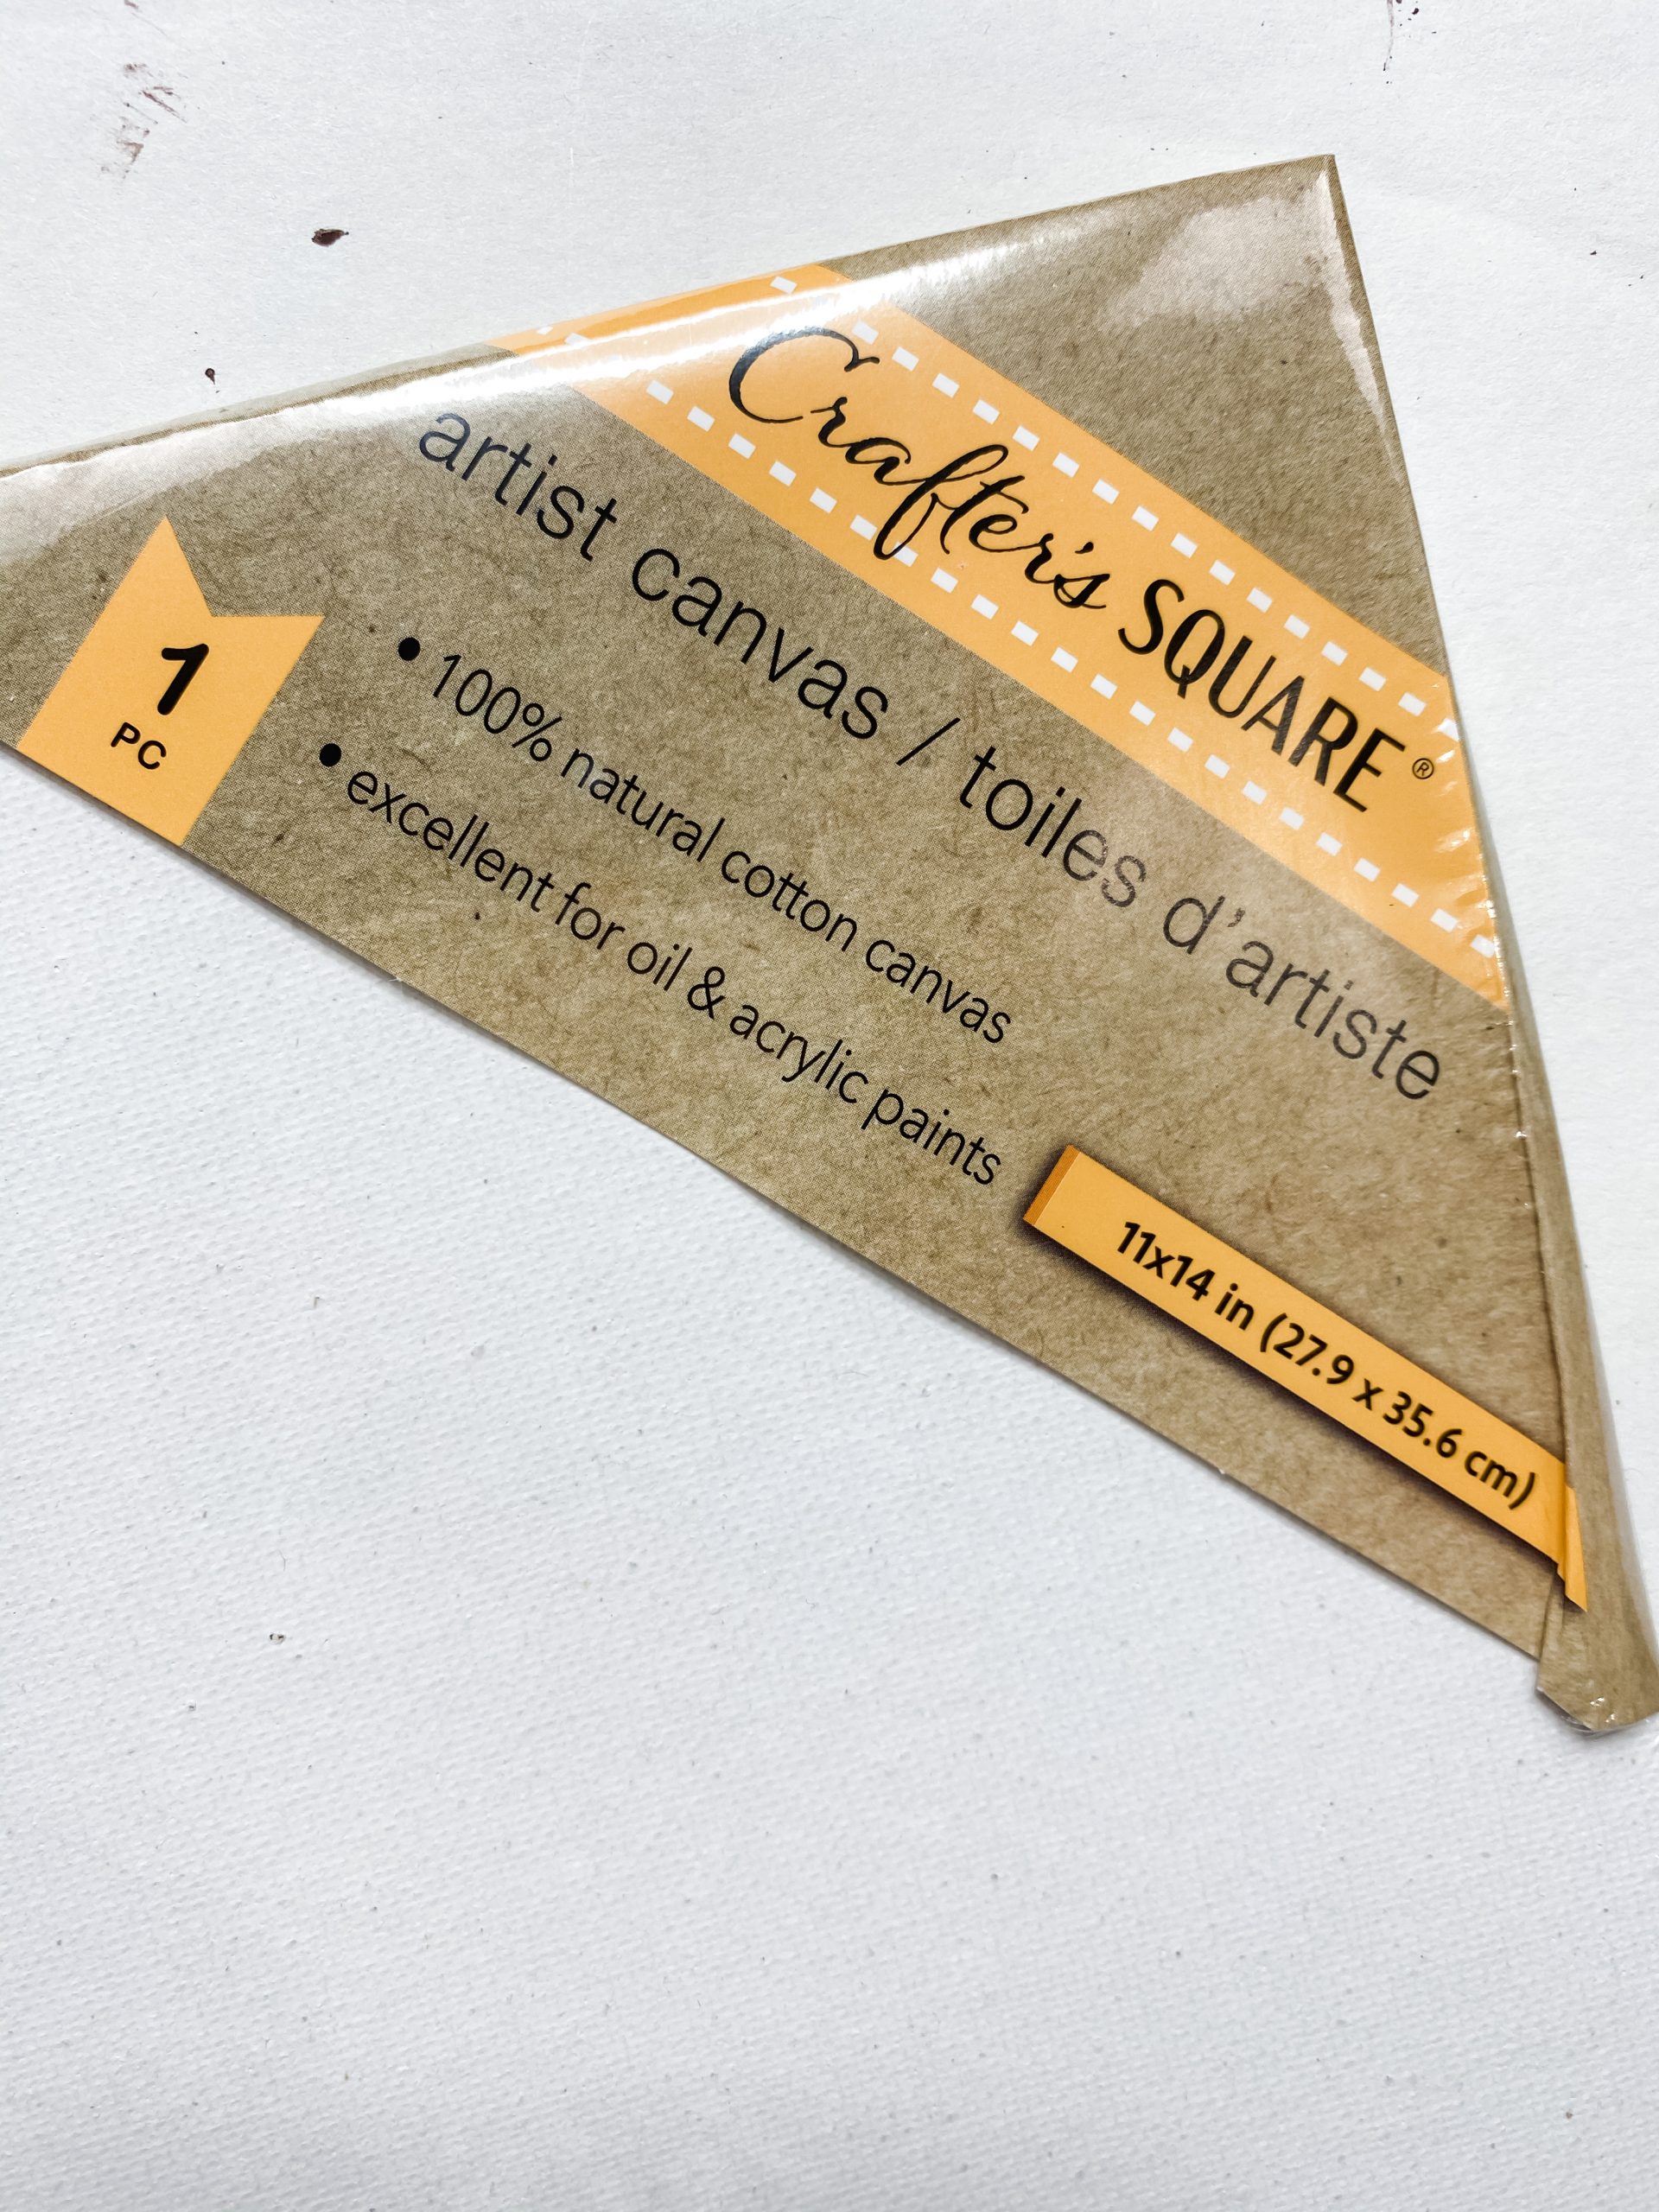
- Dollar Tree large canvas
- Glue Gun and Glue Sticks
- Heat gun
- Baby wipe
- Scissors
- Pencil
Let’s get started!
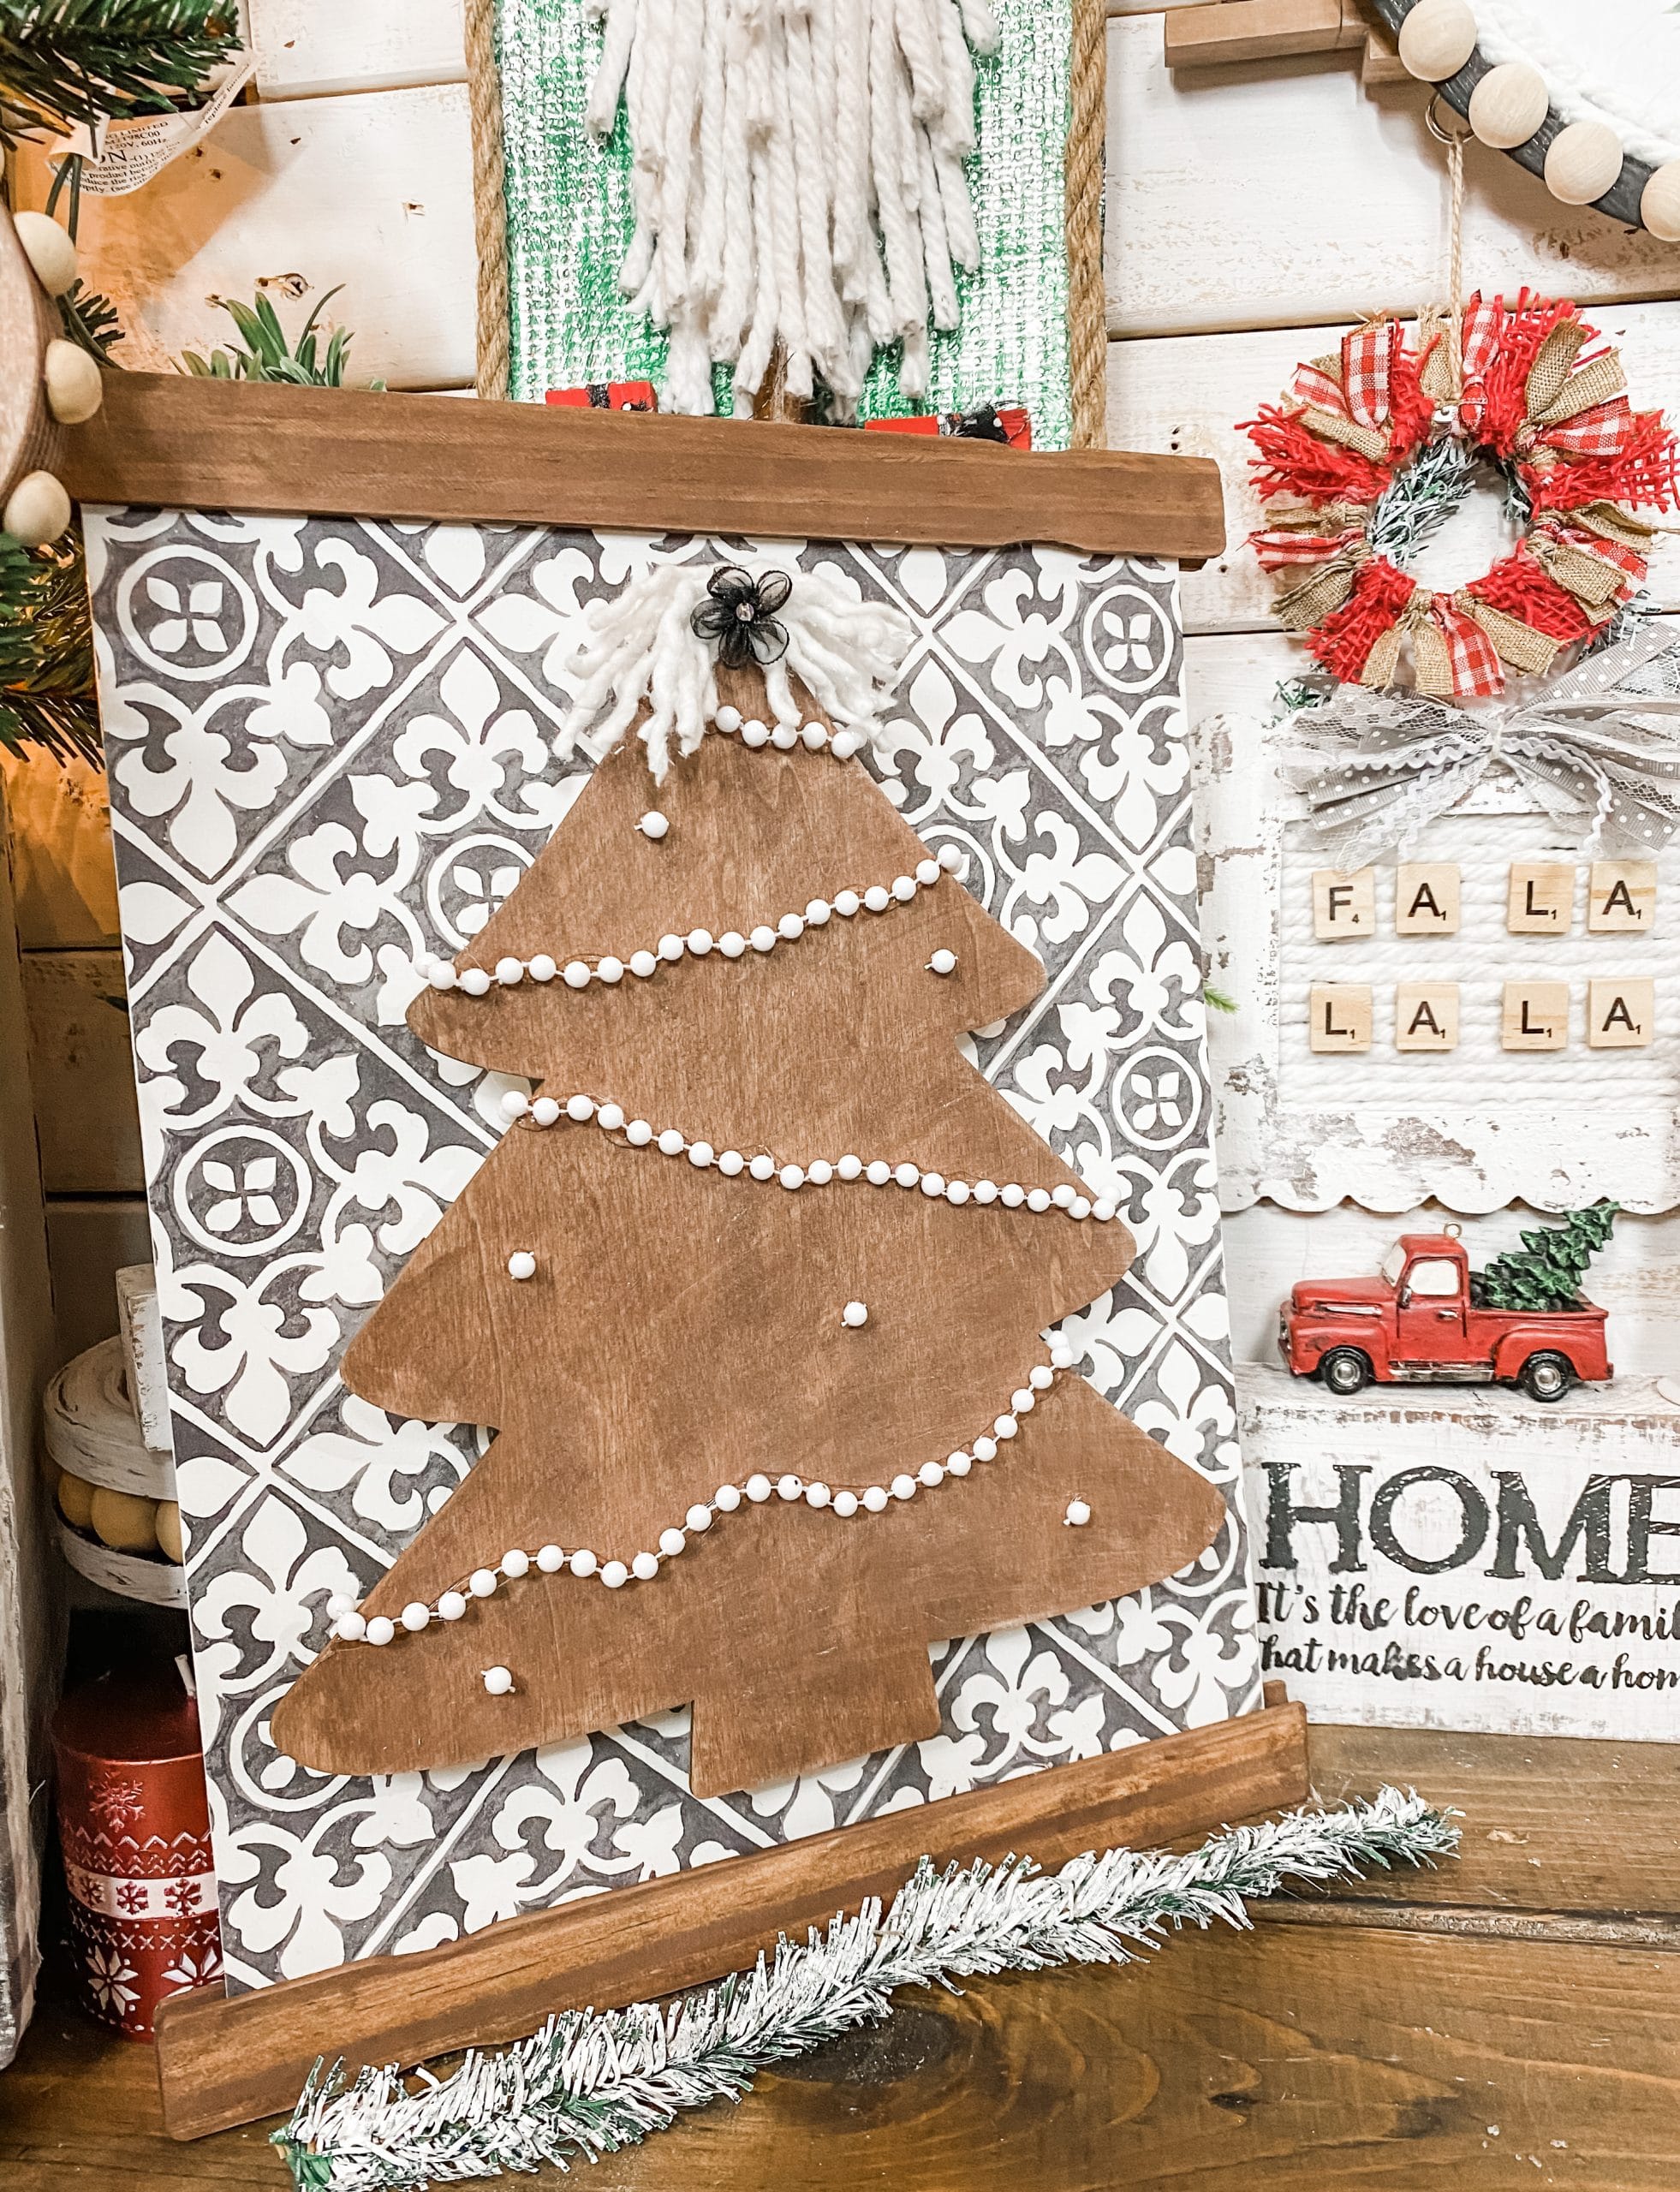
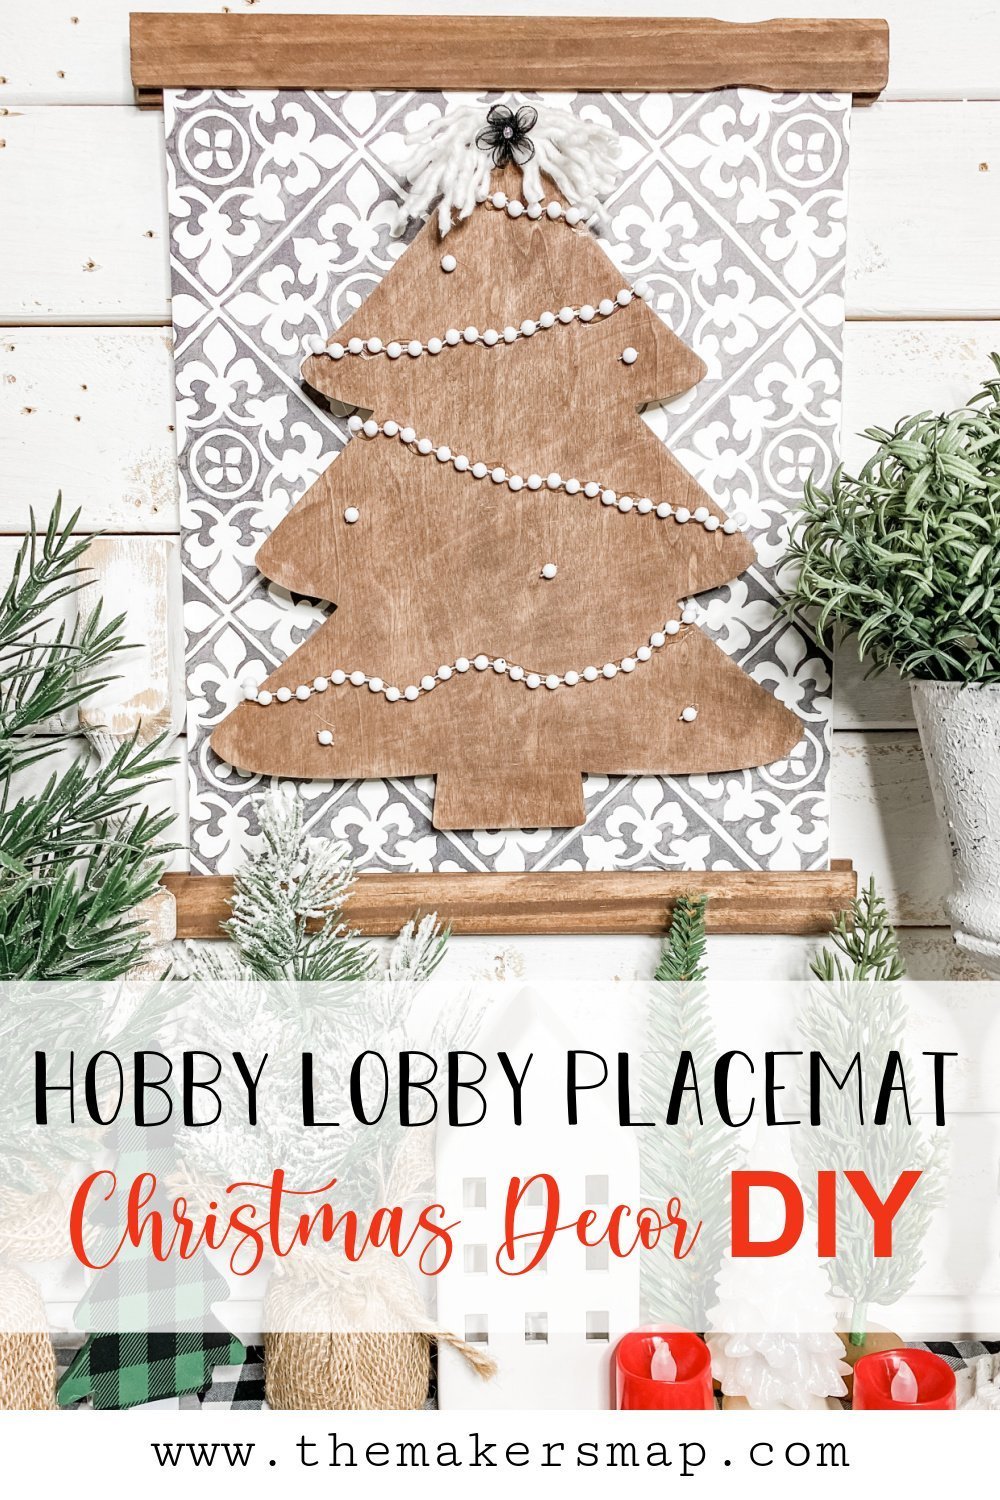
I am so excited to show you how to make this easy Christmas decor! You’re going to start by trimming the Hobby Lobby placemat to fit the Dollar Tree large canvas.
I just laid the placemat facedown and the canvas on top of it and traced the edges with a pencil then cut the excess with a regular pair of scissors.
Next, I hot glued the trimmed Hobby Lobby placemat onto the large canvas. Make sure to use enough glue around the edges to keep the placemat from pulling up off the canvas.
How to stain wood
To frame the Dollar Tree canvas and Hobby Lobby placemat, I used 4 Home Depot’s 5-gallon paint stick stirrers. First, I stained each of the paint stirrers with Apple Barrel Burnt Umber Acrylic Paint.
In order to give the wood a stained finish, I poured a small bit of the brown acrylic paint onto a piece of wax paper and sprayed the paint with water.
Then, use a baby wipe to spread the paint/water mixture across each 5-gallon paint stirrer. Adding the water helps the wood absorb the paint and gives it a stained finish rather than a painted look.
I also stained the Dollar Tree Christmas Tree cutout brown using the same paint and technique. I considered doing a chippy finish on the Christmas Tree cutout but decided not to.
The first step to making a chippy finish is to stain the wood brown, so if you want to give your Christmas Tree cut out a chippy look, you can check out this DIY blog post with instructions on how.

Make your frame
Allow the 5-gallon paint stirrers to dry before moving on to this step. I like to use my heat gun to speed up the drying process.
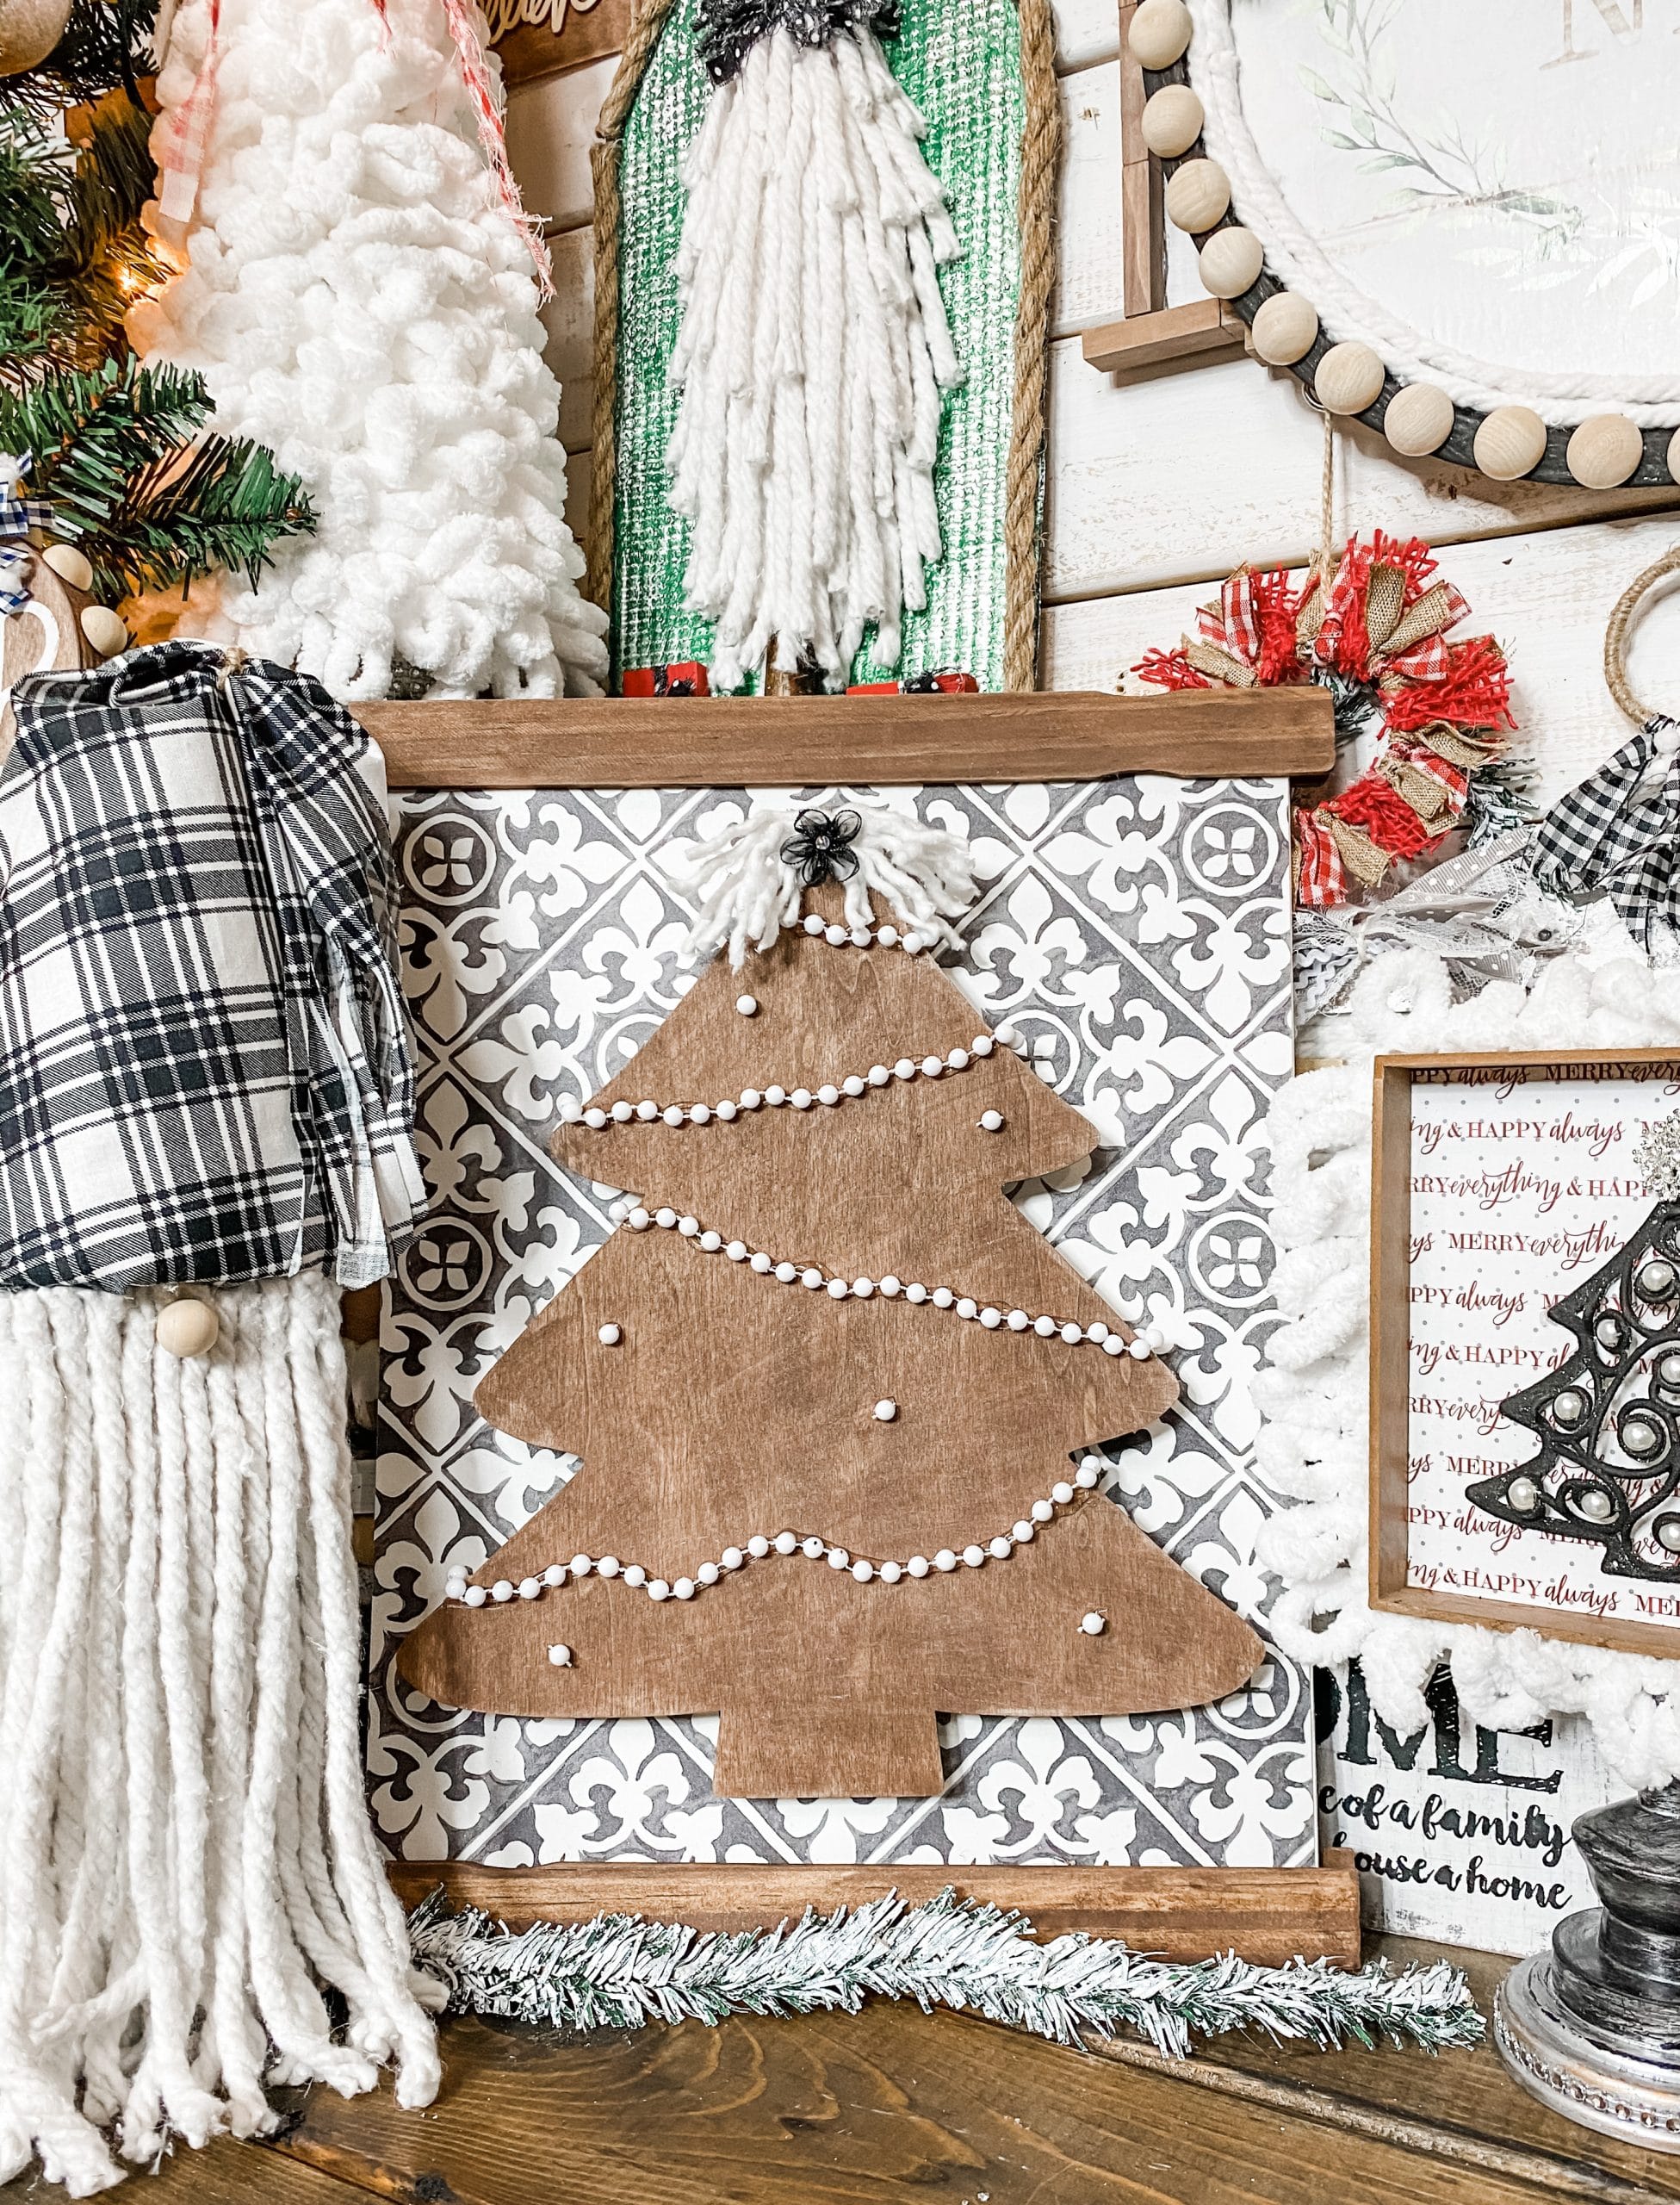
Instead of framing all the way around the canvas and Hobby Lobby placemat, I only framed the top and bottom. To do this, I hot glued a paint stirrer to the front and back of the top and bottom of the canvas.
I faced the side of the paint stirrer with the ruler markings toward the placemat to hide the white lines and numbers.

Decorate the Christmas Tree
I had some Dollar Tree mop head strings leftover from a previous Christmas DIY (Dollar Tree Snow Globe DIY) and decided to use them to make a tree topper bow for my Dollar Tree Christmas Tree.
First, unravel the strands of the mop head strings. Next, lay them side by side and cut them all the same length. Next, secure the center of the mop string bow with another piece of Dollar Tree mophead string.
Finally, hot glue the little mop string bow to the top of the wood Christmas Tree cut out.
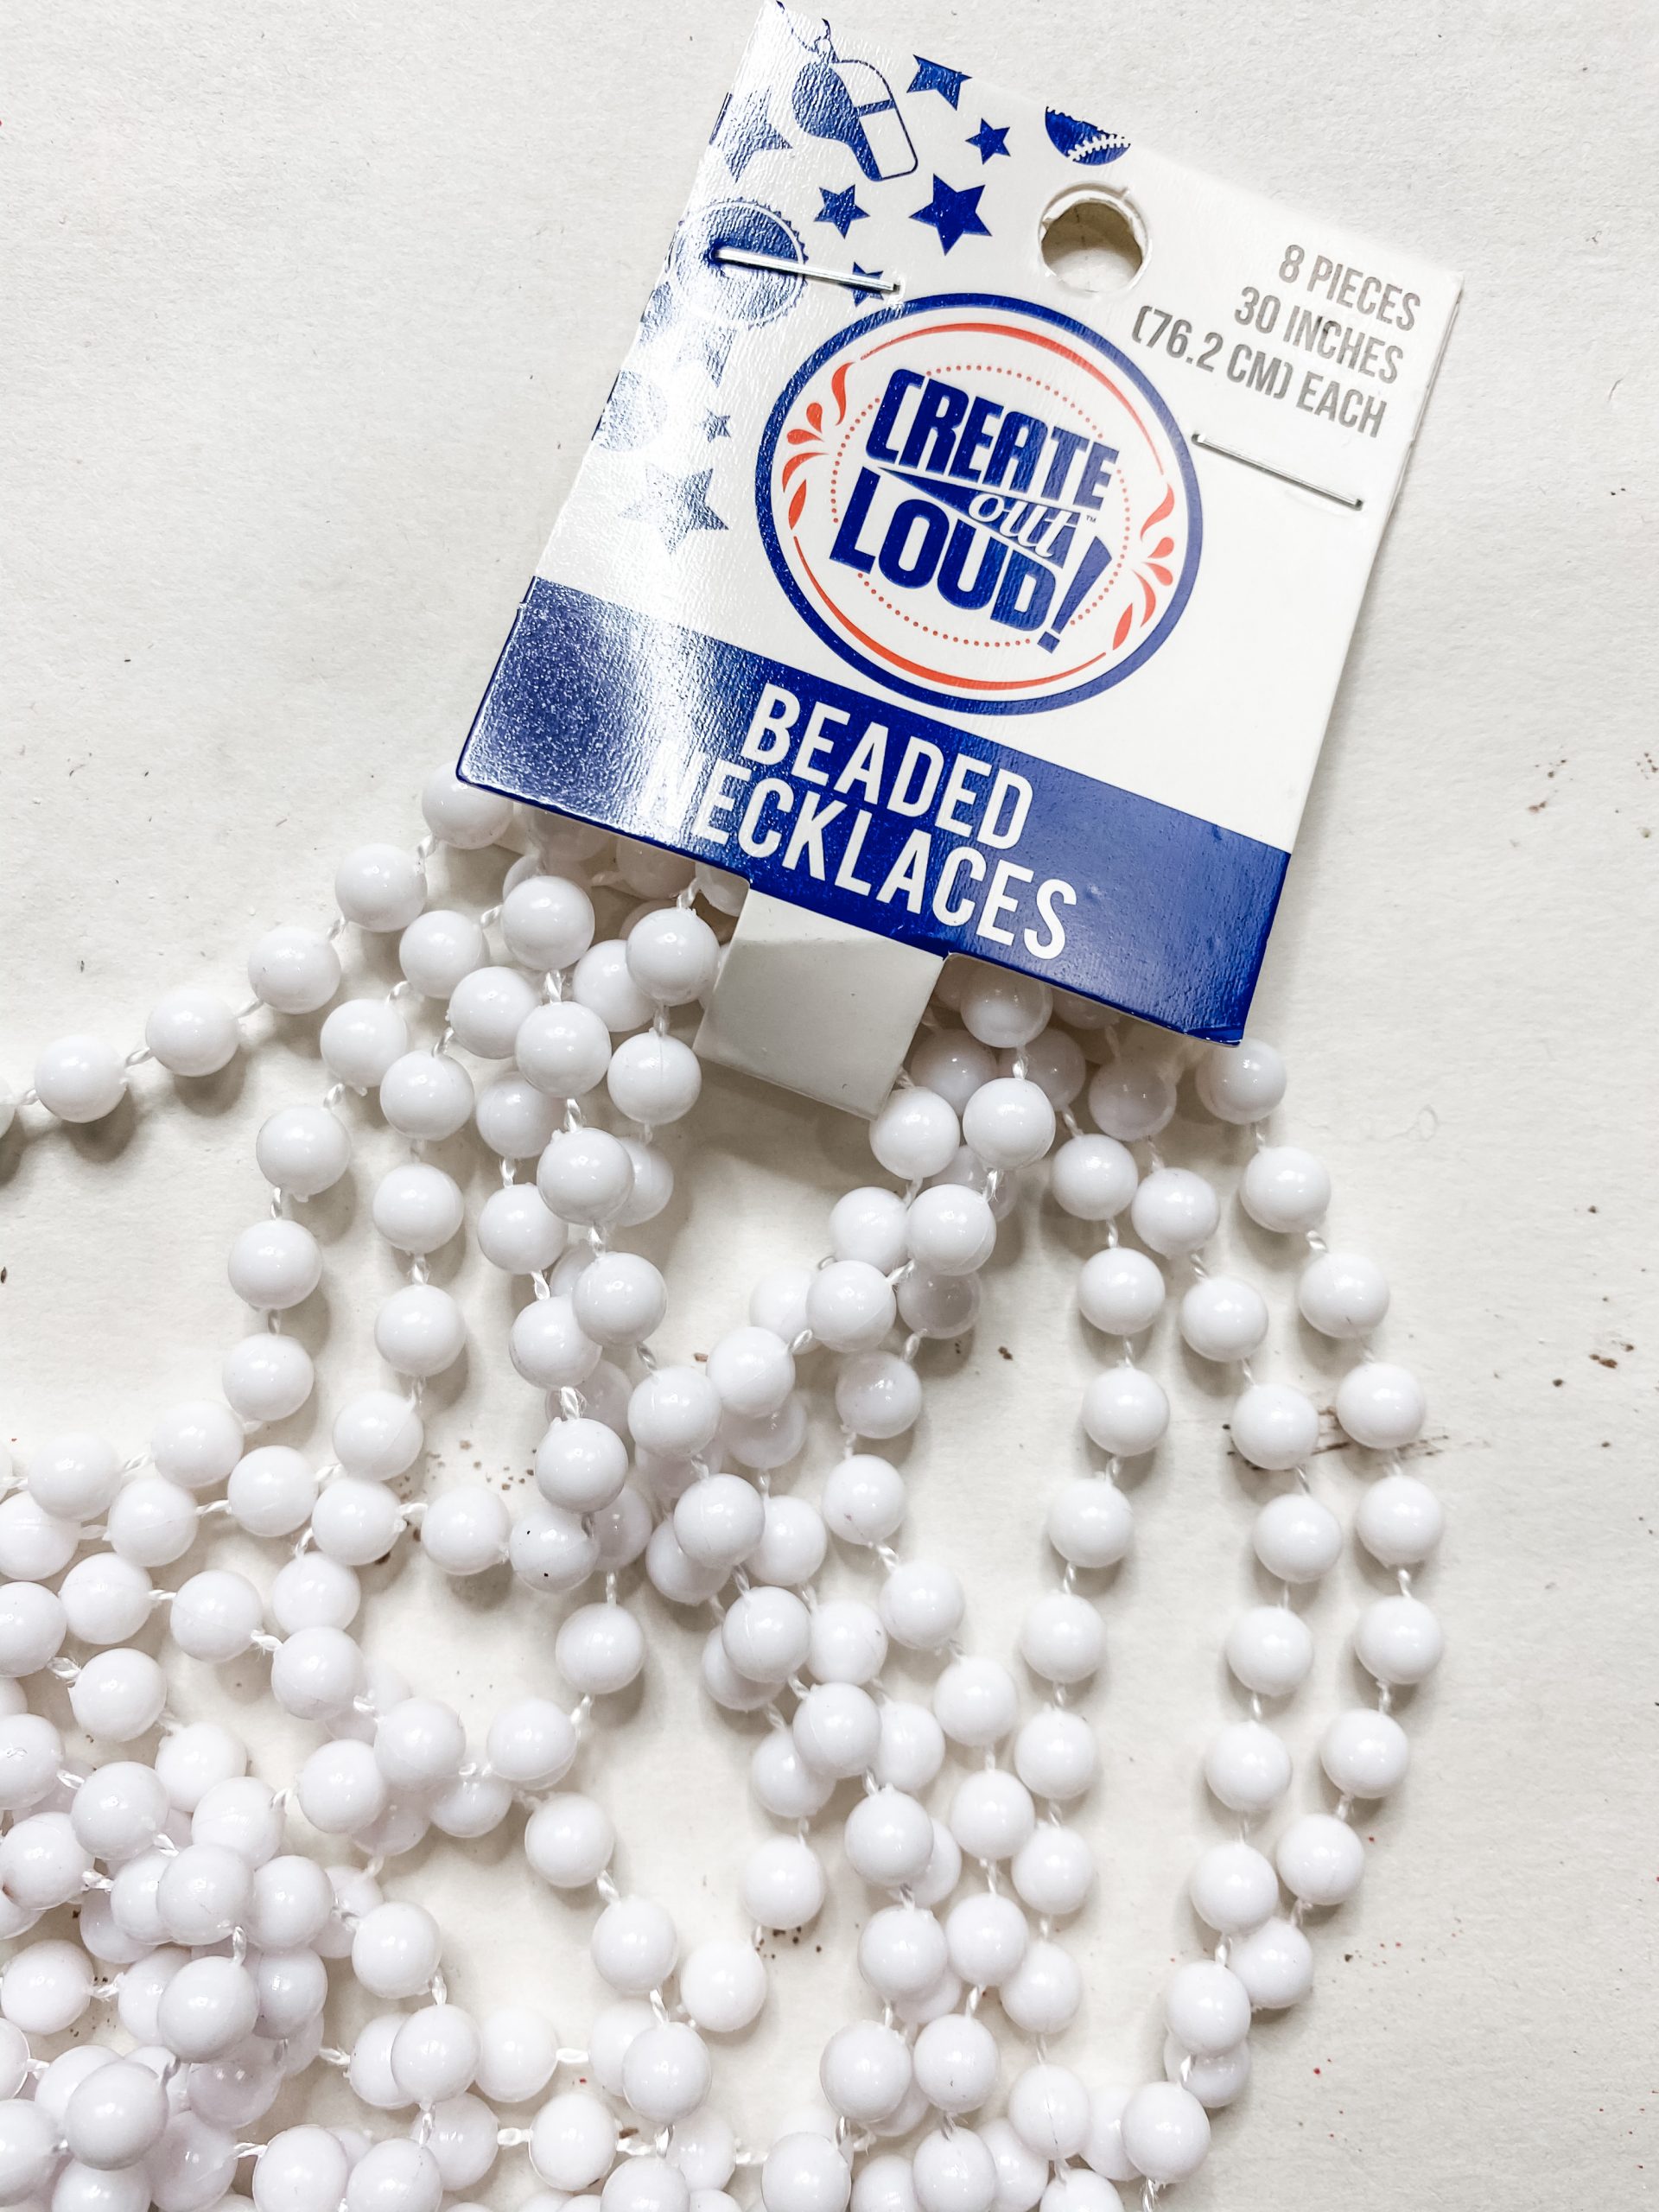
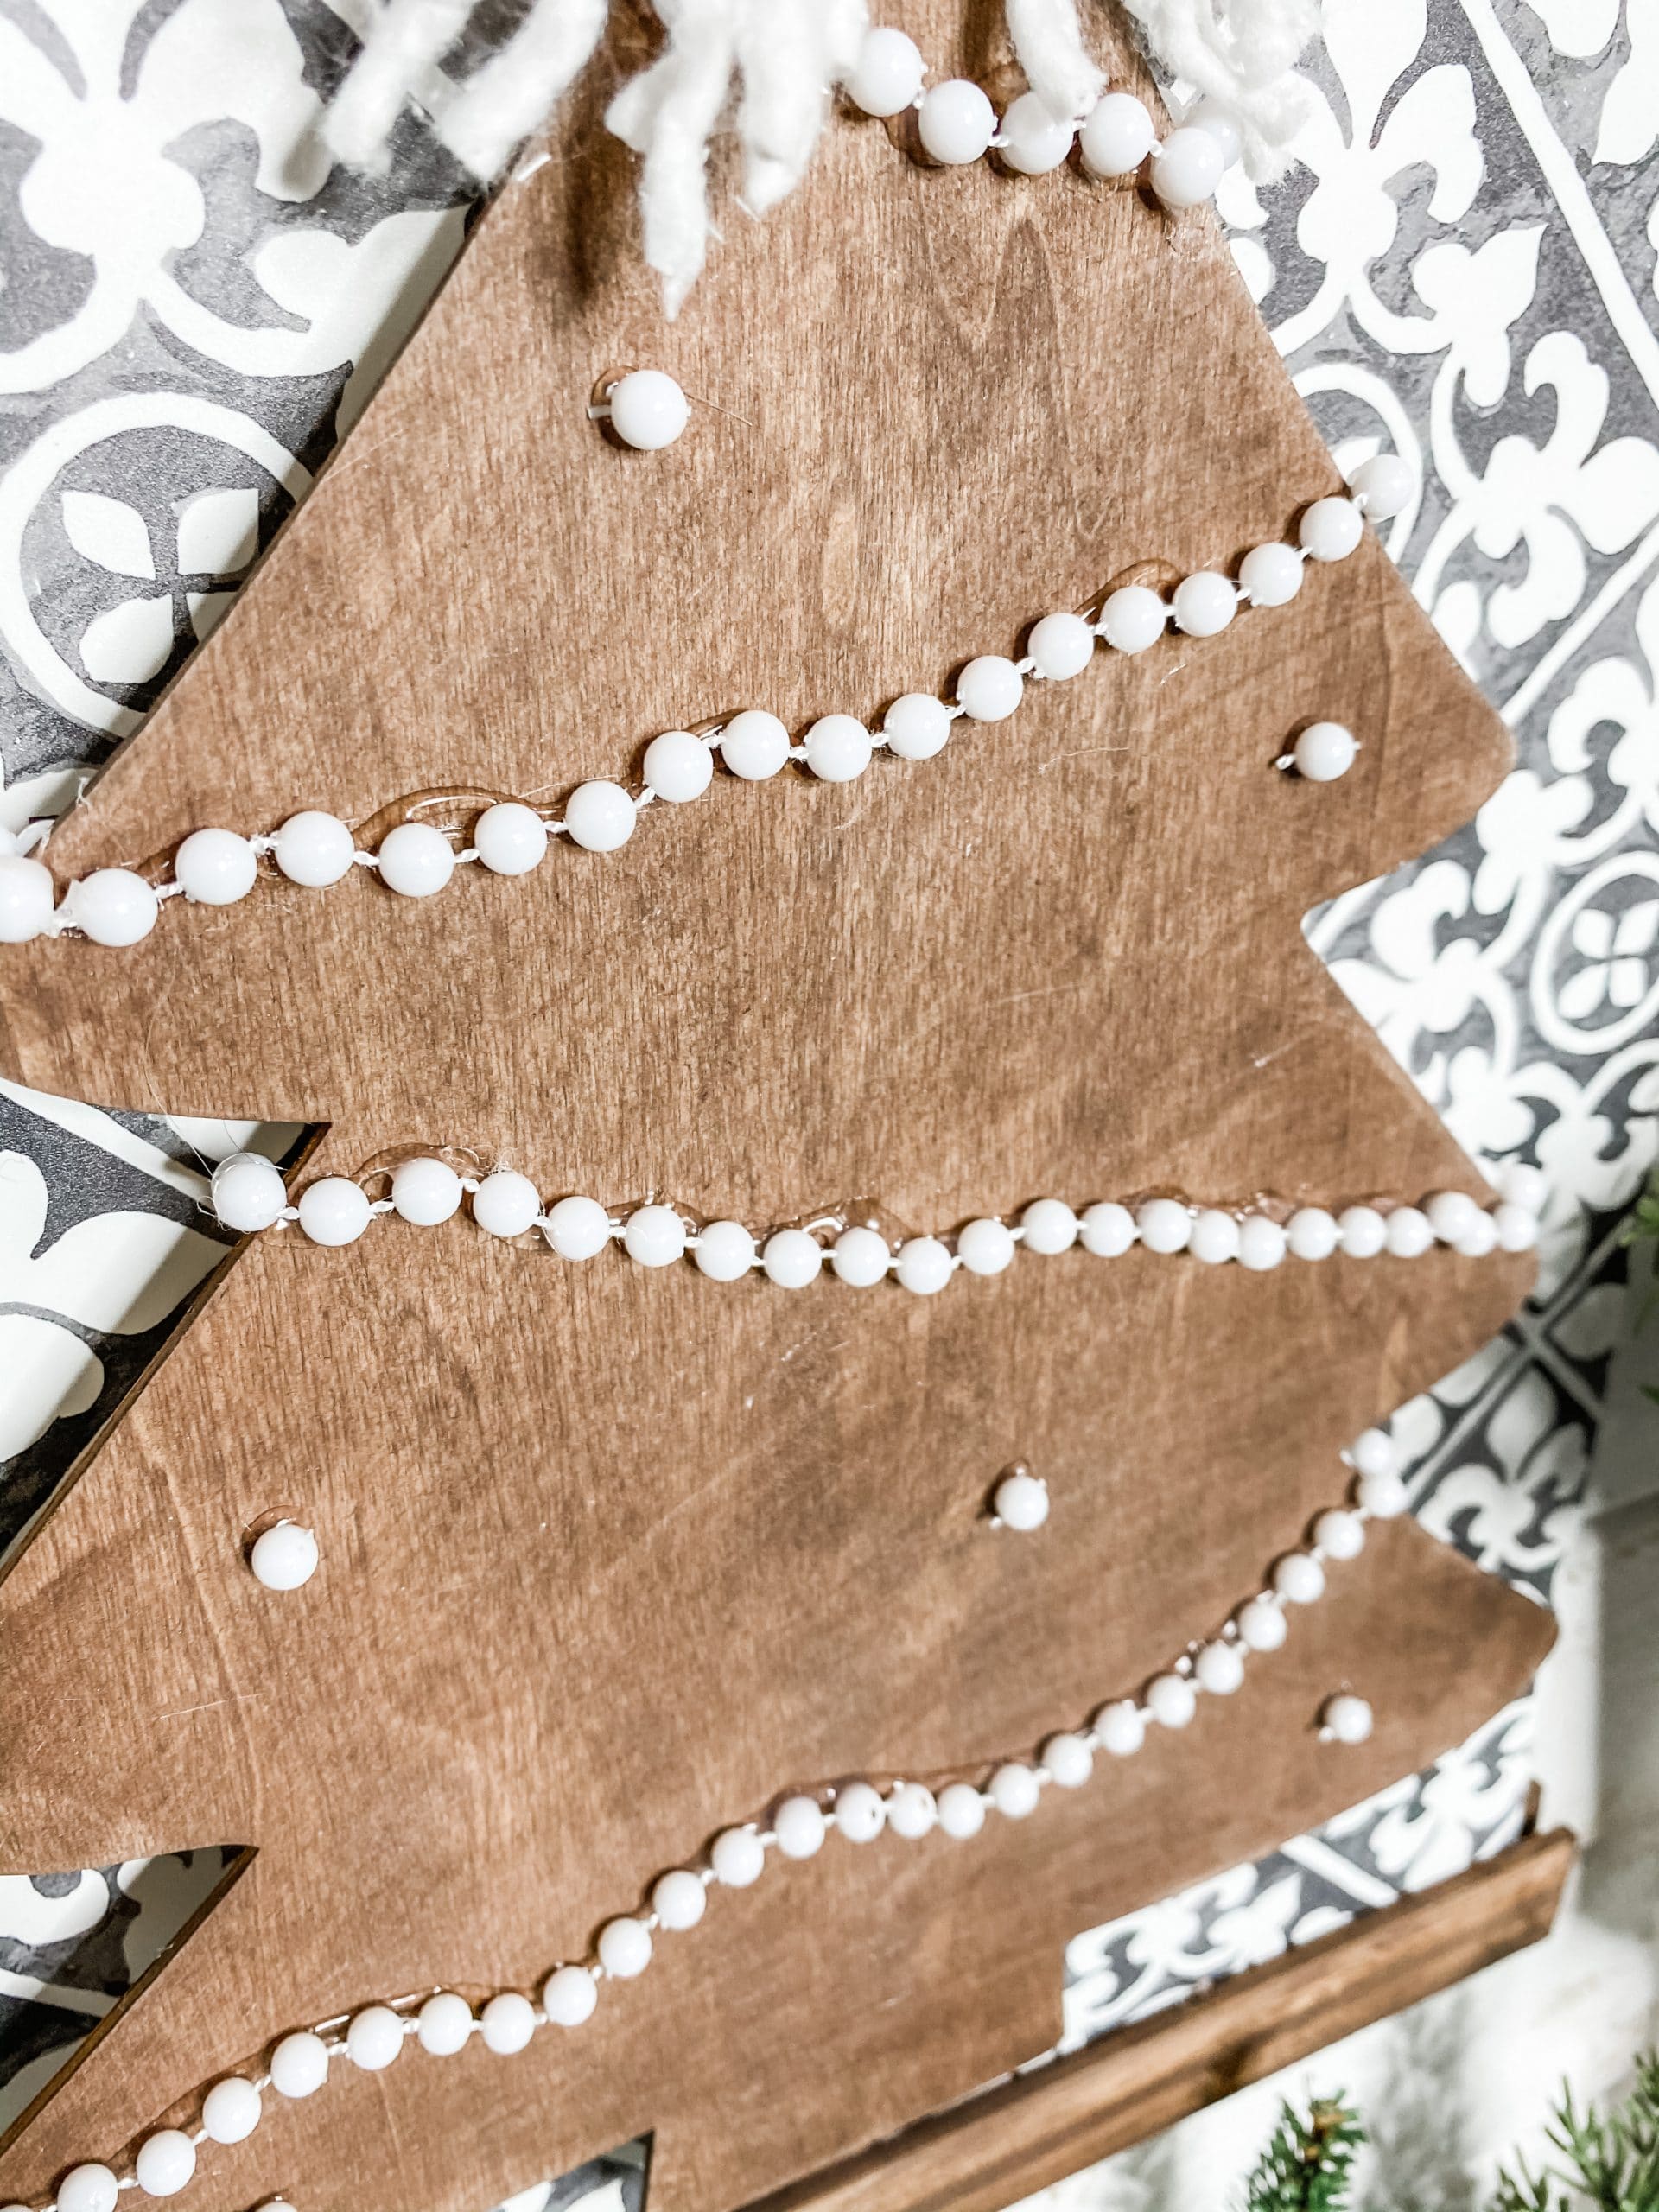
For the garland, I used Dollar Tree beaded necklaces. First, cut the necklaces so that they are a single strand of beads. Next, lay them down on the Christmas Tree to see how you’re going to place them.
Once you’re satisfied with the placements, trim and hot glue each strand of the Dollar Tree beaded necklace into place.
To make ornaments, I cut single beads off of the beaded necklaces and hot glued them onto the Christmas Tree cut out. I left mine white, but you could paint them different colors if you wanted to.
It’s all in the details!
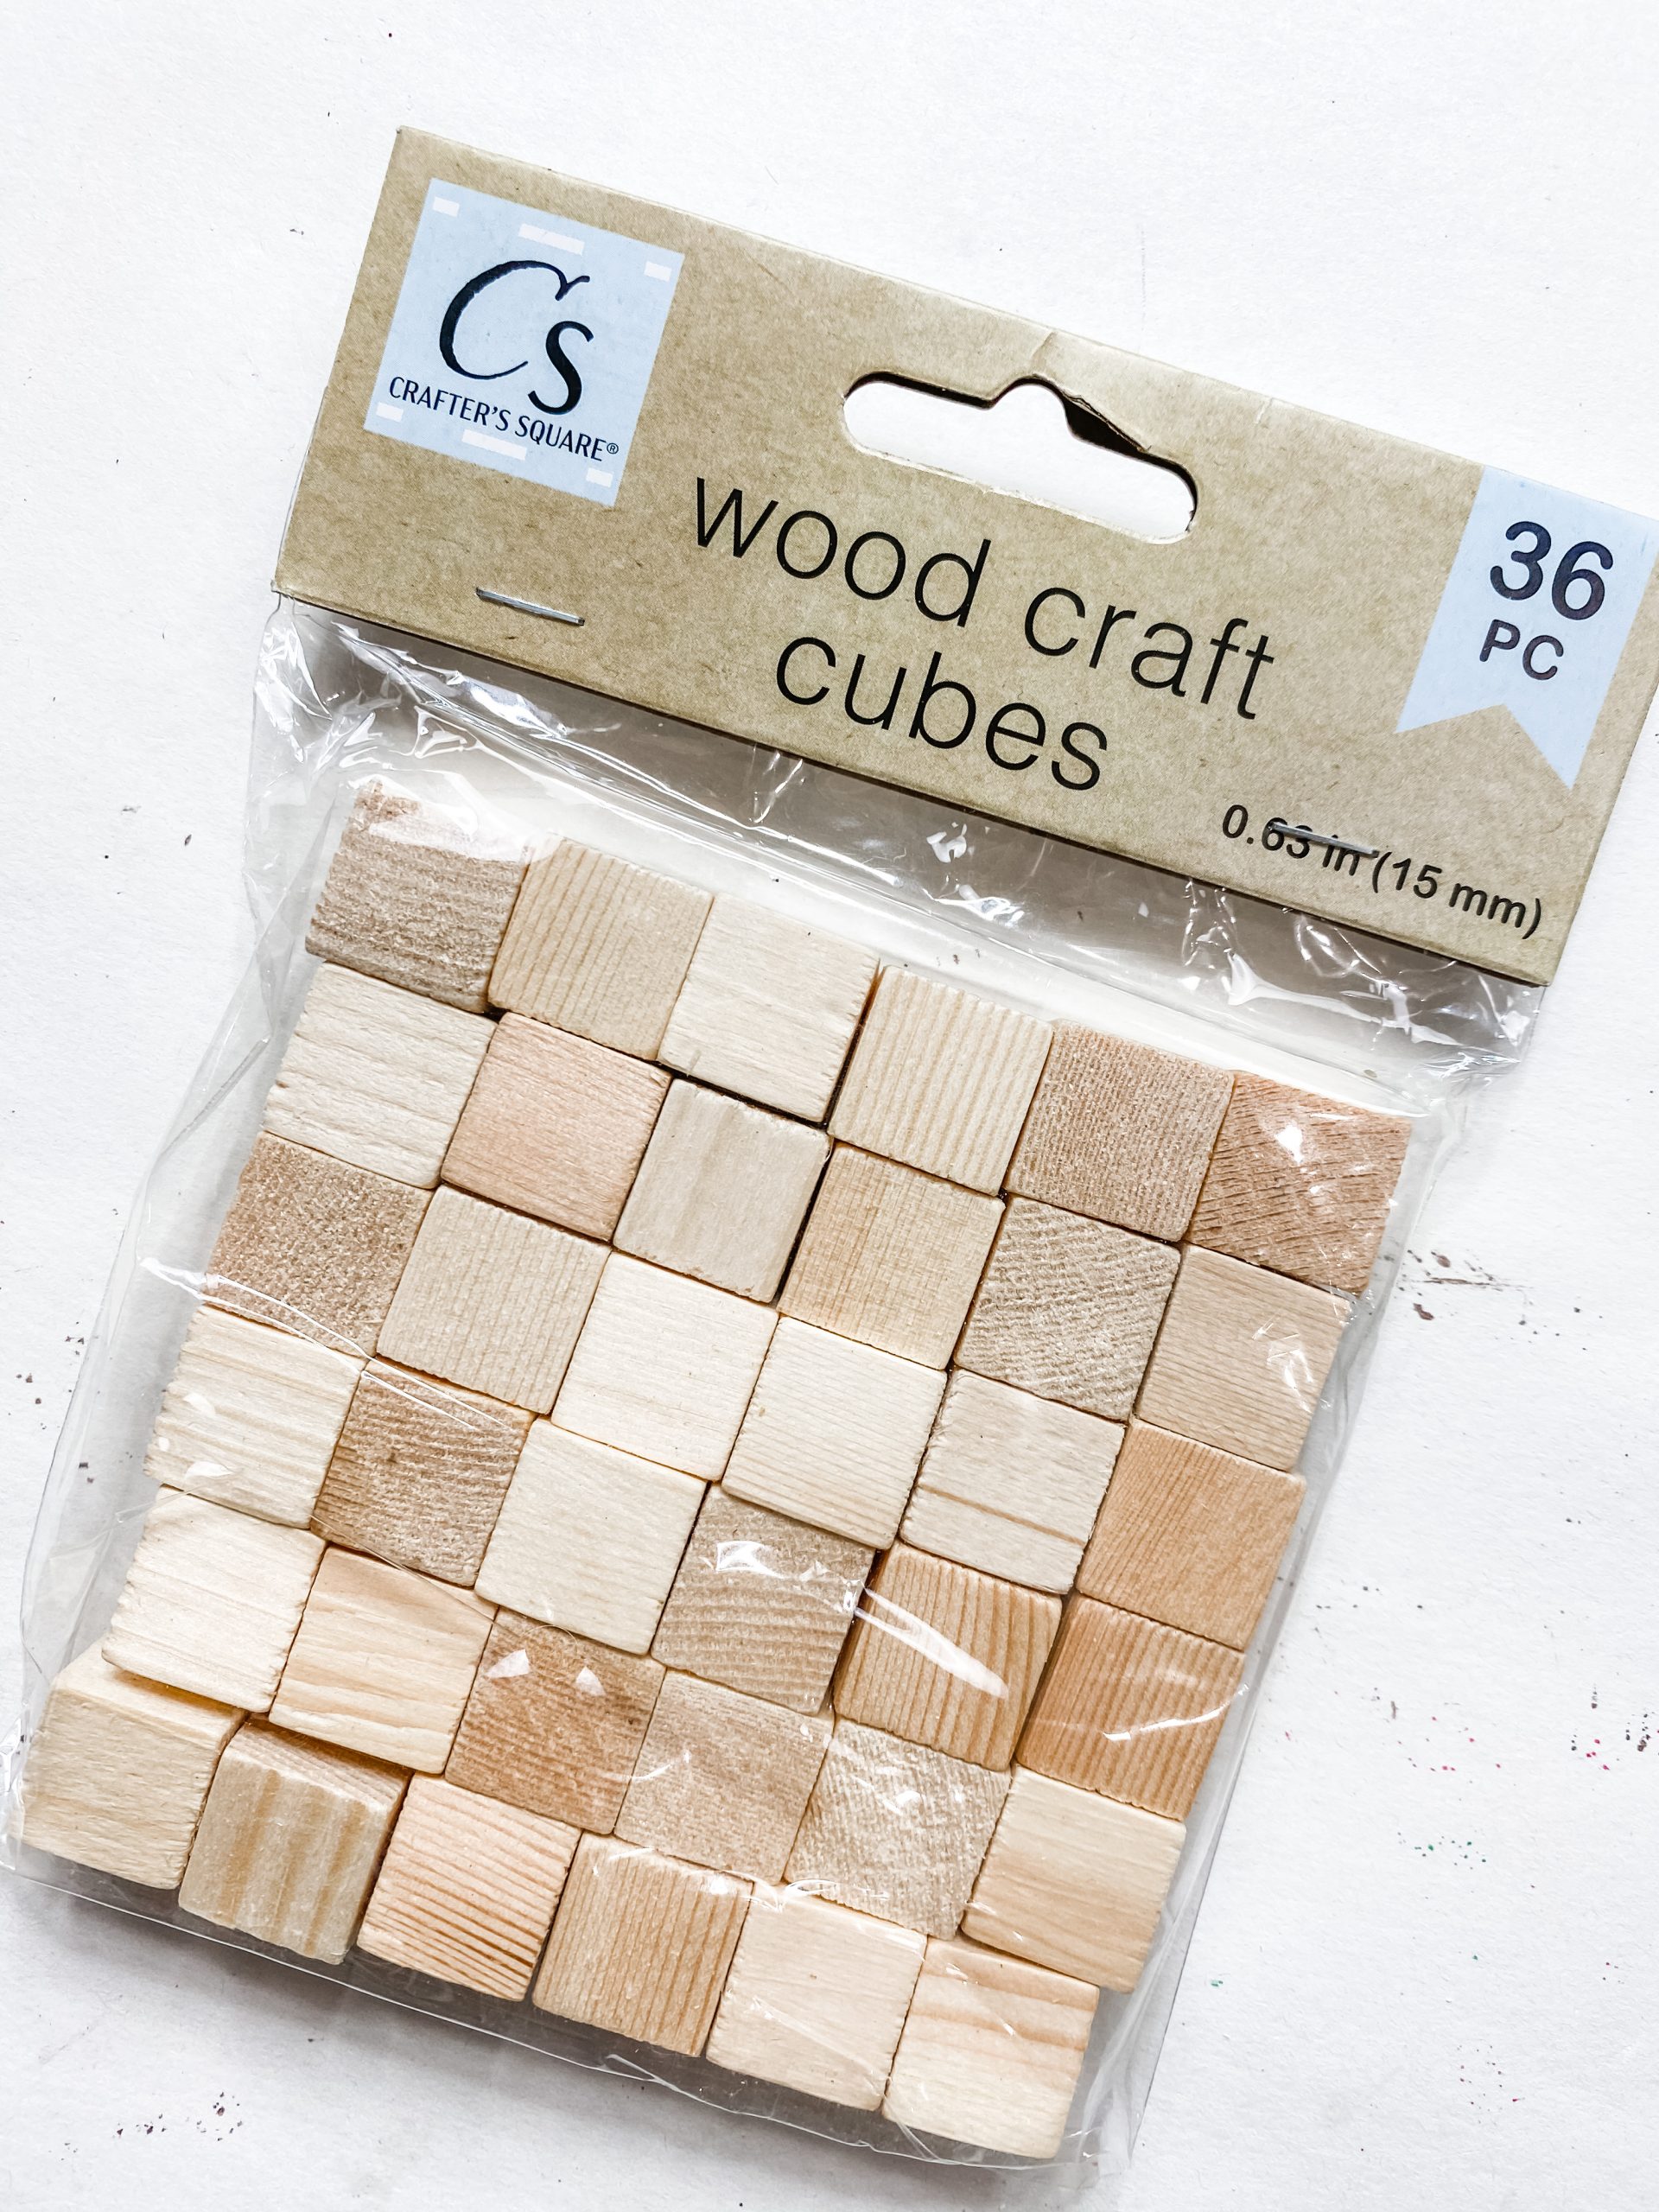
I didn’t like how flat this DIY Christmas decor looked with the Christmas Tree hot glued directly to the placemat, so I decided to elevate the Christmas Tree just a little by using Dollar Tree wood craft blocks.
First, eyeball where you will be able to hot glue the wood craft blocks underneath the Christmas Tree without them sticking out around the tree. Next, hot glue the Dollar Tree craft blocks onto the placemat.
Then, put a little bit of hot glue on the top of each woodblock and press the Dollar Tree Christmas Tree cutout onto them.
The finishing touches
Finally, I hot glued a little black flower that came from an assorted pack of embellishments to the center of the mop string bow.
I feel like his little black flower really brings the whole Christmas DIY together and connects the Hobby Lobby placemat to the decorated Dollar Tree wood Christmas Tree cut out!
I hope you enjoyed this Hobby Lobby Placemat Christmas Decor DIY as much as I did and decide to make one for yourself! I would love to see how yours turns out!
You should totally join my FREE Facebook group called On A Budget Crafts! It is a judgment-free community for DIY crafters to show off their projects and ideas.
If you loved this DIY you might also like this DIY Christmas Tree Shelf Decor!
Thanks for stopping by! XOXO Amber
You can also shop my ENTIRE AMAZON Favorites shop just click here! It’s packed full of all the things I use and love. Here is the supply list I highly recommend every creative have on hand!!
Would you also pin my blog for later and get on my newsletter alerts? I would love to have you join my #craftycrew.

Join my free “ON A BUDGET CRAFTS” Facebook group!
PIN THIS POST FOR LATER!


I loved this too! You know I love the blue!❤️😍🙌
Love this too!❤️🙌😍
Love this too!🙌❤️🙌
I truly appreciate this post. I have been looking everywhere for this! Thank goodness I found it on Bing. You have made my day! Thank you again!