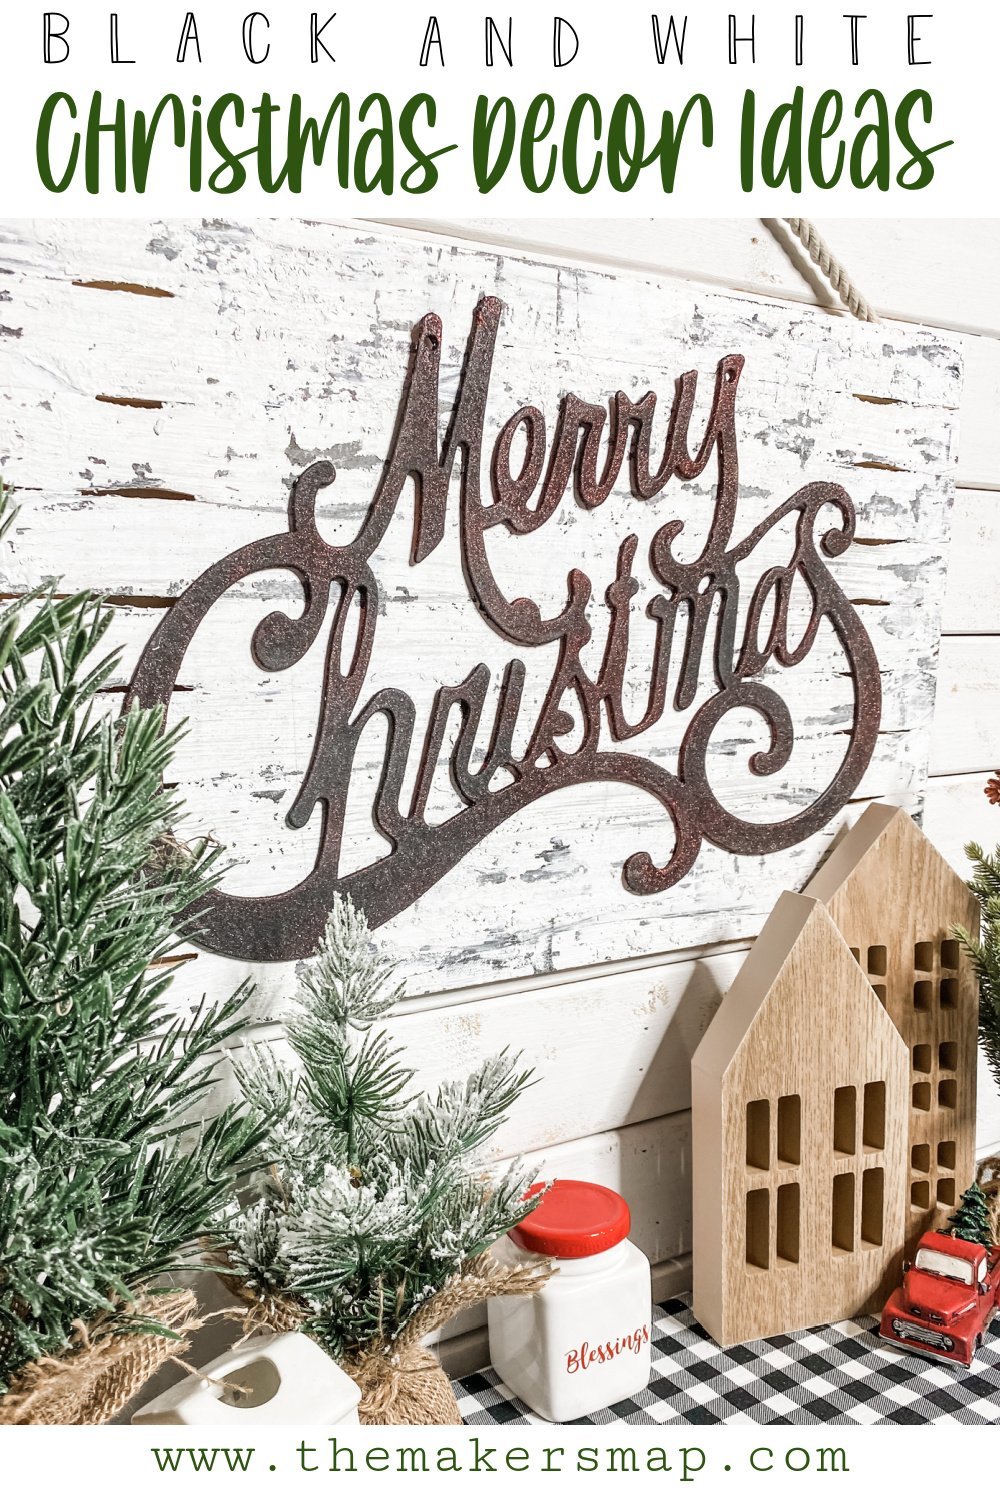
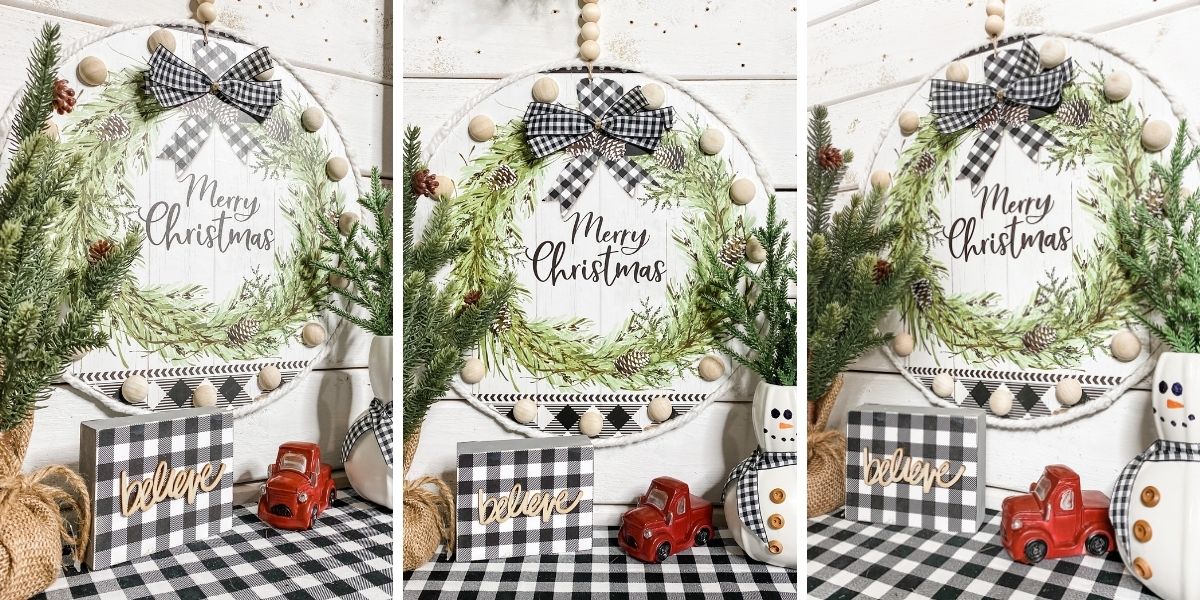
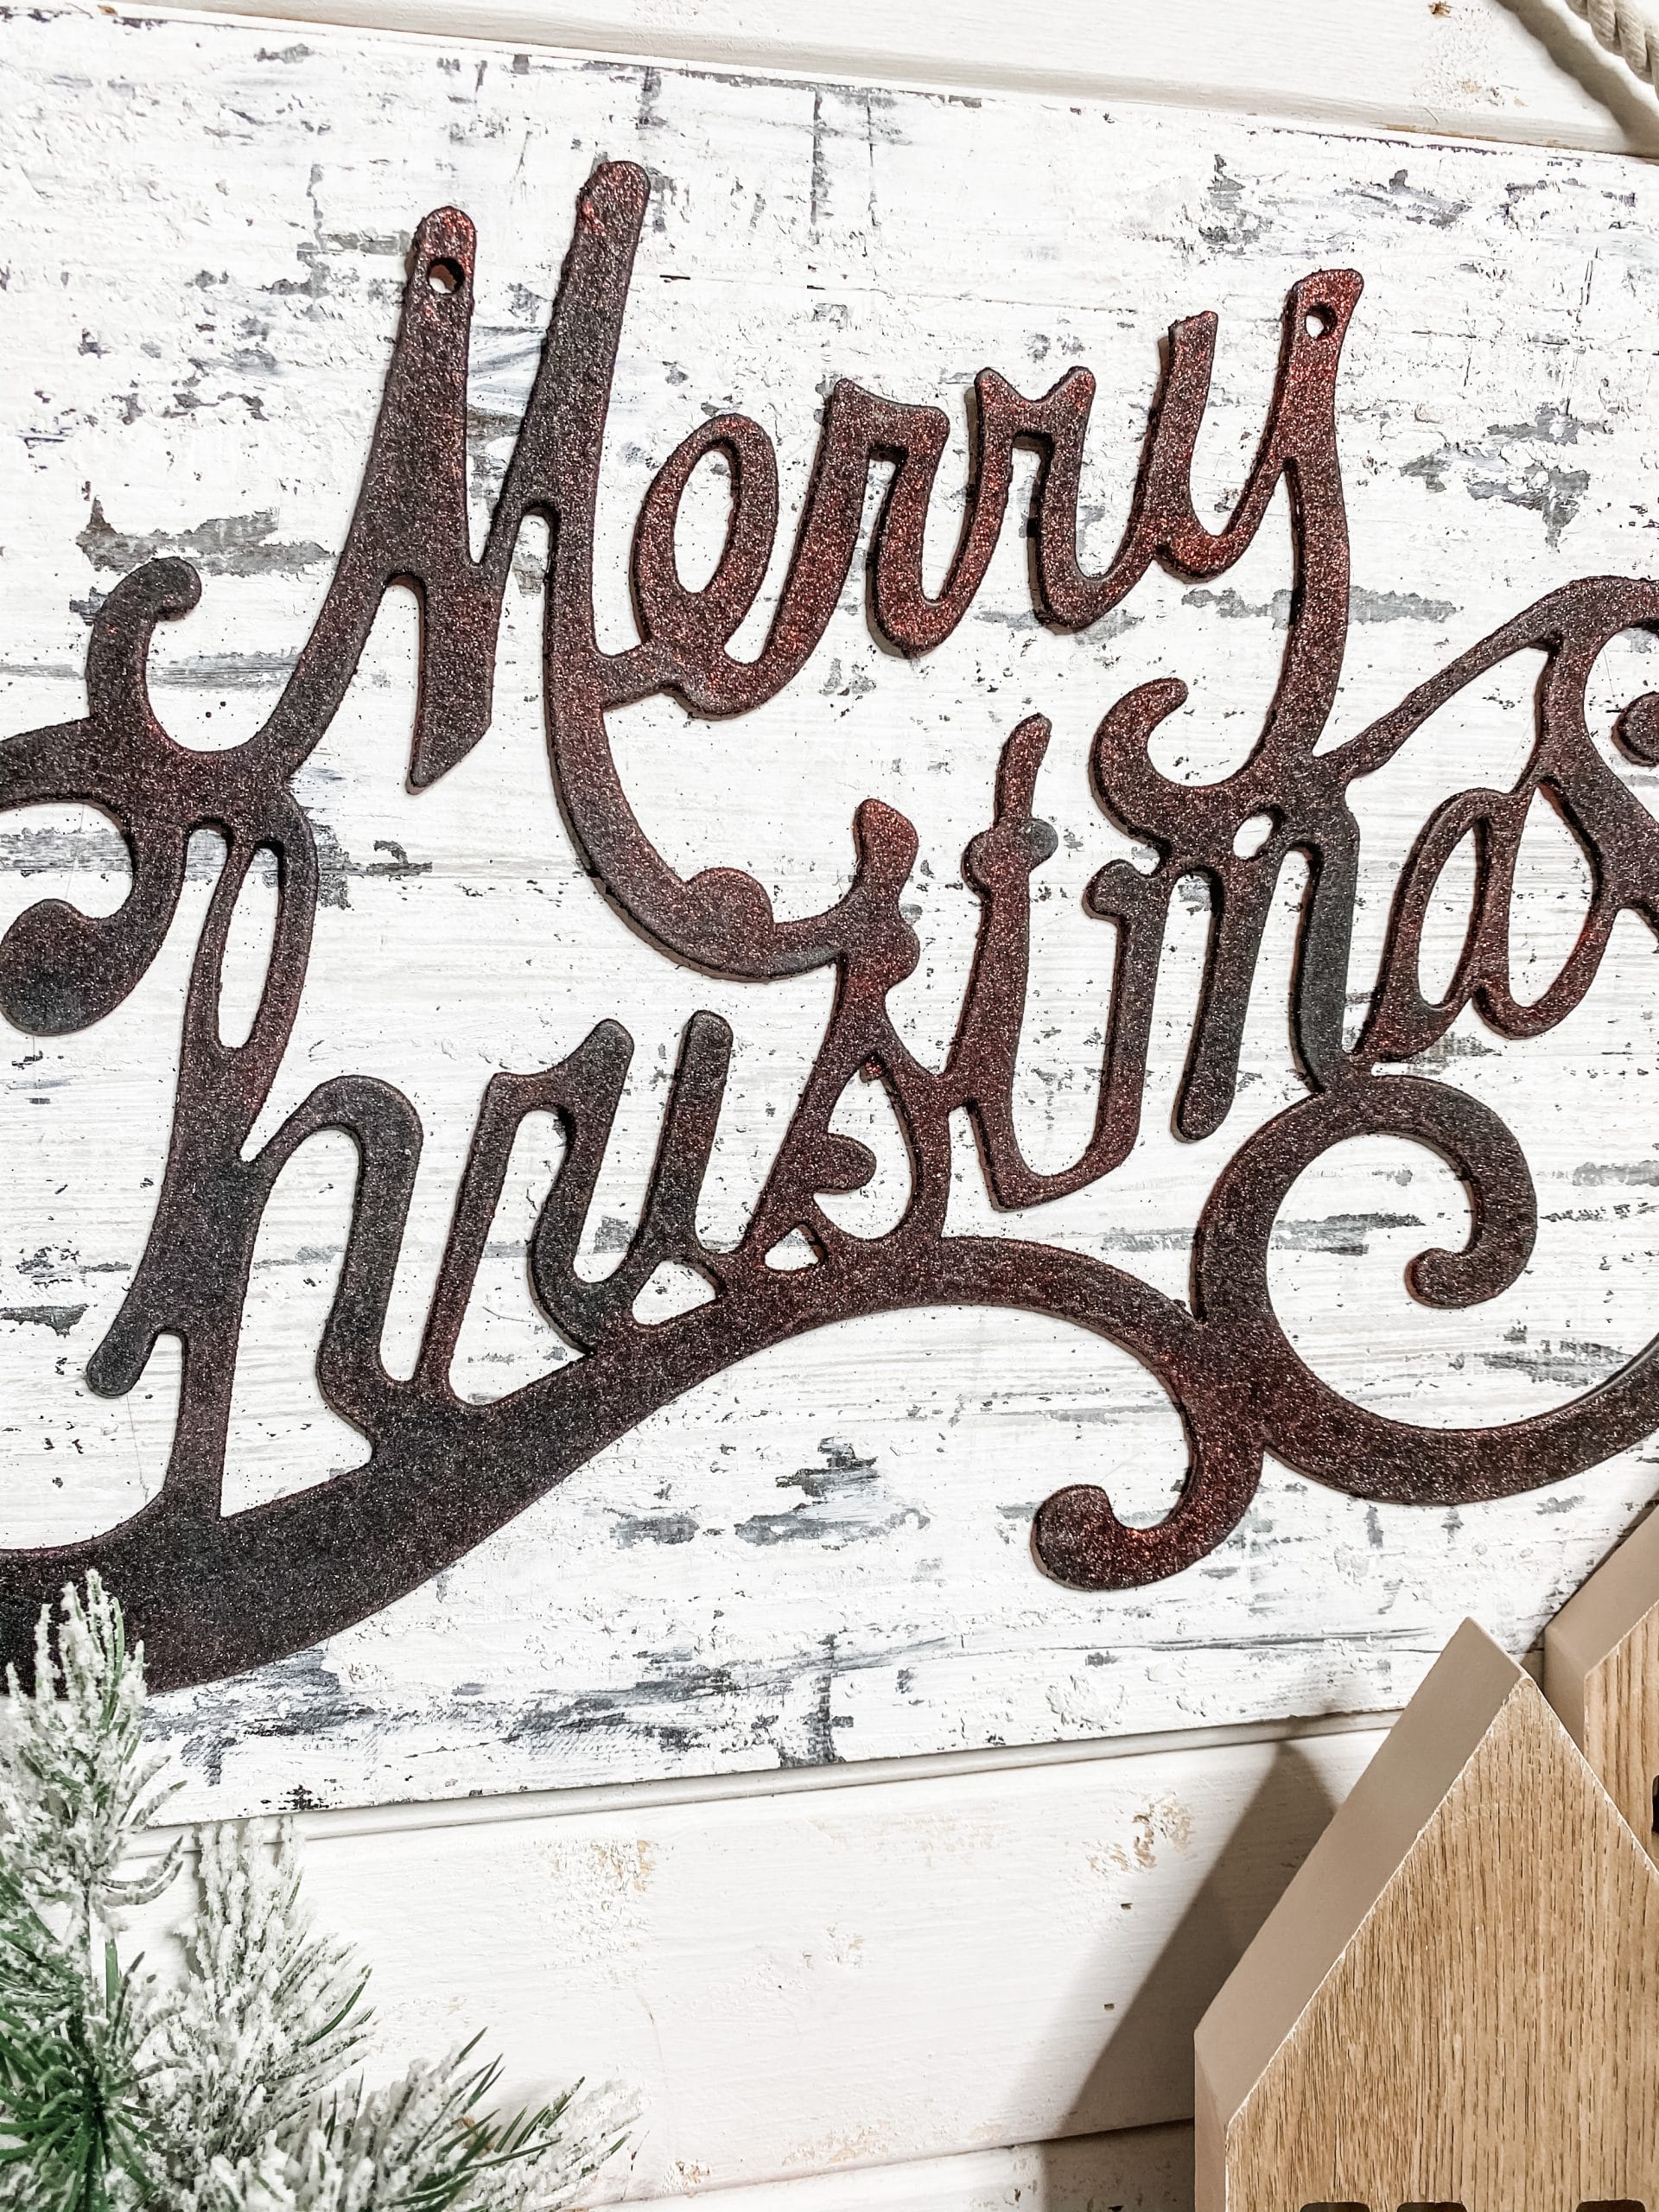
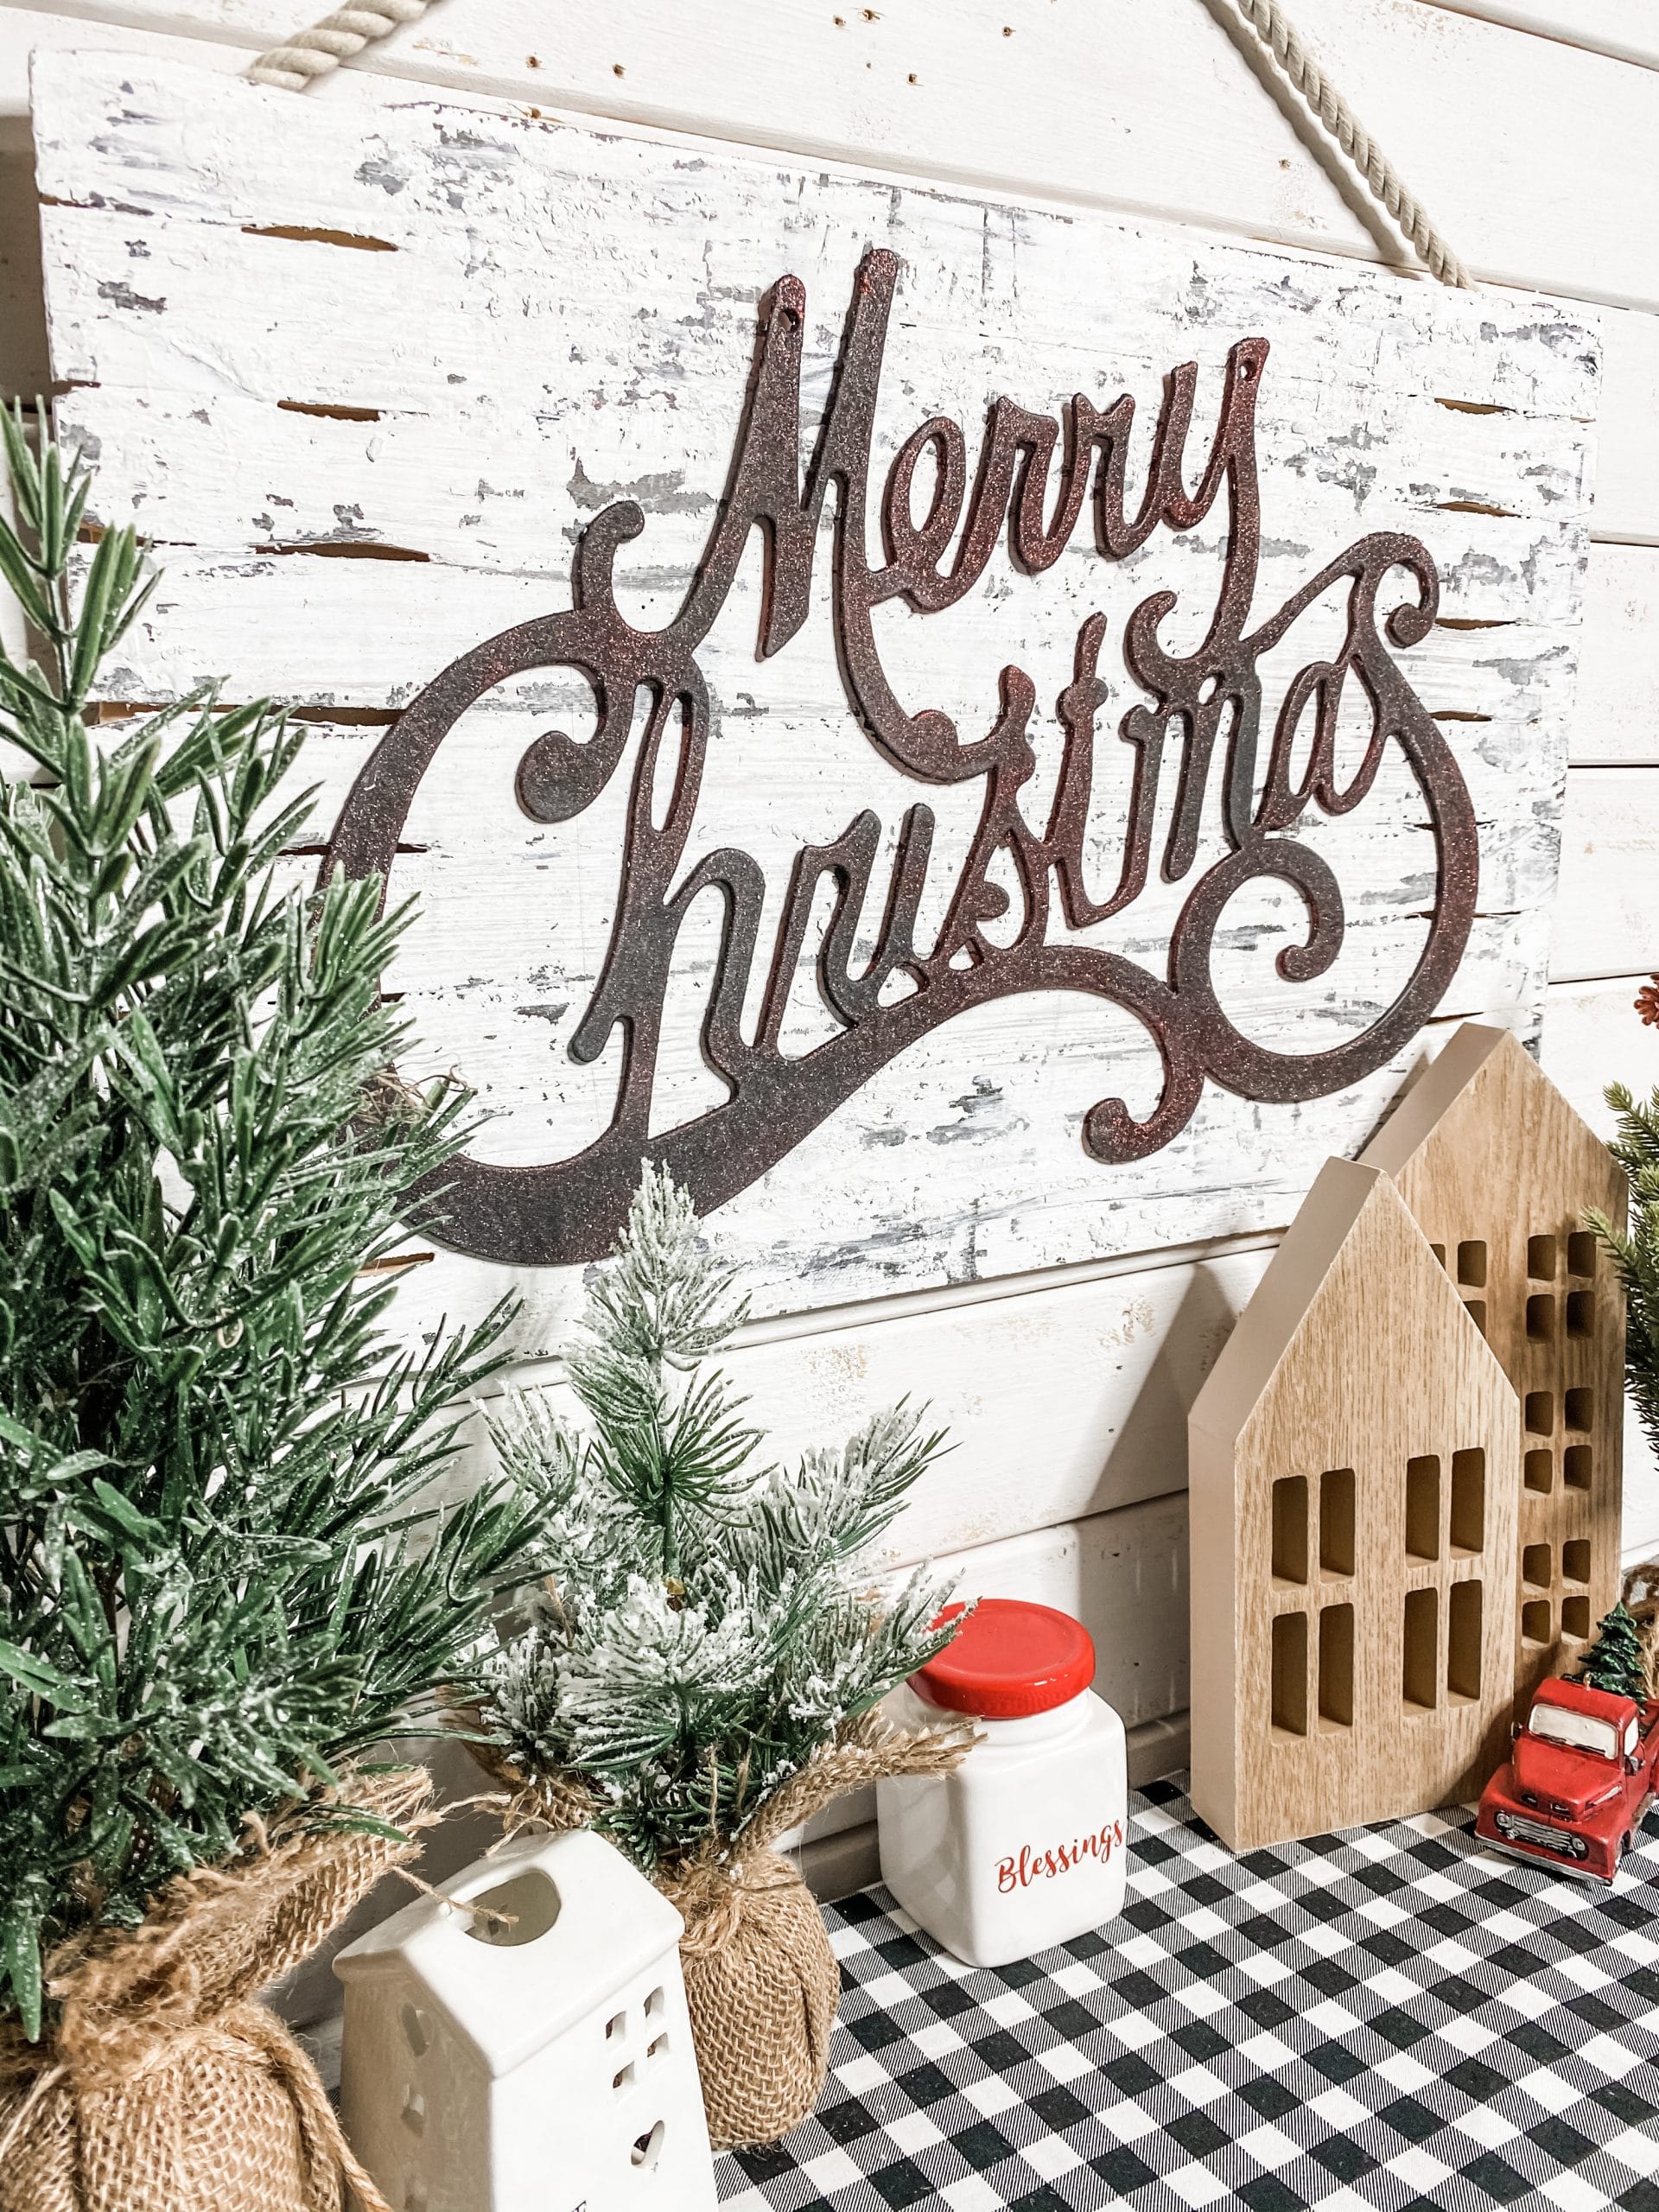
Black and White Chippy Christmas Decor
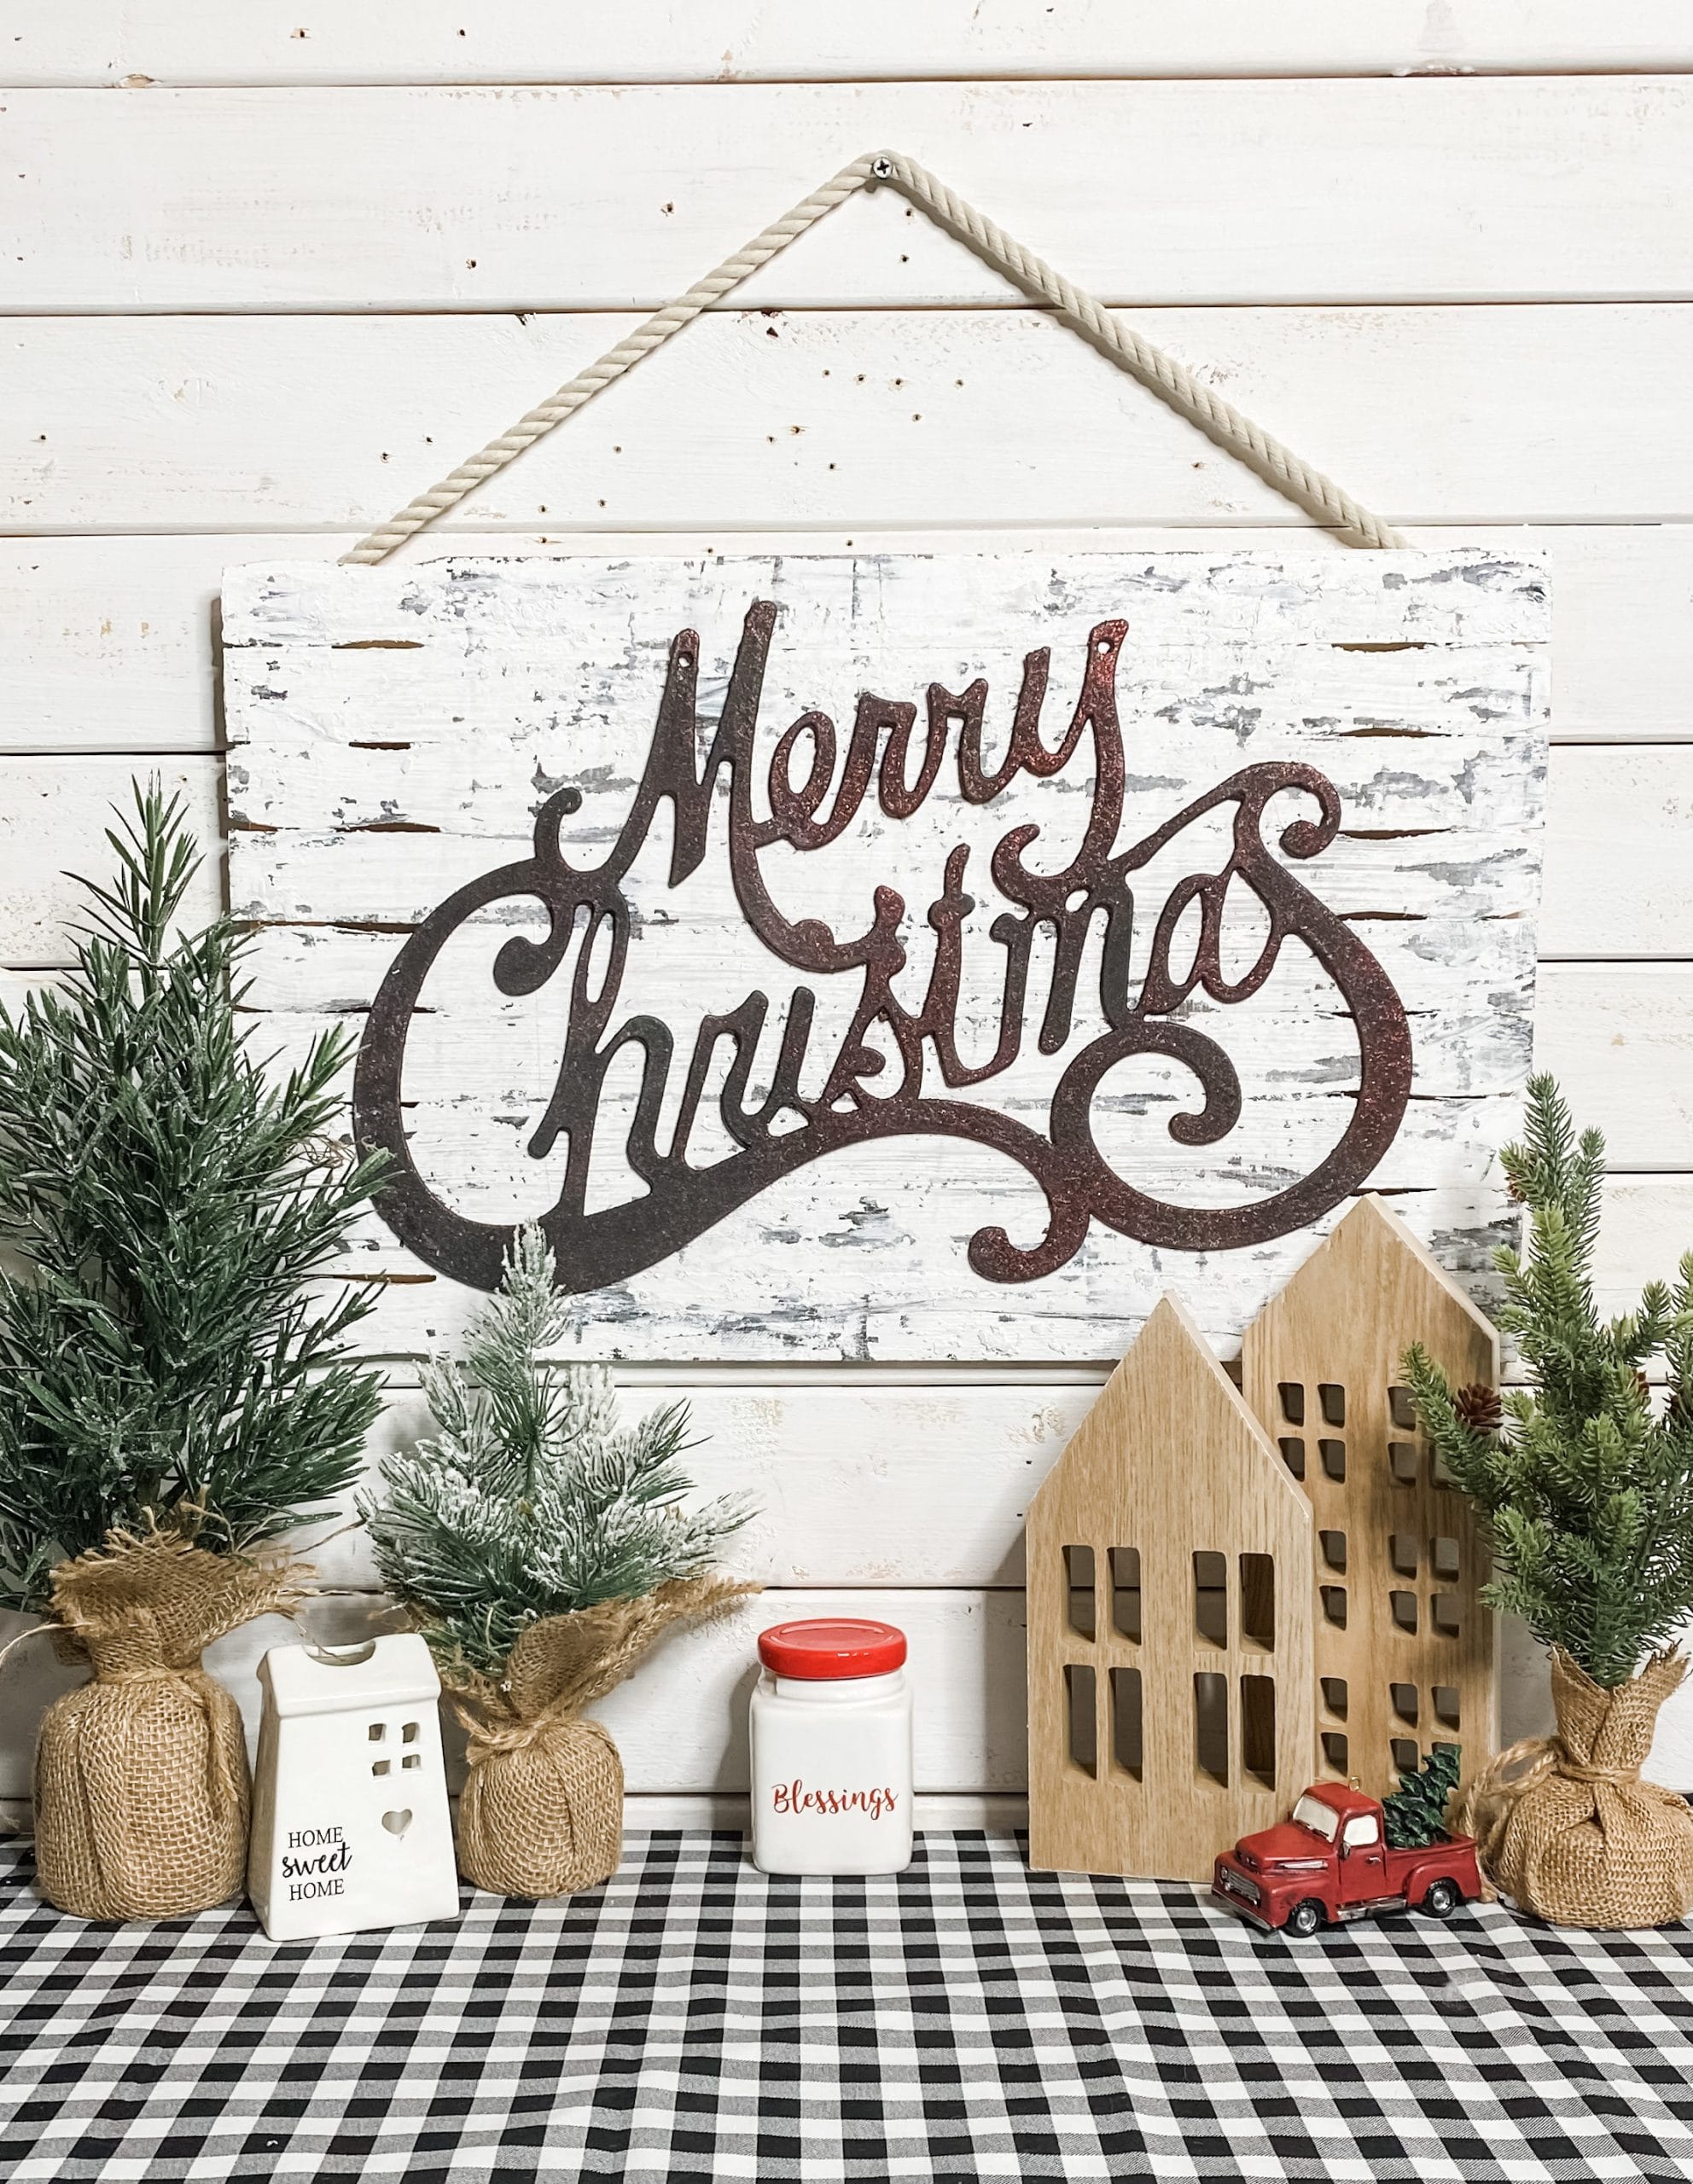
If you love Christmas and chippy paint finish as much as I do, then this Black and White Chippy Christmas Decor is perfect for you! This easy Christmas Decor DIY let me combine both my love for Christmas and my love for shabby chic decor! I hope you love it as much as I do!
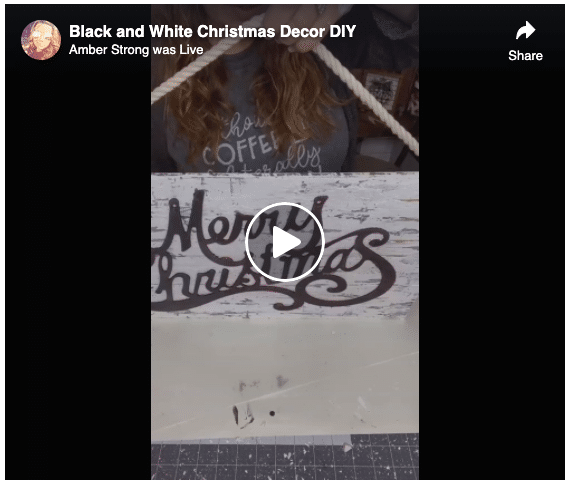
Watch the replay
For a more detailed look, you can always watch my Facebook Live video! This way you can follow step-by-step on how to recreate this super cute Black and White Chippy Christmas Decor DIY!
In this video, I also do a DIY Christmas ornament. If you want to get right to the chippy Christmas sign, you can fast forward to the 39:30 minute mark!
For this project, I will be using these items but you can substitute where you want.
“As an Amazon Associate, I earn from qualifying purchases.”
- Dollar Tree Merry Christmas Lettering
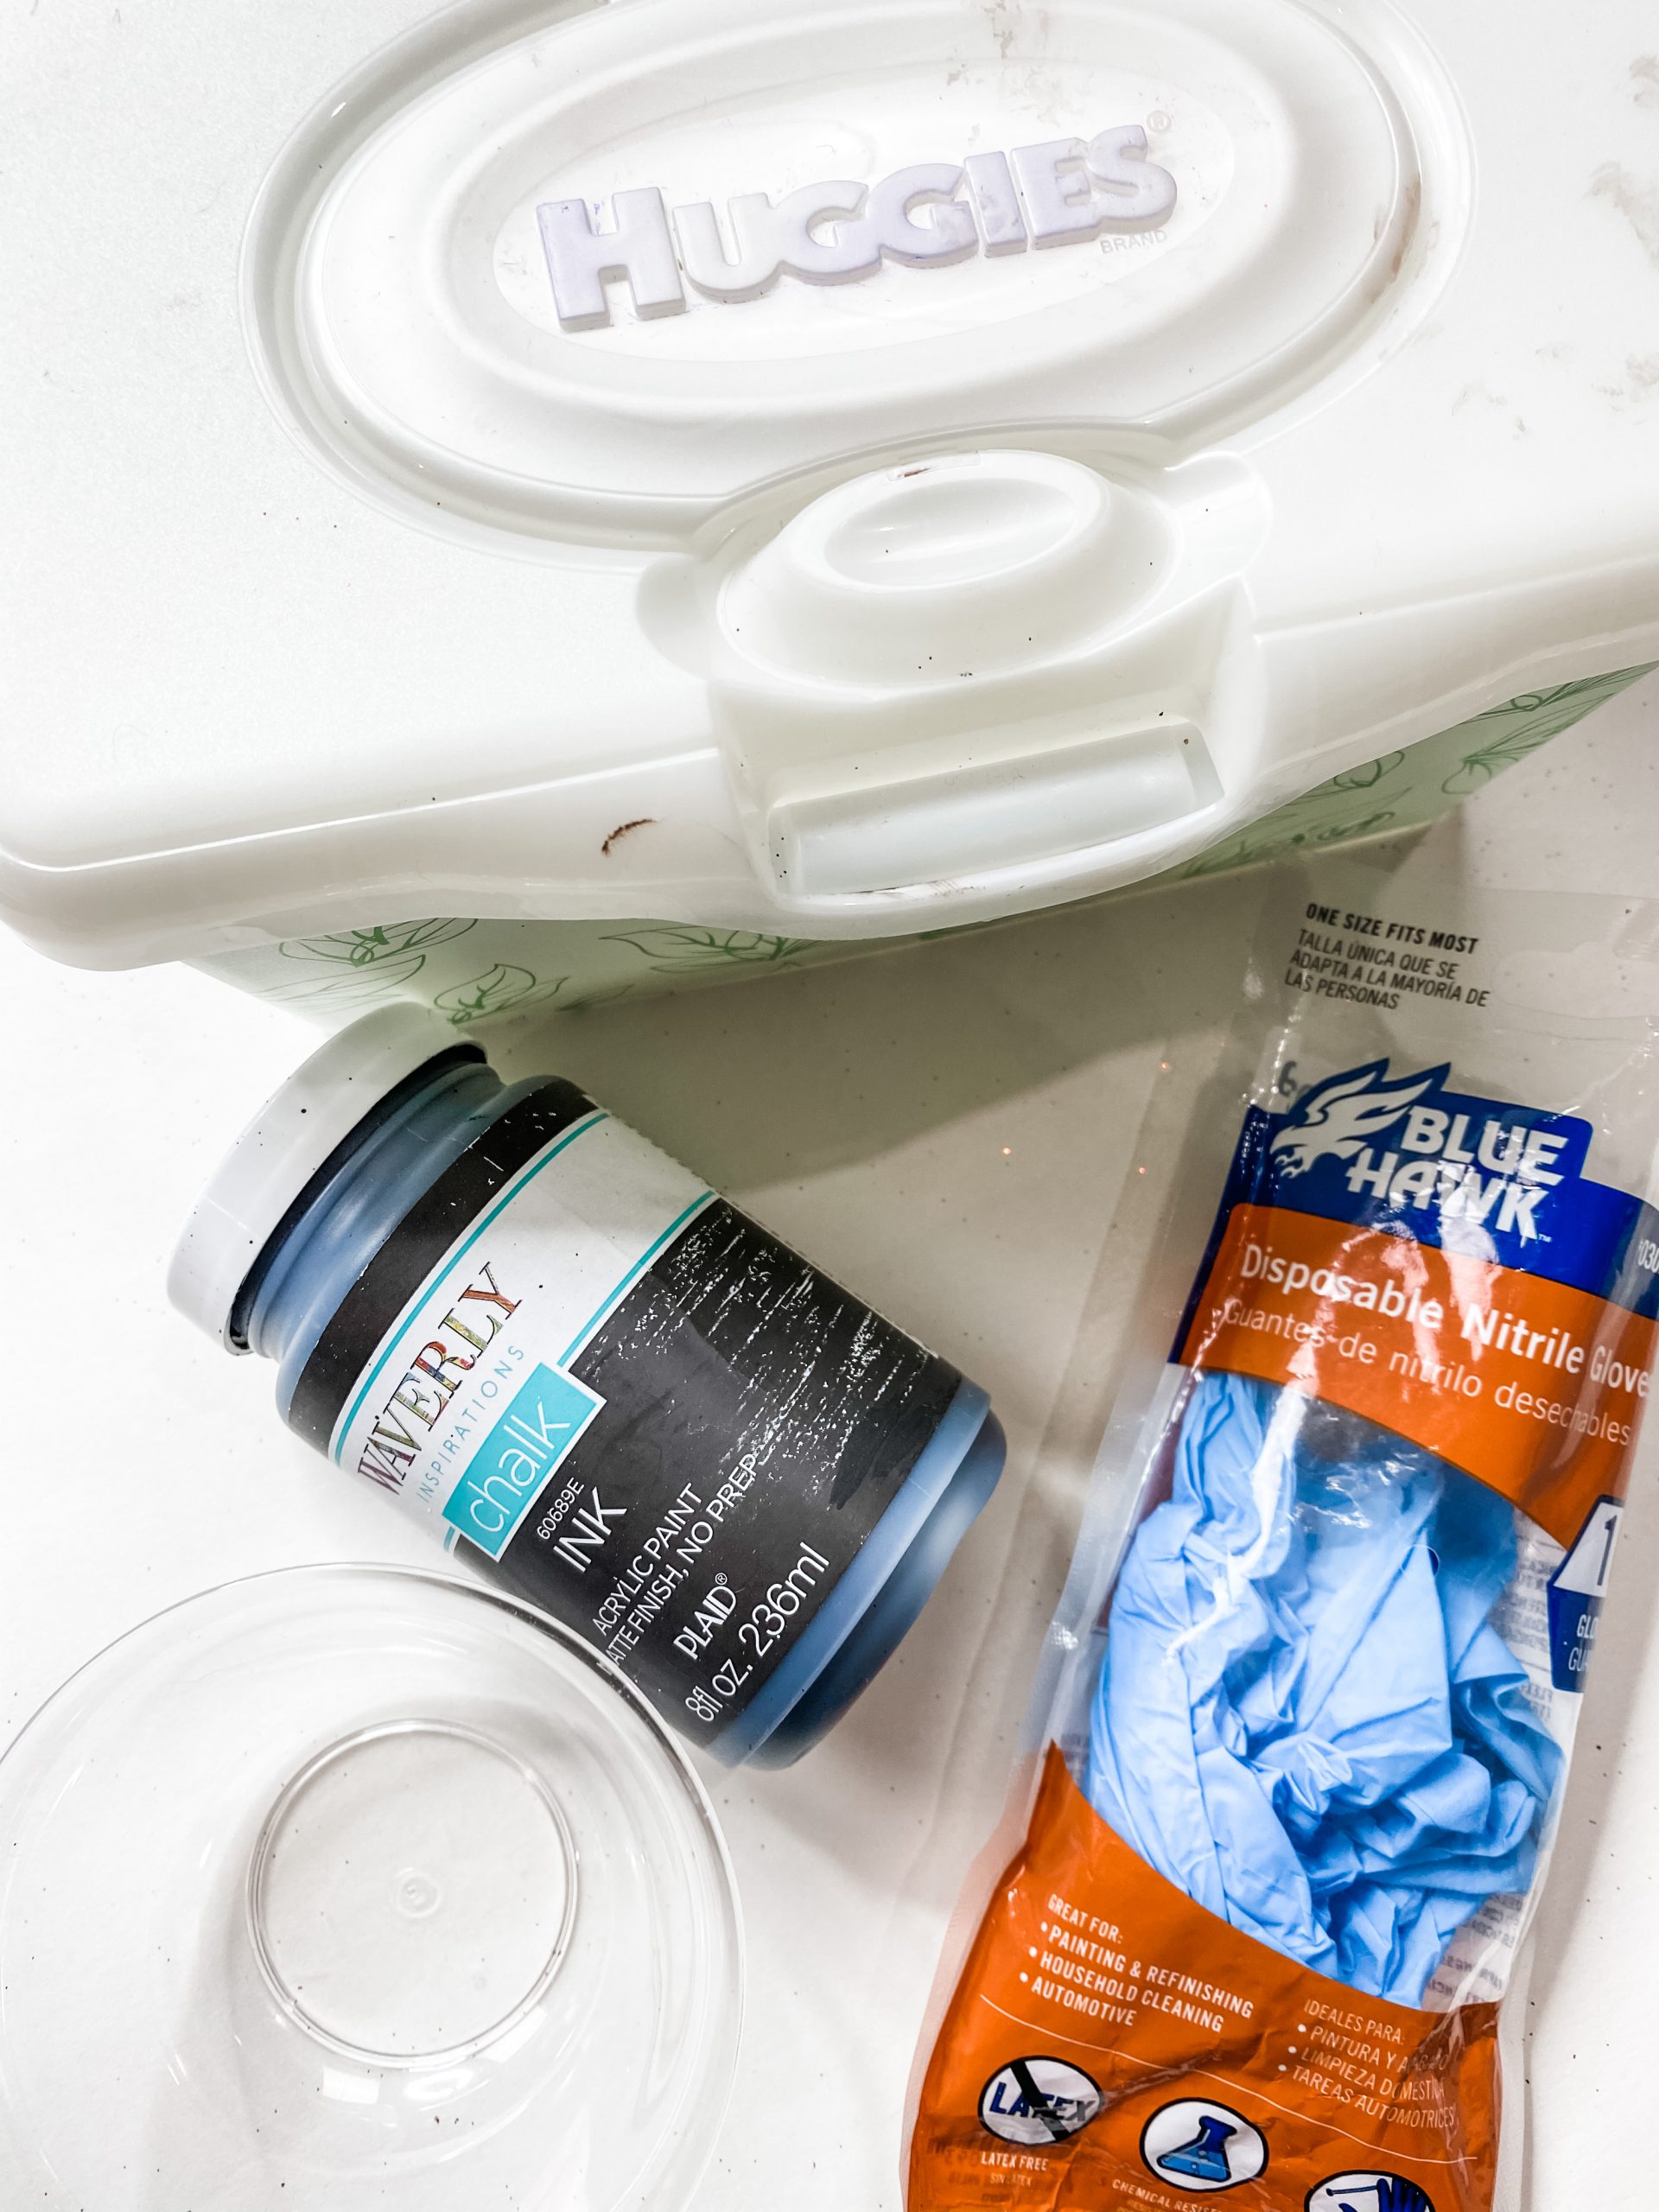
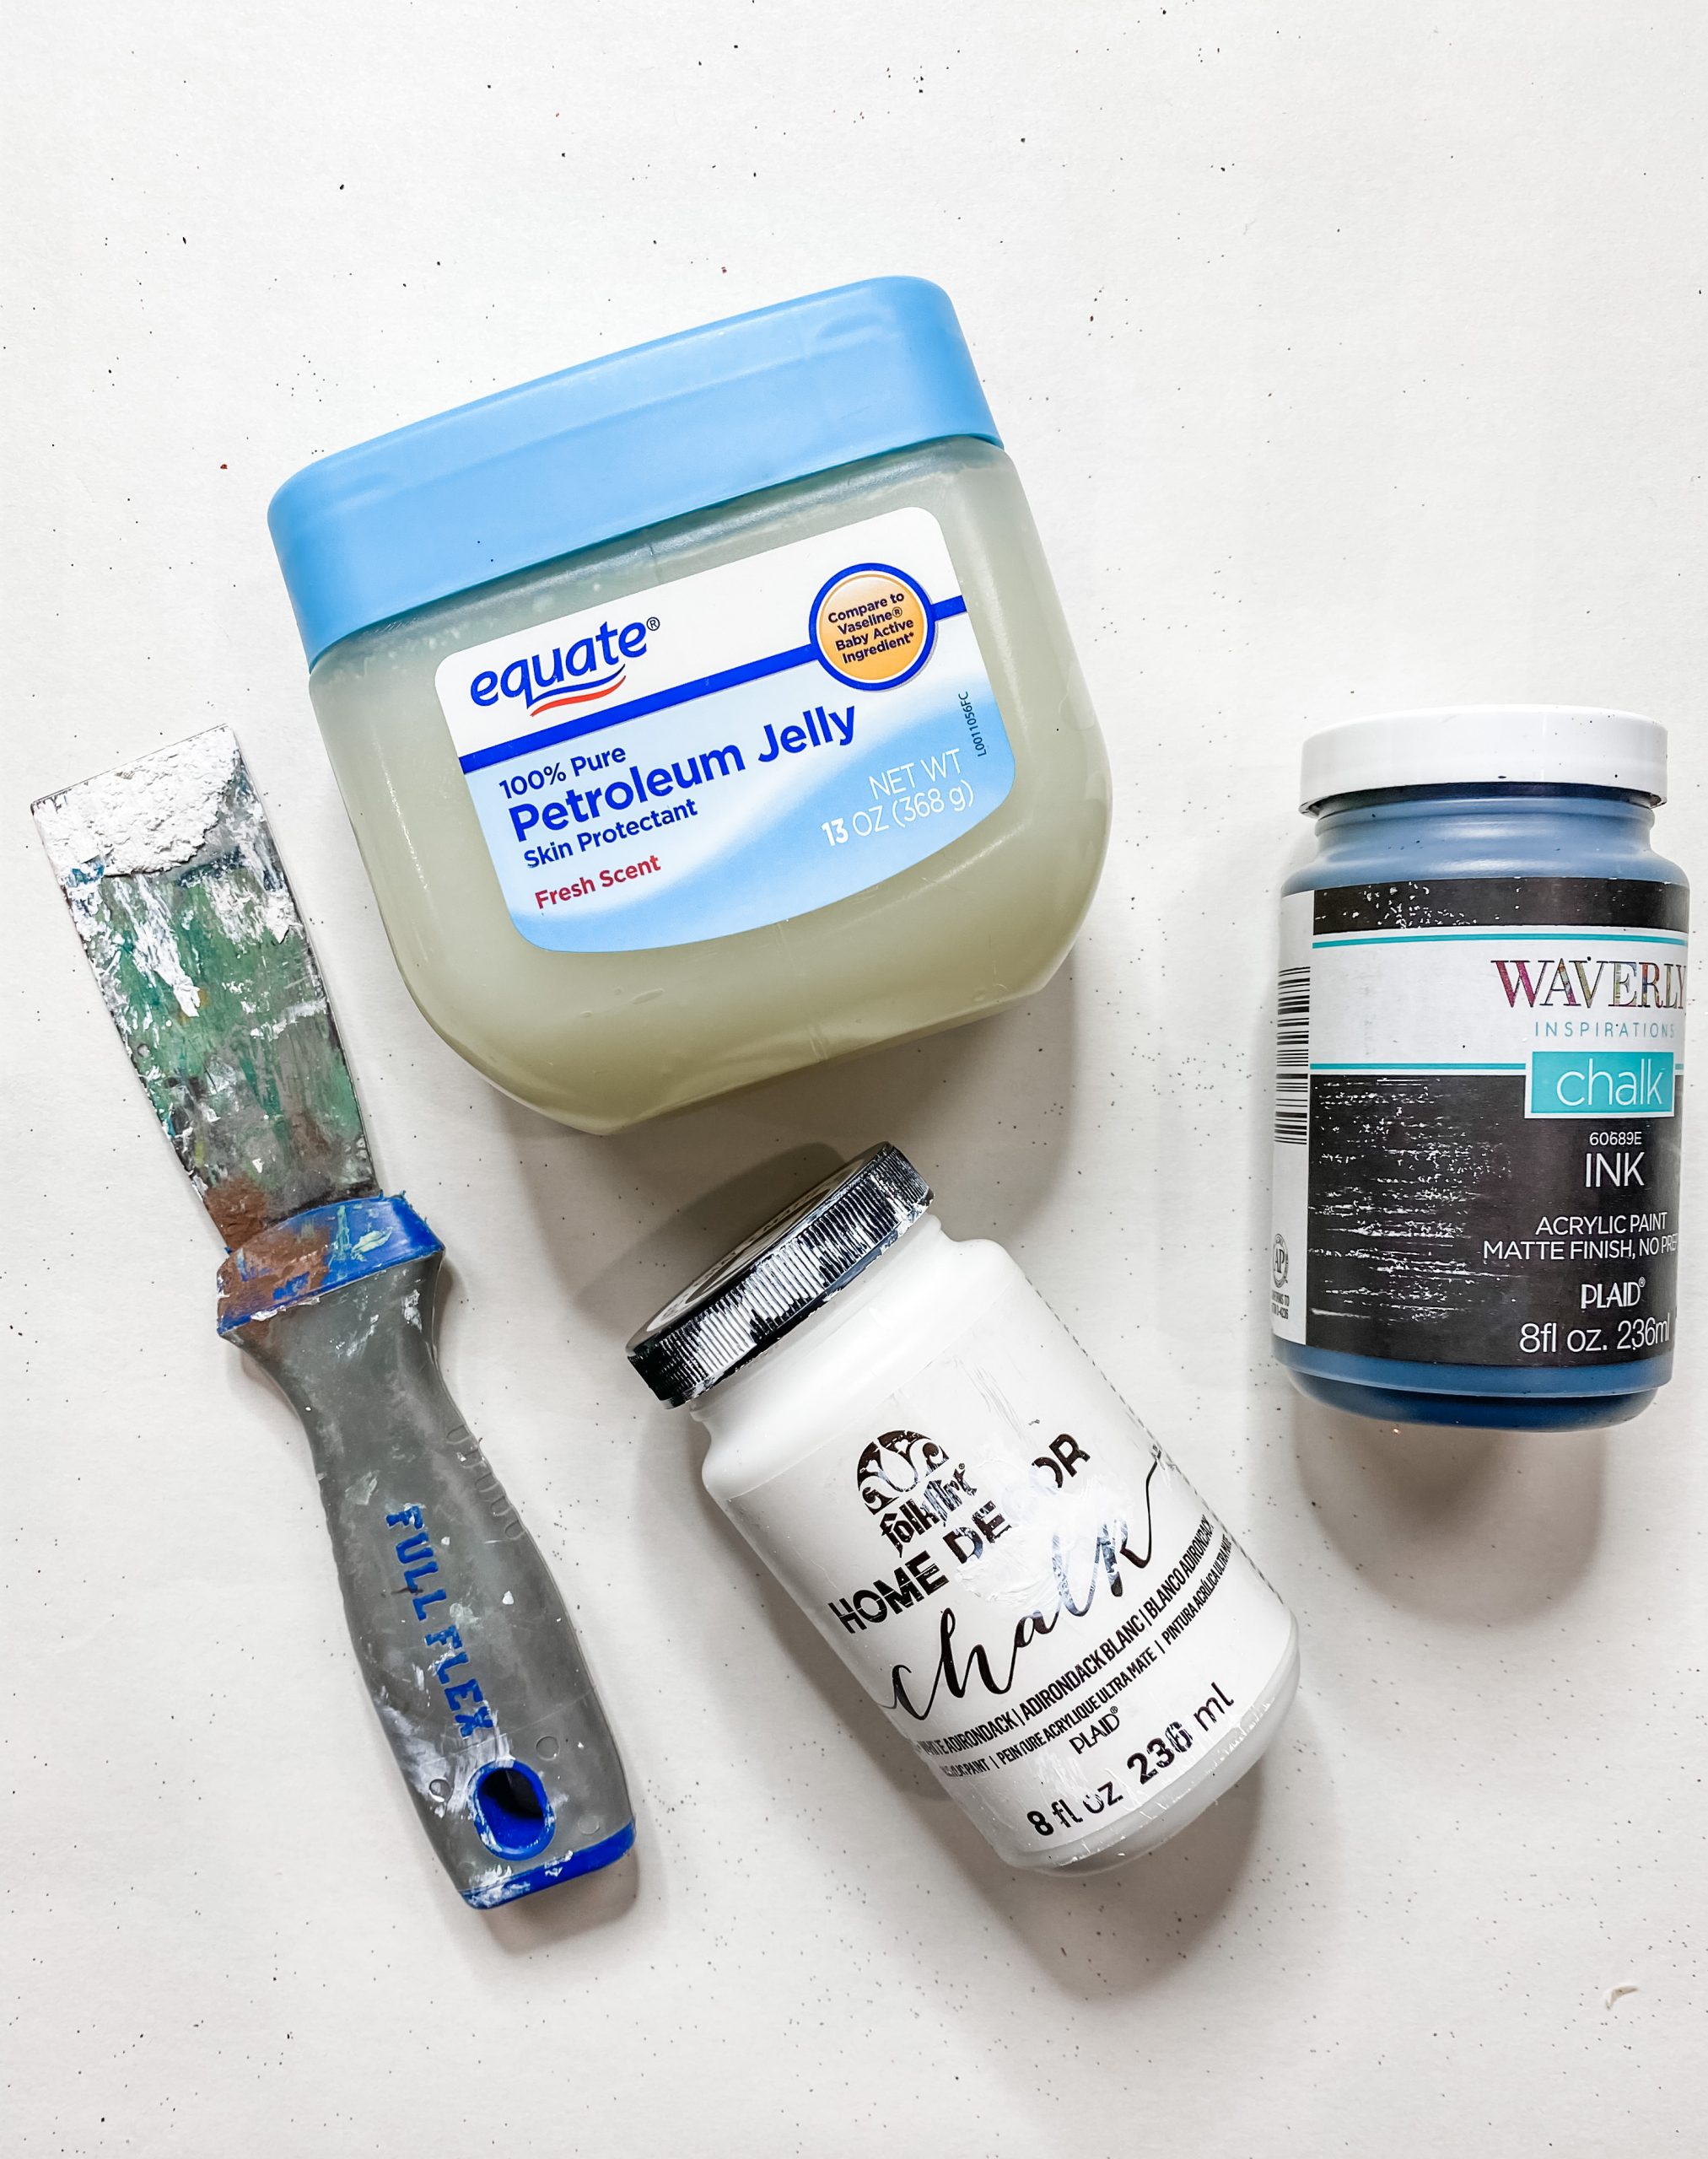
- Waverly Black “INK” Chalk Paint
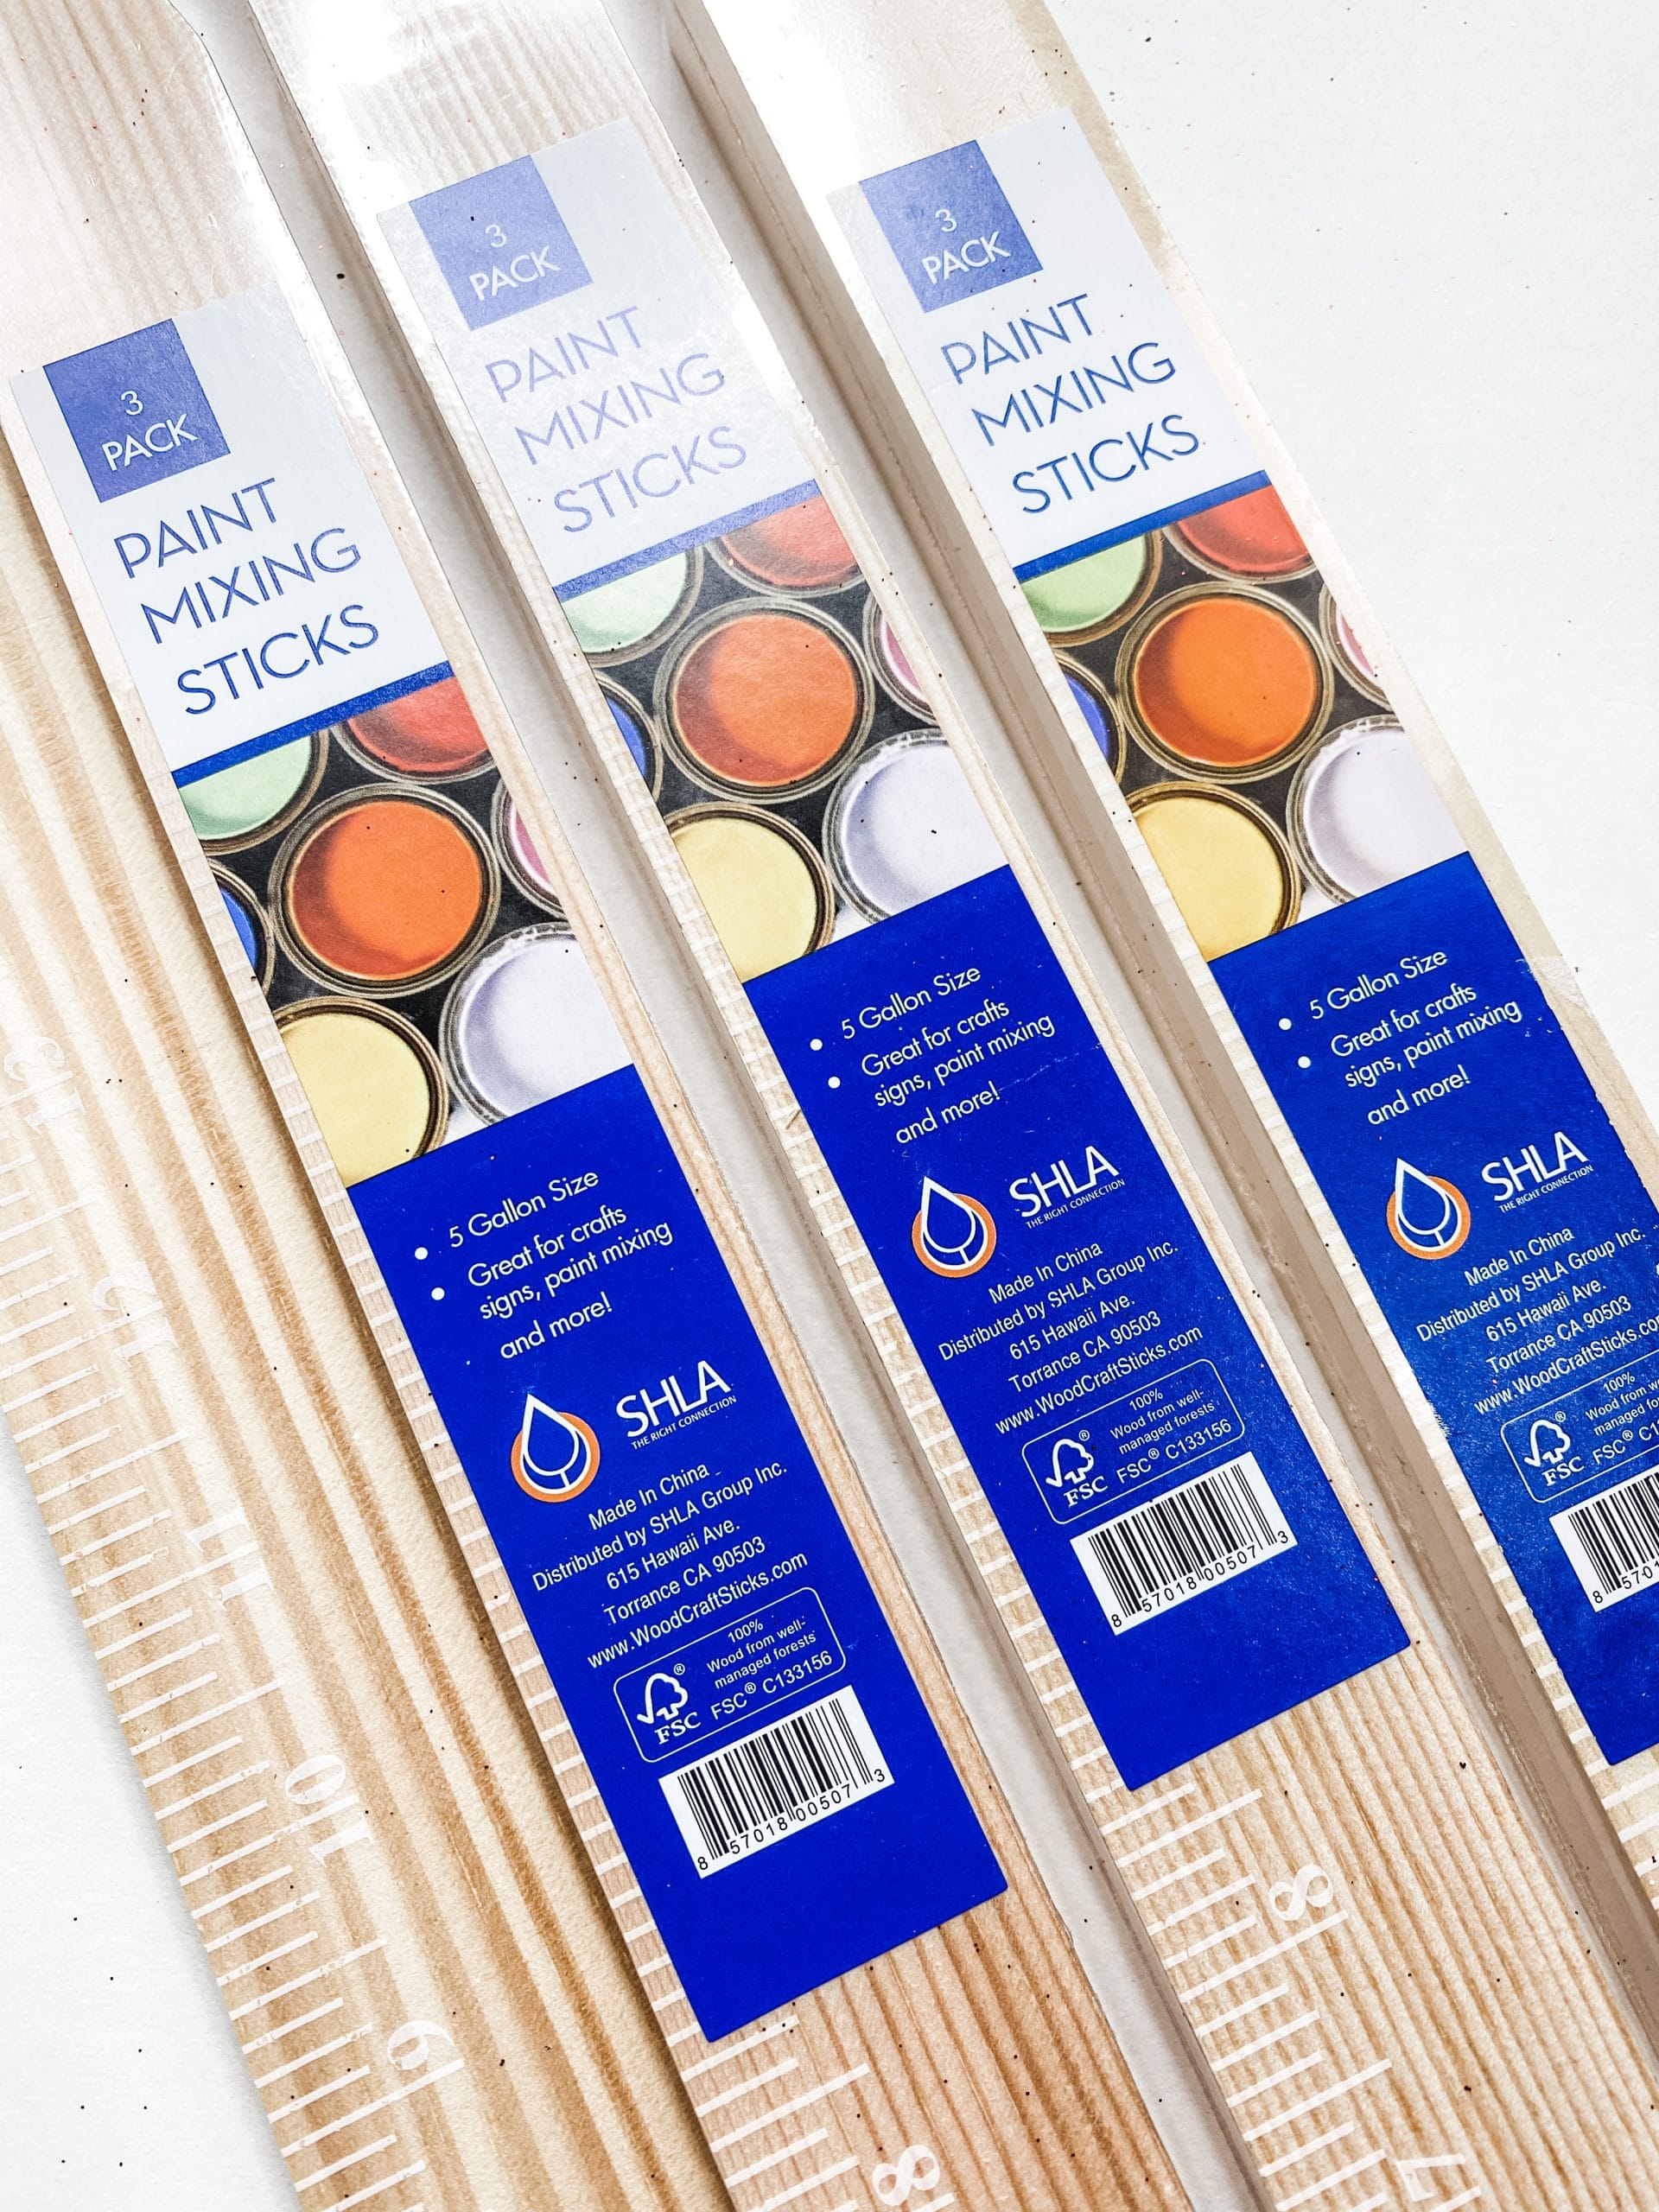
- 5-gallon Paint Stirrers
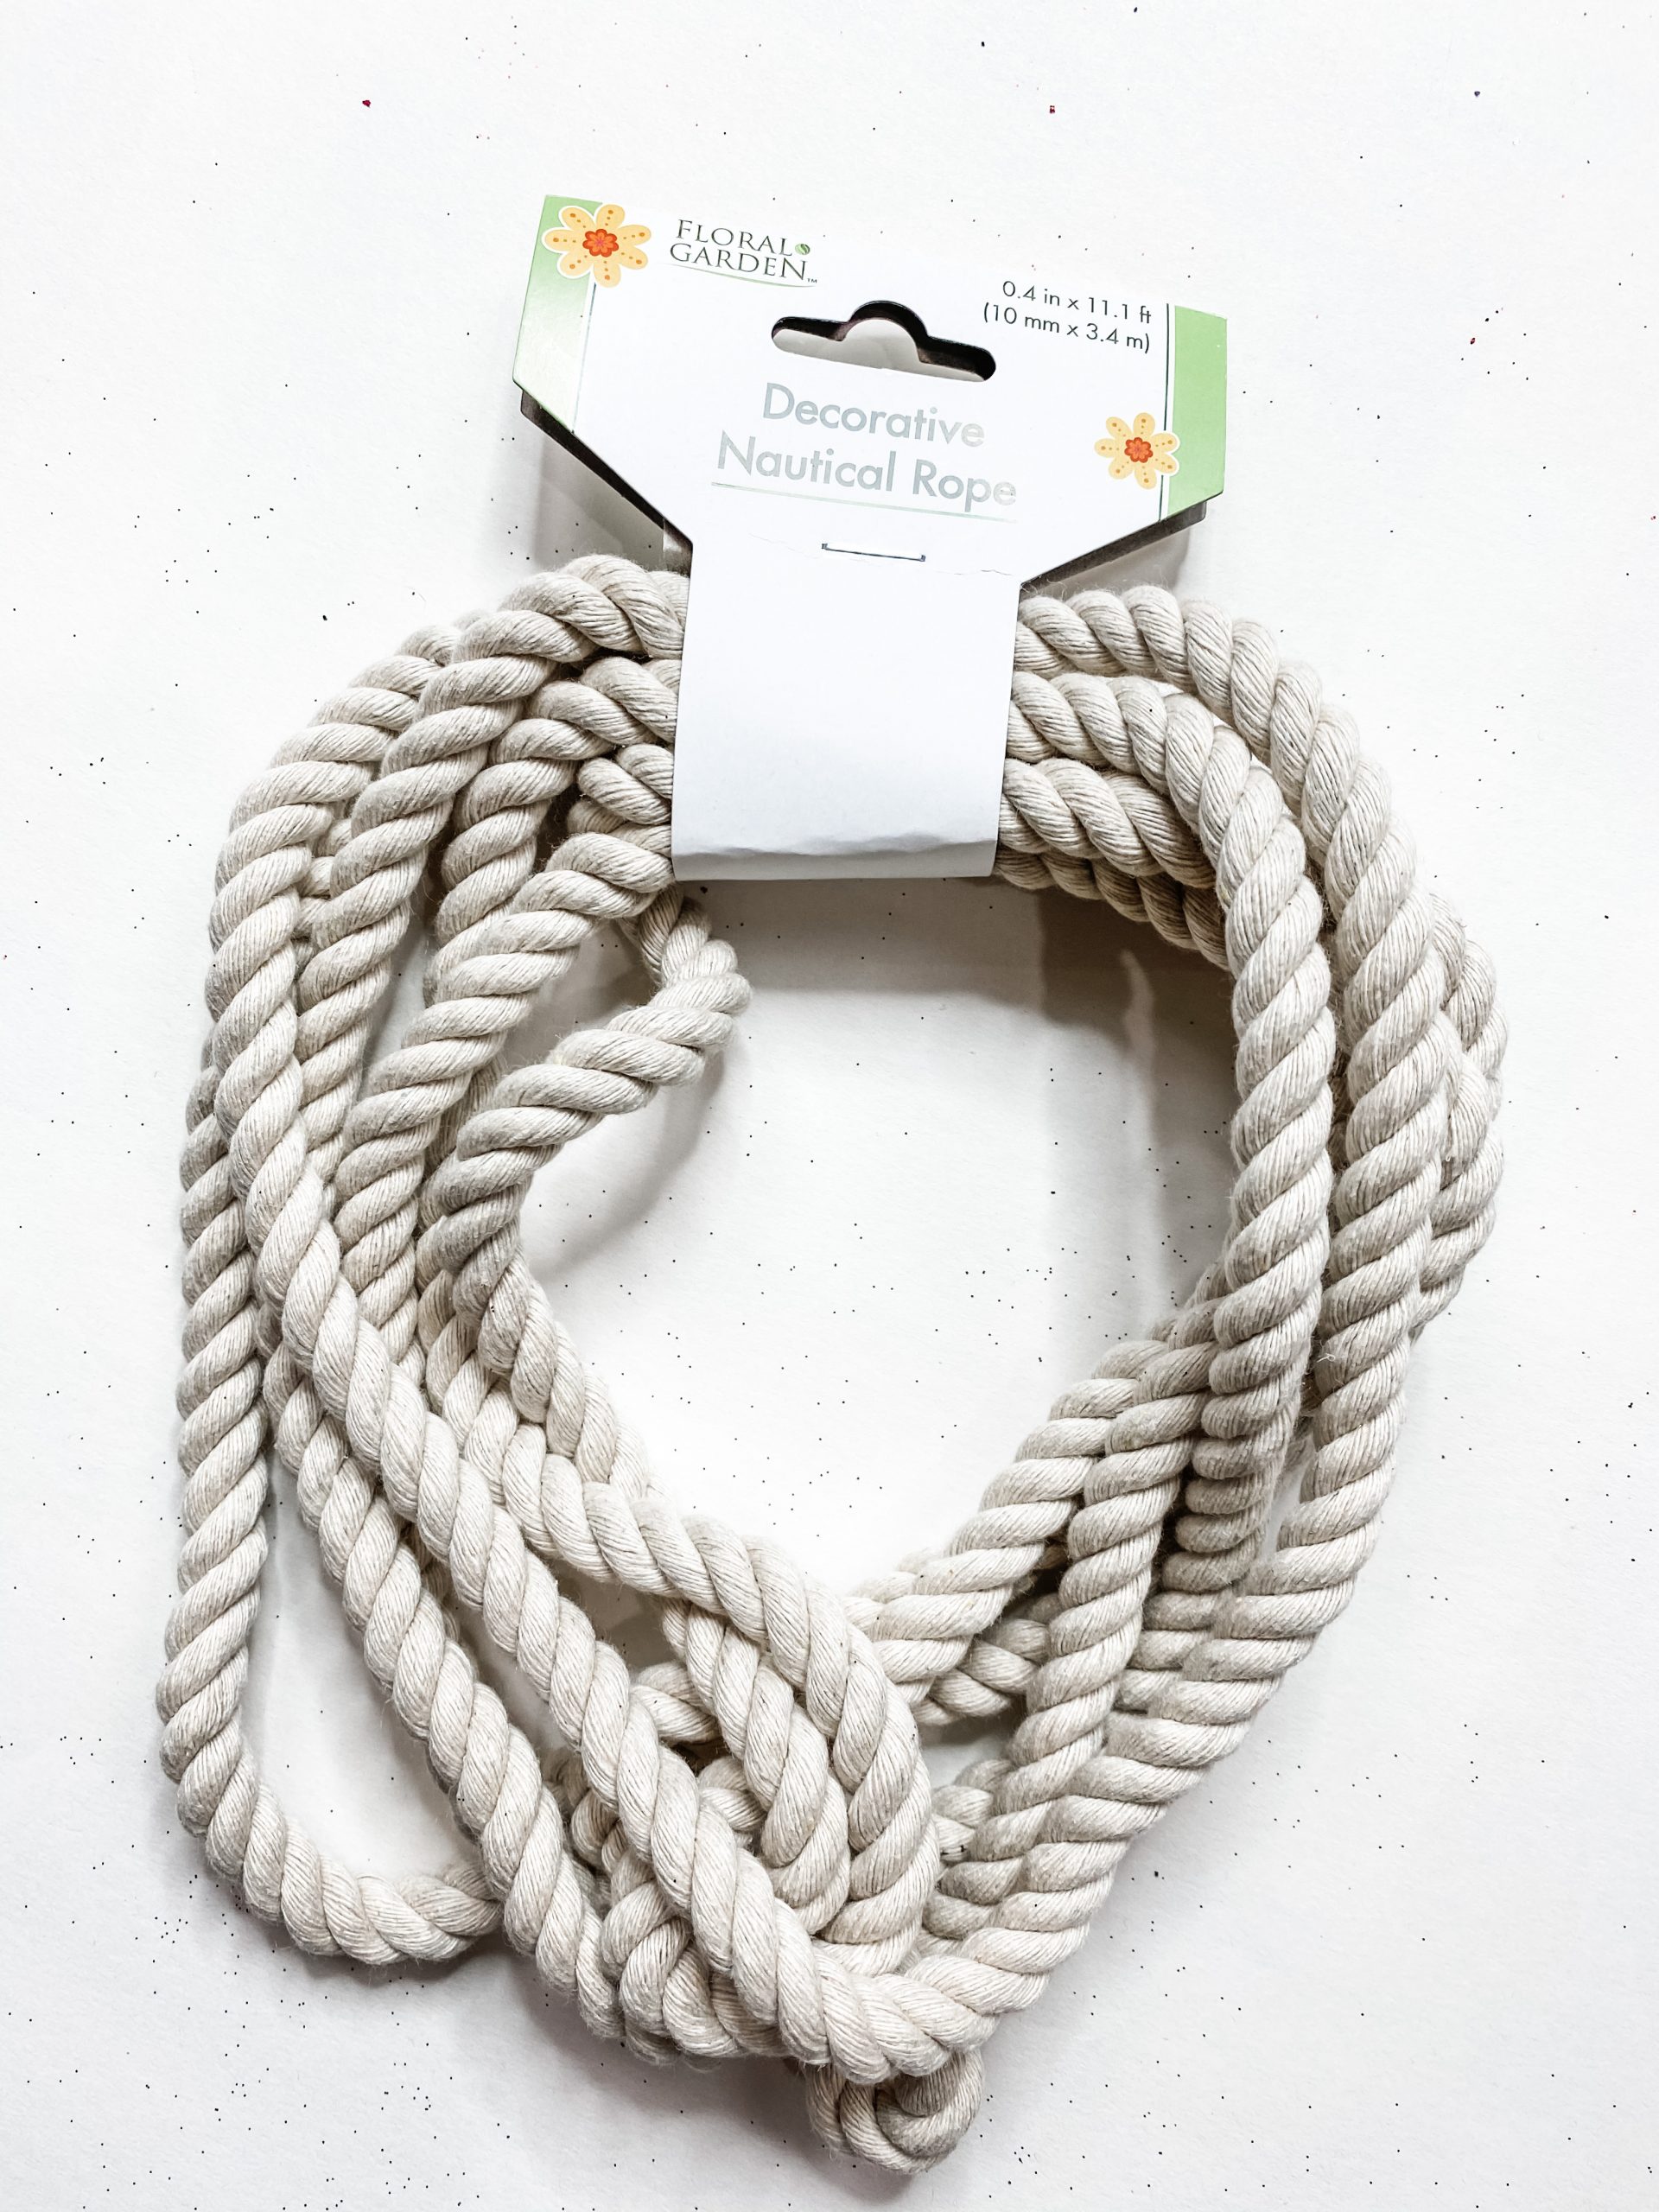
- Dollar Tree Nautical Rope
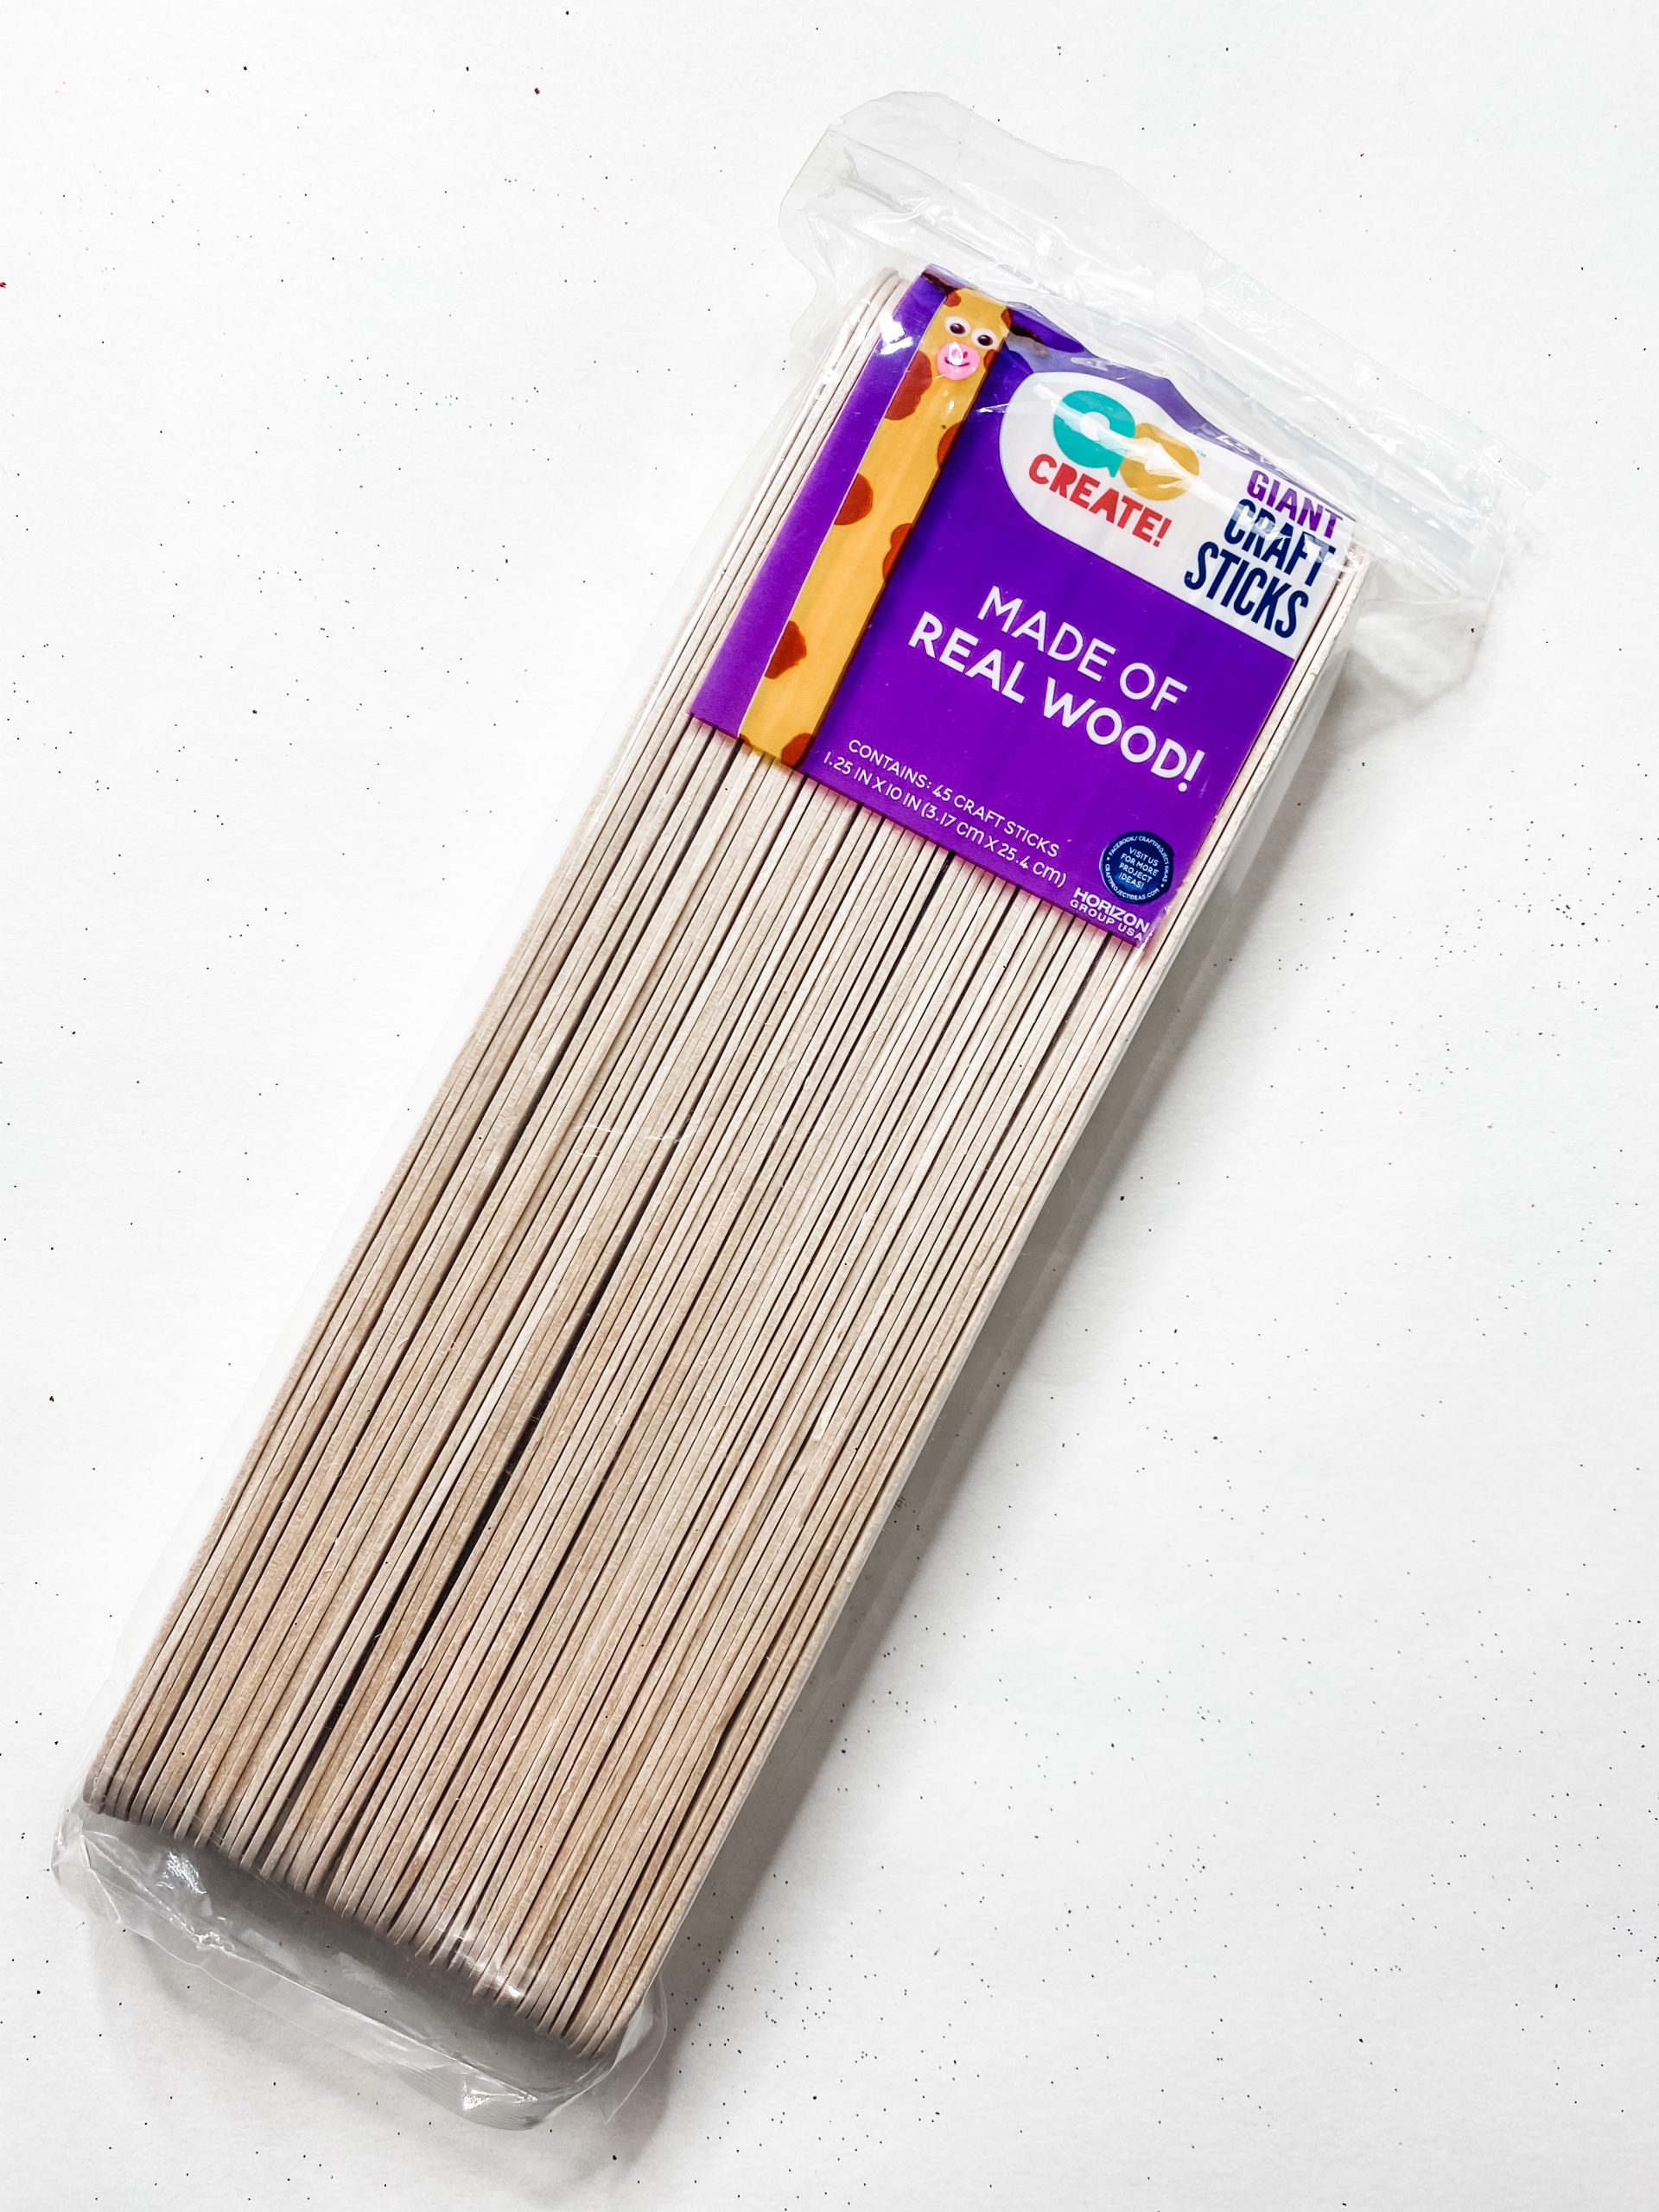
- Giant Craft Sticks
- Petroleum Jelly
- Folkart White Chalk Paint
- Sanding Sponge
- Baby wipe
- Putty knife
- Hot Glue
- Glue gun
- Heat gun

Let’s get started
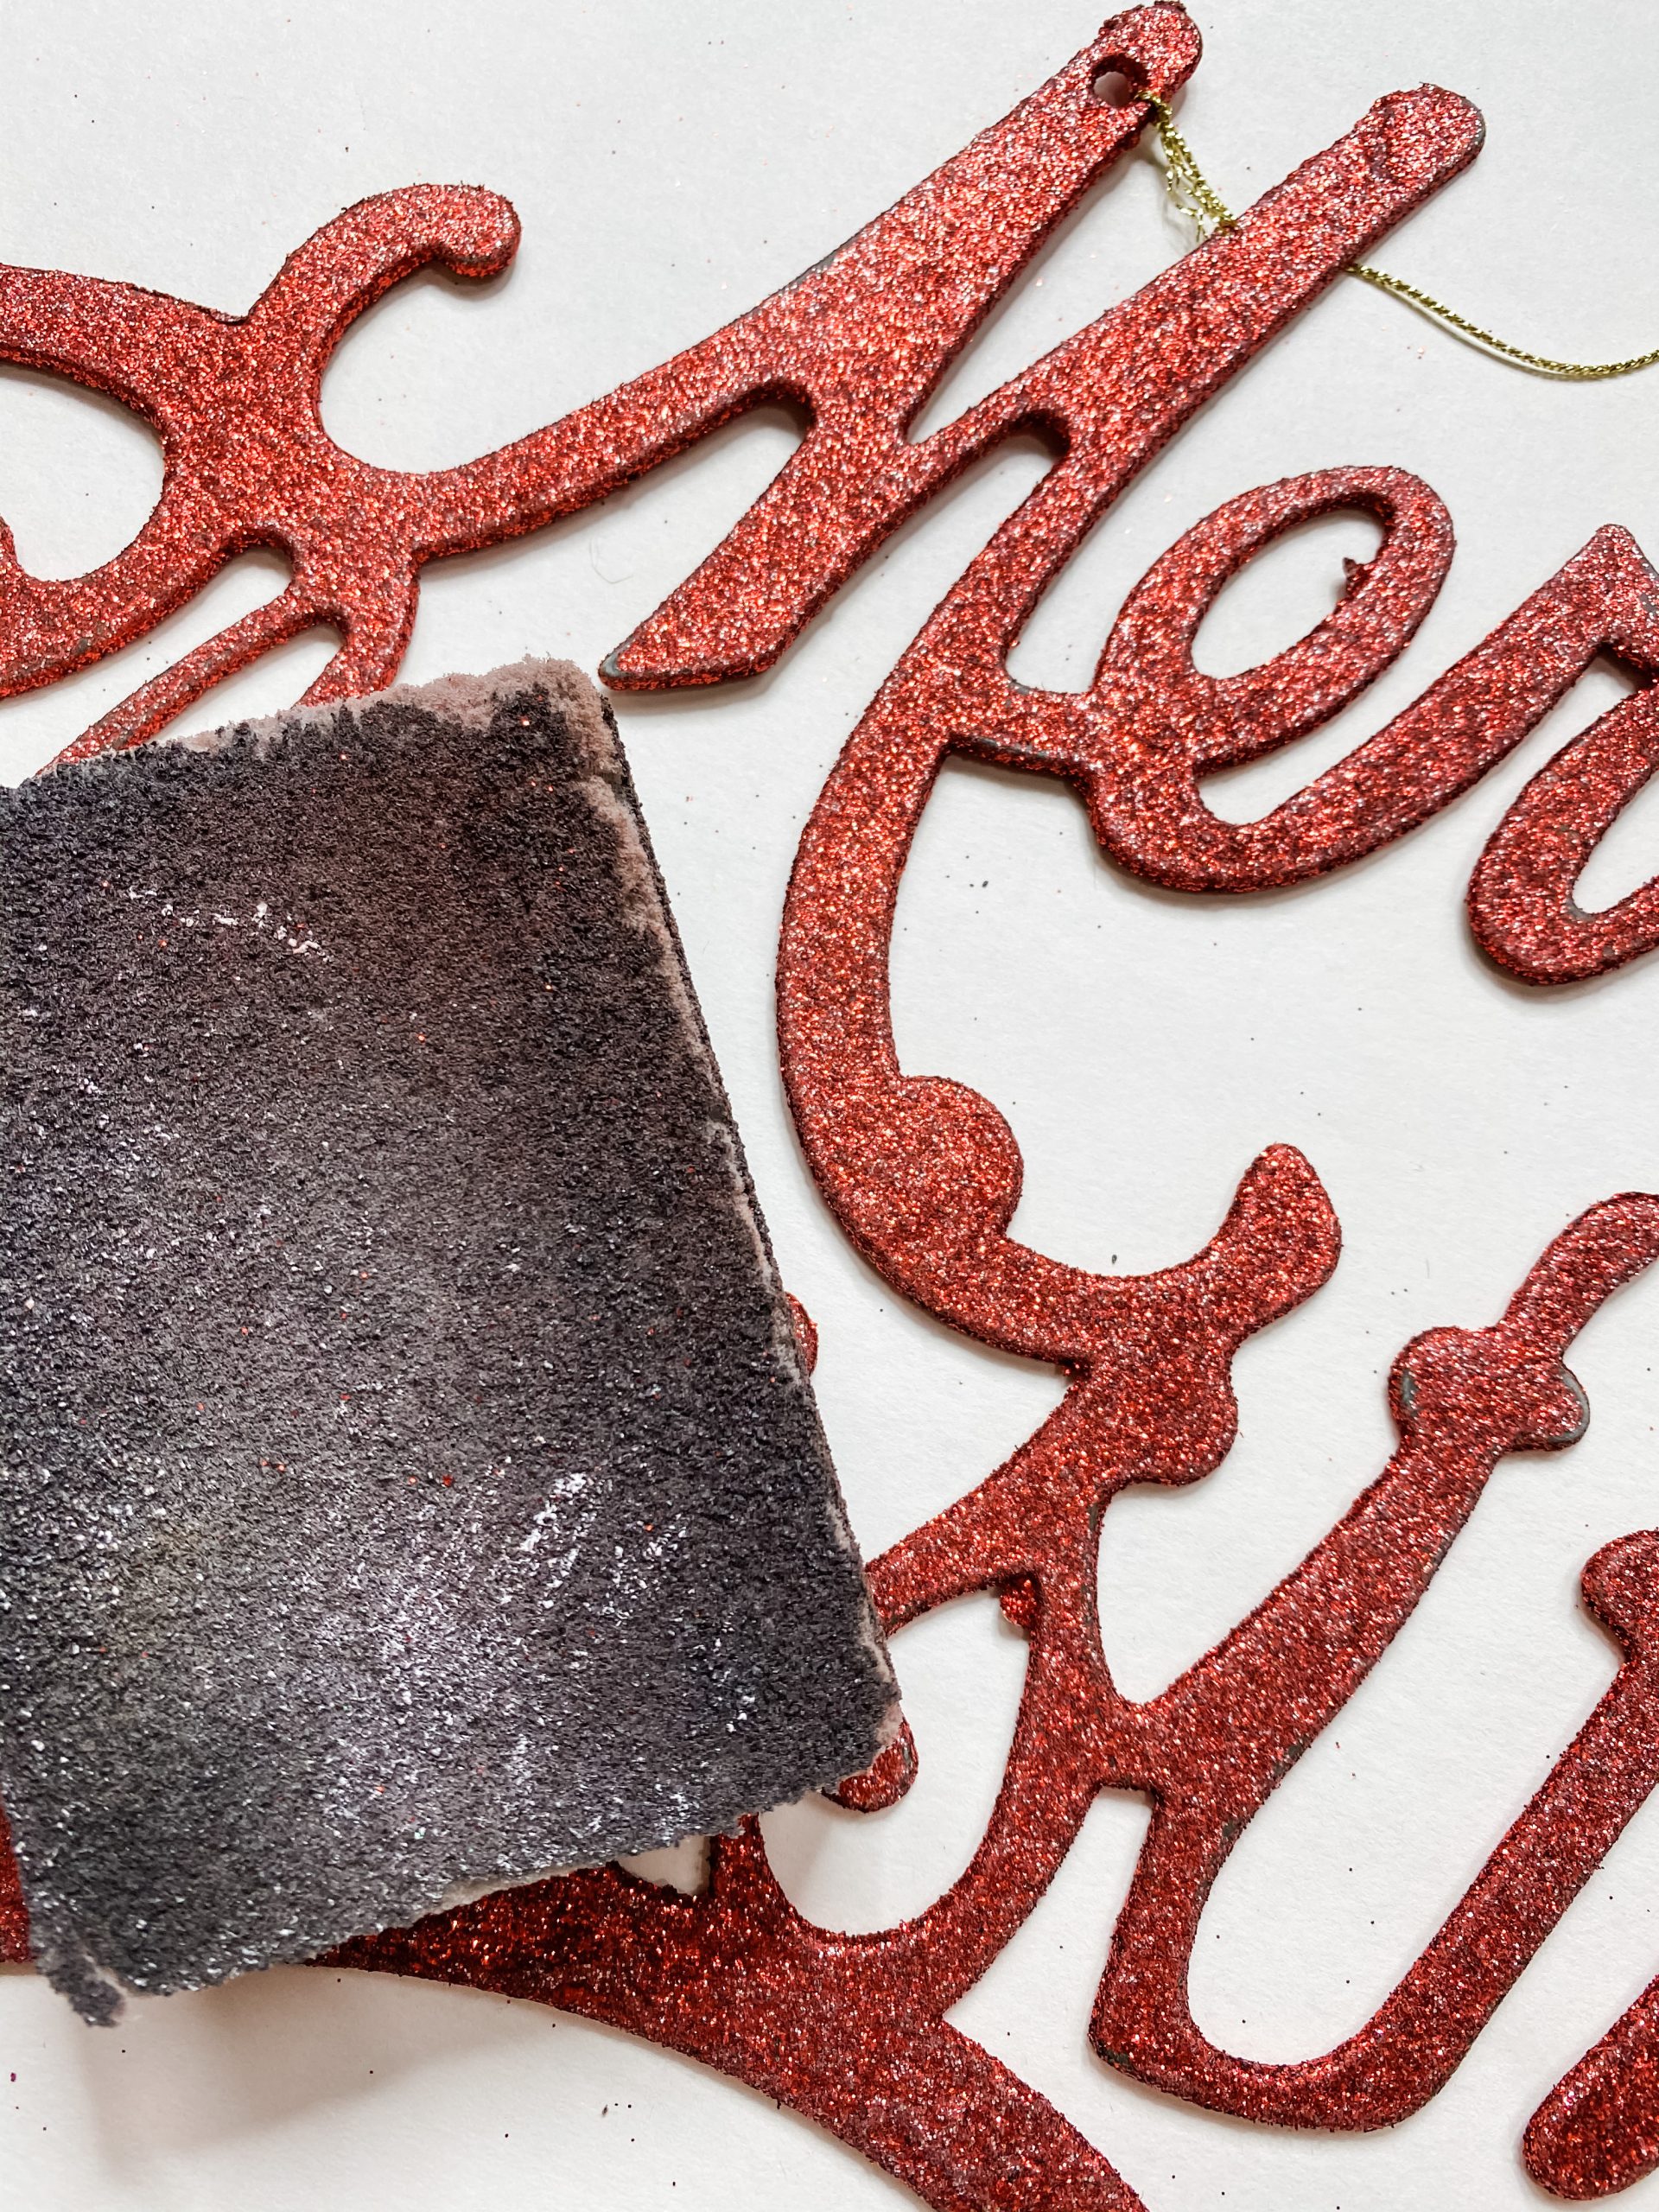
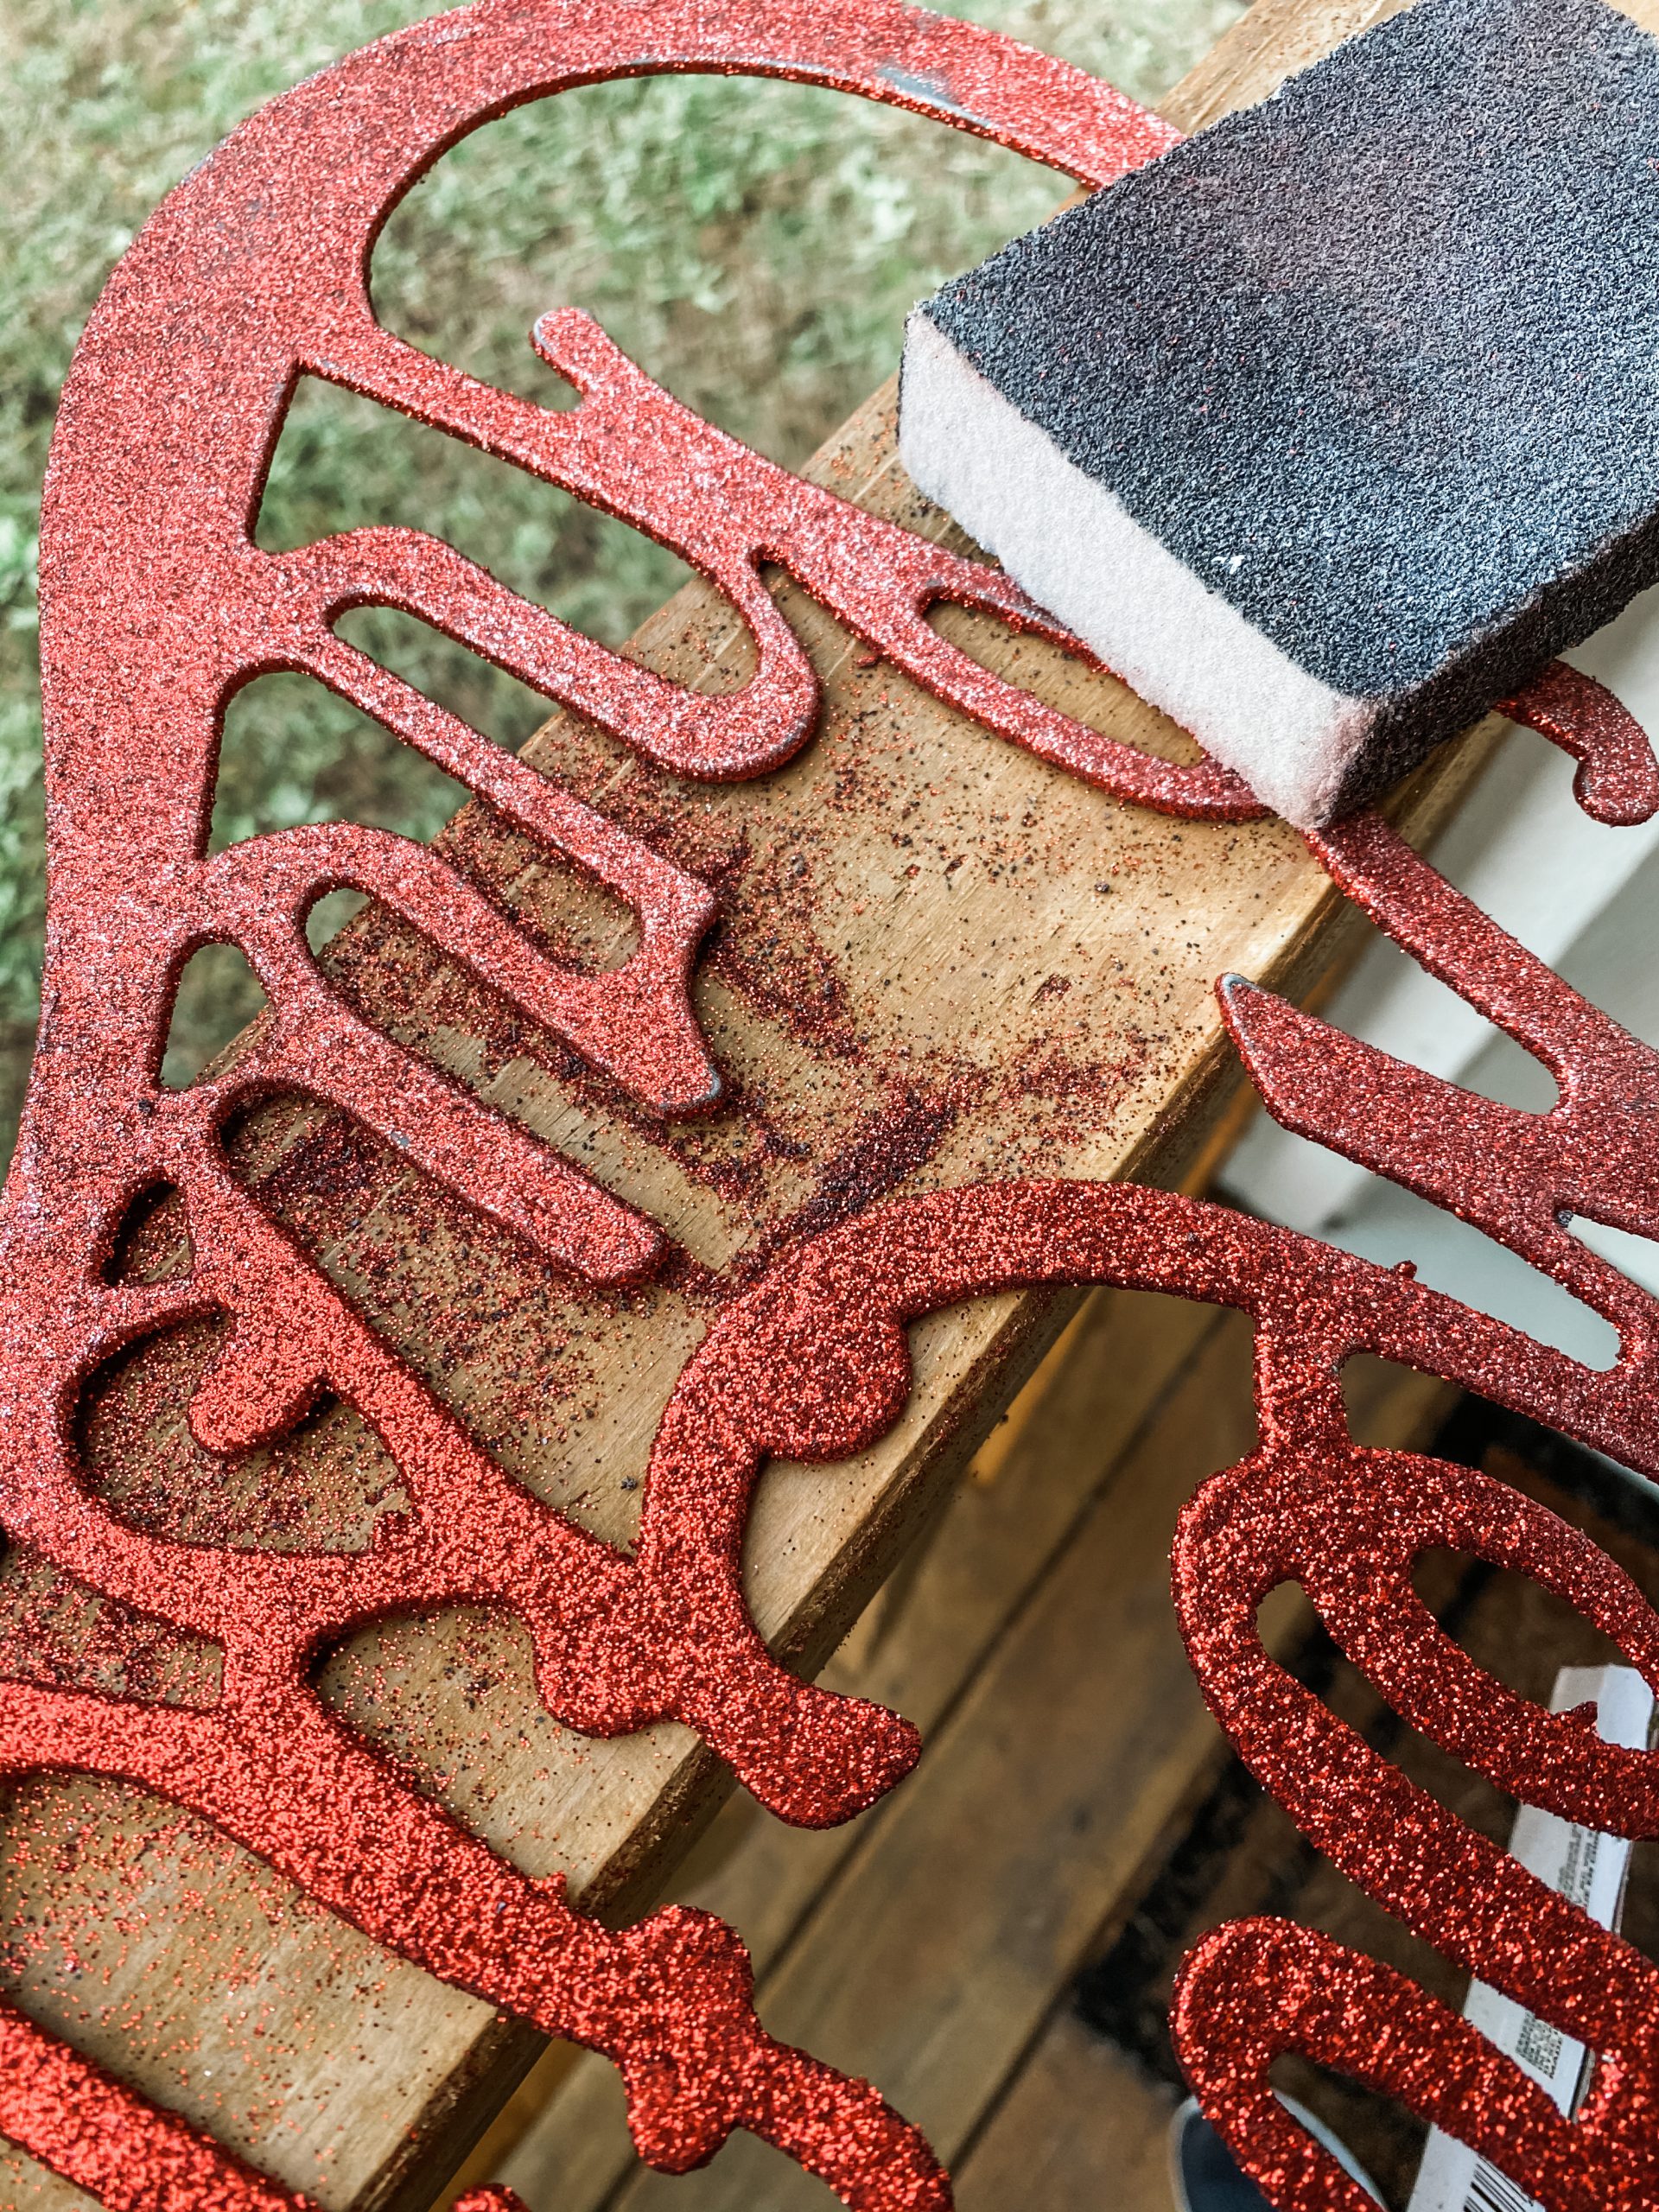
The first thing I did to start making my Black and White Chippy Christmas Sign was sand most of the glitter off of the Dollar Tree Merry Christmas lettering.
I just used a sanding sponge to remove some glitter because this sign had a lot! I also cut off the gold hanger. I’m not a big fan of glitter, but if you are, feel free to skip this step!
Next, I went ahead and grabbed my Home Depot 5-gallon paint stirrers. I laid about 9 down with the ruler side facing down and alternated the side the handle was on.
You can do the ruler side facing up if you don’t want it to show. It’s up to you! When handling paint stirrers, make sure to watch out for splinters!
After this, I used giant craft sticks to glue the stirrers together. I placed about 5 sticks vertically across the back of my paint stirrers and hot glued them down.
I ended up having to overlap 2 sticks on each edge to make sure that my 5-gallon paint stirrers were as secure as possible!
Time to stain
Once your hot glue has dried, go ahead and flip your board of paint stirrers over. Now it’s time to start staining! For this project, I’m using the Waverly Ink Chalk Paint. But you can use any color you want!
To create the stain, I poured some paint and some water into a small bowl and mixed them together. Adding the water helps the wood absorb the paint and gives a stained finish rather than a painted look.
Next, I grabbed a few baby wipes and used them to spread the paint mixture onto the wood. Make sure to save your leftover paint and water mixture- we are going to use this later!
After you’ve applied your stain, take a clean baby wipe, and use it to wipe off all the excess paint. You can use a hairdryer on cool or a heat gun on low heat to dry your board faster!
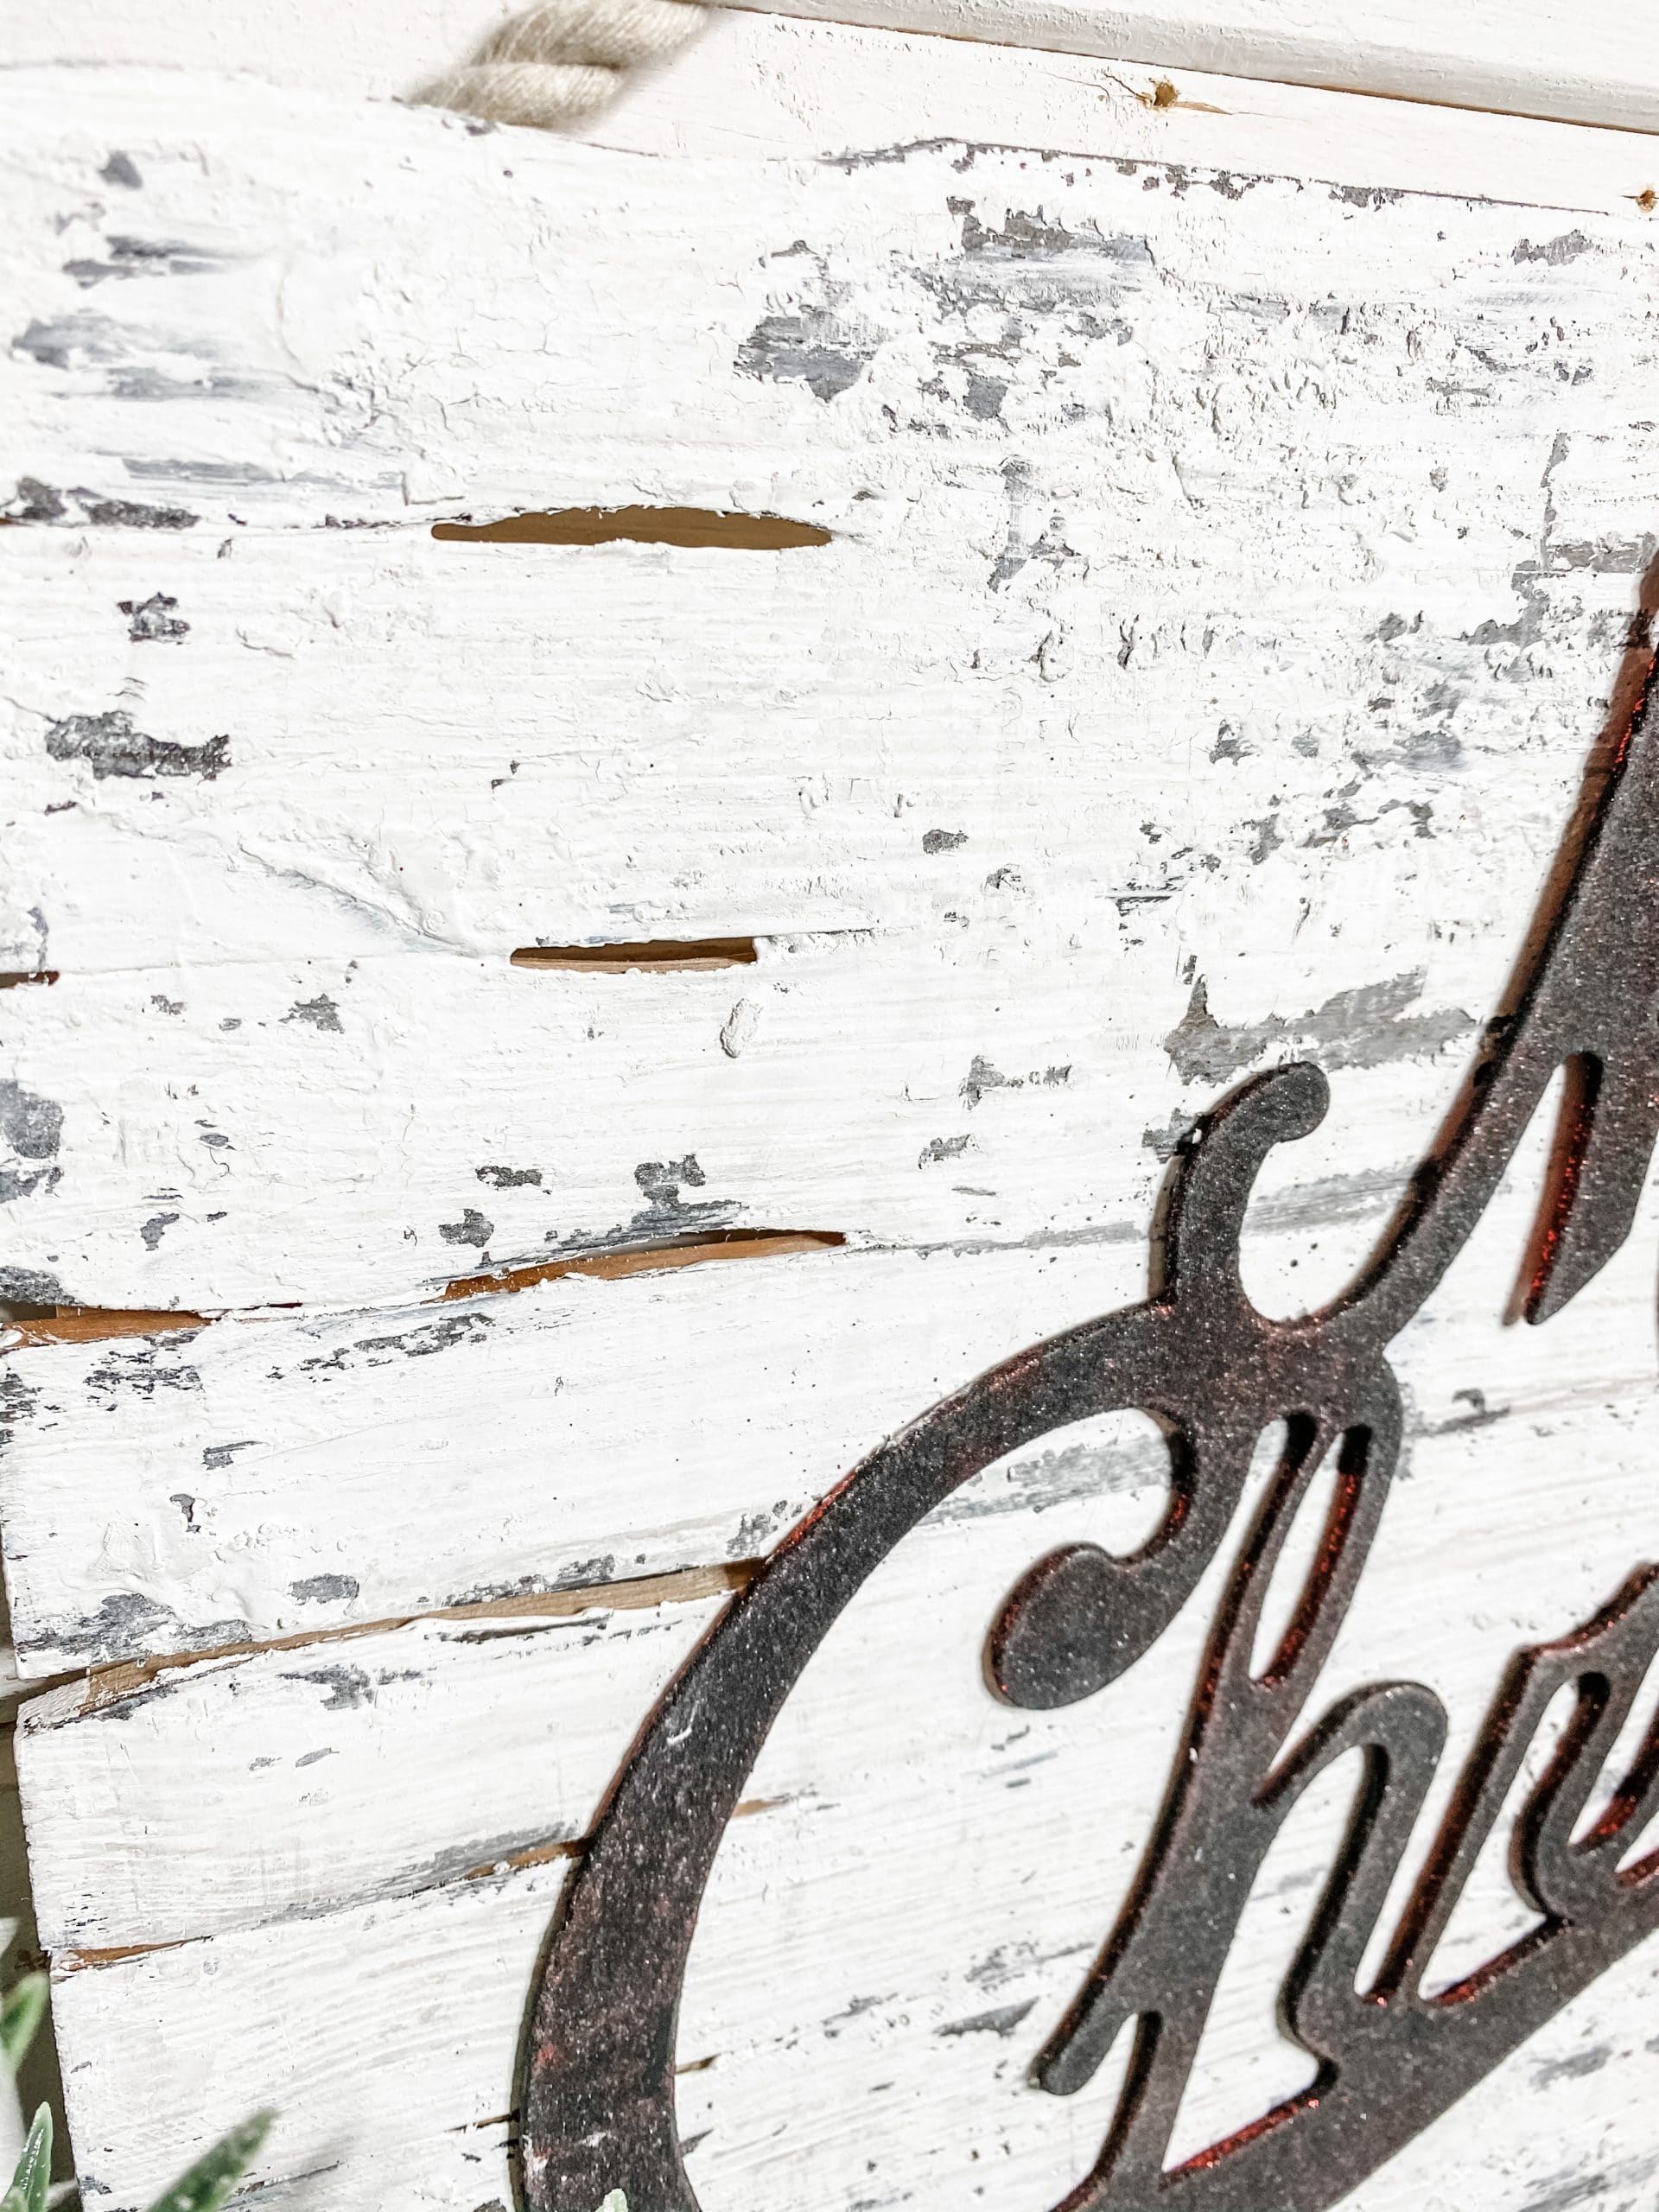
Let’s get chippy
Now it’s time for my favorite part- the chippy finish! First, dip a paintbrush into some petroleum jelly. Next, you’re just going to run your brush over random areas of your board using a very light touch.
The paint will not stick to the places that you apply the petroleum jelly to. This is what creates the chippy finish!
After this, use some white chalk paint and paint over the entire board. I’m using the Folkart White Chalk Paint!
If you like this chippy look, check out these other DIYs I’ve done: DIY Chippy Christmas Sign, Chippy Farmhouse Decor Sign, and this Shabby Farmhouse Christmas sign!
The chippy technique can be a little difficult so don’t stress if you can’t get it on the first try! Check out my Facebook Live if you want to see exactly how I did it!
We’re not done yet!
After the paint started to dry, I took my putty knife and dragged it all over the areas of the board that were still wet.
Do this over and over until your paint begins to dry with the chippy look! You can do this as little or as much as you like! It all depends on the look you want!
Time to paint your sign
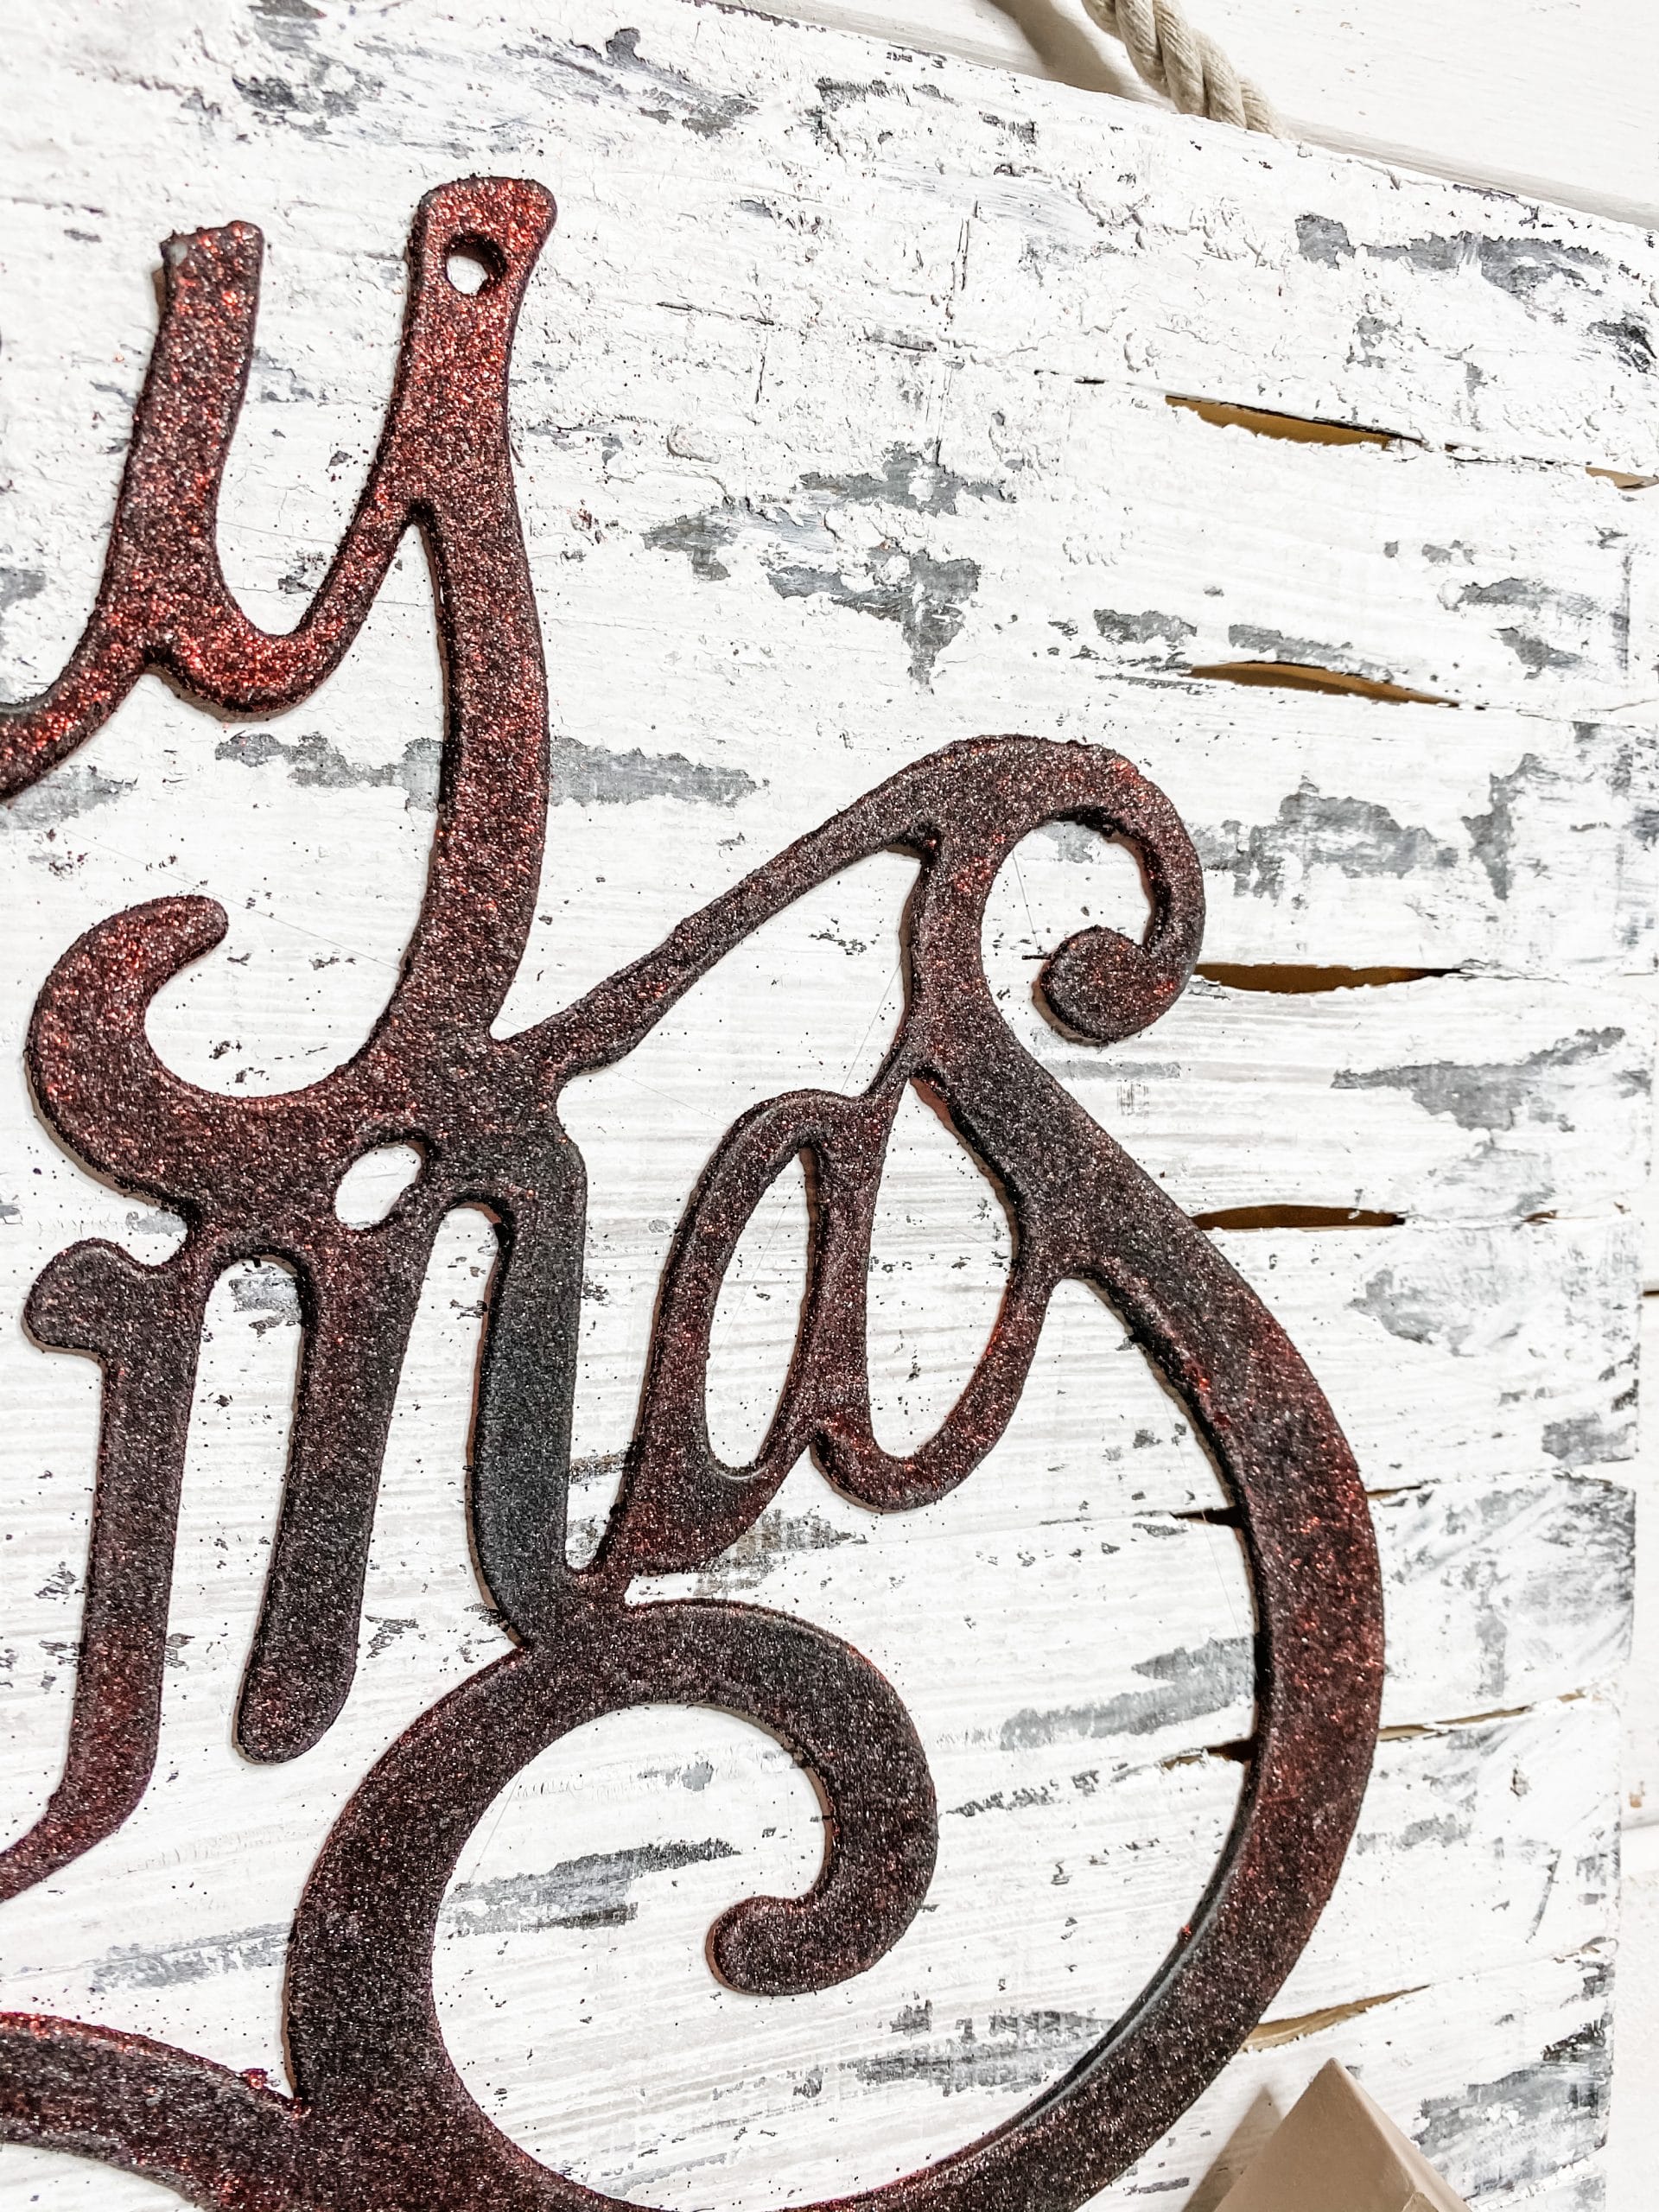
After I was satisfied with the board’s chippy look, I grabbed the mixture of black paint and water that I had leftover from staining the board and used a small brush to apply it all over the Merry Christmas sign! The red will probably peak through a little bit!
Adding the finishing touches
We are almost done making this DIY Black and White Chippy Christmas Decor! All we have to do is glue everything together and add our hanger!
To make the hanger for your DIY Chippy Christmas sign, use the Dollar Tree nautical rope and glue the ends to the back of your board. You can make the hanger as long or short as you want!
I went ahead and stapled the rope to the board too, just for a little extra support! Just be careful because you don’t want to split the paint stirrers with the staples.
Sand it just a little bit more
The last thing I did before I attached the Merry Christmas sign was sand it down just a little more to get the look I wanted!
This step is totally optional! Finally, I went ahead and hot glued the Merry Christmas lettering to my board! How adorable is this?
I hope you have loved this project as much as I do and plan to make one of your own! If you do, I have a FREE Facebook group for crafters where we all just share pictures of our projects!
It’s called On A Budget Crafts, and I would love to see how you make this Black and White Chippy Christmas Decor DIY your own!
Here are some more Black and White Christmas Decor Ideas!
- Easy DIY Dollar Tree Cutting Board Christmas Sign
- How to Make a Christmas Ornament DIY with Cardboard
- How to Decoupage a Dollar Tree Christmas Gift Bag DIY
- Dollar Tree Shabby Farmhouse Christmas Sign DIY
If you loved this DIY you might also like this DIY Chippy Christmas Sign!
Thanks for stopping by! XOXO Amber
You can also shop my ENTIRE AMAZON Favorites shop just click here! It’s packed full of all the things I use and love.
Here is the supply list I highly recommend every creative have on hand!! Would you also pin my blog for later and get on my newsletter alerts? I would love to have you join my #craftycrew.

Join my free “ON A BUDGET CRAFTS” Facebook group!
PIN THIS POST FOR LATER!