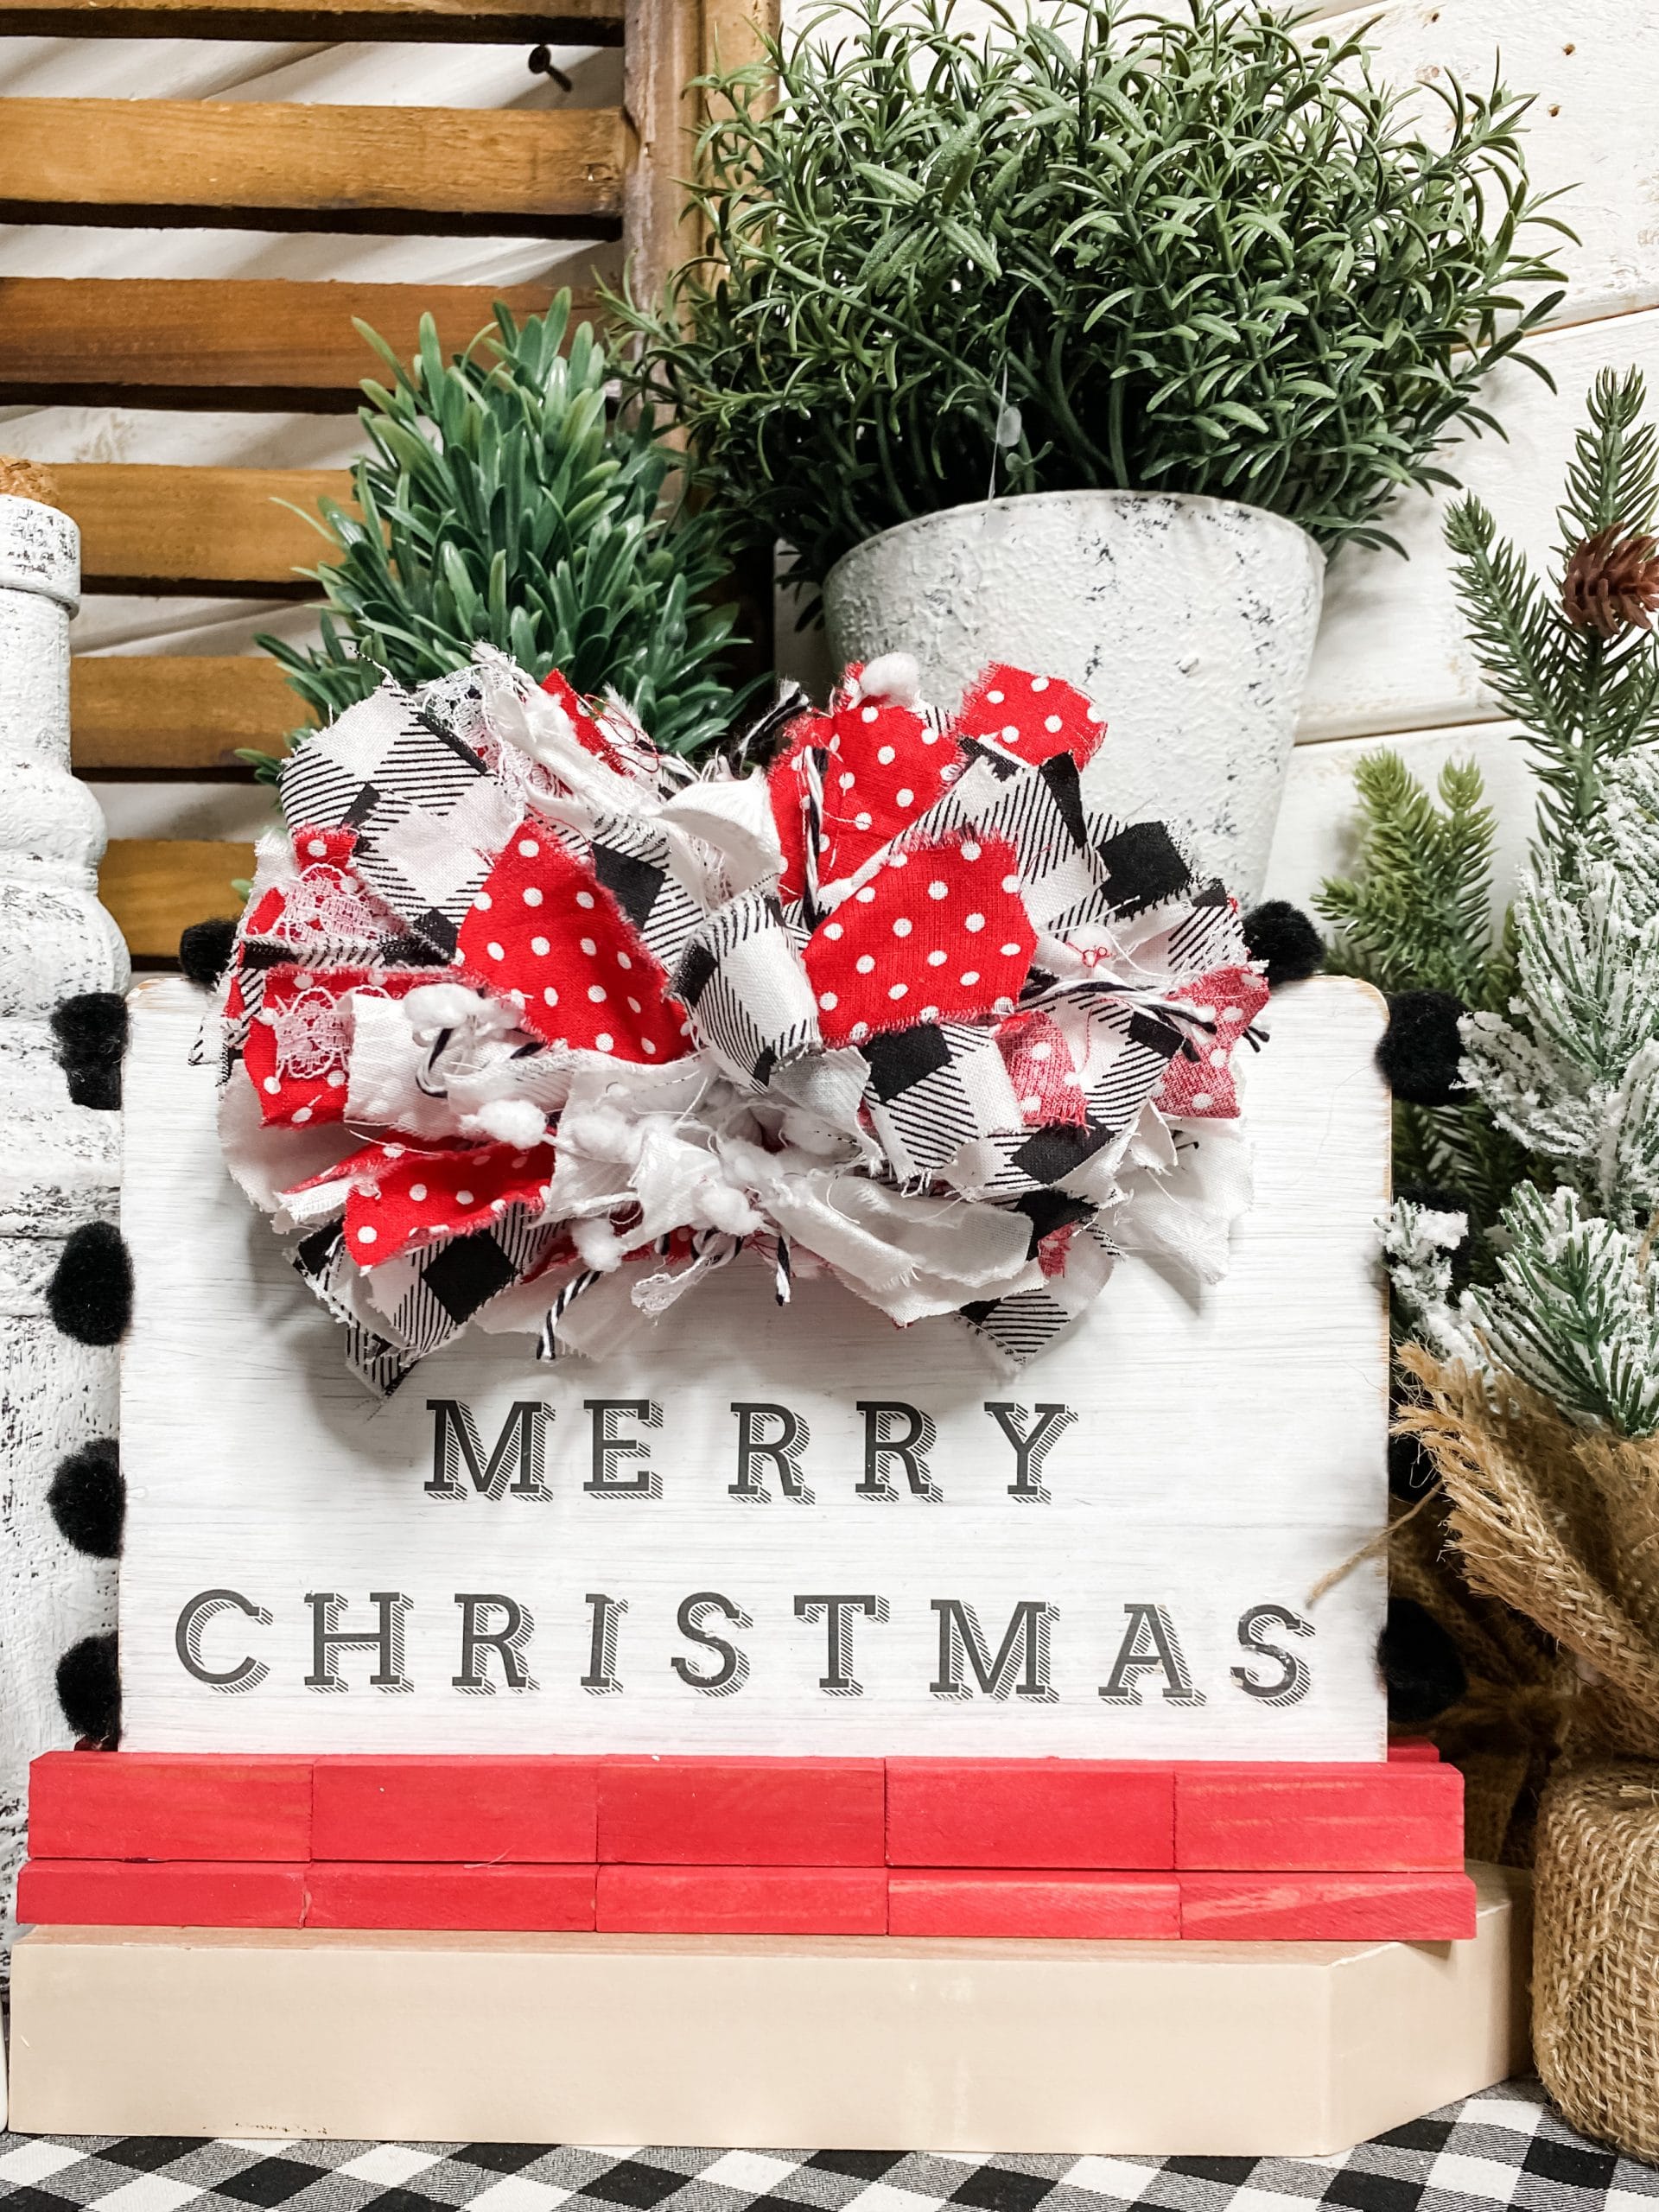
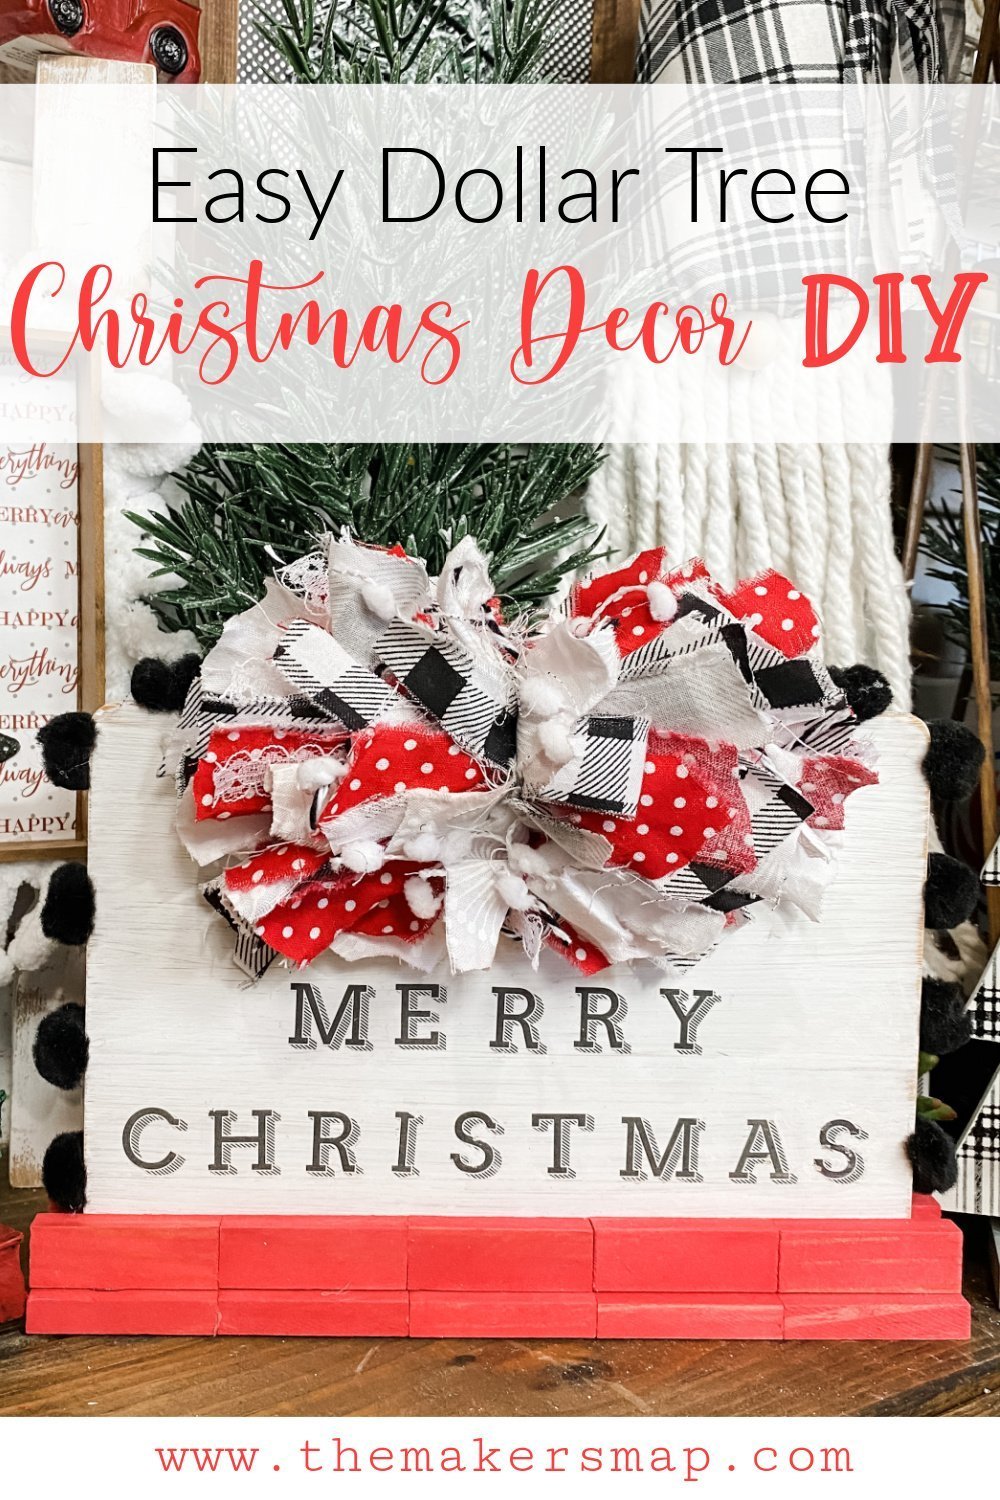
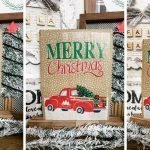
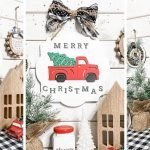
Easy DIY Dollar Tree Cutting Board Christmas Sign
I love this Easy DIY Dollar Tree Cutting Board Christmas Sign with red, black, and white because I feel like it is just so unique and absolutely on-trend! Not only that, but it is affordable for you to recreate and add to your holiday decorations!
With that being said, I want to show you how to make an Easy DIY Dollar Tree Cutting Board Christmas Sign with a messy bow! (If you love bows, you might like this Layered Messy Bow)
Watch the tutorial
When I say this is a quick and easy project, I mean it. The tutorial video is just 3 minutes long and so easy to follow! If you want to see exactly how I made this easy Christmas decor DIY, you can check it out on my Facebook page! (The project takes longer than 3 minutes to create)
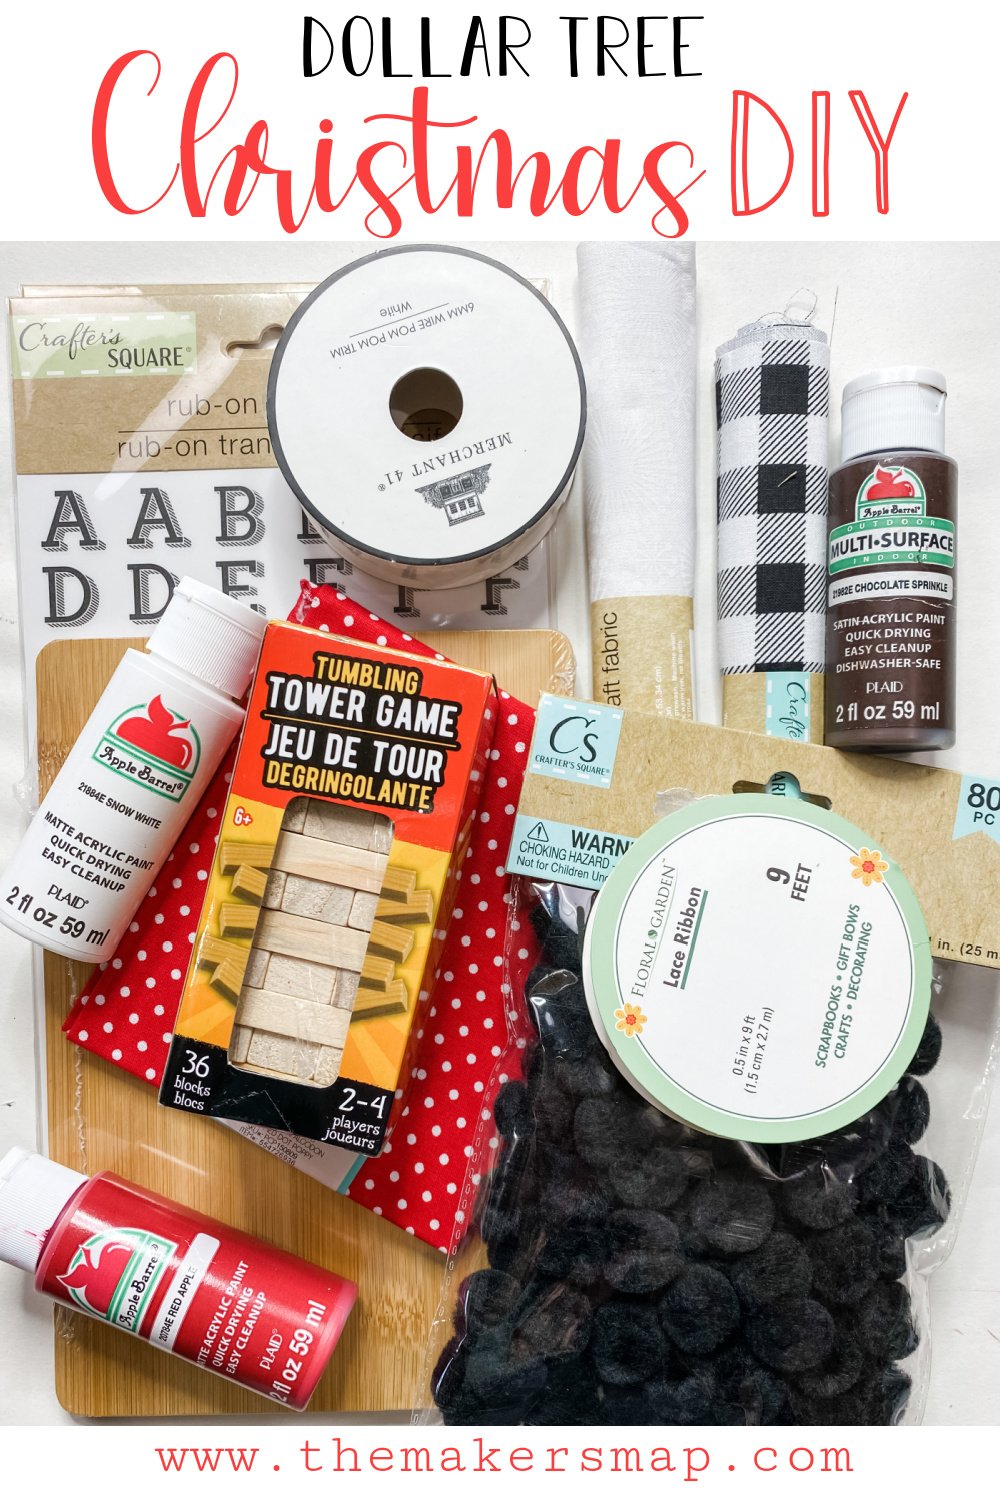
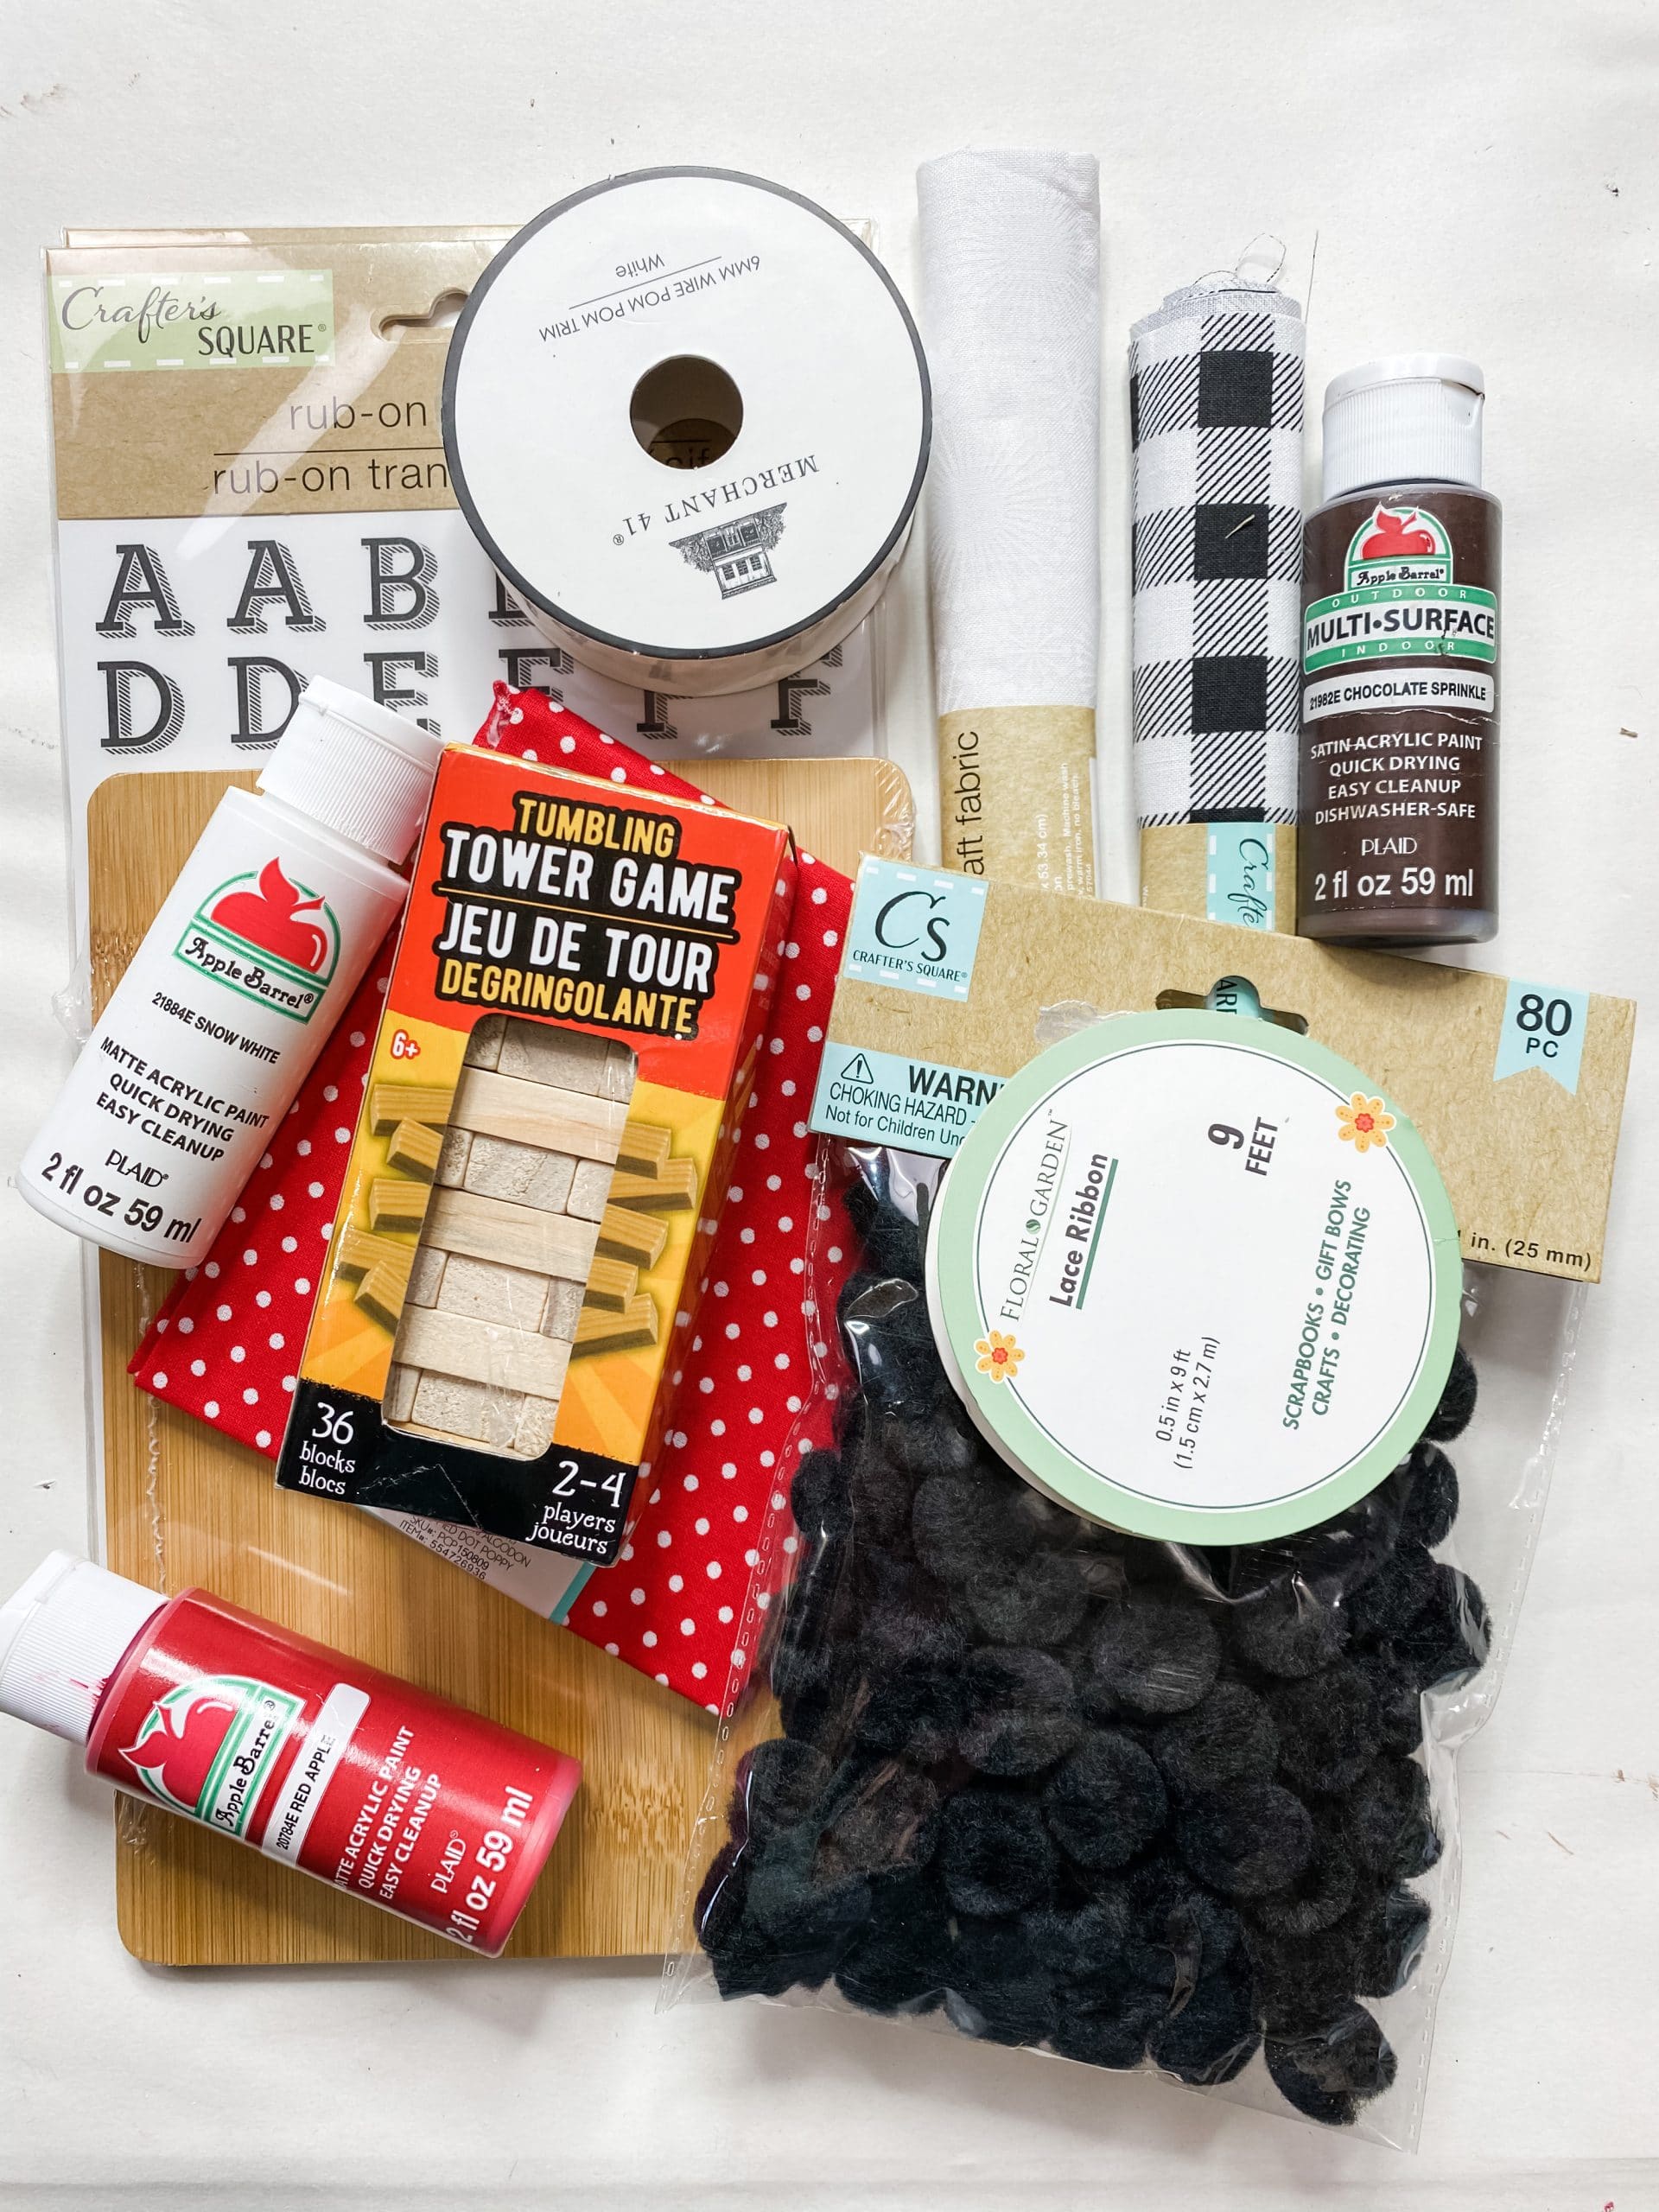
For this project, I will be using these items but you can substitute where you want.
“As an Amazon Associate, I earn from qualifying purchases.”
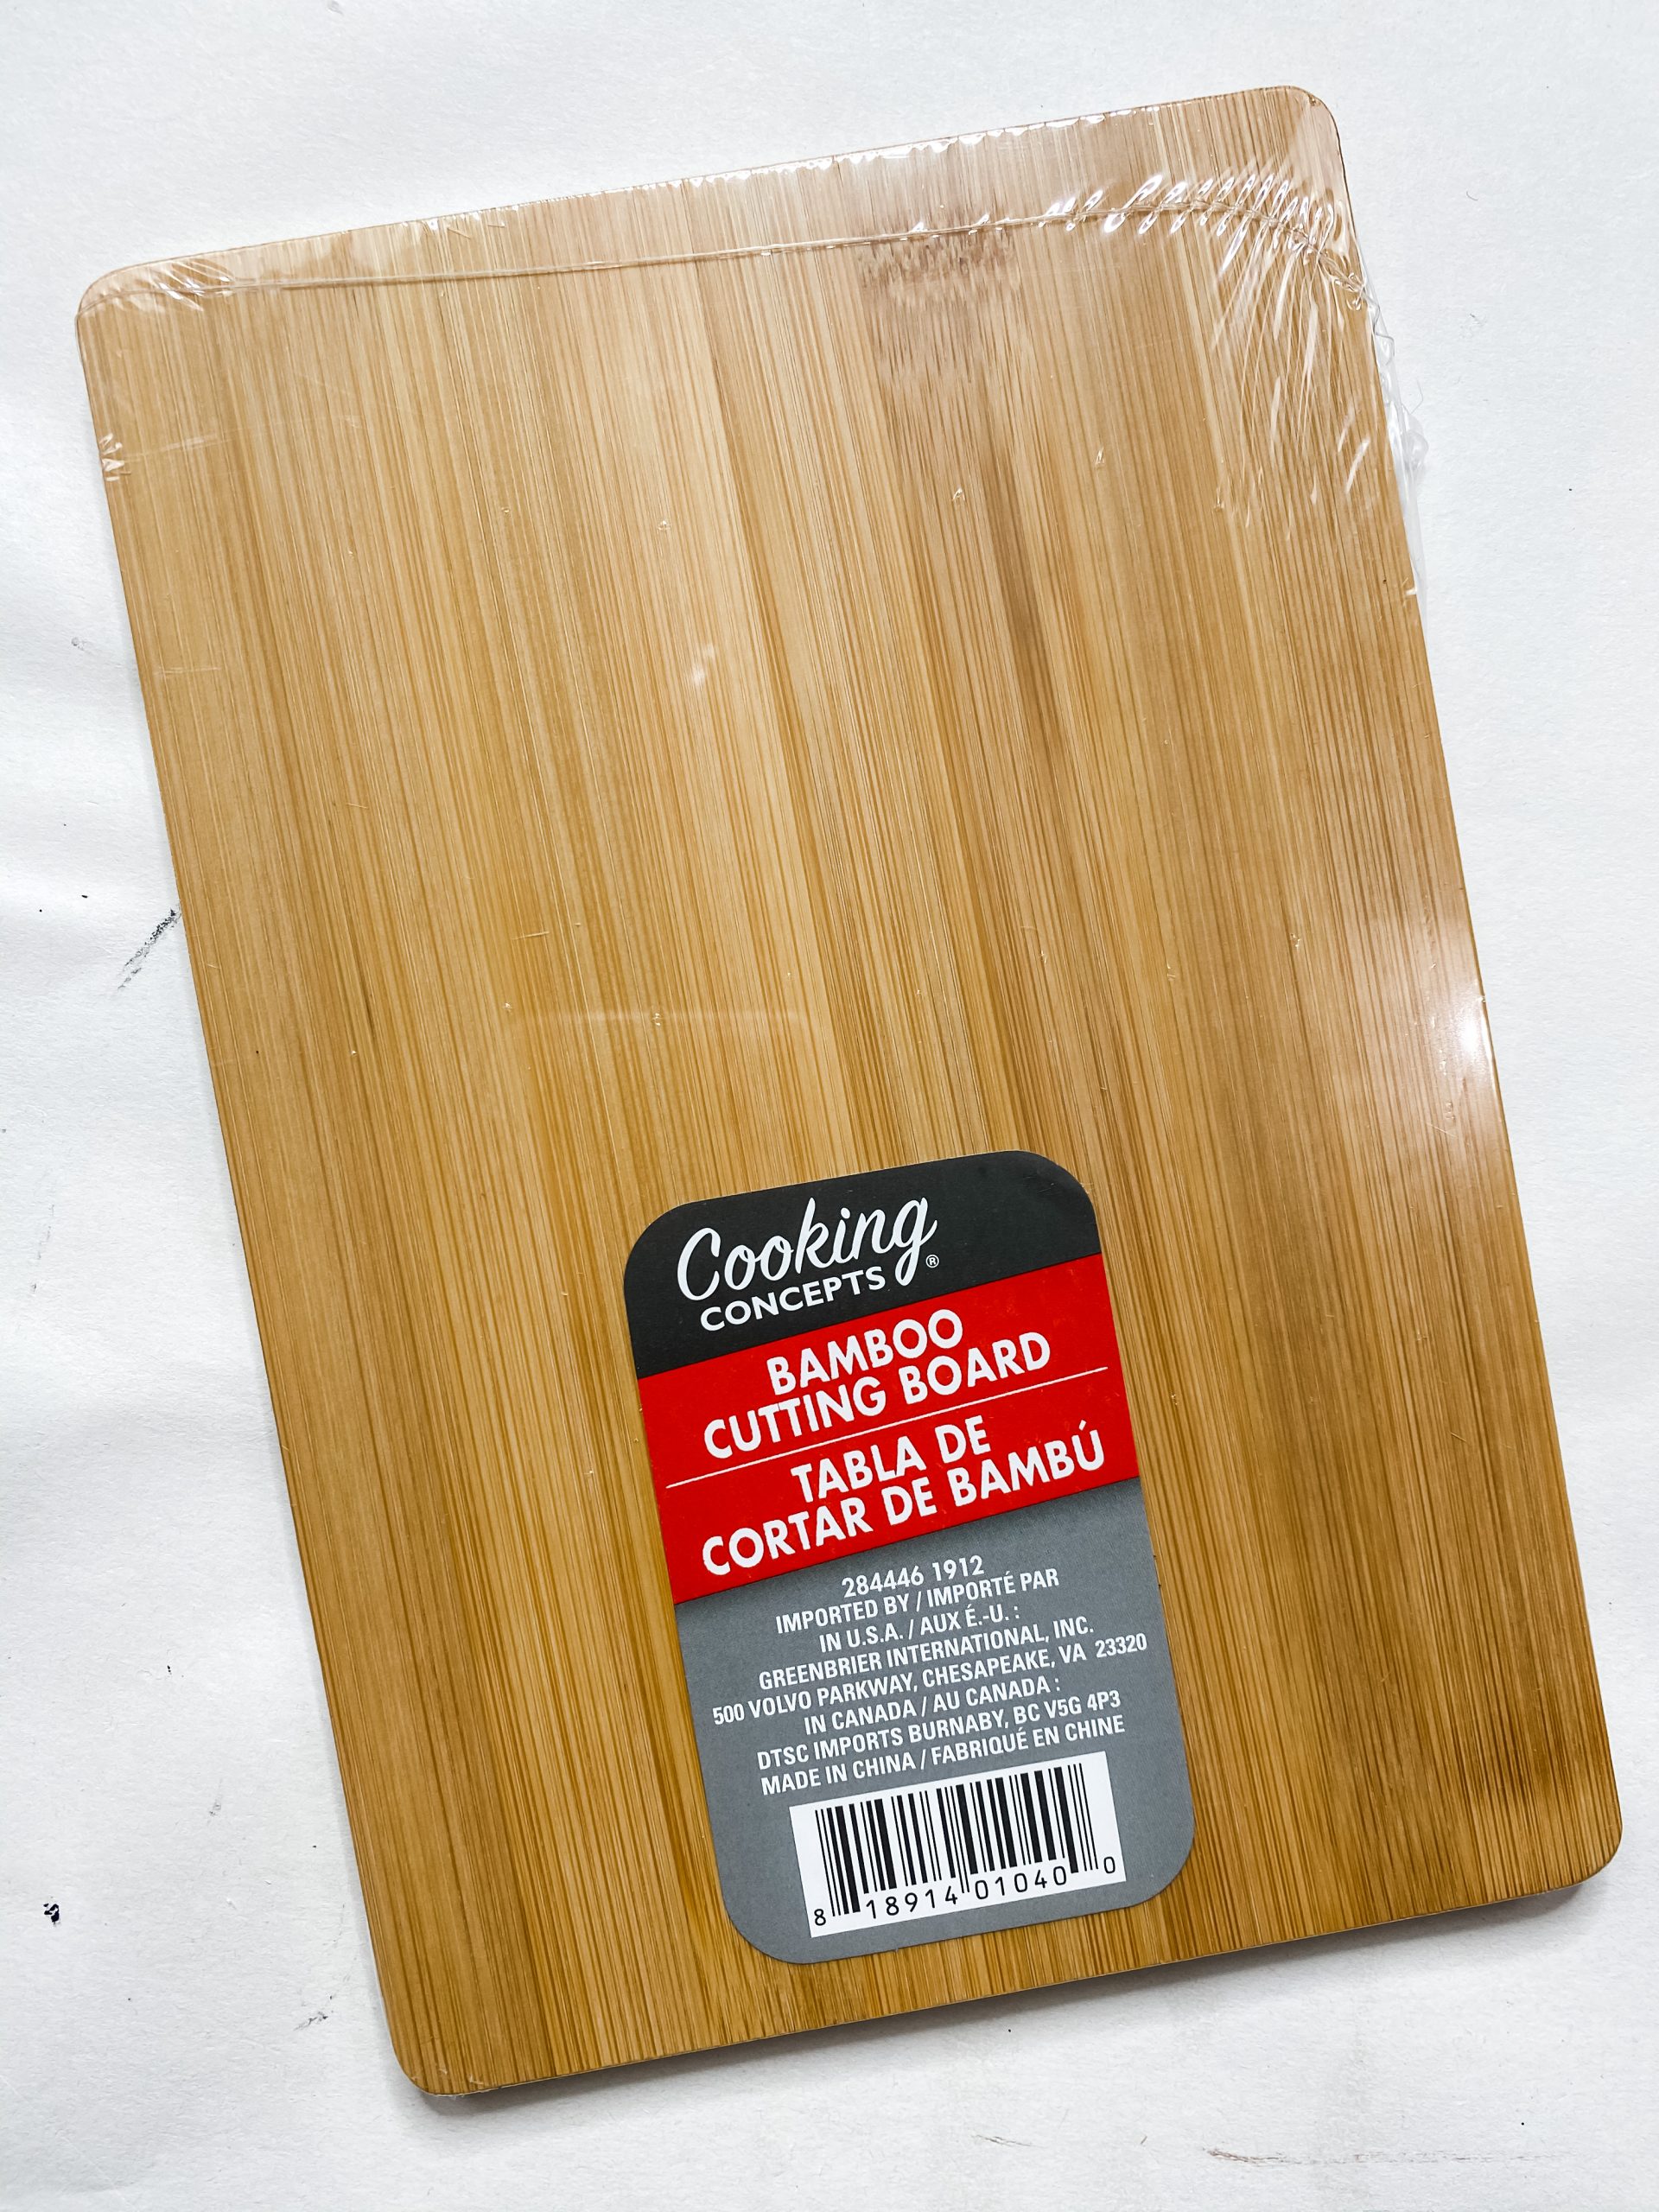
- Dollar Tree Wood cutting board
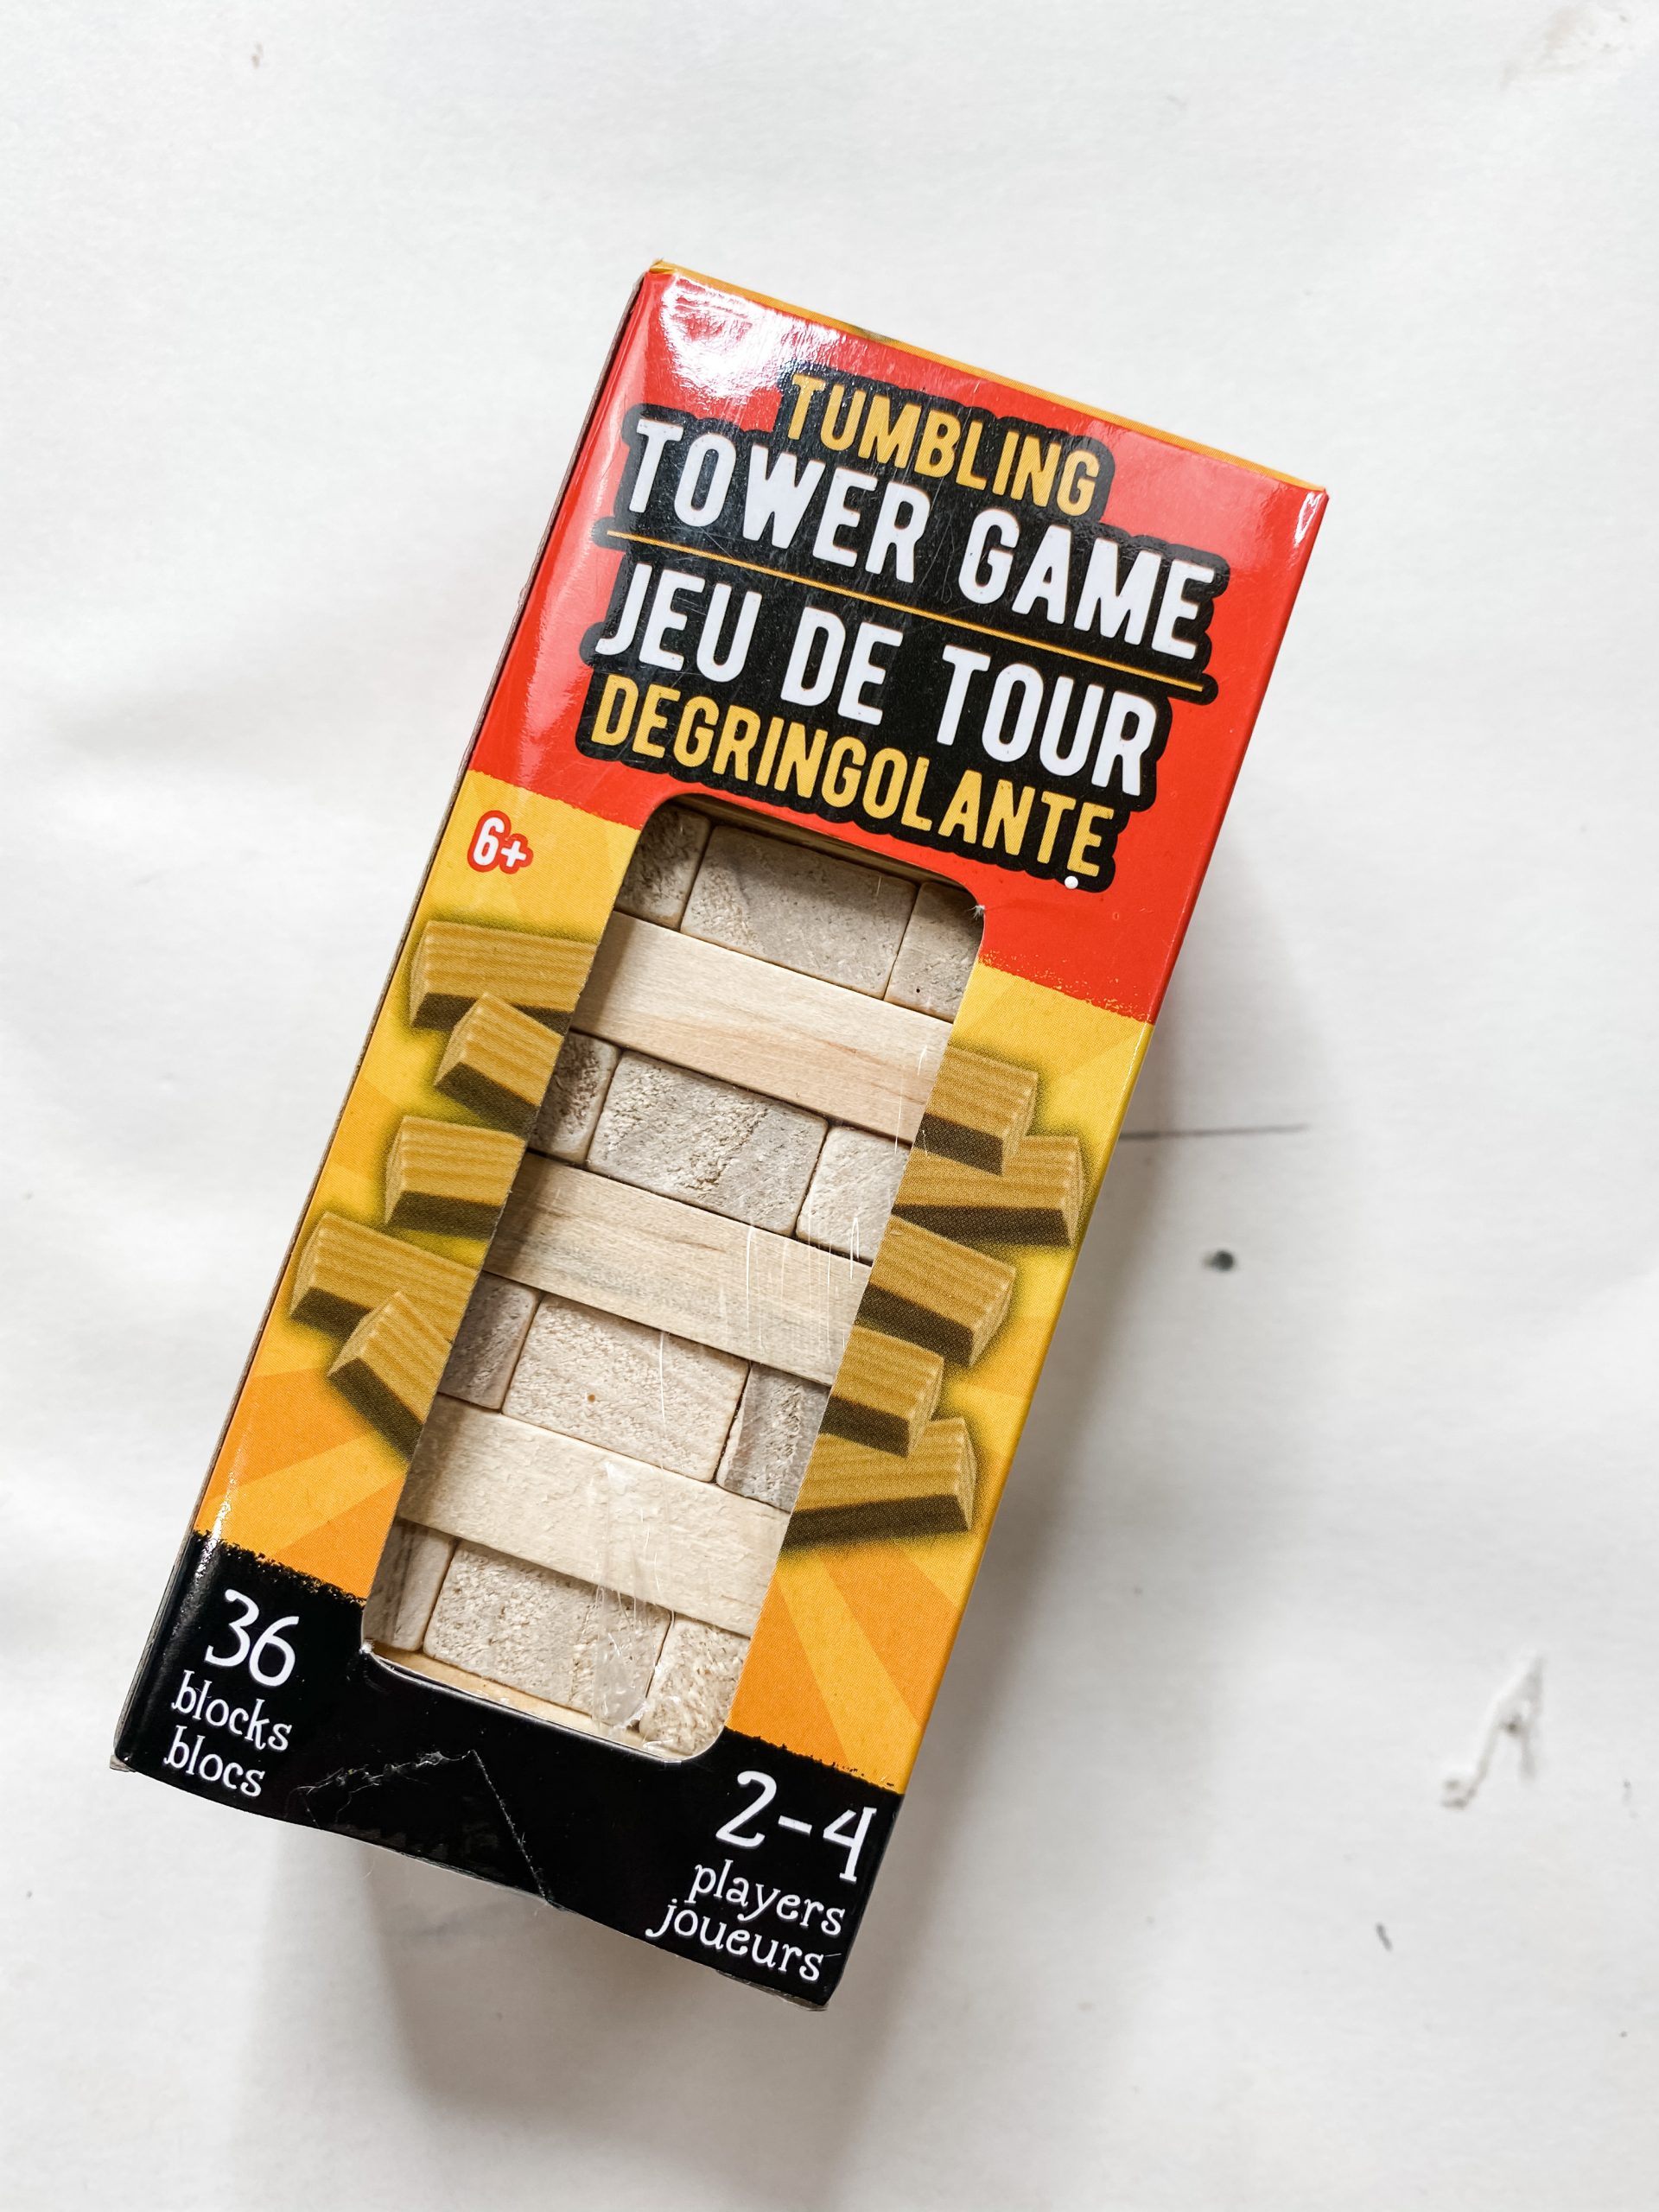
- Dollar Tree Tumbling Tower Blocks (Jenga Blocks)
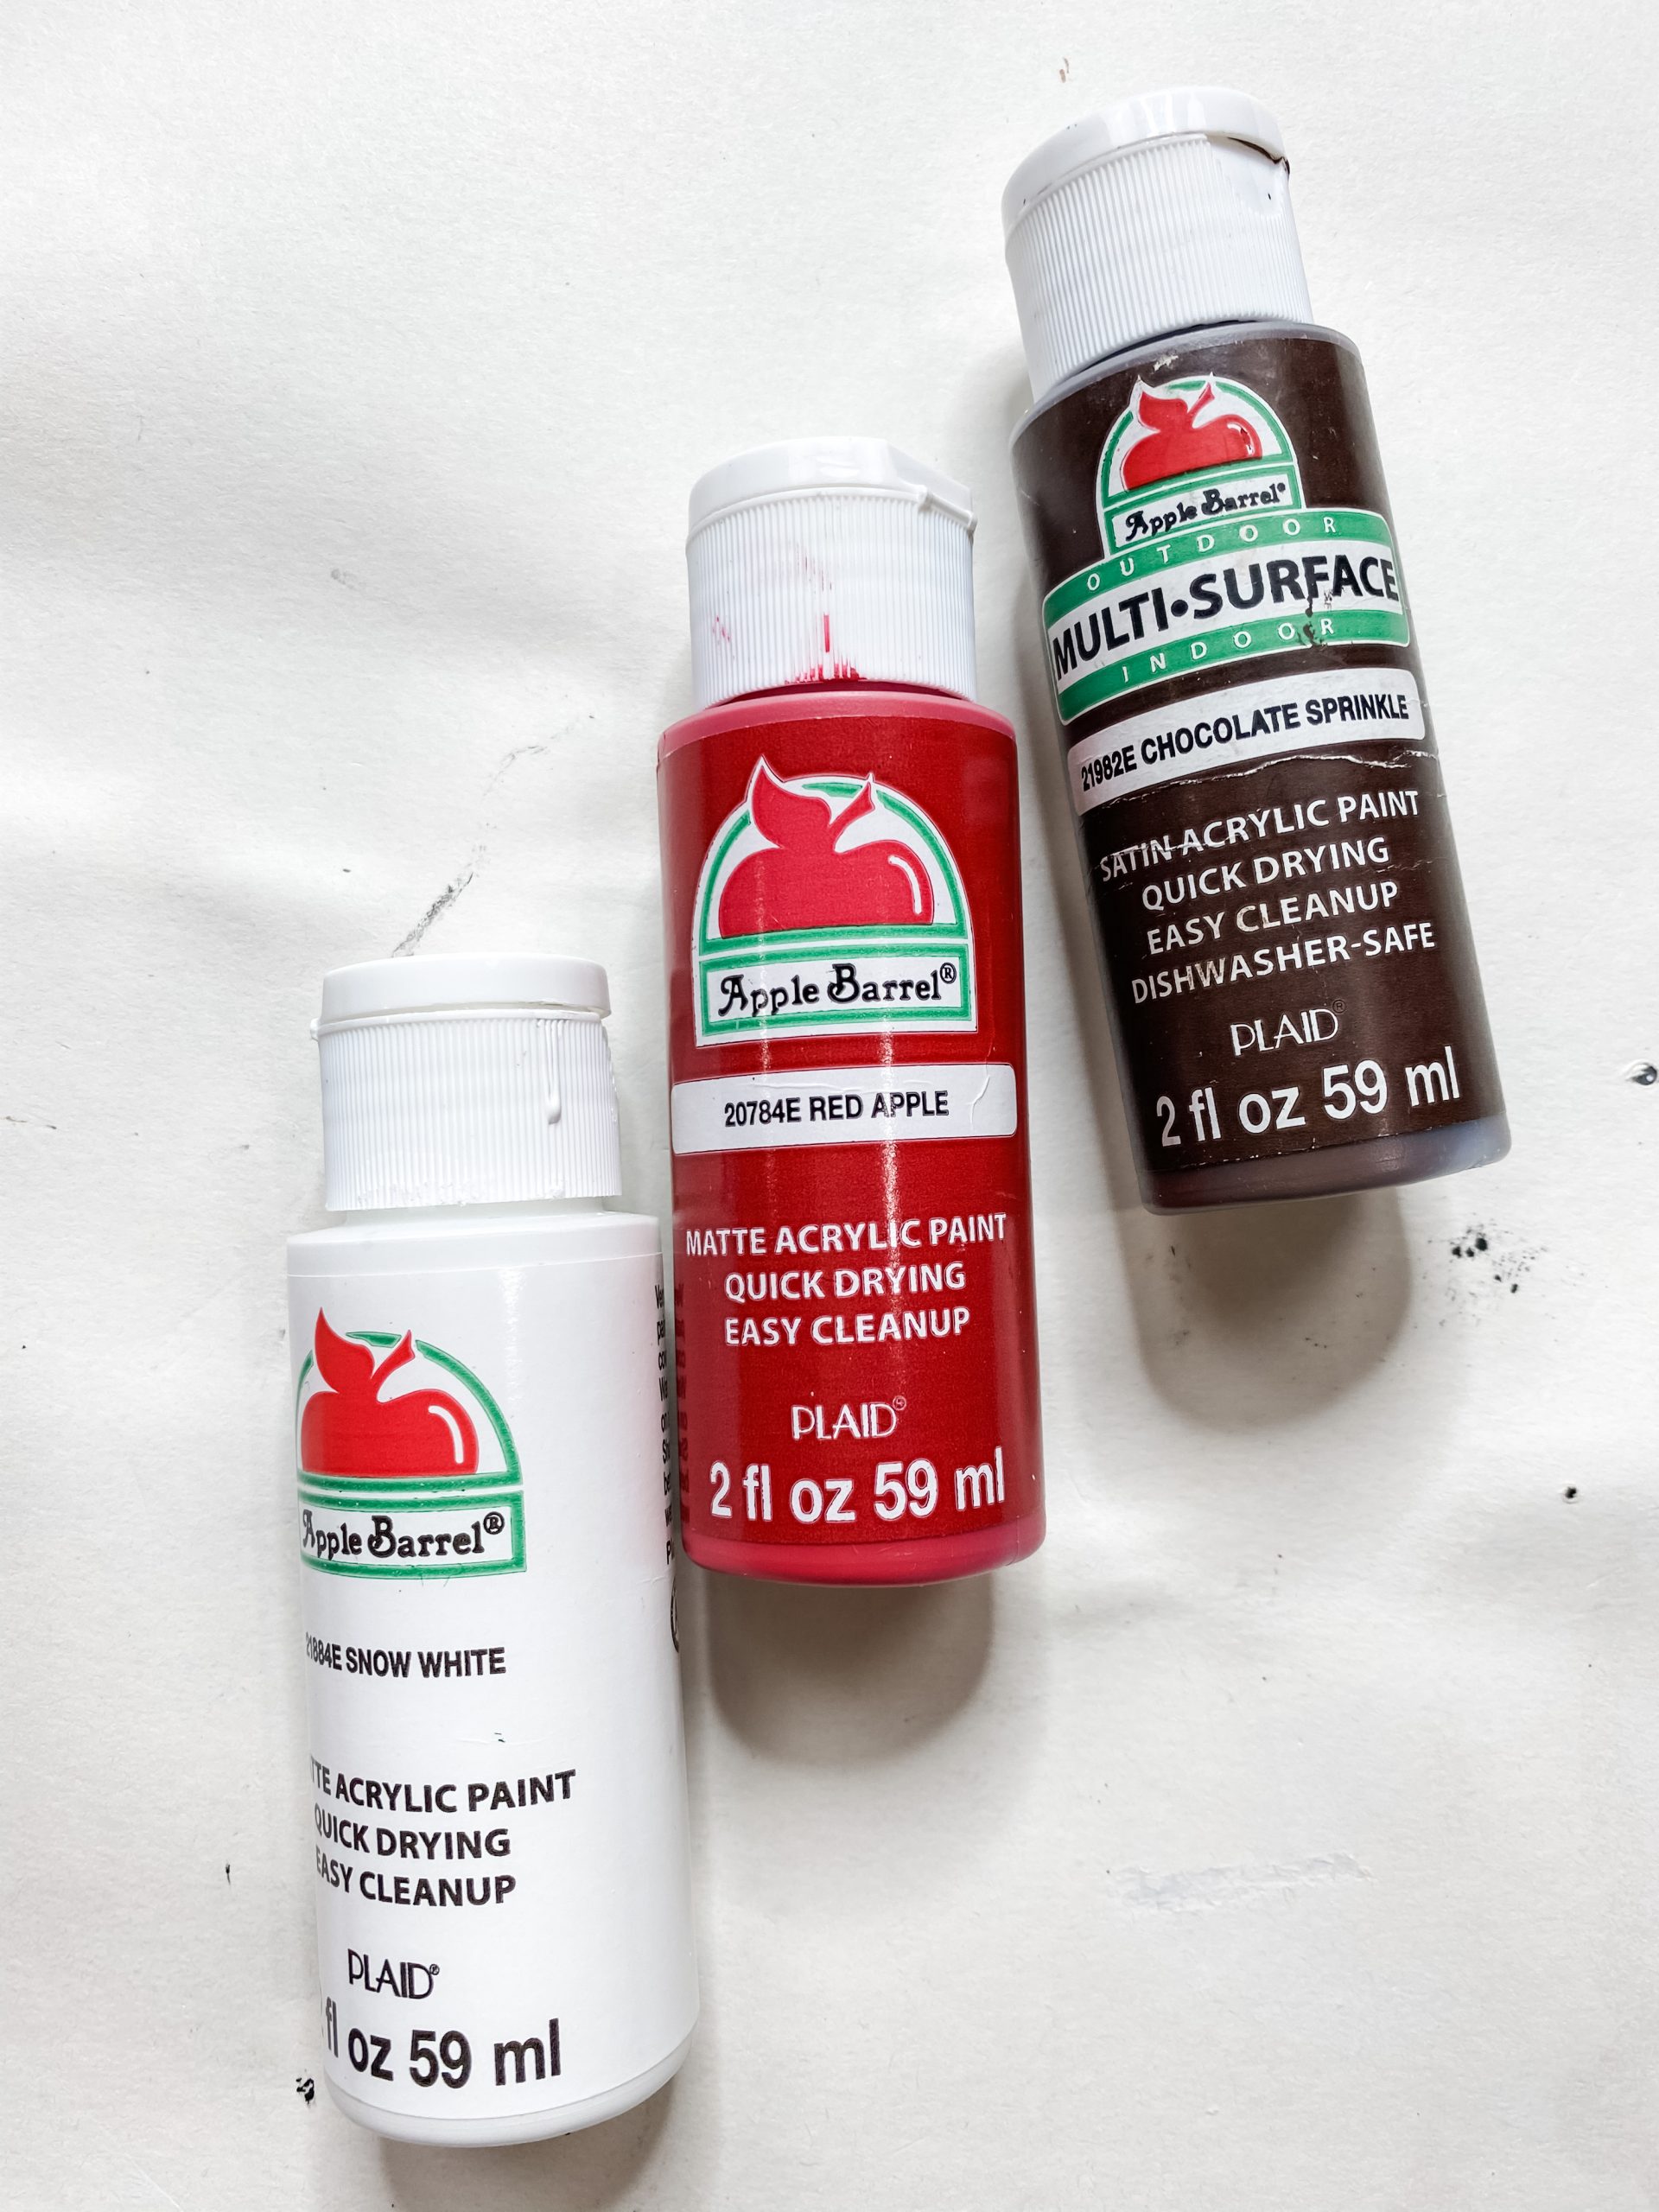
- Apple Barrel Red Apple Acrylic Paint
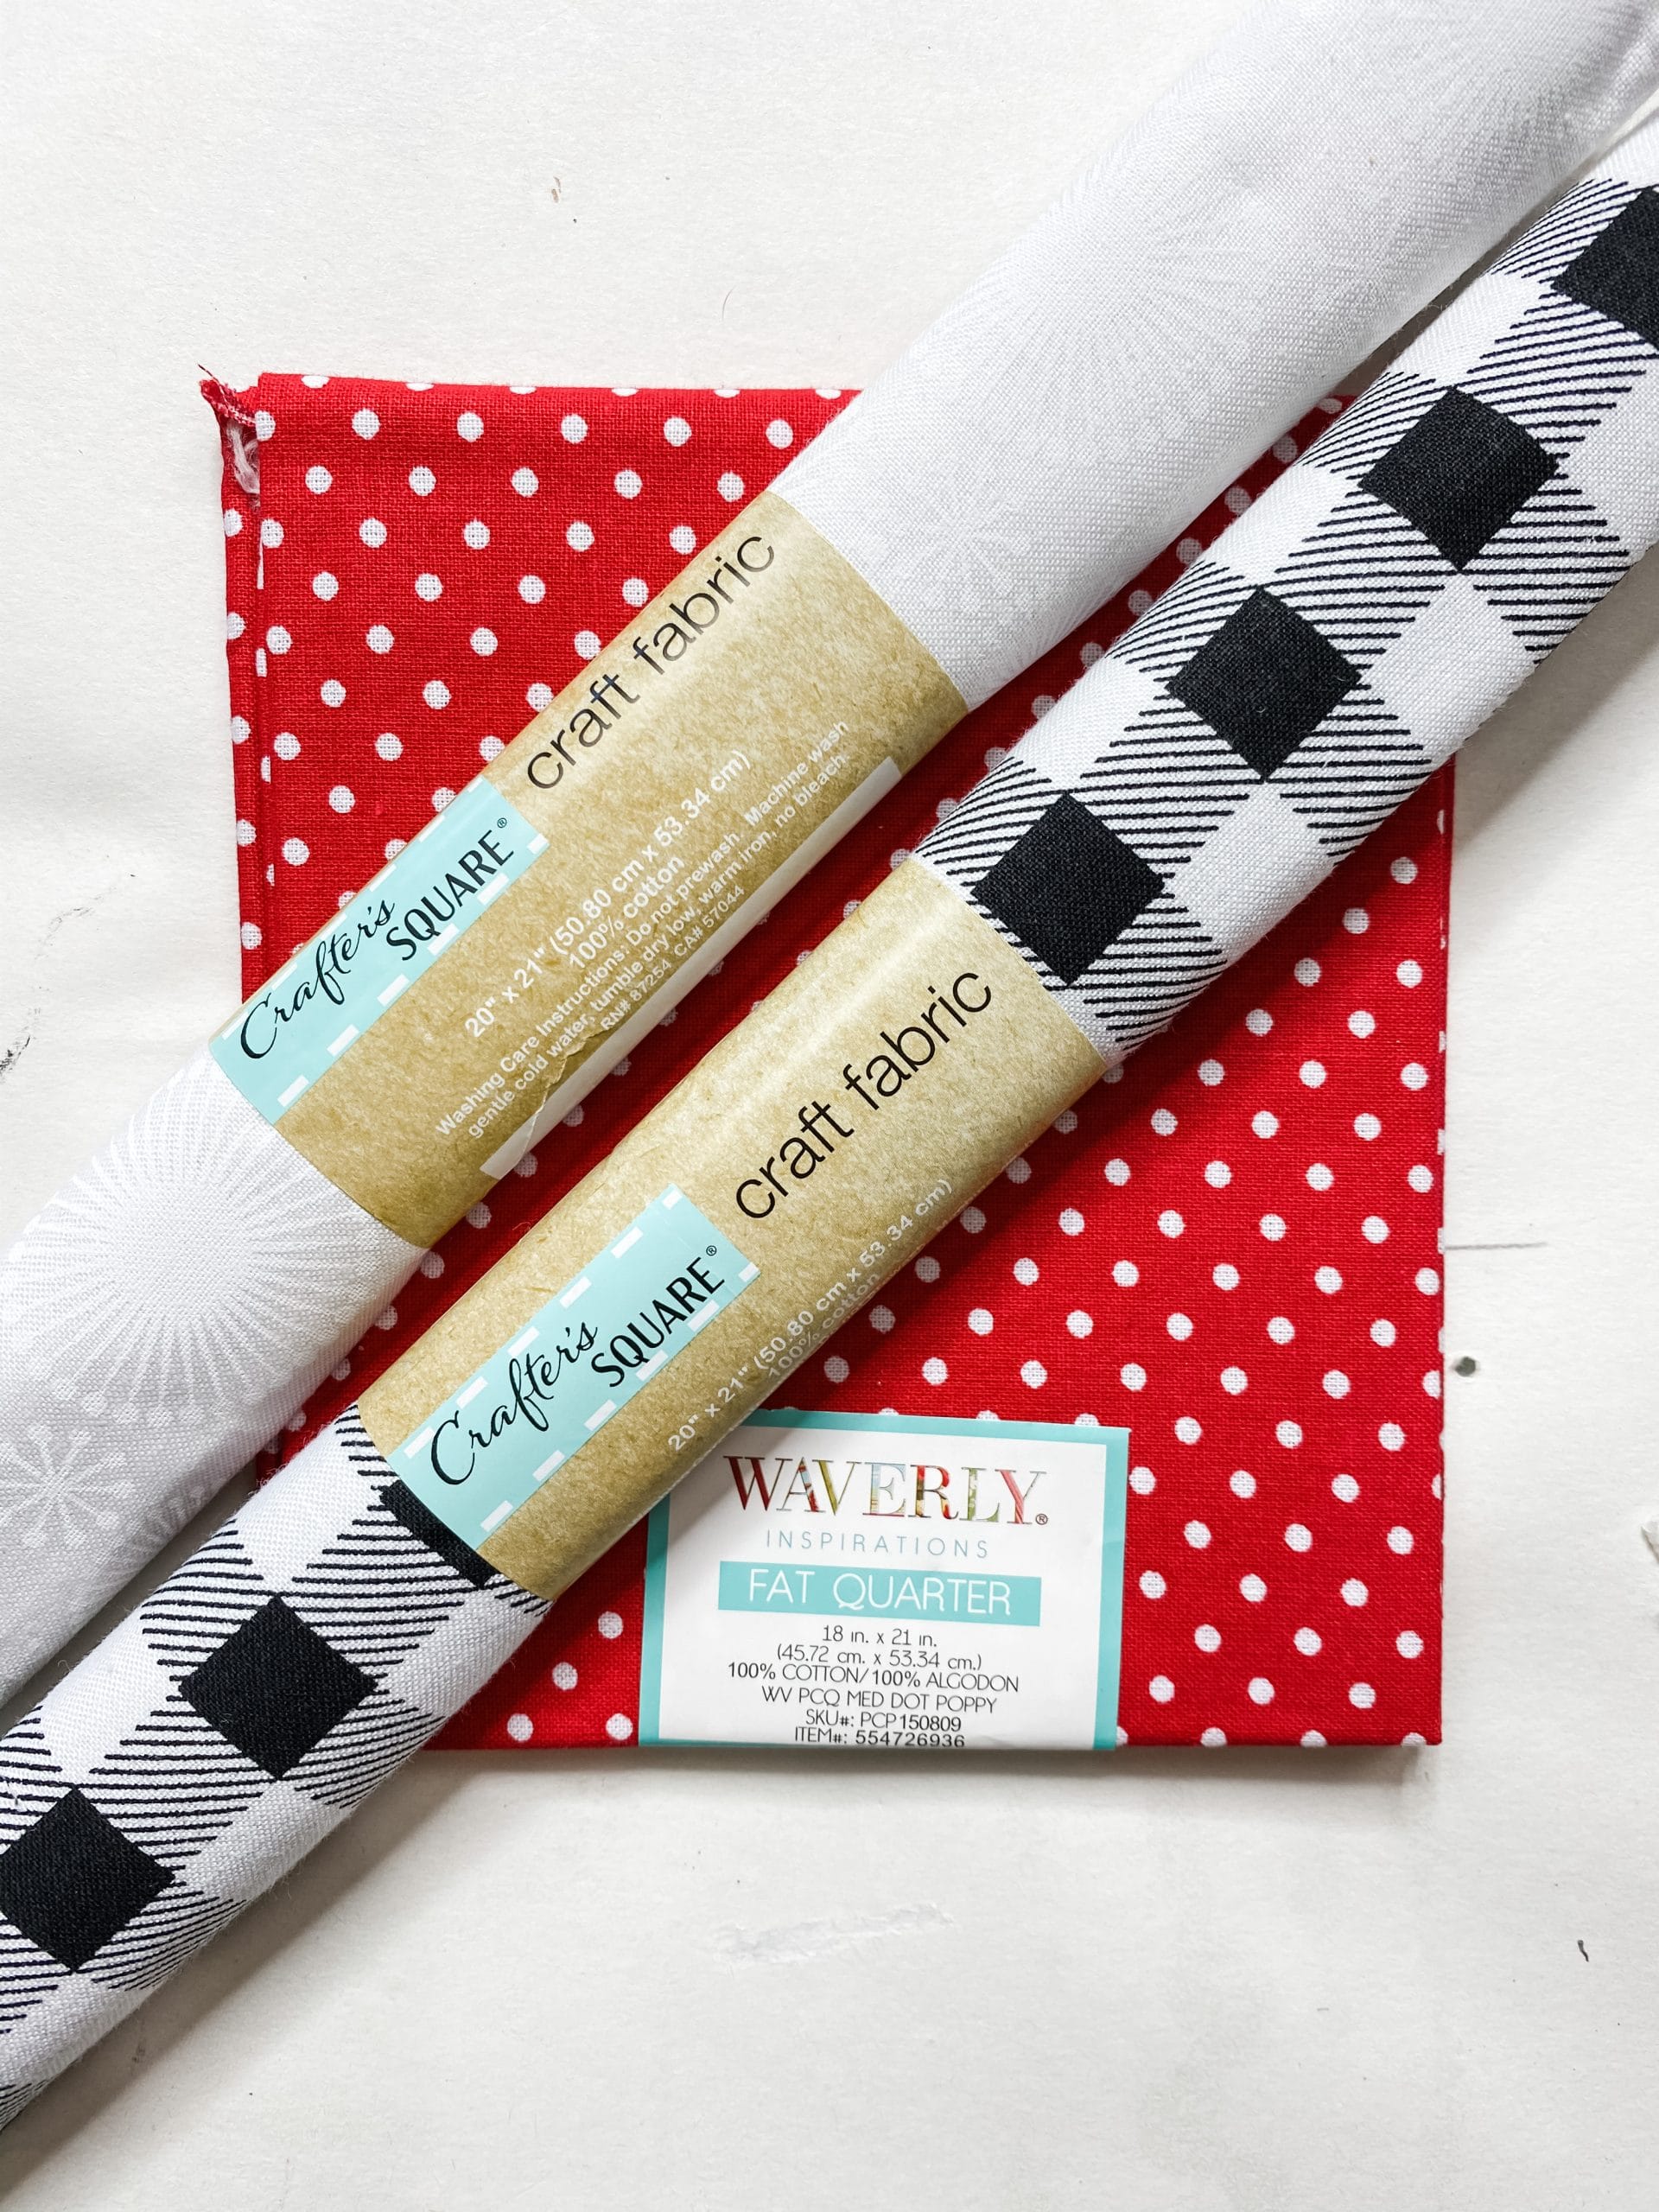
- Dollar Tree Buffalo check fabric
- Dollar Tree White patterned fabric
- Wire pom-pom trim
- Dollar Tree Rub on transfer letters
- Dollar Tree Pom poms
- Apple Barrel White Acrylic Paint
- Black and White Baker’s Twine
- Sanding sponge
- Lace ribbon
- Red and white polka dot fabric
- Glue Gun
- Heat gun
- Artists Brushes
- 1-in chippy paintbrush
Let’s get started!
The wood Dollar Tree cutting board was so perfect for this easy Christmas sign DIY and is the first thing I used when making the adorable Merry Christmas sign.
First, I sanded the Dollar Tree cutting board with a sanding sponge to ensure no pieces were sticking up that would mess up the distressed look.
Next, I painted an even coat of Apple Barrel White Acrylic Paint on the Dollar Tree cutting board. Set the cutting board to the side so it can dry (I like to use a heat gun to speed up the drying process).
Jenga!
So, I didn’t actually use Jenga blocks for this DIY, but they are a great substitution for Dollar Tree’s Tumbling Tower blocks if you already have some.
I used 20 Tumbling Tower blocks and hot glued them in strips of 5 using my Surebonder glue gun and my Gorilla Glue sticks.
You can also try the Dollar Tree hot glue gun. I personally do not like the dollar tree glue sticks but I have heard the hot glue gun at dollar tree isn’t too bad!
If you see the hot glue gun Dollar Tree has, scoop it up and keep it in your craft stash as a backup!
In previous craft projects, like my Dollar Tree Christmas Loot Bag DIY Decor, I stain the base blocks brown with Apple Barrel Burnt Umber Acrylic Paint, but I wanted to do something different with this Dollar Tree Christmas DIY. I decided to stain the base blocks RED!
How to stain wood easily
To stain the blocks, I mixed a little bit of Apple Barrel Red Apple Acrylic Paint with water and used a paintbrush to spread the paint/water mixture over each strip of the Jenga blocks.
The water helps the wood absorb the paint and gives it a stained finish instead of looking painted. It is a really cool “how to stain wood using paint” trick!
How to make a Messy Bow
Set your blocks aside to dry and get ready to make your messy bow! Have I ever told you how much I love a good easy messy bow?? Messy bows are so easy and fun to make, and I will show you exactly how to make a messy bow using ribbon and fabric.
This Christmas messy bow is going to be the perfect touch for this Dollar Tree Christmas DIY! Let’s learn how to make a bow out of ribbon together. Well, we will also be using fabric to make the bow as well. I will also show you how to make a simple bow for this Dollar Tree Christmas DIY that will blow your creative mind!
To make the messy bow for this Dollar Tree Christmas decor DIY, I used Dollar Tree Crafters square buffalo check fabric, Dollar Tree Crafters square white patterned fabric, Walmart red polka dot fabric, Dollar Tree Baker’s Twine, white pom-pom trim from Hobby Lobby, and white lace ribbon from Dollar Tree.
Don’t forget to use your 40% off hobby lobby coupon to save you a ton of money when you buy your ribbon! (Update: hobby lobby no longer has 40% off coupon)
Make the bow:
I feel like we need to have a crafter’s chant! Something like, Make bows not war! Anyone else?
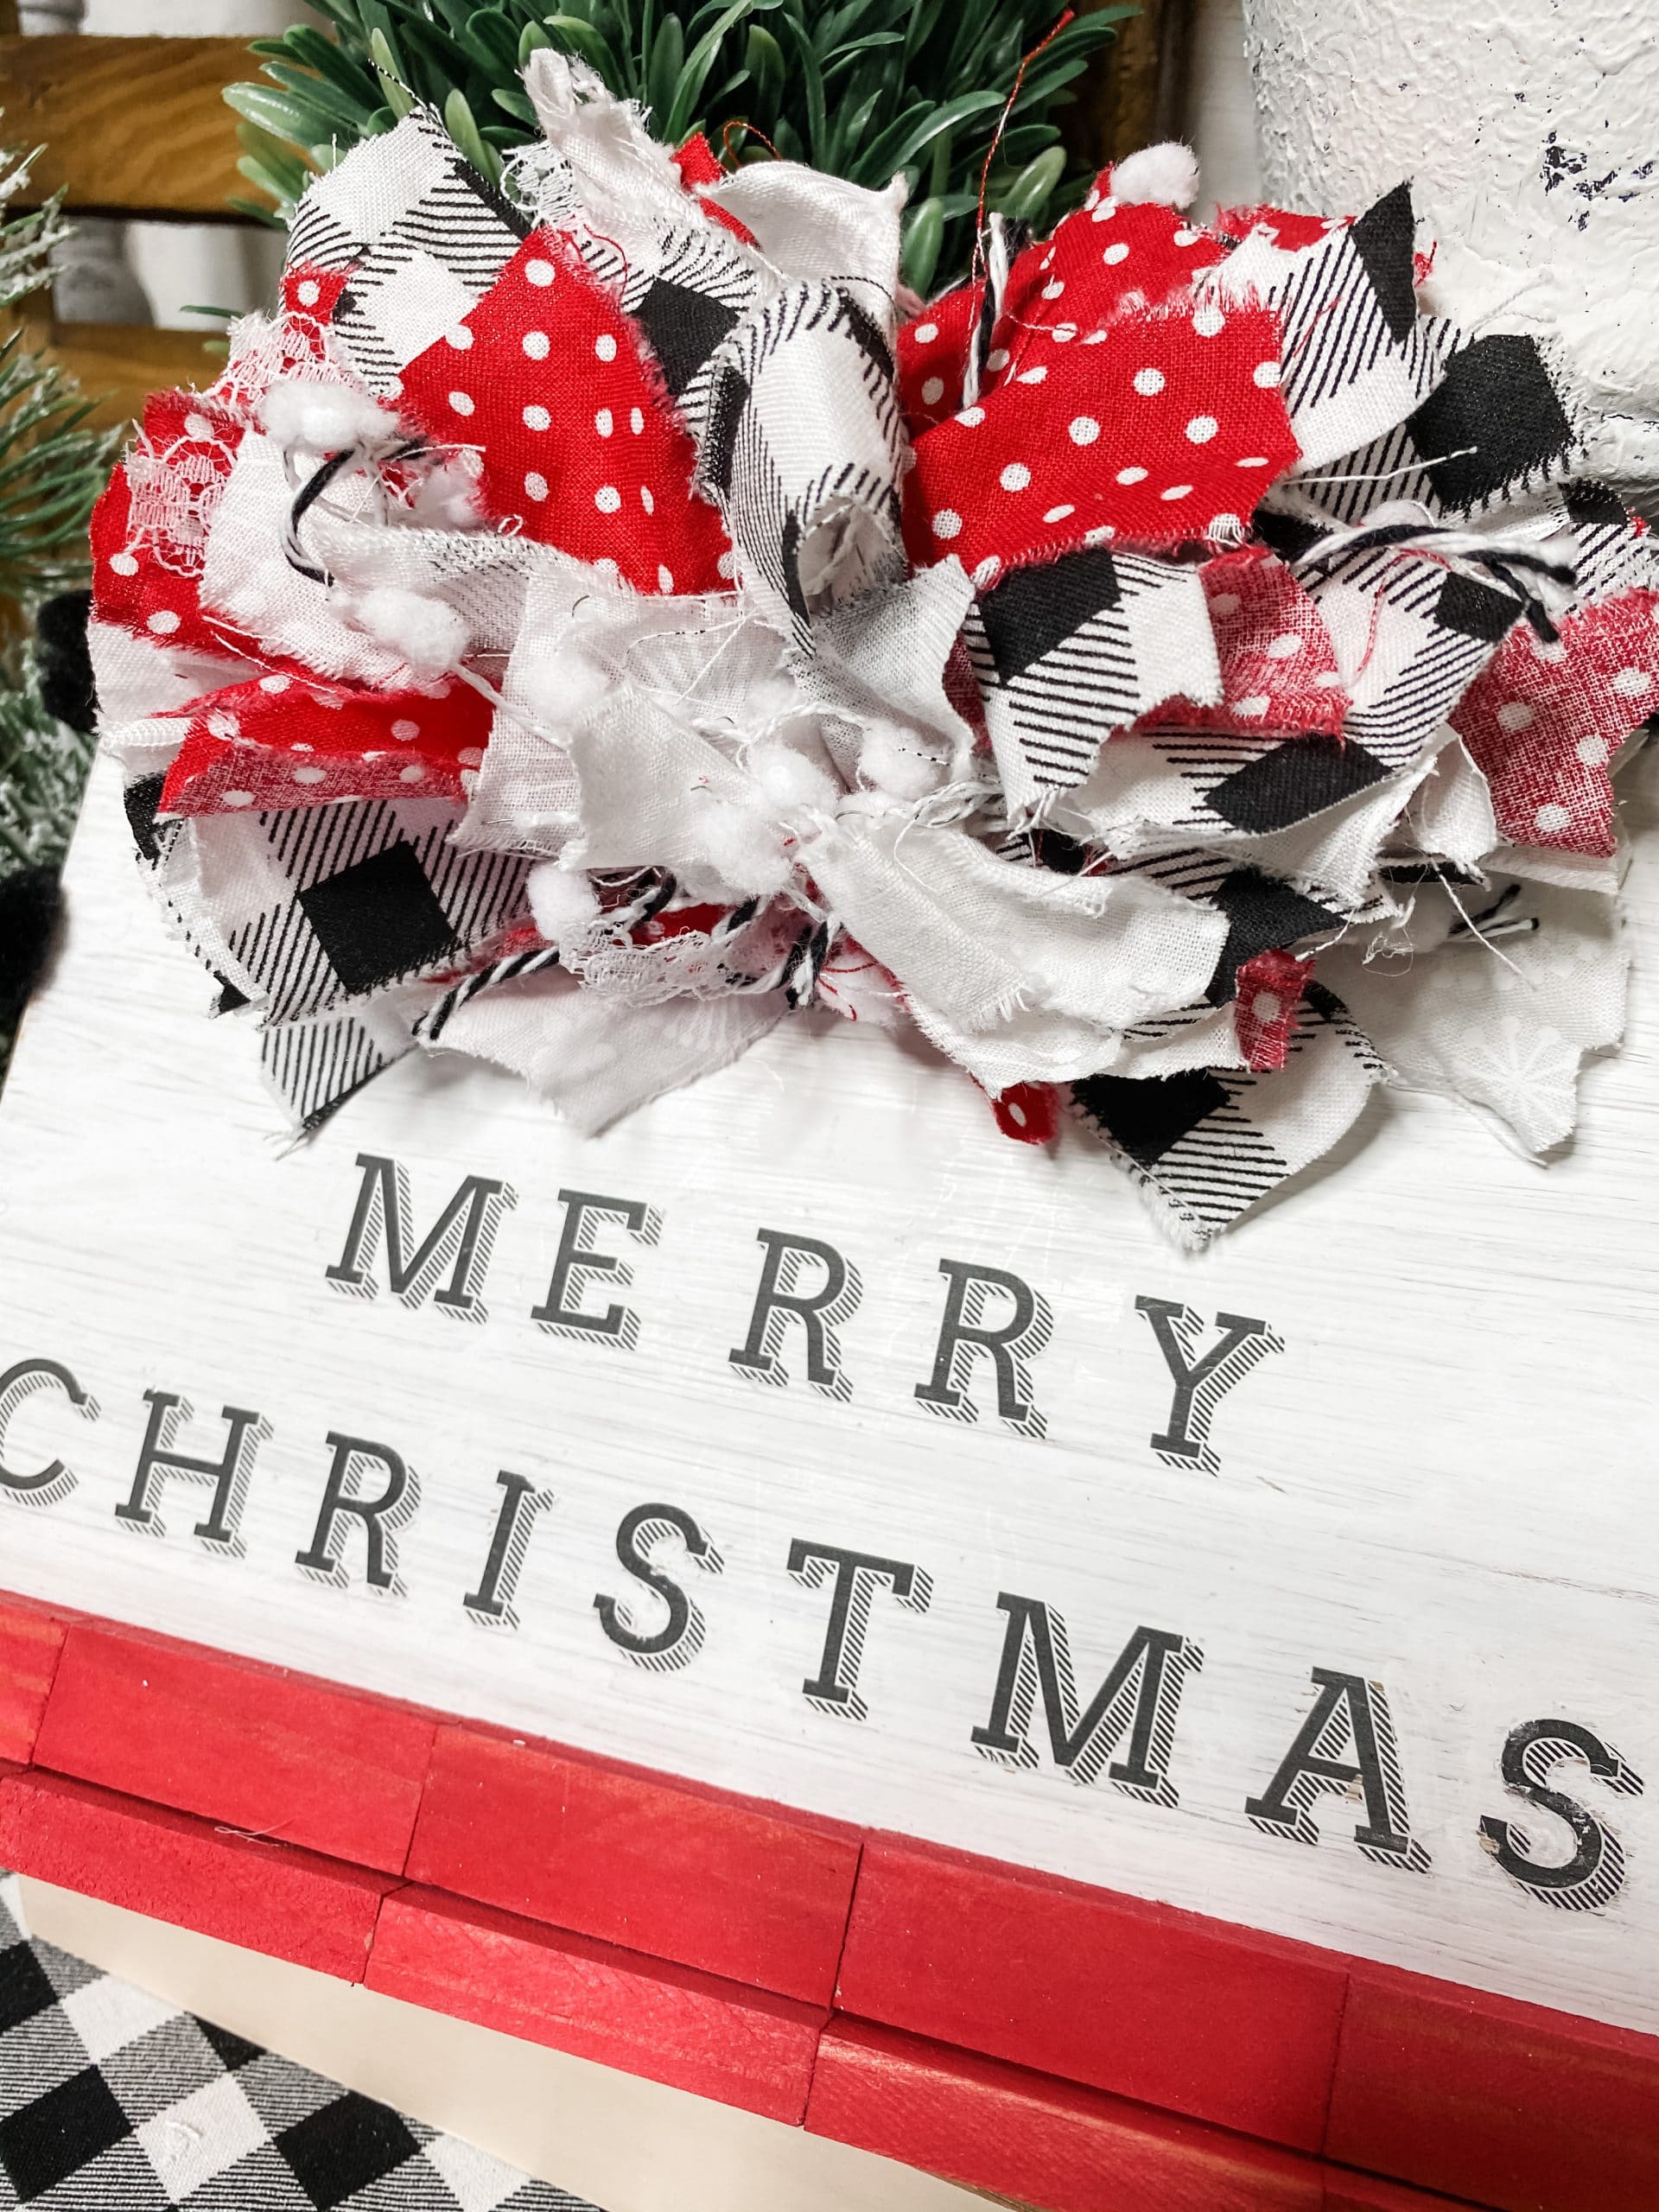
Cut several pieces of each fabric, ribbon, and twine, all about the same lengths, and lay them in an x-shape alternating patterns. I tore the fabric to give the strips frayed edges. Add as many layers as you want to your messy bow until you have the thickness and messiness you want for your easy messy bow. Learn how to make a bow!
Tie off and secure the center of the messy bow with a piece of Bakers’ Twine, you can also use a zip-tie to hold your messy bow together. This is the best Christmas bow to make! This would also make a great Christmas bow for a tree.
Personally, I am putting a bow on my Christmas tree. You can use this tutorial to help you learn how to make a Christmas Tree topper bow for your tree if you want one to match.
Merry Christmas!
Your painted Dollar Tree cutting board should be dry now, so bring it back. I sanded my cutting board to give it a kind of distressed look and got my Dollar Tree Crafters square rub-on transfer letters ready.
These rub-on transfer letters are one of my favorites for my do-it-yourself Dollar Tree projects. If you do not have any rub-on transfers you can also use some of my Christmas freebie printables. I also have some premium Christmas Printables here as well!
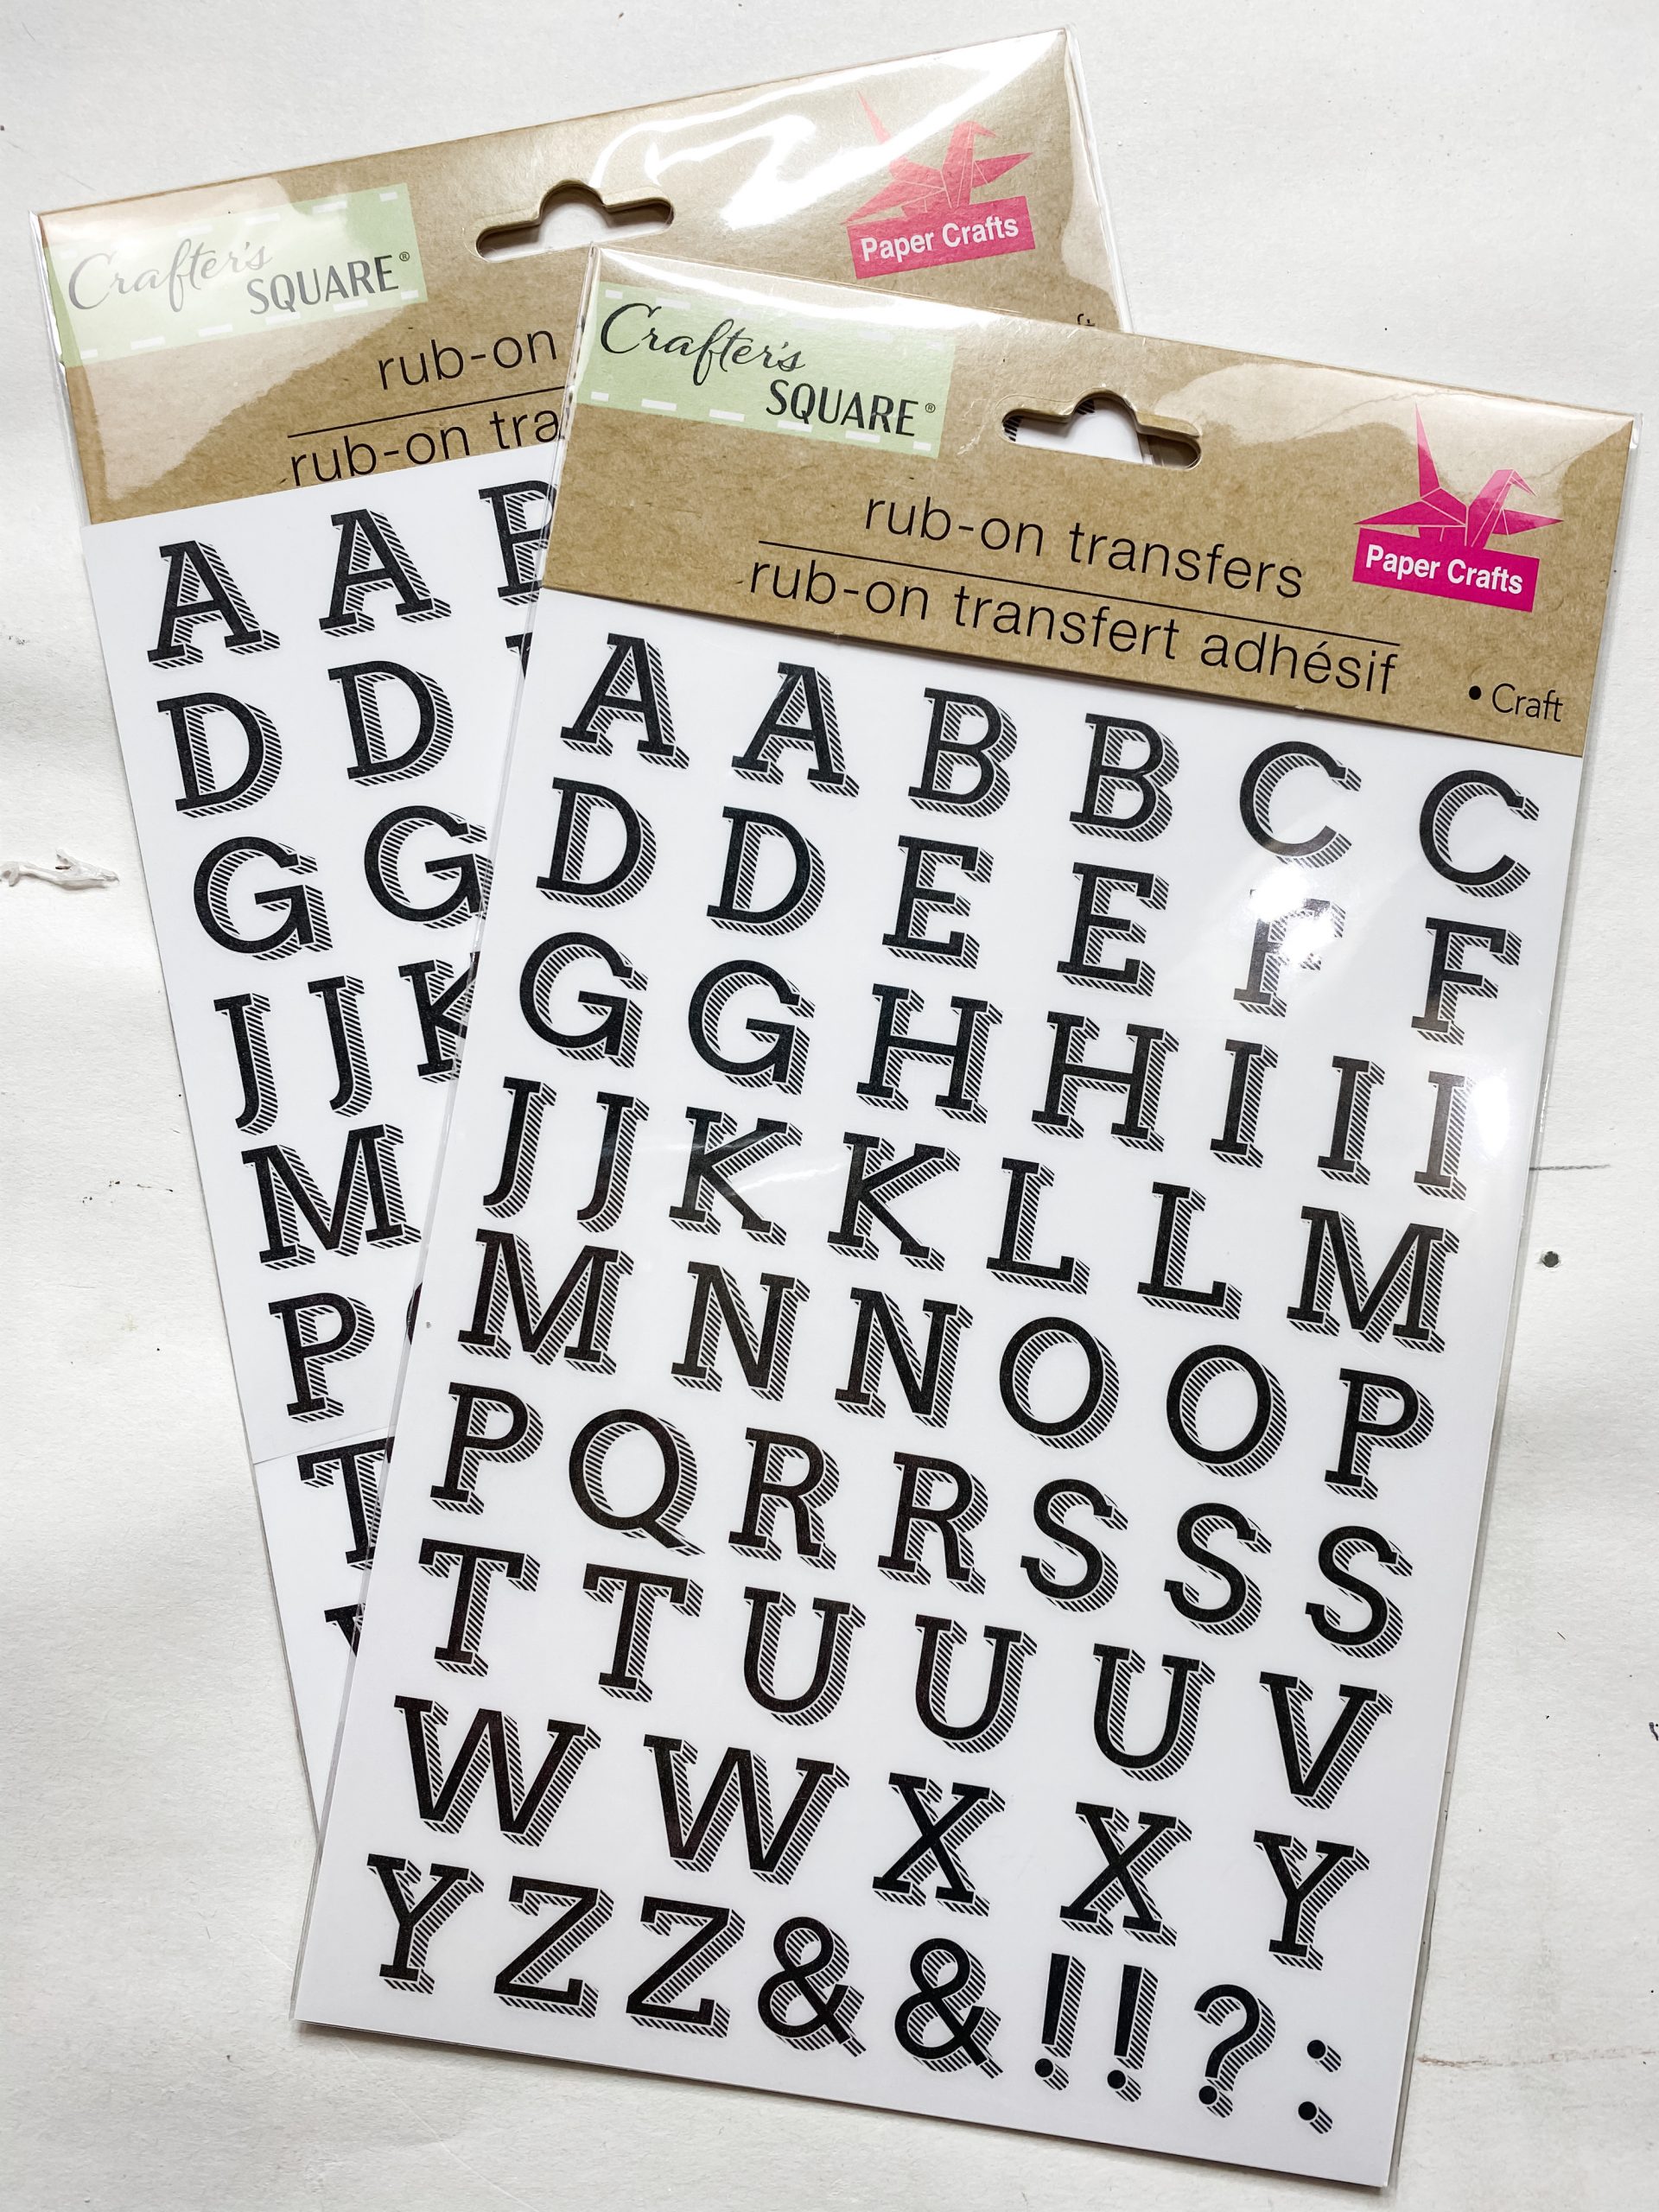
To apply the letters, peel the plastic backing off the rub-on transfer and place it onto the cutting board. Now apply pressure to the letter with a hard surface, like a paint stick or the end of a paintbrush. This helps the letter adhere to the surface.
Once you are sure the letter is adequately applied to the board, peel the front plastic layer off, and all the should be left on the cutting board is the letter.
The finishing touches
We are almost done! I hot glued 2 of the stained Jenga block strips to the front and back of the bottom of the wood cutting sign. Then, I hot glued the remaining two strips of Jenga blocks to the bottom of the sign.
This is what made the base! Creating a sign base is actually pretty easy and I think it adds a little extra character to this Christmas Decor DIY. And I am full of Christmas DIY decor ideas!
Finally, I hot glued the black pom-poms around the cutting board Christmas sign edges and hot glued the messy bow above the Merry Christmas letters.
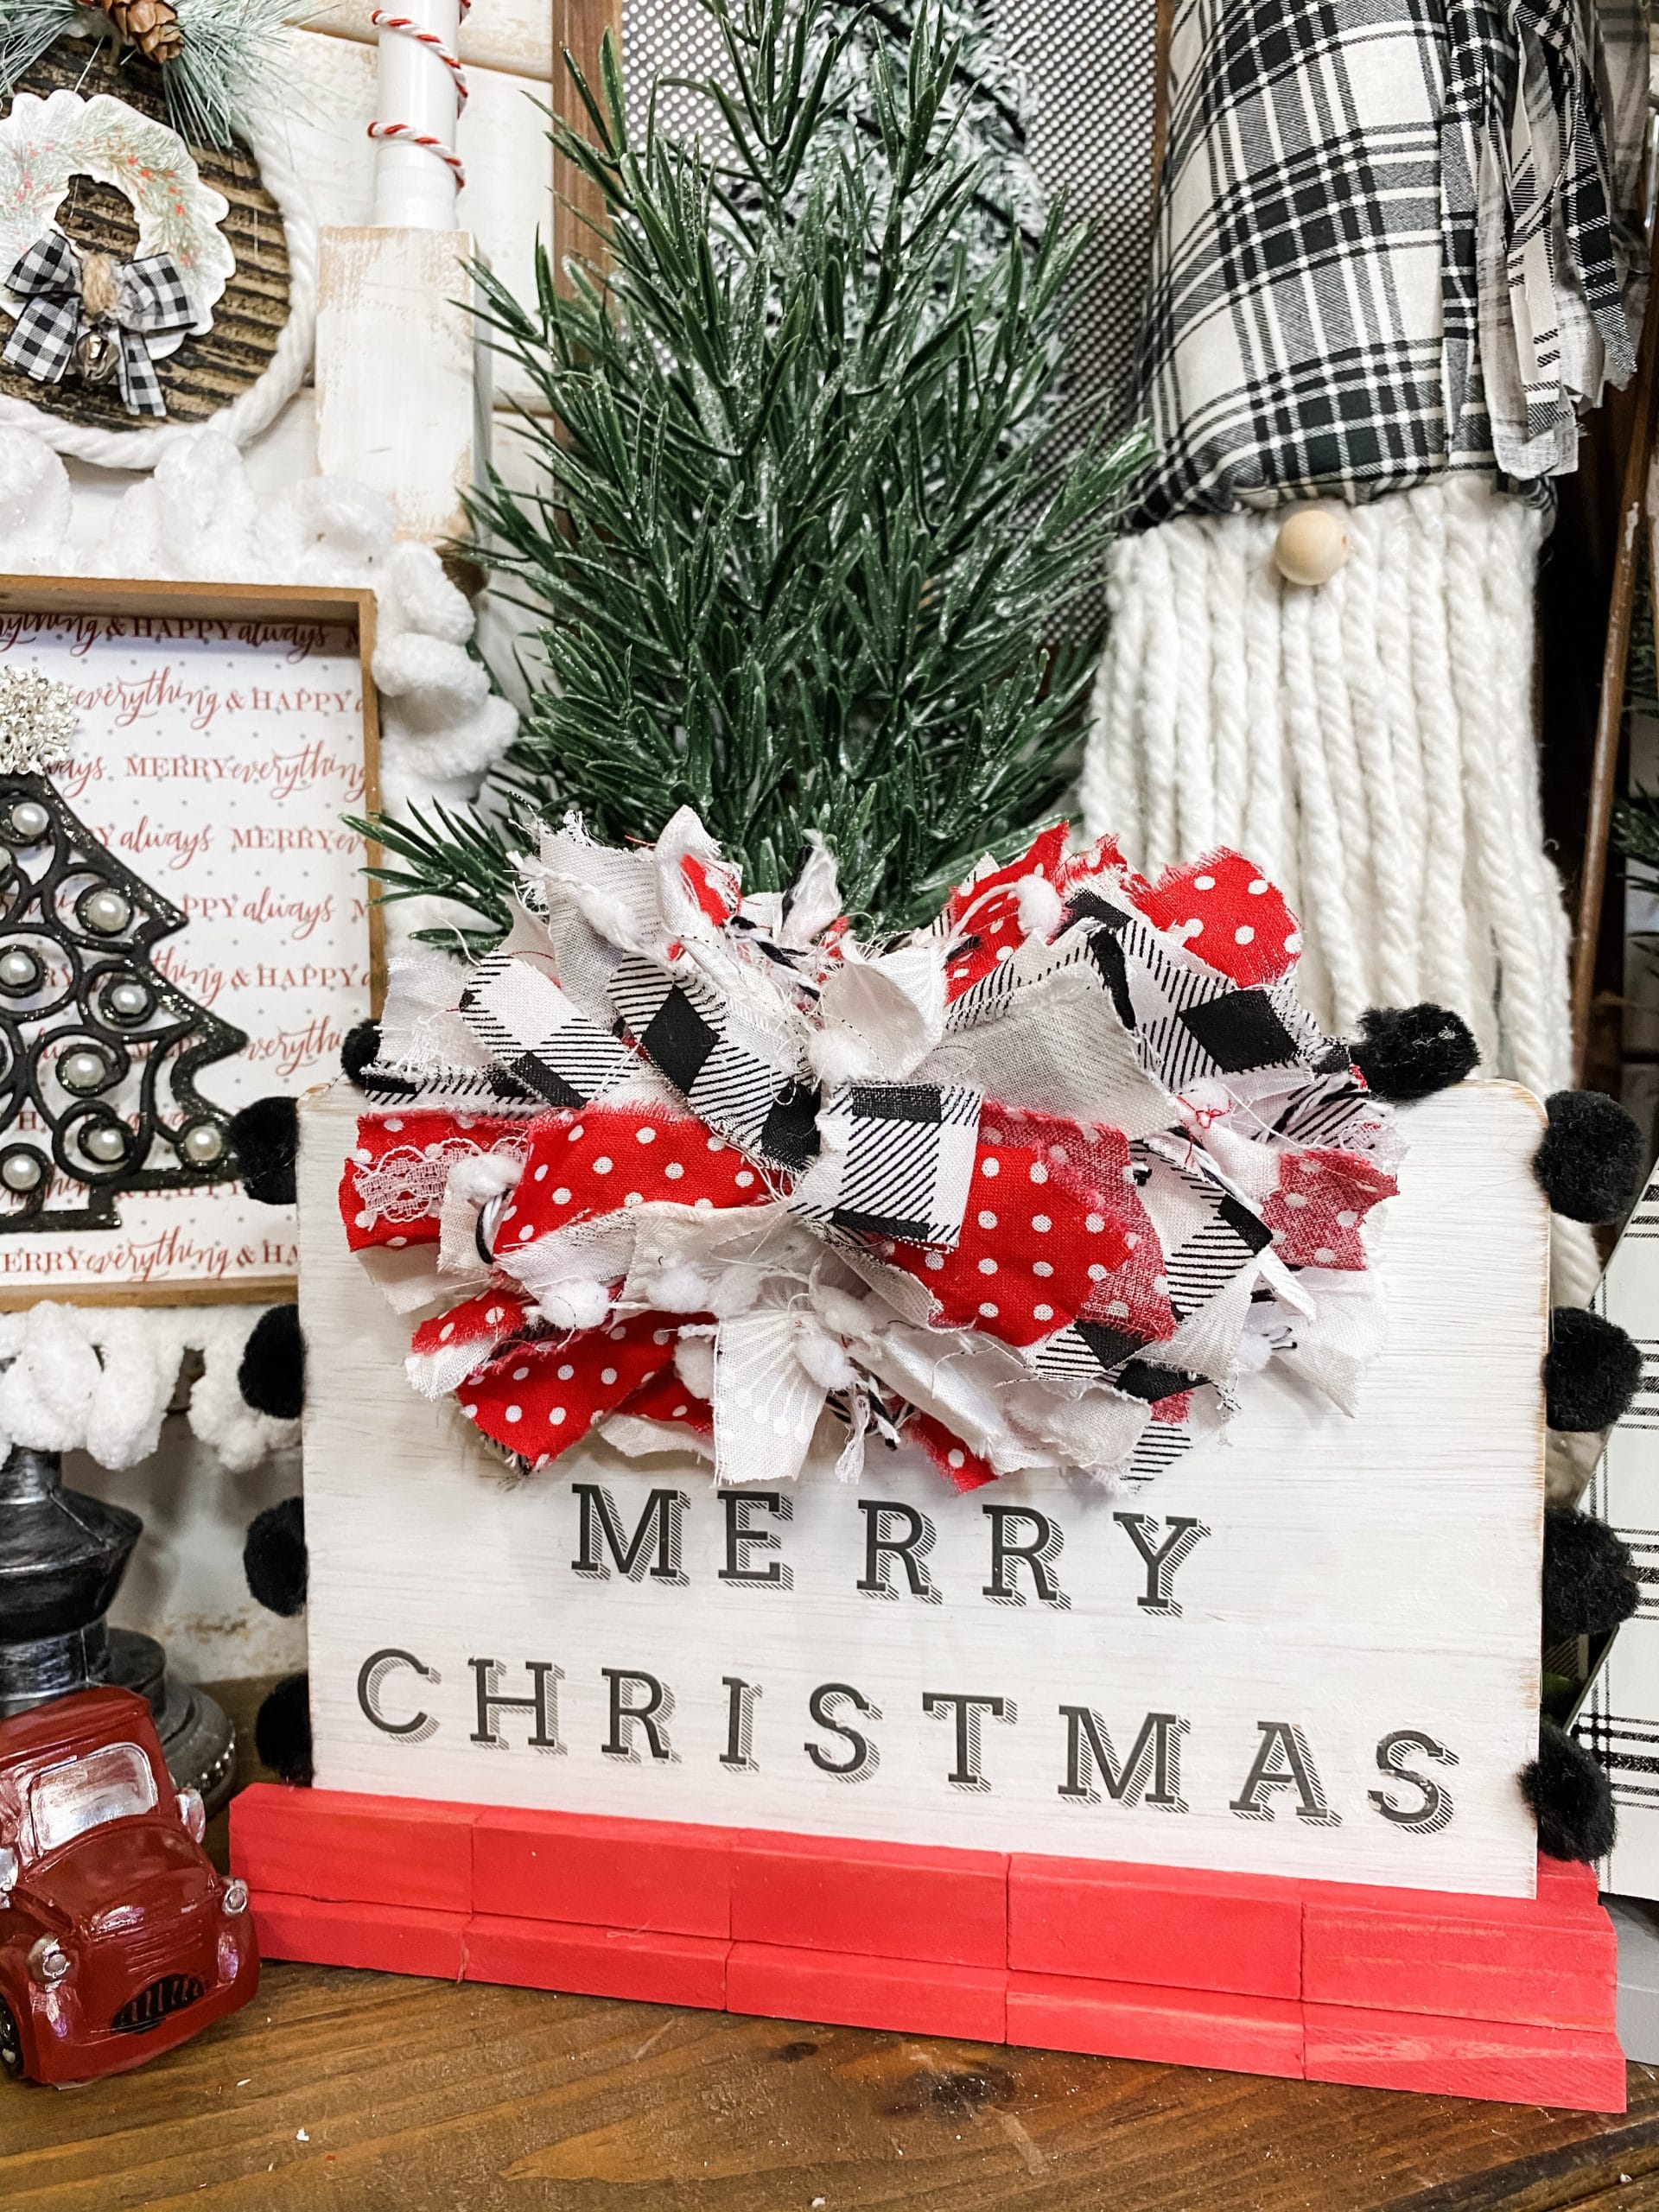
I hope you enjoyed learning how to make this Easy DIY Dollar Tree Cutting Board Christmas Sign as much as I did and decide to make it for yourself!
I would love to see how yours turns out! You should totally join my FREE Facebook group called On A Budget Crafts! It is a judgment-free community for DIY crafters to show off their projects and ideas.
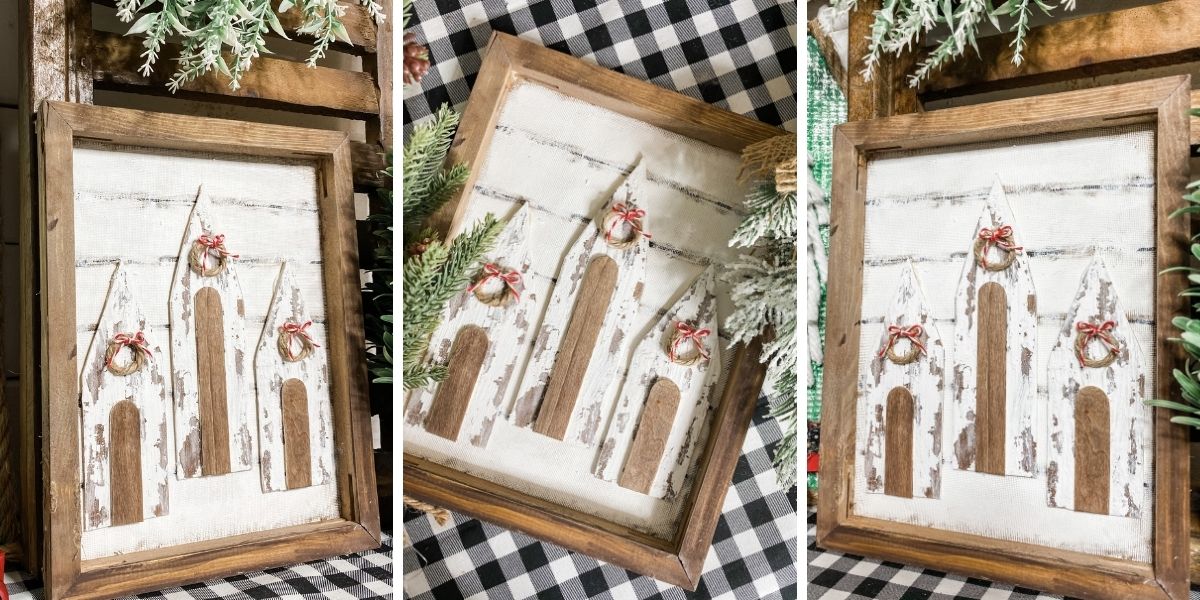
If you loved this DIY you might also like this DIY Christmas Tree Shelf Decor!
Thanks for stopping by! XOXO Amber
You can also shop my ENTIRE AMAZON Favorites shop just click here! It’s packed full of all the things I use and love.
Here is the supply list I highly recommend every creative have on hand!! Would you also pin my blog for later and get on my newsletter alerts? I would love to have you join my #craftycrew.

Join my free “ON A BUDGET CRAFTS” Facebook group!
PIN THIS POST FOR LATER!

3 Comments