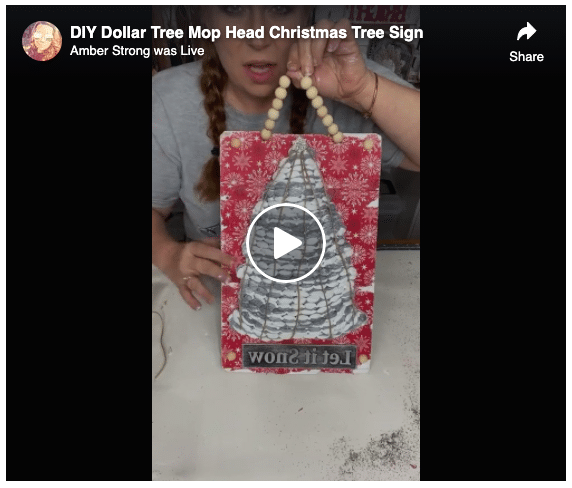
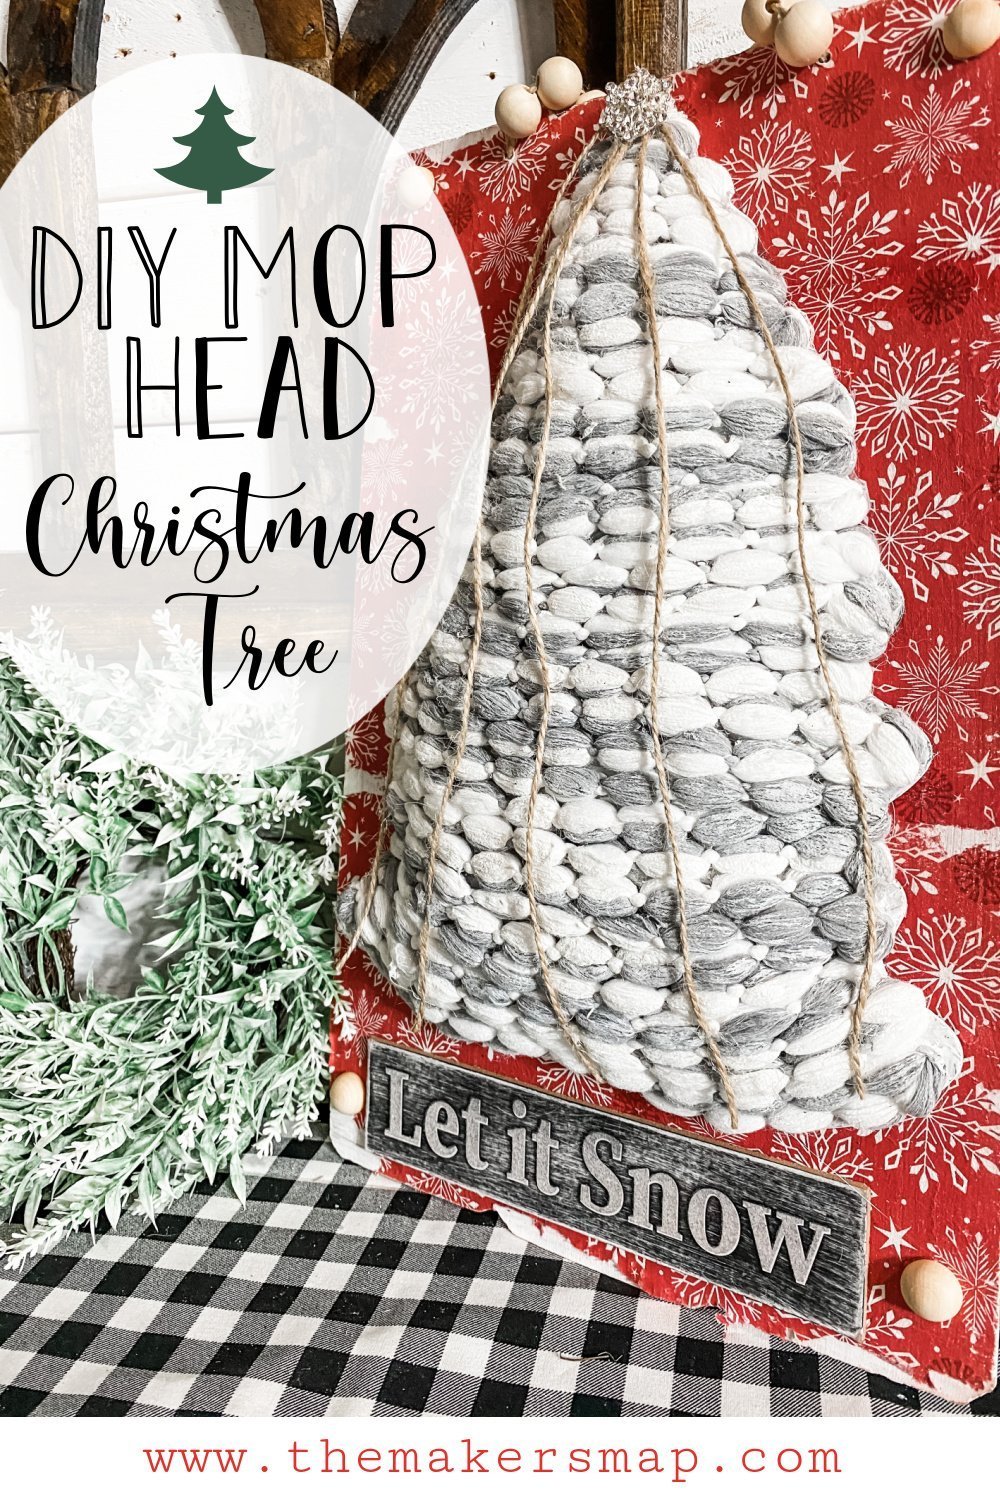
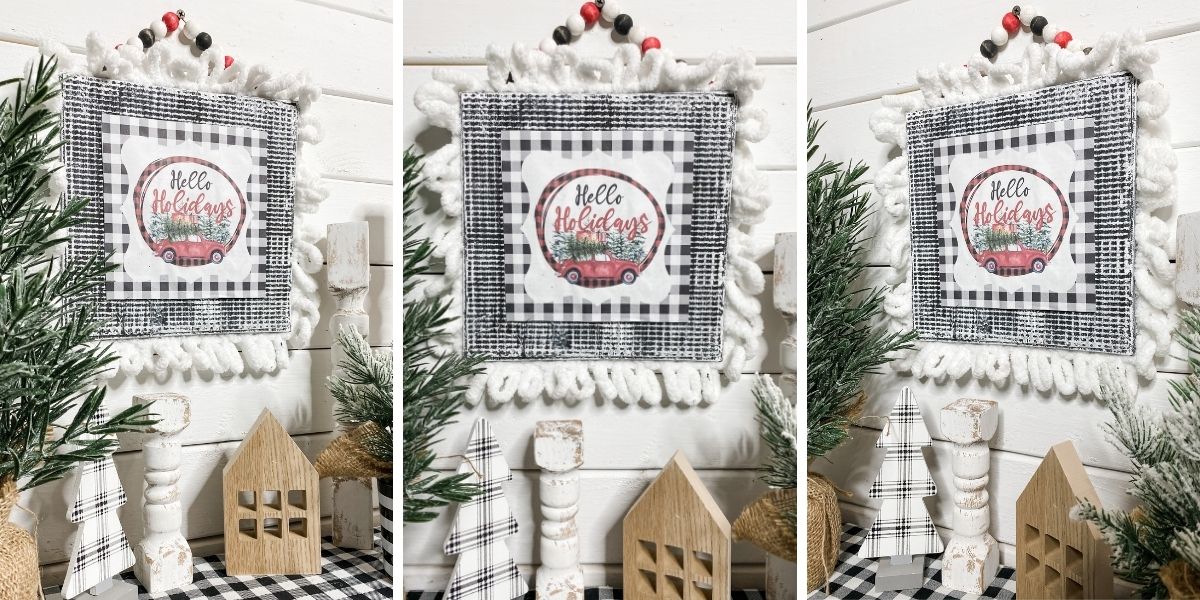
DIY Dollar Tree Mop Head Christmas Tree Sign
This super easy Dollar Tree Christmas DIY has me wanting to sing “O’ Christmas Tree, O’ Christmas Tree!’ I am IN LOVE with this DIY Dollar Tree Mop Head Christmas Tree Sign!
If you are looking for a simple and affordable Christmas Decor DIY, you are in the right place!
Watch the replay
I wouldn’t be me if I didn’t record myself making my super cute (in my opinion) DIY crafts!
If you want to see the step-by-step tutorial on how to make this Dollar Tree DIY Christmas sign, you can watch the Facebook Replay!
For this project, I will be using these items but you can substitute where you want.
“As an Amazon Associate, I earn from qualifying purchases.”
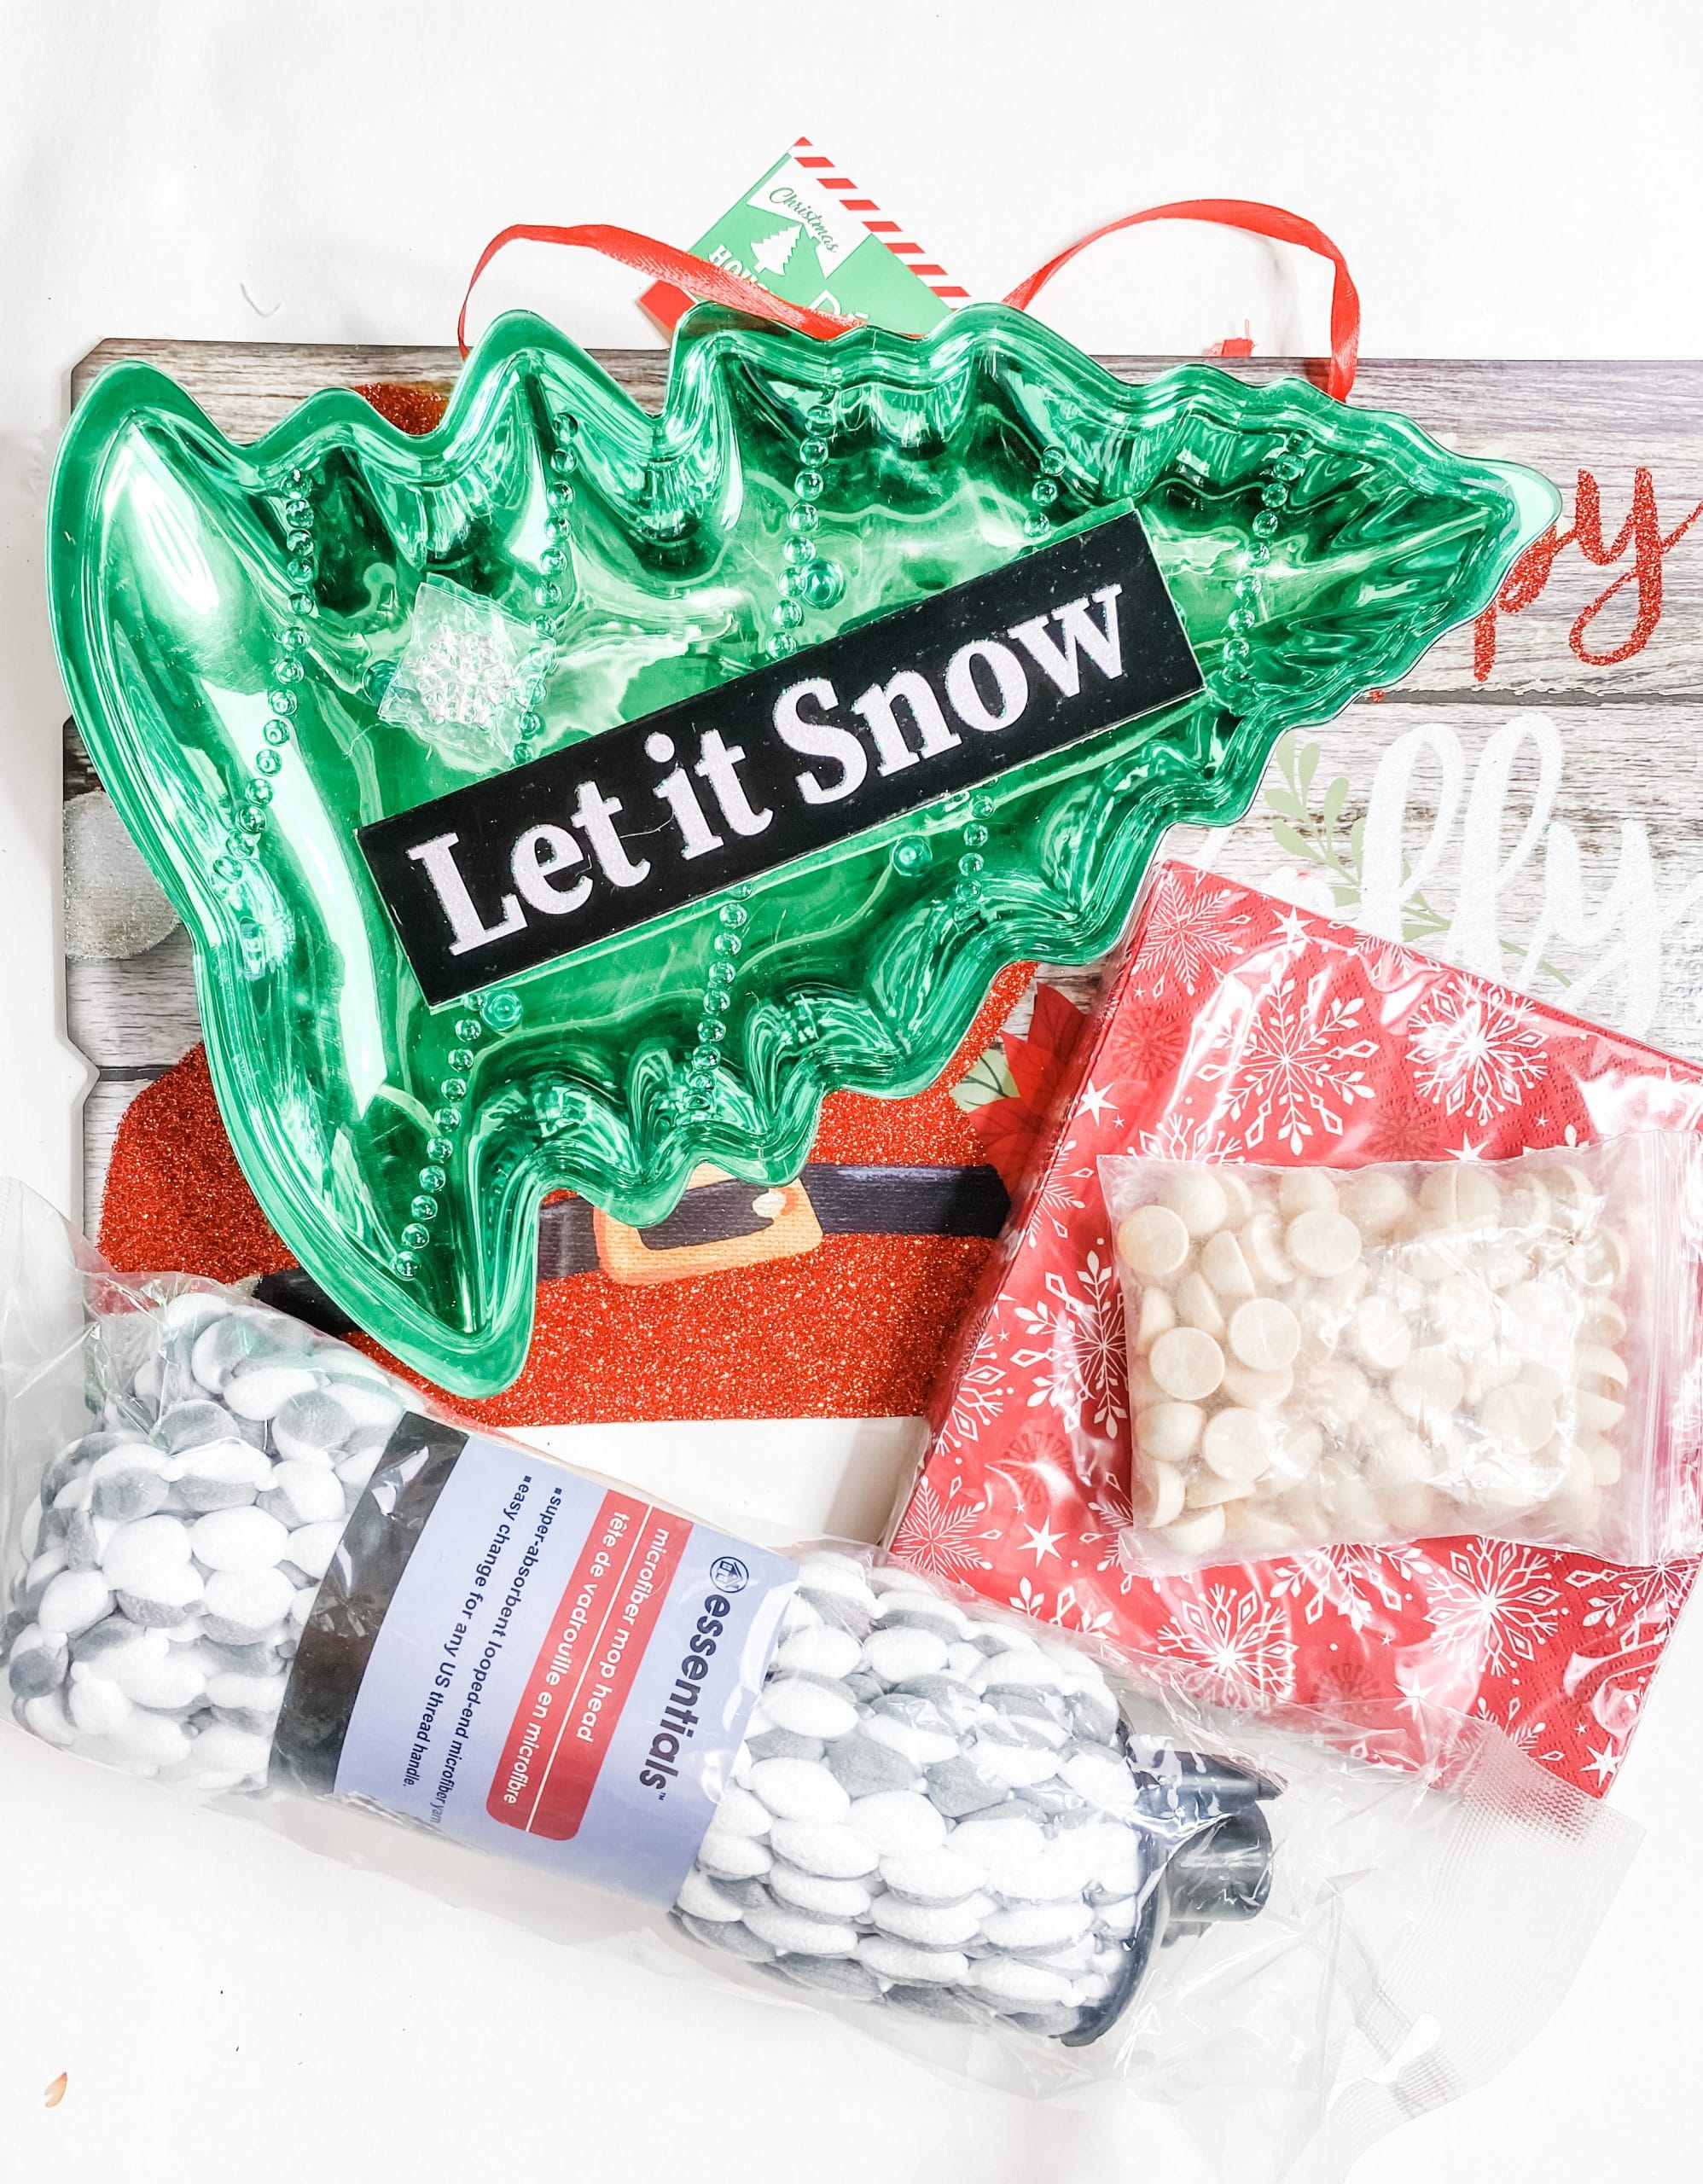
- Dollar Tree Christmas sign
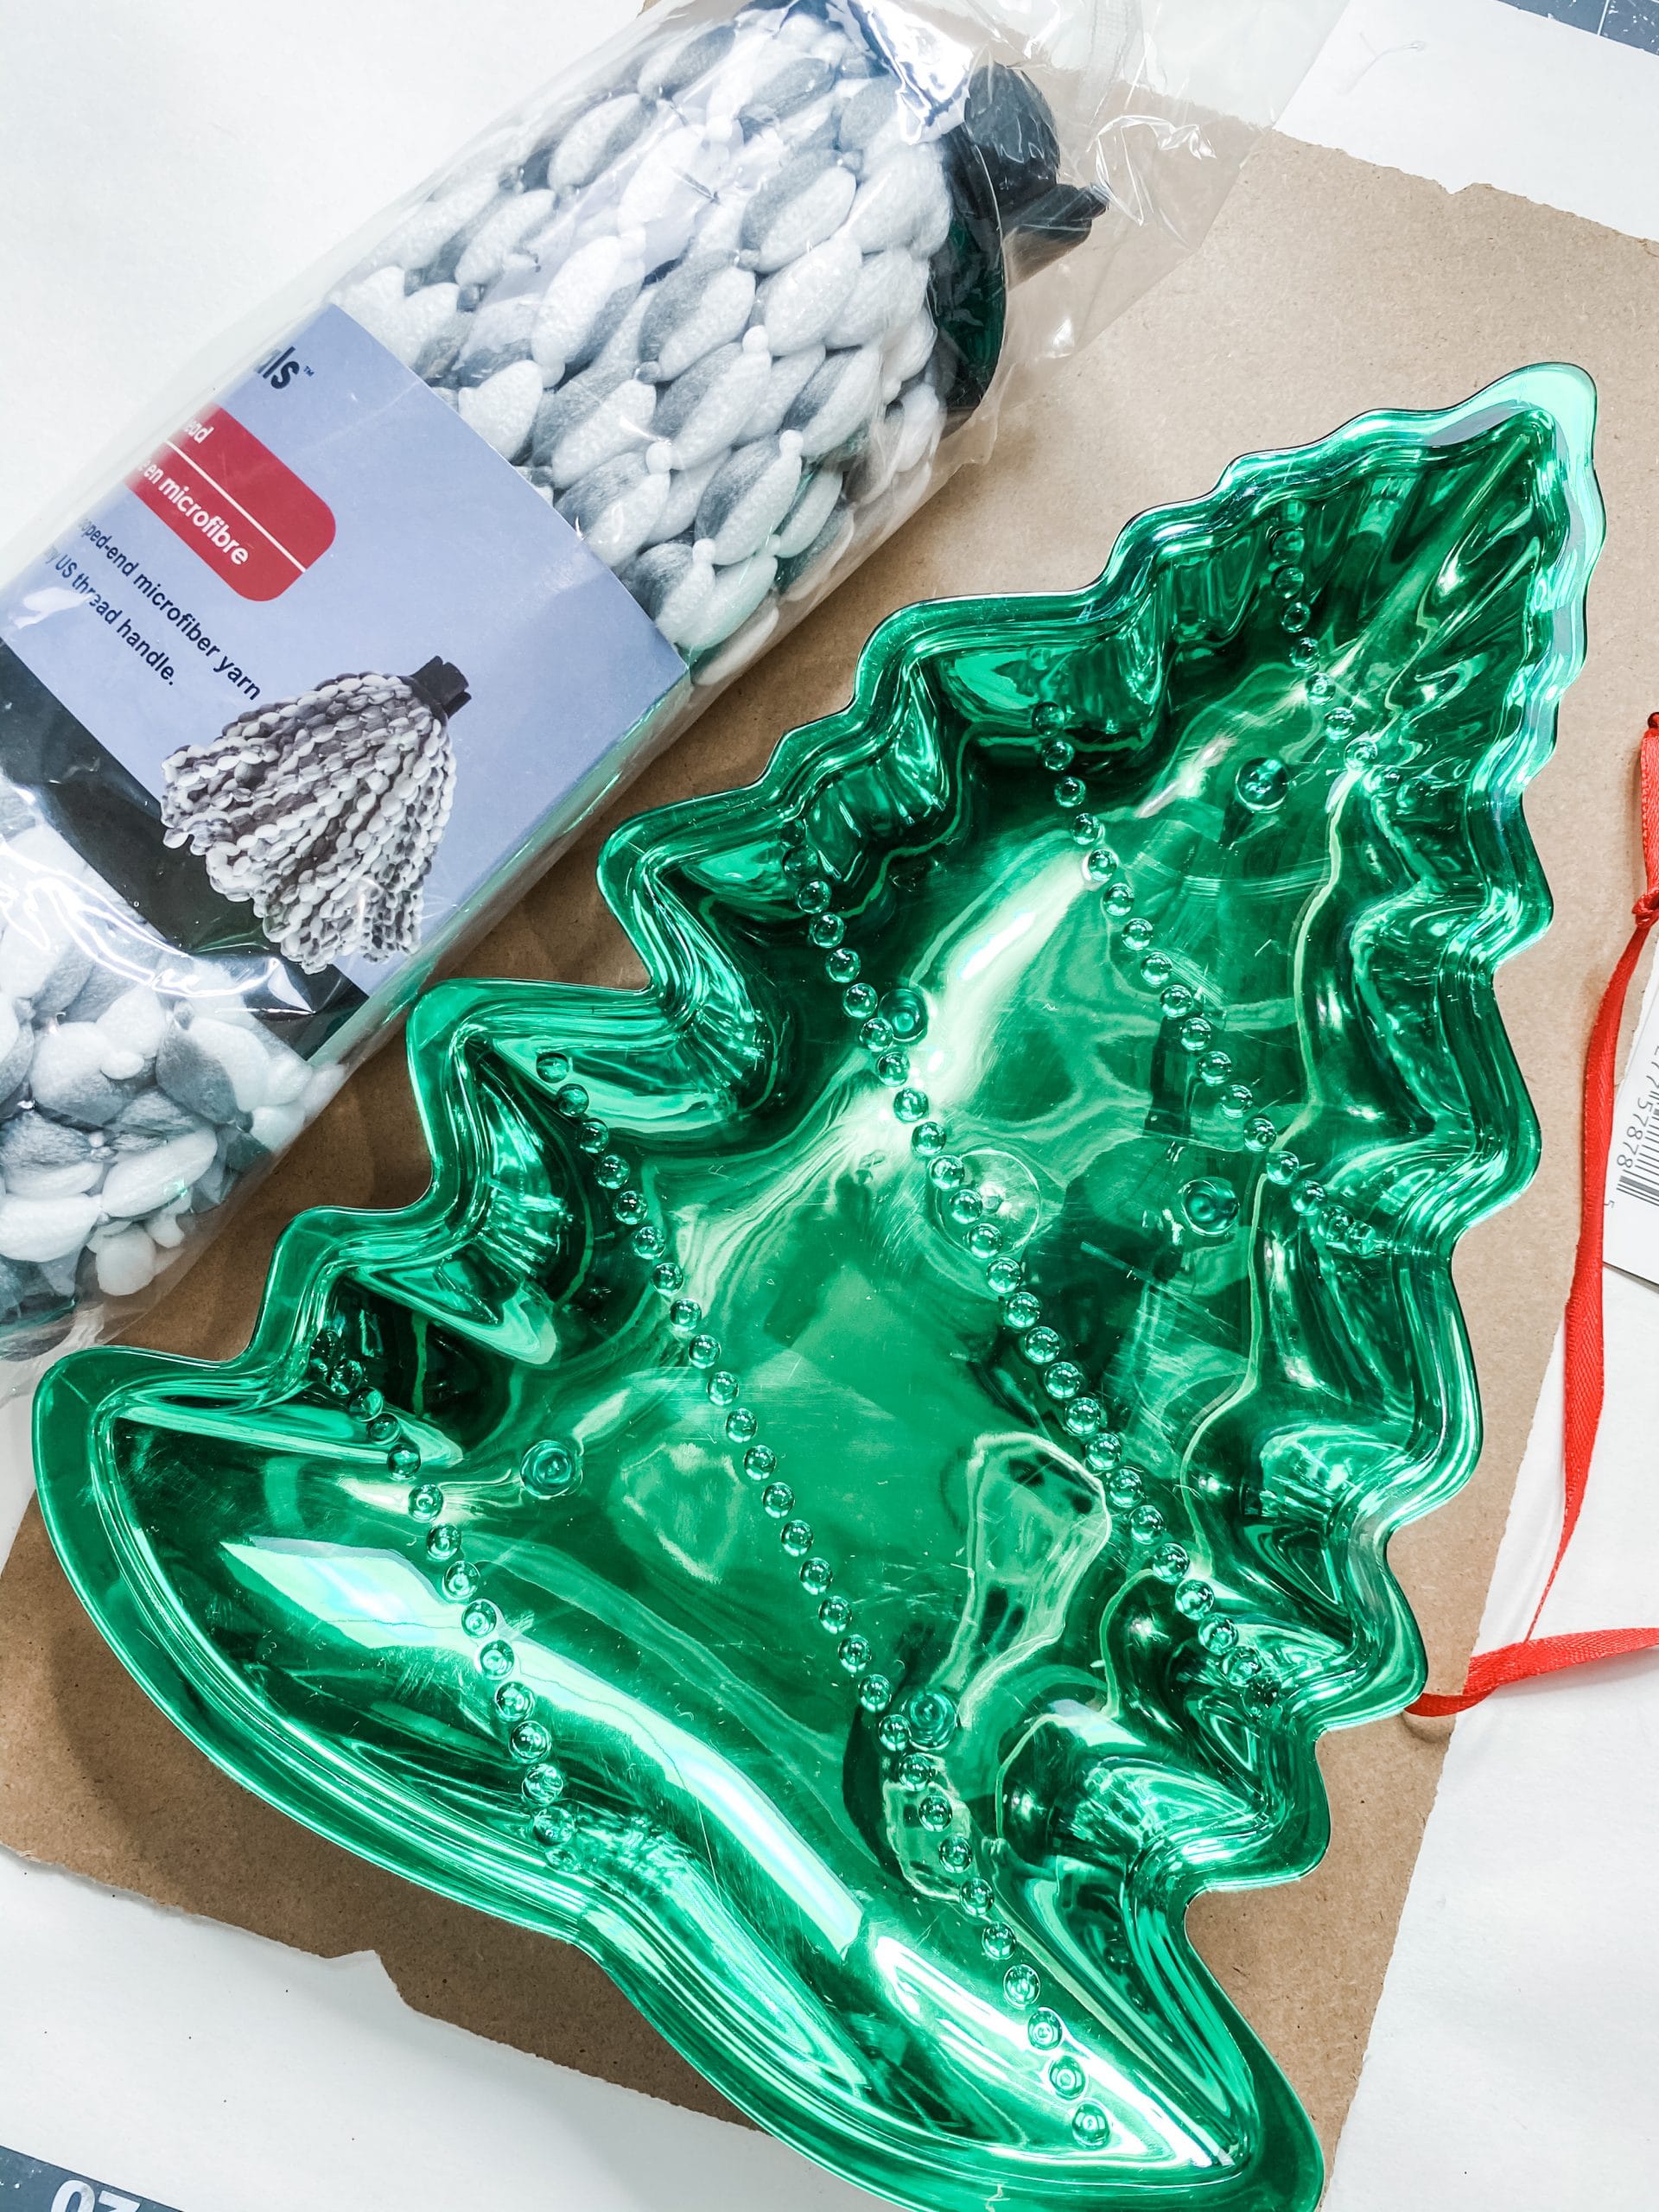
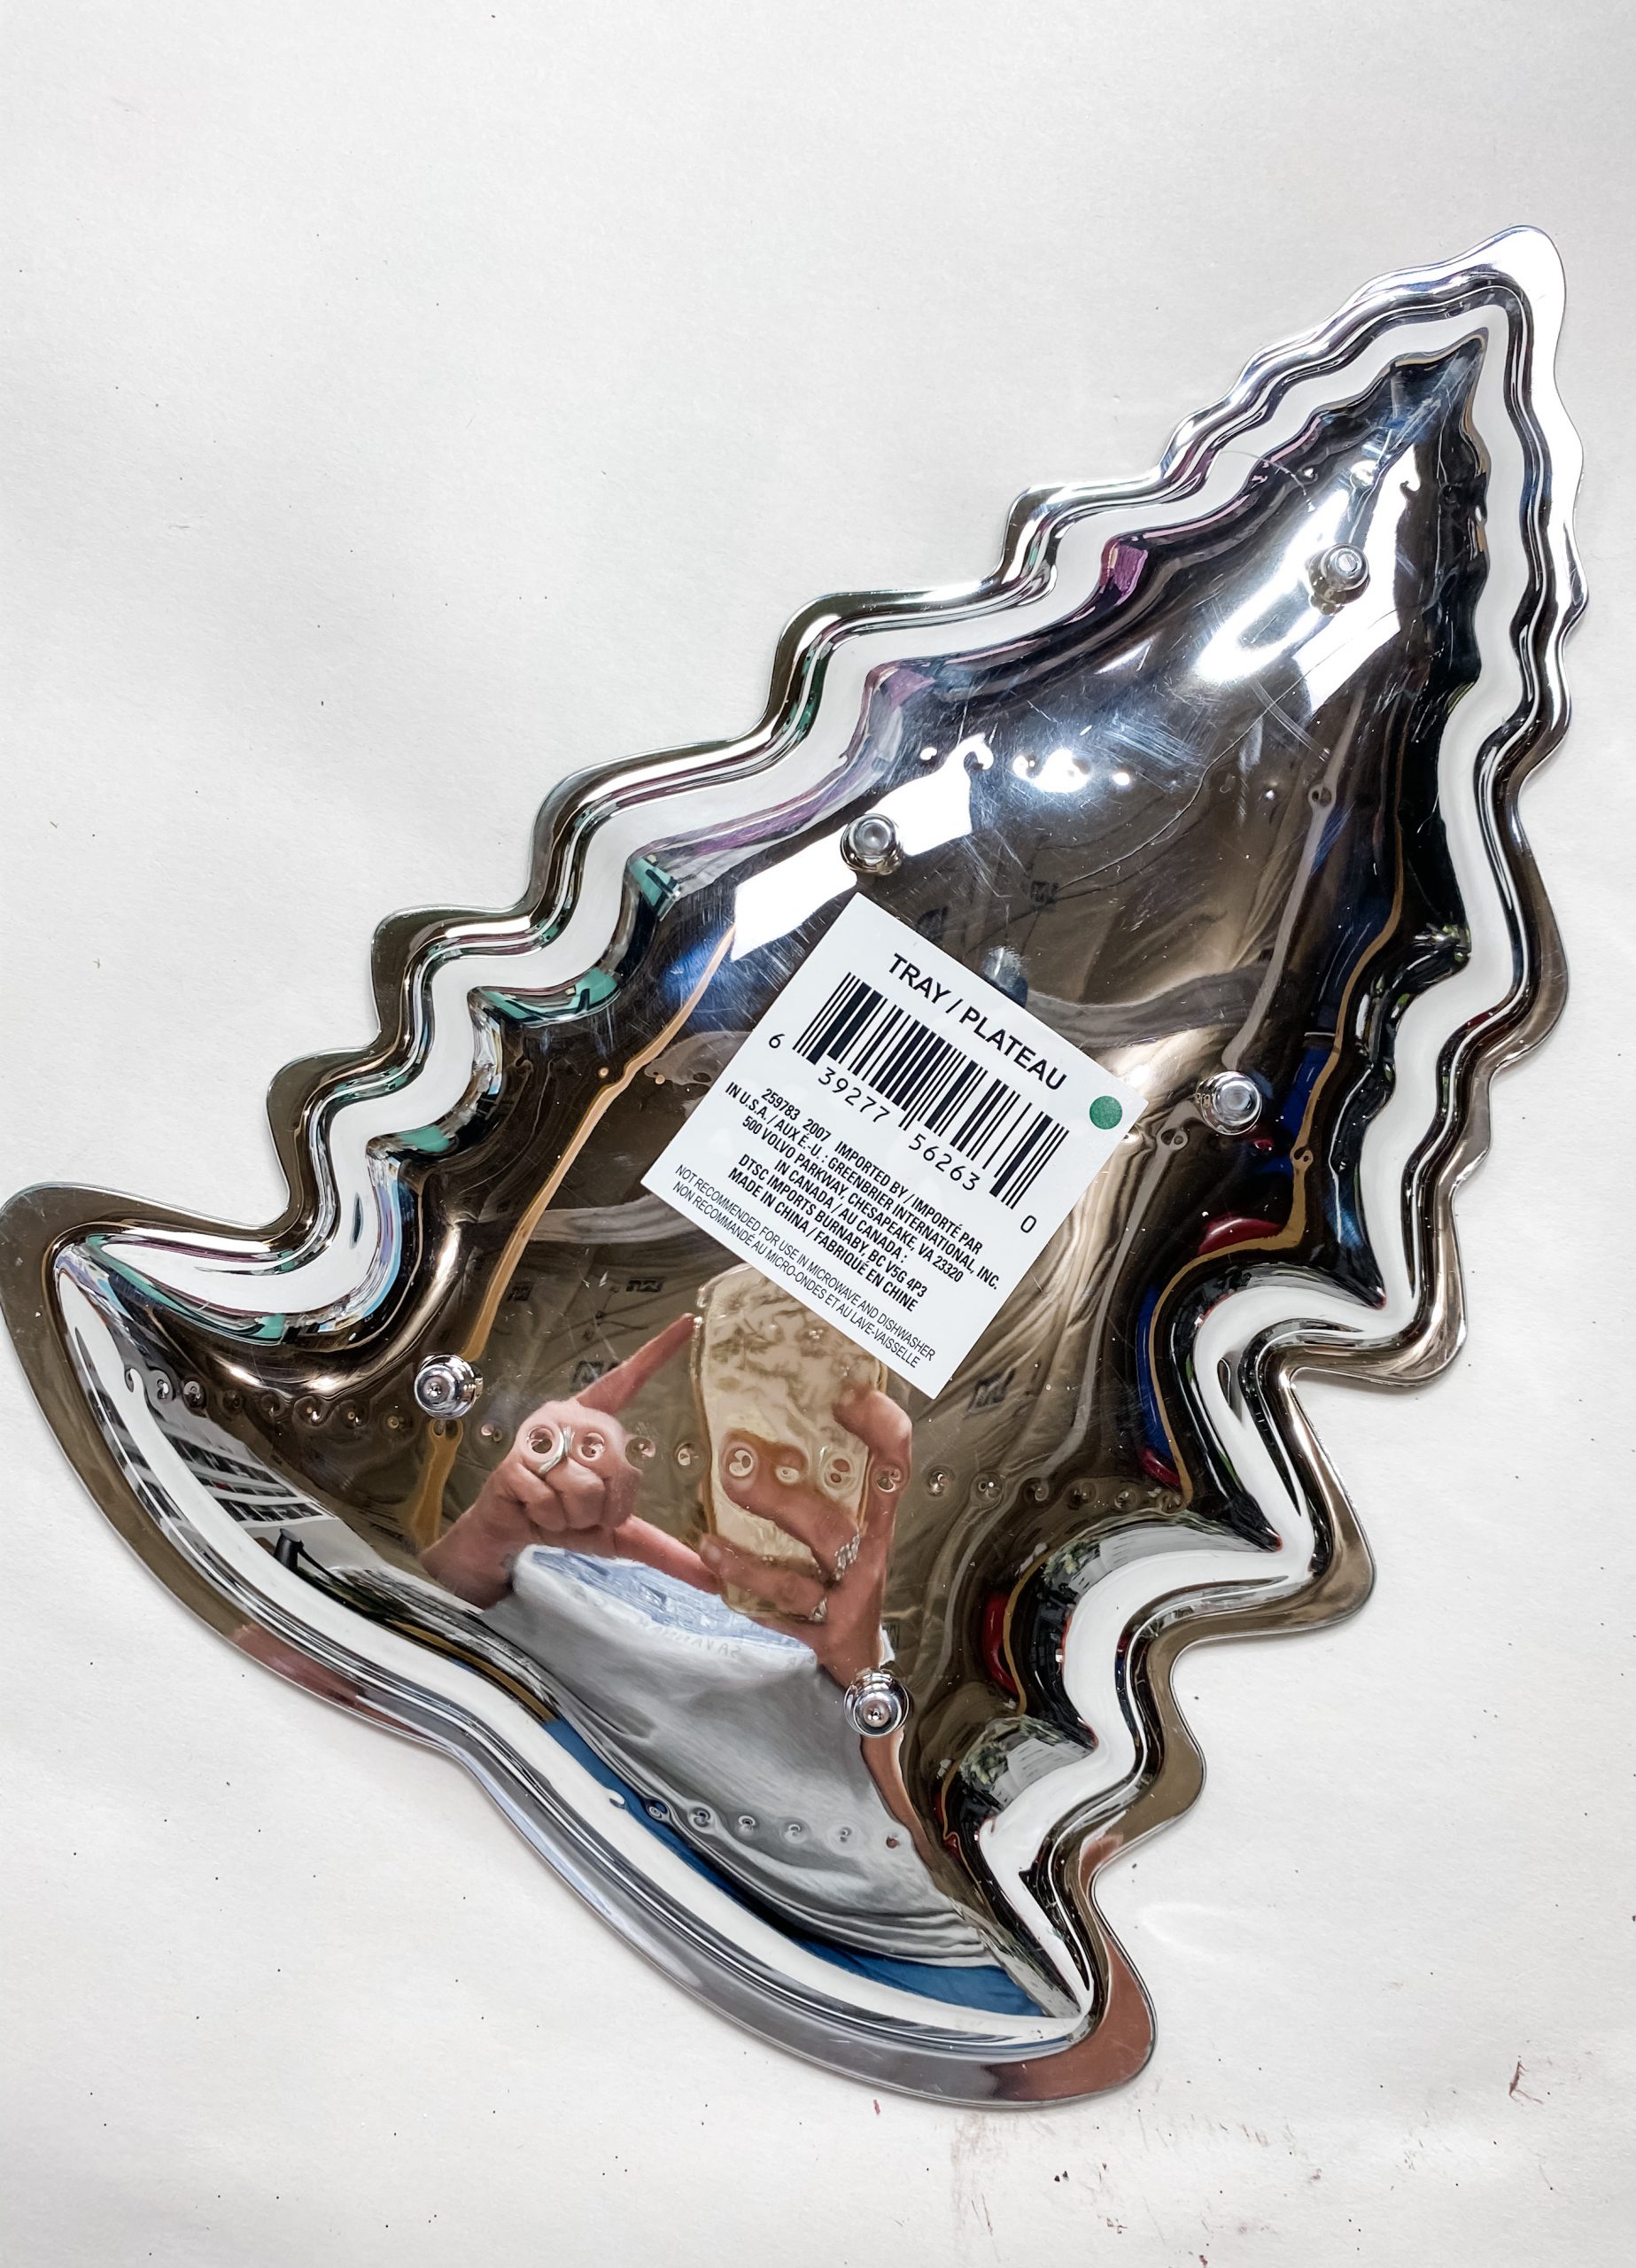
- Dollar Tree Plastic Christmas Tree
- 1/2 Wood Beads
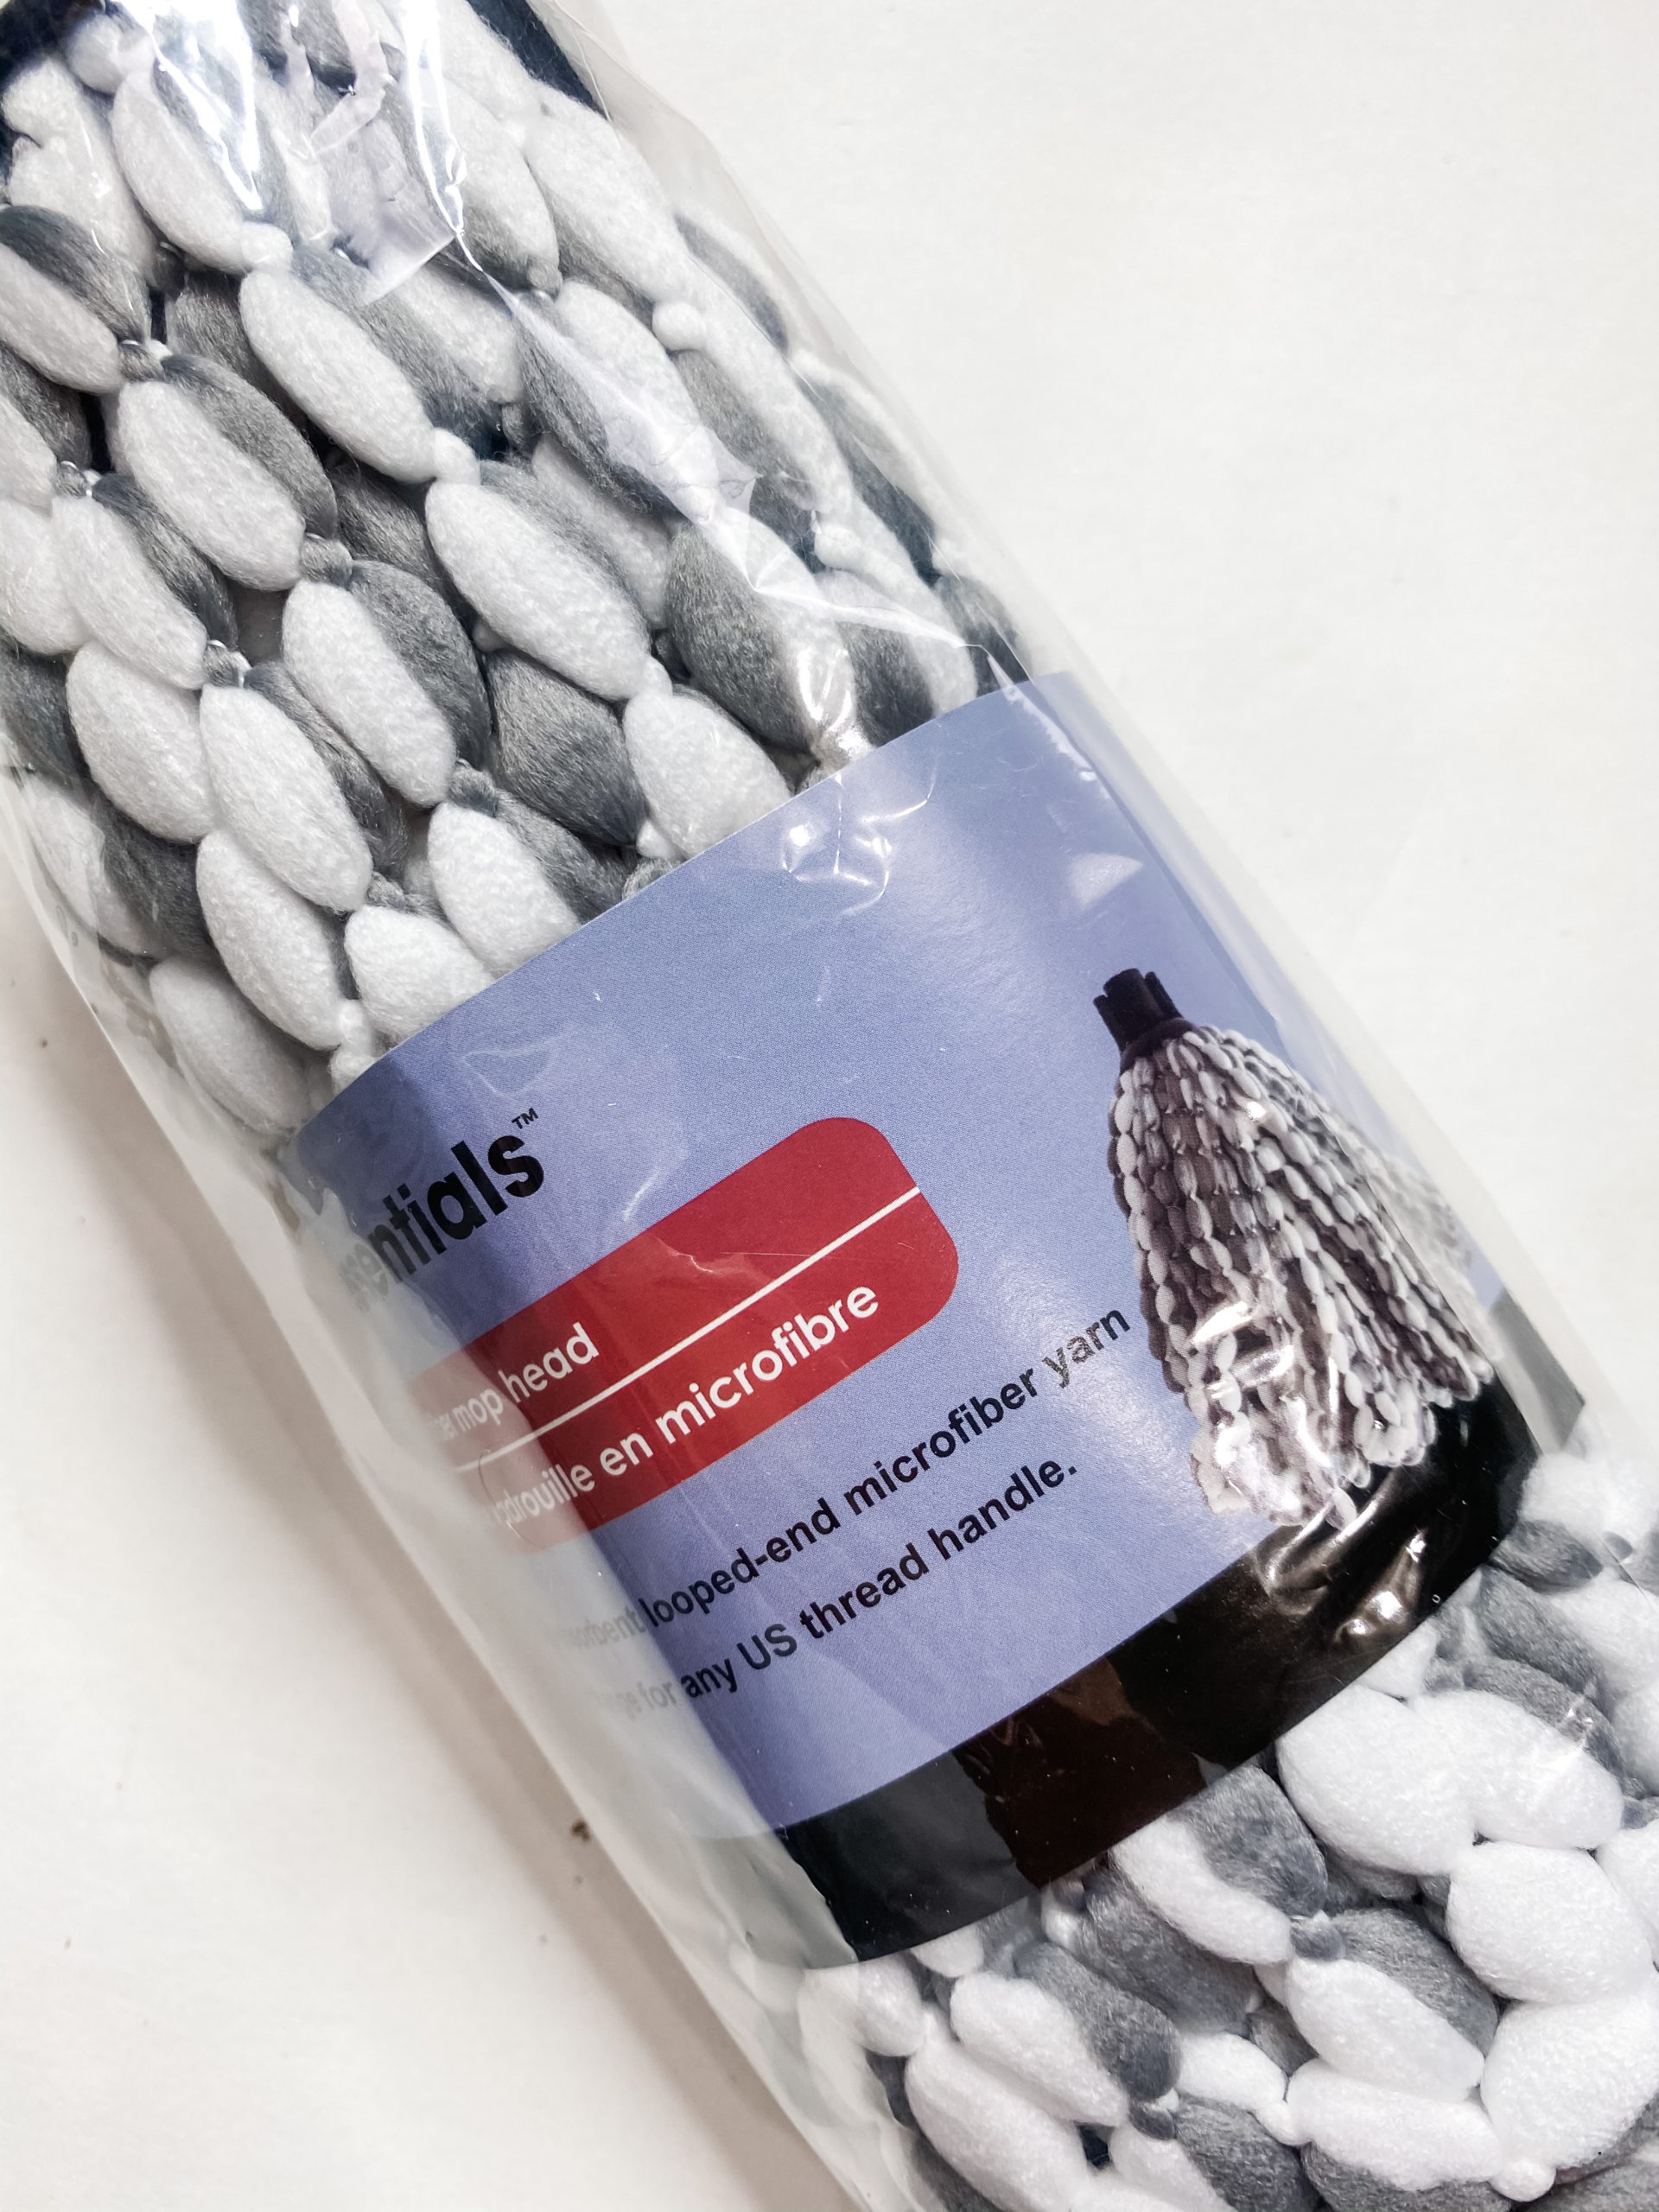
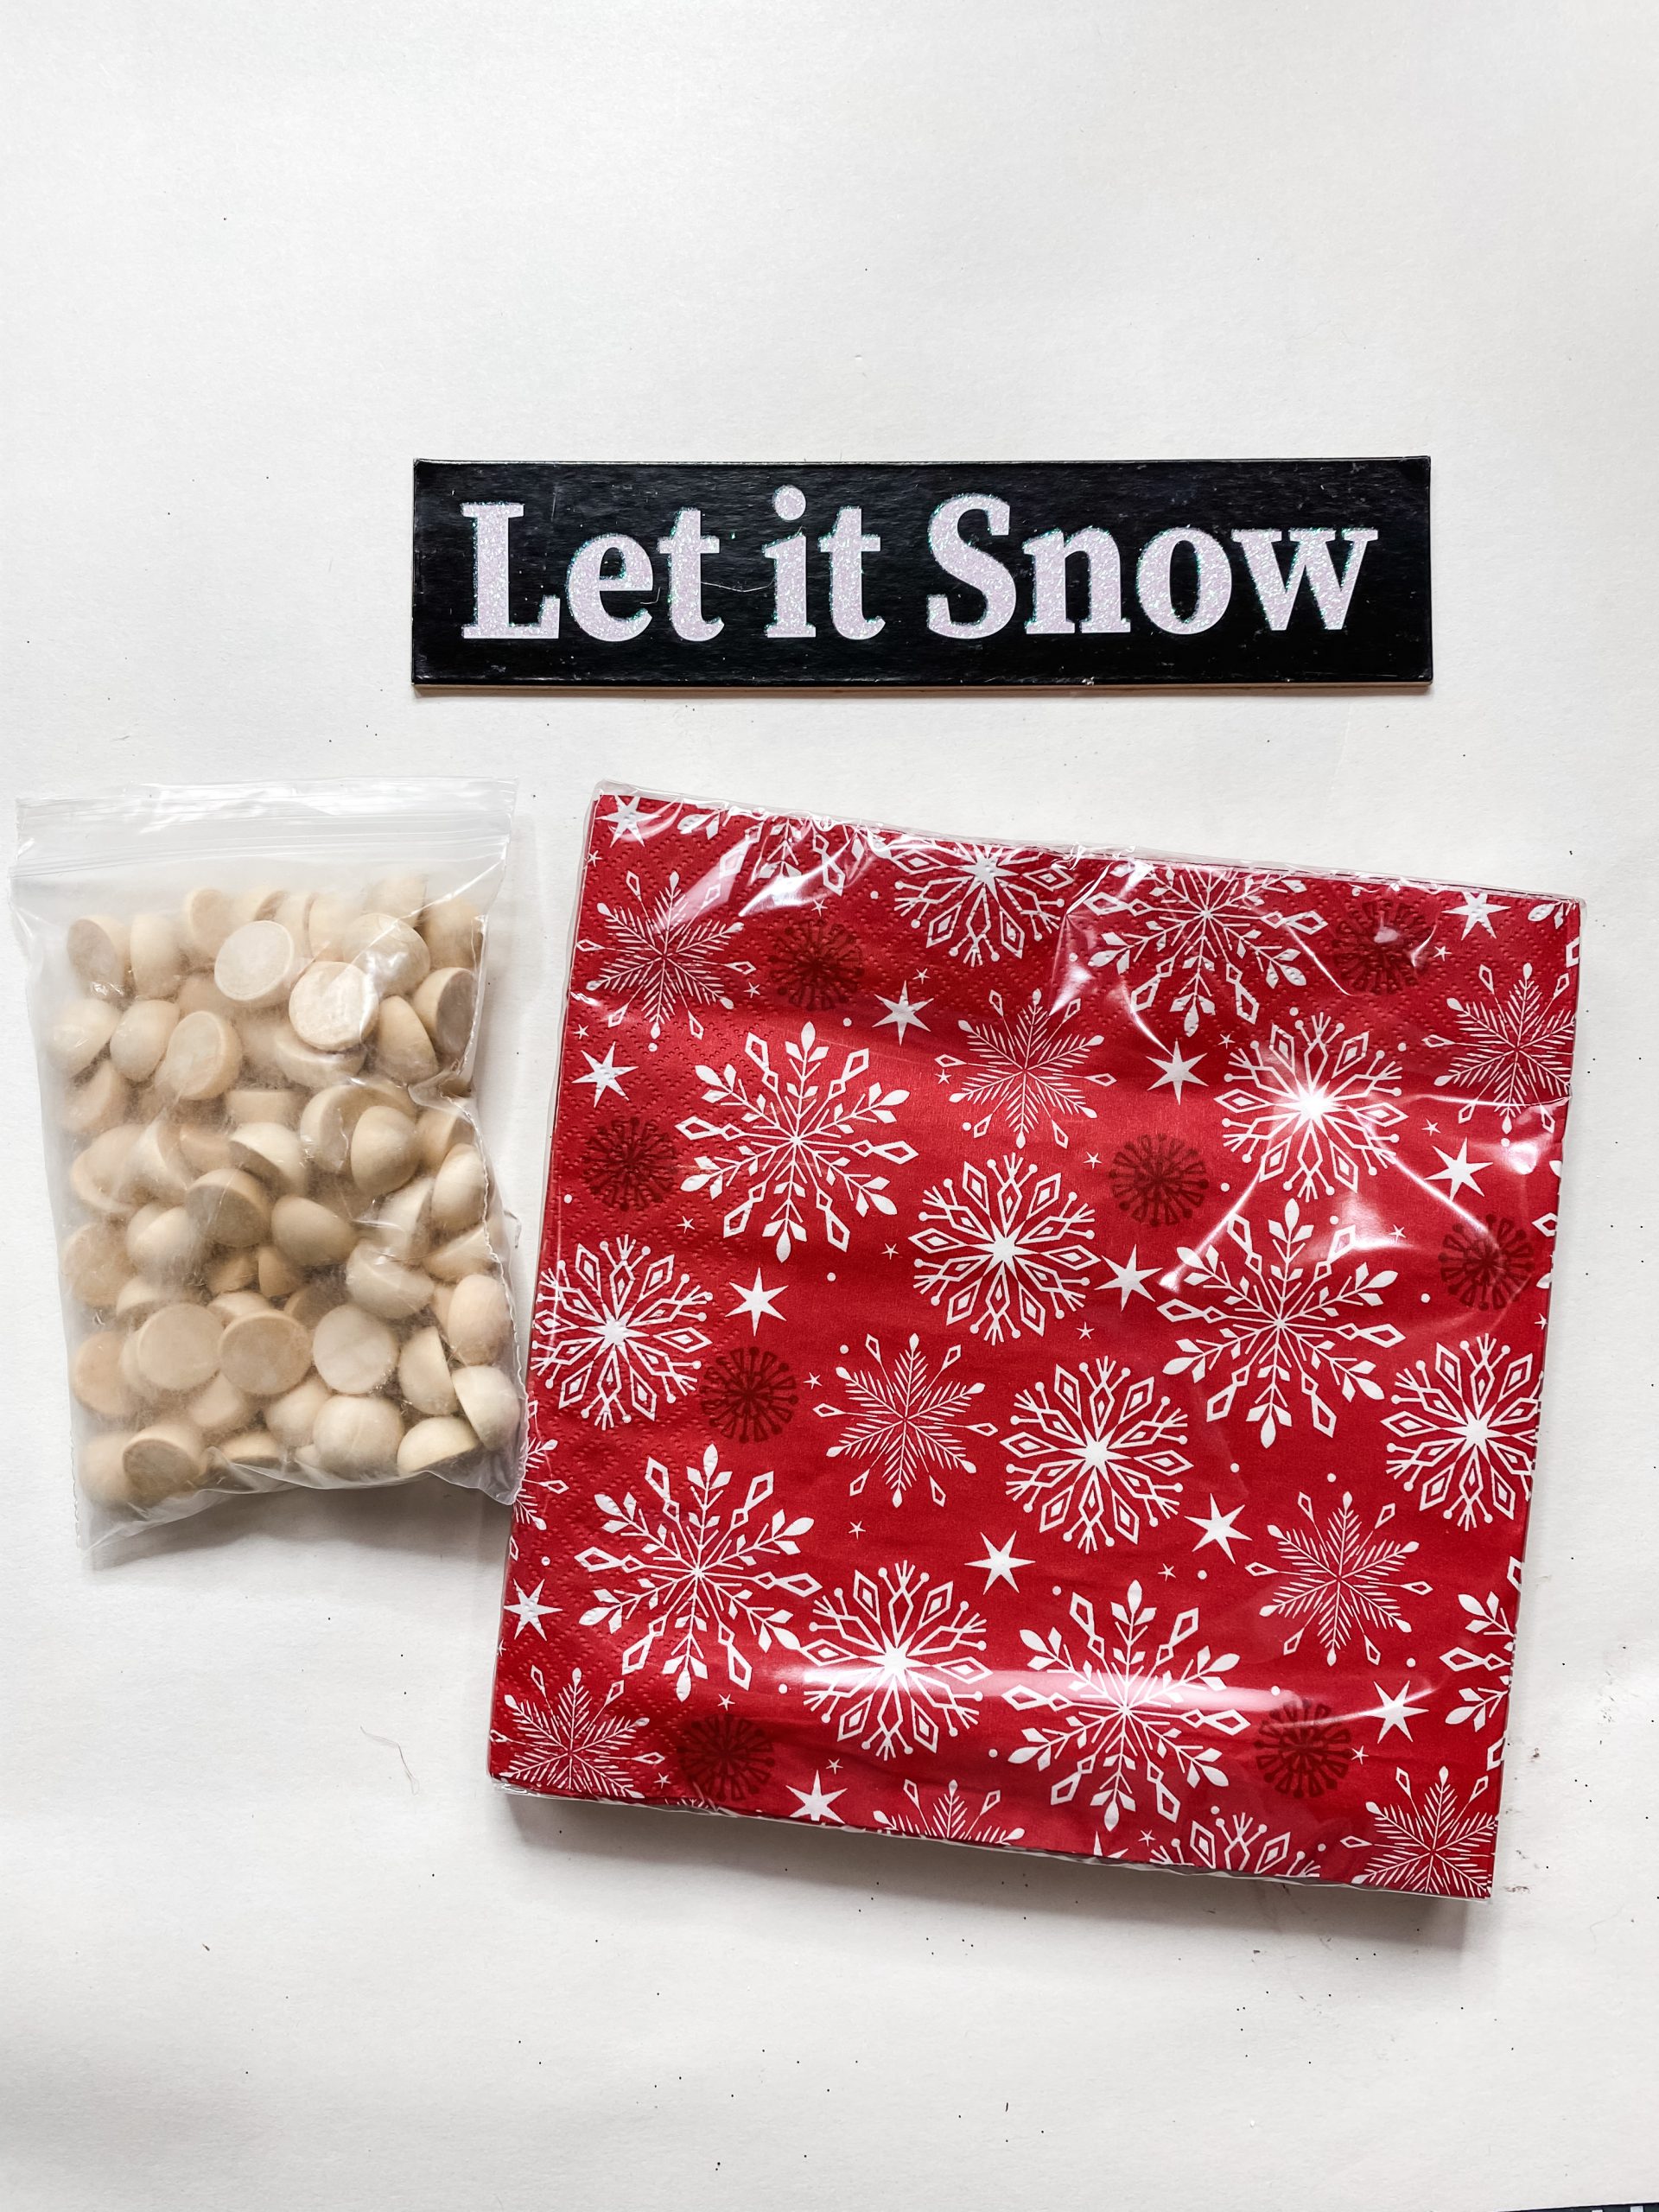
- Dollar Tree Microfiber Mop Head
- Dollar Tree Red Christmas Napkins
- Apple Barrel White Acrylic Paint
- Let it Snow piece from a Dollar Tree sign
- Sanding Sponge
- Jute twine
- Wood beads
- Totally Dazzled Bling
- Mod Podge
- Aviation Snips
- Glue Gun and Glue Sticks
- Heat gun
Let’s get started
This first step might be the trickiest one of the entire DIY project! You’re going to start by separating the plies of the Dollar Tree Christmas napkins. Be gentle and take it slow so you don’t rip the napkins!
Once the patterned plie is separated, cut the half off that has the large white space. I used 3 napkins for this Christmas DIY.
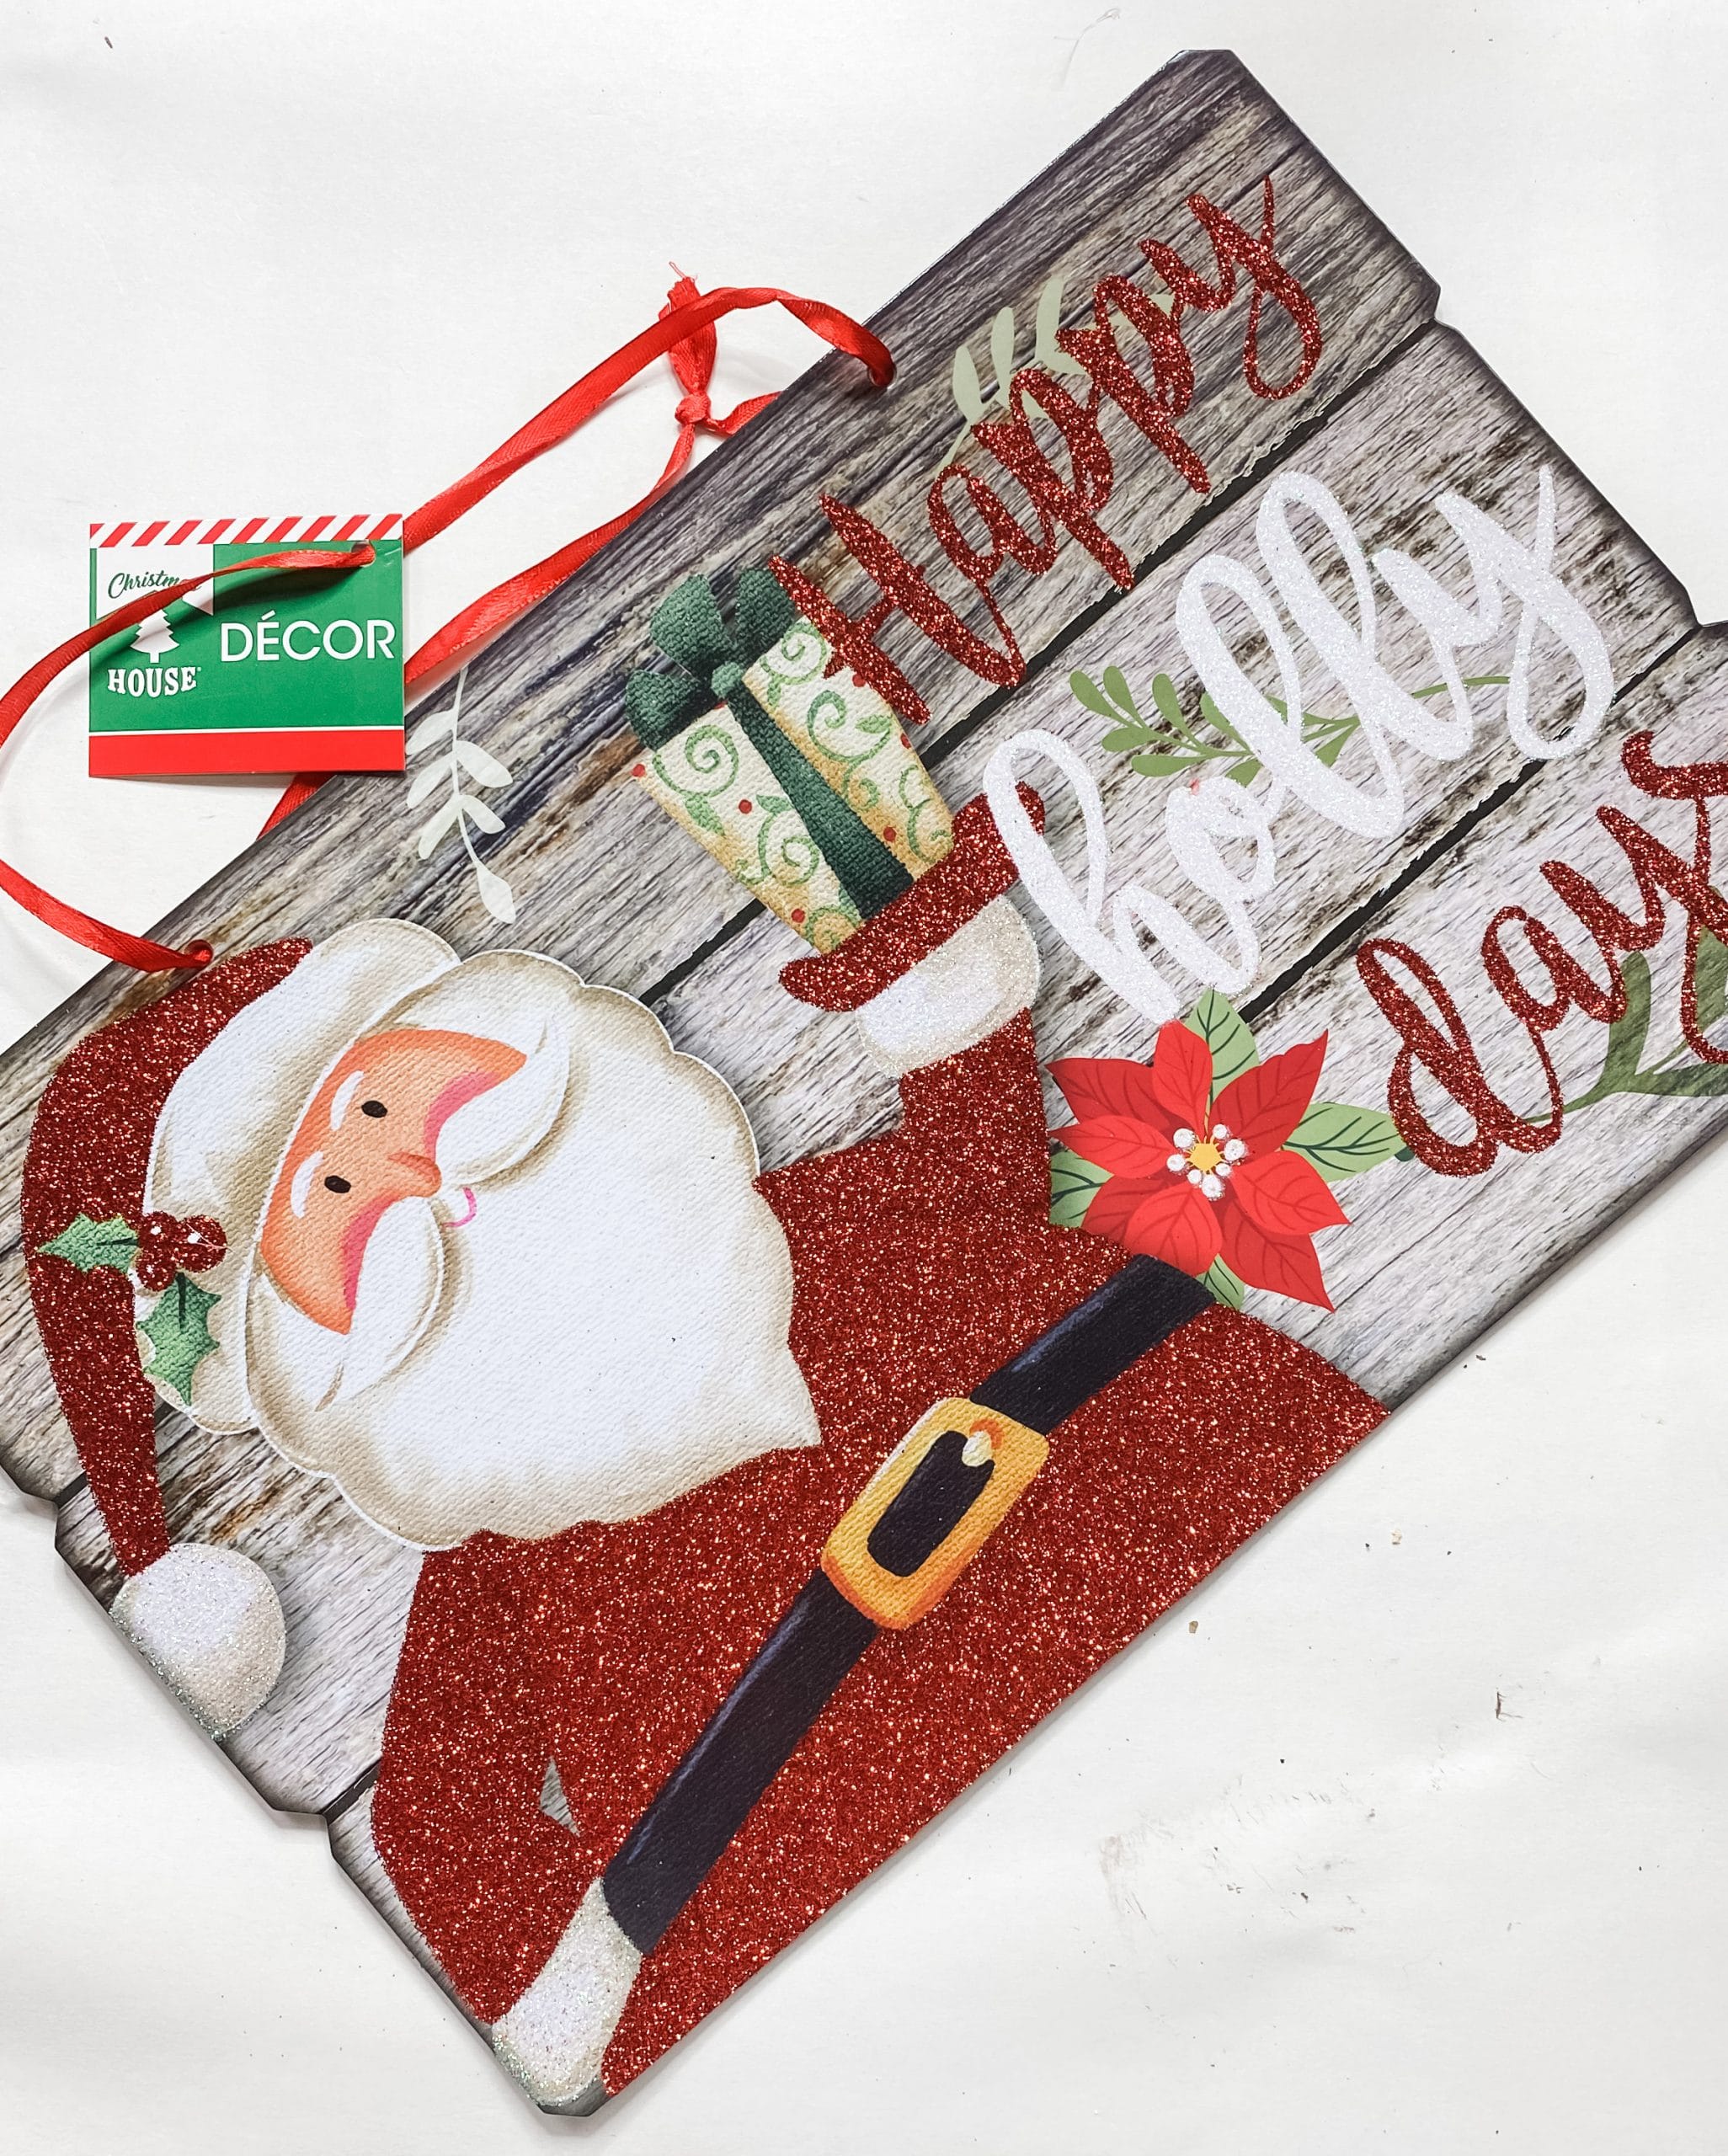
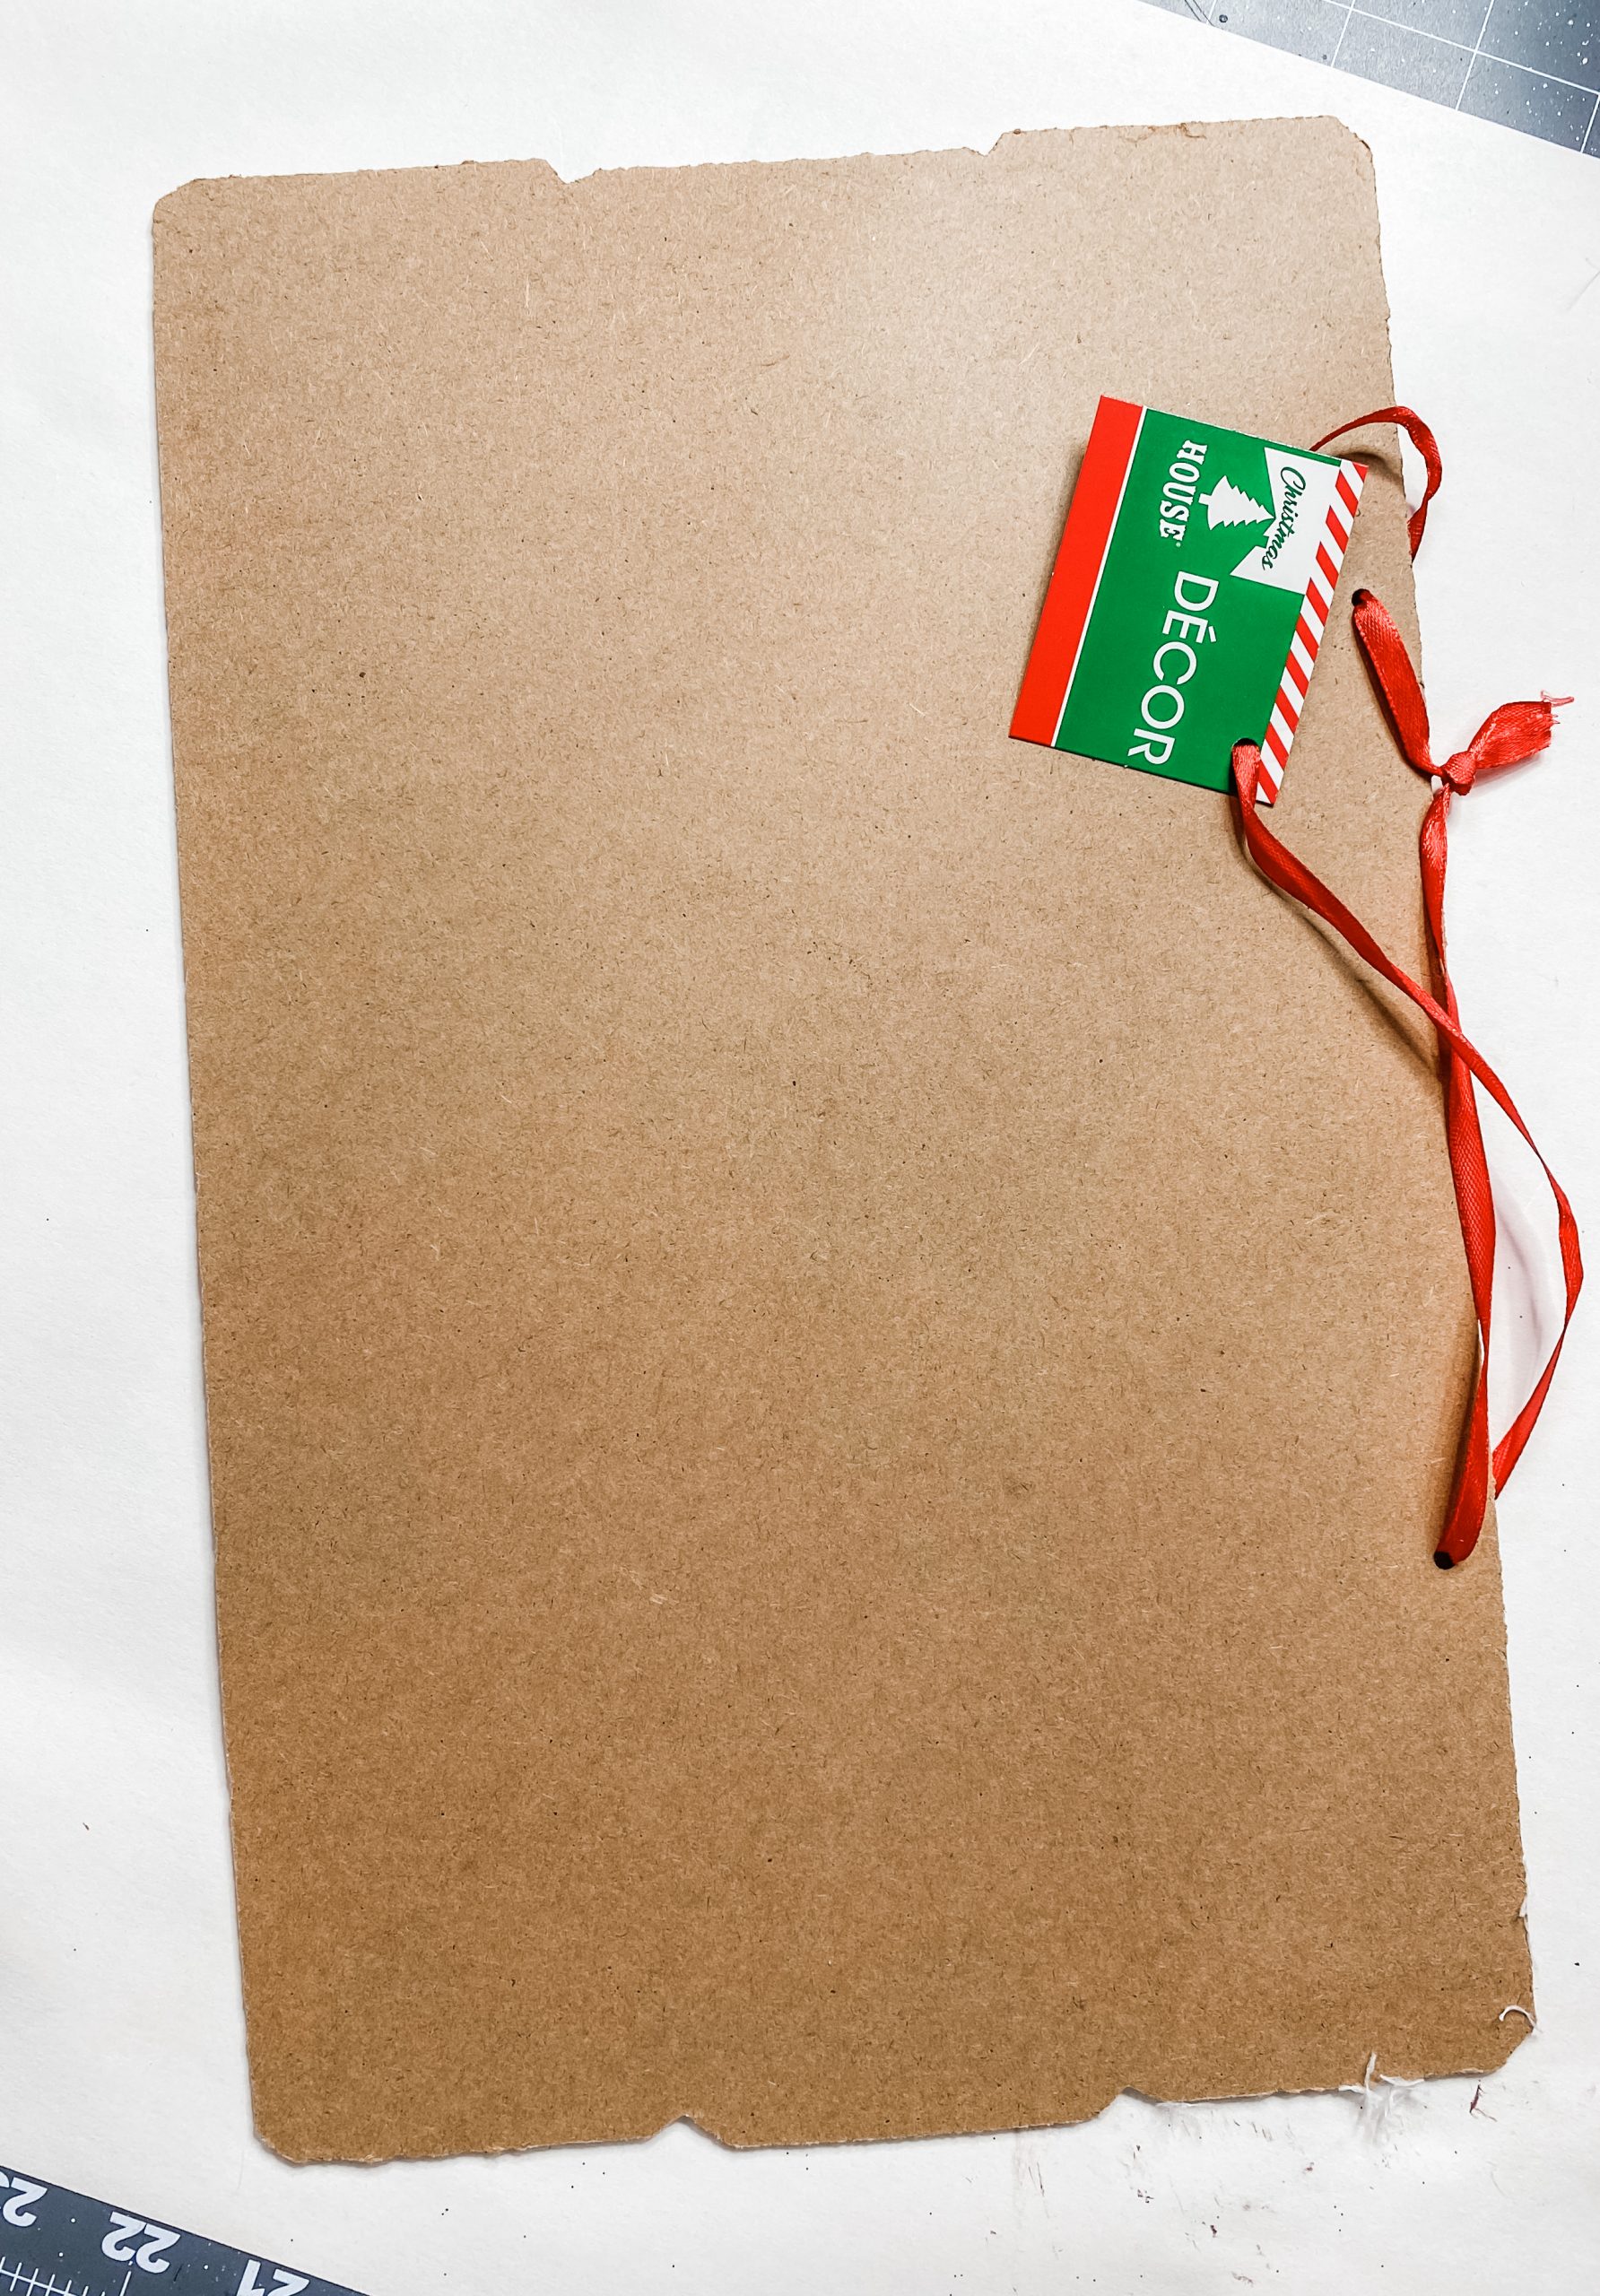
I love Dollar Tree’s holiday signs, not because I think they’re super cute, but because the backs are perfect surface boards!
Just flip over this Christmas sign and use the back of it for this cute DIY Christmas sign.
I mixed the Apple Barrel White Acrylic Paint and Mod Podge and applied the mixture to the back of the Dollar Tree Christmas sign. Next, I placed the napkins carefully.
To smooth out the wrinkles and creases, lay a piece of plastic wrap over the napkins and roll a rolling pin over it. The plastic wrap protects the napkins and helps prevent them from ripping and tearing.
Set the decoupaged book to the side to dry, and let’s move on to the next step!
O’ Christmas Tree!
Alright, grab the Dollar Tree Microfiber mop head. I used my aviation snips to pop the black plastic piece off, and then all you have to do is unwrap the mop strings from around themselves.
Next, get the plastic Dollar Tree Christmas Tree. I flipped mine over so that it would be sticking up off of the wood when I attach it to the sign.
Now all you have to do is hot glue the mop mead to the plastic Christmas tree.
Make sure you glue the strings close to each other, otherwise you’ll have the metallic silver color poking through.
If you want to avoid that altogether, you could always paint the Christmas tree white first.
Add some details
Remember the paint/mod podge mixture you used earlier? You need that for this next step.
Grab a chippy brush and just dab the mixture around the edges of the Christmas tree first. Then, do the same thing across the entire tree.
I wanted my Christmas tree to look like it had garland, so I used some jute twine. Cut it into strips, and hot glue them going vertically down your tree, with one end of each strip glued to the very top of your Christmas tree.
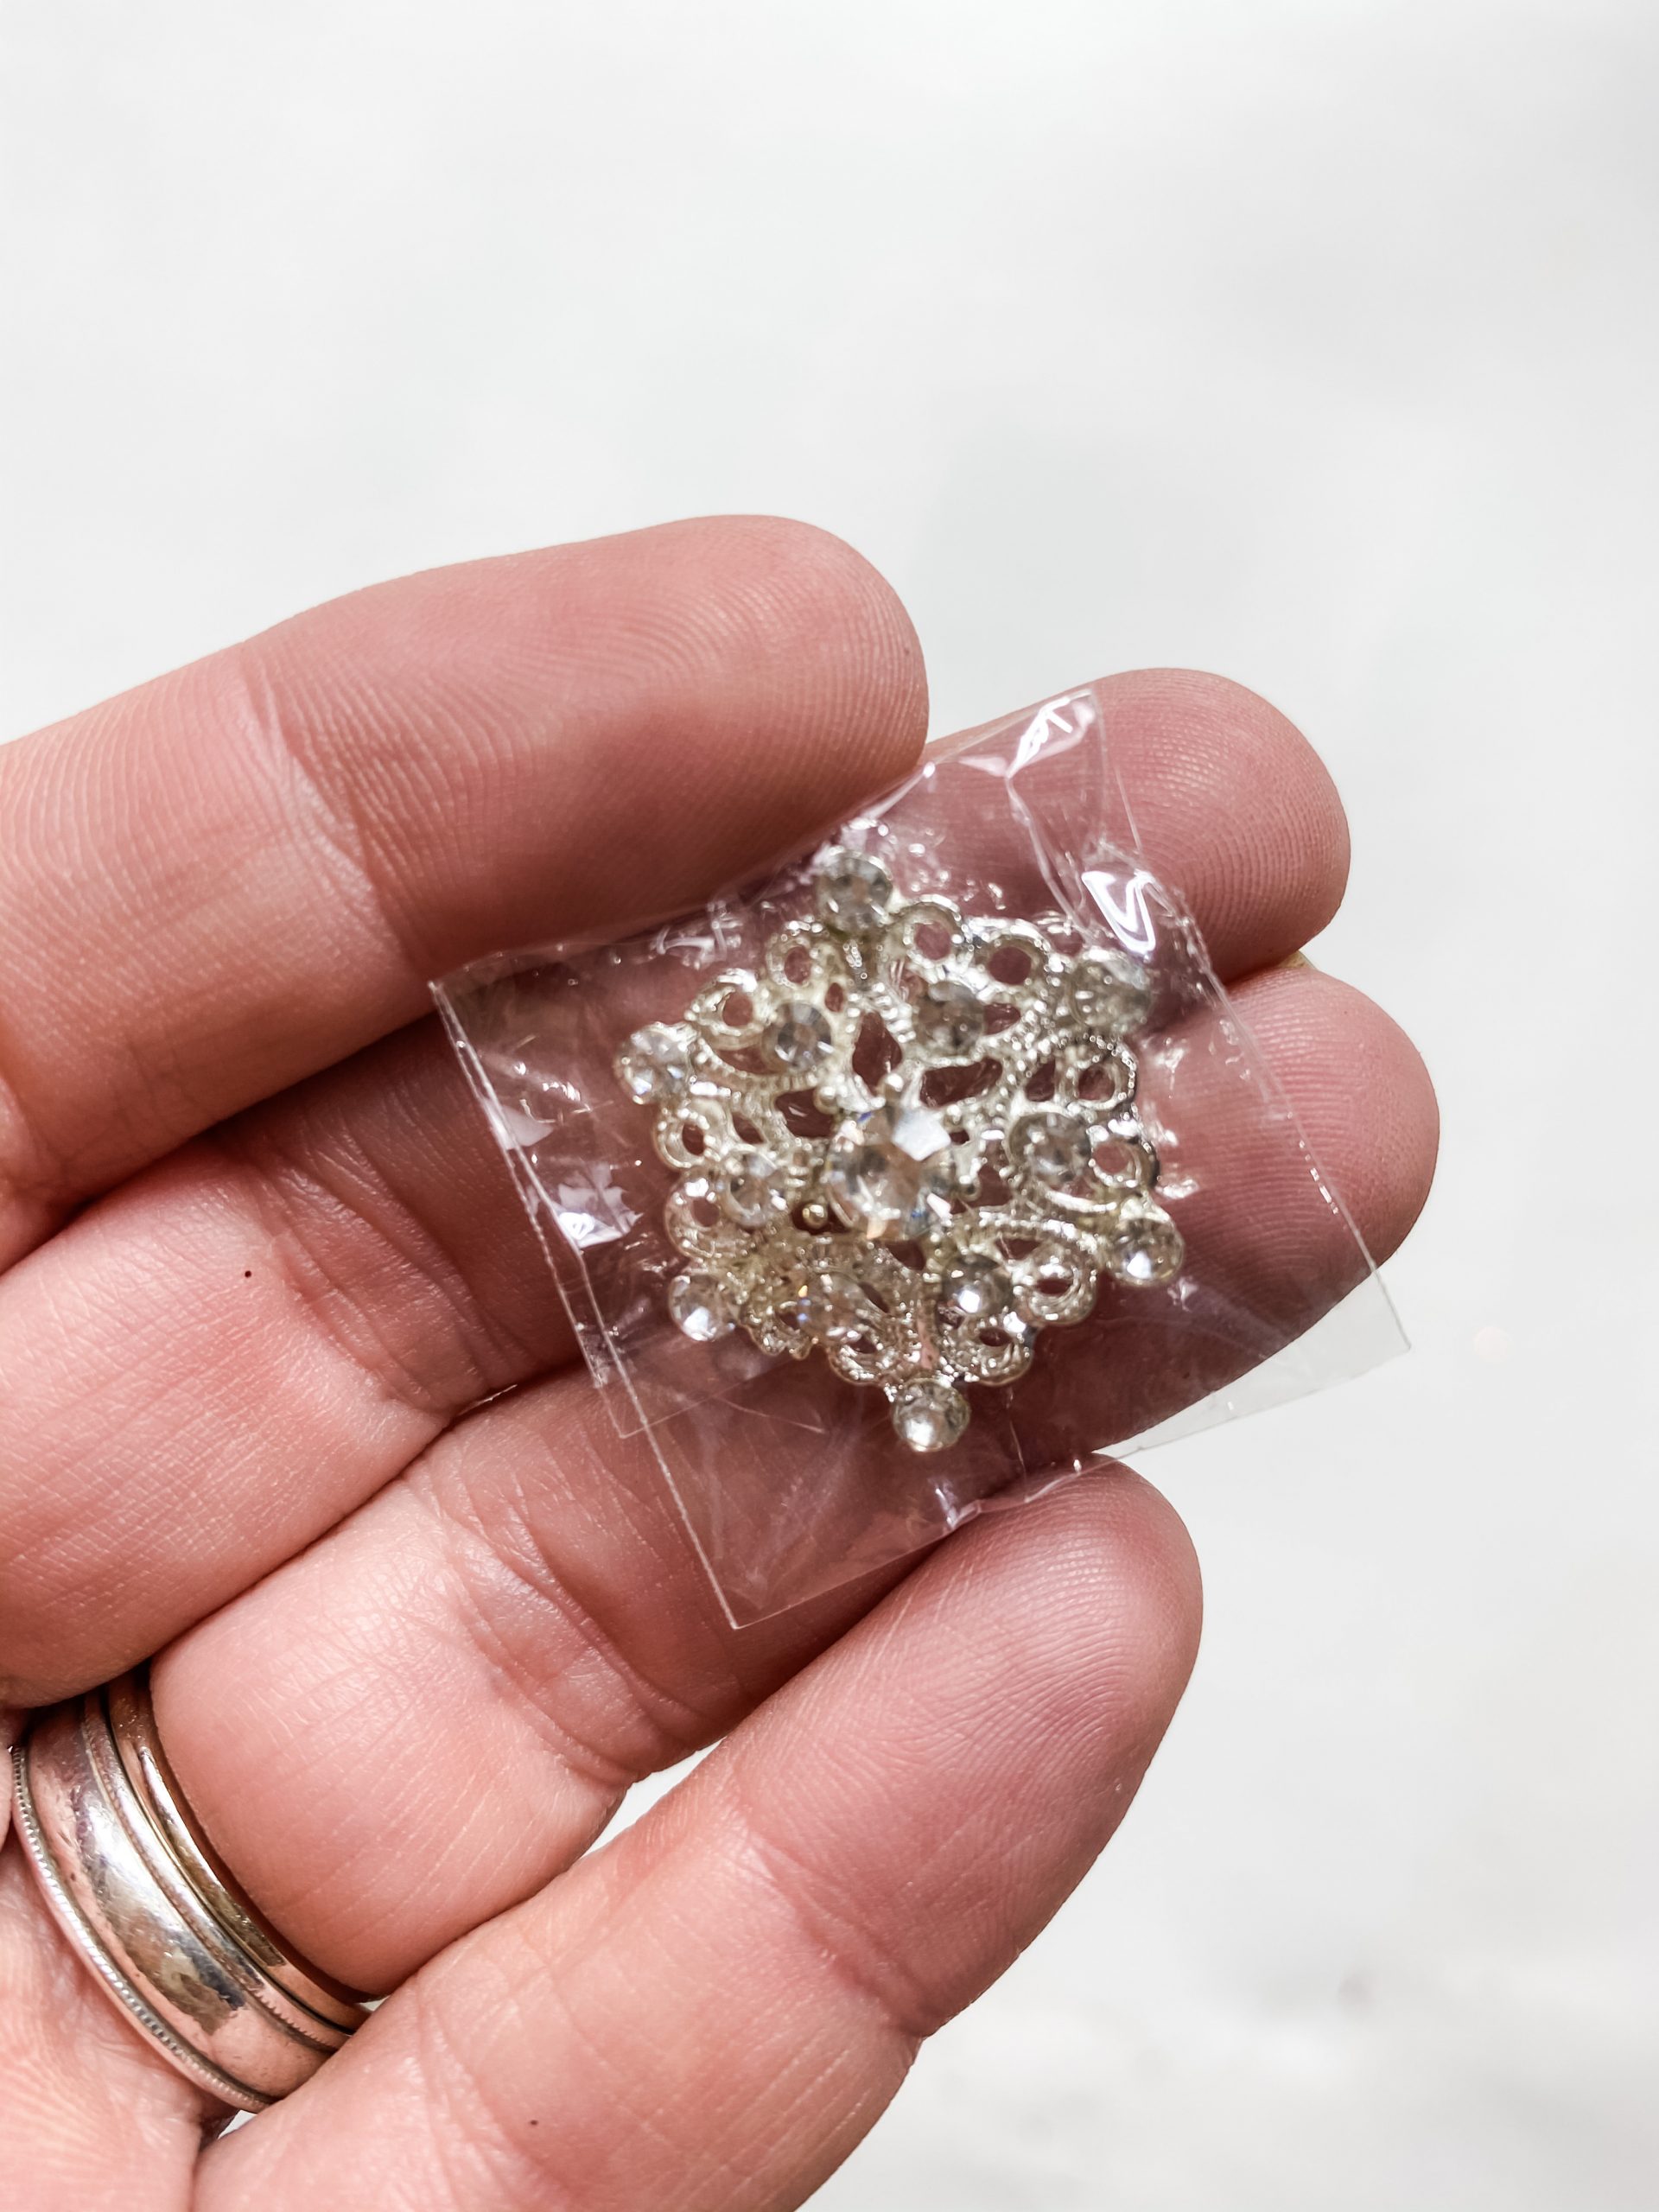
You can’t have a Christmas tree without a star at the top! For my star, I used a super cute piece of bling from Totally Dazzled!
You could even put a messy bow at the top if you wanted. I think that would be adorable, too!
(I think this messy bow would be SO CUTE on this DIY Christmas Tree sign)
It’s starting to come together now!
The napkins should be dry now on the Christmas Wood Sign, so go ahead and trim the excess napkins from around the edges of the sign.
I used my sanding sponge to just lightly distress the edges of the sign. You want to be careful because you don’t want to tear the napkins too much.
Next, hot glue the Christmas Tree onto the wood sign, but leave a little bit of space below it for the Let it Snow sign.
The Let it Snow sign was cute, but I wanted to keep with the distressed look I had going, so I just distressed it a little with my sanding sponge.
The finishing touches
Only a couple more steps, I promise! I love using 1/2 wood beads as just a little extra embellishment in my DIY crafts, so I just hot glued one by each of the four corners of my DIY Christmas sign.
All that is left to do is make and attach the hanger! I slid wood beads onto a piece of jute twine. Make the twine as long or as short as you want.
I drilled 2 holes for the twine to go through, but you could also just hot glue the ends of the twine to the back of the wood sign if you don’t have a drill.
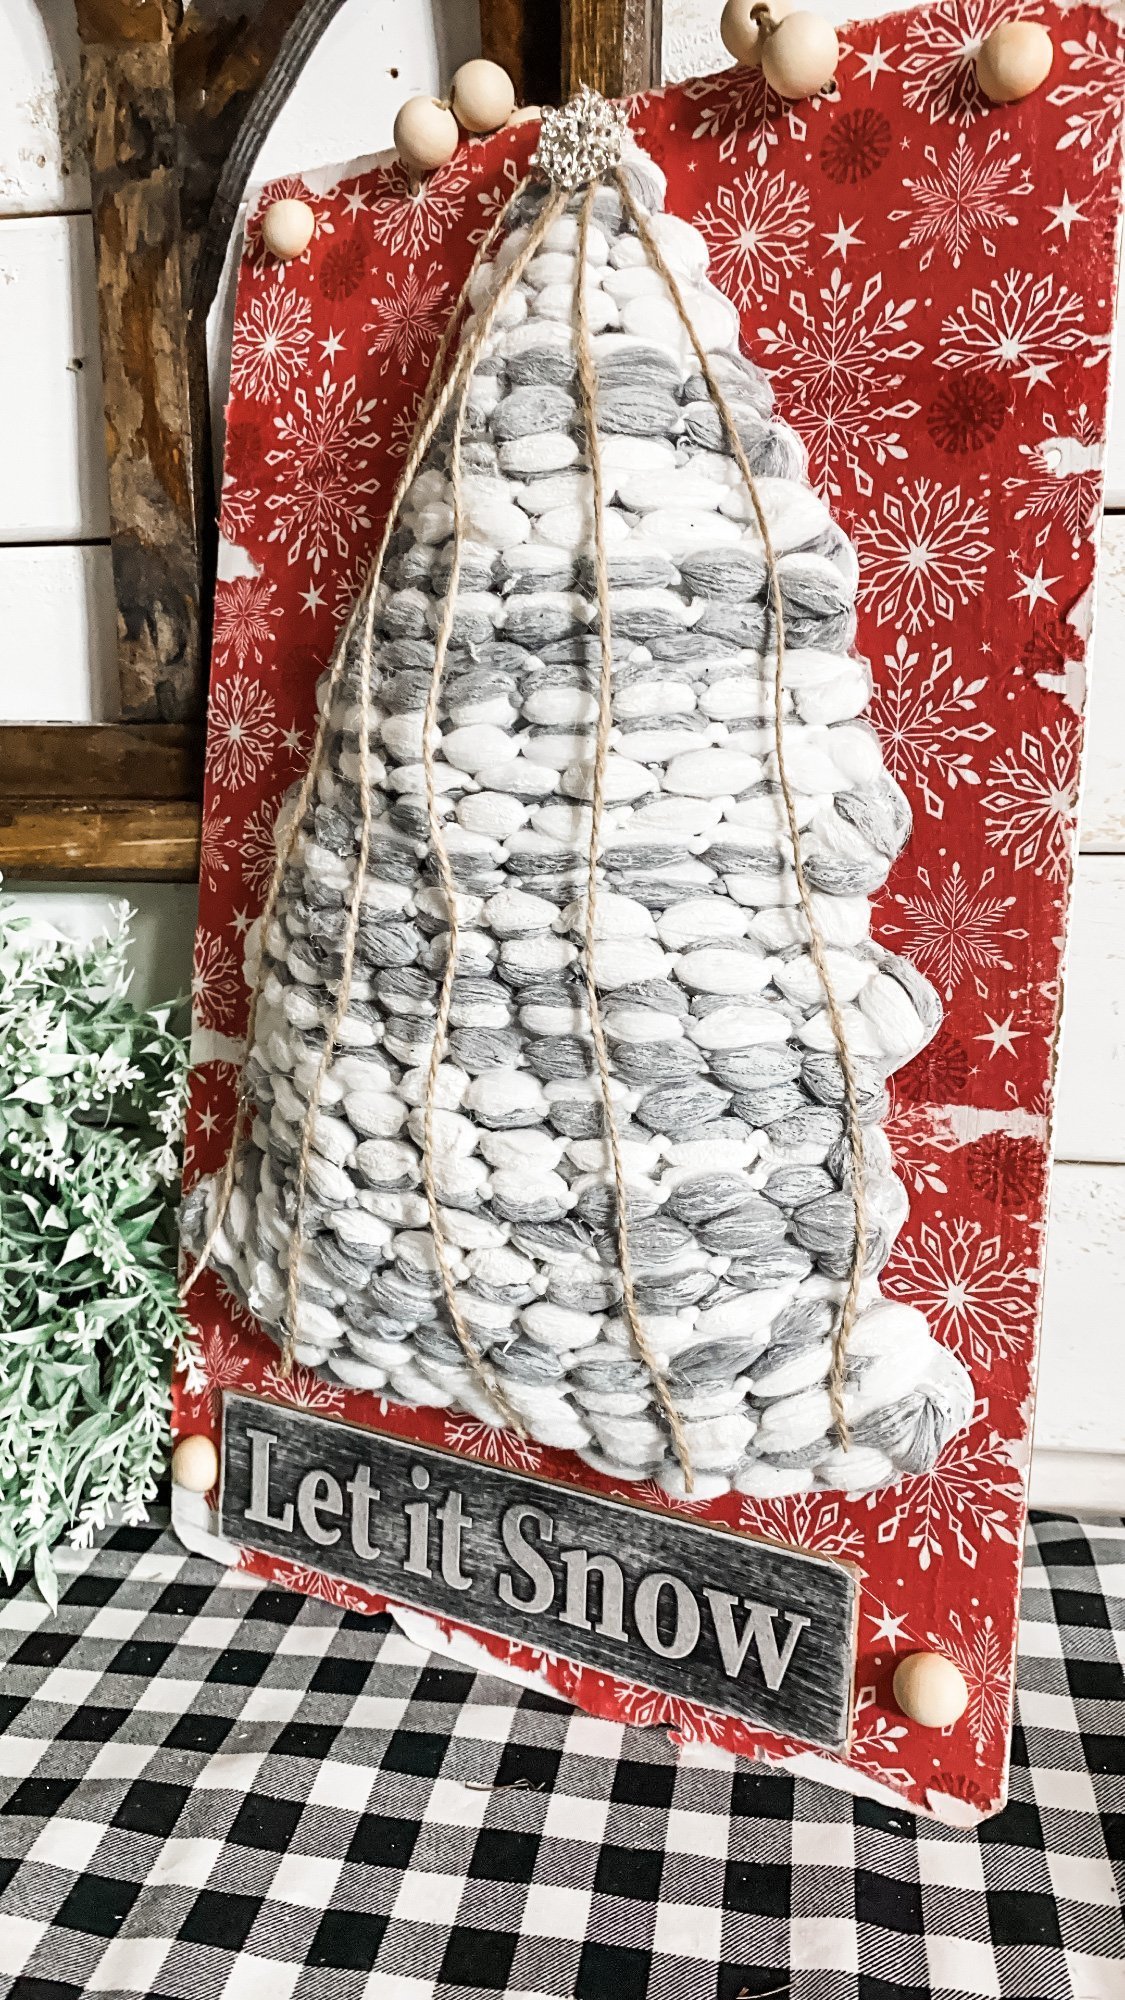
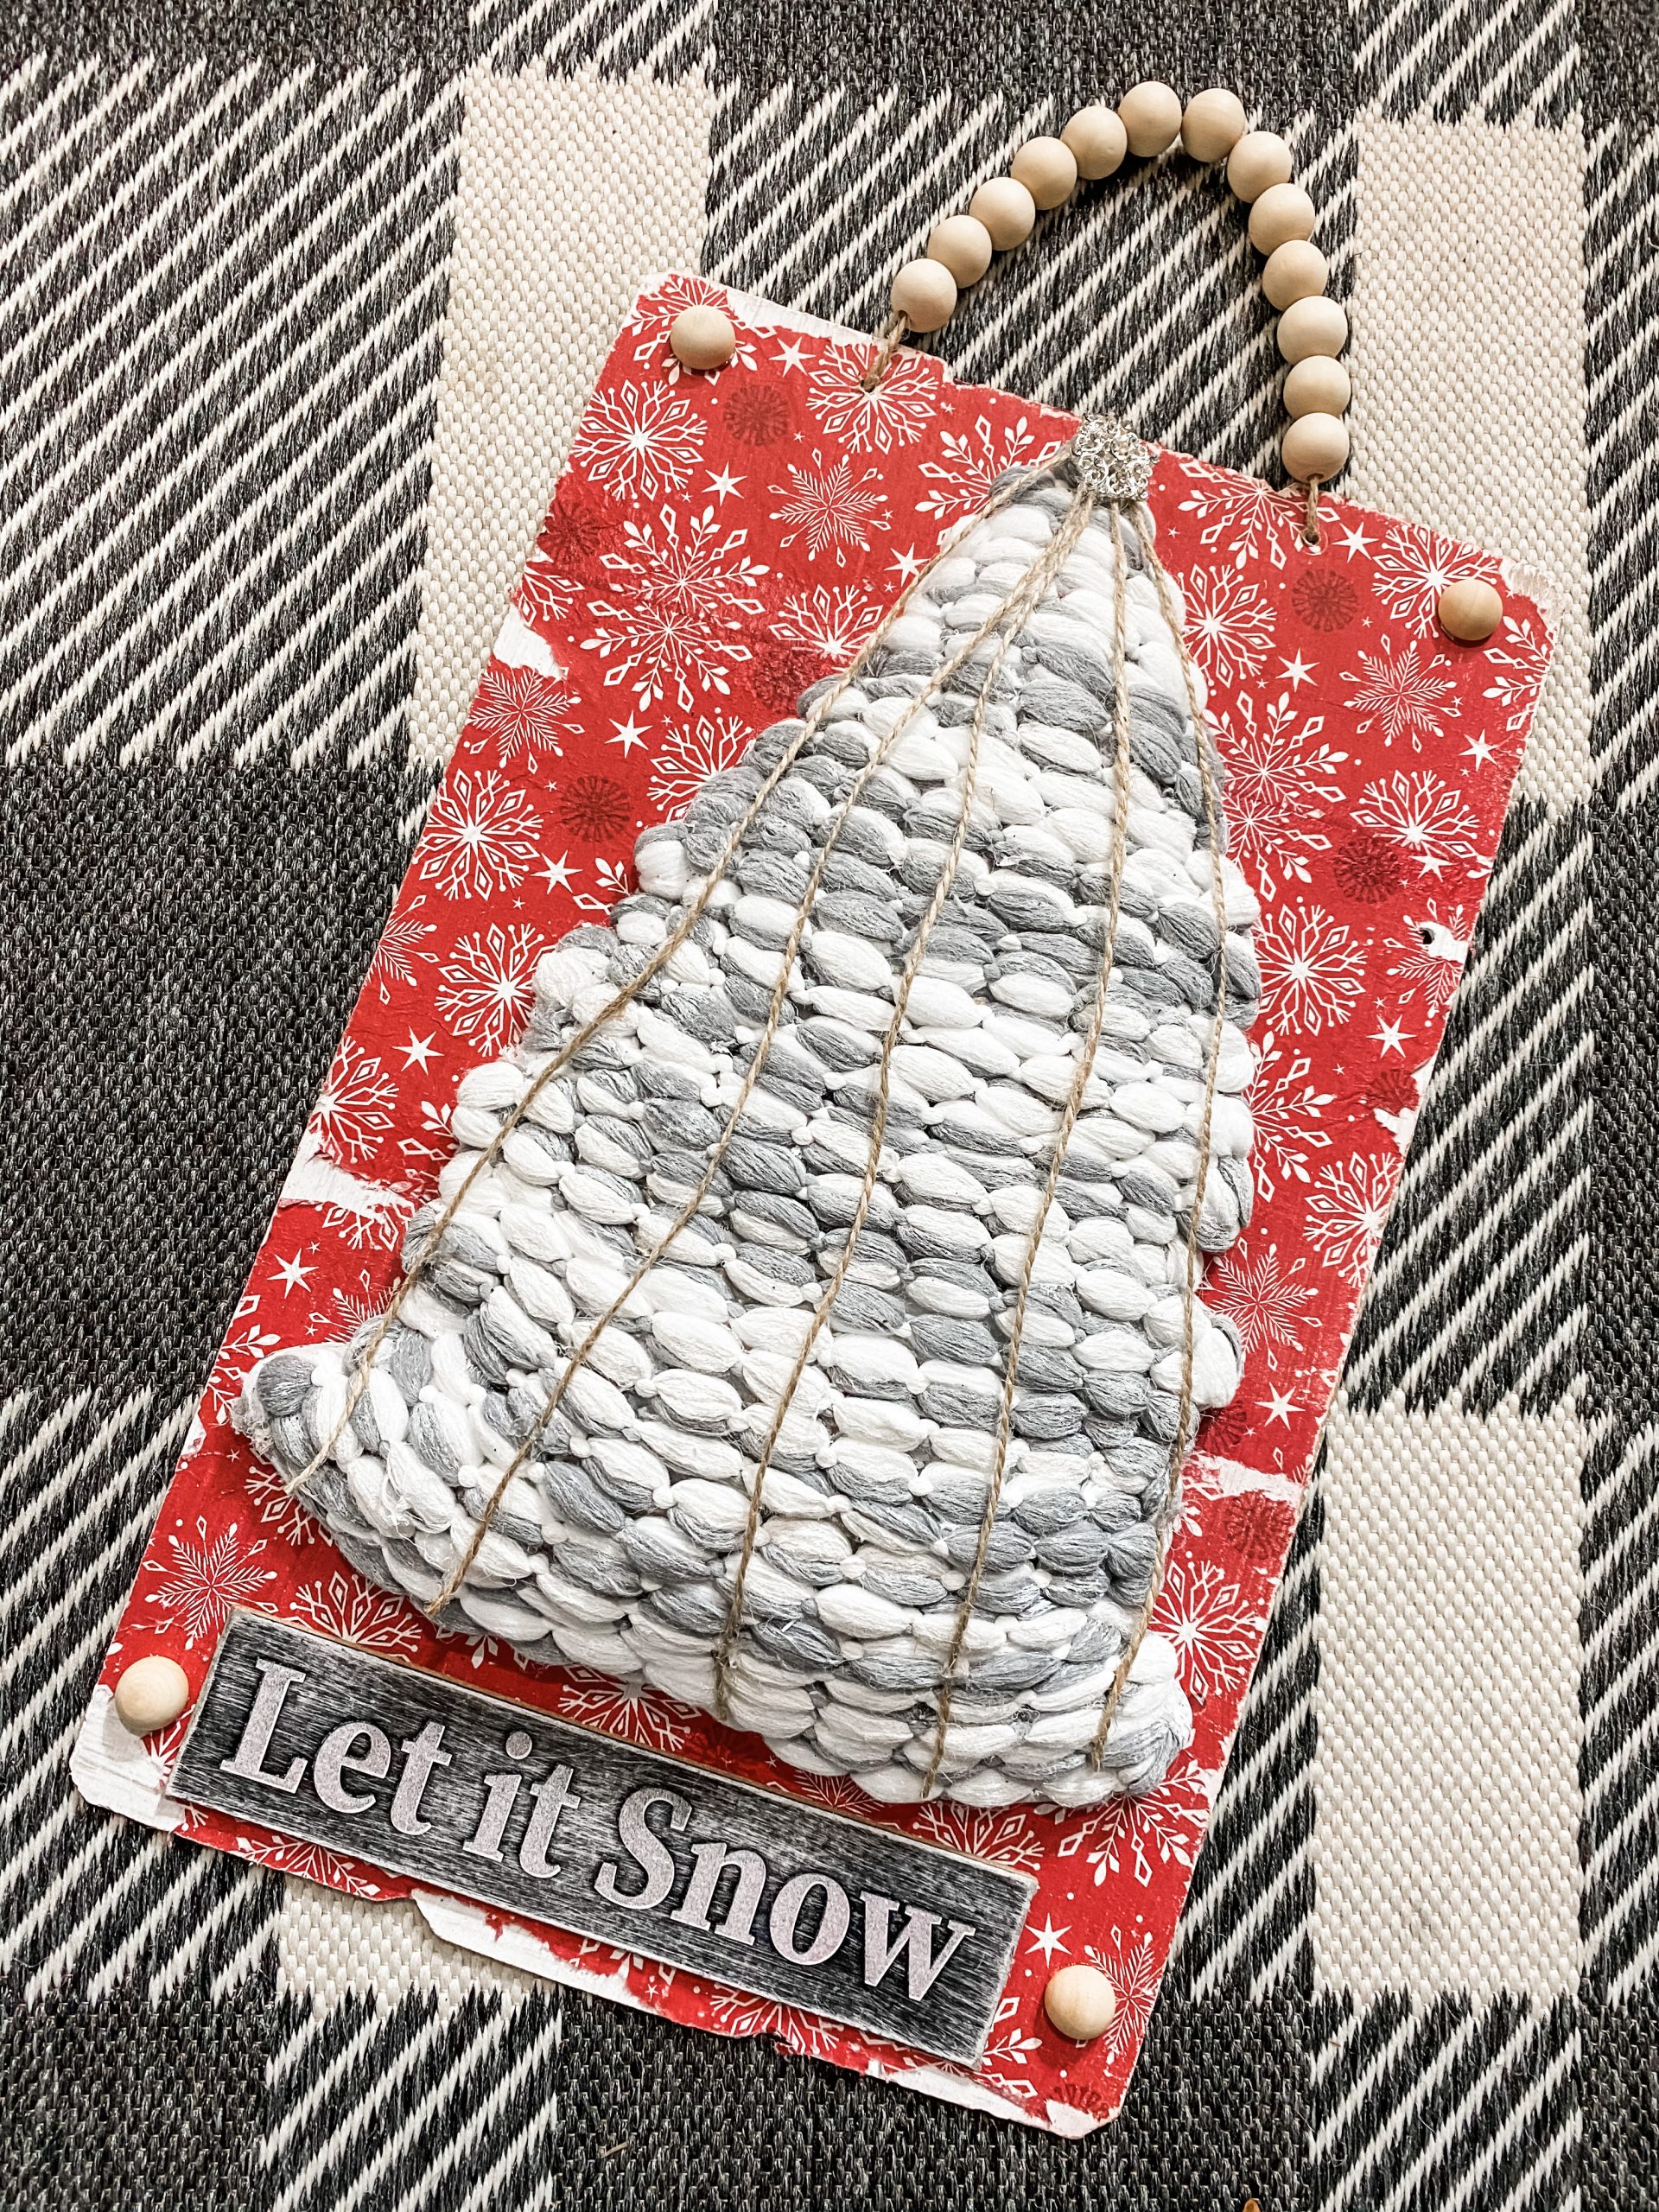
Merry Christmas to you!
How adorable did this super easy DIY Dollar Tree Mop Head Christmas Tree Sign turn out?? It’s crazy how you can make something so cute out of such cheap items!
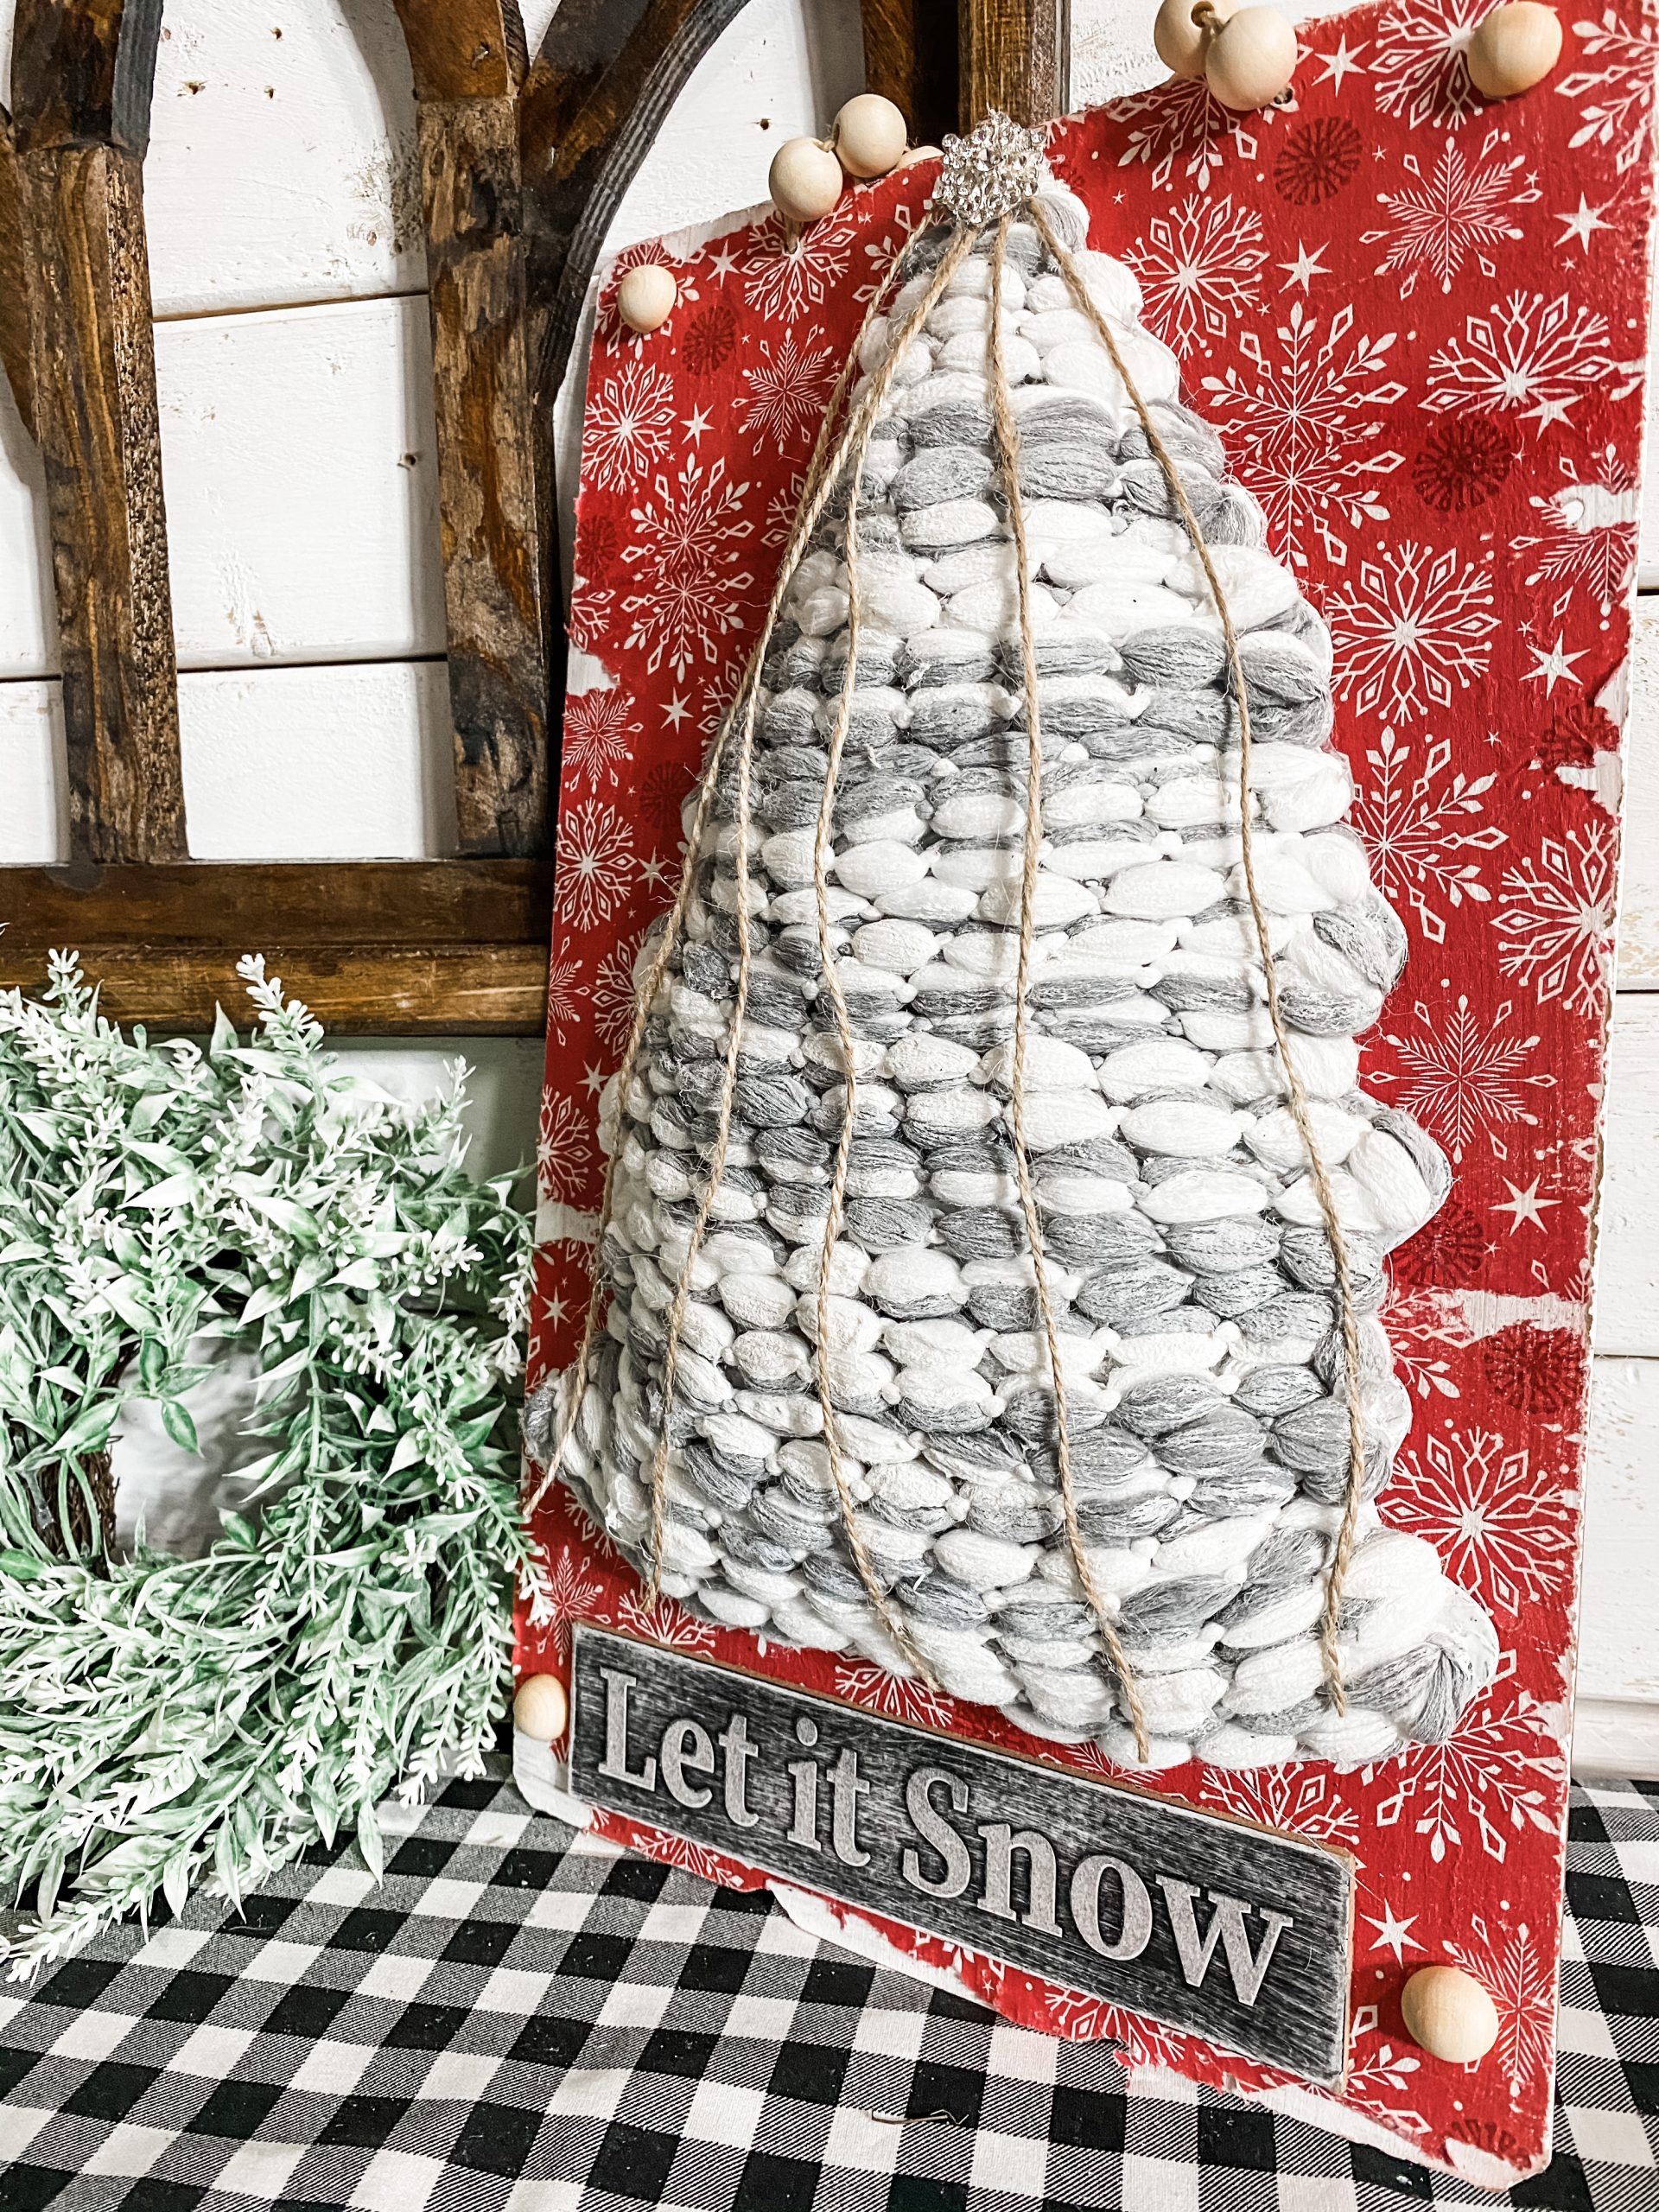
I hope you enjoyed learning how to make this Easy DIY Dollar Tree Mop Head Christmas Tree Sign as much as I did and decide to make it for yourself!
I would love to see how yours turns out! You should totally join my FREE Facebook group called On A Budget Crafts! It is a judgment-free community for DIY crafters to show off their projects and ideas.
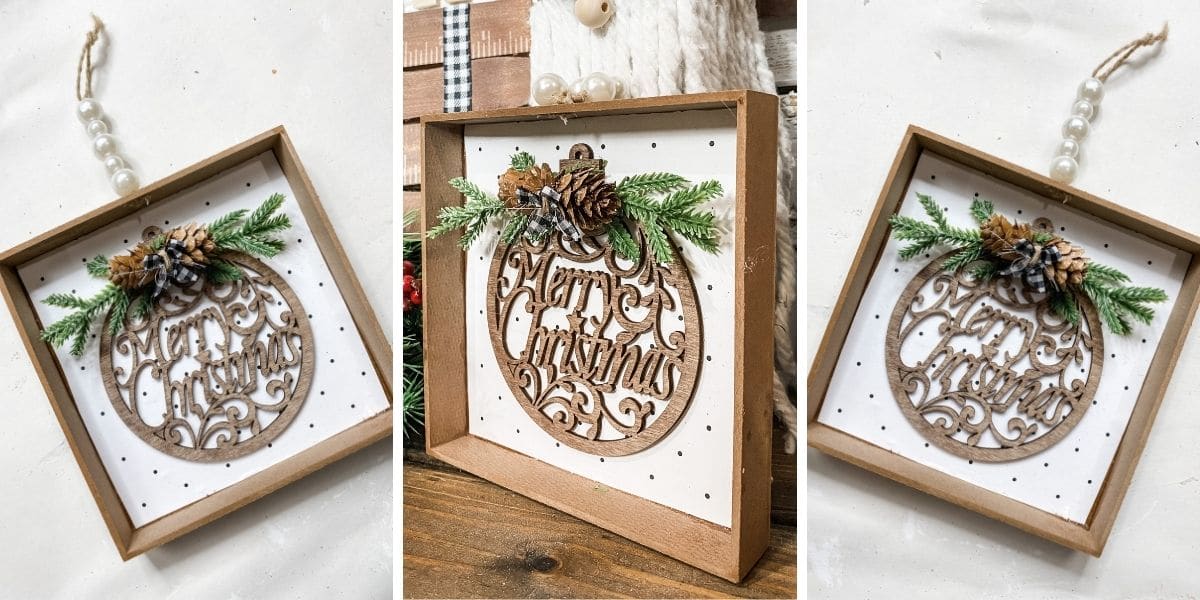
If you loved this DIY you might also like this DIY Christmas Tree Shelf Decor!
Thanks for stopping by! XOXO Amber
You can also shop my ENTIRE AMAZON Favorites shop just click here! It’s packed full of all the things I use and love.
Here is the supply list I highly recommend every creative have on hand!! Would you also pin my blog for later and get on my newsletter alerts? I would love to have you join my #craftycrew.

Join my free “ON A BUDGET CRAFTS” Facebook group!
PIN THIS POST FOR LATER!


2 Comments