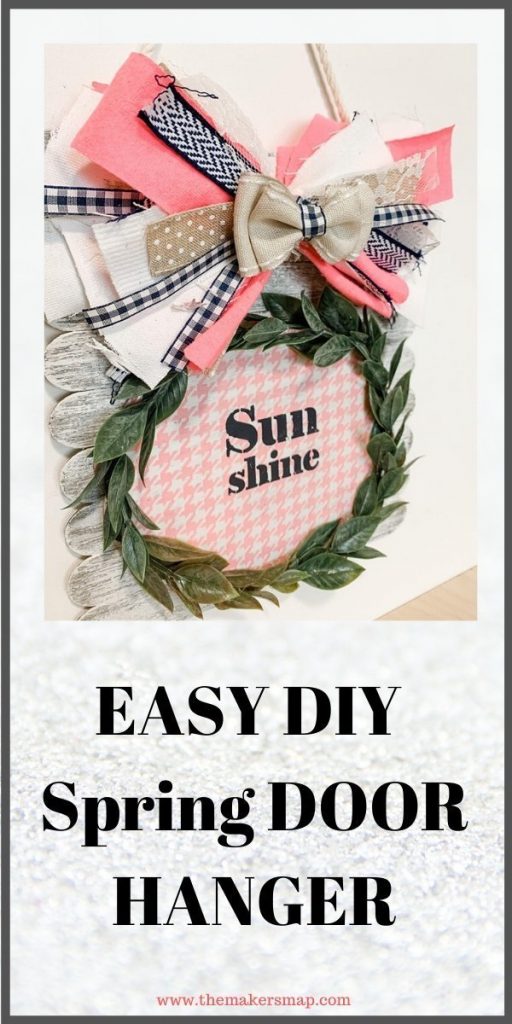
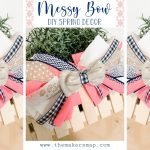
Fun and Easy DIY Spring Door Hanger

Are you like me and love decorating your front door? I feel like I’m thinking up a new decoration for my front door like every week! This Fun and Easy DIY Spring Door Hanger is one of those things that is going right on my front door this spring!
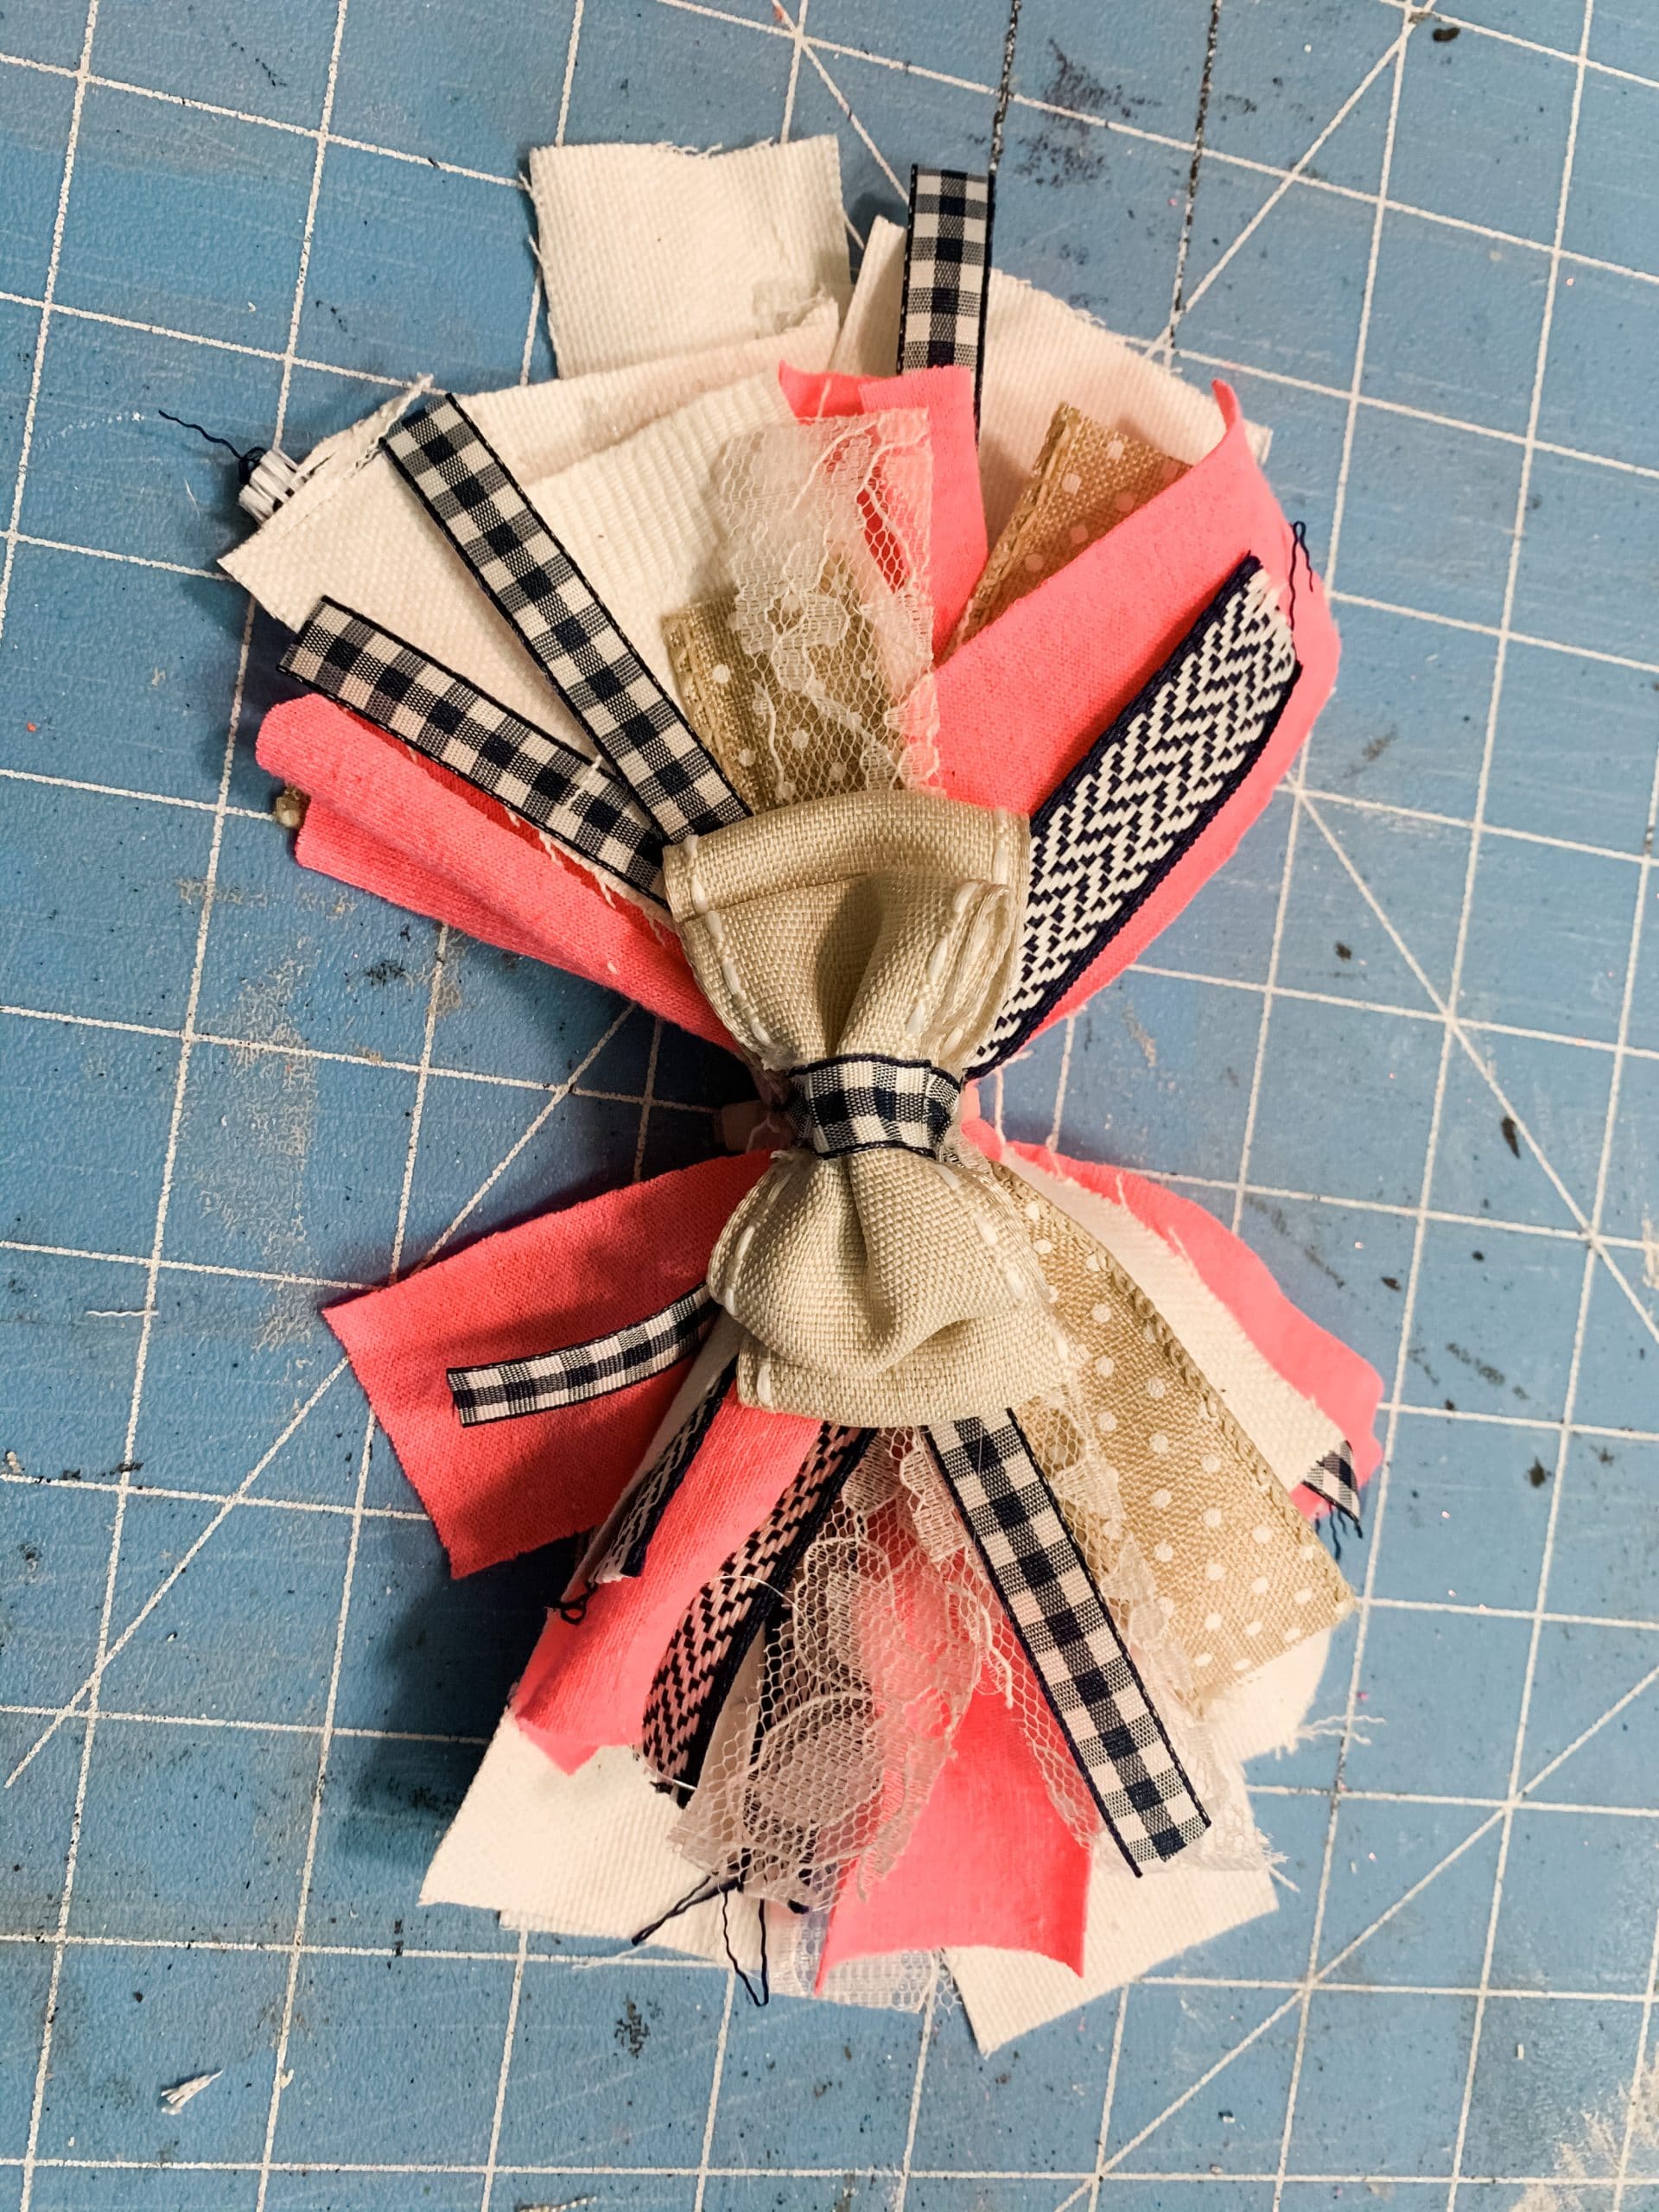
If you missed my last post, I showed you how I made the HOT MESS MESSY BOW on this Spring Door Hanger you can check that blog post here!
For 7 years, I was busy owning a business OUTSIDE my home and that meant I was not home much to really decorate. Don’t get me wrong, I decorated, but not like I wanted to! Once I started working from home full time, I decided that I was going to thoroughly love my home and I am going to make most everything in it! (If I can)
I made this adorable and easy spring door hanger DIY at the start of 2020, and I am so excited to share how I brought this fun spring decor to life!
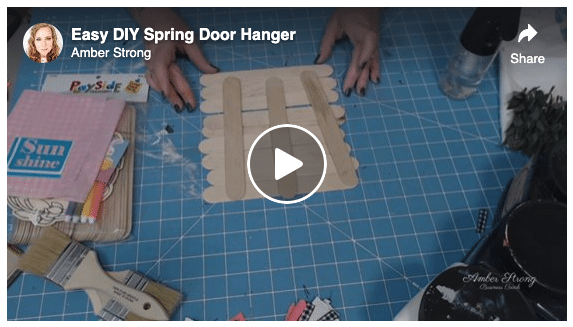
Watch the tutorial
Unlike most of my DIY videos, this isn’t a LIVE video replay! Don’t get me wrong, I absolutely love recording my craft projects live, but I think there are some people who benefit more from quick tutorial videos. For this easy spring door hanger DIY, I have a quick, under 4-minute DIY tutorial video for you!
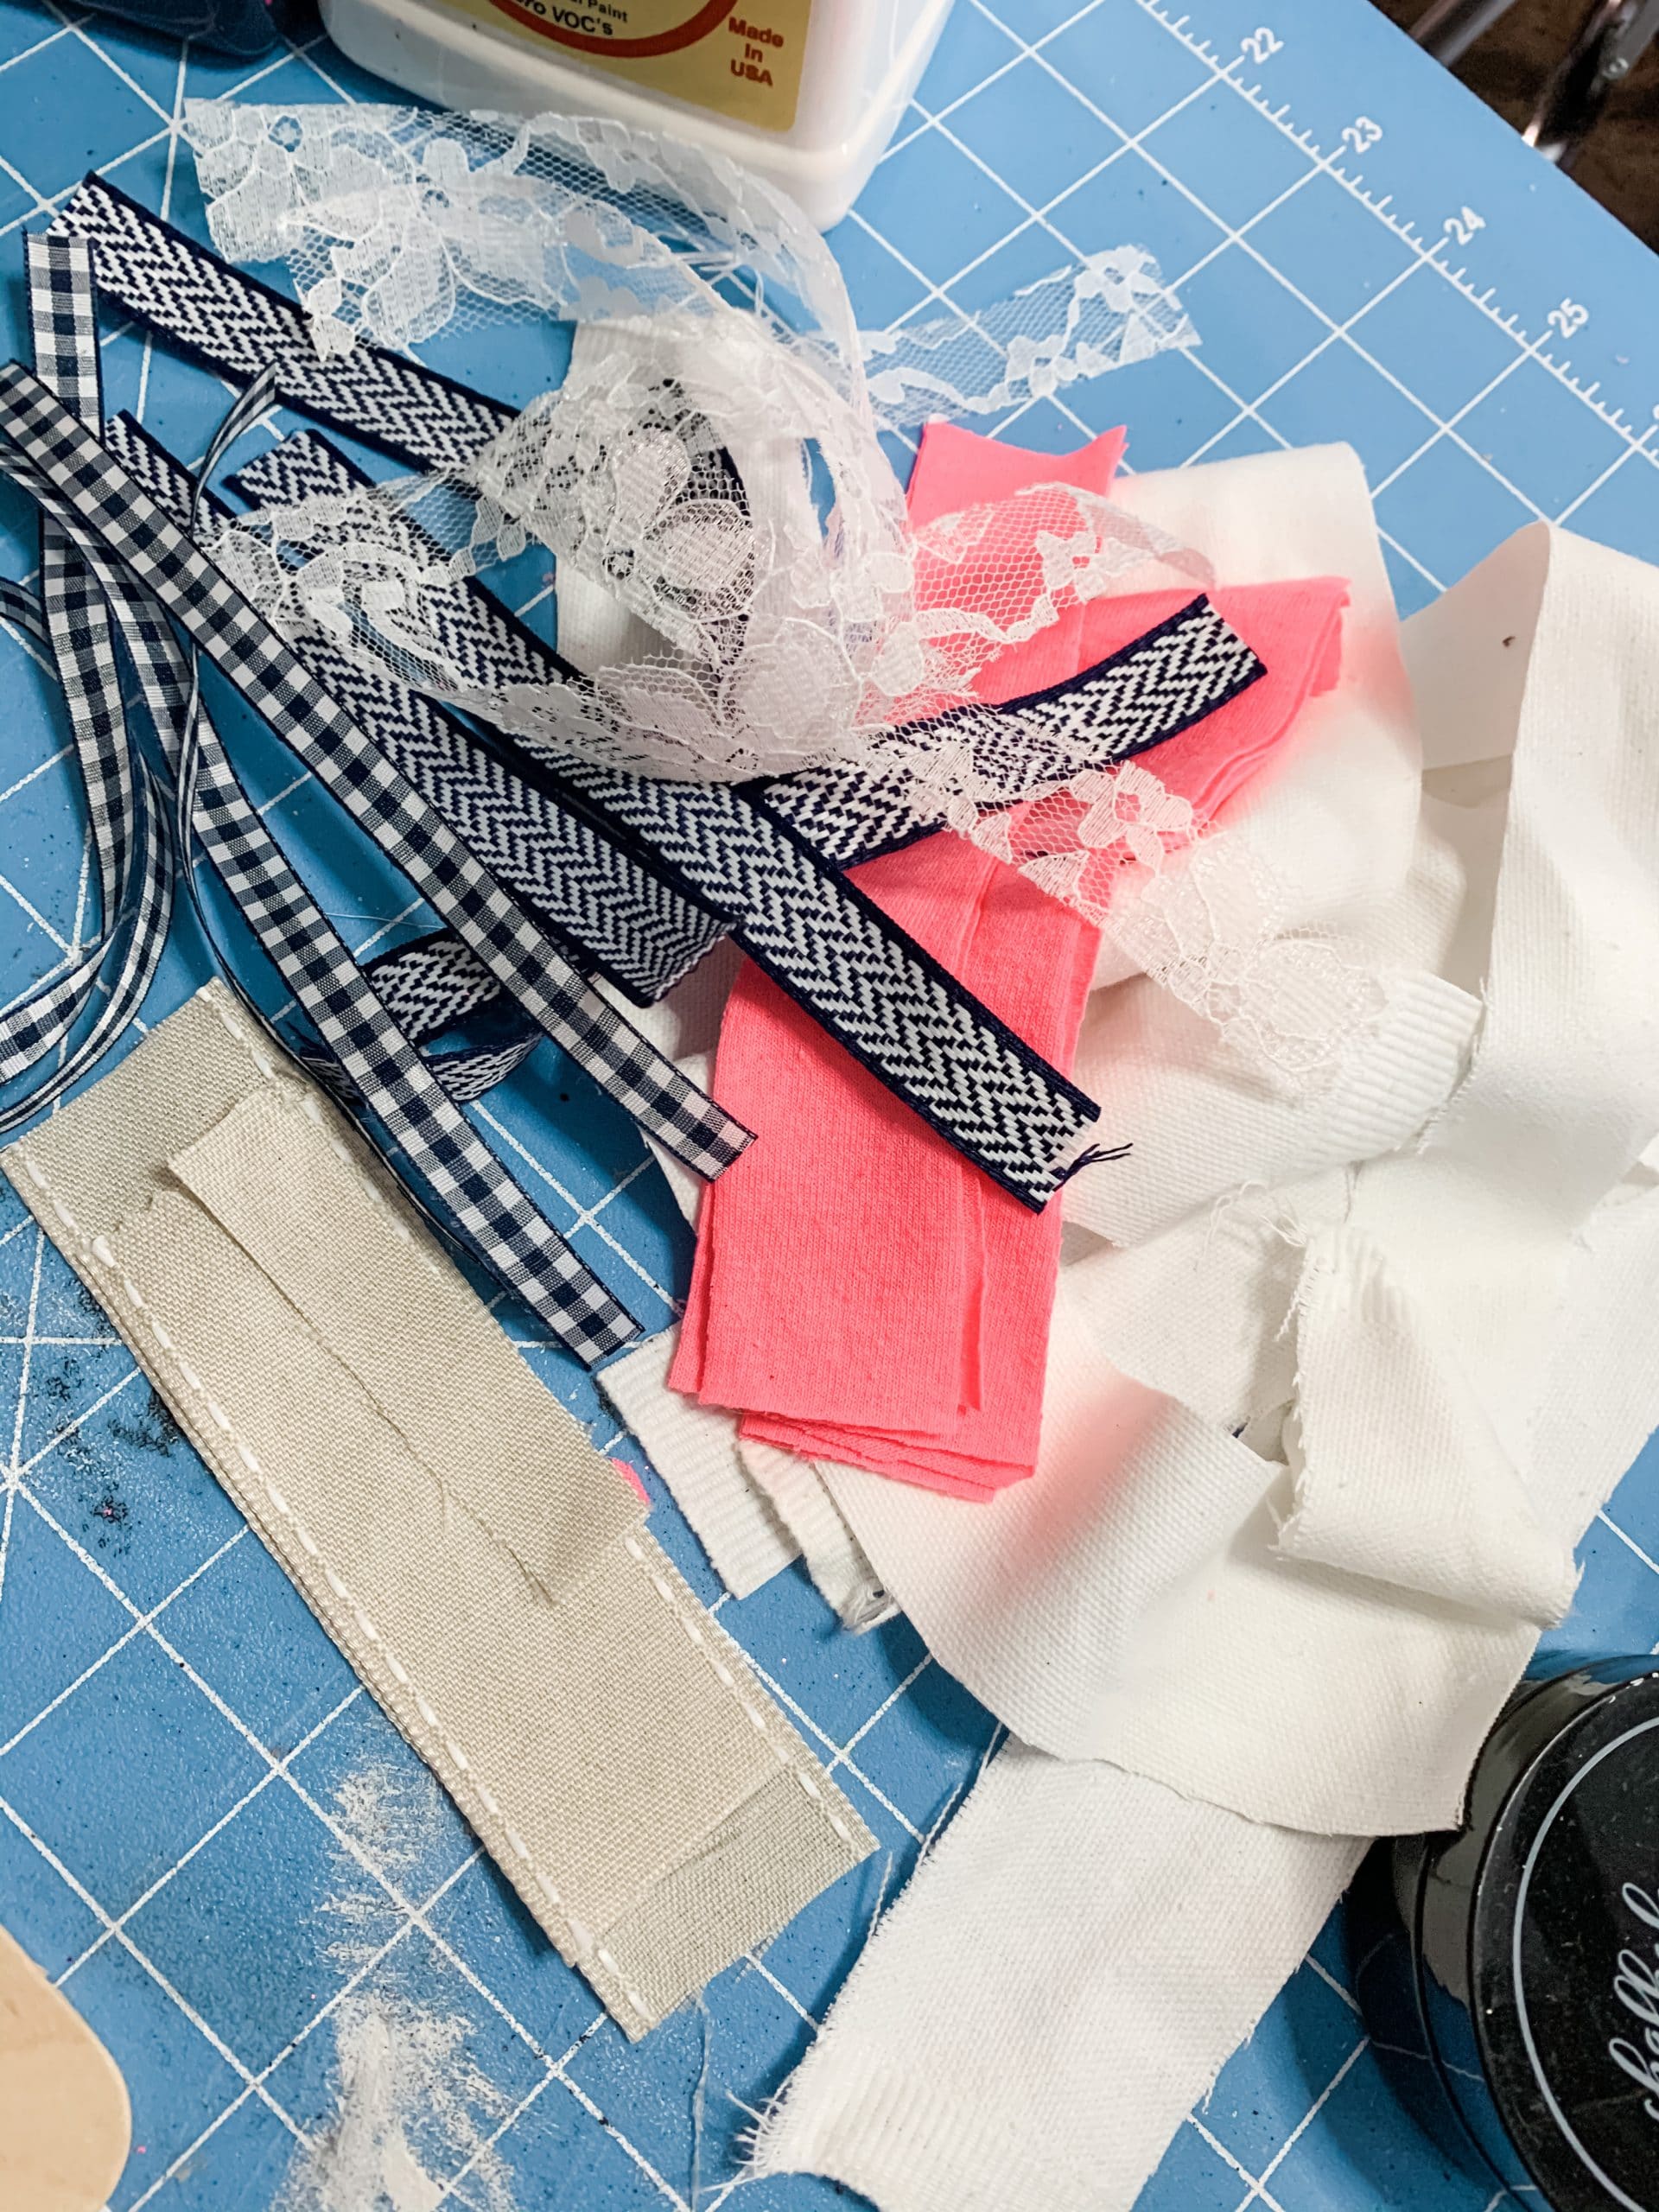
For this project I used these items:
You can check your local dollar tree, hobby lobby, Walmart, Michael’s, JoAnn’s, or any other store that has ribbon or fabric remnants! You can make this with whatever colors, textures, and fabric you like! (these are my affiliate links, if you use them I may earn a commission, it does not cost you extra)
- Popsicle Sticks
- Tissue paper
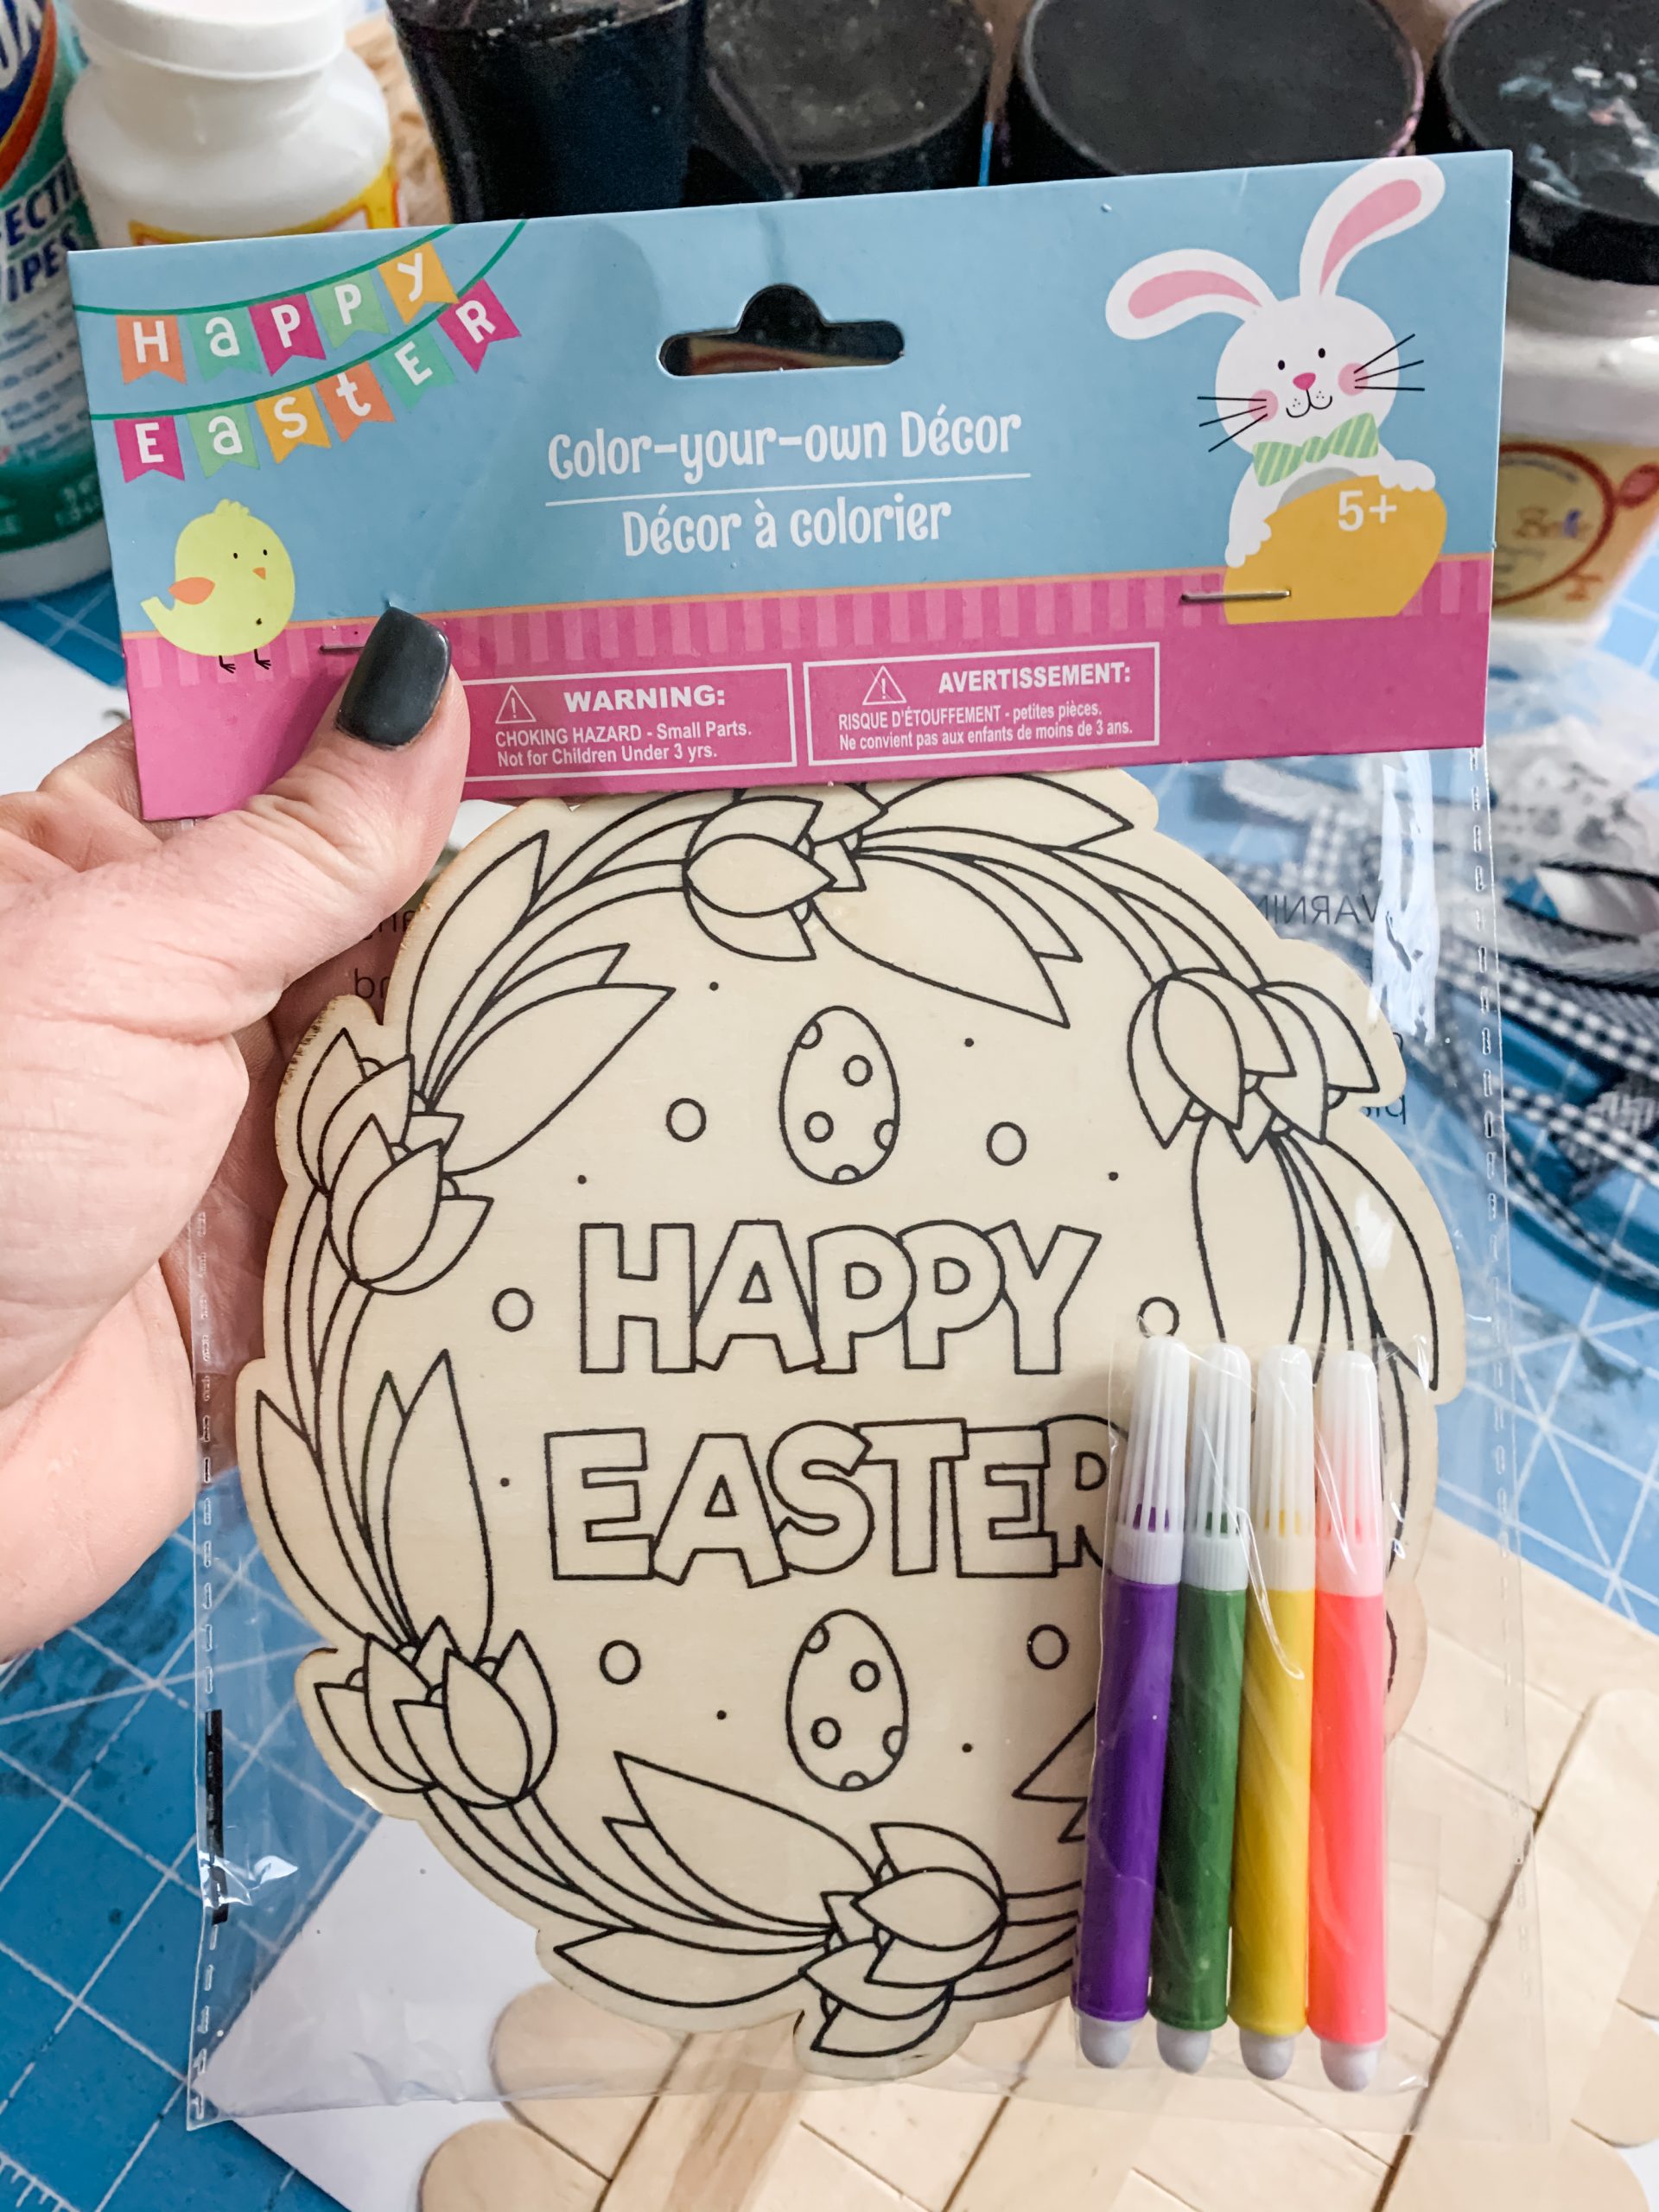
- Stencil
- Greenery Sprigs
- White Paint
- Wreath looking cut out
- Chocolate paint for the brown color (I used as stain)
- Black Paint
- Jute Rope
- ModPodge

For the Messy Bow here is a recap from my messy bow blog post you can read here
- Ribbon of your choice and scraps of fabric (I found my remnants at Hobby Lobby in the discounted remnants bin)
- The ribbon I found at the Dollar Tree
- Old T-shirt (I needed hot pink so I grabbed a shirt that had paint on it to cut up)
- Zip Tie
- Hot Glue gun
- Glue Sticks
- Scissors
- rotary cutter
Let’s get started!
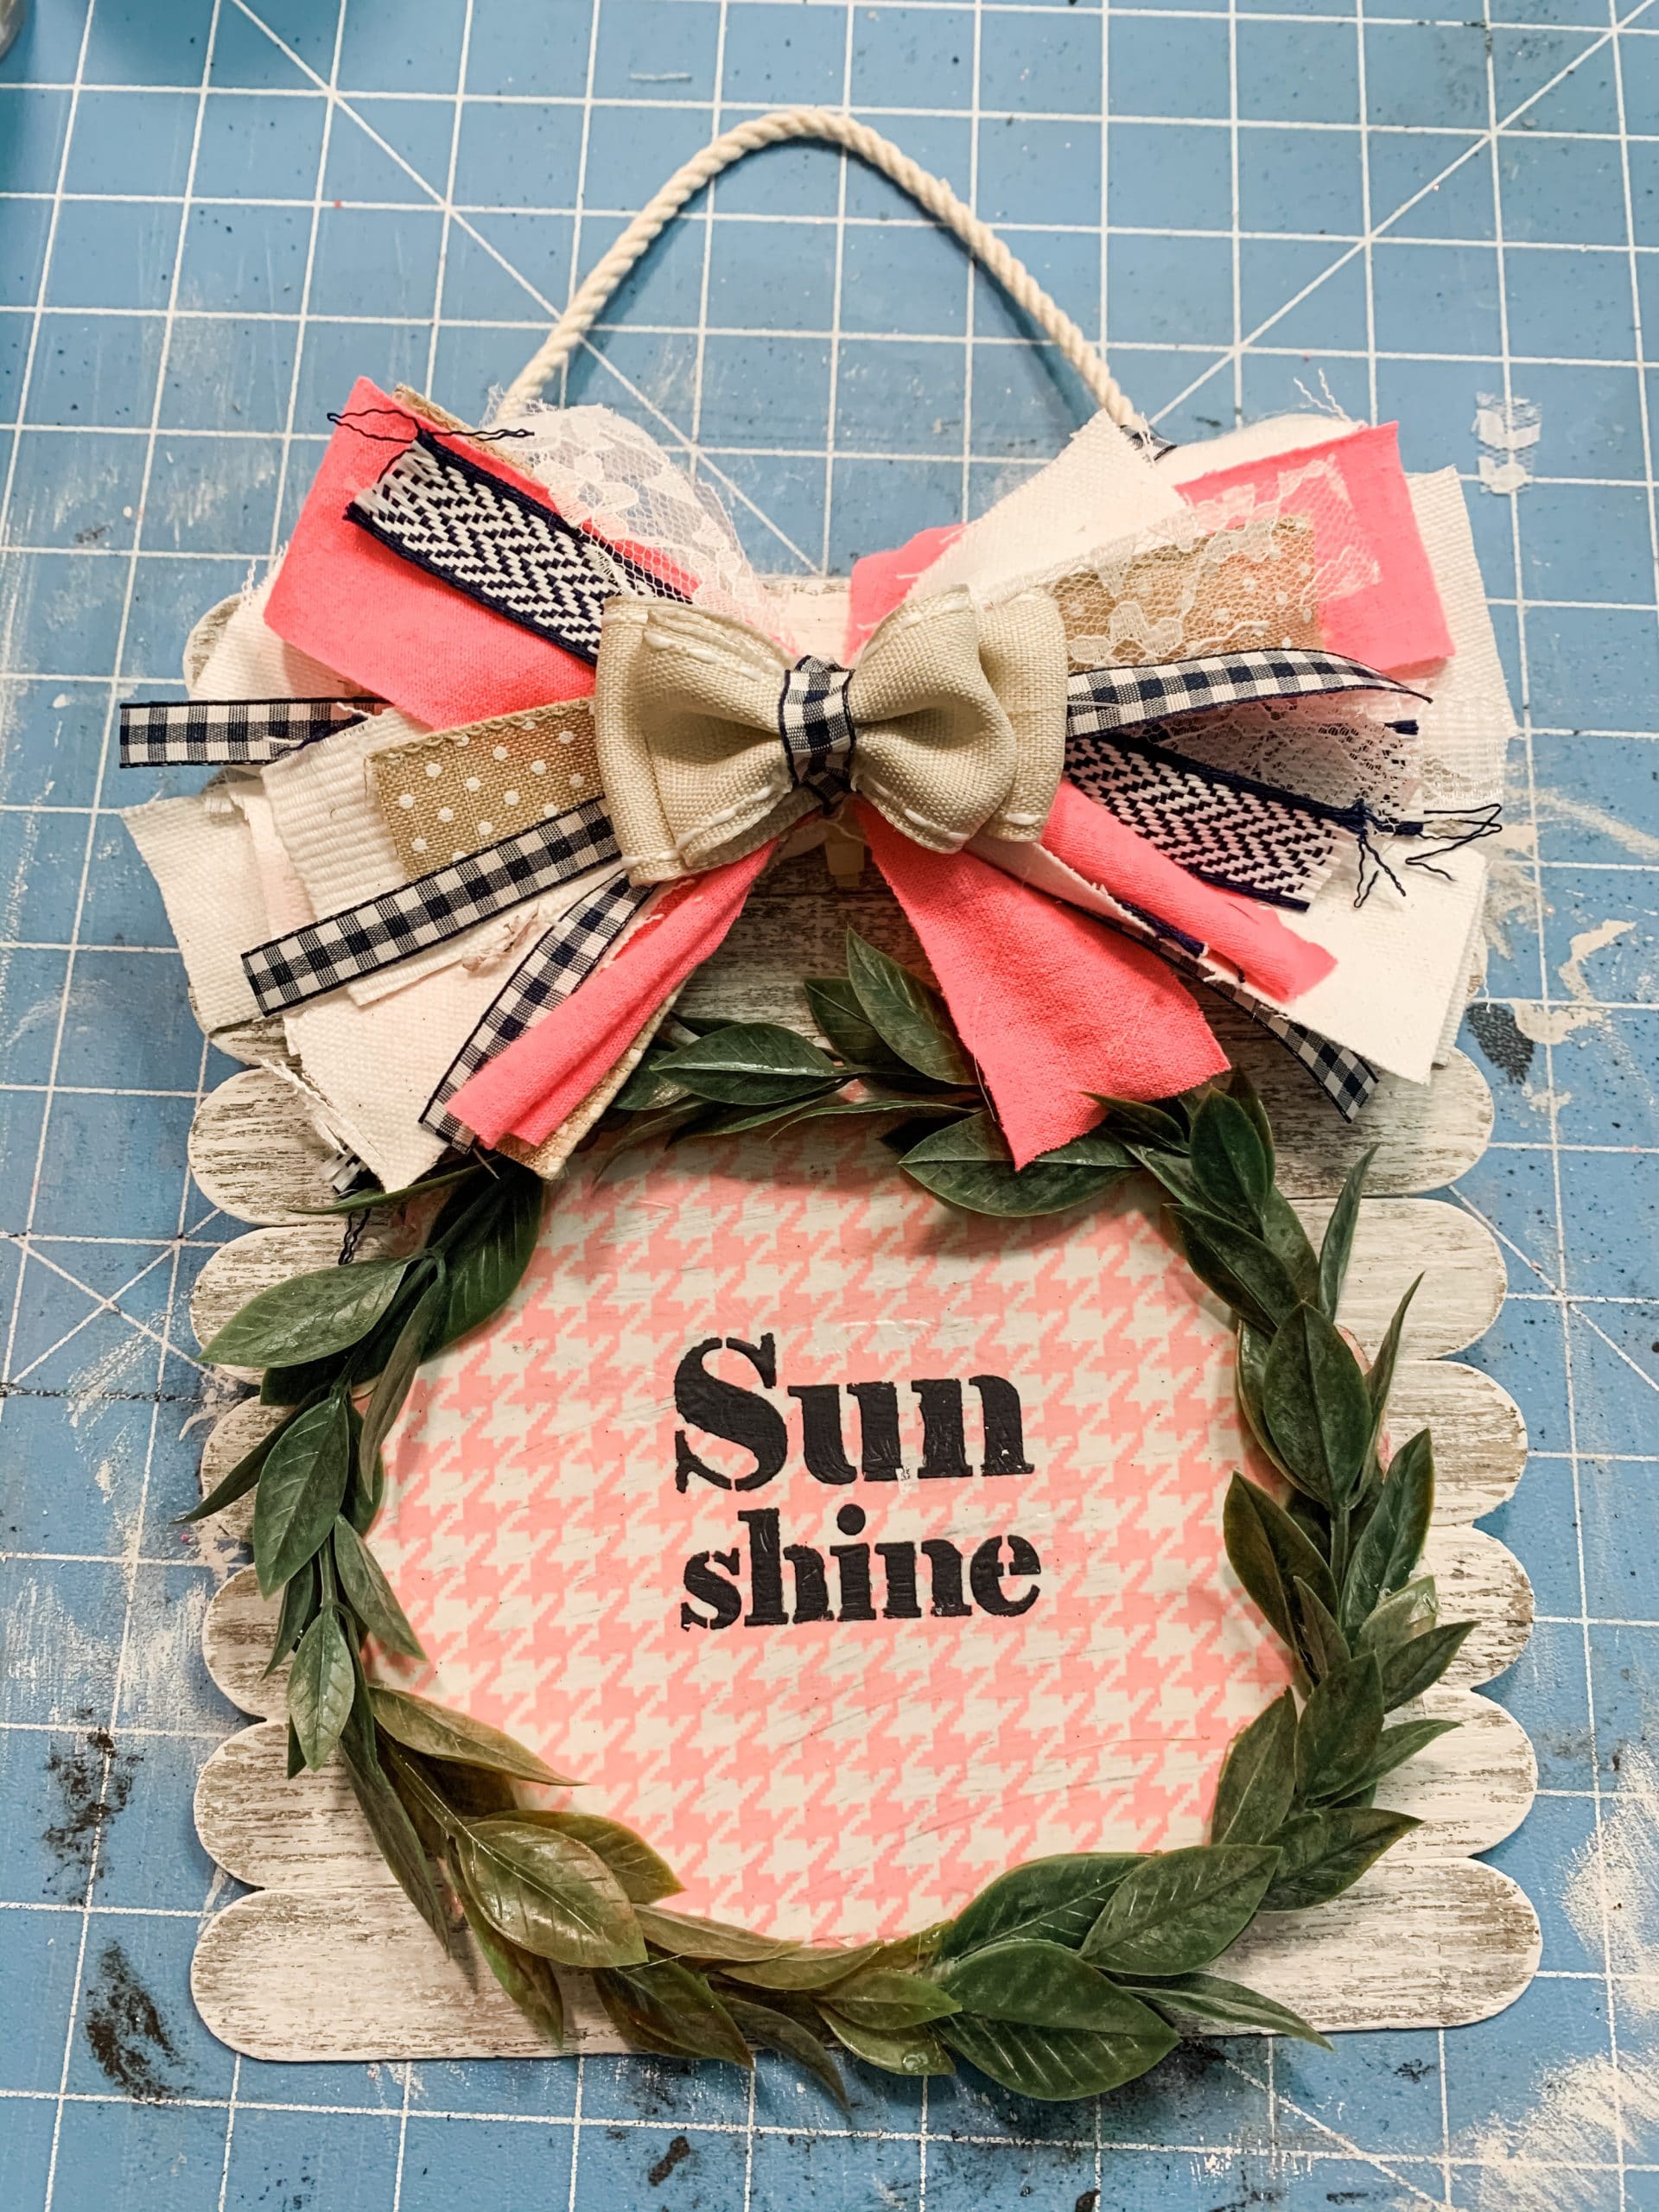
For my Fun and Easy DIY Spring Door Hanger, I started by laying out my popsicle sticks and gluing them together to create my board. I hot glued popsicle sticks across the back of my popsicle stick board to secure them all together.
Next, I used brown paint to stain the sticks (I did use Dixie Belle Paint but you can use any paint you like). Allow the popsicle sticks to dry before moving to the next step. I like to use my heat gun to speed up the drying process!
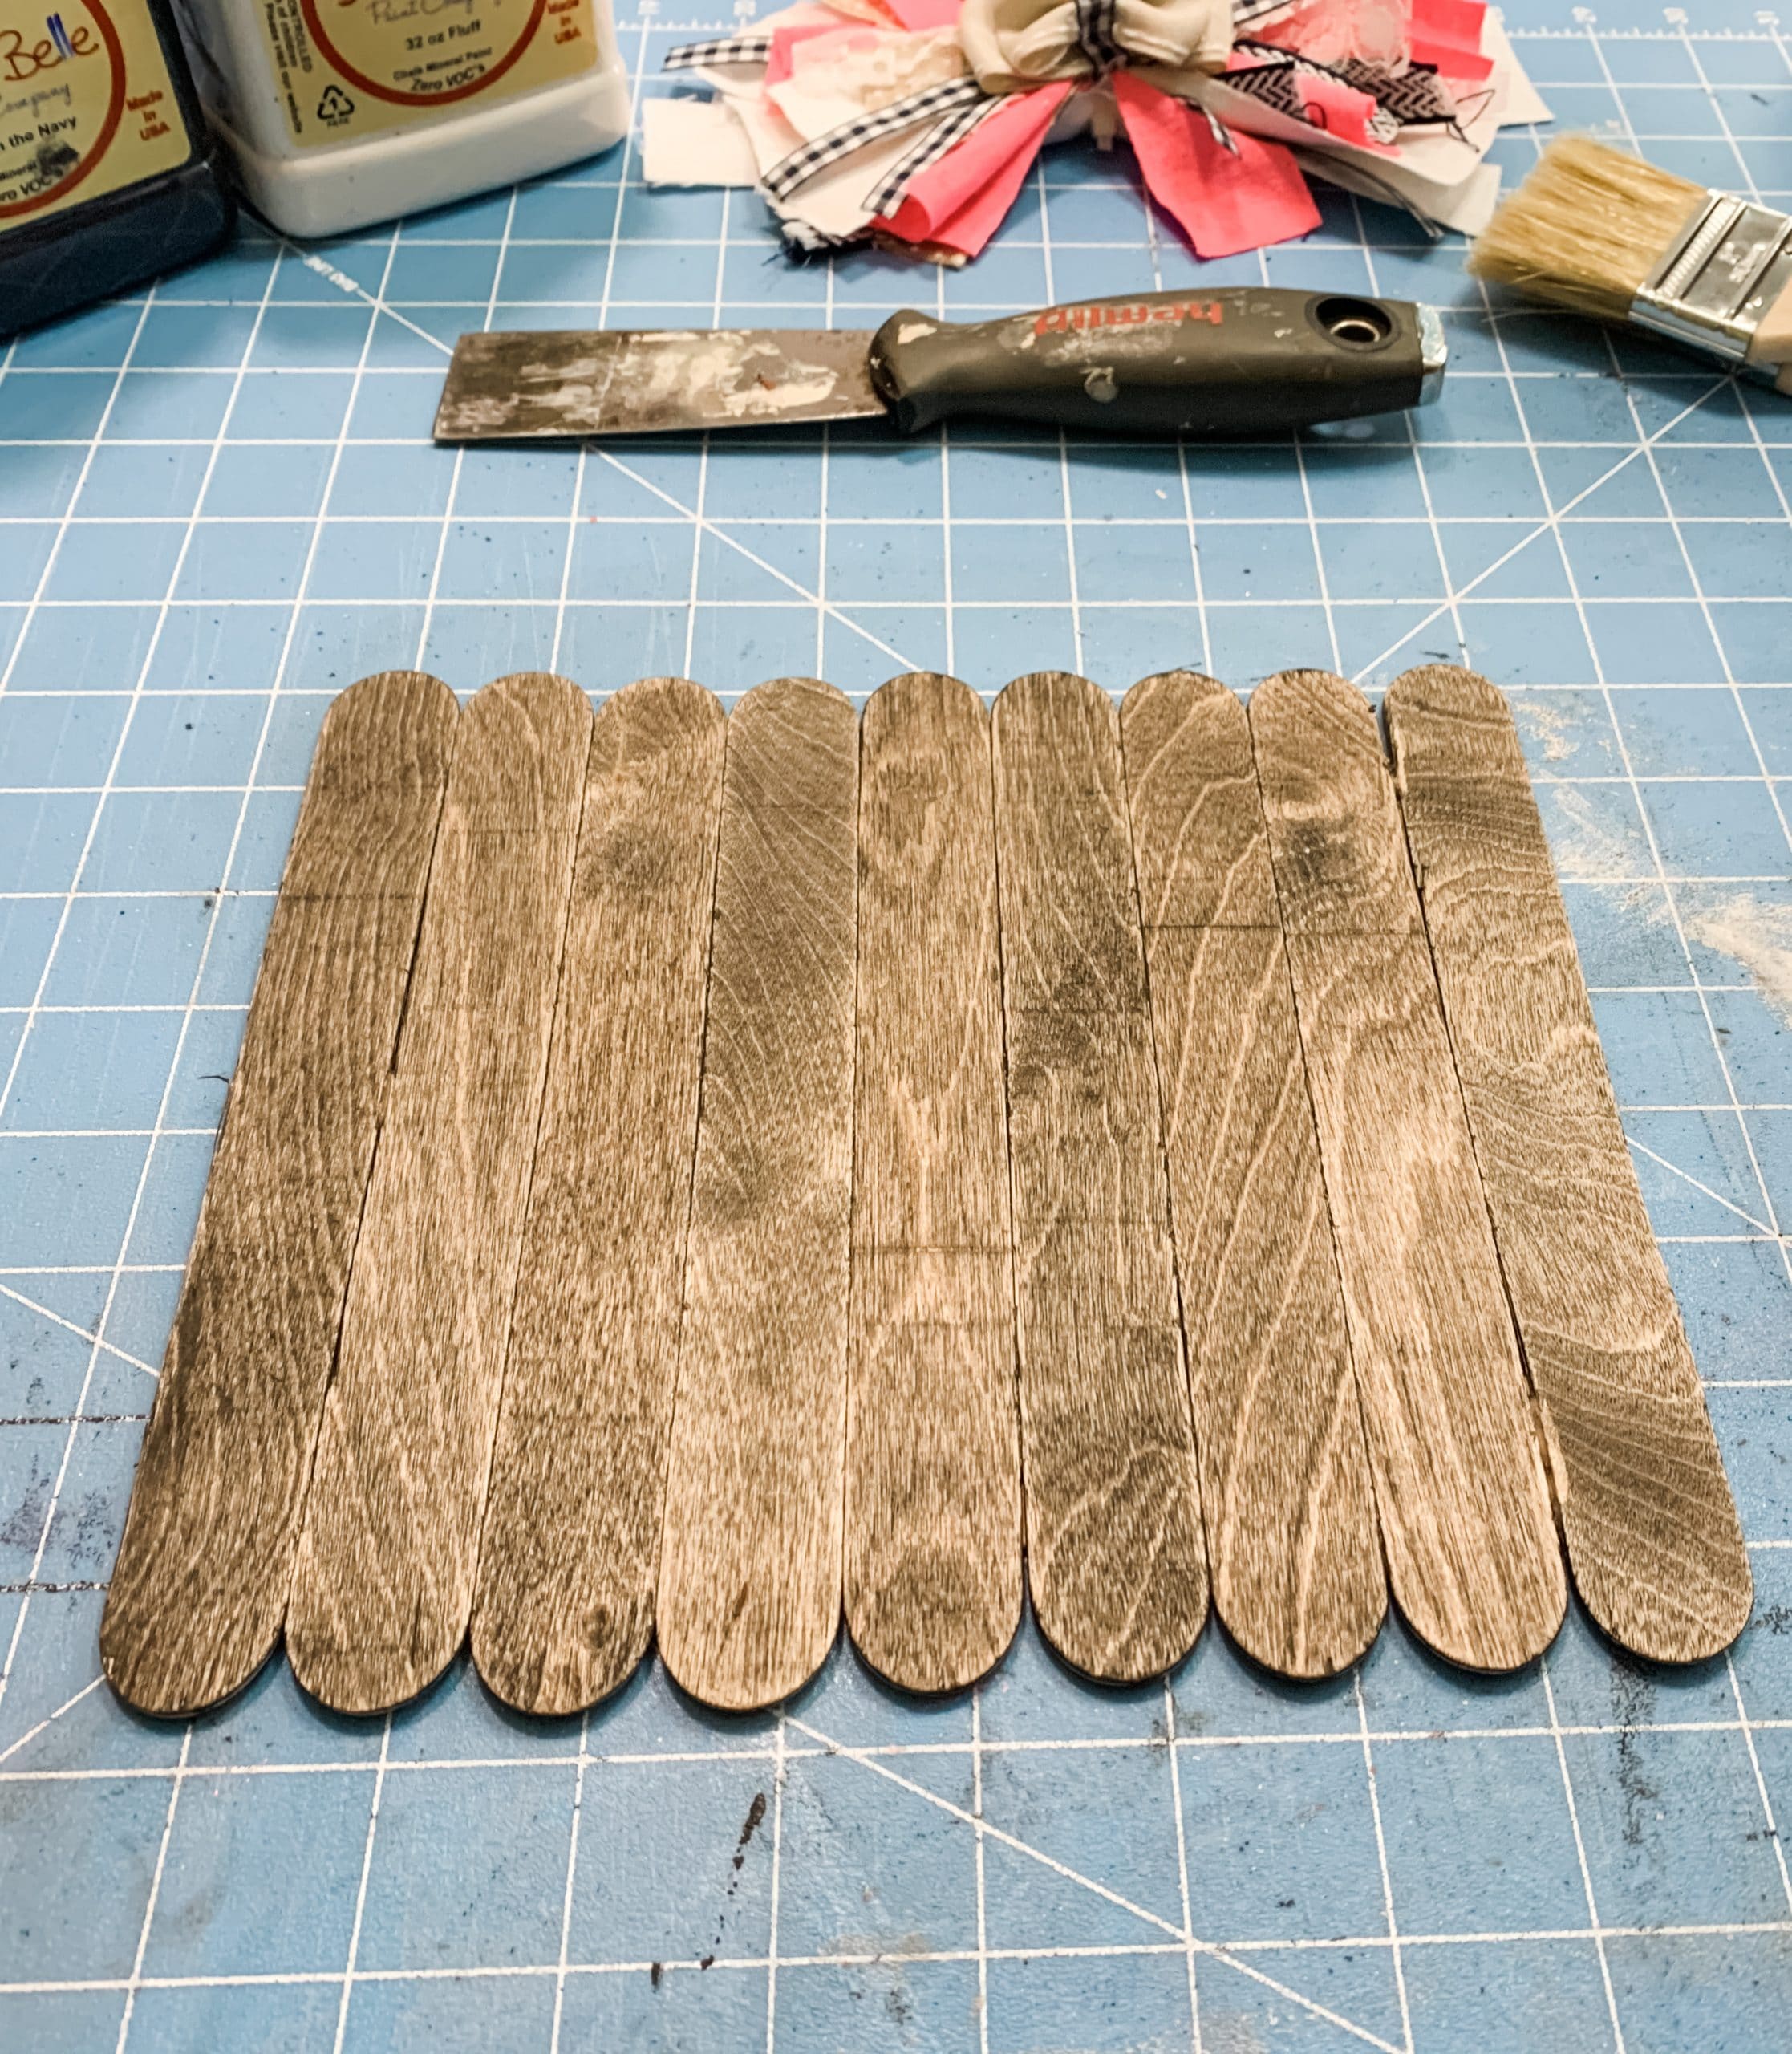
Once the white paint had dried, I sanded down some areas to give it that distressed look. You don’t want to have too heavy of a hand, or you run the risk of sanding off too much white paint.
You can set the painted popsicle stick board to the side for now, and we will work with the Dollar Tree wood cut out!
How to decoupage
Before I decoupaged the tissue paper onto the wood cutout, I painted the backside of the cutout. This is to keep the wood color from coming through the tissue paper. This is a technique that I use pretty often when I am decoupaging.
I first applied a light, uneven coat of black paint on the wood, then an even coat of white paint. This step isn’t technically necessary, but I think painting the surface before decoupaging really adds to the quality of my DIY projects.
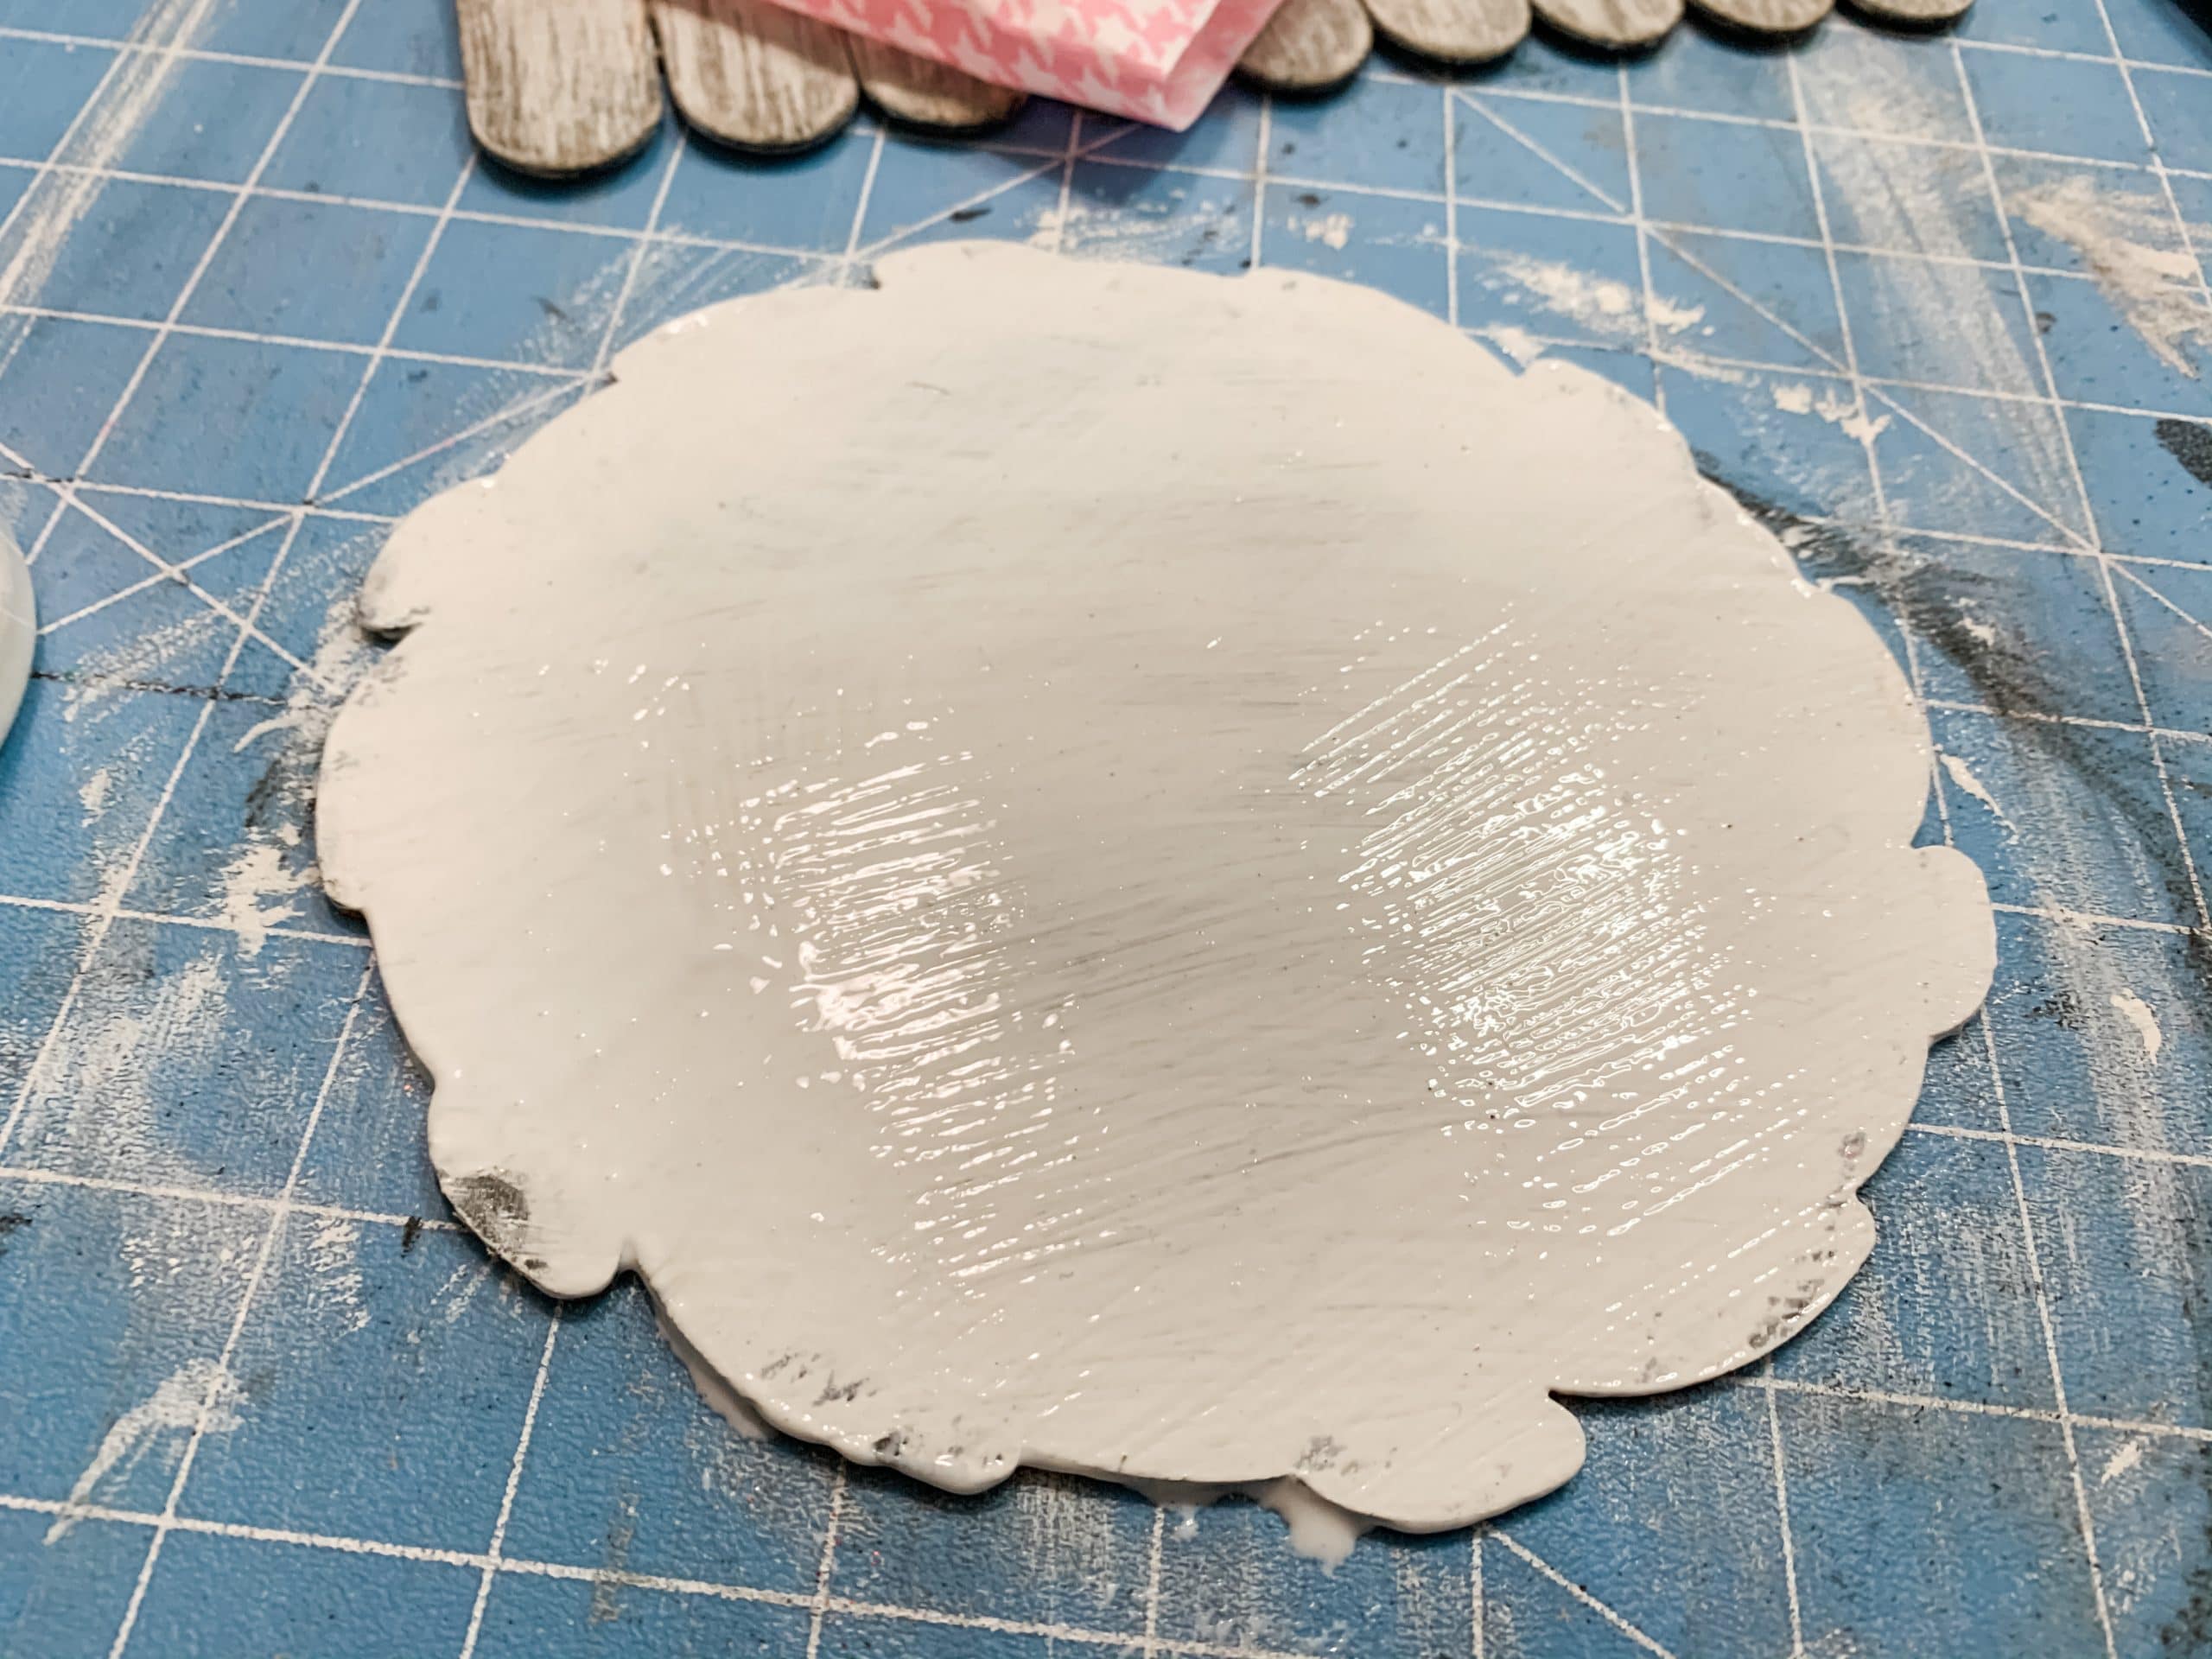
Here’s where you need your tissue paper. I covered the wood cut-out with tissue paper and used Mod Podge to adhere the paper to the wood. Get an even coat of Mod Podge, then carefully place the tissue paper onto the surface.
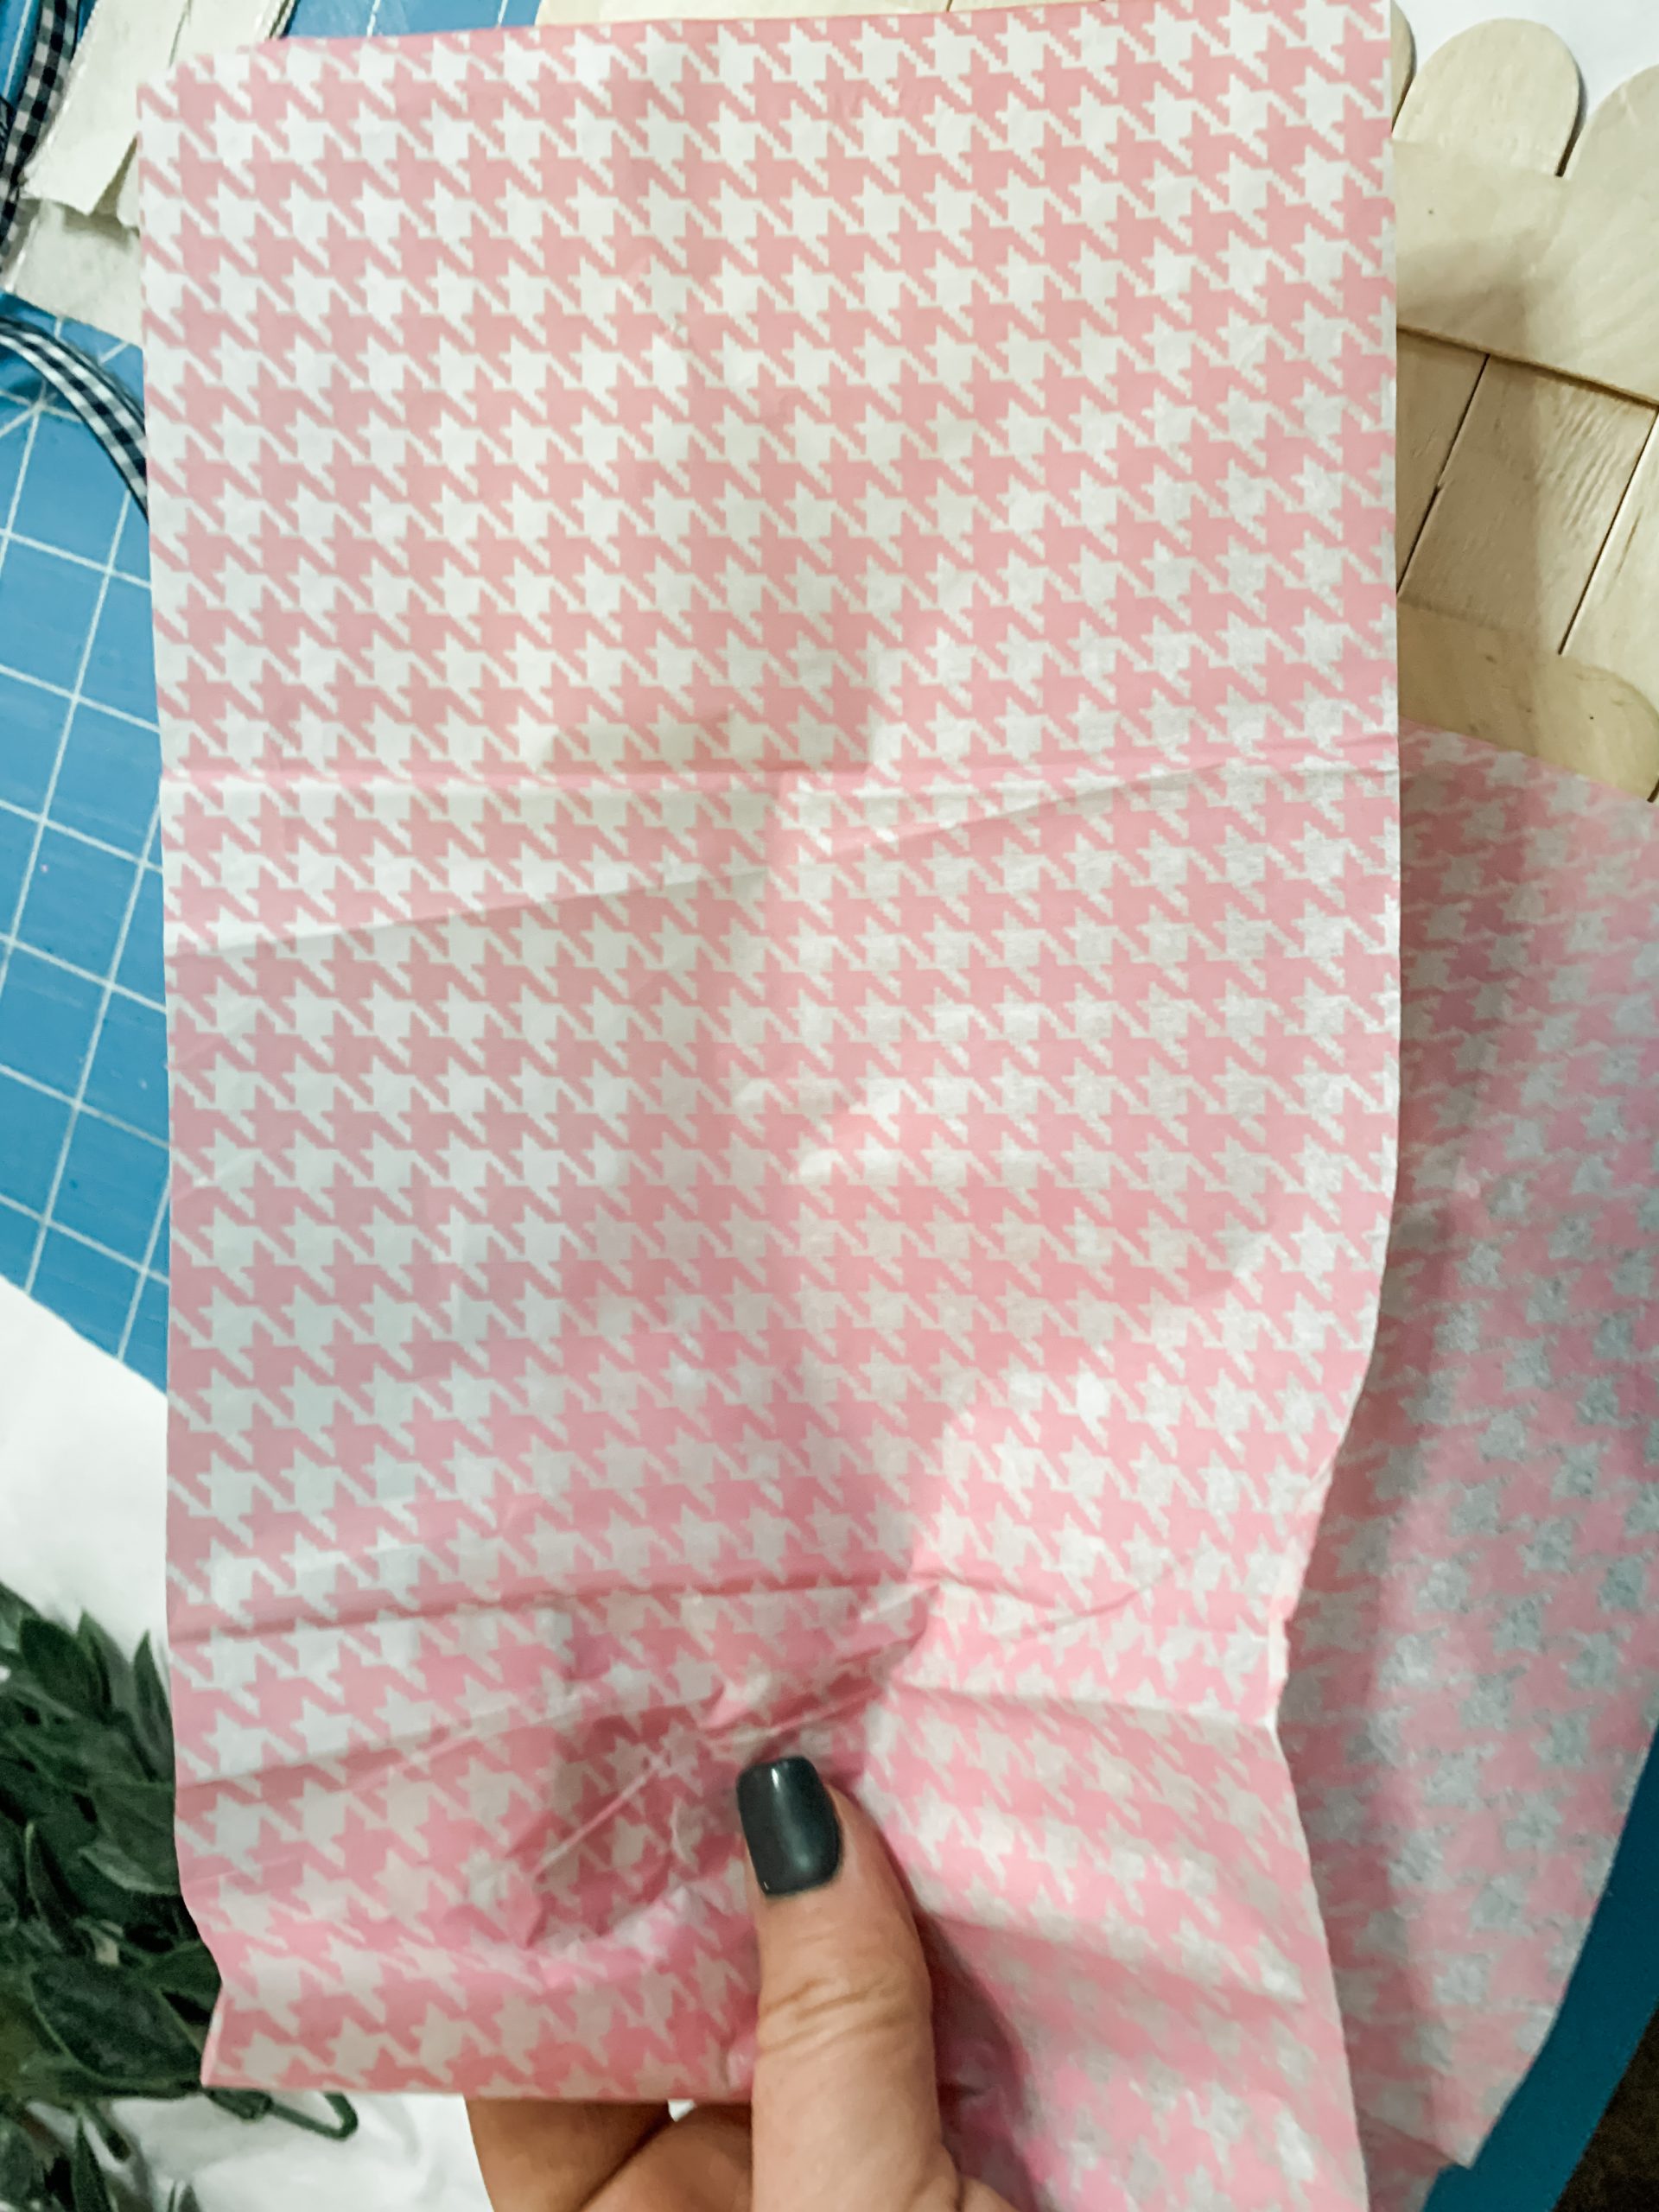
To get rid of any wrinkles and creases in the tissue paper, I like to cover the surface with a piece of plastic saran wrap and use either my fingers or a rolling pin to smooth out the imperfections.
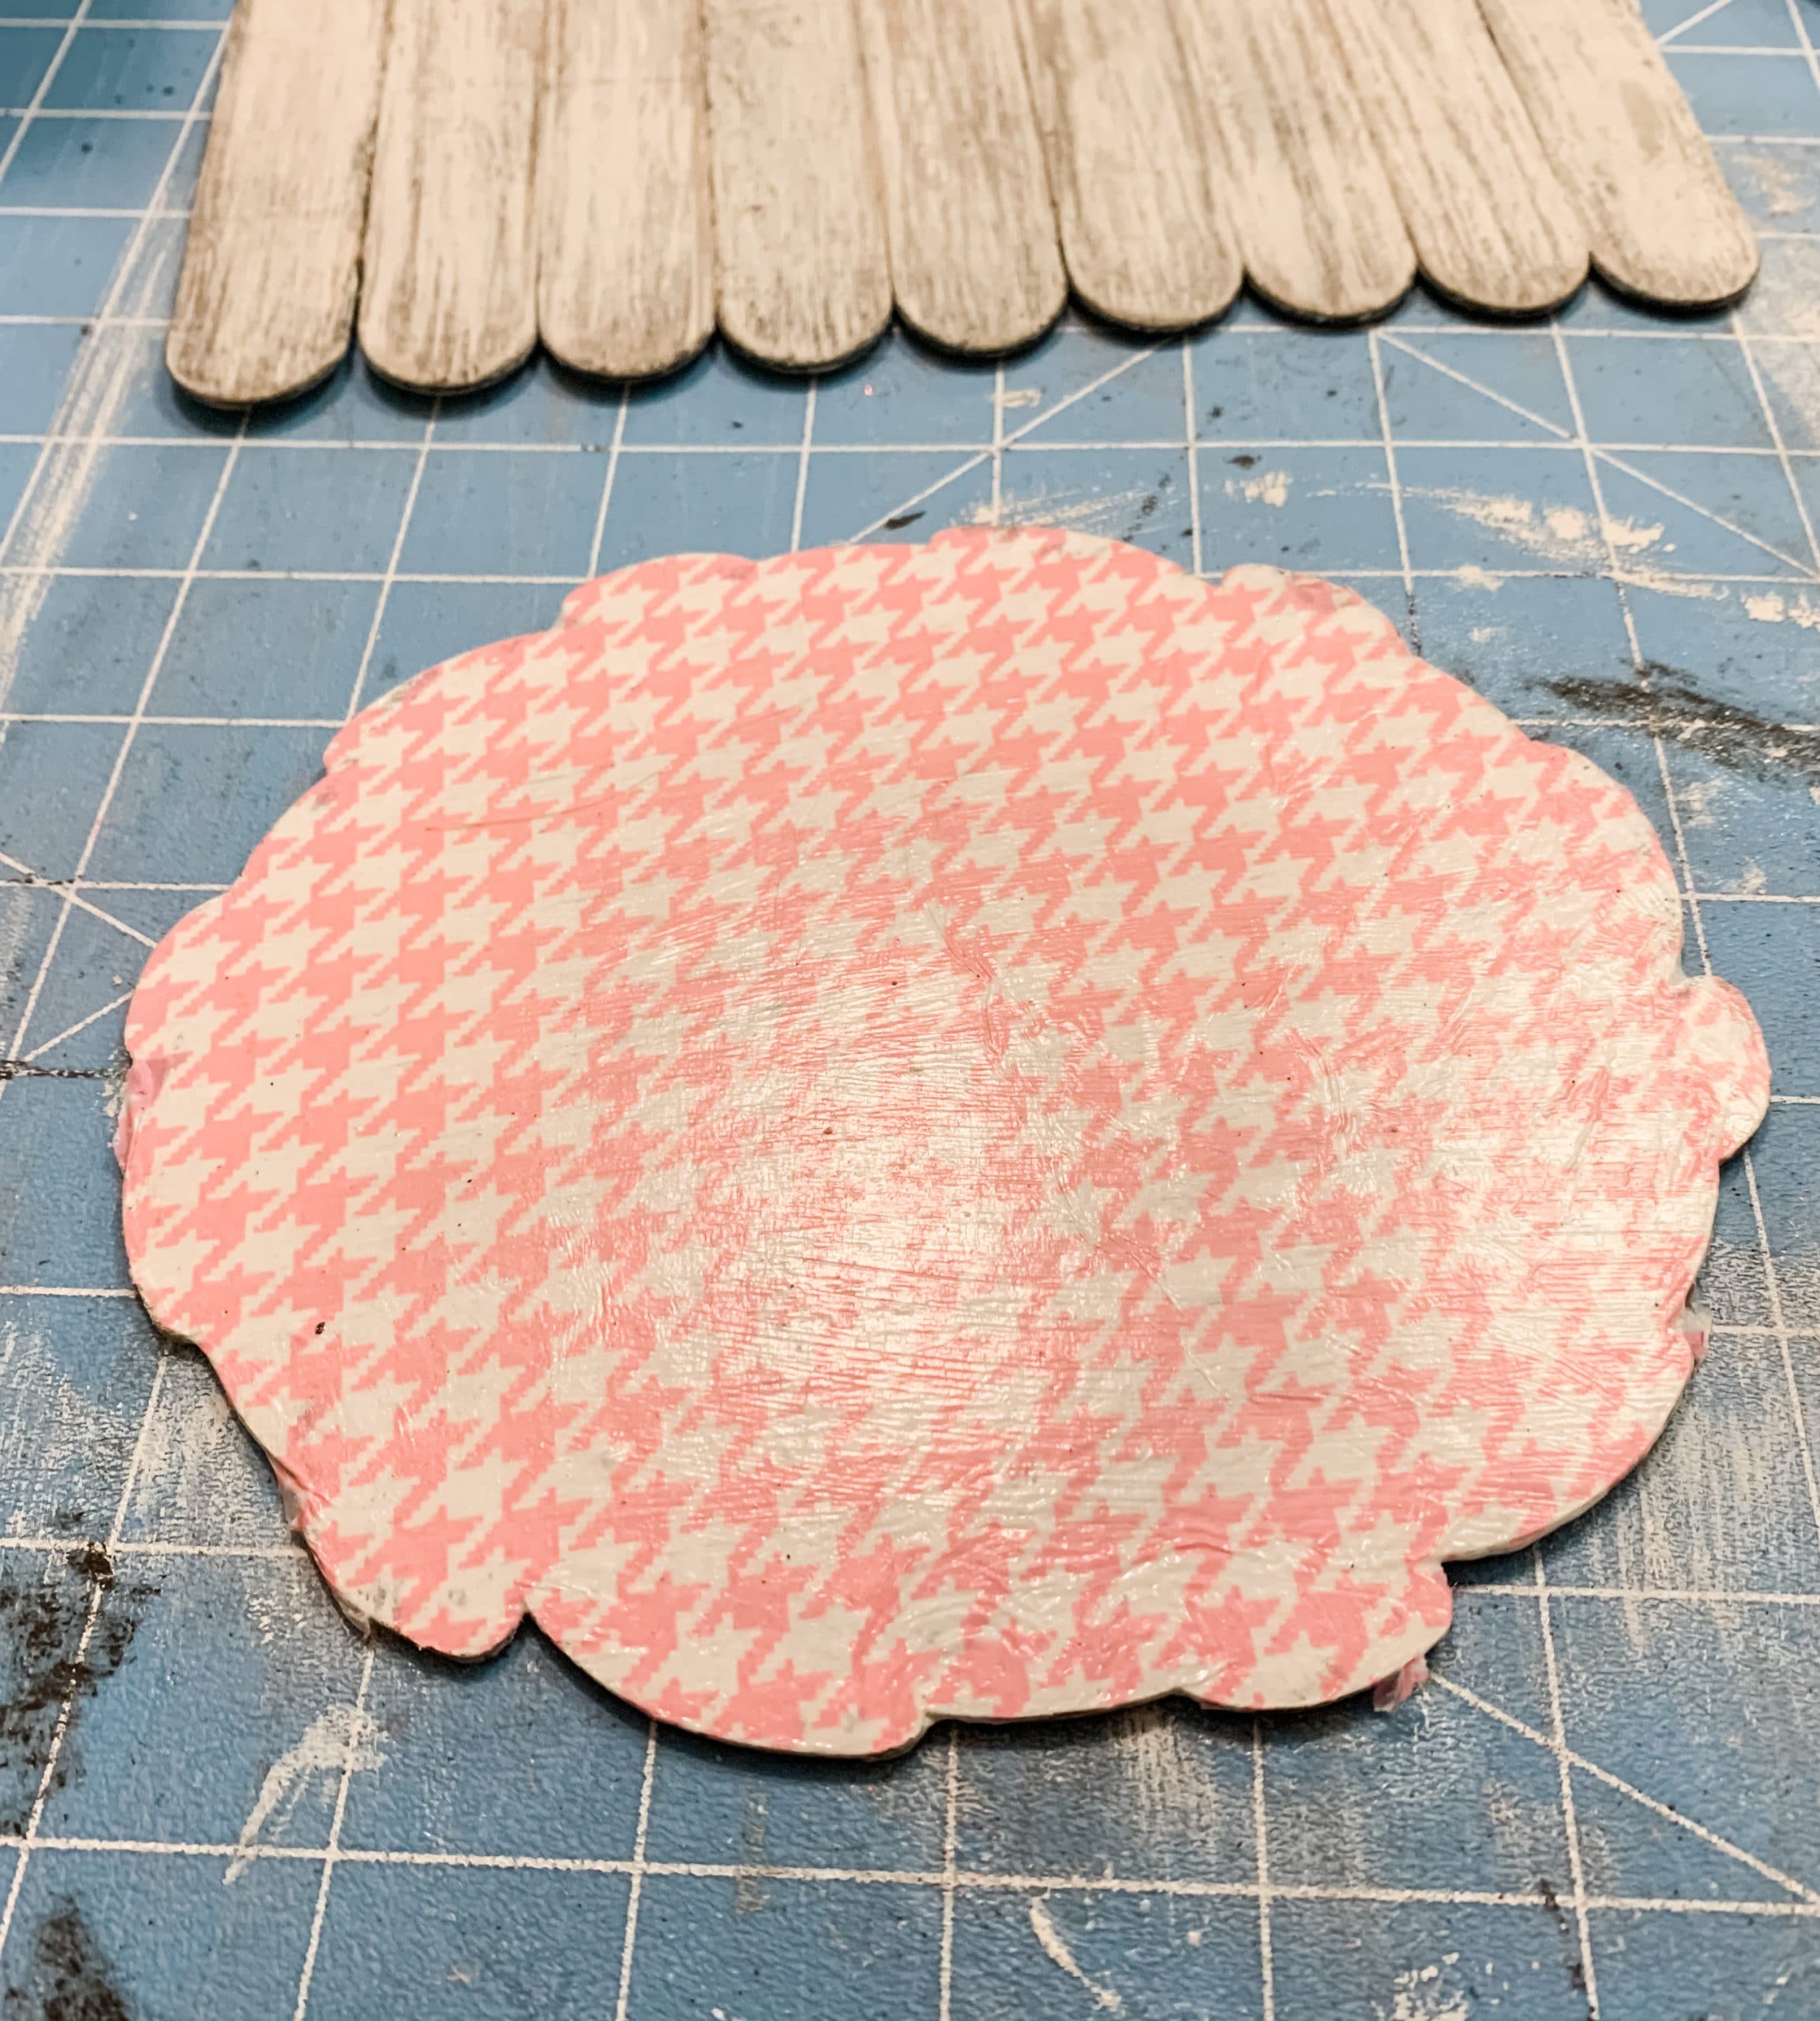
Next, you need to trim off any excess tissue paper from the Dollar Tree wood cutout. You can tear the excess tissue paper off, but be careful not to pull it off the Mod Podged surface.
I also like to use a sanding sponge to lightly sand the edges and get a precise, smooth edge.
Time to embellish
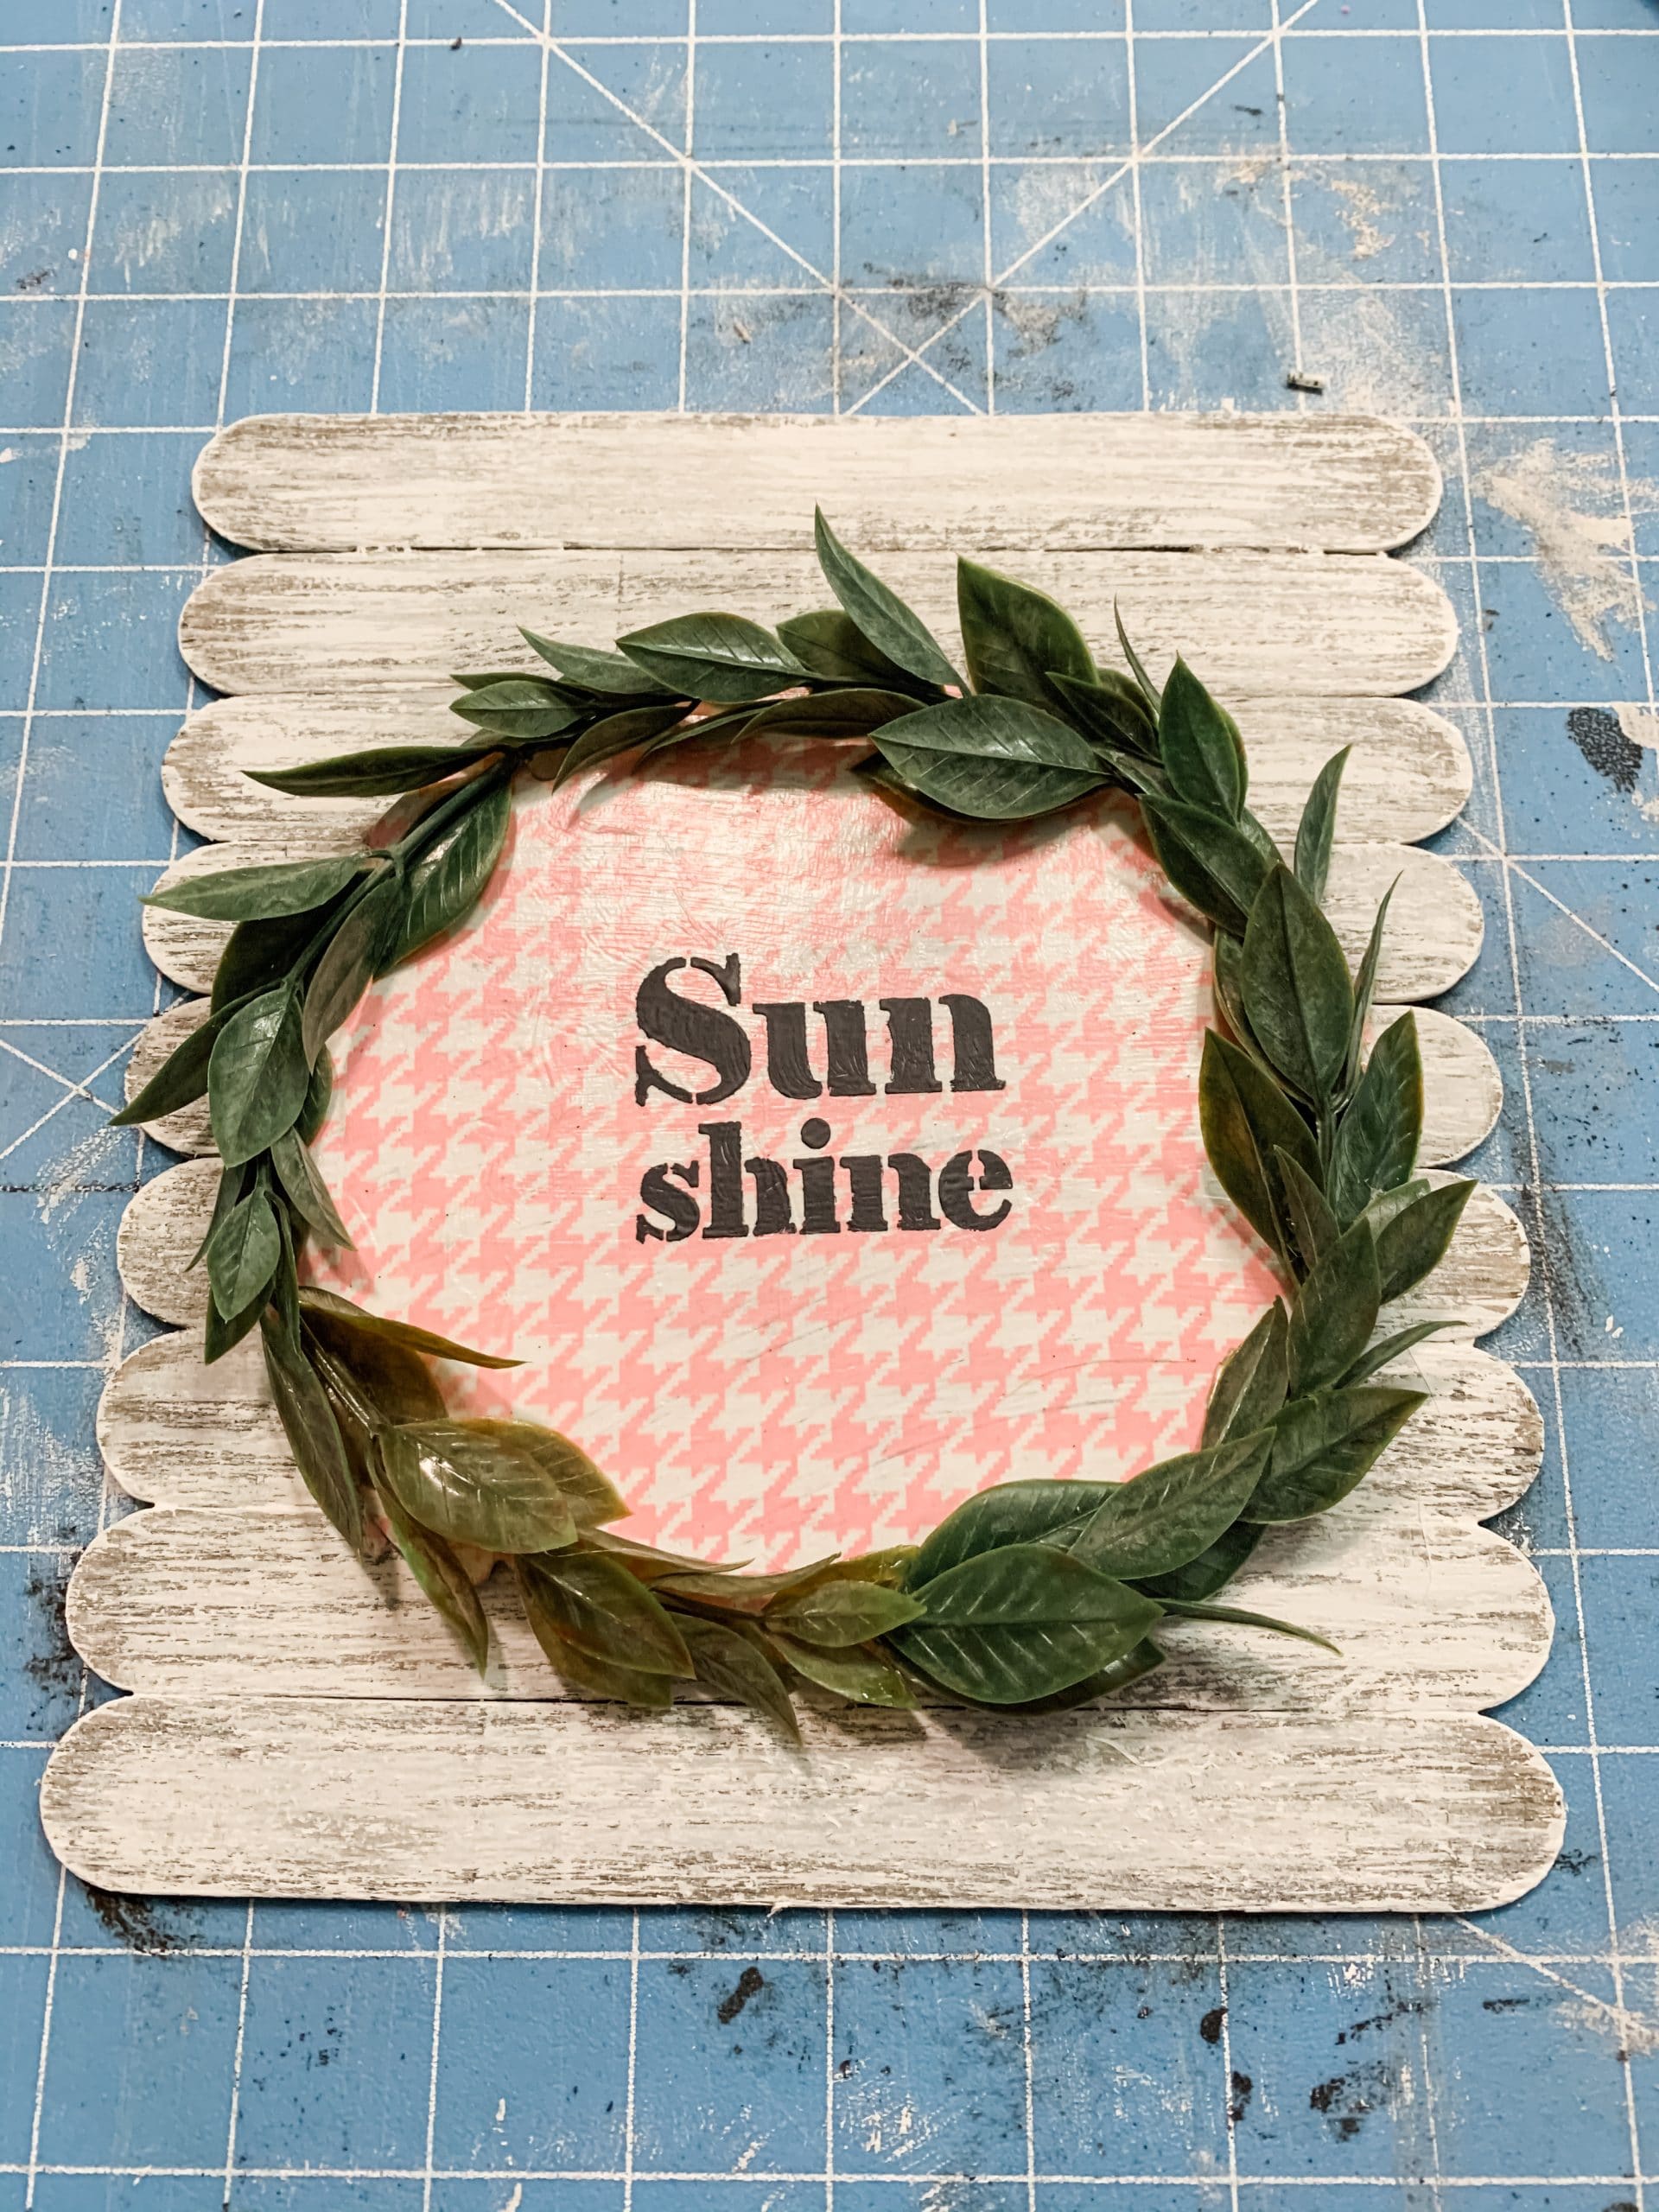
Now it is time to add some of the embellishments and details that are going to really bring this fun and easy DIY spring door hanger together.
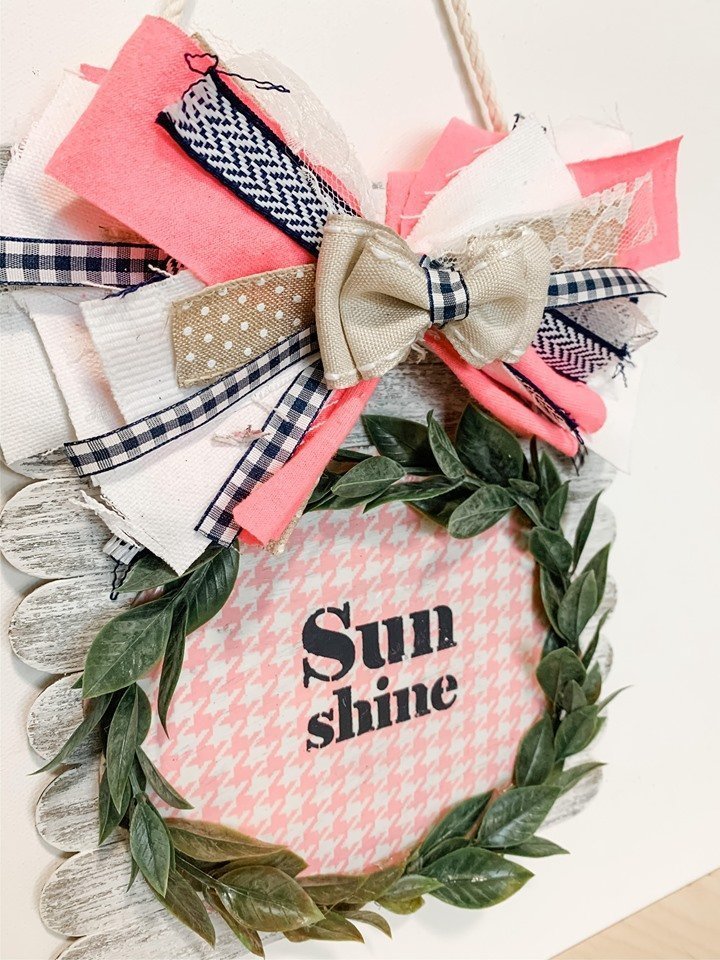
Start by hot gluing the greenery sprigs around the edge of the Dollar Tree wood cutout. Be sure to get decent coverage with the greenery sprigs and cover up the ends of each one with another sprig.

Next, you’re going to add your stencil. I used an adhesive stencil that says “Sun Shine” for this DIY spring decor, however, you could use any stencil you have on hand!
Place your stencil and spread the black paint across it. Be careful not to pull the paint off the outer edge of the stencil and to get even coverage across the stencil.

While the paint is still wet, go ahead and carefully pull the adhesive stencil off the surface. I would go ahead and clean your stencil to ensure you can reuse it in the future!
Next, allow the painted stencil design to dry. I used my heat gun to speed up the drying process. If you don’t have a heat gun, you can also use a hairdryer on the low cool setting.
Bring it all together
Once your stencil is dry, you can attach the decorated Dollar Tree wood cutout to the distress popsicle stick board. I simply hot glued them together.
I placed the decorated wood cutout towards the bottom of the popsicle stick board to leave room for the messy bow! Learn how to make an easy DIY Layered messy bow here.
Once you’re done making your layered messy bow, go ahead and hot glue it into place above your decorated Dollar Tree wood cutout.
The finishing touches…
All that’s left to do is make our hanger! I used a simple piece of jute rope for my door hanger. Cut a piece of the jute rope to the length that you want your hanger to be.
Then, hot glue each end of the jute rope to the back of the popsicle stick board. I used a wood skewer to press the jute rope into the hot glue and get a secure bond for the hanger.
Once the hot glue dries, you’re ready to hang this adorable spring decor anywhere in your home!
I hope you enjoyed this fun and easy DIY Spring Door Hanger as much as I did and decide to make one for yourself! I would love to see how yours turns out!
You should totally join my FREE Facebook group called On A Budget Crafts! It is a judgment-free community for DIY crafters to show off their projects and ideas.
If you loved this DIY you might also like this one too!
Thanks for stopping by! XOXO Amber
You can also shop my ENTIRE AMAZON Favorites shop just click here! It’s packed full of all the things I use and love. Here is the supply list I highly recommend every creative have on hand!! Would you also pin my blog for later and get on my newsletter alerts? I would love to have you join my #craftycrew.

Join my free “ON A BUDGET CRAFTS” Facebook group!
>>>> PIN THIS POST FOR LATER! <<<<<

Adorable