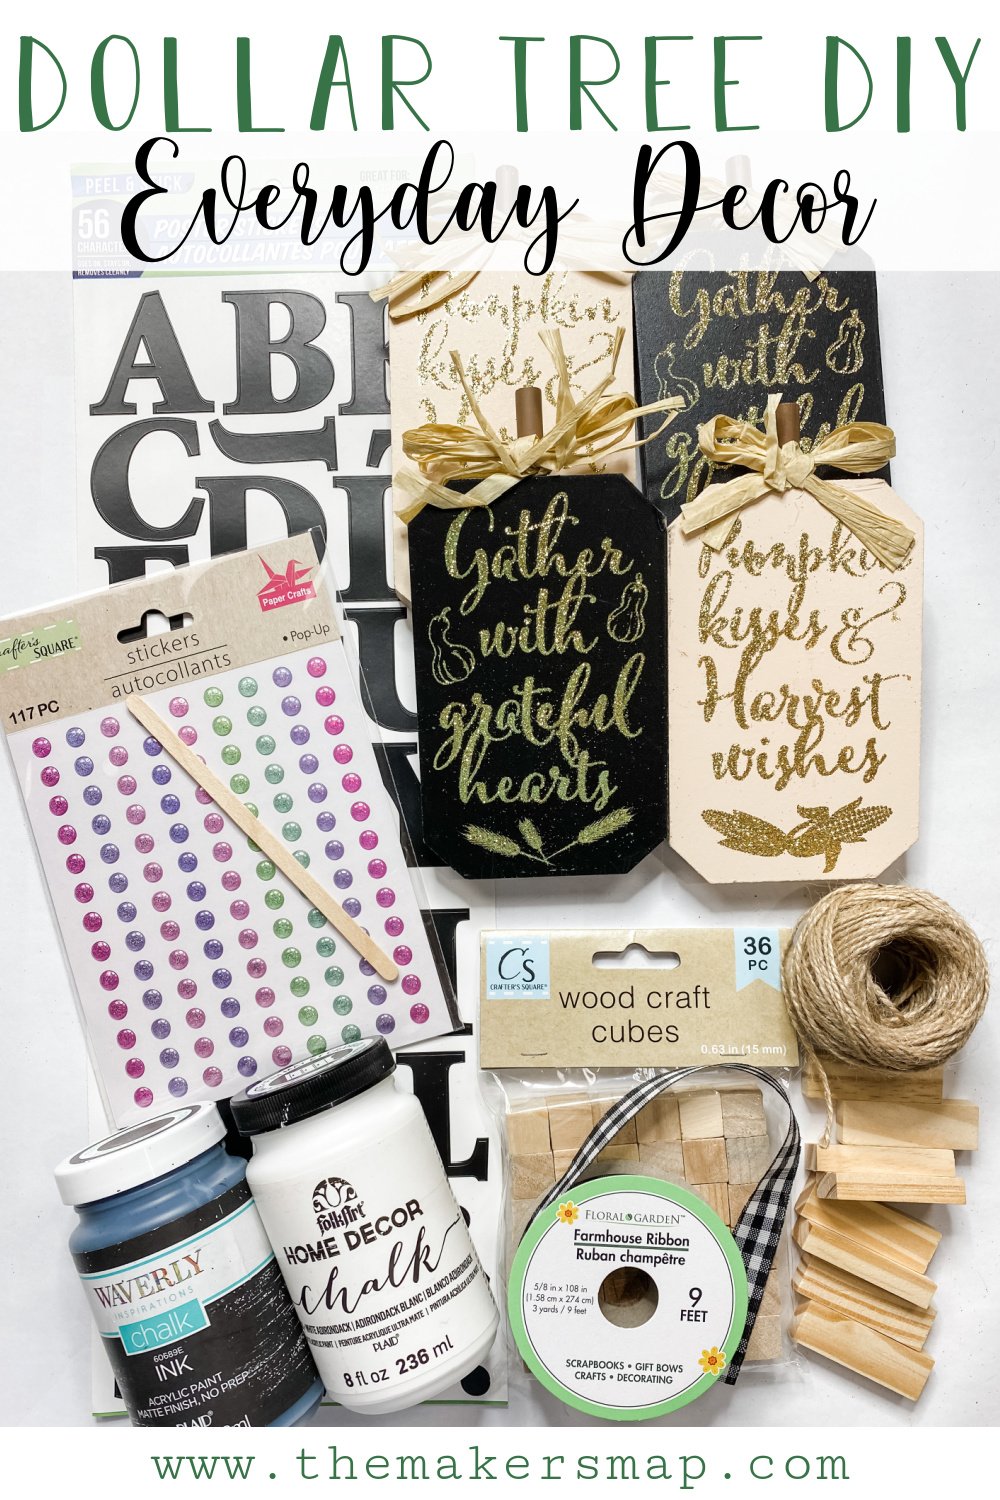
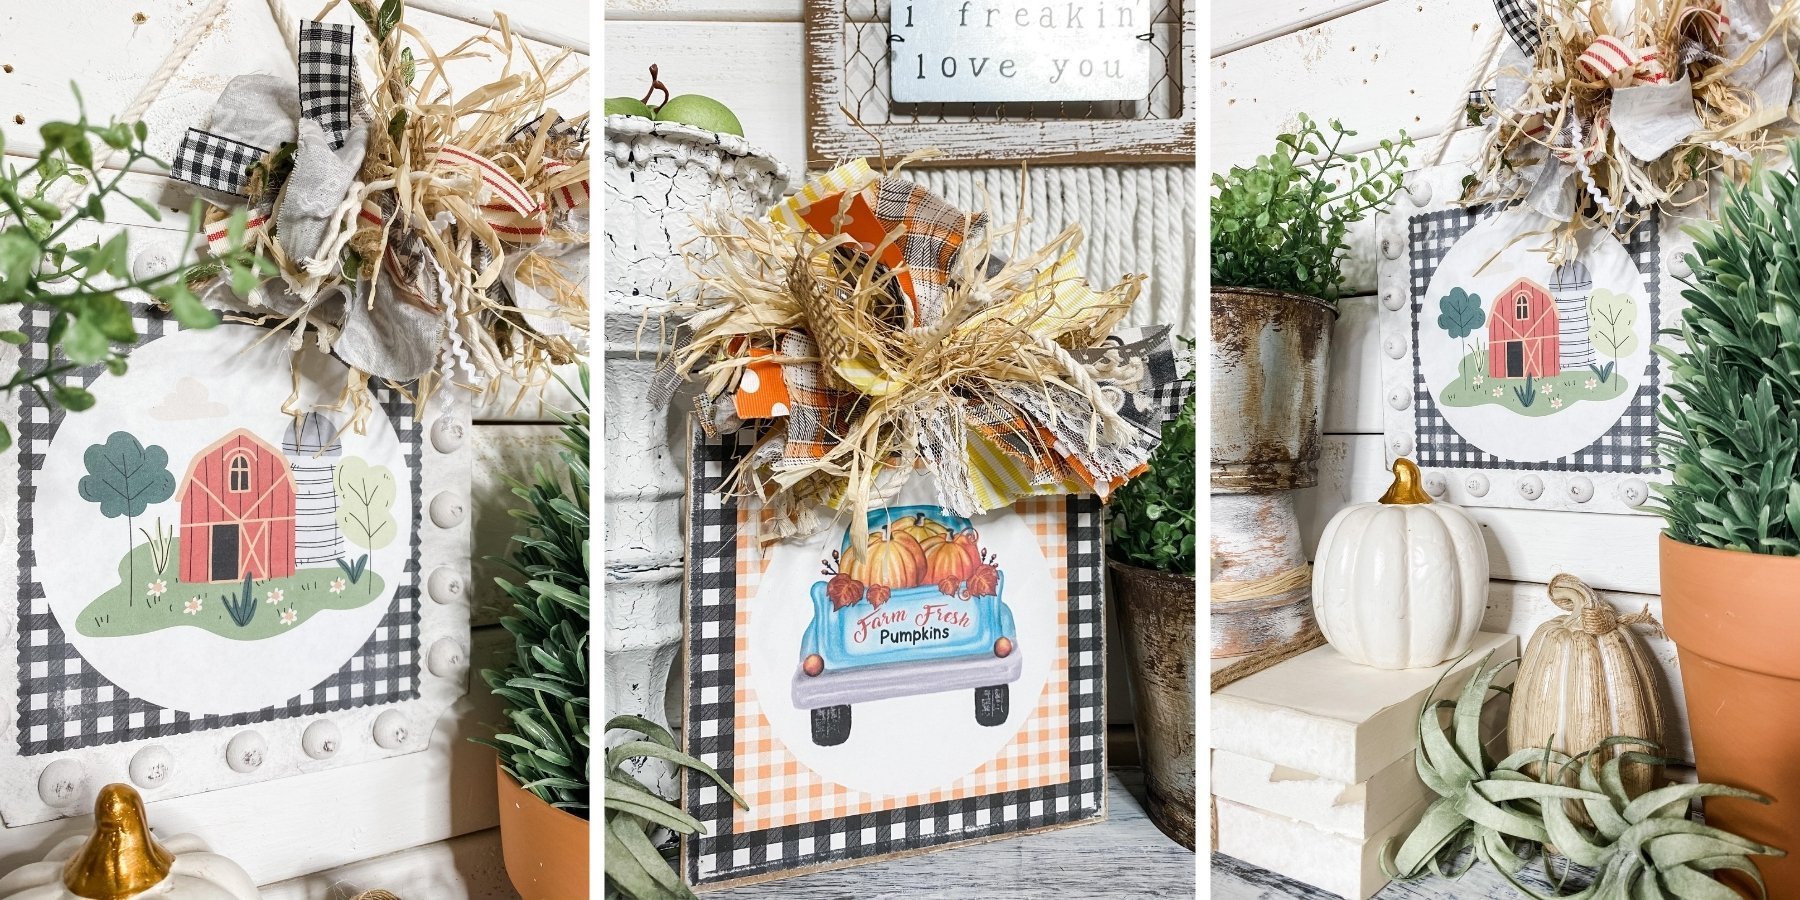
Dollar Tree DIY Home Decor Idea
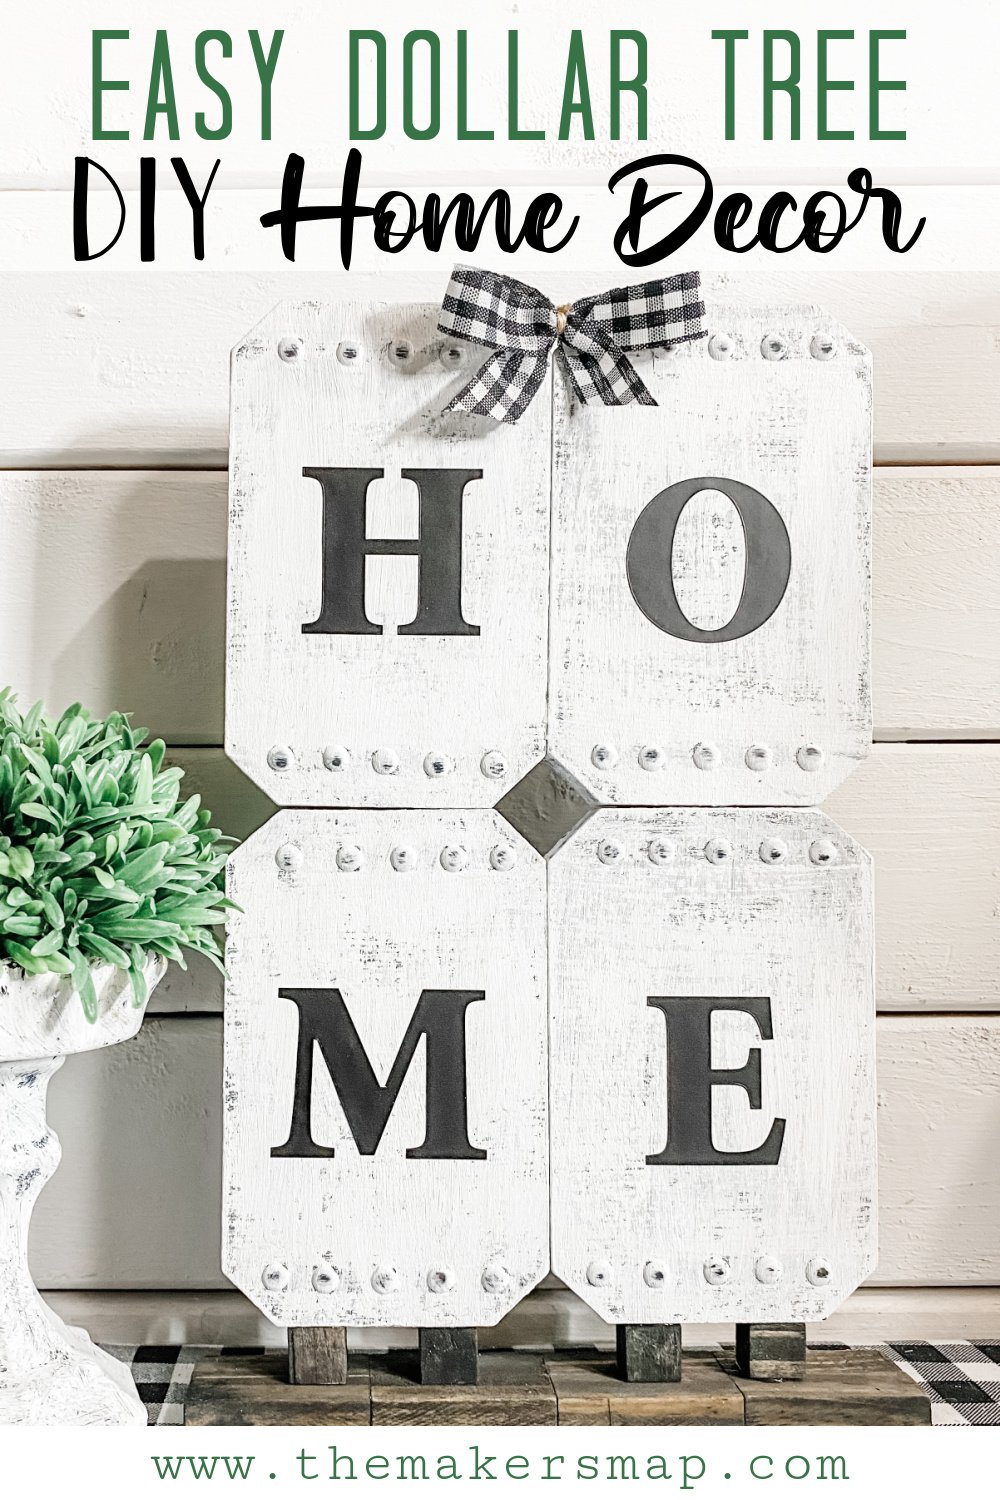
Are you over the holidays and ready for some everyday decor? This Dollar Tree DIY Home Decor Idea is the epitome of everyday decor and would be beautiful in your home all year long!
The only things in the project that didn’t come from Dollar Tree are the paints! Every other piece of this DIY craft came from Dollar Tree, making this one of the most affordable projects I’ve ever done!
If you want to see the full supply list or video tutorial, just scroll to the bottom of this page!
Let’s get started!
I am so excited to tell you how I made this adorable everyday home decor! I started by peeling the stickers off the back of my Dollar Tree pumpkin blocks.
To make them pull off easier, I used my heat gun to loosen the adhesive and pulled the stickers off.
Next, I had to pull the stems off the top of the Dollar Tree woodblock pumpkins. To do this, I used a pair of pliers, pinched them onto the stems, and wiggled and twisted until the stem came right off.
The front of these Dollar Tree wood pumpkins had very glittery letters, so I decided to use the backs for this DIY.
You could always sand the glitter lettering off the front of these blocks and make this a double-sided shelf-sitter!
If you want to see the full supply list or video tutorial, just scroll to the bottom of this page!
Embellish
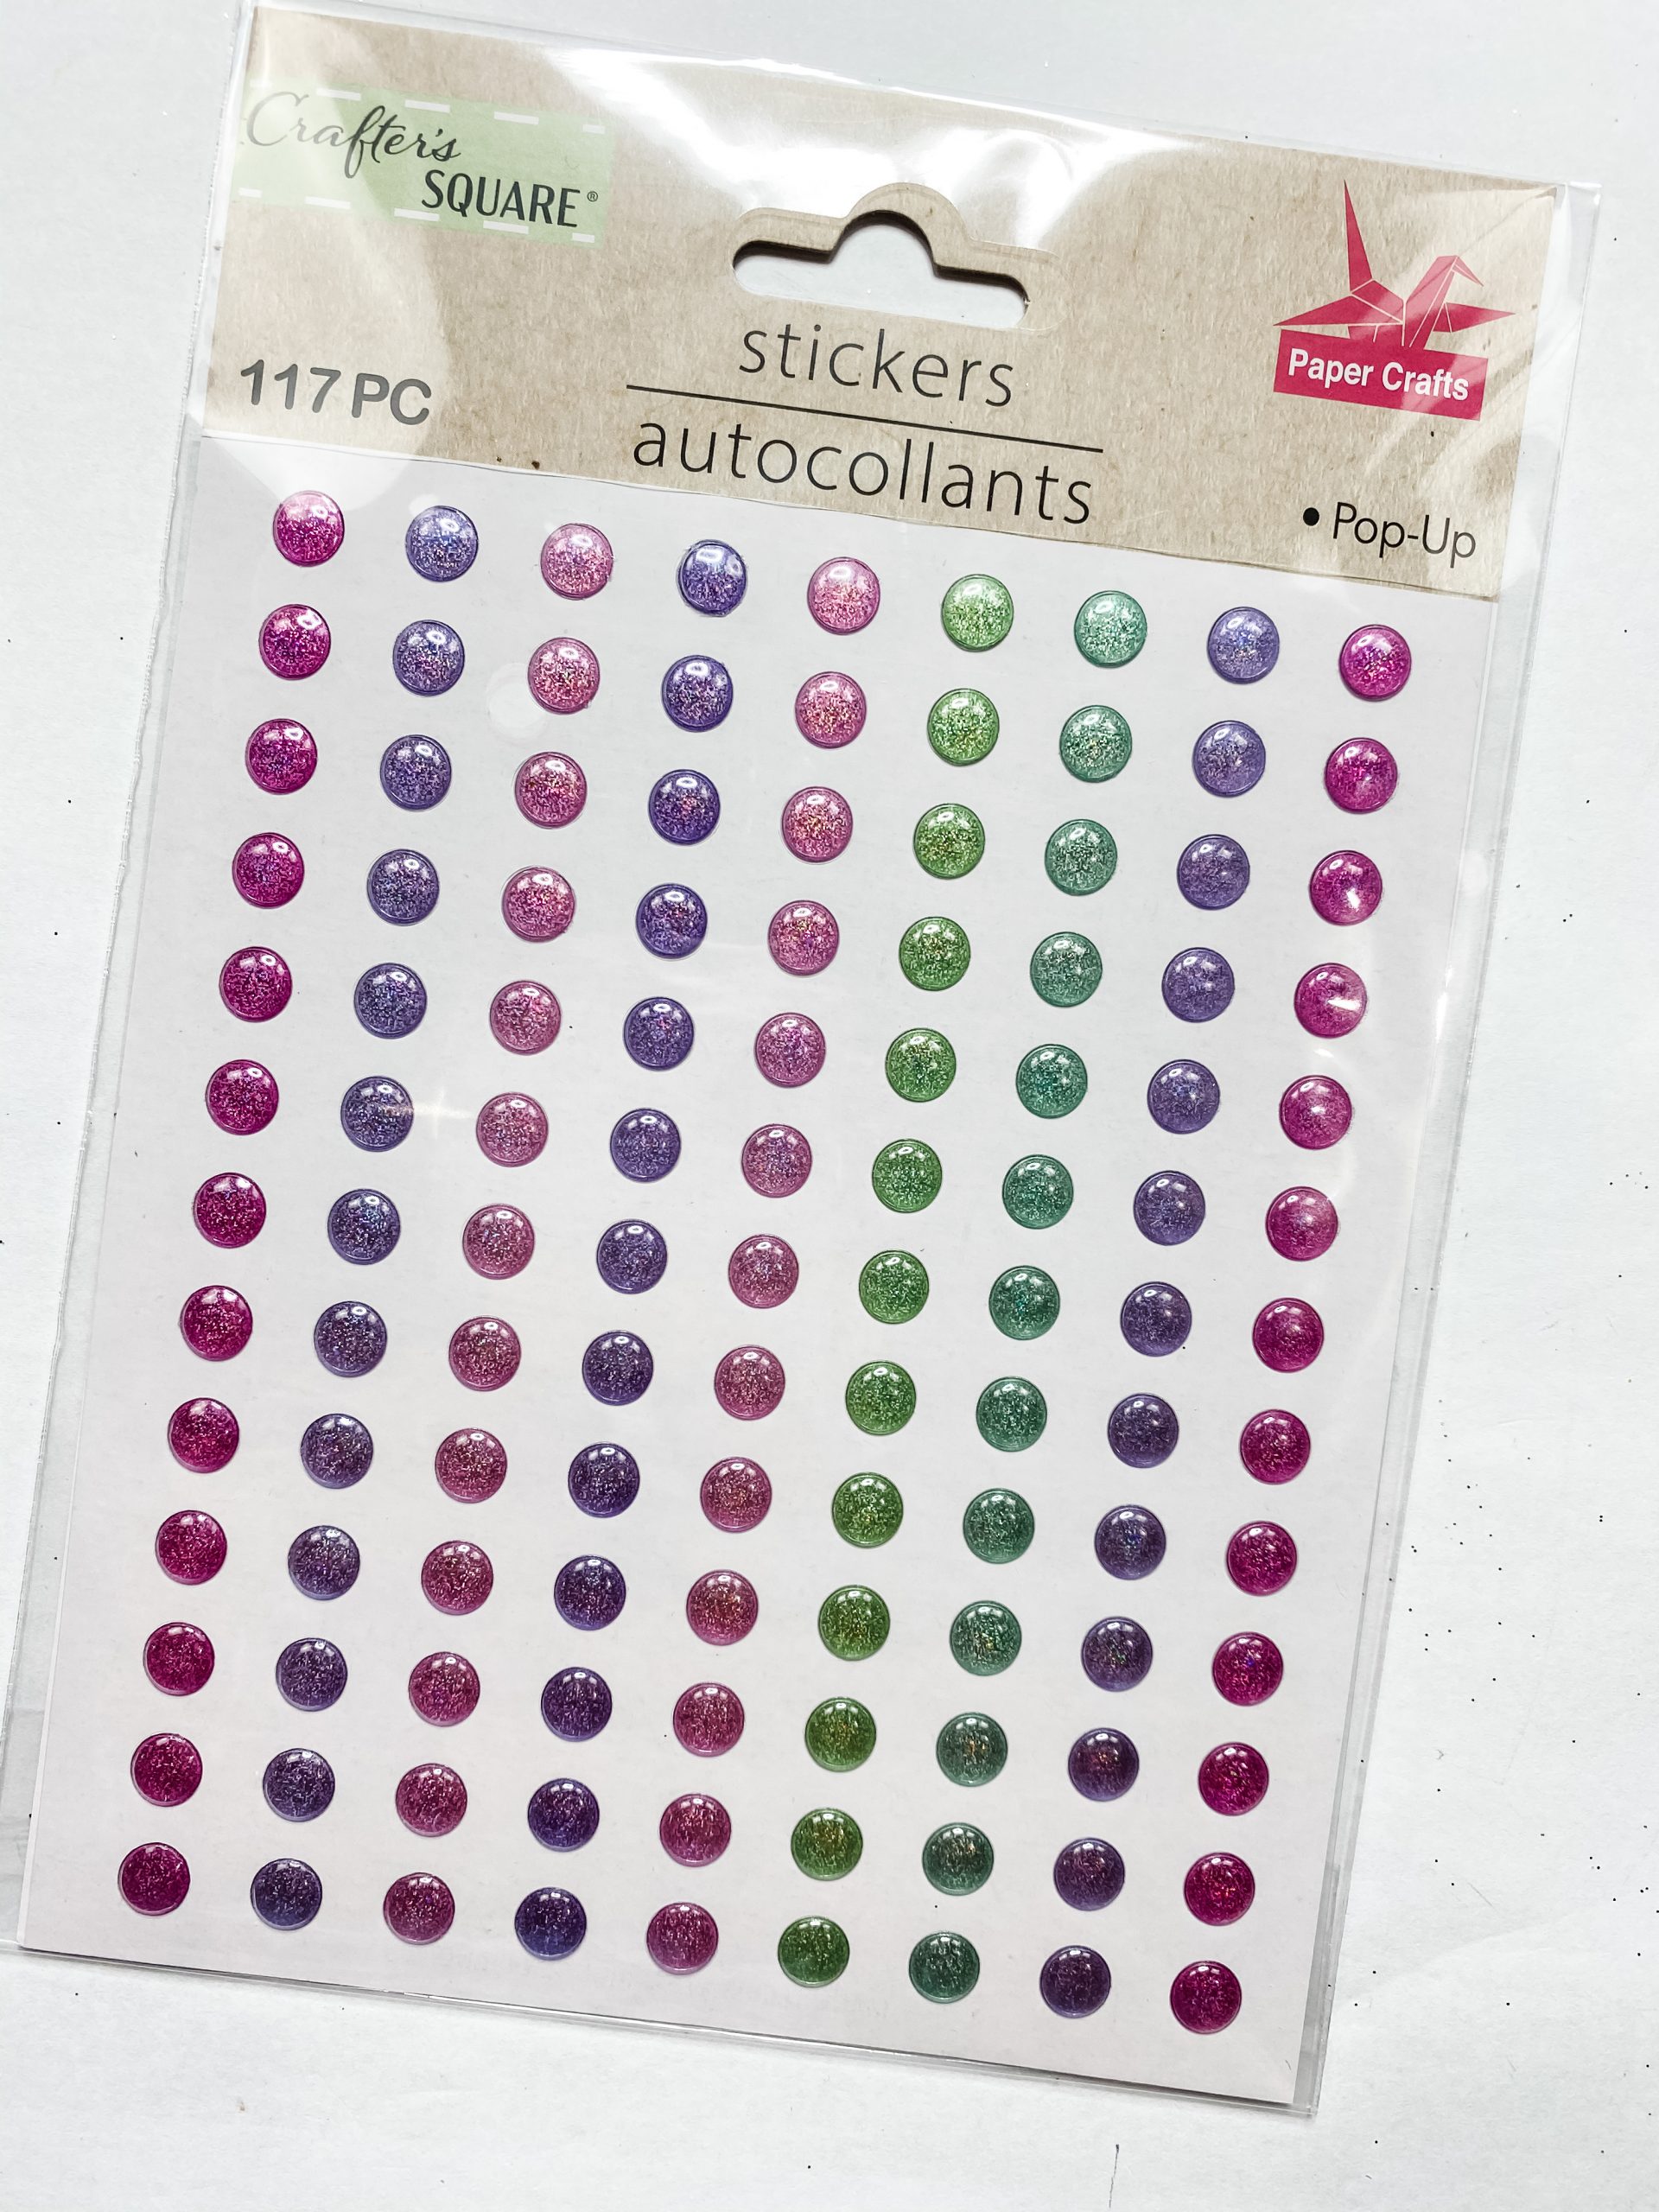
Next, I added the little Dollar Tree dot stickers across the top and bottom of each pumpkin block. The colored stickers adhered better than the white dot stickers that I usually use.
If you want to see the full supply list or video tutorial, just scroll to the bottom of this page!
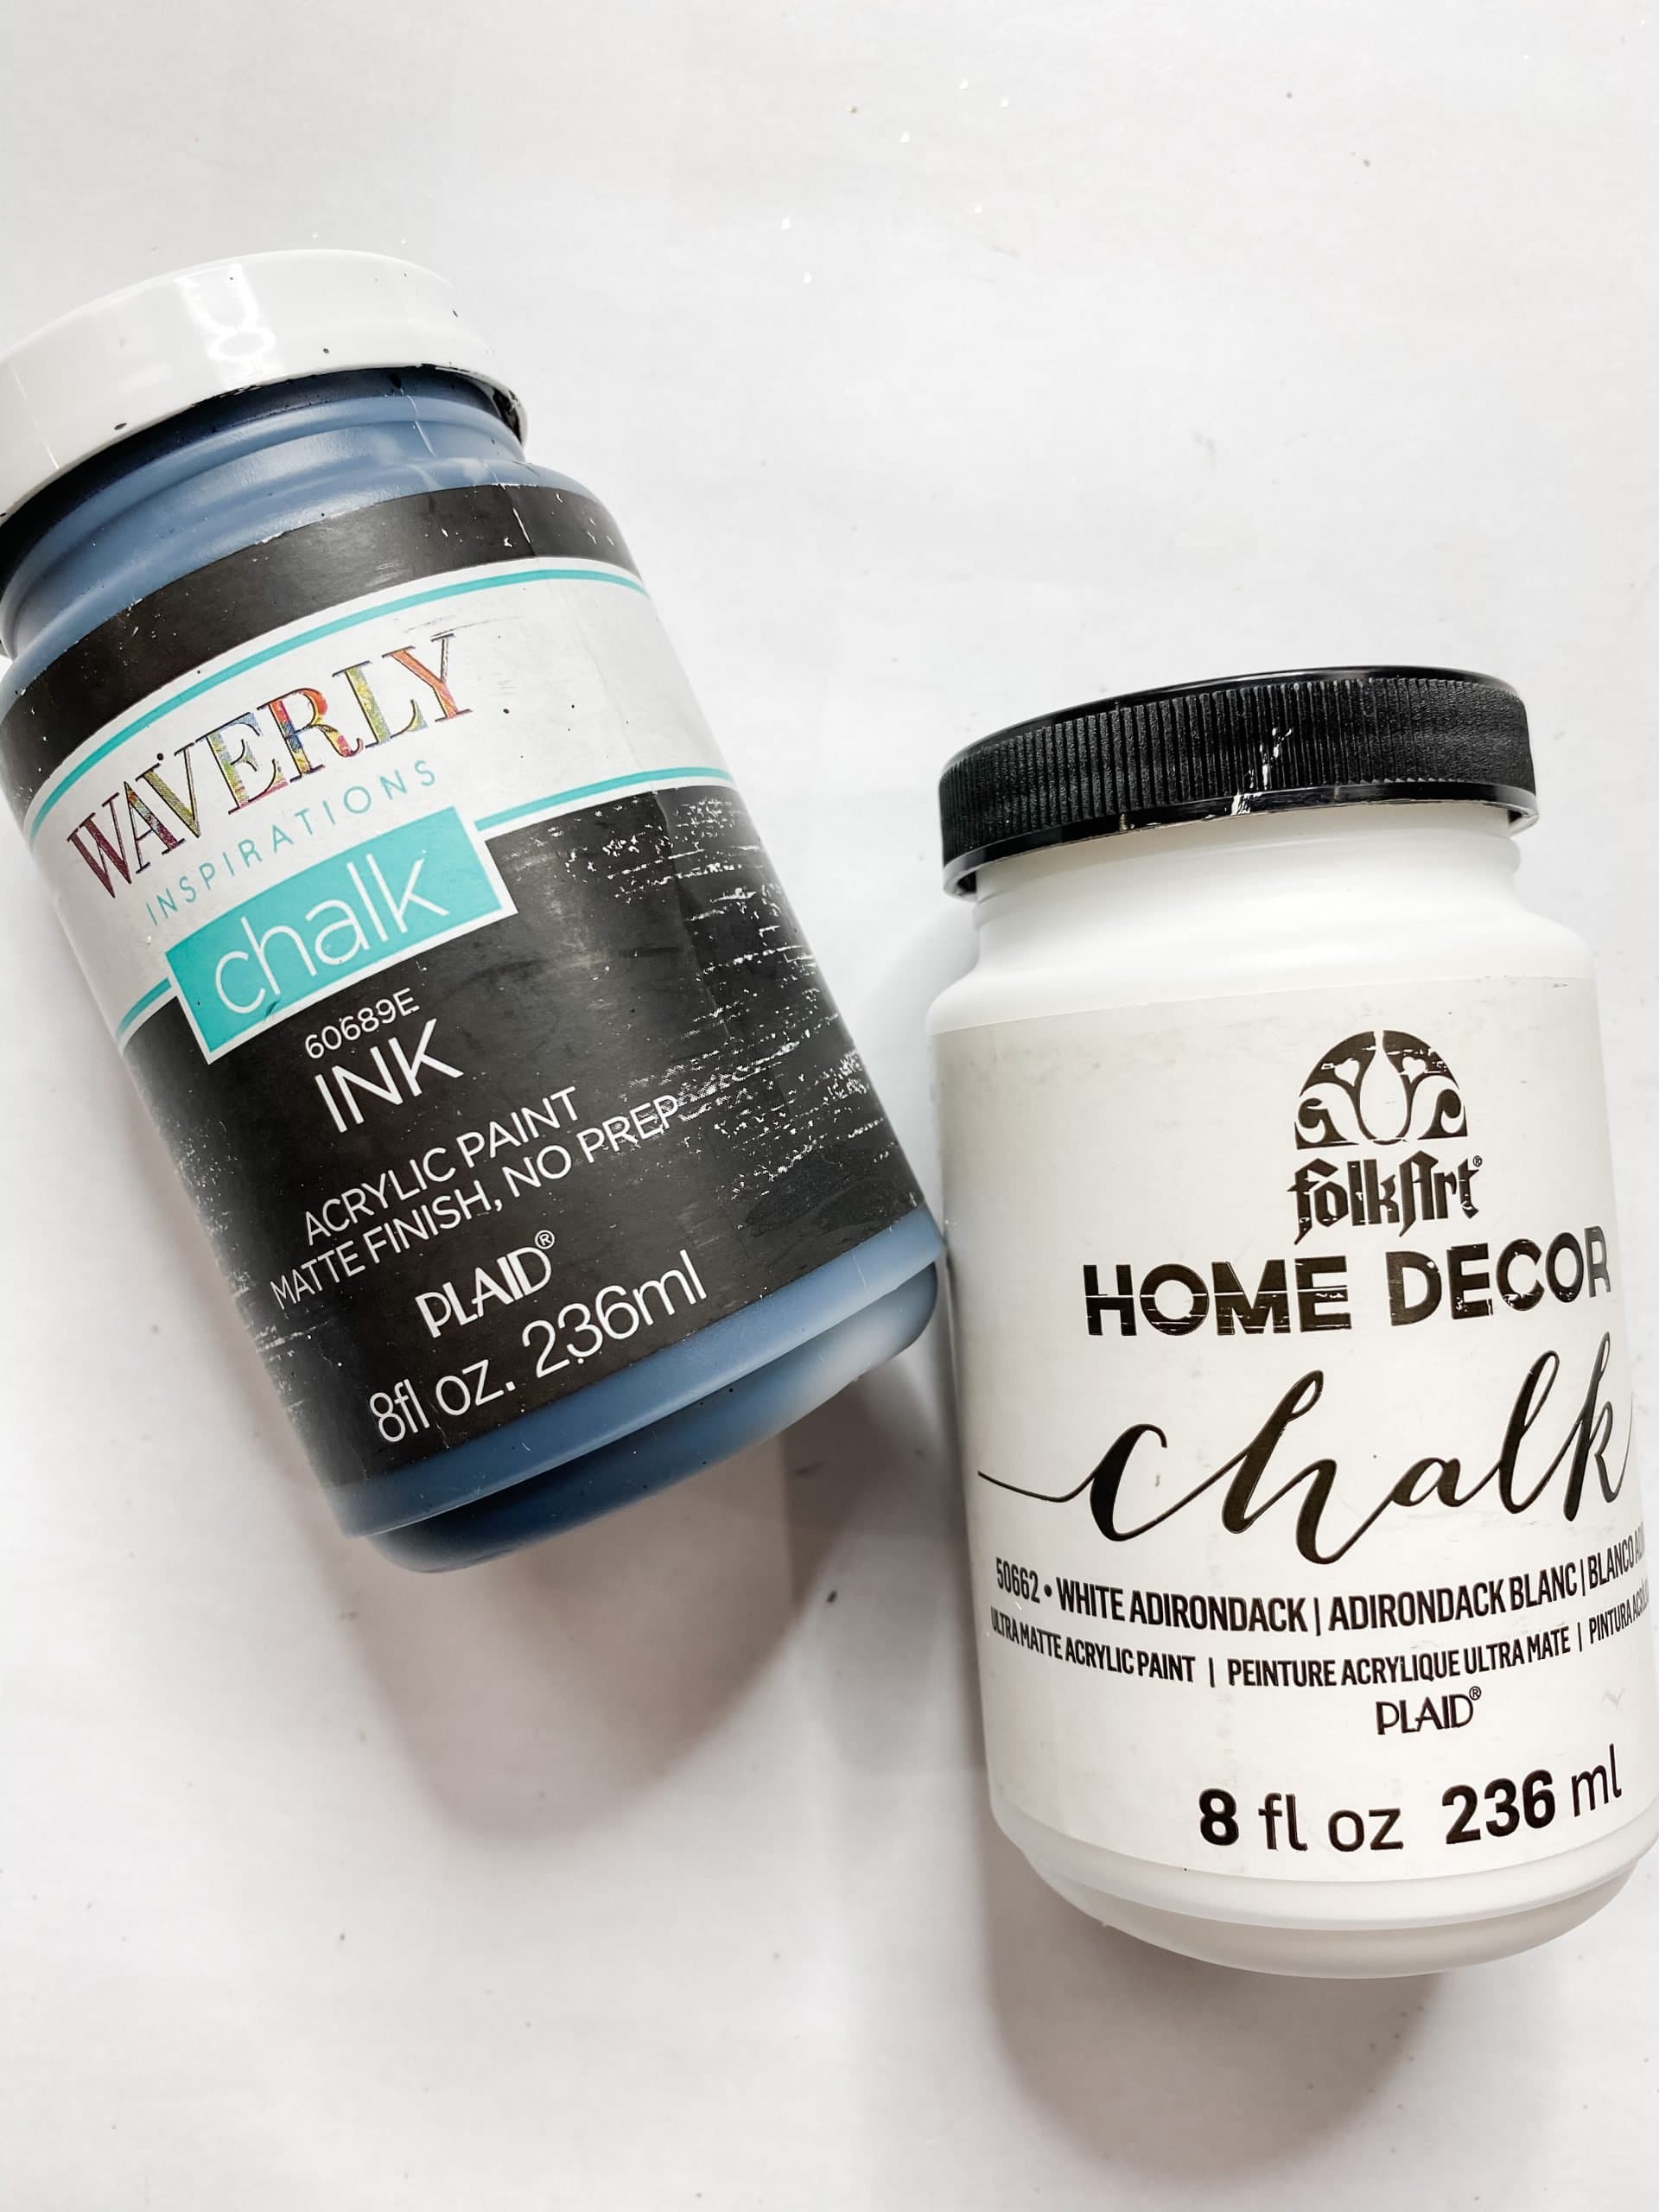
Once you have all the stickers placed, paint each block black. I used Waverly Ink Chalk Paint. Get good, full coverage across the entire surface (front, back, and sides) of each block. Make sure you paint the little dot stickers as well.
Allow the painted pumpkin blocks to dry before moving to the next step. I like to use my heat gun to speed up the drying process.
If you don’t have a heat gun, you can always use a hairdryer on the low cool setting.
If you want to see the full supply list or video tutorial, just scroll to the bottom of this page!
Set your painted pumpkin blocks to the side, and let’s stain the Dollar Tree wood craft cubes, the popsicle stick, and Dollar Tree Tumbling Tower blocks!
To stain the wood, mix a bit of paint with a small amount of water and use a baby wipe to spread the mixture across the wood craft cubes. I used 4 for this project.
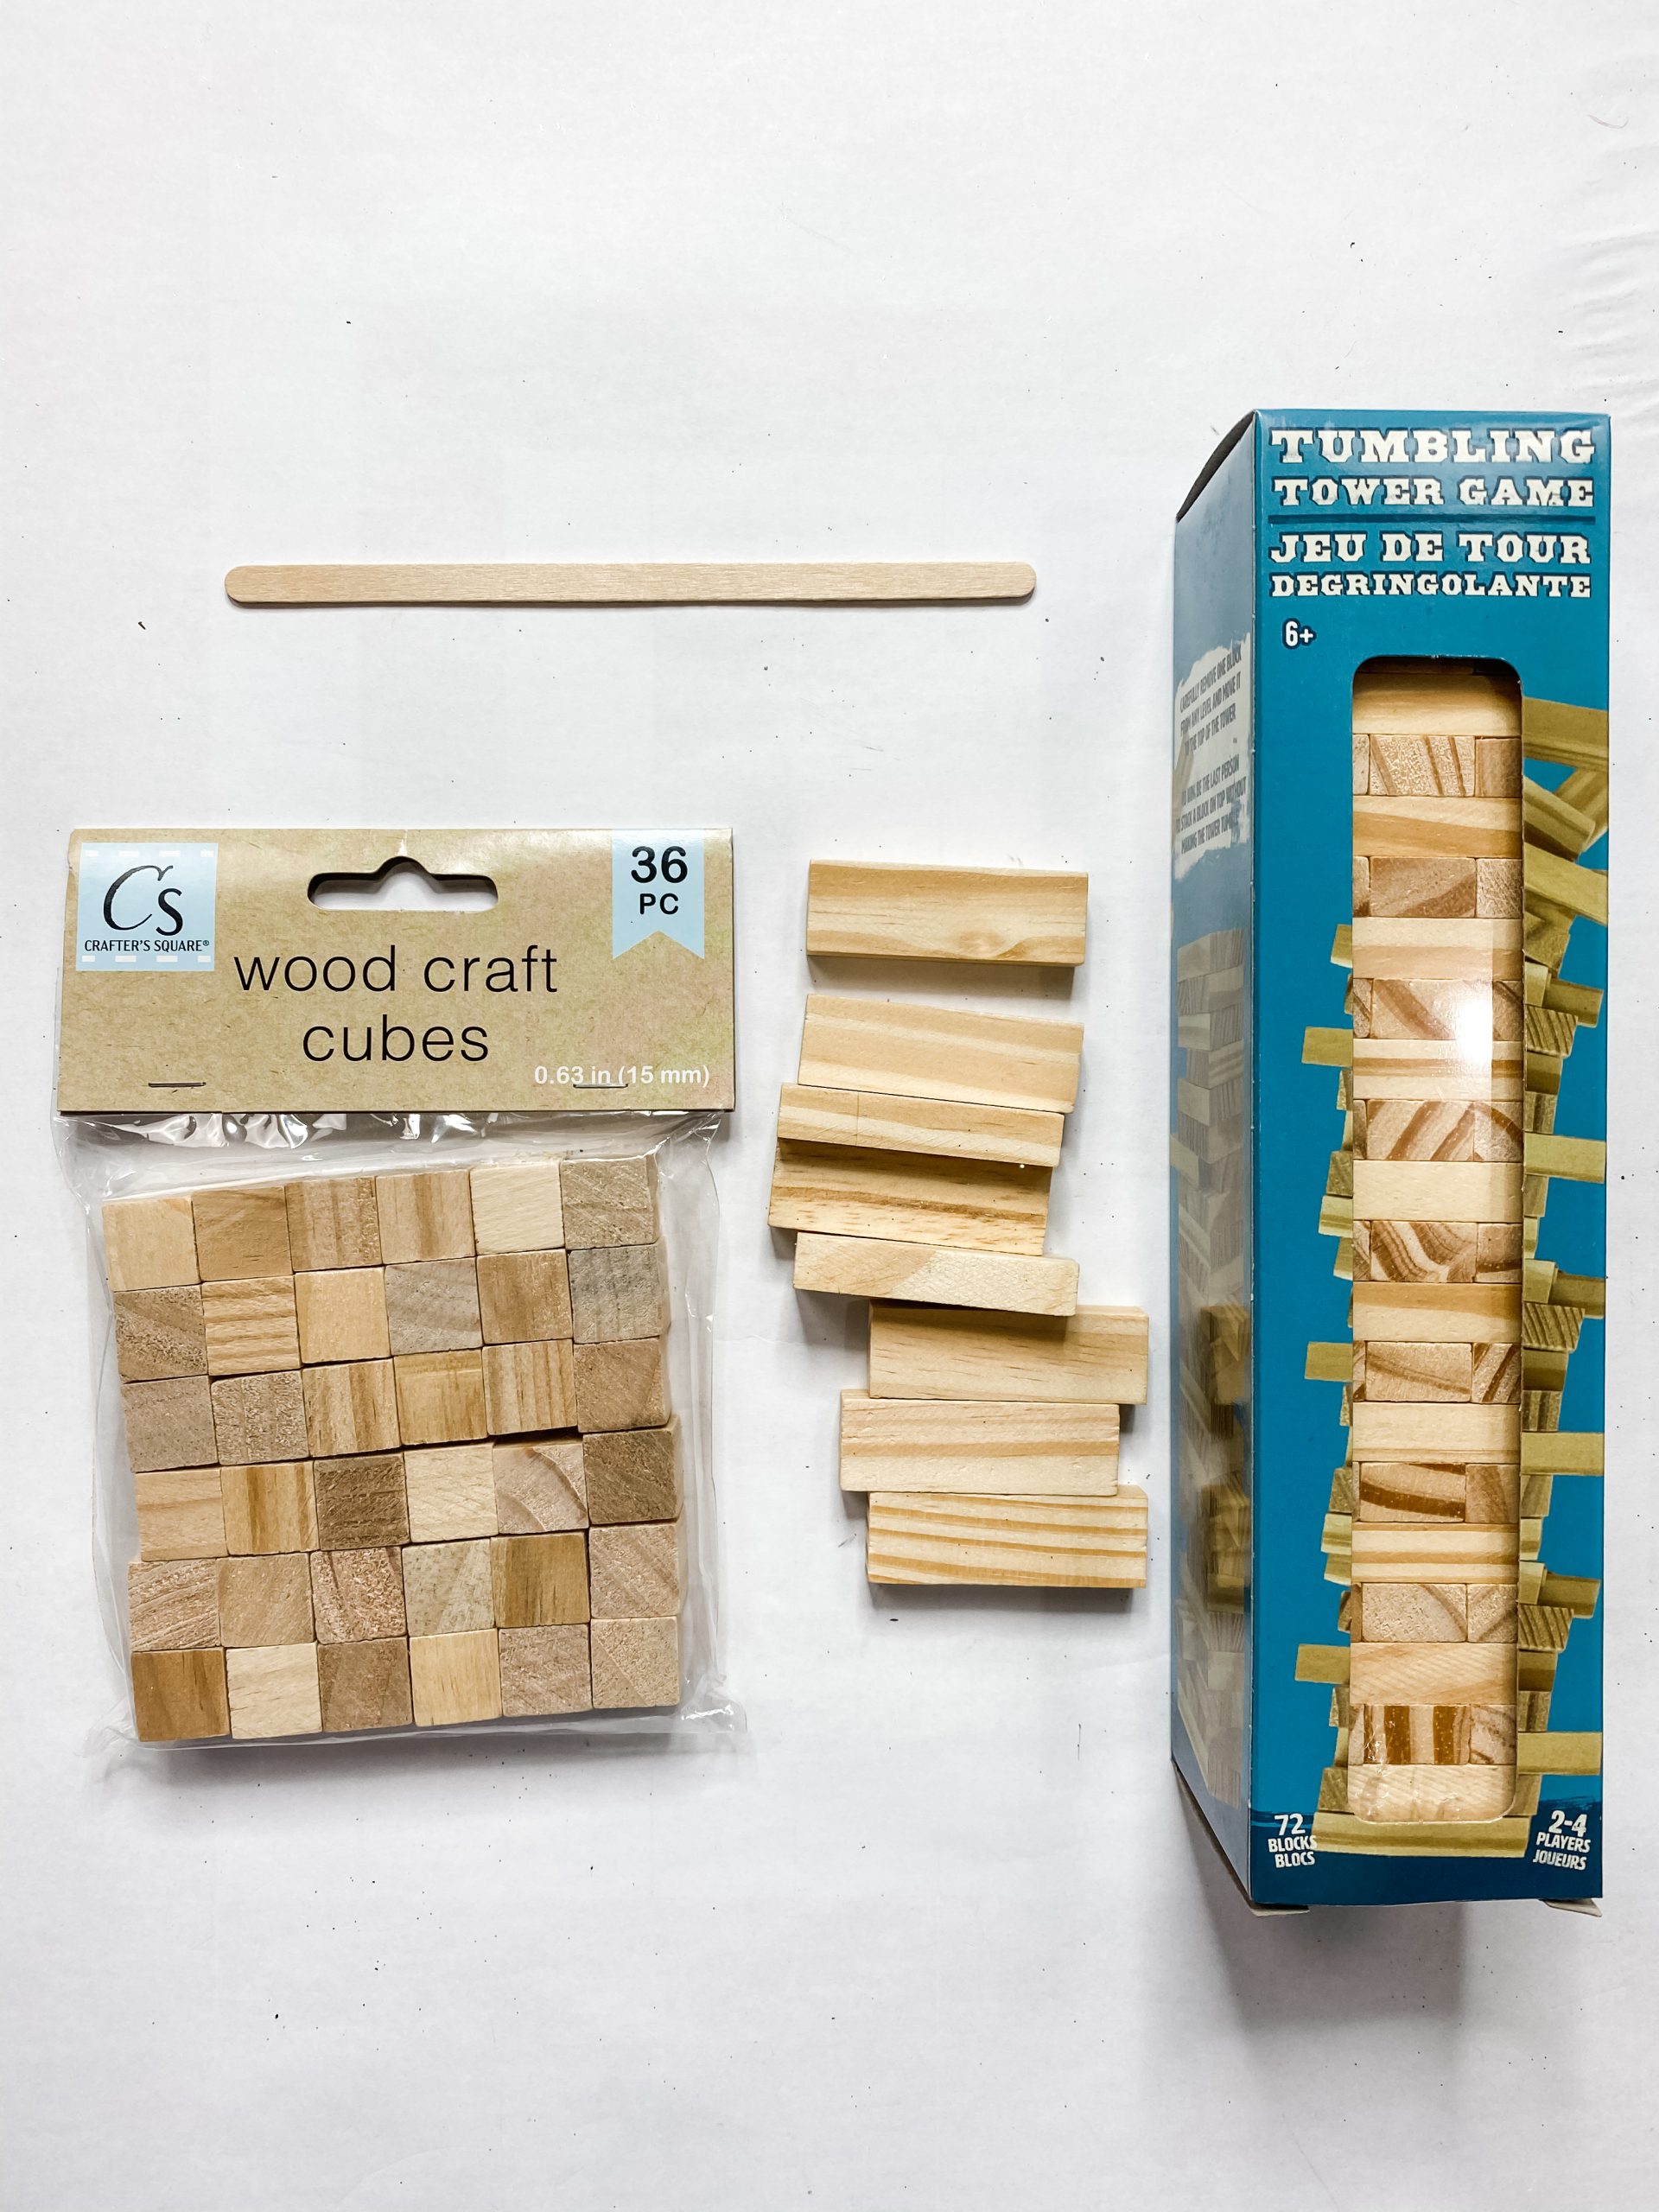
Next, get 8 of the Tumbling Tower blocks (Jenga blocks). I hot glued these together (2 wide and 4 long) to create the base of the shelf sitter decor.
If you want to see the full supply list or video tutorial, just scroll to the bottom of this page!
Once the hot glue is dried and the Dollar Tree Tumbling Tower blocks were secured together, I used the same staining technique I used on the craft cubes to stain the Tumbling Tower blocks and the popsicle stick.
Set the stained Tumbling Tower blocks and wood craft cubes to the side, and bring the painted Dollar Tree pumpkin blocks back.
If you want to see the full supply list or video tutorial, just scroll to the bottom of this page!
Some more painting!
Before we put all the pieces together, we have some more painting to do!
Use a chippy paintbrush to dry brush Folkart White Chalk Paint across the front and sides of the painted Dollar Tree pumpkin blocks. Keep a light hand, and you’ll get an effortless distressed look!
Dry the white paint completely. I wanted the dot stickers to have a bit of a distressed look as well, so after the paint was dried, I wiped across the line of dots at the top and bottom of the wood blocks.
Then, I lightly drug a sanding sponge across the dots. Don’t go too hard or you risk pulling the stickers off the surface.
Finally, I lightly sanded the entire surface of the Dollar Tree pumpkin blocks. Sand until you are happy with your distressed look.
If you want to see the full supply list or video tutorial, just scroll to the bottom of this page!
Bring it all together
Now it’s time to hot glue the distressed wood blocks together! I used my hot glue gun and Surebonder glue sticks and hot glued the blocks together as you see above.
Let me just say, I would highly recommend using the Gorilla Glue glue sticks for this. The Surebonder glue sticks just weren’t giving a very secure bond, and the blocks were wanting to separate.
If you don’t plan on making this DIY project two-sided, you could also hot glue craft sticks across the back of the blocks to help secure them together. The choice is yours!
If you want to see the full supply list or video tutorial, just scroll to the bottom of this page!
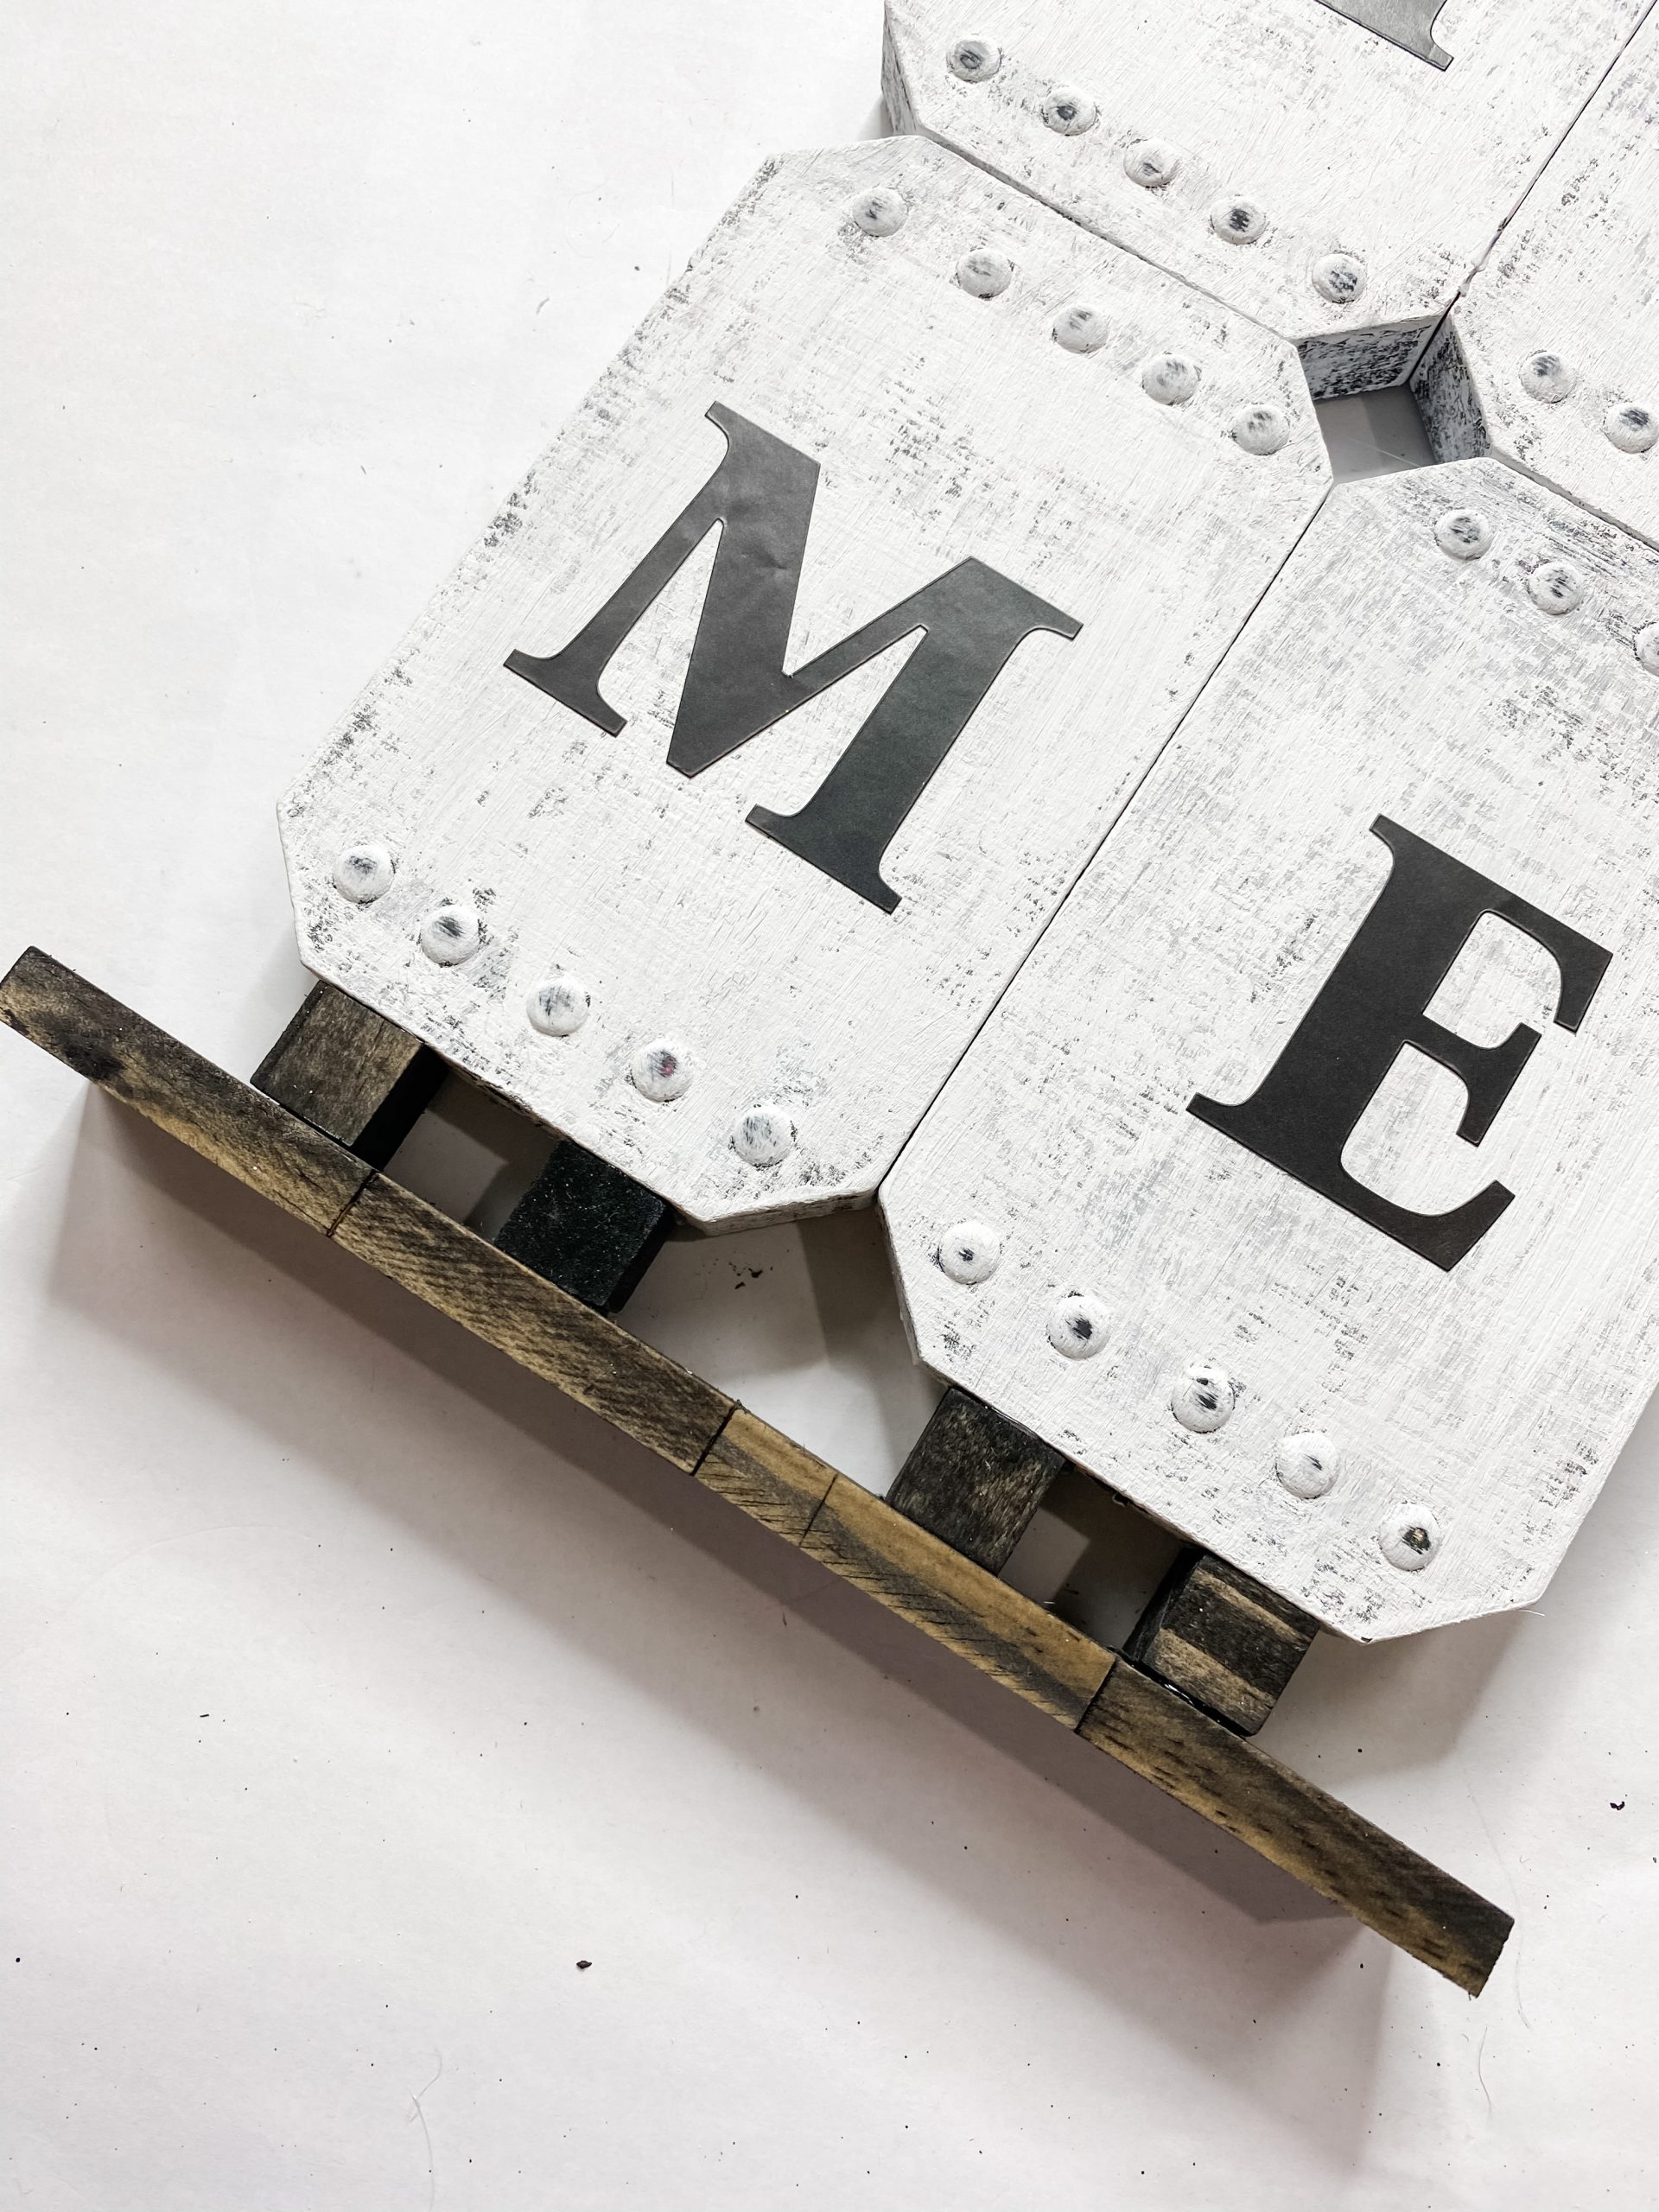
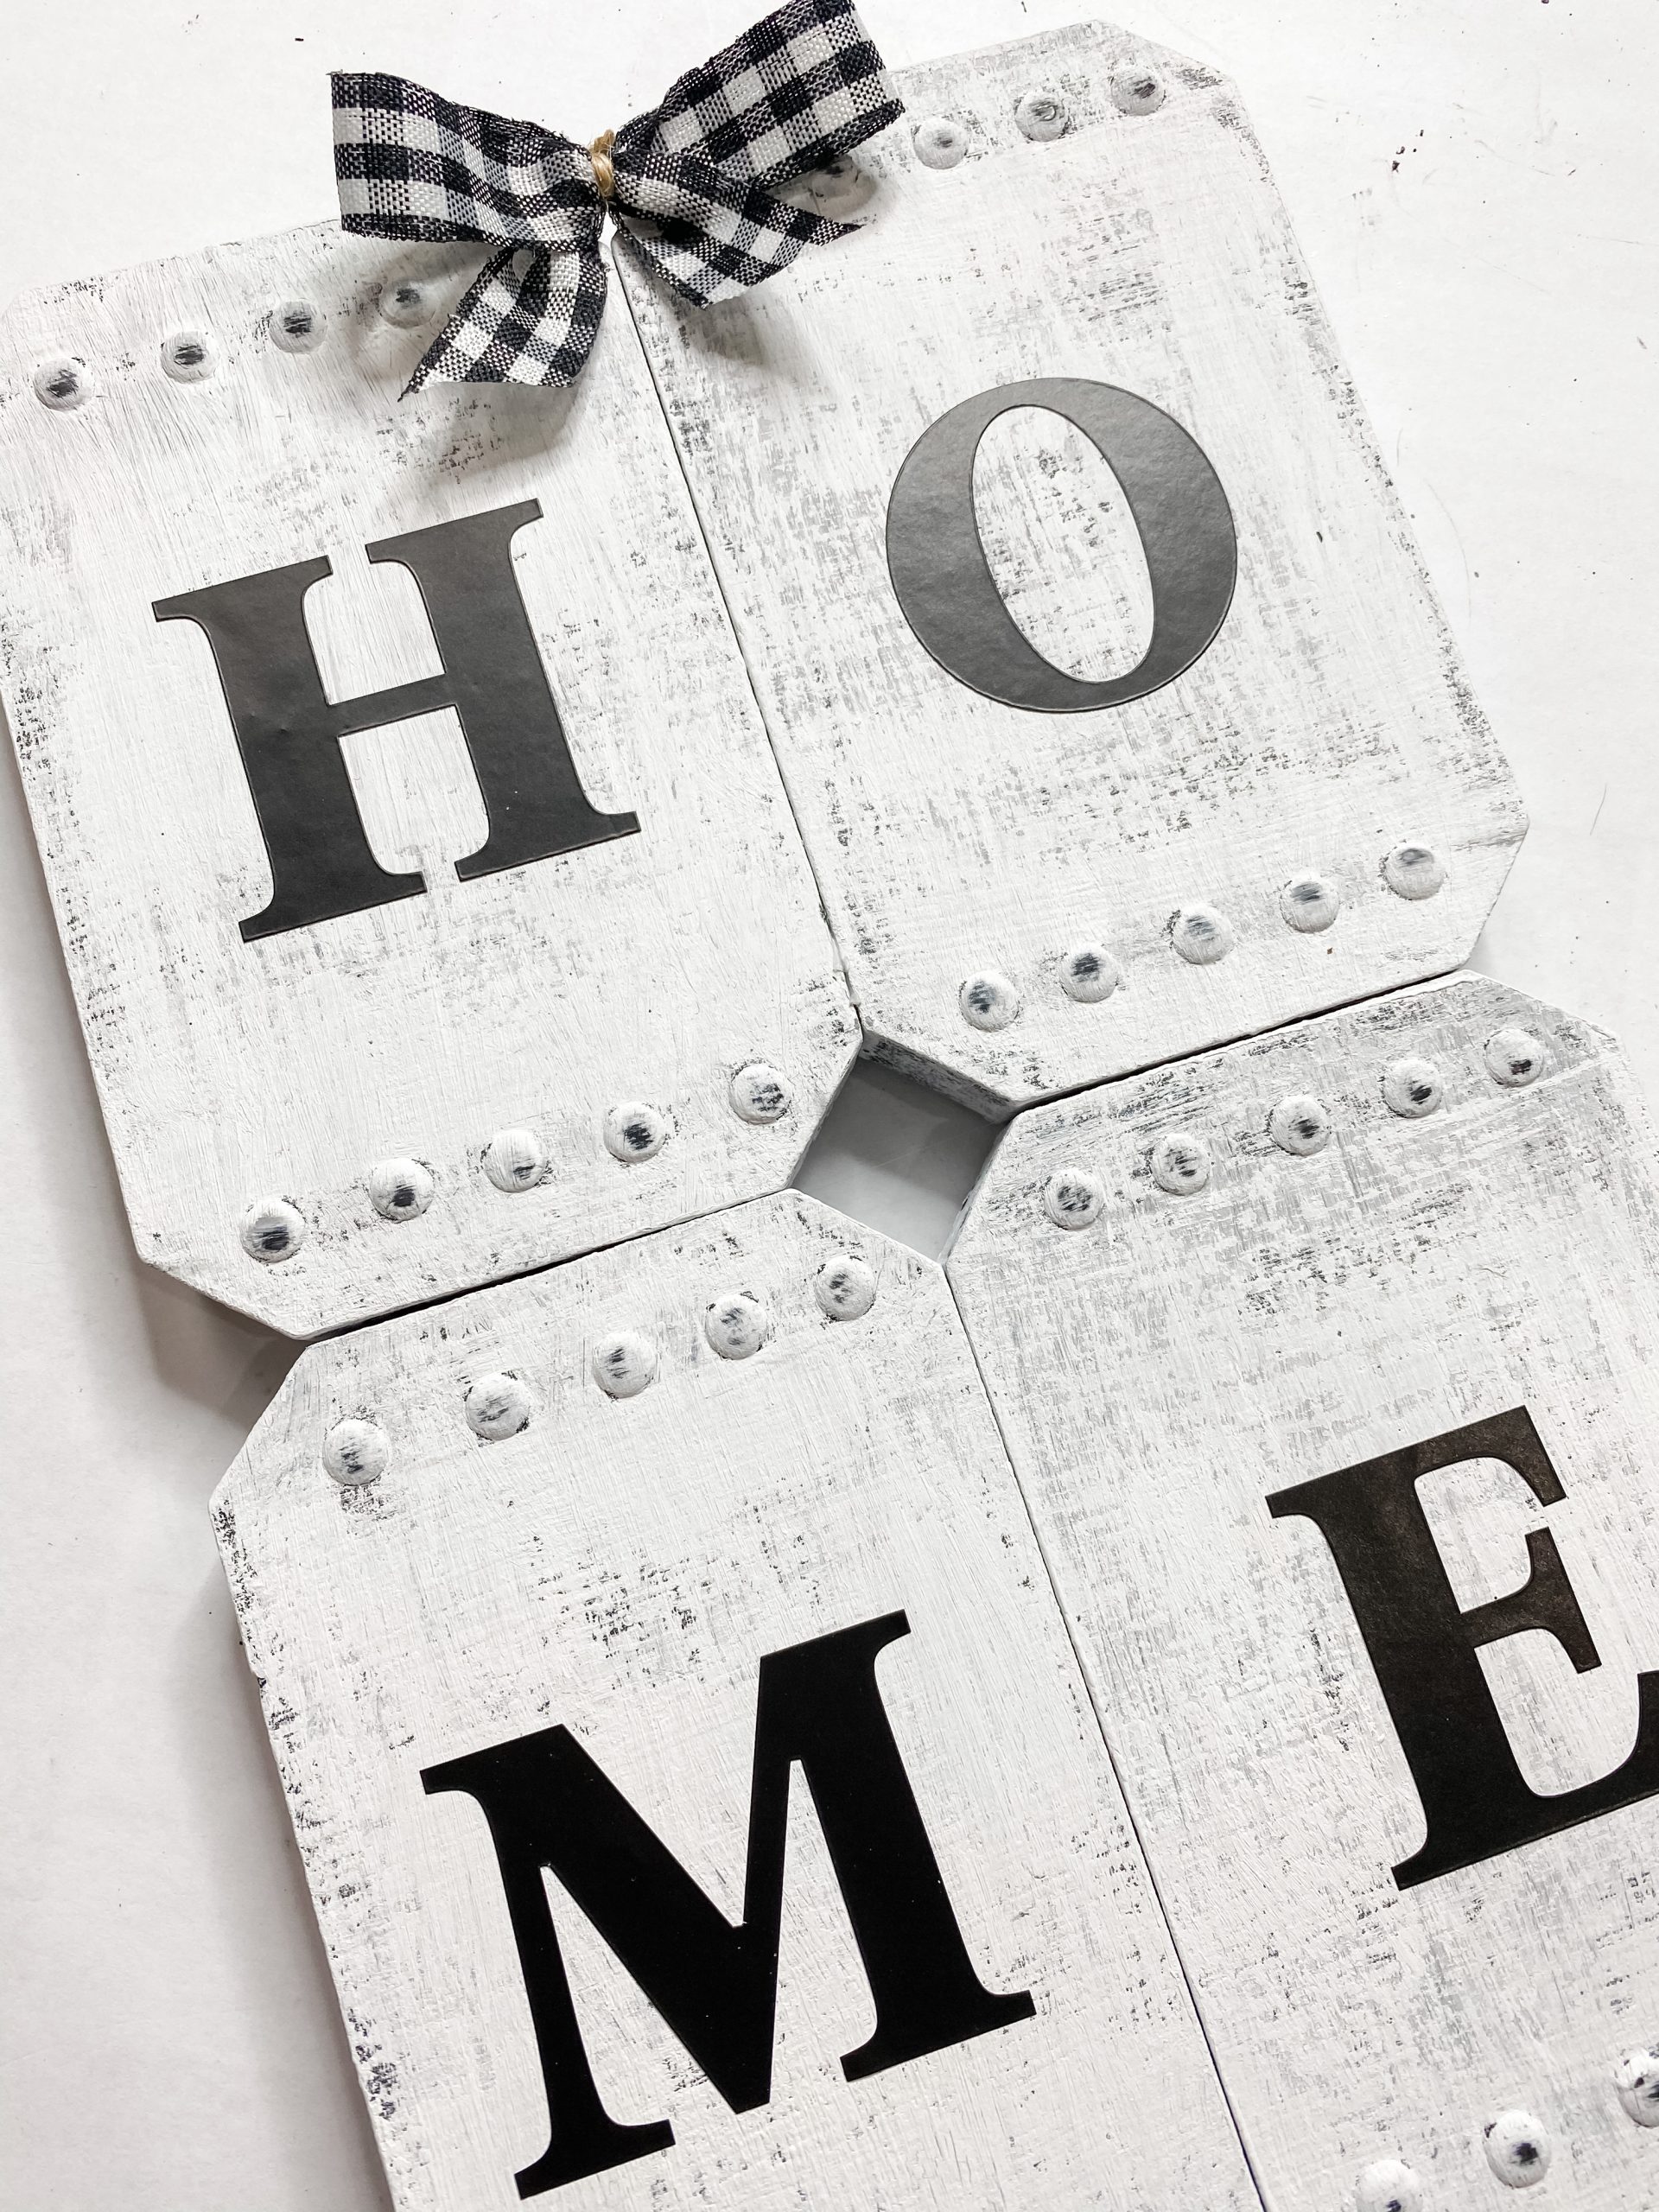
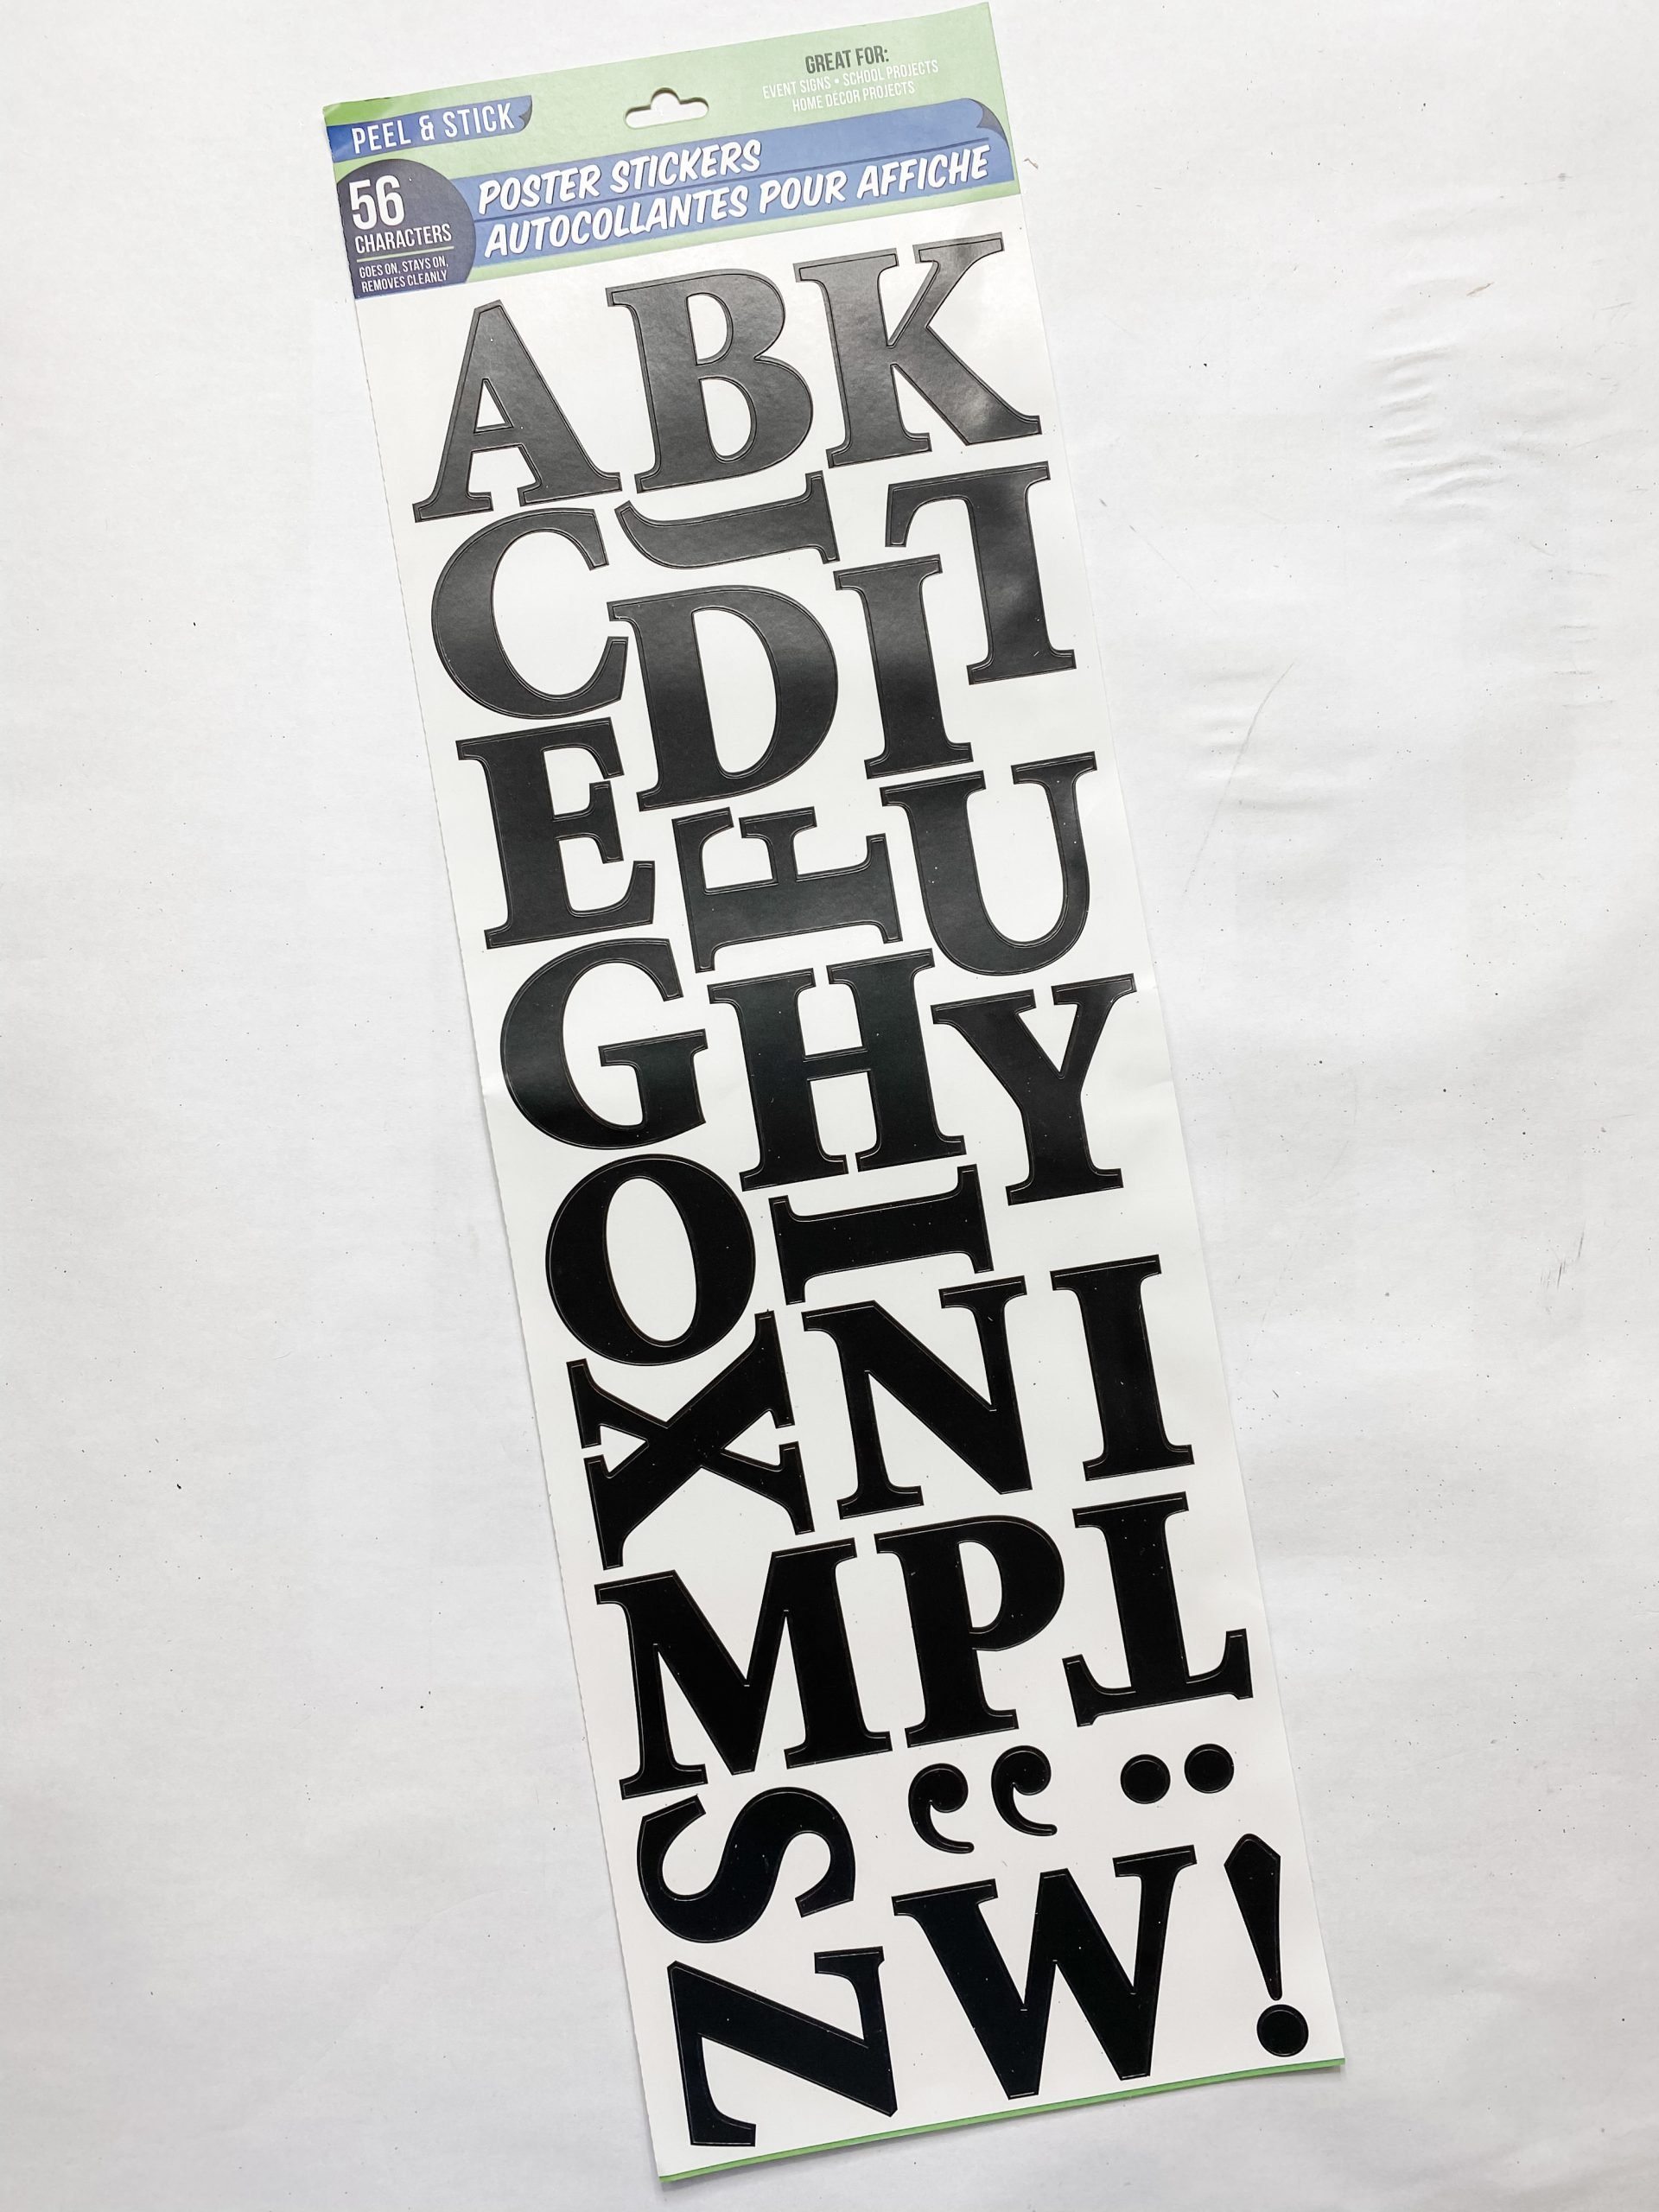
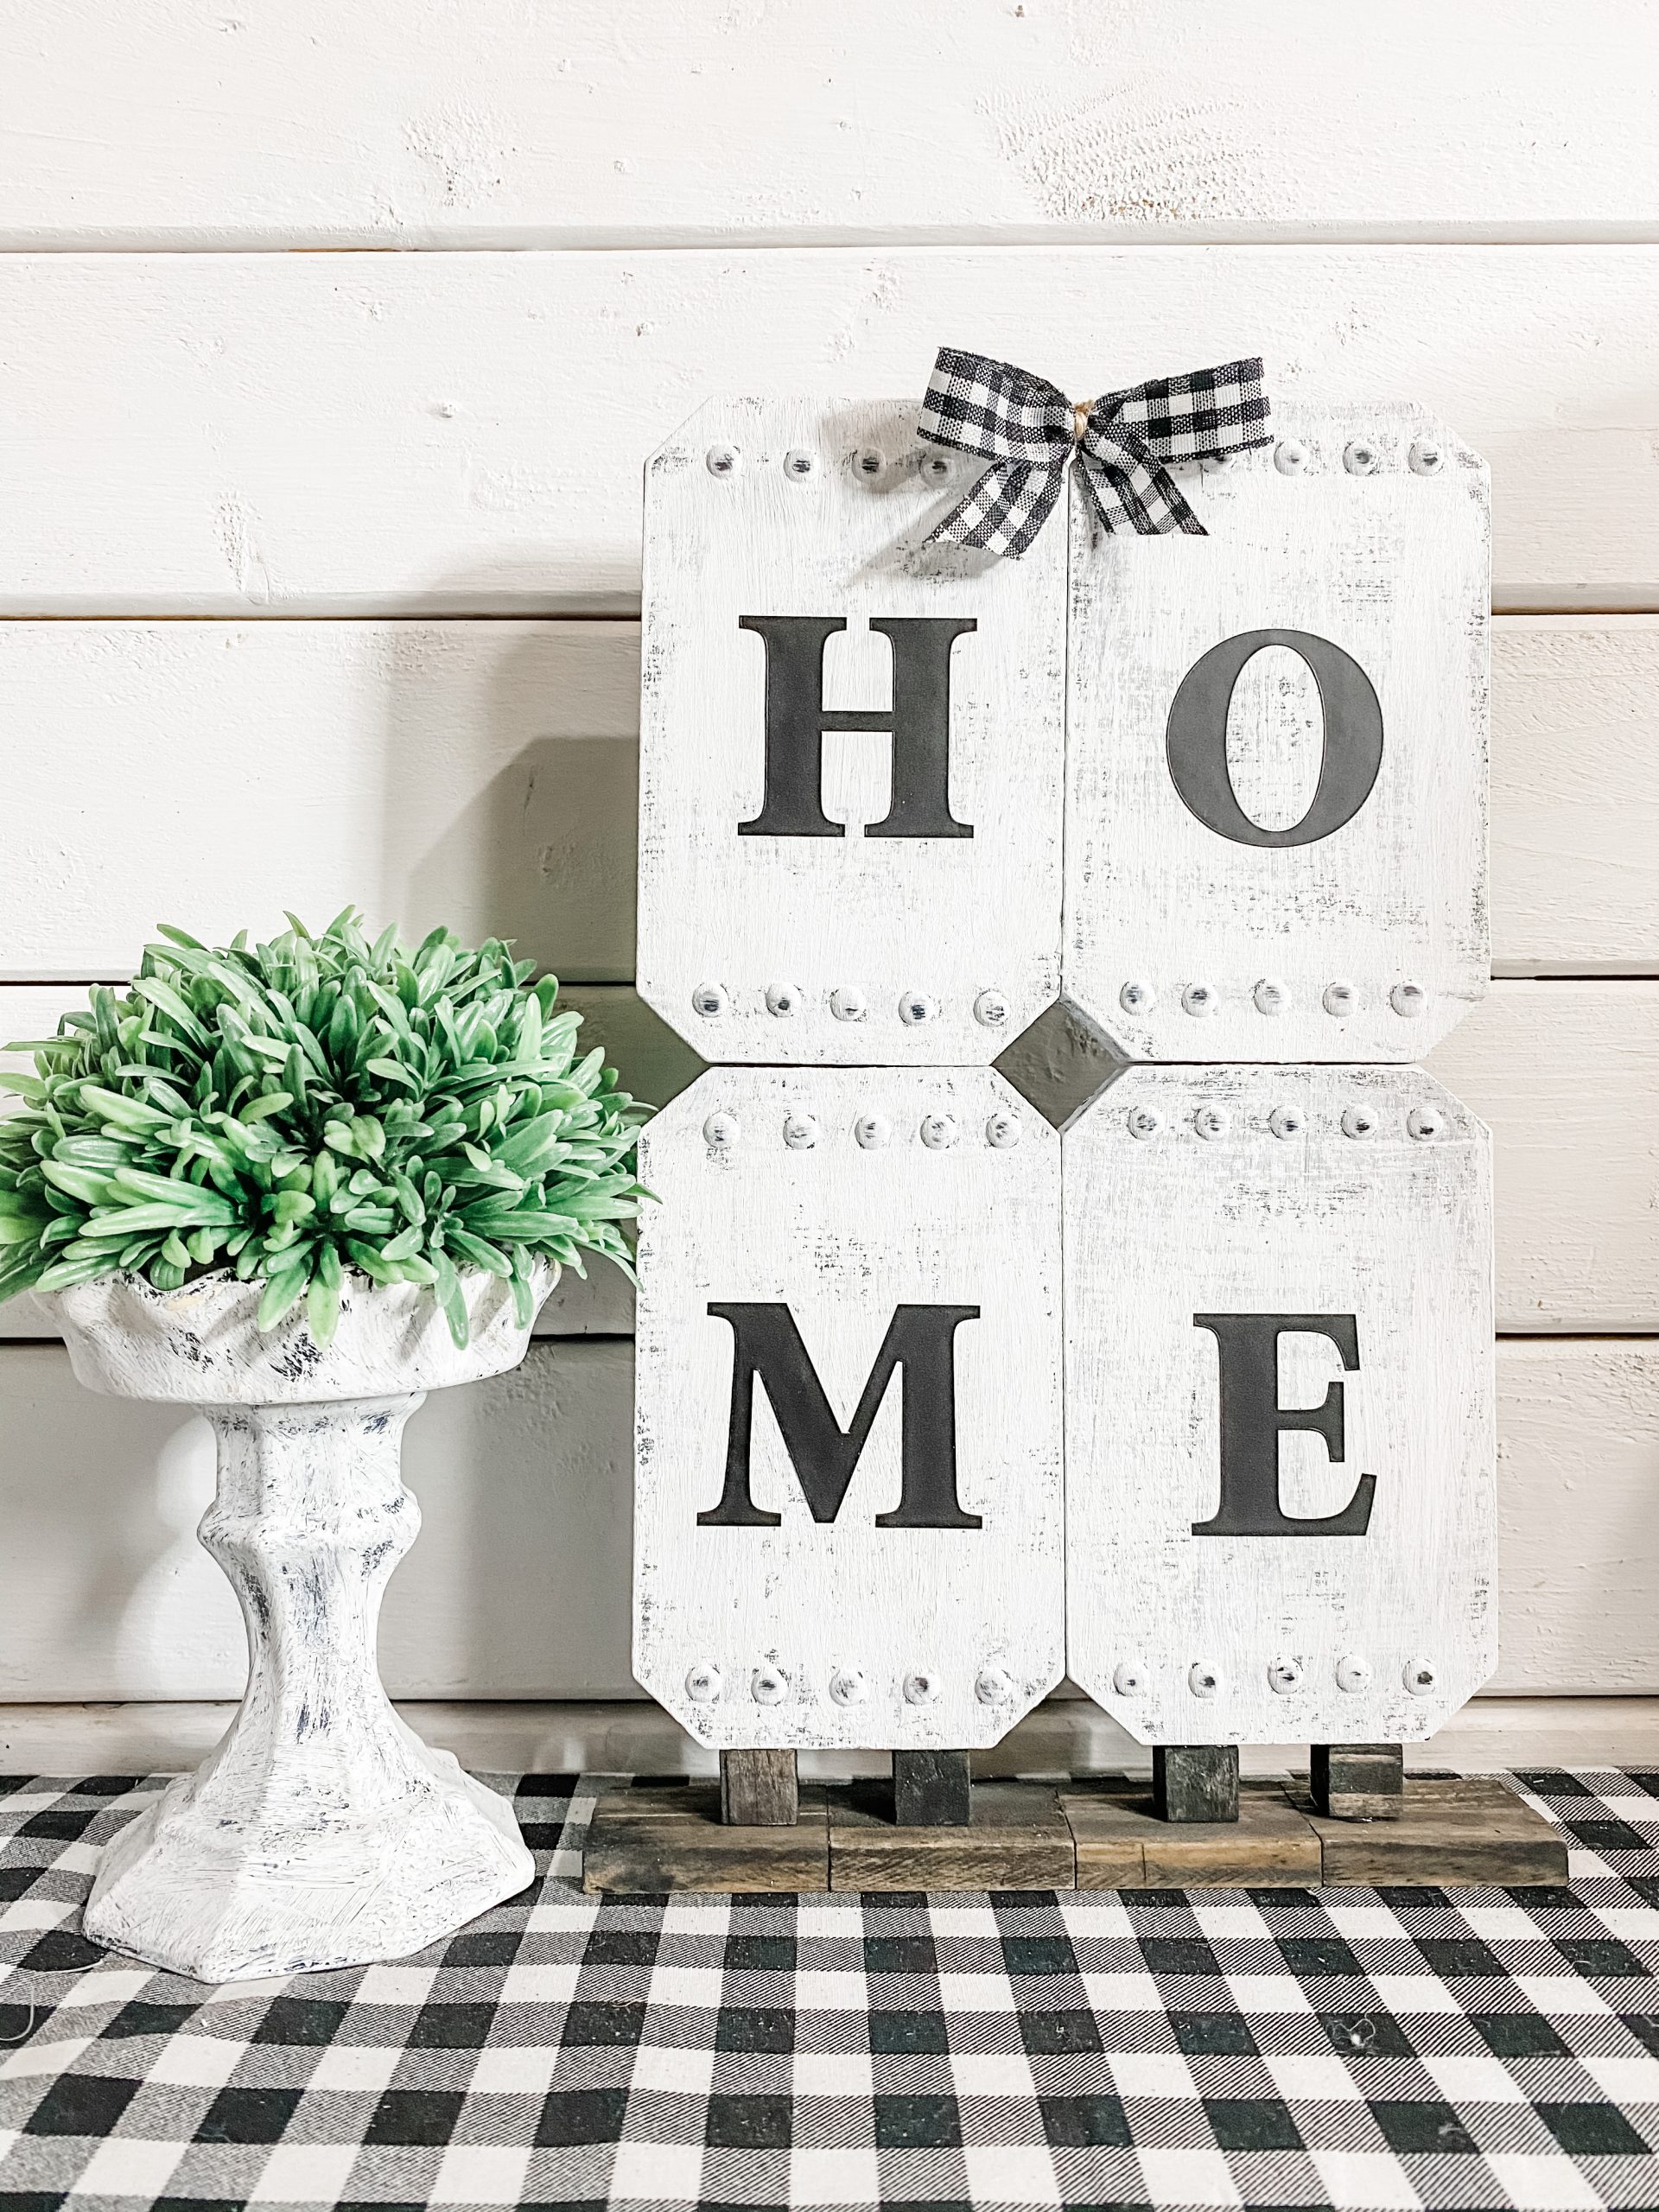
Once the blocks are secured together, you need to add the sticker letters. I used Dollar Tree poster stickers to spell HOME on my DIY project. Place a single letter on each block to spell HOME.
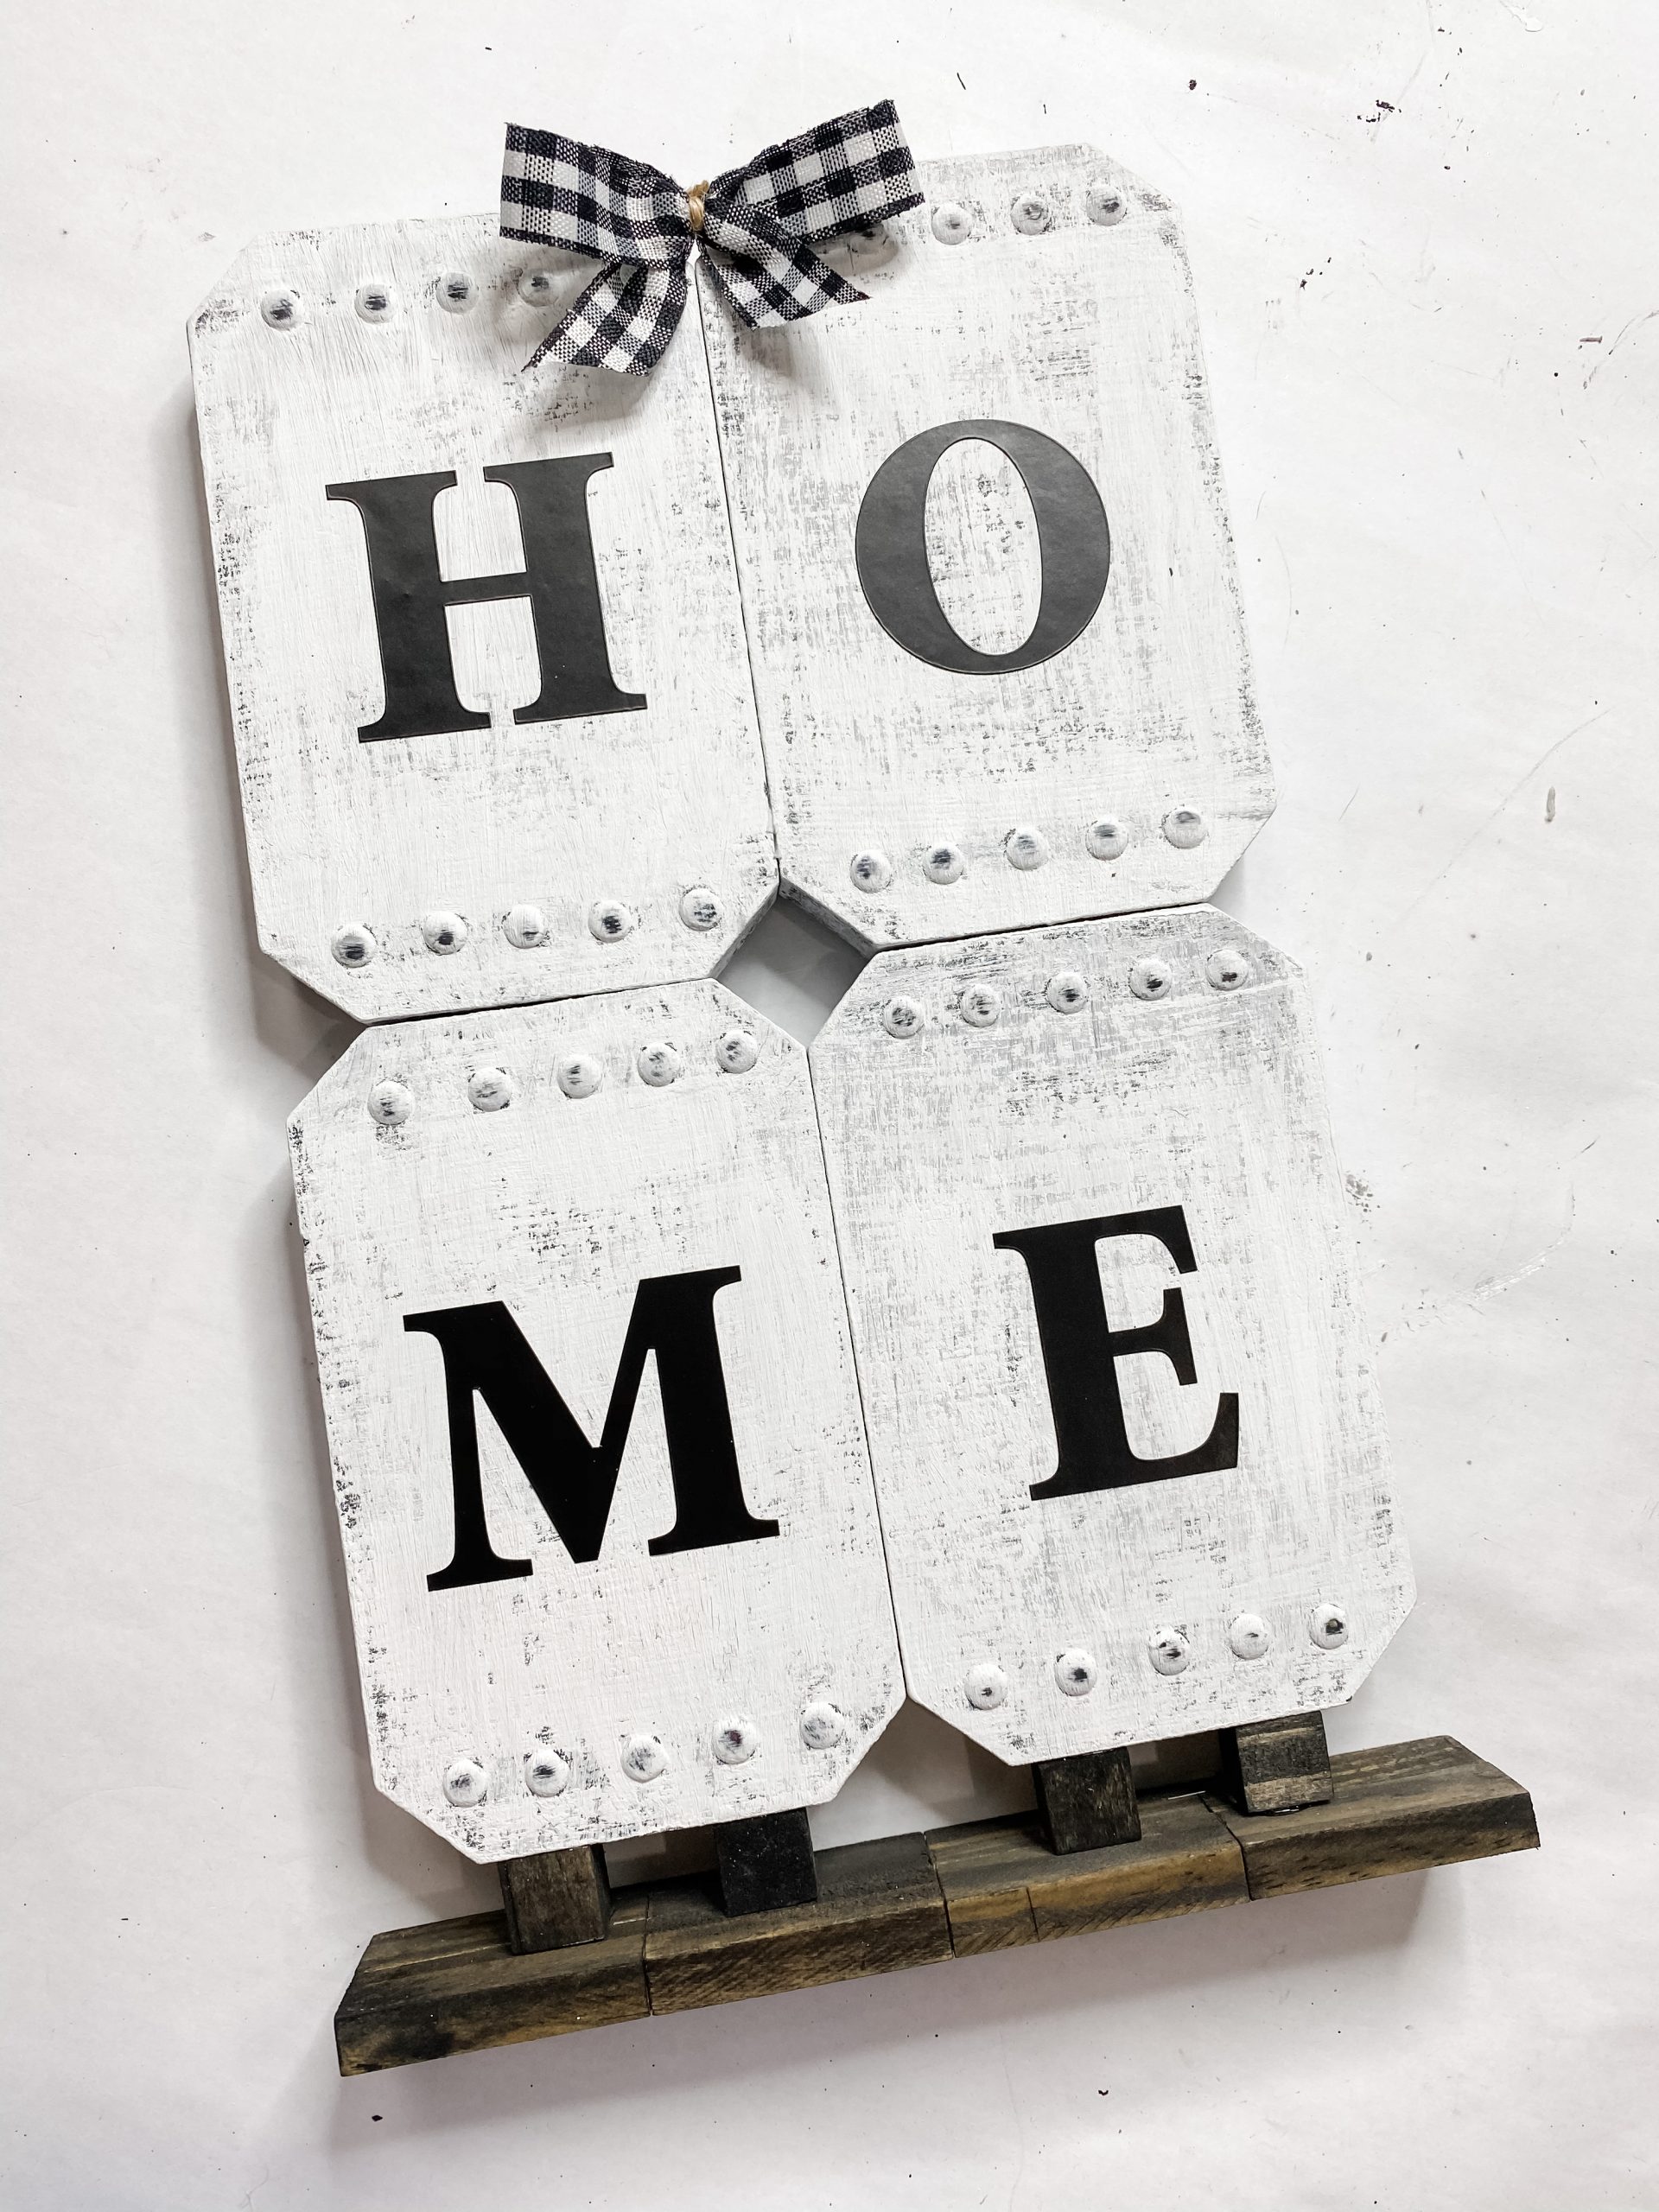
Next, you’re going to hot glue the stained wood craft blocks to the bottom of the connected wood pumpkin blocks. You can see in the photo above how I placed my wood cubes.
Hot glue 2 stained wood cubes onto the bottom of the bottom two wood pumpkin cubes. Make them as evenly spaced as possible. You want a solid and secure base for this DIY.

If you want to see the full supply list or video tutorial, just scroll to the bottom of this page!
Add your bow!
We are almost done! Now it’s time for us to make the adorable buffalo check bow to go at the top of the DIY home decor.
I used Dollar Tree black buffalo check ribbon. Cut a strip of the ribbon, and fold it into the shape of a bow.
Pinch the center of the bow, and secure it with a piece of jute twine. You could also use a piece of the same ribbon to secure the center if you wanted to.
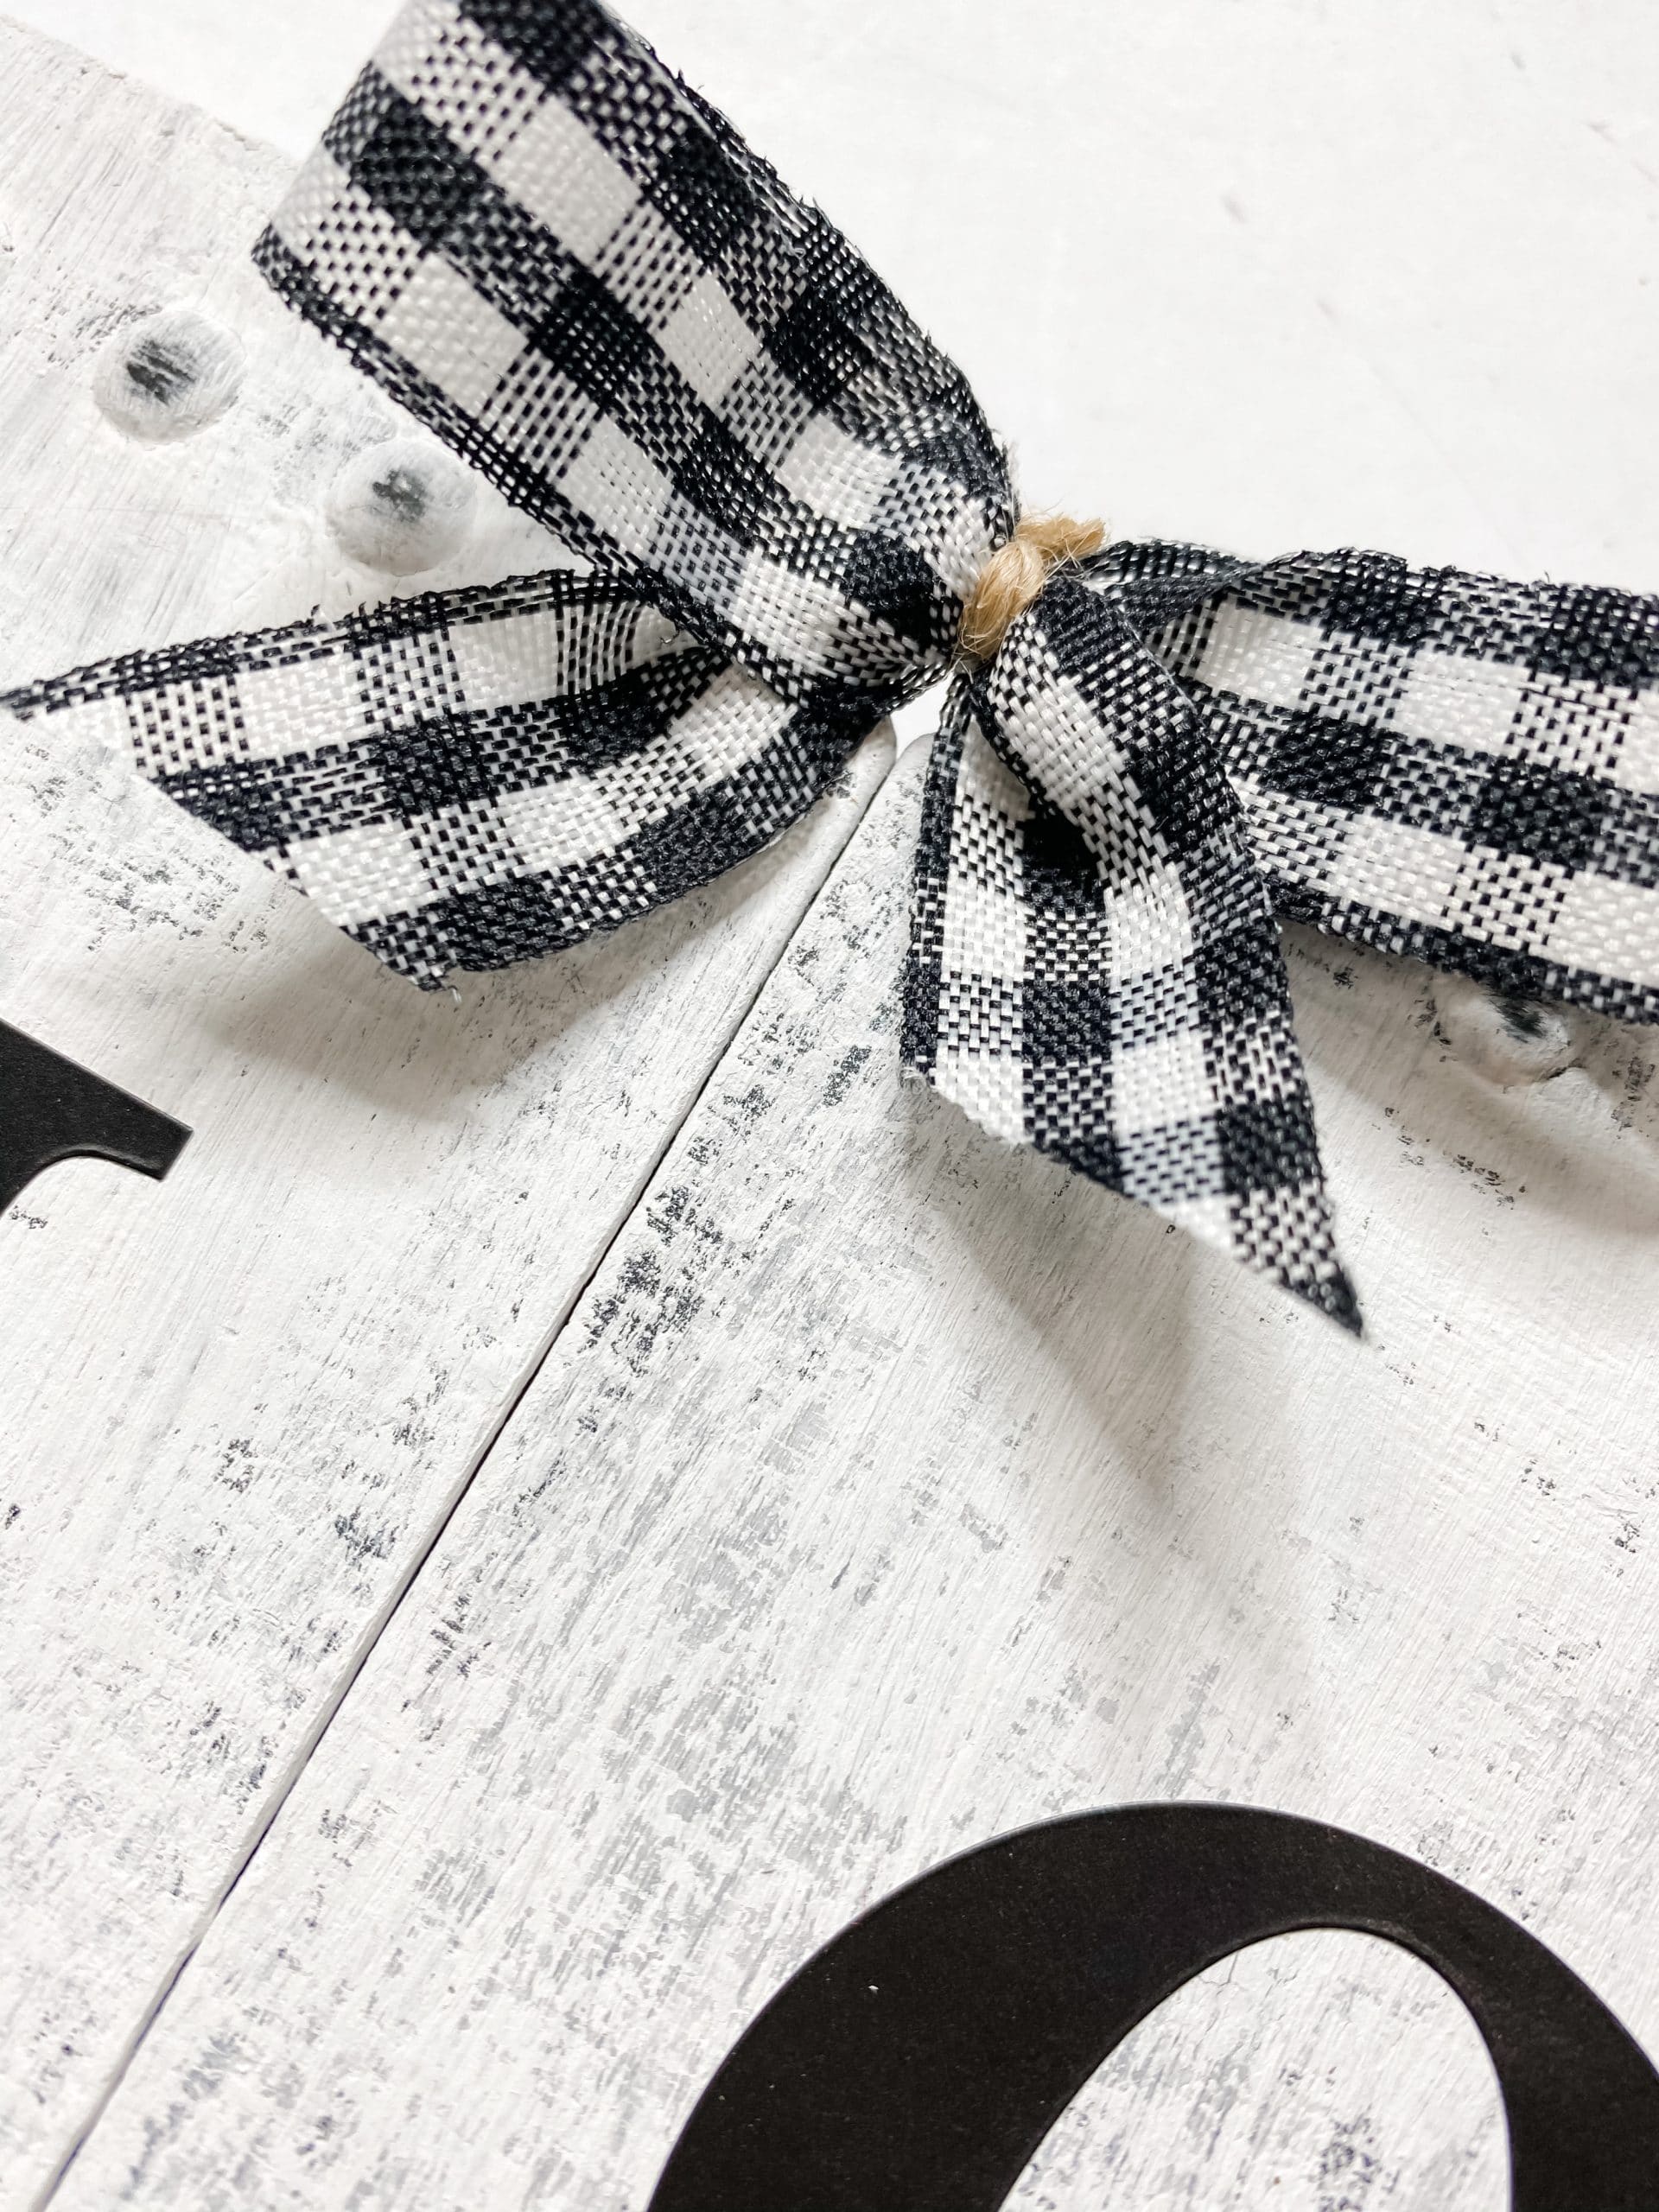
The corners of the Dollar Tree wood pumpkin blocks were angled off, and that creates a V at the top center where we want to place the bow.
To make it possible to add the bow at the top center, you’ll need the stained popsicle stick! Trim it to fit just across the V, and hot glue it into place. Then, hot glue your DIY bow right onto the popsicle stick.
If you want to see the full supply list or video tutorial, just scroll to the bottom of this page!
Add your base
Finally, hot glue the stained Tumbling Tower block base to the wood cubes on the bottom of your DIY decor sign.
Make sure you get the base as centered as you can to prevent your blocks from falling over.
Watch the tutorial
This is such an easy DIY, so I’ve put together a quick DIY tutorial for you! If you want to see the steps of how to create this adorable, this quick tutorial video will be a great resource for you.
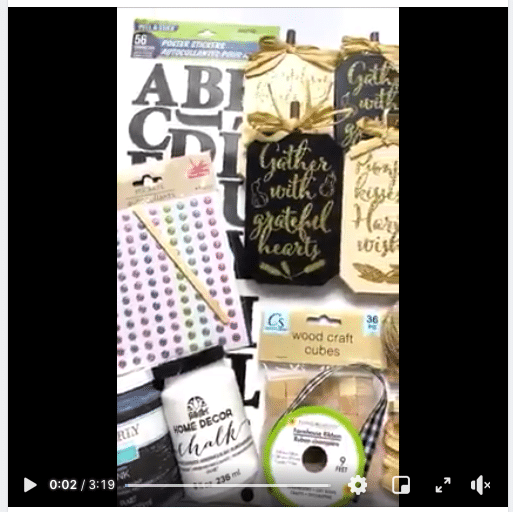
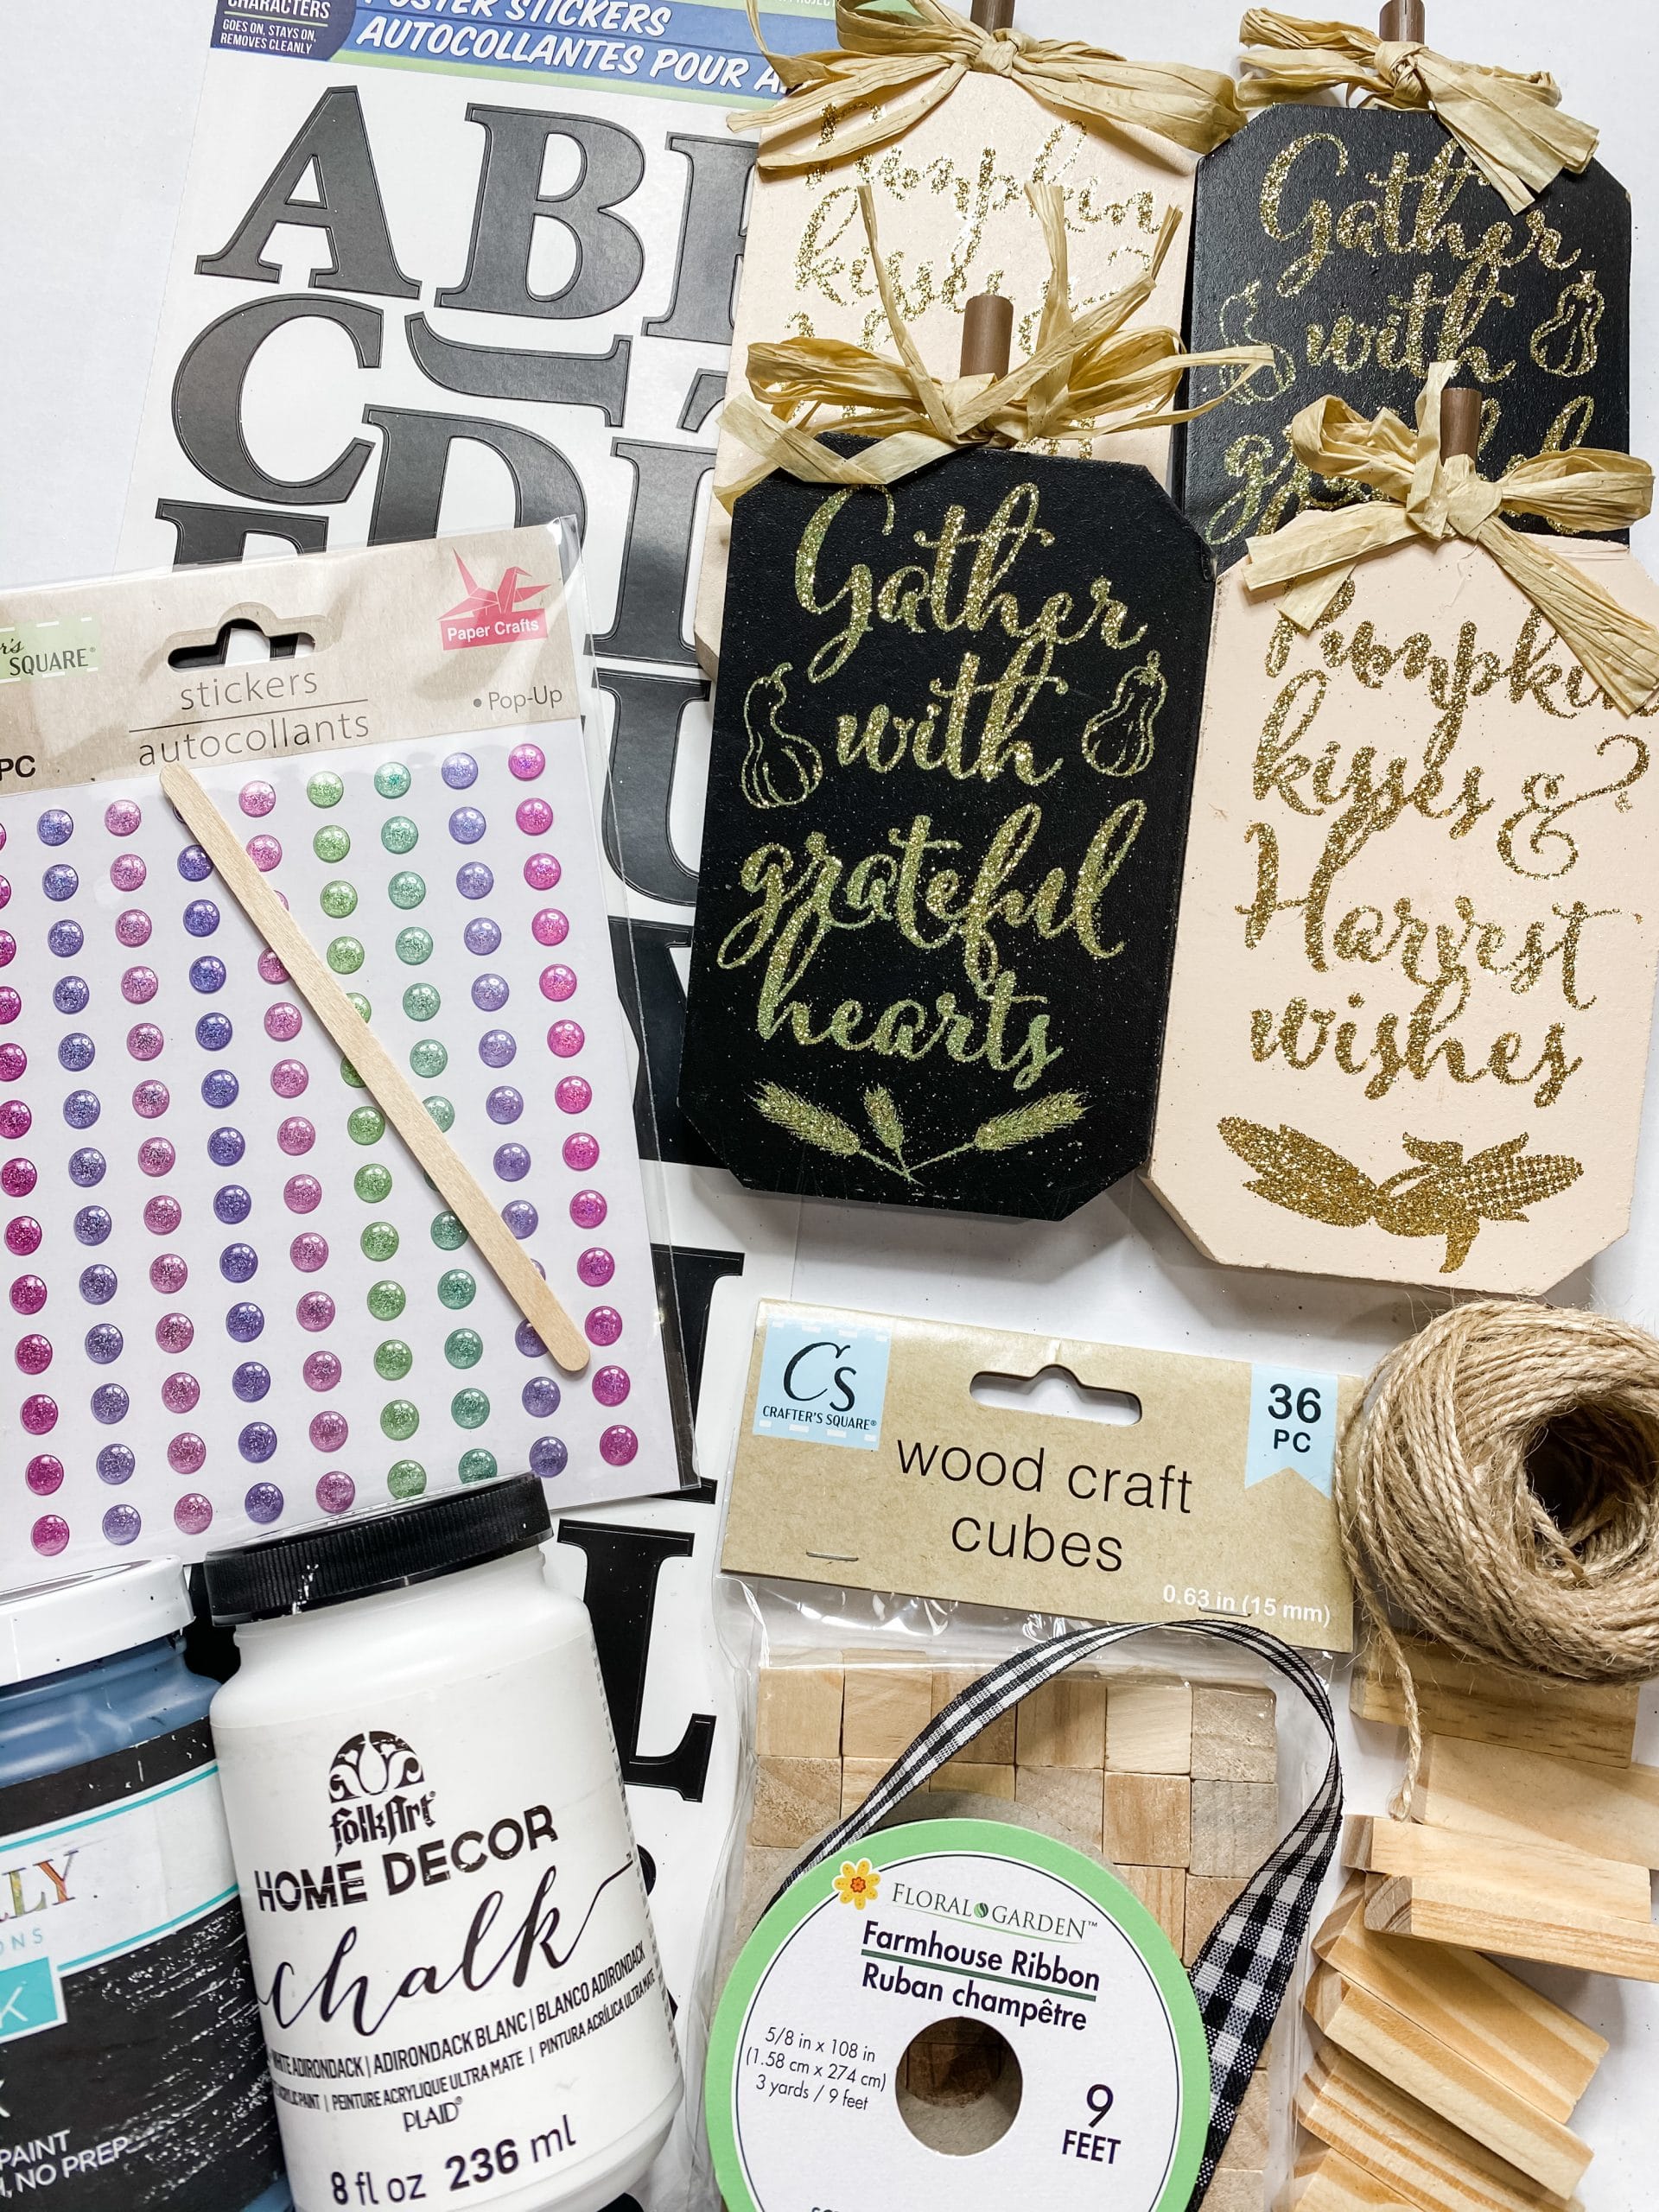
For this project, I will be using these items but you can substitute where you want.
“As an Amazon Associate, I earn from qualifying purchases.”
- Dollar Tree Wood Pumpkin Blocks
- Dollar Tree Black Poster Stickers
- Folkart White Chalk Paint
- Dollar Tree Colored Pop-Up Stickers
- Dollar Tree Wood Craft cubes
- Waverly Ink Chalk Paint
- Dollar Tree Jute Twine
- Dollar Tree Tumbling Tower Blocks (Jenga Blocks)
- Hot glue gun and glue sticks
- Dollar Tree Black Buffalo Check Farmhouse Ribbon
- Dollar Tree 1 popsicle stick
- Heat Gun
I hope you enjoyed this Dollar Tree DIY Home Decor Idea as much as I did and decide to make one for yourself! I would love to see how yours turns out!
You should totally join my FREE Facebook group called On A Budget Crafts! It is a judgment-free community for DIY crafters to show off their projects and ideas.
If you loved this DIY you might also like this DIY Dollar Tree Distressed Farmhouse Decor!
Thanks for stopping by! XOXO Amber
You can also shop my ENTIRE AMAZON Favorites shop just click here! It’s packed full of all the things I use and love. Here is the supply list I highly recommend every creative have on hand!!
Would you also pin my blog for later and get on my newsletter alerts? I would love to have you join my #craftycrew.
Inspired? Leave me a comment below! I love hearing from my readers!

Join my free “ON A BUDGET CRAFTS” Facebook group!


Gorgeous!!😉🥰 Thank you for sharing this and I definitely will join your FB group! I’ve gotten rid of A LOT of my “farmhouse do to’s”; Lost my spark in the last 2 years , due to…. well, “ life “ and I miss making gifts and trying to put a smile on my friends, acquaintances faces! So THANK YOU AGAIN for sharing and creating a “ spark” for me!🥰☺️ Take care!
Always wanted to make this cute decor. Would match living perfectly. Would add a great accent to any room