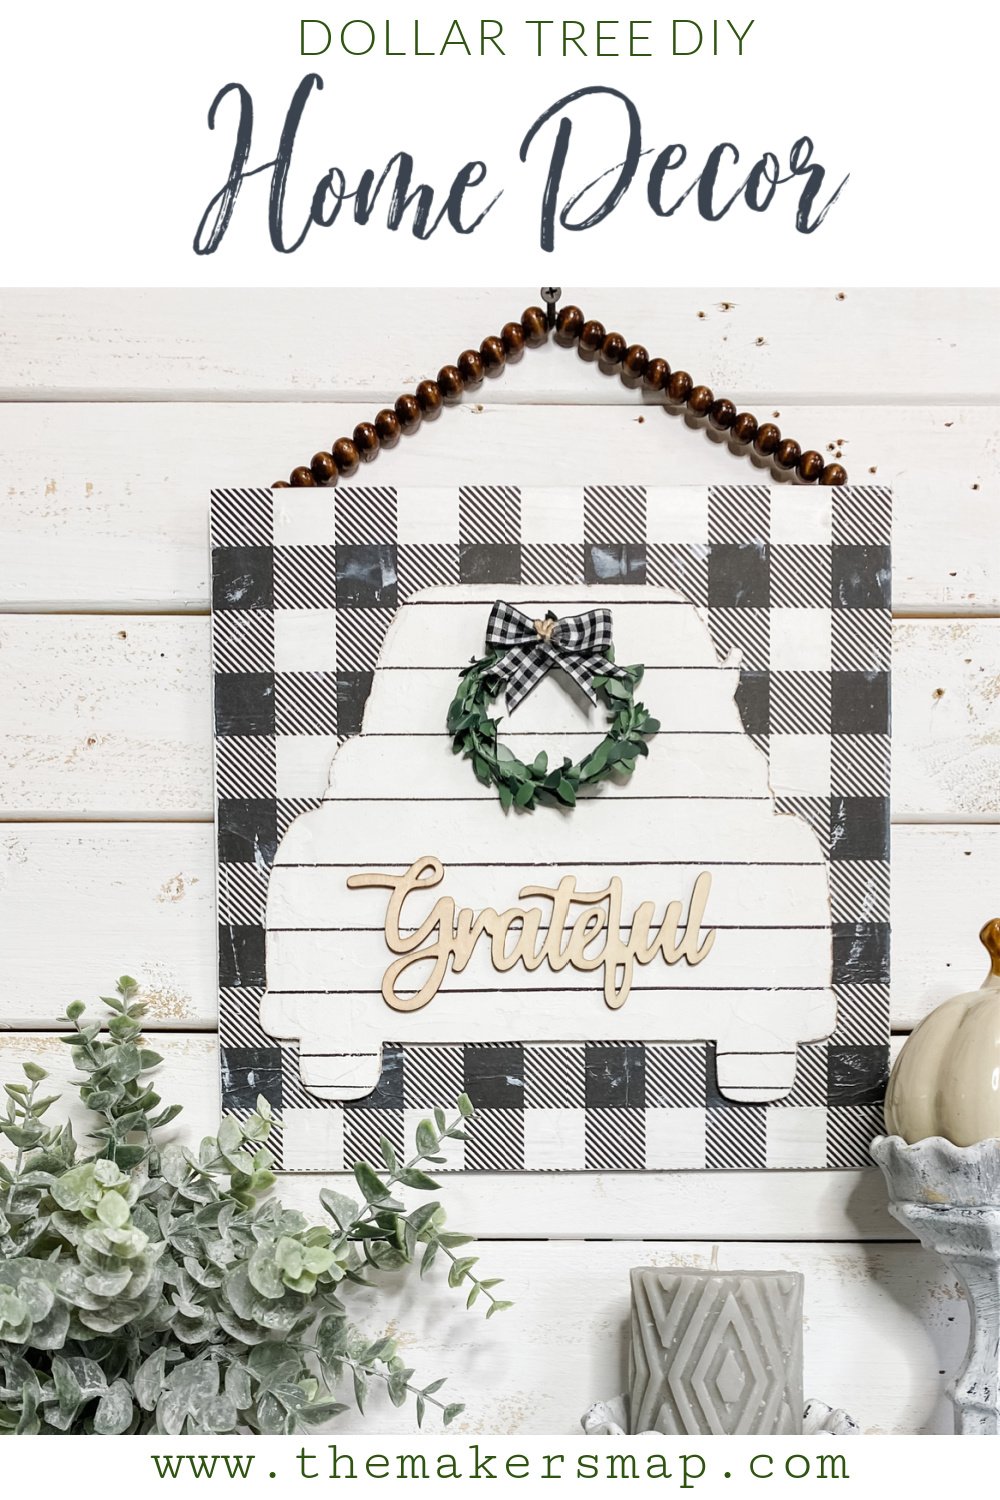
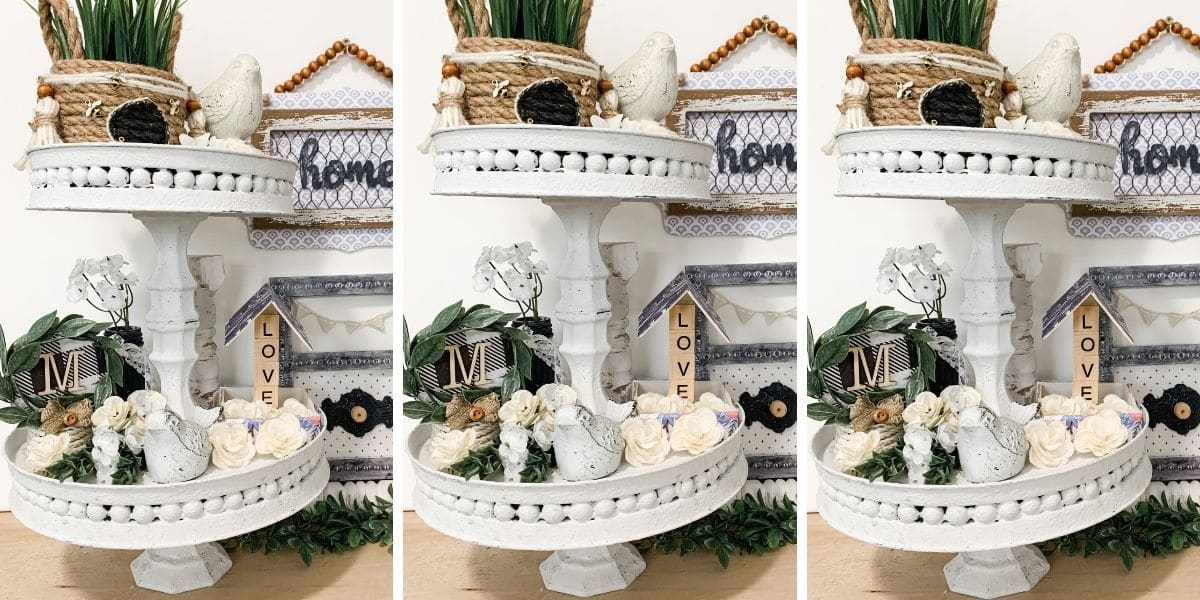
Dollar Tree DIY Buffalo Check Home Decor
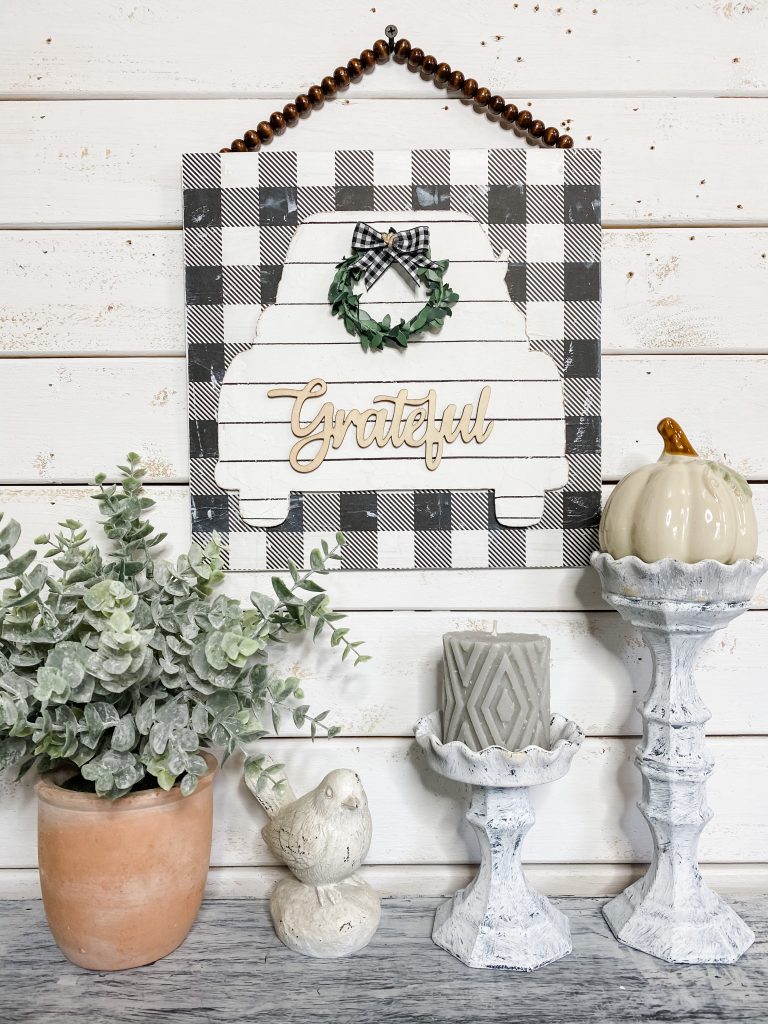
I am so excited to share my latest DIY home decor project with y’all! This Dollar Tree DIY Buffalo Check Home Decor is so easy to make and looks amazing hanging in any room!
This DIY is super affordable and you can’t even tell that most of the supplies I used are from Dollar Tree!
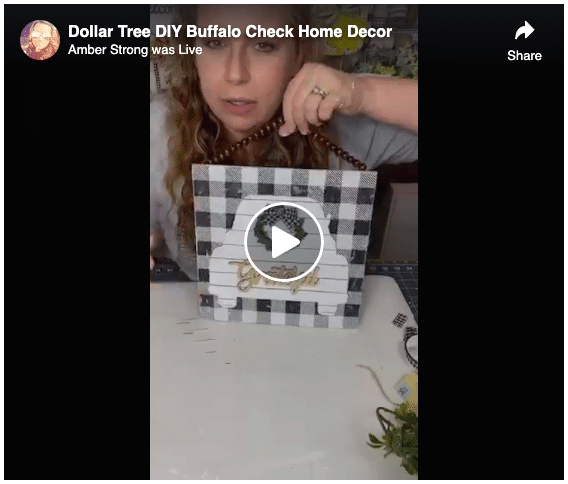
Watch the replay
If you want to see exactly how I made Dollar Tree DIY Buffalo Check Home Decor, you can watch the video tutorial I made over on my Facebook page!
I do like to chit chat, and this was recorded LIVE, so there may be a bit more talking than you are looking for. If that’s the case, you can just fast forward to the parts you want to see!
For this project, I will be using these items but you can substitute where you want.
“As an Amazon Associate, I earn from qualifying purchases.”
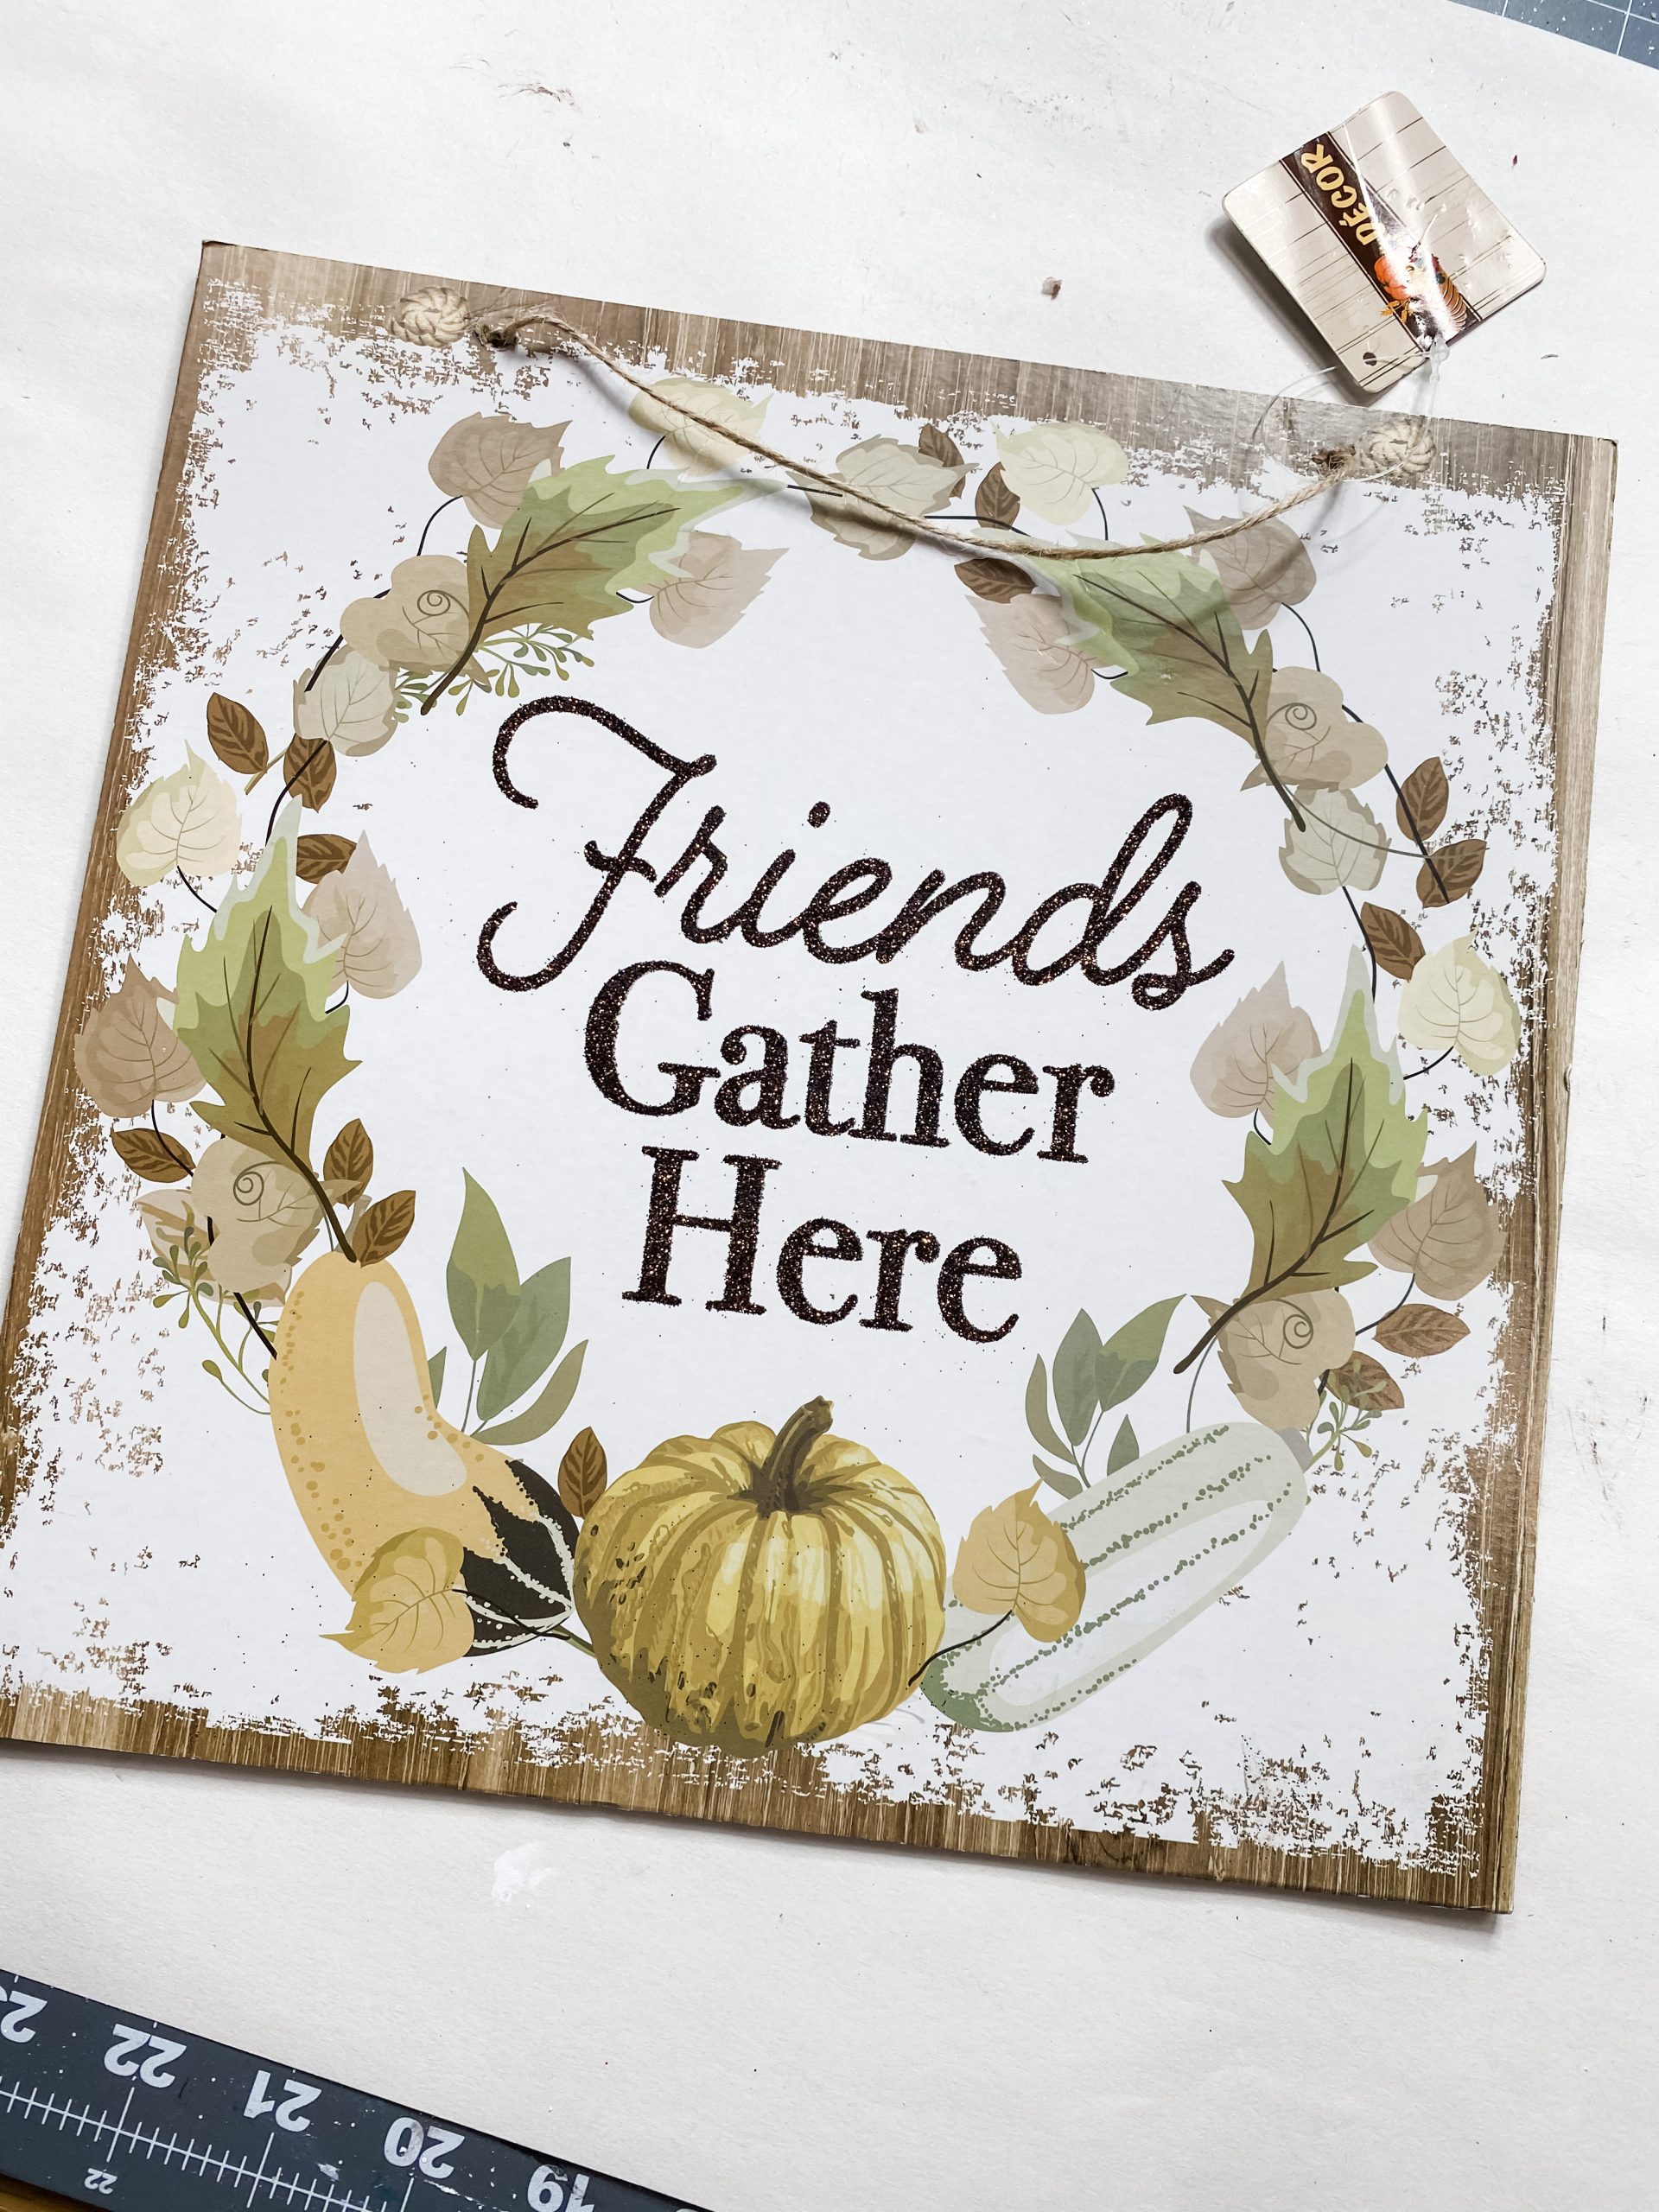
- Dollar Tree Wood Sign
- Dollar Tree Wood Truck Sign
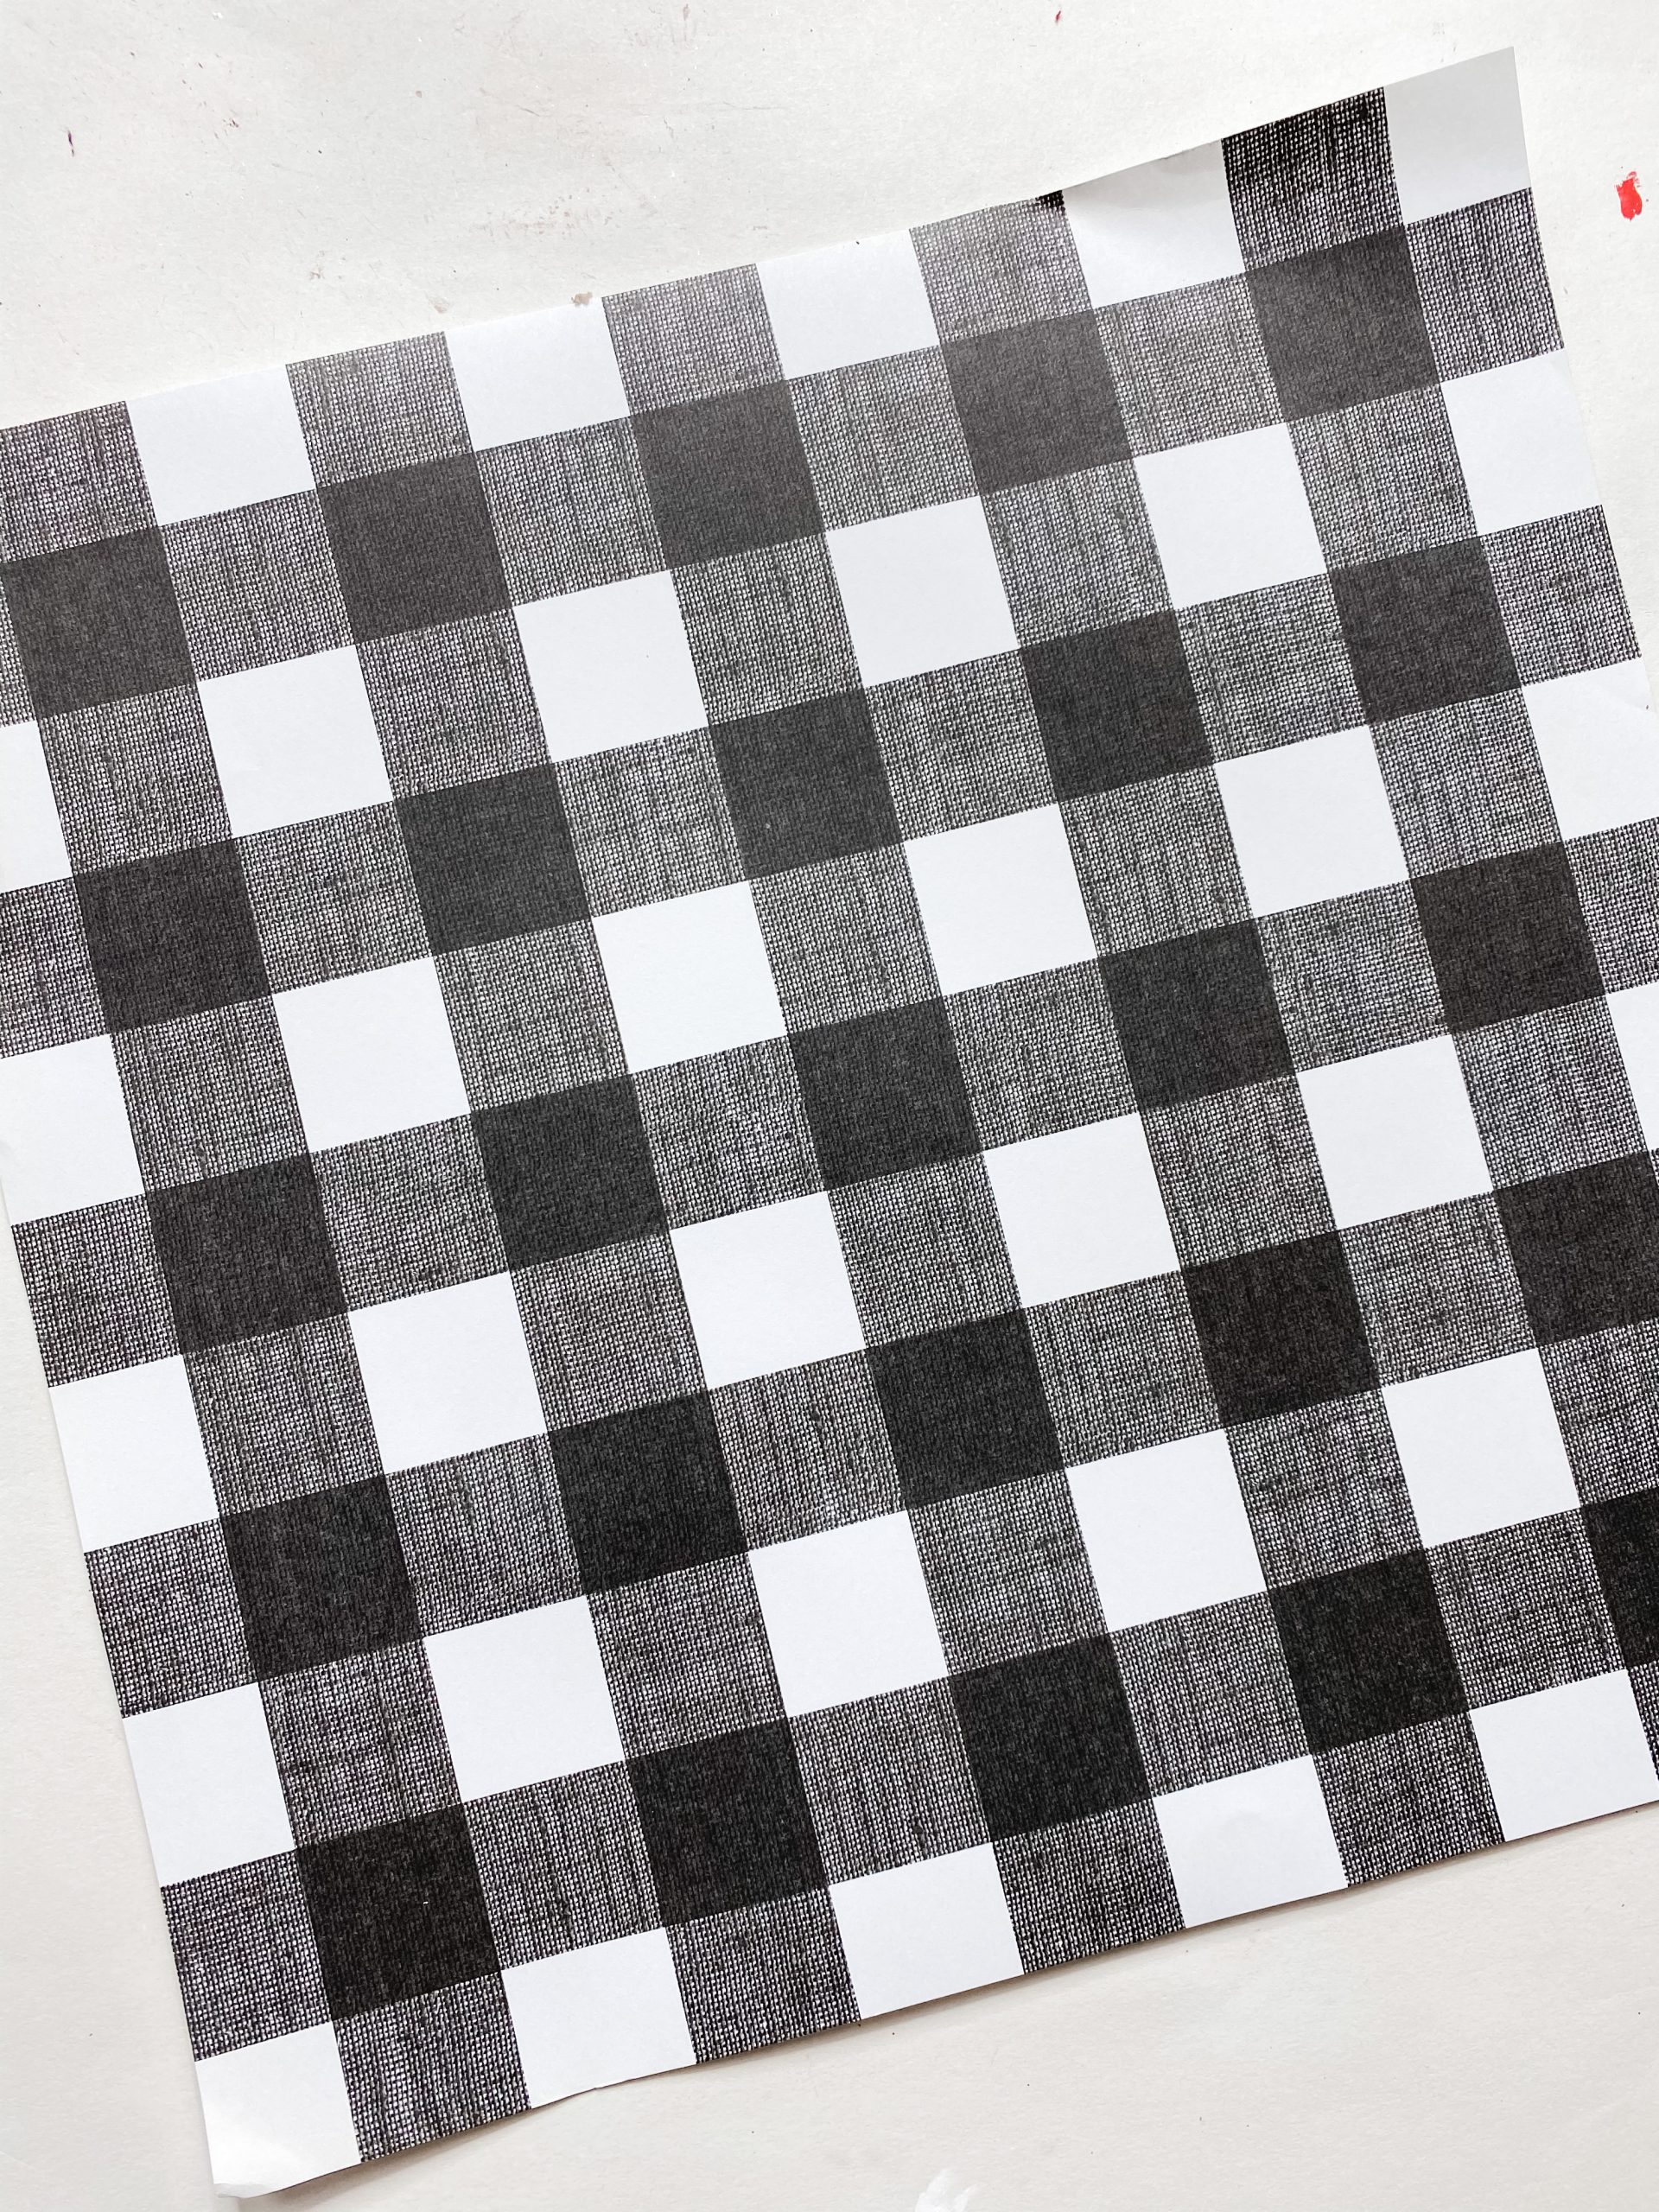
- Hobby Lobby Tissue Paper
- Hobby Lobby Grateful Lettering
- Dollar Tree Spackling
- Dollar Tree Crafter’s Square Wood Blocks
- Green garland
- Jute twine
- Buffalo Check Ribbon
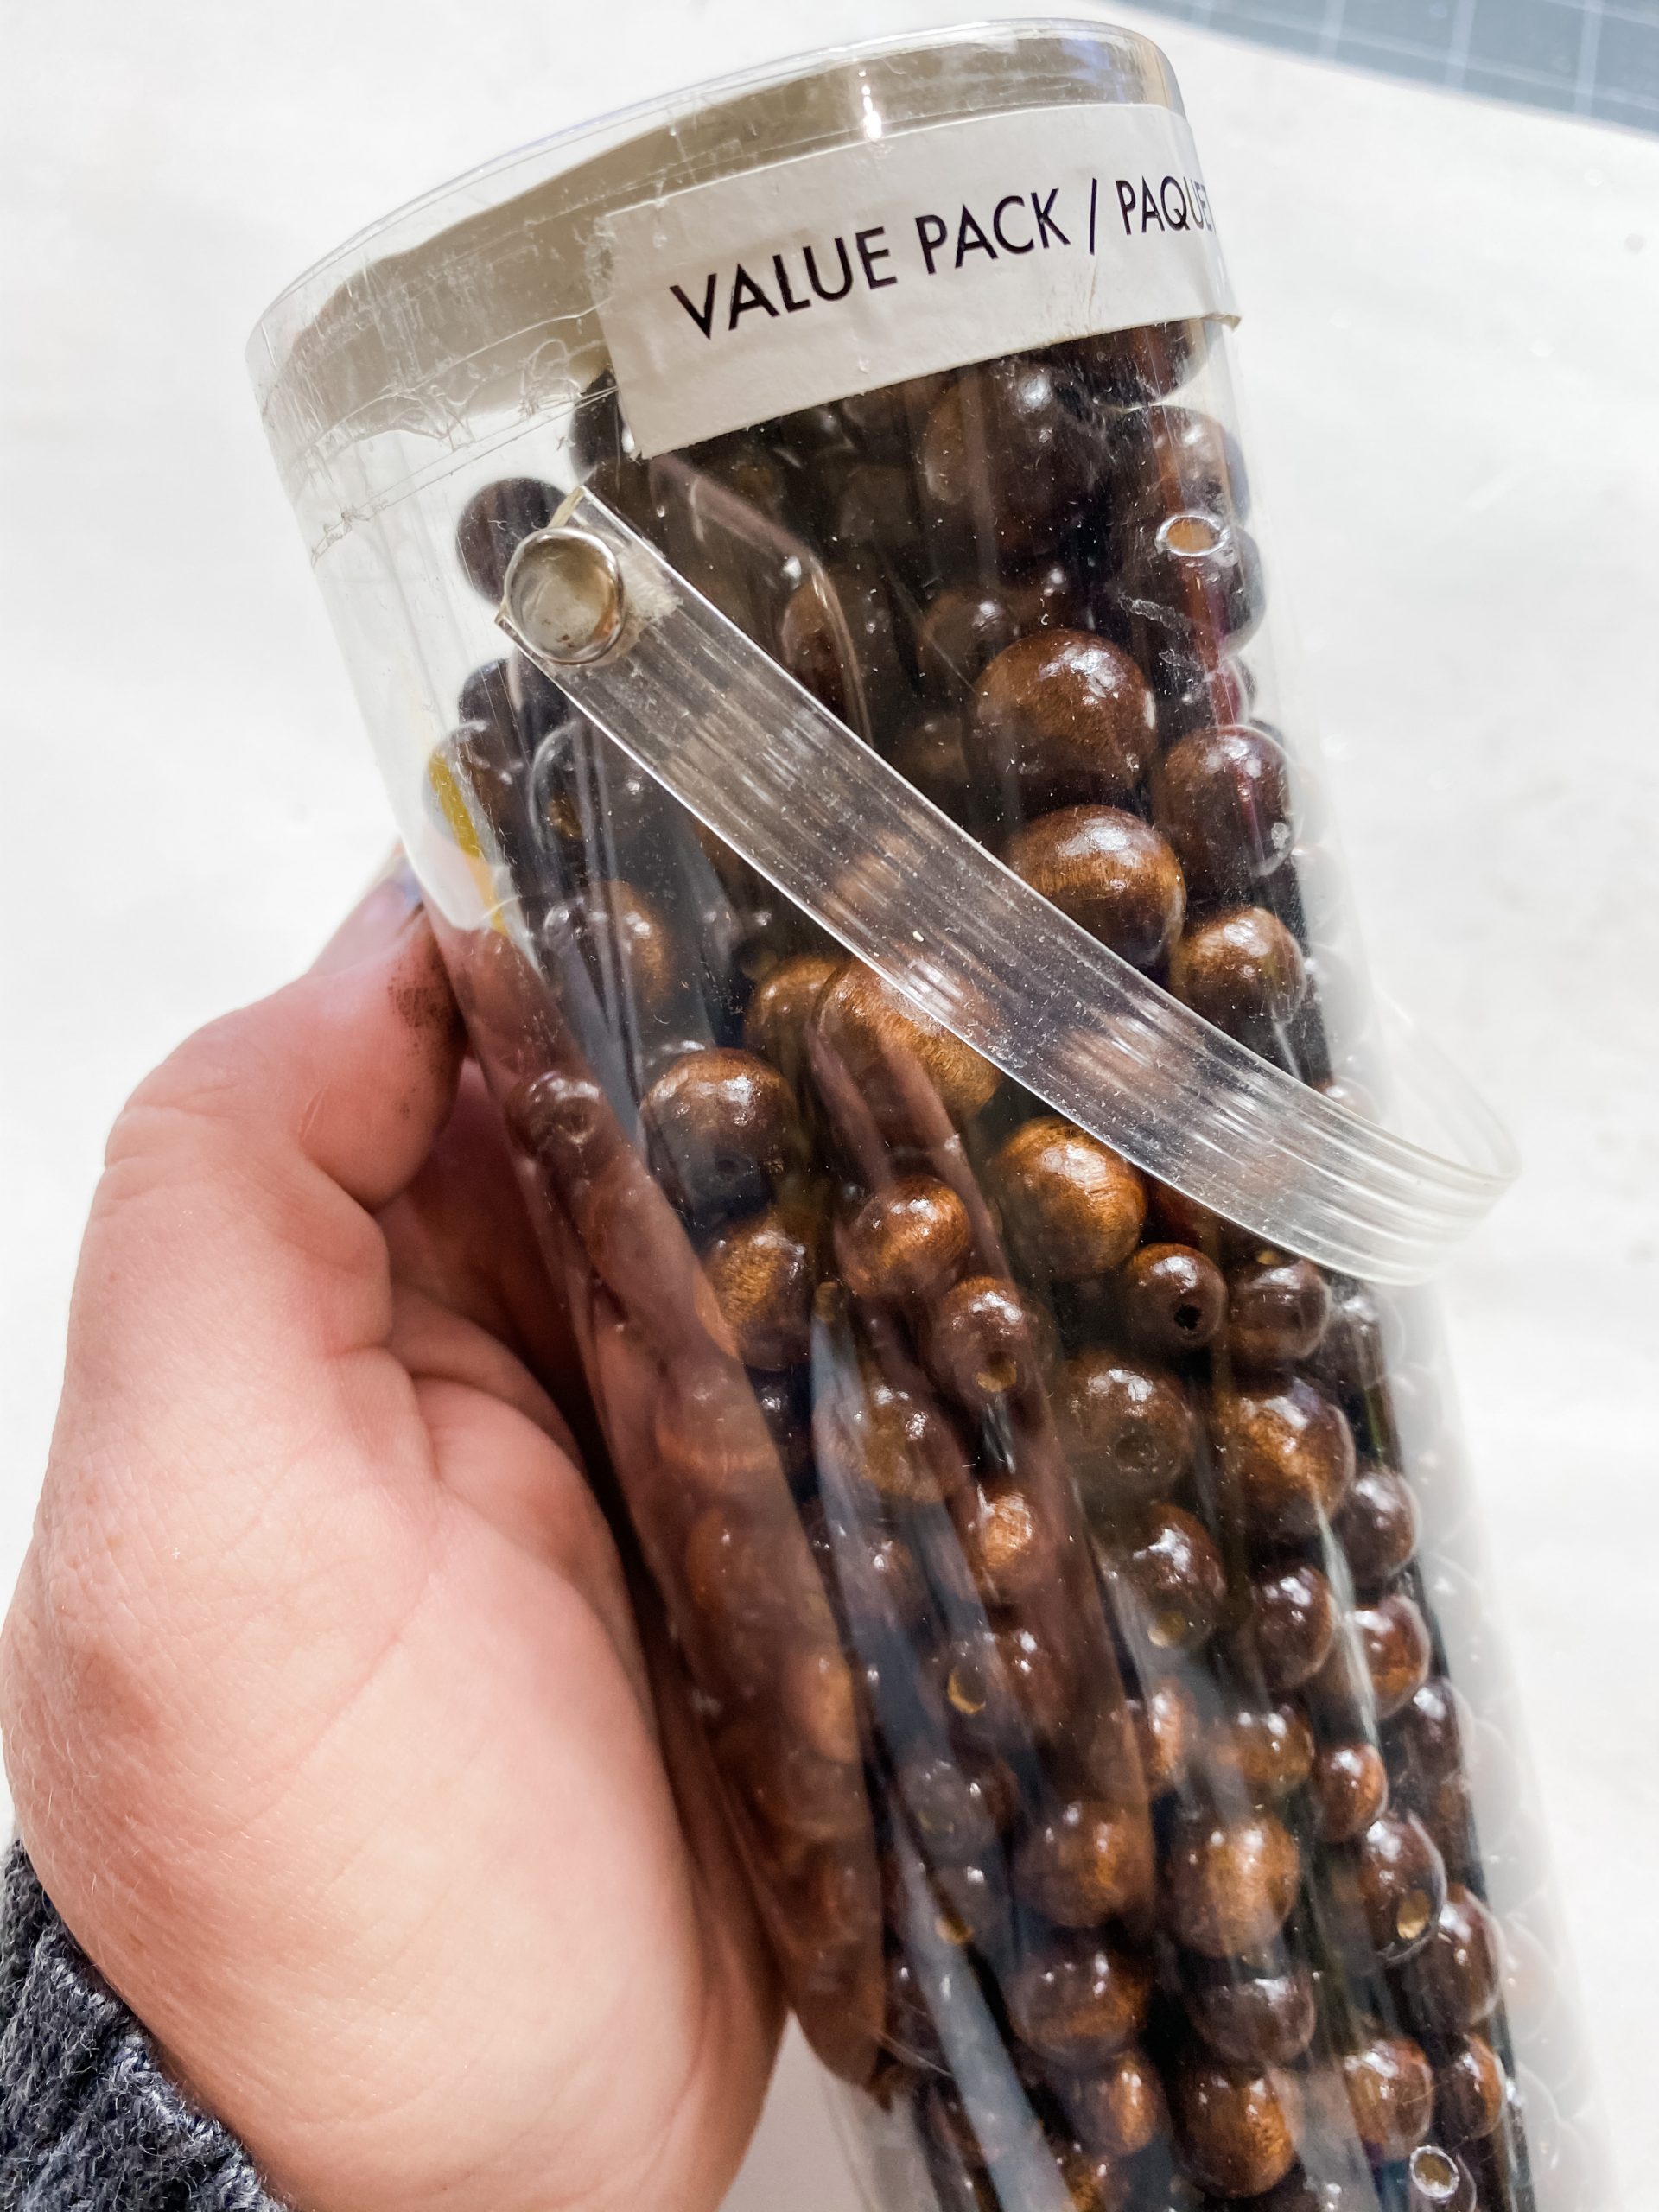
- Michael’s Brown Beads
- Mod Podge
- Folkart White Chalk Paint
- Palette Knife
- Glue Gun and Glue Sticks
- Heat gun
Let’s get started!
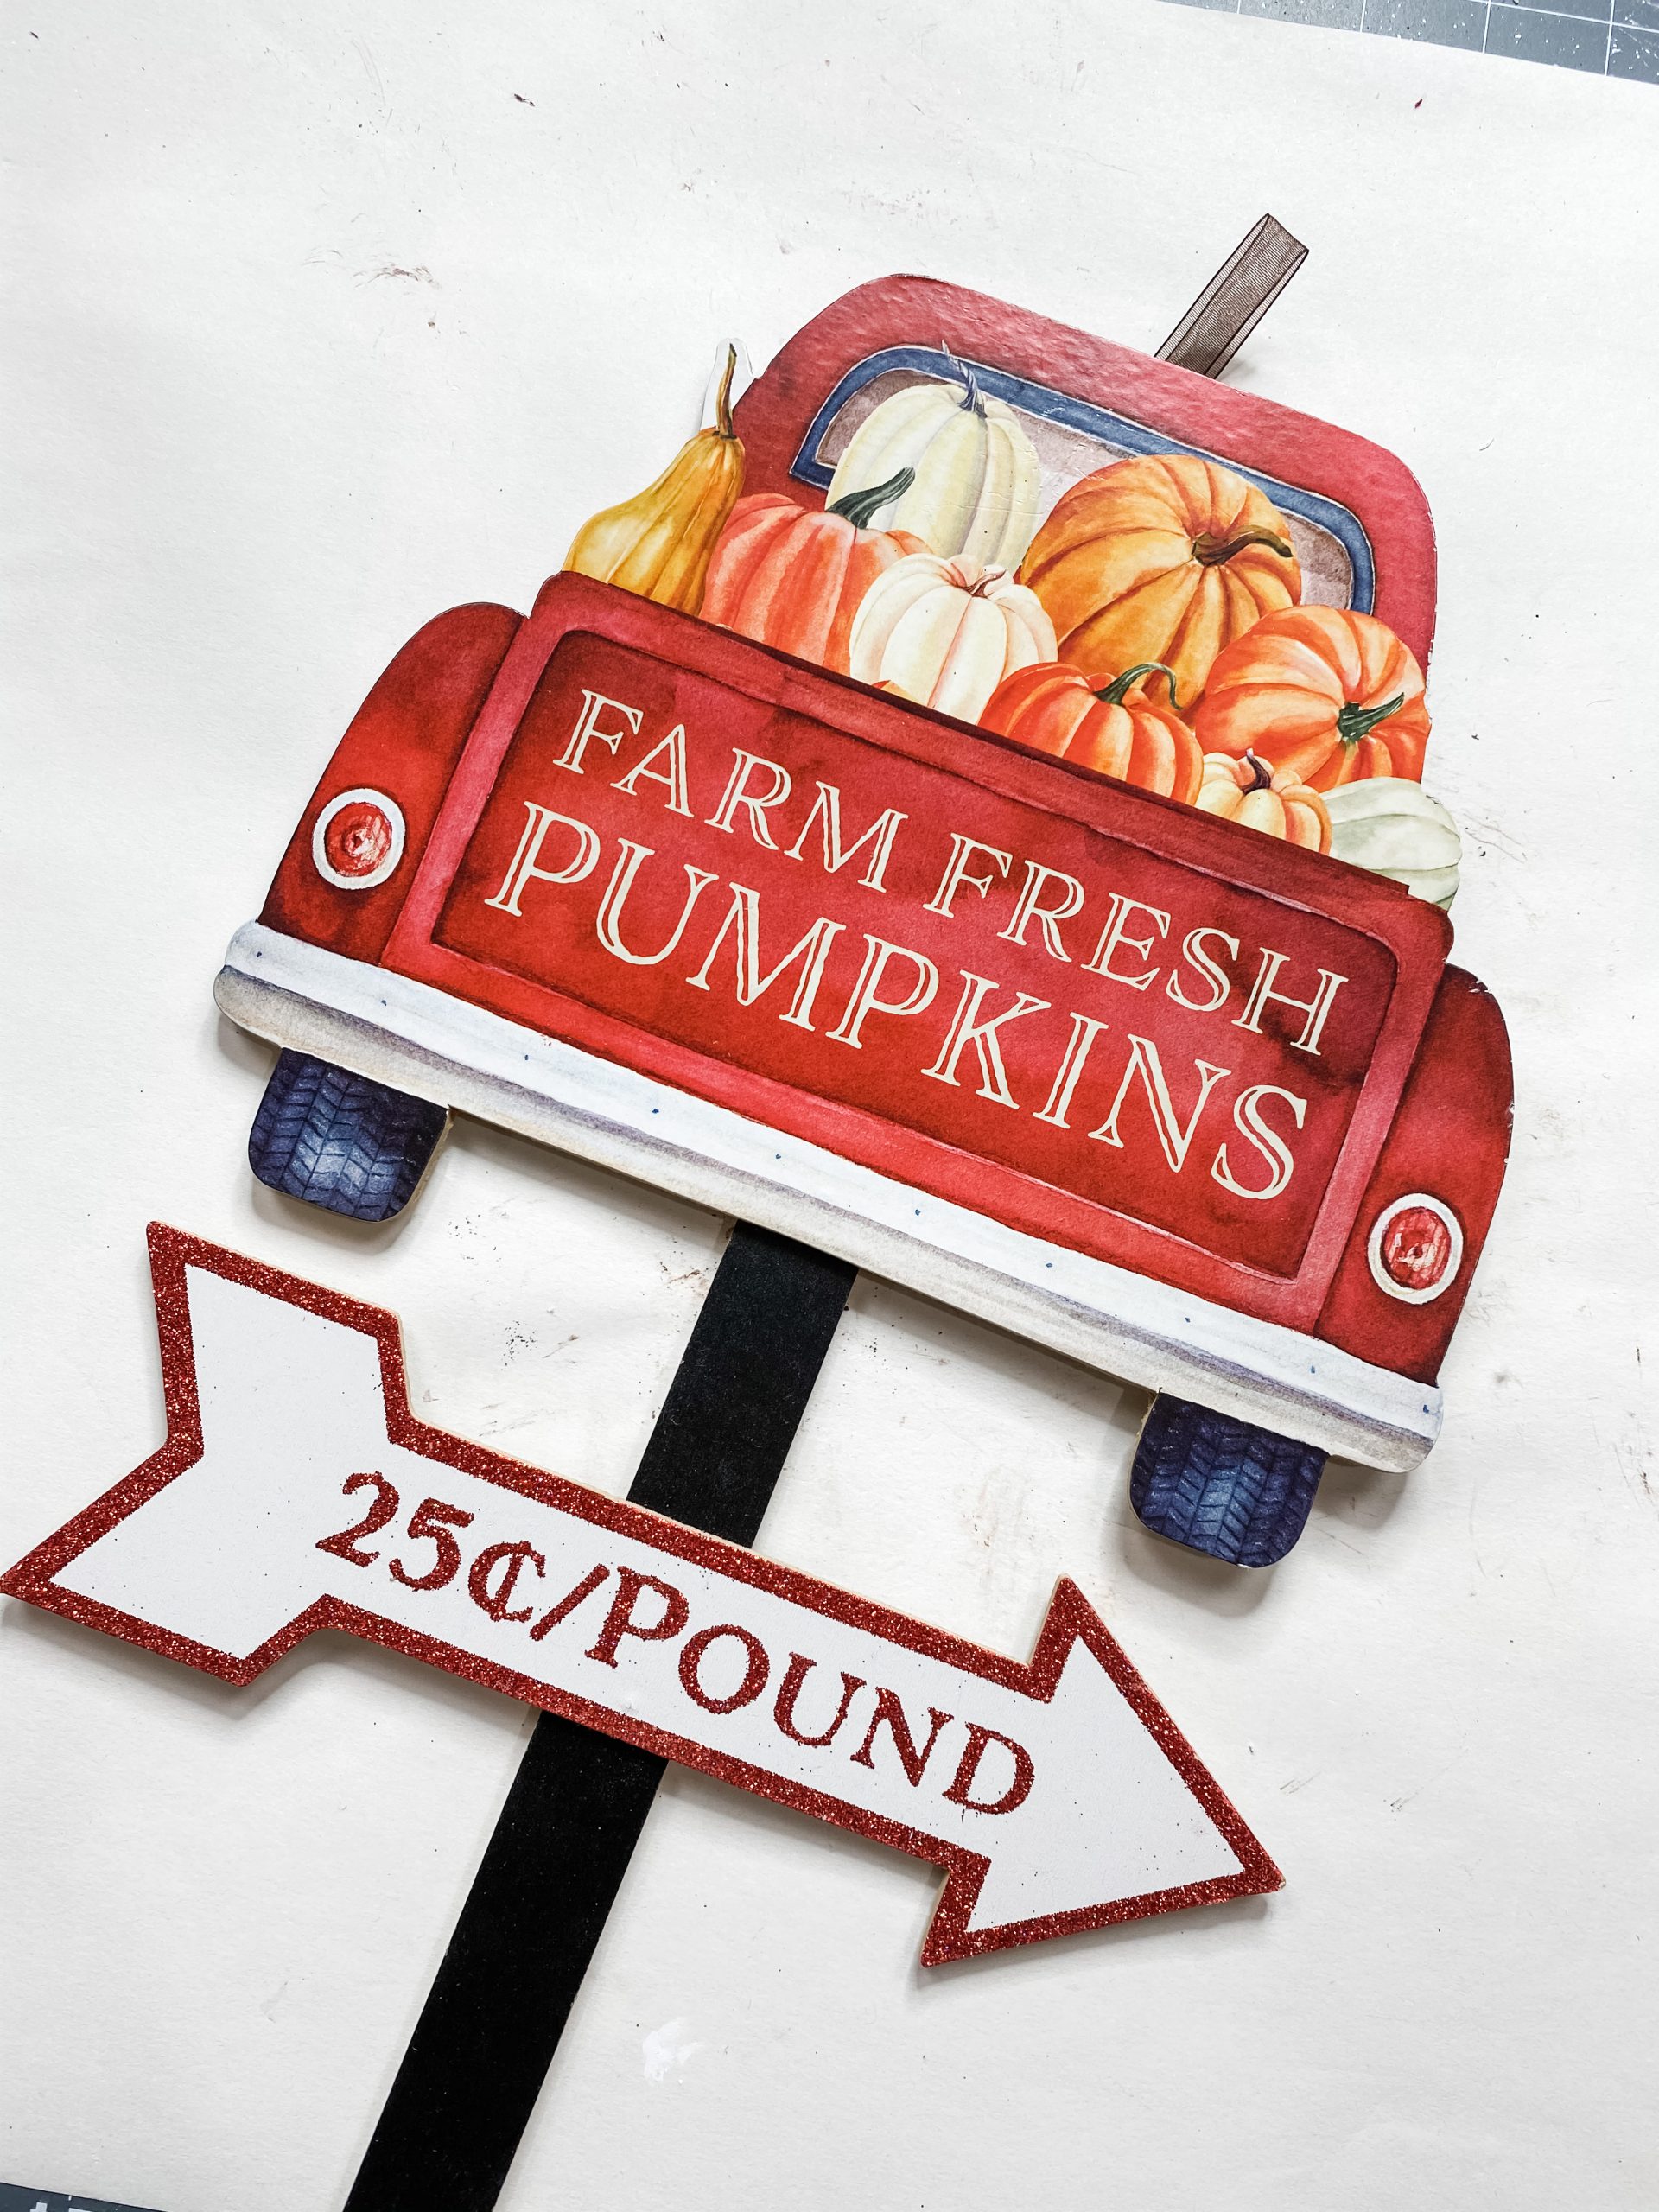
To start my Dollar Tree DIY Buffalo Check Home Decor, I went ahead and detached the truck piece from the Dollar Tree sign.
After this, I flipped over the truck piece and removed the barcode sticker. I used my heat gun to help me remove the sticker, but you can also use a hairdryer for this!
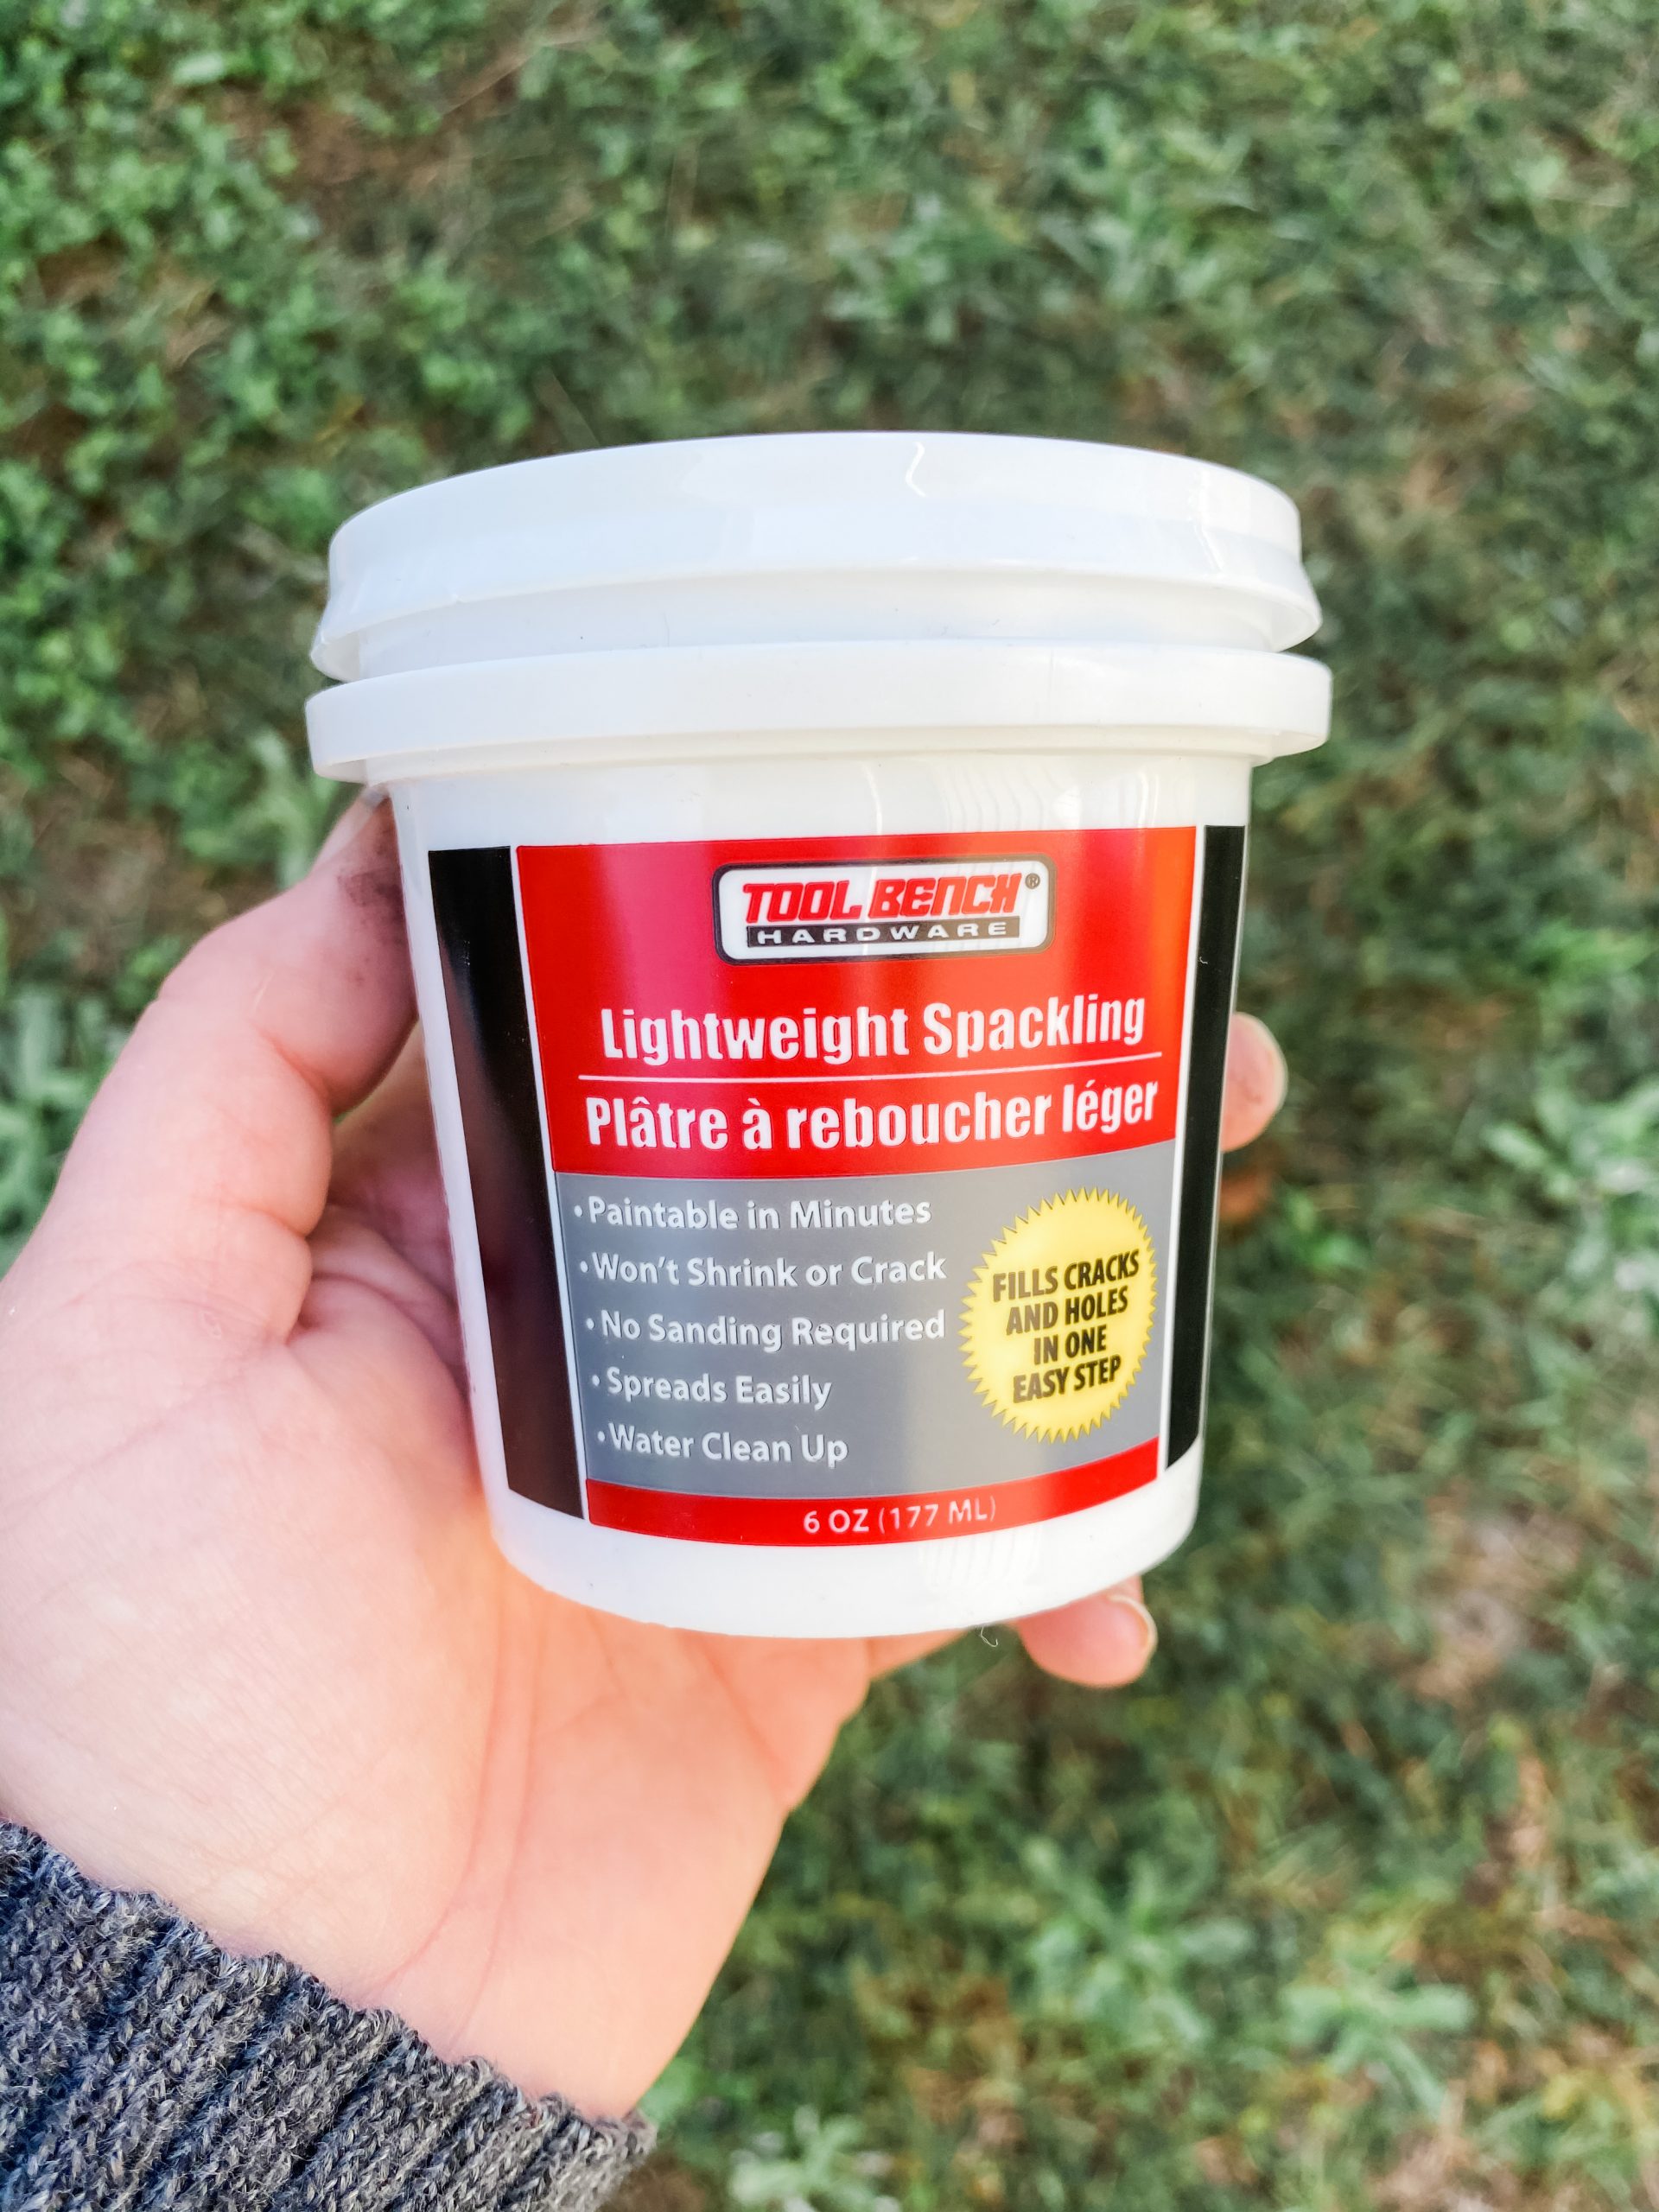
Time for spackling
Next, I went ahead and mixed my spackling with my Folkart White Chalk Paint in a small bowl. I took a palette knife and smoothed the spackling mixture all over the back of the truck.
You can also totally use a butter knife to do this if you don’t have a palette knife! Make sure you apply an even coat and set your truck to the side to dry!
Making the backdrop
I’m a girl who likes to cut a few corners but will never compromise on quality! So I went ahead and mixed my Mod Podge with a little bit of my Folkart White Chalk Paint to make this process easier!
Next, I took my buffalo check tissue paper and laid it on top of my Dollar Tree wood sign. I measured the size and cut out a square of tissue paper that was large enough to cover the entire board!
Remember, it is better to cut the size larger than needed rather than smaller. We can always trim it down later!
Once you’ve cut out the tissue paper square, move that to the side. Then we are going to start with our decoupage.
Don’t worry it’s super easy! Just paint one coat of your Mod Podge and Folkart White Chalk Paint mixture on the Dollar Tree wood sign. Keep in mind that it doesn’t have to be perfect!
Remember to make sure your whole board is covered and work quickly with the Mod Podge because it dries fast!
Next, you can go ahead and lay your tissue paper square right on top of your wood board! If you need some extra help feel free to check out this article to learn more about decoupage!
I wanted to make mine a little more distressed so I added a little more paint onto the front. This step is totally optional and just depends on the look you’re going for!
Watch out for any wrinkles or creases. I like to lay plastic wrap over the tissue paper and use a rolling pin to smooth out any imperfections. The plastic wrap helps protect the tissue paper from tearing.
After this, I used my heat gun to dry everything! You can also use fabric in place of tissue paper for this step if you’d like!
Time for the finishing touches
I added a little more paint to the edges and used a wipe to smooth it out to help complete the distressed look I wanted!
After I made sure it was dry, I grabbed my truck and distressed the edges with a knife. However much of this you do is completely up to you and depends on the look you’re going for! Have fun with it!

Faux Shiplap
To get the faux shiplap look, you can use any straight edge and a Sharpie to draw little lines across your truck.
Remember, it doesn’t have to be perfect! I used some popsicle sticks I had lying around as my straight edge.
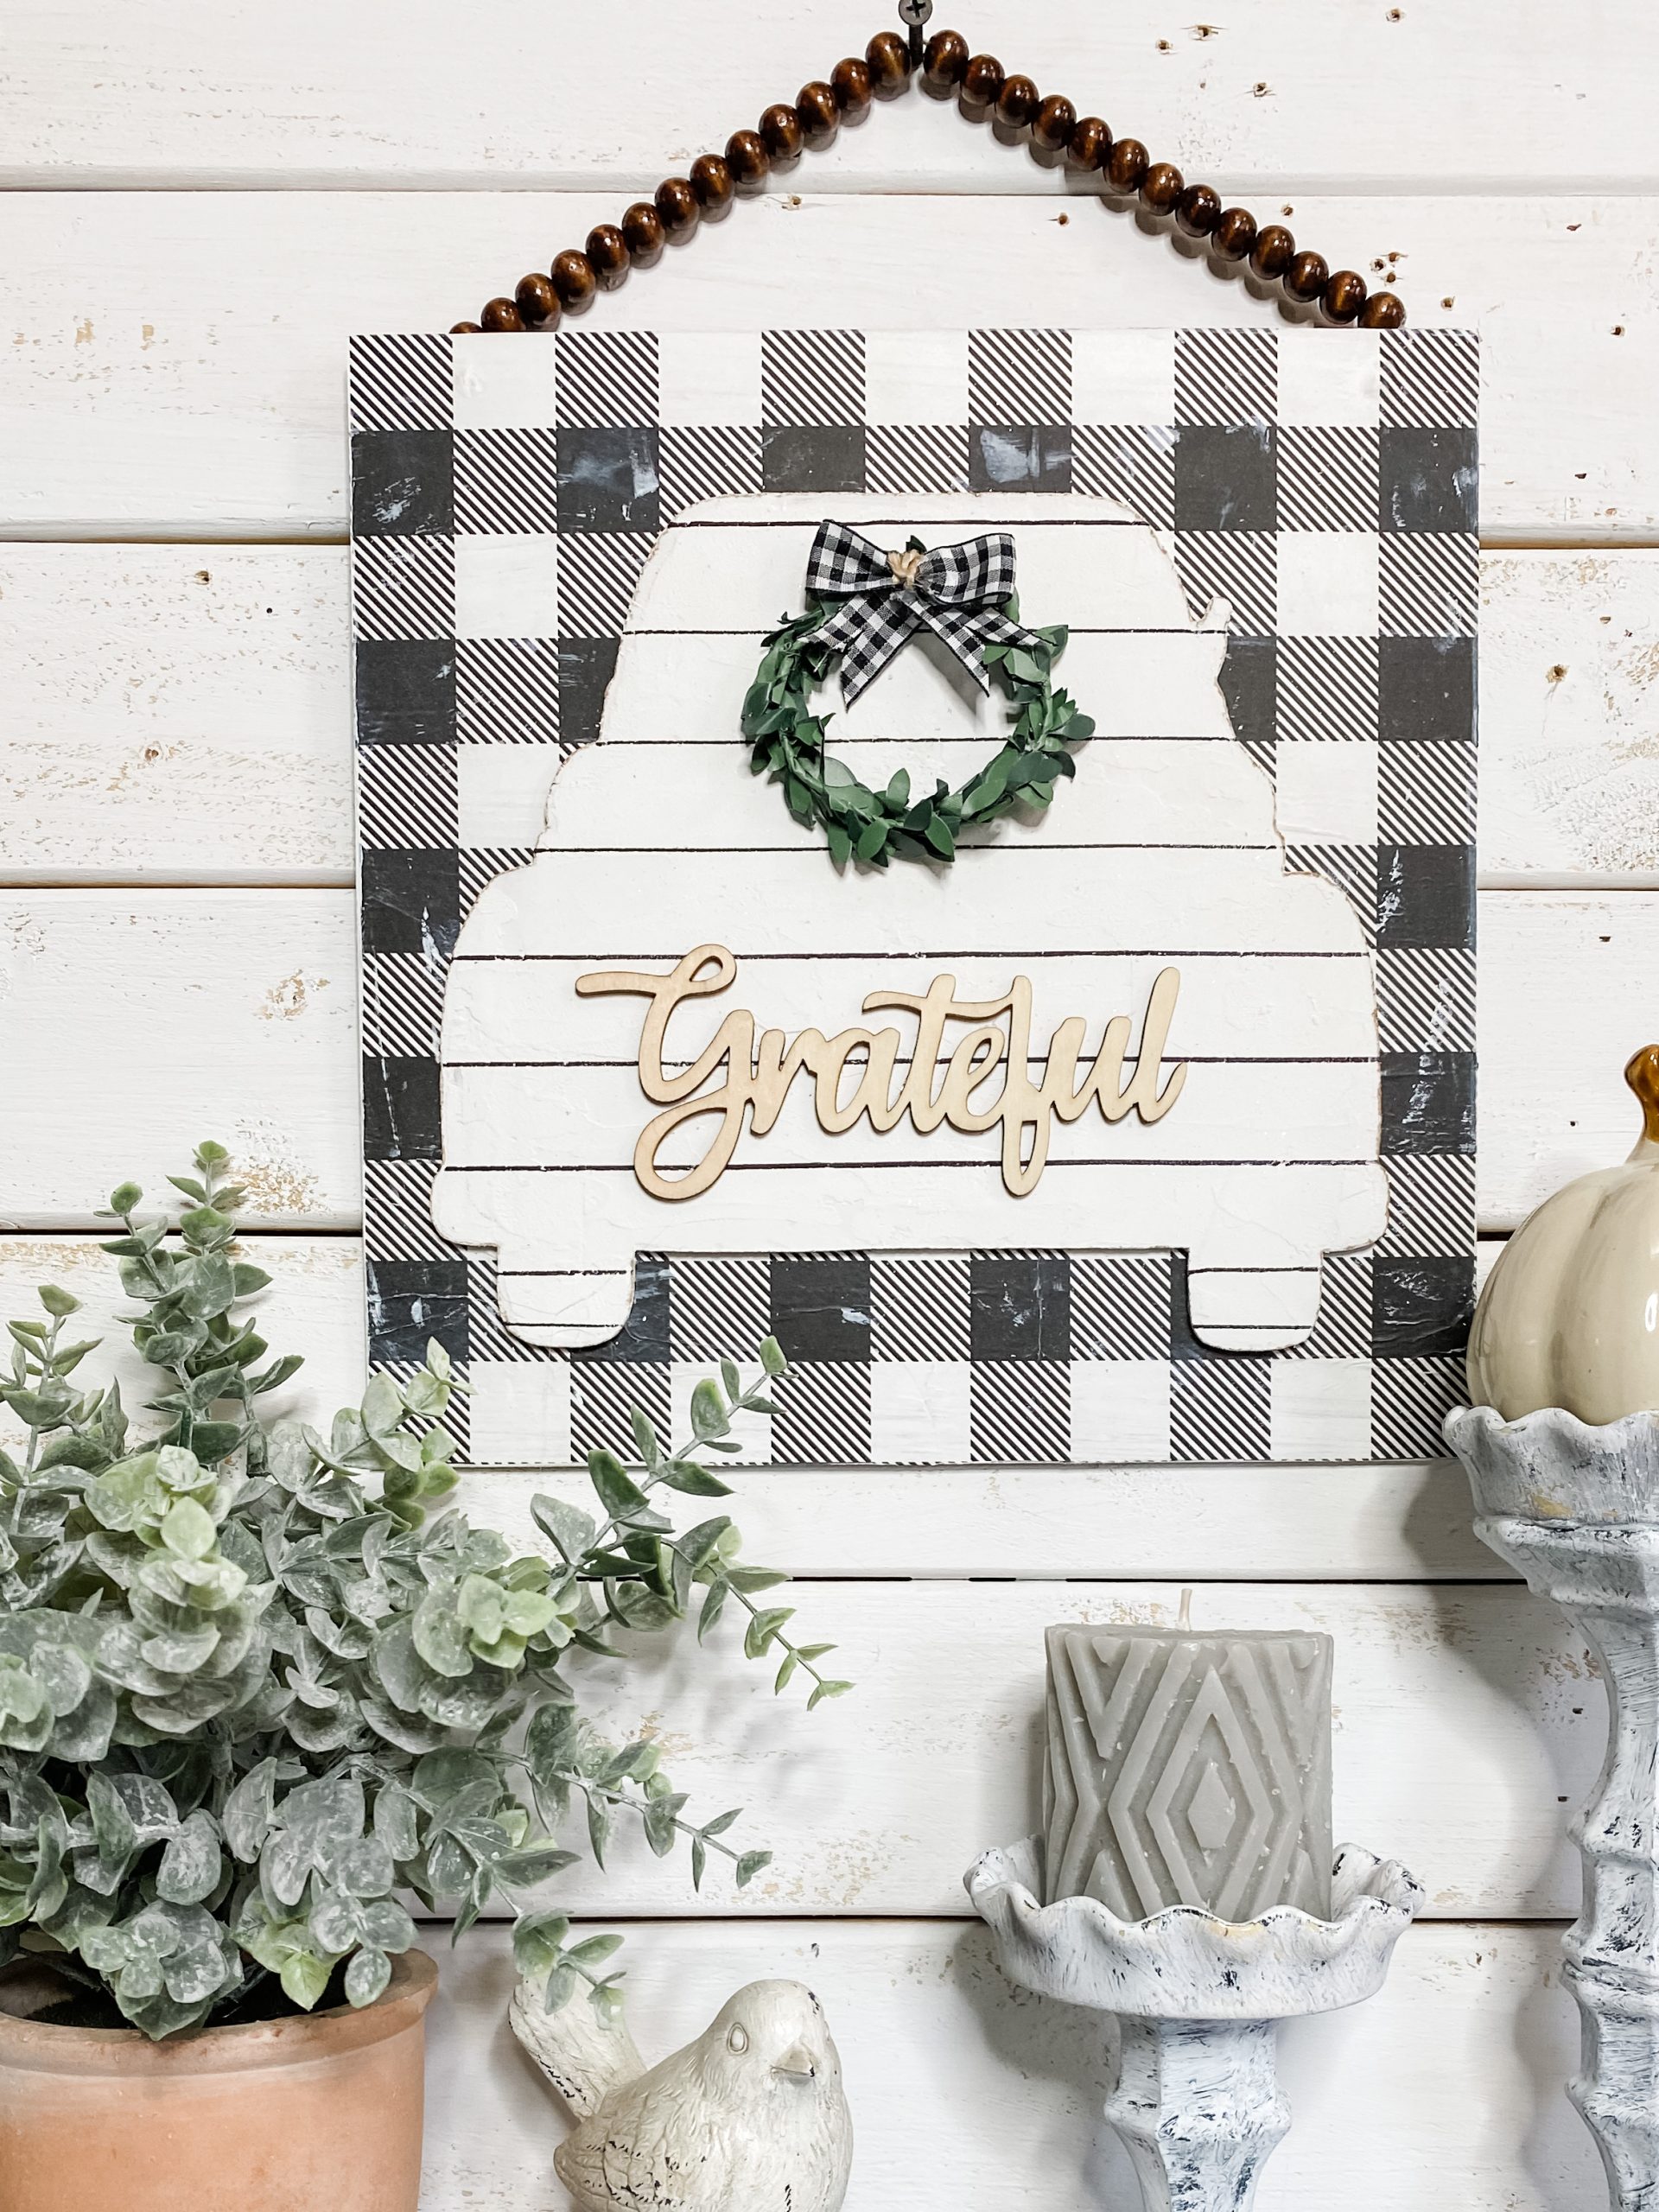
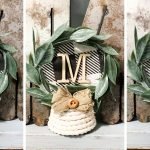
Now comes the fun part! It’s time to pick out what word you want to put on your Dollar Tree DIY Buffalo Check Home Decor. I ended up choosing the word “Grateful!” But there are so many other fun options you could try!
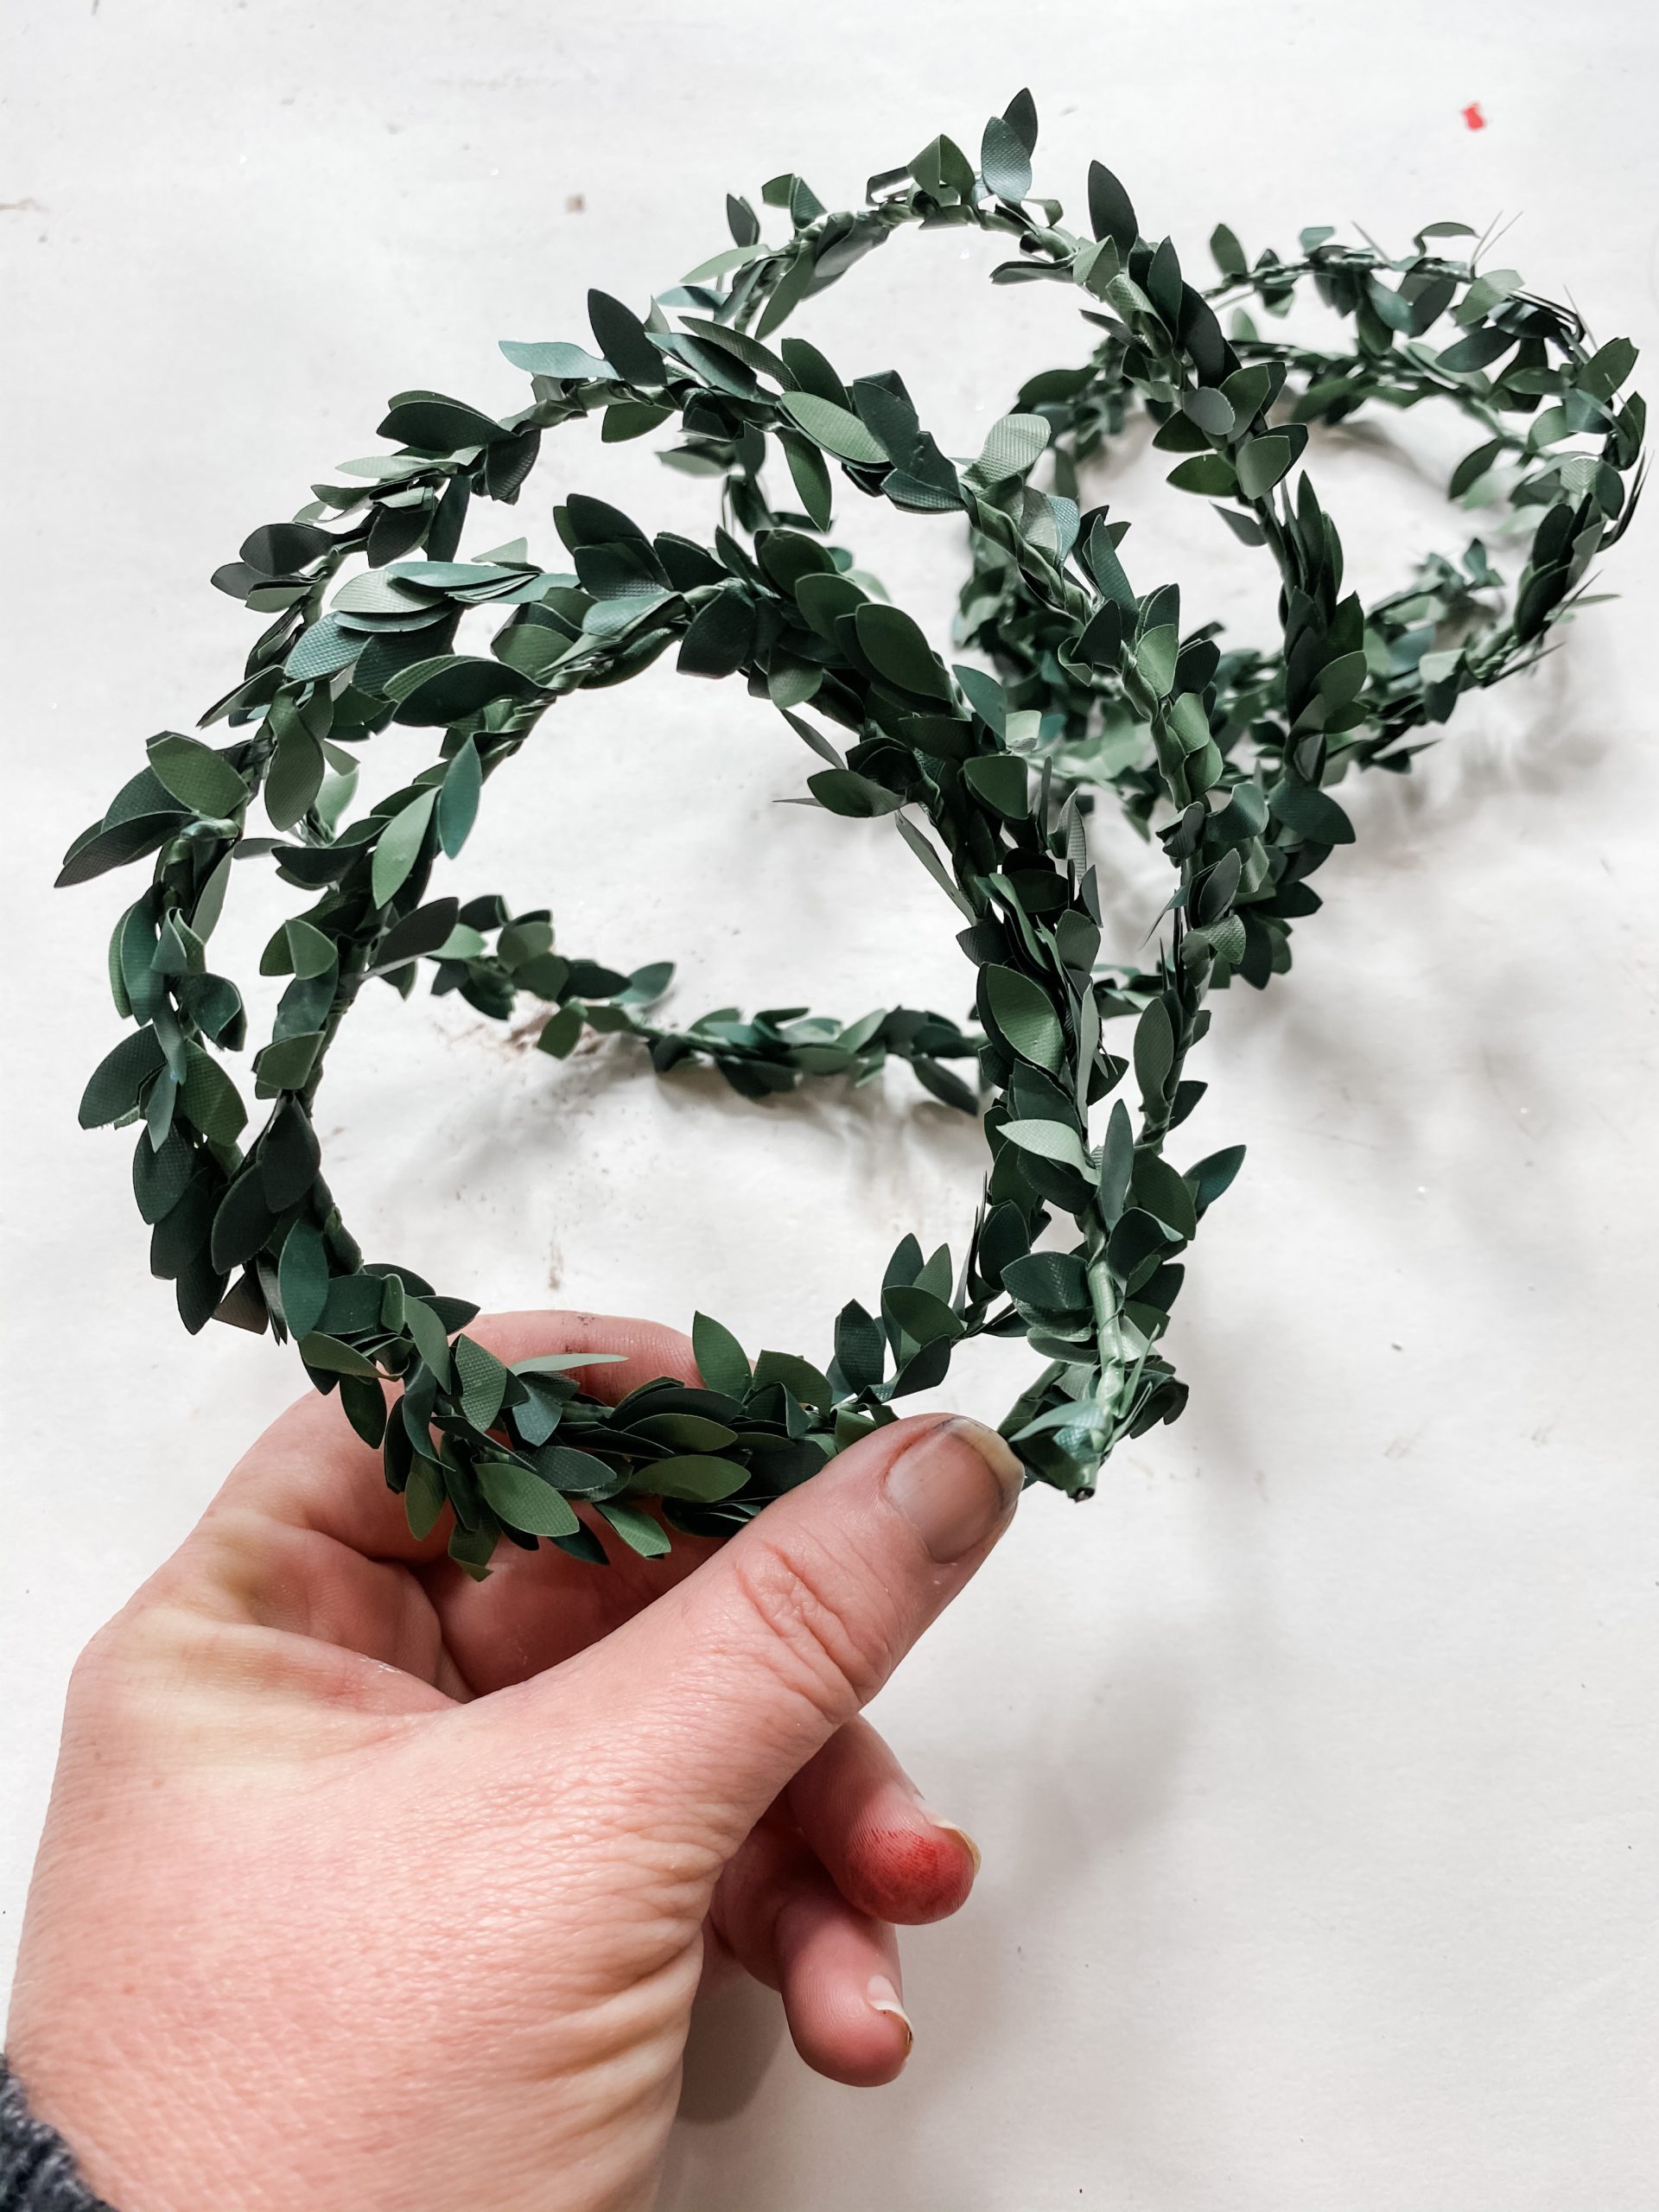
Add some greenery
I took some of this Green Garland and wrapped a few strands into a small circle to create a wreath! I used a dot of hot glue to secure this.
After that, I used some Buffalo Check Ribbon to create a bow! Cut a small piece of ribbon and fold it into a small bow shape.
Then you can secure it with hot glue and twine. I used my fingers to cinch it together in the middle while it dried and added a little tail to the bow!
Spice it up with a hanger
To create the hanger, I used some twine, a quilting needle, and some beads. I went ahead and added these brown medium-sized beads onto the twine and secured it to the back of my board with hot glue. I glued a piece of fabric over each side of my twine for a little extra security!
You could always use a stapler, but I was worried the staples would go all the way through my wood sign.
Bringing it all together
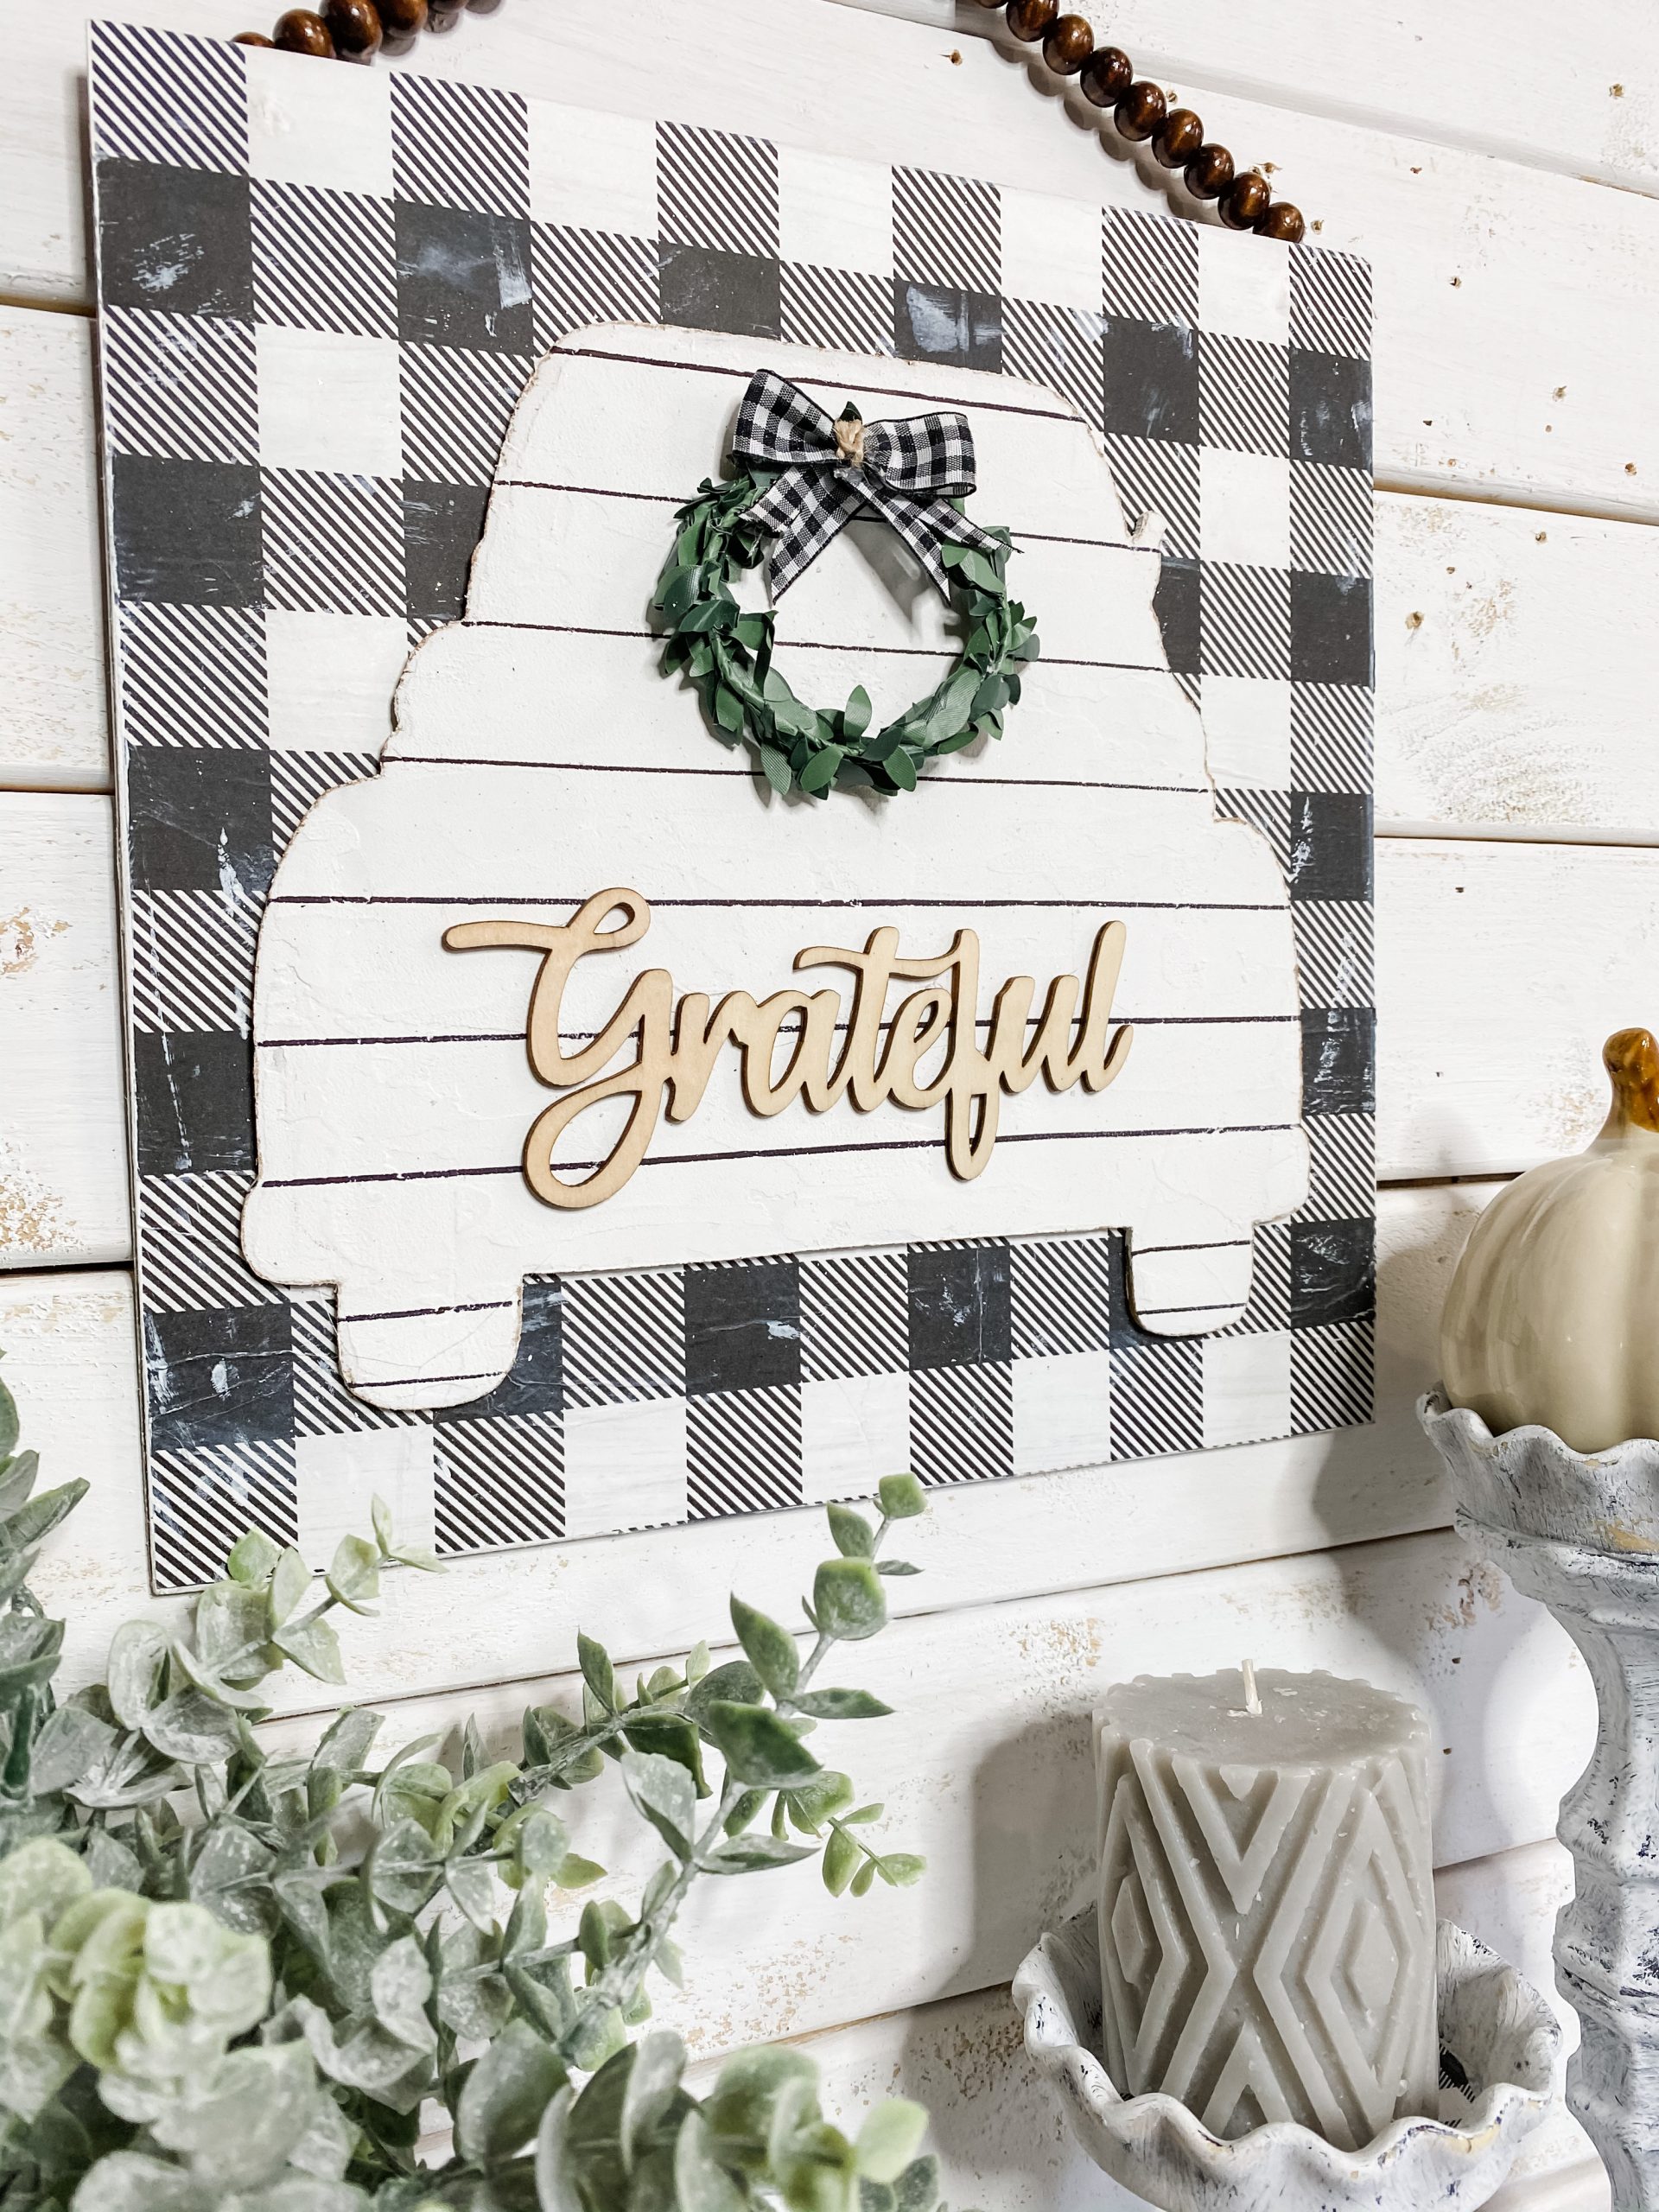
Alright, now it’s time to put everything together! Go ahead and glue your bow to the top of your little wreath.
Glue the truck to your board and whatever little word you choose to your truck! How cute is that!
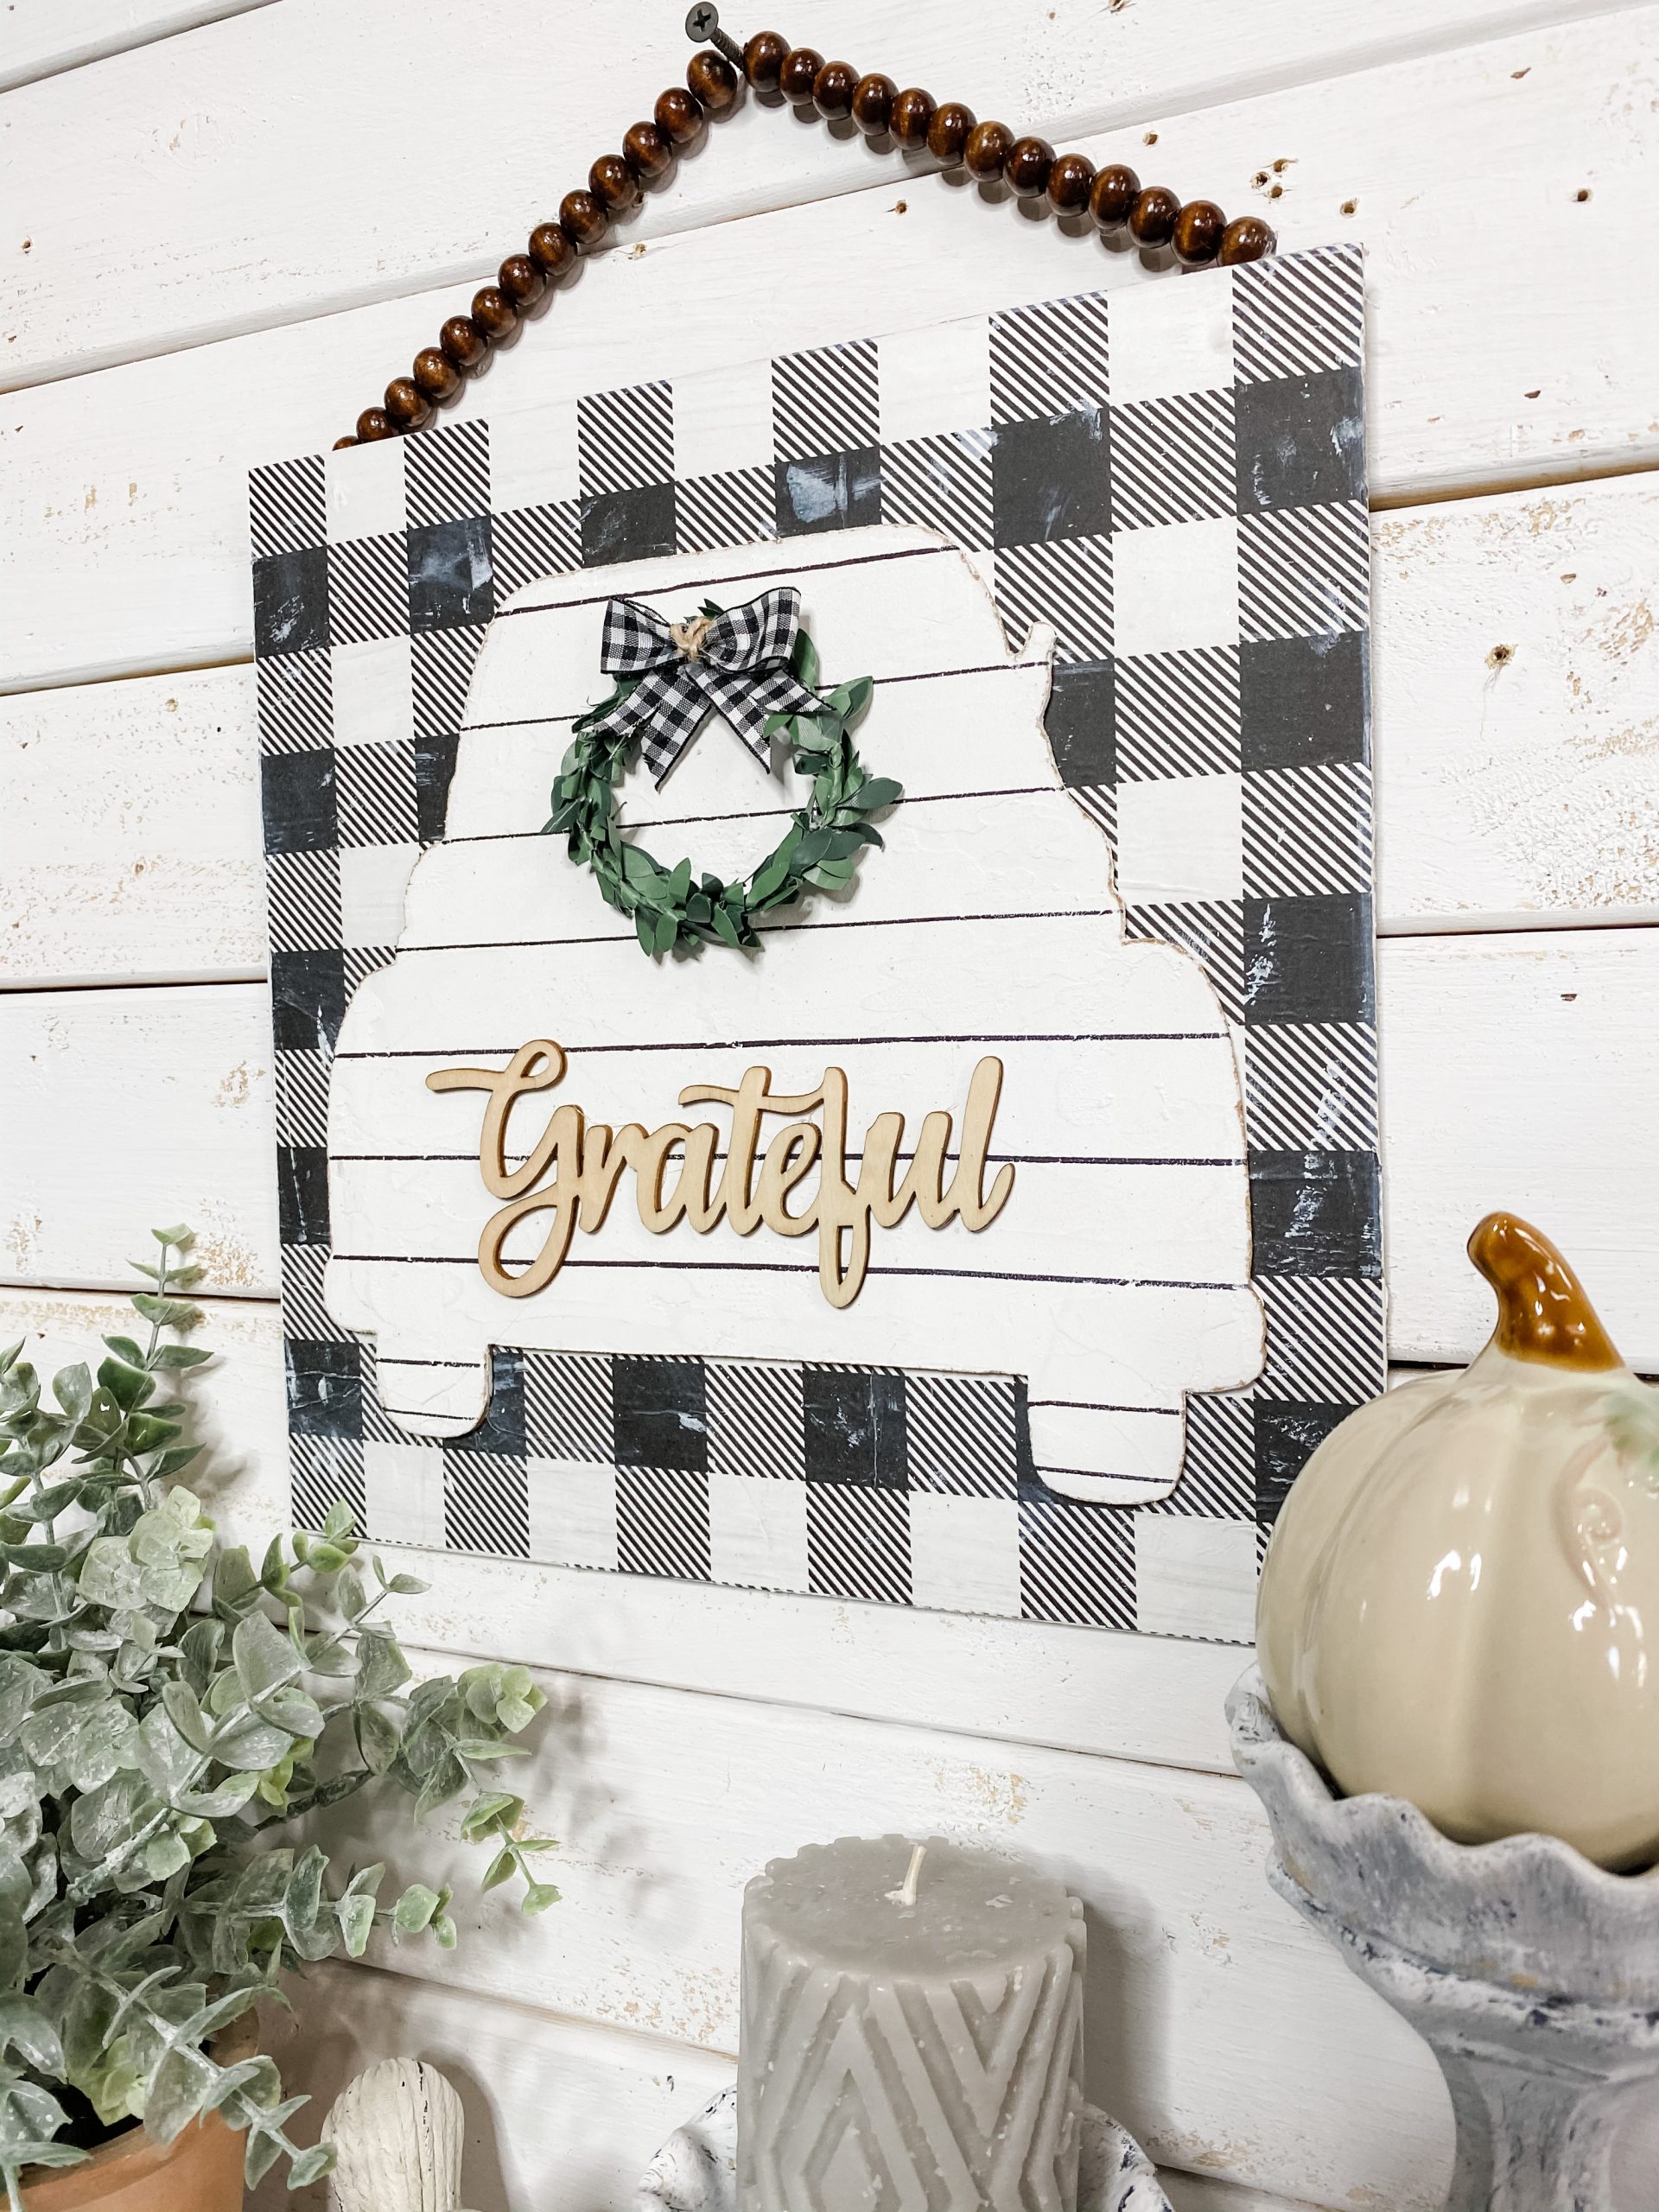
I hope you enjoyed learning how to make this Dollar Tree DIY Buffalo Check Home Decor as much as I did and decide to make it for yourself!
I would love to see how yours turns out! You should totally join my FREE Facebook group called On A Budget Crafts! It is a judgment-free community for DIY crafters to show off their projects and ideas.
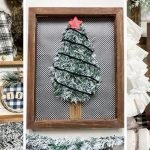
If you loved this DIY you might also like this DIY Christmas Tree Shelf Decor!
Thanks for stopping by! XOXO Amber
You can also shop my ENTIRE AMAZON Favorites shop just click here! It’s packed full of all the things I use and love.
Here is the supply list I highly recommend every creative have on hand!! Would you also pin my blog for later and get on my newsletter alerts? I would love to have you join my #craftycrew.

Join my free “ON A BUDGET CRAFTS” Facebook group!
PIN THIS POST FOR LATER!

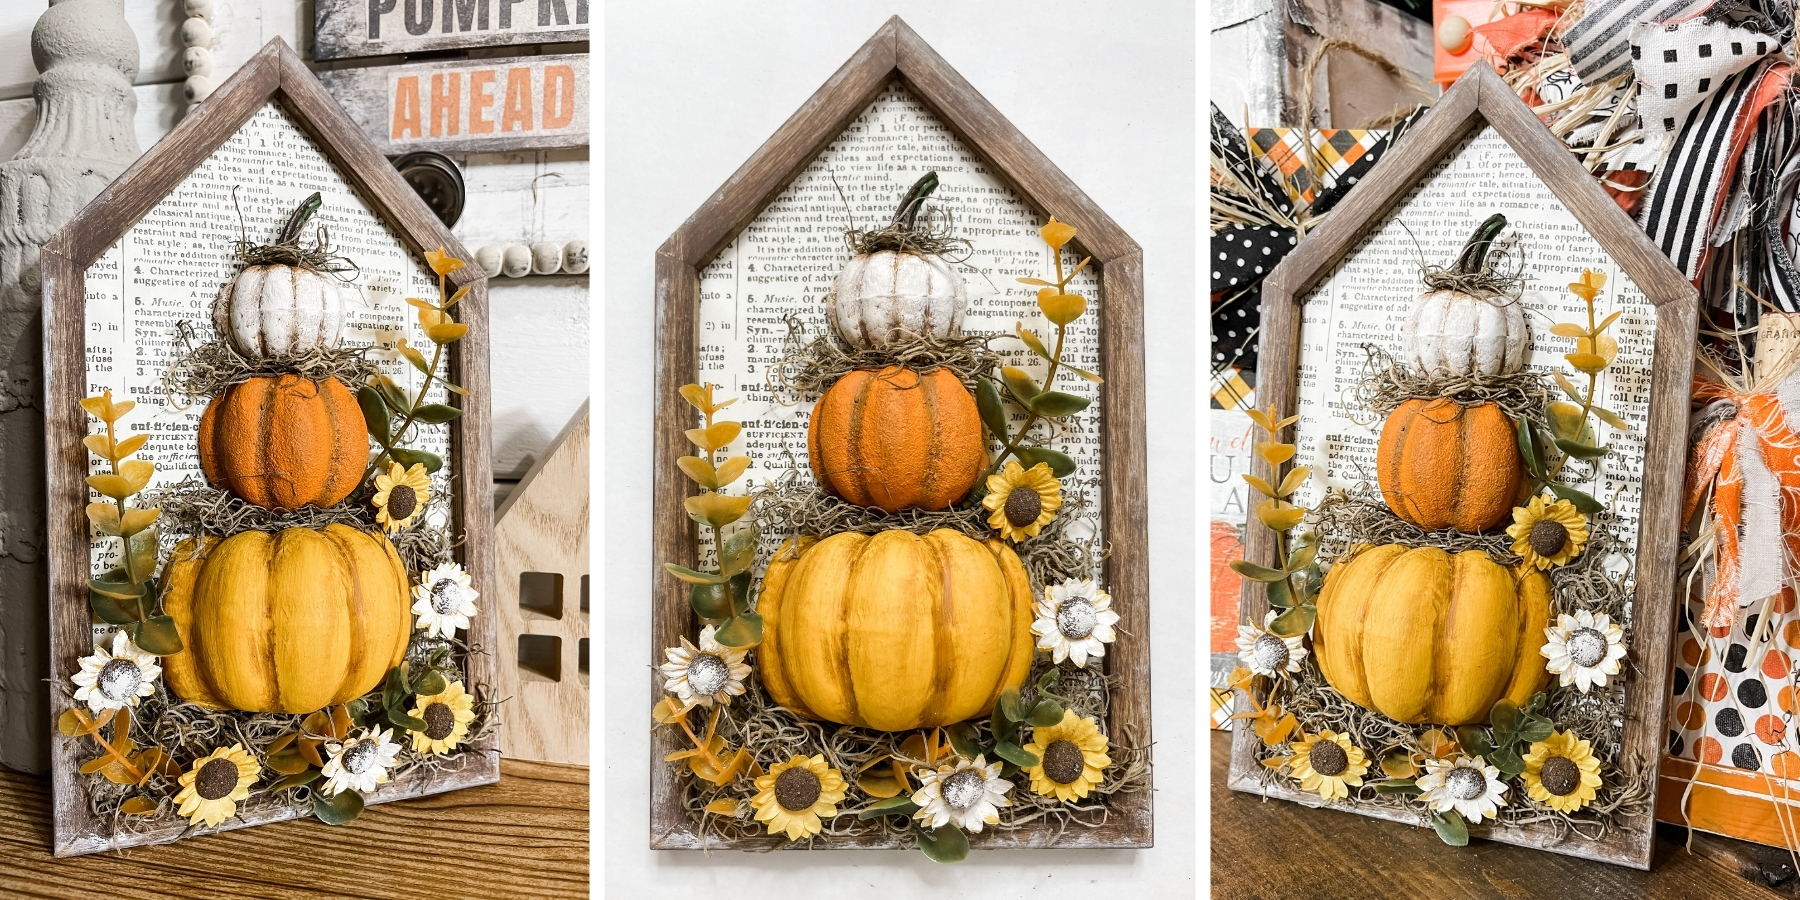
So ADORABLE