DIY Dollar Tree Distressed Farmhouse Decor
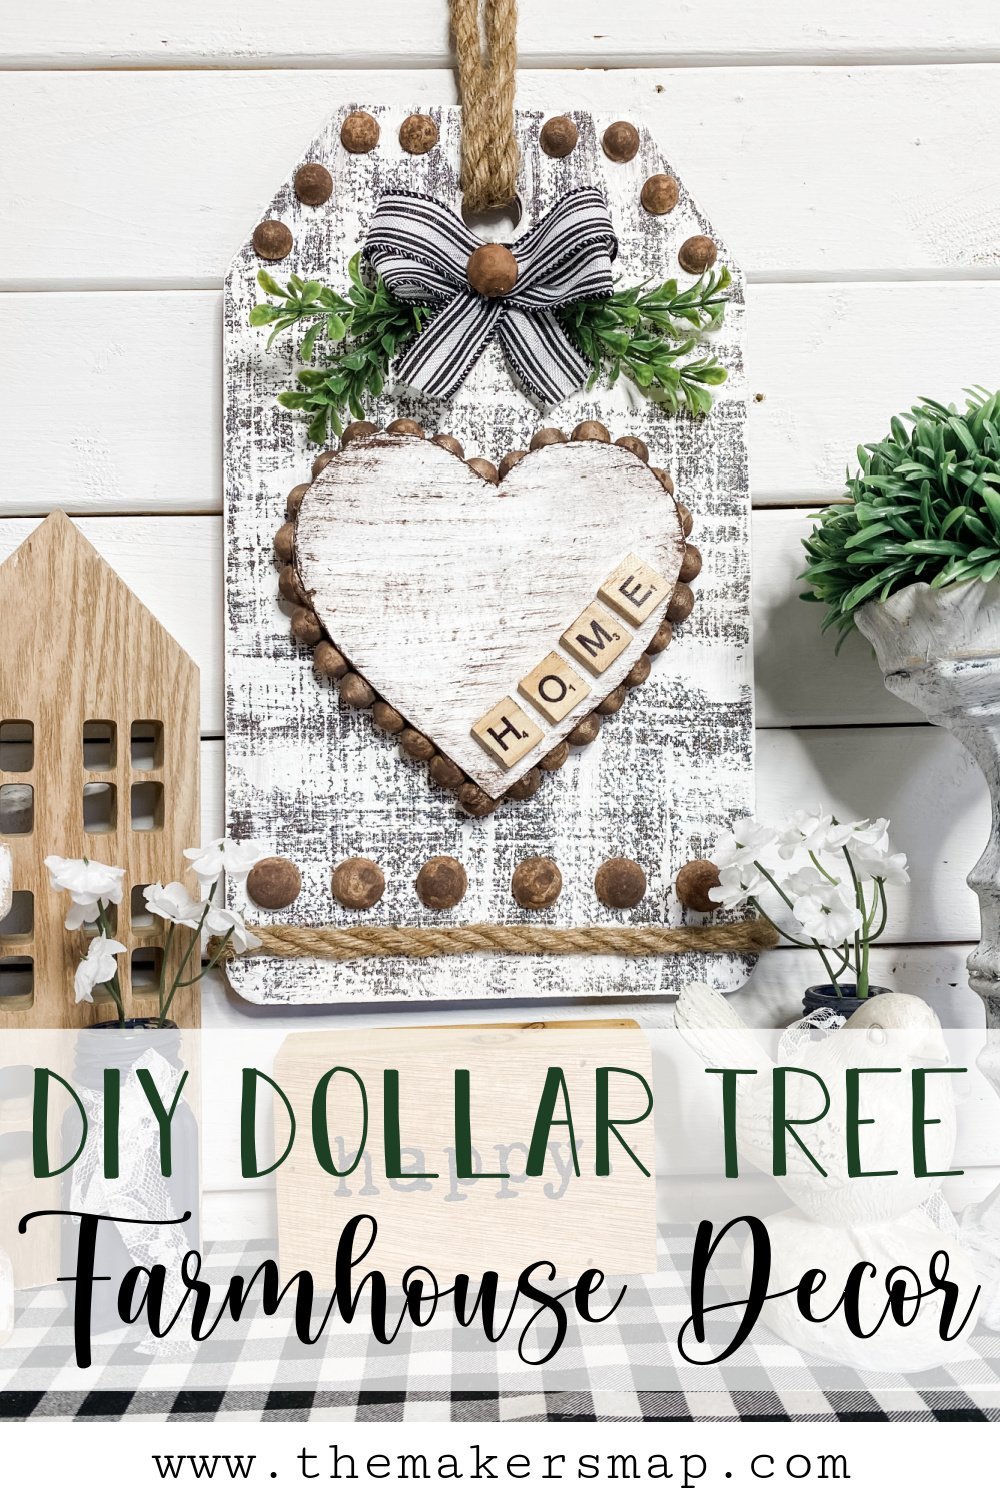
Do you like DIY projects that you can customize for any season or holiday? Well this DIY Dollar Tree Distressed Farmhouse Decor is one of those versatile DIY crafts that you can personalize and change to fit any decor style or holiday!
Not only is this a versatile DIY idea, but it is also affordable and shows how to use cardboard to substitute for supplies you might not have. I used cardboard to make the distressed heart instead of a Dollar Tree wood heart!
If you want to see the full supply list or video tutorial, just scroll to the bottom of this page!
More farmhouse DIYs just for you!
- DIY Dollar Tree Farmhouse Candle Bases
- DIY Farmhouse Hanging Planter
- Popsicle Stick Birdhouse DIY Farmhouse Decor
- DIY Chicken Coop Decor
Let’s get started
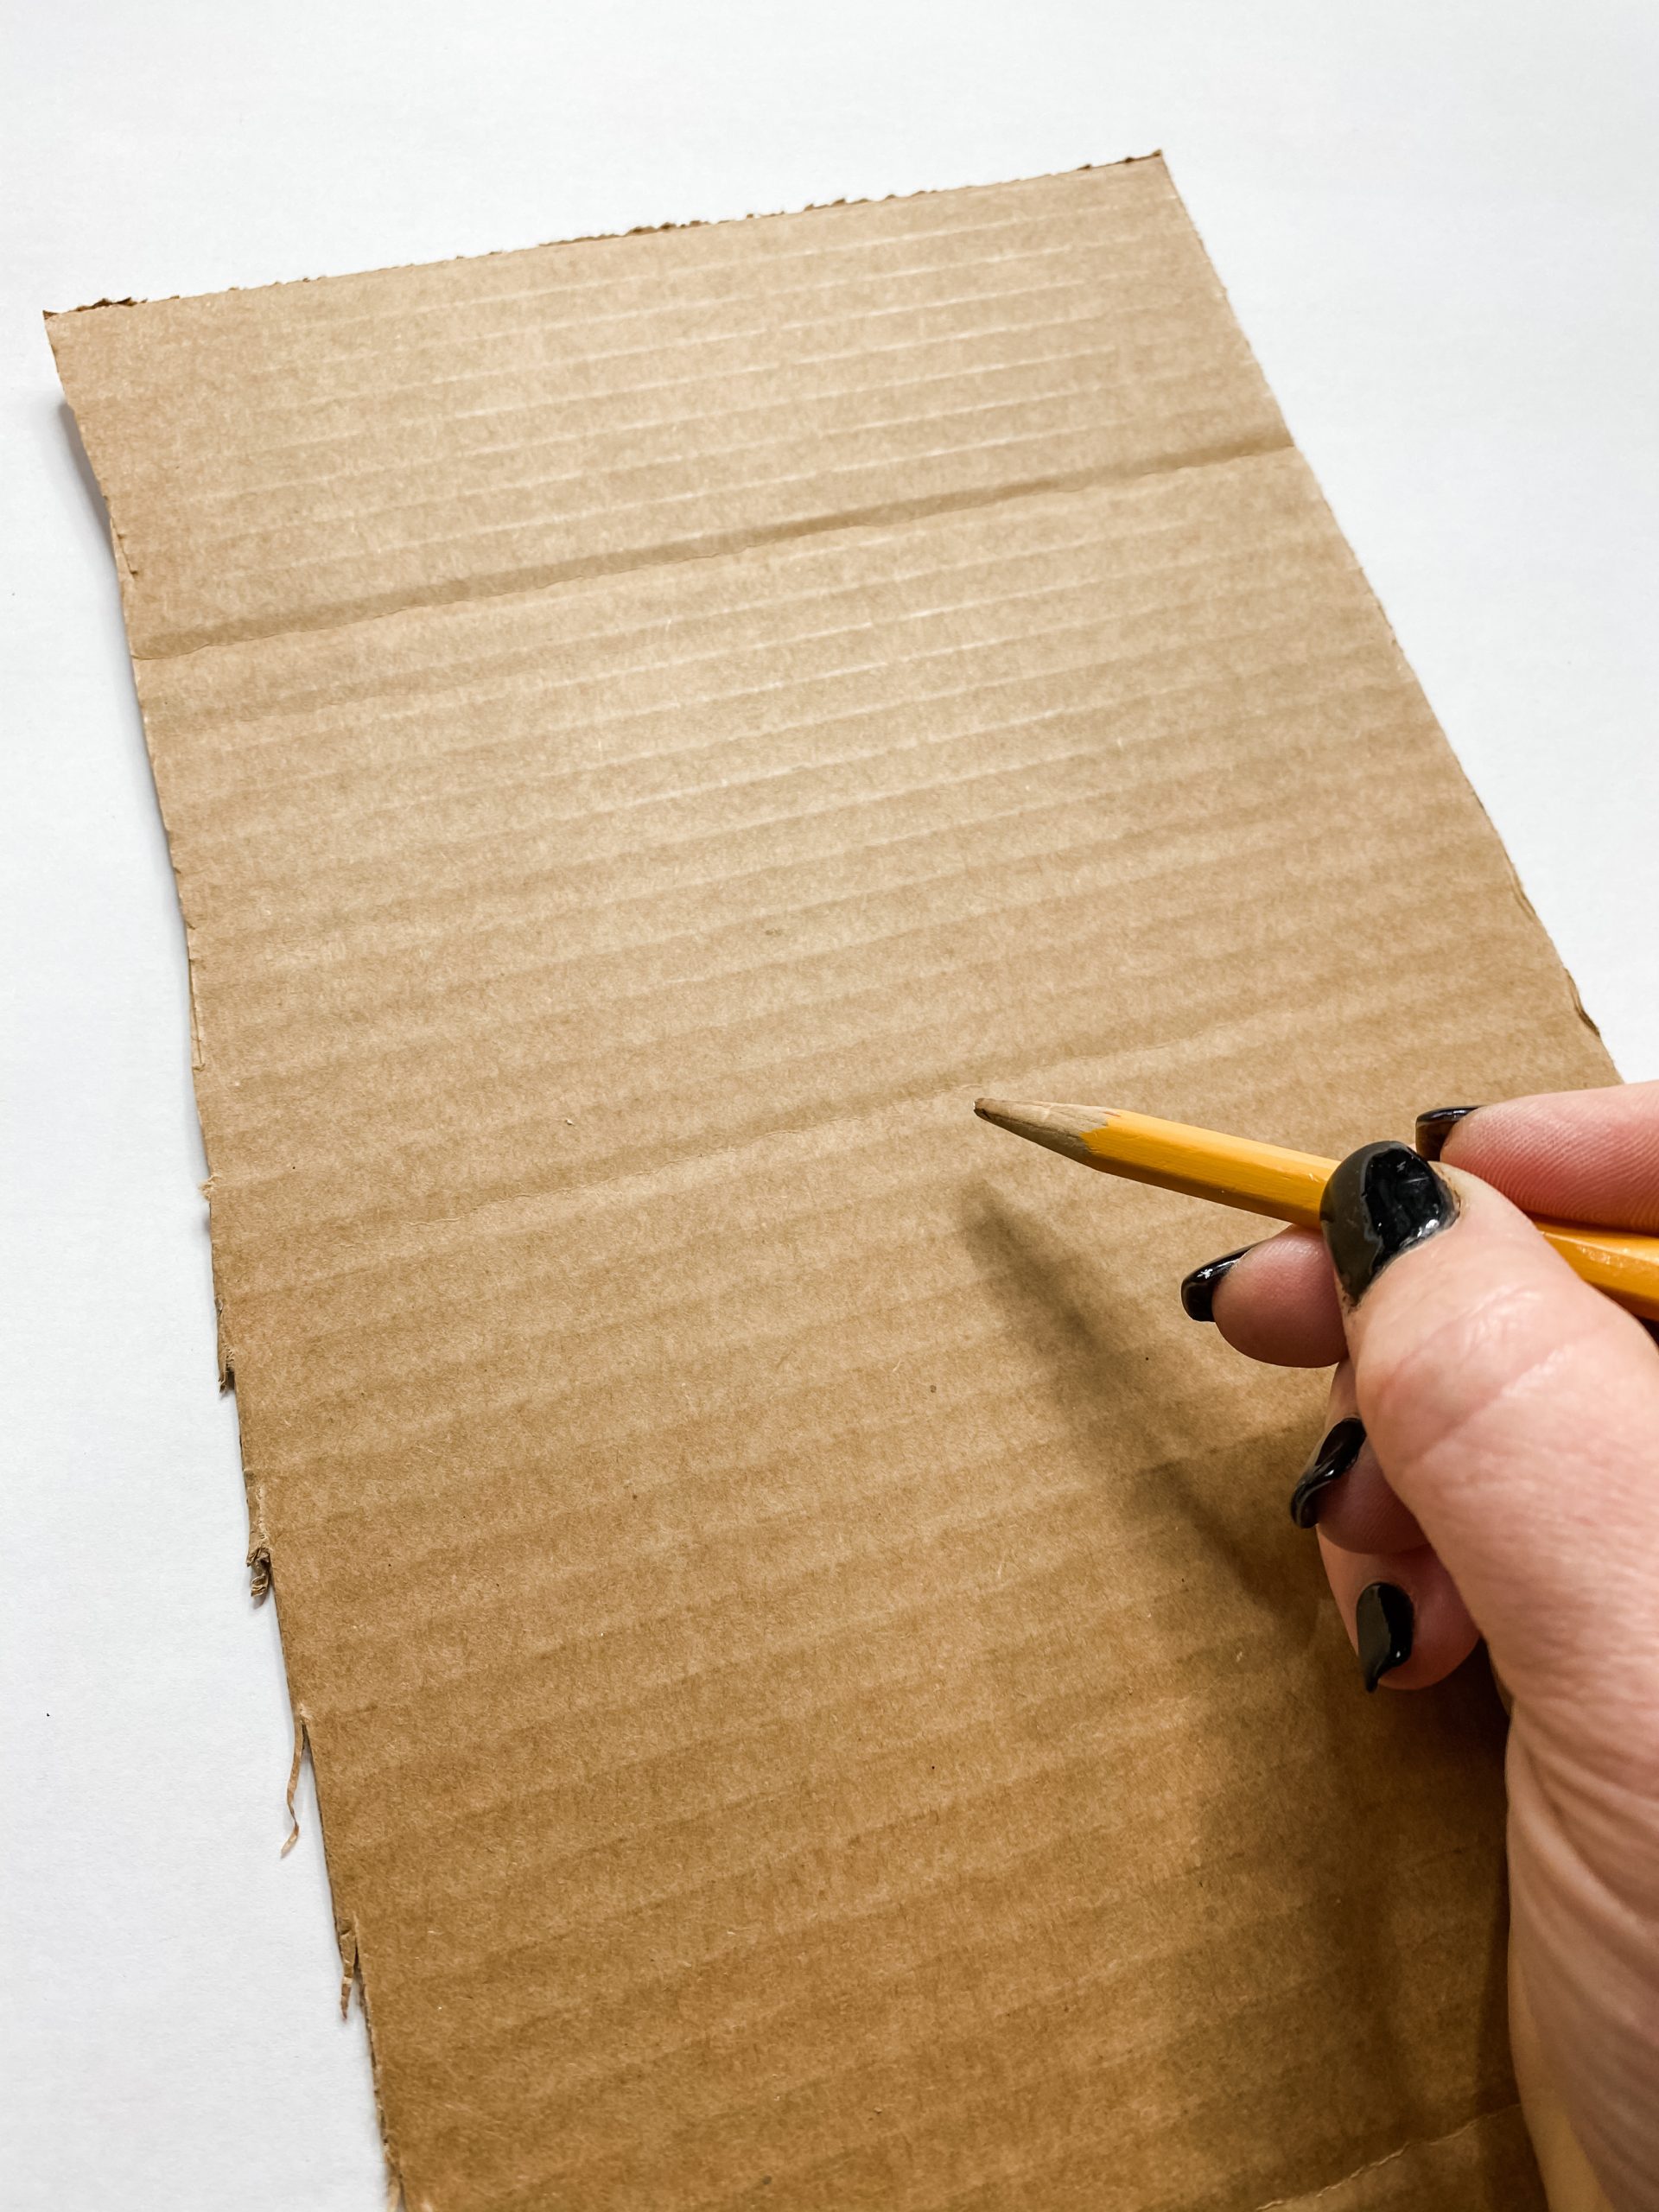
The first thing I did to make this adorable rustic DIY decor was cut out a heart from the piece of cardboard.
I used a Dollar Tree wood heart ornament as the template for the cardboard heart, but you could freehand it if you don’t have the heart to trace.
You could also use a thick Dollar Tree wood heart instead of the cardboard heart and wood beads like I did. I’m just always looking for ways to get creative in case my followers don’t have the same supplies I do.
If you want to see the full supply list or video tutorial, just scroll to the bottom of this page!
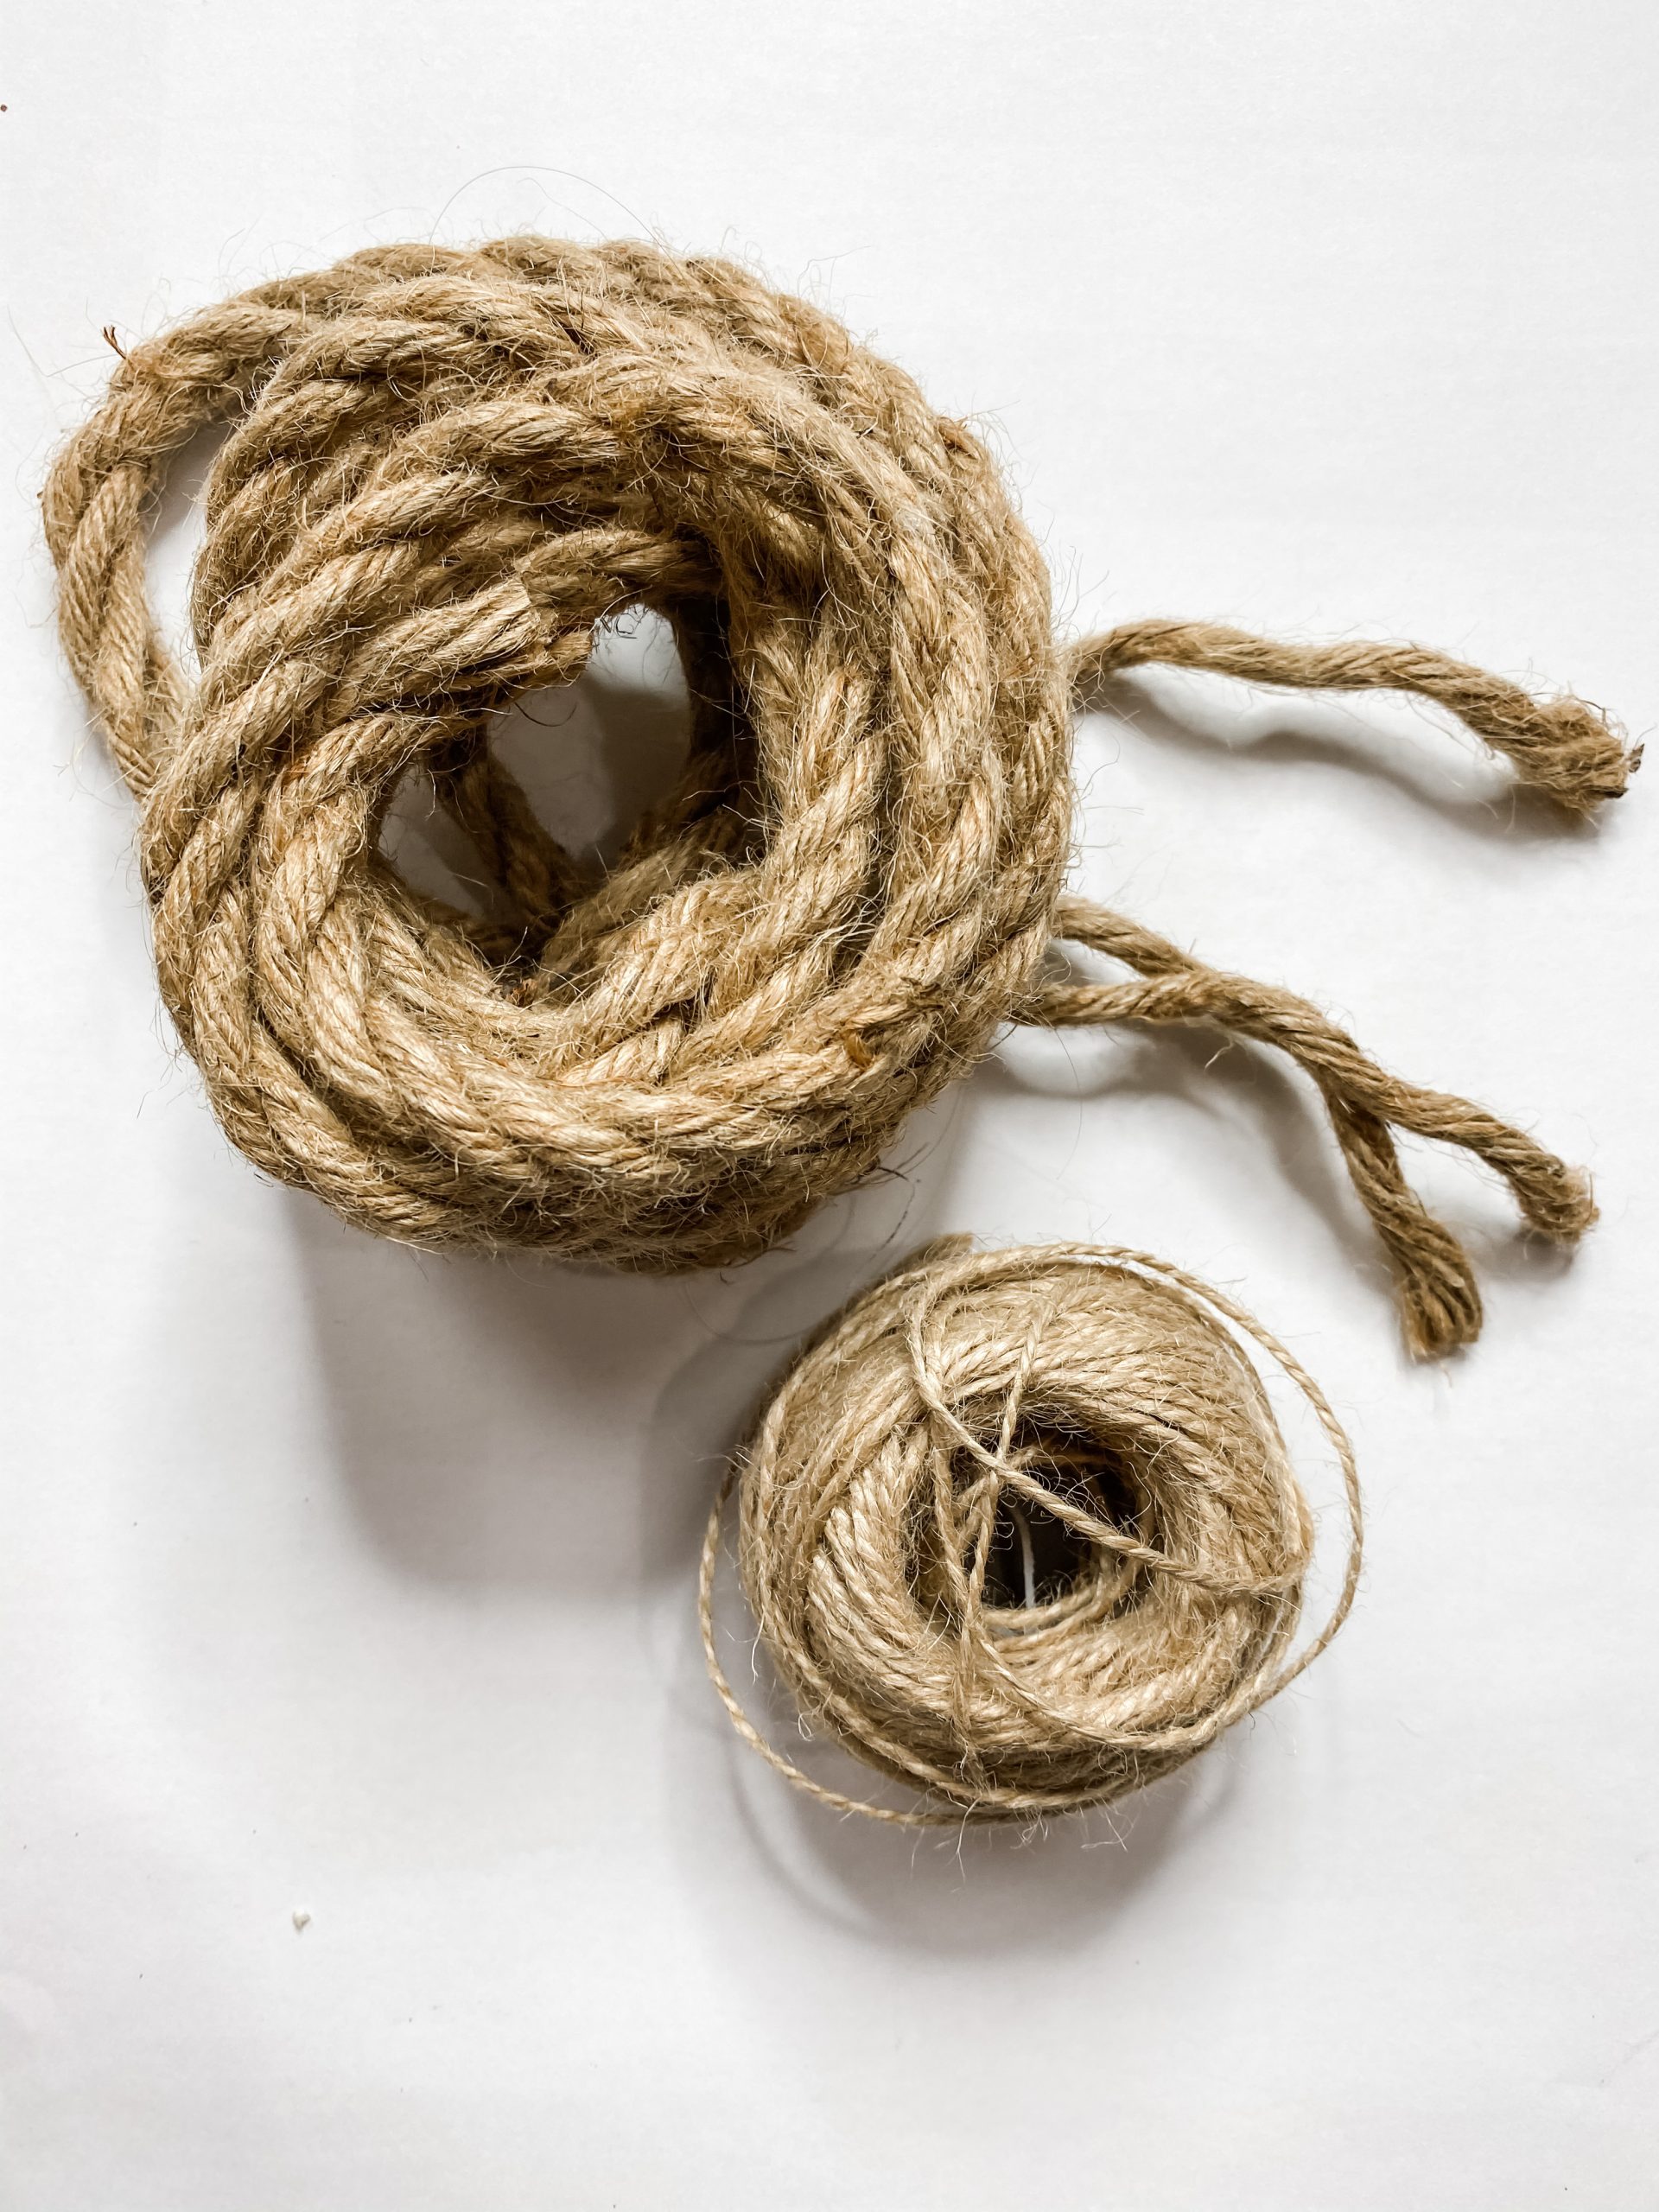
To raise the cardboard heart cut-out when I attach it to the Dollar Tree tag board, I threaded some wood beads onto a piece of jute twine.
My plan was to hot glue the string of beads to the back of the cardboard heart.
Once the string of beads is long enough to wrap around the edge of the heart cutout, tie the ends of the twine together. Set the heart and beads to the side, and grab the Dollar Tree tag board.
If you want to see the full supply list or video tutorial, just scroll to the bottom of this page!
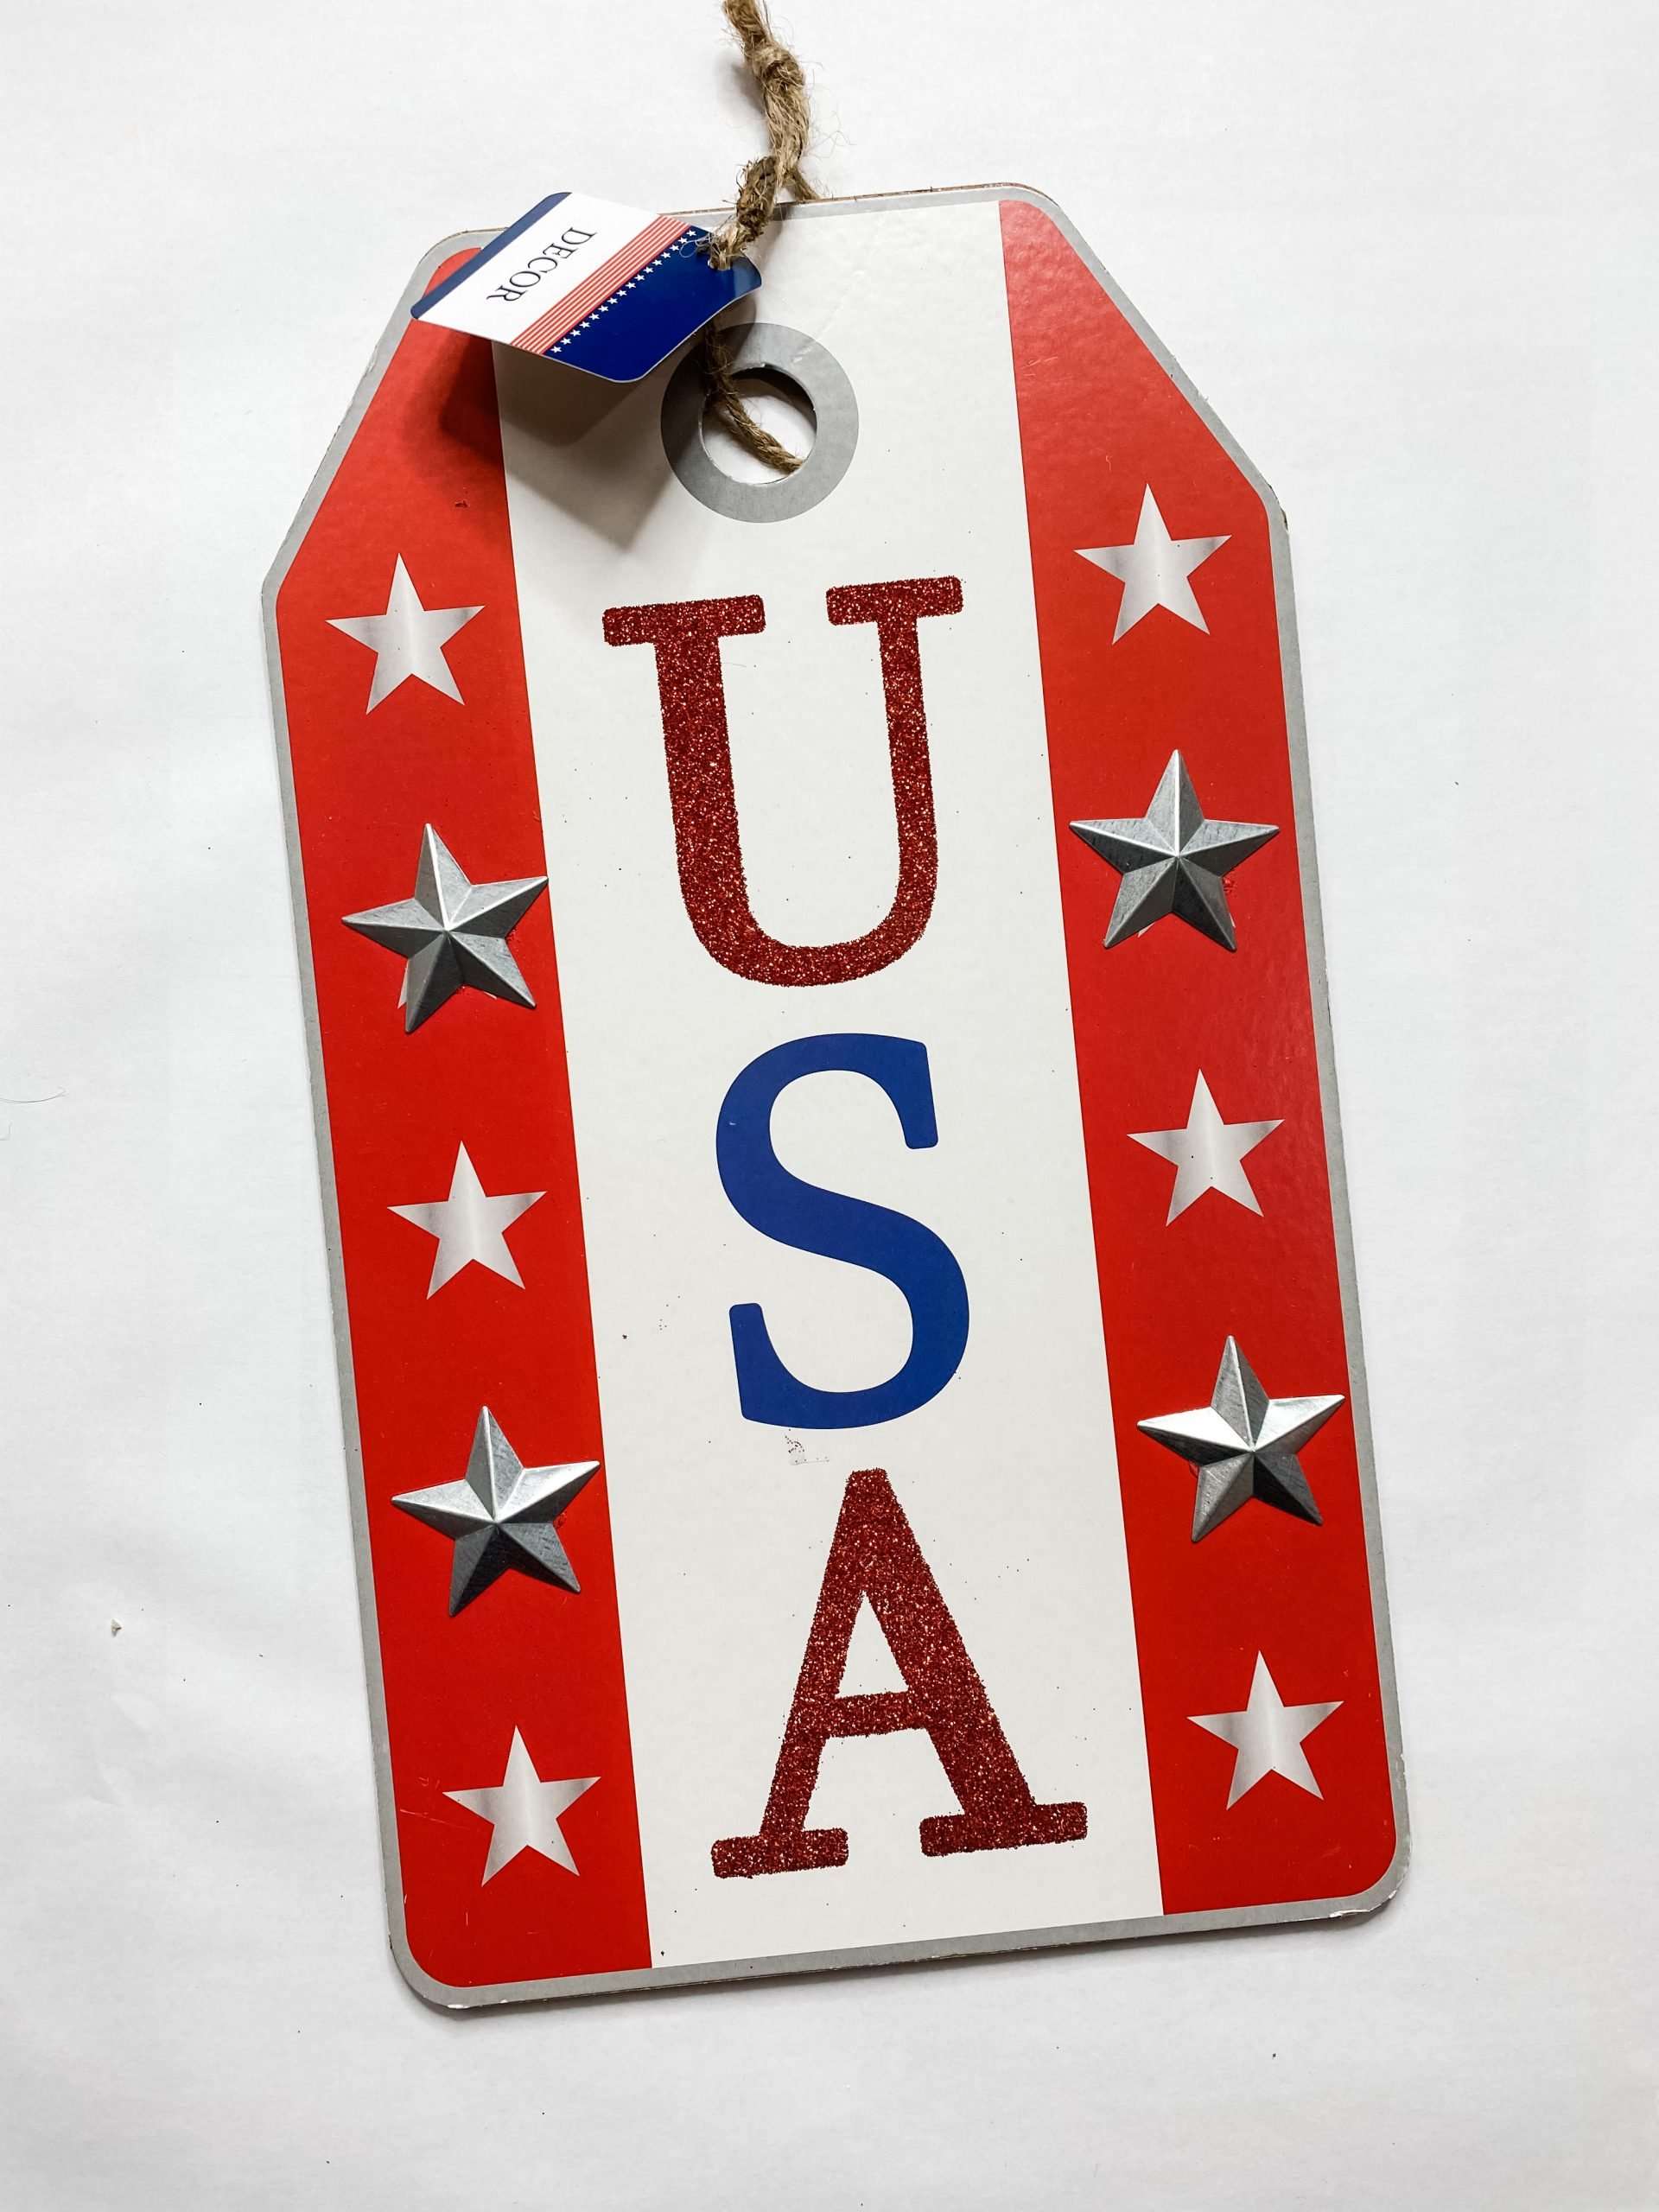
The tag board that I used had metal hearts glued to the front of the board, so I had to pry them off first. I just used a putty knife to scrape the stars off the front of the board.
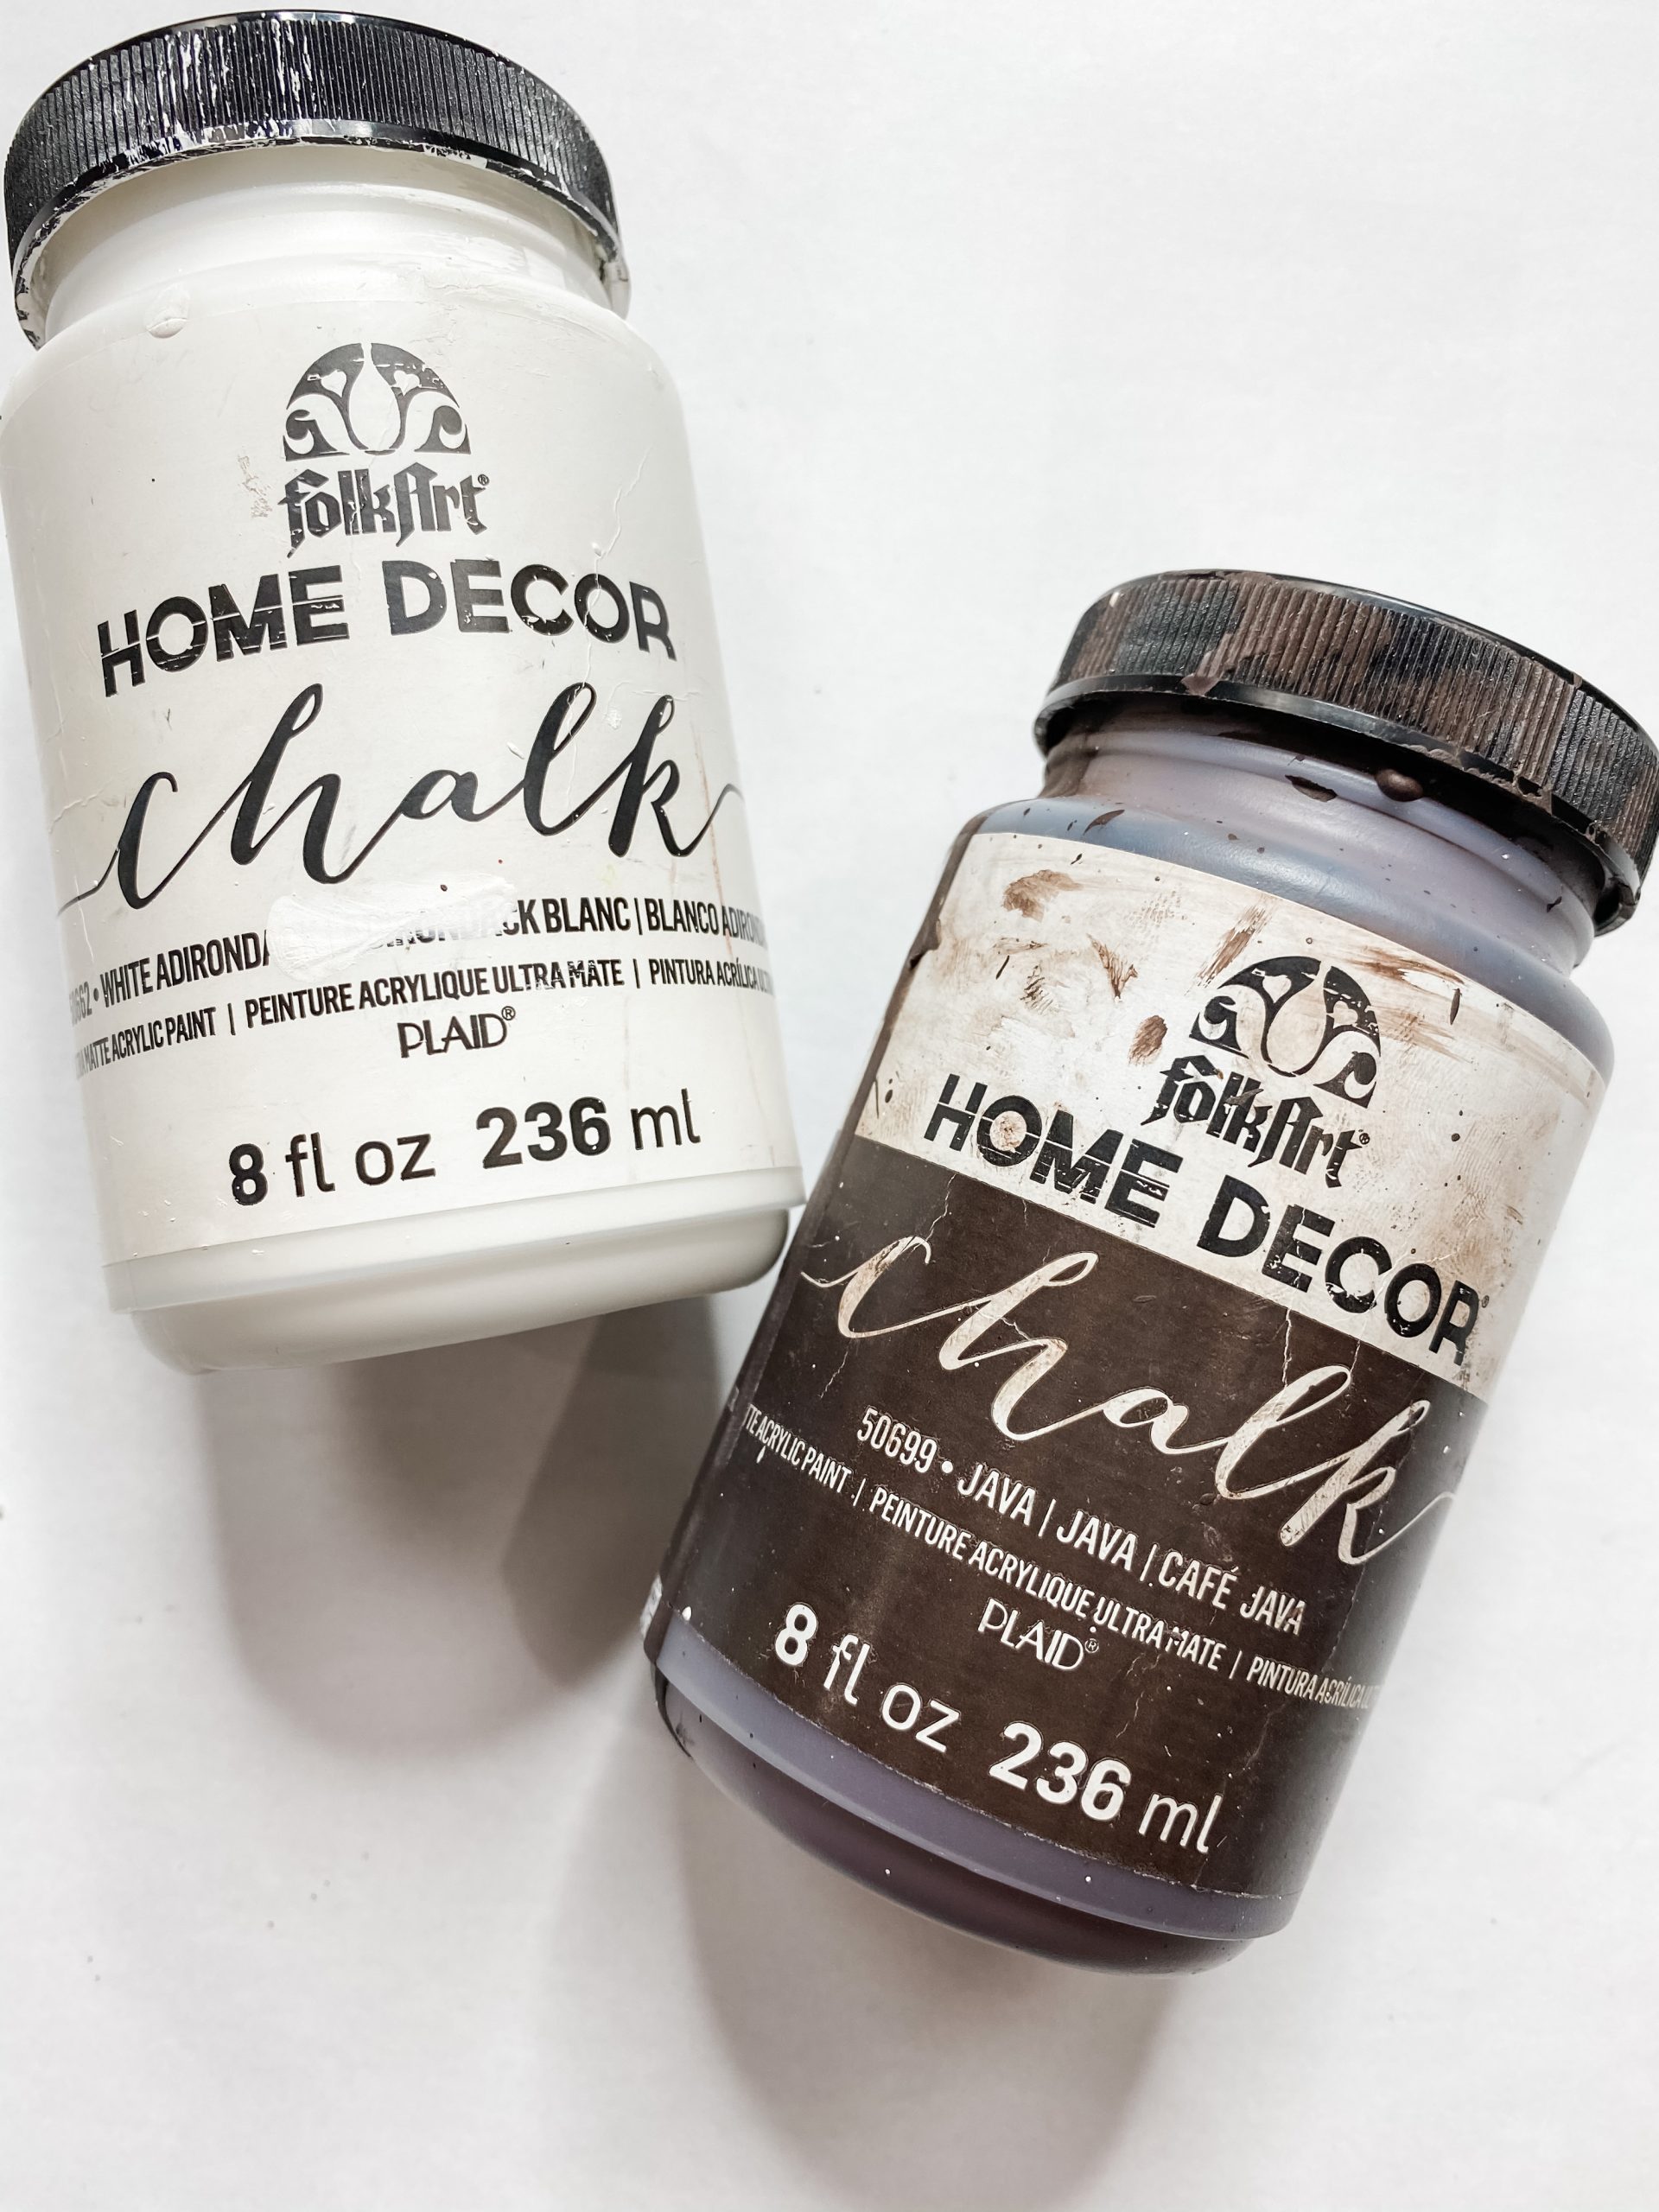
Then, flip the board over. I used Folkart Java Chalk Paint to paint an even coat across the back of the sign board. Allow the brown paint to dry before moving to the next step.
If you want to see the full supply list or video tutorial, just scroll to the bottom of this page!
Effortless distressed finish
I used my heat gun to quickly dry the brown paint on the Dollar Tree tag sign. If you don’t have one, you can use a hairdryer on the low cool setting.
If you want to see the full supply list or video tutorial, just scroll to the bottom of this page!
Next, use a chippy paintbrush to lightly dry brush the Folkart White Chalk Paint across the board. Alternate directions (up and down the left and right) and keep a light hand. This is going to give you an effortless distressed finish.
While we’re painting, let’s go ahead and paint the cardboard heart! I used a clean chippy paintbrush to lightly brush Folkart Java Chalk Paint across the heart.
Then, paint an even coat of the Folkart White Chalk Paint. (The opposite of what you did with the Dollar Tree tag.)
If you want to see the full supply list or video tutorial, just scroll to the bottom of this page!

Beads, beads, and more beads!
Next, we have to paint the beads. I put the string of beads into a small mixing bowl, poured some brown paint in, and swirled the beads around in the paint.
If you want to see the full supply list or video tutorial, just scroll to the bottom of this page!
Pull them out and roll them in between a dry napkin. This will remove the excess paint and give the beads a stained finish. We are going to hot glue these underneath the cardboard heart later.
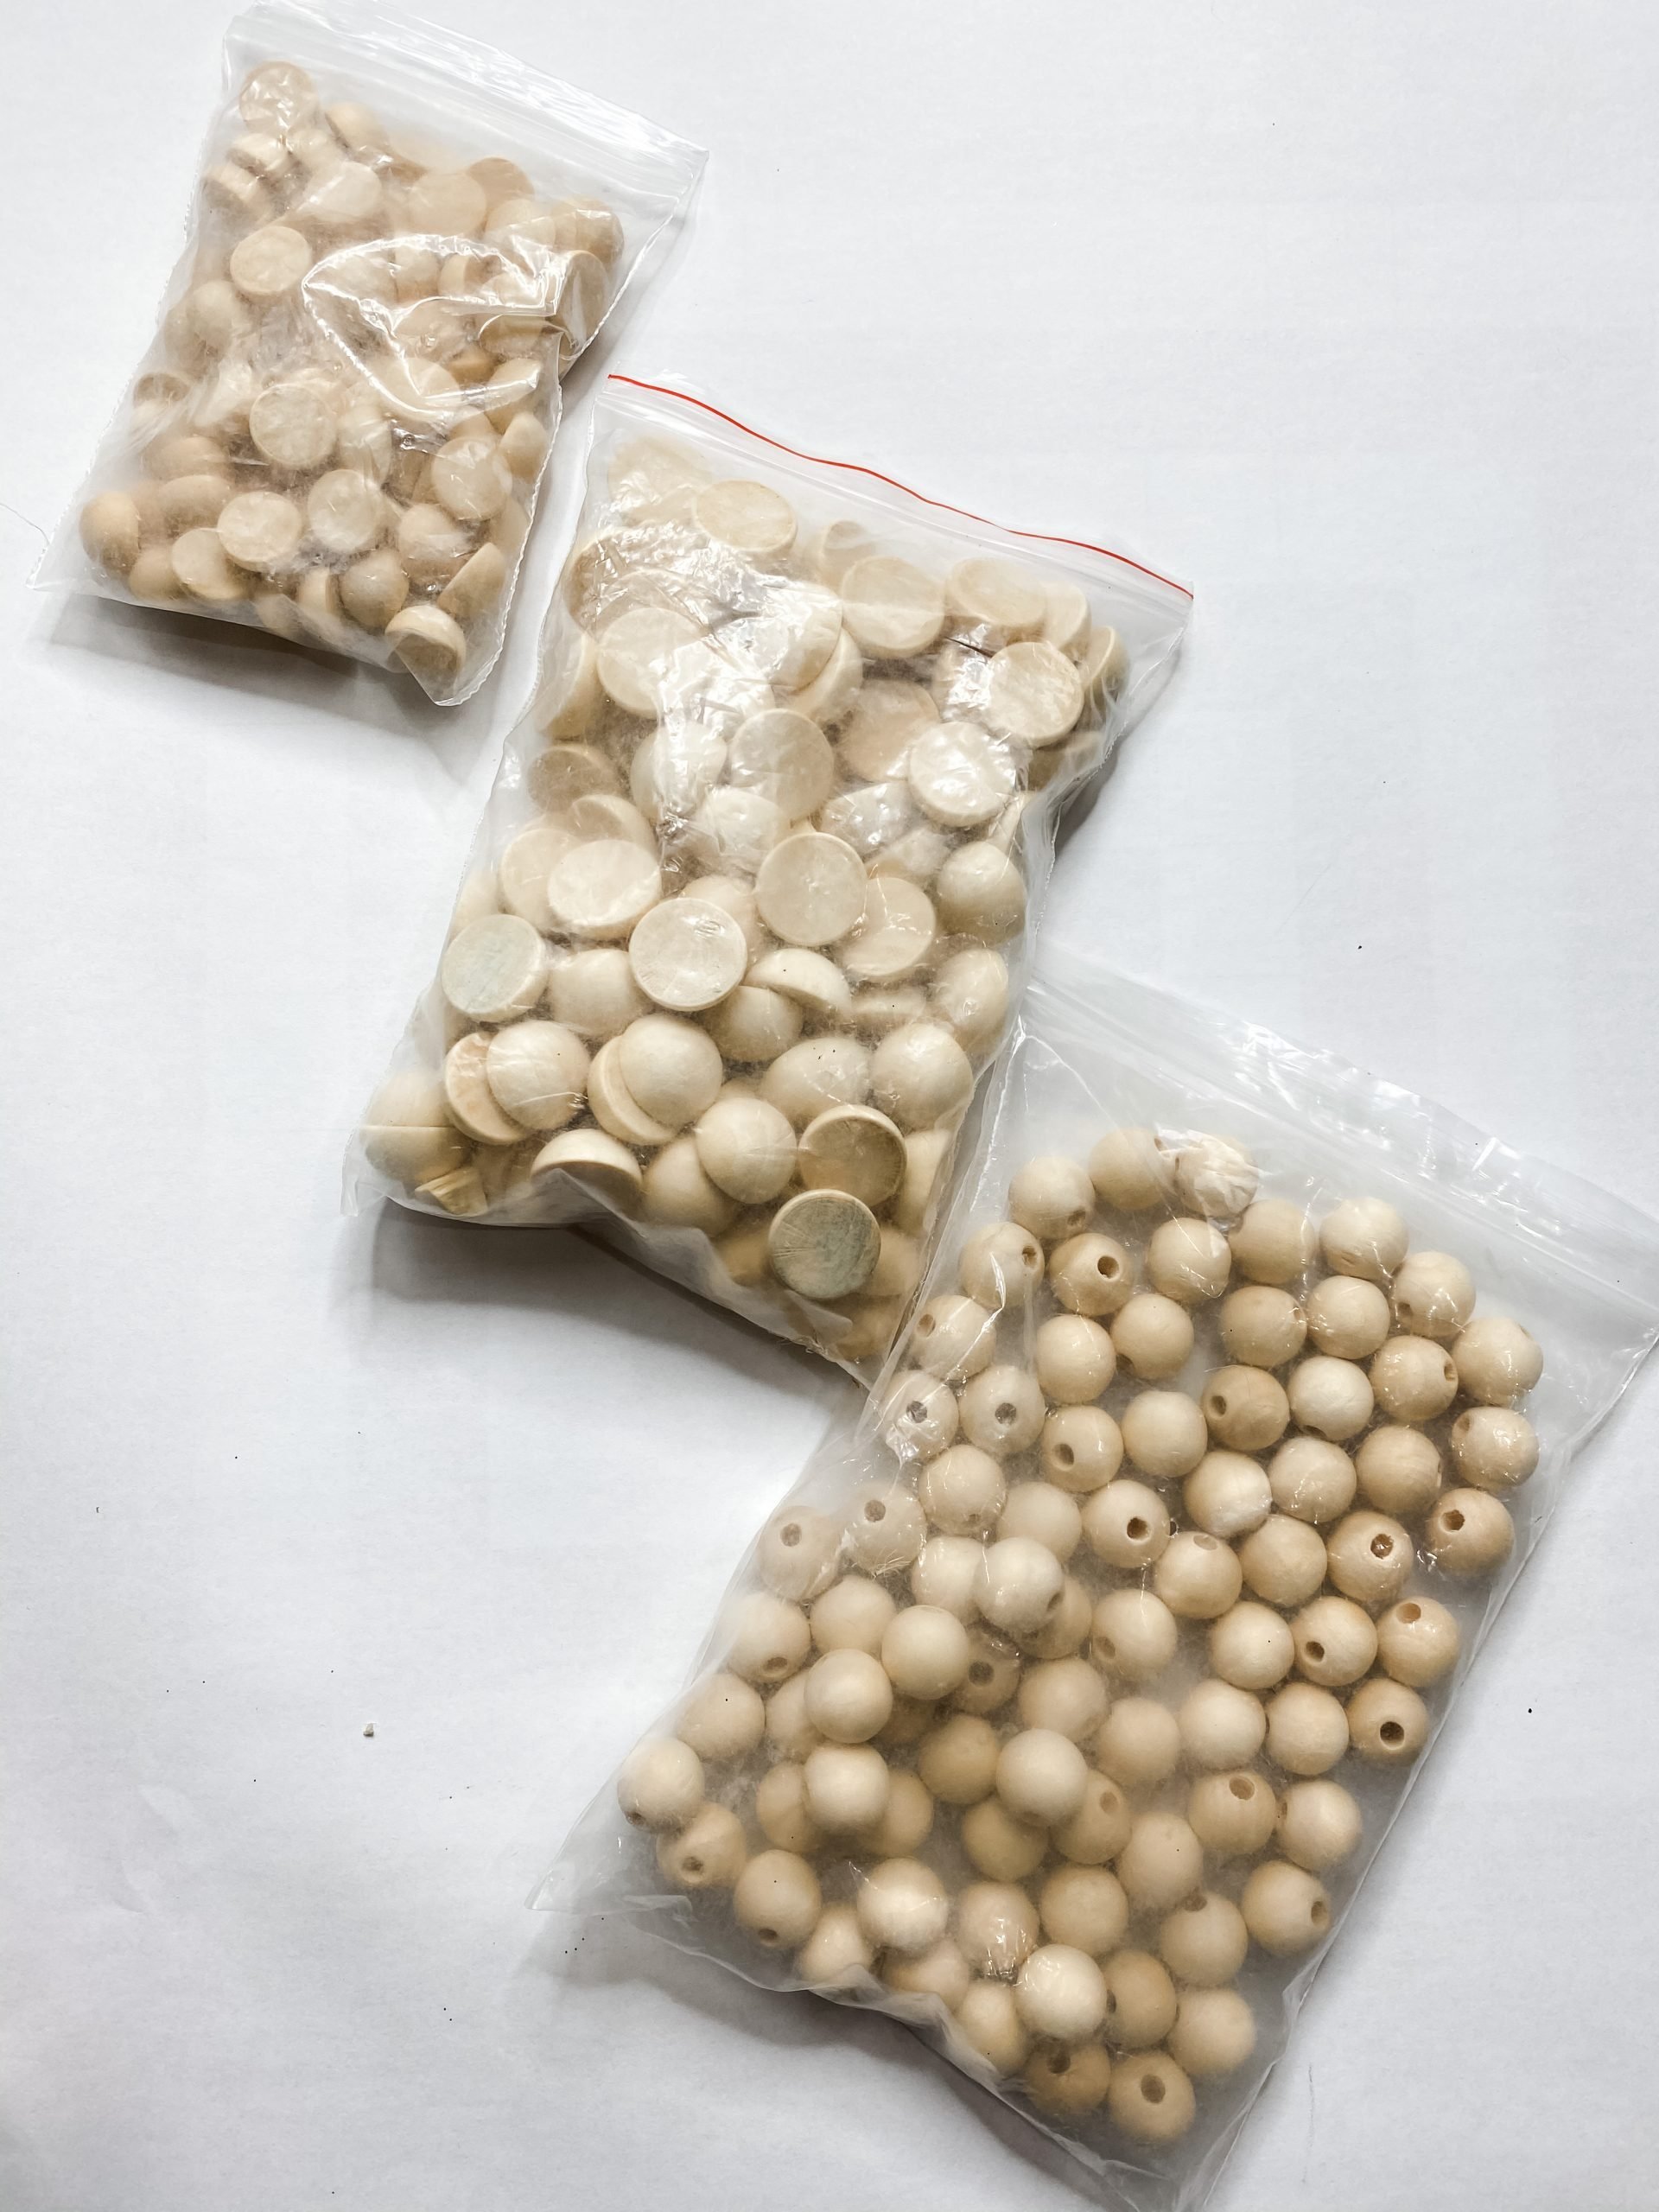
Since we are already painting beads, we’re going to go ahead and paint the half wood beads brown. Use the same technique you used for the string of wood beads.
I used 7 of the large half wood beads and 8 of the small half wood beads.
If you want to see the full supply list or video tutorial, just scroll to the bottom of this page!
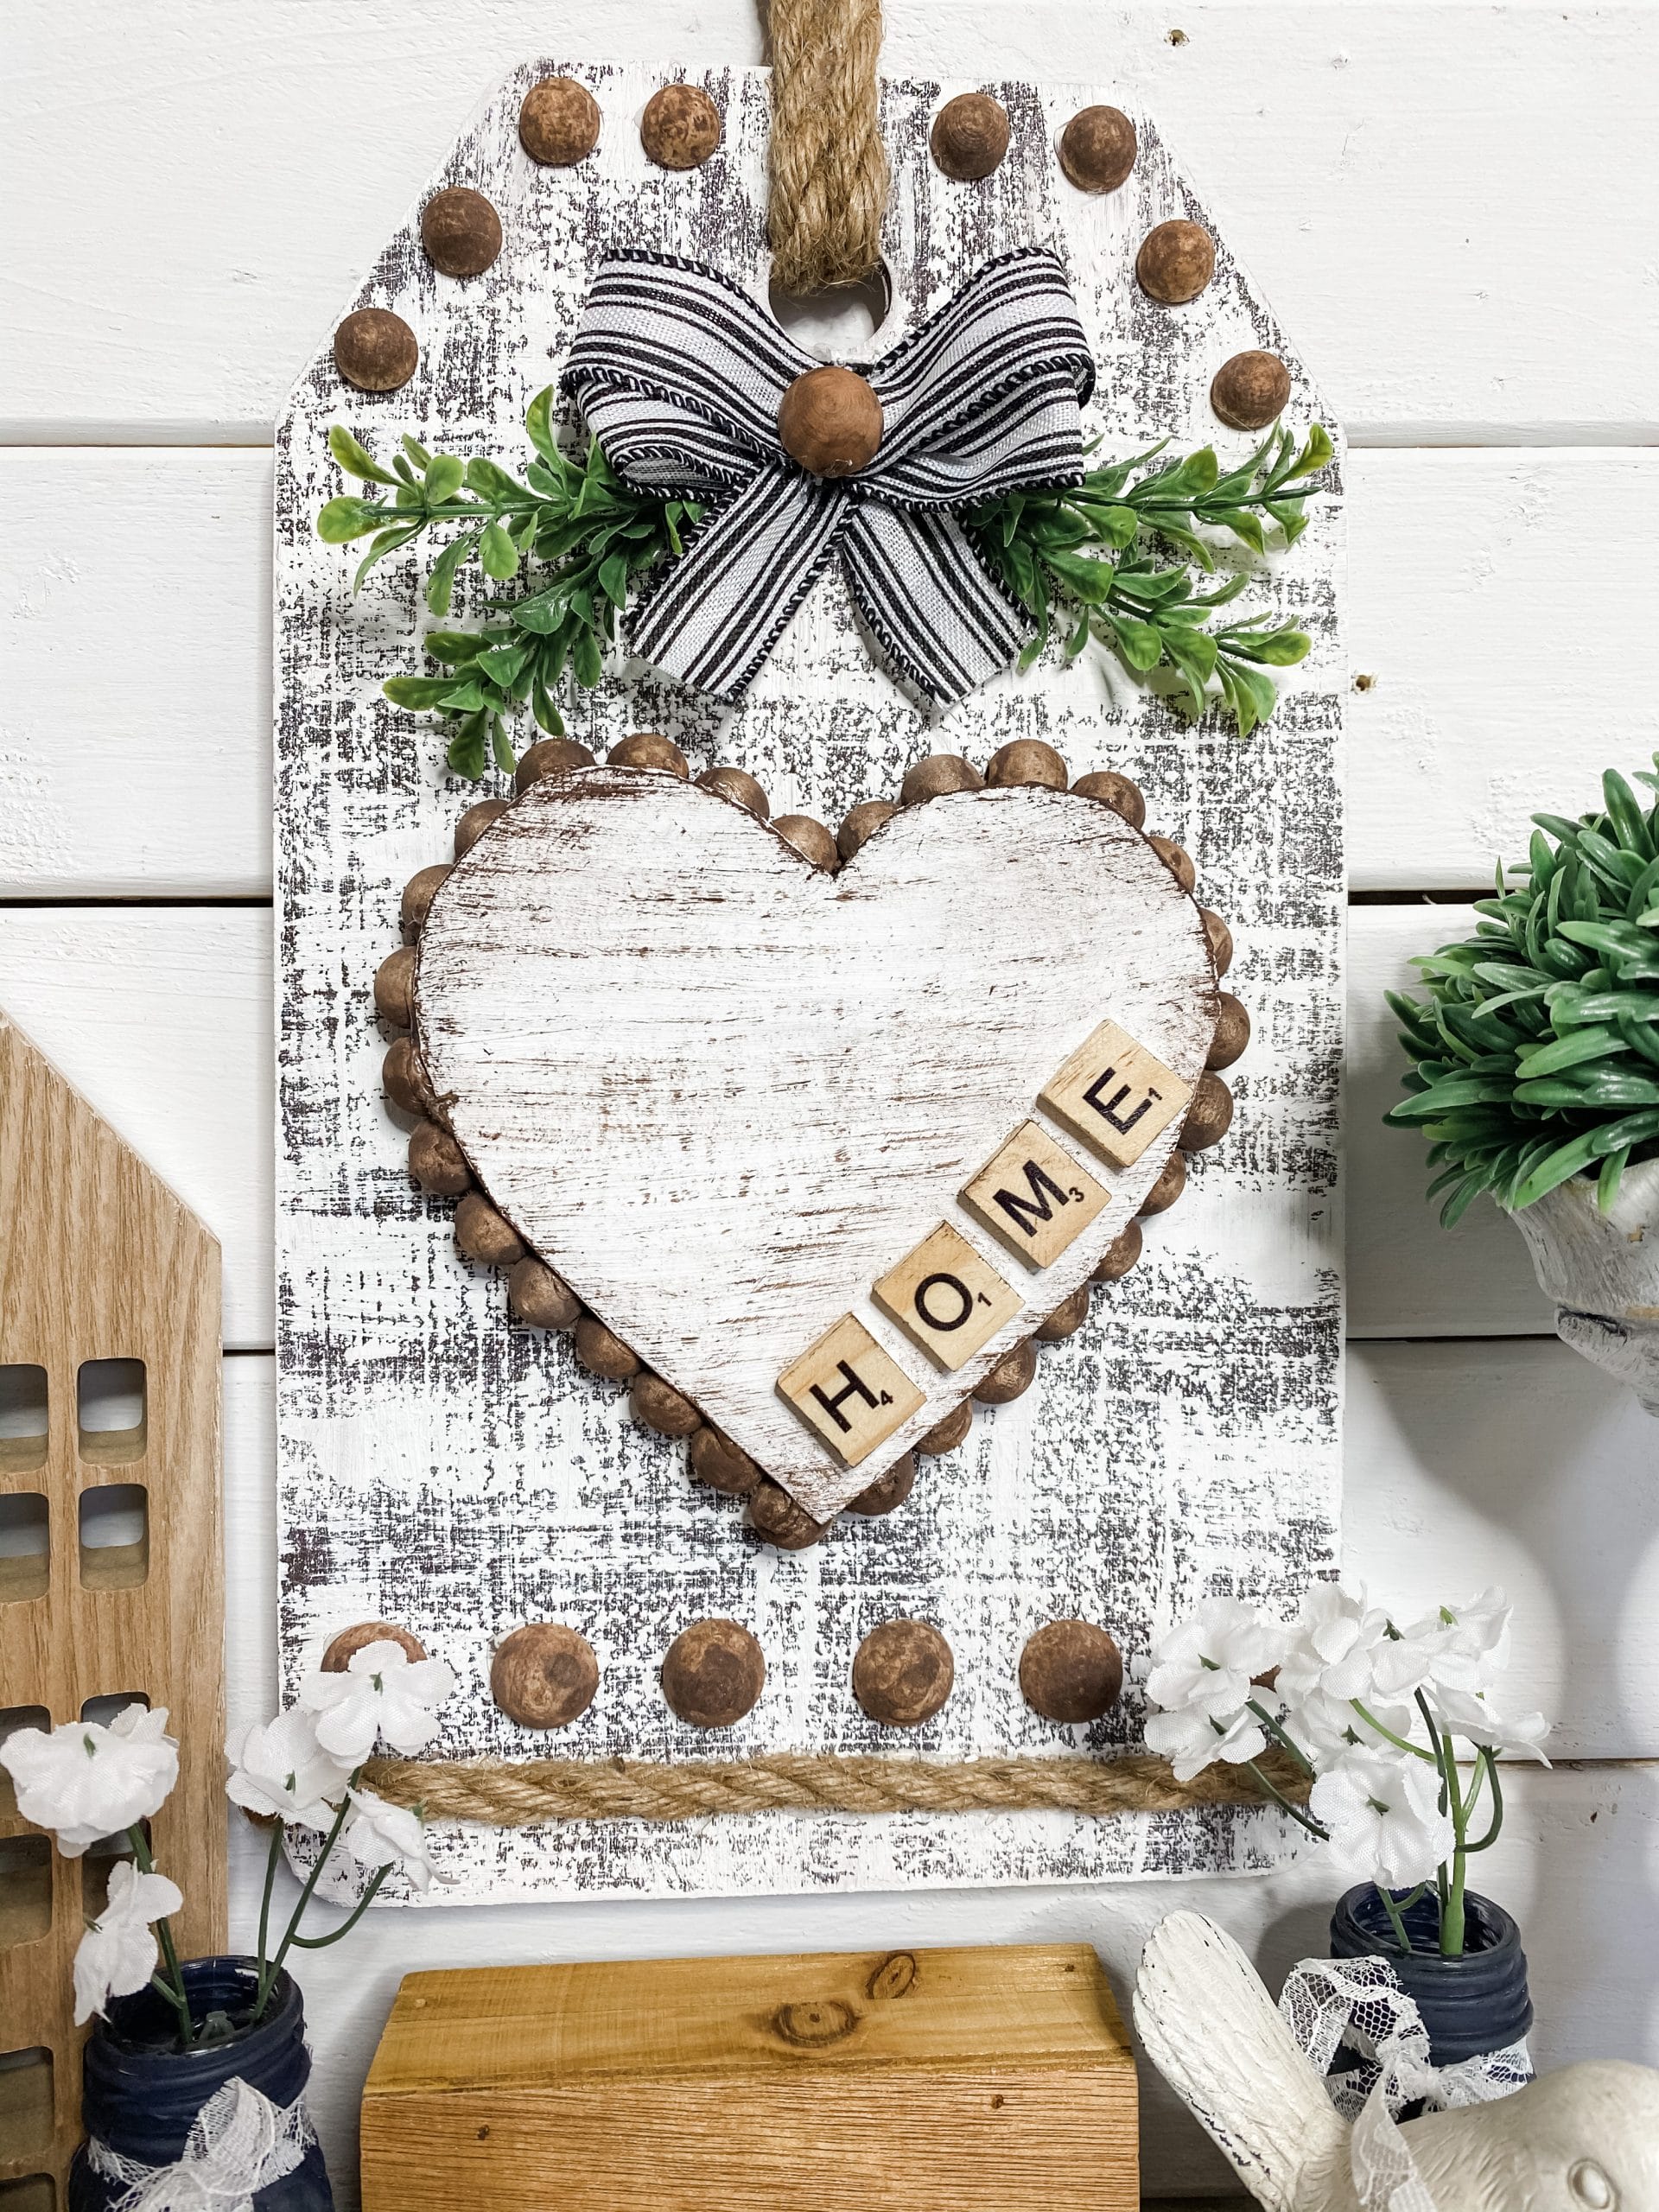
Next, I hot glued a piece of nautical rope around the bottom of the Dollar Tree tag. I left about an inch of space below the nautical rope, and I used the same nautical rope to make the hanger for this sign.
I threaded the end of the nautical rope through the hole at the top of the sign and hot glued it in place on the back.
Then, I bent the rope and threaded it back through the hole and hot glued the other end of the rope to the back of the board.
Next, I hot glued the 8 small half wood beads across the top of the Dollar Tree tag. I placed 4 small half wood beads on each side of the hanger.
Then, I hot glued 6 large half wood beads across the bottom of the tag, above the nautical rope.
If you want to see the full supply list or video tutorial, just scroll to the bottom of this page!

Bring it together
Now it is time to hot glue the strip of wood beads to the back of the painted cardboard heart. Place it so that you can see the beads hanging out from the sides of the cardboard heart.
Then, hot glue the heart onto the Dollar Tree tag. I placed it lower on the tag to leave space above the heart of a bow and the greenery spray.
If you want to see the full supply list or video tutorial, just scroll to the bottom of this page!

Once the heart was in place, I hot glued the scrabble tiles to the heart. I decided to spell HOME, but you can spell whatever you’d like. I love using scrabble tiles in my DIY’s, and they’re actually really affordable on Amazon!
Next, I used a chippy paintbrush that still had some Java chalk paint on it, and I lightly brushed across the heart. This helped give it a distressed look to match the Dollar Tree tag.
If you want to see the full supply list or video tutorial, just scroll to the bottom of this page!
A touch of green
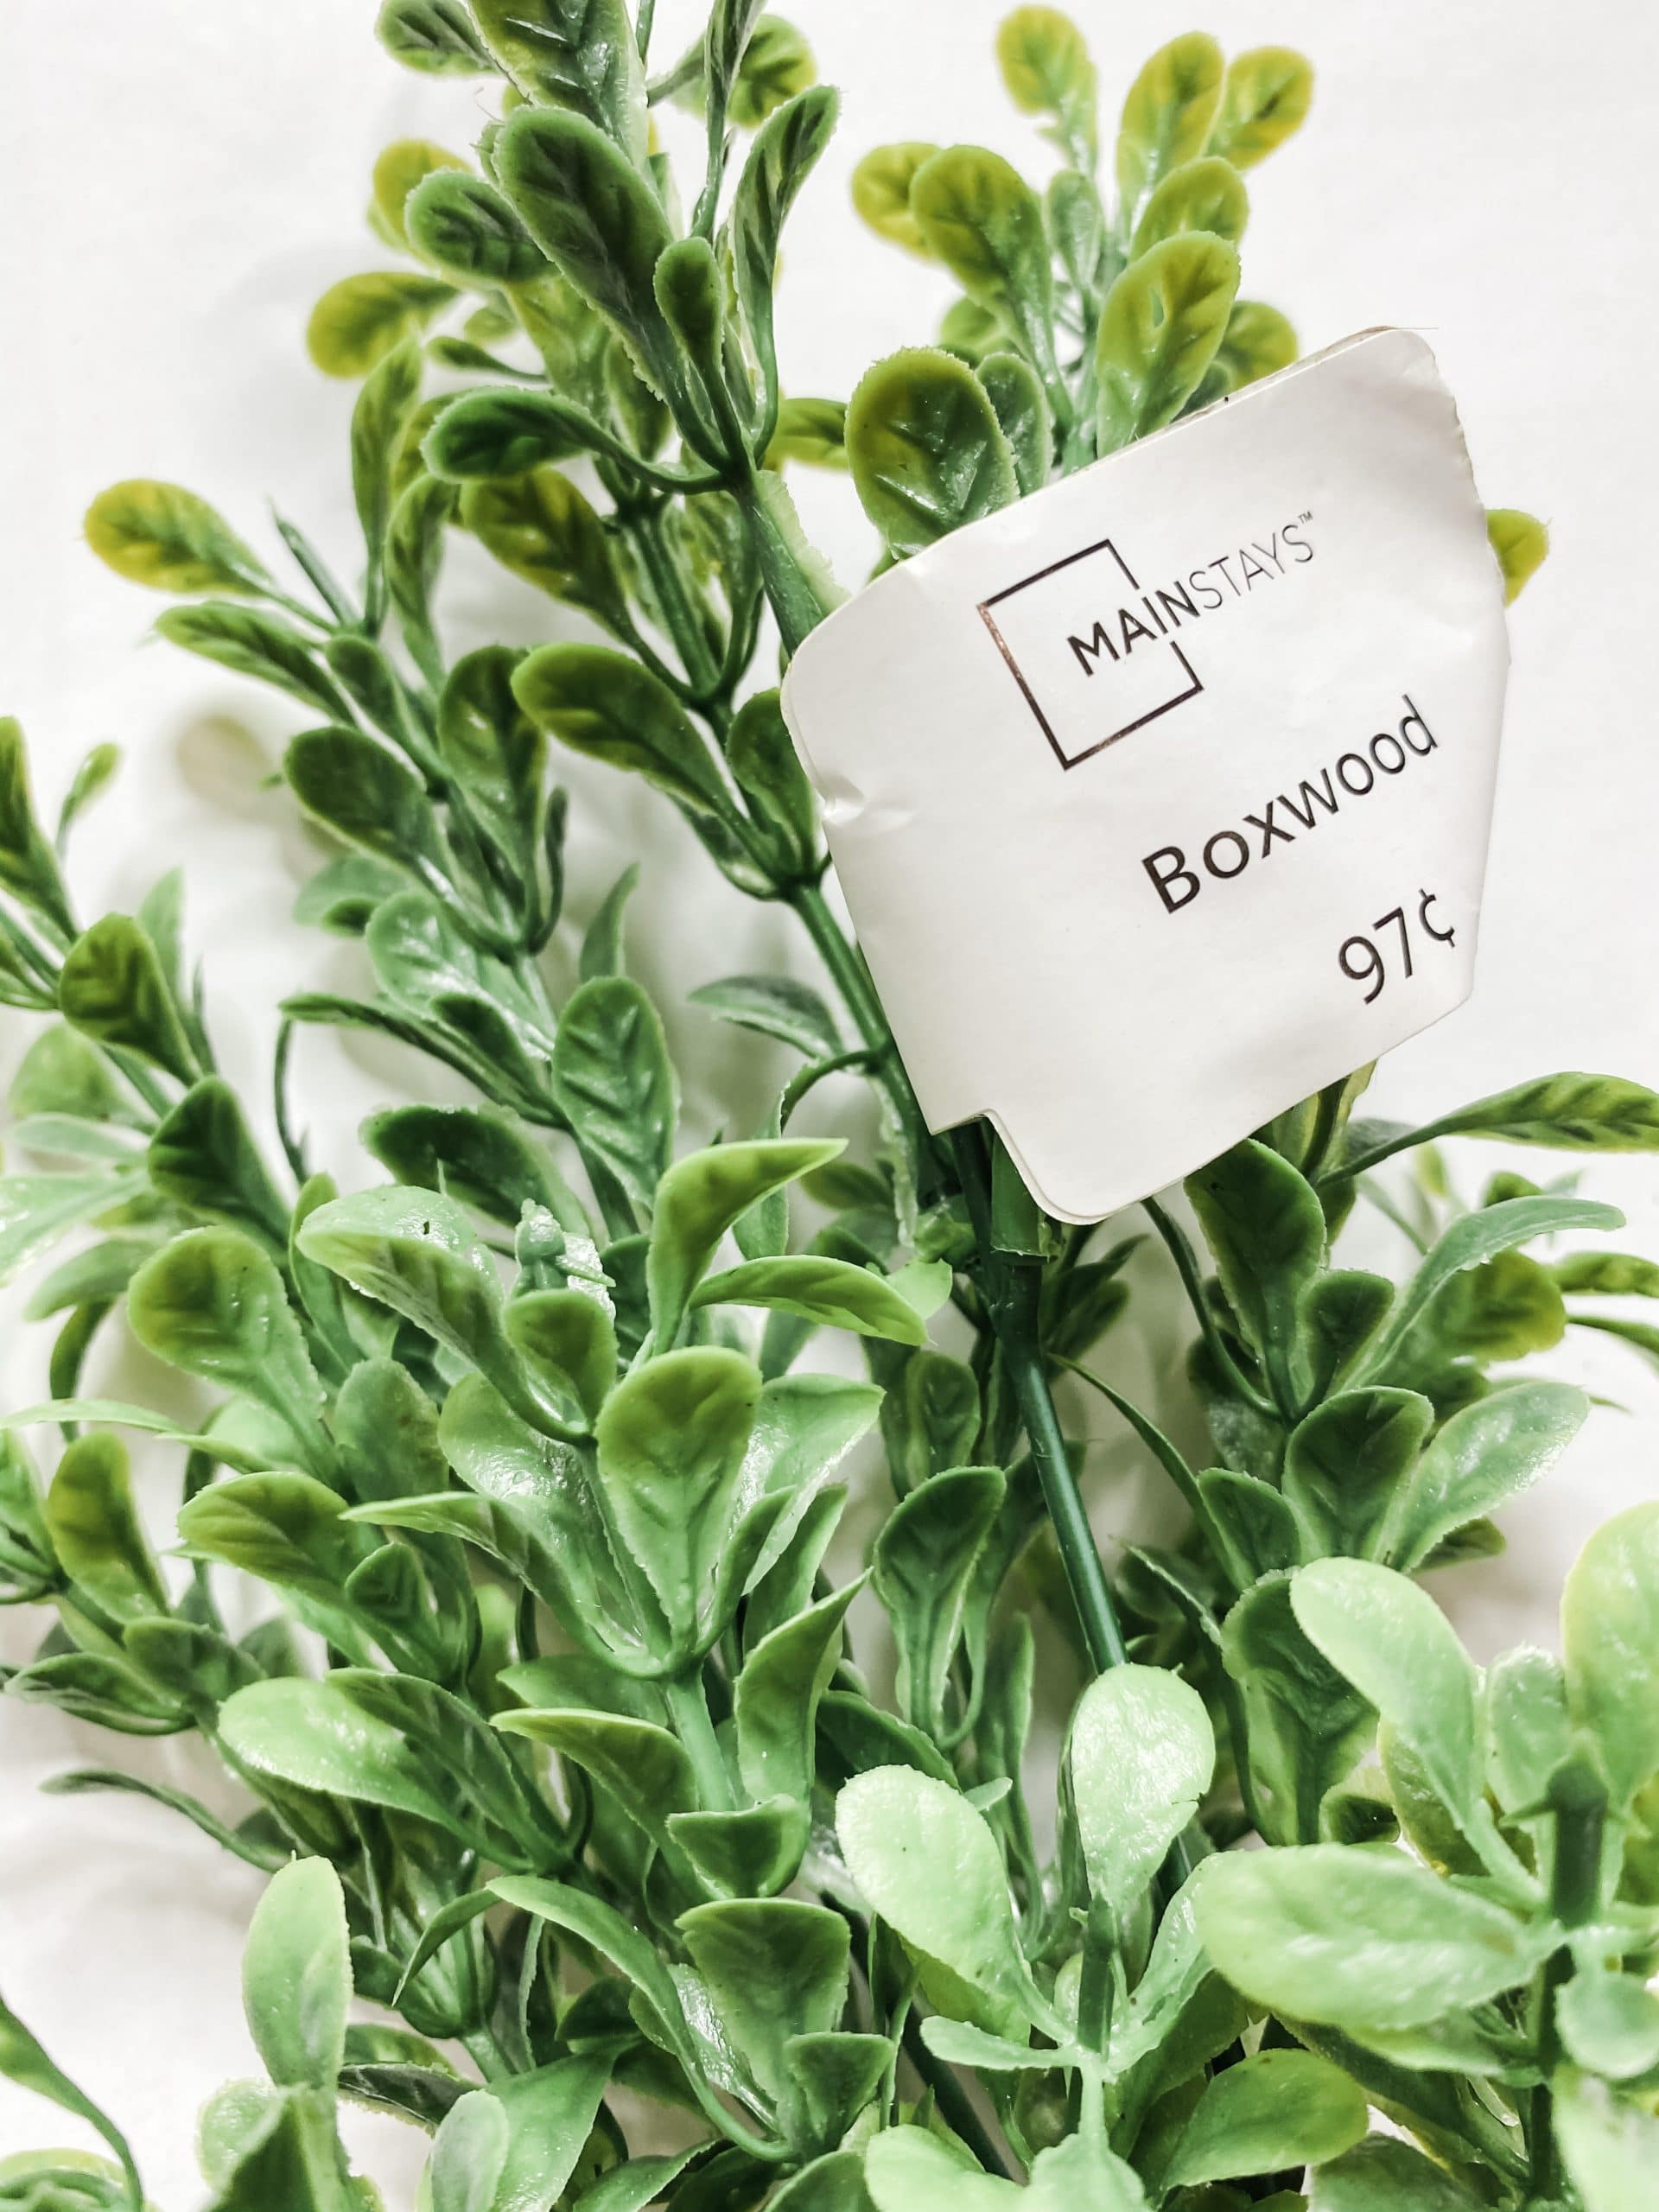
I cut two small pieces off the Boxwood greenery spray that I got from Walmart for this rustic DIY decor.
I hot glued them in place, angled down, above the cardboard heart. Once the greenery sprays were in place, it was time to make the bow!
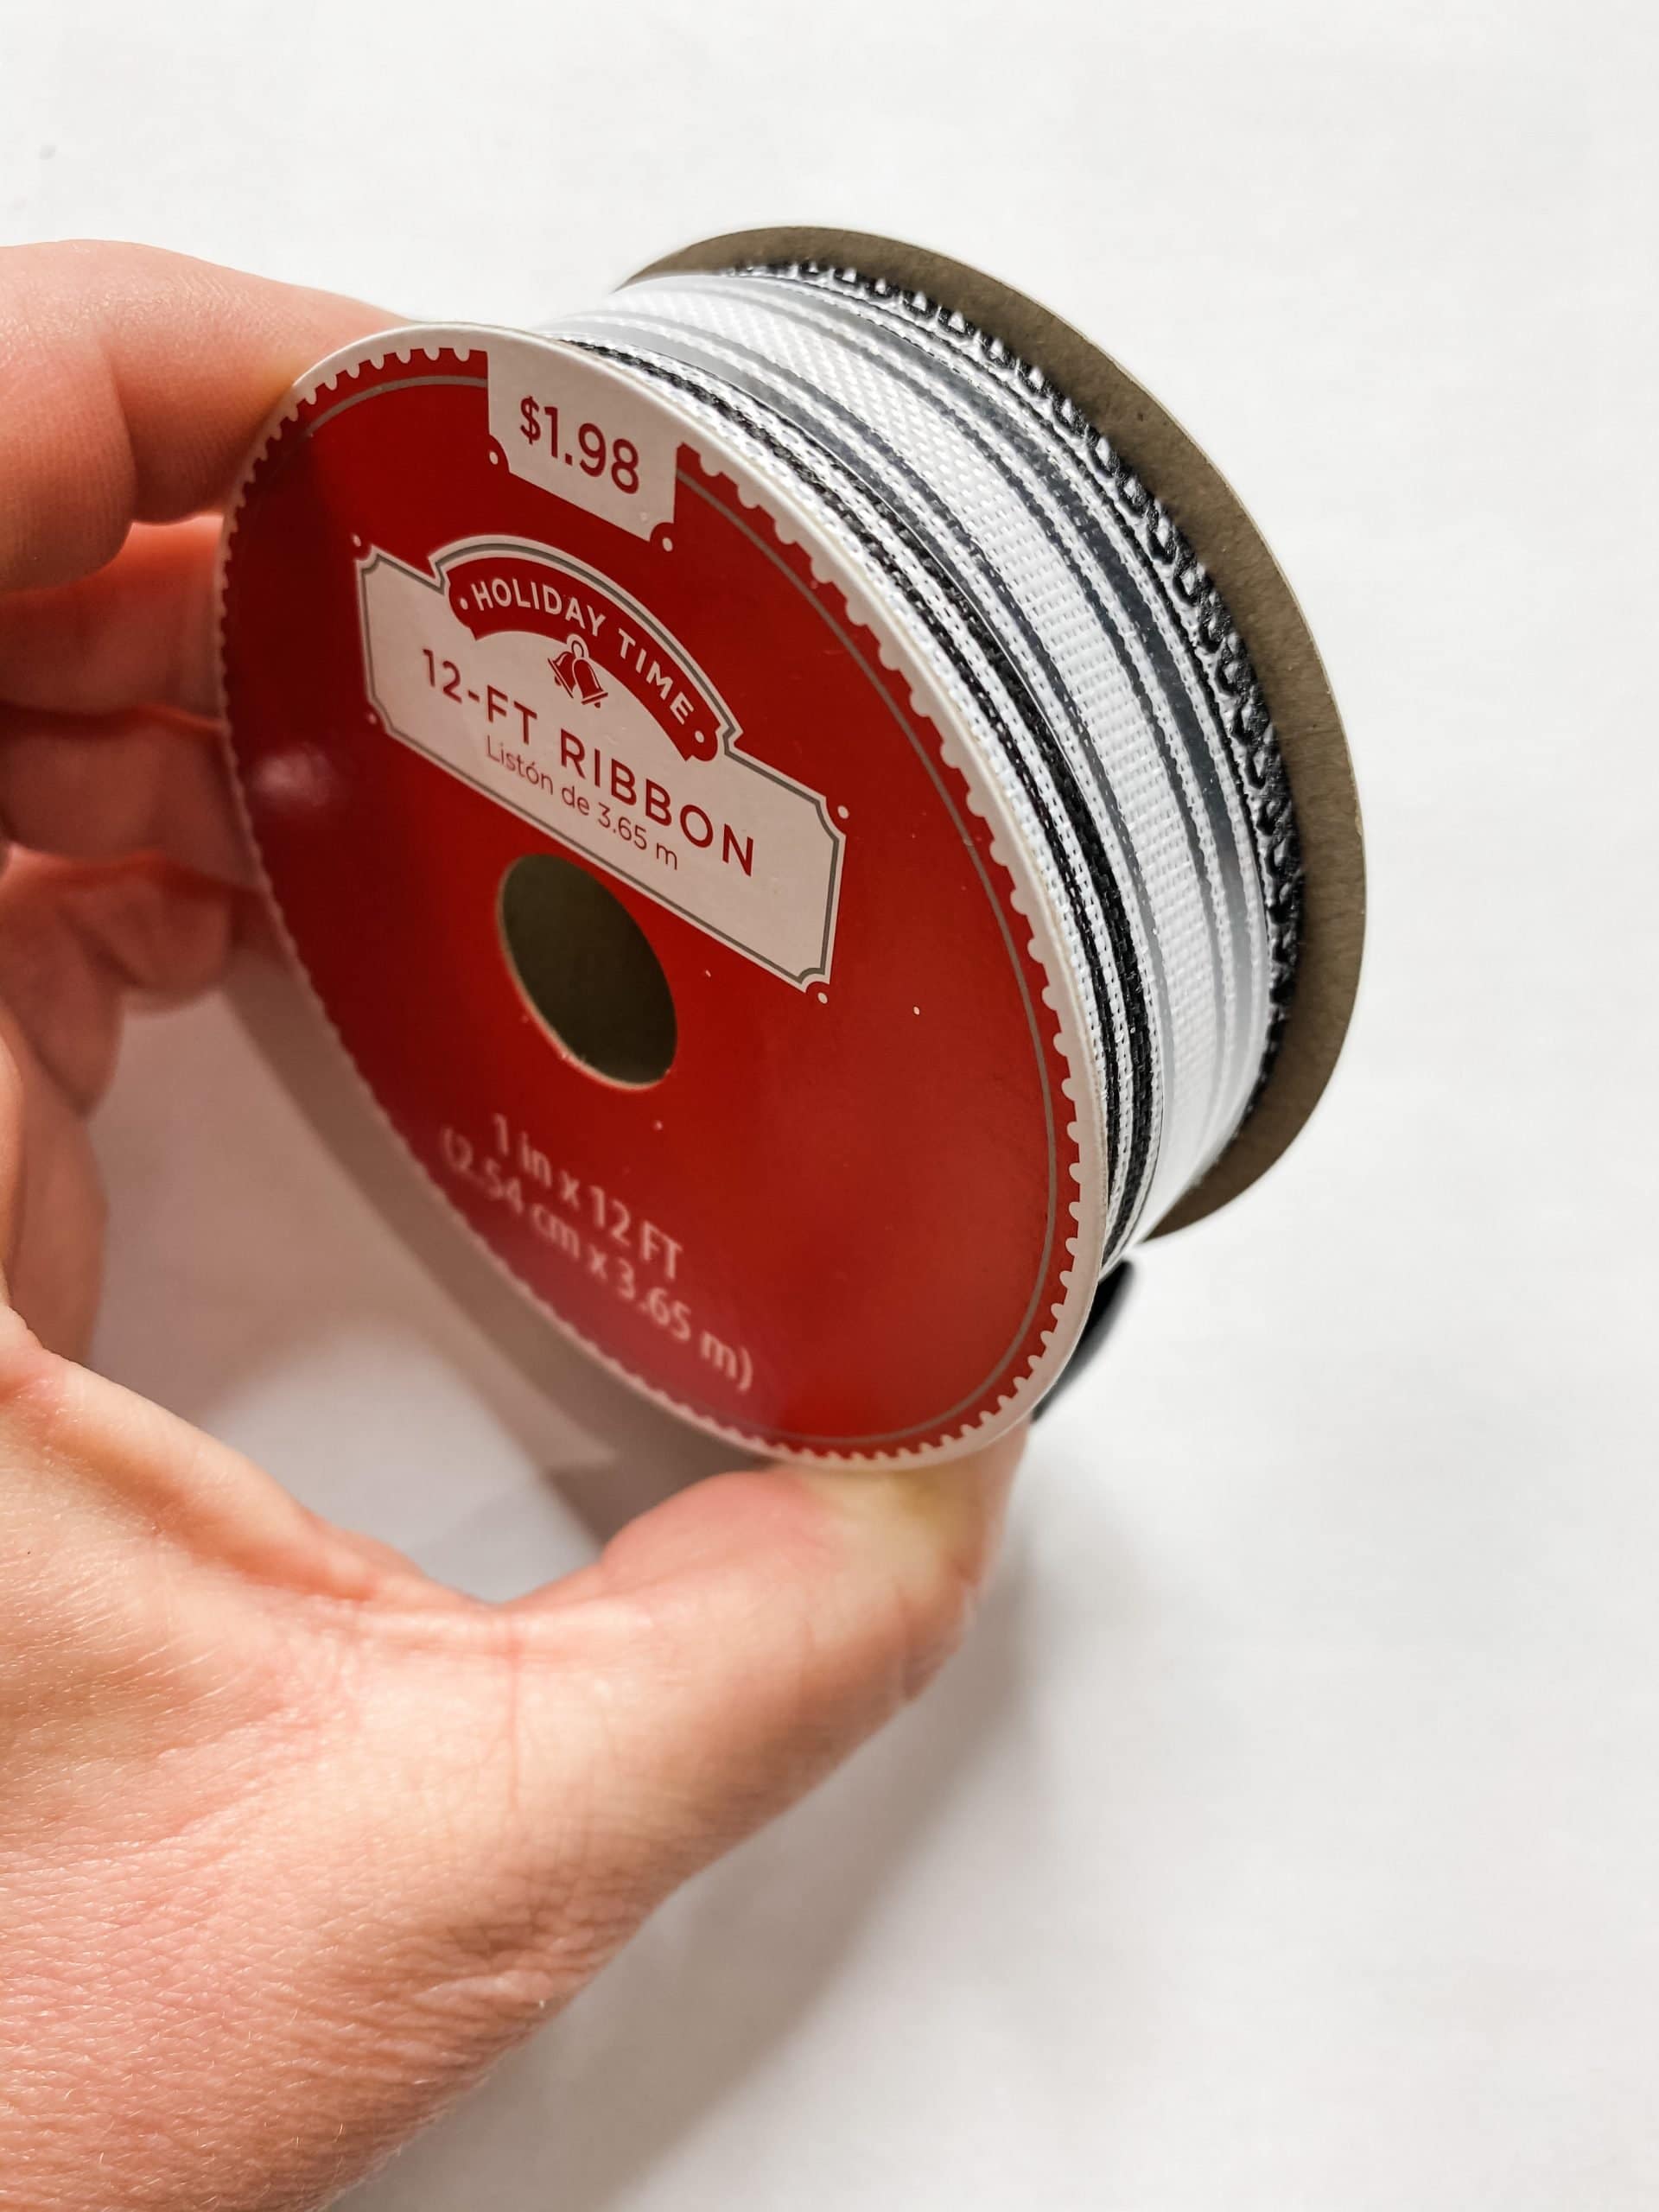
For this bow, the ribbon came from Walmart and was actually a Christmas ribbon. If you can’t find the exact ribbon I used, you can use any pattern as a substitute.
If you want to see the full supply list or video tutorial, just scroll to the bottom of this page!
I made this bow a little differently than I usually do. I started by looping the ribbon 3-4 times. The width that you make this loop of ribbon is the width of your ribbon, so make sure it isn’t too small or wide for your DIY.
Next, use a pair of scissors to make a small slit in the top and bottom of the center of the looped ribbon.
Then, secure the center with a piece of jute twine. Once it’s secure, fluff the loops of the ribbon, and you’re ready to go!
If you want to see the full supply list or video tutorial, just scroll to the bottom of this page!
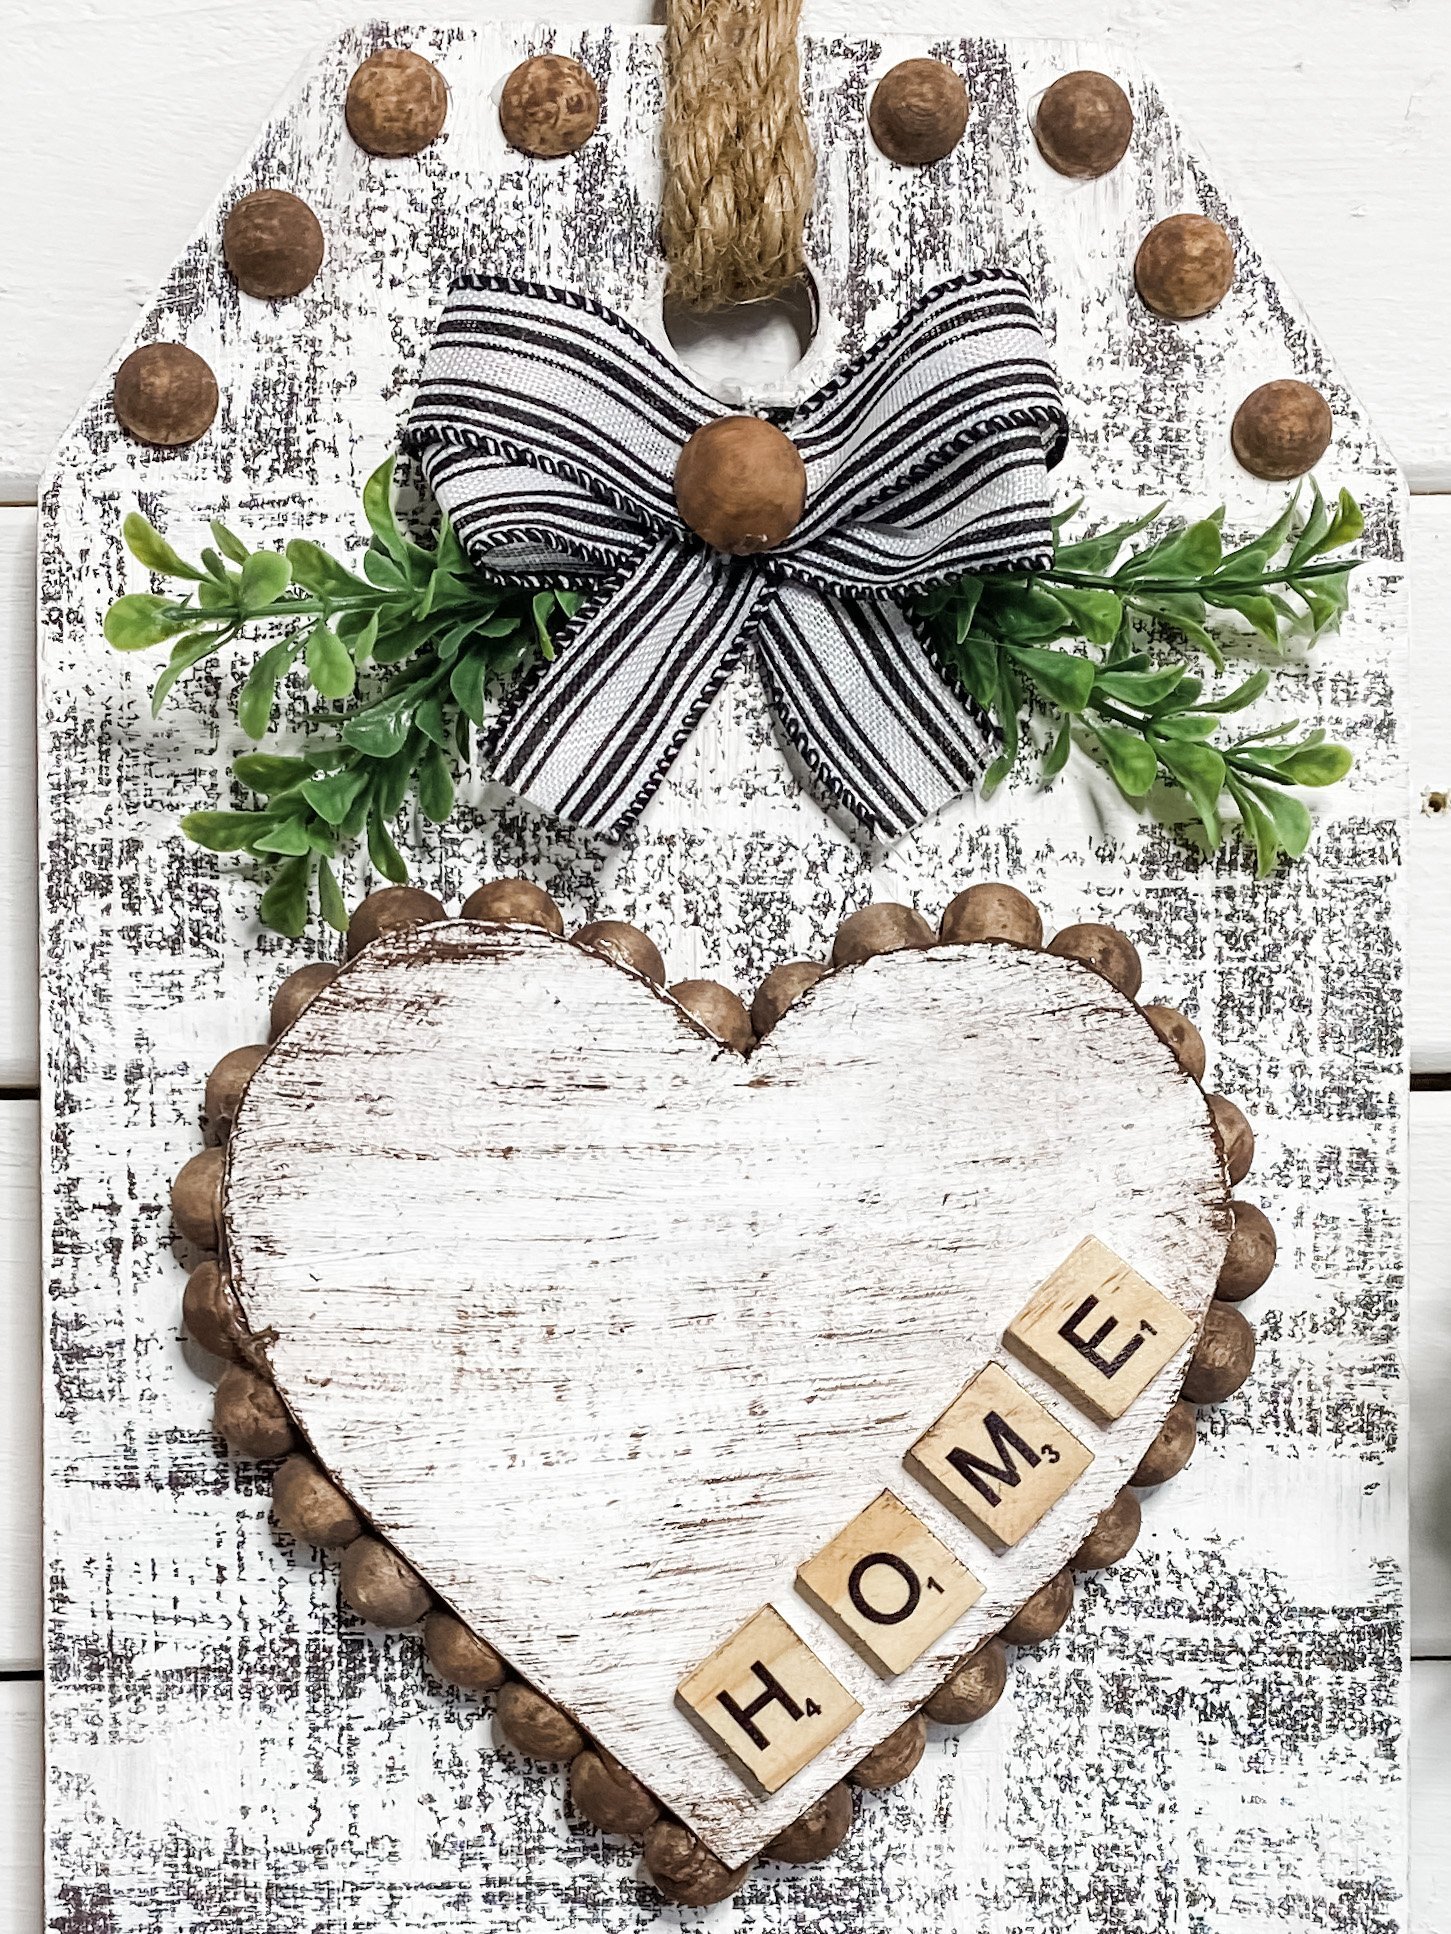
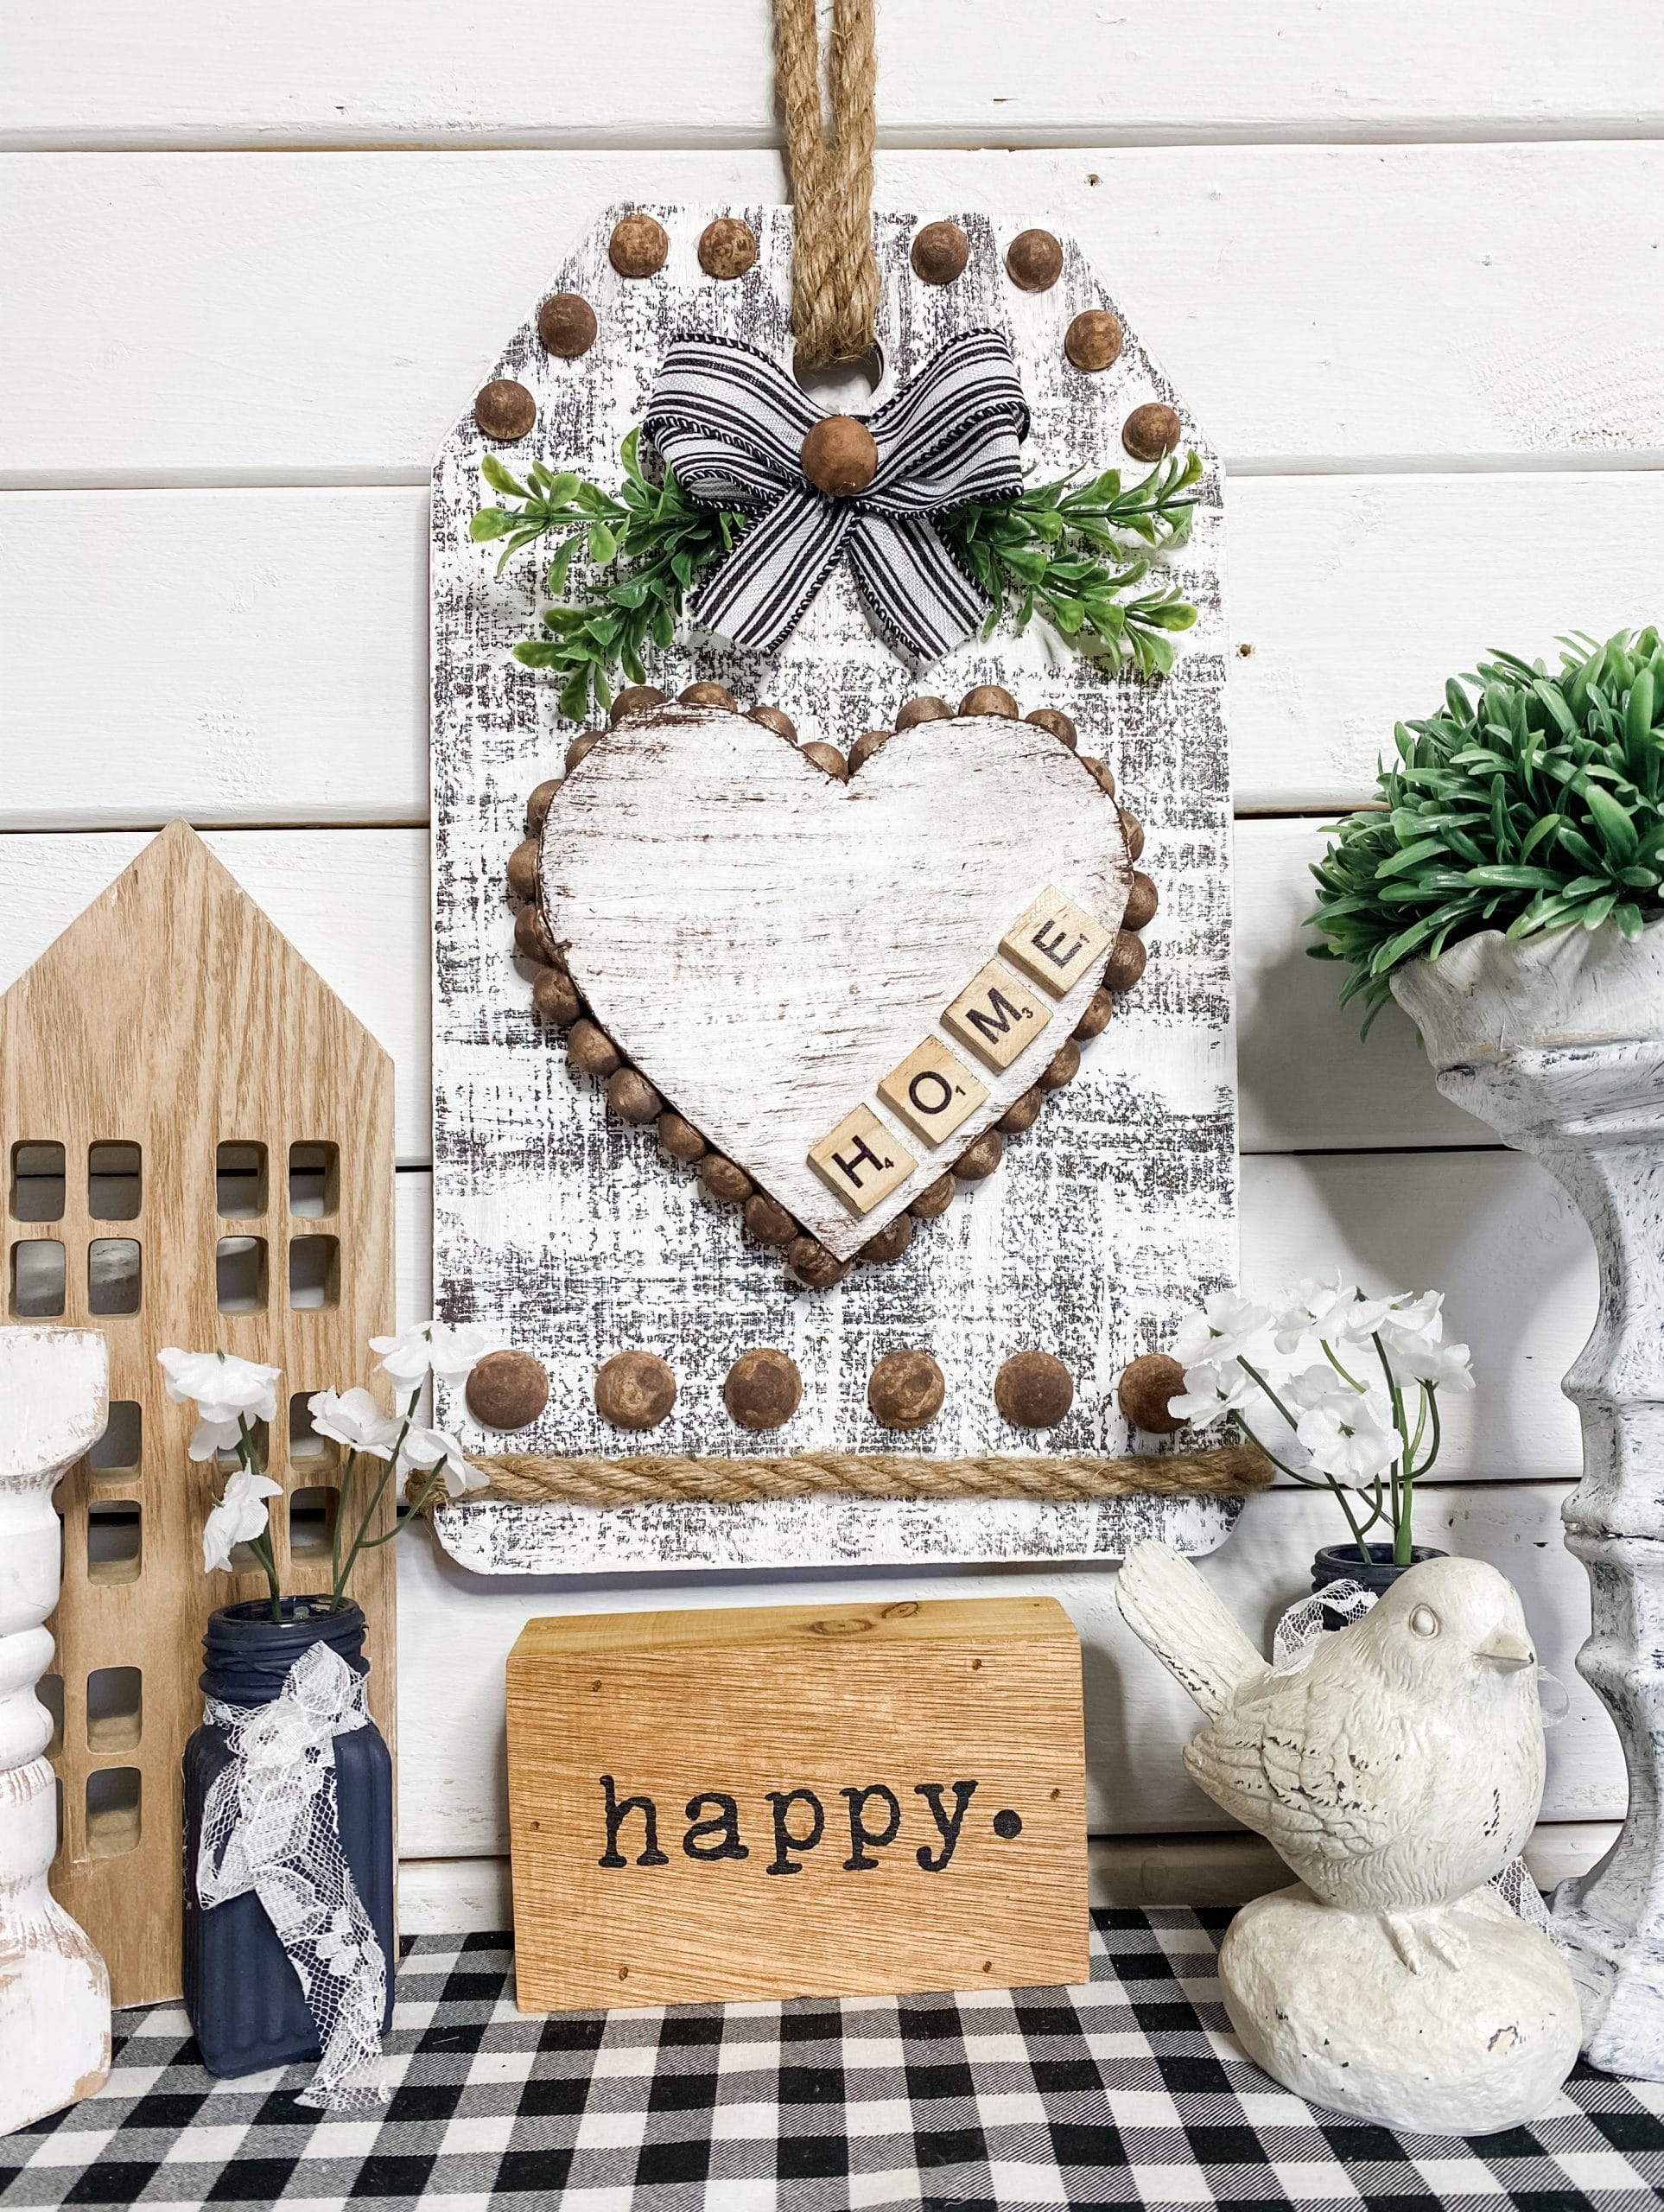
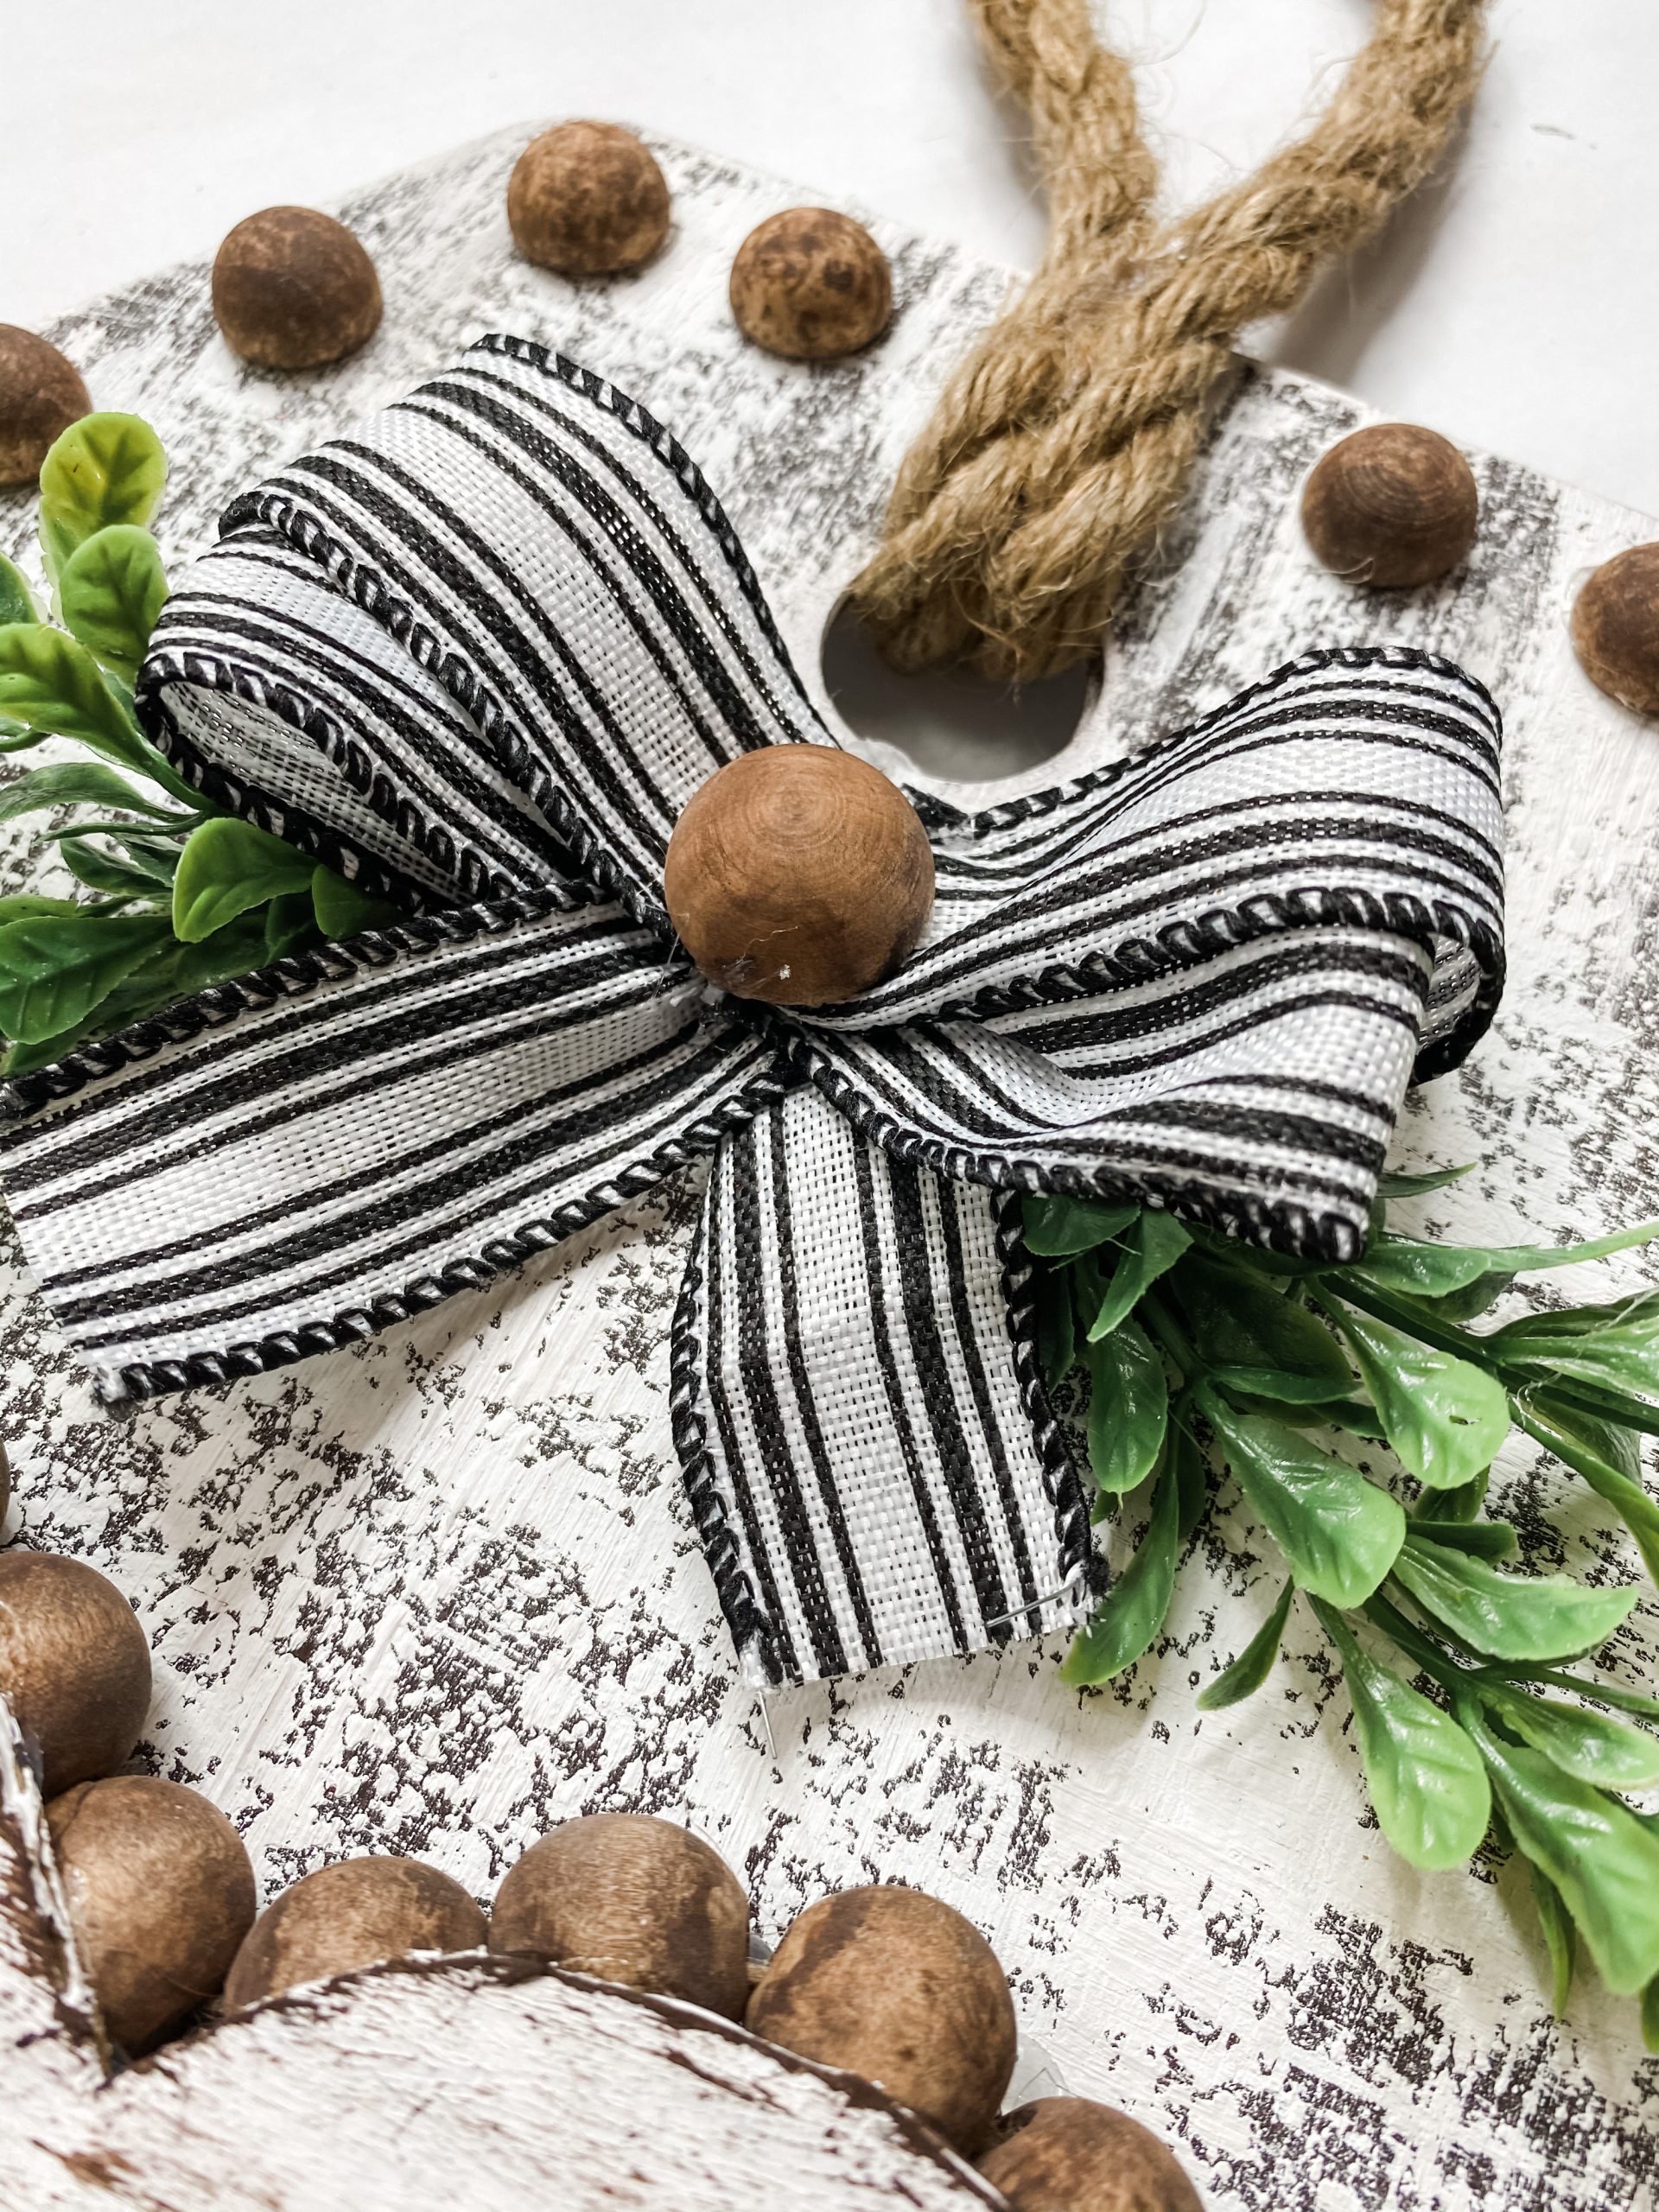
Hot glue the bow over the center of the greenery sprays above the distressed cardboard heart. Then, I hot glued one of the painted large half wood beads over the center of the bow.
Unless you have additional finishing touches you want to add to this rustic DIY, you’re ready to hang this easy Dollar Tree DIY anywhere in your home!
If you want to see the full supply list or video tutorial, just scroll to the bottom of this page!
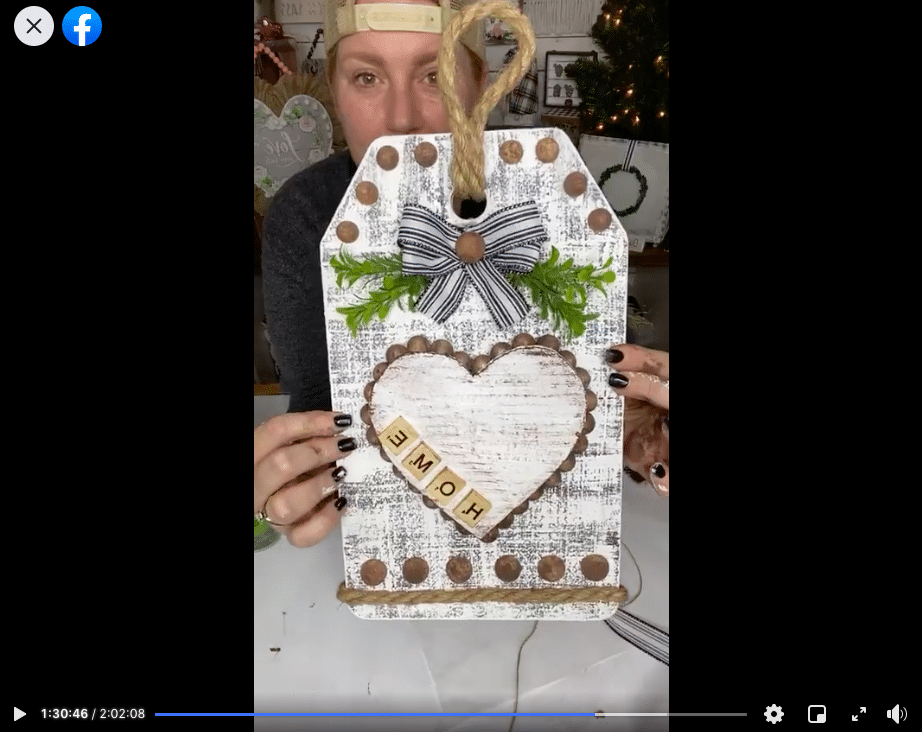
Watch the replay
If you’re a DIY crafter, but don’t follow me on Facebook, you are definitely missing out! I go live several times a week bringing my own DIY ideas to life!
I had so much fun creating this DIY Dollar Tree Distressed Farmhouse Decor during a Facebook LIVE because I was able to chat with my followers and explain my thought processes, techniques, and more!
If you want to craft along or join in on the DIY fun, you can watch the replay!
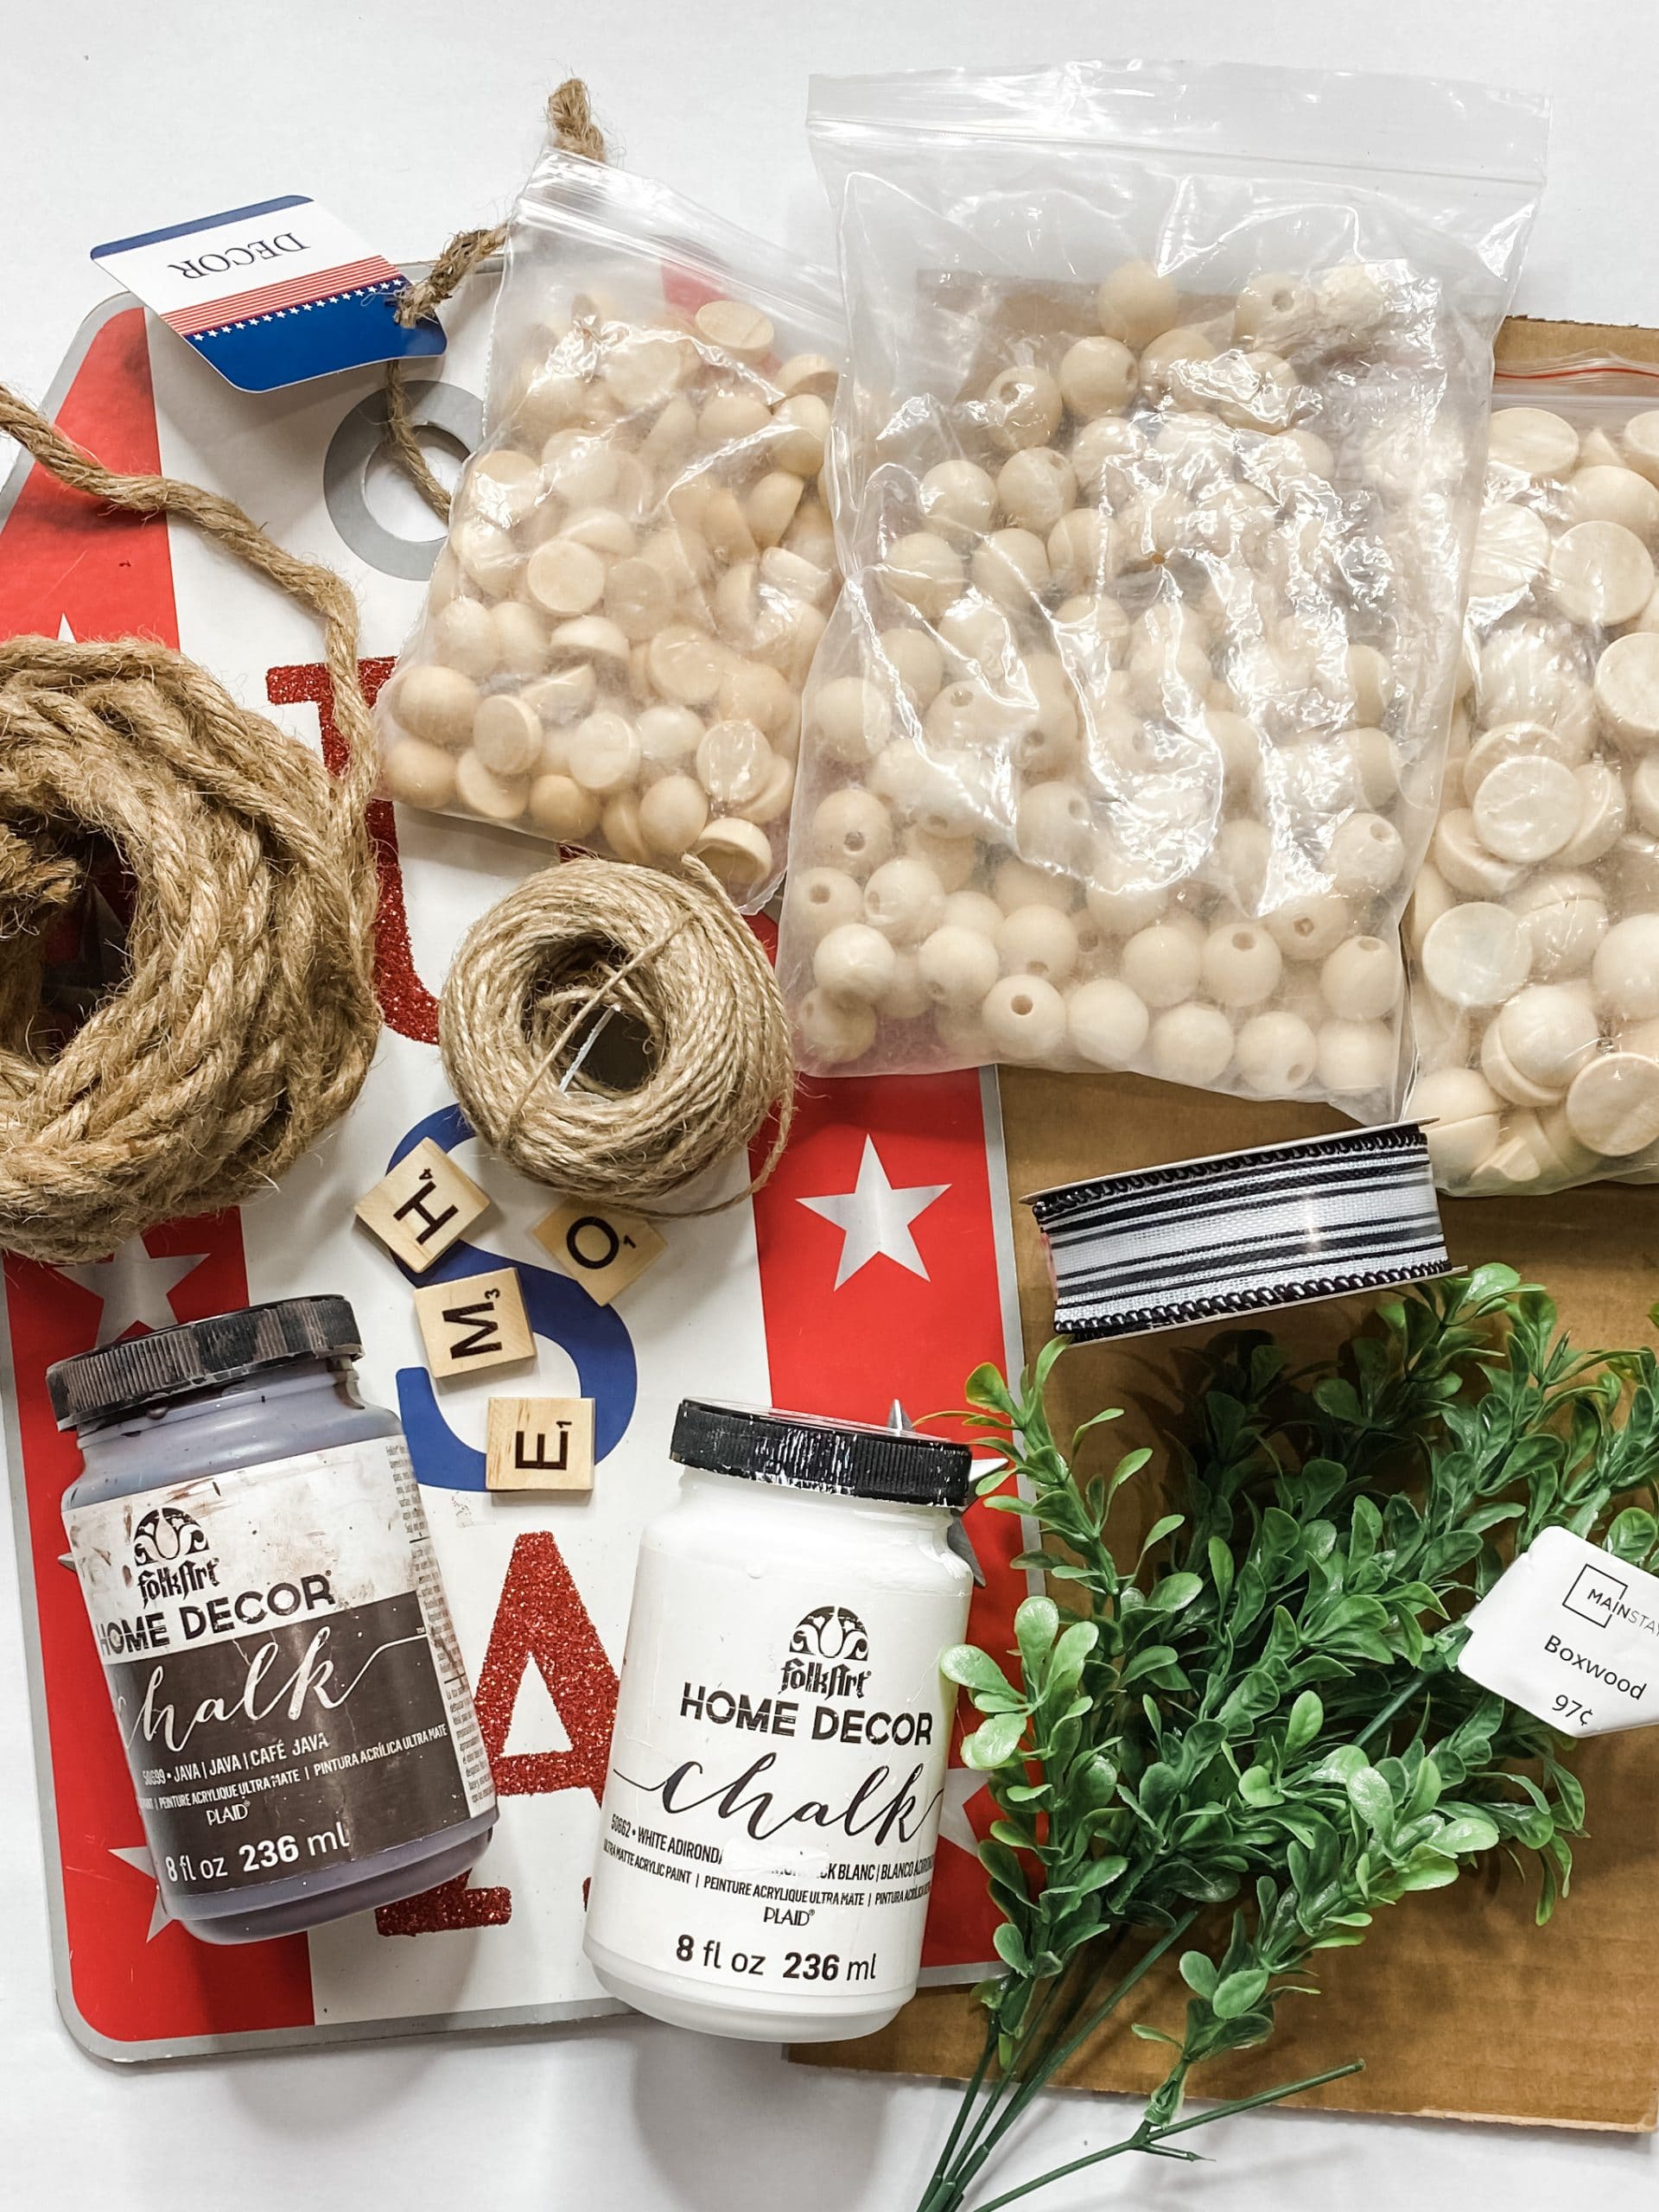
For this project, I used these items but you can substitute where you want.
“As an Amazon Associate, I earn from qualifying purchases.”
- Dollar Tree Tag Board
- Black and White Striped Ribbon (Walmart)
- Boxwood Greenery Spray
- Dollar Tree Nautical Rope
- Jute Twine
- Wood Beads
- Small Half Wood Beads
- Large Half Wood Beads
- Scrabble Tiles
- Cardboard
- Folkart Java Chalk Paint
- Folkart White Chalk Paint
- Mod Podge
- Hot glue gun and glue sticks
- Heat Gun
I hope you enjoyed this DIY Dollar Tree Distressed Farmhouse Decor as much as I did and decide to make one for yourself! I would love to see how yours turns out!
You should totally join my FREE Facebook group called On A Budget Crafts! It is a judgment-free community for DIY crafters to show off their projects and ideas.
If you loved this DIY you might also like this Rustic Dollar Tree DIY 3 Tiered Shelf!
Thanks for stopping by! XOXO Amber
You can also shop my ENTIRE AMAZON Favorites shop just click here! It’s packed full of all the things I use and love. Here is the supply list I highly recommend every creative have on hand!!
Would you also pin my blog for later and get on my newsletter alerts? I would love to have you join my #craftycrew.
Inspired? Leave me a comment below! I love hearing from my readers!

Join my free “ON A BUDGET CRAFTS” Facebook group!

Do you have a muffin tin diy?
Love love love the farmhouse decor