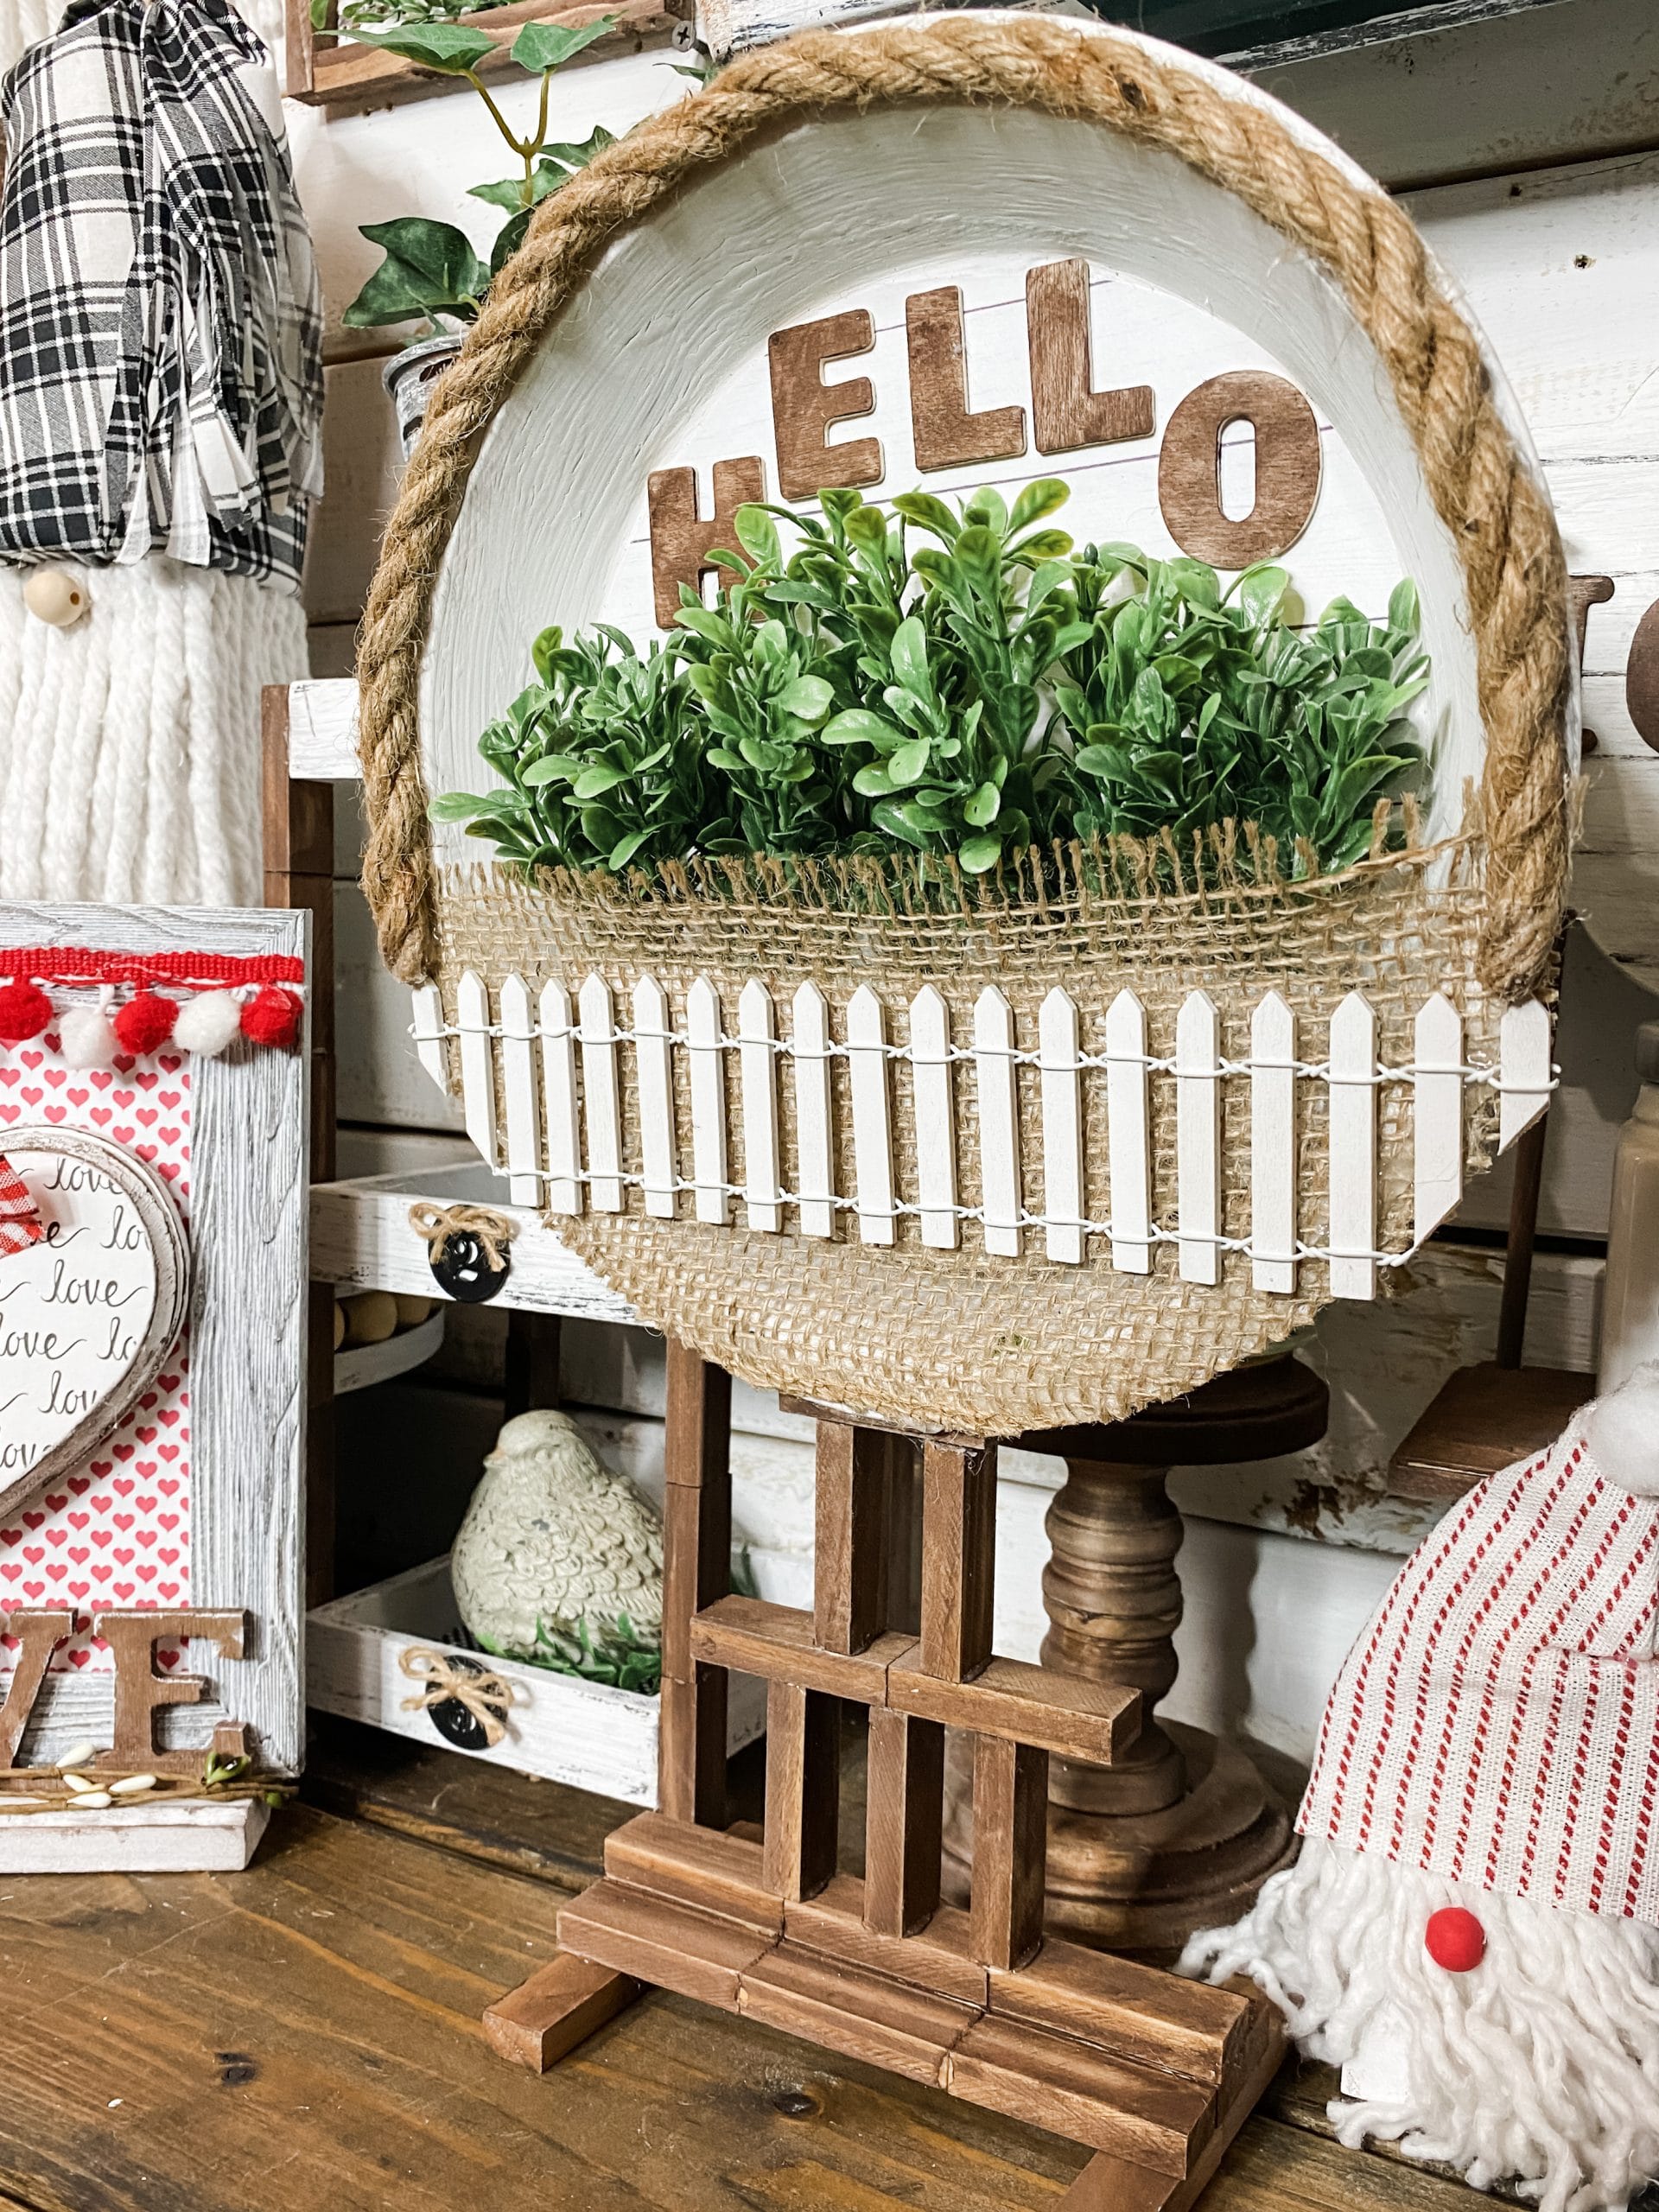
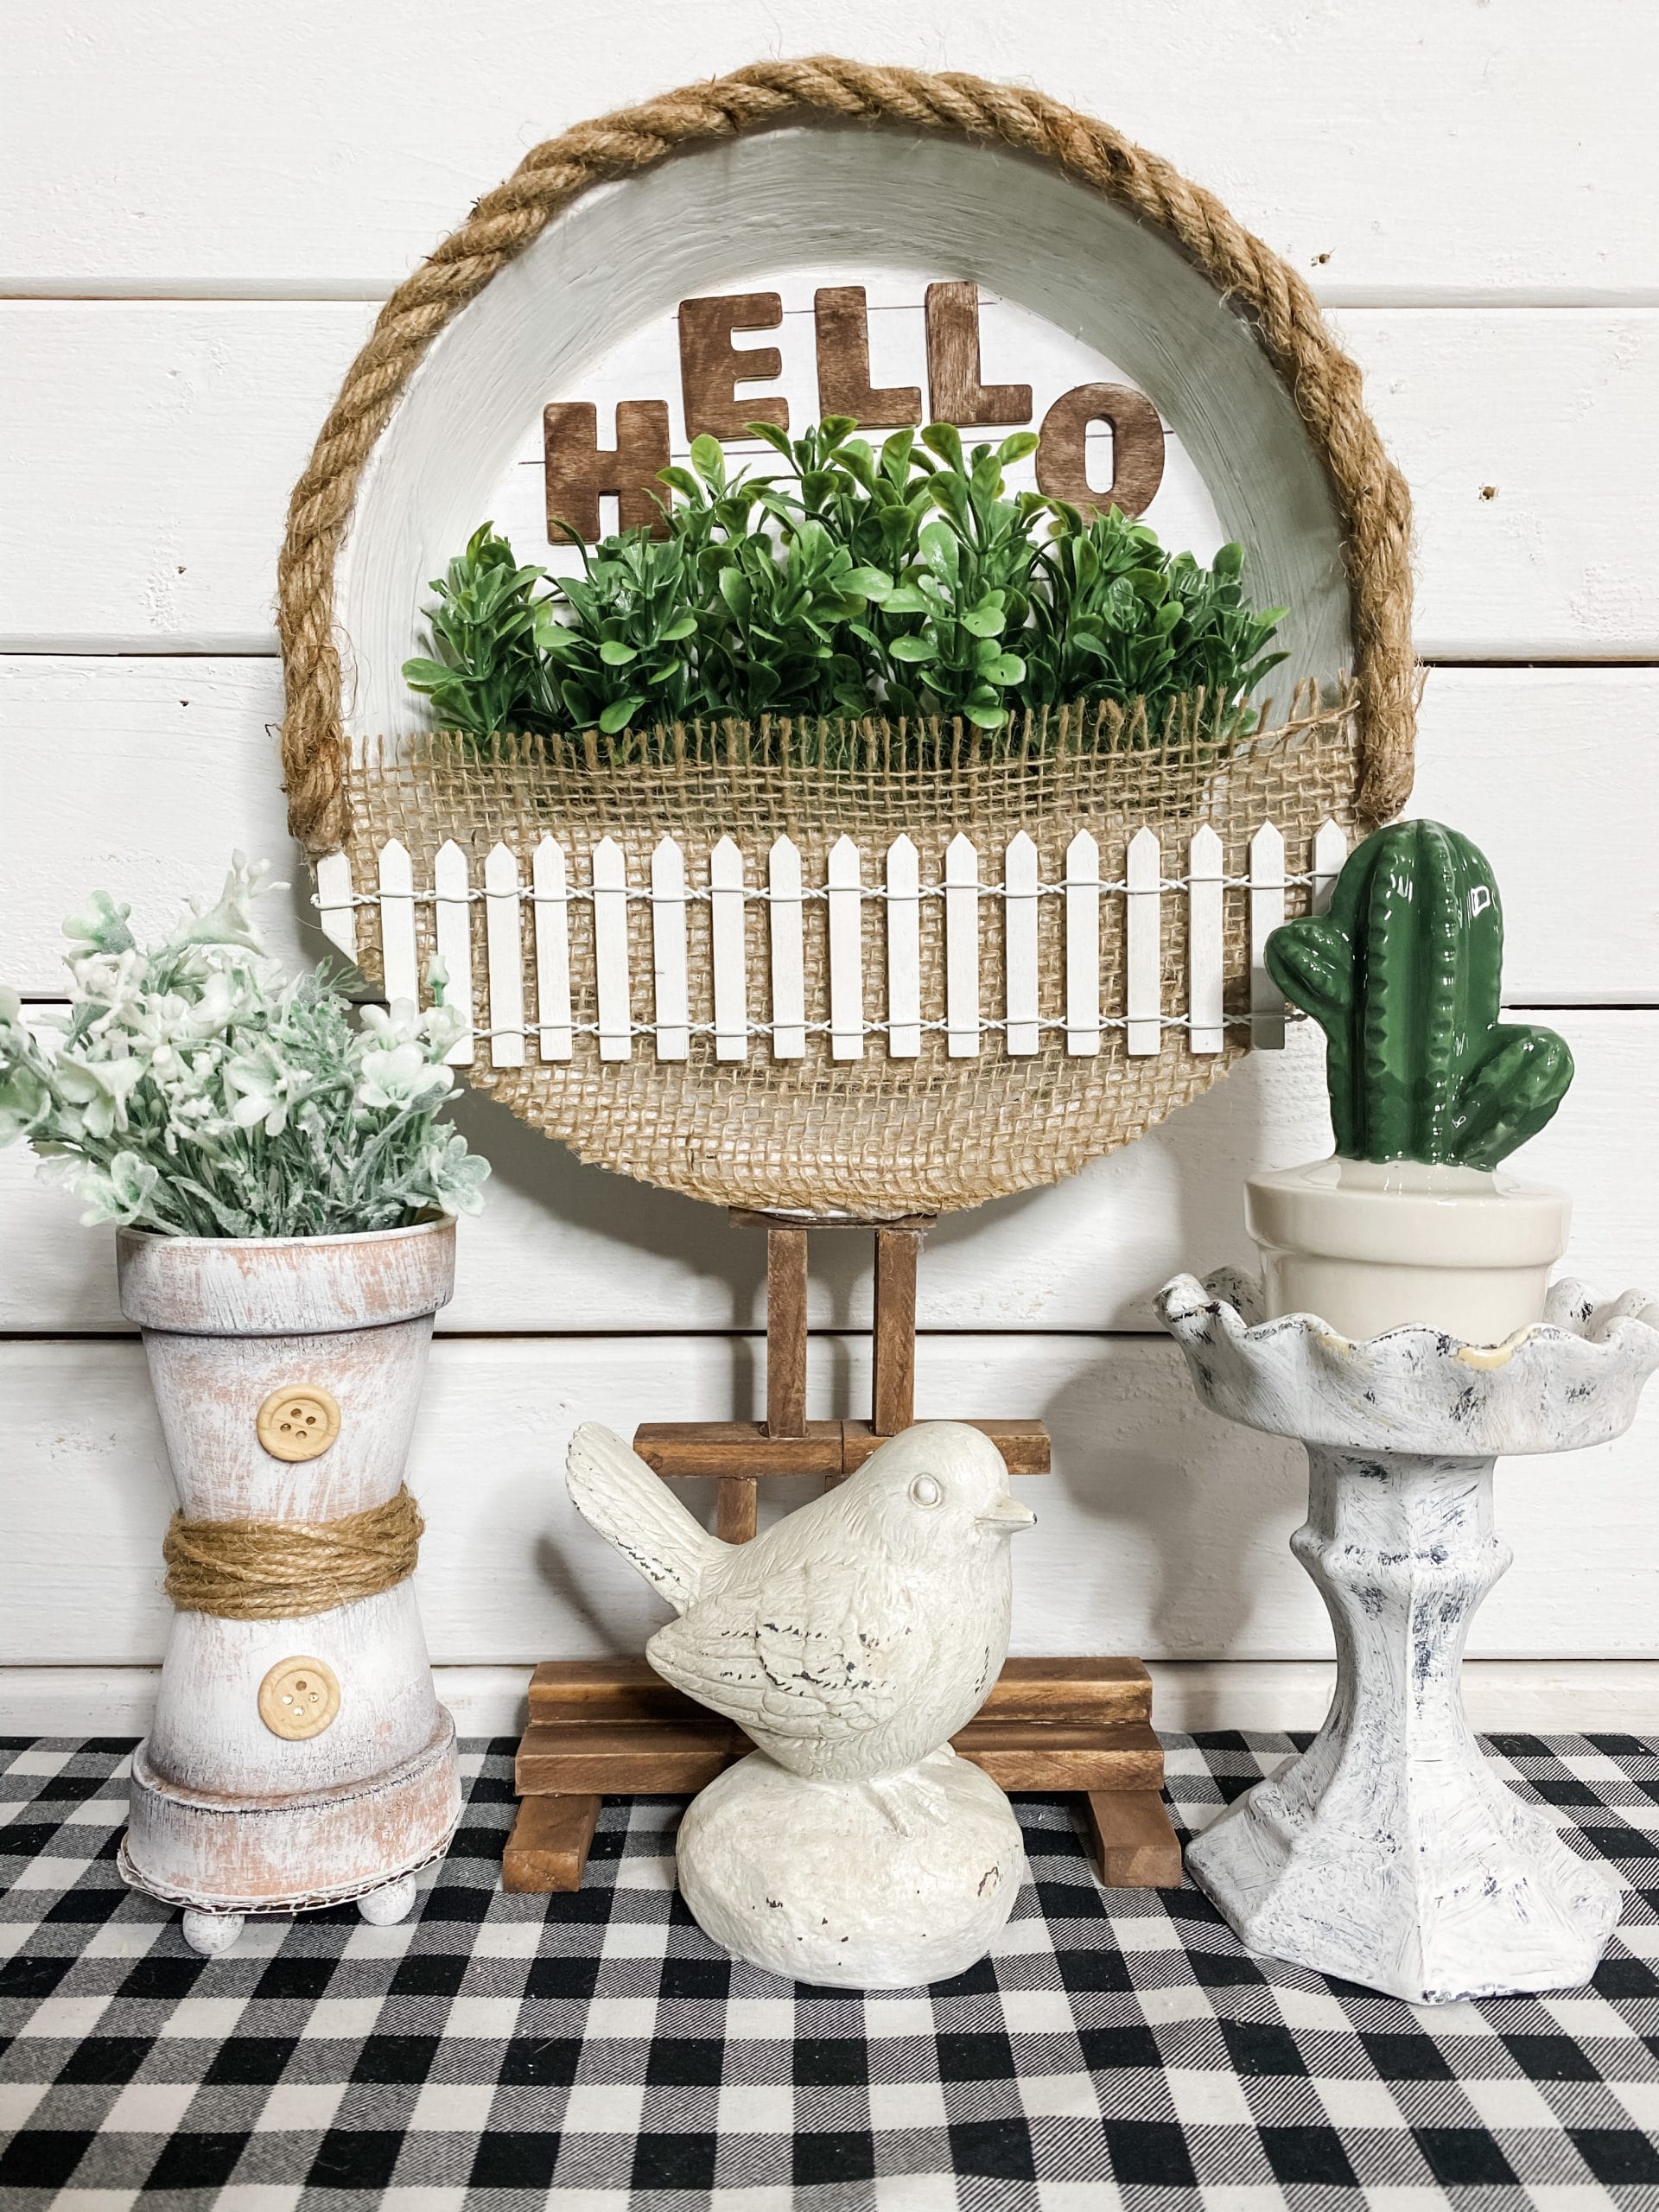
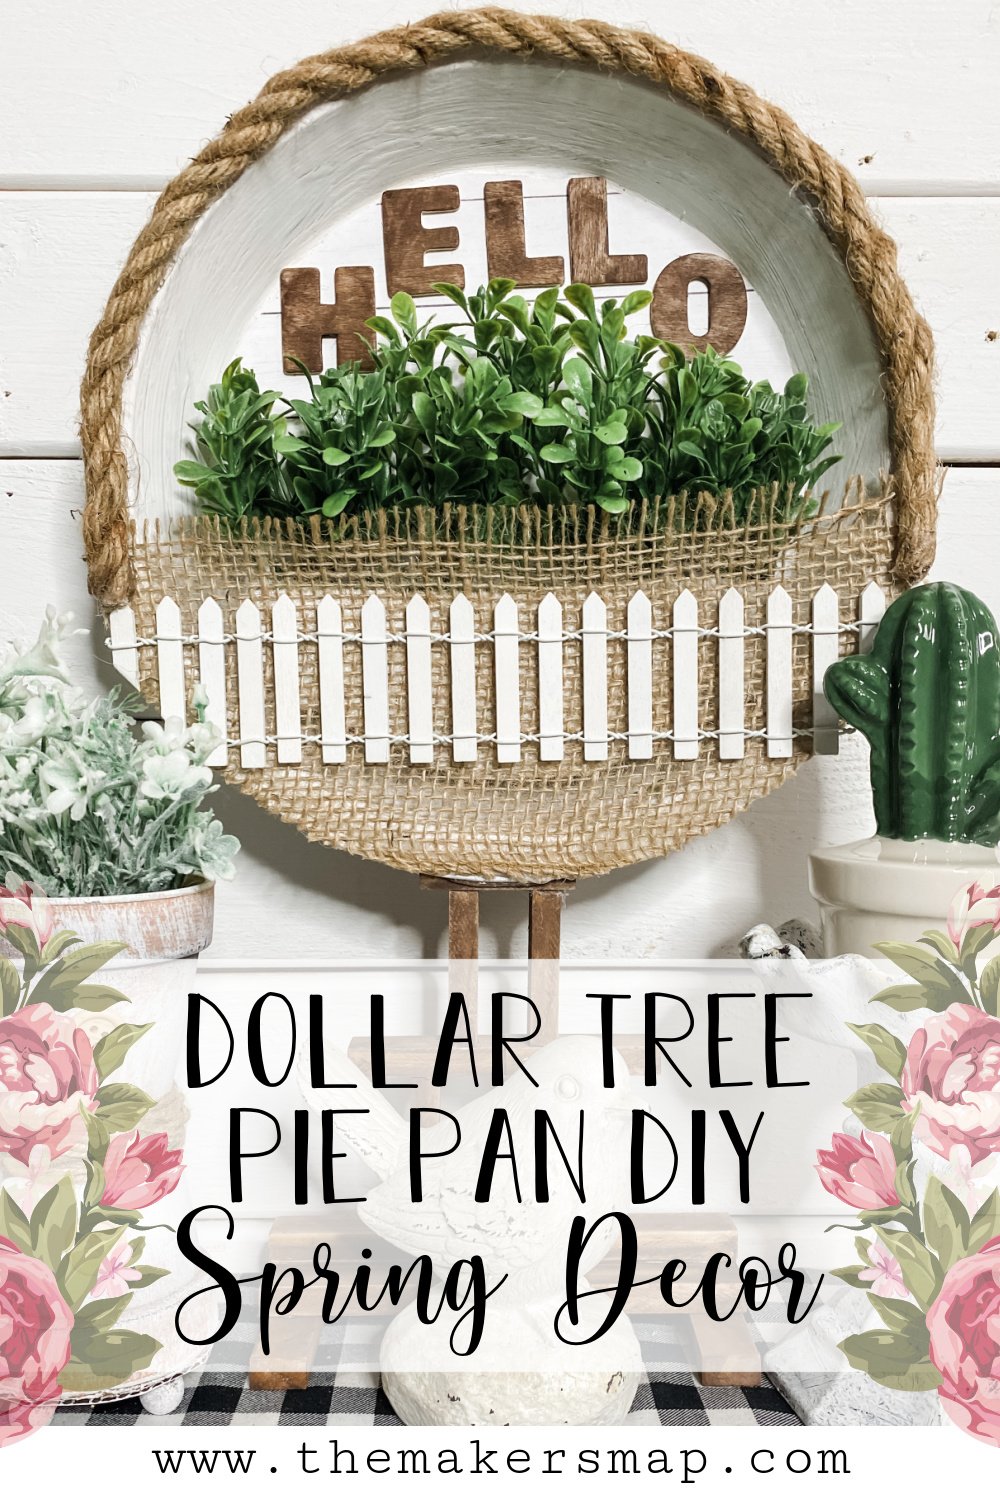
Dollar Tree Pie Pan DIY Spring Decor
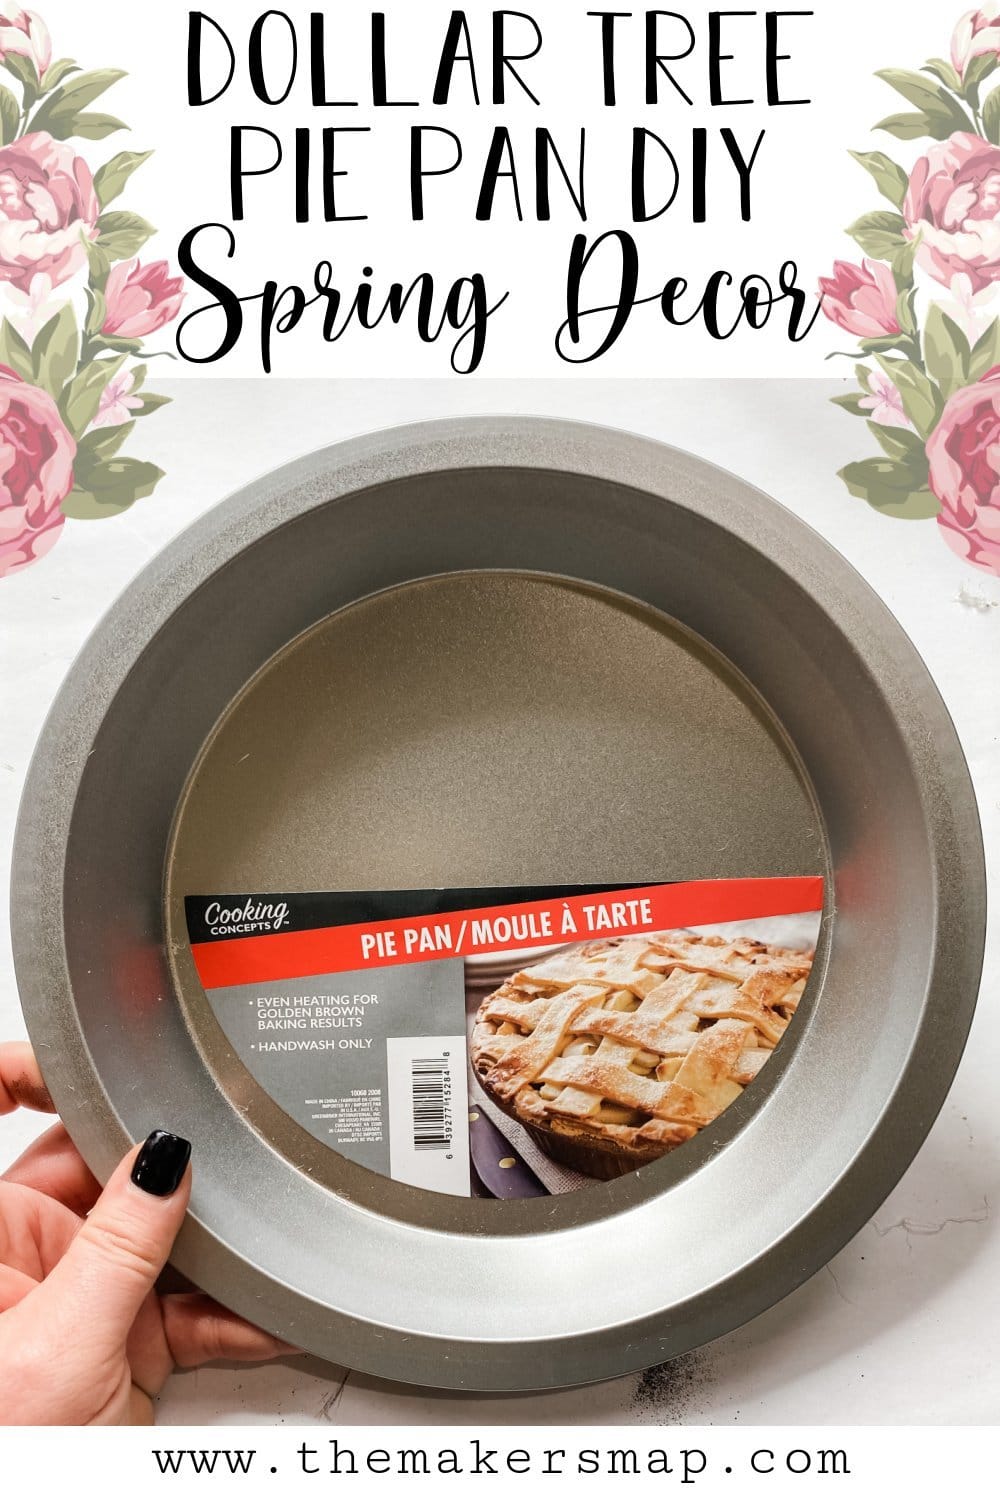
I know how much y’all loved my Dollar Tree pizza pan DIY’s, so here is another easy DIY decor with a common kitchen item: a Dollar Tree Pie Pan! This Dollar Tree Pie Pan DIY Spring Decor turned out better than I imagined it would, so I had to share it with you!
Watch the replay
There are some parts of this Dollar Tree DIY that you might want a video tutorial for. Lucky for you, I recorded how to make this super cute DIY spring decor during a LIVE video on my Facebook page!
If you want to see the video tutorial, you can watch the replay over on my Facebook page!

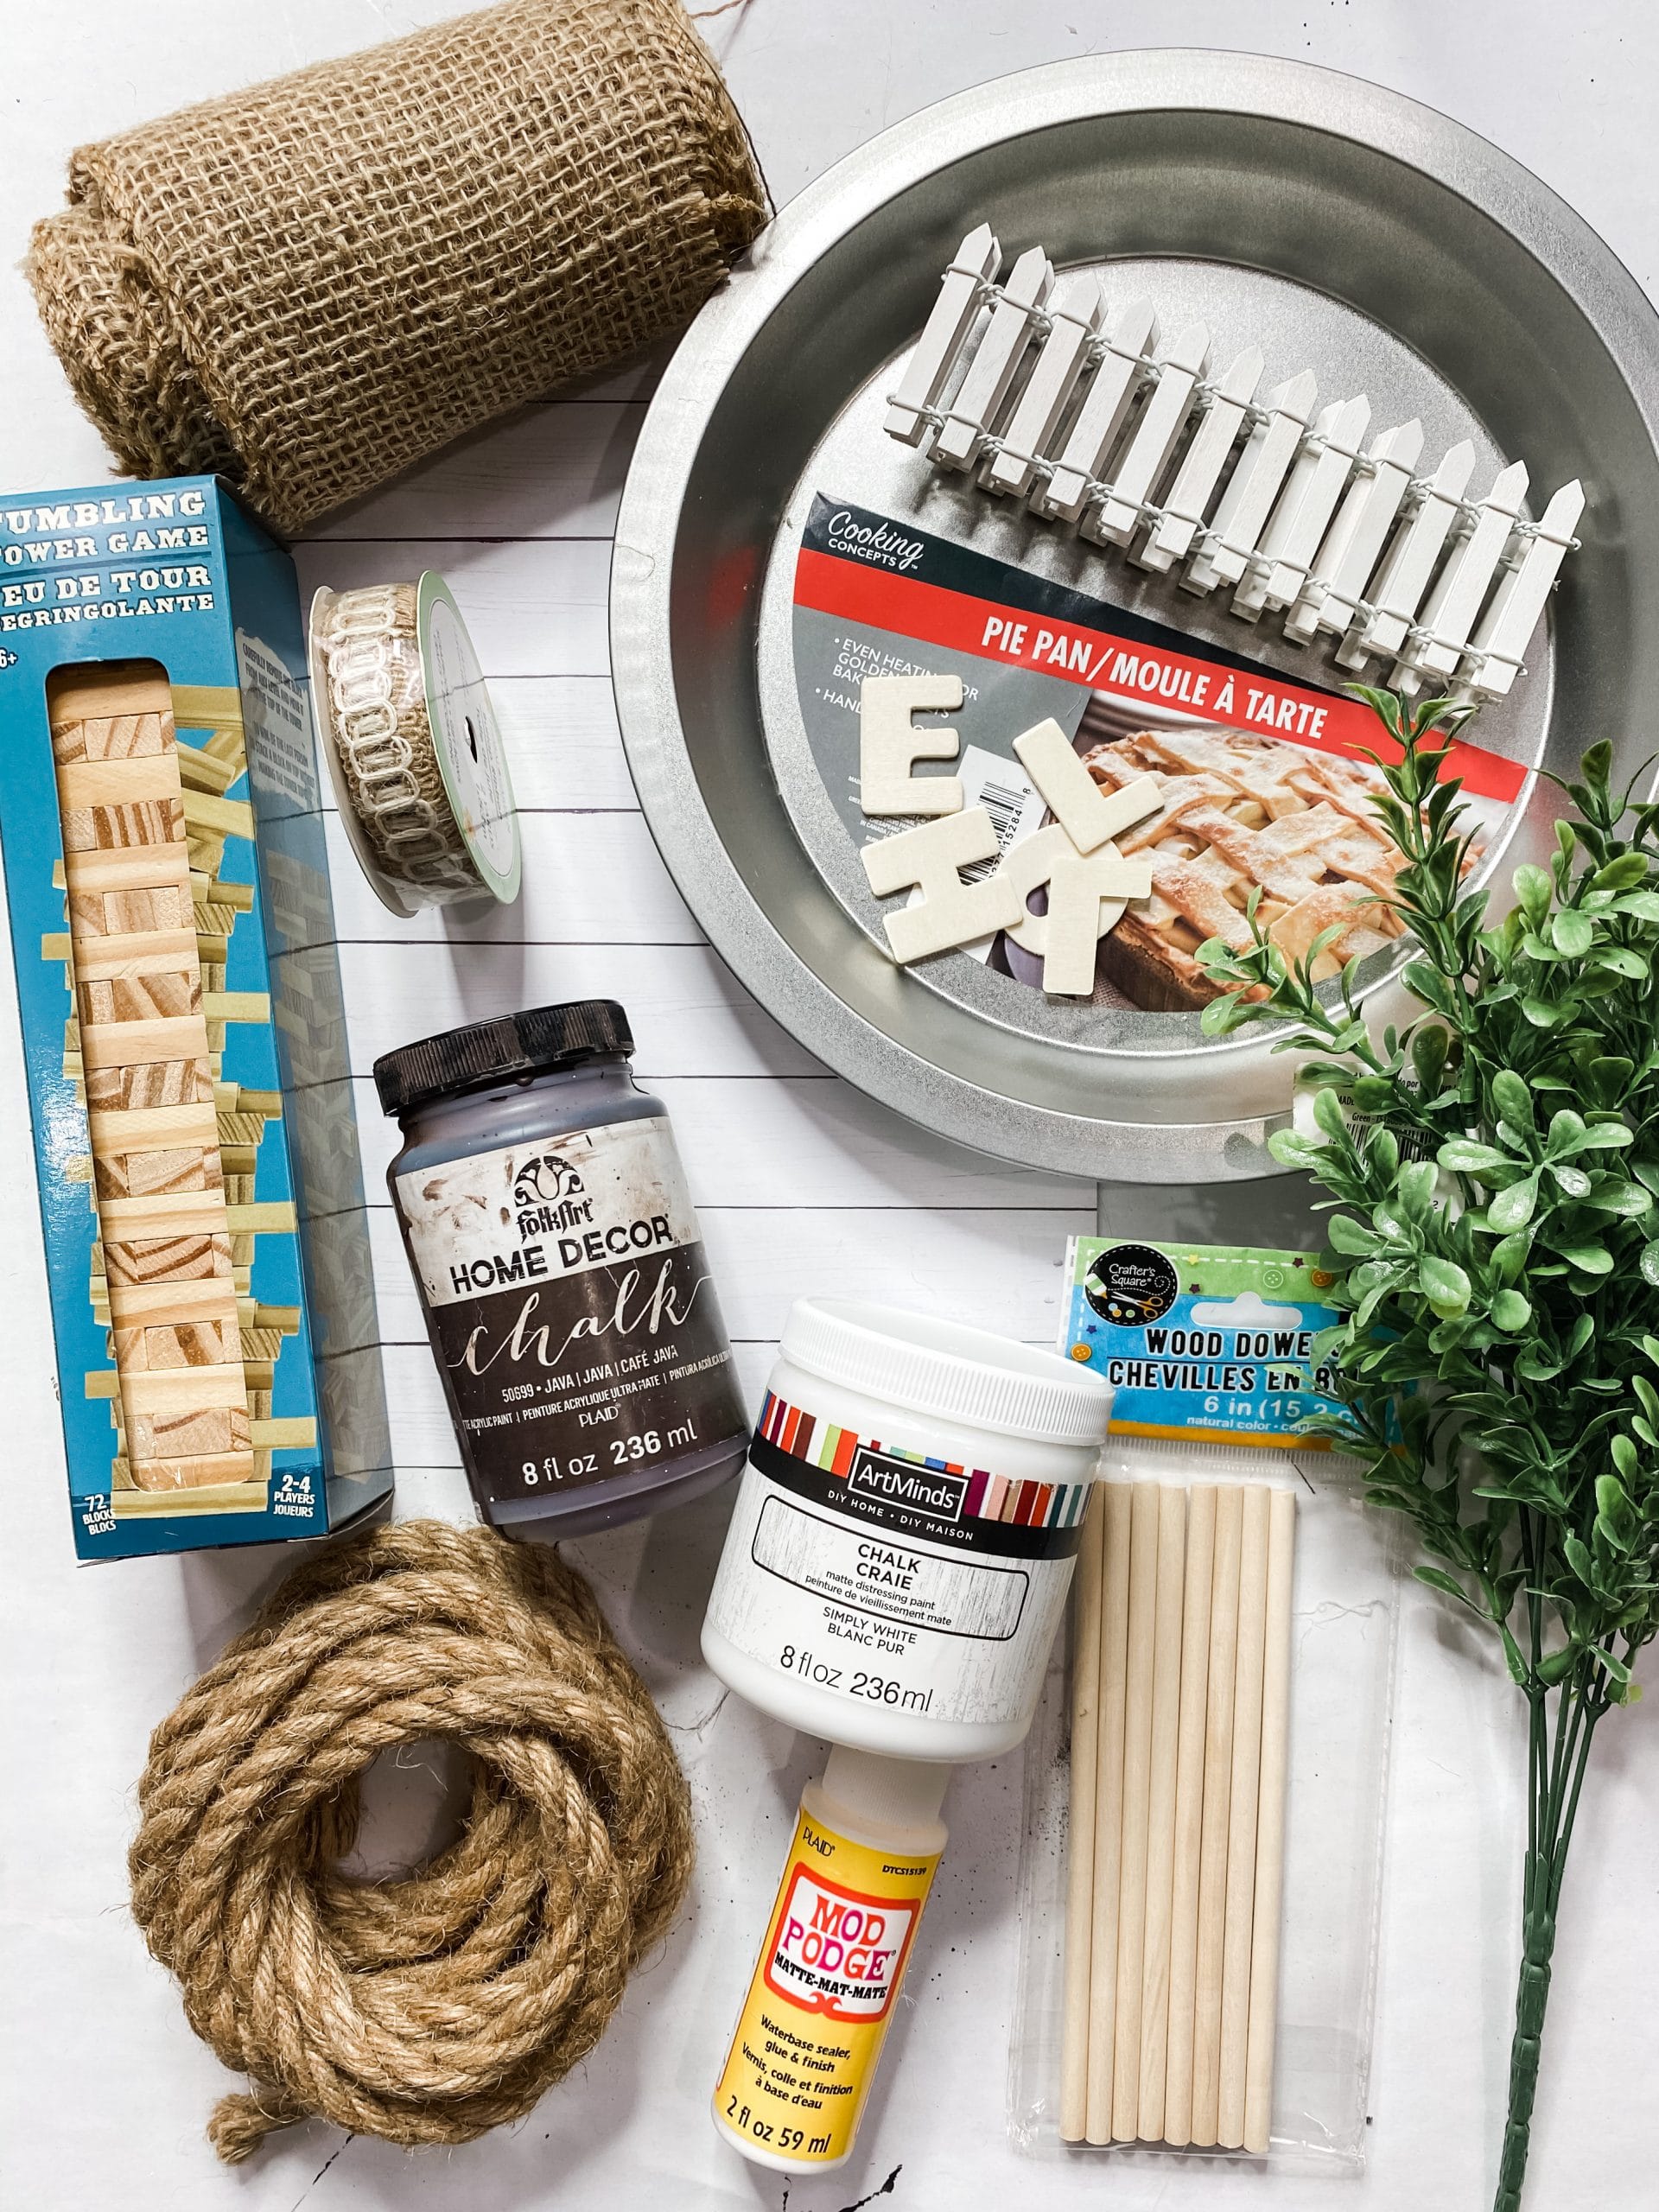
For this project, I will be using these items but you can substitute where you want.
“As an Amazon Associate, I earn from qualifying purchases.”
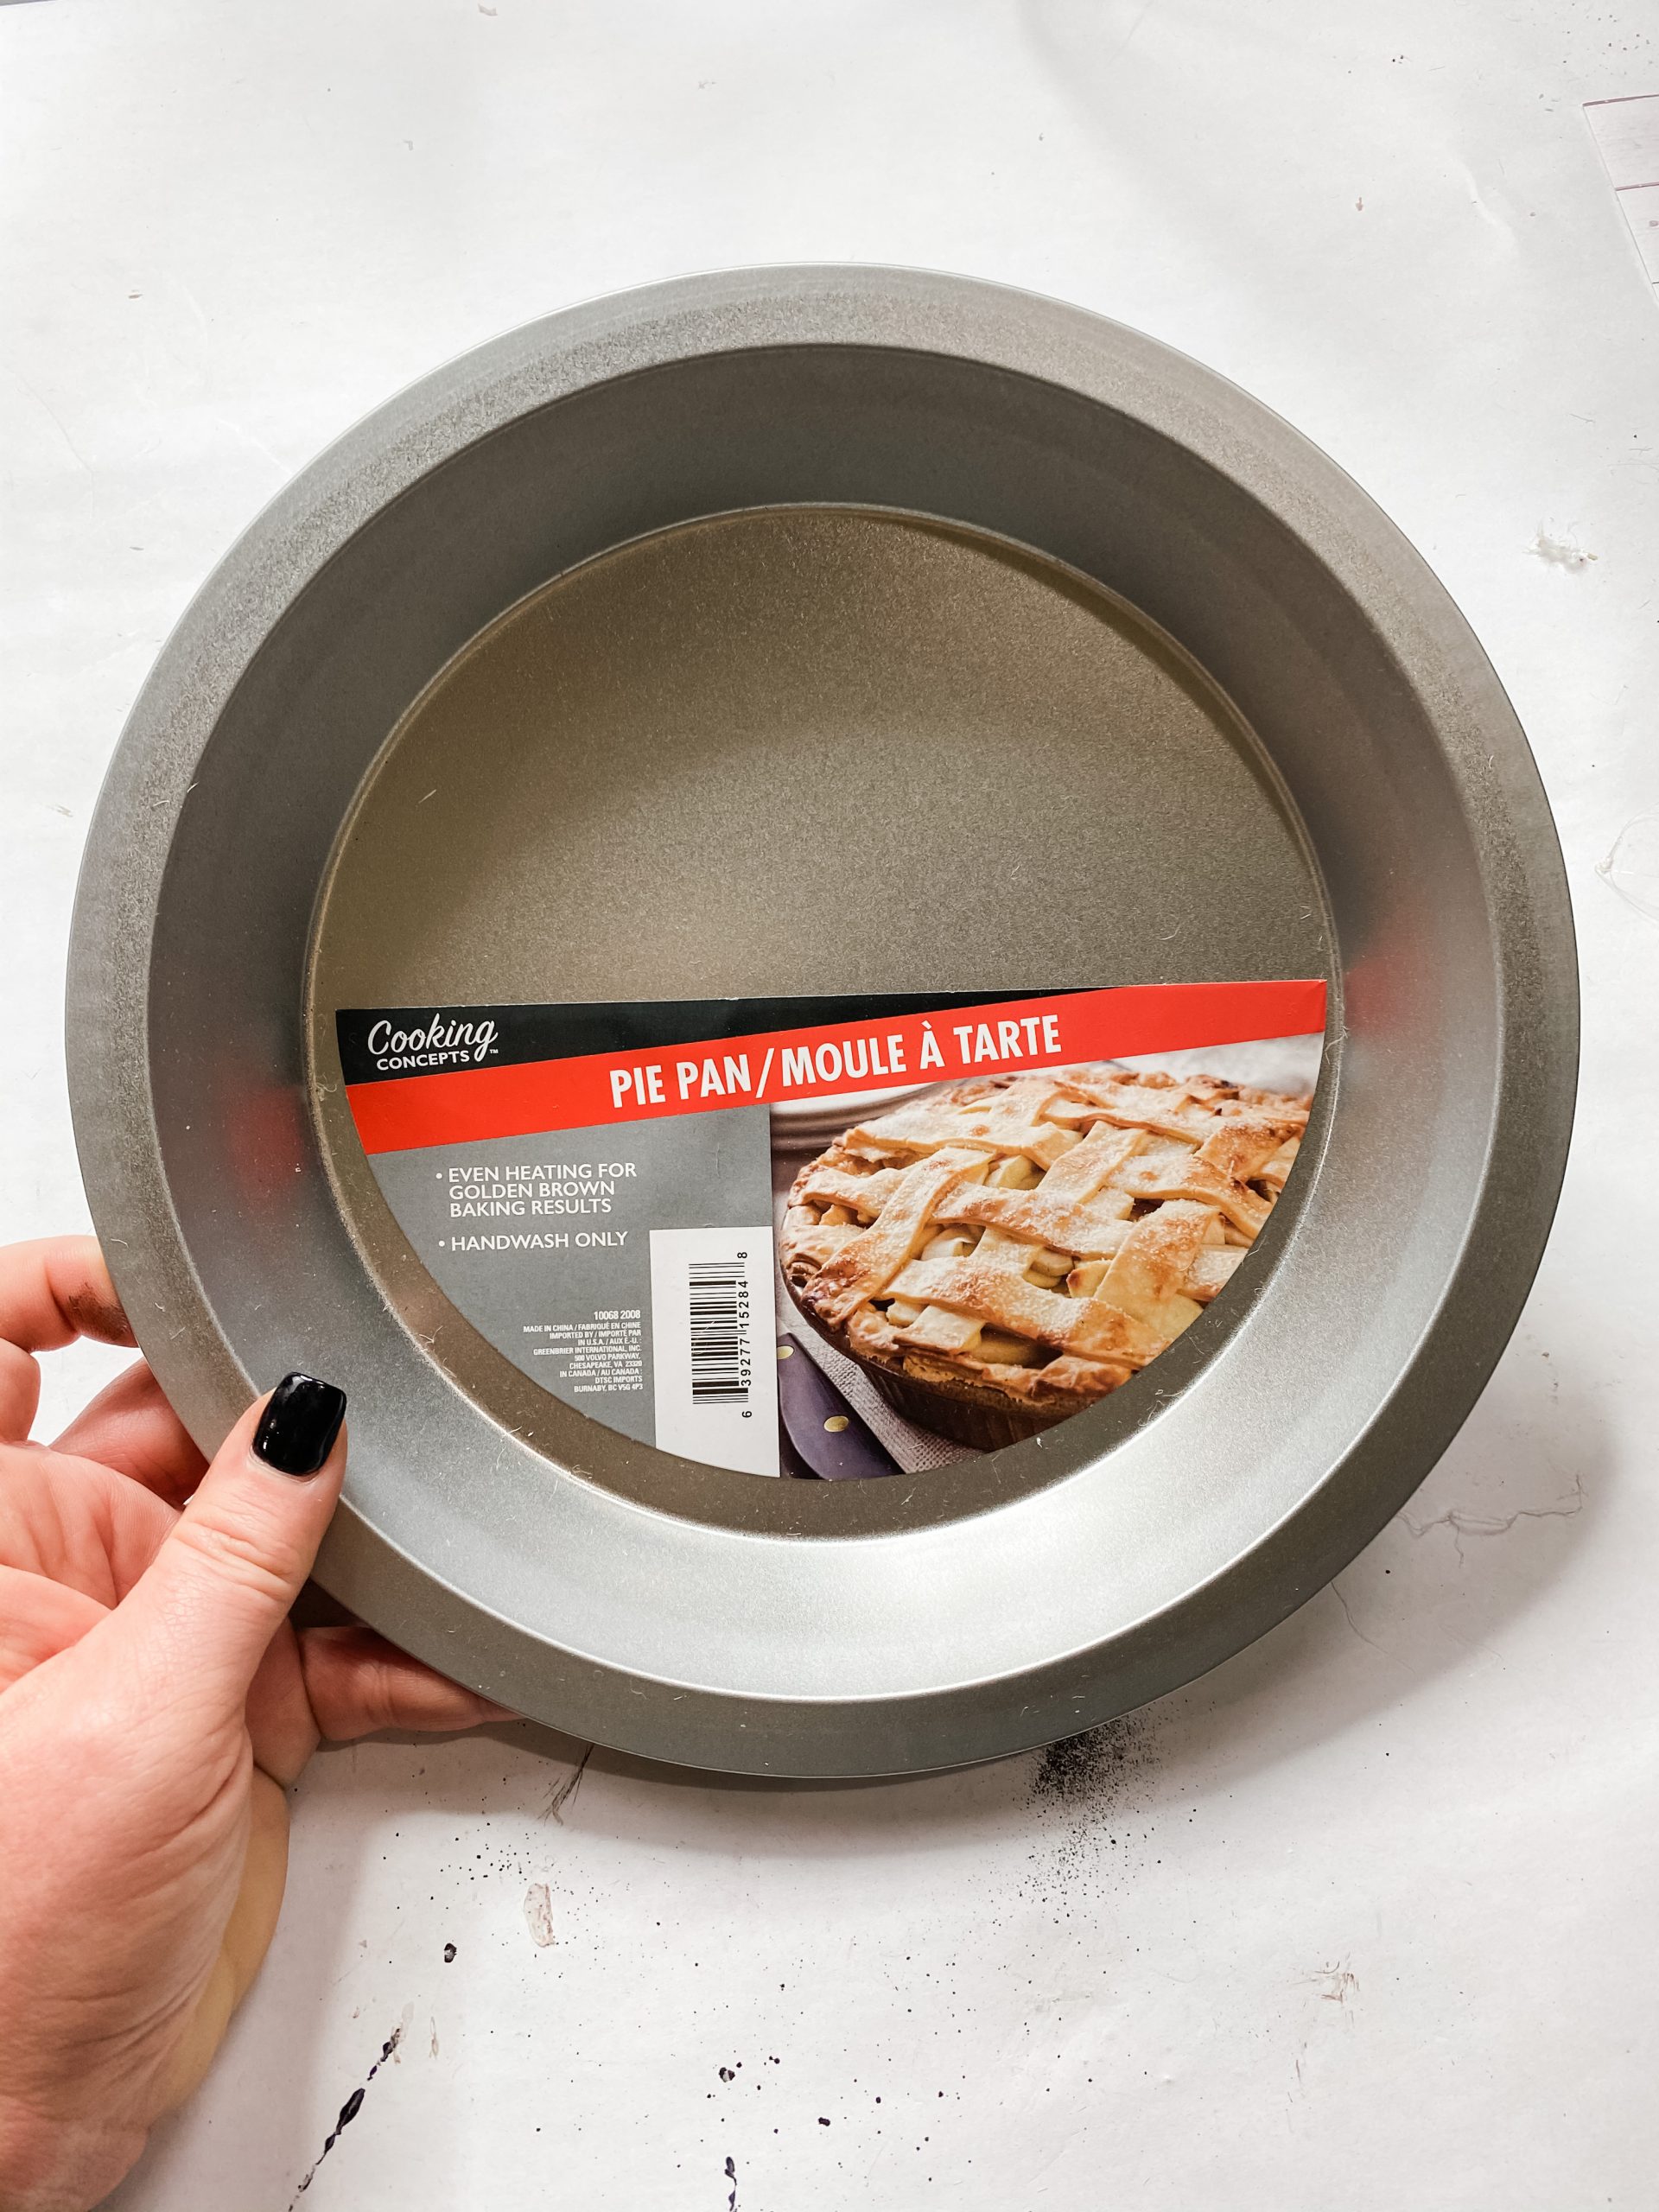
- Dollar Tree Pie Pan
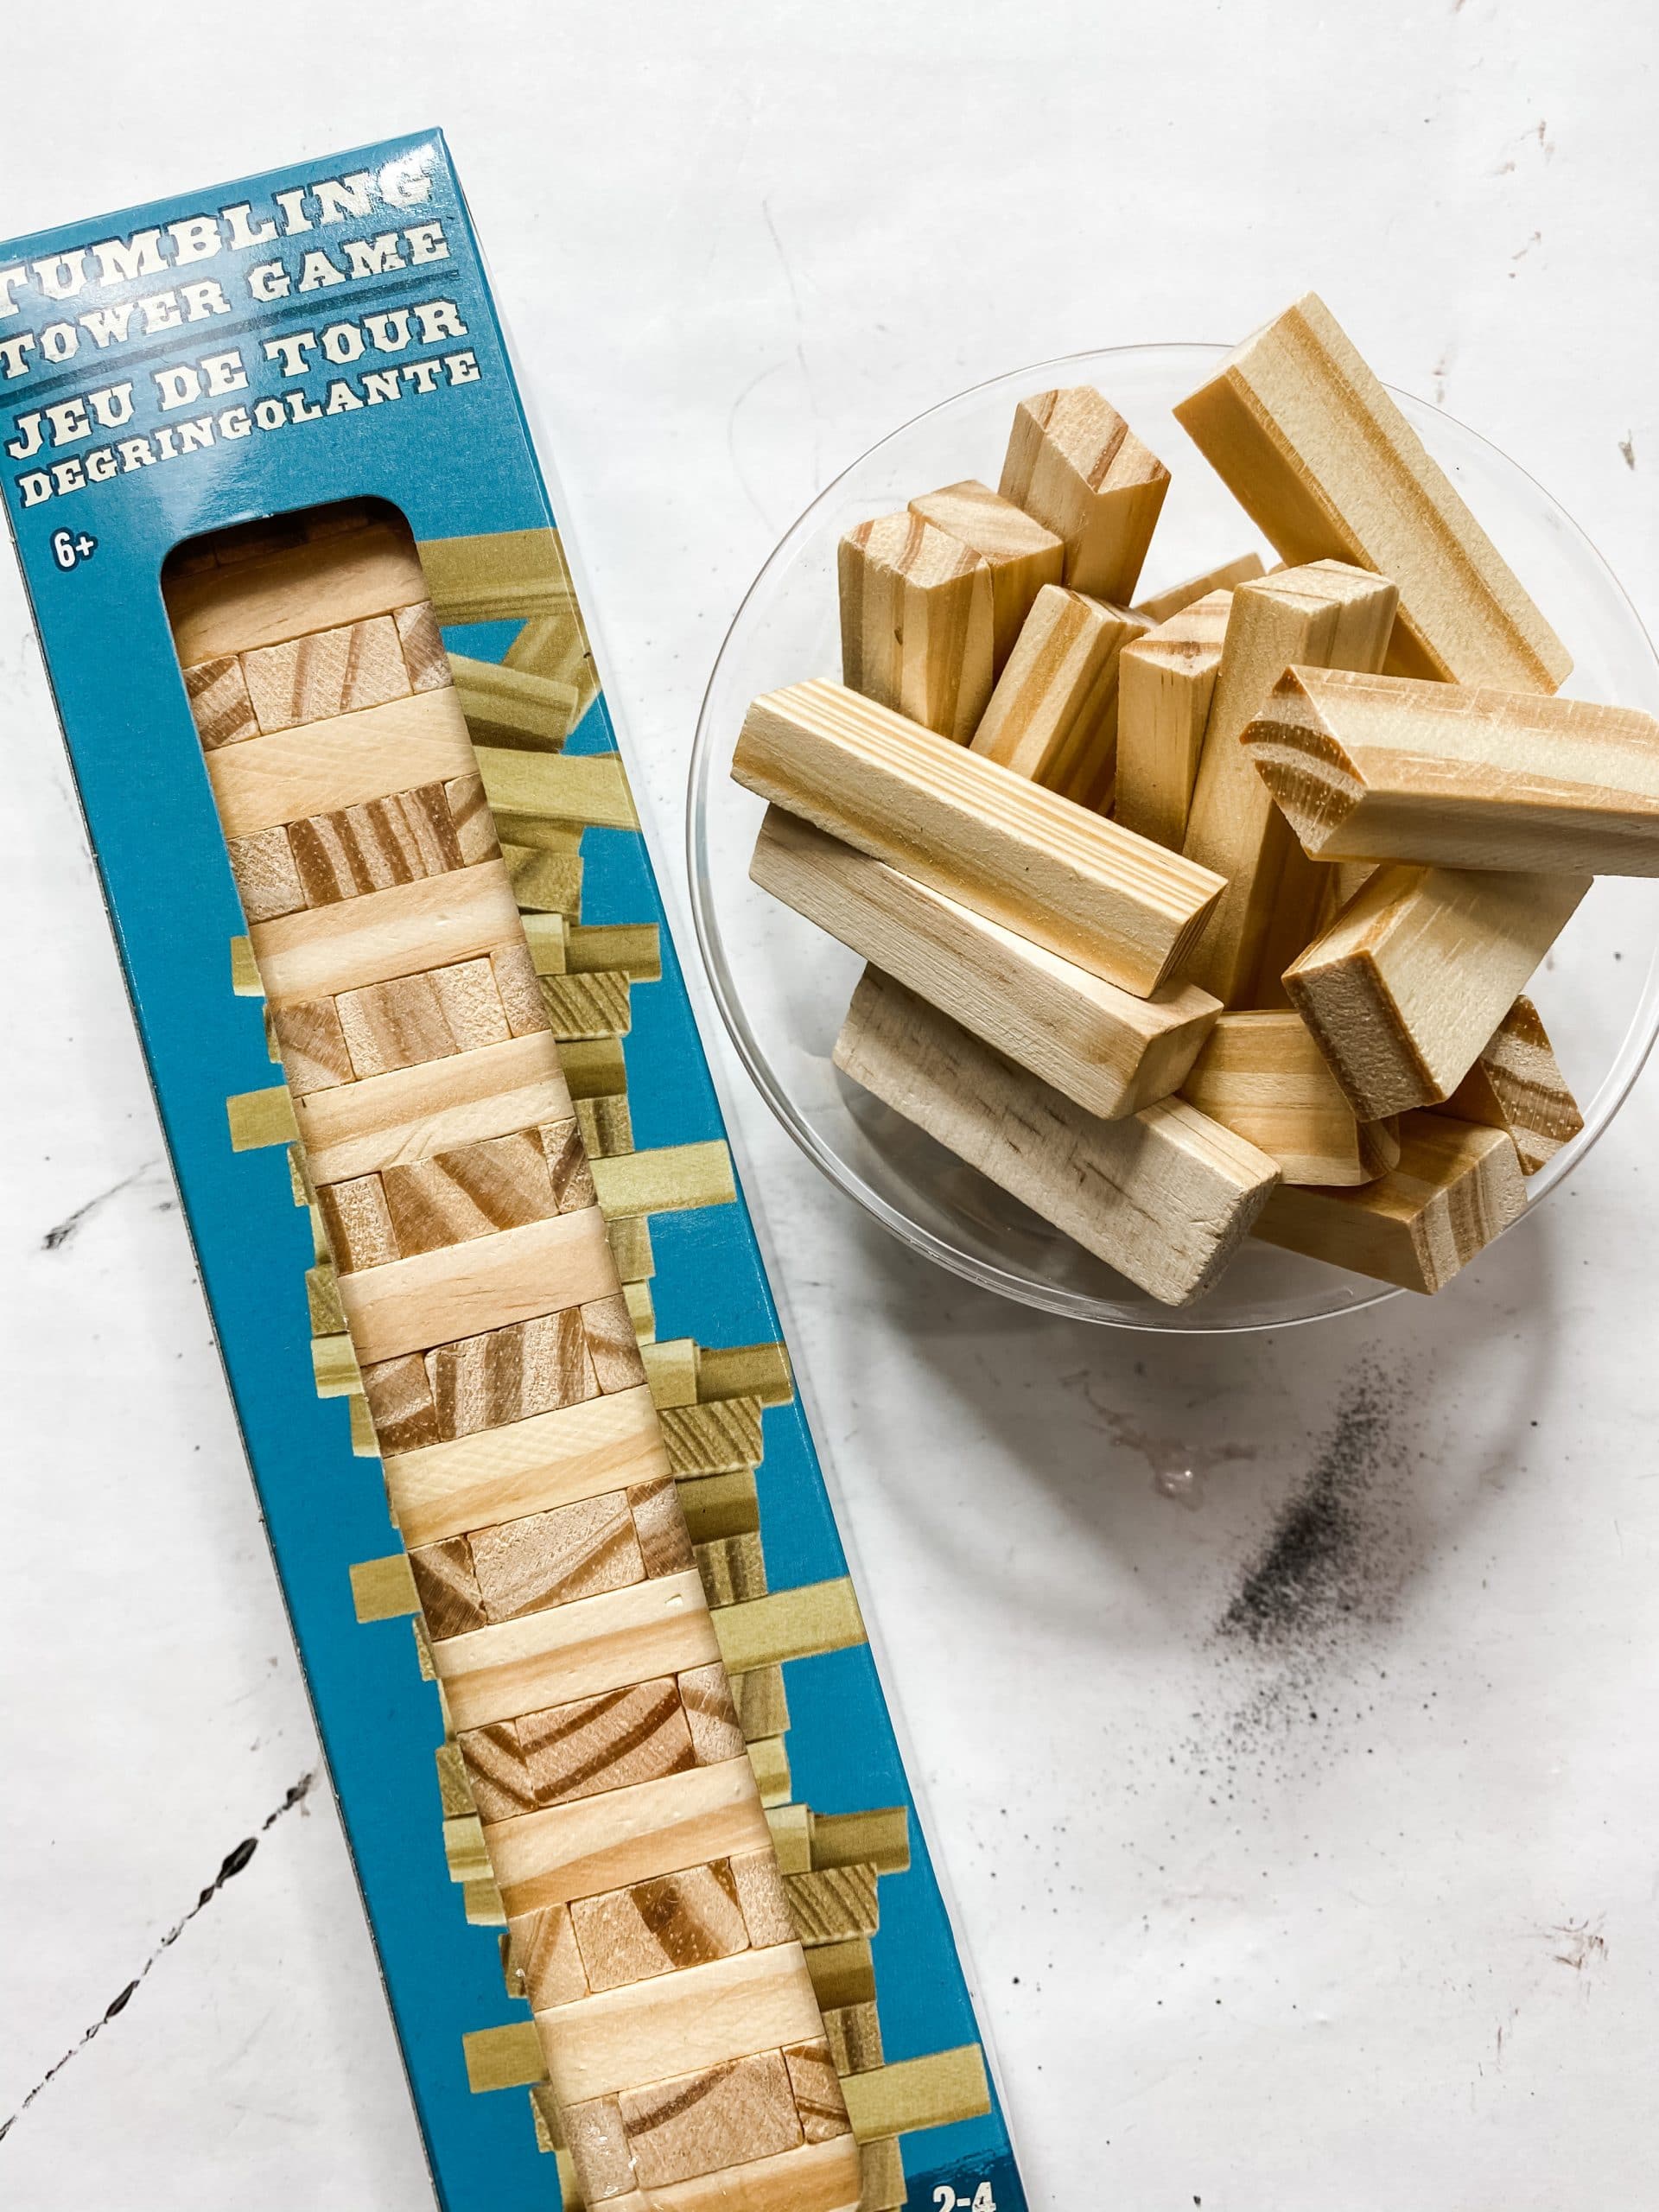
- Dollar Tree Tumbling Tower Blocks
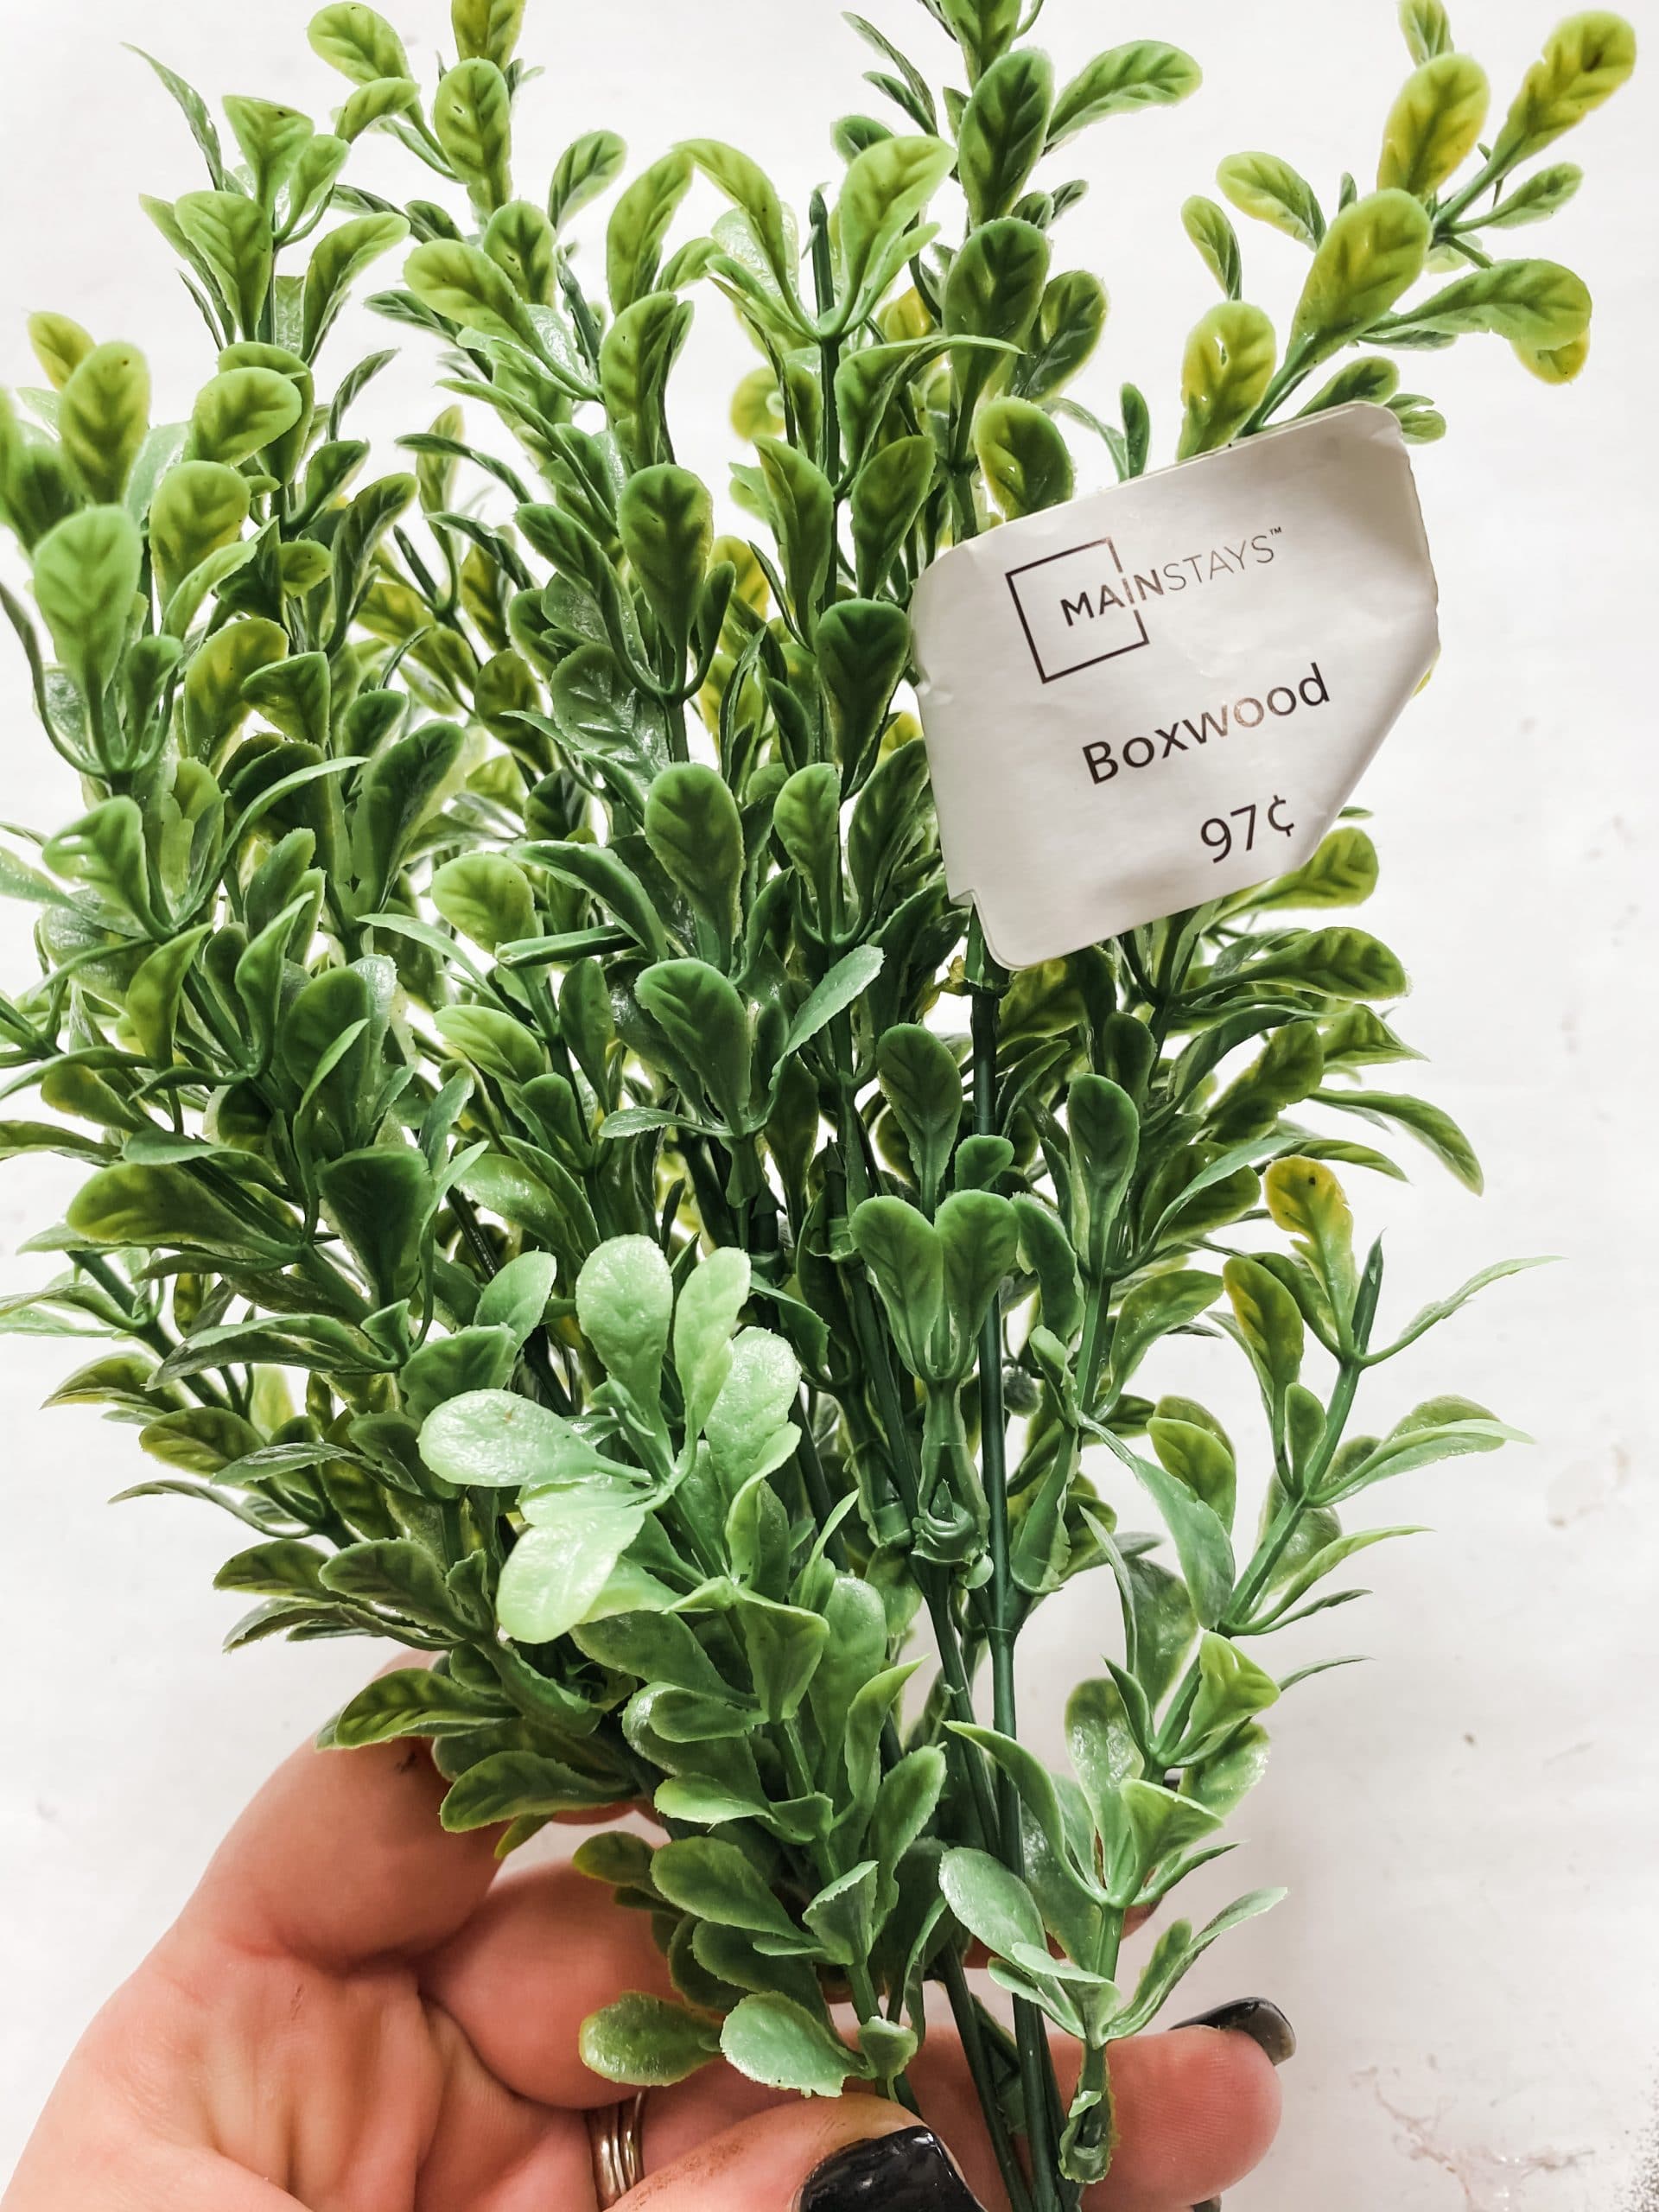
- Greenery Spray
- Dollar Tree Nautical Rope
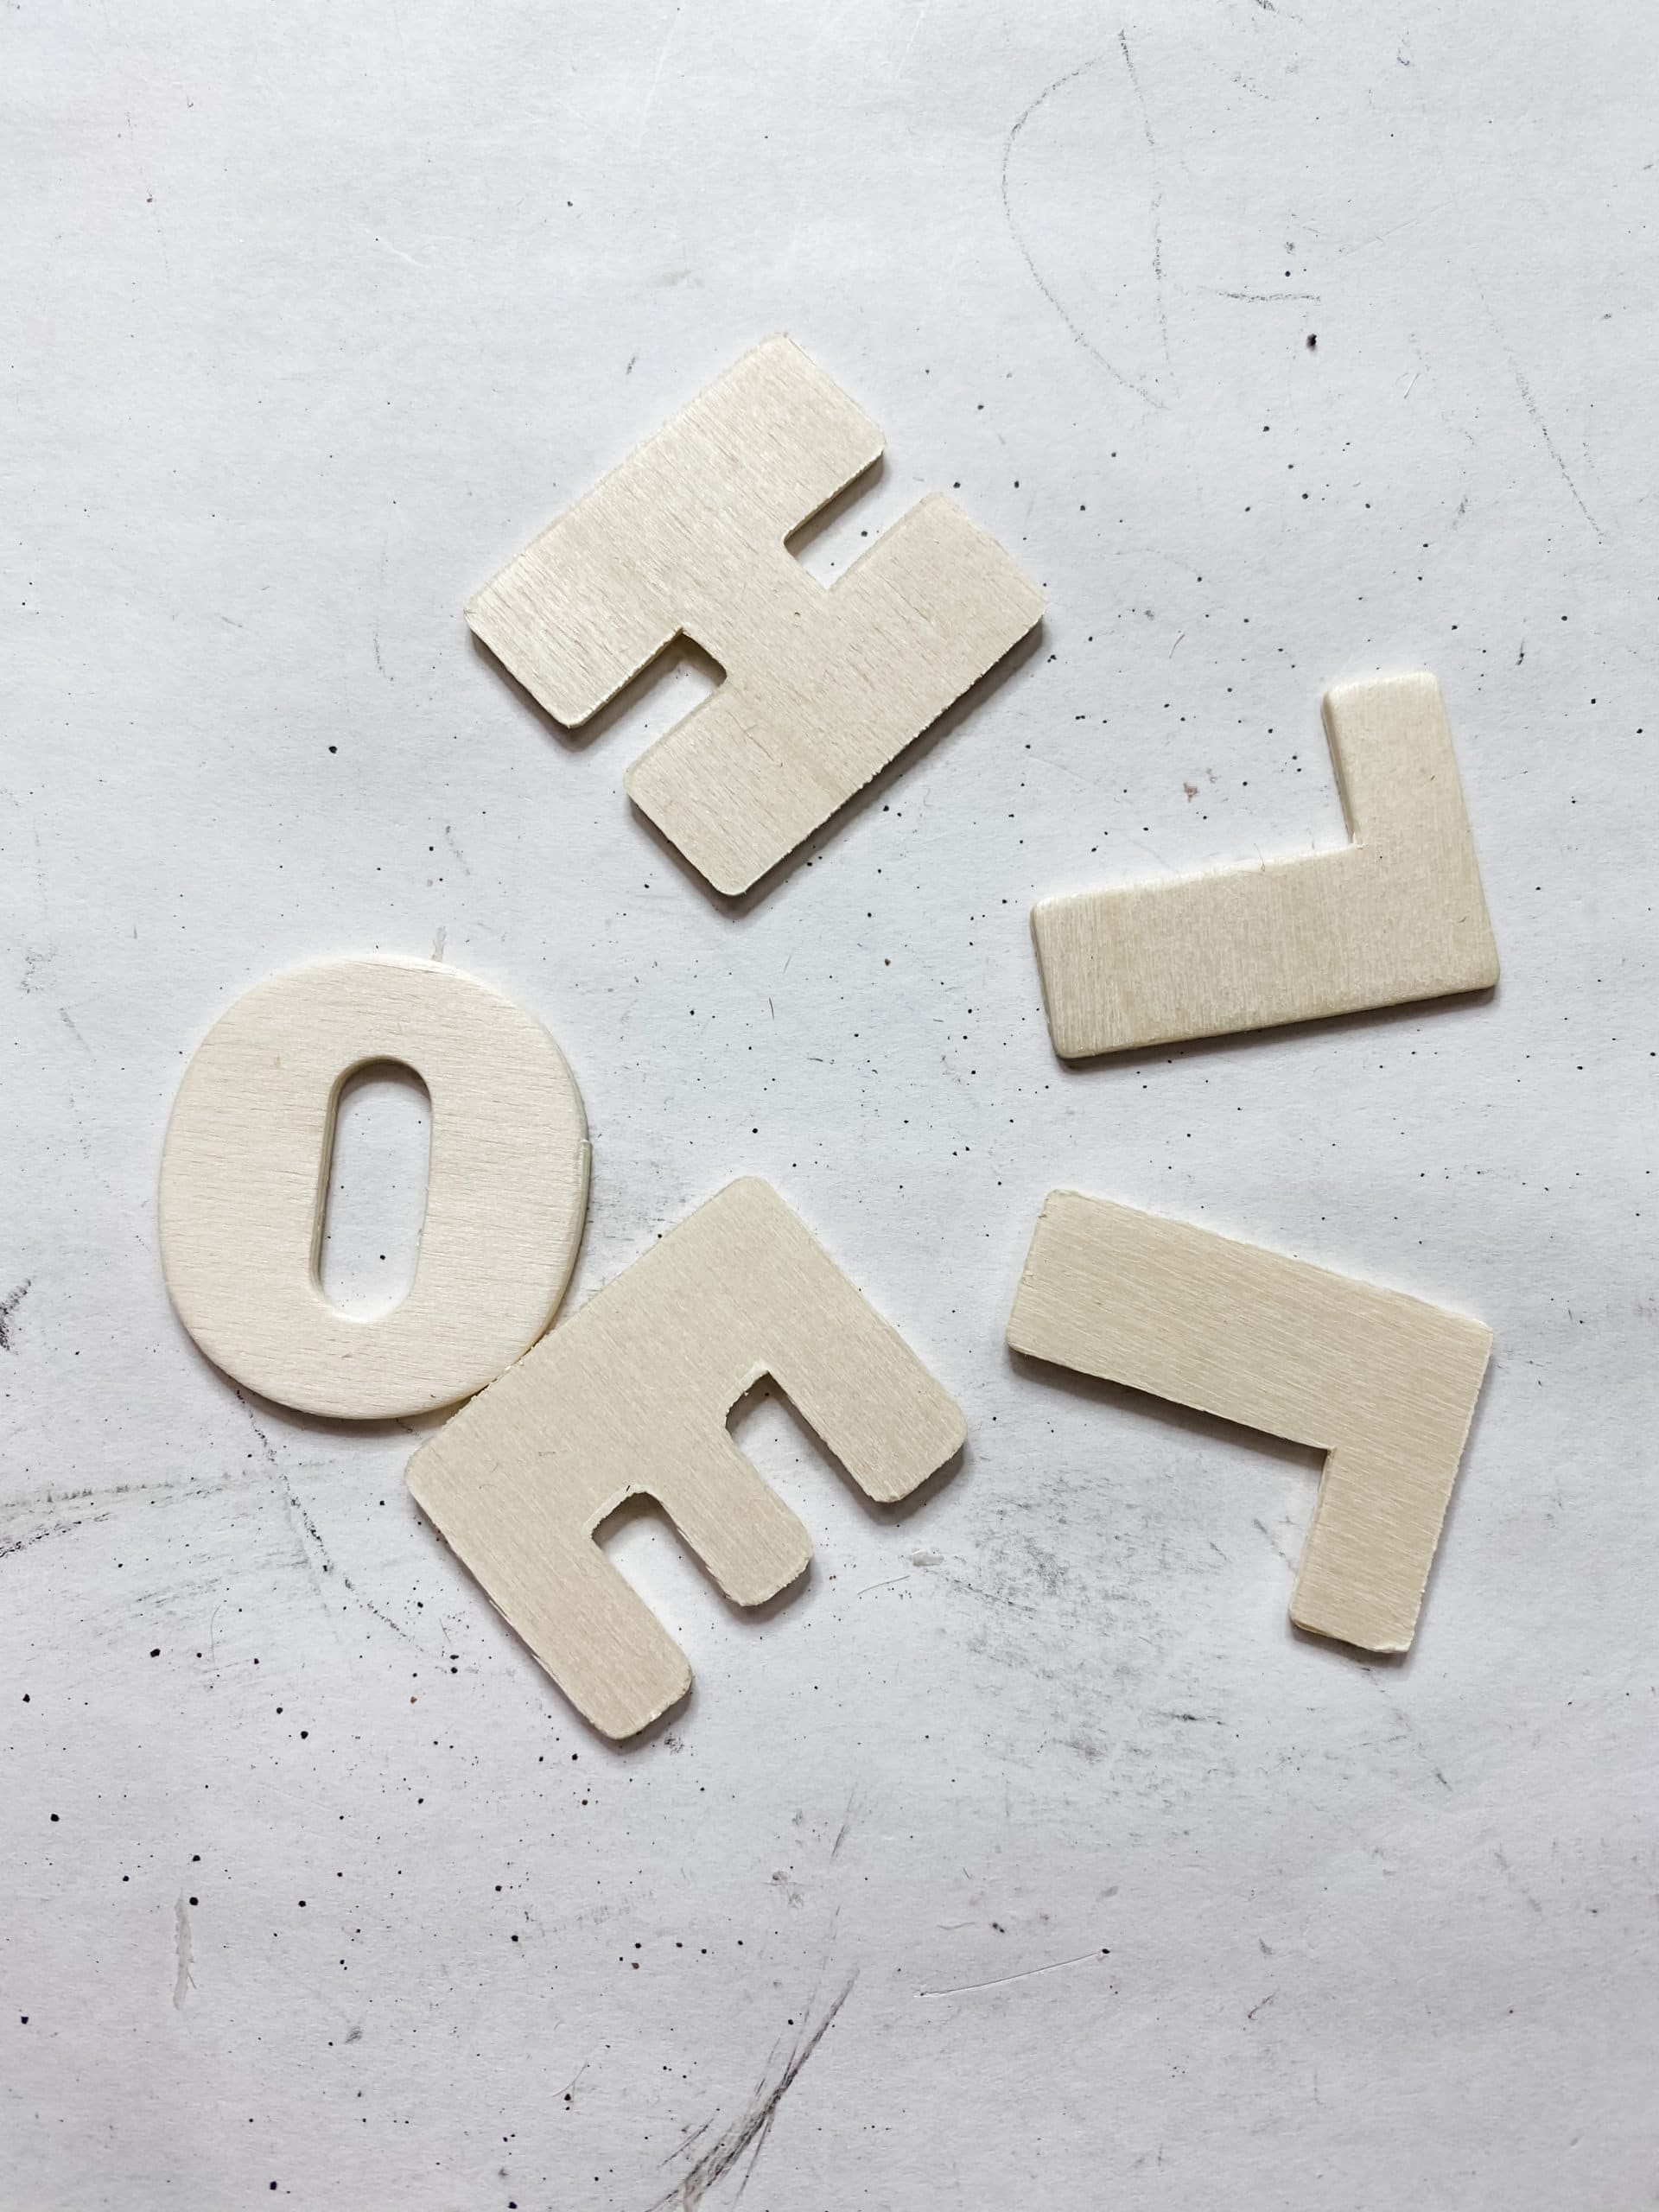
- Dollar Tree Wood Letters
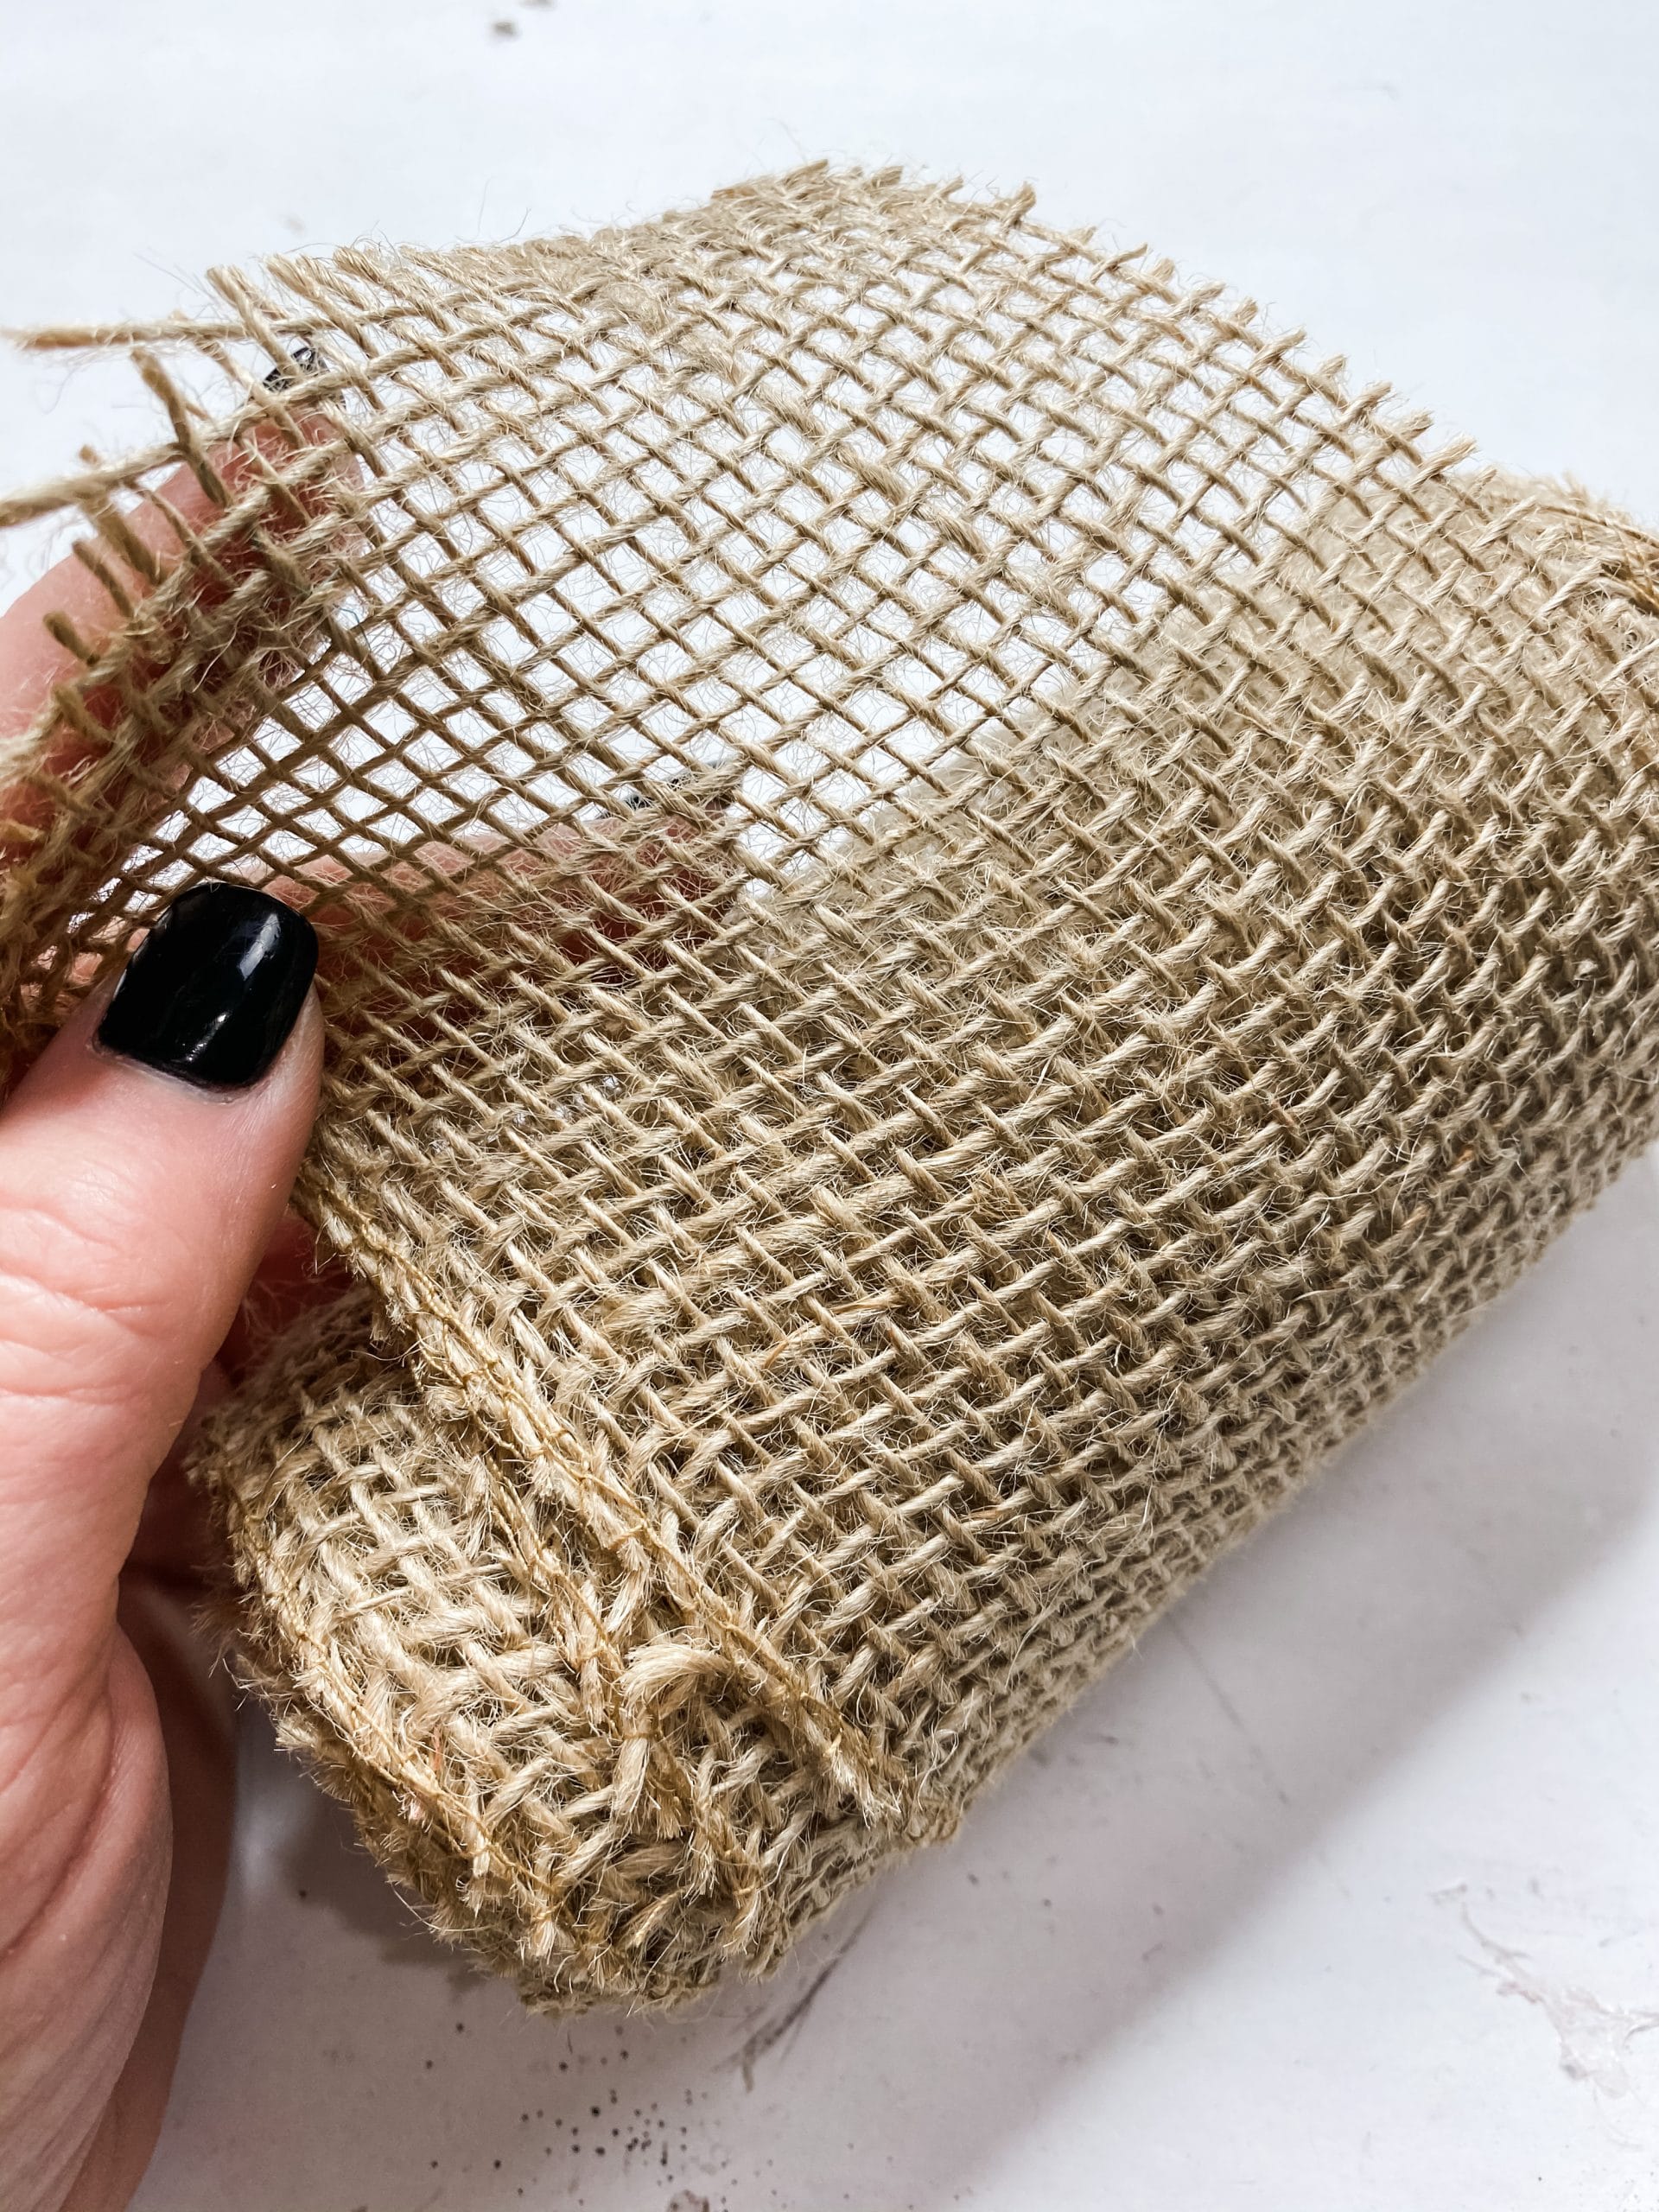
- Burlap Ribbon (Hobby Lobby)
- Picket Fence (Hobby Lobby)
- Shiplap Scrapbook Paper (Hobby Lobby)
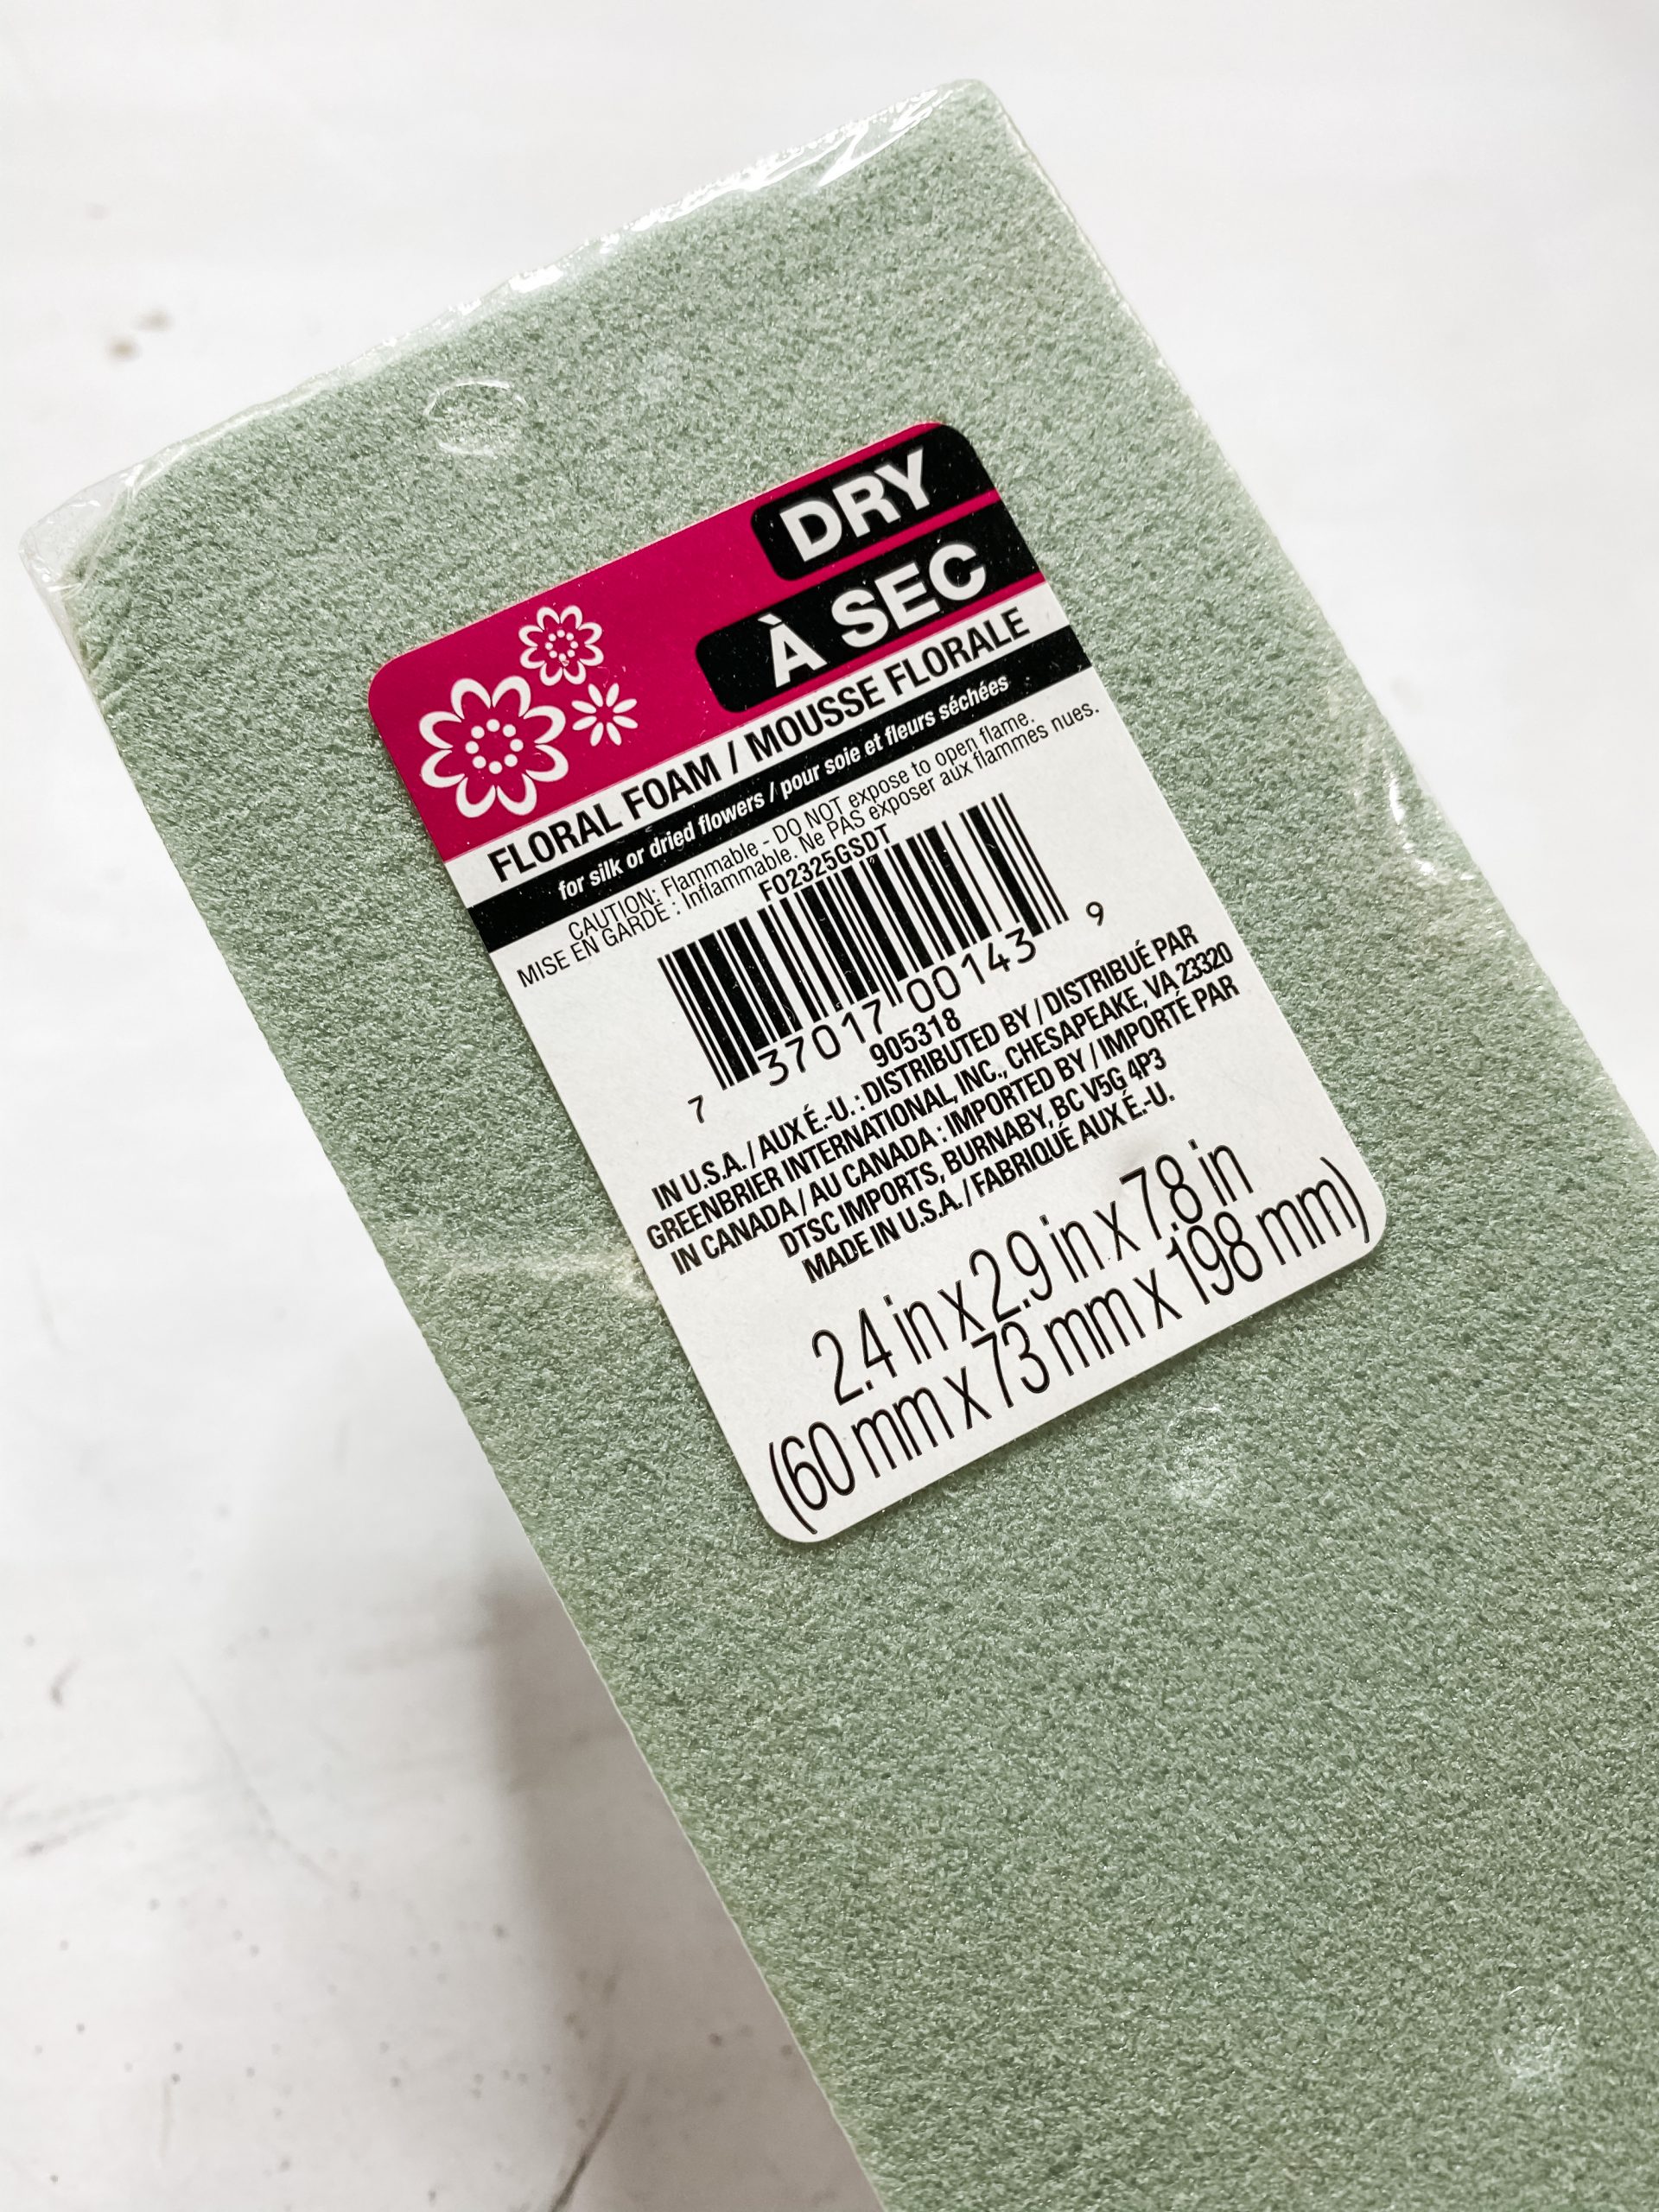
- Floral Foam
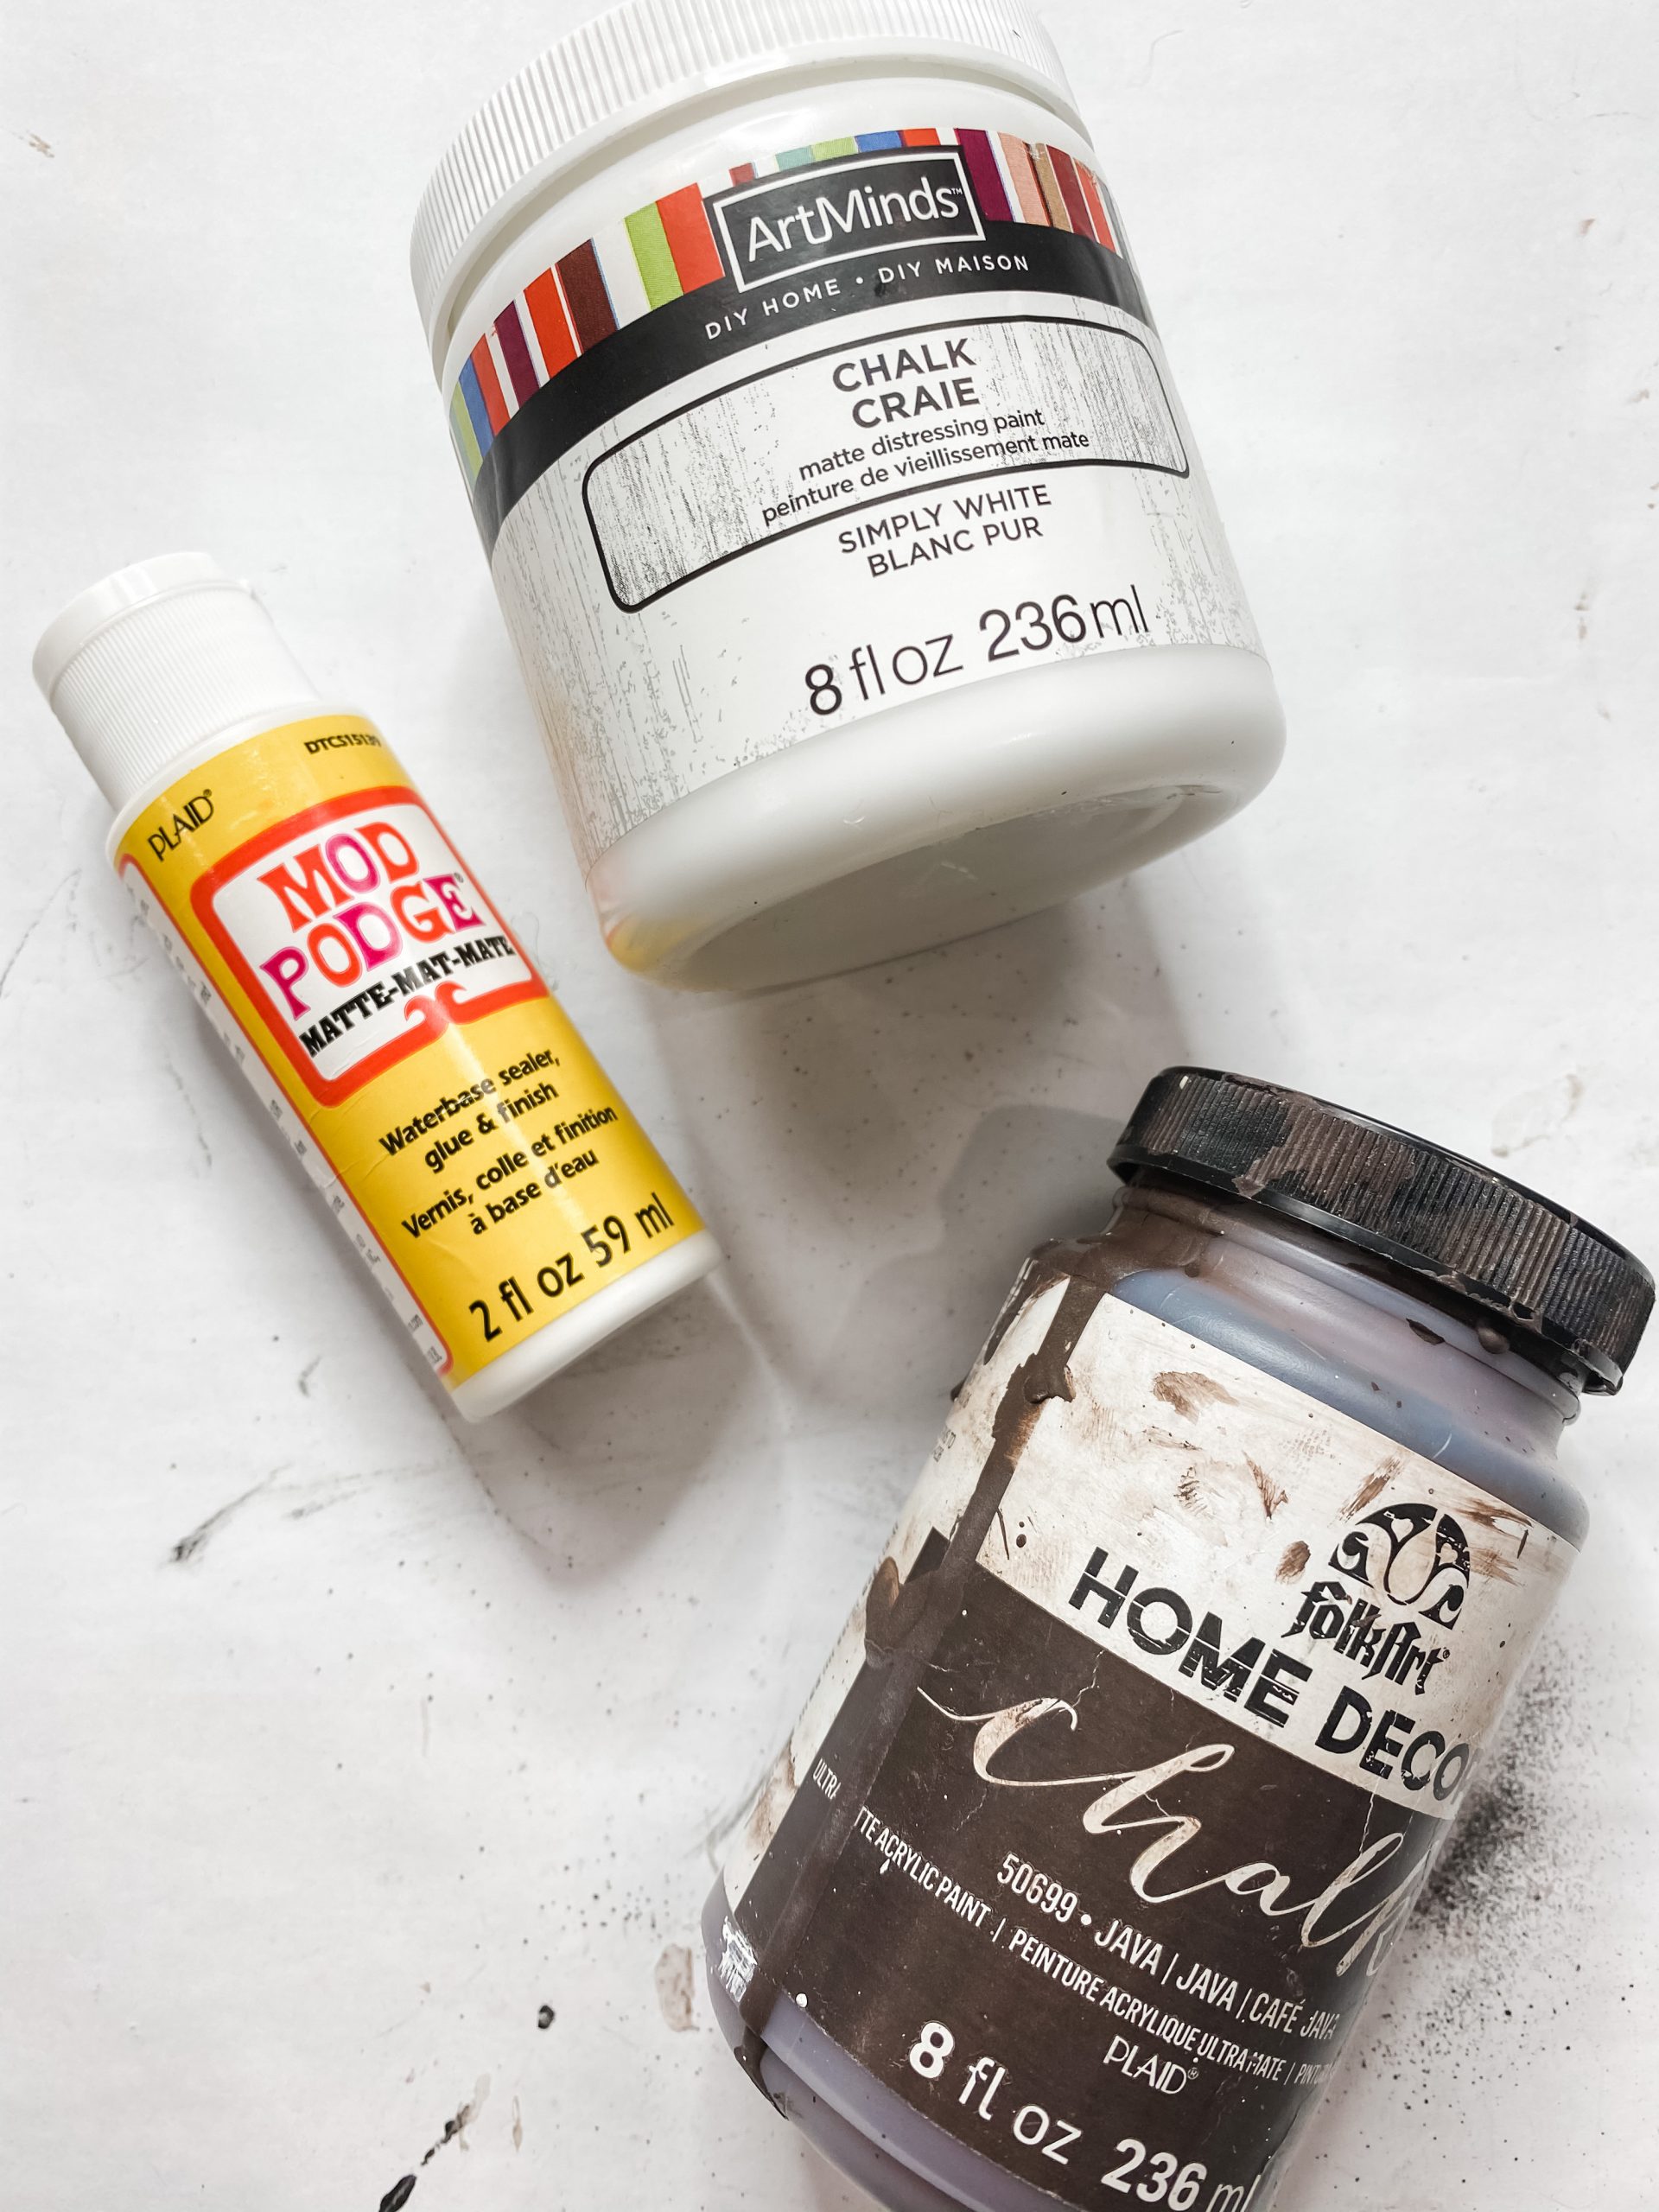
- Folkart Java Chalk Paint
- Art Minds White Chalk Paint
- Mod Podge
- Craft Stick
- Hot glue gun and glue sticks
- Heat Gun
*I didn’t use the Dollar Tree wood dowels or the Dollar Tree small burlap ribbon pictured below.
Let’s get crafty
I started making this spring Dollar Tree DIY by creating the stand for my Dollar Tree pie pan. For the base of this DIY project, I used Dollar Tree Tumbling Tower blocks.
For this base, you’ll need to glue the Tumbling Tower blocks together in different sections:
- 9 blocks in 3×3
- 3 blocks (1×3 longways)
- 2 blocks longways (you need 3 of these)
- 2 blocks stacked flat
You’ll need 5 more blocks that you’ll use to connect different parts of this base together.
Once you have all the blocks glued together in the arrangements listed above, hot glue the strip of 3 onto the middle of the block of 9.
Then, you’re going to stain all the wood blocks using Folkart Java Chalk Paint. Start by spraying the wood blocks with water. This will help the wood absorb the paint and give them a stained finish rather than a painted look.
Next, use a wet wipe to spread the brown paint across the surfaces of each wood block. Then, use a clean wet wipe to remove the excess brown paint.
Allow the wood to dry before moving on. I like to use my heat gun to speed up the drying process. If you don’t have one, you can use a hairdryer on the low cool setting.
Start painting
Grab your Dollar Tree pie pan and the Folkart Java Chalk paint. You’re going to paint an even coat of brown paint on the face and inside of the pie pan.
Once the brown paint was dried, I used a dry chippy paintbrush to paint over the face and inside edges of the pie pan with ArtMinds White Chalk Paint.
This was not a paint that I had used before, but I saw it at Michael’s and decided to give it a try.
How to decoupage
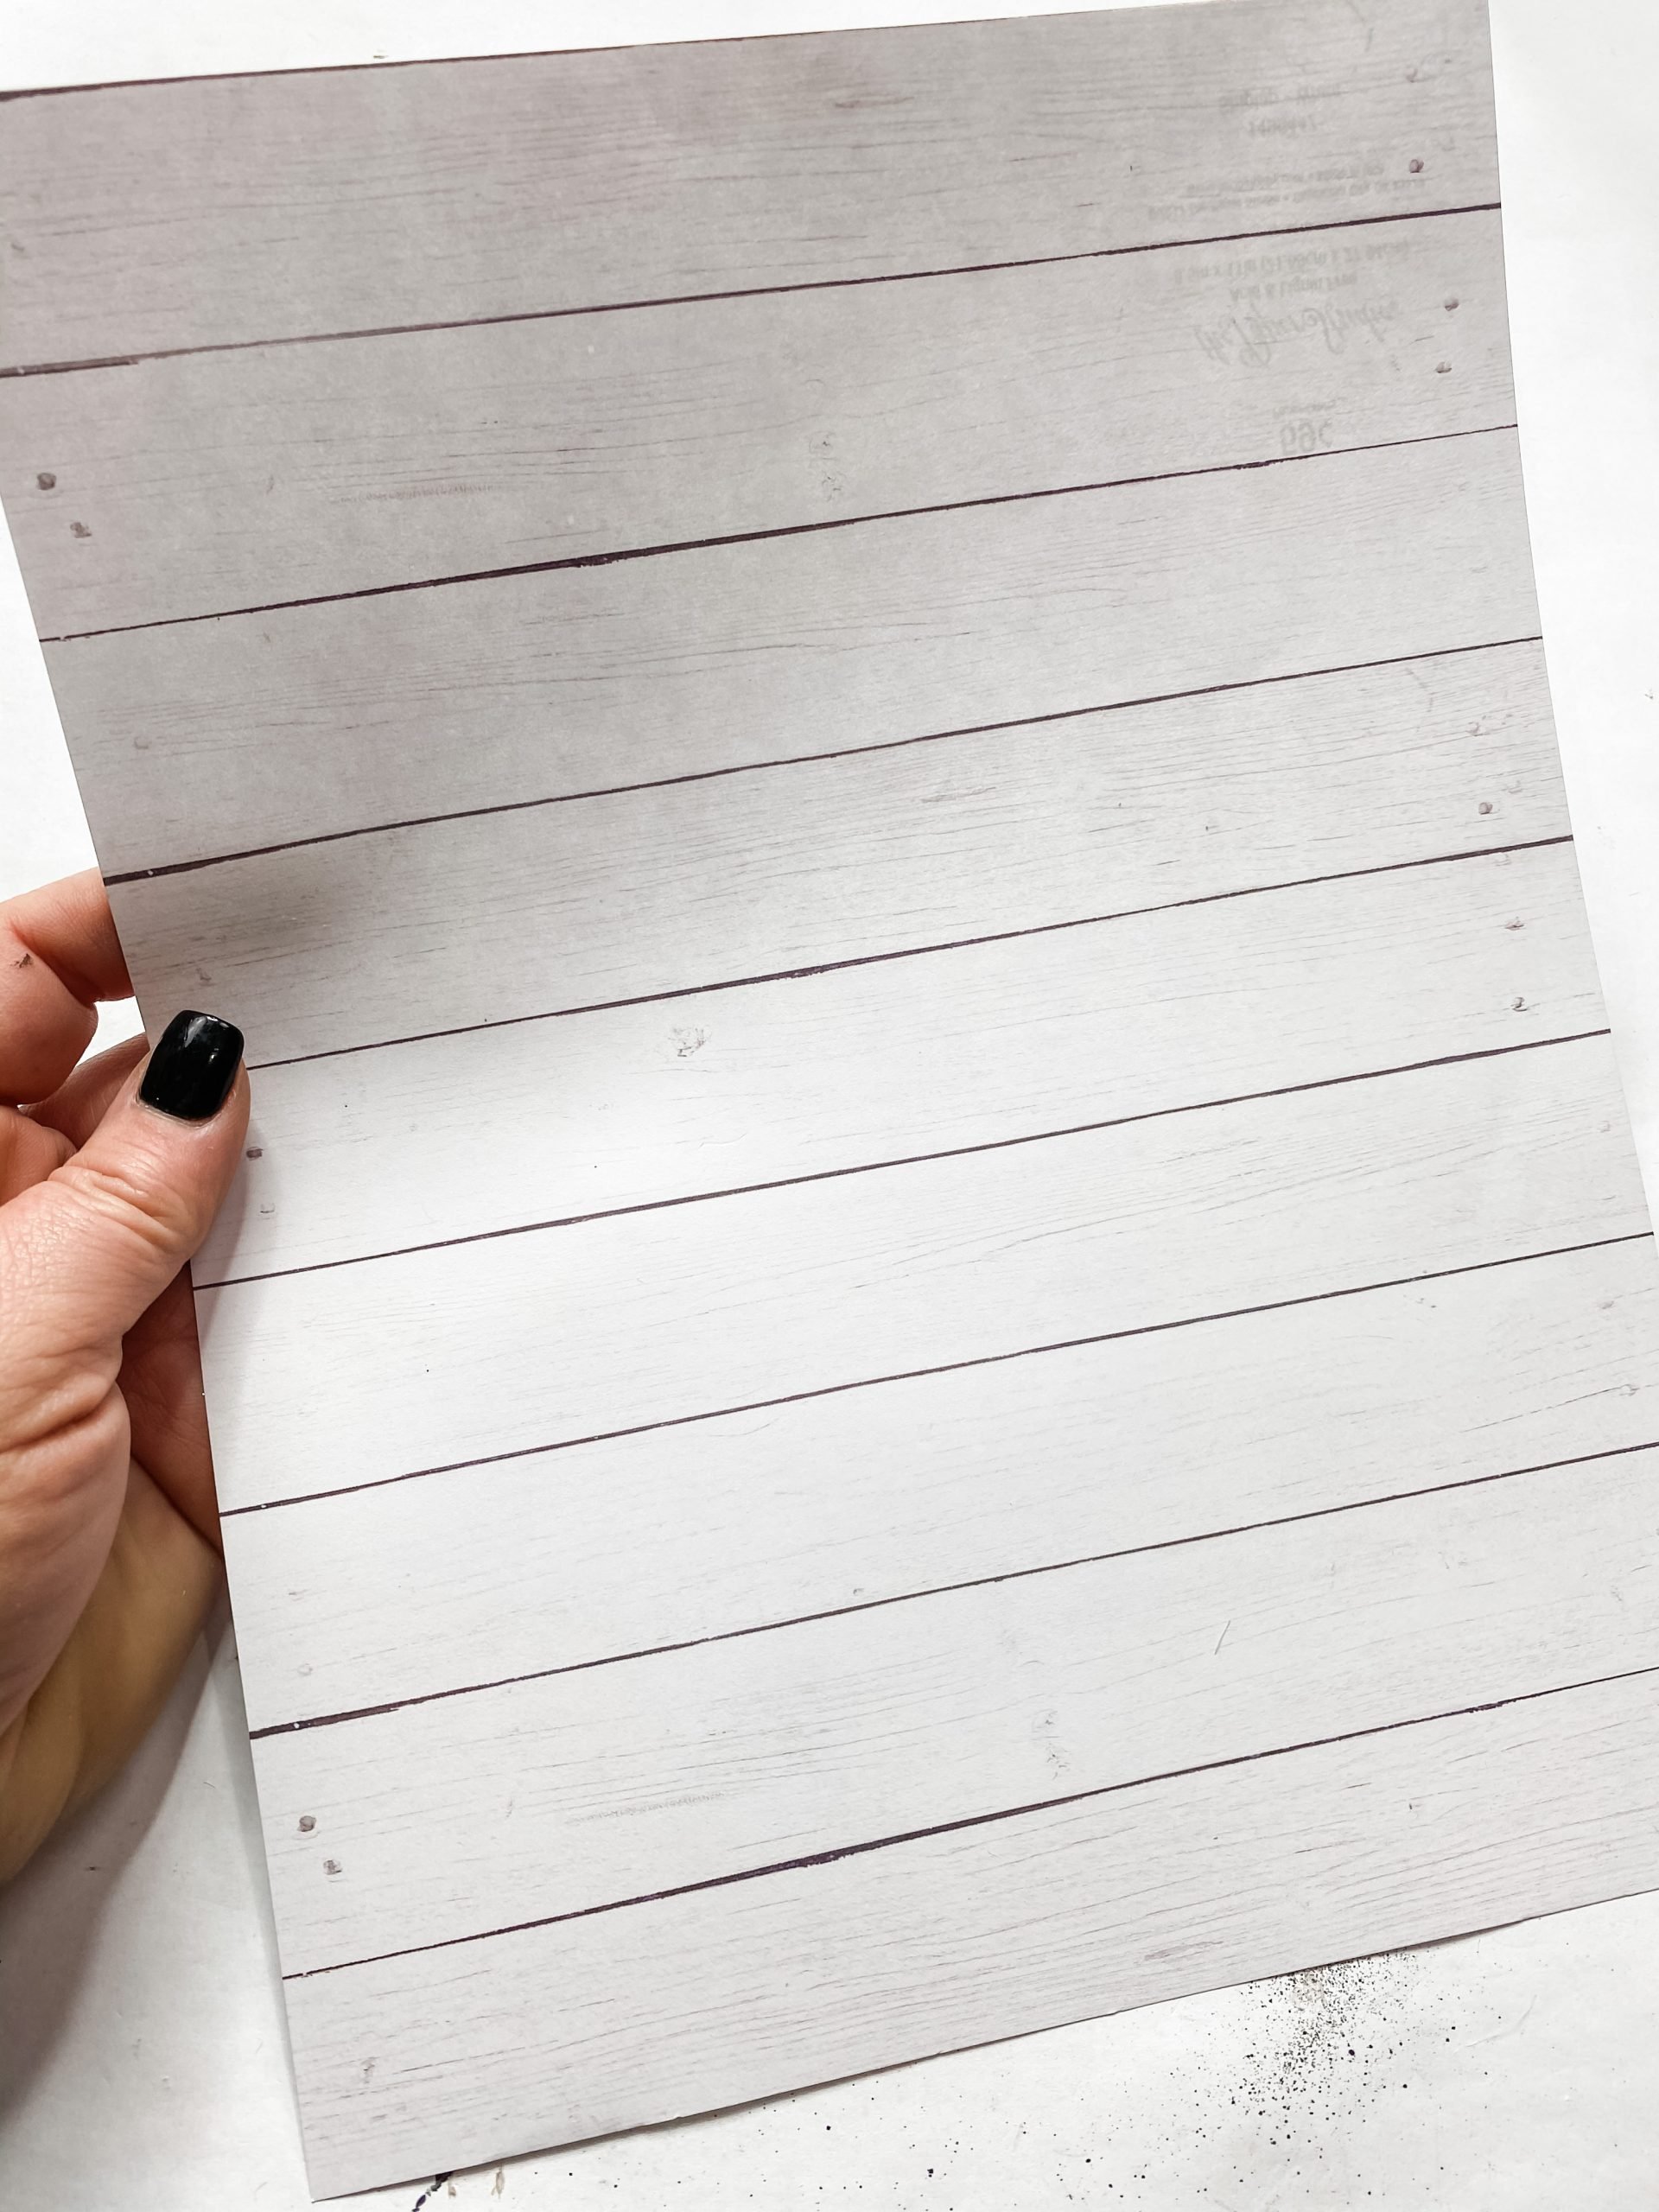
Dry the white paint, and get your scrapbook paper. I used this Hobby Lobby faux shiplap scrapbook paper for the background of this easy Dollar Tree DIY.
I flipped the pie pan over, placed the scrapbook paper on the back of the pan, and used my fingers to crease the paper around the edge of the pie pan.
Cut the circle out of the scrapbook paper. Then, apply a coat of Mod Podge to the inside face of the Dollar Tree pie pan. Now, carefully place the scrapbook paper cut out onto the coat of Mod Podge.
You want to avoid creating as many wrinkles and creases as you can. If any form, you can use a piece of plastic saran wrap to smooth out the imperfections.
Assemble the base
This part may be a little tricky to explain, so if you get confused, check out the Facebook LIVE replay at 1:06:45 to see exactly how I assembled the base.
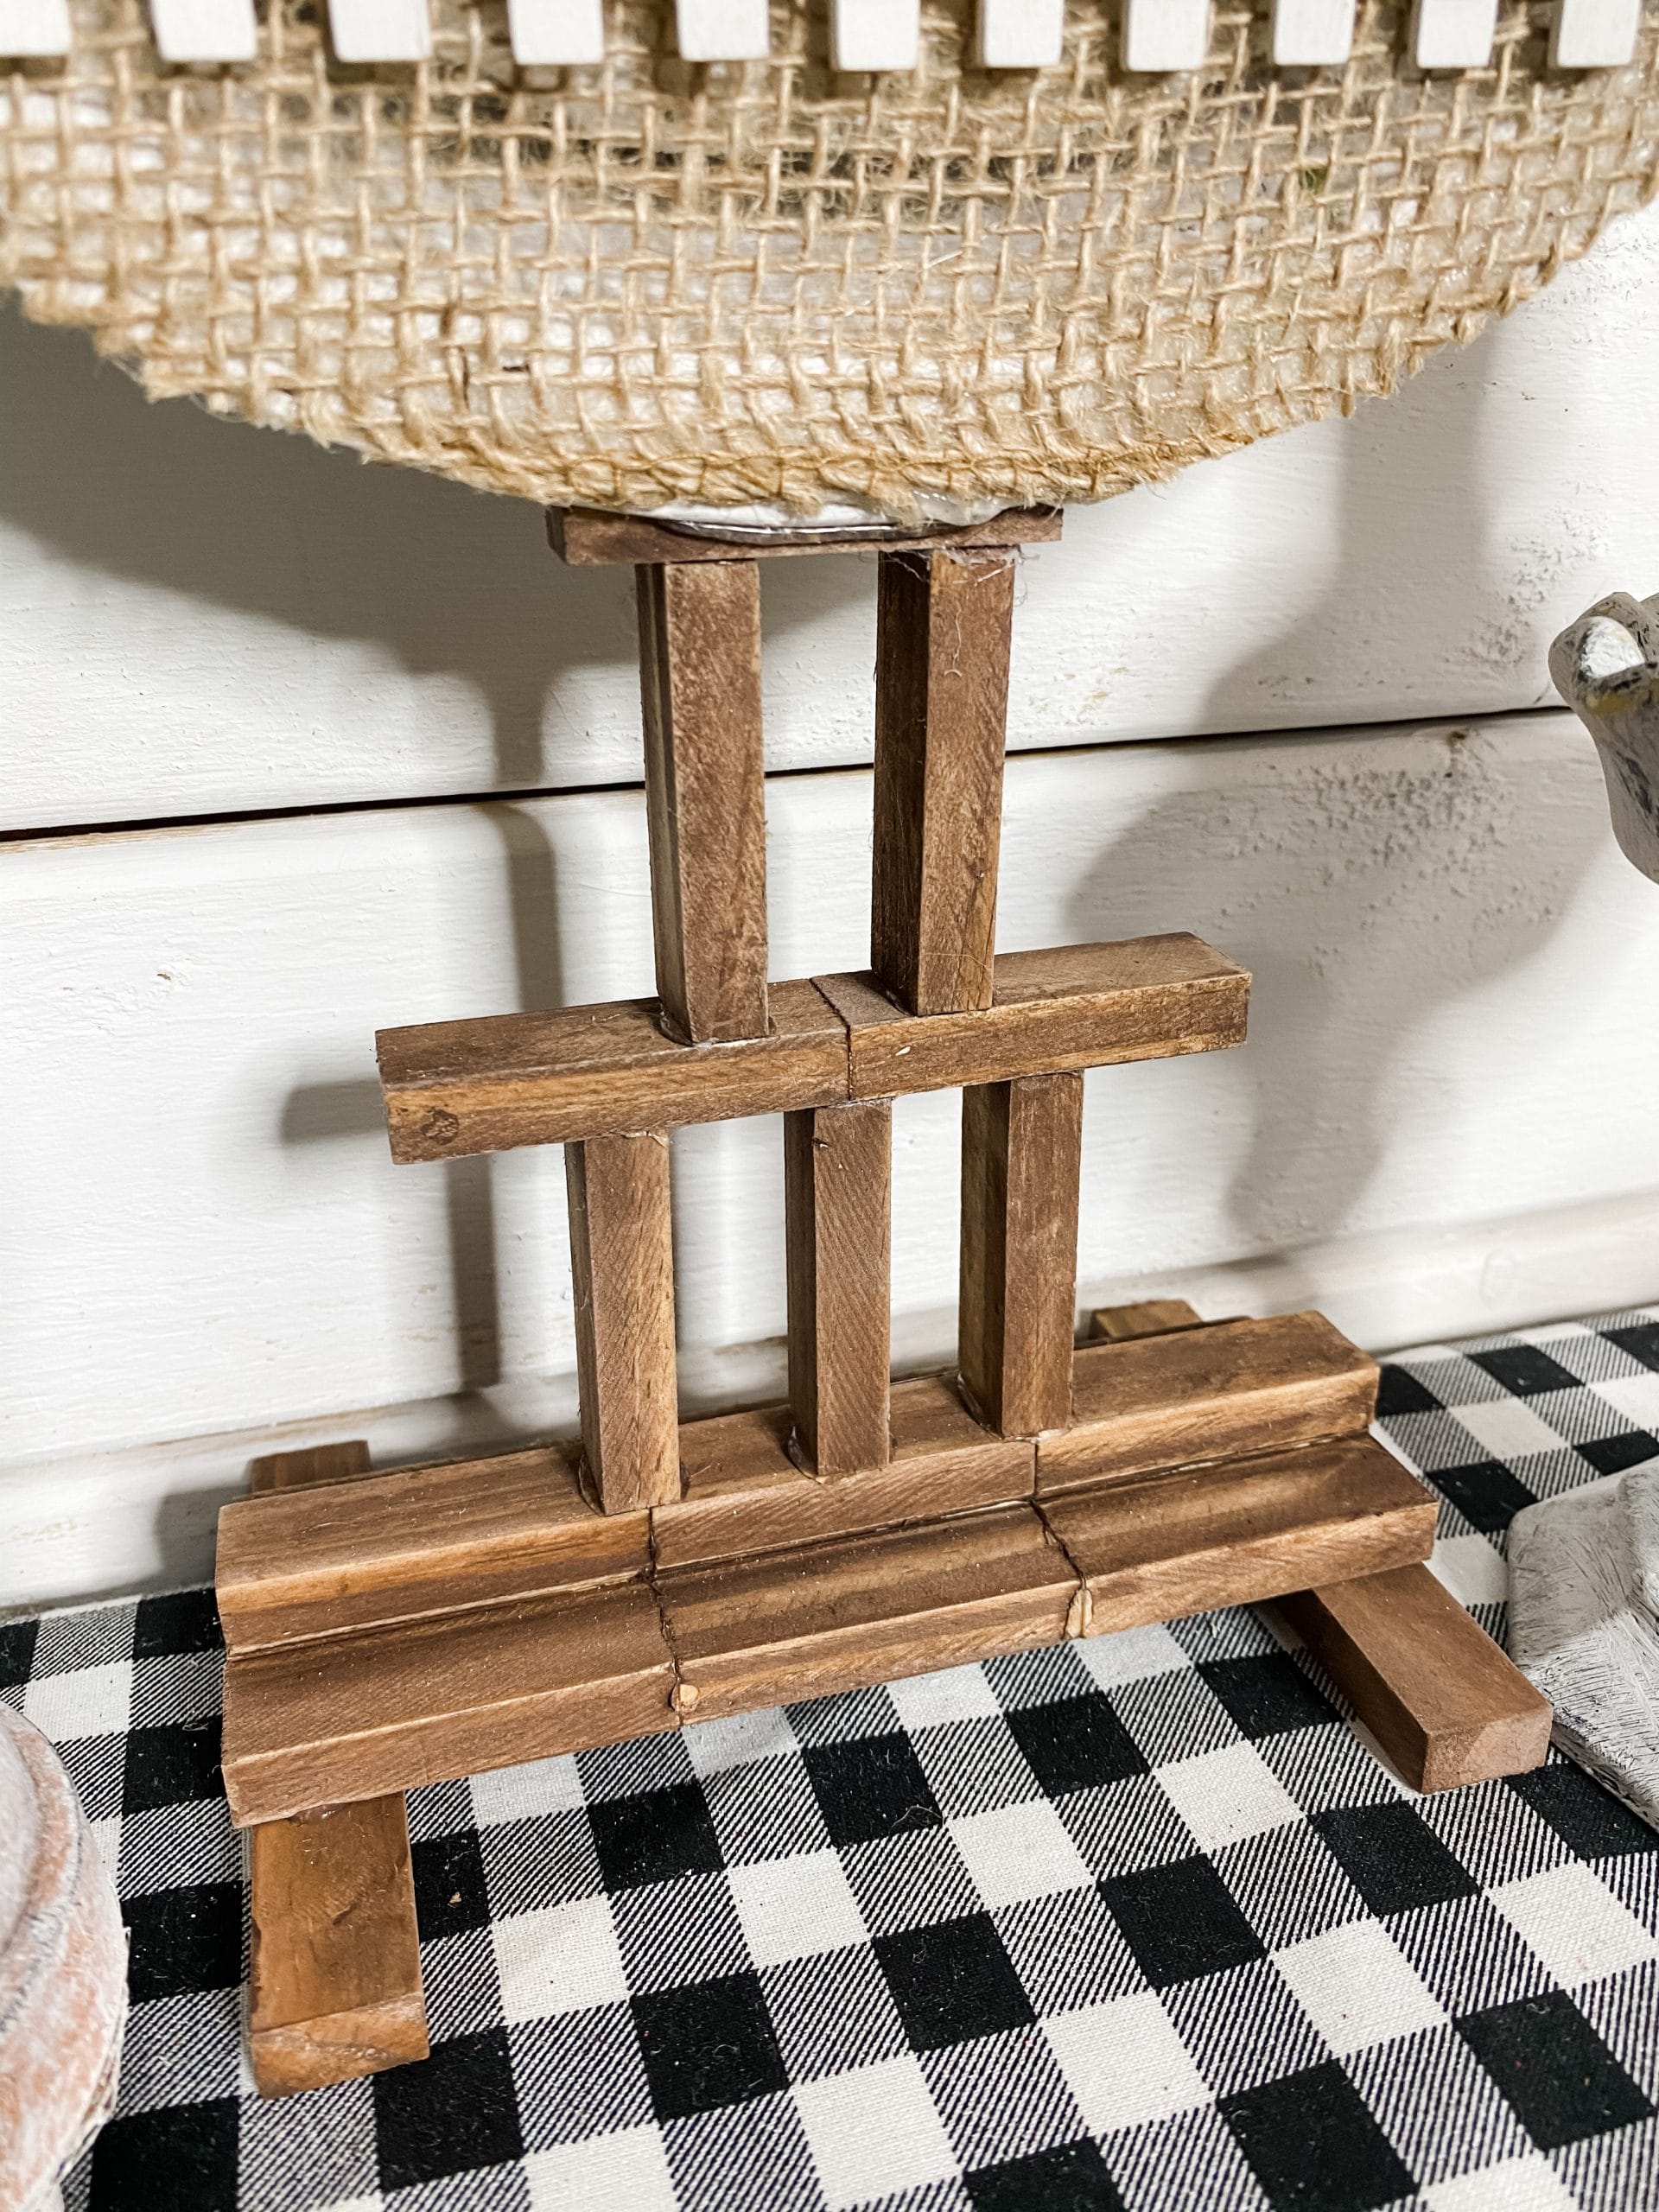
You’re going to hot glue 3 of the stained Dollar Tree Tumbling Tower blocks to the center of the 1×3 strip already glued to the center of the 3×3 piece.
Then, hot glue a 1×2 strip to the top of those 3 pillars you just attached. Next, hot glue 2 more pillars on top of the 1×2 strip. The next piece you’ll need is the 2 stacked Tumbling Tower blocks.
You’re going to hot glue those on top of the 2 pillars. You’ll be left with 2 1×2 strips. Save those, we will add them at the end.
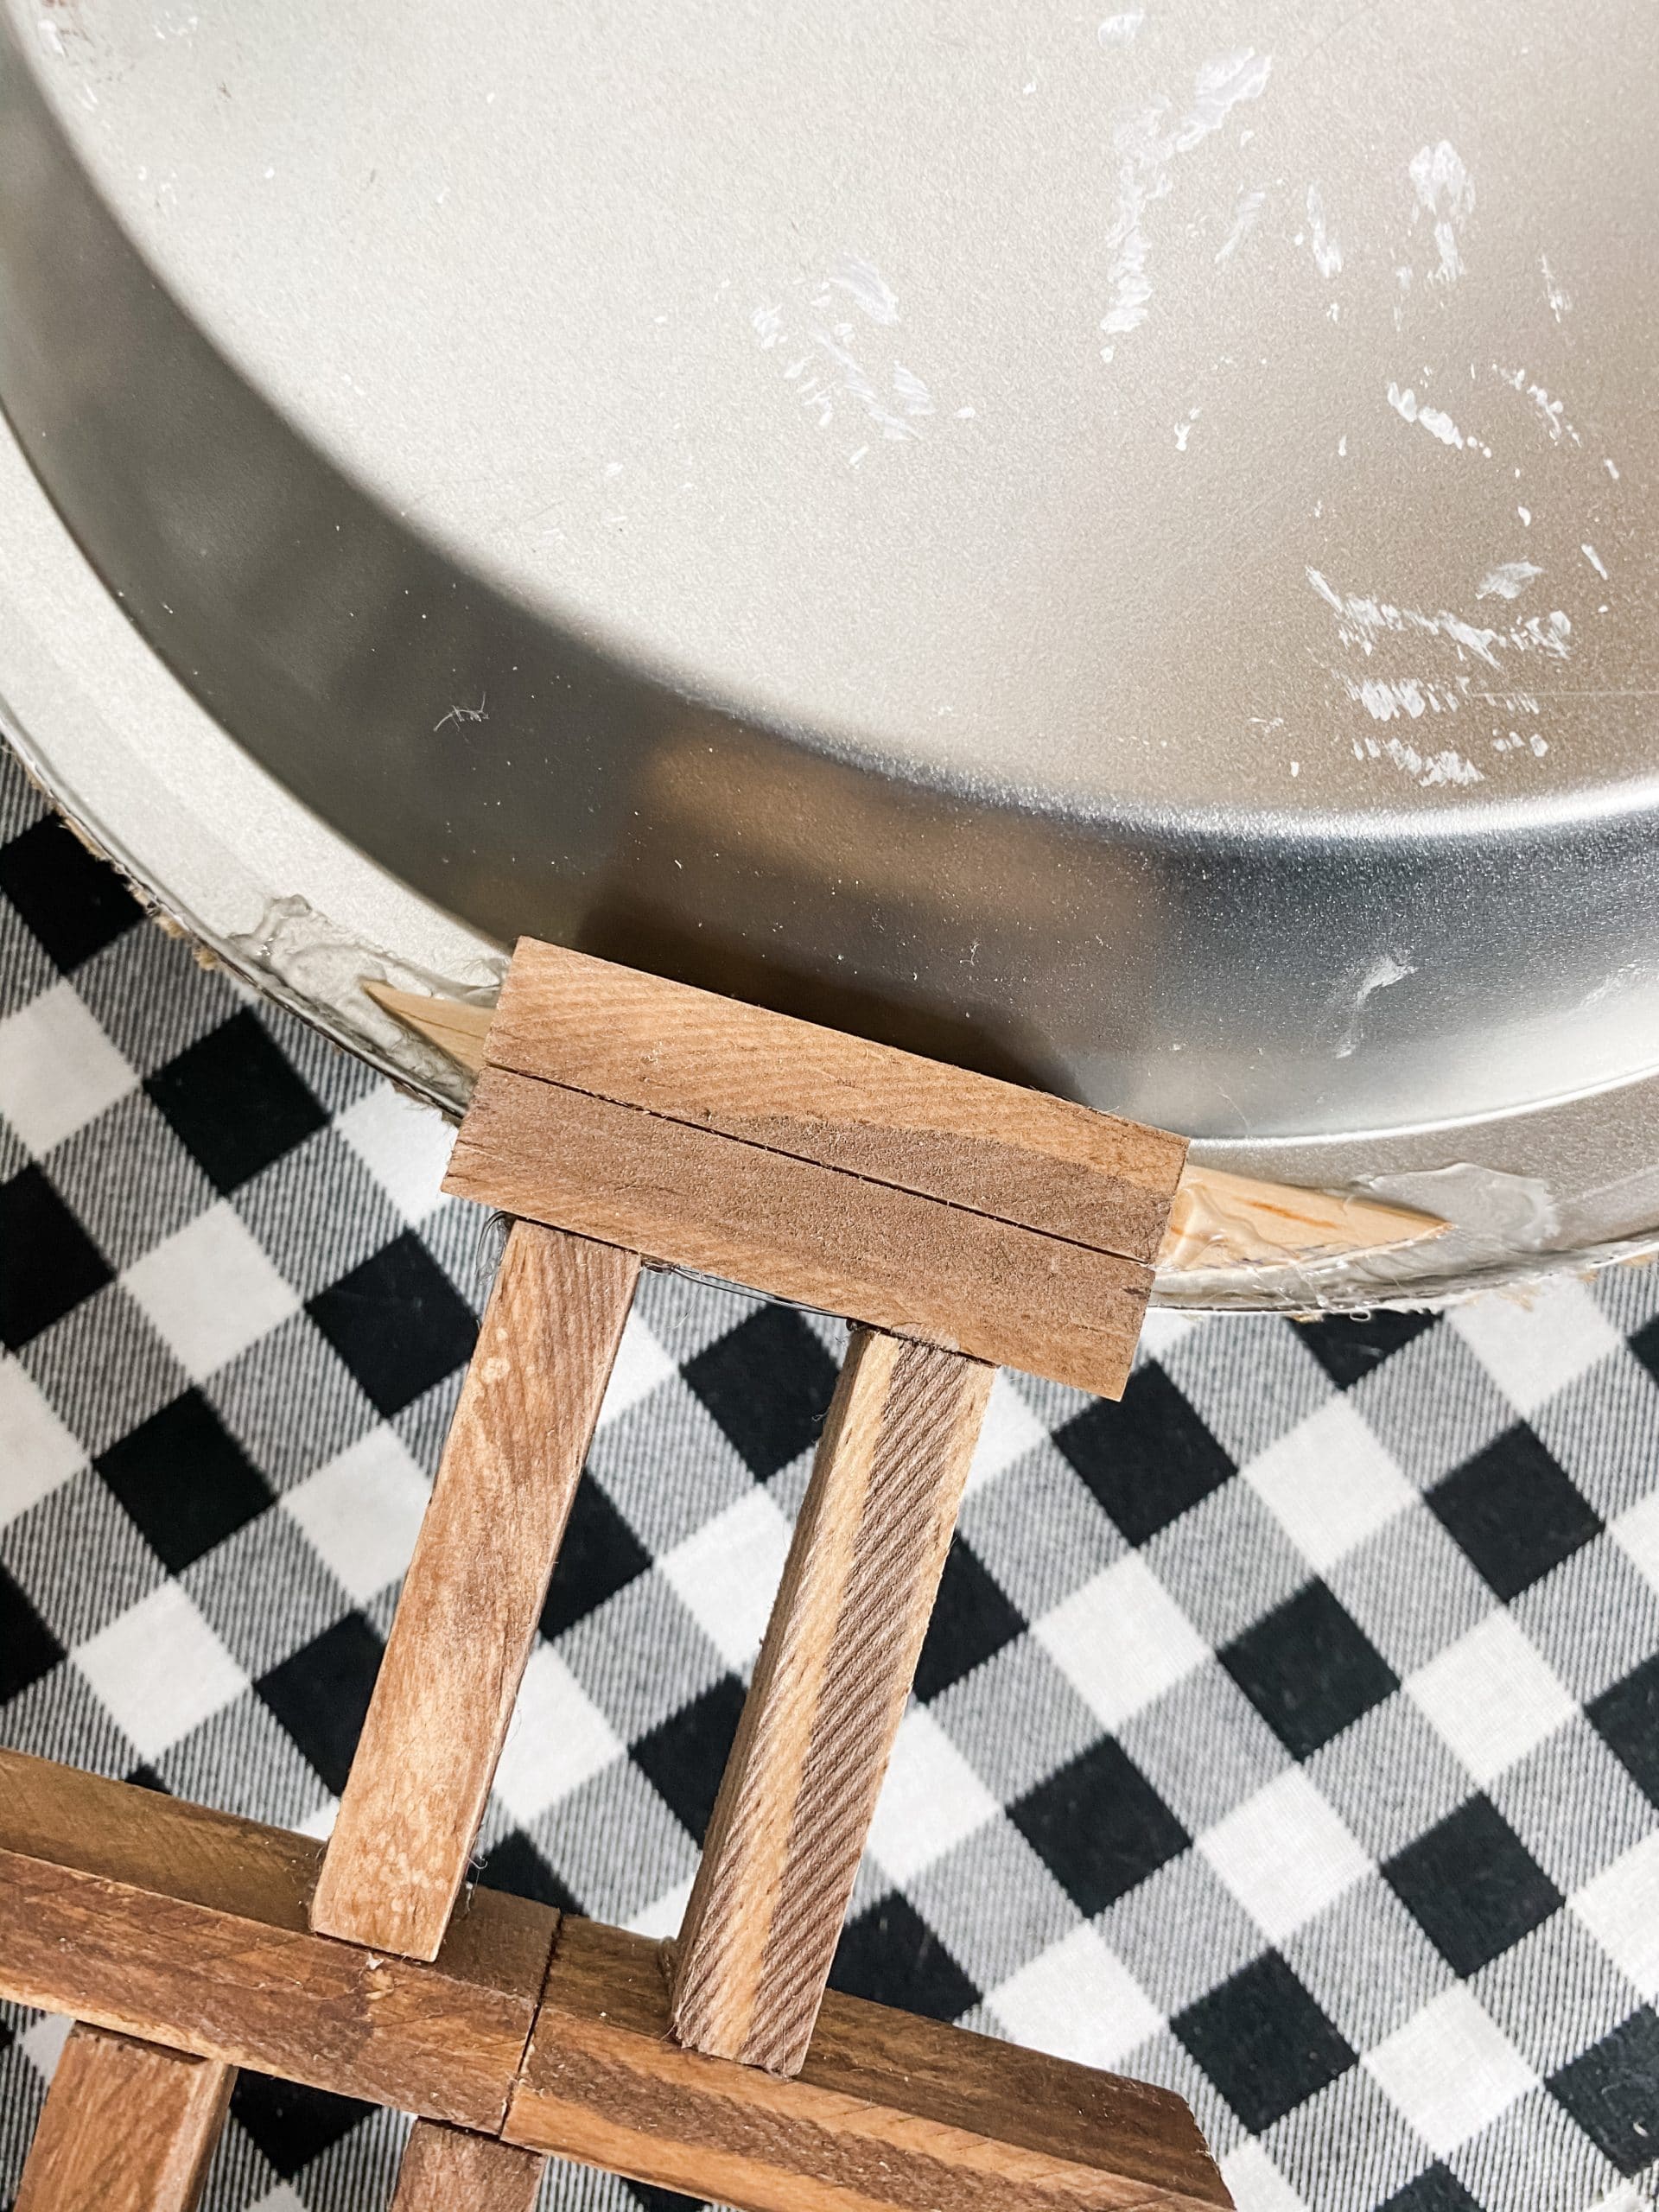
To attach the base to the Dollar Tree pie pan, I had to hot glue a piece of a popsicle stick to the back of the pie pan. This is where you’ll hot glue the base in place. But we’ll get to that a bit later.
Start decorating
Cut a strip of burlap ribbon that will fit across the bottom of the Dollar Tree pie pan, and trim a piece of floral foam to fit into the bottom of the pie pan. I used a putty knife to slice the floral foam and trim it to the right size.
Once you have the floral foam the right size, paint it white with the ArtMinds white chalk paint. We don’t want the green color peeking through the burlap ribbon.
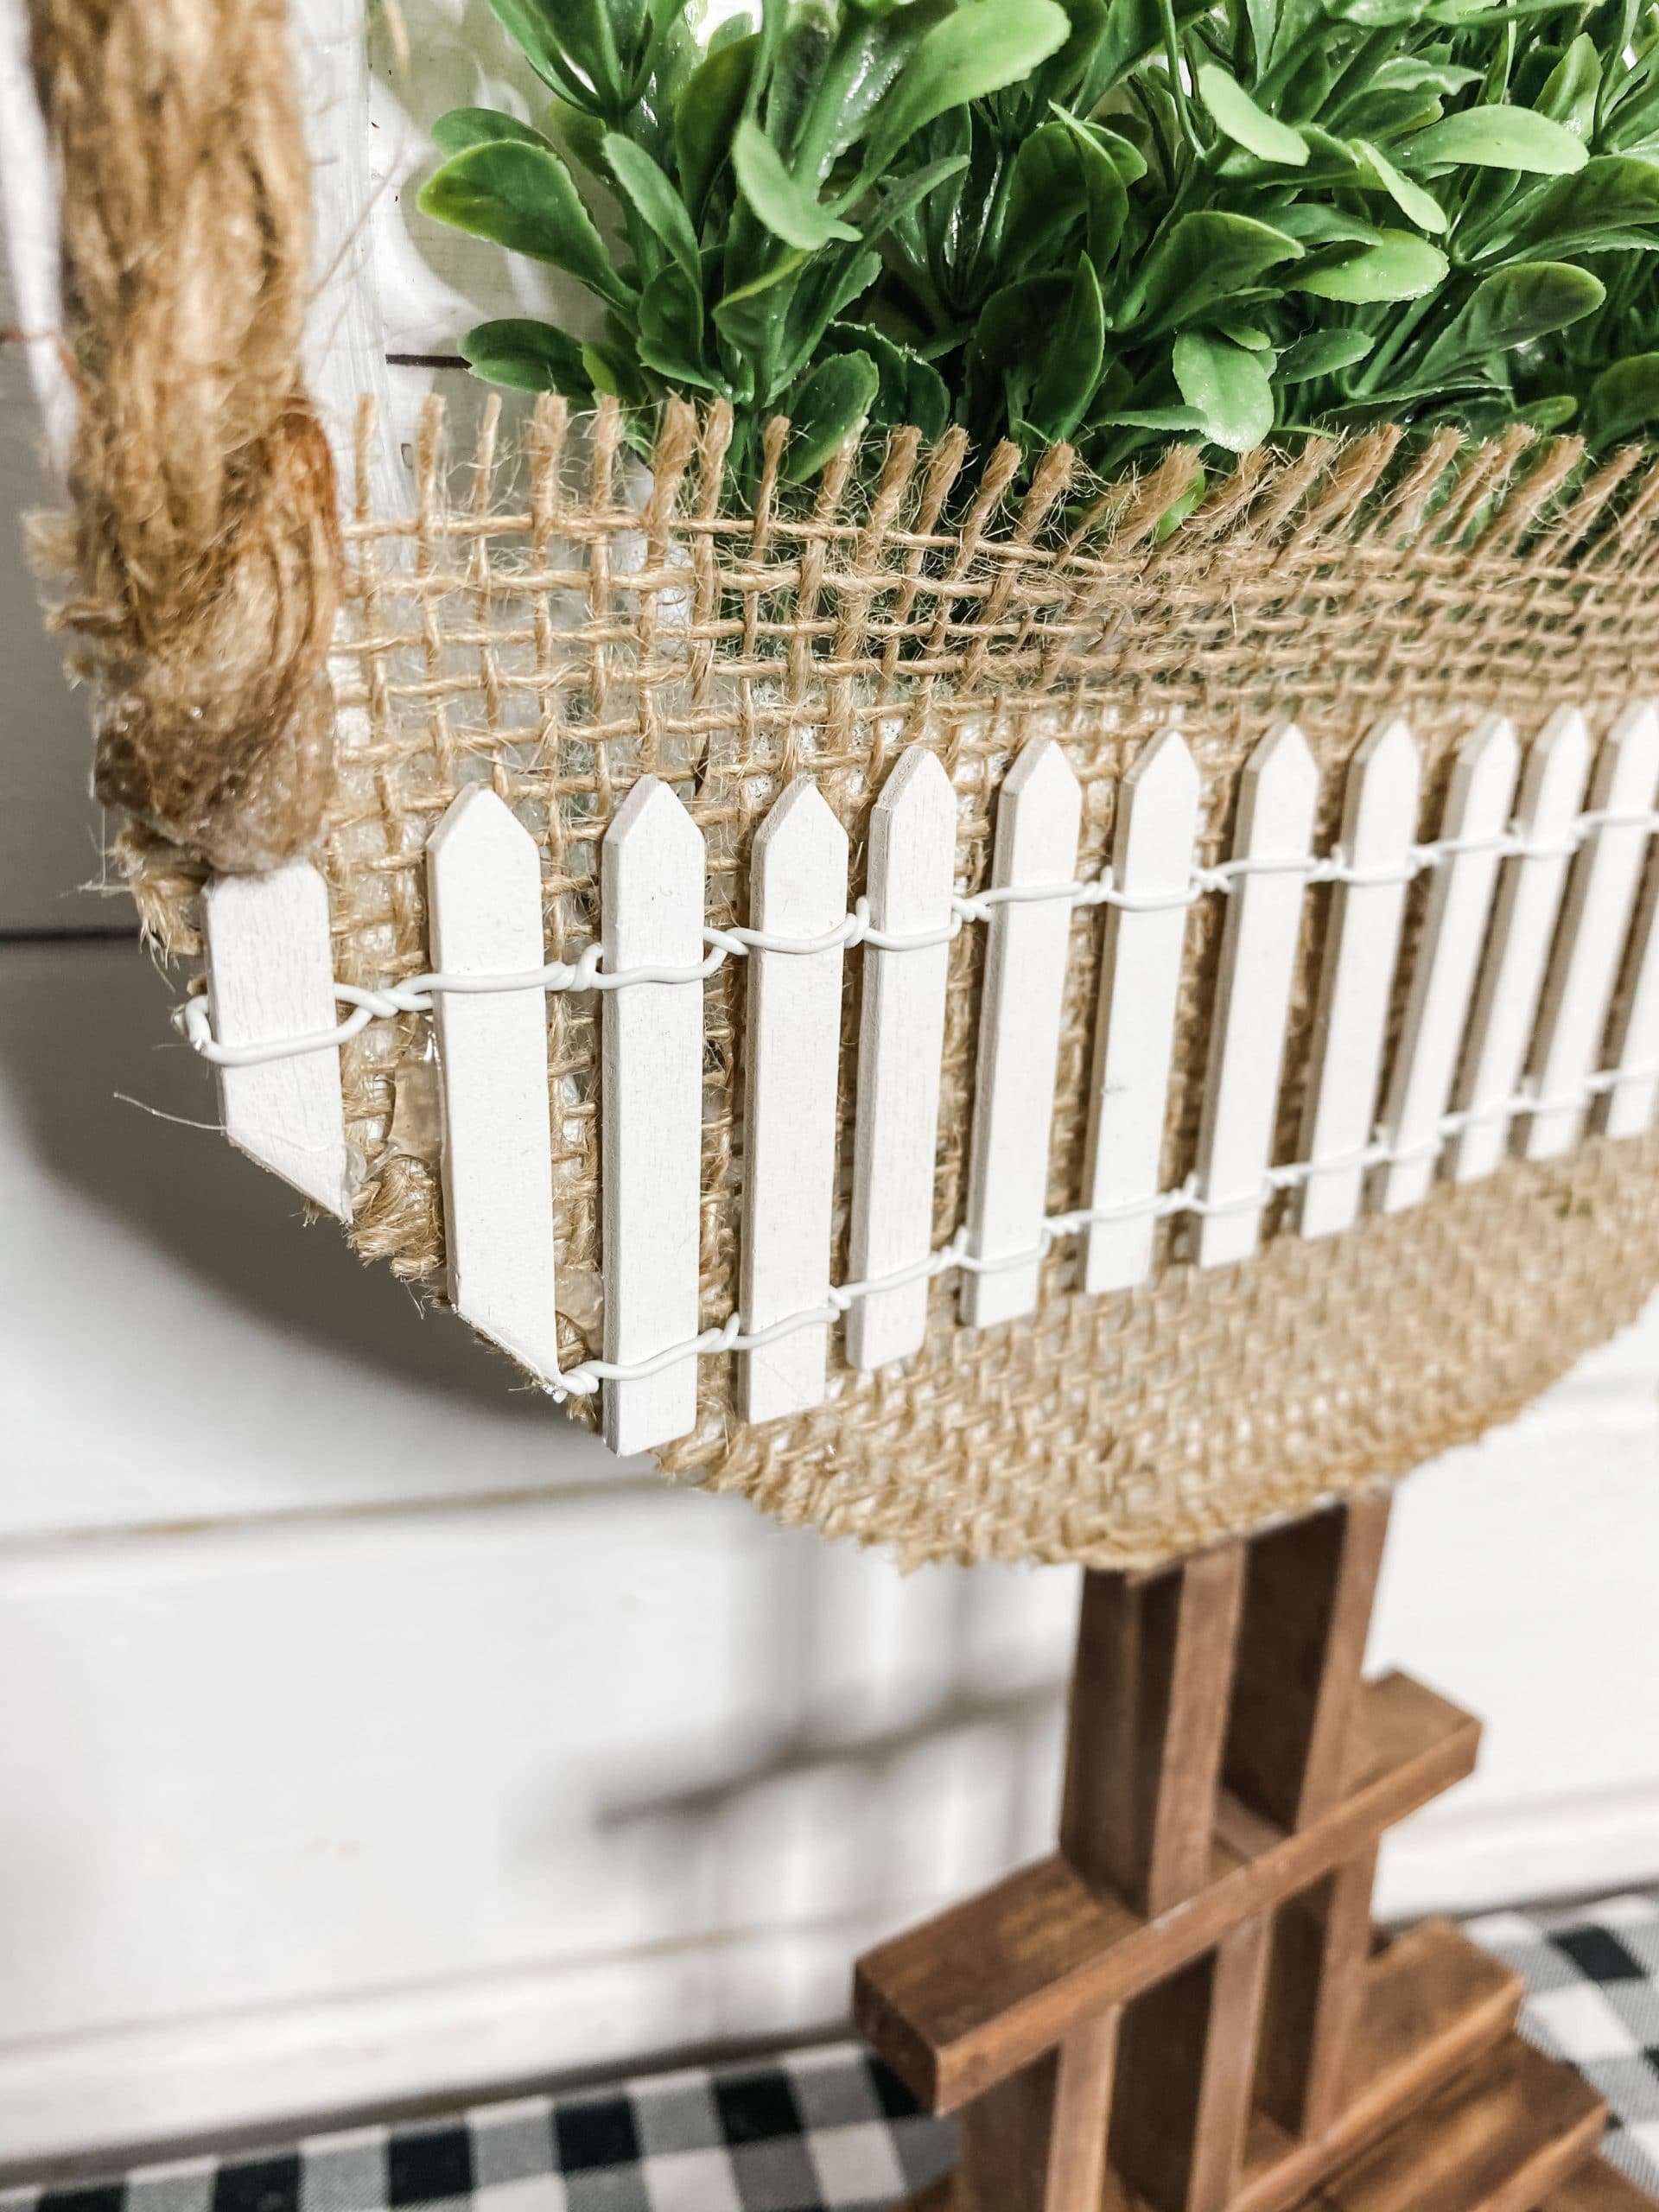
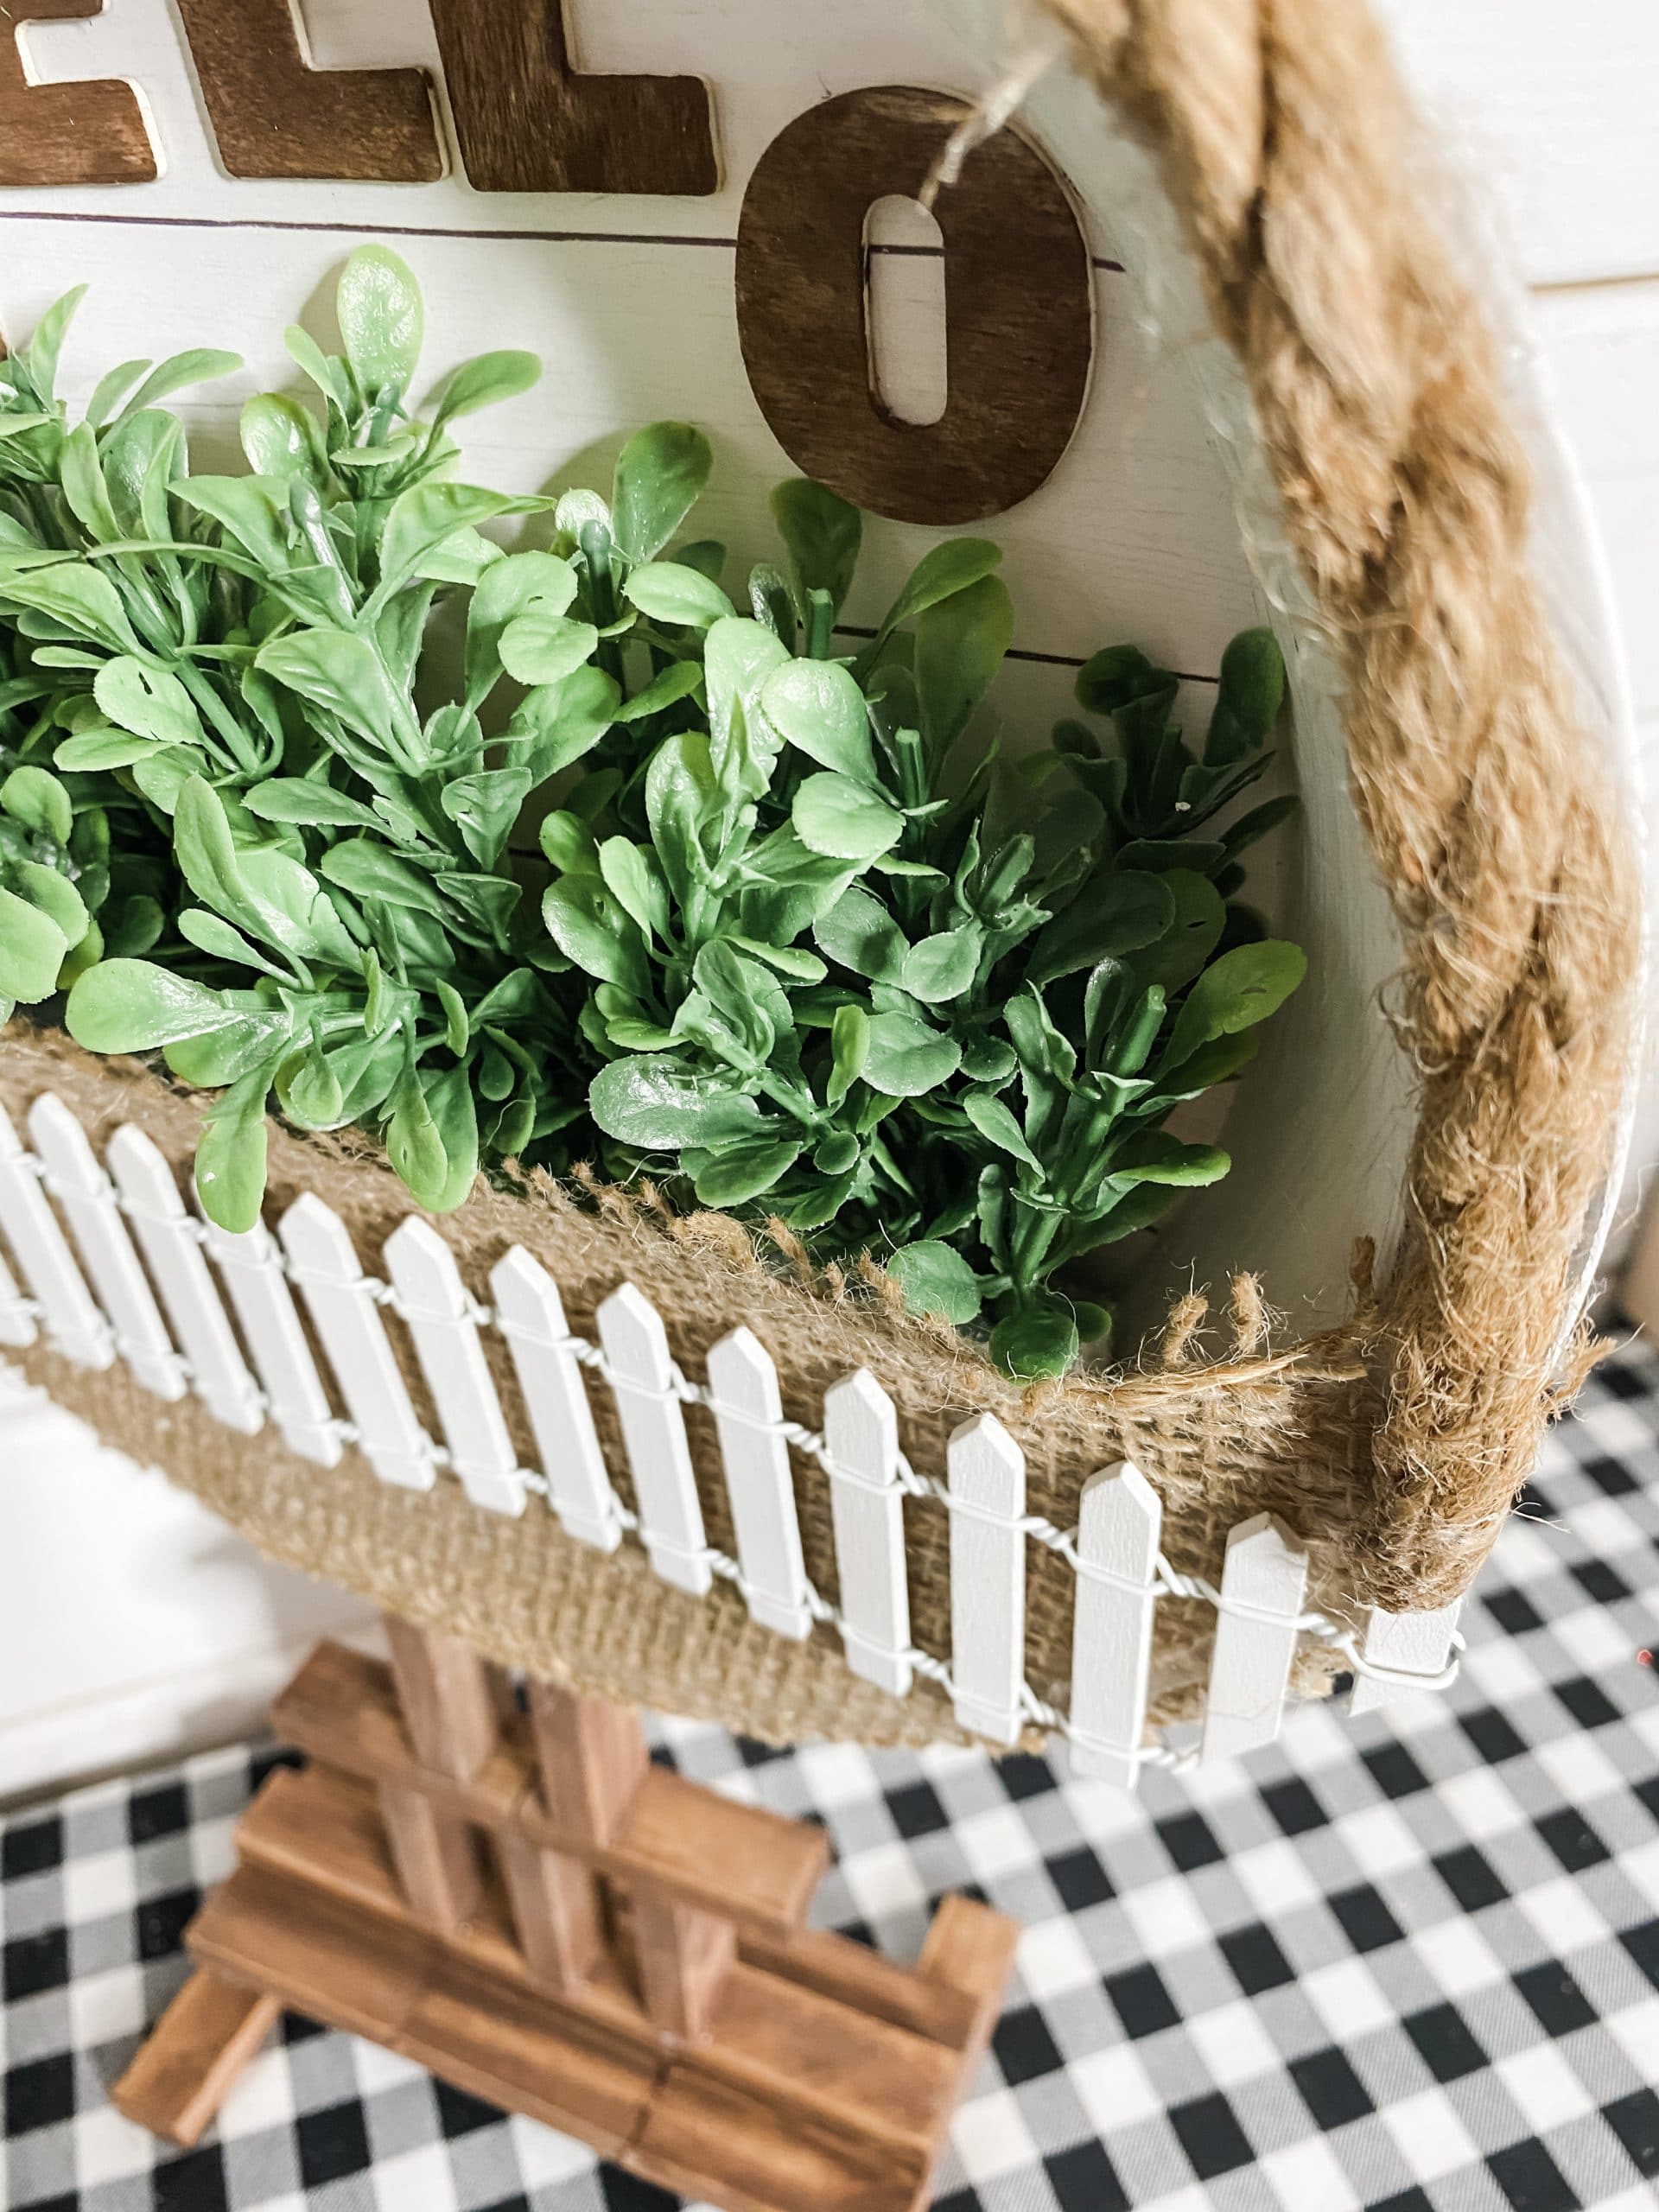
Dry the paint and hot glue the floral foam in place at the bottom of the Dollar Tree pie pan. Next, I hot glued the burlap ribbon over the floral foam.
Before I trimmed the ribbon, I hot glued the Hobby Lobby white picket fence across the ribbon.
Then, I trimmed both the ribbon and picket fence so they weren’t hanging over the edge of the pie pan.
Hello
Next, you’re going to stain the wood letters brown. Spray them with water and spread the brown paint over the letters with a wet wipe.
I used my heat gun to dry the letters quickly, then placed them inside the pie pan. I hot glued the letters one by one. to make sure they stayed evenly spaced.
Add a touch of green
I used these boxwood greenery sprays from Walmart for this Dollar Tree Pie Pan DIY Spring Decor.
Trim the spray into smaller pieces, then push them into the floral foam until you are happy with the way it looks. You can also add flowers or different greenery types if you wanted!
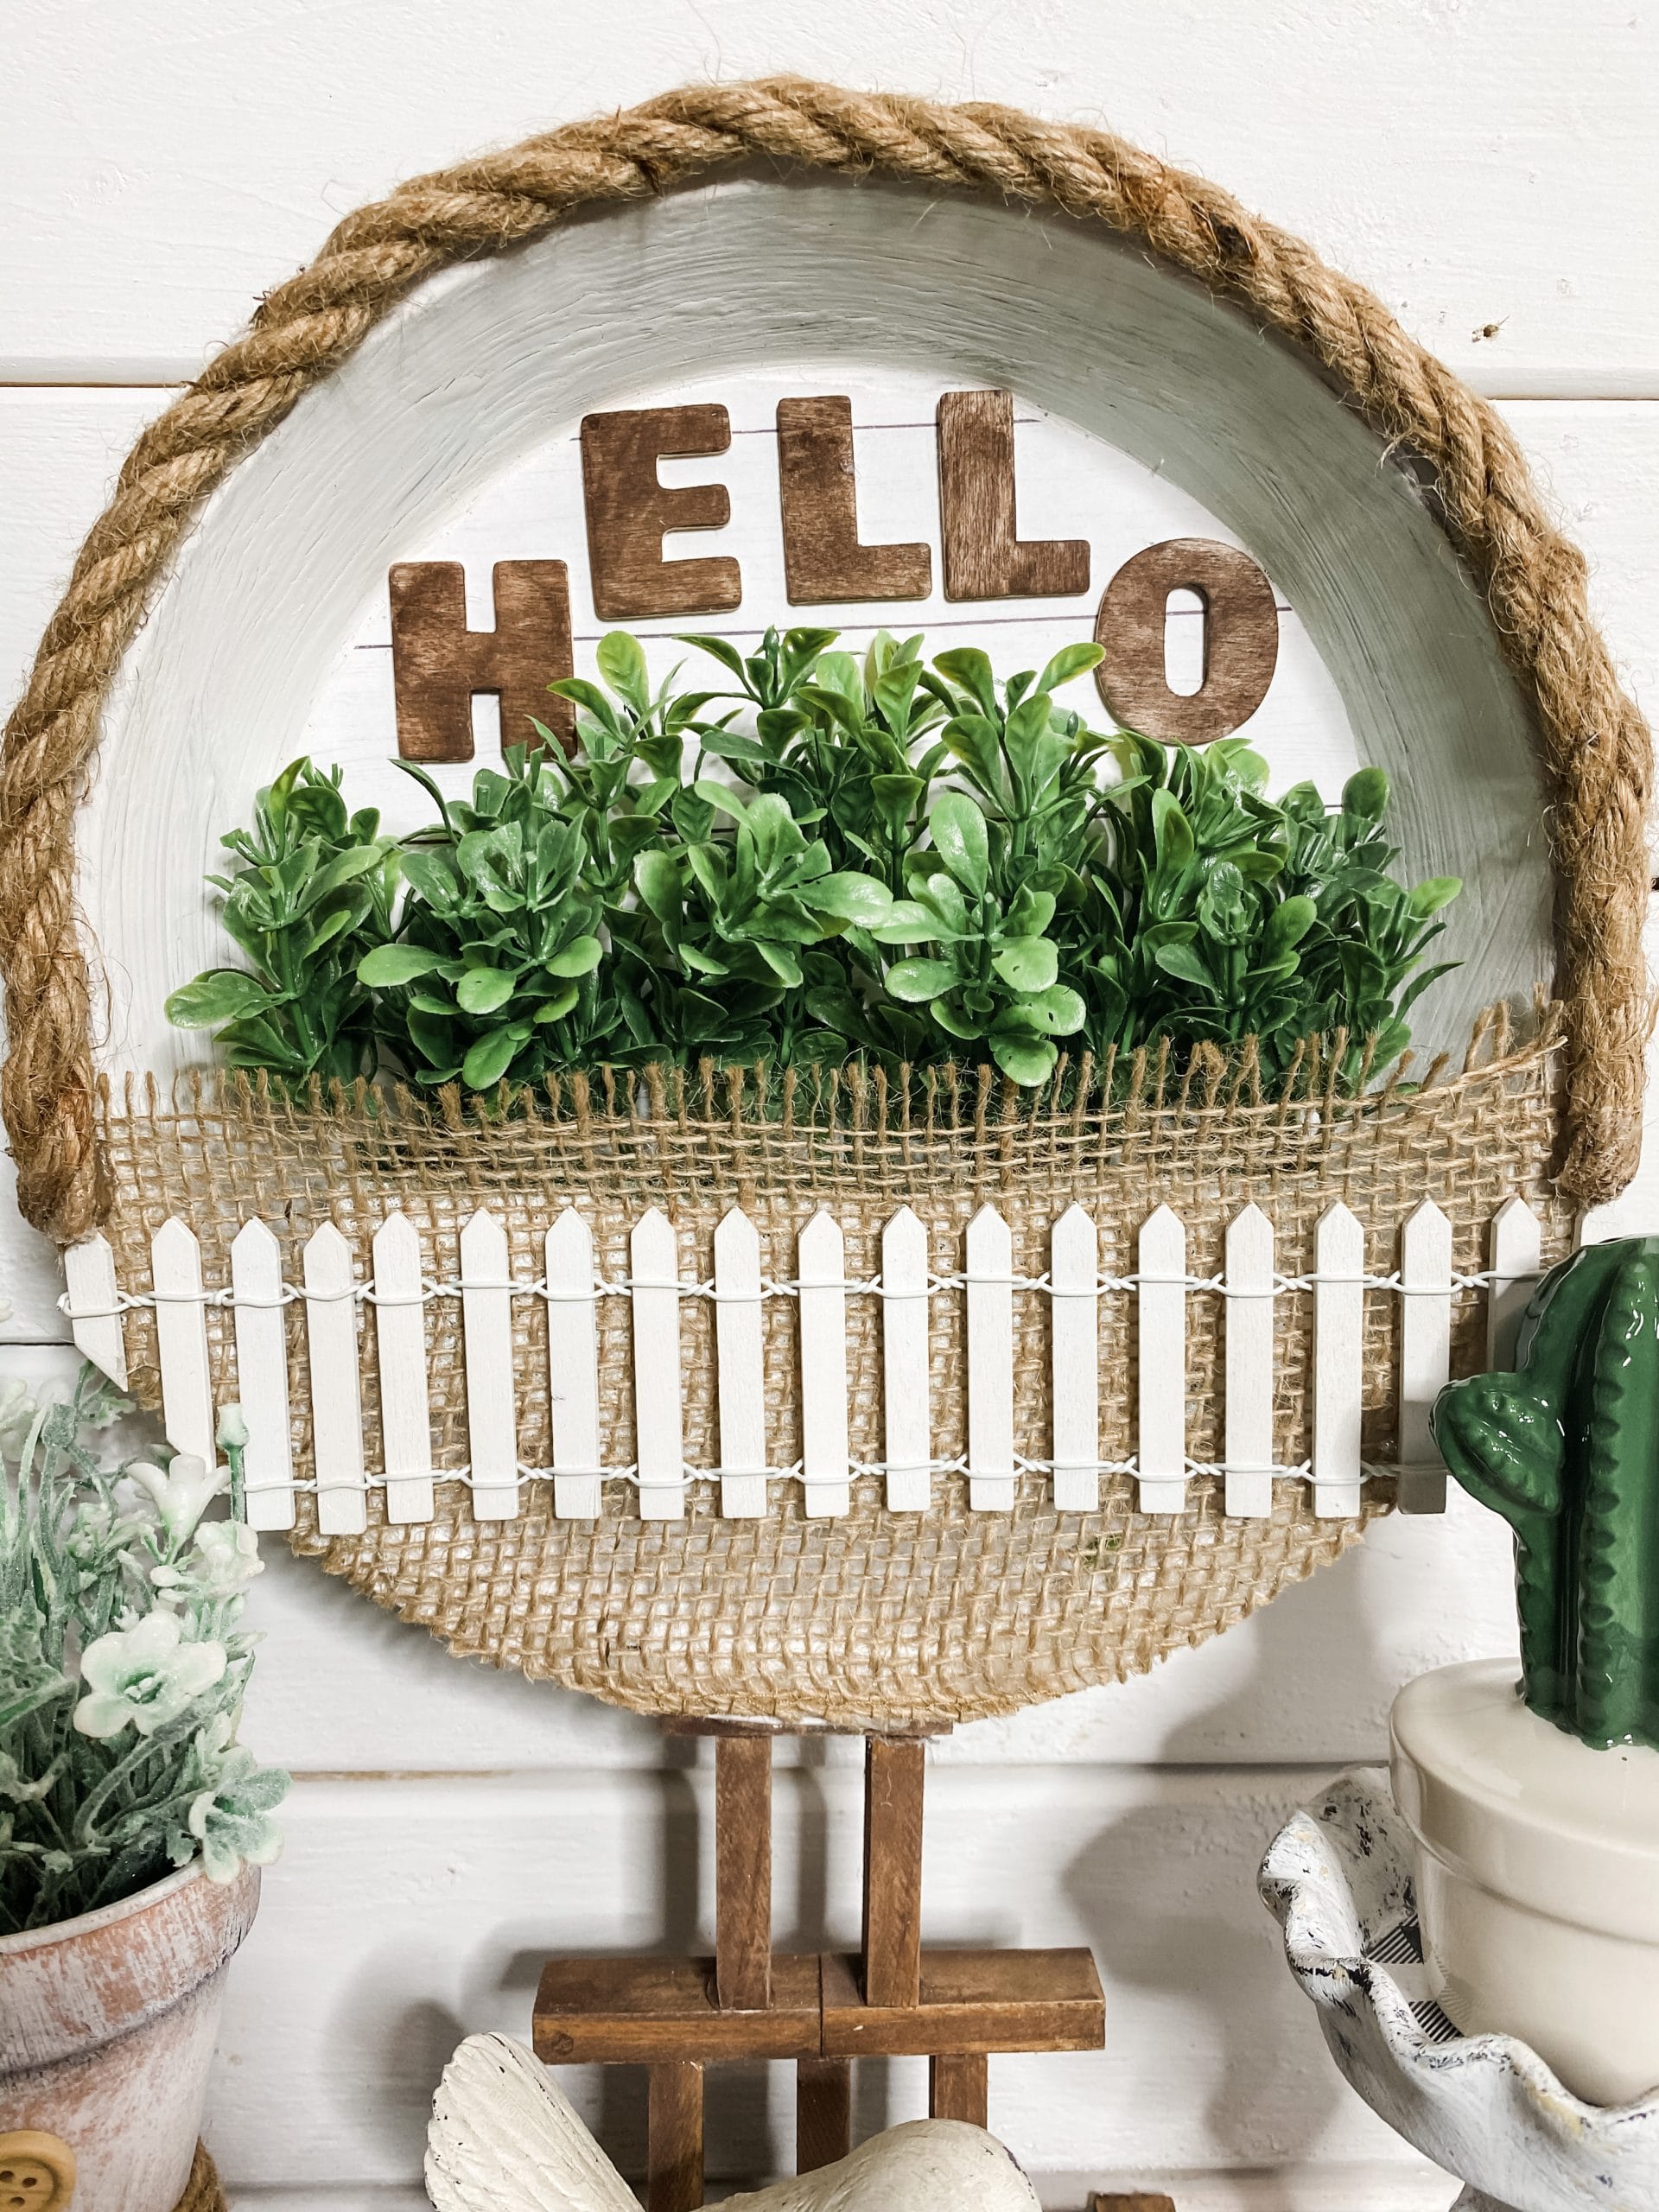
Next, I used the Dollar Tree nautical rope and hot glued it around the top half of the Dollar Tree Pie Pan. As with everything I make, you don’t have to copy it exactly.
If you don’t like the way the rope looks, you don’t have to add it! I just think it helps bring the decor together and makes it look more put together.
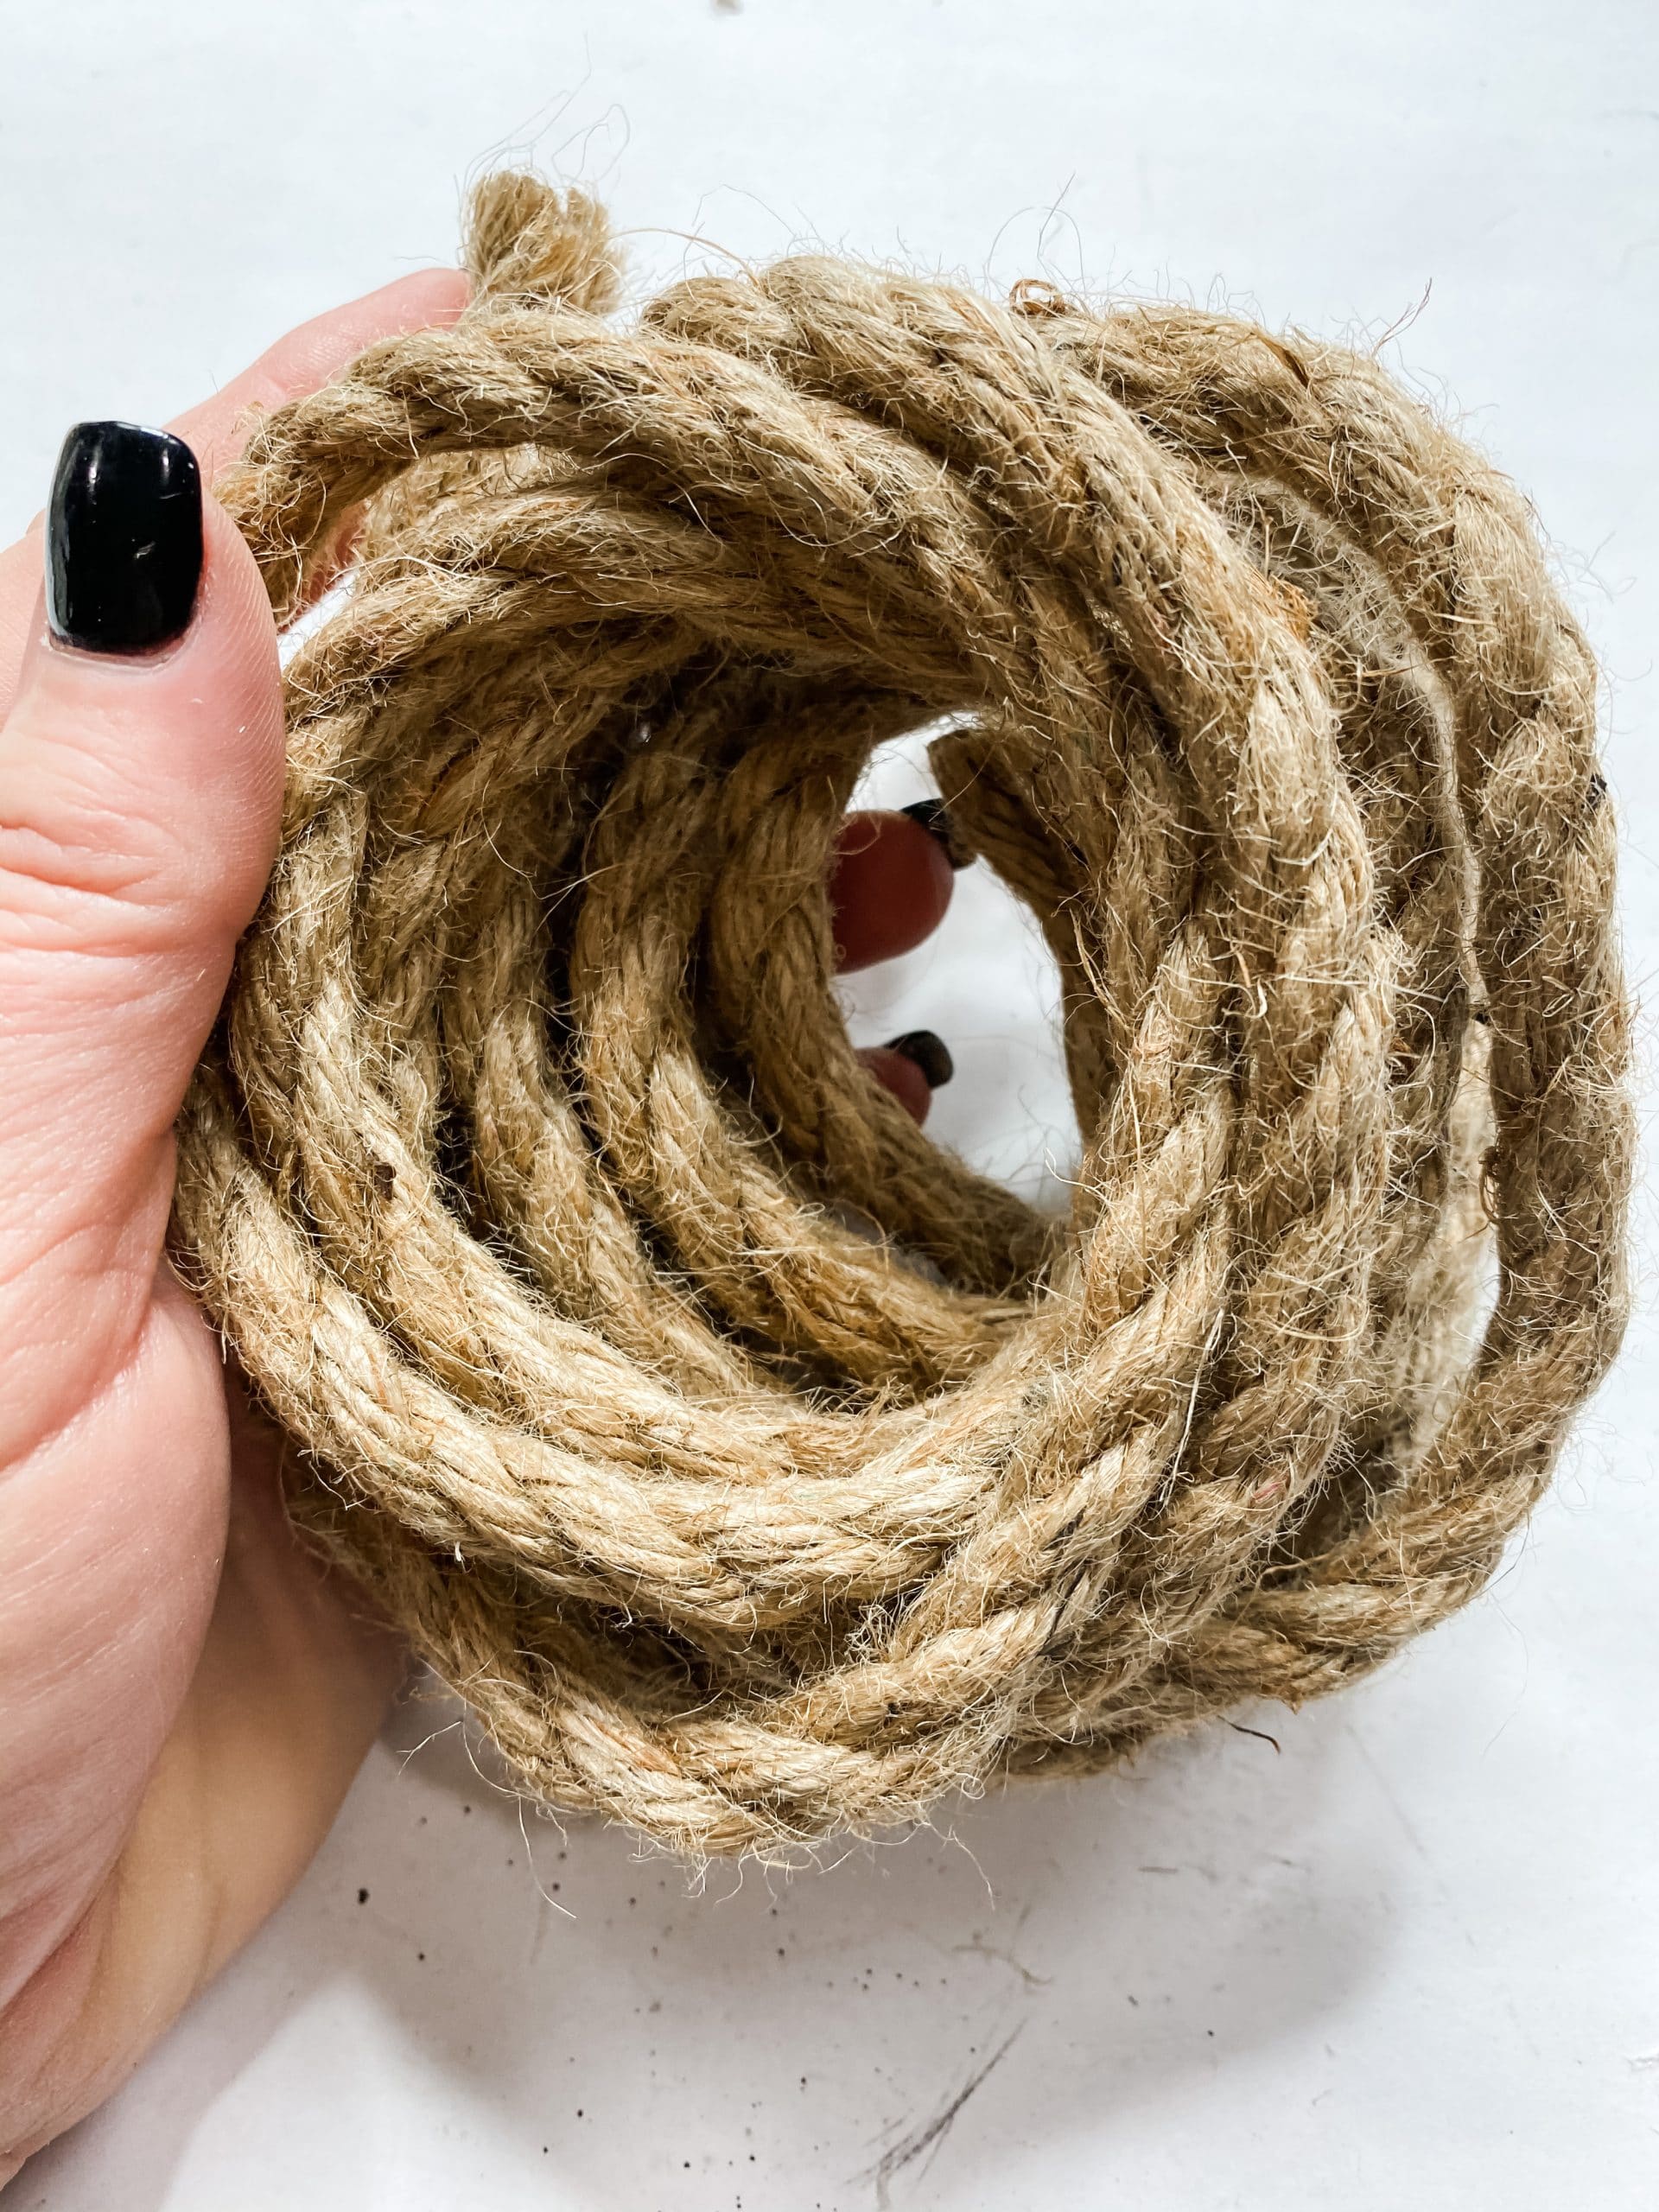
The rope makes the pie pan almost look like a basket with a rope handle, and I think that adds to the spring feel of this easy DIY craft.
The finishing touches
All that is left to do is attach the base to the adorably decorated Dollar Tree pie pan! Remember that popsicle stick that we hot glued to the back bottom of the pie pan? That’s where you’re going to attach the base.
Make sure you let the glue dry before you try to move the decor or stand it up on its own. You don’t want the pie pan to fall off the base.
Remember those 2 1×2 strips? This is where you need them. Those are going to go on the very bottom sides of the base to stabilize the decor and keep it from falling over.
If the base is too complicated for you, you could take a single piece of nautical rope and hot glue it to the back of the pie pan, and turn this decor into a hanging item rather than a tabletop decor.
I hope you enjoyed this Dollar Tree Pie Pan DIY Spring Decor as much as I did and decide to make one for yourself! I would love to see how yours turns out!
You should totally join my FREE Facebook group called On A Budget Crafts! It is a judgment-free community for DIY crafters to show off their projects and ideas.
If you loved this DIY you might also like this Dollar Tree Trophy DIY Farmhouse Decor!
Thanks for stopping by! XOXO Amber
You can also shop my ENTIRE AMAZON Favorites shop just click here! It’s packed full of all the things I use and love. Here is the supply list I highly recommend every creative have on hand!!
Would you also pin my blog for later and get on my newsletter alerts? I would love to have you join my #craftycrew.
Inspired? Leave me a comment below! I love hearing from my readers!

Join my free “ON A BUDGET CRAFTS” Facebook group!


Adorable