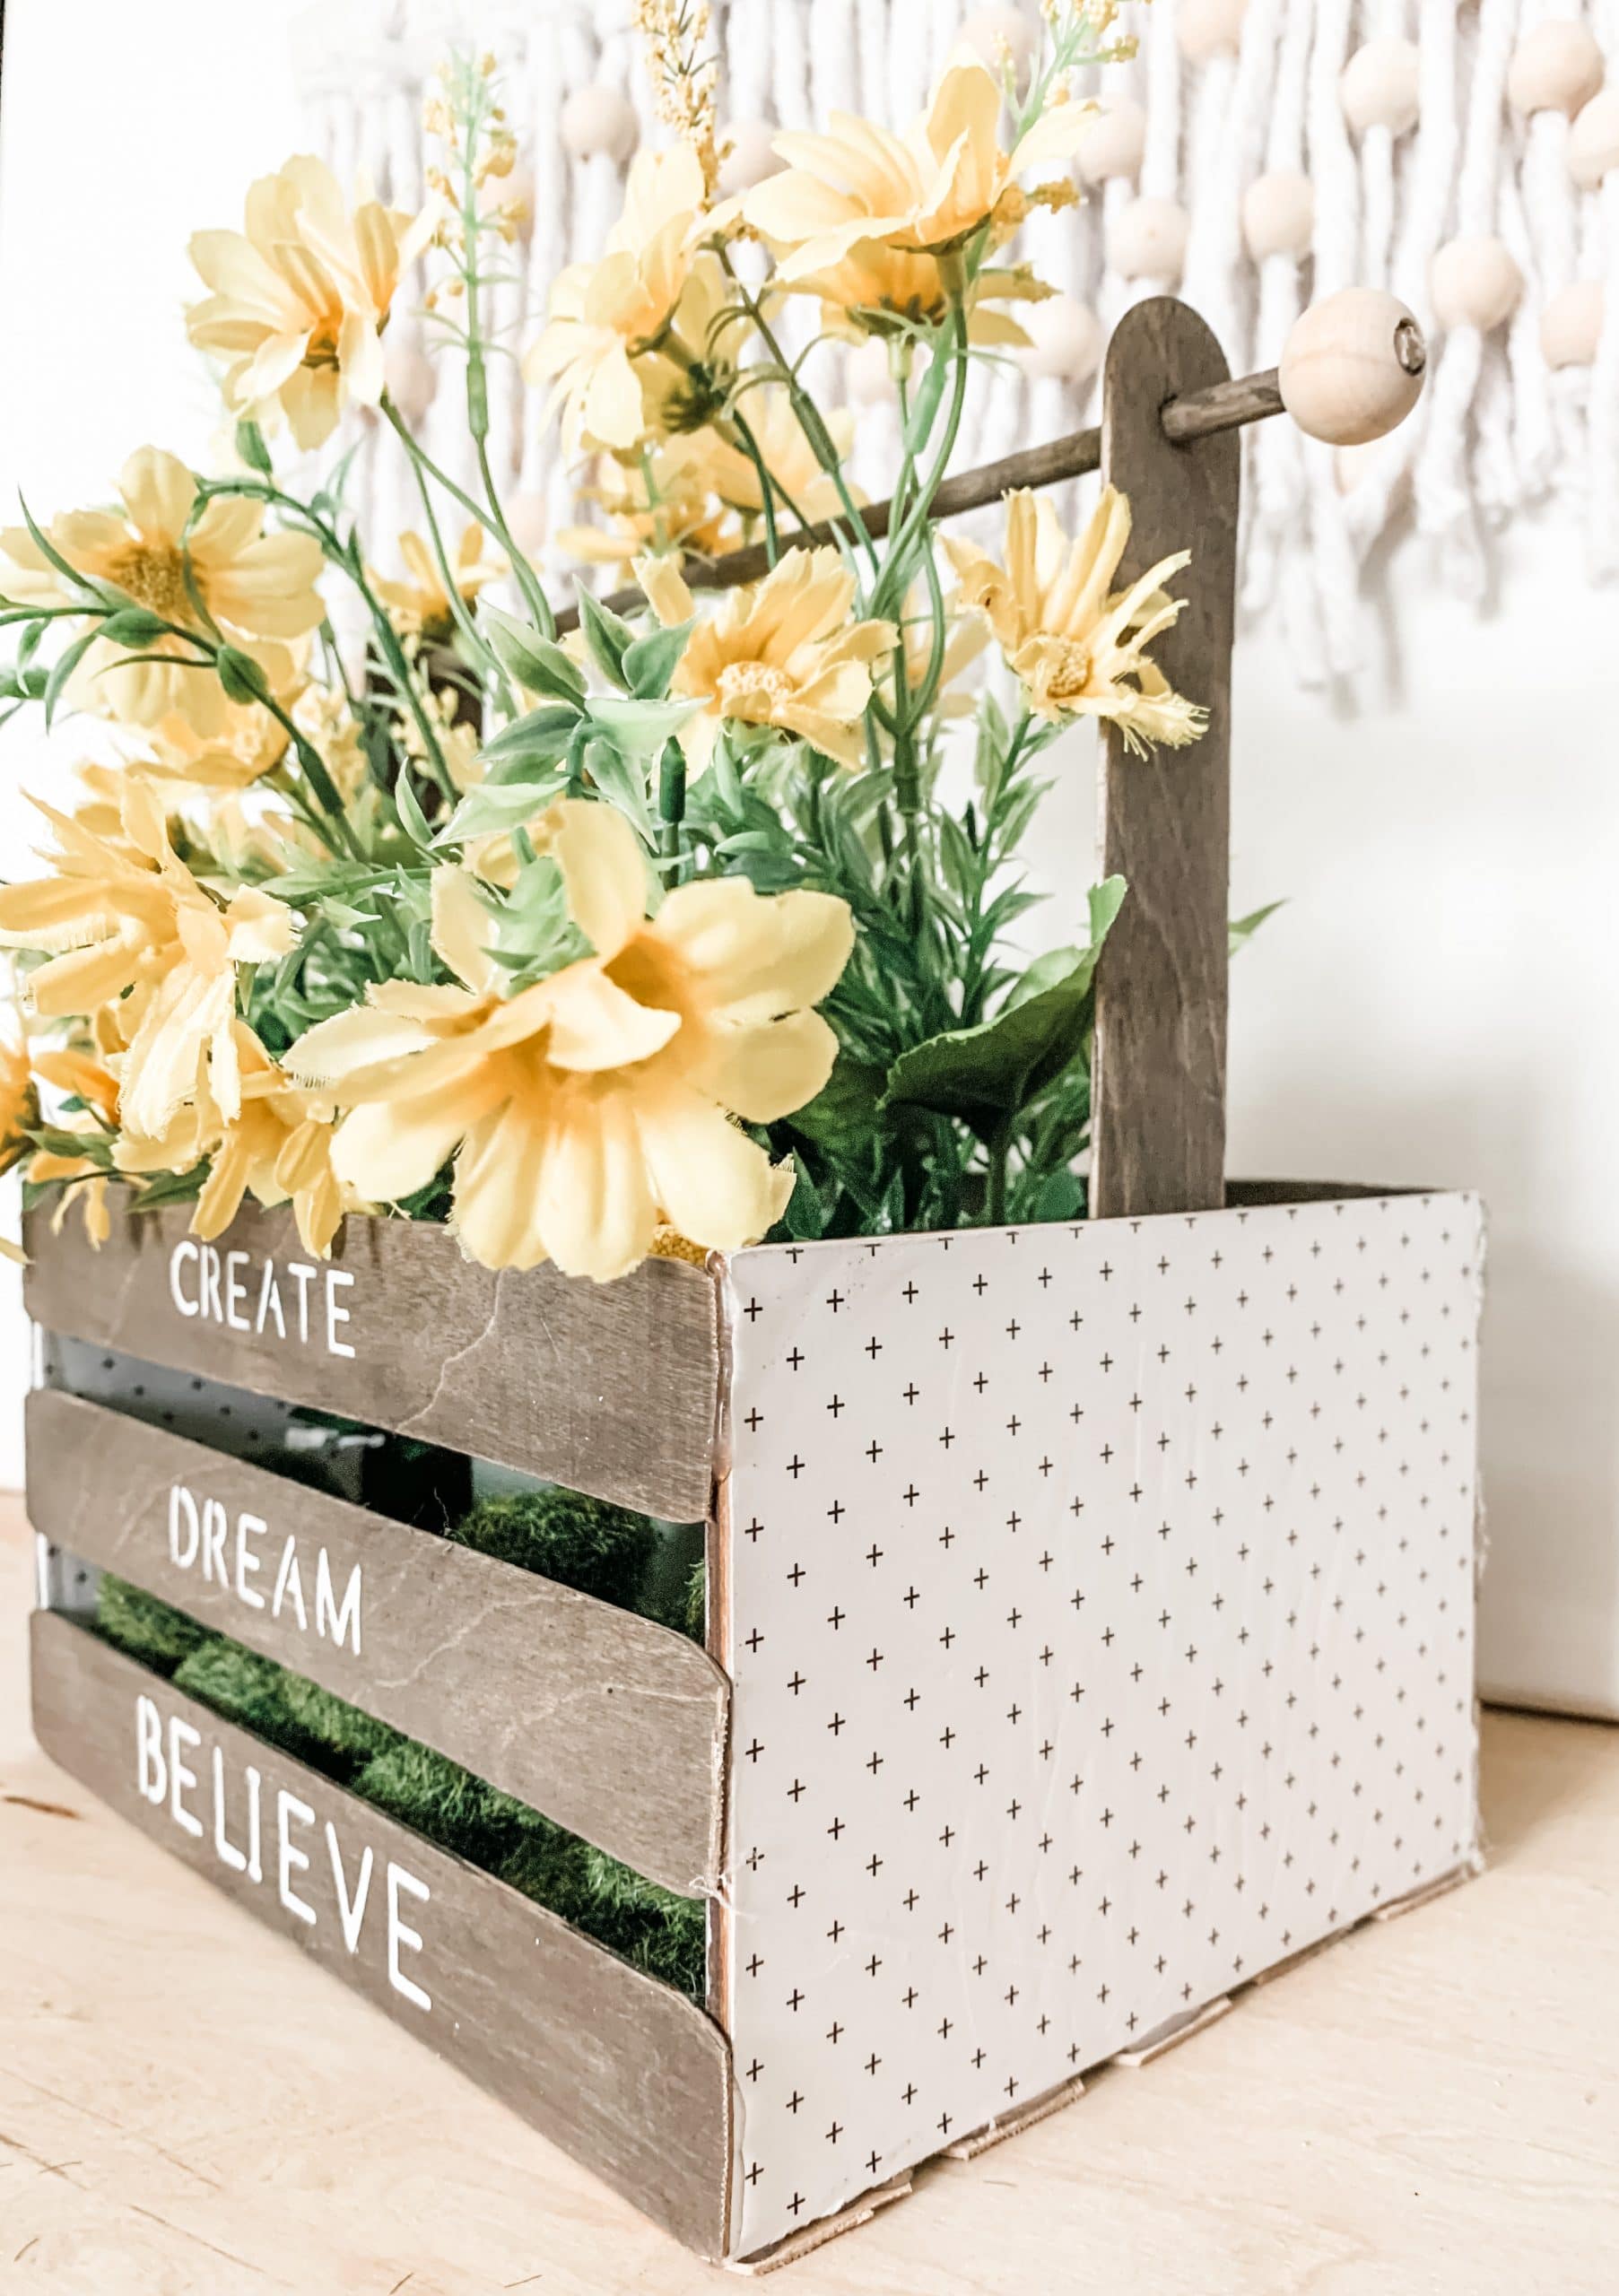
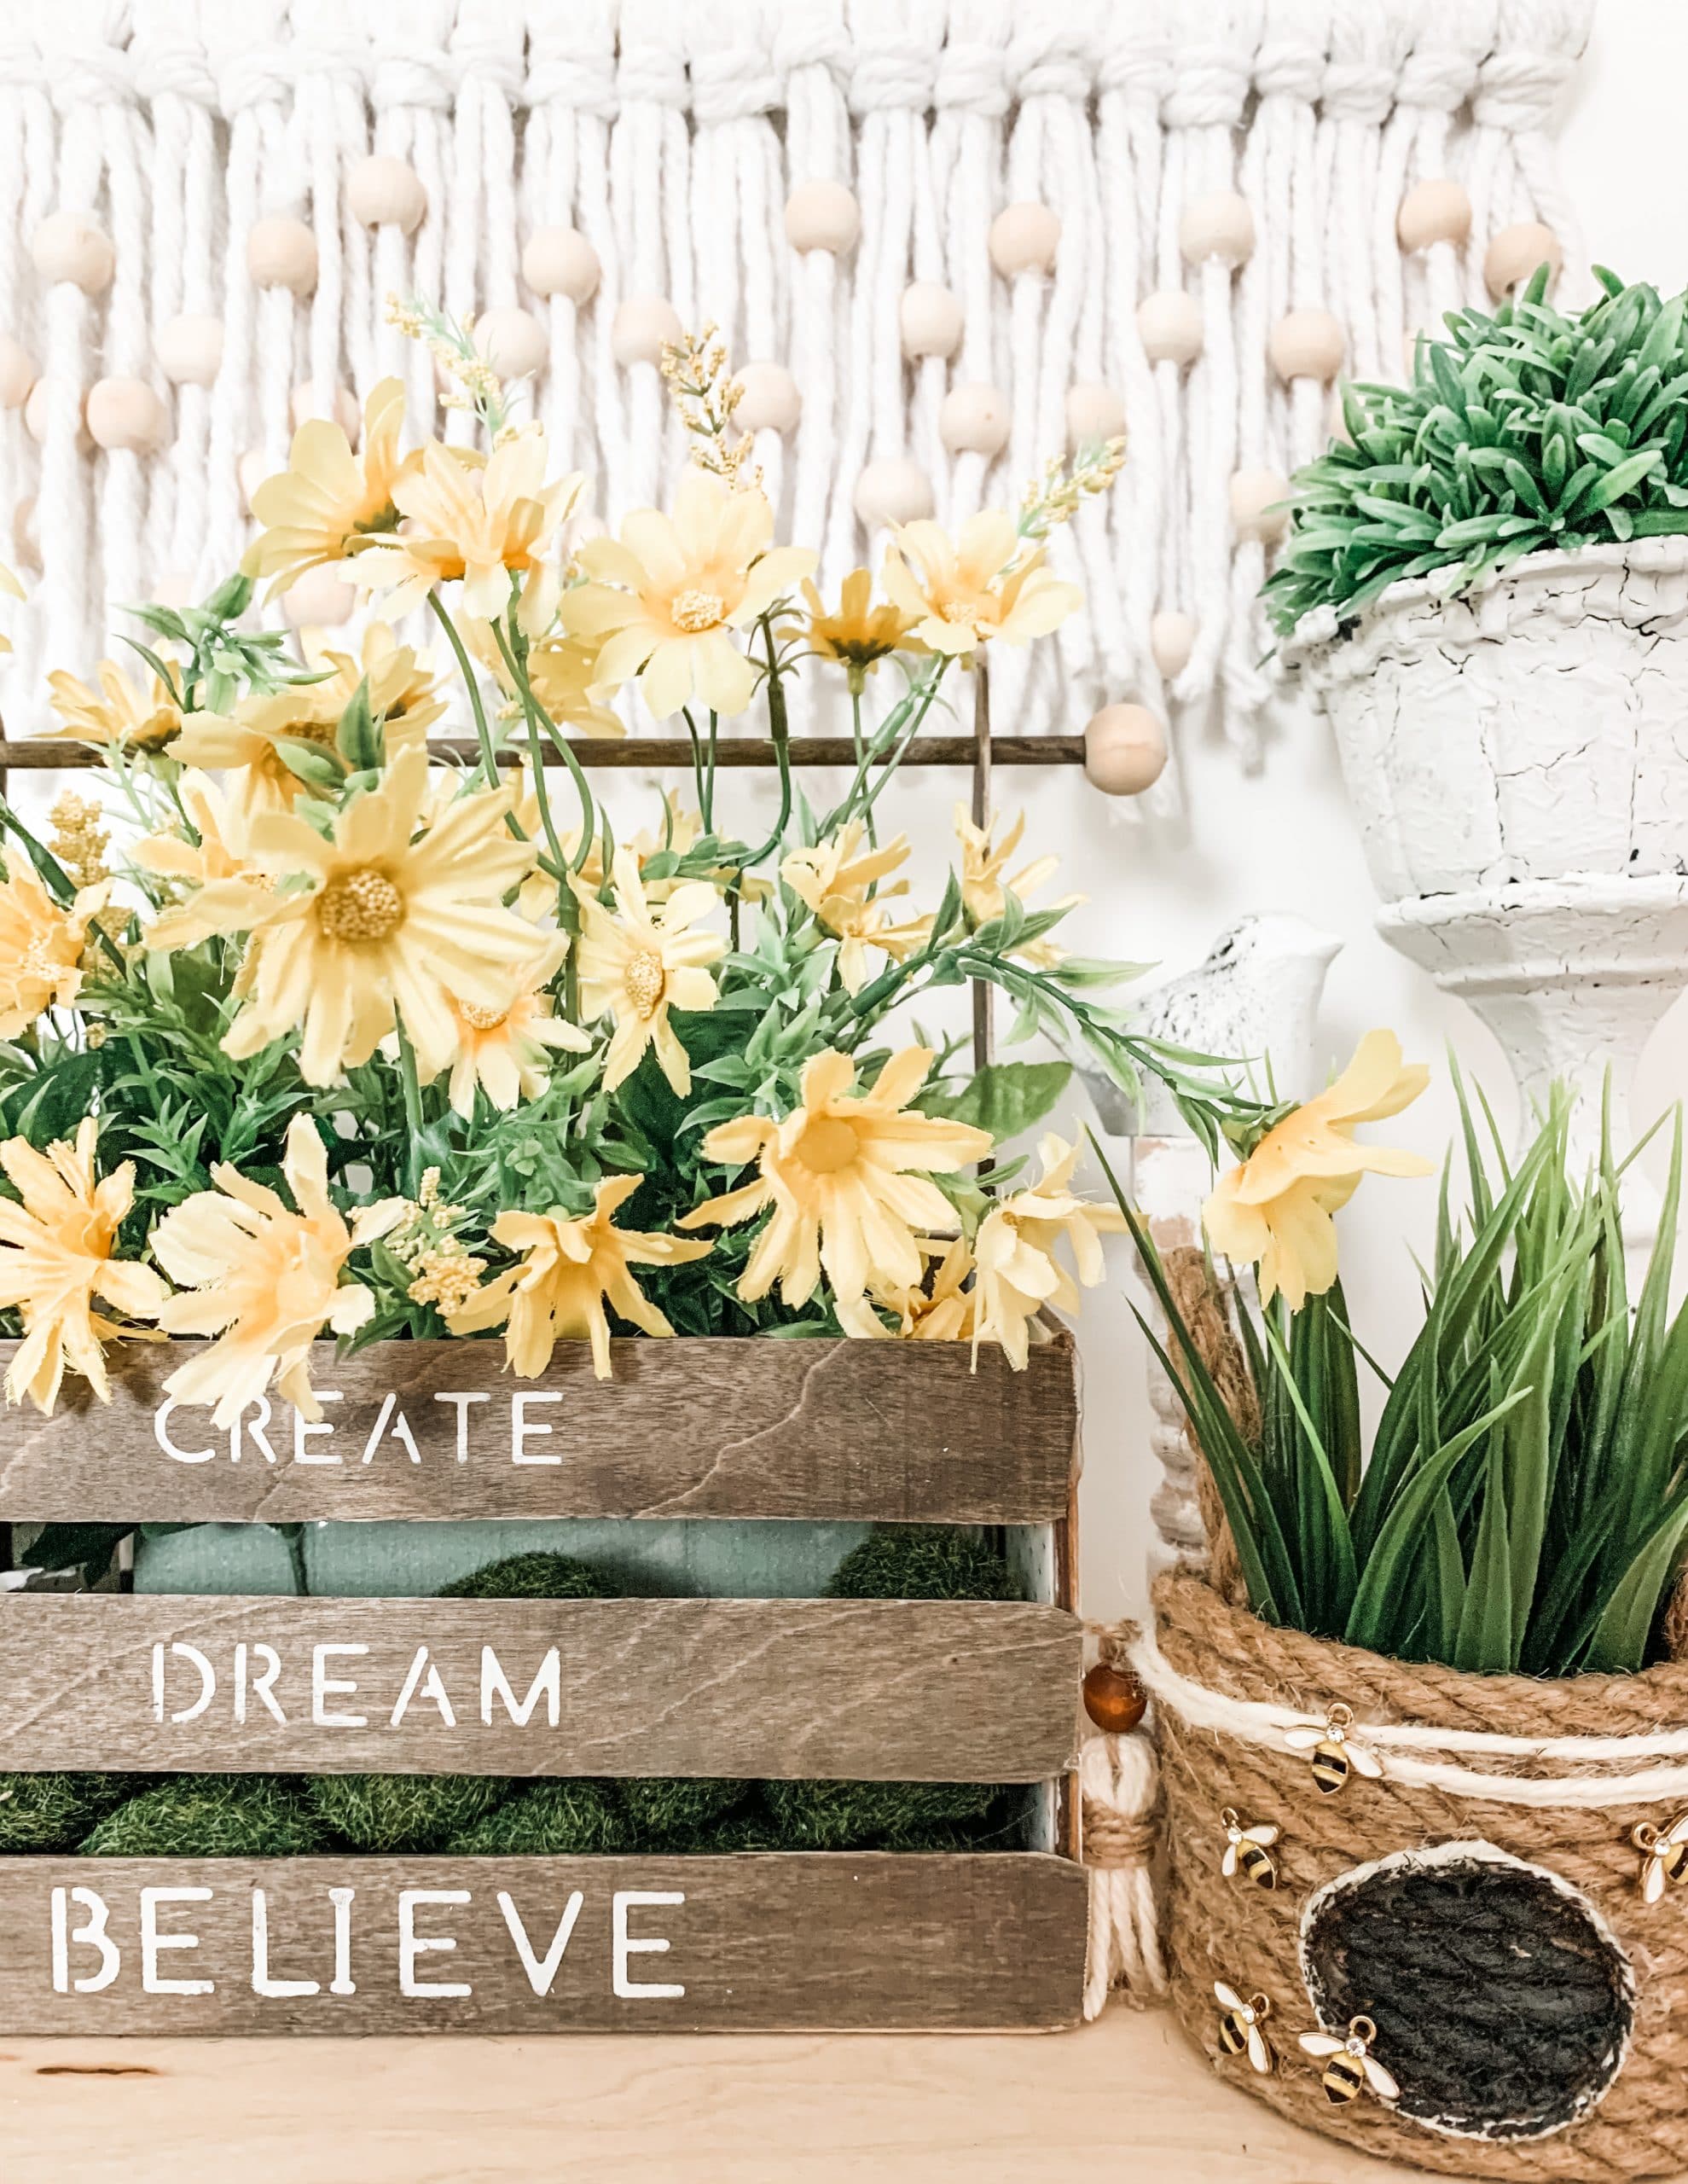
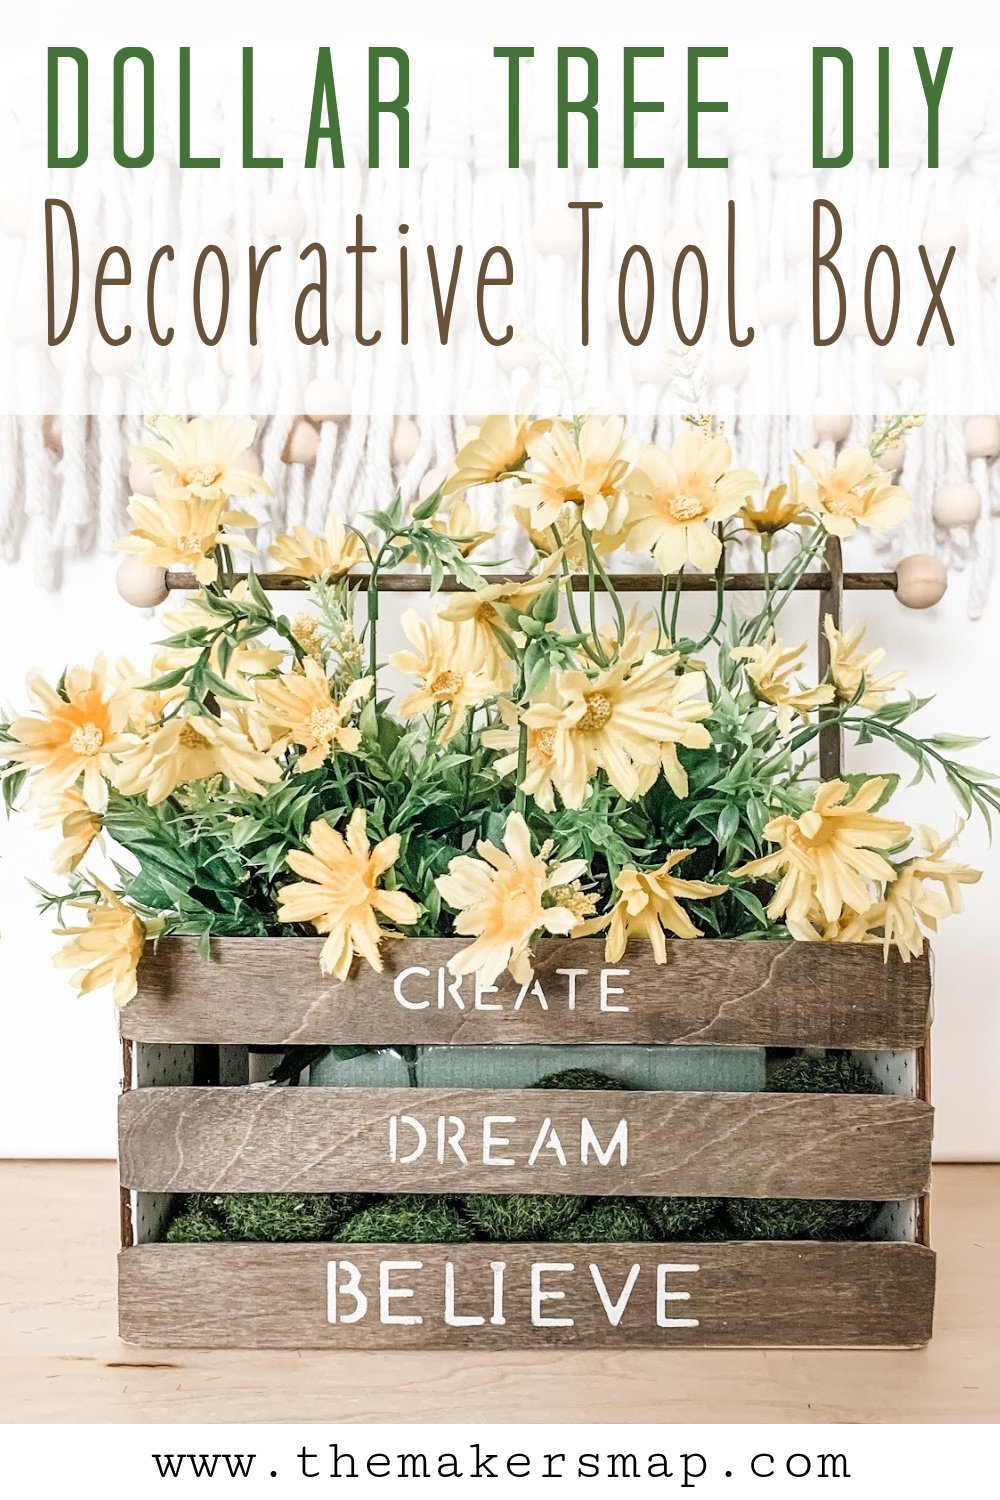
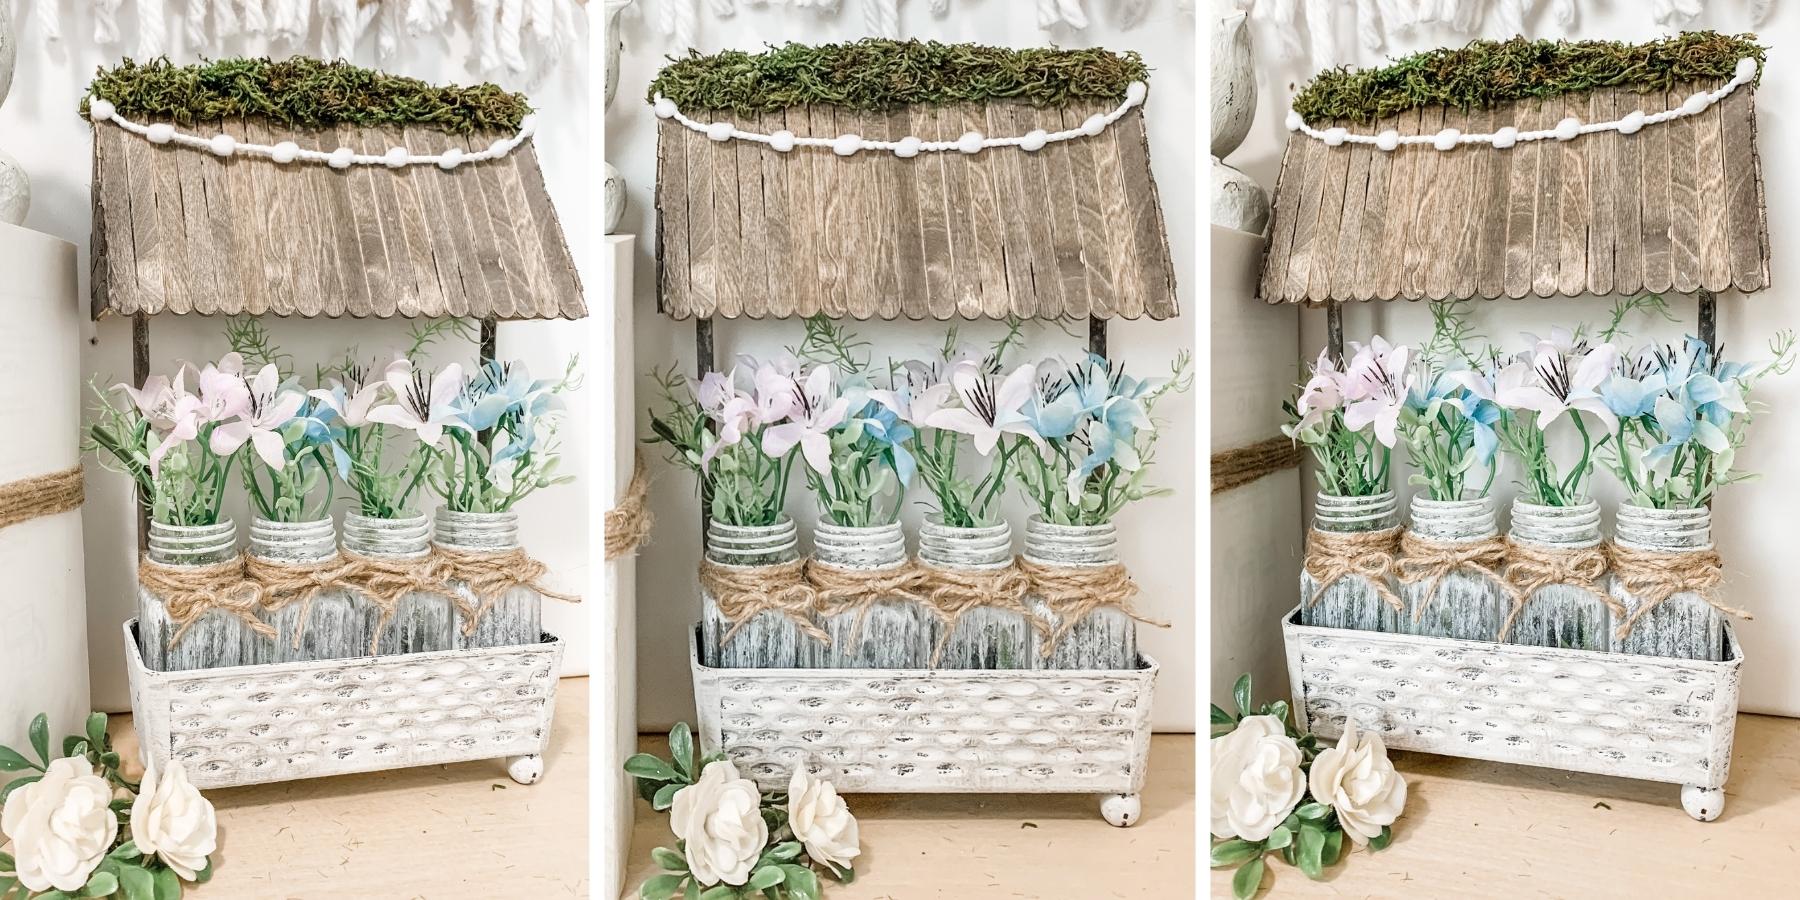
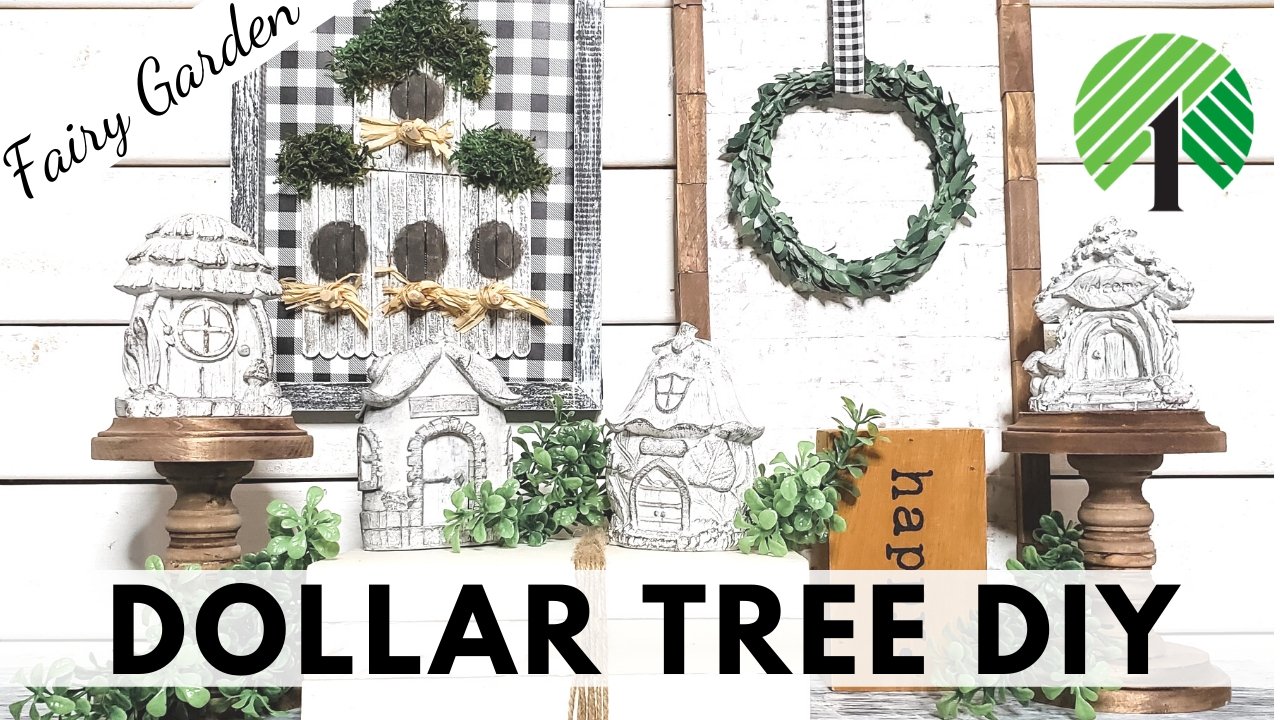
DIY Decorative Wooden Tool Box
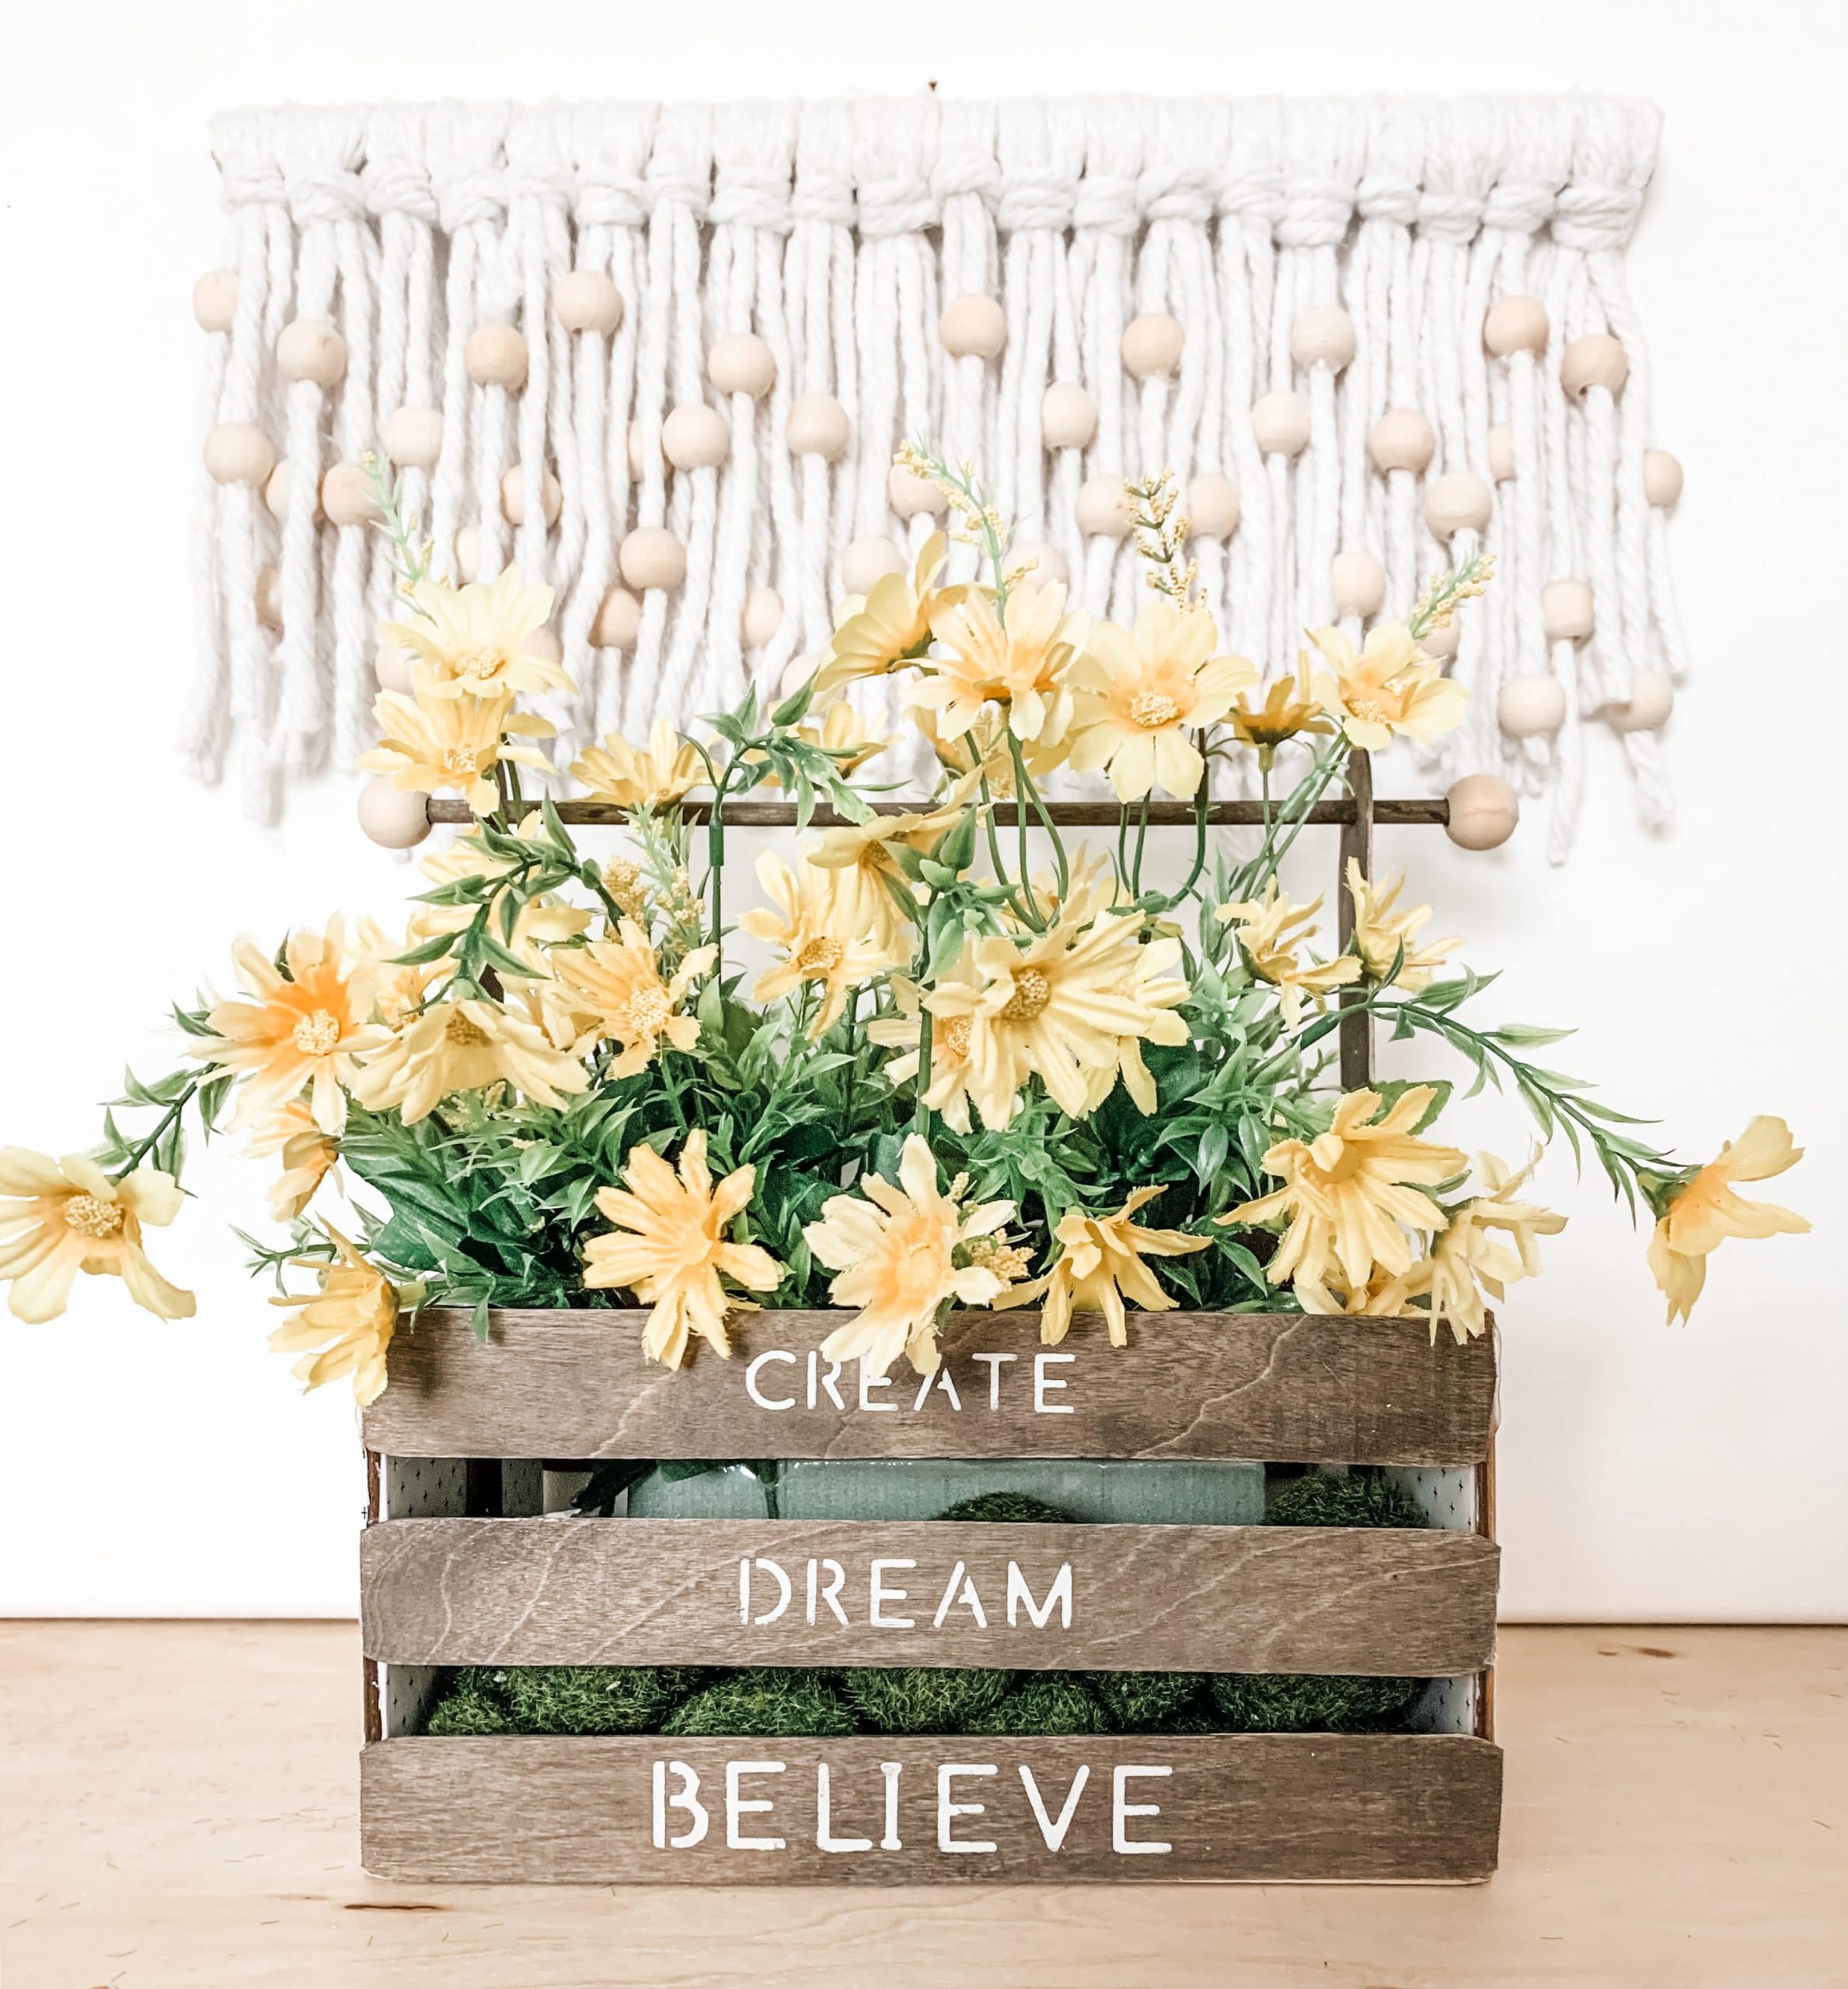
Can I be honest for just a minute? This adorable DIY Decorative Wooden Tool Box was made to go in my home, and it is STILL sitting on an end table in my living room! I just absolutely LOVE this simple DIY project!
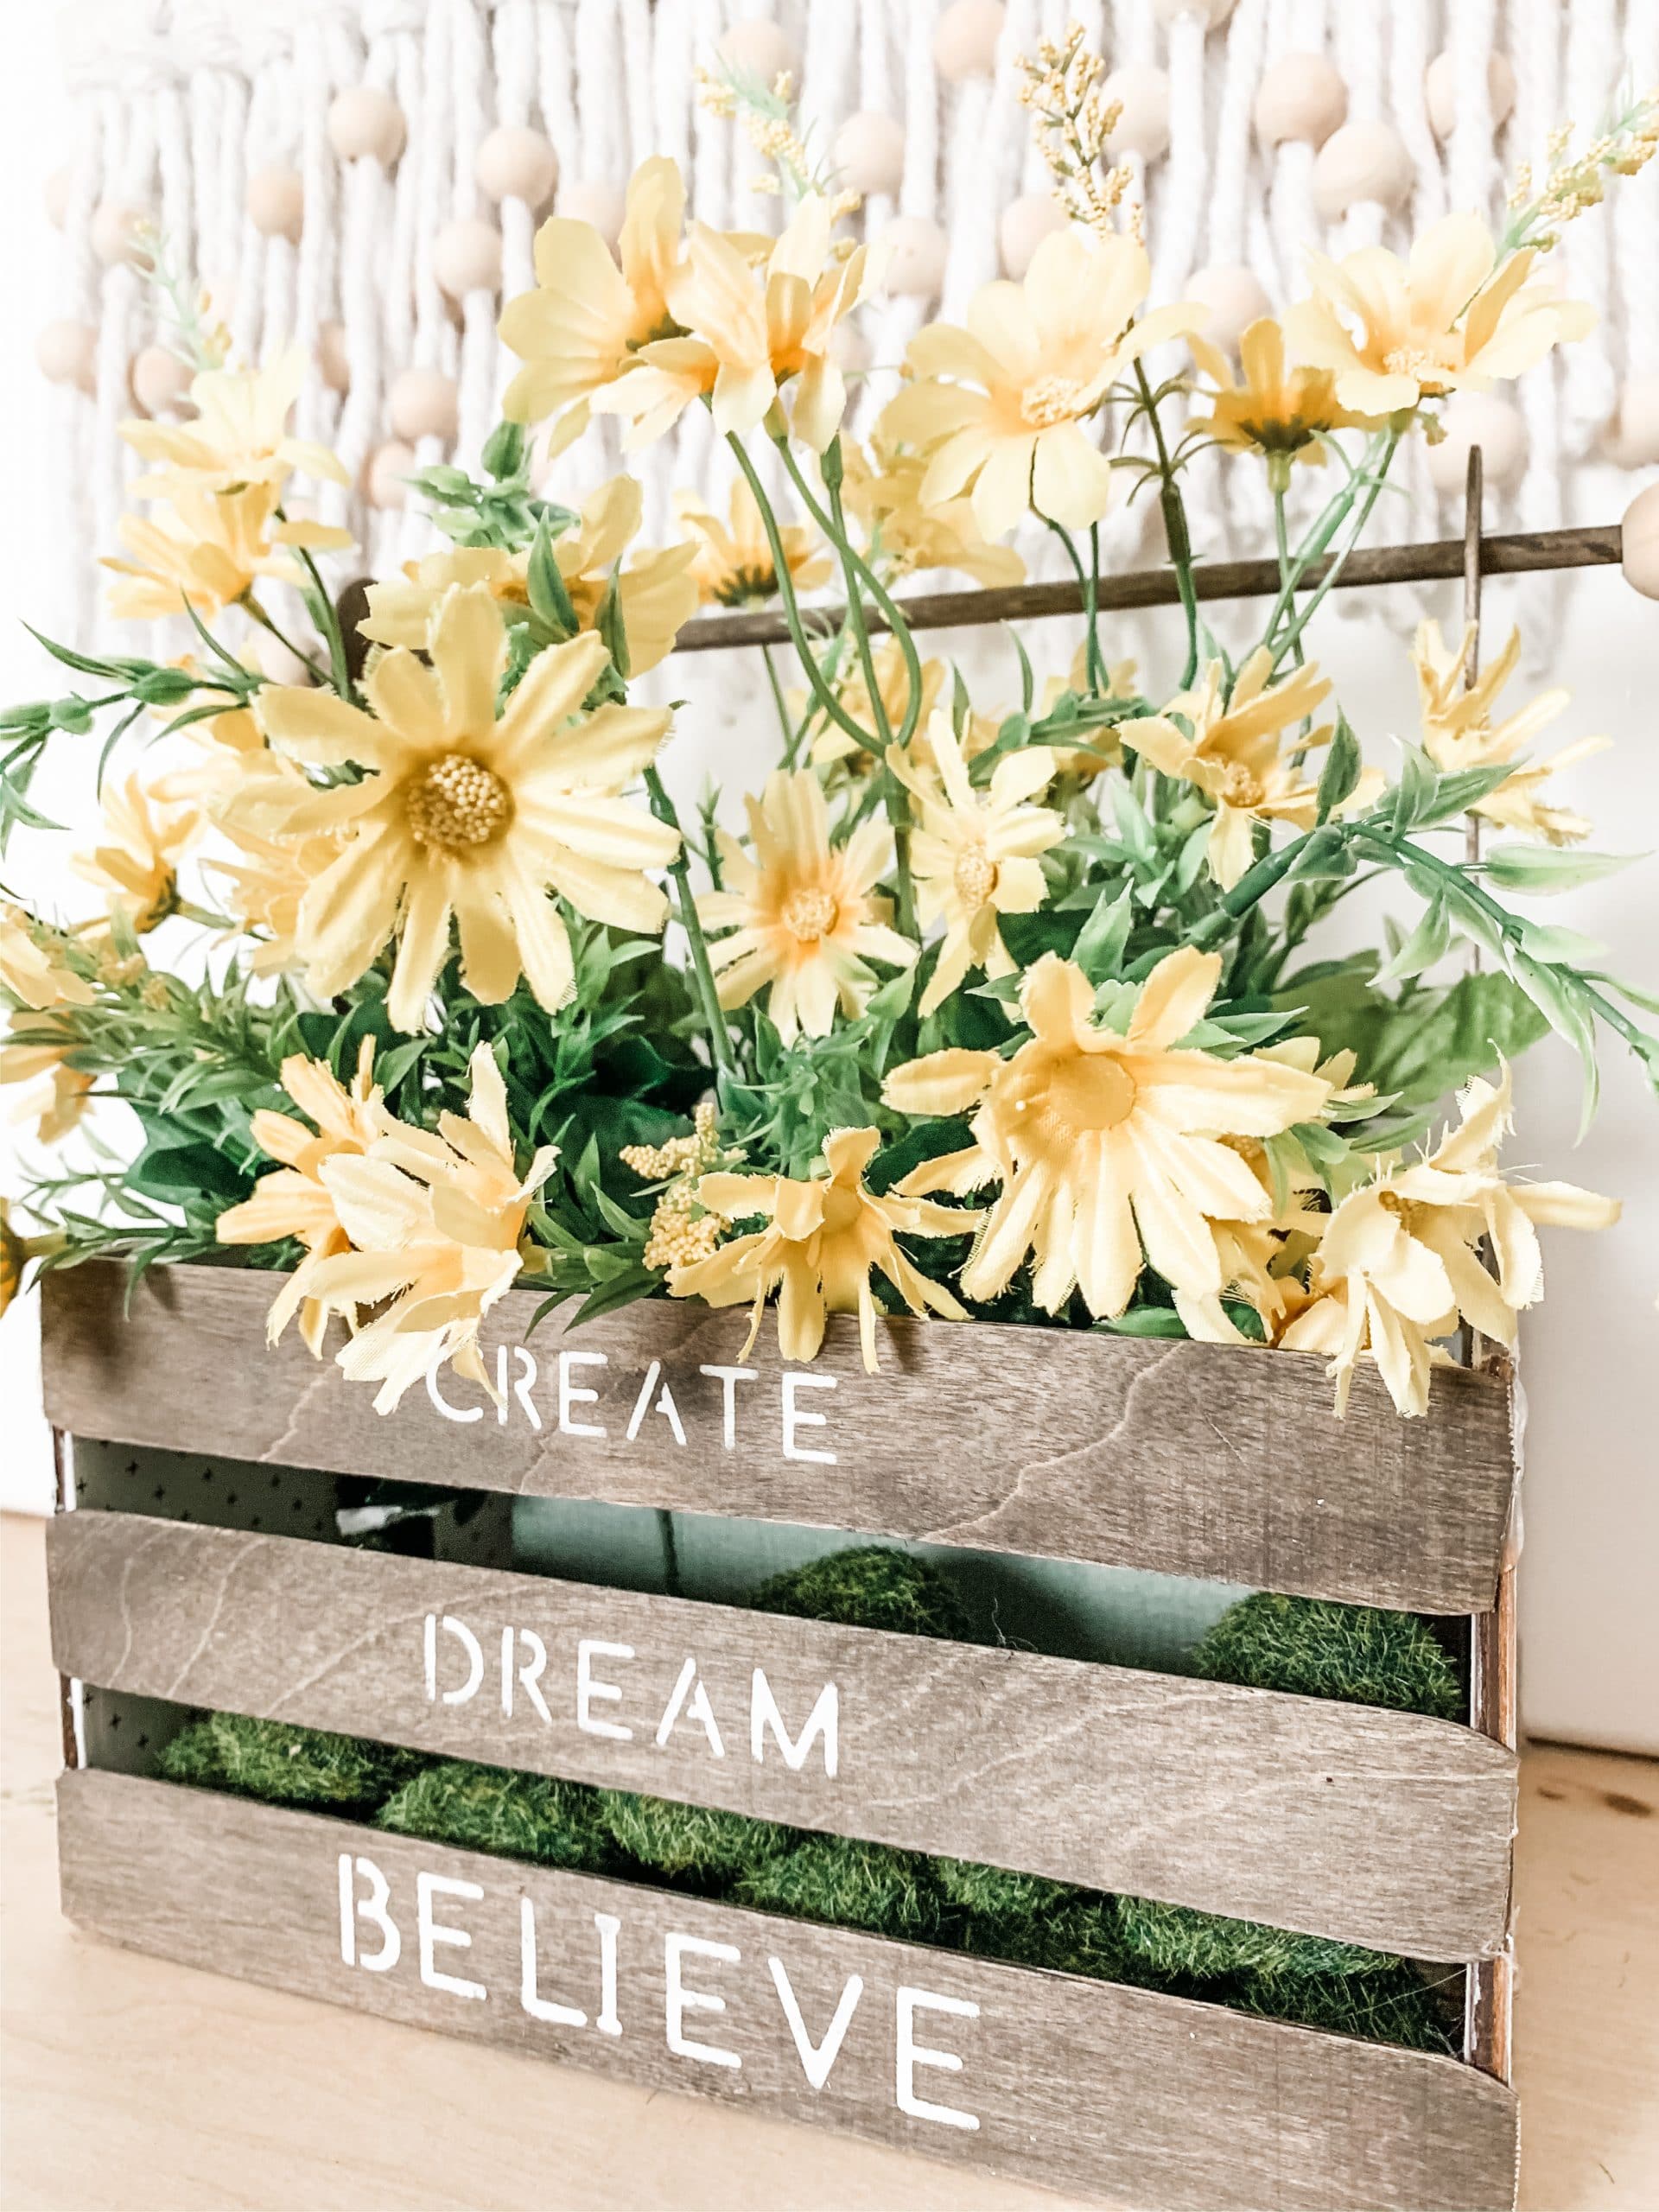
Right now it is being used to keep “forbidden items” away from my granddaughter’s reach, but I think I love it most when I fill it with flowers.
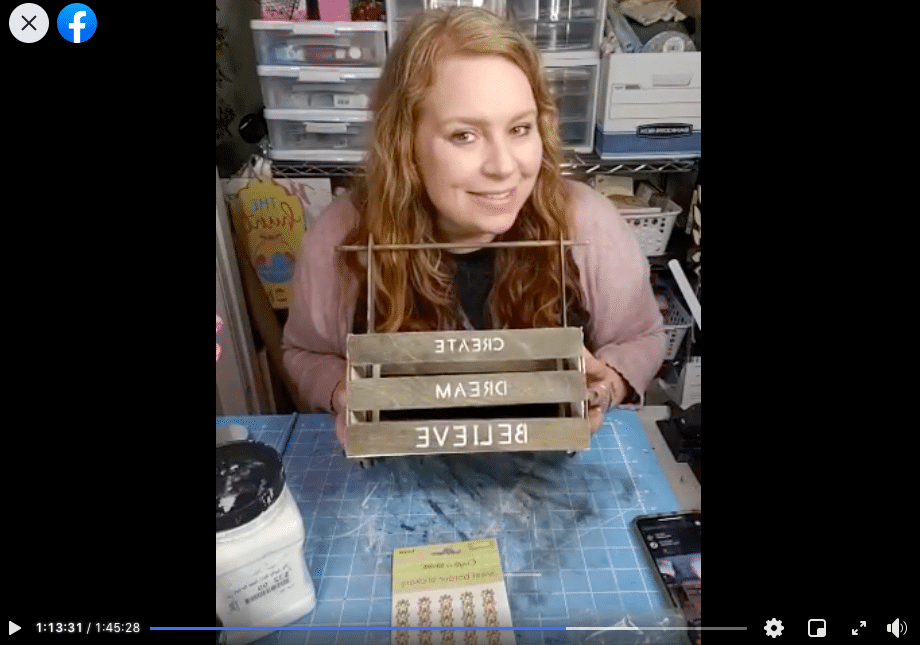
Watch the replay
Want to see how I brought this easy Dollar Tree DIY to life? You can watch the replay of the LIVE video I did on my Facebook page where I showed my Crafty Crew the how-to steps of making a DIY decorative wooden tool box!
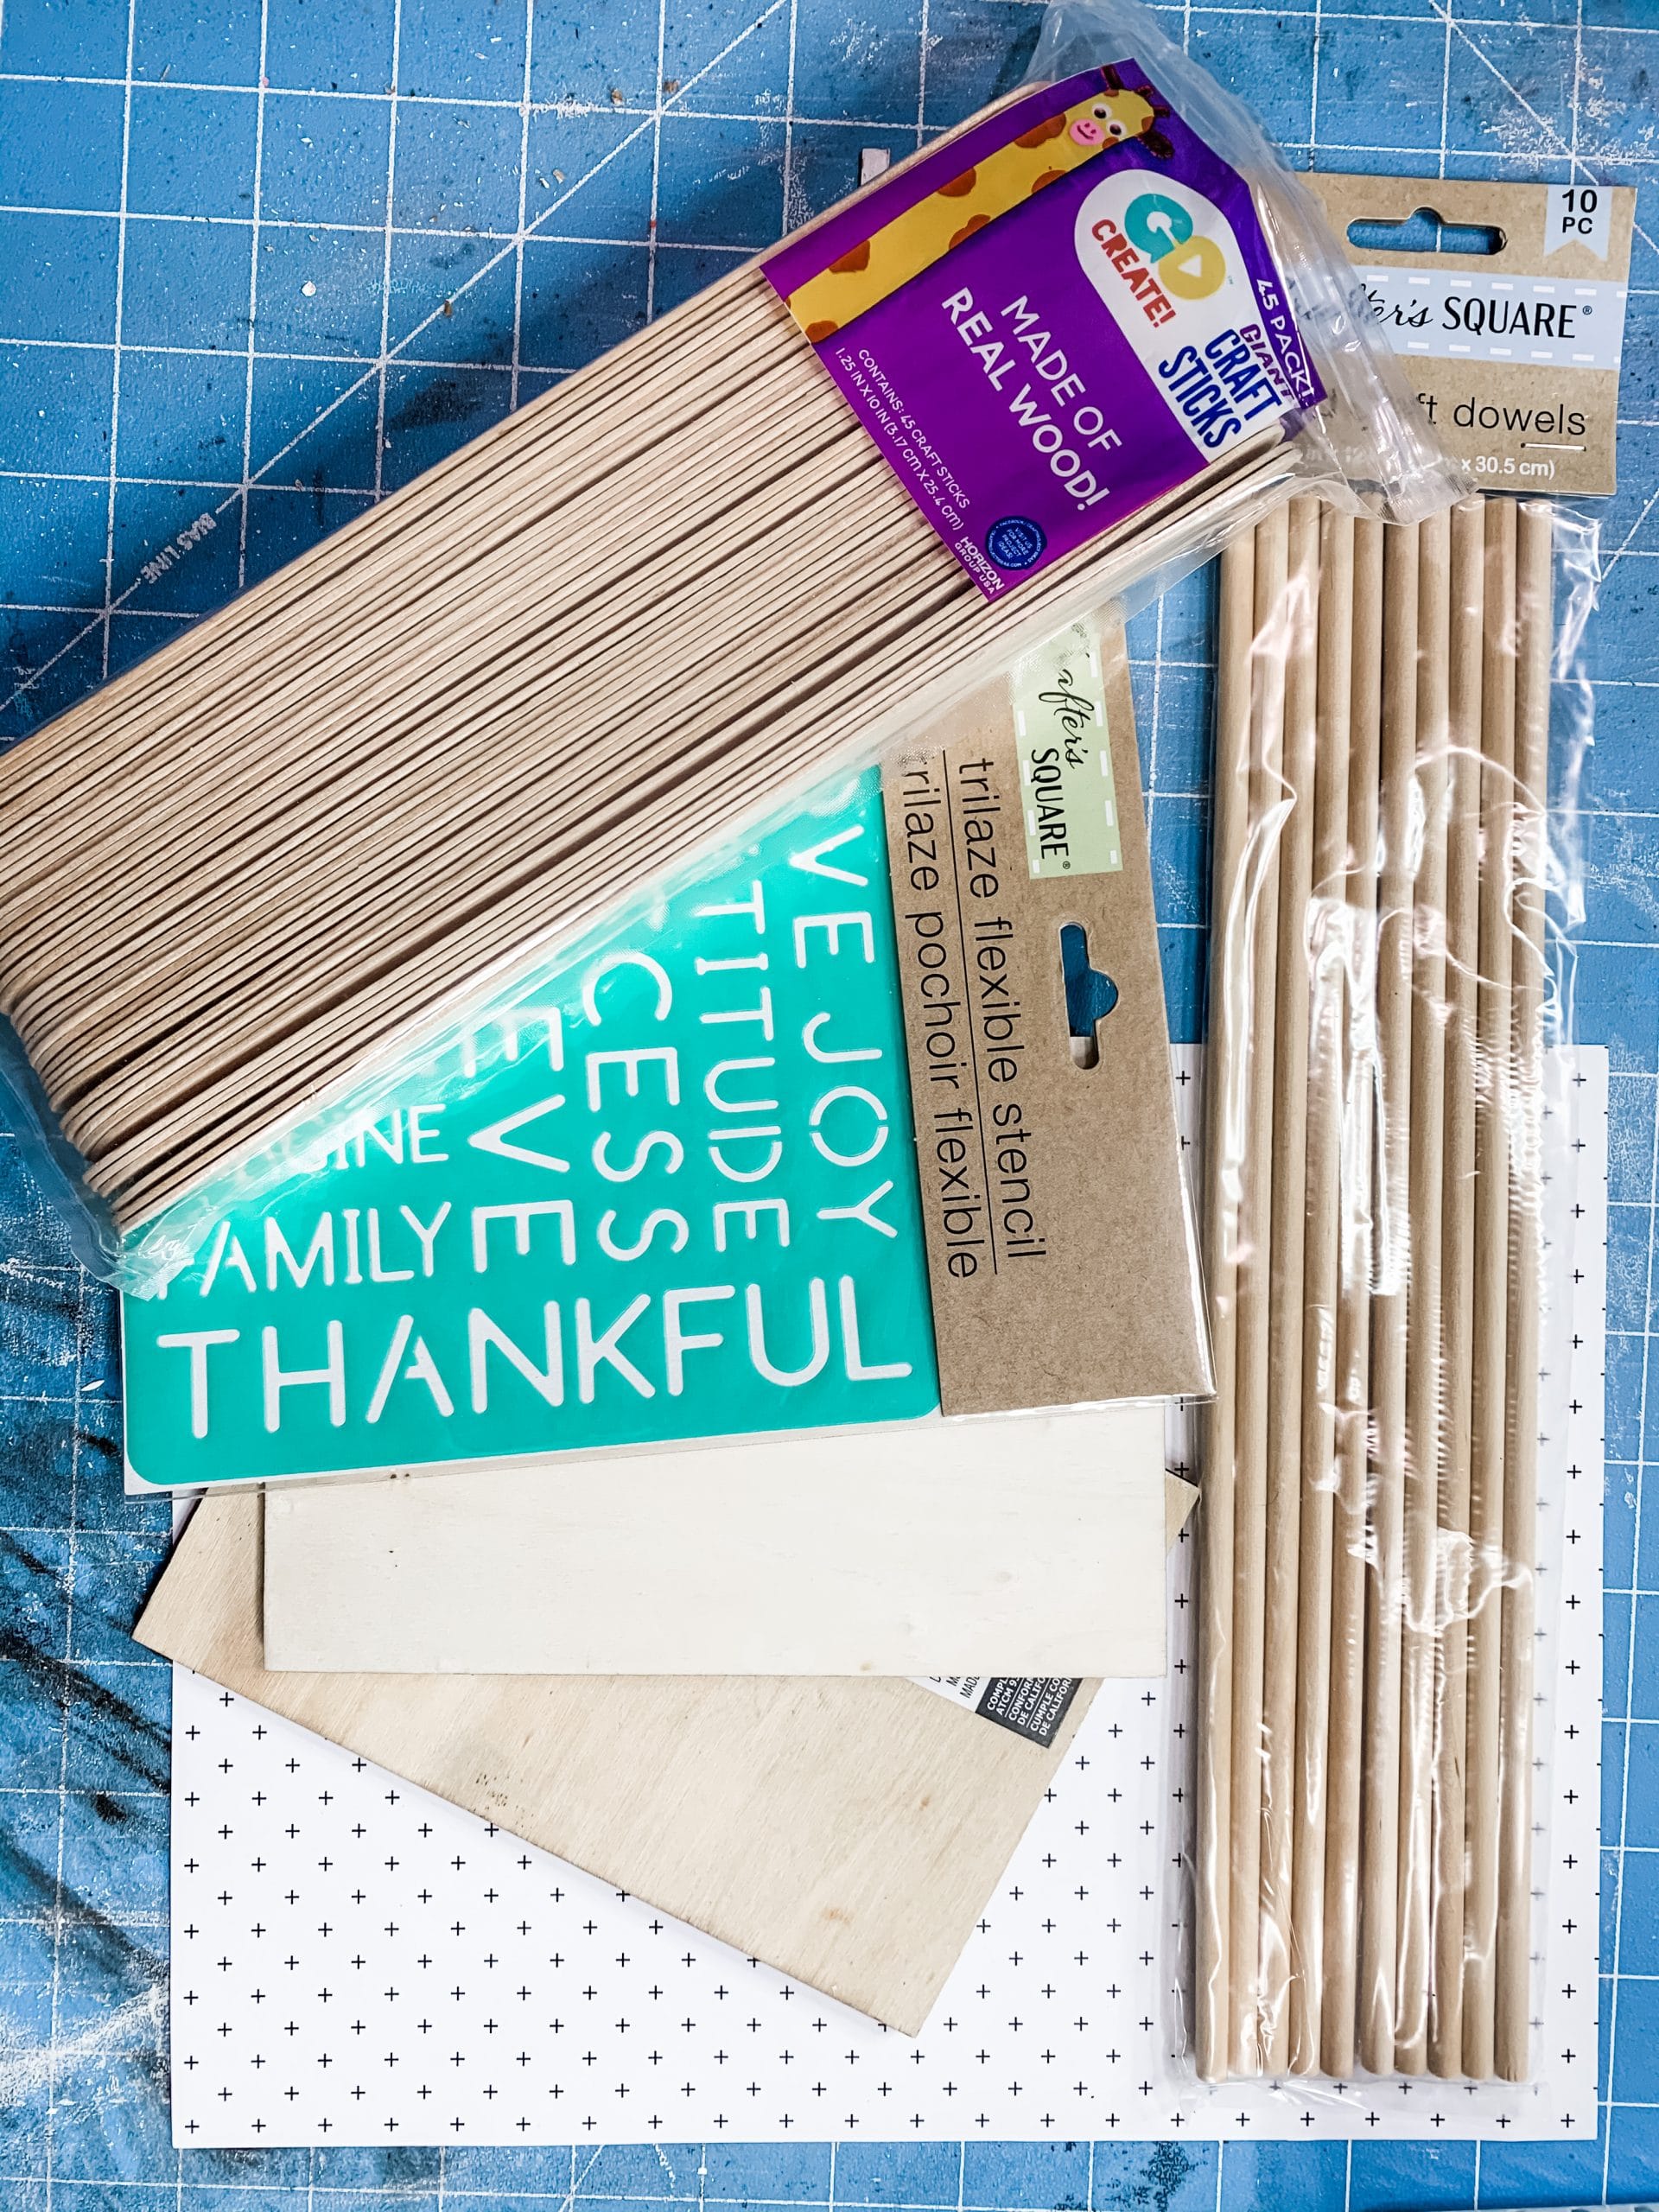
For this project, I will be using these items but you can substitute where you want.
“As an Amazon Associate, I earn from qualifying purchases.”
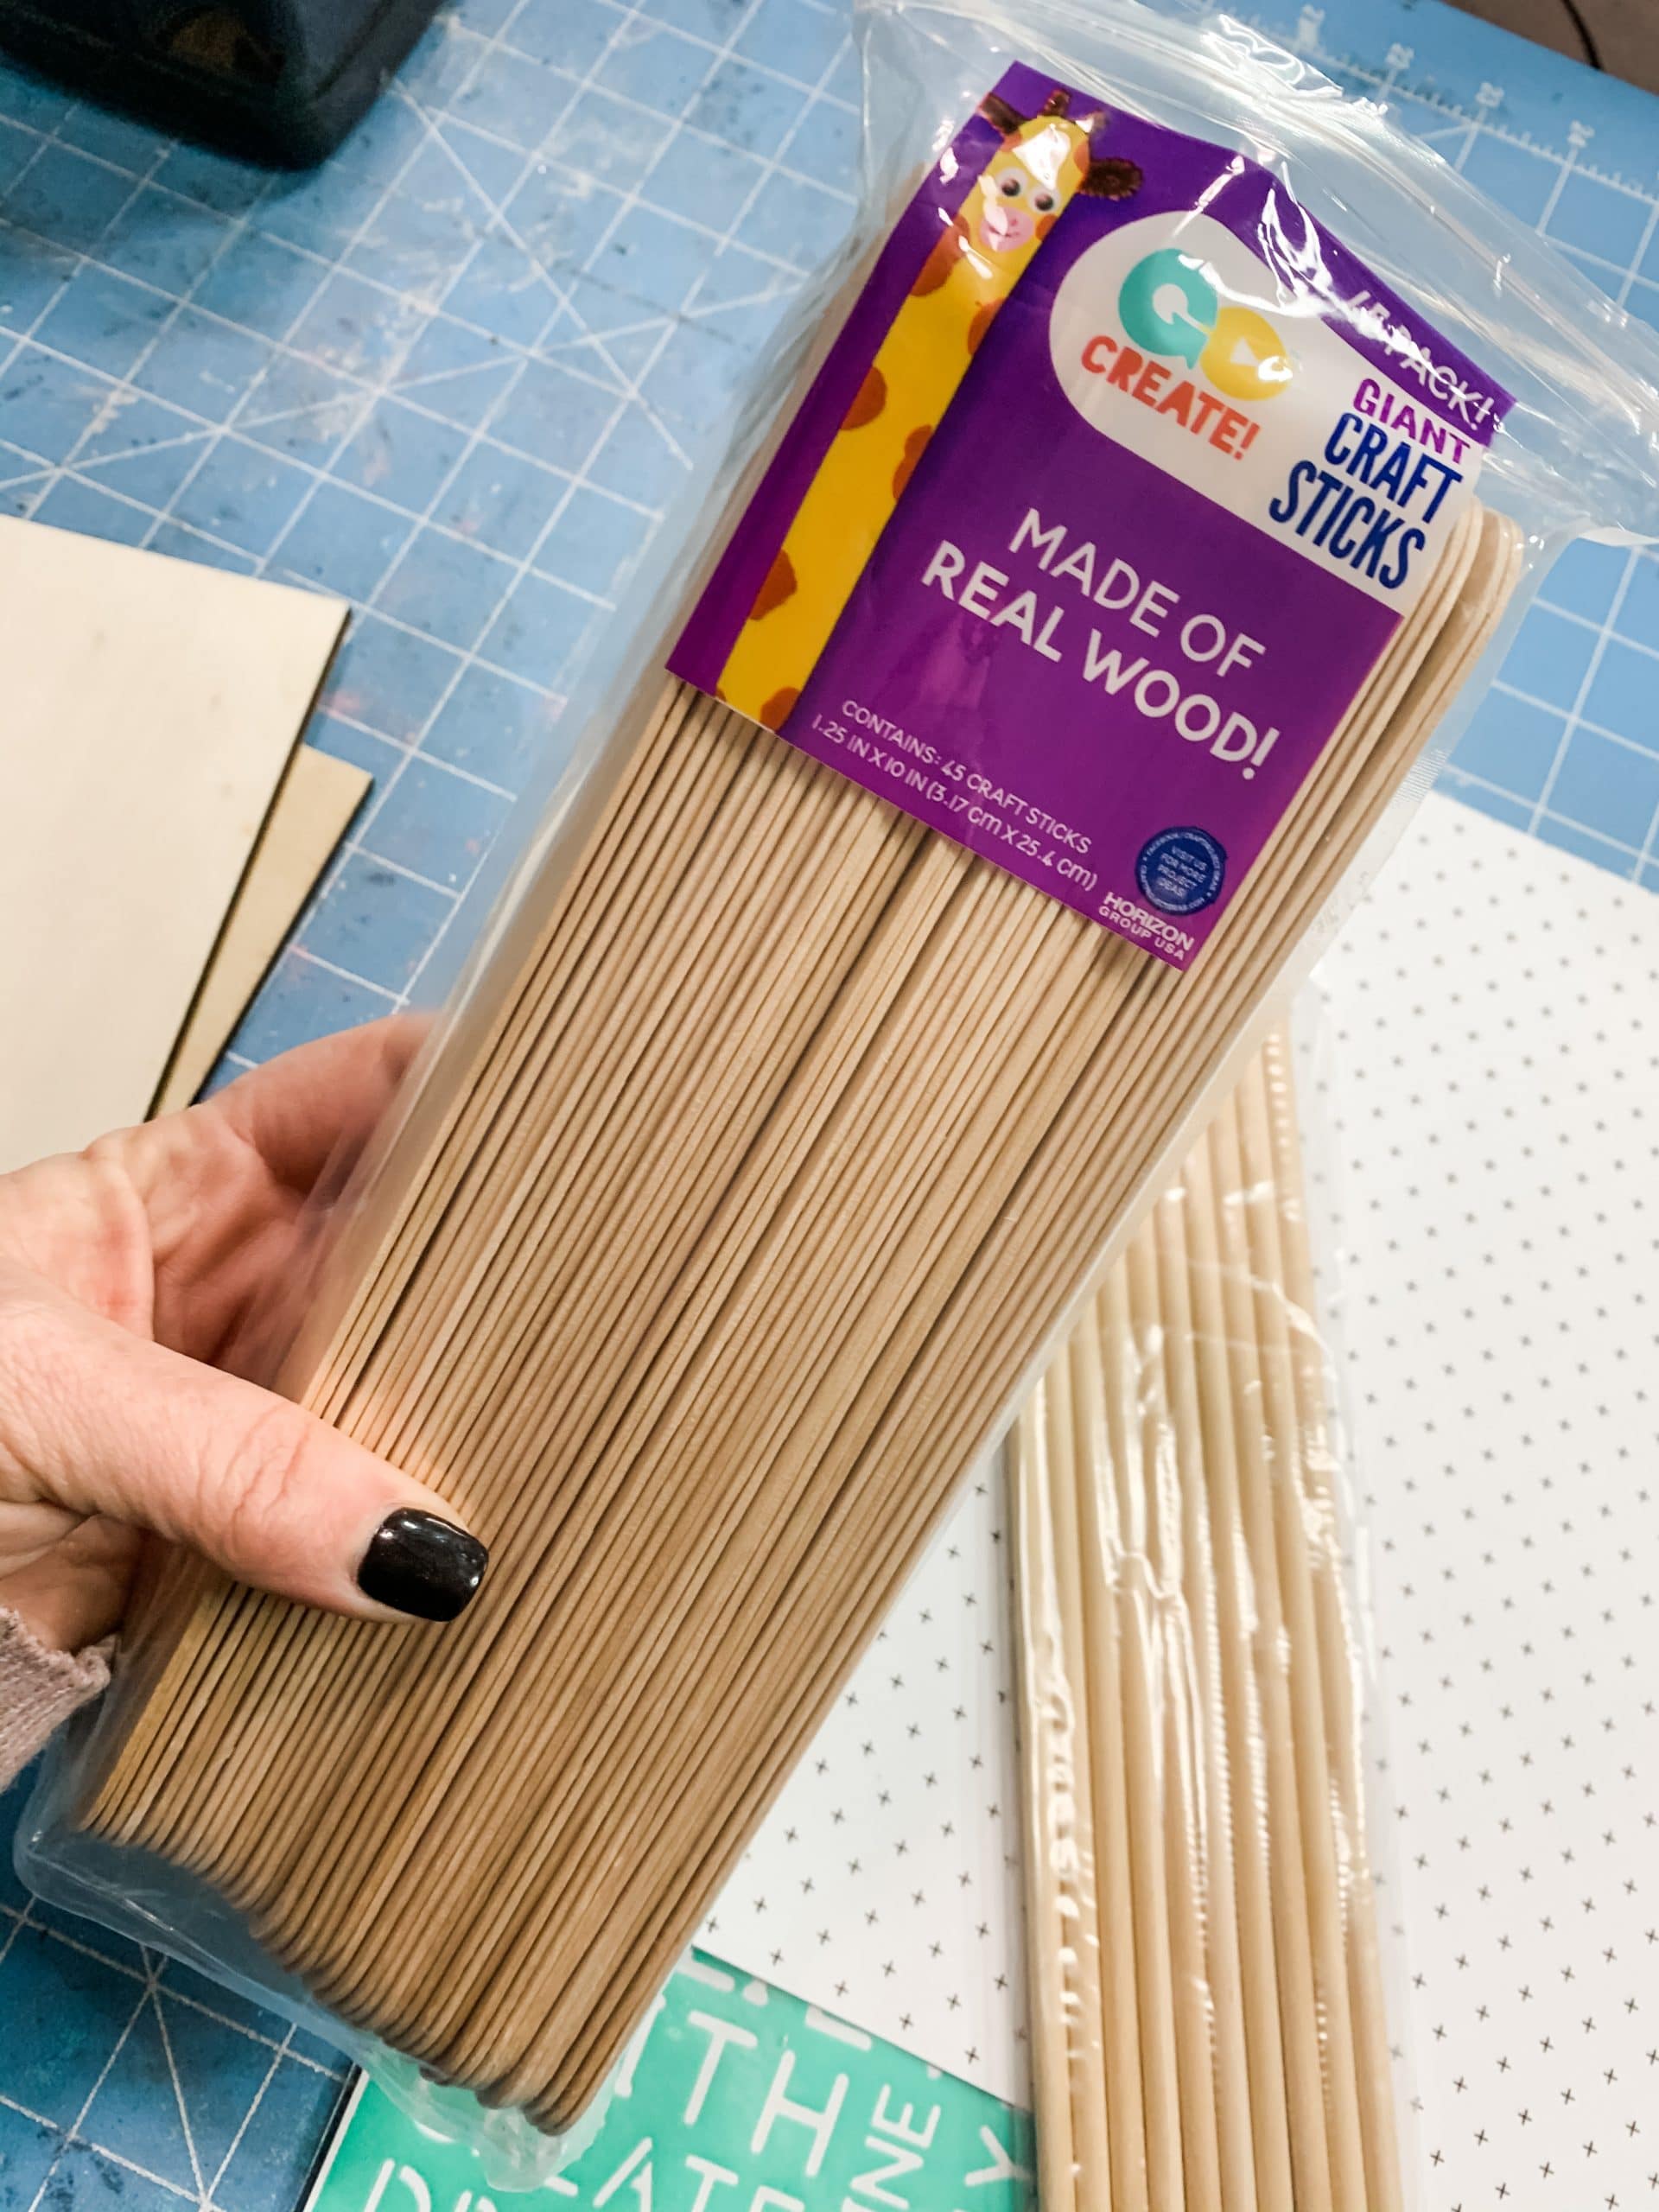
- Dollar Tree Giant Craft Sticks
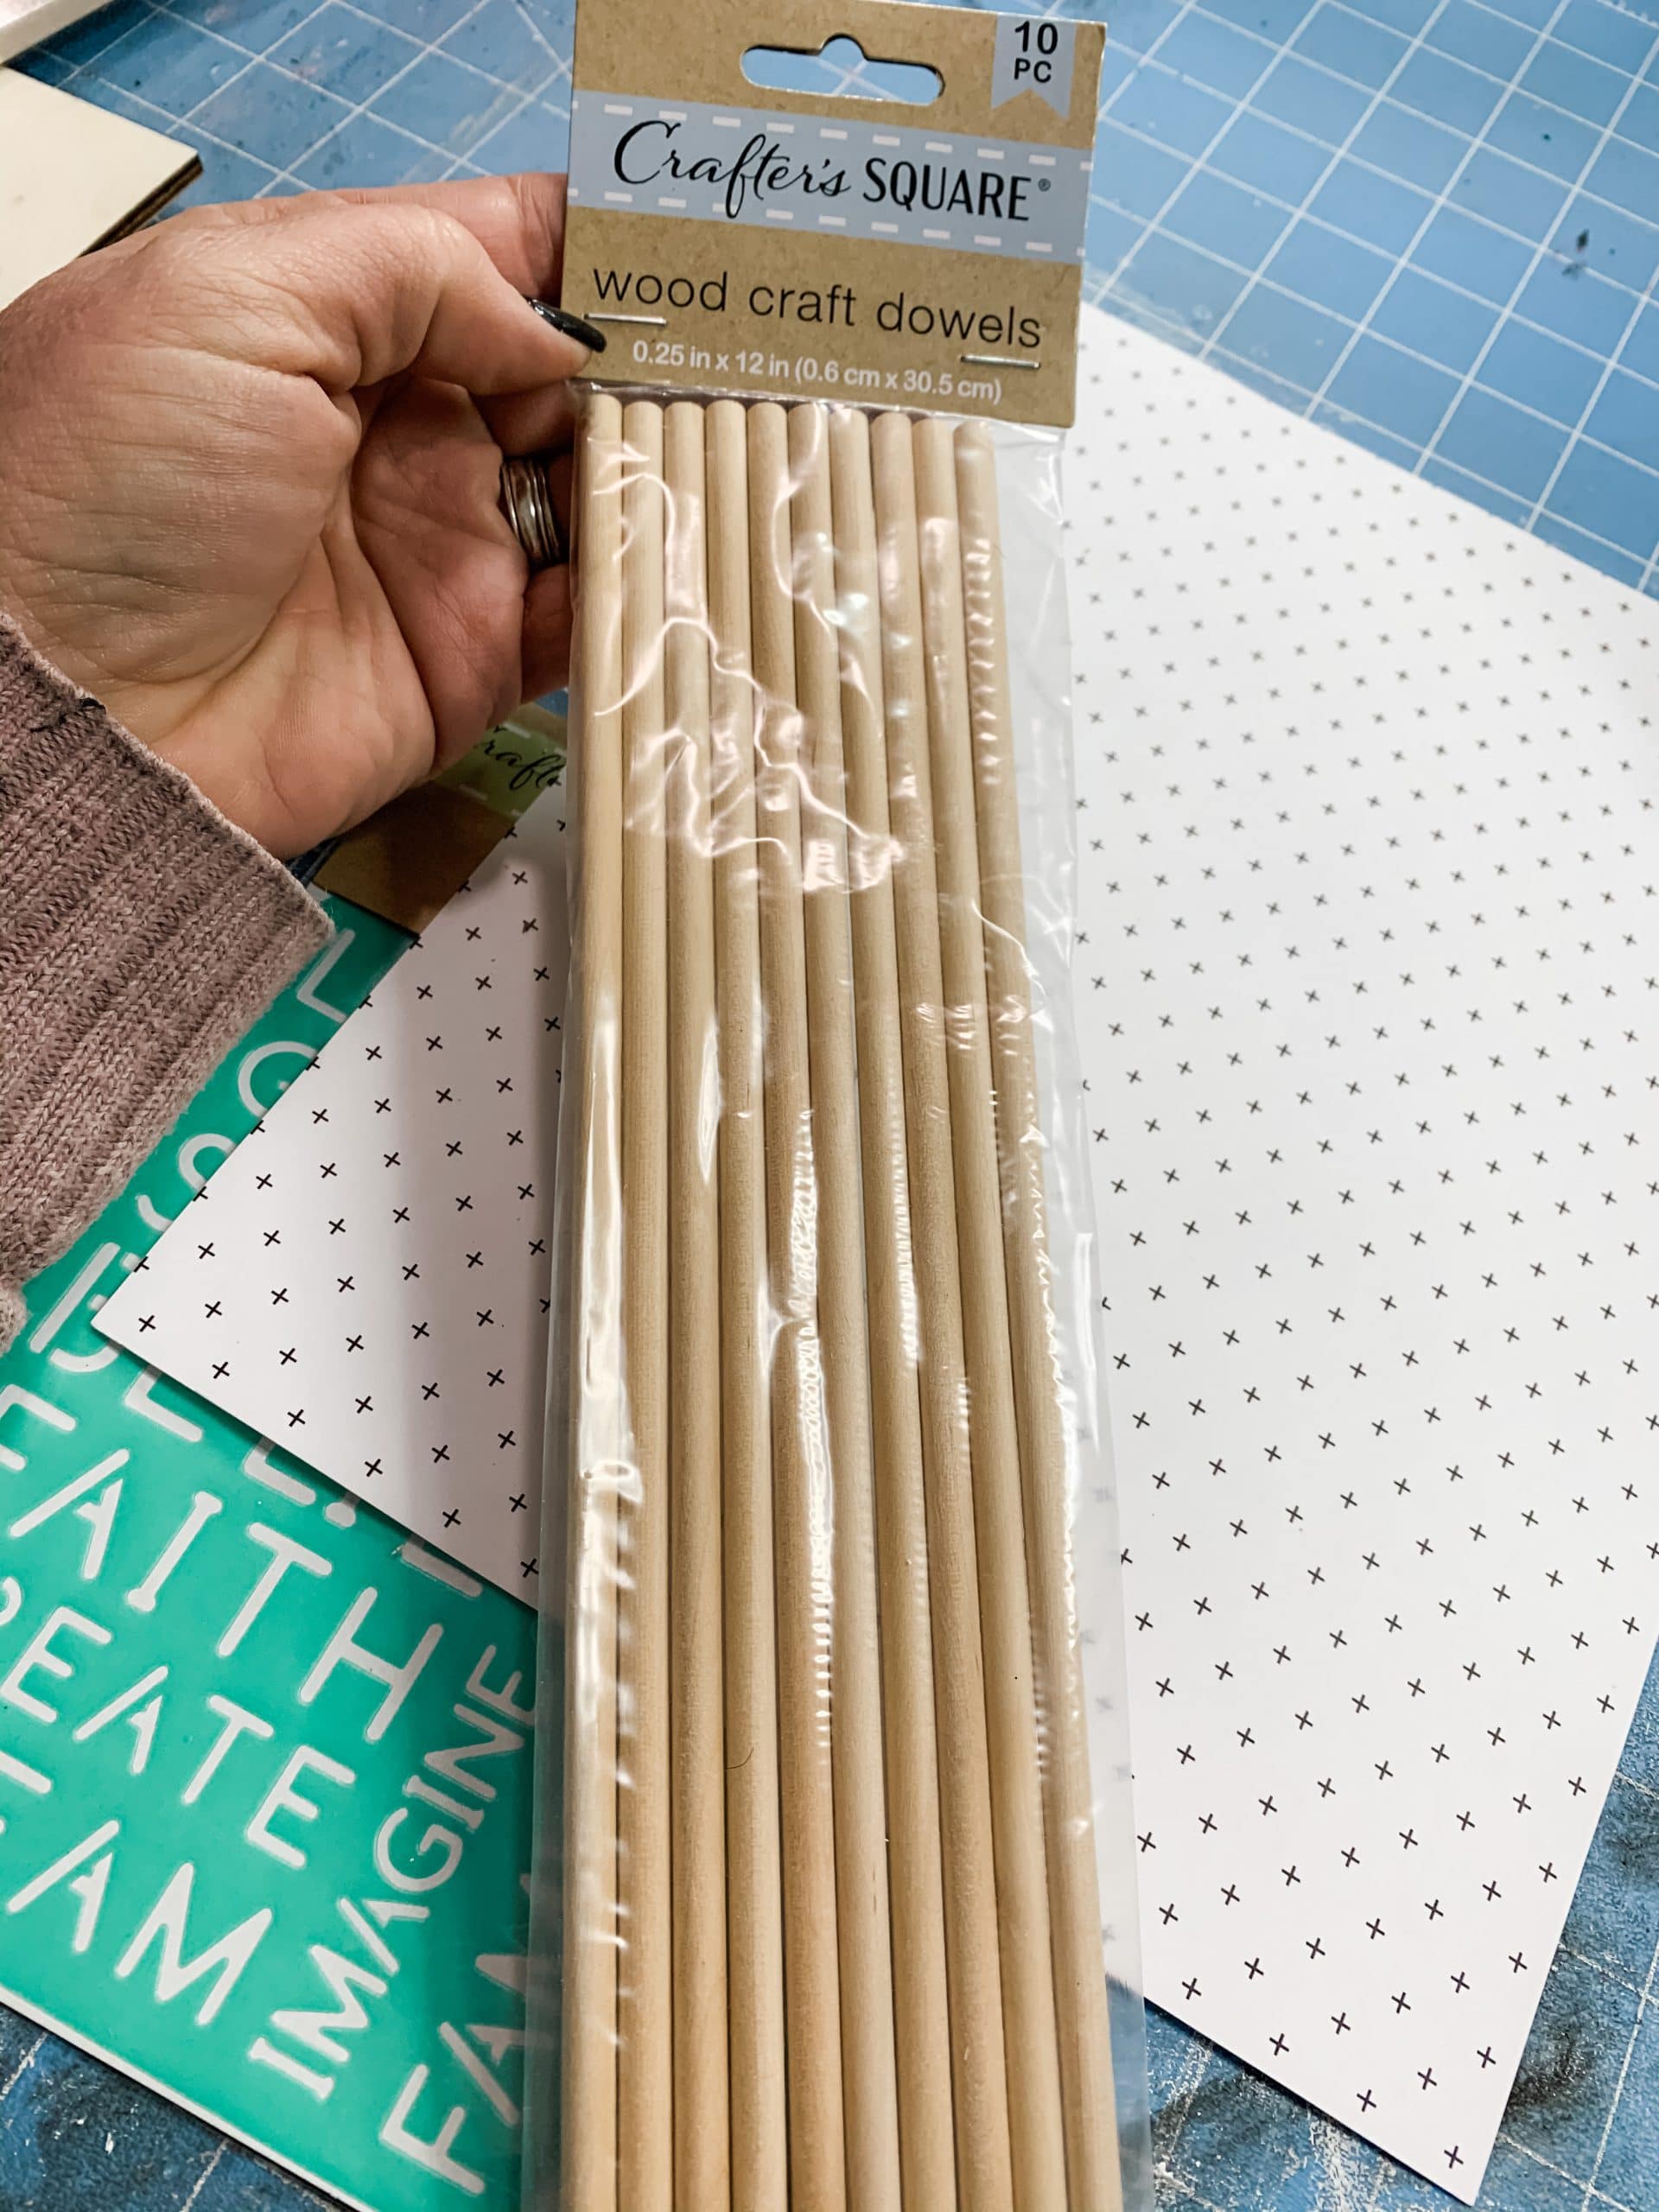
- Dollar Tree Wood Dowel
- Wood Beads
- Wood Rectangles
- Scrapbook
- Stencil
- Dixie Belle Fluff Chalk Paint
- Dixie Belle Coffee Bean Chalk Paint
- Hot glue gun and glue sticks
Let’s get started
Alright, start making this adorable DIY toolbox by applying a coat of Mod Podge to one of your wooden rectangles and press the scrapbook paper down onto the Mod Podge. Then, I applied a coat of Mod Podge to the second wooden rectangle and pressed it onto the scrapbook paper next to the first rectangle.
Then, apply Mod Podge to the back of both of the wooden rectangles and press the second piece of scrapbook paper onto the back of the rectangles. I then used a rolling pin to smooth out any wrinkles or creases that had formed in the scrapbook paper.
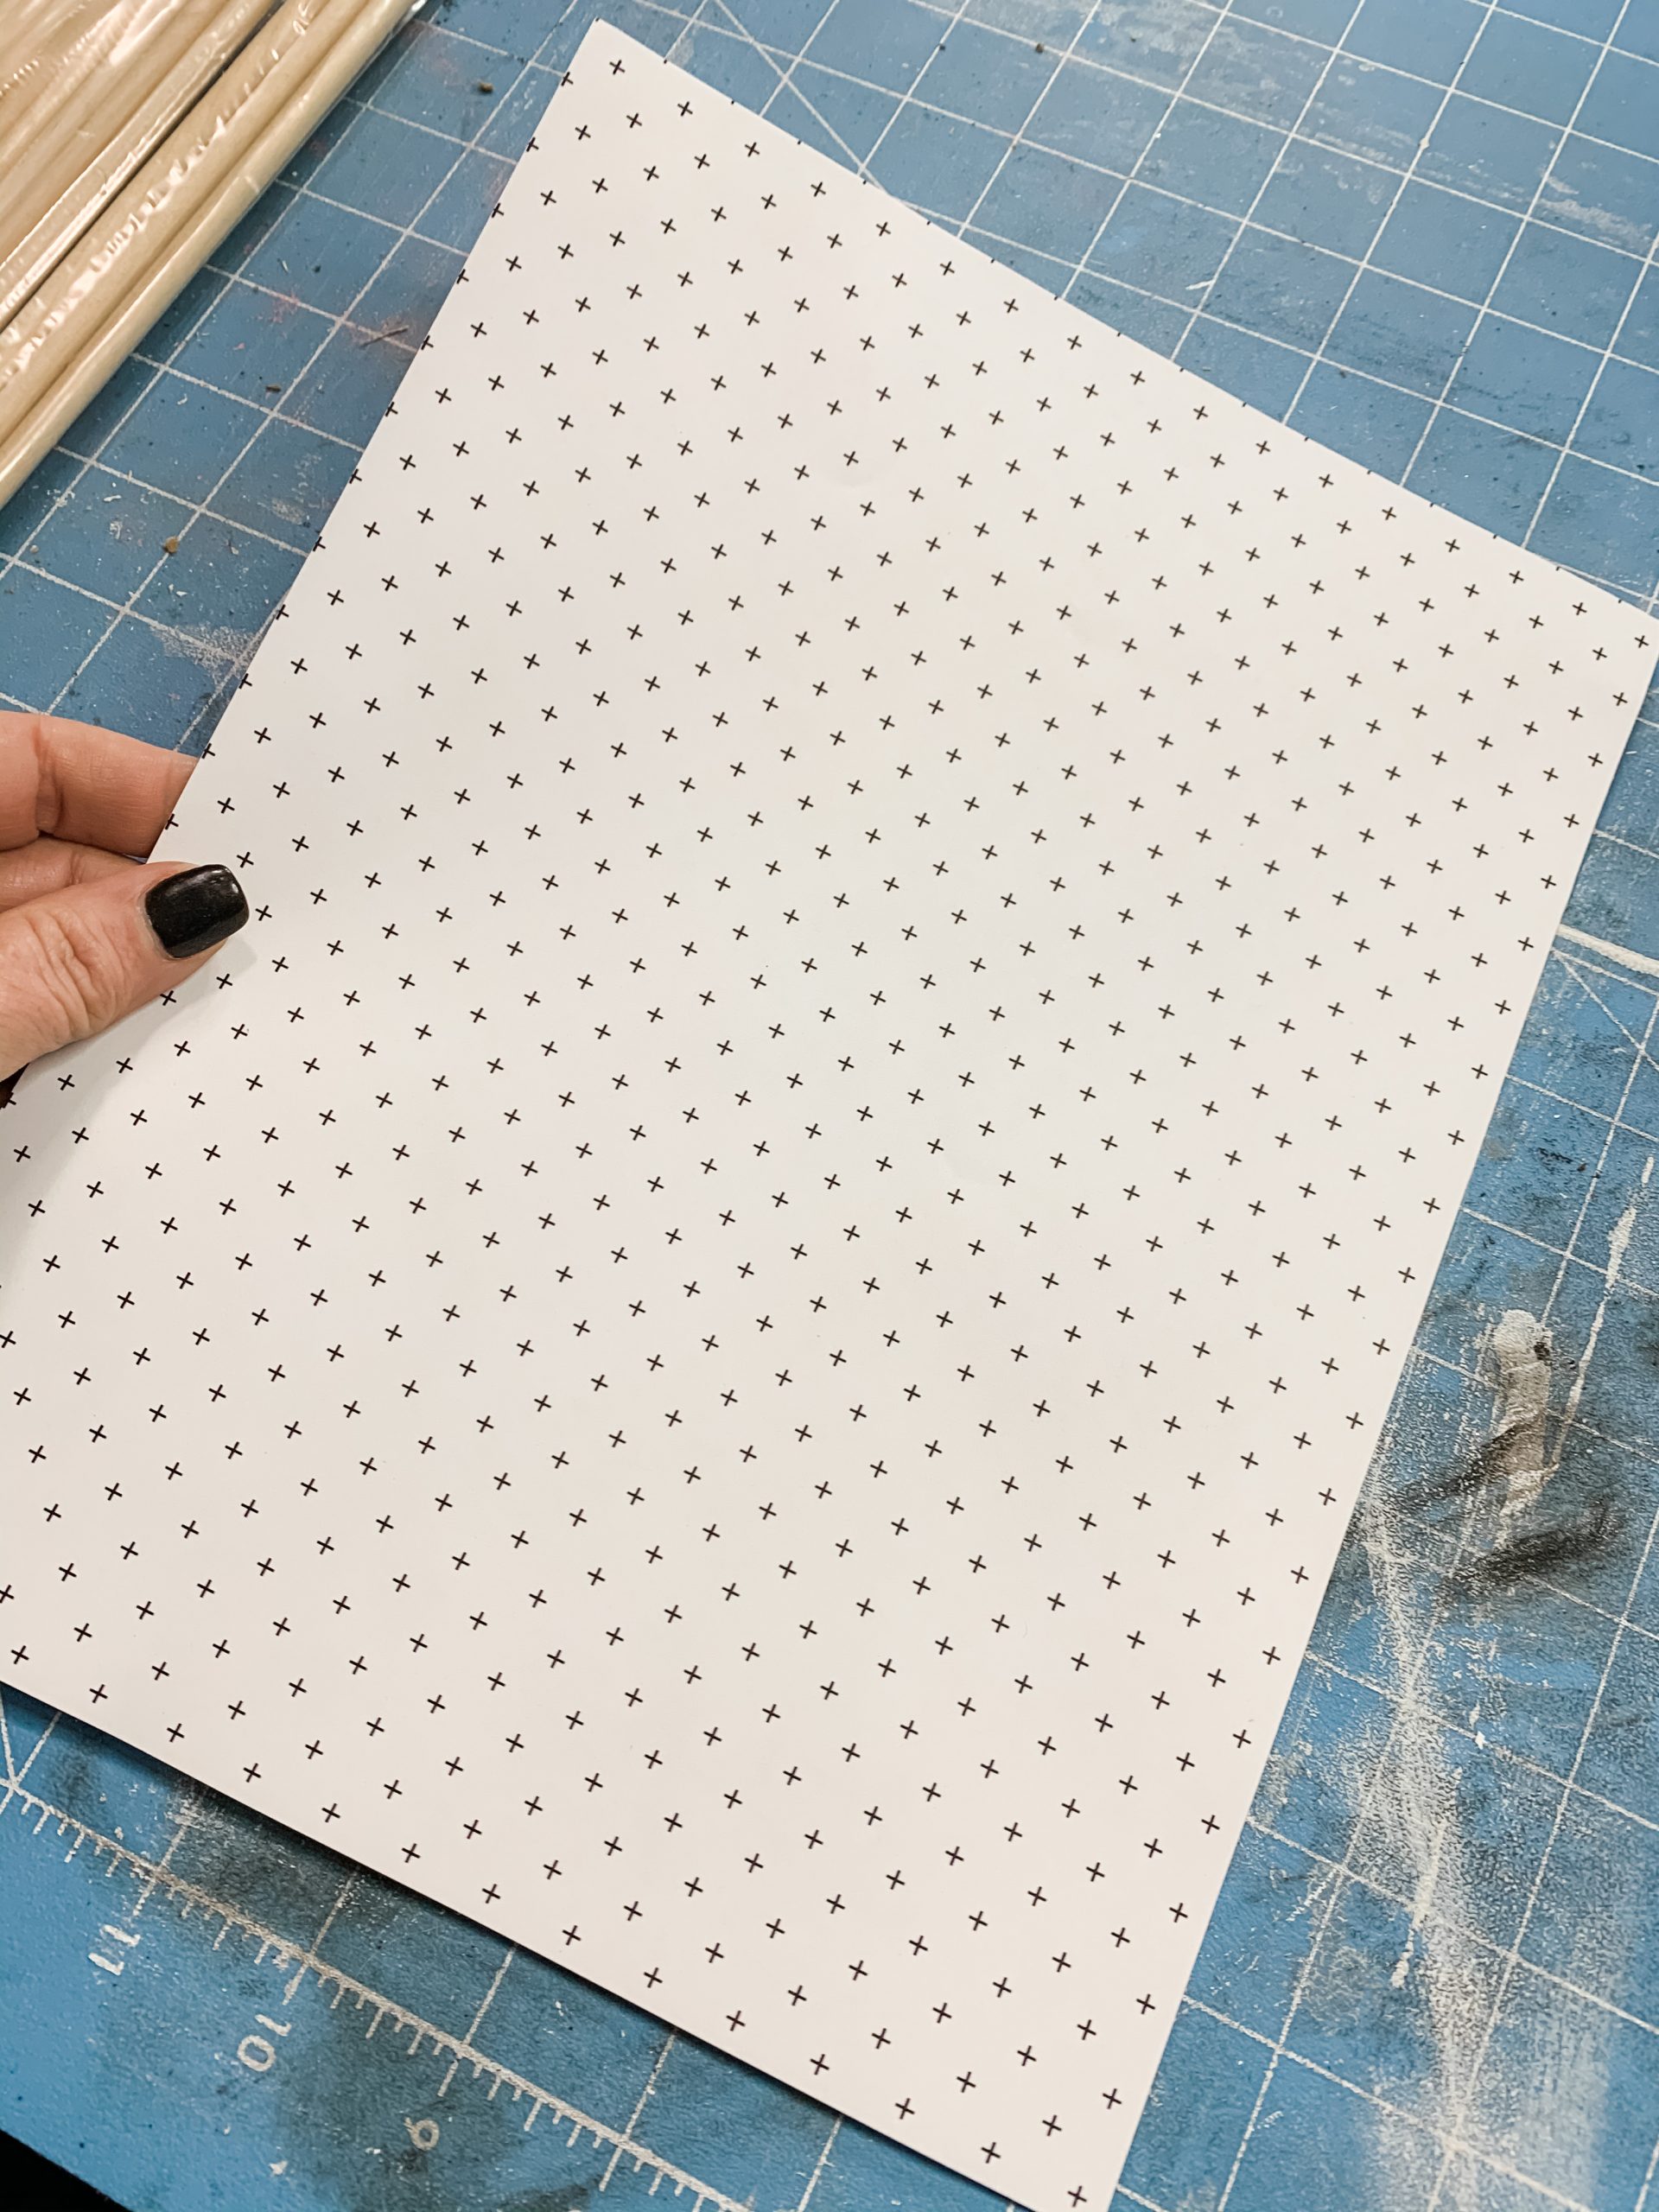
Next, I used a pair of scissors to separate the two wooden rectangles. Cut the scrapbook paper between the rectangles and then trim the excess from around the rectangles’ edges.
Once the Mod Podge has dried, lightly go around the edges of the wooden rectangles with a sanding sponge to remove the rest of the excess scrapbook paper from the wooden rectangles.
If the Mod Podge is still wet when you go in with the sanding sponge, it could pull the scrapbook paper up from the wood.
How to stain wood
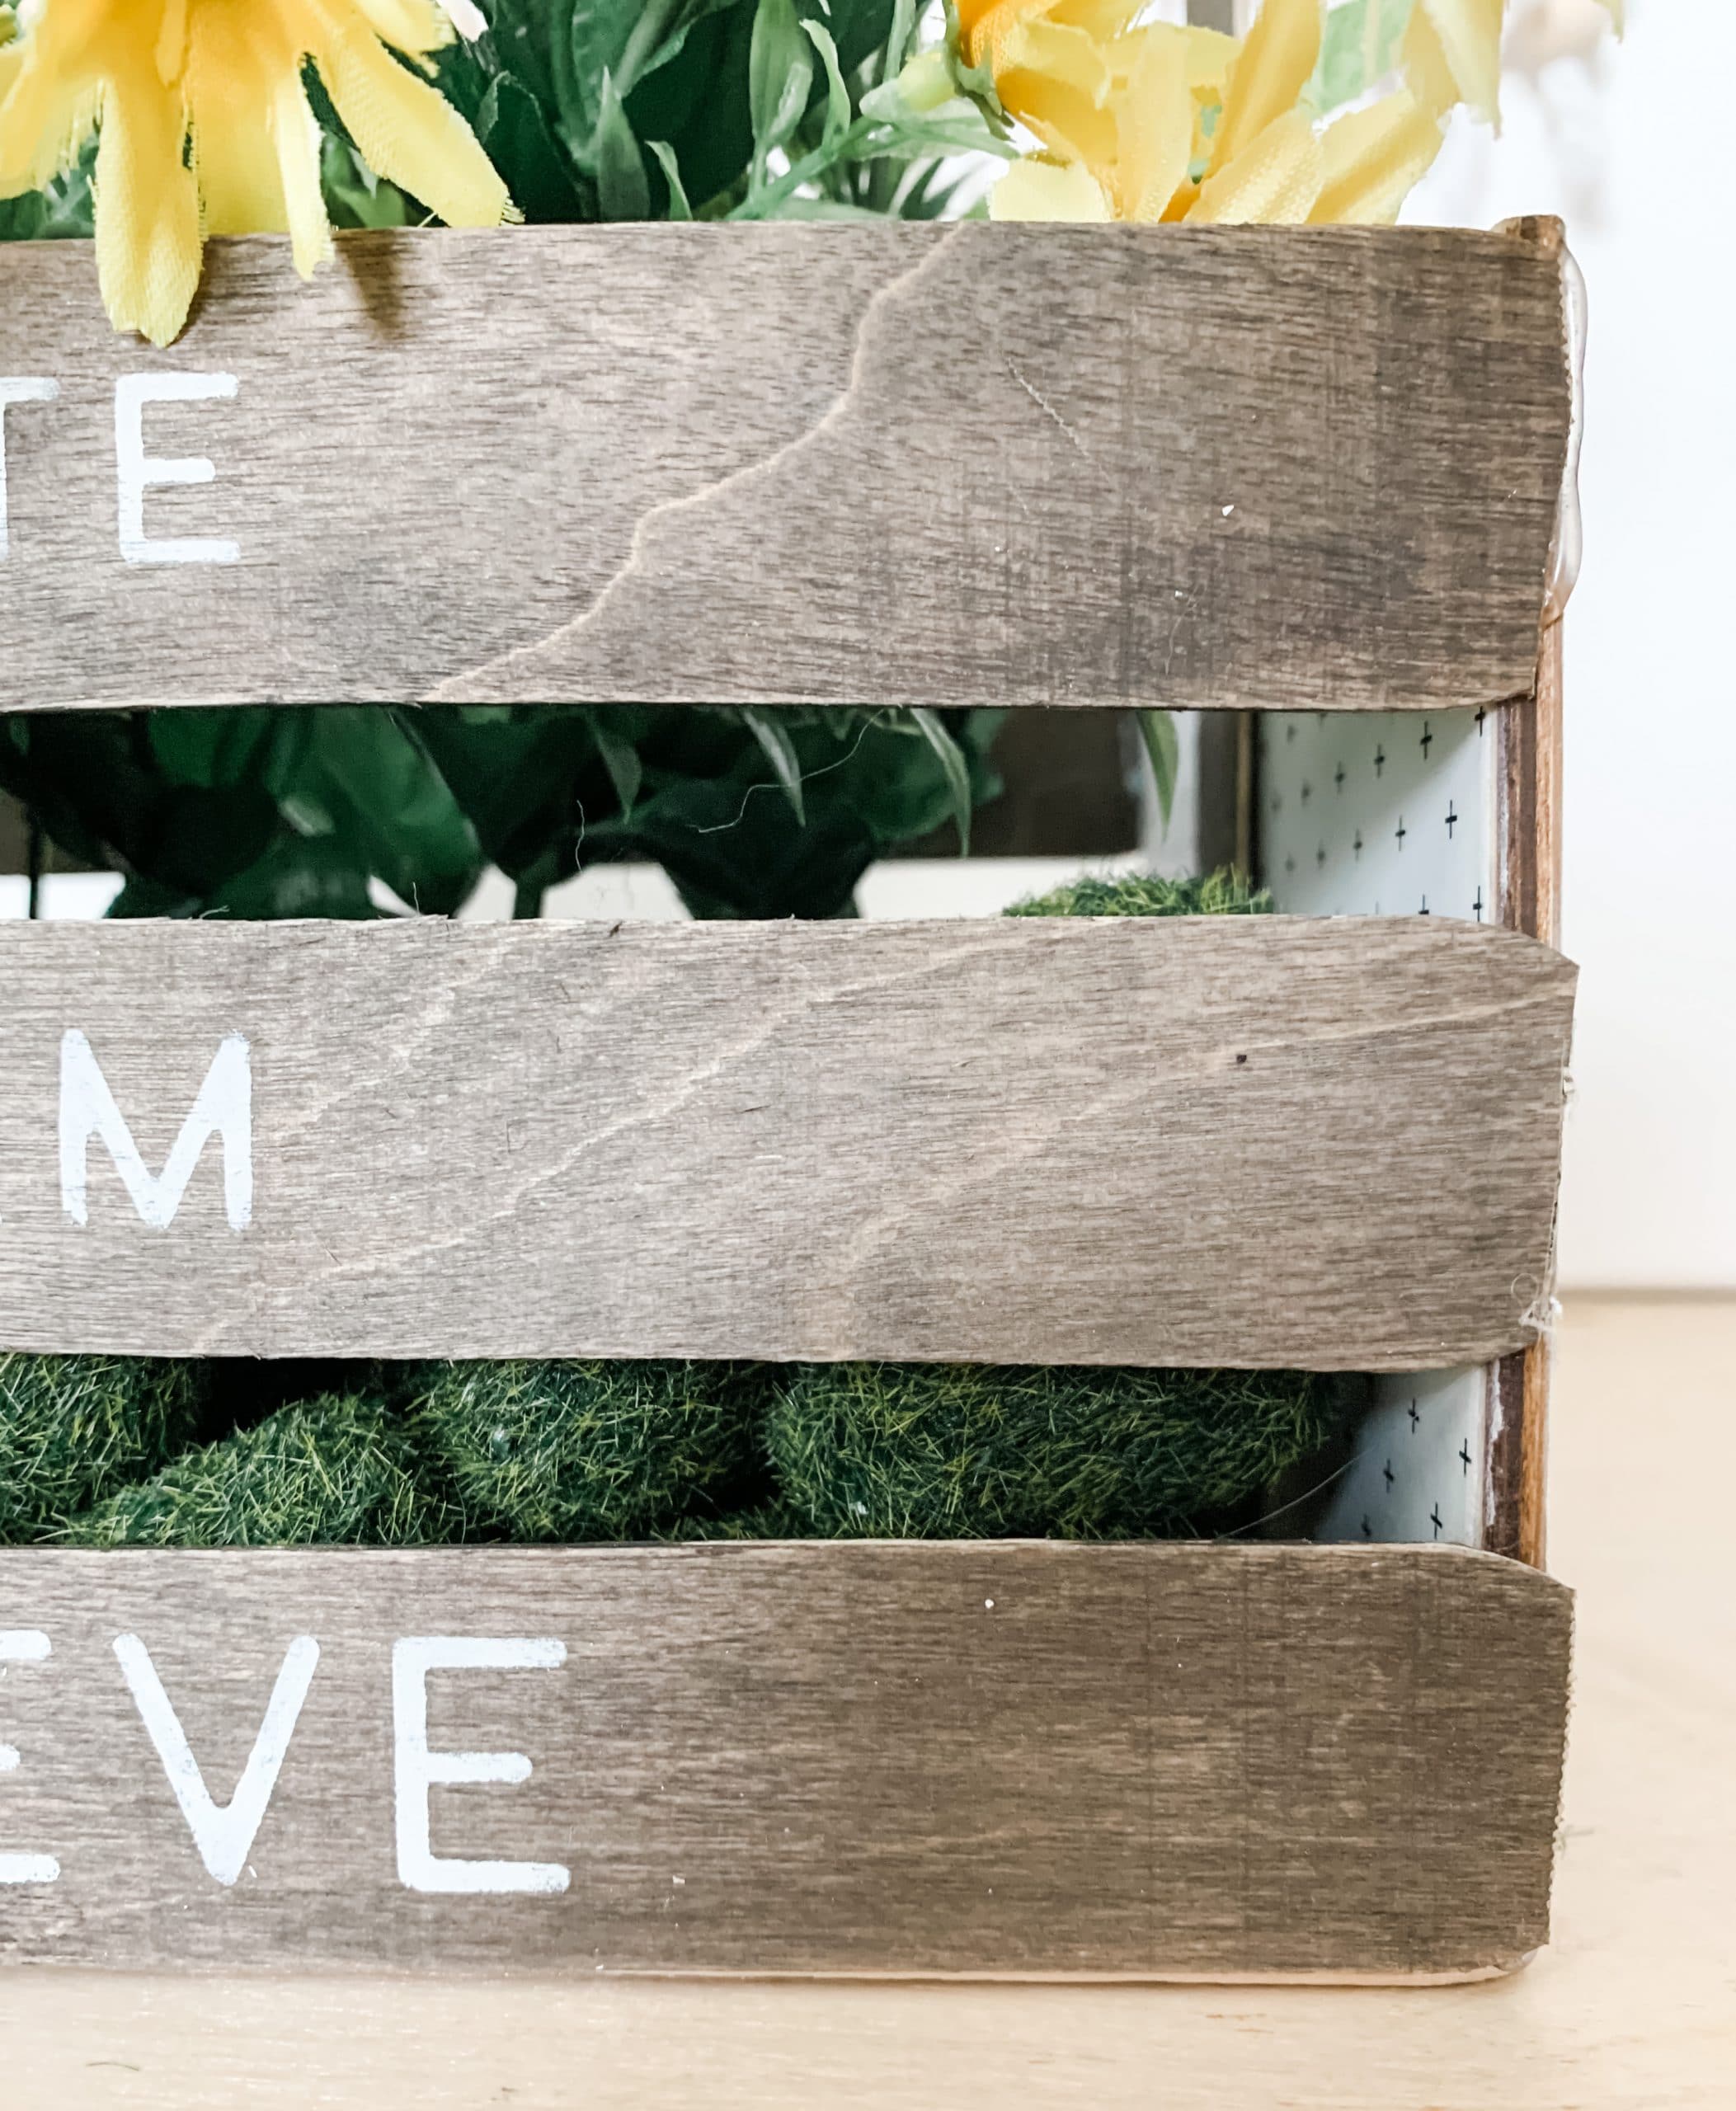
This part of this DIY project is the paneling for the front and back. You are going to need 6 giant craft sticks and brown paint. I used Dixie Belle Coffee Bean Chalk Paint.
Spray the giant craft sticks with water, then use a wet wipe to spread the brown paint across each of the giant craft sticks. The water helps the wood absorb the paint and gives it a stained finish rather than a painted look.
If you apply too much paint, you can go back over the wood with a clean wet wipe to remove the excess paint. Make sure you stain both sides of the giant craft sticks.
Use a pair of Aviation snips to trim the curved ends of each of the craft sticks. To make sure they’re all the same lengths, you can use a ruler to mark where you will trim the craft sticks.
Next, hot glue 3 craft sticks on the short sides of each of the decoupaged wooden rectangles. Then, trim the curved ends off of 5 new giant craft sticks and hot glue them to the bottom of the DIY crate.
If you want, you can stain the giant craft sticks for the bottom of your craft before you hot glue them in place.
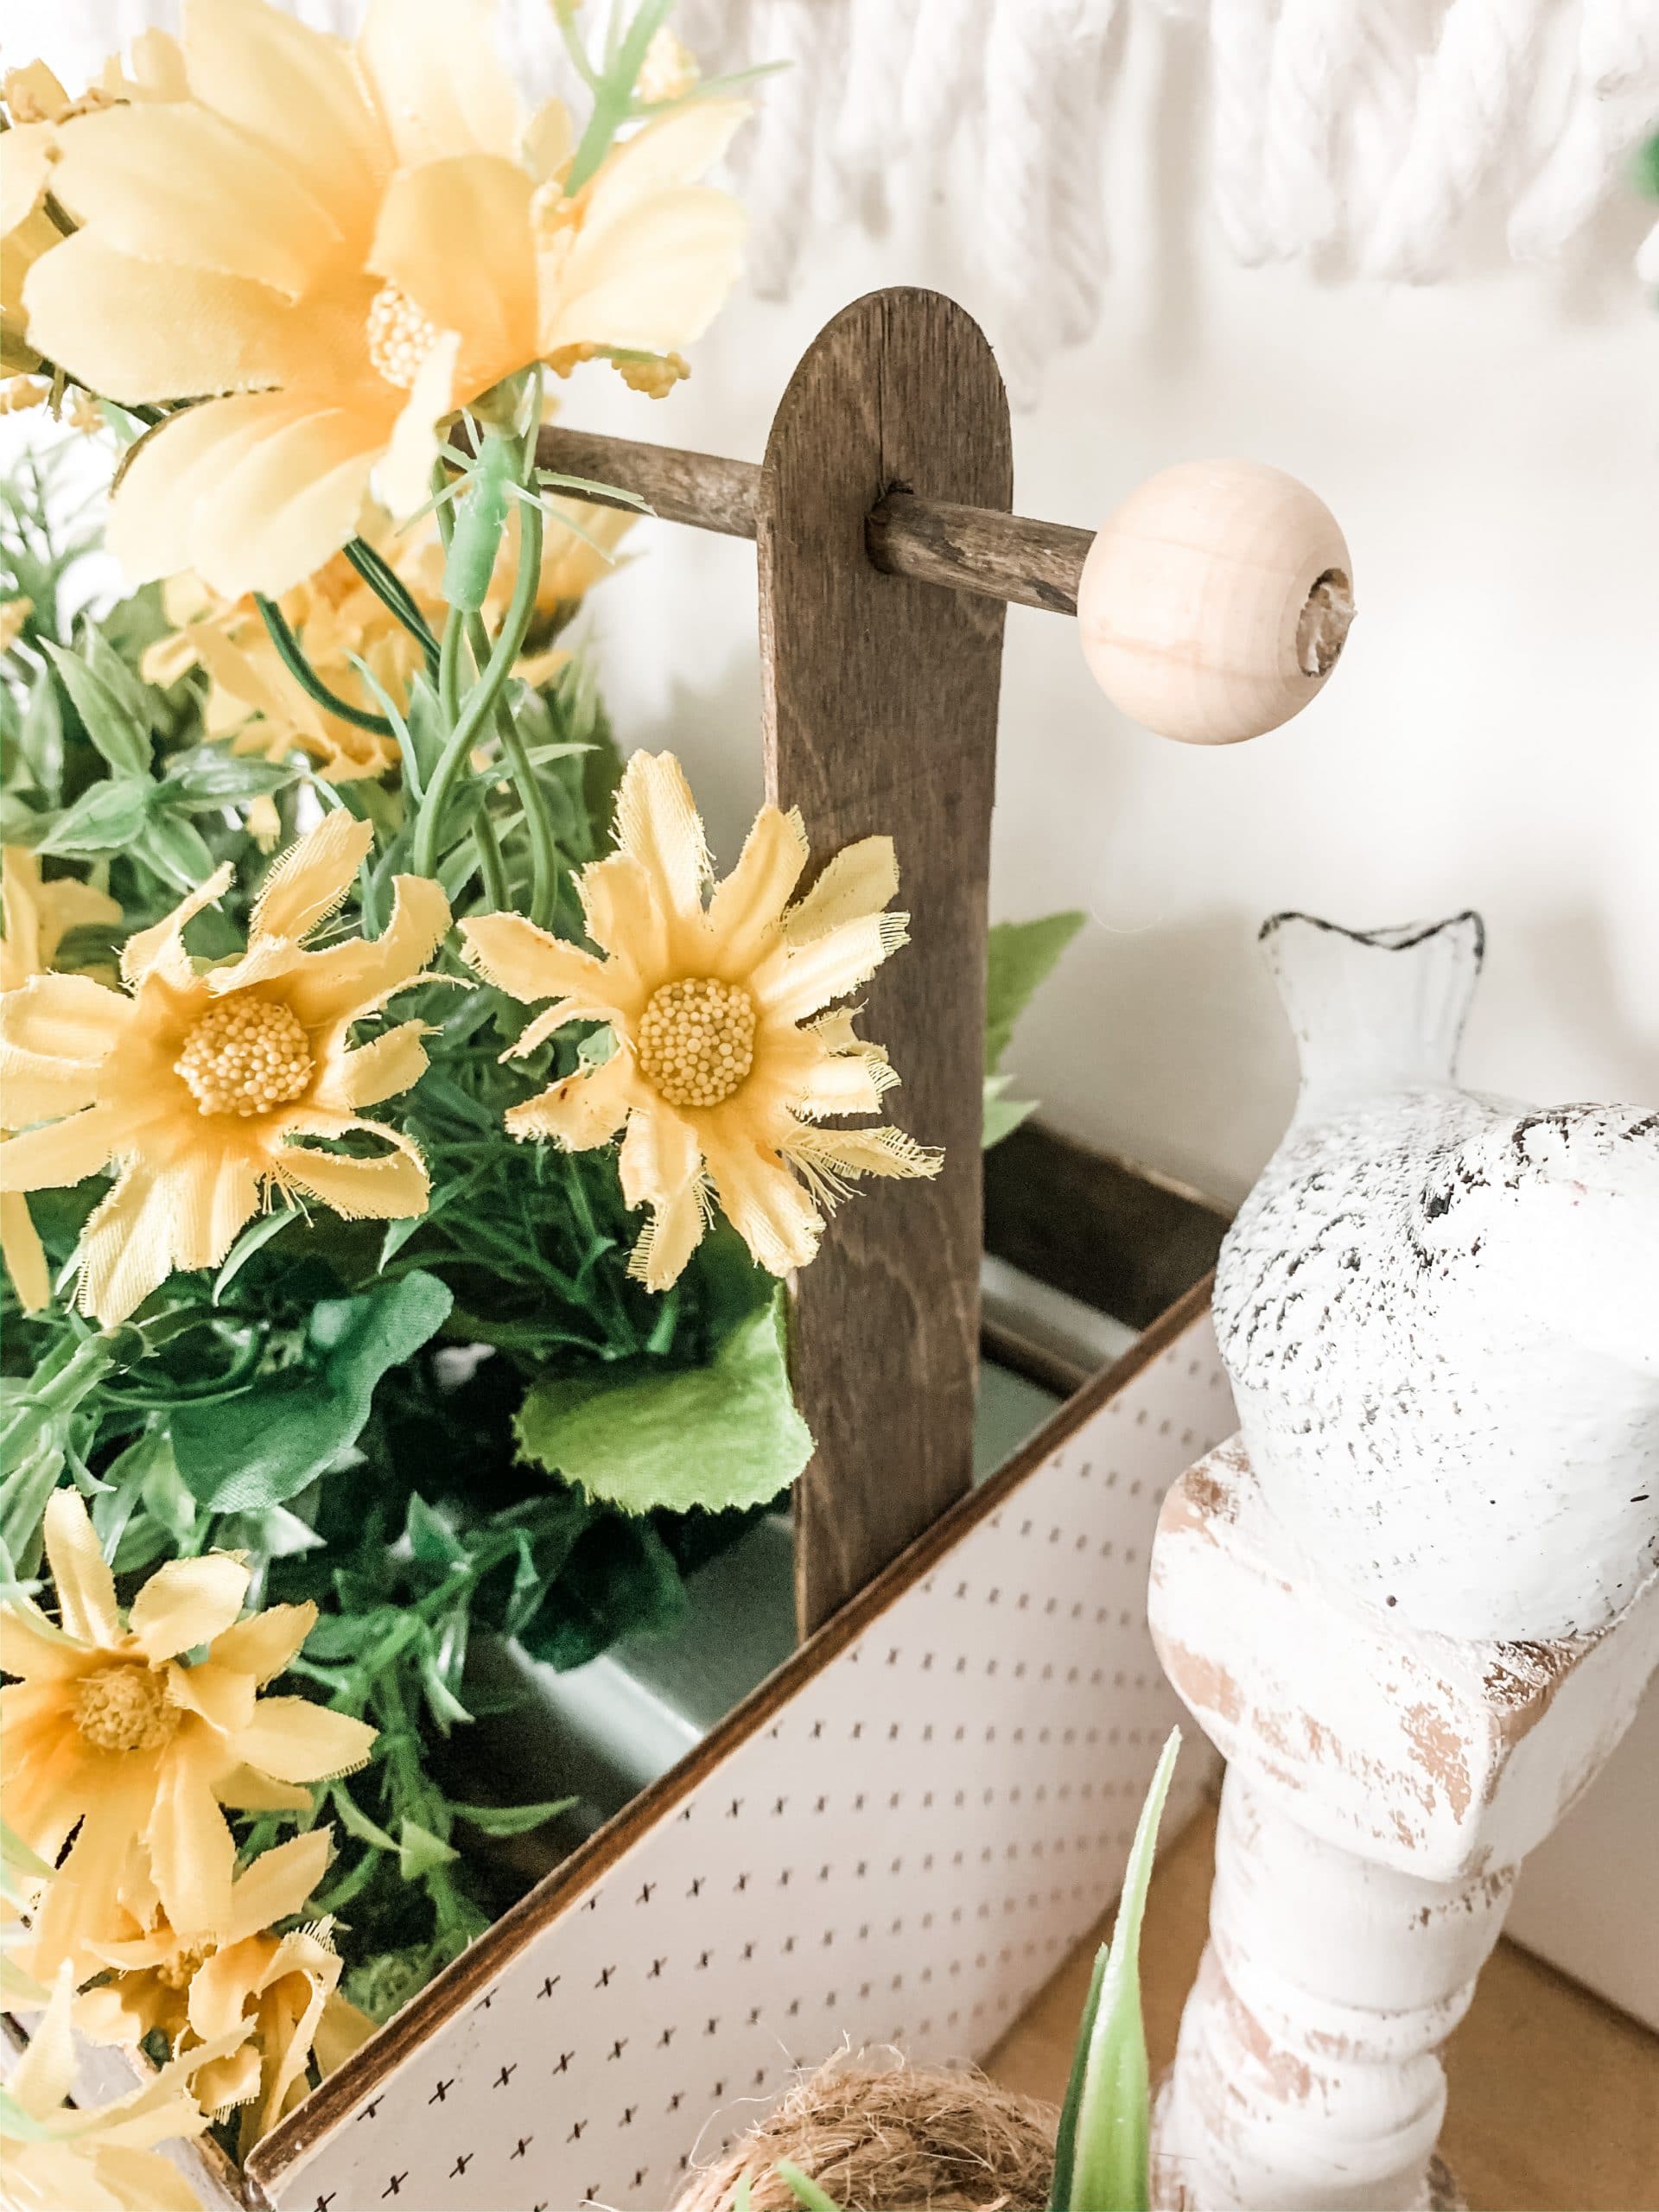
Make your handle
To make your handle, you’re going to need two giant craft sticks, a wood dowel, two wood beads, and a drill. Drill one hole in one end of each of the giant craft sticks. The wood dowel will go through those holes to create the handle.
Before you assemble your handle, you want to stain each piece first. Use the same staining technique you used on the giant craft sticks for the siding of the crate.
Allow the wood to dry, then push the wood dowel through the holes and hot glue the bottom of the craft sticks to the inner sides of the DIY crate.
The finishing touches
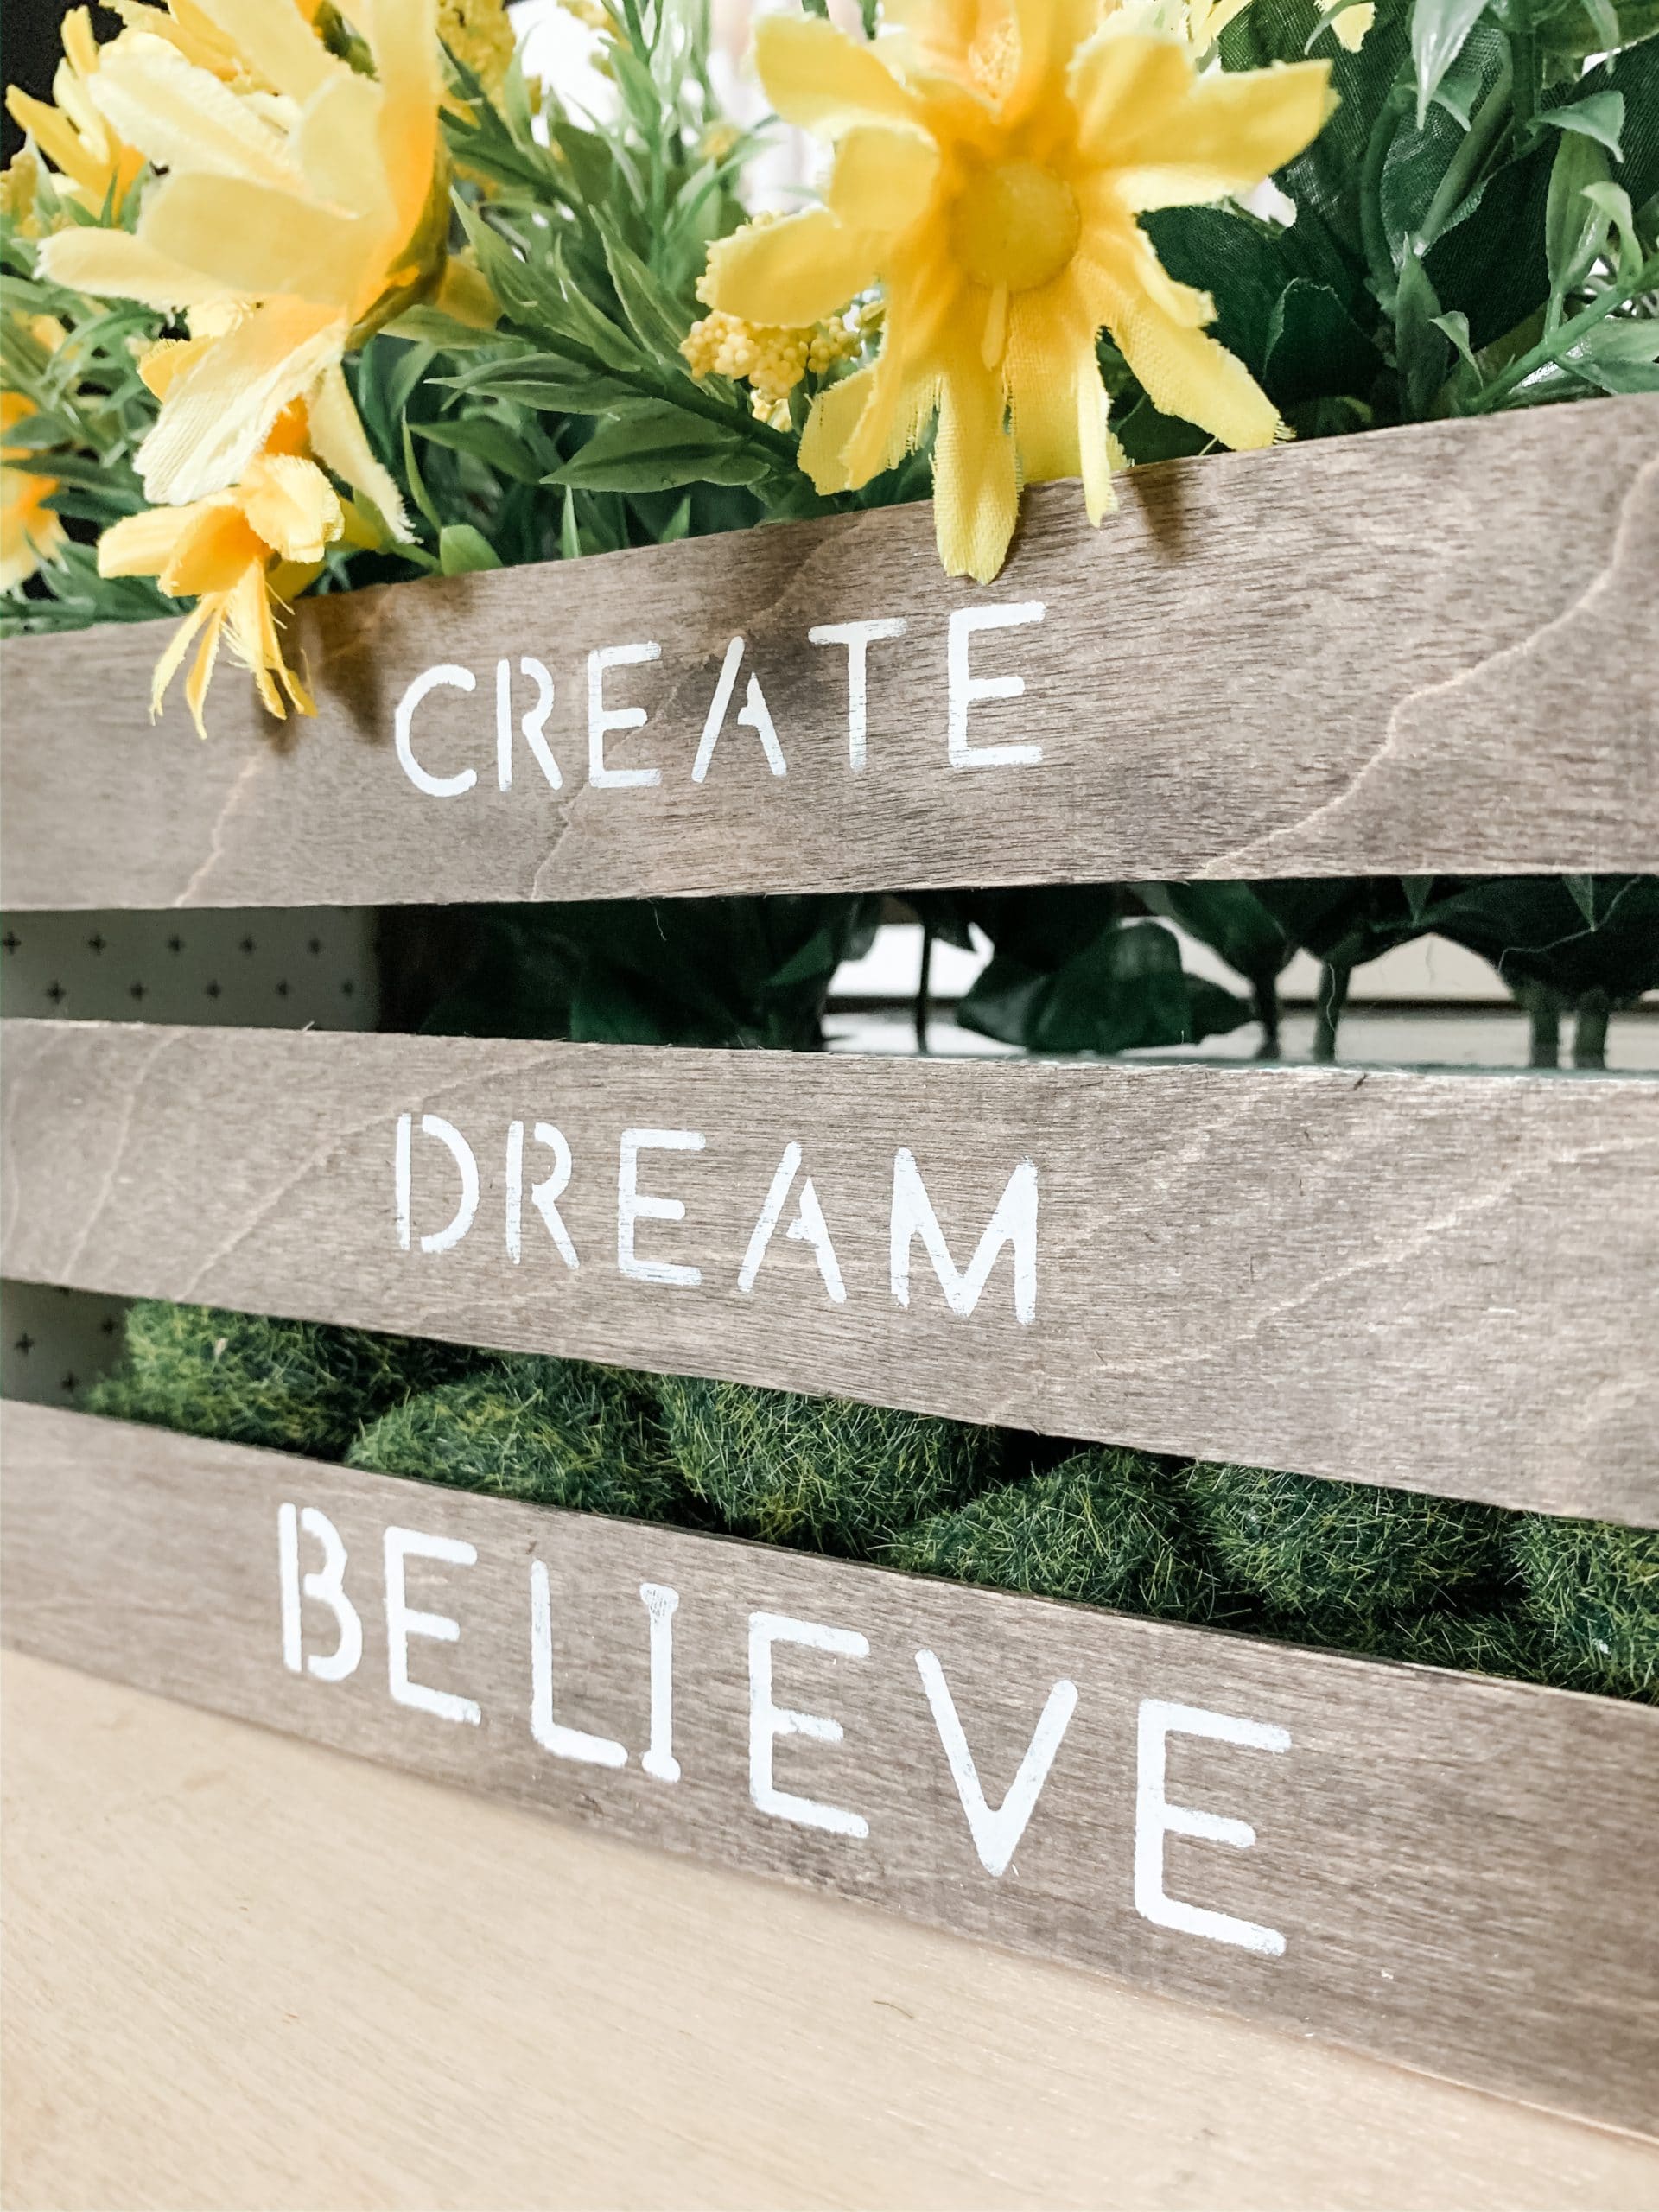
Next, I used a Dollar Tree stencil to add some character to my DIY decorative toolbox. I placed the stencil and painted over it with Dixie Belle Fluff Chalk Paint. Lastly, I hot glued a wood bead to each end of the wood dowl.
All that is left to do is fill your DIY crate! I think this decor is adorable as a spring flower planter, but can also be functional as a tabletop storage space! How would you use yours?
I hope you enjoyed this DIY Decorative Wooden Tool Box as much as I did and decide to make one for yourself! I would love to see how yours turns out!
You should totally join my FREE Facebook group called On A Budget Crafts! It is a judgment-free community for DIY crafters to show off their projects and ideas.
If you loved this DIY you might also like this one too!
Thanks for stopping by! XOXO Amber
You can also shop my ENTIRE AMAZON Favorites shop just click here! It’s packed full of all the things I use and love. Here is the supply list I highly recommend every creative have on hand!!
Would you also pin my blog for later and get on my newsletter alerts? I would love to have you join my #craftycrew.
Inspired? Leave me a comment below! I love hearing from my readers!

Join my free “ON A BUDGET CRAFTS” Facebook group!


Such a great Spring craft, it’s adorable
Beautiful
Once our new wooden tool box was done, I had a lot of fun decorating with it inside out all year round!