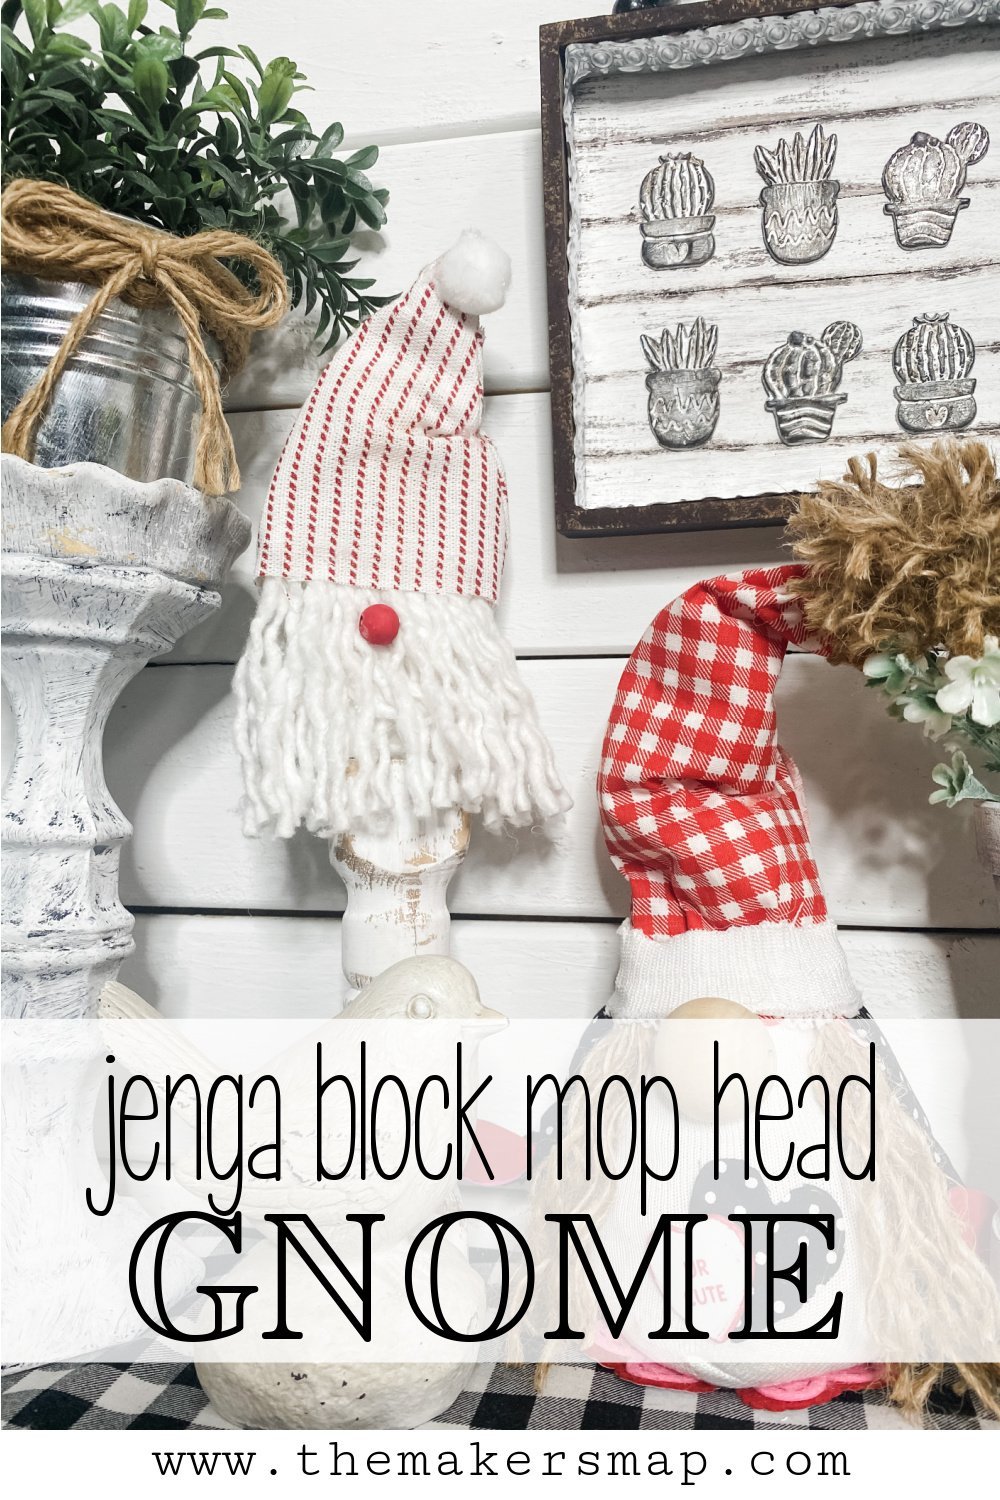
DIY Dollar Tree Mop Head Gnome
I don’t know how it happened, but gnomes have become so popular lately! You can find DIY gnome tutorials all over Pinterest, and I’ve made a handful myself. I made this adorable DIY Dollar Tree Mop Head Gnome with the idea of versatility in mind!
Even though I used a Dollar Tree Christmas hat to make the hat for this DIY gnome, it can be made for either Valentine’s Day or Christmas!
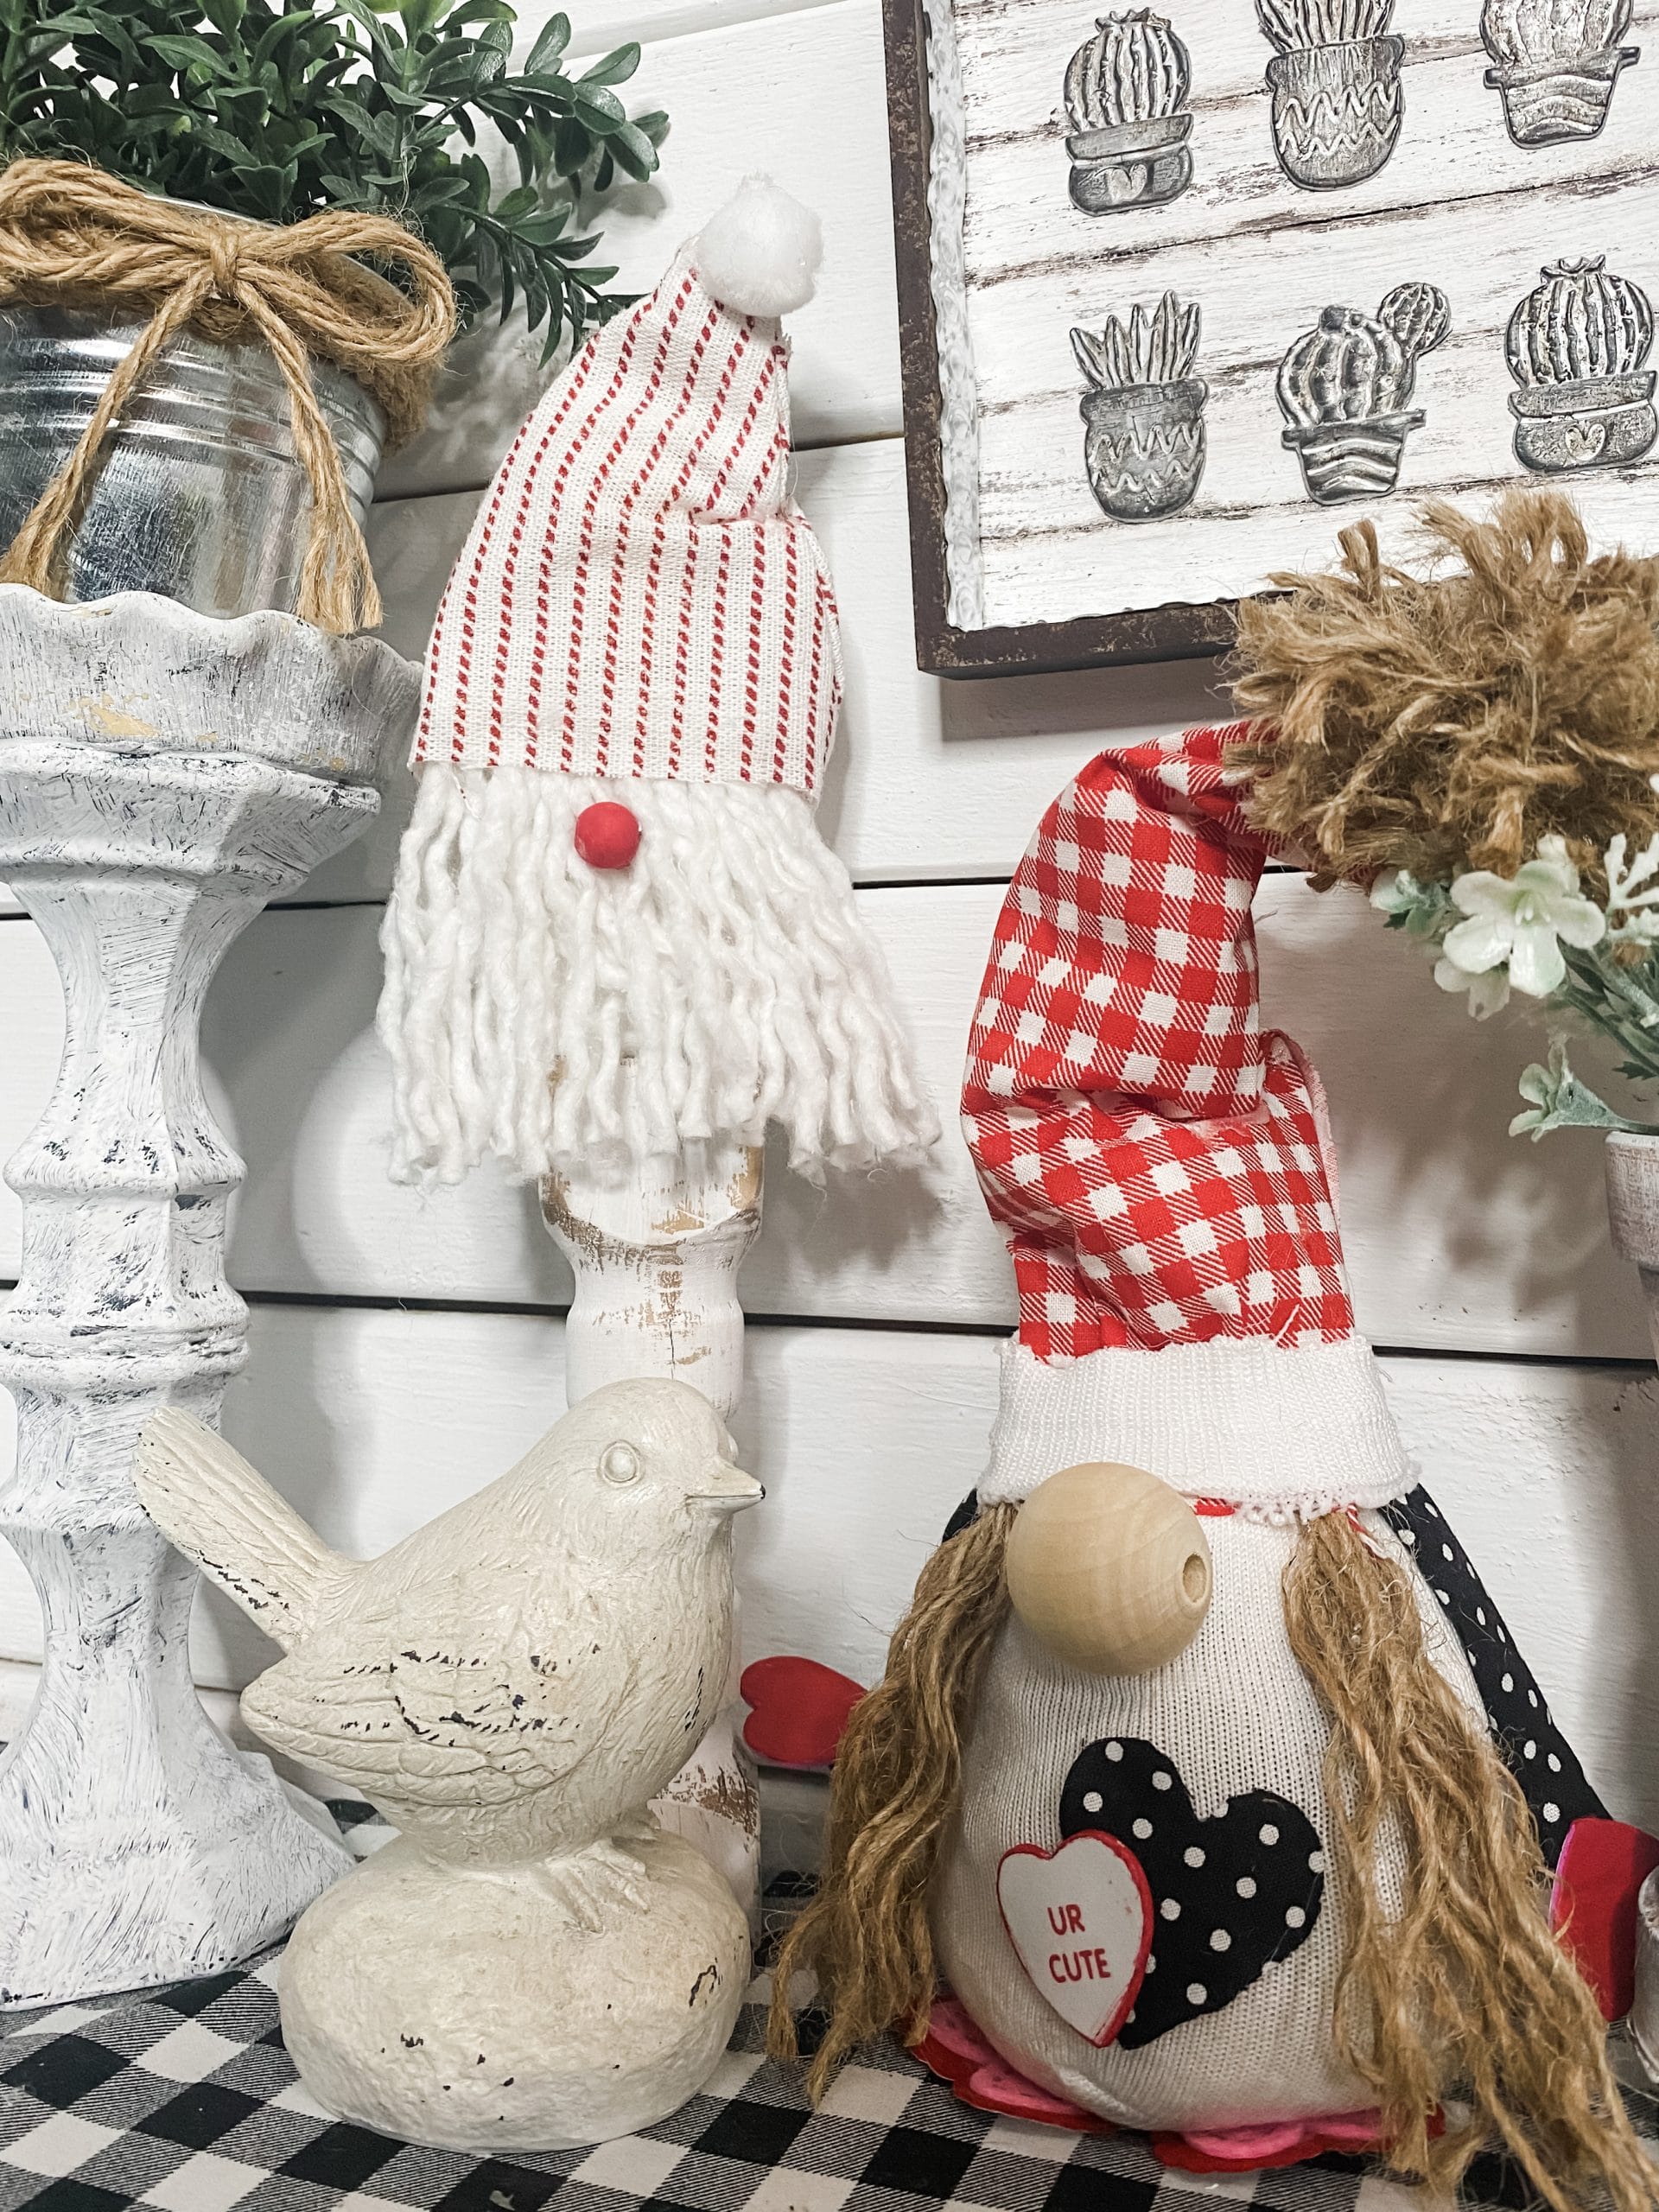
You can even change out the hat with another fabric pattern to turn this into an everyday gnome or gnome for any season.
Check out these other crafts made with a Dollar Tree mop head!
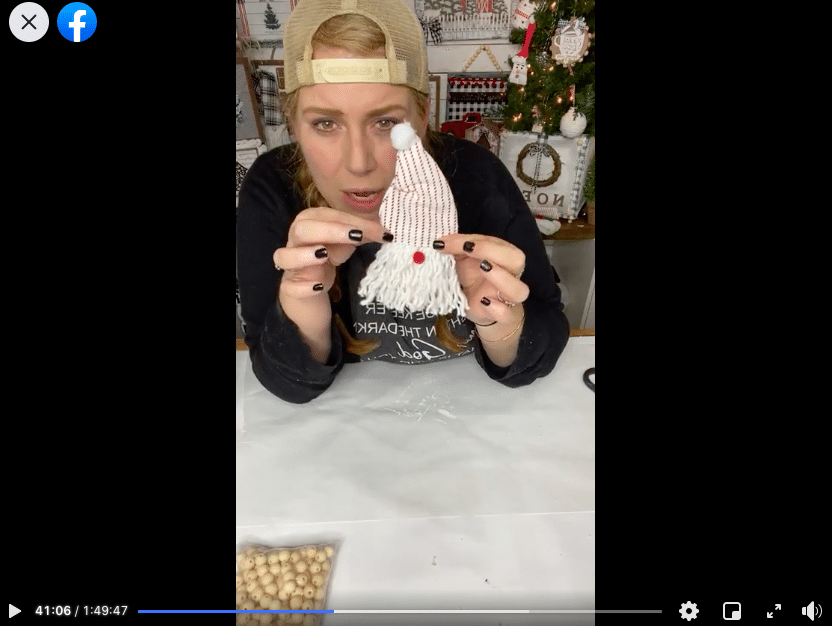
Watch the replay
I’m not going to lie to you. I made this adorable DIY mop head gnome during a Facebook LIVE on Christmas Eve. During this video, I also made a cute little paintbrush ornament. However, I don’t think this easy DIY gnome is only a Christmas gnome.
I think this simple gnome would be perfect for Valentine’s Day or Christmas and would be easily customized for any time of the year!
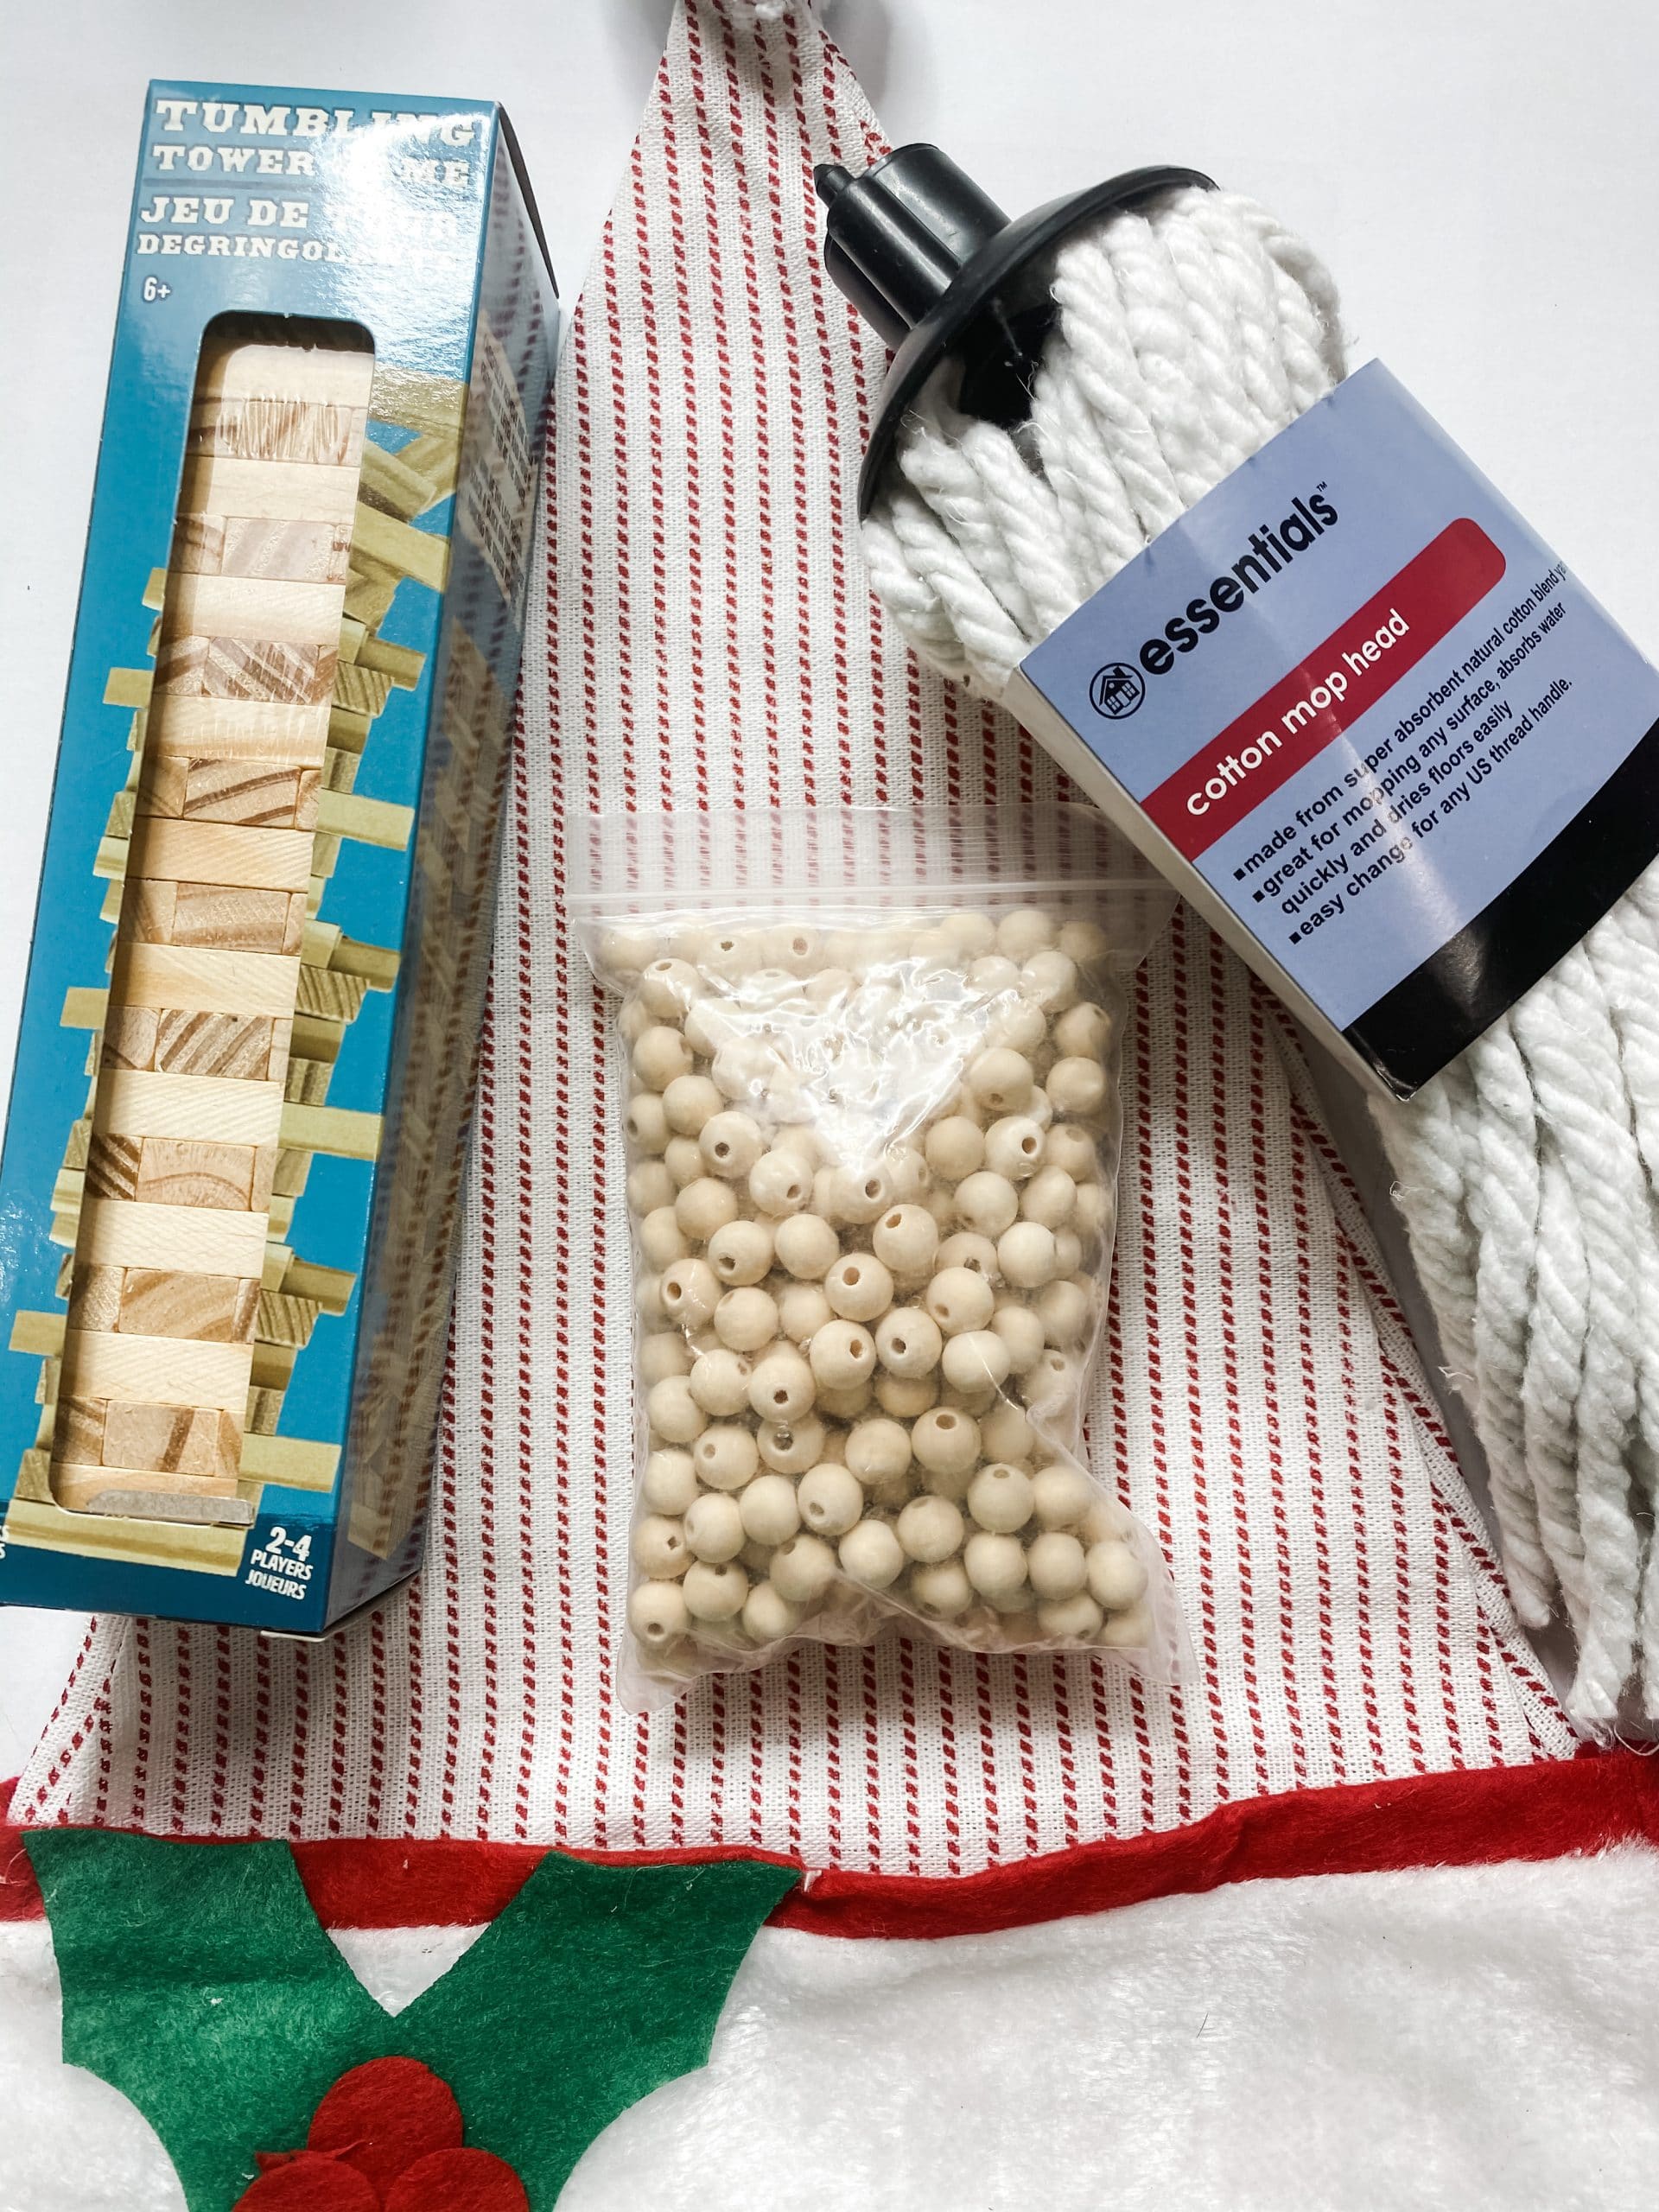
For this project, I will be using these items but you can substitute where you want.
“As an Amazon Associate, I earn from qualifying purchases.”
- Dollar Tree Mop Head
- Dollar Tree Tumbling Tower Blocks
- Wood Beads
- Dollar Tree Christmas Hat
- Craftsmart Red Acrylic Paint
- Apple Barrel White Acrylic Paint
- Hot Glue gun and Glue Sticks
- Scissors
Let’s get started
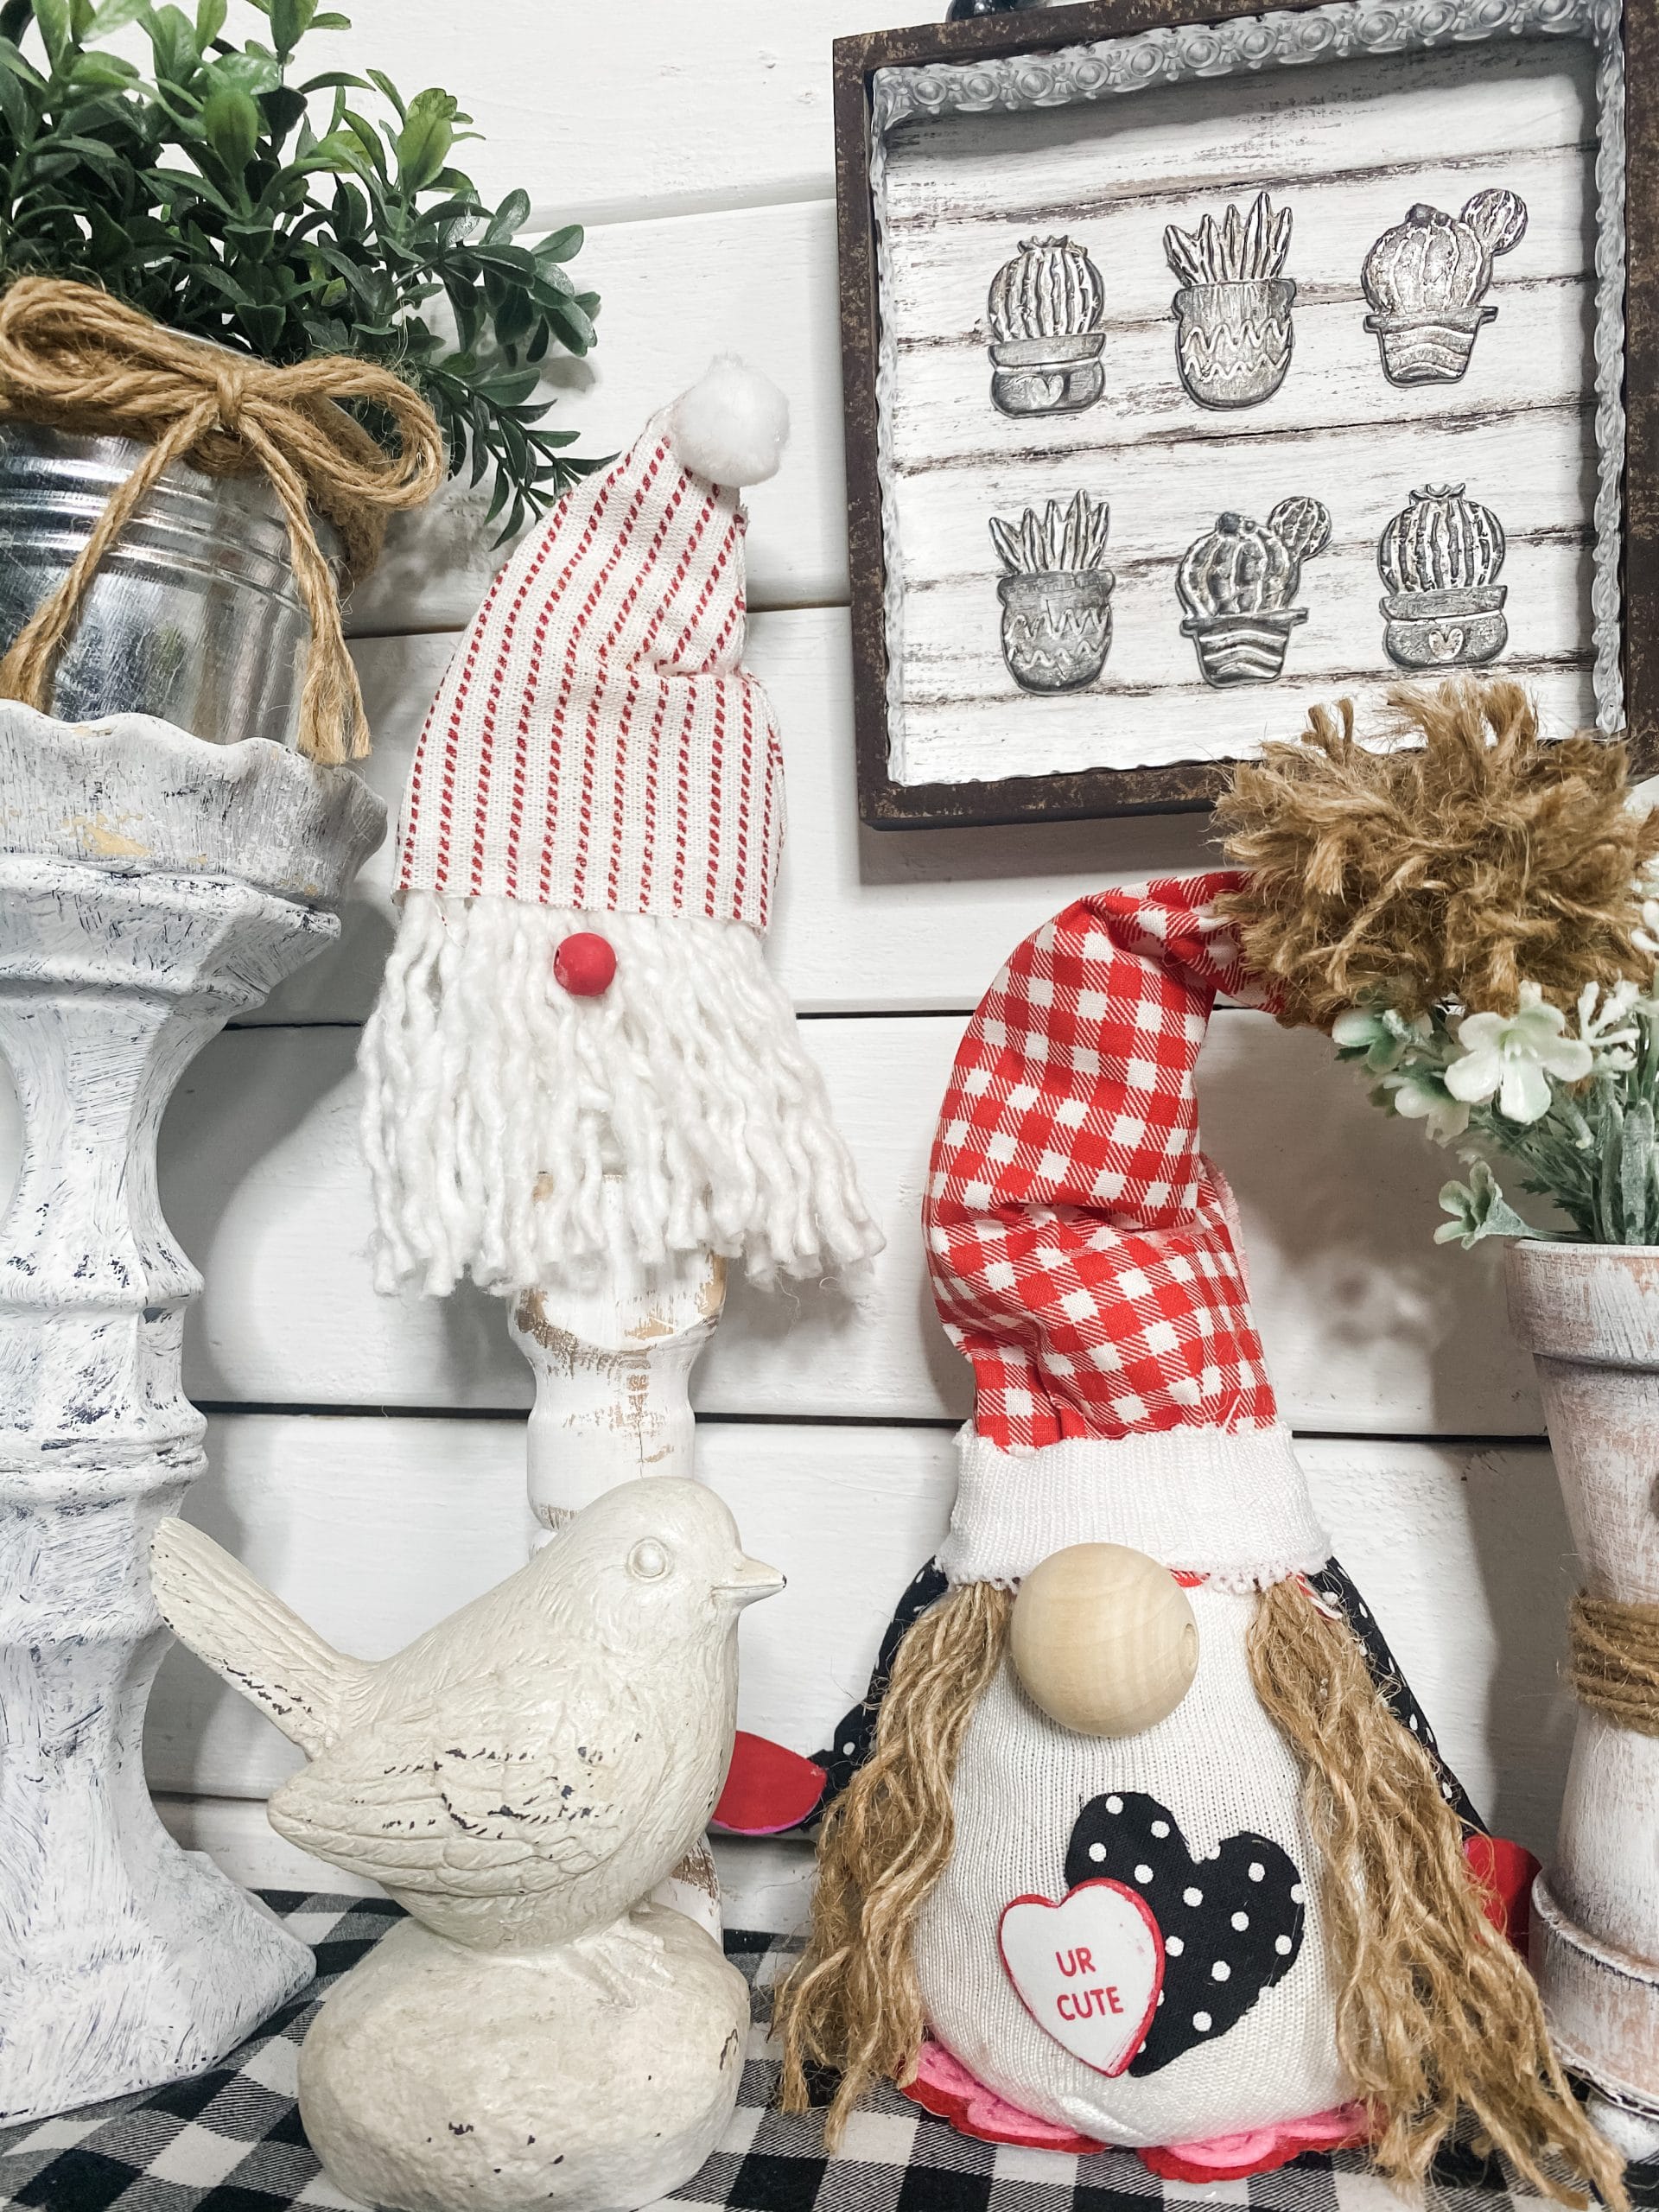
The first things you’re going to need to make this adorable DIY mop head gnome are your Dollar Tree Tumbling Tower blocks. I used 5 of these blocks to make the structure of this DIY Valentine’s Day gnome.
You’re going to hot glue three of them together on their thin sides, then hot glue one flat across the top of those three.
Finally, hot glue the fifth wood block straight up on the center of the top of the other blocks.

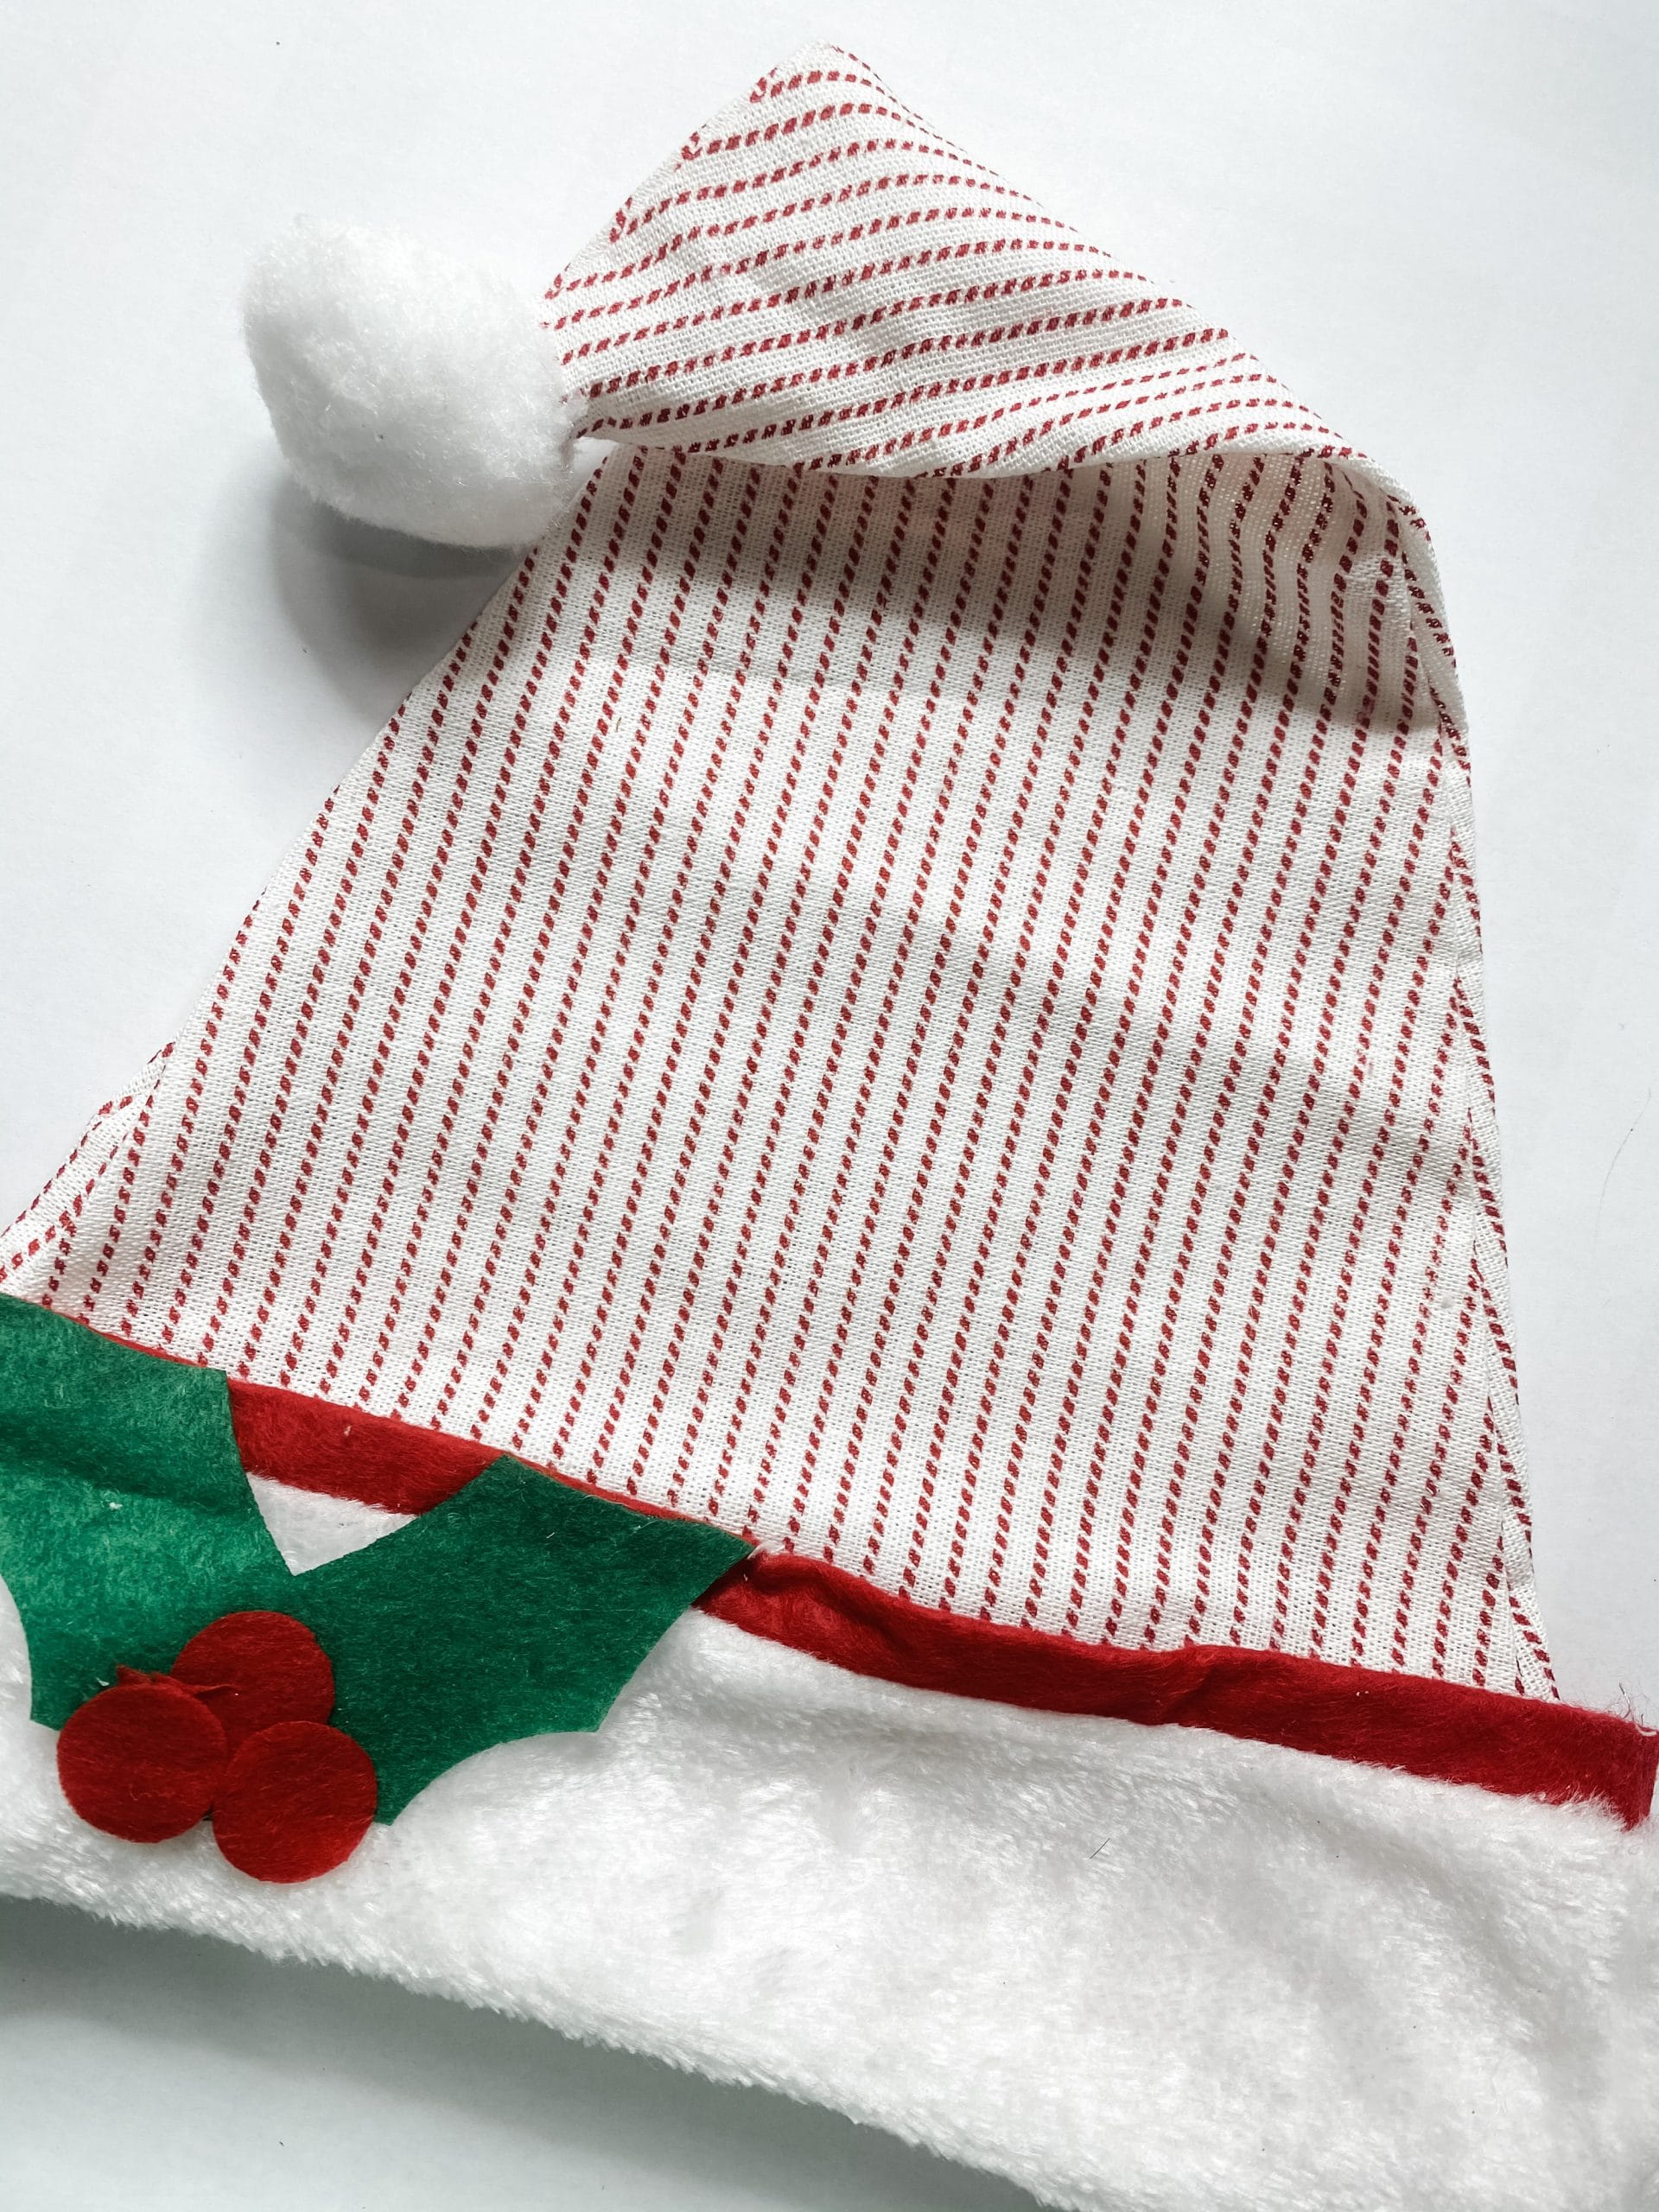
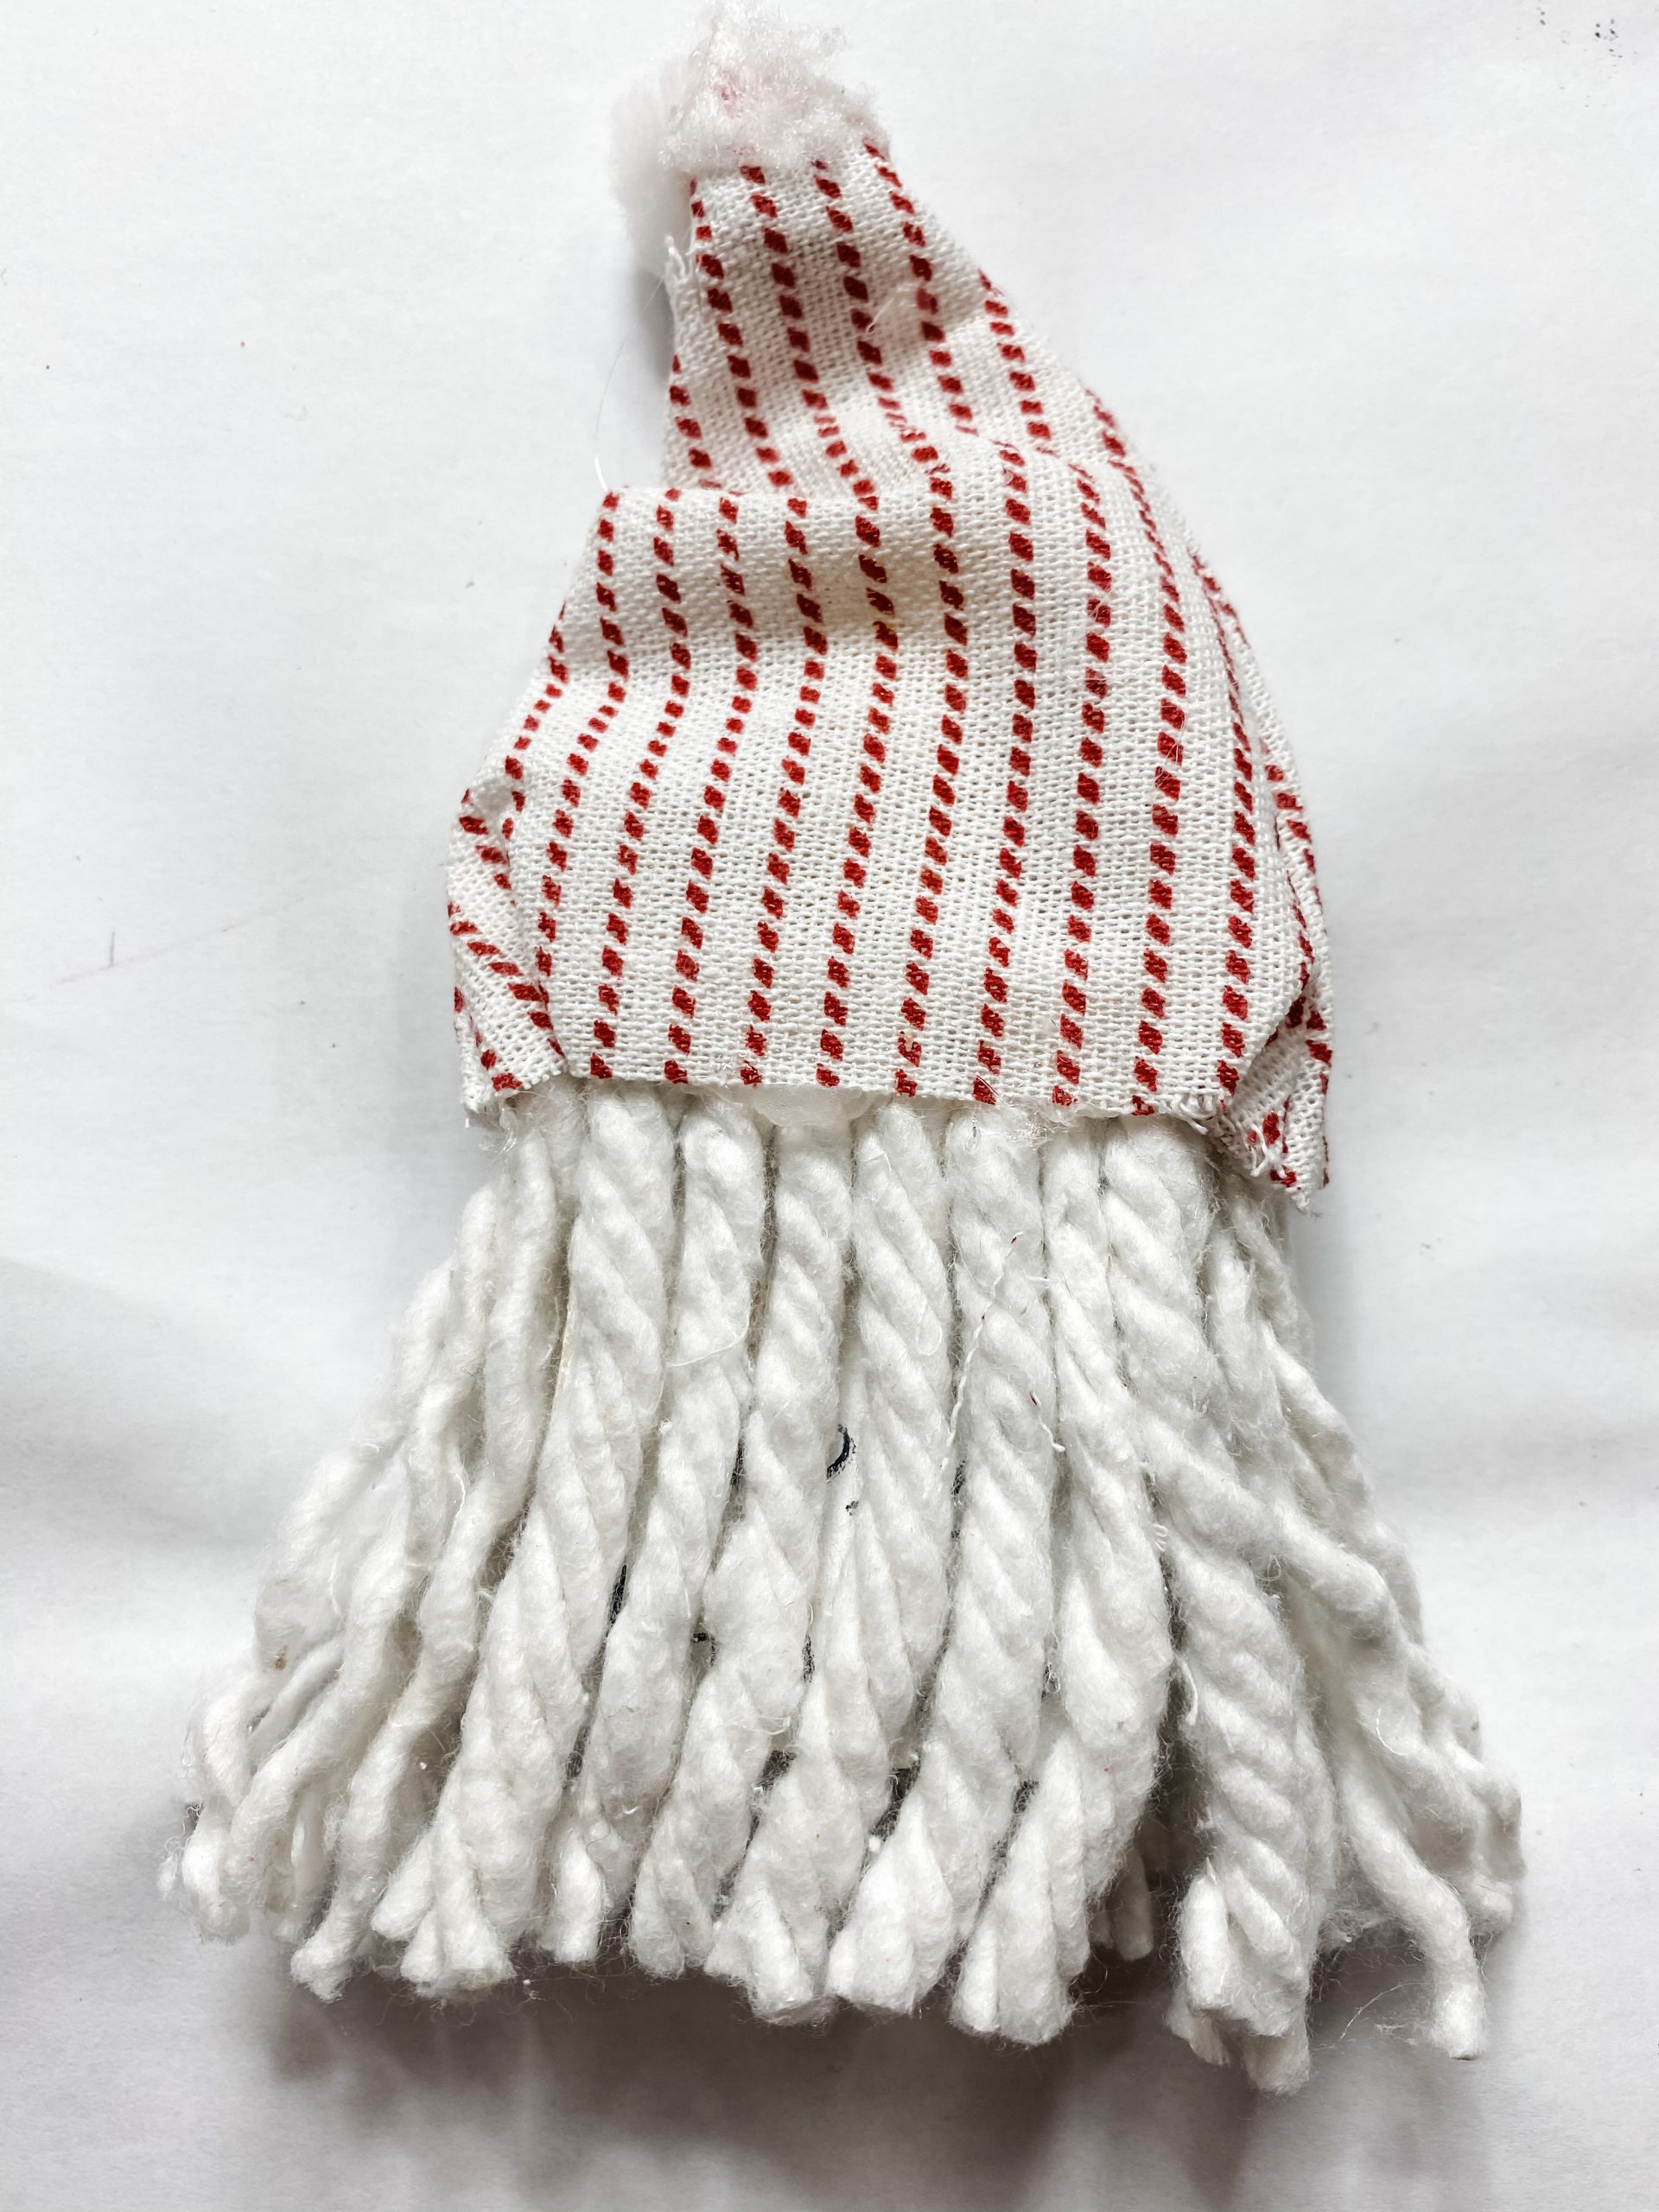
Next, you’re going to trim the Dollar Tree Christmas hat to fit over the blocks you just secured together. You want the bottom three blocks to hang out of the bottom of the hat.
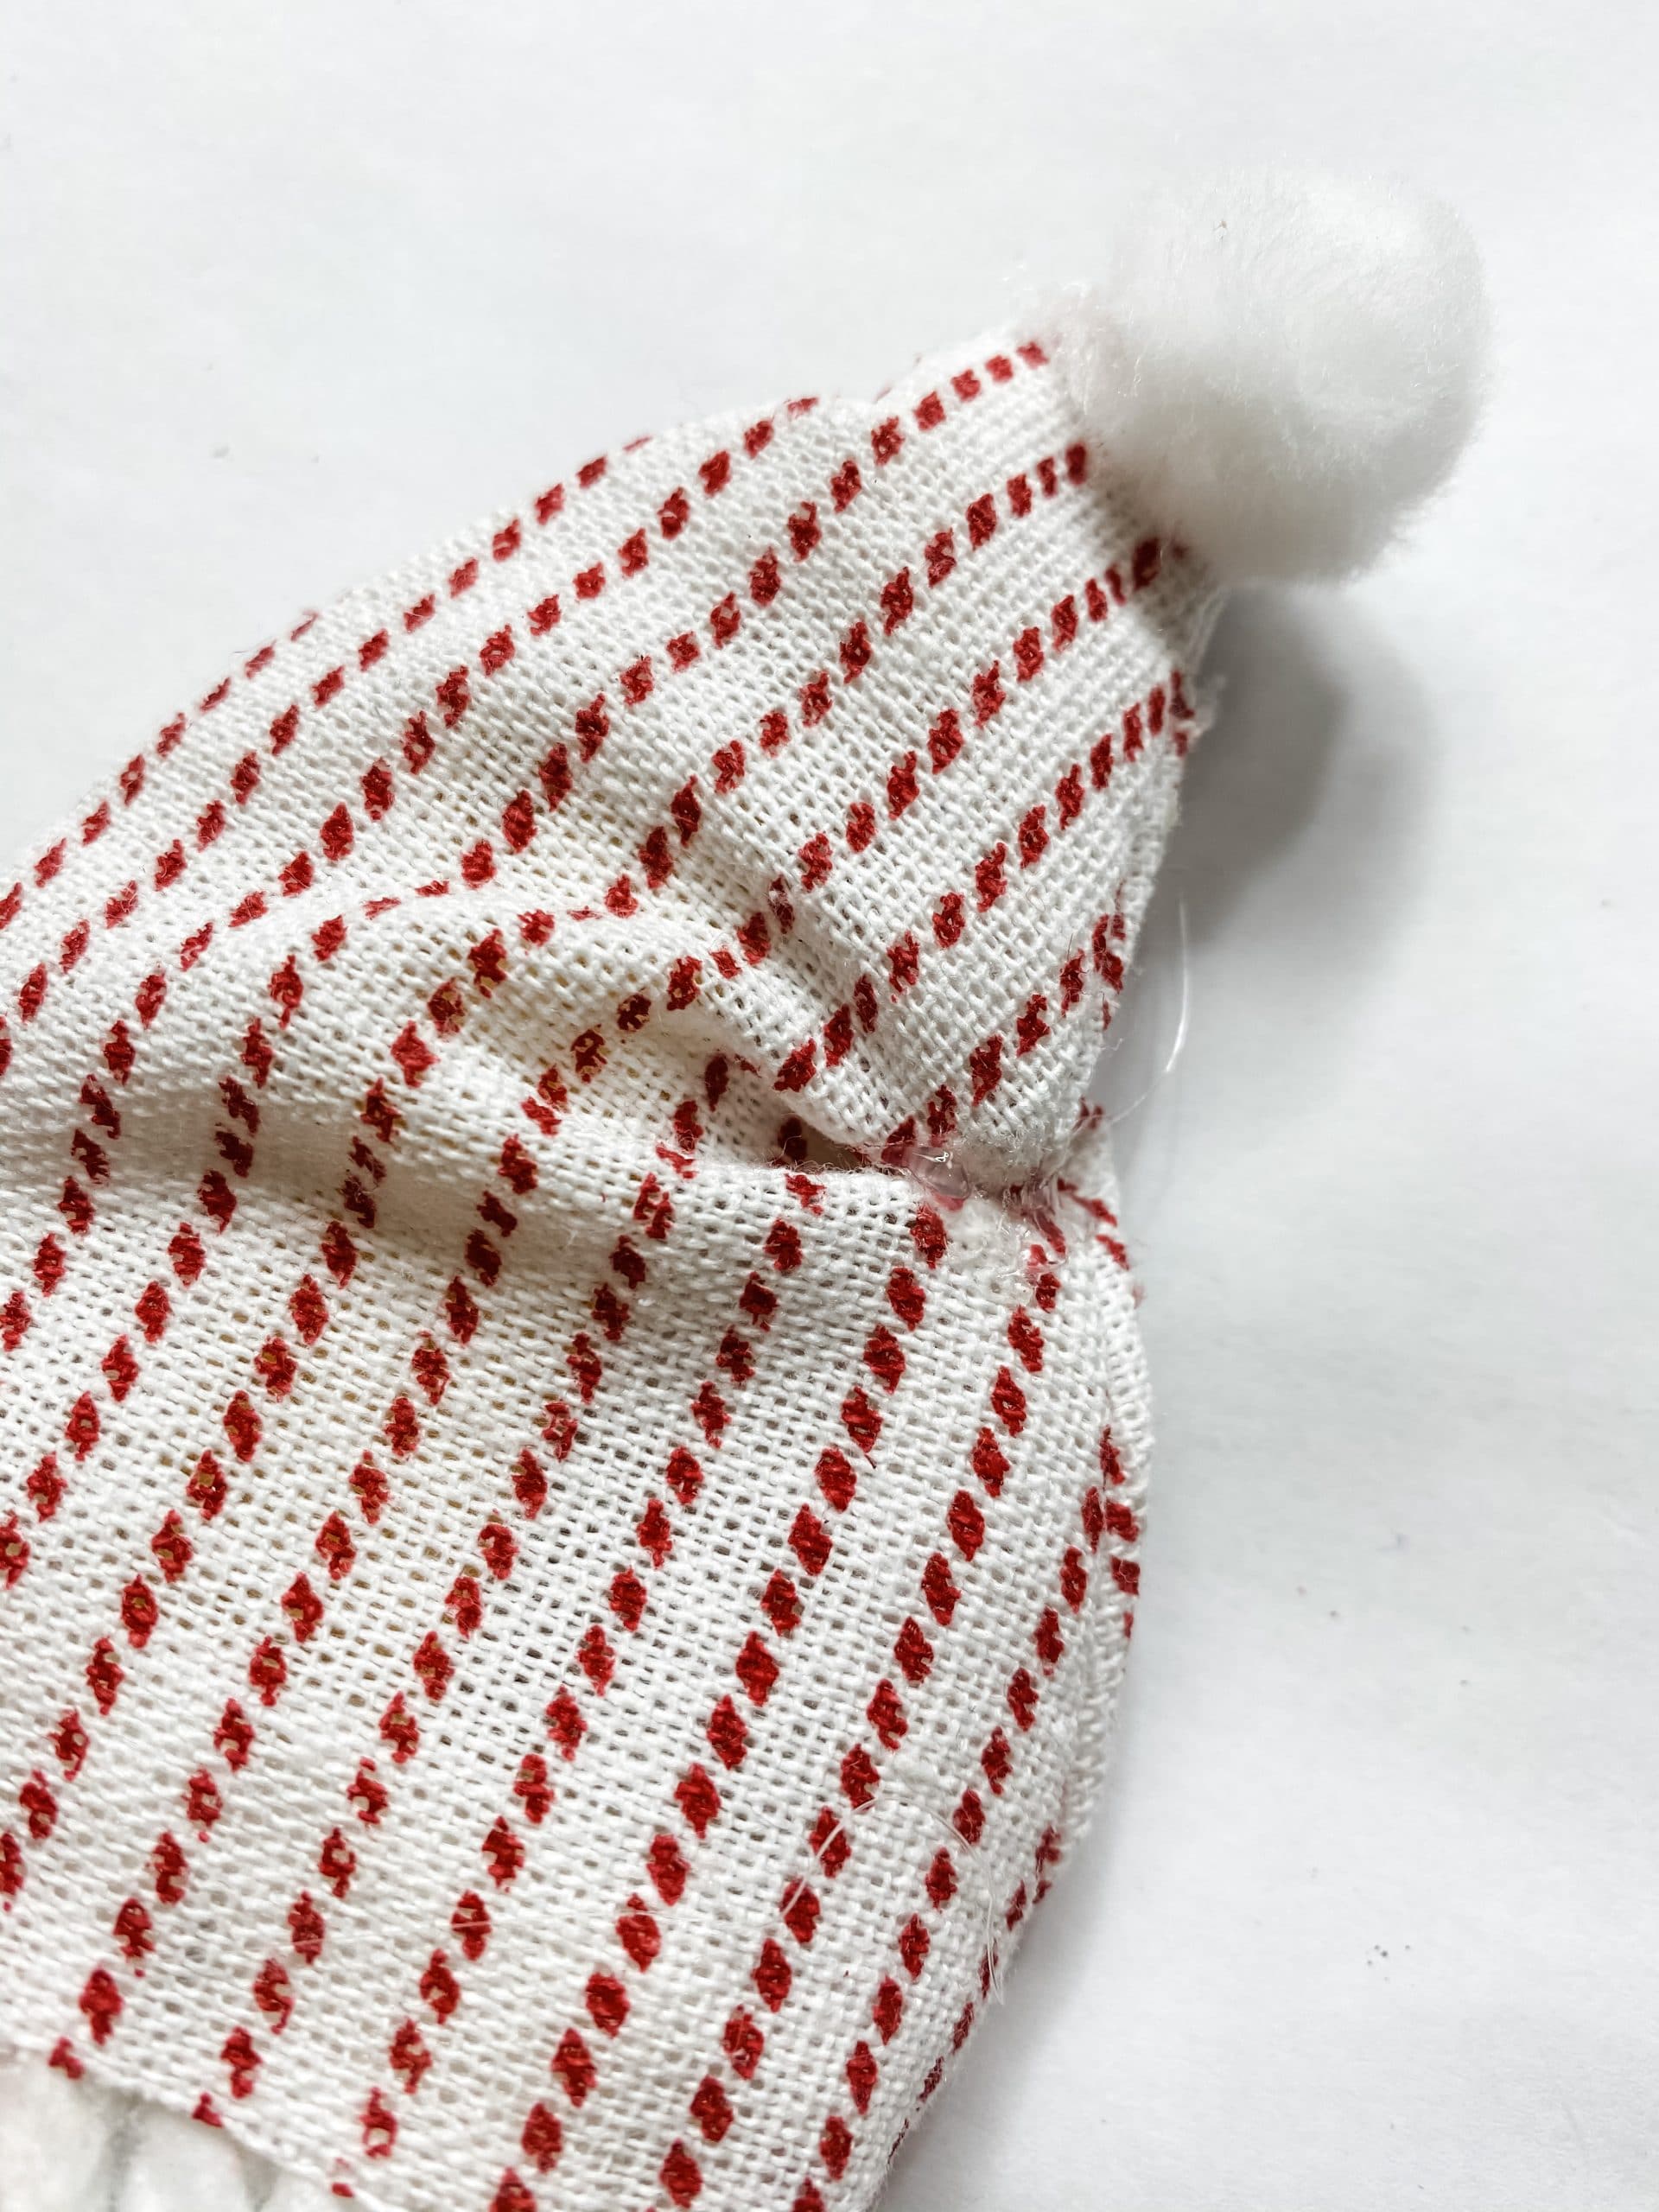
The hat is much larger than you need, so you’ll have a good bit of fabric left over for other crafts! We are cutting the hat so small that the large pom-pom on the top of the hat looks ridiculously large, so go ahead and trim it off the top of the hat.
Paint the blocks
Before we start putting the pieces together and bring out DIY mop string gnome to life, we have to paint the Dollar Tree Tumbling Tower blocks.
I used Apple Barrel White Acrylic Paint and an artist’s brush to paint the blocks.
I didn’t paint the top block because it will be hidden under the gnome’s hat. Allow the white paint to dry before moving on. I used my heat gun to speed up the drying process!
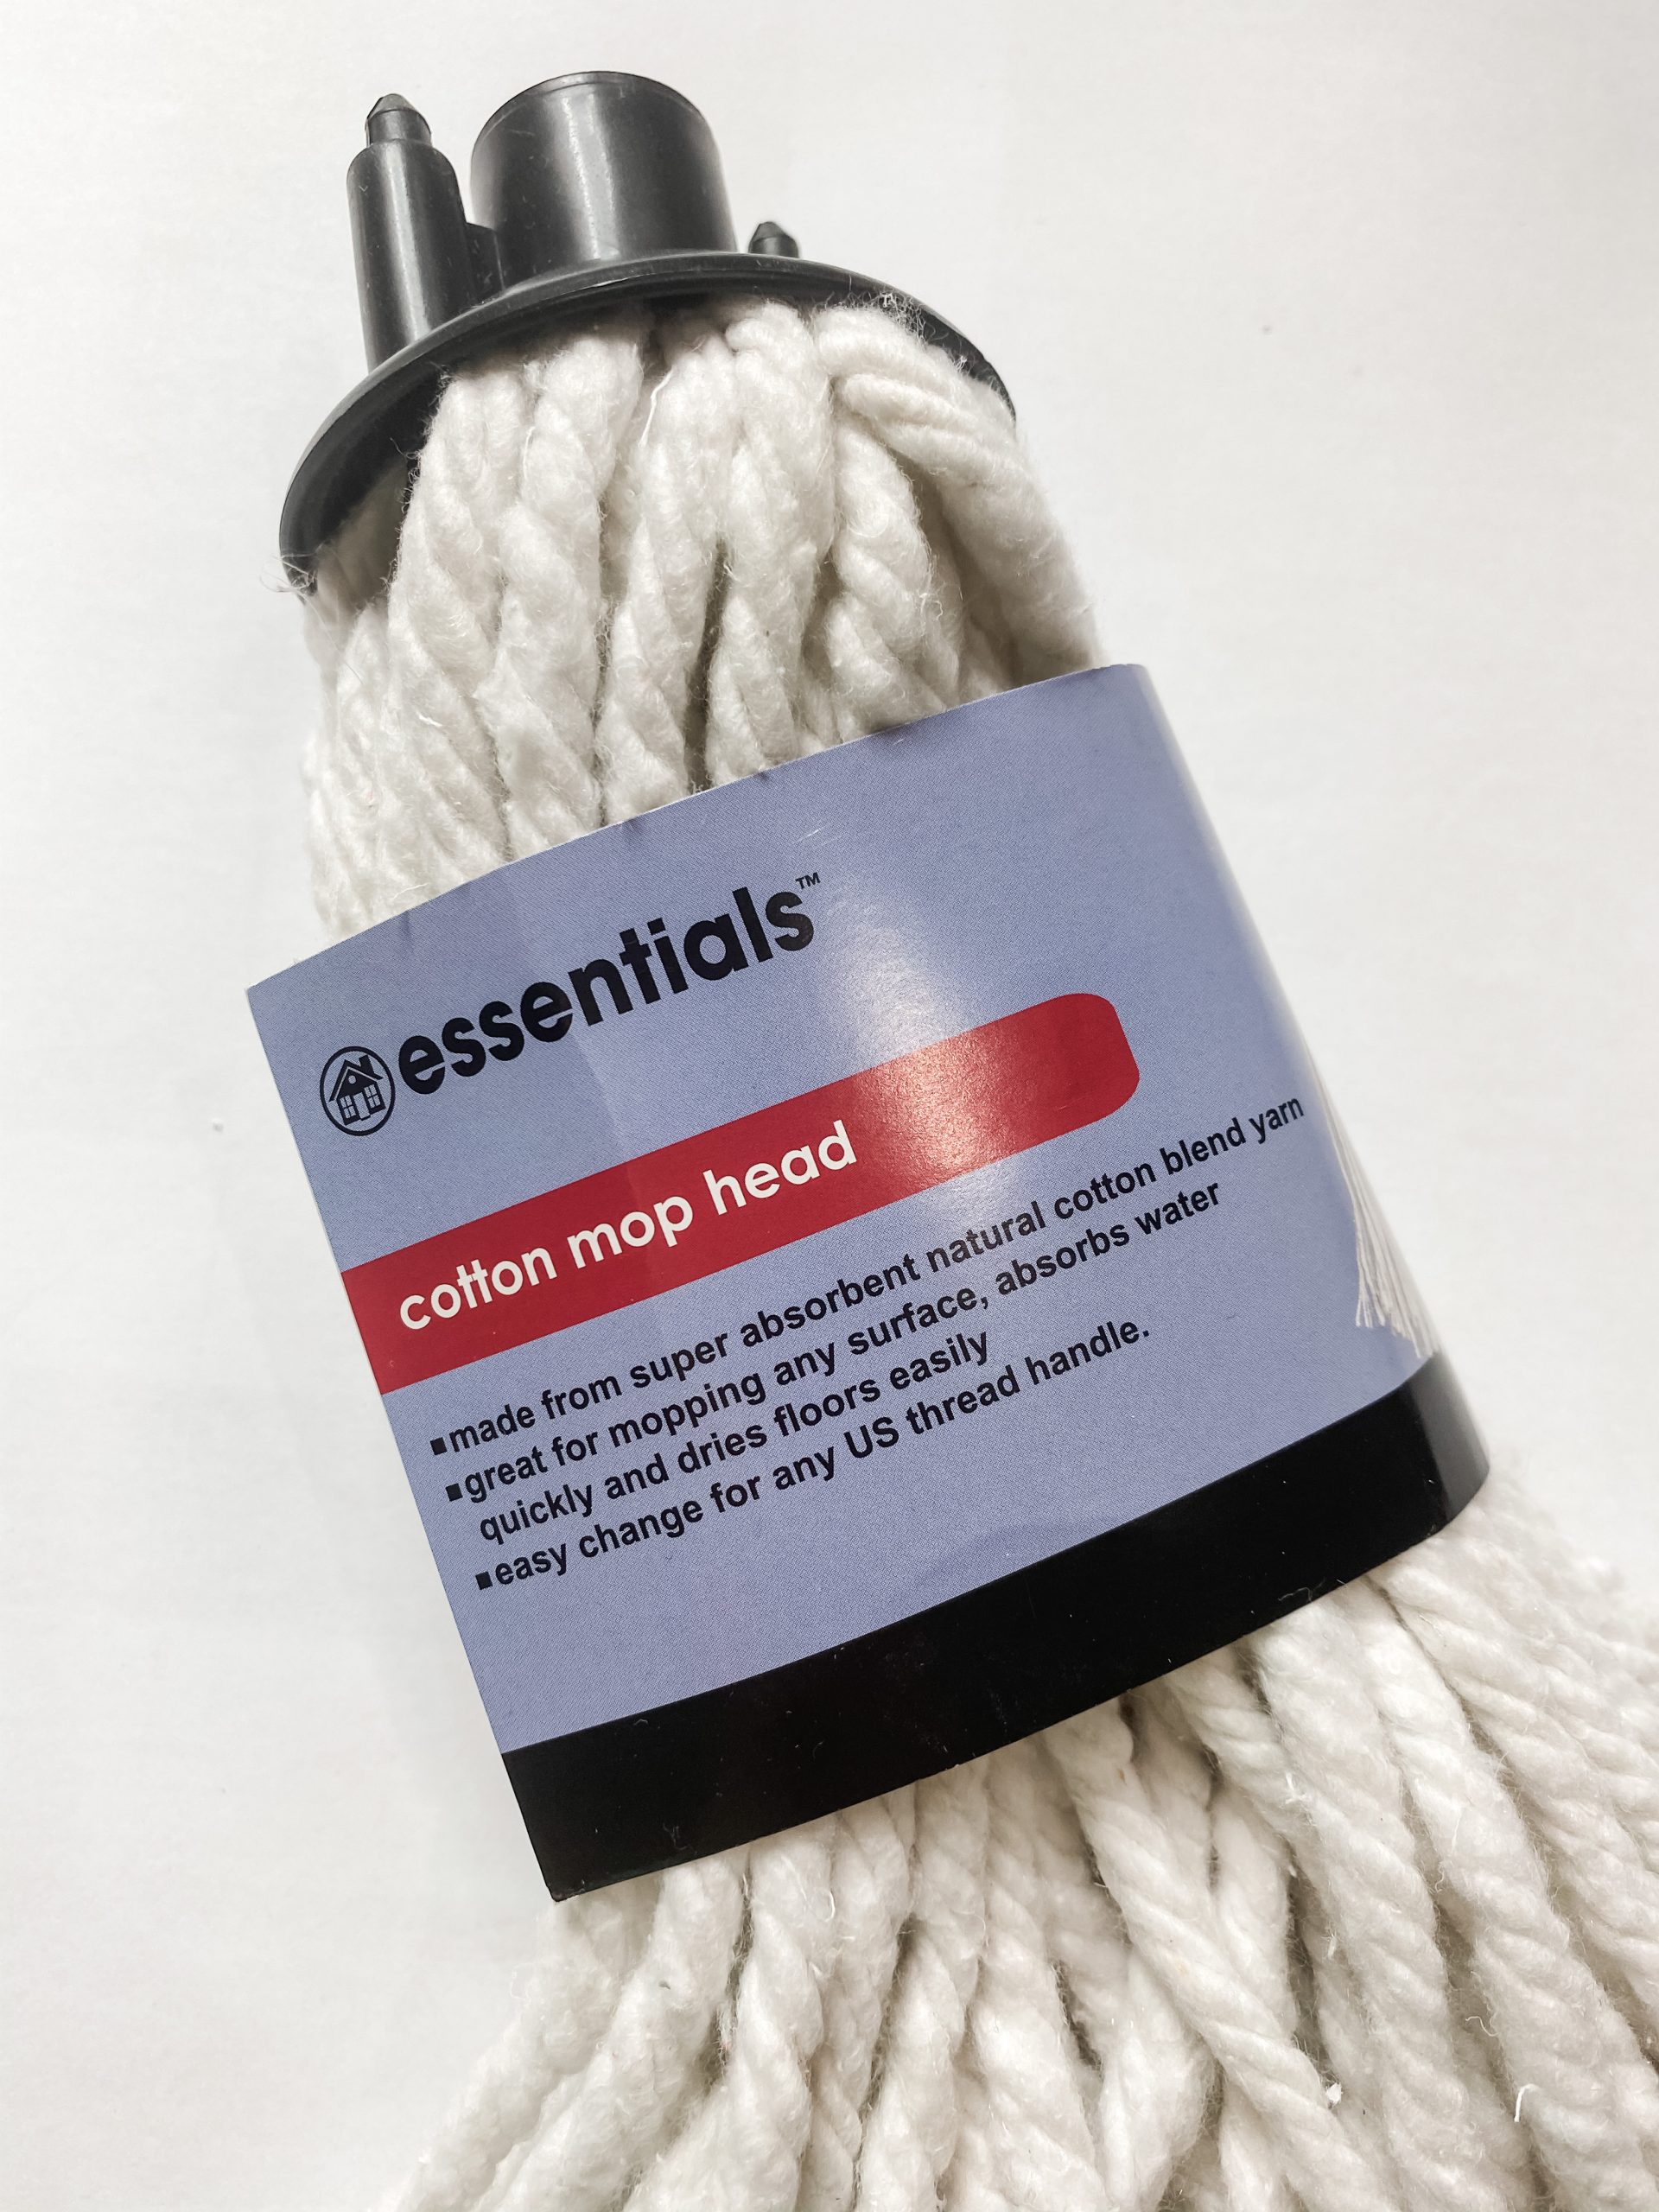
Dollar Tree Mop Head
Once the white paint was dry, I hot glued the Dollar Tree mop head strings onto the blocks. To use the mop strings, you will have to remove the plastic piece that secures the strings.
I used a pair of aviation snips to break the plastic and free the strings.
Then, I cut the strings in half and hot glued them onto the bottom Tumbling Tower blocks. You’re doing it right if it starts to look like a paintbrush! This DIY gnome is gonna be so cute.
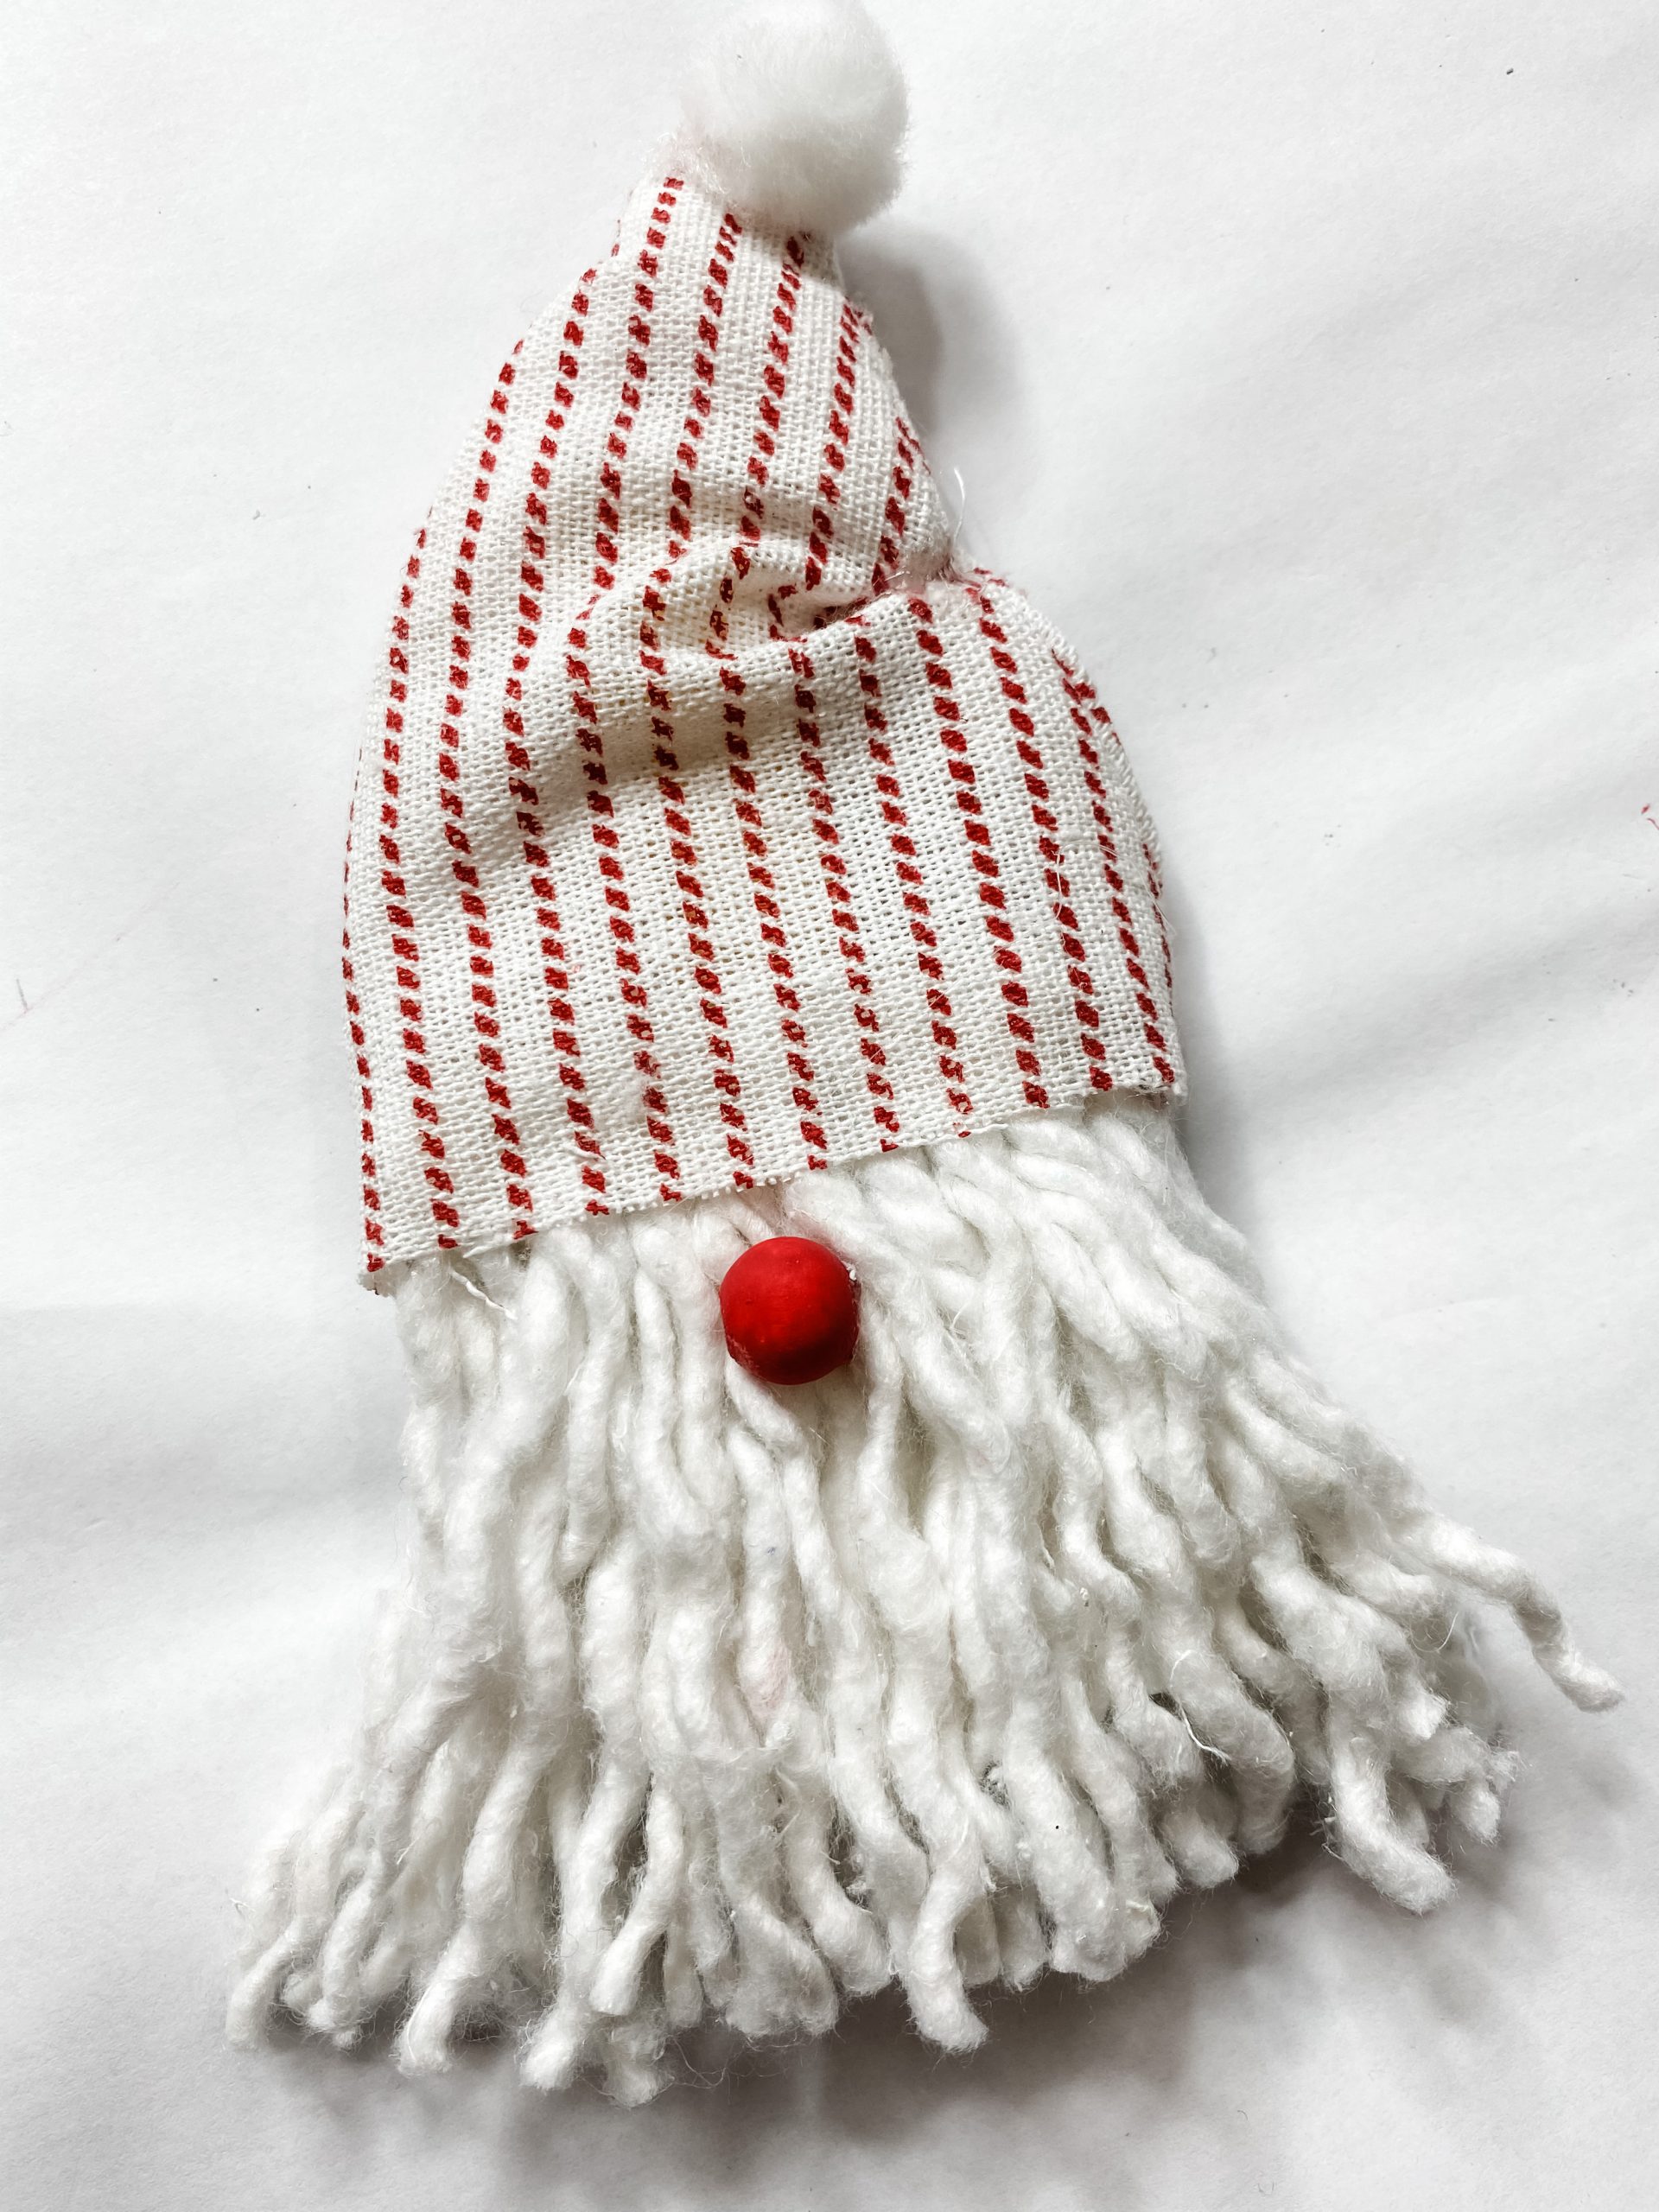
Next, I attached the cute red and white striped hat to the DIY mop head gnome. I placed the hat onto the top of the Dollar Tree Tumbling Tower blocks and hot glued it in place.
To make it a more snug fit, I wrapped the bottom edges around the blocks and hot glued them down. Then, I unraveled each of the mop strings to give the beard a more natural look.
The finishing touches
We are almost done making this adorable DIY Dollar Tree Mop Head Valentine’s Day or Christmas Gnome!
Once the hat was secure, I pinched the side to pull the top of the hat down just a bit and make it look like it was leaning. Then, I hot glued it to keep it like that.
The next step is to add a pom-pom to the top of the hat. I used a Dollar Tree white pom-pom and simply hot glued it to the top of the hat.
Finally, we are going to add the little red nose! I used a wood bead I purchased from Amazon and painted it red with Craftsmart Red Acrylic Paint.
Once the paint was dried, I hot glued it just below the bottom of the DIY gnome’s hat. That’s it!
I hope you enjoyed this DIY Dollar Tree Mop Head Gnome as much as I did and decide to make one for yourself! I would love to see how yours turns out!
If you loved this DIY you might also like this Valentine’s Day DIY Love Sign!
Thanks for stopping by! XOXO Amber
You can also shop my ENTIRE AMAZON Favorites shop just click here! It’s packed full of all the things I use and love. Here is the supply list I highly recommend every creative have on hand!!
Would you also pin my blog for later and get on my newsletter alerts? I would love to have you join my #craftycrew.
Inspired? Leave me a comment below! I love hearing from my readers!

Join my free “ON A BUDGET CRAFTS” Facebook group!
PIN IT


I love your videos. You are inspirational.
Thank you for sharing.