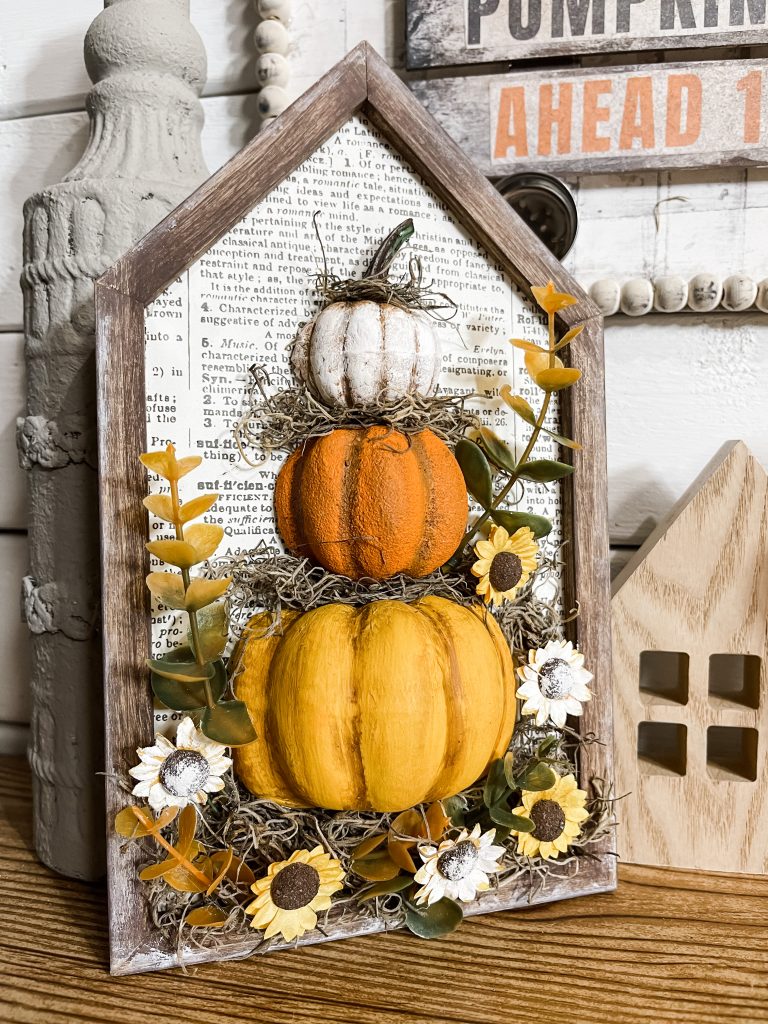
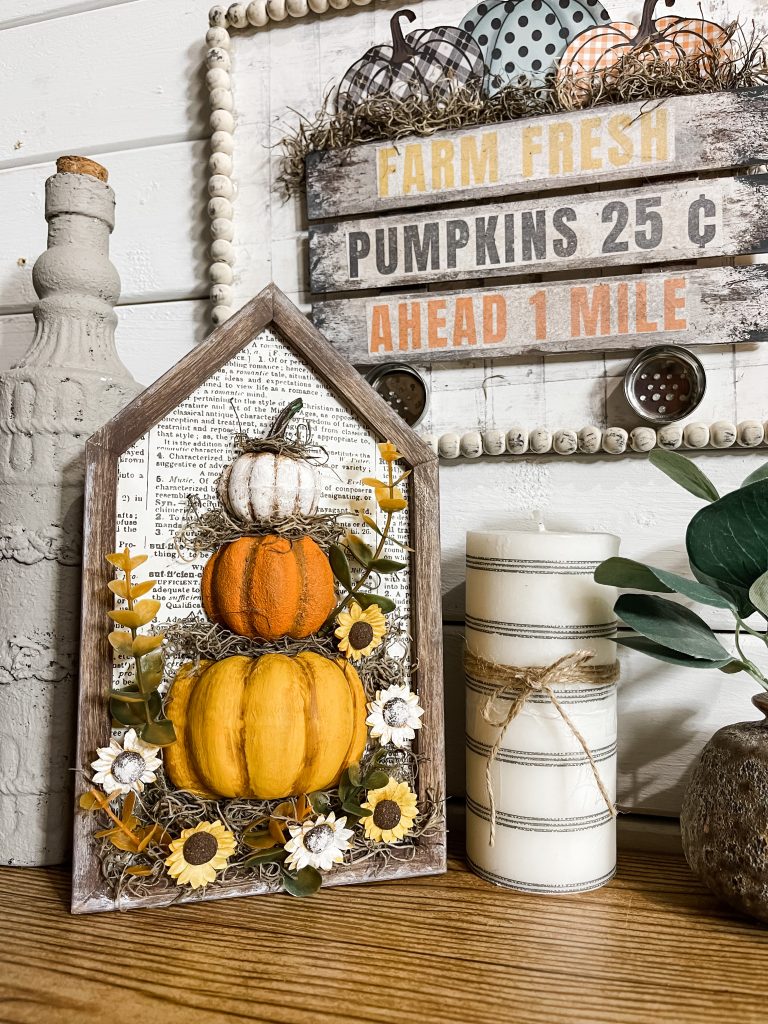
Dollar Tree Stacked Pumpkins Small Fall Sign
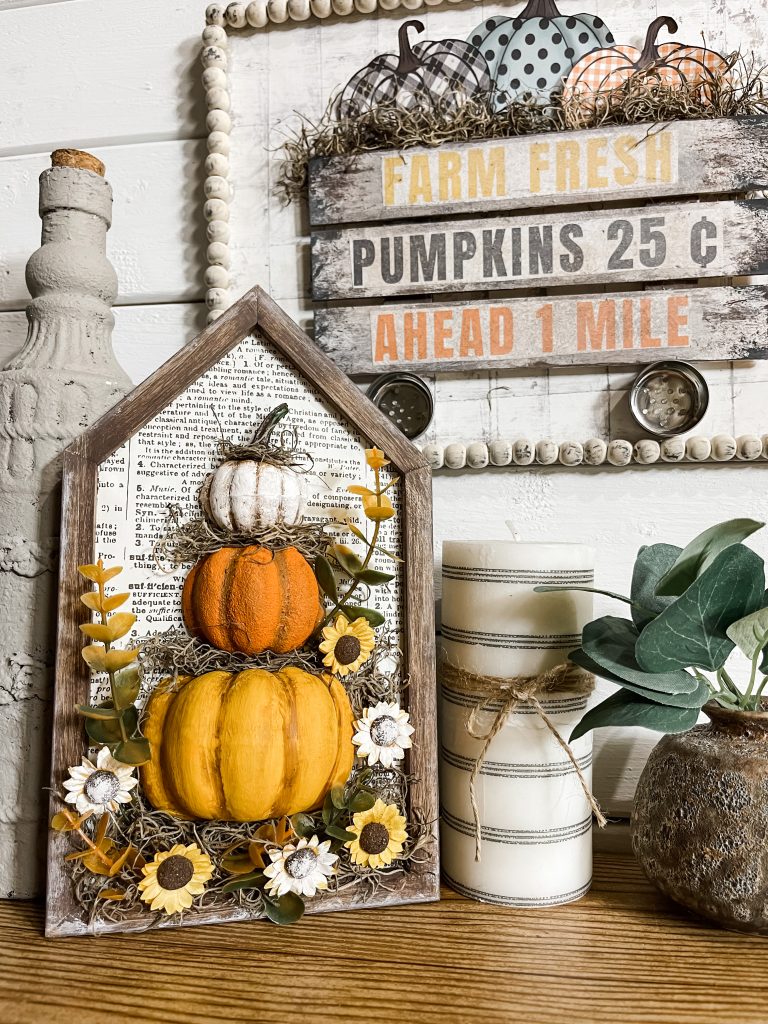
I love candy corn yall! I thought the candy corn colors would be perfect for this Dollar Tree Stacked Pumpkins Small Fall Sign!
I saw this idea on Pinterest and I can not find the original inspiration, so I went with what i had in my memory that inspired me. I had to make a smaller candy corn colored pumpkin topiary sign using items from Dollar Tree!
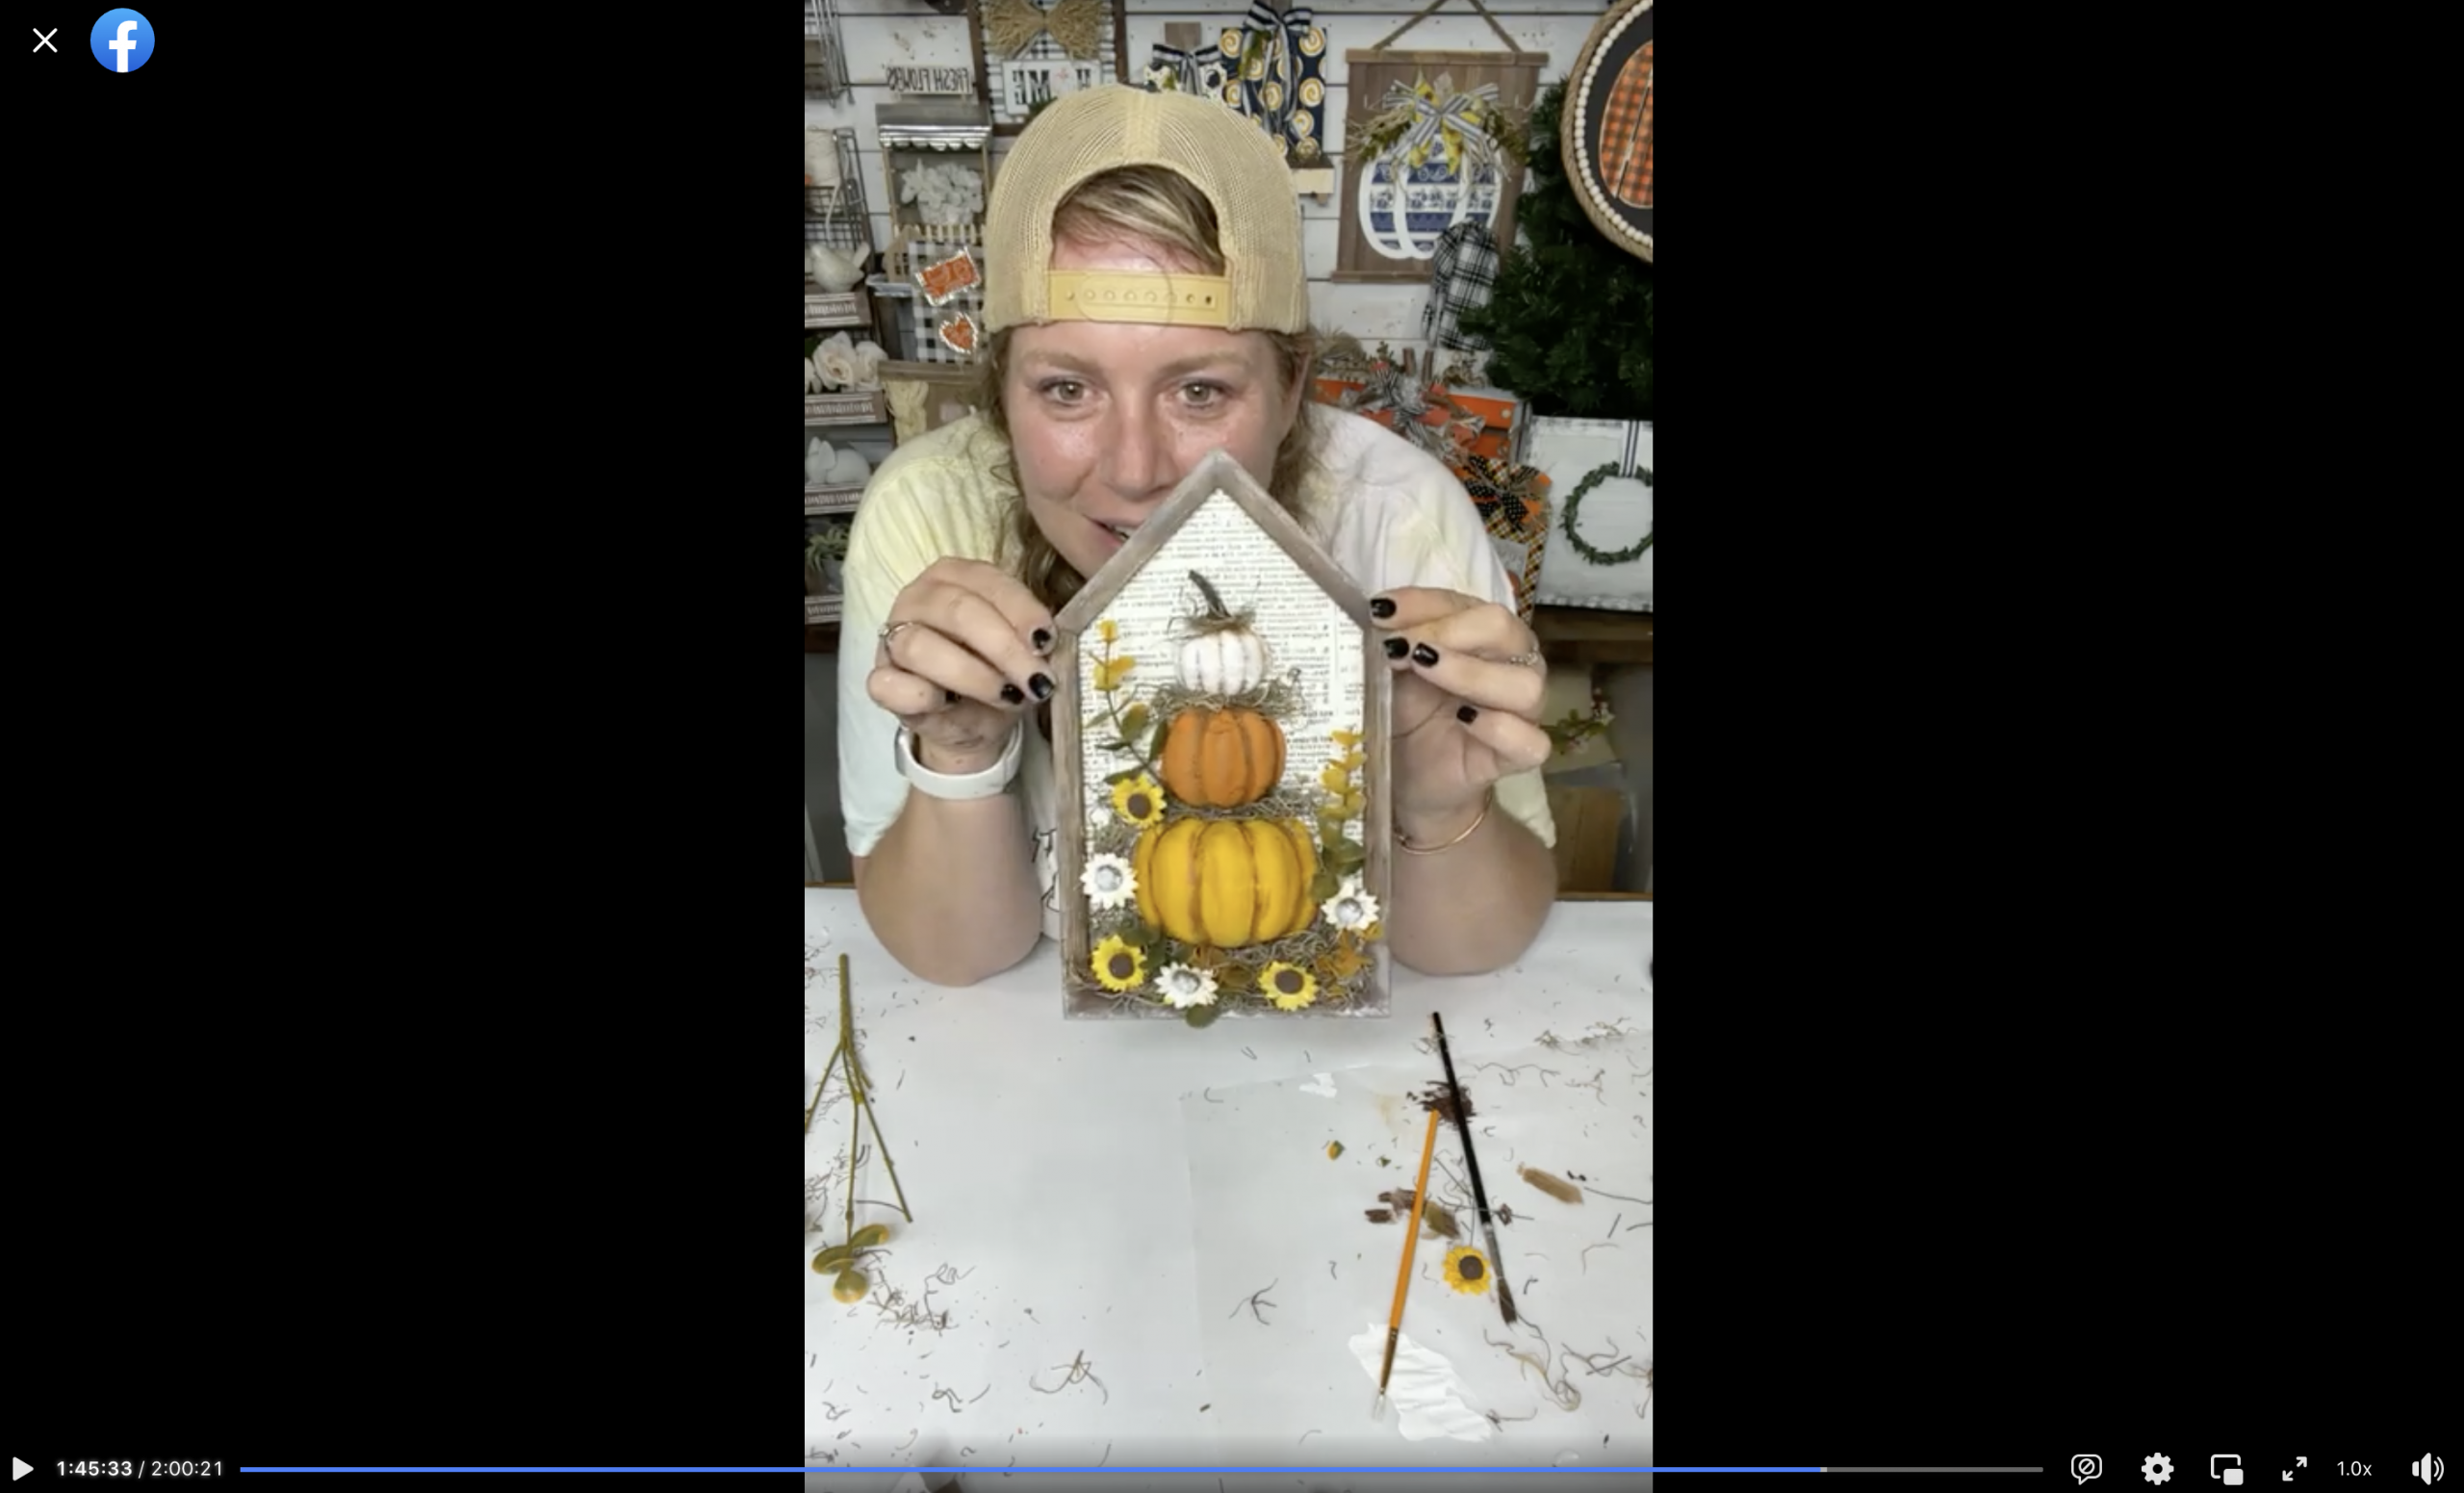
Watch the DIY tutorial video
I shared the quick DIY tutorial for how to make this Dollar Tree Stacked Pumpkins Small Fall Sign along with three other autumn decor ideas in a video on my Youtube channel! And you can watch the Live version on replay over on my facebook page below!
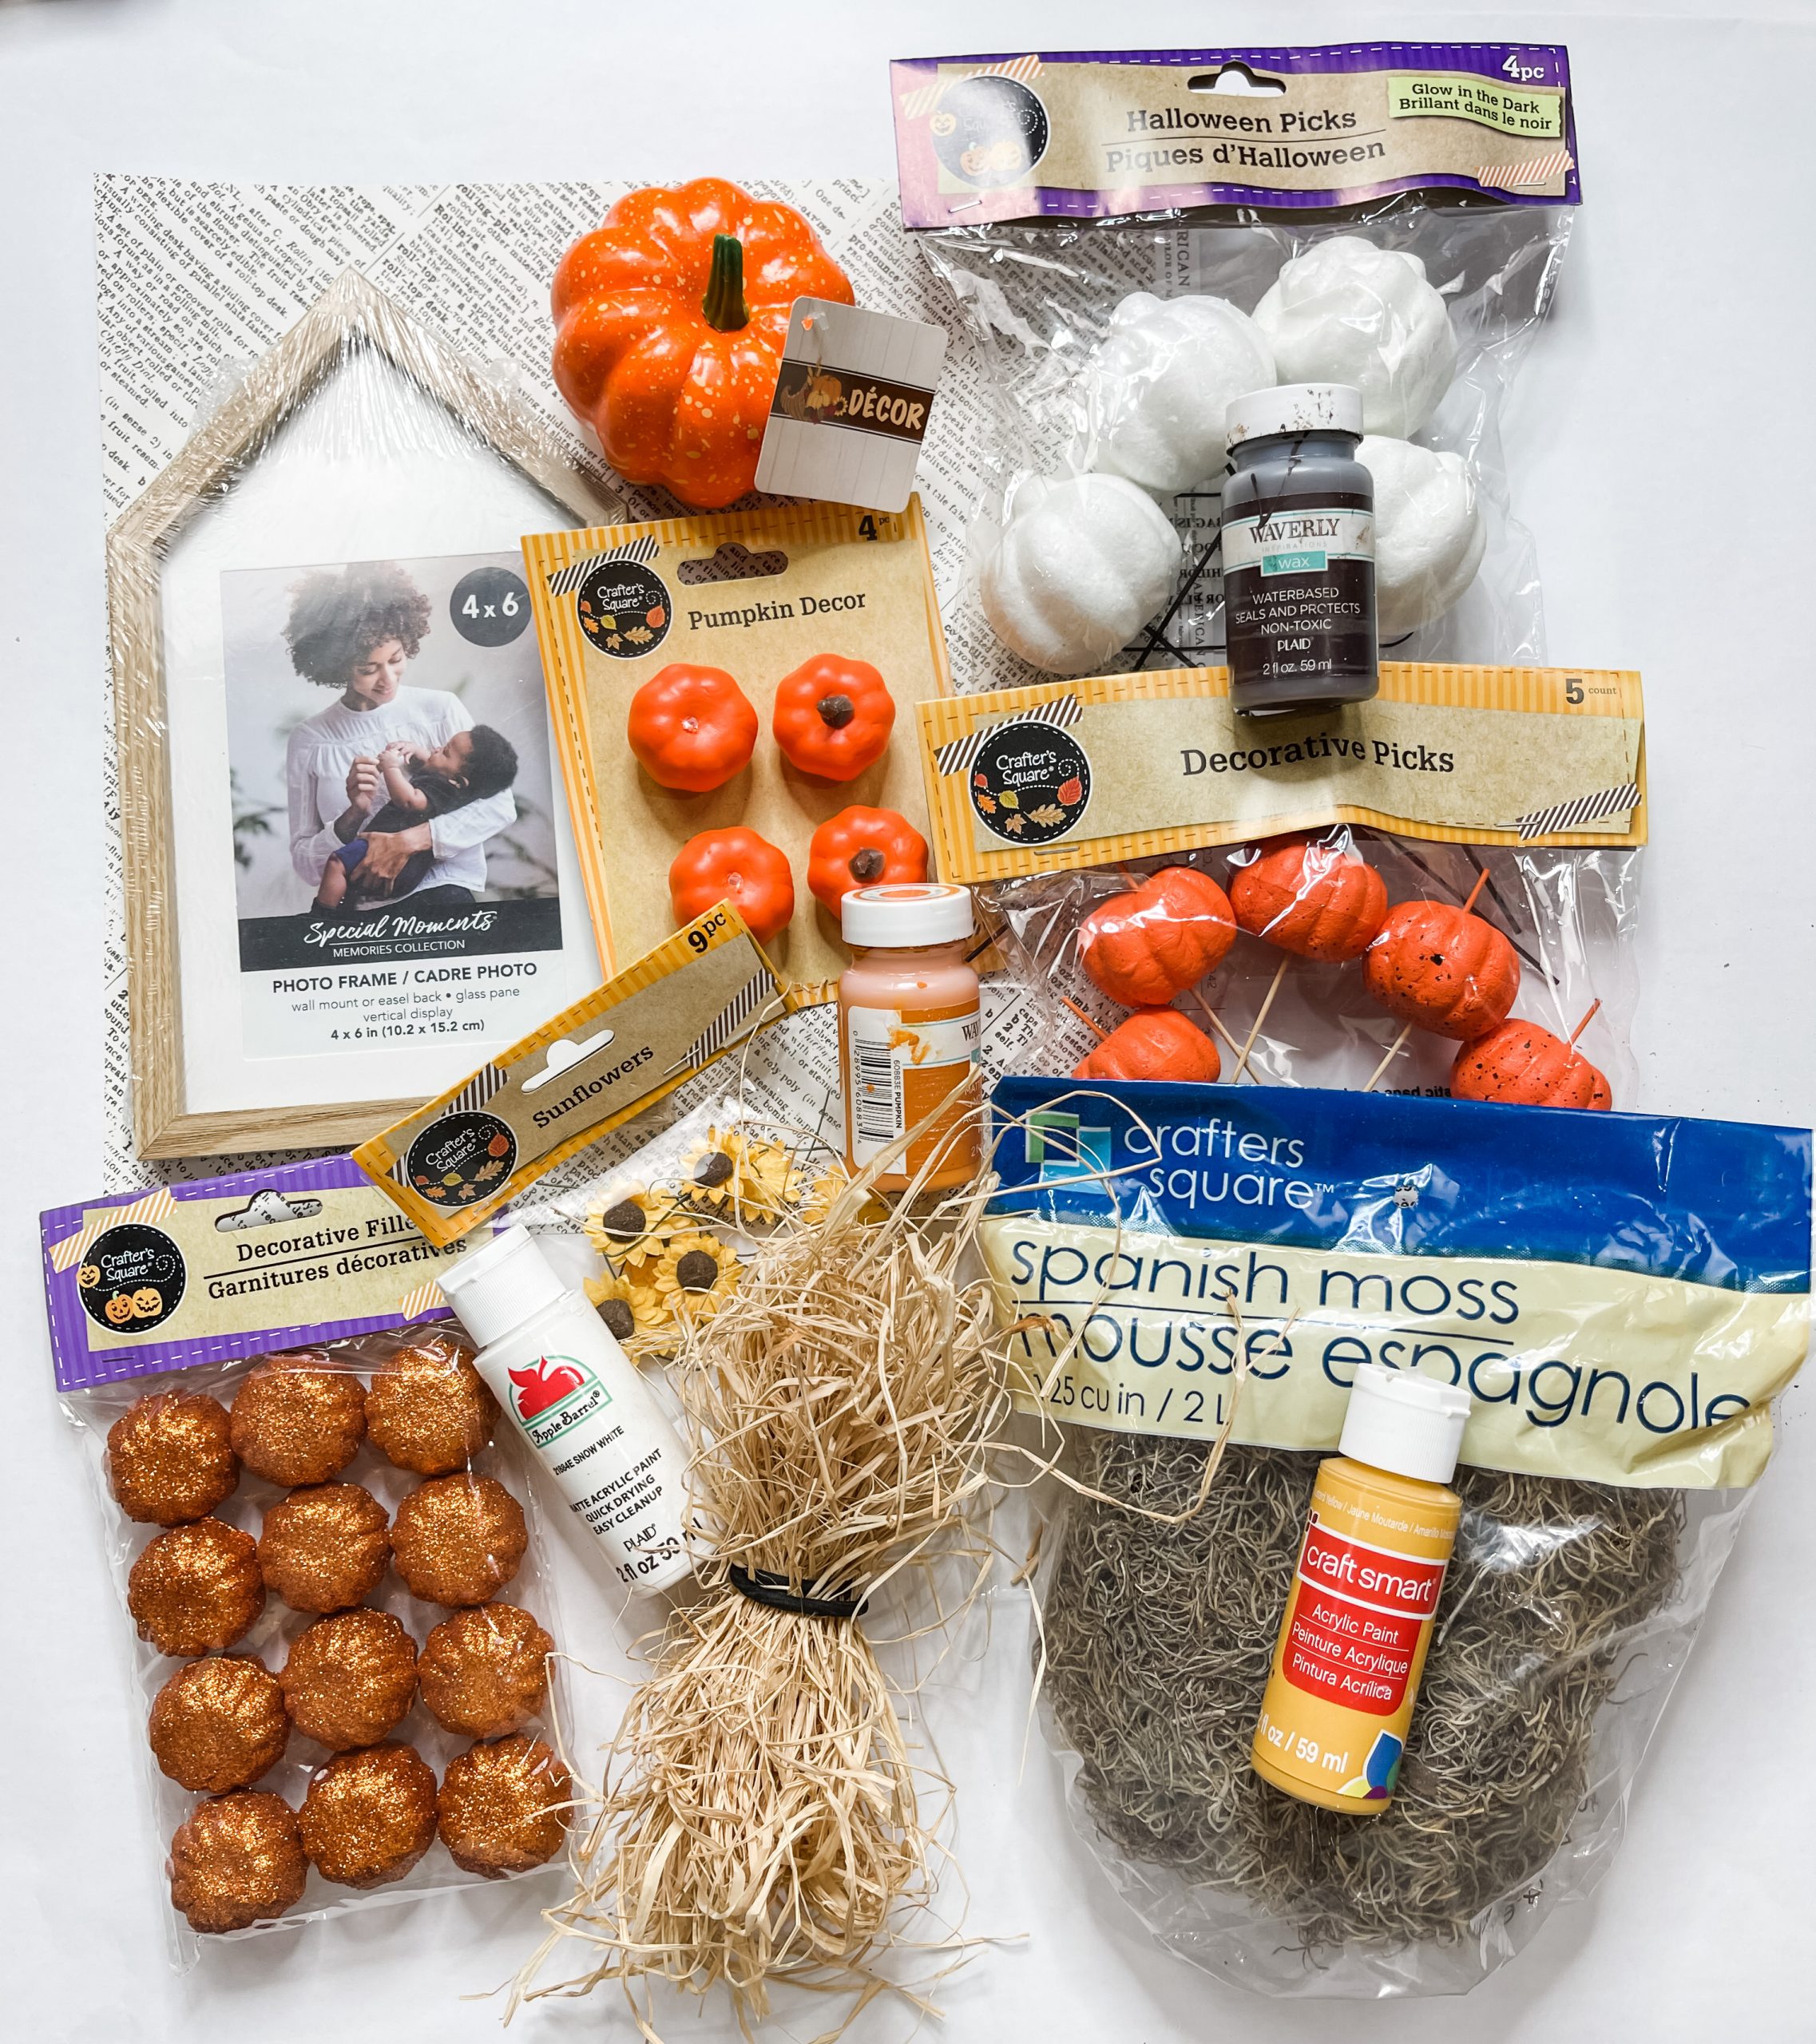
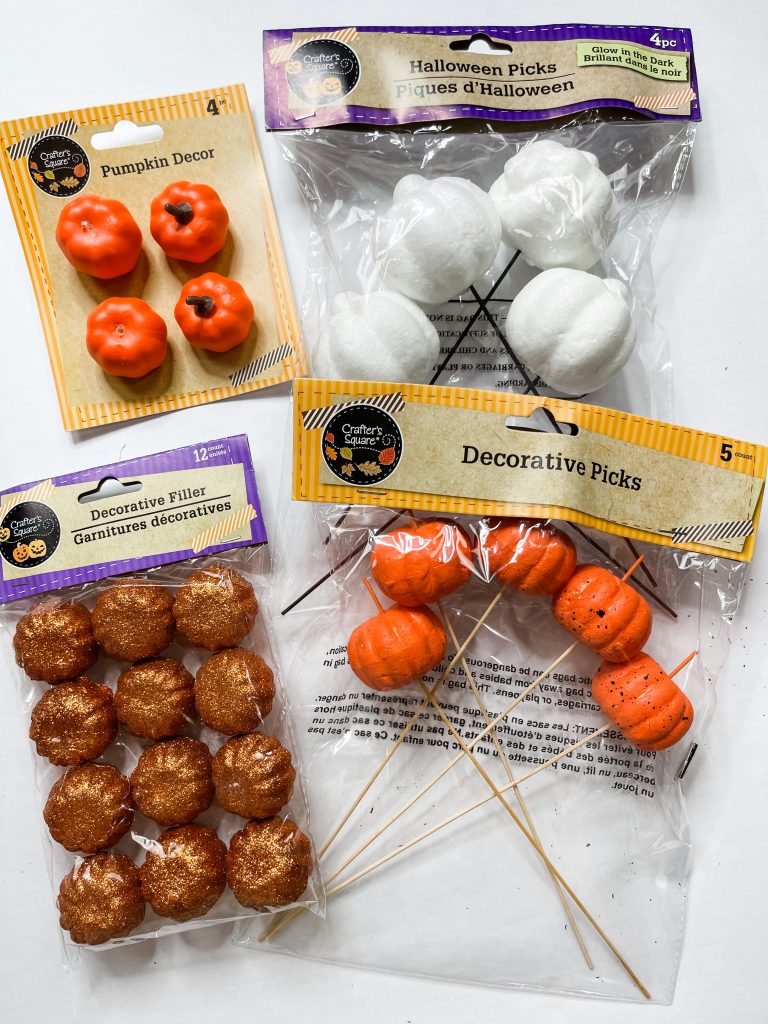
For this project, I will be using these items, but you can substitute where you want.
“As an Amazon Associate, I earn from qualifying purchases.”
- Dollar Tree Halloween Glow-in-the-dark Pumpkin Picks
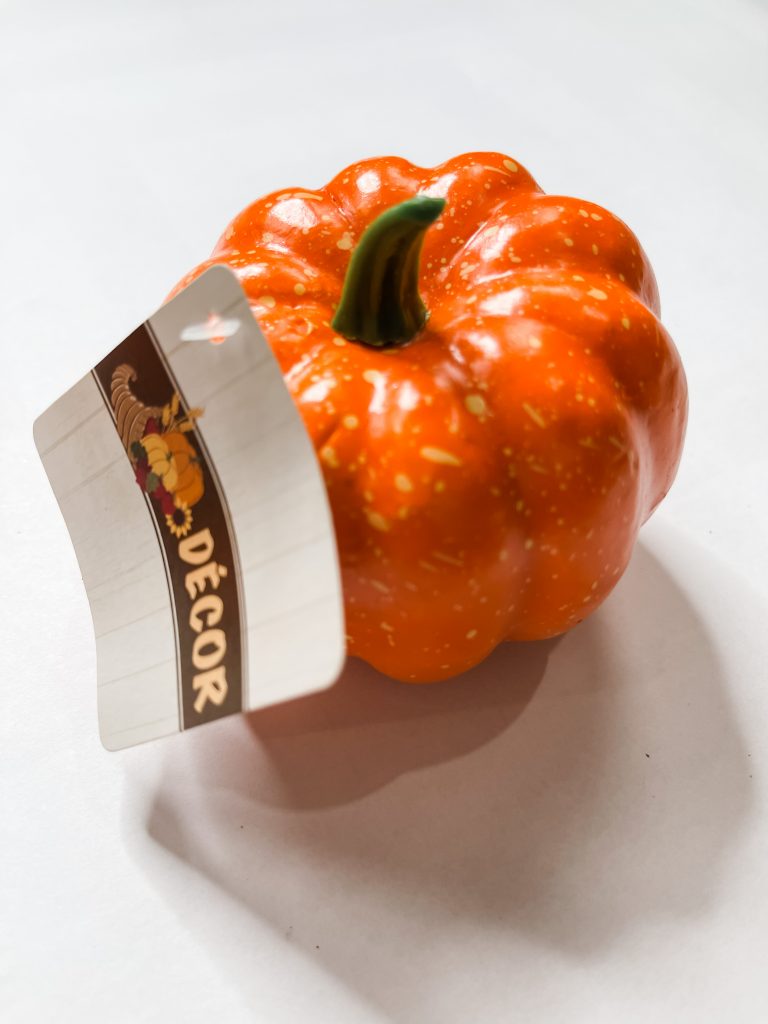
- Dollar Tree Orange Decorative Pumpkin Picks
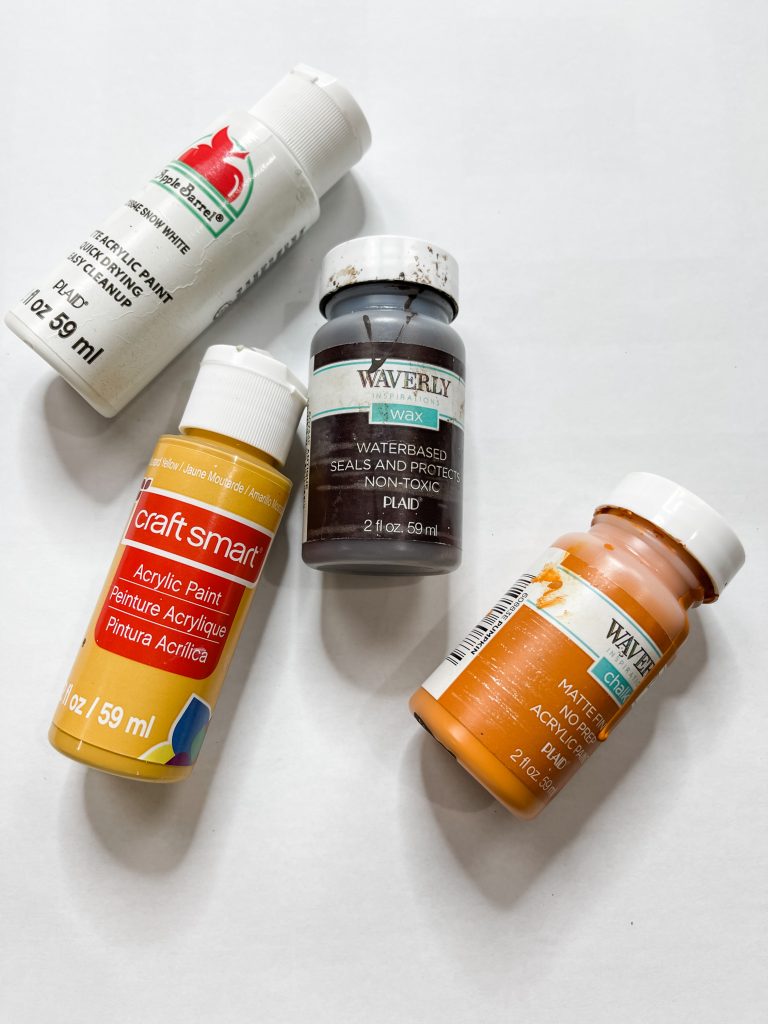
- Craftsmart Mustard Yellow Acrylic Paint
- Dollar Tree Small Foam Pumpkin
- Dollar Tree Glitter Decorative Filler Pumpkins
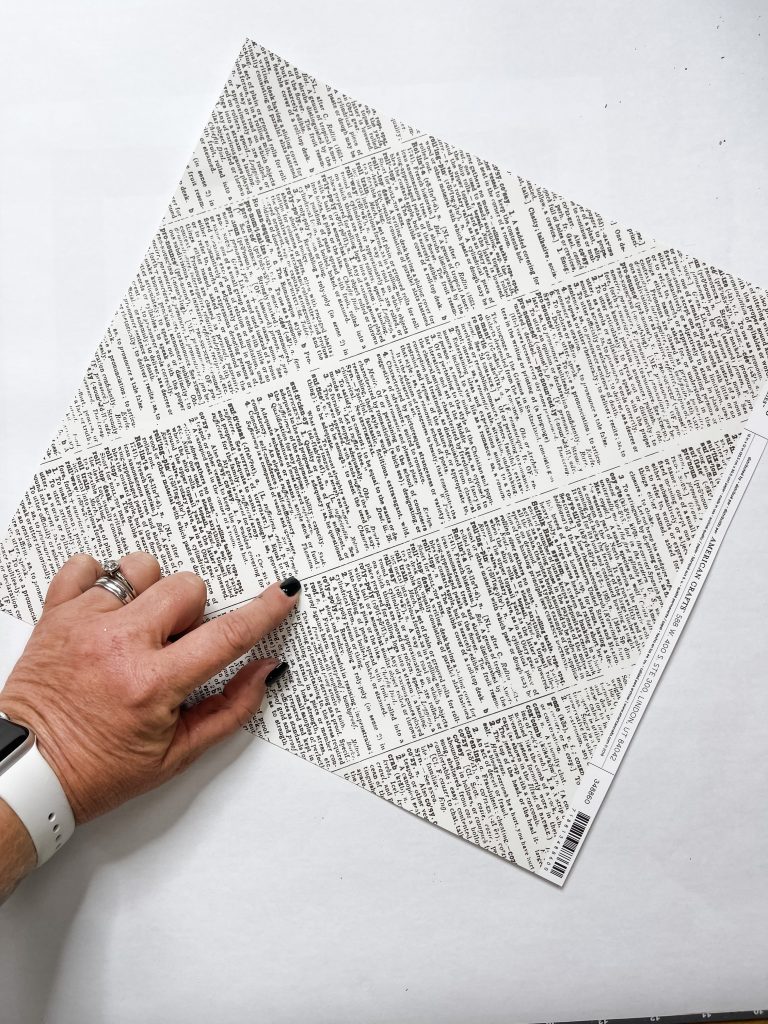
- American Crafts Dictionary Page Scrapbook Paper
- Dollar Tree Spanish Moss
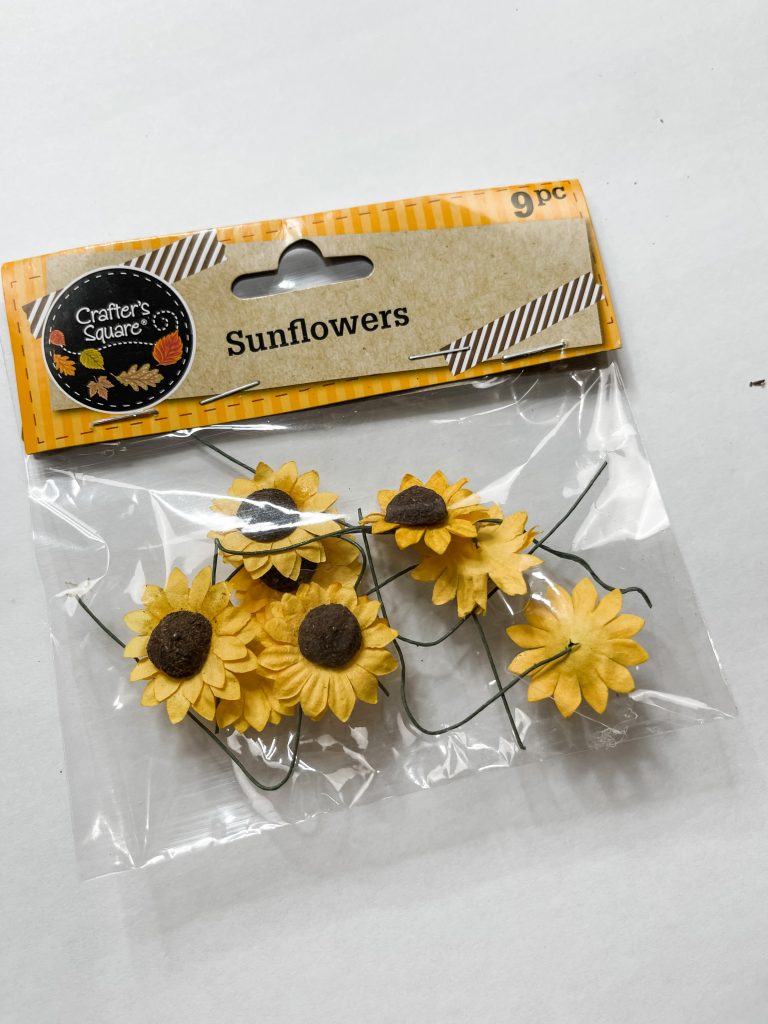
- Dollar Tree Sunflowers
- Apple Barrel White Acrylic Paint
- Dollar Tree Raffia
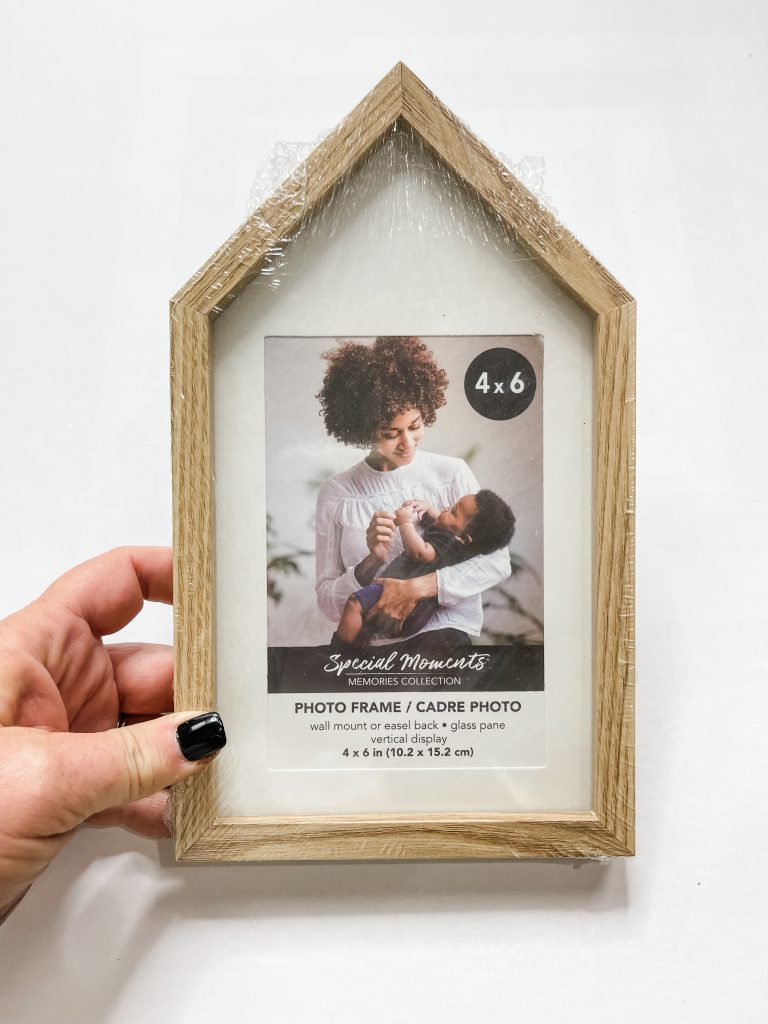
- Dollar Tree 4×6 House Shape Picture Frame
- Apple Barrel Burnt Umber Acrylic Paint
- Dollar Tree Eucalyptus
- Waverly Pumpkin Chalk Paint
- Waverly Antique Wax
- Mod Podge
- Putty Knife/Paint Scraper
- Hot Glue gun
- Glue Stick
How to Make a Dollar Tree Stacked Pumpkins Small Fall Sign
Start this adorable Fall decor project by tracing the shape of the Dollar Tree house-shaped picture frame on the dictionary page scrapbook paper and cut the shape out of the paper.
Hot glue or decoupage the scrapbook paper to the backing of the picture frame and allow it to dry in place. Next, I worked on the picture frame.
I used a paintbrush to spread Waverly antique wax on the picture frame. I sanded down the frame a little, then repeated the process with Apple Barrel burnt umber acrylic paint.
Let the frame dry completely (I used my heat gun to speed up the drying process) and reattach the backing to the picture frame.
Make your stacked pumpkins
Next, I used a paint scraper to cut a small Dollar Tree foam pumpkin in half. Then, I cut one of the glow-in-the-dark pumpkin picks in half.
The last pumpkin was one of the orange pumpkin picks. Cut it in half the same way you did the two previous pumpkins.
I painted the largest pumpkin half with Craftsmart mustard yellow acrylic paint. I didn’t get full coverage with the first coat, but I set it aside to dry.
Then, I painted the middle-sized pumpkin with the Waverly pumpkin chalk paint and used my heat gun to quickly dry the pumpkin.
Next, I applied a second coat of yellow paint to the largest pumpkin and painted the smallest pumpkin with white paint.
Once the paint was dry on all of the pumpkins, I used the Waverly wax to add detail to the pumpkins and create an aged look for them.
Brush the Waverly wax onto the smallest pumpkin and use a wet wipe to remove the wax from the pumpkin. You want to leave wax in the cracks/bumps of the pumpkin to get the details.

I used a paintbrush to get the wax into the creases of the middle and larger pumpkins, and I used a wet wipe to smudge the wax.
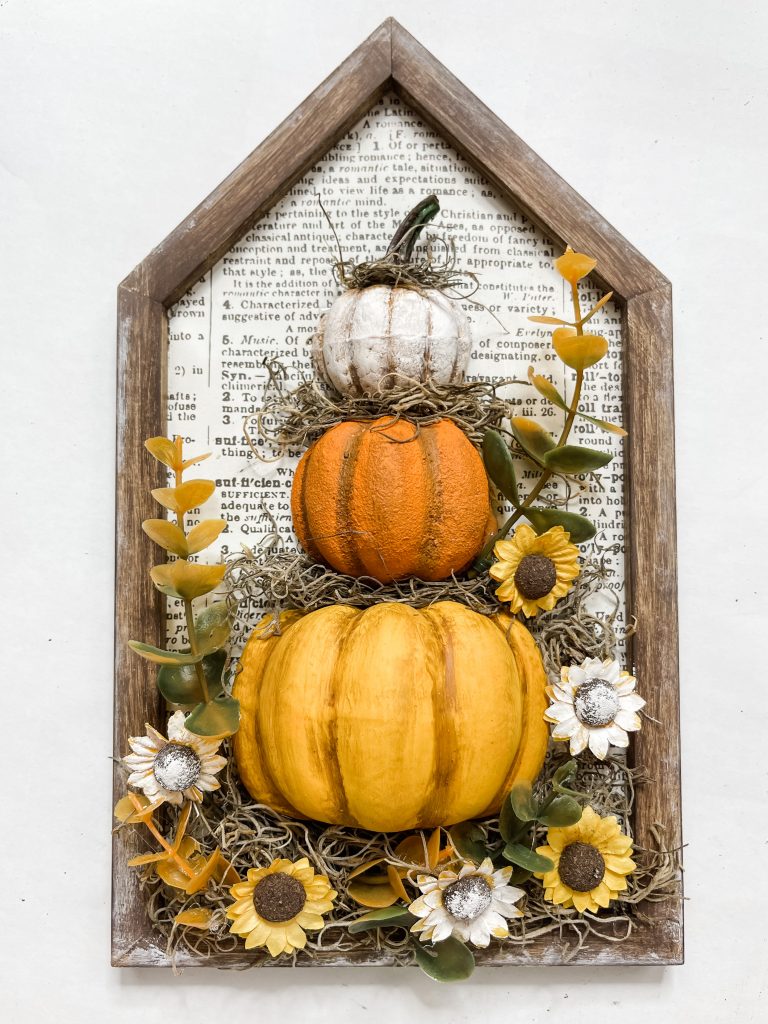
Don’t you love the candy corn colored pumpkin topiary! I also made this other Pumpkin Topiary using napkins I decoupaged on!
Bring it all together
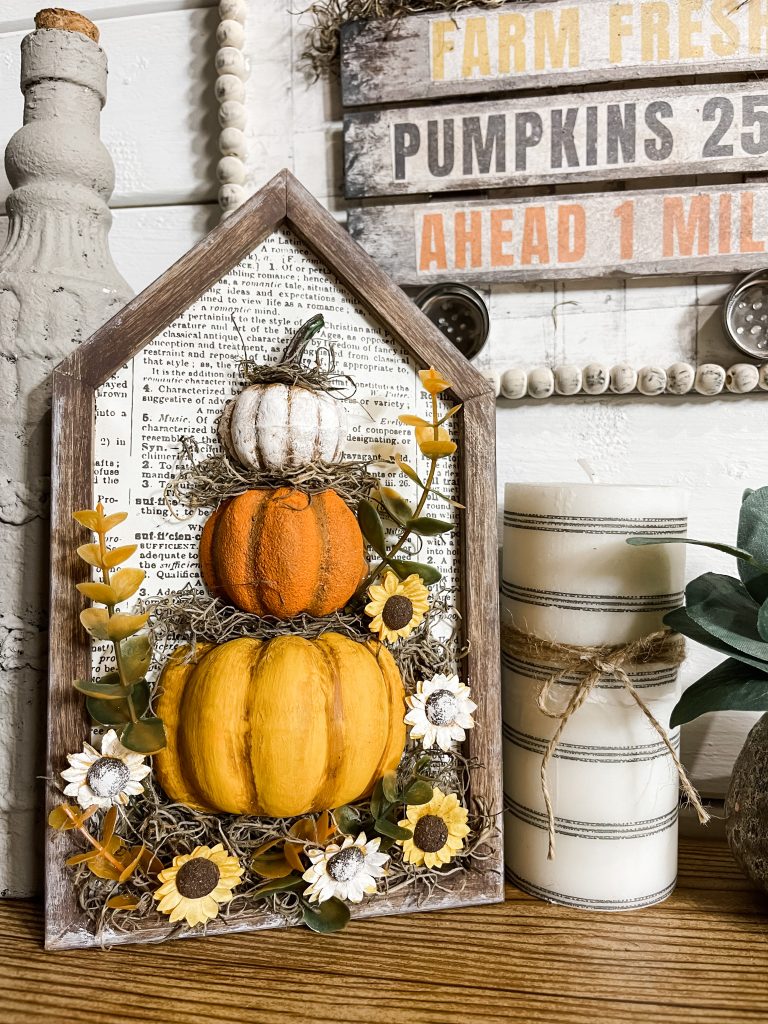
Next, I took a bit of Spanish Moss and hot glued it at the bottom of the frame. I applied Mod Podge to the back of the larger pumpkin and pressed it onto the paper, just above the moss.
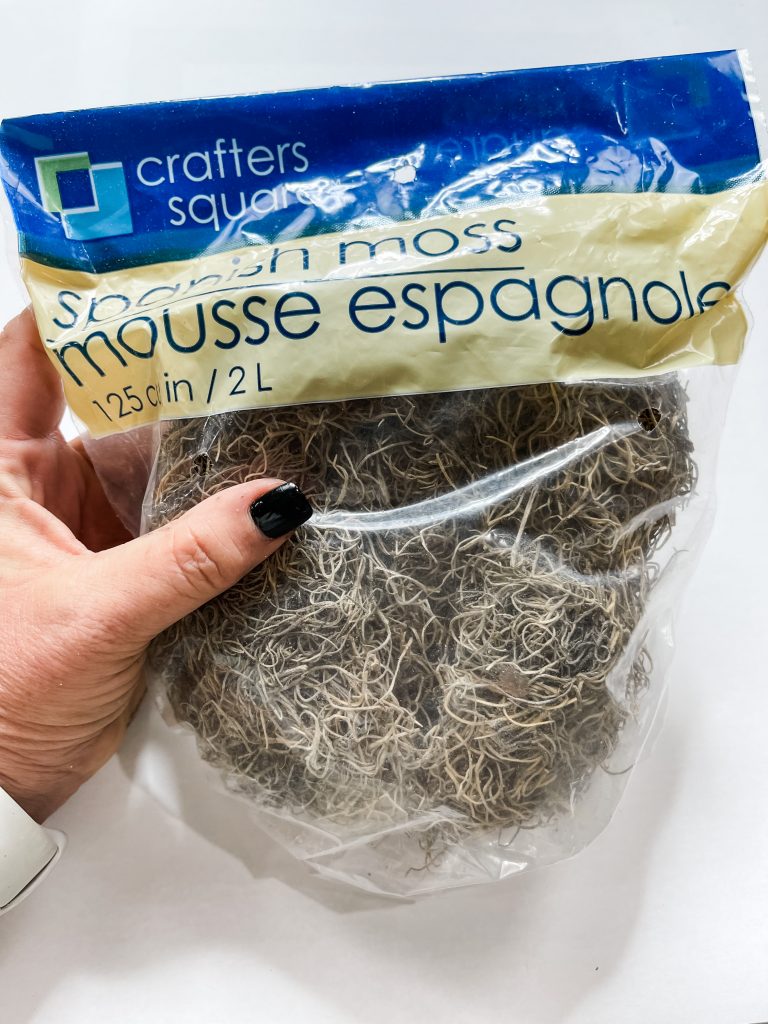
Hot glue a bit of Spanish moss above the larger pumpkin on the picture frame, hot glue the middle pumpkin above the moss, attach moss above the middle pumpkin, and secure the smallest pumpkin at the top.
Next, I took the stem from one of the Dollar Tree small pumpkins, painted it brown, and pressed it into the smallest pumpkin at the very top.
Then, I hot glued some Spanish moss around the base of the pumpkin’s stem. Cut the stems off the Dollar Tree sunflowers and hot glue them around the pumpkins and in the moss.
Trim the pieces of eucalyptus and hot glue them around the base of the pumpkins and in the Spanish moss.
Next, I painted the petals on some of the sunflowers with white paint and hot glued those painted flowers around pumpkins and in the moss!
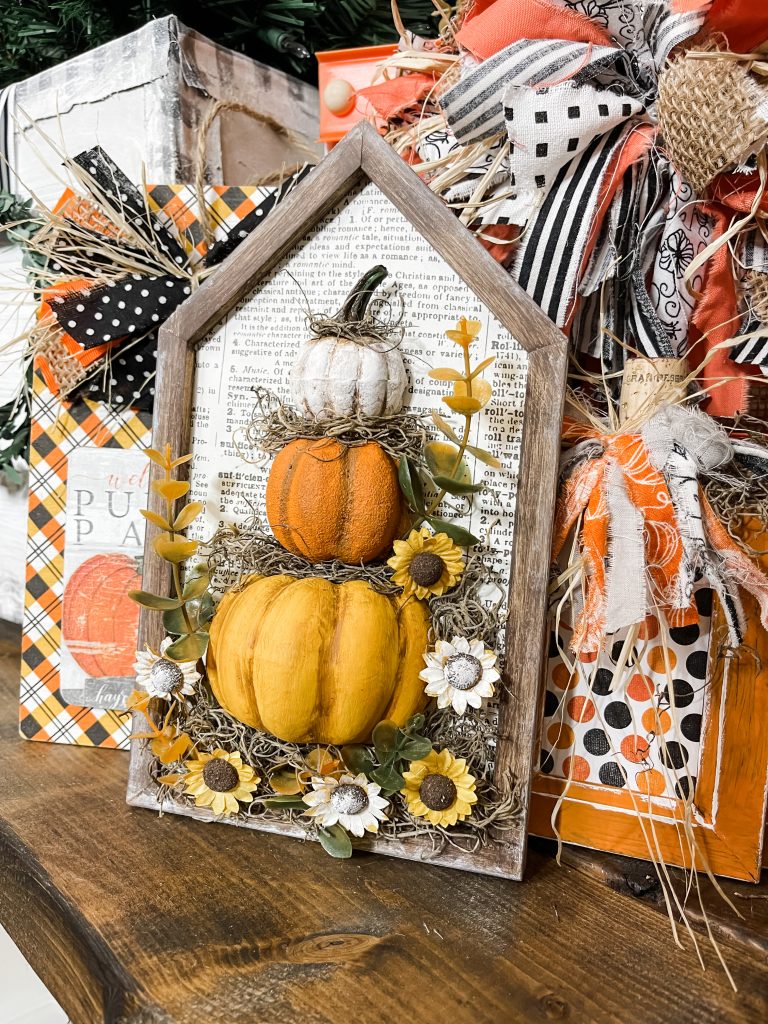
Lastly, I lightly brushed a bit of white paint around the outer edge of the face of the frame, smudge it, and sanded it down to give the frame a slightly washed finish!
I hope you enjoyed this Dollar Tree Stacked Pumpkins Small Fall Sign as much as I did and decide to make it for yourself! If you do, I would love to see how yours turns out!
You should totally join my FREE Facebook group called On A Budget Crafts! It is a judgment-free community for DIY crafters to show off their projects and ideas.
If you loved this Dollar Tree Stacked Pumpkins Small Fall Sign, you might also like these DIY ideas!
Thanks for stopping by! XOXO Amber
You can also shop my ENTIRE AMAZON Favorites shop just click here! It’s packed full of all the things I use and love. Here is the supply list I highly recommend every creative have on hand!!
Would you also pin my blog for later and get on my newsletter alerts? I would love to have you join my #craftycrew.
I email alerts about new blogs like this Dollar Tree Stacked Pumpkins Small Fall Sign so you’re always up to date on fun, new DIY ideas!
Inspired? Leave me a comment below! I love hearing from my readers!

Join my free “ON A BUDGET CRAFTS” Facebook group!


I love nice way of showing off the pumpkins 🎃 and using the moss in the right places, would love to make one…
Super cute, Love it
Hey Amber!! I absolutely love this Candy Corn Pumpkin Topiary!! The colors are way prettier here than any of the yummy candy! Hahaha!! I’m definitely gonna make this one!! Also I’ve been looking (won’t promise I didn’t look right over it.. 😉 LOL) but the sign above it with the wagon, I’d love to read the tutorial for it if you have one?! Can you send me the link or post it here? Thanks for sharing your talents & wonderful DIY’S!!!
Blessings,
Erica
The wagon is a Creative Haven project!
Love it!😍
Was with you on FB when you made this. It’s still one of my favorites. 👍
cute love it
Love the candy corn pumpkin decor