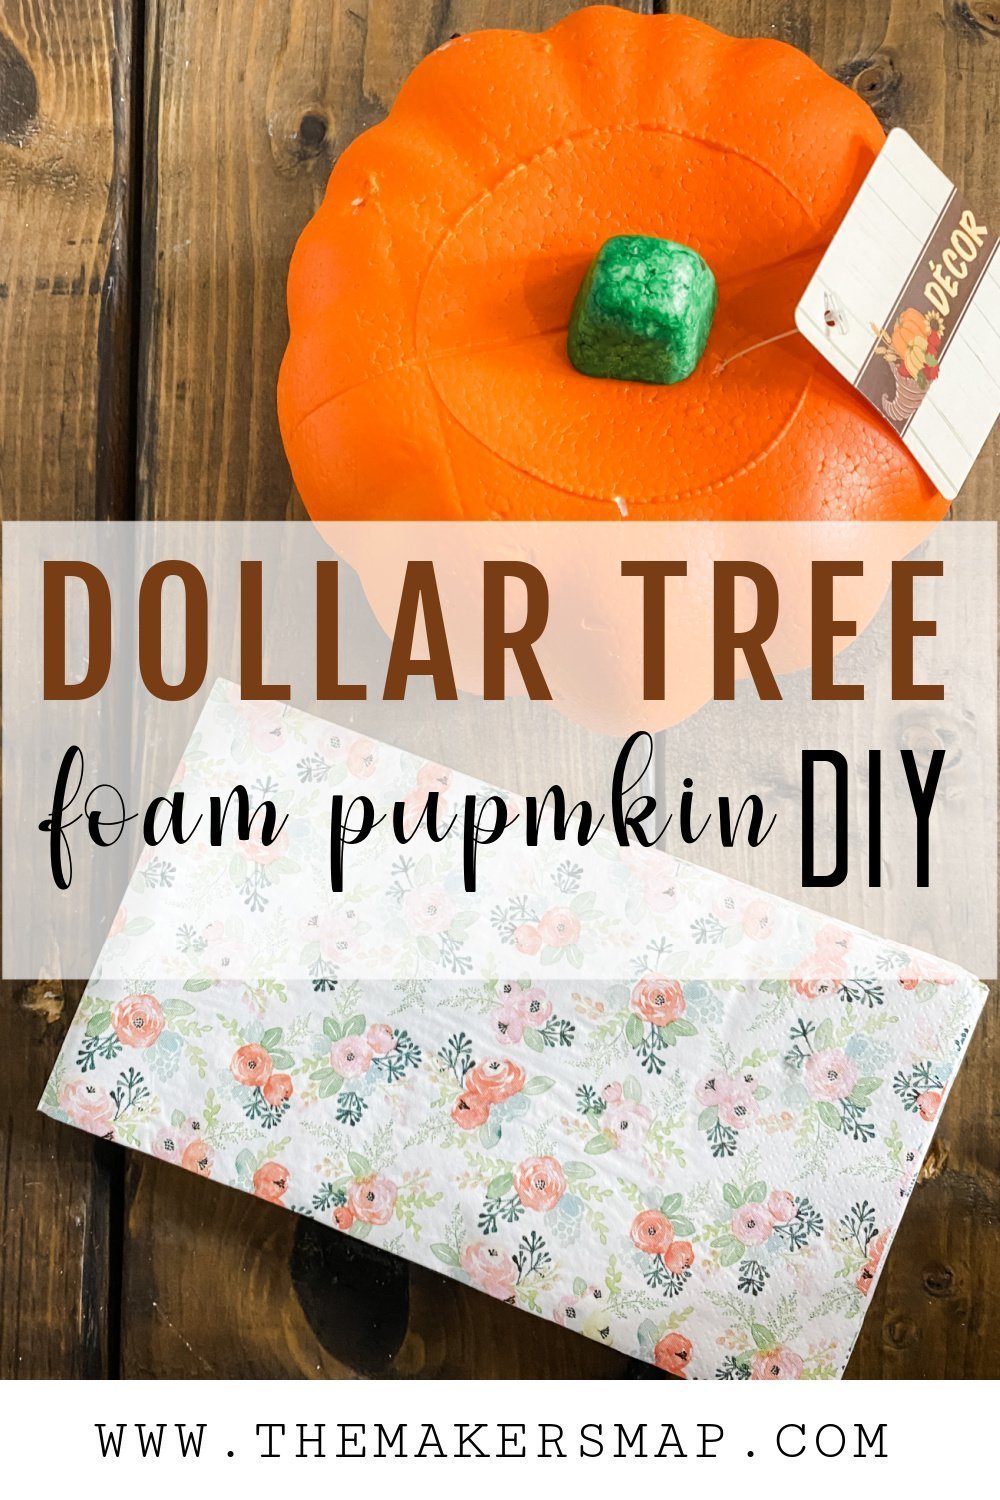
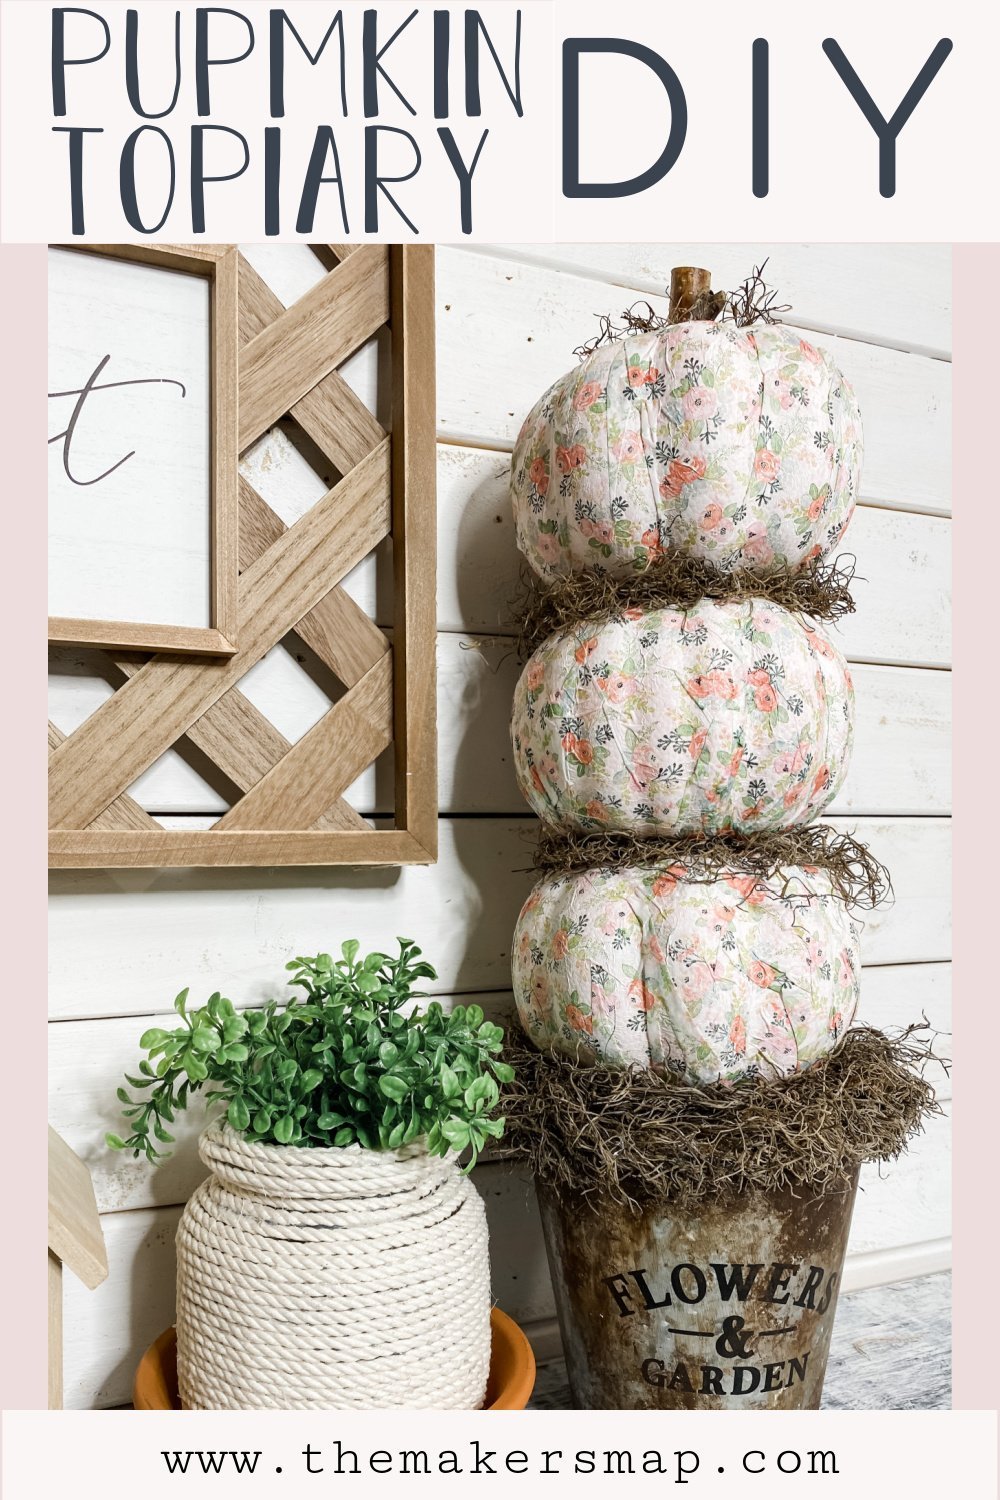
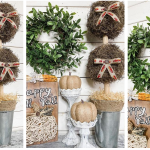
Make a Dollar Tree Fall Foam Pumpkin Topiary DIY
Can I say I am obsessed with Dollar Tree? Is that okay? I just absolutely love all of the amazing things I can make with their products! Did you know this isn’t the first topiary I’ve made with Dollar Tree products? I made an adorable Dollar Tree Fall Topiary with sports balls! I am so excited to show you how to make a Dollar Tree Fall Foam Pumpkin Topiary DIY!
See for yourself!
My whole purpose with my DIY crafts is to inspire others to create beautiful decors for their home on a budget.
That is why I spend so much time recording everything I make and explaining everything step-by-step. If you want to see exactly how I made this Dollar Tree Fall Foam Pumpkin Topiary, you can check it out on my Youtube!
Check out these adorable Fall DIY’s!
- DIY Fall Home Decor with Pumpkin Spice Scented Broom
- Affordable DIY Farmhouse Fall Sign
- Simple Fall Mantel Decor Ideas

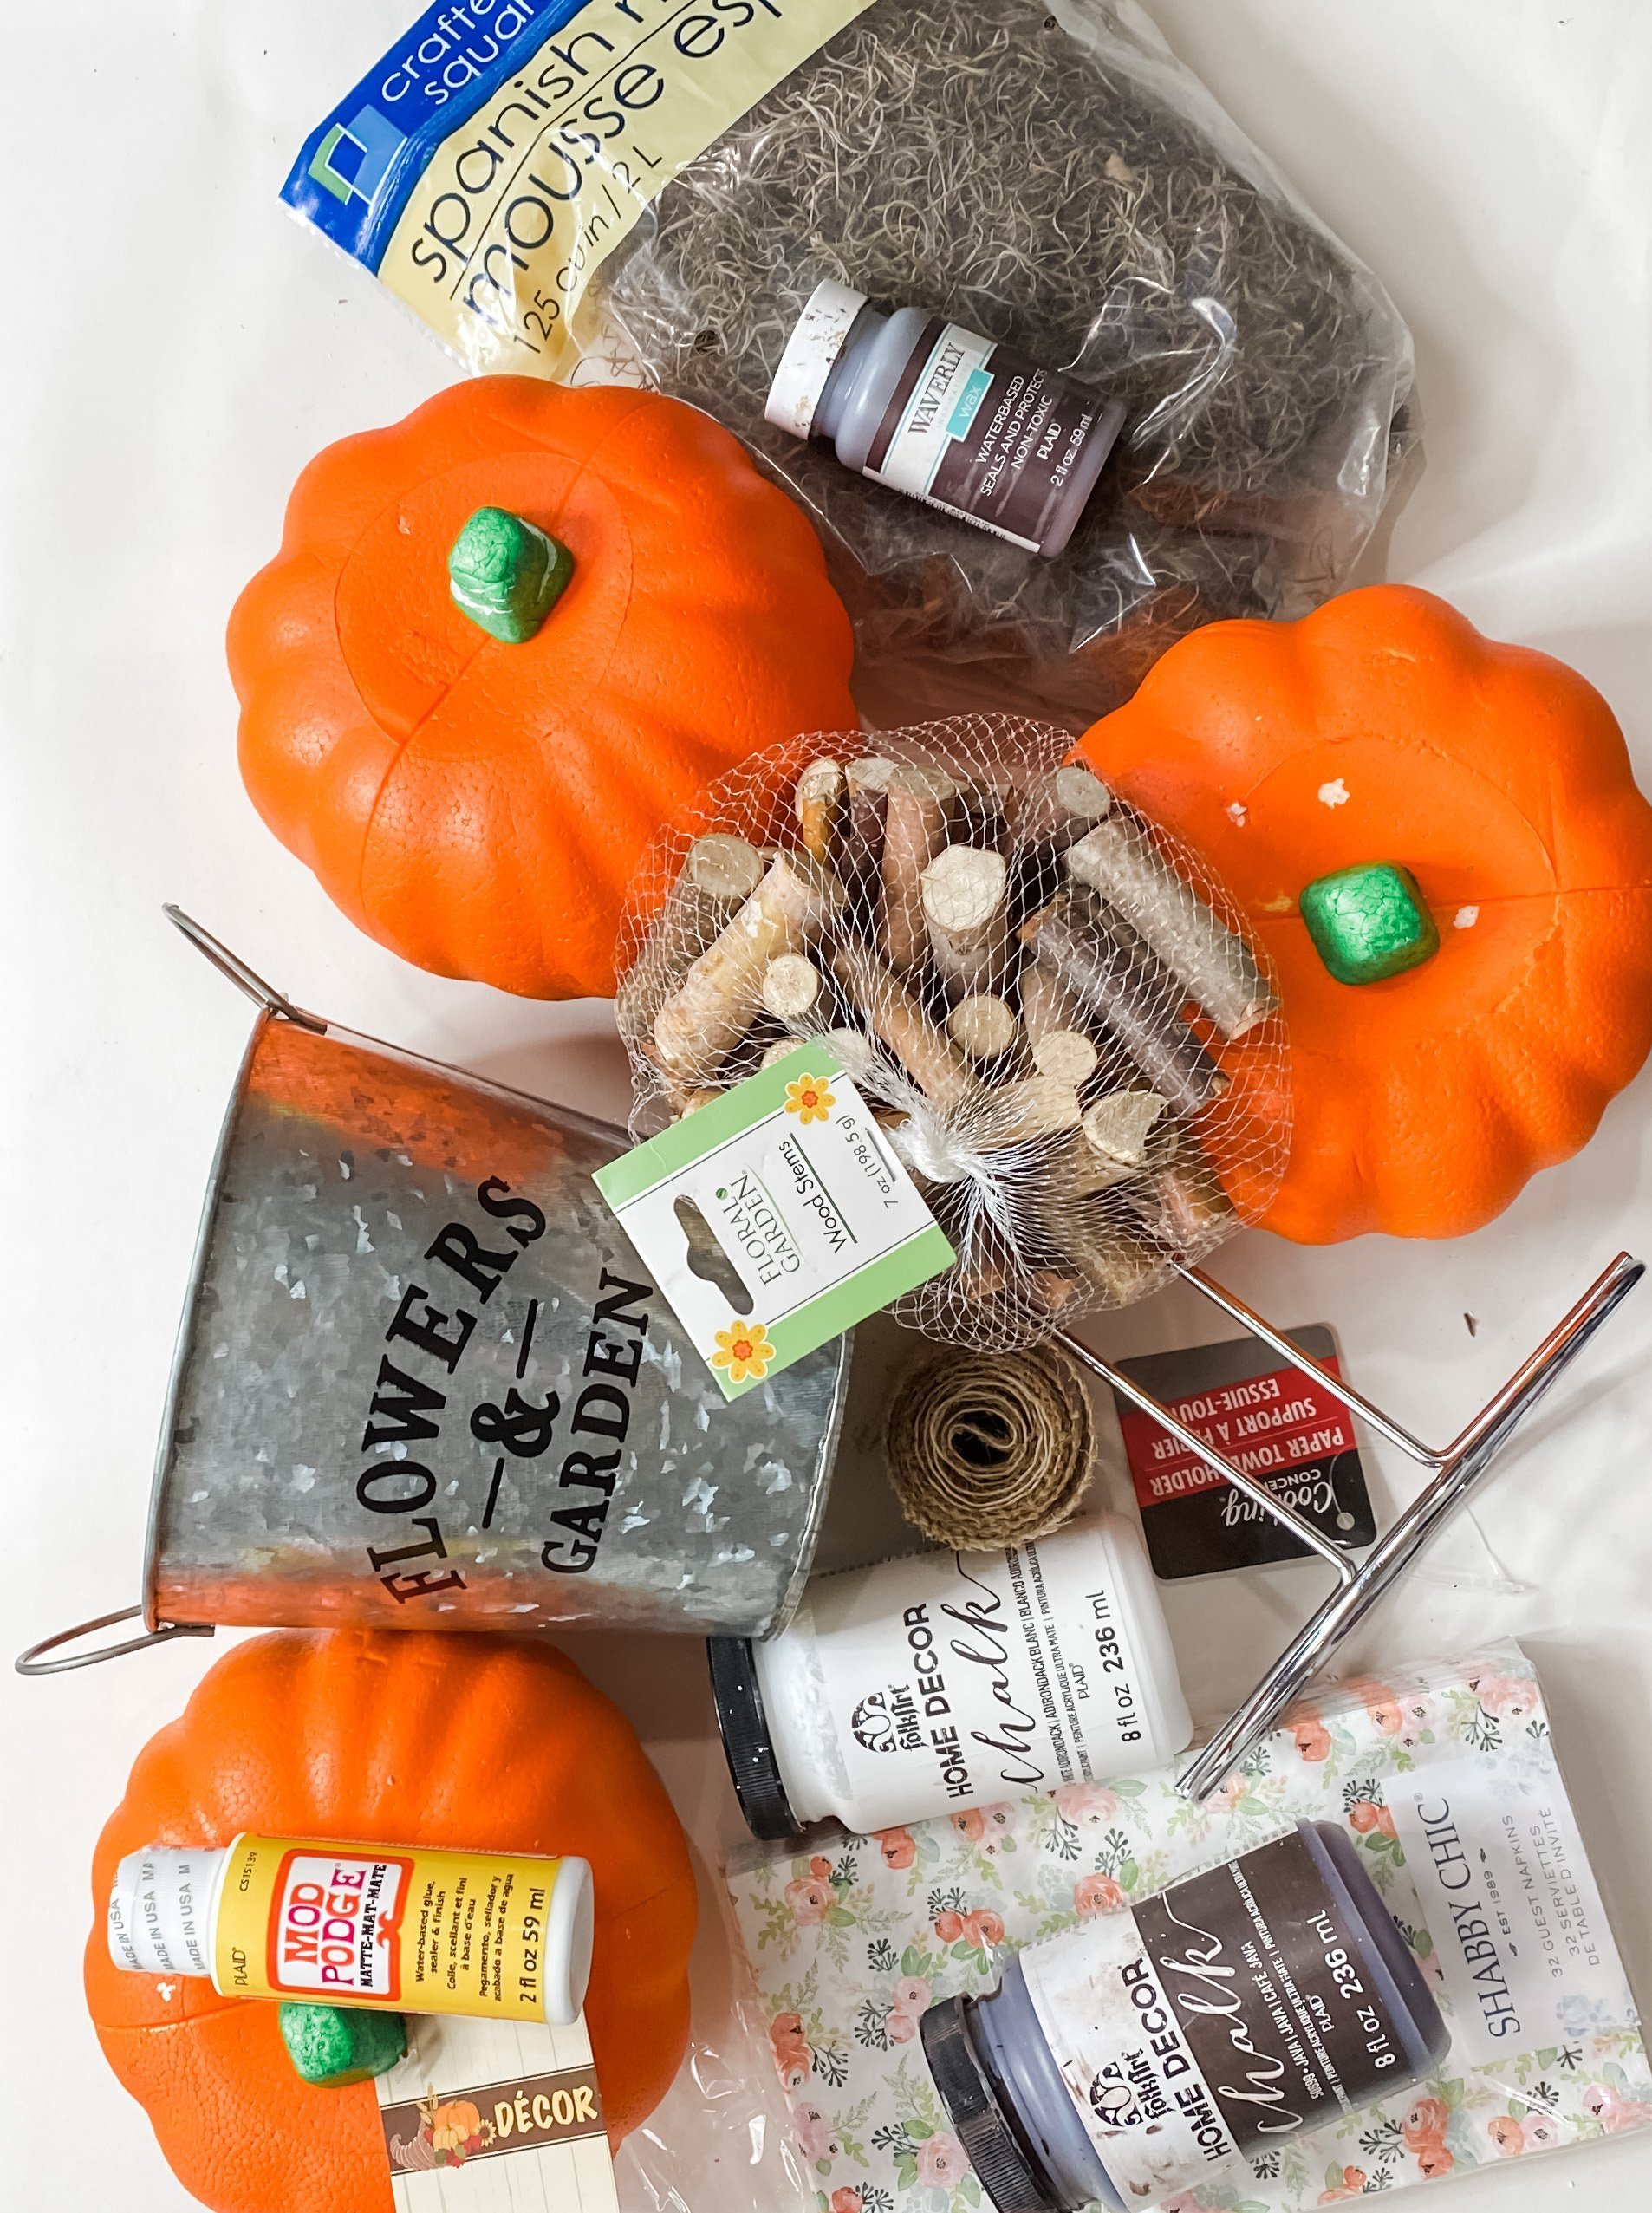
For this project, I will be using these items but you can substitute where you want.
“As an Amazon Associate, I earn from qualifying purchases.”
- Dollar Tree Spanish Moss
- Dollar Tree Wood Stems
- Folkart Java Chalk Paint
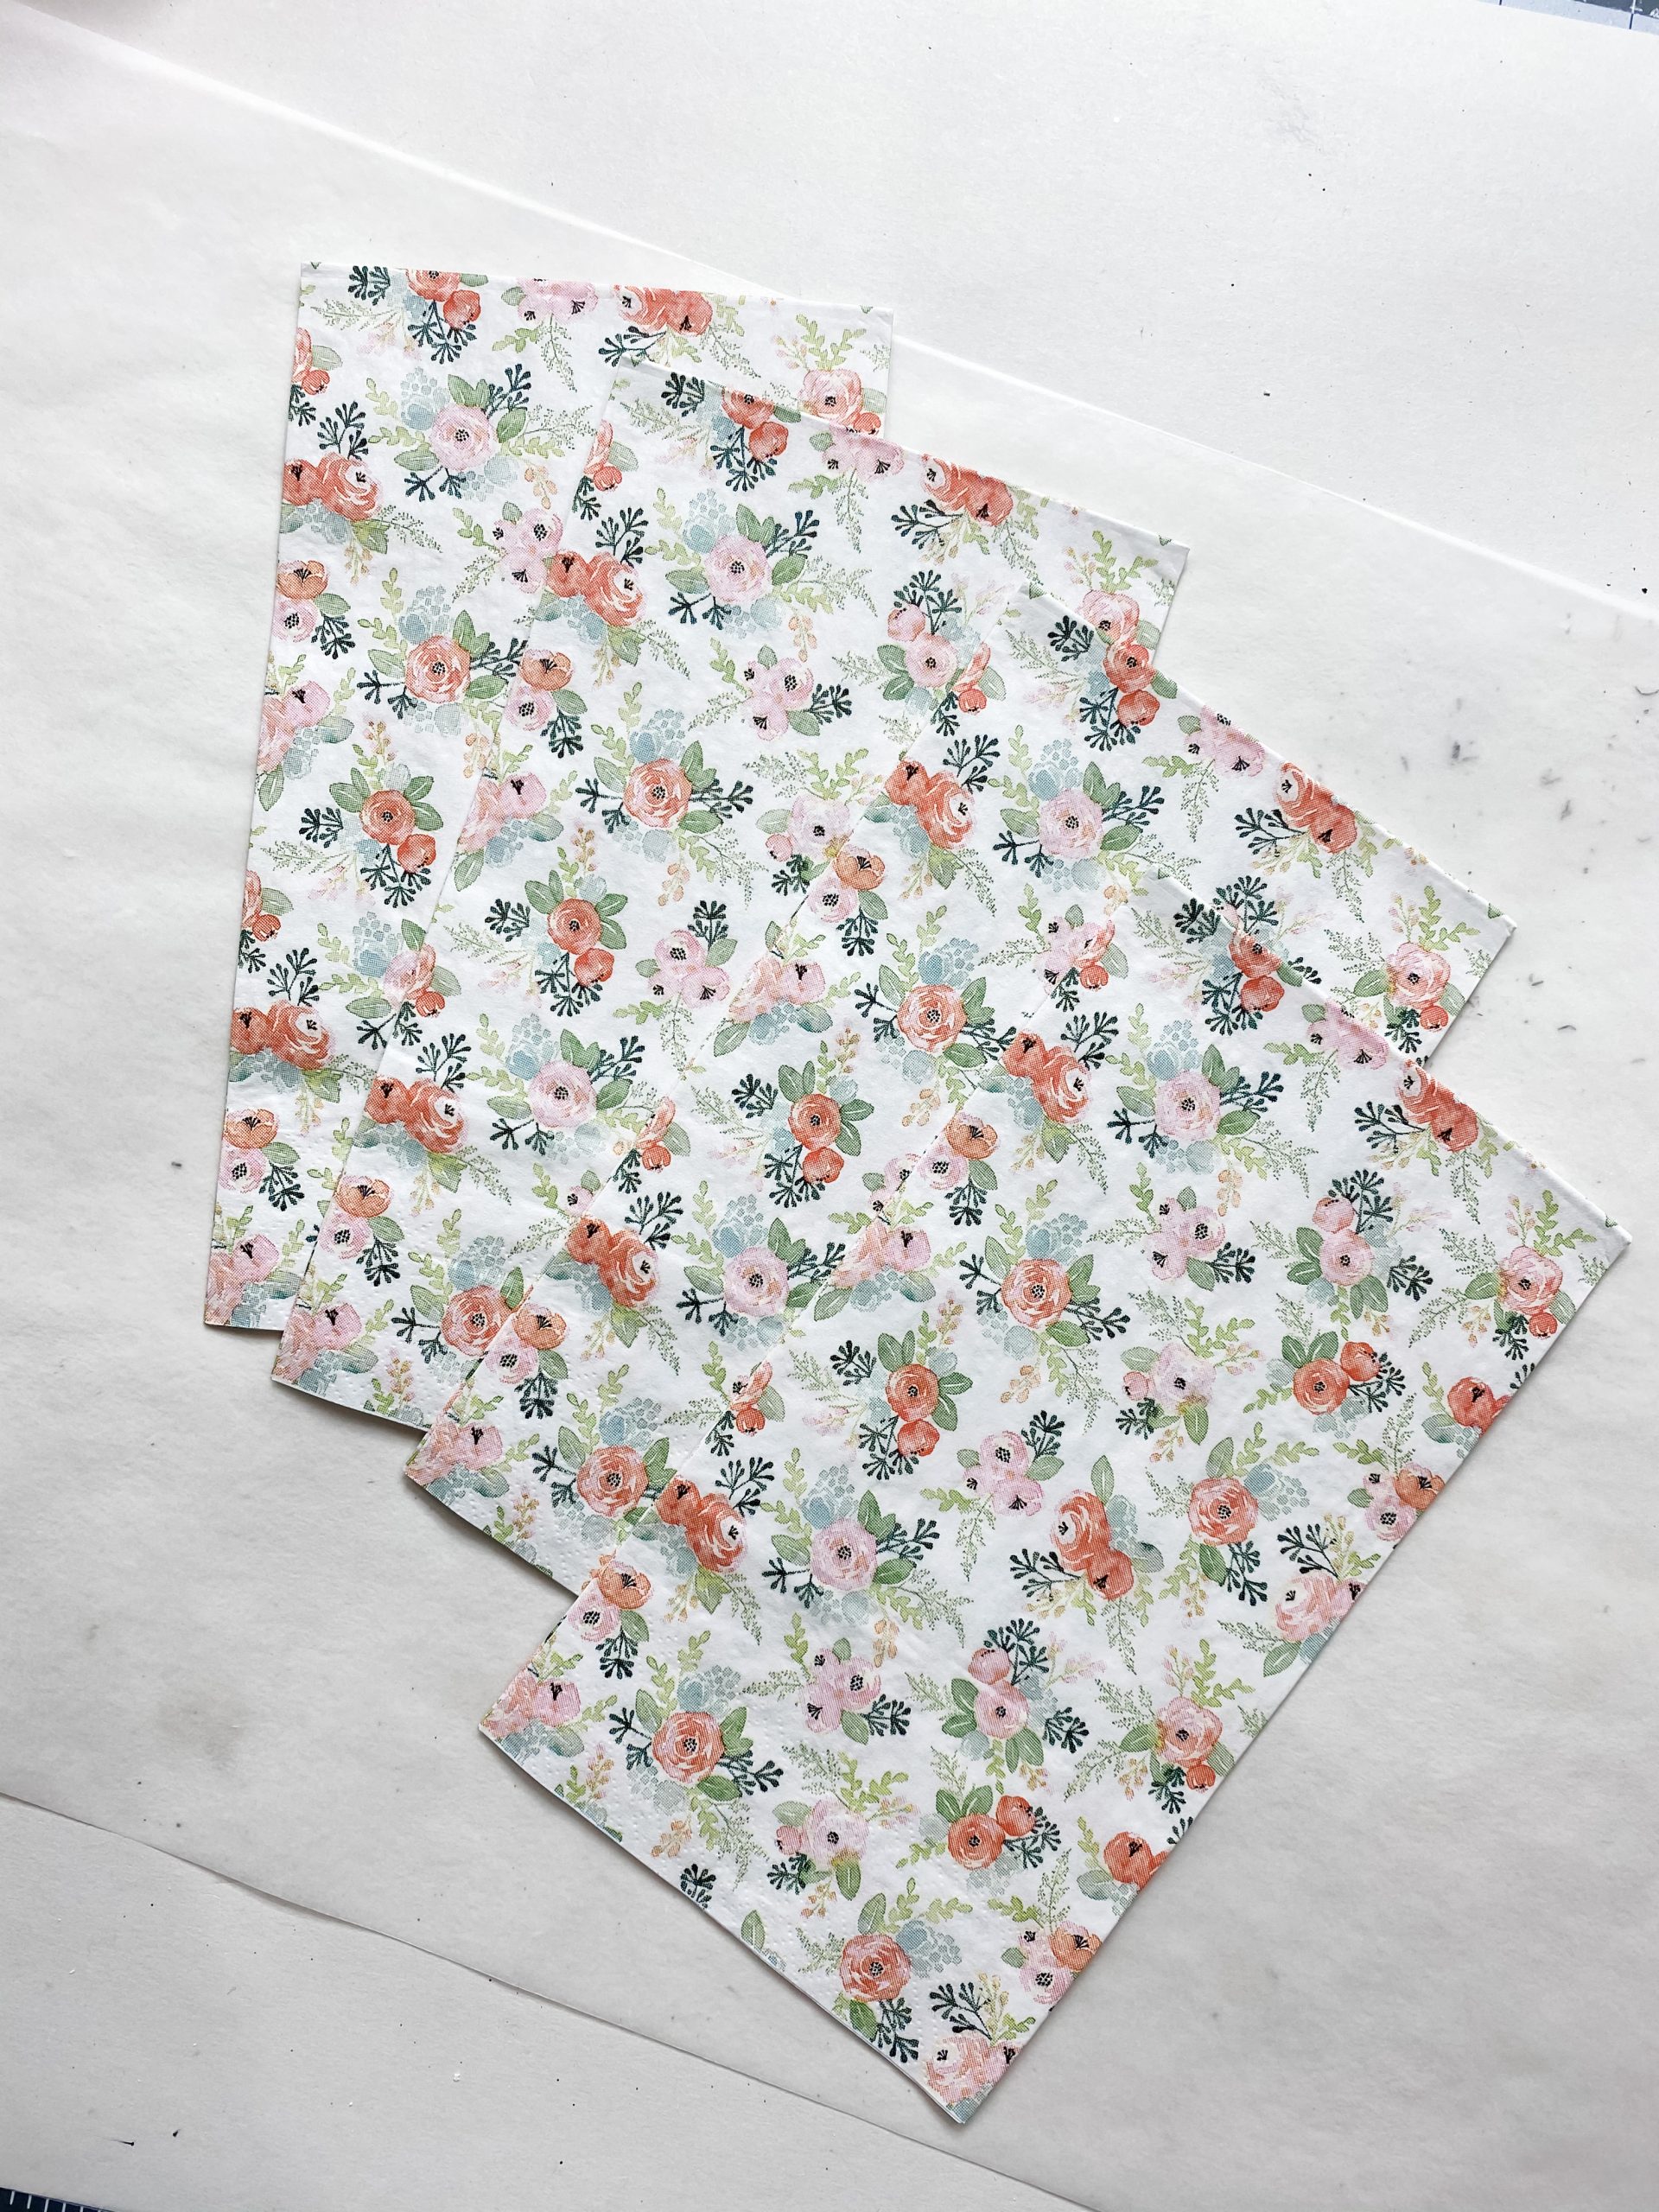
- Patterned Napkin
- Waverly Antique wax
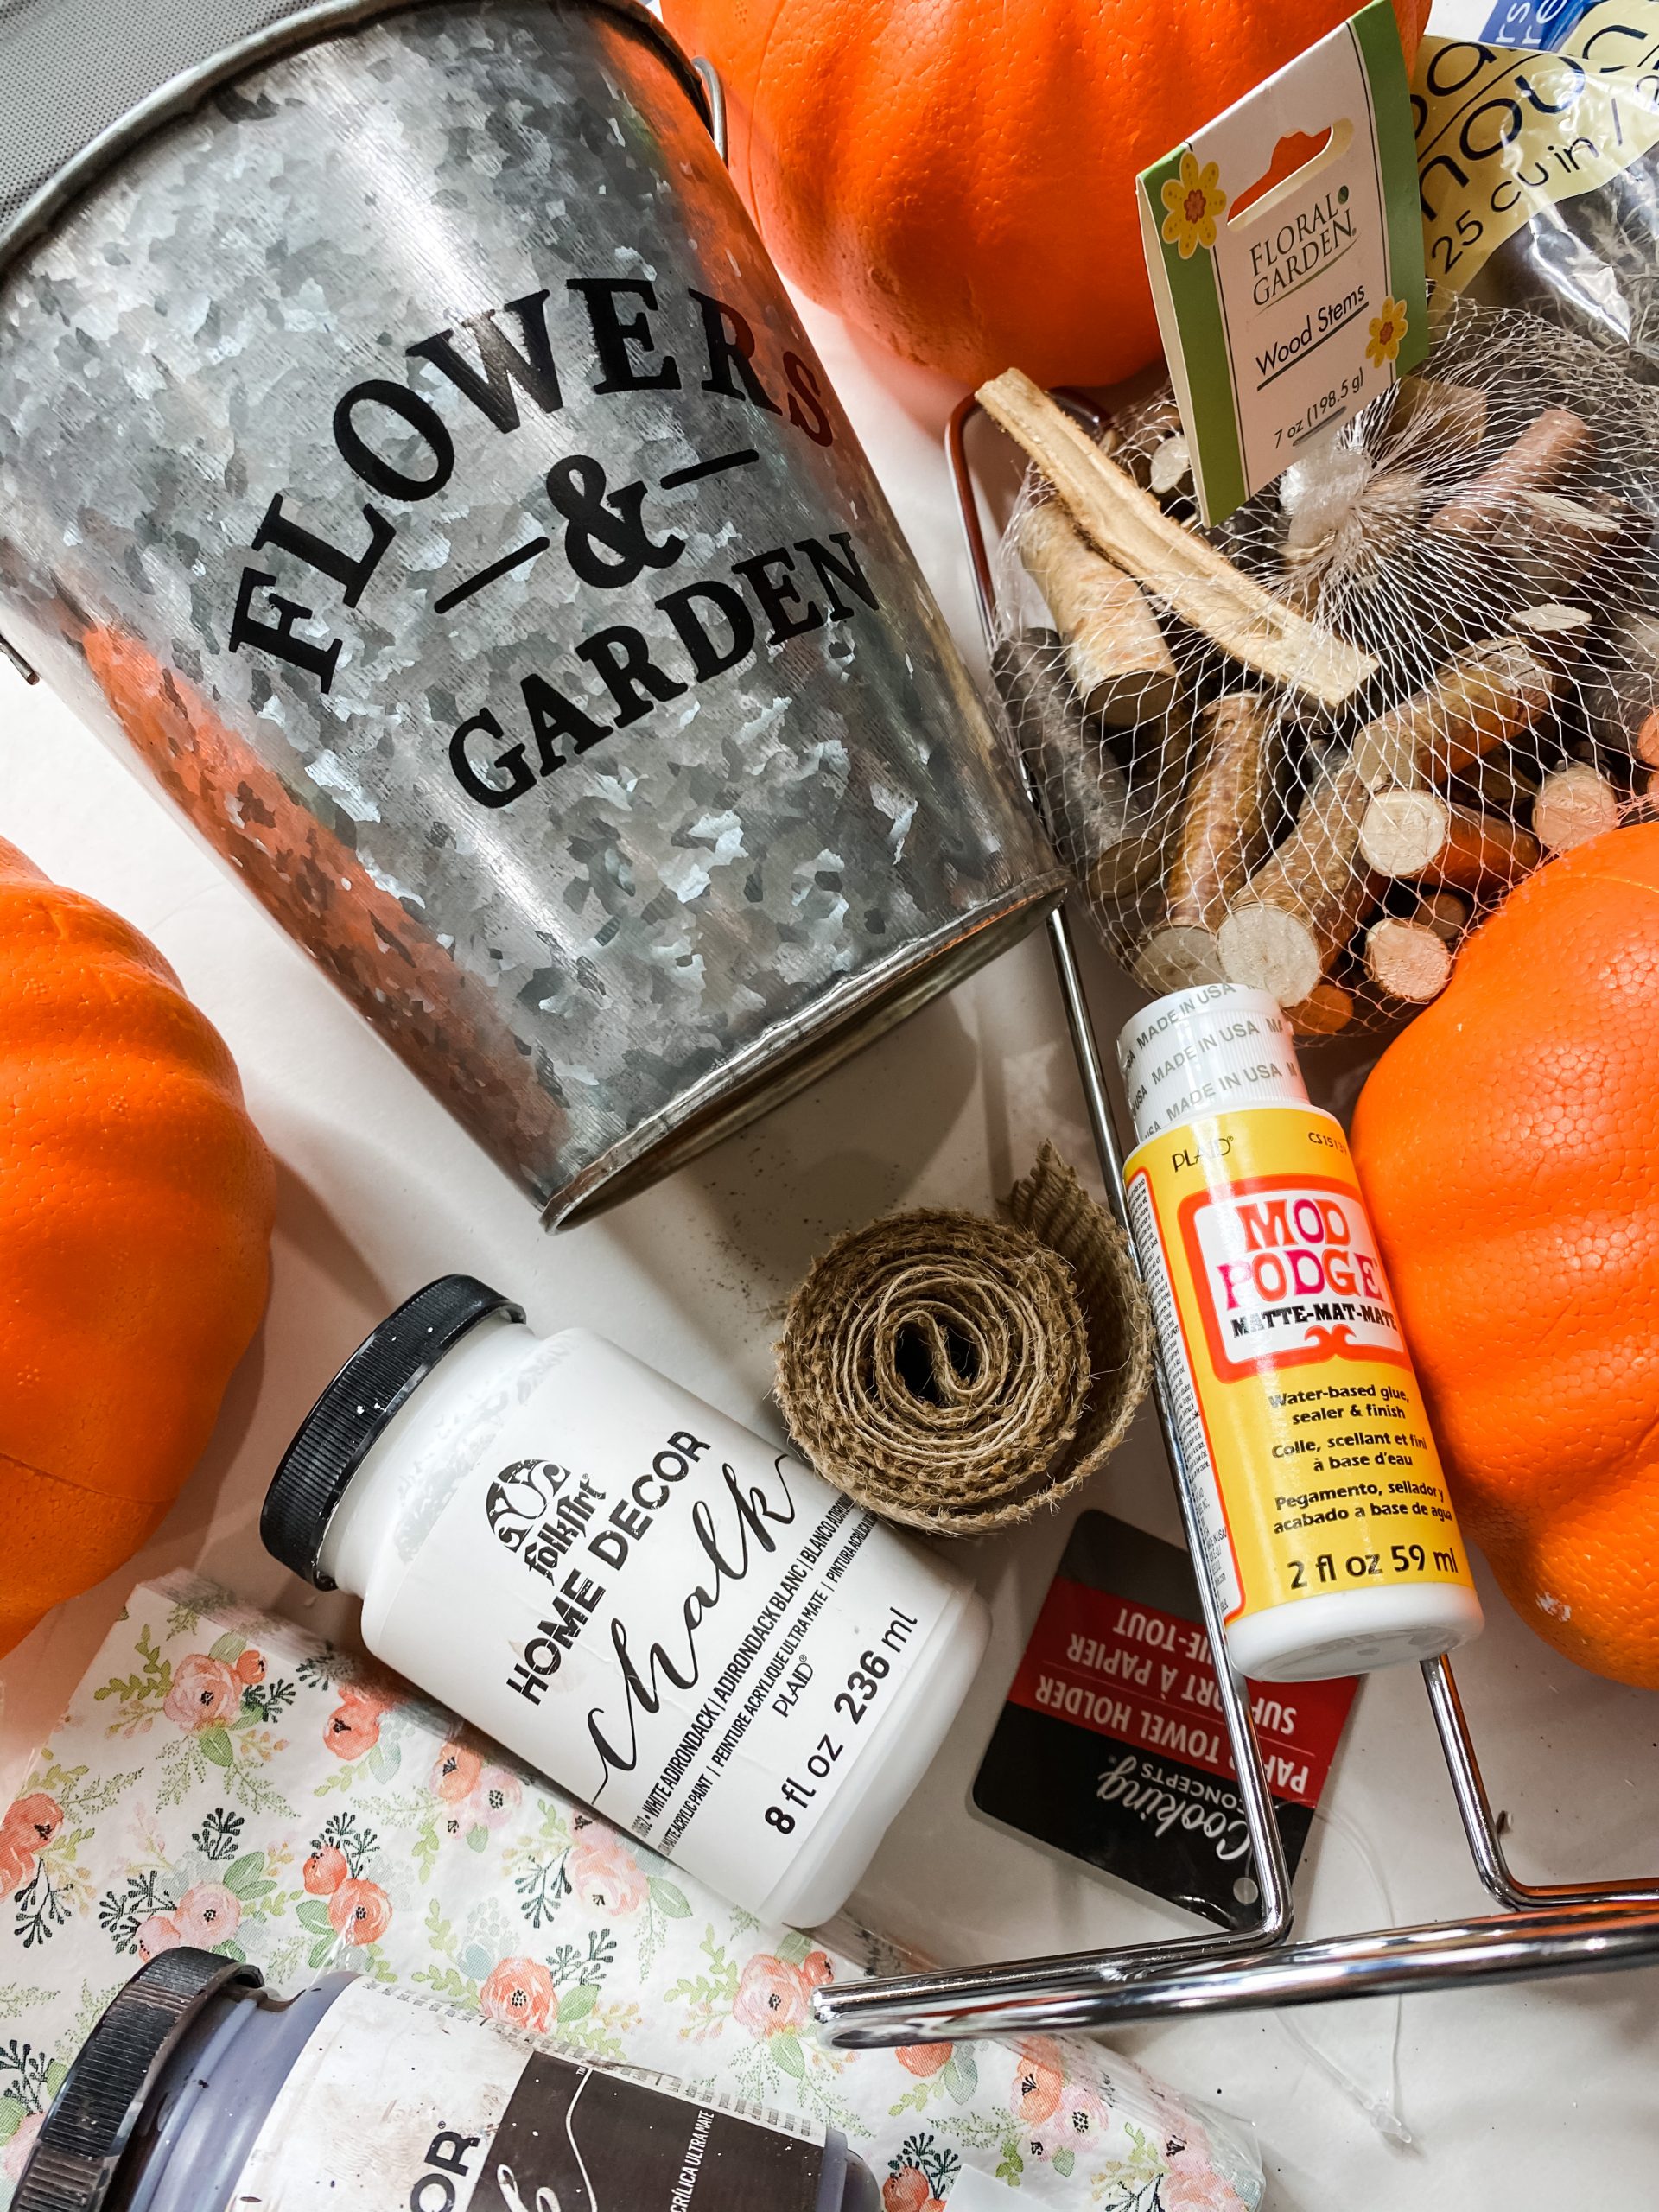
- Dollar Tree Foam Pumpkins (x3)
- Dollar Tree Metal Bucket
- Folkart White Chalk Paint
- Chippy Brushes
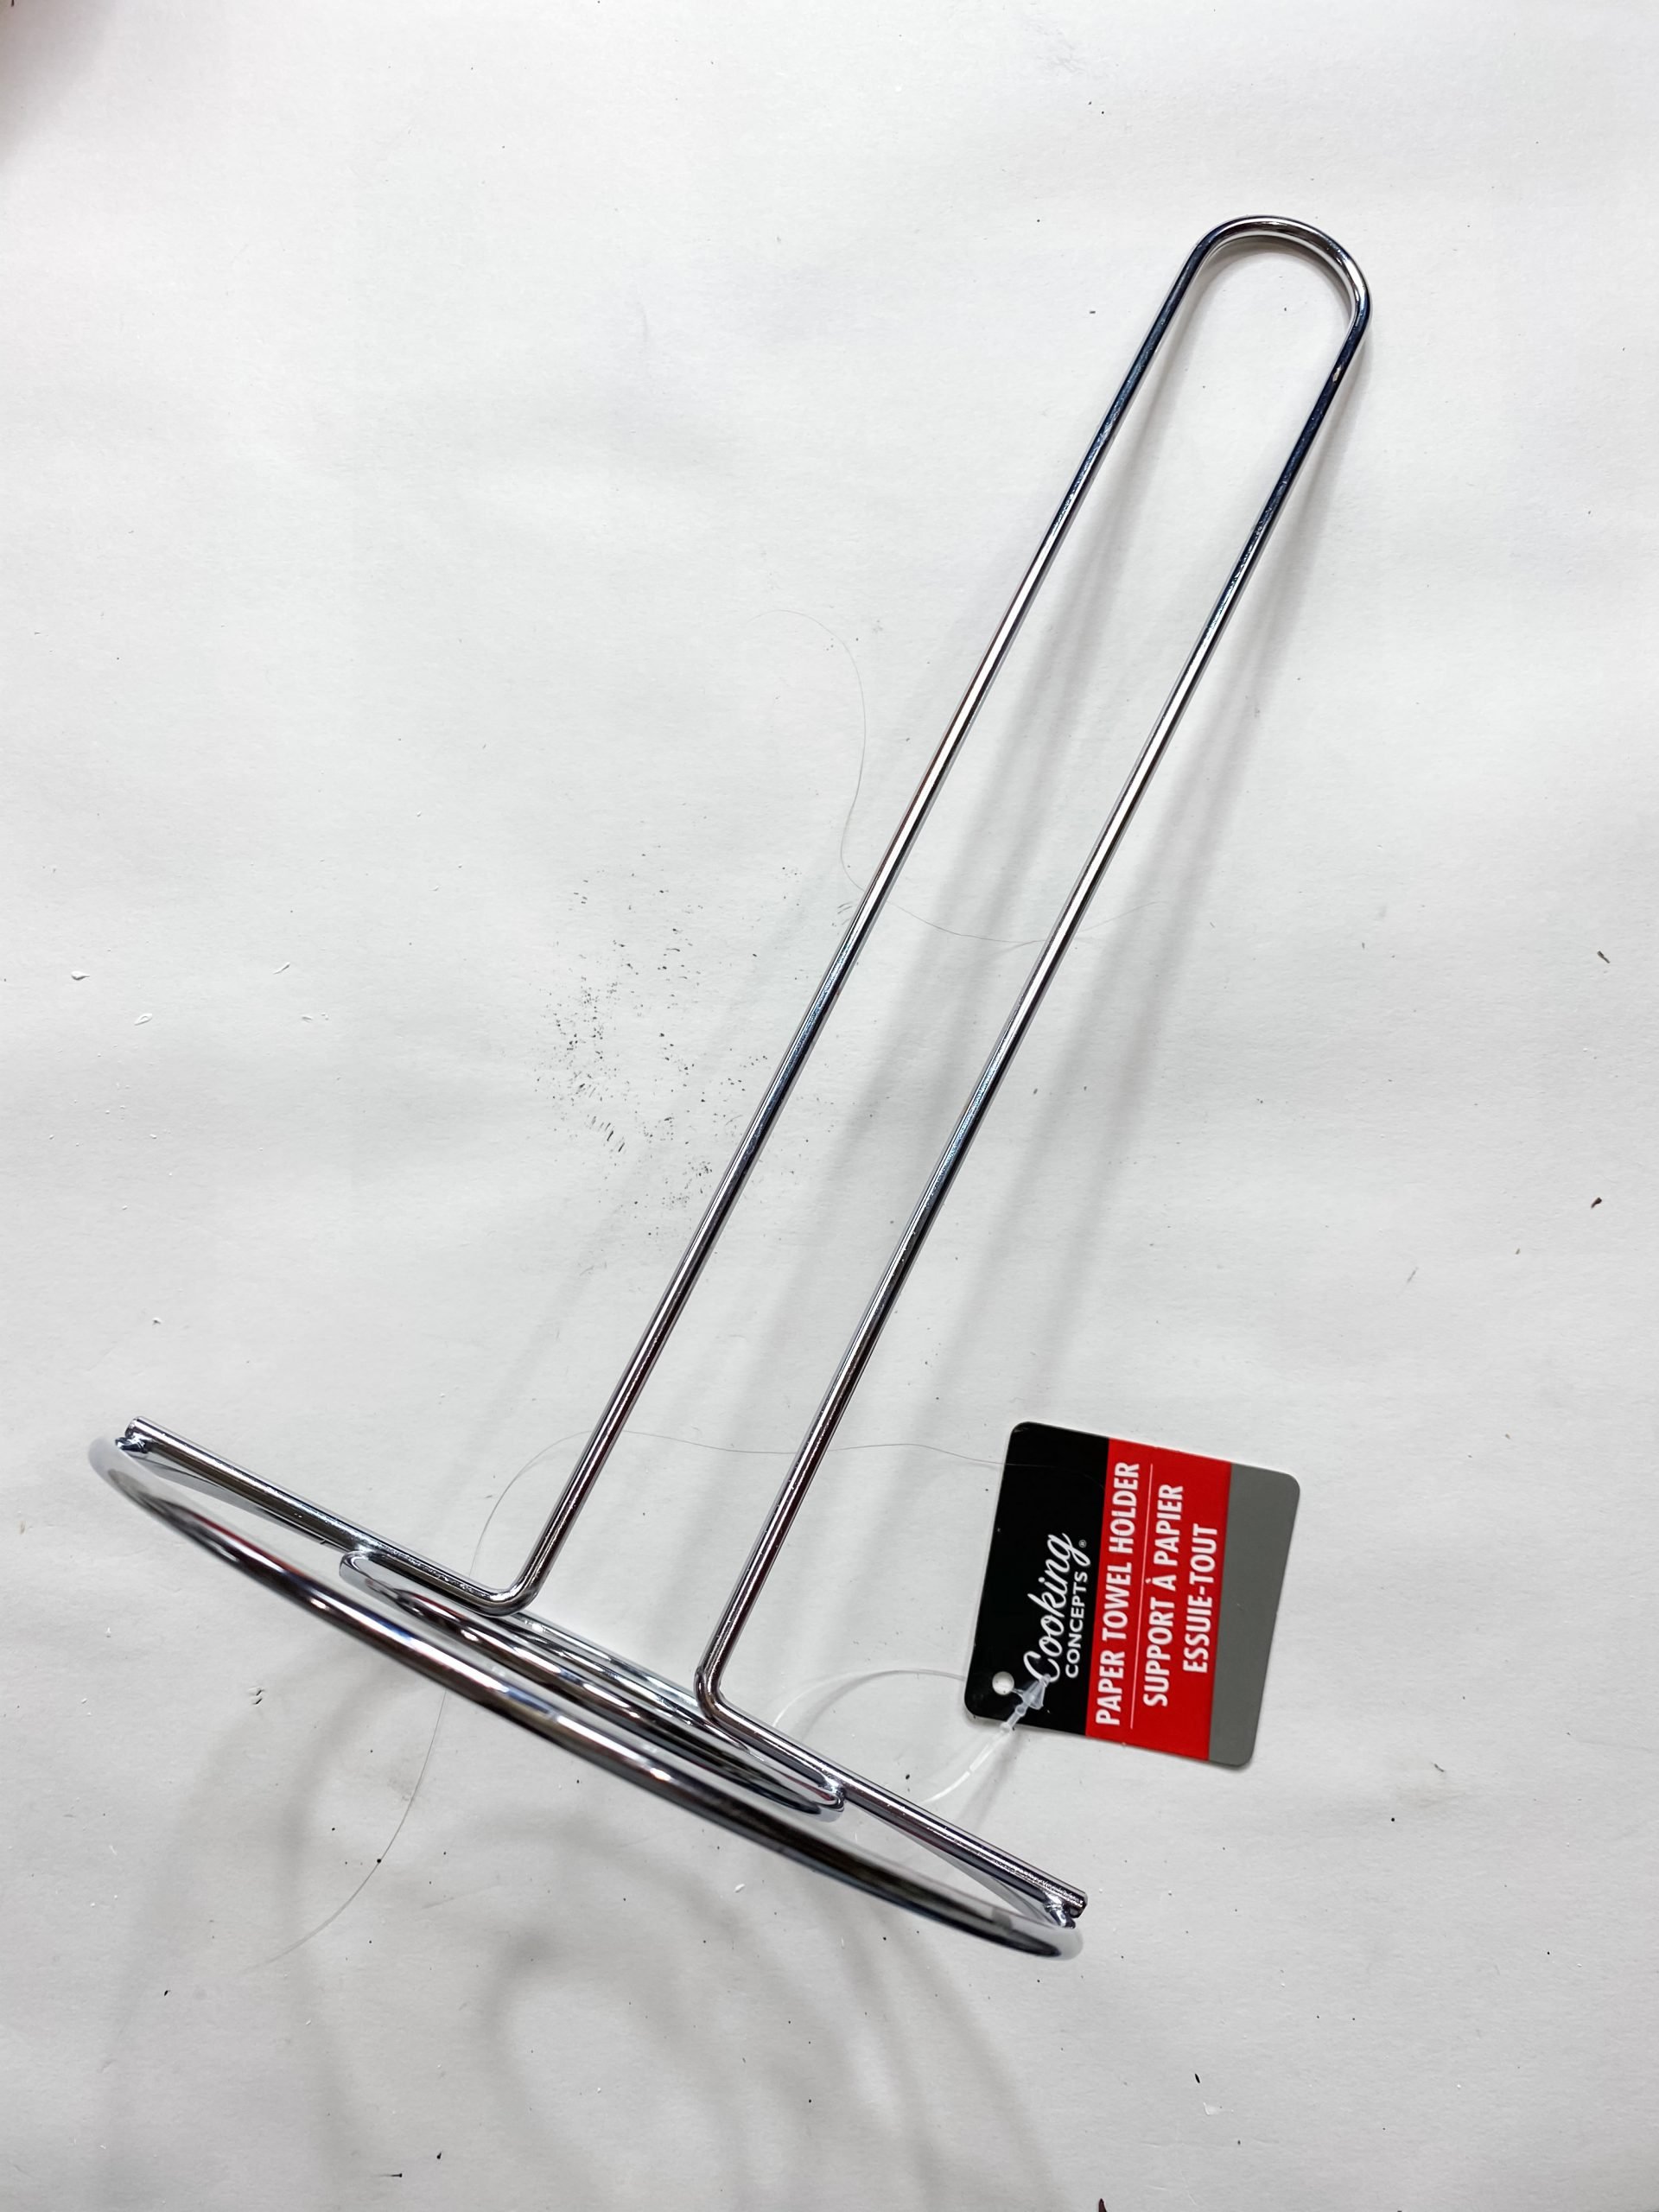
- Dollar Tree Metal Paper Towel Stand
- Dollar Tree Burlap Ribbon
- Mod Podge
- Hot Glue
- Glue gun
Let’s get started!
The first step of making this adorable Foam Pumpkin Topiary is to separate the plies of the patterned napkin you plan to use. I used a napkin from Tuesday Morning, but you can use any pattern you want.
The next step is to remove the green foam stems from each pumpkin and paint each of the orange foam pumpkins with the white Folkart paint and Mod Podge mixed. This makes sure that when you apply the napkins, you don’t have the bright orange color peeking through.

While the paint/Mod Podge mixture is still wet, you will apply the patterned napkin and decoupage each pumpkin. You’ll need one napkin per pumpkin.
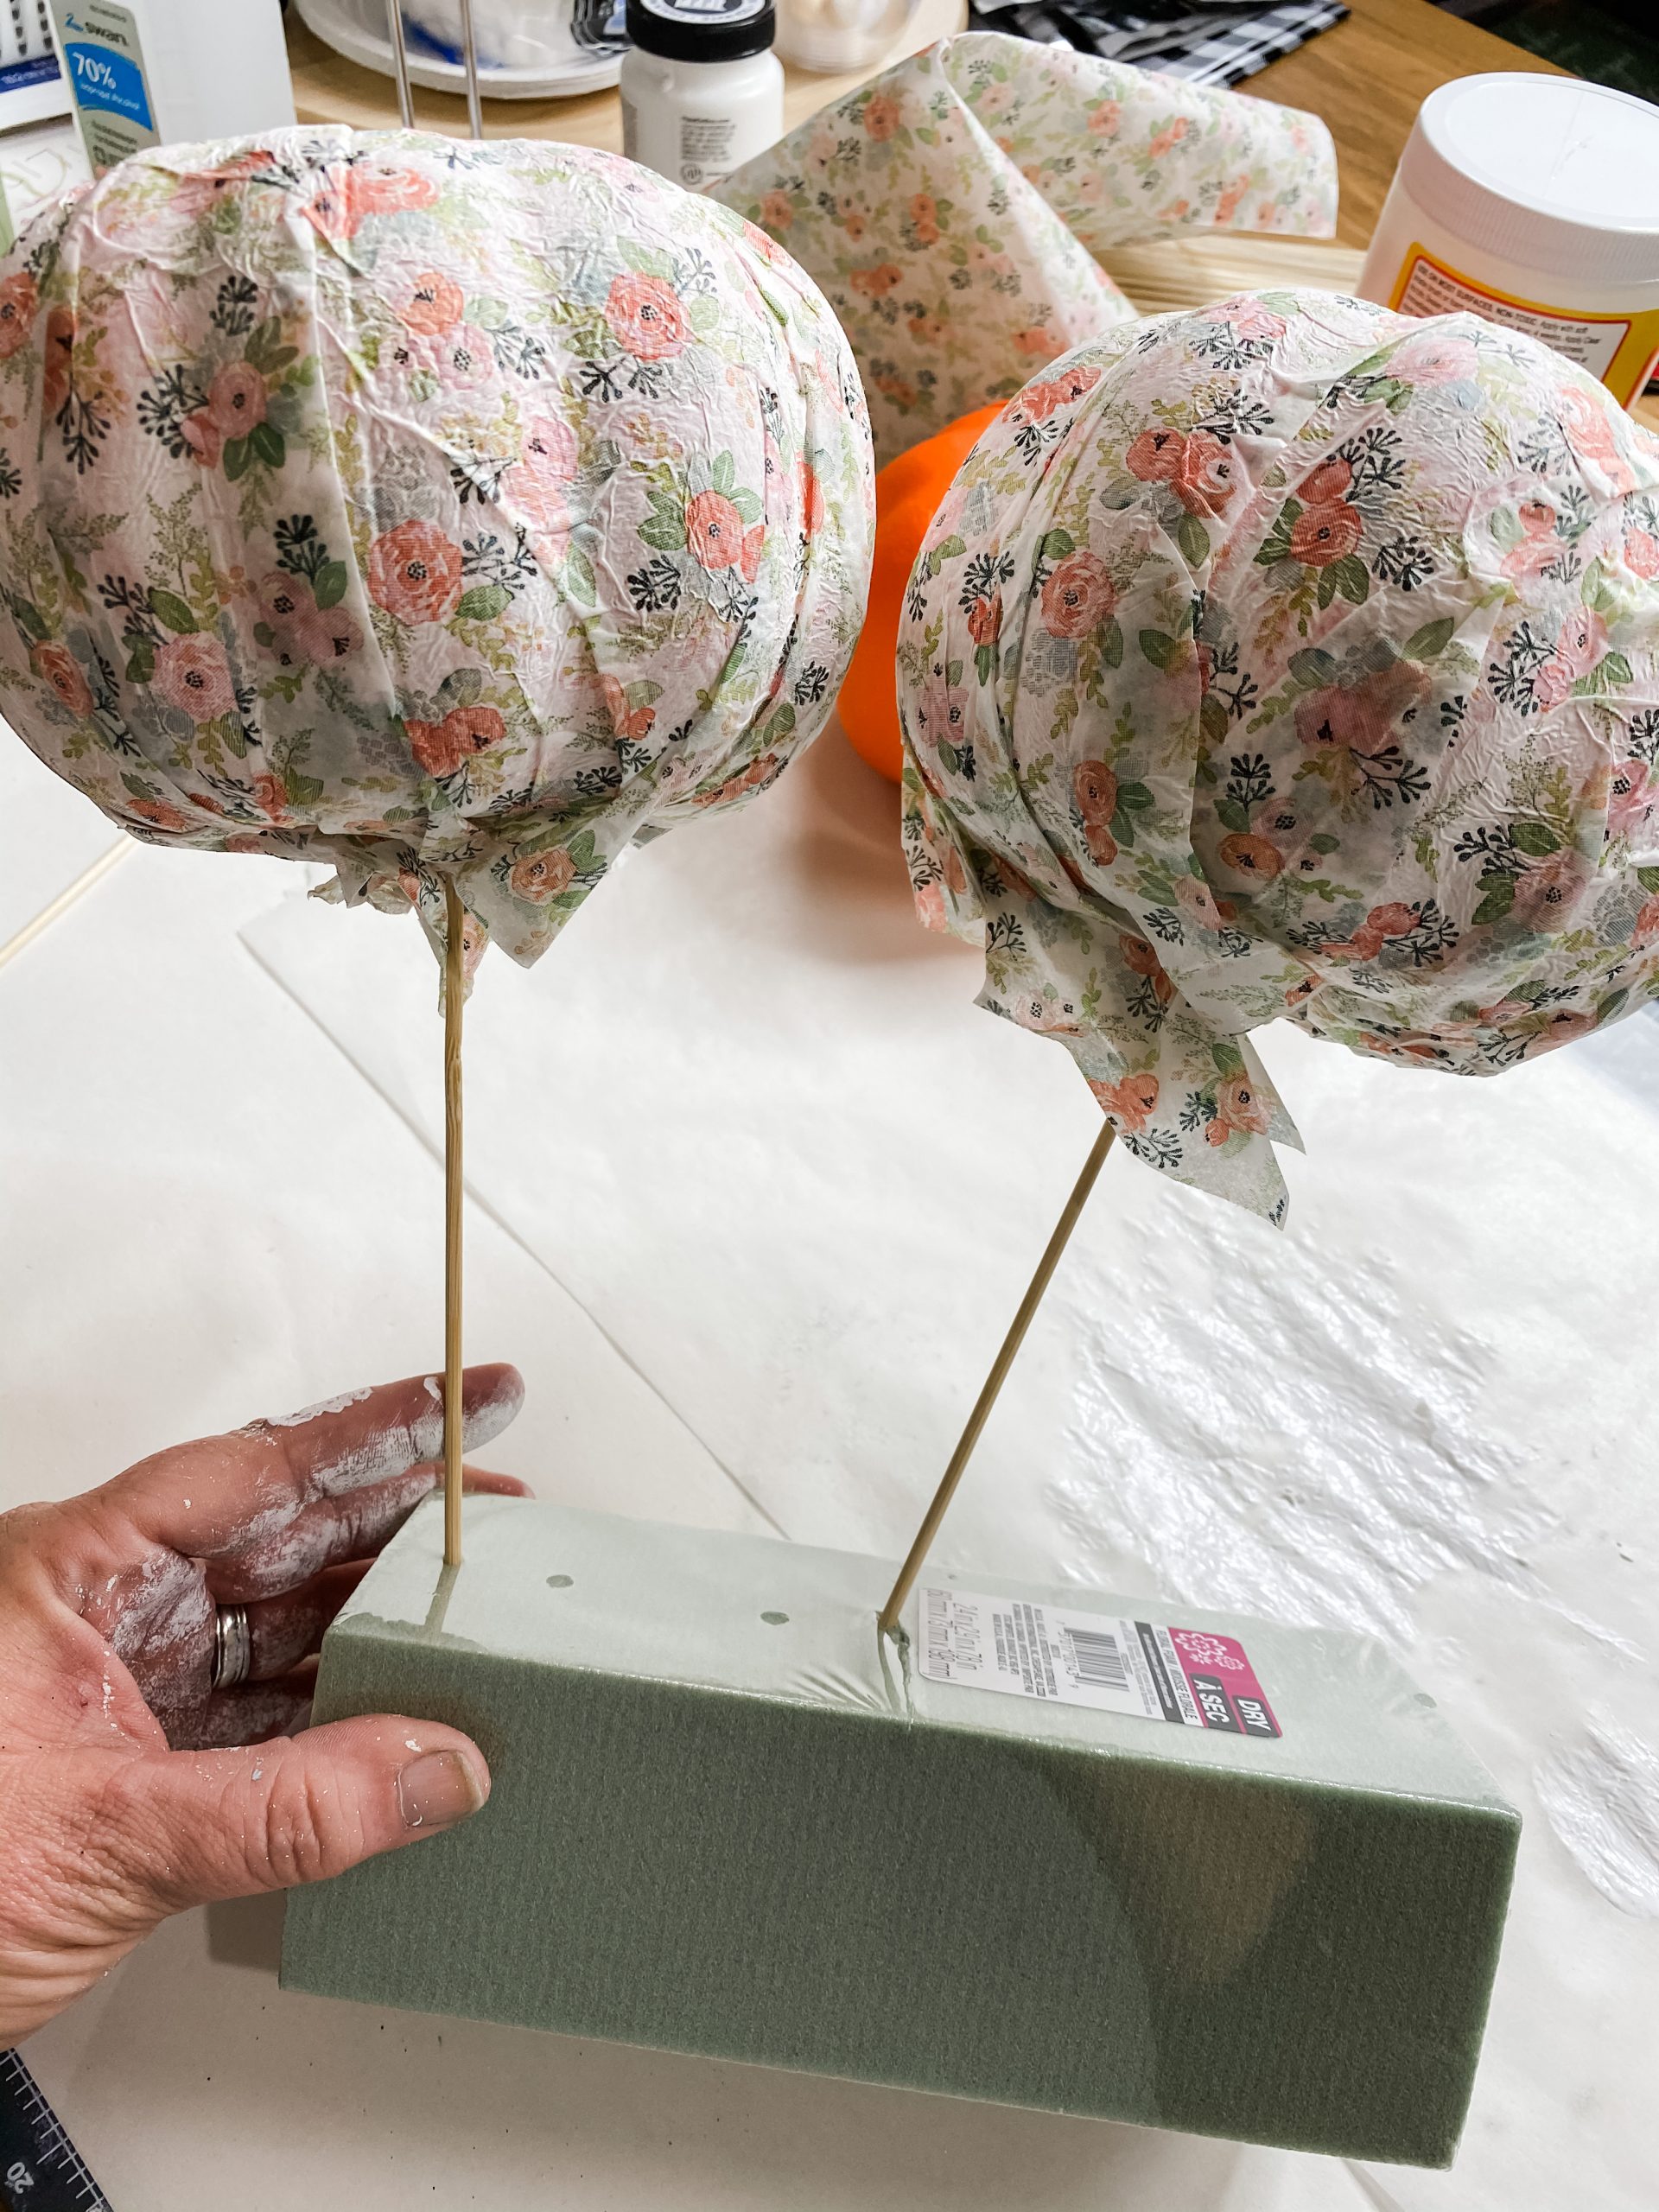
I stuck the pumpkins onto wood dowels and put stood them up using a foam flower block, but you don’t have to do this.
Get the bucket ready
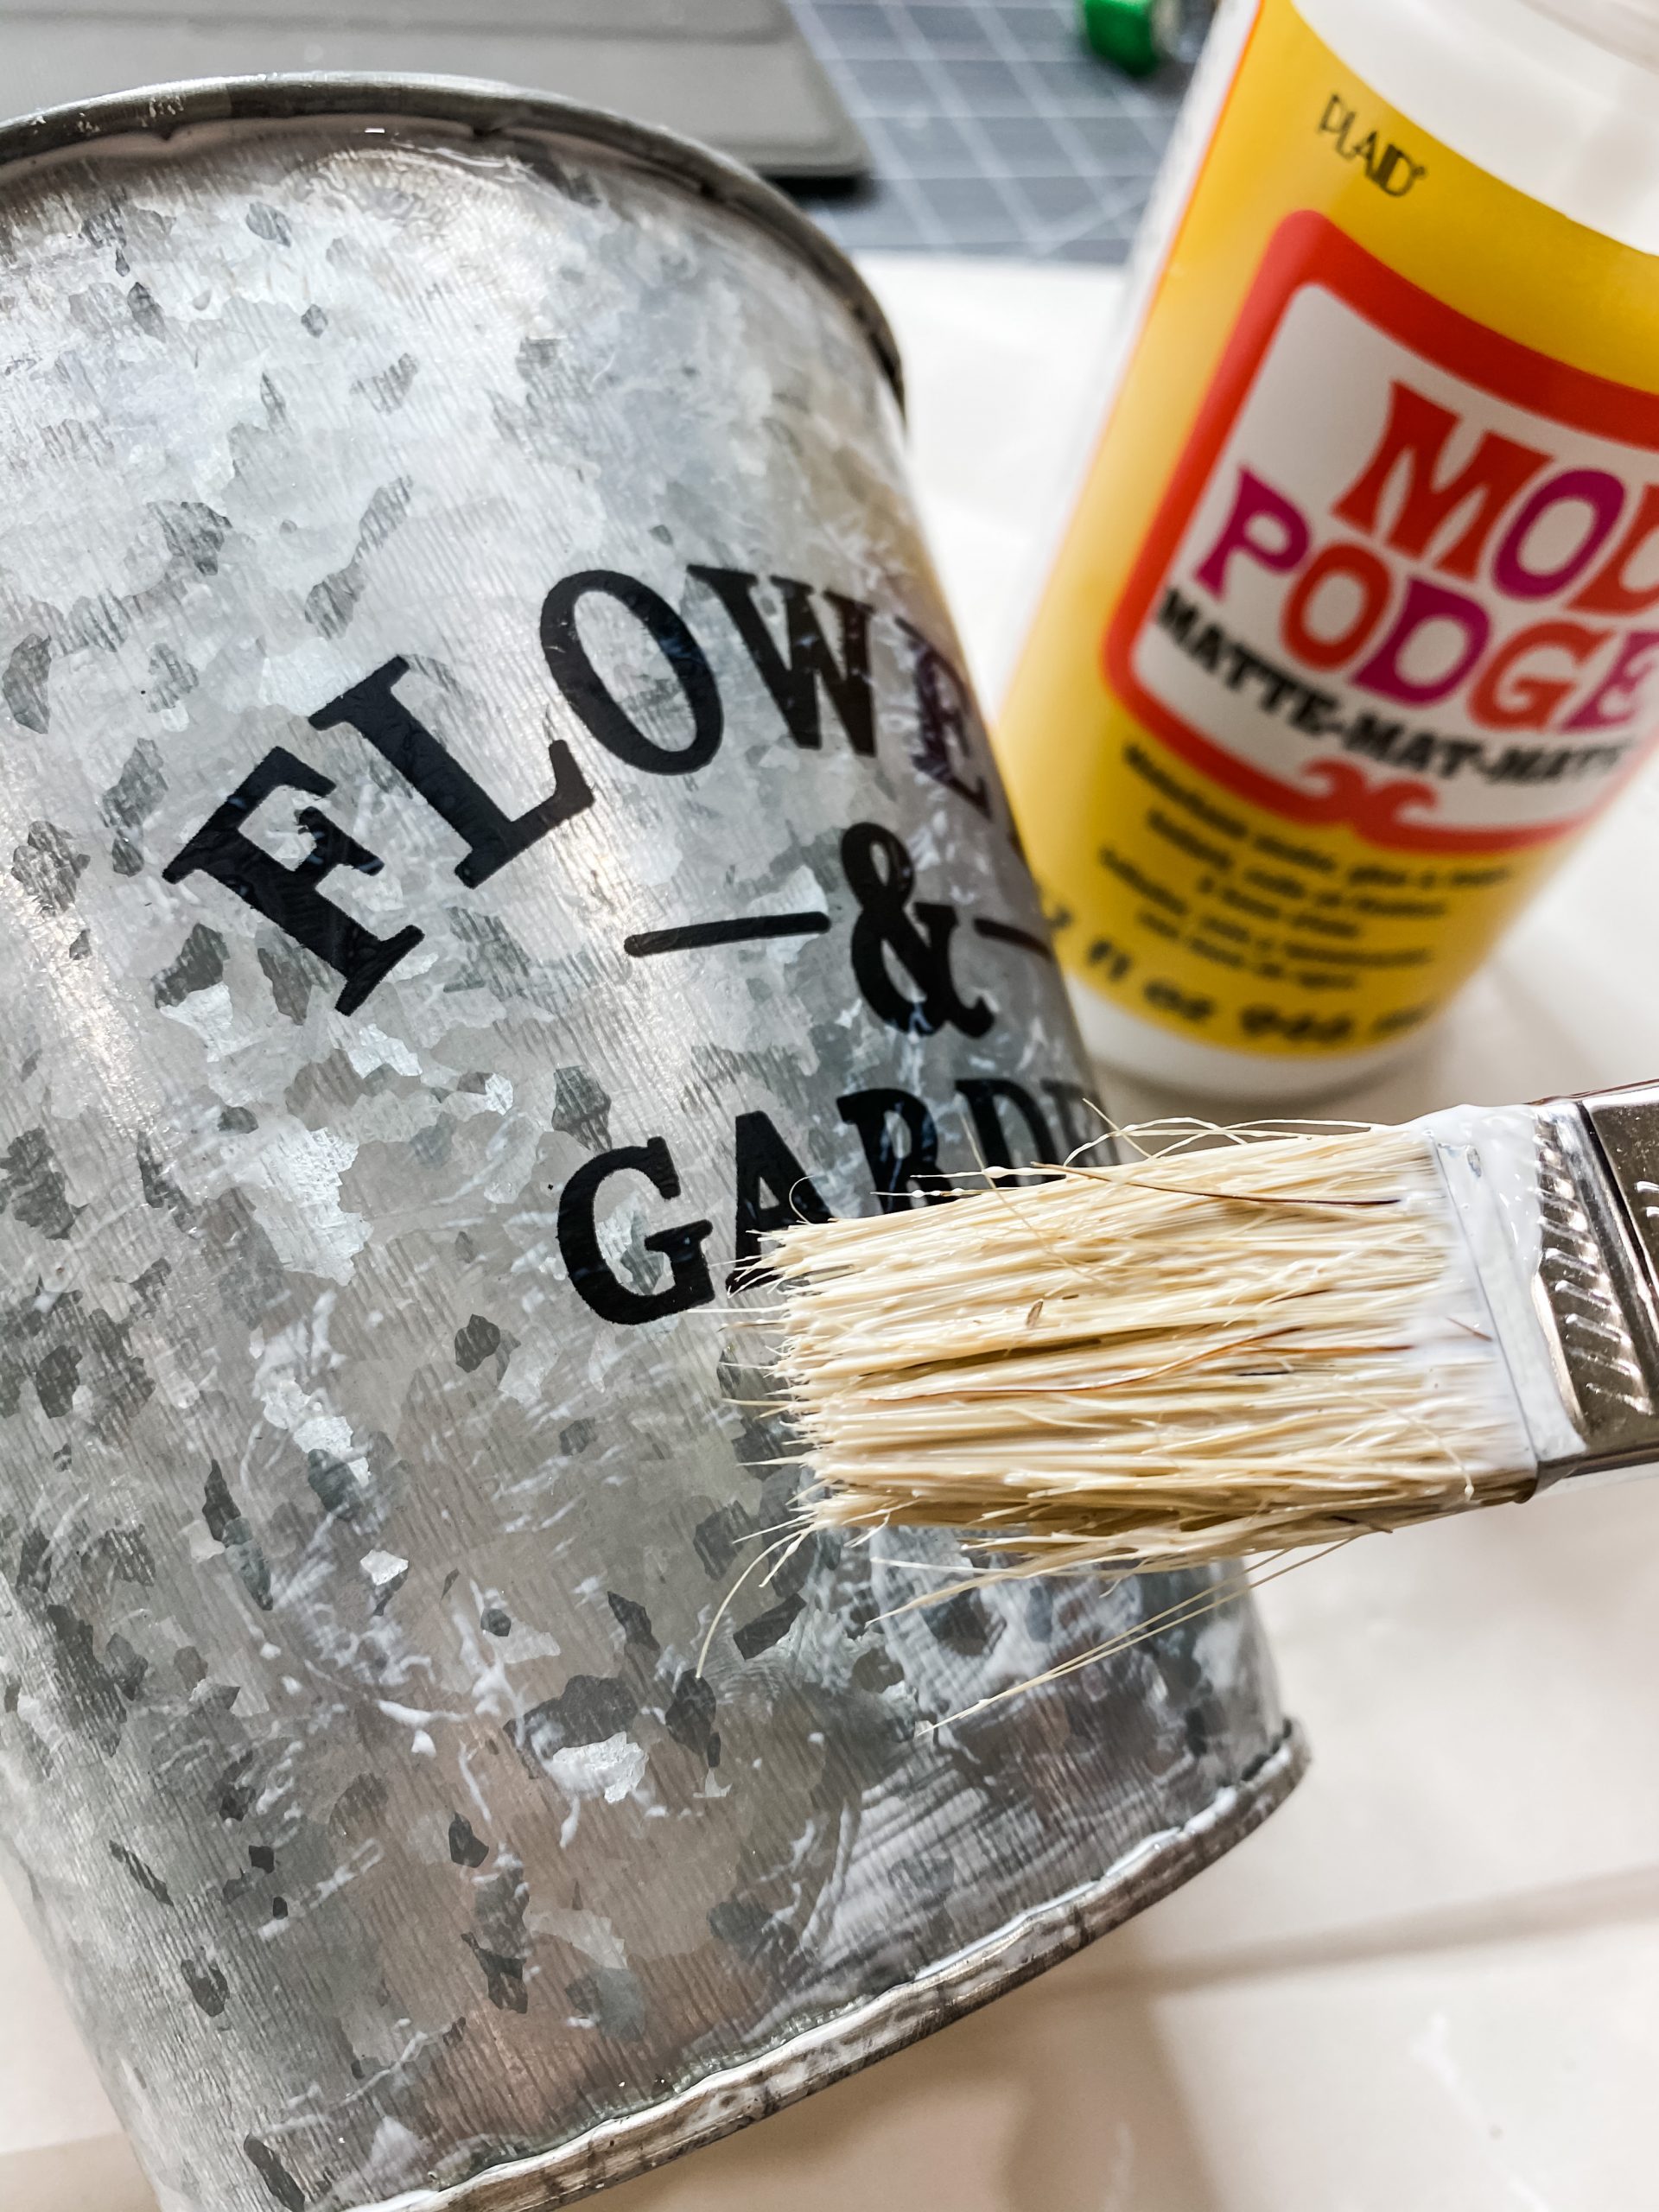
While the pumpkins are drying, I painted the metal bucket. I started by coating the bucket in a layer of Mod Podge. This helps give it more texture when I add the Java chalk paint. I wanted it to have an aged look. I do this a lot with my faux rust technique. (Check out this adorable Faux Rust pumpkin that I made with this technique)
Next, I took the Java brown chalk paint and added some detailing. I didn’t coat the entire bucket but just painted it around the top and bottom in an uneven, random way. To smooth it out and give it a more natural rusted look, I dabbed throughout the wet brown paint with a baby wipe.
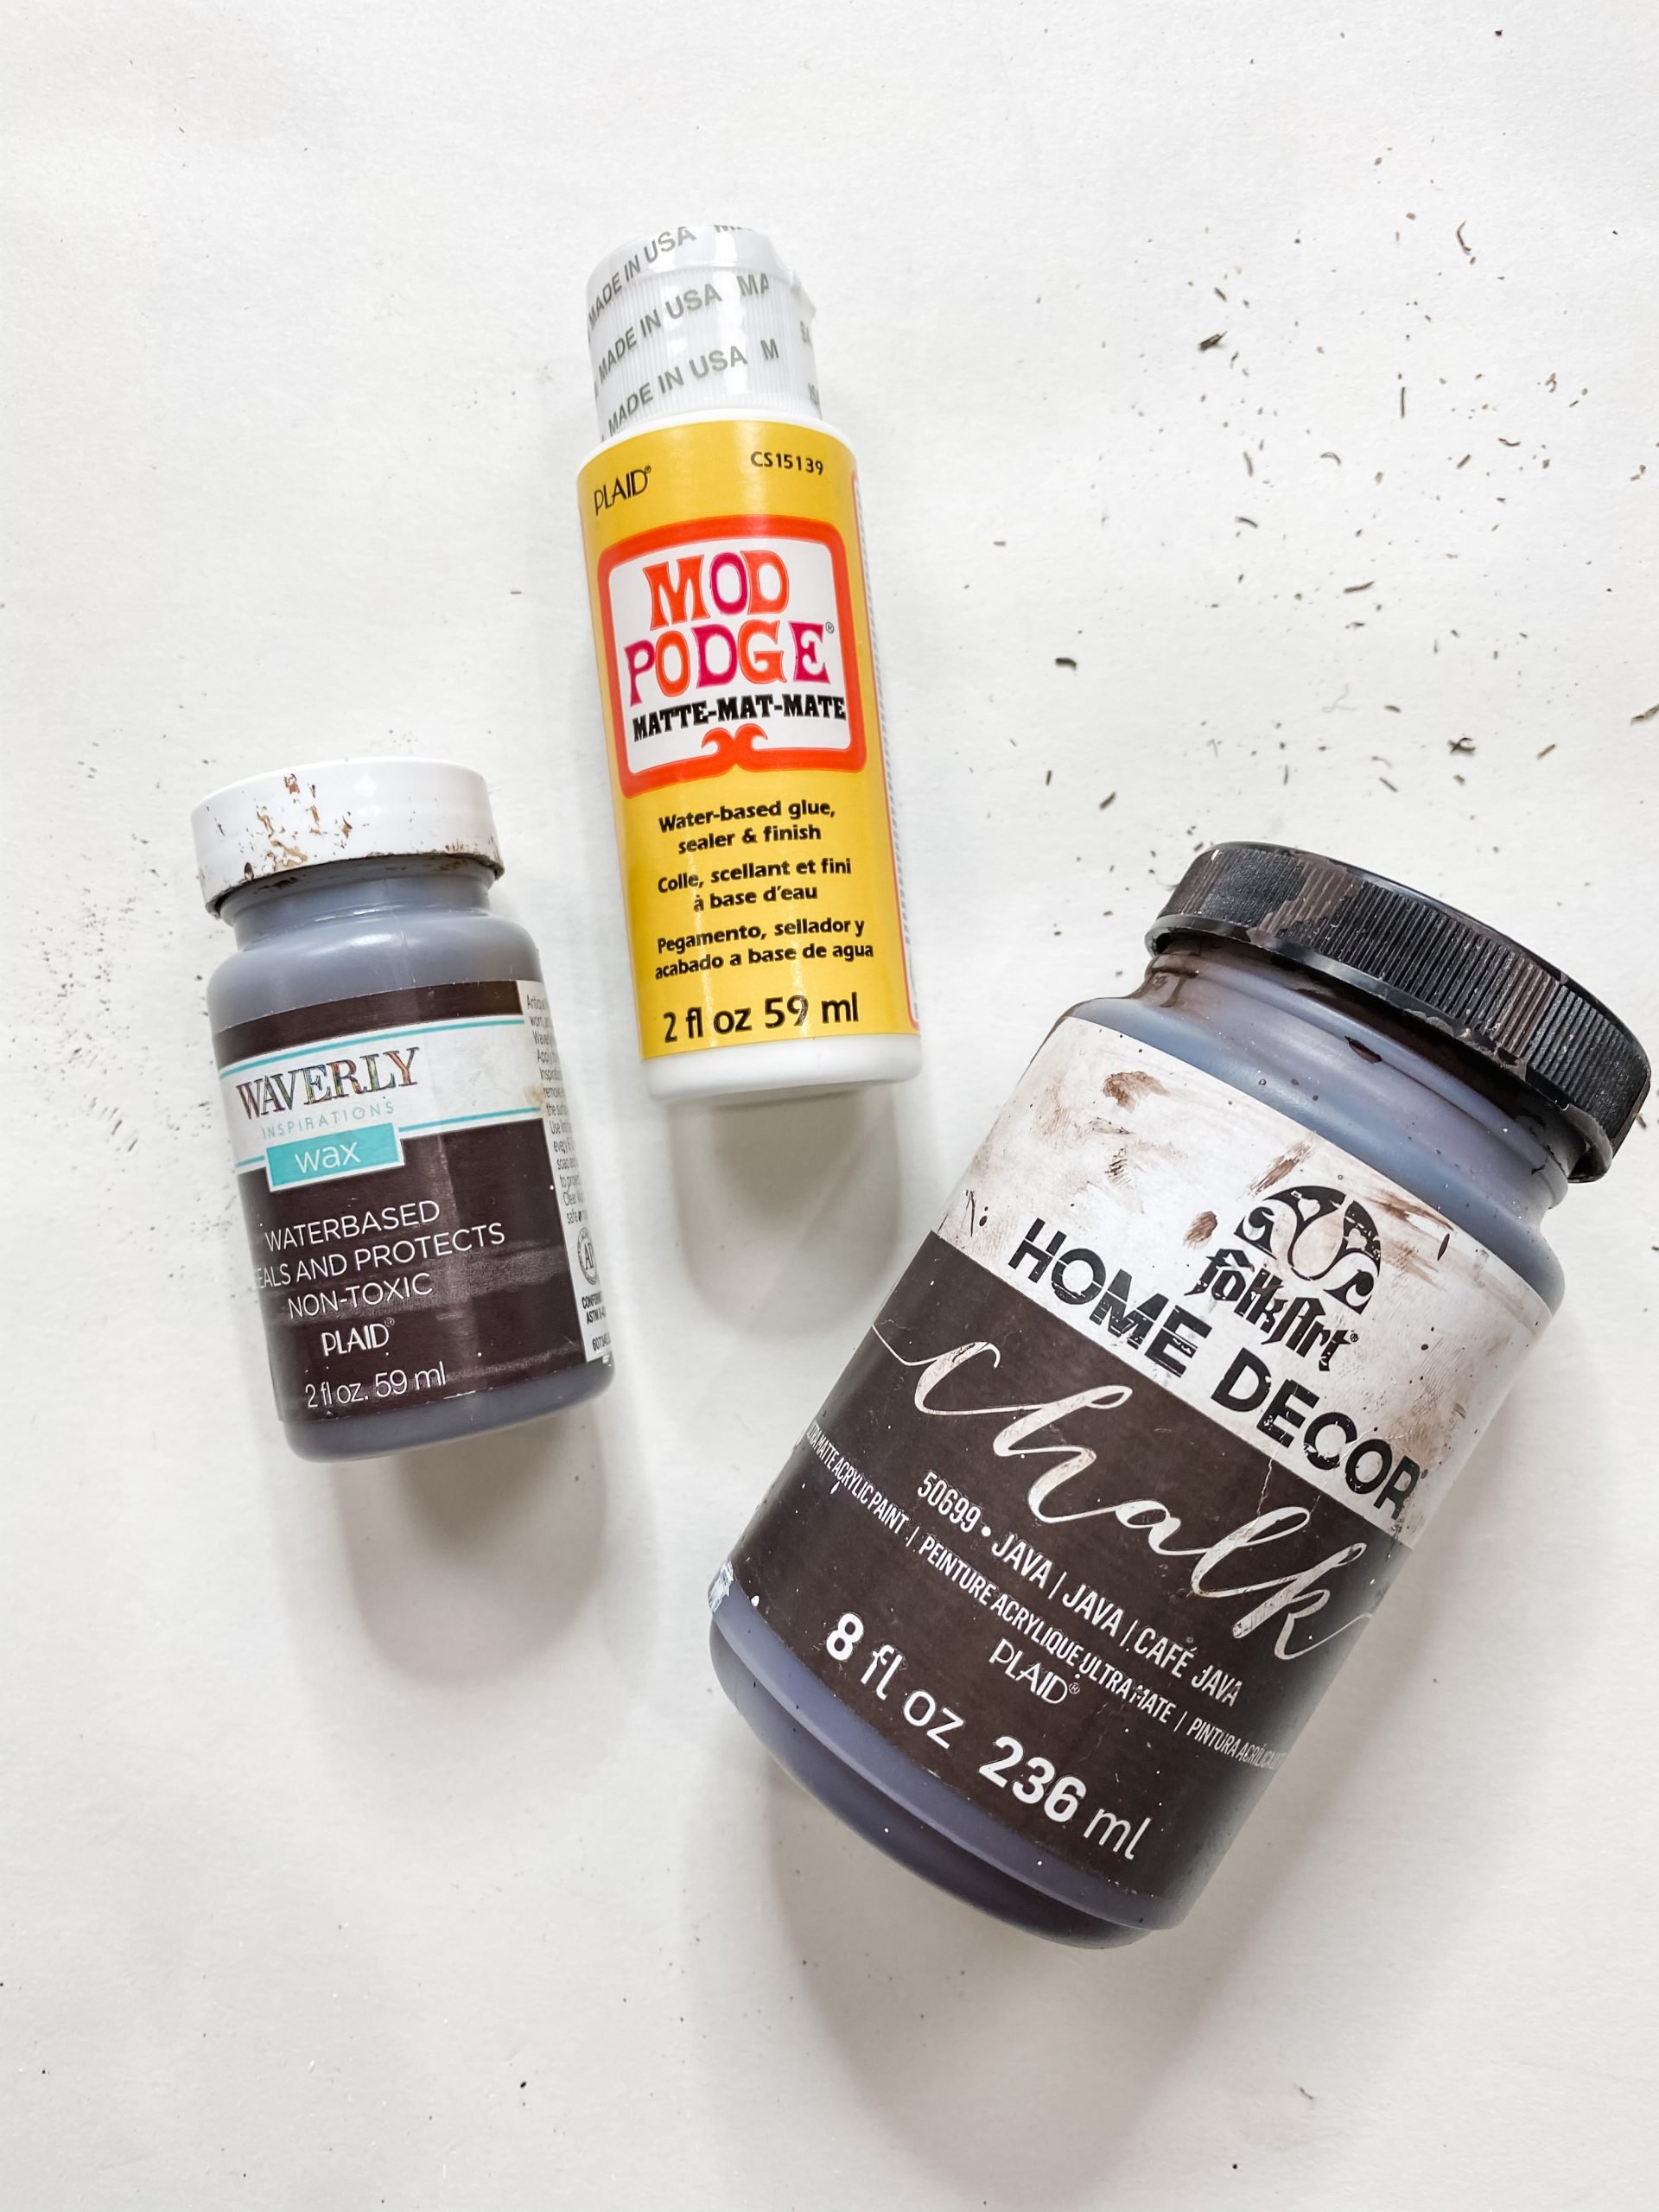
The final step of this faux rust finish is to add some Waverly Wax. I just dabbed this onto the areas that I wanted to really look rusted. Remember, you can watch exactly how I did this in my Youtube video.
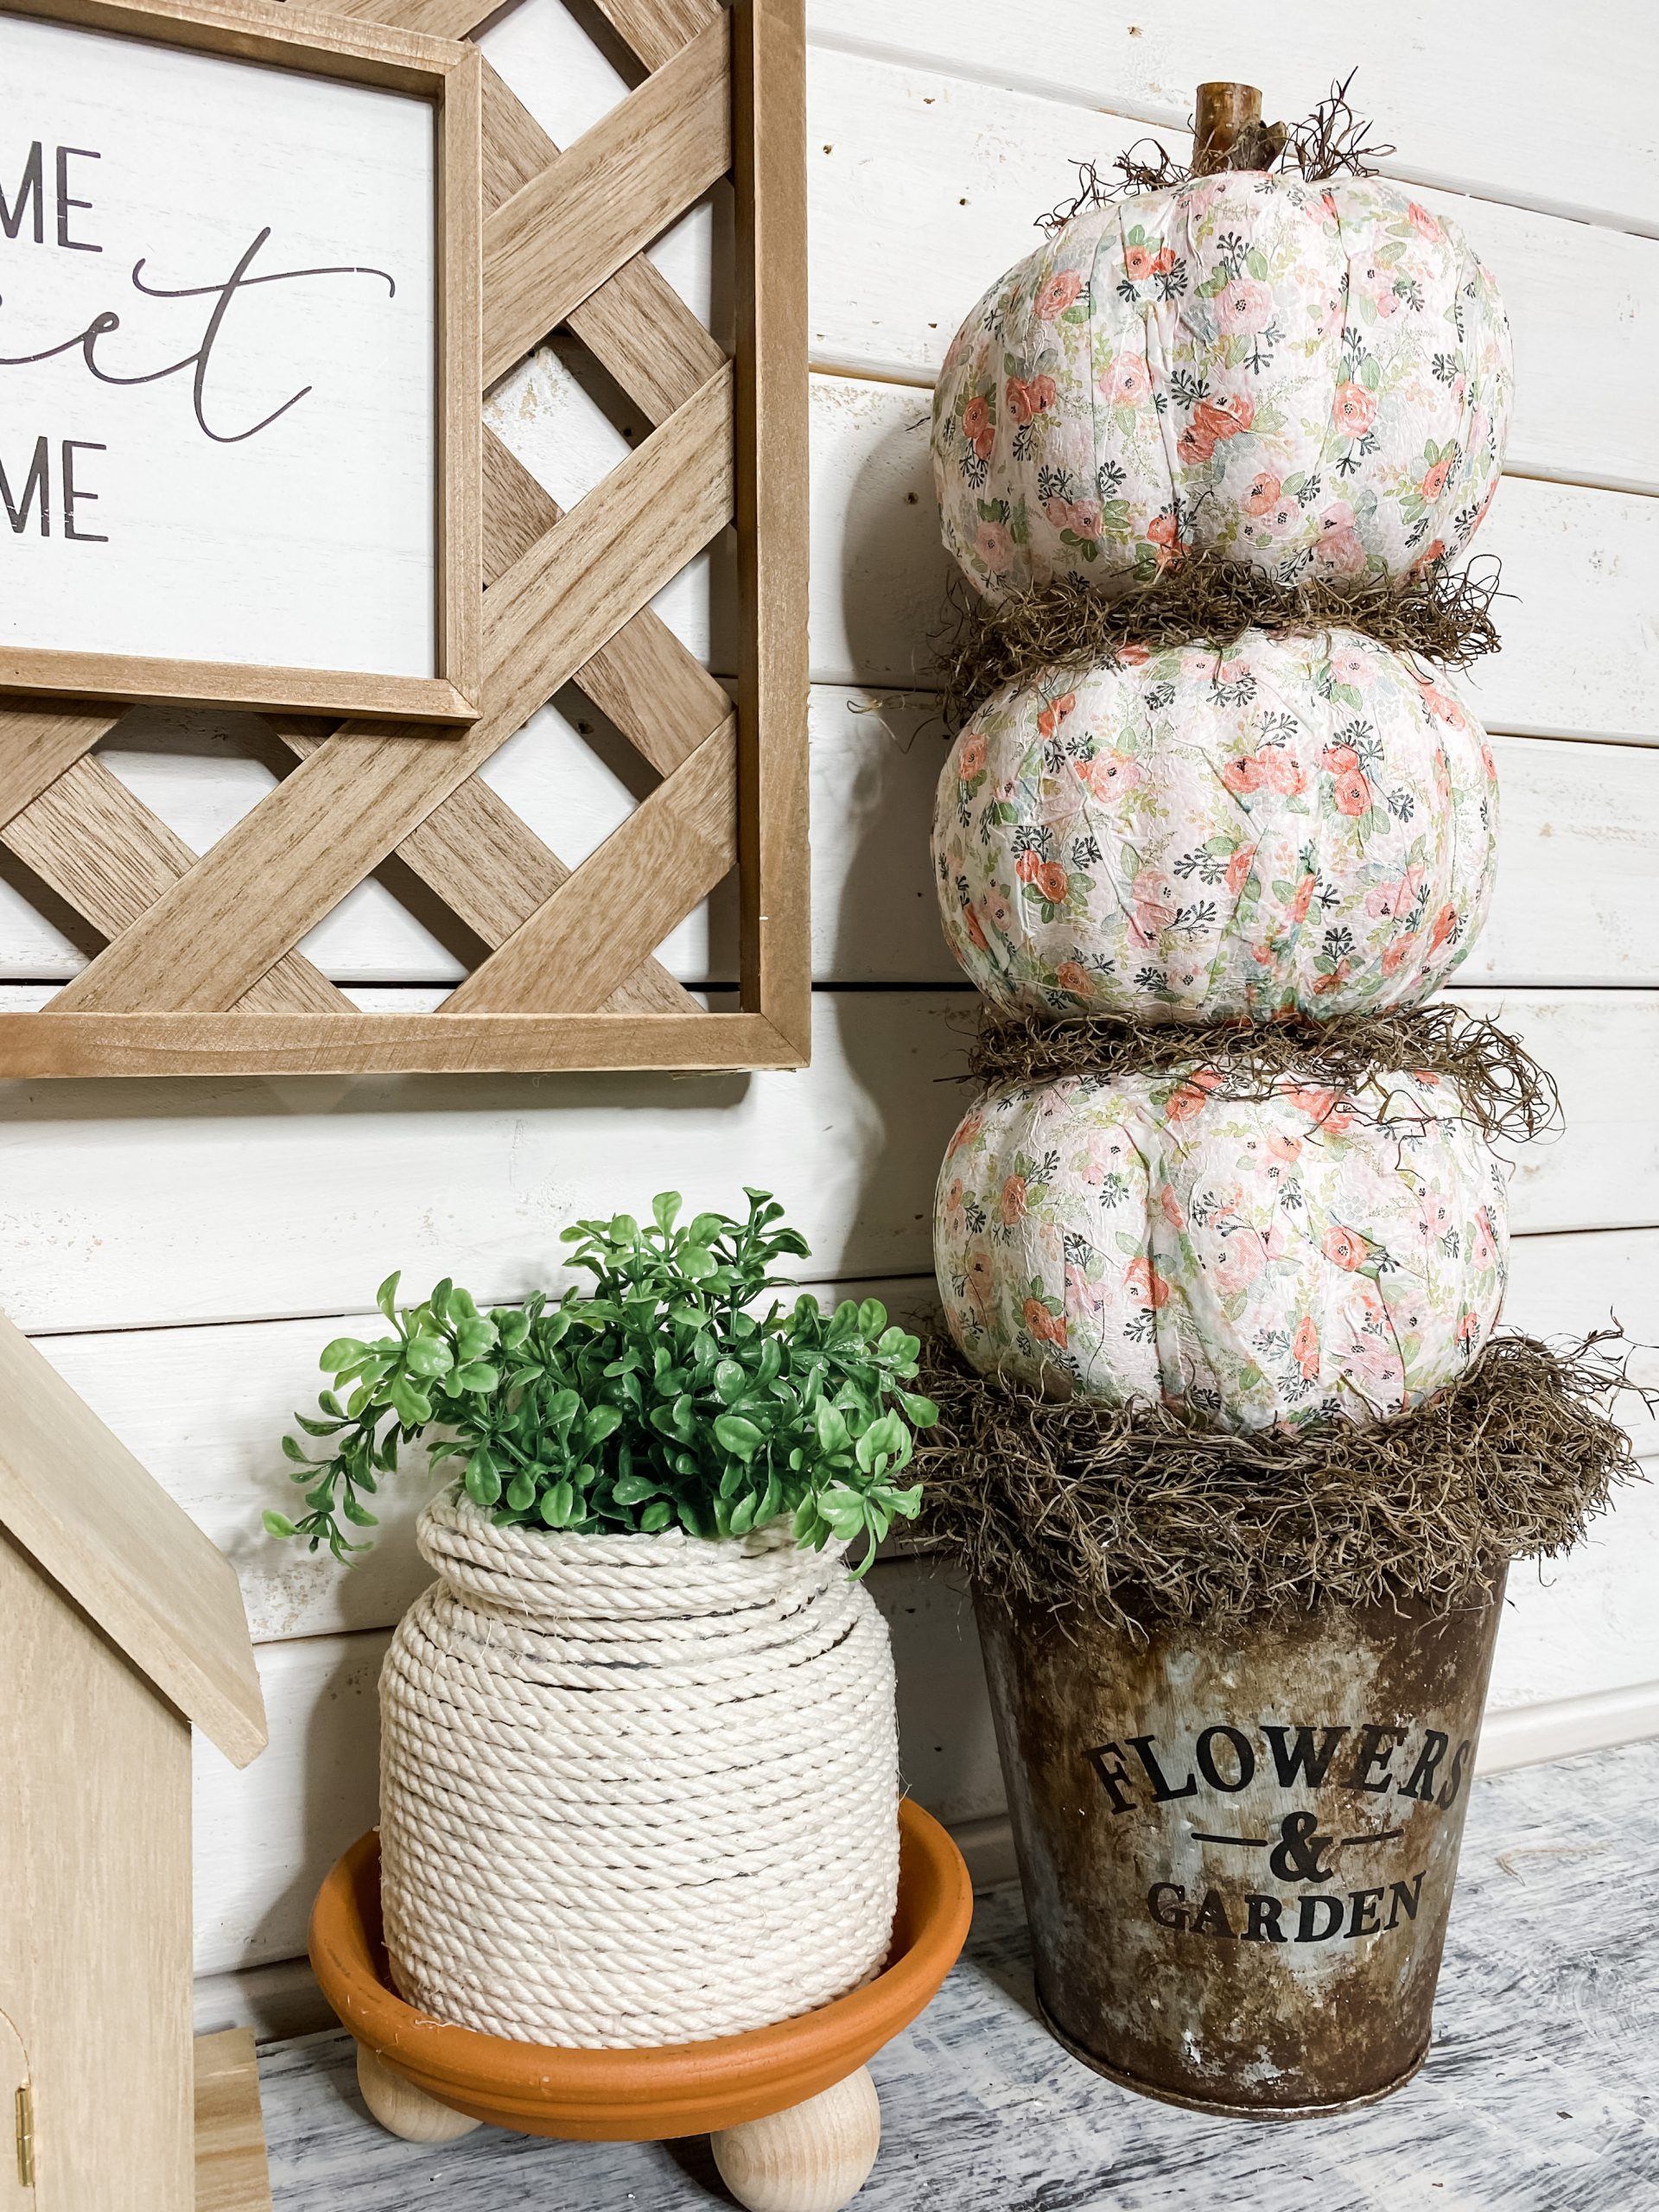
Make the topiary
The hard parts are done, and now it is time to assemble your topiary! I used a Dollar Tree Paper Towel holder for this. I used a butter knife to kind of cut a slit in the center of each pumpkin so that I could just slide them over the paper towel holder.
Before I slid the first pumpkin all the way down, I covered the bottom of the paper towel holder with the Dollar Tree burlap ribbon and then hot glued the paper towel holder to the bucket.

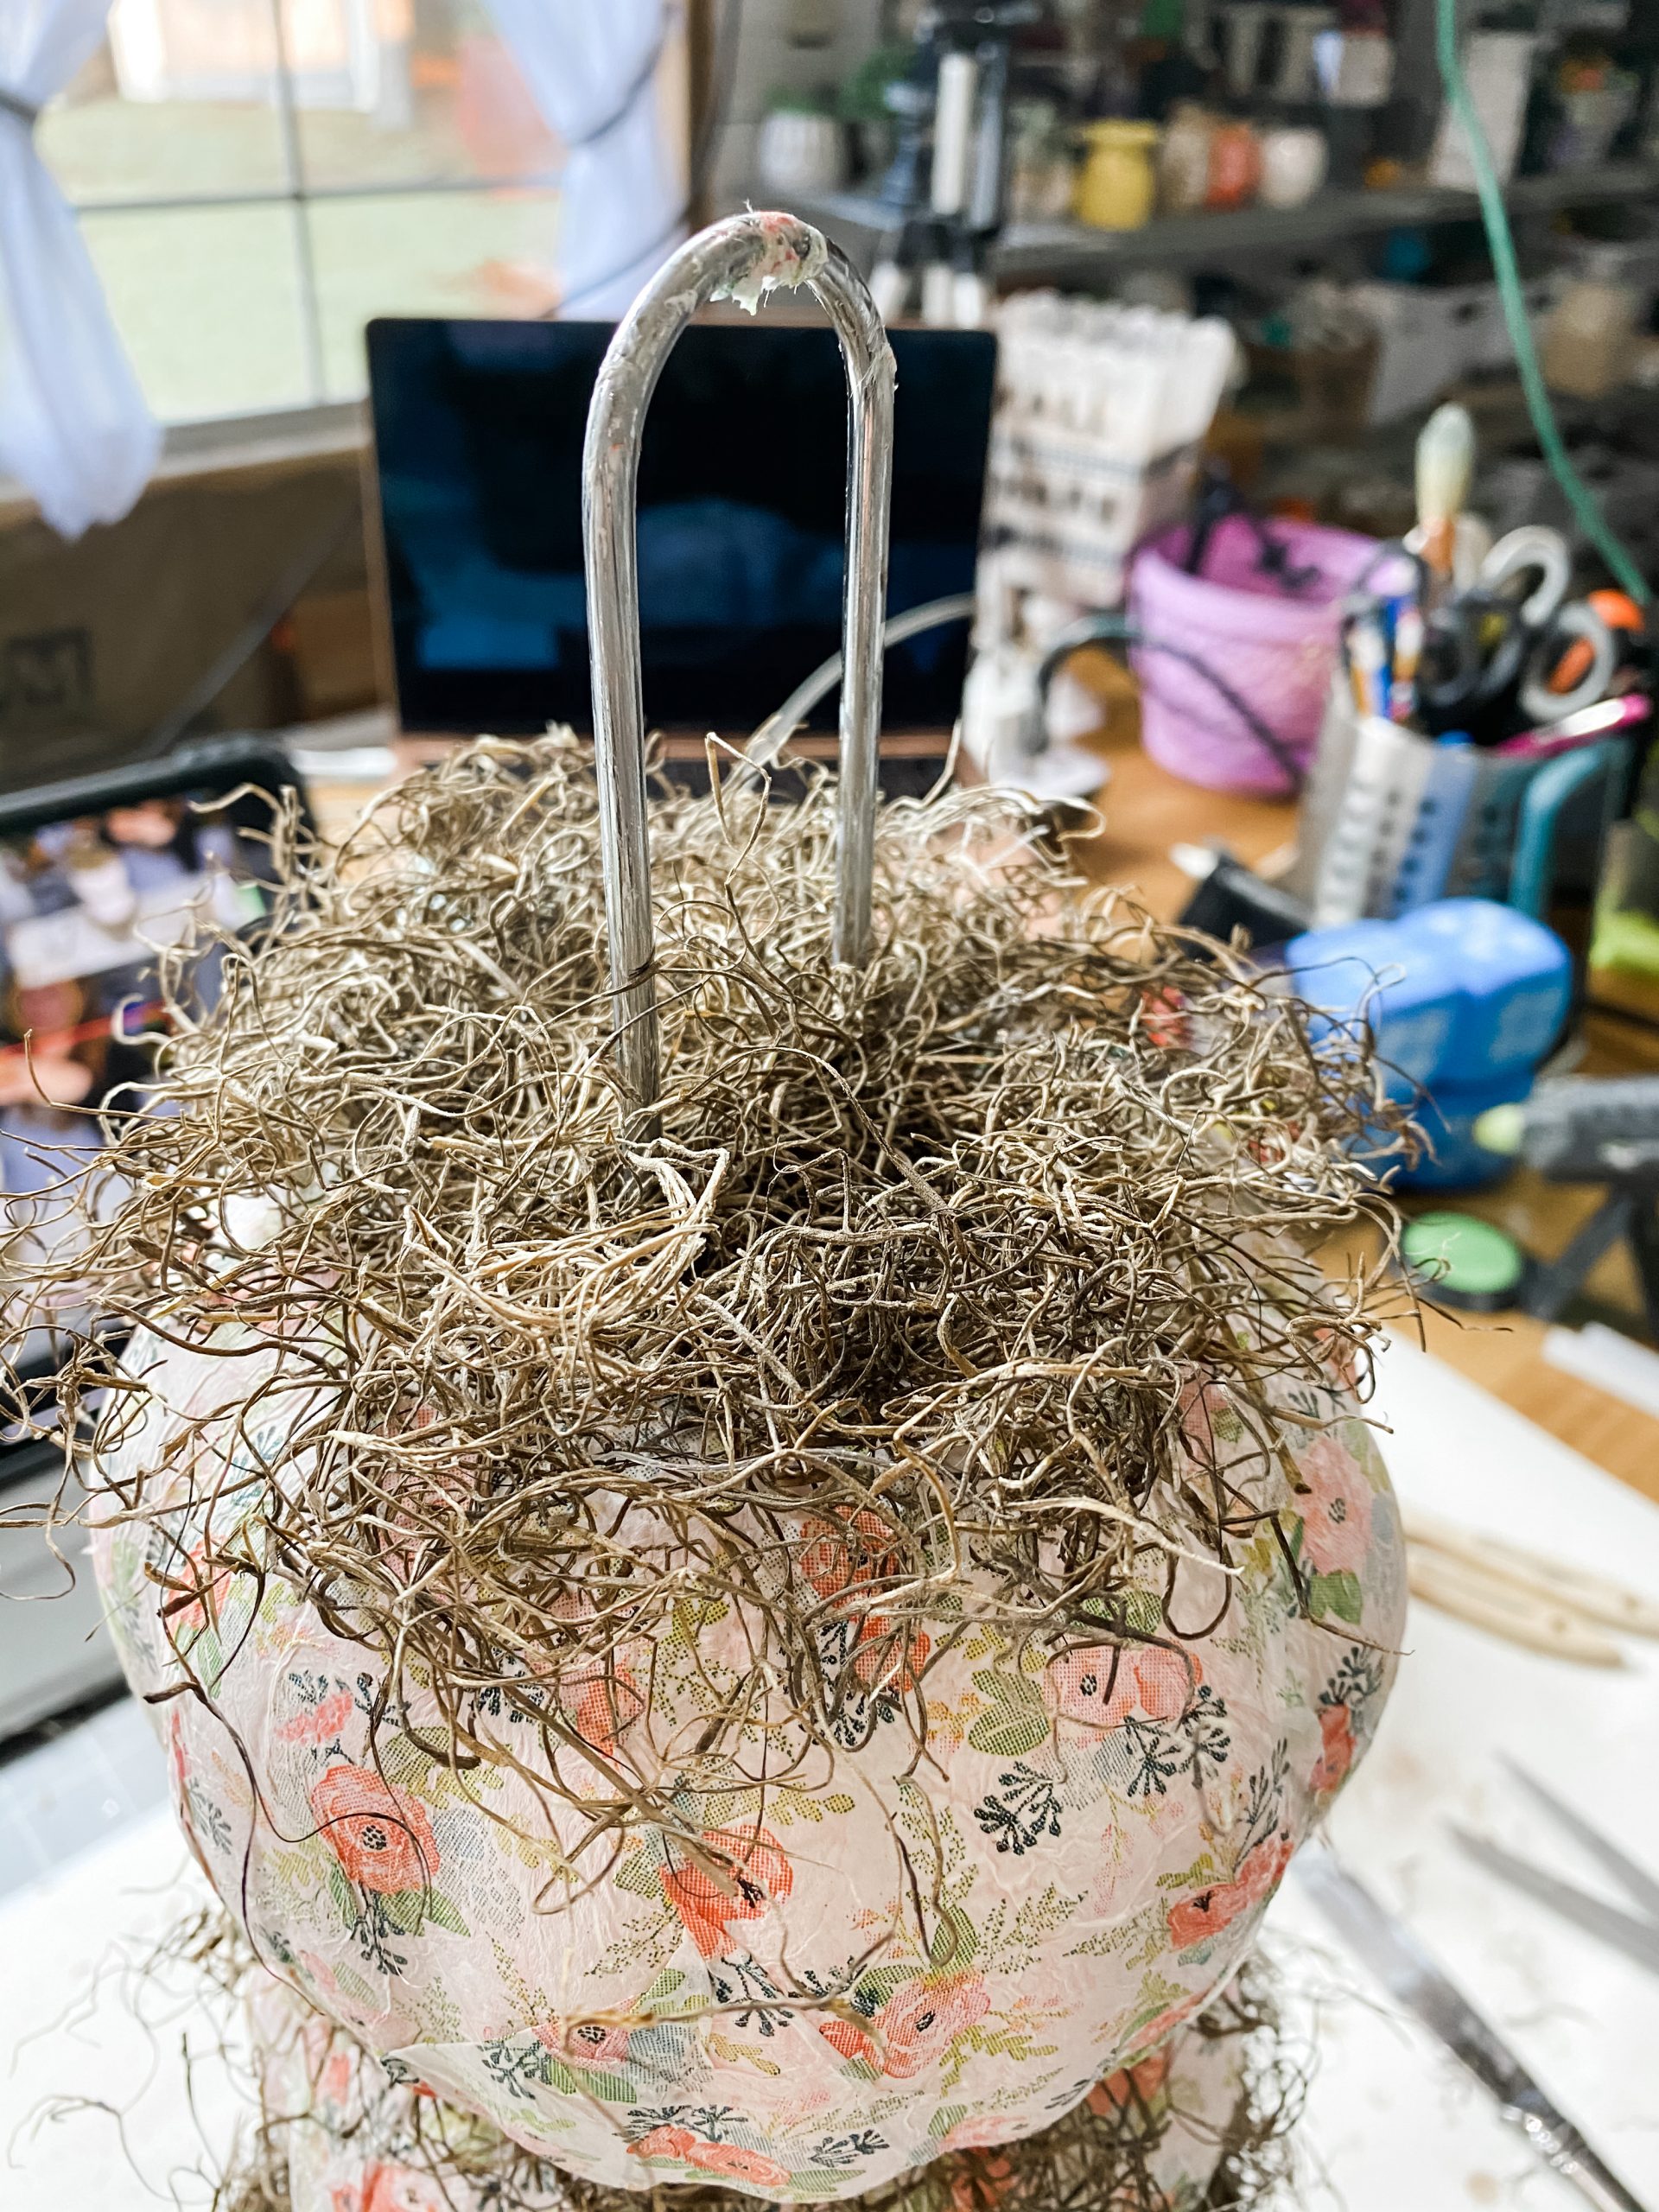
Next, I placed some Spanish moss on the base of the paper towel holder and hot glued it into place. Now you can slide the first pumpkin down! I hot glued the Spanish moss on top of each pumpkin as I added it to the topiary. I think this really adds to the Fall feeling of this DIY Dollar Tree craft!
The finishing touches
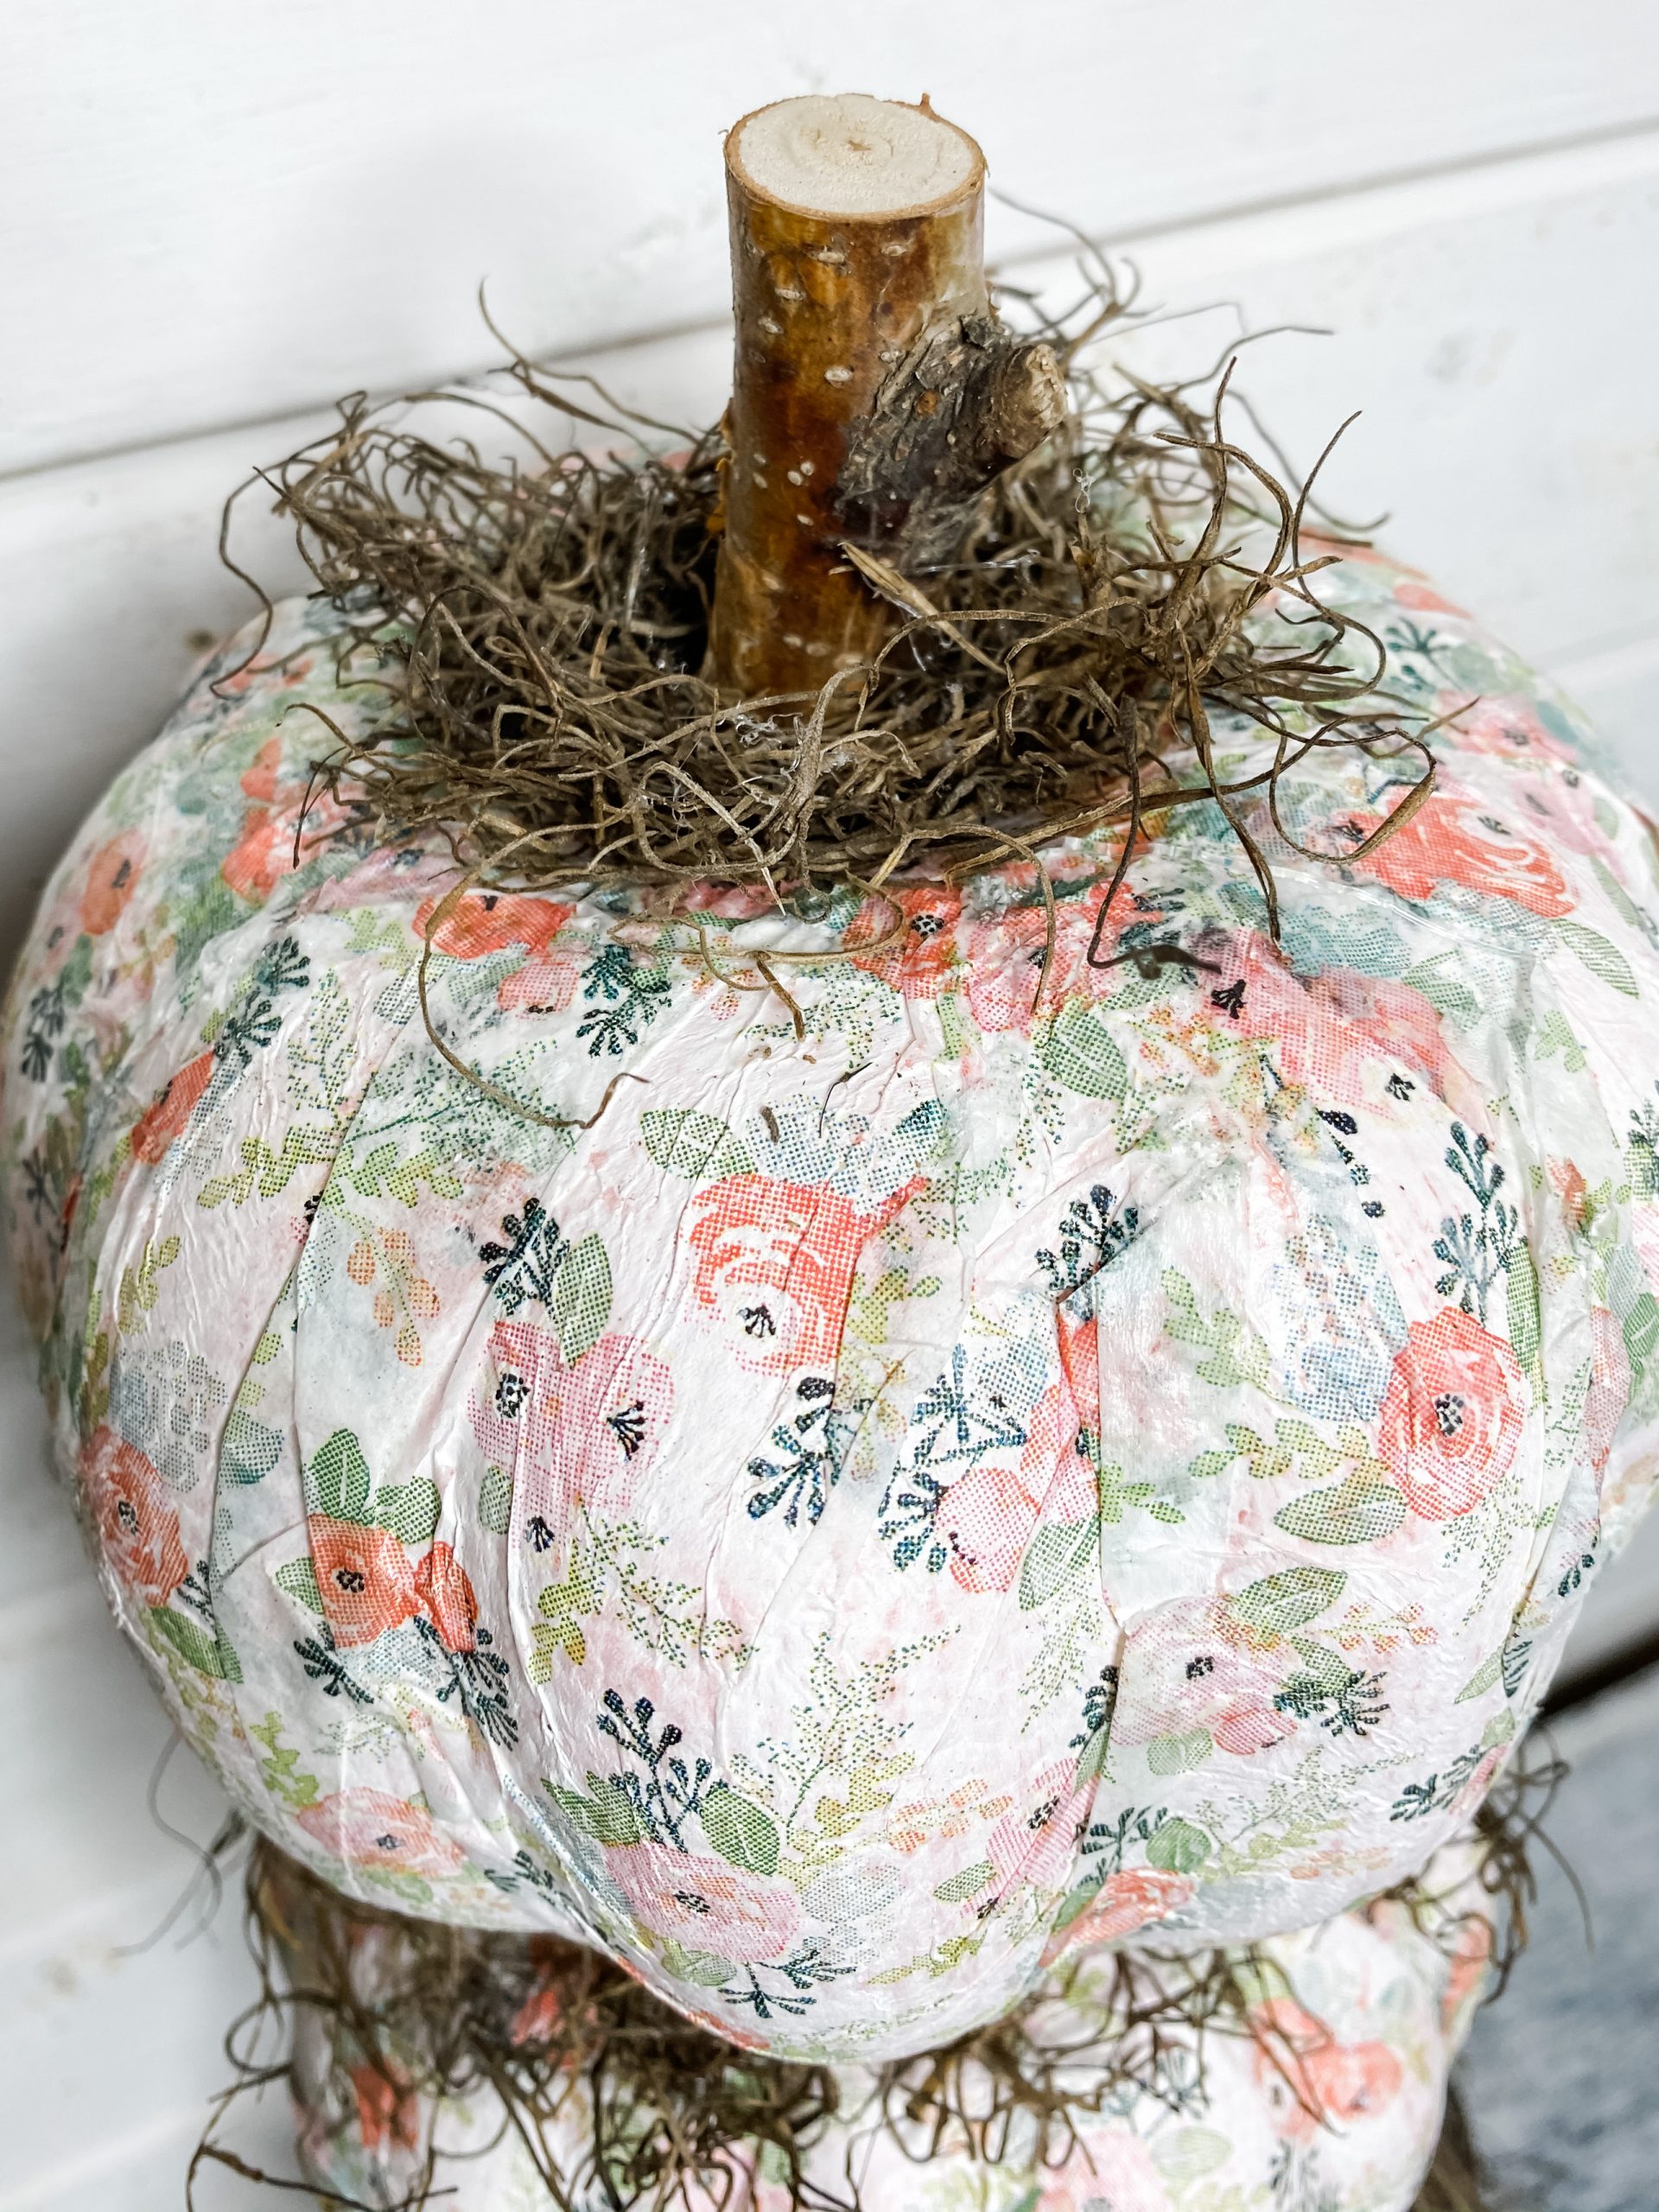
On top of the last pumpkin, I added just a little bit of Spanish moss and hot glued one of the Dollar Tree wood sicks as the pumpkin’s stem. You could always add a messy bow to the stem or bucket, but I just love the simplicity of this DIY project and didn’t feel like a bow was needed!
And that’s it! That is how to make a Dollar Tree Fall Foam Pumpkin Topiary DIY! I hope you’ve enjoyed this as much as I do, and decide to make this super cute fall topiary for yourself! If you do, I would love to see how you put your own spin on it. I have a FREE Facebook group just for crafters called On A Budget Crafts. It is a judgment-free community where DIY’ers just like you and me can share their projects and ideas. Hope you’ll join us!
If you loved this DIY you might also like this one too!
Thanks for stopping by! XOXO Amber
You can also shop my ENTIRE AMAZON Favorites shop just click here! It’s packed full of all the things I use and love. Here is the supply list I highly recommend every creative have on hand!! Would you also pin my blog for later and get on my newsletter alerts? I would love to have you join my #craftycrew.

Join my free “ON A BUDGET CRAFTS” Facebook group!
PIN THIS POST FOR LATER!


I Love this, I made one also
Amber,
Love all three fall crafts.
Thanks,
sherryh2o@gmail.com