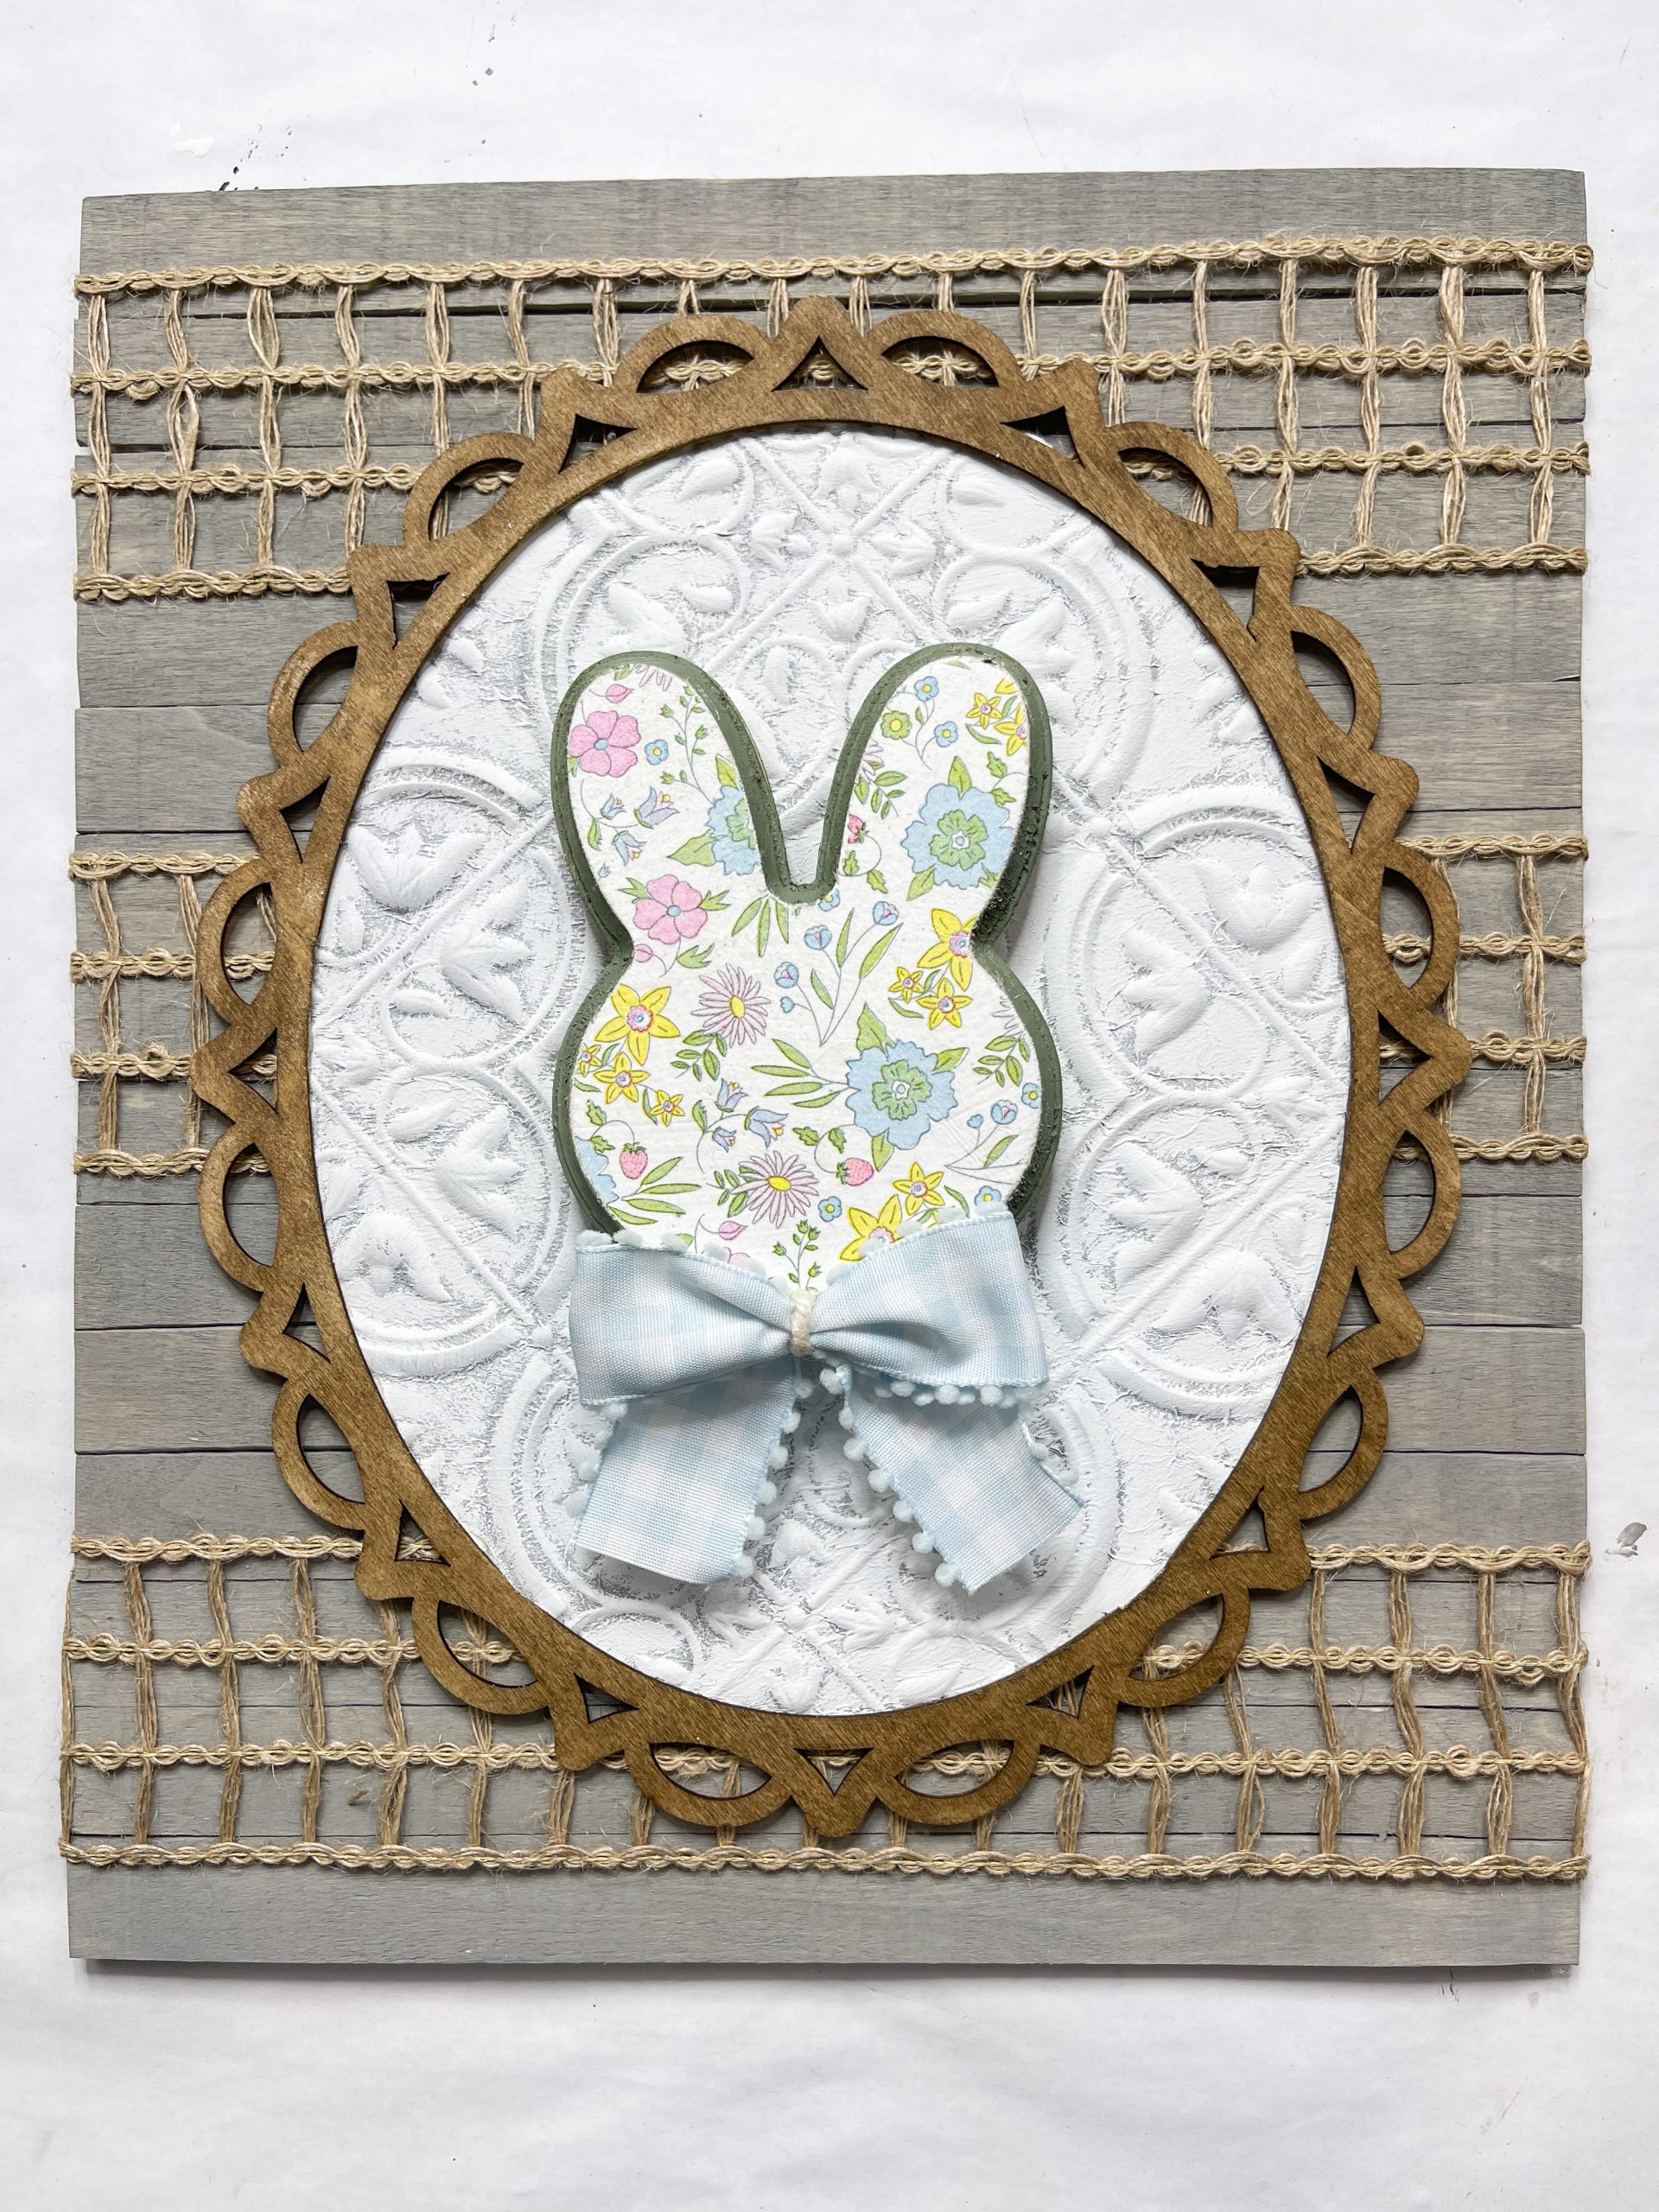
DIY Magnetic Vintage Decor
I am seriously so excited to show you this DIY magnetic vintage decor! I know I say that about almost every project I make, but I really mean it this time!
This DIY is perfect for spring and Easter, and it’s magnetic so you can change the bunny out for any other season or holiday or make it everyday decor!
More Easter decor inspiration
- DIY Easter Door Wreath
- Easy DIY Dollar Tree Spring Bunny
- Farmhouse Speckled Egg Wreath
- Dollar Tree Mossy Bunny Easter Decor DIY
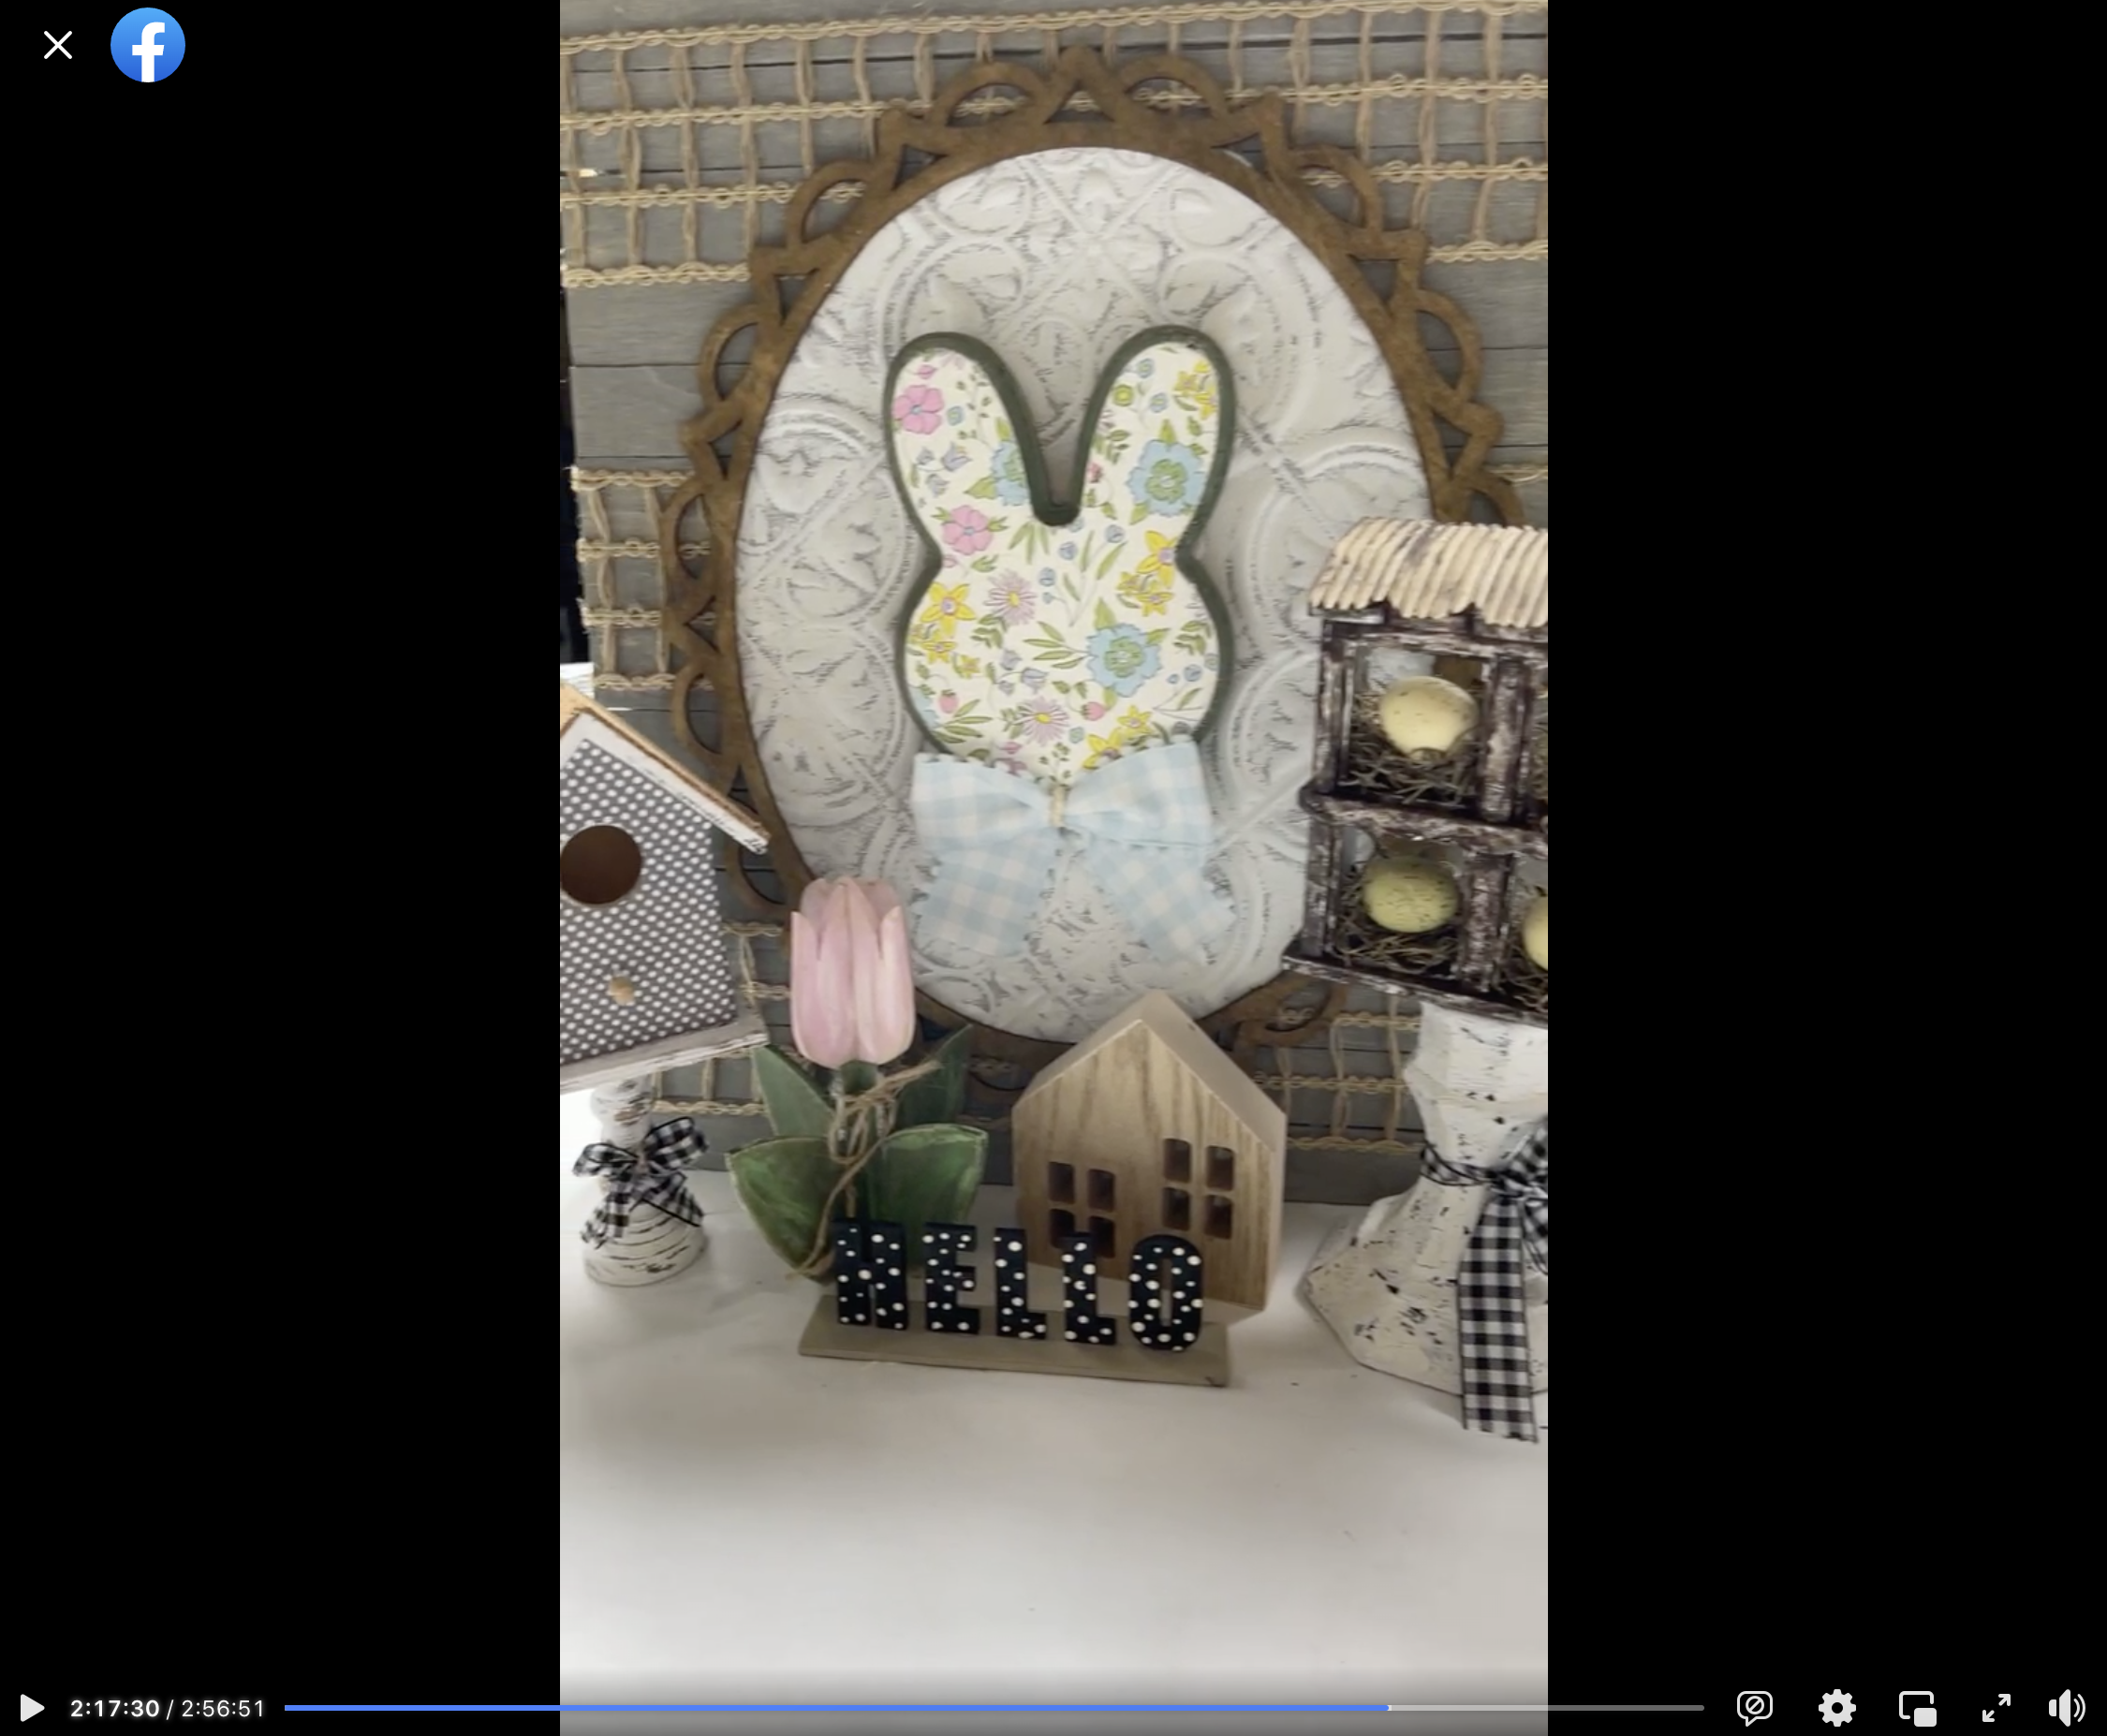
Watch the DIY tutorial
I recorded how to make this adorable DIY Magnetic Vintage Decor sign during a LIVE video on my Facebook page! If you’re looking for DIY inspiration, you have to check out my Facebook page.
I share new DIY decor ideas with my Facebook followers several times a week, and while I do my best, not all of the projects make it to my blog.
If you want to see the DIY process, craft along, or just join in the fun conversations, you can watch the DIY tutorial replay on Facebook!
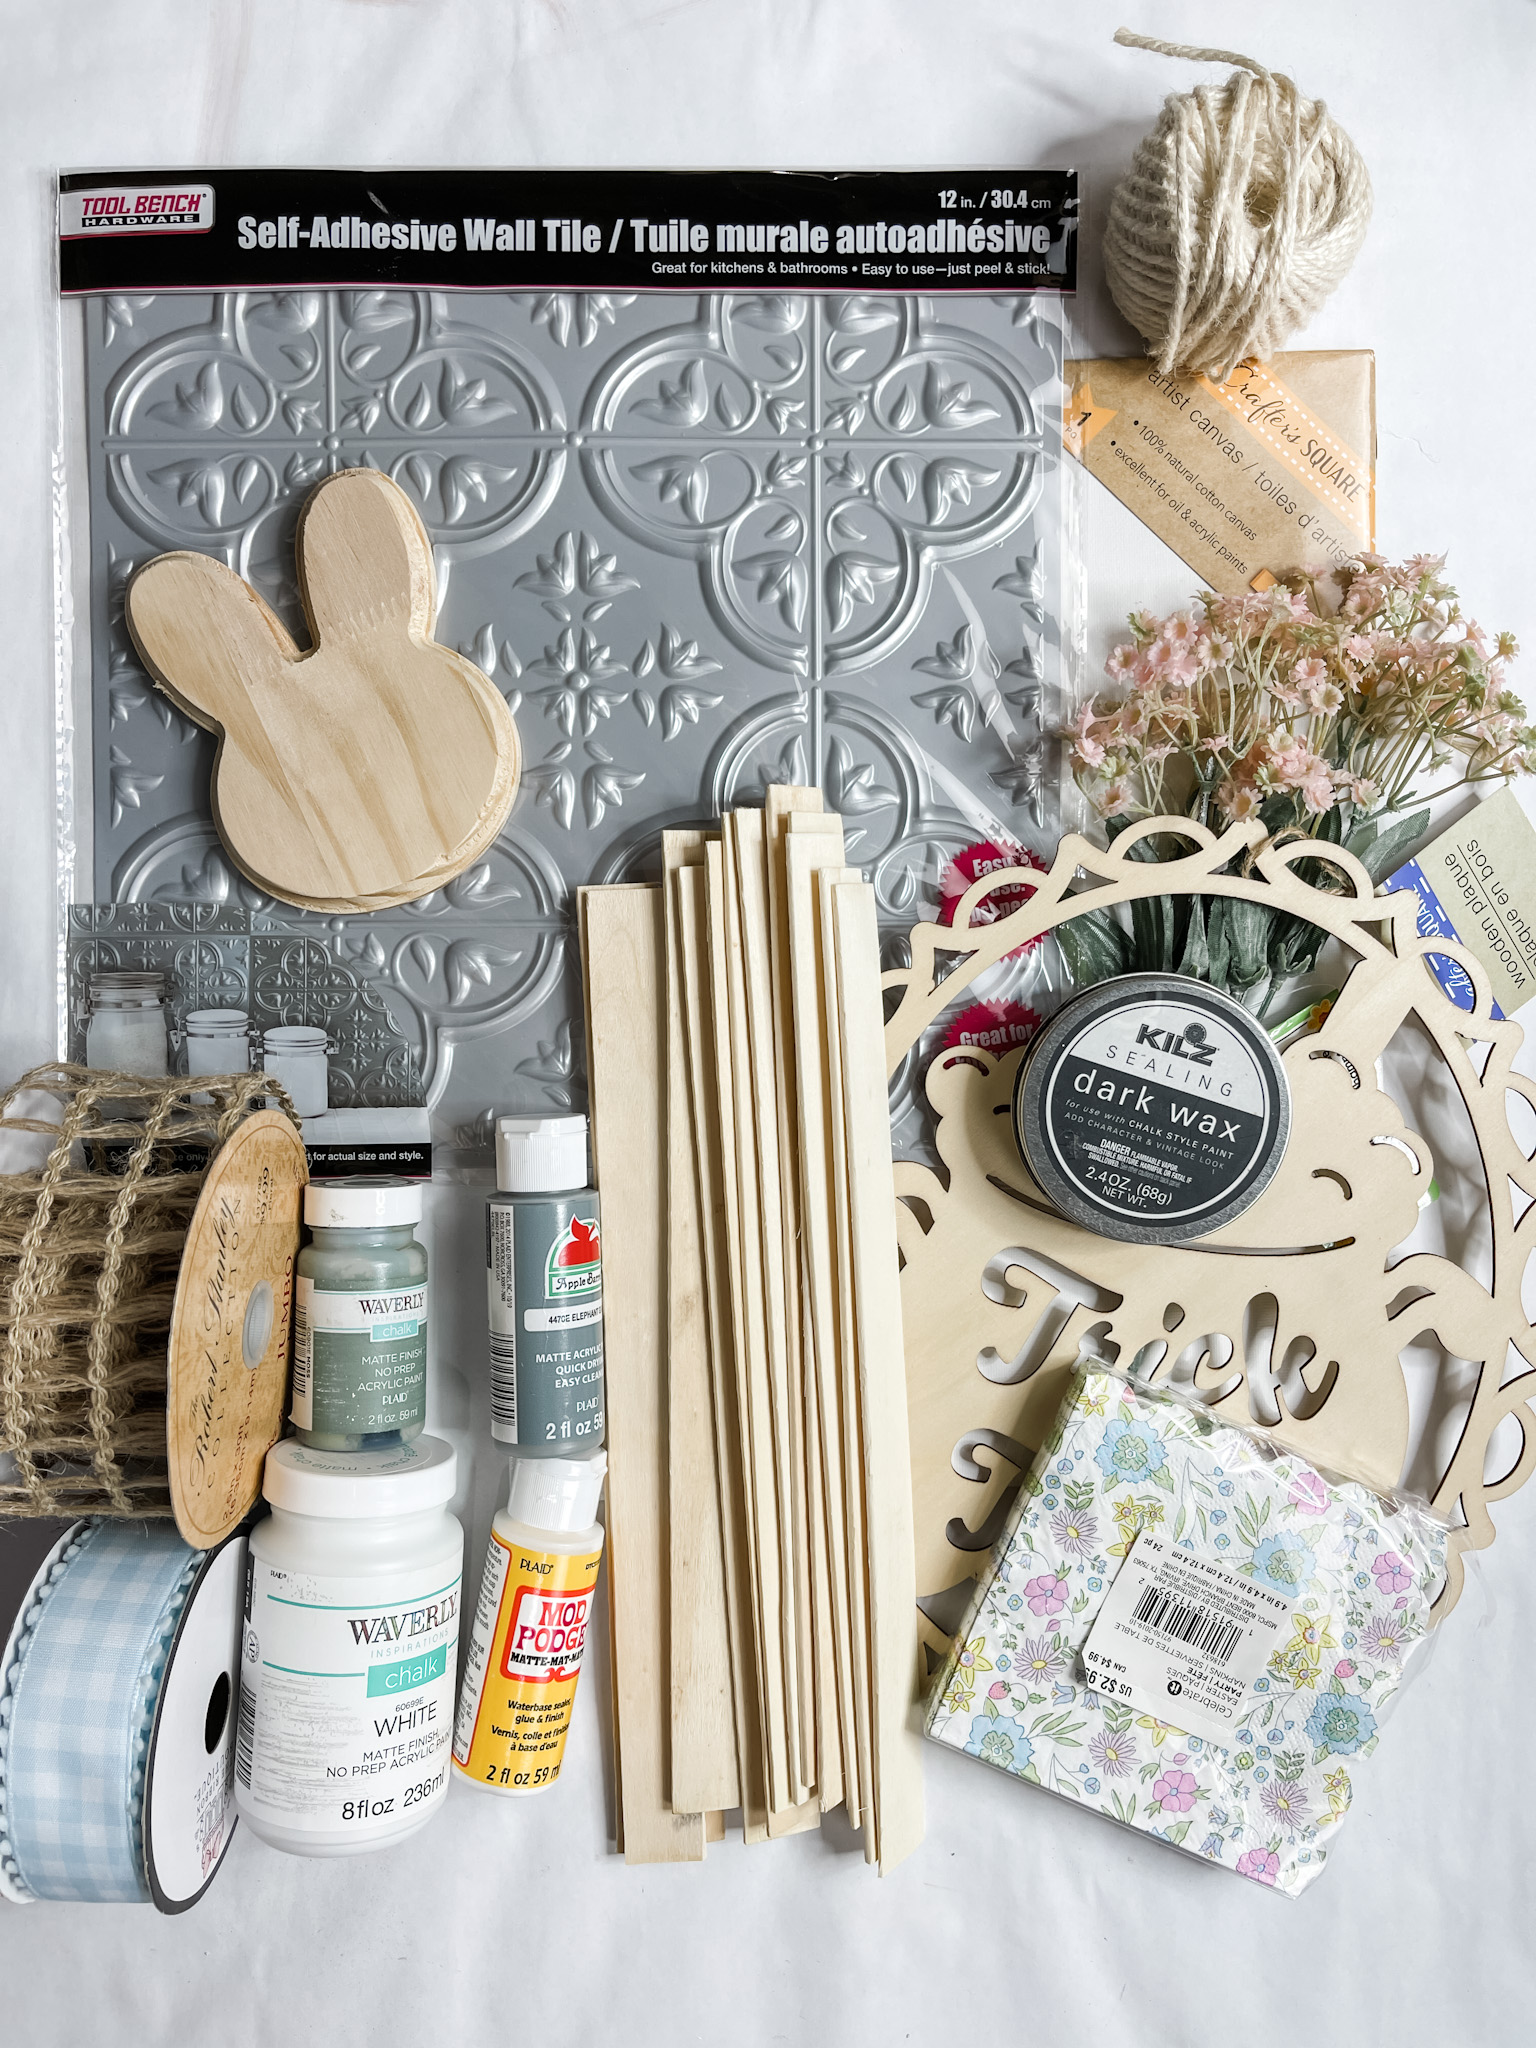
For this project, I will be using these items, but you can substitute where you want.
“As an Amazon Associate, I earn from qualifying purchases.”
- Dollar Tree Self adhesive wall tile
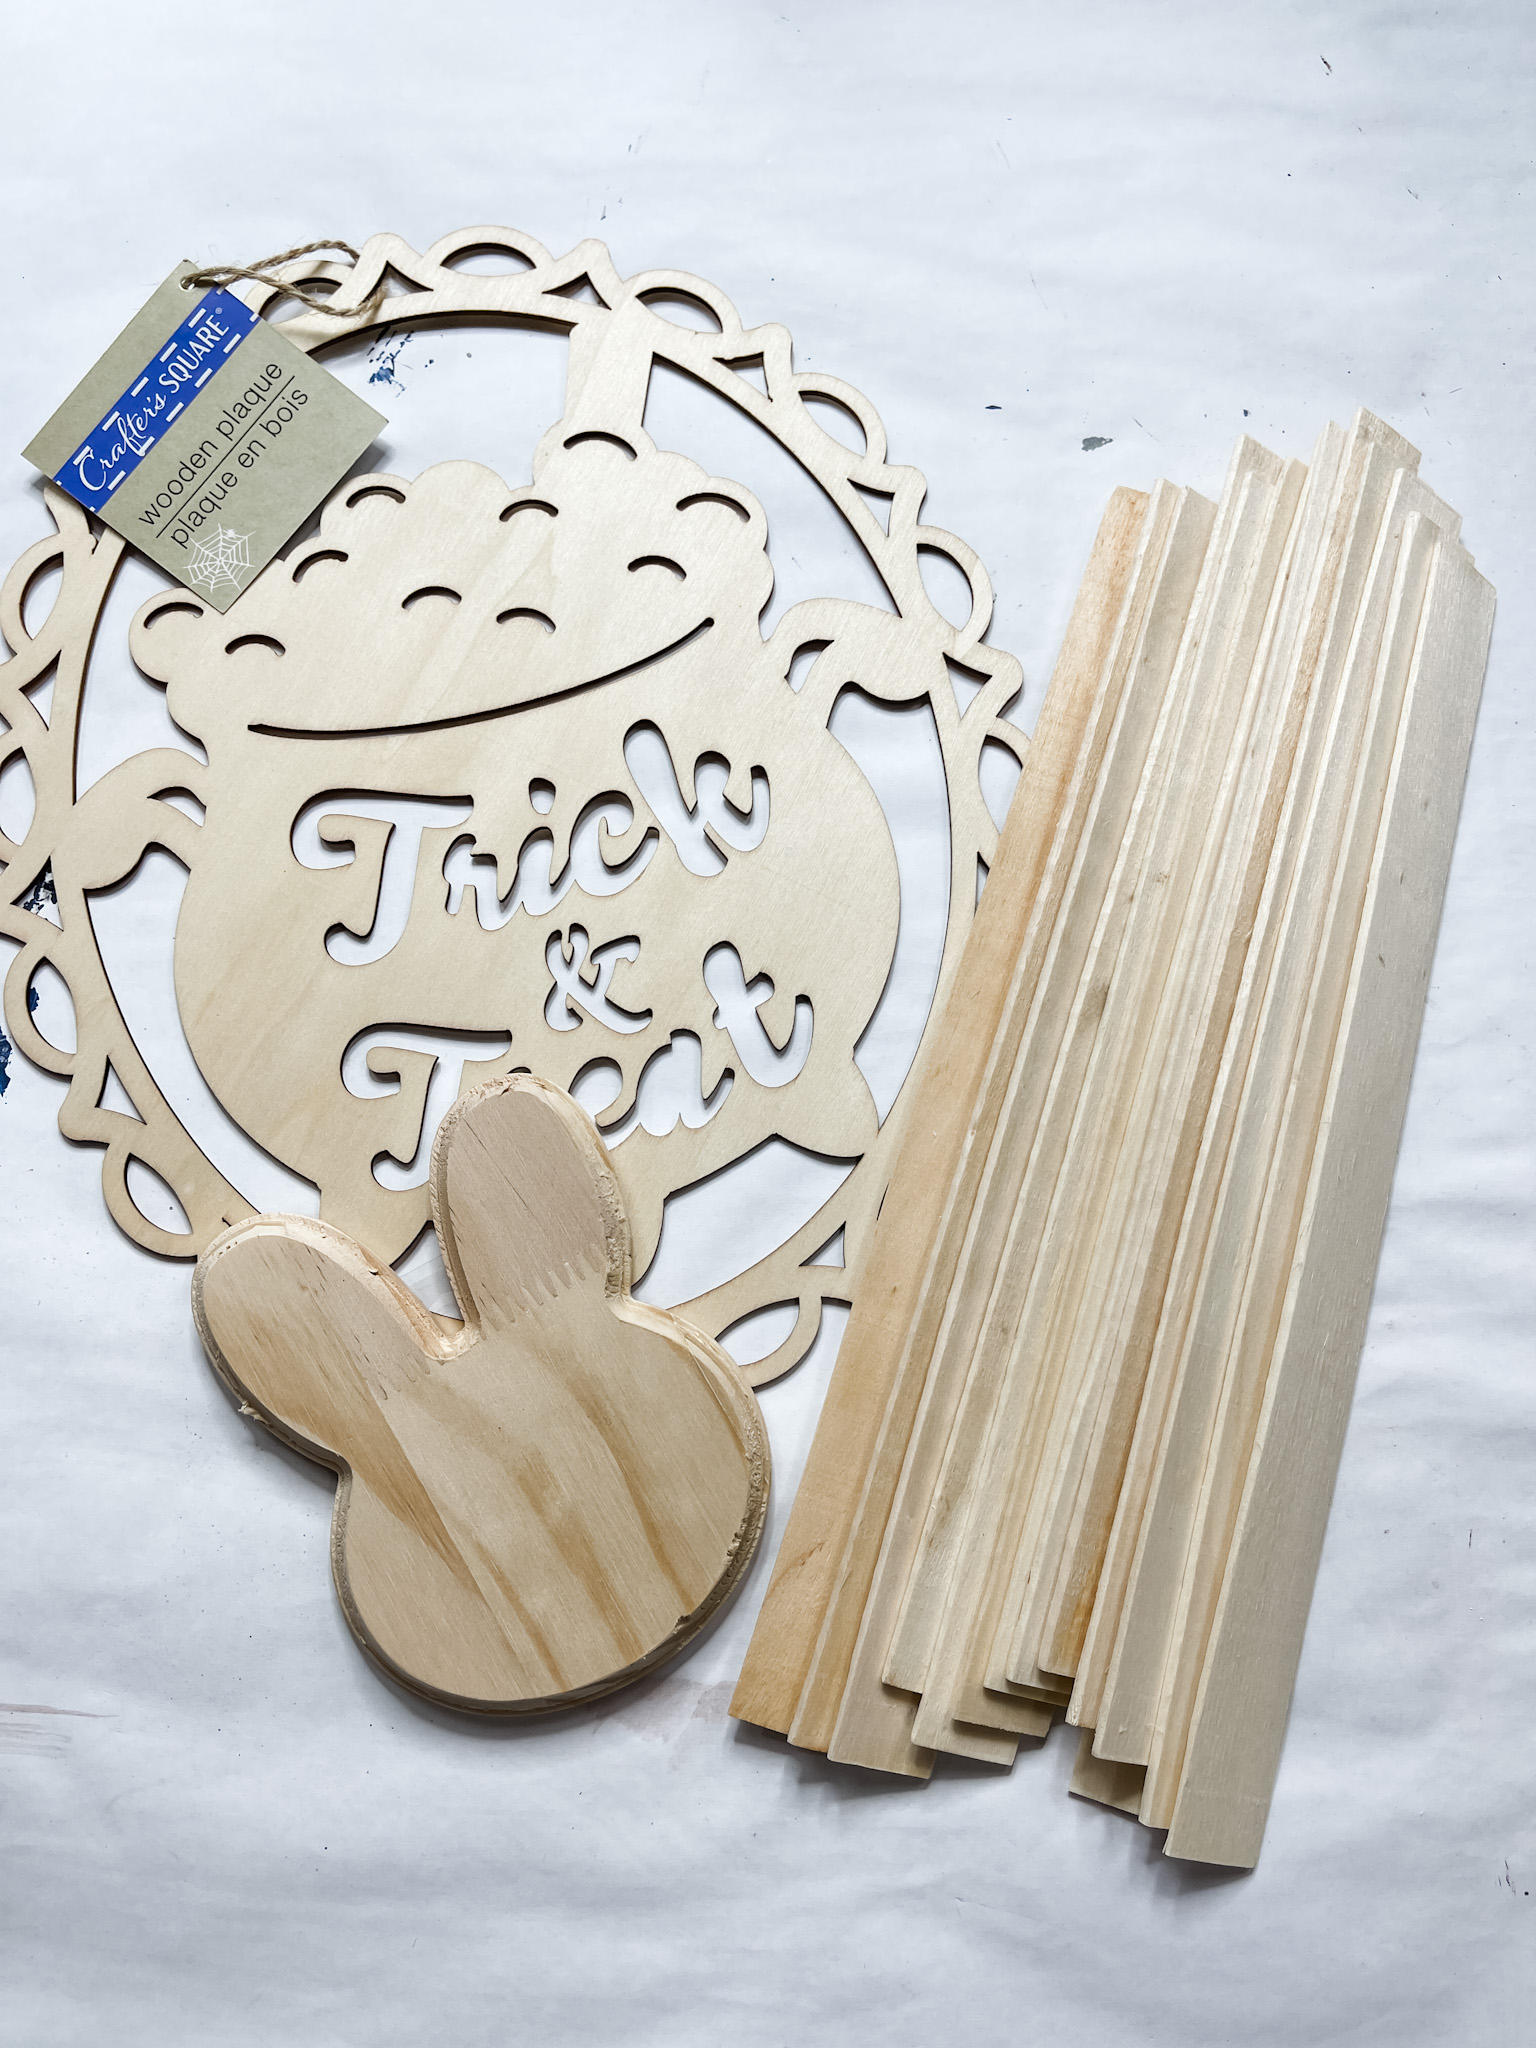
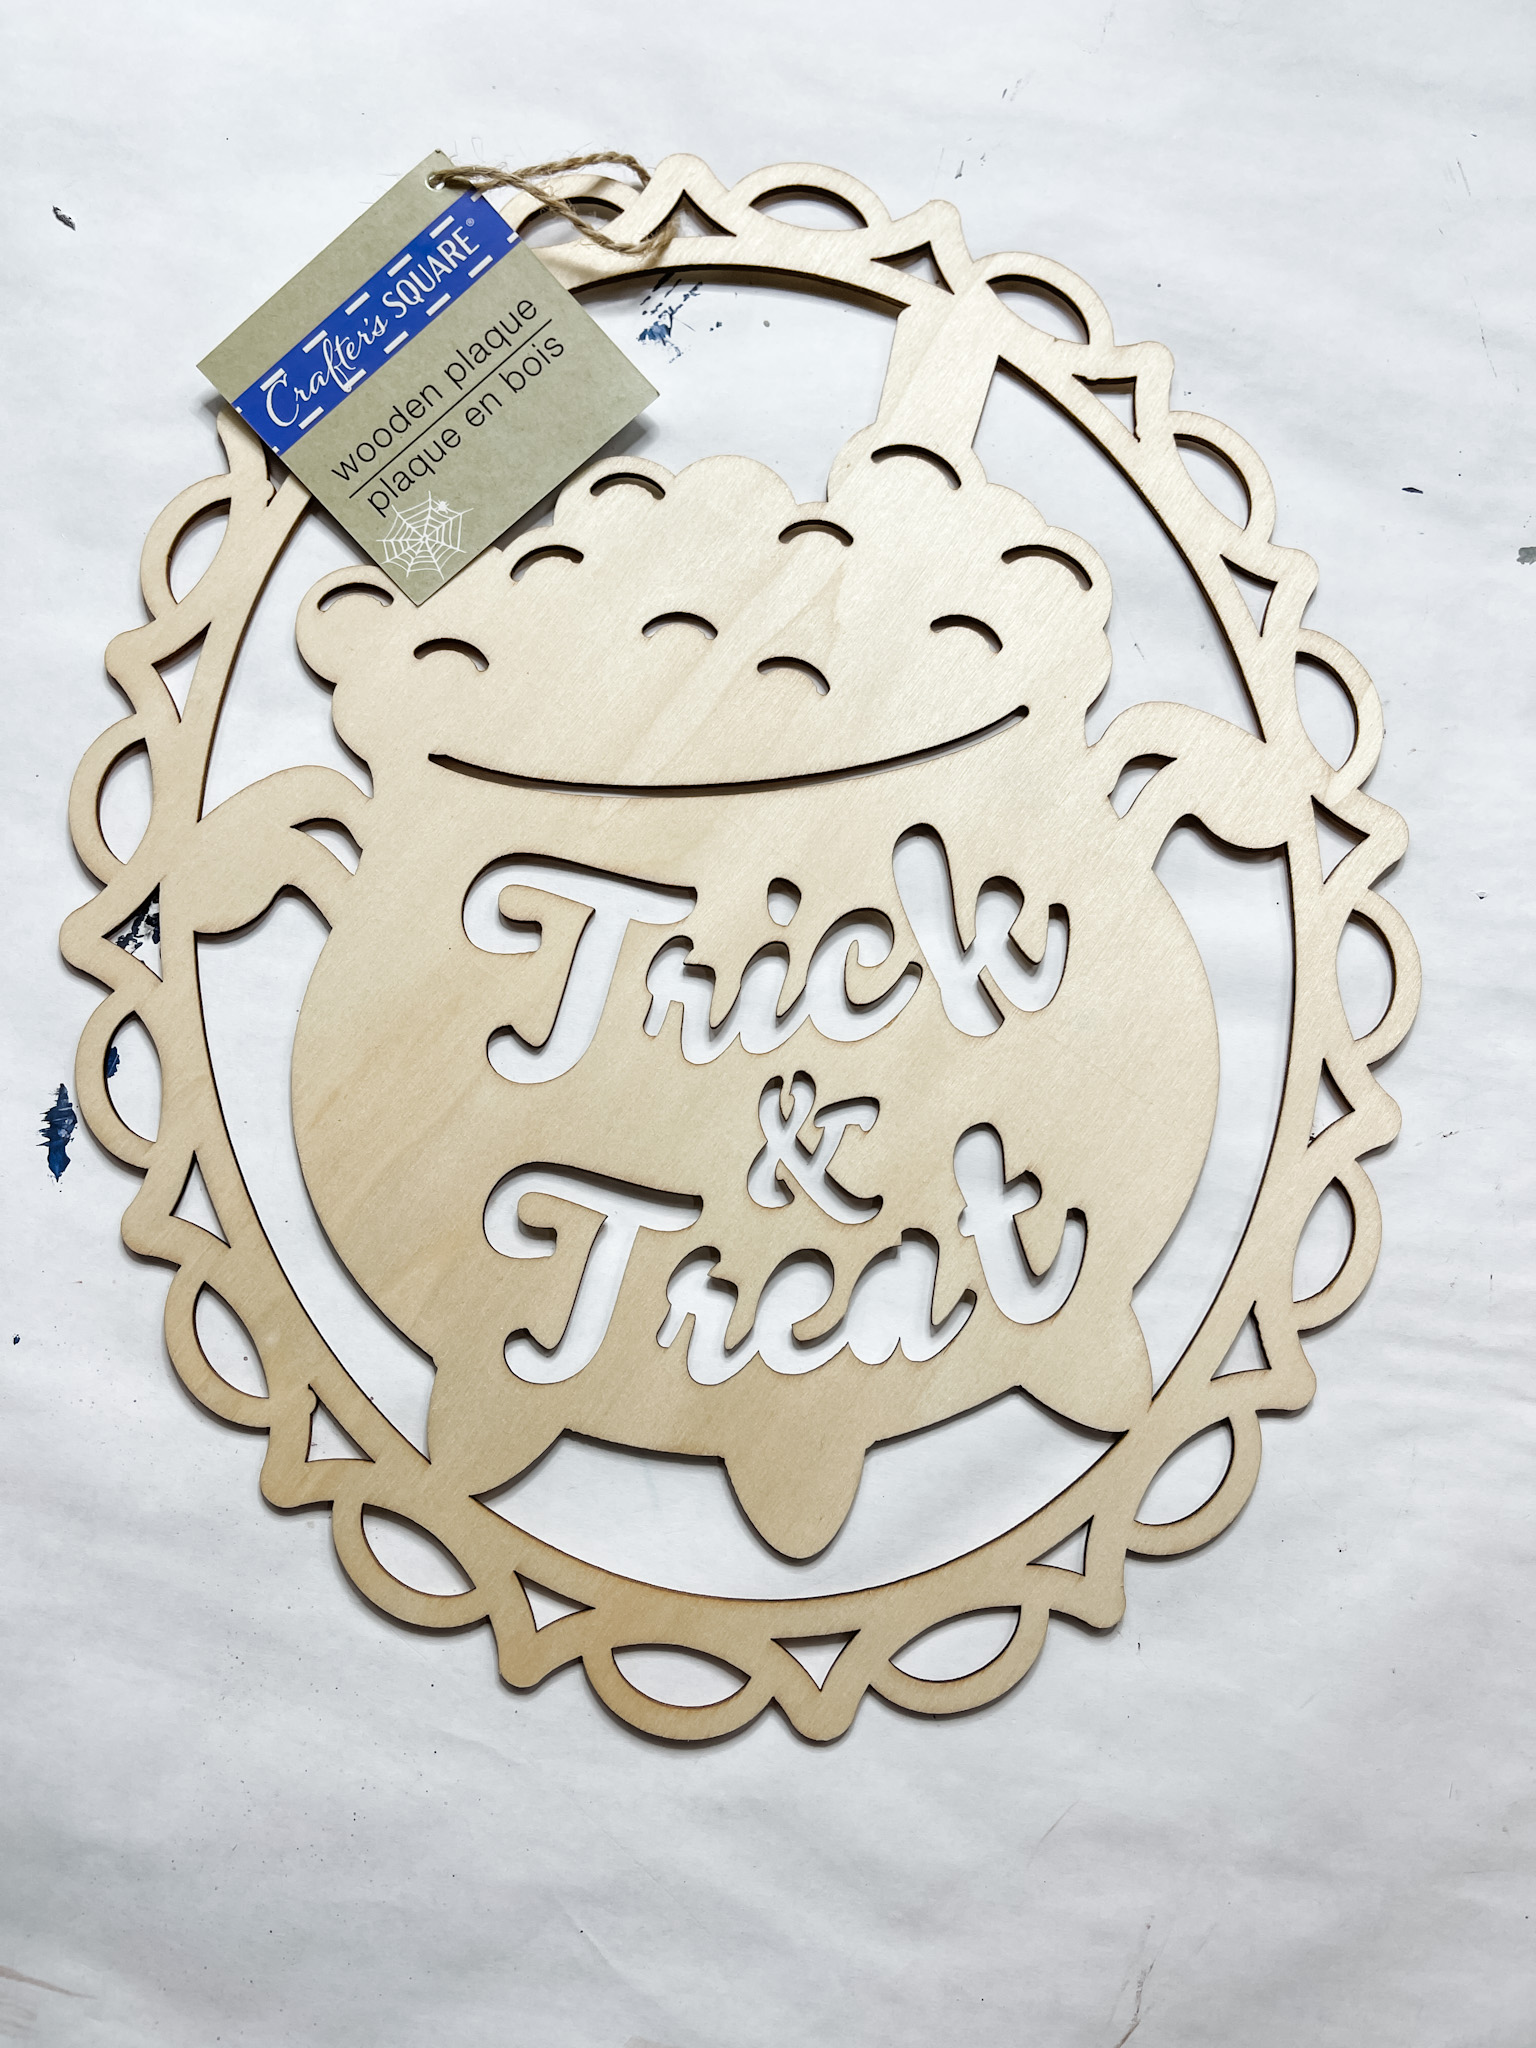
- Dollar Tree Trick or Treat Halloween Cutout
- Handleless paint sticks (Amazon)
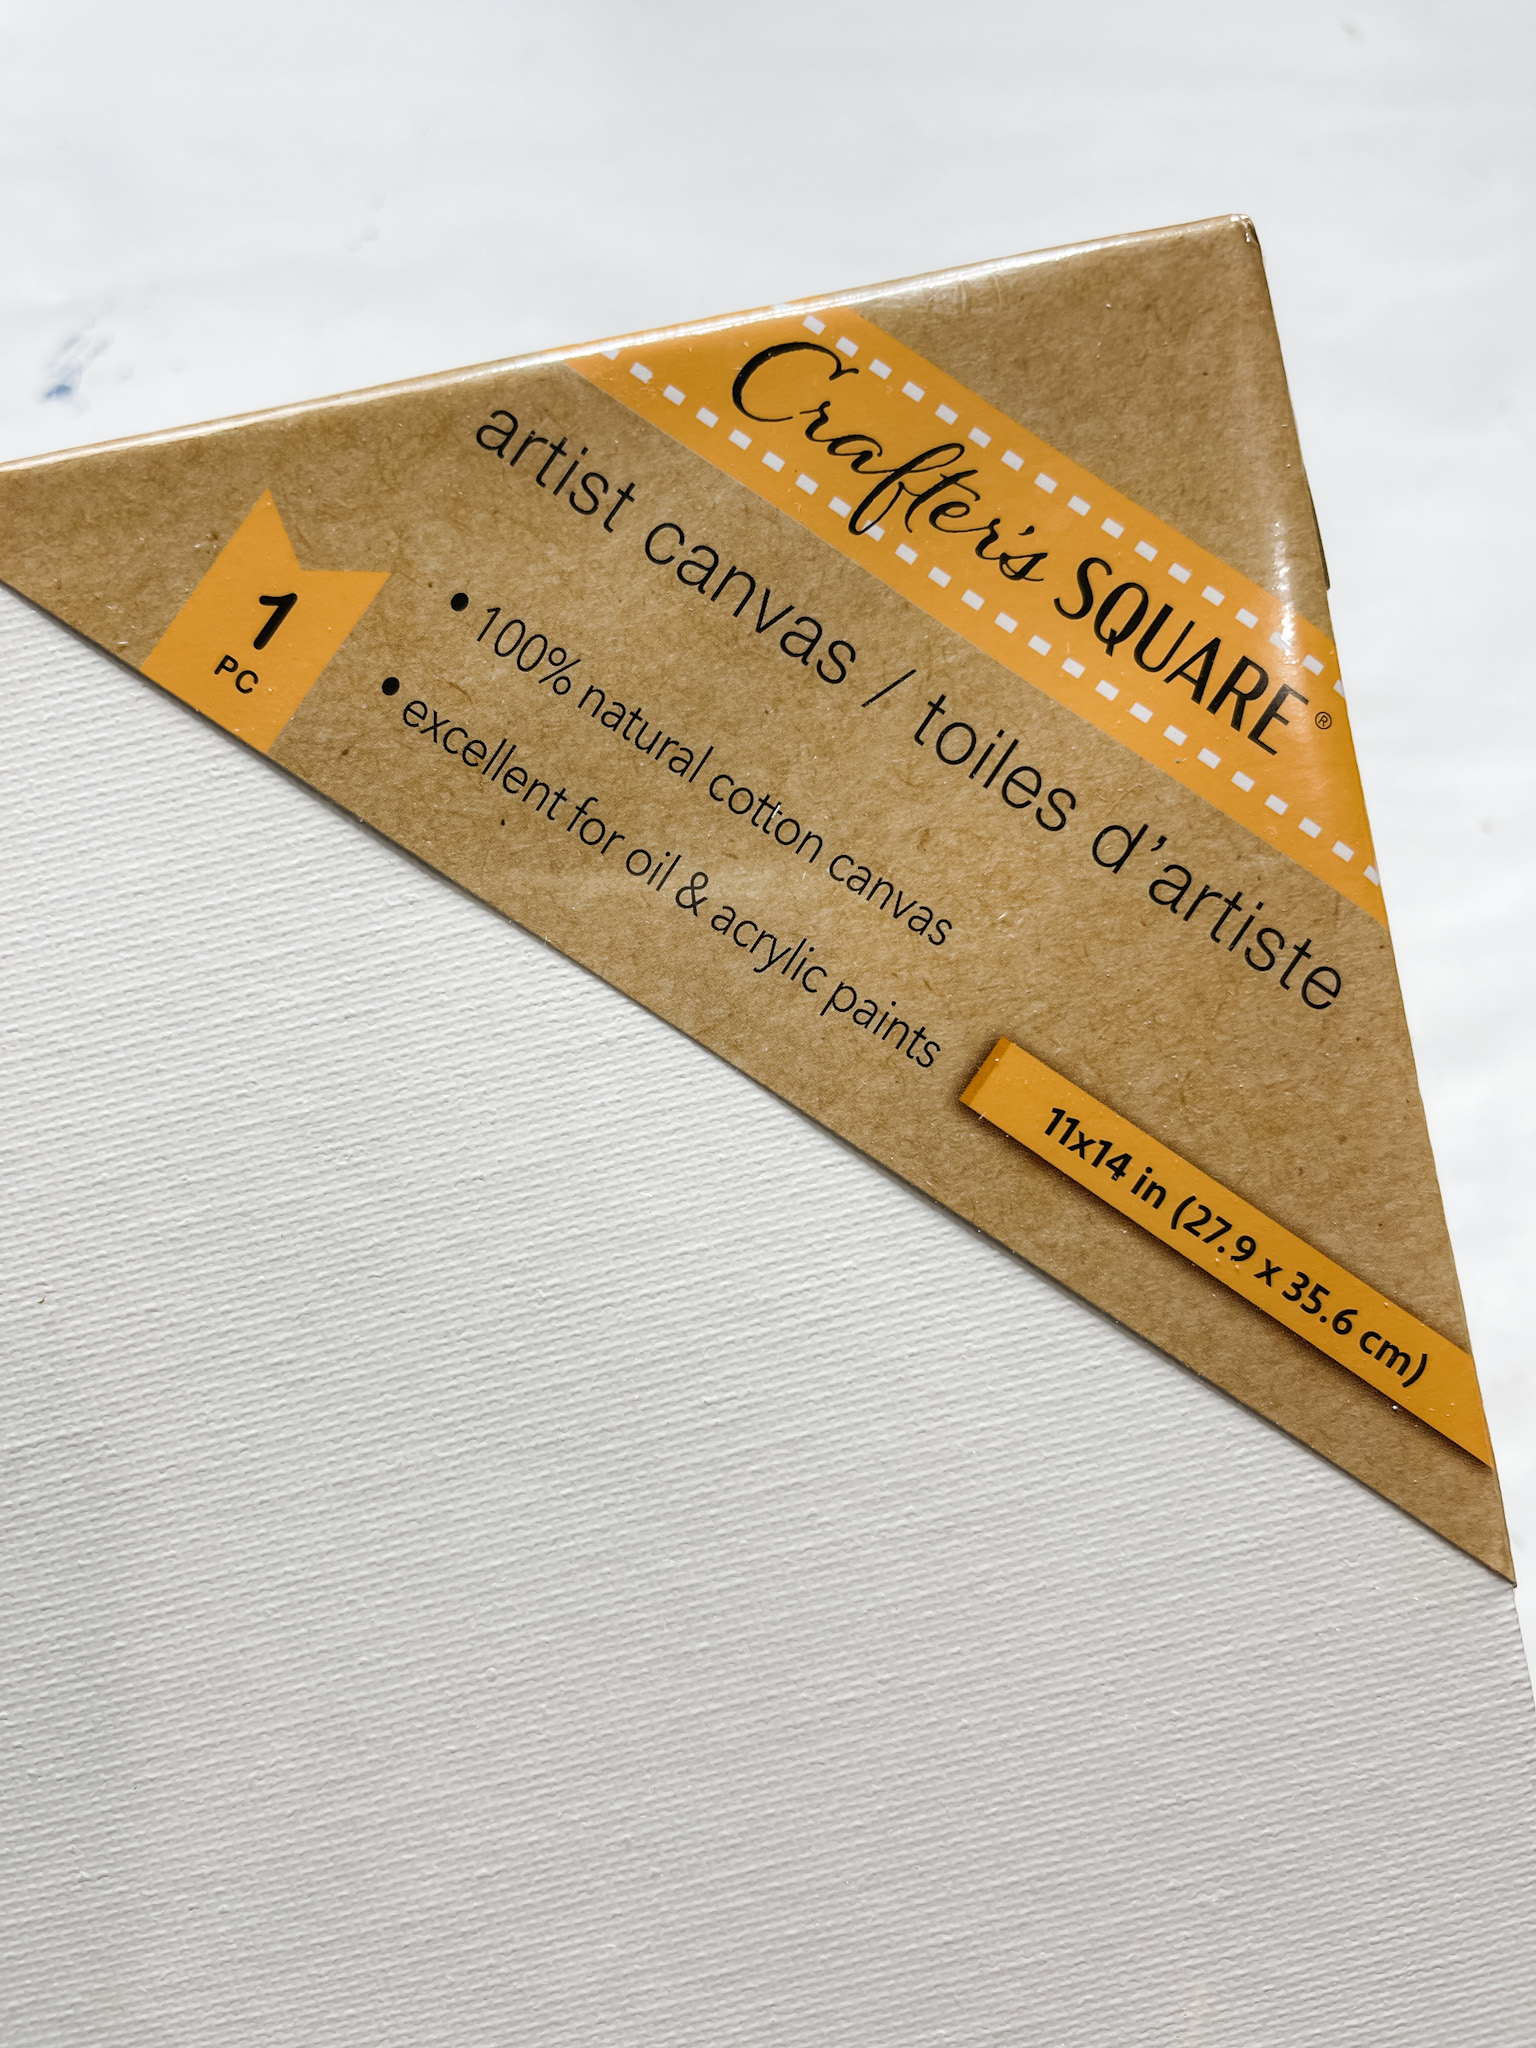
- Dollar Tree Canvas
- Dollar Tree Floral/Greenery Spray
- White tissue paper
- Dollar Tree Thick Wood Bunny Cutout
- Dollar Tree Magnetic Buttons
- E6000 Glue
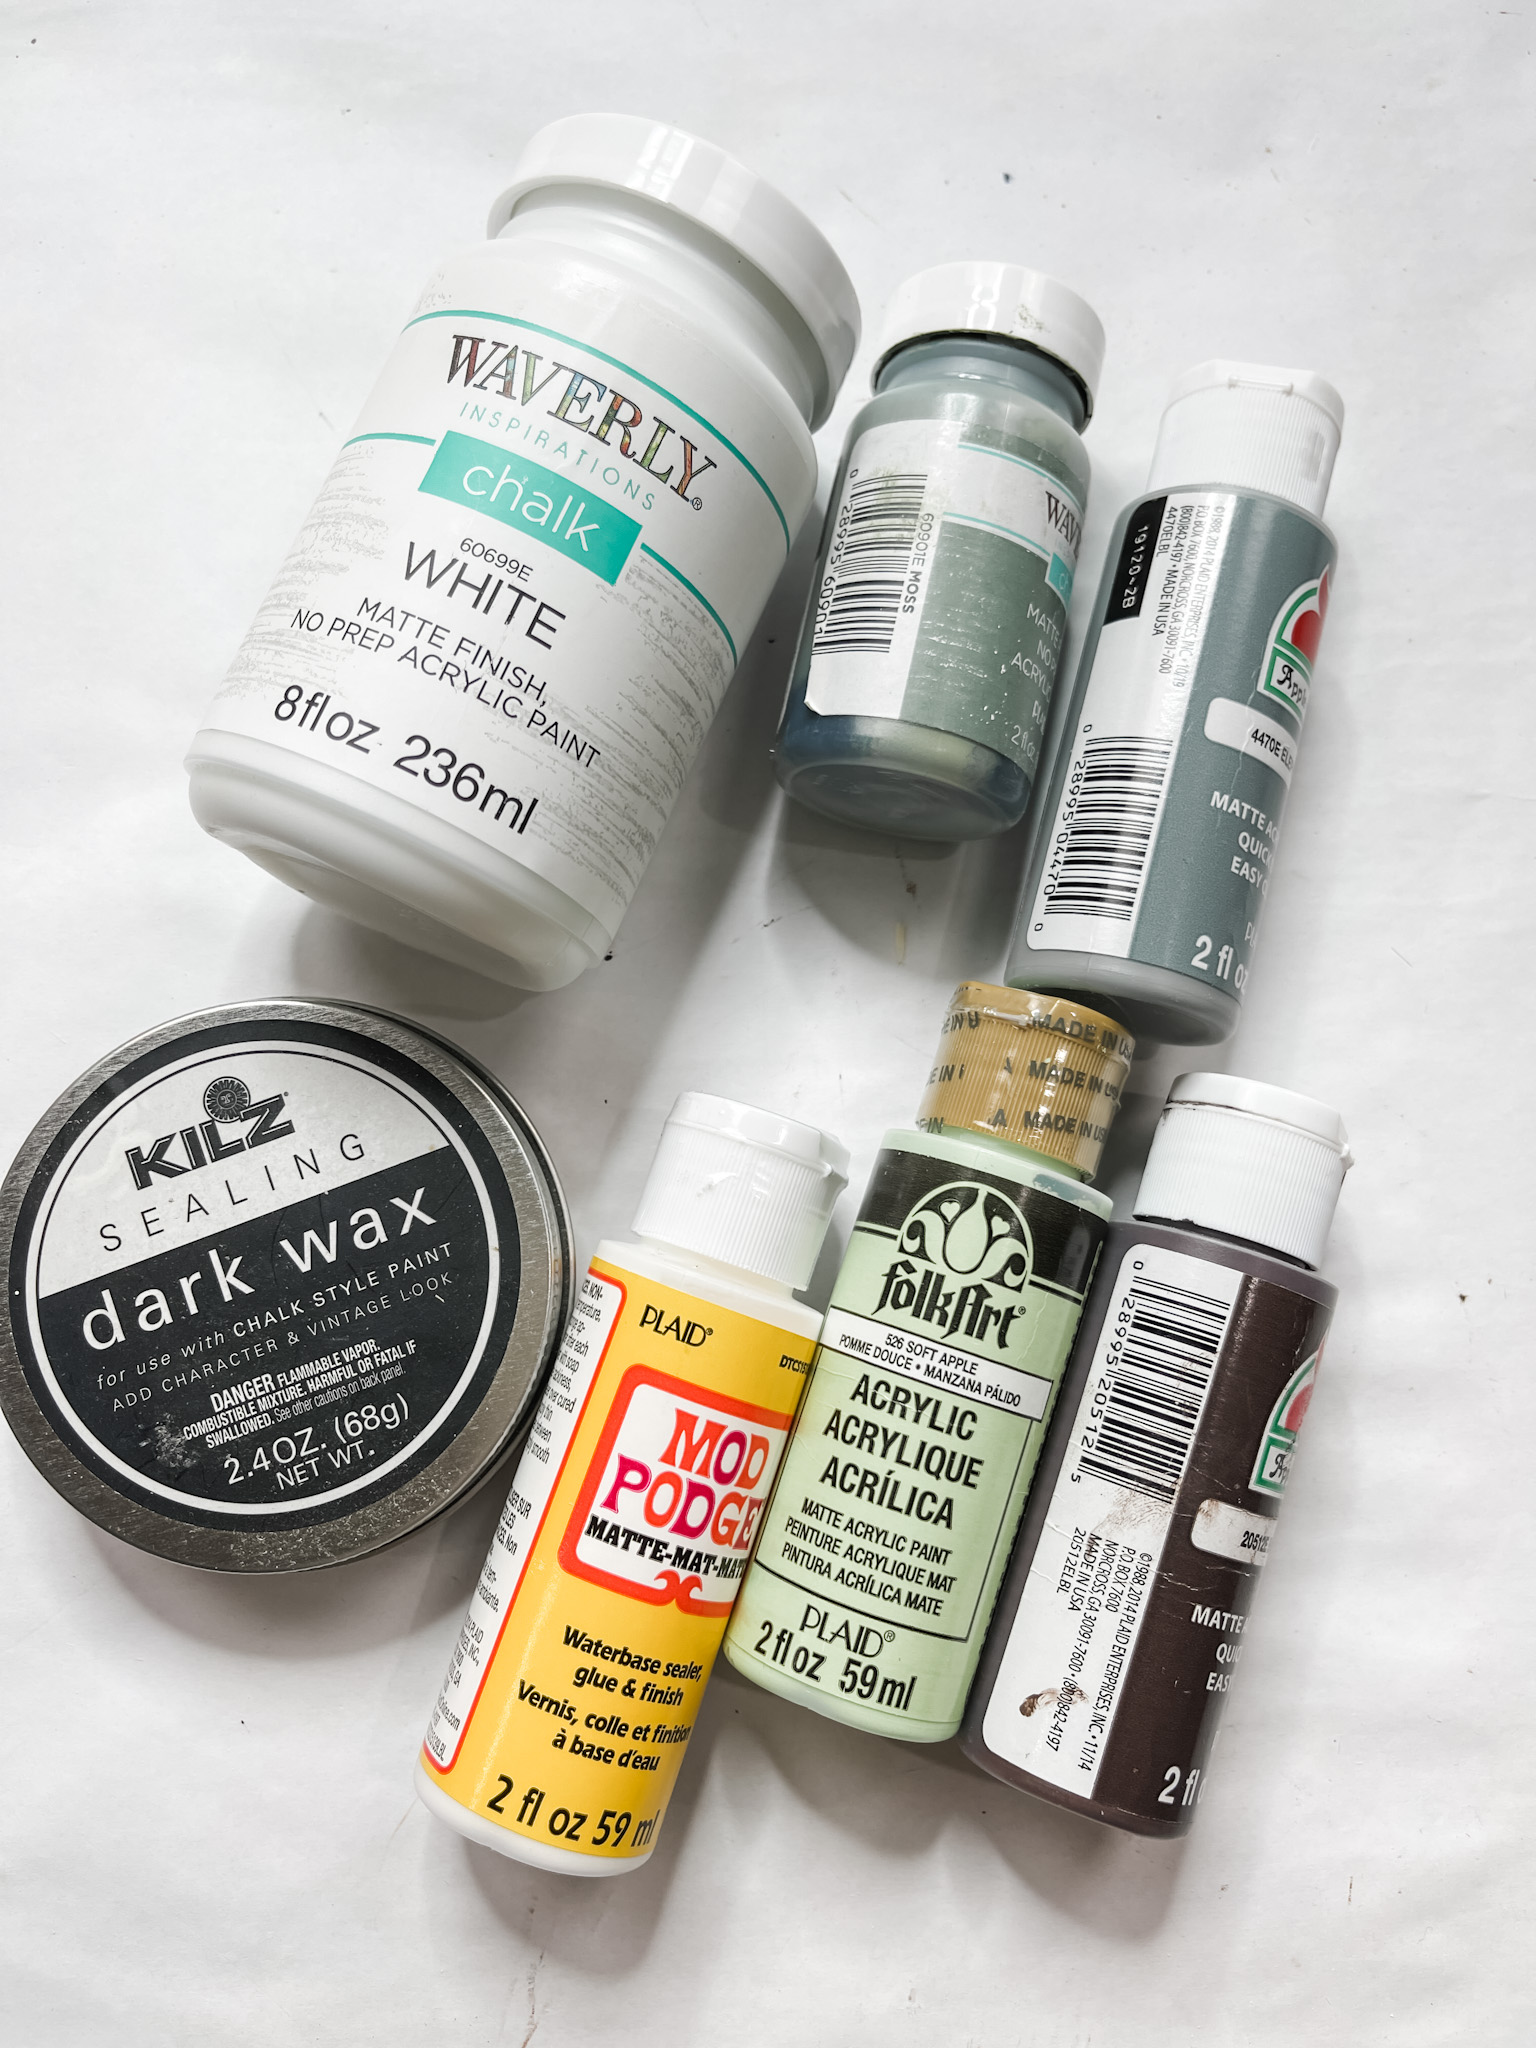
- Waverly White Chalk Paint
- Waverly Moss Chalk Paint
- Apple Barrel Elephant Grey Acrylic Paint
- Apple Barrel Burnt Umber Acrylic Paint
- Folkart Soft Apple Acrylic Paint
- Mod Podge
- Kilz Sealing Dark Wax
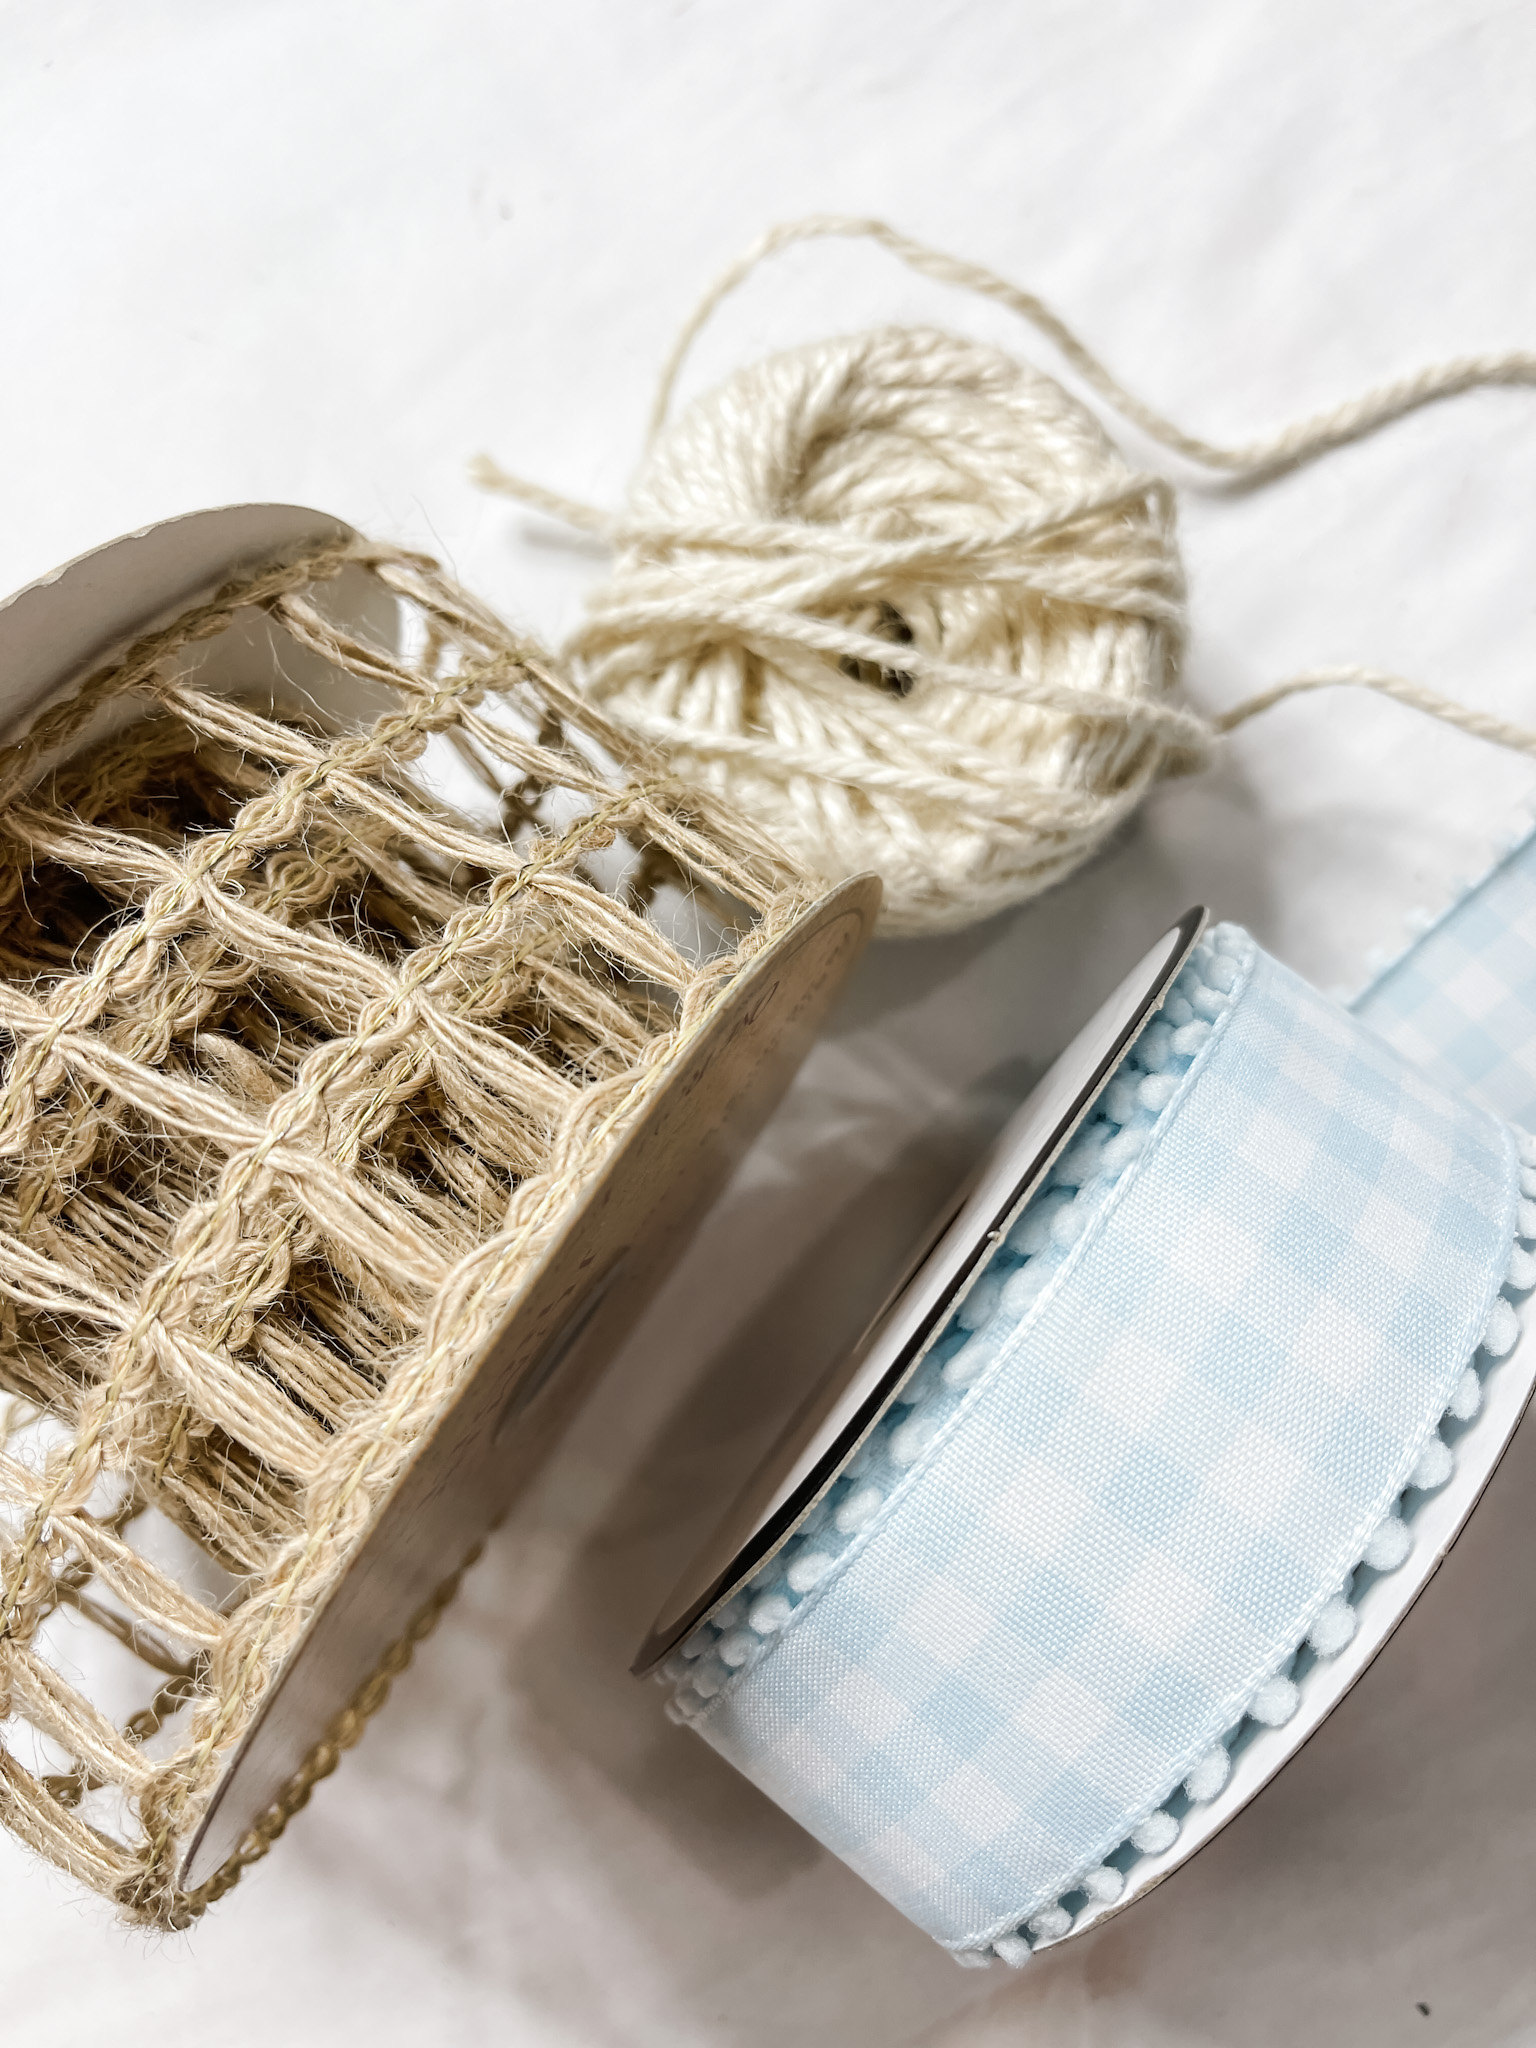
- Lattice Ribbon
- Pastel Blue Buffalo Check Ribbon
- White Jute Cord
- Pastel Floral Napkin
- Hot Glue gun
- Glue Sticks
How to make a DIY Magnetic Vintage Decor
I started this project by removing the inner part of the Halloween wood cutout because I only wanted the decorative frame from it.
Then, I used a piece of sandpaper to smooth out the inner edge of the decorative frame. Next, I glued the paint sticks onto the front of the Dollar Tree canvas and got ready to stain them.
I used a mixture of Apple Barrel Elephant Grey and Apple Barrel Country Grey acrylic paint with a bit of water to stain the paint sticks.
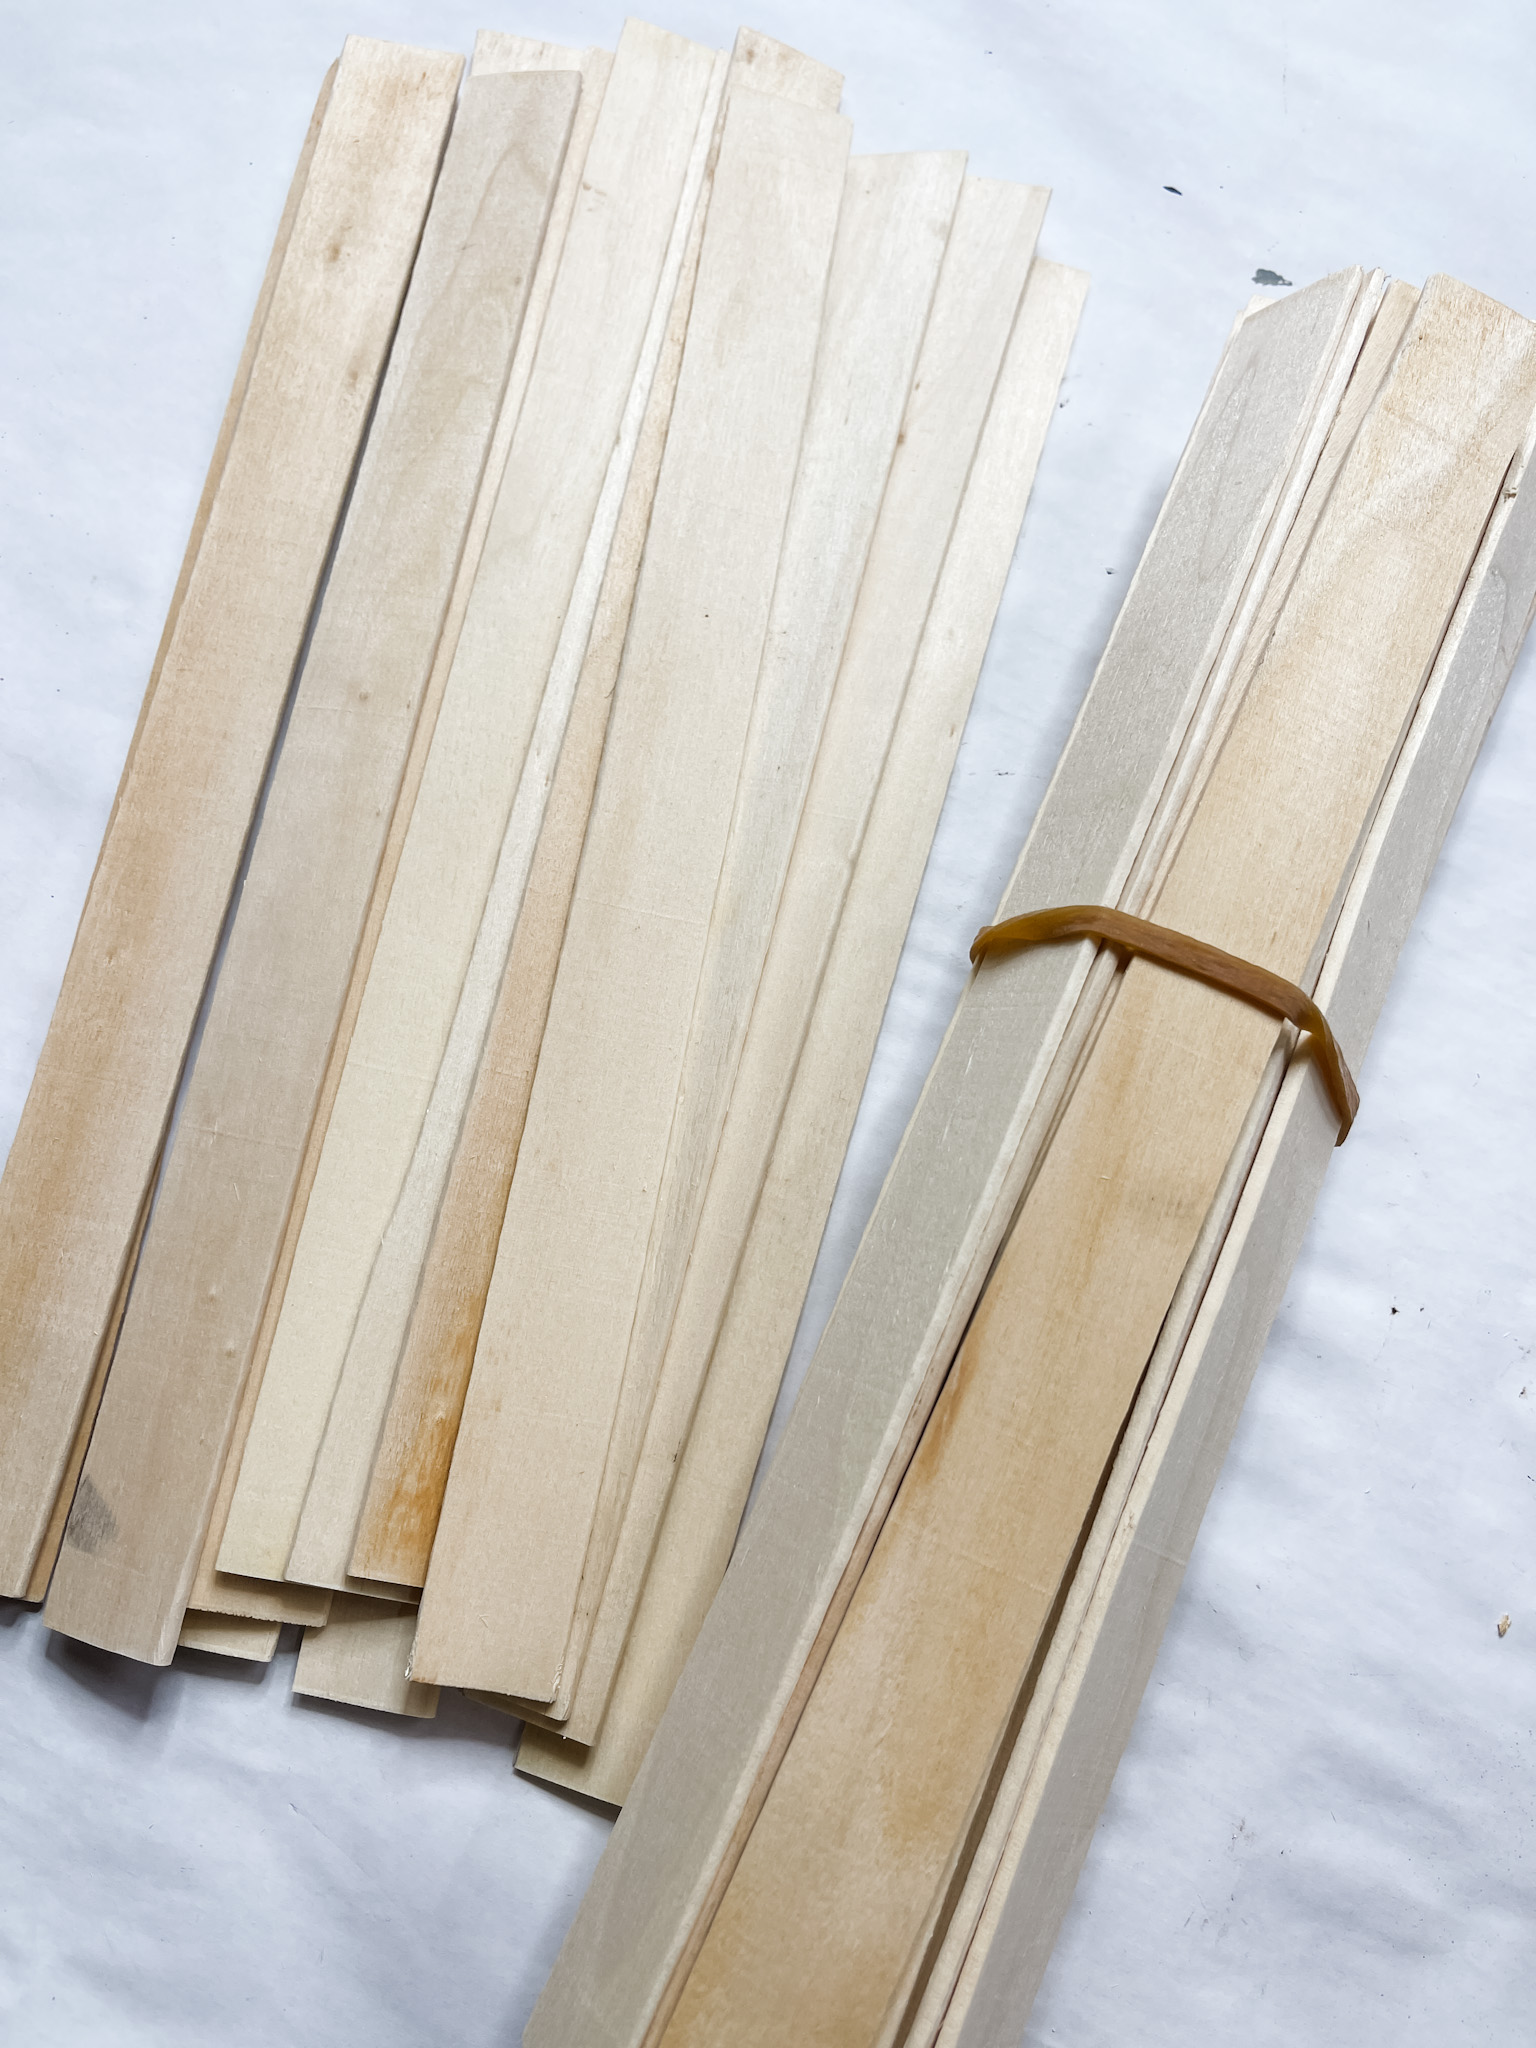
Use a paintbrush to apply the mixture to the paint sticks, then go over the sticks with a clean wet wipe to remove any excess from the surface. You’re left with stained wood!
Next, I cut the adhesive tile to fit inside the decorative wooden frame. I stained the frame with the Kilz sealing dark wax. Apply it to the wood with a paintbrush
Separate the plies of your white tissue paper. Apply a coat of Mod Podge to the oval cutout of the adhesive tile, then press one ply of tissue paper onto the Mod Podge.

Allow the Mod Podge to dry. I used my heat gun to speed up the drying process, but you can use a hairdryer on the low-cool setting if you don’t have a heat gun.
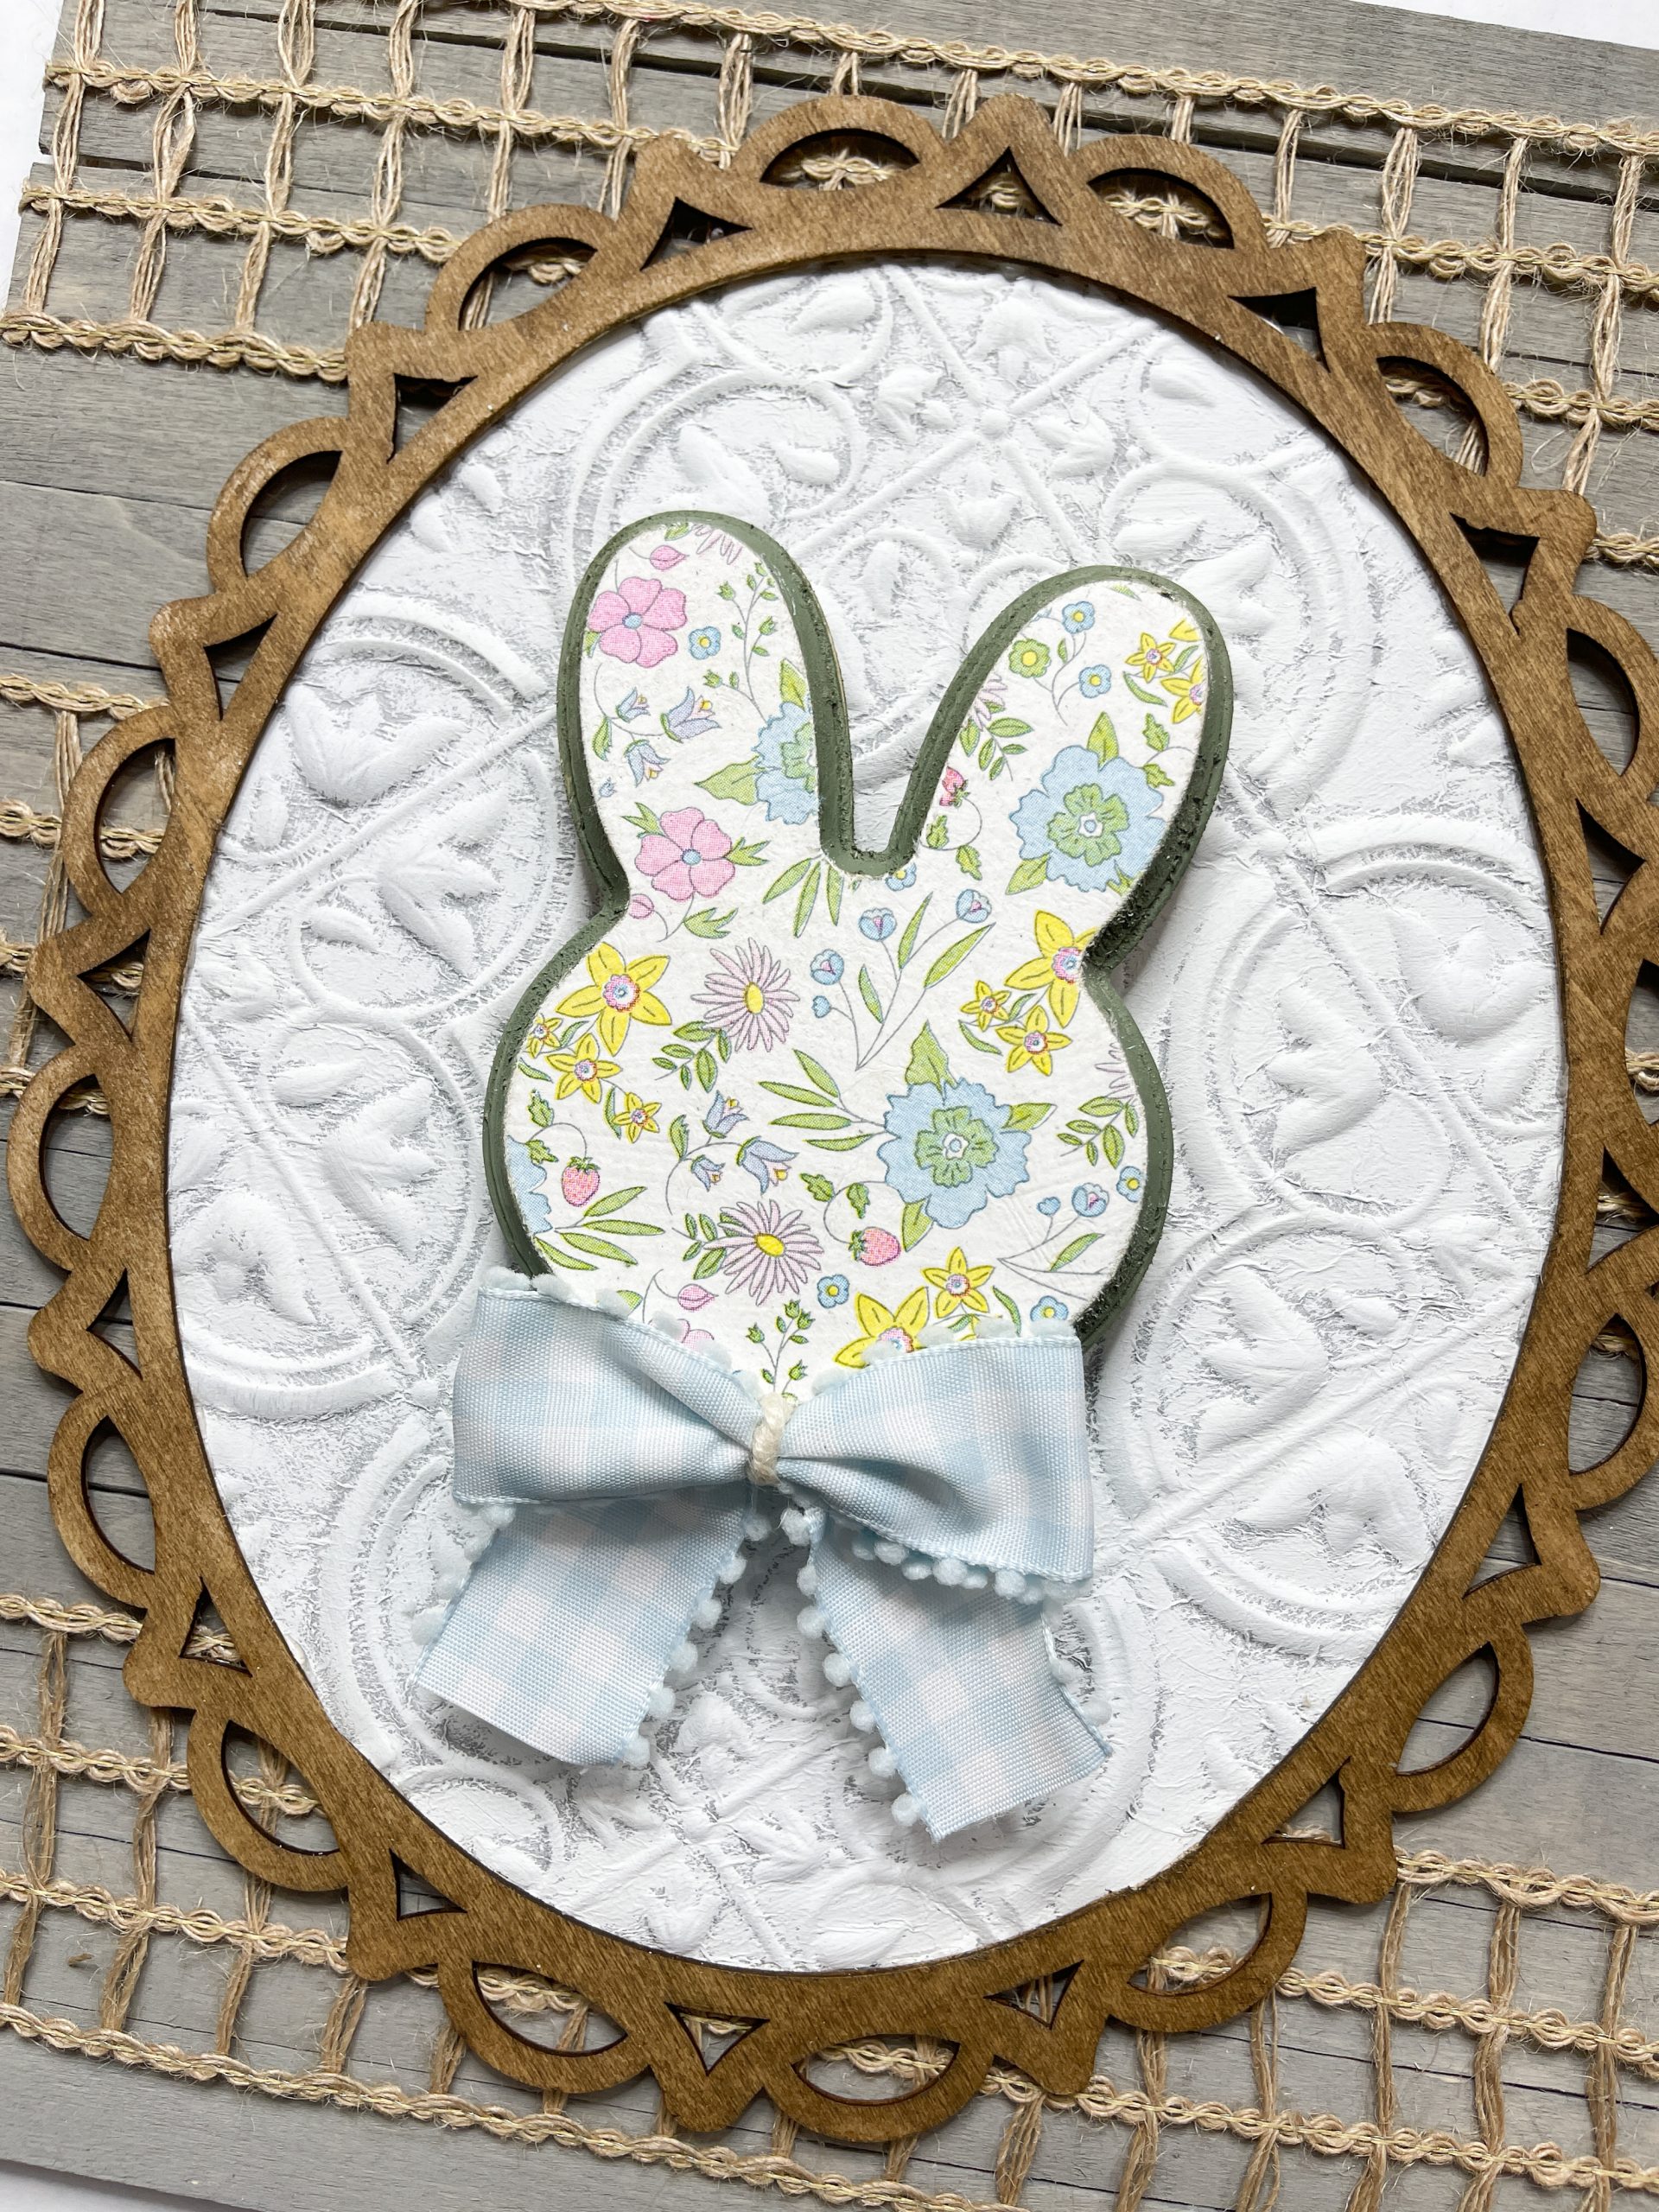
Once the Mod Podge is dry, apply a light coat of Waverly white chalk paint on the tile. You’re creating the textured, vintage feel for this project with these steps.
Again, I used my heat gun to quickly dry the paint. Then, I glued the tile cutout to the wooden decorative frame.
Bring it all together
Cut three strips of the lattice ribbon and glue them horizontally onto the stained paint sticks. I like to use finger protectors when gluing ribbon. You can find some good ones on Amazon!
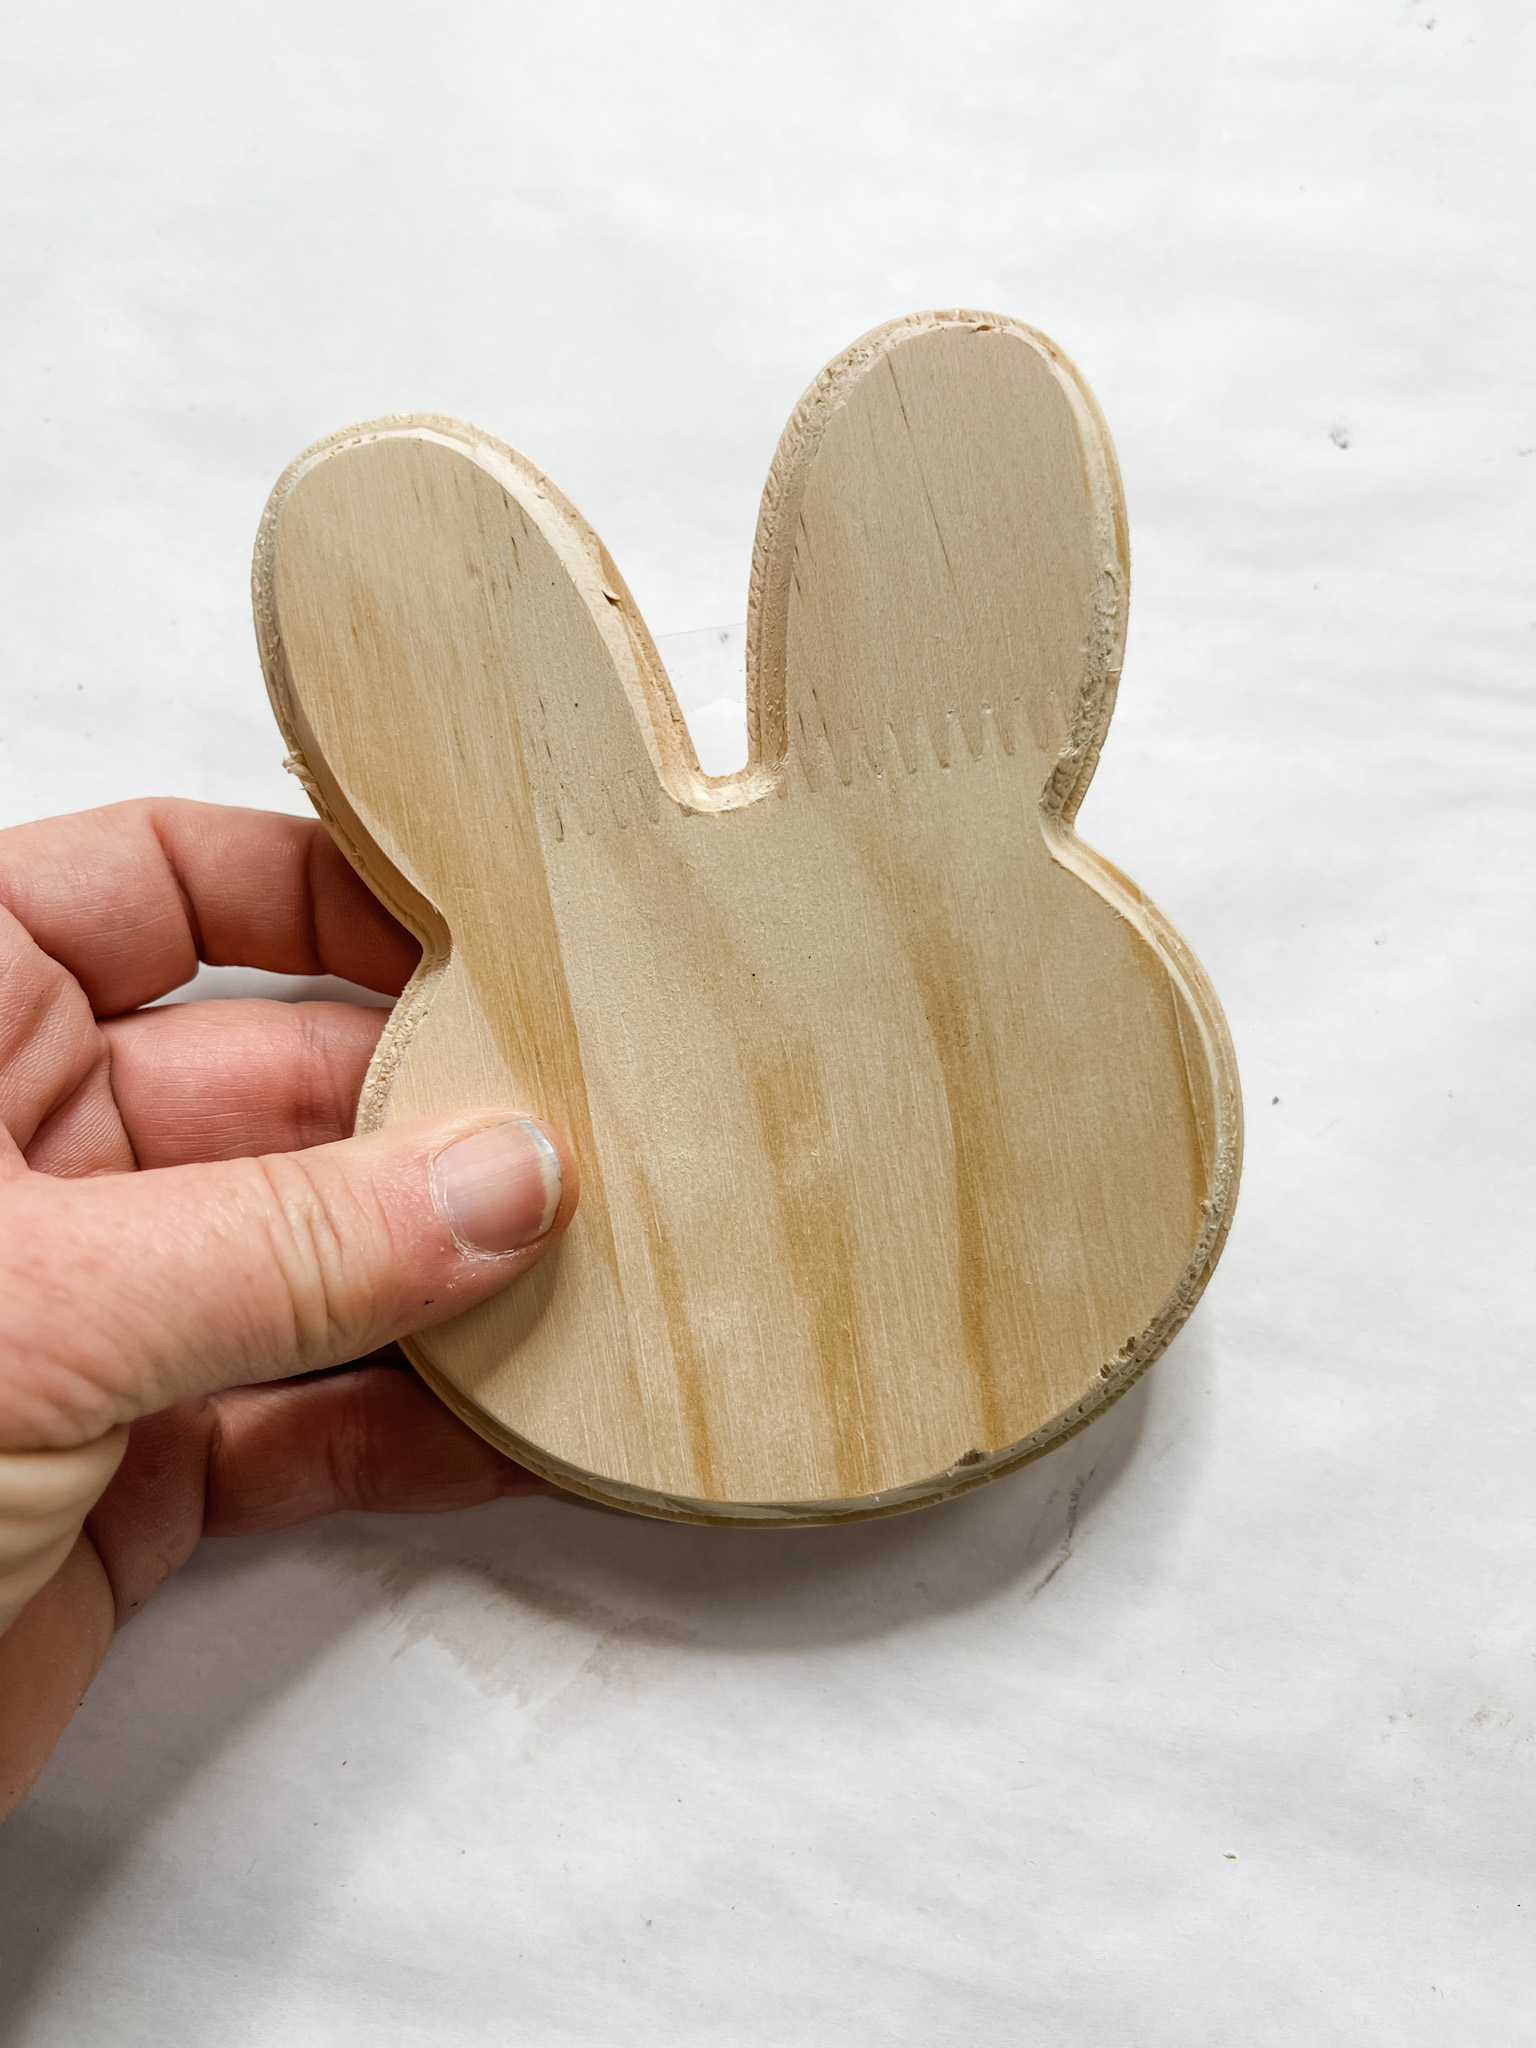
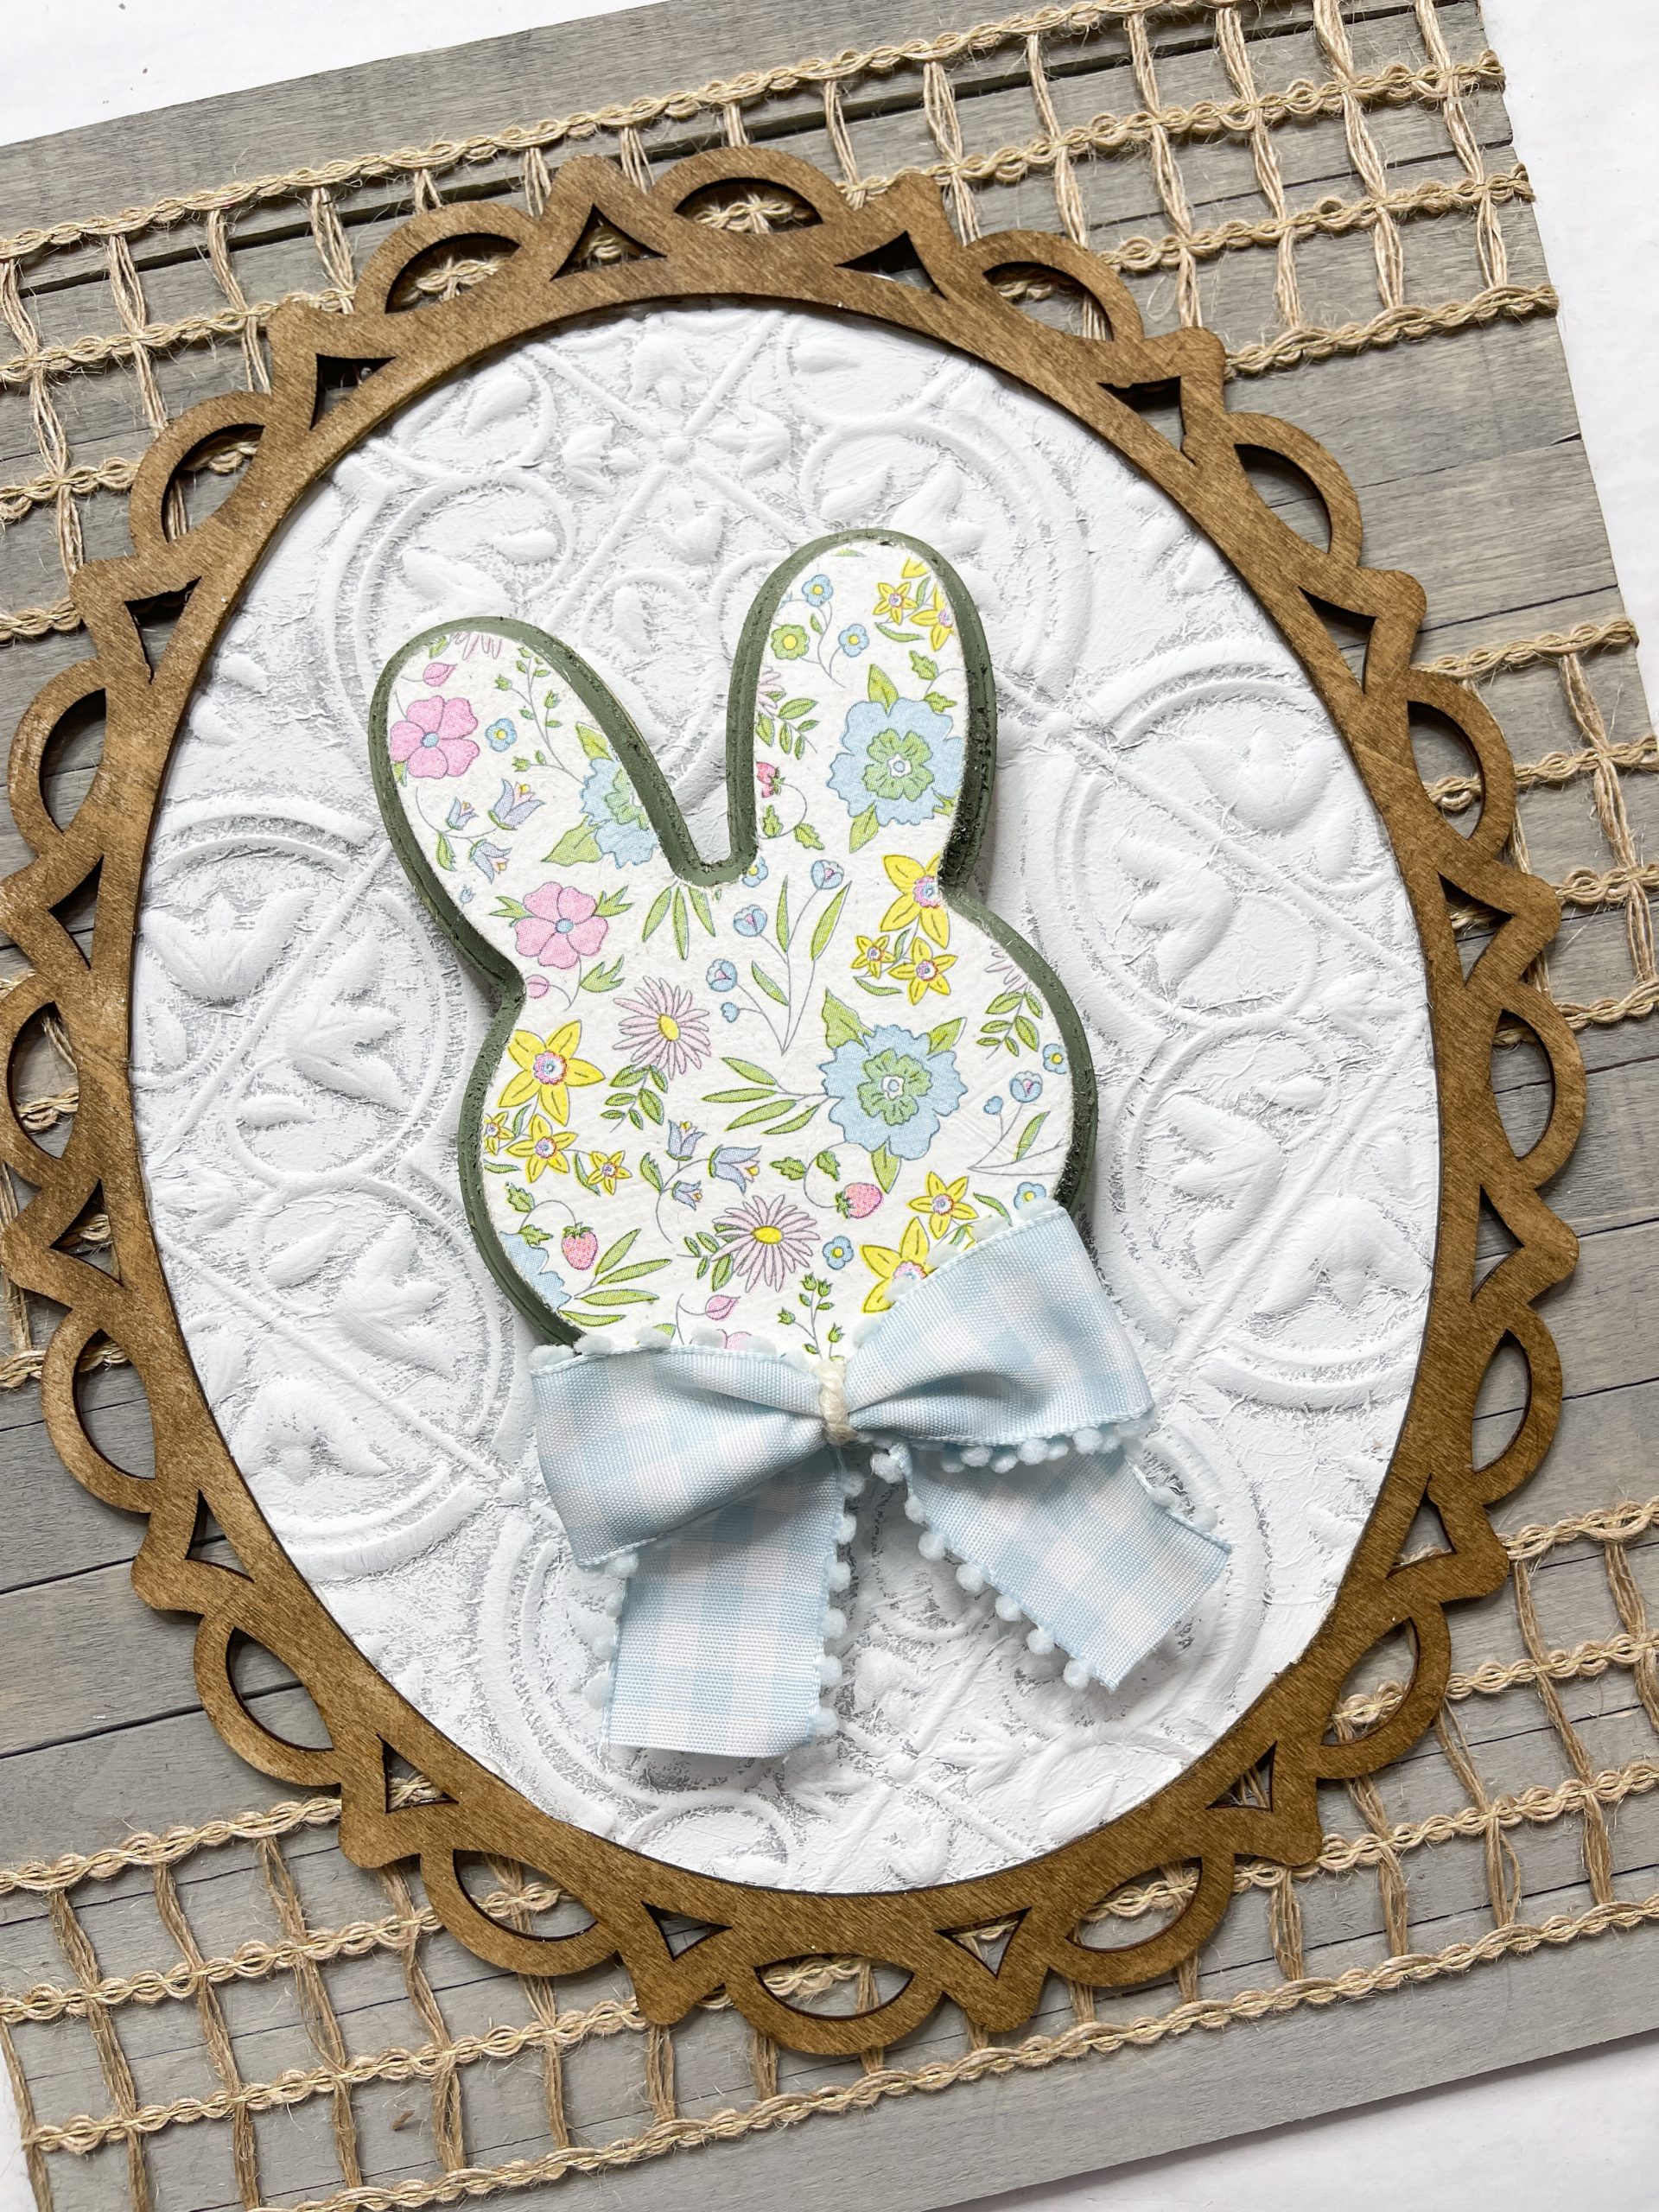
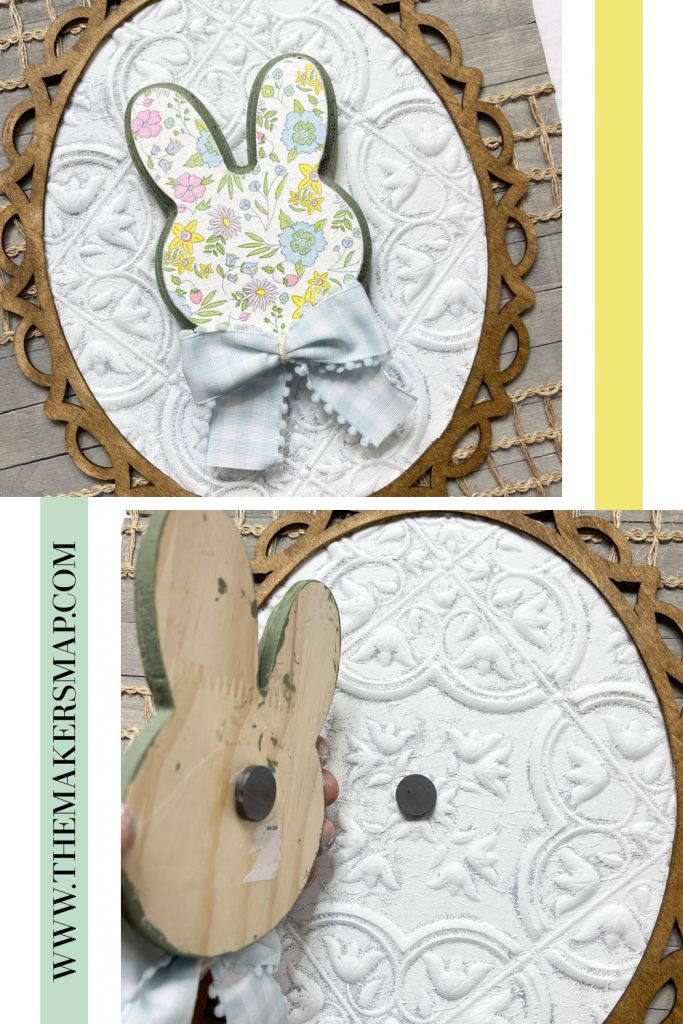
Next, I painted the outer edge of the Dollar Tree thick wood bunny with the Waverly Moss Chalk Paint and the front of the bunny with white paint.
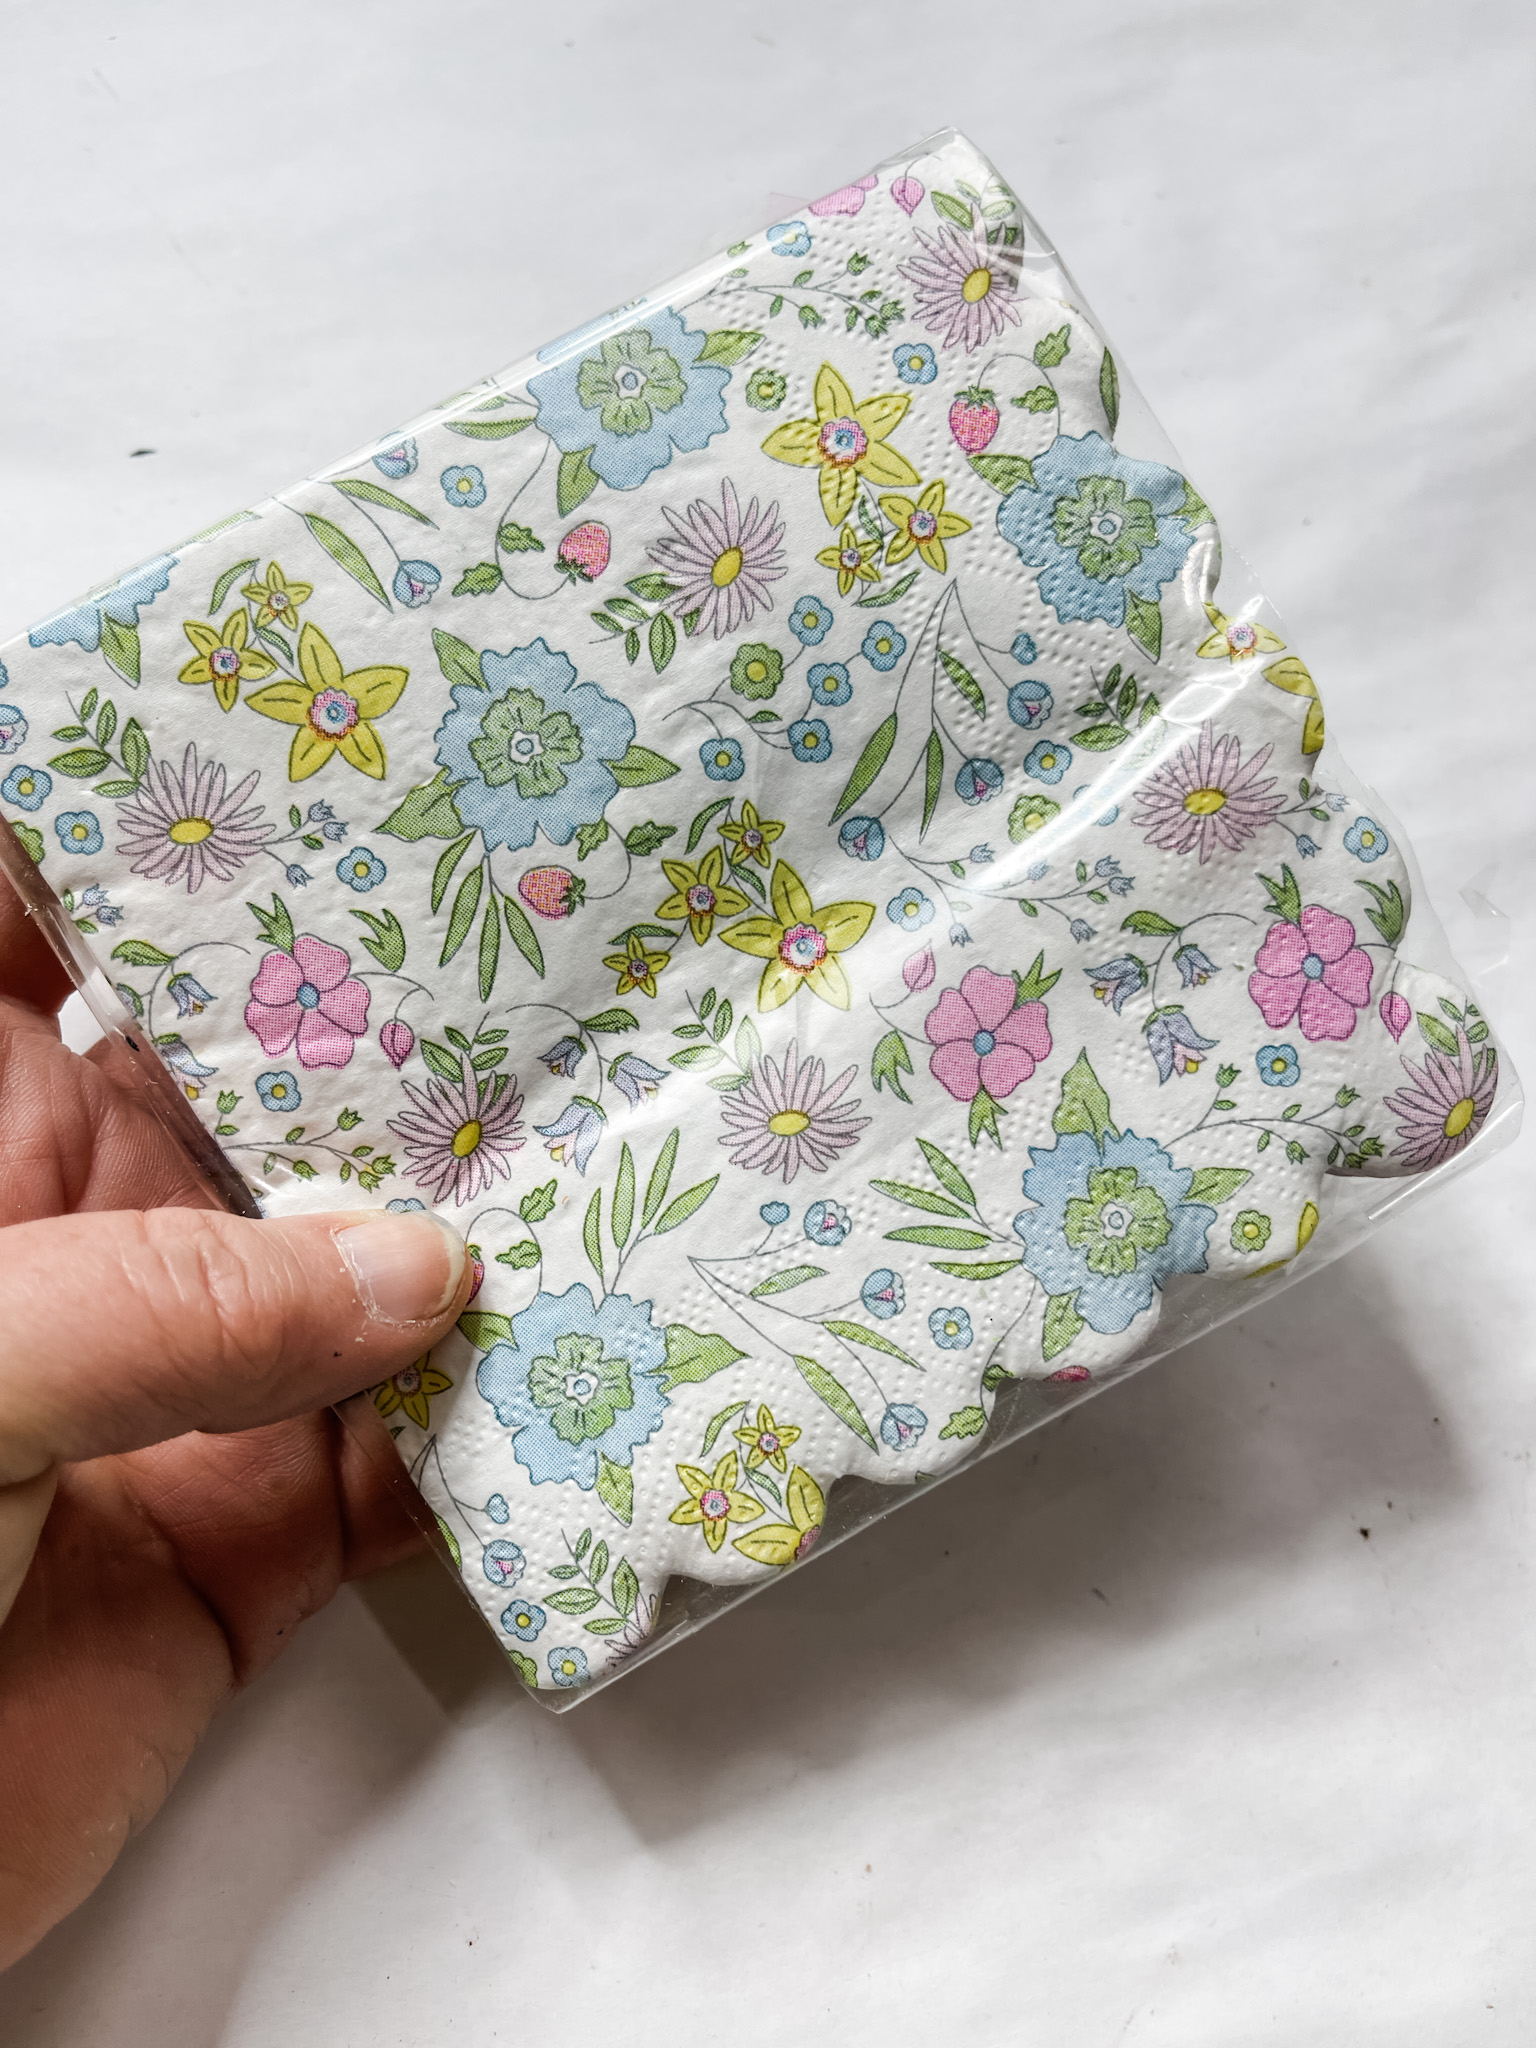
Let the paint dry completely, then apply a coat of Mod Podge over the white paint on the bunny. Separate the plies of the floral napkin and place the design ply onto the Mod Podge.
Once the Mod Podge is dry, use a piece of sandpaper to tear the excess napkin from the bunny. Next, I tied a little bow out of the pastel blue buffalo check ribbon and secure it with white twine.
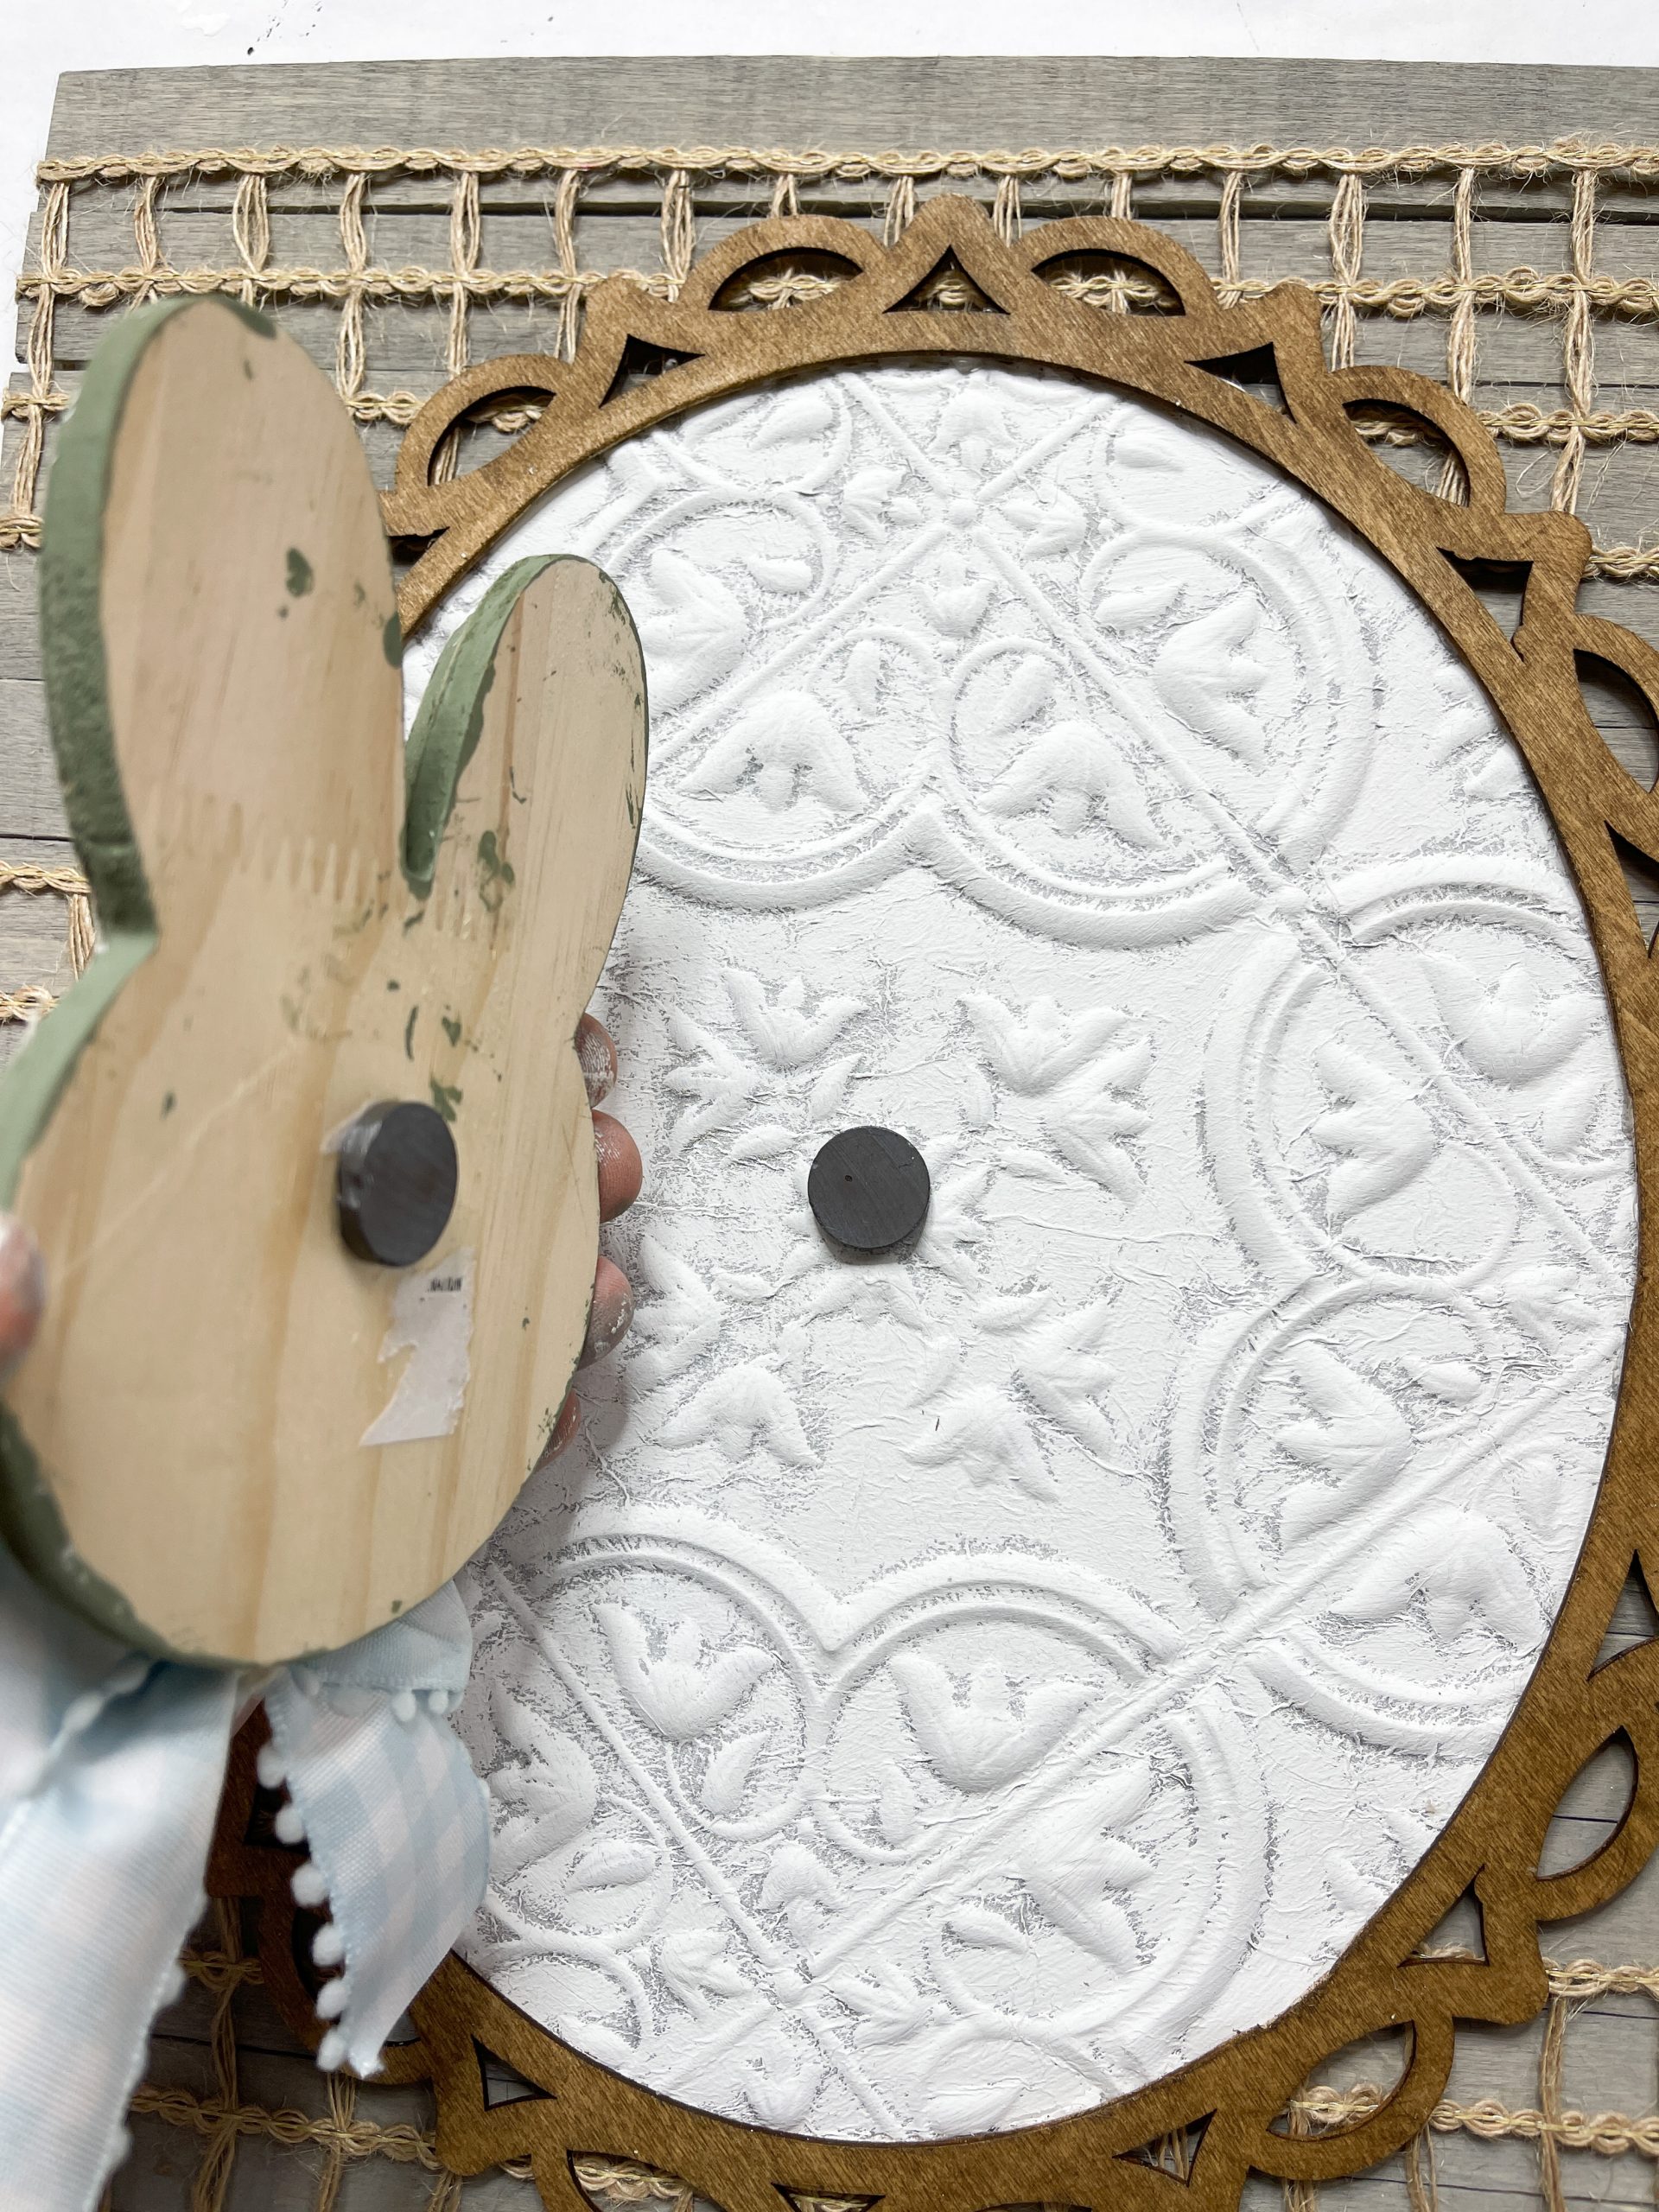
I used hot glue to secure the little bow to the “neck” of the bunny. Then, I used E6000 glue to secure the magnetic button to the adhesive tile and the back of the wooden bunny.
Lastly, I glued the decorative wooden frame and adhesive tile onto the paint sticks. If you want to hang this DIY, you can attach a hanger or glue a paint stick to the back of the sign to hook on a nail.
I hope you enjoyed this DIY Magnetic Vintage Decor as much as I did and decide to make it for yourself! If you do, I would love to see how yours turns out!
You should totally join my FREE Facebook group called On A Budget Crafts! It is a judgment-free community for DIY crafters to show off their projects and ideas.
If you loved this DIY, you might also like these DIY ideas!
- Hot Glue Mold DIY Home Decor
- Dollar Tree Trophy DIY Farmhouse Decor
- DIY Farmhouse Buffalo Check Gather Sign
- Simple Buffalo Check Farmhouse Plant Jar
Thanks for stopping by! XOXO Amber
You can also shop my ENTIRE AMAZON Favorites shop just click here! It’s packed full of all the things I use and love. Here is the supply list I highly recommend every creative have on hand!!
Would you also pin my blog for later and get on my newsletter alerts? I would love to have you join my #craftycrew.
I email alerts about new blogs like this DIY Magnetic Vintage Decor so you’re always up to date on fun, new DIY ideas!
Inspired? Leave me a comment below! I love hearing from my readers!

Join my free “ON A BUDGET CRAFTS” Facebook group!

I love this so much! How did you remove the trick or treat image from the oval frame?
She used a Drimmel hand saw to cut out the inner trick or treat design.
Absolutely gorgeous, now I know to look at different signs in another way. Watch for the beautiful borders on all signs. Thanks Amber