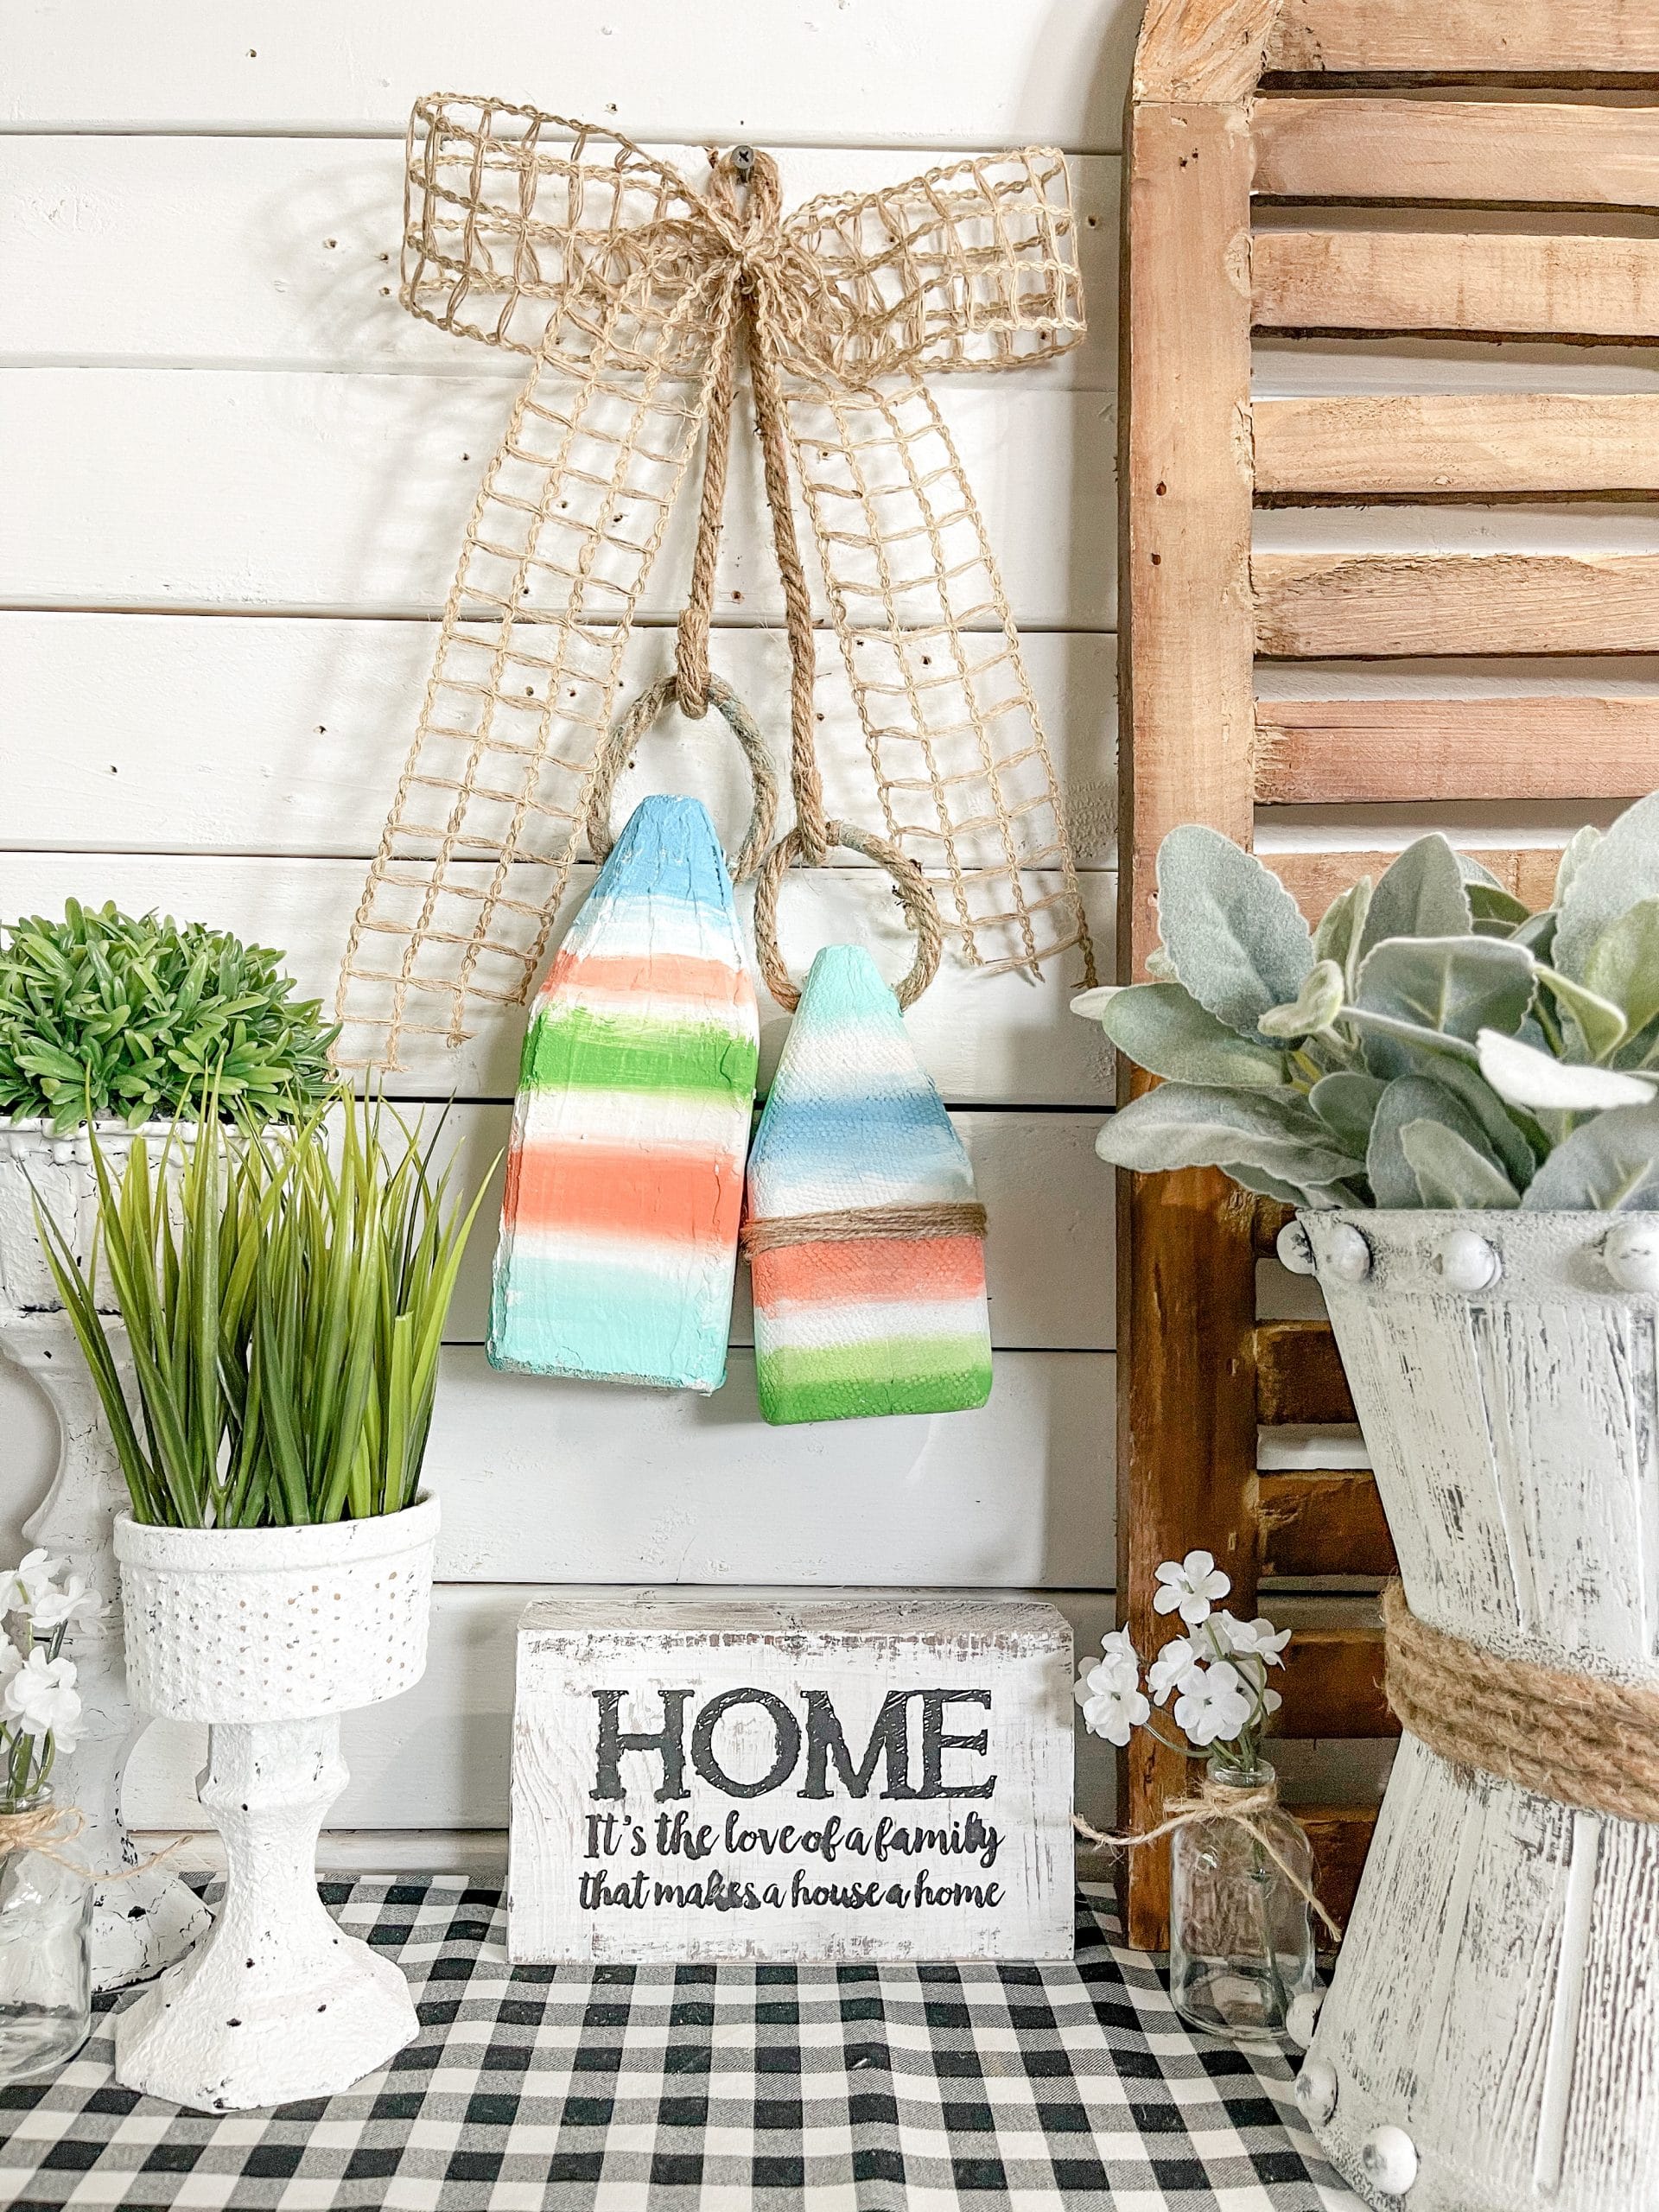
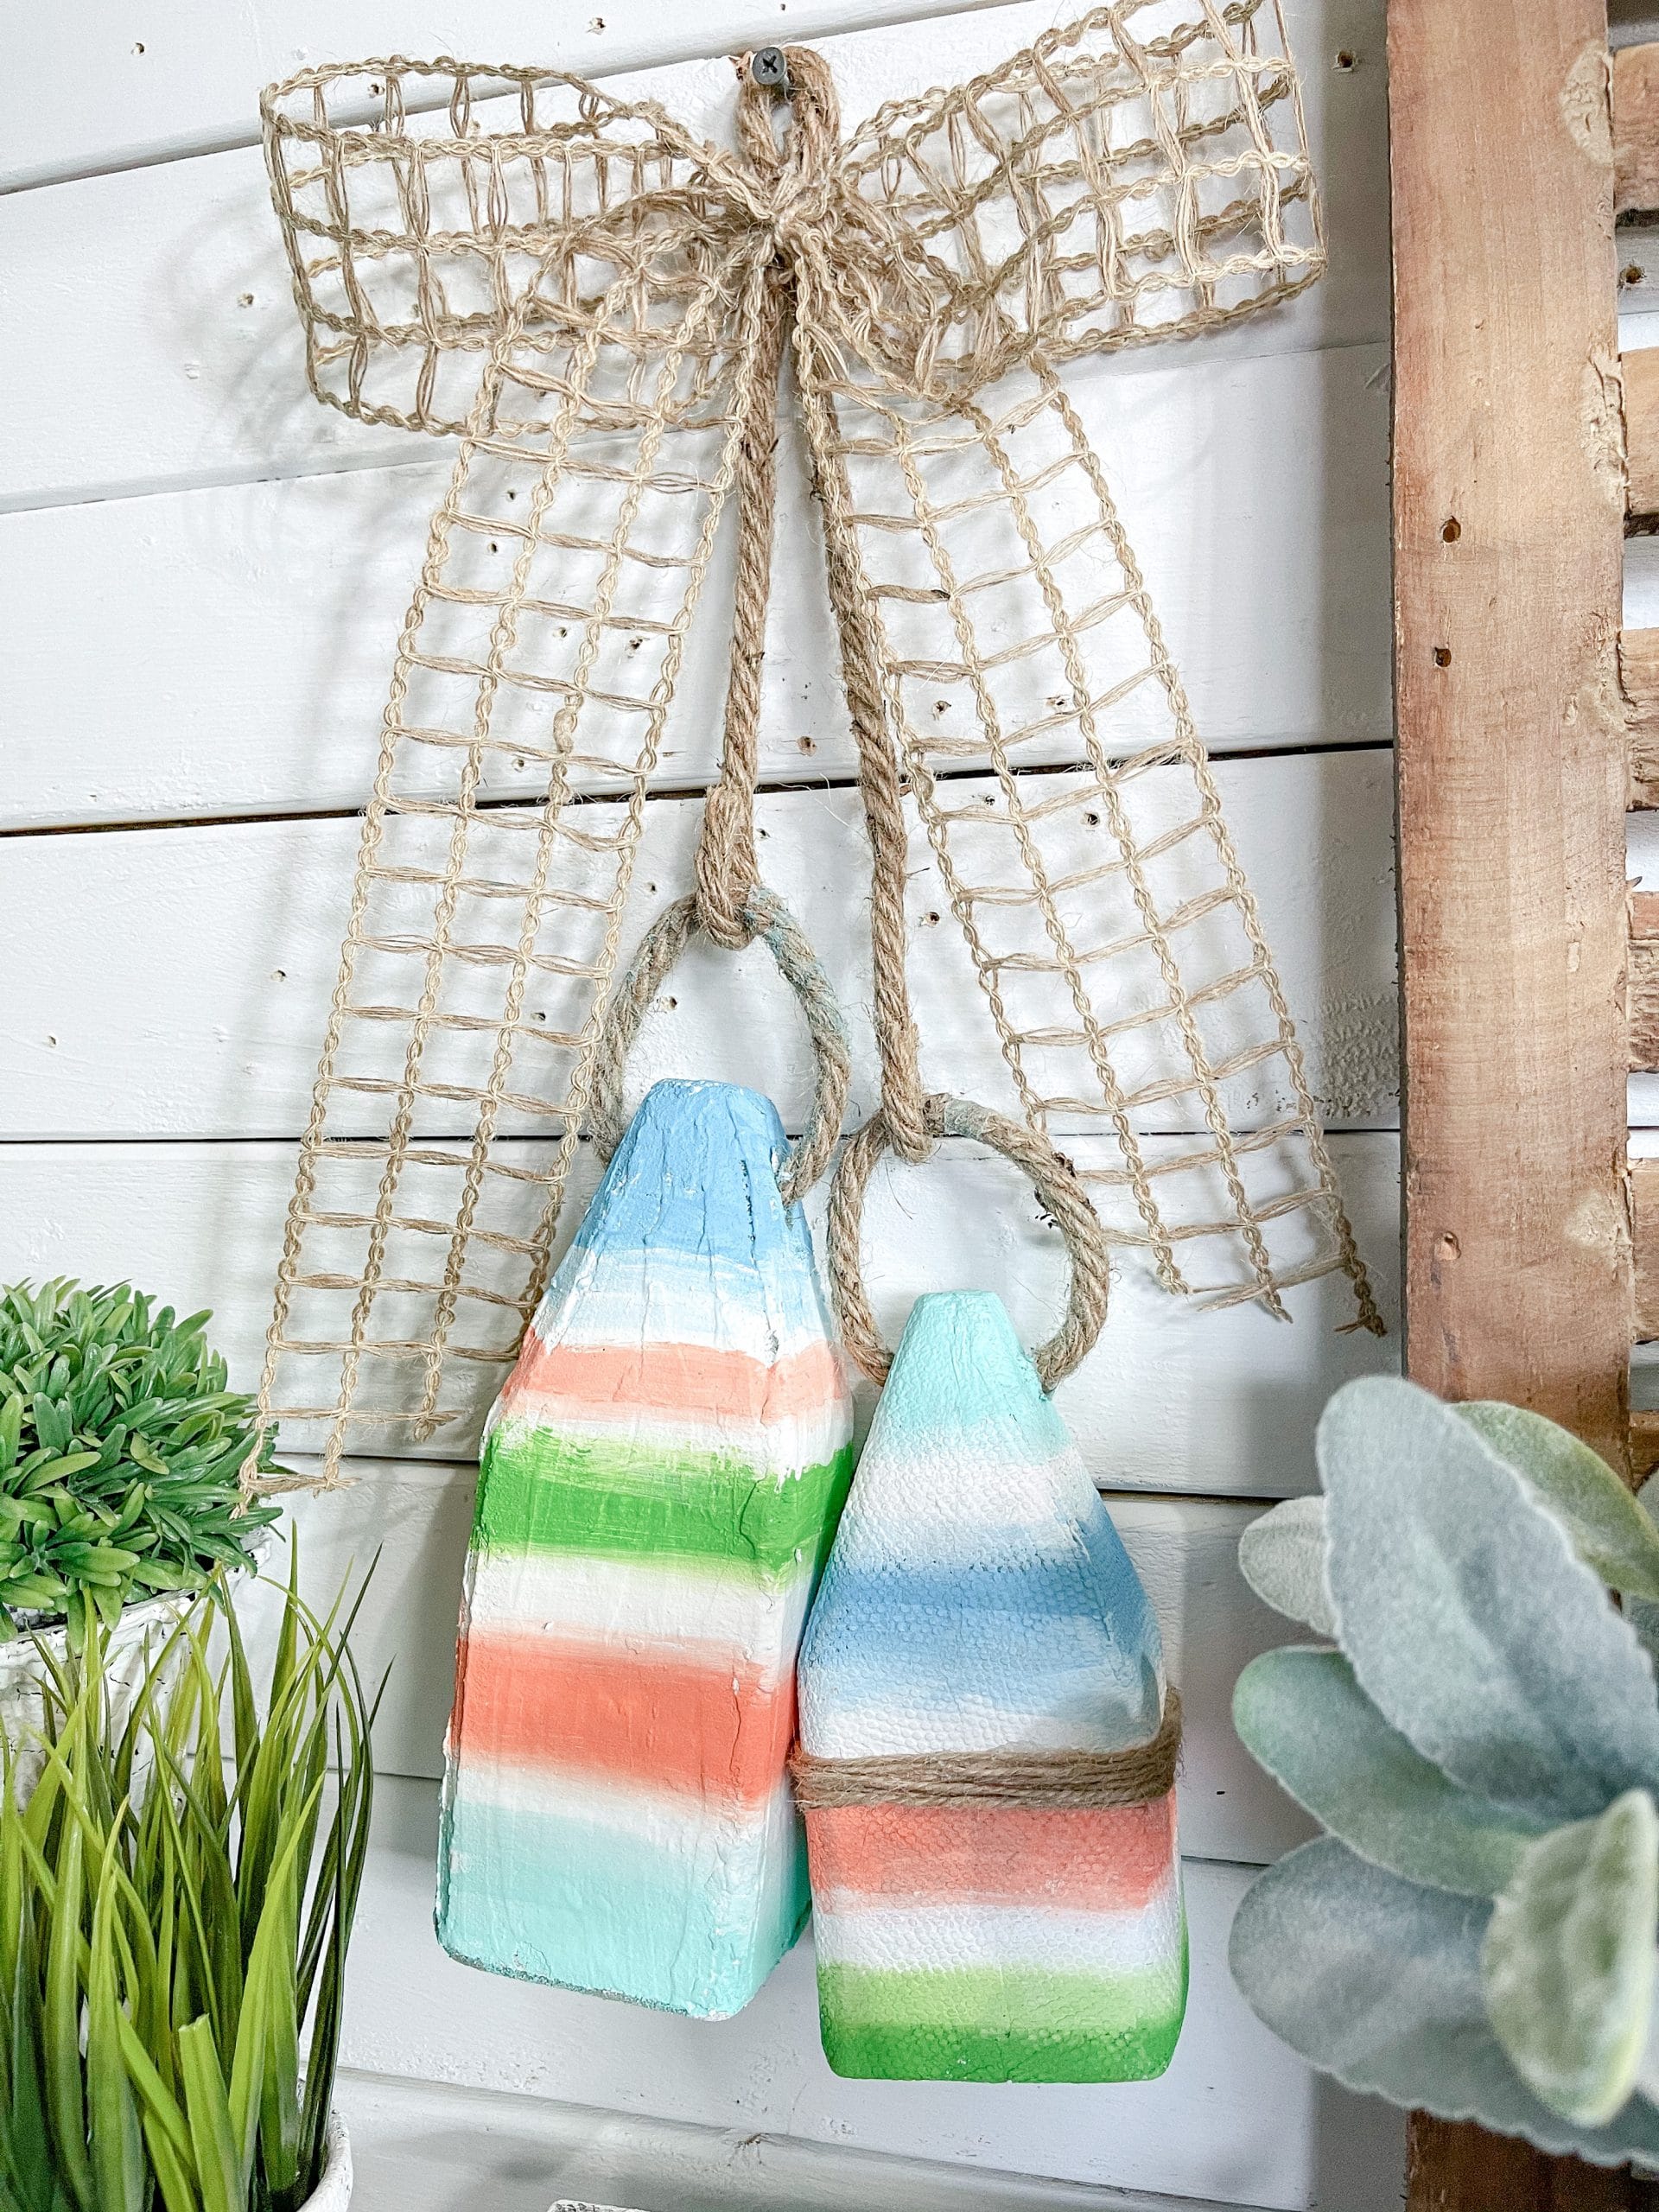
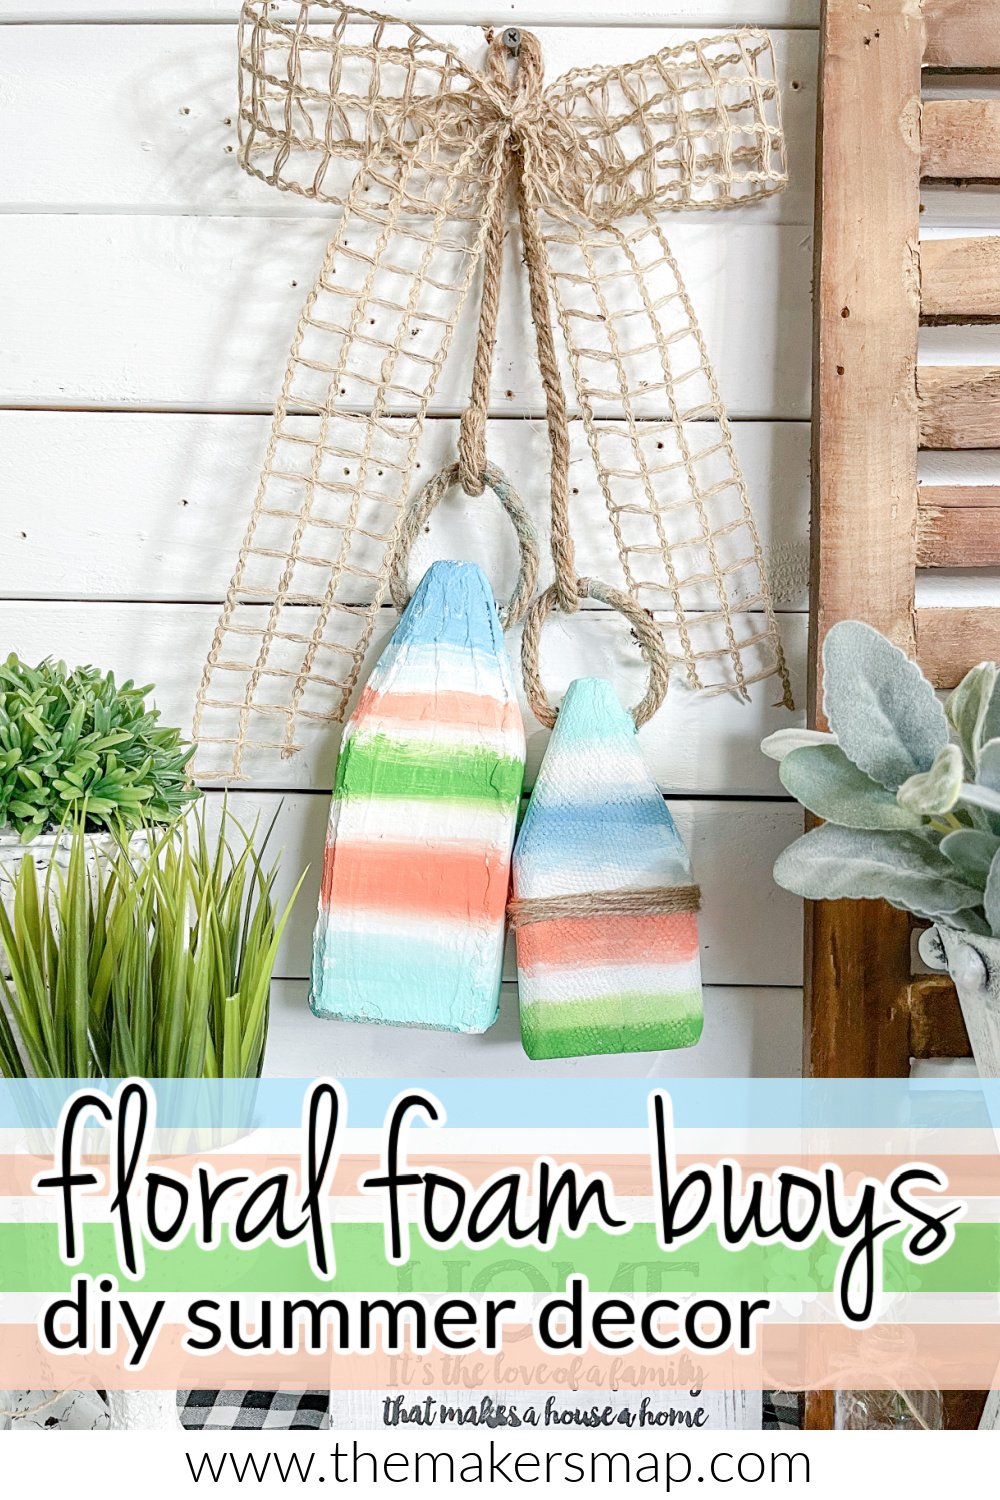
Floral Foam Buoys DIY Summer Decor
Making this Floral Foam Buoys DIY Summer Decor was so much fun because it was a learning process! I went into this project with two different ideas on how to make the DIY floral foam buoys, and I know you’re going to love this super fun summer project!
Watch the replay
I recorded the process during a LIVE video on my Facebook page. If you want to see the steps, craft along, or just join in on the fun conversations, you can watch the DIY tutorial video!
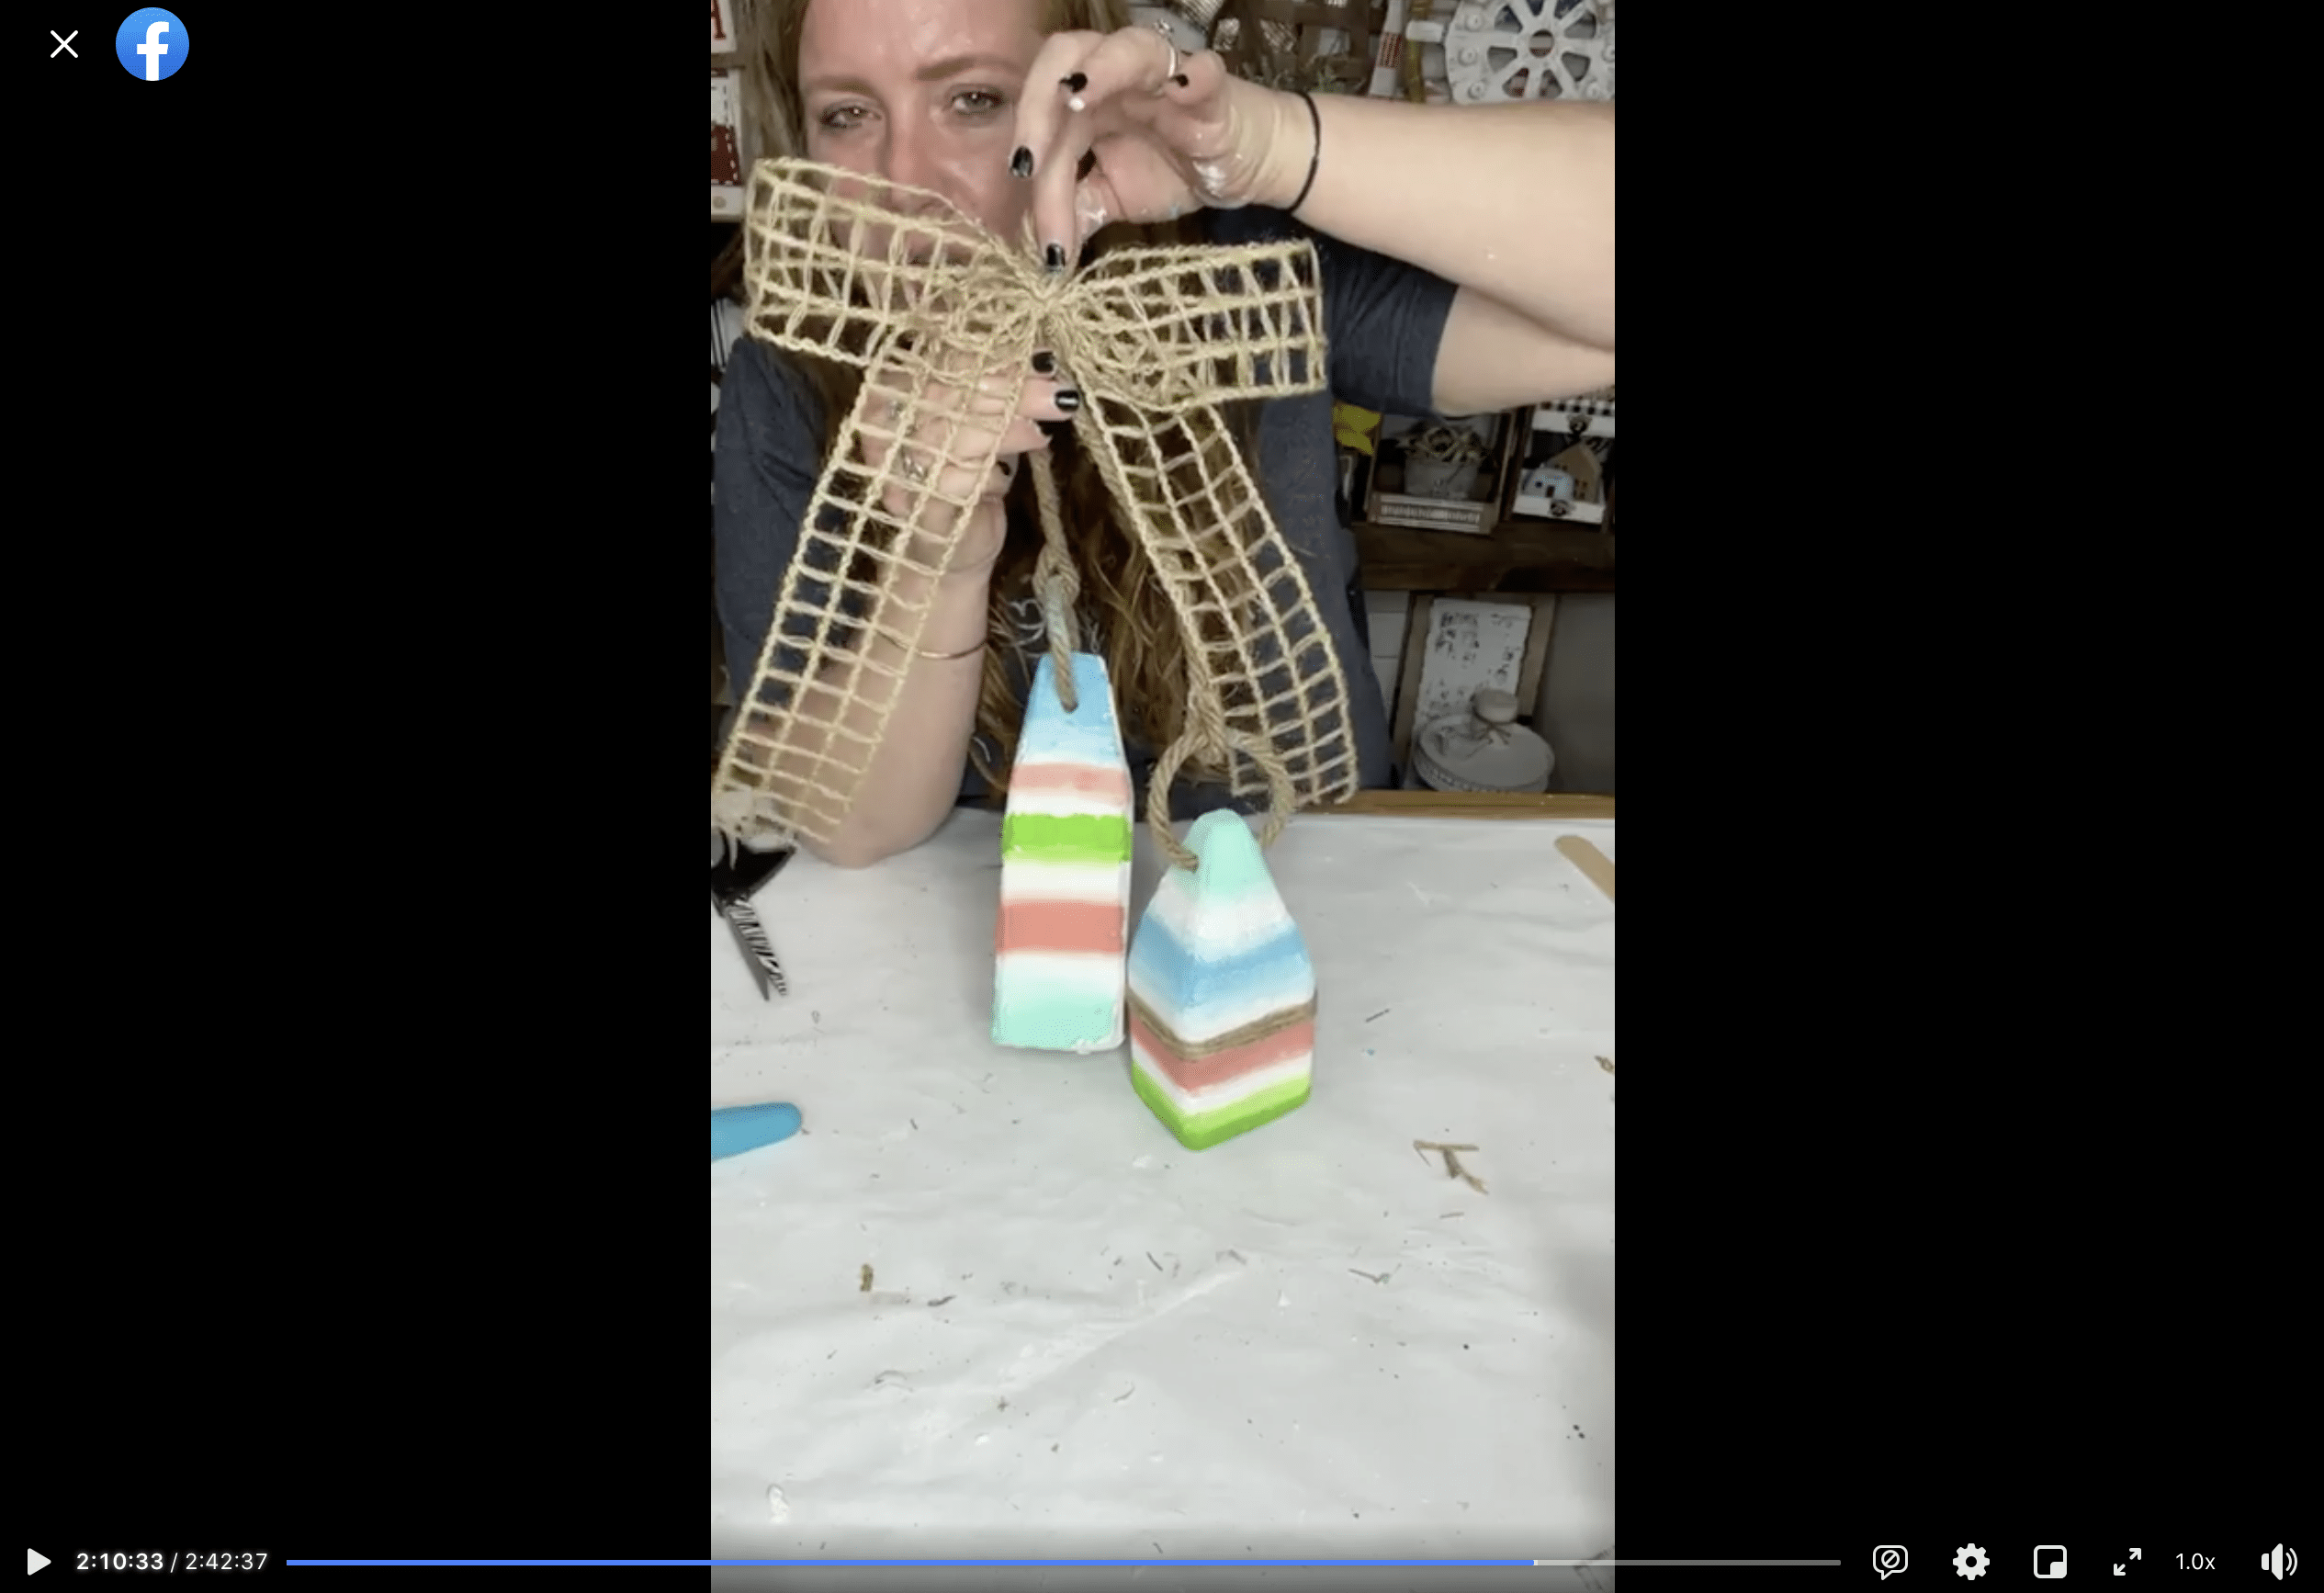
WATCH THE DIY TUTORIAL
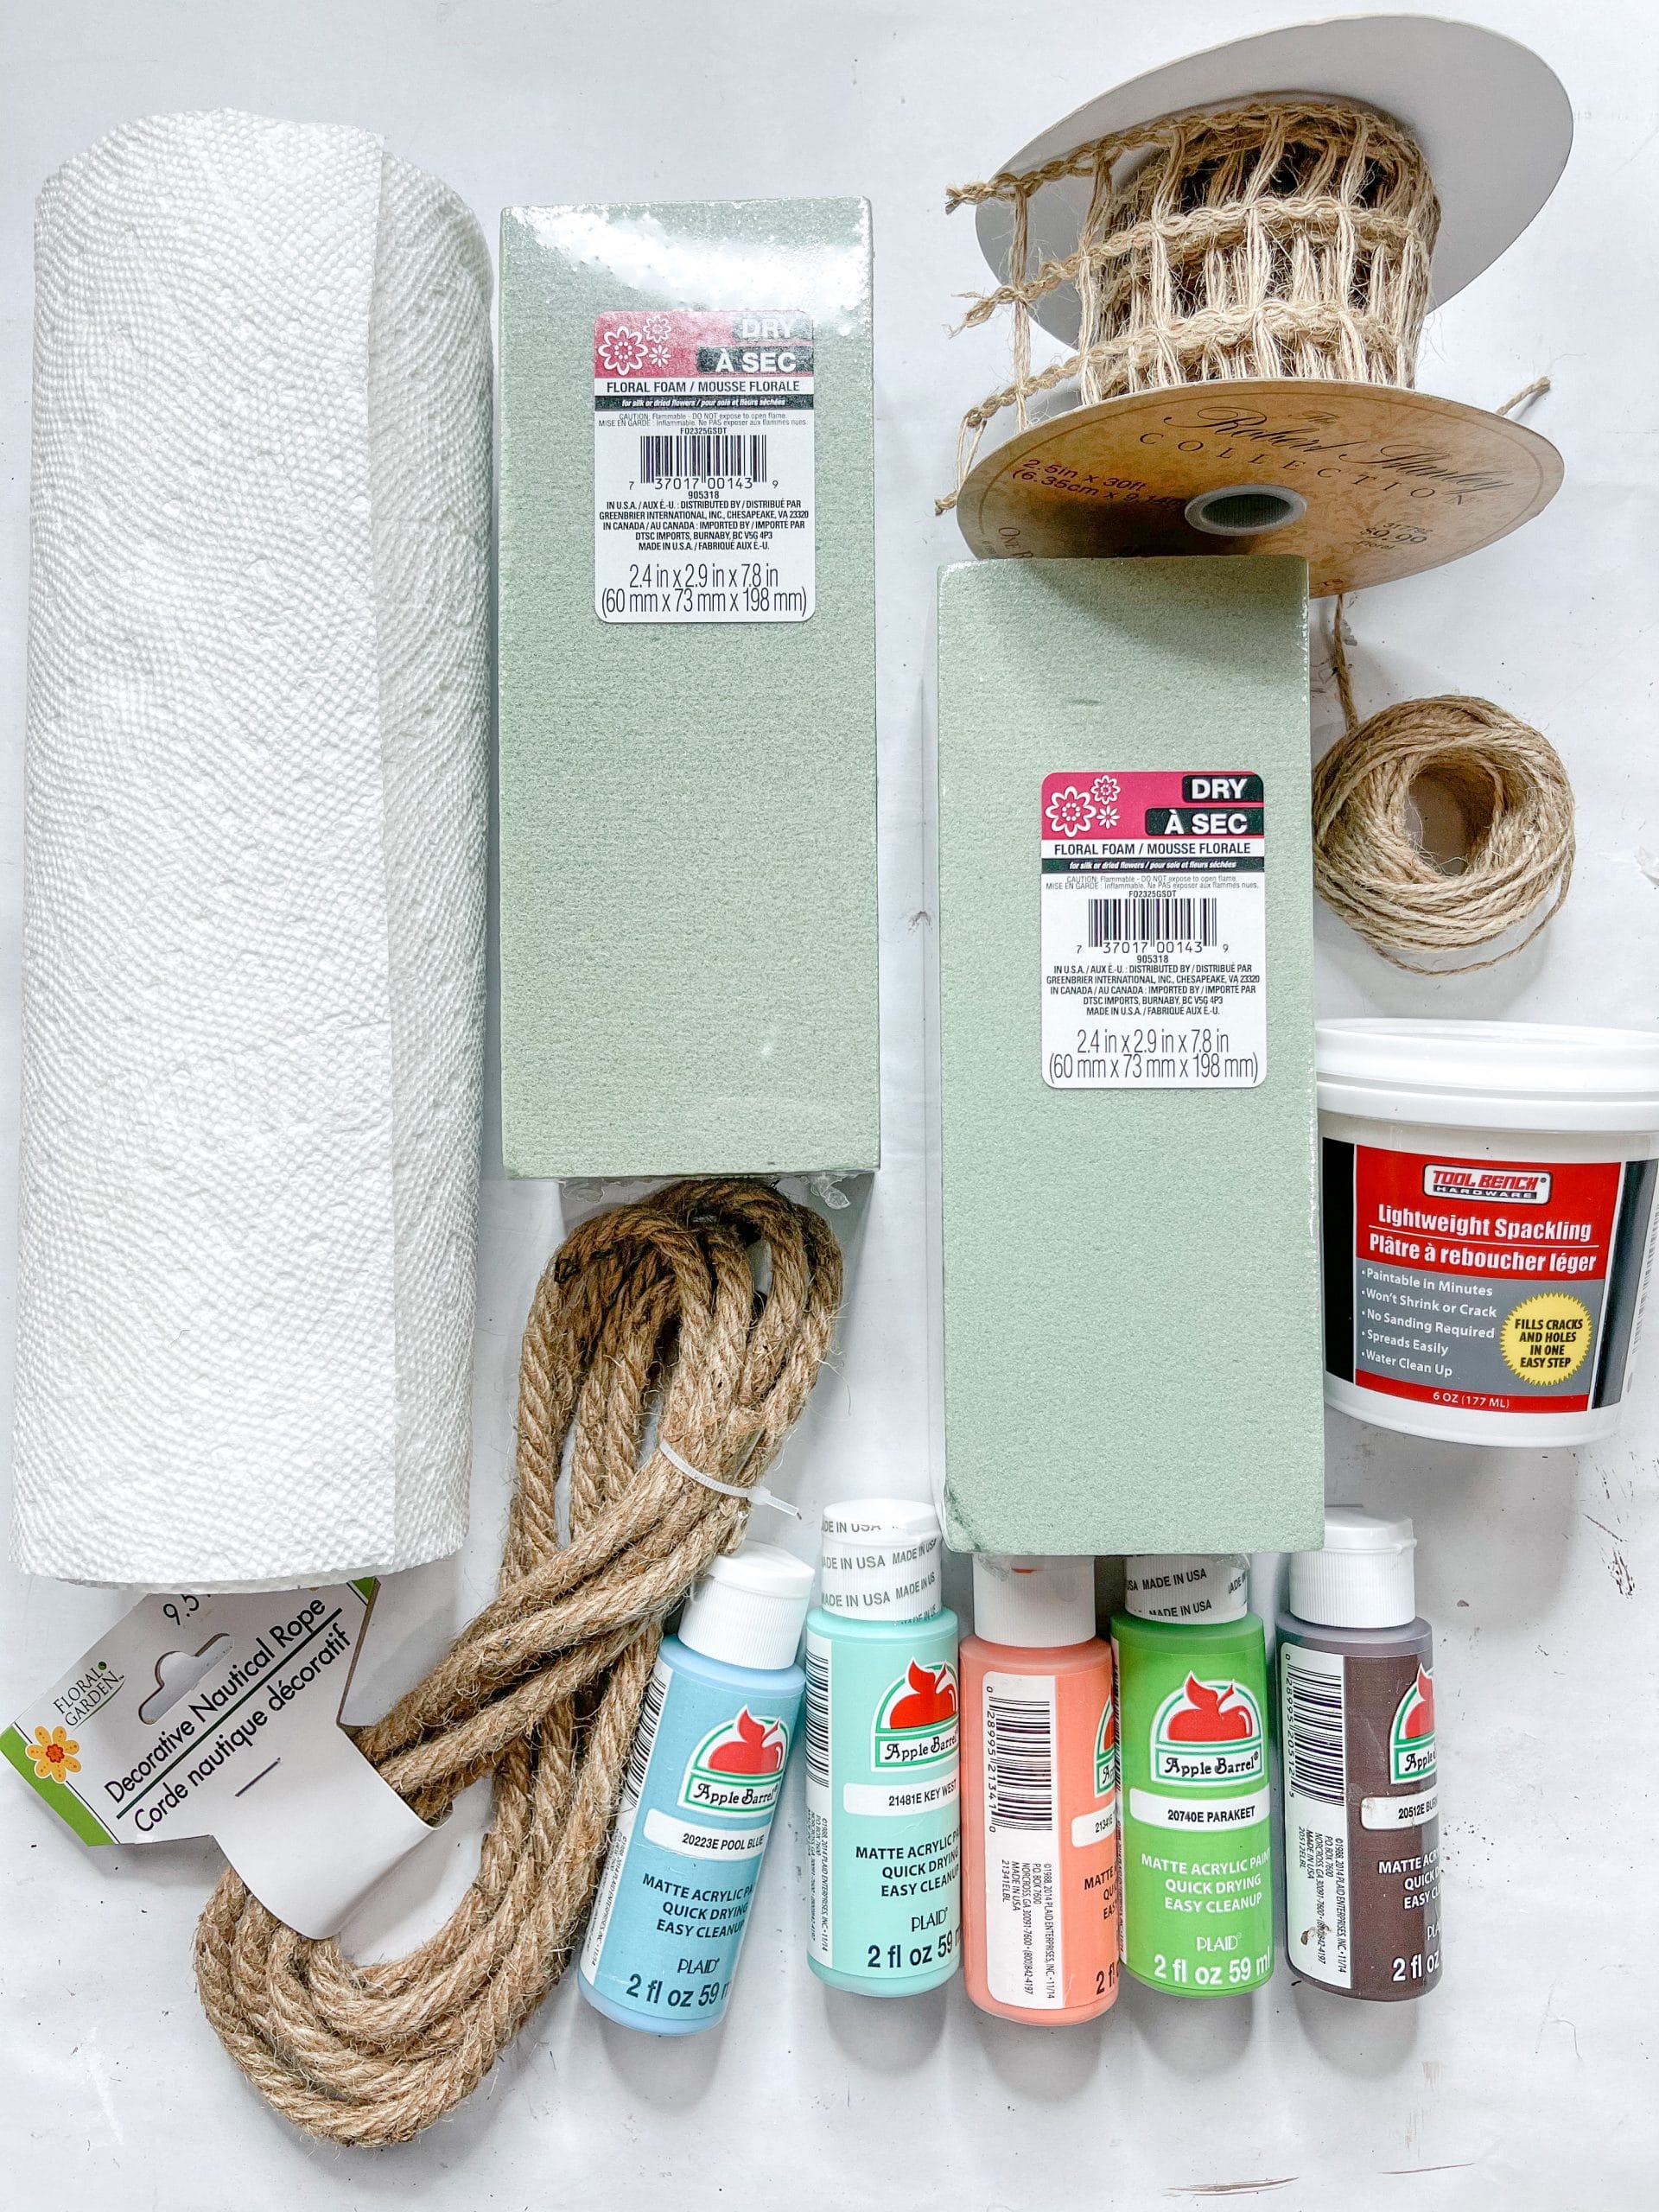
For this project, I will be using these items but you can substitute where you want.
“As an Amazon Associate, I earn from qualifying purchases.”
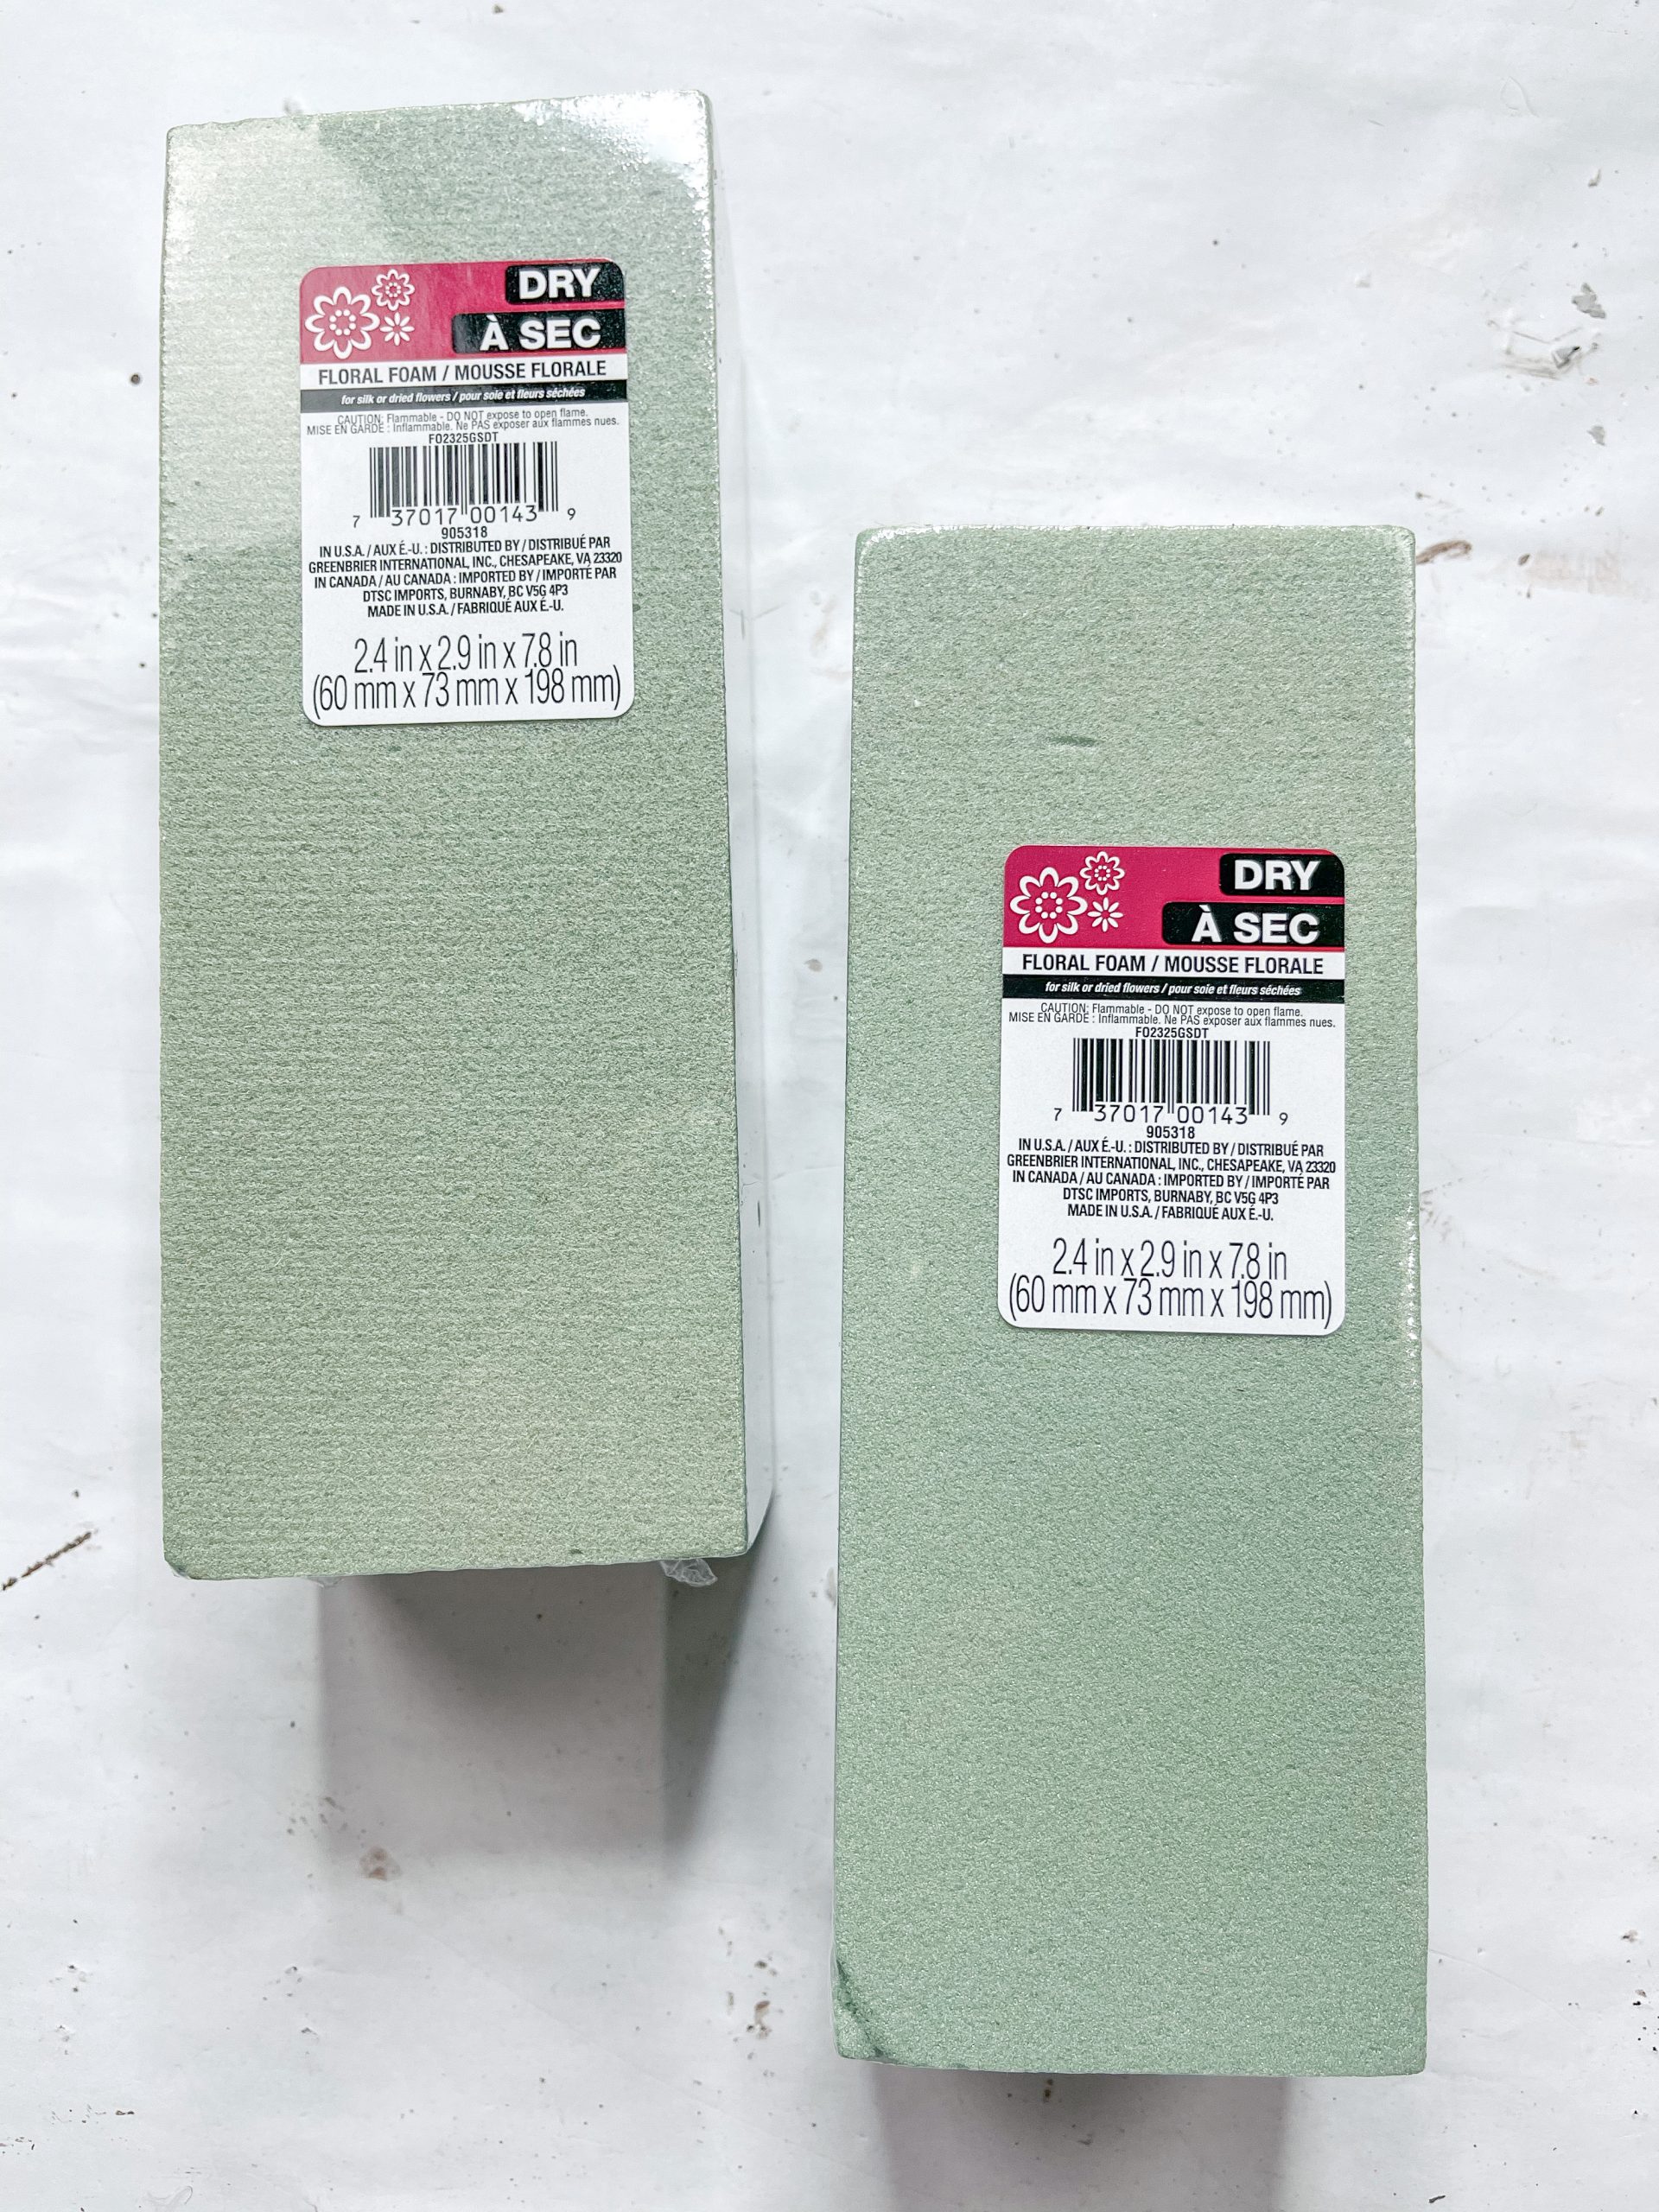
- Dollar Tree Floral Foam
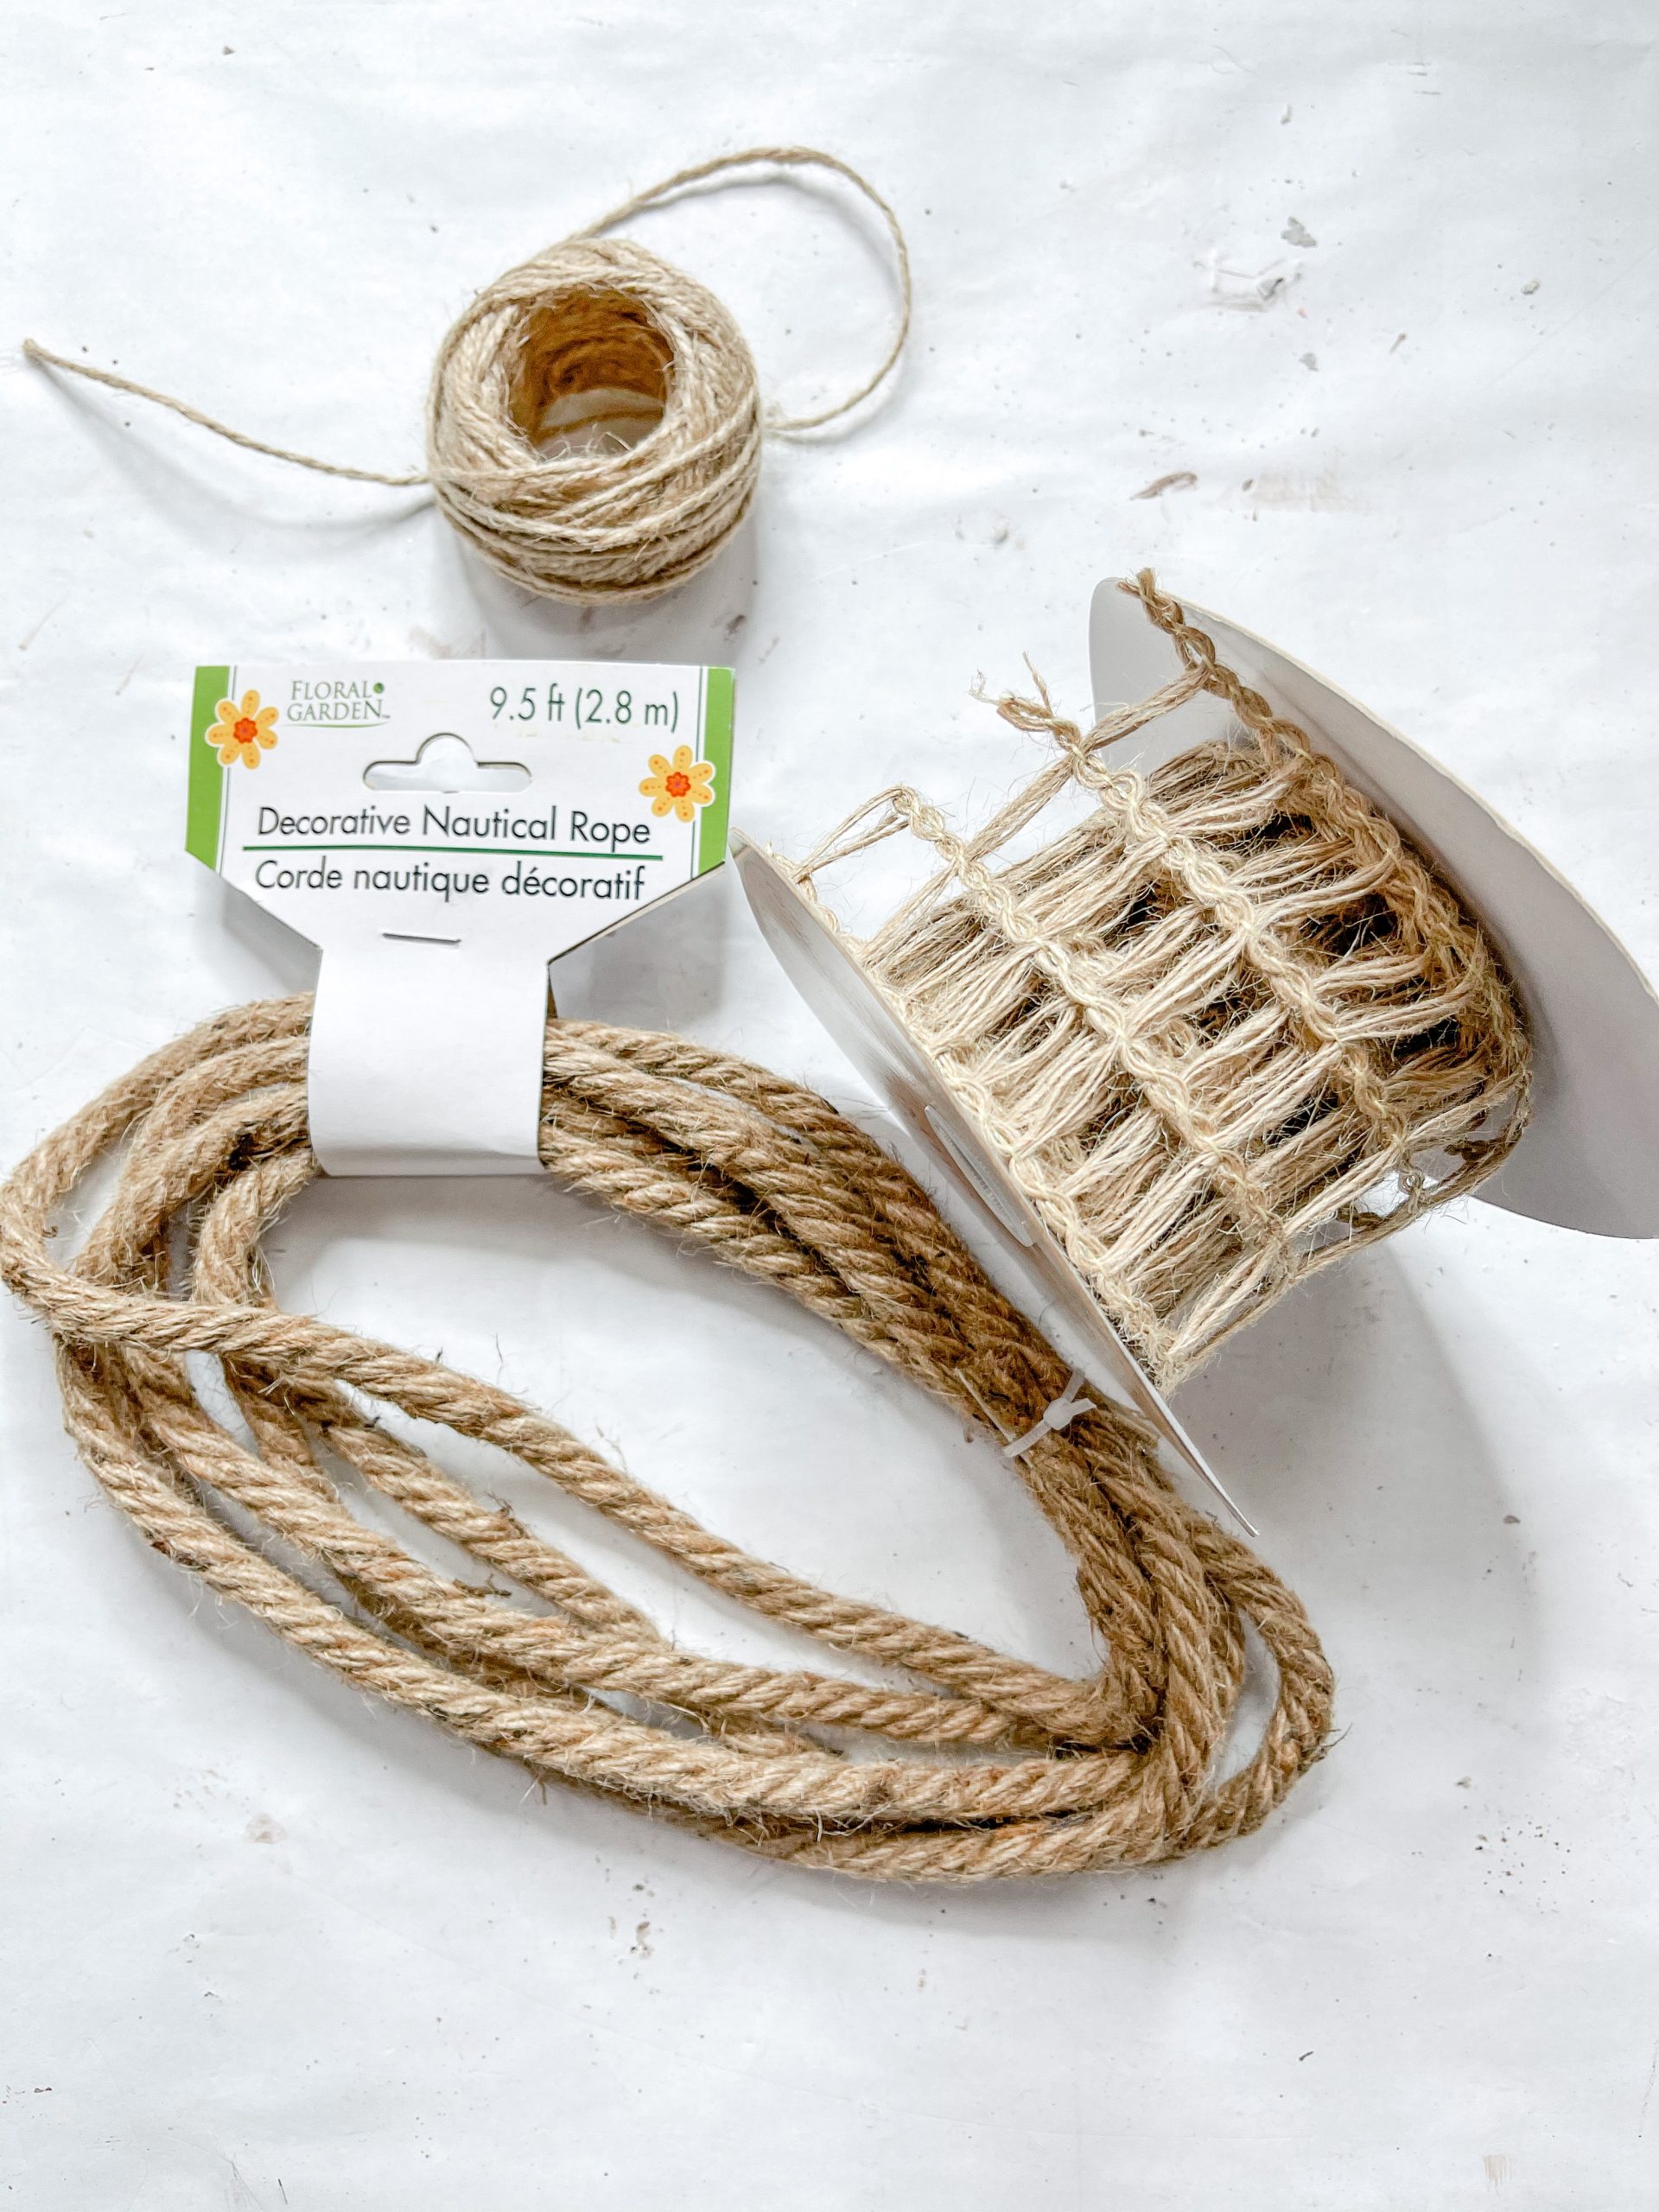
- Dollar Tree Nautical Rope
- Square lattice ribbon
- Dollar Tree Jute Twine
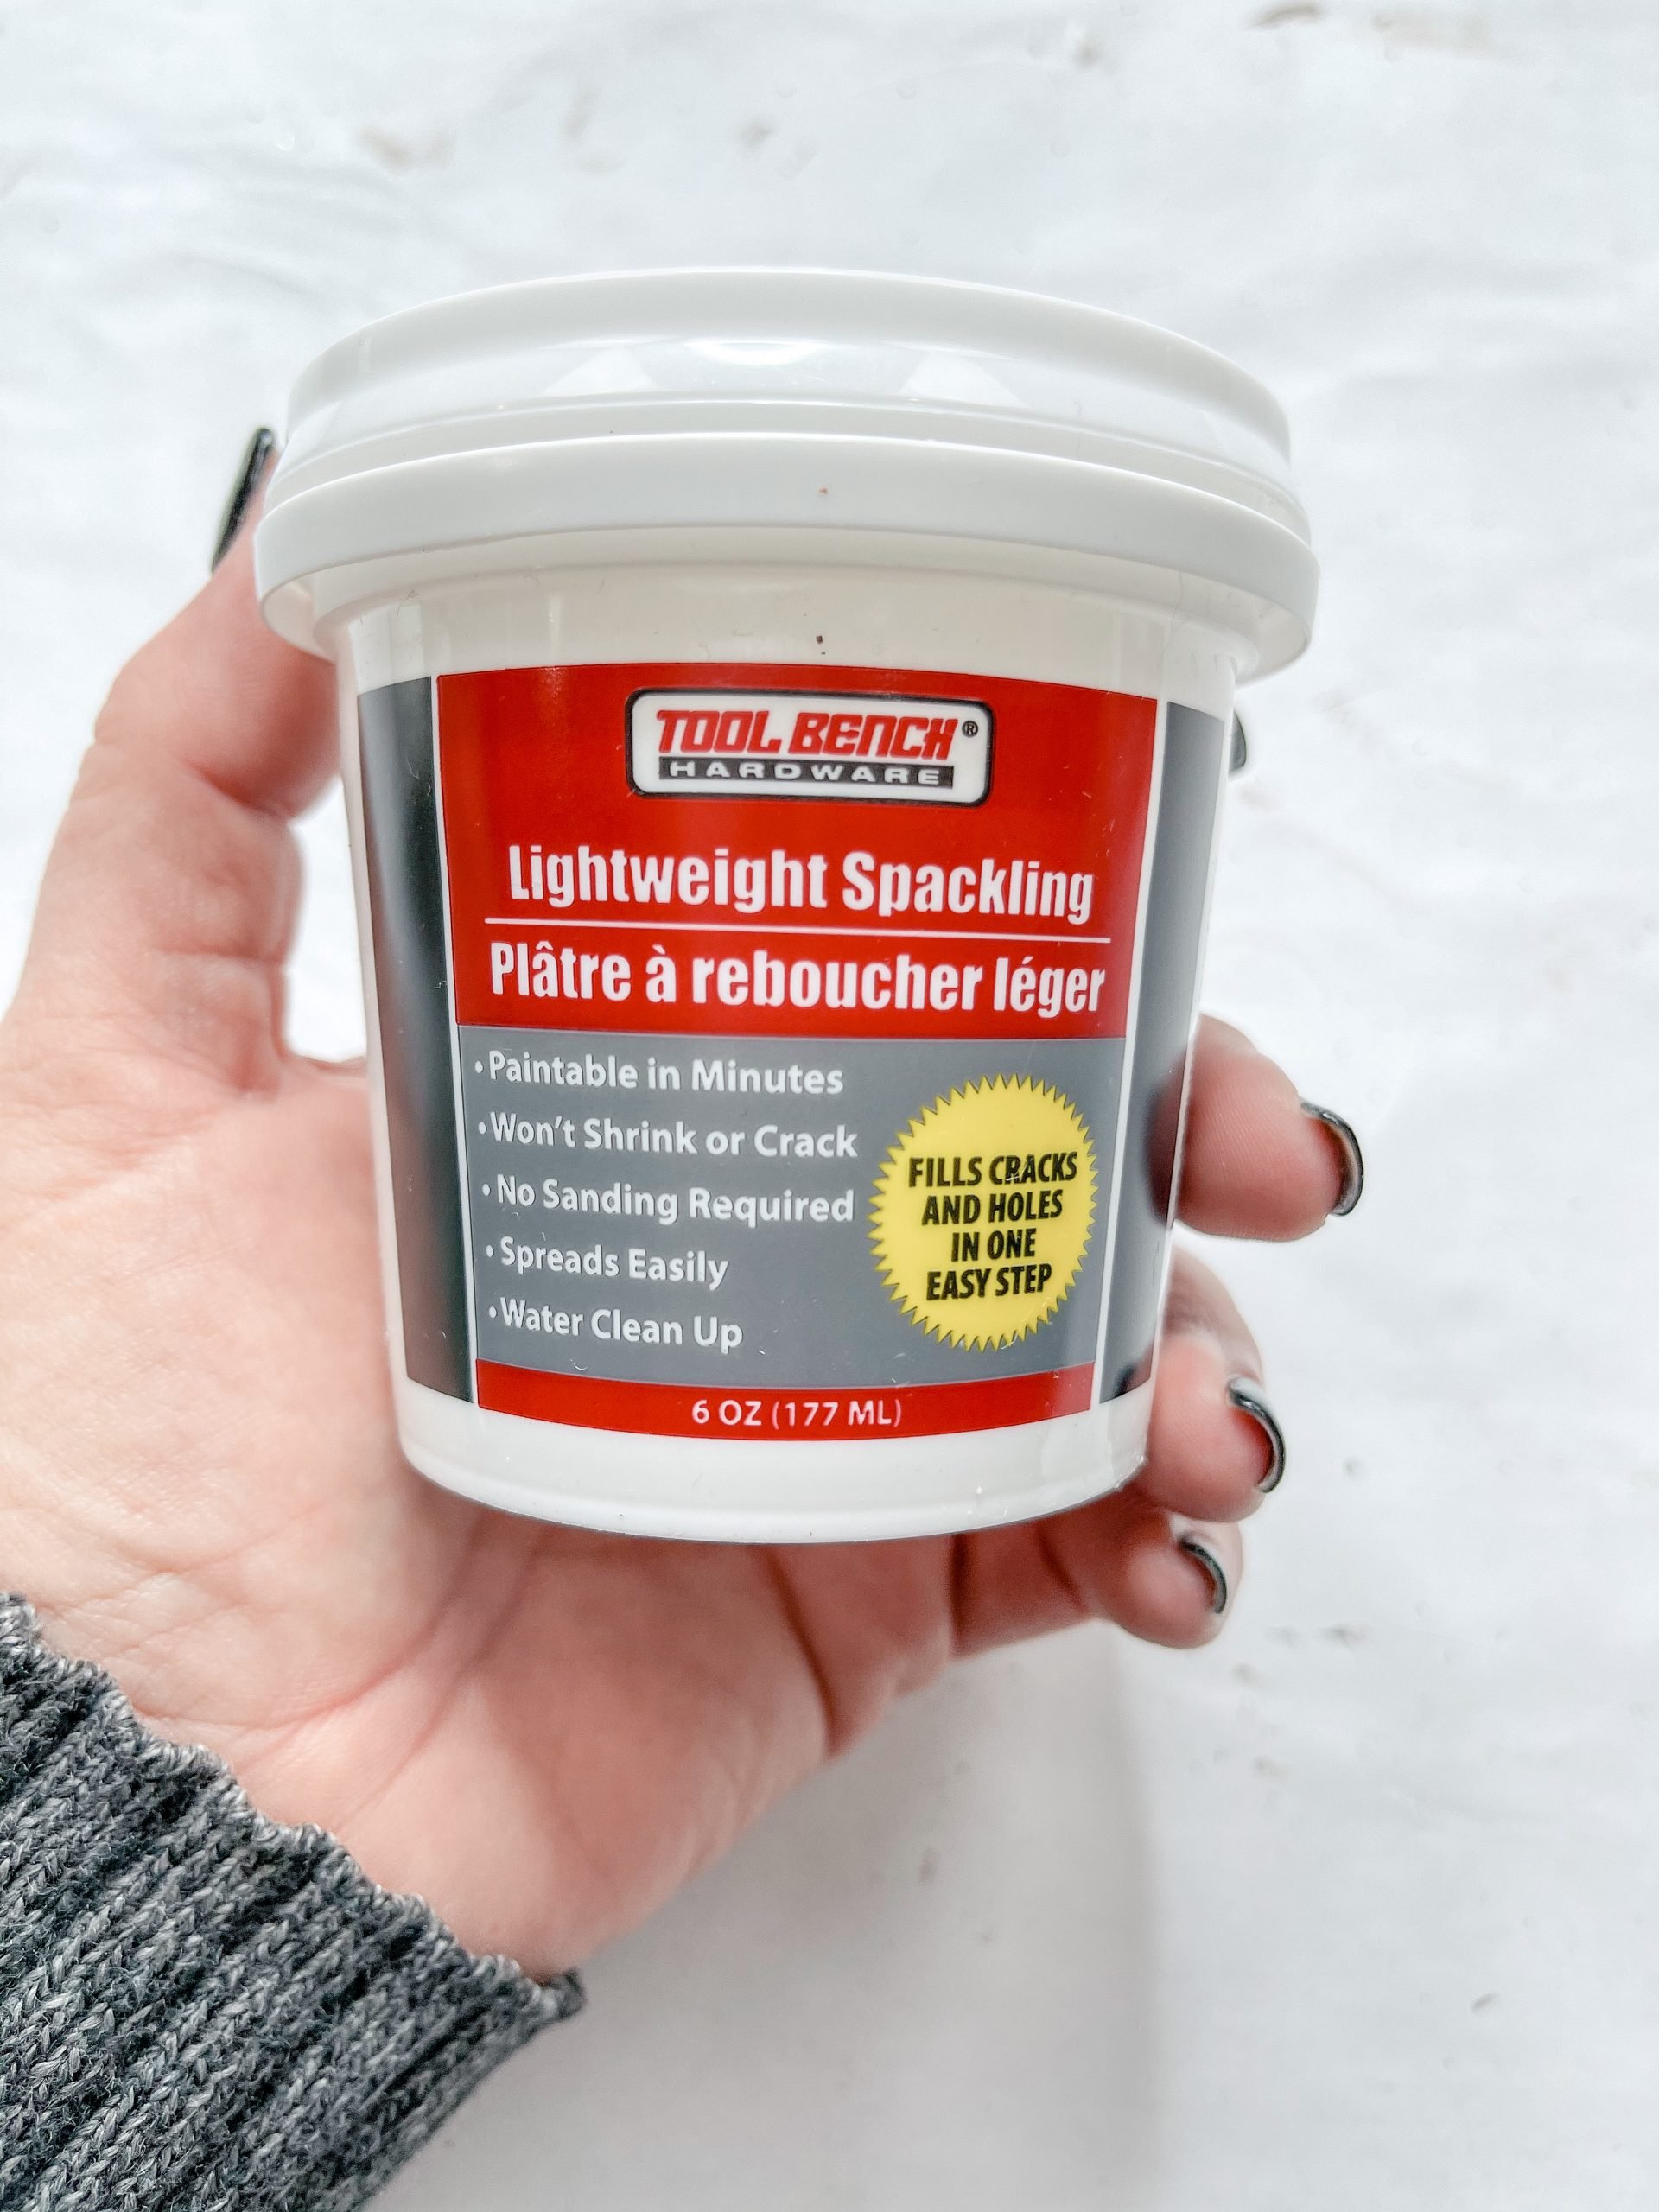
- Dollar Tree Spackling
- Apple Barrel Pool Blue Acrylic Paint
- Apple Barrel Key West Acrylic Paint
- Paper Towels
- Apple Barrel Parakeet Acrylic Paint
- Apple Barrel Tropic Orange Acrylic Paint
- Hot Glue gun
- Apple Barrel Burnt Umber Acrylic Paint
- Glue Sticks
- Putty Knife/Paint Scraper
Before we get started, I want to let you know that I created a FREE coastal/nautical template printable of several pieces from Dollar Tree’s new nautical collection!
You can get the free template sent straight to your email, and then you can download it and print it from your device!
GET THE FREE COASTAL/NAUTICAL TEMPLATE
How to Make a Floral Foam Buoys DIY Summer Decor
Alright, step one of making these easy DIY buoys is to use your putty knife/paint scraper to shape the floral foam rectangles into the shape of your buoys. I then used a sanding sponge to smooth out the edges that I cut with the putty knife and round out the top of the buoys.
Once you’re happy with the shape of your buoys, it is time to decoupage the napkins onto them. Separate the plies of a paper towel, then apply a coat of Mod Podge to the floral foam buoy.
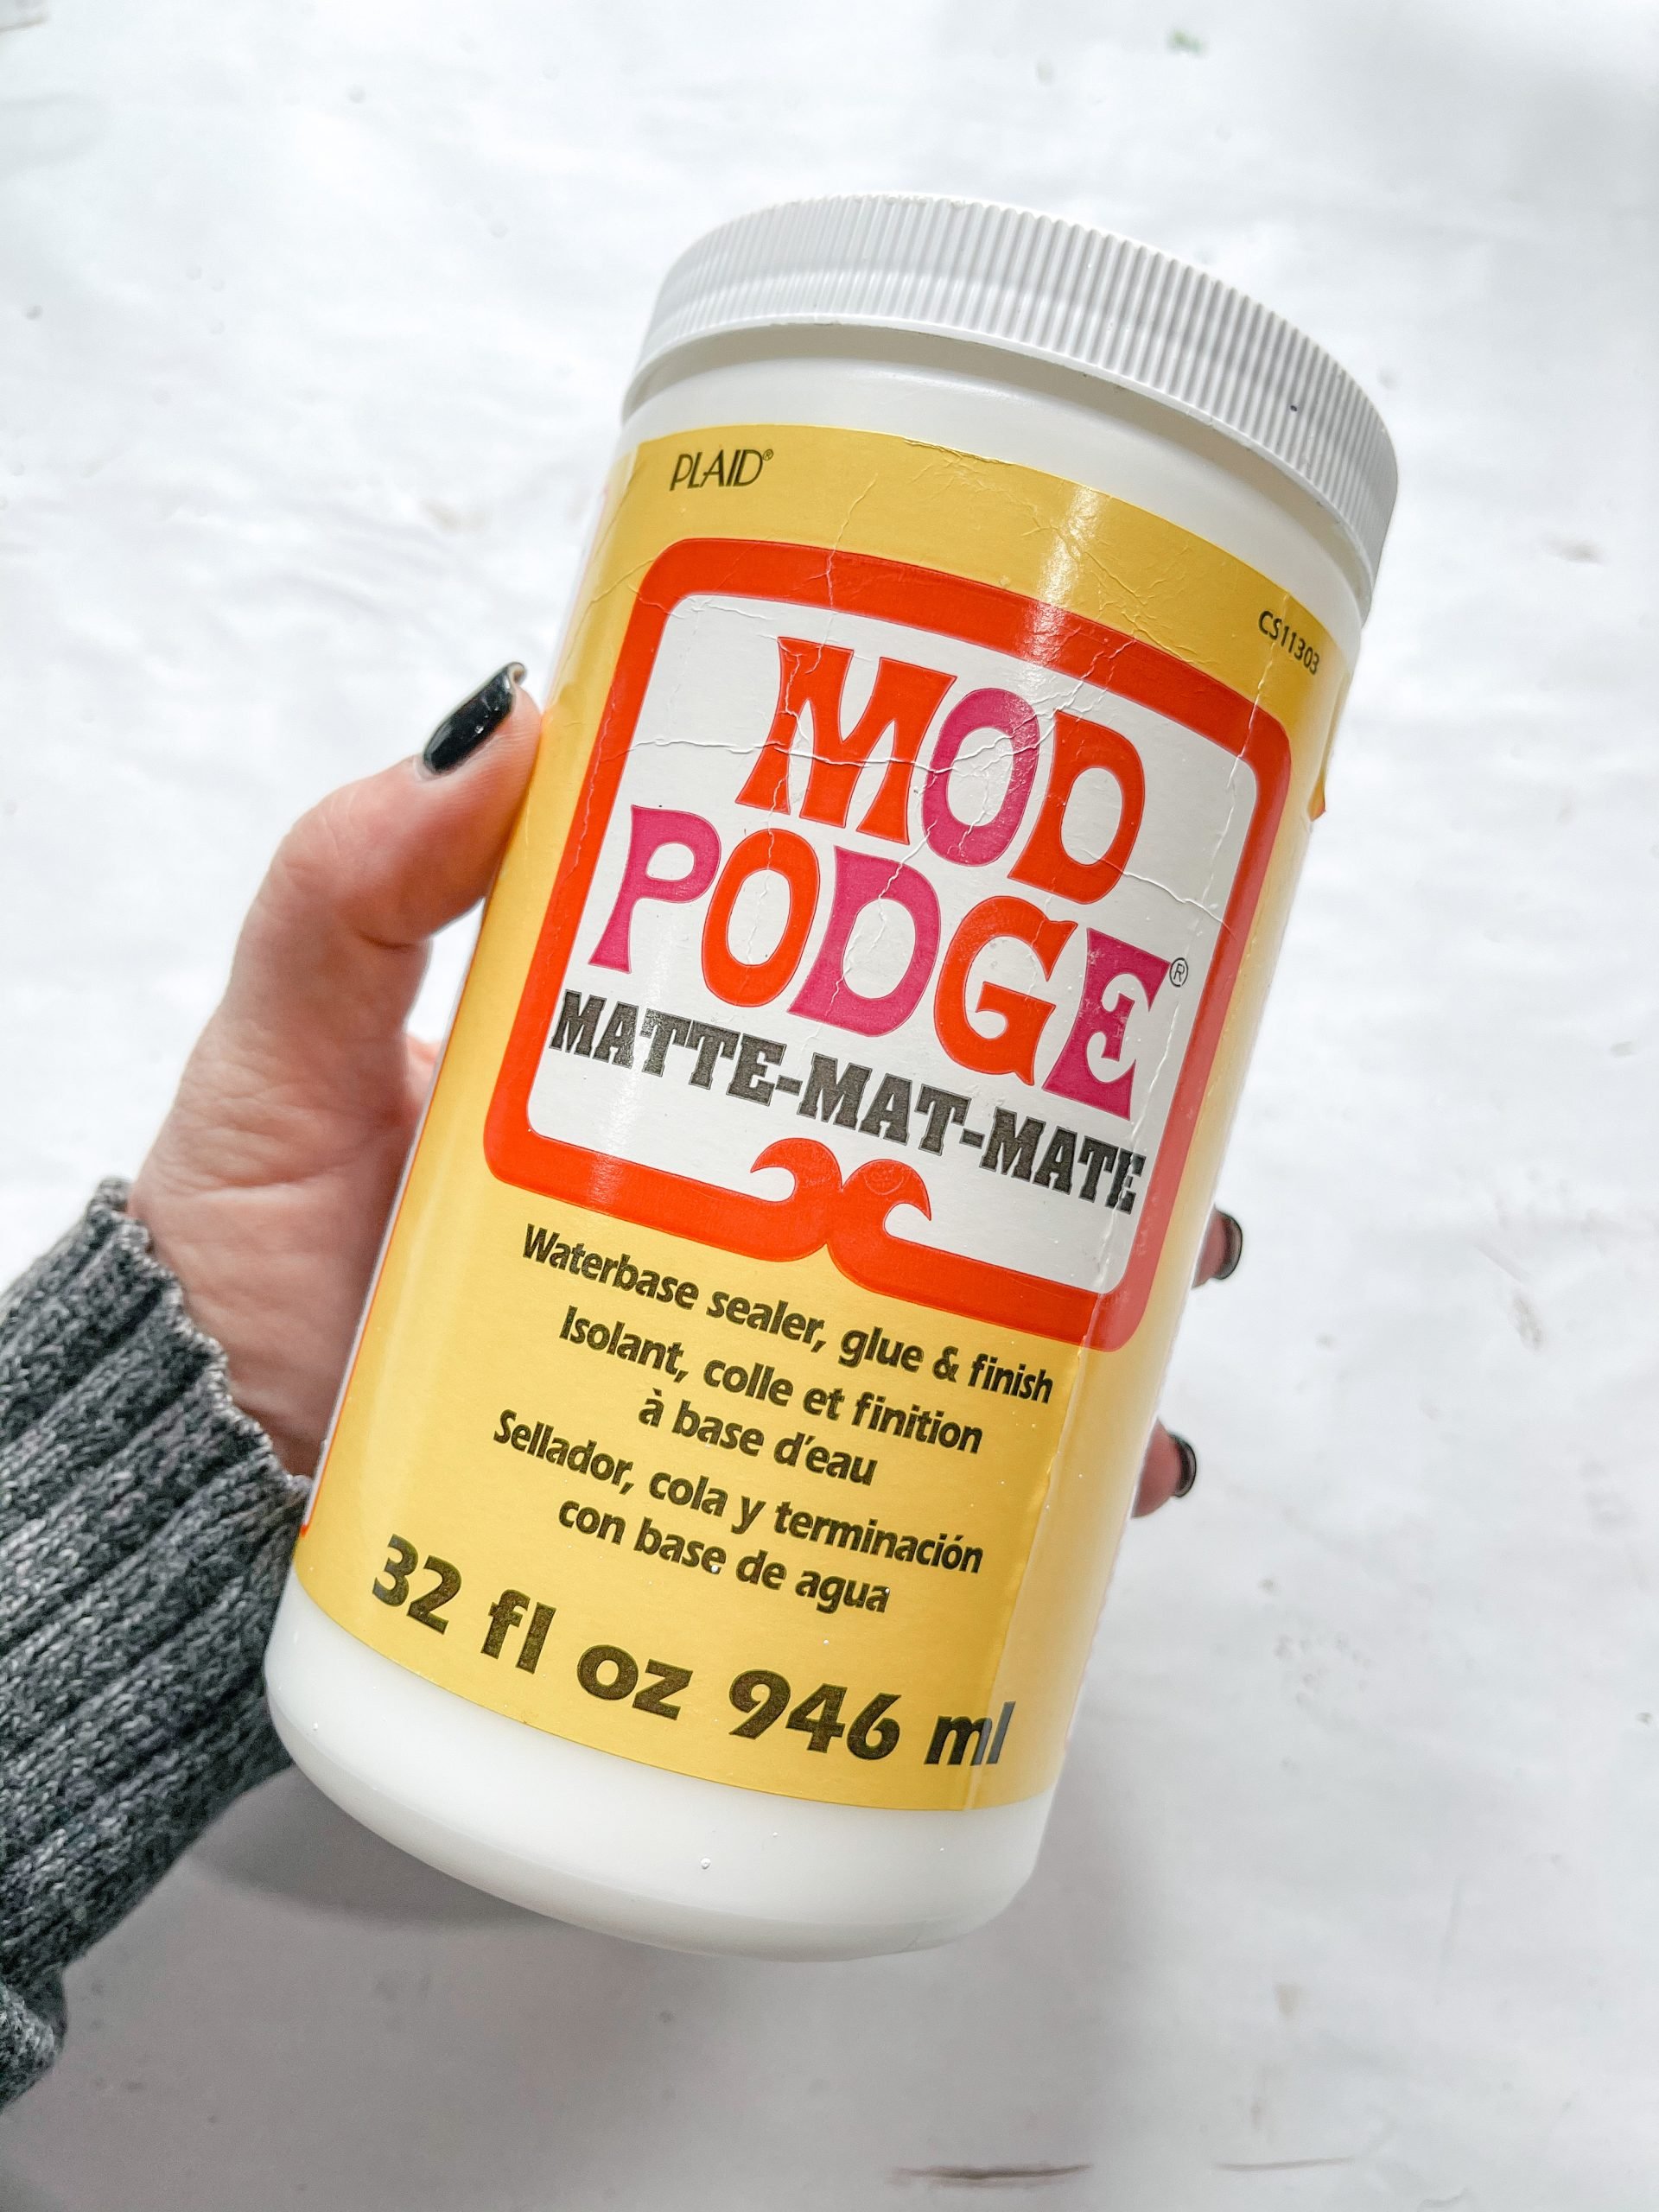
Go side by side and apply the Mod Podge to the foam and press the paper towel onto the Mod Podge. I used my heat gun to speed up the drying process. If you don’t have a heat gun, you can use a hairdryer on the low cool setting.
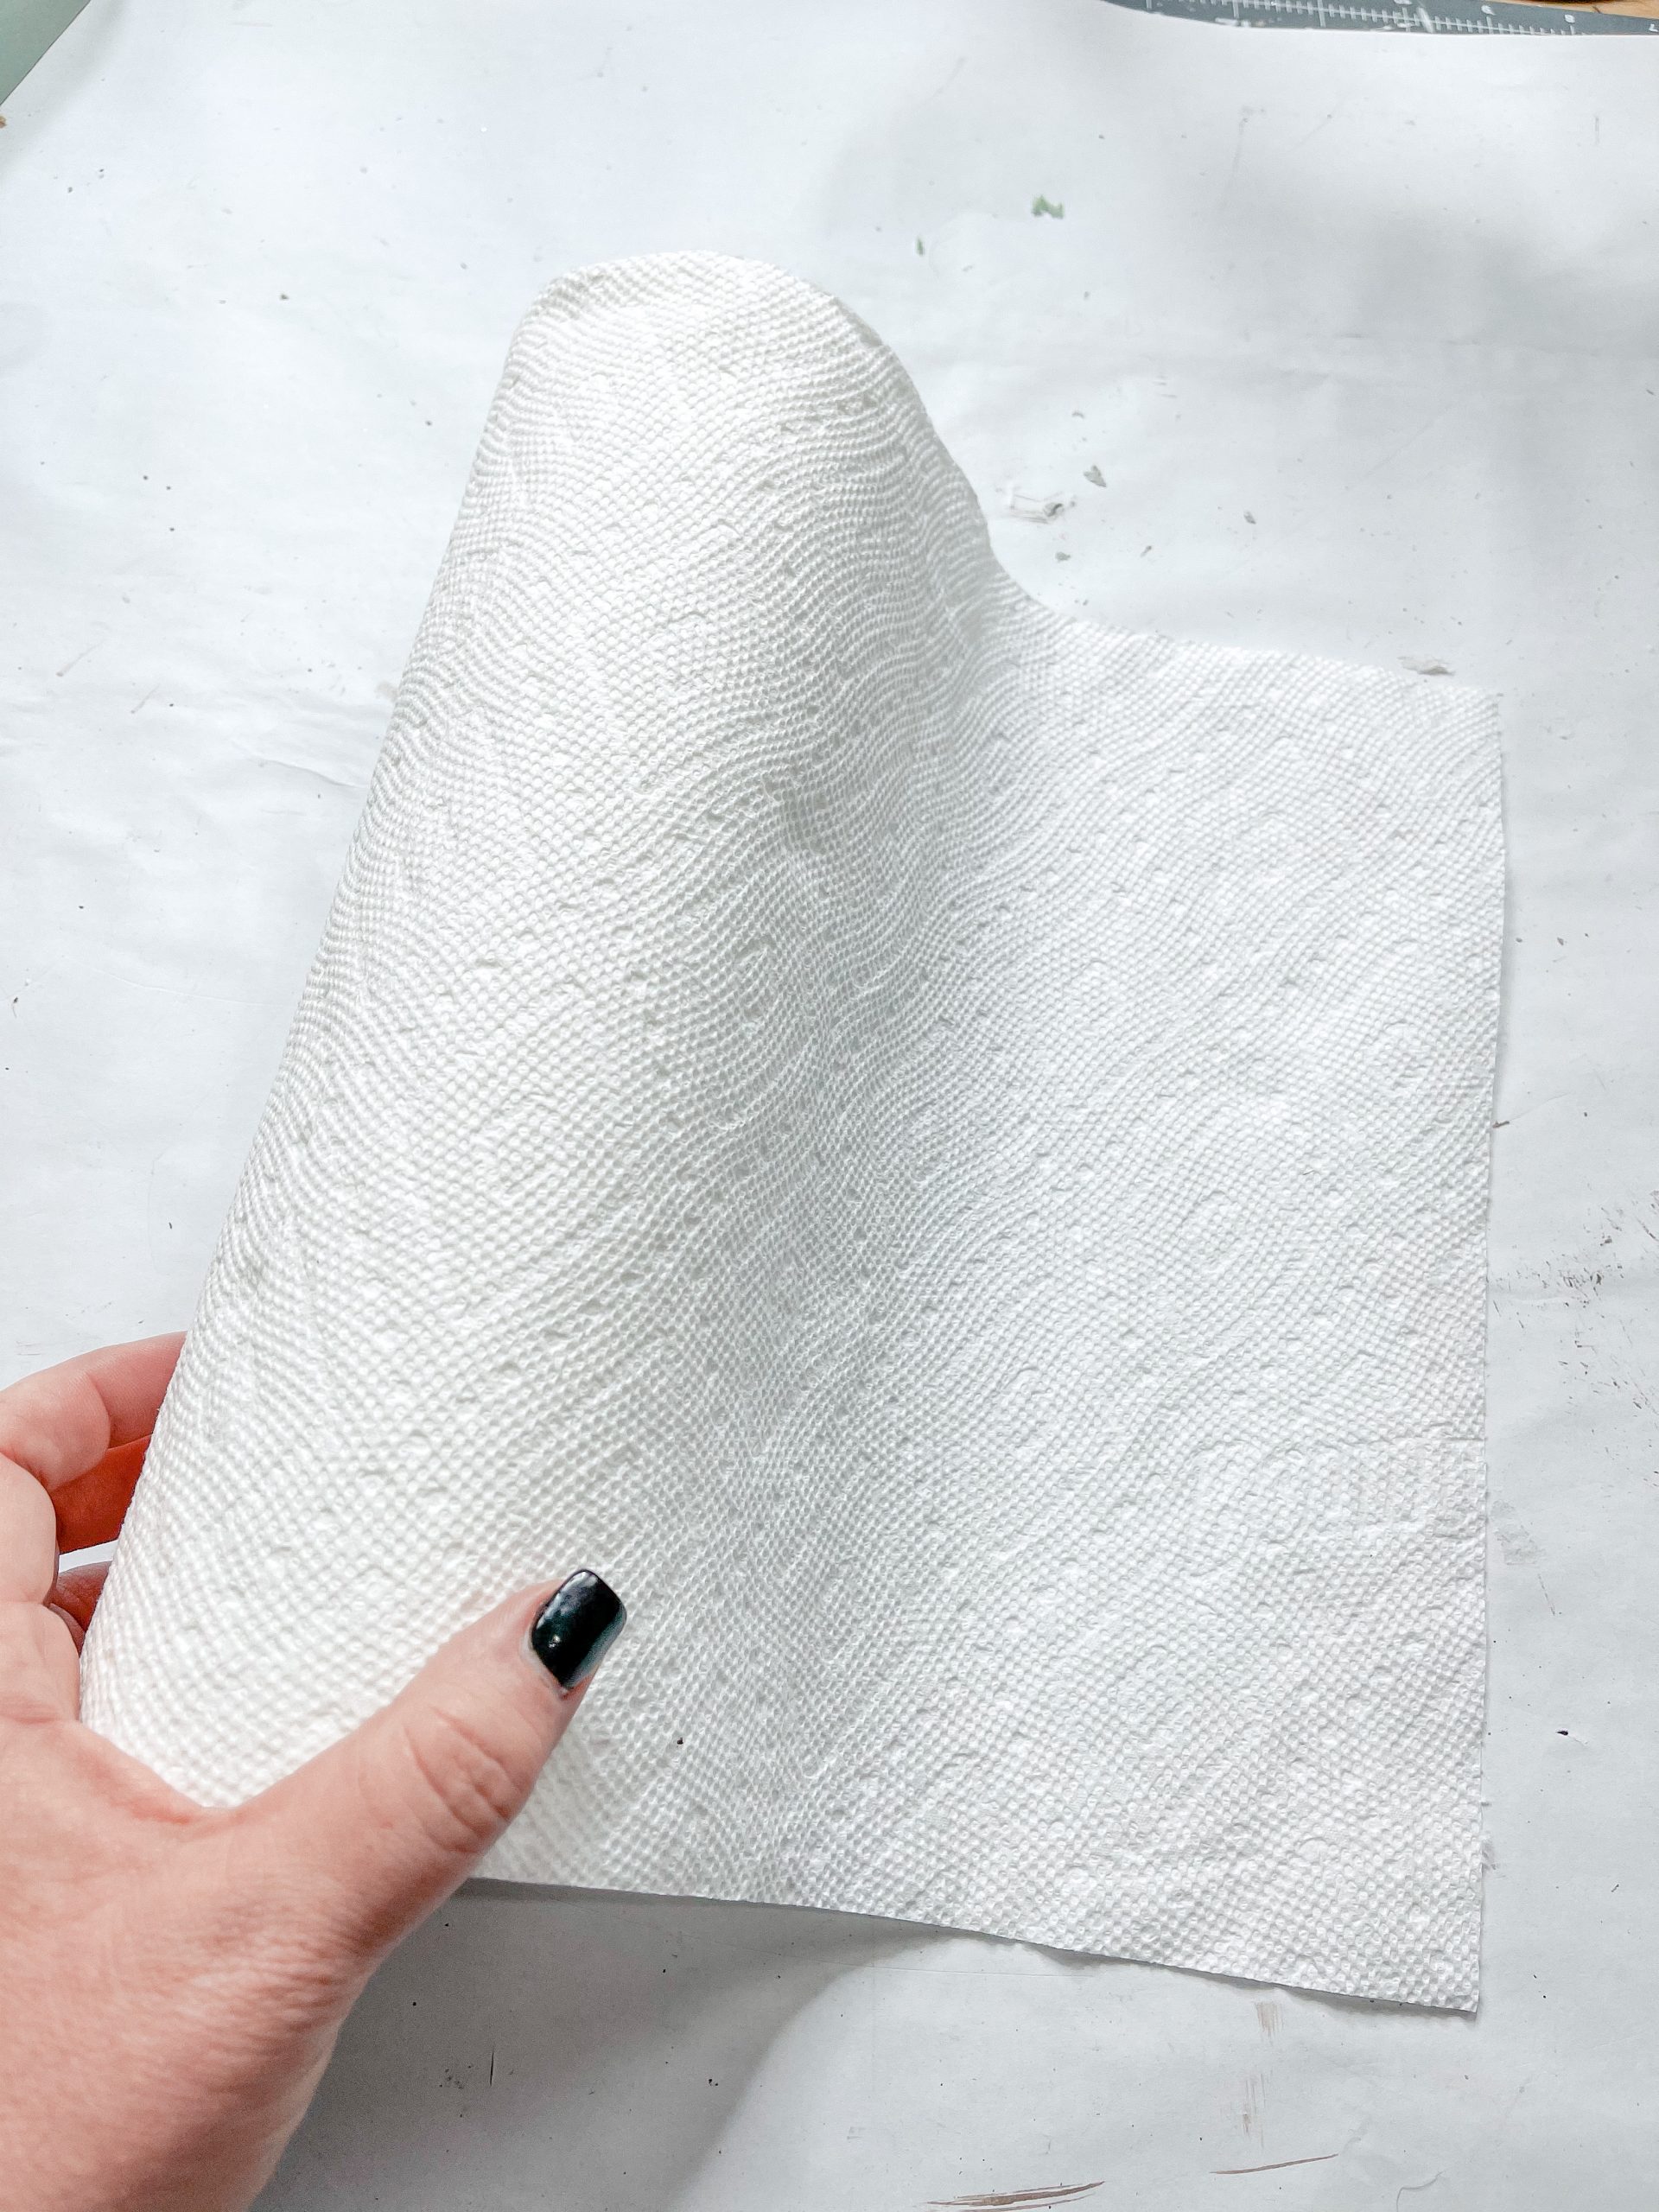
Once you have each side of the floral foam buoy covered with the paper towel, you need to remove the excess paper towel. I used a pair of scissors to trim the excess paper towel and just used Mod Podge to press down the edges of the paper towel onto the foam.
Trial and error
I tried two different methods for making these floral foam buoys. The first method is the paper towel decoupage. In the second method, I used paint mixed with spackling to get the texture on the floral foam buoy.
Mix a small bit of white paint with spackling in a small mixing bowl and use a craft stick to spread the mixture across the surface of your floral foam shape. Let the spackling dry, then you’re ready to paint!
Okay, out of the two methods I used – paper towel and spackling – I preferred the paper towel method. When I painted over the paper towel, it absorbed the paint color but kept the texture that I wanted.
When I applied paint to the spackling, it seemed to lose the texture I was trying to achieve with this project. Plus, the paper towel pattern kind of looked like fabric, and helped with the overall look I was aiming for.

Paint your buoys
I used several different Apple Barrel paint colors to paint my buoys. You can pick whichever colors you want for your buoys, but my list of paint colors is above in the supply list for this DIY project.
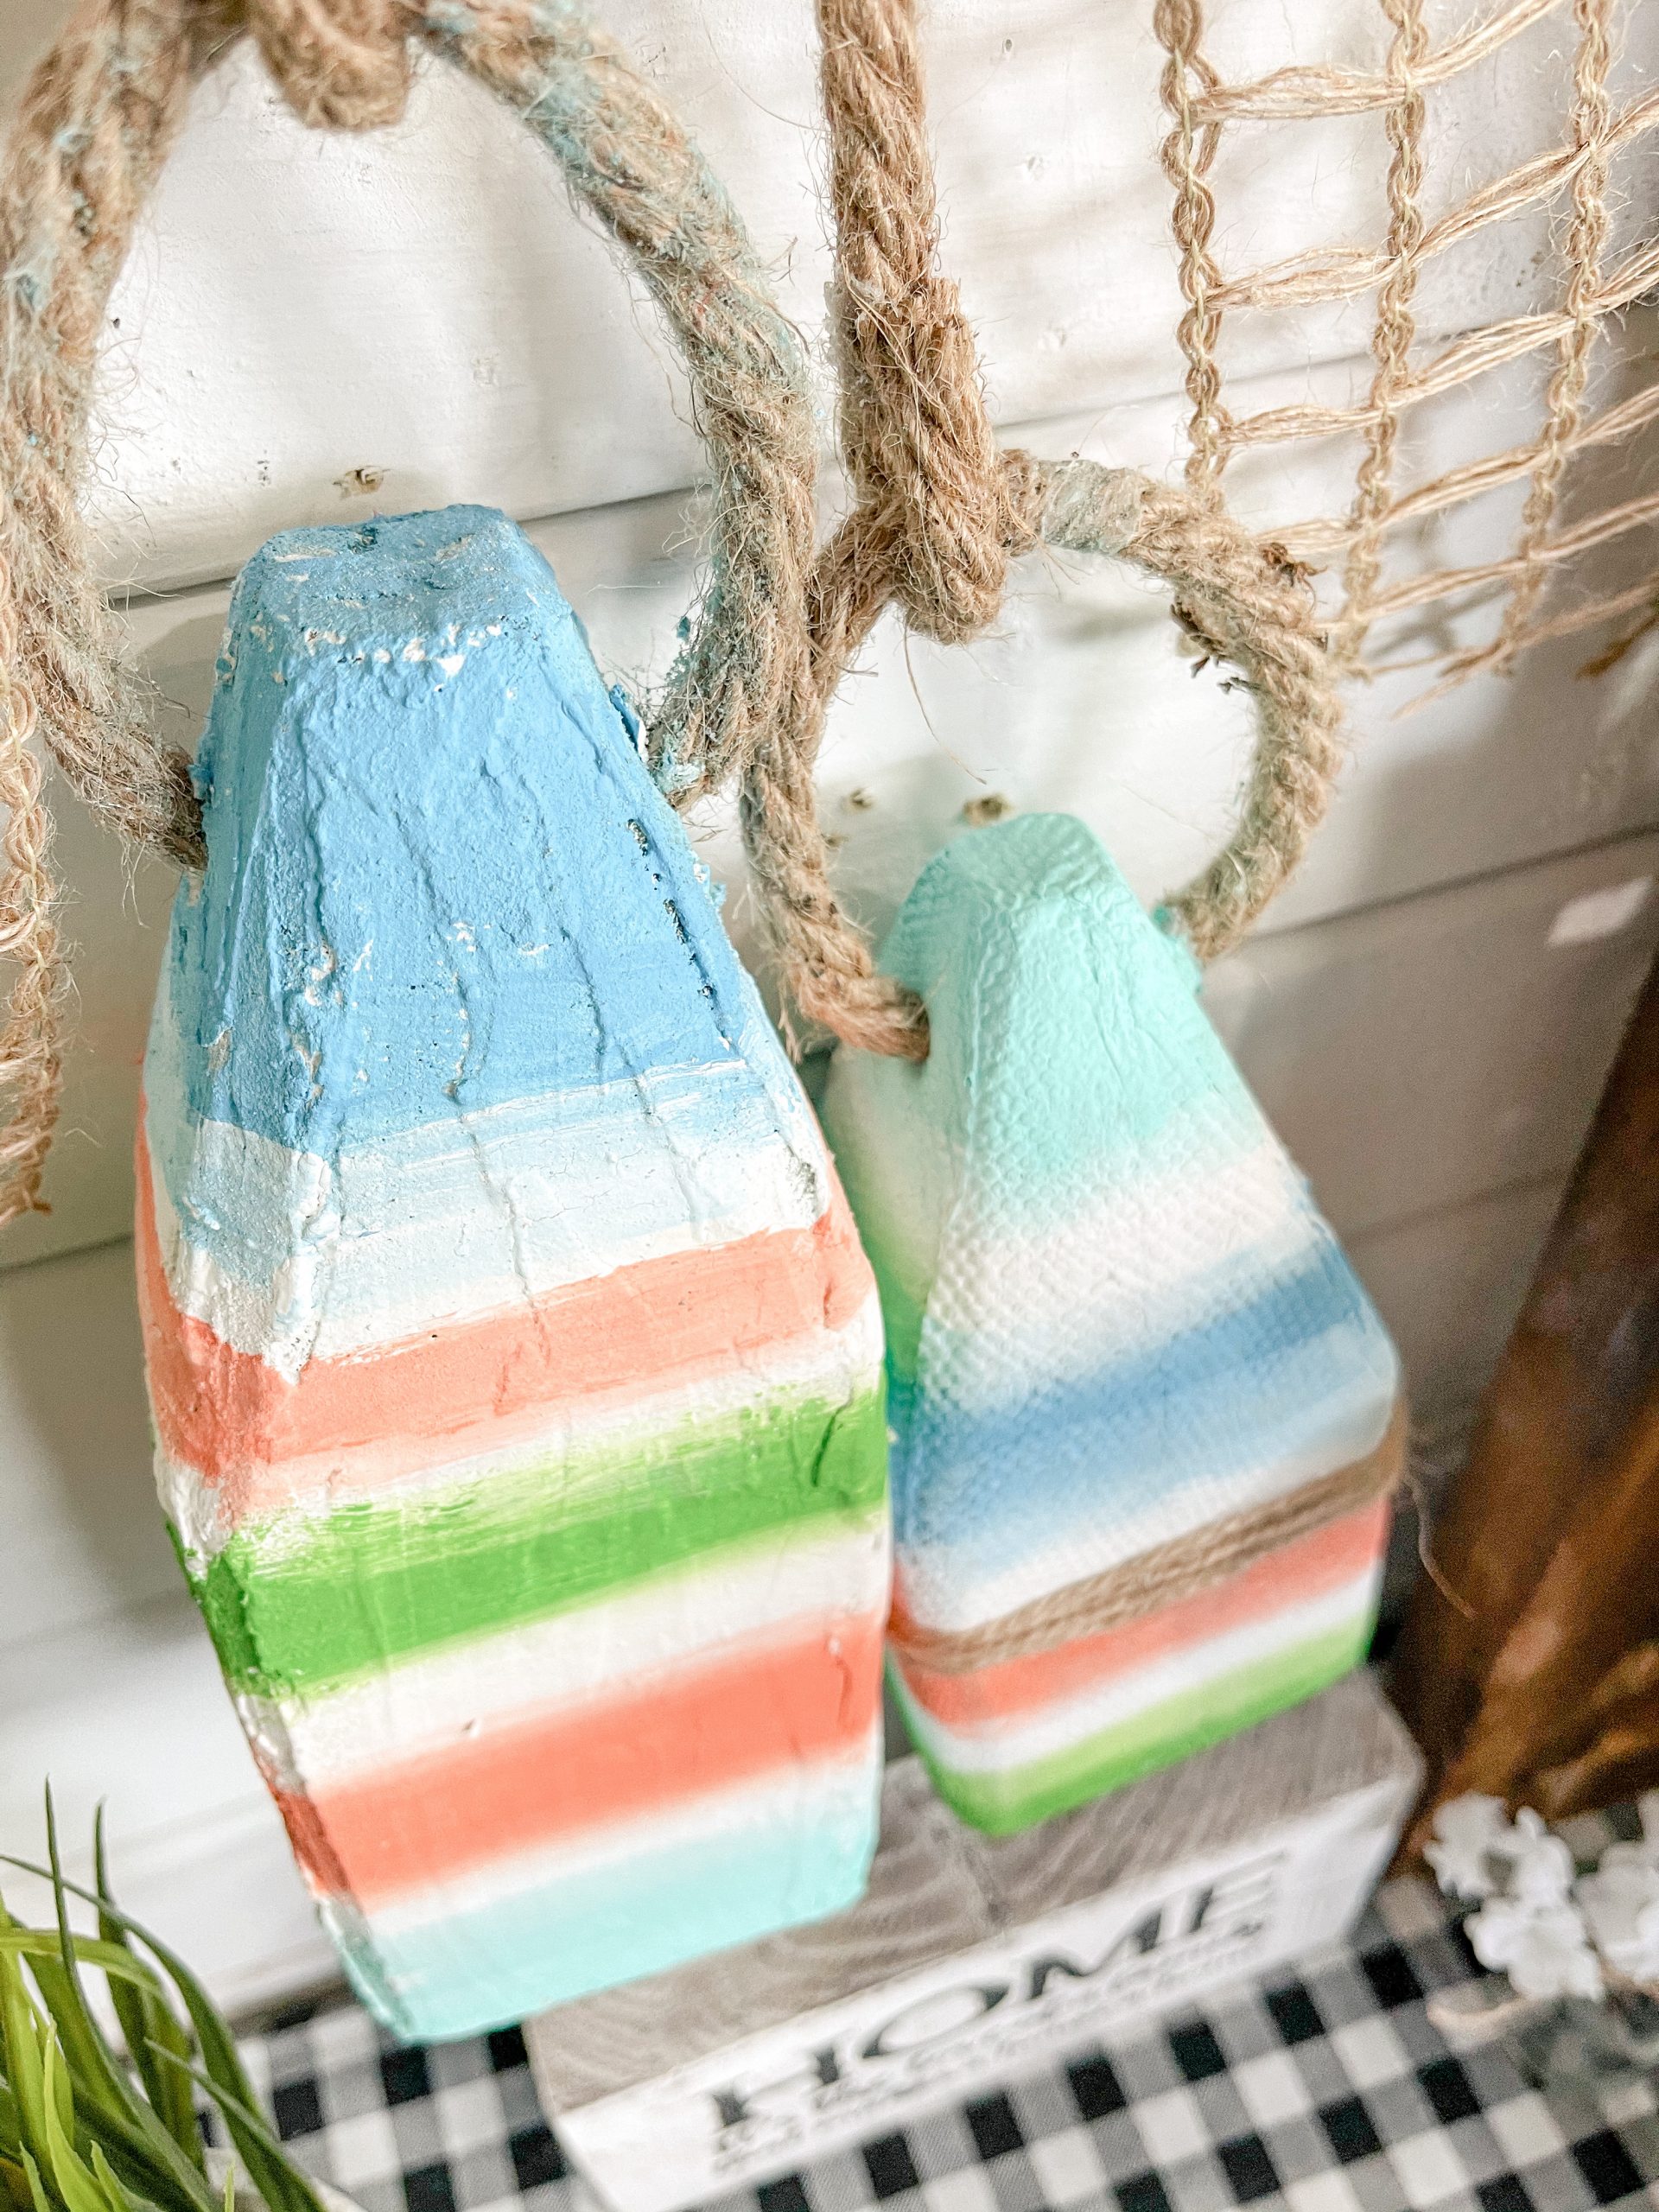
Simply paint your colors in stripes on the buoys, and be sure to blend the lines between each strip to make a more seamless pattern. Allow the paint to dry on each of the buoys before you move on to the next step.
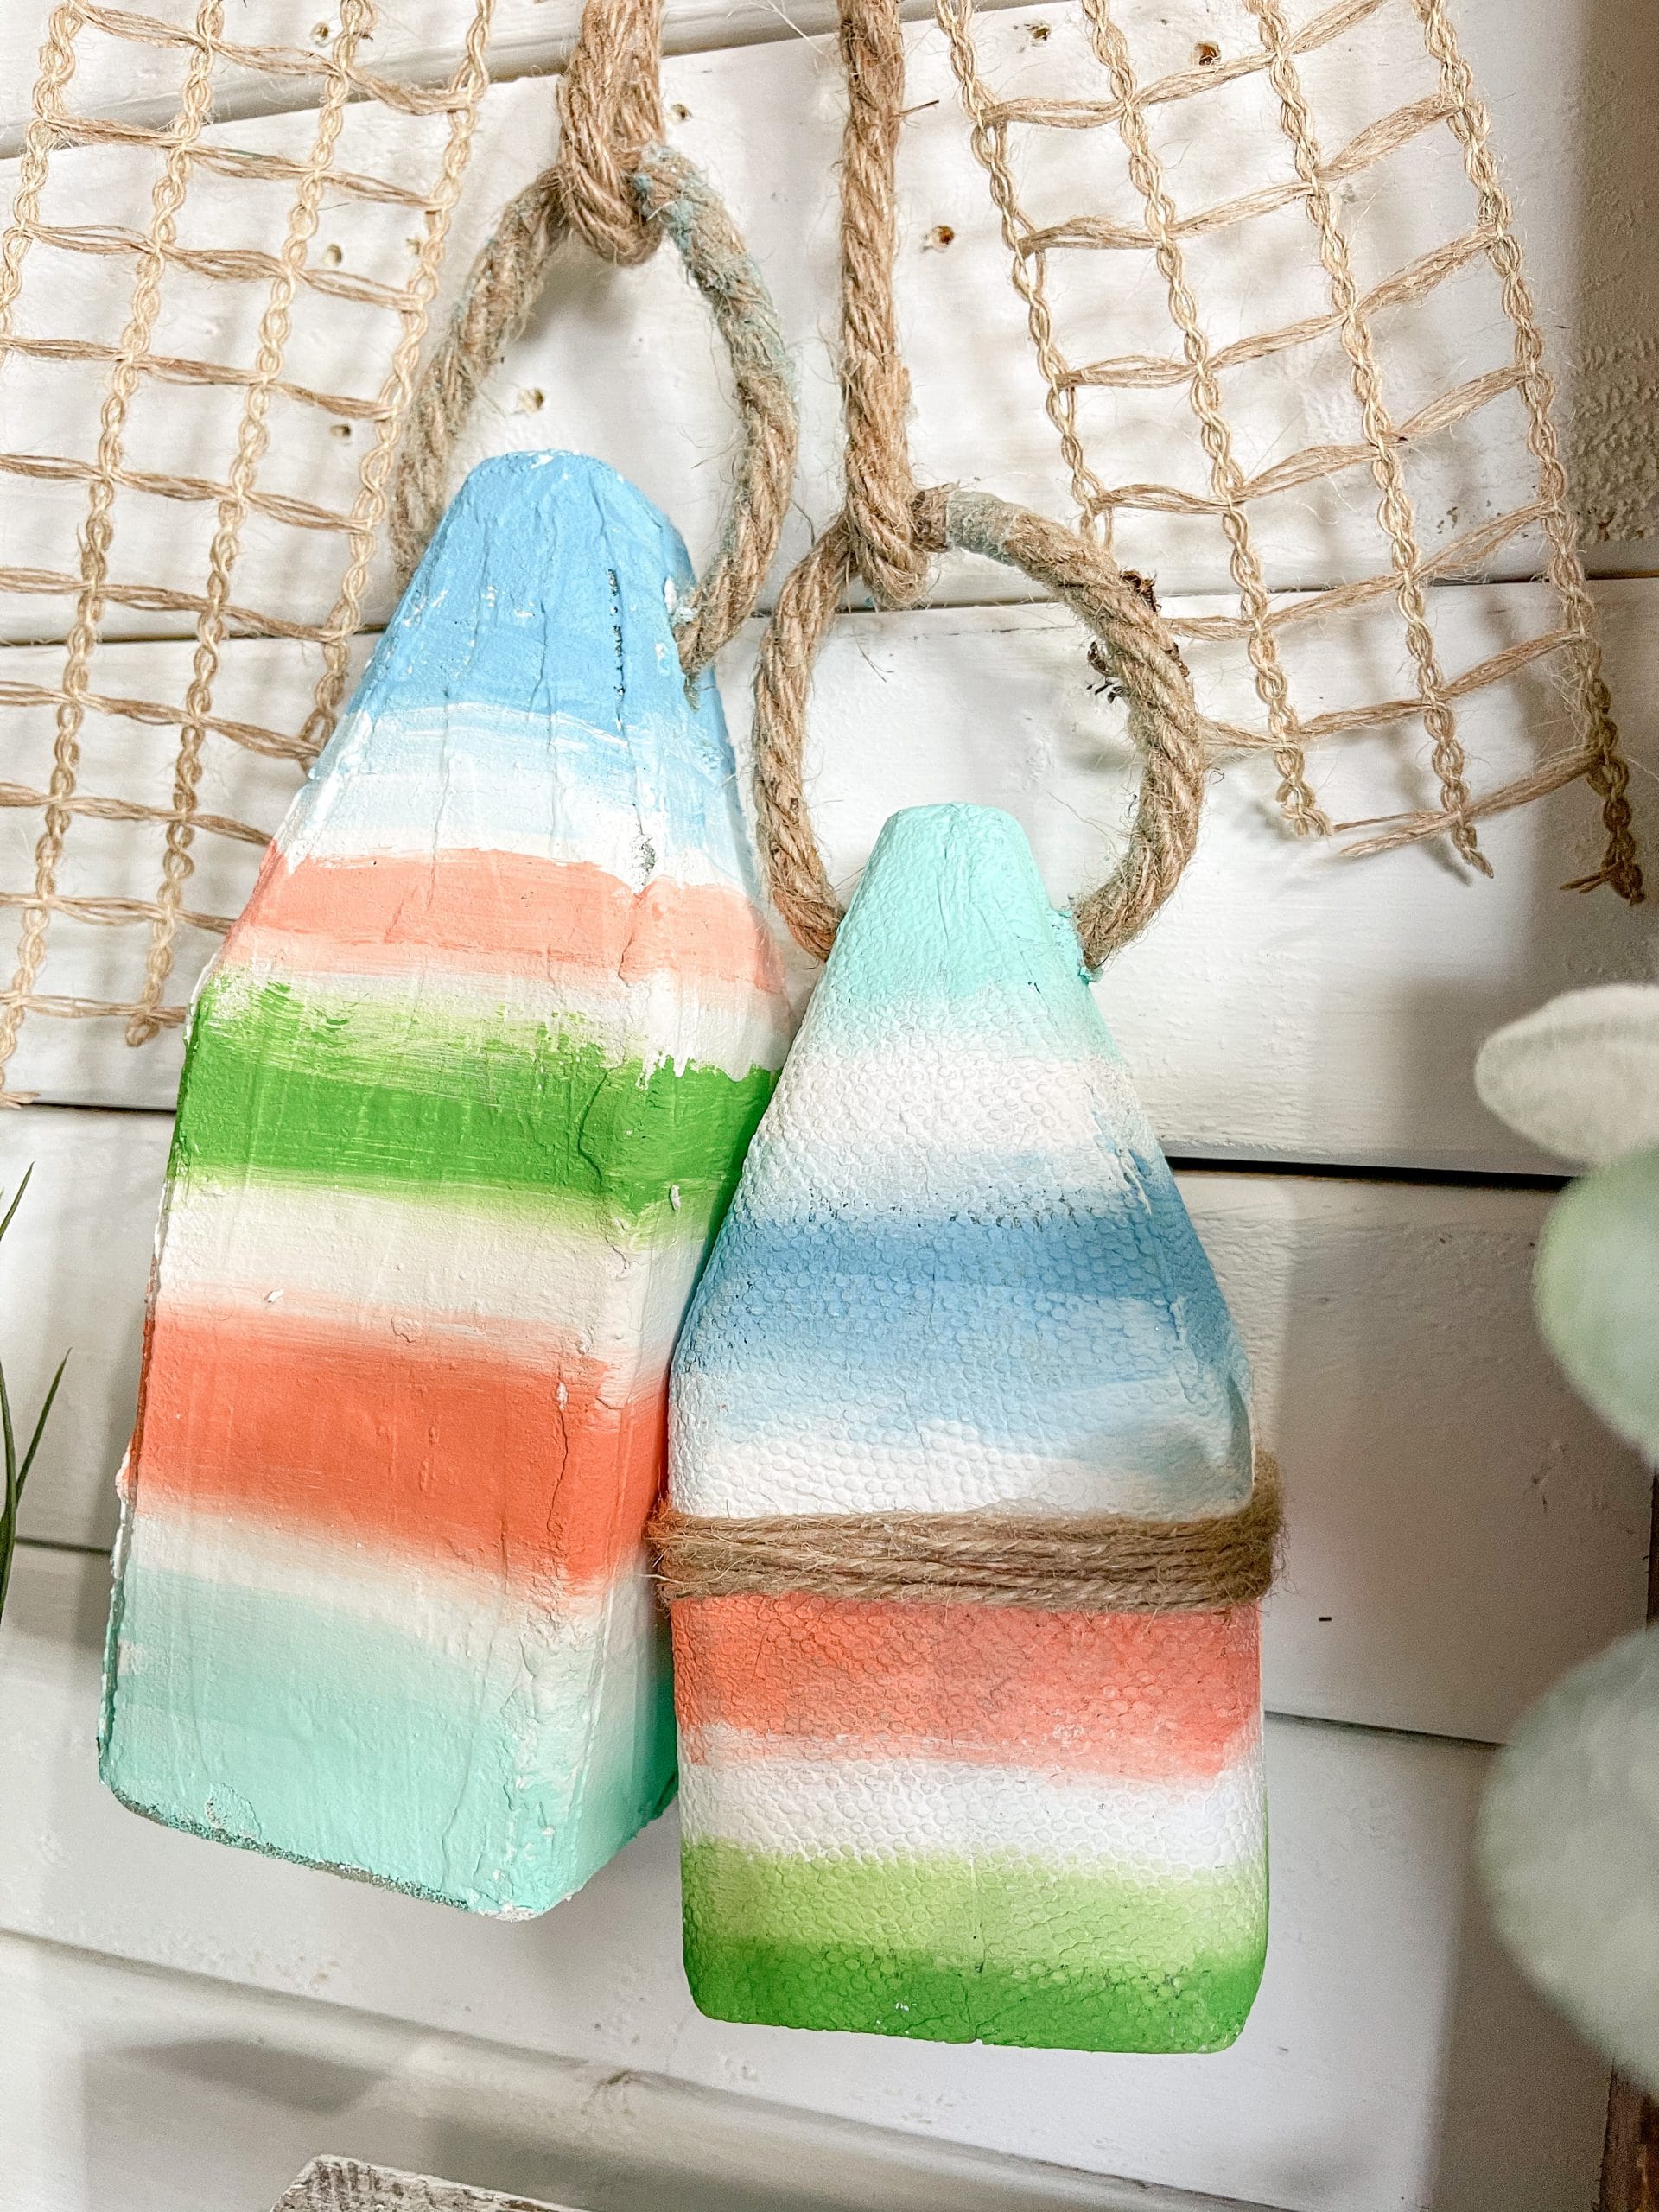
Once the paint is completely dry, use a pencil or bamboo skewer to poke a hole horizontally through the top of each of the buoys. Then, push your nautical rope through the holes. Cut the rope and hot glue it into a circle holder on each of the buoys.
Next, I made a bow out of square lattice ribbon and some jute twine! Fold the ribbon in the shape of a bow and secure its center with the jute twine. Finally, I made the hanger for the buoys.
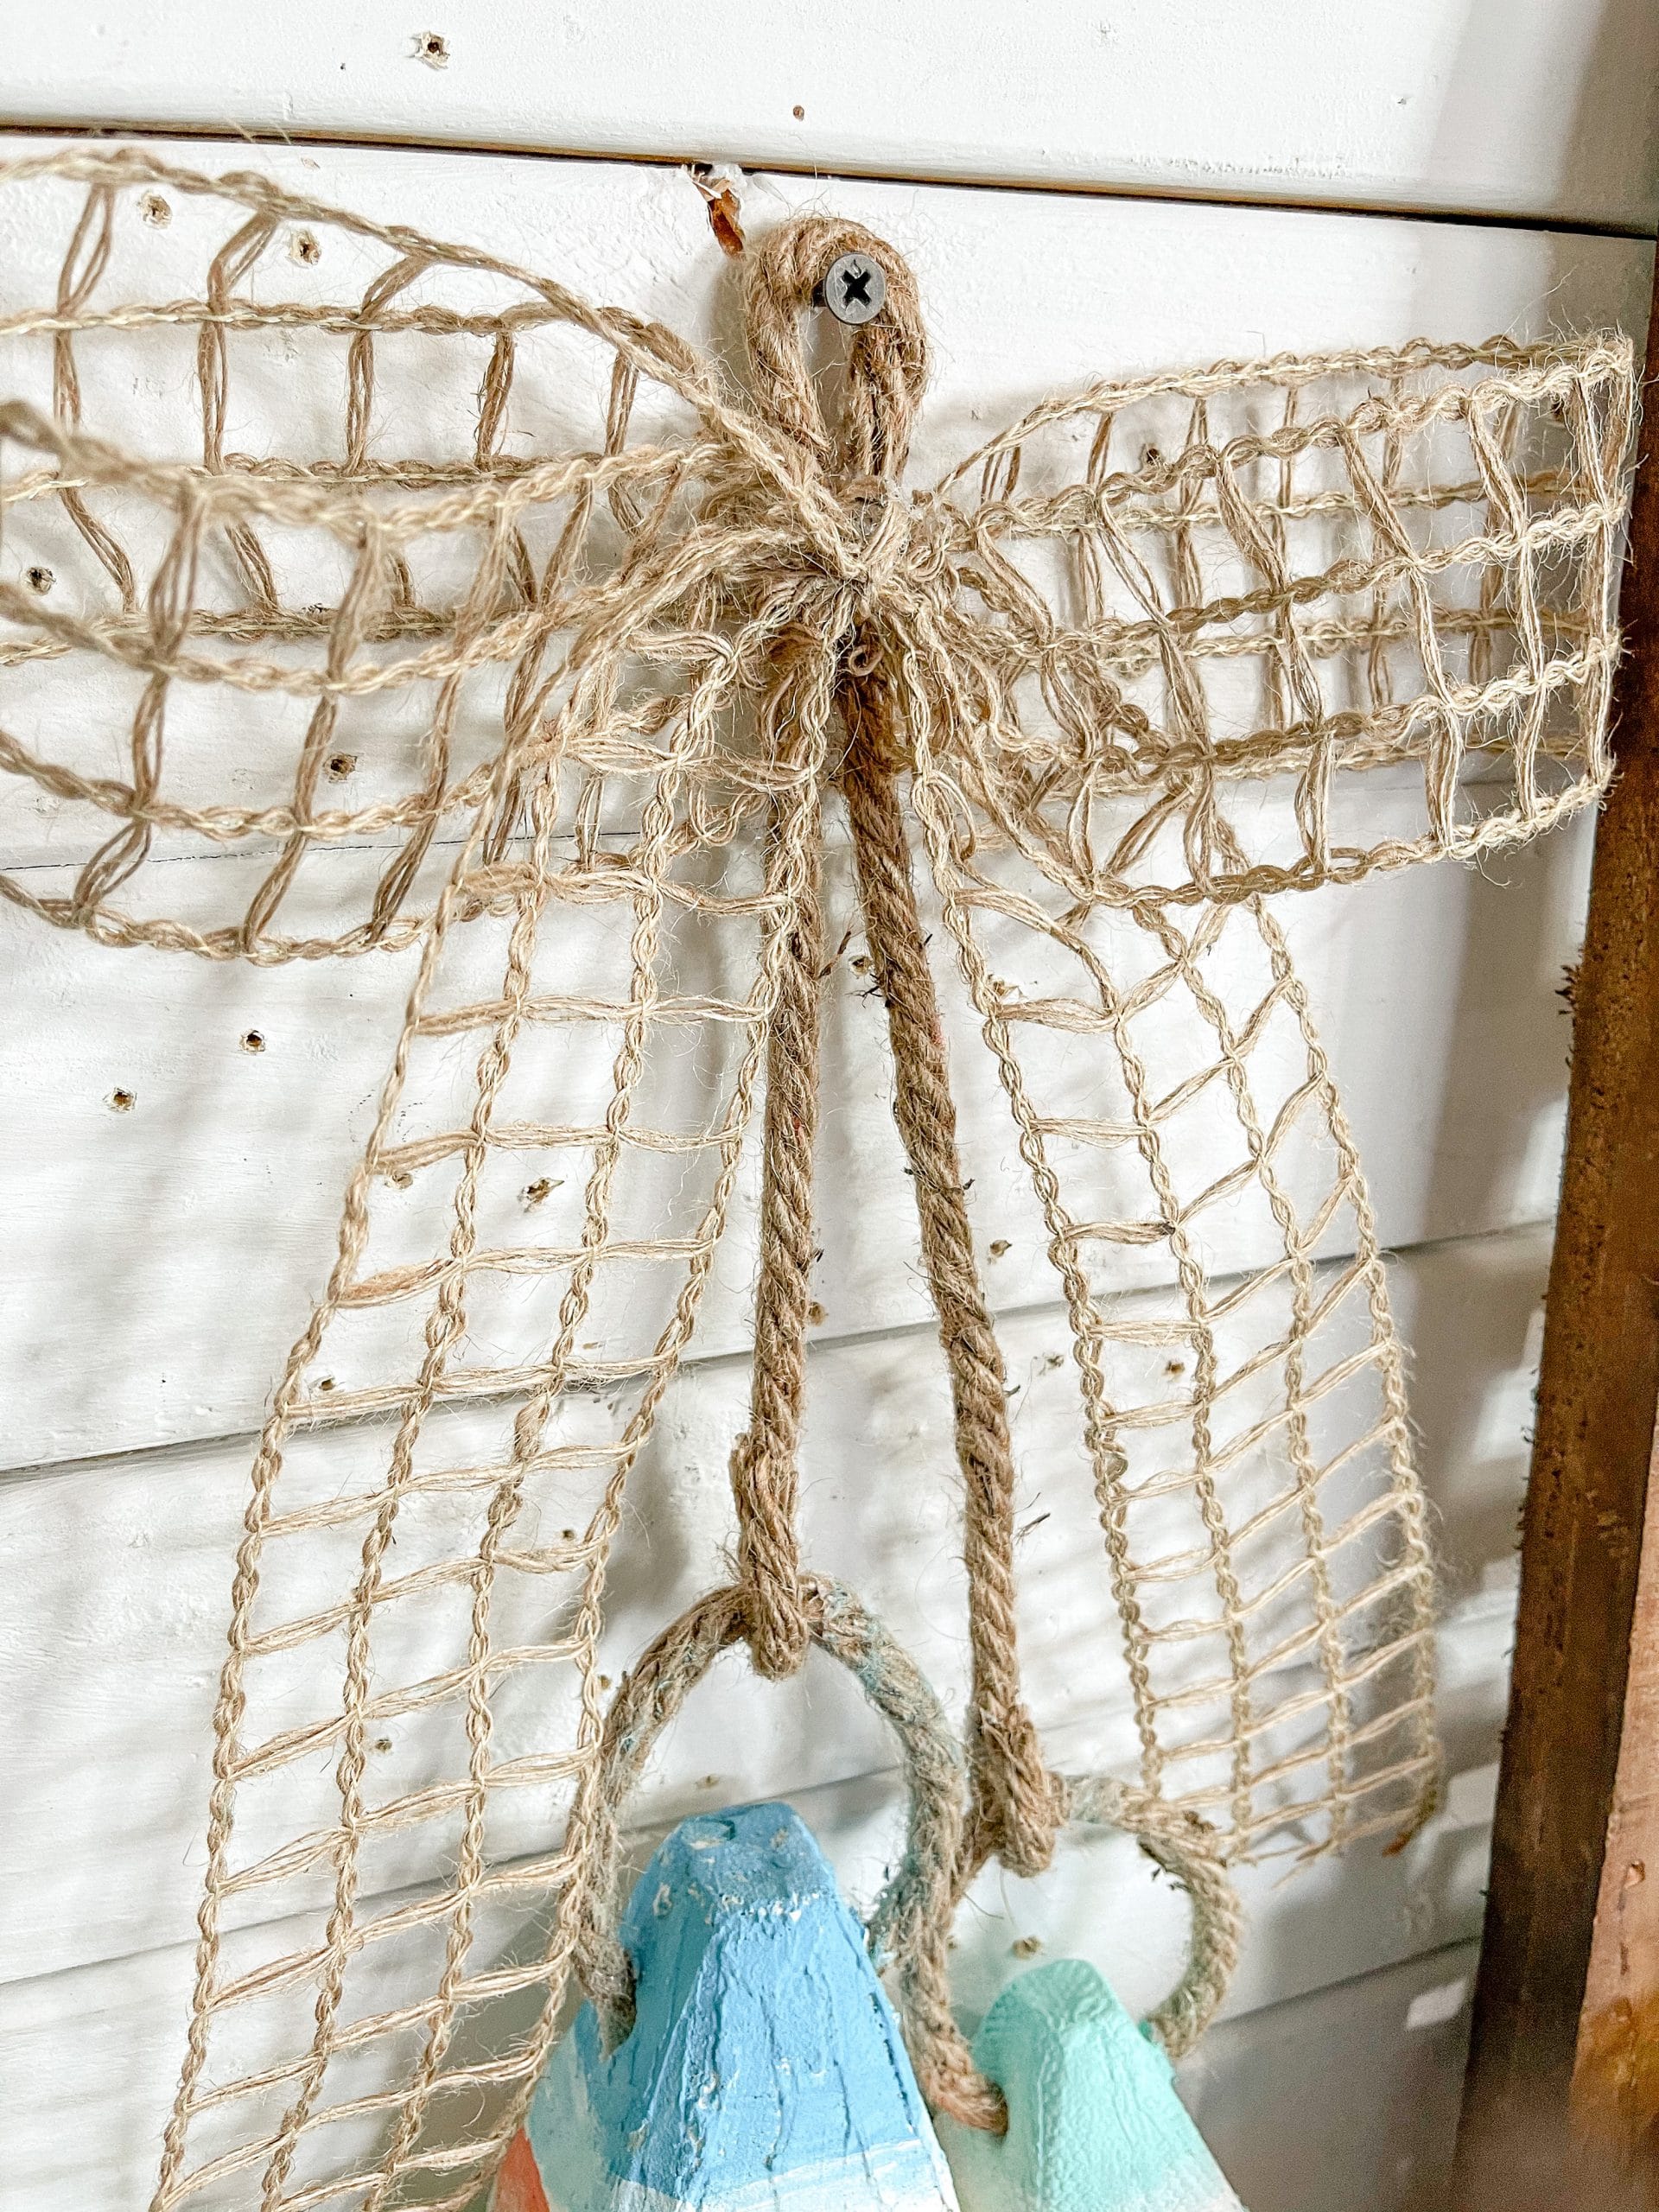
I hot glued one end of the nautical rope looped around the rope circle of one of the buoys. Do the same thing with another piece of nautical rope on the other buoy. You’re going to connect the buoys’ ropes by hot-gluing their ends together with a loop at the top.
Now, hot glue the bow onto the top of the nautical rope, and you’re ready to decorate your home for summer or your beach vacation rental!
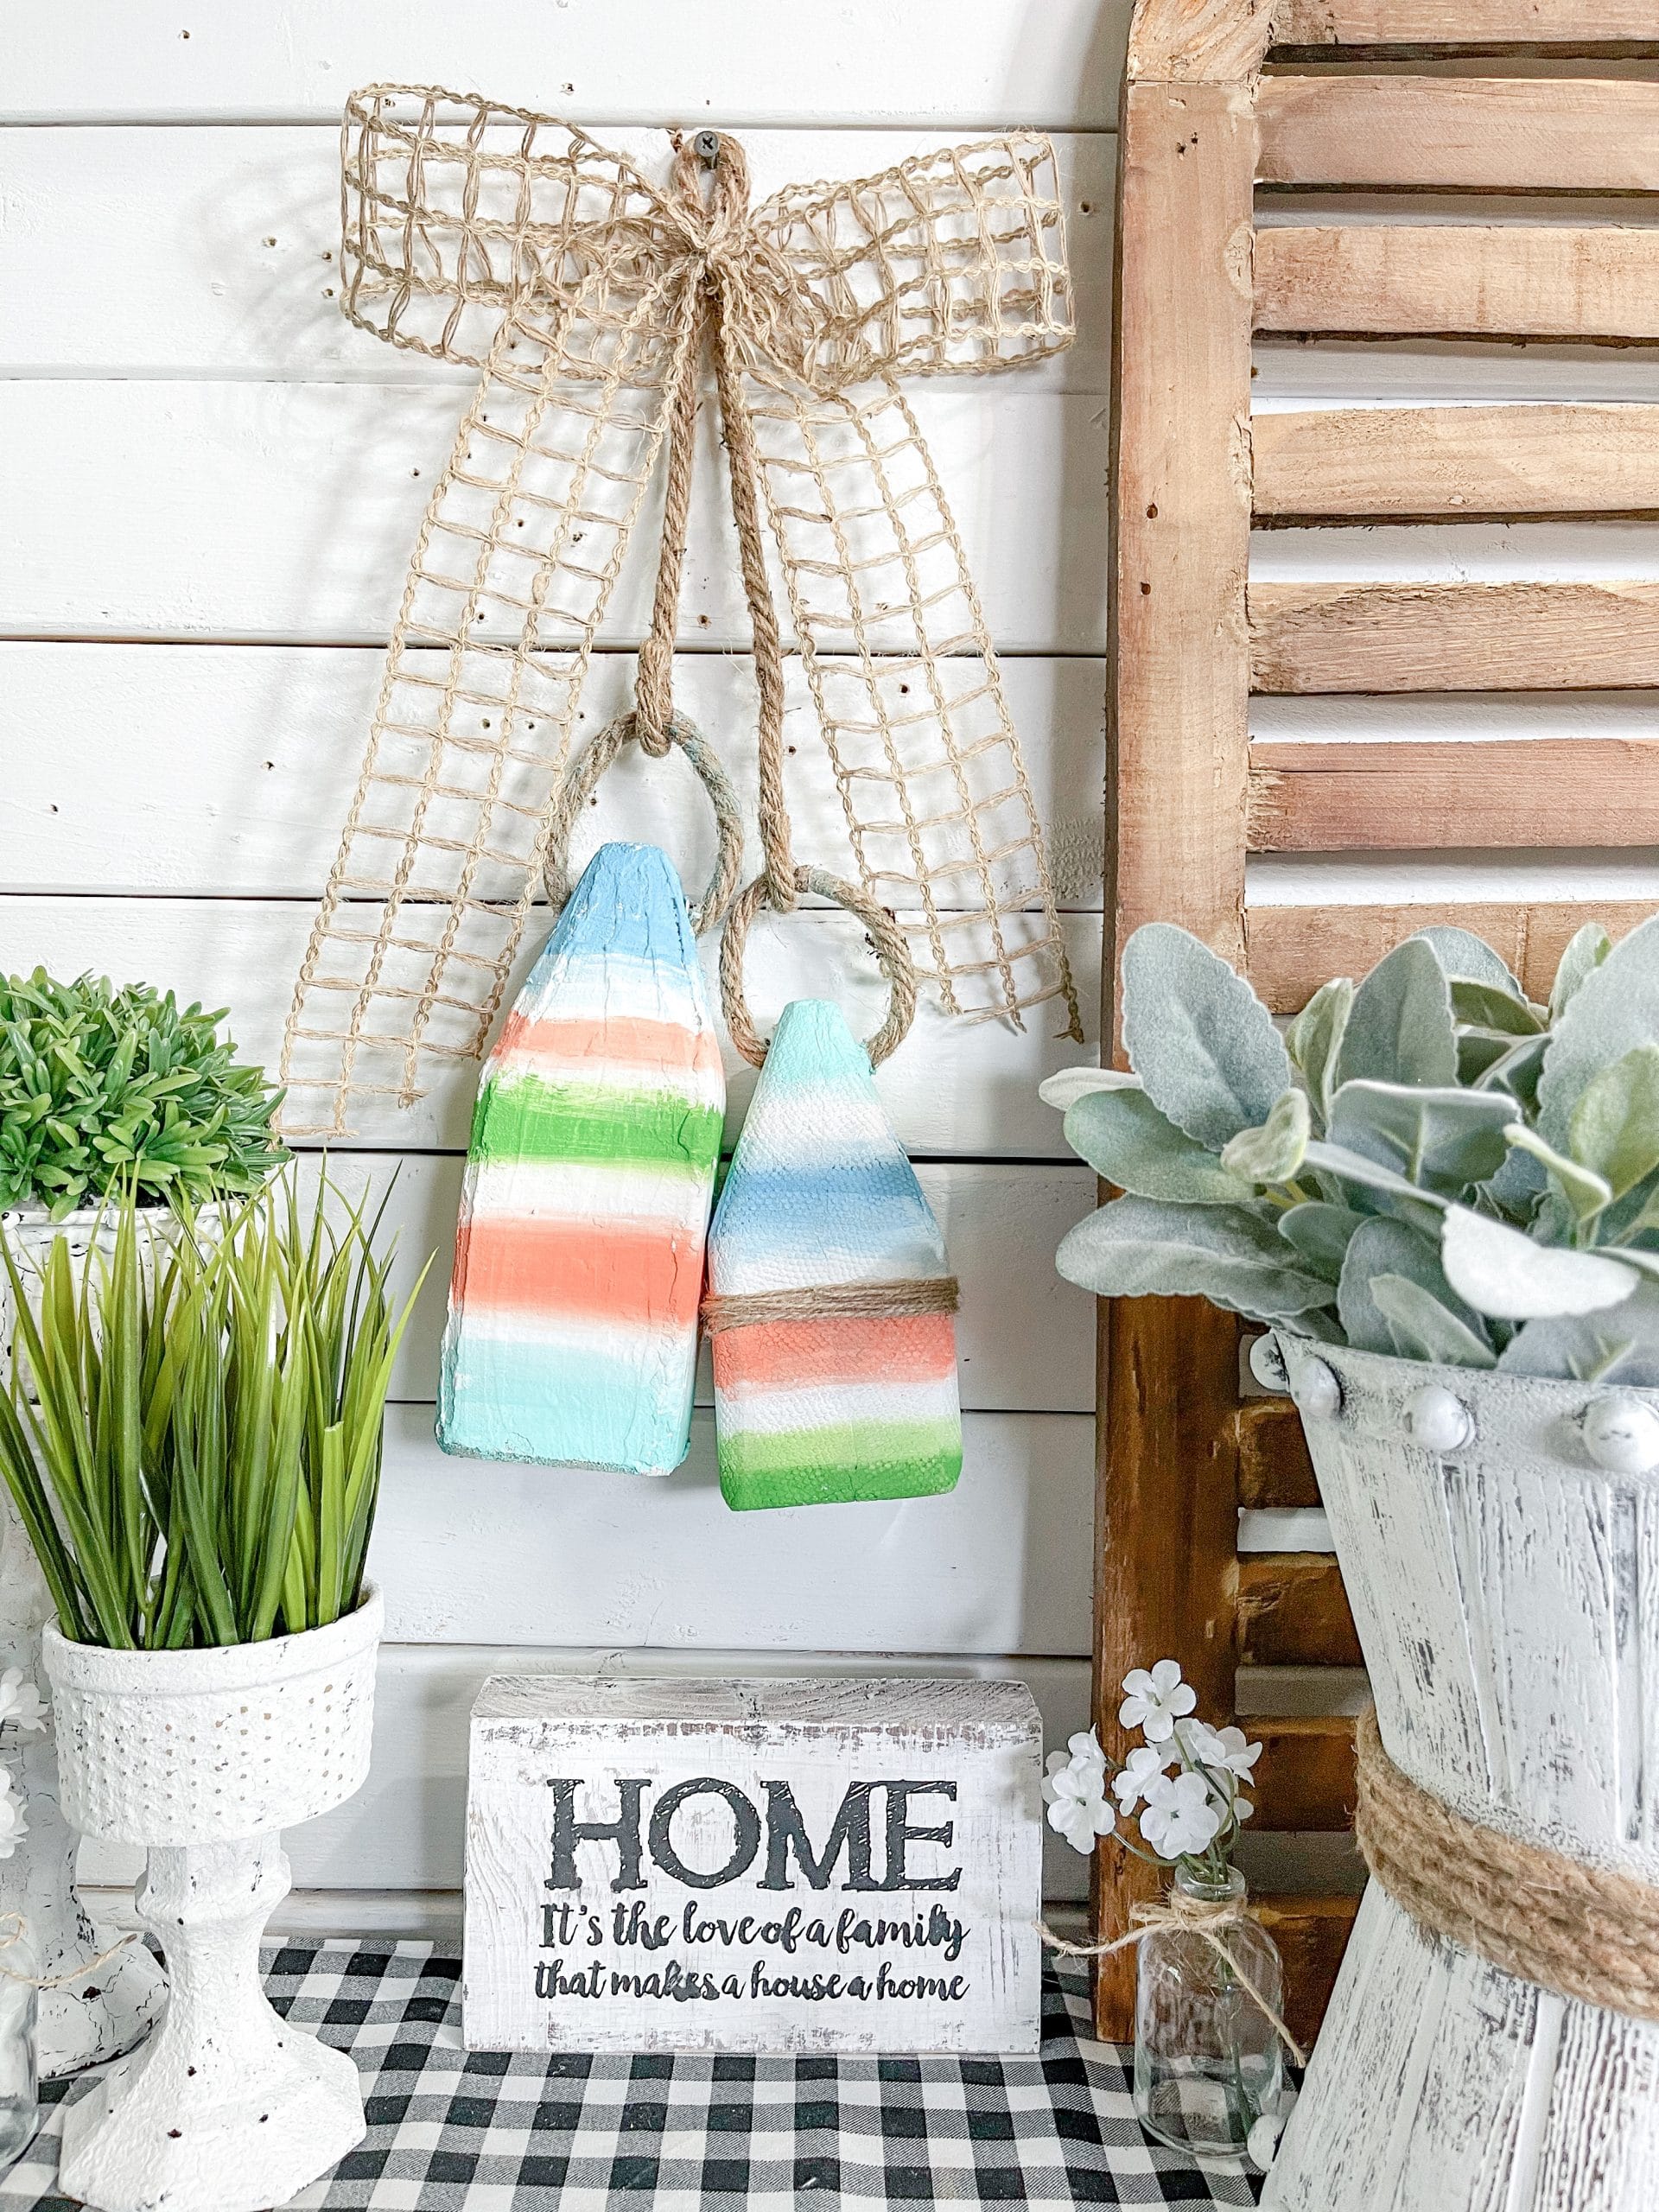
I hope you enjoyed this Floral Foam Buoys DIY Summer Decor as I did and decide to make it for yourself! If you do, I would love to see how yours turns out!
You should totally join my FREE Facebook group called On A Budget Crafts! It is a judgment-free community for DIY crafters to show off their projects and ideas.
If you loved this DIY, you might also like these Dollar Tree Lighthouse DIY Nautical Decor!
Thanks for stopping by! XOXO Amber
You can also shop my ENTIRE AMAZON Favorites shop just click here! It’s packed full of all the things I use and love. Here is the supply list I highly recommend every creative have on hand!!
Would you also pin my blog for later and get on my newsletter alerts? I would love to have you join my #craftycrew.
Inspired? Leave me a comment below! I love hearing from my readers!

Join my free “ON A BUDGET CRAFTS” Facebook group!
Love these, I never thought of a paper towel to use for texture until I saw you do it. I’ve used a paper towel on a couple crafts now. Such an inspiring lady
Amber you are such an inspiration not only with your crafting creative mind but your advice on life things itself thank you for everything you do love love love your crafts God Bless you