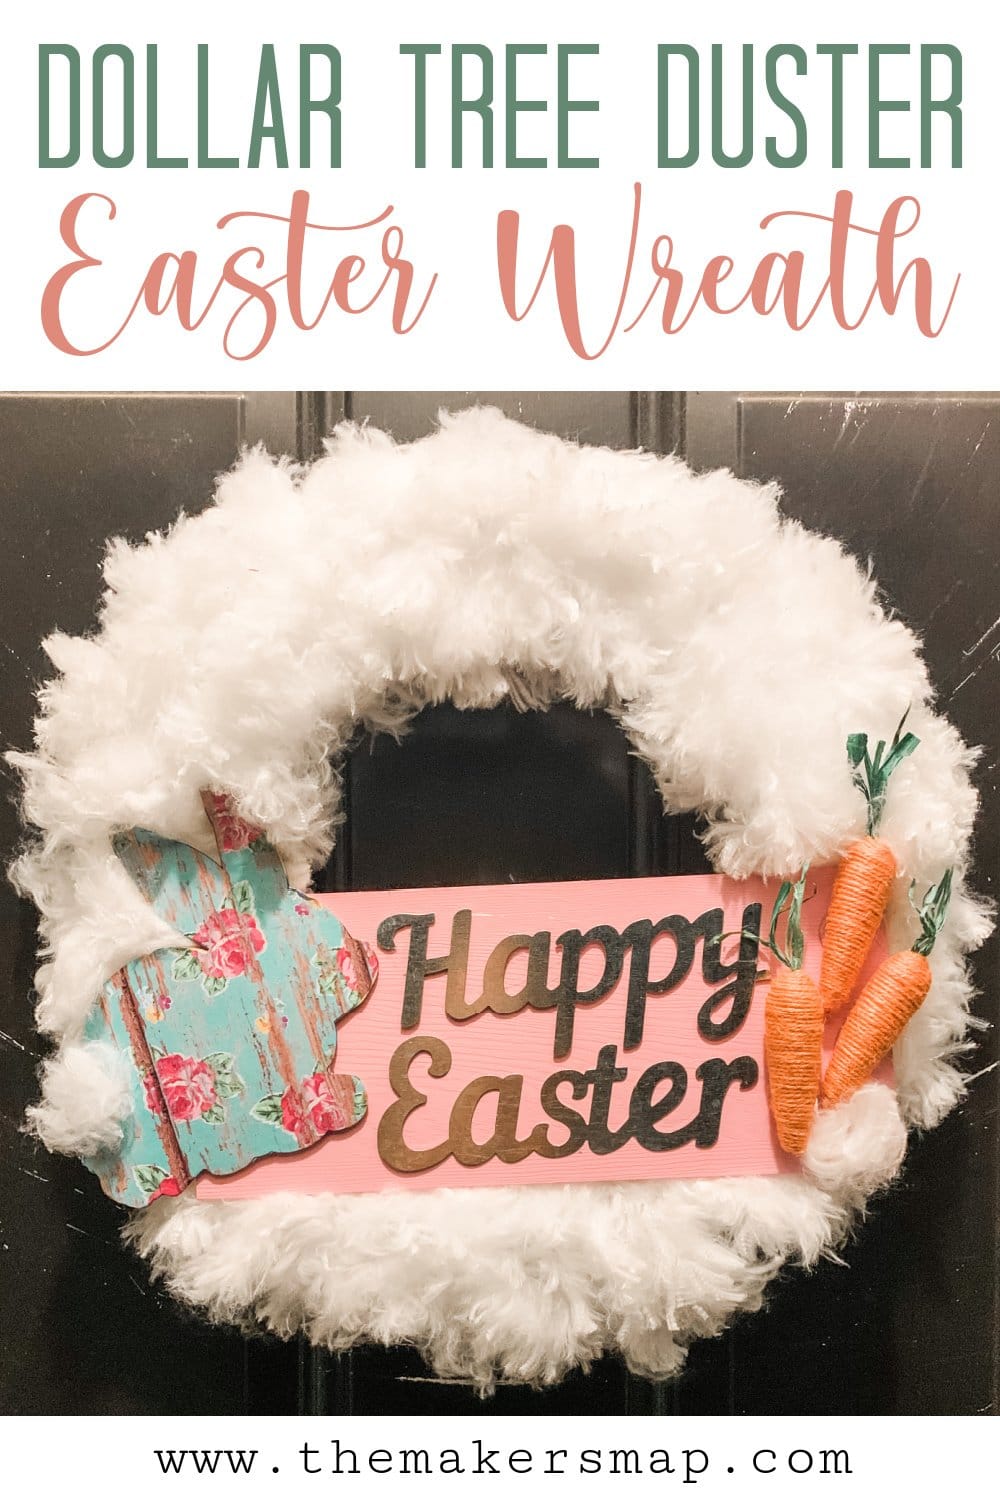
Dollar Tree Duster DIY Easter Wreath
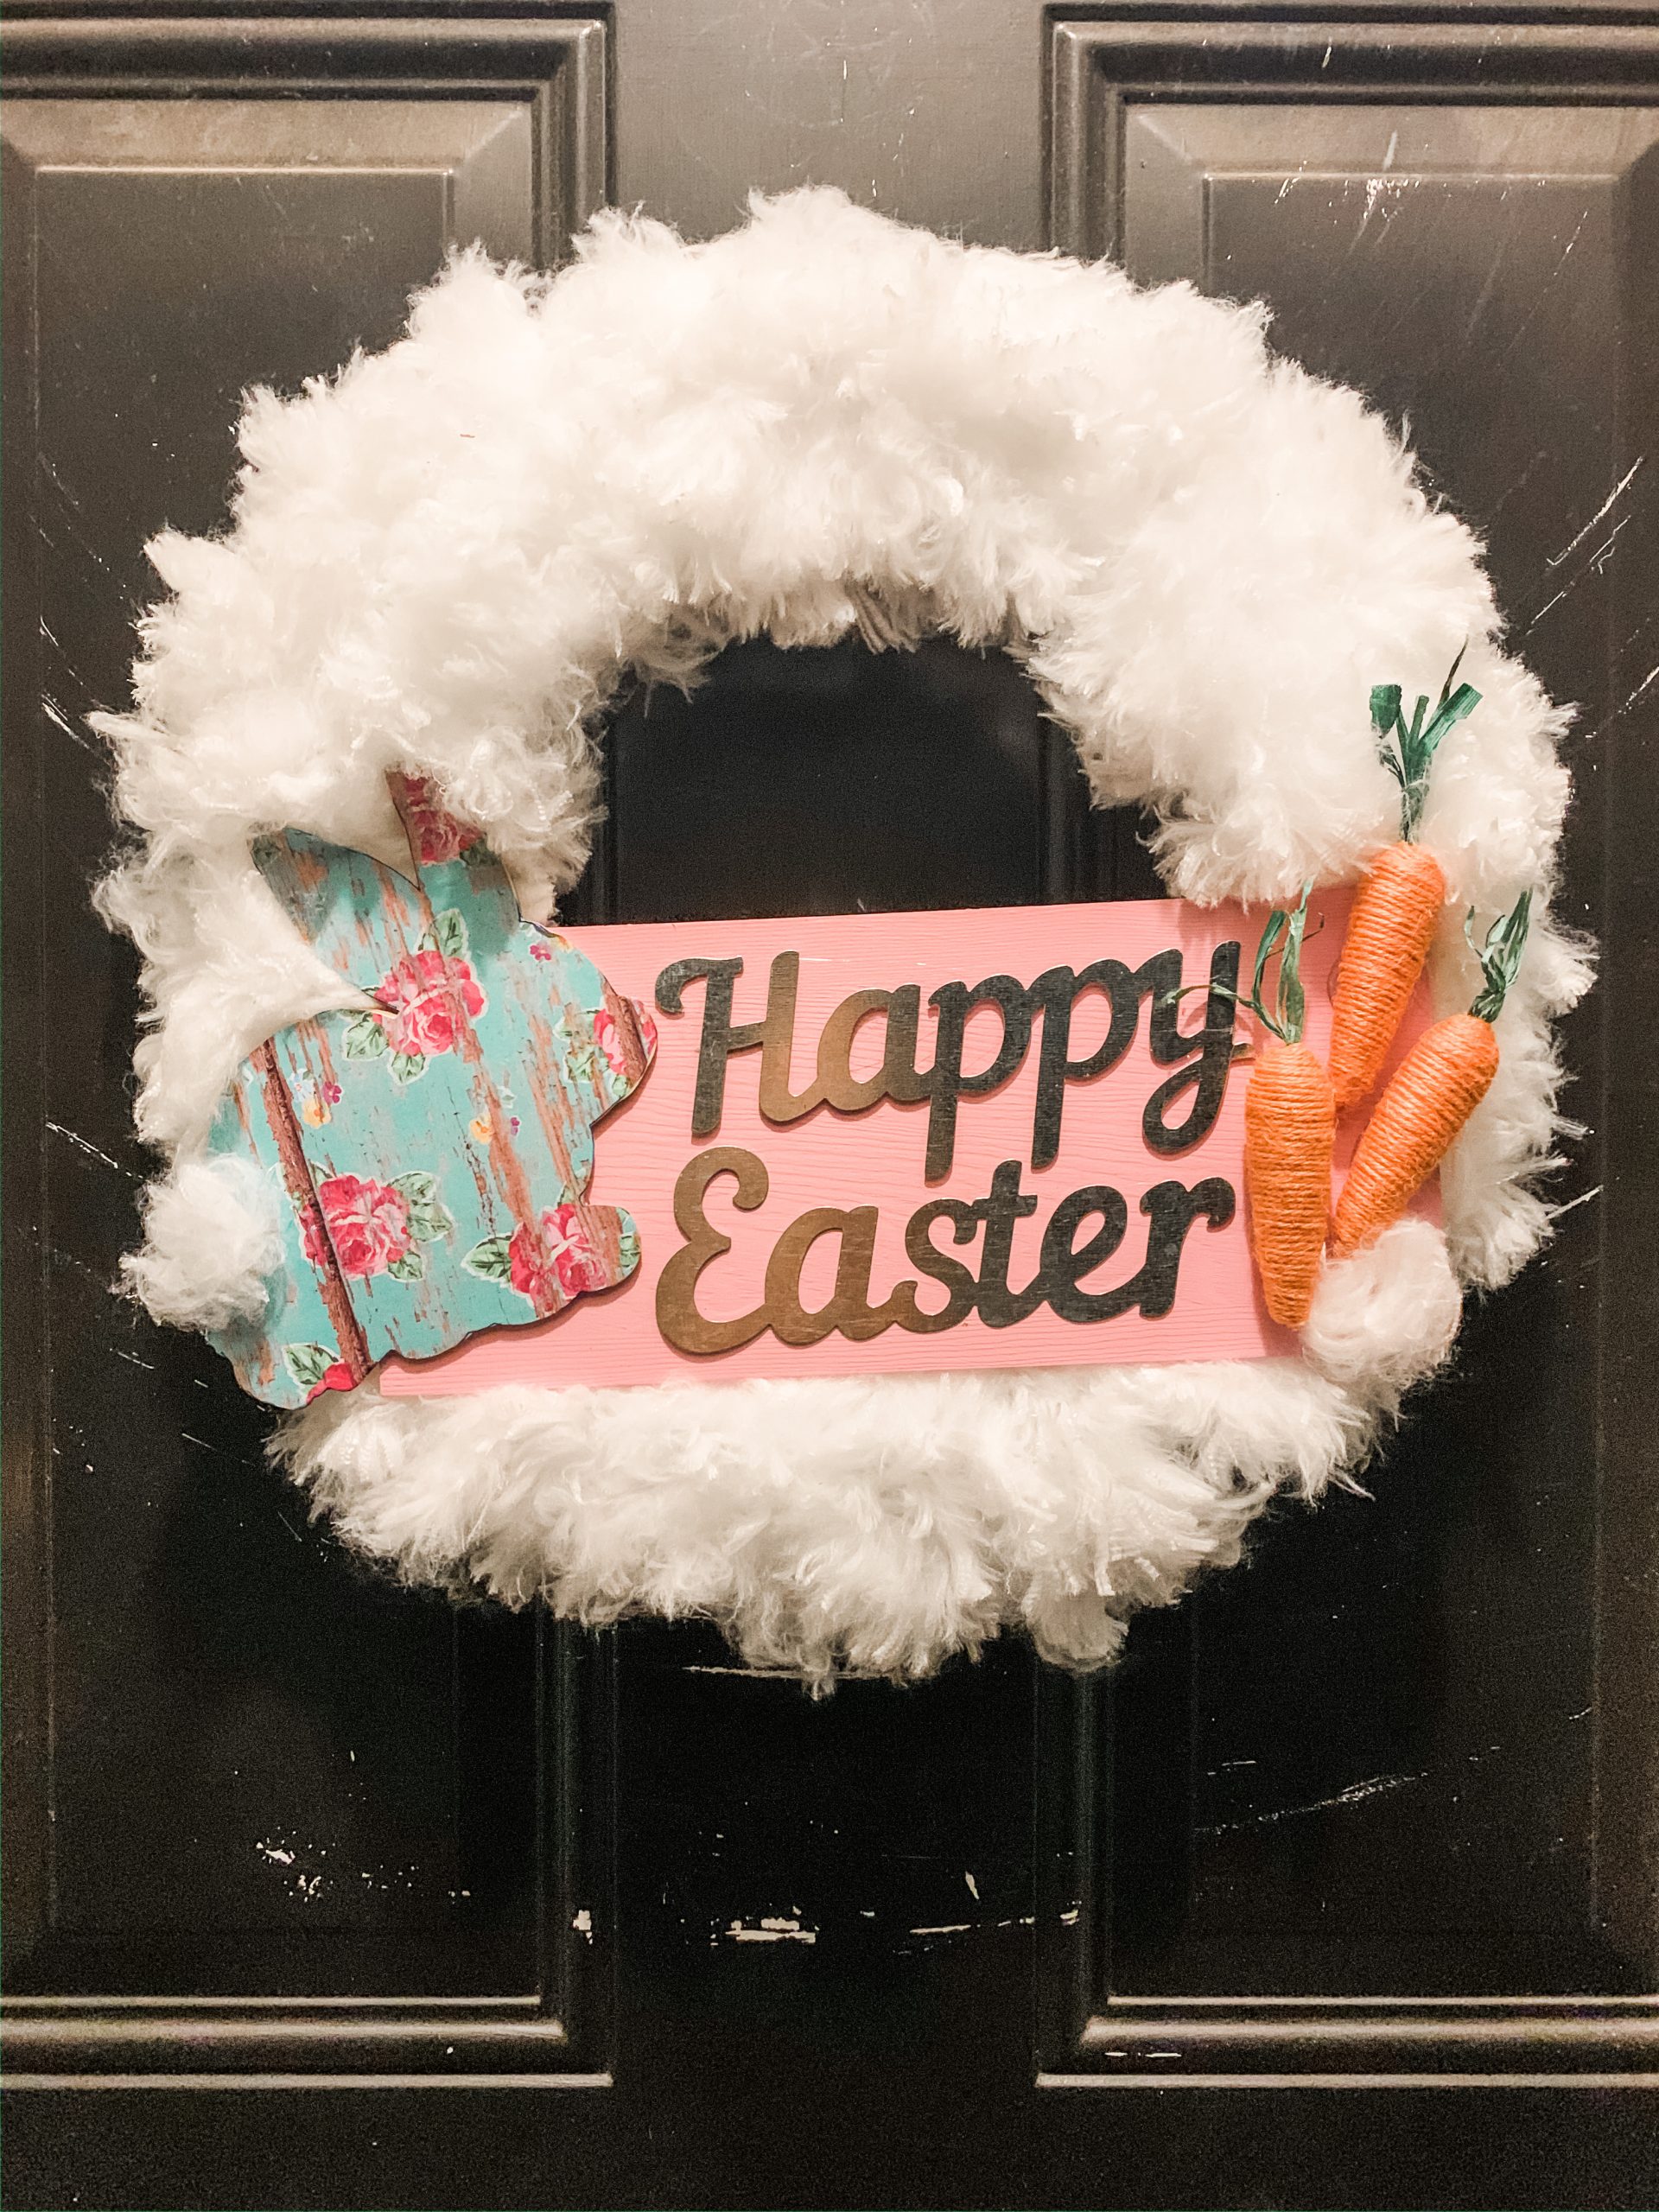
I am not a professional wreath maker by any means, but I am incredibly proud of how adorable this Dollar Tree Duster DIY Easter Wreath turned out!
I don’t know about you, but I might be slightly addicted to Pinterest, and not that long ago, using Dollar Tree dusters was all over Pinterest. That’s how I got the inspiration for this easy DIY Easter Wreath!
Check out these other adorable Easter DIY’s!
- DIY Mossy Bunny Sign
- DIY Dollar Tree Easter Decor with Decoupaged Eggs
- Dollar Tree Mossy Bunny Easter Decor DIY
- DIY Dollar Tree Shabby Chic Easter Decor
- DIY Farmhouse Bunny Decor
- Dollar Tree DIY Concrete Bunny
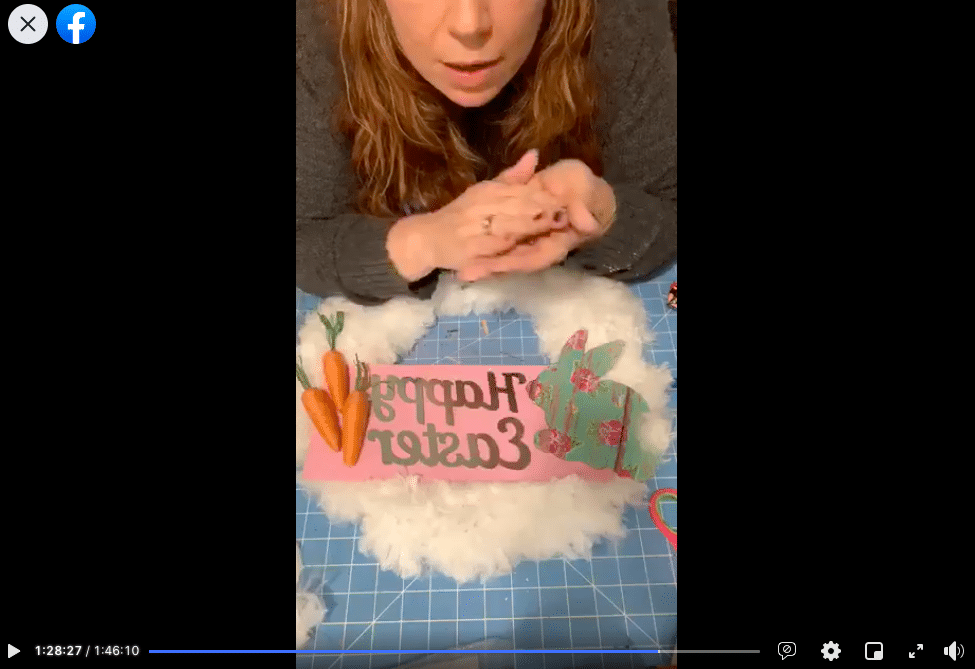
Watch the replay
I recorded the how-to steps of this simple and affordable DIY project during a LIVE video on my Facebook page, and you can watch the replay to craft along or join in on the fun conversations!
For this project, I will be using these items but you can substitute where you want.
“As an Amazon Associate, I earn from qualifying purchases.”
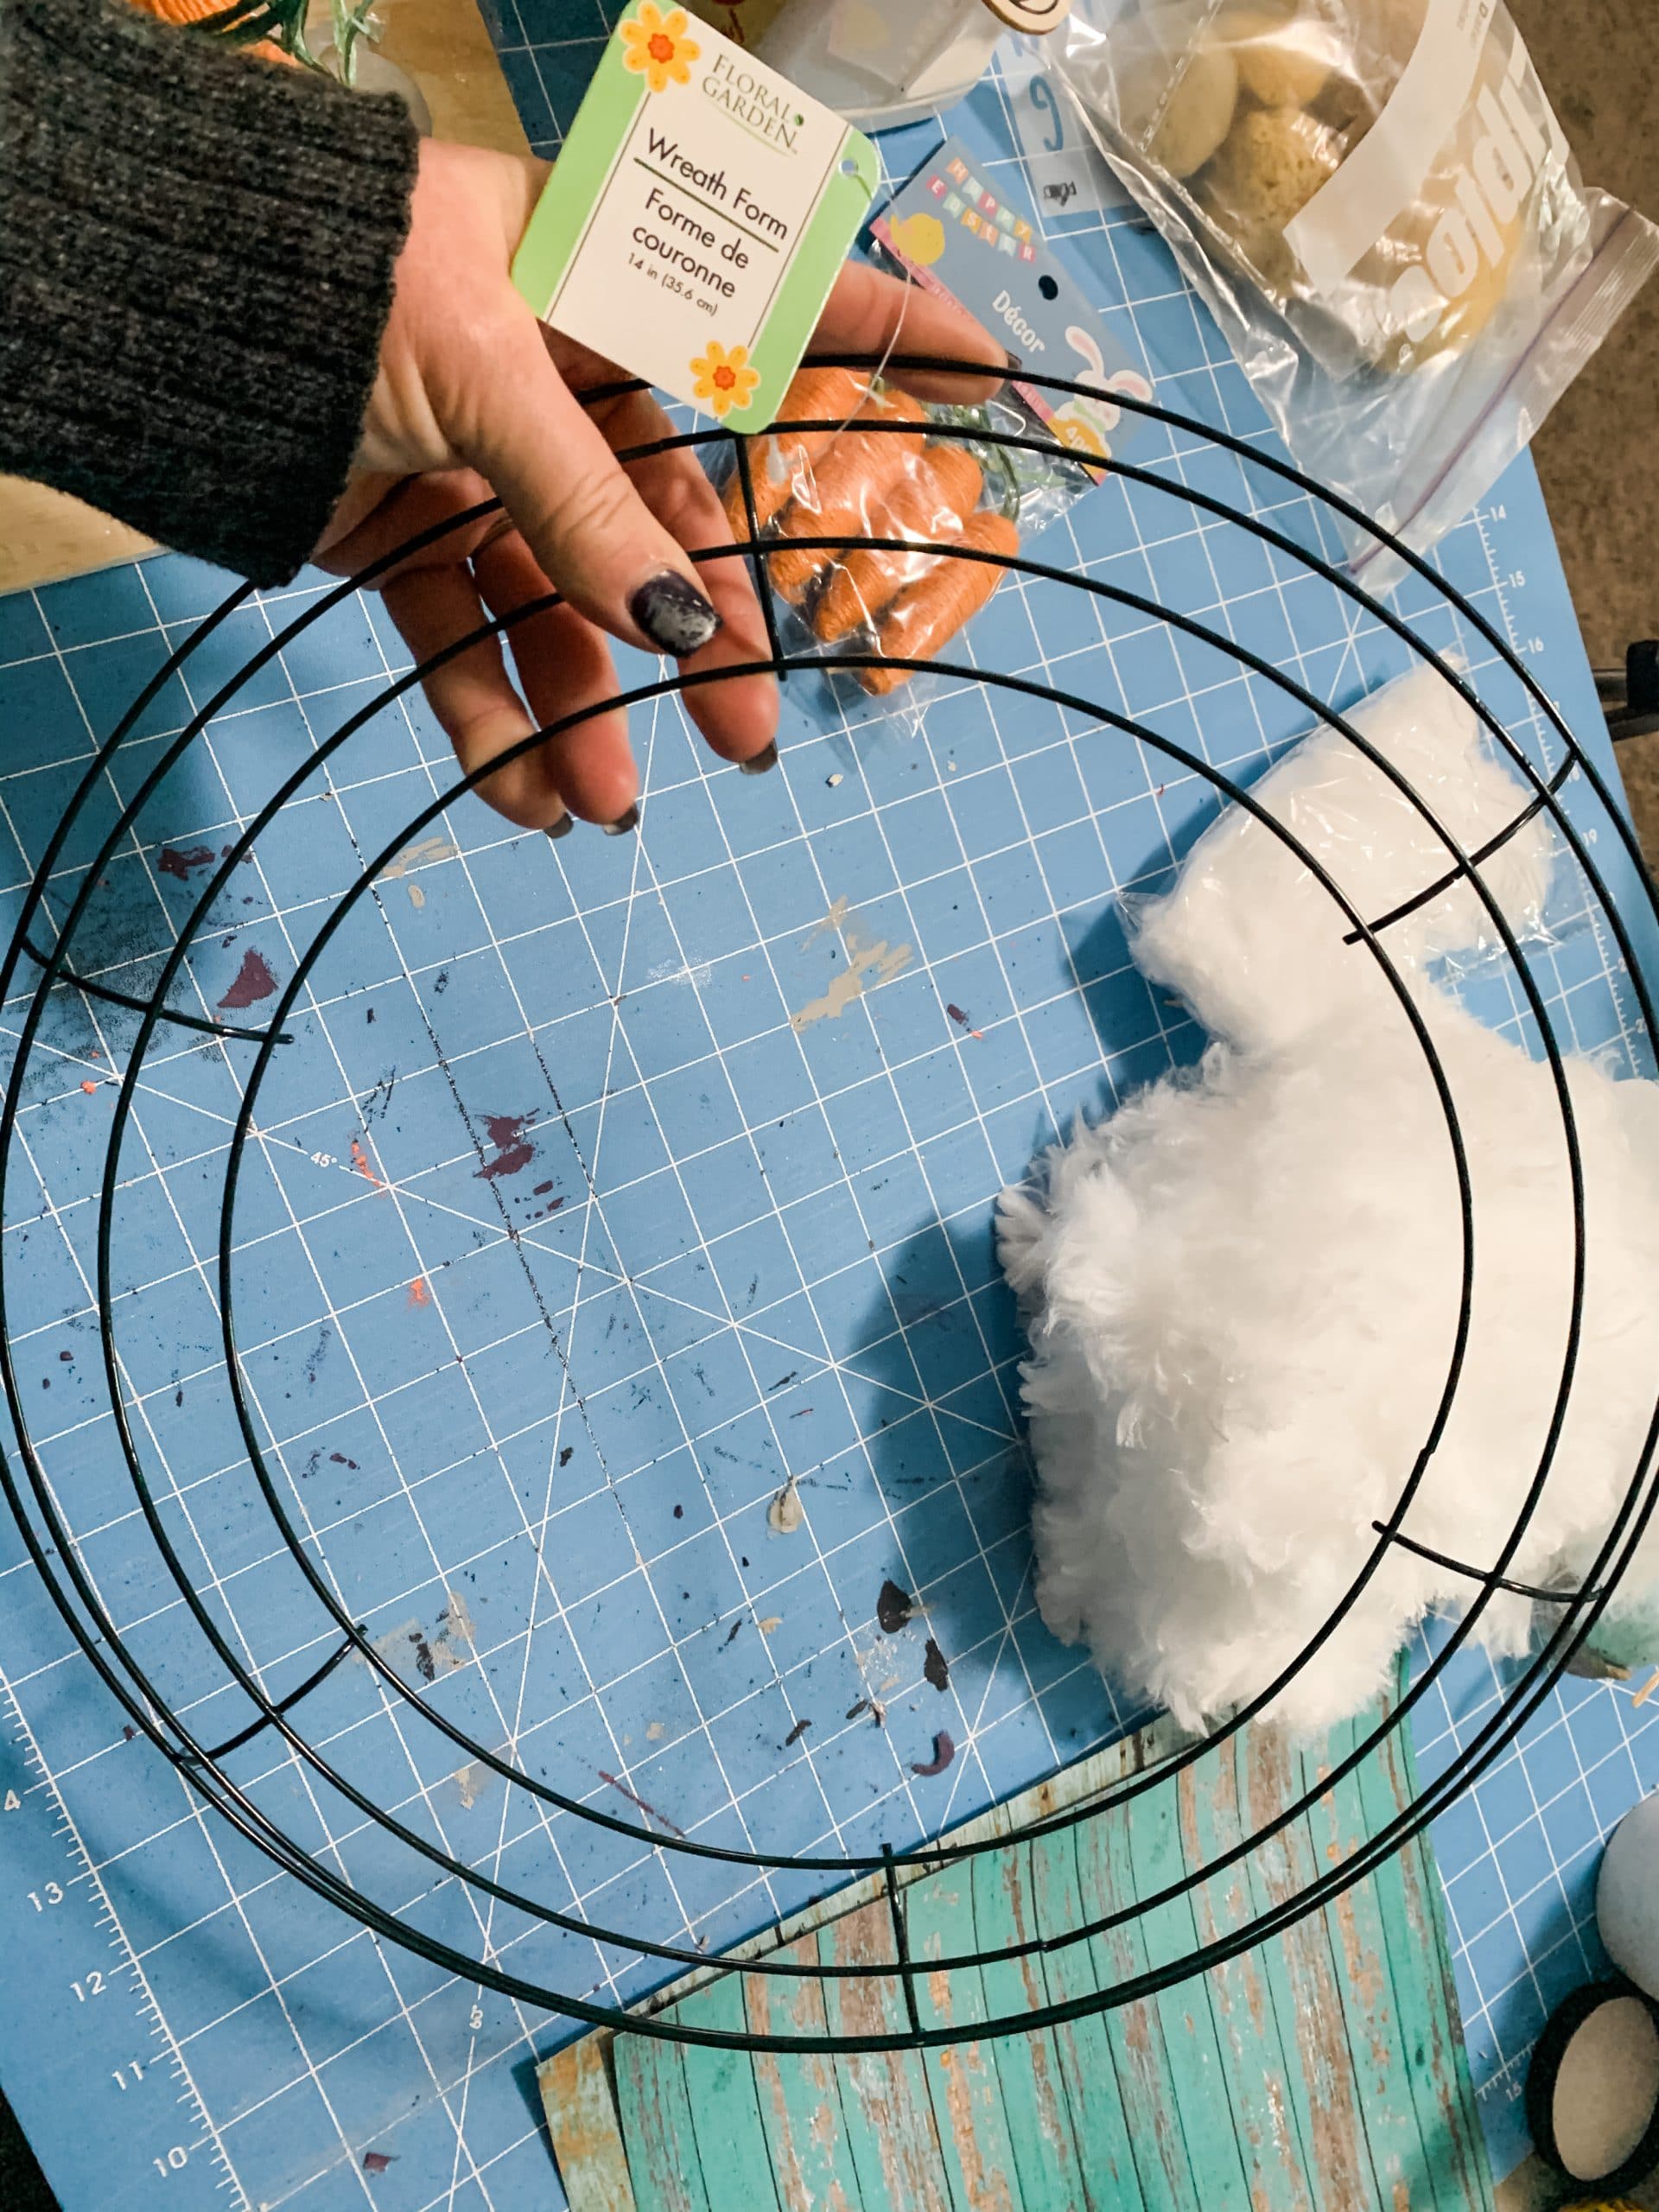
- Dollar Tree Wreath form
- Dollar Tree Dusters x7
- Wood Rectangle
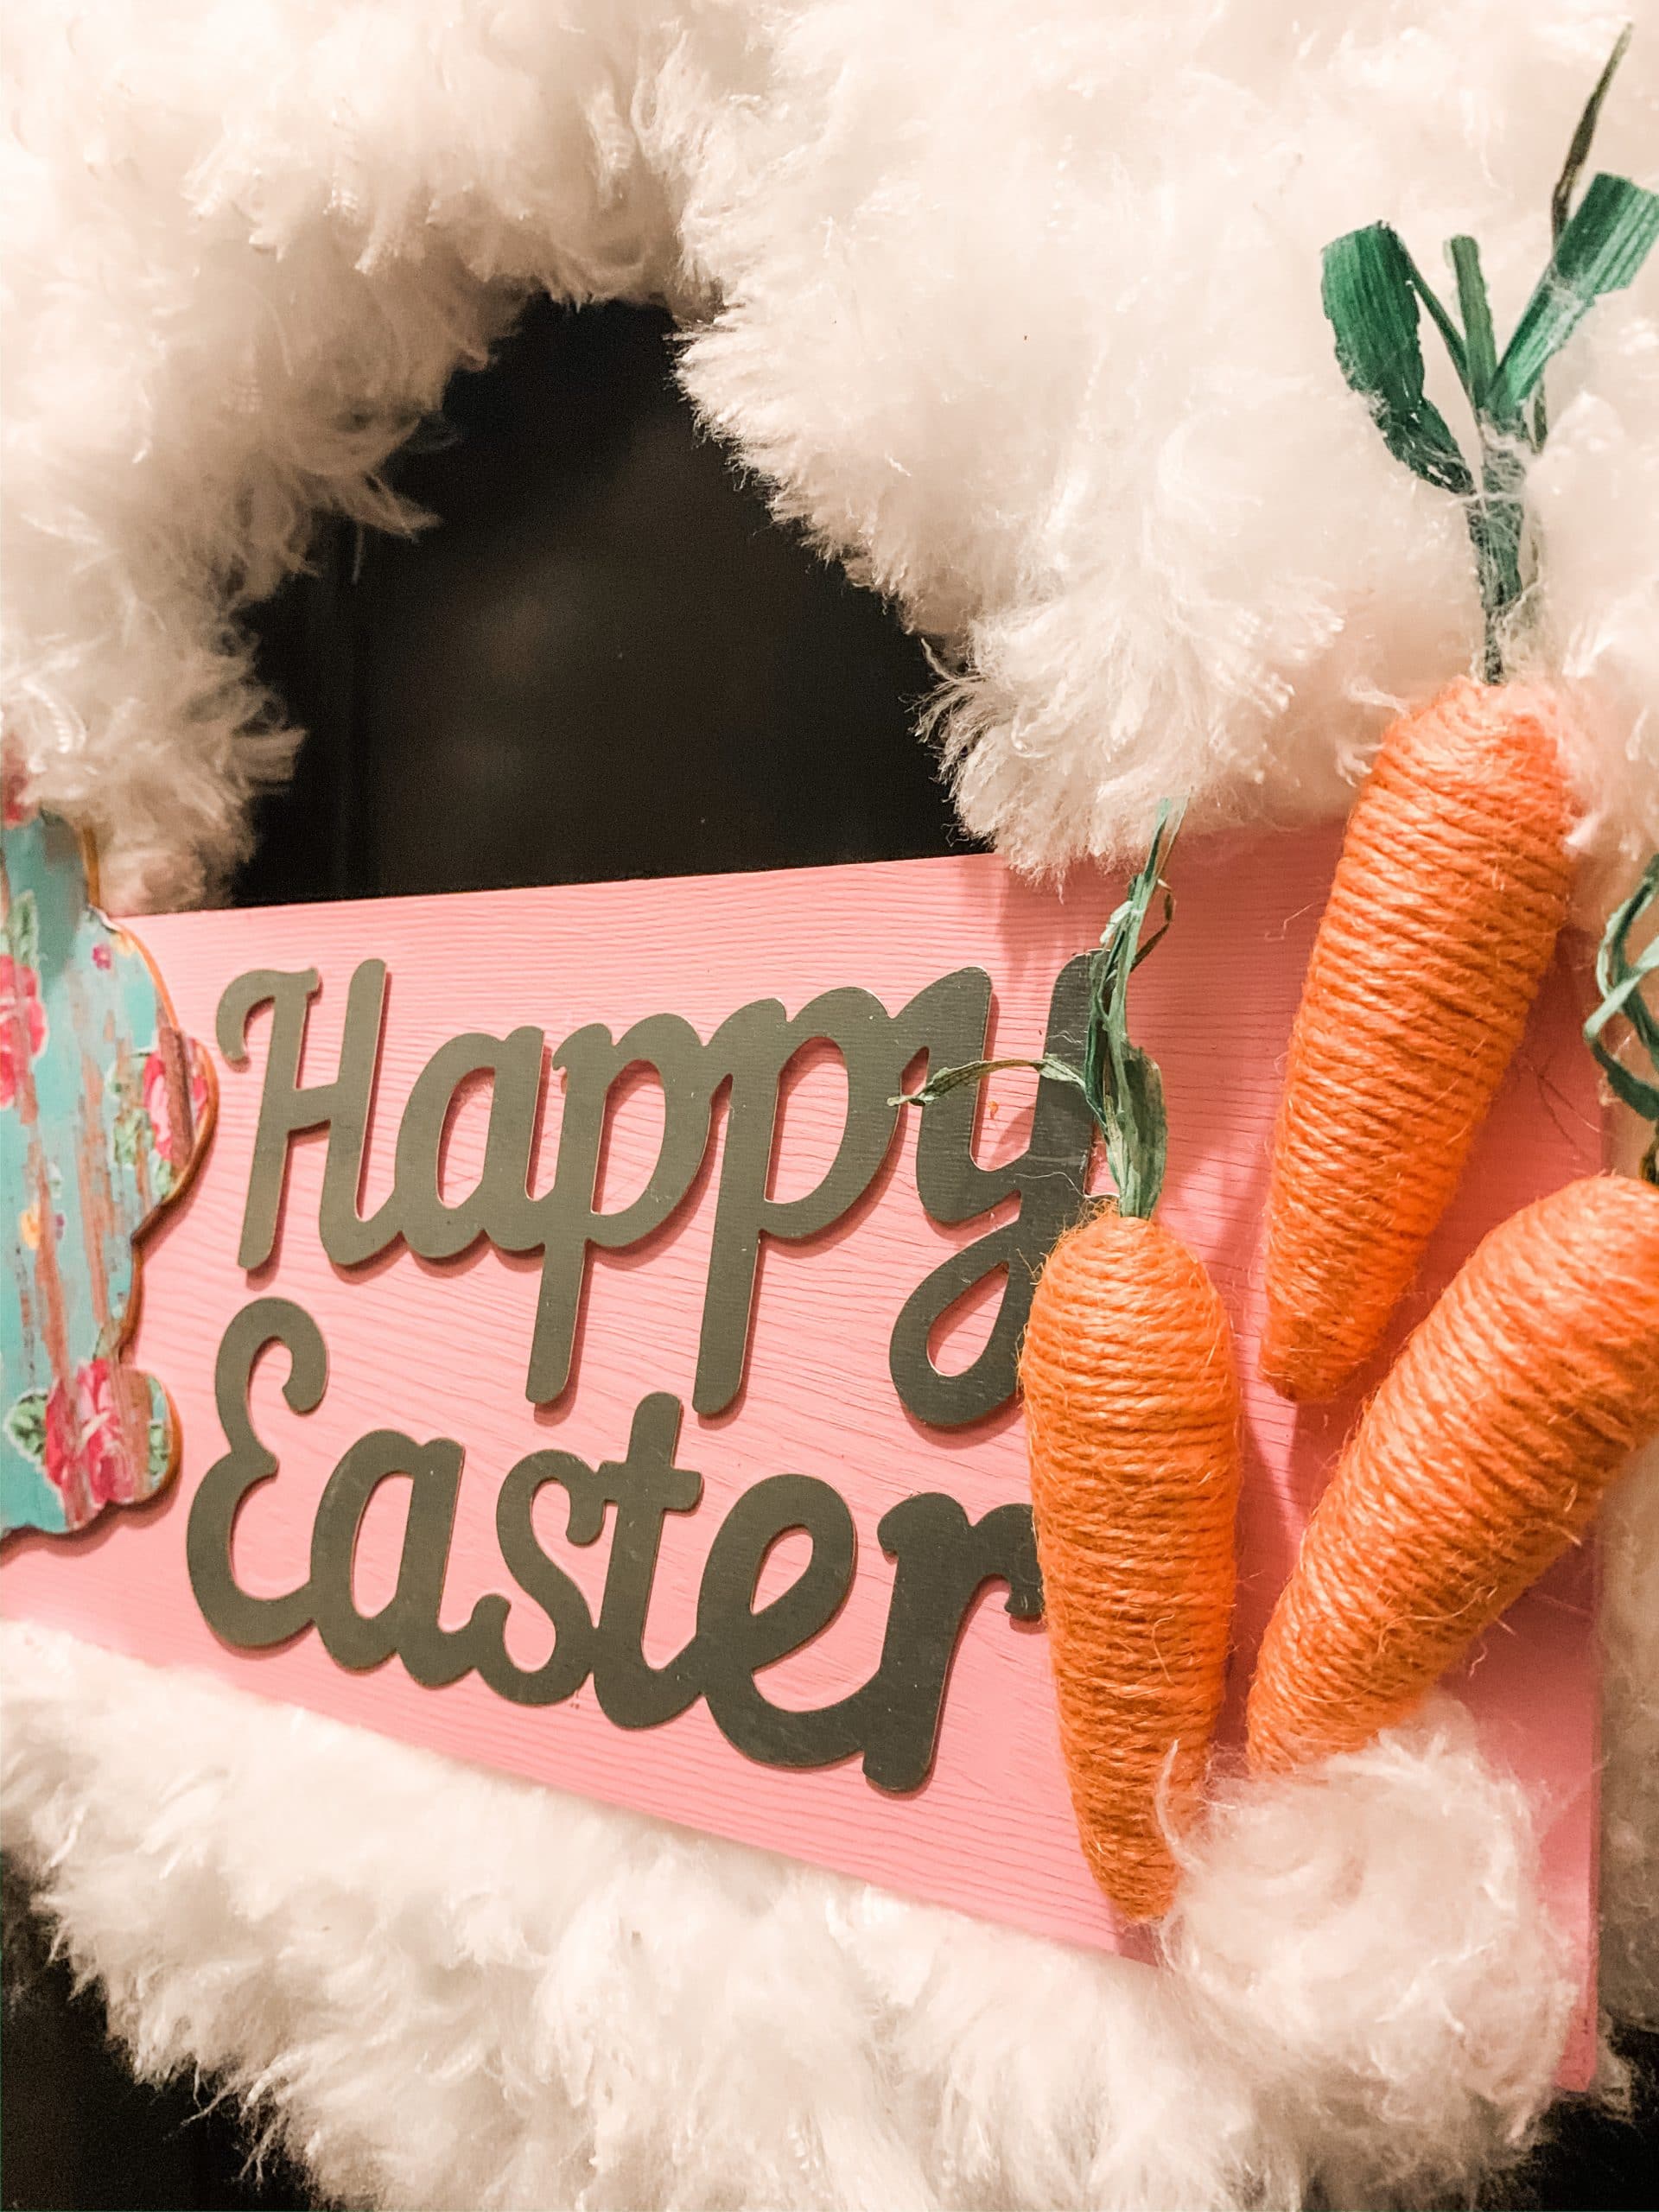
- Dollar Tree Yarn Carrots
- Dollar Tree Paint your own bunny
- Floral Scrapbook Paper
- Dollar Tree White Wildflowers
- Dollar Tree Happy Easter Metal Lettering
- Pink Acrylic Paint
- Dixie Belle Fluff Chalk Paint
- Zip ties
- Hot Glue gun
- Glue Sticks
- Drill
How to Make a Dollar Tree Duster DIY Easter Wreath
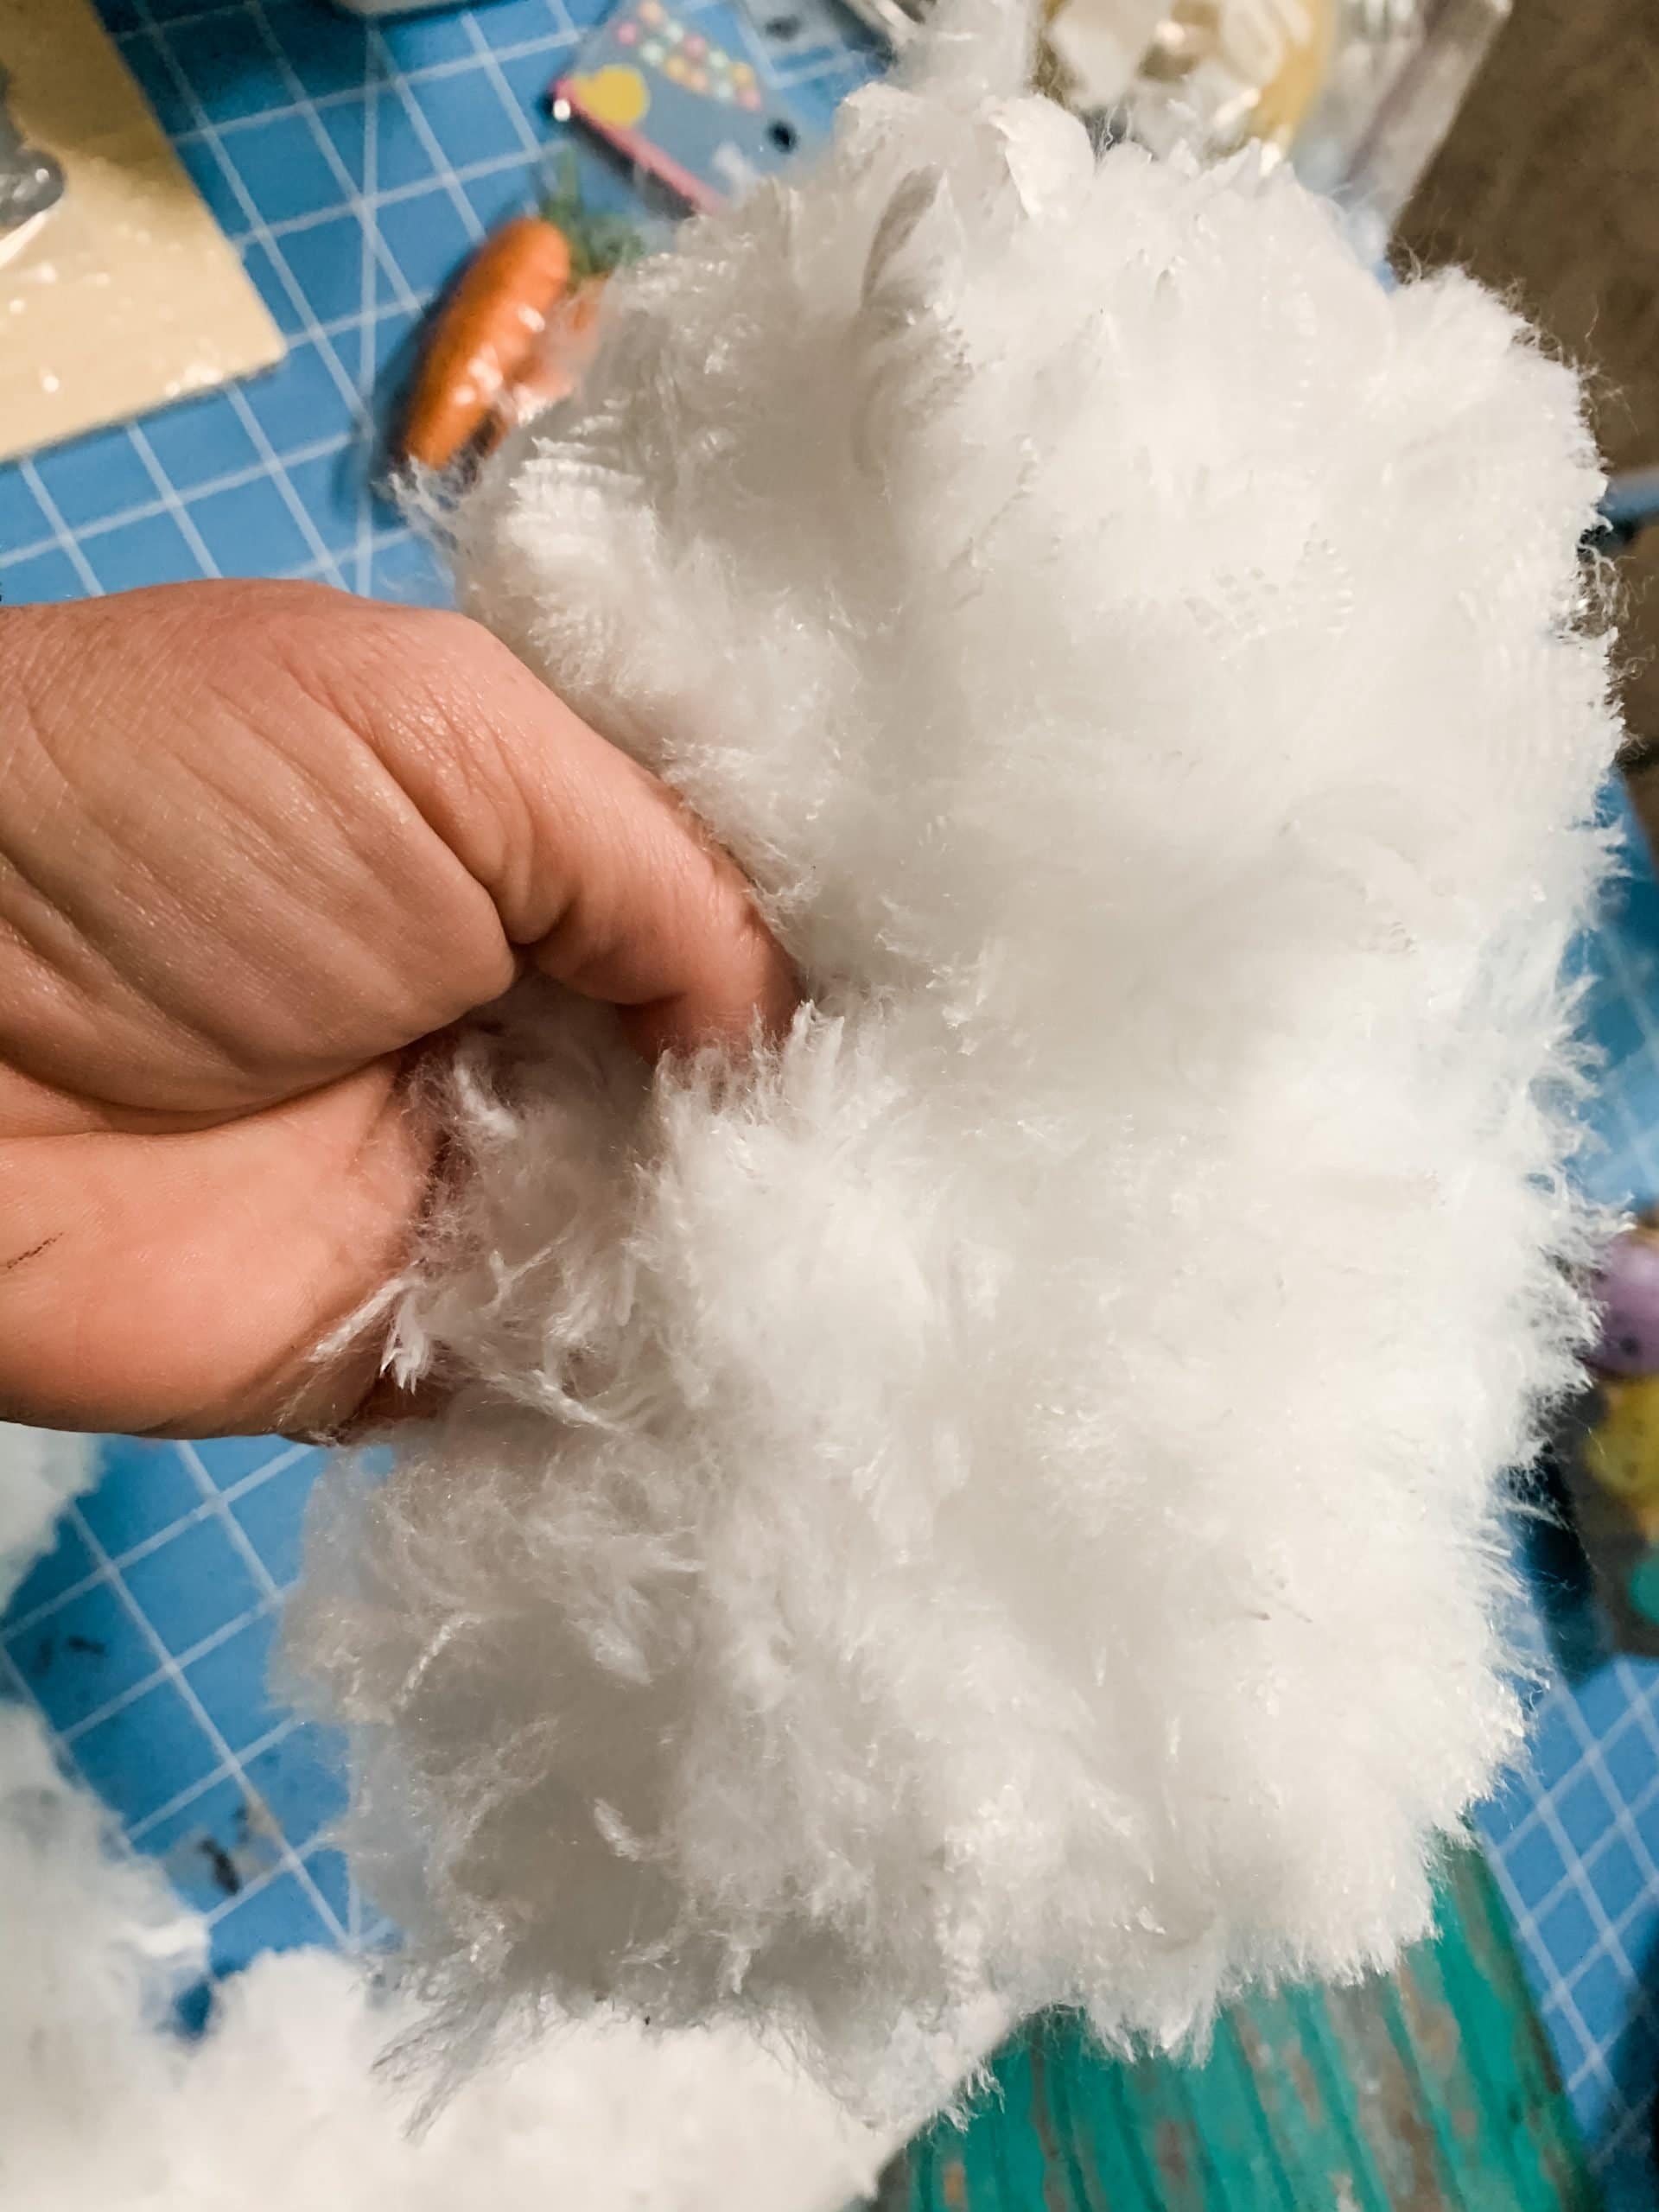
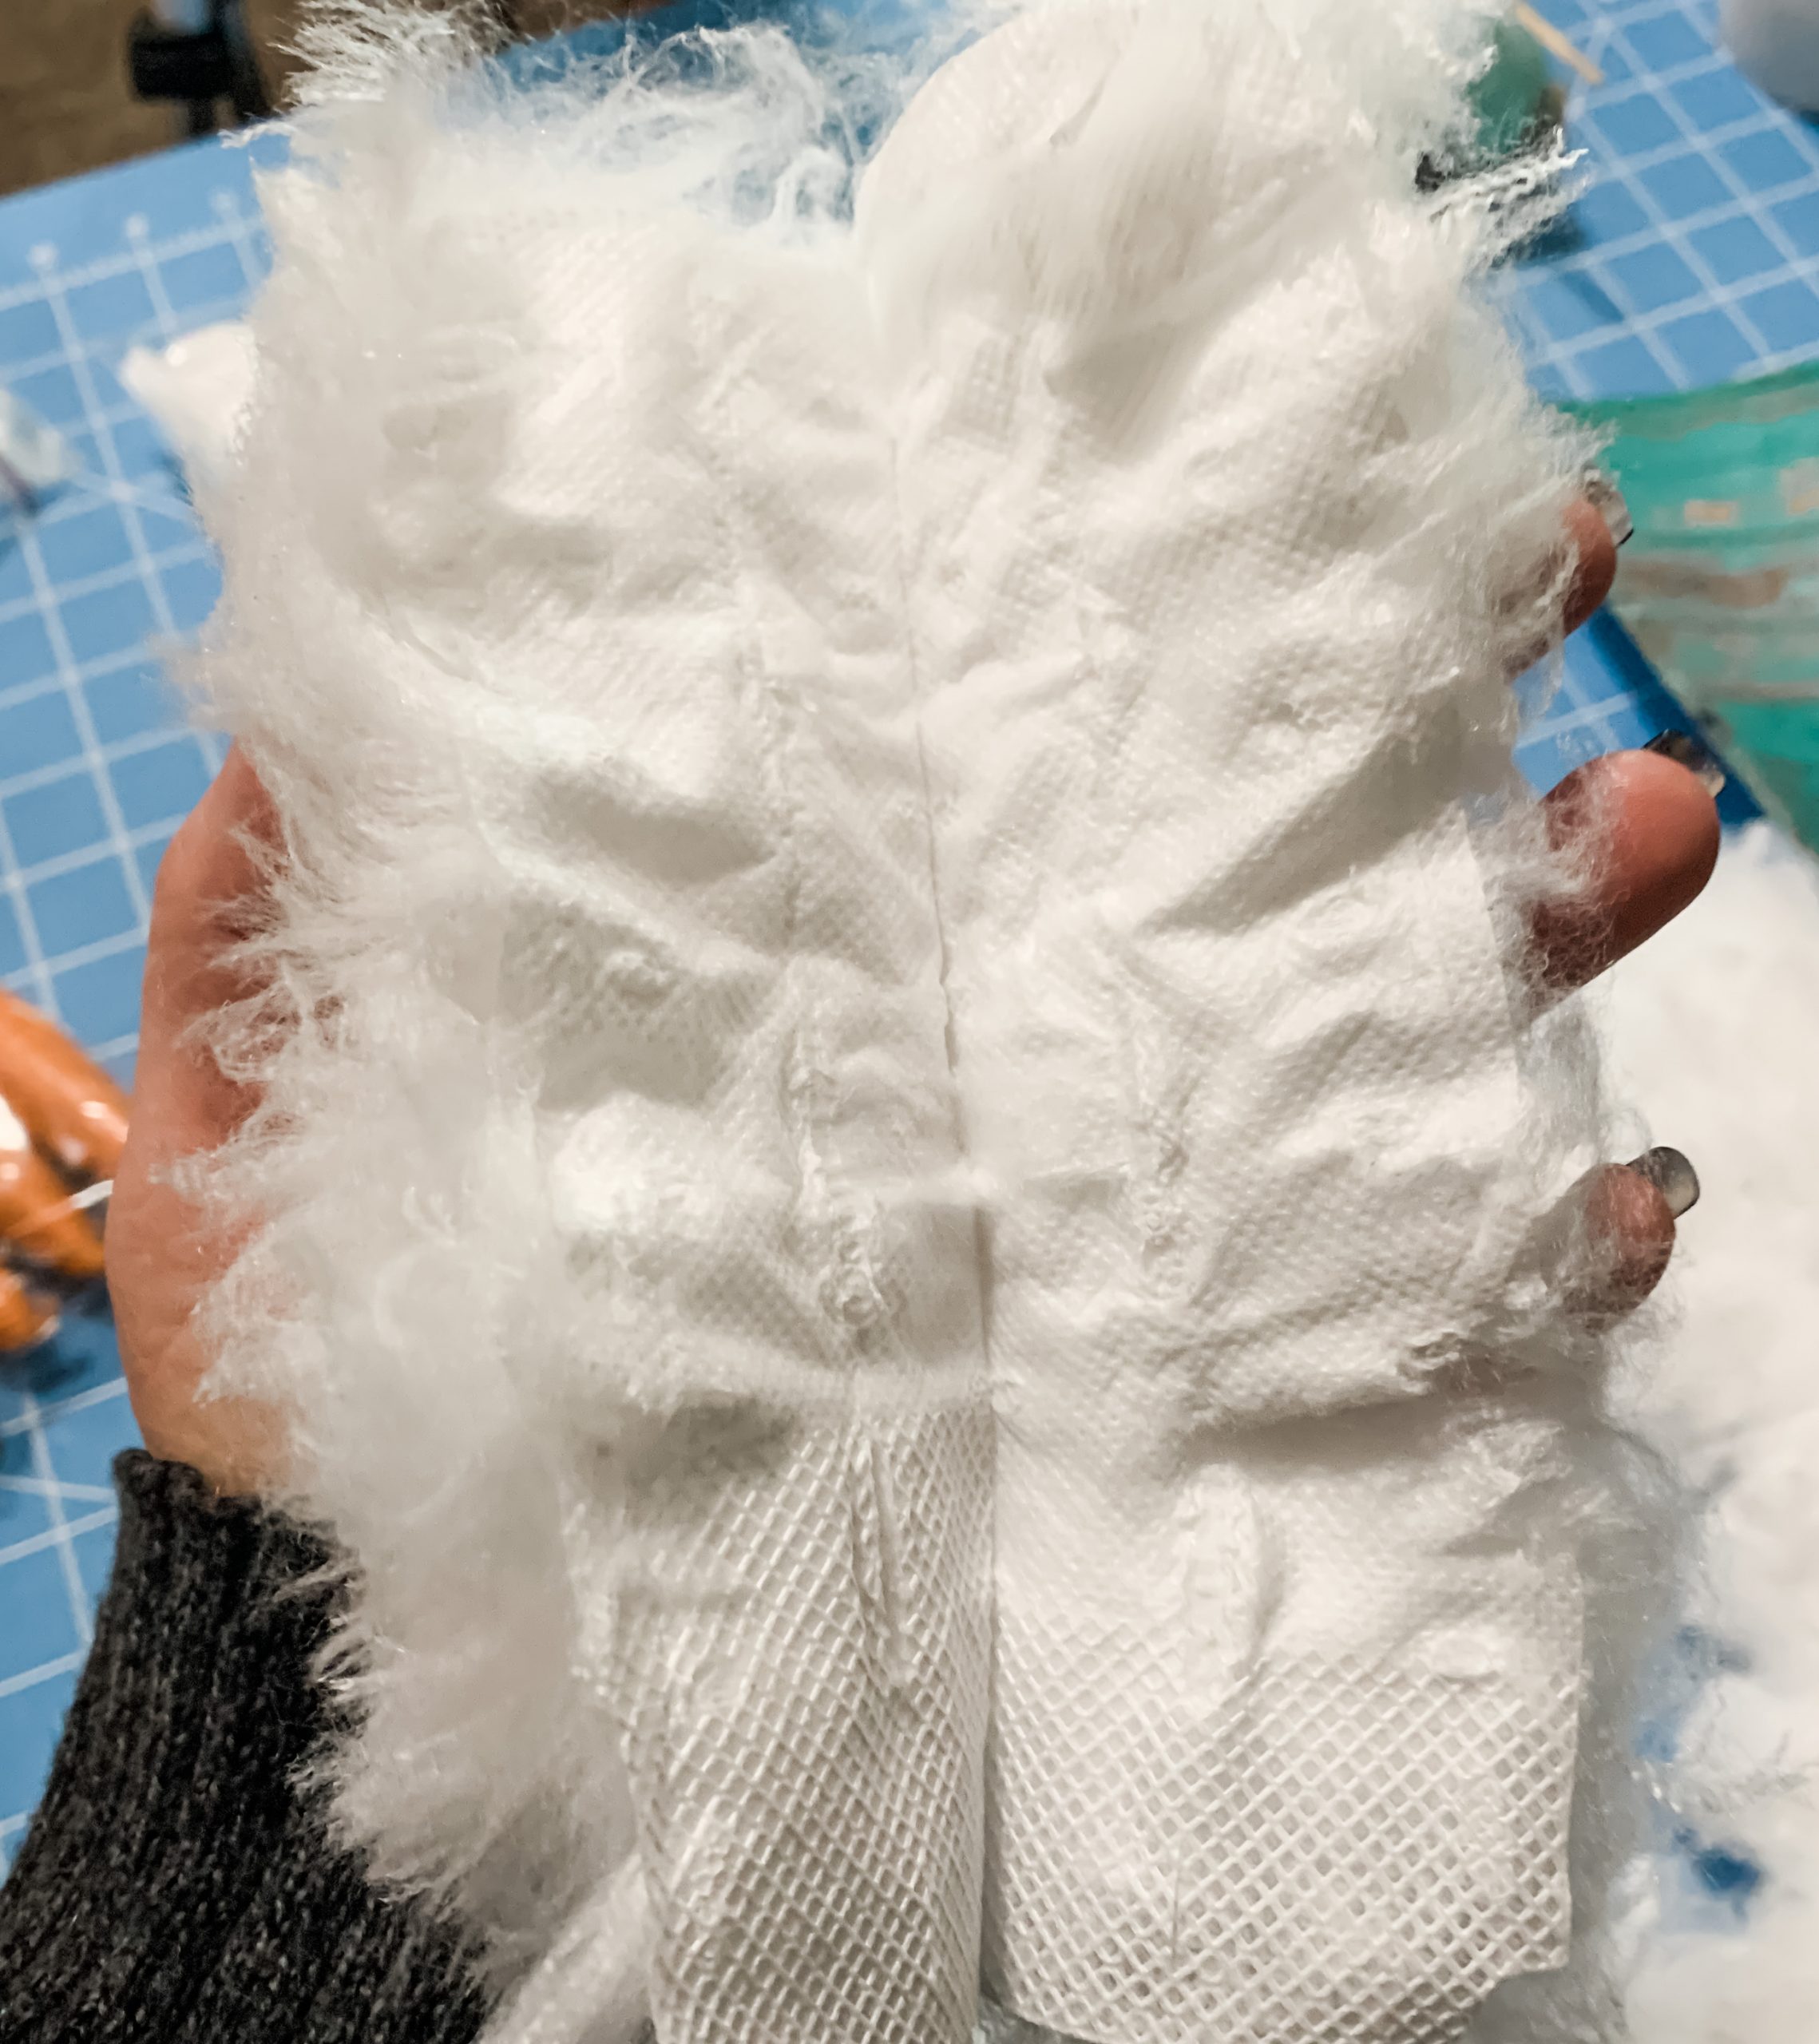
The first thing you’re going to do to make this adorable Easter wreath is filet open your Dollar Tree dusters.
You need 7 dusters if you’re going to make a small wreath as I did, and luckily, they come in packs of 2 at Dollar Tree!
Once you have them all fileted open, you’re going to hot glue them onto the Dollar Tree wreath form. I really didn’t want a very big wreath for this project, so I went with a smaller wreath form than I usually use.
Place hot glue on each wire of the wreath form and press the dusters onto it. I used a butter knife to press the wreath down into the hot glue on the dusters and get a really secure bond.
I then pulled the edges of the duster over the side of the wreath form and hot glued it down to itself. Make sure that your wreath form is completely covered with the Dollar Tree dusters and you can’t see the wreath form underneath.
How to decoupage
Next, you’re going to decoupage the Dollar Tree paint your own bunny with a scrapbook pattern of your choice. First, I traced the shape of the bunny onto my scrapbook paper and cut it to shape.
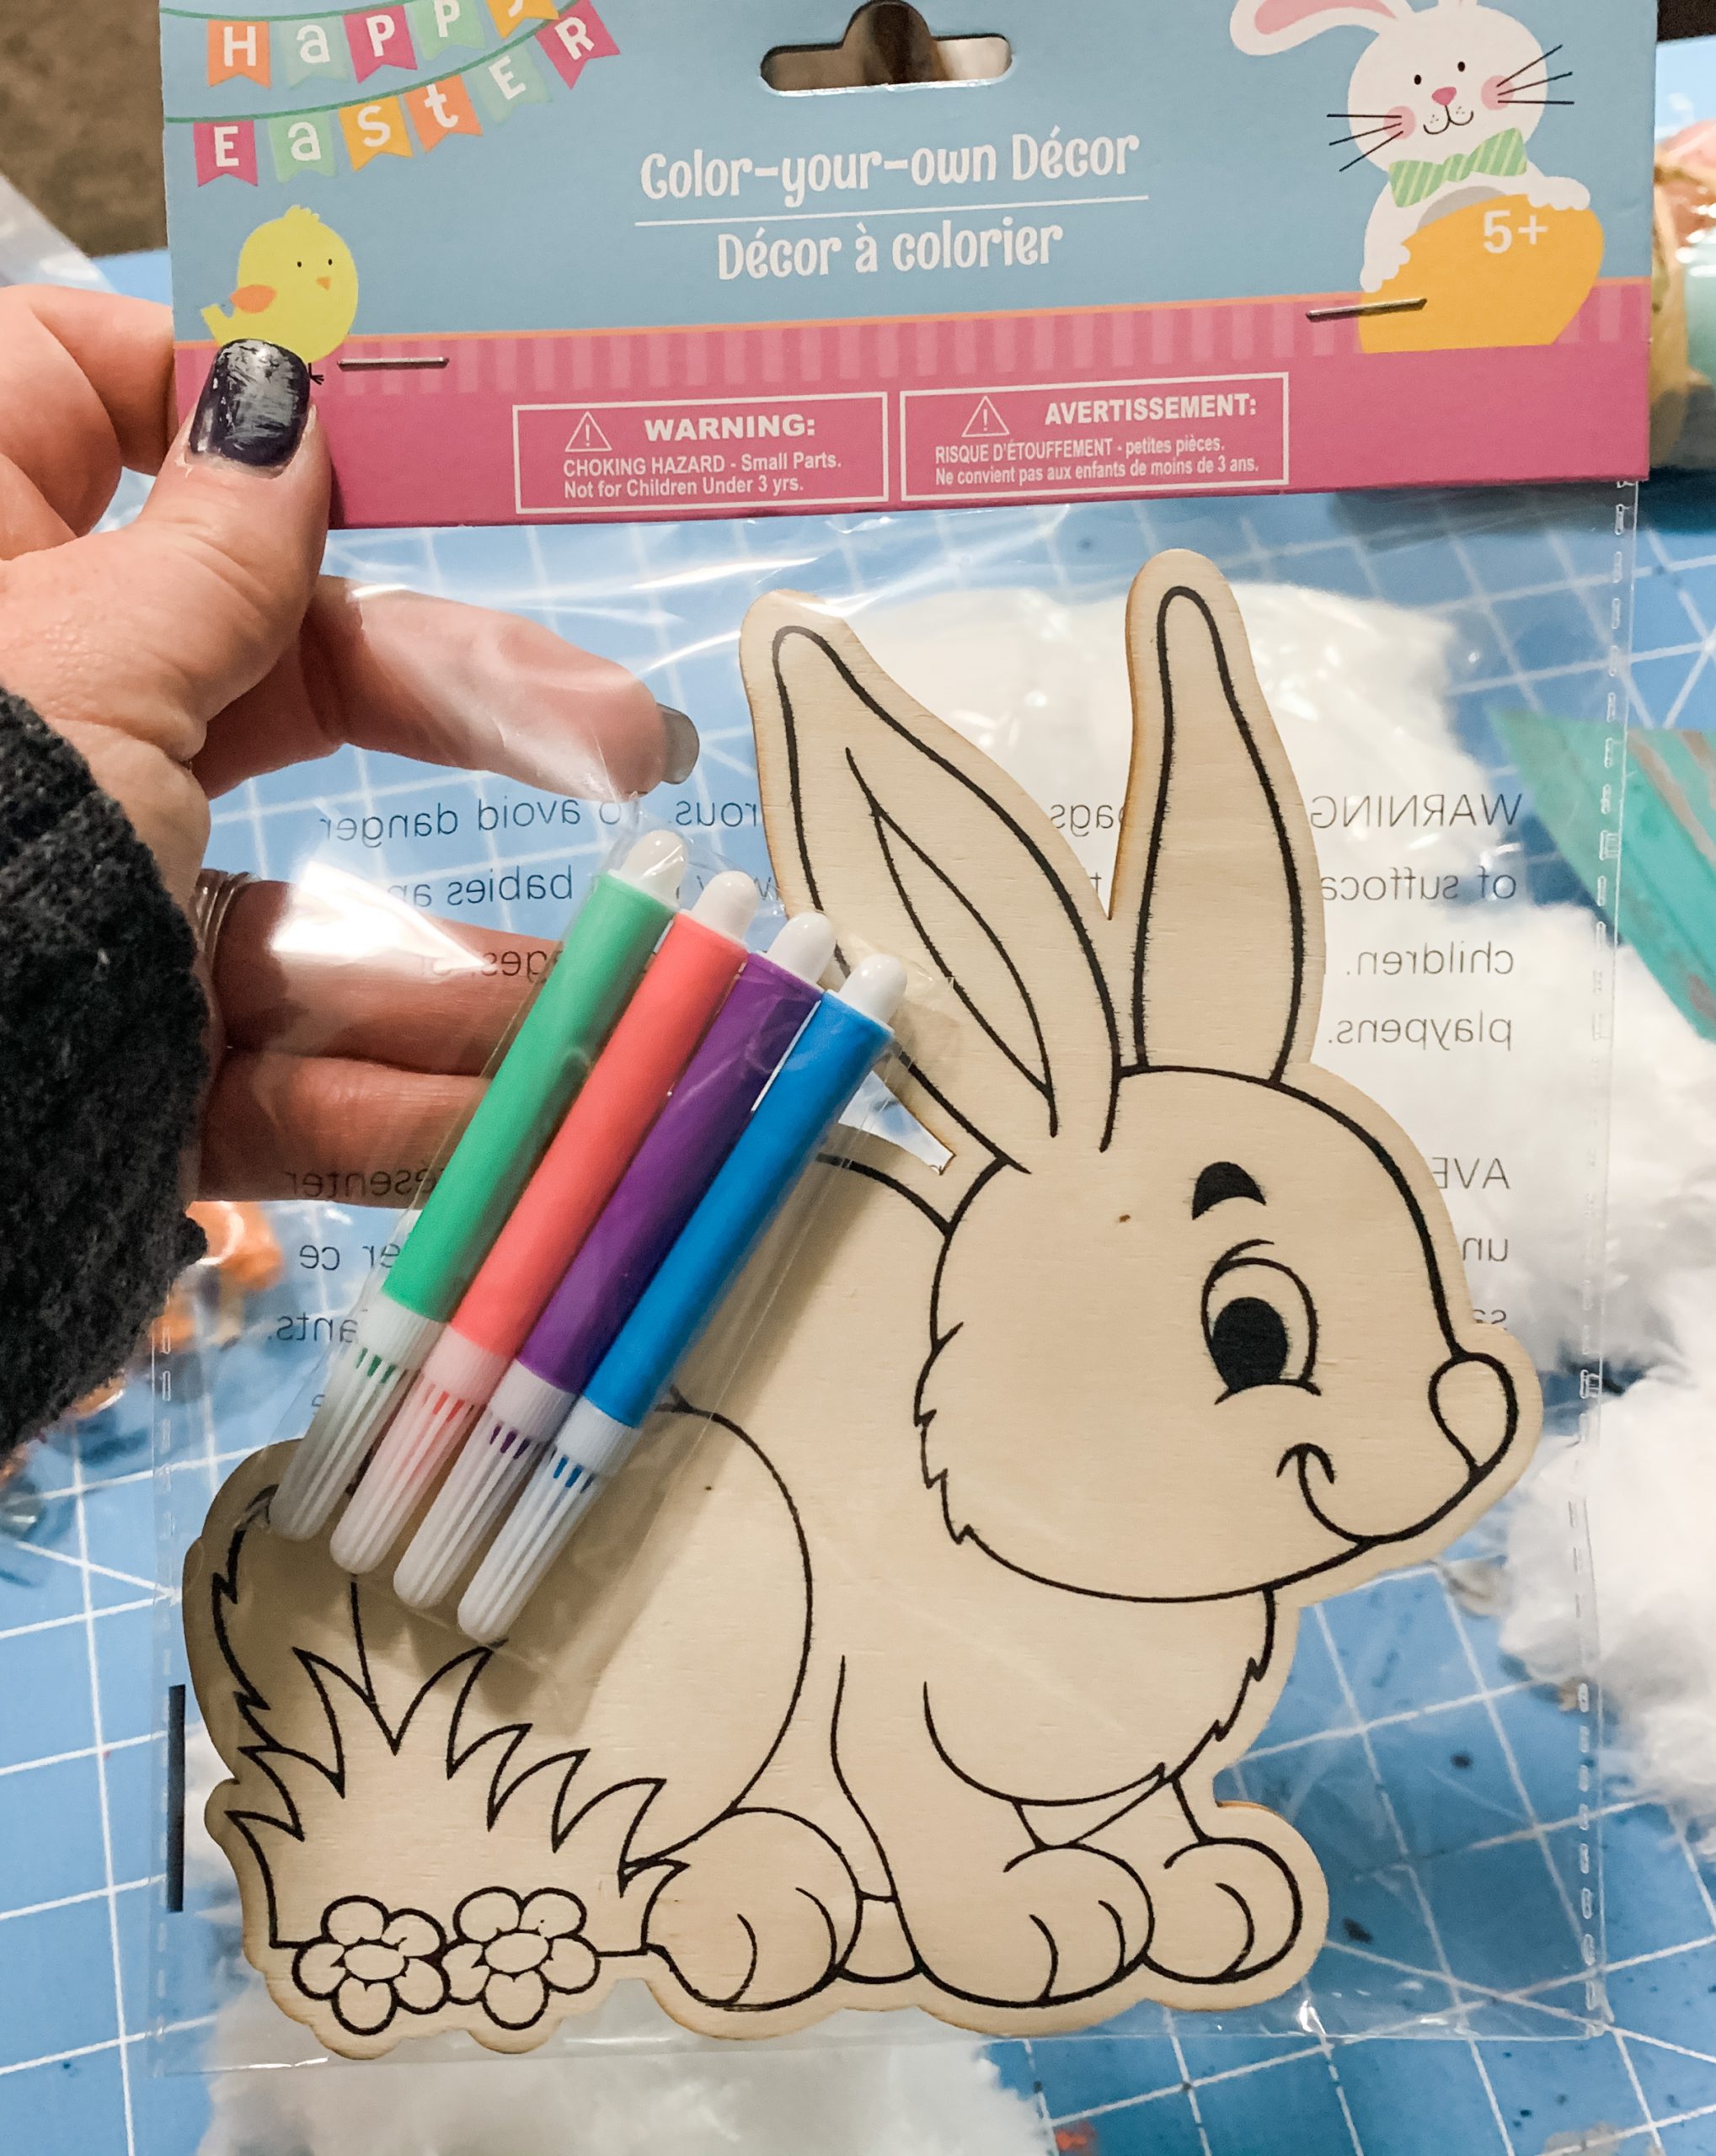
Then, I applied a coat of Mod Podge to the wooden bunny and carefully placed the scrapbook paper.
You want to avoid creating any wrinkles or creases, but if they do form, you can use a rolling pin to smooth them out.
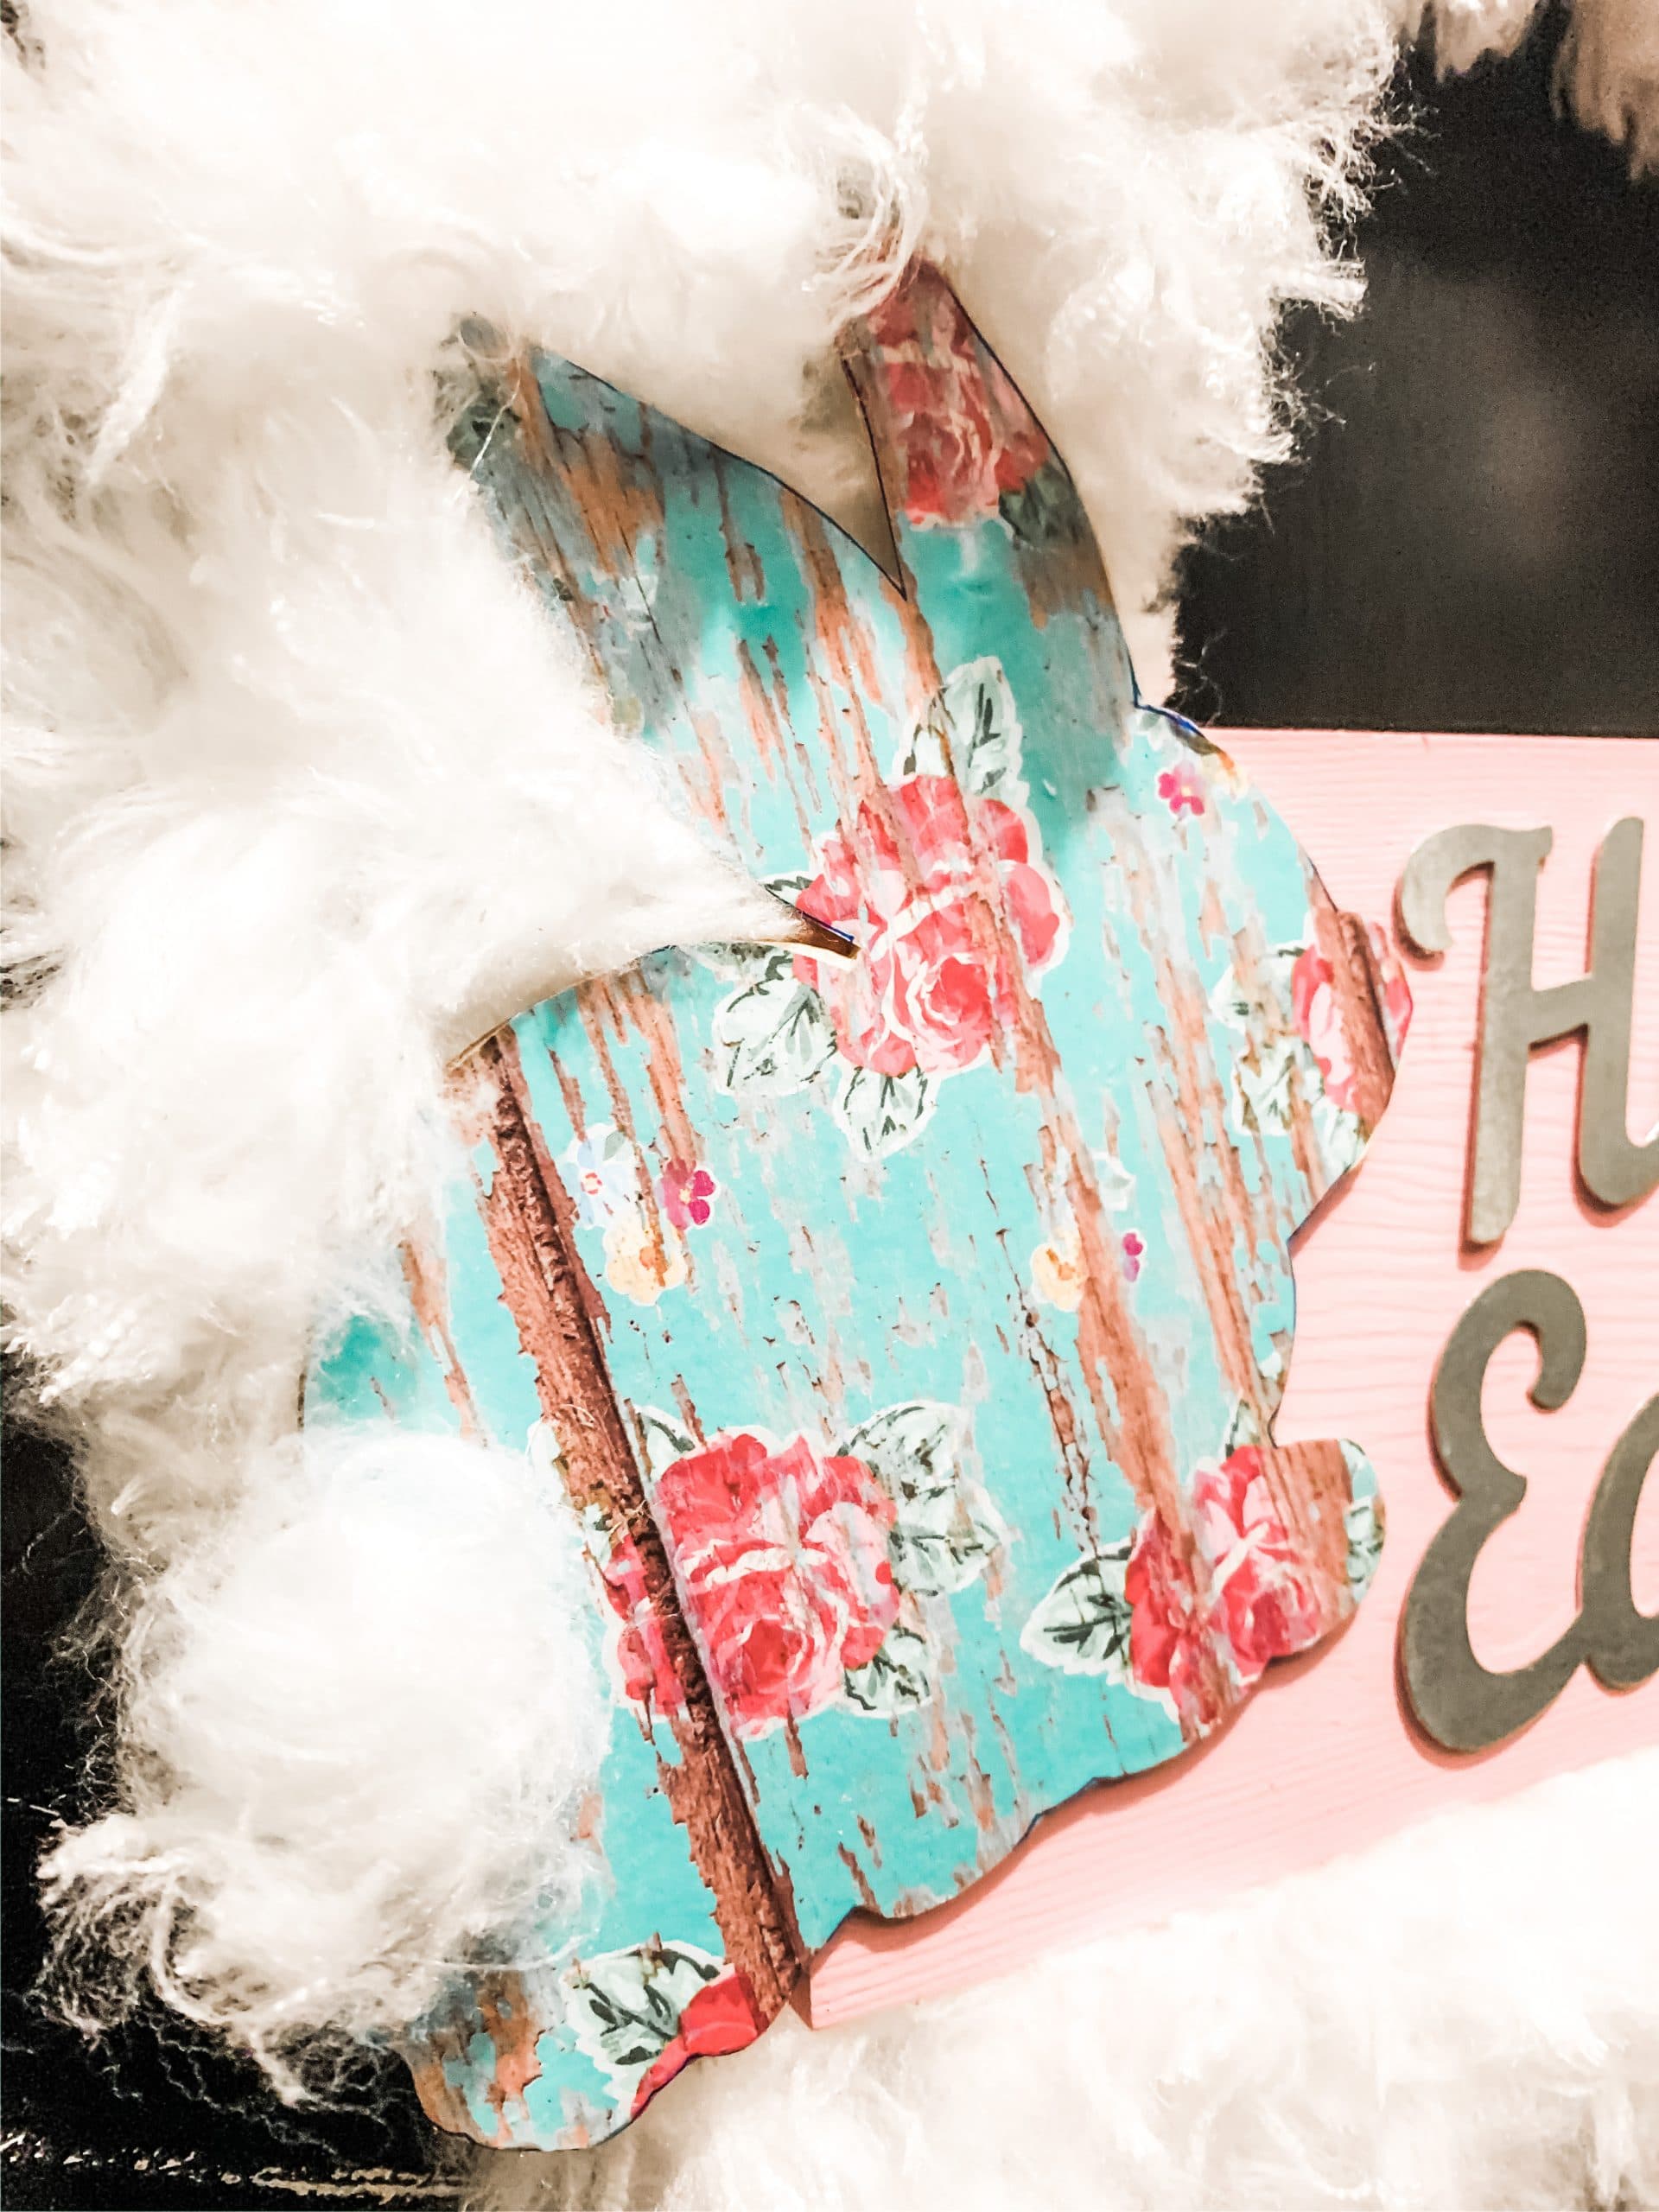
Allow the Mod Podge to dry (I used my heat gun to speed up the process), then apply another coat of Mod Podge over top of your bunny. This is going to help weather protect it if you plan to hang your wreath outside.
Next, I painted the wooden rectangle. I decided to go with pink, but the pink paint I had was a bit too bright for me.
To fix that, I mixed in just a little bit of Dixie Belle Fluff Chalk Paint to create a more pastel pink.
Bring it all together
Once the paint has completely dried on the wooden rectangle, it is time to secure it to the wreath.
To do this, I drilled three holes in the rectangle where it overlapped the wreath form underneath it. Then, I looped zip ties through the holes and secured them around the wreath form.
You can see the placement of the holes I drilled in the Facebook Live Video Replay. Next, I started bringing all the parts together.
I dry placed the Happy Easter lettering, decoupaged bunny, and three yarn carrots, then hot glued each piece in place. Let the glue dry, and you’re ready to decorate!

I hope you enjoyed this Dollar Tree Mossy Bunny Easter Decor DIY as much as I did and decide to make one for yourself! I would love to see how yours turns out!
You should totally join my FREE Facebook group called On A Budget Crafts! It is a judgment-free community for DIY crafters to show off their projects and ideas.
If you loved this DIY you might also like this DIY Dollar Tree Shabby Chic Easter Decor!
Thanks for stopping by! XOXO Amber
You can also shop my ENTIRE AMAZON Favorites shop just click here! It’s packed full of all the things I use and love. Here is the supply list I highly recommend every creative have on hand!!
Would you also pin my blog for later and get on my newsletter alerts? I would love to have you join my #craftycrew.
Inspired? Leave me a comment below! I love hearing from my readers!

Join my free “ON A BUDGET CRAFTS” Facebook group!

5 Comments