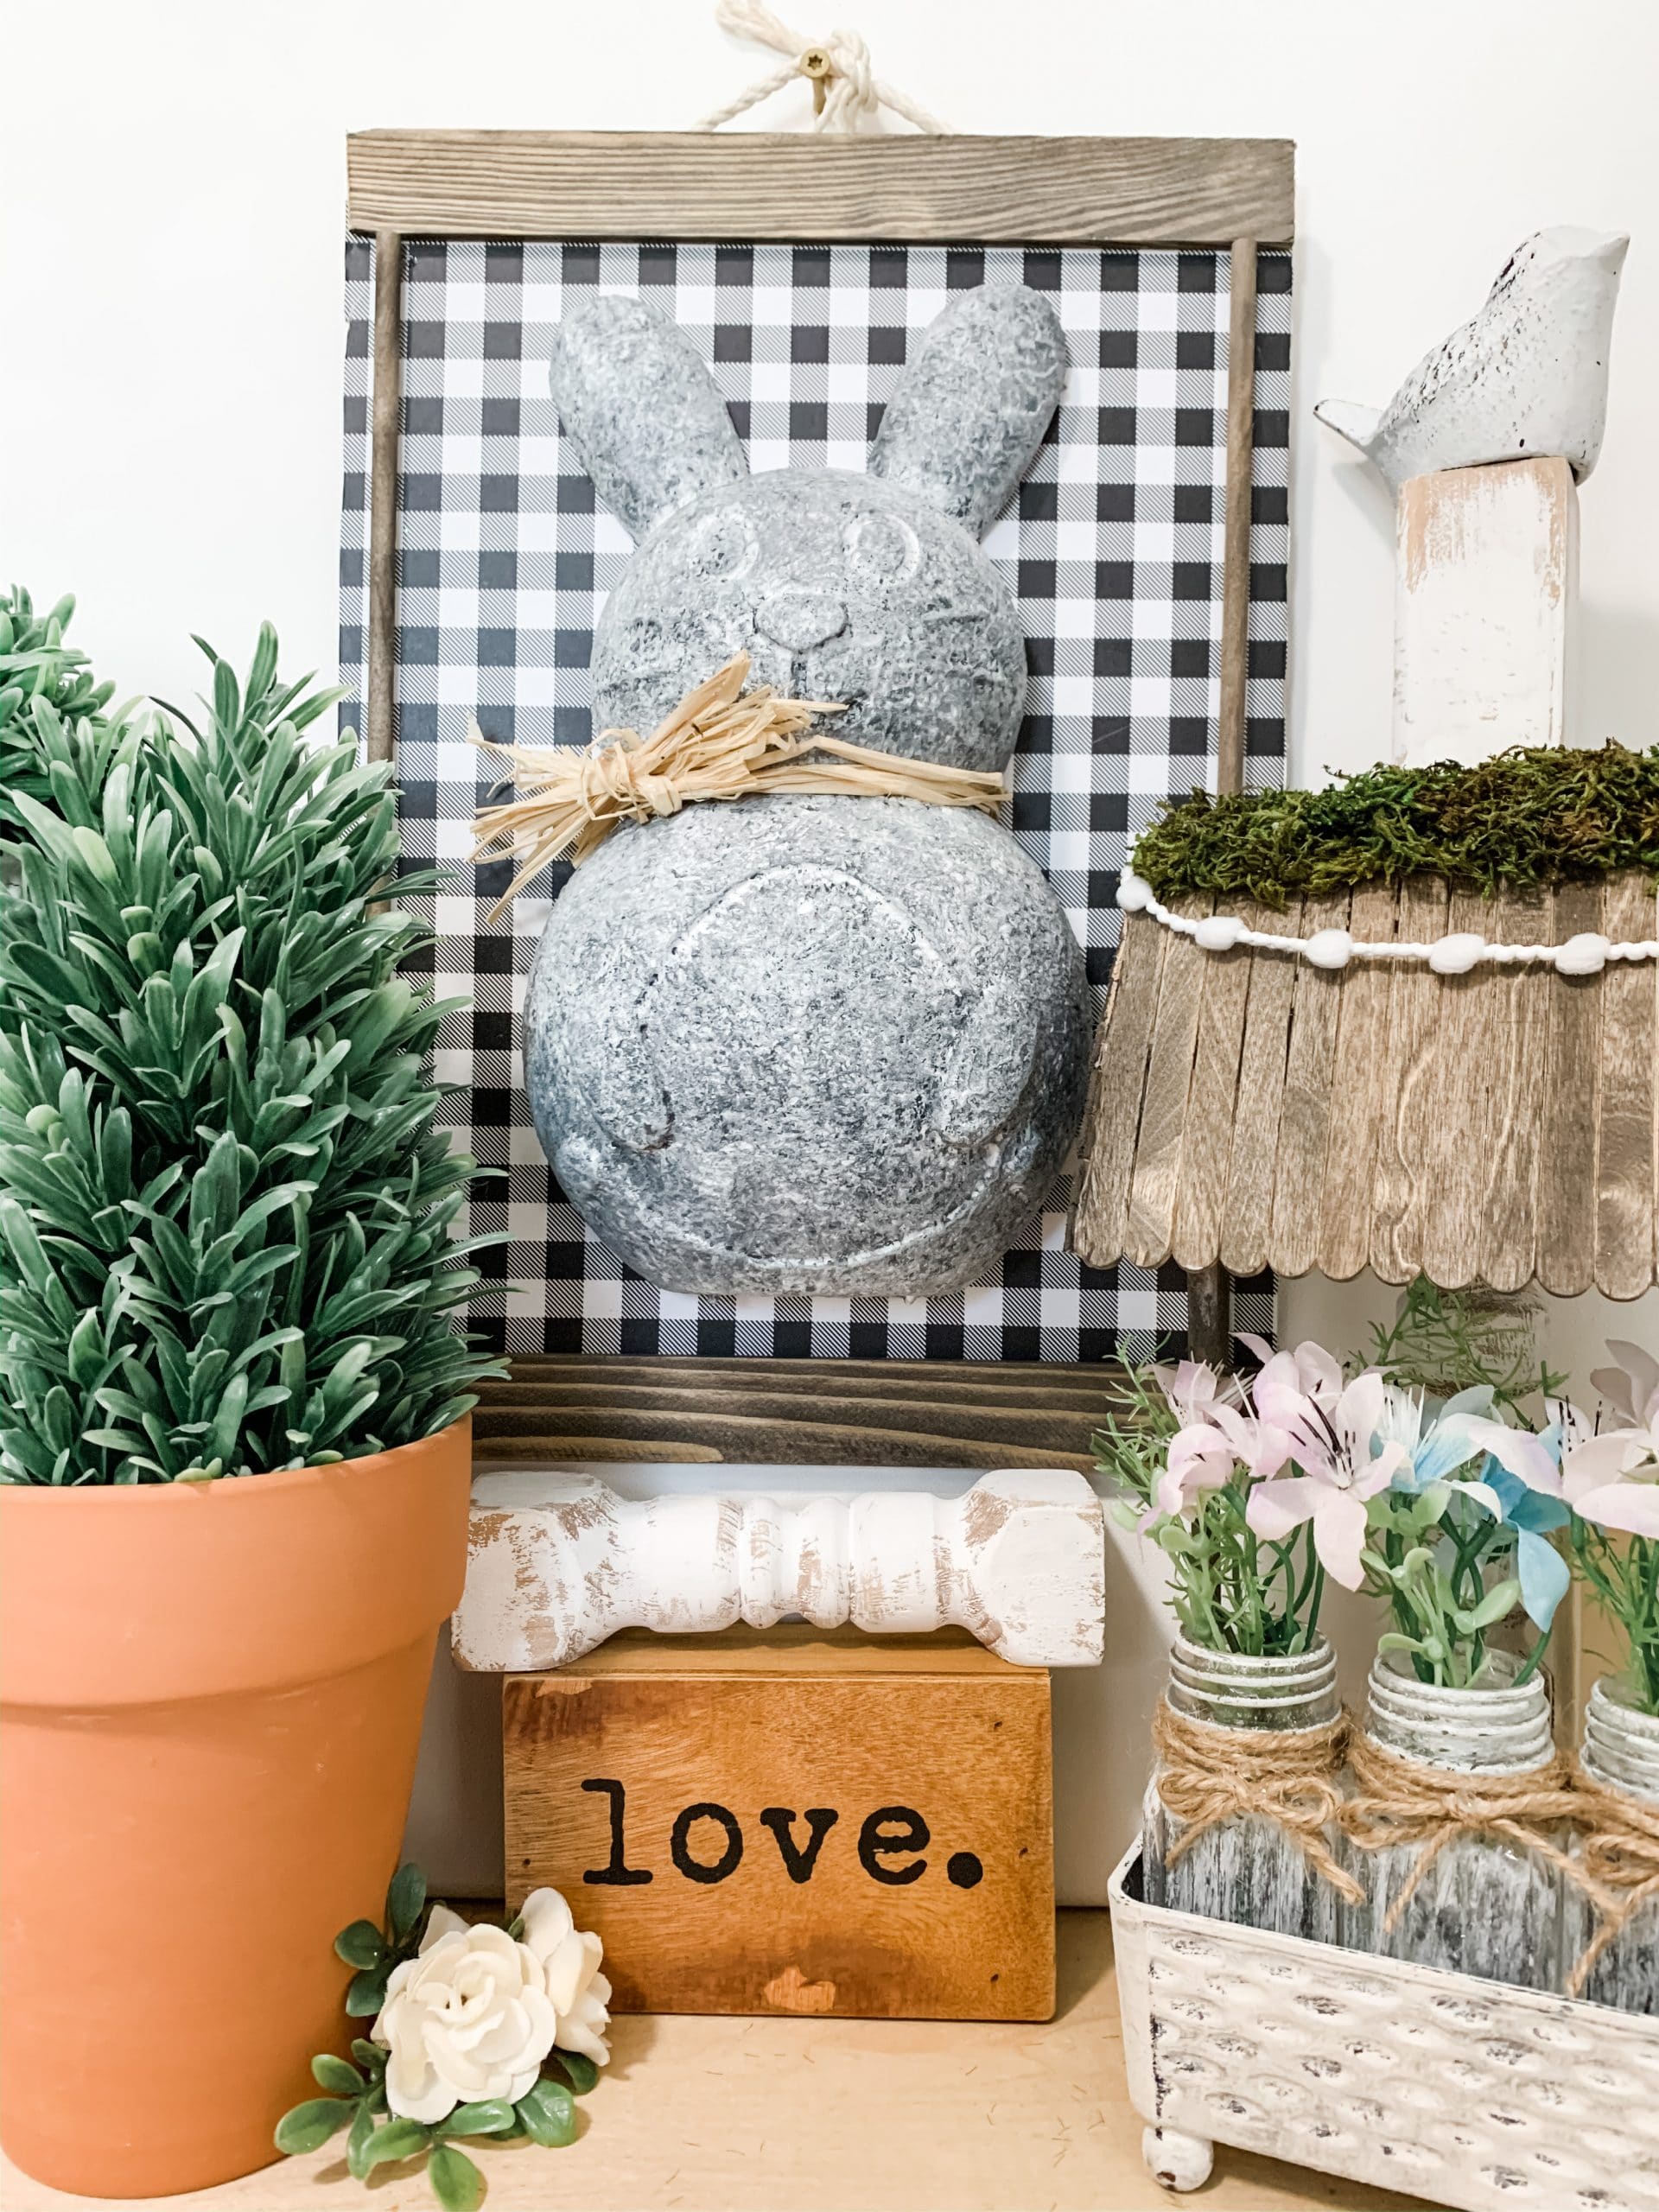
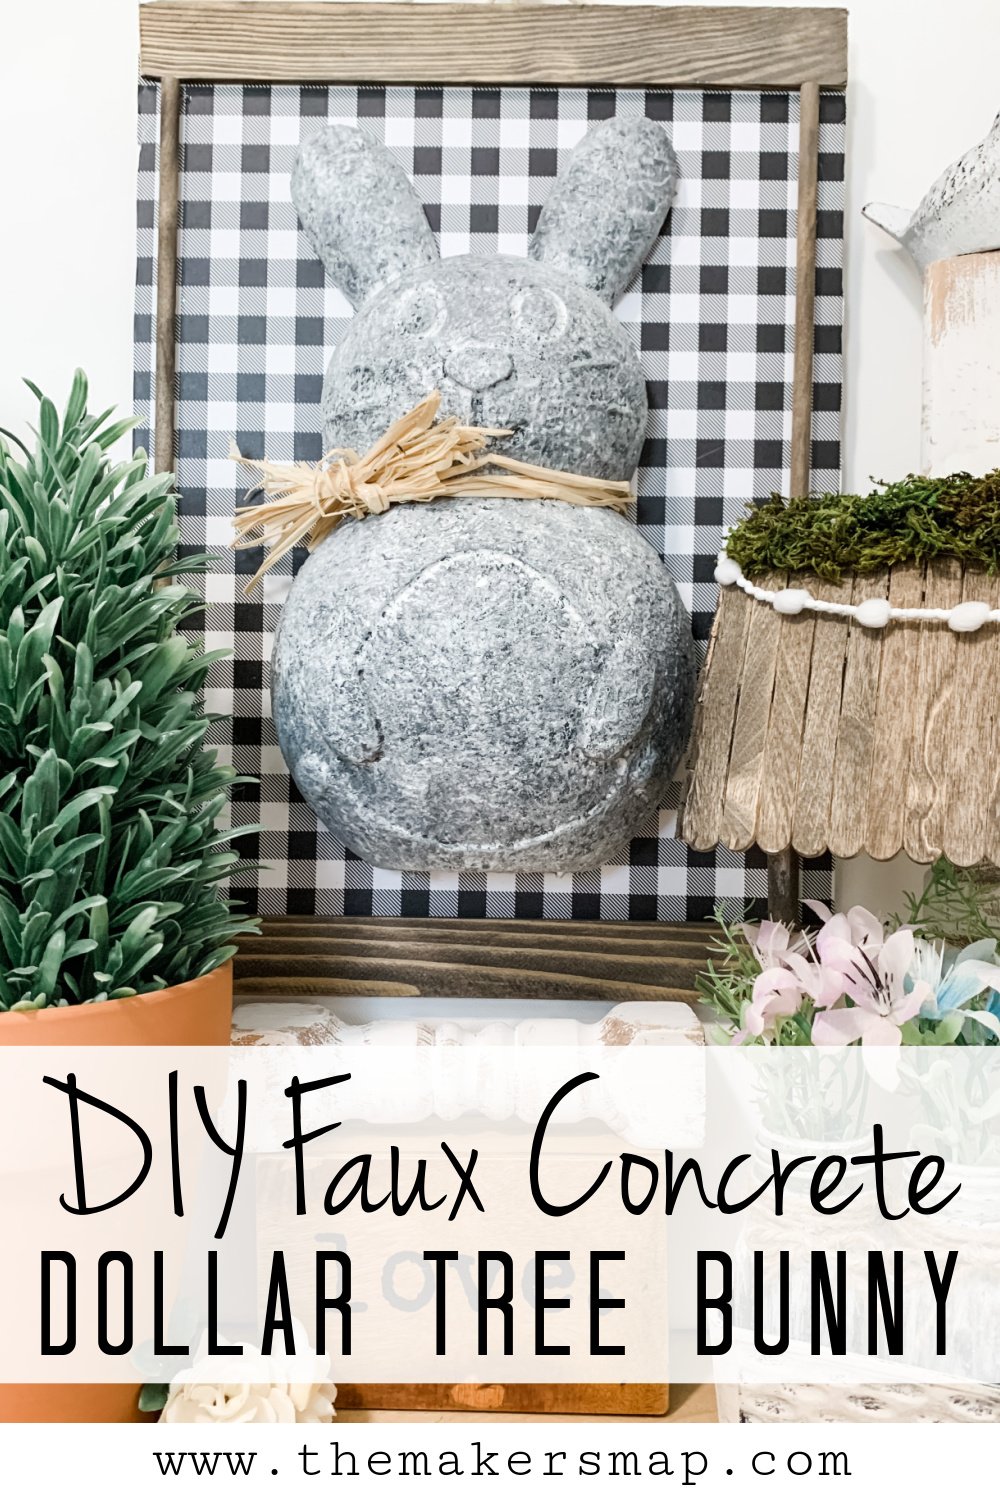
Dollar Tree DIY Concrete Bunny
Easter will be here before you know it, and this adorable Dollar Tree DIY Concrete Bunny is too perfect not to share! You might not think it, but this easy DIY decor isn’t actually concrete! It’s a faux concrete finish!
Not only is it incredibly easy to make, but it is also extremely affordable! I just know you’re going to love this DIY Easter decor as much as I do!
Check out these other adorable Easter DIY’s!
- Neutral Shiplap Bunnies Decor
- Farmhouse Speckled Egg Wreath
- DIY Shabby Chic Easter Wreath
- Dollar Tree Mossy Bunny Easter Decor DIY
- DIY Dollar Tree Easter Decor with Decoupaged Eggs
- Dollar Tree Duster DIY Easter Wreath
- DIY Dollar Tree Shabby Chic Easter Decor
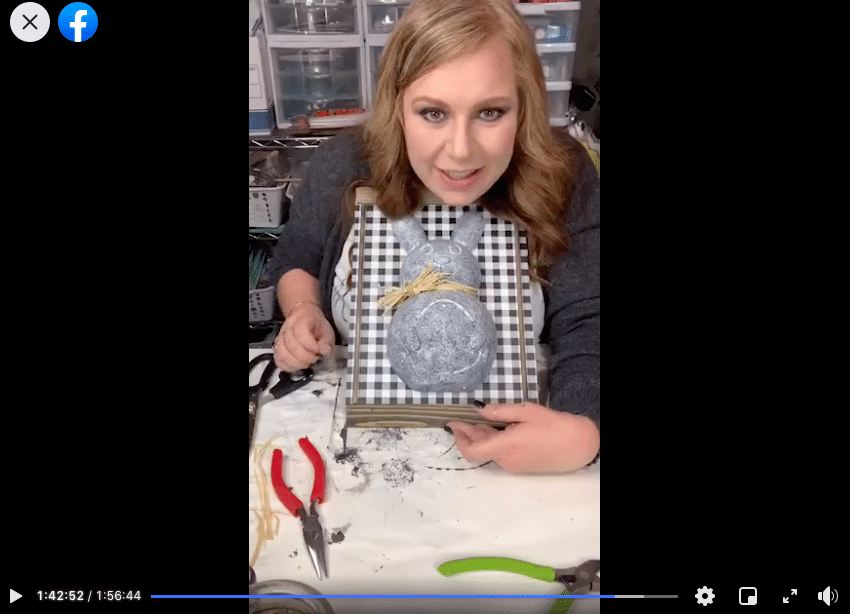
Watch the replay
Okay, a disclaimer before you watch this replay. During the making of this DIY project, I experienced some internet difficulties, and it slightly affected parts of the video.
I promise that even with the technological difficulties, the Facebook Live Replay of making this Dollar Tree DIY Concrete Bunny is definitely worth watching!
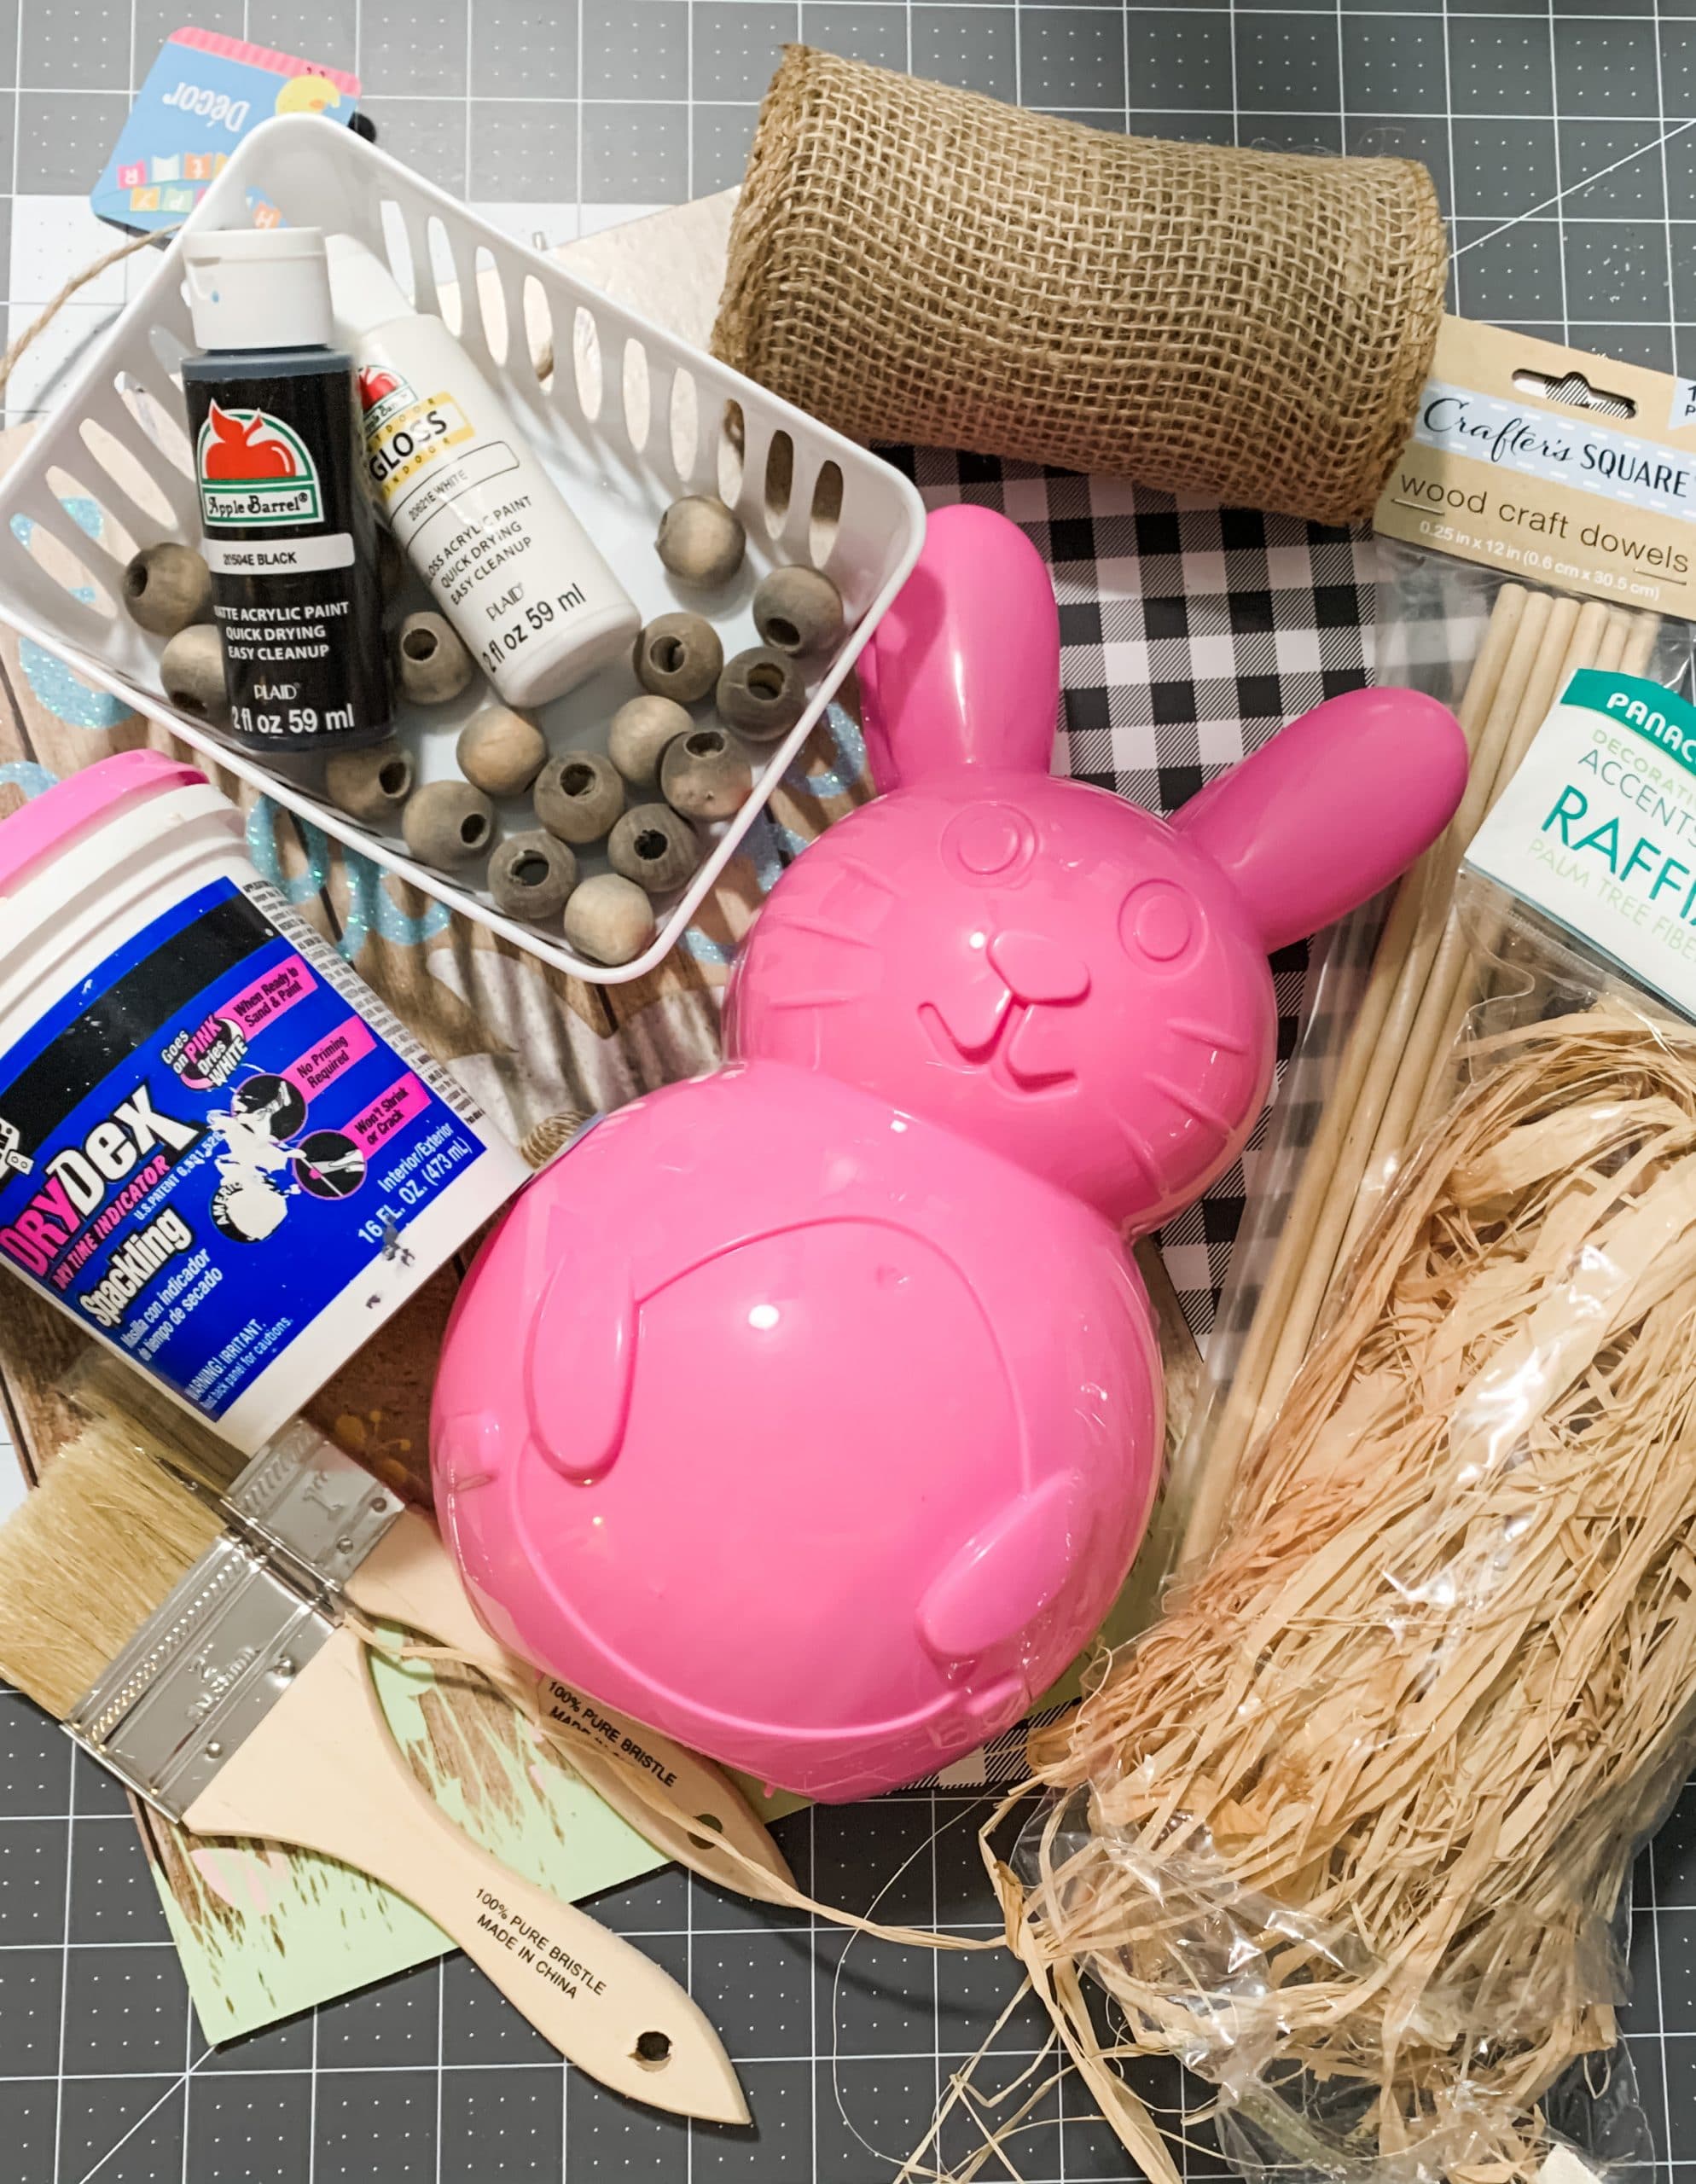
For this project, I will be using these items but you can substitute where you want.
“As an Amazon Associate, I earn from qualifying purchases.”
- Dollar Tree Sign
- Dollar Tree Plastic Bunny
- Raffia
- Dollar Tree Wood Dowels
- Spackling
- Buffalo Check Scrapbook Paper
- Apple Barrel Black Acrylic Paint
- Apple Barrel White Gloss Acrylic Paint
- Hot Glue gun
- Glue Sticks
- Bowl (for mixing)
*I did not use the wood beads or burlap ribbon pictured below*
Let’s get started!
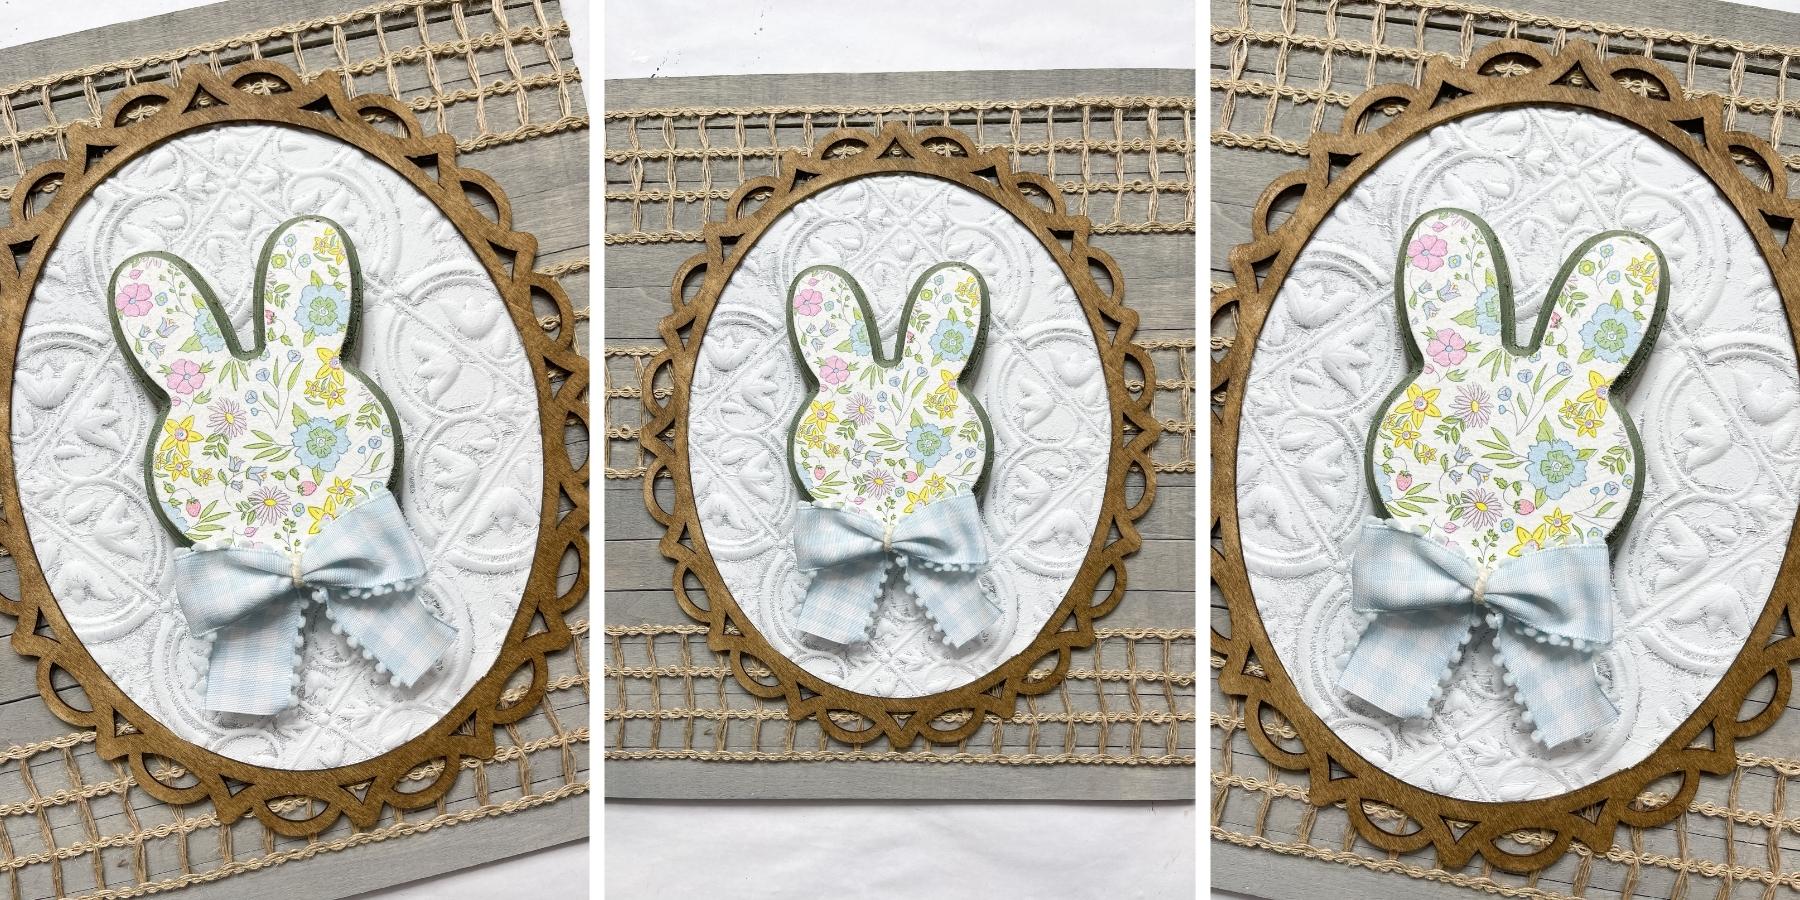
Step one of this DIY process is to cut your scrapbook paper to fit onto your Dollar Tree sign! The sign that I used was taller than the piece of scrapbook paper, but I made it work.
I turned the Dollar Tree sign over so the design was face down on my craft table, and then I placed the scrapbook paper onto the middle of the sign. Next, I used an Exacto knife to trim the edges of the scrapbook paper.
Once you have the paper trimmed to the right size, apply a coat of Mod Podge to the back of your Dollar Tree sign and carefully place the scrapbook paper onto the Mod Podge.
You want to try to avoid any wrinkles or creases from forming, but if they do, you can use a rolling pin to smooth out the imperfections.
Faux Concrete
Now, it’s time to mix your spackling and paint! So, I’ve done a faux concrete finish before with DIY paint because it is clay-based paint. Clay-based paints are great for getting the perfect faux concrete look because they are textured!
However, I had a lot of members of my Crafty Crew ask me what they could use in place of DIY paint if they didn’t have it. The answer is spackling!
Pull some spackling out and put it into a bowl. Then I poured in Apple Barrel Black Acrylic Paint, sprayed it with a little bit of water, and mixed it with a paintbrush. I didn’t measure anything out, so you’ll have to watch the video to see the proportions that I used.
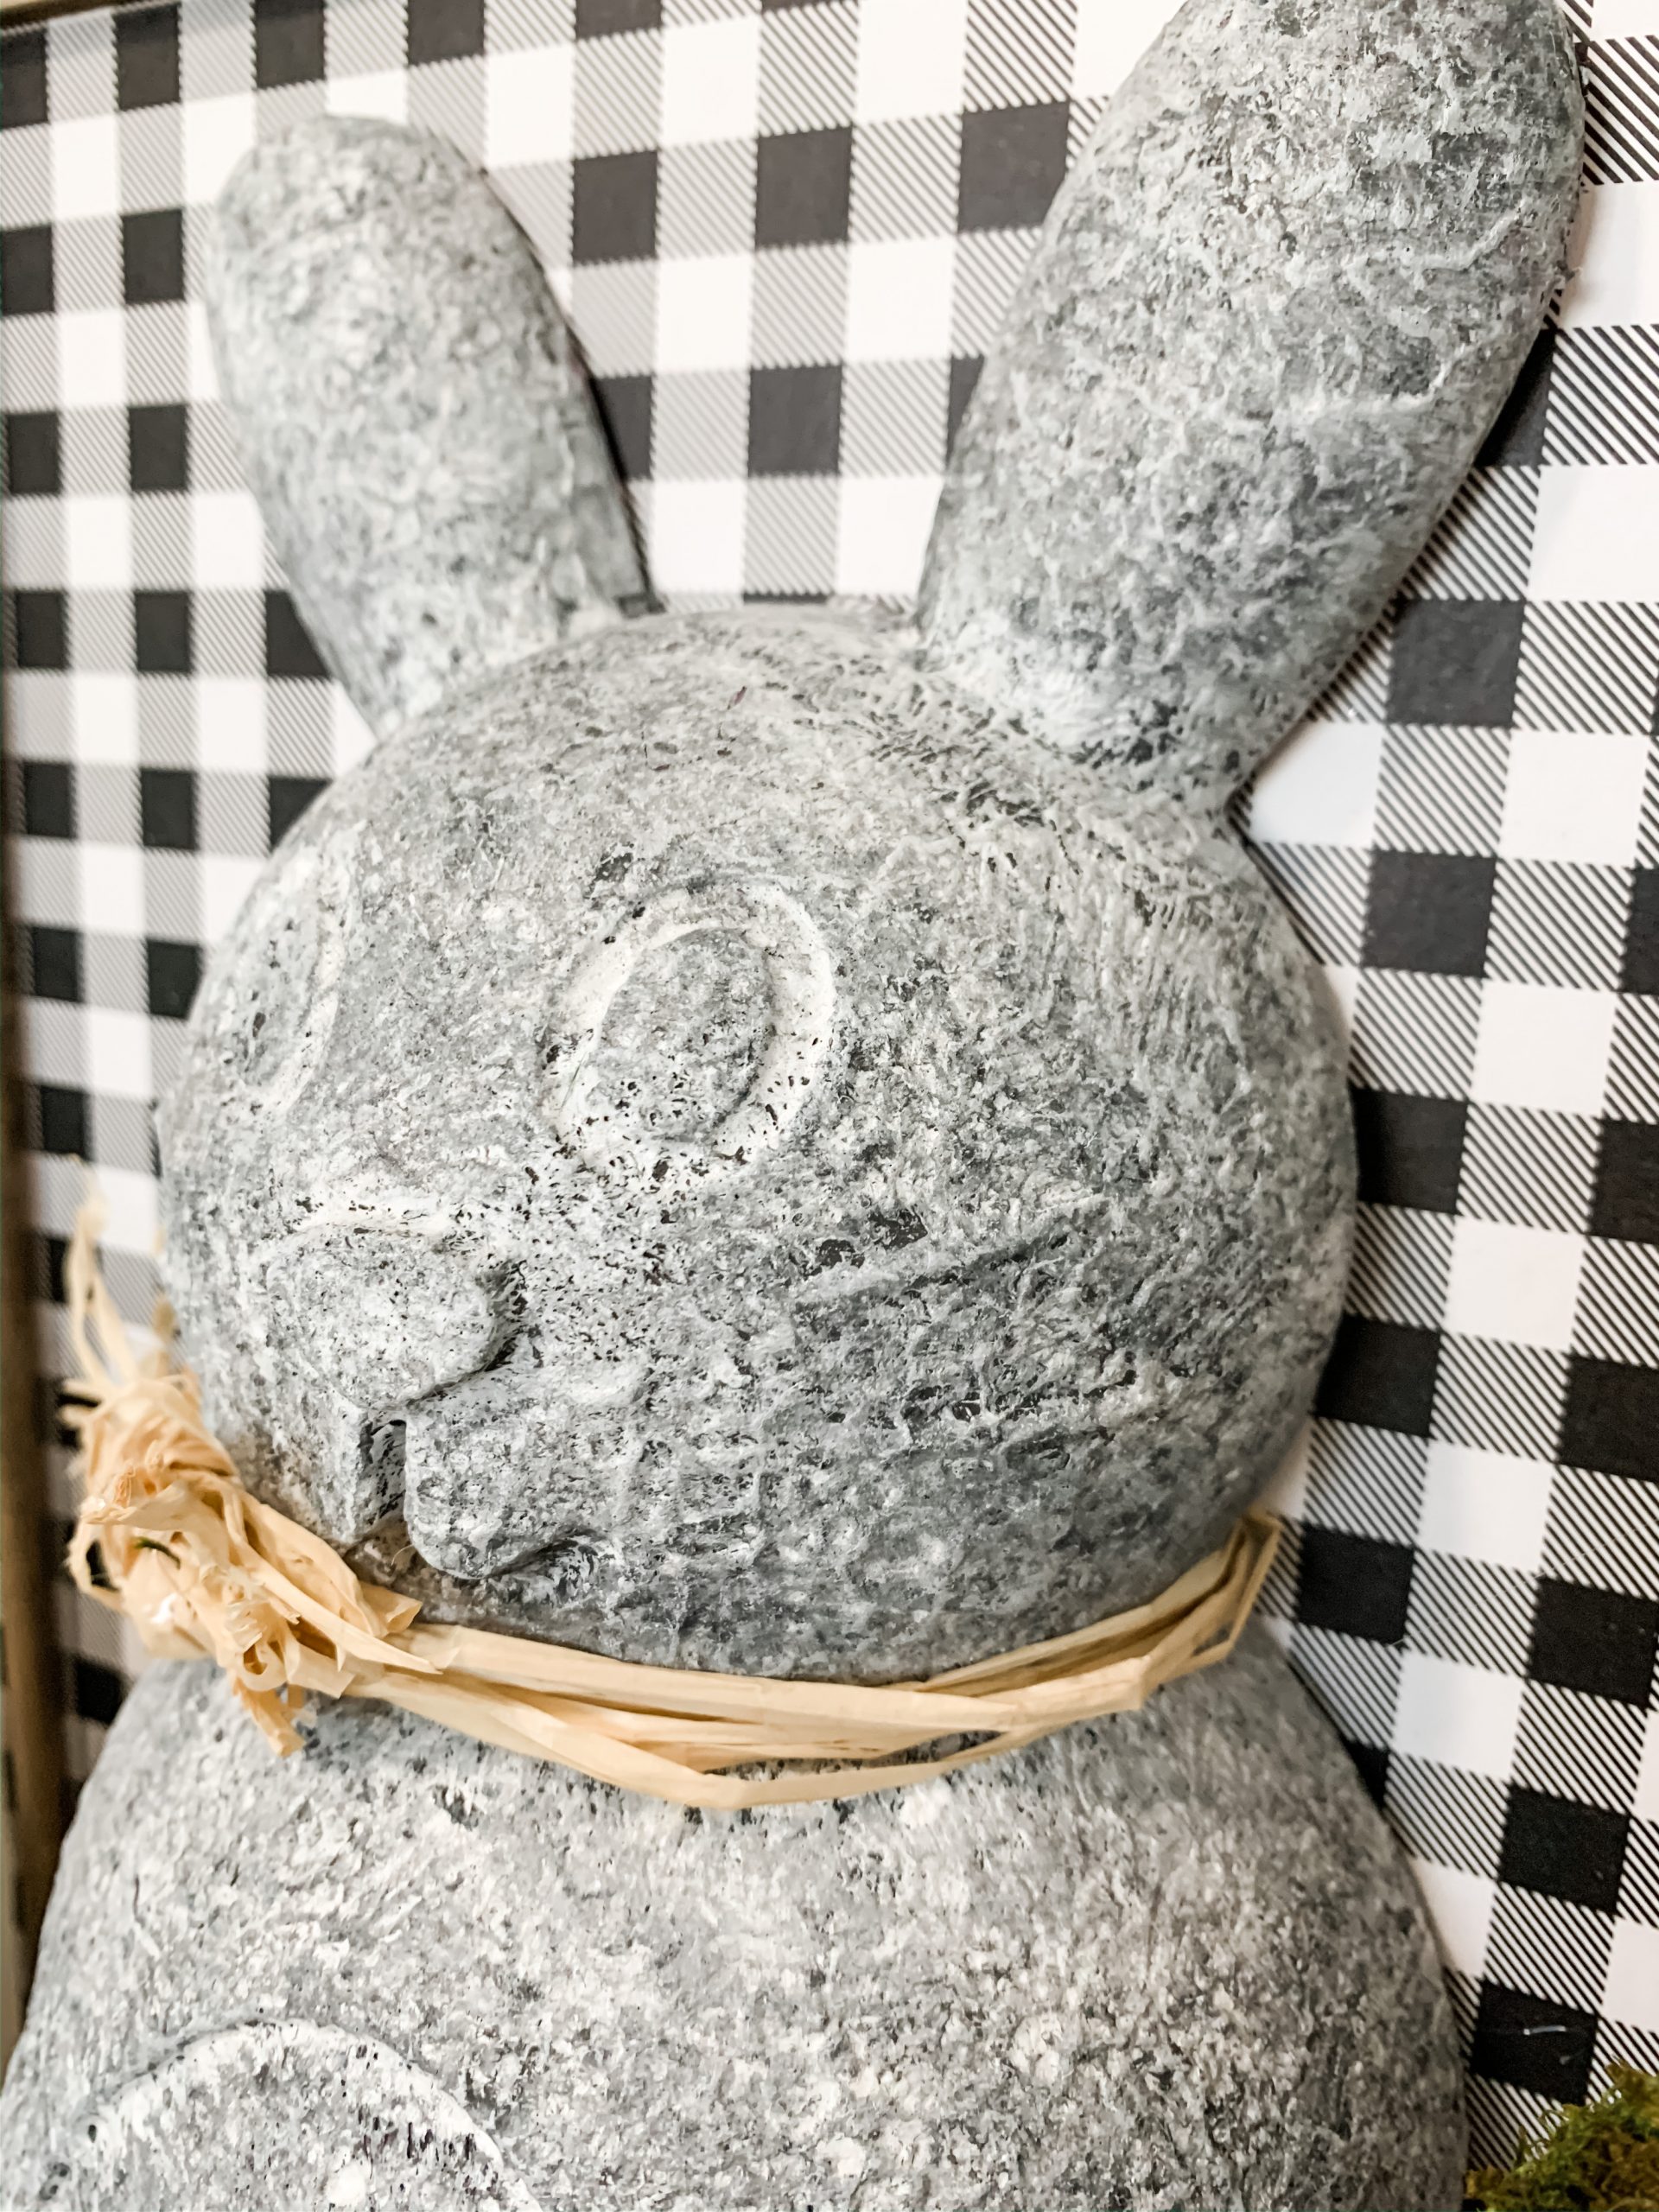
Now that you have the paint and spackling all mixed, use a chippy paintbrush to dab the mixture onto your Dollar Tree plastic bunny form. This is going to create the “concrete” texture for your bunny.
If you have DIY paint, you can simply dab the black DIY paint onto the plastic bunny form. The spackling and paint mixture is an alternative for those who don’t have DIY paint.
Whichever method you use to add the texture to your bunny, allow it to completely dry before you move forward. I used my heat gun to speed up the drying process. However, if you don’t have a heat gun, you can use a hairdryer on the low cool setting!
Once the bunny was dry, I started mixing paints for the topcoat. I used a coffee filter to mix my paint on and I grabbed a couple of wet wipes (baby wipes work great). Also, grab another chippy paintbrush.
Pour a small amount of white paint (I used Apple Barrel White Gloss Acrylic Paint) onto your coffee filter, and dab a small chippy paintbrush into it. Then, goop it onto the bunny. I started with its ear.
Next, use your wet wipe to dab around the white paint and spread it around the surface of the bunny. Grab a clean wet wipe and gently dab it into your black paint and spackling mixture. Lightly dab that over the white paint that you just spread around.
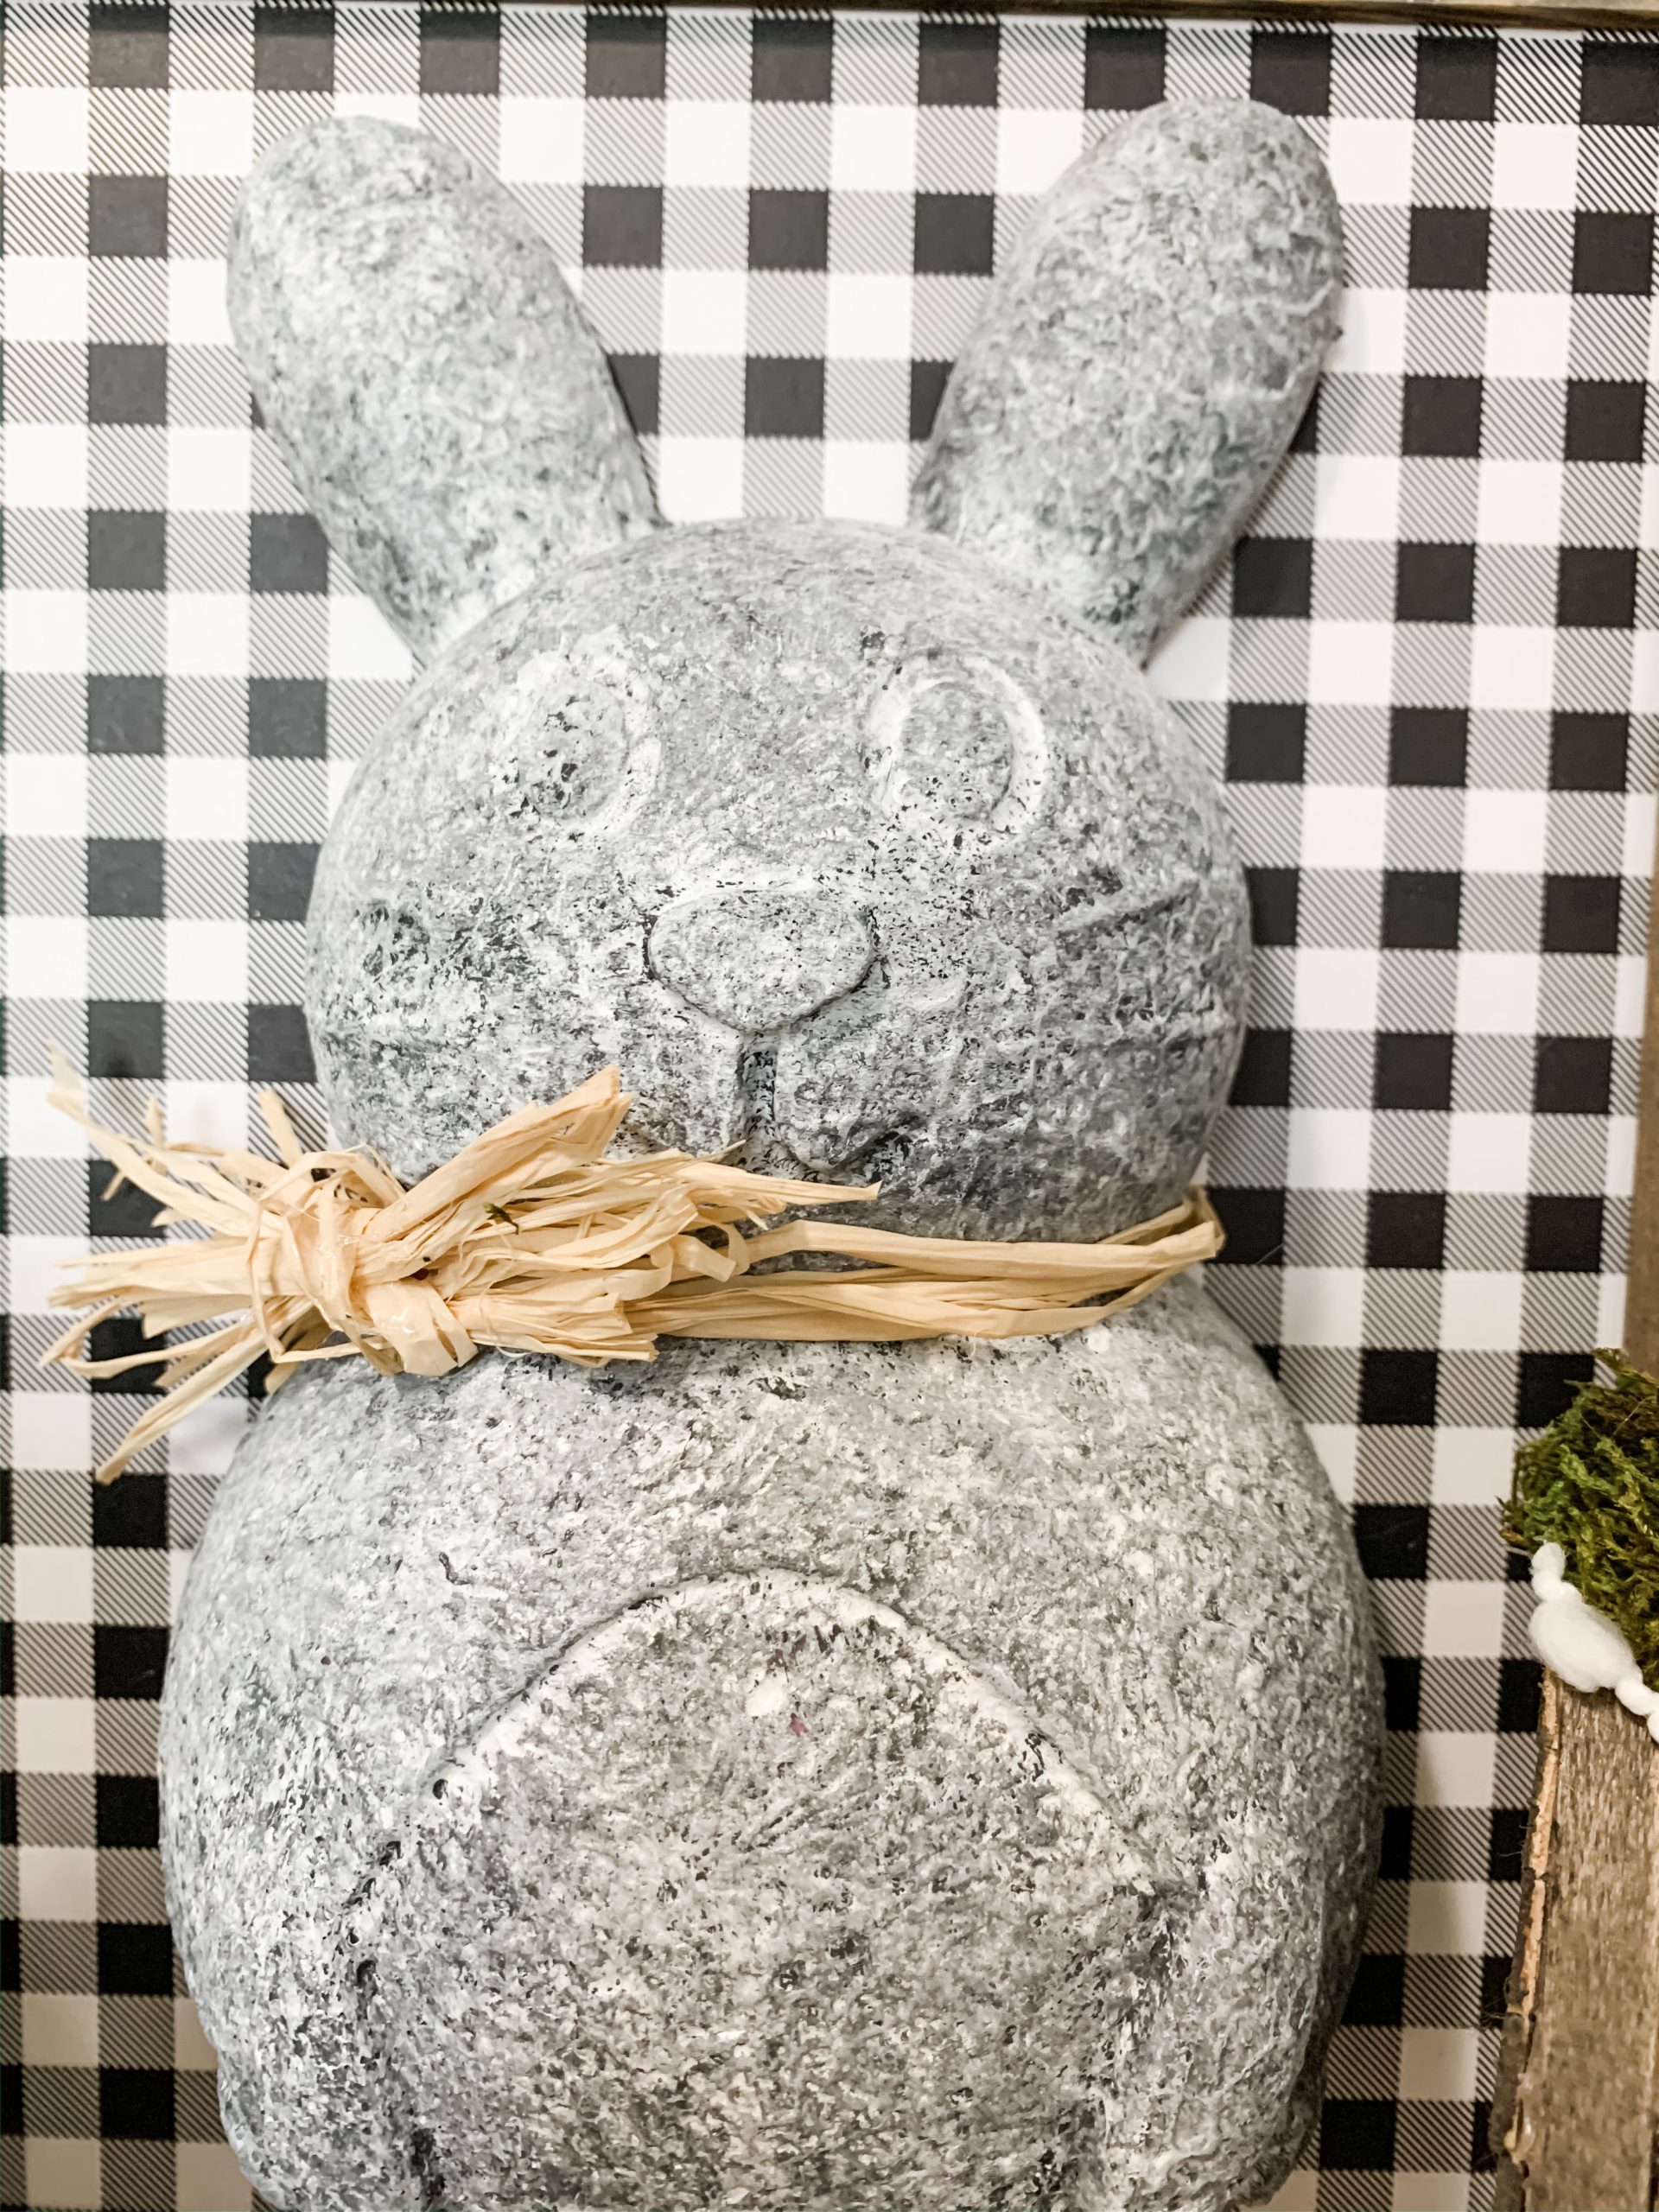
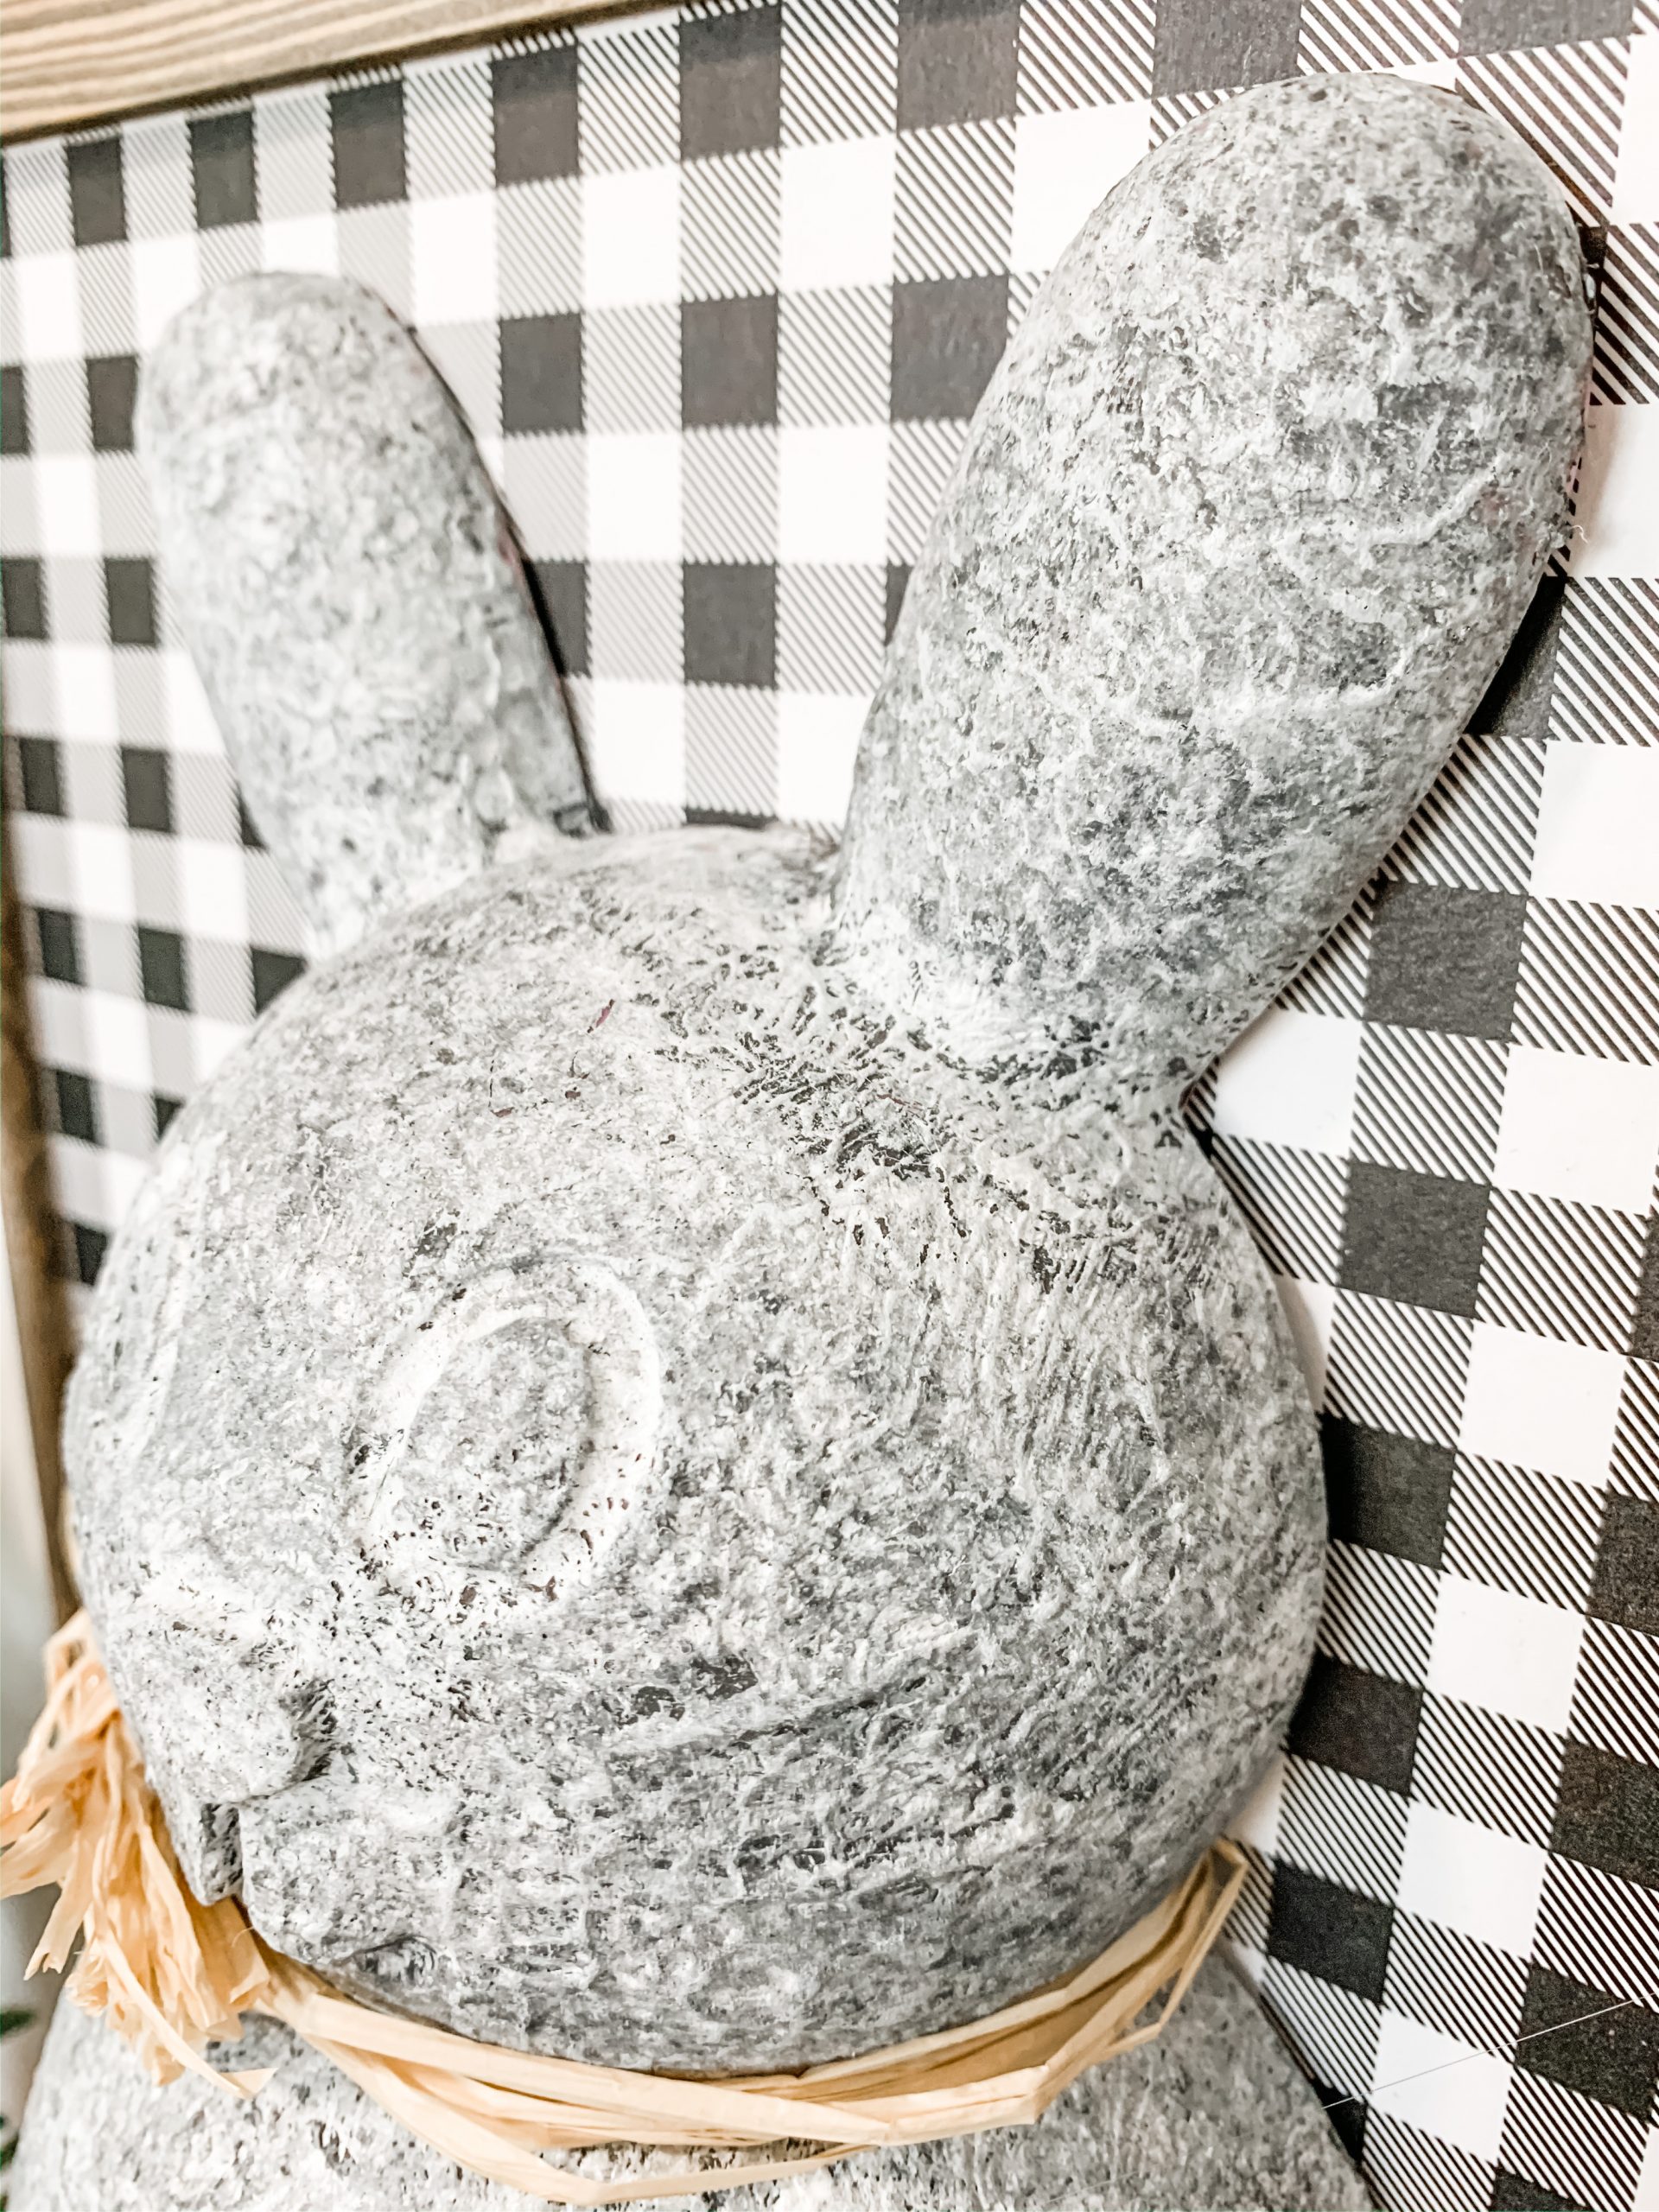
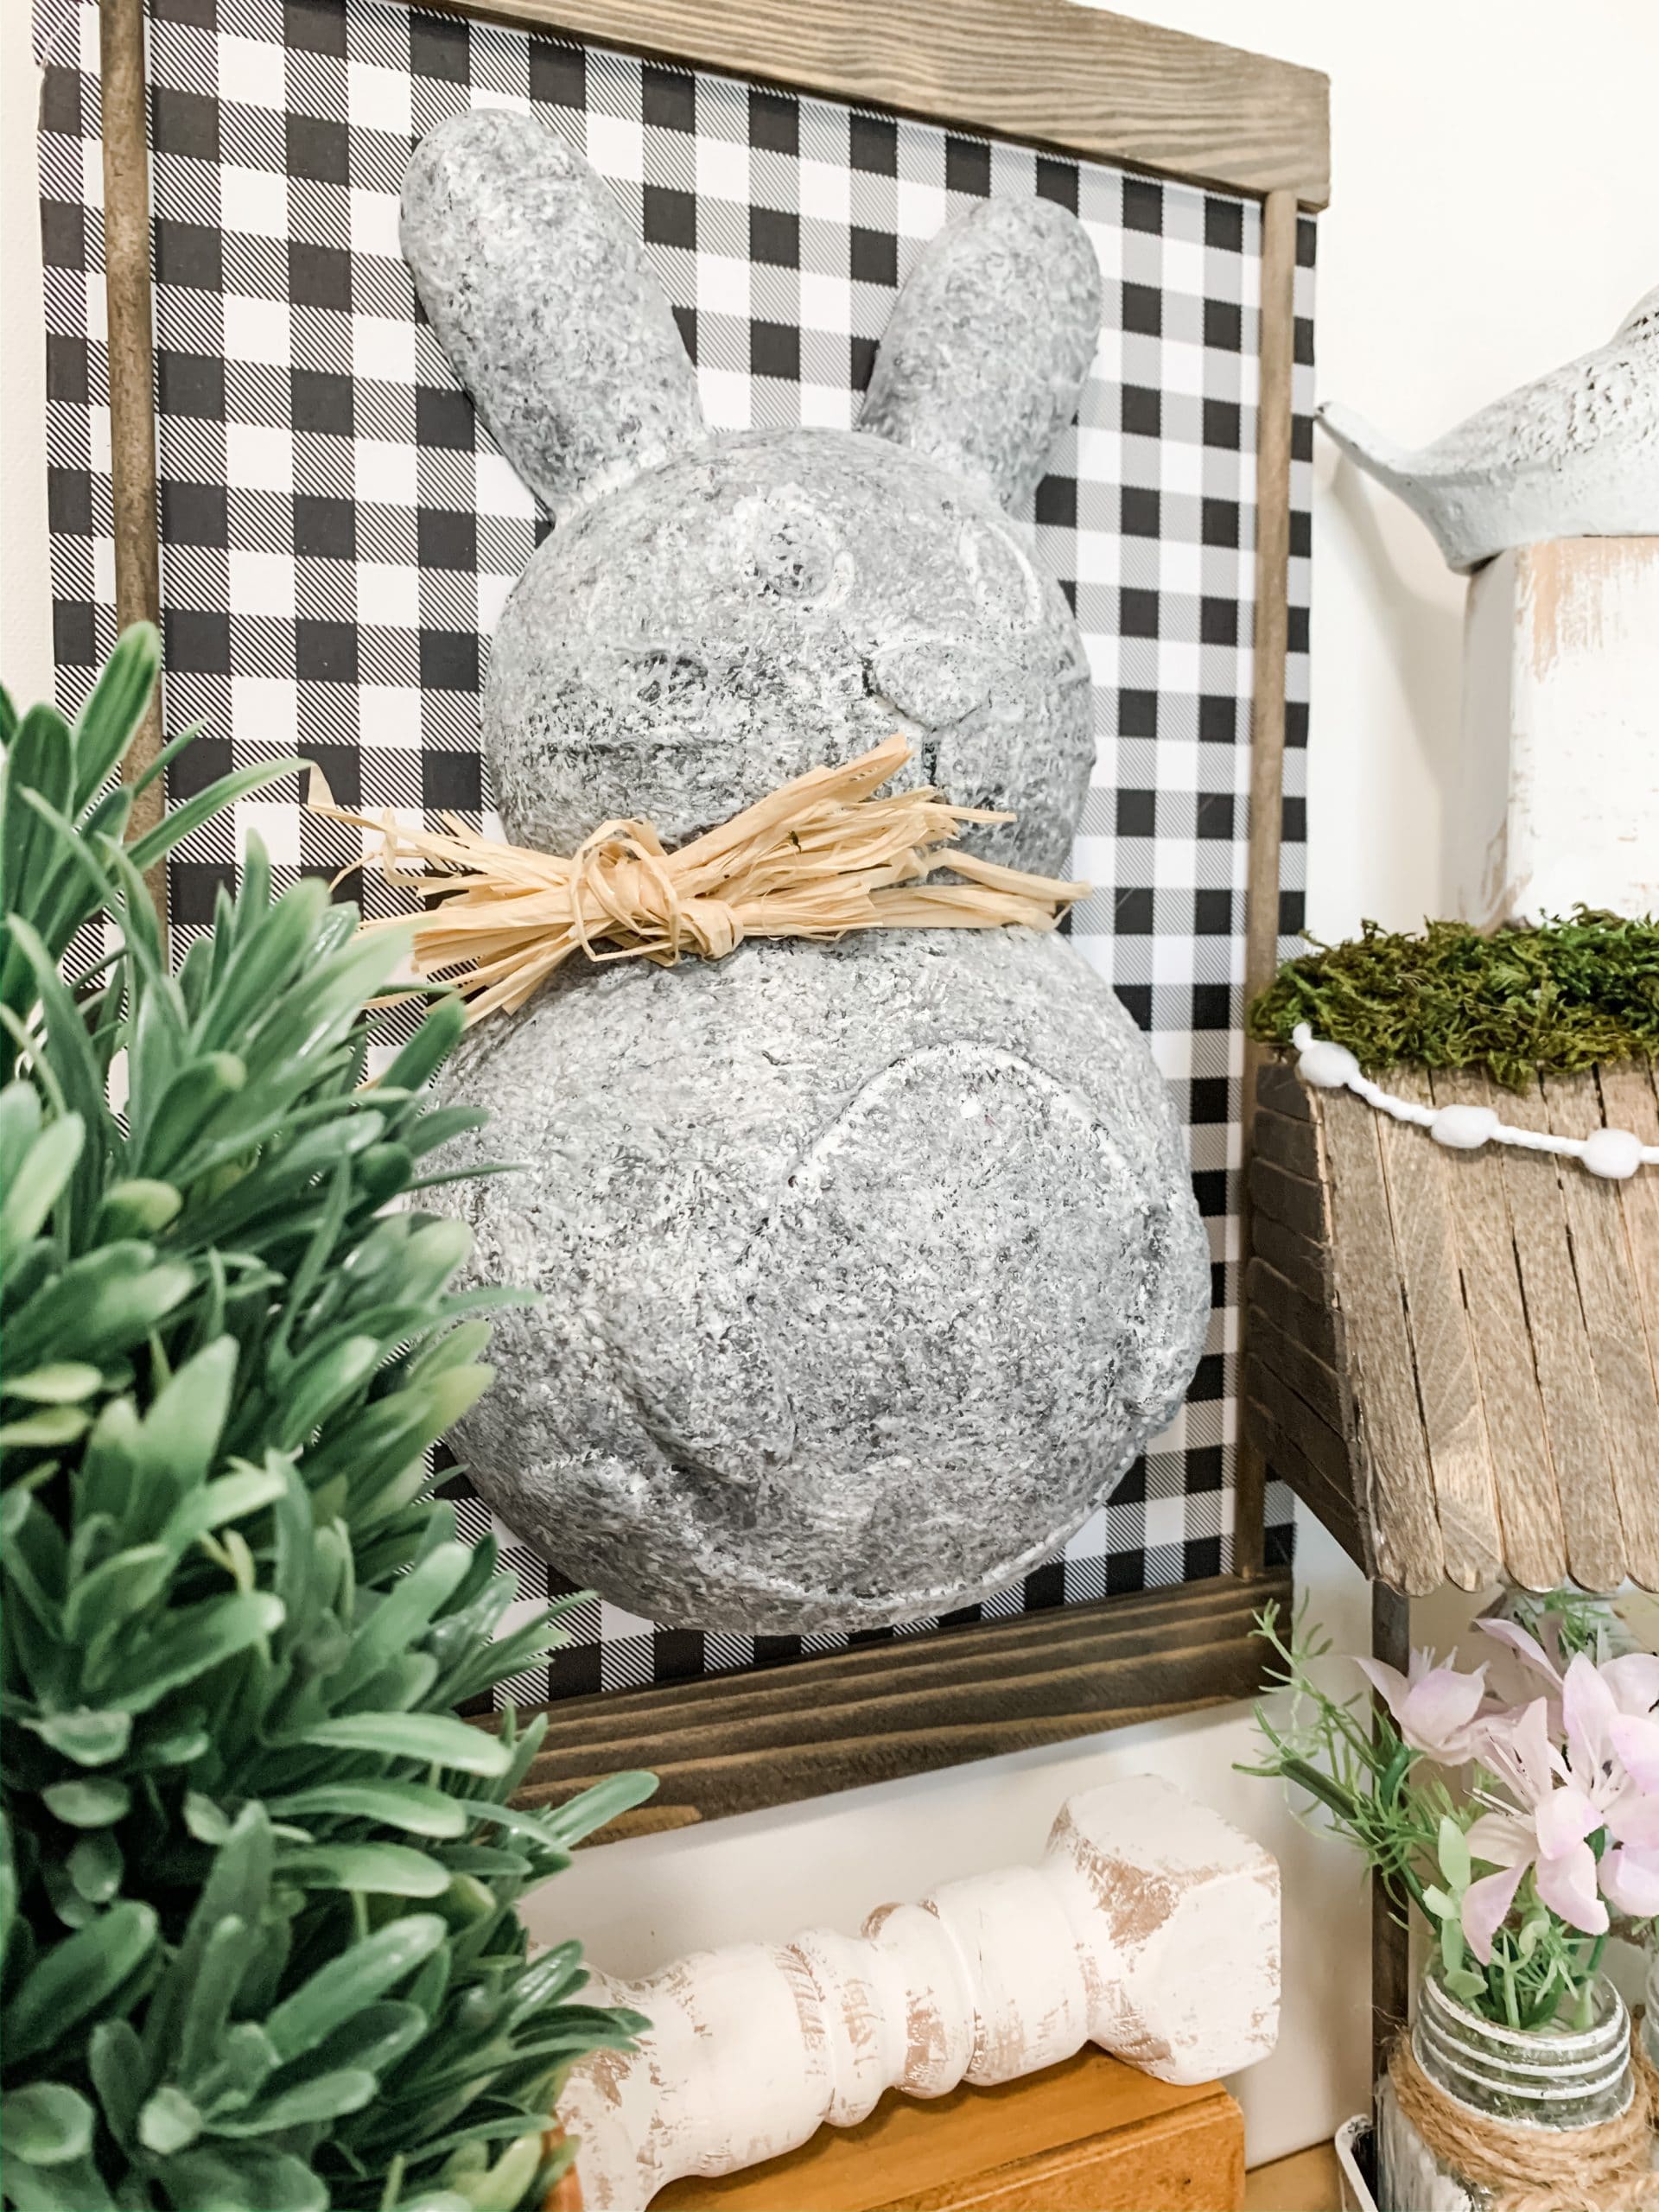
This is going to create a light grey color with texture. Repeat that process across the entire bunny until you’re happy with the faux concrete finish!
Once the bunny is covered top to bottom with a faux concrete finish, allow it to completely dry. Then, take the chippy paintbrush that you used the white paint on and brush it across paper until there is very little paint on it. Then, brush across the entire surface of the bunny.
The white paint is going to be picked up by the texture and give you a more even stoney look rather than the splotchy dark gray spots from dabbing the spackling across the bunny.
Add some detailing
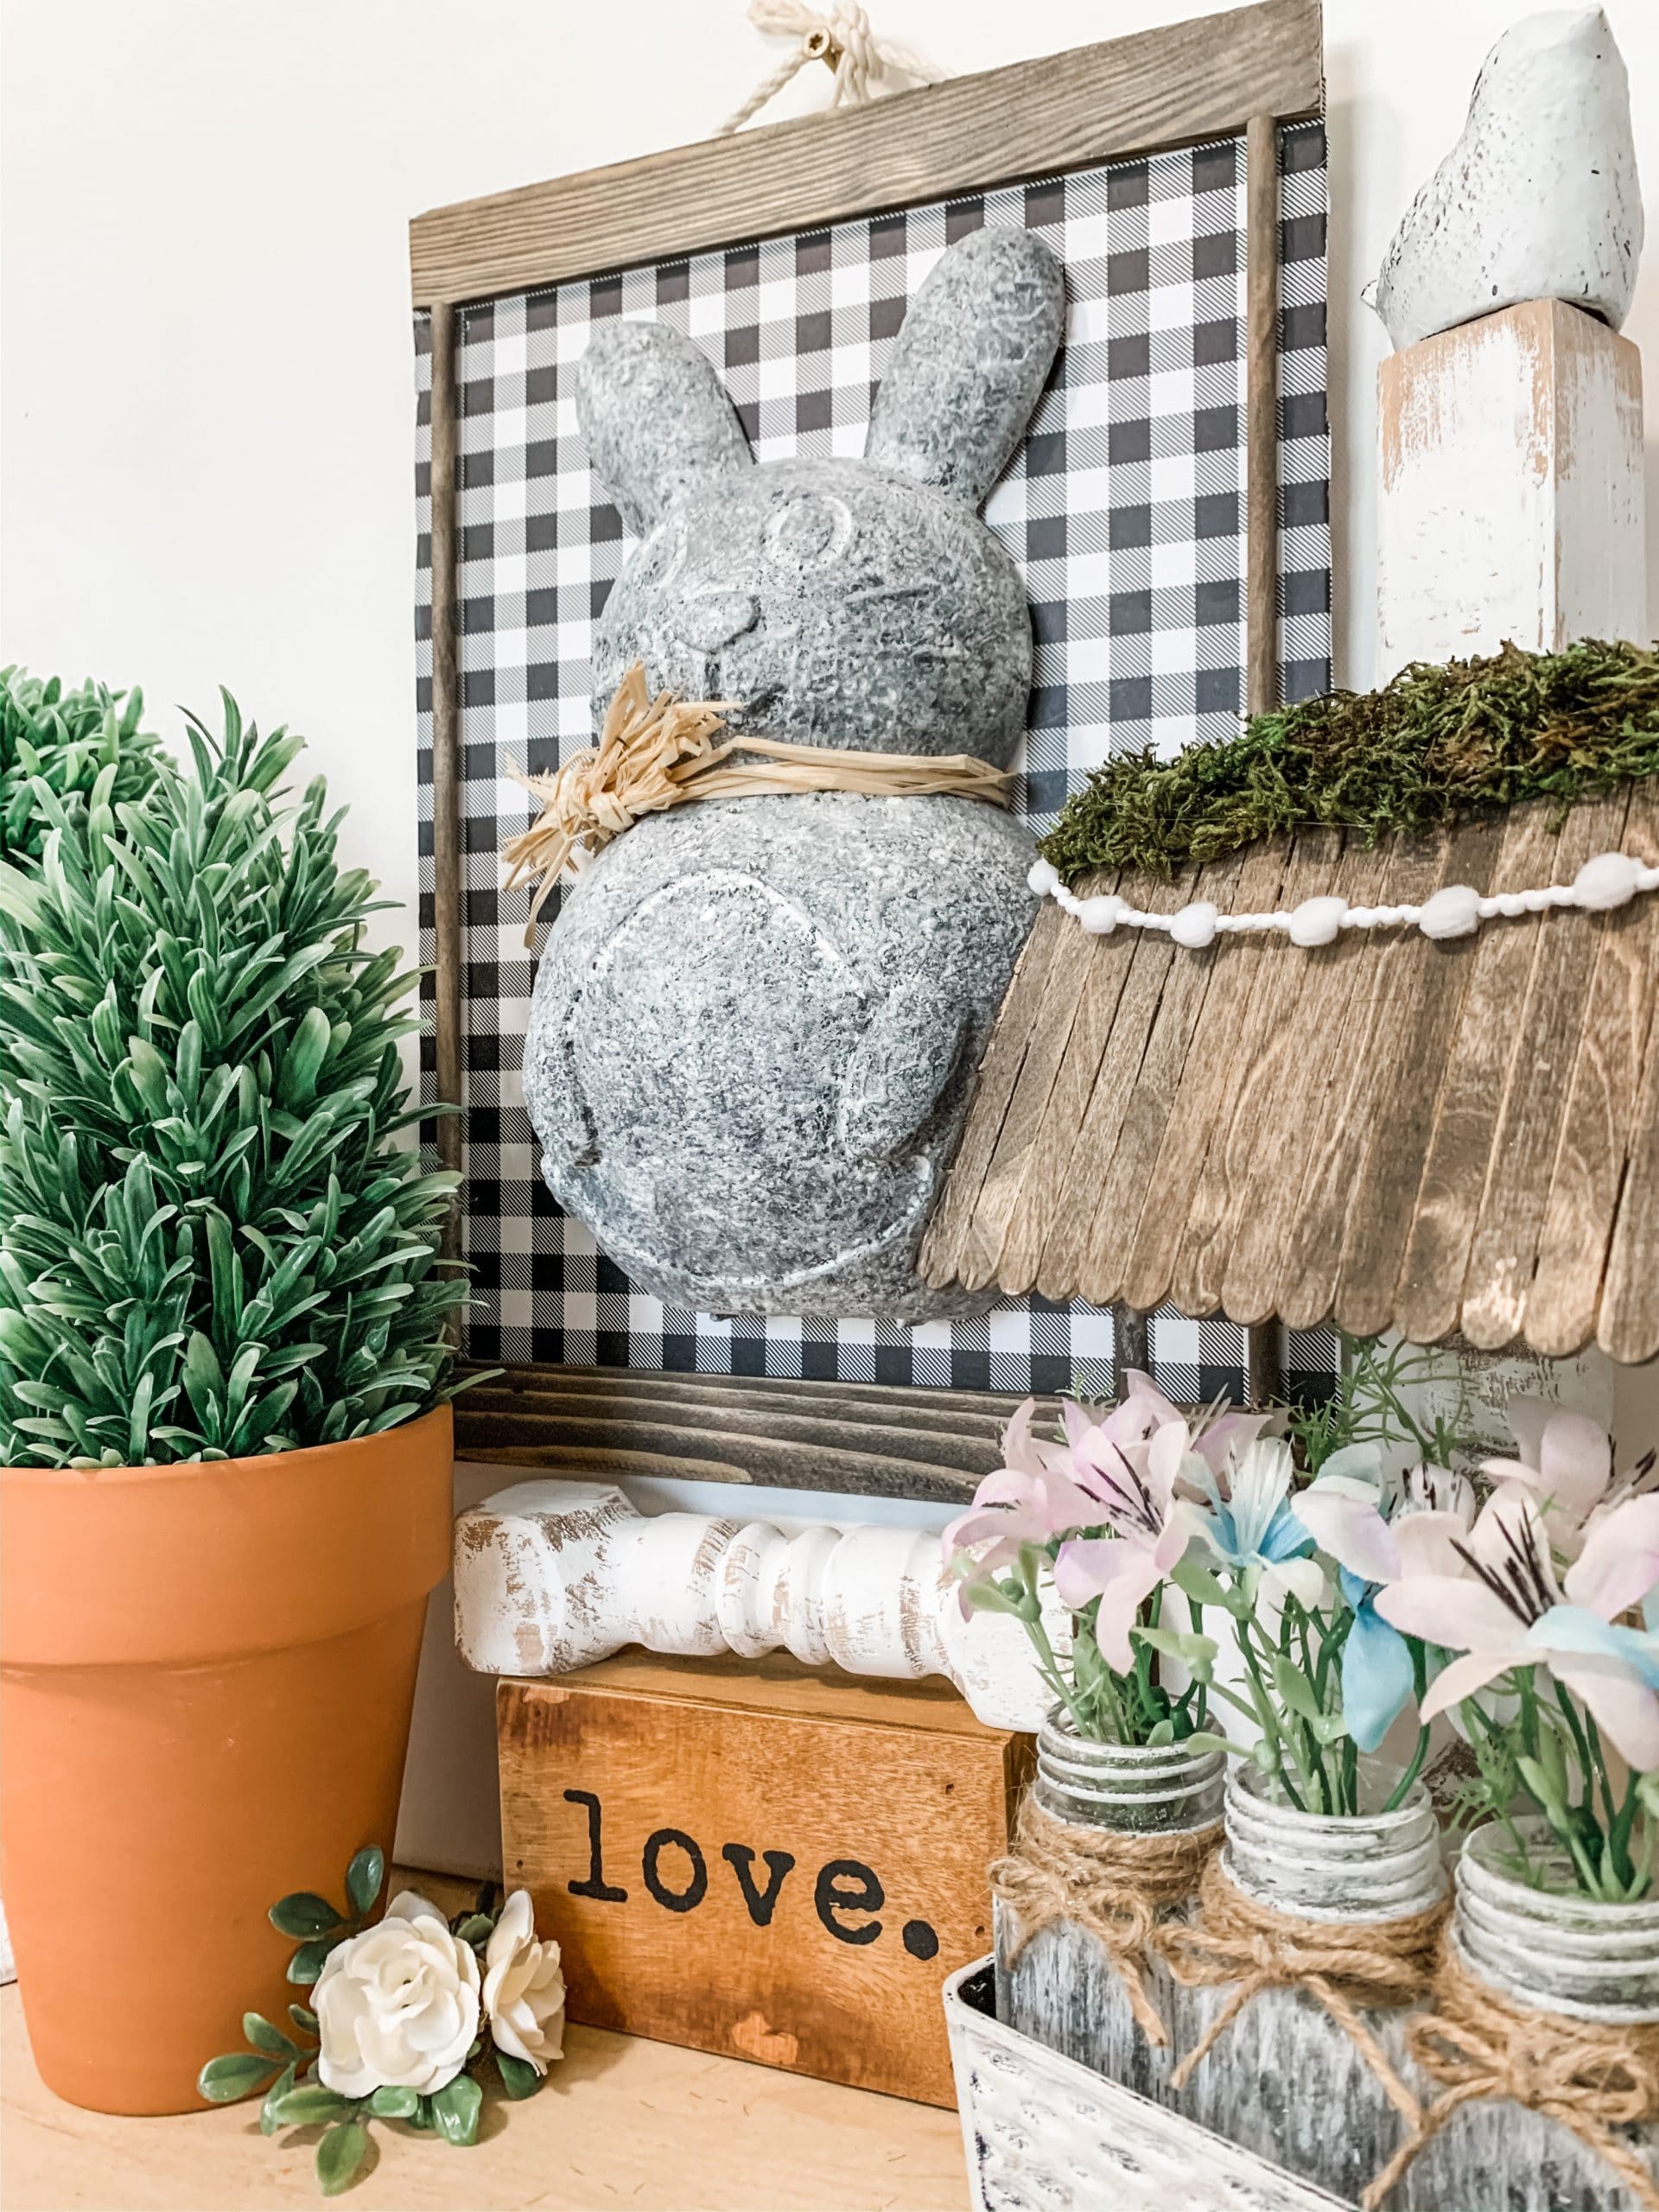
After I finished creating the faux concrete finish on my Dollar Tree plastic bunny form, I wanted to add some dimension to this project. To do that, I decided to add trim to the top and bottom of the sign with paint sticks and two wood dowels on the sides.
I used Dixie Belle Coffee Bean Chalk Paint to stain the paint sticks and two Dollar Tree wood dowels. Use a wet wipe to spread the brown paint onto the surface of the wood. The water helps the wood absorb the paint and gives it a stained finish rather than a painted look.
Before I could attach the paint sticks, I had to trim them to fit the width of the Dollar Tree sign. I used a pair of aviation snips to cut the wood paint sticks, then hot glued them across the top and bottom of the sign.
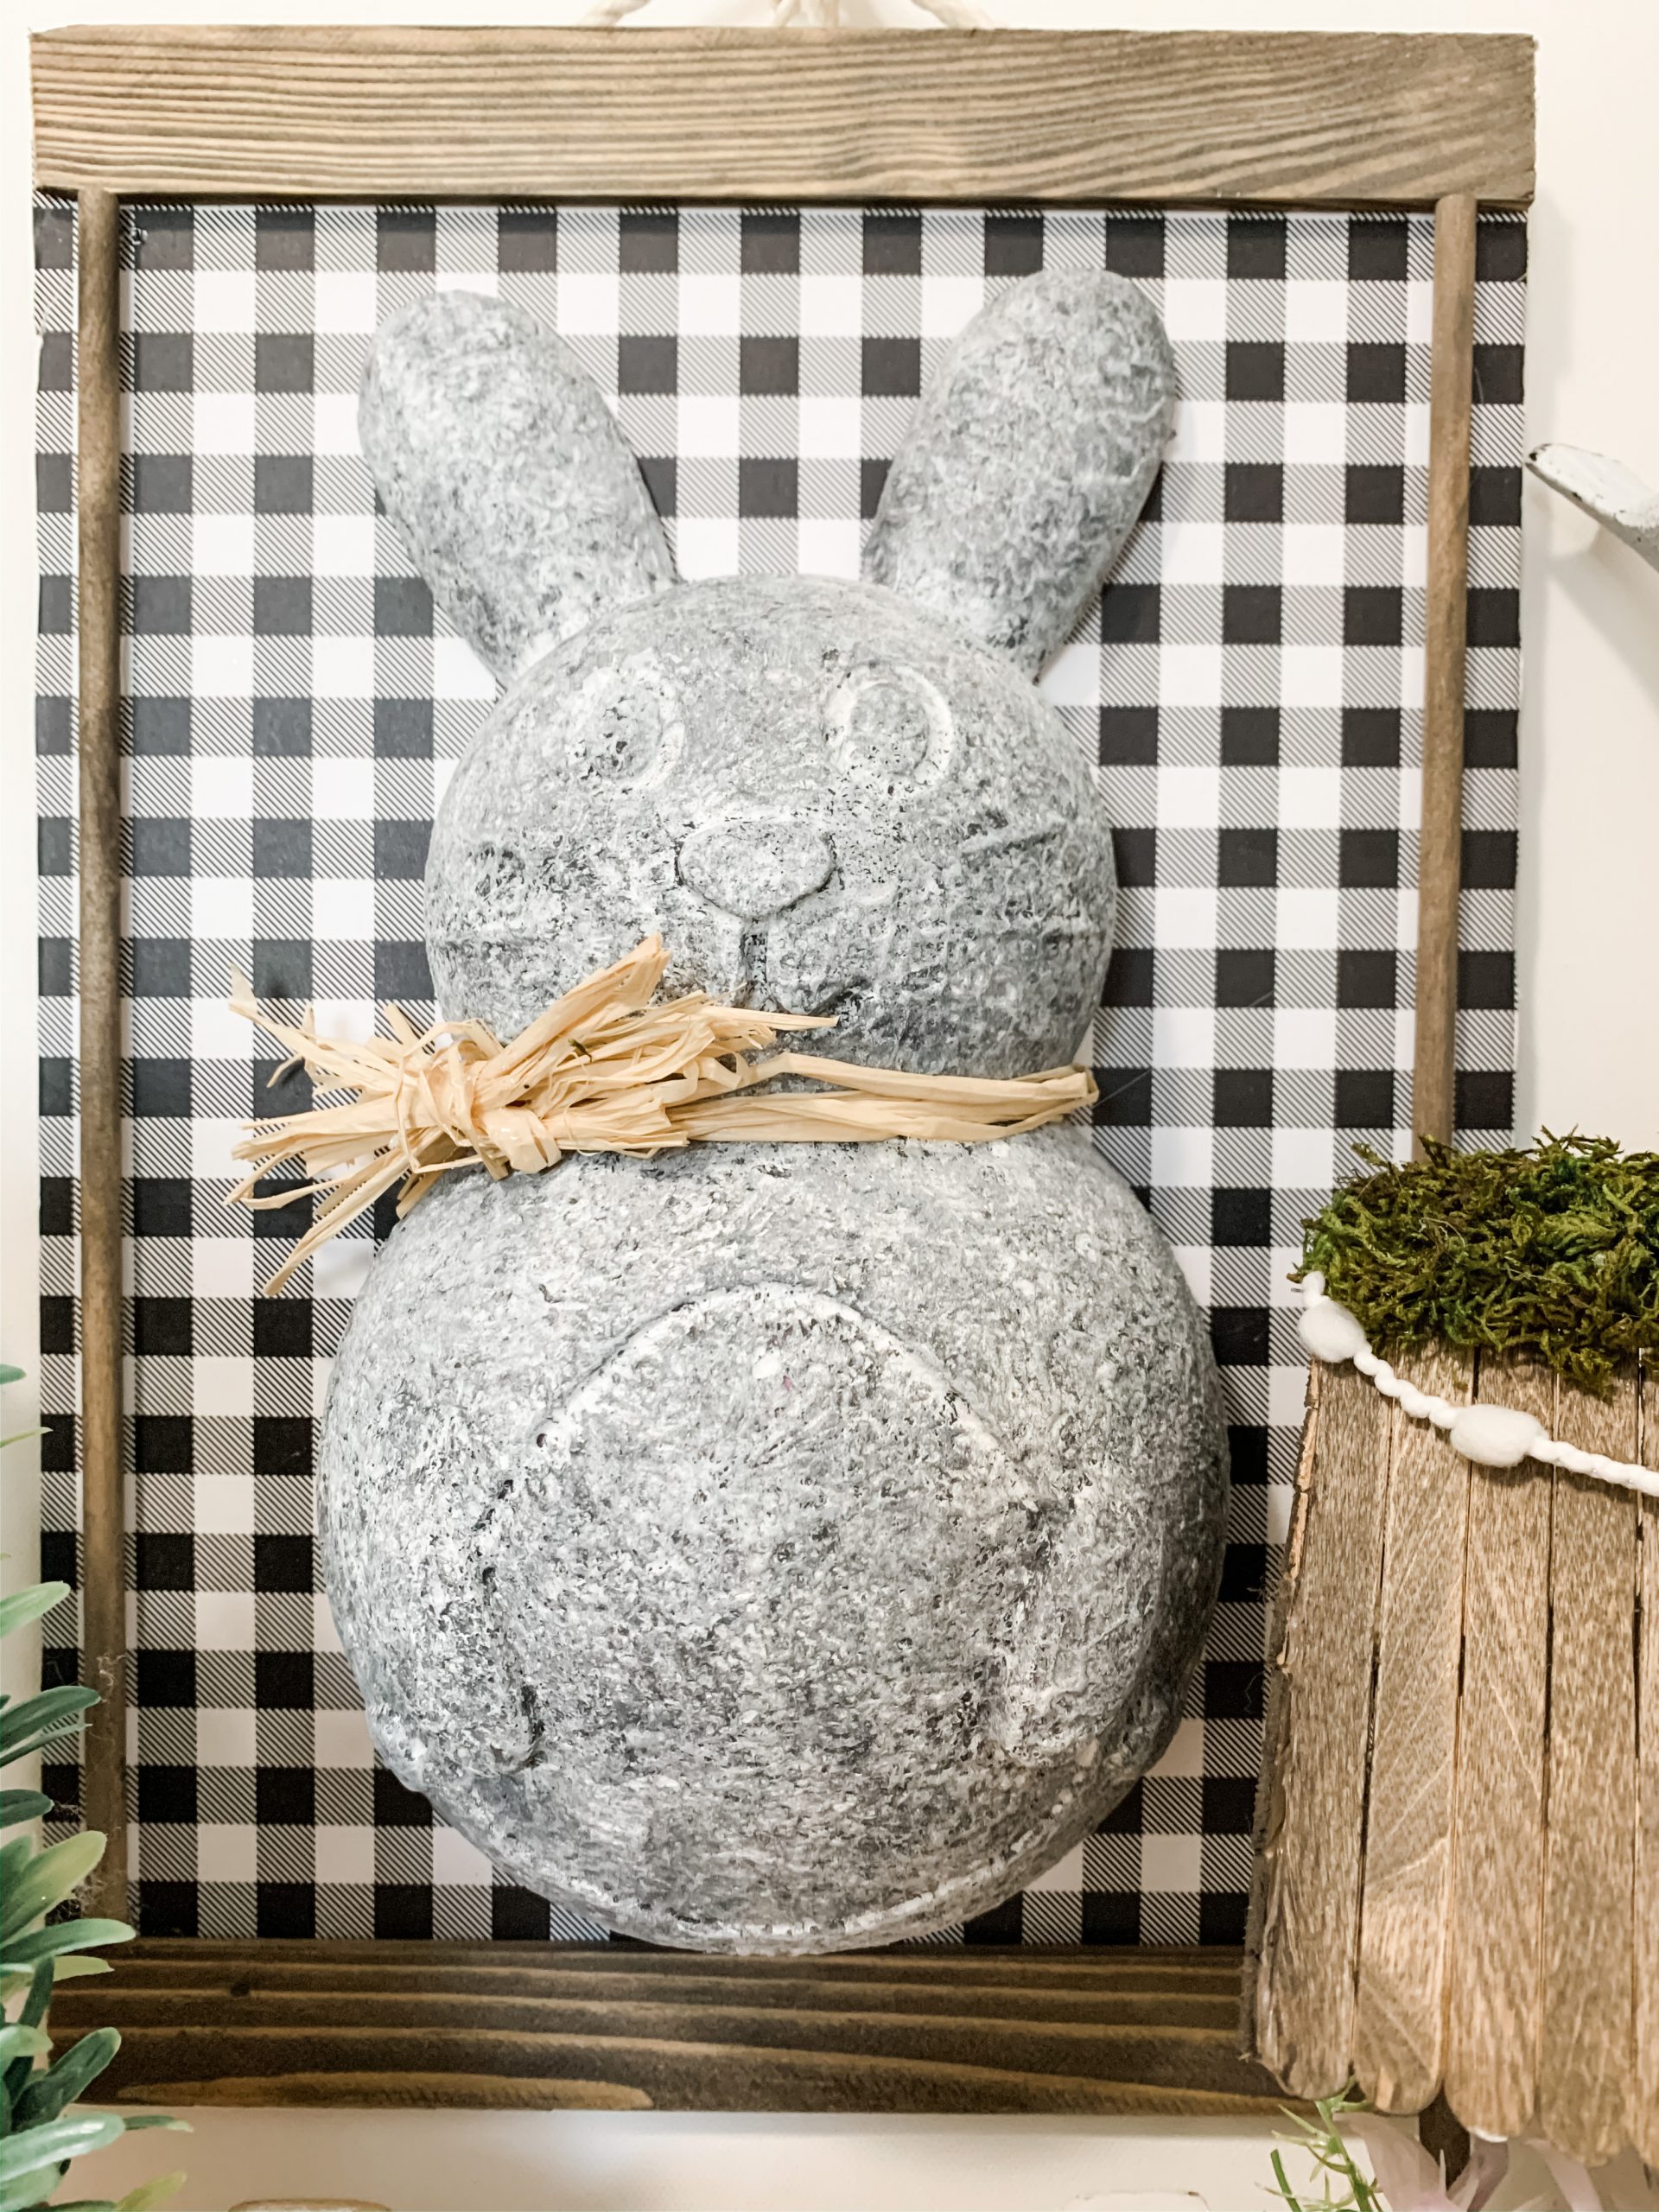
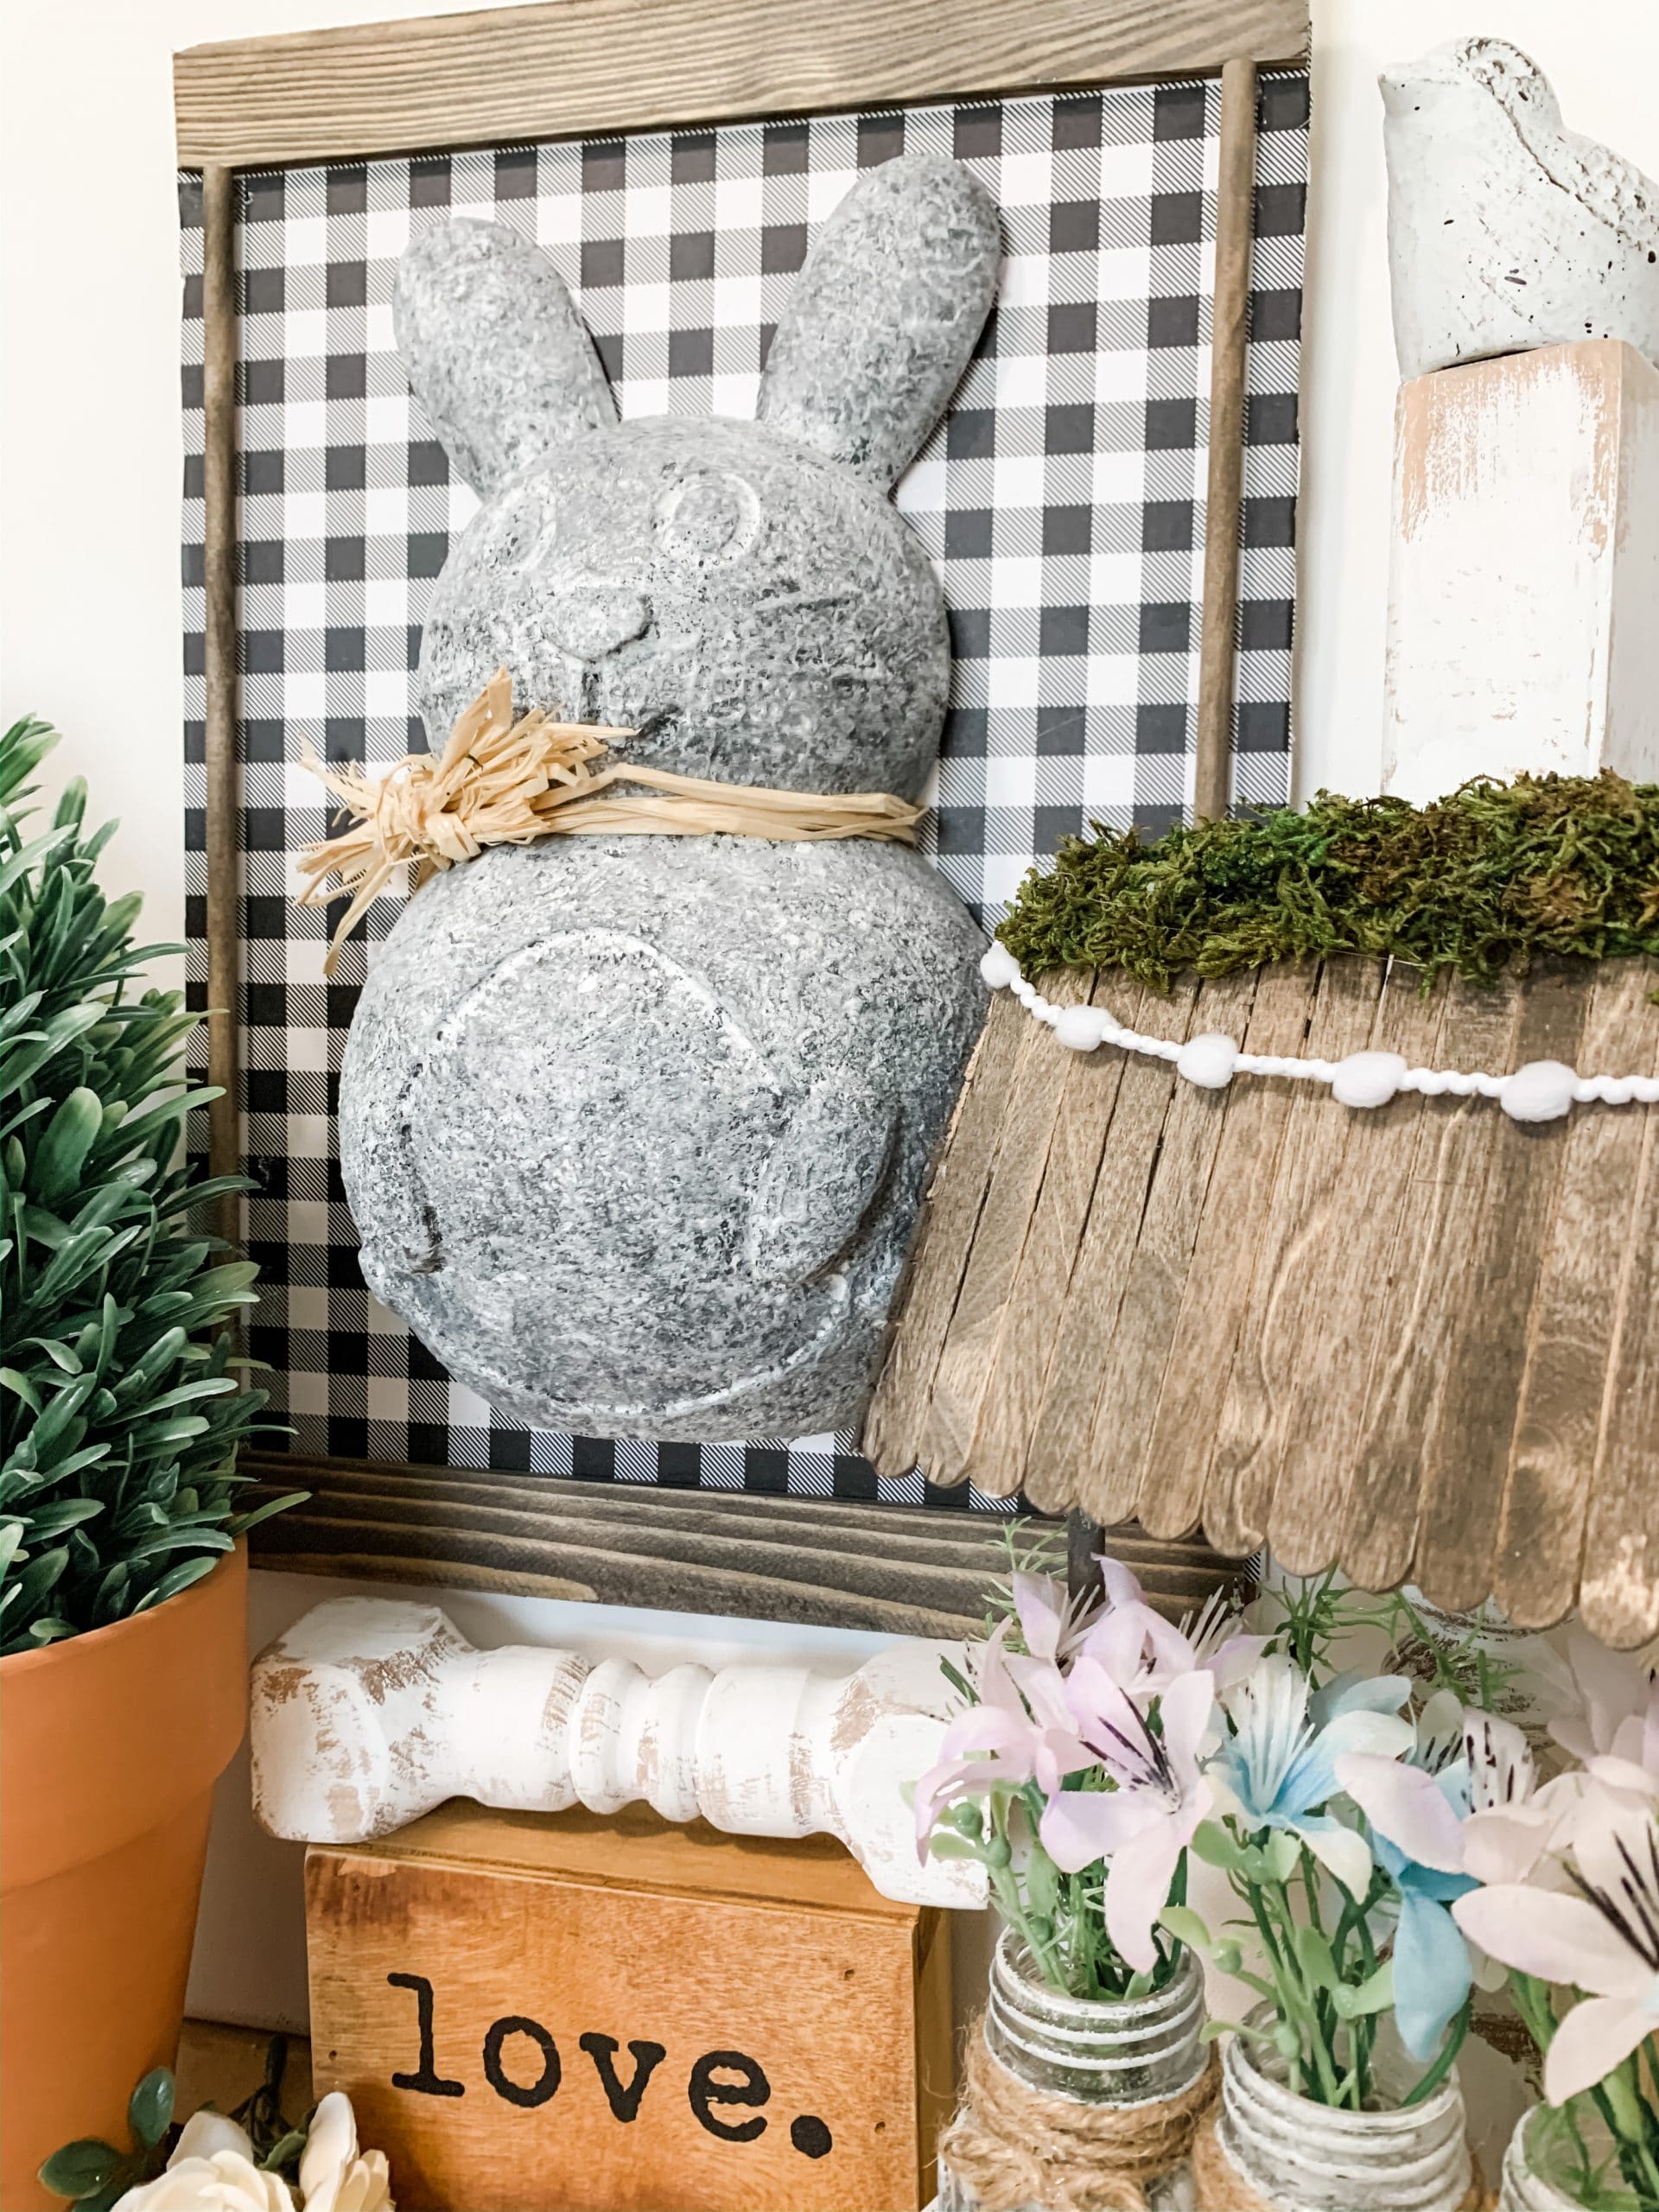
Next, I trimmed my wood dowels to fit the height of the Dollar Tree sign, but I didn’t hot glue them in place just yet. First, I added an adorable raffia bow to the bunny’s neck. I wrapped the raffia around the bunny’s neck, tied it into a little bow, and trimmed the tails.
To hot glue the bunny to the sign, I put hot glue onto the back of the bunny in dots. If you want to, you can try and place a solid line of glue around the back edge of the bunny, but you have to be quick because the glue is going to dry very fast.
Once you have enough hot glue on the back of the bunny, press it onto the center of the Dollar Tree sign. I noticed the raffia bow was coming untied, so I did add a little bit of hot glue to keep the raffia bow together.
Now, you can hot glue your stained Dollar Tree wood dowels on either side of the Dollar Tree bunny. Lastly, I hot glued a piece of white jute twine to the back of the sign to create the hanger!
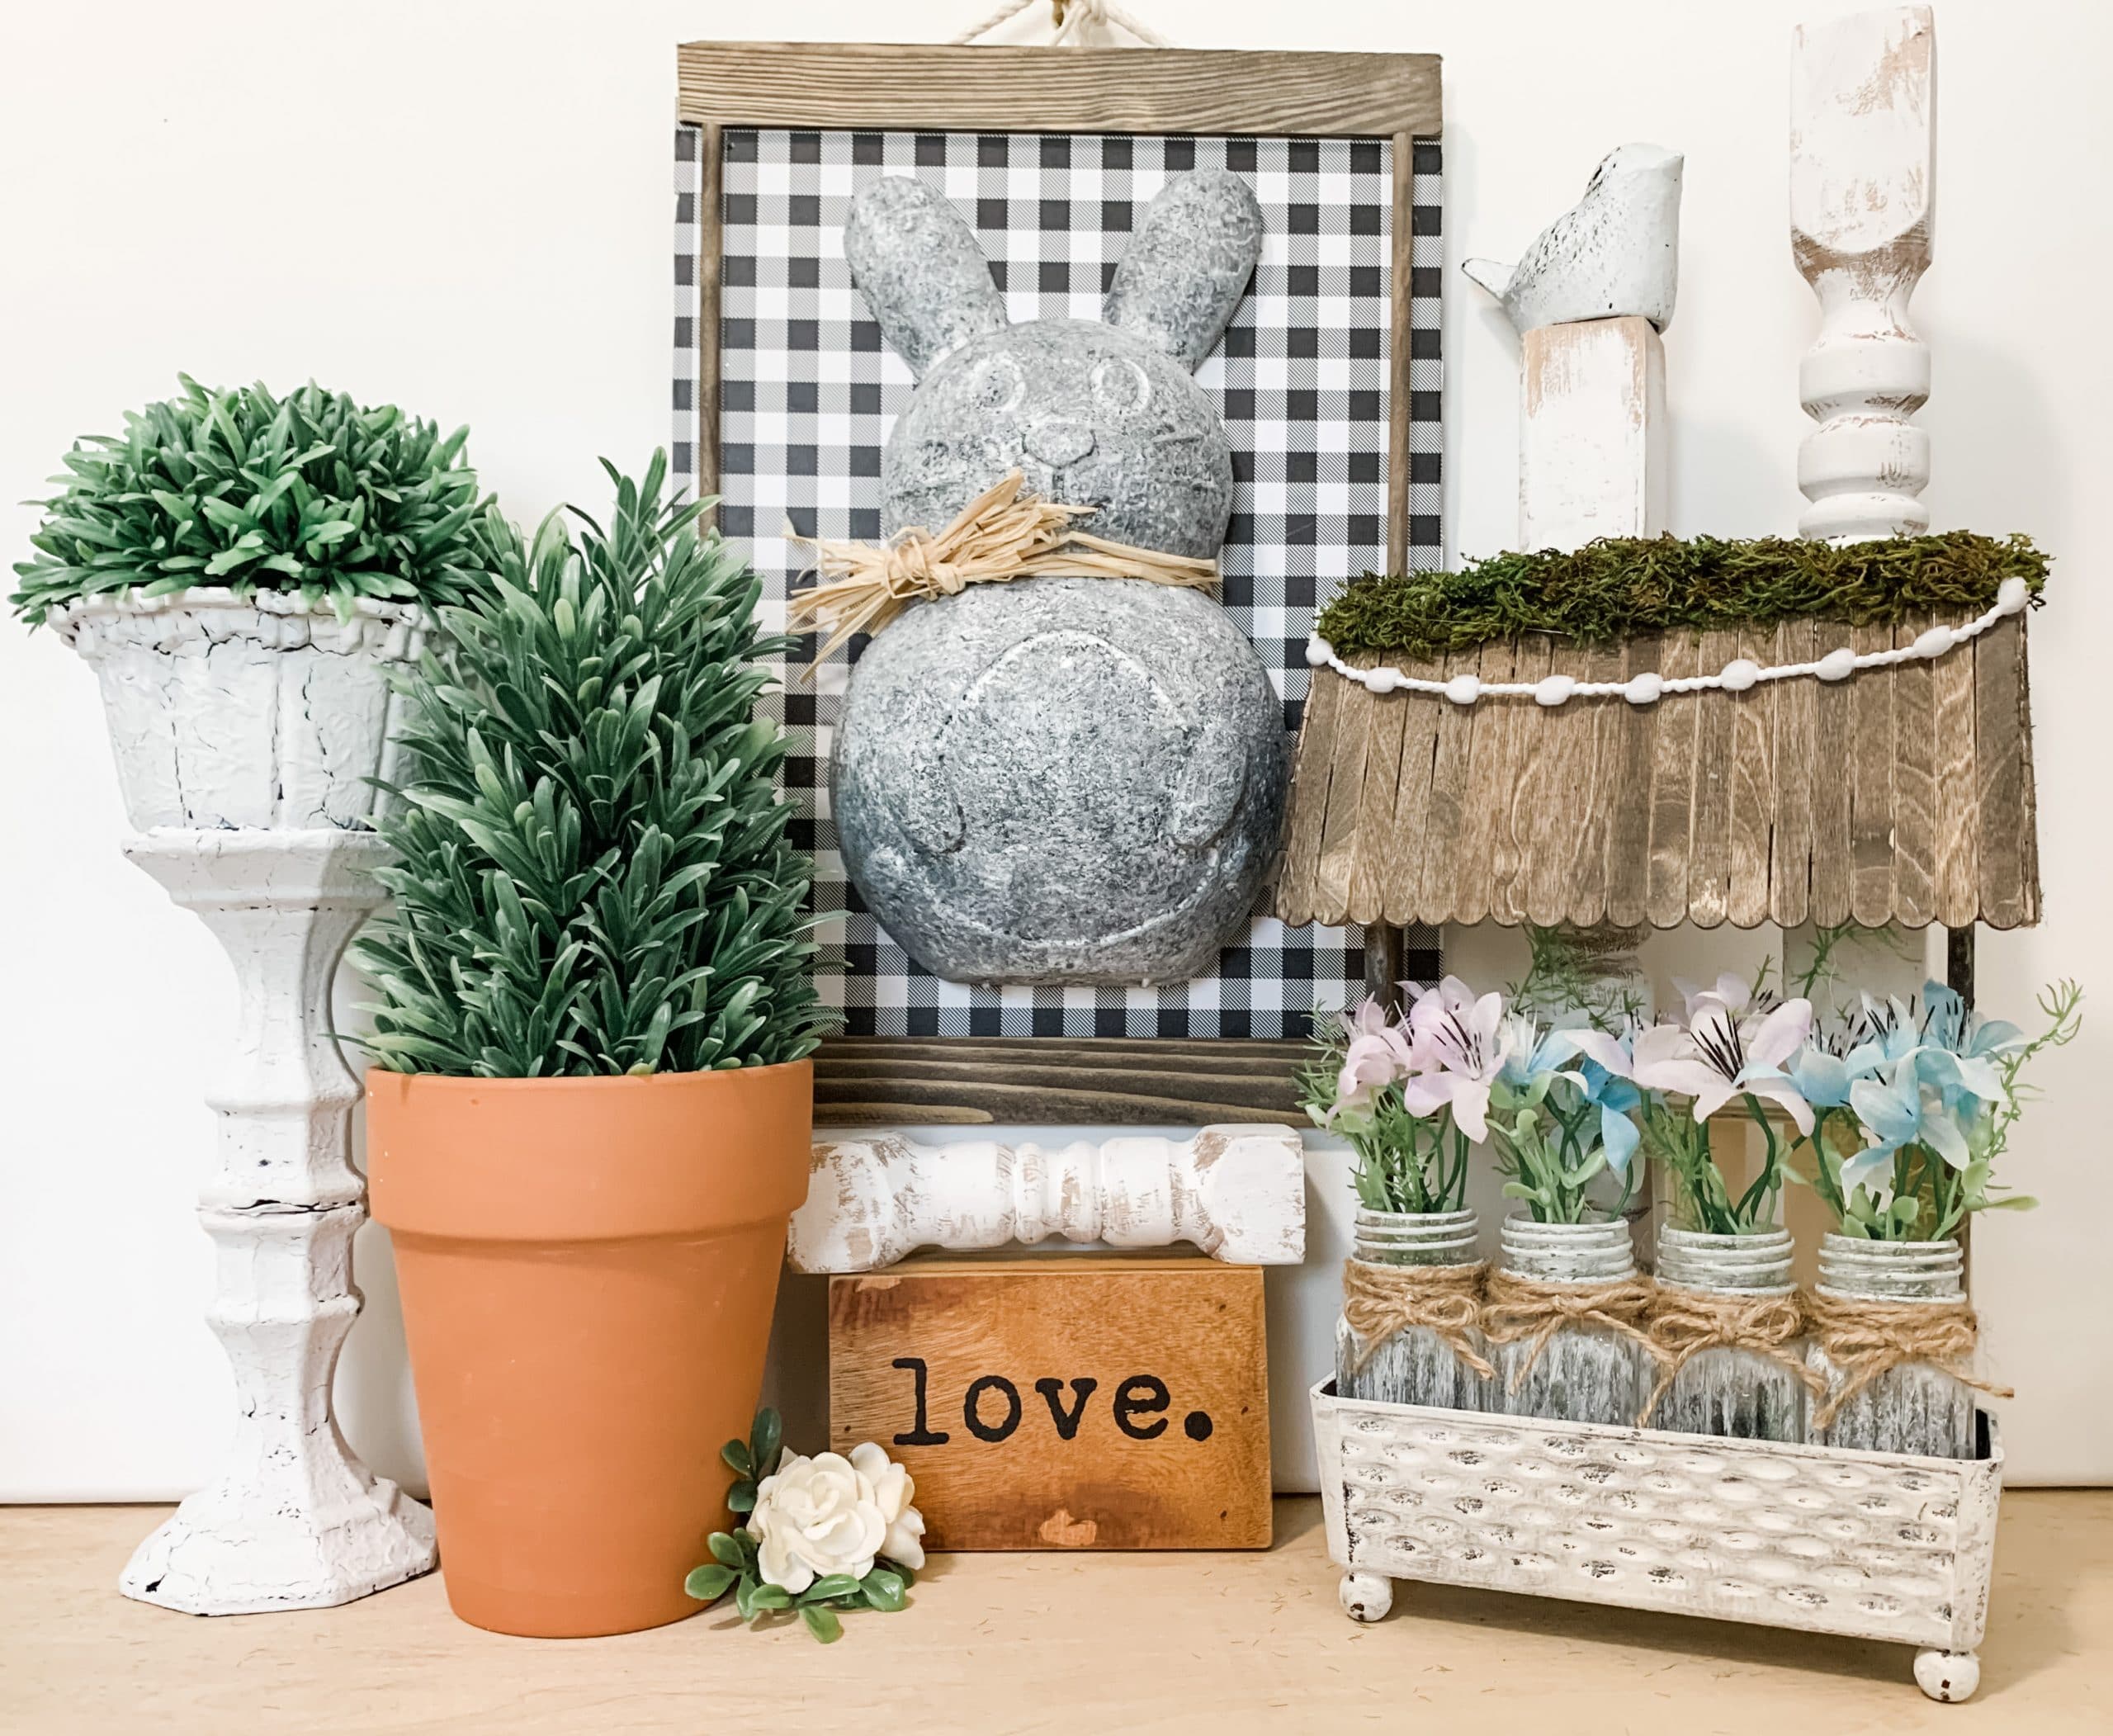
I hope you enjoyed this Dollar Tree DIY Concrete Bunny as much as I did and decide to make one for yourself! I would love to see how yours turns out!
You should totally join my FREE Facebook group called On A Budget Crafts! It is a judgment-free community for DIY crafters to show off their projects and ideas.
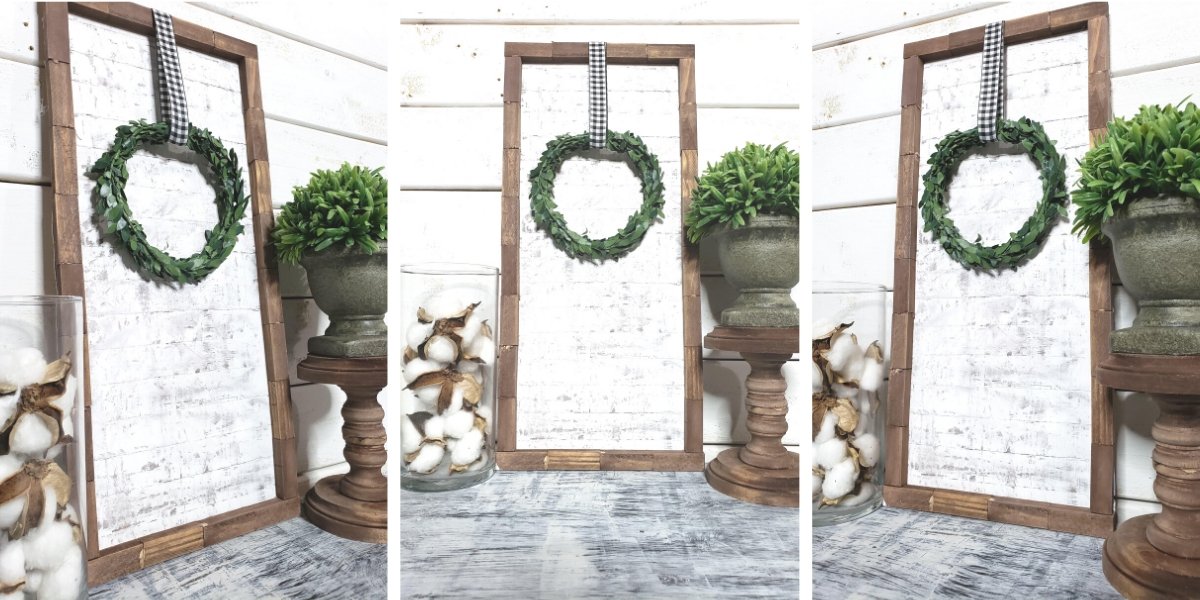
If you loved this DIY you might also like this Spring Door Hanger DIY!
Thanks for stopping by! XOXO Amber
You can also shop my ENTIRE AMAZON Favorites shop just click here! It’s packed full of all the things I use and love. Here is the supply list I highly recommend every creative have on hand!!
Would you also pin my blog for later and get on my newsletter alerts? I would love to have you join my #craftycrew.
Inspired? Leave me a comment below! I love hearing from my readers!

Join my free “ON A BUDGET CRAFTS” Facebook group!


Lovevthe finish on this