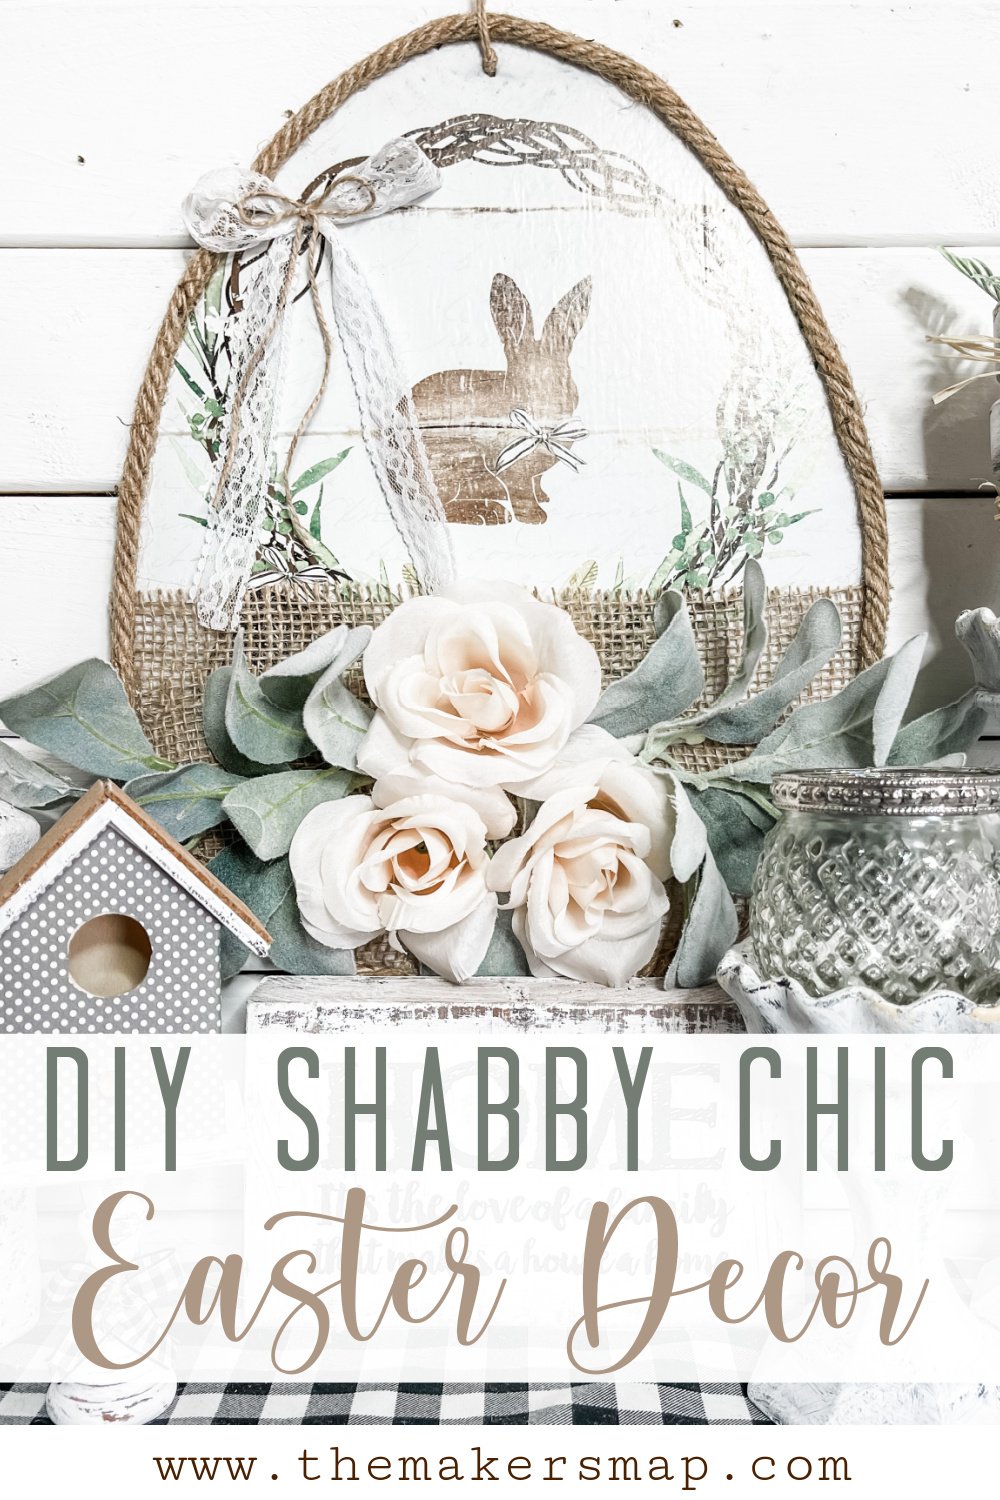
DIY Dollar Tree Shabby Chic Easter Decor
It’s no secret that I absolutely love the Dollar Tree Simply Blessed 2021 Calendar and the DIY possibilities that come with it! I used a design print from that calendar to create this adorable DIY Dollar Tree Shabby Chic Easter Decor!
This DIY project was so much fun to make, and it’s very affordable if you want to make it for yourself since most of the supplies can be found at Dollar Tree!
Check out these other adorable Easter DIY’s!
- Dollar Tree Mossy Bunny Easter Decor DIY
- DIY Dollar Tree Easter Decor with Decoupaged Eggs
- Dollar Tree Duster DIY Easter Wreath
- Dollar Tree DIY Concrete Bunny
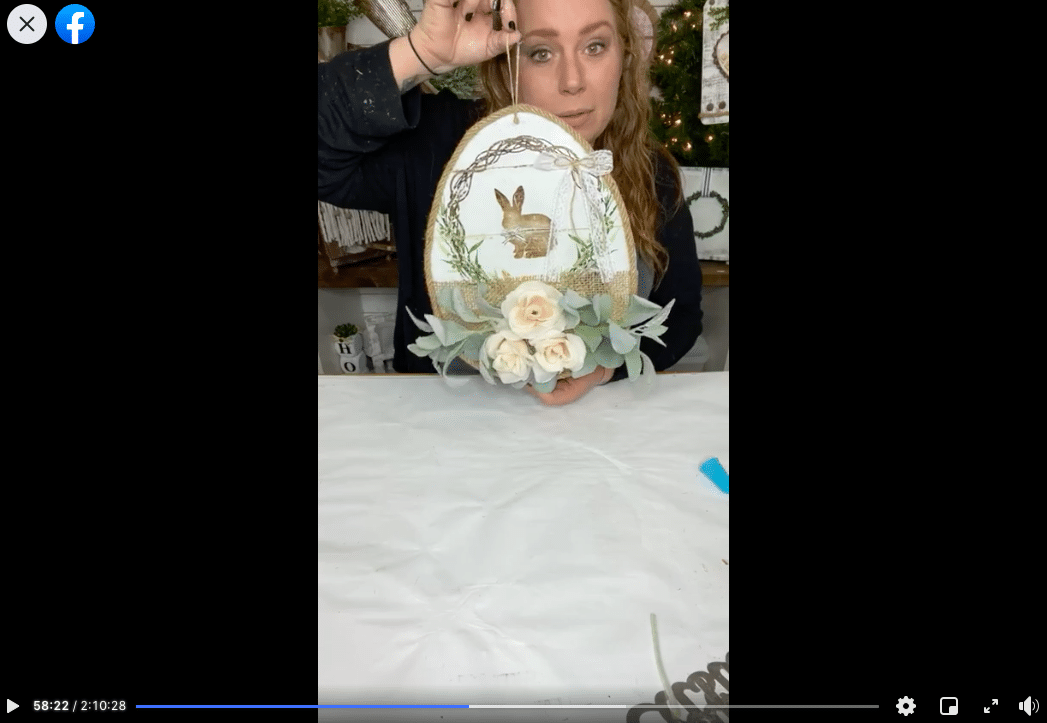
Watch the replay
Even though this project is very easy to make, I showed my Crafty Crew how to make it during a LIVE video on my Facebook page.
We had so much fun crafting and chatty, and if you want to join in on the conversations or see the how-to steps, you can watch the replay!
For this project, I will be using these items but you can substitute where you want.
“As an Amazon Associate, I earn from qualifying purchases.”
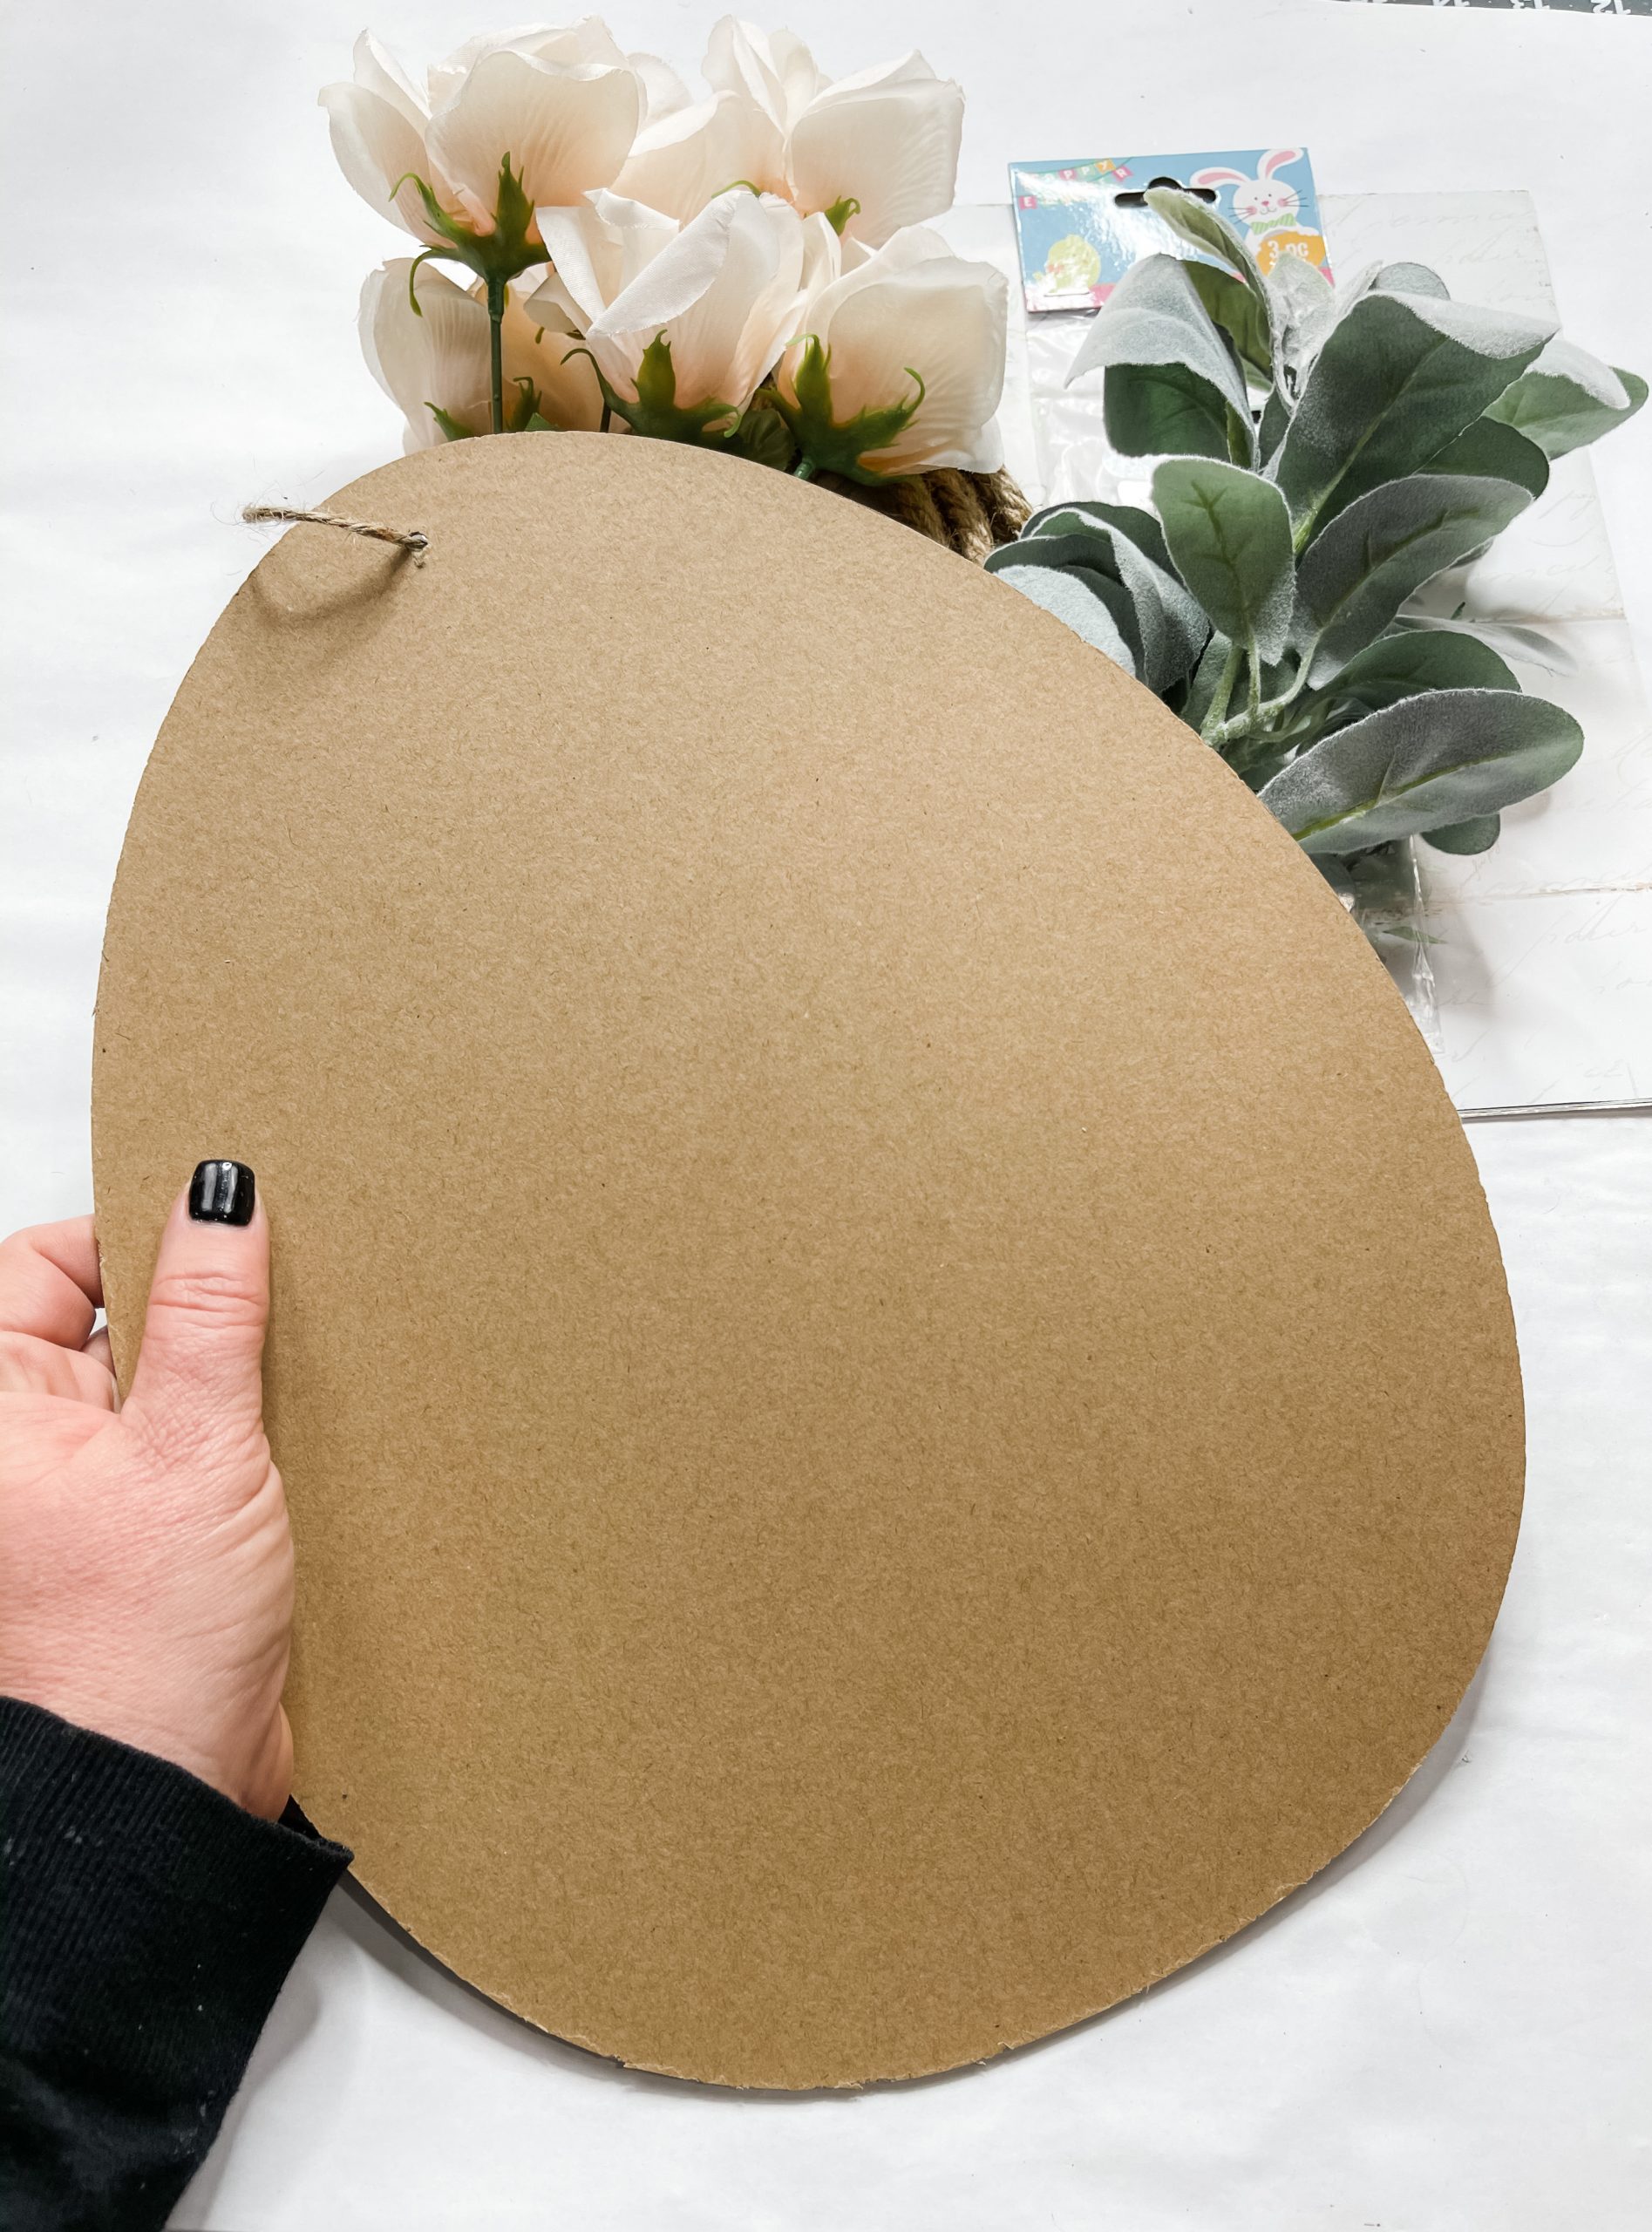
- Dollar Tree Egg-shaped sign
- Dollar Tree Simply Blessed 2021 Calender
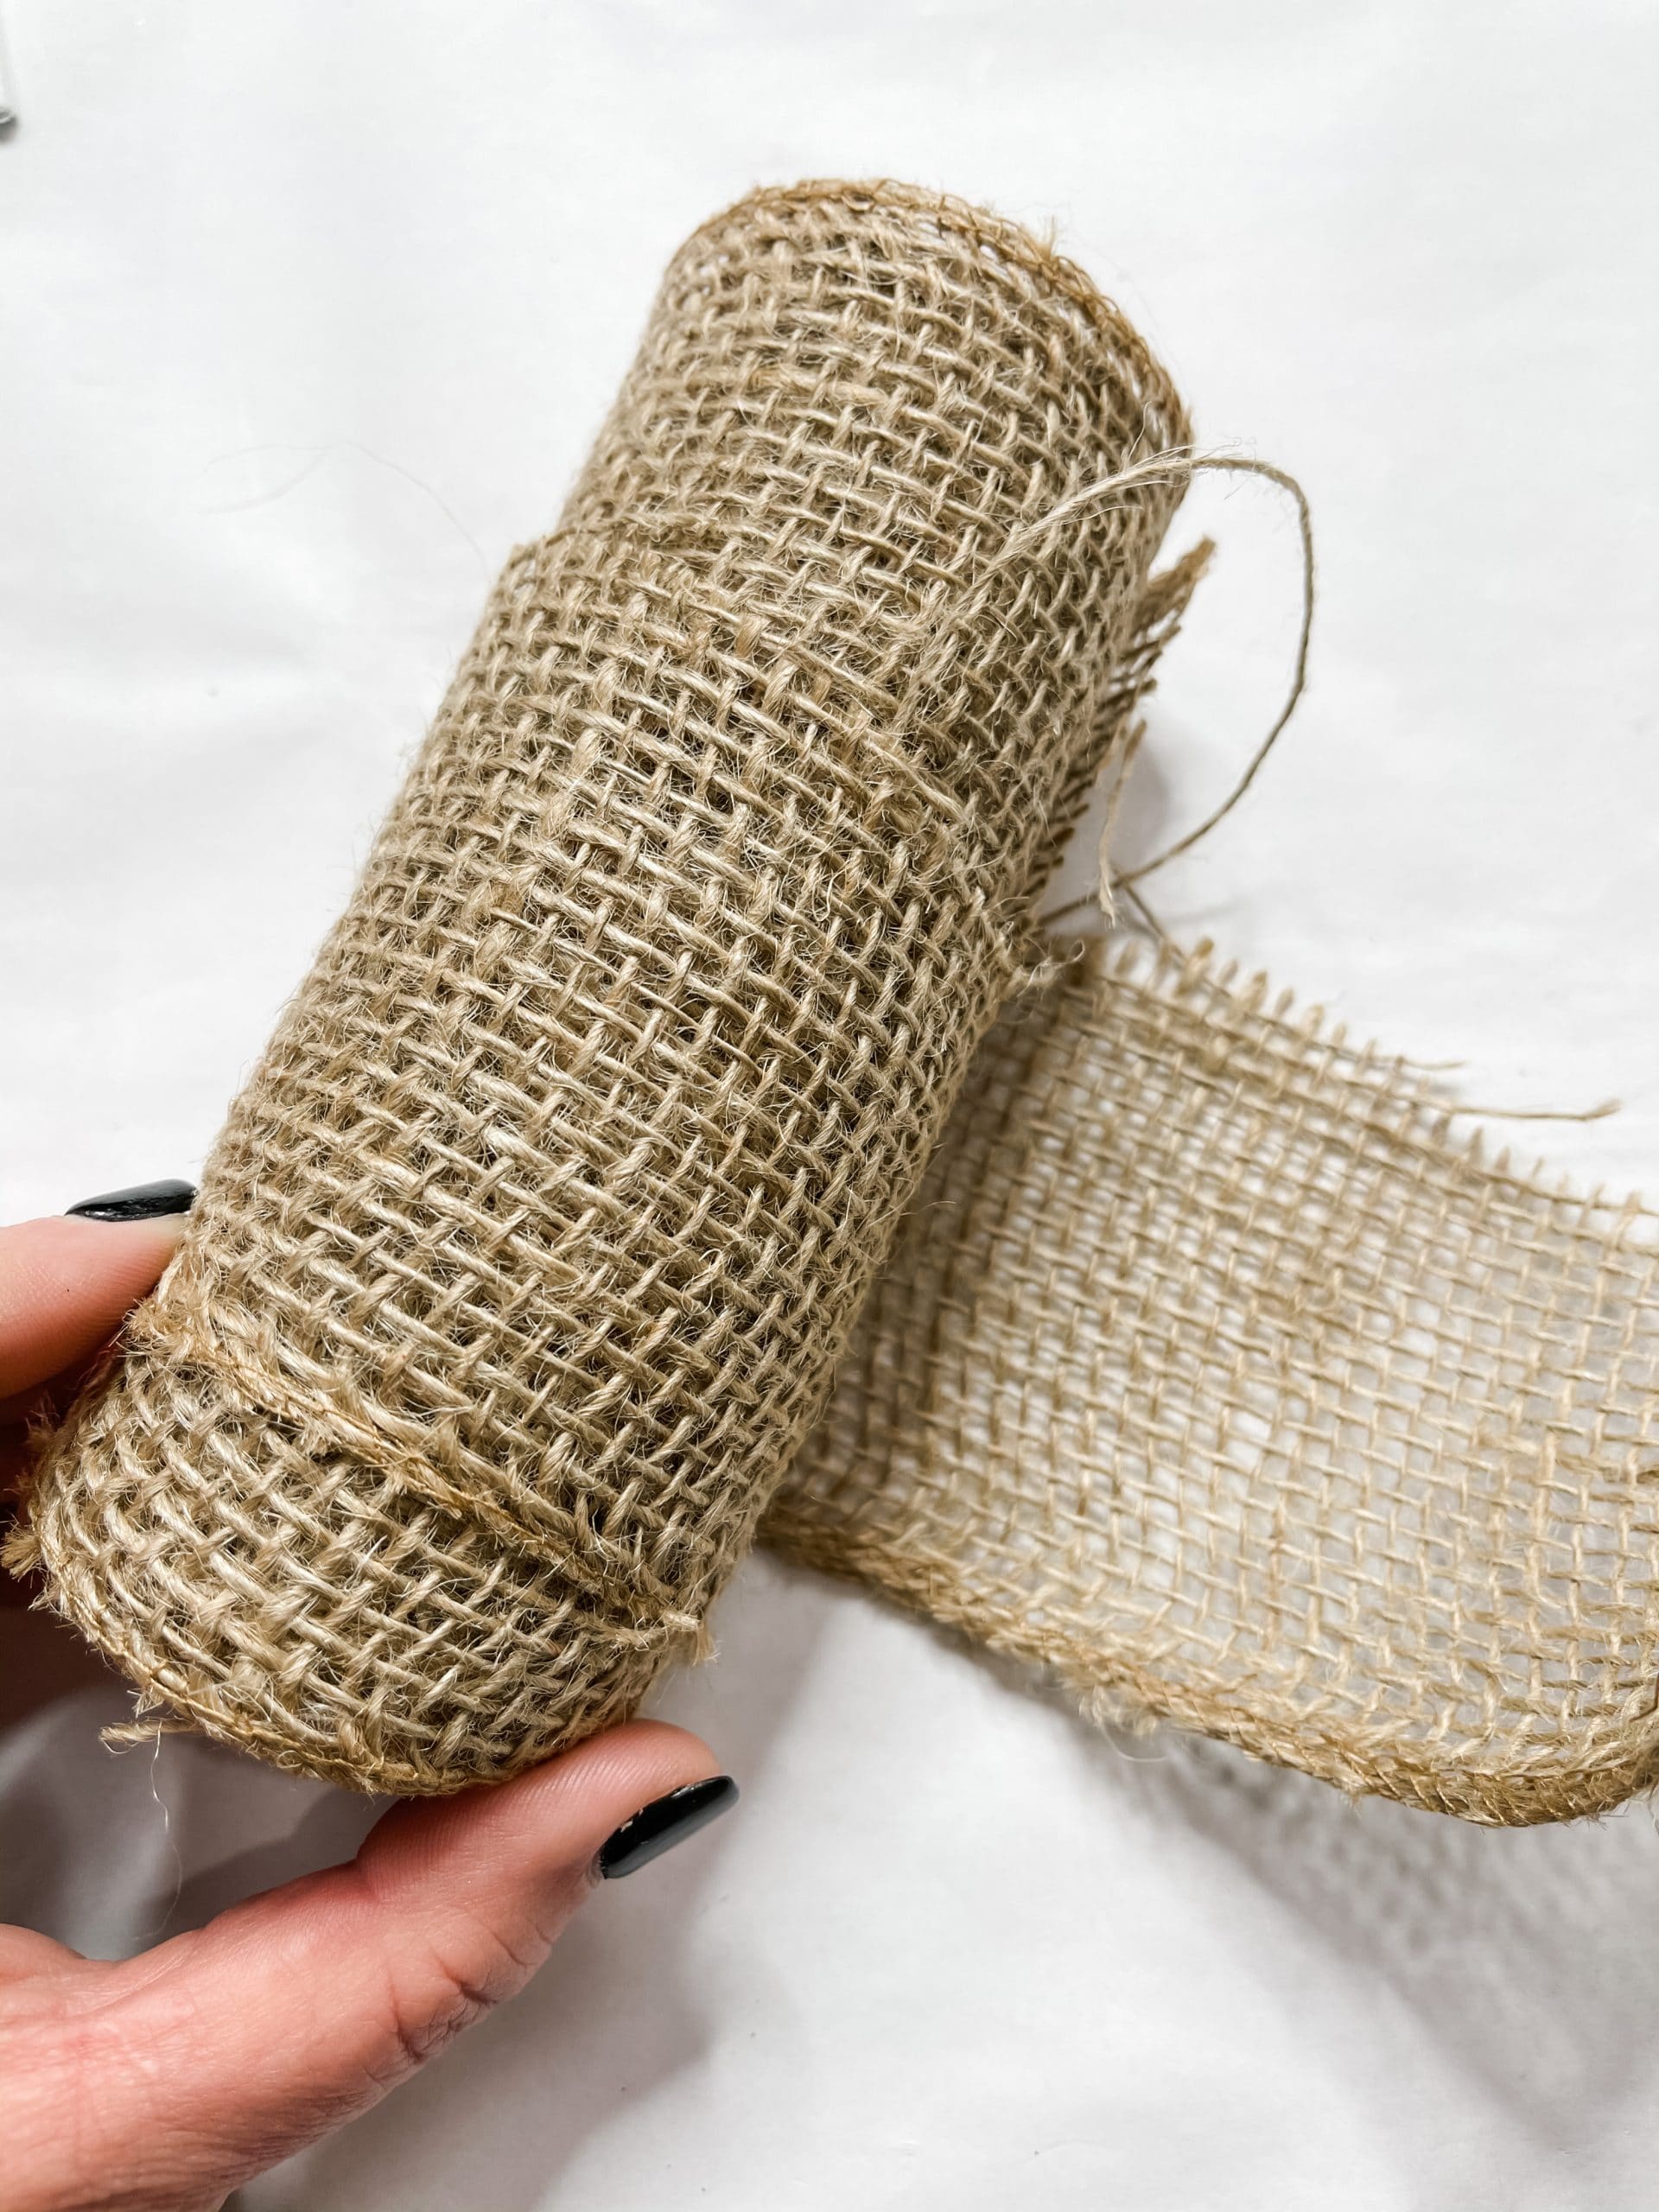
- Burlap Ribbon (Hobby Lobby)
- Dollar Tree Nautical Rope
- Dollar Tree Flowers
- Lamb’s Ear Greenery
- White Lace Ribbon (Hobby Lobby)
- Jute Twine
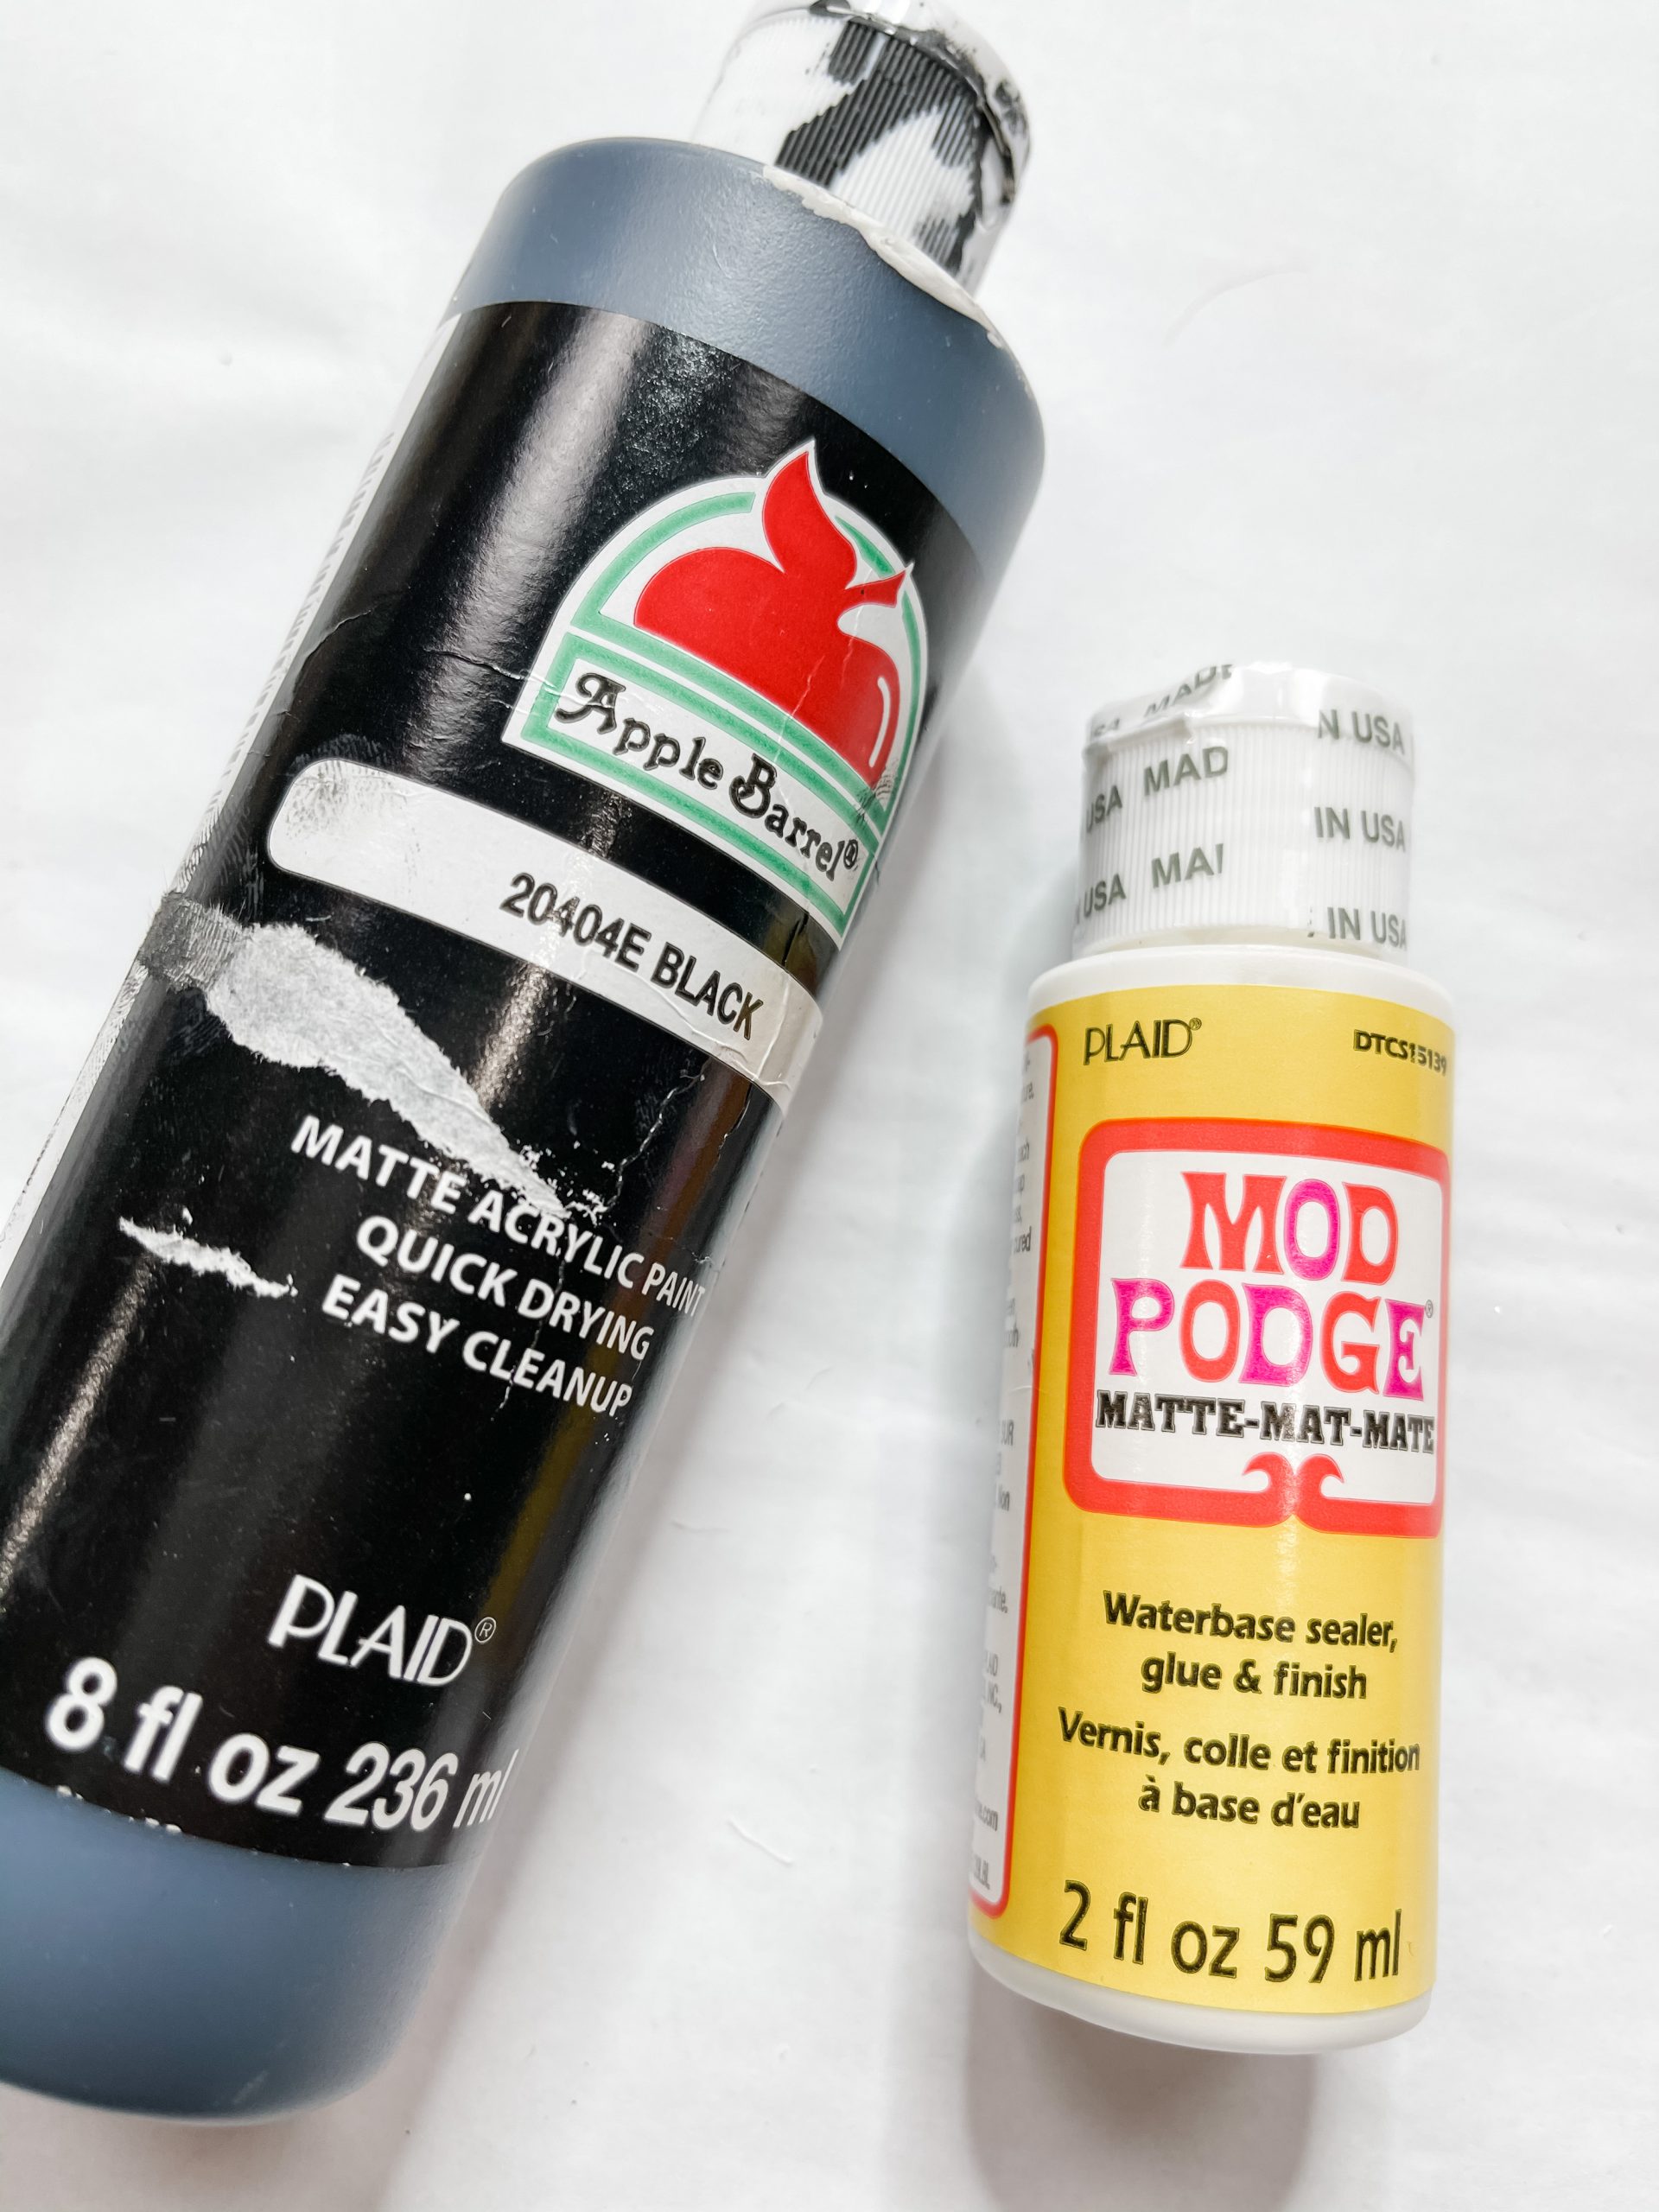
- Mod Podge
- Apple Barrel Black Acrylic Paint
- Folkart White Chalk Paint
- Hot Glue gun
- Glue Sticks
*I did not use the metal lettering pictured below*

How to make DIY Dollar Tree Shabby Chic Easter Decor
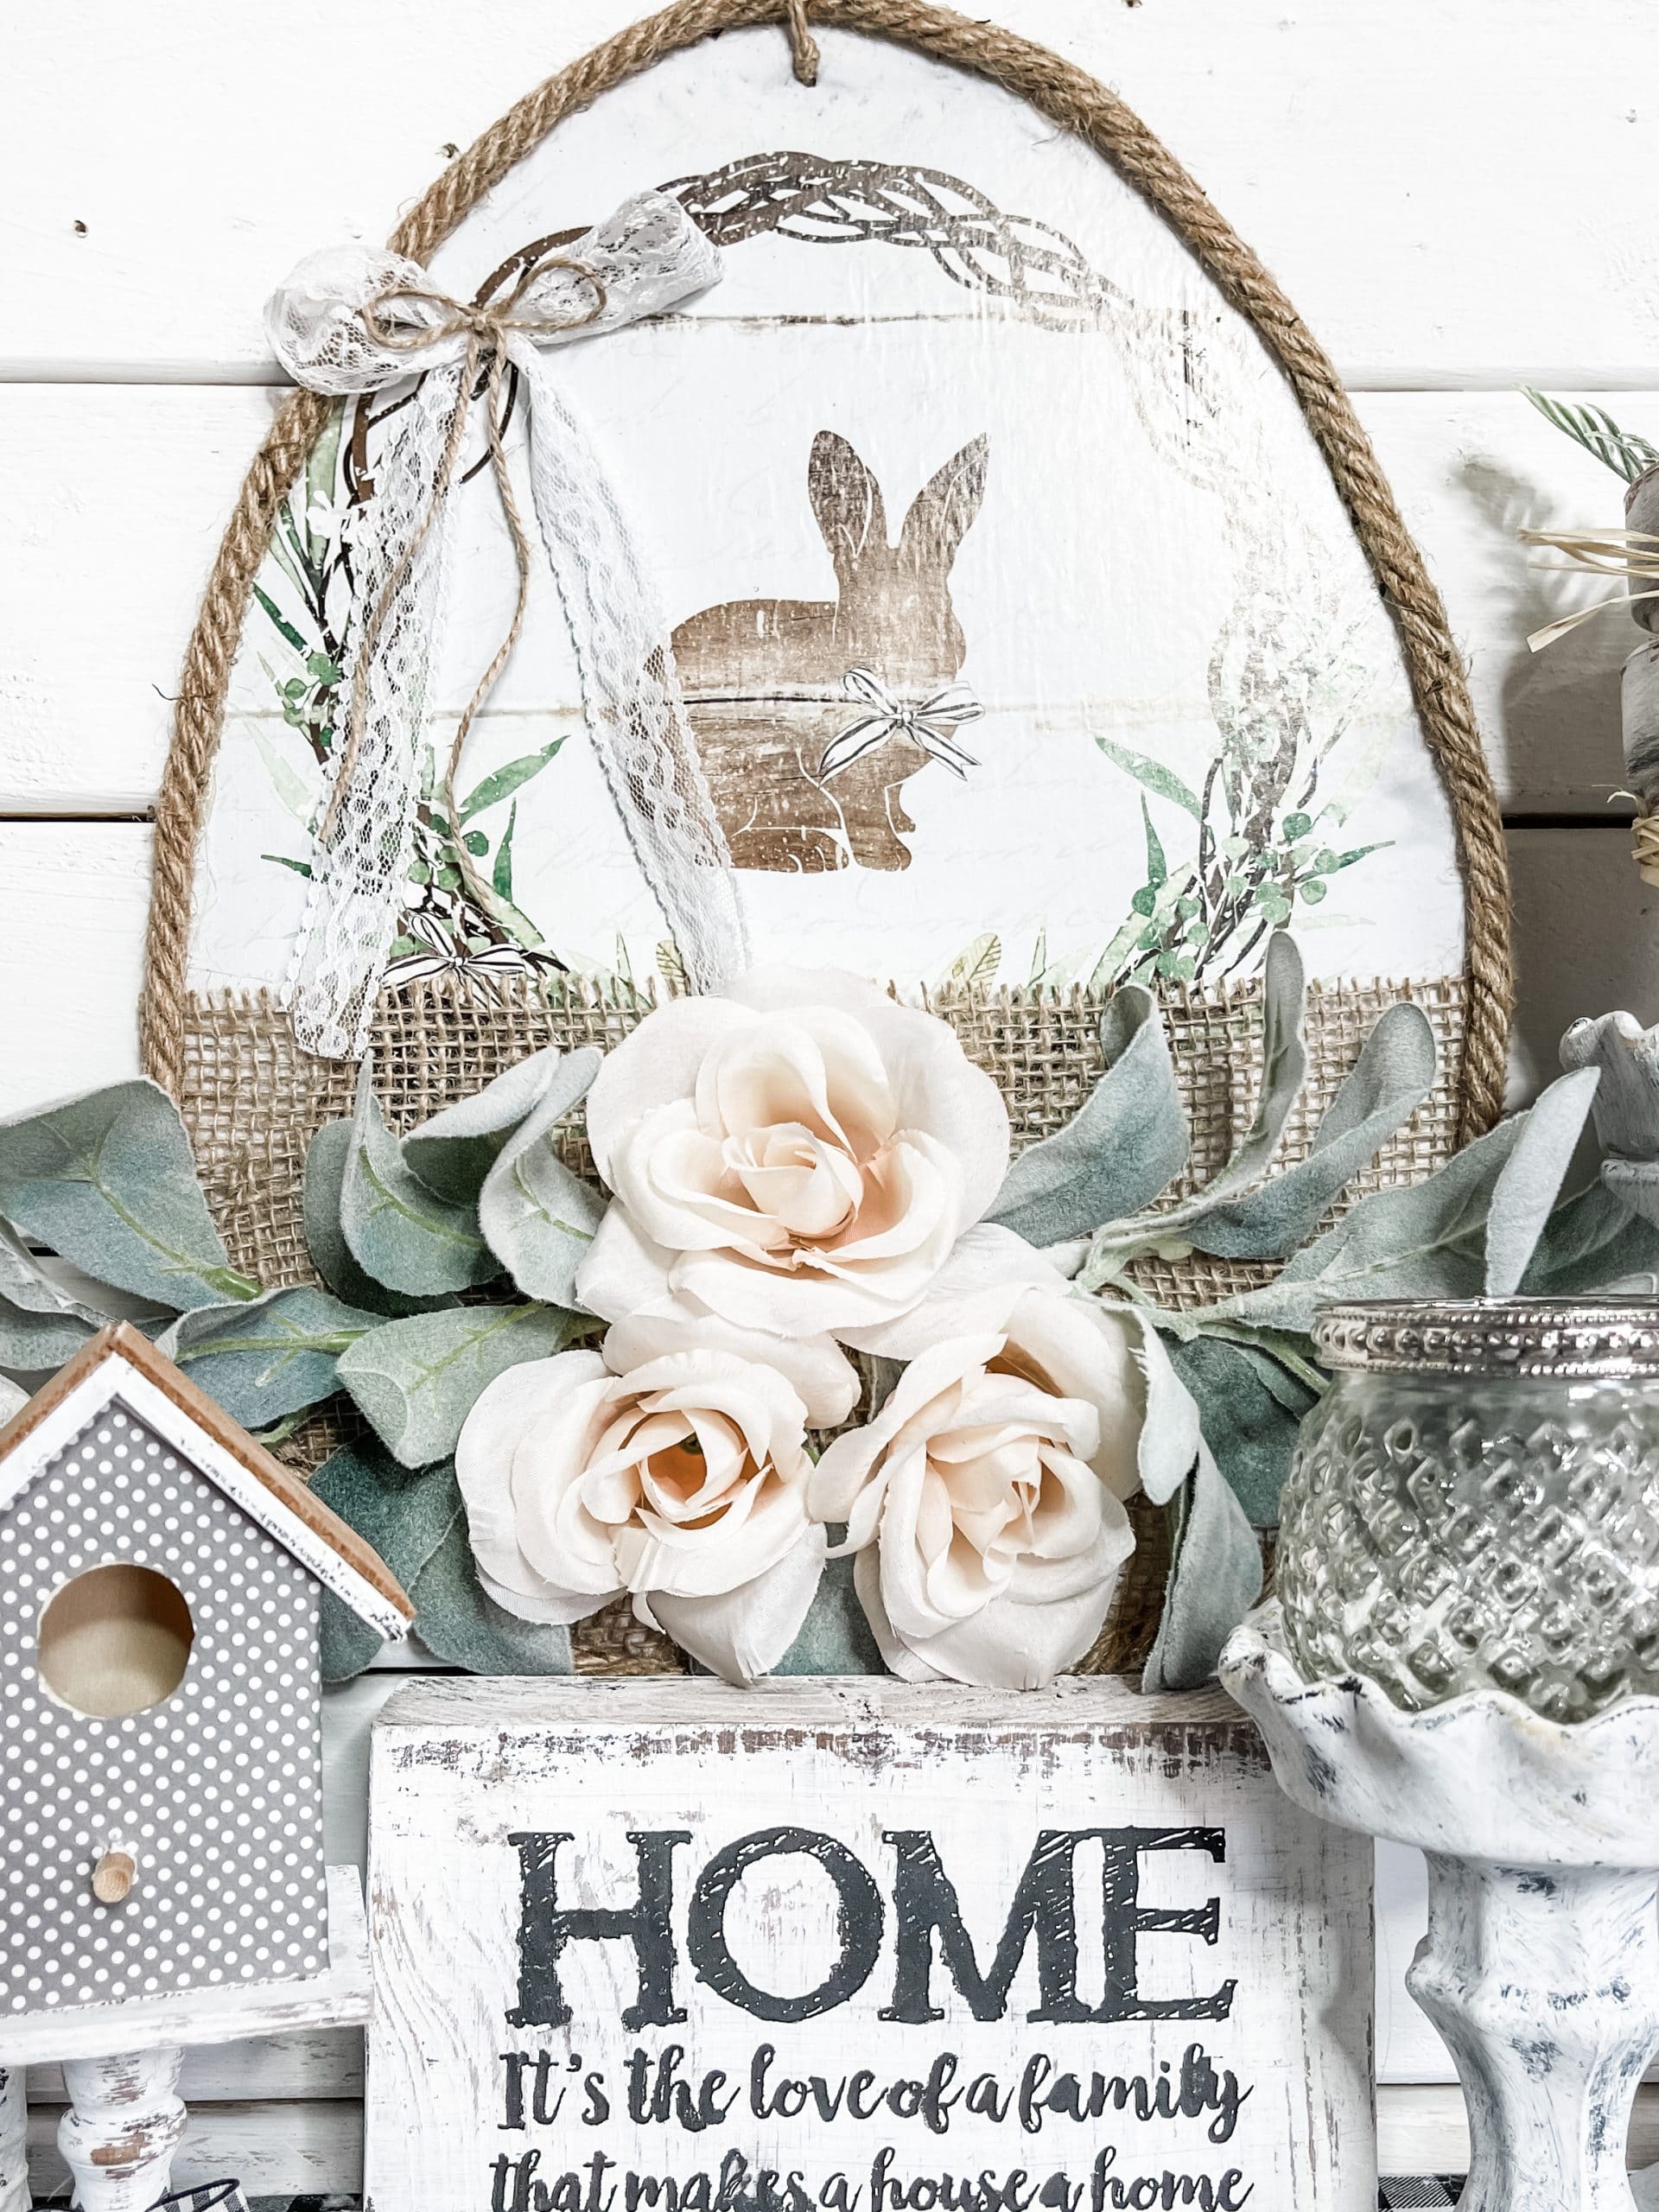
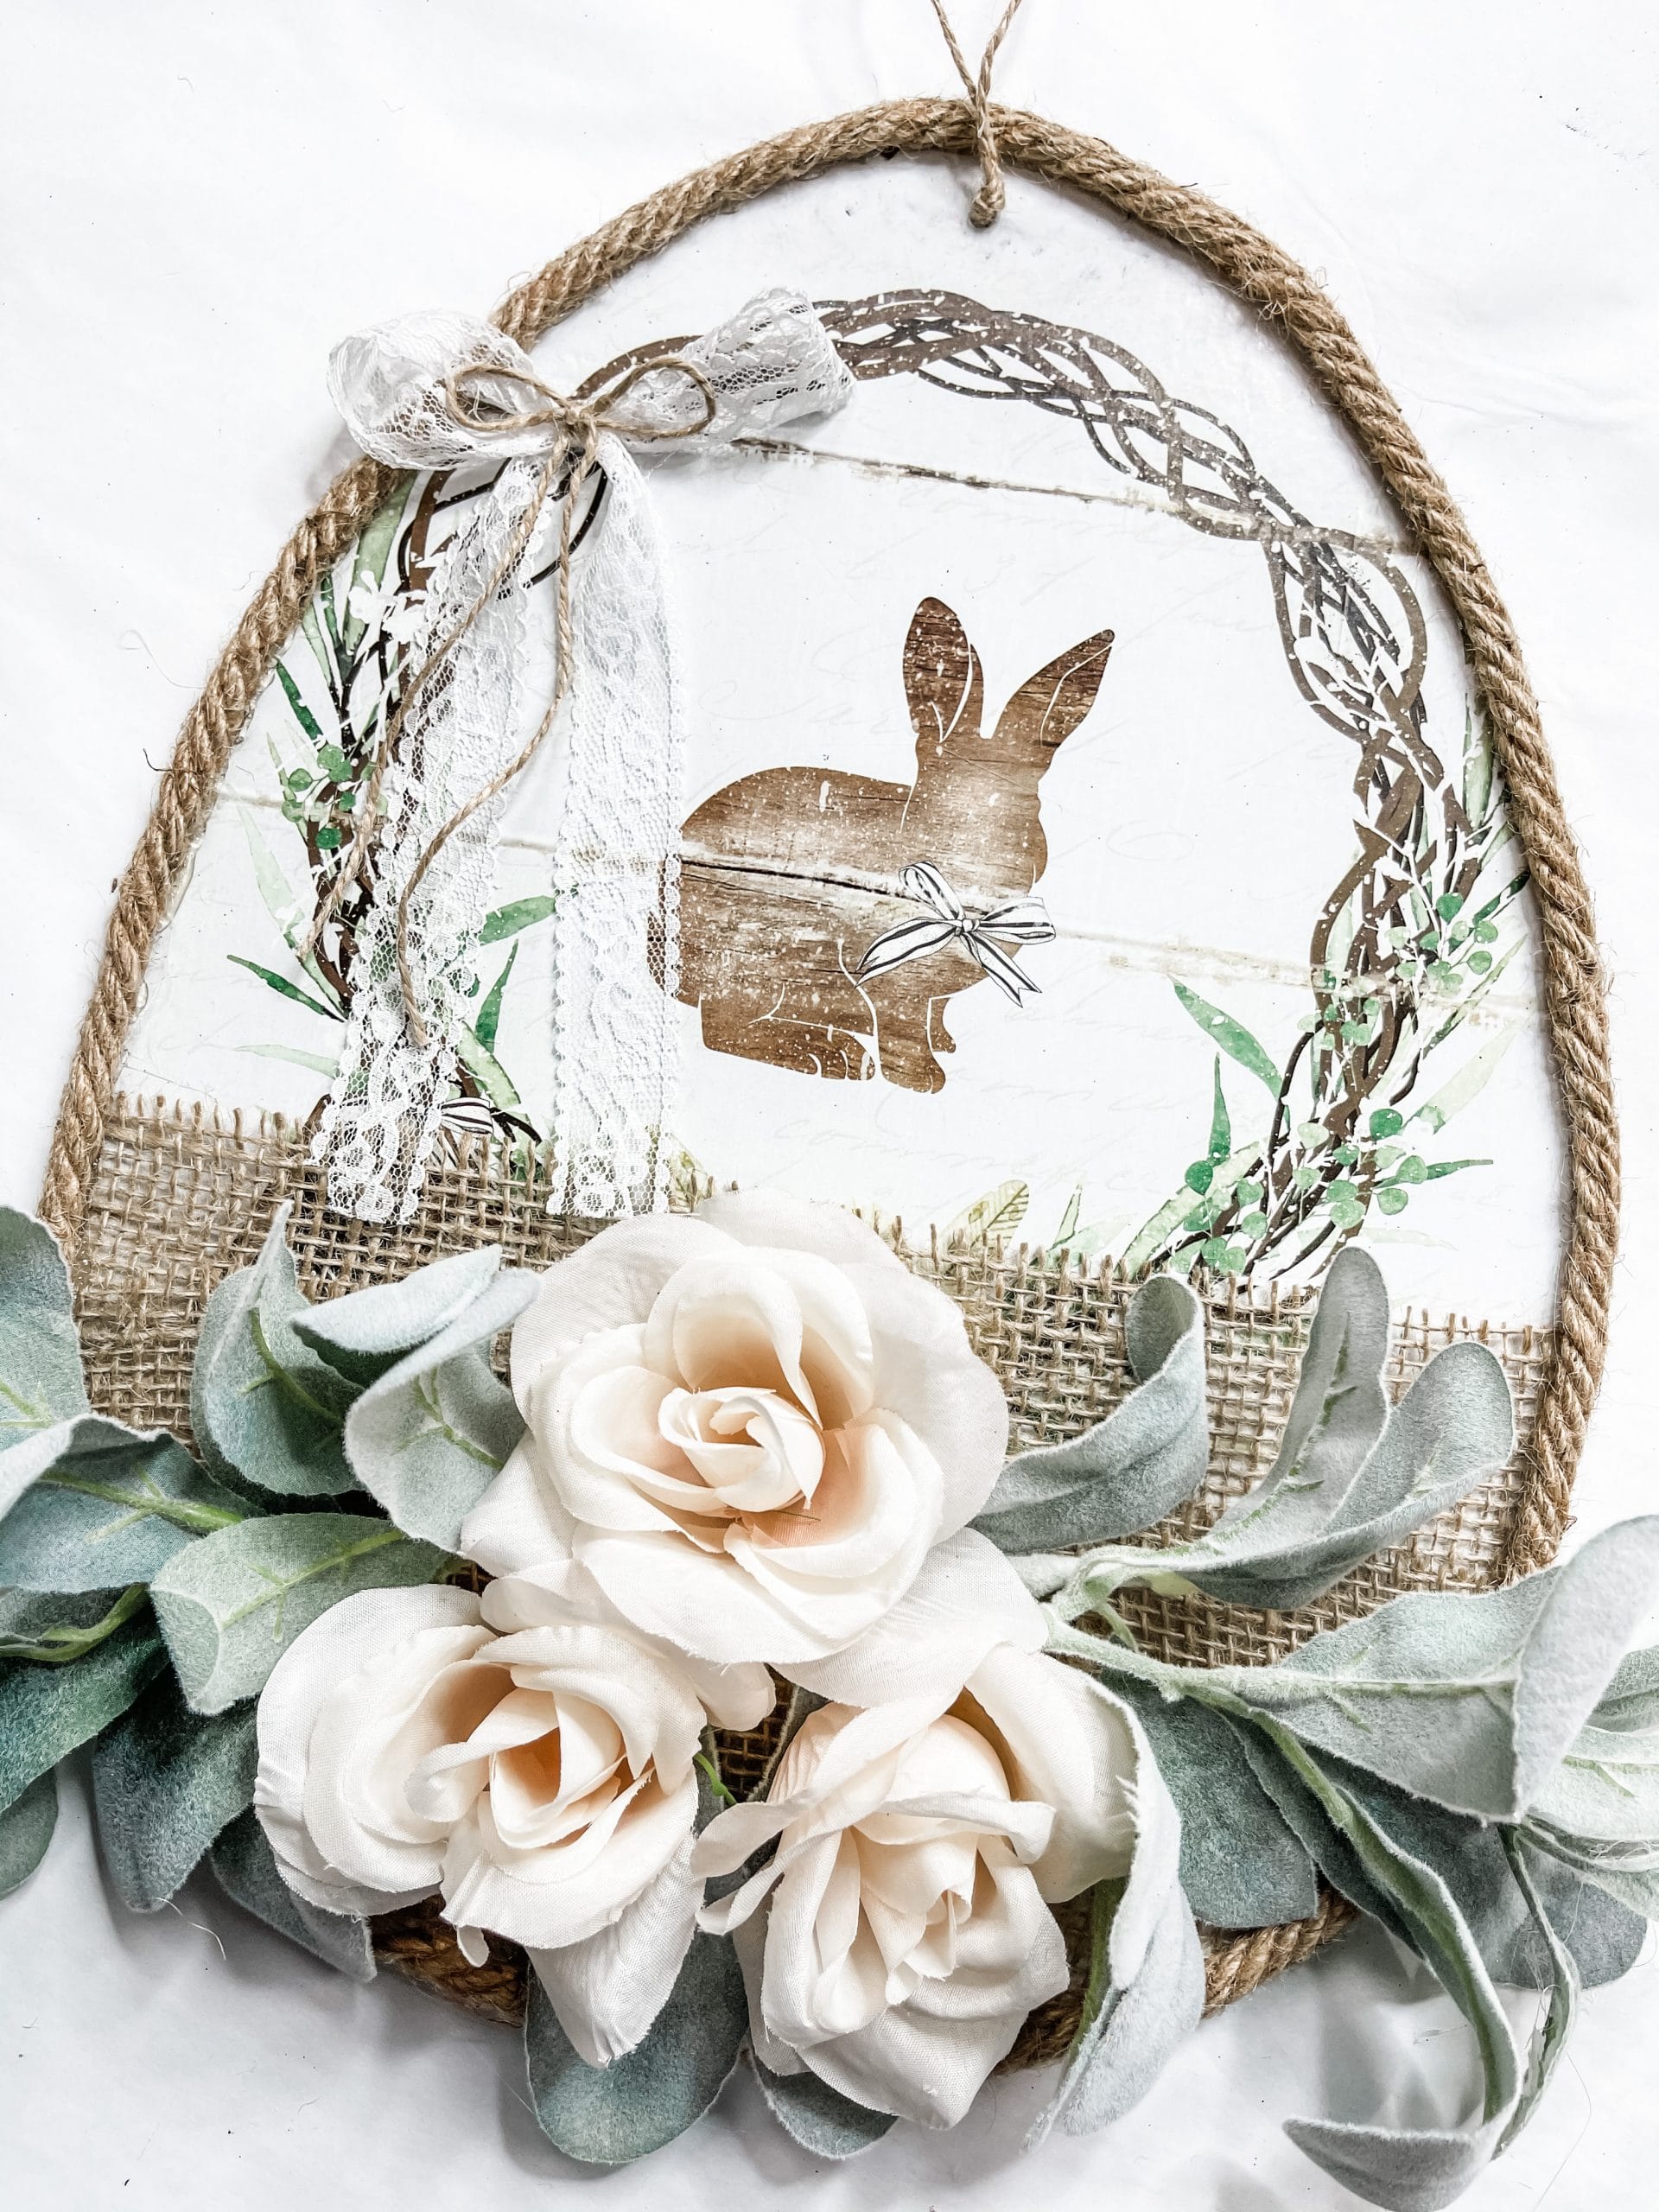
The first thing you’re going to do to make this adorable Easter decor is pick your picture. I used a design from Dollar Tree’s Simply Blessed 2021 Calendar!
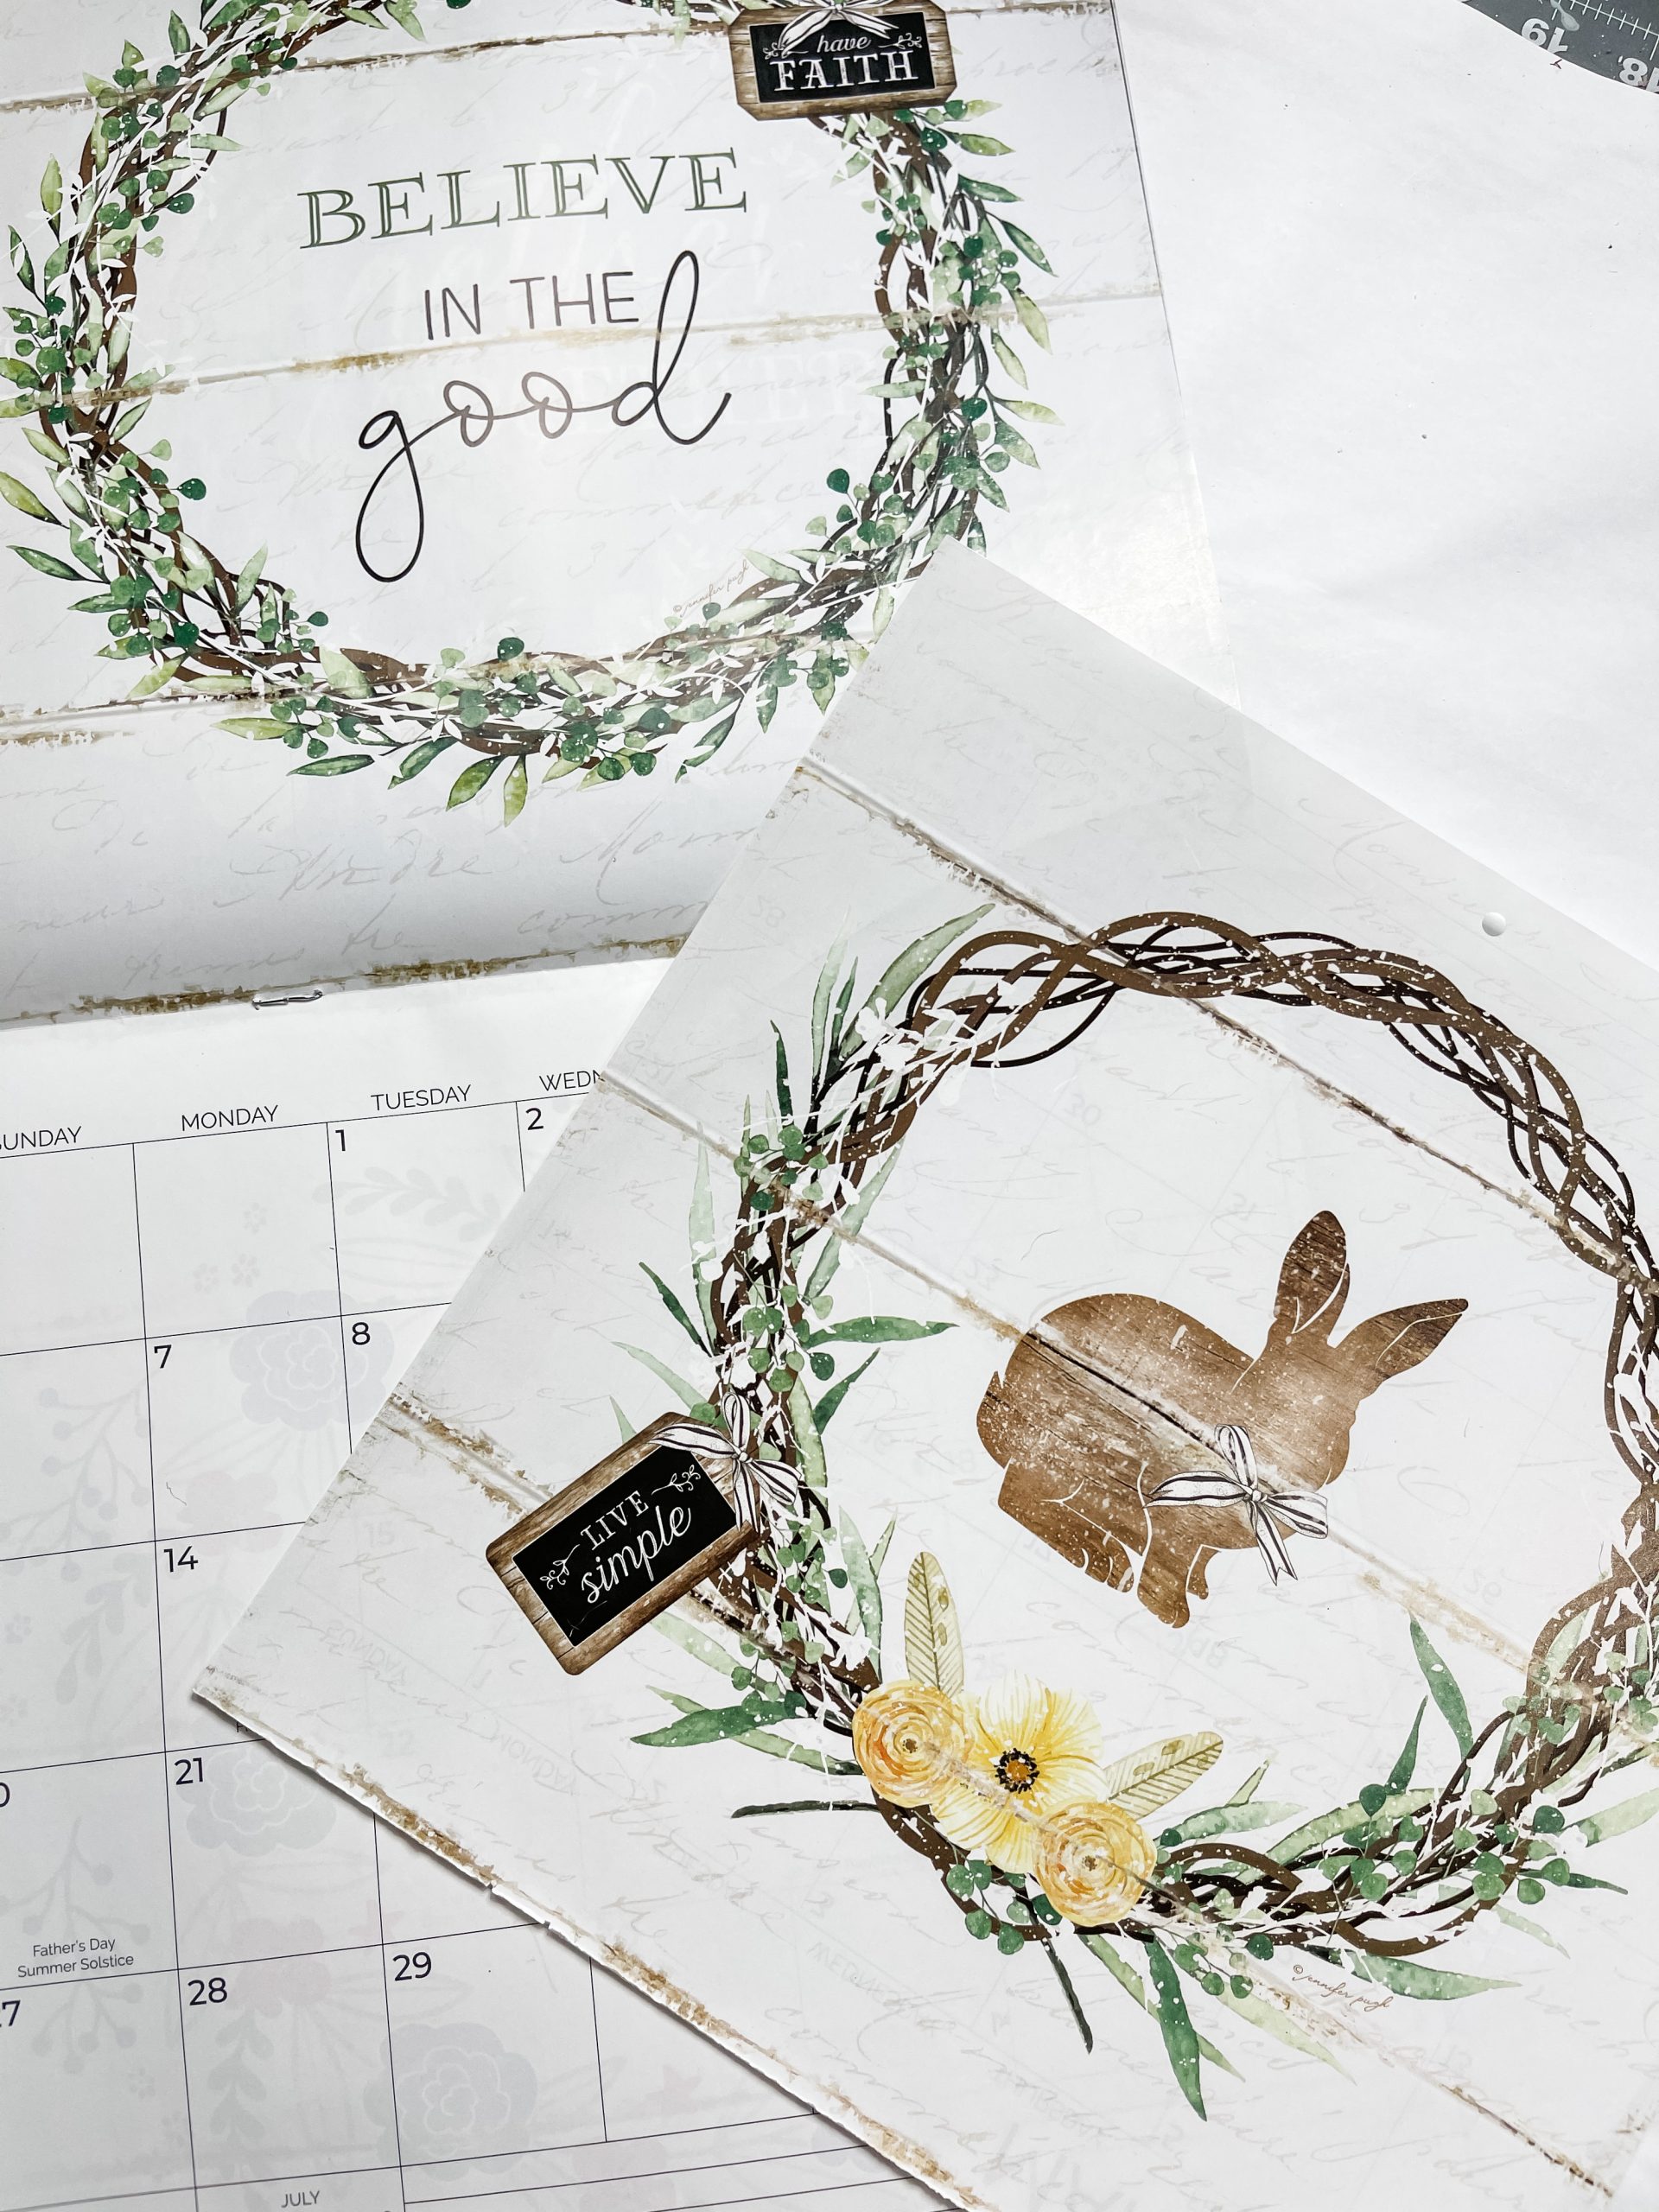
I love Dollar Tree’s calendars because they are PERFECT for crafting with! Simply pull the page out that has the design you want to use, and all you have to do is decoupage it onto your surface!
Next, you need to get your surface ready. For this easy DIY decor, I used the back of an egg-shaped sign from Dollar Tree as my surface. First, I painted the surface black with Apple Barrel Black Acrylic Paint.
Allow the paint to completely dry before moving on. Then, apply a coat of Mod Podge on the sign where you’re going to place the design.
I placed my design at the top of the egg sign, so I didn’t have to put Mod Podge across the bottom of the egg.
Carefully place your design onto the Mod Podge. Try your best to avoid creating any wrinkles or creases.
If any do form, place a piece of plastic saran wrap over the surface and use a rolling pin to smooth out the imperfections.
Allow the Mod Podge to dry, then remove the excess paper from around the edges of your surface. I just lightly went around the edges of the sign with a sanding sponge to remove the excess paper.
Next, I went over the exposed black spaces of the Dollar Tree egg-shaped sign with Folkart White Chalk Paint. I just lightly painted those areas and it created a distressed look.
Allow the paint to dry, then get your burlap ribbon and Dollar Tree nautical rope. I cut 3 strips of burlap ribbon that would fit across the widest part of the egg sign.
Bring it all together
I started adding the ribbon by hot gluing the first piece with the bottom of the ribbon aligned with the bottom of the design.
I hot glued the second piece of ribbon halfway overlapping the first piece of ribbon and halfway over the white space at the bottom of the egg.
Lastly, I hot glued the third piece halfway overlapping the second piece and covering the last bit of white space at the bottom of the egg.
Once your glue dries, use a pair of scissors to trim the excess ribbon from around the sign.
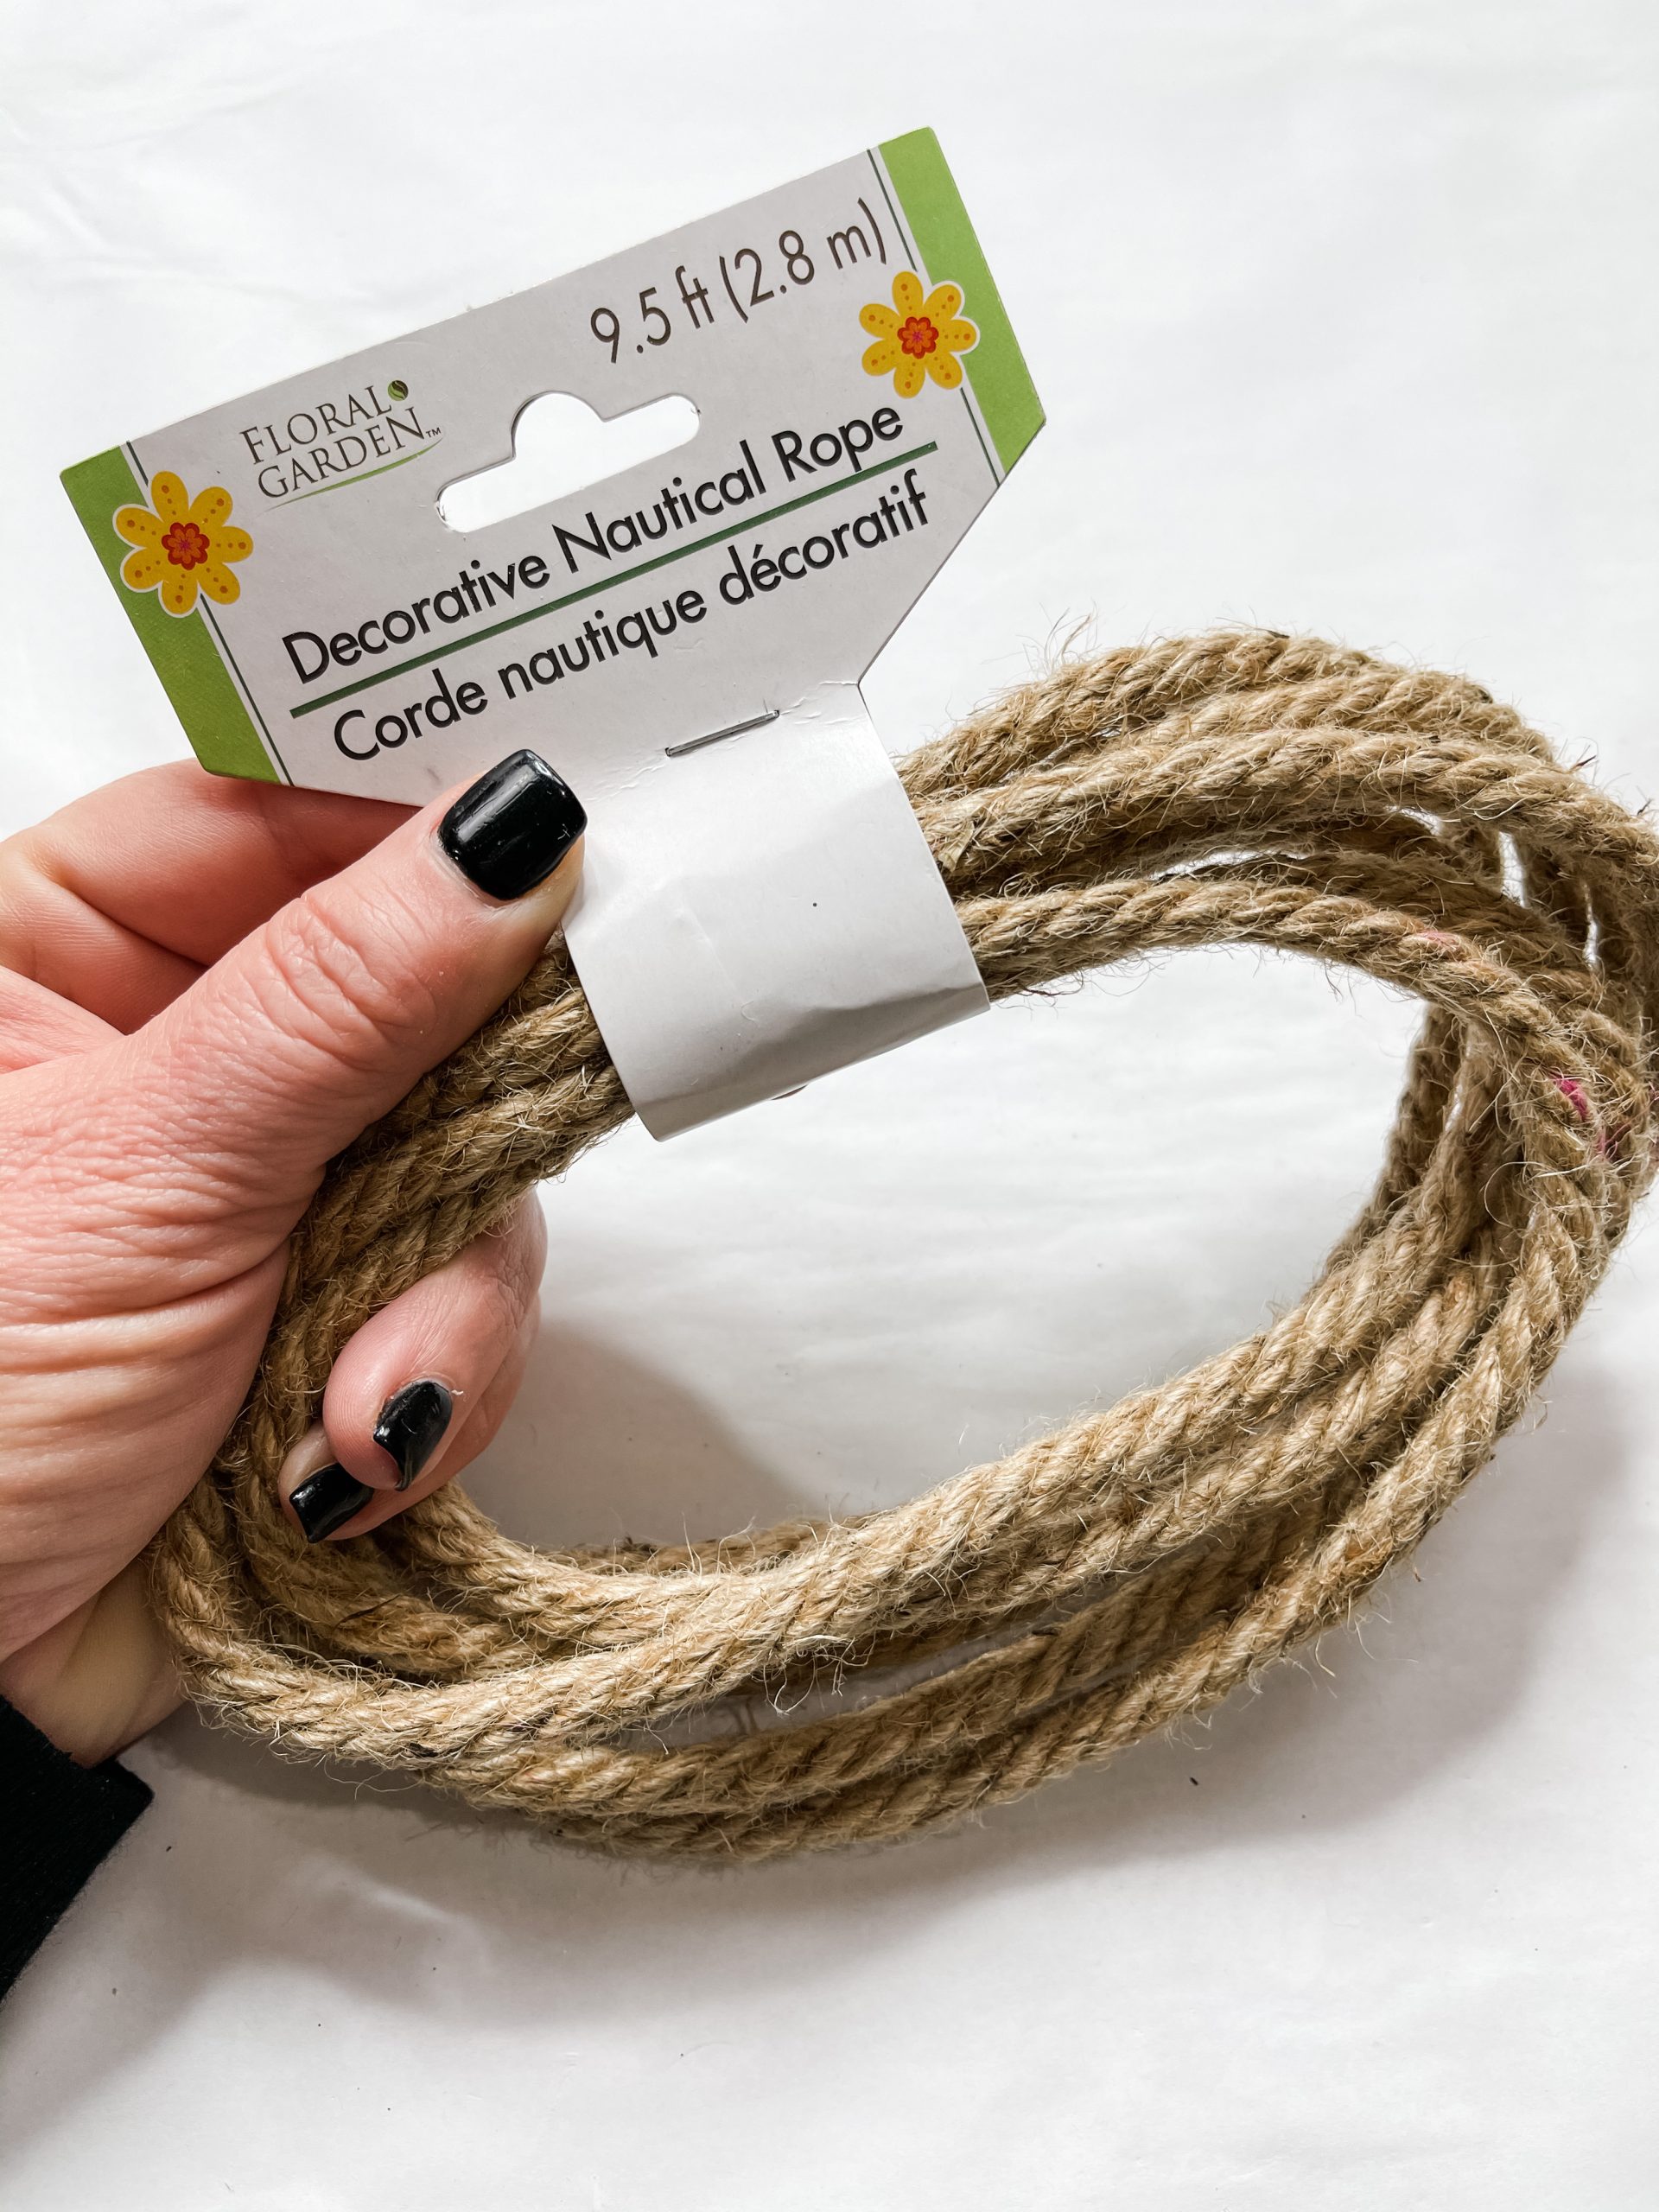
Now you need your nautical rope. I hot glued the end of the rope at the bottom edge of the egg and started hot gluing the rope around the outer edge of the egg until I made a complete circle.
Next, you need your greenery and floral sprays! I used lamb’s ear from Walmart and some adorable white and light pink flowers from Dollar Tree.

I hot glued two pieces of lamb’s ear greenery with the end’s crossing to the center of the burlap ribbon strip at the bottom of the egg sign.
Then, I started placing the flowers and hot gluing them to create a floral arrangement.
Make a bow
We’re almost done! Next, you’re going to make a little bow out of white lace ribbon and jute twine.
First, I folded a piece of ribbon into the shape of a bow and hot glued it to the wreath on the calendar design. Then, I tied the twine into a bow and hot glued it overtop the ribbon bow.
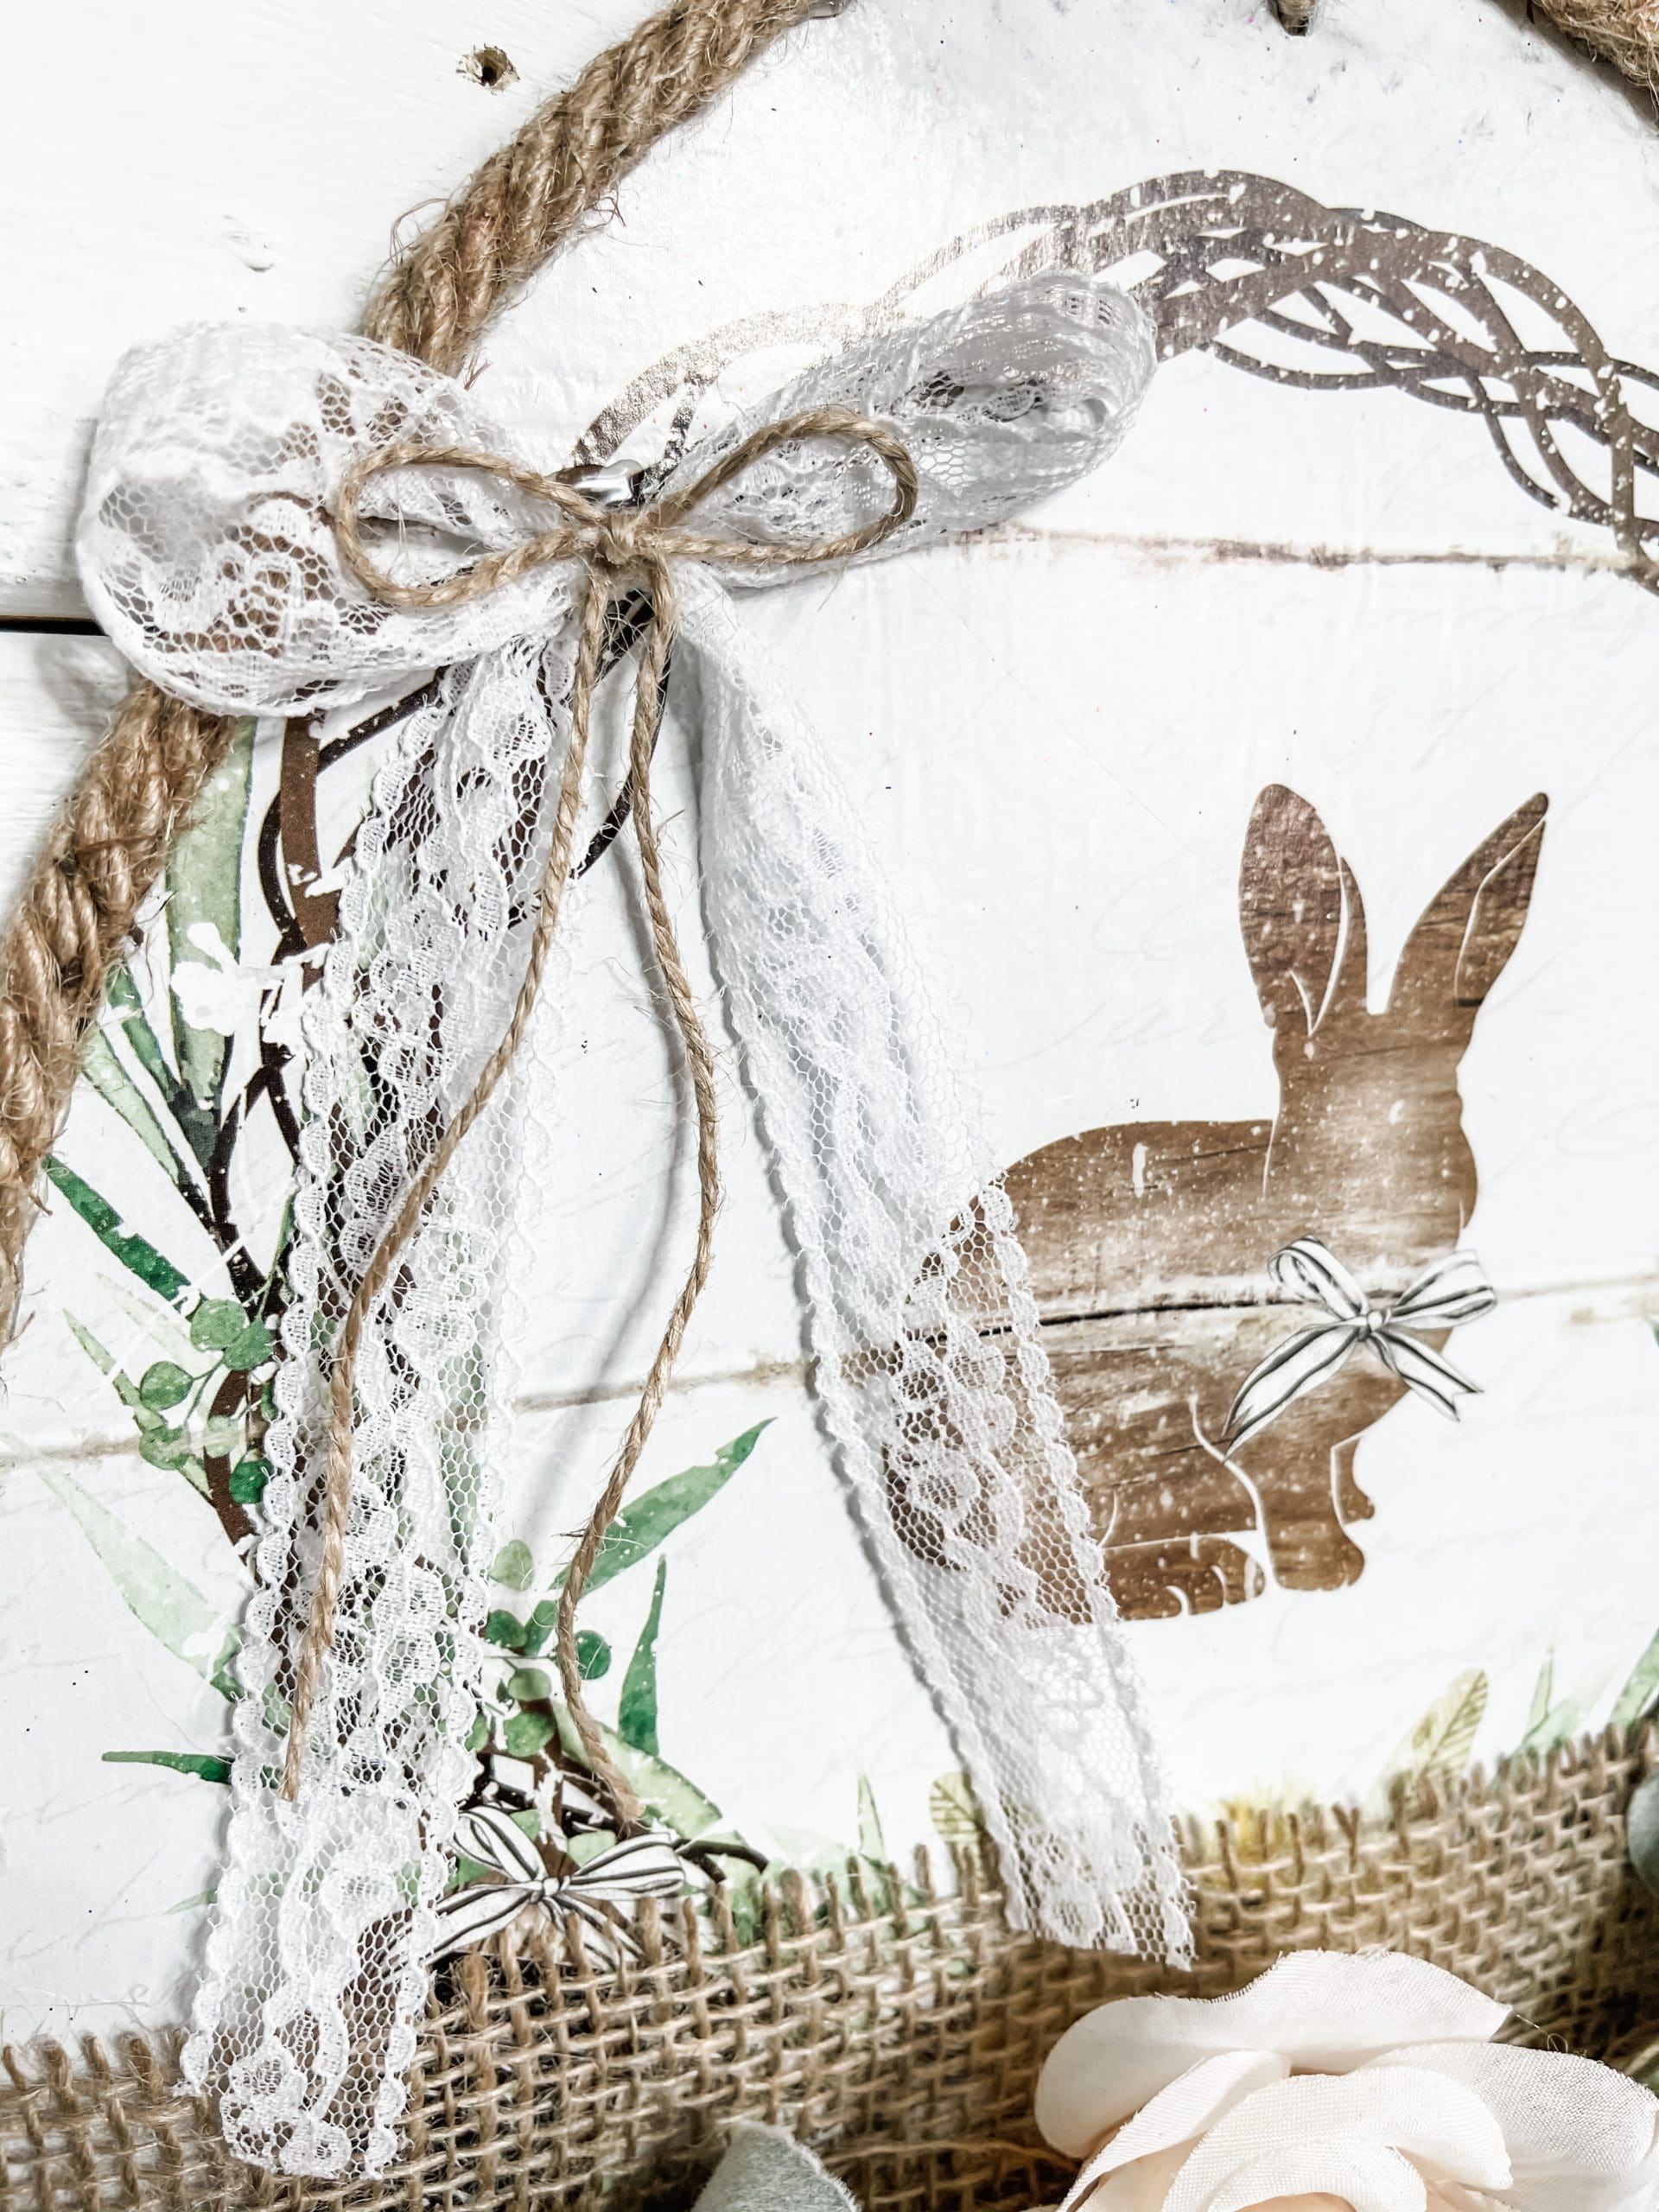
The last step of making this adorable Easter decor is to add your hanger! Luckily for me, the Dollar Tree egg-shaped sign already had a hole at the top for a hanger, so all I had to do was loop the twine through the hole and tie it in a knot!
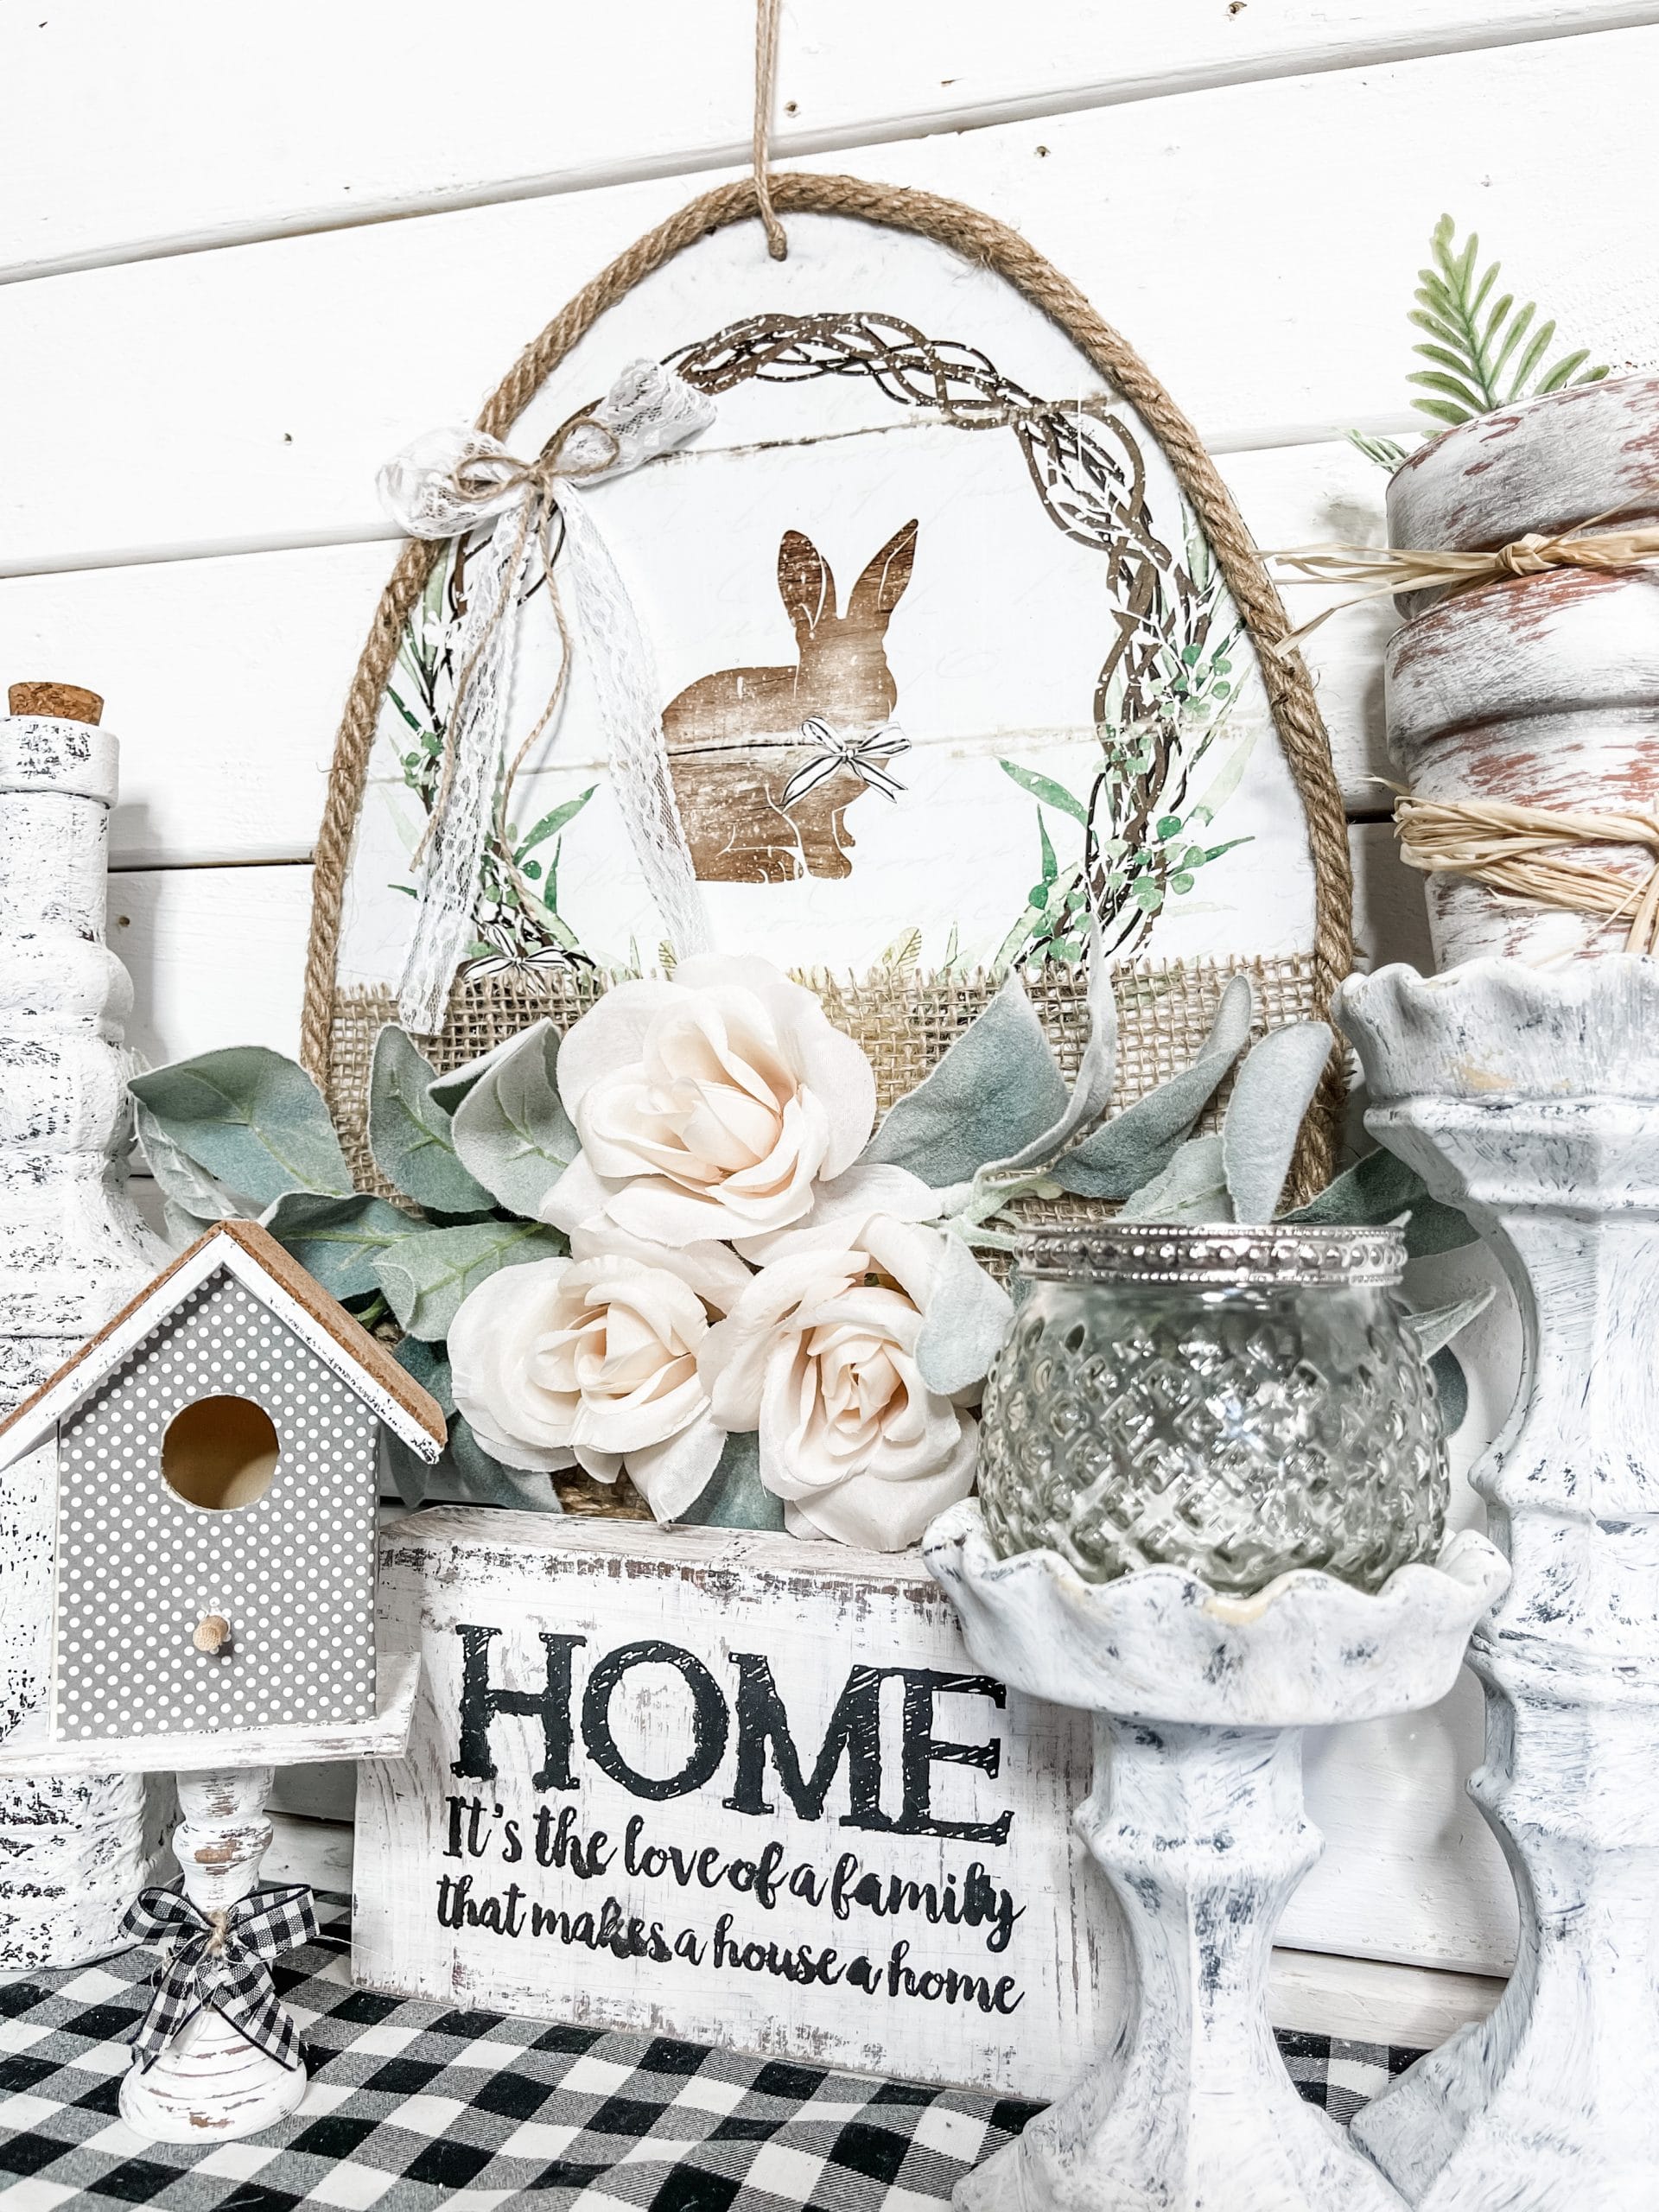
I hope you enjoyed this DIY Dollar Tree Shabby Chic Easter Decor as much as I did and decide to make one for yourself! I would love to see how yours turns out!

You should totally join my FREE Facebook group called On A Budget Crafts! It is a judgment-free community for DIY crafters to show off their projects and ideas.
If you loved this DIY you might also like this Dollar Tree DIY Concrete Bunny!
Thanks for stopping by! XOXO Amber
You can also shop my ENTIRE AMAZON Favorites shop just click here! It’s packed full of all the things I use and love. Here is the supply list I highly recommend every creative have on hand!!
Would you also pin my blog for later and get on my newsletter alerts? I would love to have you join my #craftycrew.
Inspired? Leave me a comment below! I love hearing from my readers!

Join my free “ON A BUDGET CRAFTS” Facebook group!


Awesome craft