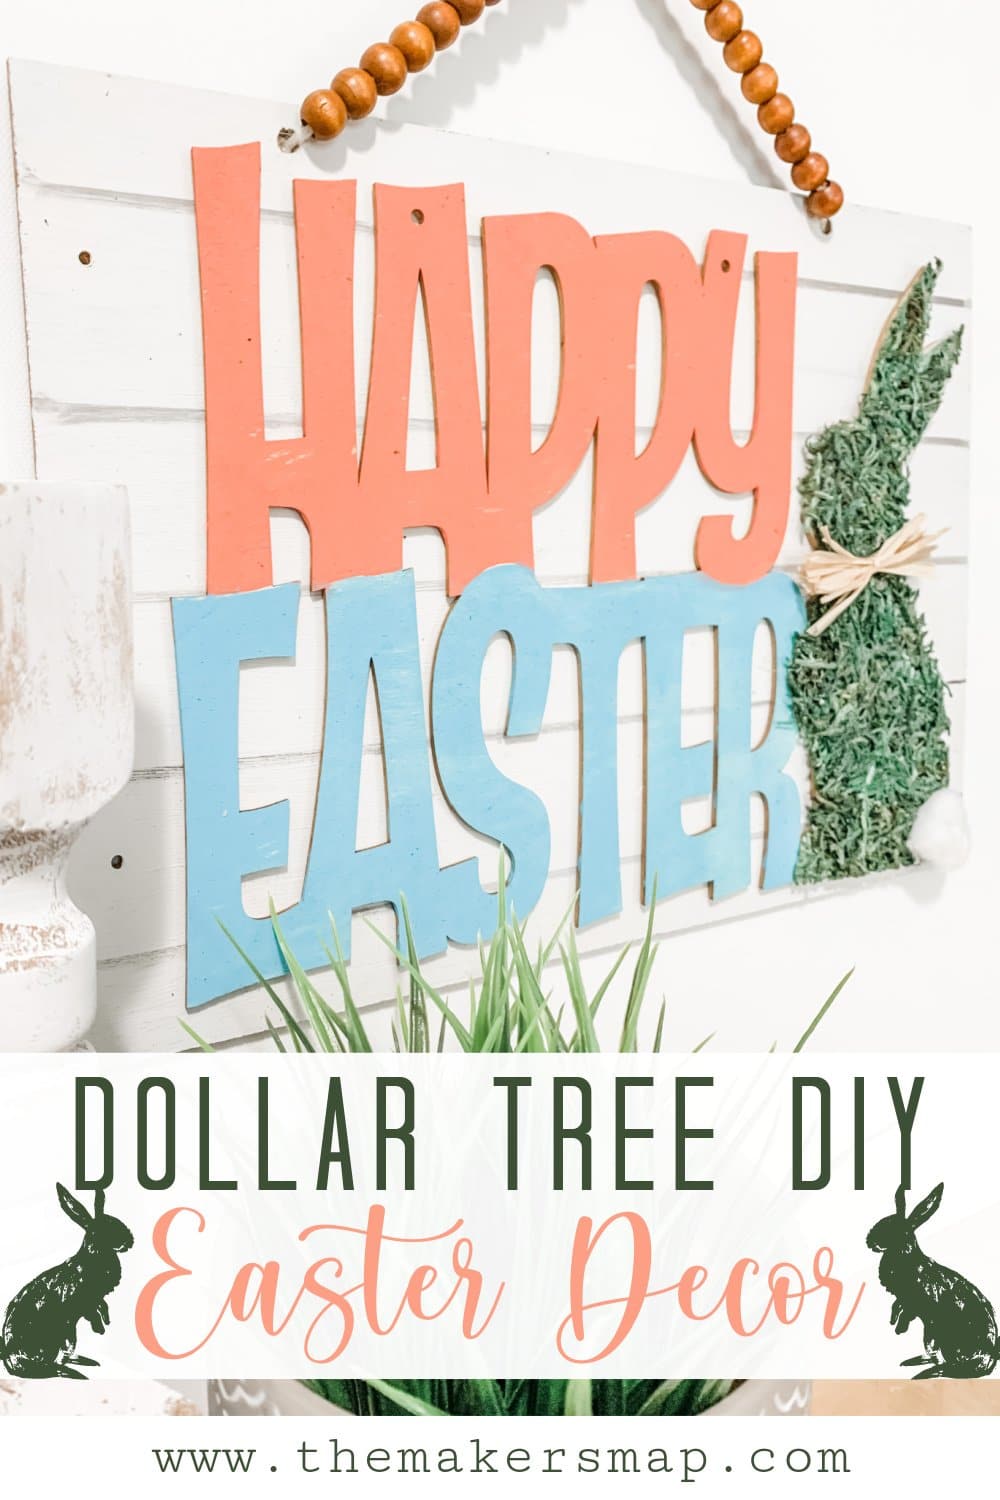
Dollar Tree Mossy Bunny Easter Decor DIY
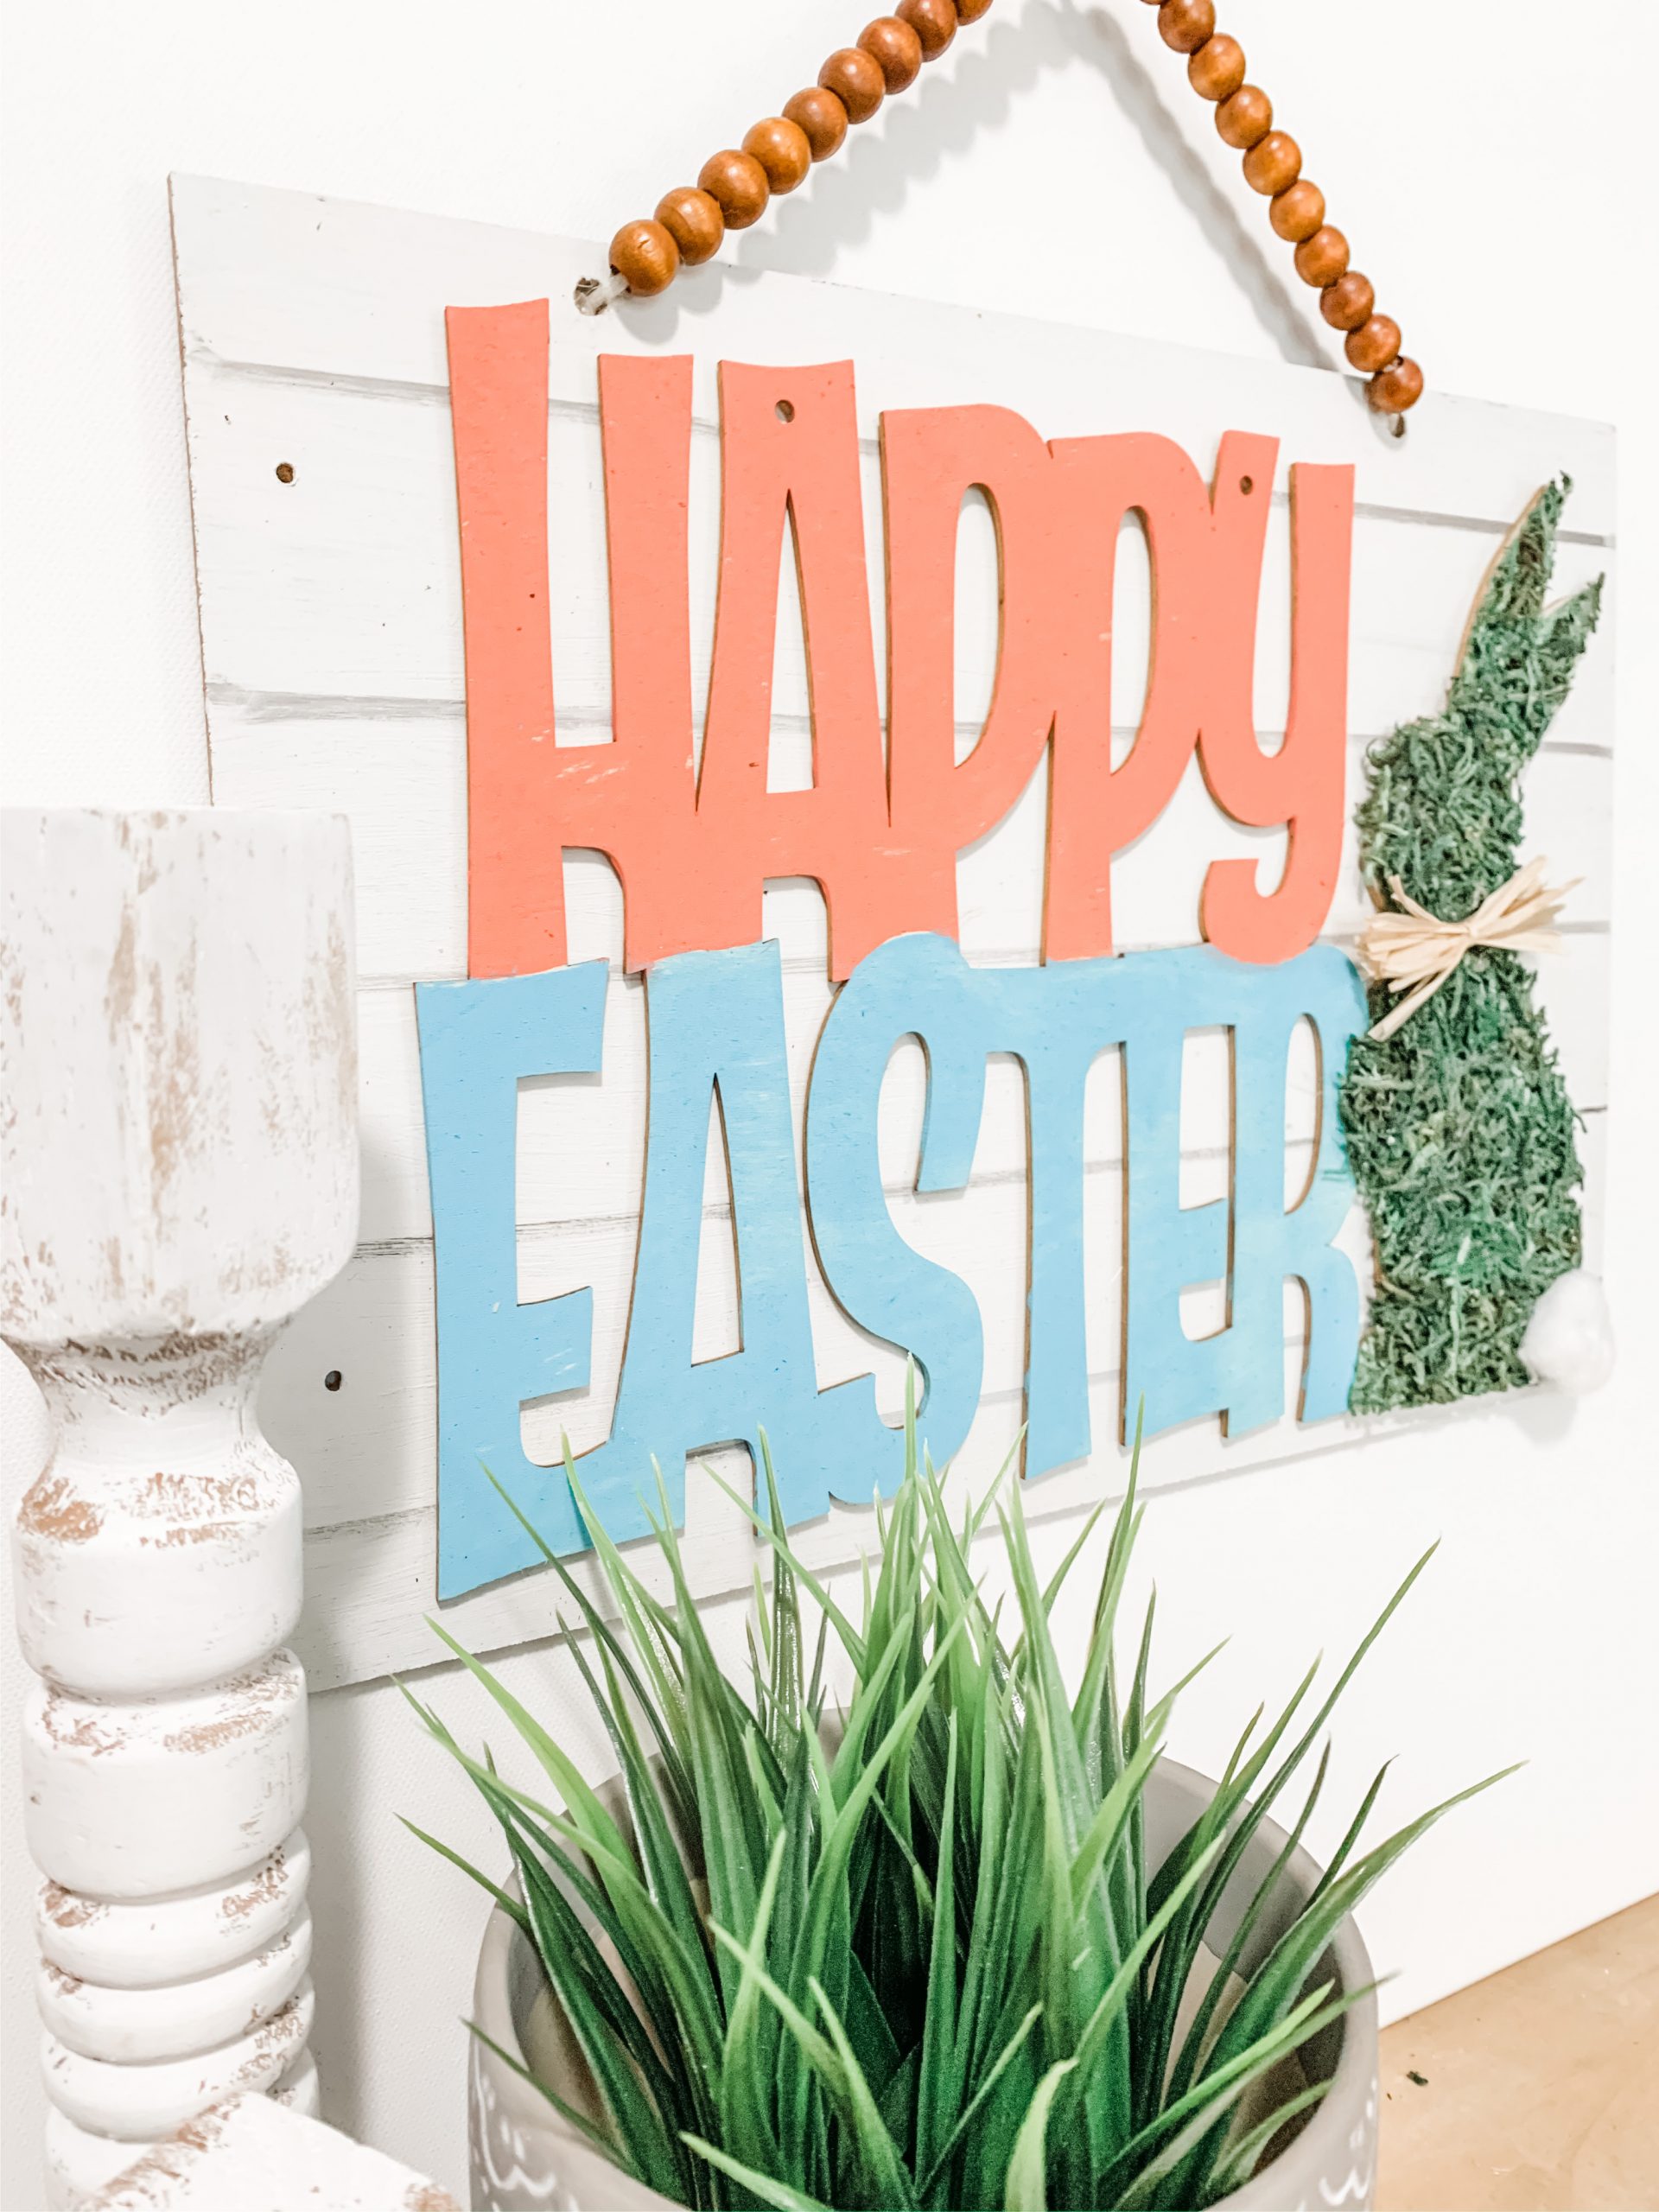
Easter will be here before you know it, and this adorable Dollar Tree Mossy Bunny Easter Decor DIY is too perfect not to share! How cute would this easy Easter DIY Decor be hanging on a pantry door or in a classroom?
Not only is it incredibly easy to make, but it is also extremely affordable! I just know you’re going to love this DIY Easter decor as much as I do!
Check out these other adorable Easter DIY’s!
- DIY Dollar Tree Easter Decor with Decoupaged Eggs
- Dollar Tree Duster DIY Easter Wreath
- DIY Dollar Tree Shabby Chic Easter Decor
- Dollar Tree DIY Concrete Bunny
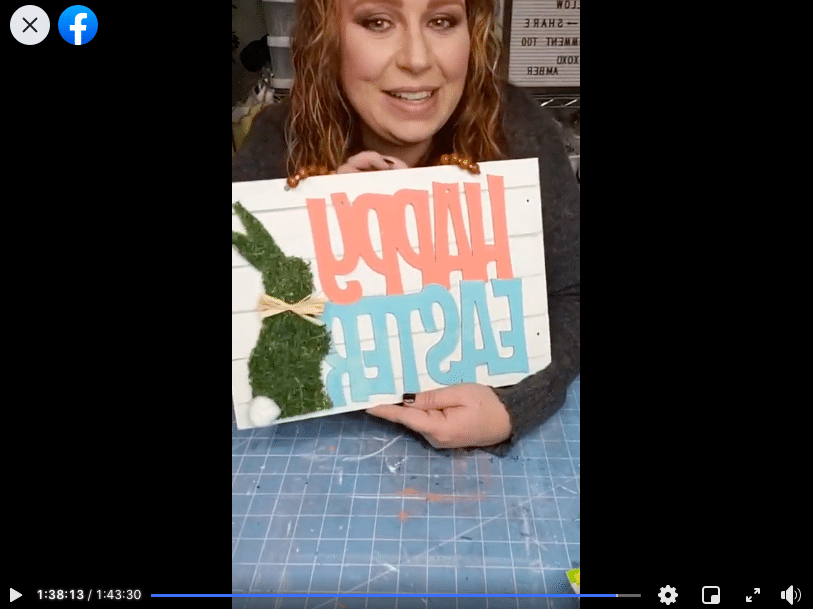
Watch the replay
I have a disclaimer for this DIY tutorial video. Normally, I start my videos with the craft and end with giftings or the opening of happy mail. For whatever reason, I did this video backward!
So, if you want to skip the non-craft-related bits, you need to start the Facebook live replay at the 25-minute mark.
For this project, I will be using these items but you can substitute where you want.
“As an Amazon Associate, I earn from qualifying purchases.”
- Dollar Tree Sign
- Dollar Tree Happy Easter lettering
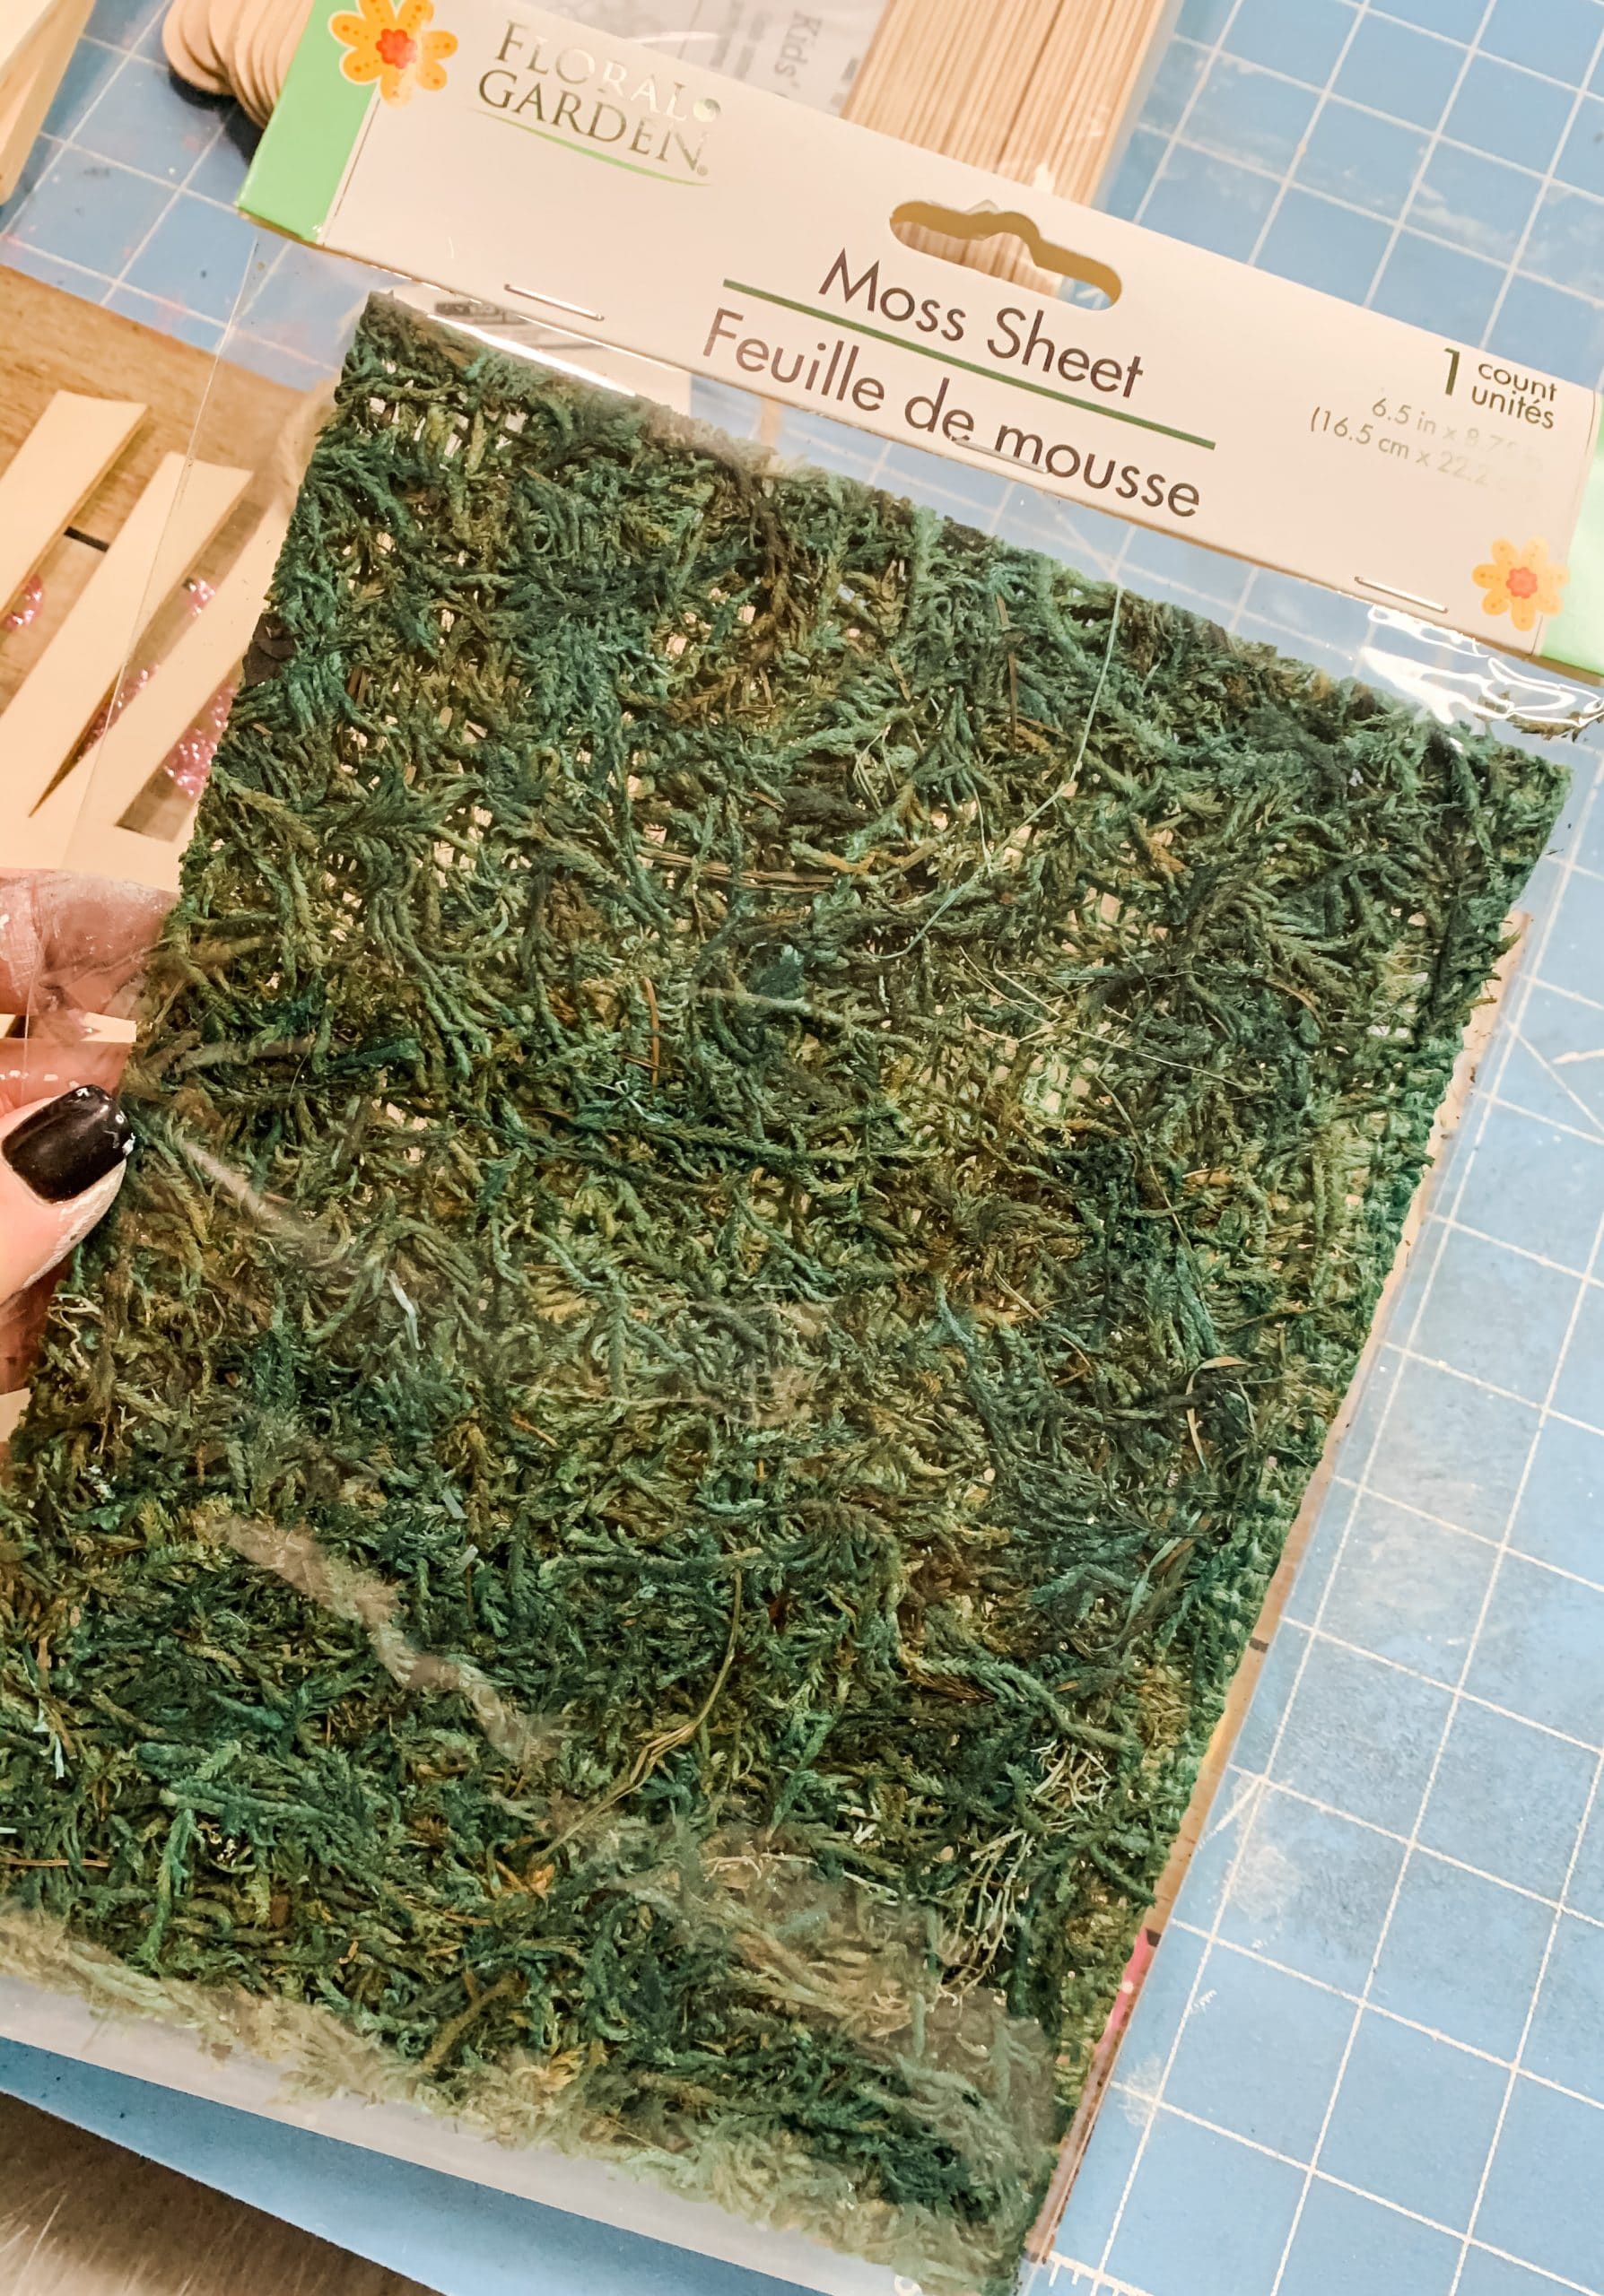
- Green Moss
- White pom-pom (or cotton ball)
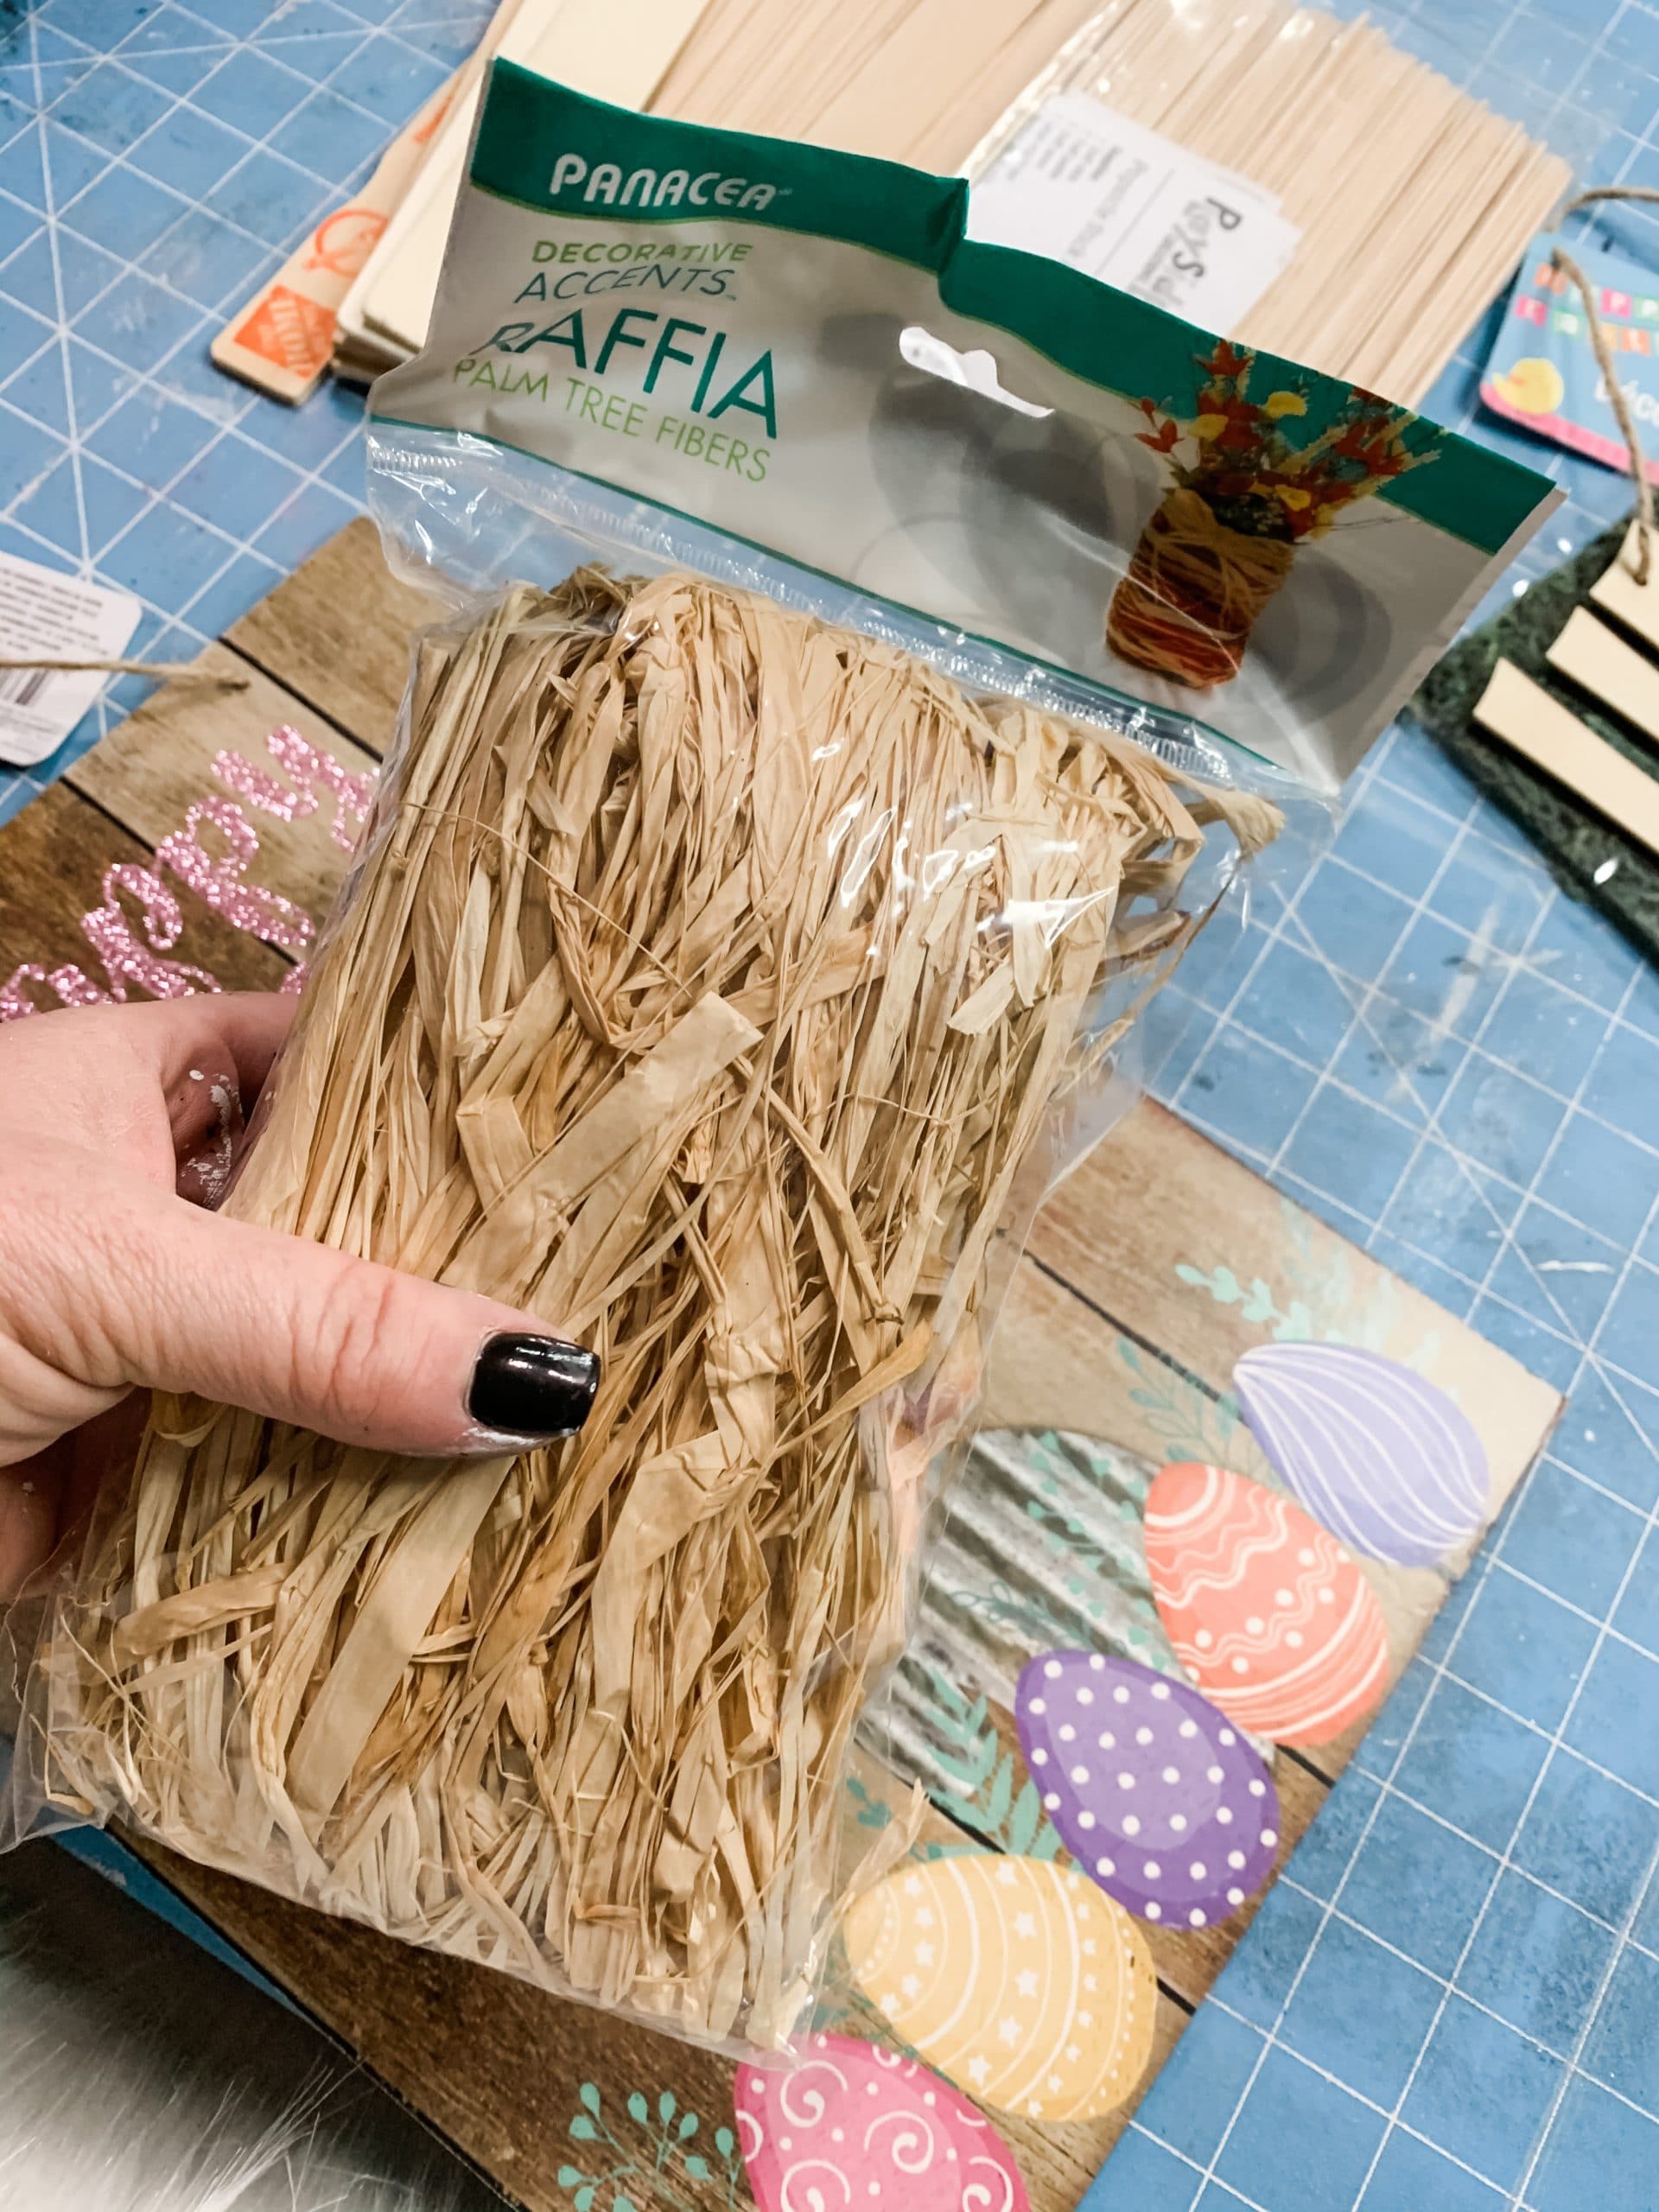
- Raffia
- Wood Beads
- Dixie Belle Midnight Sky Chalk Paint
- Dixie Belle Fluff Chalk Paint
- Jute Twine
- Dixie Belle Blue Chalk Paint
- Dixie Belle Flamingo Chalk Paint
- Ruler
- Hot Glue gun
- Glue Sticks
- Scissors
- Drill

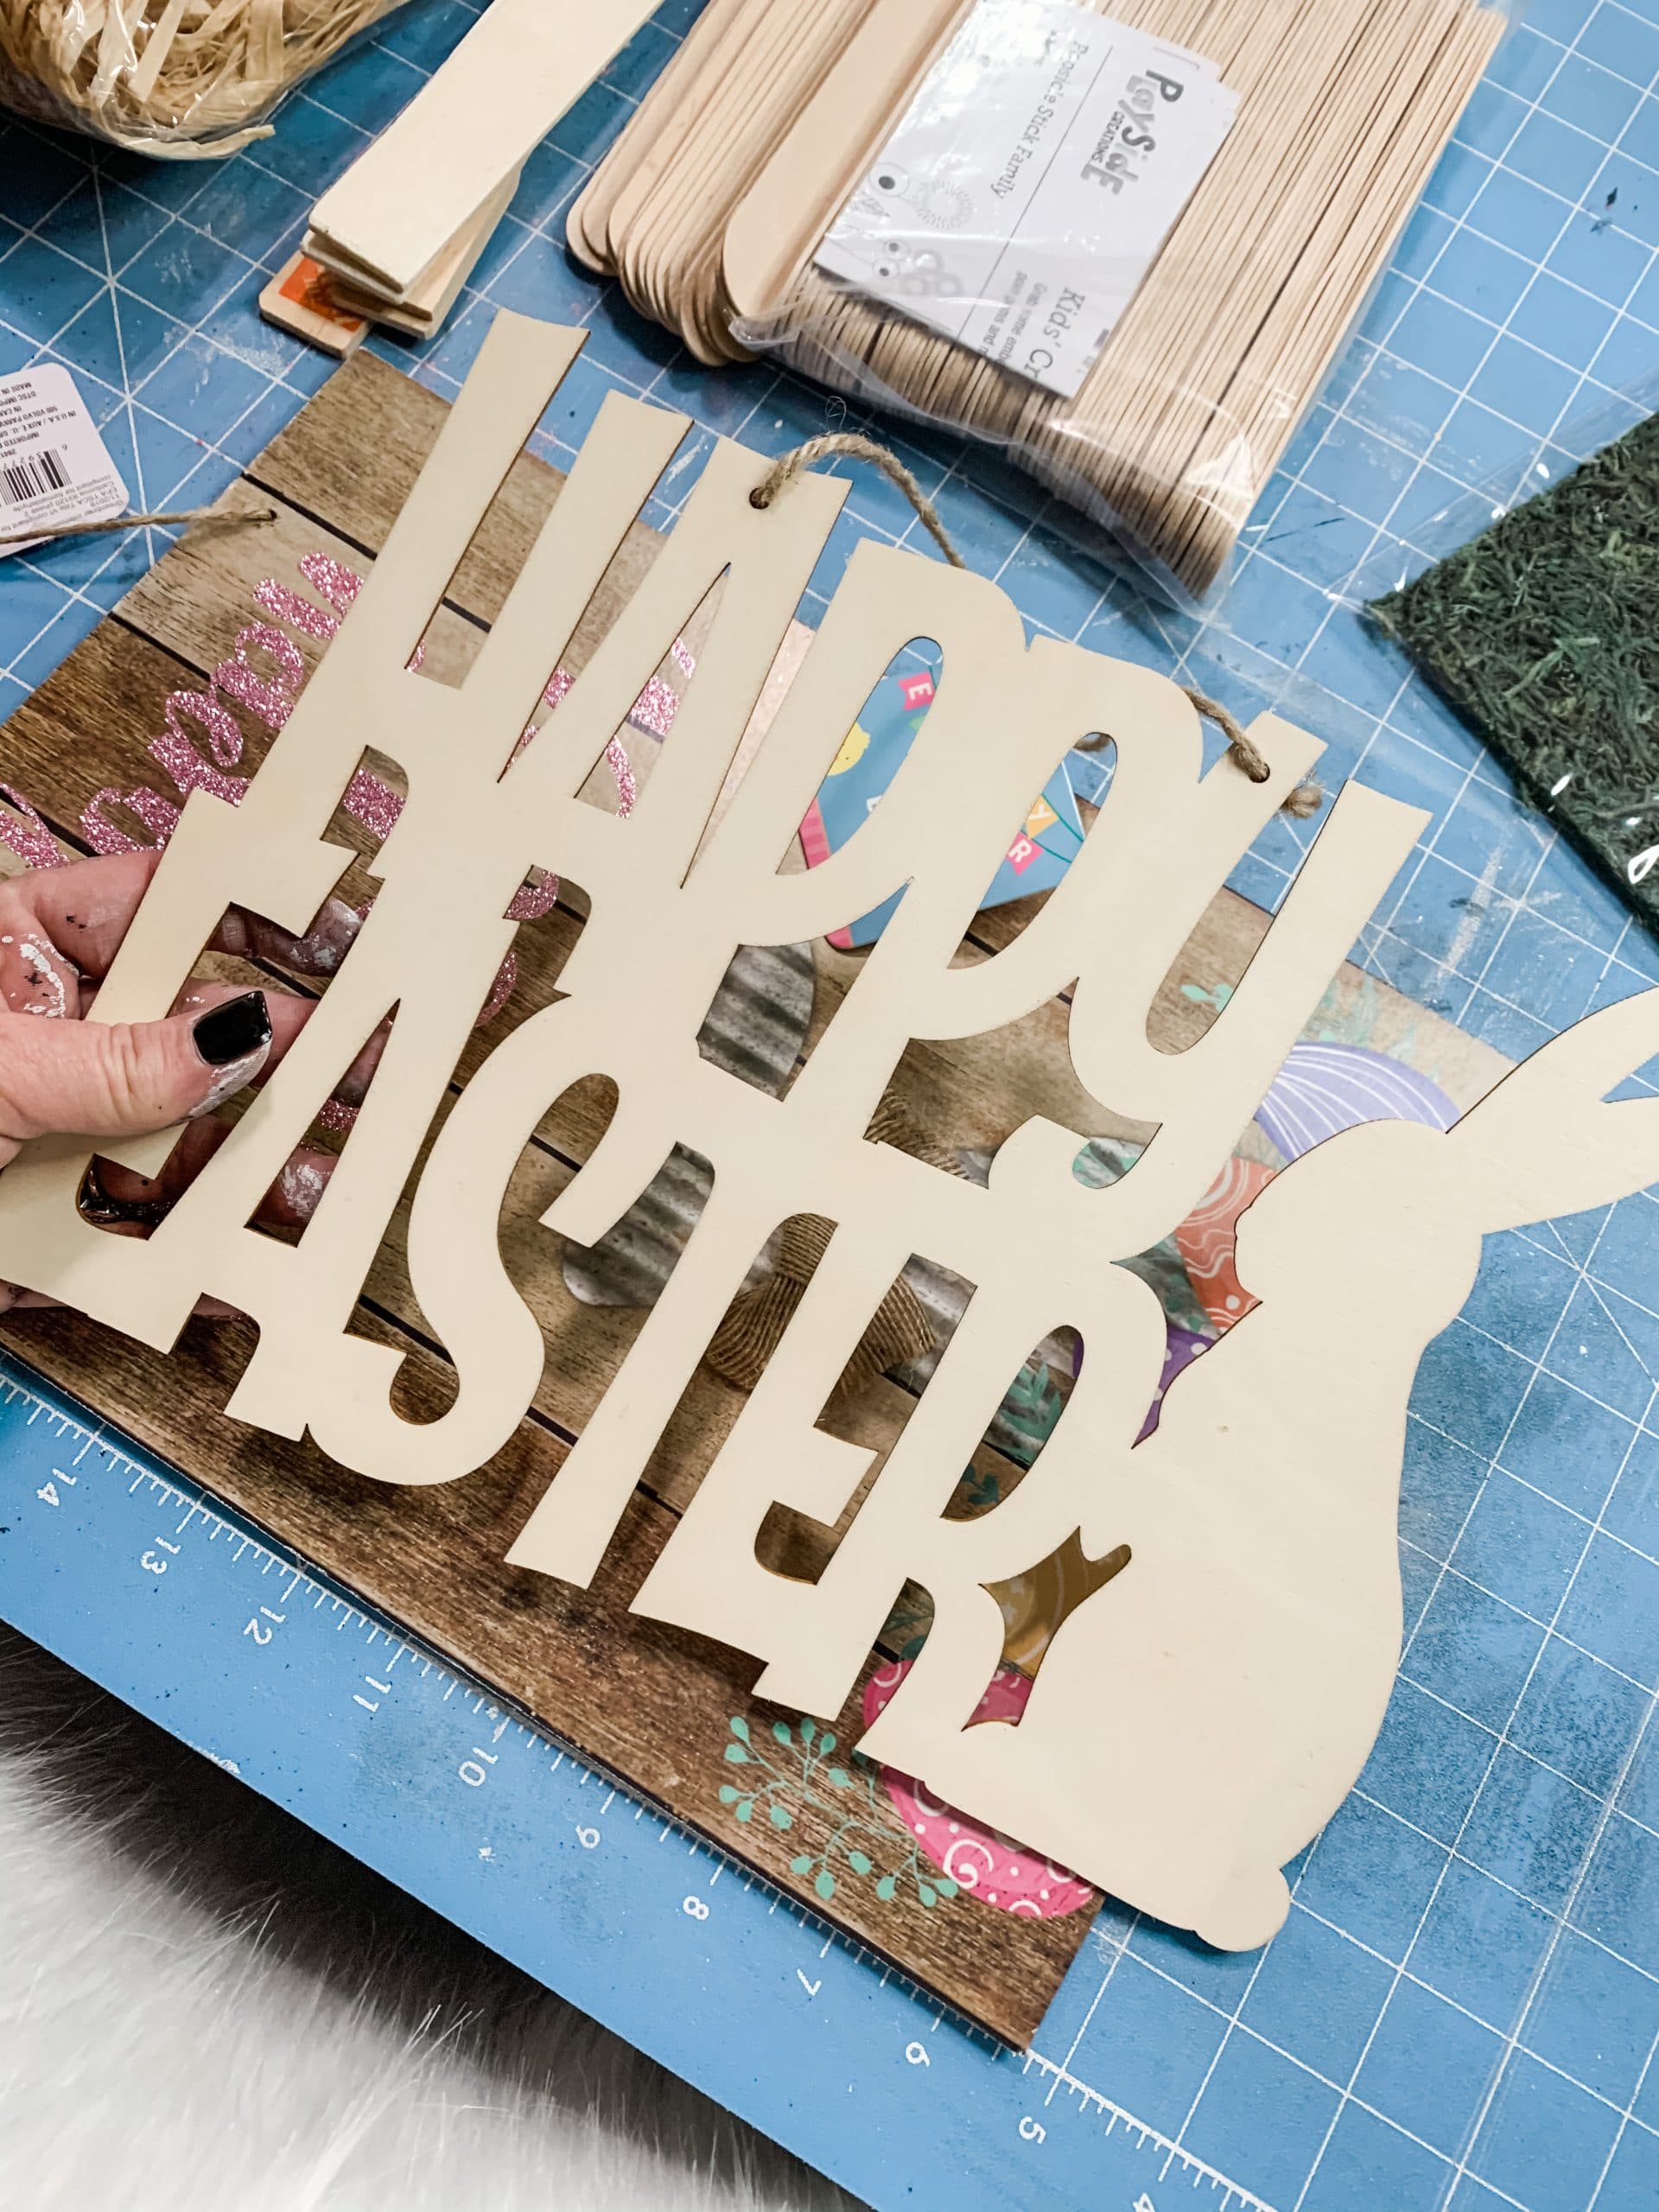
Don’t get me wrong, this Dollar Tree Easter sign is adorable, especially the little metal bunny, but it didn’t fit with the idea in my head, so I gave it a serious makeover!
Flip your sign over and paint the back of it with white paint. I used Dixie Belle Fluff Chalk Paint, but you can use whatever white paint you already have on hand.
Allow the white paint to completely dry. I love to use my heat gun to speed up the drying process, but if you don’t have one, you can use a hairdryer on the low cool setting.
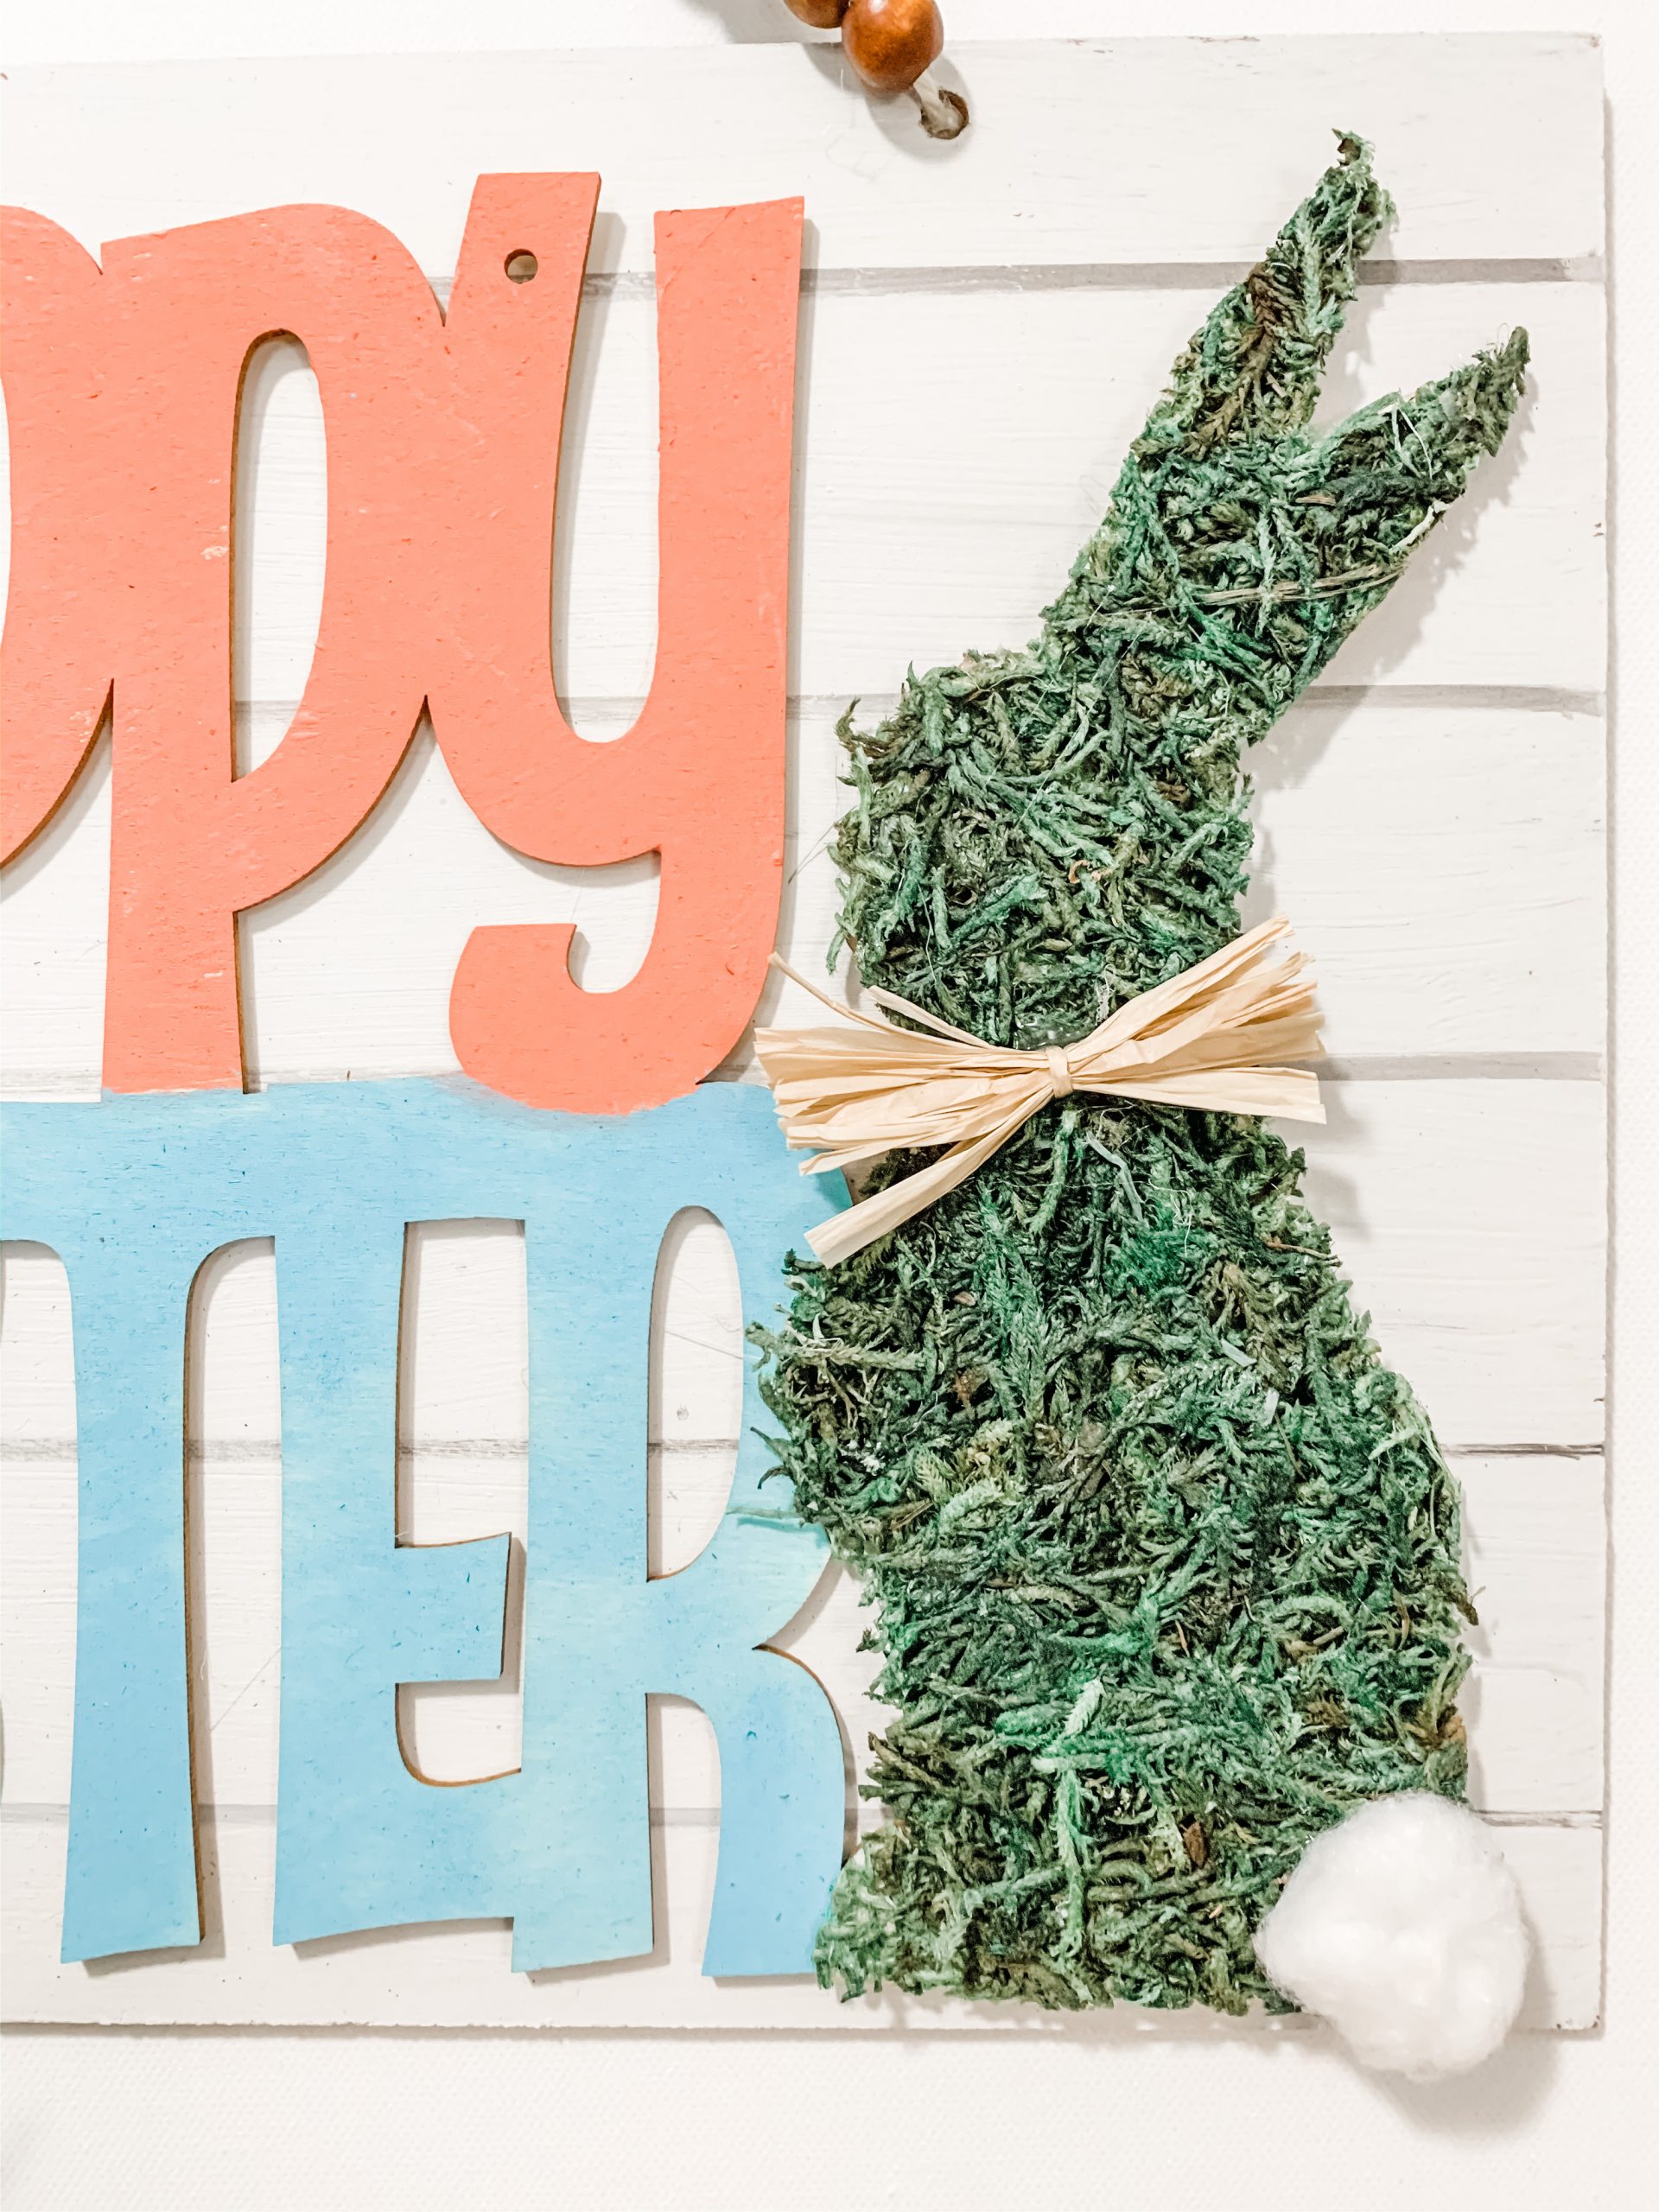
Happy Easter!
Next, grab your Happy Easter wood lettering and your faux green moss. Cut the piece of moss to cover the wood bunny attached to the Happy Easter lettering.
Before I attached the moss, I painted the letters. I did this because I didn’t want the paint to get onto the moss and mess up my DIY idea!
I used two different Dixie Belle Chalk Paint colors for the lettering – Flamingo for Happy and Blue for Easter. carefully paint each word and try your best to get clean lines between the two words.
You can use painter’s tape if you want to help you get the perfectly clean line between the words.
Once the paint is dry, you can attach the faux green moss bunny cutout! I simply hot glued the piece of faux moss onto the bunny.
Faux Shiplap
I didn’t want the background to be so plain, so I decided to add a faux shiplap to the painted Dollar Tree sign.
To do this, all you need is an artist’s paintbrush, black paint (I used Dixie Belle Midnight Sky Chalk Paint), and a ruler!
Place your ruler horizontally across the sign and get a small amount of black paint onto your paintbrush.
Then, lightly brush the black paint against the edges of the ruler. You want a very light hand to get the perfect shiplap finish.
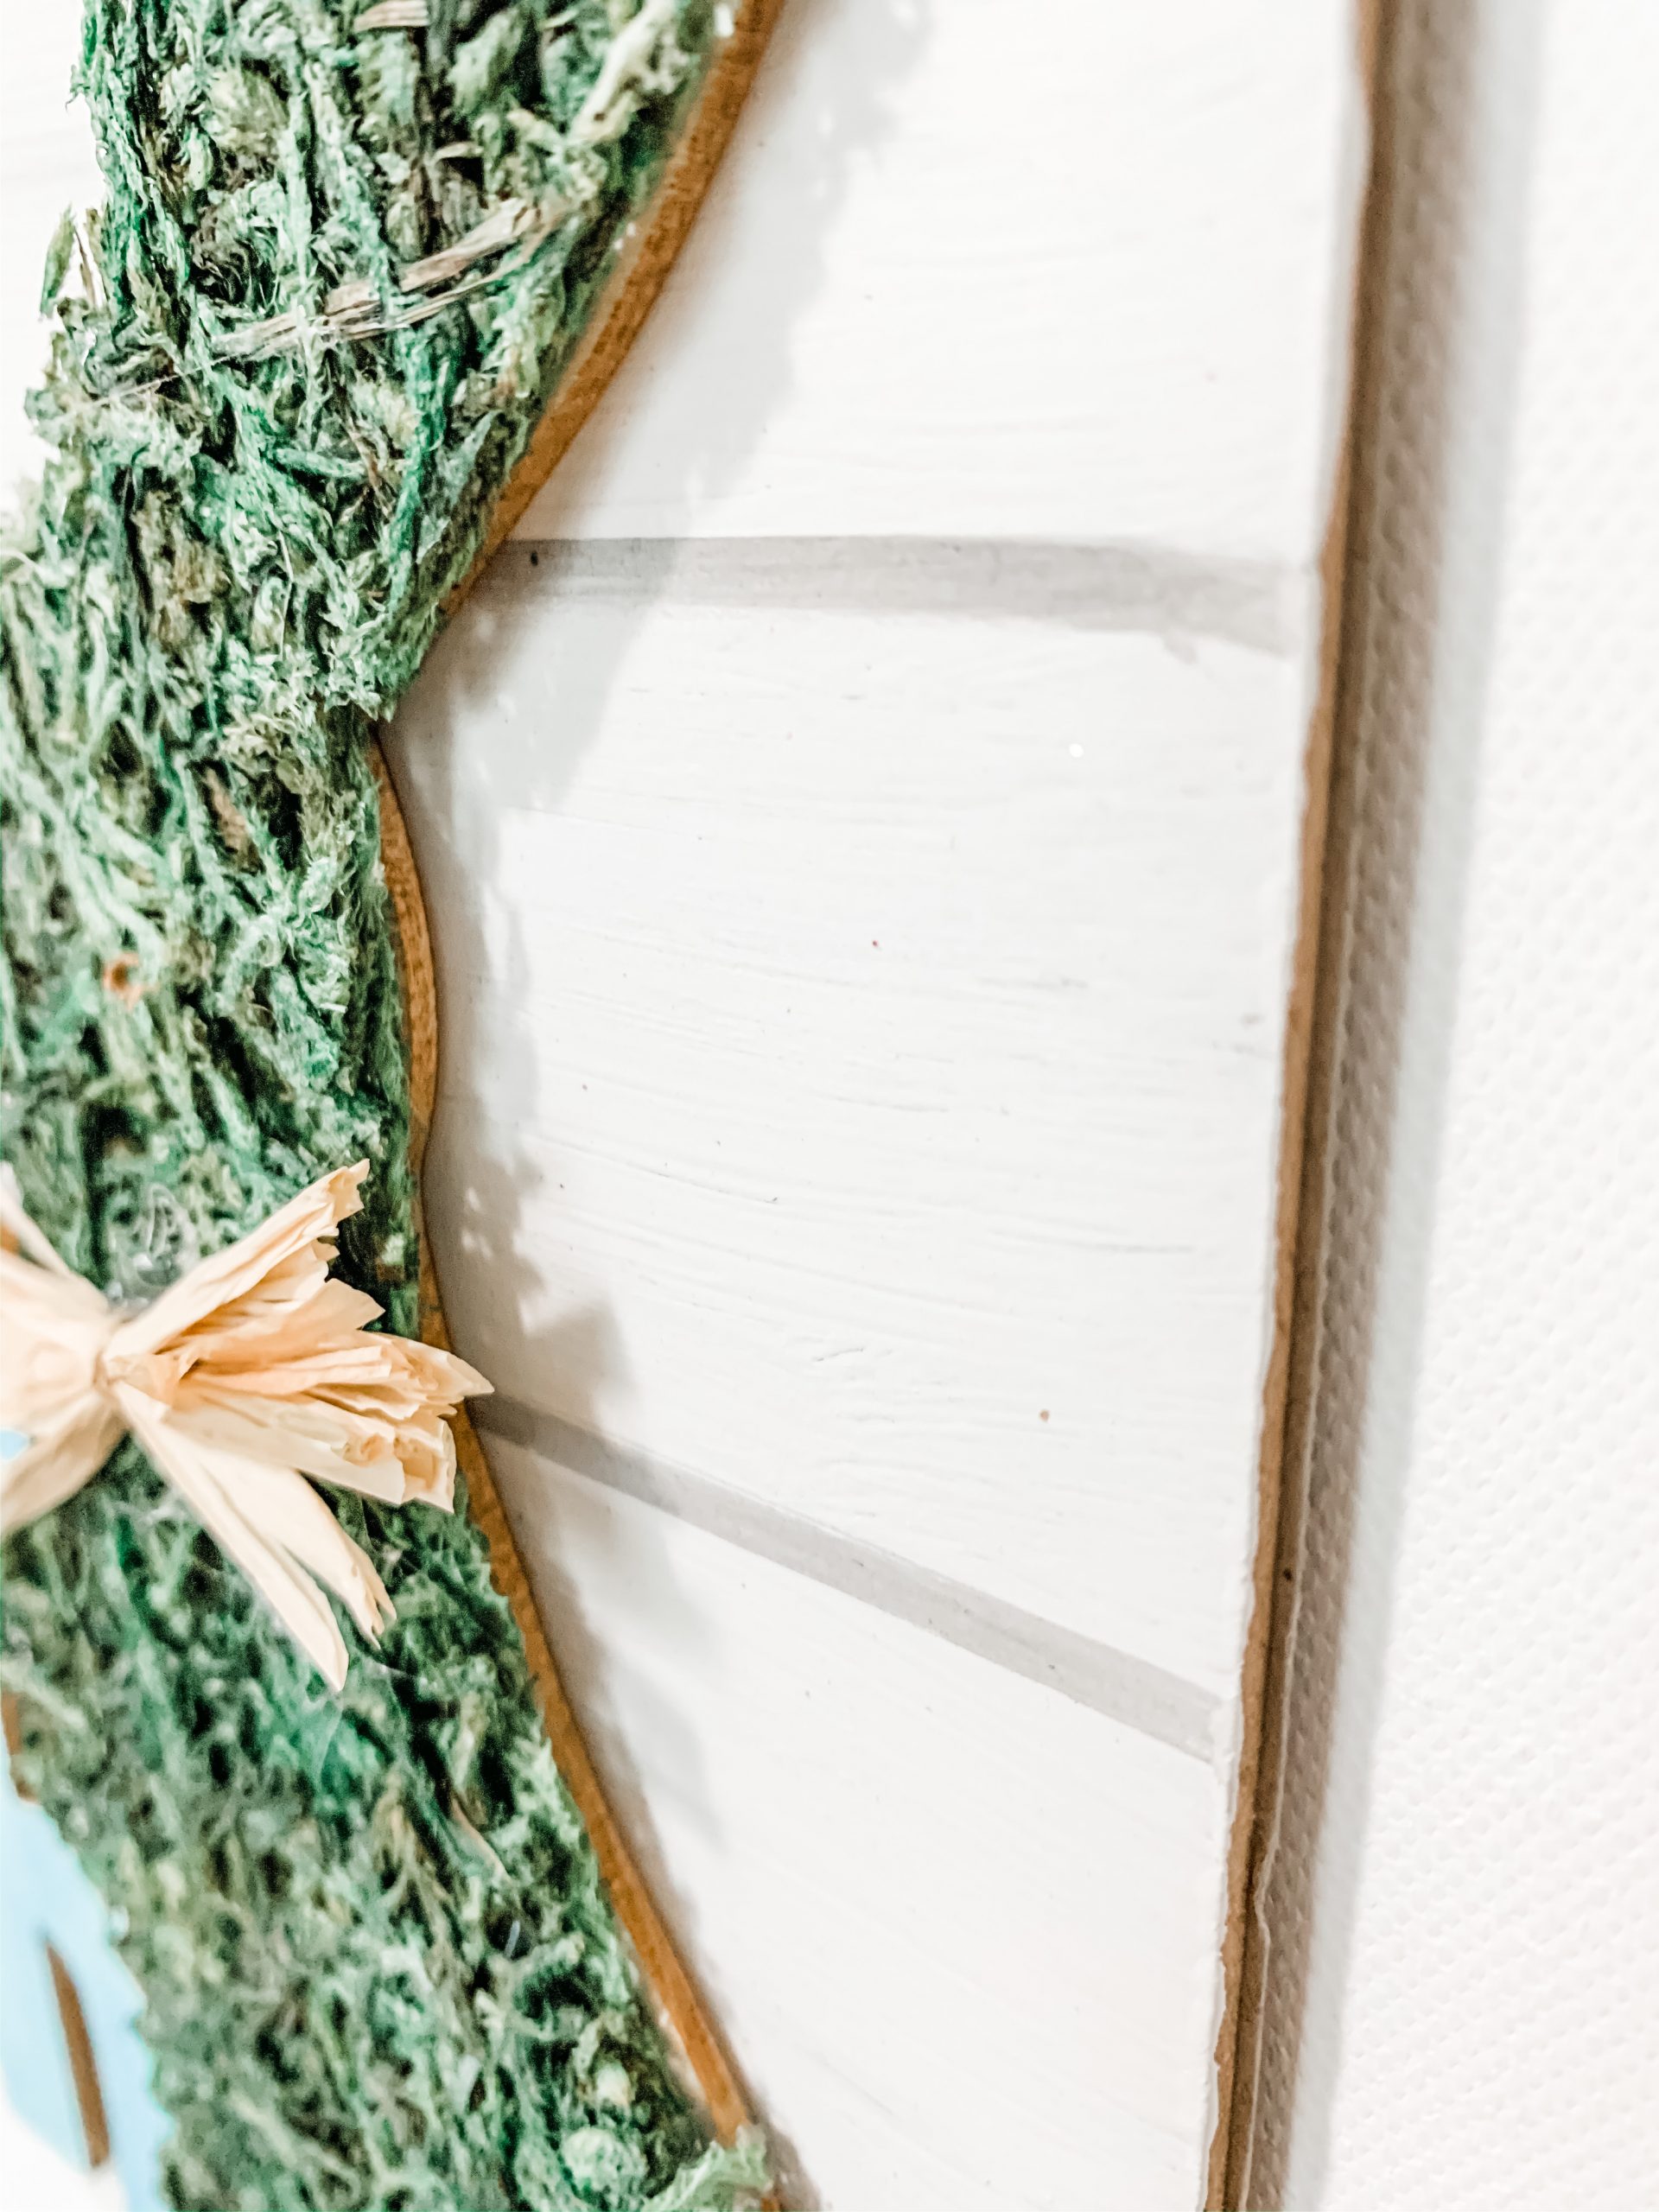
As you paint your lines, move the ruler down and try your best to keep even intervals between each line. You want it to look like there are actually wood planks, which would all be the same width.
Bring it all together
Apply a good amount of hot glue to the back of your painted Dollar Tree Happy Easter wood lettering and press it down onto the center of the faux shiplap sign.
Then, it is time to make the hanger! I used brown wood beads and a piece of white jute twine to make my hanger.
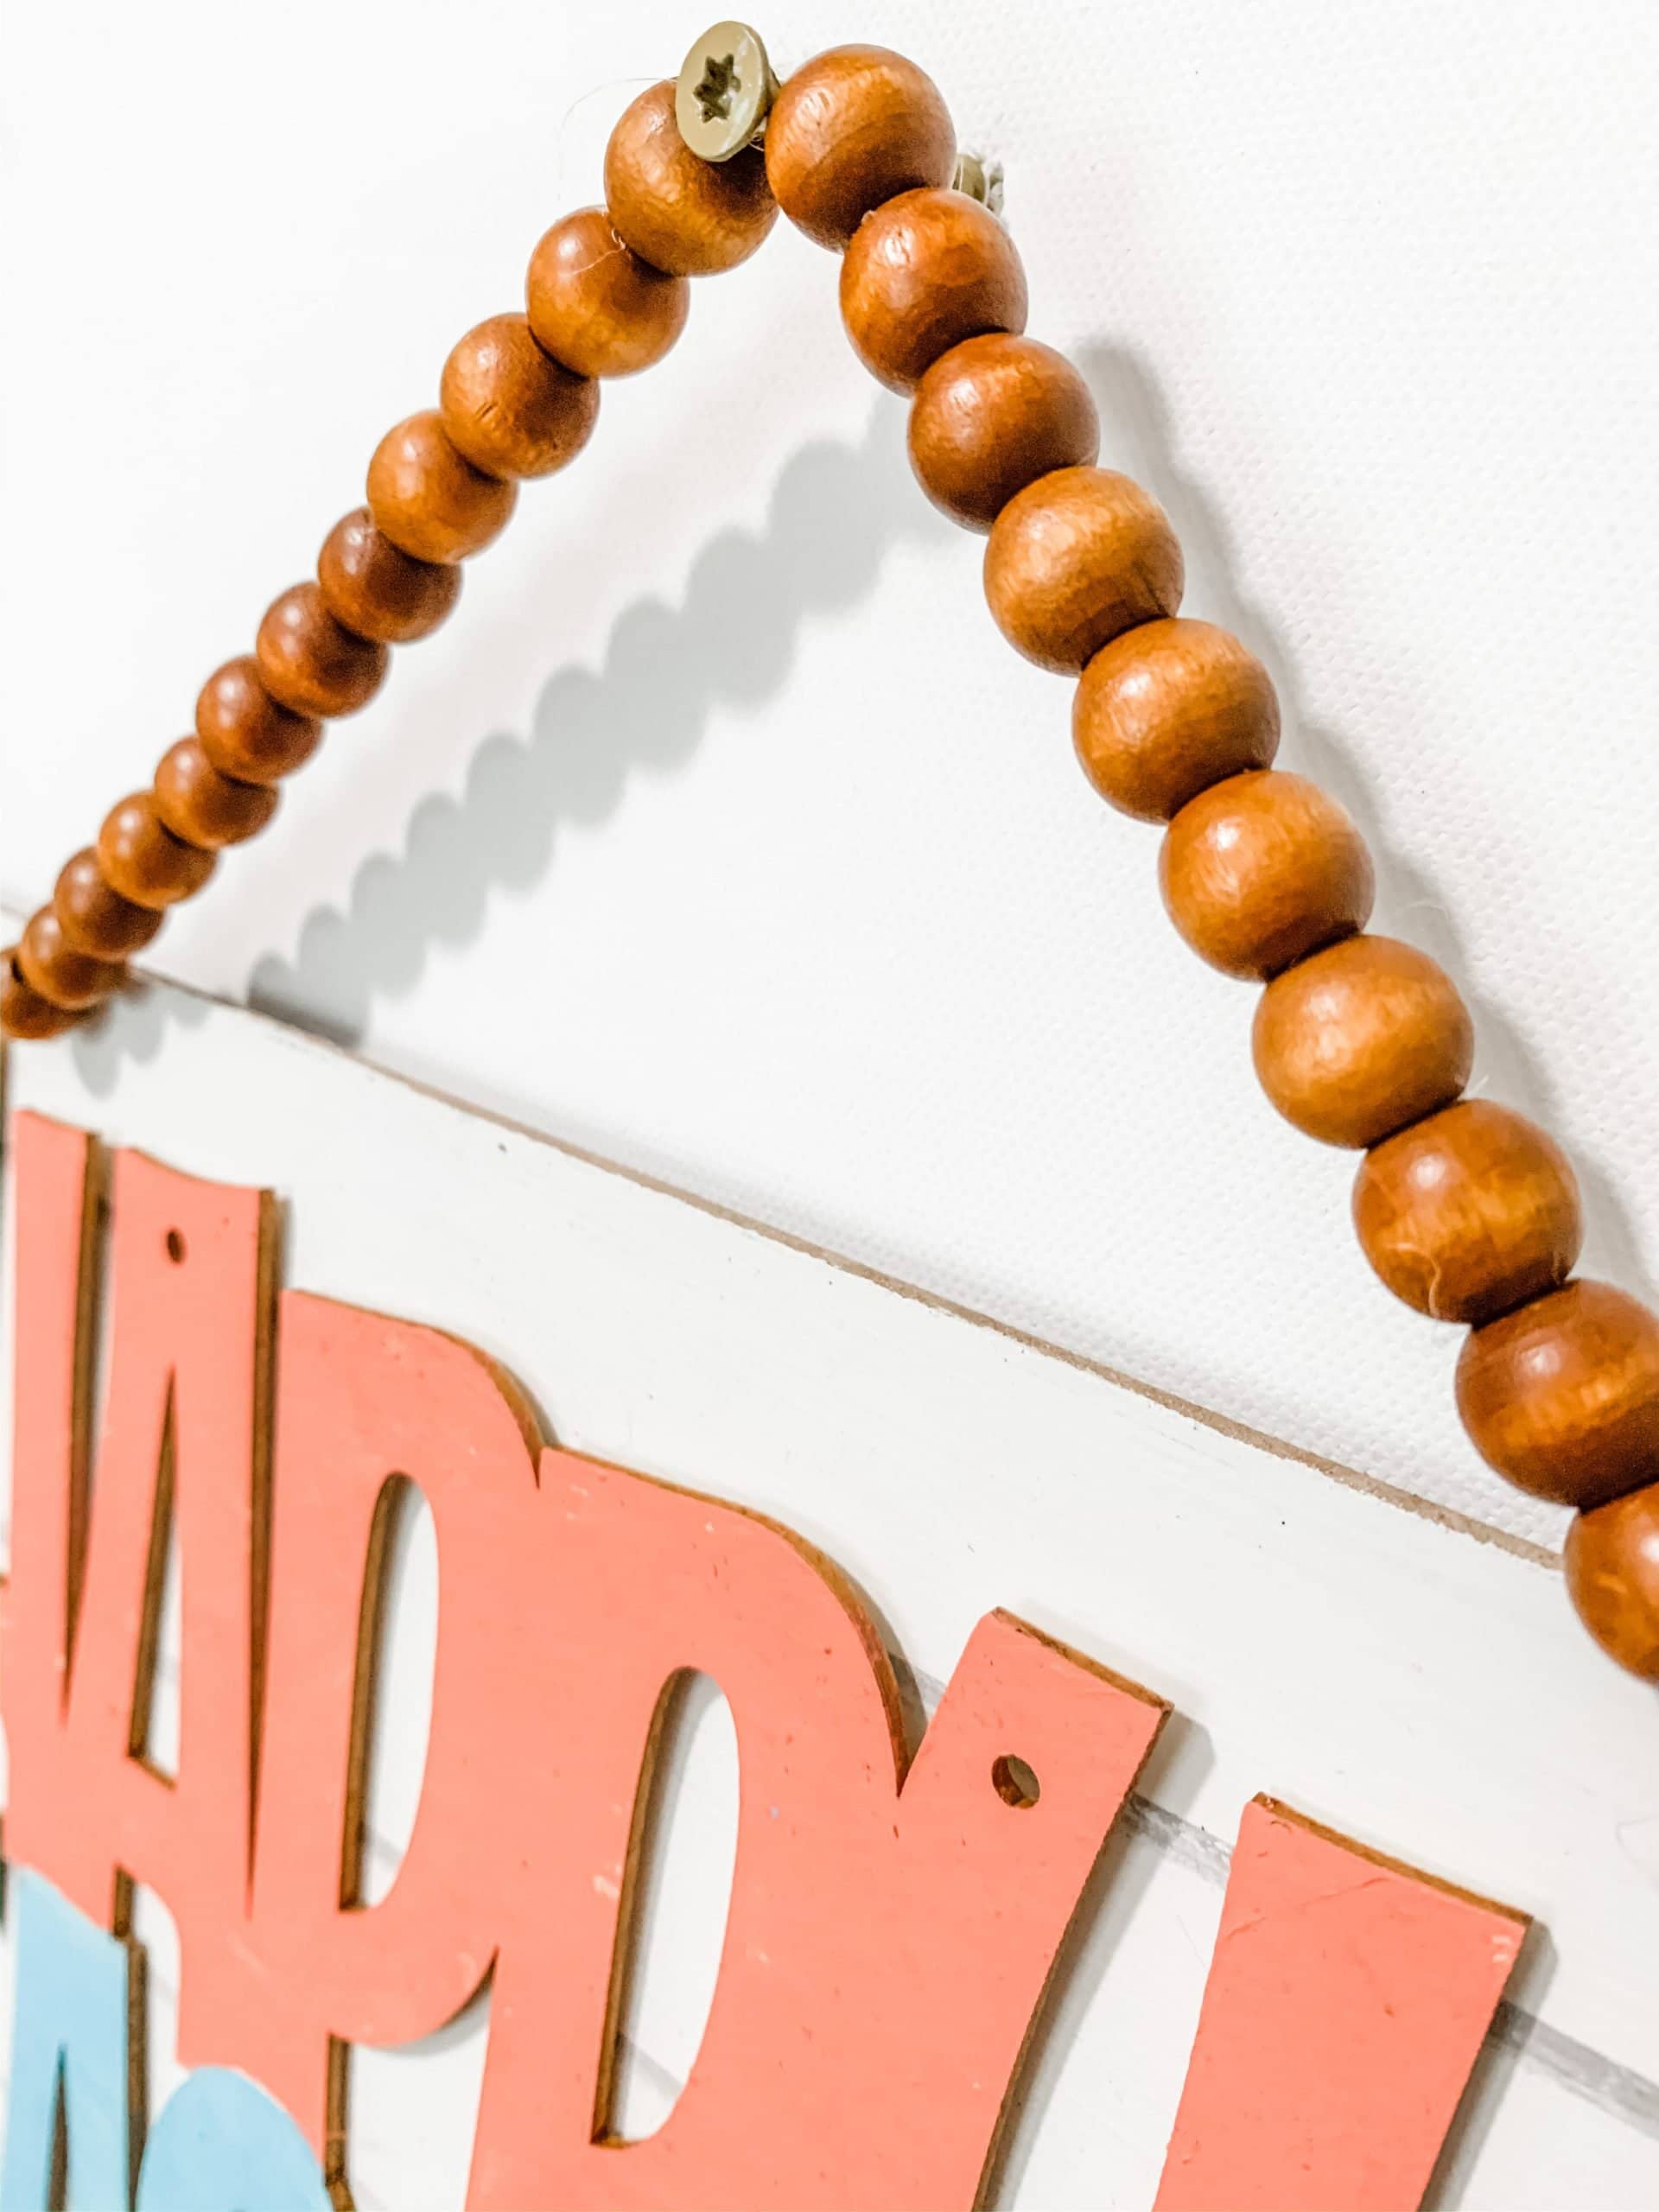
Thread the beads onto the jute twine until you’re happy with the length of the hanger. Then, secure the end beads to keep all of the beads on the twine in place.
You can either tie a knot next to each end bead or put a bit of hot glue where the end beads will be and slide the beads in place.
To secure the hanger, drill two holes in the top of the sign, close to the corners, and thread the ends of the twine through. Finally, tied the ends of the twine in knots!
The finishing touches
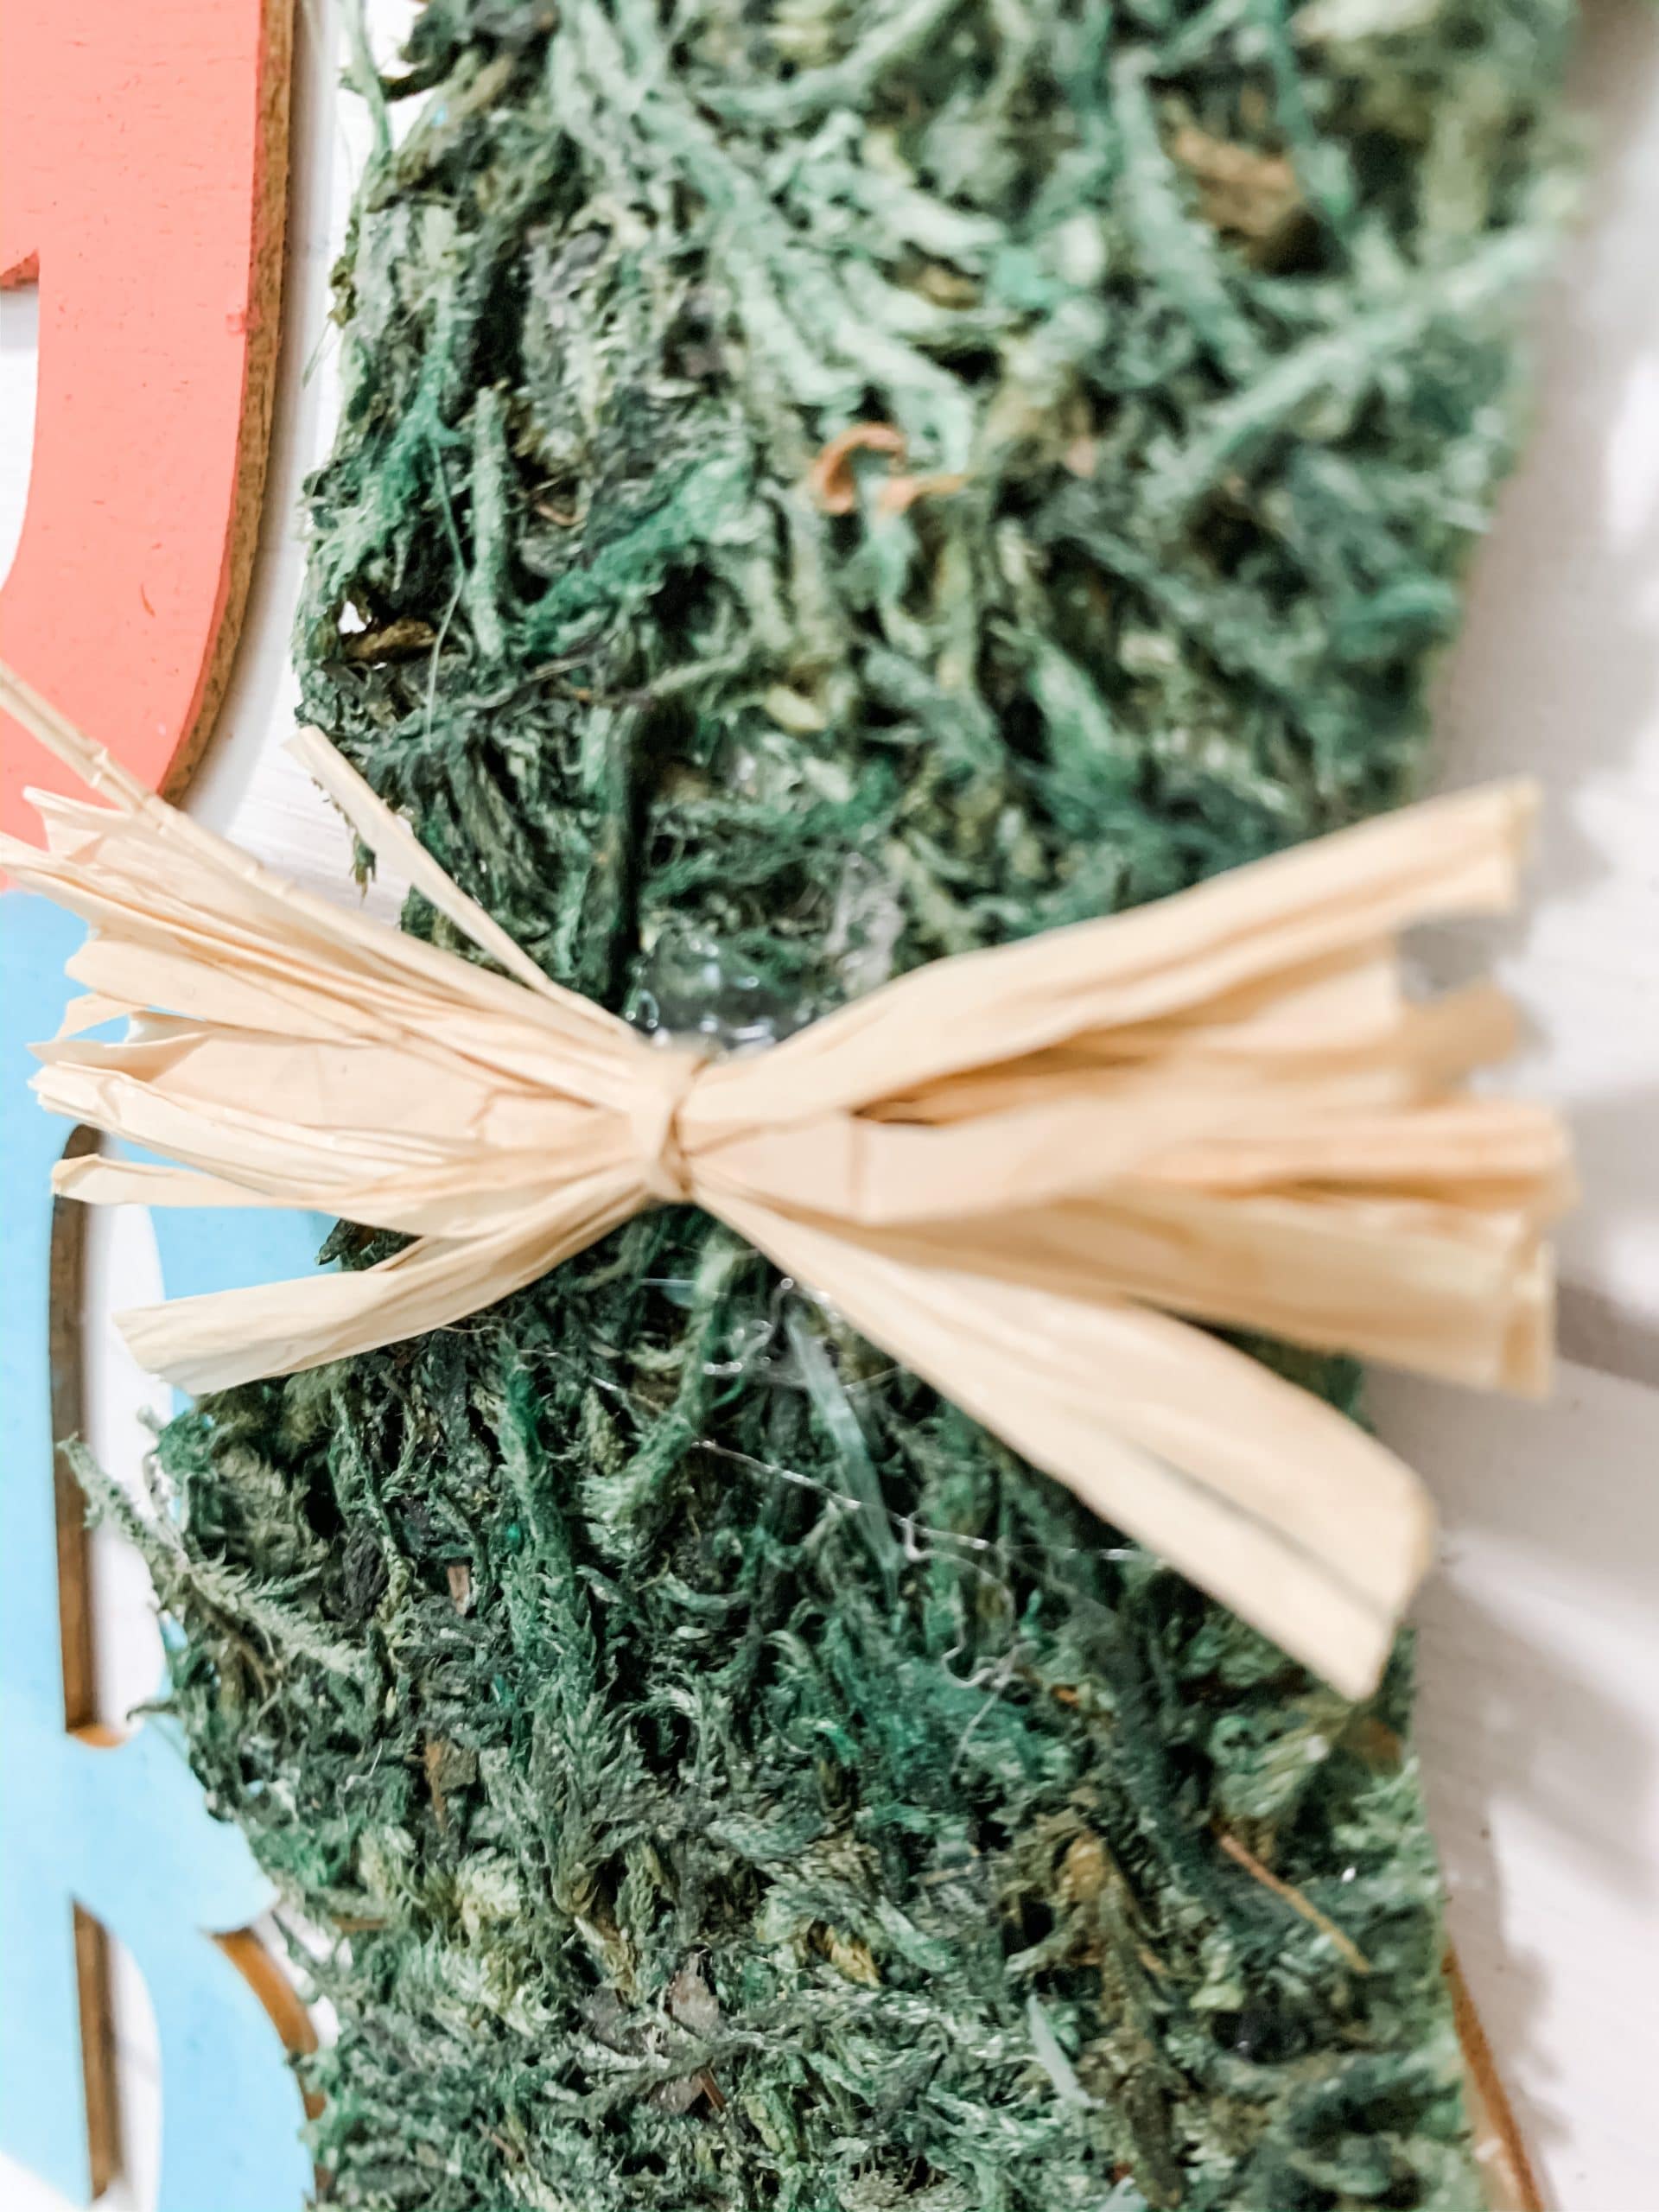
Next, you need to make a little raffia bow for the moss bunny. Loop some of the raffia and tie the center of it with another piece of raffia.
Cut the ends of the loops and trim the bow to the size you want for your bunny. Finally, hot glue the little raffia bow onto your bunny’s neck!
The last step of making this adorable craft is to hot glue a cotton ball to the moss bunny for his little tail!
I hope you enjoyed this Dollar Tree Mossy Bunny Easter Decor DIY as much as I did and decide to make one for yourself! I would love to see how yours turns out!
You should totally join my FREE Facebook group called On A Budget Crafts! It is a judgment-free community for DIY crafters to show off their projects and ideas.

If you loved this DIY you might also like this DIY Dollar Tree Shabby Chic Easter Decor!
Thanks for stopping by! XOXO Amber
You can also shop my ENTIRE AMAZON Favorites shop just click here! It’s packed full of all the things I use and love. Here is the supply list I highly recommend every creative have on hand!!
Would you also pin my blog for later and get on my newsletter alerts? I would love to have you join my #craftycrew.
Inspired? Leave me a comment below! I love hearing from my readers!

Join my free “ON A BUDGET CRAFTS” Facebook group!

Love it