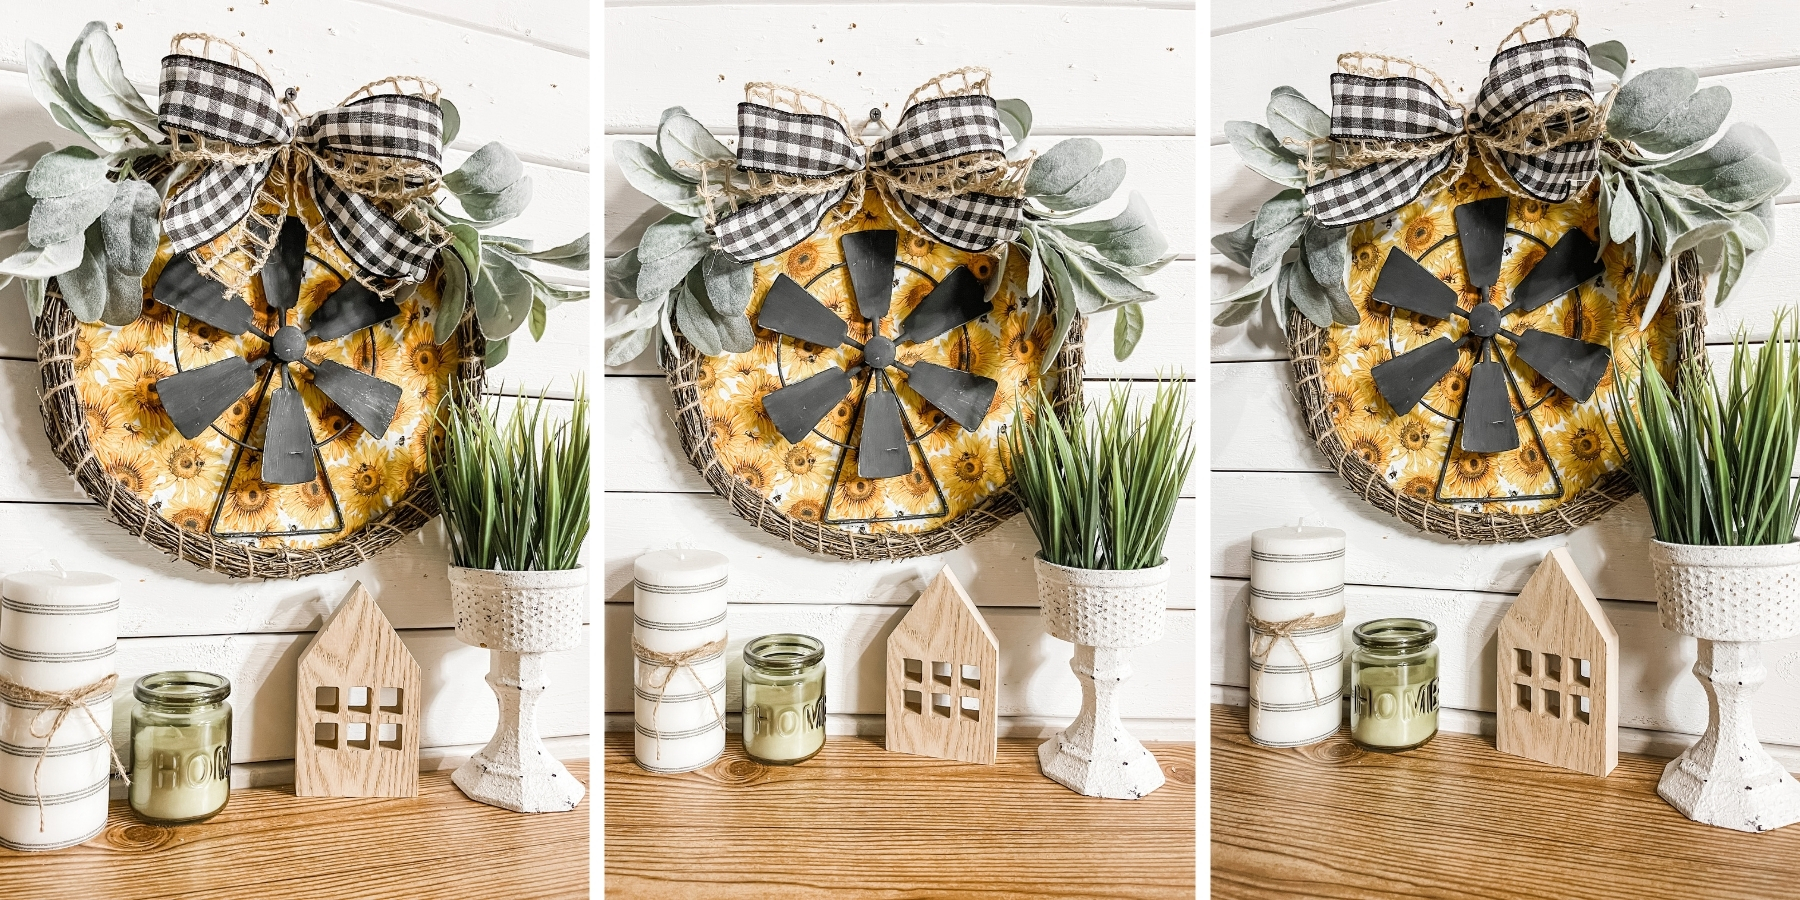
DIY Farmhouse Decor with Spring Printables
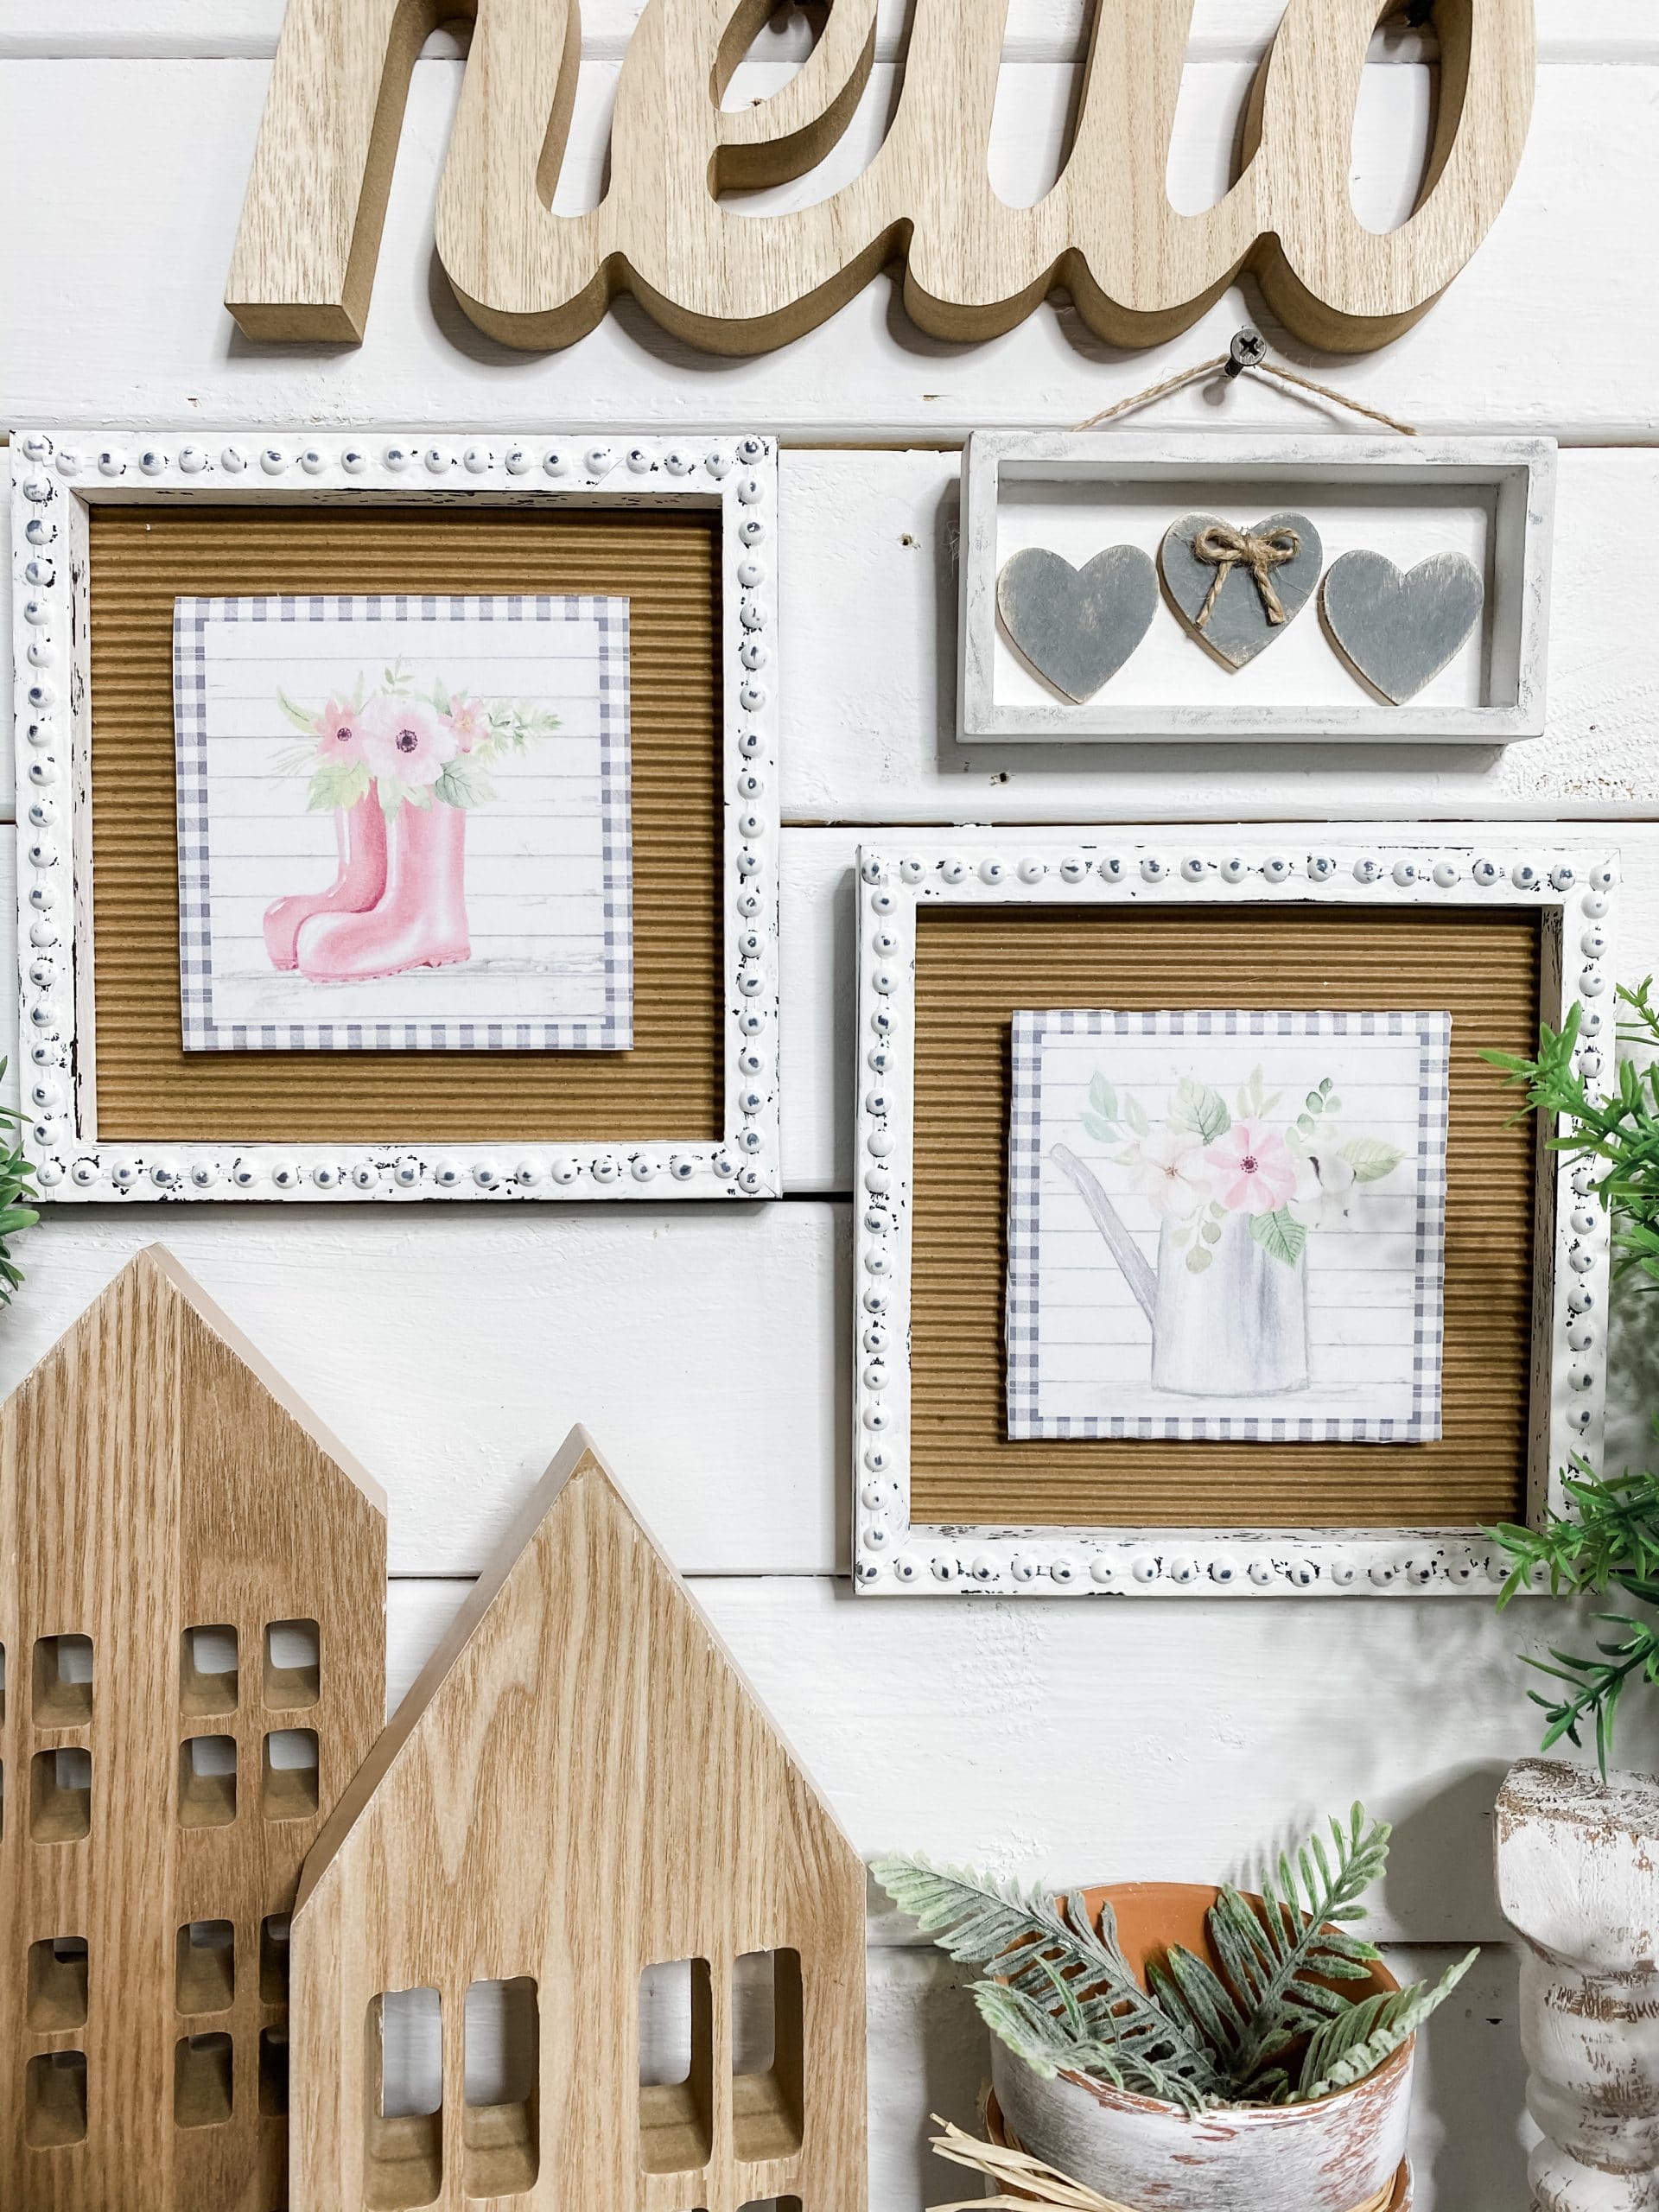
I am absolutely in love with this DIY Farmhouse Decor with Spring Printables! I love making spring decor almost as much as I love making Christmas decor, and these farmhouse spring picture frames should show you why!
If you’re already a member of my Crafty Crew, you know that I have so much fun making my own printables, and that’s where the designs for this DIY project came from.
I put together a Spring Craft Mega Bundle and it is available now! With 18 pages of spring printable designs varying in sizes, there is a design for any project you have in mind!
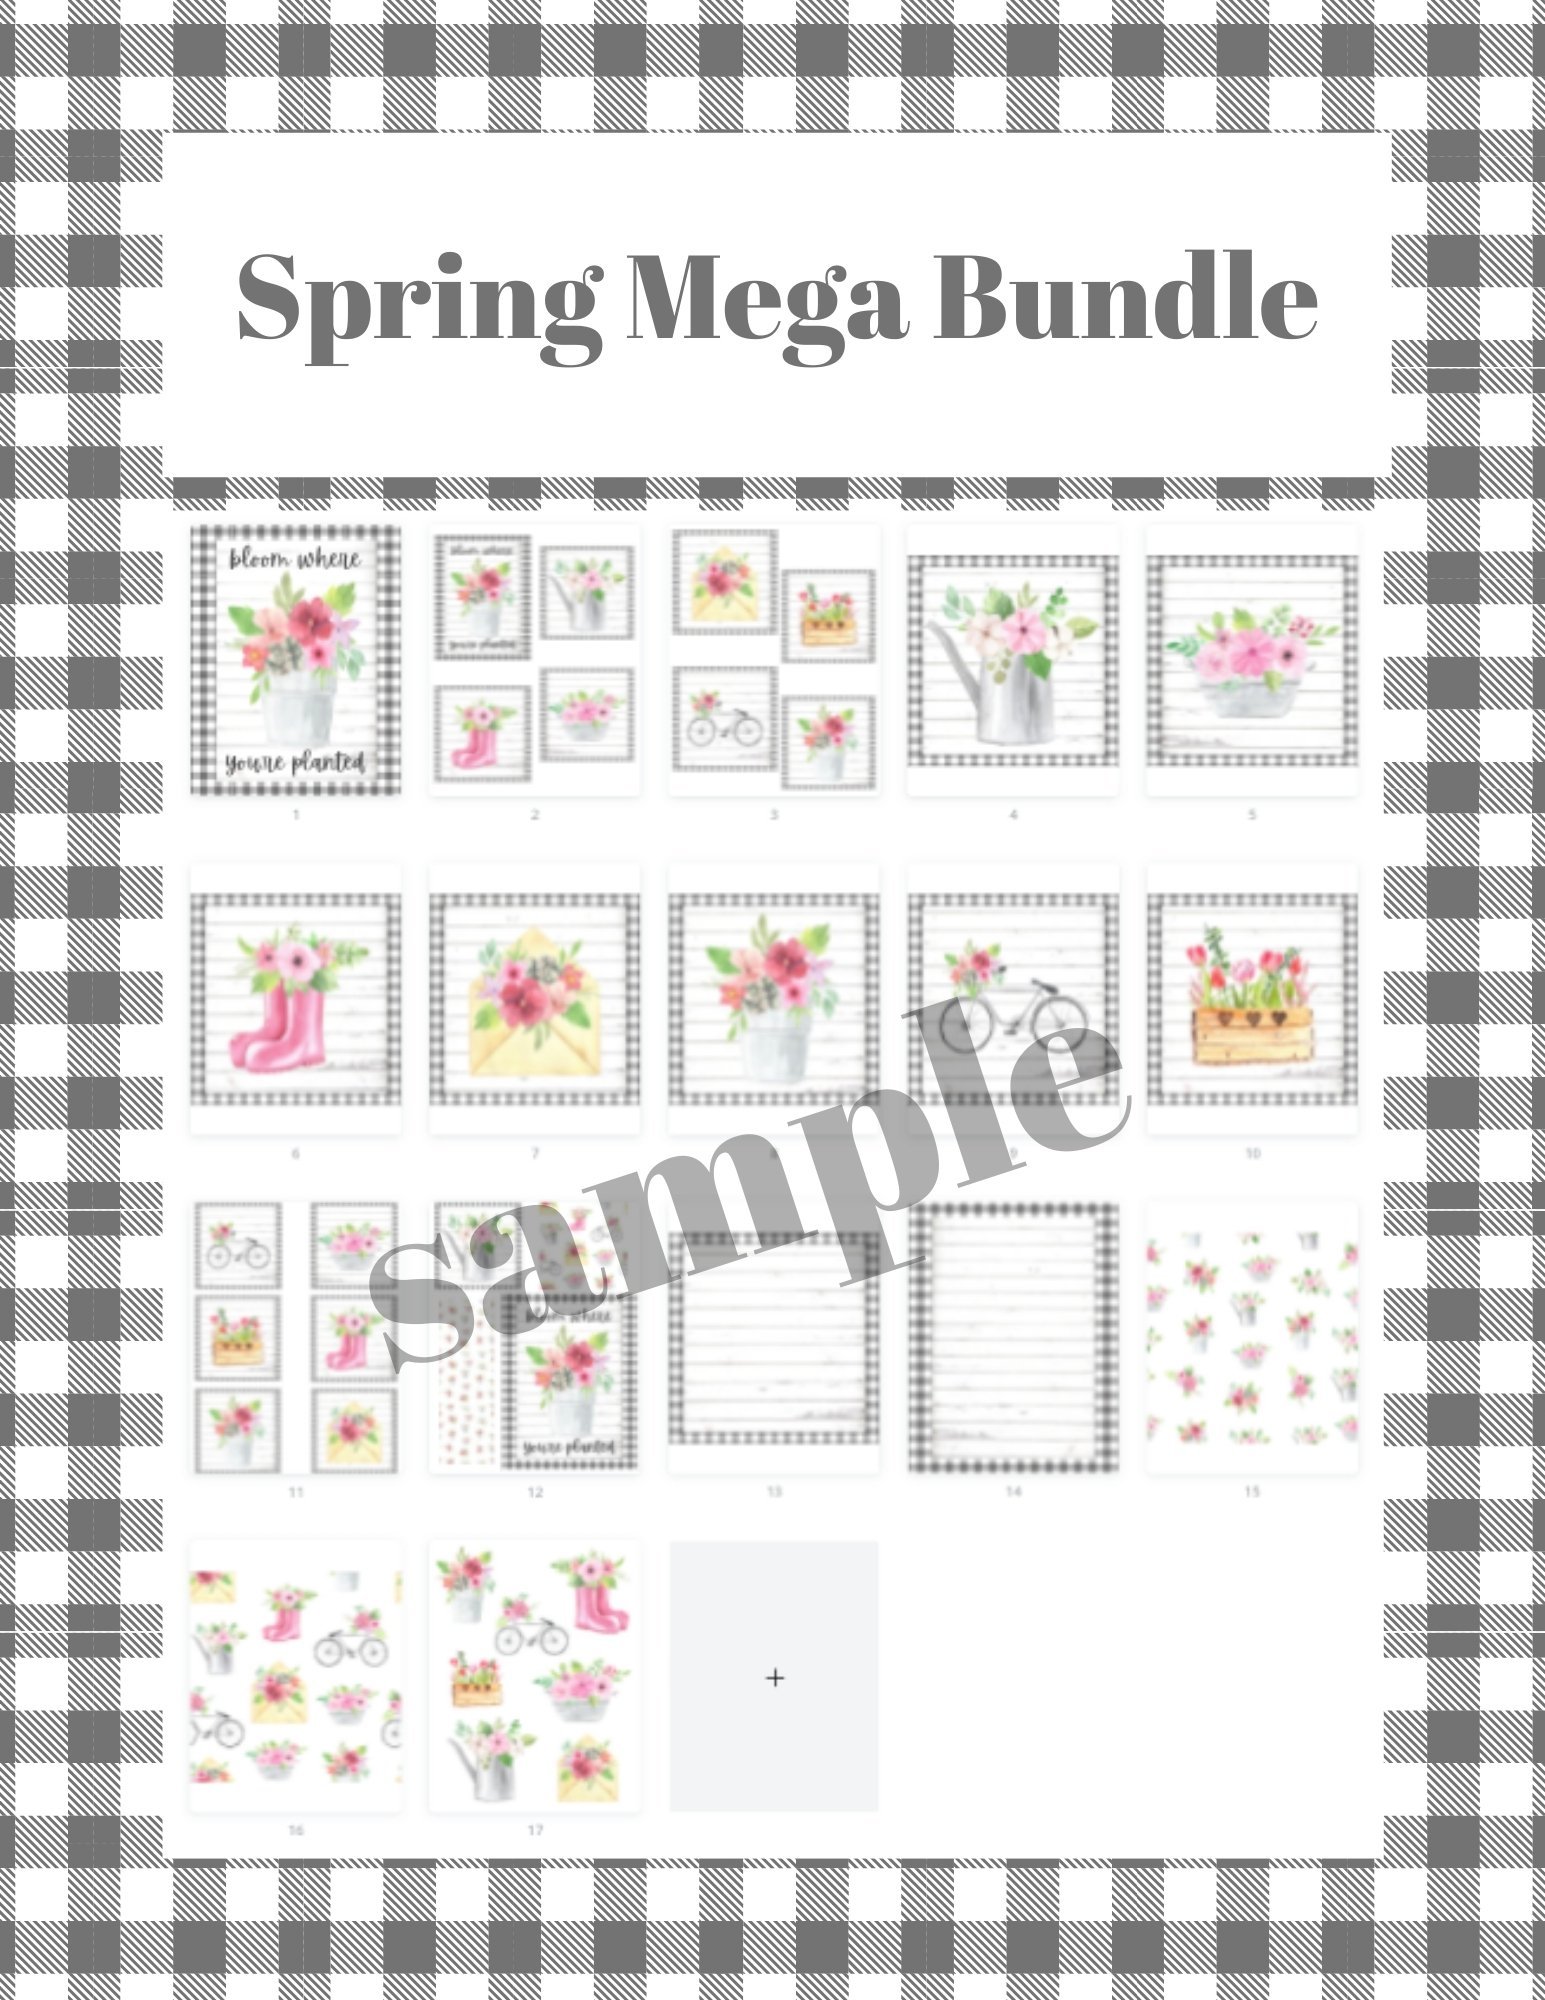
Want to take the Spring Craft Mega Bundle for a test drive before buying? Well, I’m giving one of the designs from the bundle away for FREE! You can snag that FREE spring printable now!
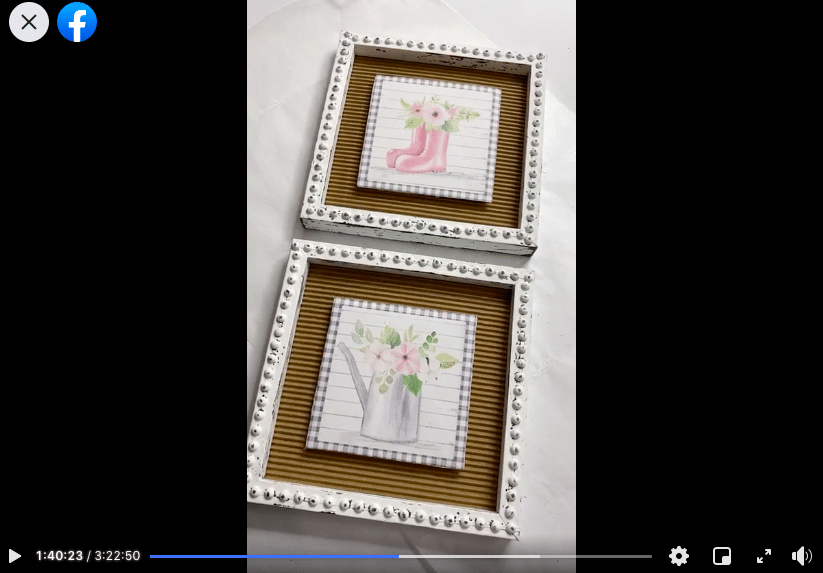
Watch the replay
Want to see the DIY process before you decide to make your own DIY Farmhouse Decor with Spring Printables?
Well, you’re in luck! I recorded how to use my spring printables to make DIY decor during a LIVE video on my Facebook page.
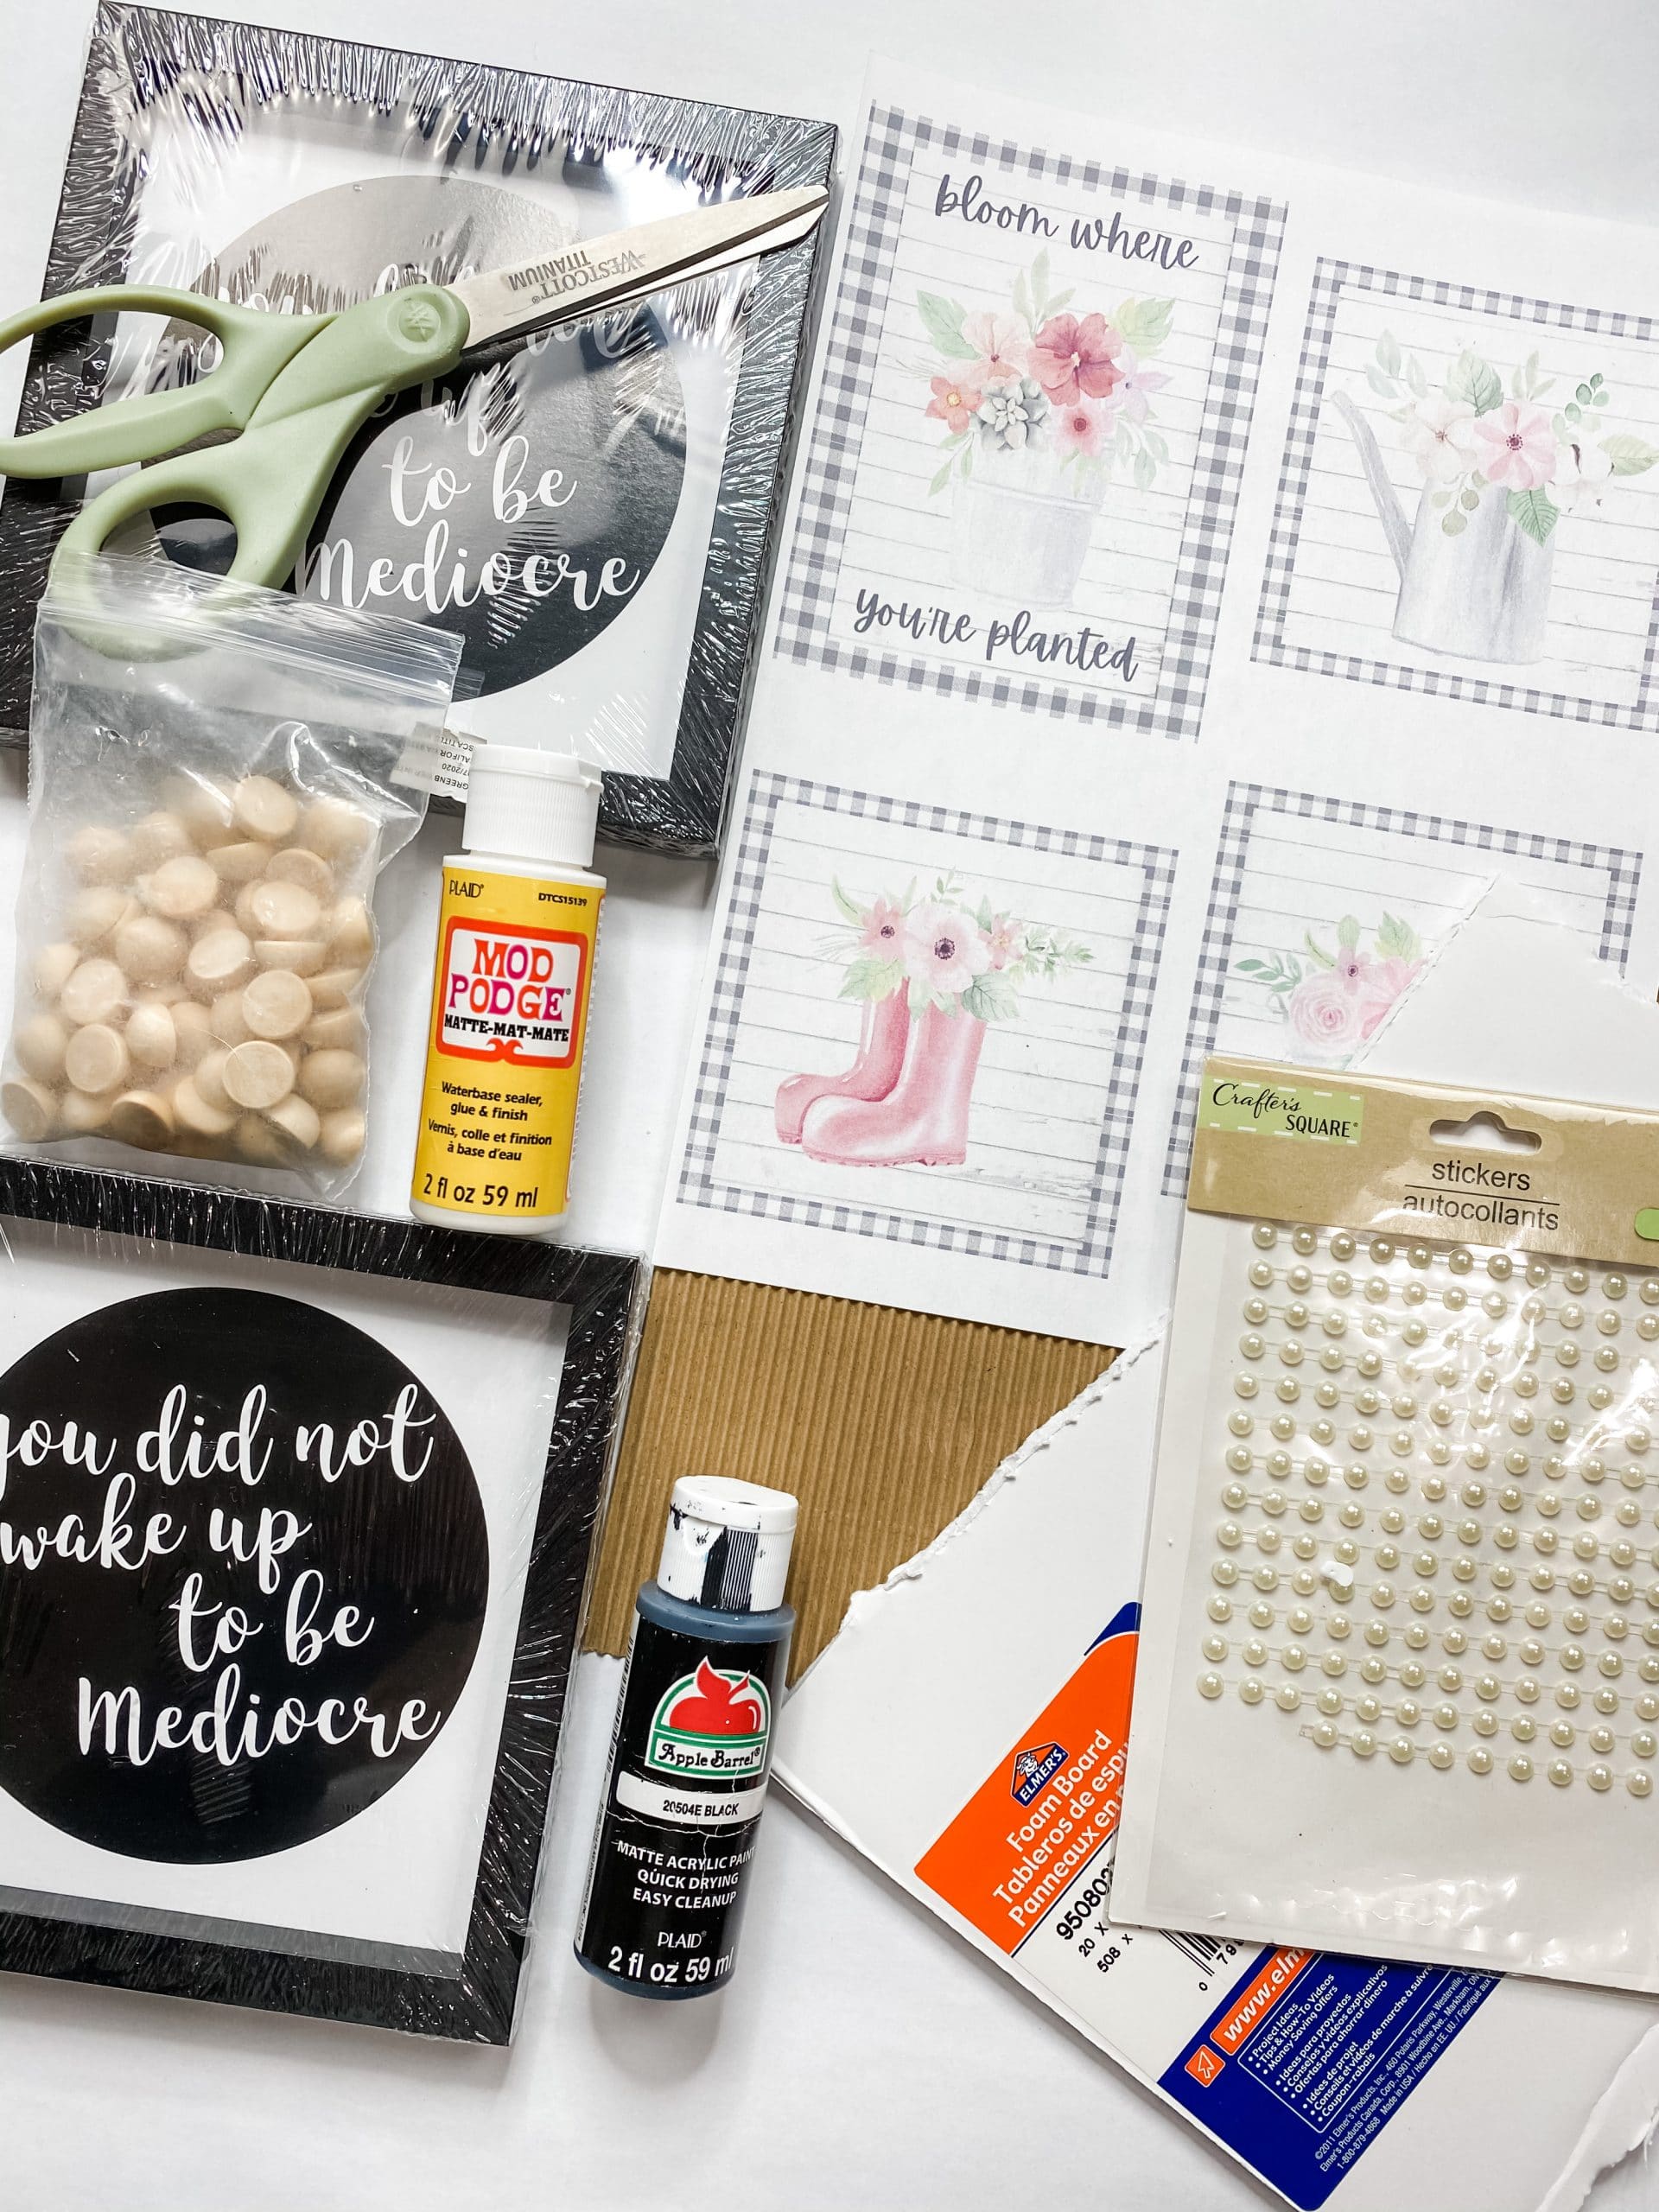
For this project, I will be using these items but you can substitute where you want.
“As an Amazon Associate, I earn from qualifying purchases.”
- Spring Printables
- Dollar Tree Square Frame (x2)
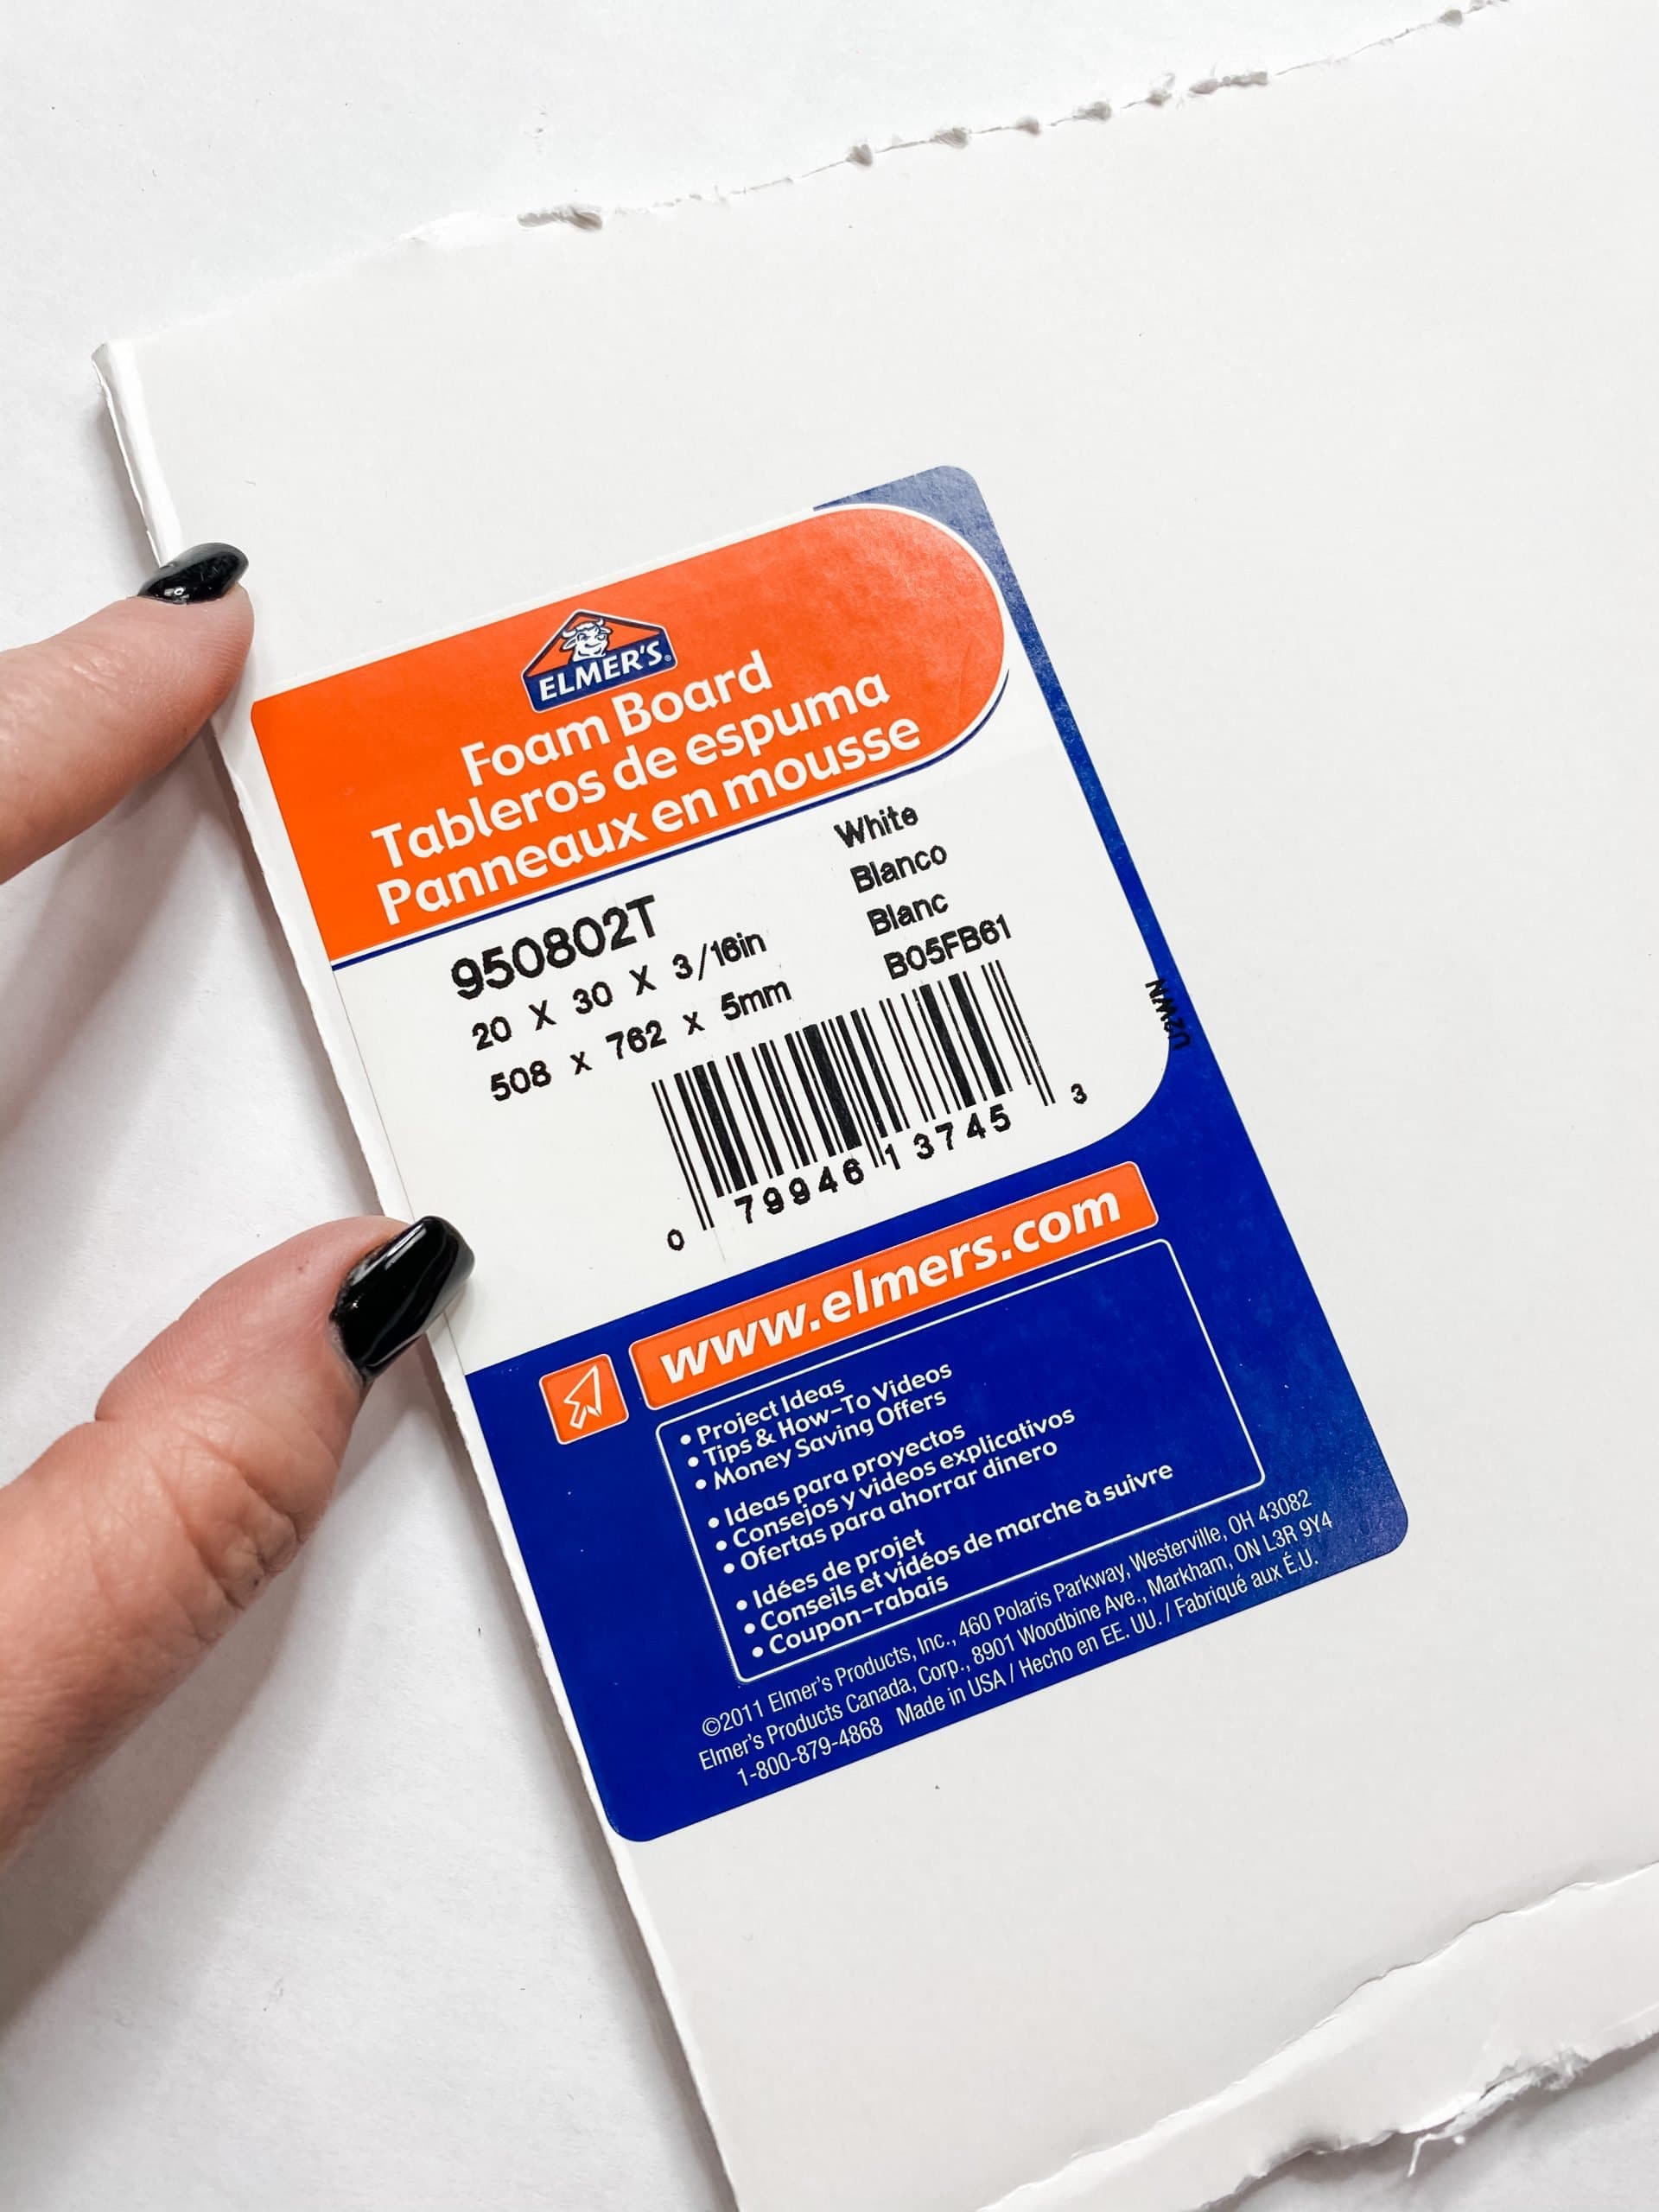
- Dollar Tree Foam Board
- Half Wood Beads (optional)
- Dollar Tree Jewel Stickers
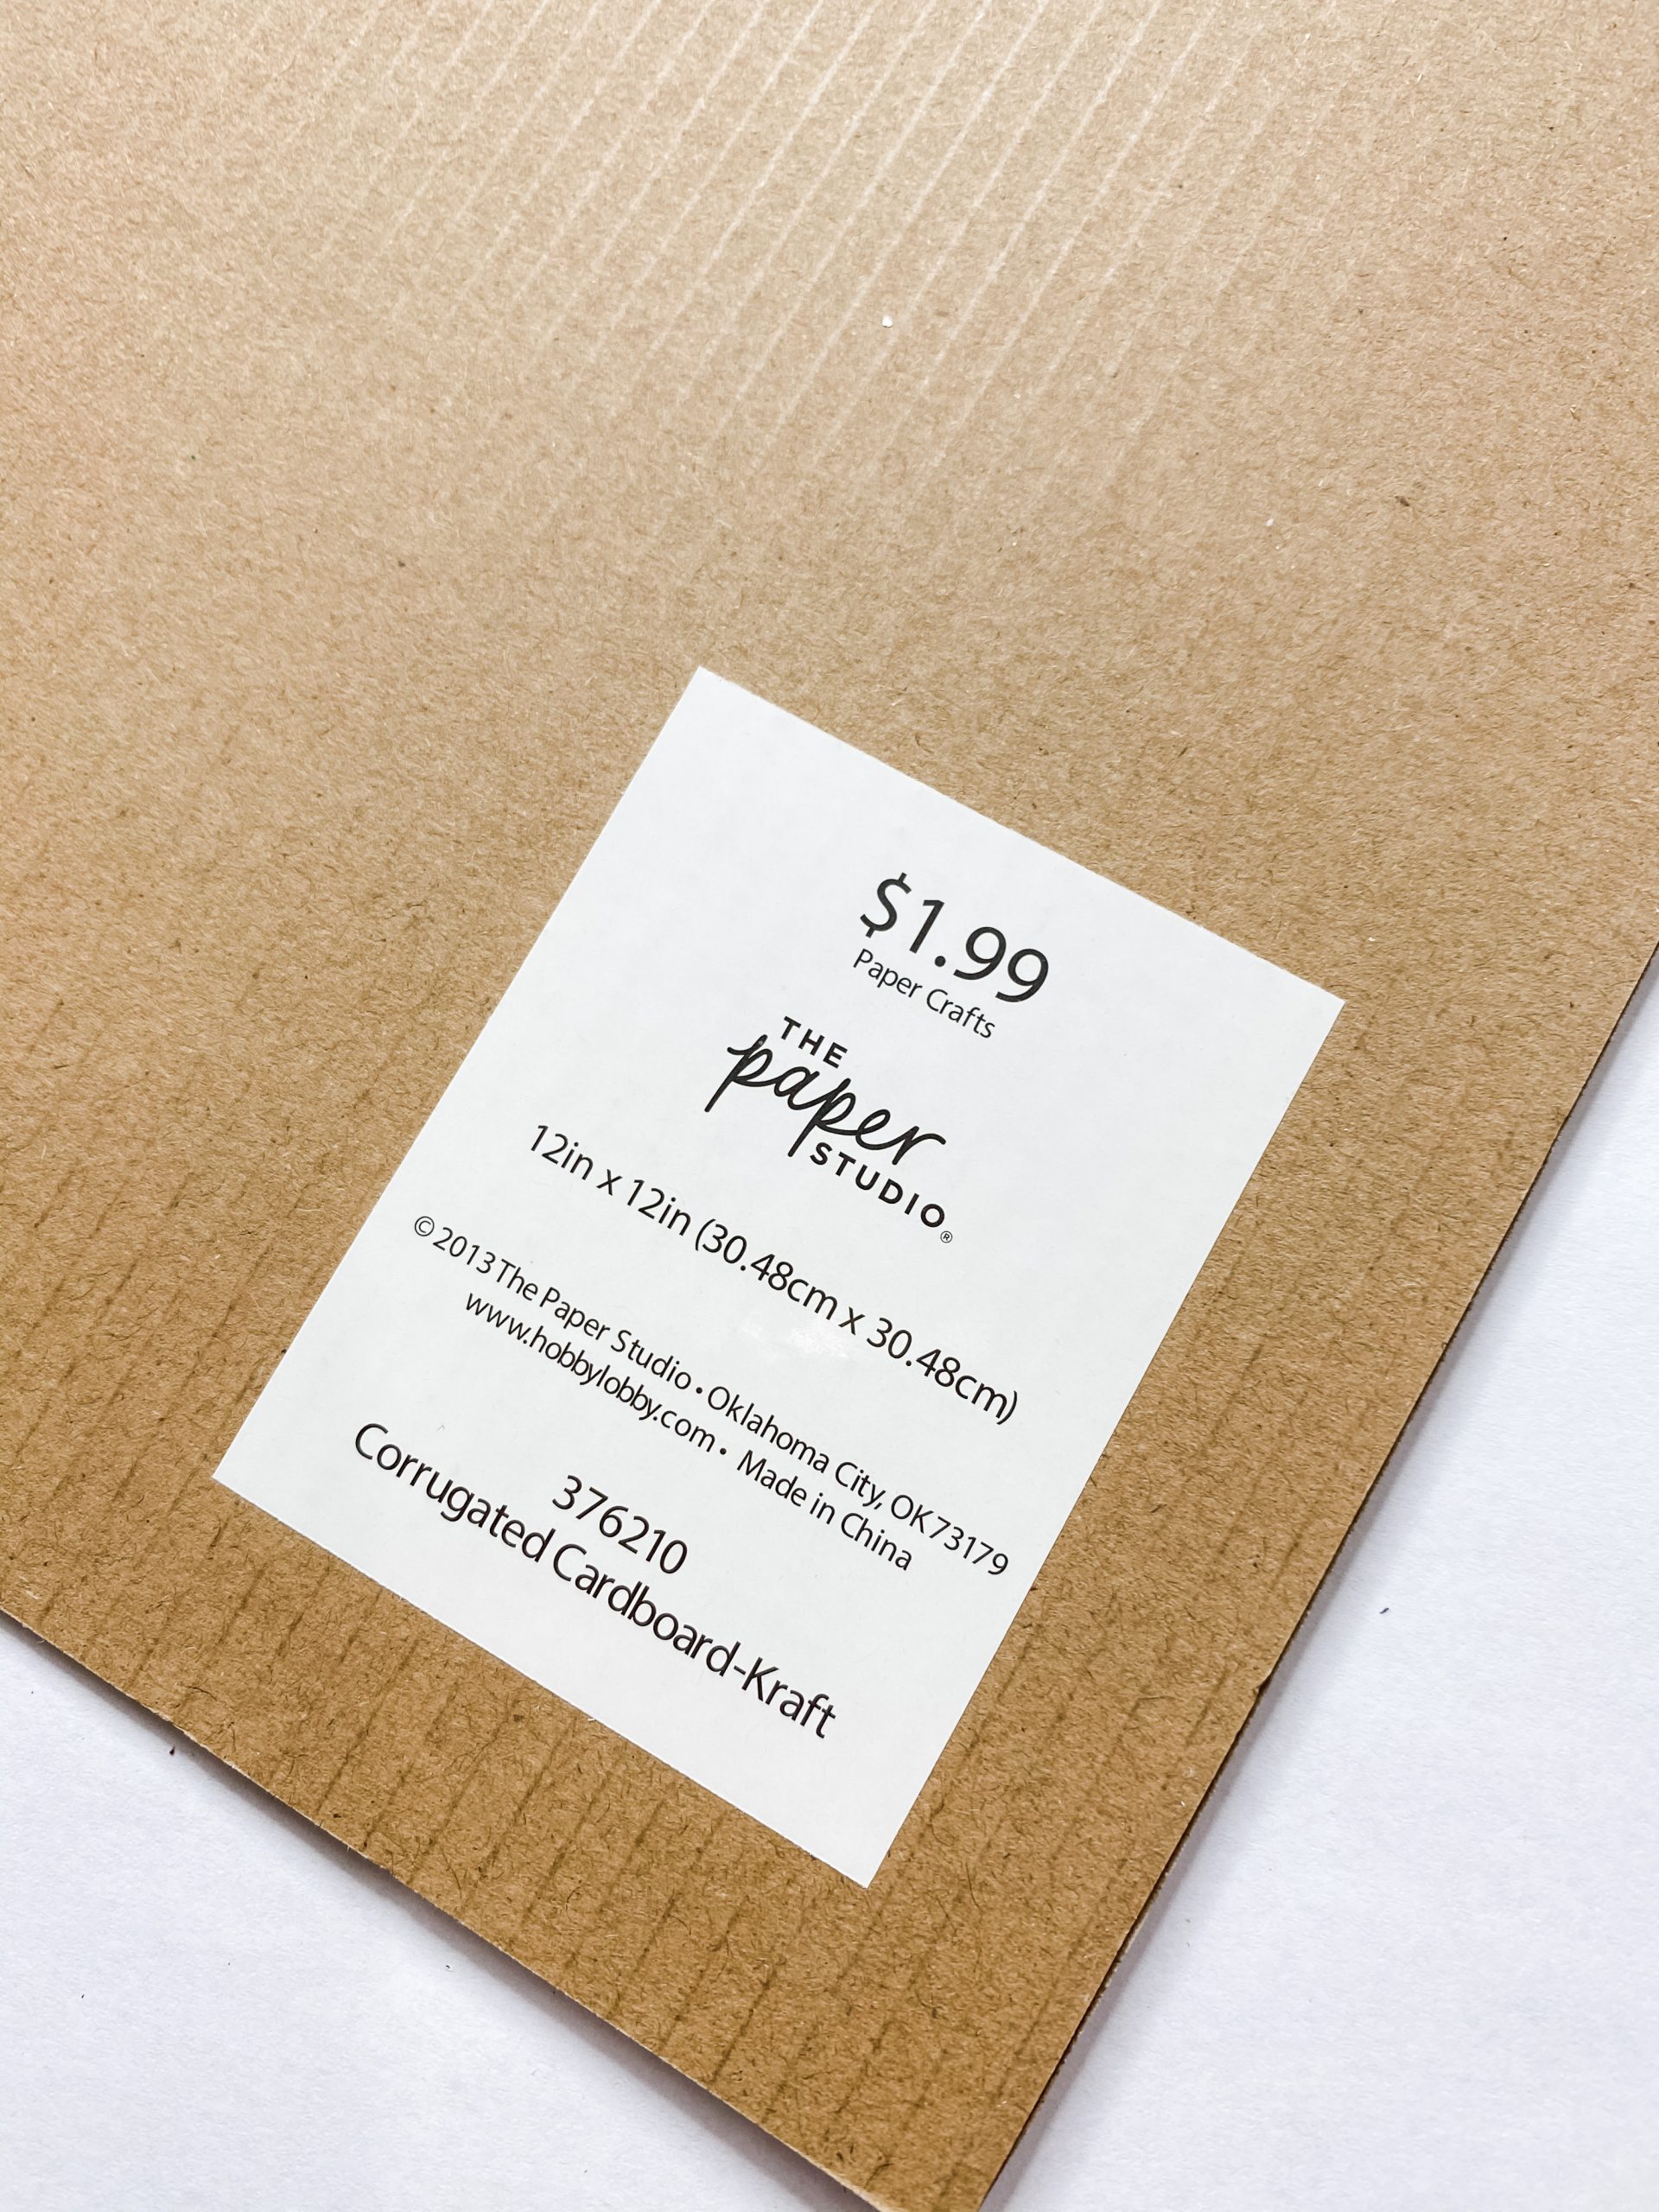
- Corrugated Scrapbook Paper
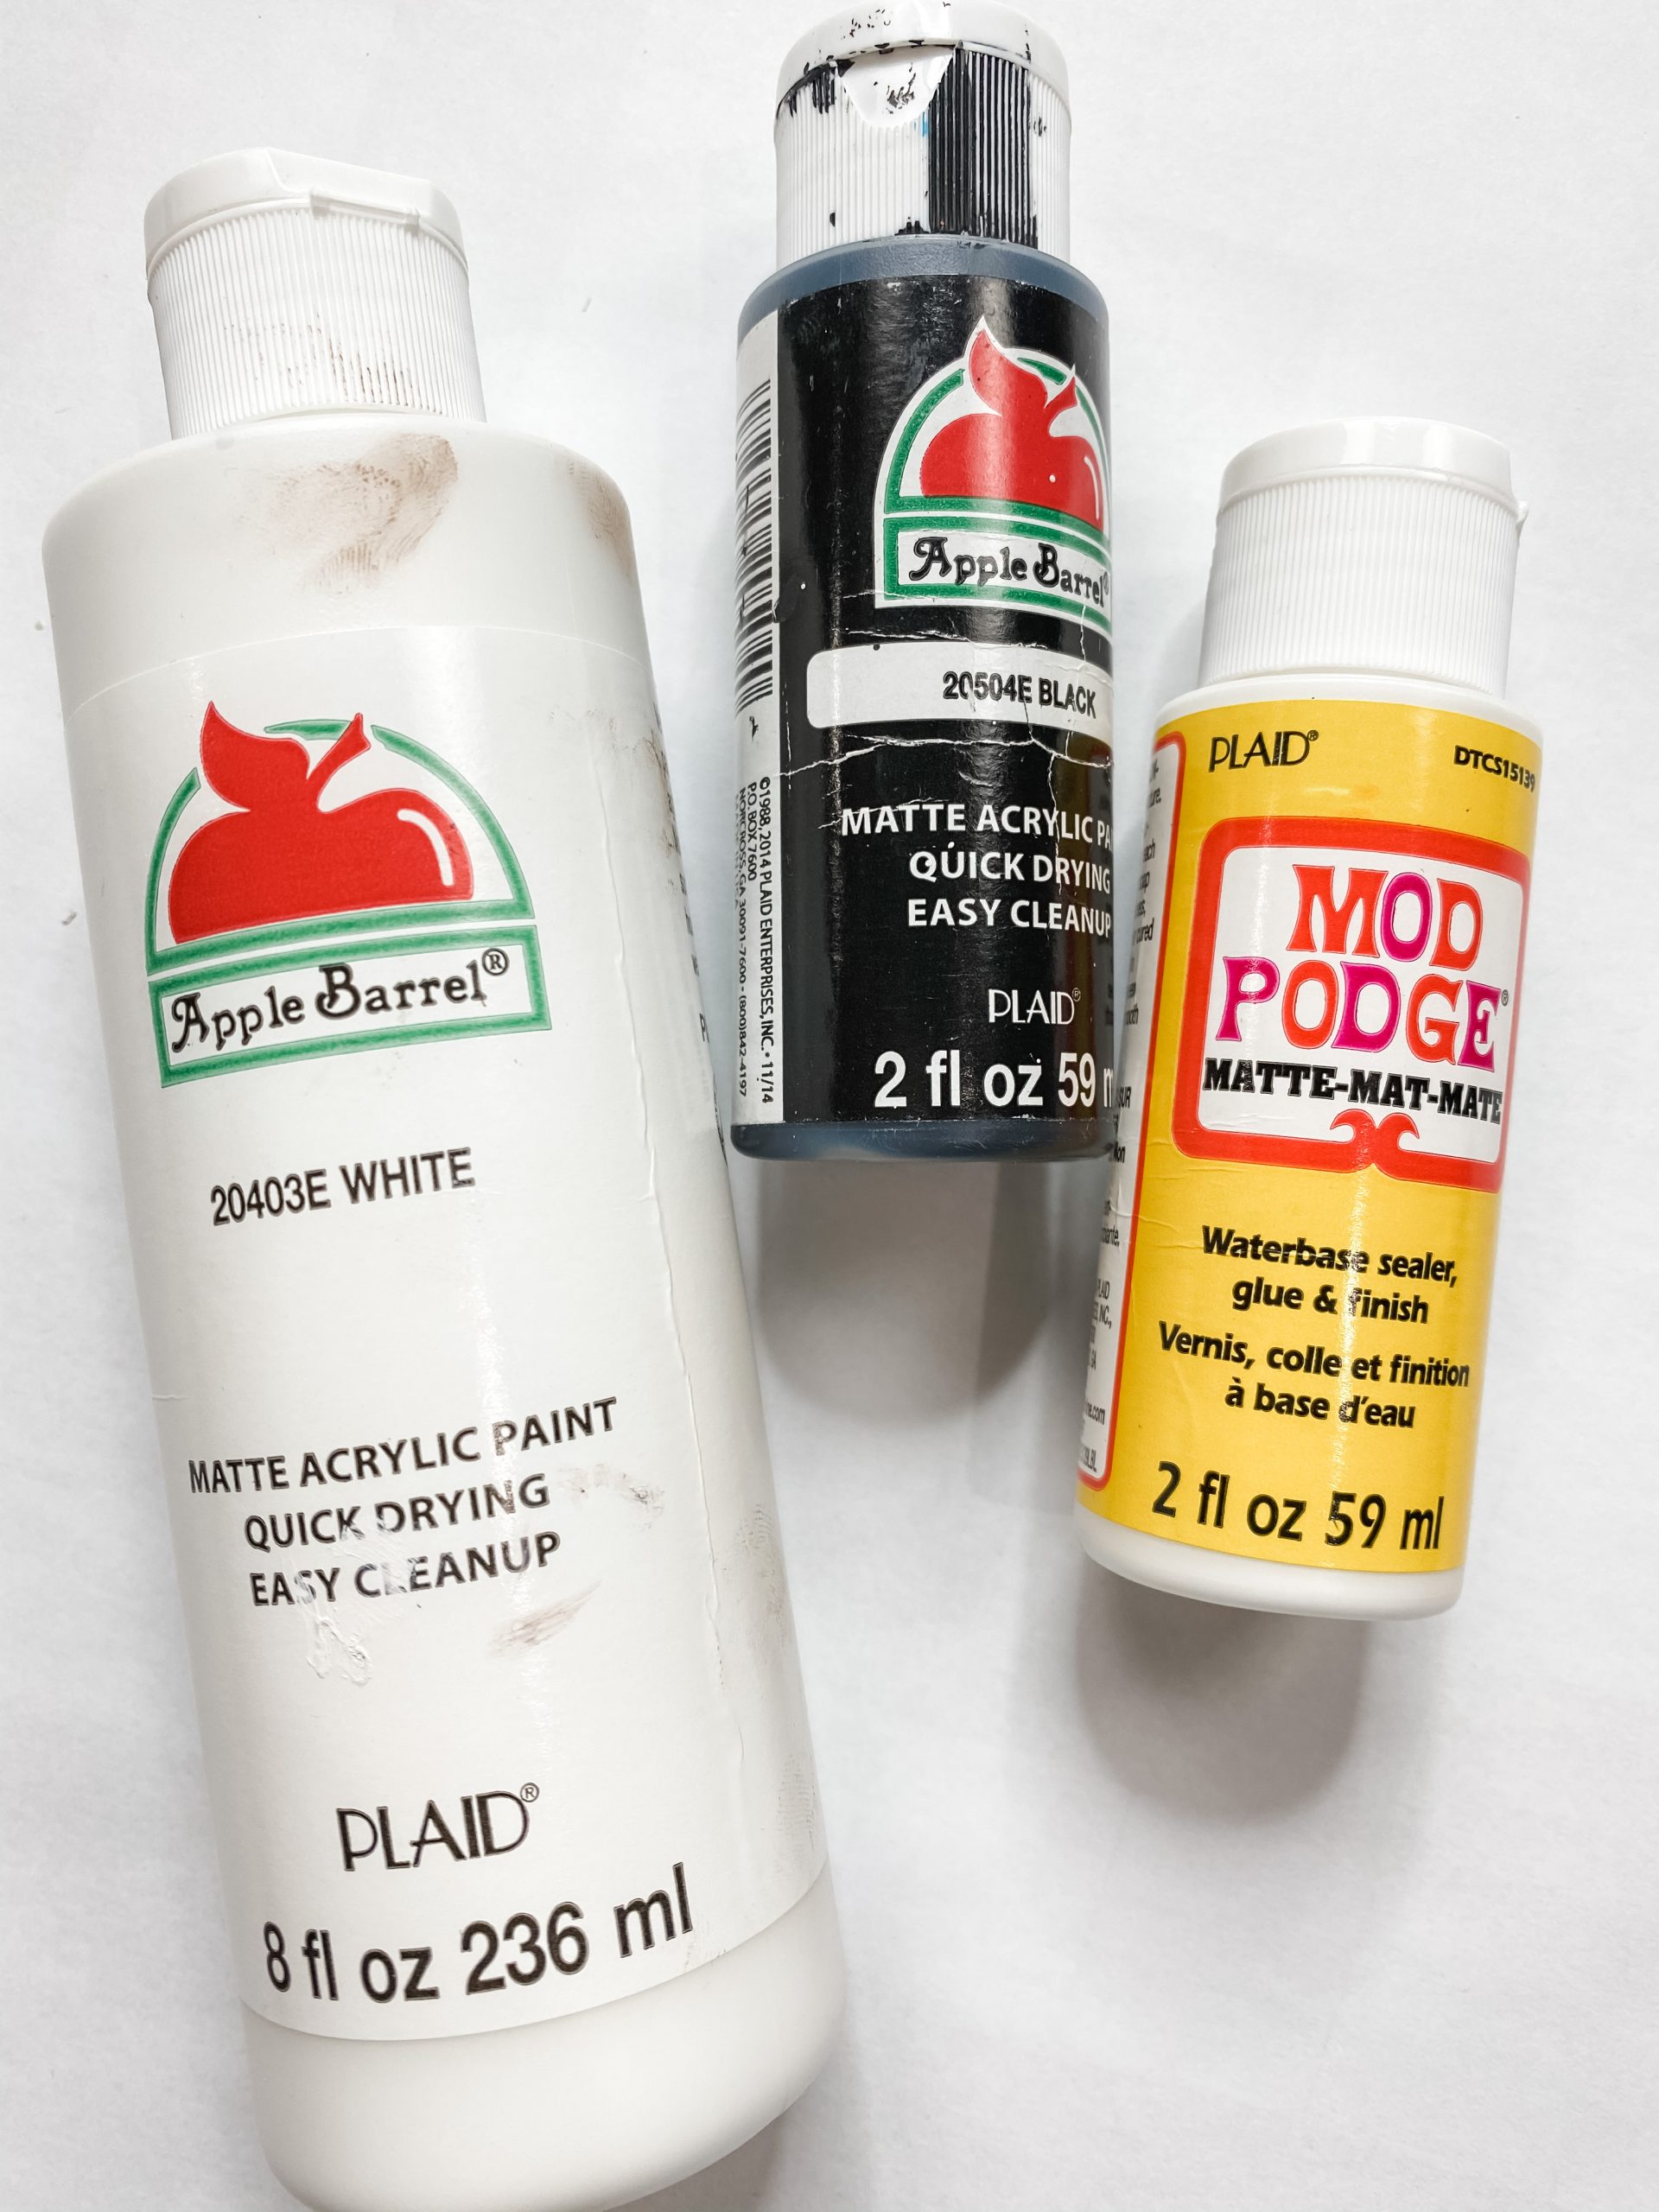
- Apple Barrel Black Acrylic Paint
- Apple Barrel White Acrylic Paint
- Mod Podge
- Hot glue gun and glue sticks
Let’s get started
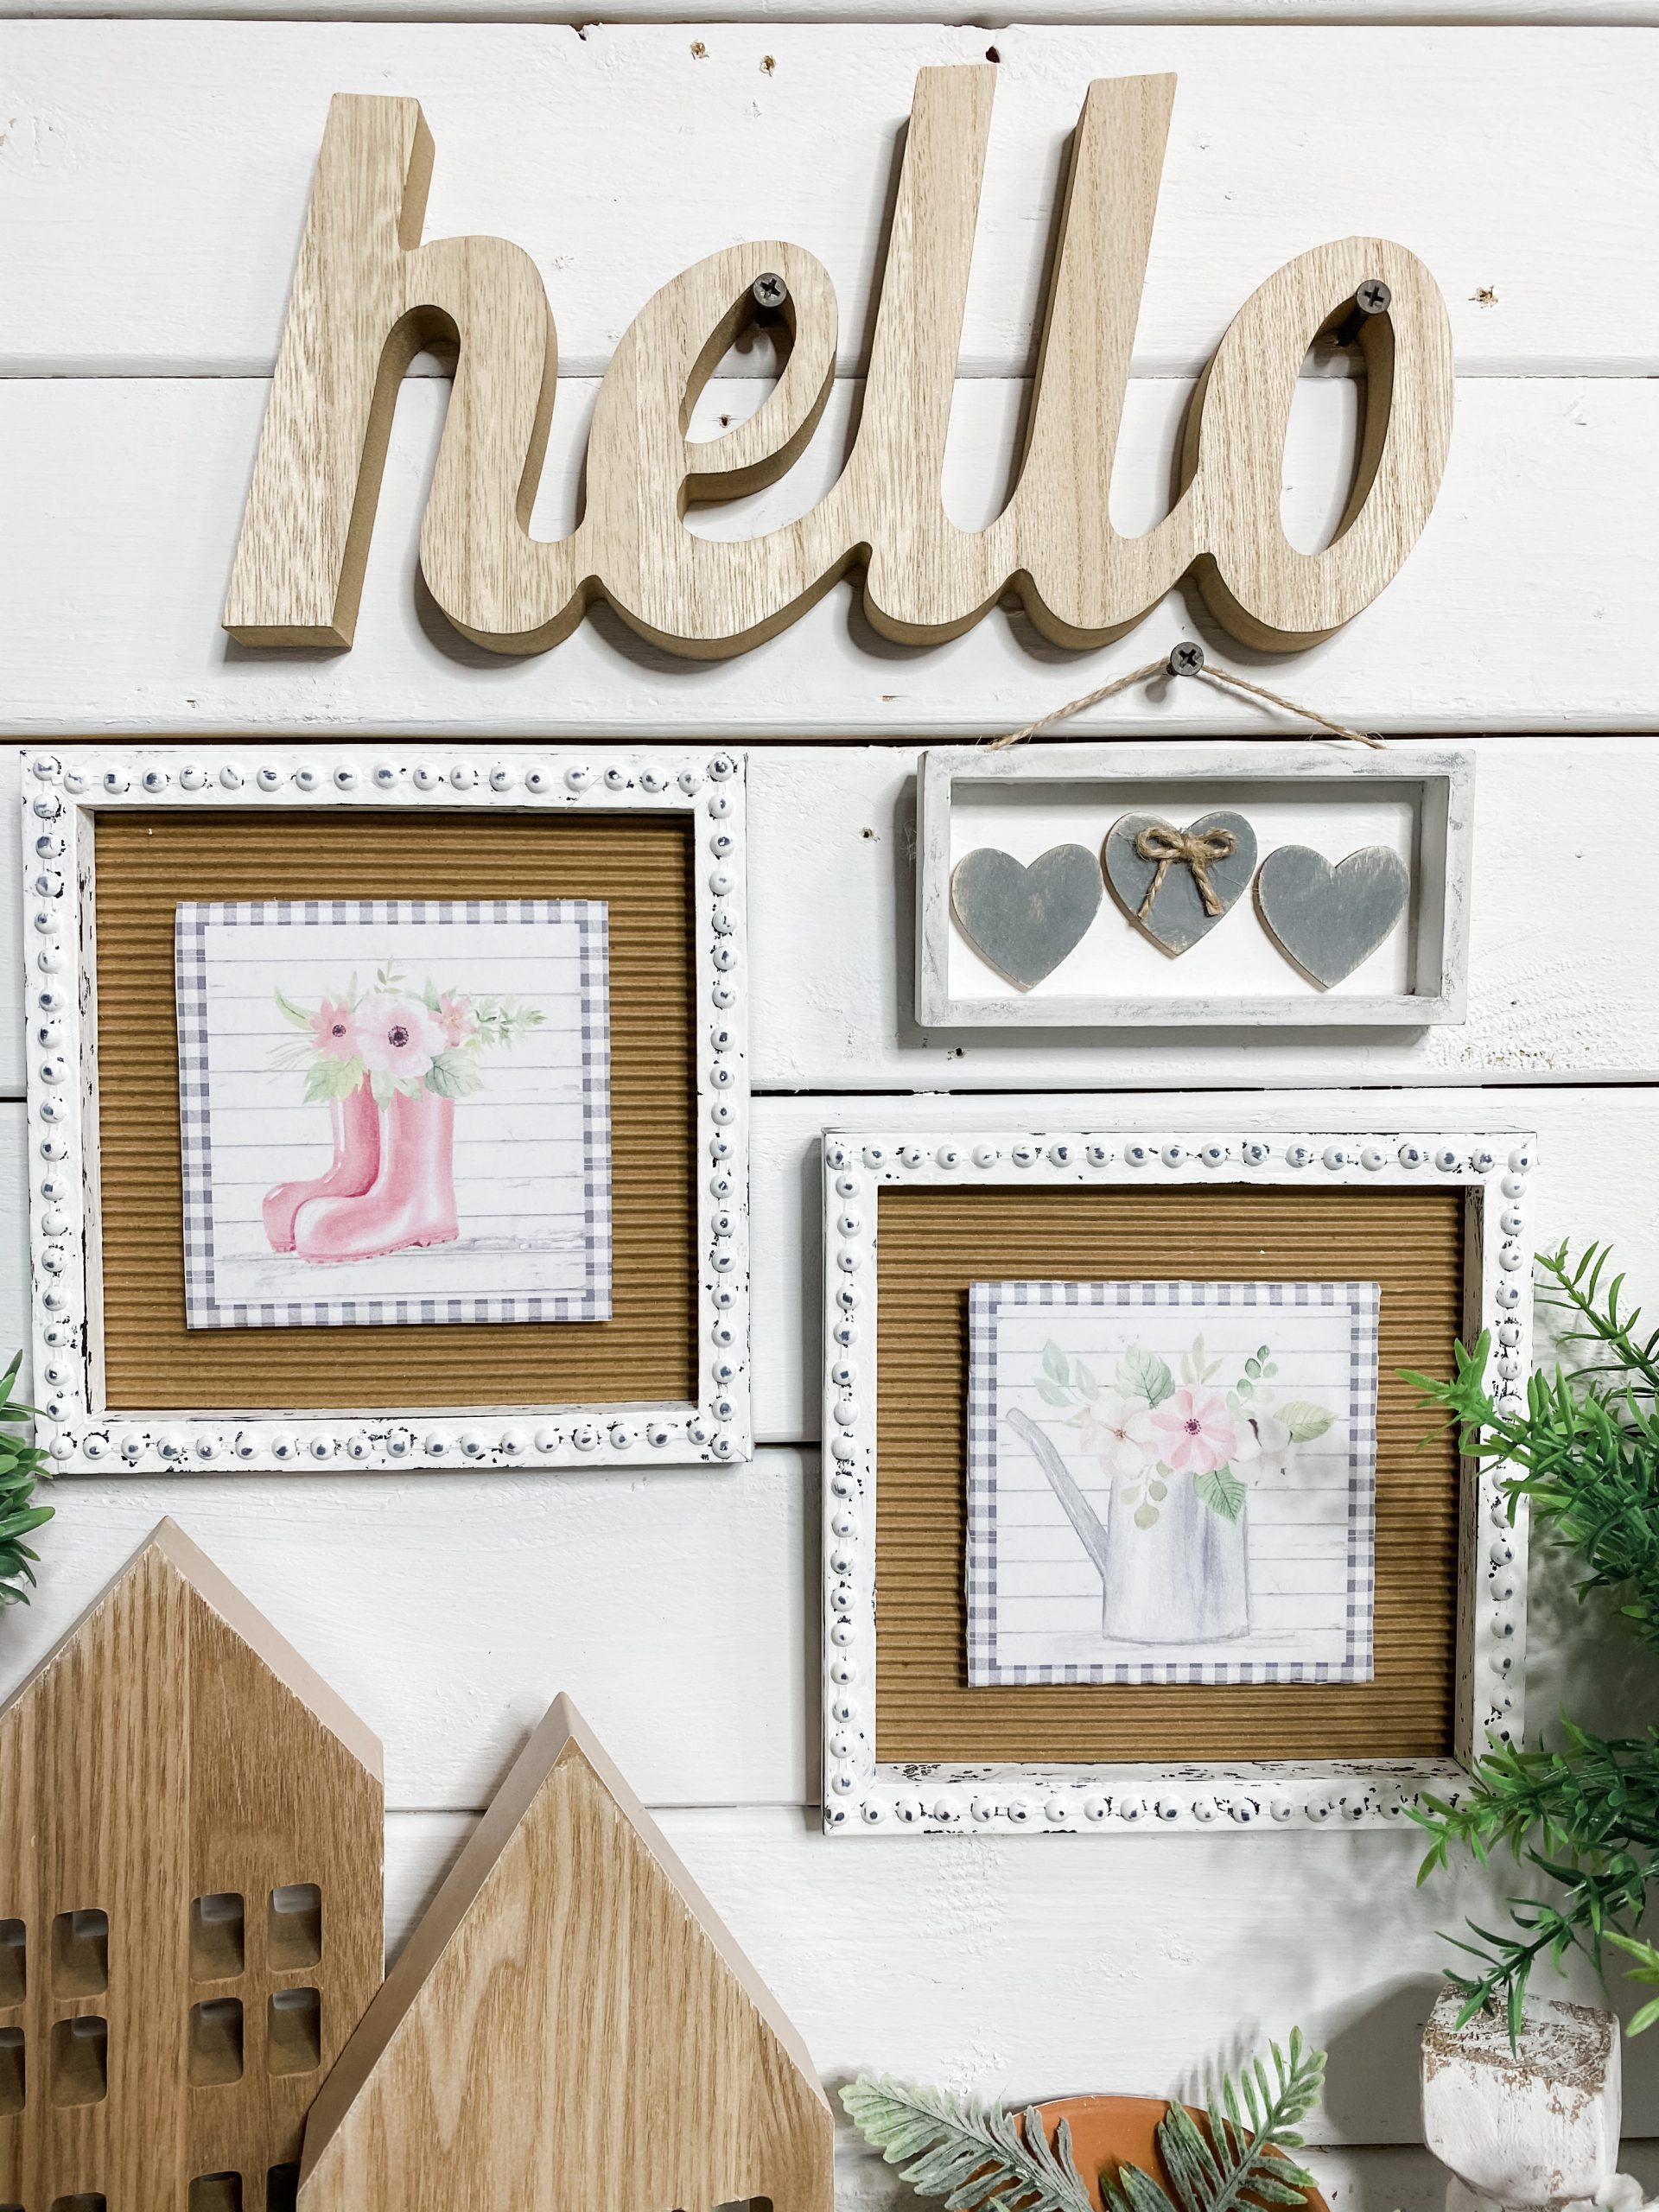
Alright, step one of making these adorable DIY spring picture frames is to take the backing out of the Dollar Tree frames and trace them onto a piece of corrugated scrapbook paper.
I made two frames, so I had to cut two squares out of the scrapbook paper. The corrugated scrapbook paper is going to be the background of the picture frames.
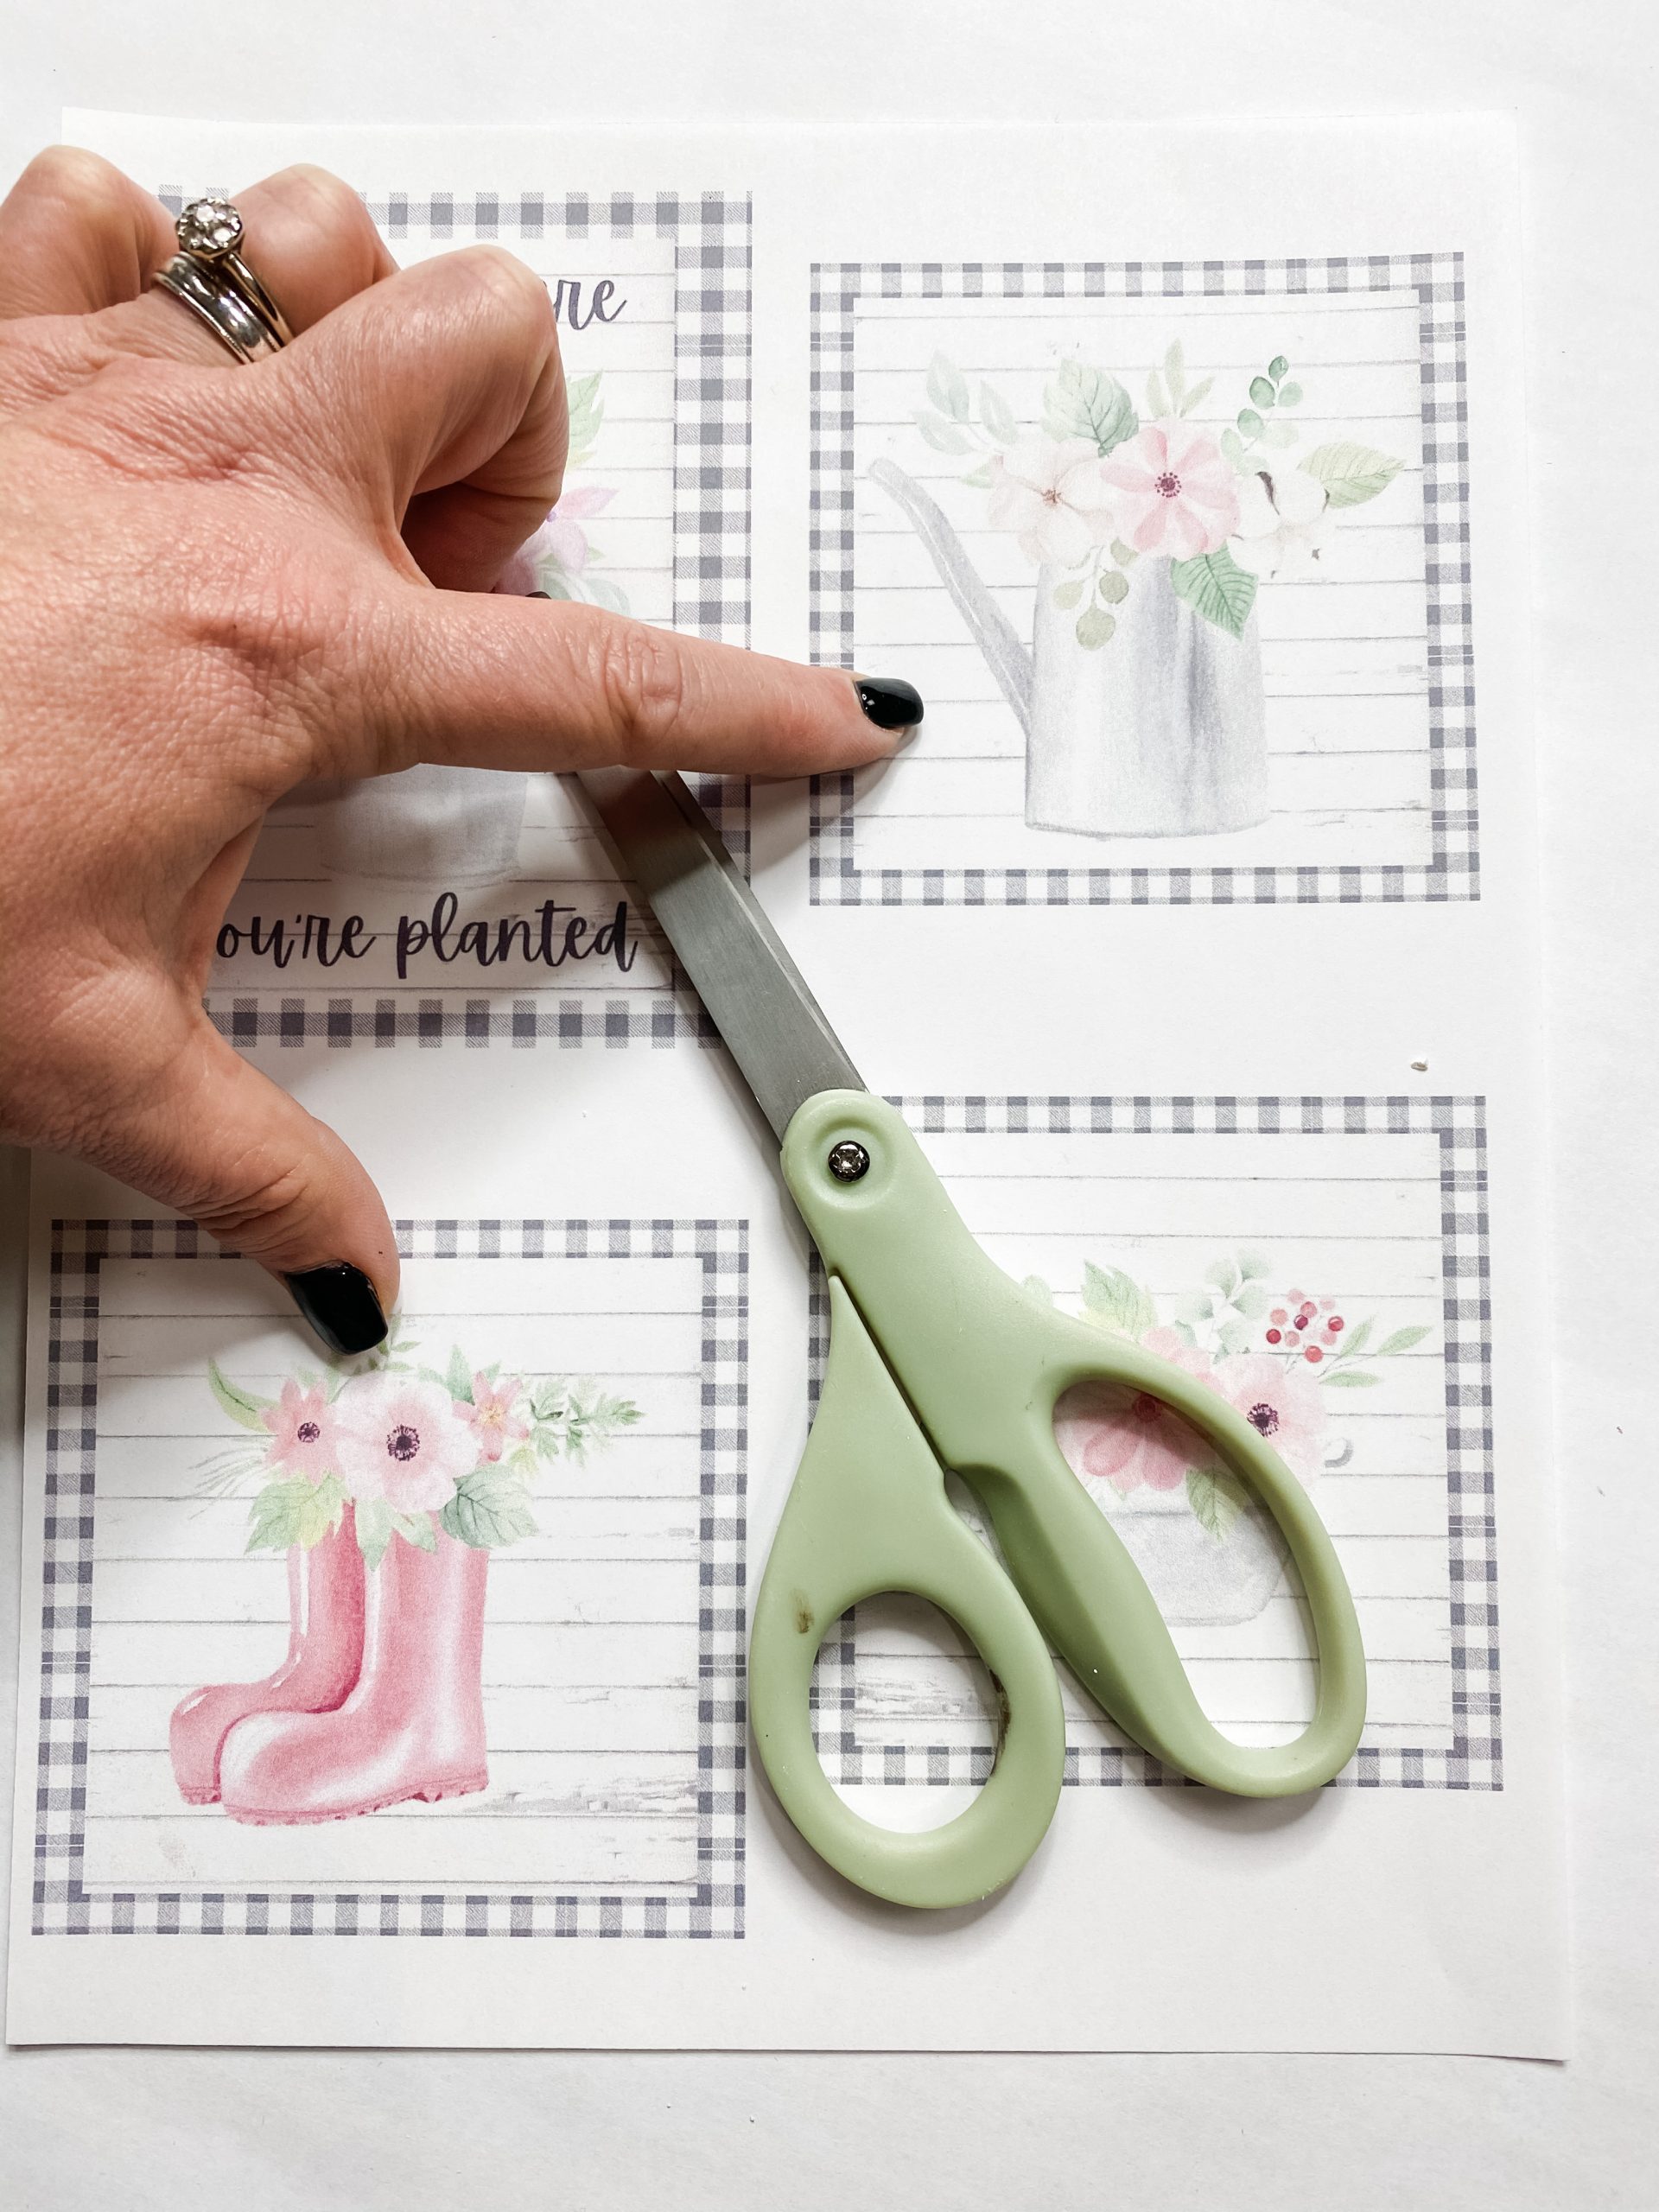
Next, you’re going to need the foam board and the spring printable designs you want to use. If you get my Spring Craft Mega Bundle, several designs are small squares and the perfect size for this project.
If you’re using a different design, make sure you print it in a small square to fit inside the Dollar Tree picture frames.
Once you have designs that are the right size, you’re going to cut them out of the paper and cut two squares out of the foam board that are the same sizes as the printable squares.
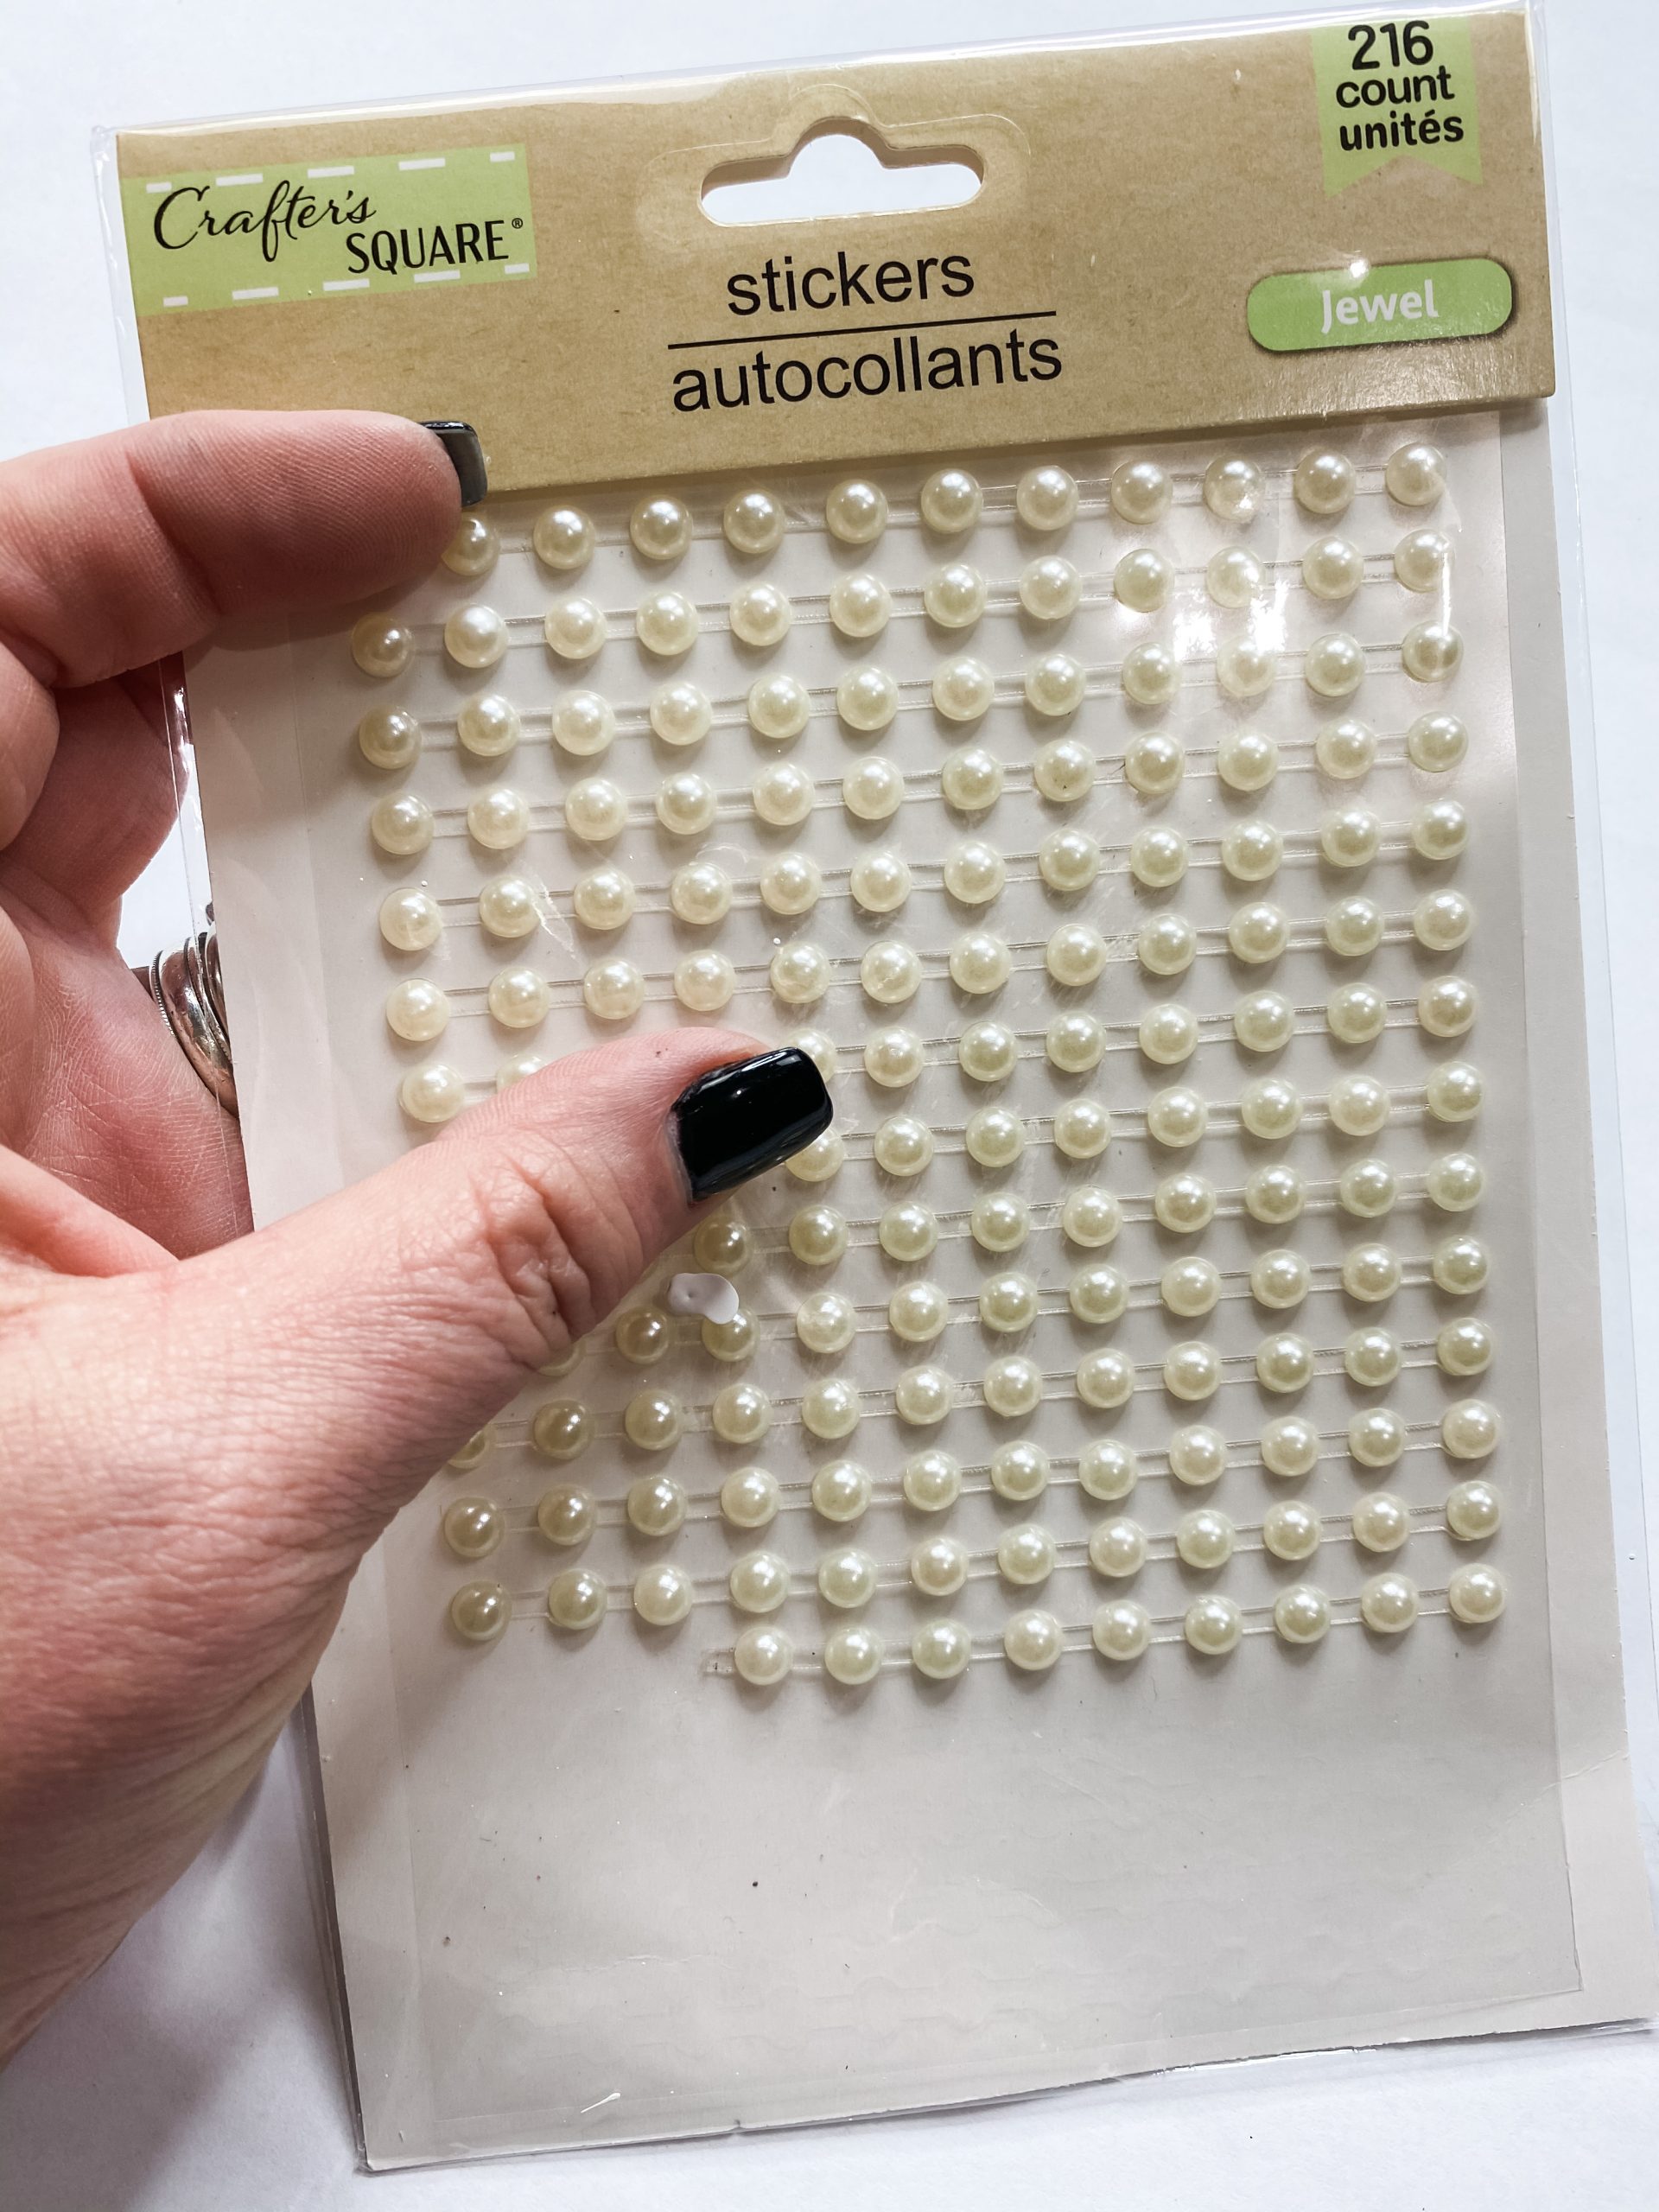
Set the foam board squares and printable designs to the side. We are going to work on decorating the Dollar Tree picture frames next. First, open your pack of Dollar Tree jewel stickers.
These come in strips of pearl-like stickers. I put them around the entire face of both frames.
After you have the stickers in place (if you have trouble getting them to stick to the frame you use, you can use hot glue to attach them), you’re going to paint them all with Apple Barrel Black Acrylic Paint.
Farmhouse Feels
Allow the black paint to dry before moving on. I used my heat gun to speed up the drying process. If you don’t have a heat gun, you can use a hairdryer on the low cool setting.
Now, get your Apple Barrel White Acrylic Paint and paint the face and sides of each of the picture frames. You don’t have to get complete coverage because we are giving the frames a distressed, farmhouse finish.
To add to the distressed finish of your Dollar Tree picture frames, use a wet wipe and lightly wipe over the jewel stickers and the edge.
The wet wipe will help pull up some of the white paint and allow the black to peek through. I used a sanding sponge on the sides of the frame to get a more distressed look.
The sanding sponge can be too rough on the stickers, so that is why I used the wet wipe on those instead of a sanding sponge.
Once the paint is dried and you are happy with the distressed finish, hot glue the corrugated scrapbook paper onto the backing of each picture frame and put them back into the frames.
How to decoupage
You can set the picture frames to the side for now. We are going to decoupage the spring printable designs onto the foam board squares we cut at the beginning of this DIY project.
To do this, apply a coat of Mod Podge to each foam square and carefully place the pictures.
All that is left to do is attach the decoupaged foam squared onto the picture frames. I put hot glue on the back of the foam squares and pressed them down onto the center of each picture frame.
The picture frames I used already had hangers on the back of them, so I didn’t have to add one. If yours don’t have one, you can hot glue craft sticks to the back or use jute twine.
I hope you enjoyed this DIY Farmhouse Decor with Spring Printables as much as I did and decide to make one for yourself! I would love to see how yours turns out!
You should totally join my FREE Facebook group called On A Budget Crafts! It is a judgment-free community for DIY crafters to show off their projects and ideas.
If you loved this DIY you might also like this Rustic Dollar Tree DIY 3 Tiered Shelf!
Thanks for stopping by! XOXO Amber
You can also shop my ENTIRE AMAZON Favorites shop just click here! It’s packed full of all the things I use and love. Here is the supply list I highly recommend every creative have on hand!!
Would you also pin my blog for later and get on my newsletter alerts? I would love to have you join my #craftycrew.
Inspired? Leave me a comment below! I love hearing from my readers!


Join my free “ON A BUDGET CRAFTS” Facebook group!

I love your crafts. I will join you on the other page. But I work afternoons so I can see the replay. Thank you for everything