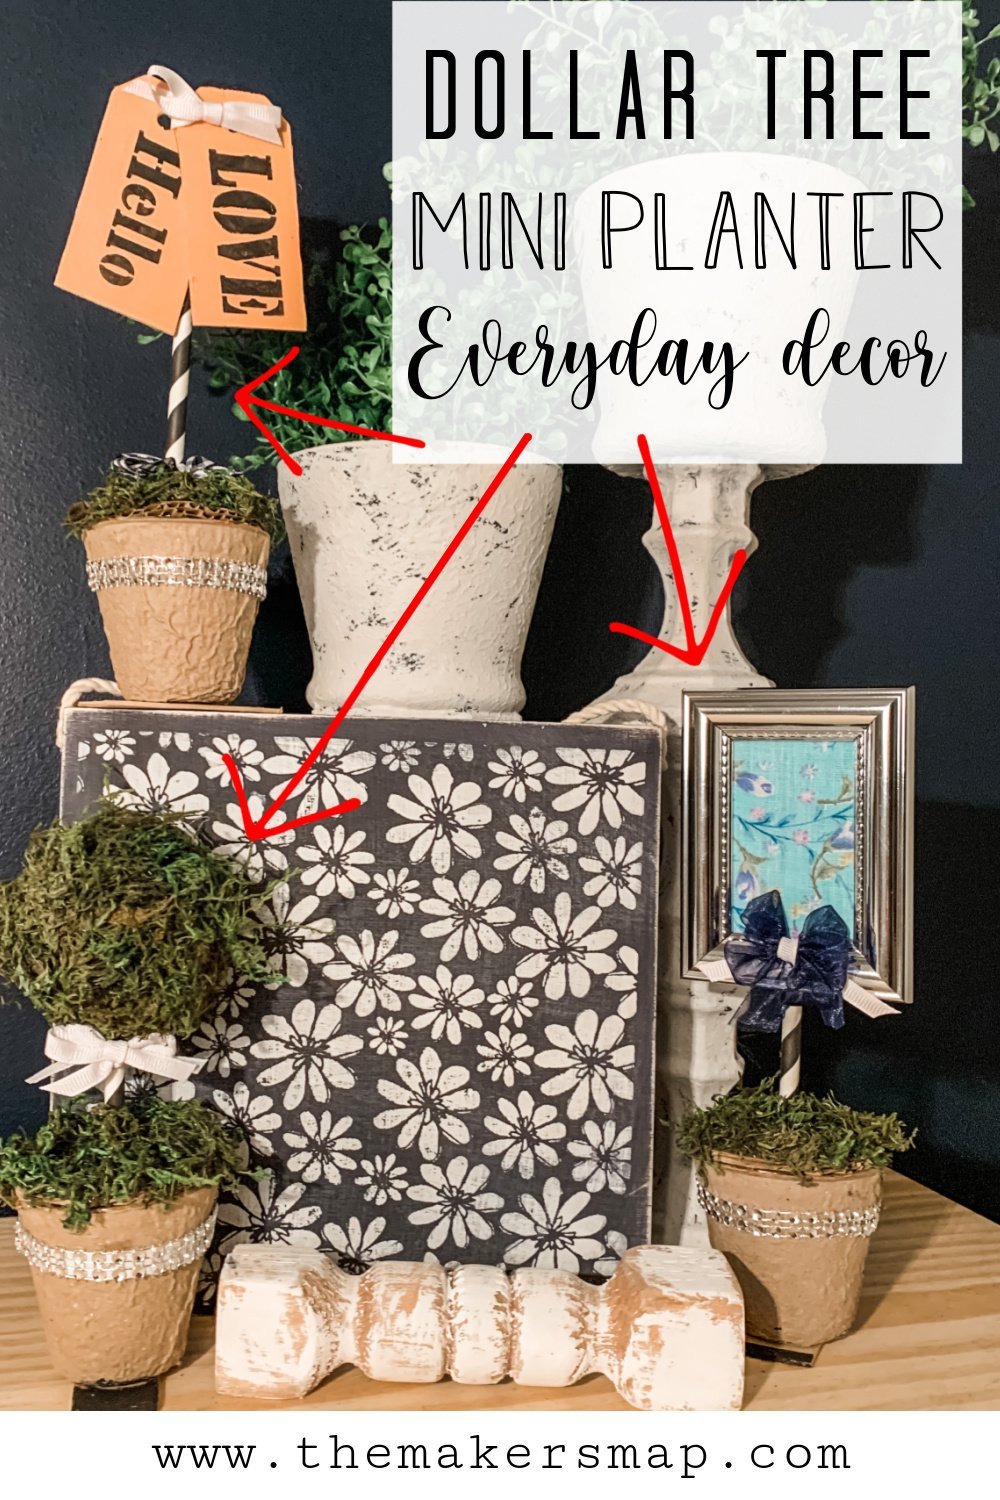
Dollar Tree Mini Planter DIY Everyday Decor
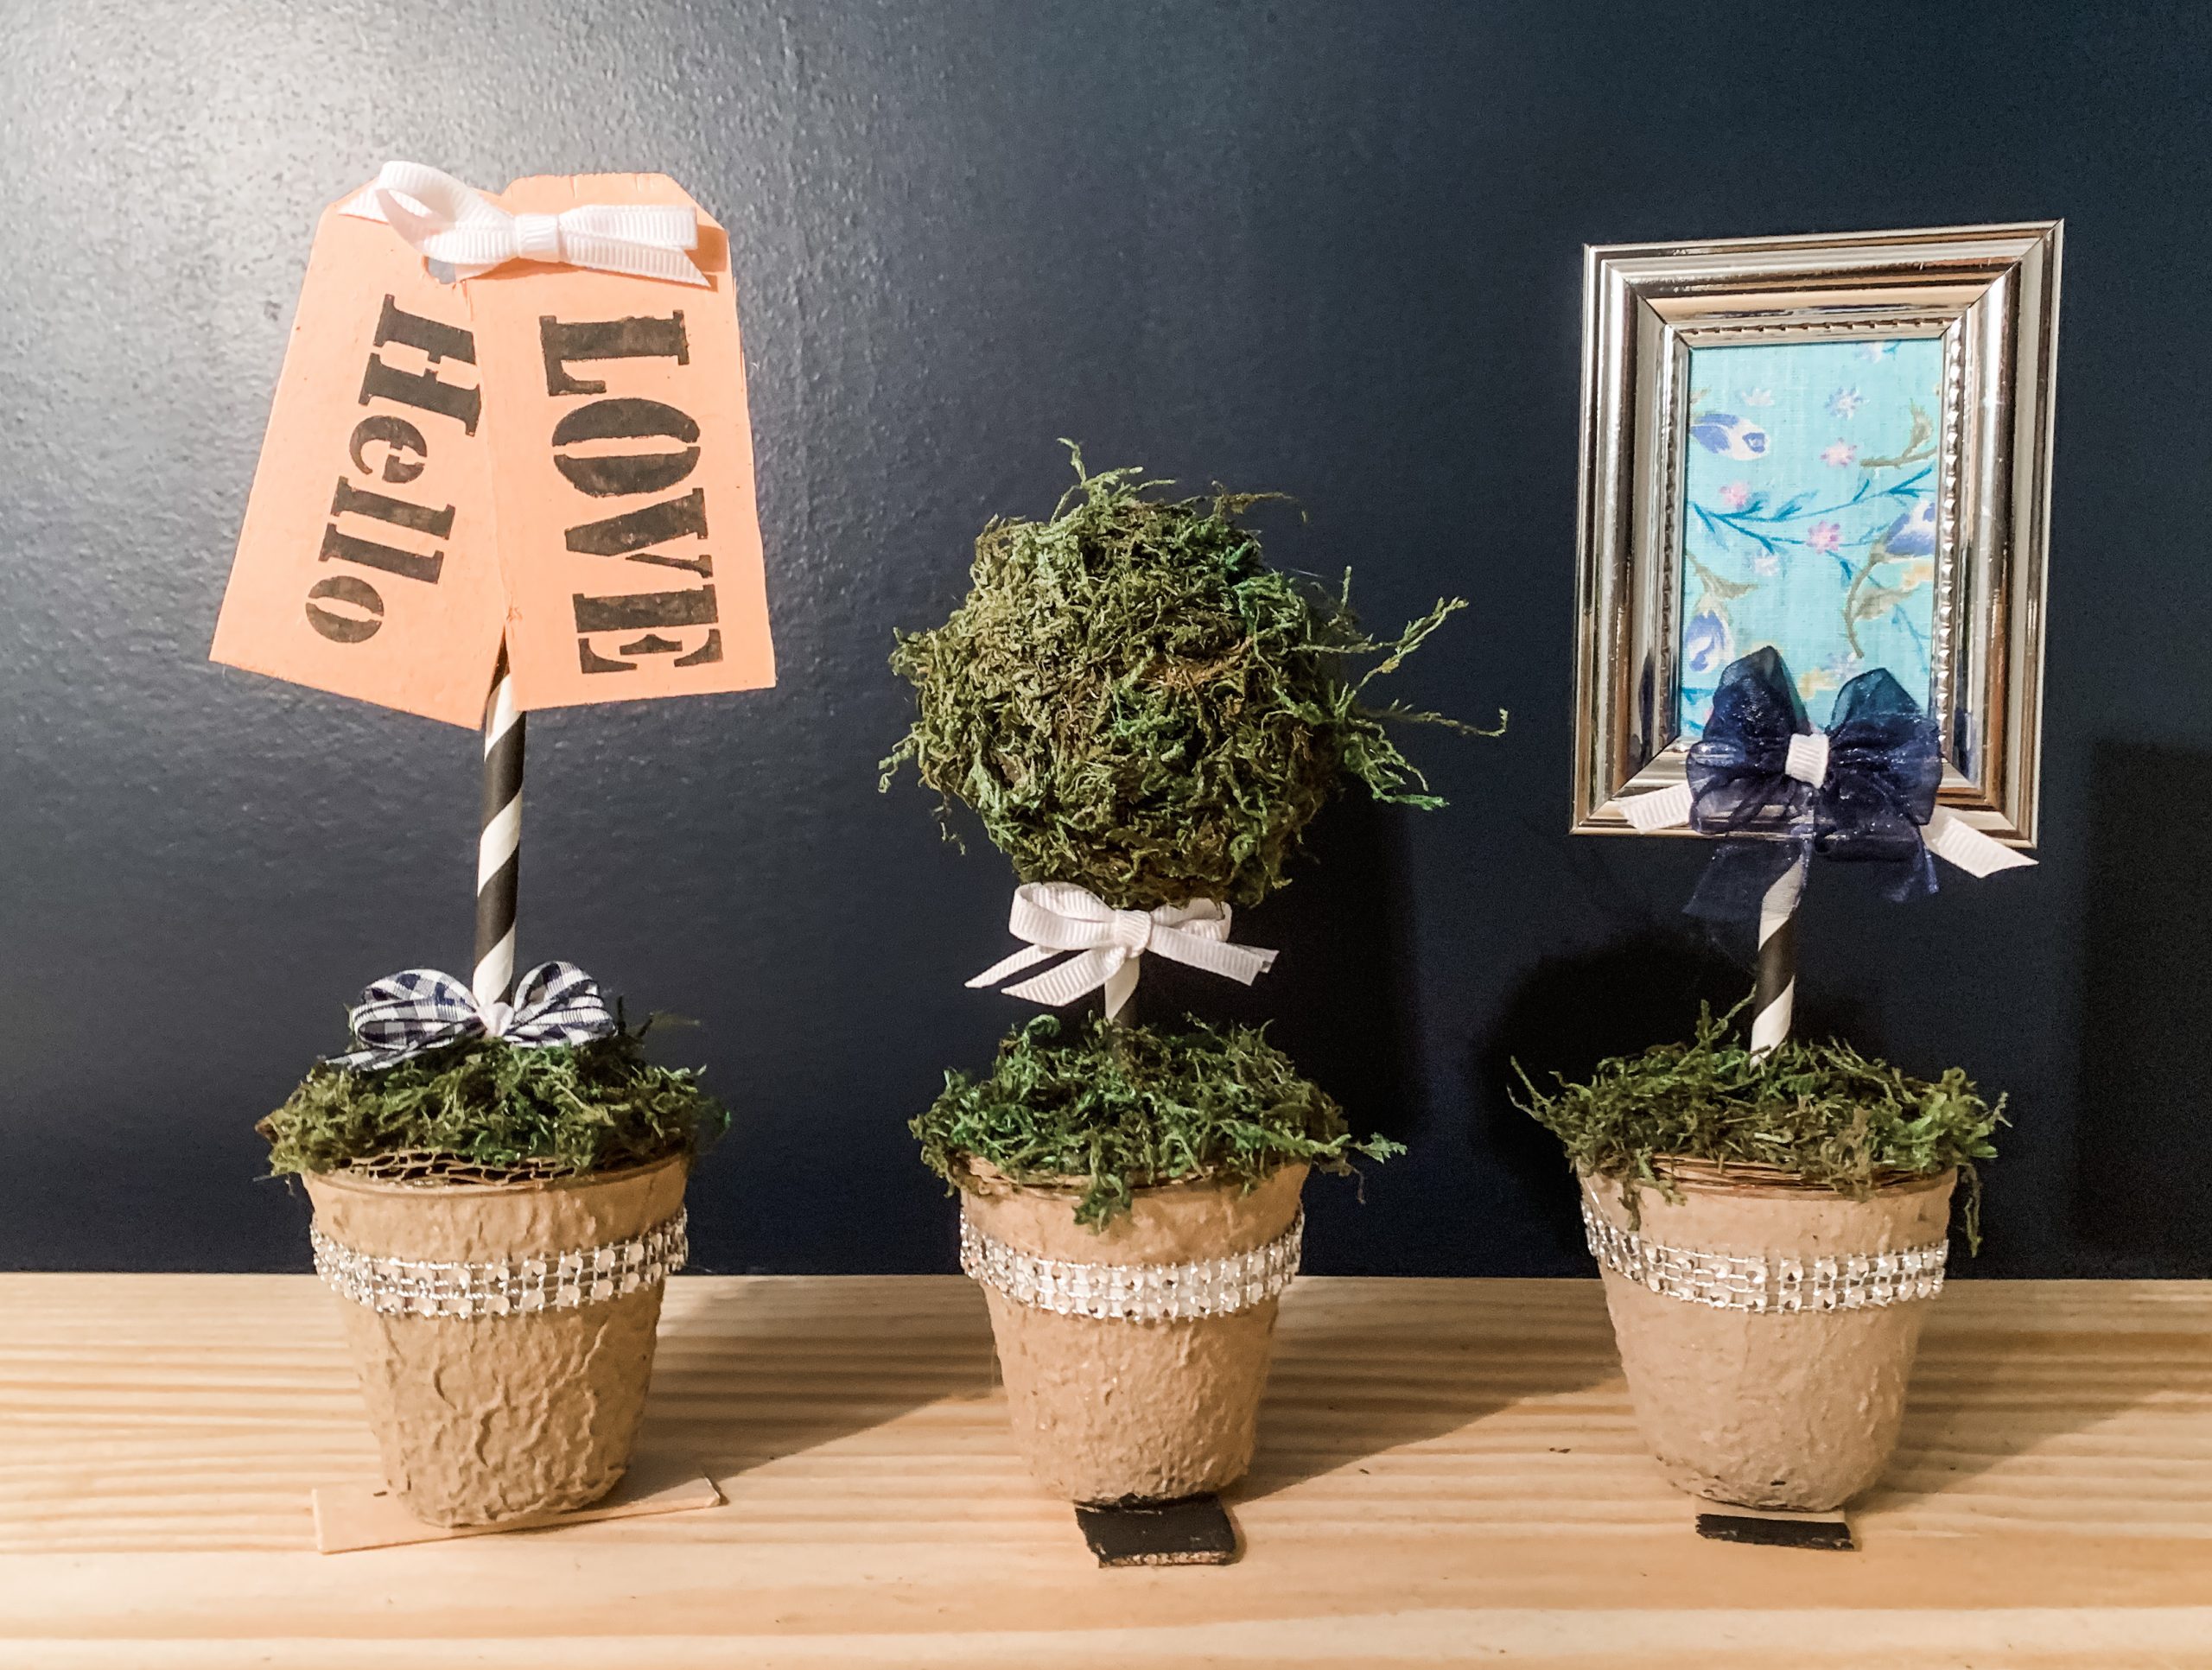
Oh my goodness! These Dollar Tree Mini Planter DIY Everyday Decor are so stinking cute! As y’all know, I am an avid Pinterest-user, and I kept seeing adorable mini planter DIYs, so I decided to make some for myself!
These are super easy to make, and very affordable since most of the supplies come from Dollar Tree!
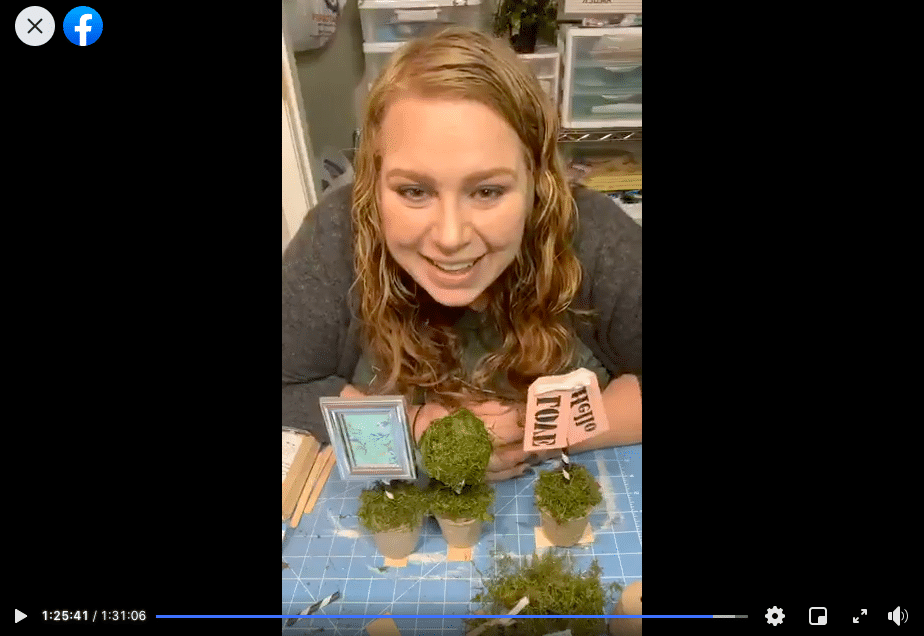
Watch the replay
I made these cute little planters a while ago, so the LIVE replay may look a bit different. The Facebook LIVE replay can still be a great resource for you if you want to make these simple DIY planters yourself!
For this project, I will be using these items but you can substitute where you want.
“As an Amazon Associate, I earn from qualifying purchases.”
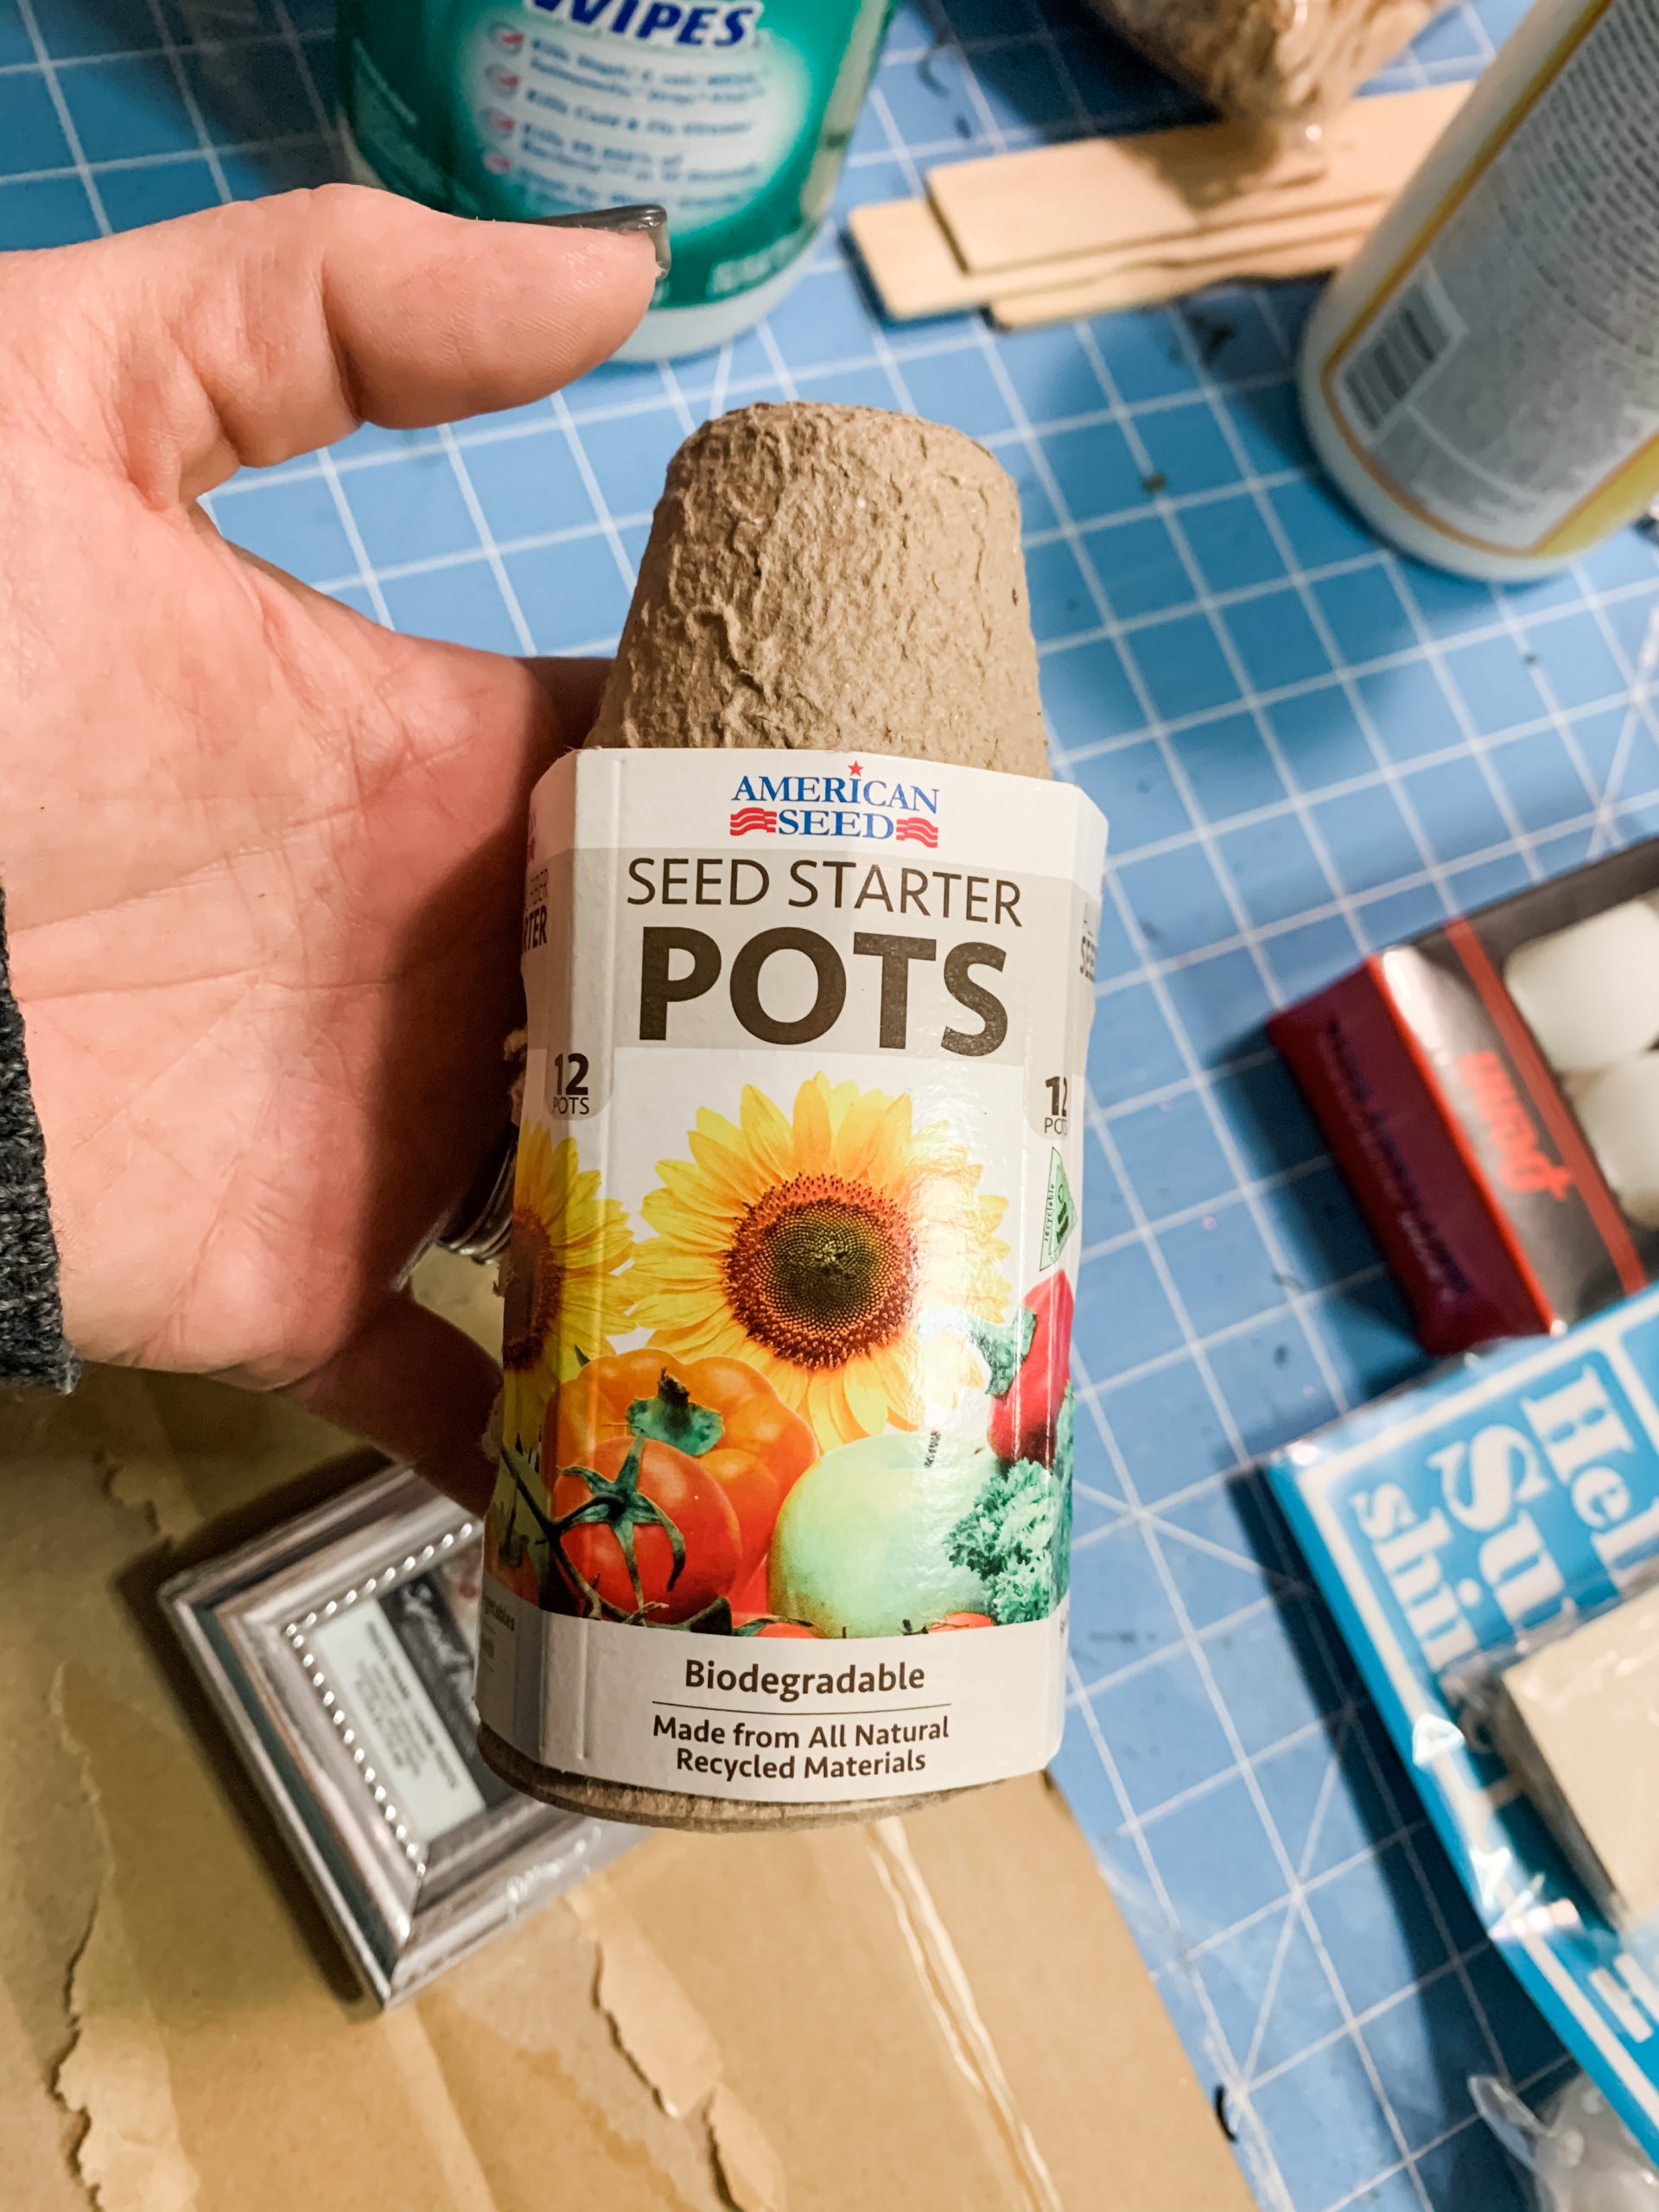
- Dollar Tree Seed Starter Pots
- Dollar Tree Jewel Ribbon
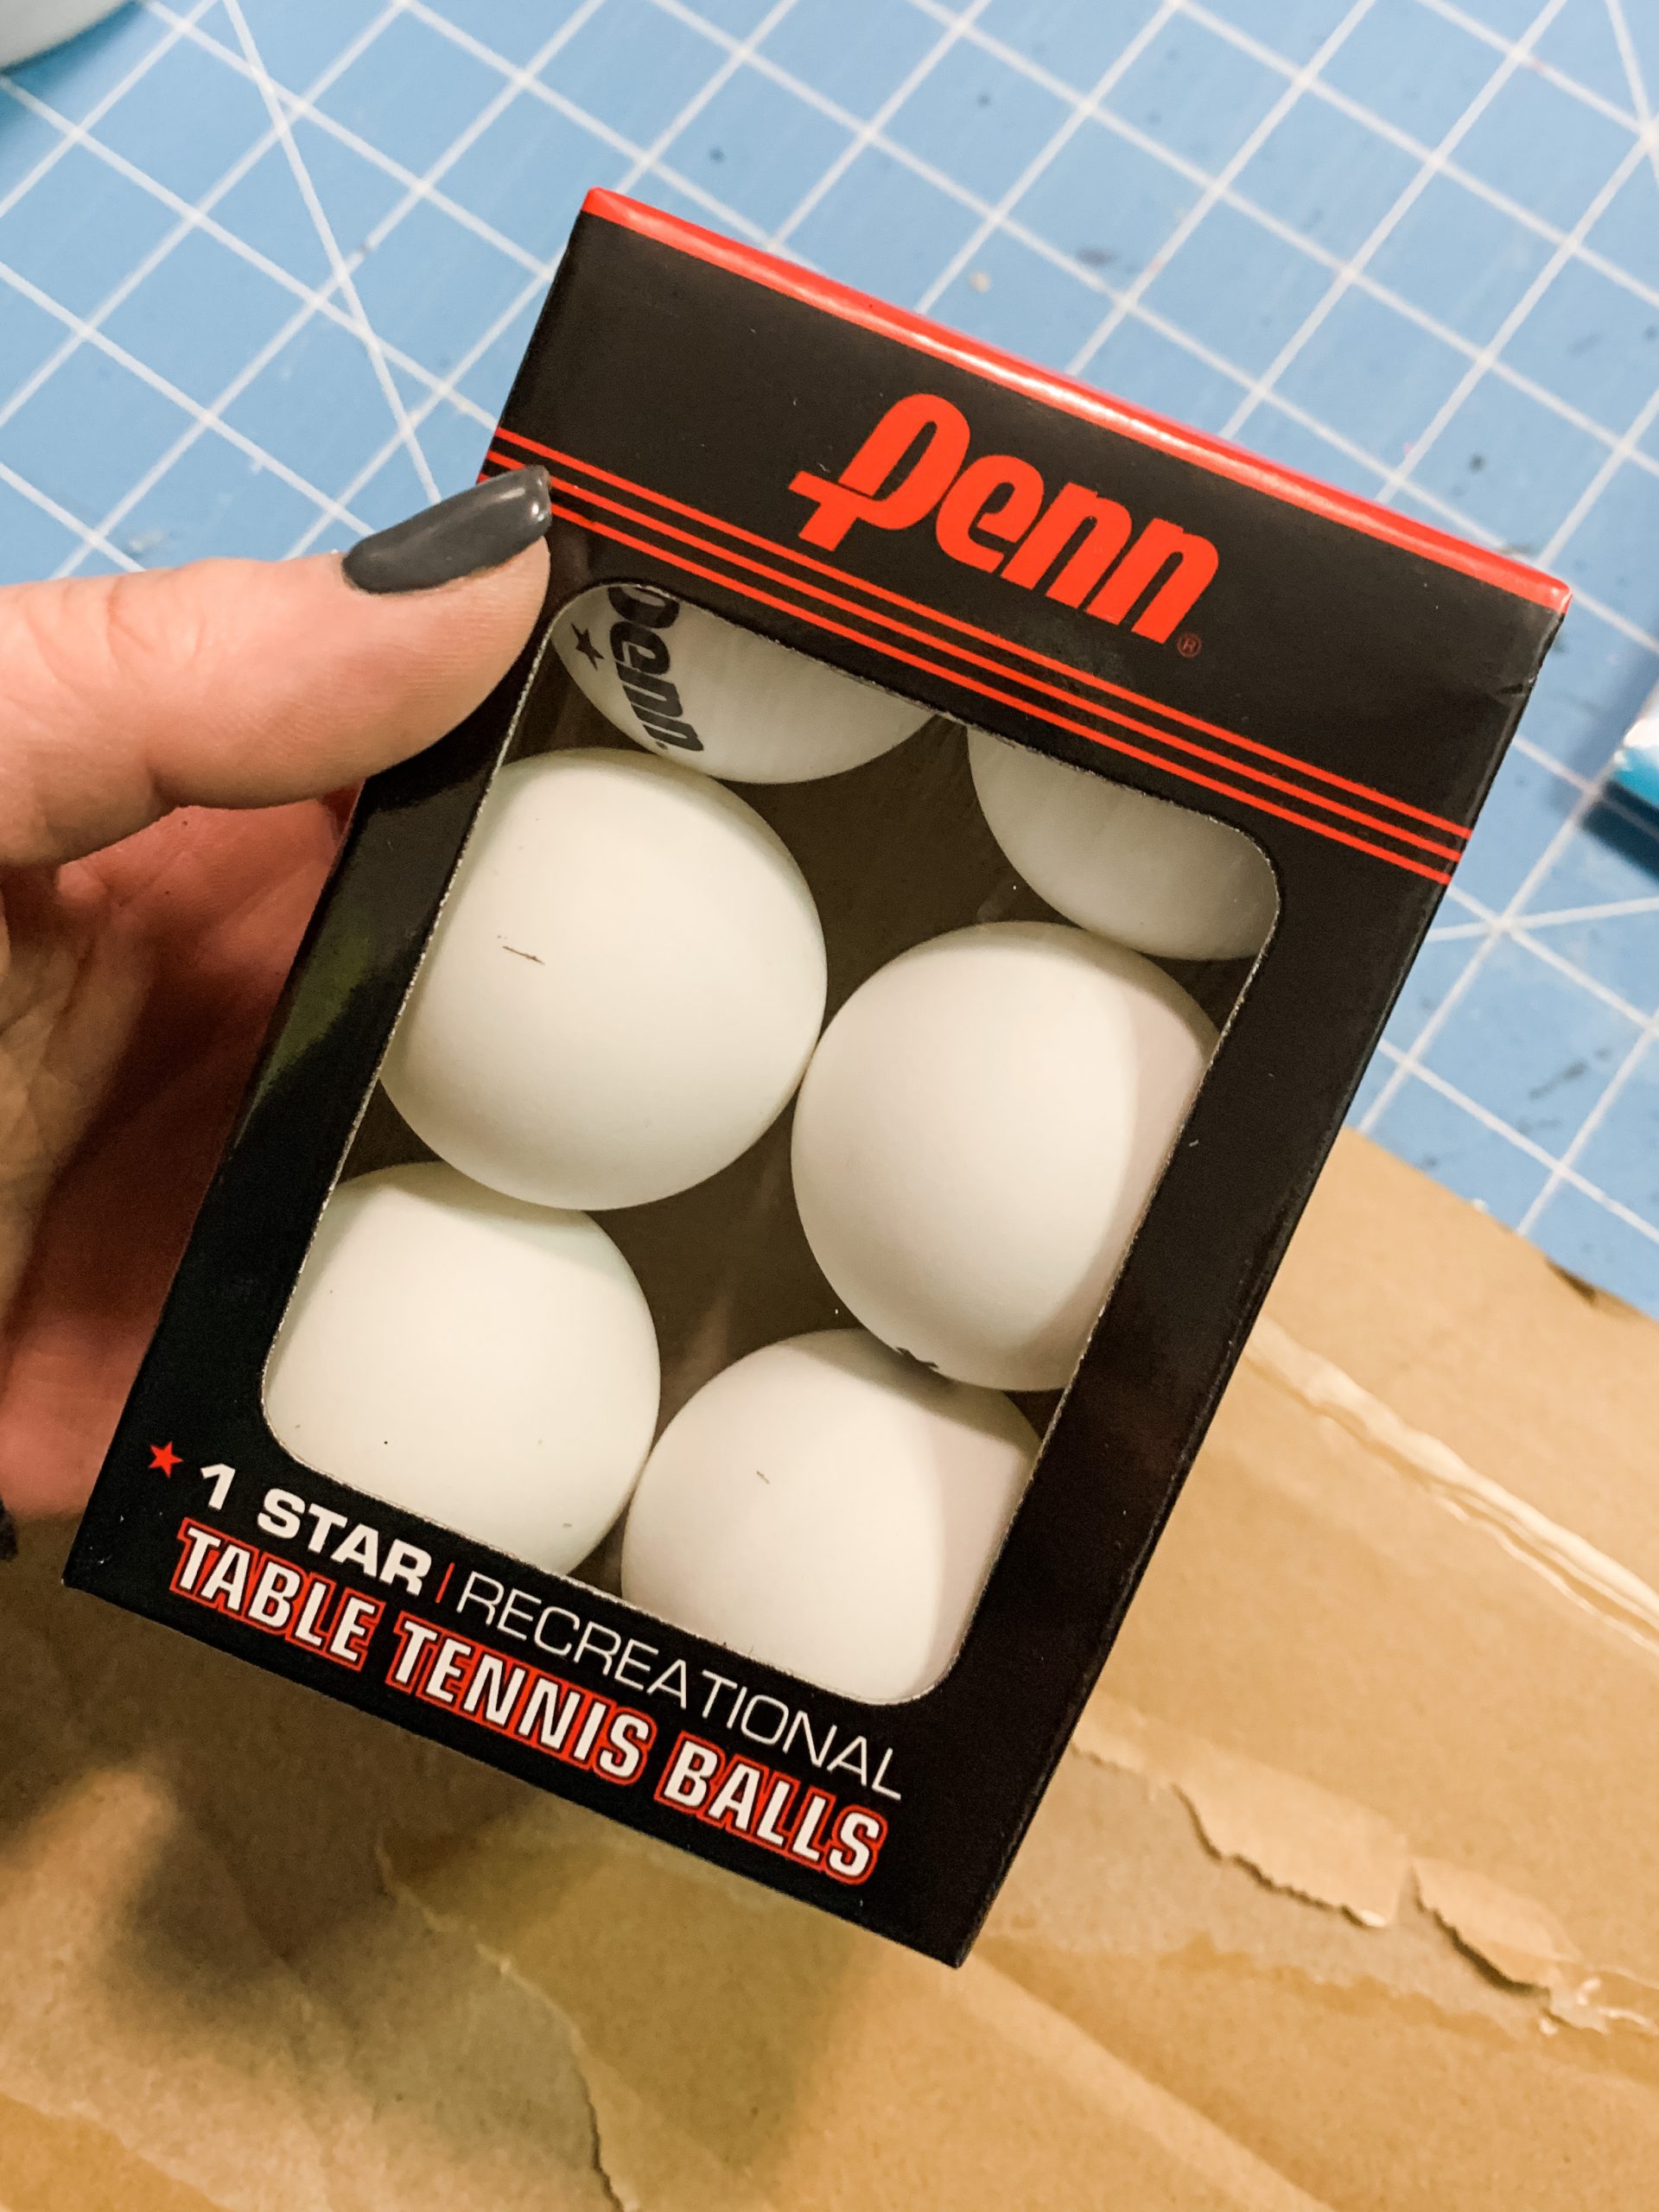
- Plastic Practice Golf Ball OR Table Tennis Ball (Ping Pong Ball)
- Dollar Tree White Ribbon
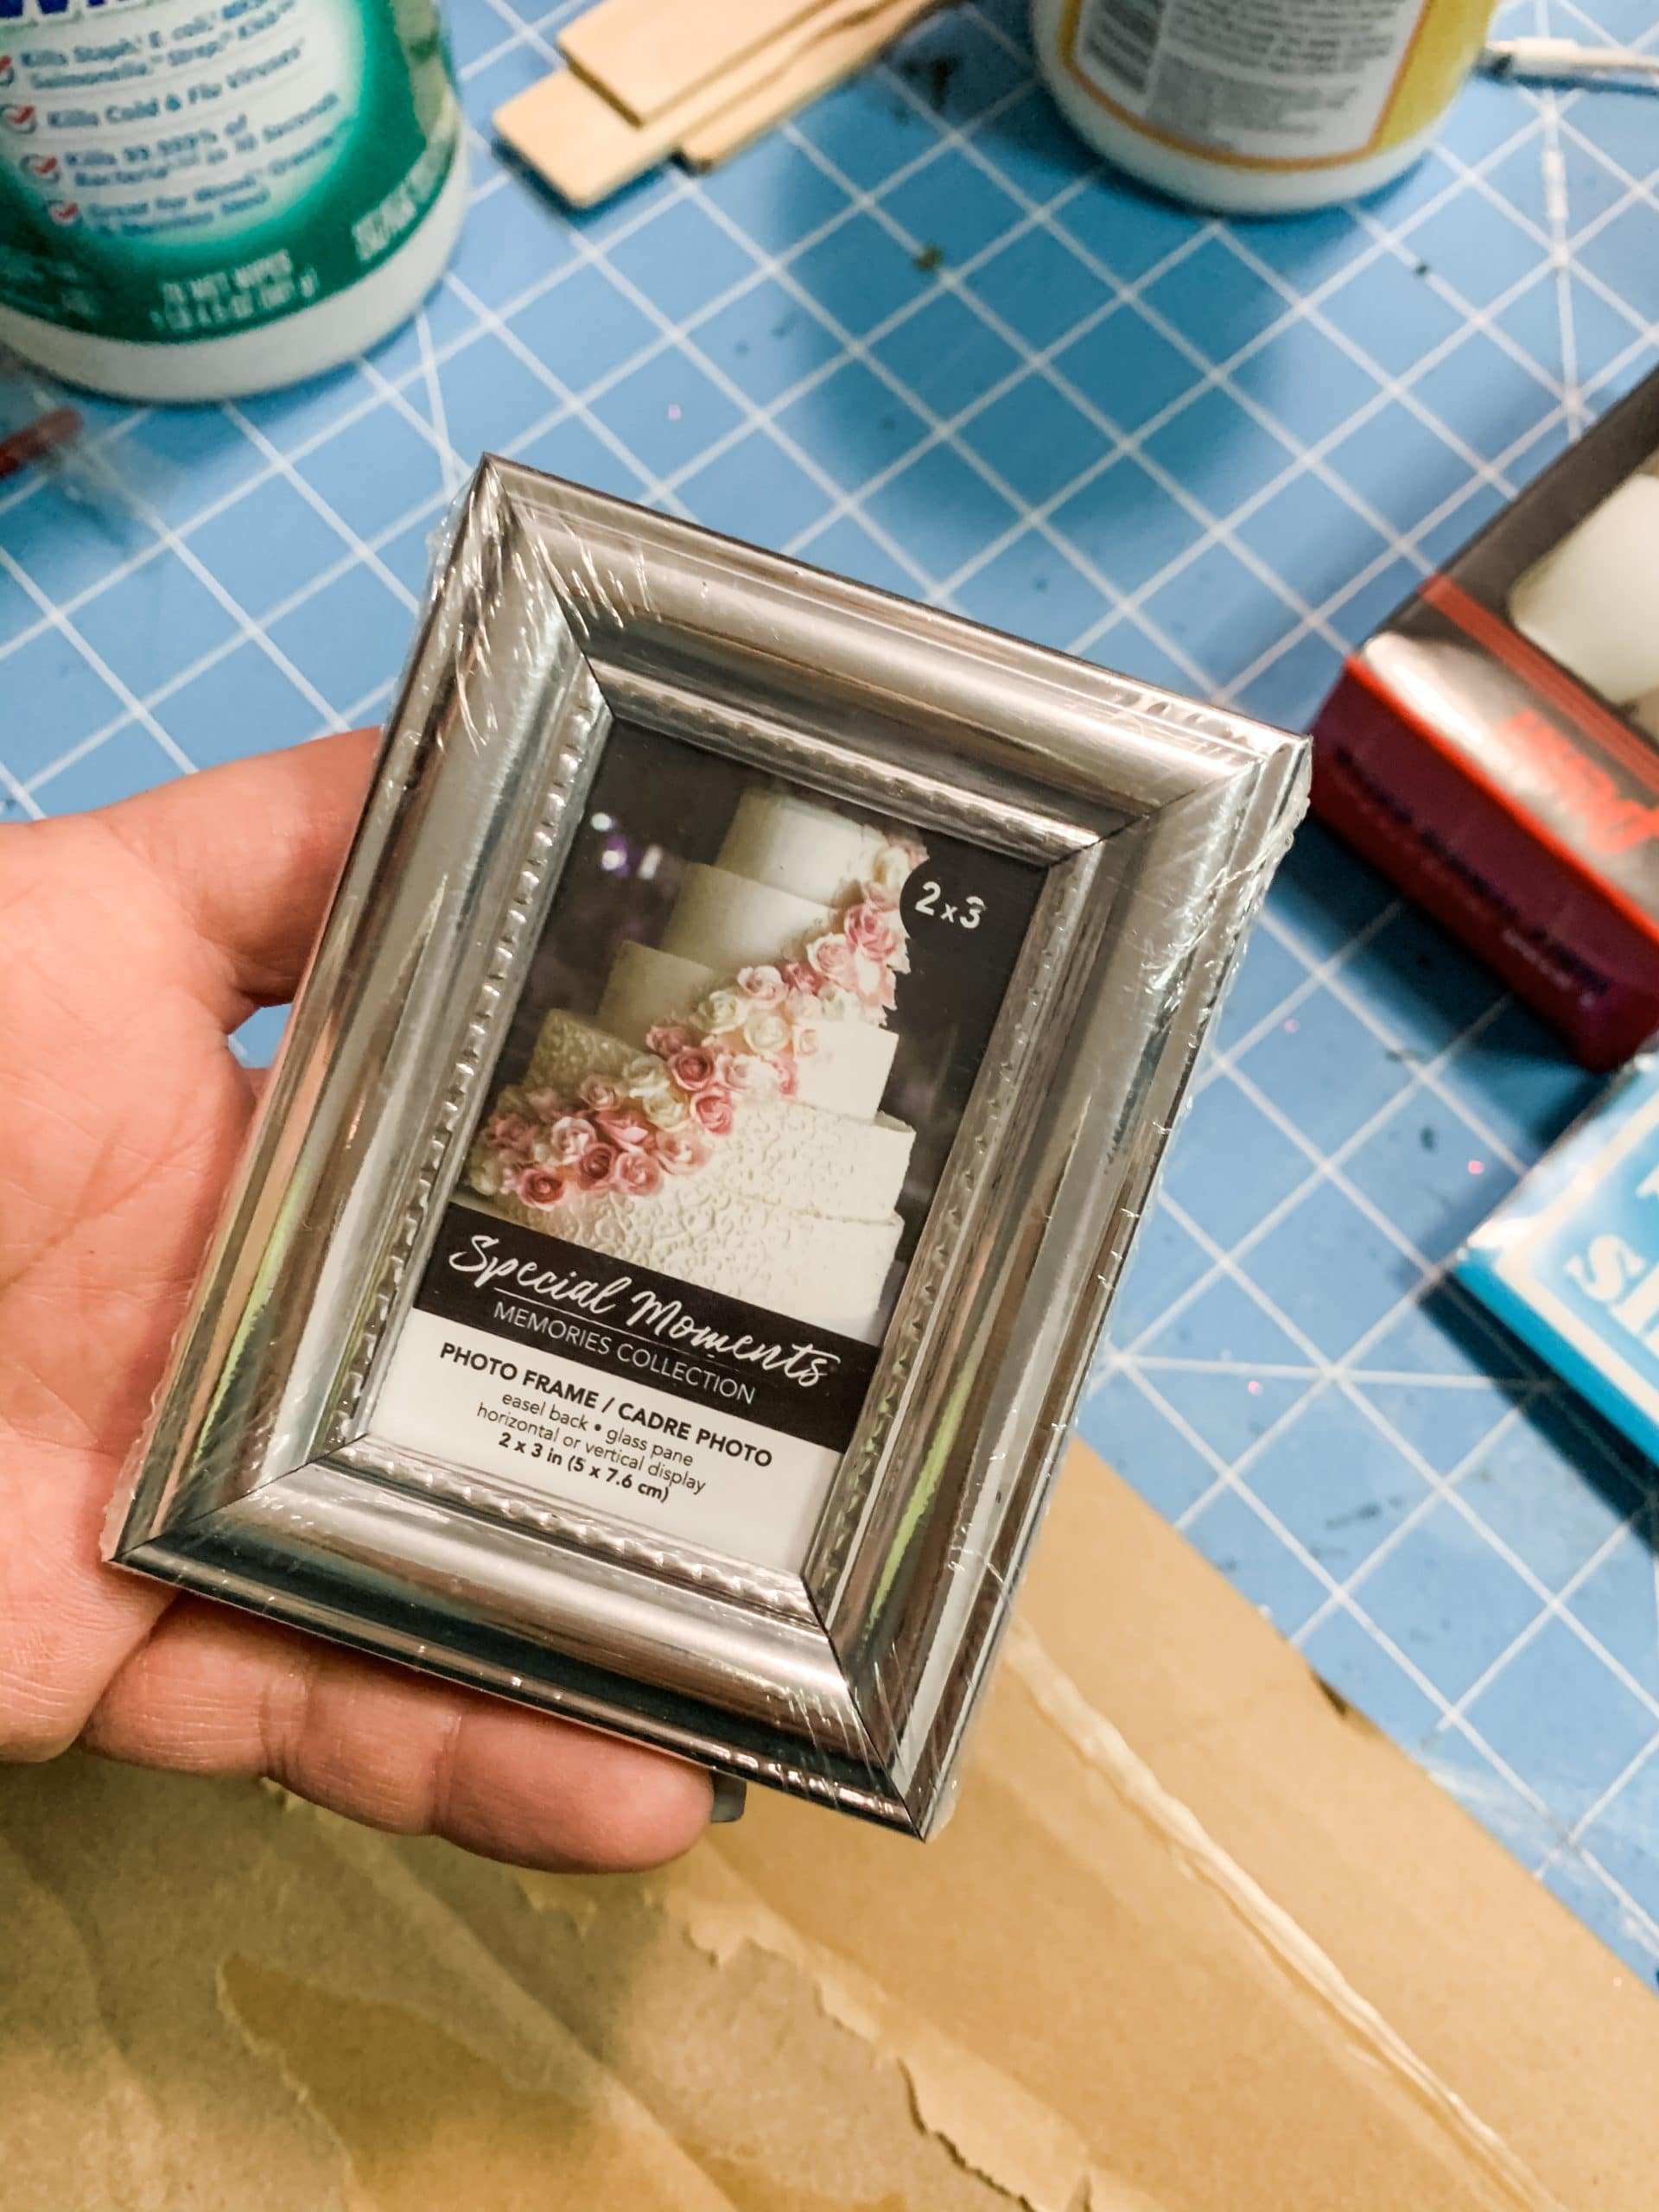
- Dollar Tree Mini Picture Frame
- Black Paint
- Dollar Tree Navy Ribbon
- Dollar Tree Buffalo Check Ribbon
- Fabric (pick your own pattern!)
- Dollar Tree Mini Wood Tags
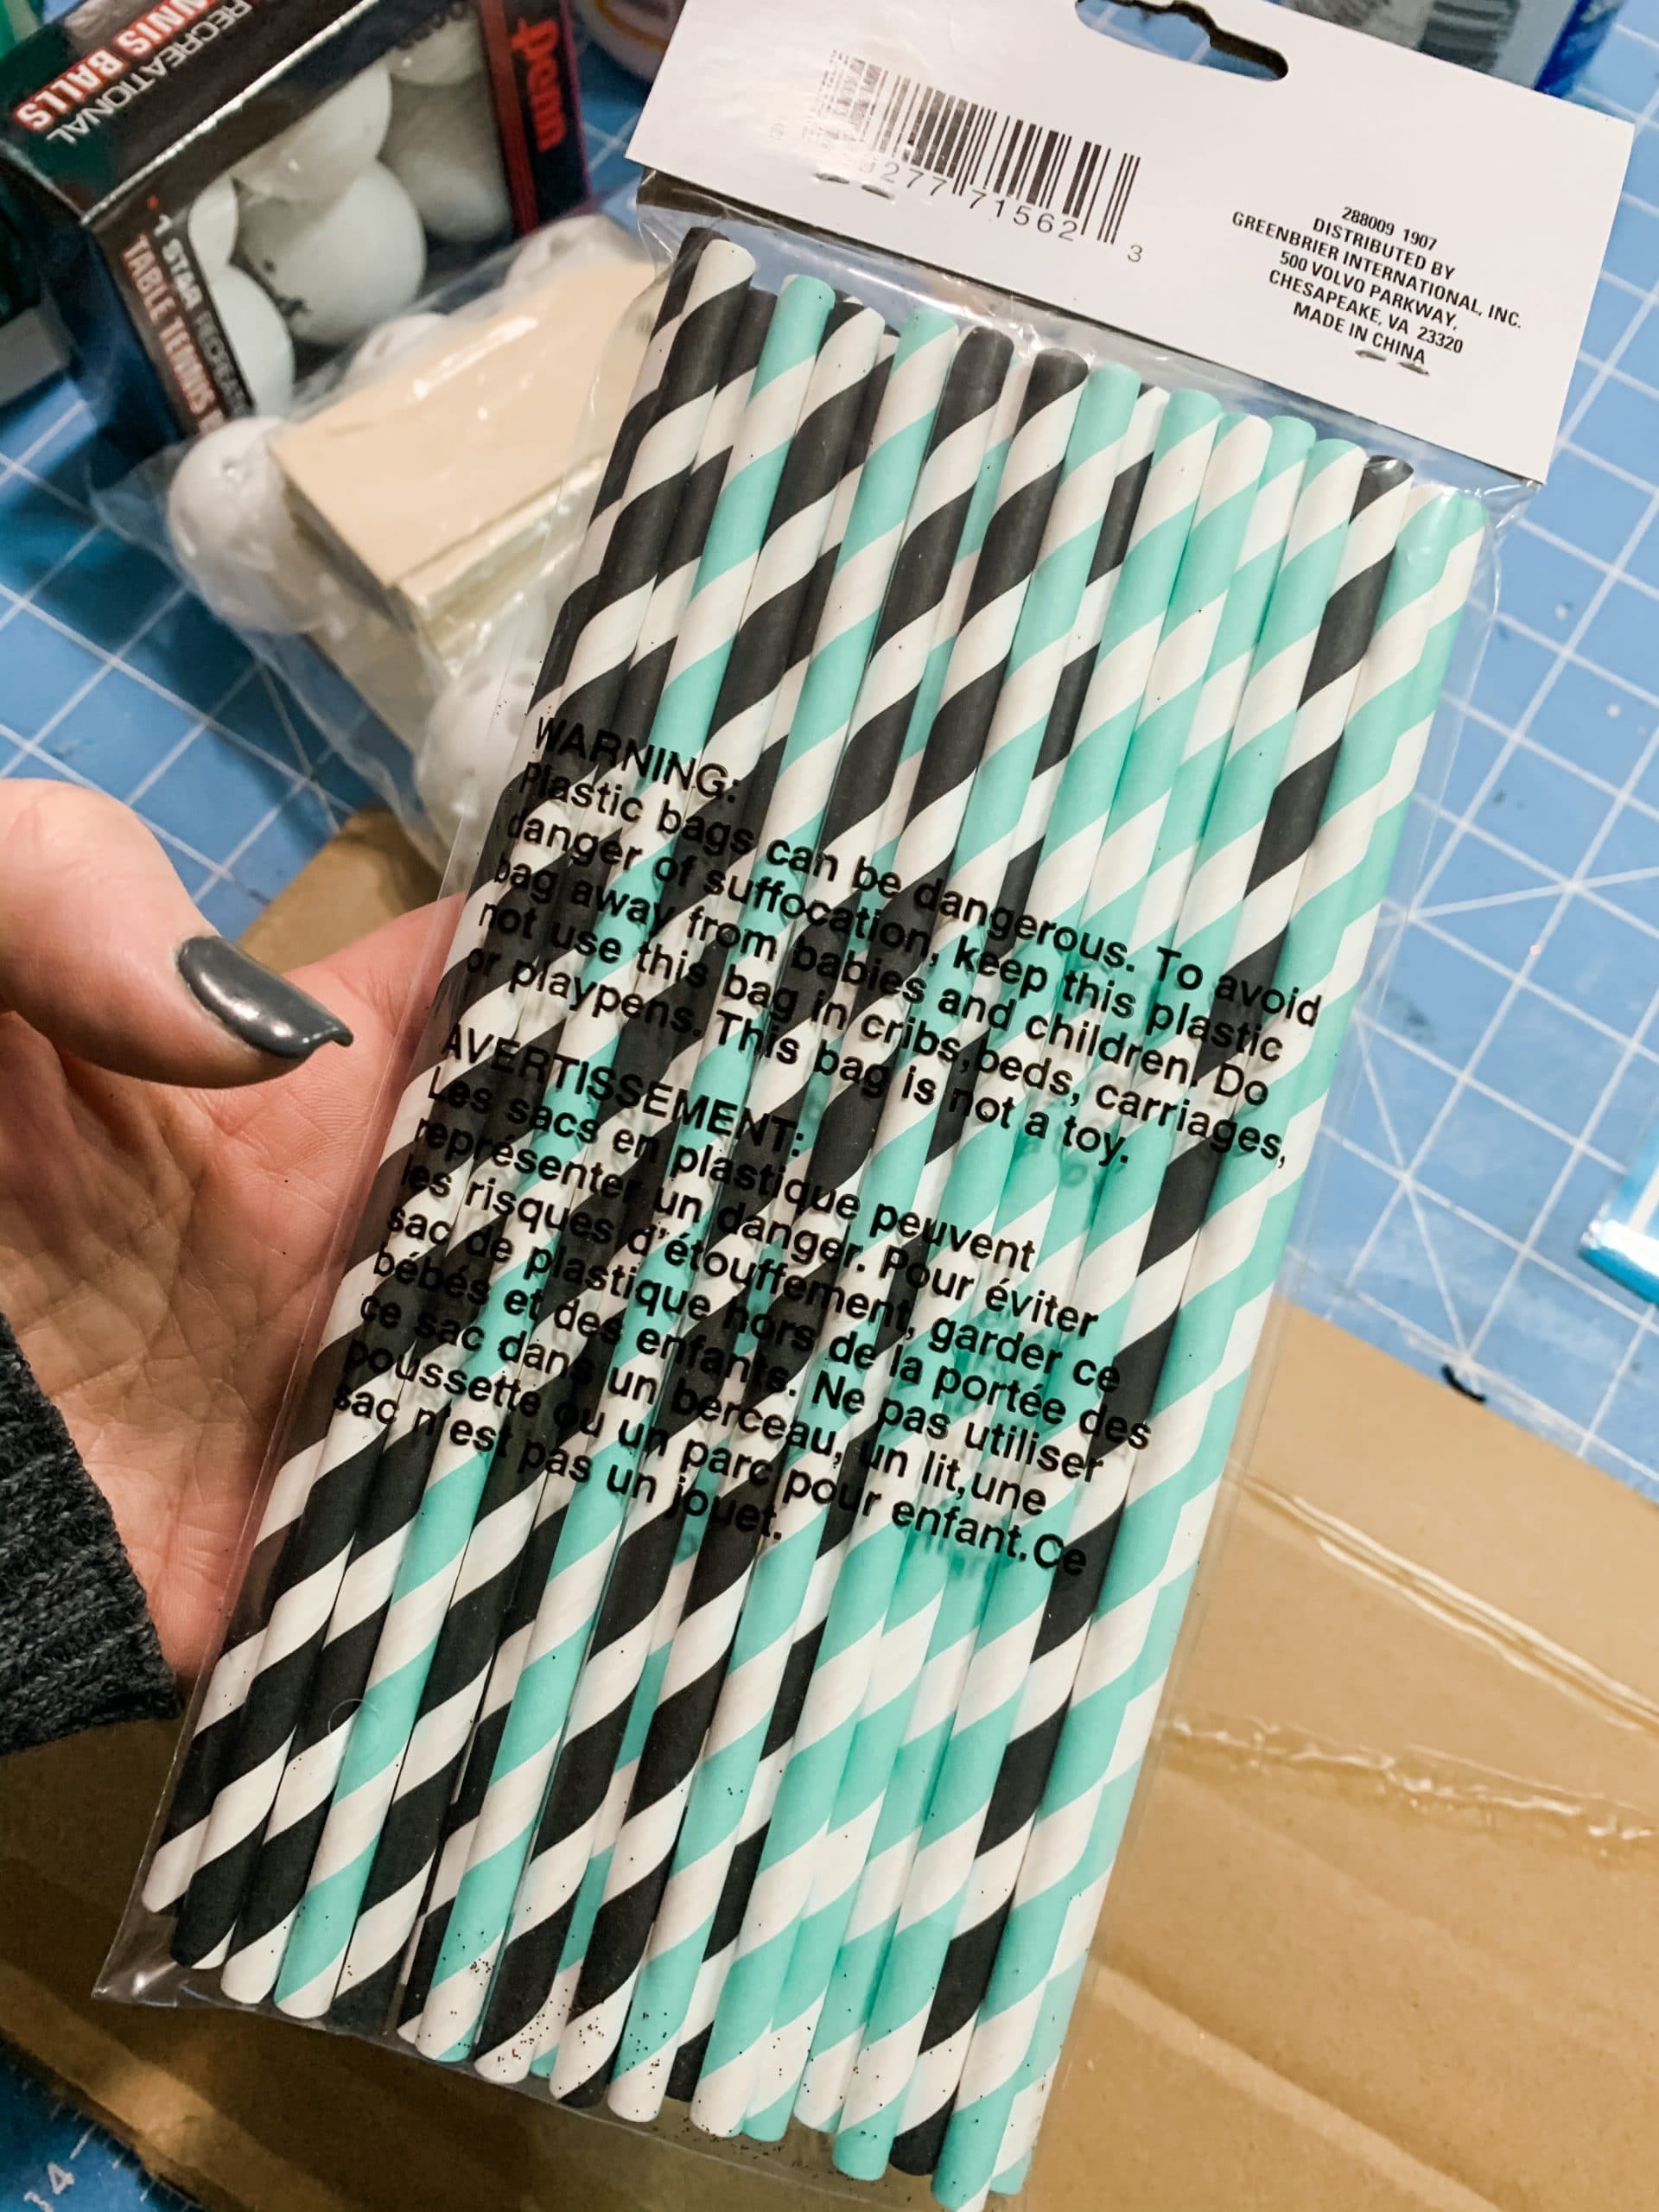
- Dollar Tree Straws
- Cardboard
- Dollar Tree Self Adhesive Stencils
- Hot glue gun and glue sticks
- Heat Gun
Let’s get started
The first thing I did for this DIY project was cover the little holes in the bottom of these Dollar Tree seed starter pots. I hot glued small pieces of paper over the little holes. I just used regular printer paper to cover the holes.
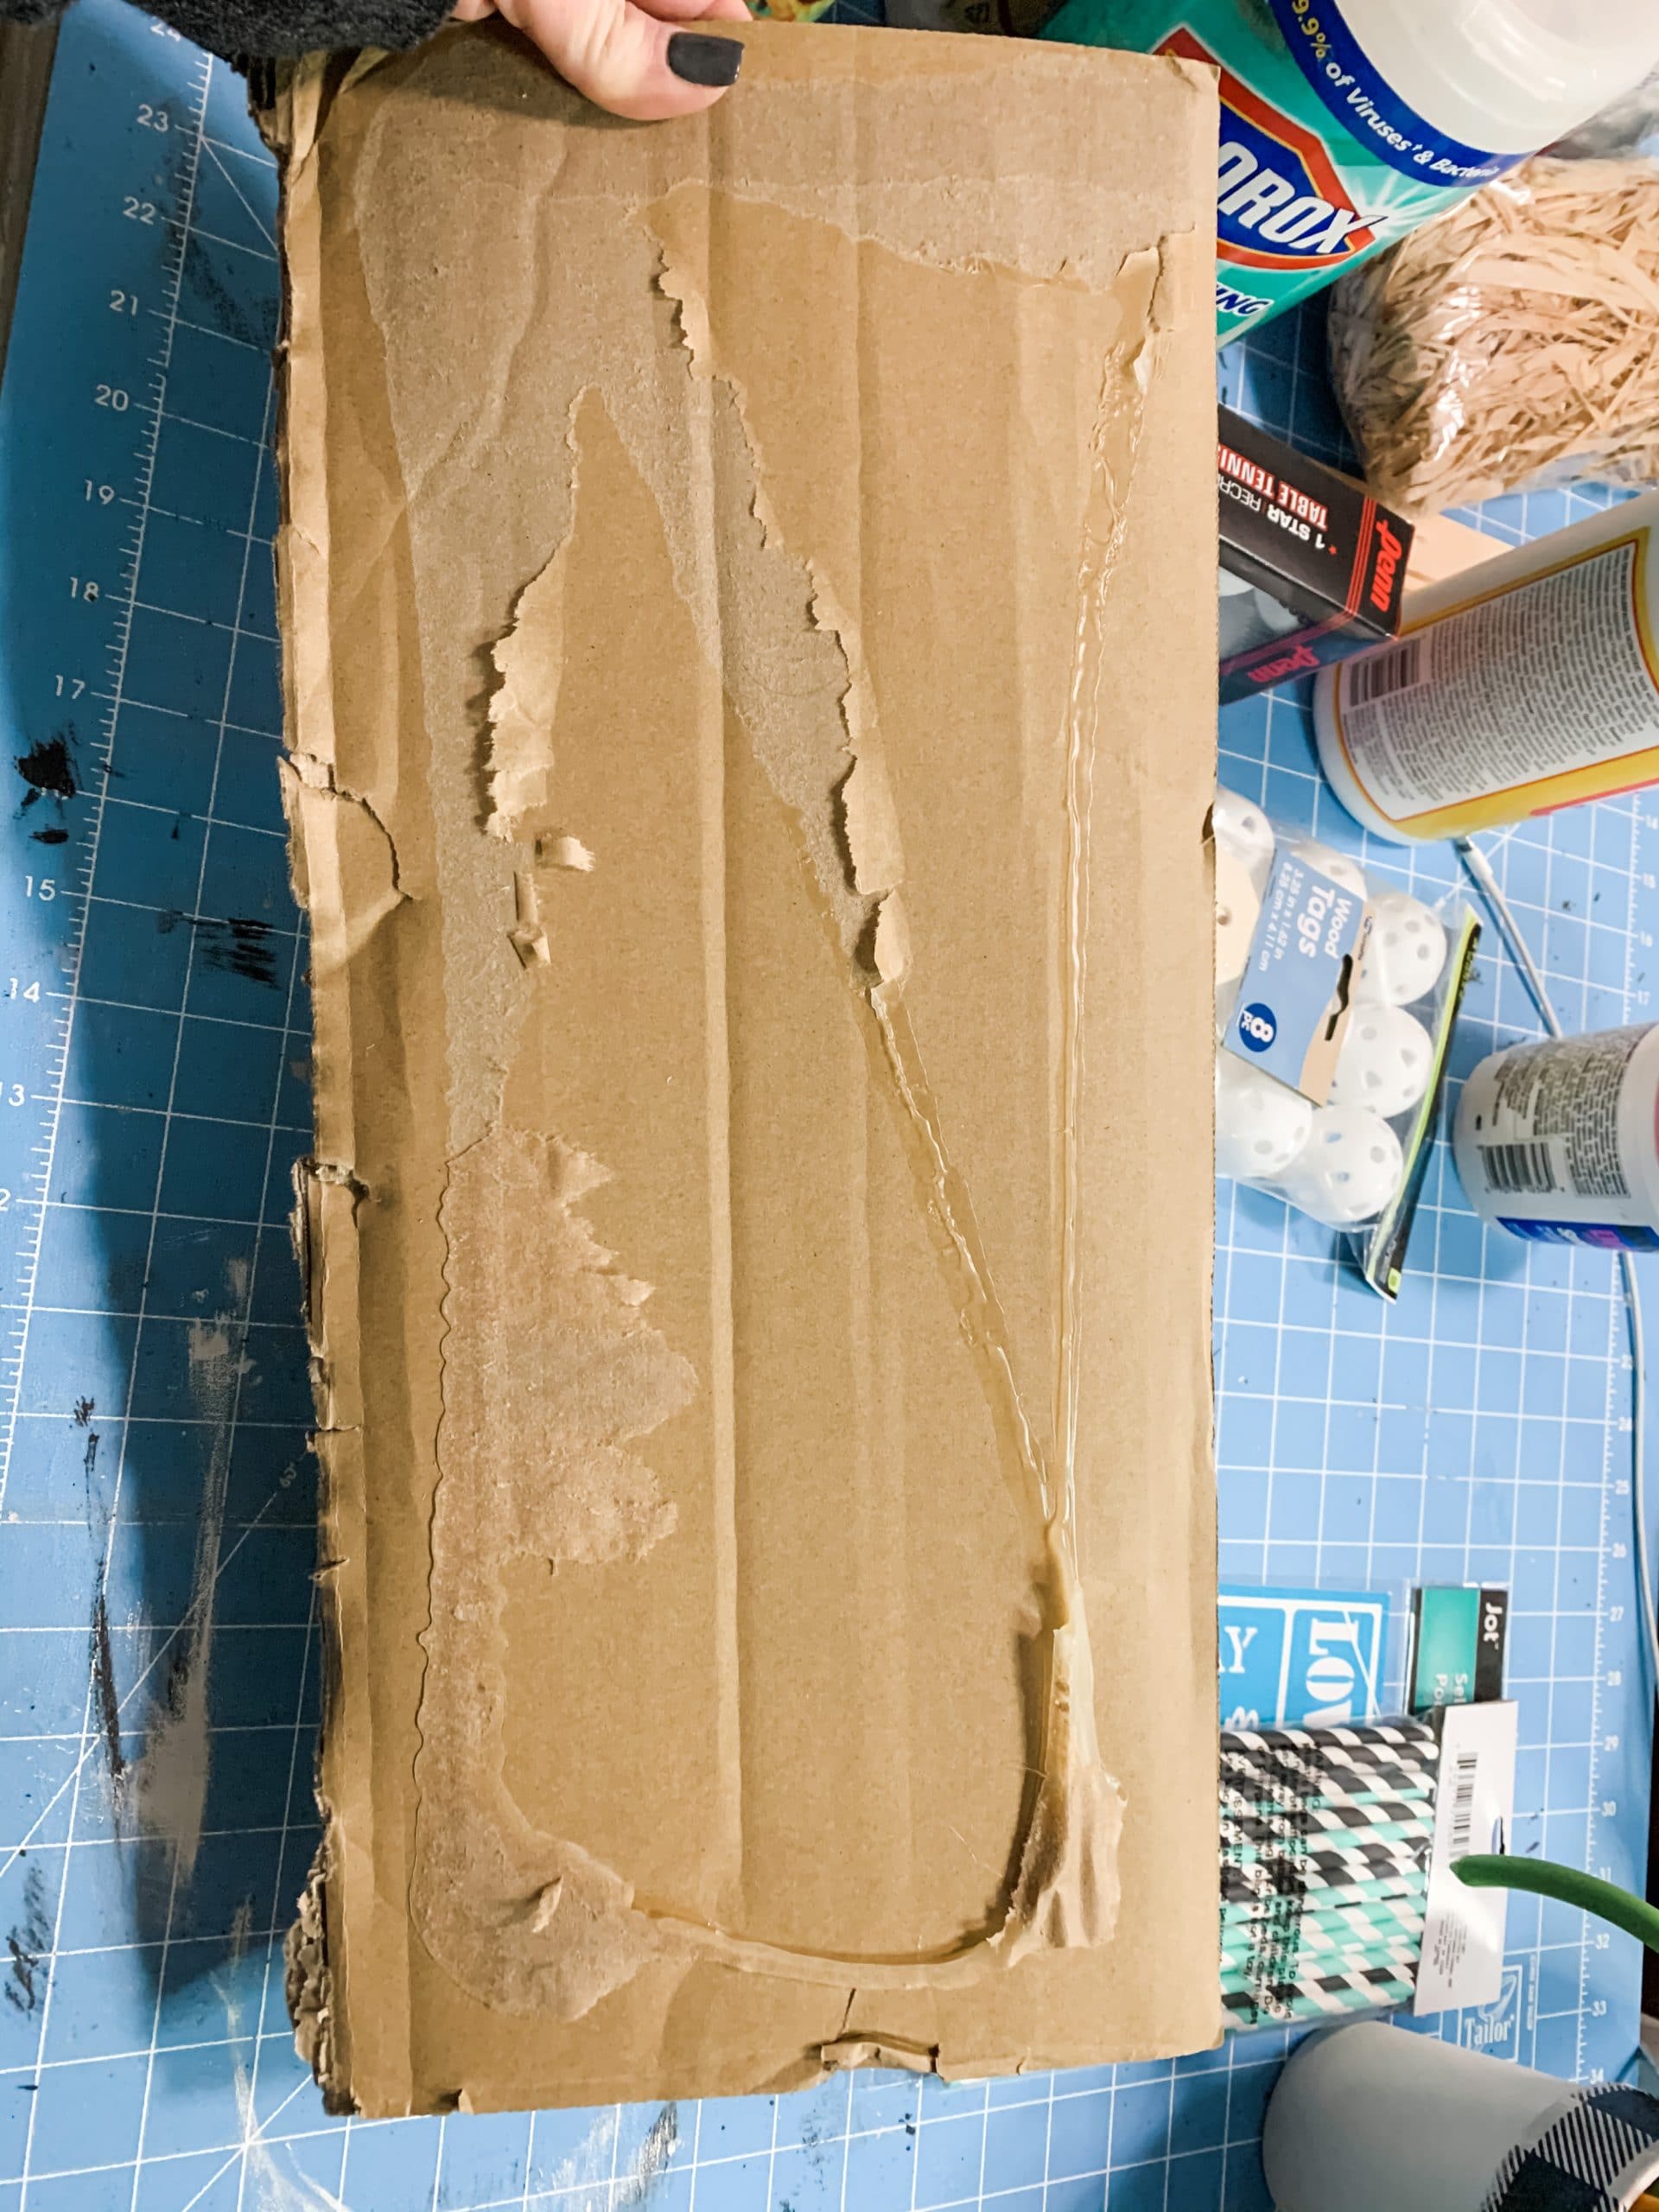
Next, I traced the top of the mini planters onto the piece of cardboard and cut the circles out with a regular pair of scissors.
I used an artist’s paintbrush to poke a hole in the center of the cardboard circle for the Dollar Tree straw to go through.
You’ll need 3 cardboard circles with holes – one for each of your 3 mini planters. Put a straw through the center hole of each planter, and hot glue the cardboard circle over the top of each Dollar Tree seed starter pot.
The straws are going to be the support beams for the Dollar Tree mini wood tags, ping pong ball topiary, and Dollar Tree mini picture frame.
I also put a small bit of hot glue around where the straw goes through the hole in the cardboard circle to keep it from pulling out of the Dollar Tree seed starter pots.
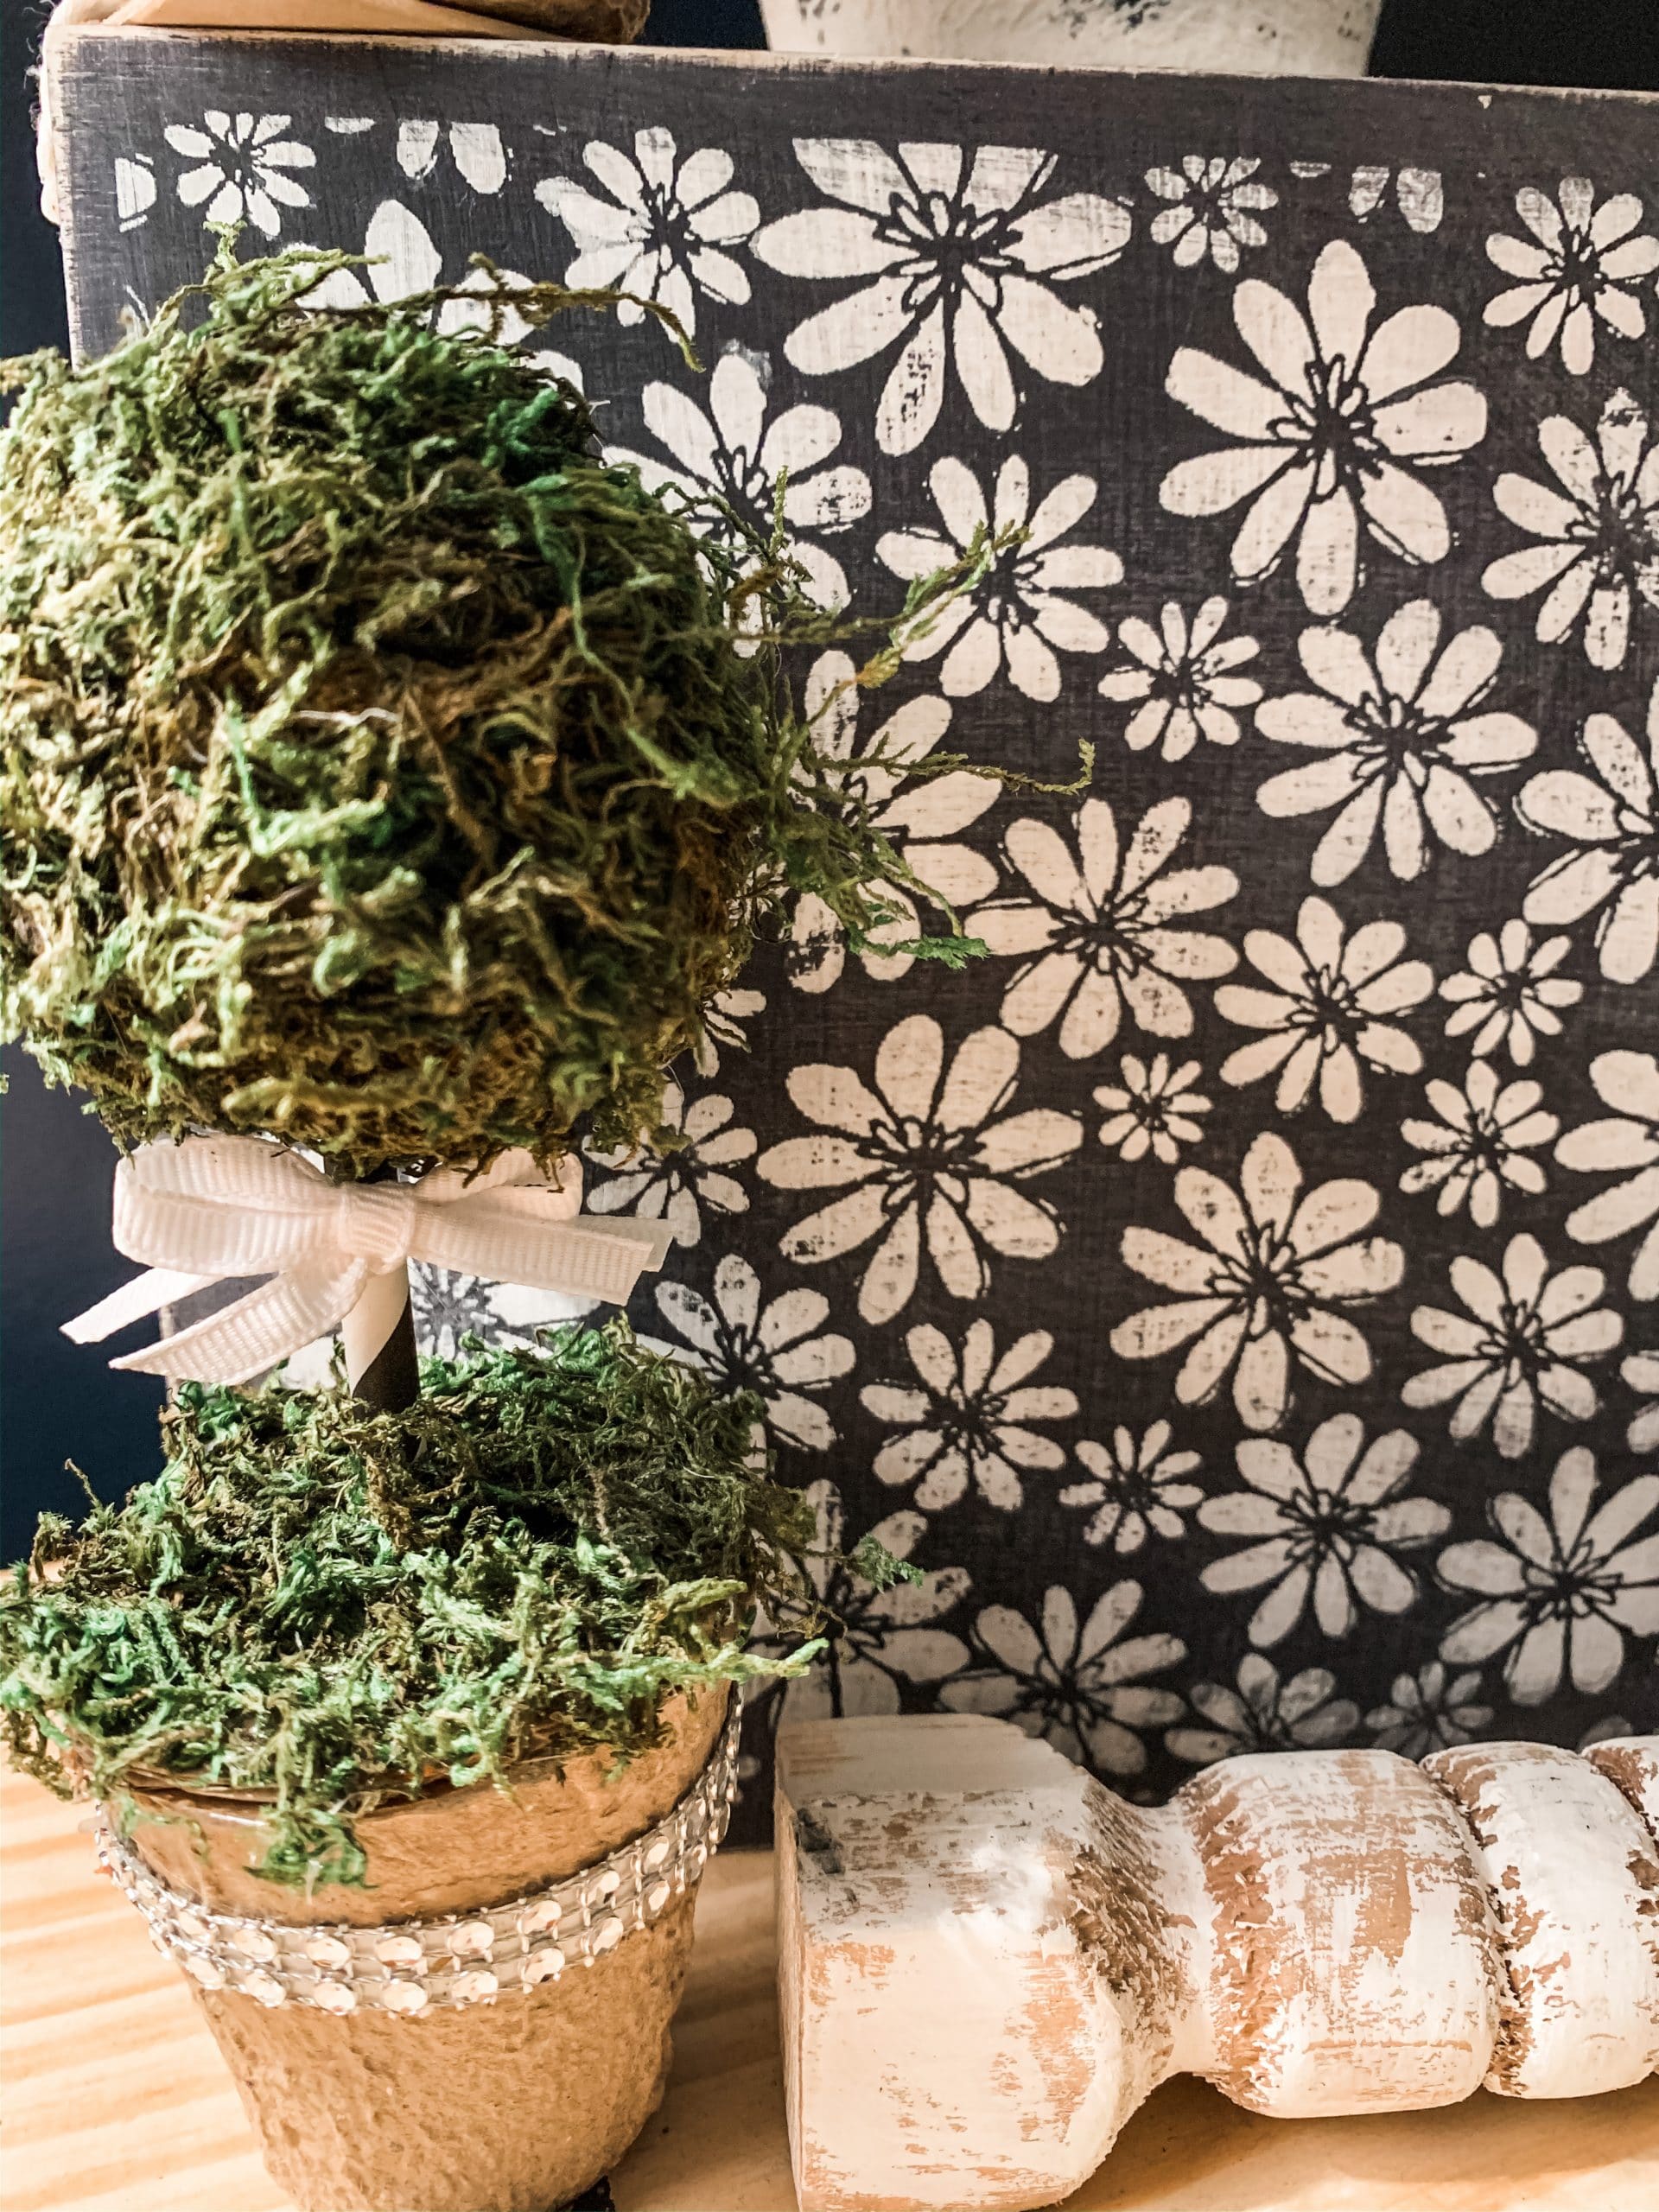
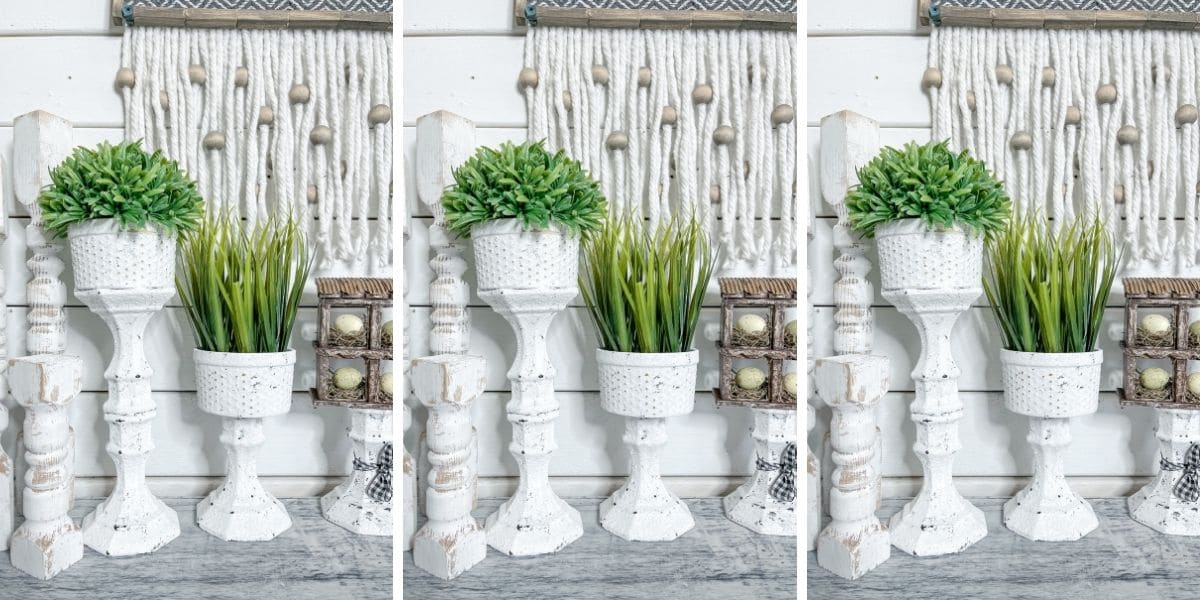
DIY Mini Topiary
In the supply list, I listed two different options for this DIY mini topiary. You could either use a plastic practice golf ball or a table tennis ball (ping pong ball). The choice is really yours.
I chose to use a plastic practice golf ball from Walmart because it already had holes that I could push the straw through. This saved me from having to make my own holes in a ping pong ball.
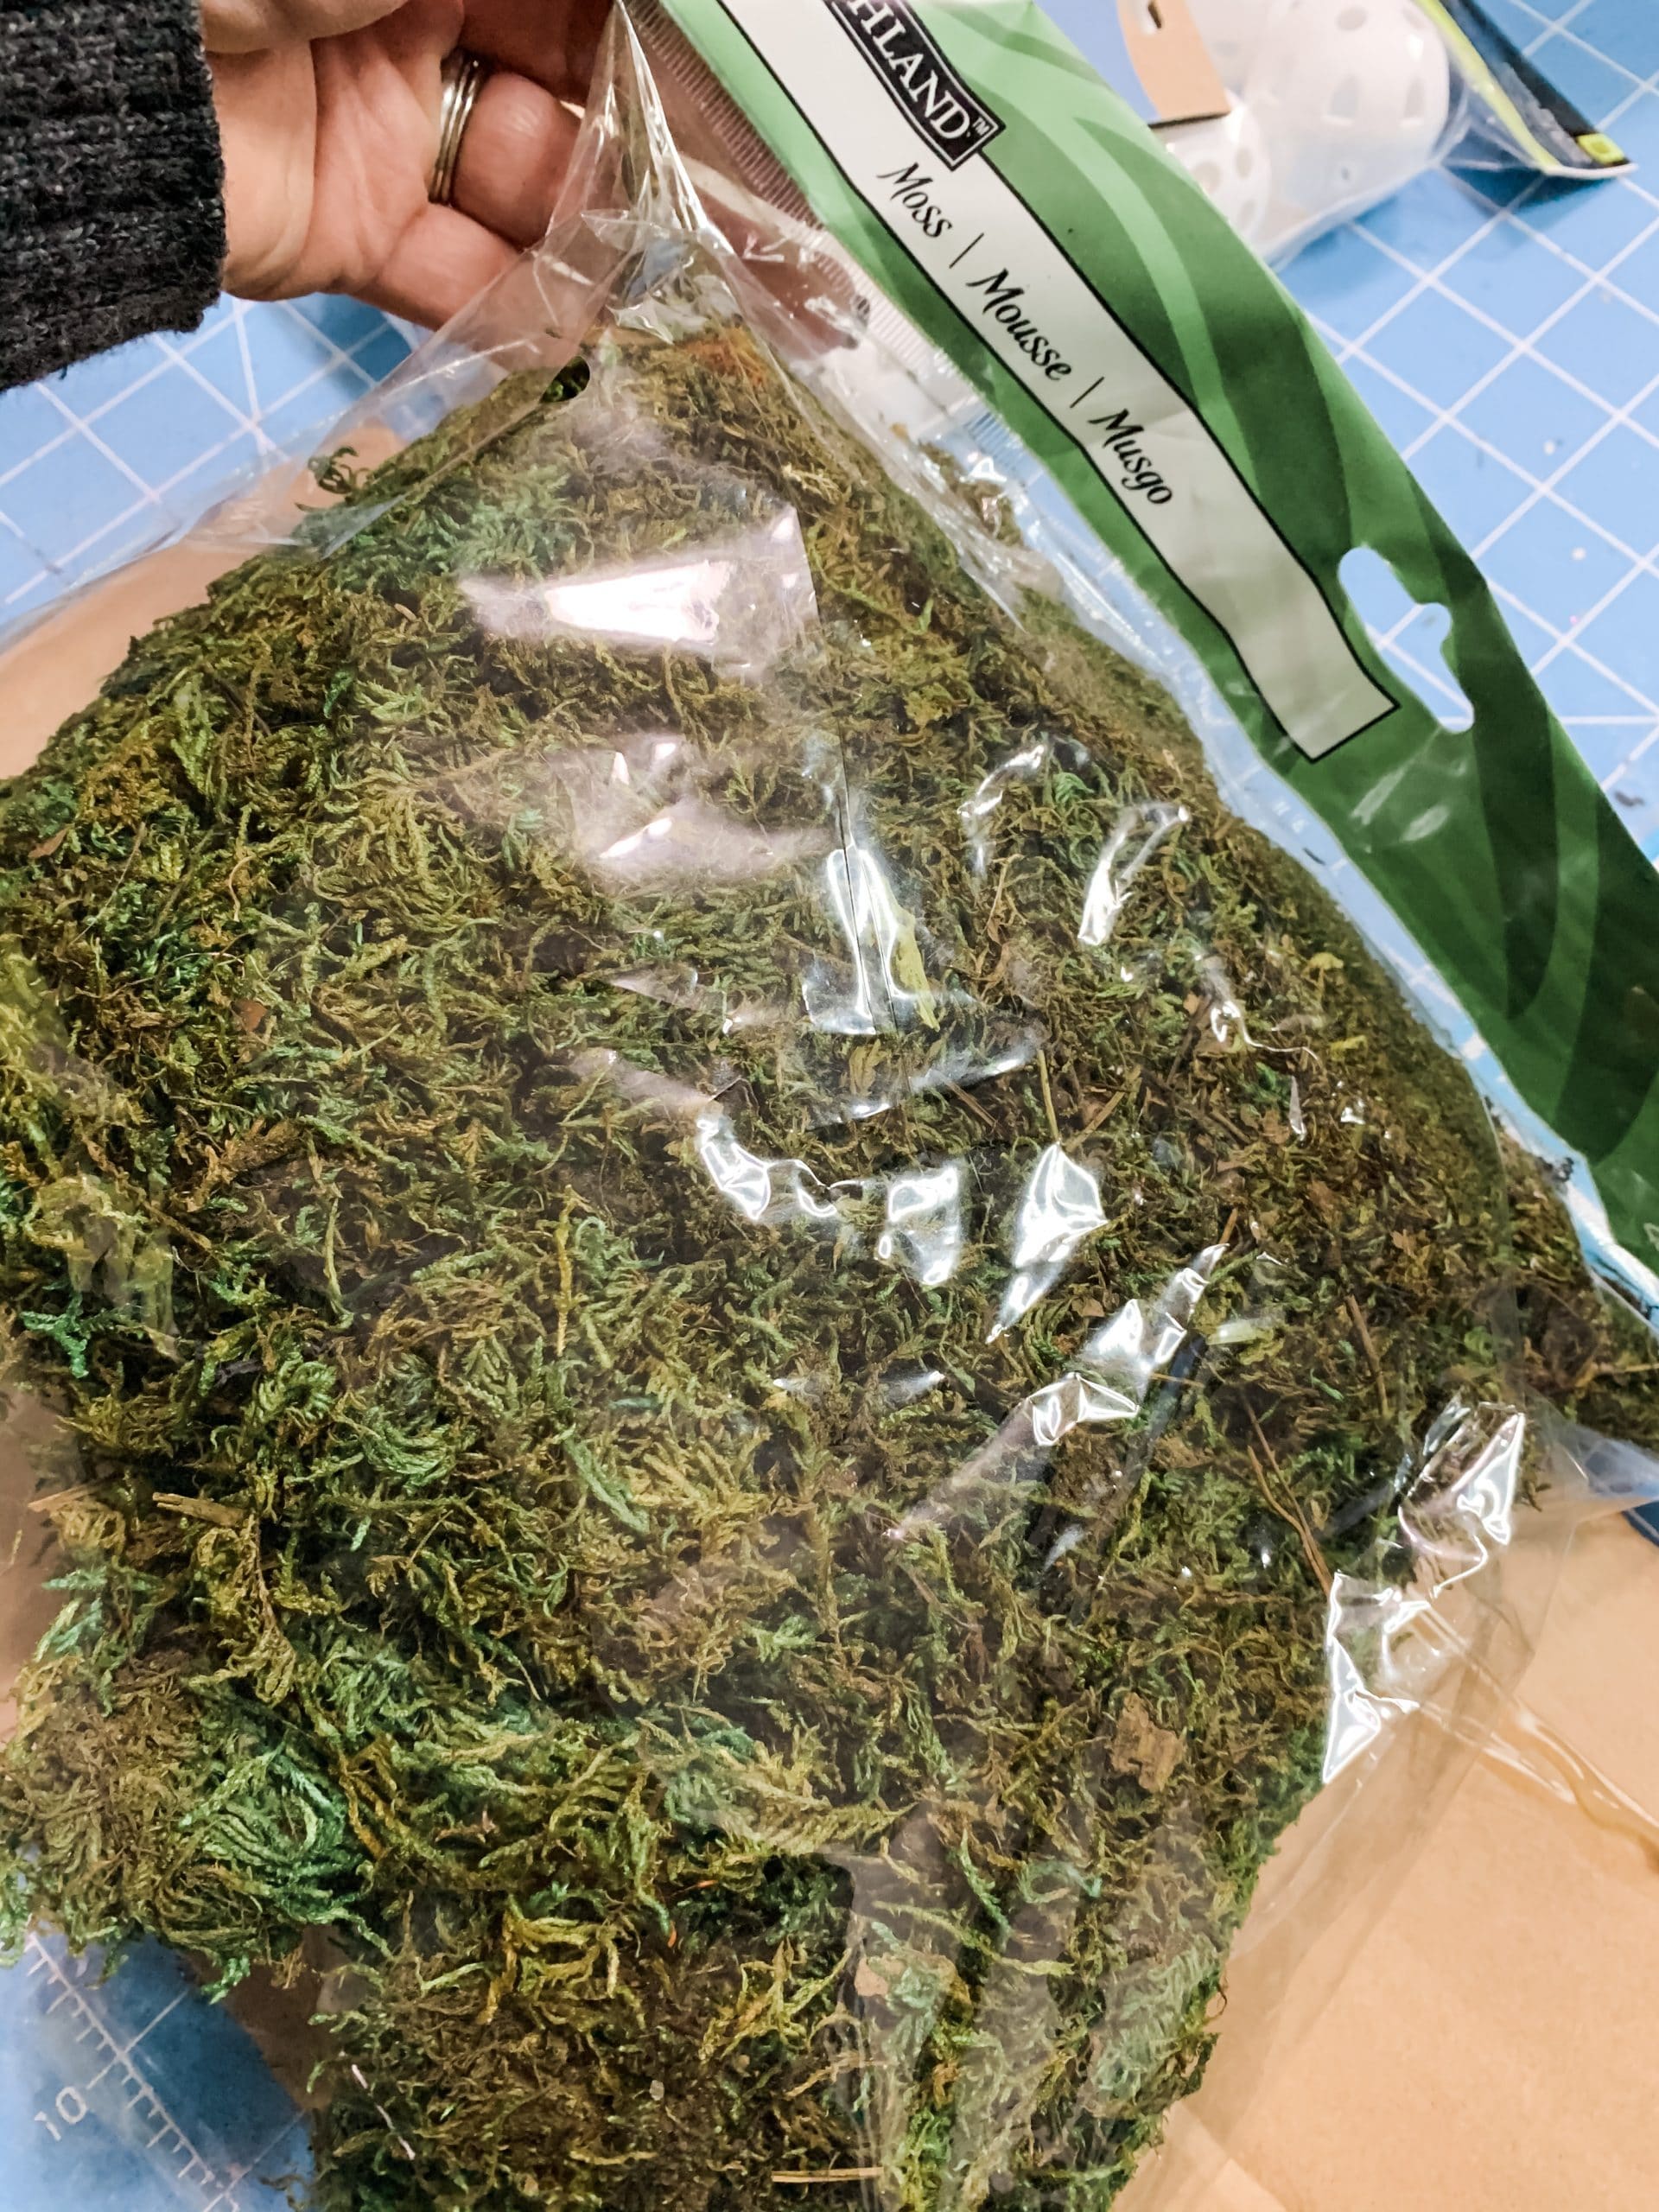
Before I attached the practice golf ball, I trimmed the straw down so the topiary wasn’t so tall. Once the plastic ball was in place, I started adding the moss to the base of the topiary (the top of the cardboard circle).
Just hot glue the moss in place. Then, hot glue moss across the entire surface of the plastic practice golf ball (or ping pong ball if you use that).
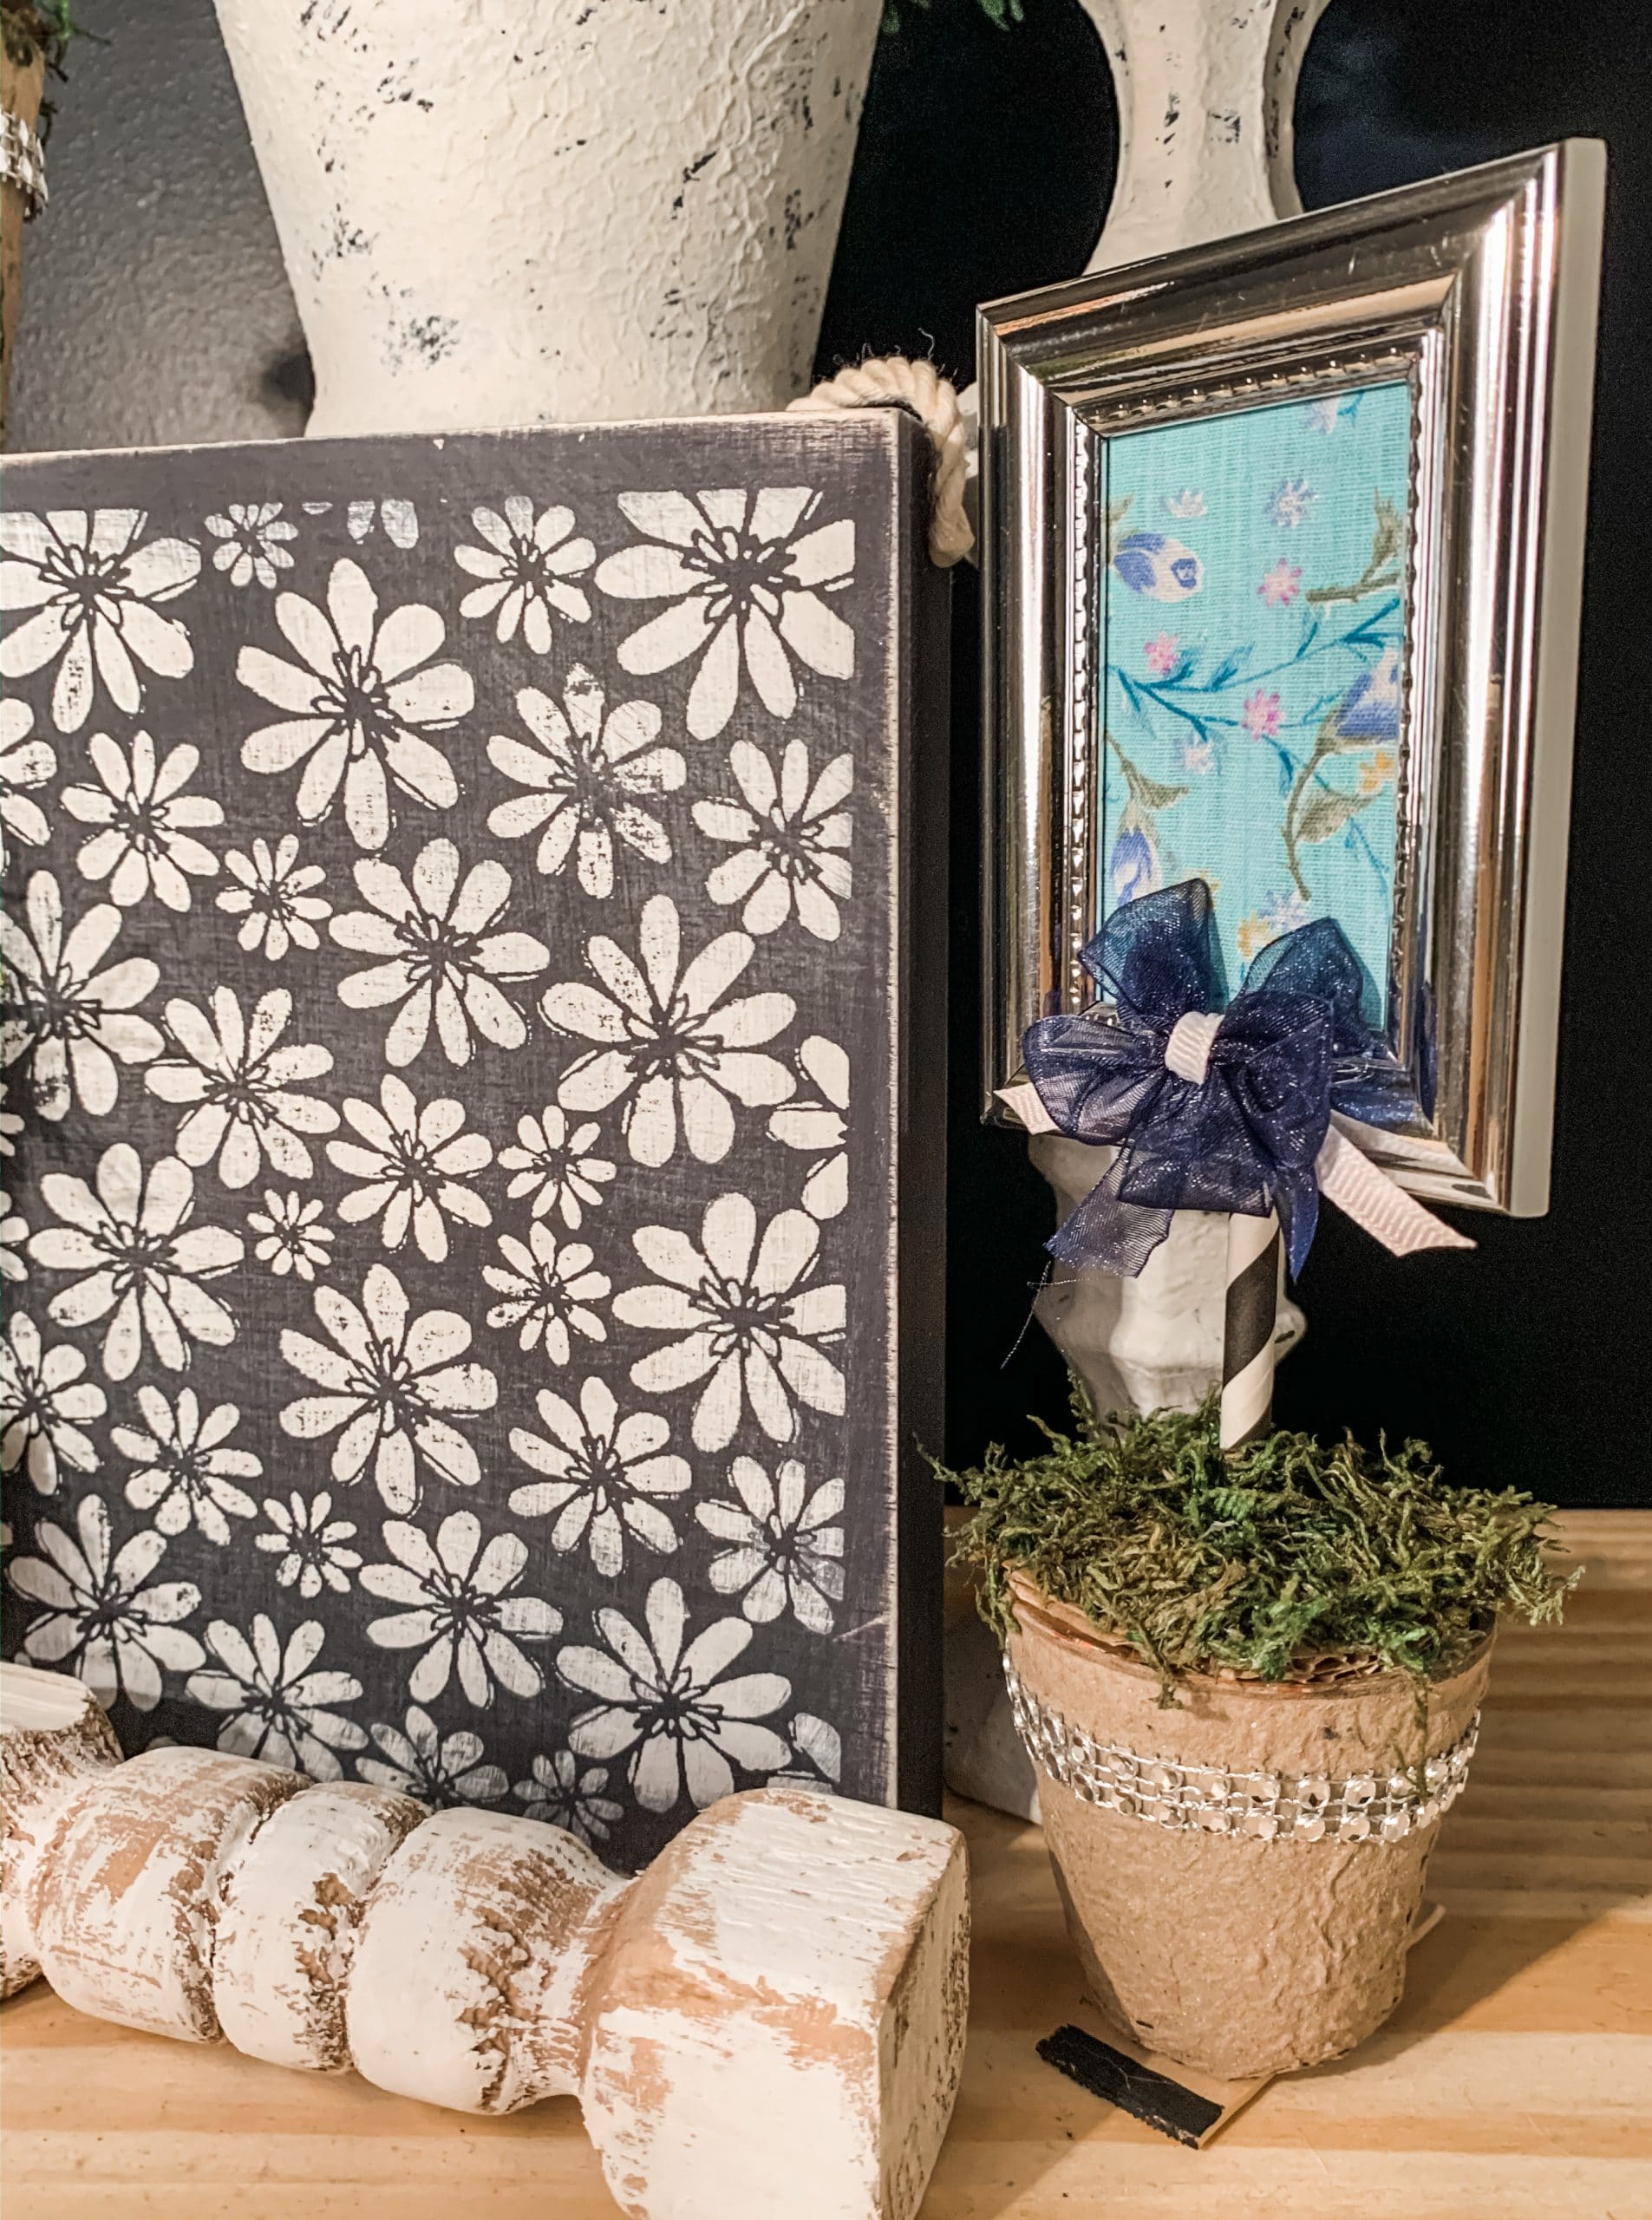
Dollar Tree Mini Picture Frame
We’re all done with the DIY mini topiary for now. Next, we are going to work on the mini planter with the Dollar Tree mini picture frame! Grab your second mini planter with the cardboard circle and straw in place.
Obviously, start by removing the packaging from the mini picture frame. Then, take the backing out and trace the rectangle backing onto the piece of fabric you are using.
Then, put the fabric, glass, and backing into the picture frame. That’s it! Before you attach the mini picture frame to the straw, go ahead and hot glue the moss to the top of the cardboard circle over the top of the seed starter pot.
Once all the moss is in place, place a vertical line of hot glue onto the back center of the Dollar Tree picture frame and press the straw into the hot glue. Wait until the glue has dried before you move the mini planter or the picture frame may fall off.

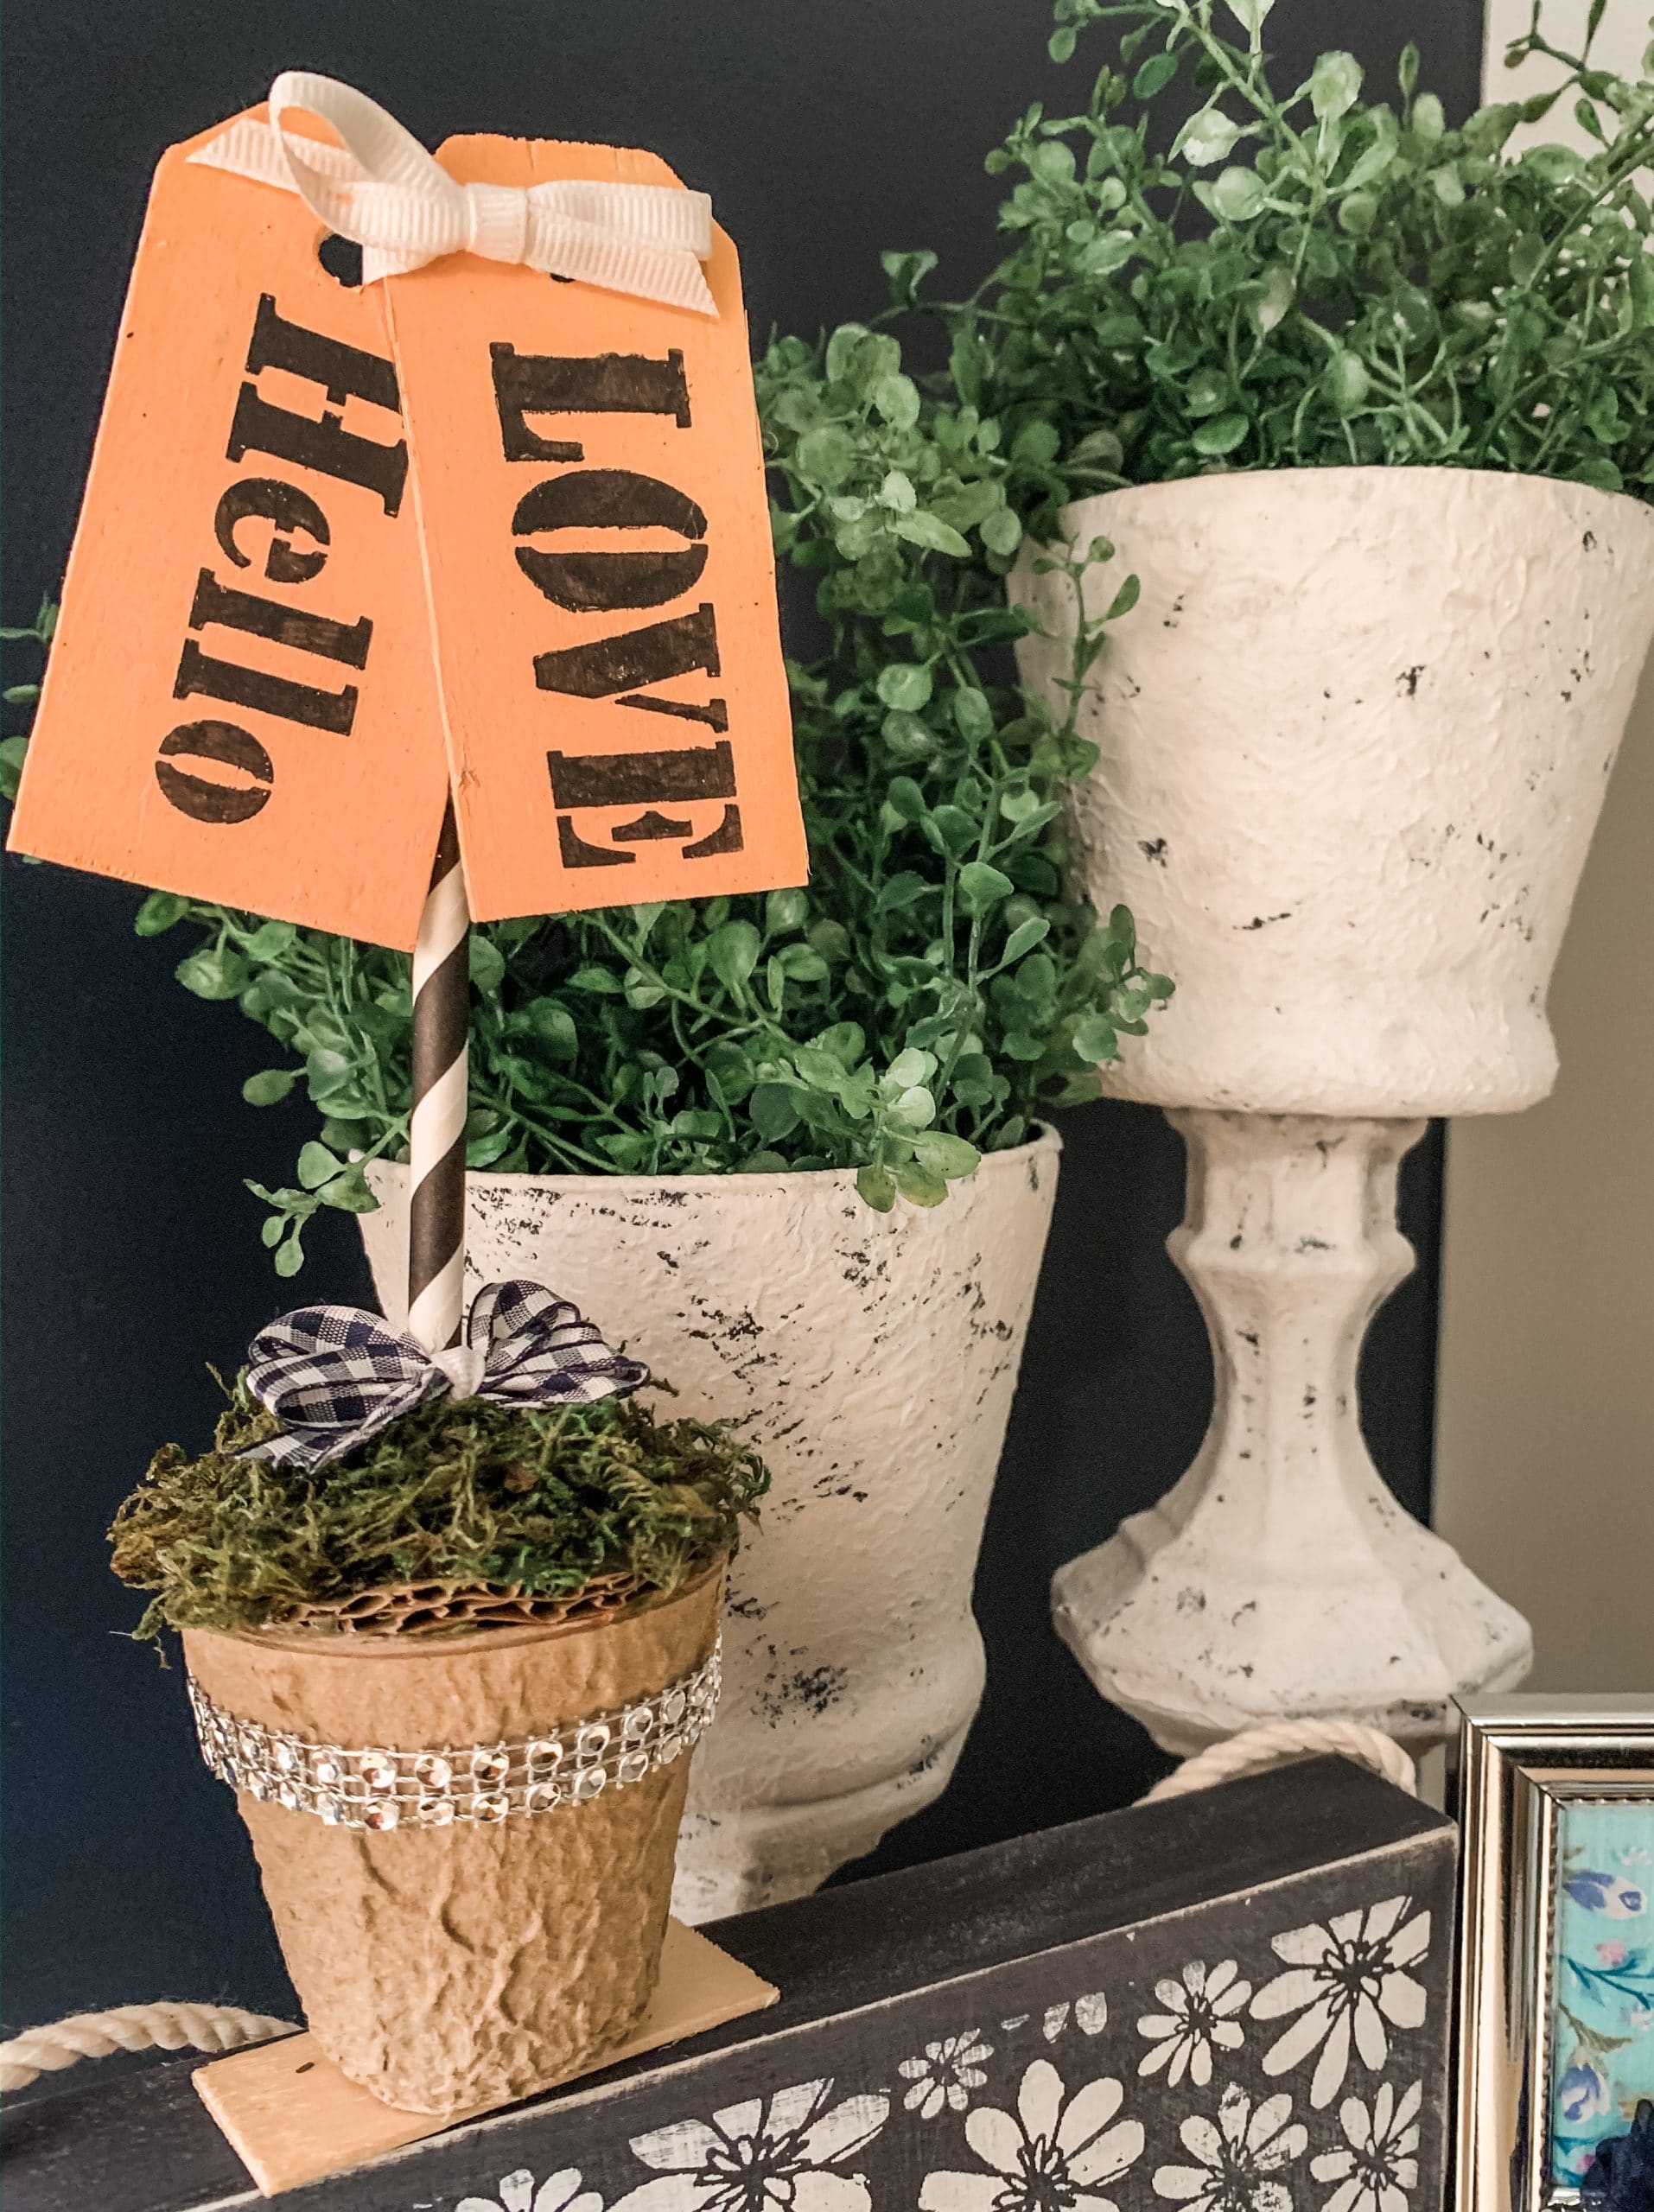
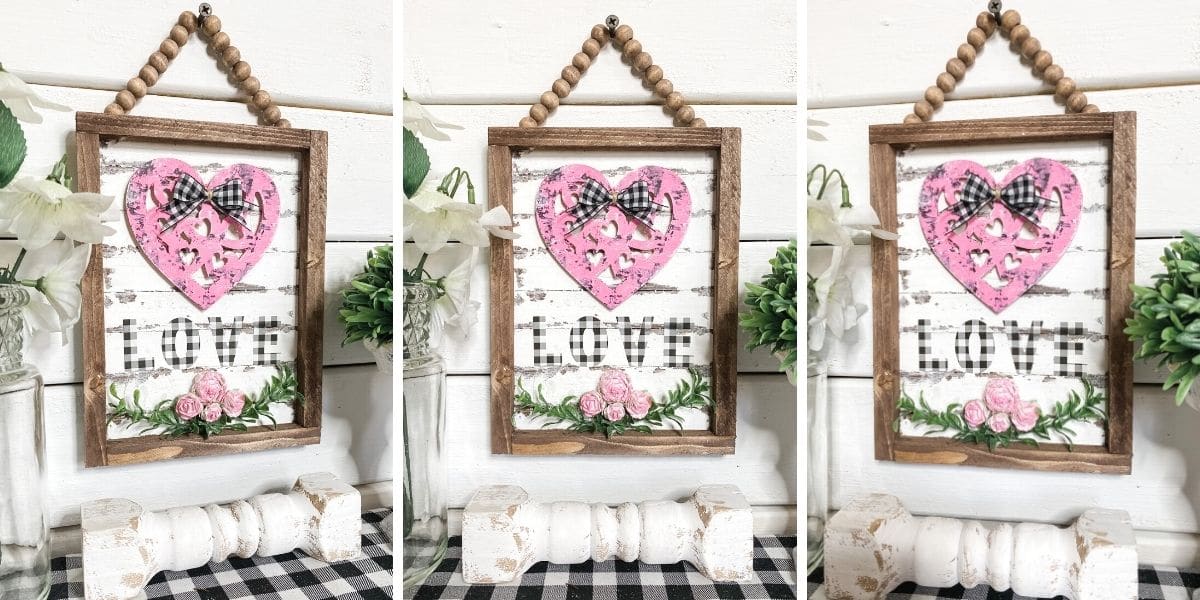
Dollar Tree Wood Tags
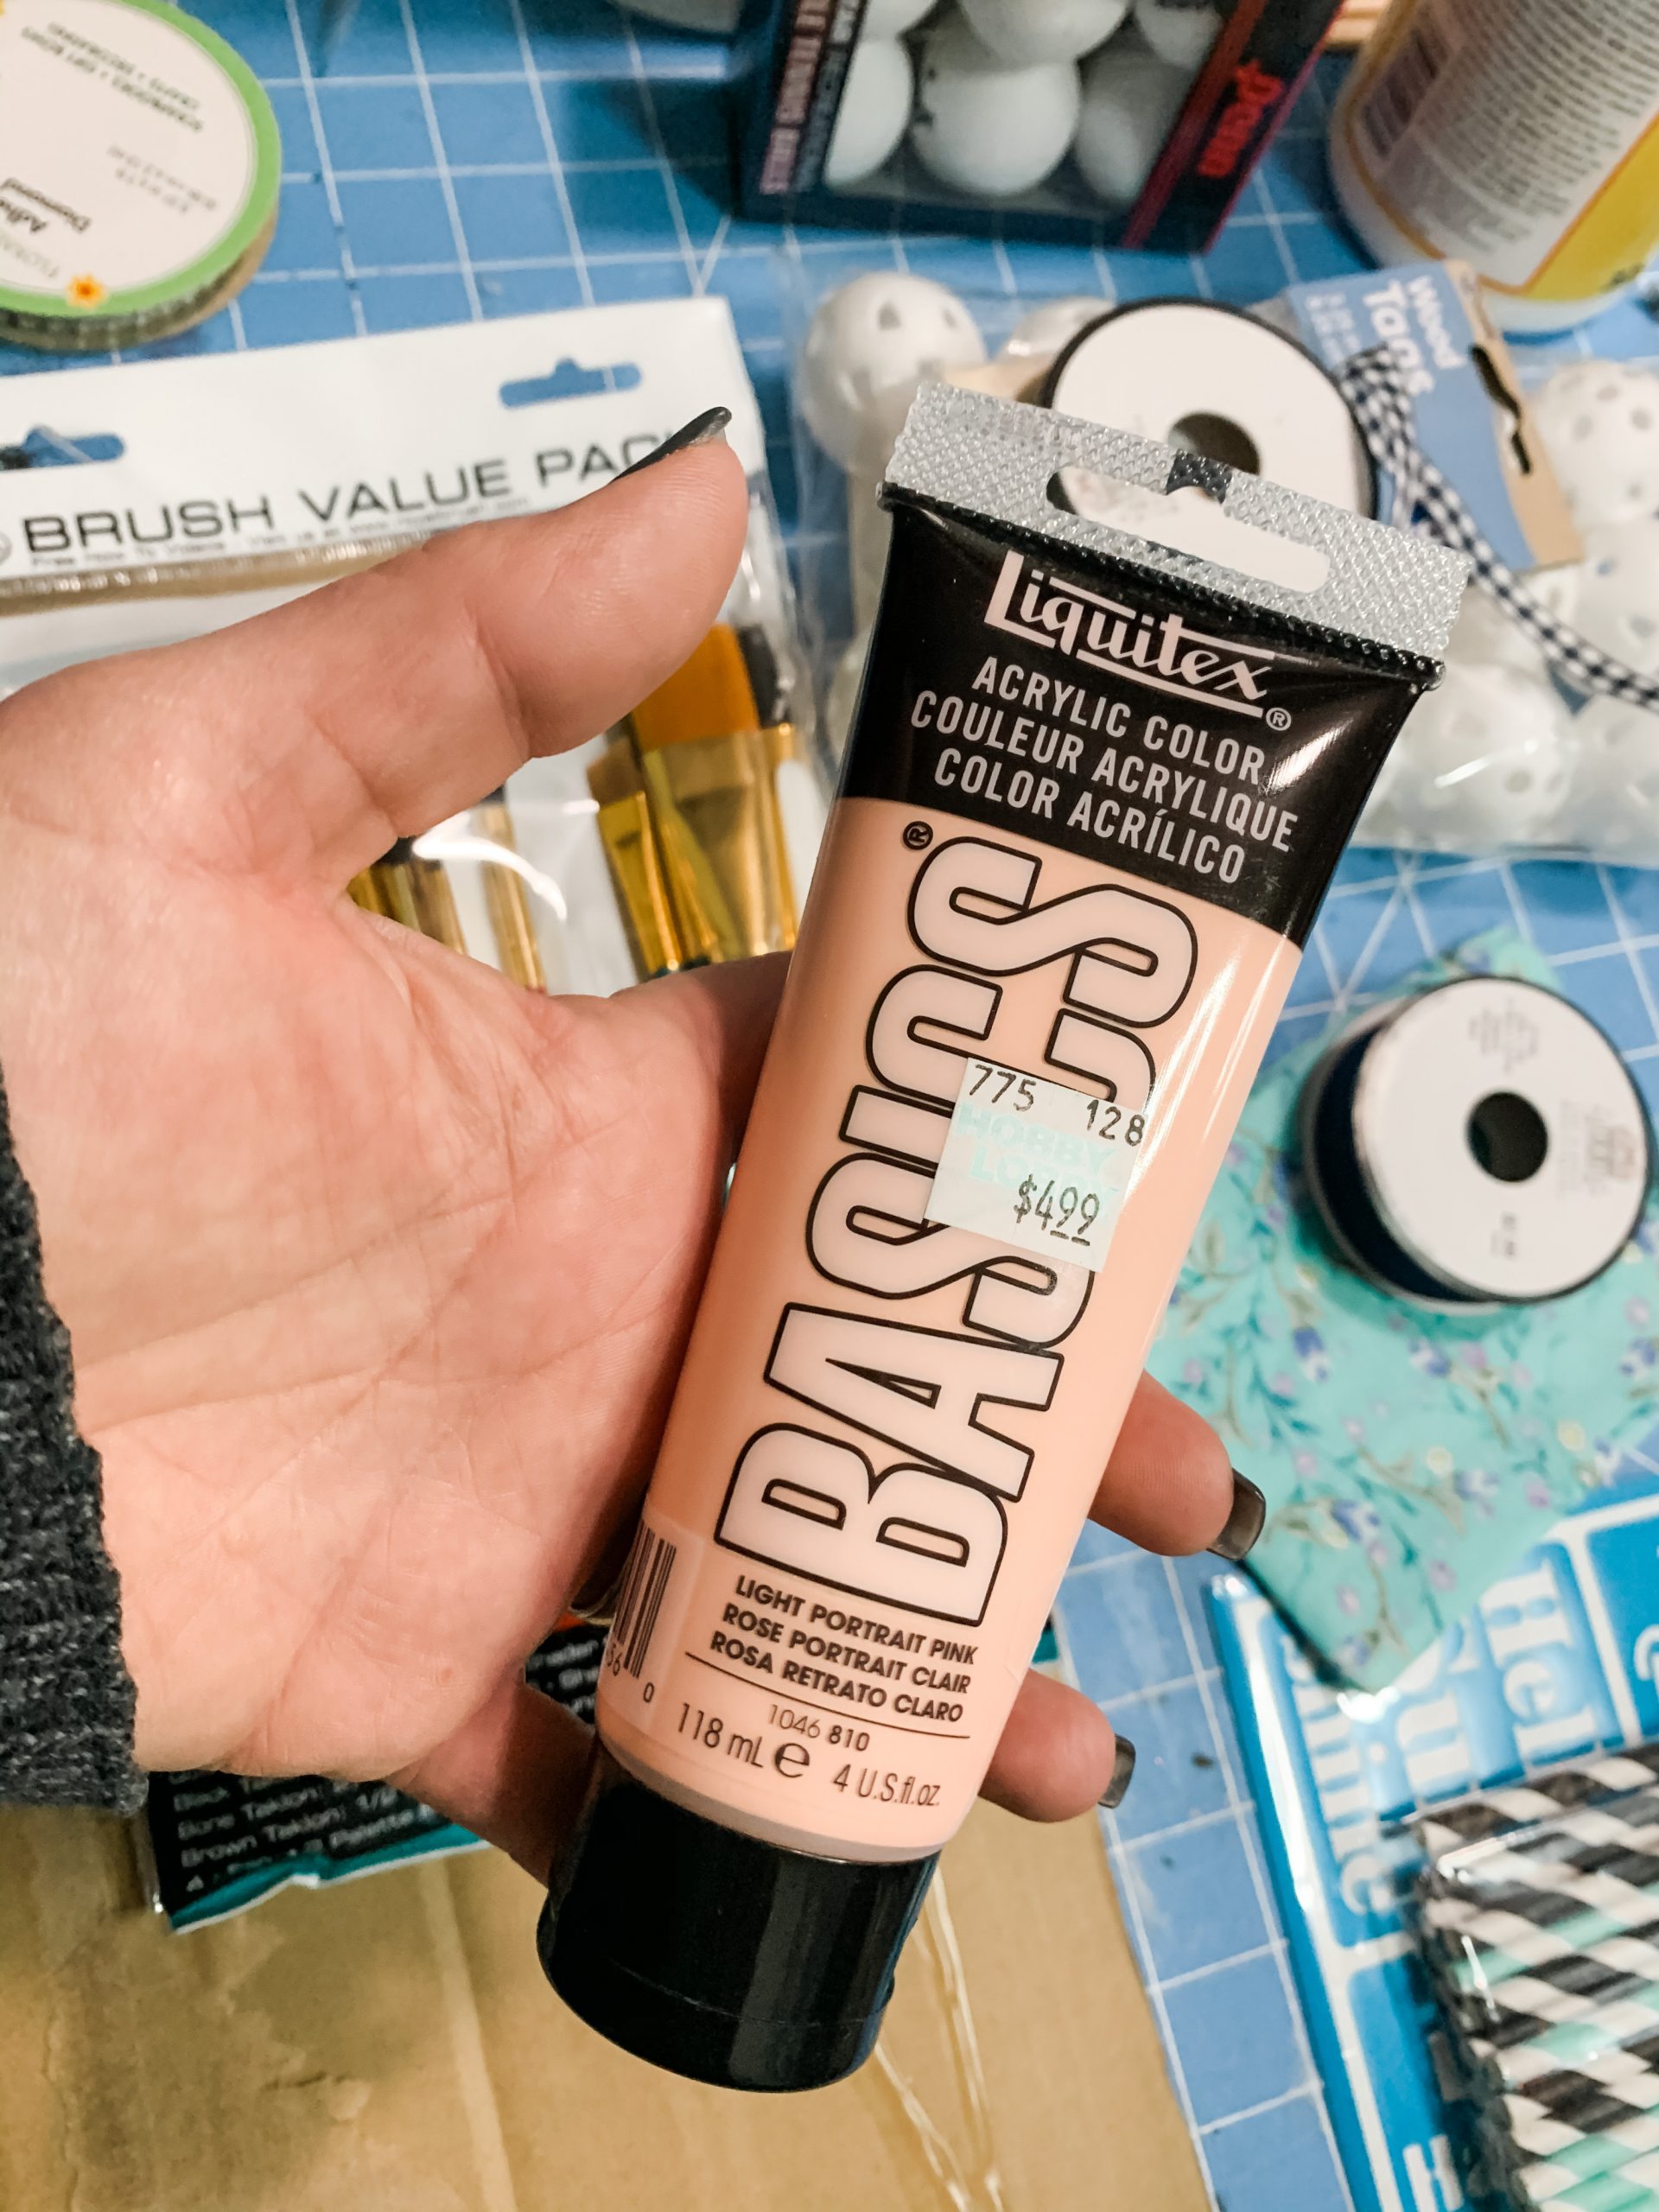
It’s time to make the third mini planter! For this one, you’ll need the Dollar Tree mini wood tags, the Liquitex pink paint, a Dollar Tree self-adhesive stencil, and black paint.
I started by painting two of the mini wood tags with pink paint. It’s honestly more of a peachy tone, but you can use whatever color you like best!
Once the tags are dry (I used my heat gun to speed up the drying process), place your adhesive stencils onto the tags. Then, use black paint to paint the stencil design onto the Dollar Tree wood tags.
While the stencils are drying, hot glue the moss in place on the cardboard circle over the top of the Dollar Tree seed starter pot.

Next, I hot glued the two Dollar Tree mini wood tags together, slightly overlapping and with one at an angle. Then, I threaded the white ribbon through the holes in the mini wood tags and tied it in a small bow.
Now, hot glue the stenciled tags to the straw. Again, don’t move the planter until the glue is completely dry or the tags might fall off.

The finishing touches
Each of the mini planters was a little unsteady, so I hot a piece of a craft stick to the bottom of each Dollar Tree seed starter pots.
Lastly, I tied a small bow with the white ribbon to the middle of the DIY mini topiary.
I made another bow with the blue ribbon (and white accent ribbon) and hot glued it underneath the picture frame on the second mini planter.
Finally, I hot glued the Dollar Tree jeweled ribbon around each of the Dollar Tree seed starter pots.
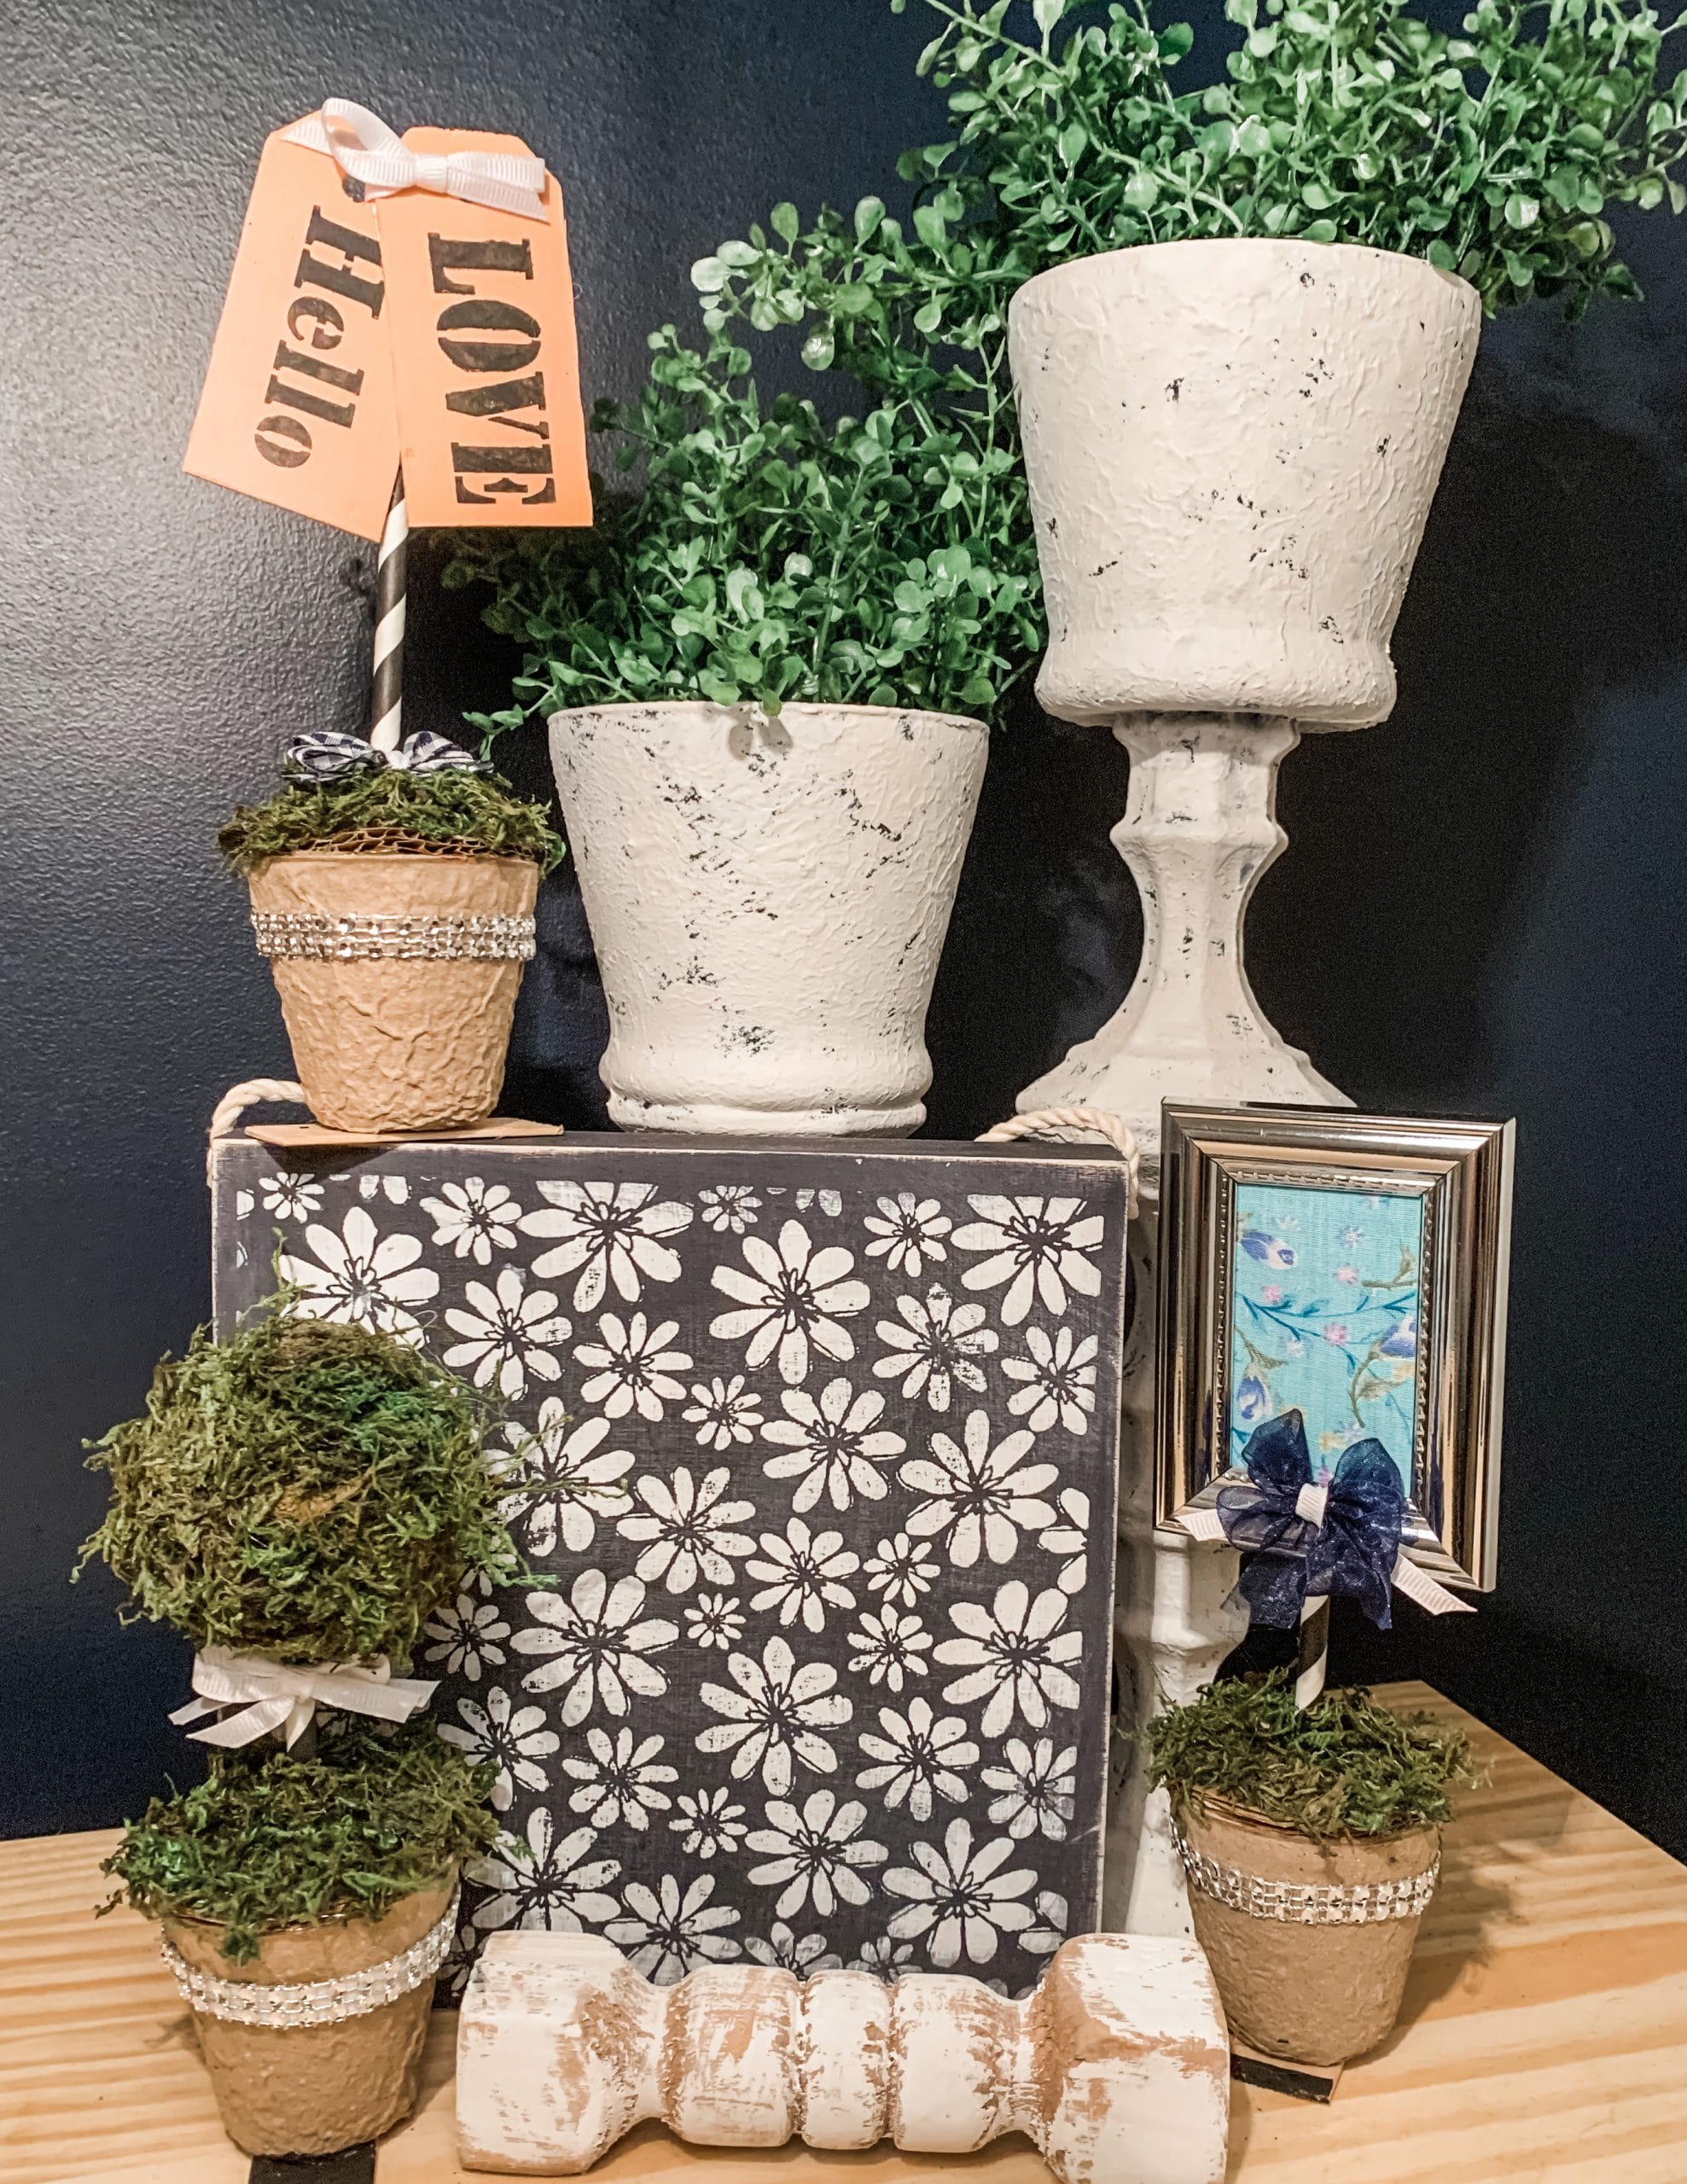
I hope you enjoyed this Dollar Tree Mini Planter DIY Everyday Decor as much as I did and decide to make one for yourself! I would love to see how yours turns out!
You should totally join my FREE Facebook group called On A Budget Crafts! It is a judgment-free community for DIY crafters to show off their projects and ideas.
If you loved this DIY you might also like this one too!
Thanks for stopping by! XOXO Amber
You can also shop my ENTIRE AMAZON Favorites shop just click here! It’s packed full of all the things I use and love. Here is the supply list I highly recommend every creative have on hand!!
Would you also pin my blog for later and get on my newsletter alerts? I would love to have you join my #craftycrew.
Inspired? Leave me a comment below! I love hearing from my readers!

Join my free “ON A BUDGET CRAFTS” Facebook group!
Super cute
These are the cutest