Faux Metal Dollar Tree DIY Valentine’s Day Decor

I’m not going to lie, Valentine’s Decor isn’t my favorite to make, but even still, I’m always trying to think outside the box, get creative, and inspire others. That’s why I am excited to share this Faux Metal Dollar Tree DIY Valentine’s Day Decor with you!
Some of my DIY projects are a little lengthy, technical, or require a good bit of supplies, but this isn’t one of those.
Making this simple Valentine’s decor DIY is the perfect DIY decor for beginners! If you’re a seasoned crafter, there are so many ways to edit and customize this adorable Valentine’s Day decor.
Watch the replay
I have said before that my purpose in life is to inspire others to be creative and decorate their house on a budget. I’ve found that one of the best ways to do that is through Facebook LIVE videos.
I go live several times a week on my Facebook page to share my DIY craft ideas, and that is where I first made this adorable Valentine’s DIY.
I want this video to be a resource for other crafters, so that’s why I’m sharing this replay with you! If you want to craft along, join in on the fun conversations, or see my DIY techniques, you should totally watch the replay!

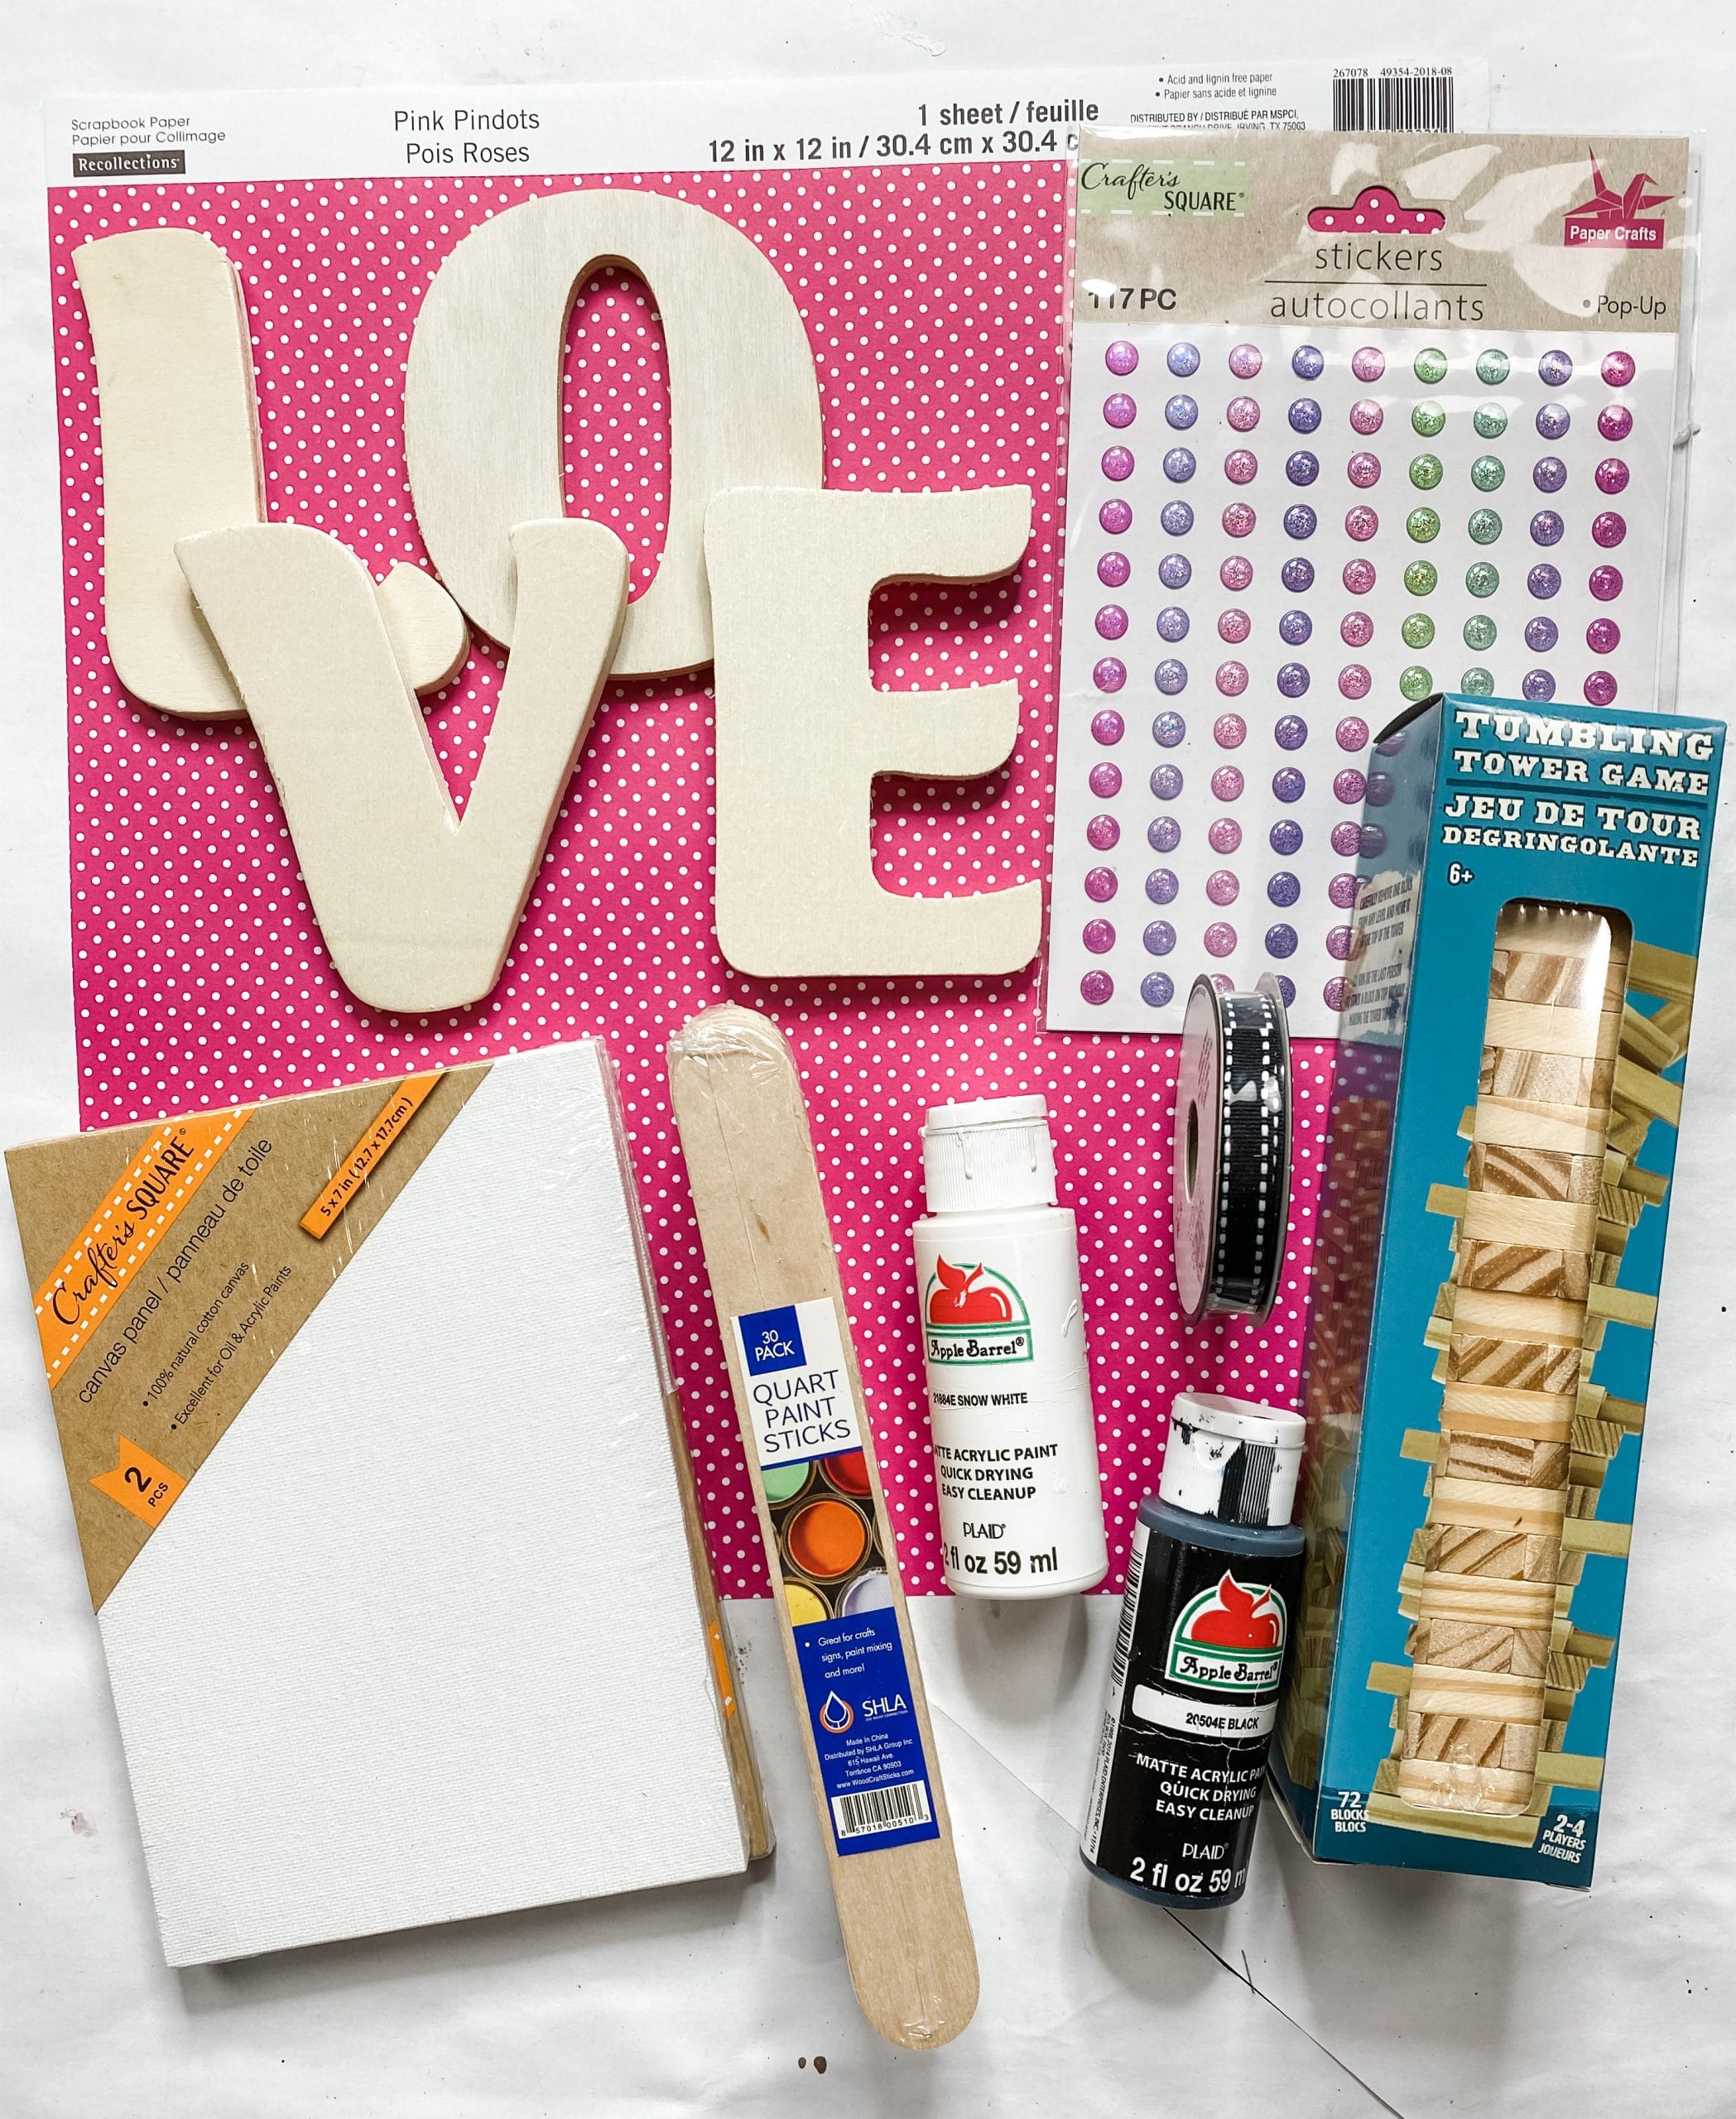
For this project, I will be using these items but you can substitute where you want.
“As an Amazon Associate, I earn from qualifying purchases.”
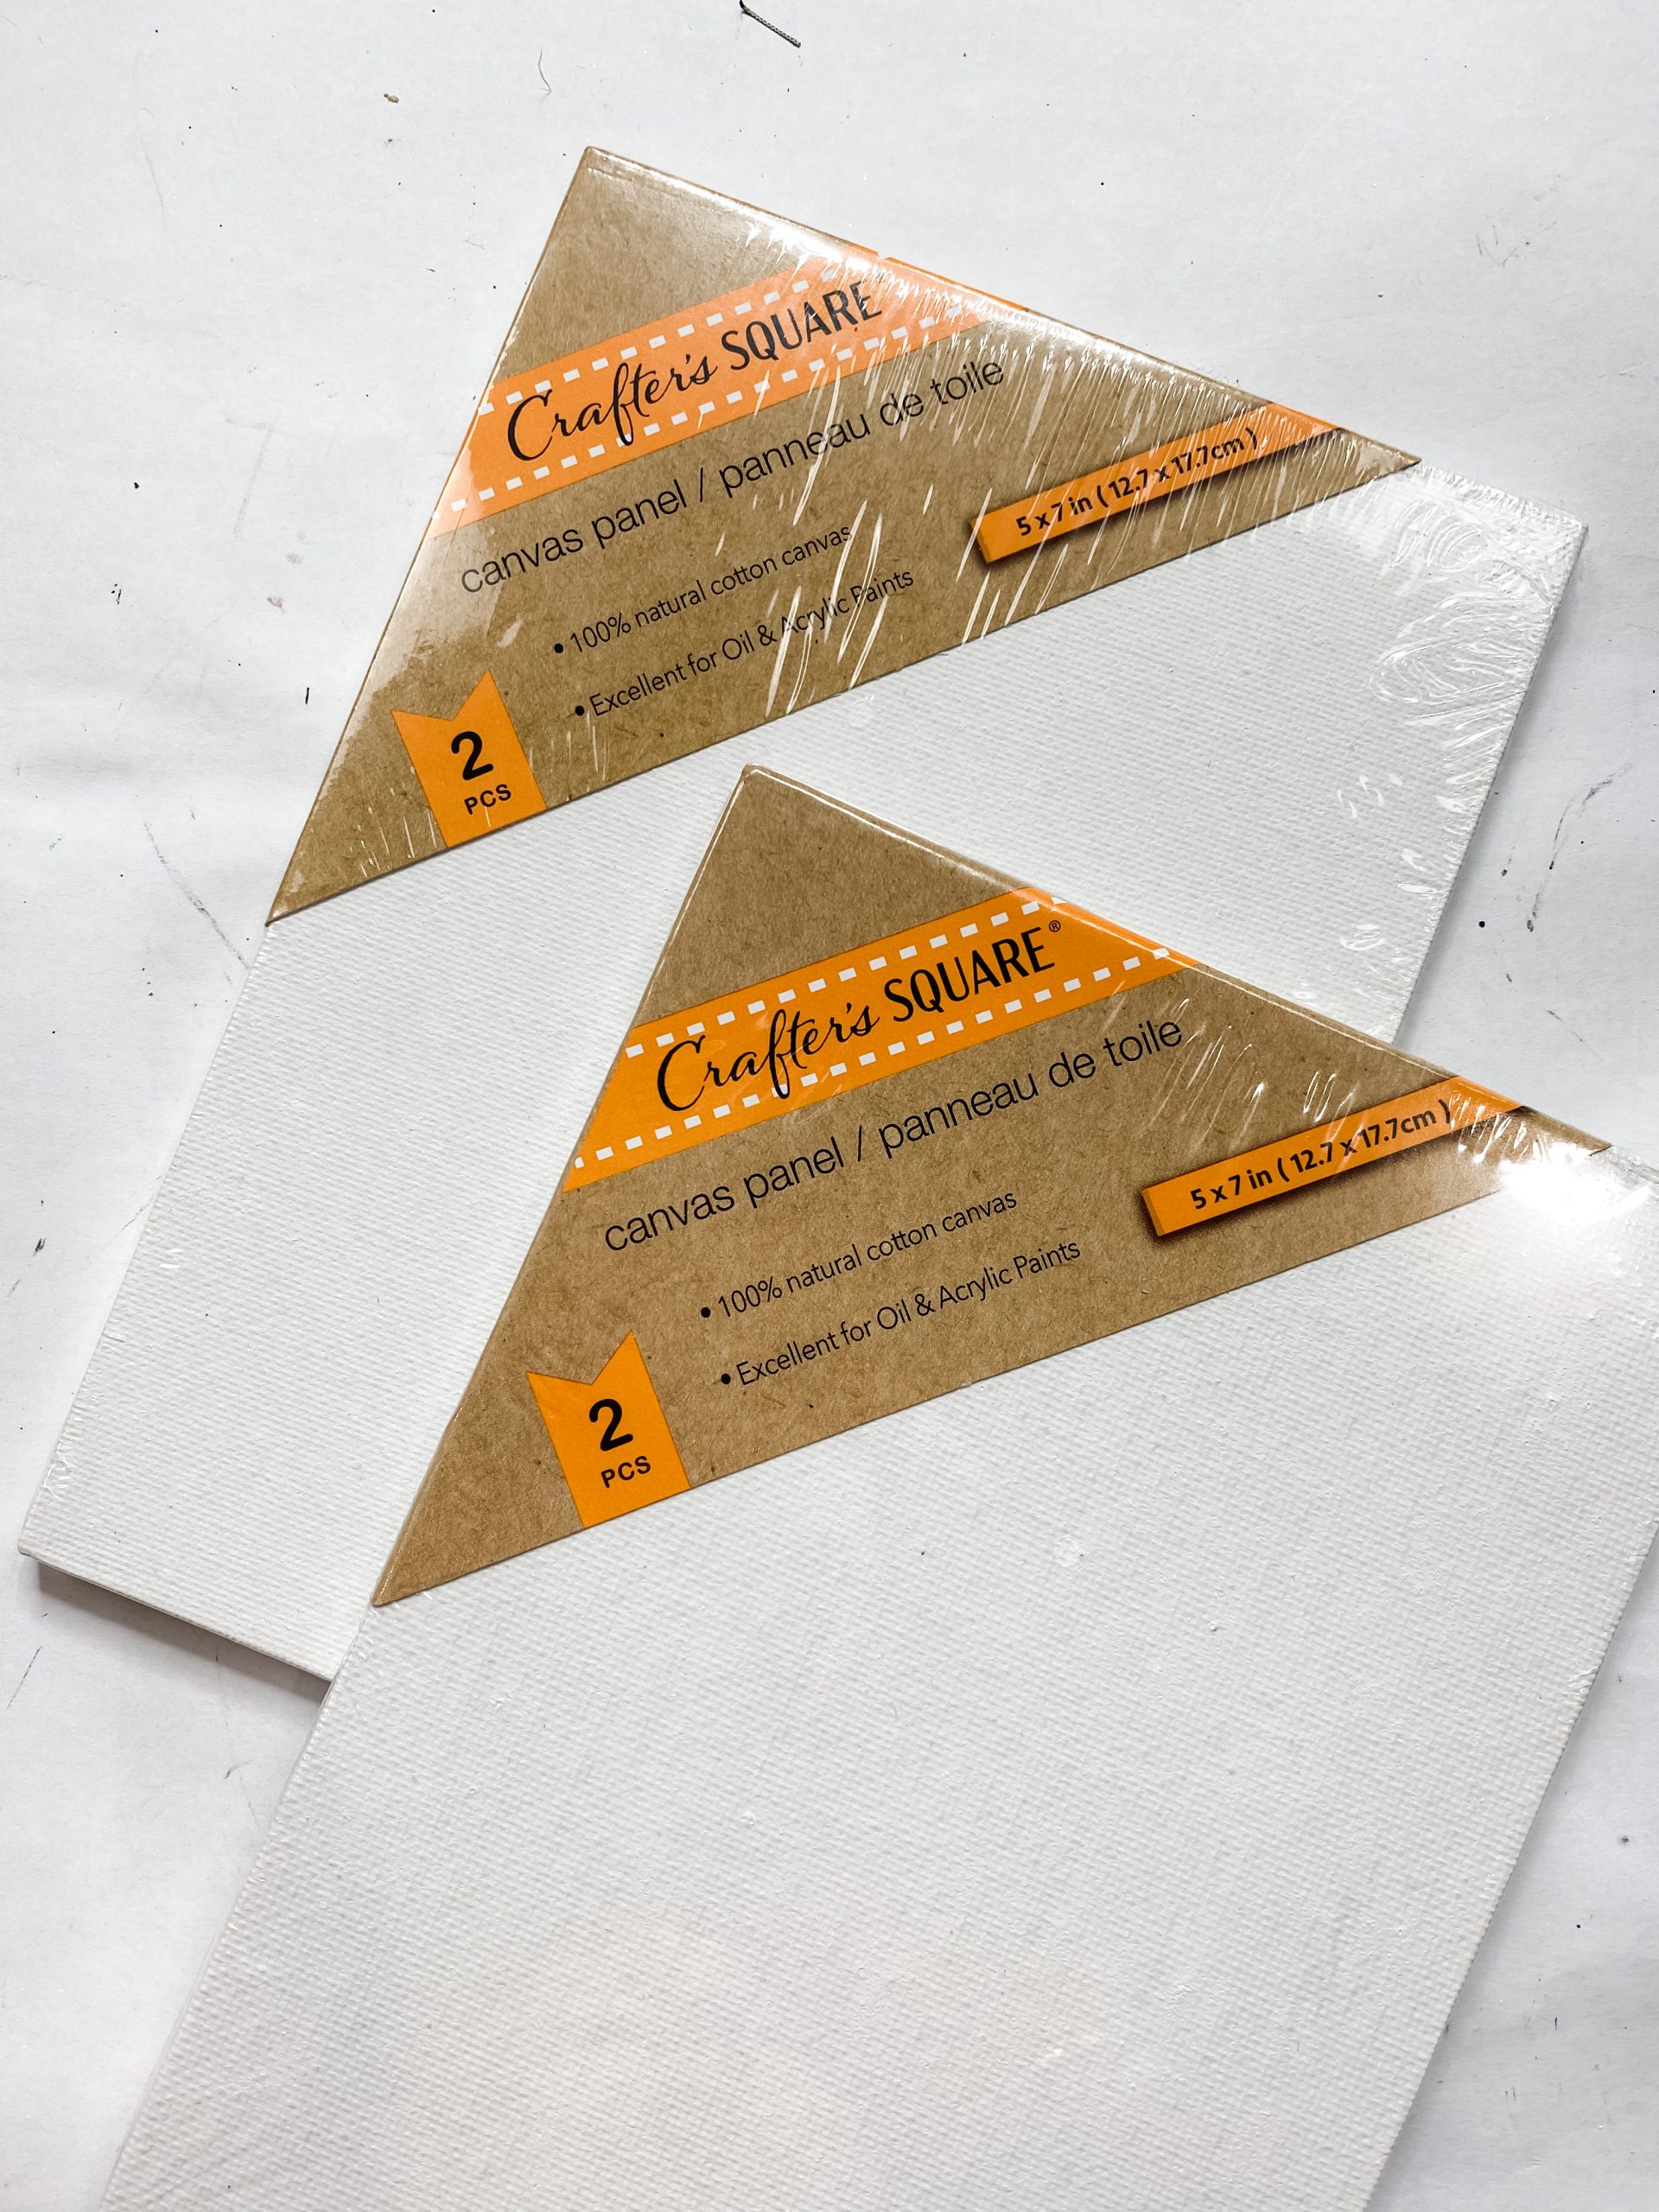
- Dollar Tree 5x7in Flatback Canvas (x4)
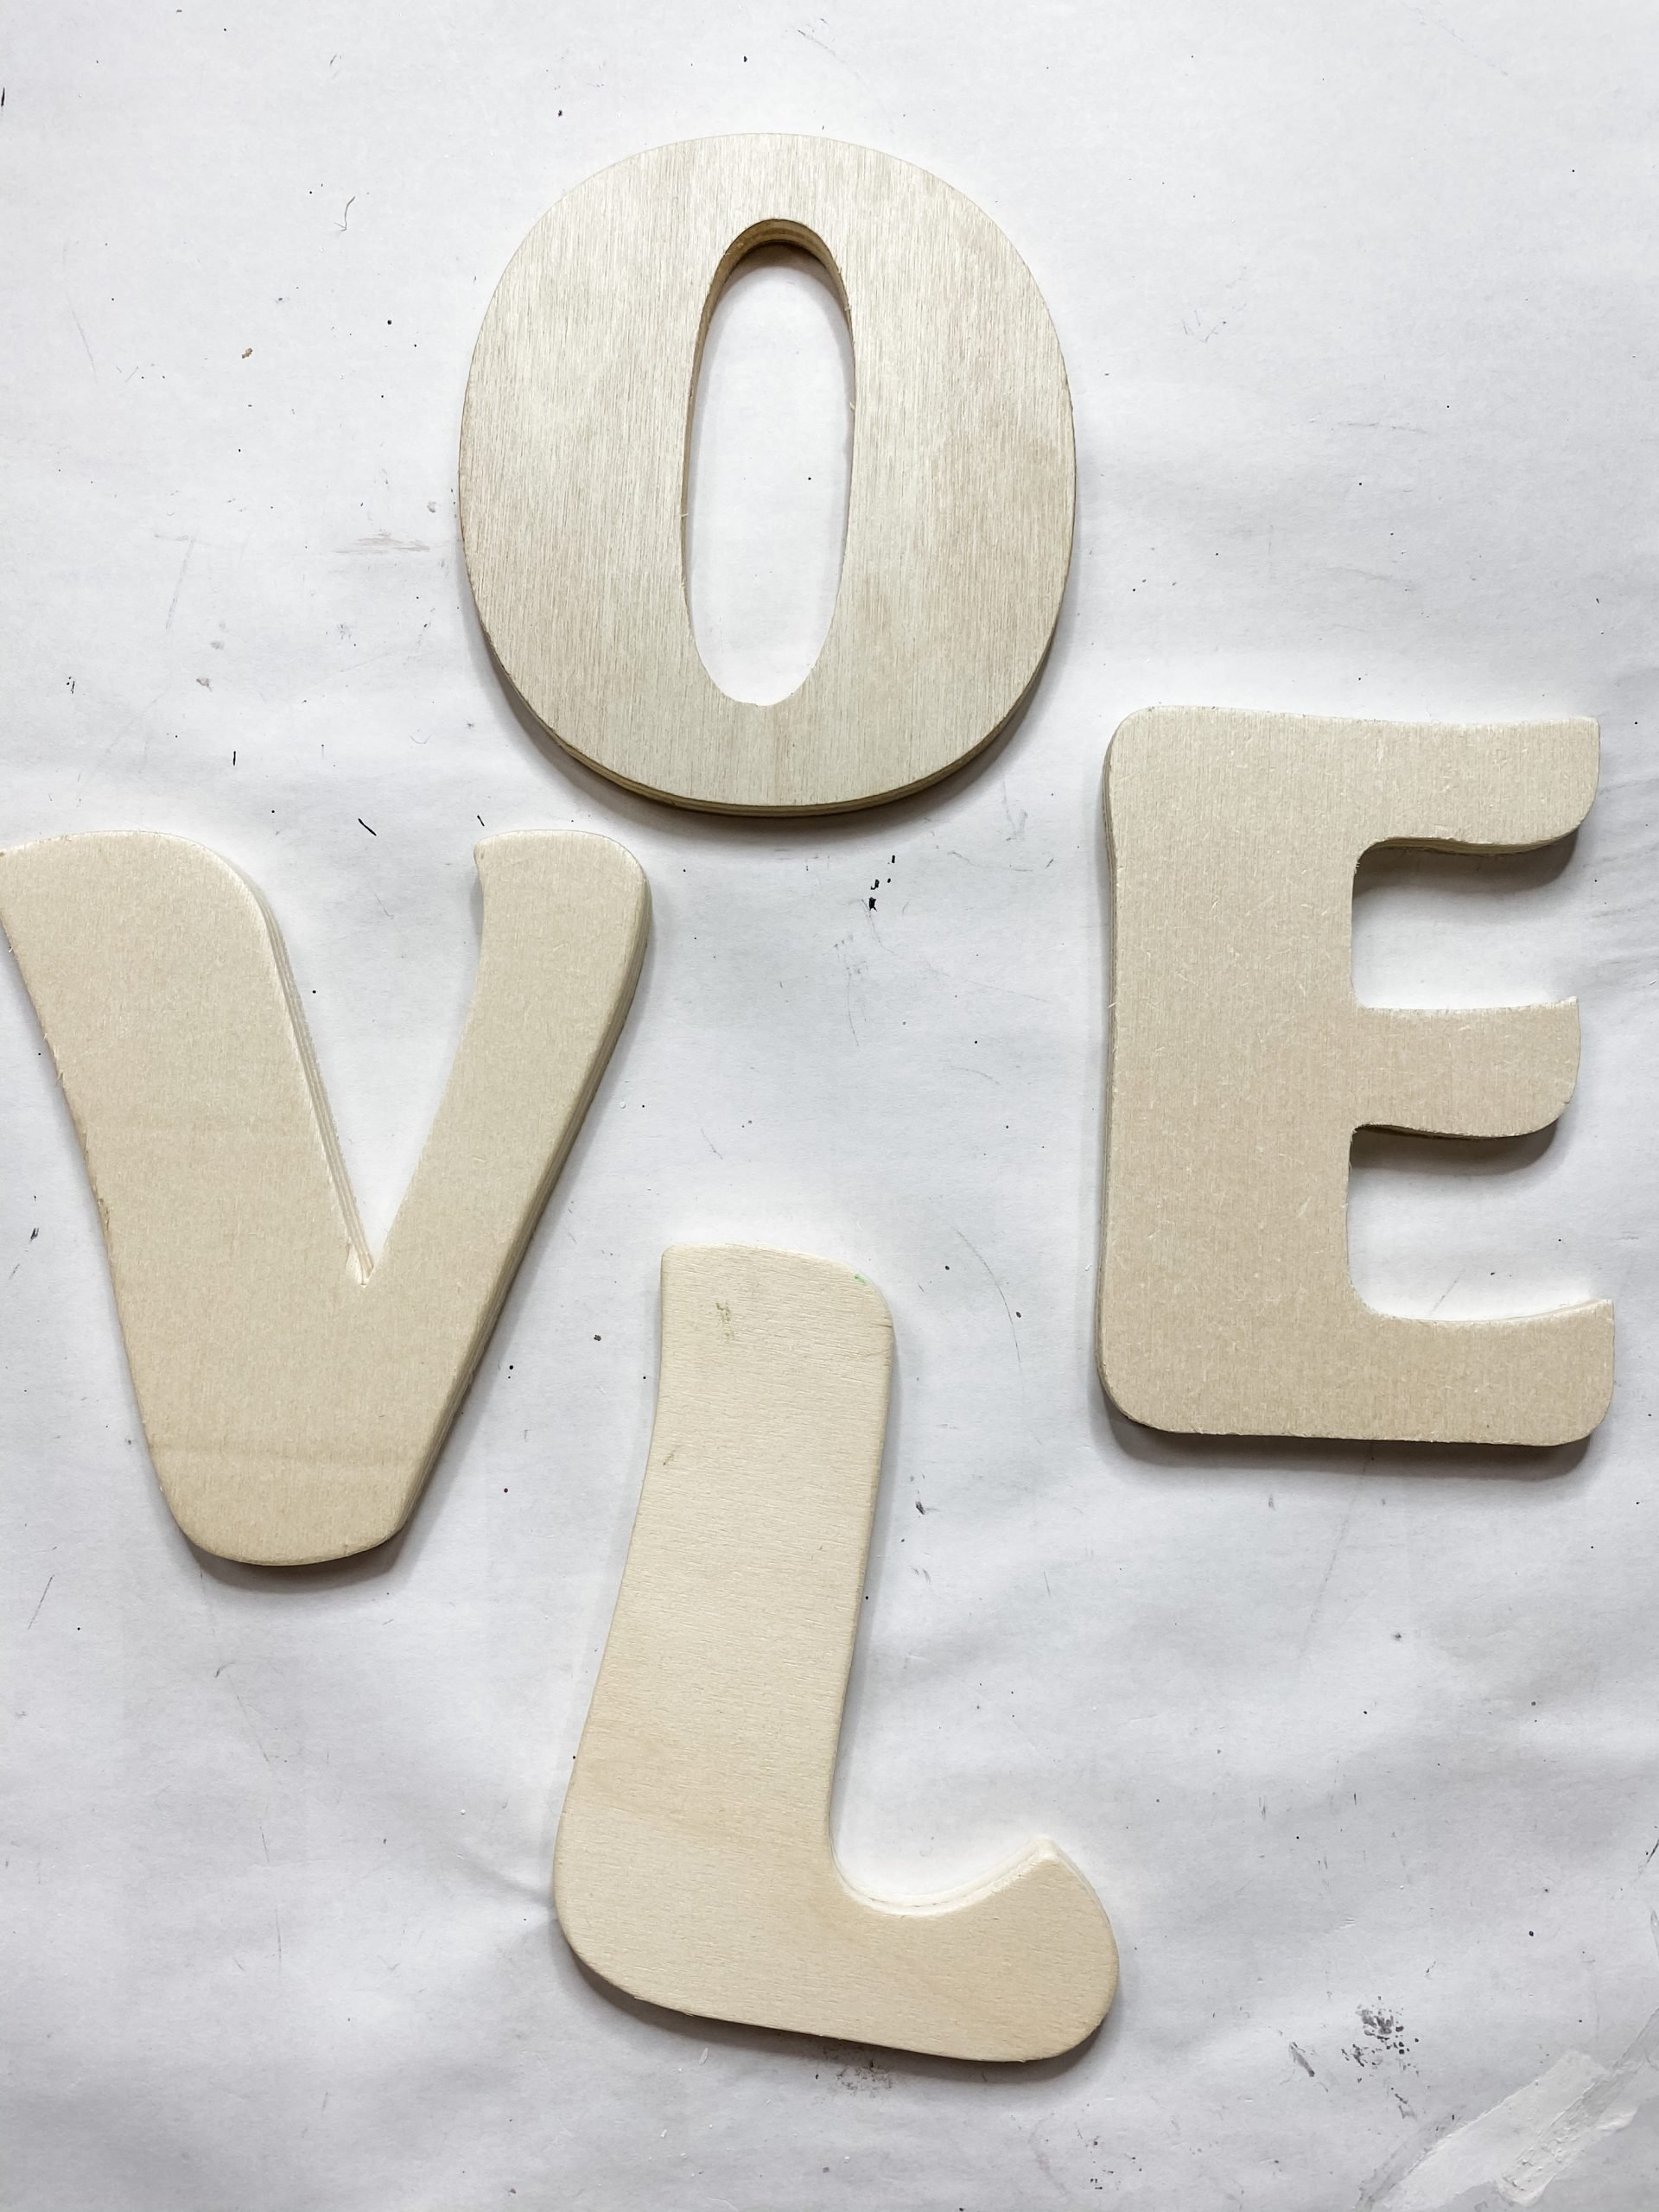
- Dollar Tree Wood Letters (LOVE)
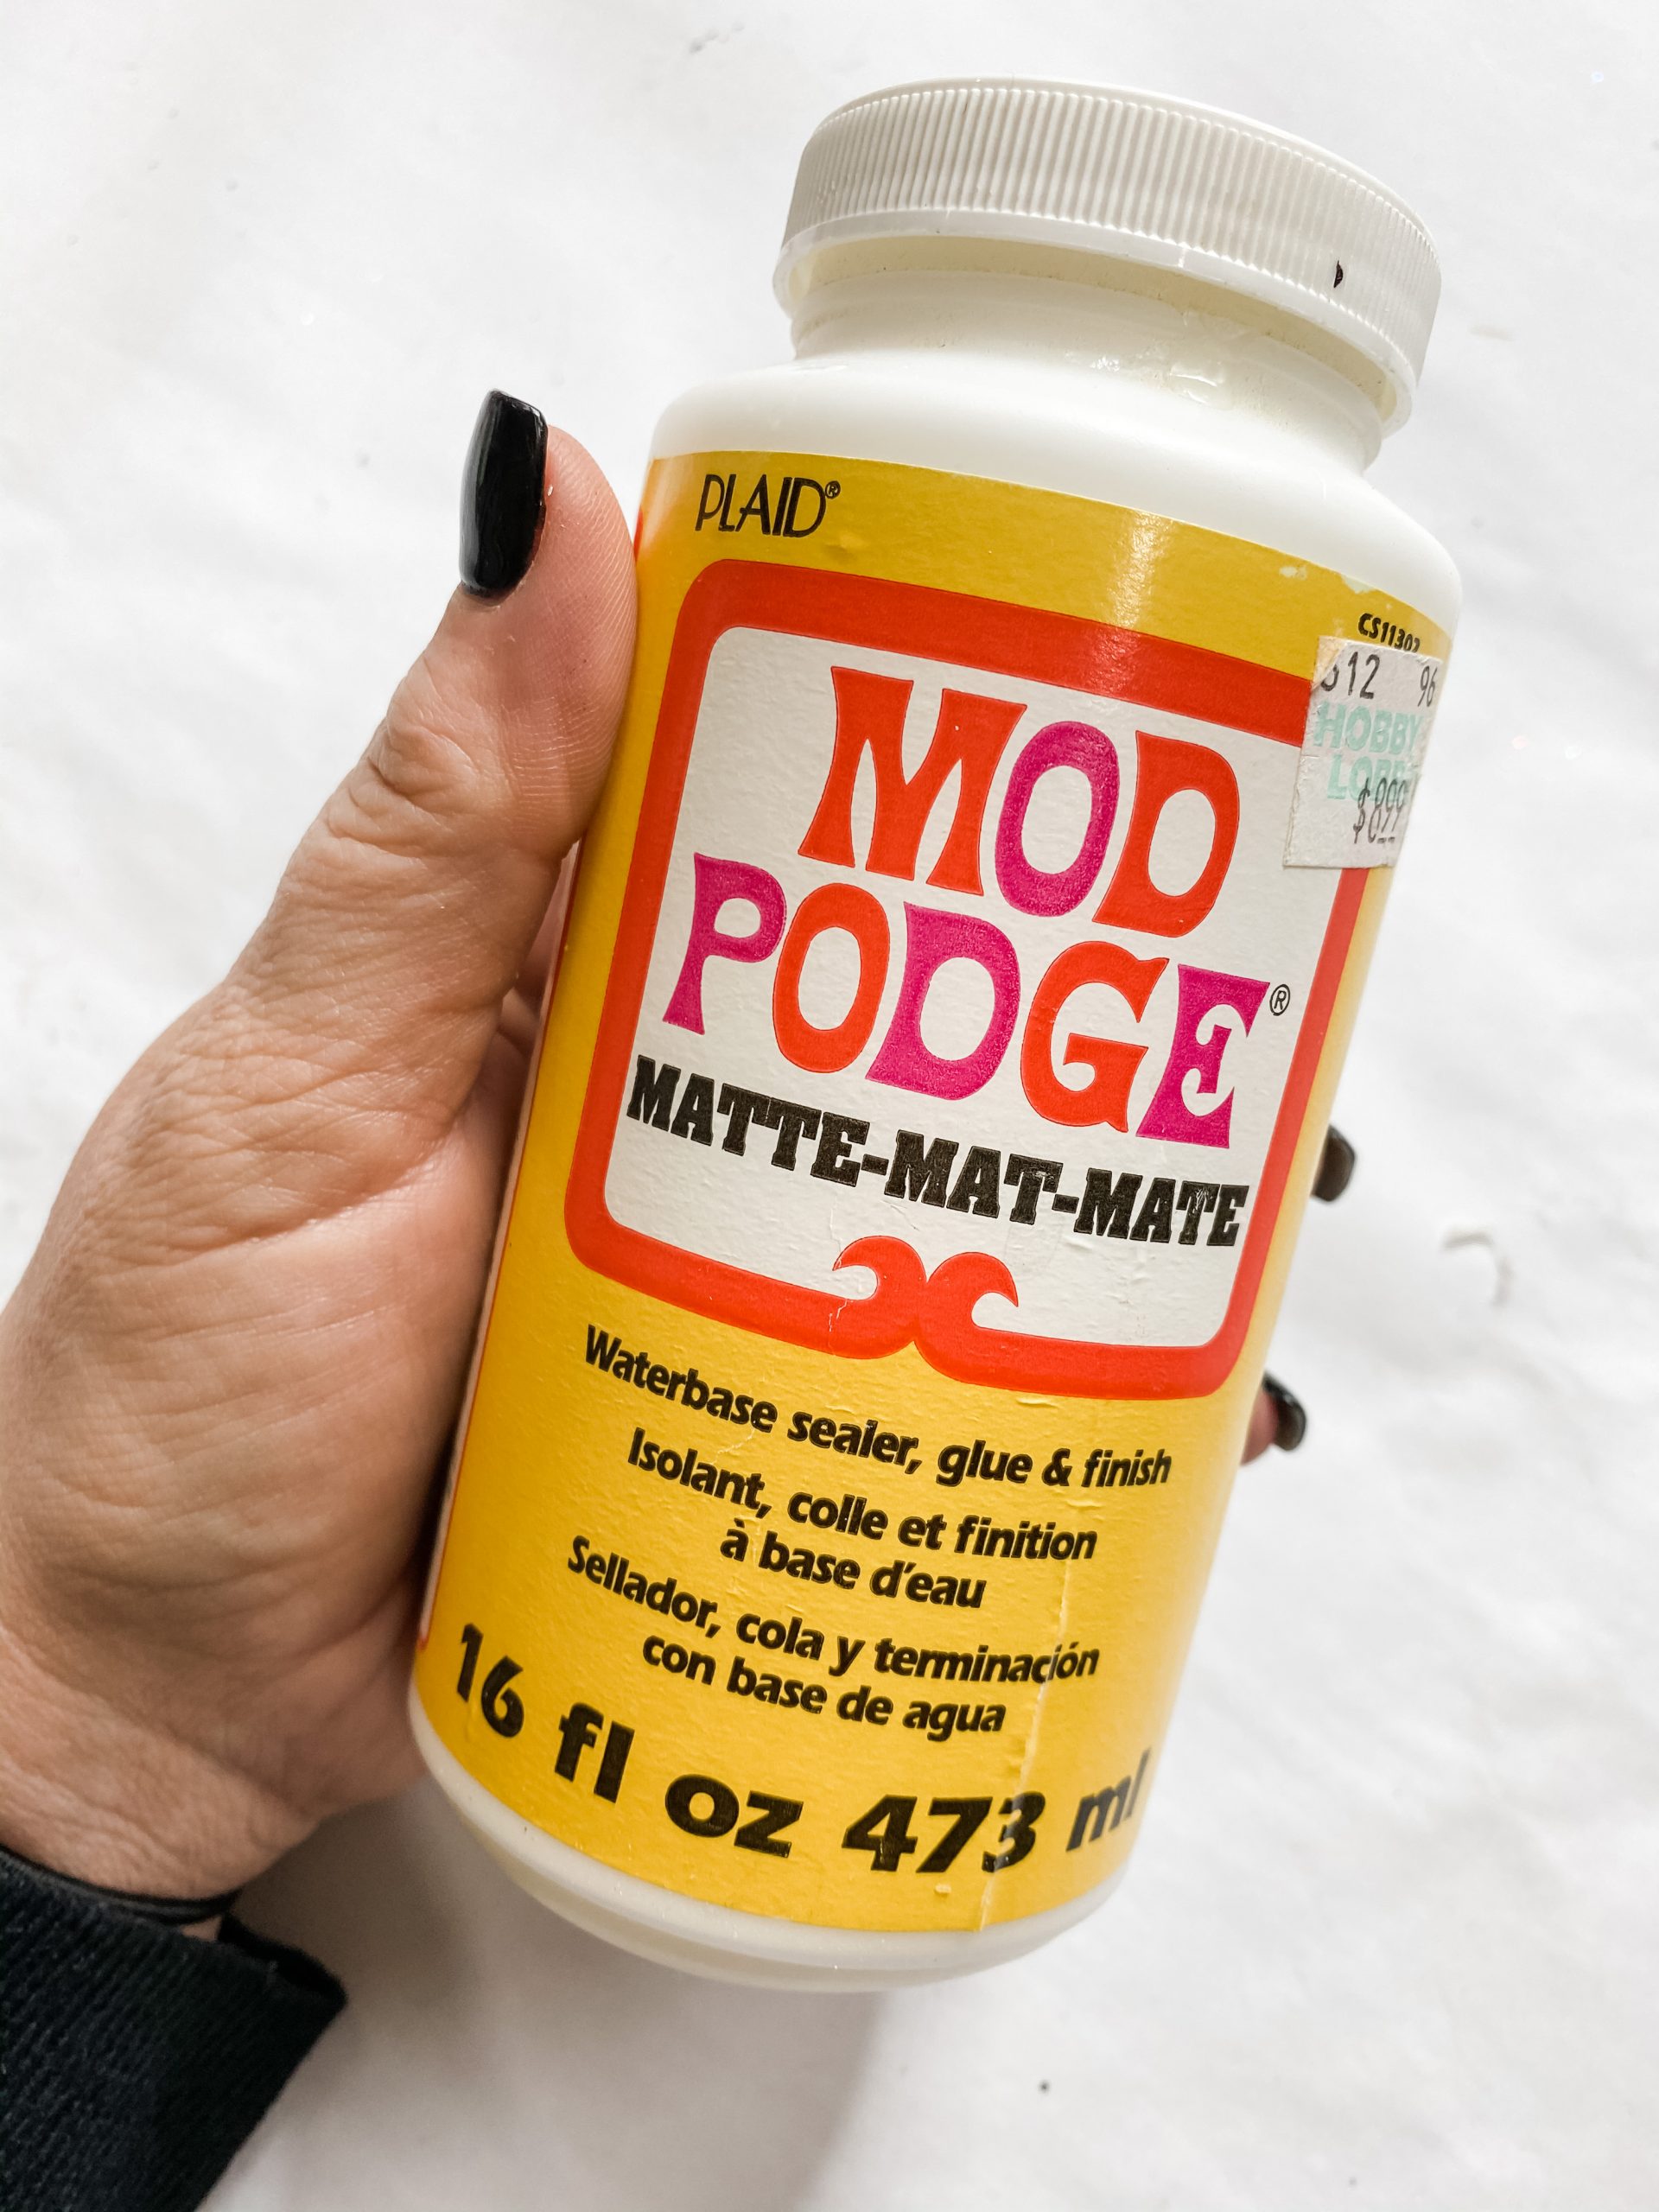
- Mod Podge
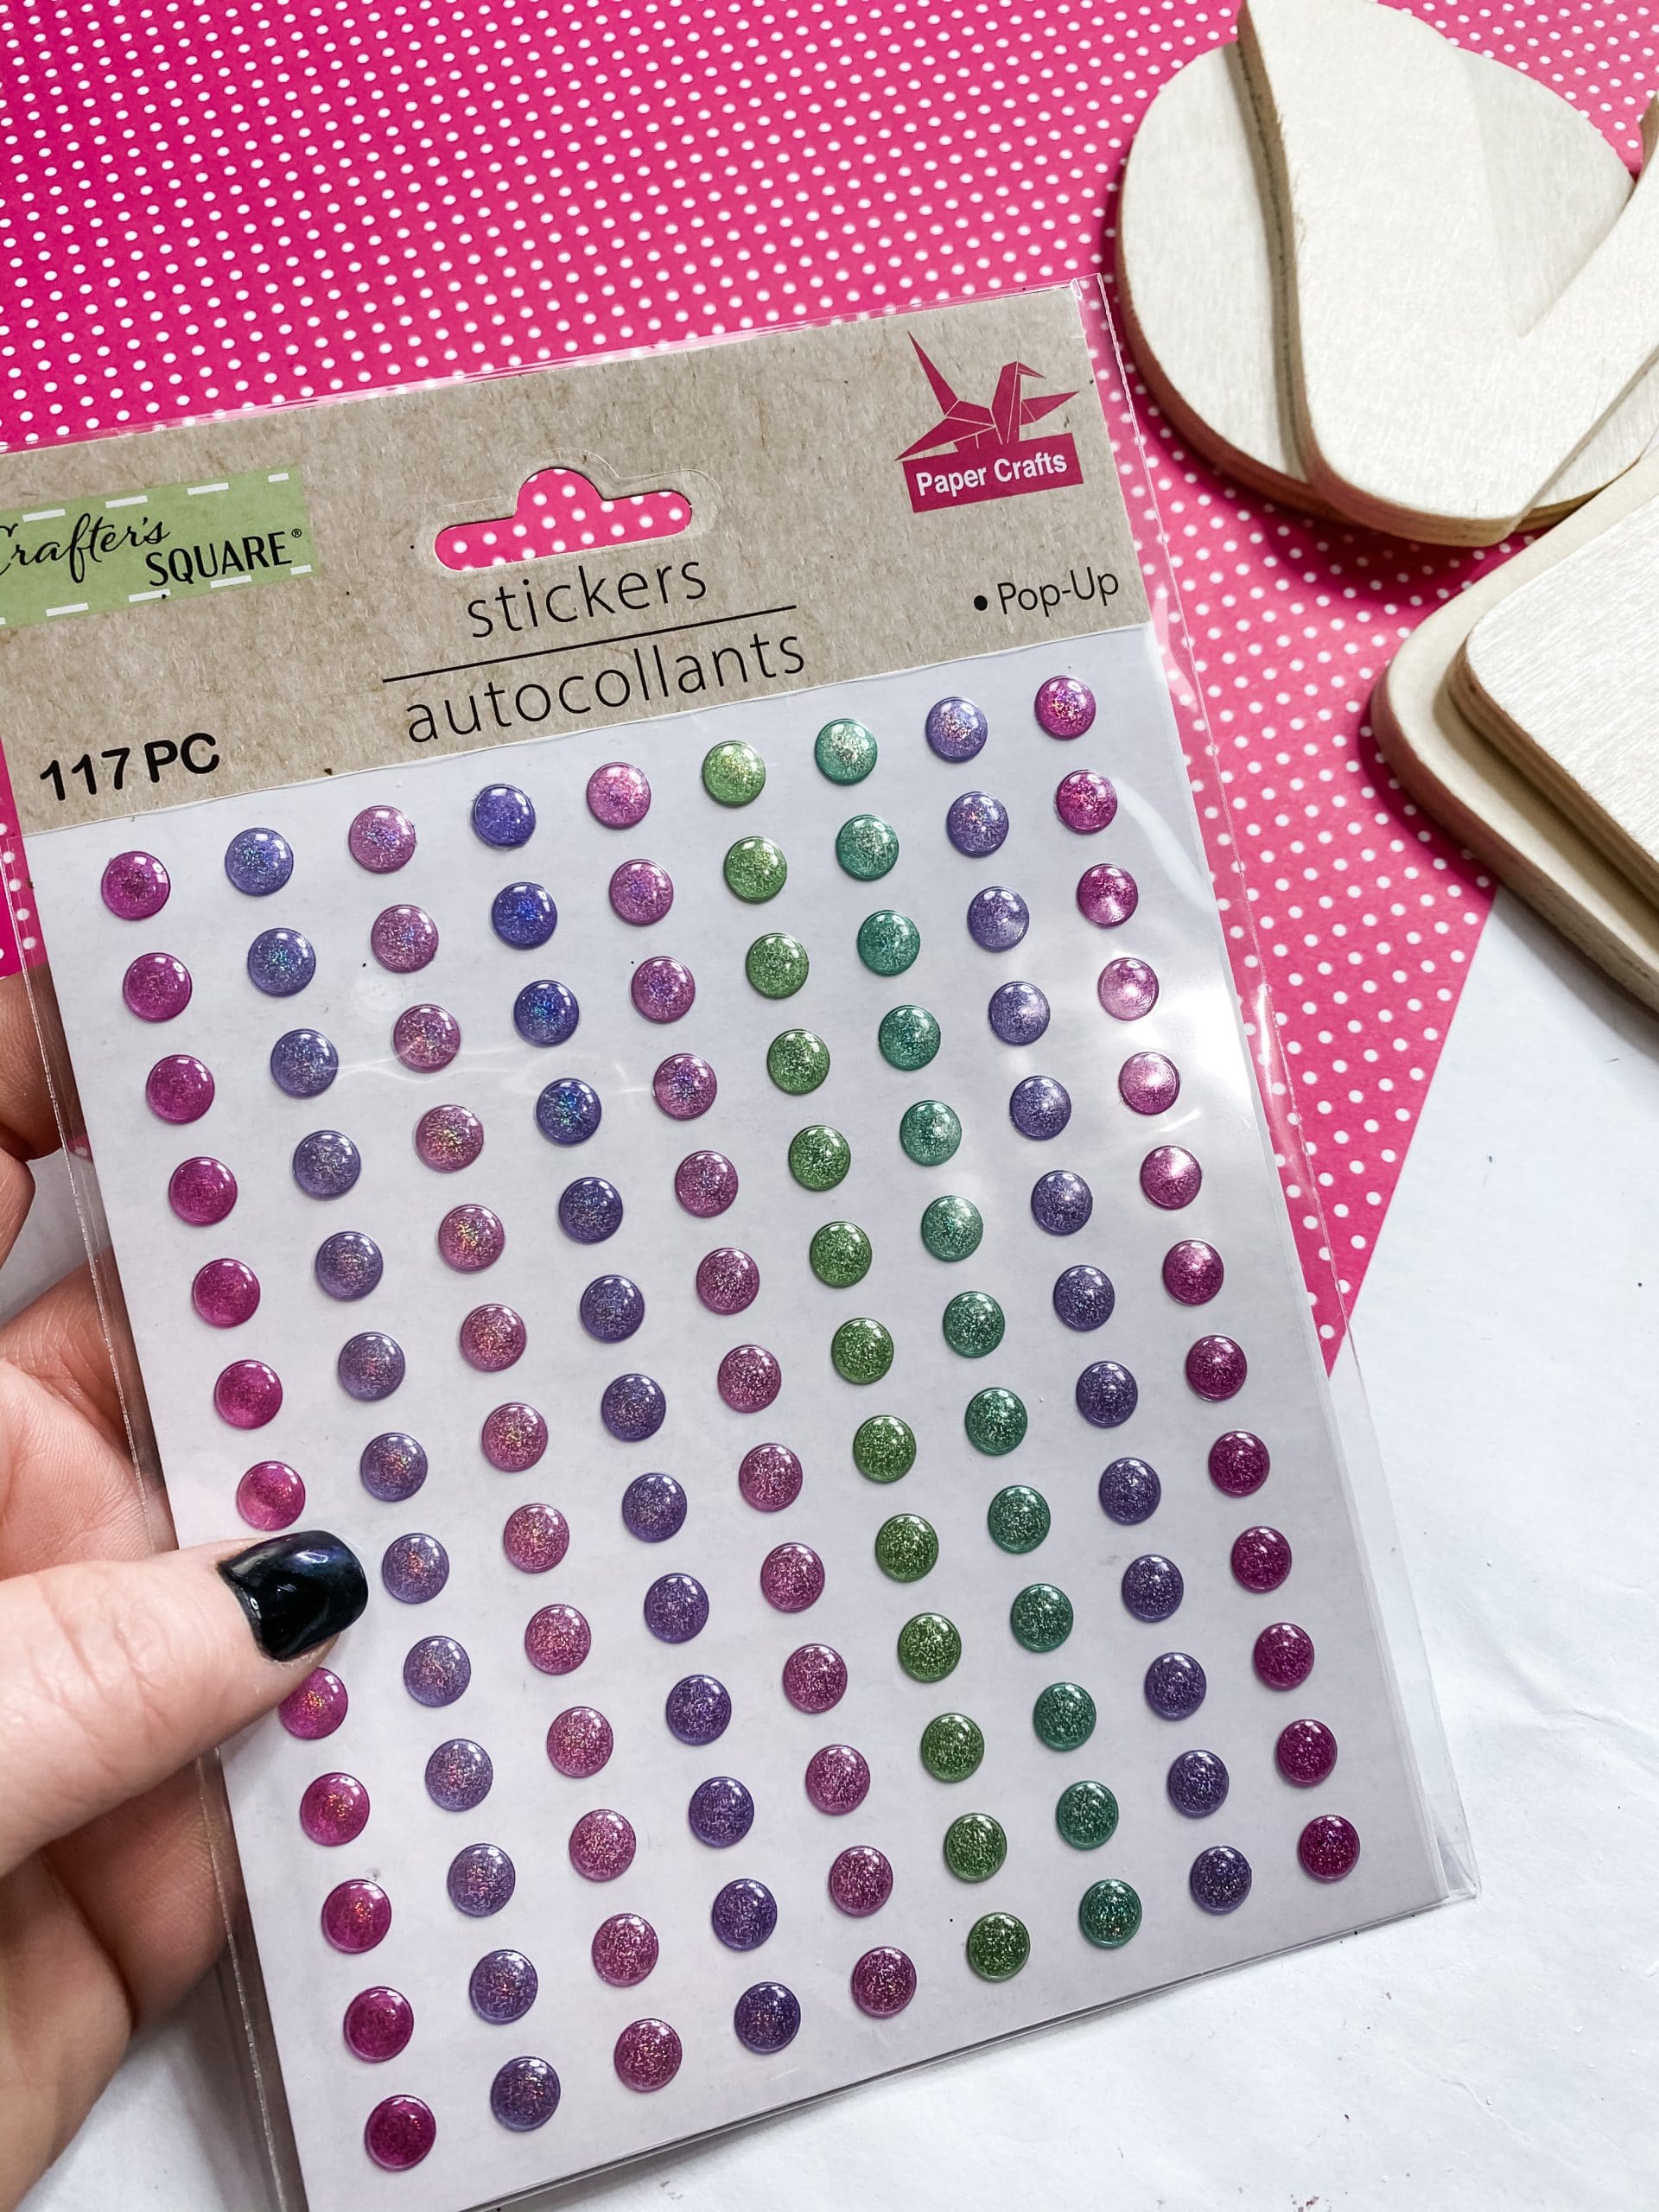
- Dollar Tree Colored Dot Stickers
- Dollar Tree Tumbling Tower Blocks
- Black Ribbon with White stitches (Hobby Lobby)
- Quart Paint Sticks
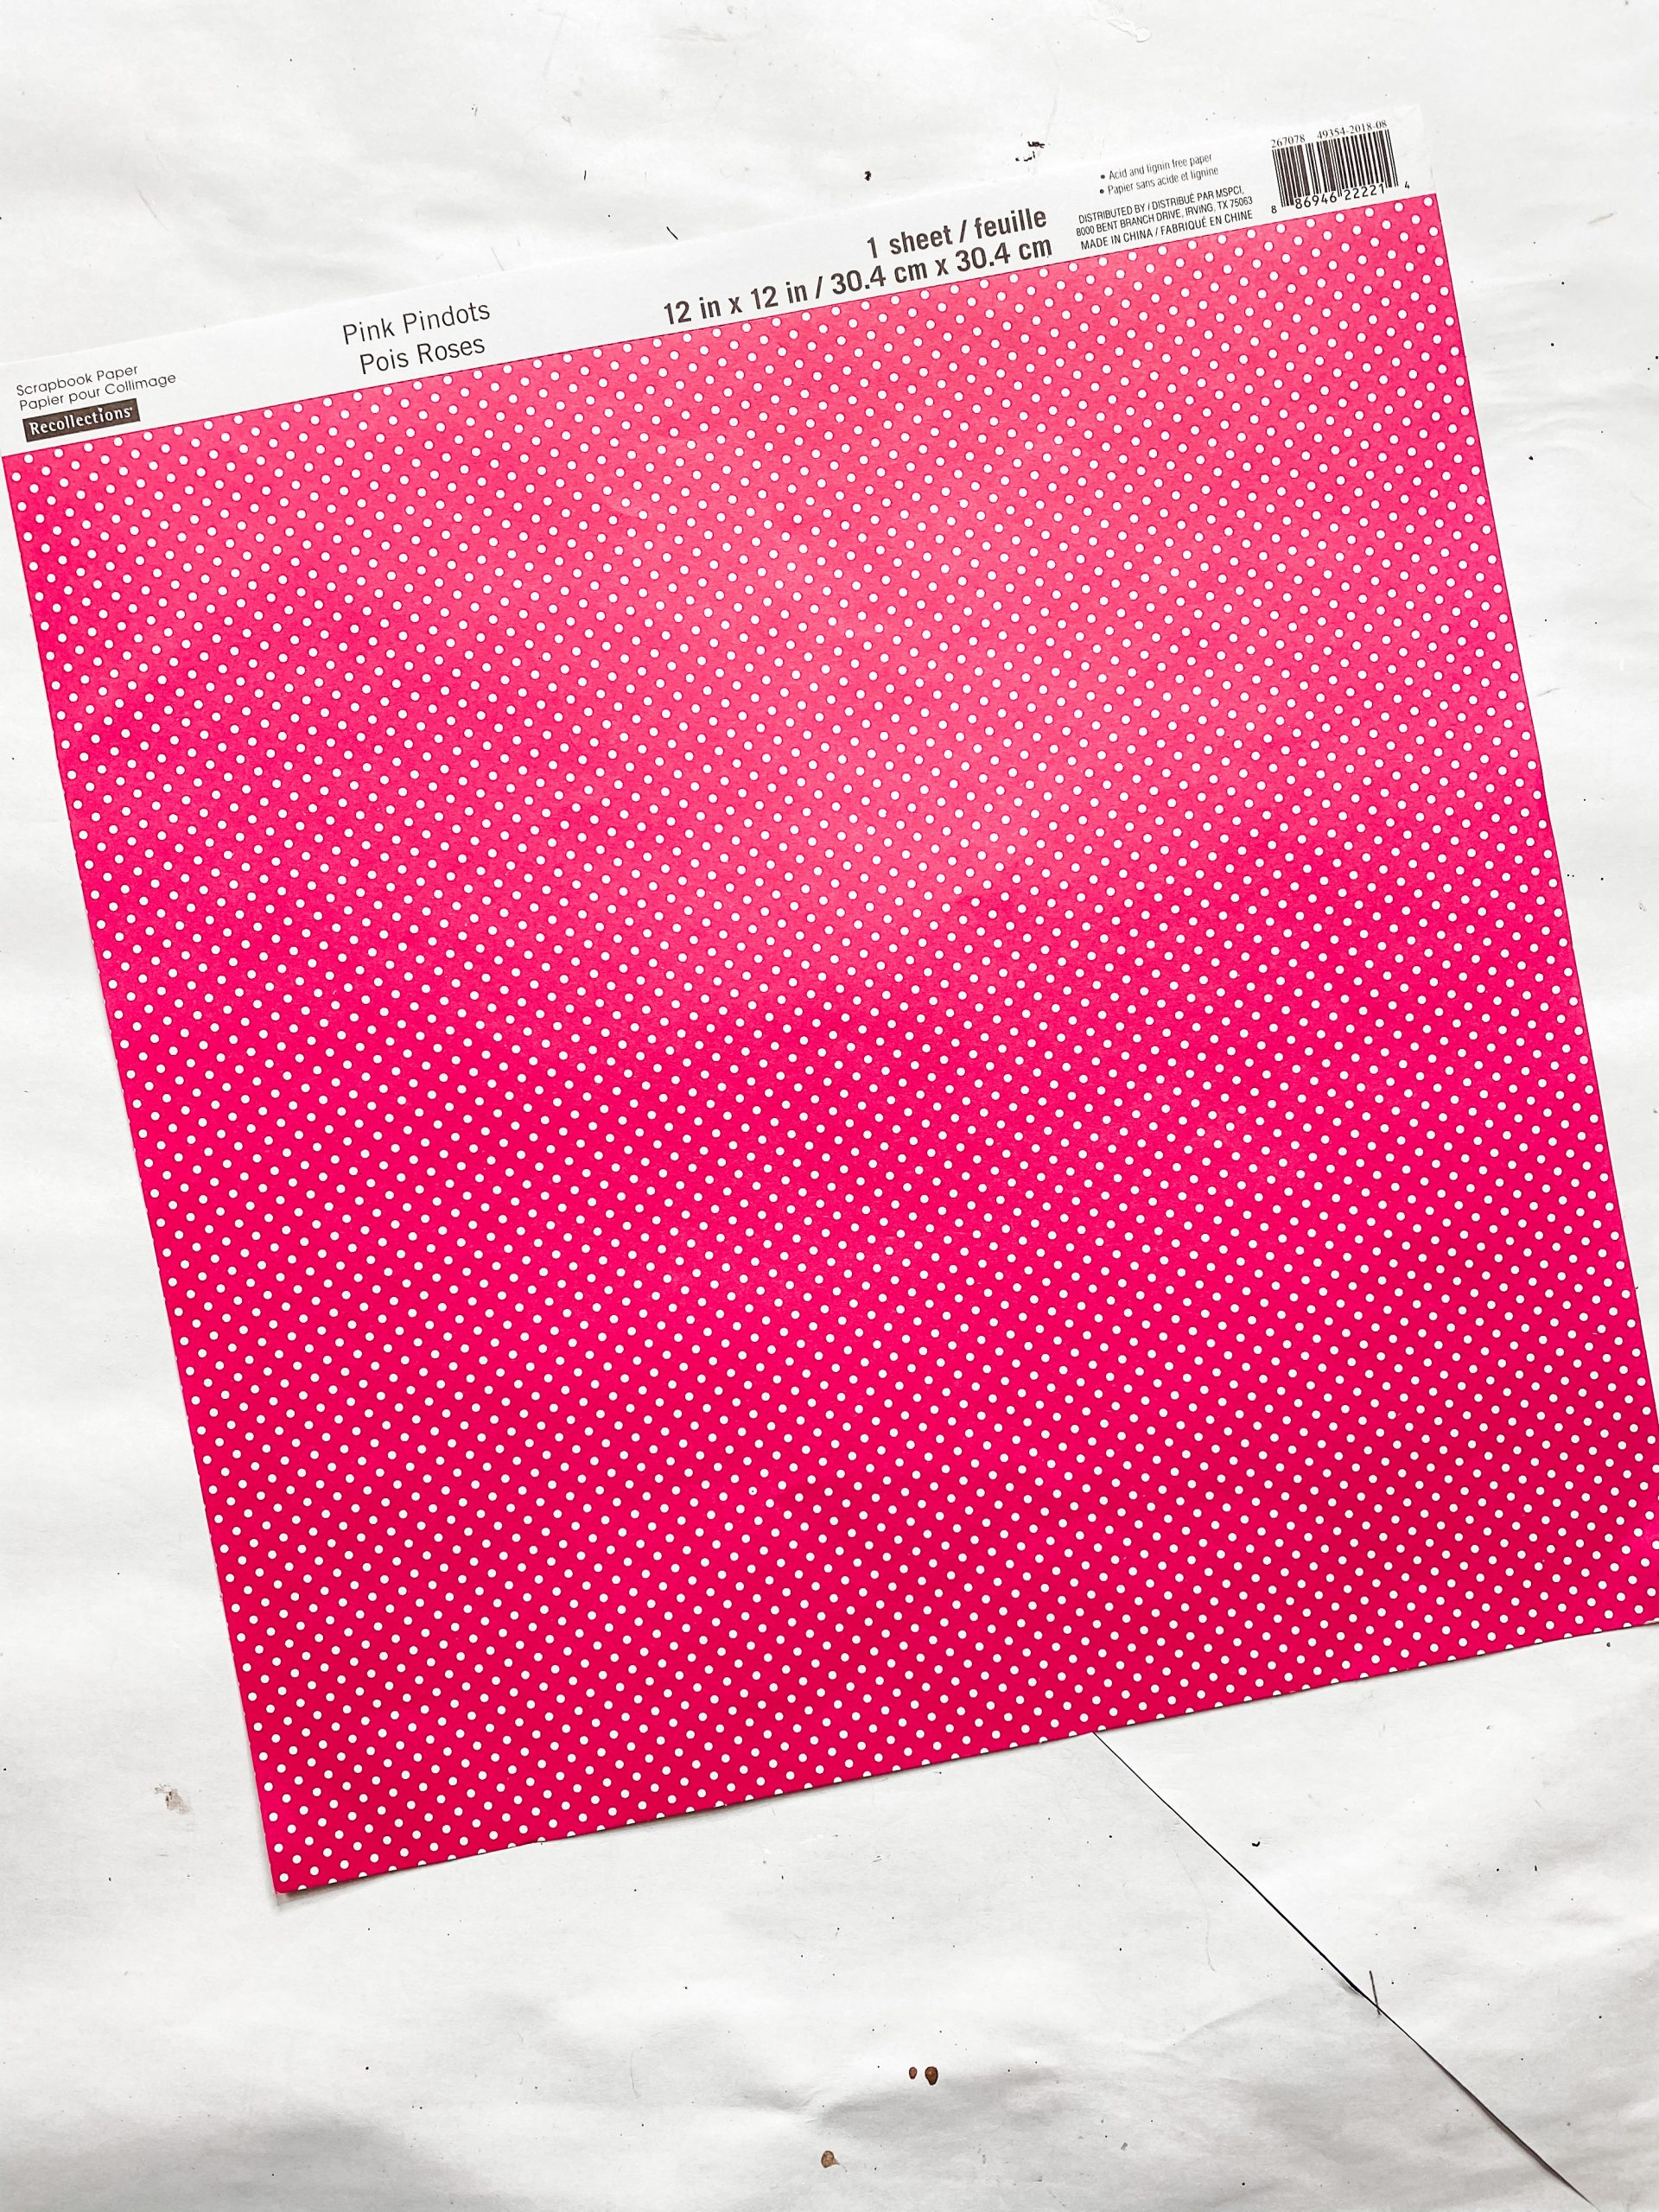
- Pink Pindot Scrapbook Paper (x2)
- Modern Masters Silver Metallic Paint
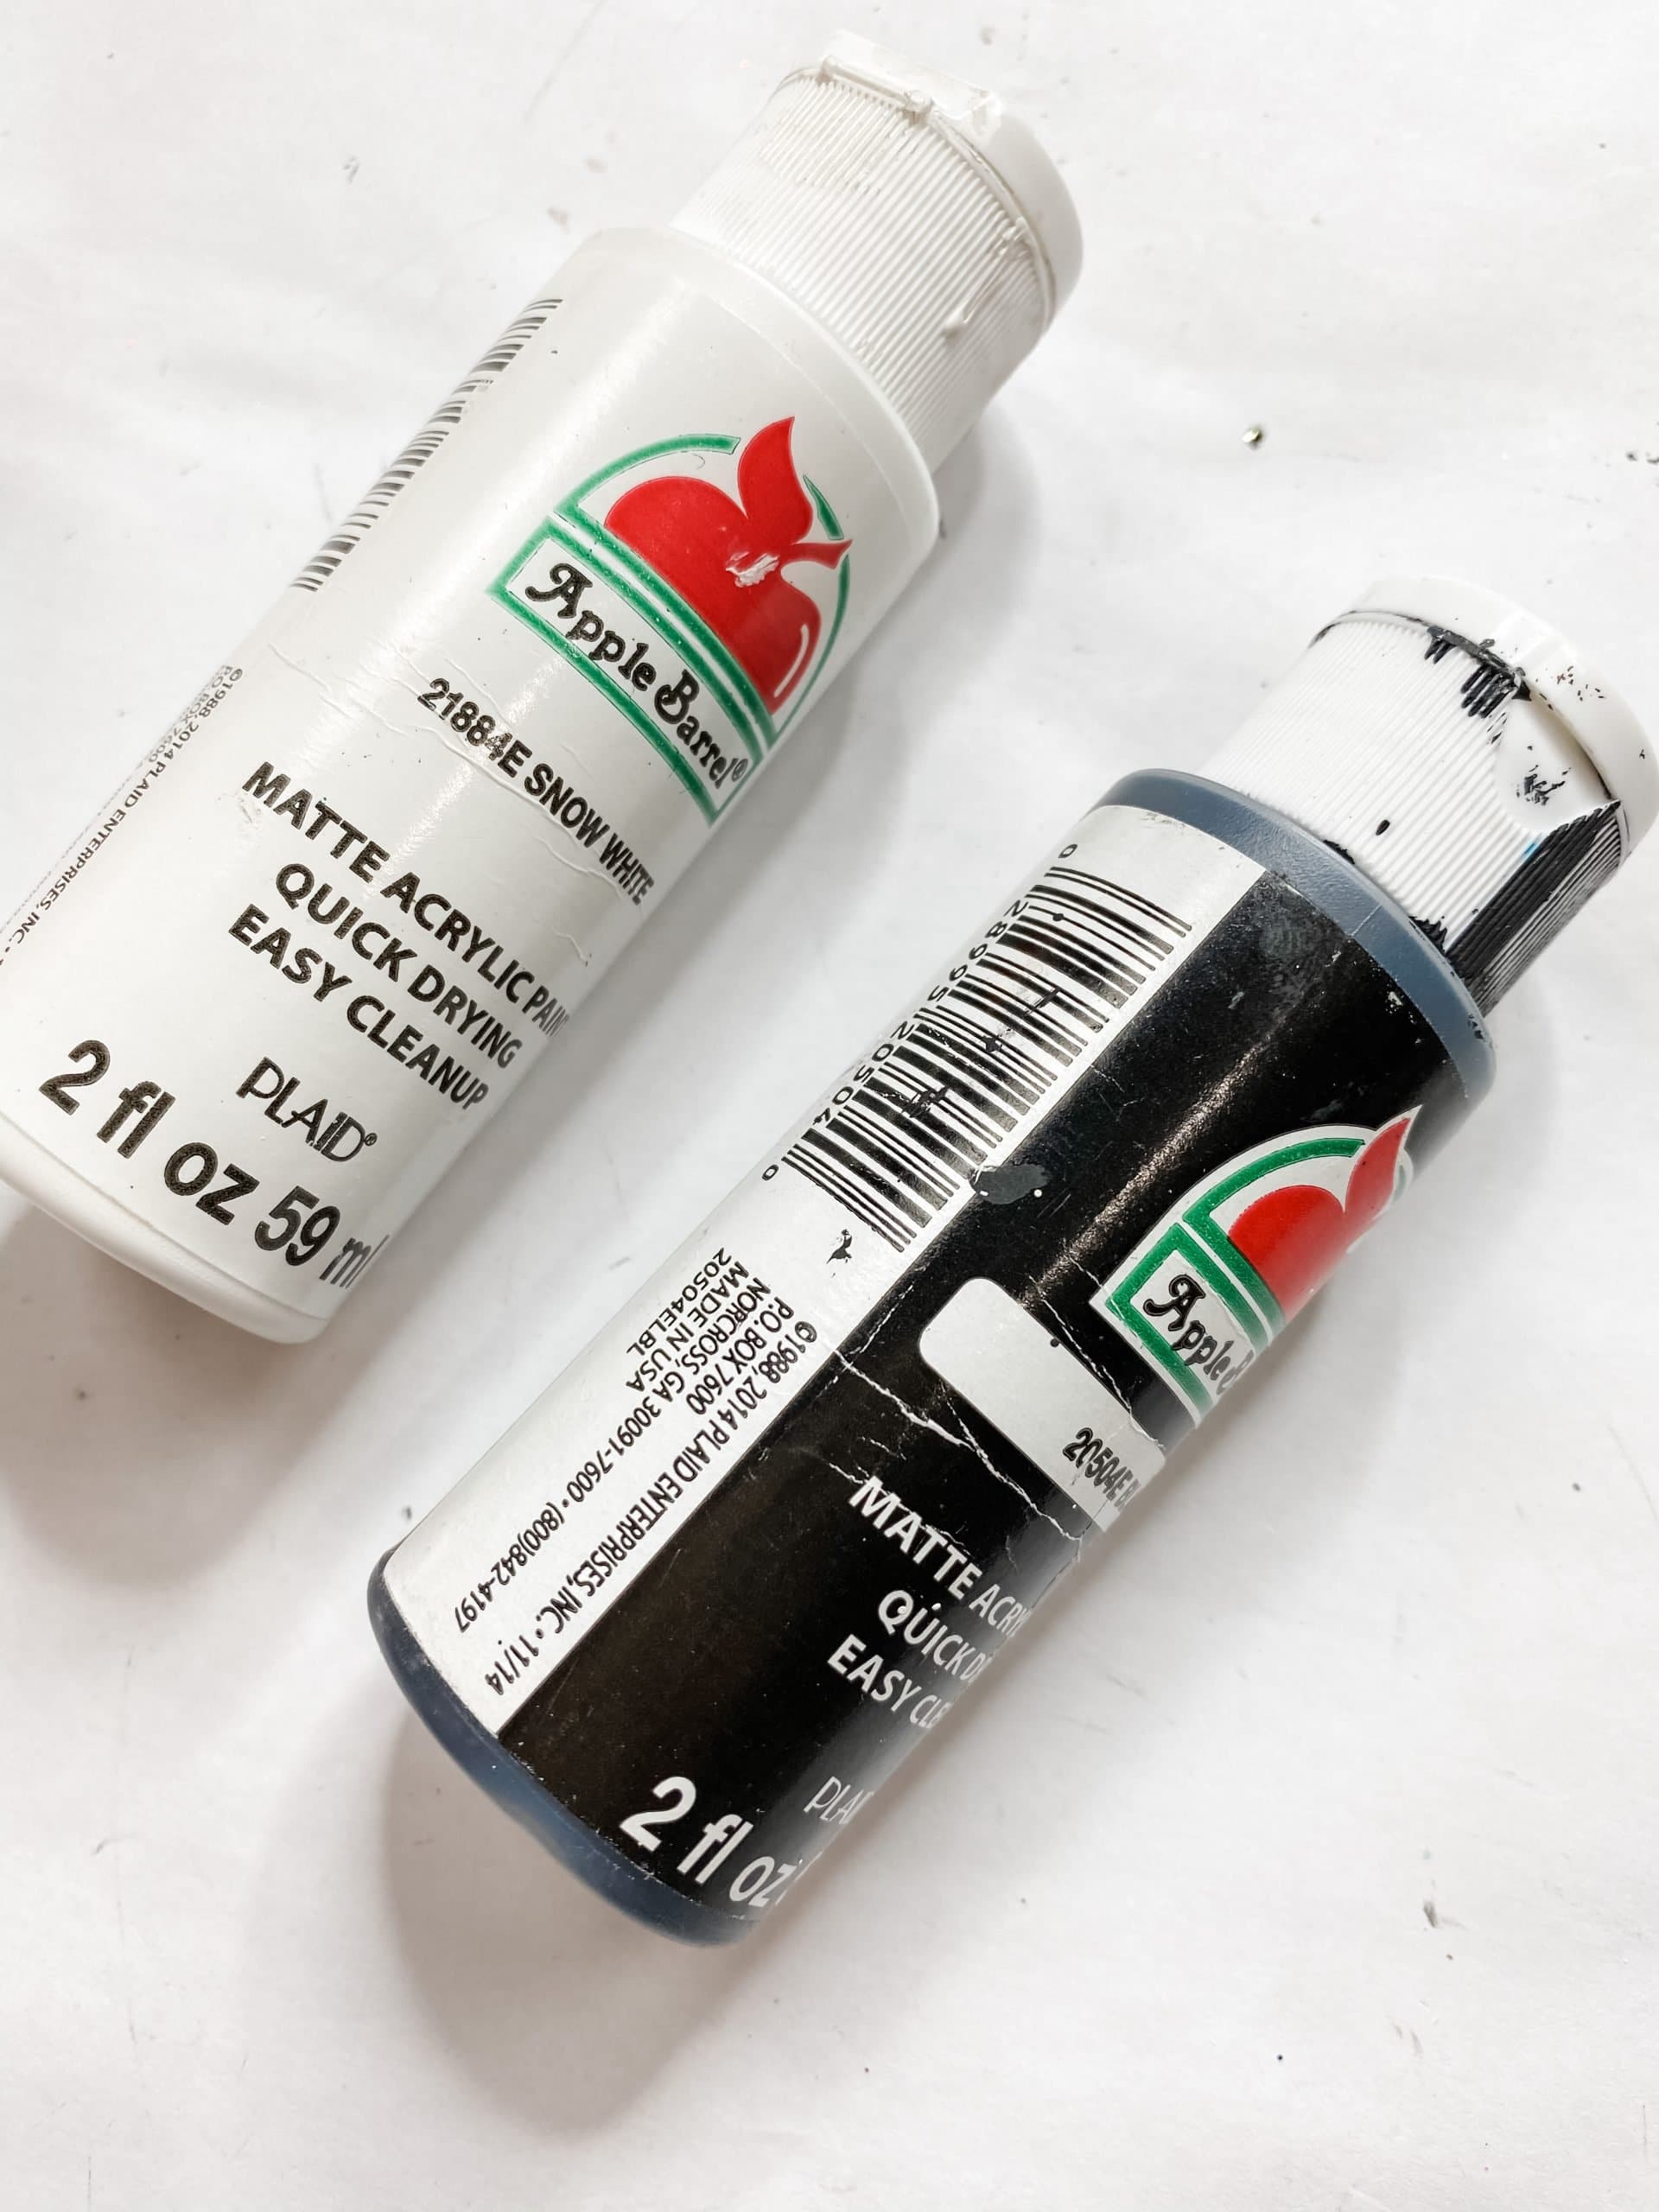
- Apple Barrel White Acrylic Paint
- Apple Barrel Black Acrylic Paint
- Hot Glue gun
- Glue Sticks
- Scissors
Let’s get started
This adorable Valentine’s Day decor is very easy to make. There are only a couple of steps, but the reason it takes a little longer to make is that you have to repeat several of those steps 4 different times.
We start by opening up our Dollar Tree flatback canvas packs. They come in packs of two, so you’ll need two packs for this home decor DIY.
Next, you’re going to have to cut the pink pin-dot scrapbook paper to fit on top of each canvas.
Grab your two pieces of scrapbook paper and trace the outline of a canvas four times. You’ll be able to fit 3 outlines on one piece of Michael’s scrapbook paper, but you’ll have to have a second piece of paper to get the fourth canvas outline.
Once you have all the outlines drawn, use a pair of scissors to cut the outlines out of the scrapbook paper.
Try and get as straight edges as you can, but remember that it is better to have the cutouts be larger than the canvas rather than smaller. It is easier to trim it down than cover up empty space.
How to decoupage
Learning how to decoupage is something every new crafter should do. Knowing how to decoupage is such an important skill for crafting because it allows you do to so much more in your DIY projects!
For this simple Valentine’s Day decor DIY, I decoupaged the Michael’s pink pin-dot scrapbook paper onto the 4 Dollar Tree flatback canvases.
Start by applying a generous coat of Mod Podge to the surface of each canvas. Then, carefully place a scrapbook cutout onto each canvas. You want to avoid any wrinkles or creases forming.
If you see any wrinkles or creases in your decoupaged scrapbook paper, you can lay a piece of plastic saran wrap over the surface and use either a rolling pin or your hands to smooth out the imperfections.
I dried each decoupaged canvas with my heat gun as I went. I’m just a very impatient person and wanted to speed up the drying process. If you don’t have a heat gun, you can use a hairdryer on the low cool setting!
LOVE
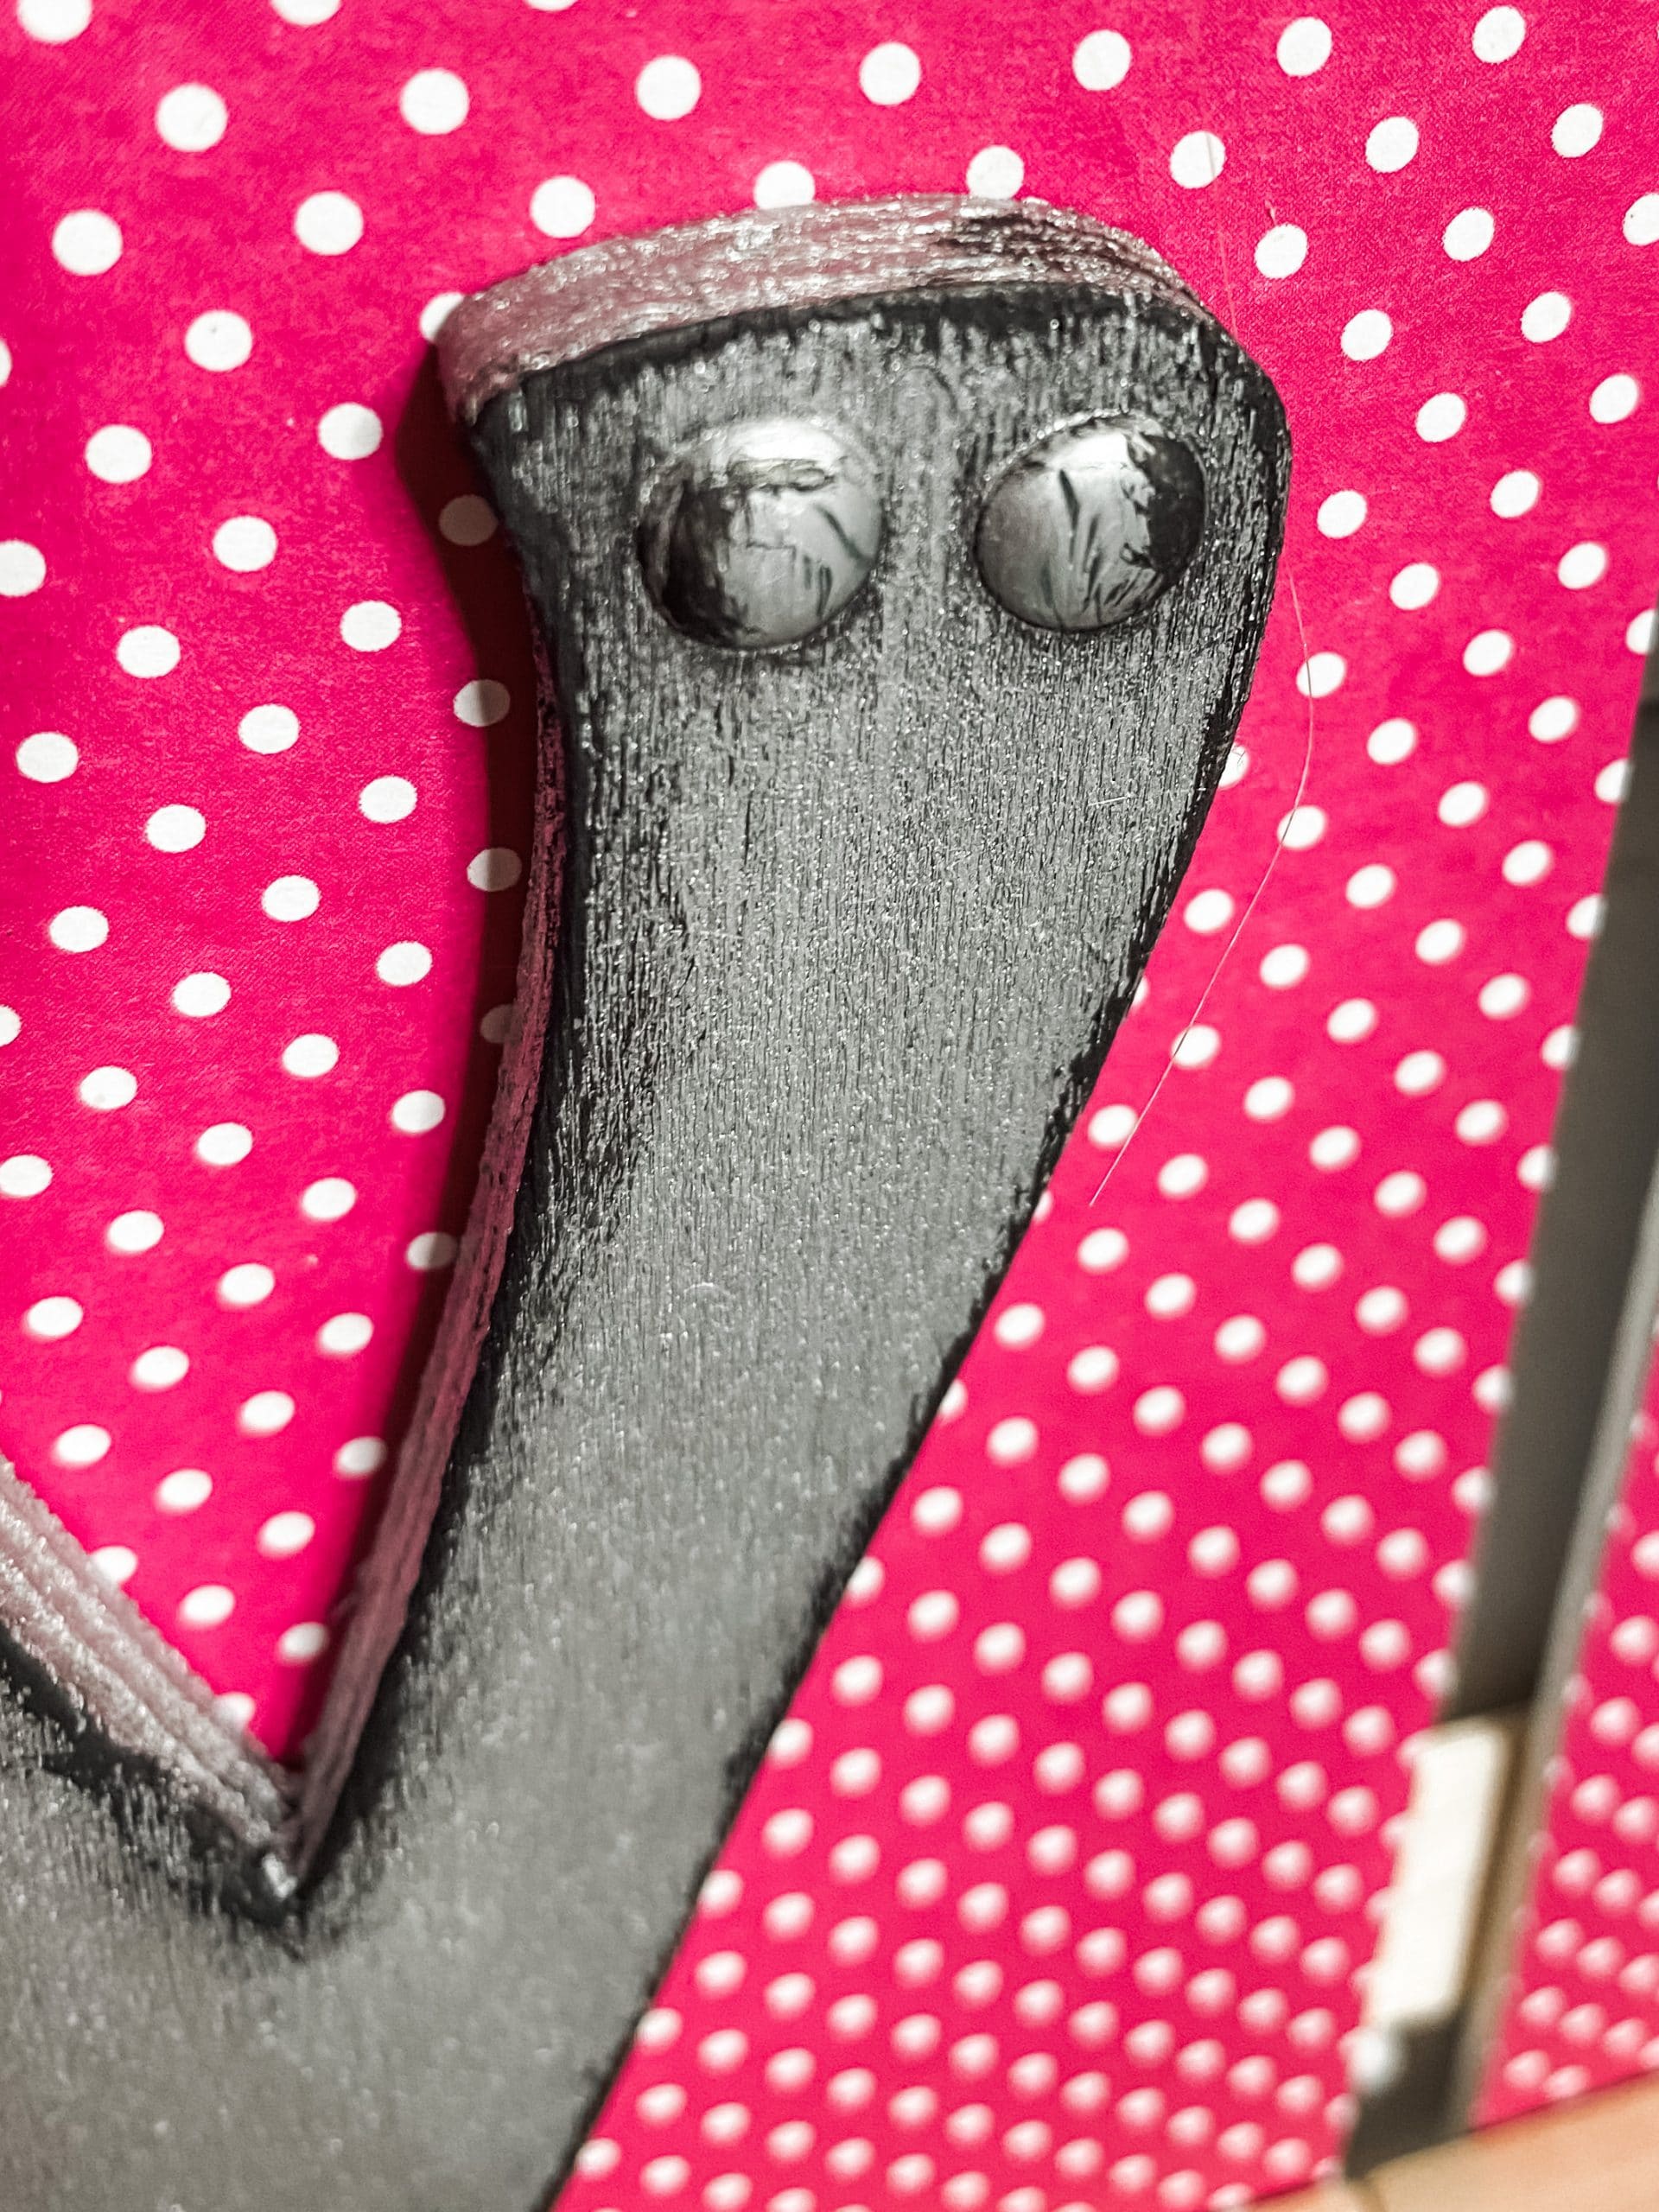
I wanted to do something creative and different for this DIY, so I decided to give my Dollar Tree wood letters a faux metal paint finish.
To add to the authenticity of the metal finish, I added Dollar Tree dot stickers to be the “bolts” in the metal.
Stick the colorful dot stickers onto the wood letters before you paint. There is no right or wrong way to do this, so just place them in a way that looks realistic to you!
Once all of your stickers are in place, it is time to paint! Now, you could always buy faux rusted metal letters, but I am a “do it yourself’ kind of girl, so of course, I had to paint the faux metal finish myself!
For this step, it might be helpful to watch the DIY tutorial video replay and see exactly how I brought the metal paint finish to life.
Faux Metal Finish
The key to this DIY faux metal finish is the Modern Masters Silver metallic paint. Start by painting a complete coat of the silver metallic paint on each of the Dollar Tree wood letters. Make sure you paint each of the Dollar Tree dot stickers as well.
You’re not only going to paint the face of the letters. You also need to paint the sides of the wood letters as well. I used my heat gun again to speed up the drying process for these letters.
Once all the letters were dry, I put a dollop of Apple Barrel Black Acrylic Paint onto a paper plate. I used the same artist’s brush that I used to paint the letters metallic silver and mixed the brush through the black paint.
This gives us a dark gray that still has a bit of a metallic effect.
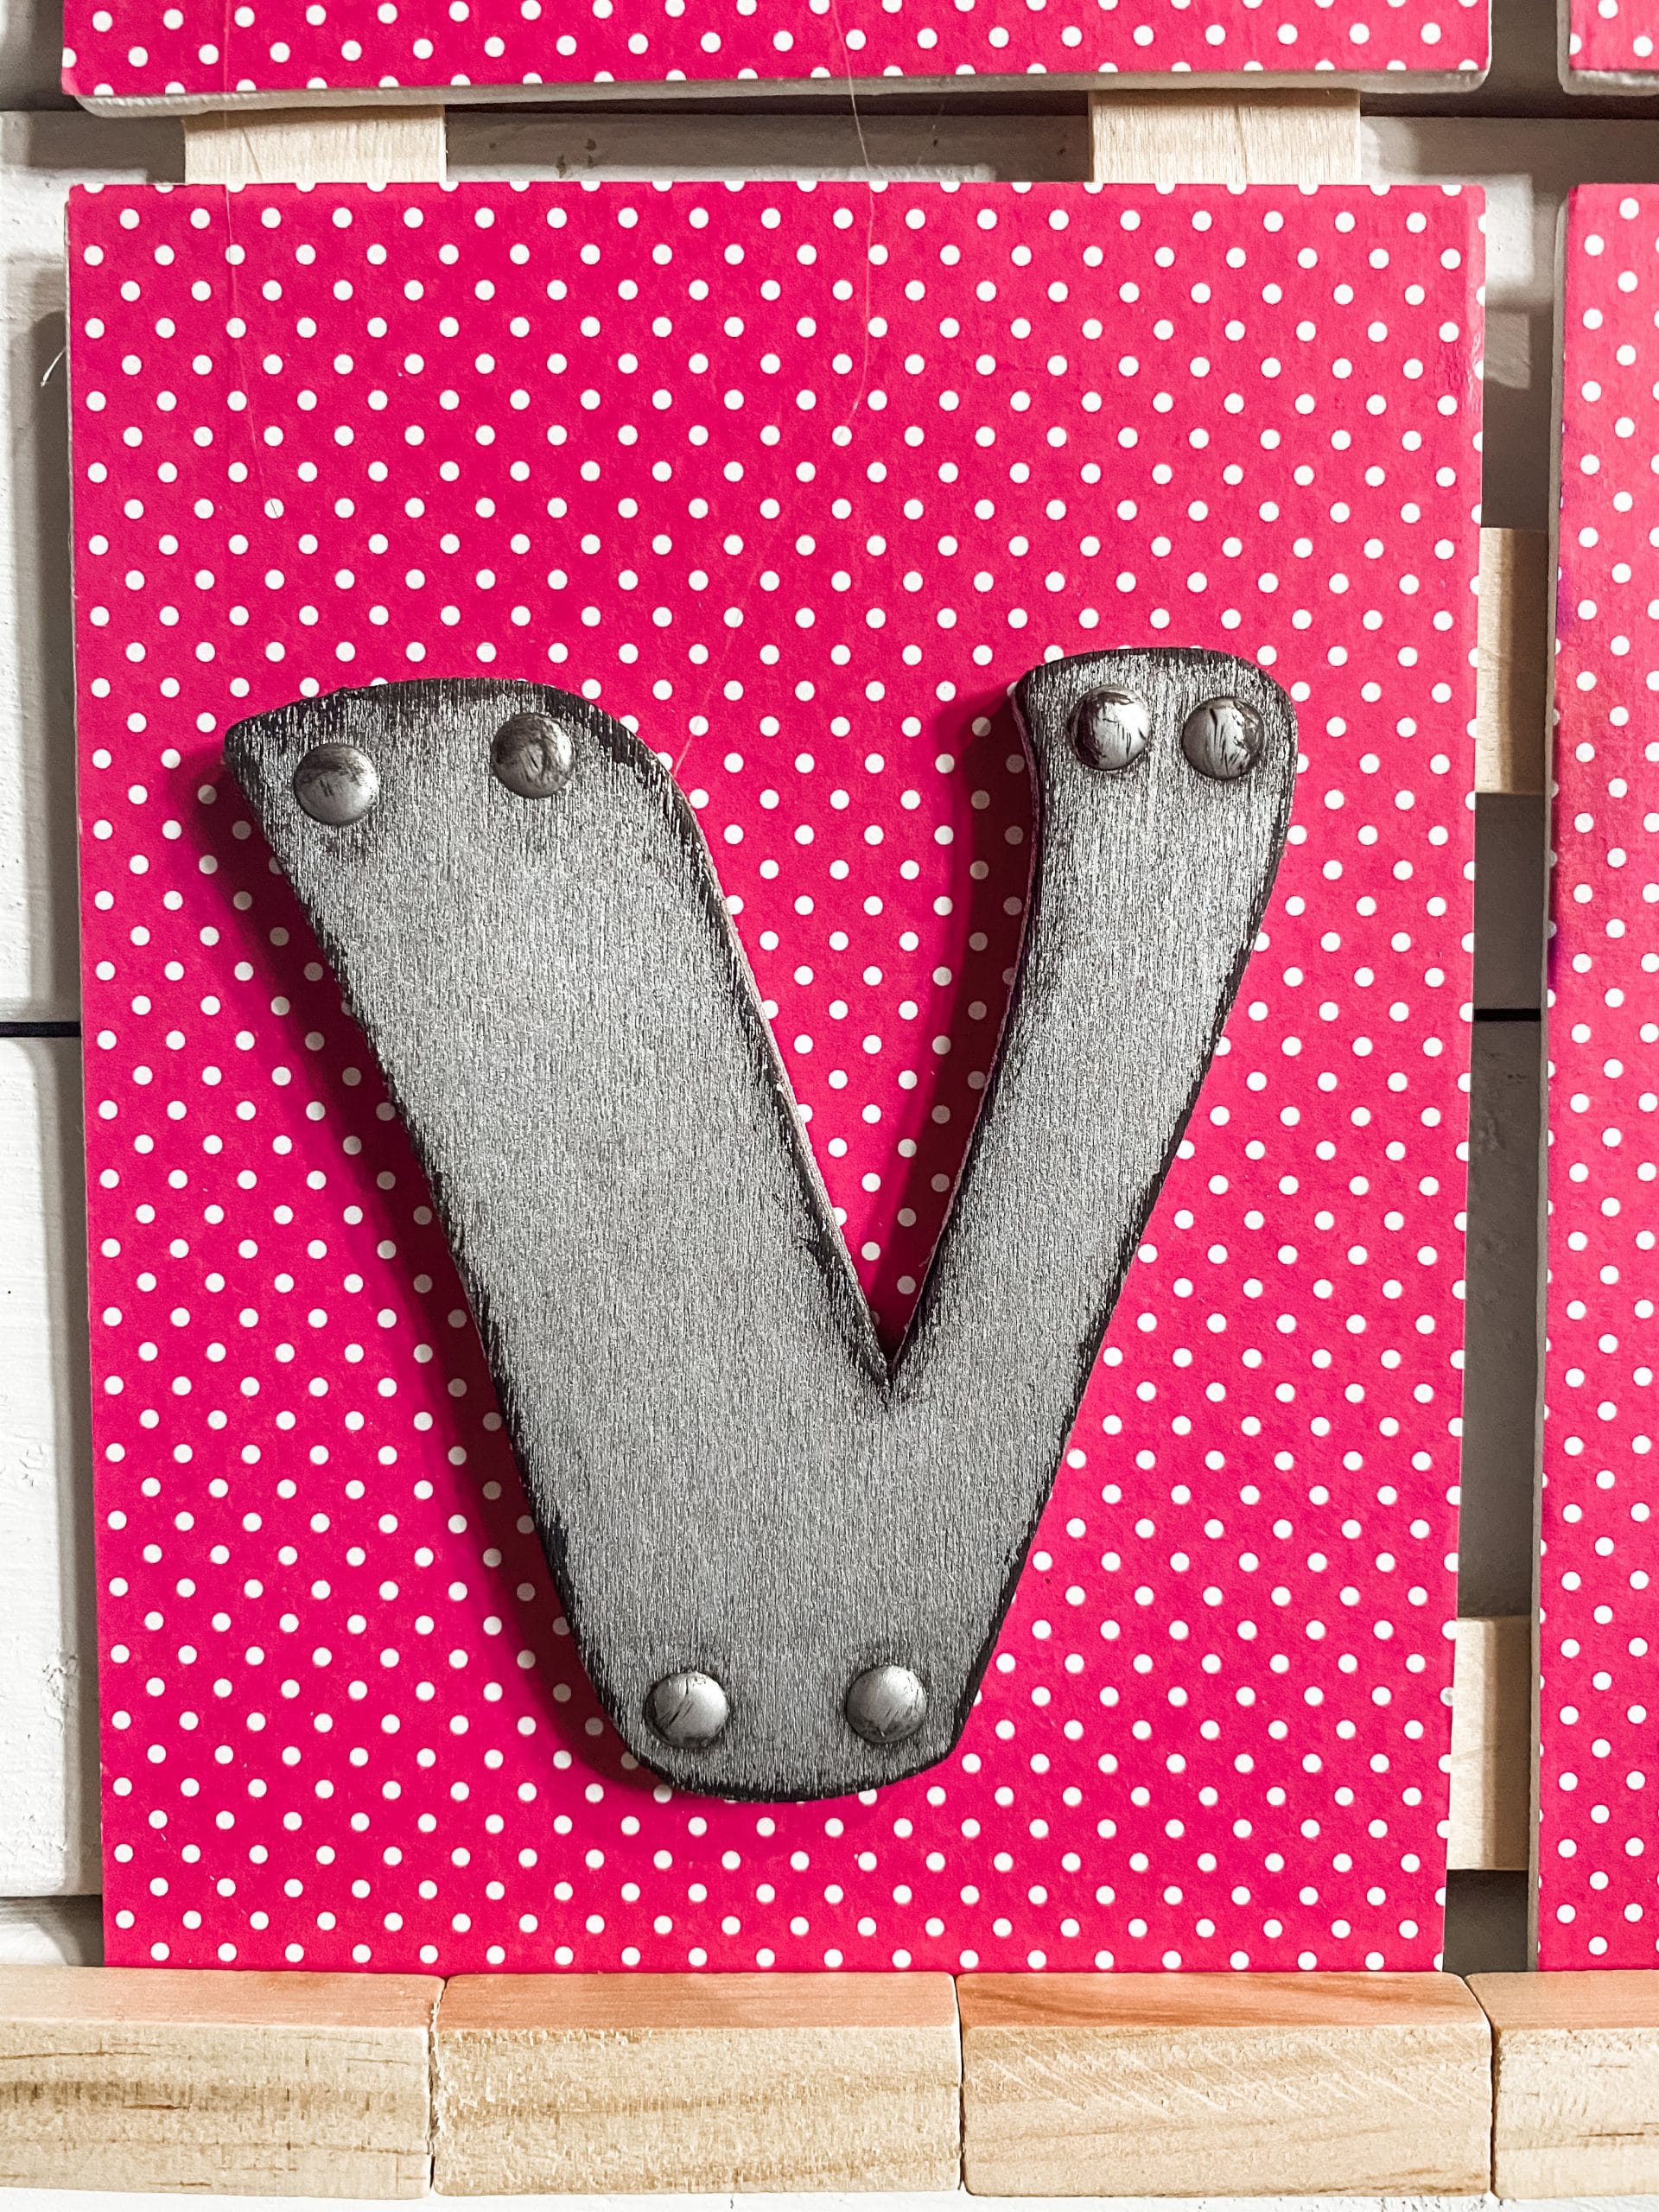
I lightly brushed the mixture over the little Dollar Tree dot stickers and the edges of the letters. As I painted, I went back over and dabbed it with a wet wipe. This helps smudge the dark gray paint and makes the faux metal finish more realistic.
Lightly brushing the darker gray across the painted wood letter and around the faux nail heads gives your letters an aged, distressed faux metal finish.
Bring them together
Next, we have to connect each of the canvases together. I did this before attaching the faux metal letters to avoid messing them up when I flipped the canvases over. To connect the decoupaged Dollar Tree canvases, I used giant craft sticks.
Just cut them into small strips (you could leave them whole, you then you’d use more sticks than are needed), leave a small gap between each canvas, and hot glue the craft stick pieces over the gaps.
Try and do them evenly spaced because you will be able to see them from the front when we flip the canvases over.

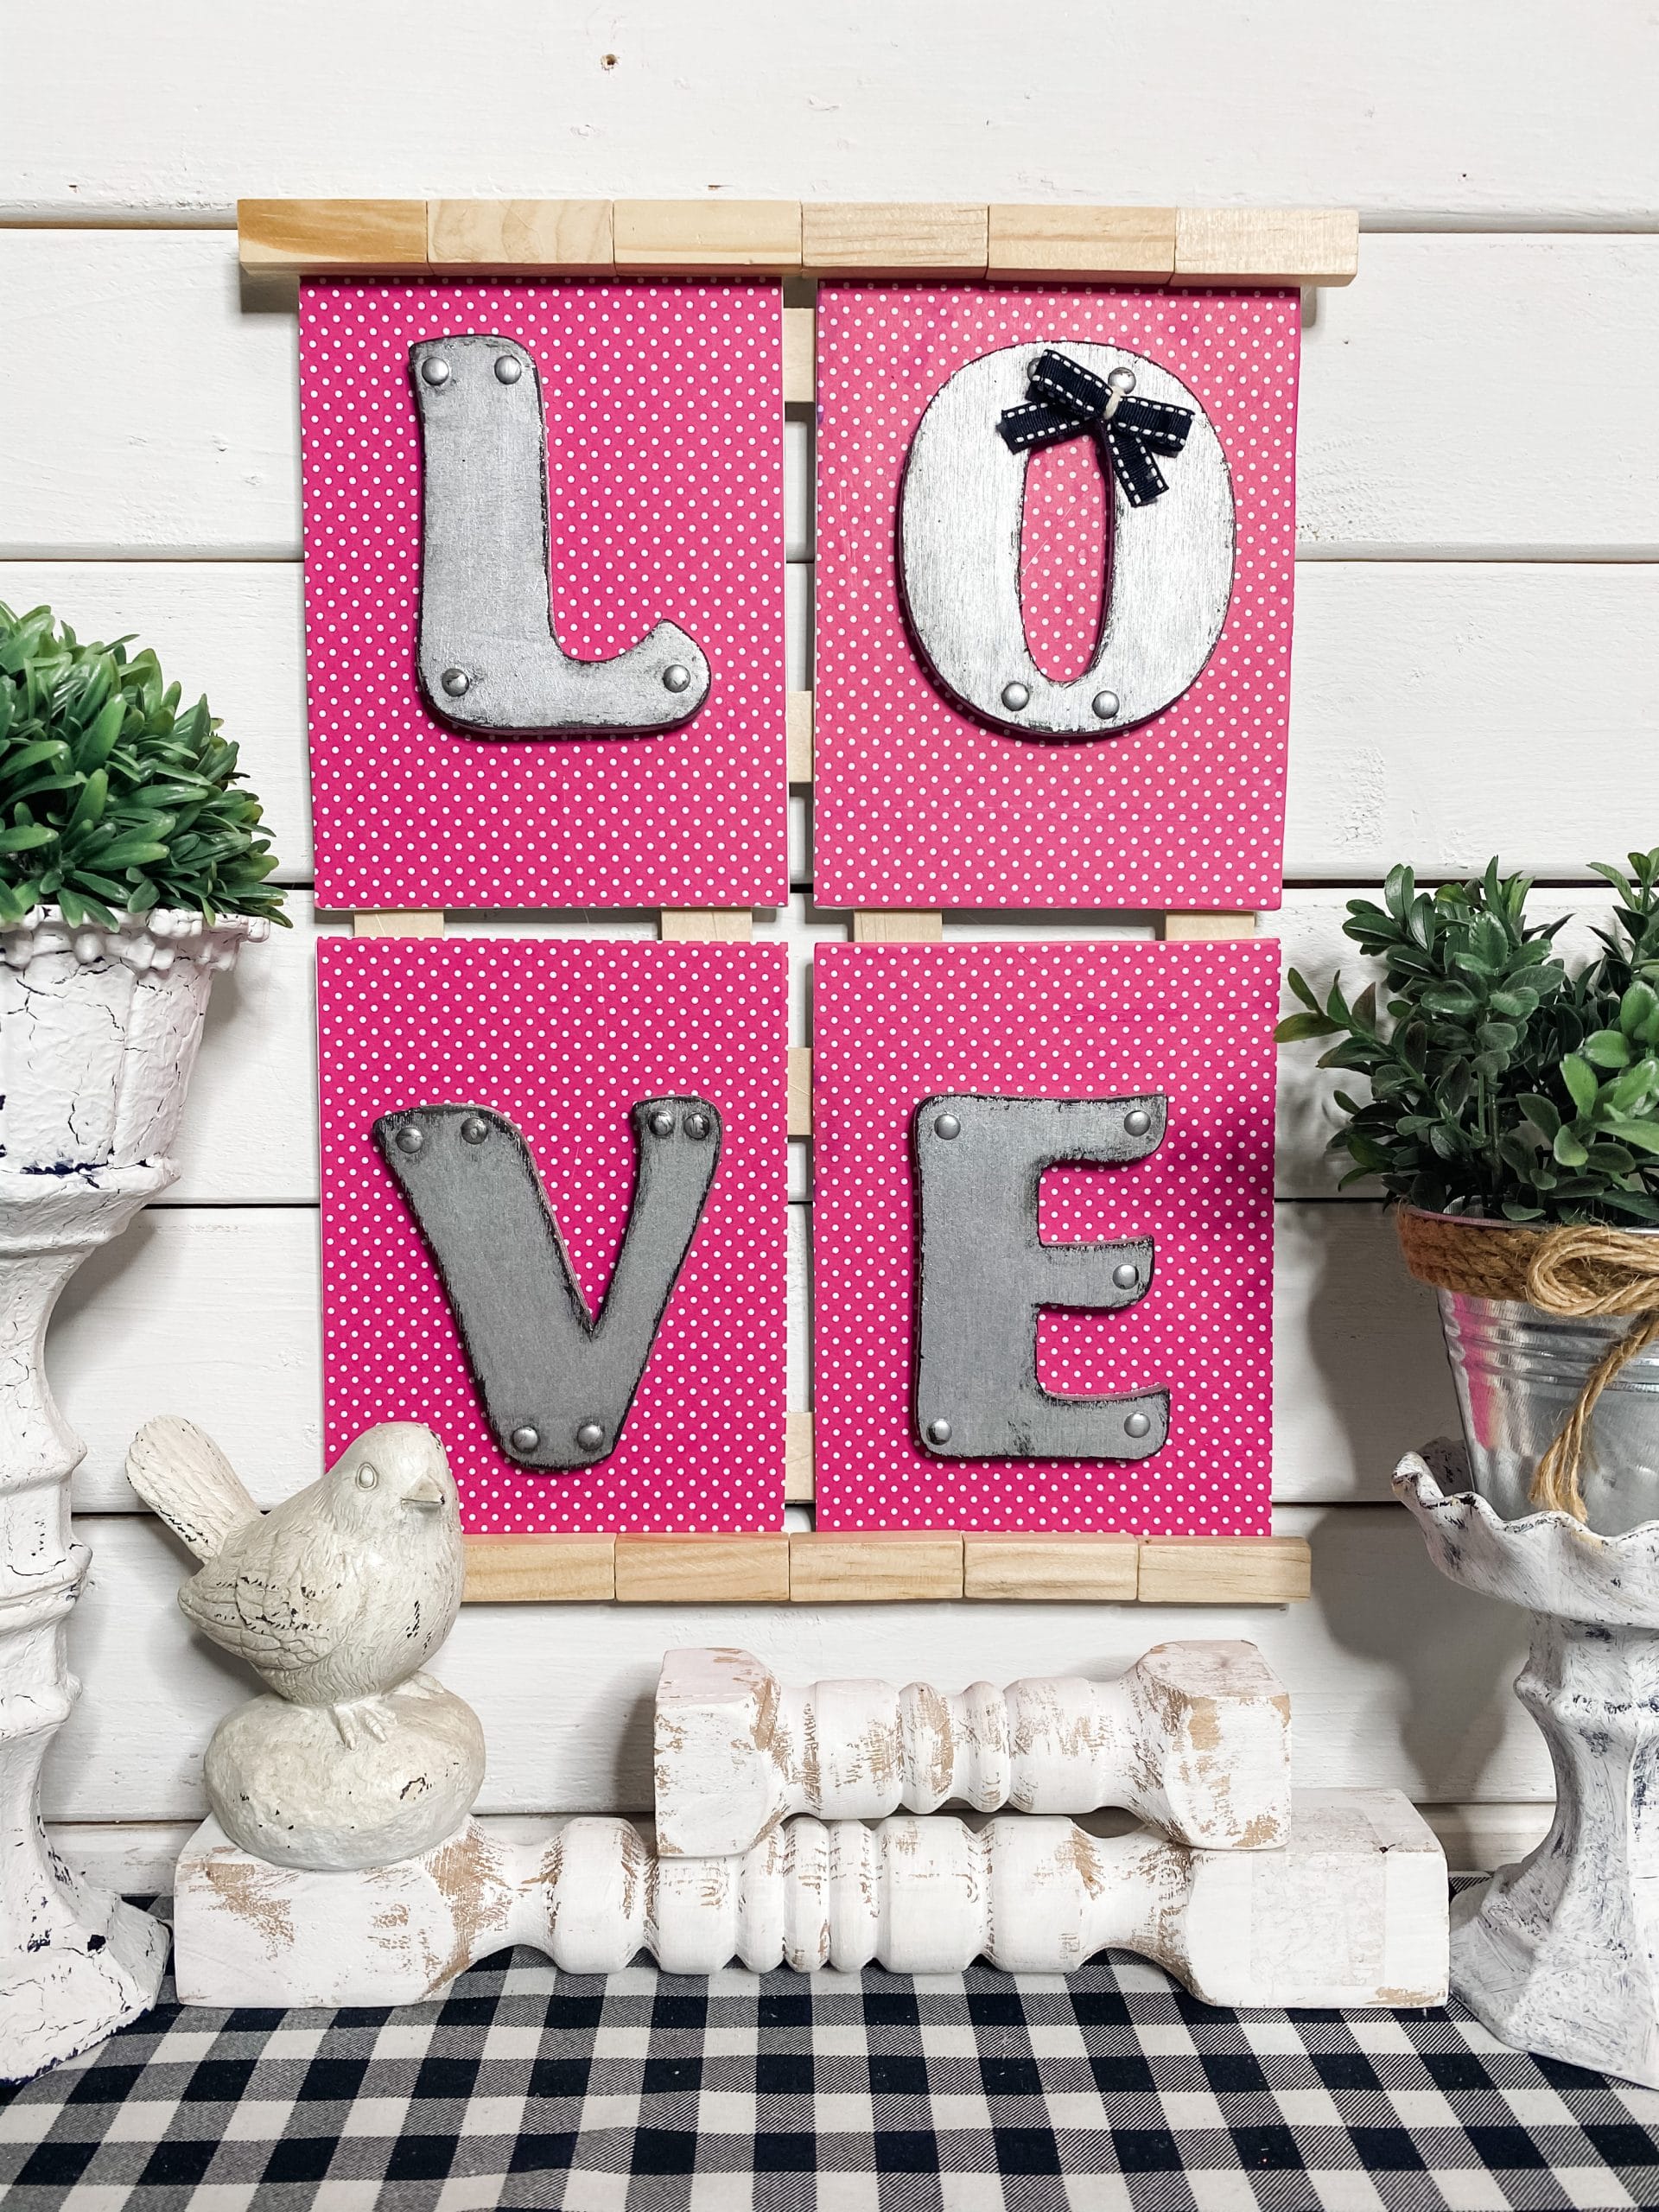
Now you can flip the connected canvases over, and hot glue the faux metal finish Dollar Tree wood letters in place.
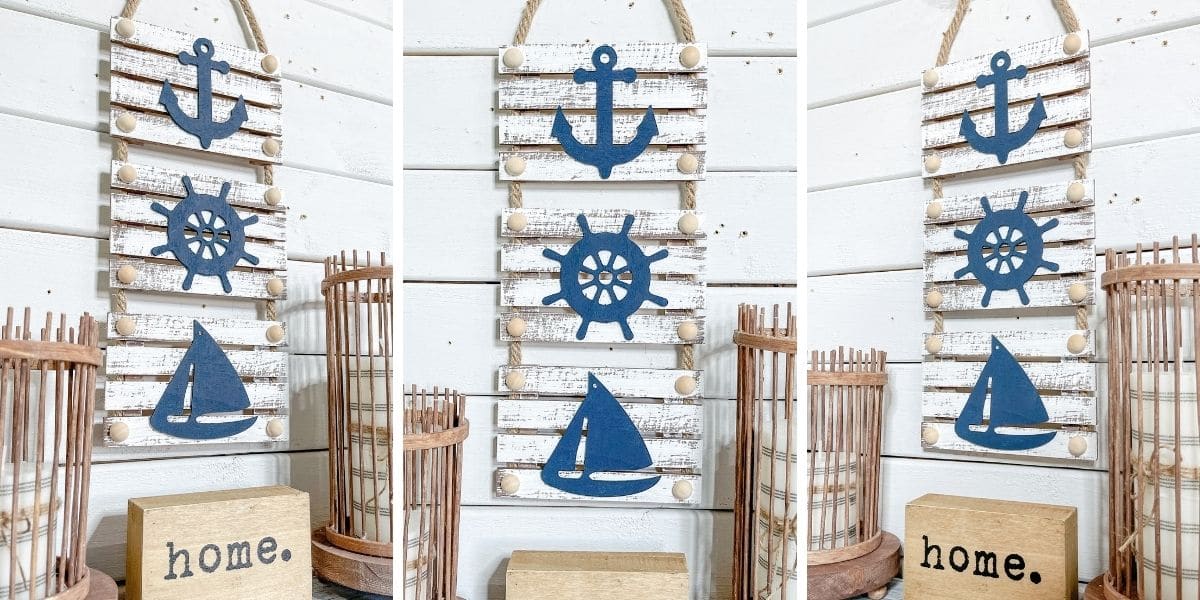
My idea for this easy DIY craft was Valentine’s Day decor, but you could change out the scrapbook paper to a more neutral, everyday pattern and spell HOME instead of LOVE to turn this into everyday decor.
The finishing touches
We are almost done! I wanted to create a little frame for this adorable Faux Metal Dollar Tree DIY Valentine’s Day Decor, so I used some Dollar Tree Tumbling Tower blocks.
I hot glued 6 of the Tumbling Tower blocks (you could use Jenga blocks too) together and attached them to the bottom of the DIY love sign.
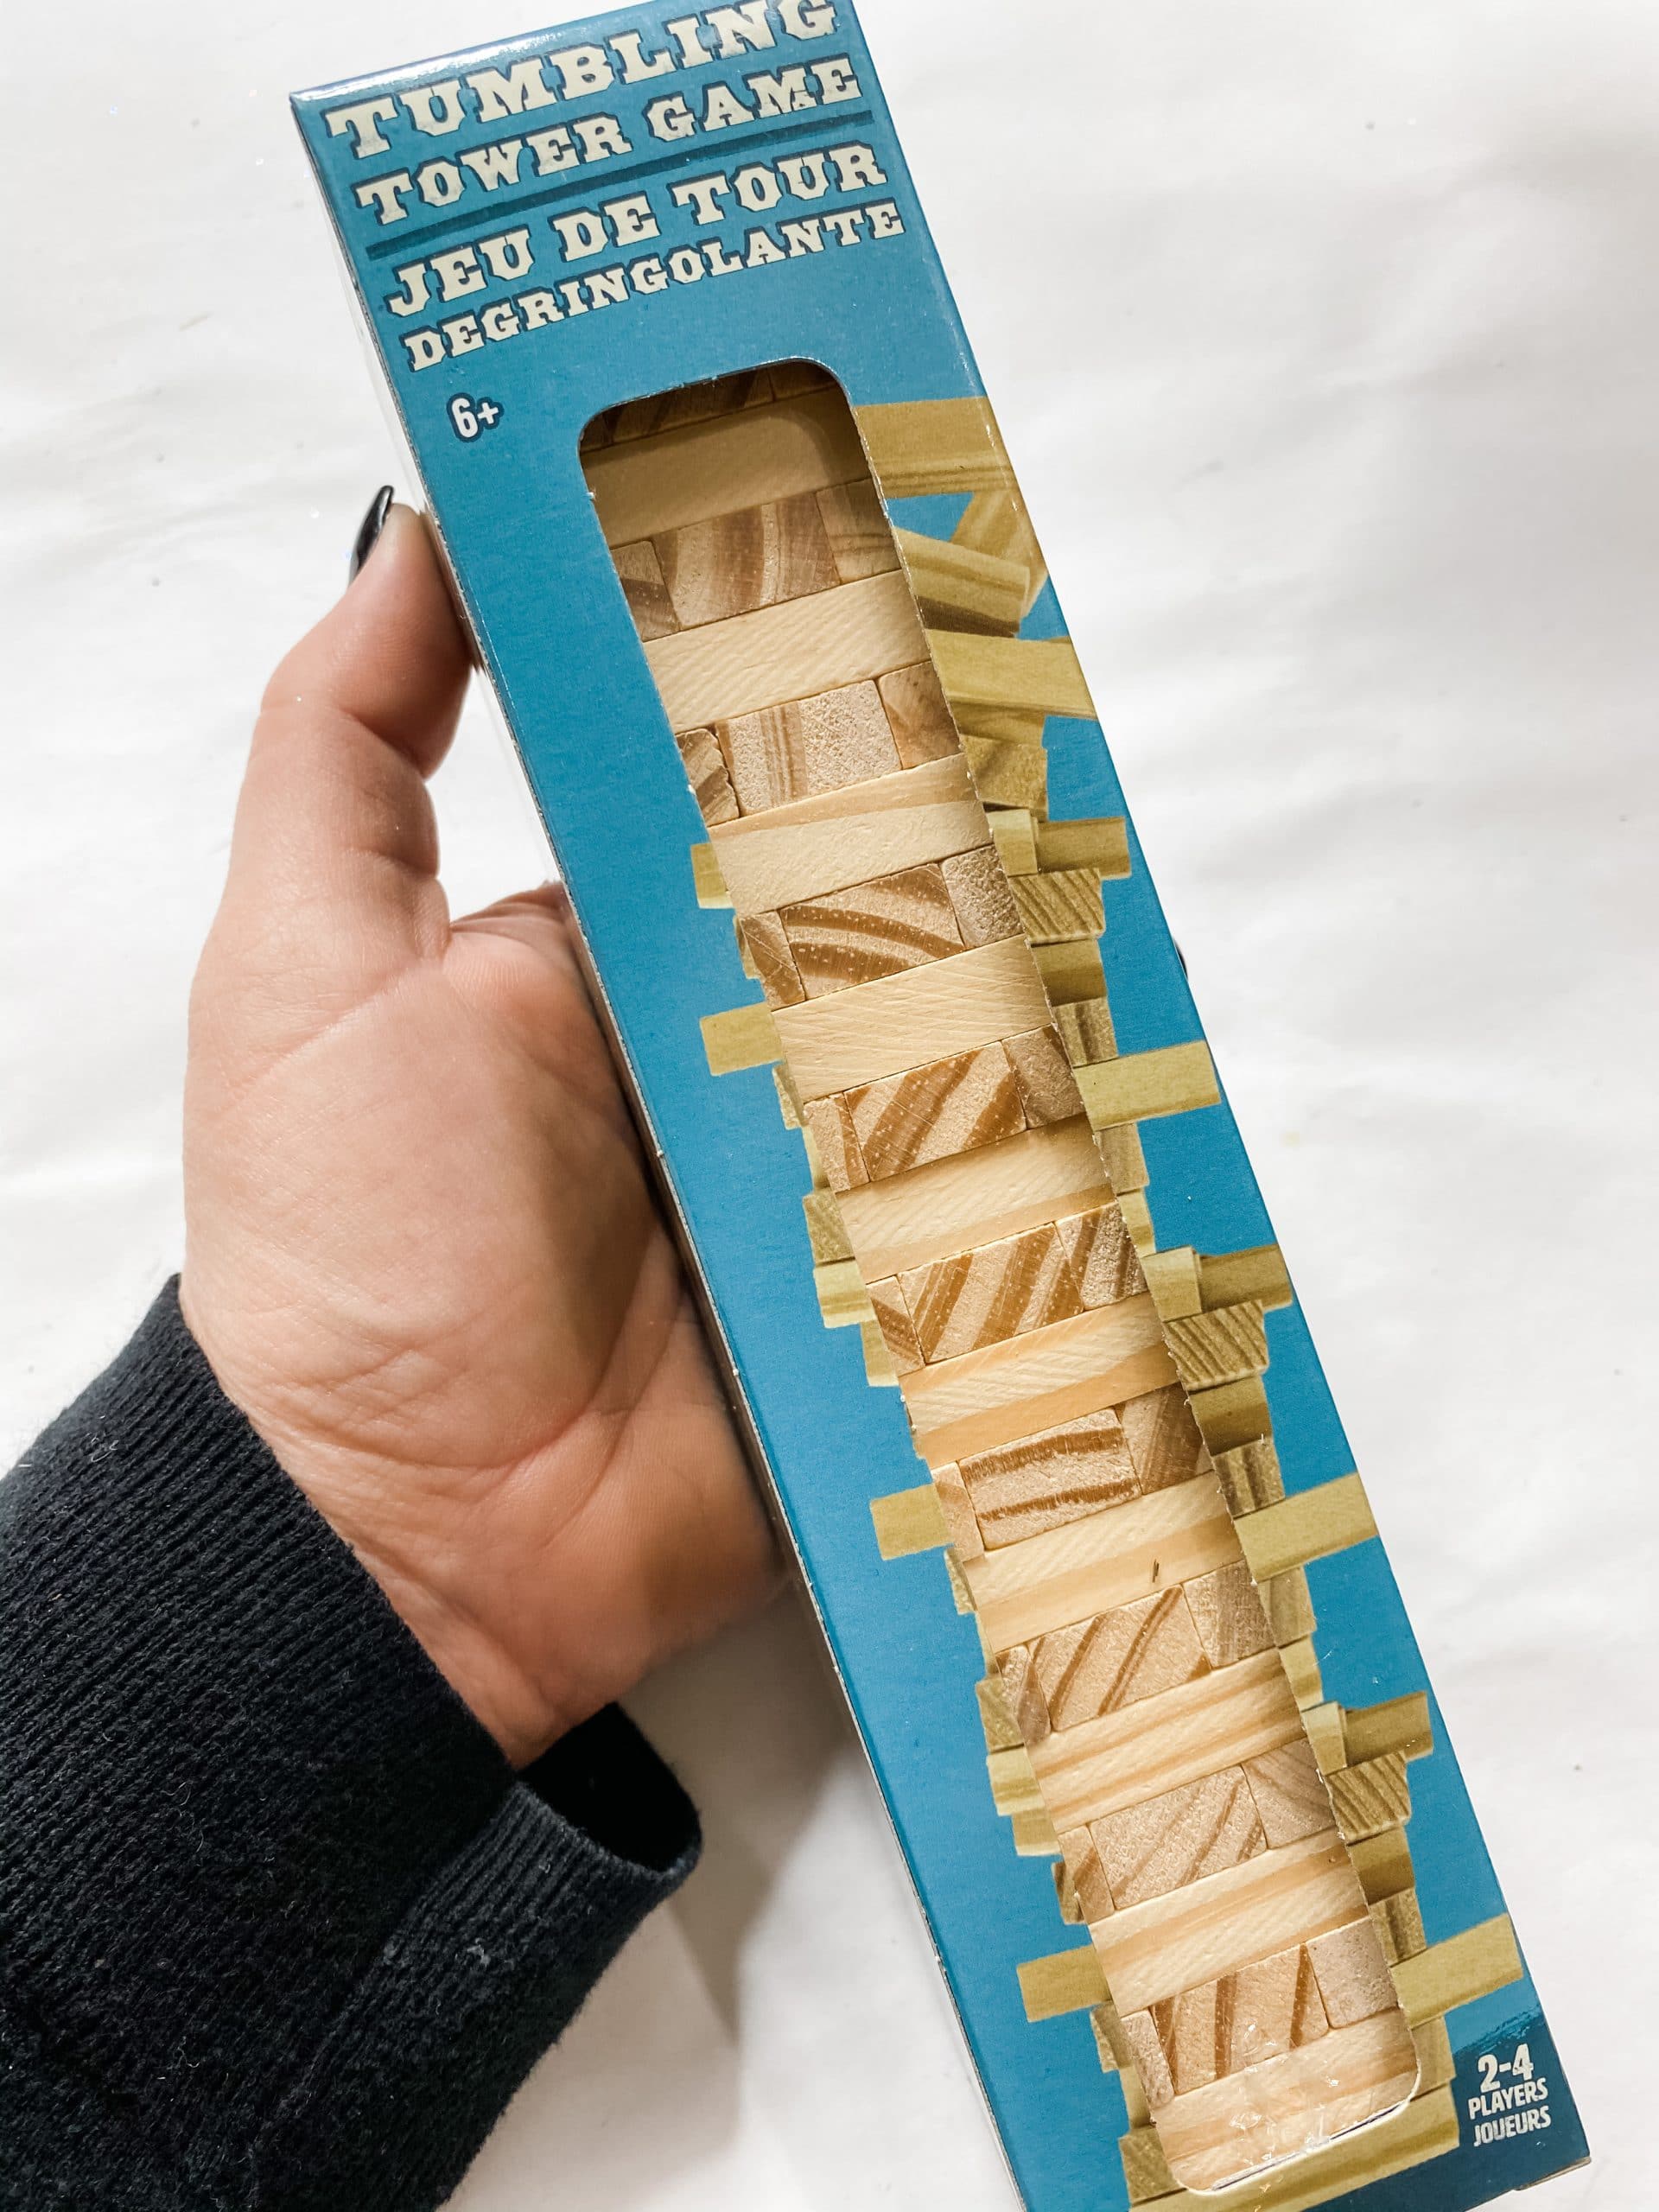
Create another Tumbling Tower block strip and hot glue it across the top of the DIY Valentine’s sign.
Unlike typical Amber, I decided not to stain these blocks before adding them to my sign. I think it could have been cute to stain the blocks brown, paint them white, and slightly distress them.
Add a bow
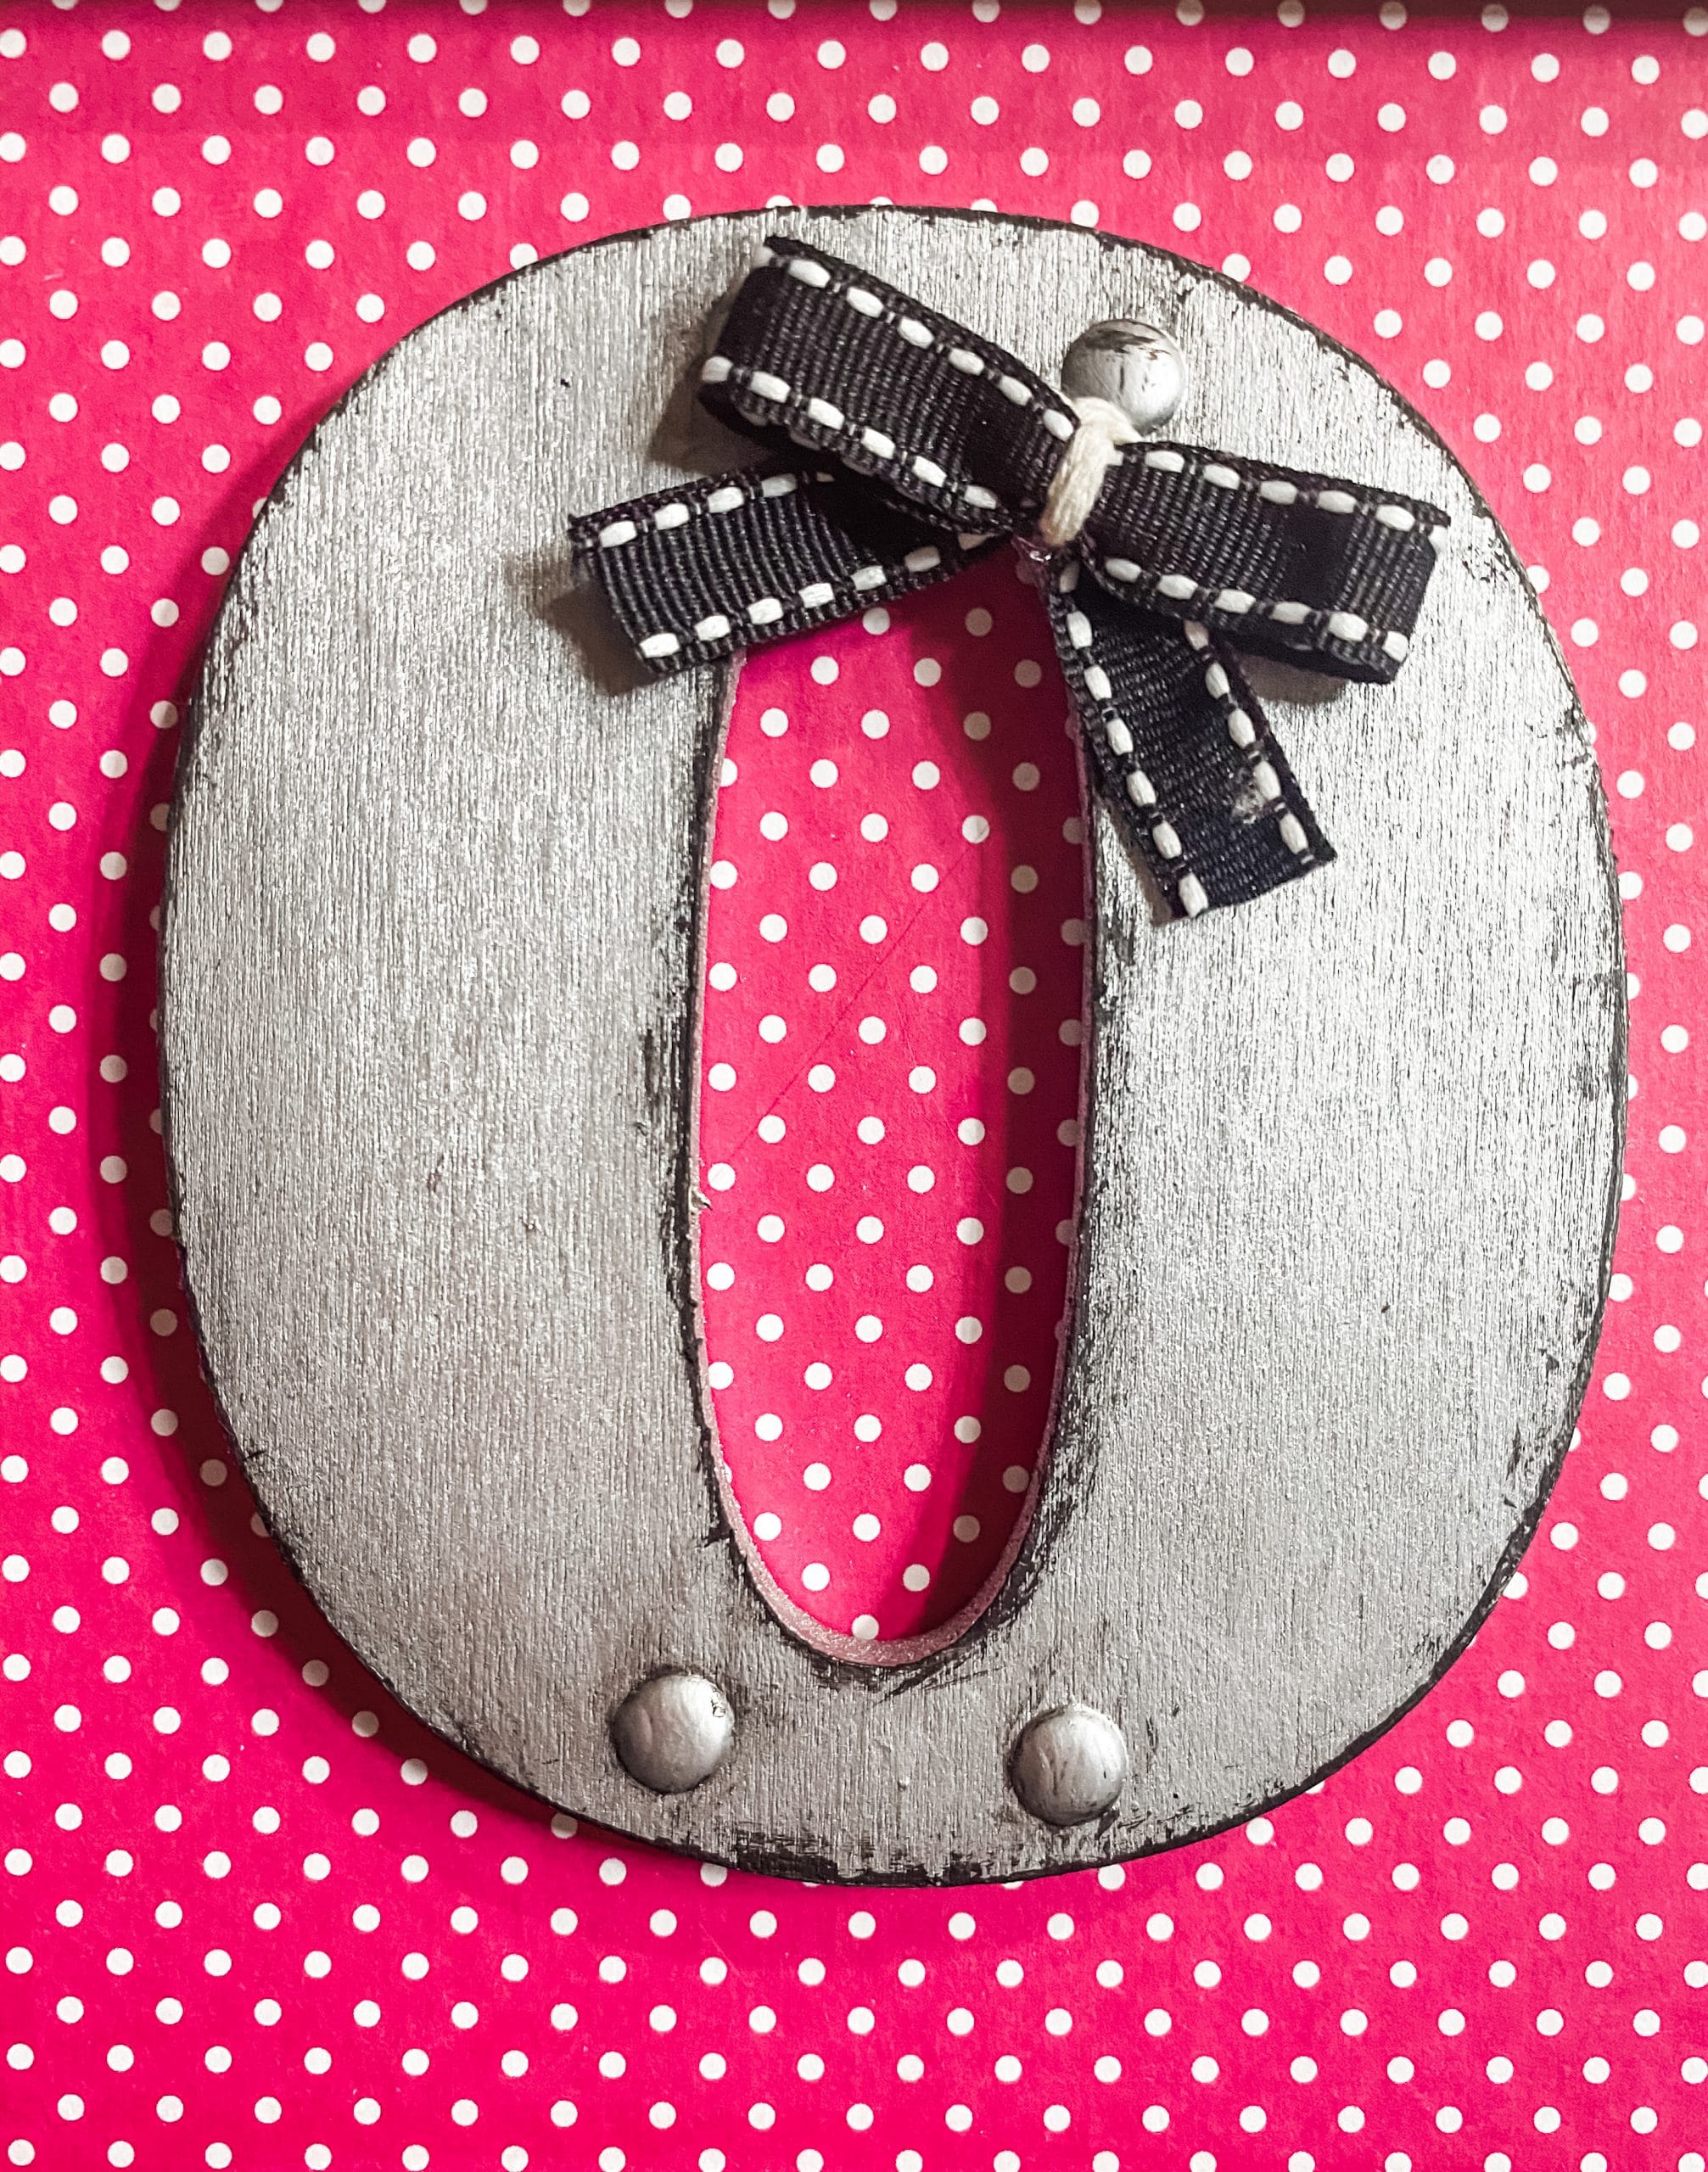
The cherry on top for this easy Dollar Tree DIY project is a little bow to go on the O. Now, a messy bow could also be cute, but I wanted to keep with the simplicity of this DIY craft.
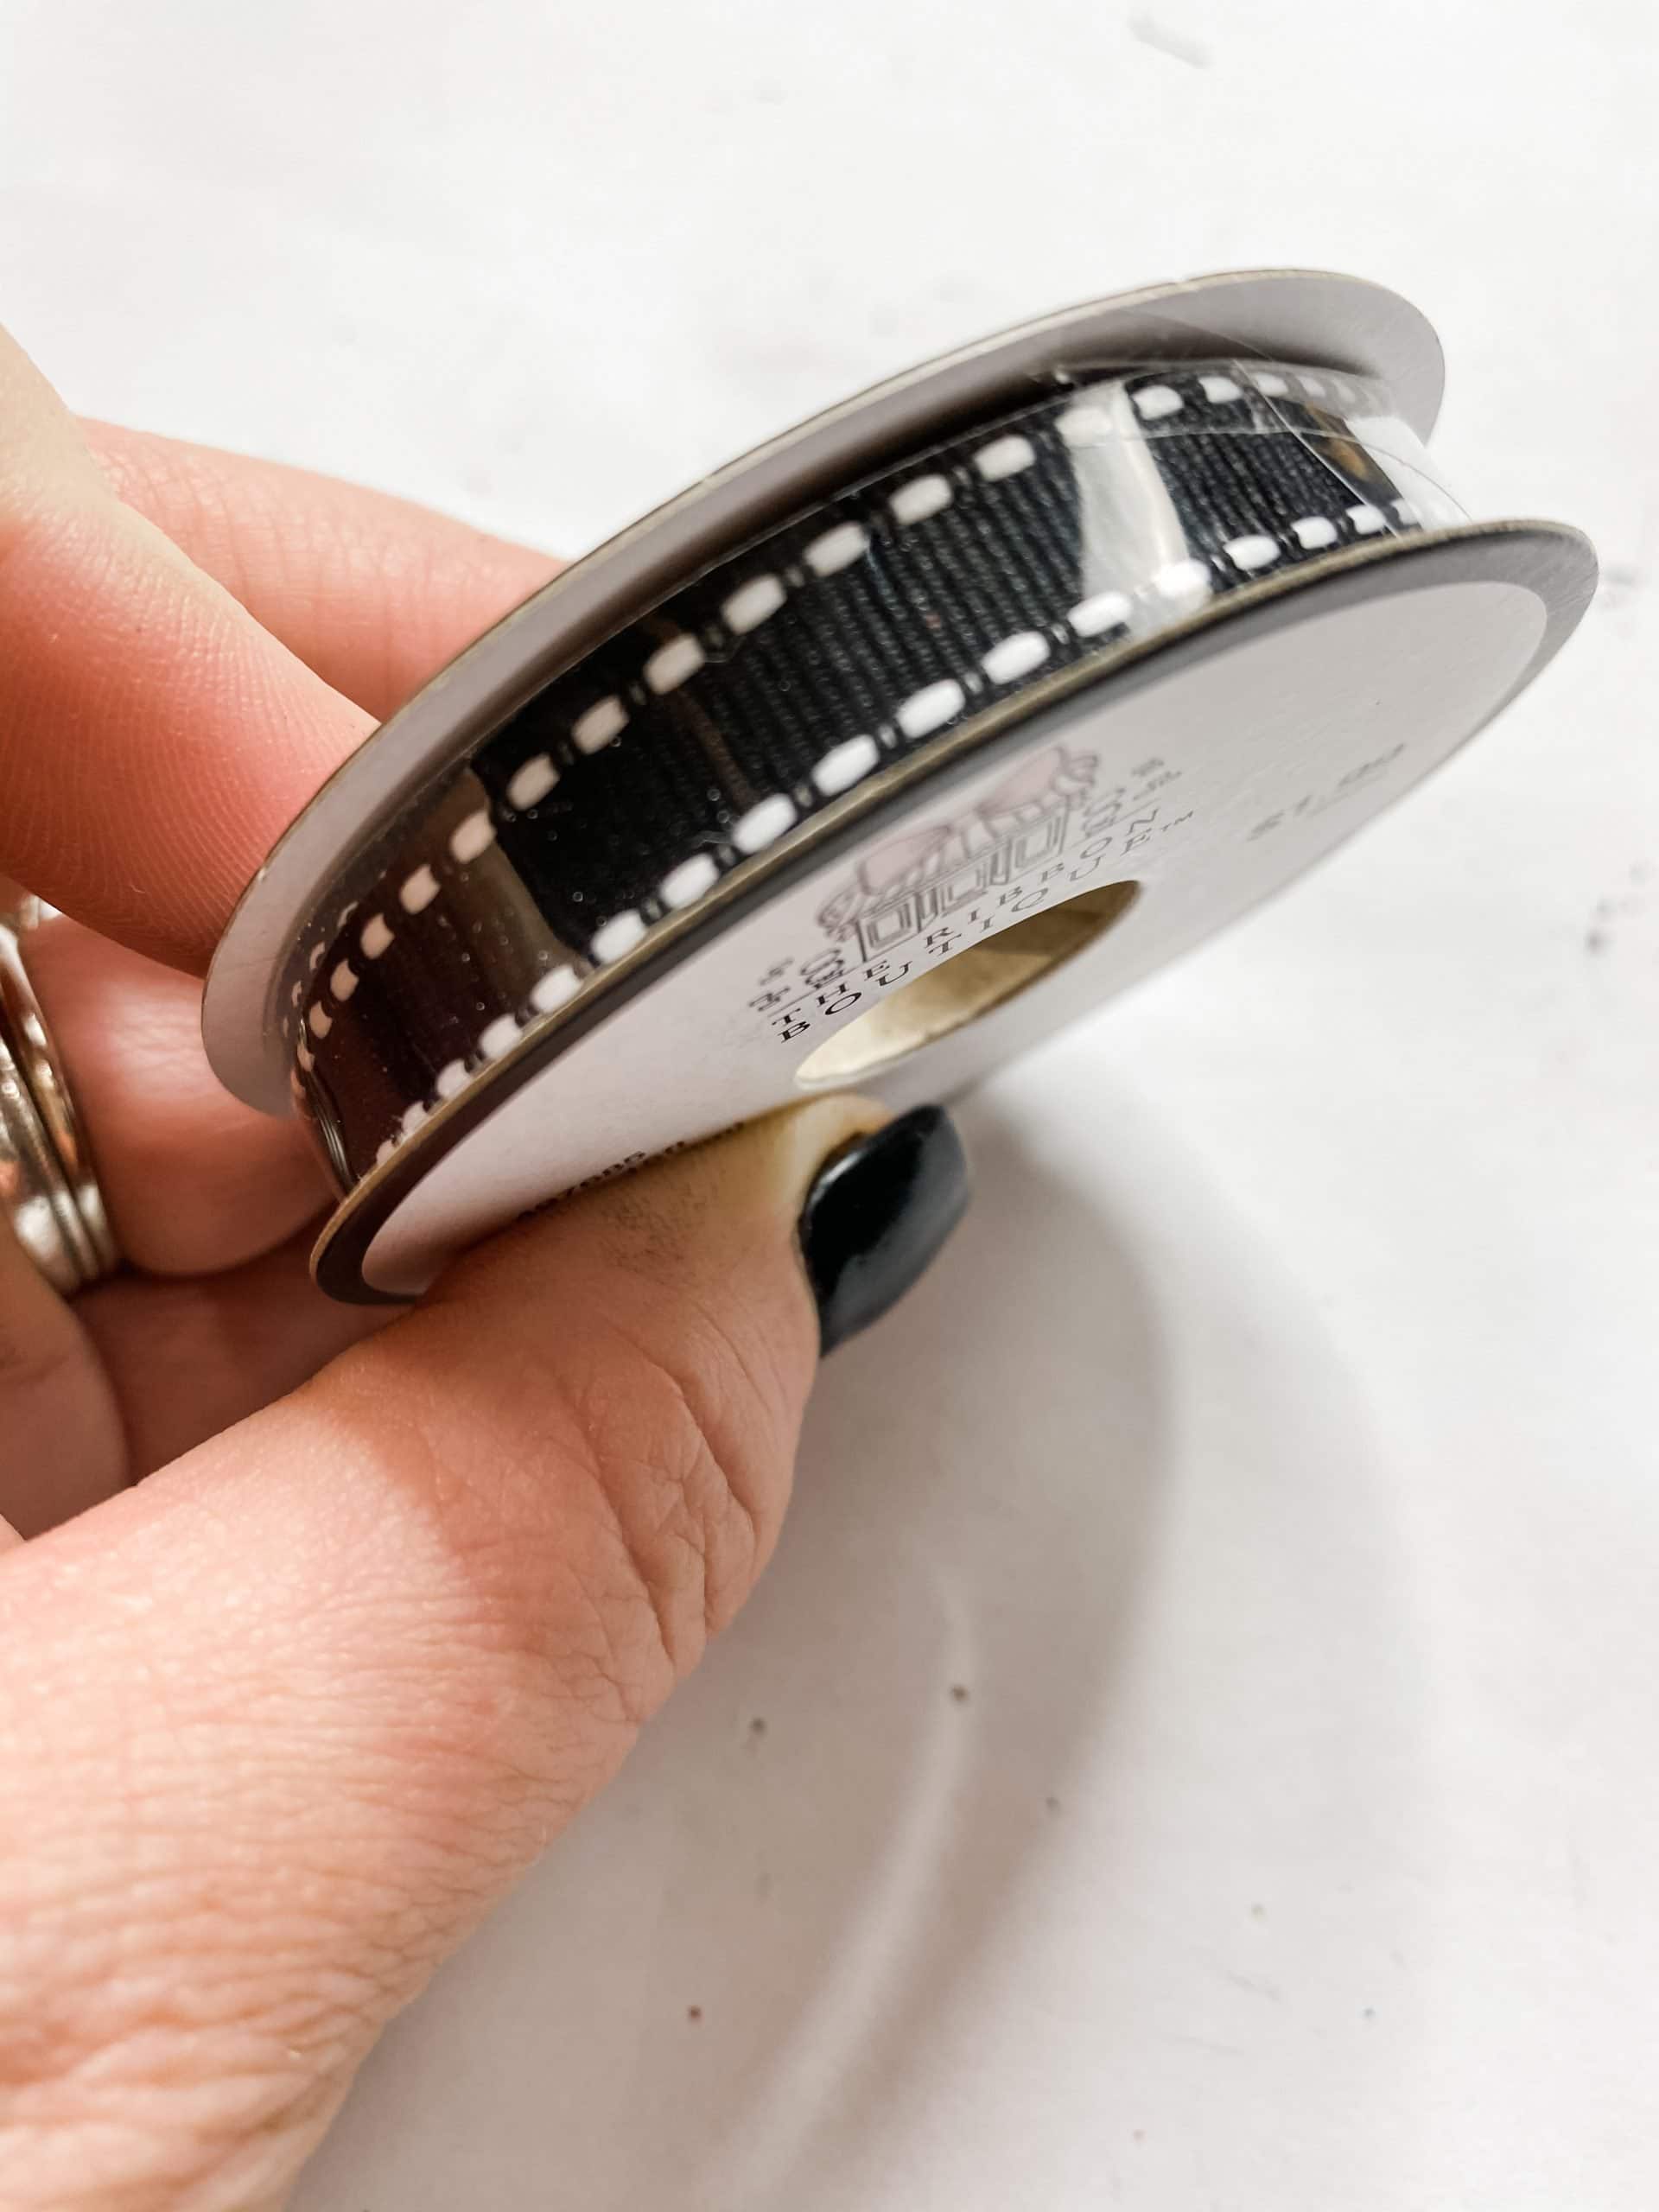
To make the bow, you’re going to cut a piece of the ribbon off the spool (make it longer than you think you’ll need it to be) and fold it into the shape of a bow. Pinch the center of the bow, and secure it with a piece of jute twine.
Trim the tails of the bow to make the bow the right size for this adorable DIY sign. I like to dovetail the ends of the bow. Once you’re happy with the bow, go ahead and hot glue it in place on the top of the O.
You’re all done!
If you’ve made it this far, you’re all done making this simple Dollar Tree DIY! I had so much fun bringing my Valentine’s DIY Decor idea to life, and I hope you’ve been inspired to get creative!
As with anything I make, feel free to customize, personalize, and add your own spin on any part of this easy DIY! I am just here to inspire you!
I hope you enjoyed this Faux Metal Dollar Tree DIY Valentine’s Day Decor as much as I did and decide to make one for yourself! I would love to see how yours turns out!
You should totally join my FREE Facebook group called On A Budget Crafts! It is a judgment-free community for DIY crafters to show off their projects and ideas.
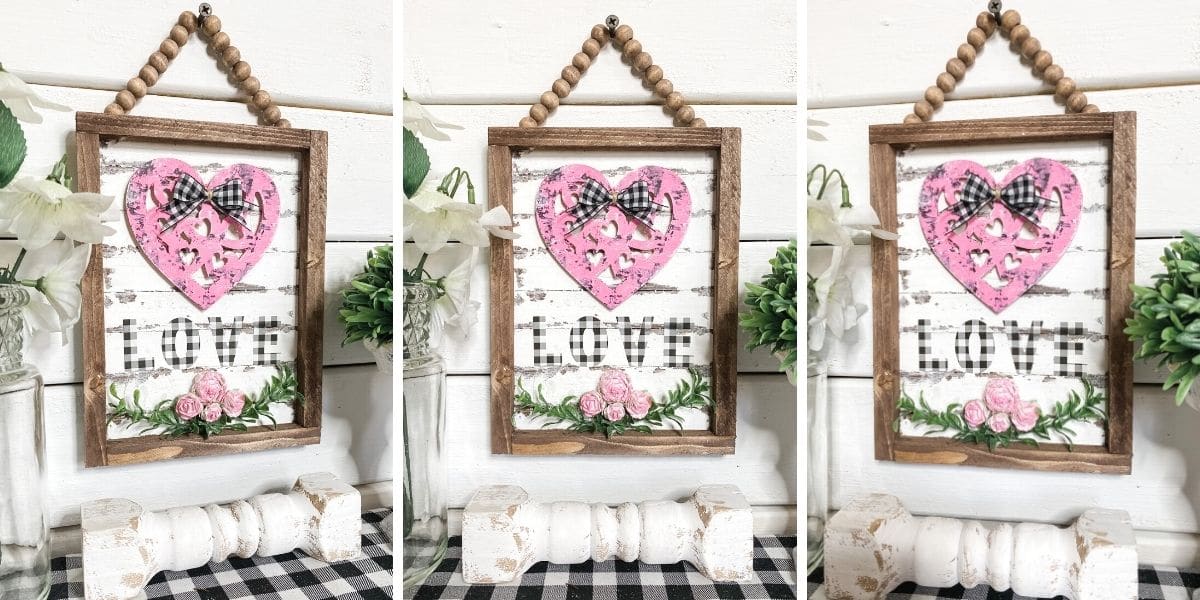
If you loved this DIY you might also like this Fun and Easy DIY Spring Door Hanger!
Thanks for stopping by! XOXO Amber
You can also shop my ENTIRE AMAZON Favorites shop just click here! It’s packed full of all the things I use and love.
Here is the supply list I highly recommend every creative have on hand!! Would you also pin my blog for later and get on my newsletter alerts? I would love to have you join my #craftycrew.
Inspired? Leave me a comment below! I love hearing from my readers!

Join my free “ON A BUDGET CRAFTS” Facebook group!


One Comment