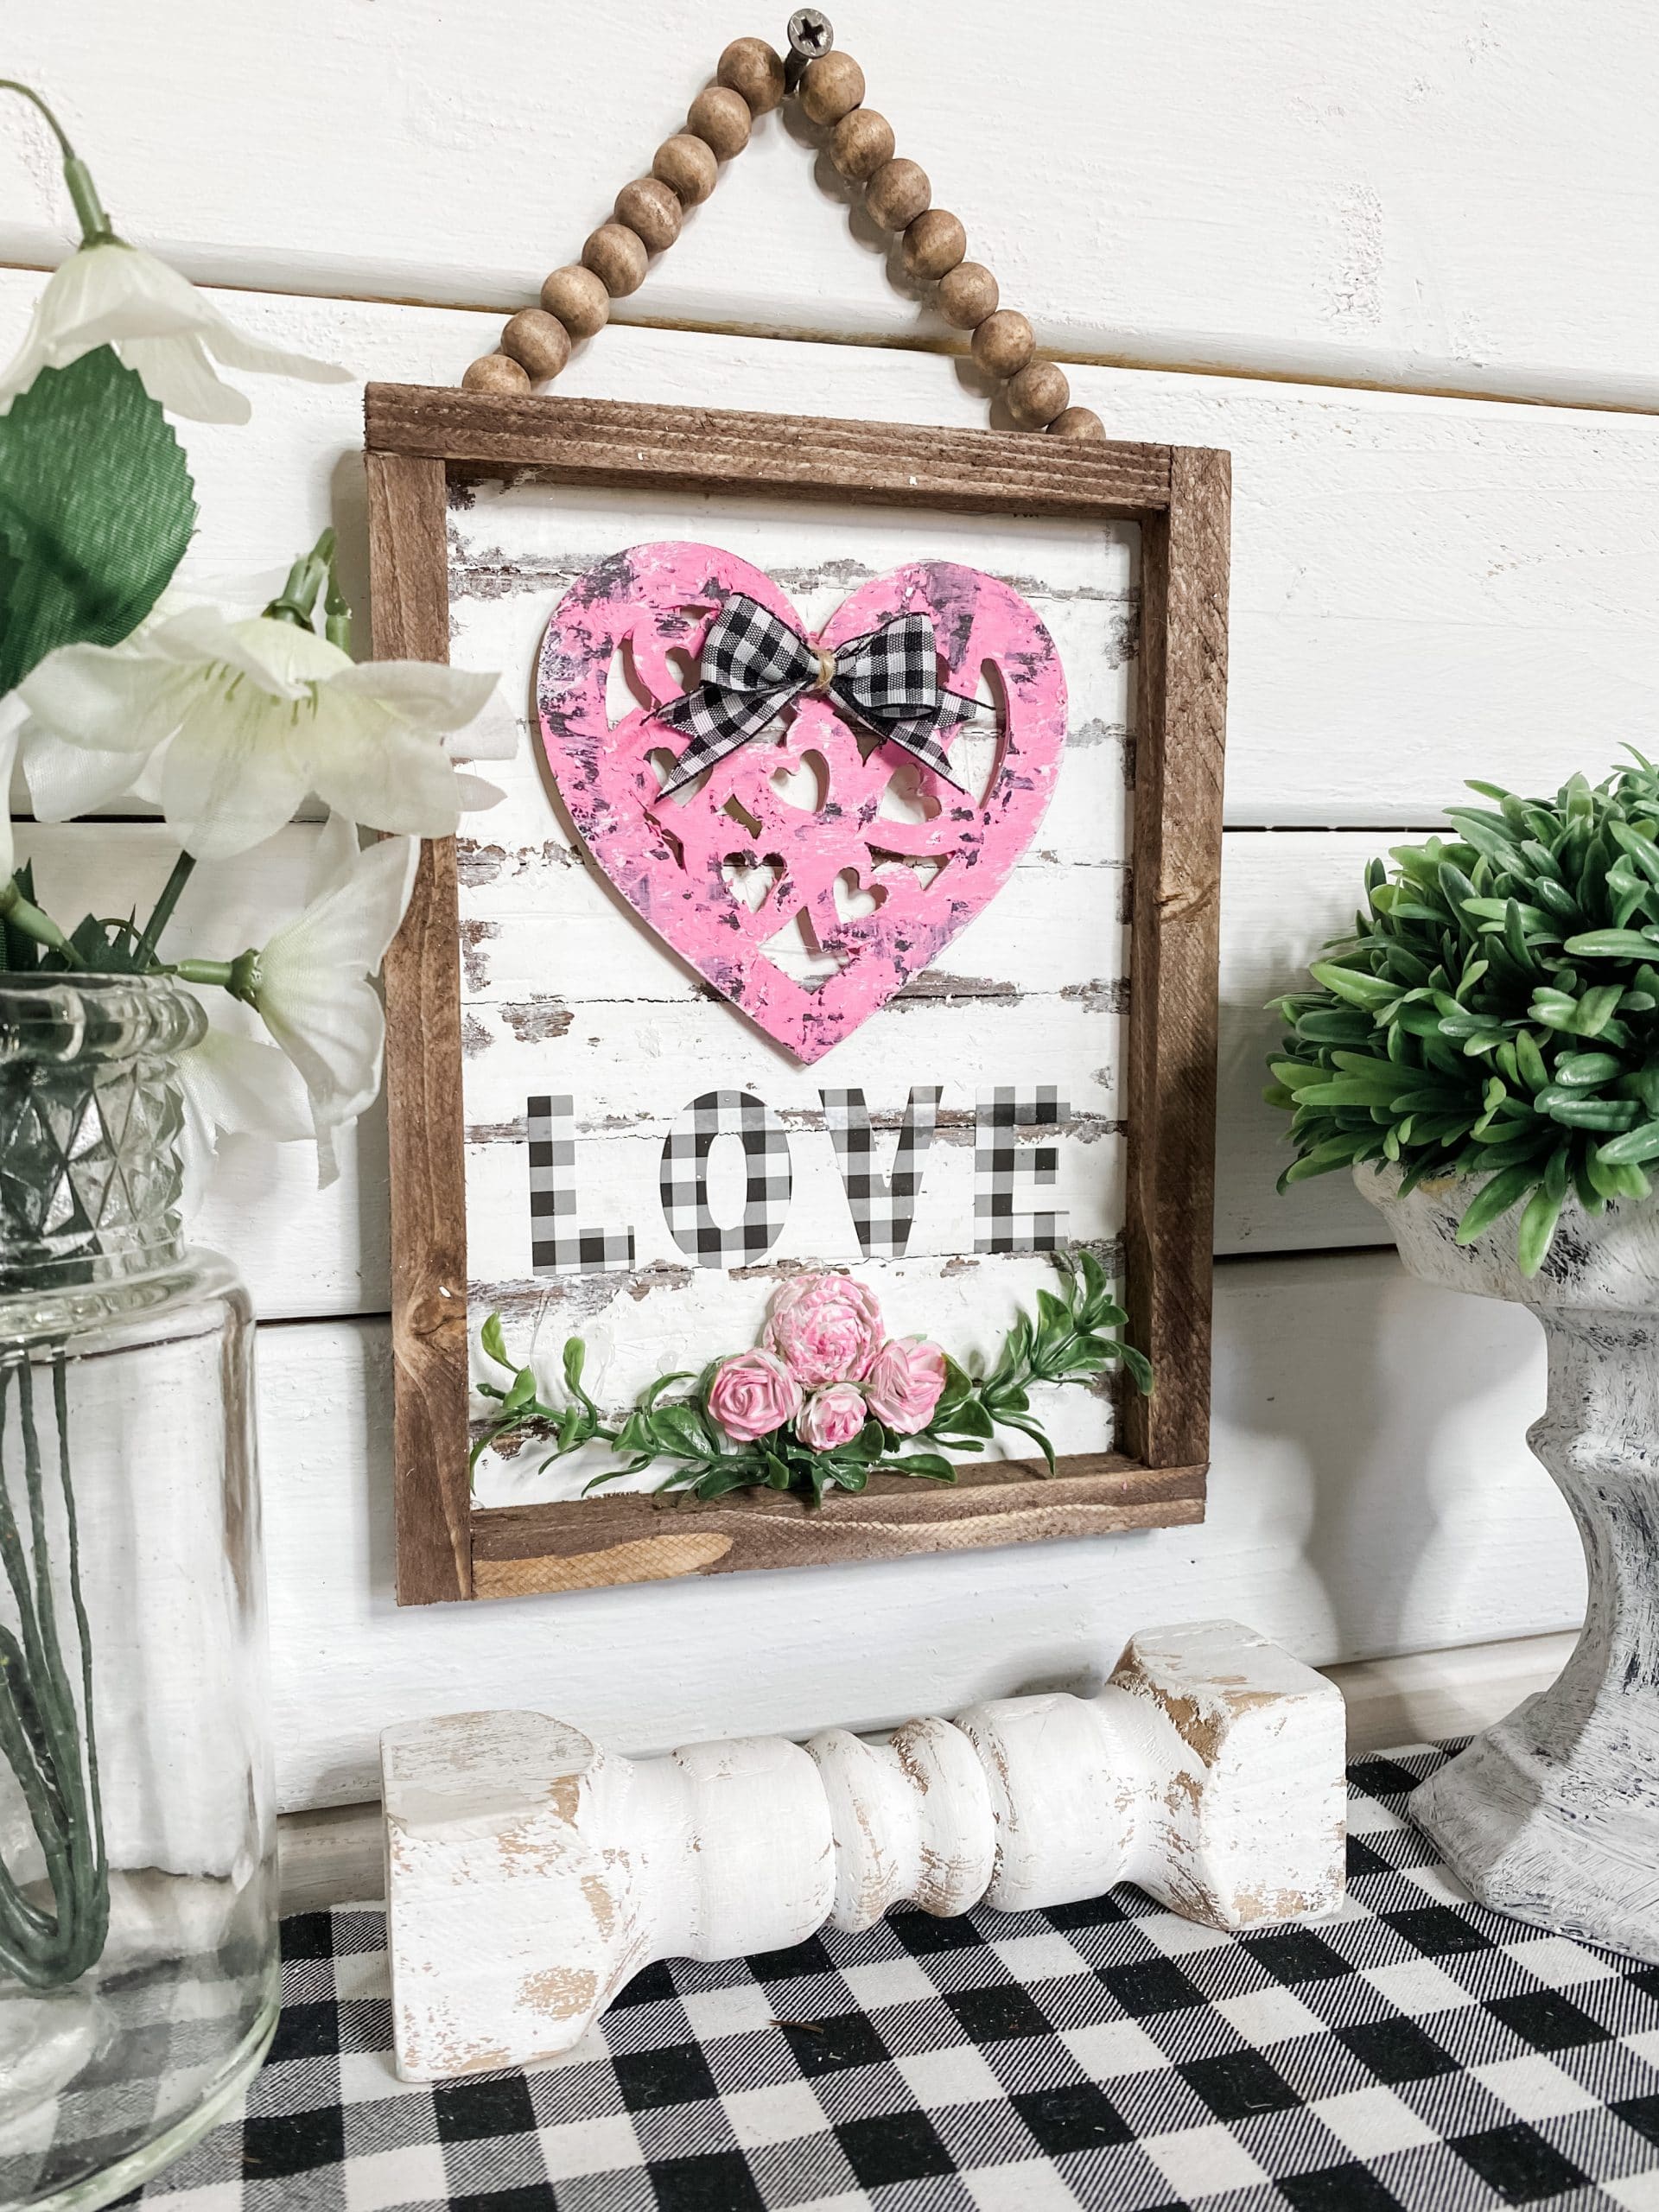
DIY Dollar Tree Reverse Canvas Valentine’s Day Decor
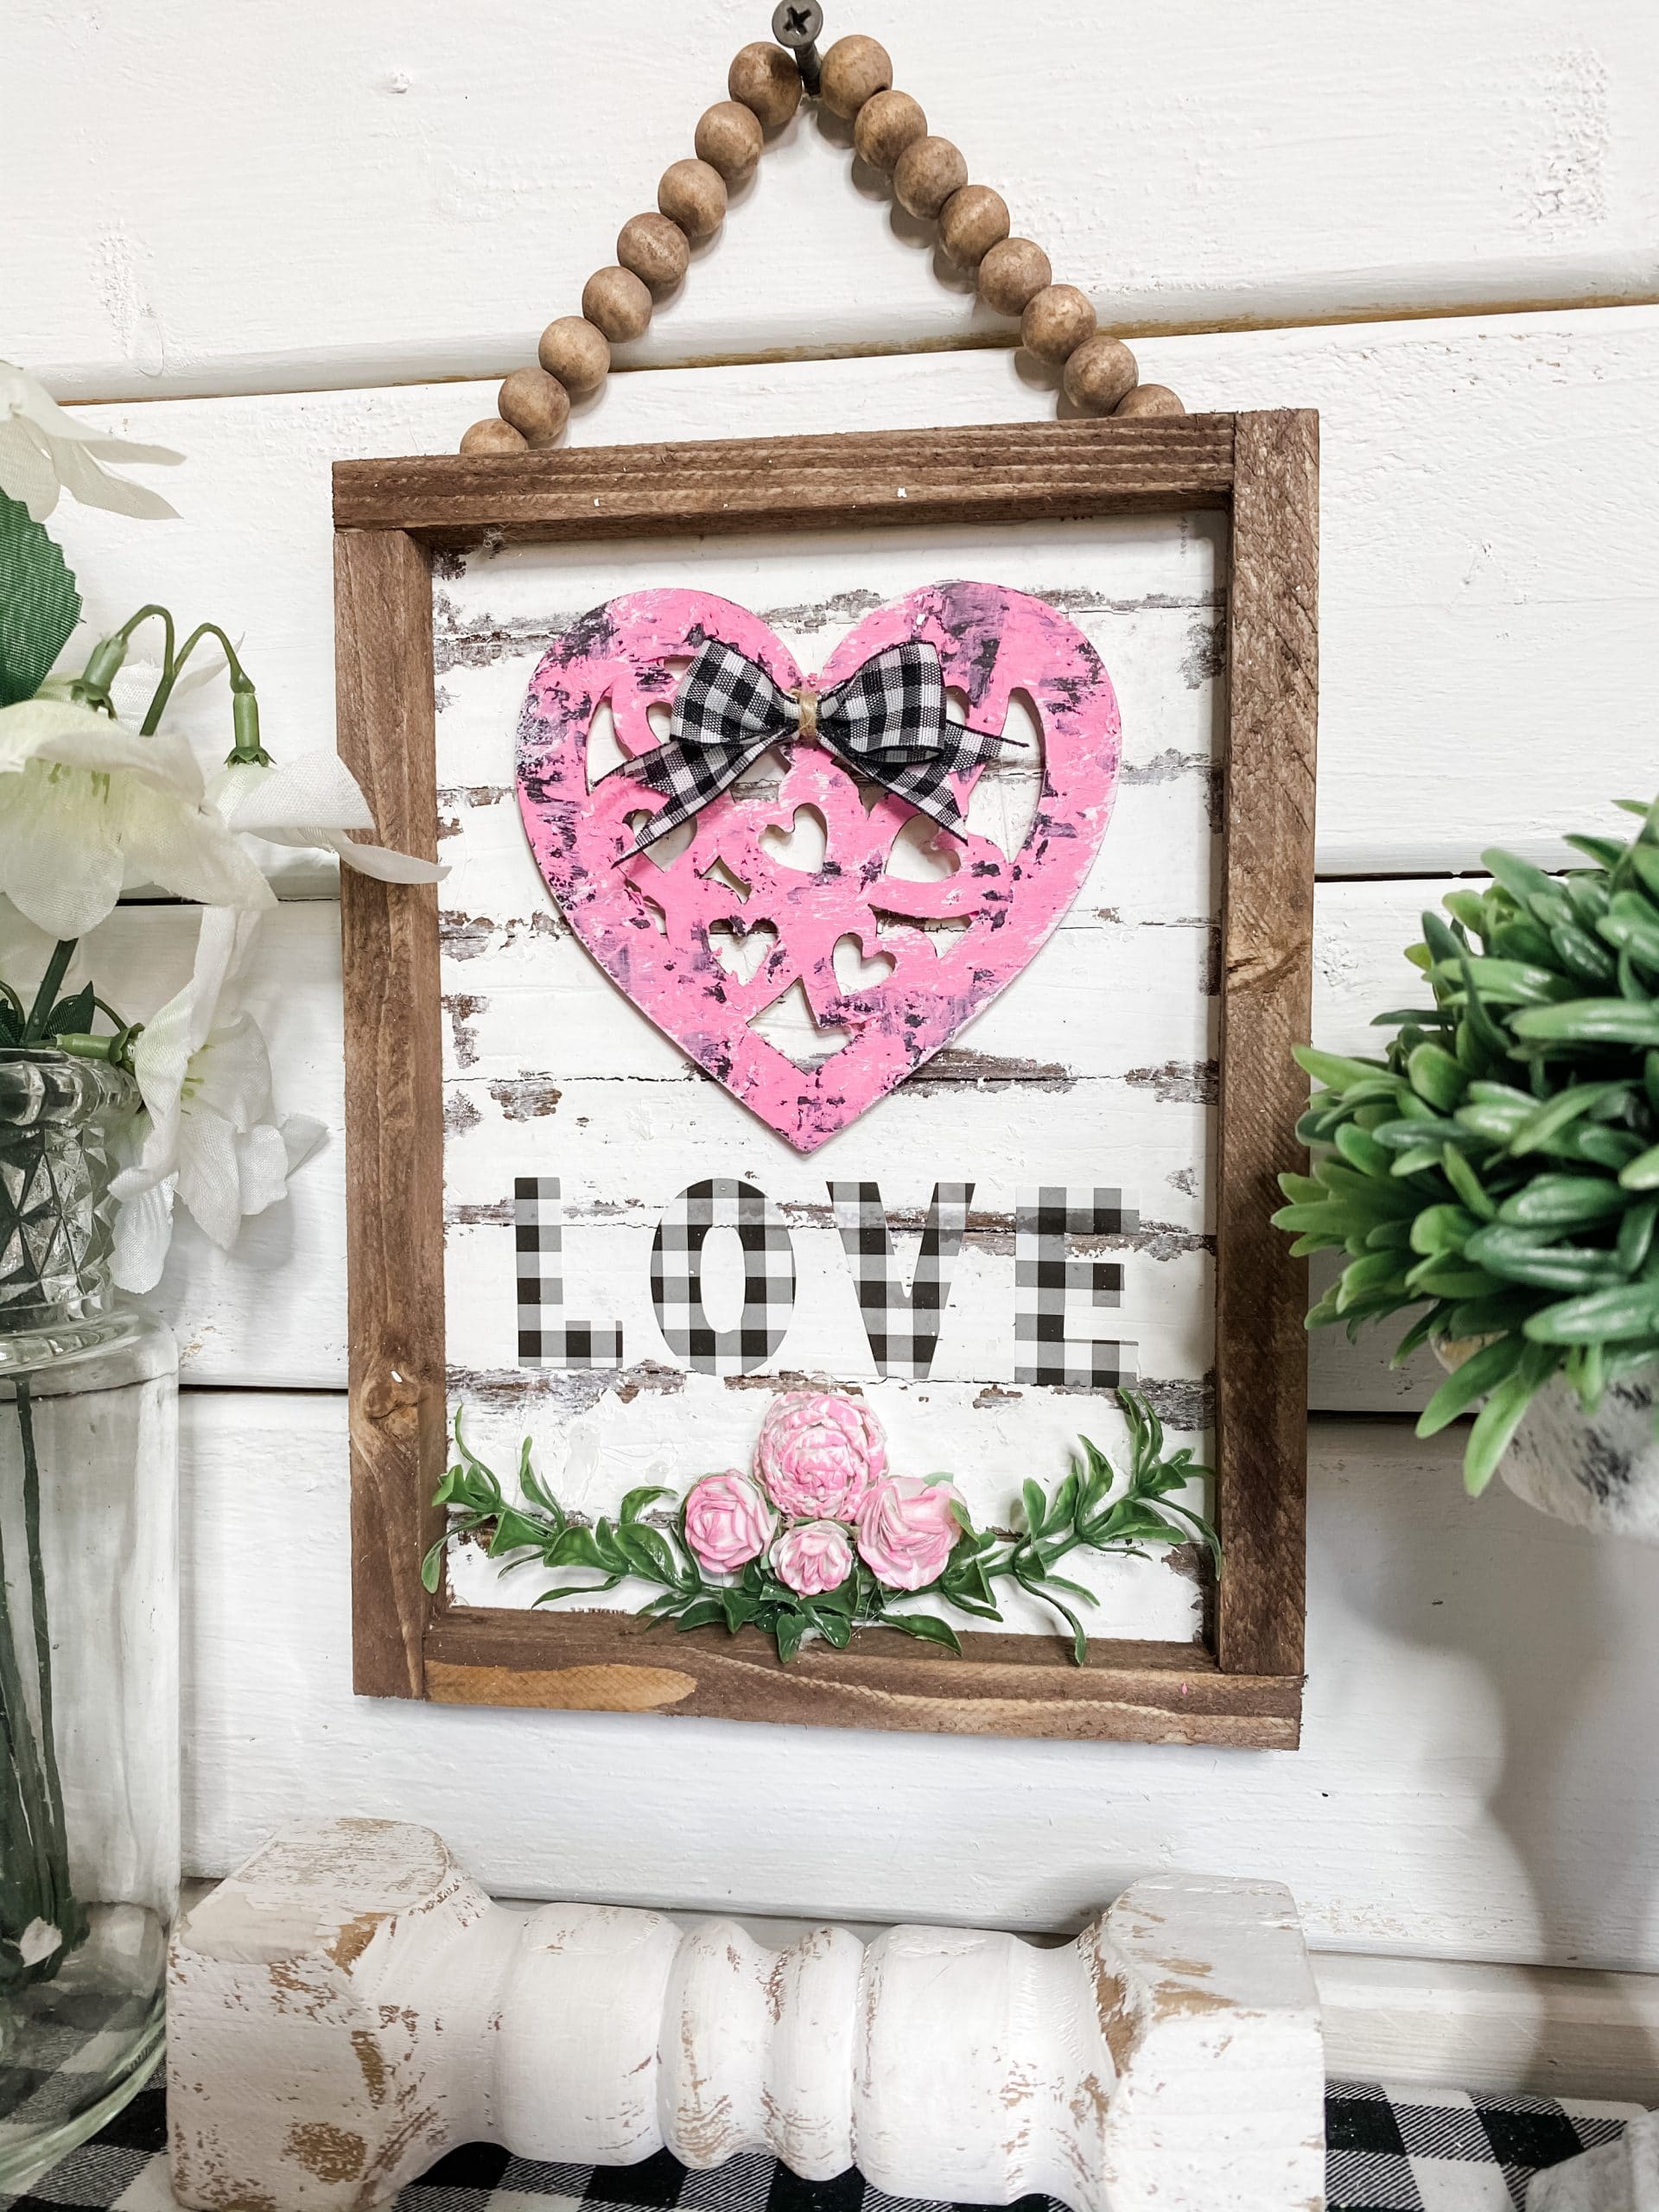
I am so very excited to share with you how to make this DIY Dollar Tree Reverse Canvas Valentine’s Day Decor! This was so much fun to bring to life, and I am in love with how amazing the buffalo check looks on this DIY project.
My favorite part of this project might be the double chippy finish! I’m asked all the time how I get the chippy look on my DIY crafts, and I do it twice for this project! If you want to learn how to chippy paint wood, this is the tutorial for you!
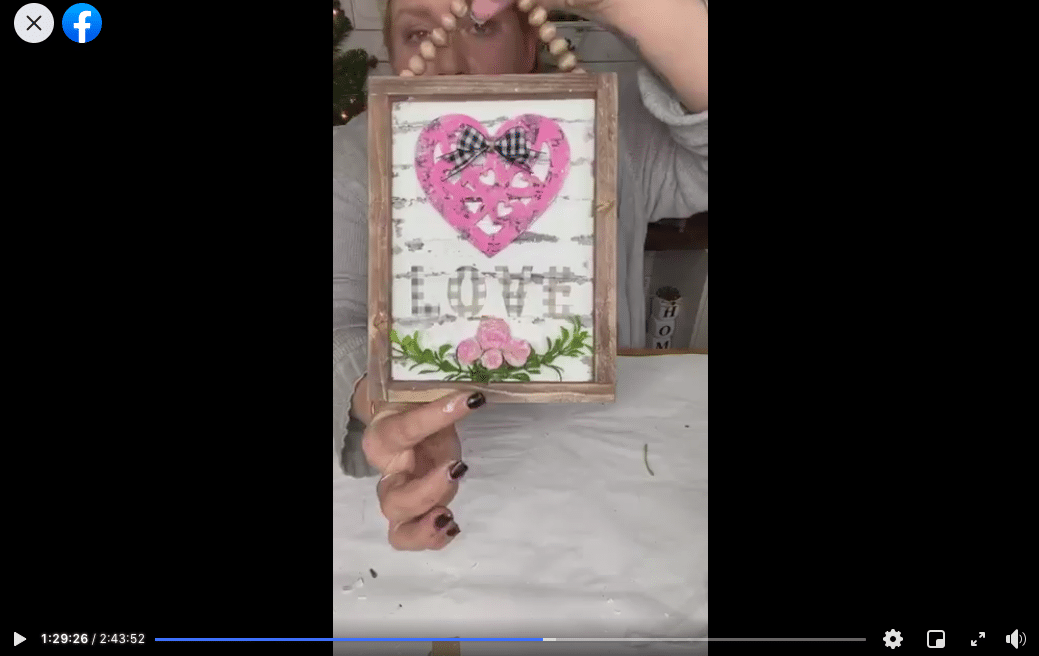
Watch the replay
I made this adorable Valentine’s Day DIY during a LIVE video over on my Facebook page. Even if you didn’t catch the LIVE video, you can watch the replay to see the step-by-step process of how I brought this Valentine’s Day DIY idea to life.
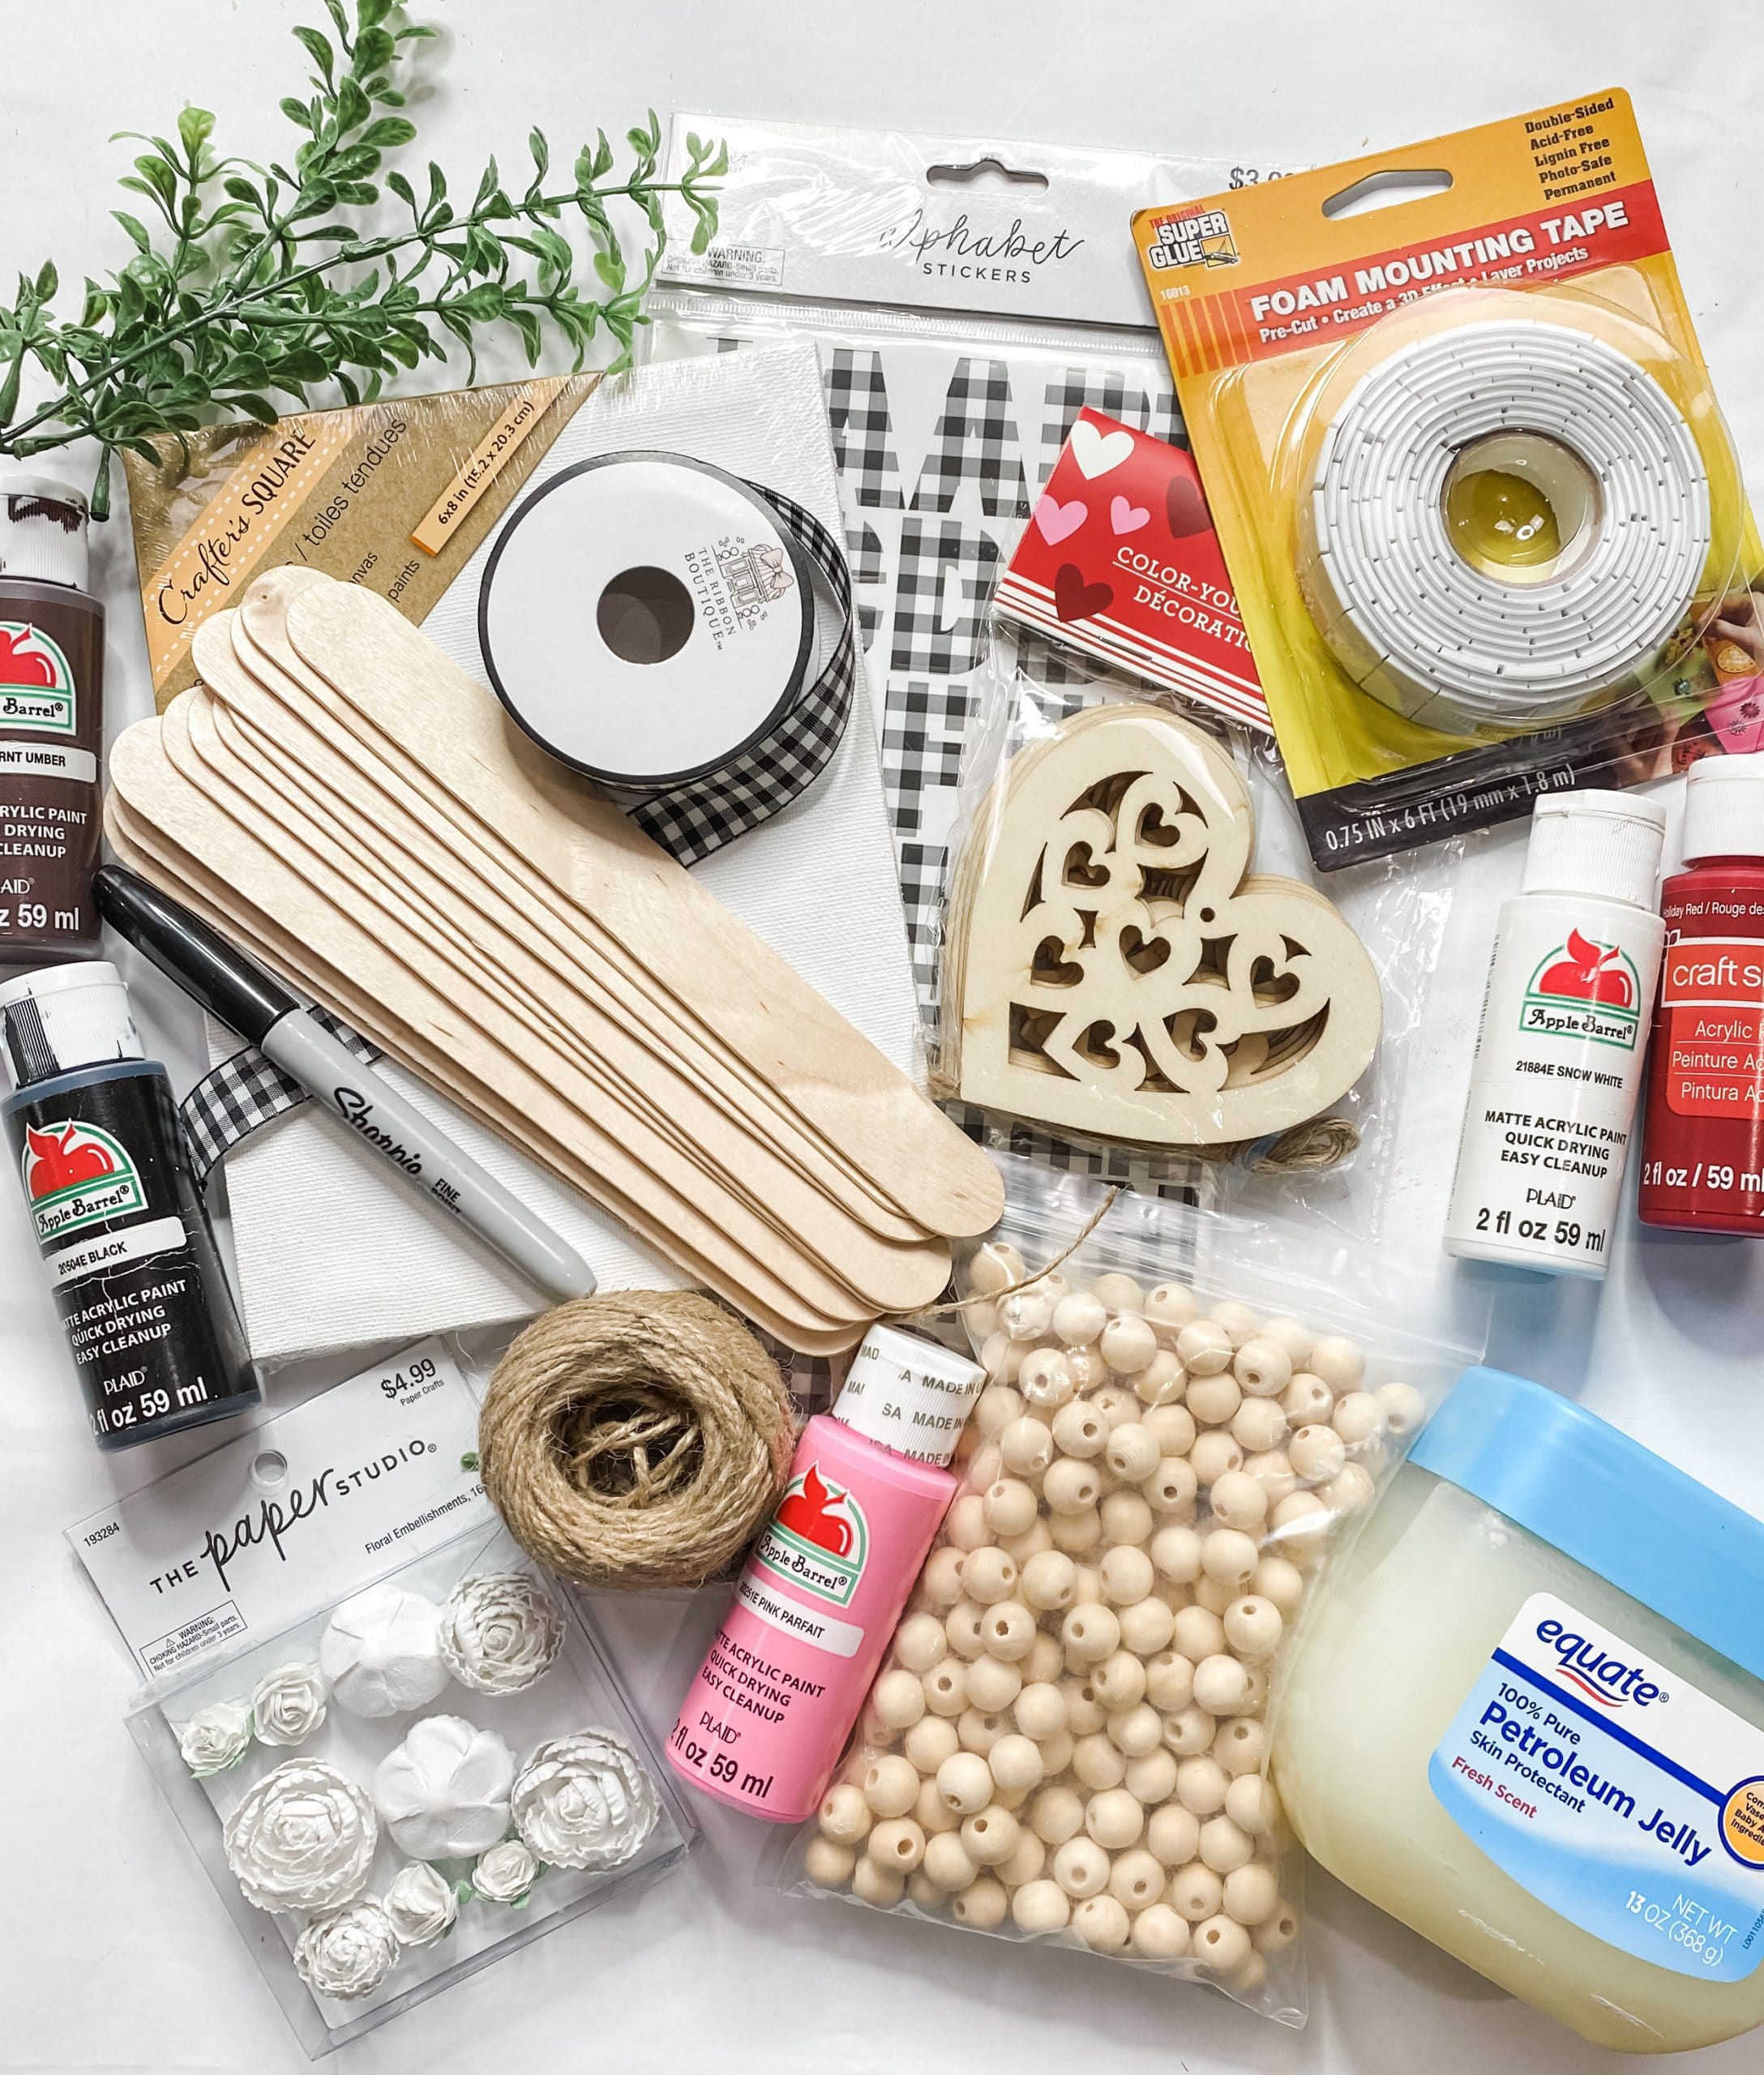
For this project, I will be using these items but you can substitute where you want.
“As an Amazon Associate, I earn from qualifying purchases.”
- Dollar Tree Canvas 6×8
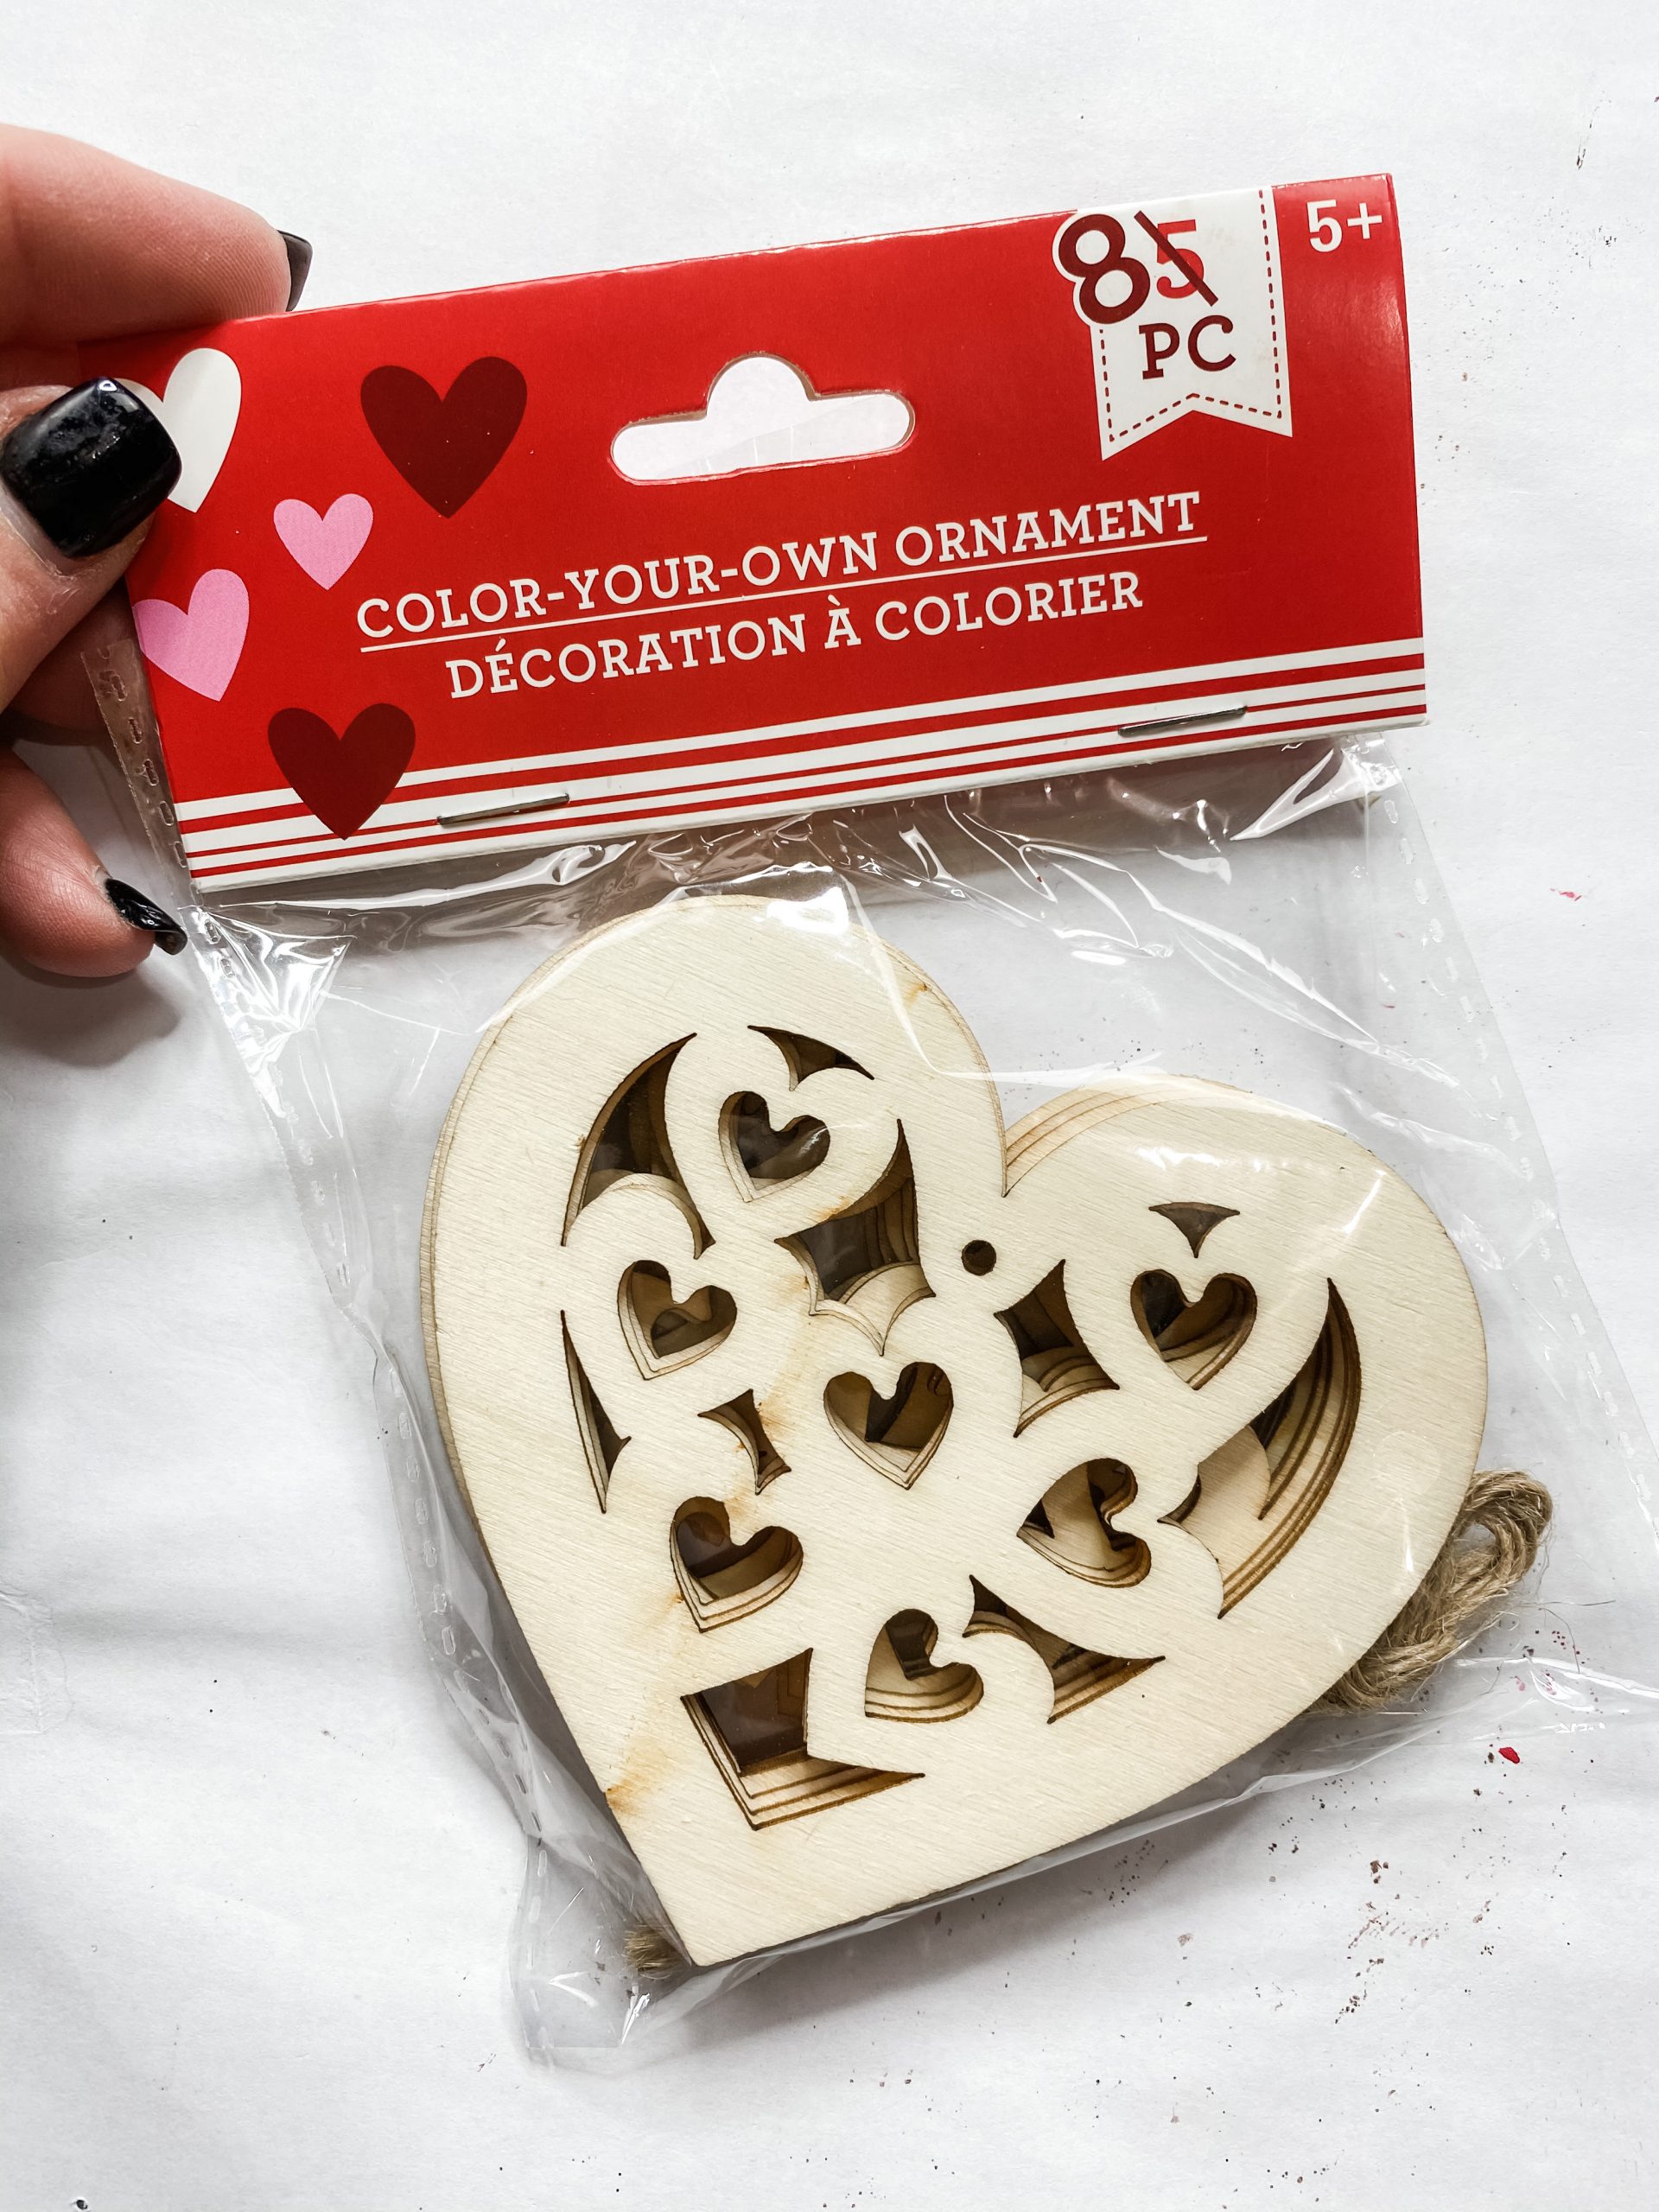
- Dollar Tree wood heart
- Mod Podge
- Buffalo Check alphabet stickers
- Greenery Spray
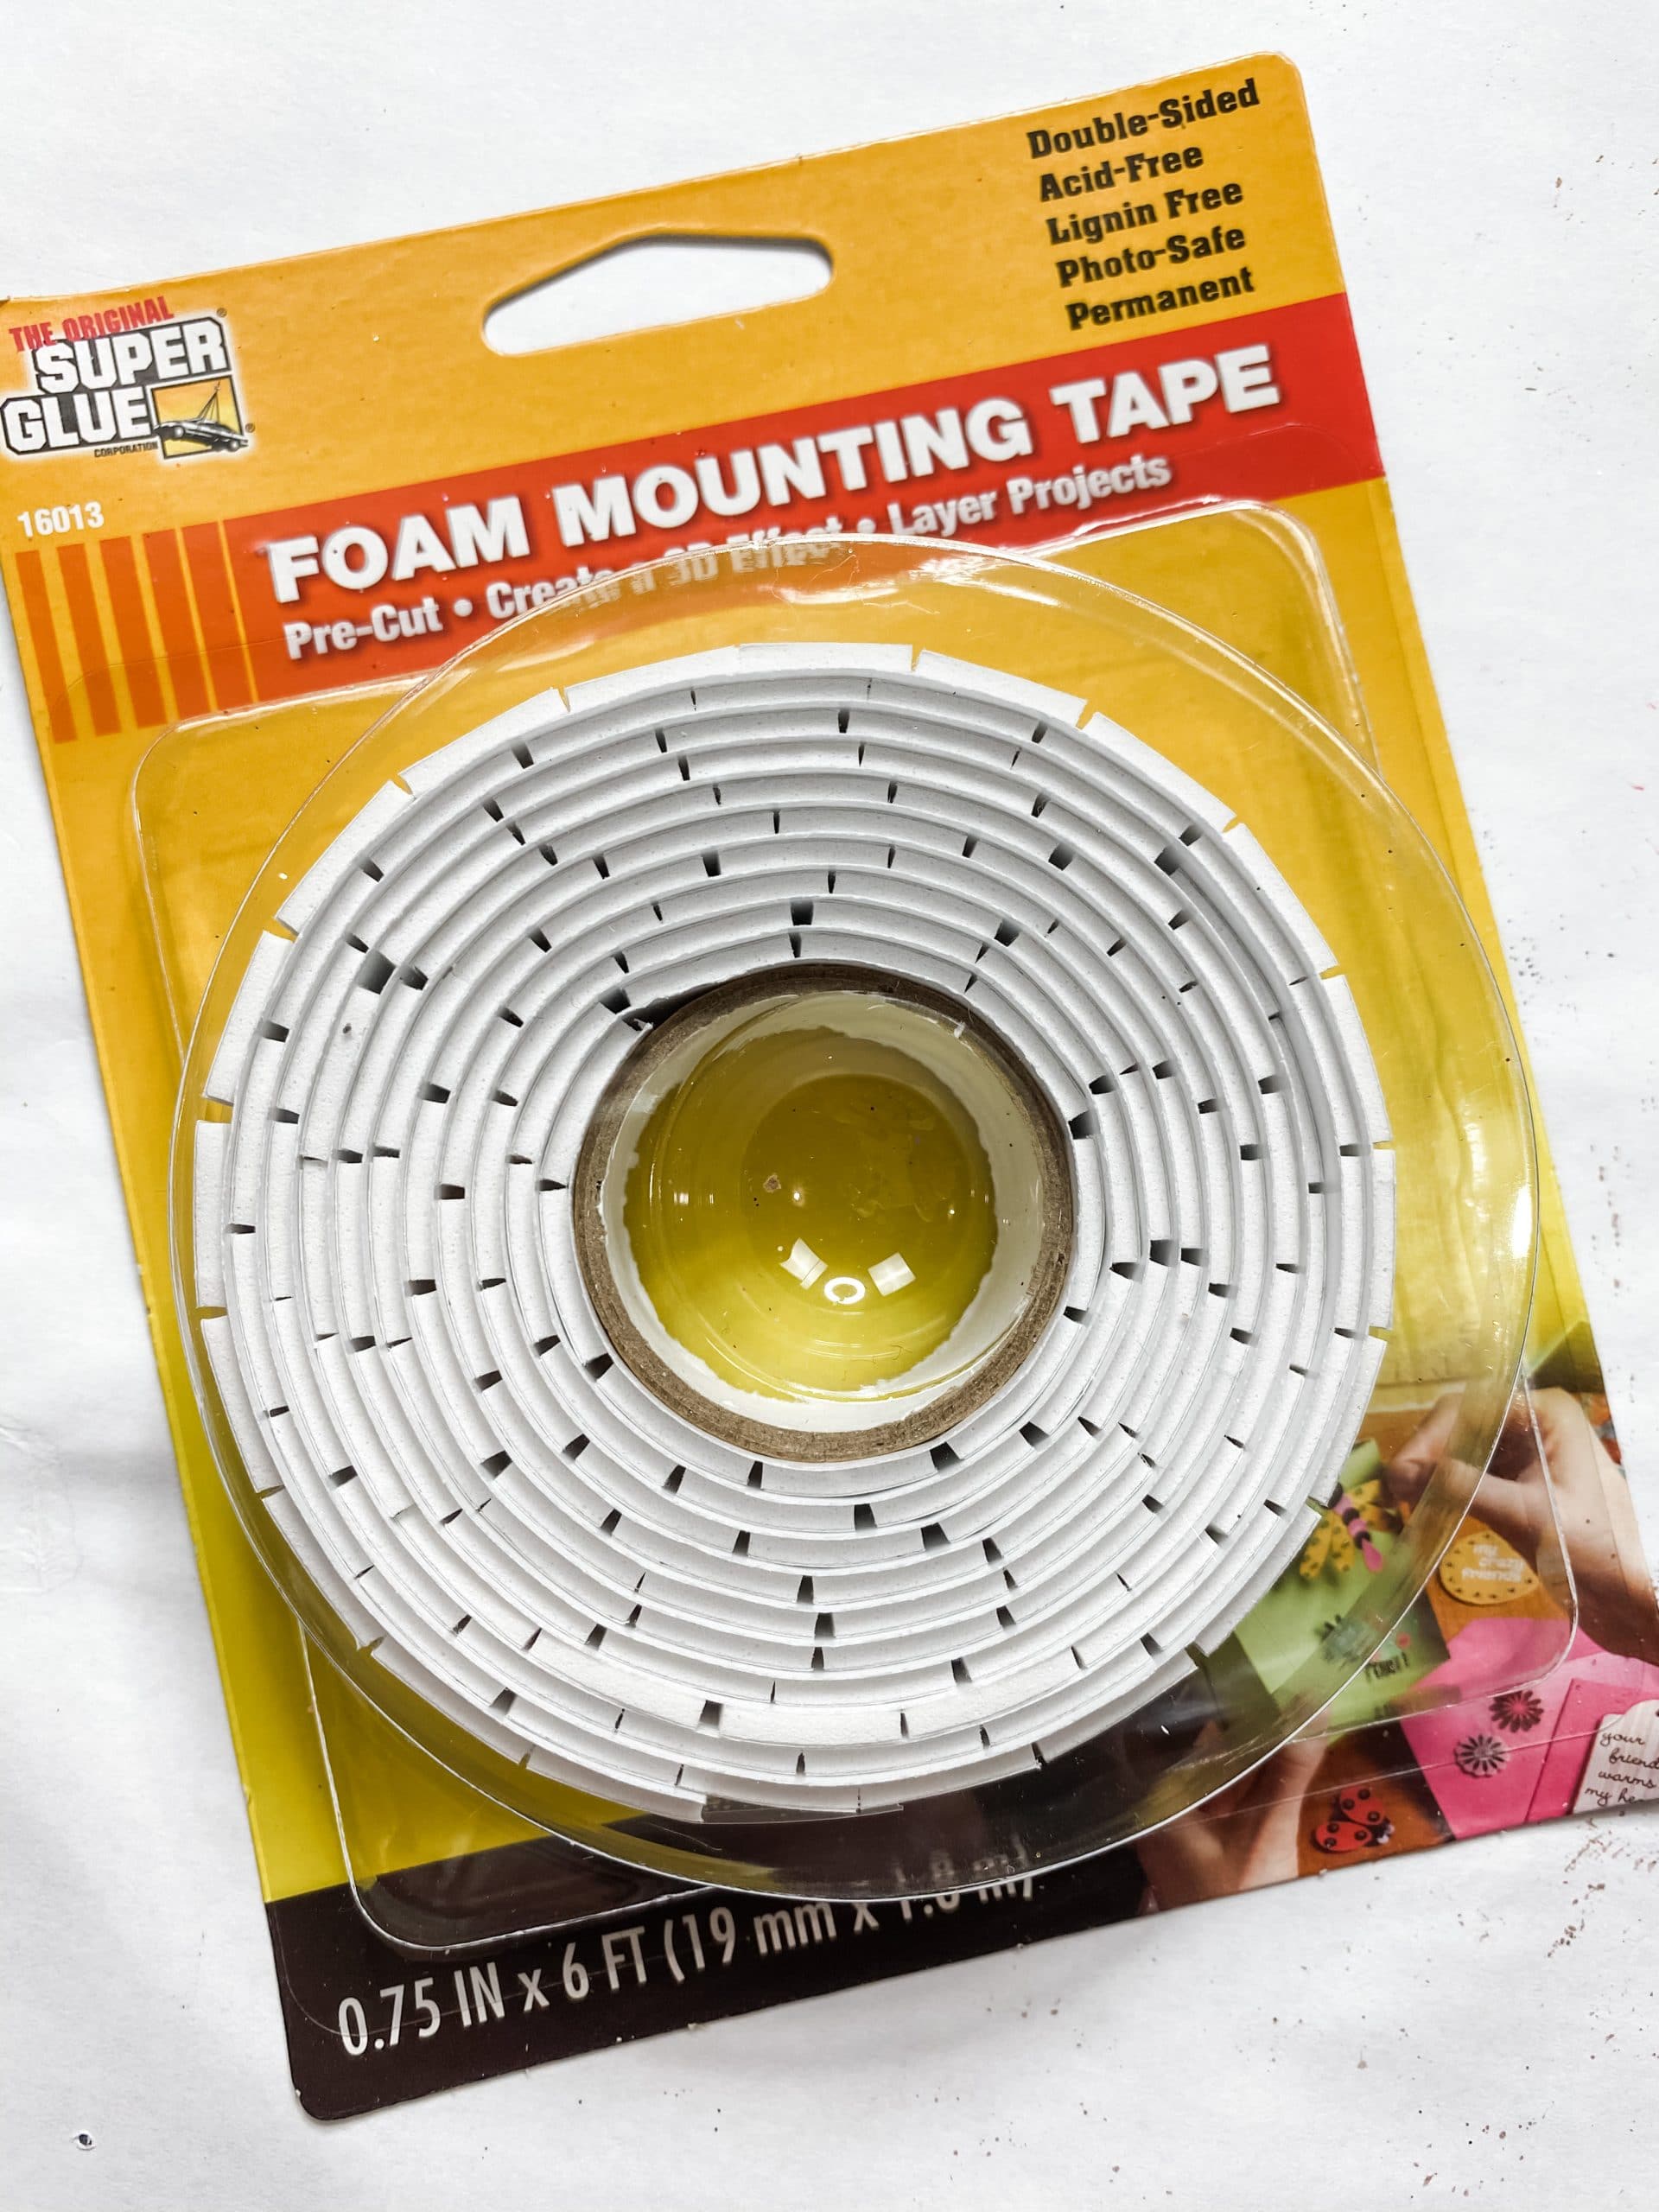
- Foam mounting tape
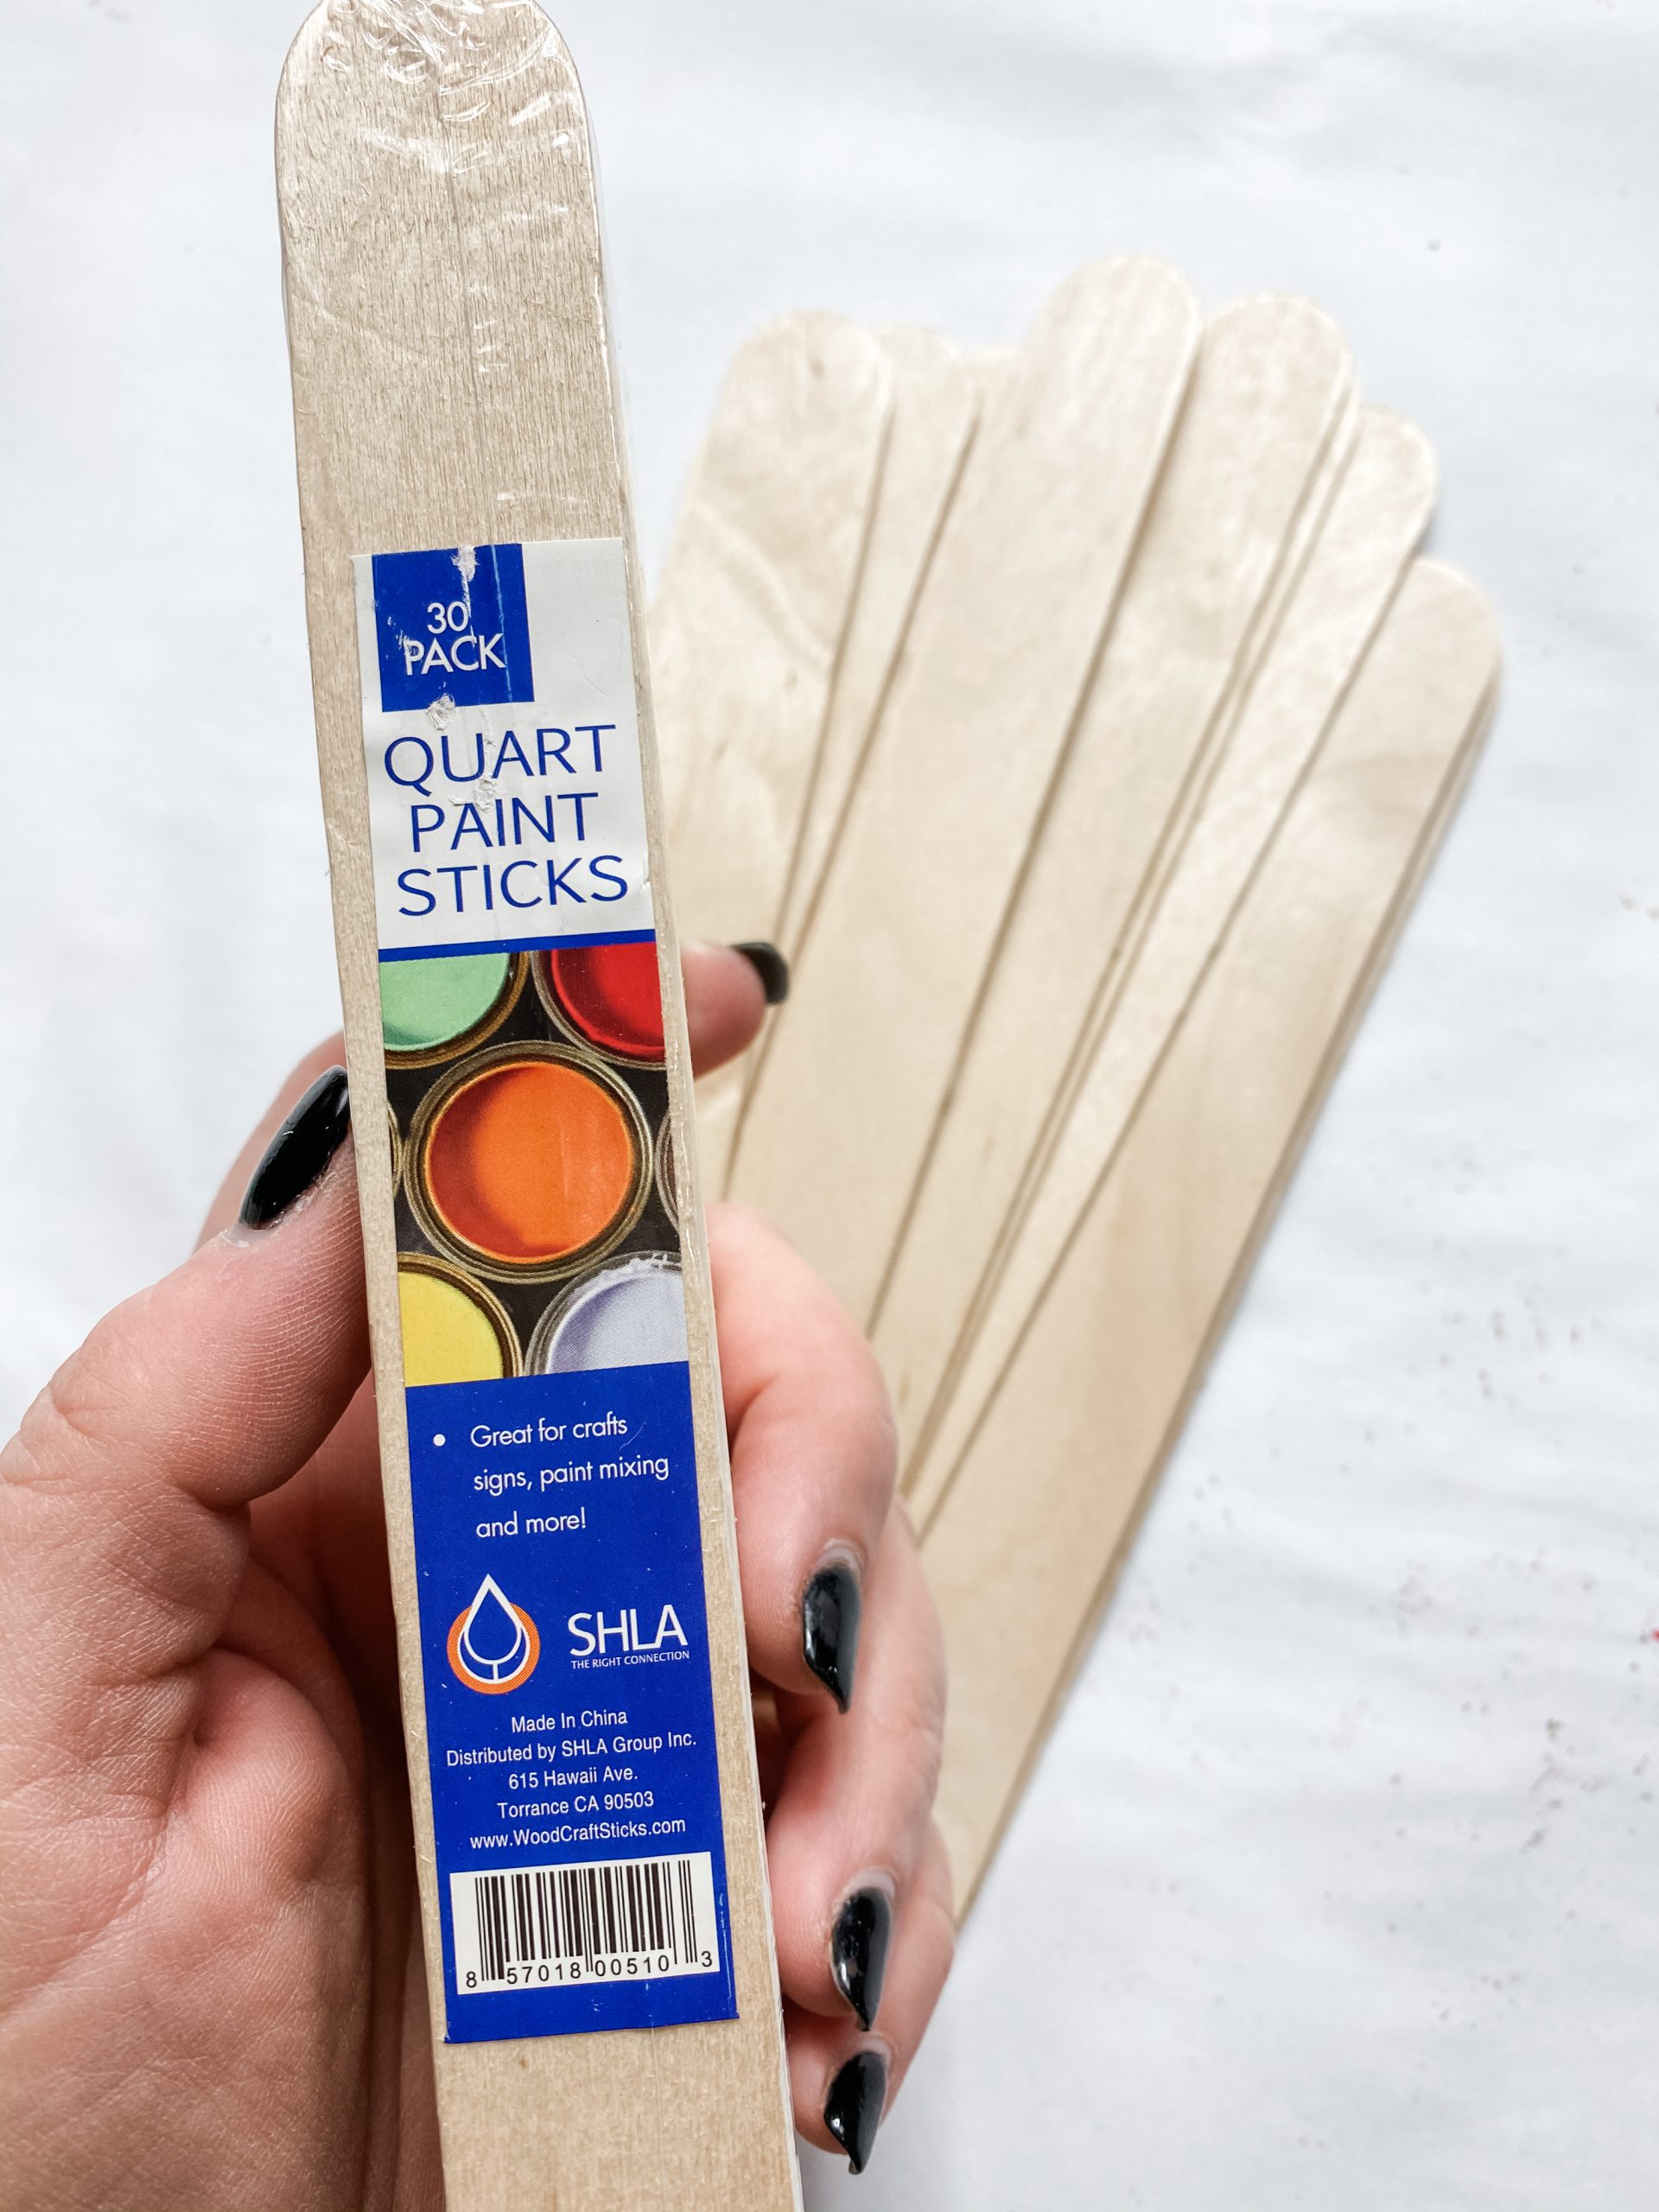
- Quart Paint Sticks
- Jute Twine
- Wood Beads
- Petroleum Jelly
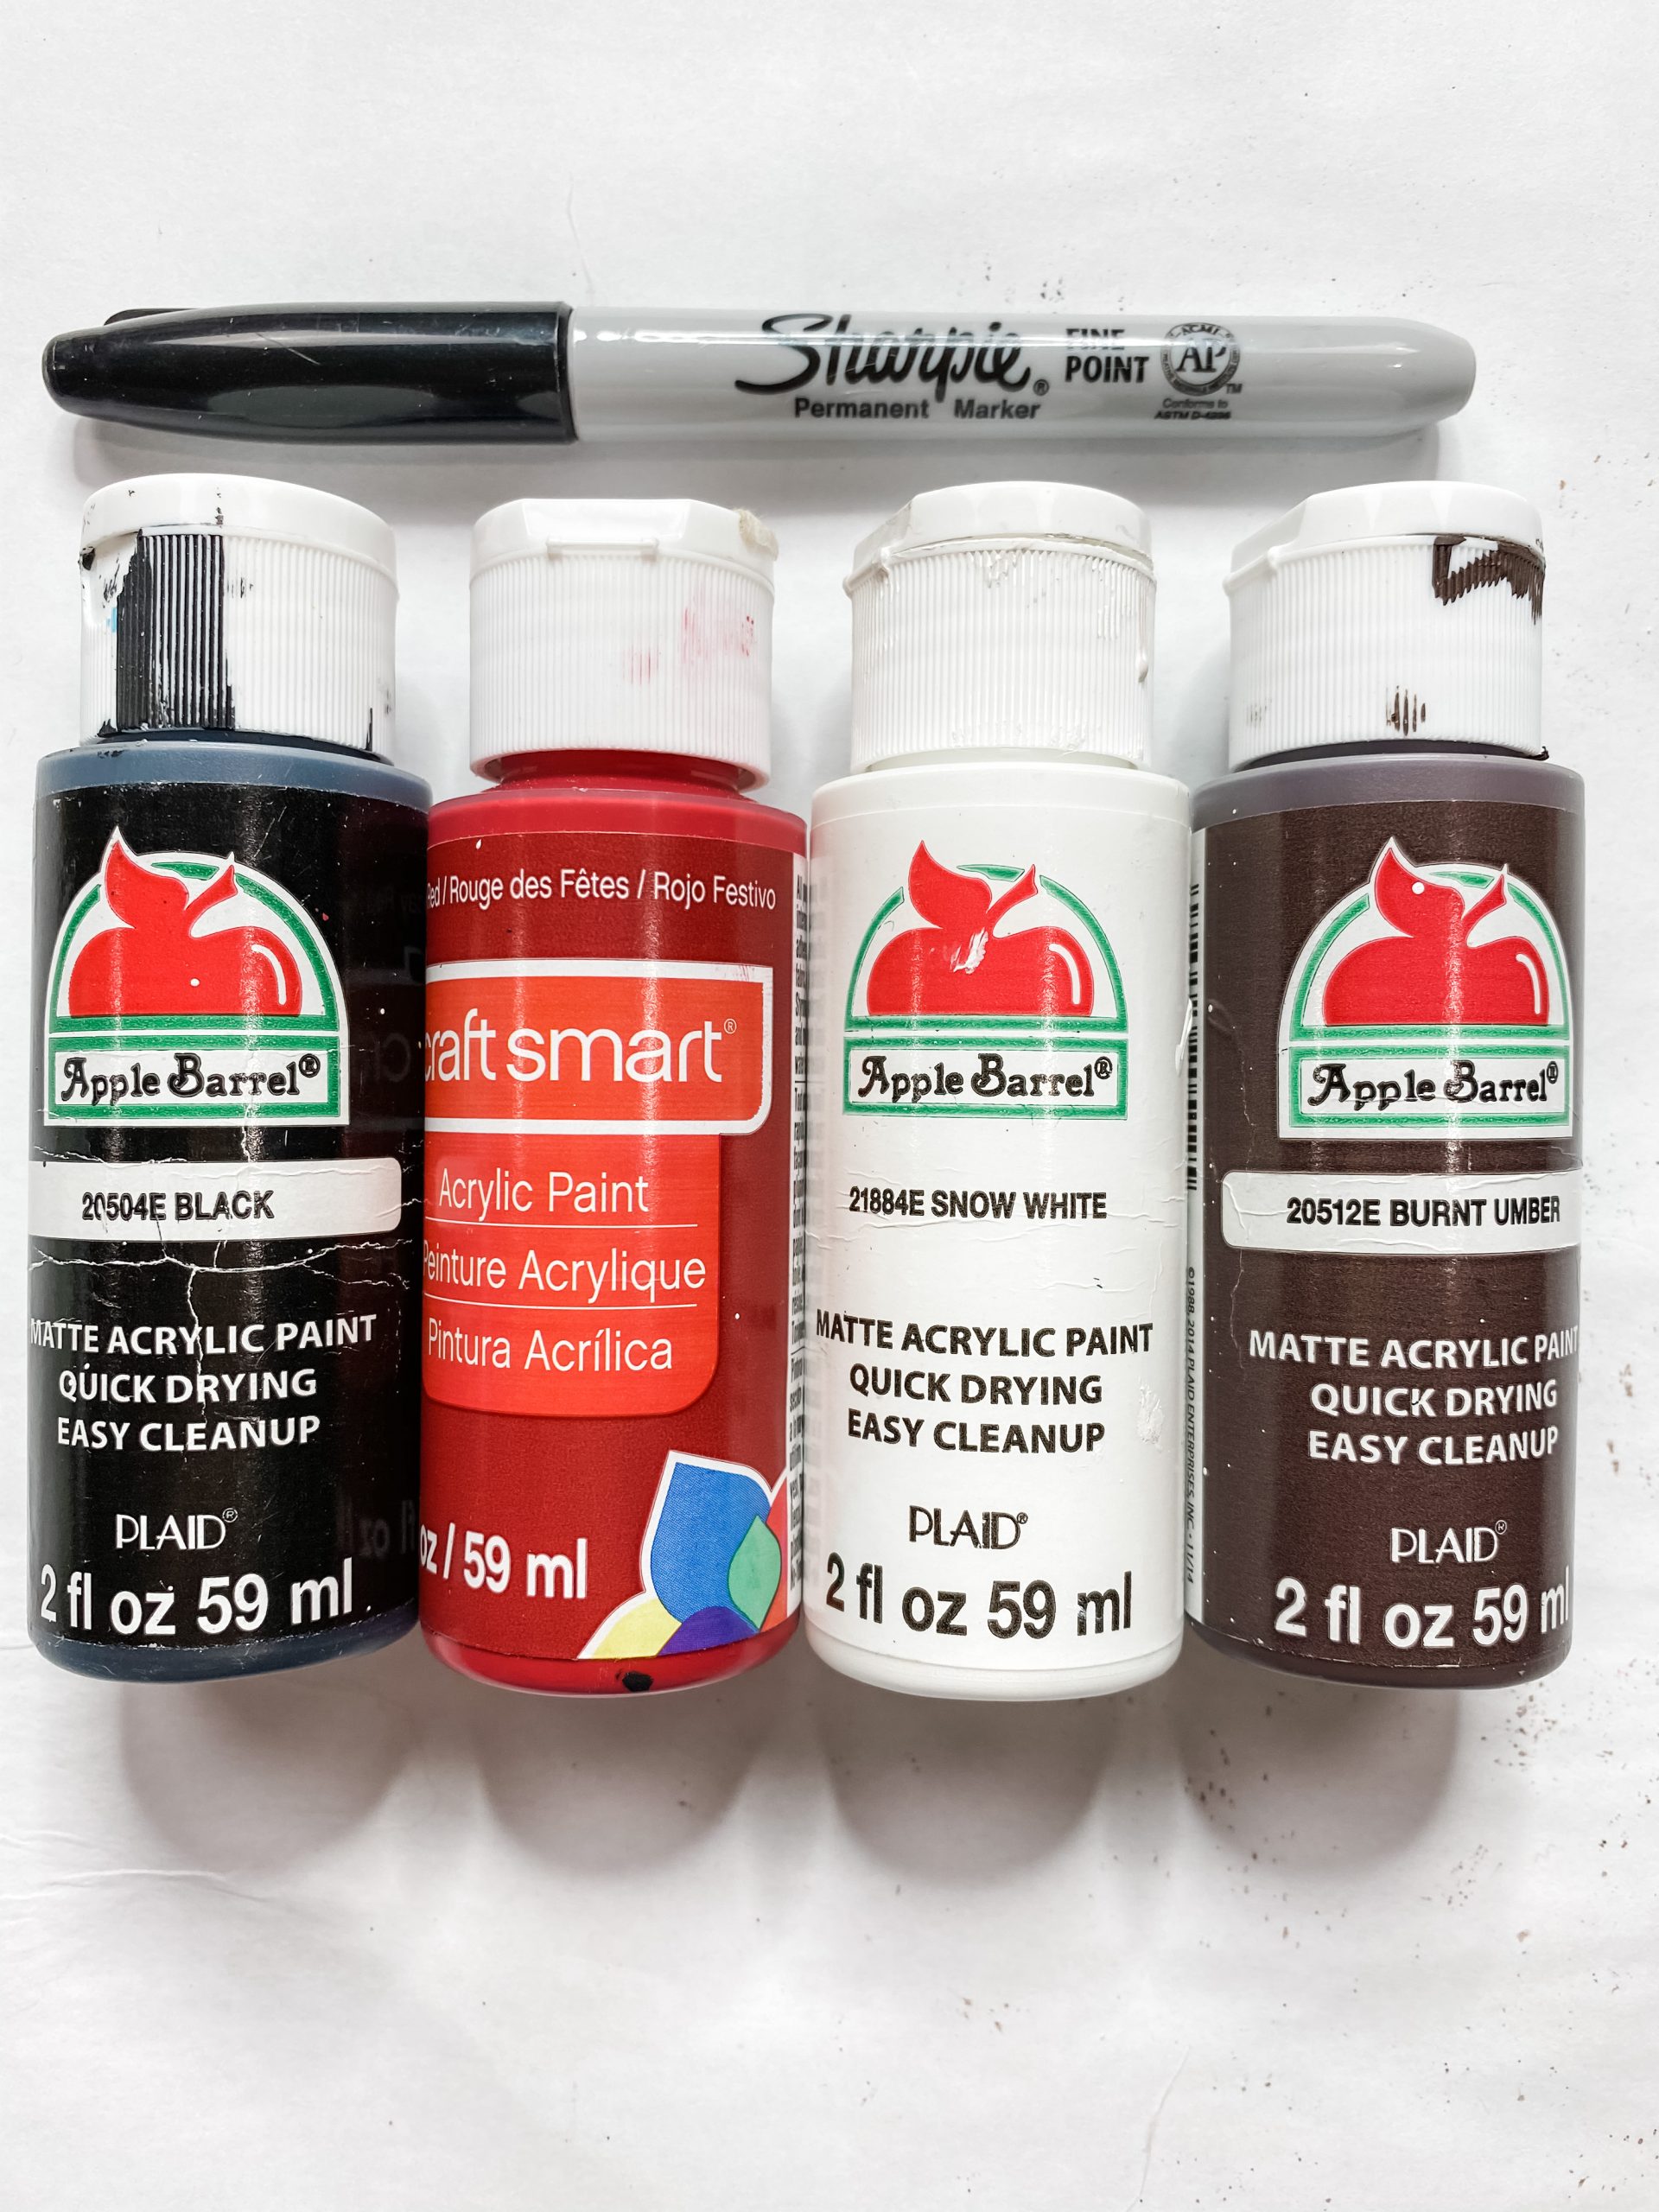
- Apple Barrel Burnt Umber Acrylic Paint
- Craft Smart Red Paint
- Apple Barrel Black Acrylic Paint
- Apple Barrel Snow White Acrylic Paint
- Buffalo Check Ribbon (Hobby Lobby)
- White floral embellishments (Hobby Lobby)
- Hot Glue gun and Glue Sticks
- Scissors
- Sharpie
Let’s get started!
The first thing you need to make this DIY Dollar Tree Reverse Canvas Valentine’s Day Decor is a Dollar Tree canvas! The key to creating a DIY reverse canvas decor is removing the white canvas to expose the amazing wood frame underneath.
I used an Exacto knife to cut the canvas around the frame. Try your best to save as much of the canvas because you can use them for bows! Pull all of the canvas off the frame, then decide how you’re going to handle the staples.
You either need to hammer them back into the wood, or use a pair of pliers to remove them from the wood.

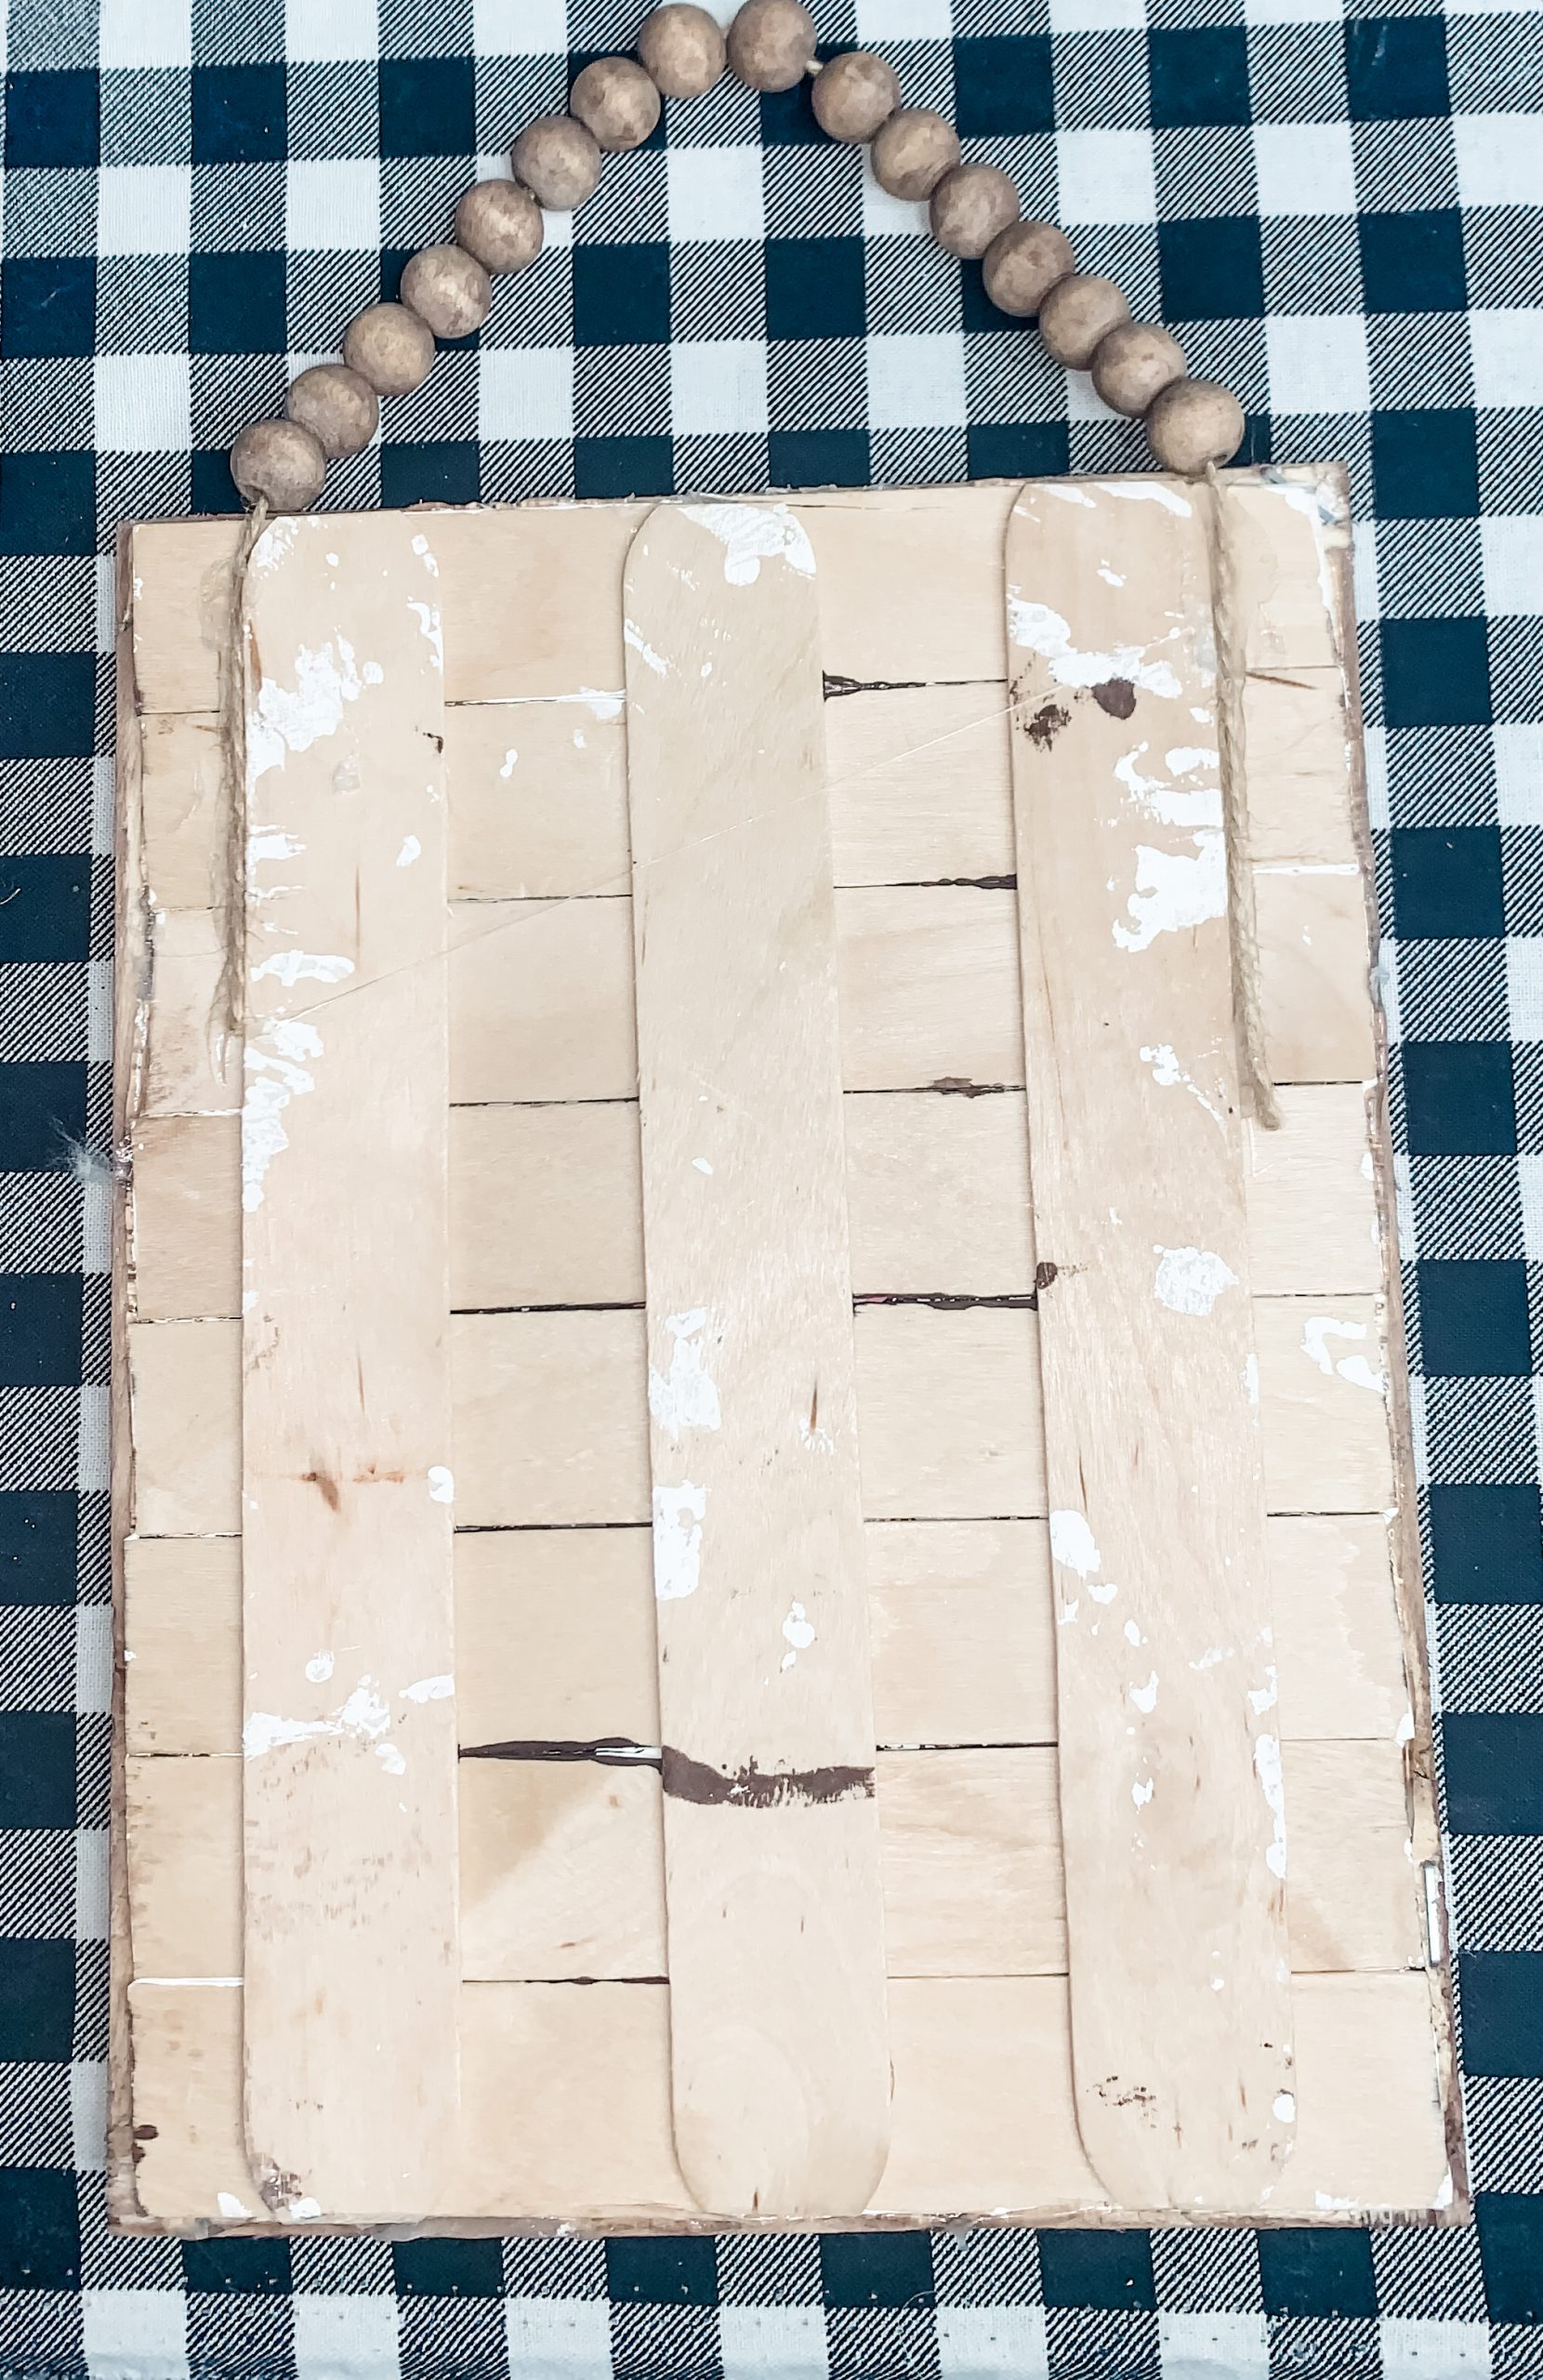
We have to replace the canvas and create a great backing for this Valentine’s Decor DIY. I used quart paint sticks from Home Depot! It took 7 to cover the inside of the frame.
Start by laying the paint sticks across the frame and marking where you will need to trim the sticks. We don’t want them hanging over the edges of the frame!
Once you have all the quart paint sticks marked, use a pair of scissors to trim the rounded edges off and make the sticks the perfect size to attach to the Dollar Tree canvas frame.
Lay all the paint sticks flat on your surface and line up the edges. To secure the backing before I add it to the Dollar Tree canvas frame, I hot glued three additional paint sticks to the back of my paint stick backing.
Make sure you get them as even as possible during this step. I wanted to create the perfect chippy finish for the back of this Valentine’s DIY, and the best way to do that is to paint the paint sticks before I attached them to the frame.
How to stain wood
I love doing this chippy finish because it is so much fun and gives any DIY project a farmhouse, rustic feel!
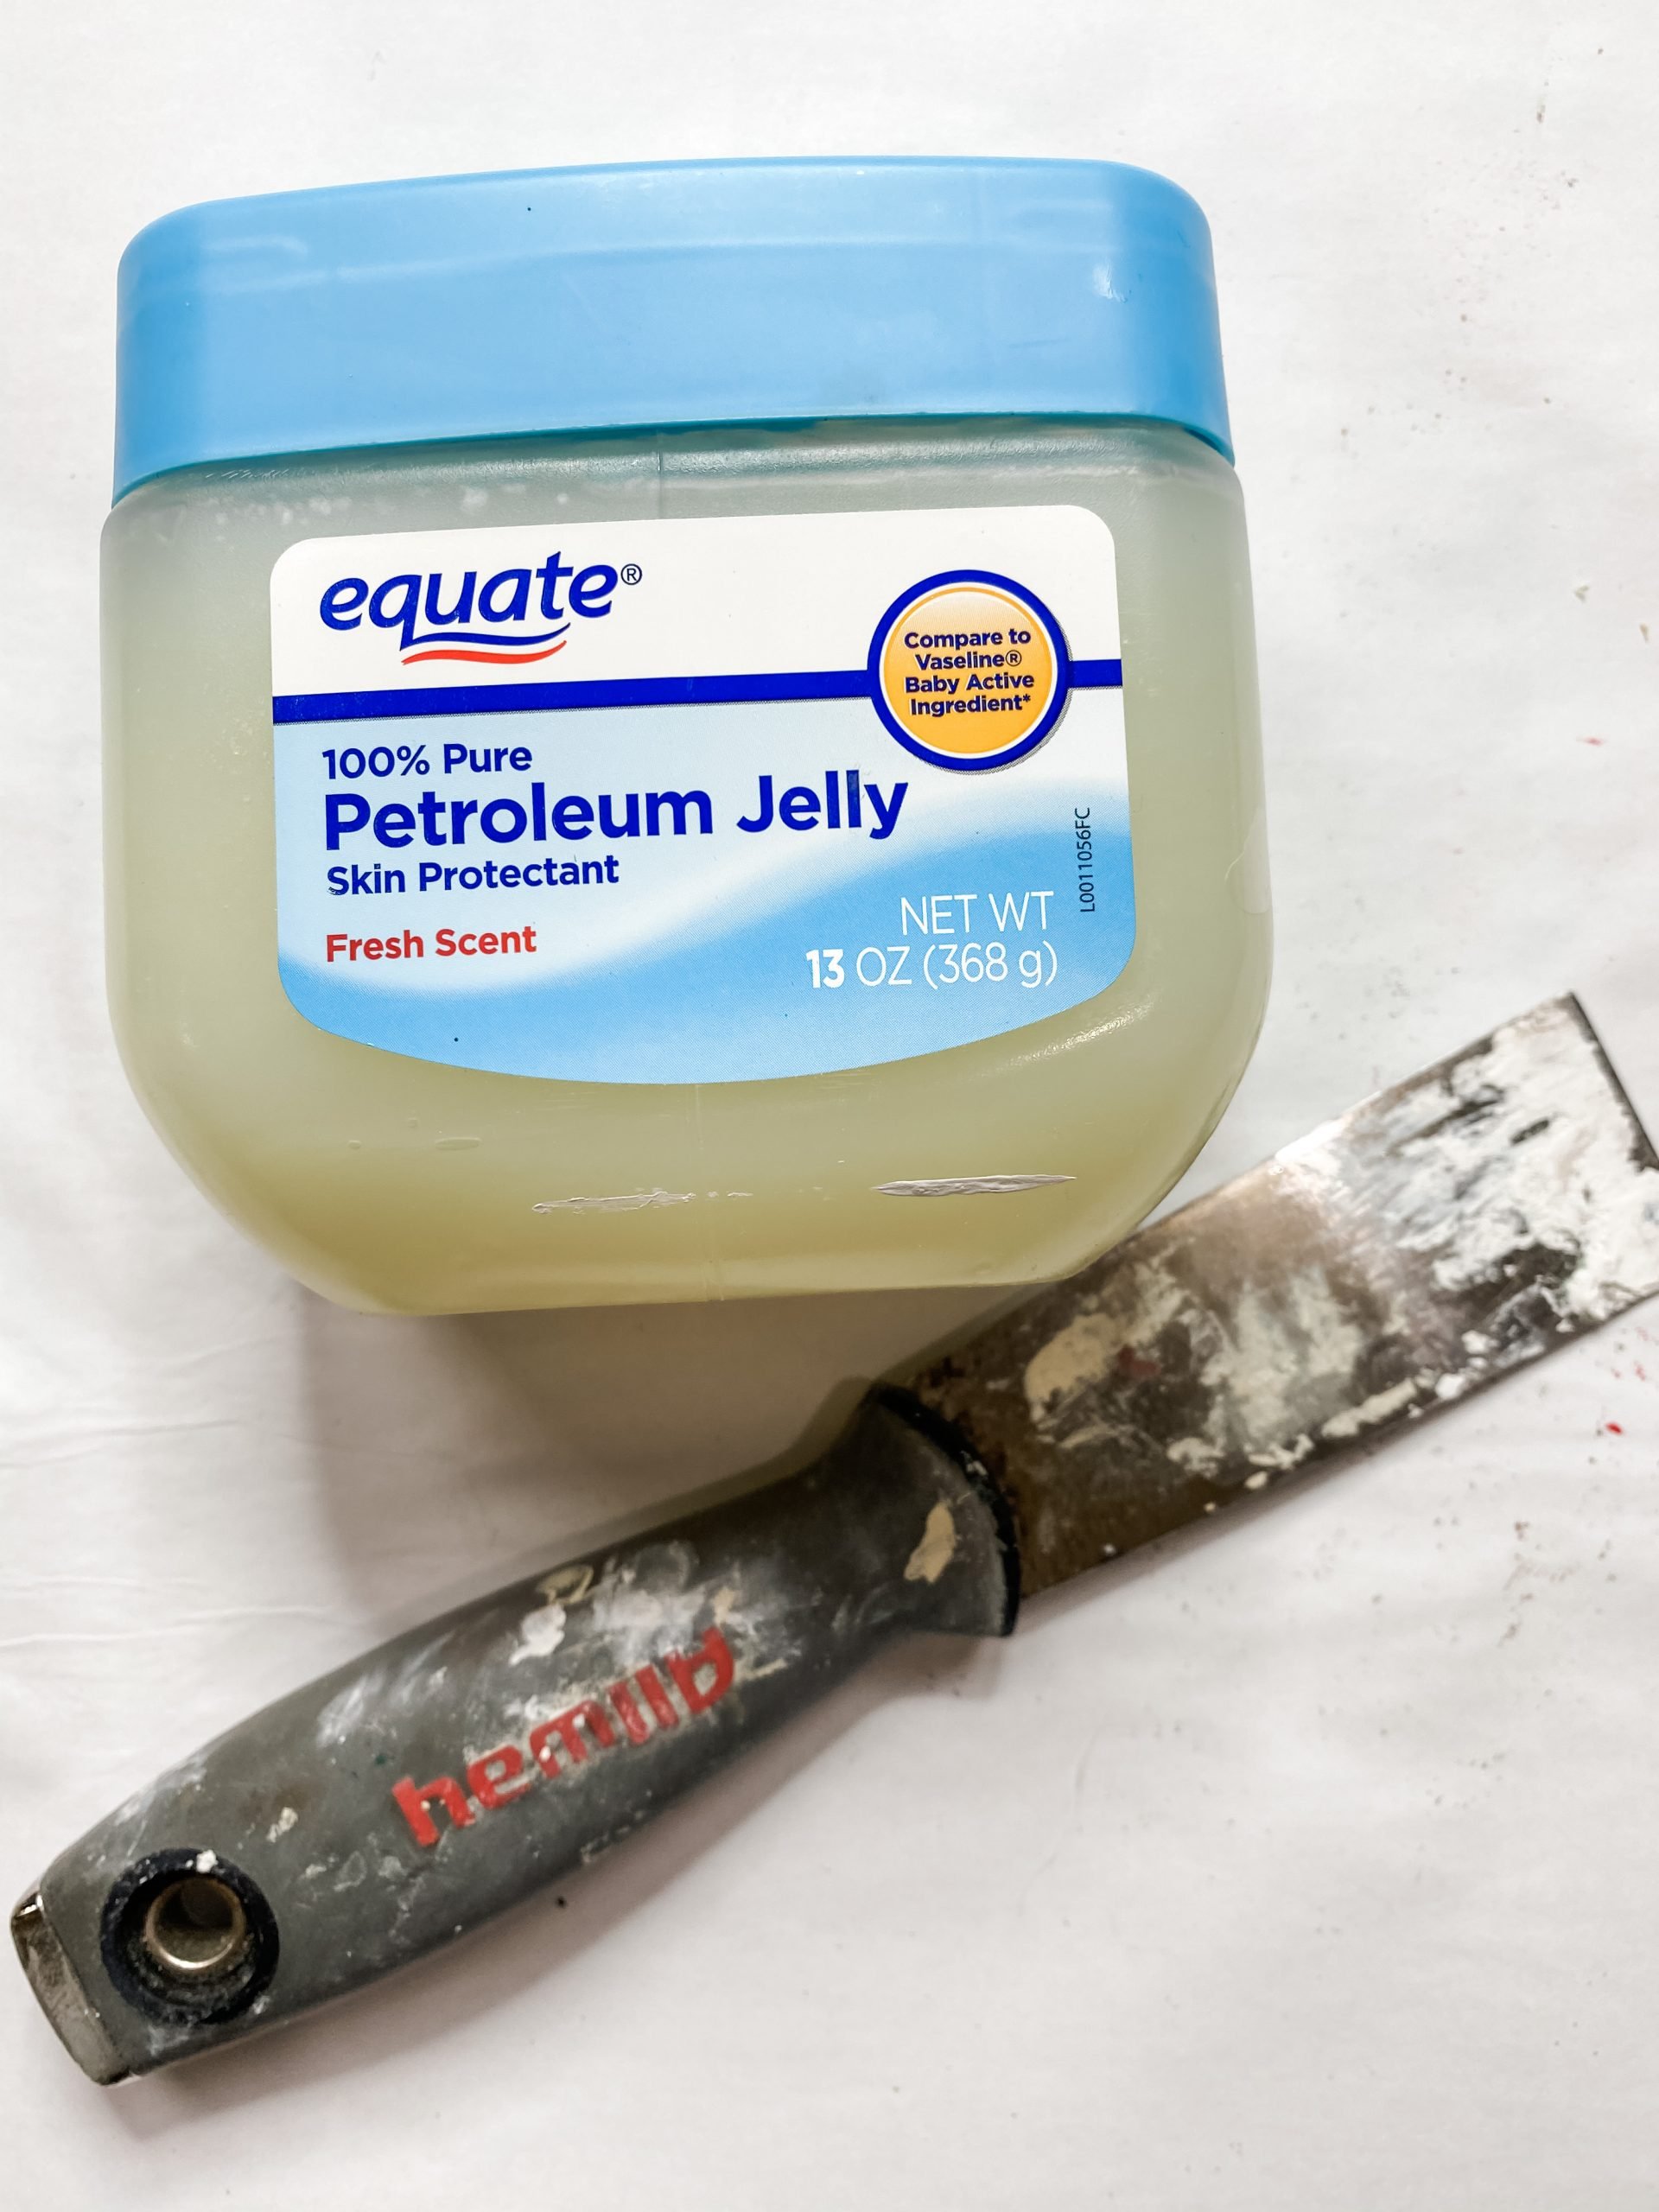
To get the perfect chippy finish, you need four things: dark paint, white paint, petroleum jelly, and a paint scraper.
For this project, start by staining all of your wood brown – both the paint stick backing and the Dollar Tree canvas frame.
First, spray the wood with water. Then, pour the Apple Barrel Burnt Umber Acrylic Paint directly onto the paint stick backing. Use a baby wipe to spread the paint across the entire surface of the backing.
Use the same technique to stain the Dollar Tree canvas frame. You can go back over the wood with a dry napkin to remove any excess paint.
Then, allow your wood to dry. I like to use my heat gun to speed up the drying process.If you don’t have a heat gun, you can use a hairdryer on the low cool setting.
Before we add the chippy finish to our backing, we still need to stain the Dollar Tree wood heart.
Instead of staining the heart brown, I used Apple Barrel Black Acrylic Paint. Use the same technique that you used for the frame and paint sticks.
Alright, now set your stained Dollar Tree canvas frame and Dollar tree wood heart ornament to the side. We are going to get into the chippy finish technique for the paint stick backing!
If at any time you get confused or lost during these step-by-step instructions, remember that you have the LIVE video replay as a resource. I show you each step and give explanations of what I’m doing throughout the video.
Let’s get chippy!
The secret ingredient to my chippy finish is petroleum jelly. Use a paintbrush to apply petroleum jelly directly to the surface of your quart paint stick backing. Wherever you place the petroleum jelly is where the wood will have the chippy finish.
Next, paint over the entire surface with Apple Barrel White Acrylic Paint. Allow the white paint to dry mostly, but there will still be wet spots where you applied the petroleum jelly.
Now, pull your paint scraper over the wet spots. As you do this, you will pull some of the wet paint up.

Keep pulling and dragging the paint scraper back over the surface and you’ll start to see the chippy finish come to life!
I really like to get the chippy look around the edges of the paint sticks because it highlights the detail of the planked look. Repeat this process until you are happy with your chippy finish!
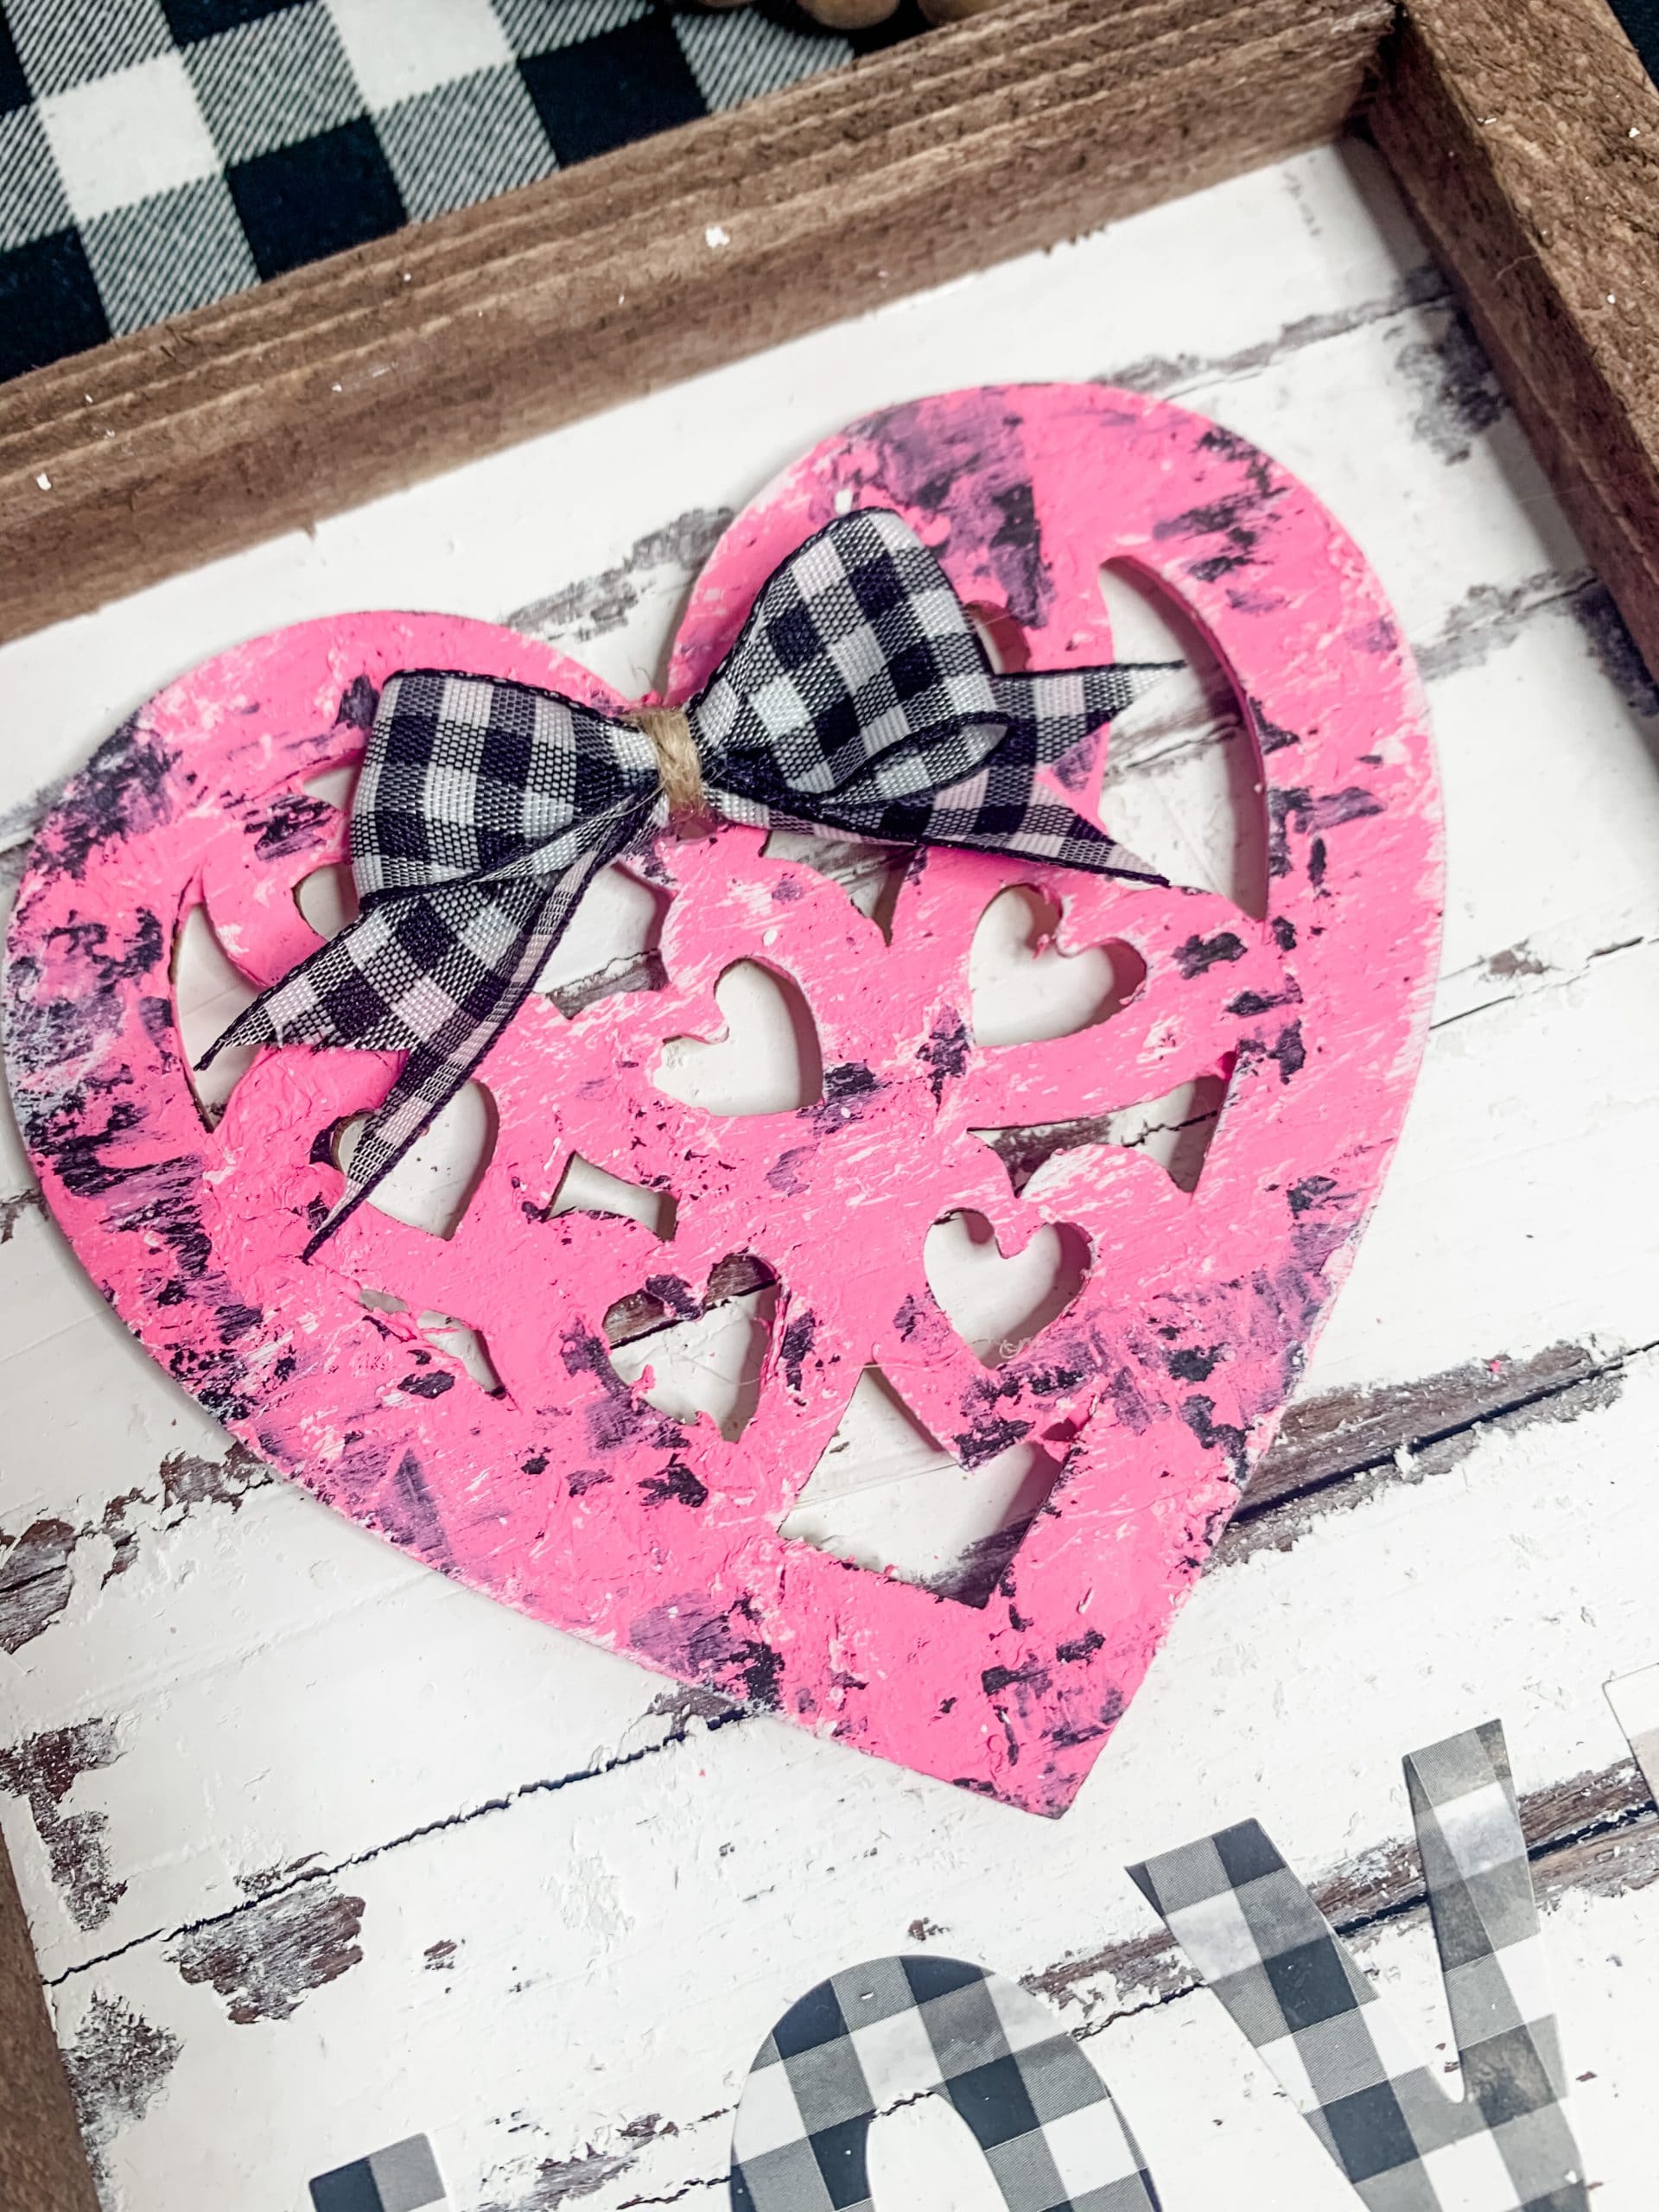
Don’t break my heart
You’re going to repeat this chippy technique on the stained Dollar Tree wood heart. I used Apple Barrel Pink Parfait Acrylic paint instead of white paint, but I added just a tiny bit of the Craft Smart Red Paint to get a slightly darker pink.
To attach the chippy heart, I used foam mounting tape. I cut a few small strips of the mounting tape and pressed them onto the back of the heart. Before we attach the heart to the back, we have to attach the back to the frame.
Bring things together
I simply hot glued the chippy backing to the stained Dollar Tree canvas frame. If you want a more secure bond, you can use staples or even E6000 glue. It’s up to you!
Next, I hot glued two pieces of the greenery spray to the bottom of the frame. I didn’t want the green to be overwhelming or cover up too much of the sign, so use kind of slim pieces of greenery spray.
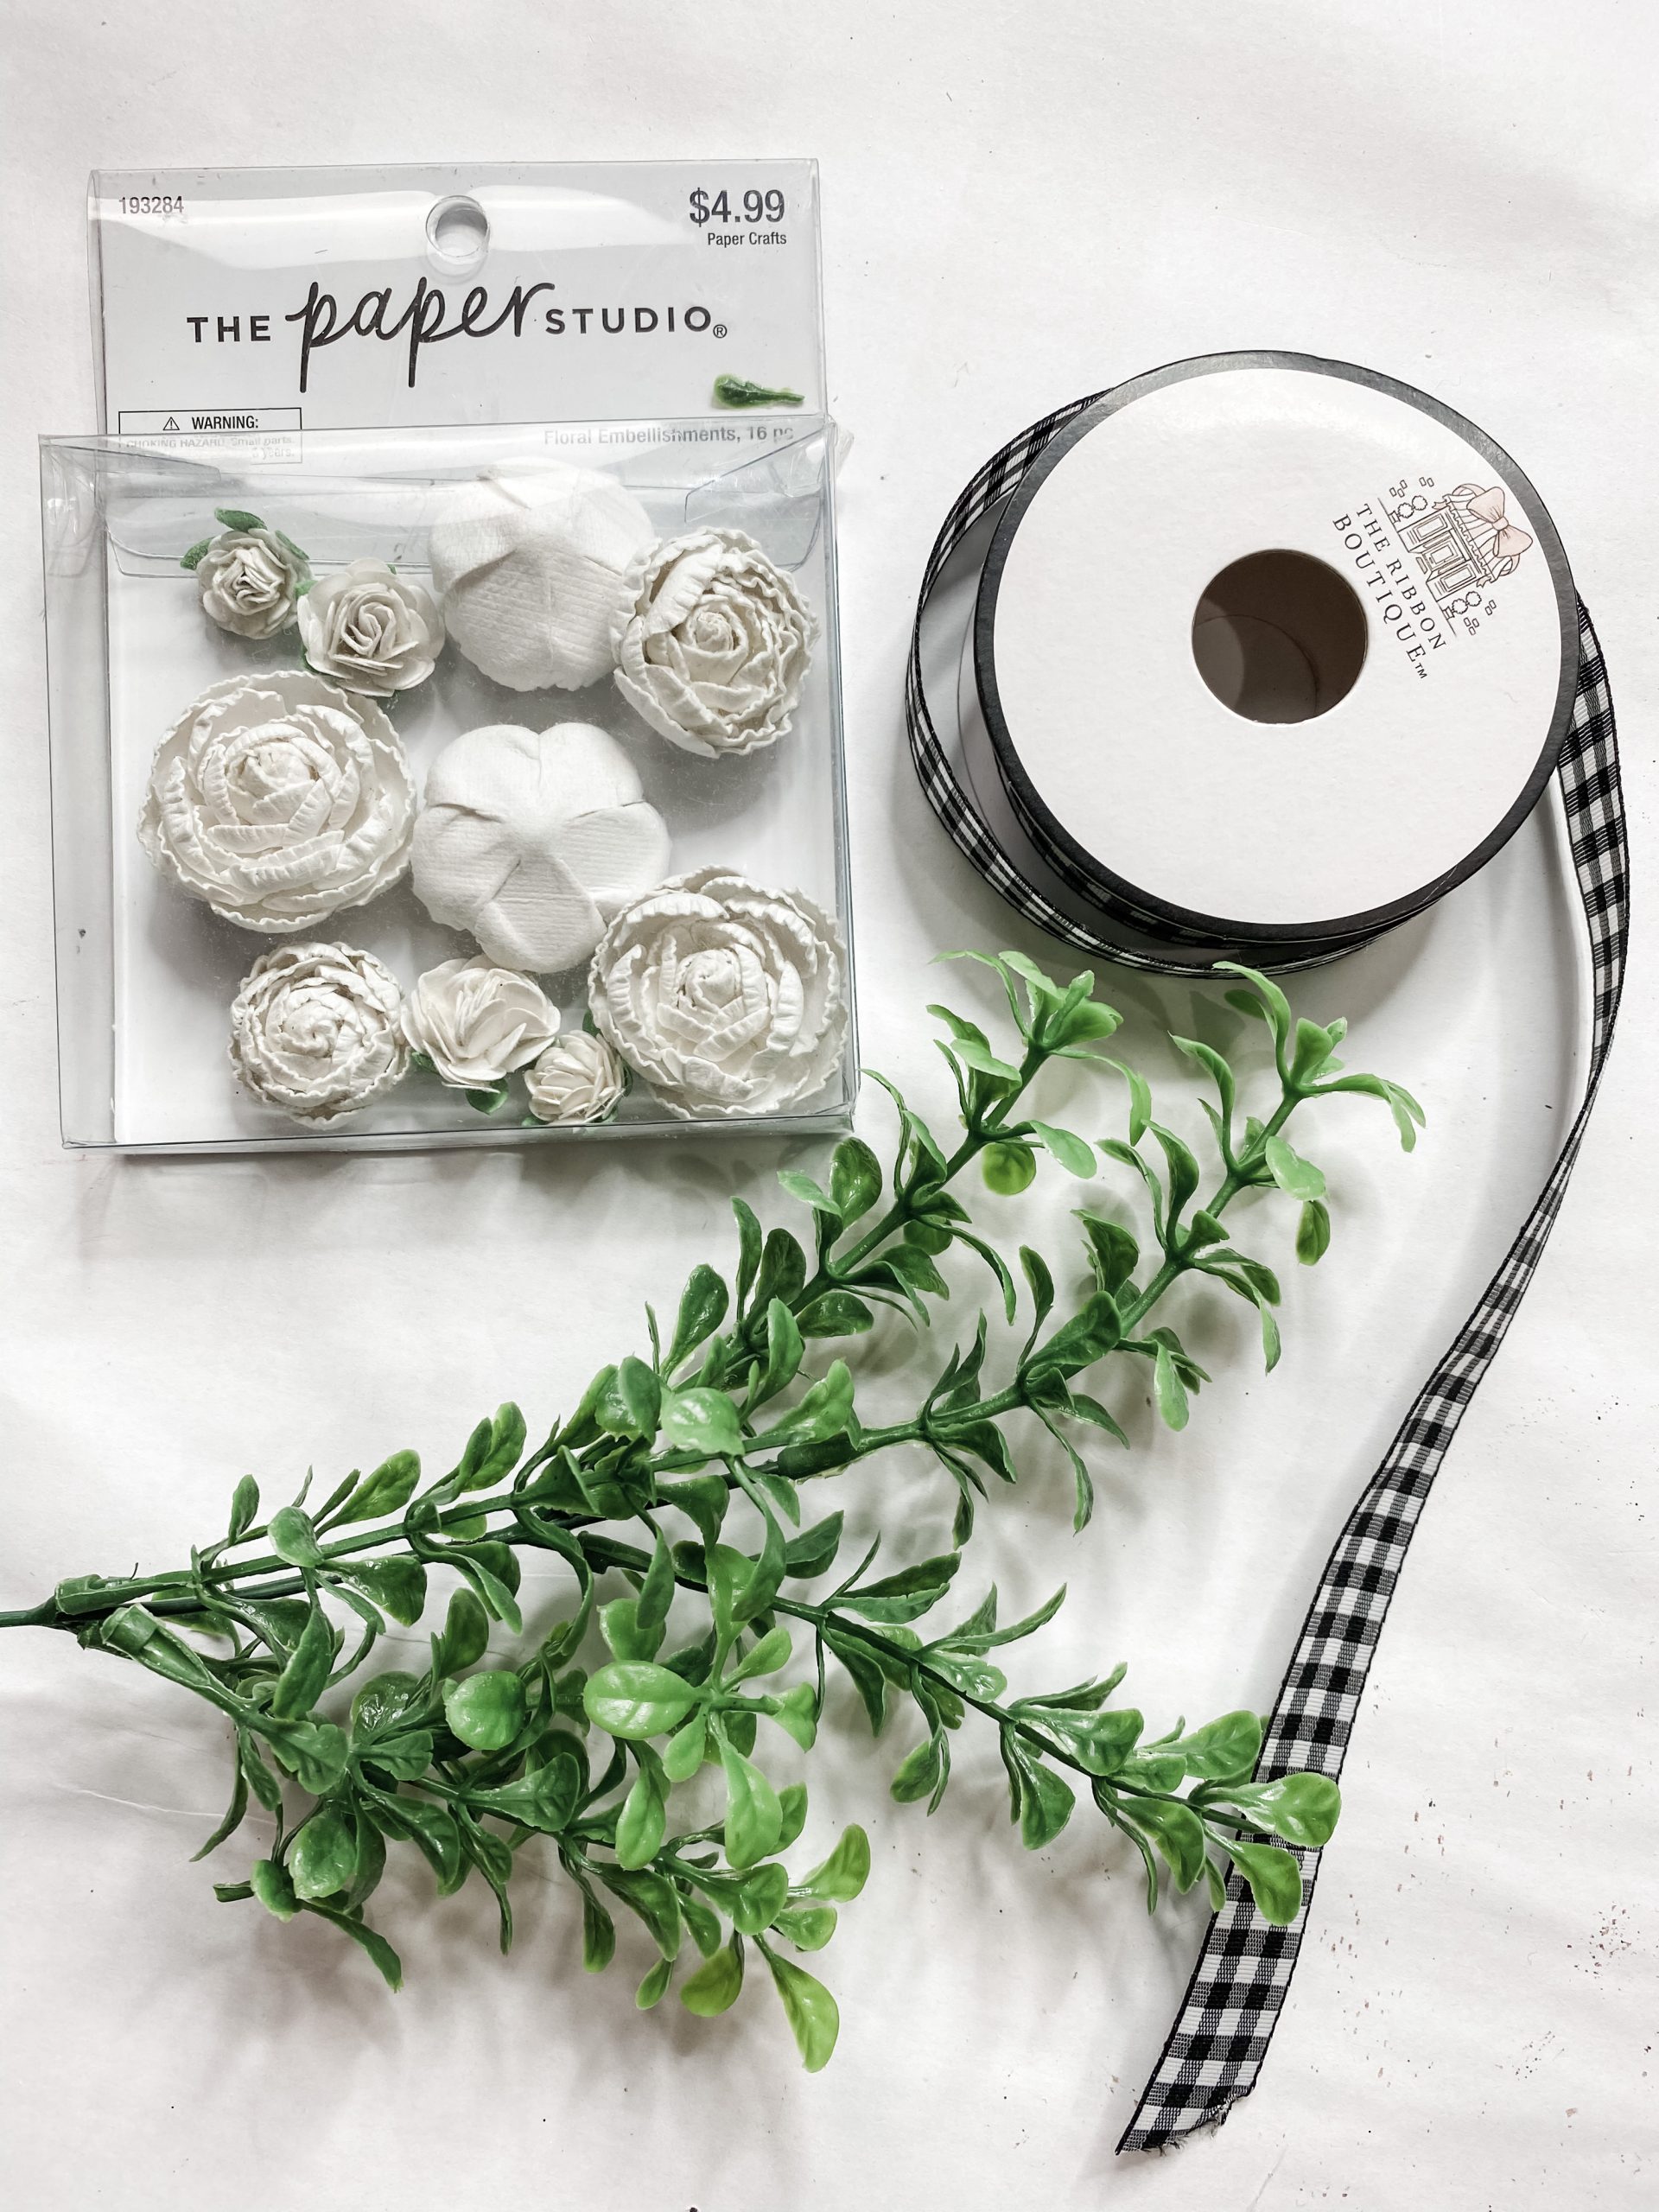
Then, I used the same pink and red paint mixture that I used on the heart to lightly paint the white floral embellishments from Hobby Lobby. I definitely wasn’t going for full coverage with this part.
Use an artist’s brush to very lightly paint the white flowers with pink paint. If you like the white flowers, you don’t have to do this part, but I wanted them to coordinate a bit more with the pink chippy heart.
I was also worried that if I kept the flowers white, they would blend in too much with the white chippy background.
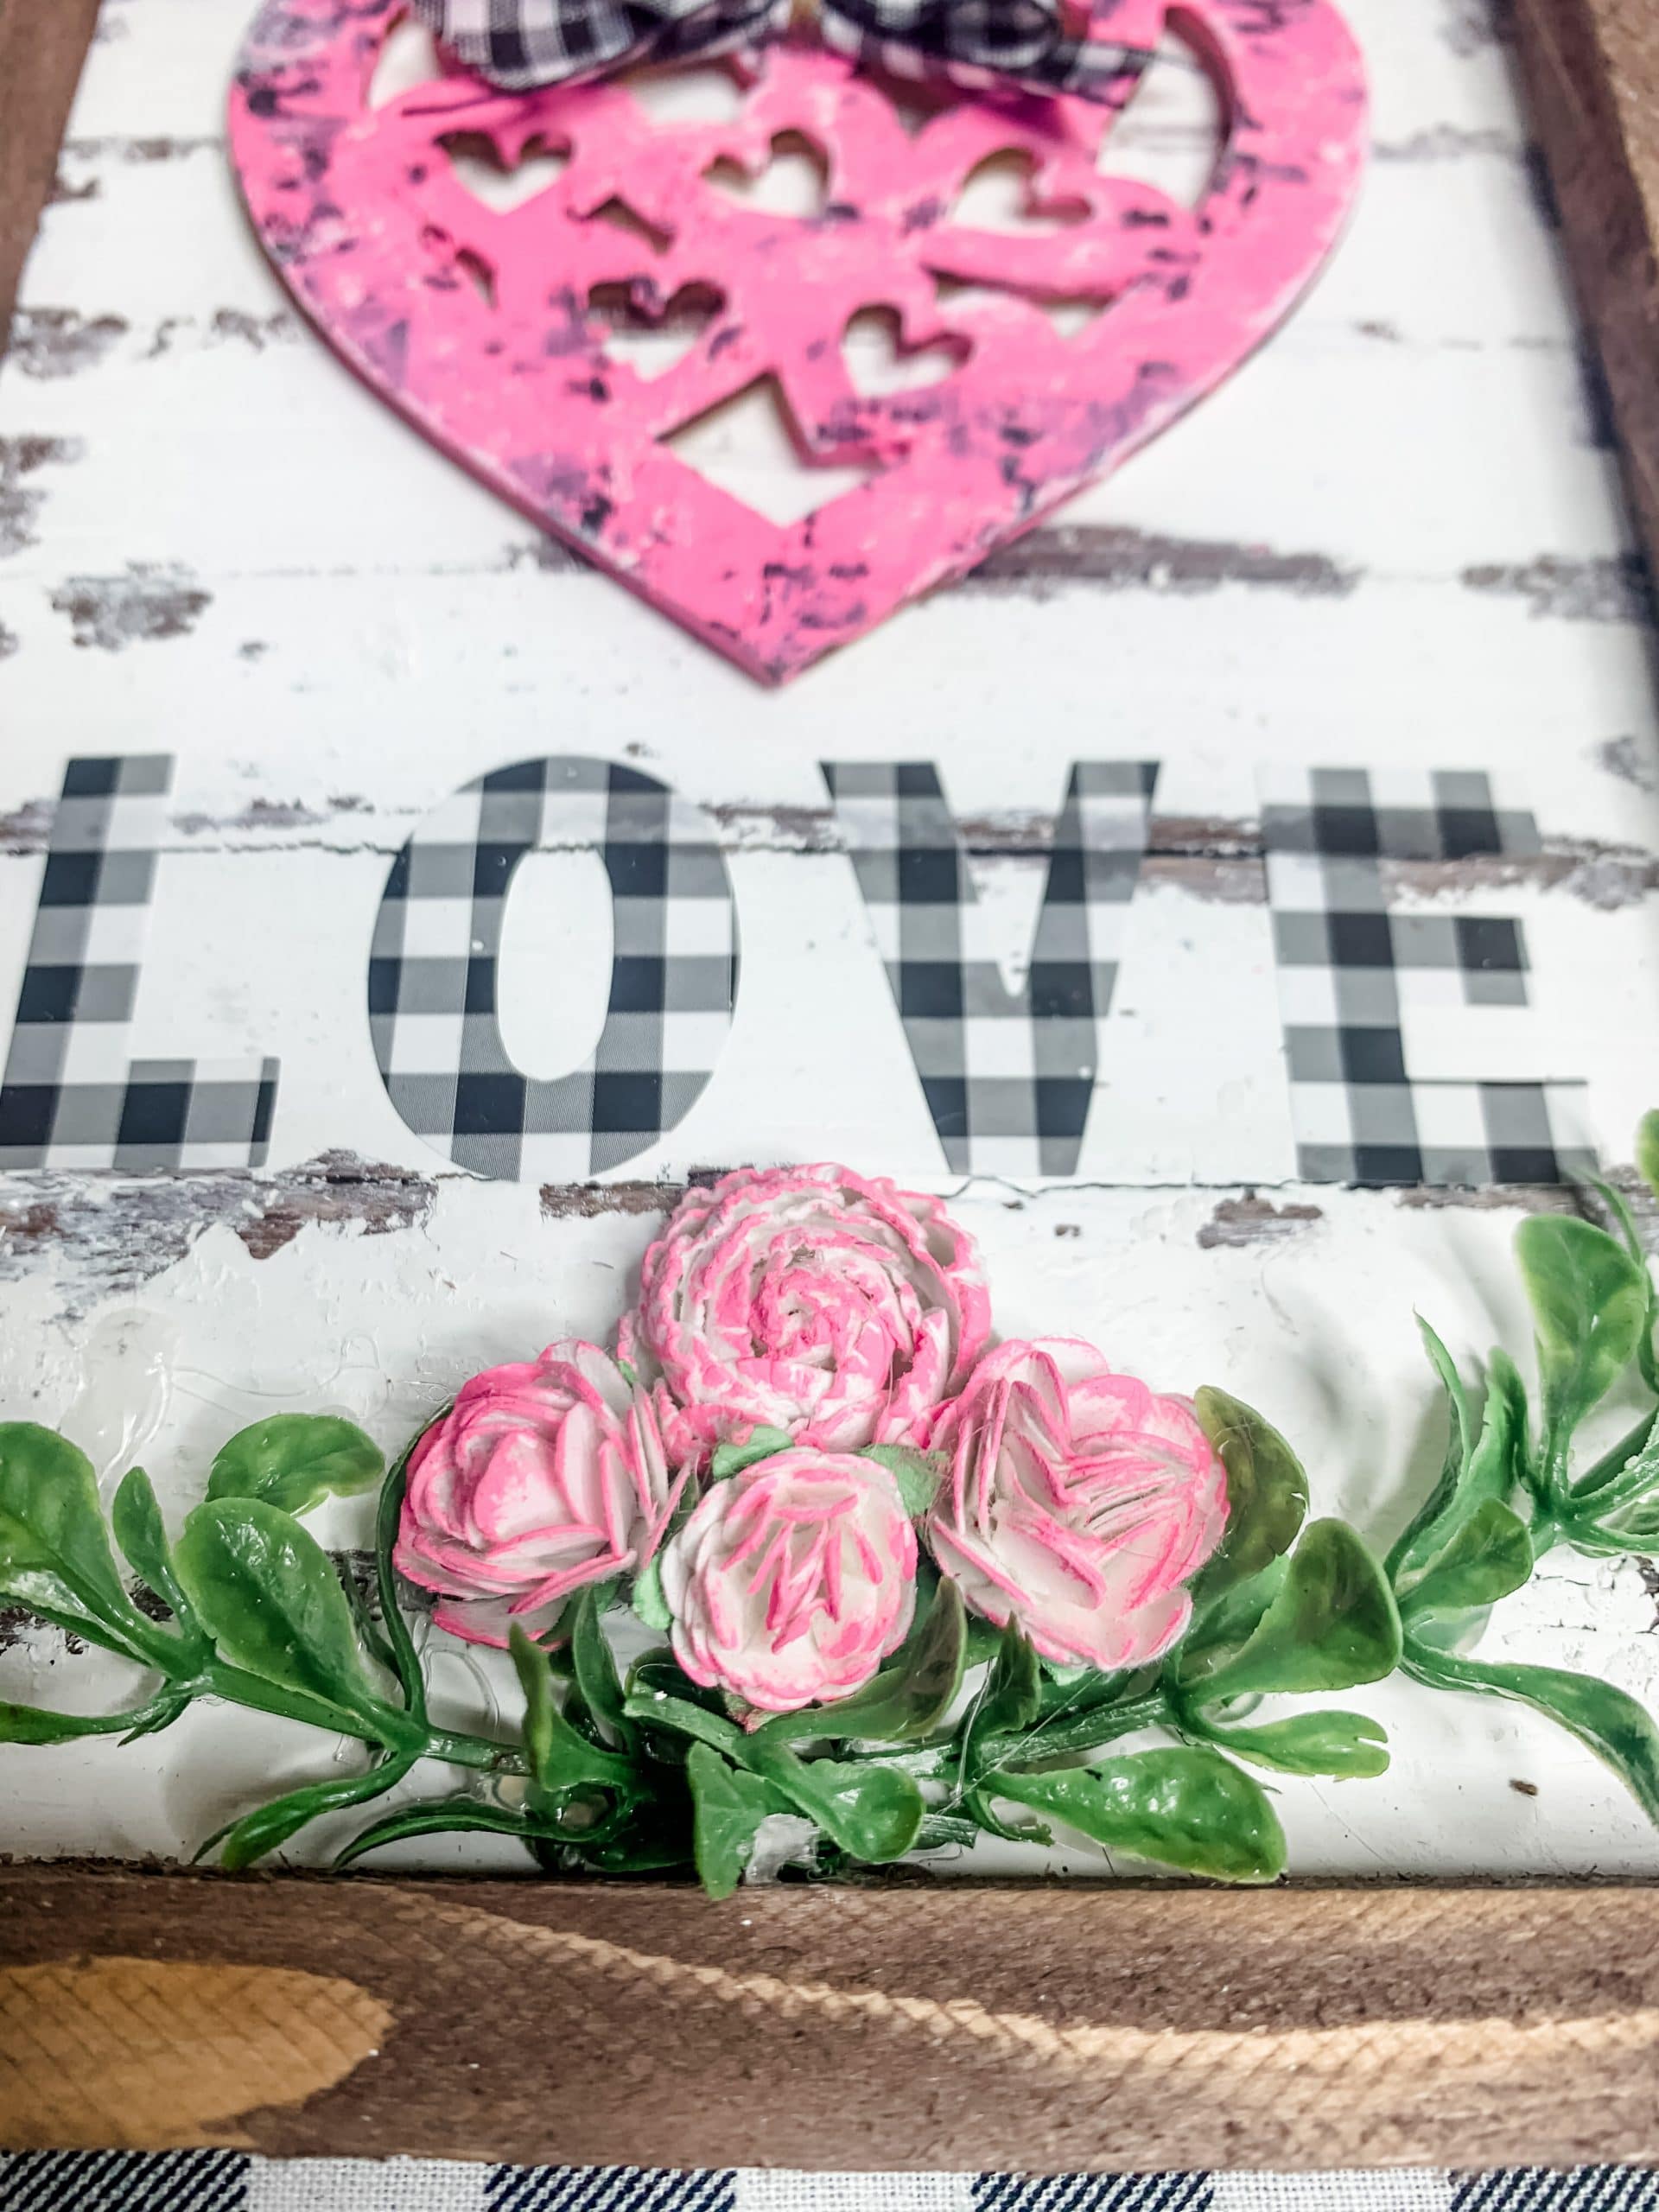
Once the flowers are dry, hot glue them at the bottom of the frame, just above the greenery sprays.
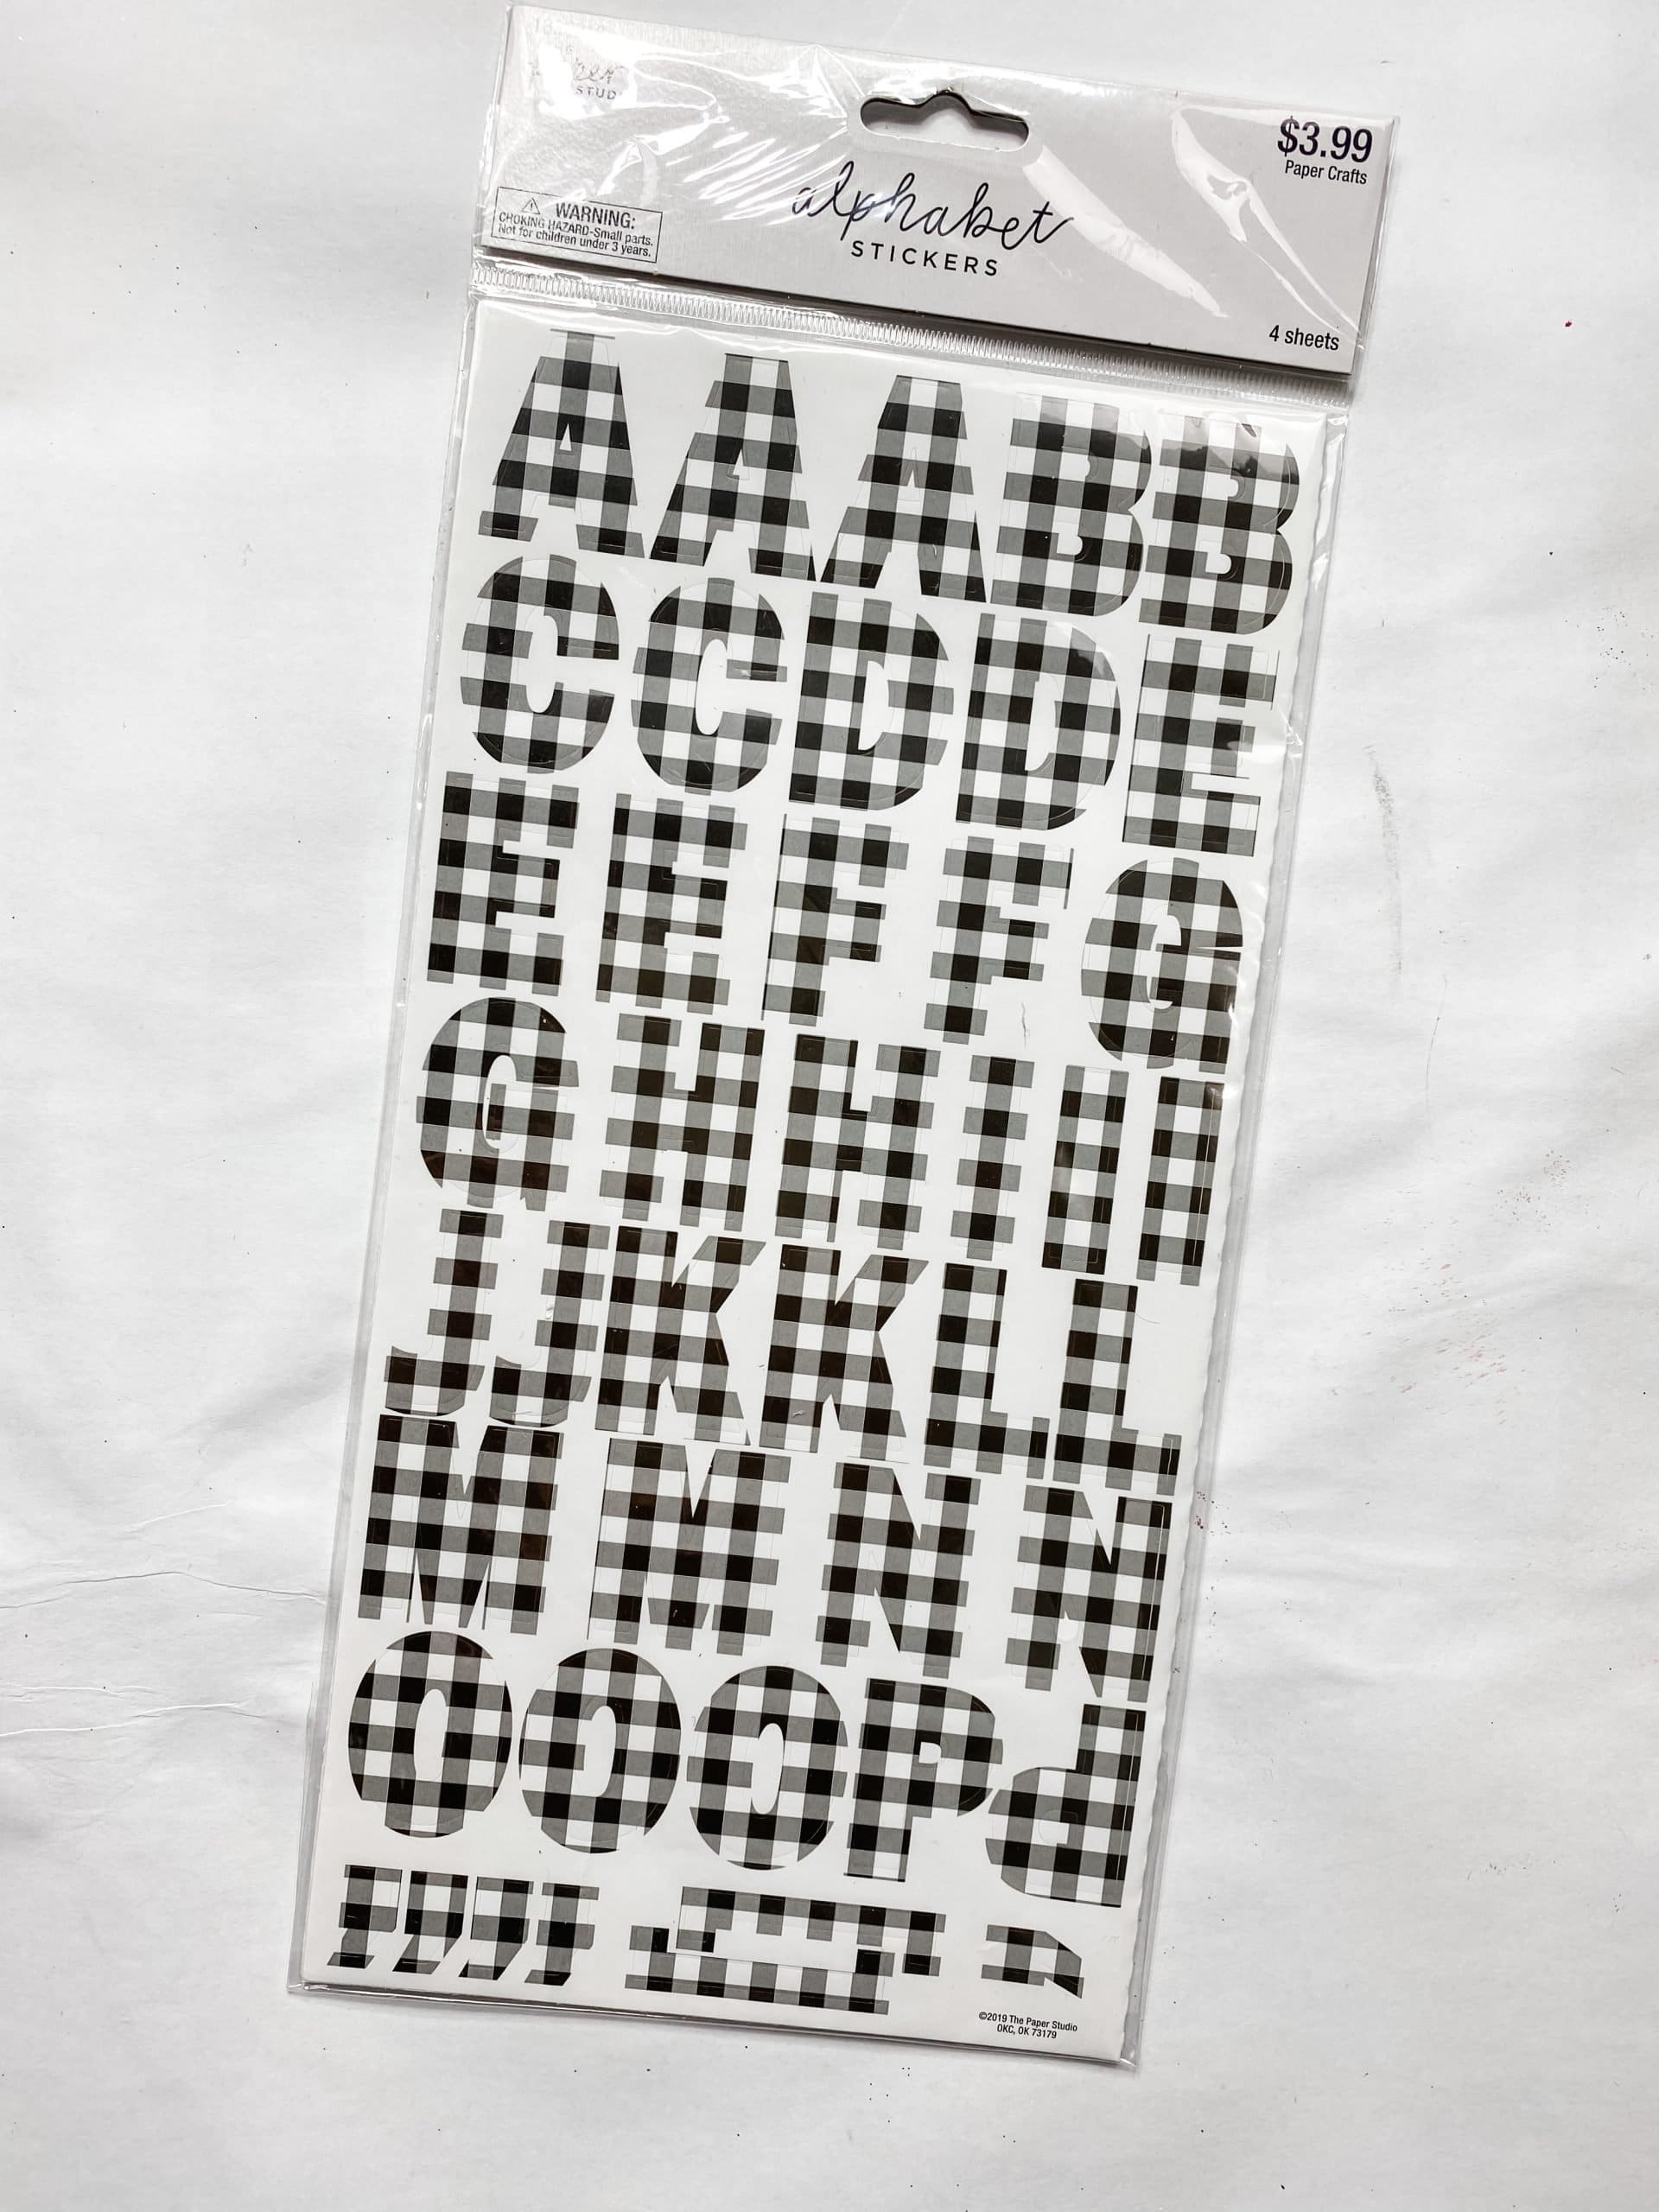
Next, we are going to add the alphabet stickers. Because this is a Valentine’s Day DIY, I chose to spell out LOVE above the flowers. I used these adorable Buffalo Check Alphabet stickers instead of the solid color stickers I usually use.
I think the buffalo check letters help add a rustic, farmhouse feel to this adorable DIY idea. If you want to defile the letters more you can outline them using the sharpie marker that you see in the photos.
Almost done!
Now it’s time to add the heart to the DIY Dollar Tree reverse canvas Valentine’s Day Decor! I pulled the plastic backing off the foam mounting tape, added a little bit of hot glue, then pressed the heart into place above the buffalo check LOVE stickers.
I went back over the heart with a baby wipe to just clean up the chippy look a bit. This isn’t necessary if you are happy with your chippy finish.
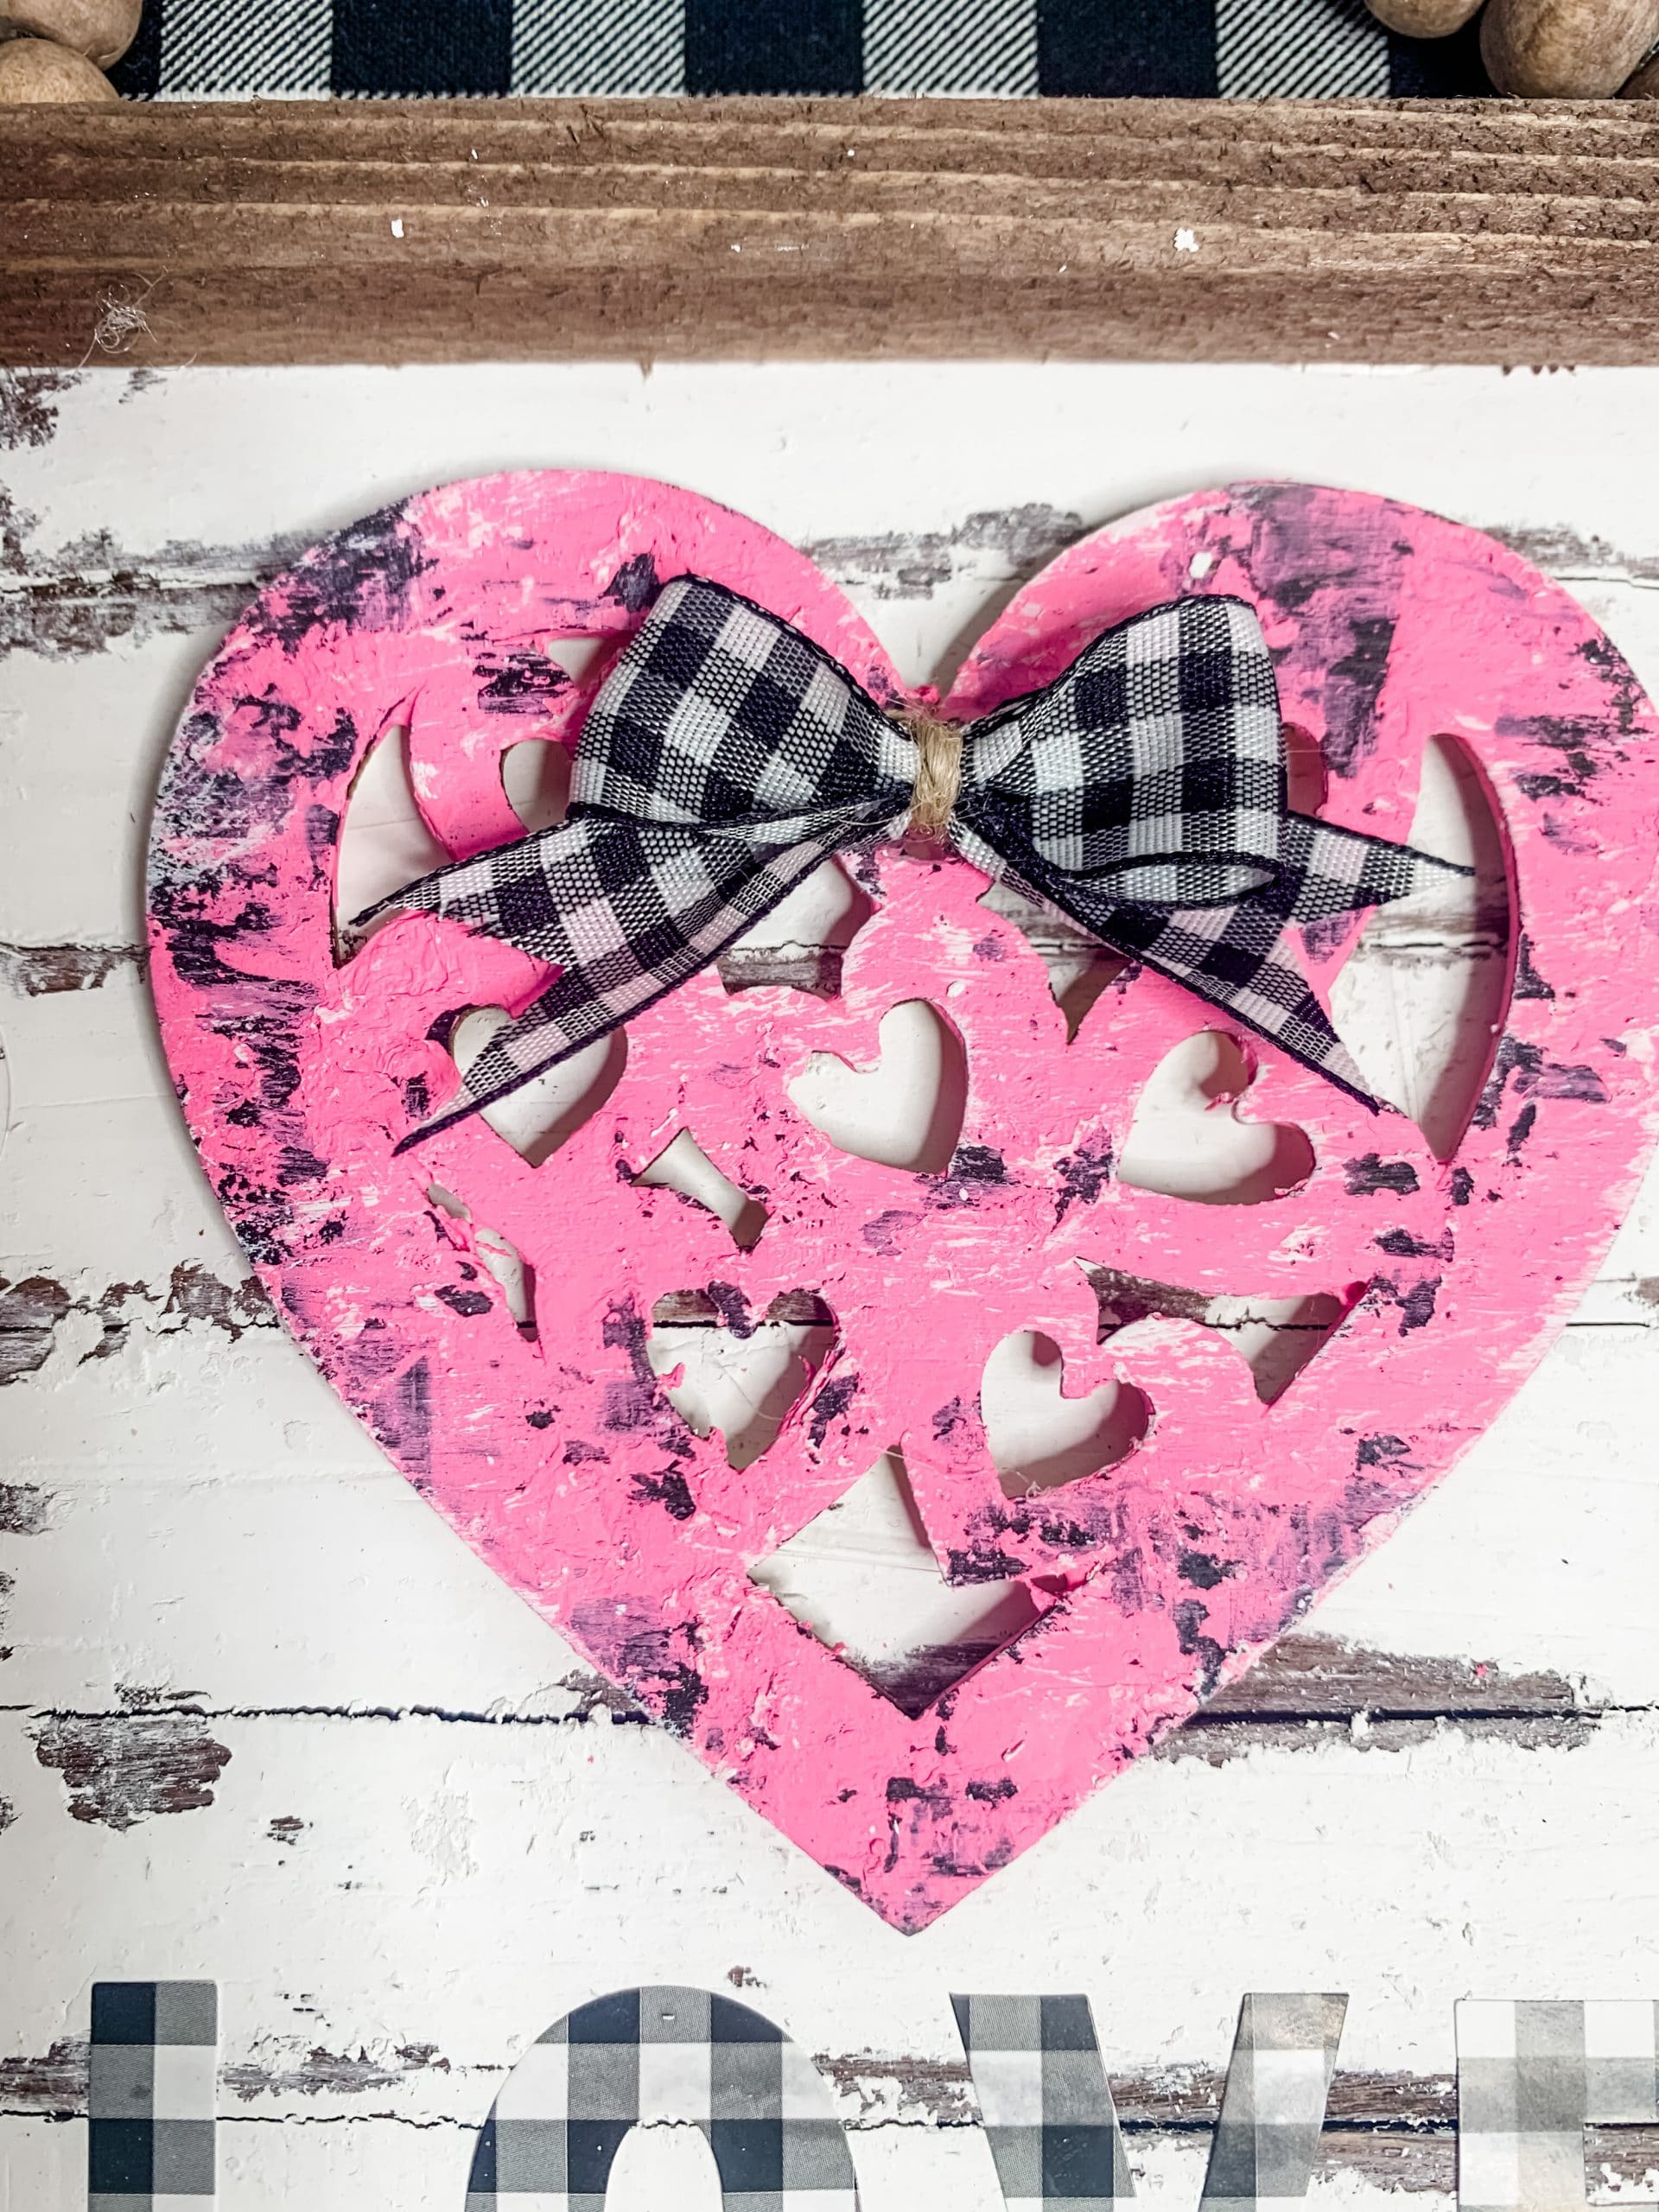
Next, I made a little buffalo check ribbon bow to go onto the pink chippy heart. Cut a piece of your ribbon, and make it a bit longer than you think you need it to be. You can always trim it later.
Fold the ribbon into the shape of a bow, pinch the center, and secure it with a piece of twine. Then, dovetail the ends of your ribbon and hot glue it in place at the top of the heart.
Let’s make a hanger
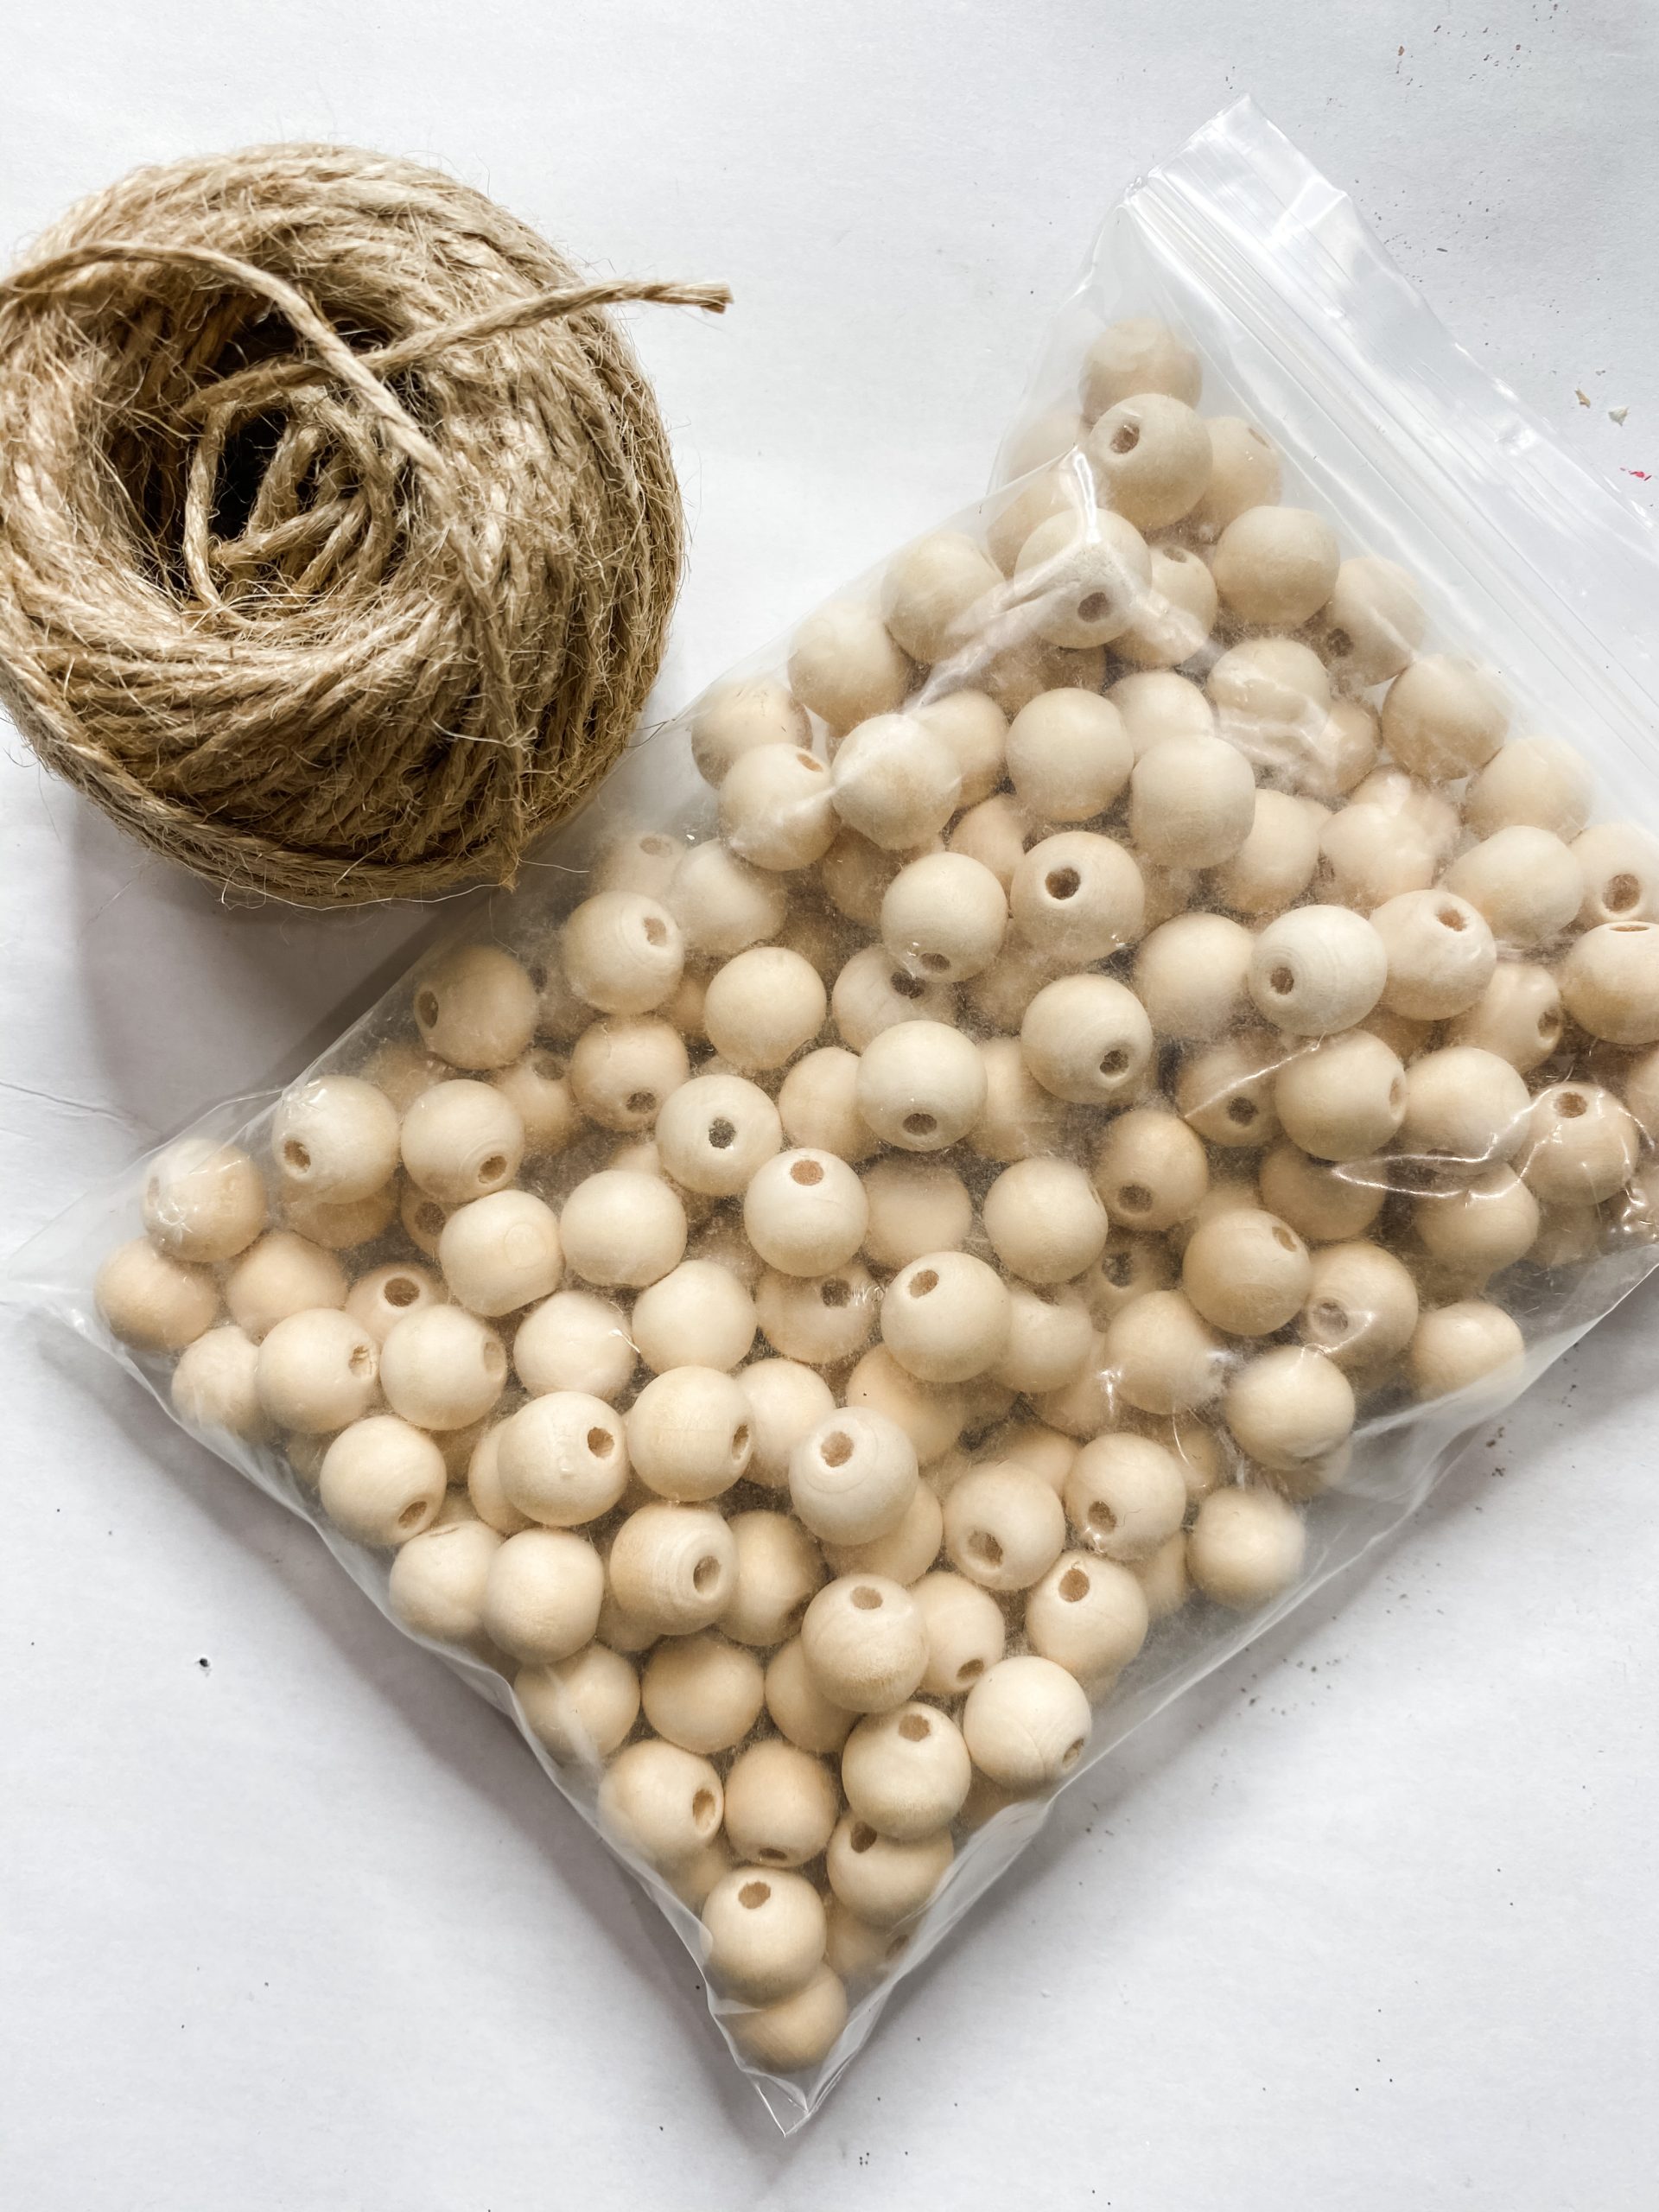
To make the hanger for this adorable Valentine’s Day sign, I used jute twine, wood beads, and Apple Barrel Burnt Umber Acrylic Paint.
Put enough beads into a small mixing bowl, spray them with water, then pour the brown paint into the bowl and swirl the beads around until they are all evenly coated.

Pour the beads out onto a dry napkin, cup the napkin in your hand and fold it to create a napkin bowl.
Next, I stuck the nozzle of my heat gun into the opening of my napkin bowl and swirled the napkin bowl while I dried the beads.
This is going to help remove the excess paint and dry the beads at the same time.
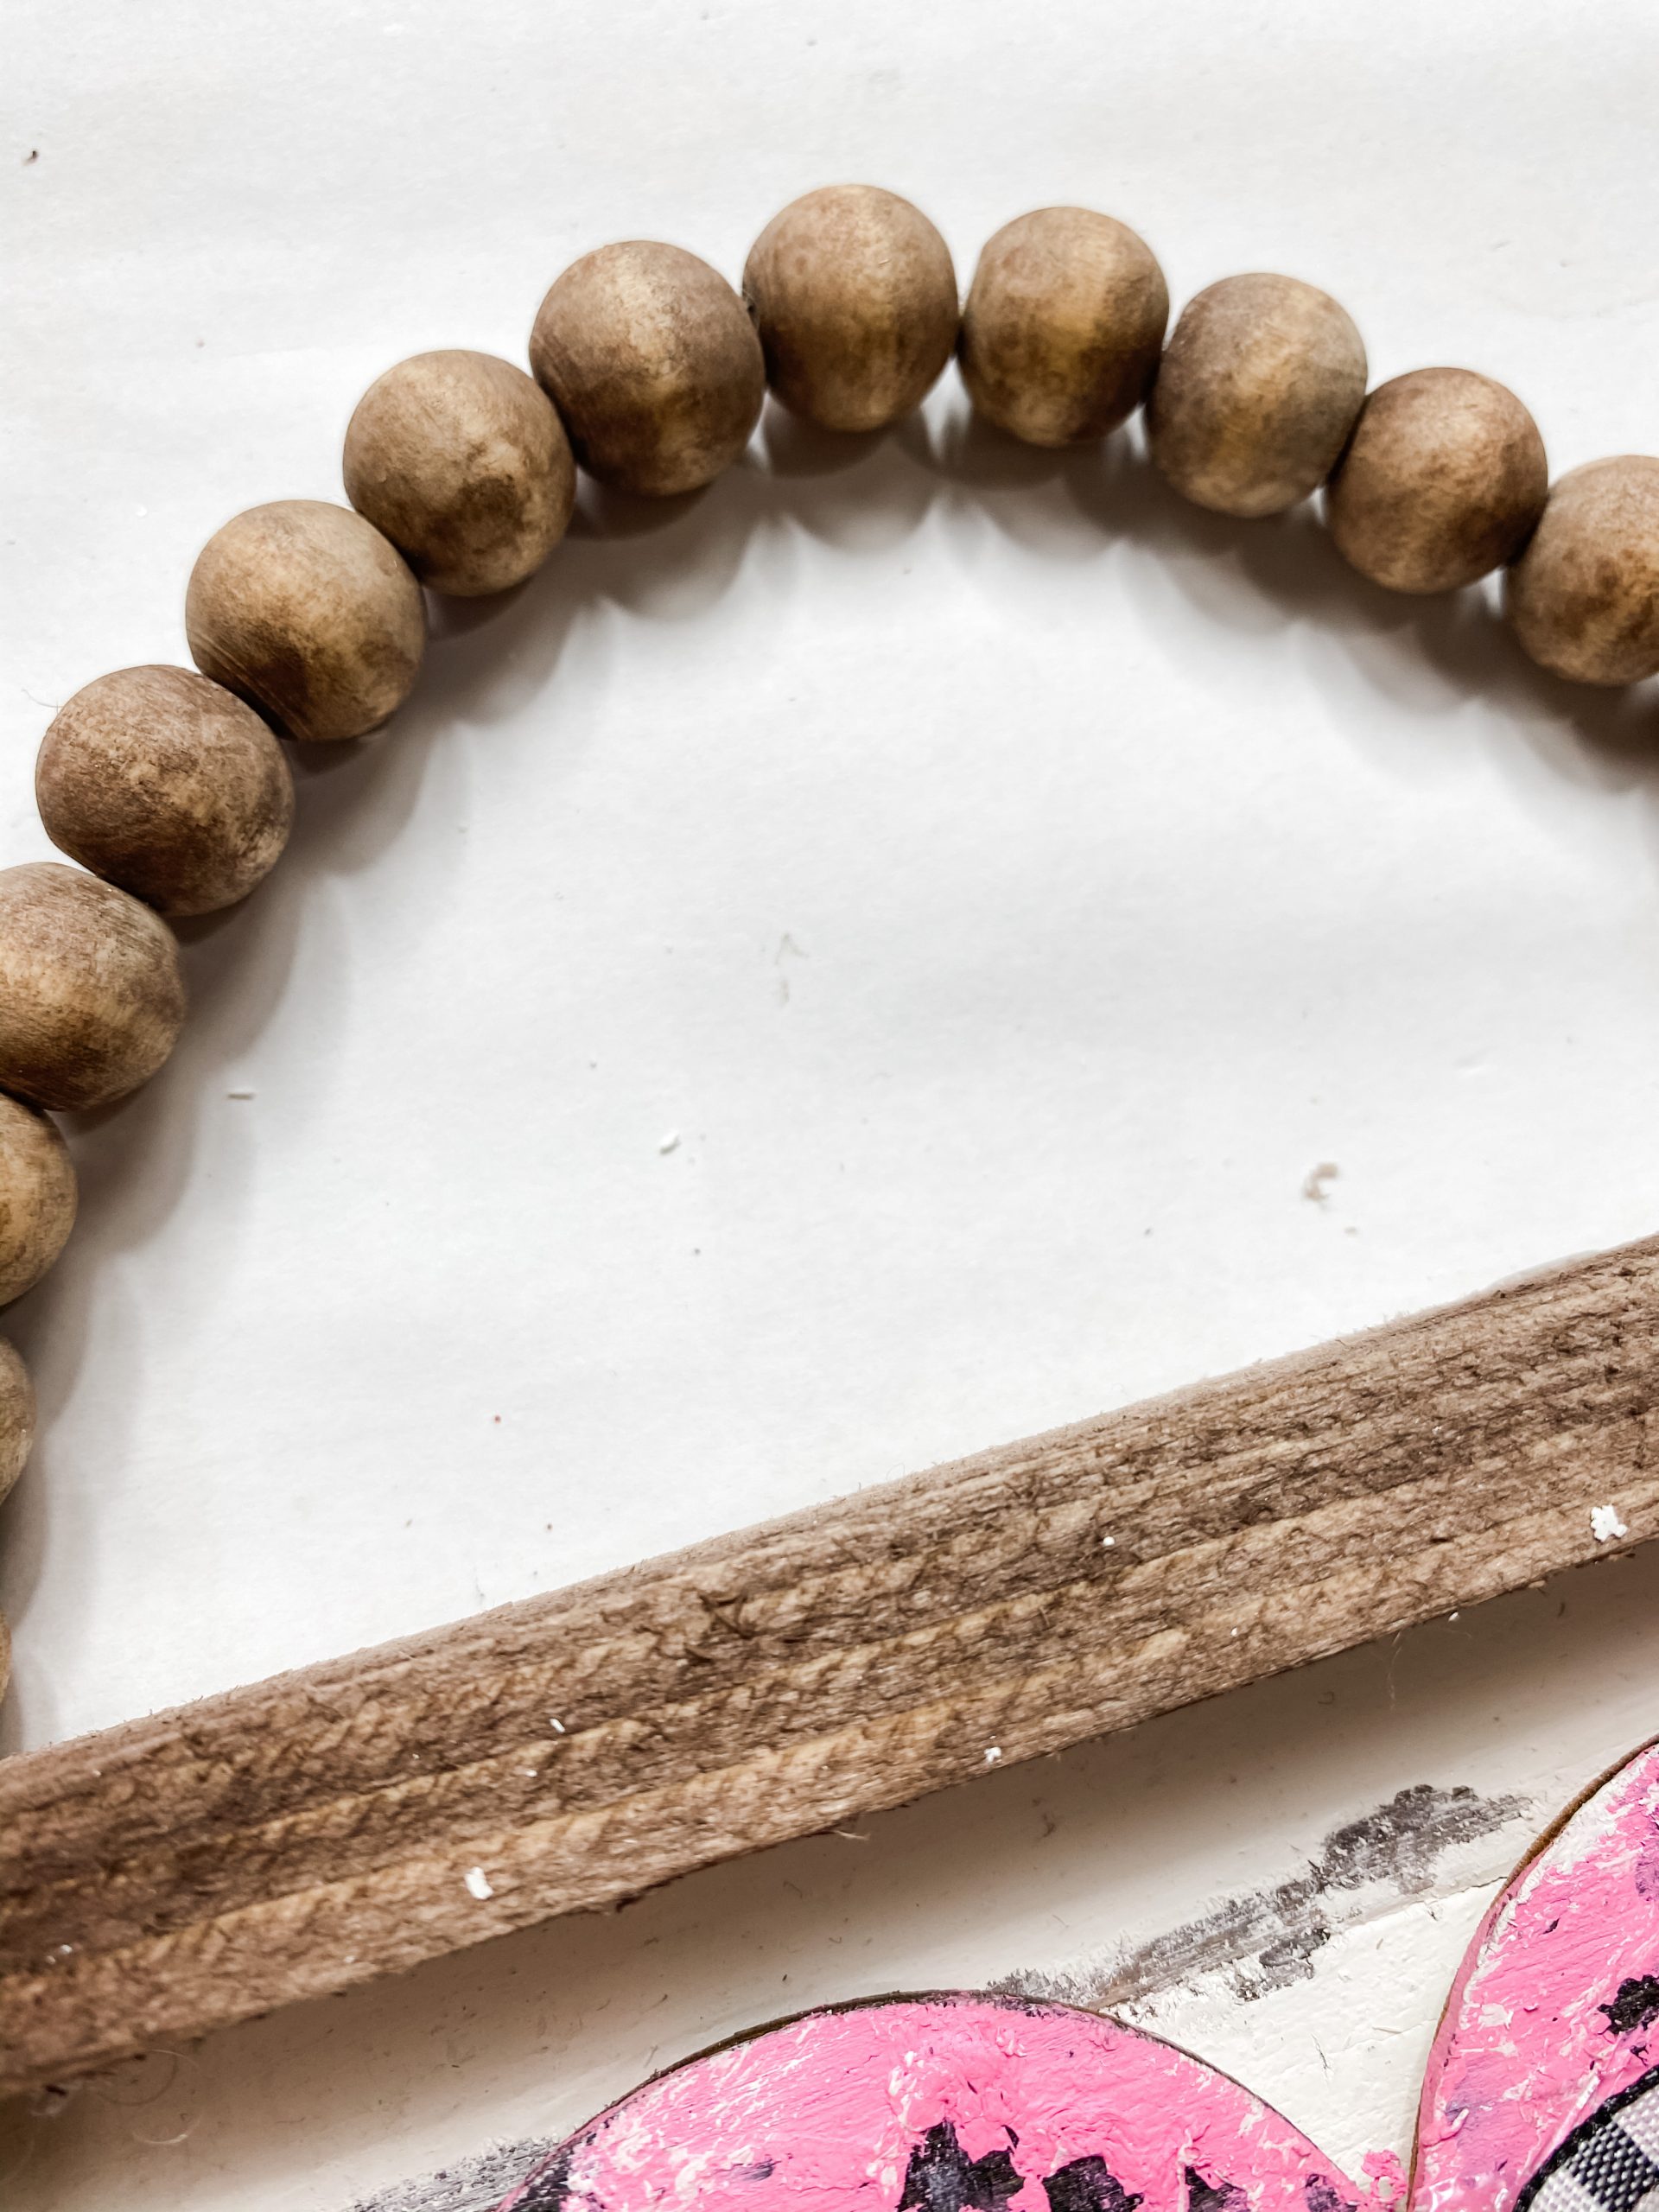
Once the beads are completely dry, thread them onto a piece of jute twine until your hanger is the length that you want. Tie knots right up against the beads to keep them from slipping around the jute twine.
Finally, hot glue the ends of the twine to the back of the DIY Dollar Tree Reverse Canvas Valentine’s Day Decor.
You might want to use finger protectors to push the twine into the hot glue and get a really secure bond for your hanger.
I hope you enjoyed this DIY Dollar Tree Reverse Canvas Valentine’s Day Decor as much as I did and decide to make one for yourself! I would love to see how yours turns out!
You should totally join my FREE Facebook group called On A Budget Crafts! It is a judgment-free community for DIY crafters to show off their projects and ideas.
If you loved this DIY you might also like this 18 Valentine’s Day DIY Decor Ideas for 2021!
Thanks for stopping by! XOXO Amber
You can also shop my ENTIRE AMAZON Favorites shop just click here! It’s packed full of all the things I use and love. Here is the supply list I highly recommend every creative have on hand!!
Would you also pin my blog for later and get on my newsletter alerts? I would love to have you join my #craftycrew.
Inspired? Leave me a comment below! I love hearing from my readers!

Join my free “ON A BUDGET CRAFTS” Facebook group!


This was the very first project that I re-created with your inspiration & guidance as I started my new found crafting journey. Thank you for sharing your creativity and talents with all of us 💜