3 DIY Christmas Tree Ornaments
I am so excited to share these 3 DIY Christmas Tree Ornaments with you! I had so much fun making each of these Christmas ornament ideas, and I just know you’re going to love them too!
Ornaments can be very expensive, especially if you’re looking at the unique ornaments and not the simple, single-color, plastic ones.
Instead of paying an arm and a leg to decorate your Christmas tree, you can DIY adorable ornaments that have more meaning to them than the store-bought ones!
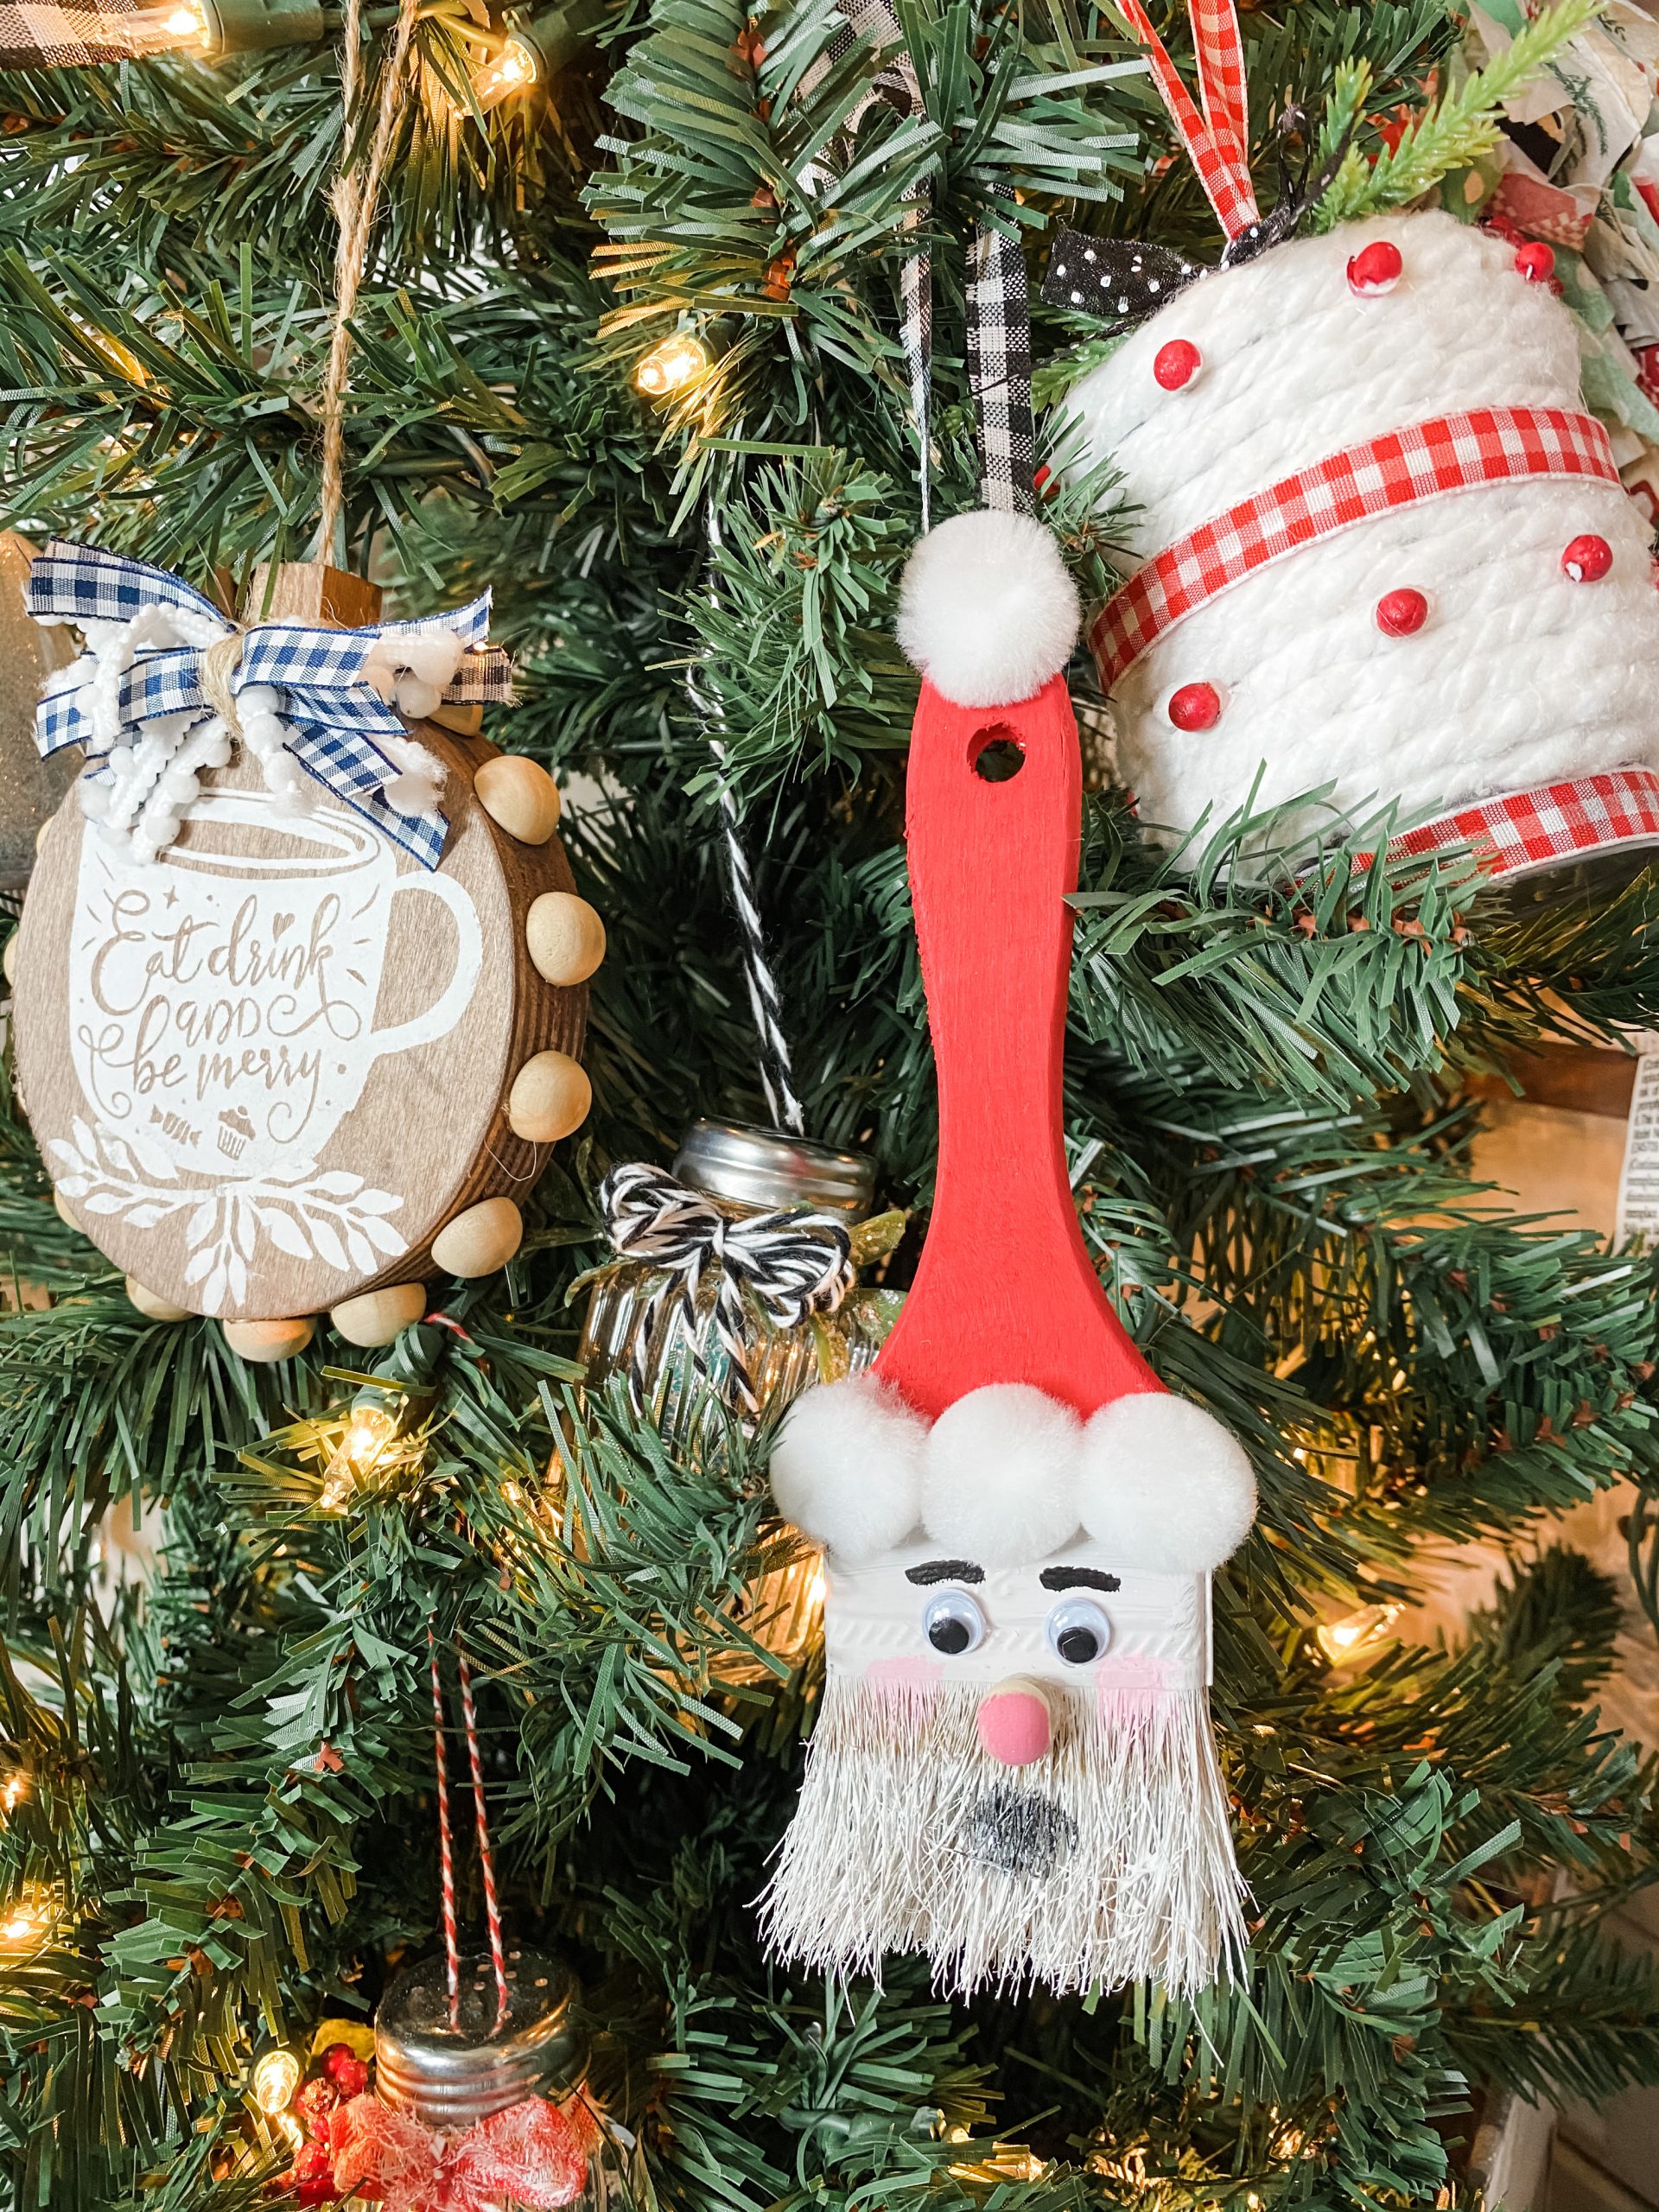
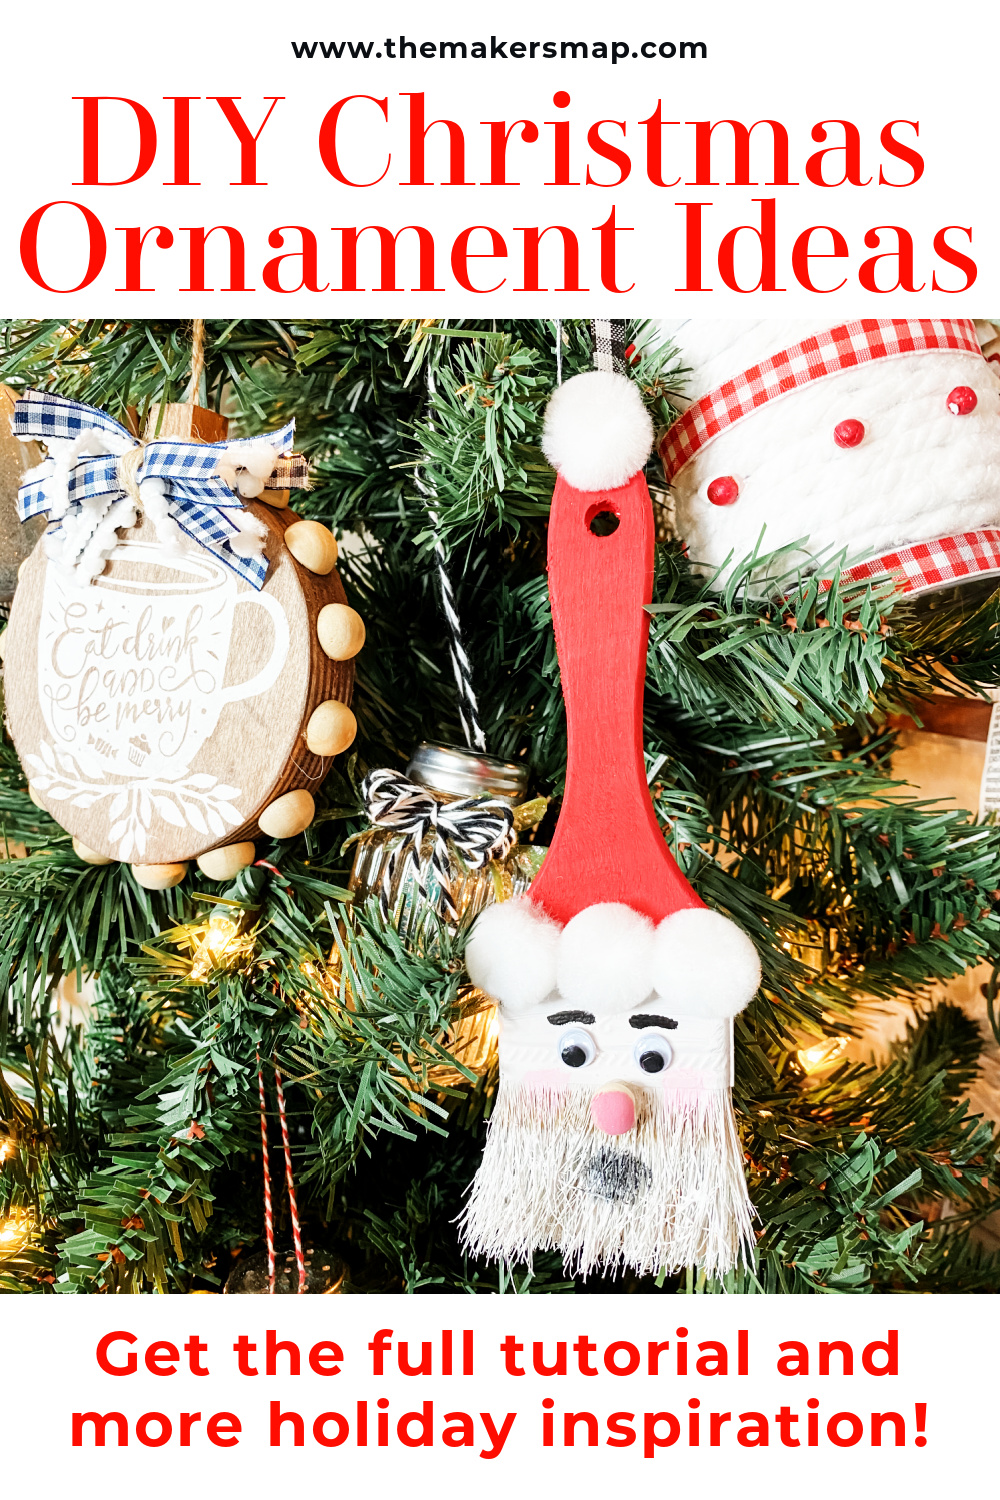
#1 Paintbrush Santa Ornament
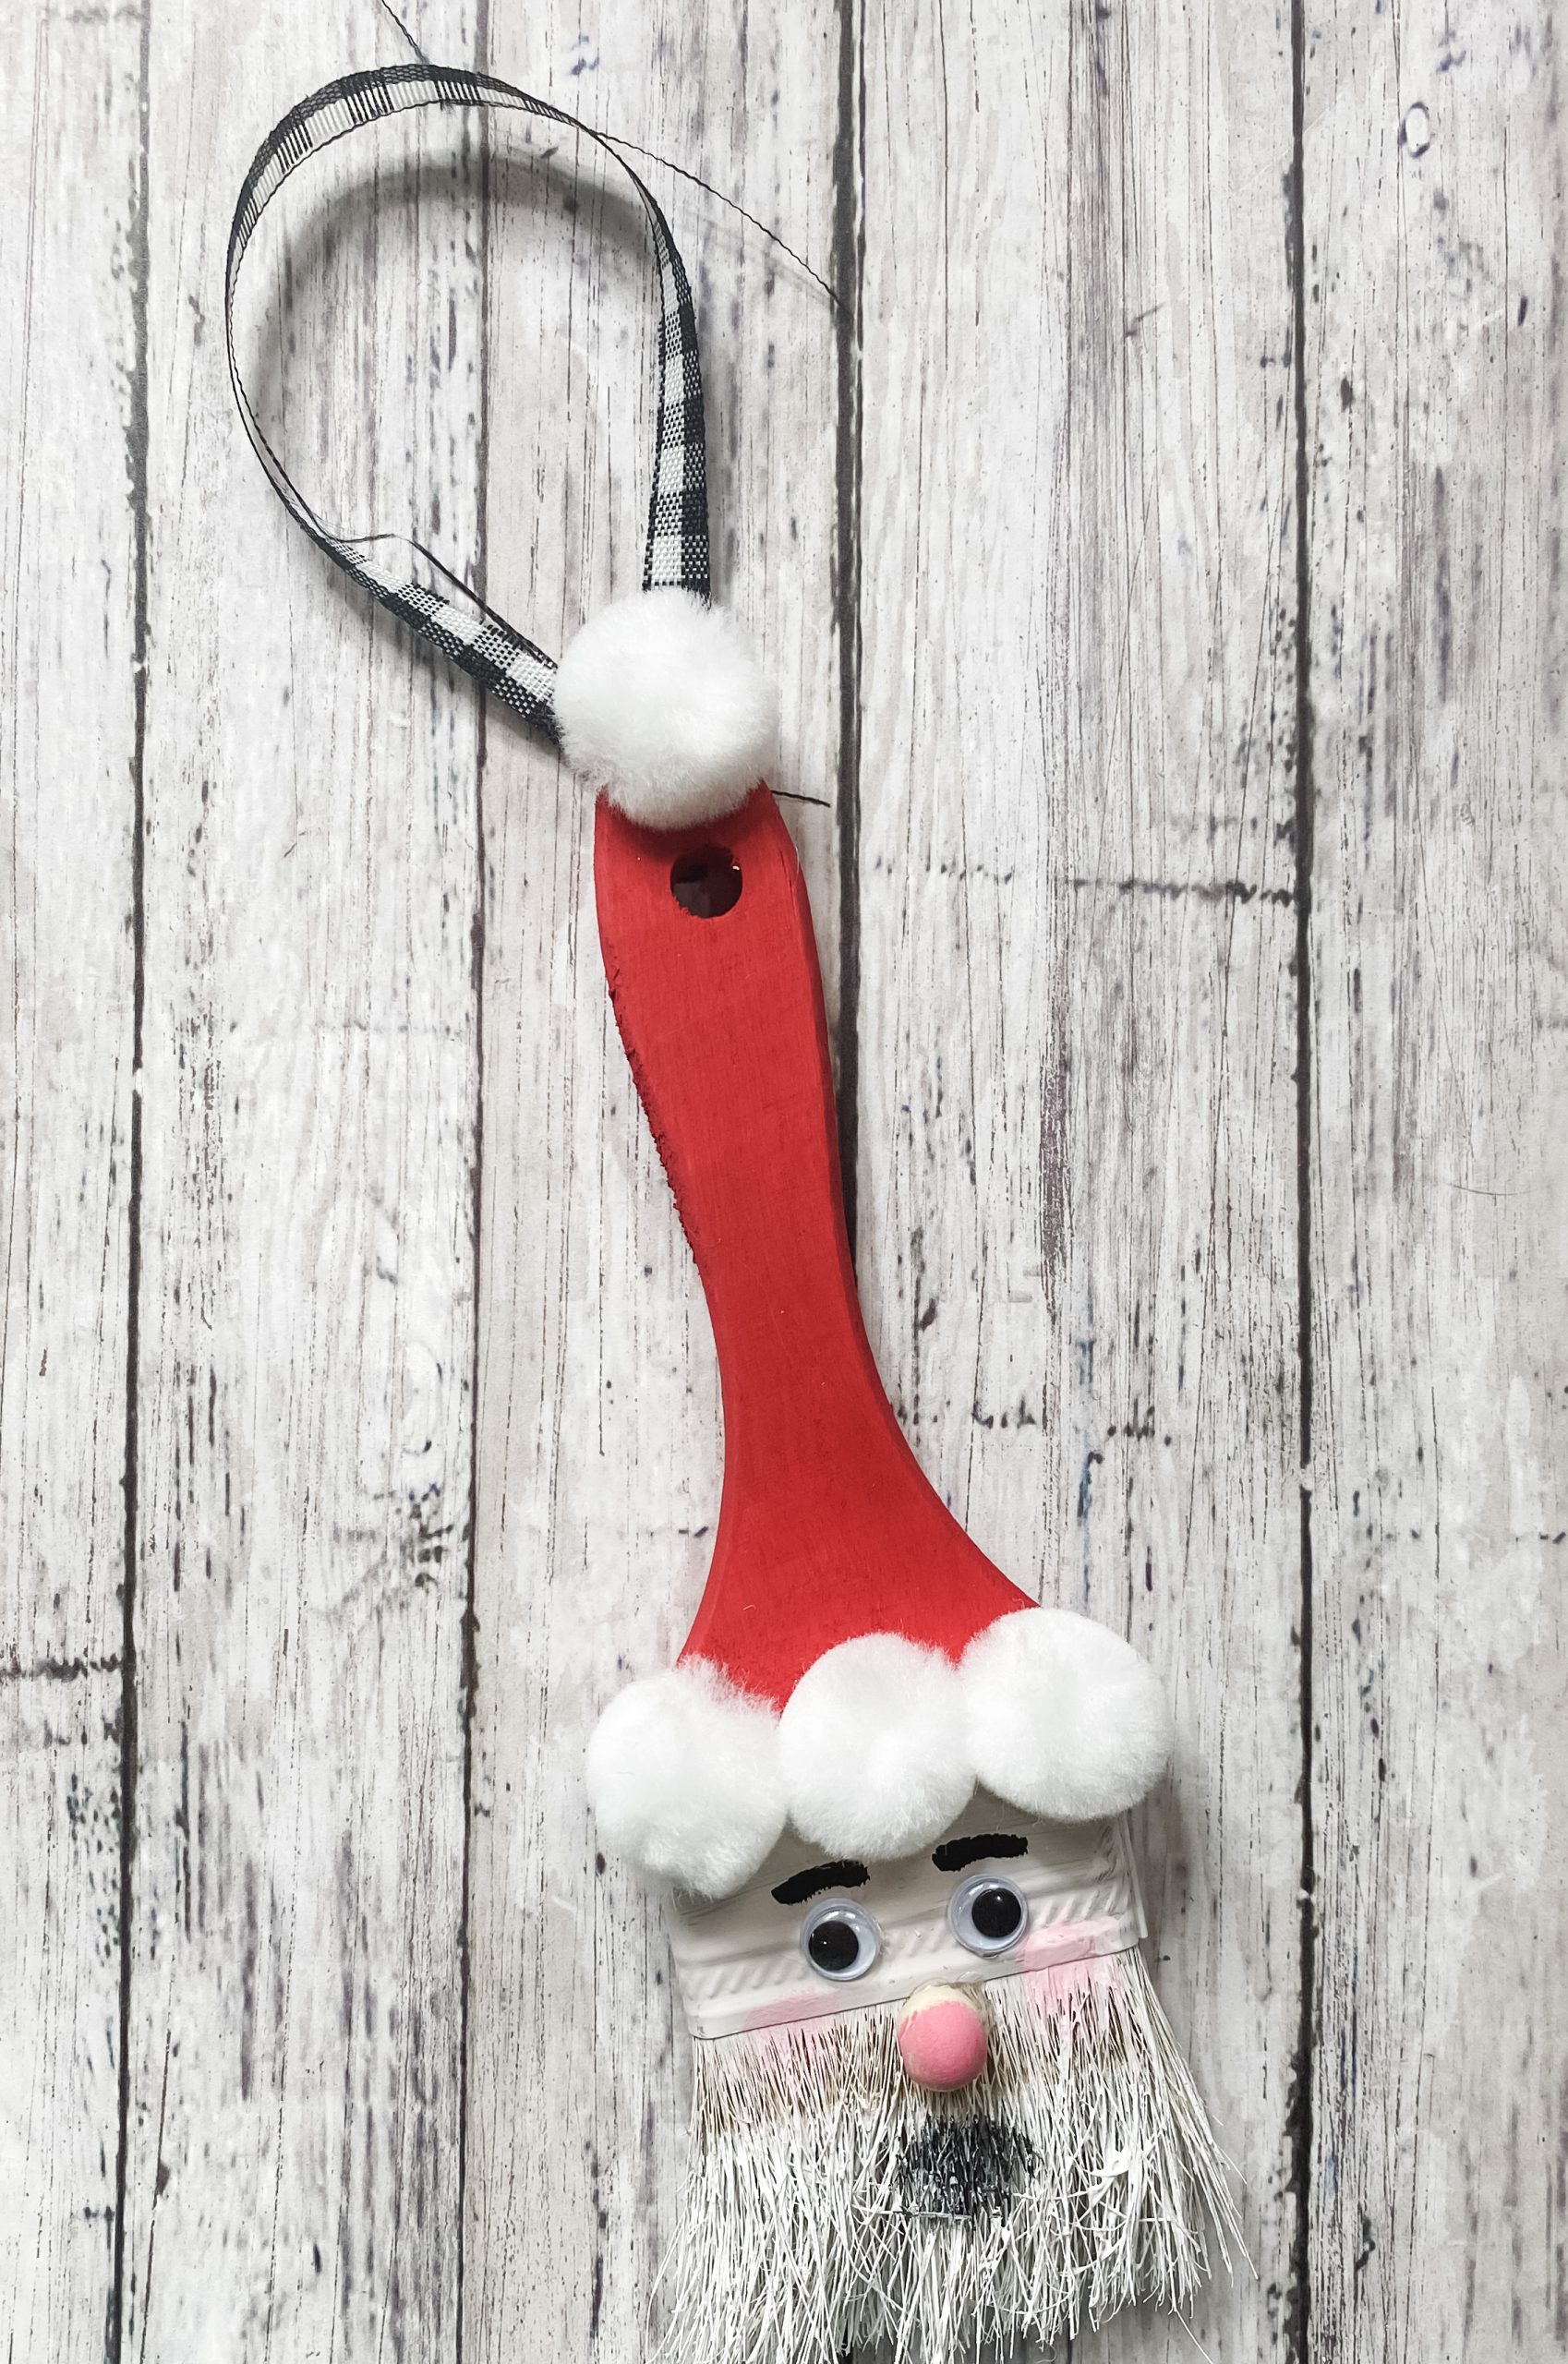
The first of the 3 DIY Christmas Tree Ornaments I want to show you is a paintbrush that I turned into Santa Claus!
This is such a simple project and one that I know your kids or grandkids would absolutely love! You could even make it a game to see who can find Santa on the tree!
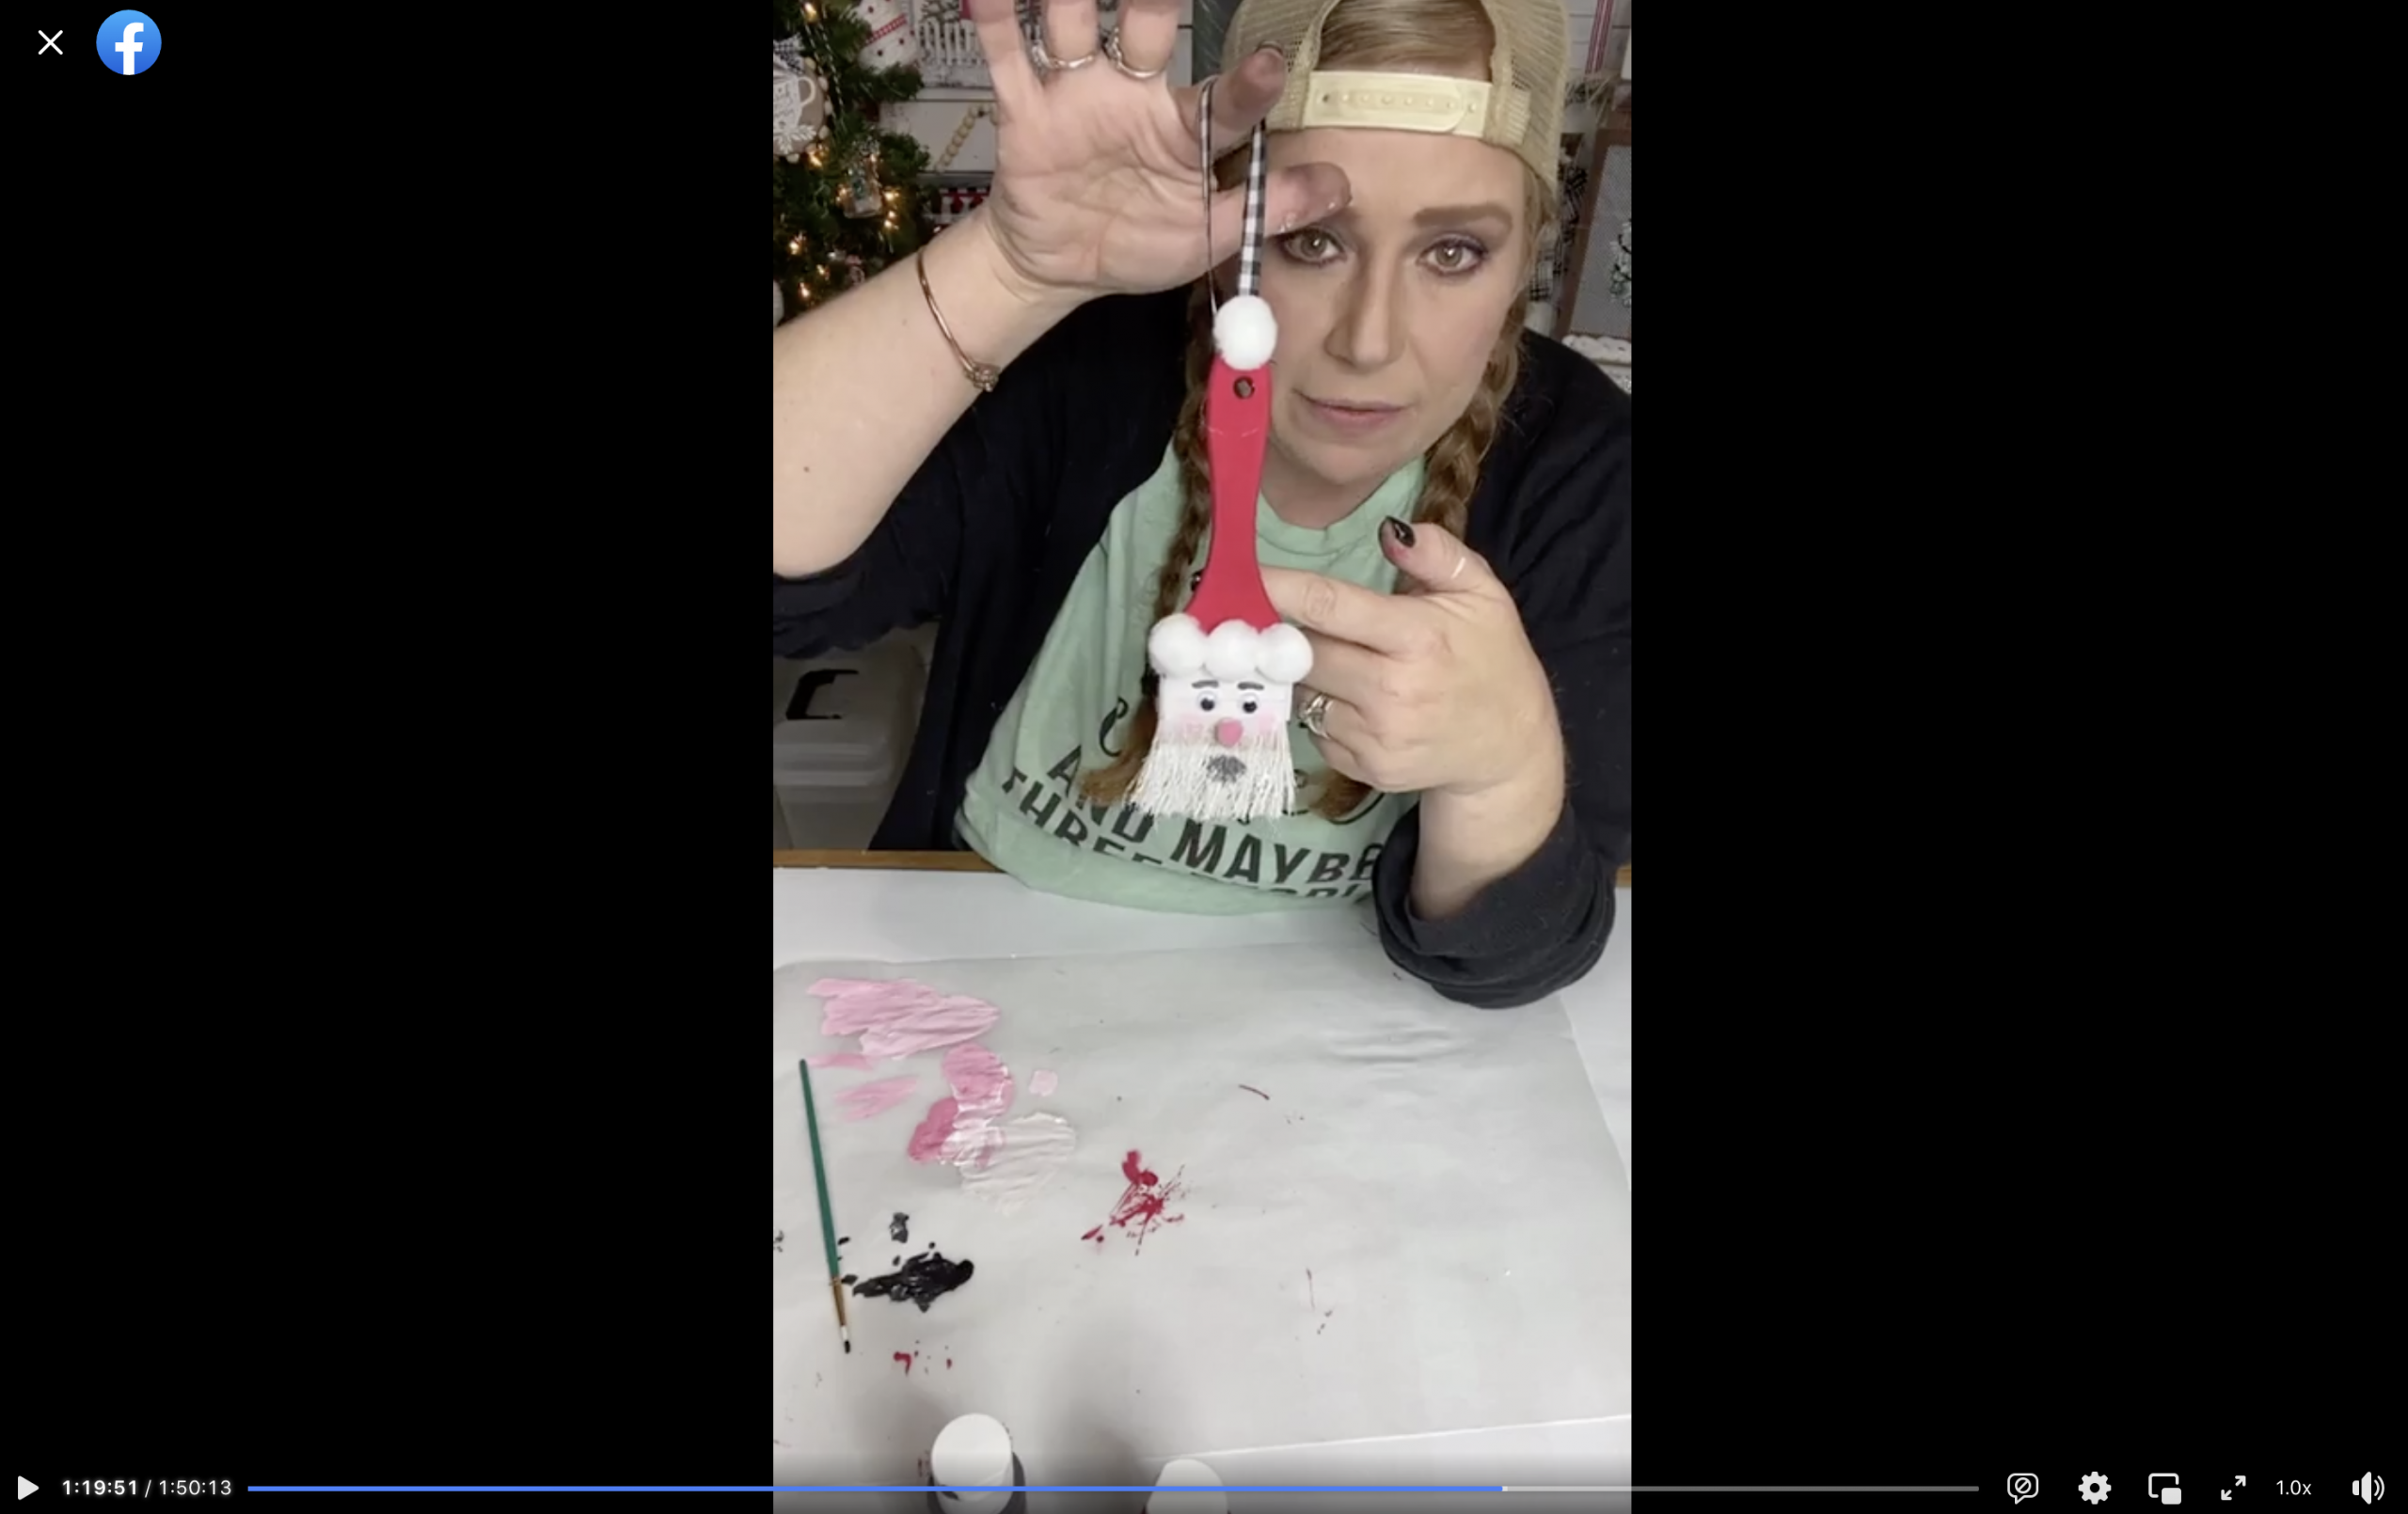
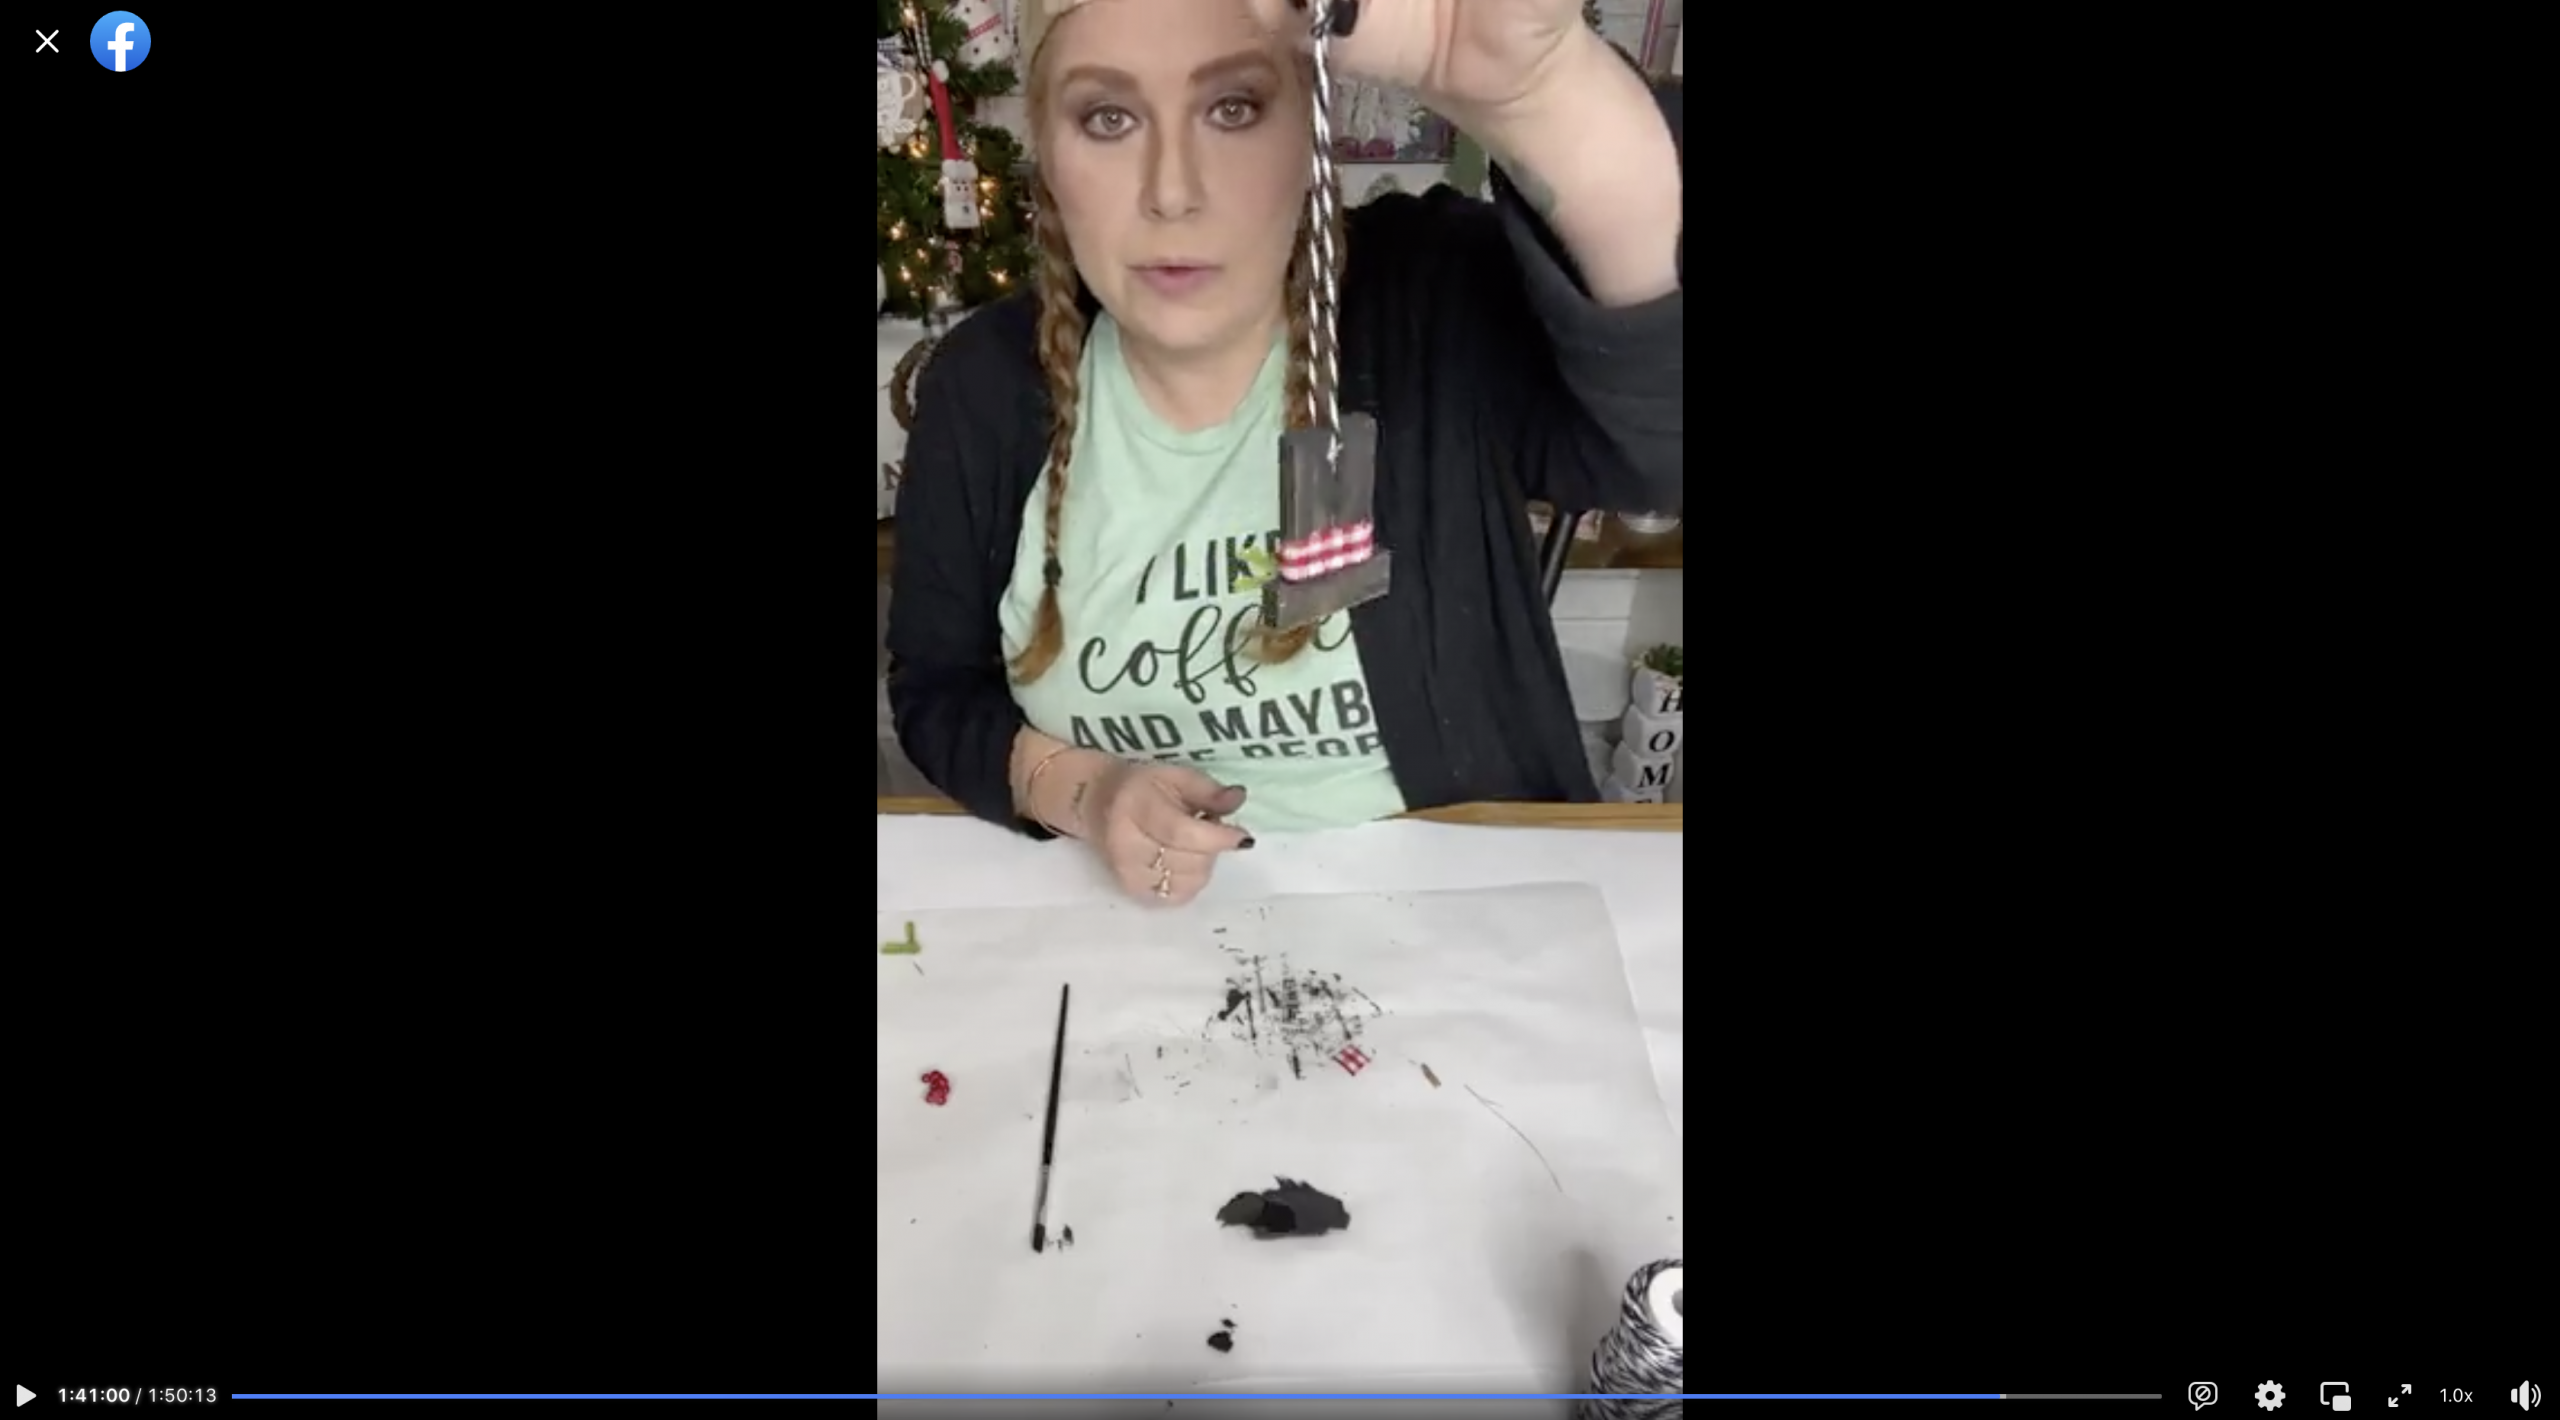
Watch the DIY tutorial for the paintbrush Santa ornament
I recorded how to make this adorable paintbrush Santa ornament during a LIVE video on my Facebook page.
If you want to see the DIY process, craft along, or just join in on the fun conversations, you can watch the video replay on Facebook!
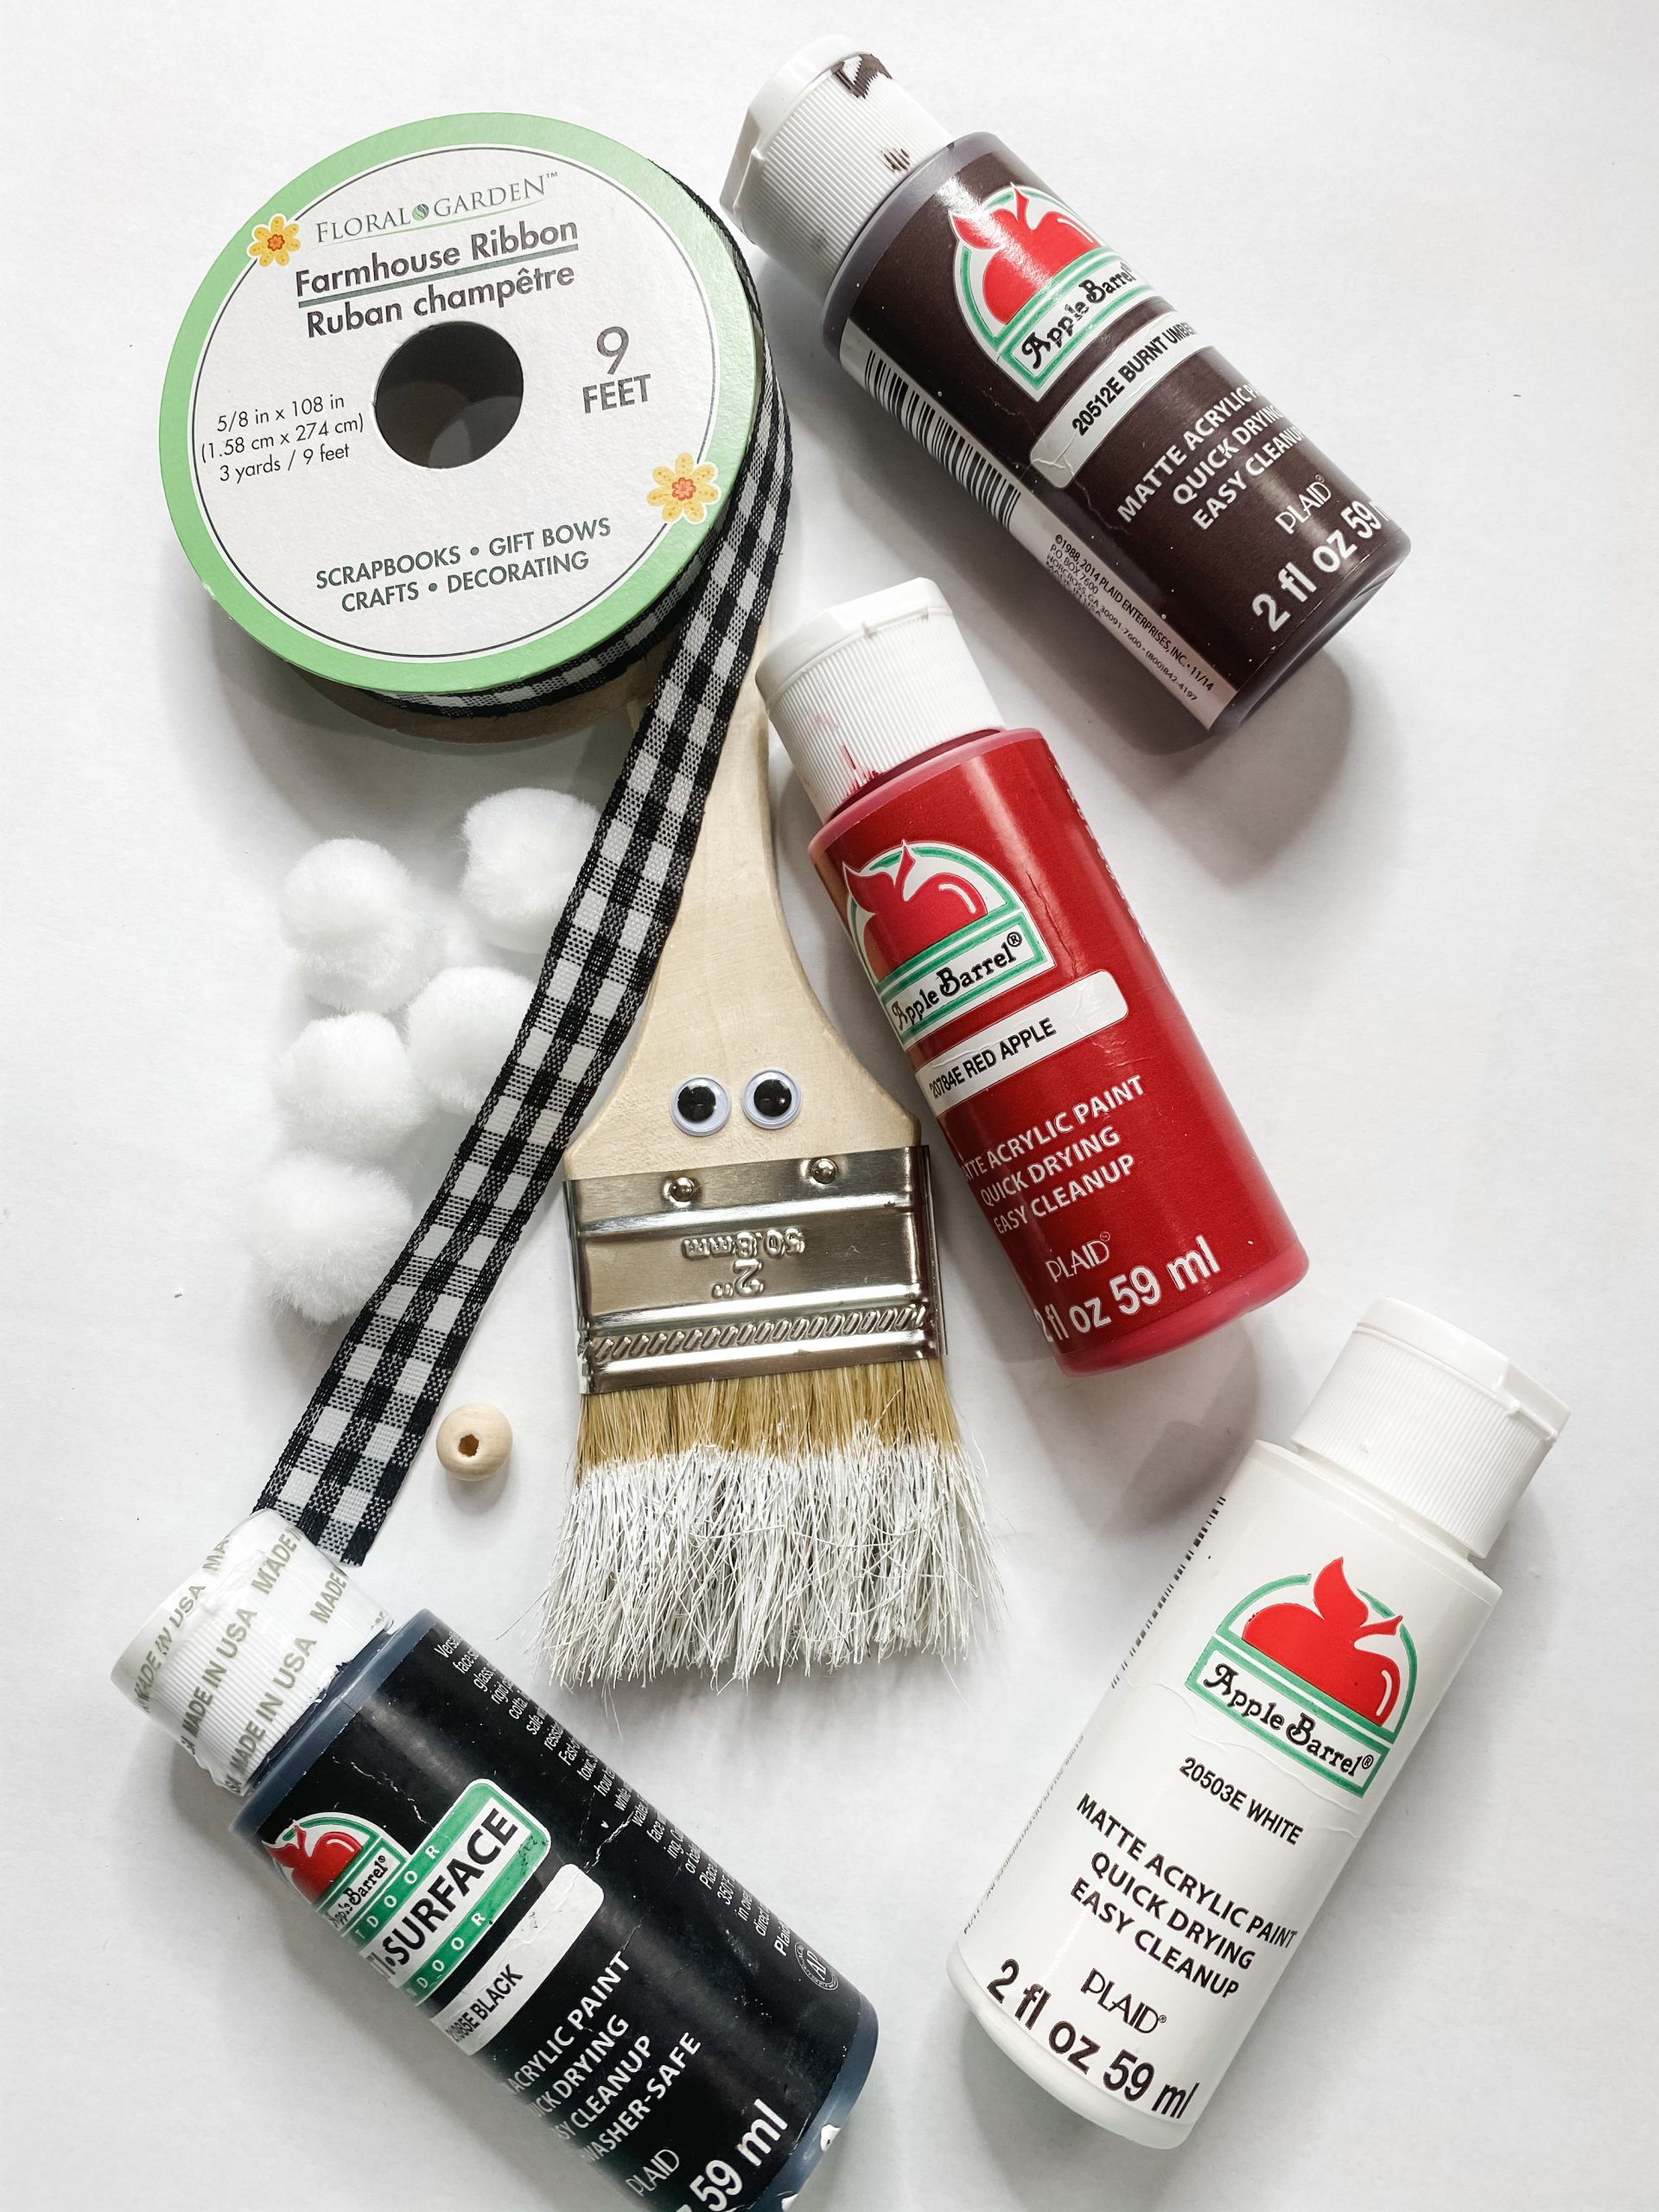
For the paintbrush Santa ornament, I will be using these items but you can substitute where you want.
“As an Amazon Associate, I earn from qualifying purchases.”
- 2-inch paintbrush
- Dollar Tree black buffalo check ribbon
- Dollar Tree white pom poms
- Apple Barrel White Acrylic Paint
- Apple Barrel Burnt Umber Acrylic Paint
- Googly Eyes
- Apple Barrel Red Apple Acrylic Paint
- Apple Barrel Black Acrylic Paint
- Glue Gun and Glue Sticks
- Heat gun
- Scissors
How to make a paintbrush Santa ornament
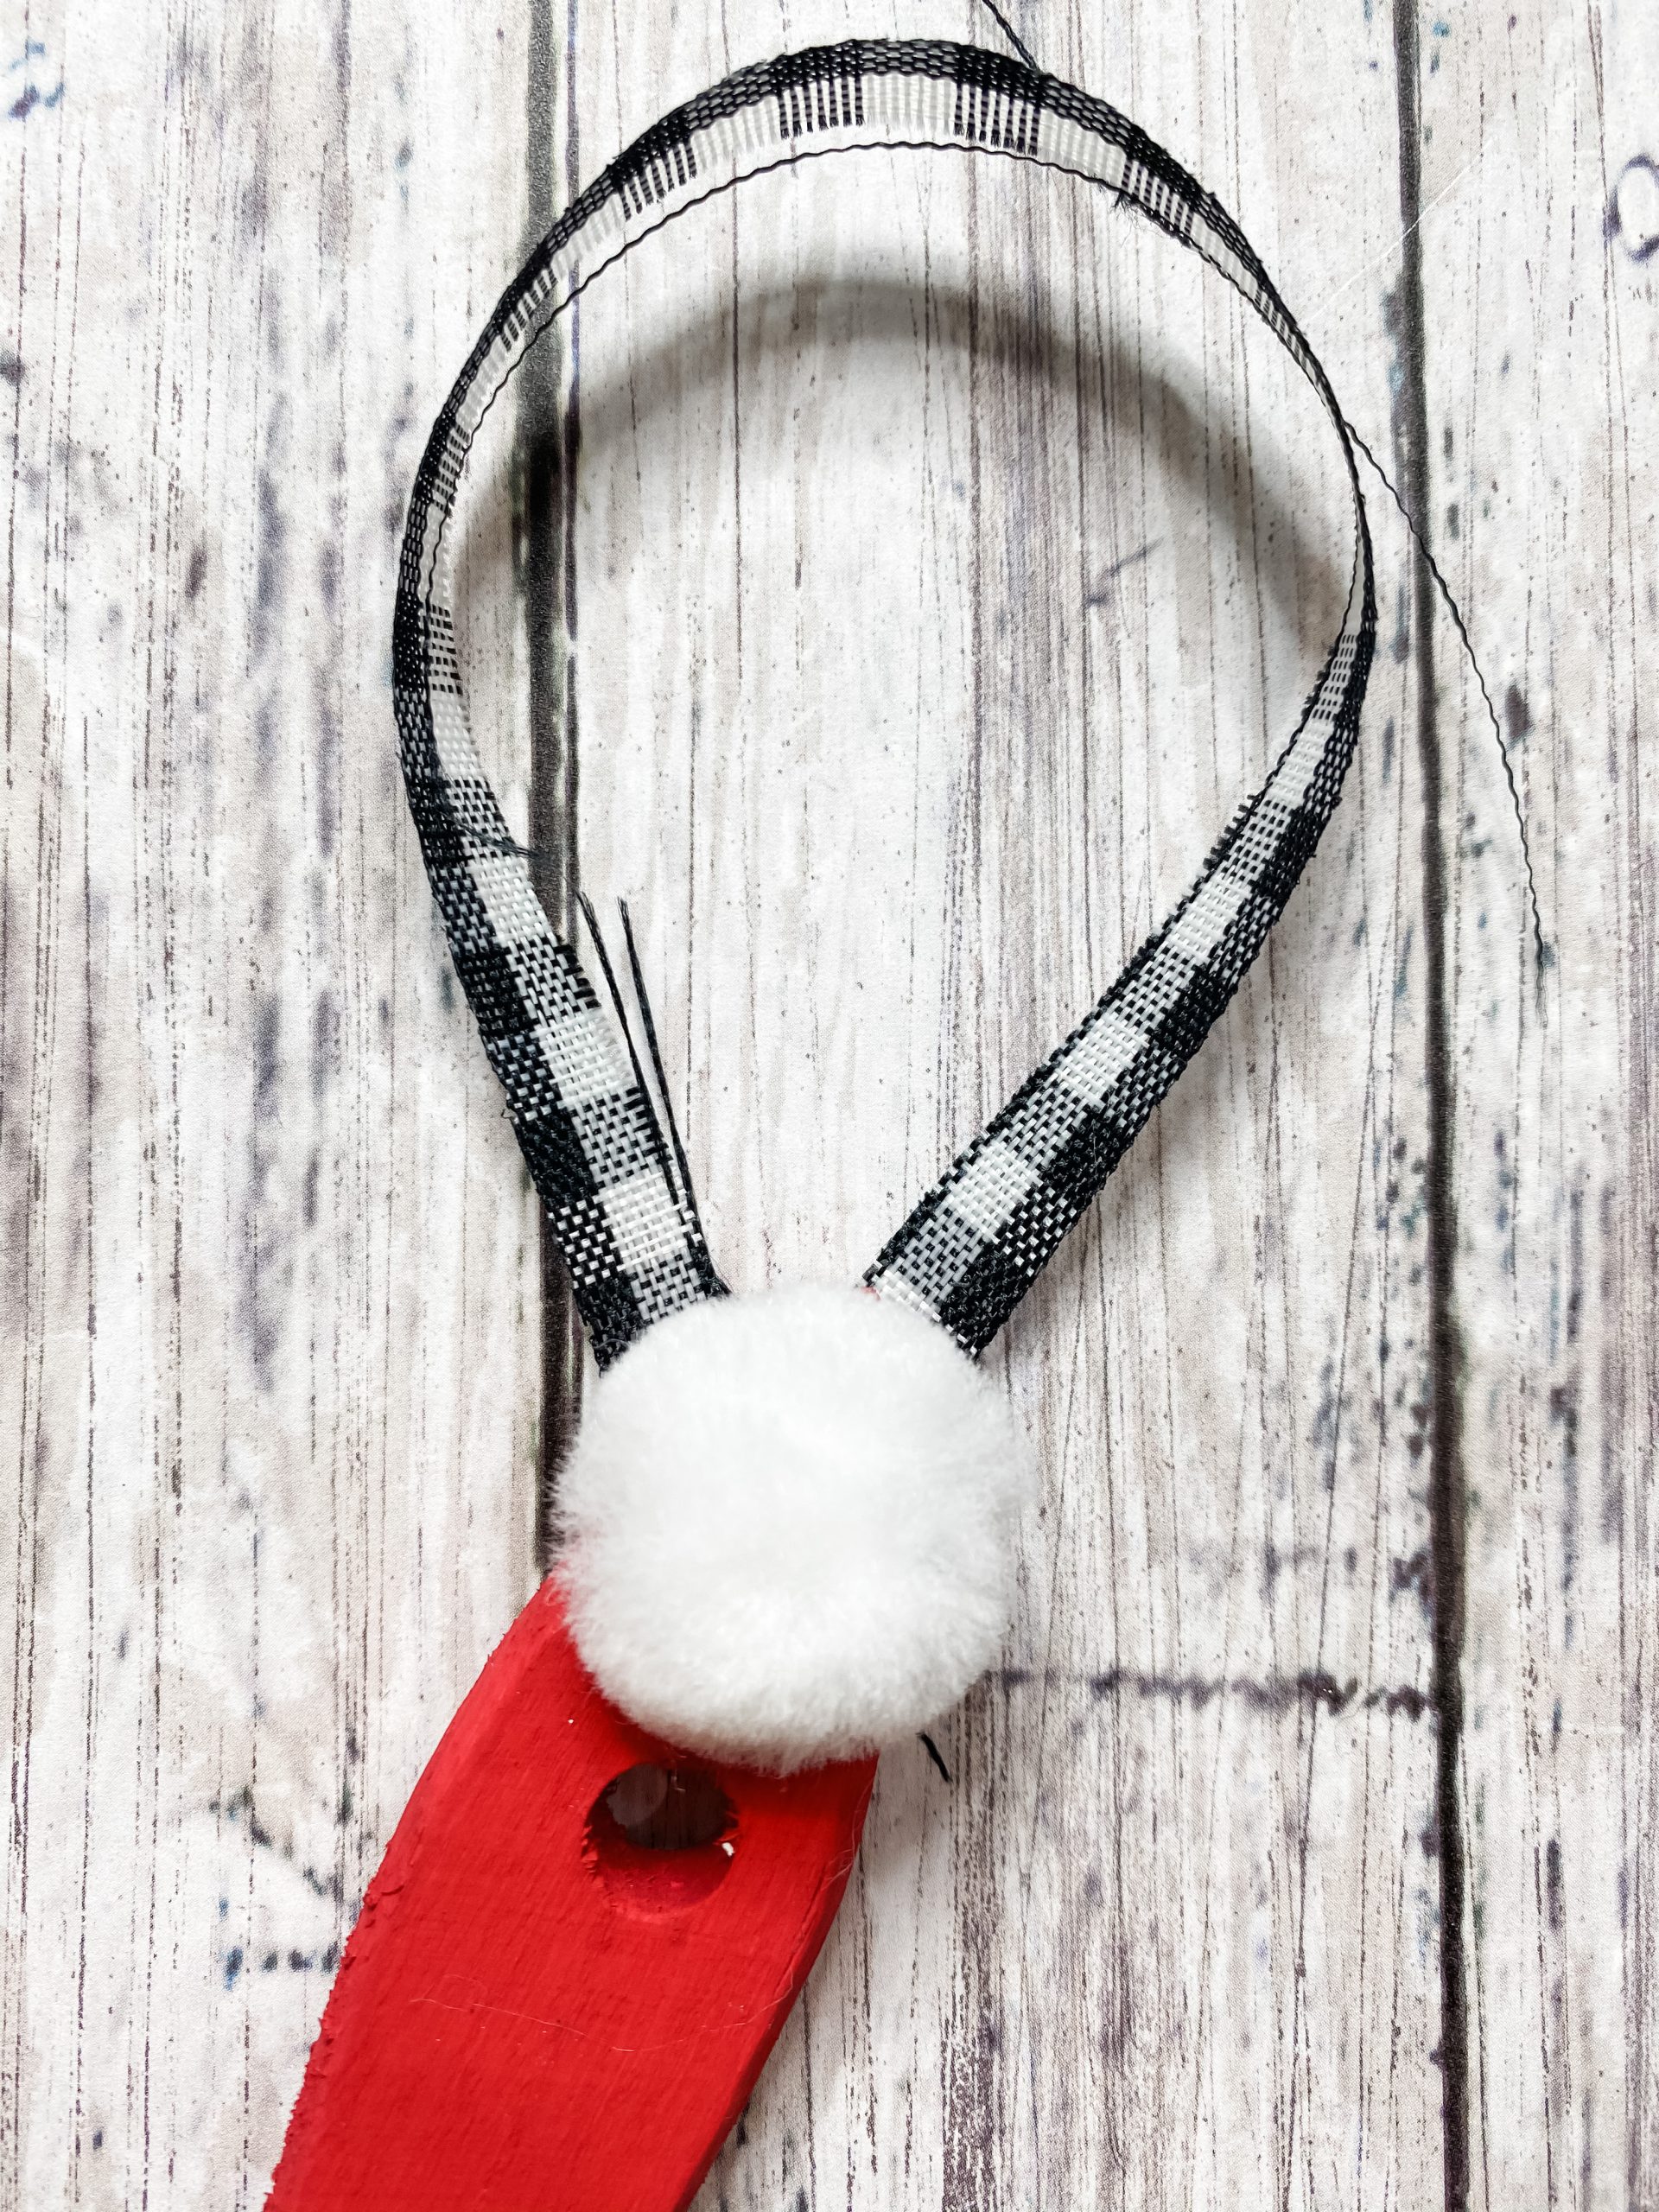
Alright, I started this super simple Christmas DIY by painting the paintbrush handle with Apple Barrel red apple acrylic paint.
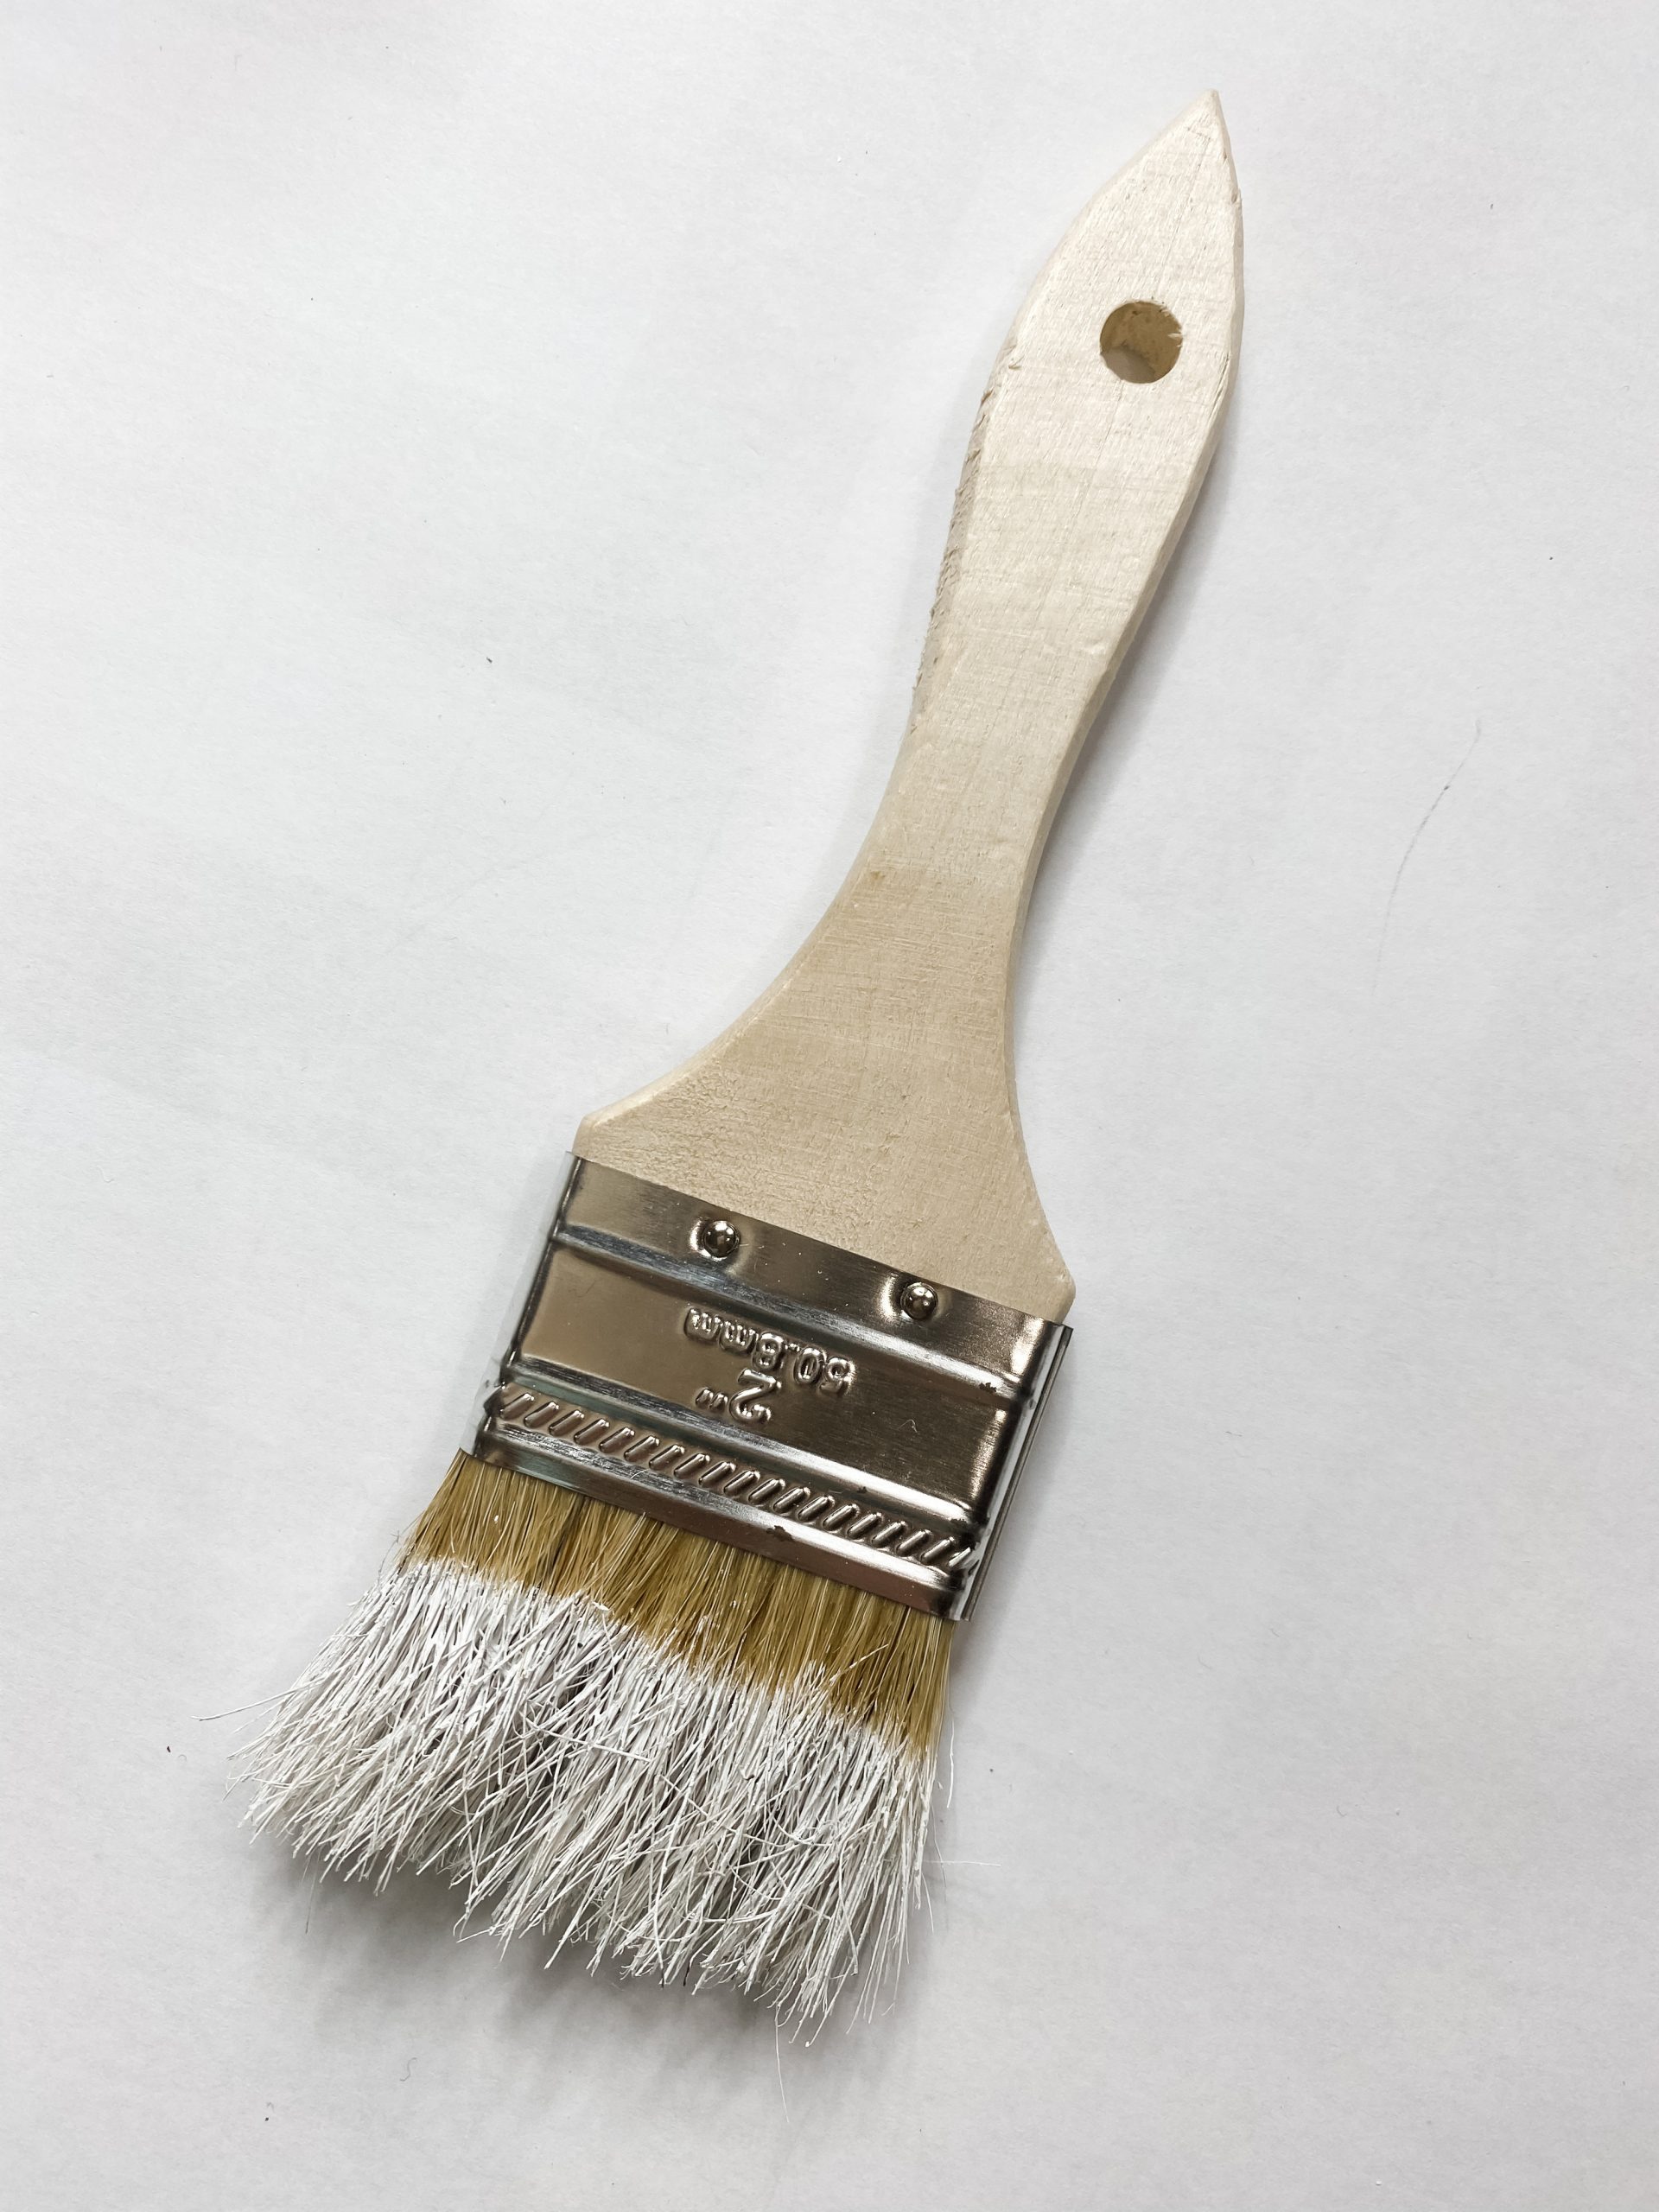
Paint both sides of the handle and let the paint dry. I used my heat gun to speed up the drying process, but you can use a hairdryer on the low-cool setting if you don’t have a heat gun.

Then, I mixed a tiny amount of brown paint with white paint and painted the metal strip on the paintbrush with the mixture.
I also brushed white paint into the bristles to create Santa’s beard! Once all the paint is dry, hot glue a white pom pom at the top of the handle and three across the top of the metal strip.
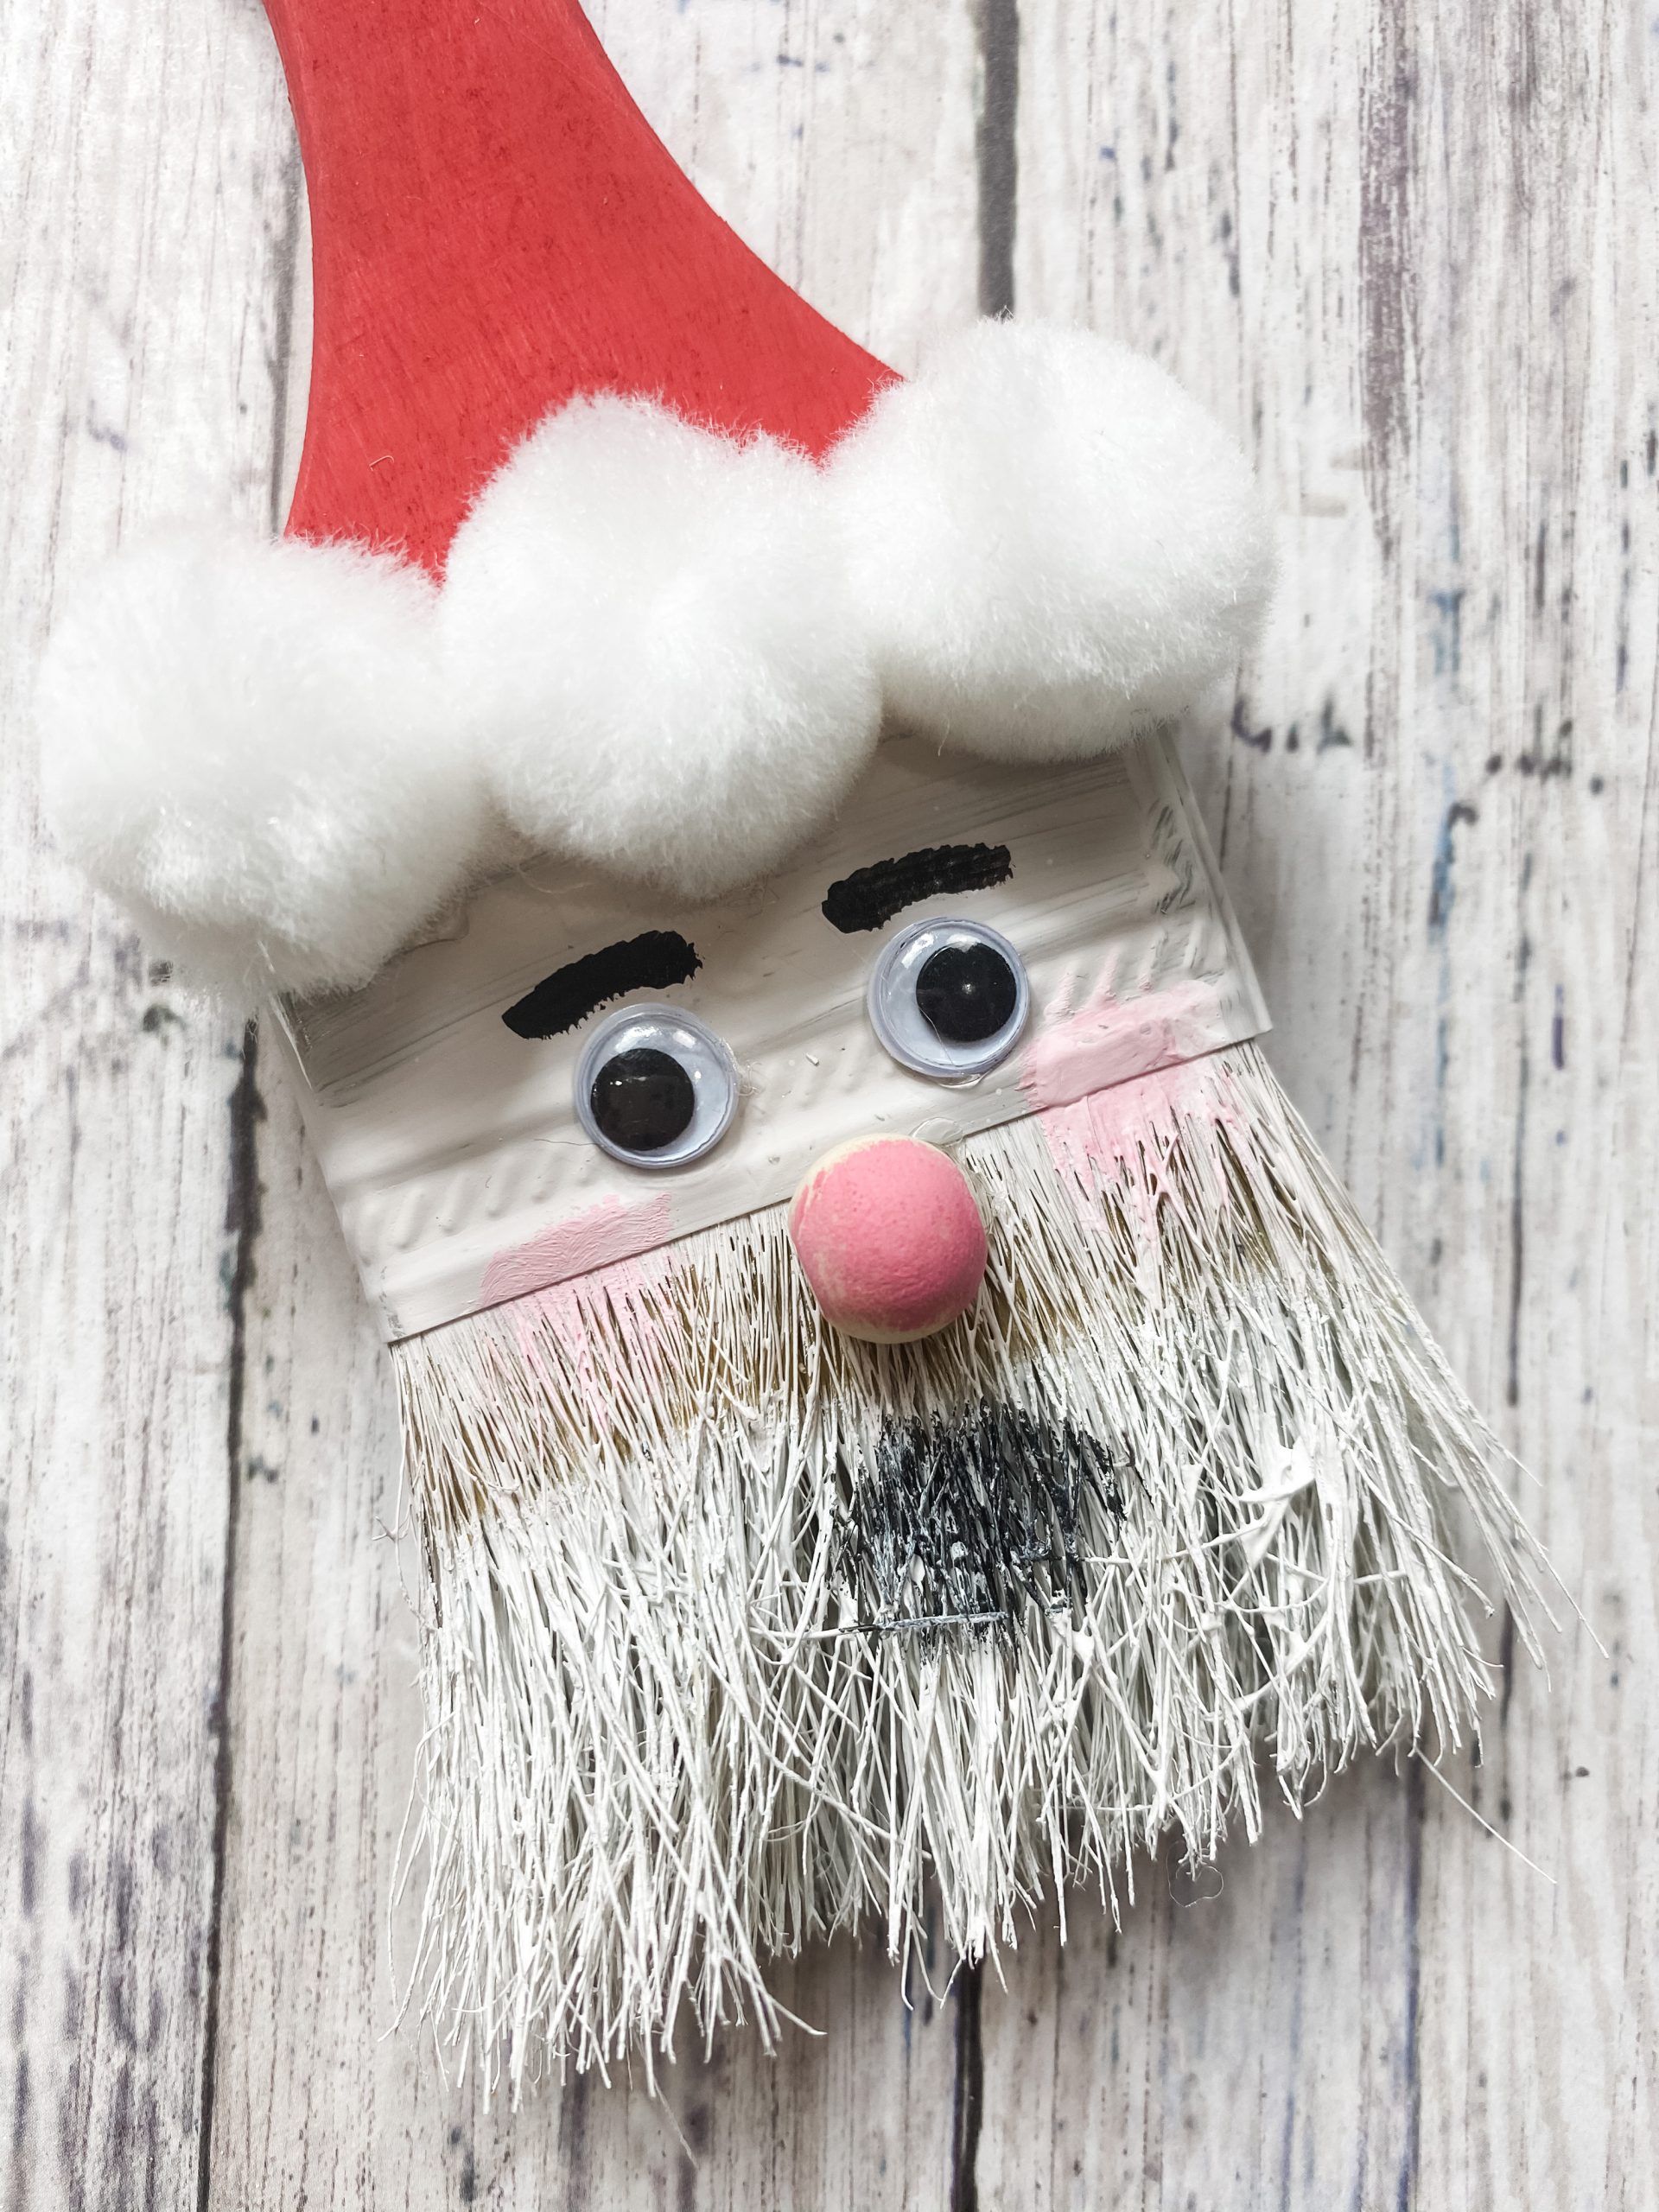
Hot glue your two googly eyes onto the metal strip and use black paint to paint eyebrows over the eyes. I mixed a bit of red and white paint to make a light pink and made Santa’s rosy cheeks!
I also painted a small wood bead with the same pink paint mixture and hot glued it under the eyes to be Santa’s nose. Brush a tiny bit of black paint under the nose, on the bristles, to make the mouth.
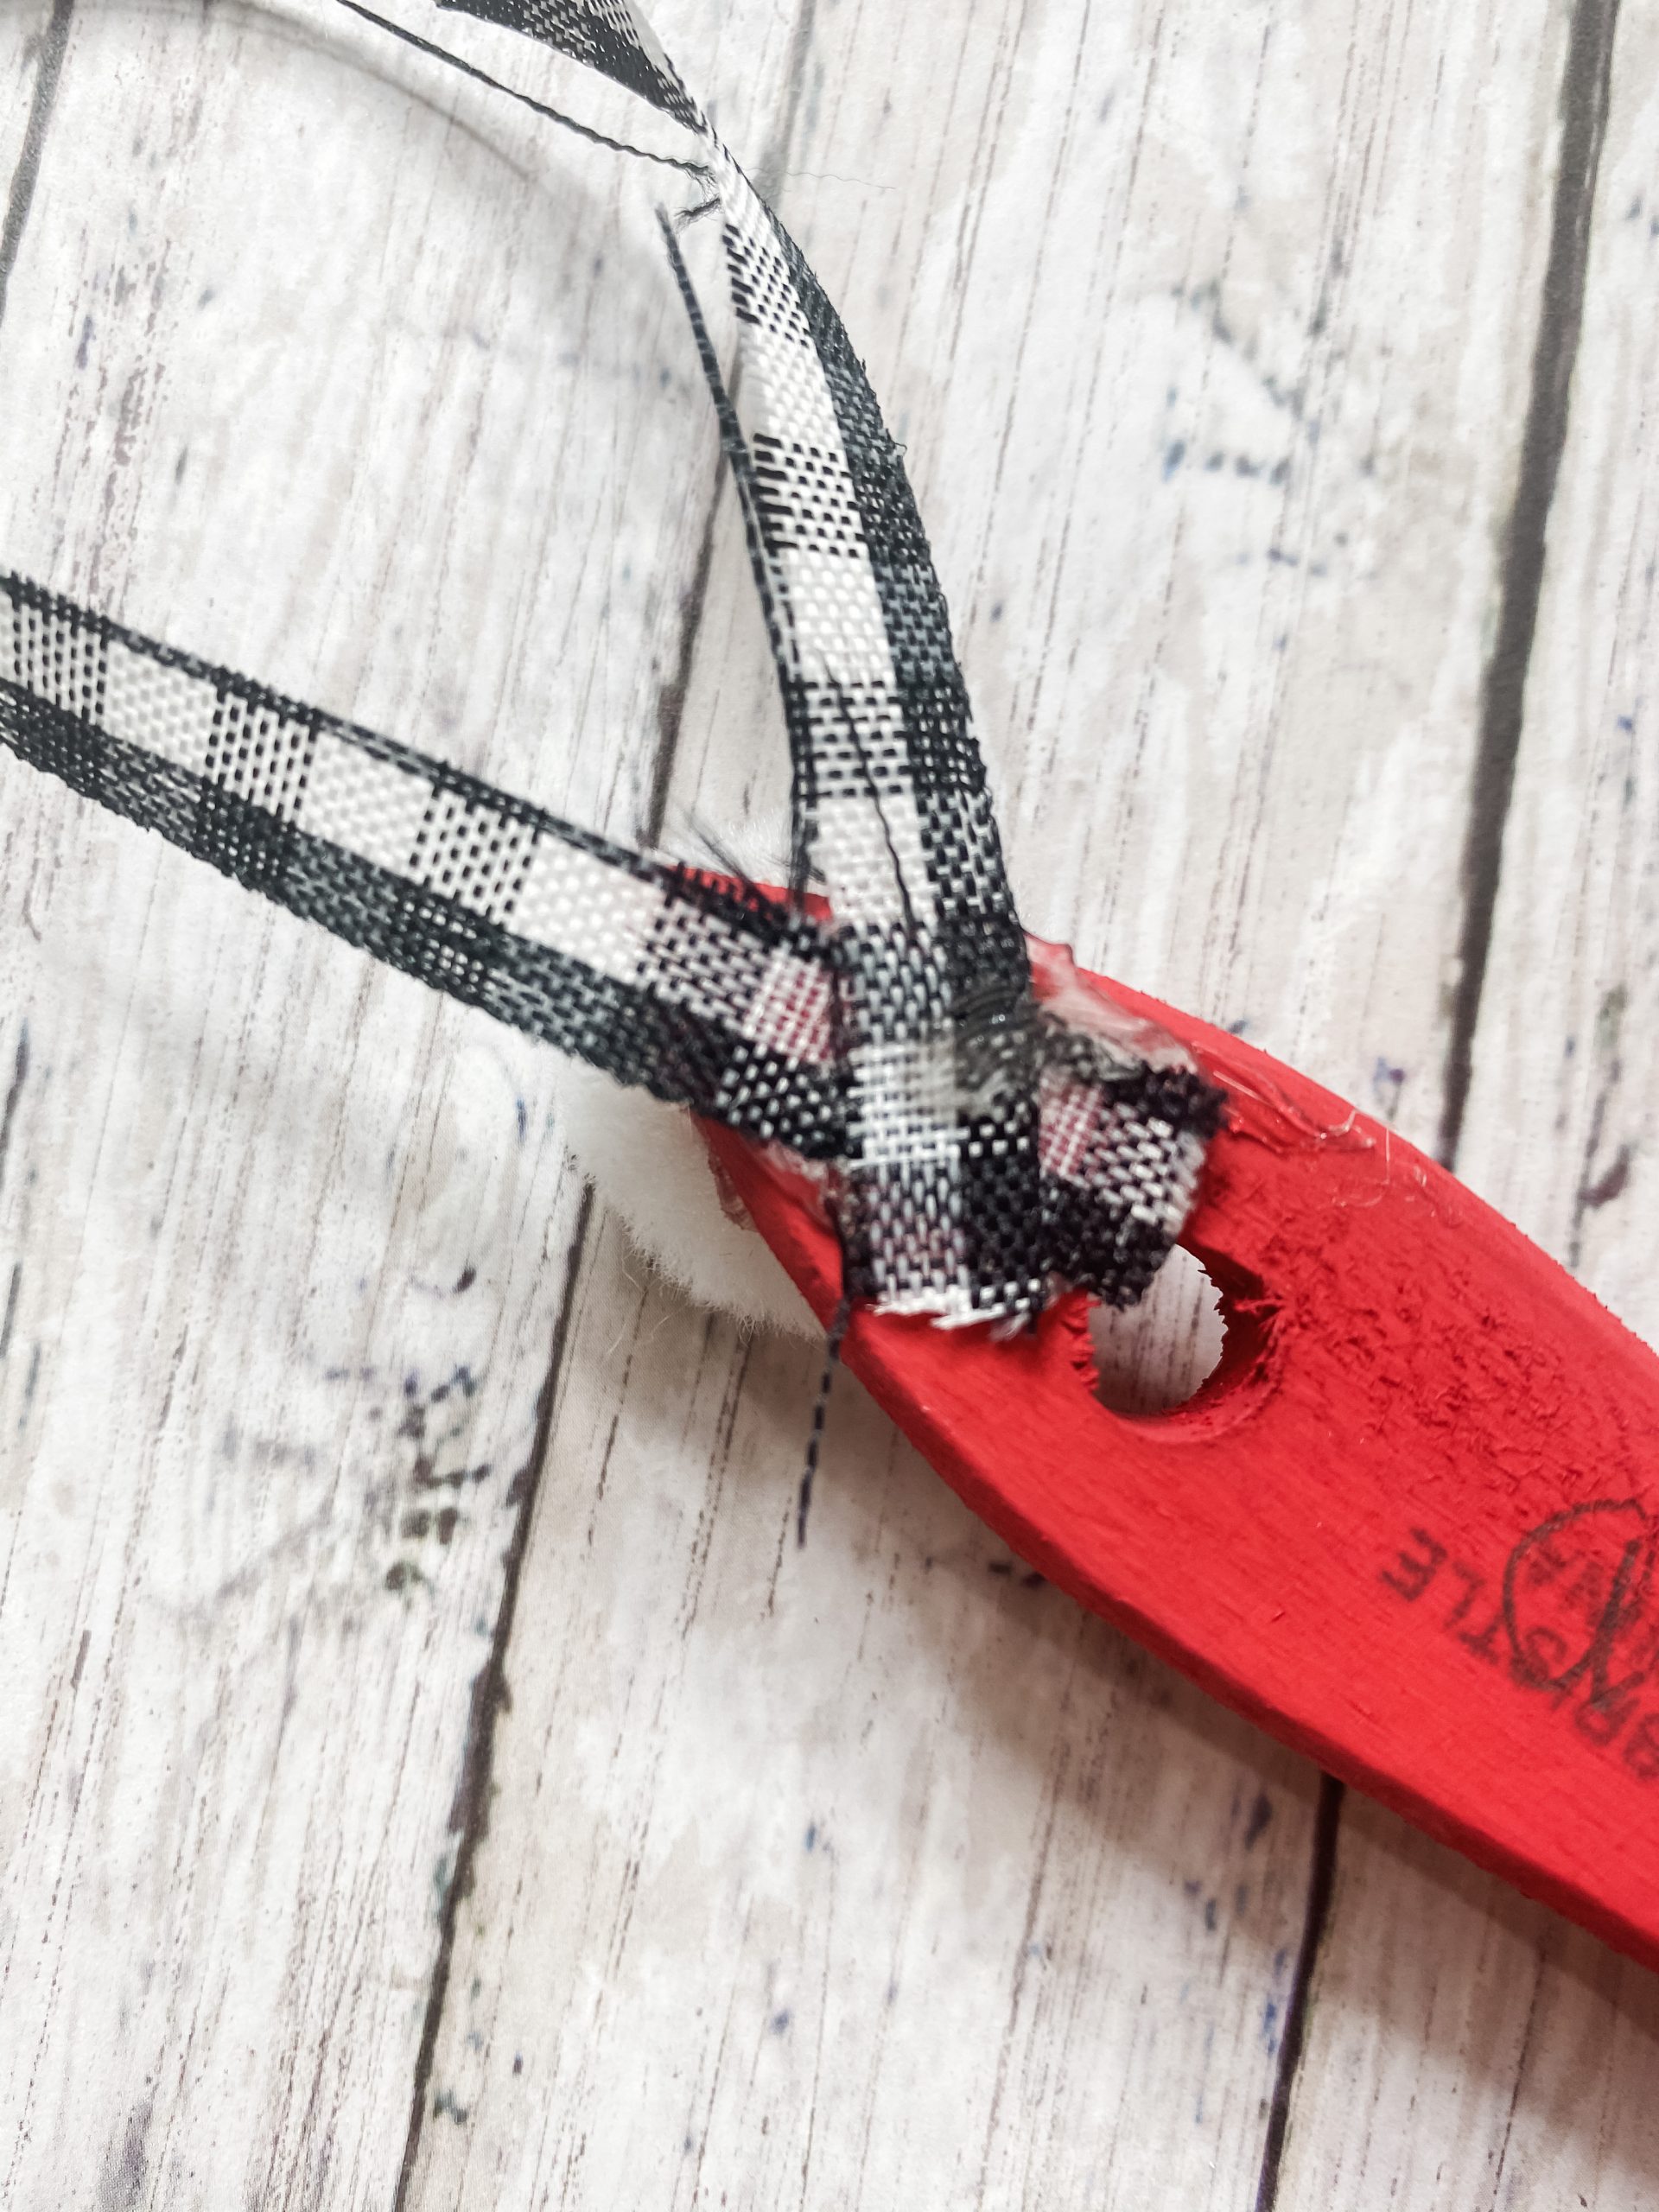
Finally, once everything is secure, hot glue a strip of black buffalo check ribbon at the tip of the handle so you can actually hang this ornament on your tree this year!
Alright, so that Christmas tree ornament idea used a paintbrush to make an adorable Santa Claus. The next ornament idea used Dollar Tree blocks to make a paintbrush!
It’s the perfect ornament for crafters like me!
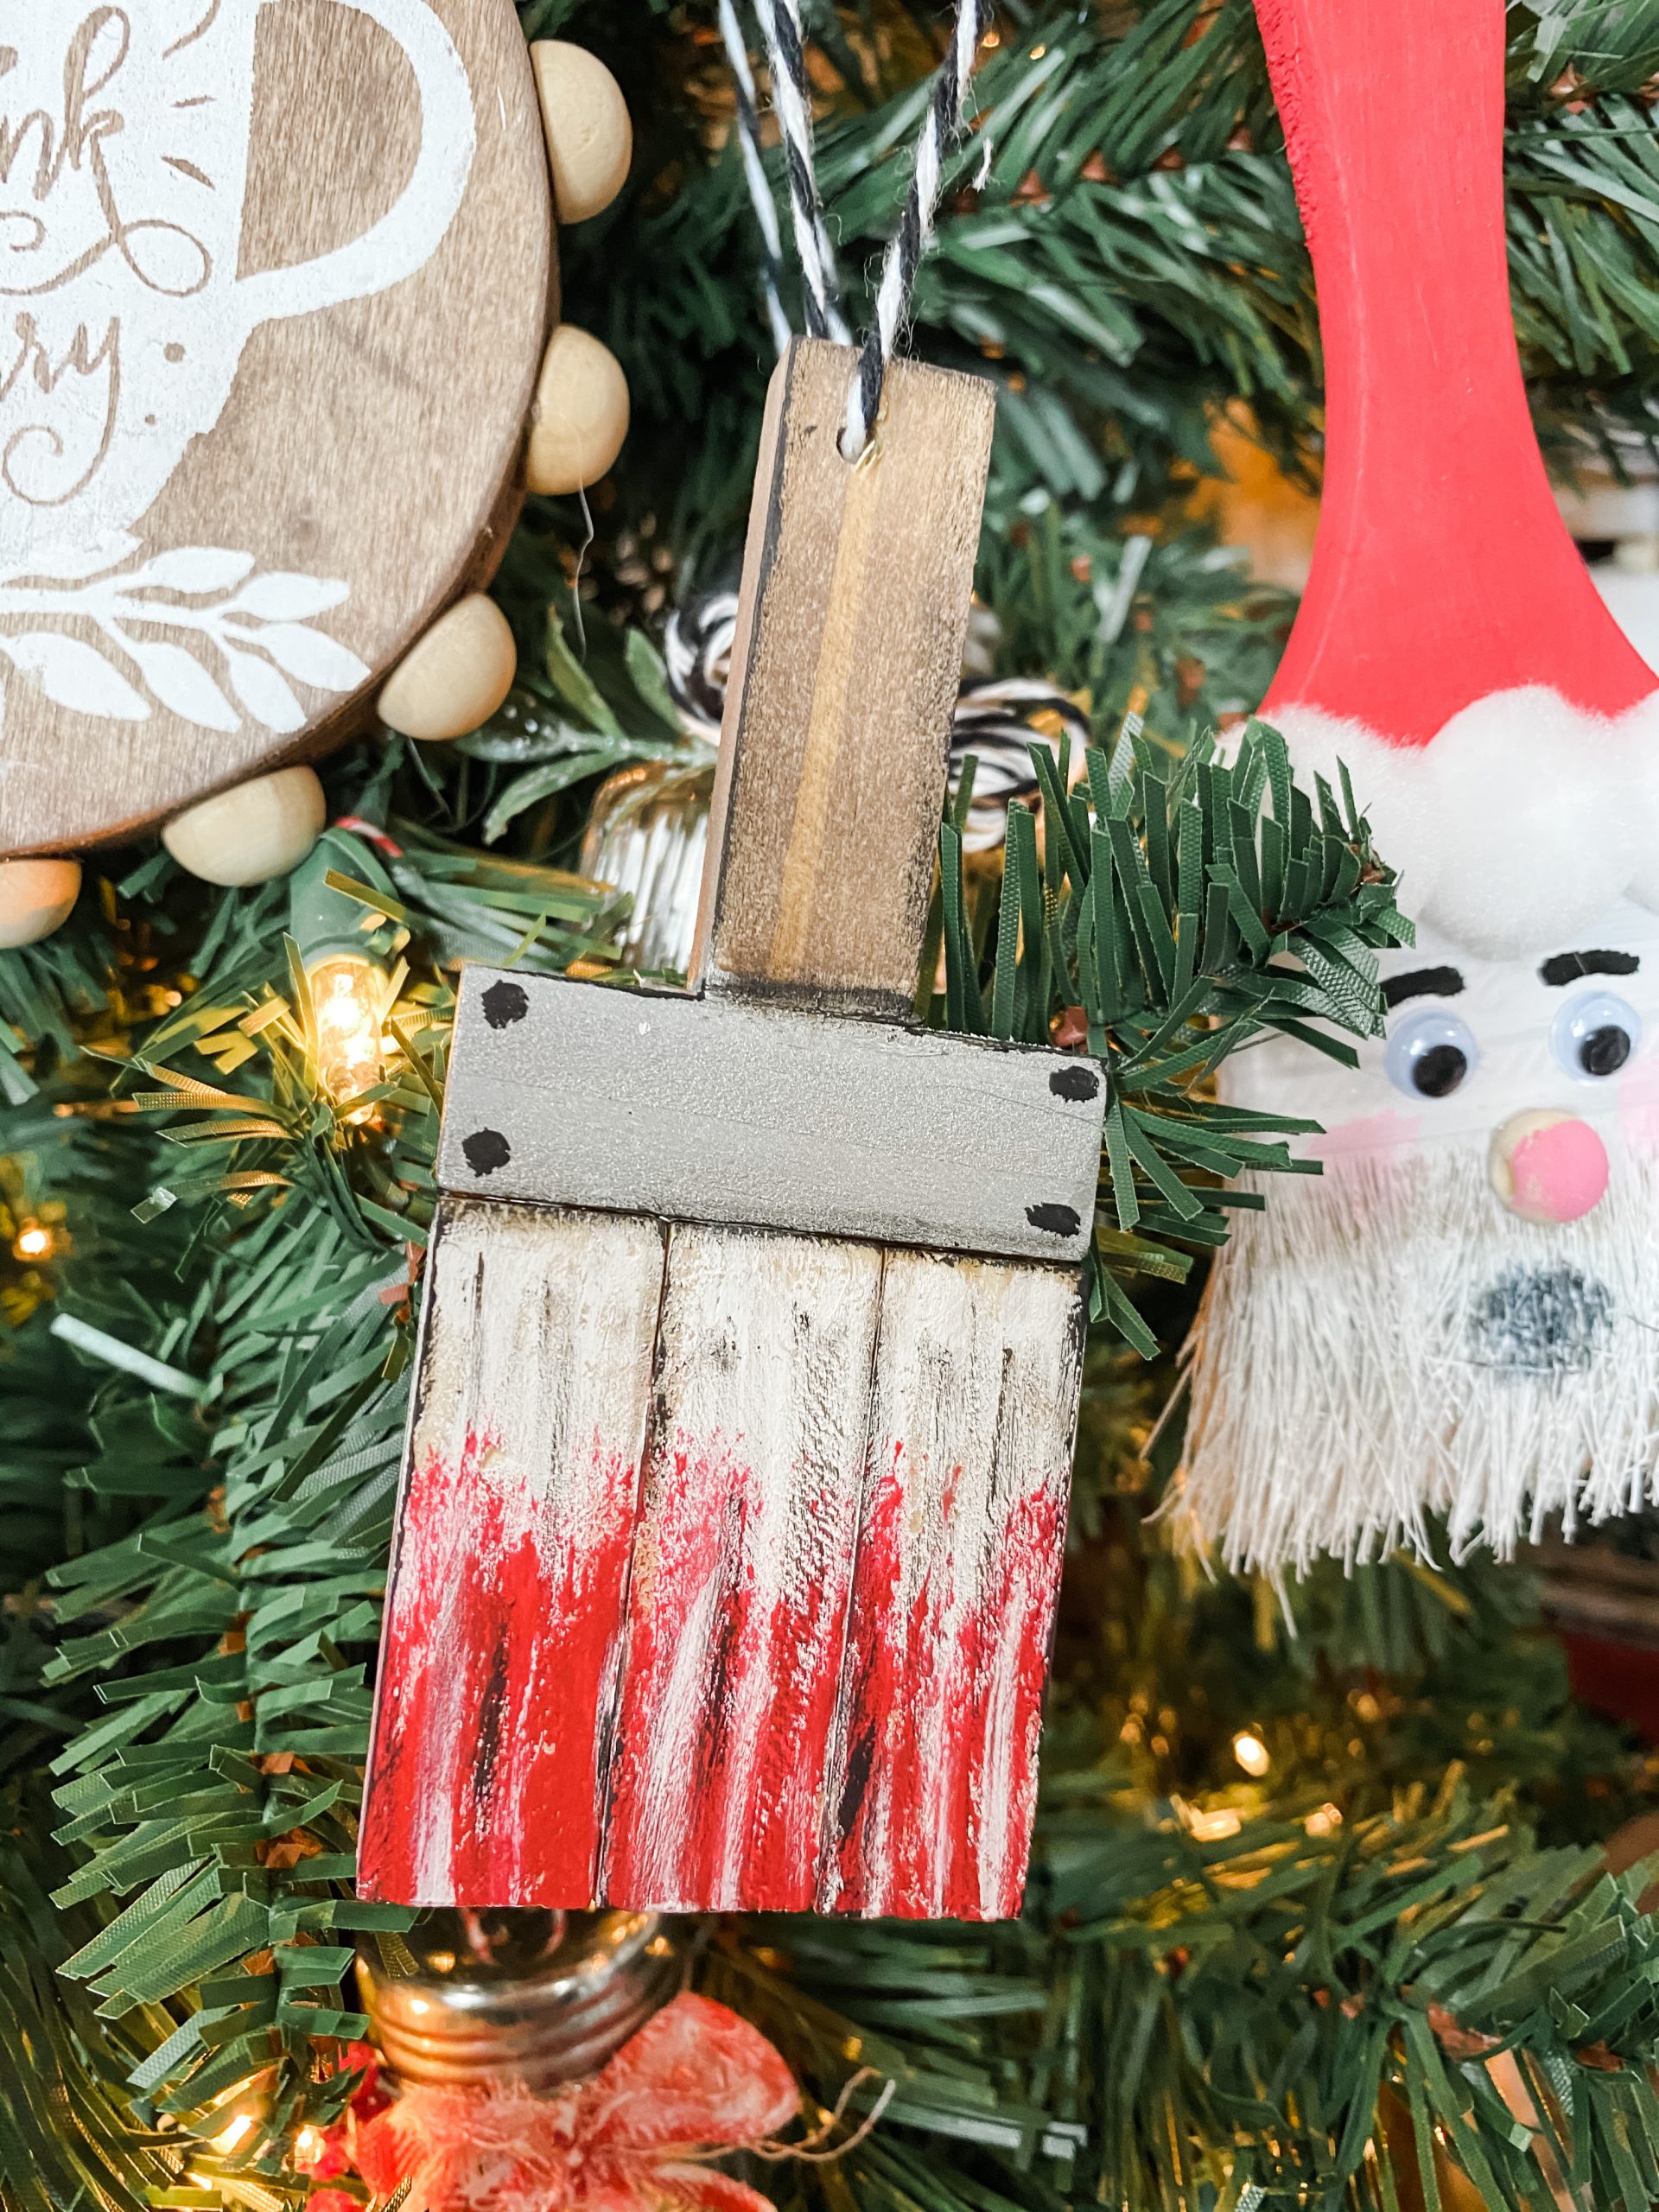
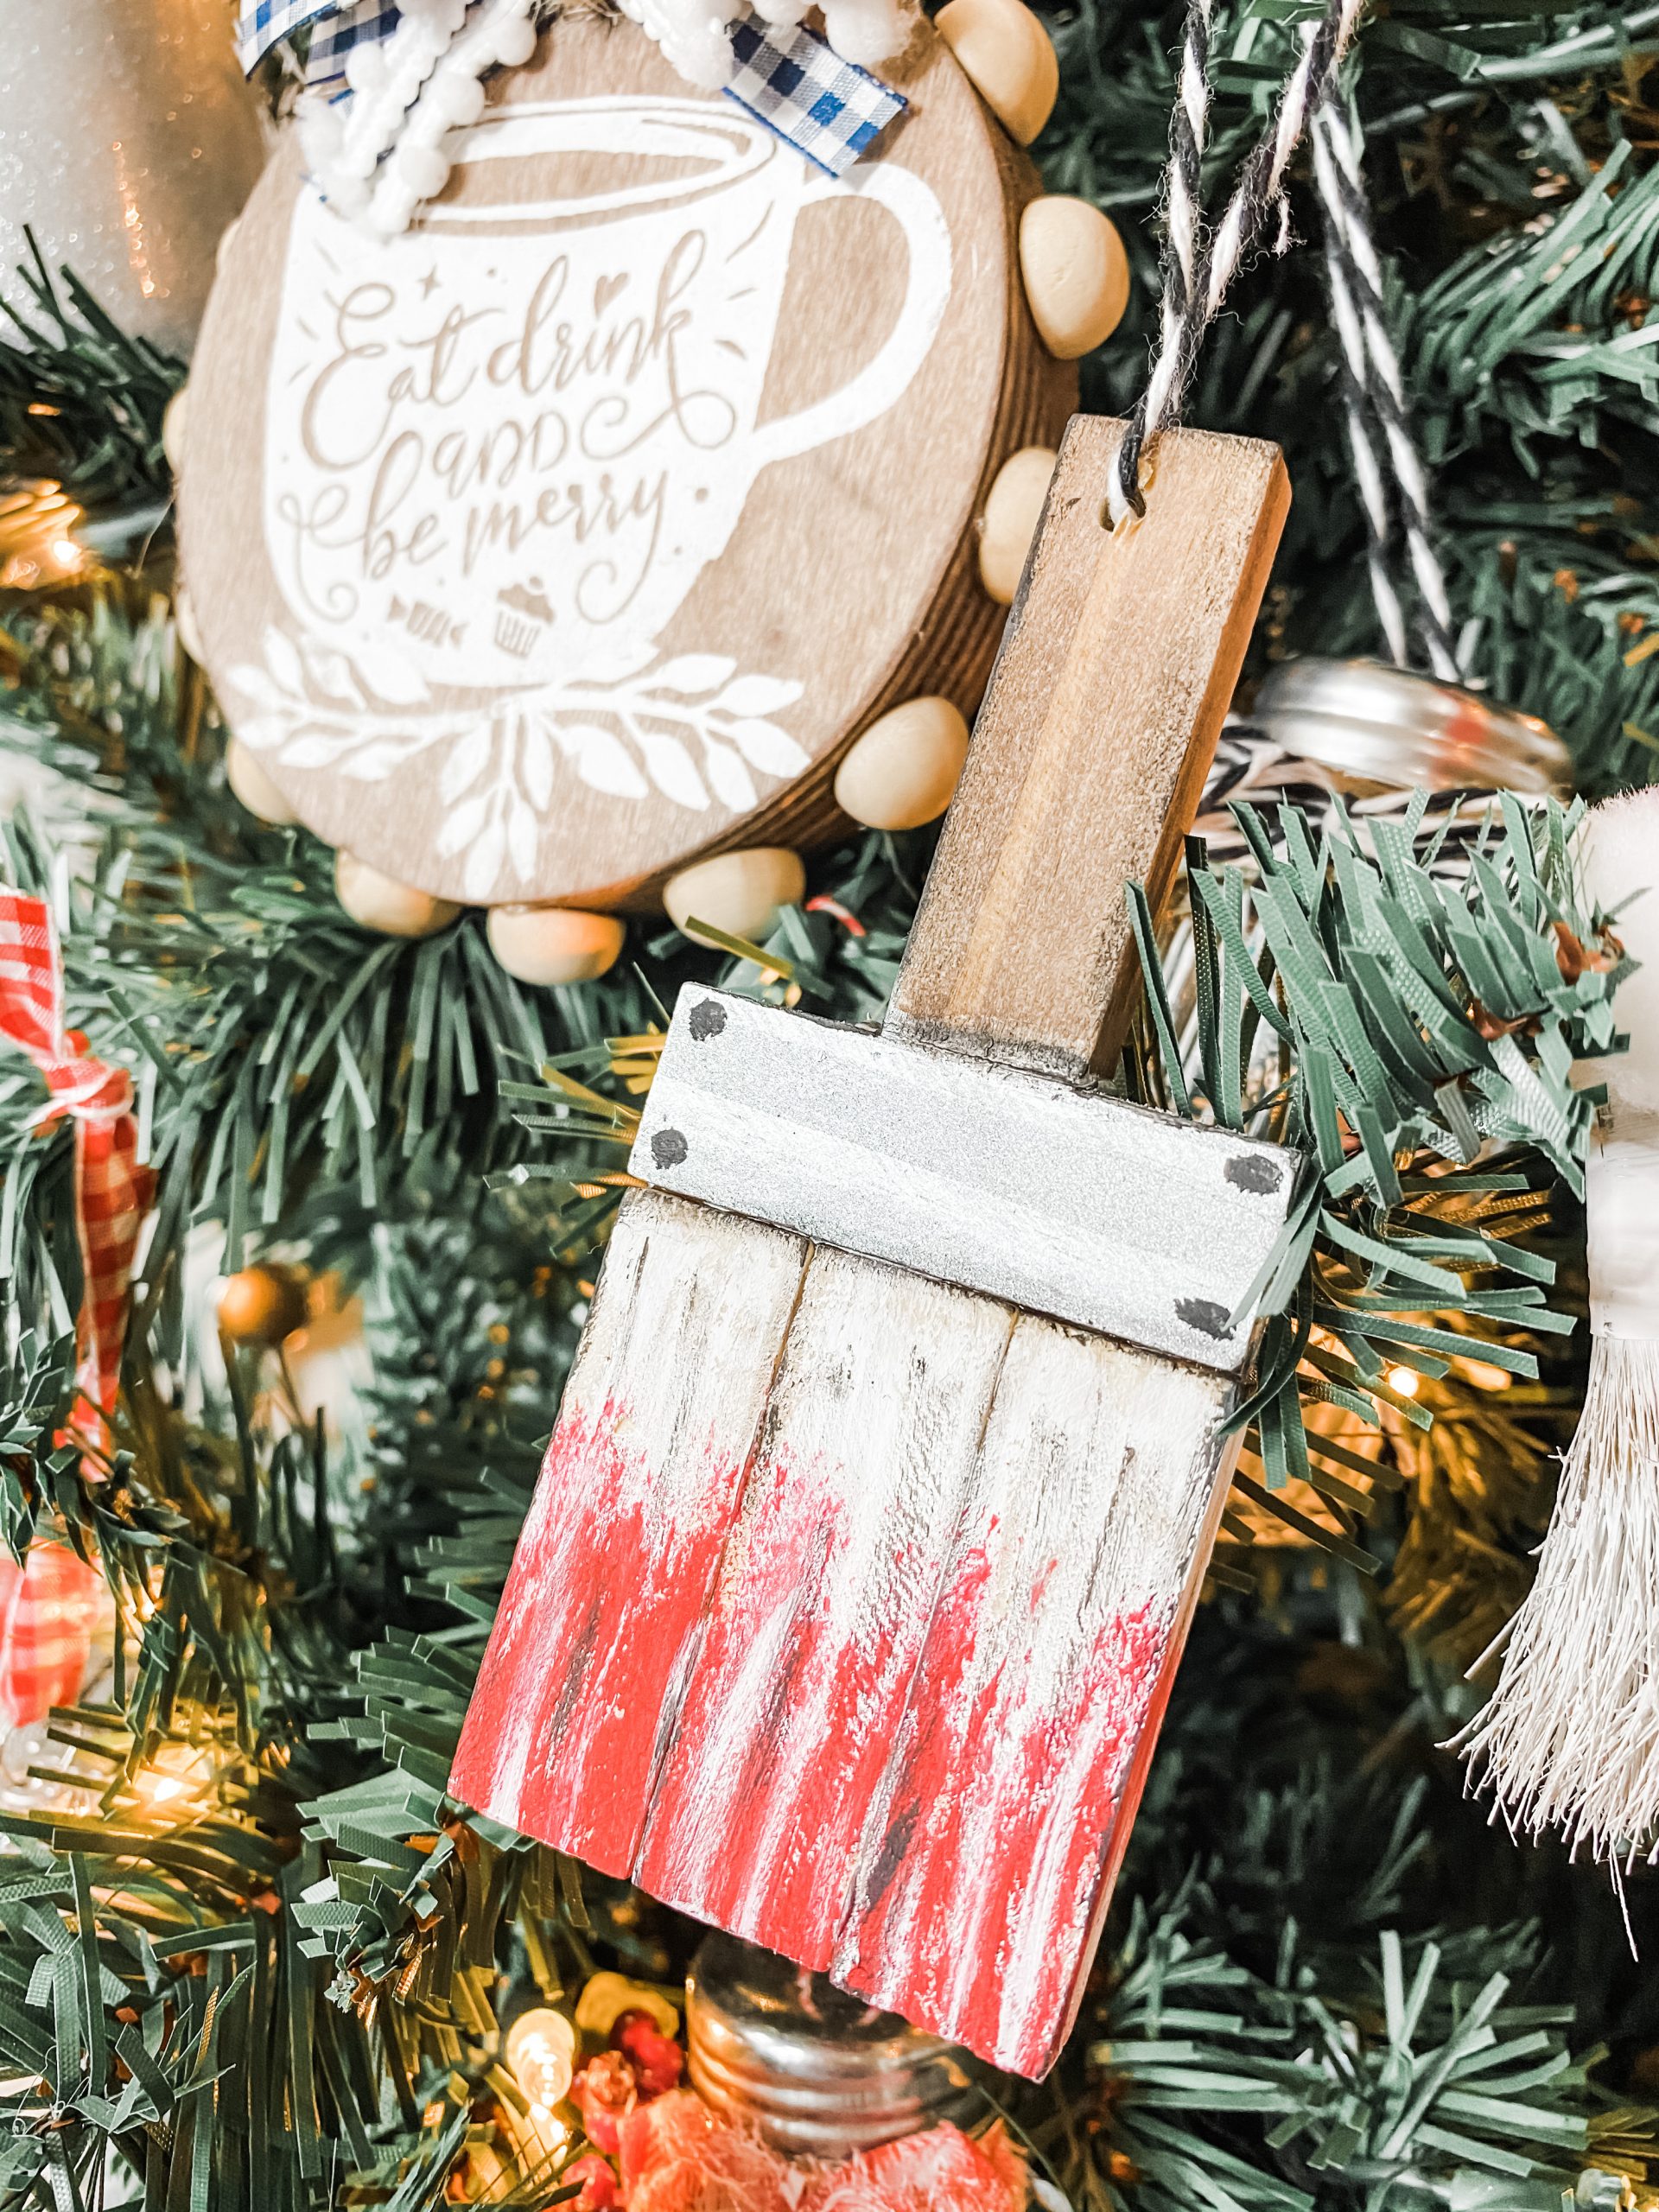
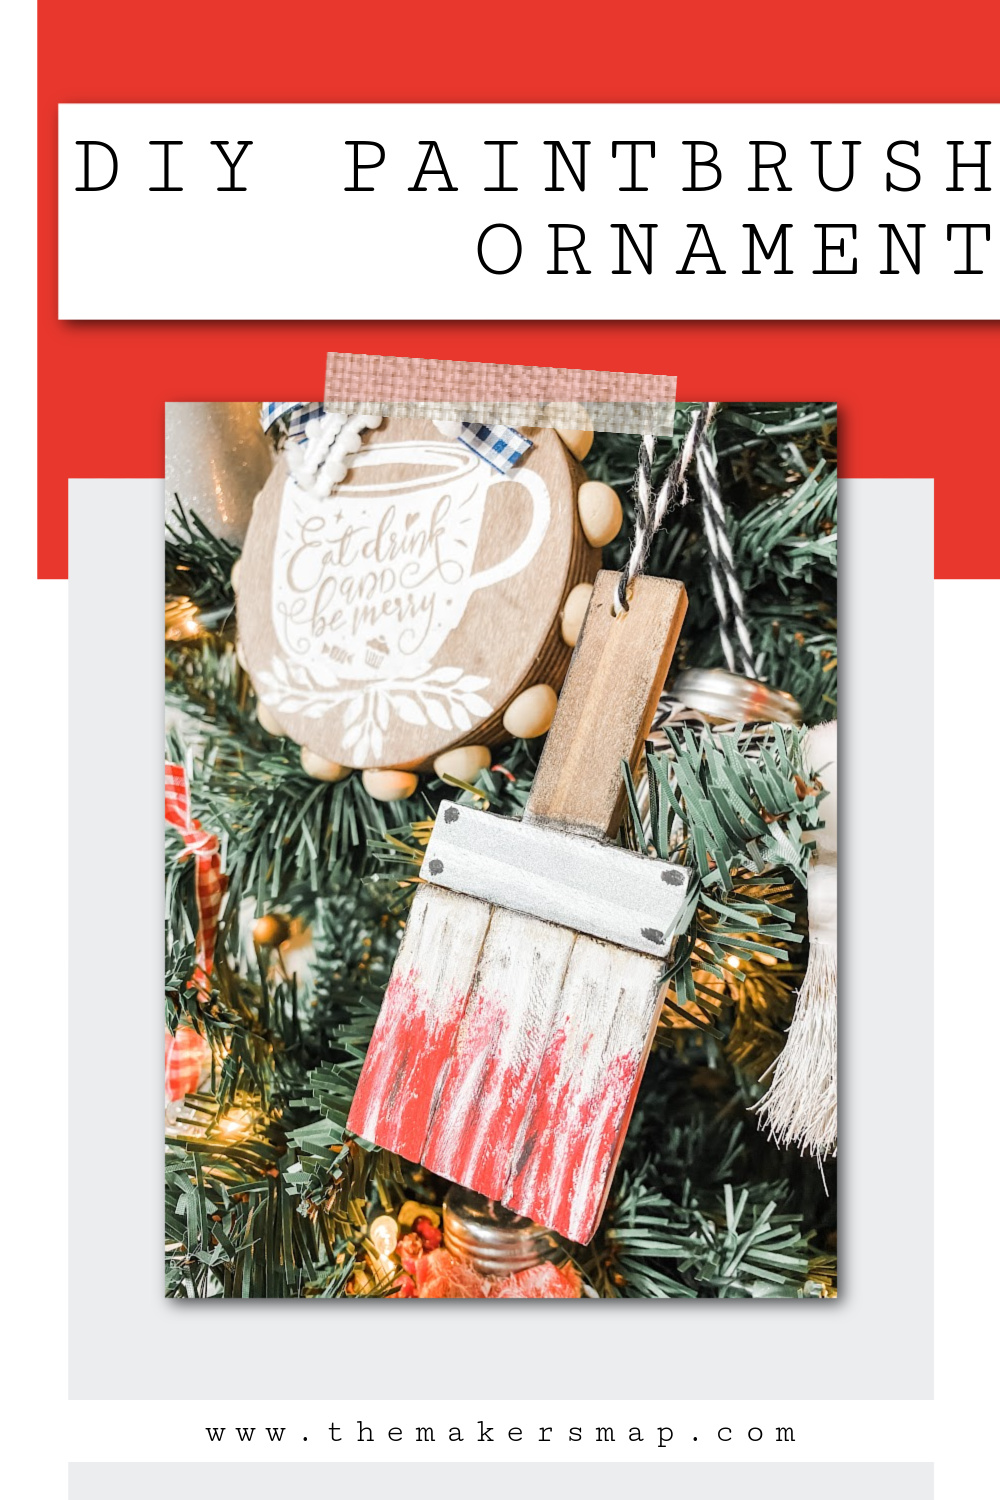
#2 DIY Paintbrush Ornament
The second of the 3 DIY Christmas Tree Ornaments is just as simple as the last one!
I love this ornament idea because it represents me and so many people like me! DIY’ing is something that I’m very passionate about, and it’s something that I really enjoy doing.
So a paintbrush ornament is just perfect! Even if you’re not as into crafting and DIY as I am, maybe you know someone who is and you can make this ornament as a gift for them!
Watch the DIY tutorial for the DIY paintbrush ornament
I made this adorable DIY paintbrush ornament during a live video along with a DIY Christmas gnome!
If you want to see the DIY process, craft along, or just join in on the fun conversations, you can watch the DIY tutorial replay!

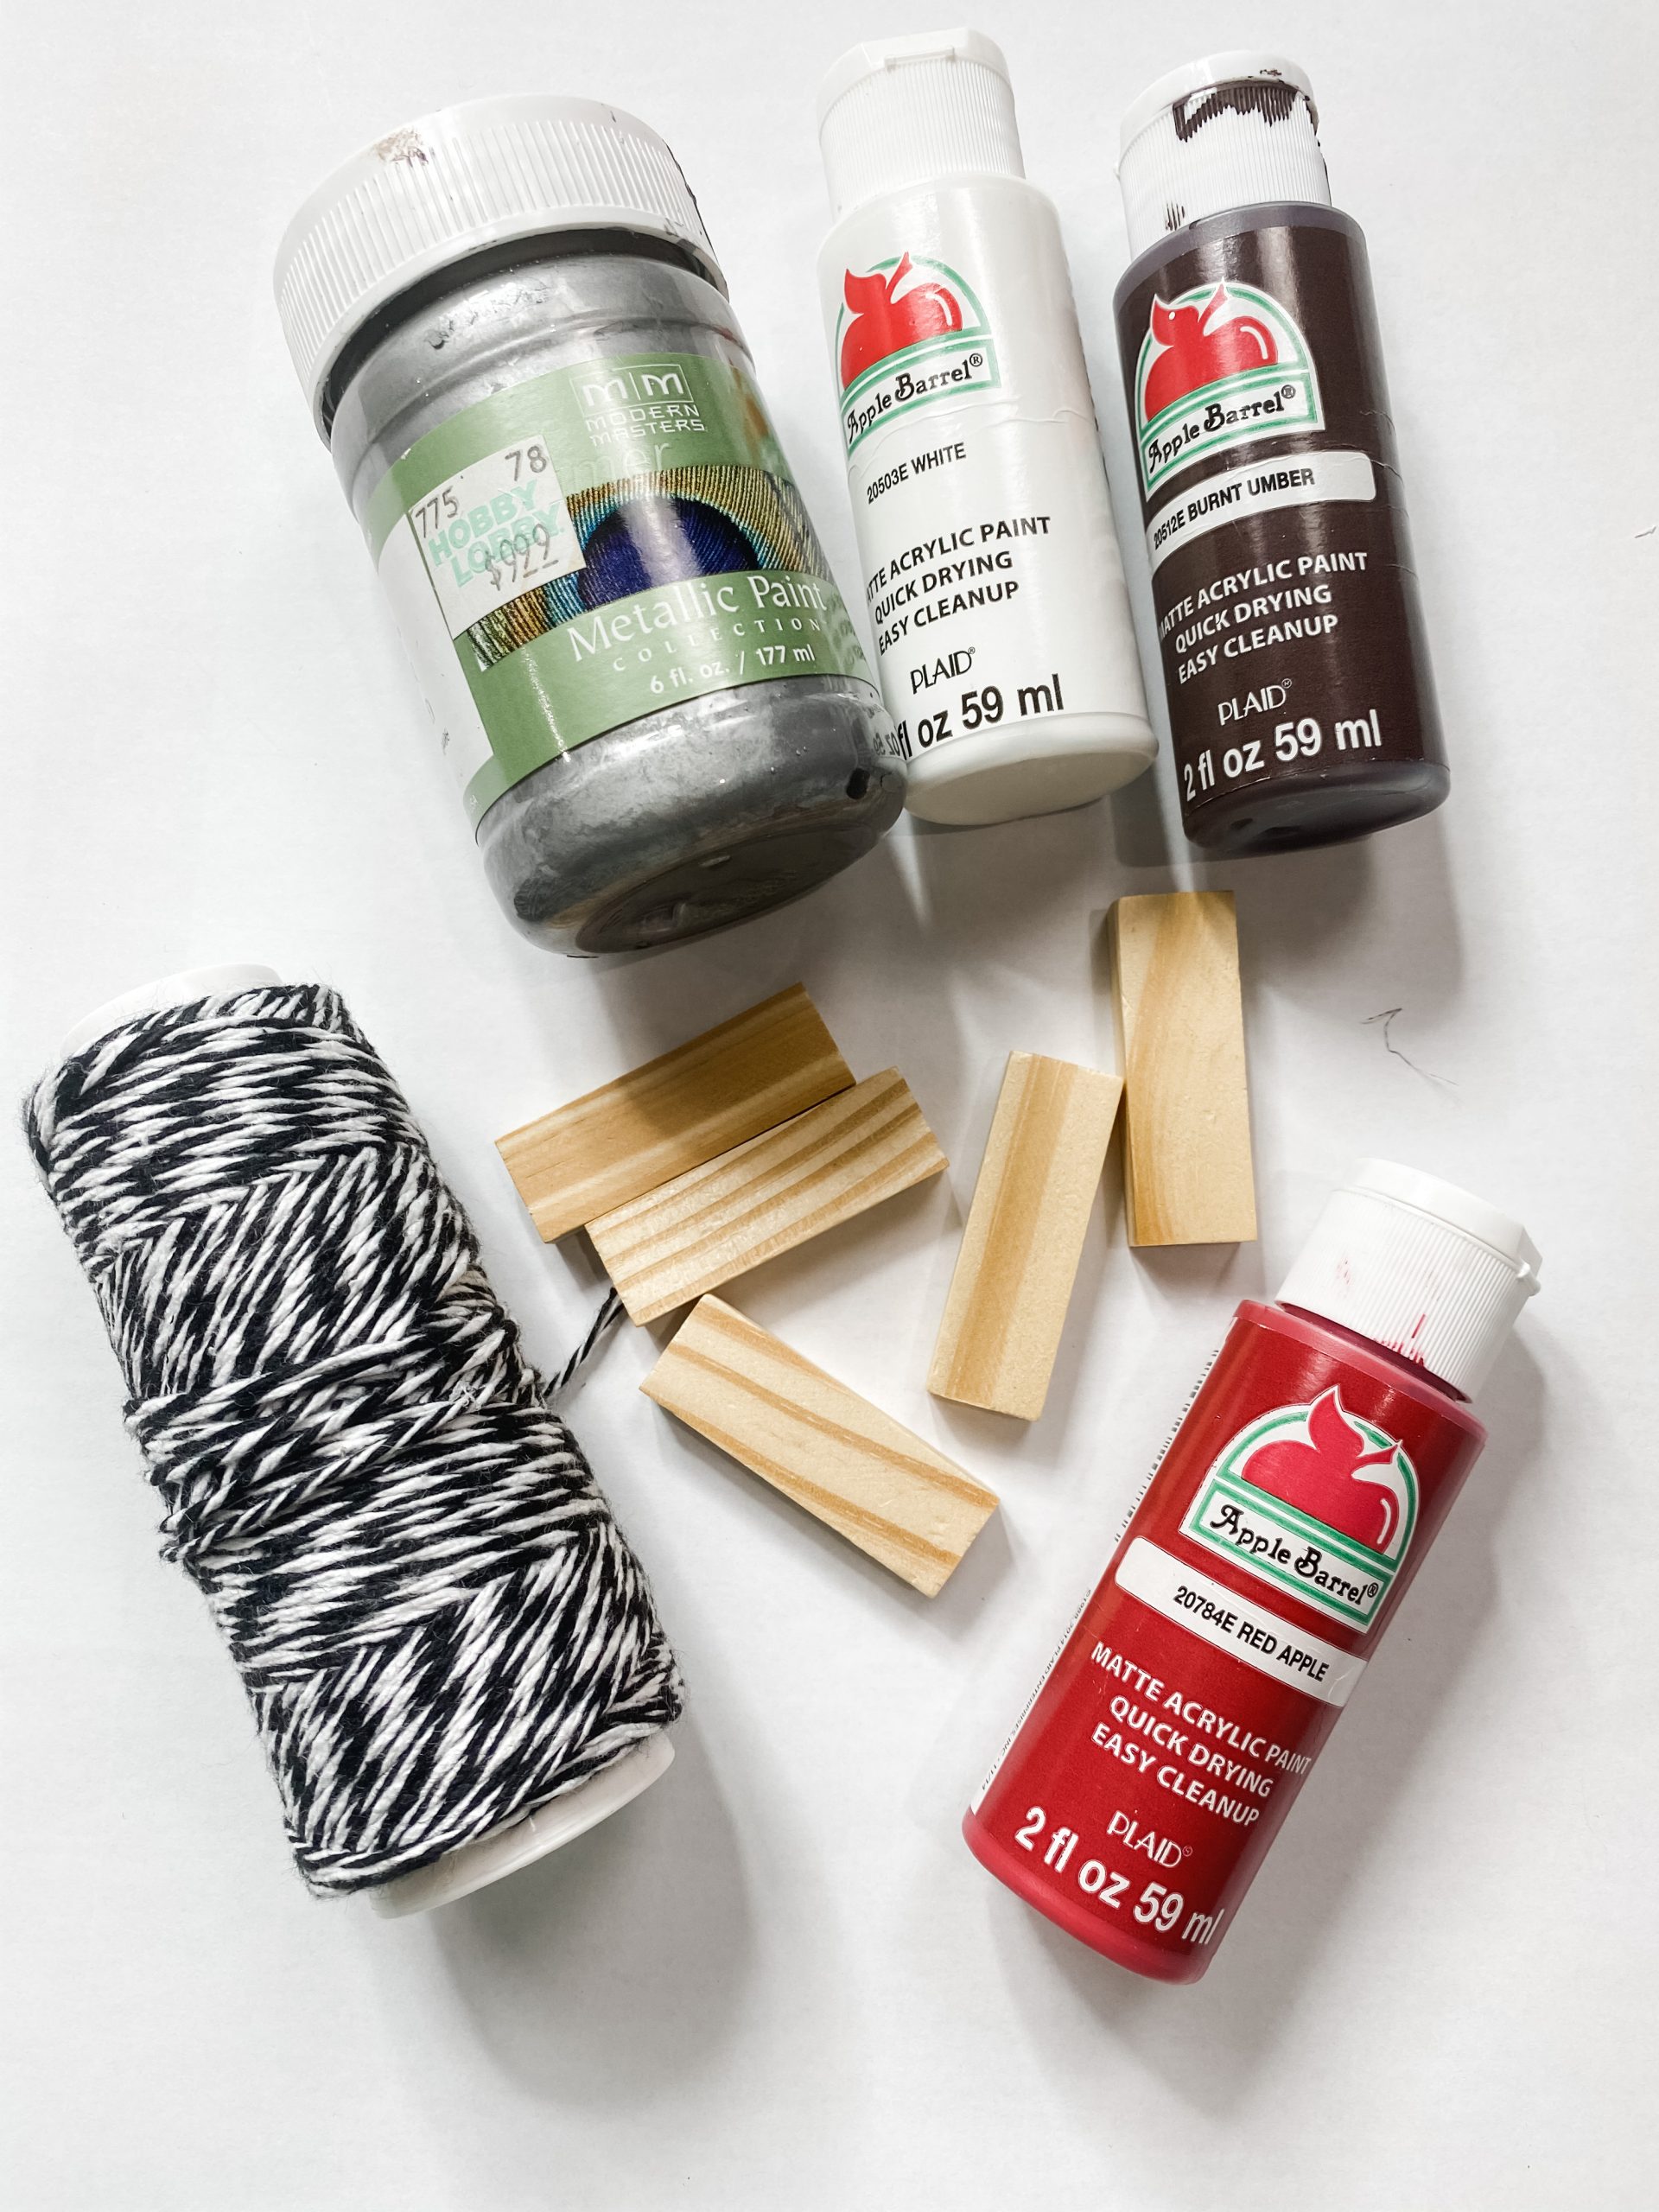
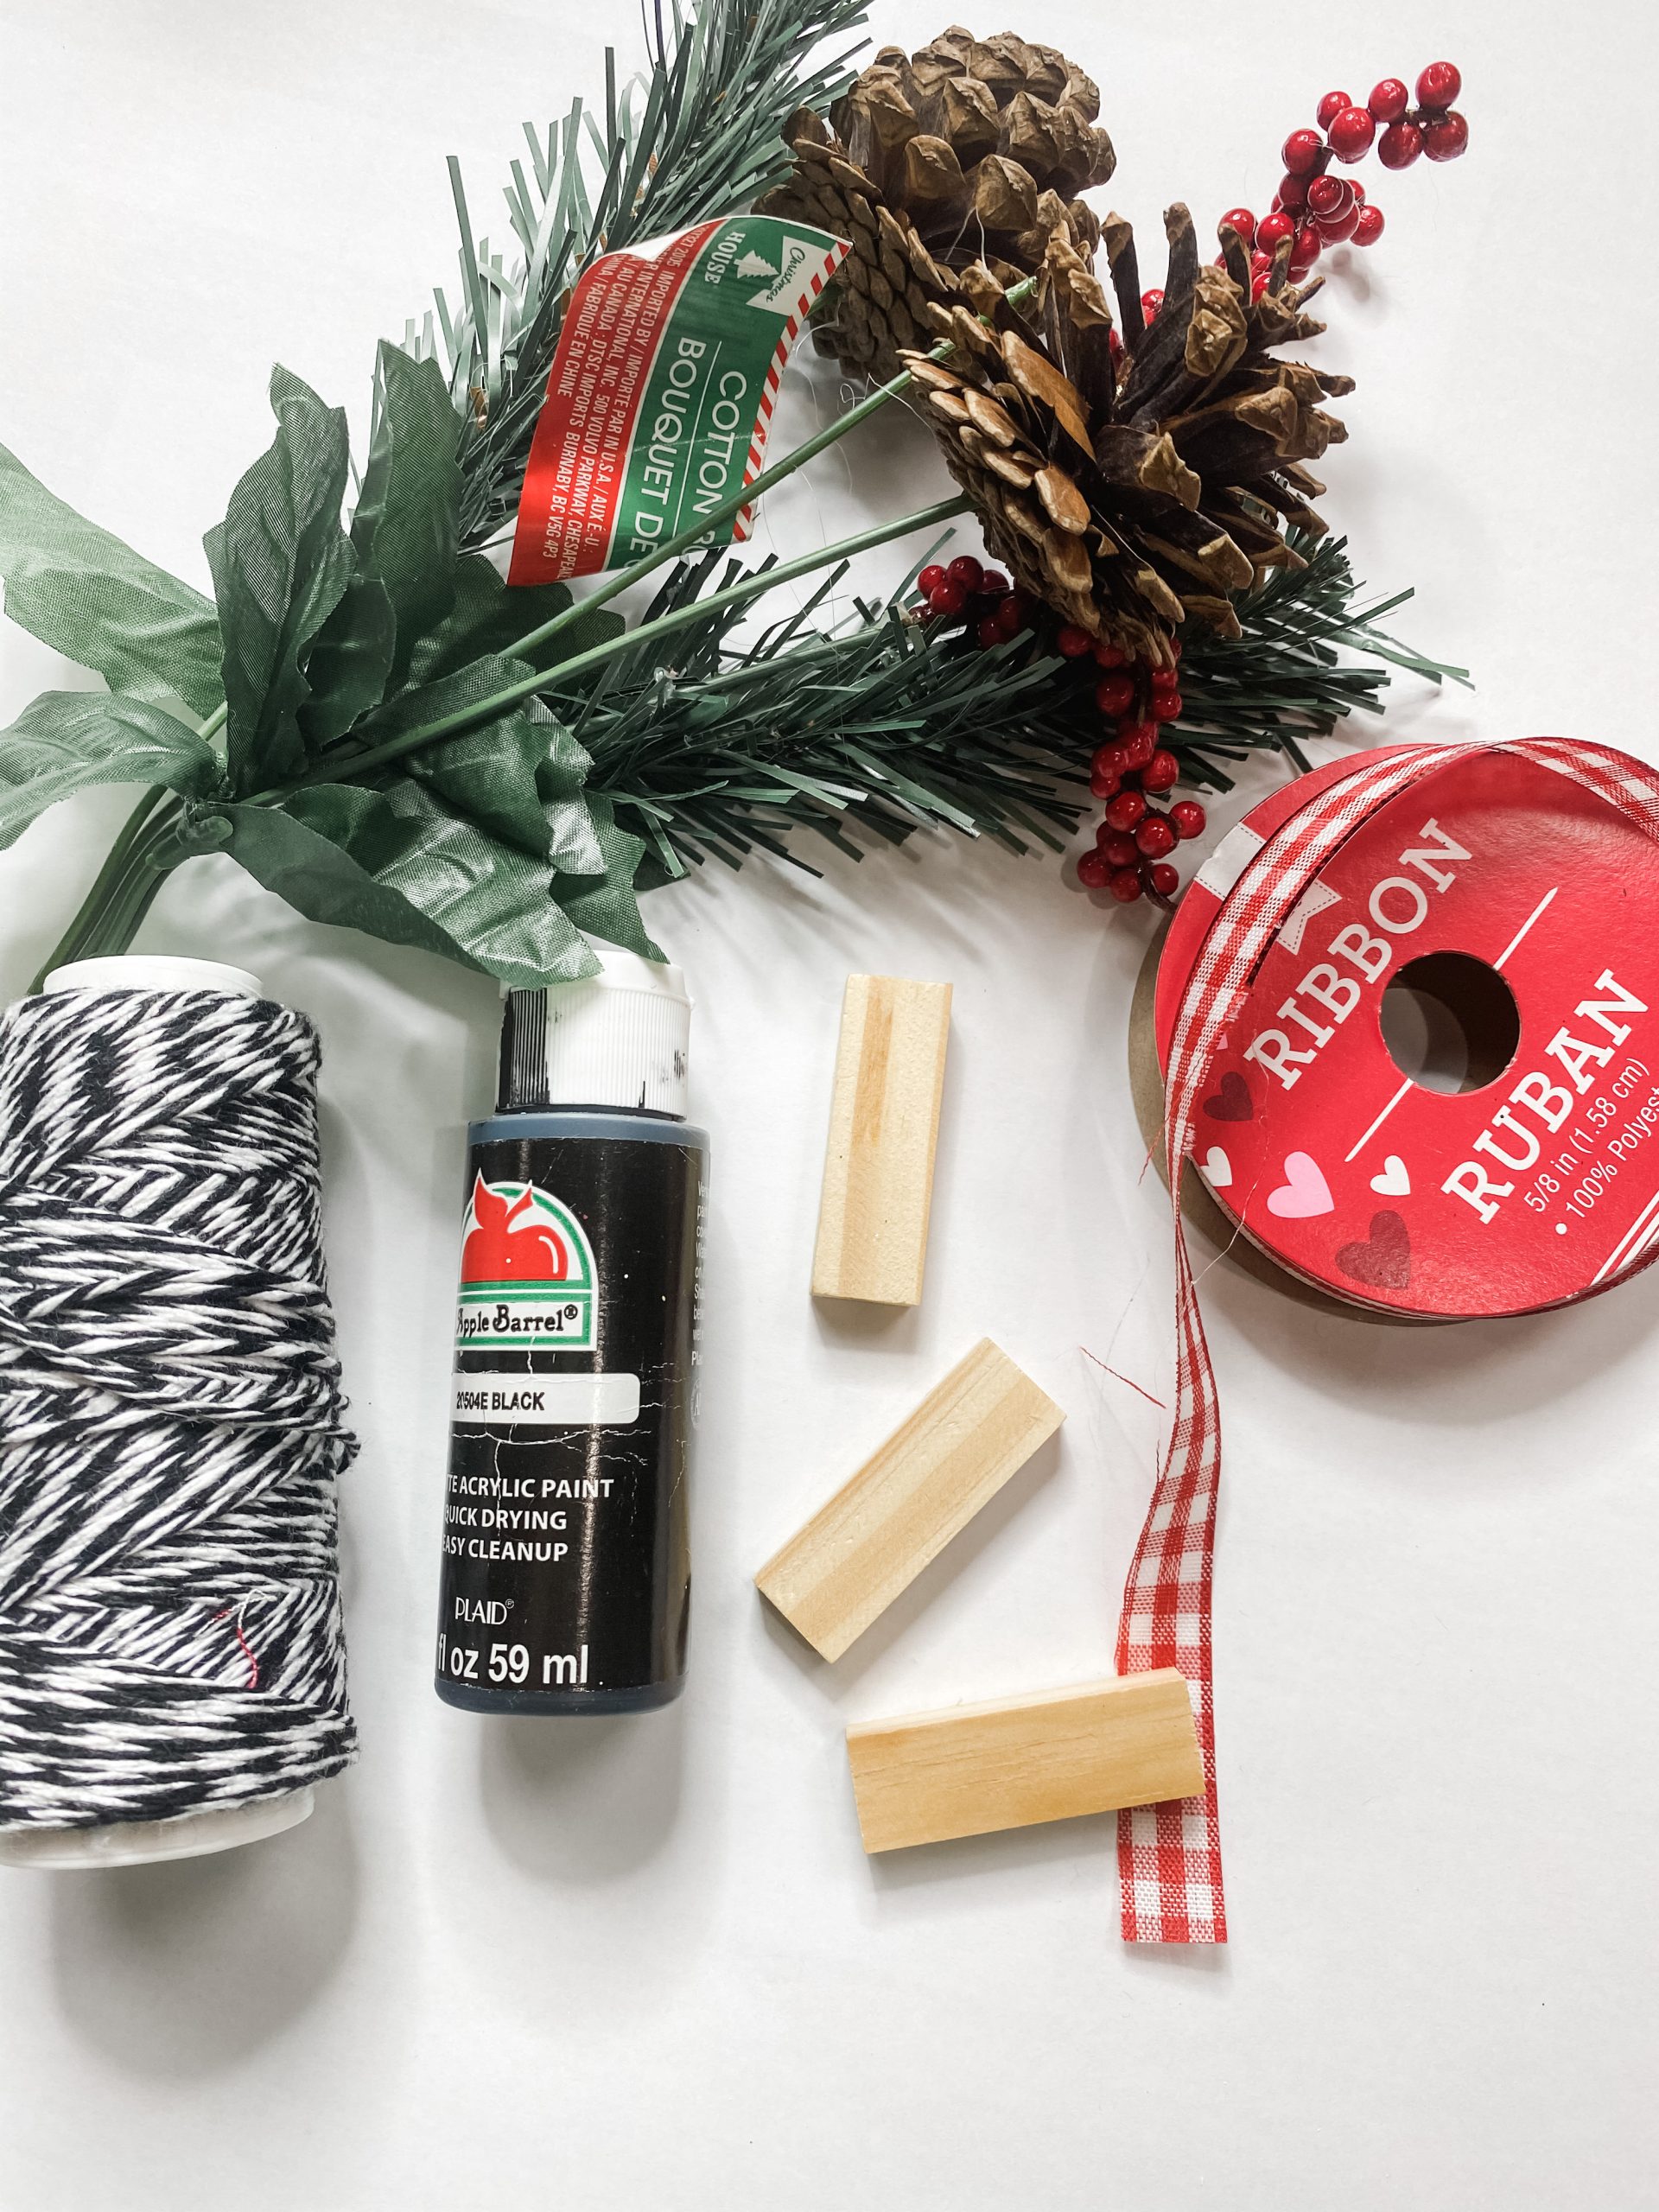
For the DIY paintbrush ornament, I will be using these items but you can substitute where you want.
“As an Amazon Associate, I earn from qualifying purchases.”
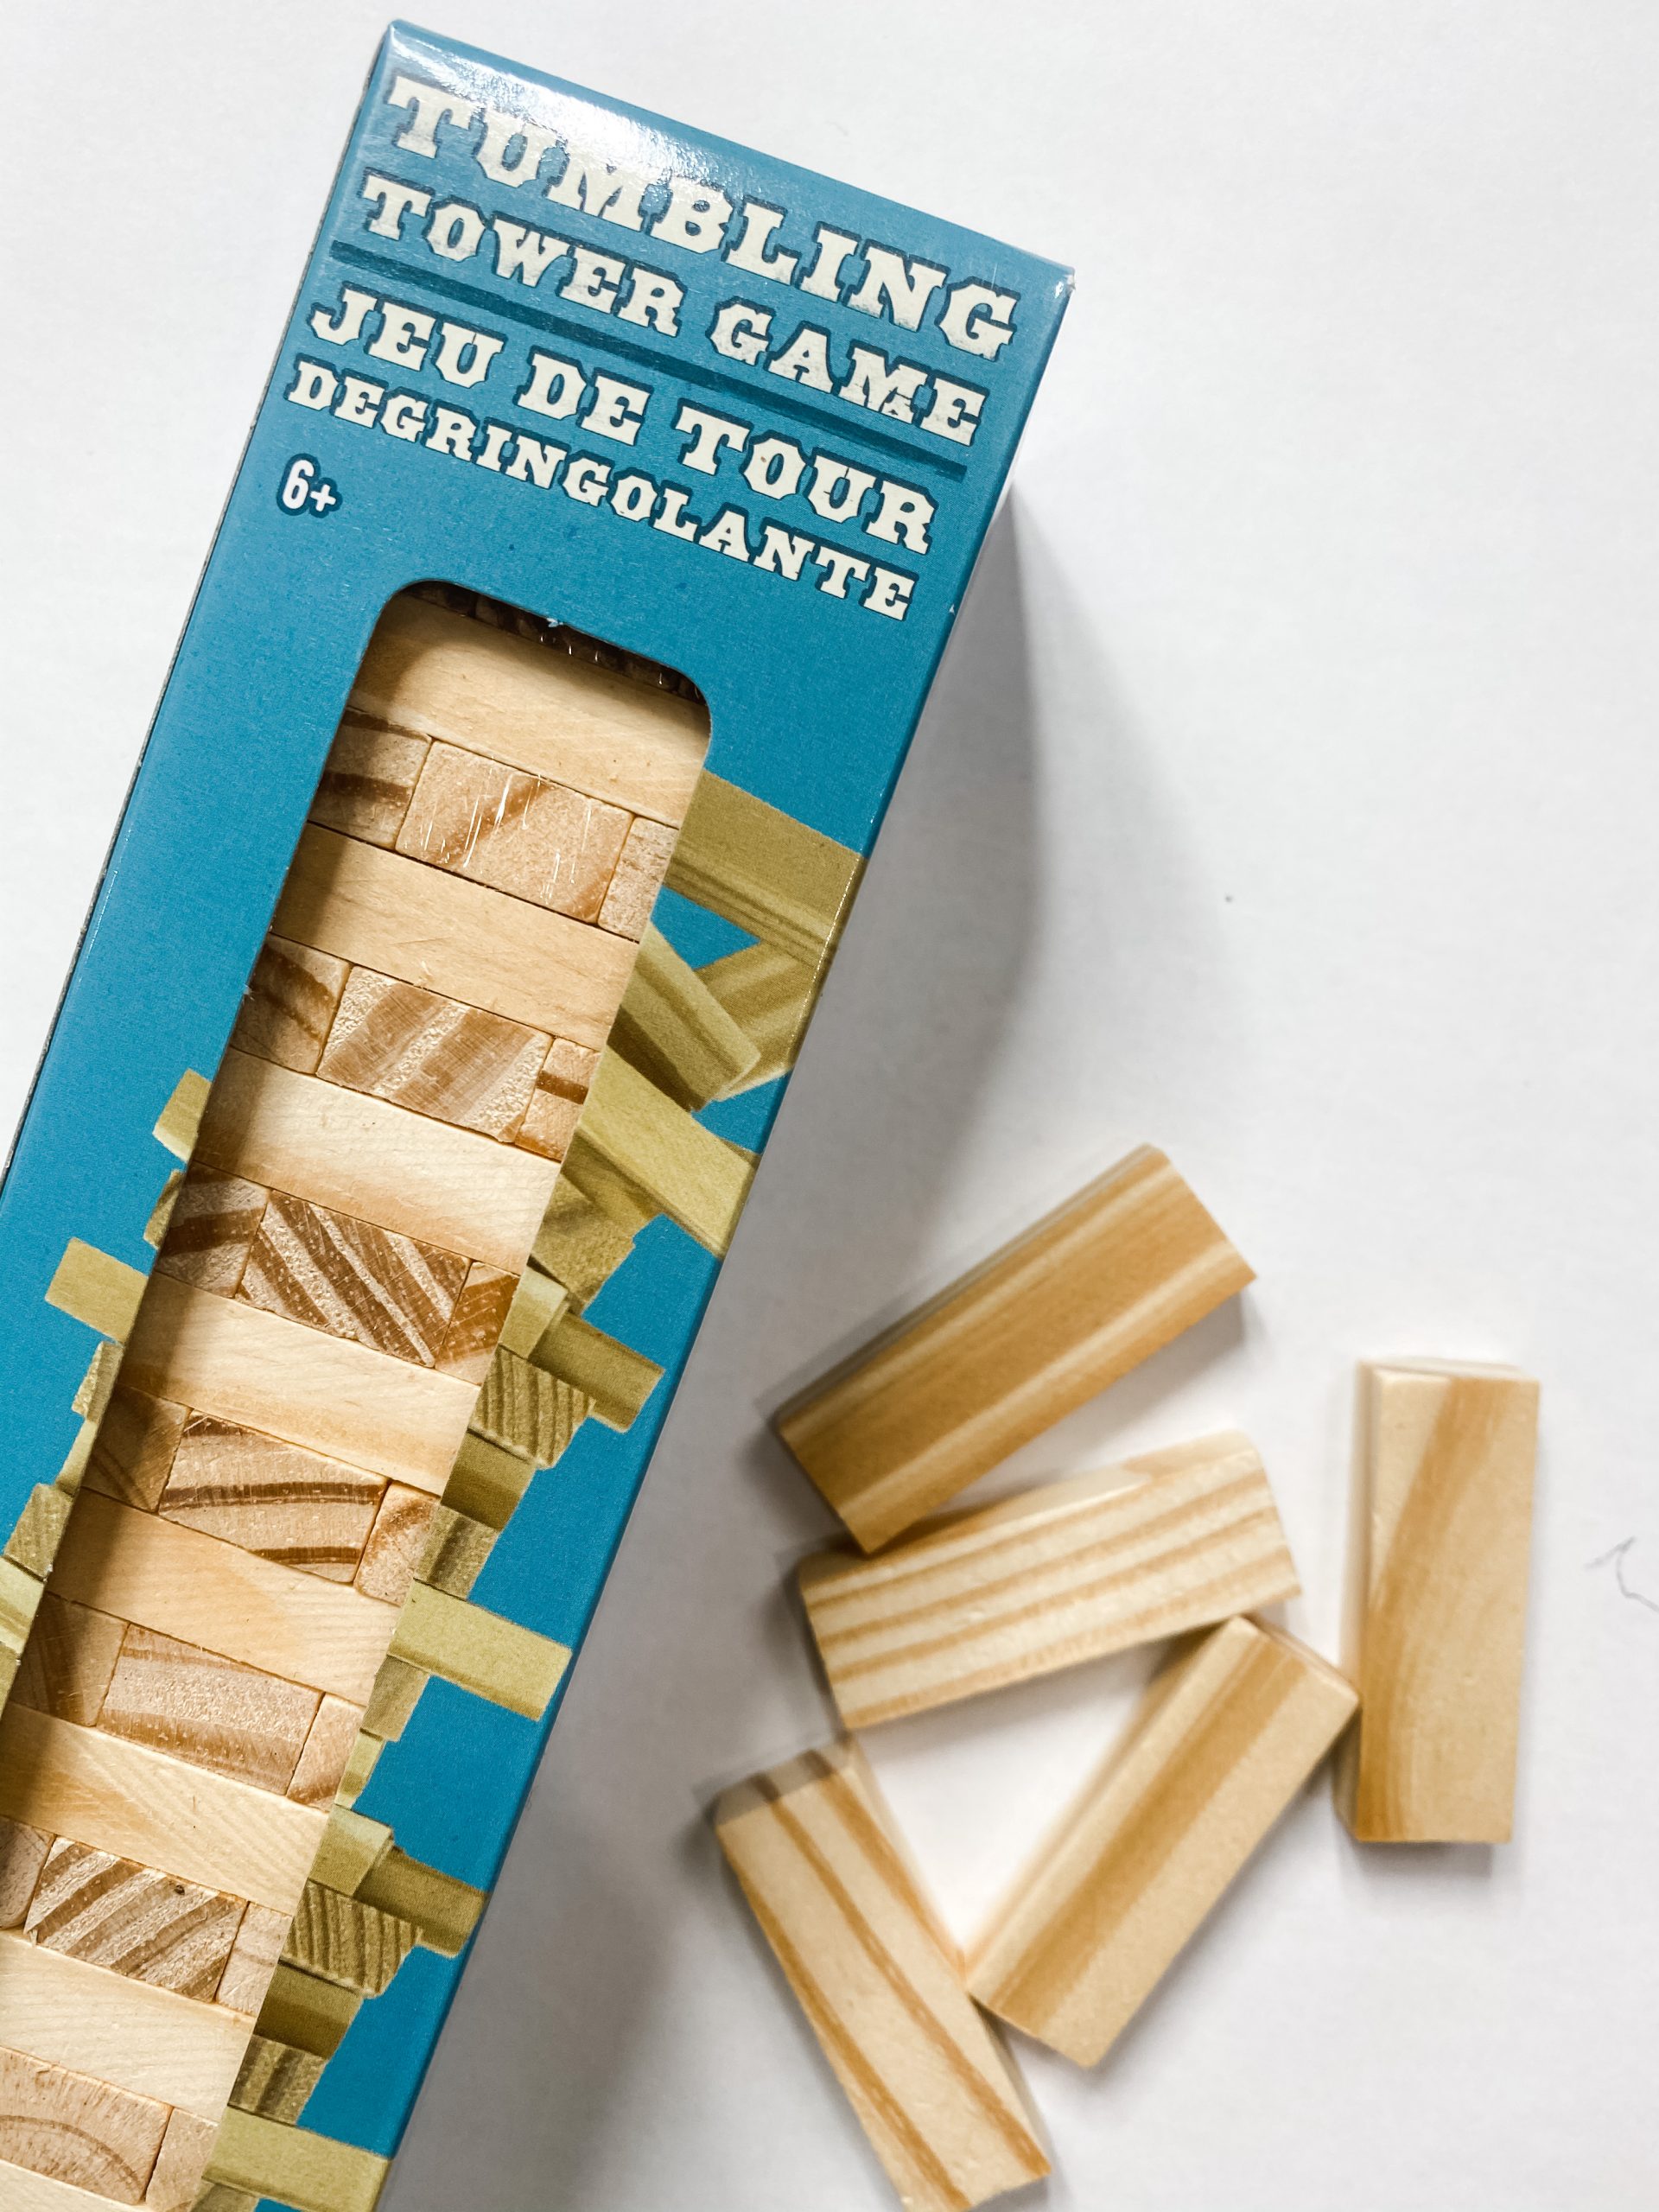
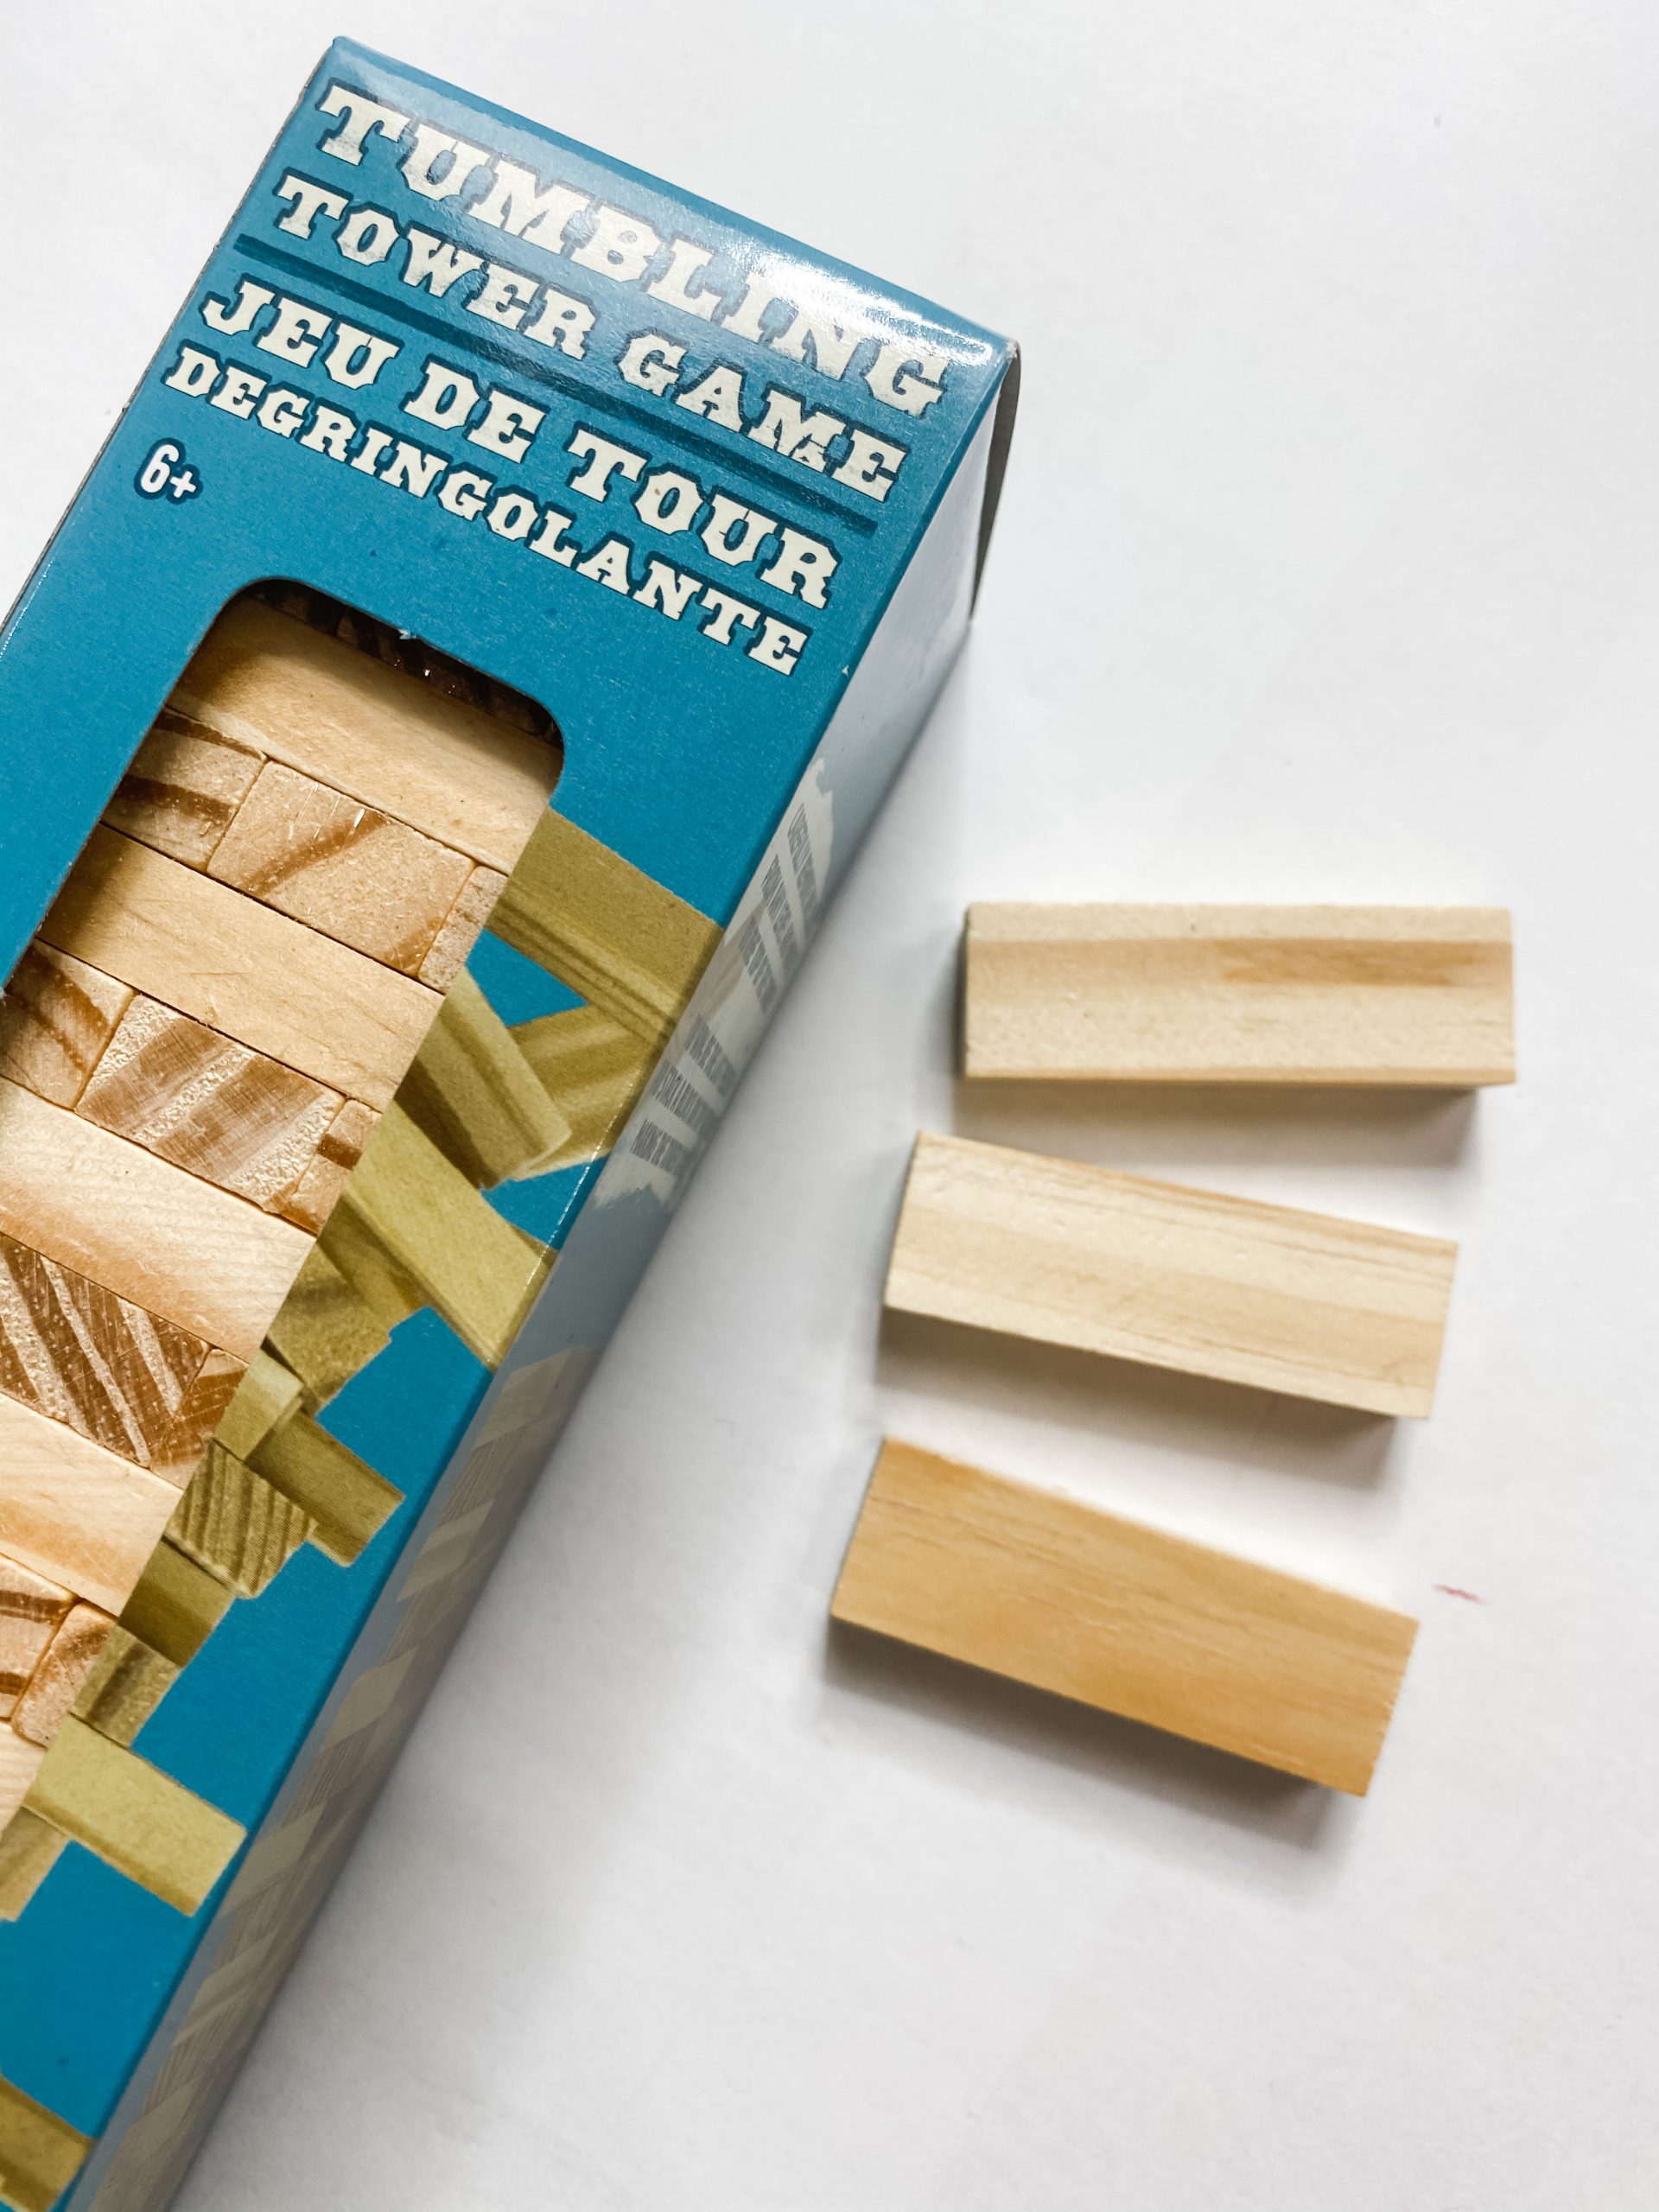
- Dollar Tree Tumbling Tower Blocks
- Black and White Baker’s Twine
- Apple Barrel White Acrylic Paint
- Apple Barrel Burnt Umber Acrylic Paint
- Modern Masters Metallic Paint
- Apple Barrel Red Apple Acrylic Paint
- Glue Gun and Glue Sticks
- Heat gun
- Scissors
How to make a DIY paintbrush ornament
To make your own DIY paintbrush ornament, you’ll need four Dollar Tree tumbling tower blocks first. Hot glue three of them together, side-by-side, vertically.
Hot glue one horizontally across the top of those three and hot glue one more vertically to create the handle for your DIY paintbrush!
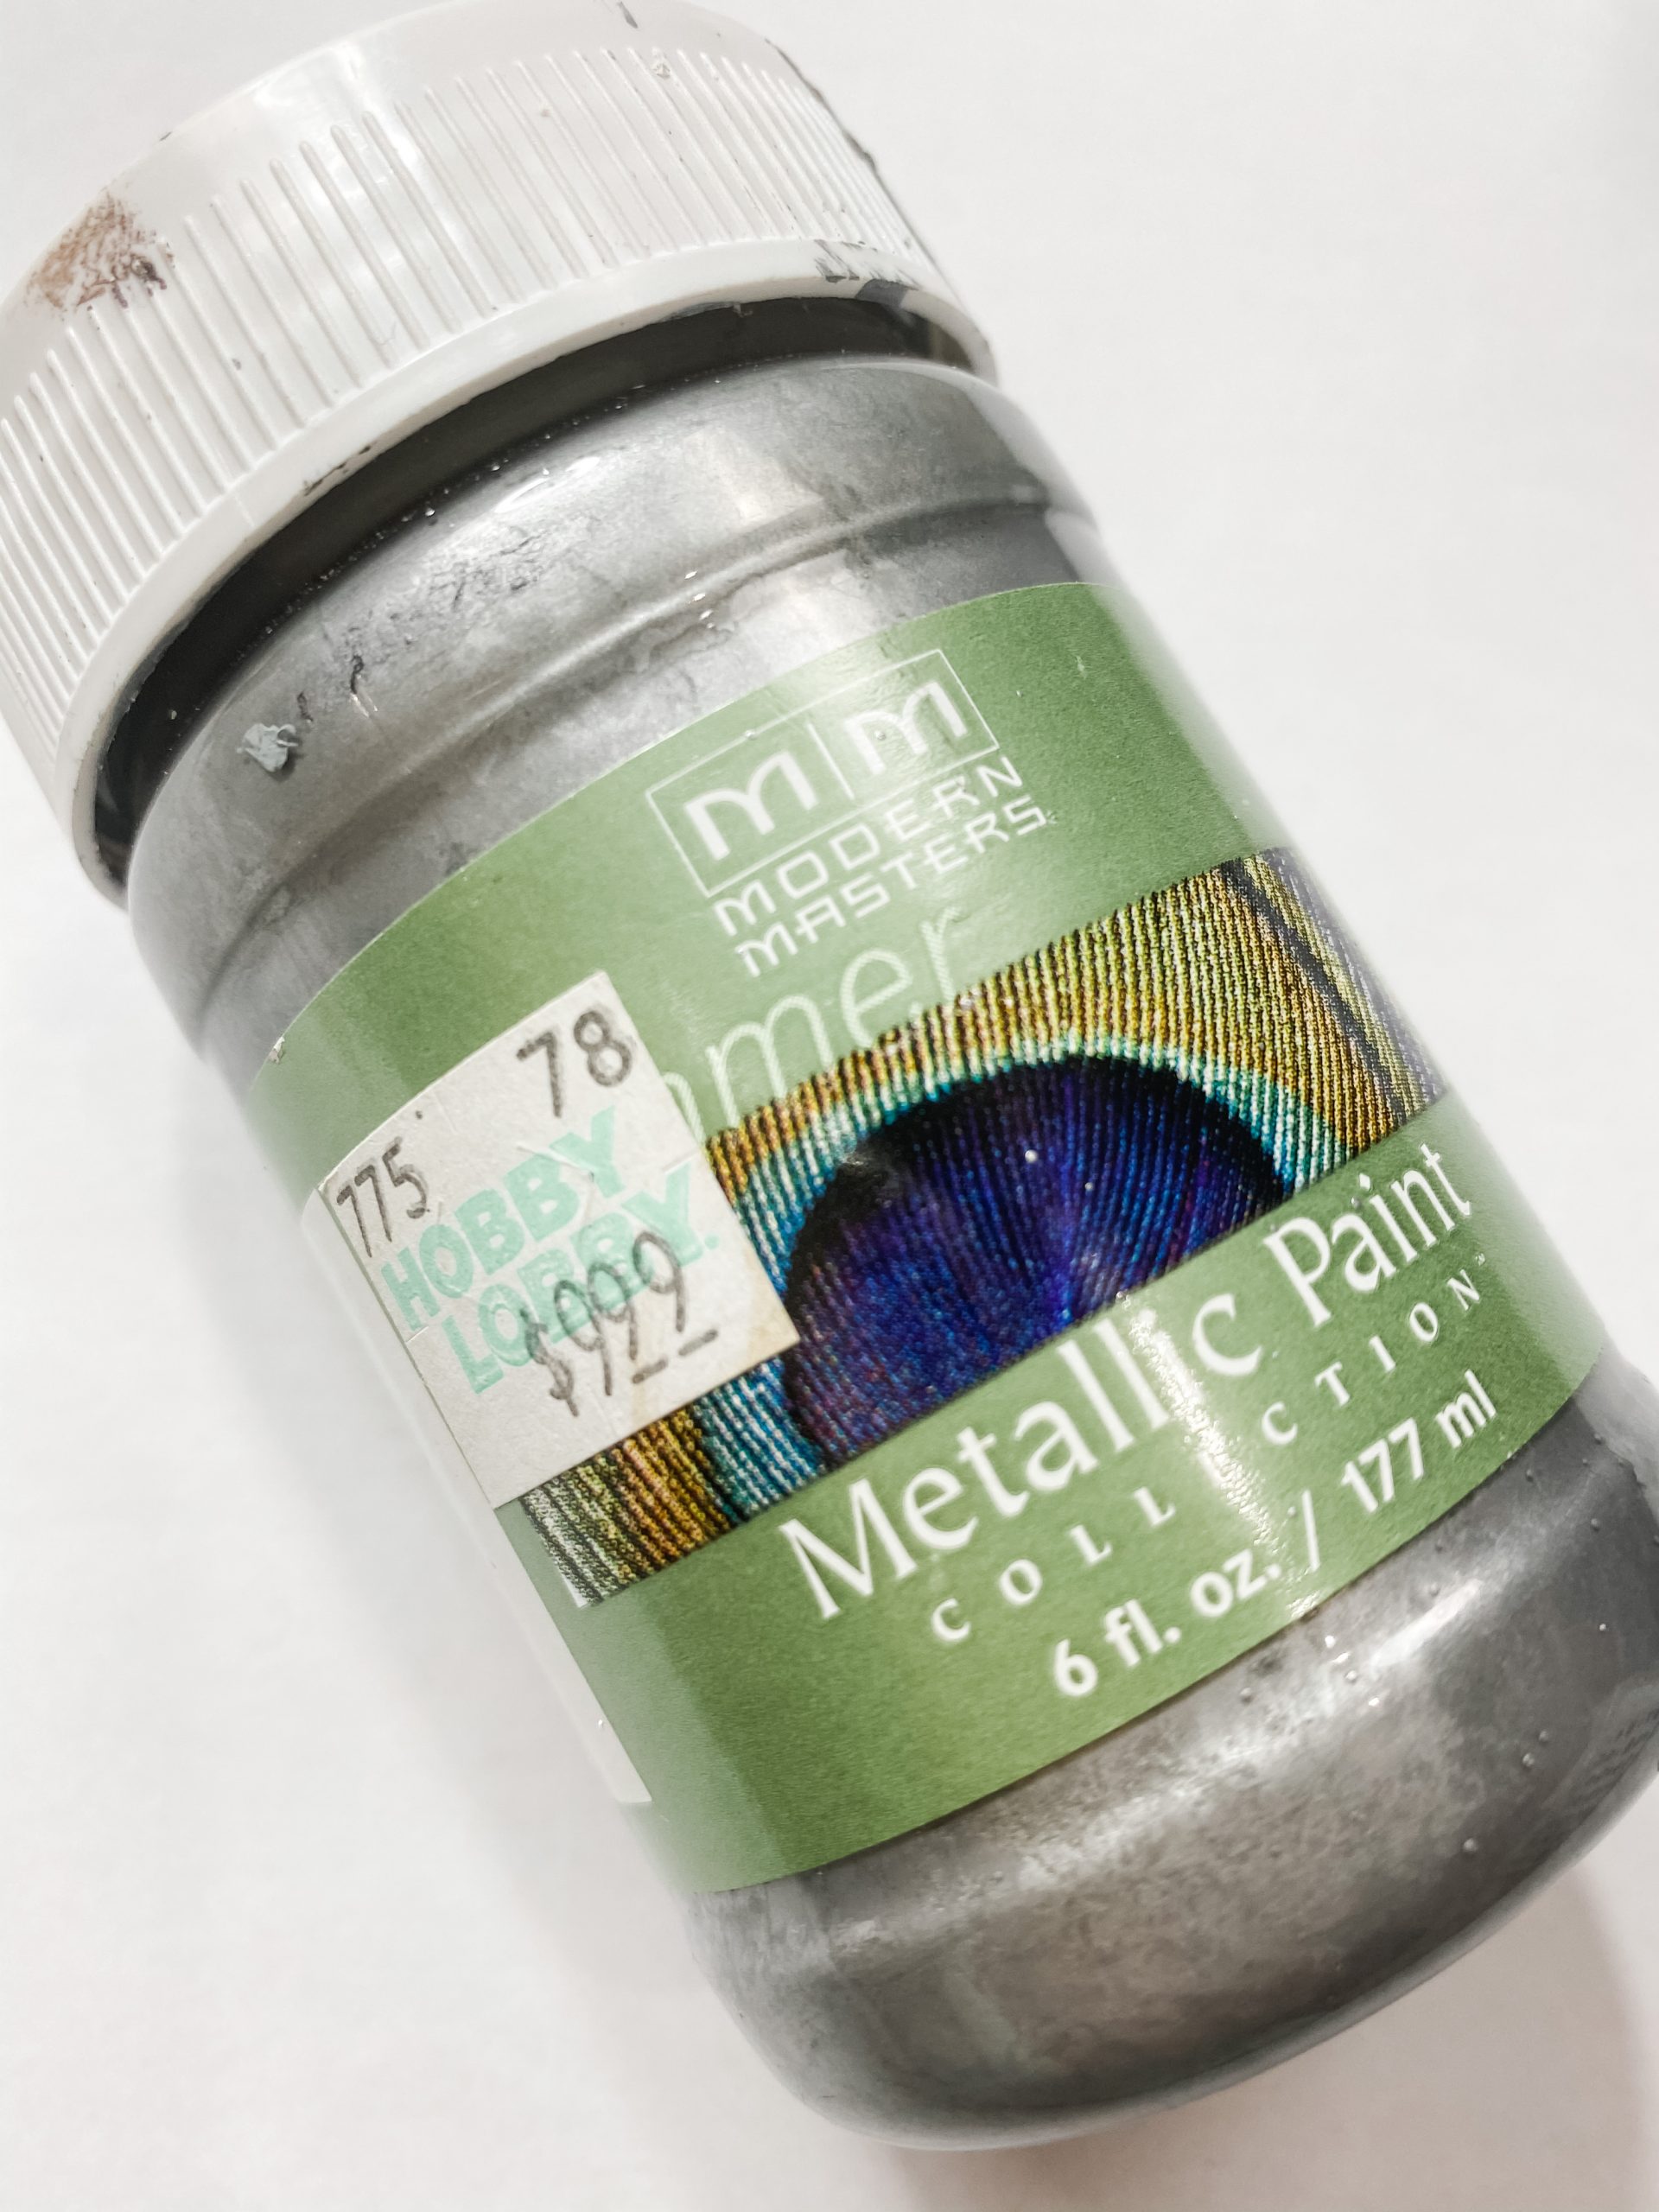
Paint the horizontal block with silver paint. I used Modern Master’s metallic silver paint. Then, paint the three side-by-side vertical blocks with white paint.
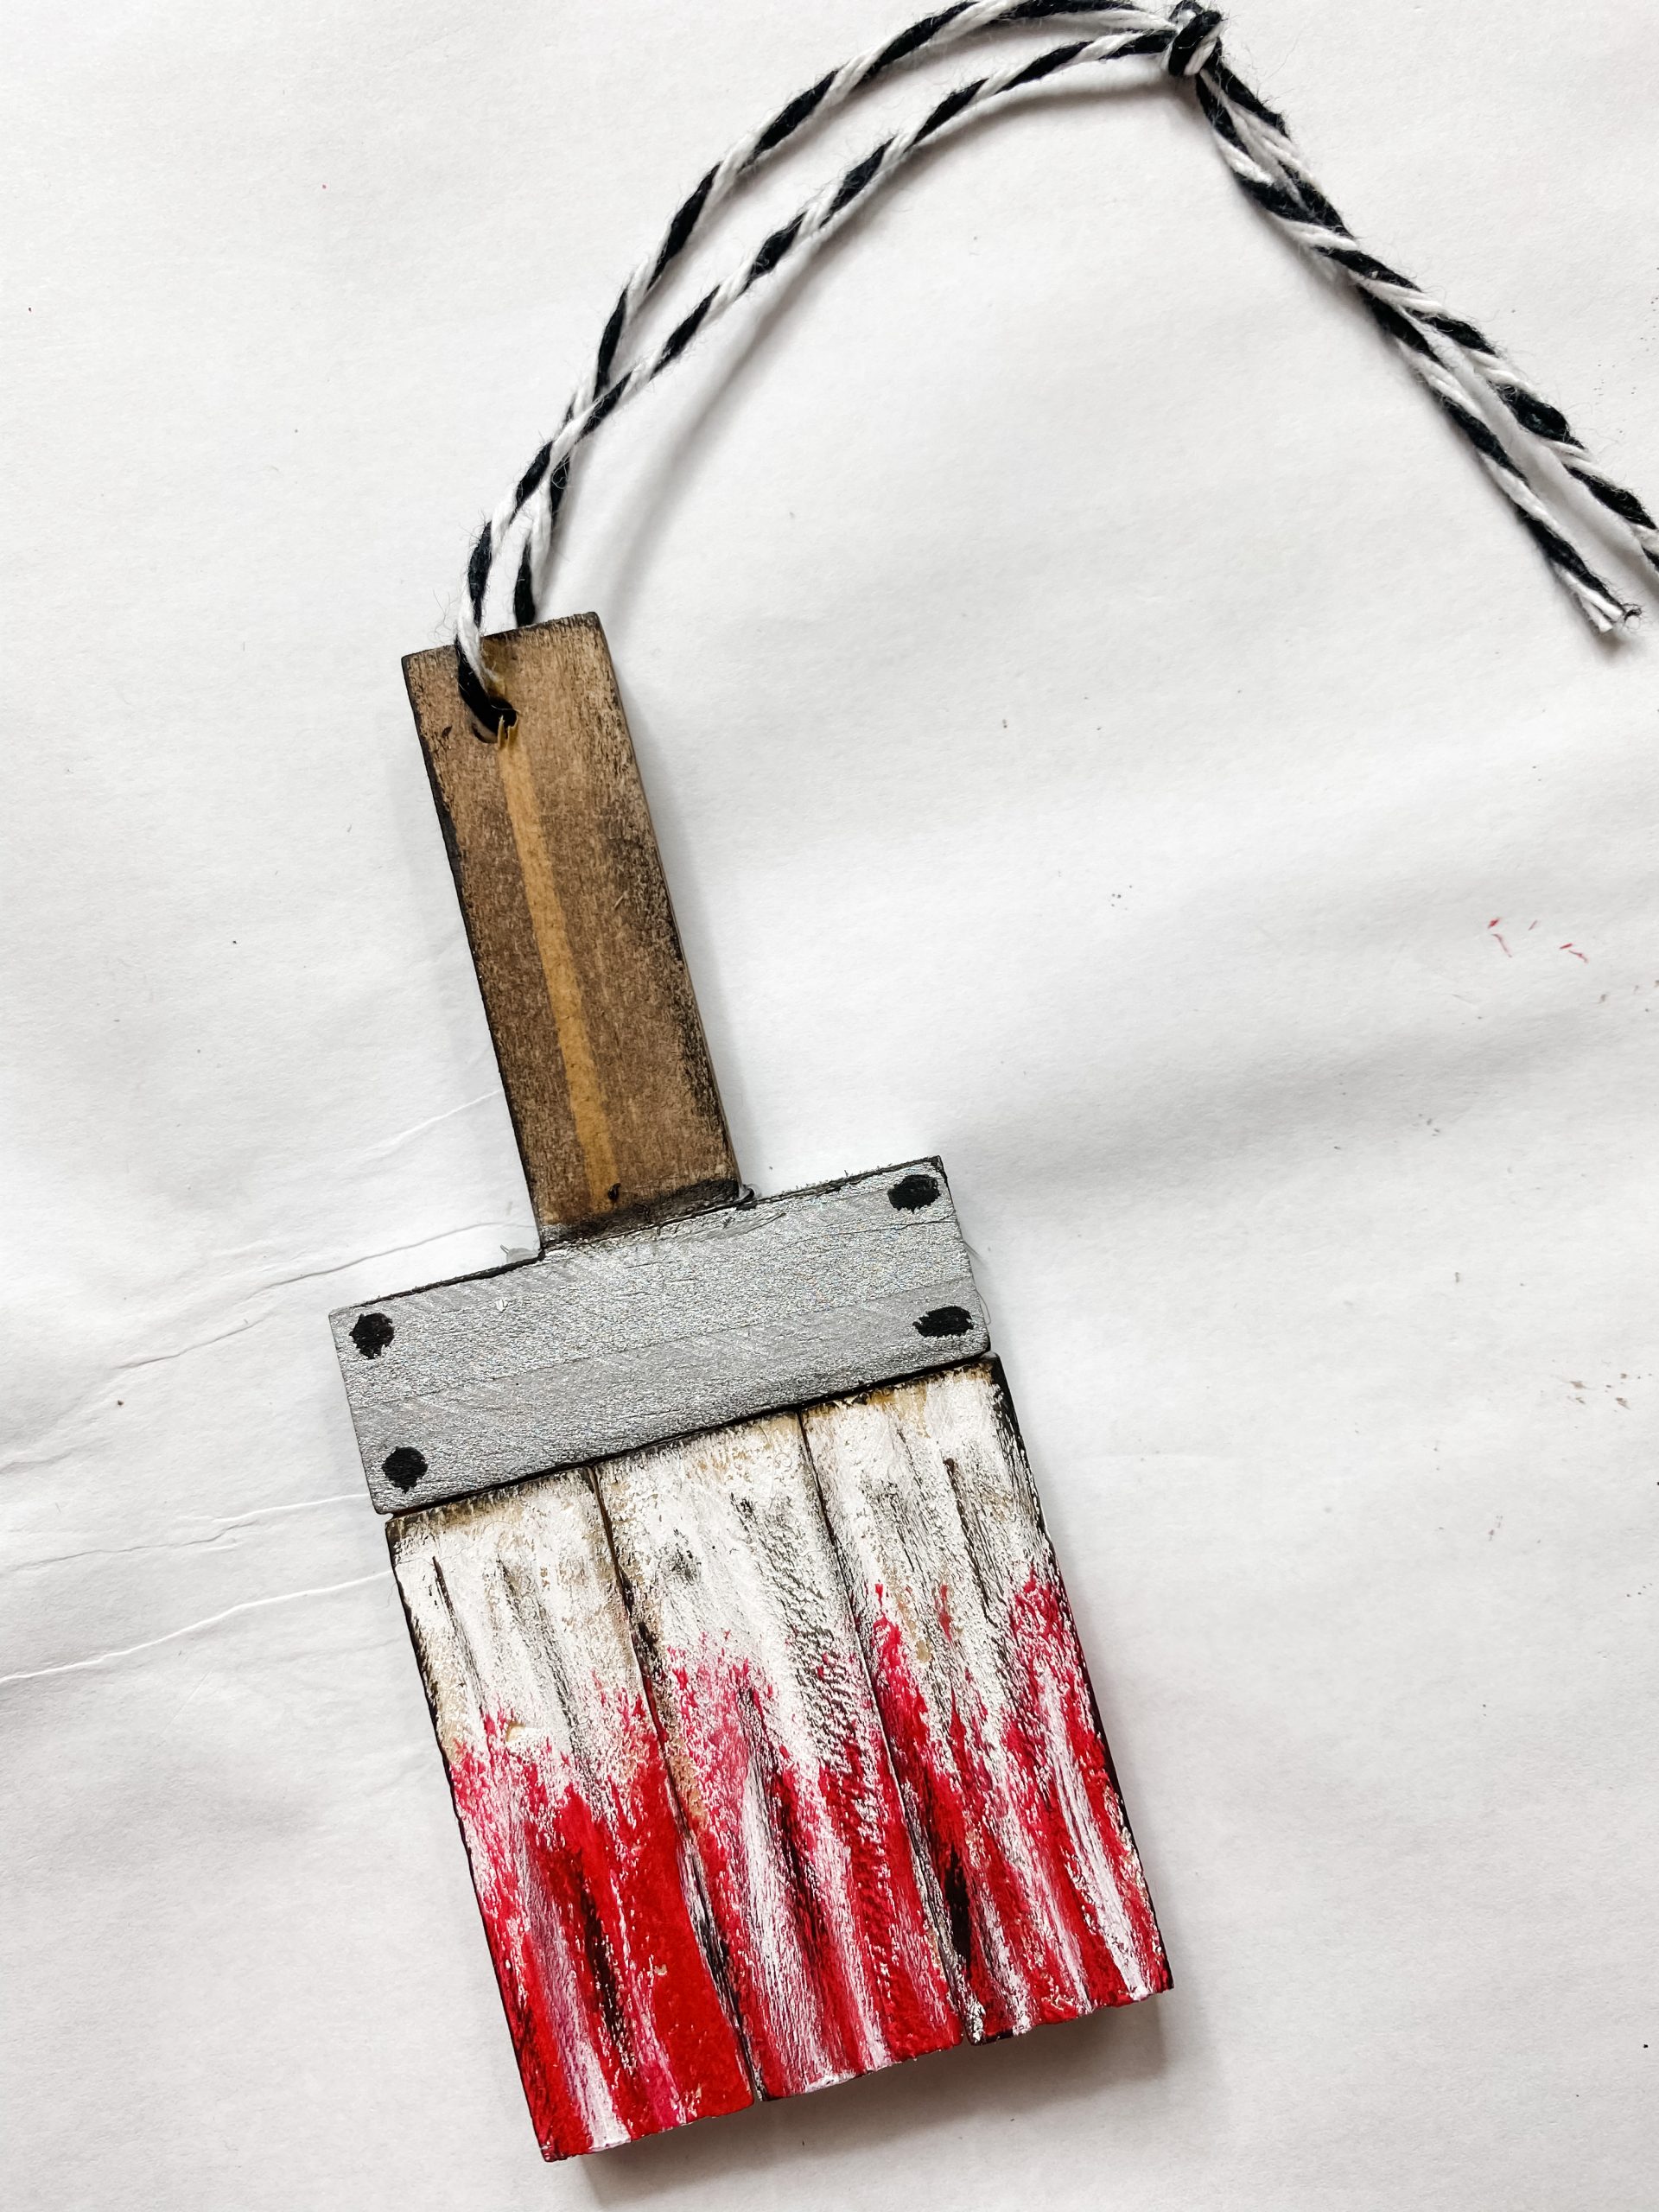
Next, I painted the handle with brown paint and used a wet wipe to remove the excess paint to create a stained finish. I lightly brushed a bit of black paint onto the “bristles” of the paintbrush.
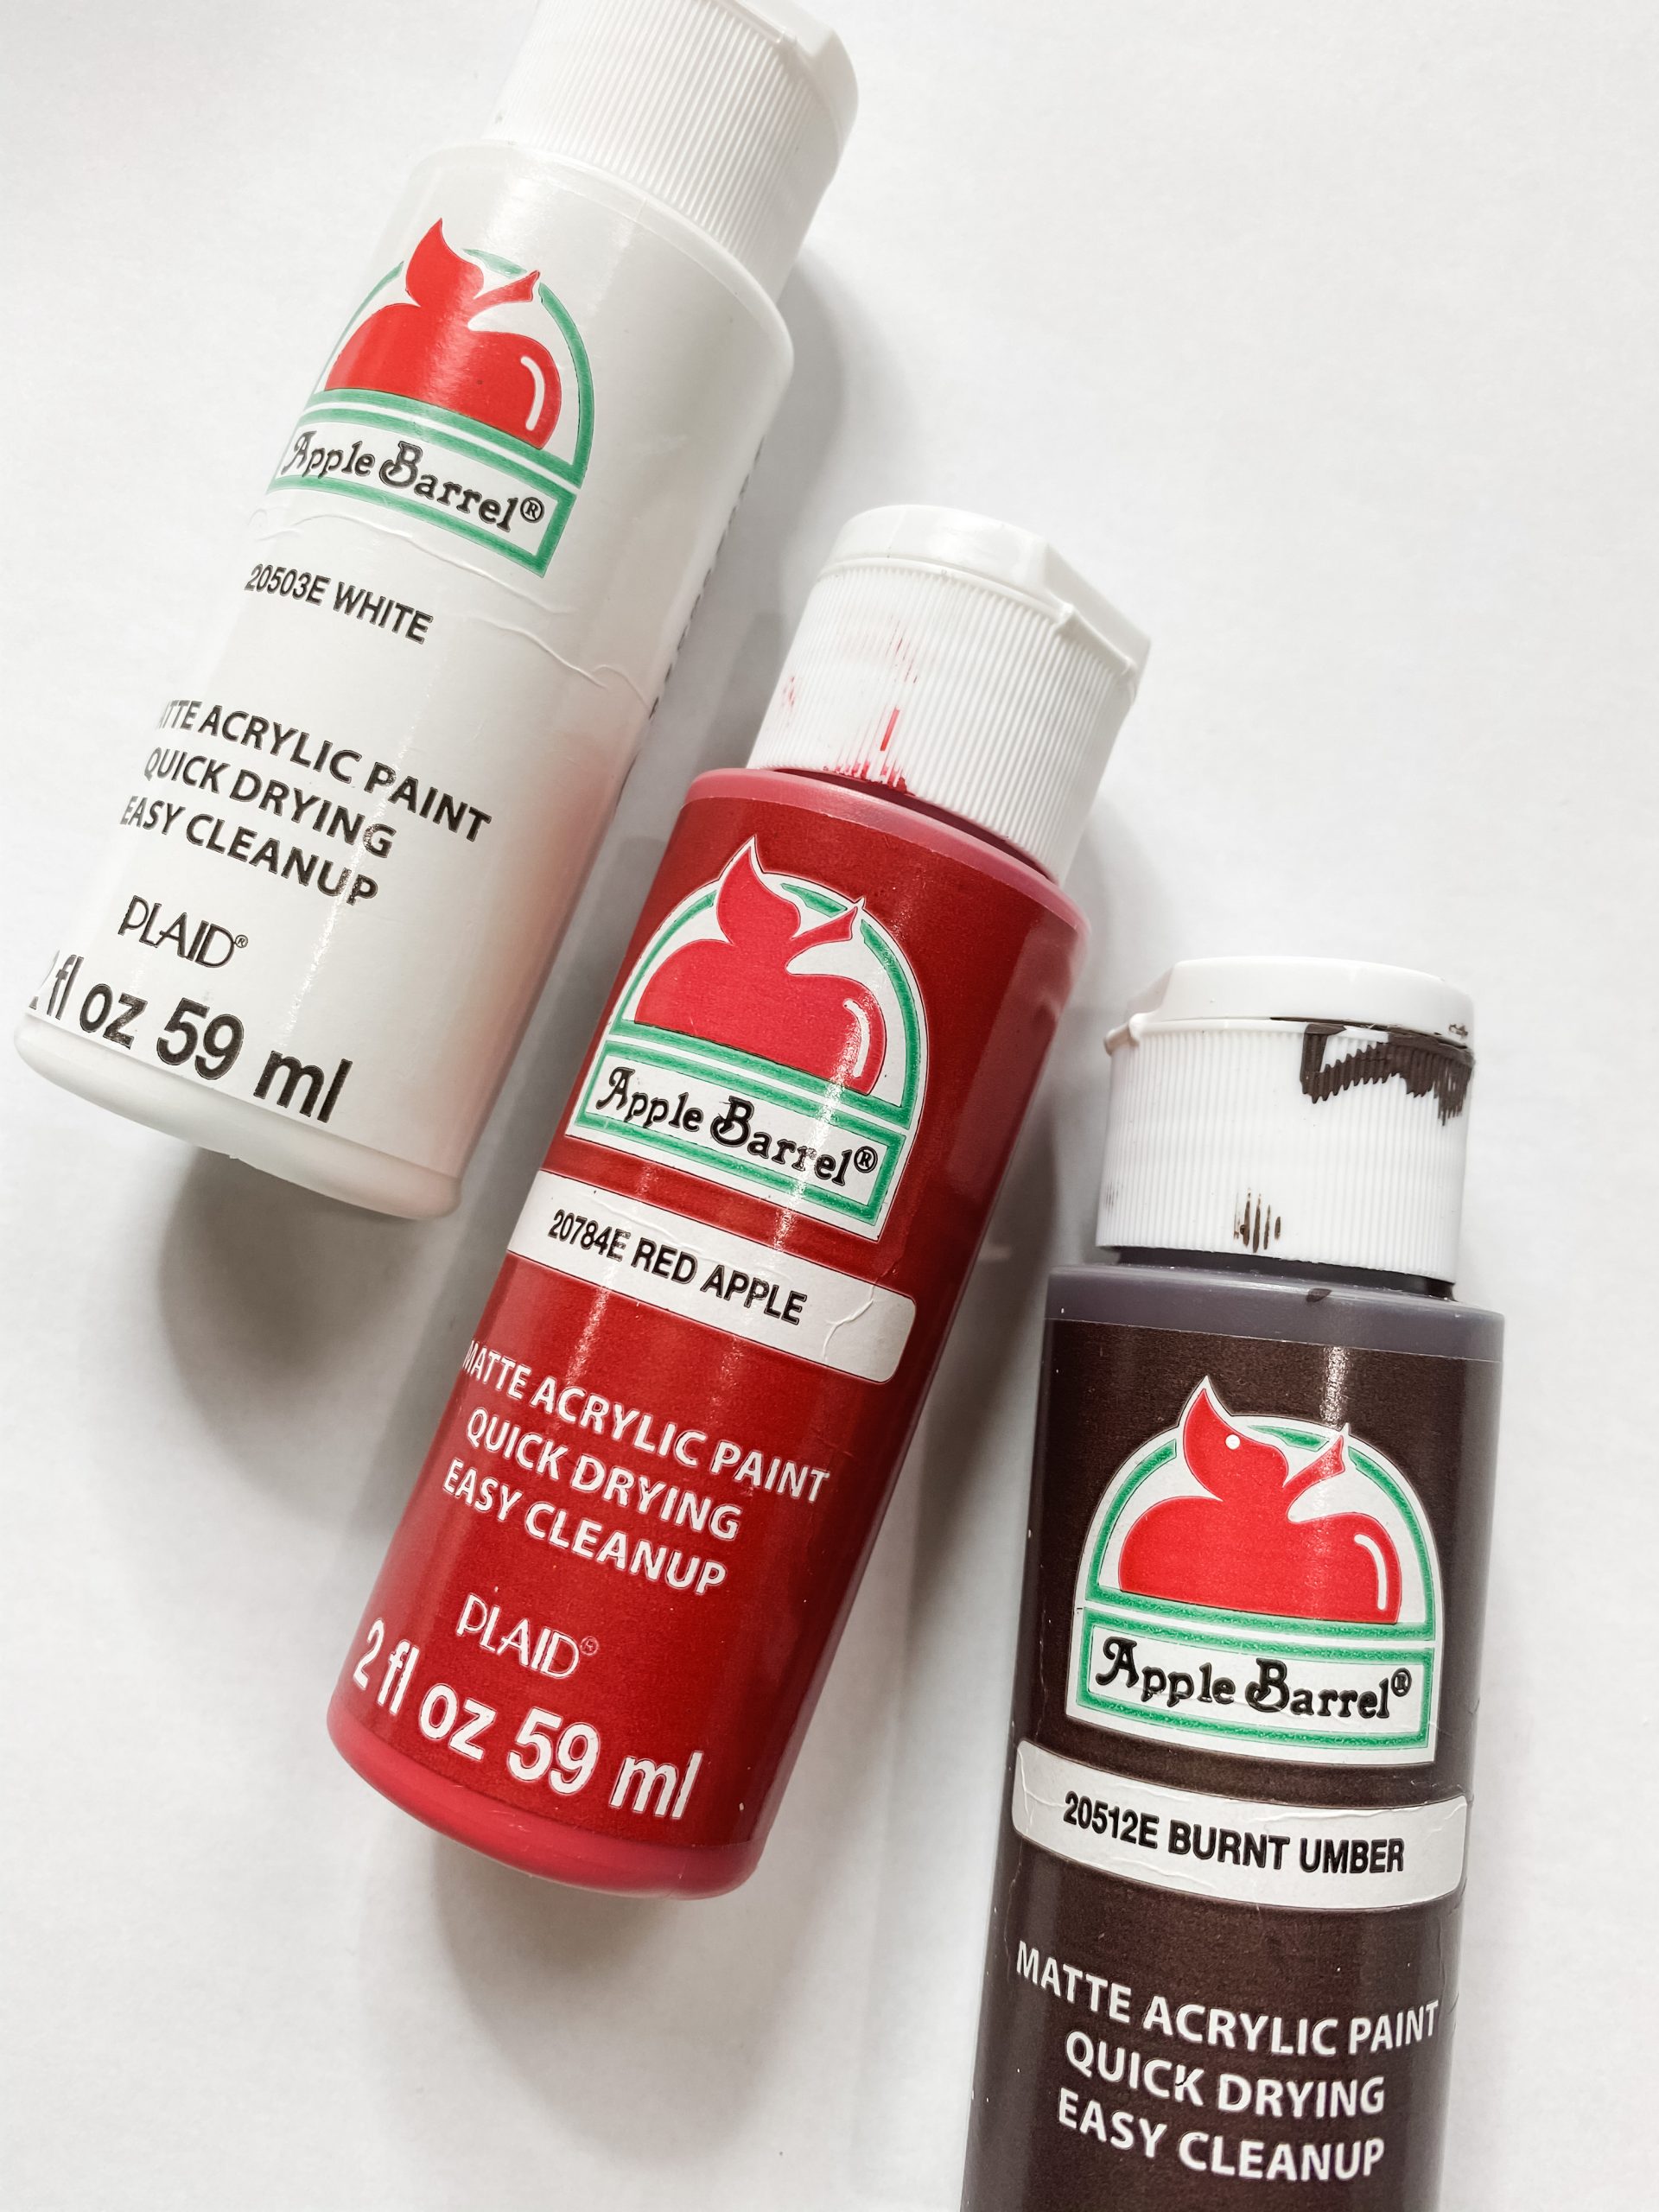
Once that paint was completely dry, I brushed some red paint onto the “bristles” to make it look like the paintbrush had been used.
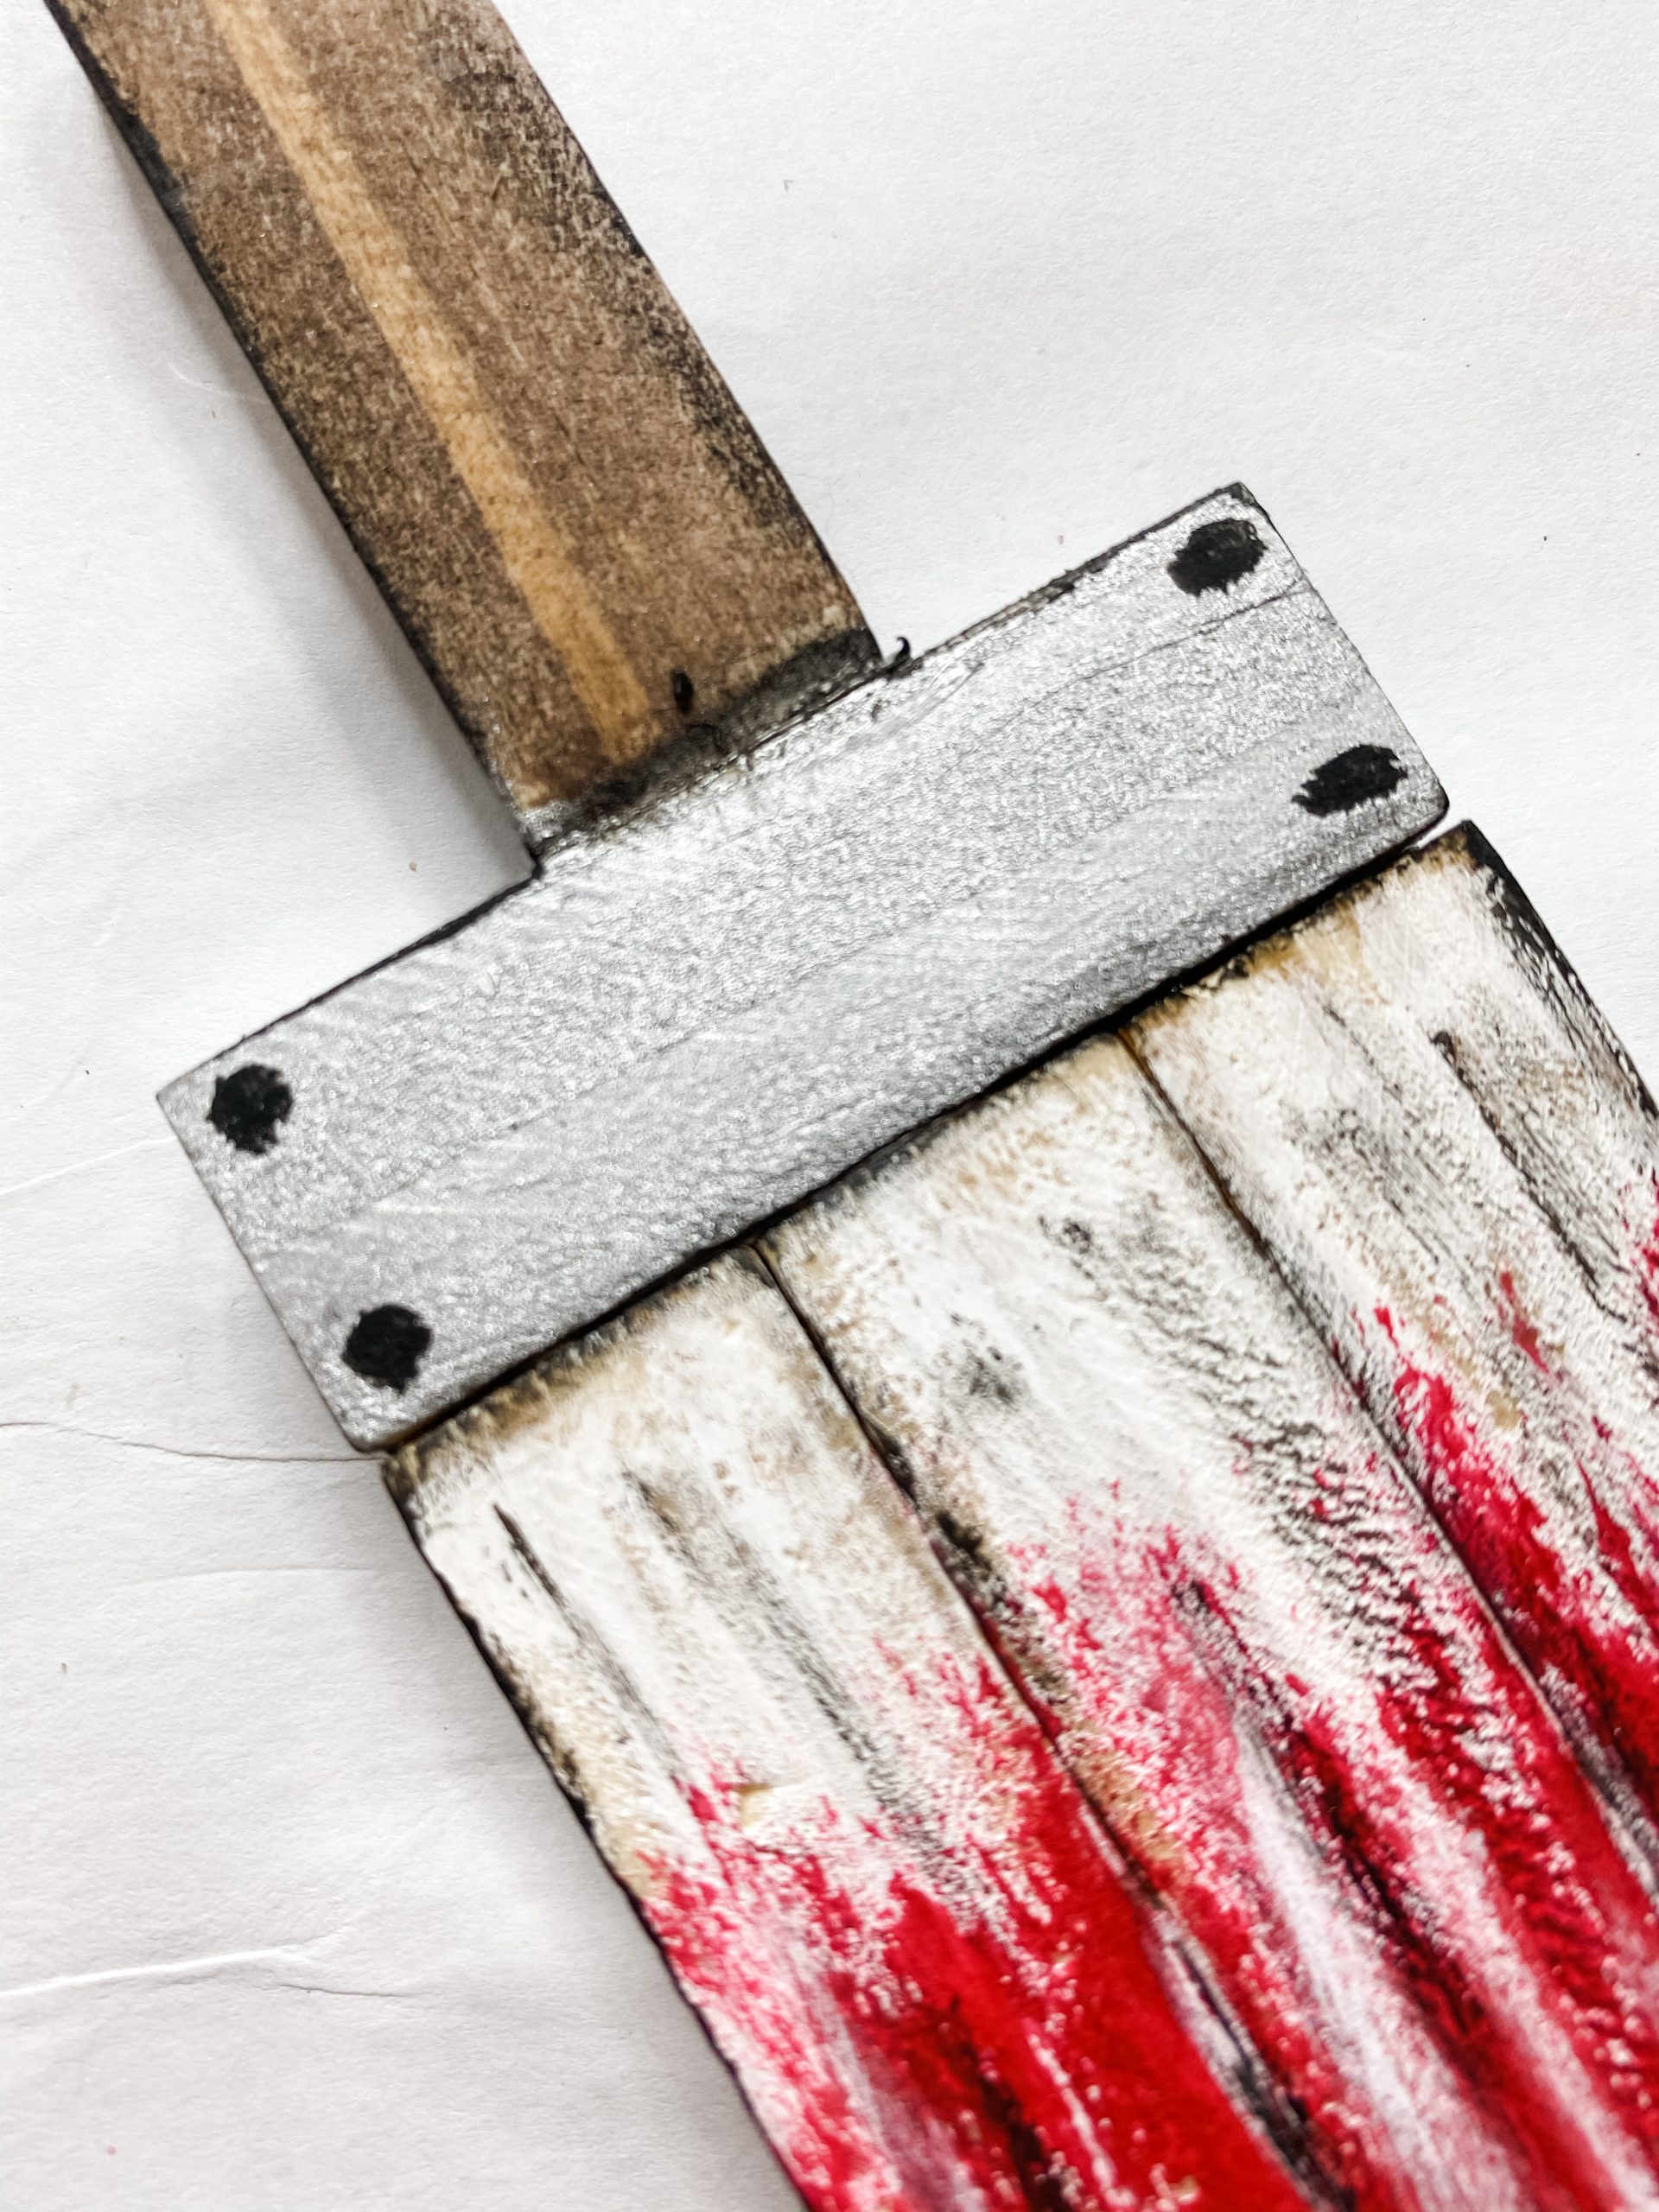
I let the red paint dry, then went back in and added white lines to create more detail to the bristles. Paint a dot in each corner of the silver block.
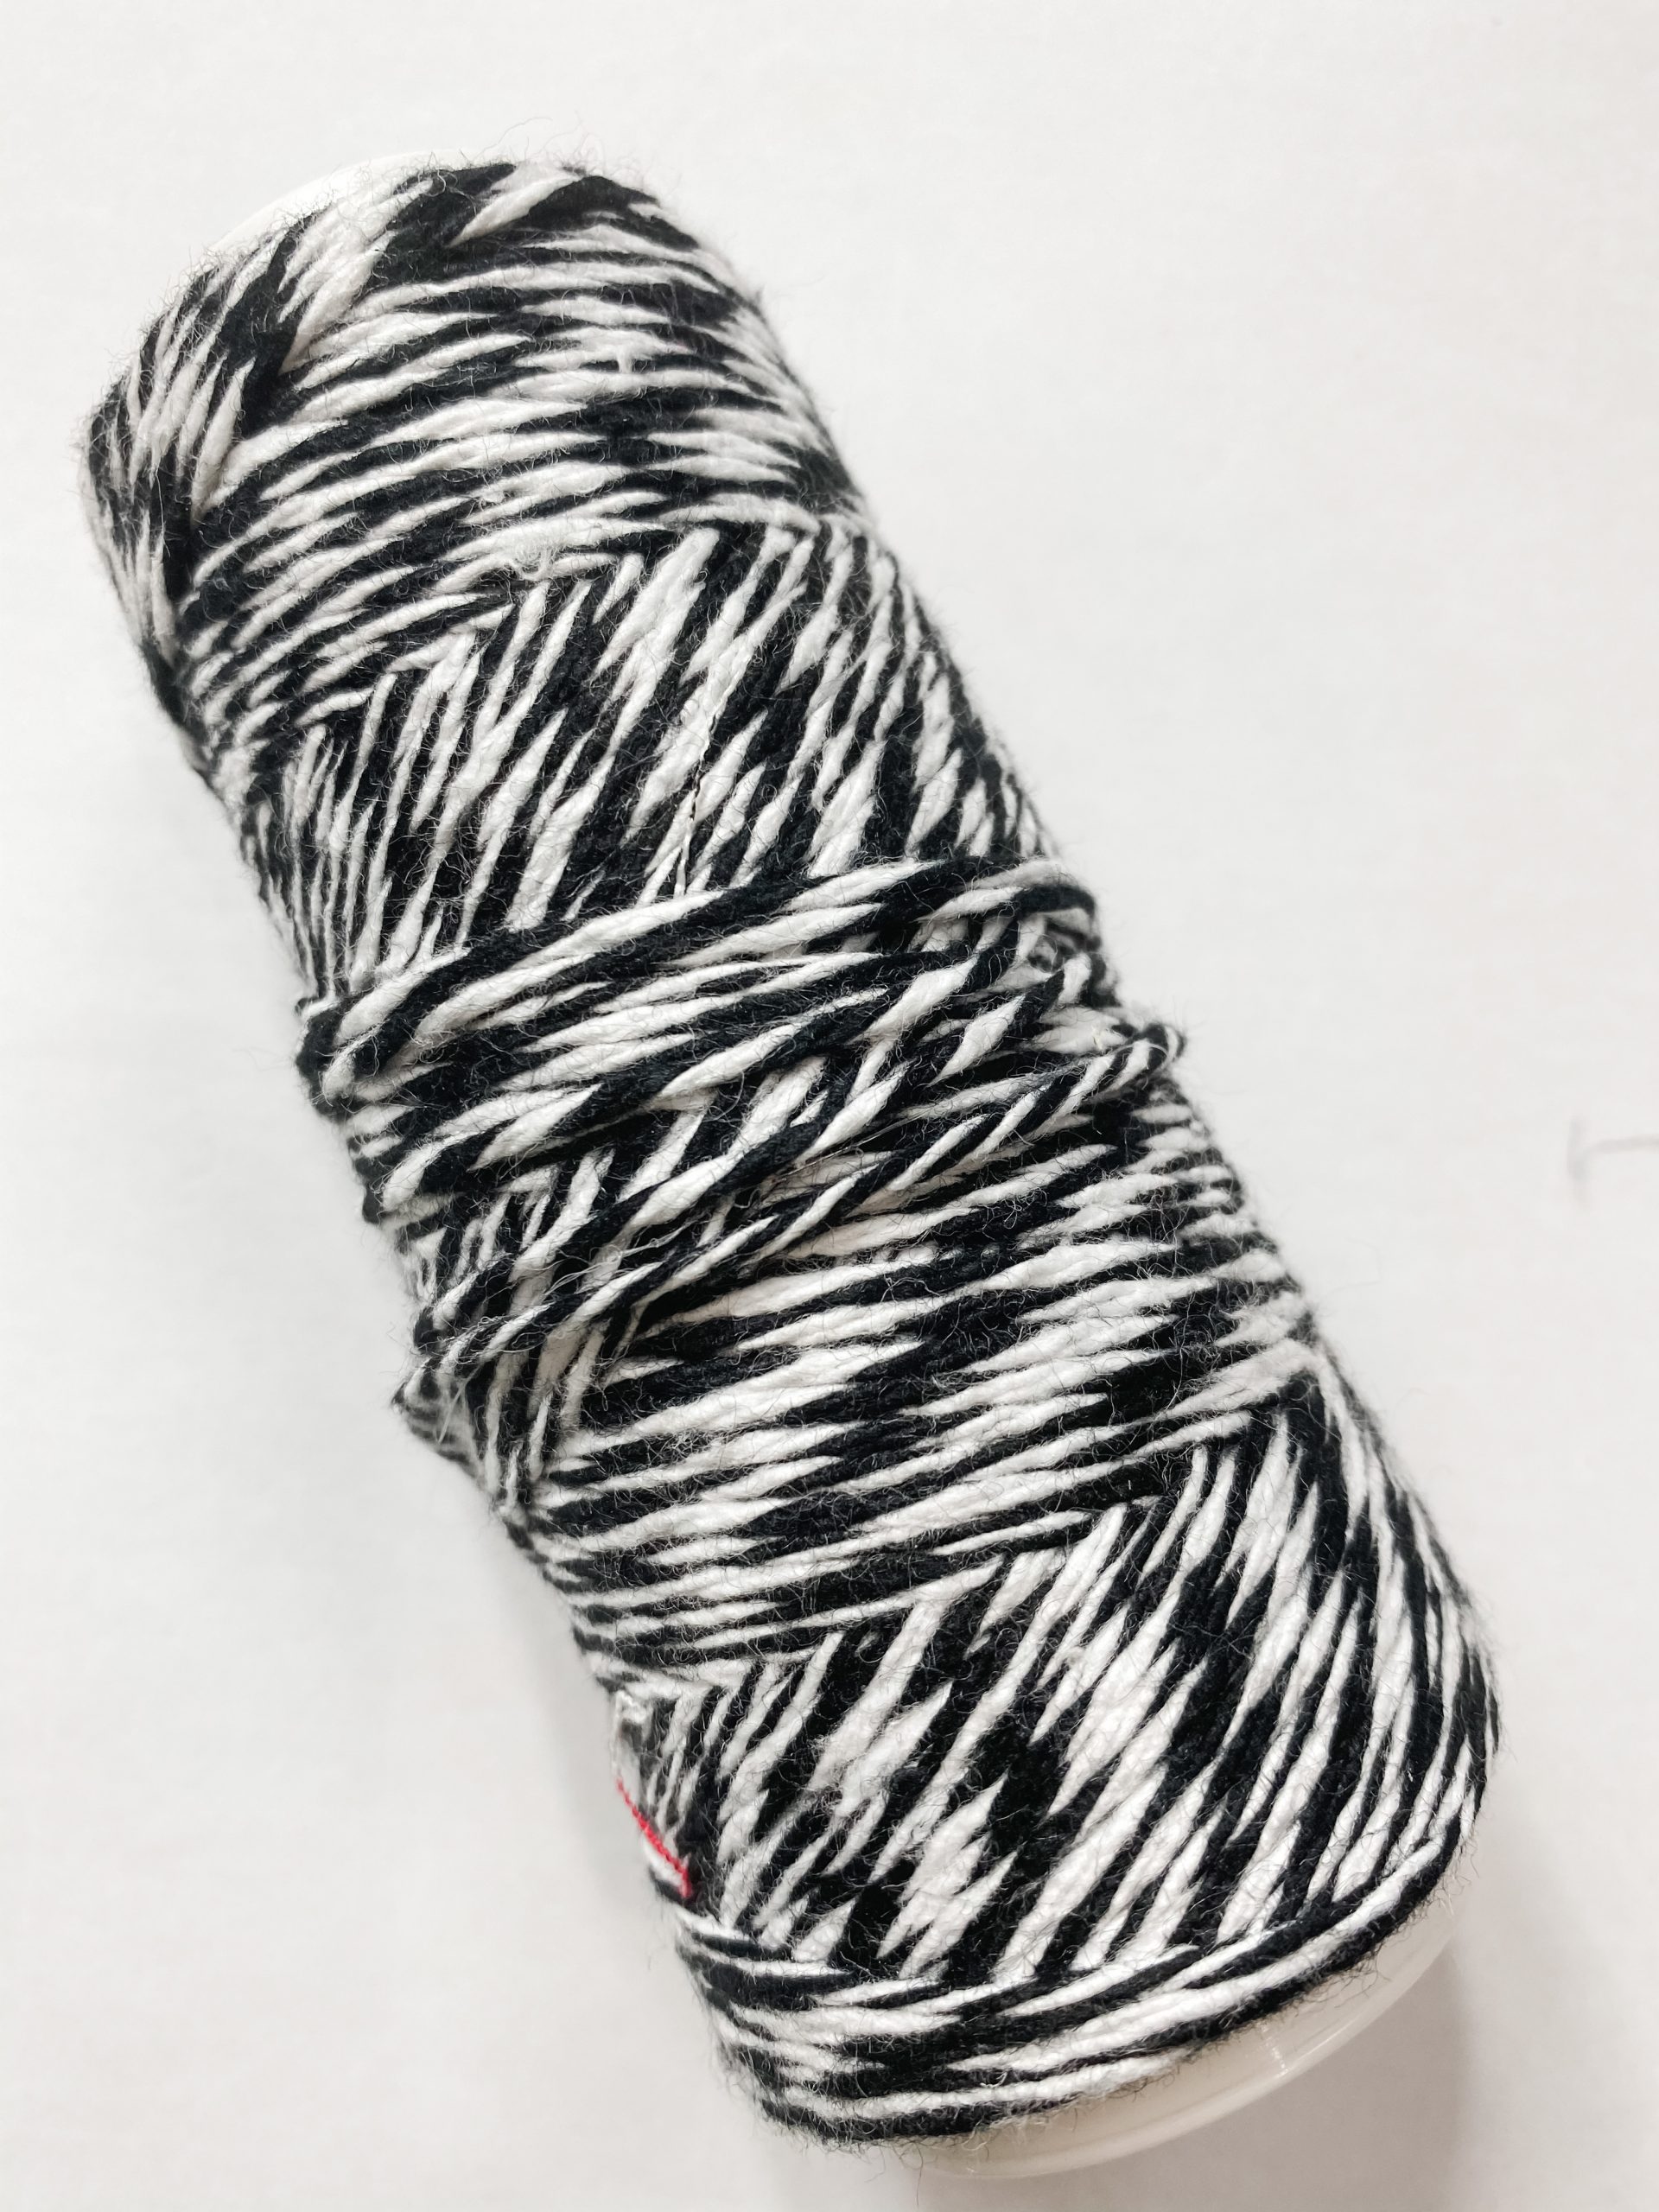
Finally, once all the paint was dry, I drilled a hole in the top of the handle and slipped a piece of baker’s twine through to make the hanger for this DIY Christmas ornament!
The last ornament idea I have for you also uses Dollar Tree blocks, but I turned them into a super cute little snowman’s hat!
You could make a hat for each member of your family and turn this into a craft for the entire family!

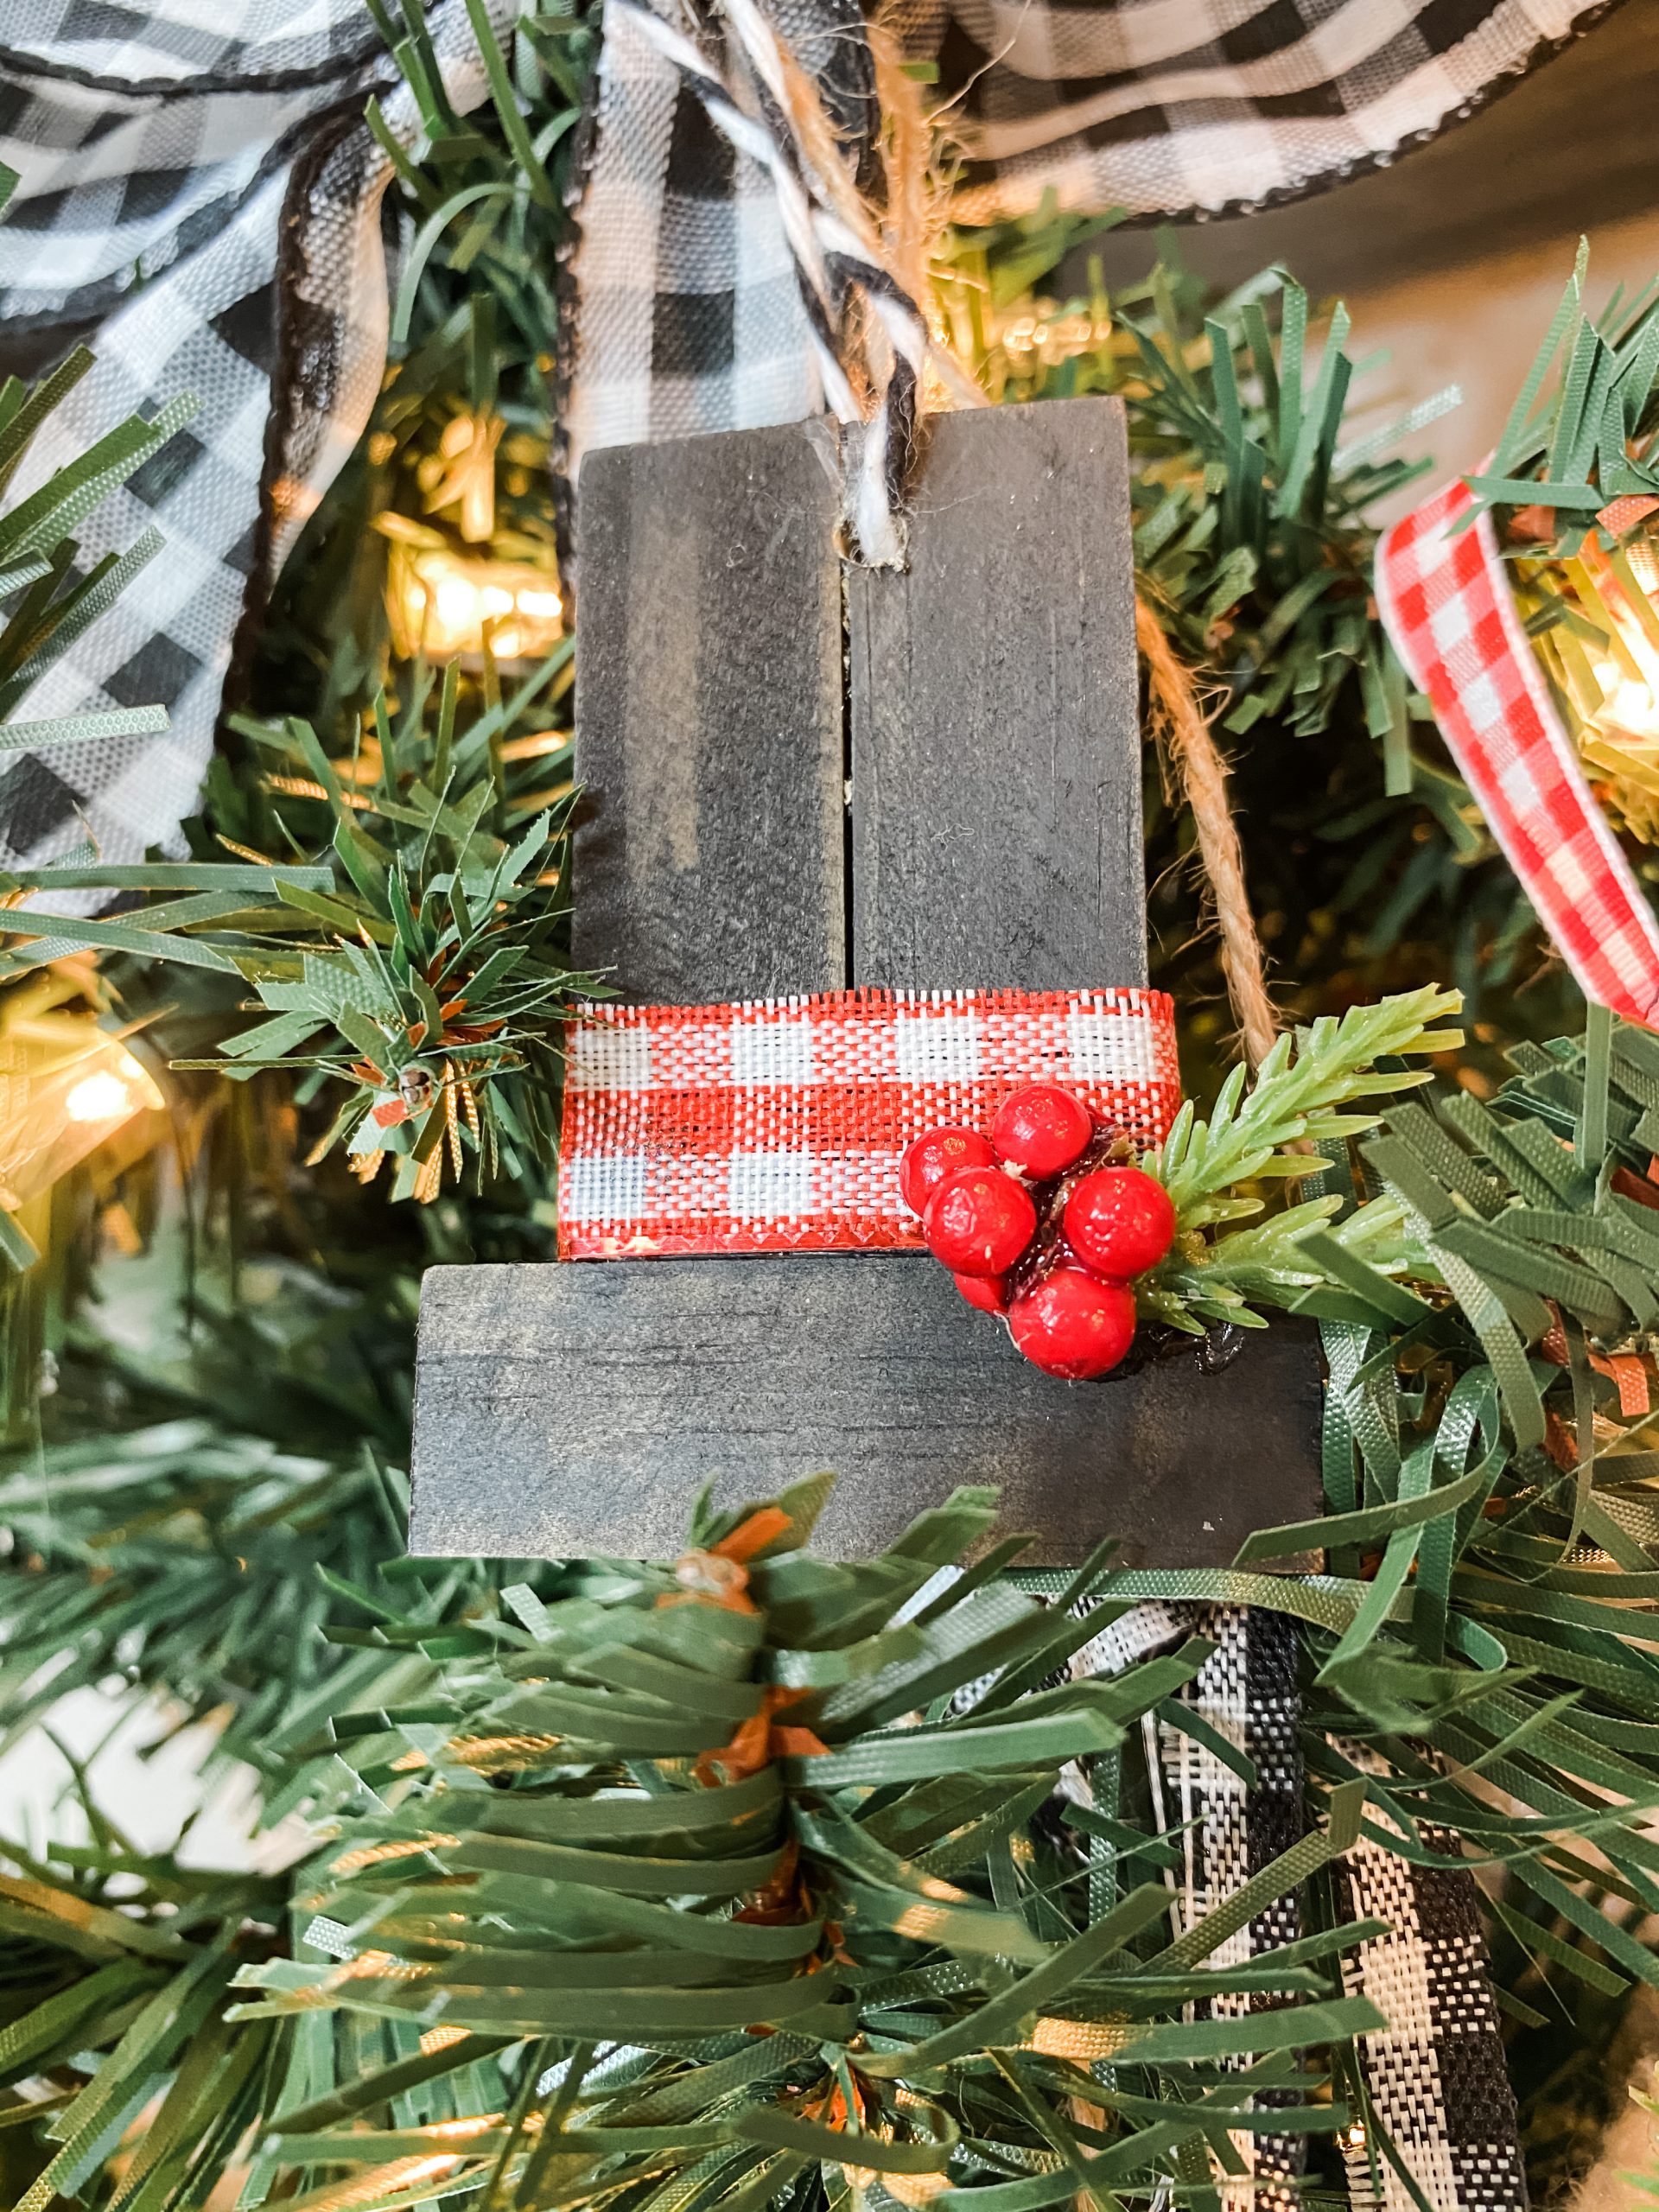
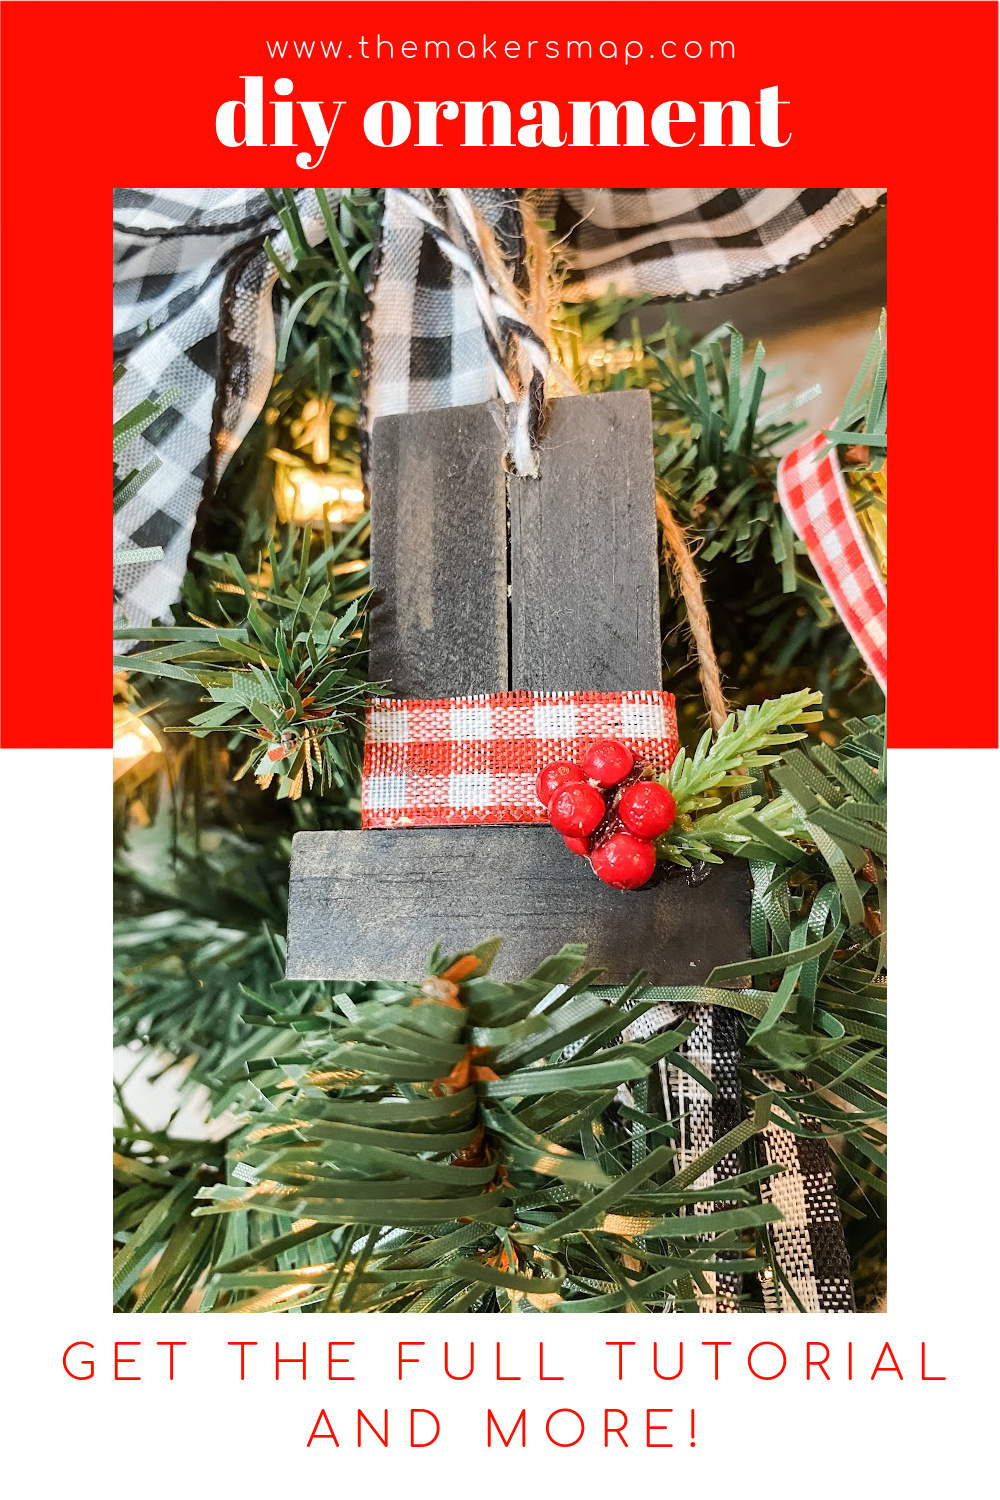
#3 Snowman Hat Ornament
I recorded how to make this adorable snowman hat ornament during a LIVE video on my Facebook page.
If you want to see the DIY process, craft along, or just join in on the fun conversations, you can watch the video replay on Facebook!
For the snowman hat ornament, I will be using these items but you can substitute where you want.
“As an Amazon Associate, I earn from qualifying purchases.”
- Dollar Tree Tumbling Tower Blocks
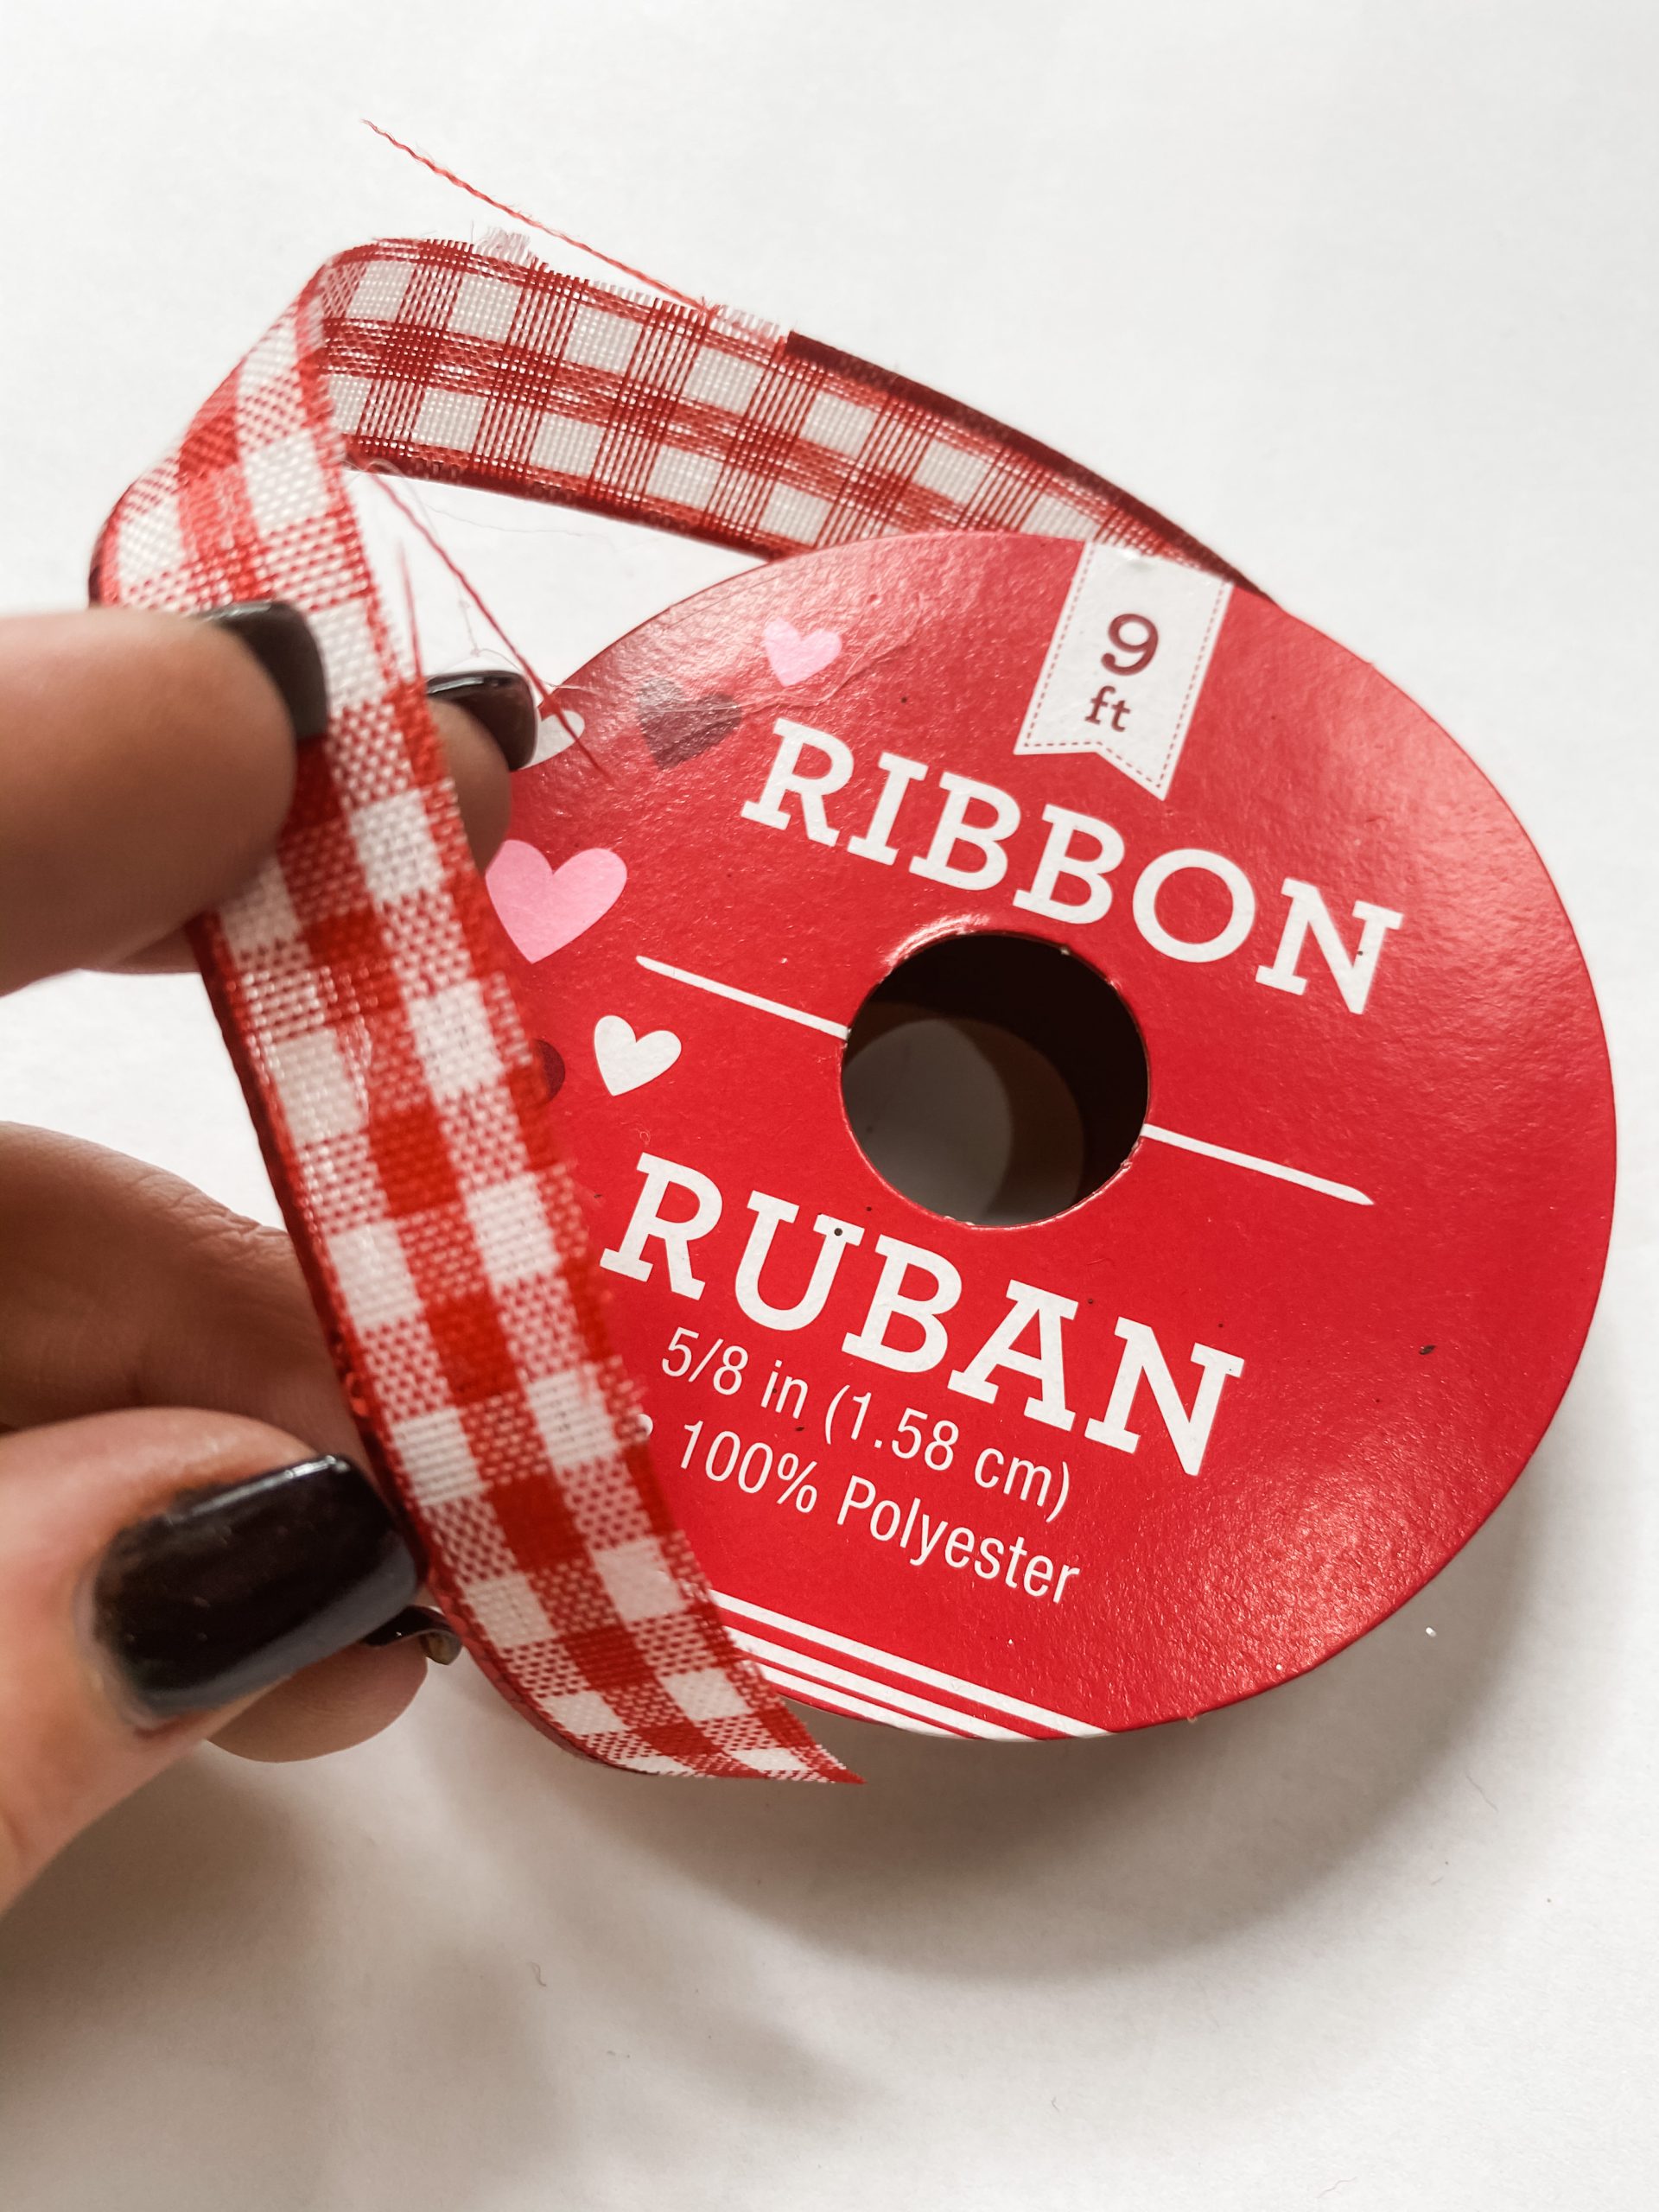
- Dollar Tree Red Buffalo Check Ribbon
- Black and White Baker’s Twine
- Apple Barrel Black Acrylic Paint
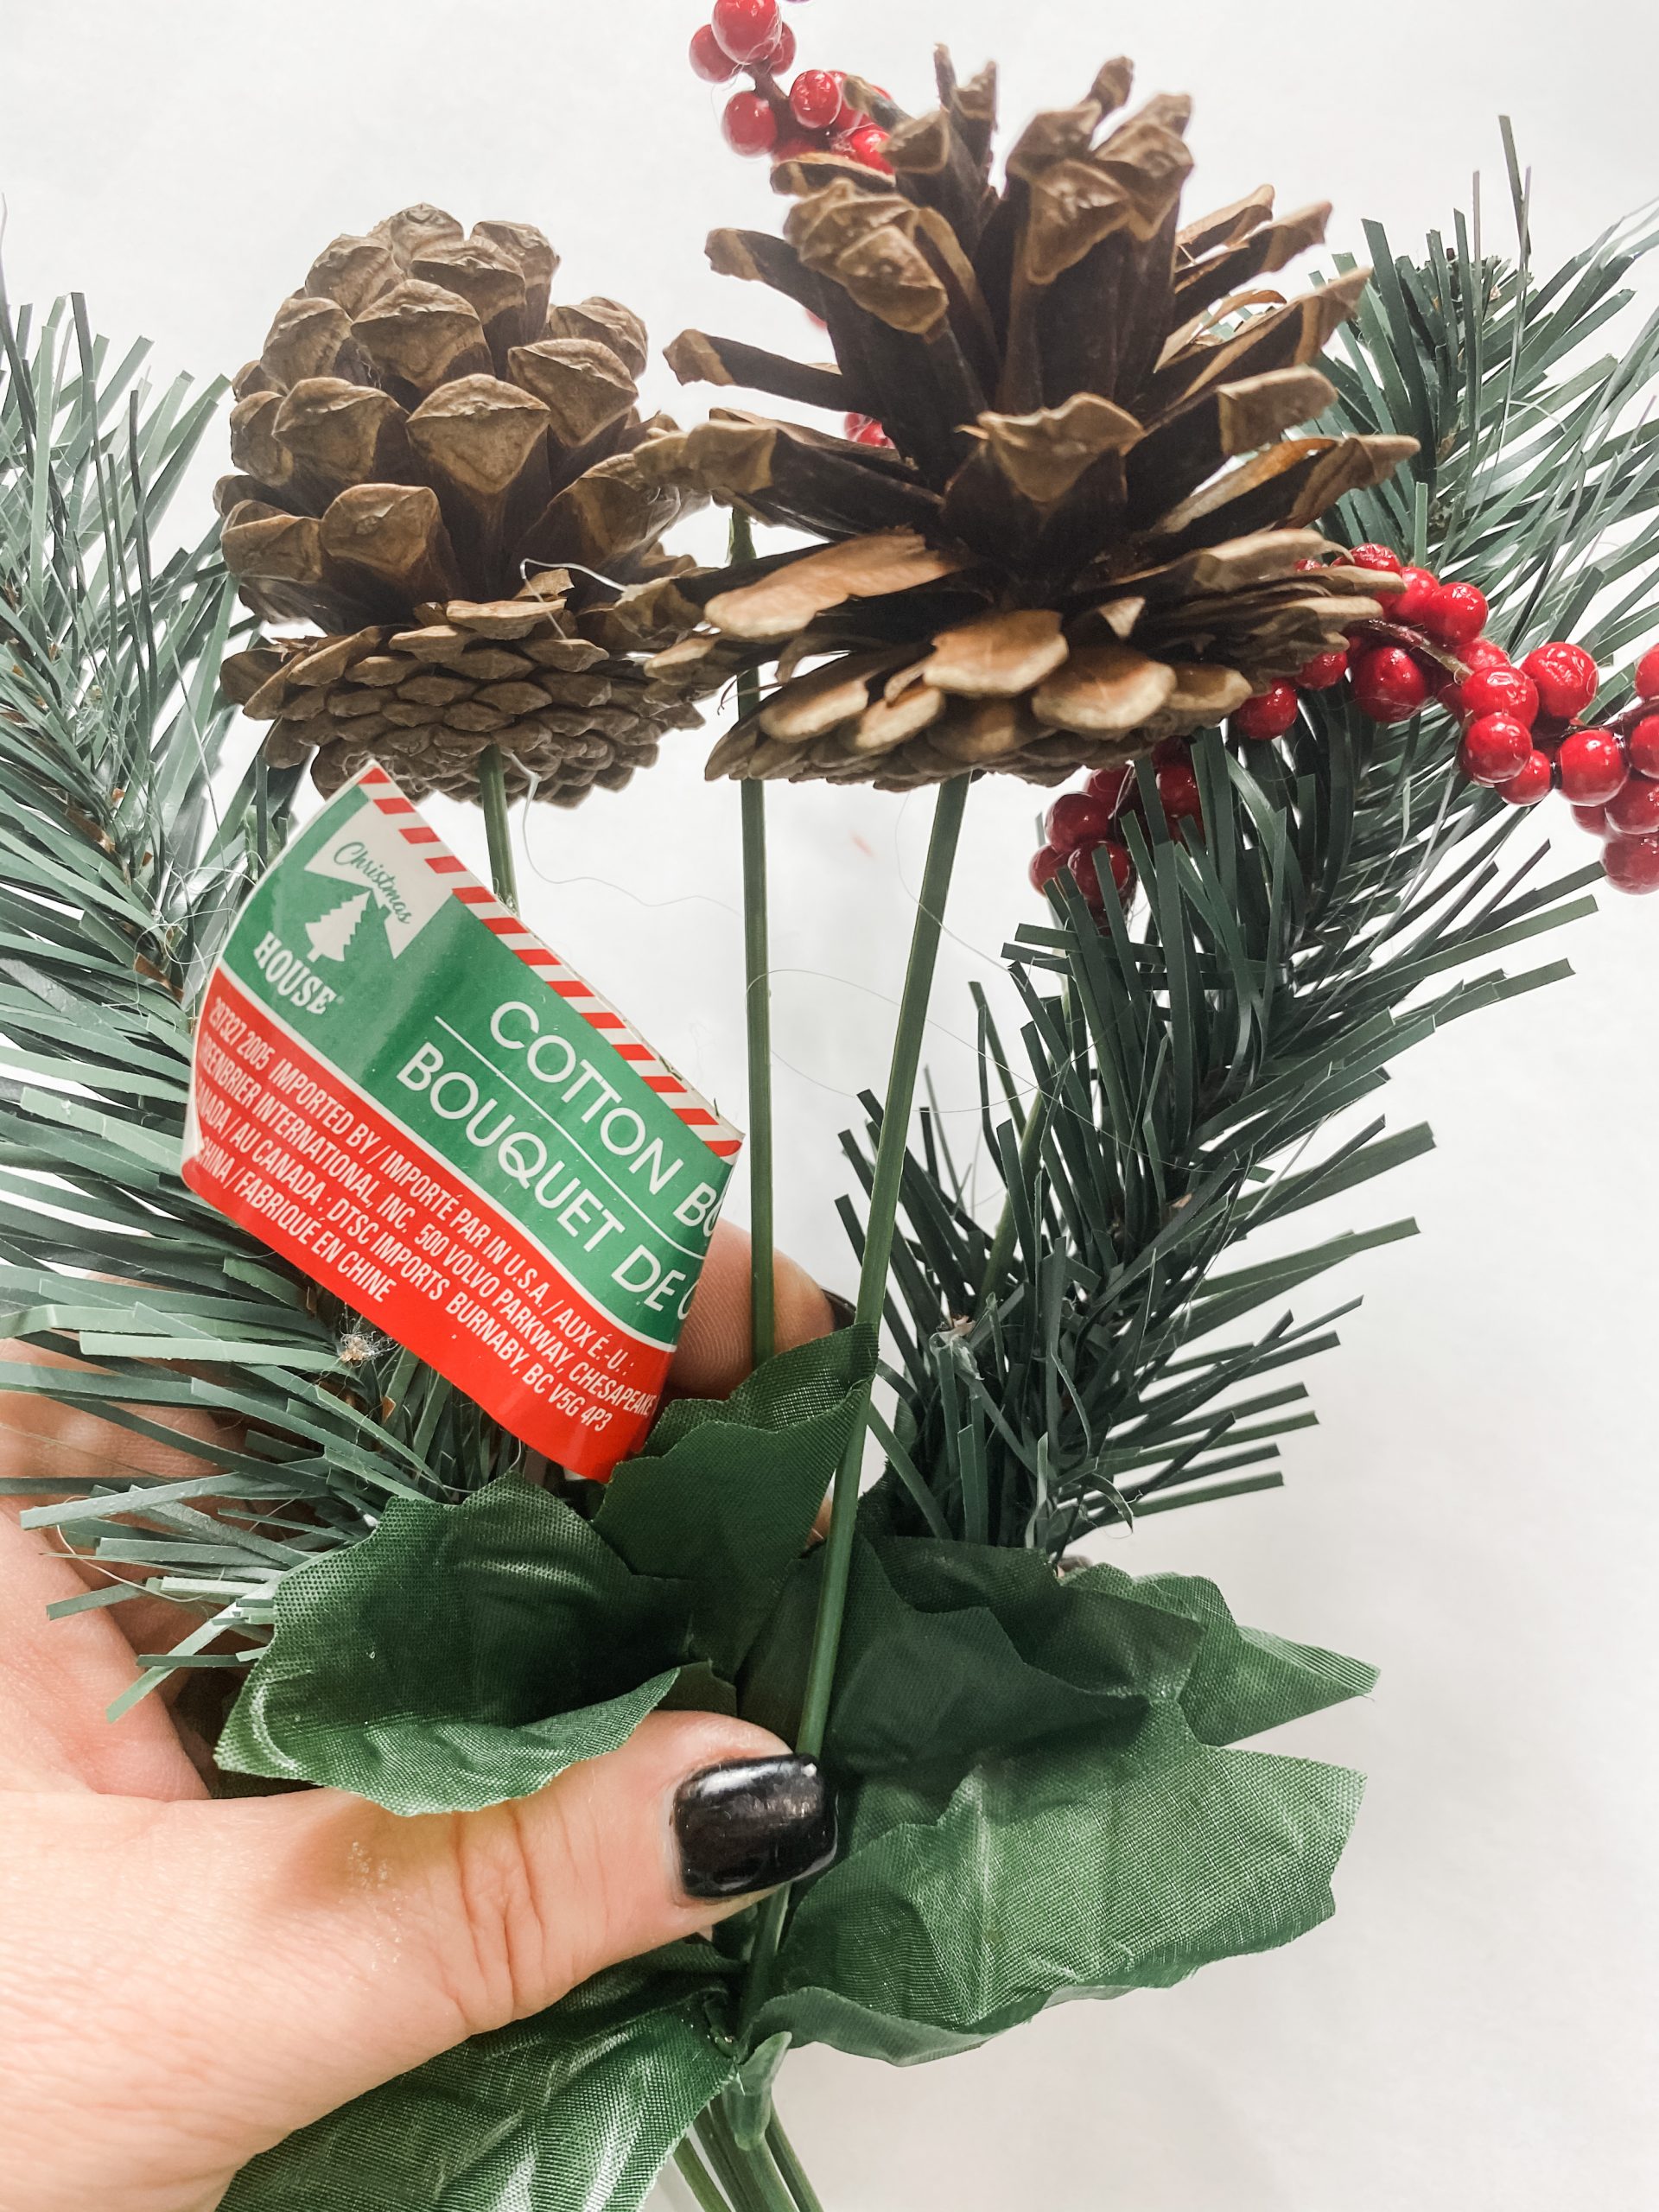
- Christmas greenery with red berries
- Glue Gun and Glue Sticks
- Heat gun
- Scissors
How to make a snowman hat ornament
I started by hot-gluing two of the Dollar Tree Tumbling Tower blocks together vertically. Then, I hot glued the third block horizontally underneath the first two blocks.
Once the glue was dry, I painted the blocks with Apple Barrel black acrylic paint and lightly wiped the hat with a wet wipe to get a stained finish.
Let the paint dry completely, then hot glue the red buffalo check ribbon around the bottom of the vertical blocks, just above the horizontal one.
Then, I cut tiny pieces of the Christmas greenery and hot glued them onto the buffalo check ribbon. Next, I hot glued a few of the red berries on the greenery.
Lastly, I drilled a hole in the top of the blocks to thread the baker’s twine through and created the hanger for my adorable snowman hat DIY ornament!
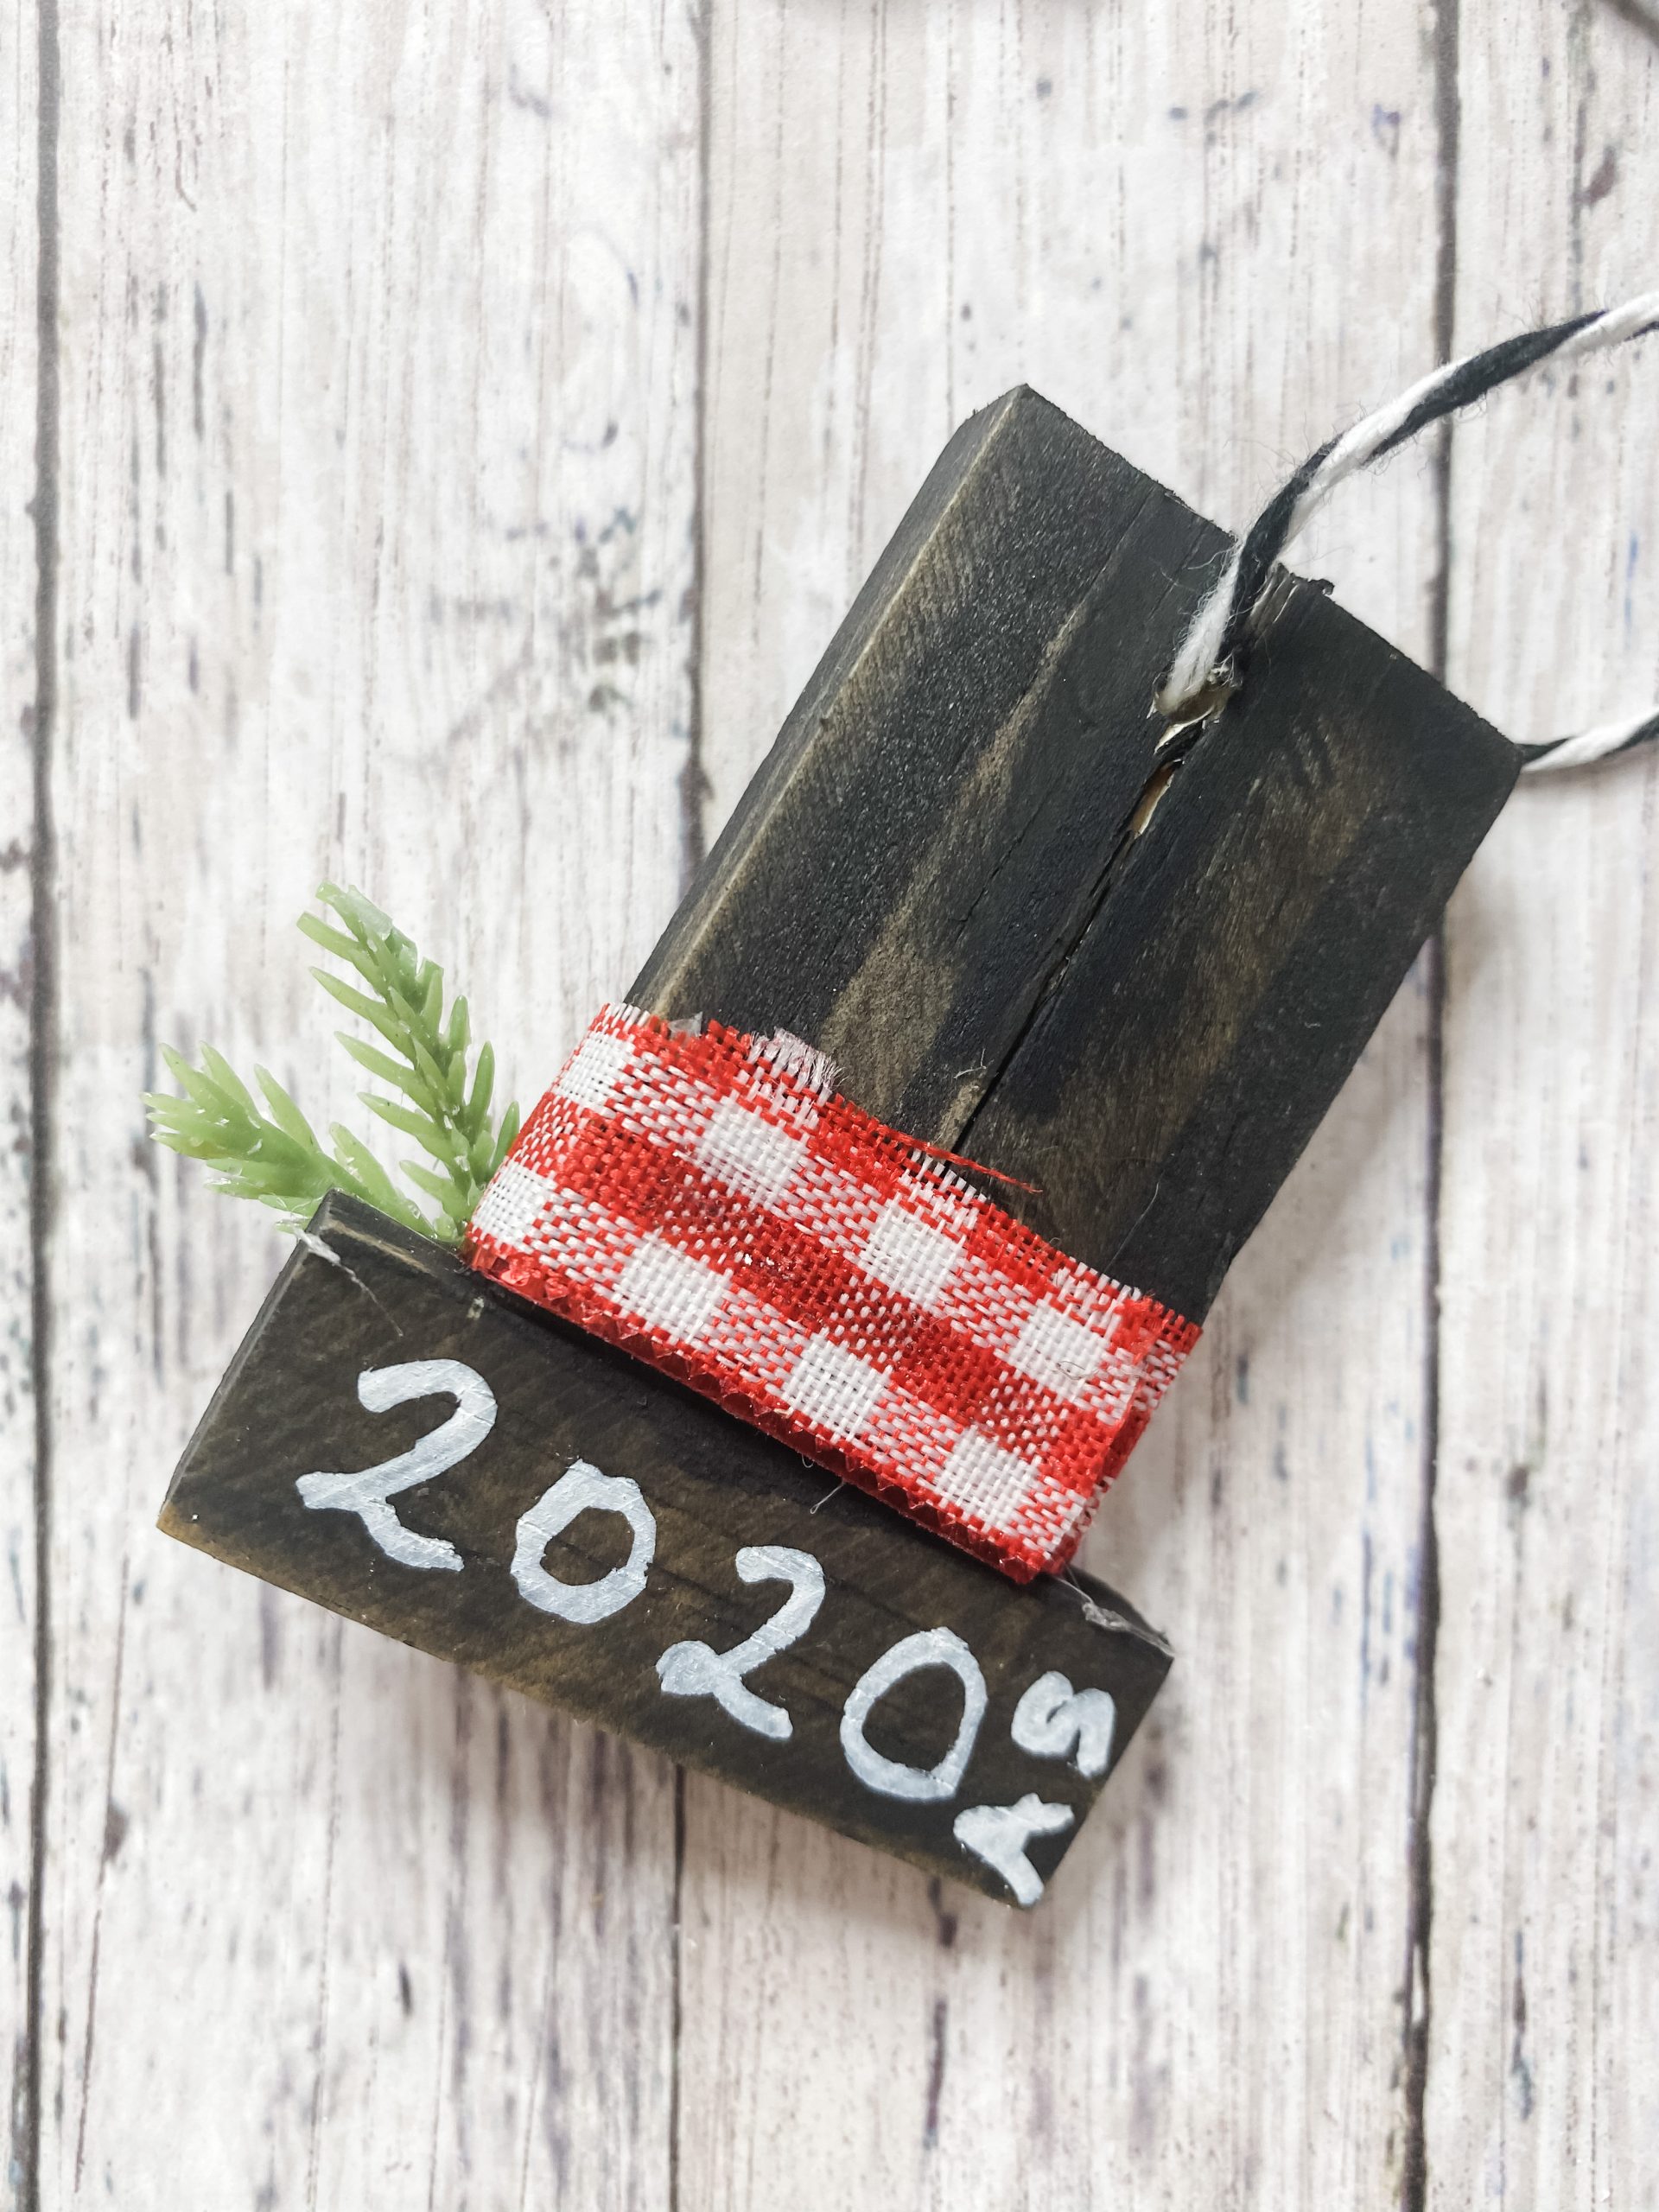
I wrote 2020 on the back of my hat, but you could write anything you want or just leave it blank. It’s up to you!
I hope you enjoyed these 3 DIY Christmas Tree Ornaments as much as I did and decide to make one for yourself! If you do, I would love to see how yours turns out!
You should totally join my FREE Facebook group called On A Budget Crafts! It is a judgment-free community for DIY crafters to show off their projects and ideas.
If you loved this DIY you might also like this Dollar Tree Gift Box DIY Christmas Decor!
Thanks for stopping by! XOXO Amber
You can also shop my ENTIRE AMAZON Favorites shop just click here! It’s packed full of all the things I use and love.
Here is the supply list I highly recommend every creative have on hand!! Would you also pin my blog for later and get on my newsletter alerts? I would love to have you join my #craftycrew.

Join my free “ON A BUDGET CRAFTS” Facebook group!
PIN THIS POST FOR LATER!
So precious
These cars just ADORABLE