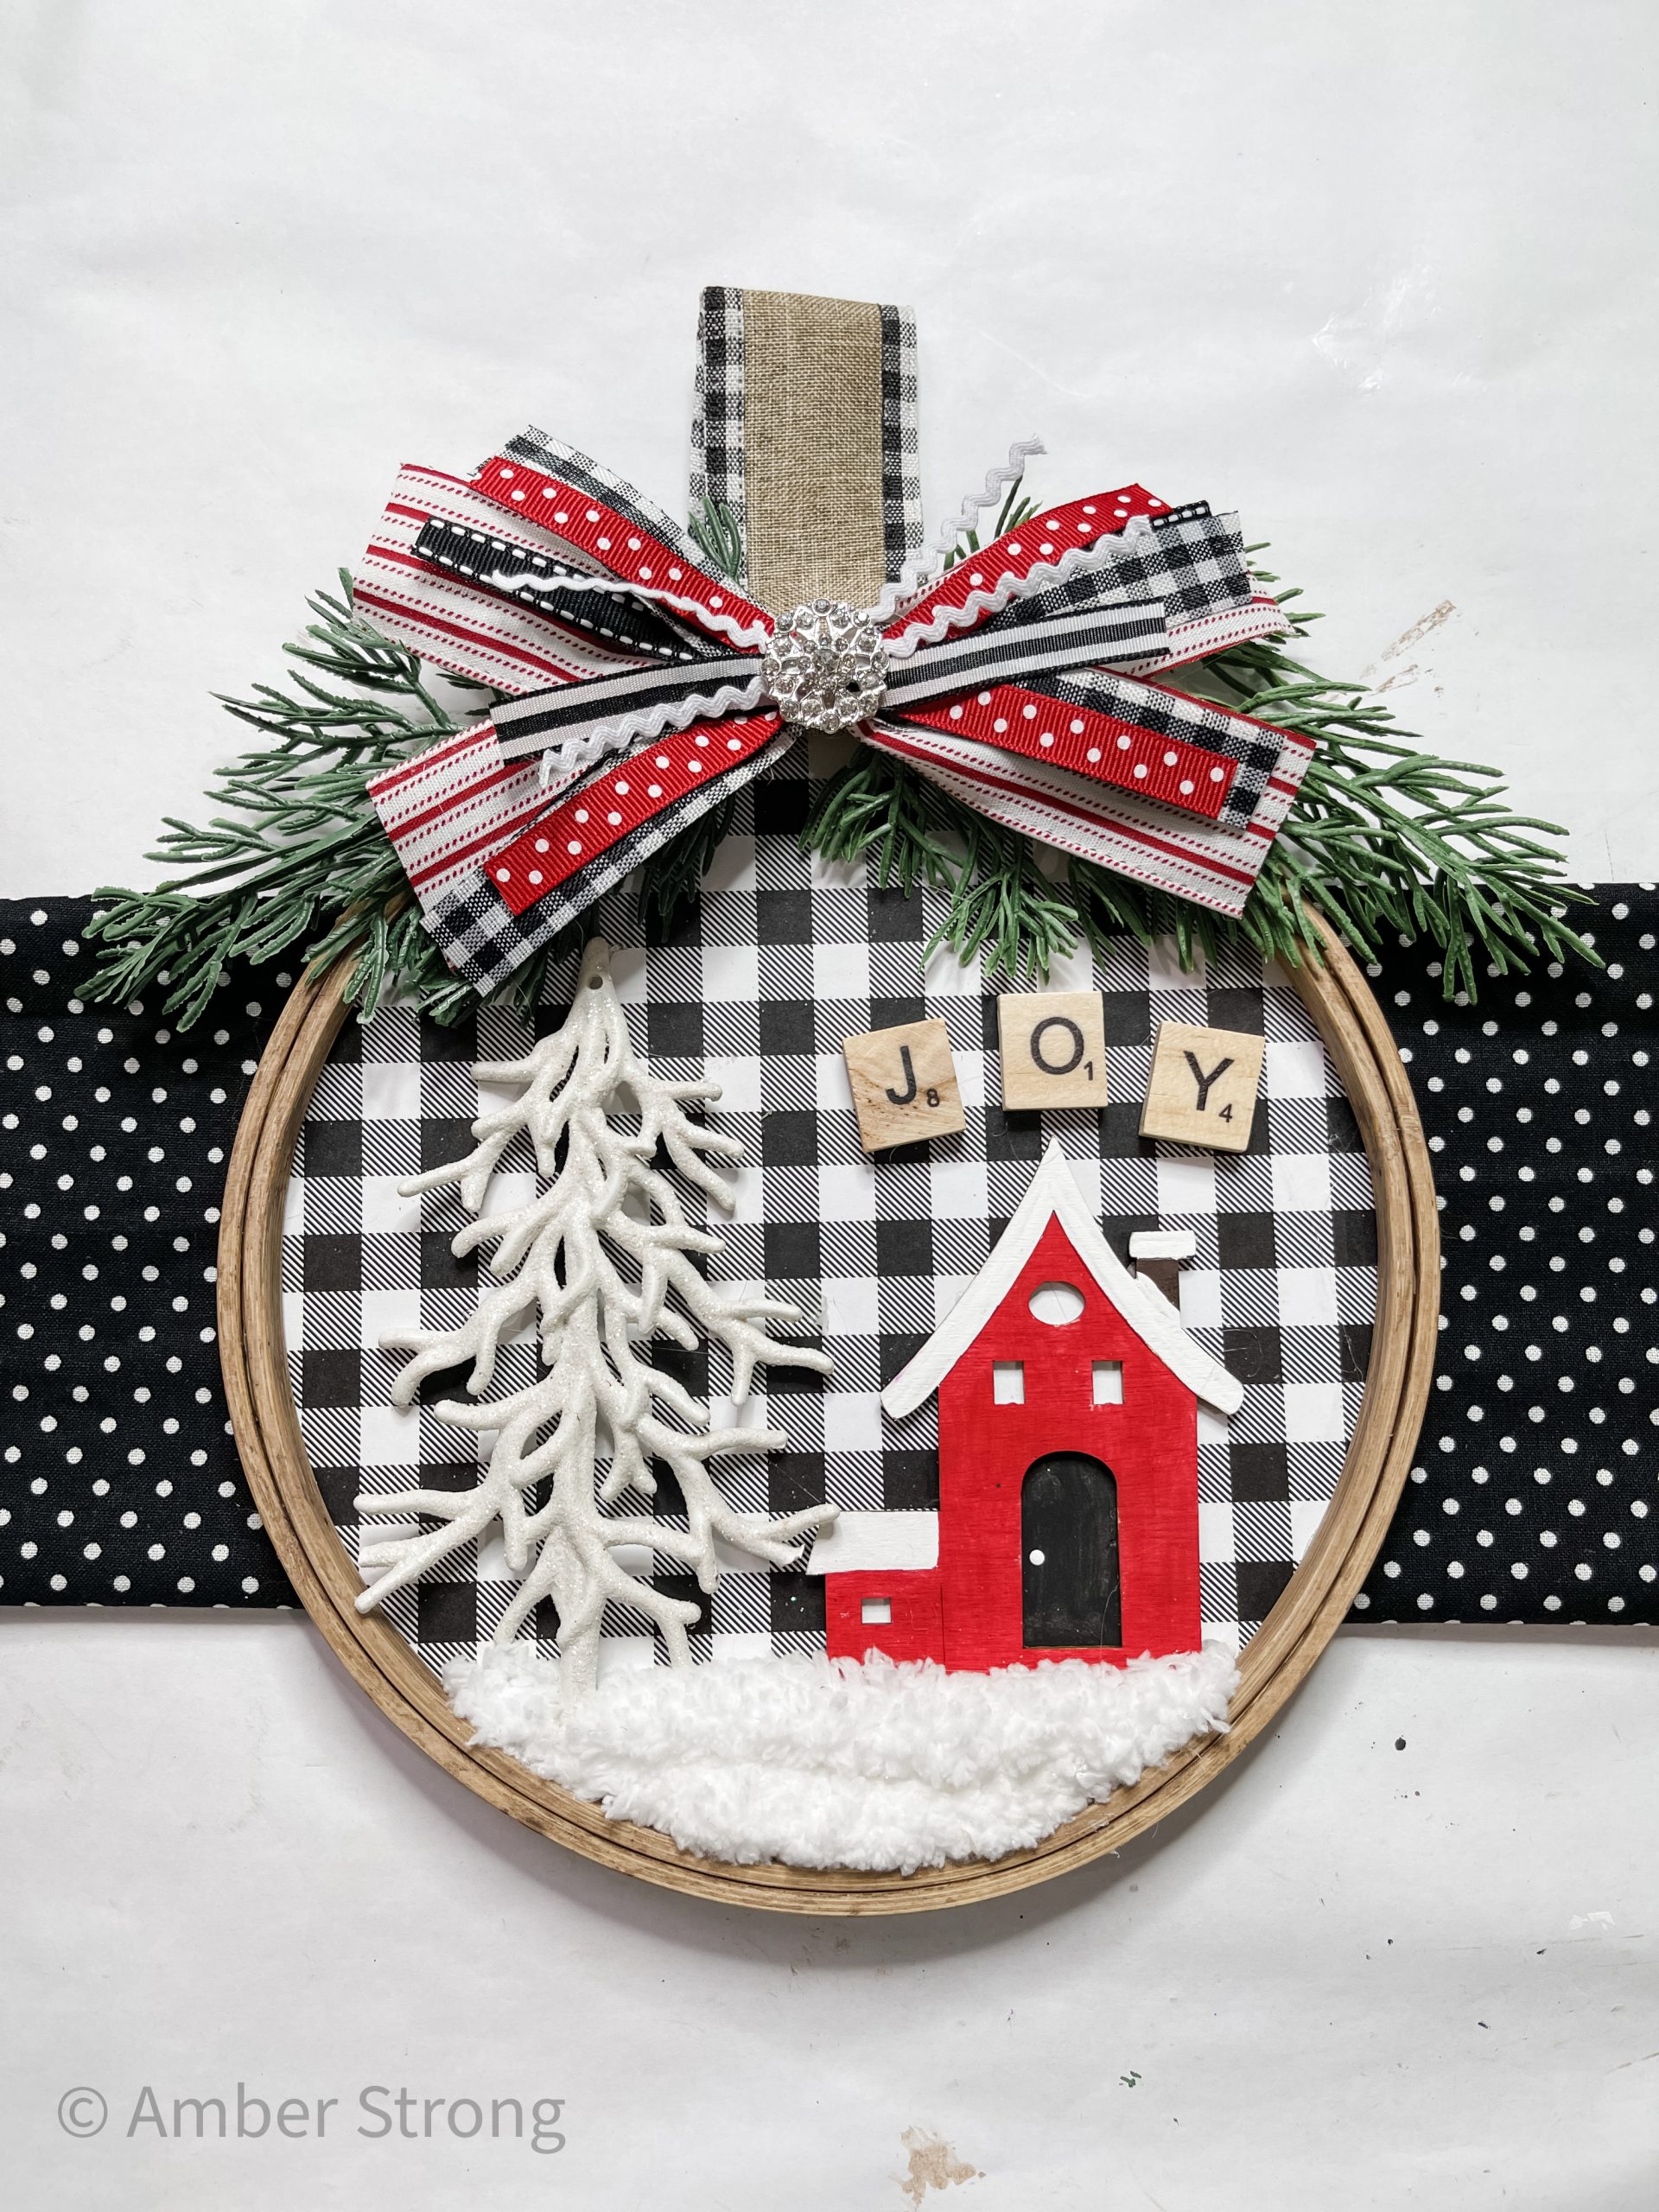
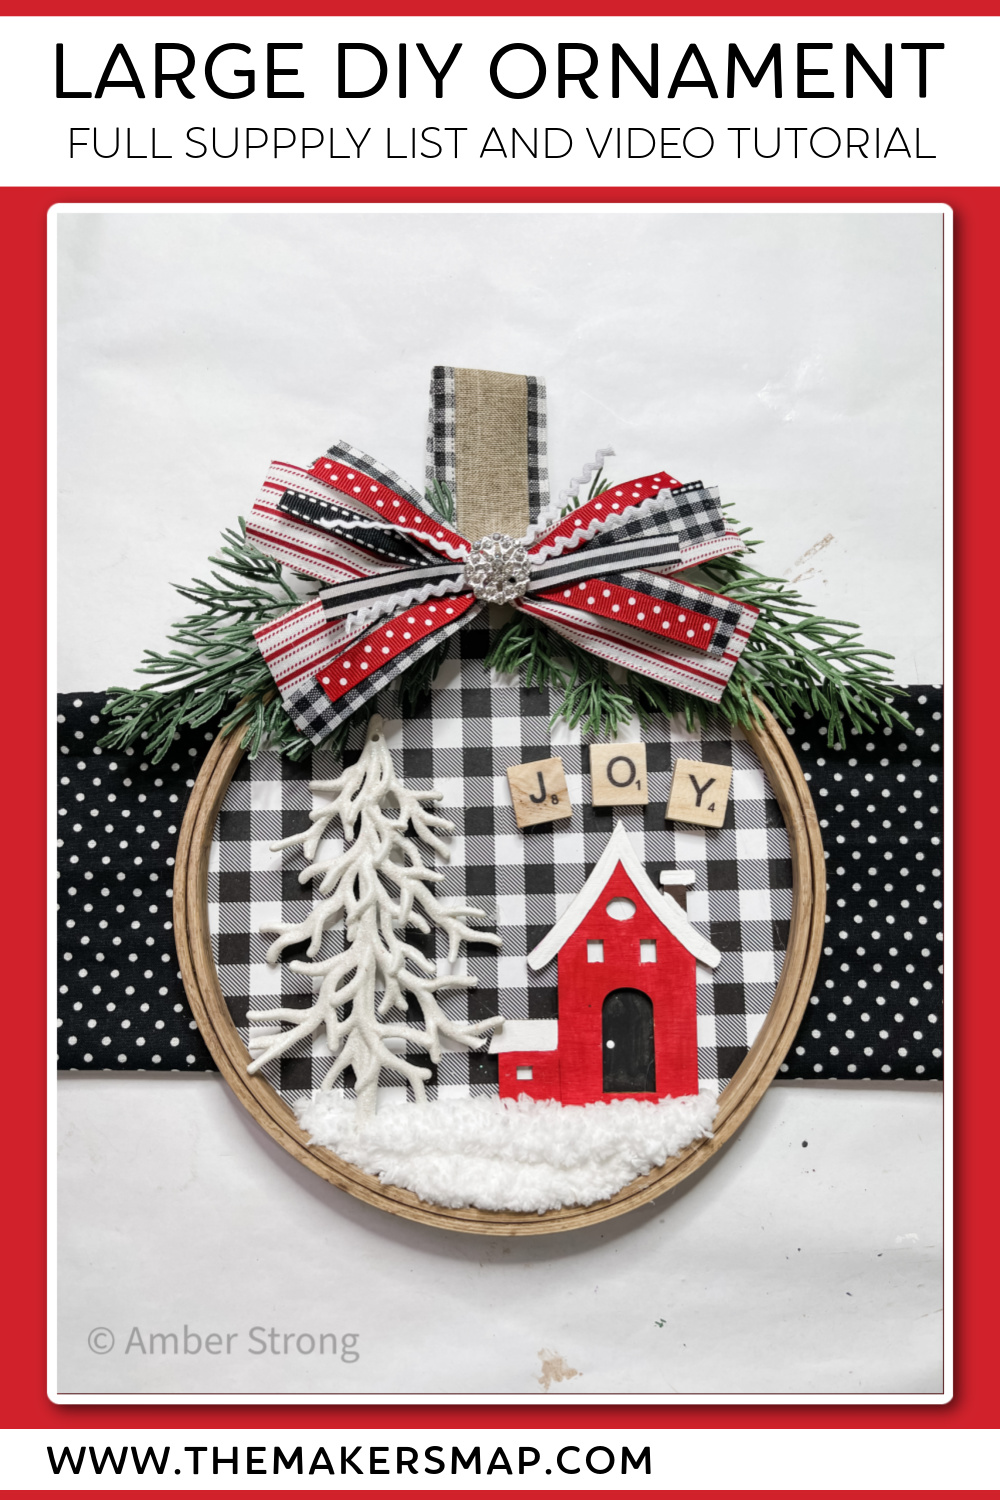
Large Embroidery Hoop DIY Ornament
I say this a lot because I just have so much fun crafting in general, but making this Large Embroidery Hoop DIY Ornament was SO MUCH FUN!
I’m a little obsessed with how amazing this ornament turned out, and I think you’re going to love it just as much! Not only is it super affordable, but it’s so easy to bring to life!
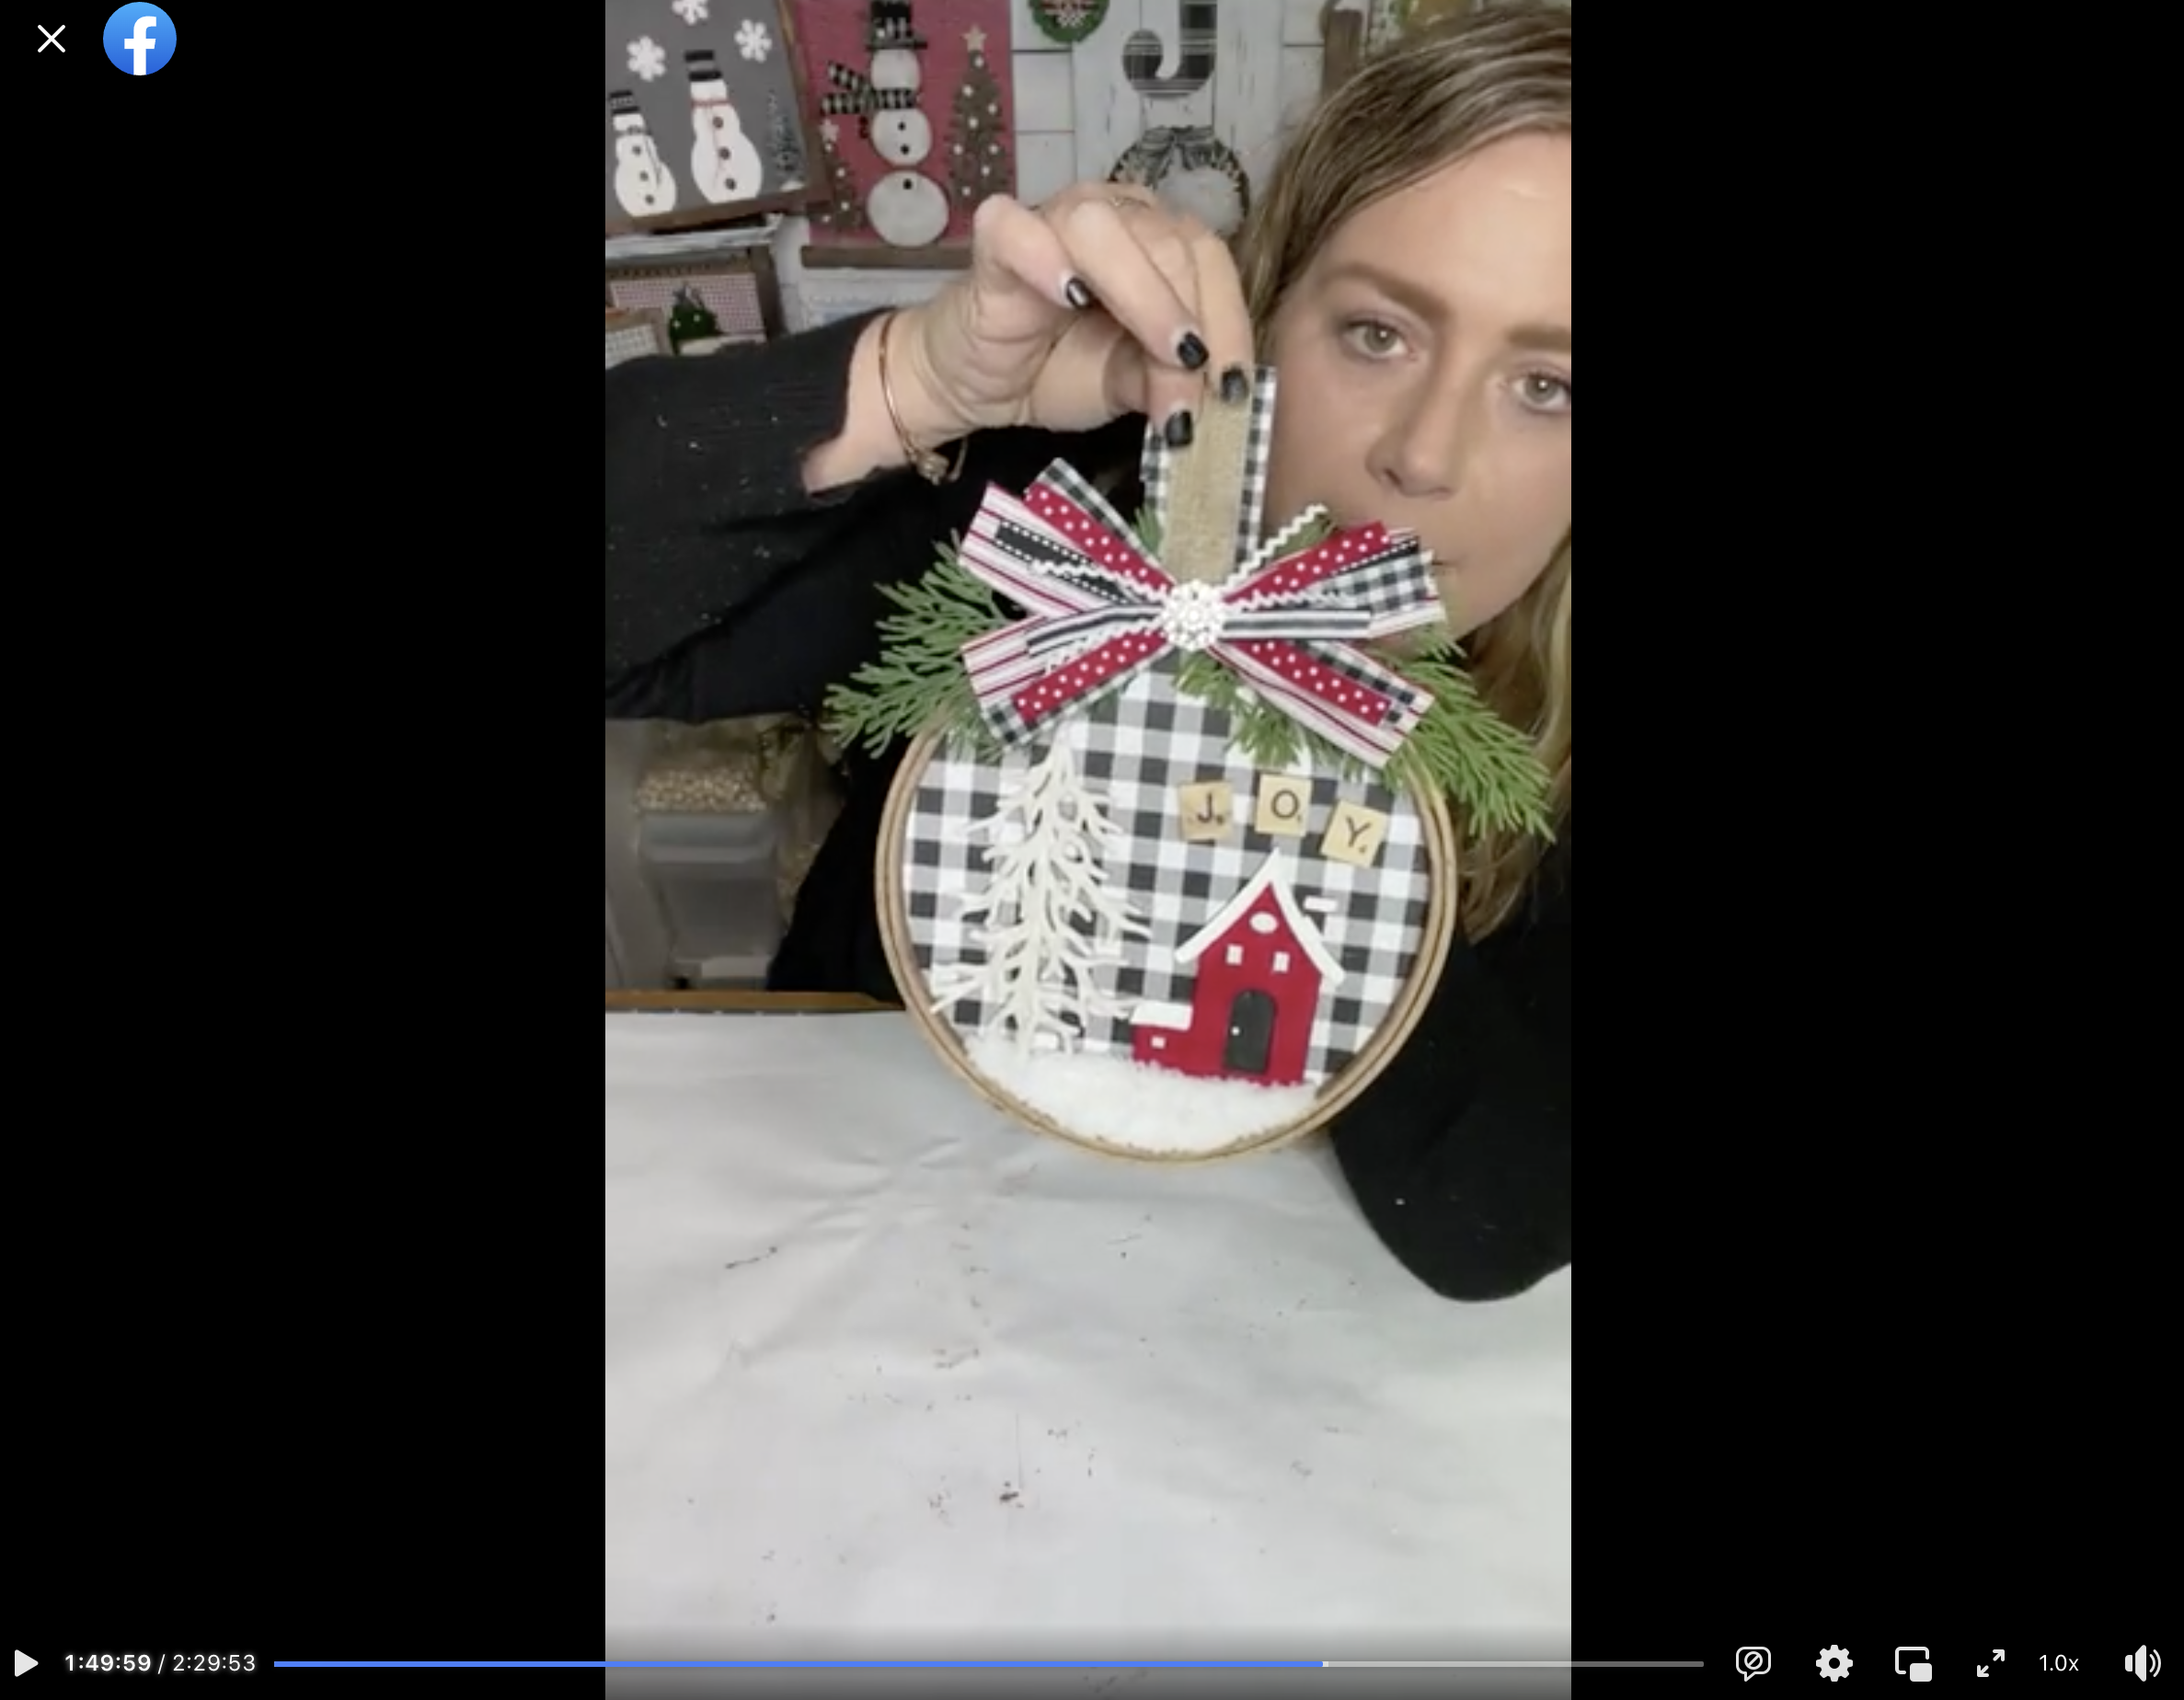
Watch the DIY tutorial
I shared how to make this super adorable Large Embroidery Hoop DIY Ornament during a LIVE video on my Facebook page.
If you want to see the DIY process, craft along, or just join in on the fun conversations, you can watch the DIY tutorial replay on Facebook!
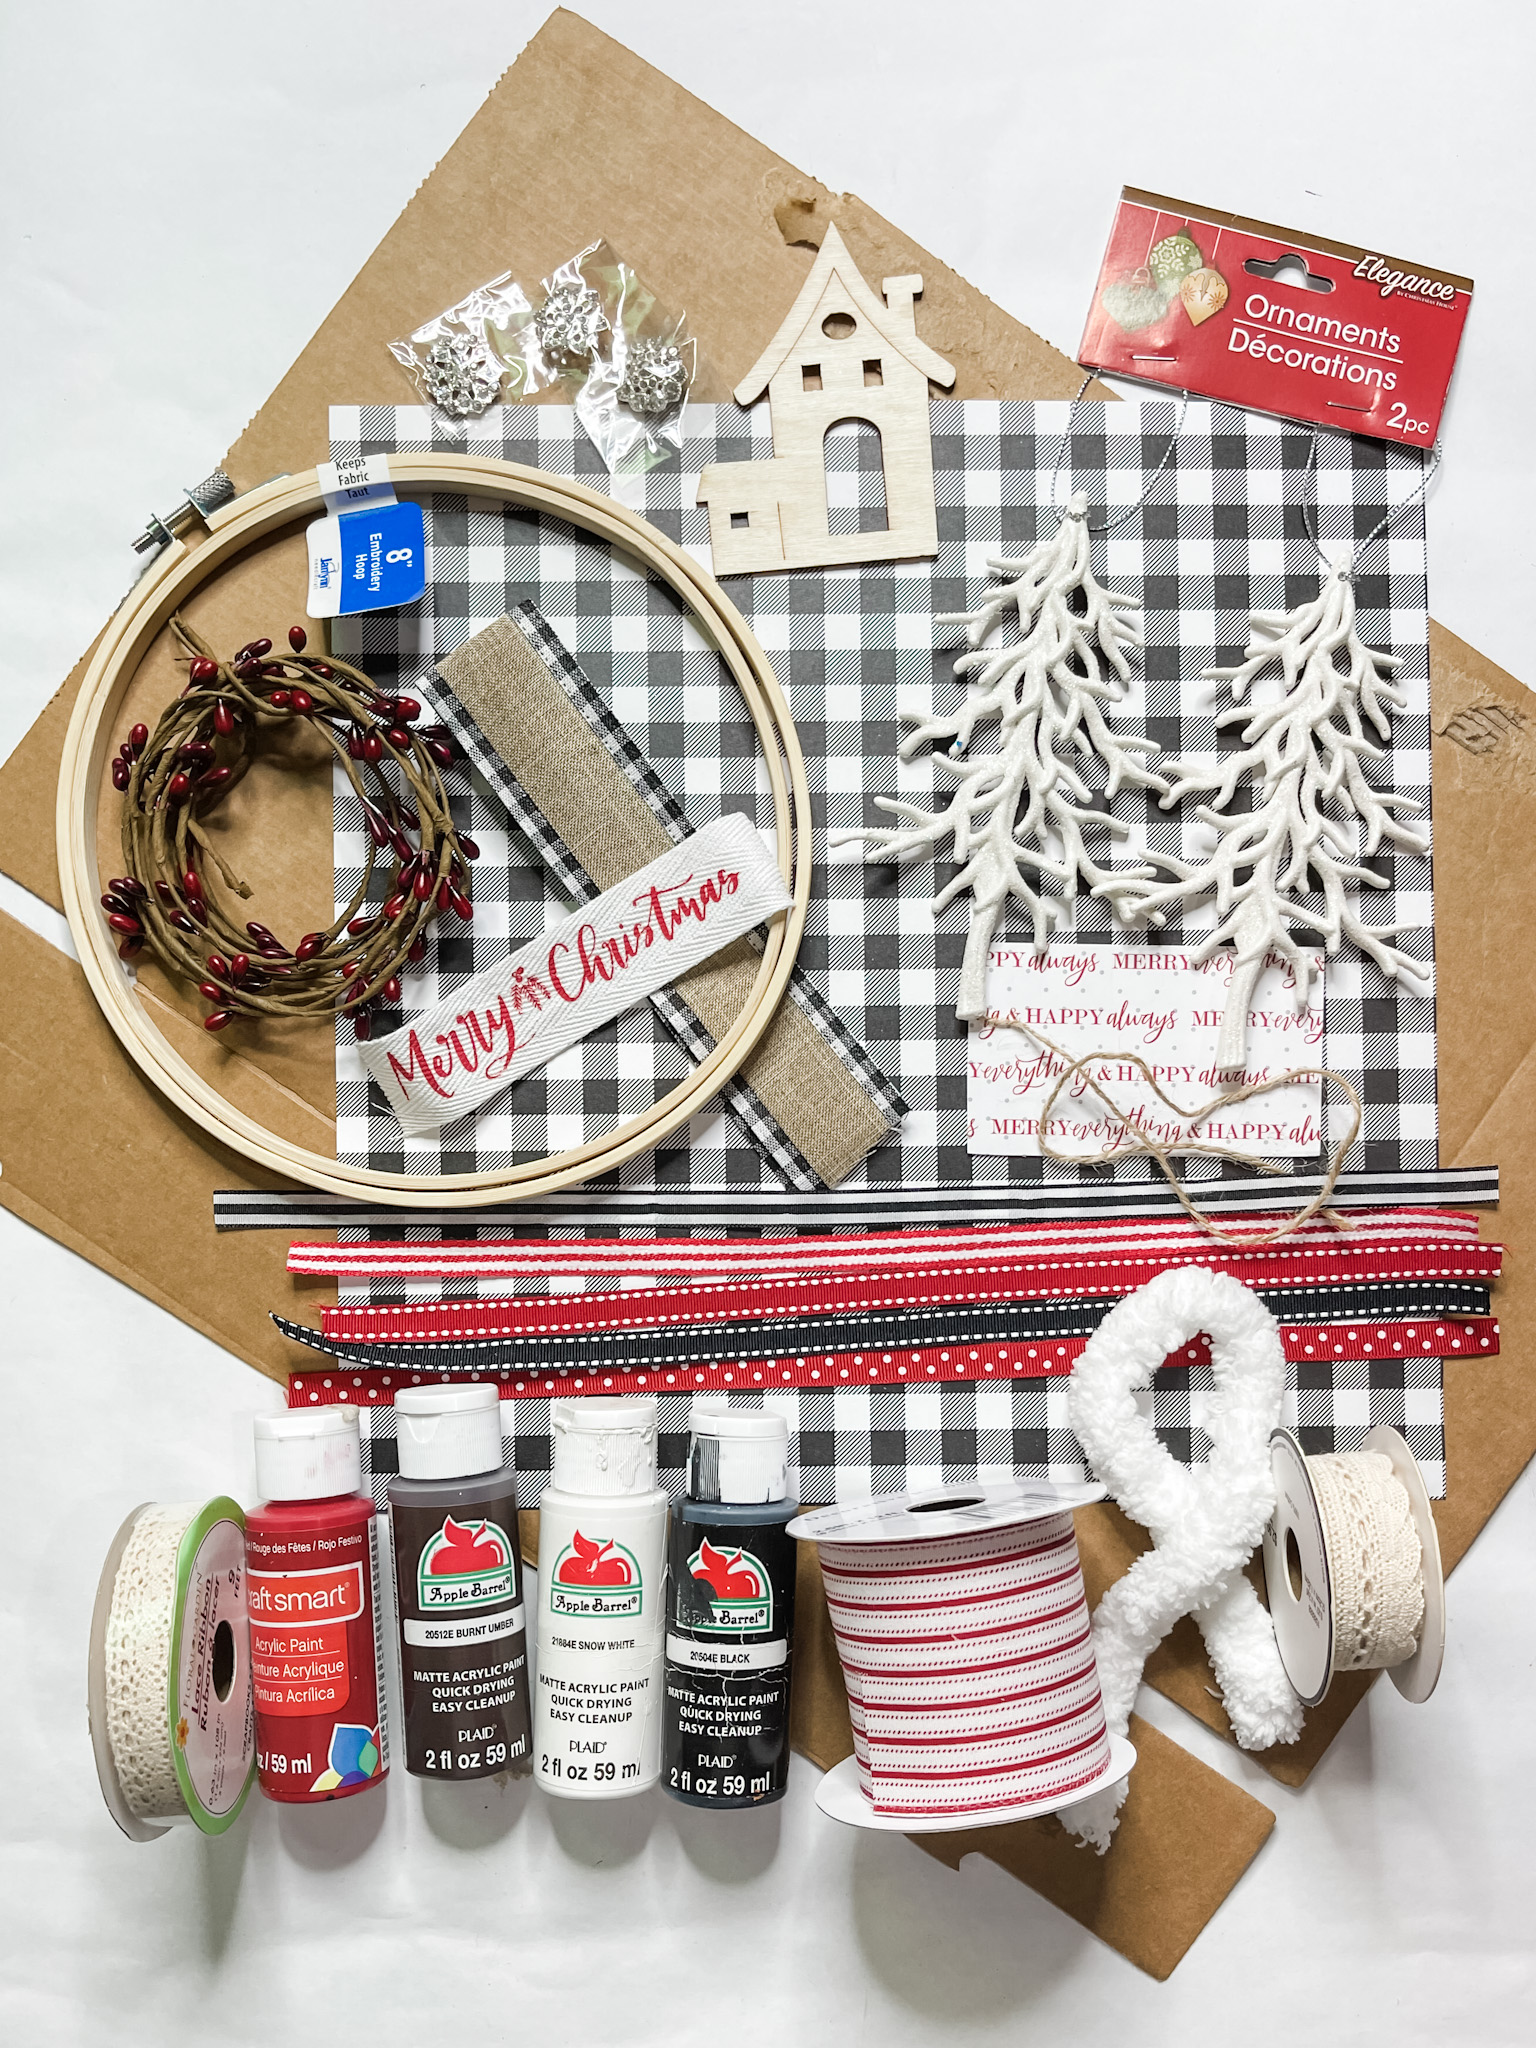
For this project, I will be using these items but you can substitute where you want.
“As an Amazon Associate, I earn from qualifying purchases.”
- Dollar Tree White Tree Ornaments
- Dollar Tree Small Wooden House
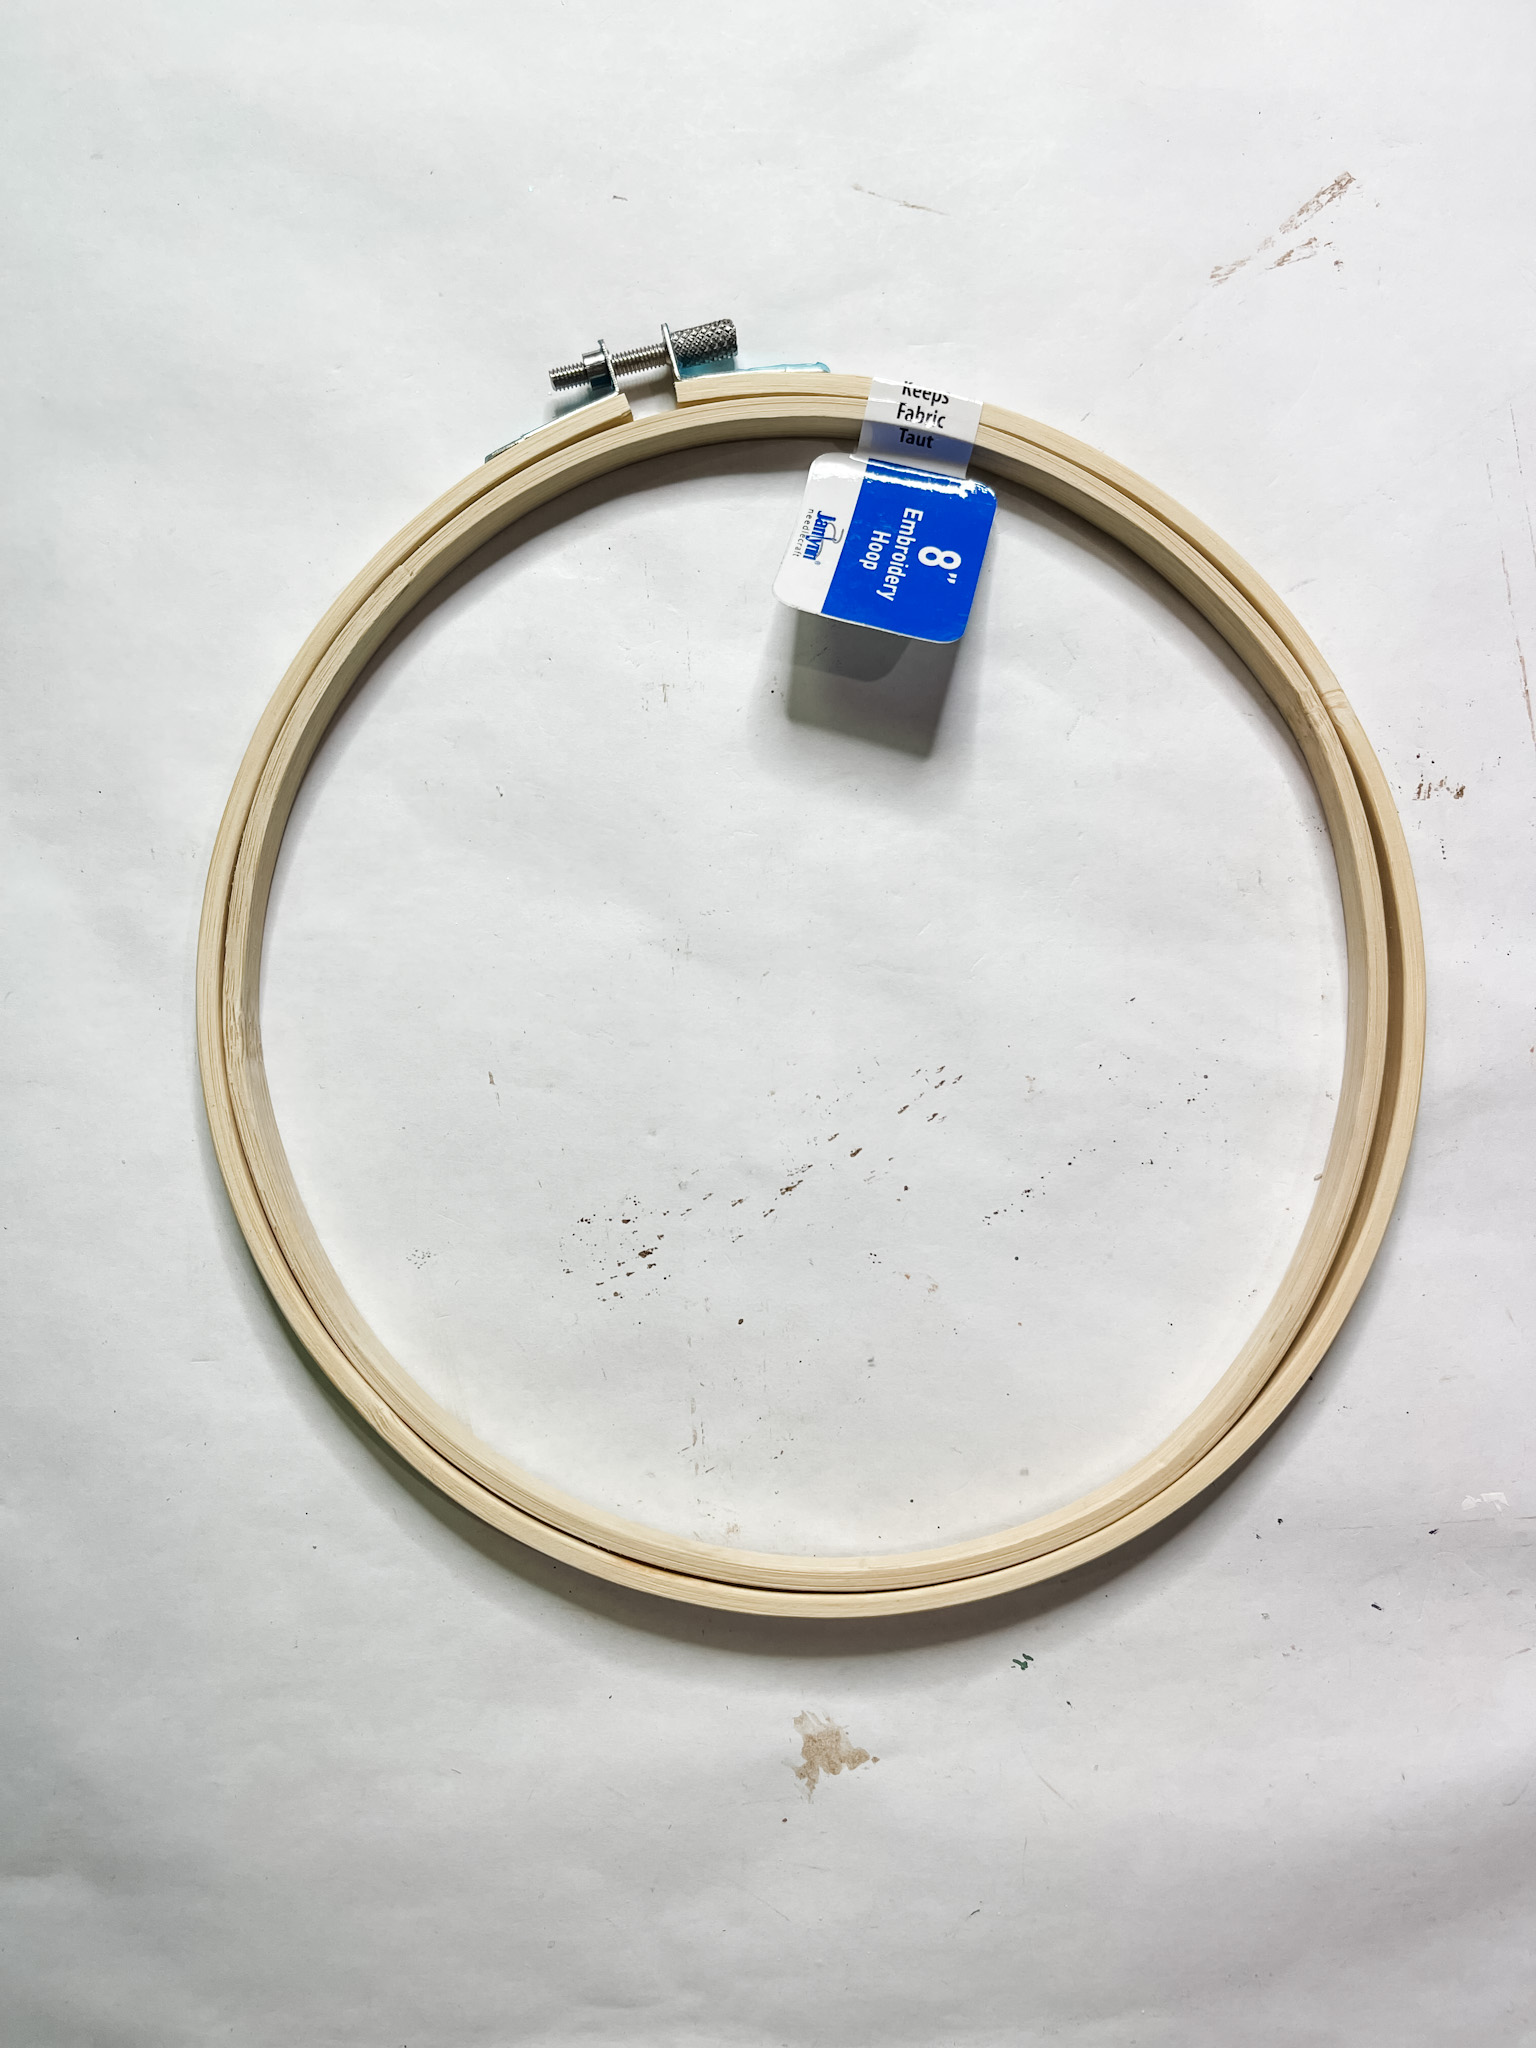
- 8 inch Embroidery Hoop (Walmart)
- Dollar Tree Jute Twine
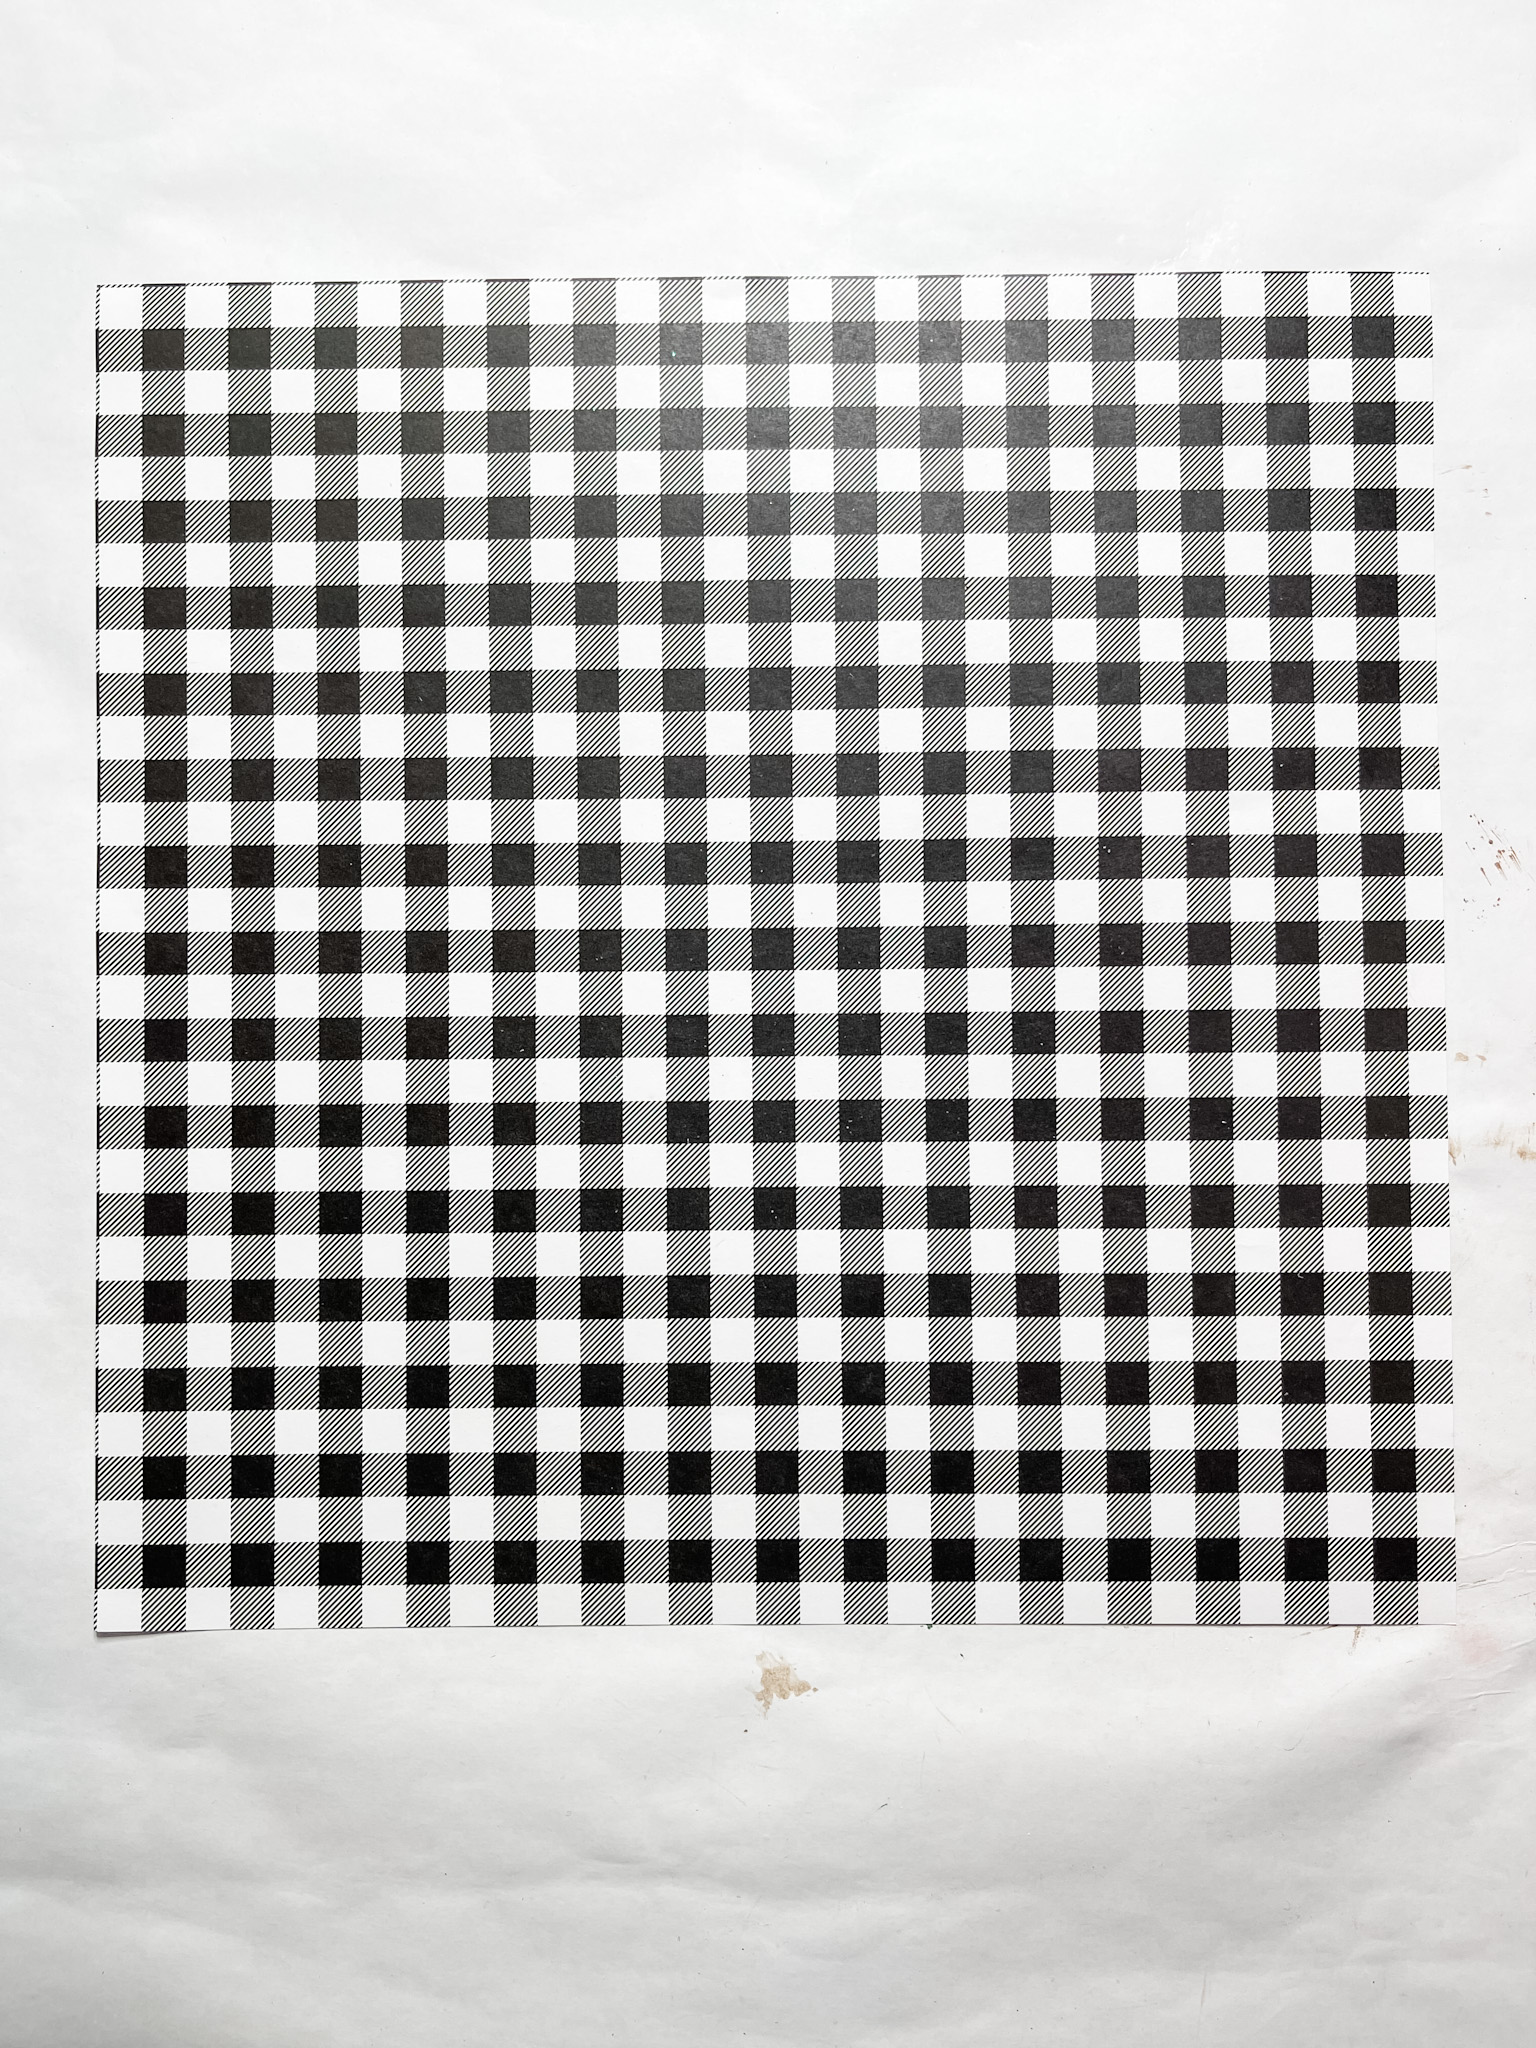
- Buffalo Check Scrapbook Paper
- Hobby Lobby Yarn Bee Chunky White Yarn
- Christmas Greenery
- Ribbon of choice (Black, White, and Red)
- Burlap with buffalo check trim
- Scrabble tiles
- Totally Dazzled Bling
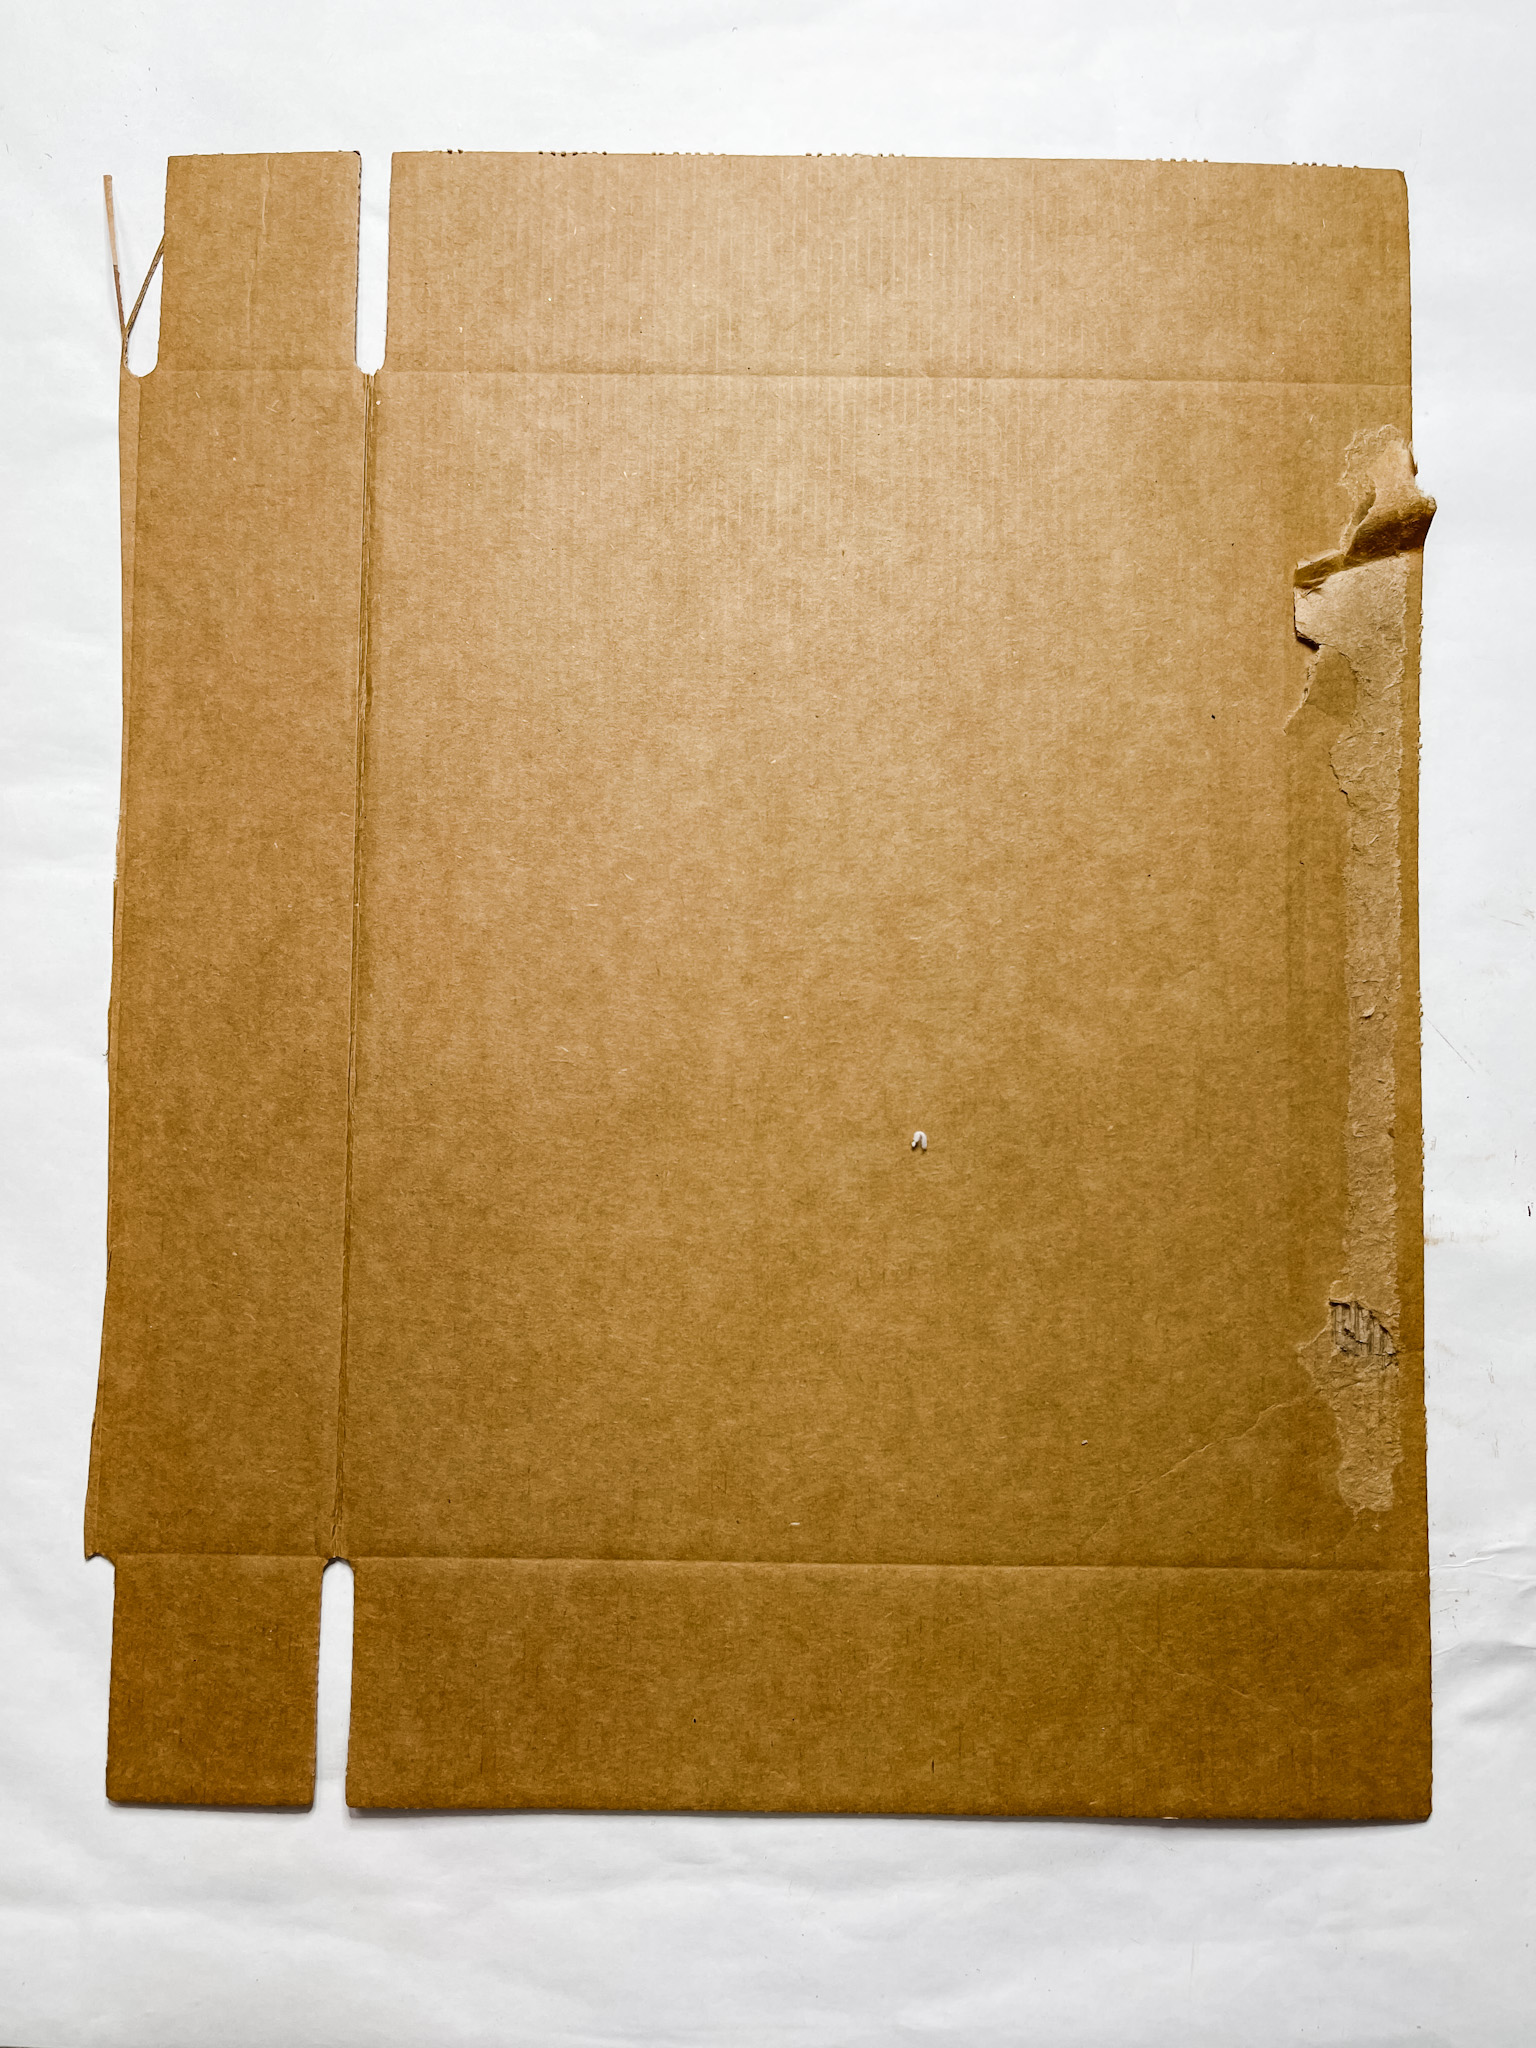
- Cardboard
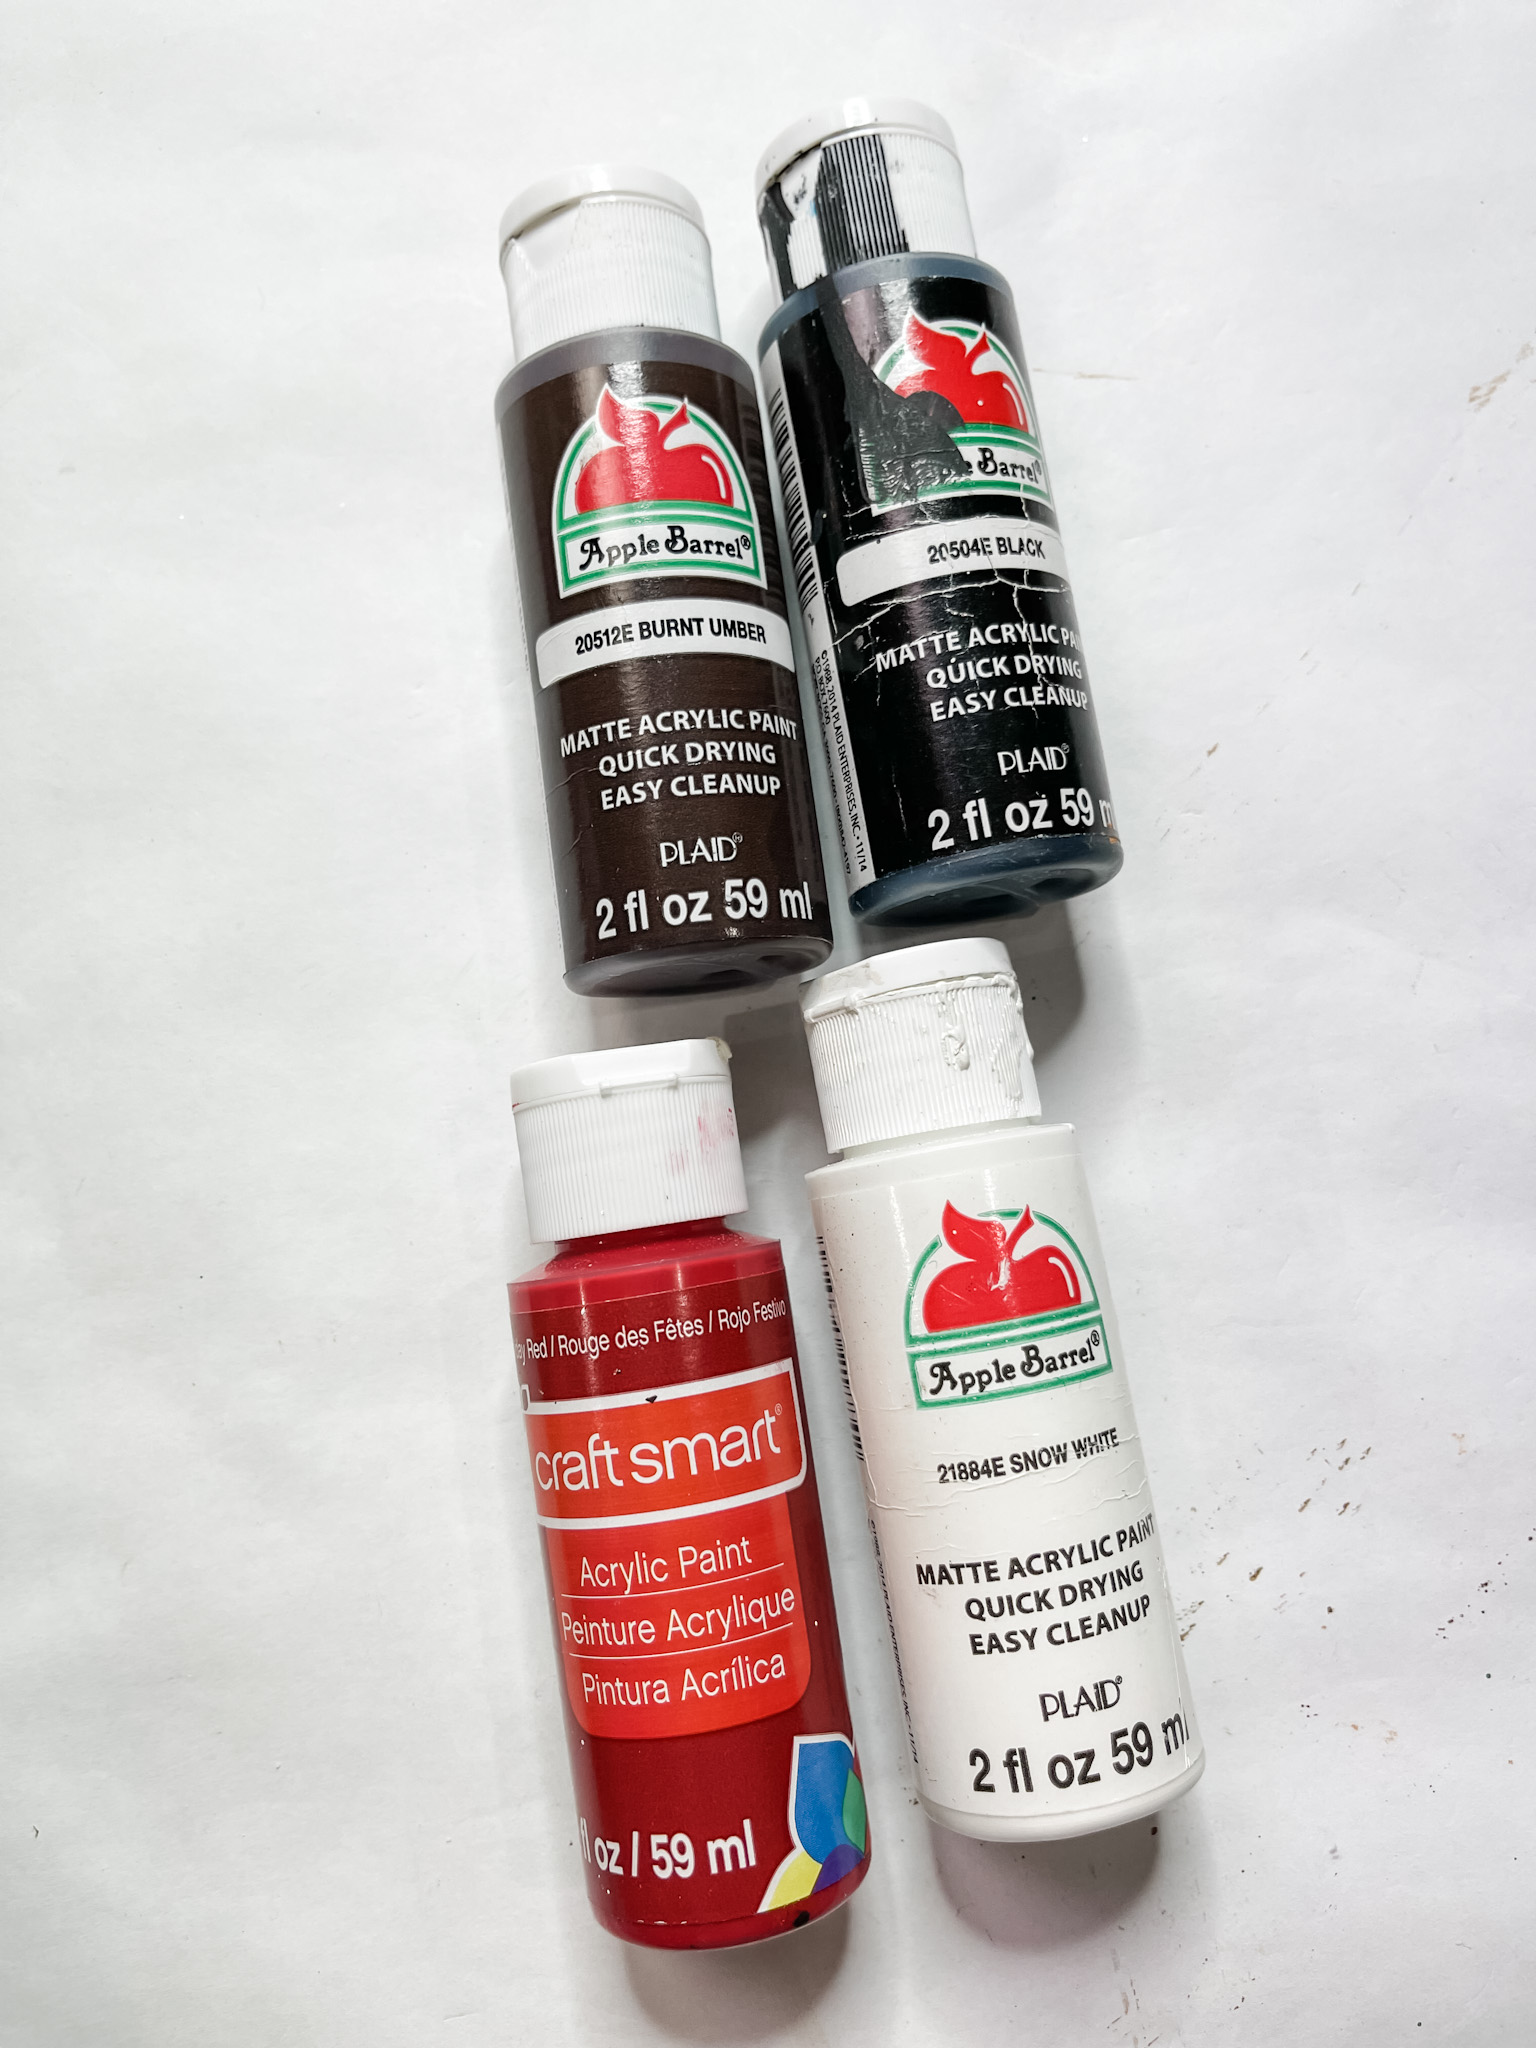
- Black Paint
- Brown Paint
- Red Paint
- White Paint
- Glue Gun
- Heat gun
How to Make a Large Embroidery Hoop DIY Ornament
I started this easy Christmas DIY by tracing the shape of the 8-inch embroidery hoop onto my piece of cardboard and then I cut the circle out.
Then, I traced the cardboard circle on the back of the black buffalo check scrapbook paper and cut that circle out.
Apply a coat of Mod Podge to the surface of the cardboard circle and place the scrapbook paper circle onto it. Cover with a piece of plastic saran wrap and use a rolling pin to smooth out any bubbles.
Next, I painted the Walmart 8-inch embroidery hoop brown with Apple Barrel’s burnt umber acrylic paint and used a wet wipe to remove the excess paint. This gave me a slightly stained finish.
I dry placed all the pieces I wanted to use for this large Christmas ornament to make sure my vision would work before I started gluing things in place.
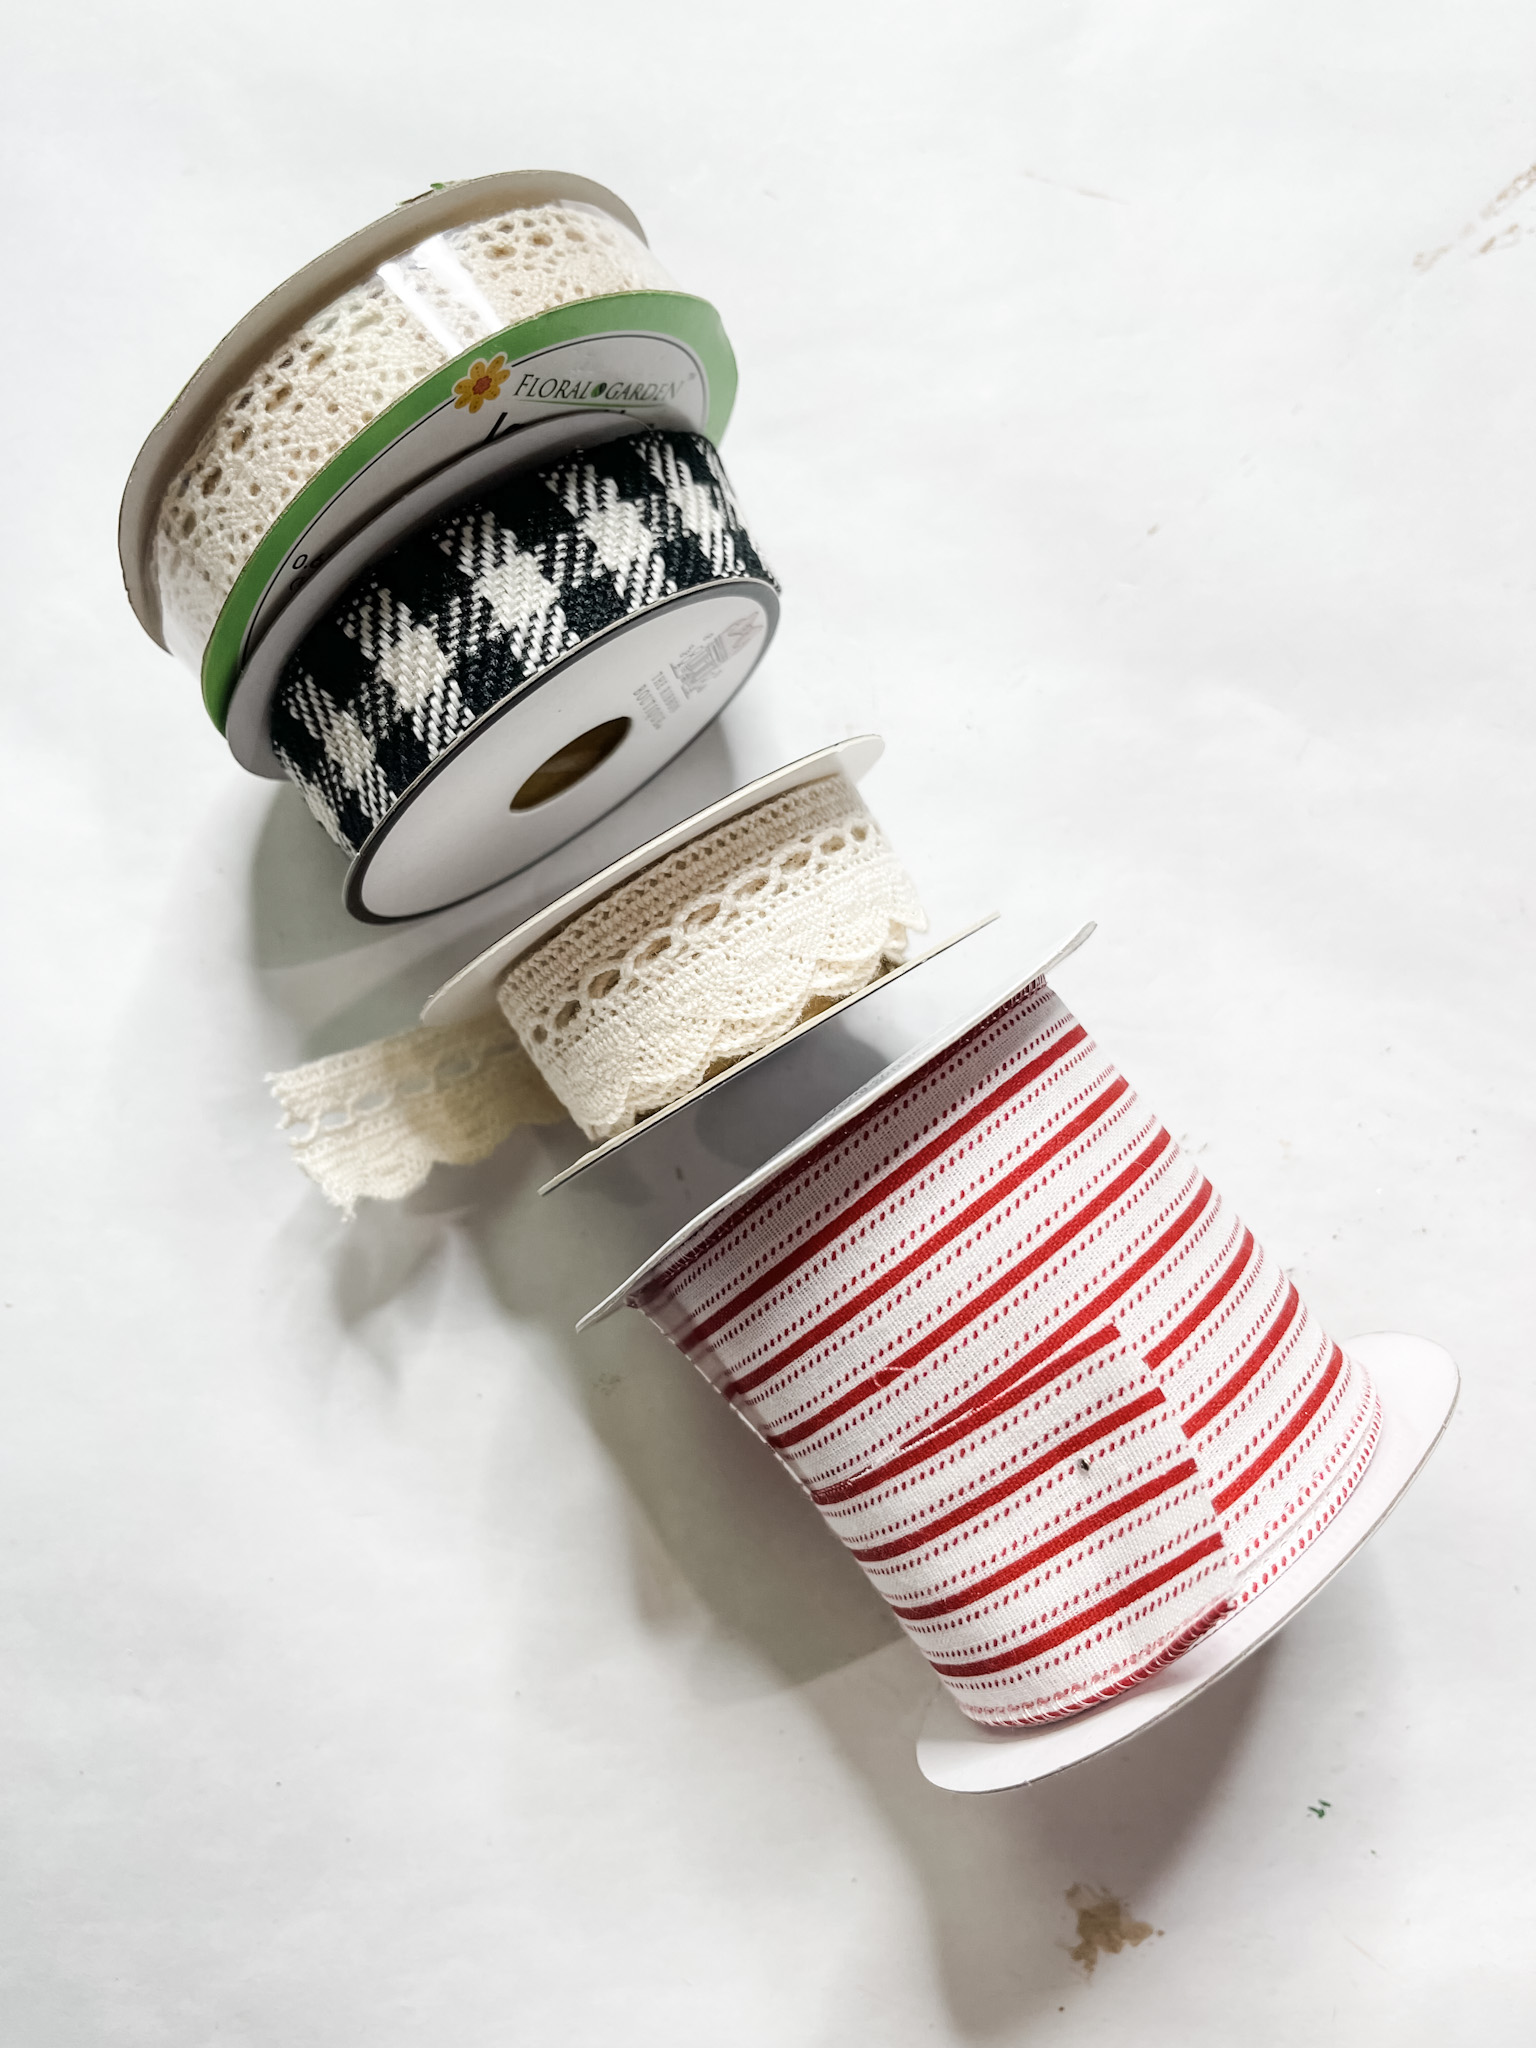
Then, I went ahead and made my bow! I cut a few strips from each of my ribbon patterns (you can use whatever ribbon you want) and laid them in an x bow pattern.
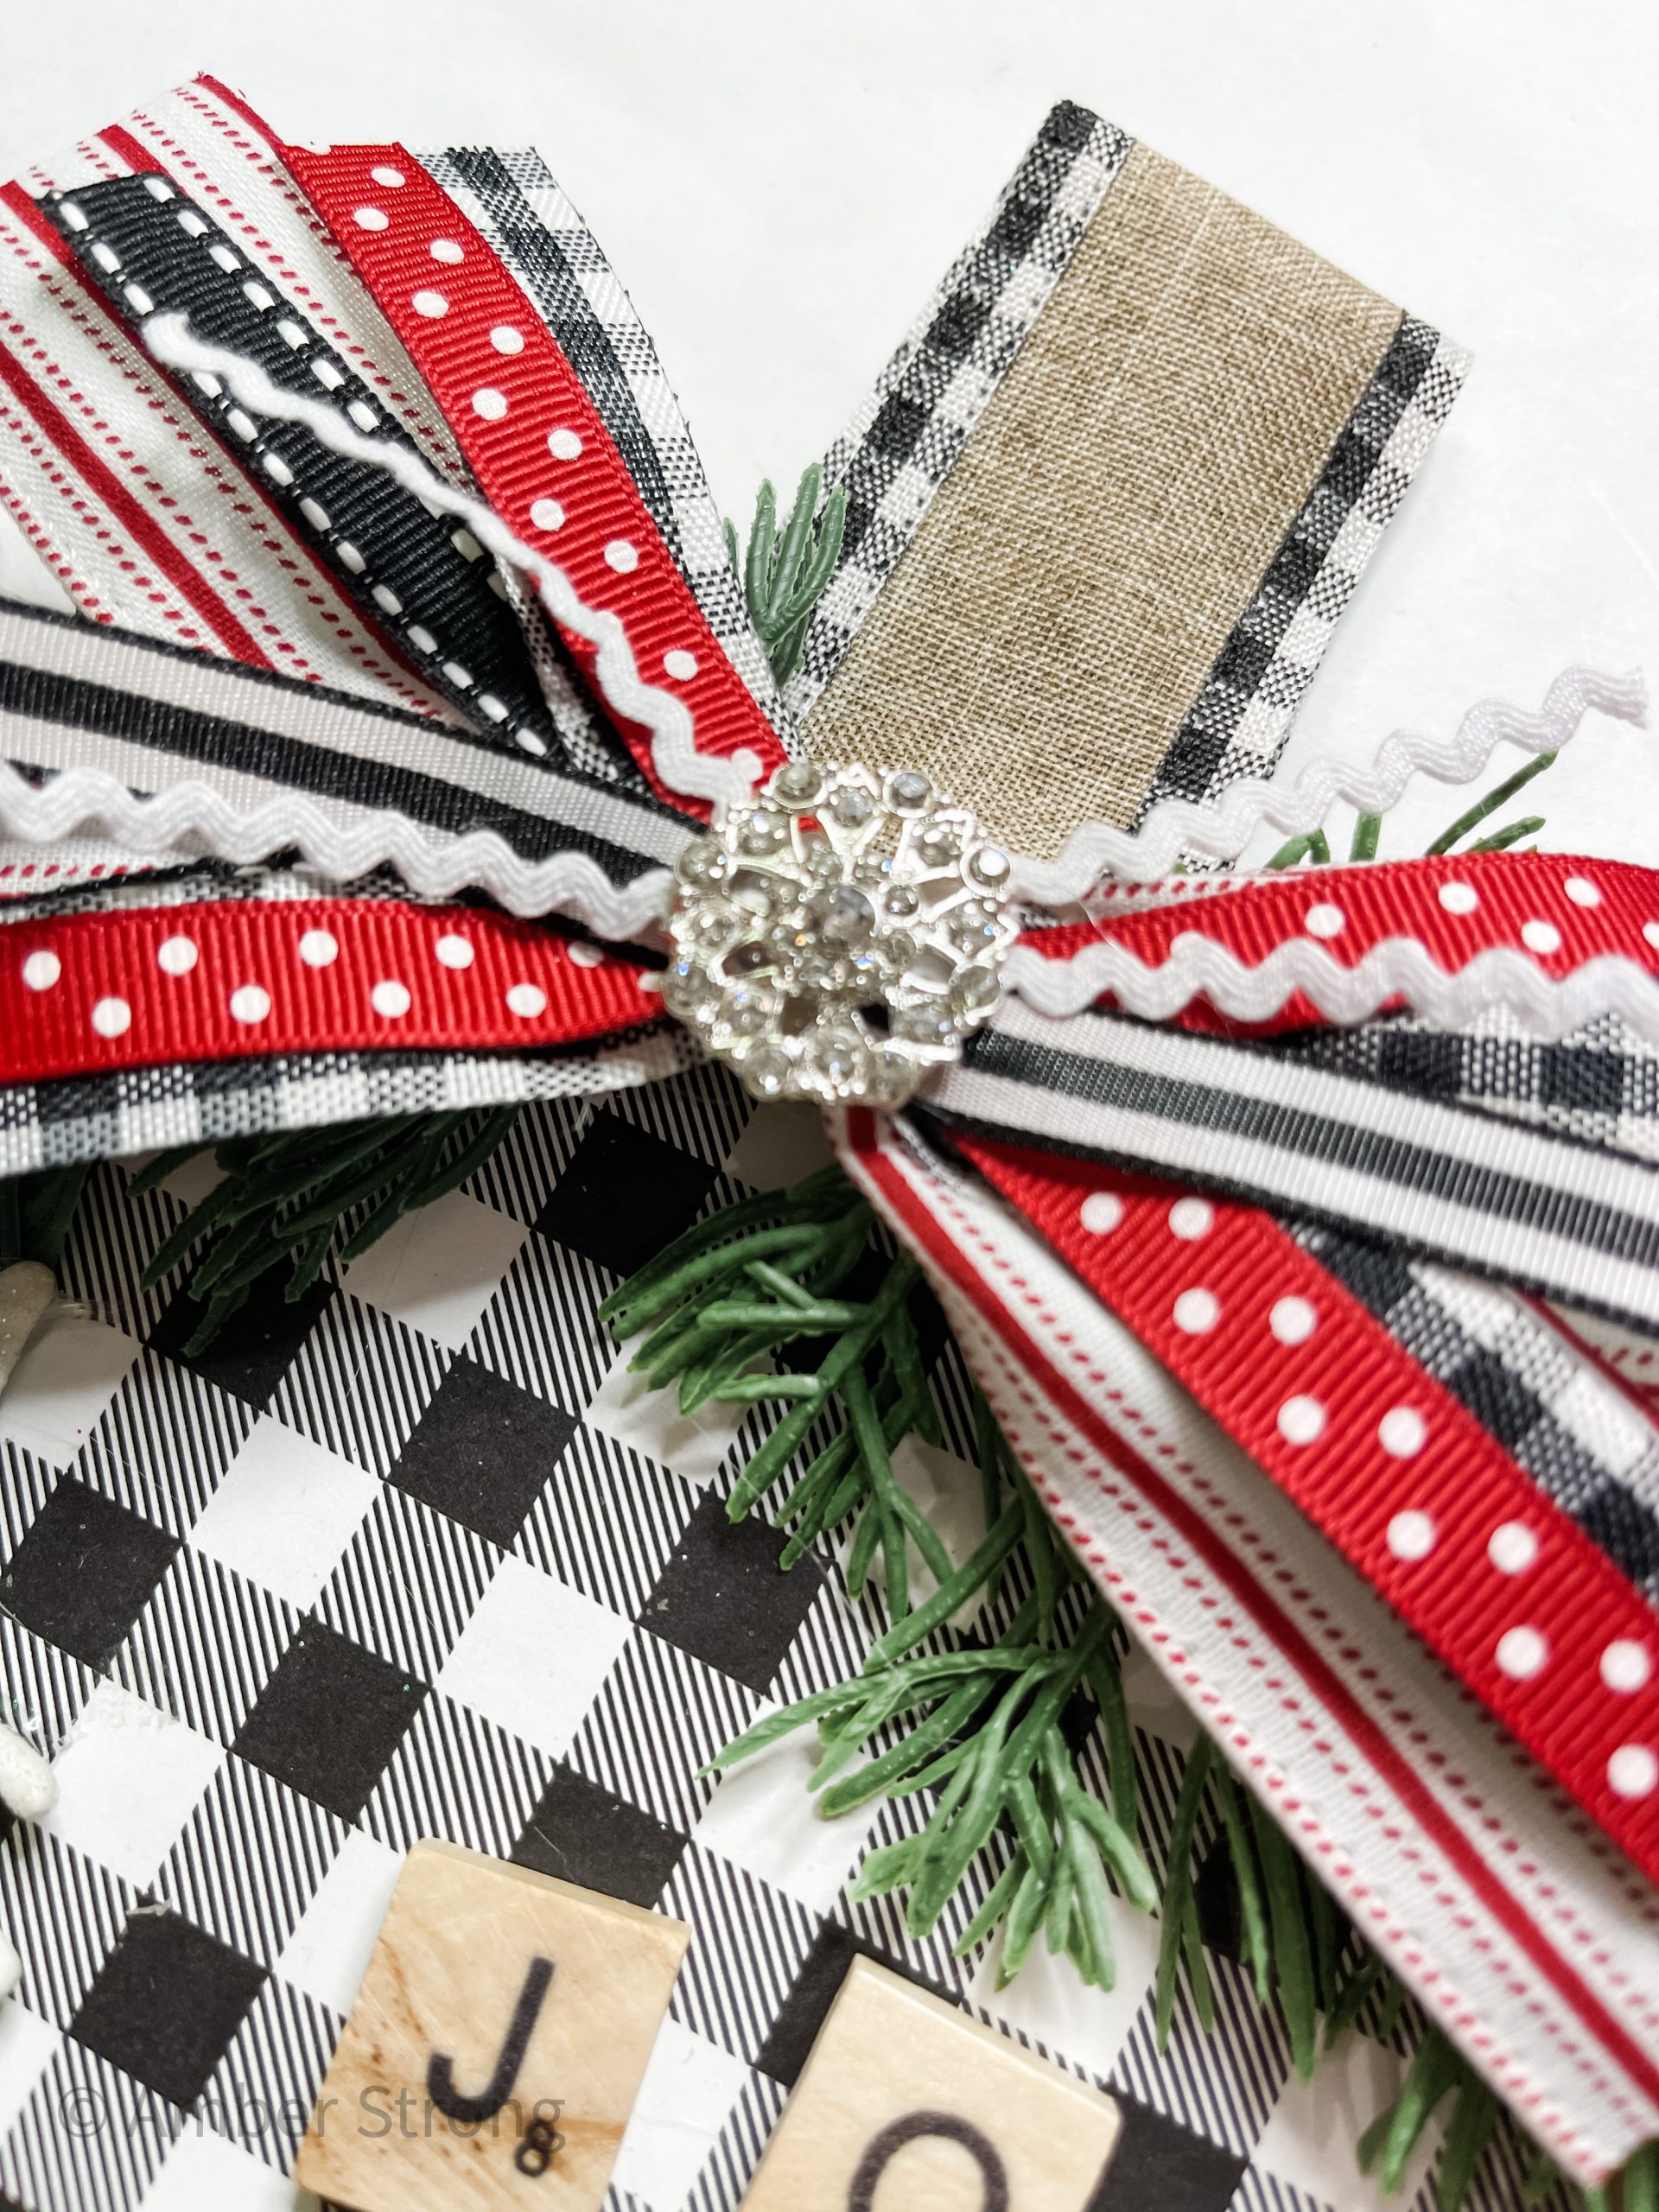
Once I was happy with the size of my bow, I secured ribbon strips together by tying a piece of jute twine around the middle of the X.
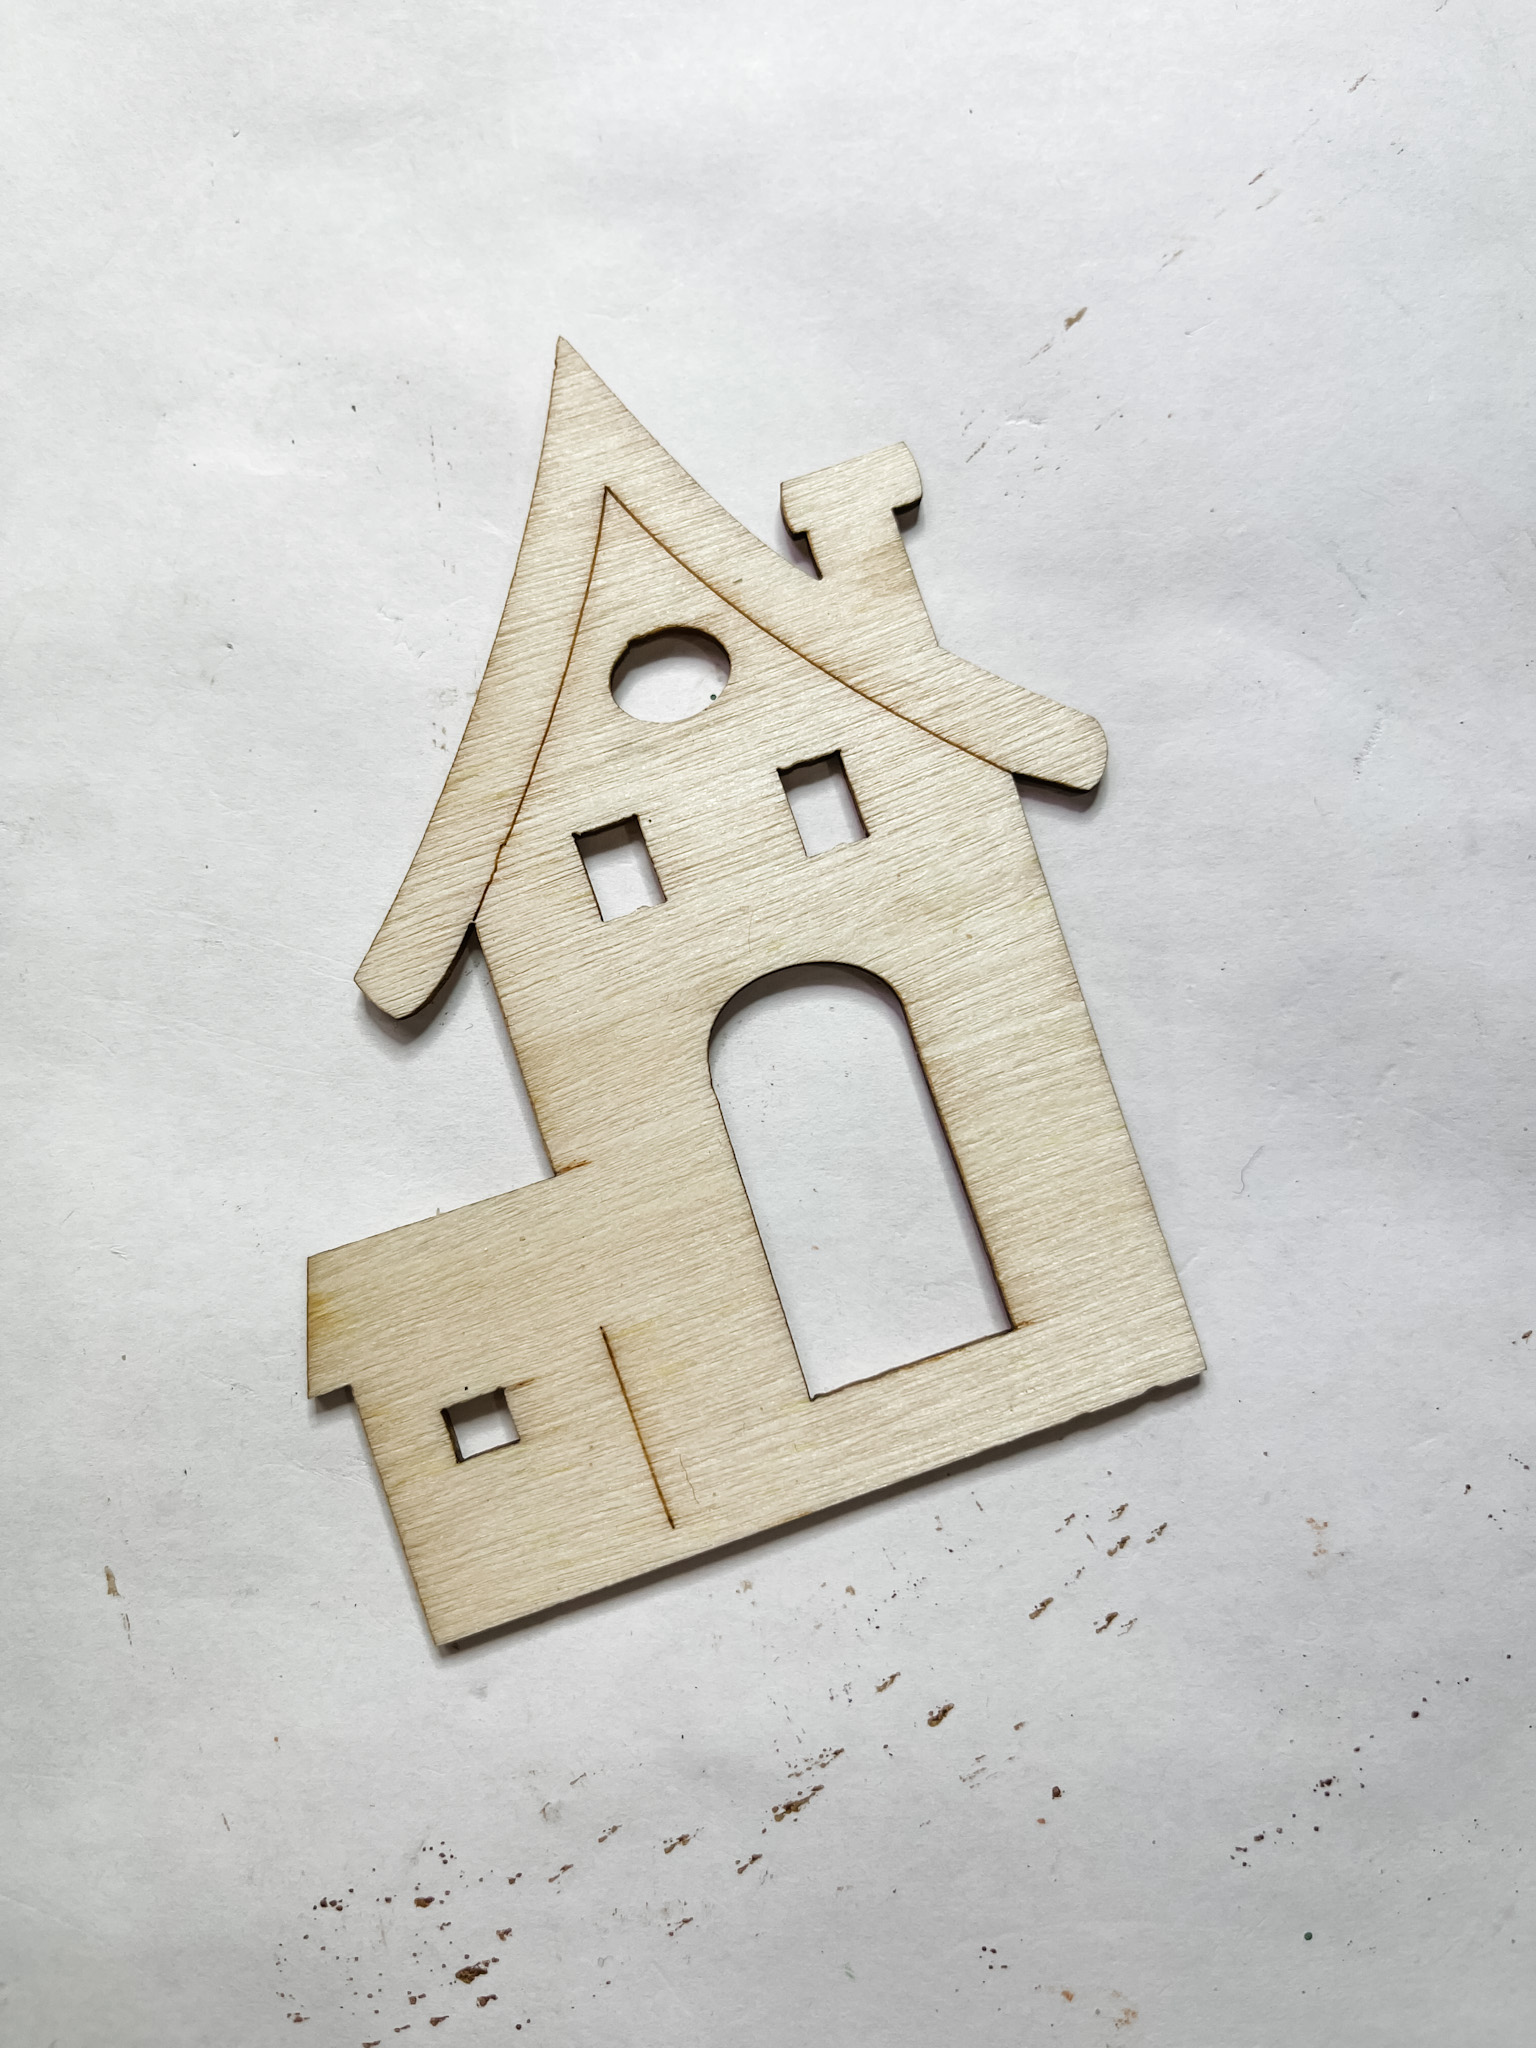
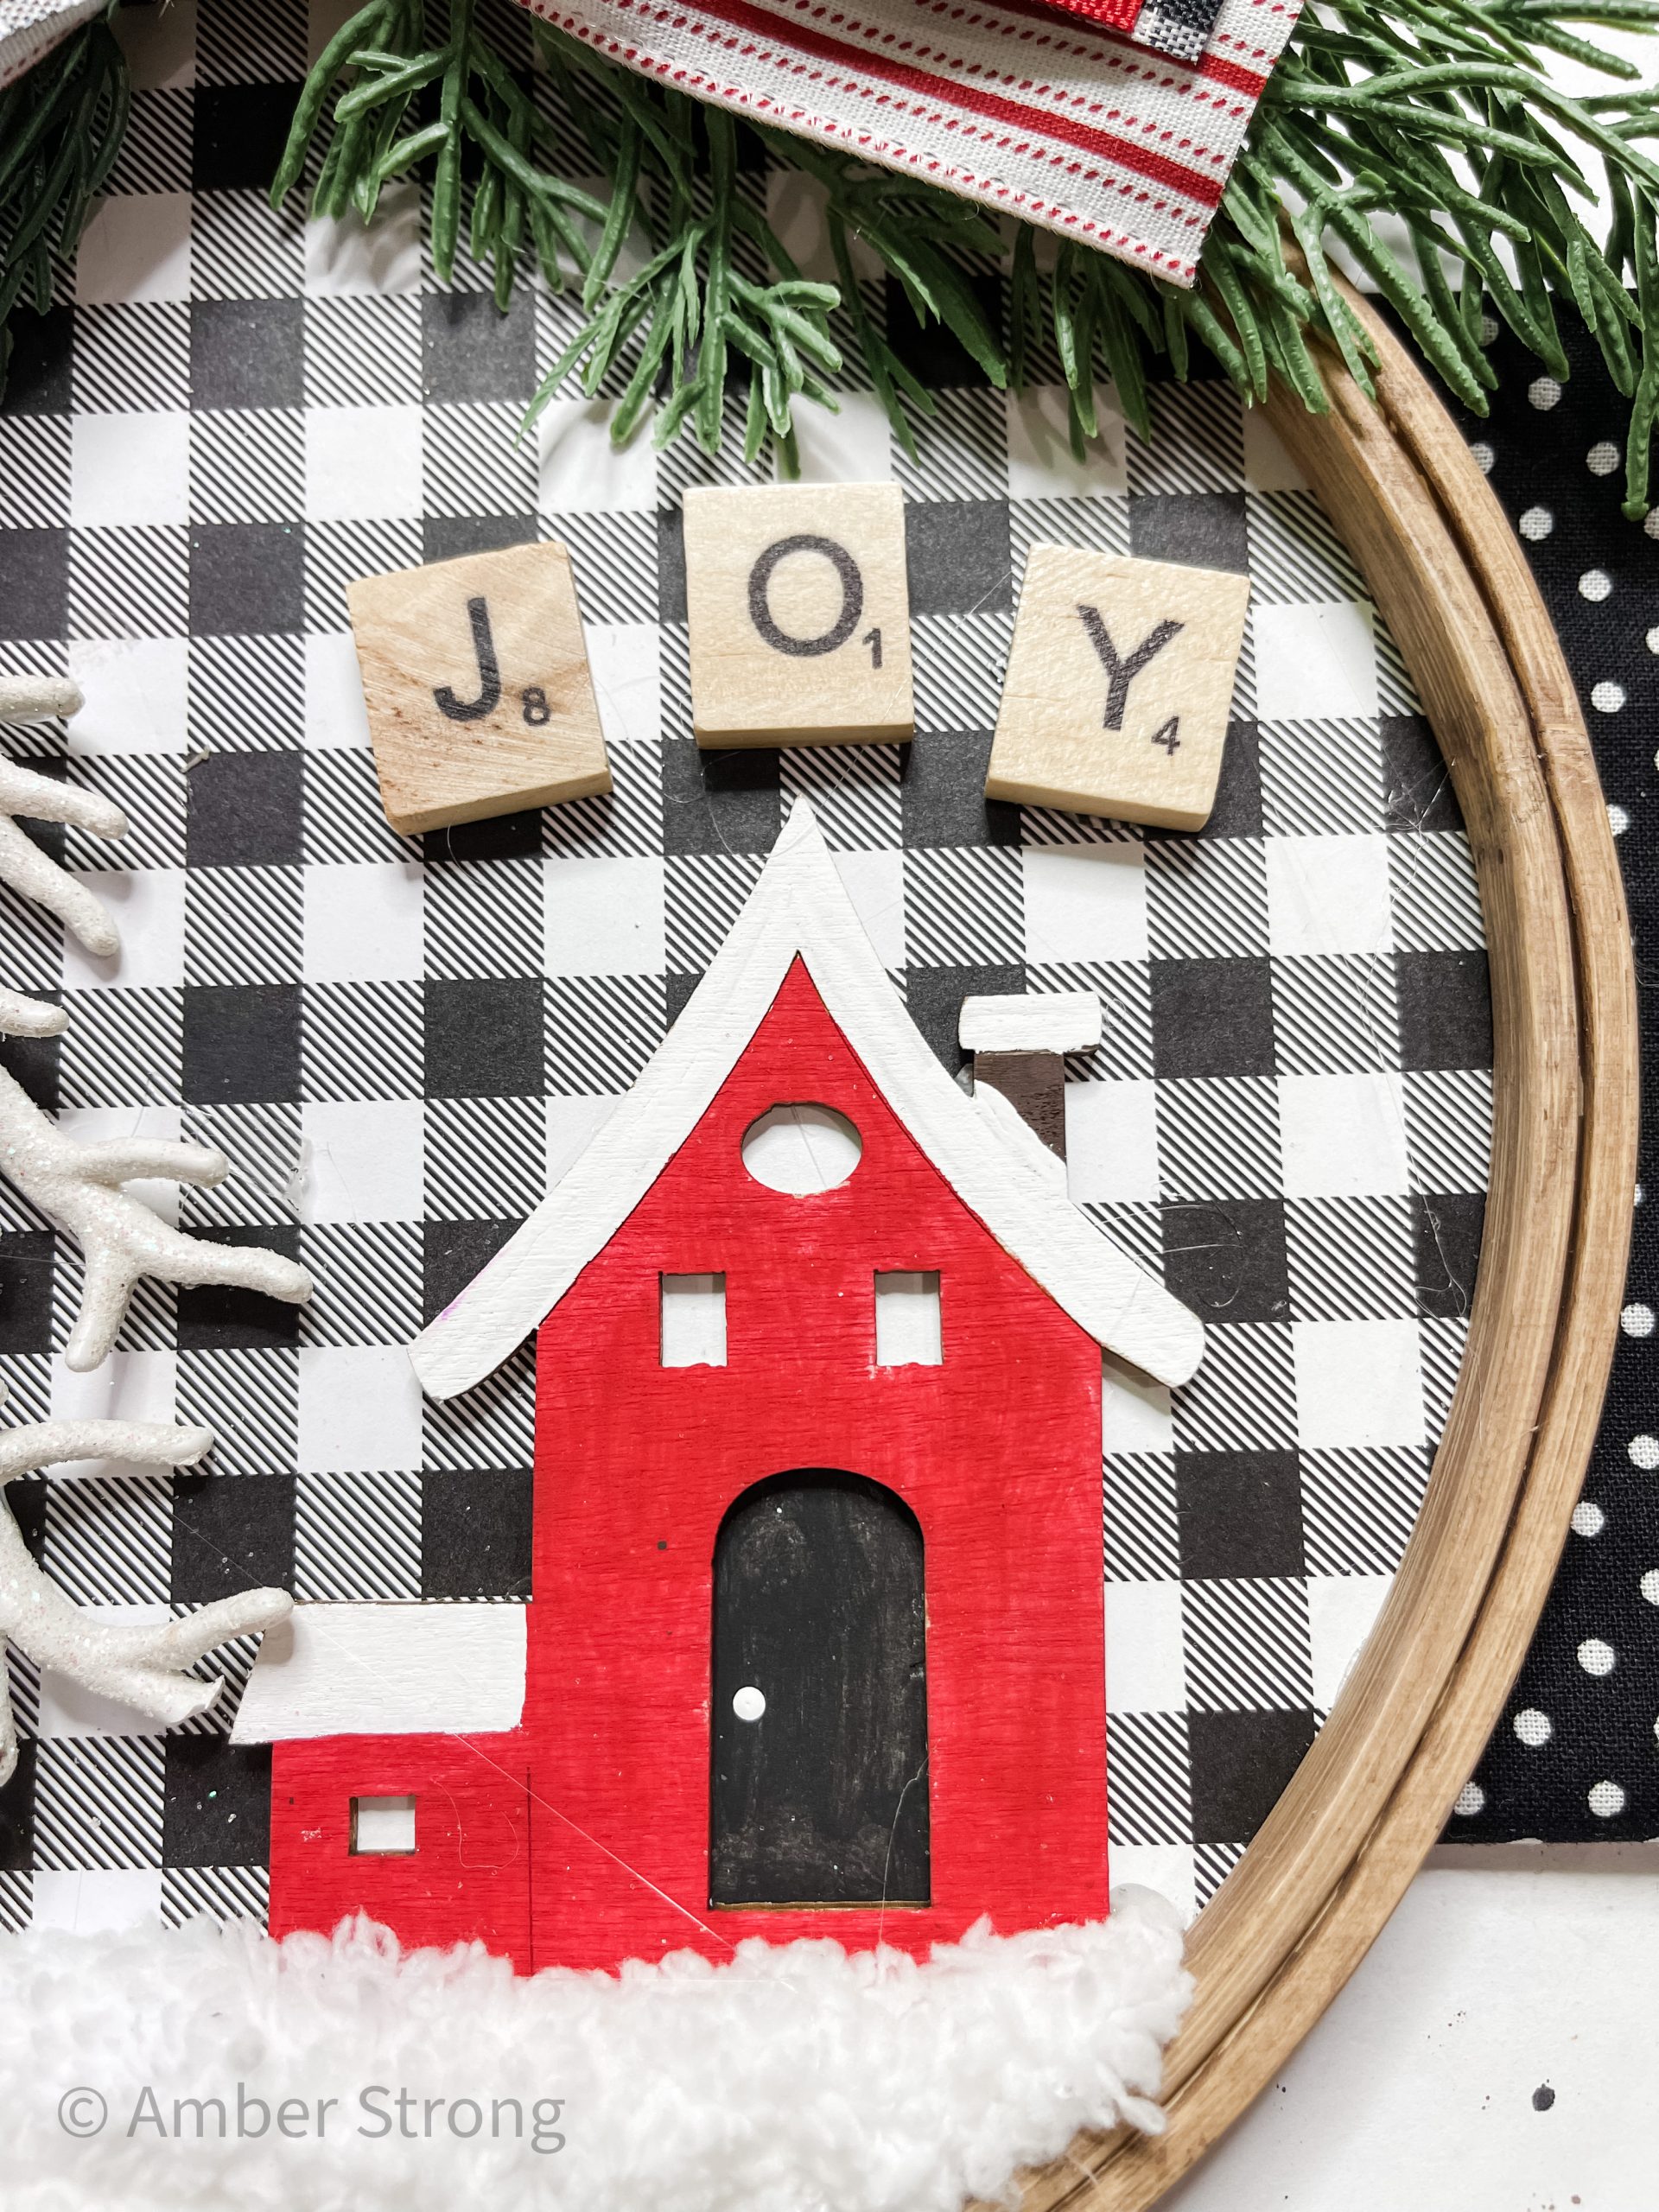
Next, I worked on the little wooden house! I used red, brown, and white paint to decorate the wooden house.
I glued a piece of scrapbook paper to the back of the house to cover the holes so I could paint them black.

Bring it all together
Next, I glued the burlap piece with buffalo check trim around the embroidery hoop to create the hanger for this large ornament.
Then, I glued the embroidery hoop onto the buffalo check decoupaged cardboard circle.
Hot glue the greenery sprays to the top of the embroidery hoop, and glue the bow over the middle of the greenery sprays.
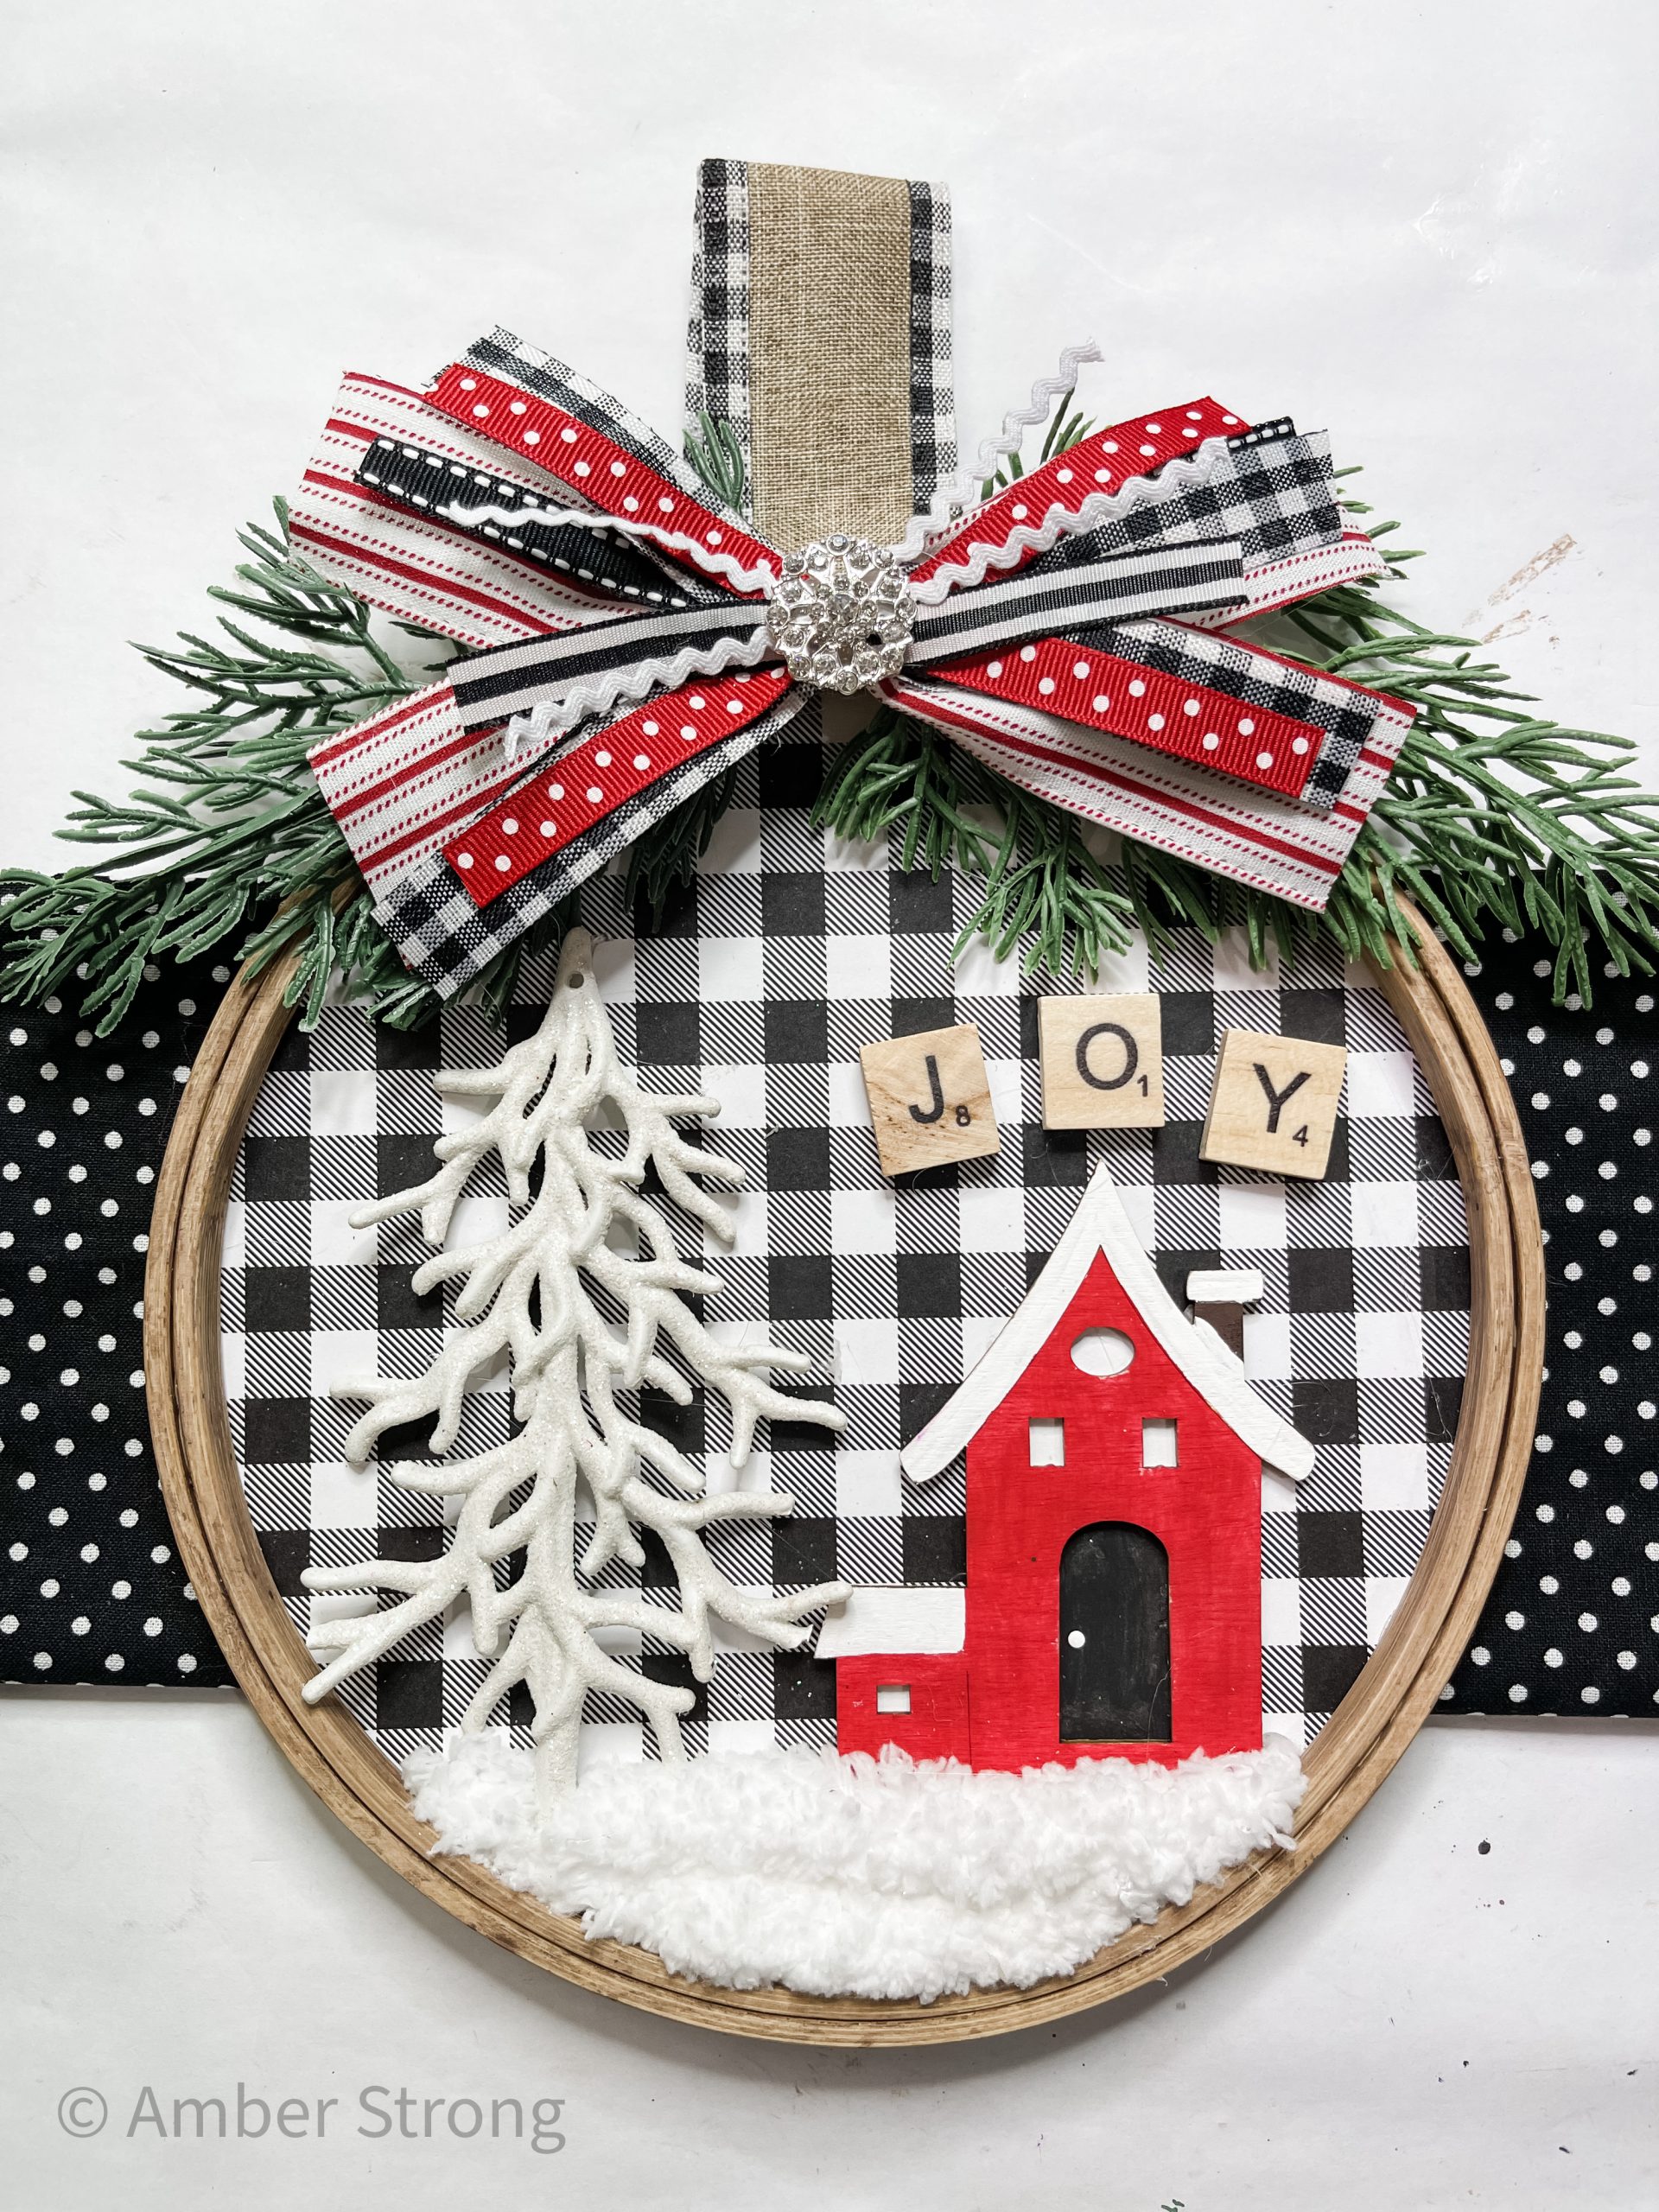
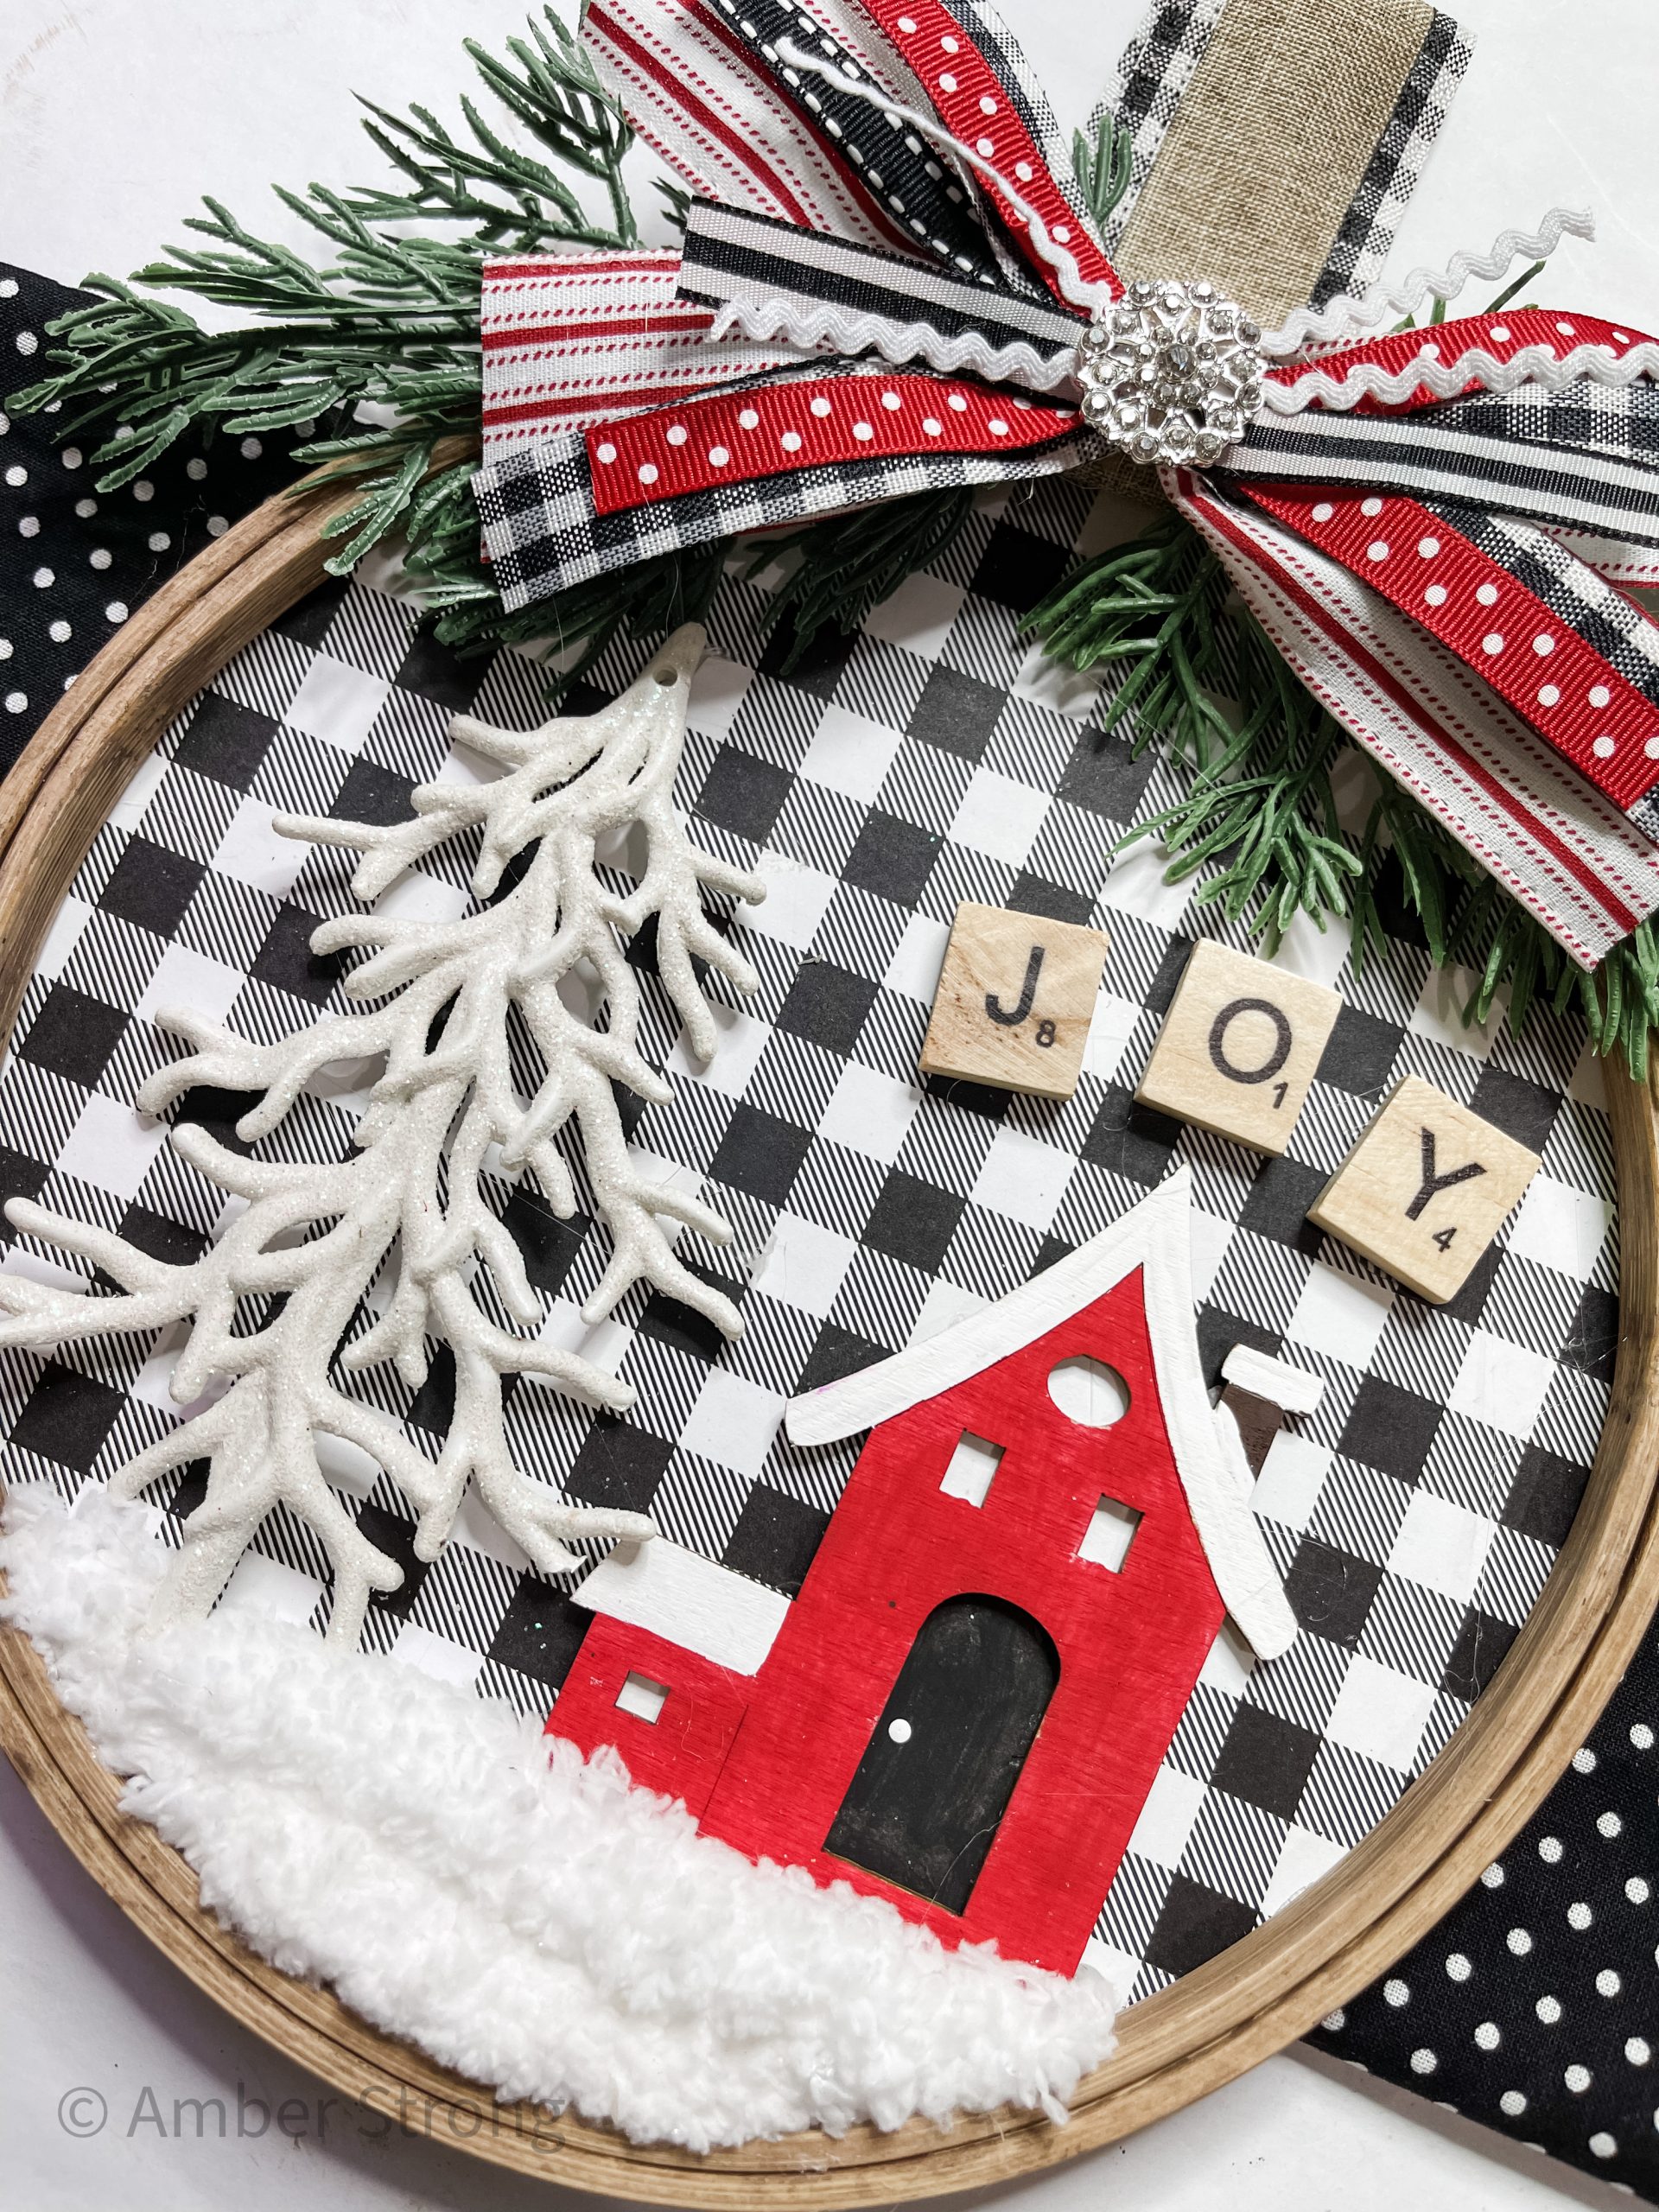
Then, I hot glued the painted wooden house and the white tree ornament onto the buffalo check decoupaged cardboard circle.
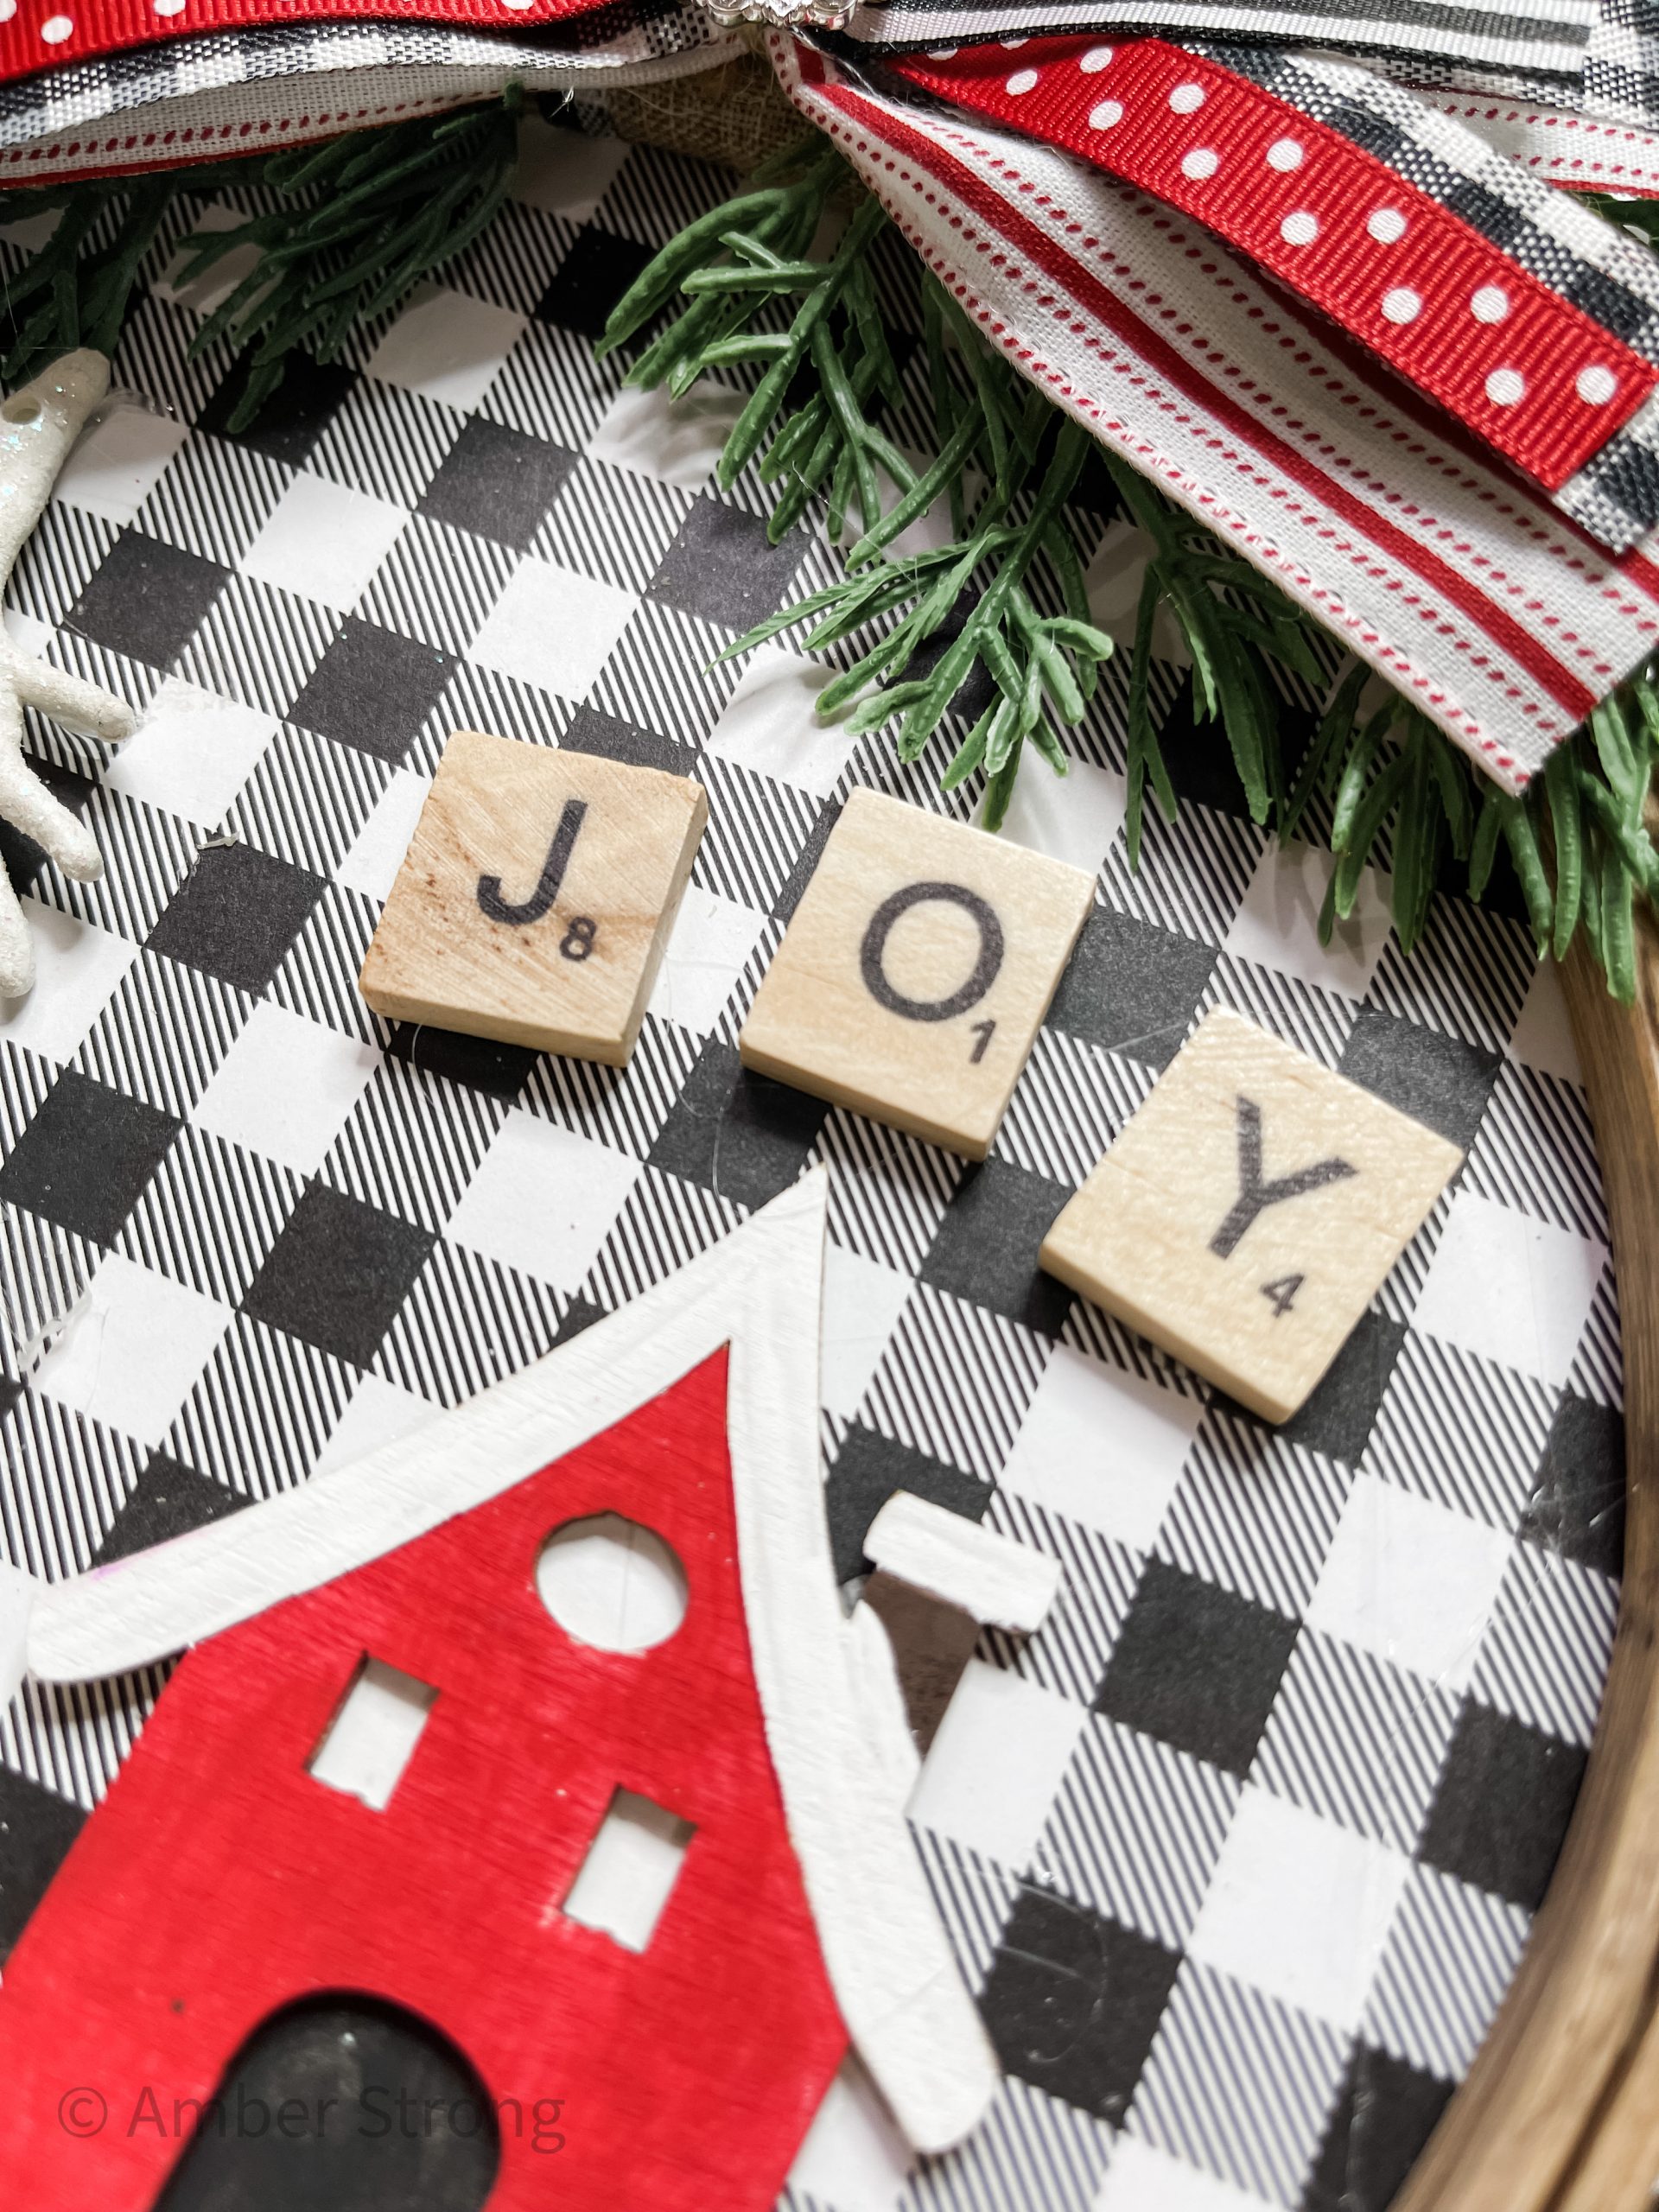
Lastly, I glued some of the chunky white yarn below the house and tree to look like snow, and I glued the JOY scrabble letters above the house!
I hope you enjoyed this Large Embroidery Hoop DIY Ornament as much as I did and decide to make one for yourself! I would love to see how yours turns out!
You should totally join my FREE Facebook group called On A Budget Crafts! It is a judgment-free community for DIY crafters to show off their projects and ideas.
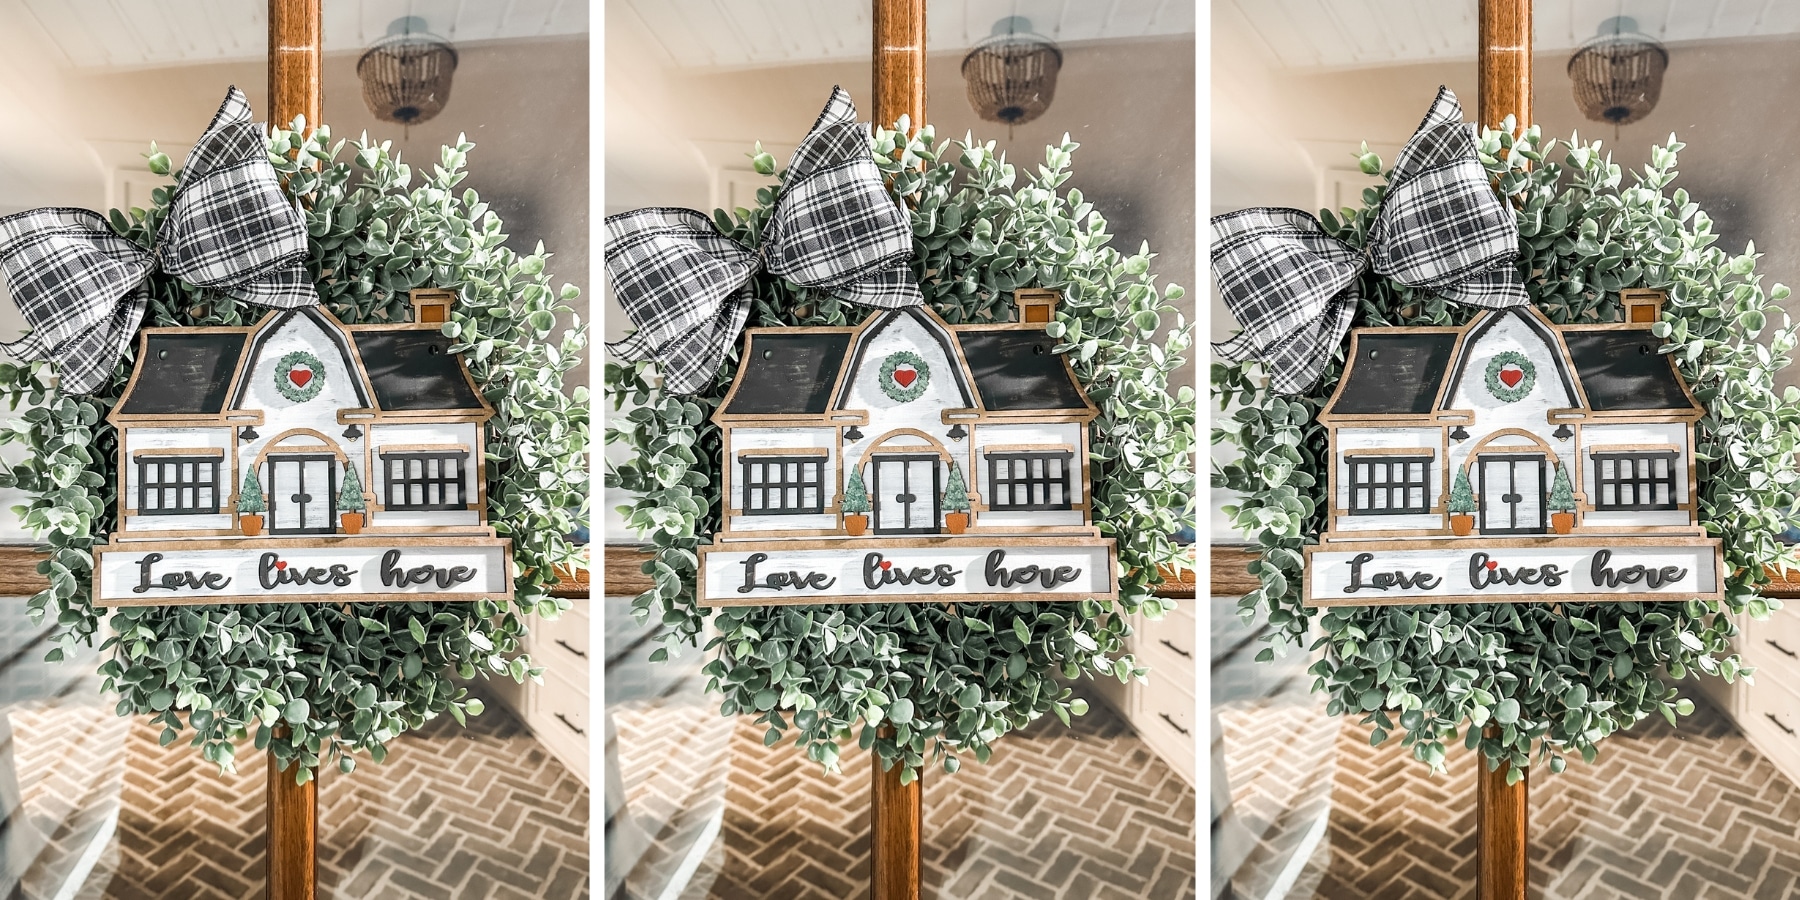
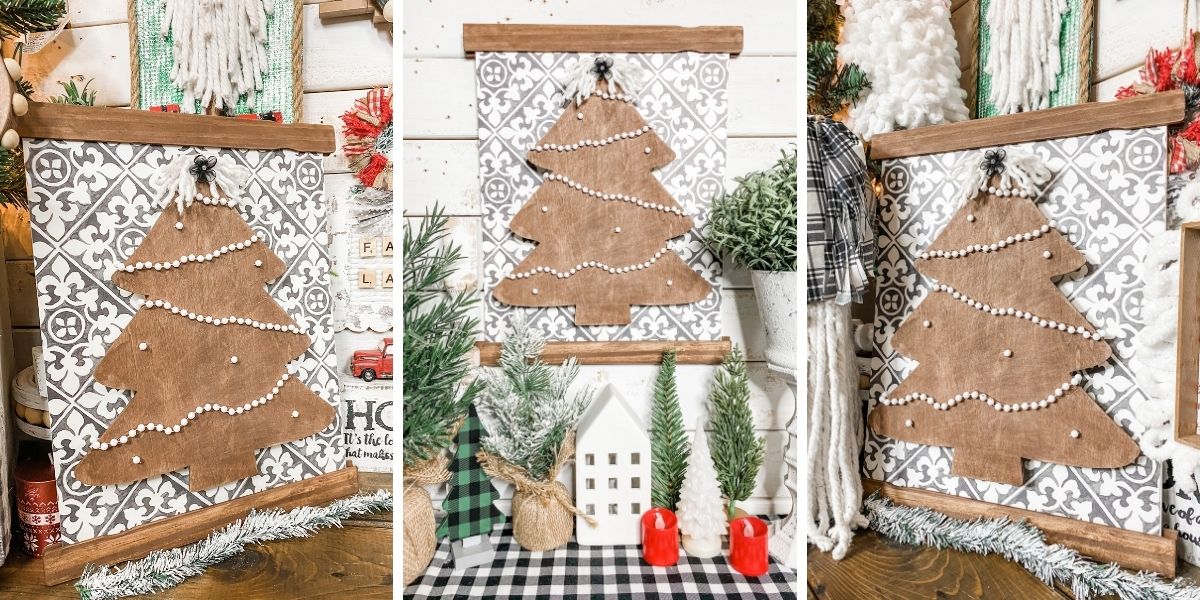
If you loved this DIY you might also like this DIY Christmas Tree Shelf Decor!
Thanks for stopping by! XOXO Amber
You can also shop my ENTIRE AMAZON Favorites shop just click here! It’s packed full of all the things I use and love.
Here is the supply list I highly recommend every creative have on hand!! Would you also pin my blog for later and get on my newsletter alerts? I would love to have you join my #craftycrew.

Join my free “ON A BUDGET CRAFTS” Facebook group!
PIN THIS POST FOR LATER!

Adorable, love it
This is really cute. I’m going to have to go get some of those trees. Can’t wait to see what mine looks like Thankyou for sharing
This project is adorable once again you did you boo! Good morning wishing you a wonderful day 🤗🙏💕