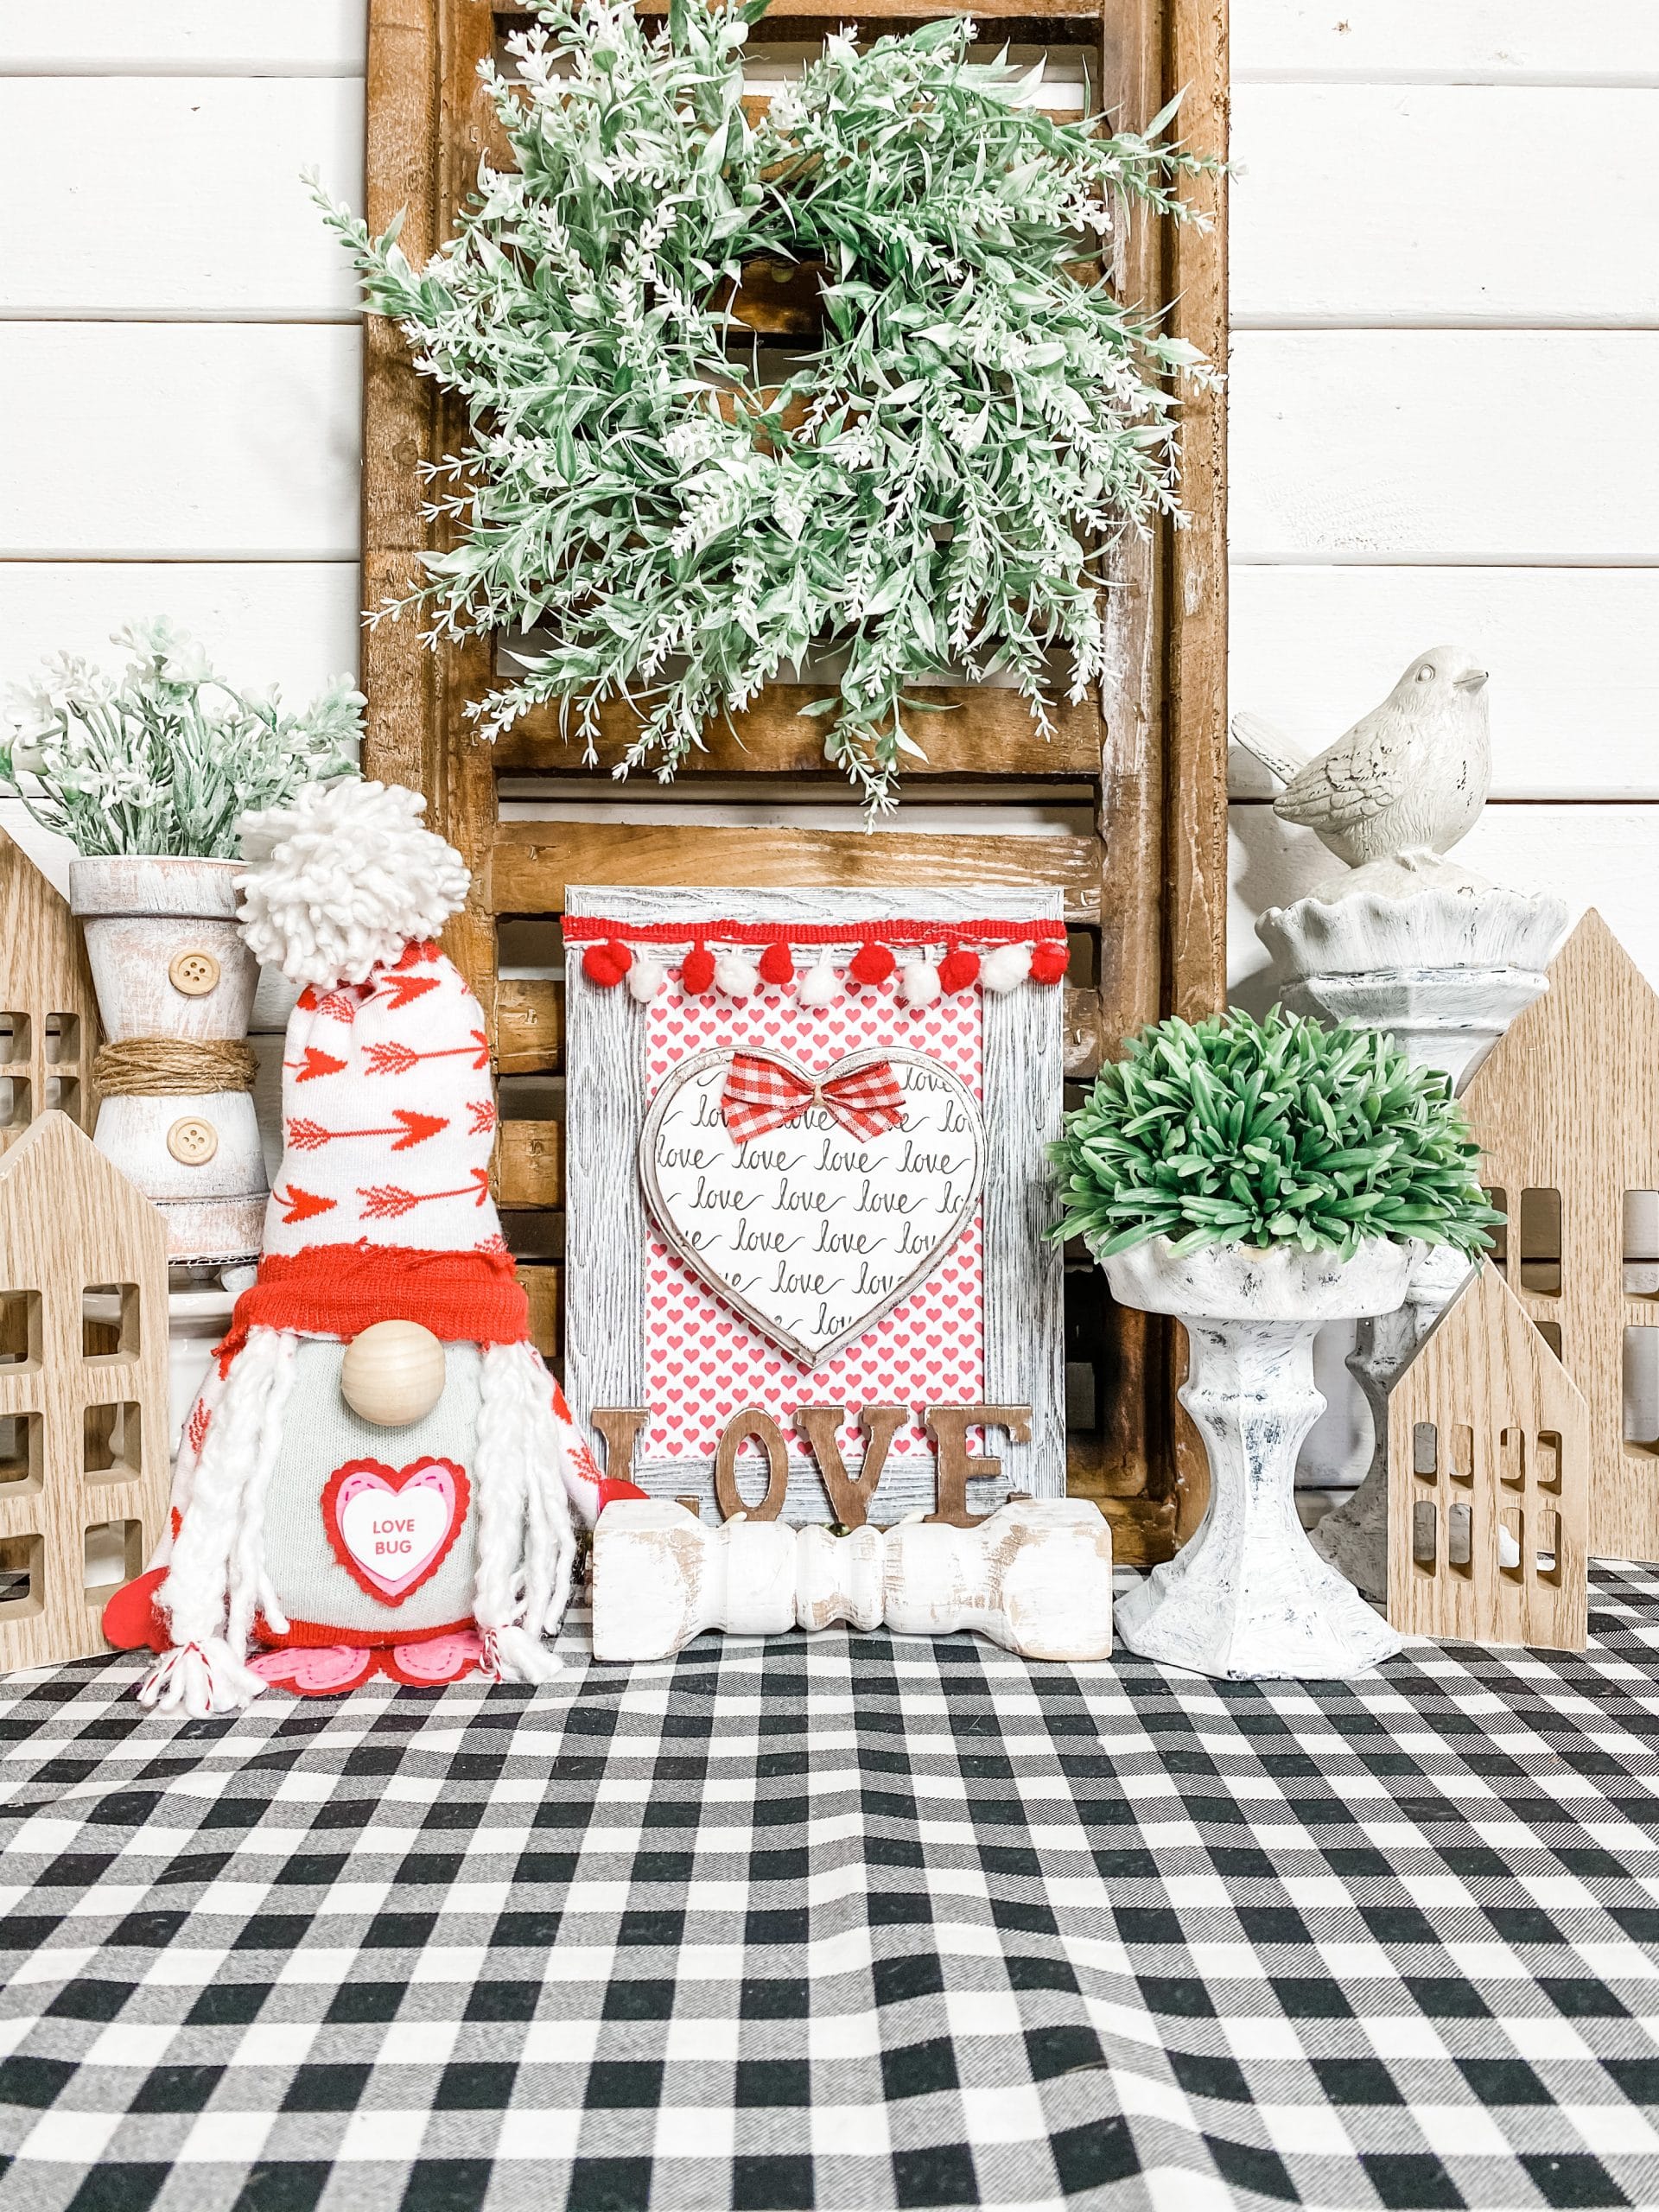
DIY Dollar Tree Mop and Sock Valentine’s Day Gnome
This DIY Dollar Tree Mop and Sock Valentine’s Day Gnome might make me a lover of Valentine’s Day DIY’s! Seriously, it so so stinking cute! Besides the fact that it is so adorable, this DIY sock gnome is a simple, affordable, no-sew DIY project.
If you’ve been looking for a fun and easy kid’s craft, this might be the perfect one! The most dangerous parts of making this sweet DIY gnome are using scissors and a hot glue gun.
With a bit of supervision, your kiddos can have so much fun recreating this Dollar Tree Valentine’s Day DIY Gnome!
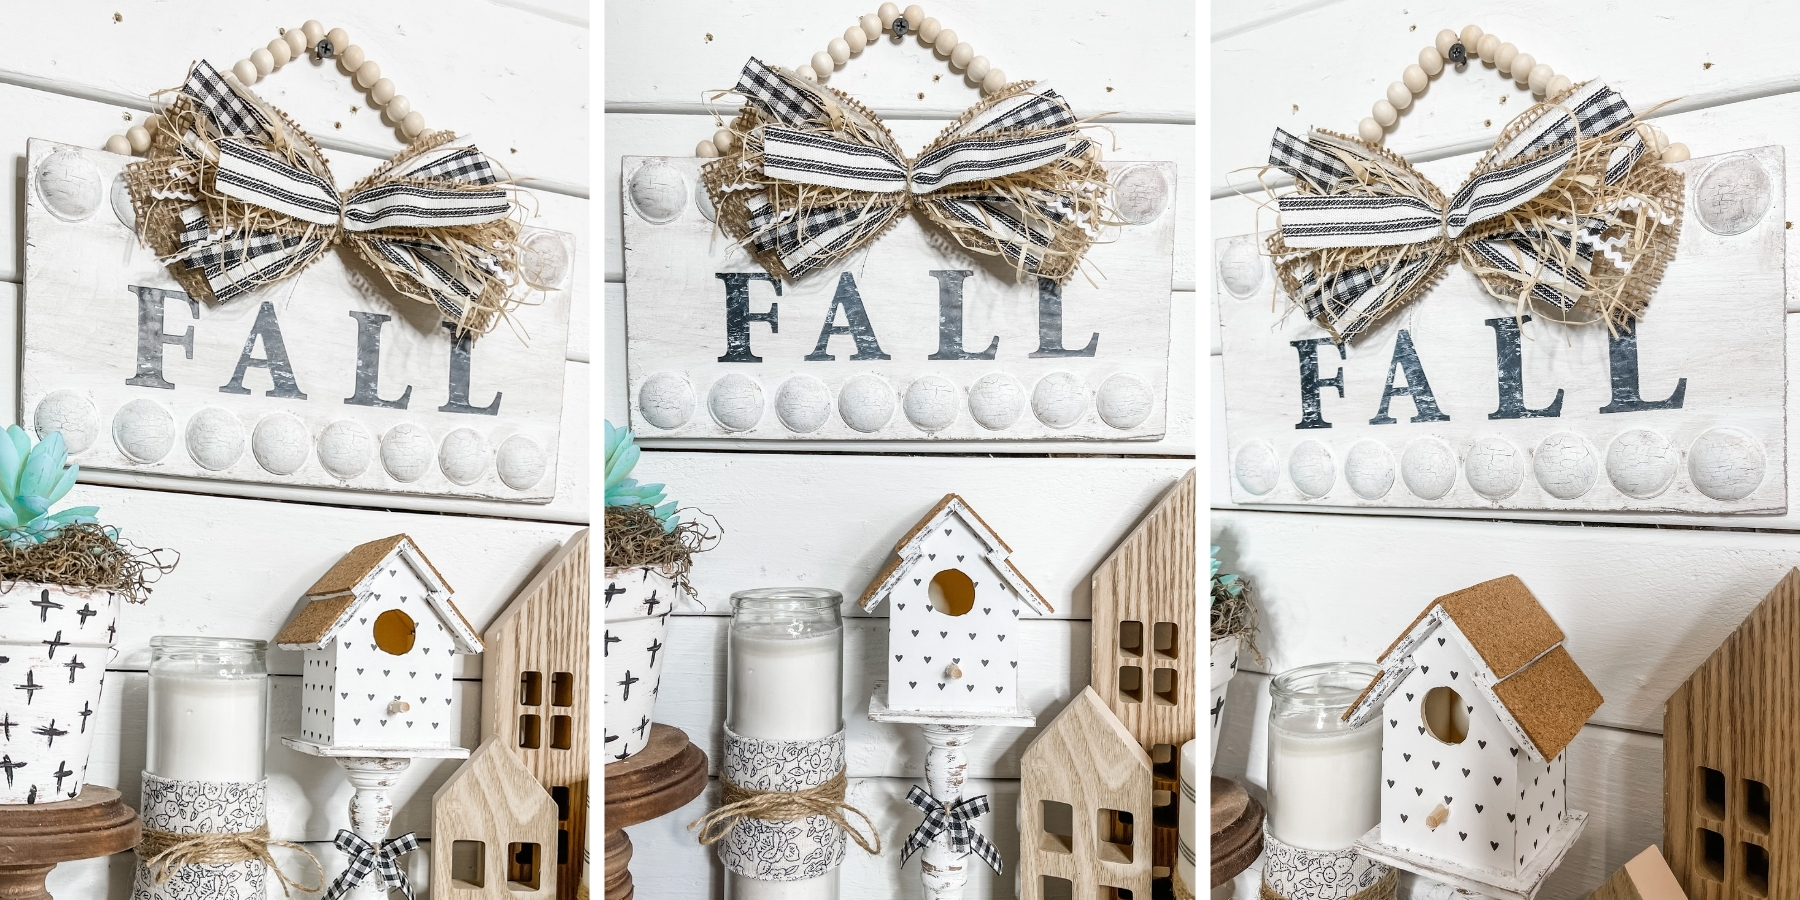
Check out these other crafts made with a Dollar Tree mop head!
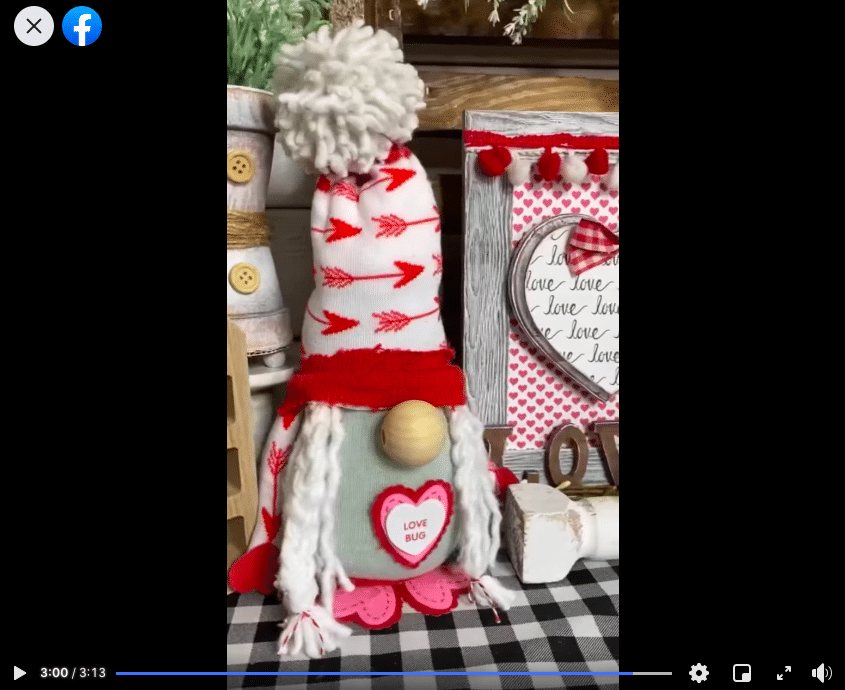
Watch the tutorial
As much as I love crafting LIVE with my Crafty Crew interacting and following along, I also recognize the benefit of a quick DIY tutorial video. So, that’s what I made for this cute Valentine’s Day DIY project.
The DIY tutorial video is just over 3 minutes long and shows you exactly how I brought this DIY idea to life!
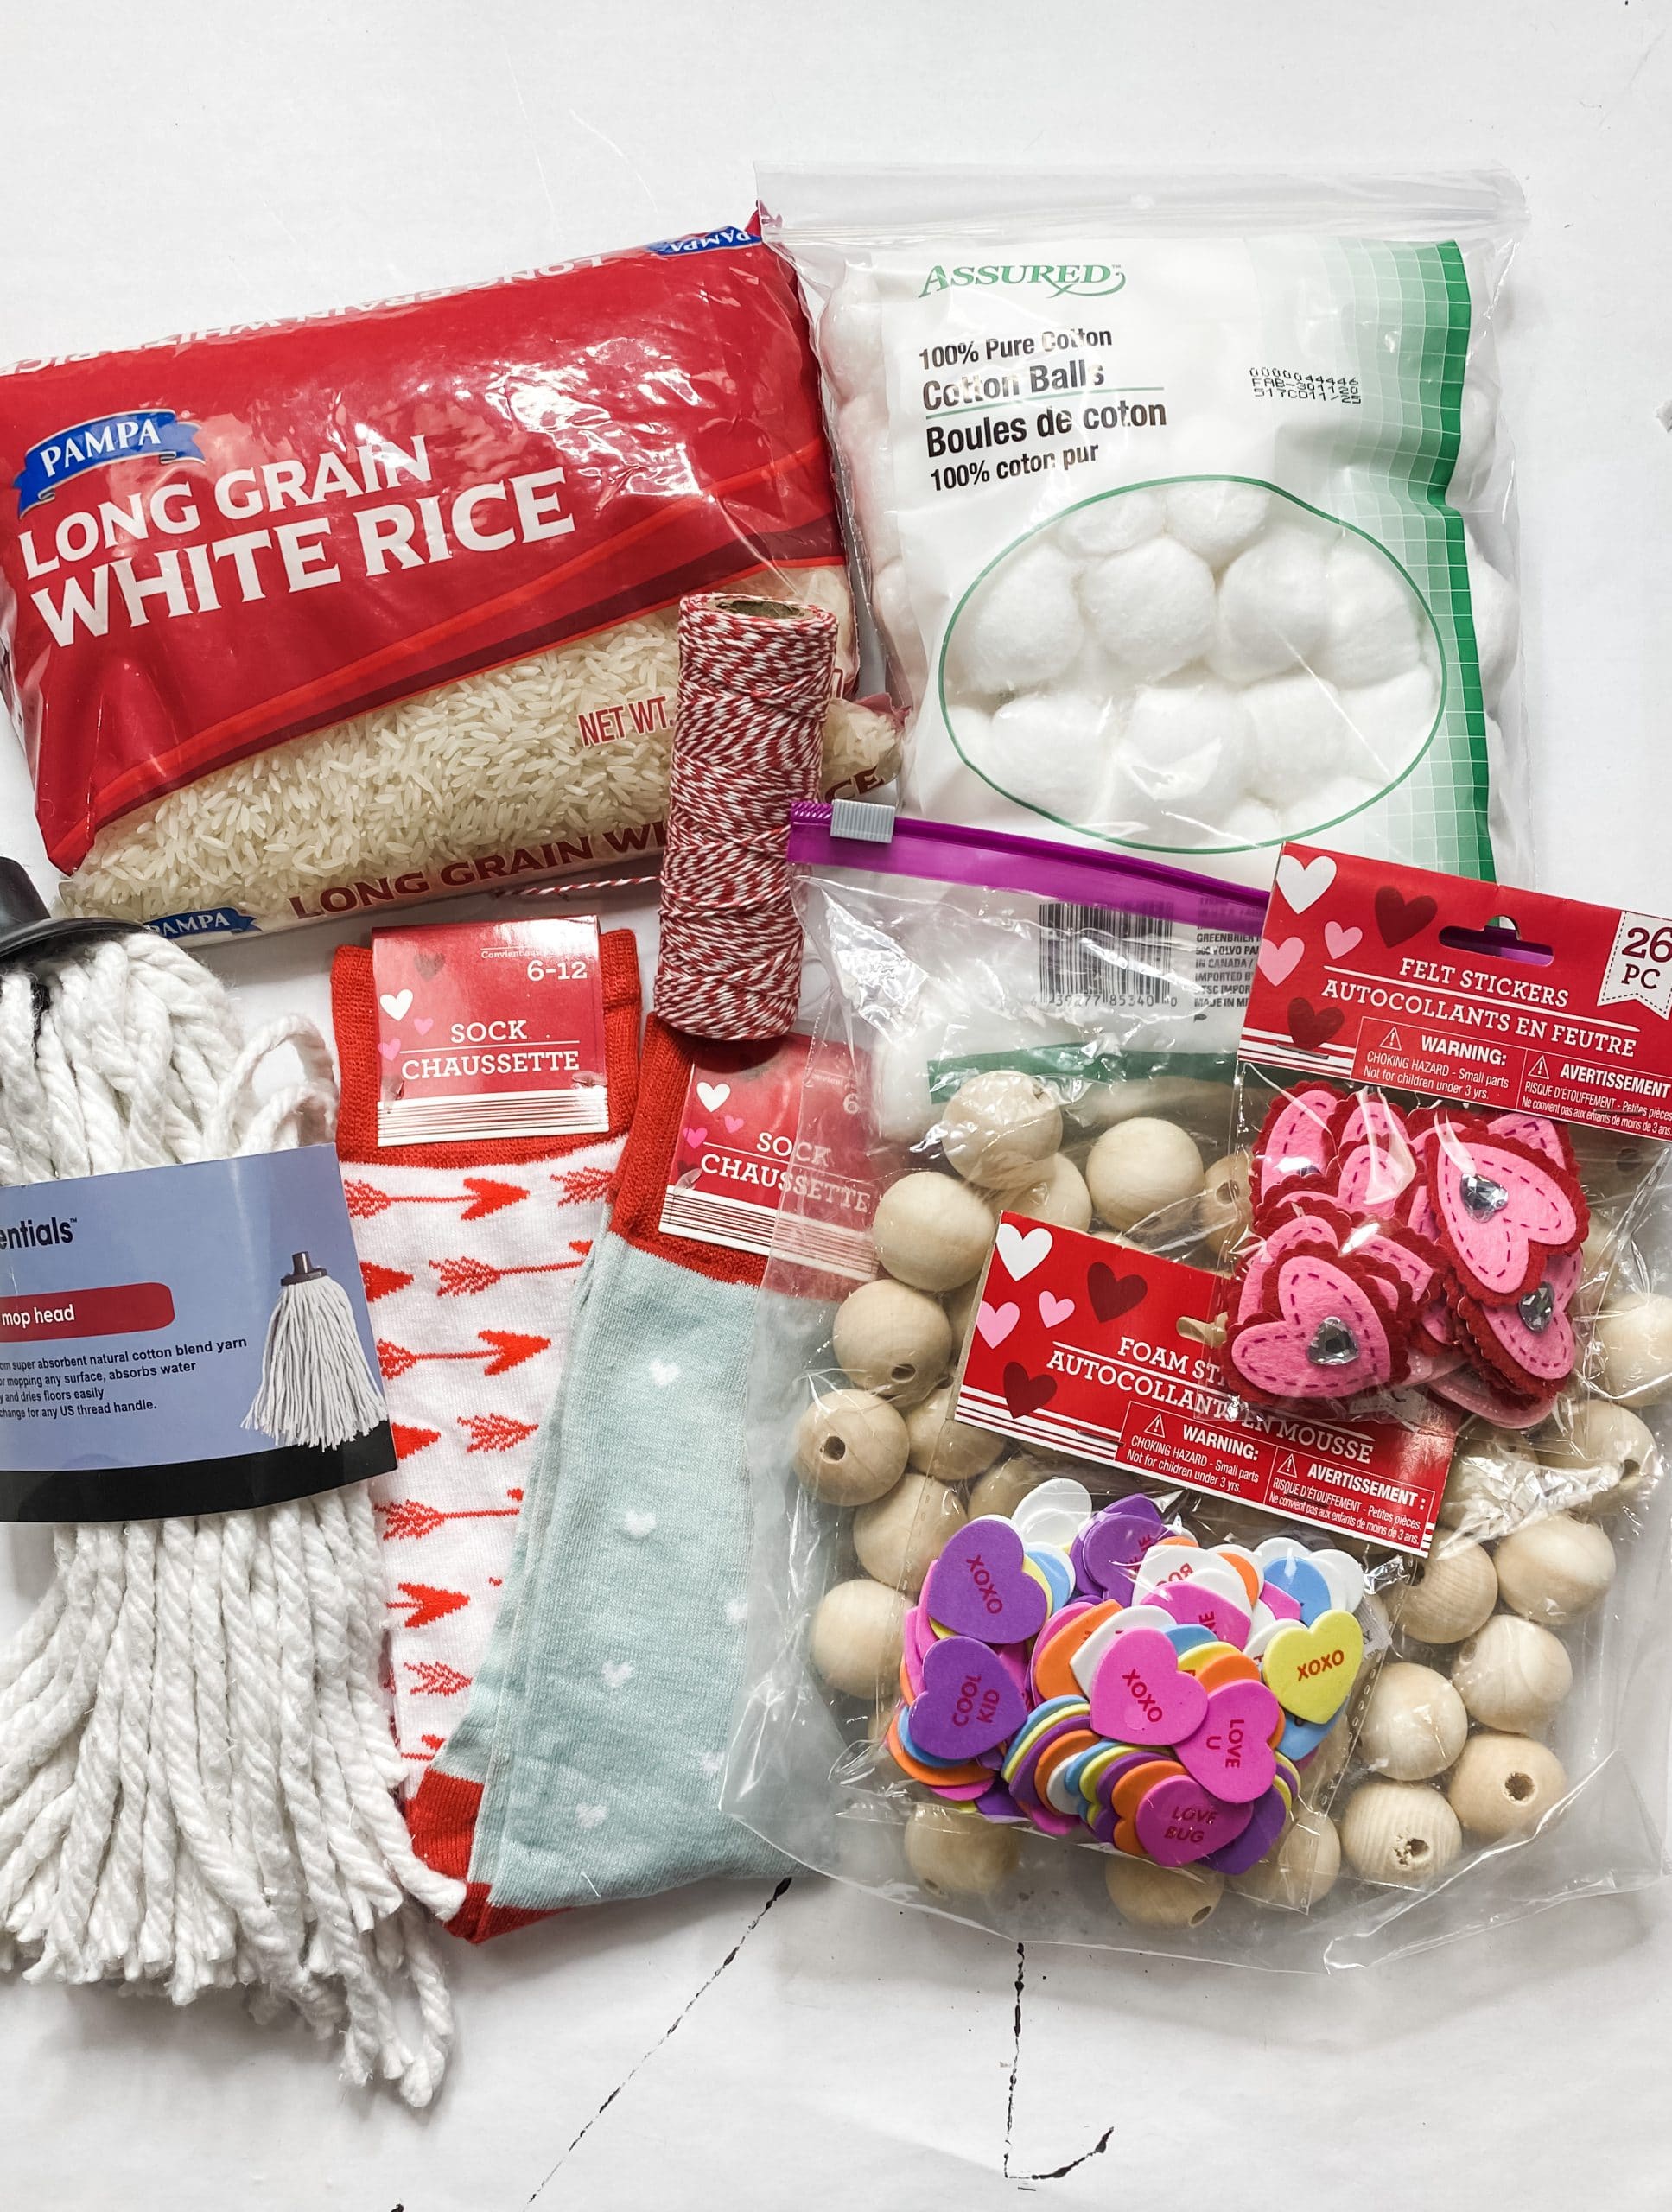
For this project, I will be using these items but you can substitute where you want.
“As an Amazon Associate, I earn from qualifying purchases.”
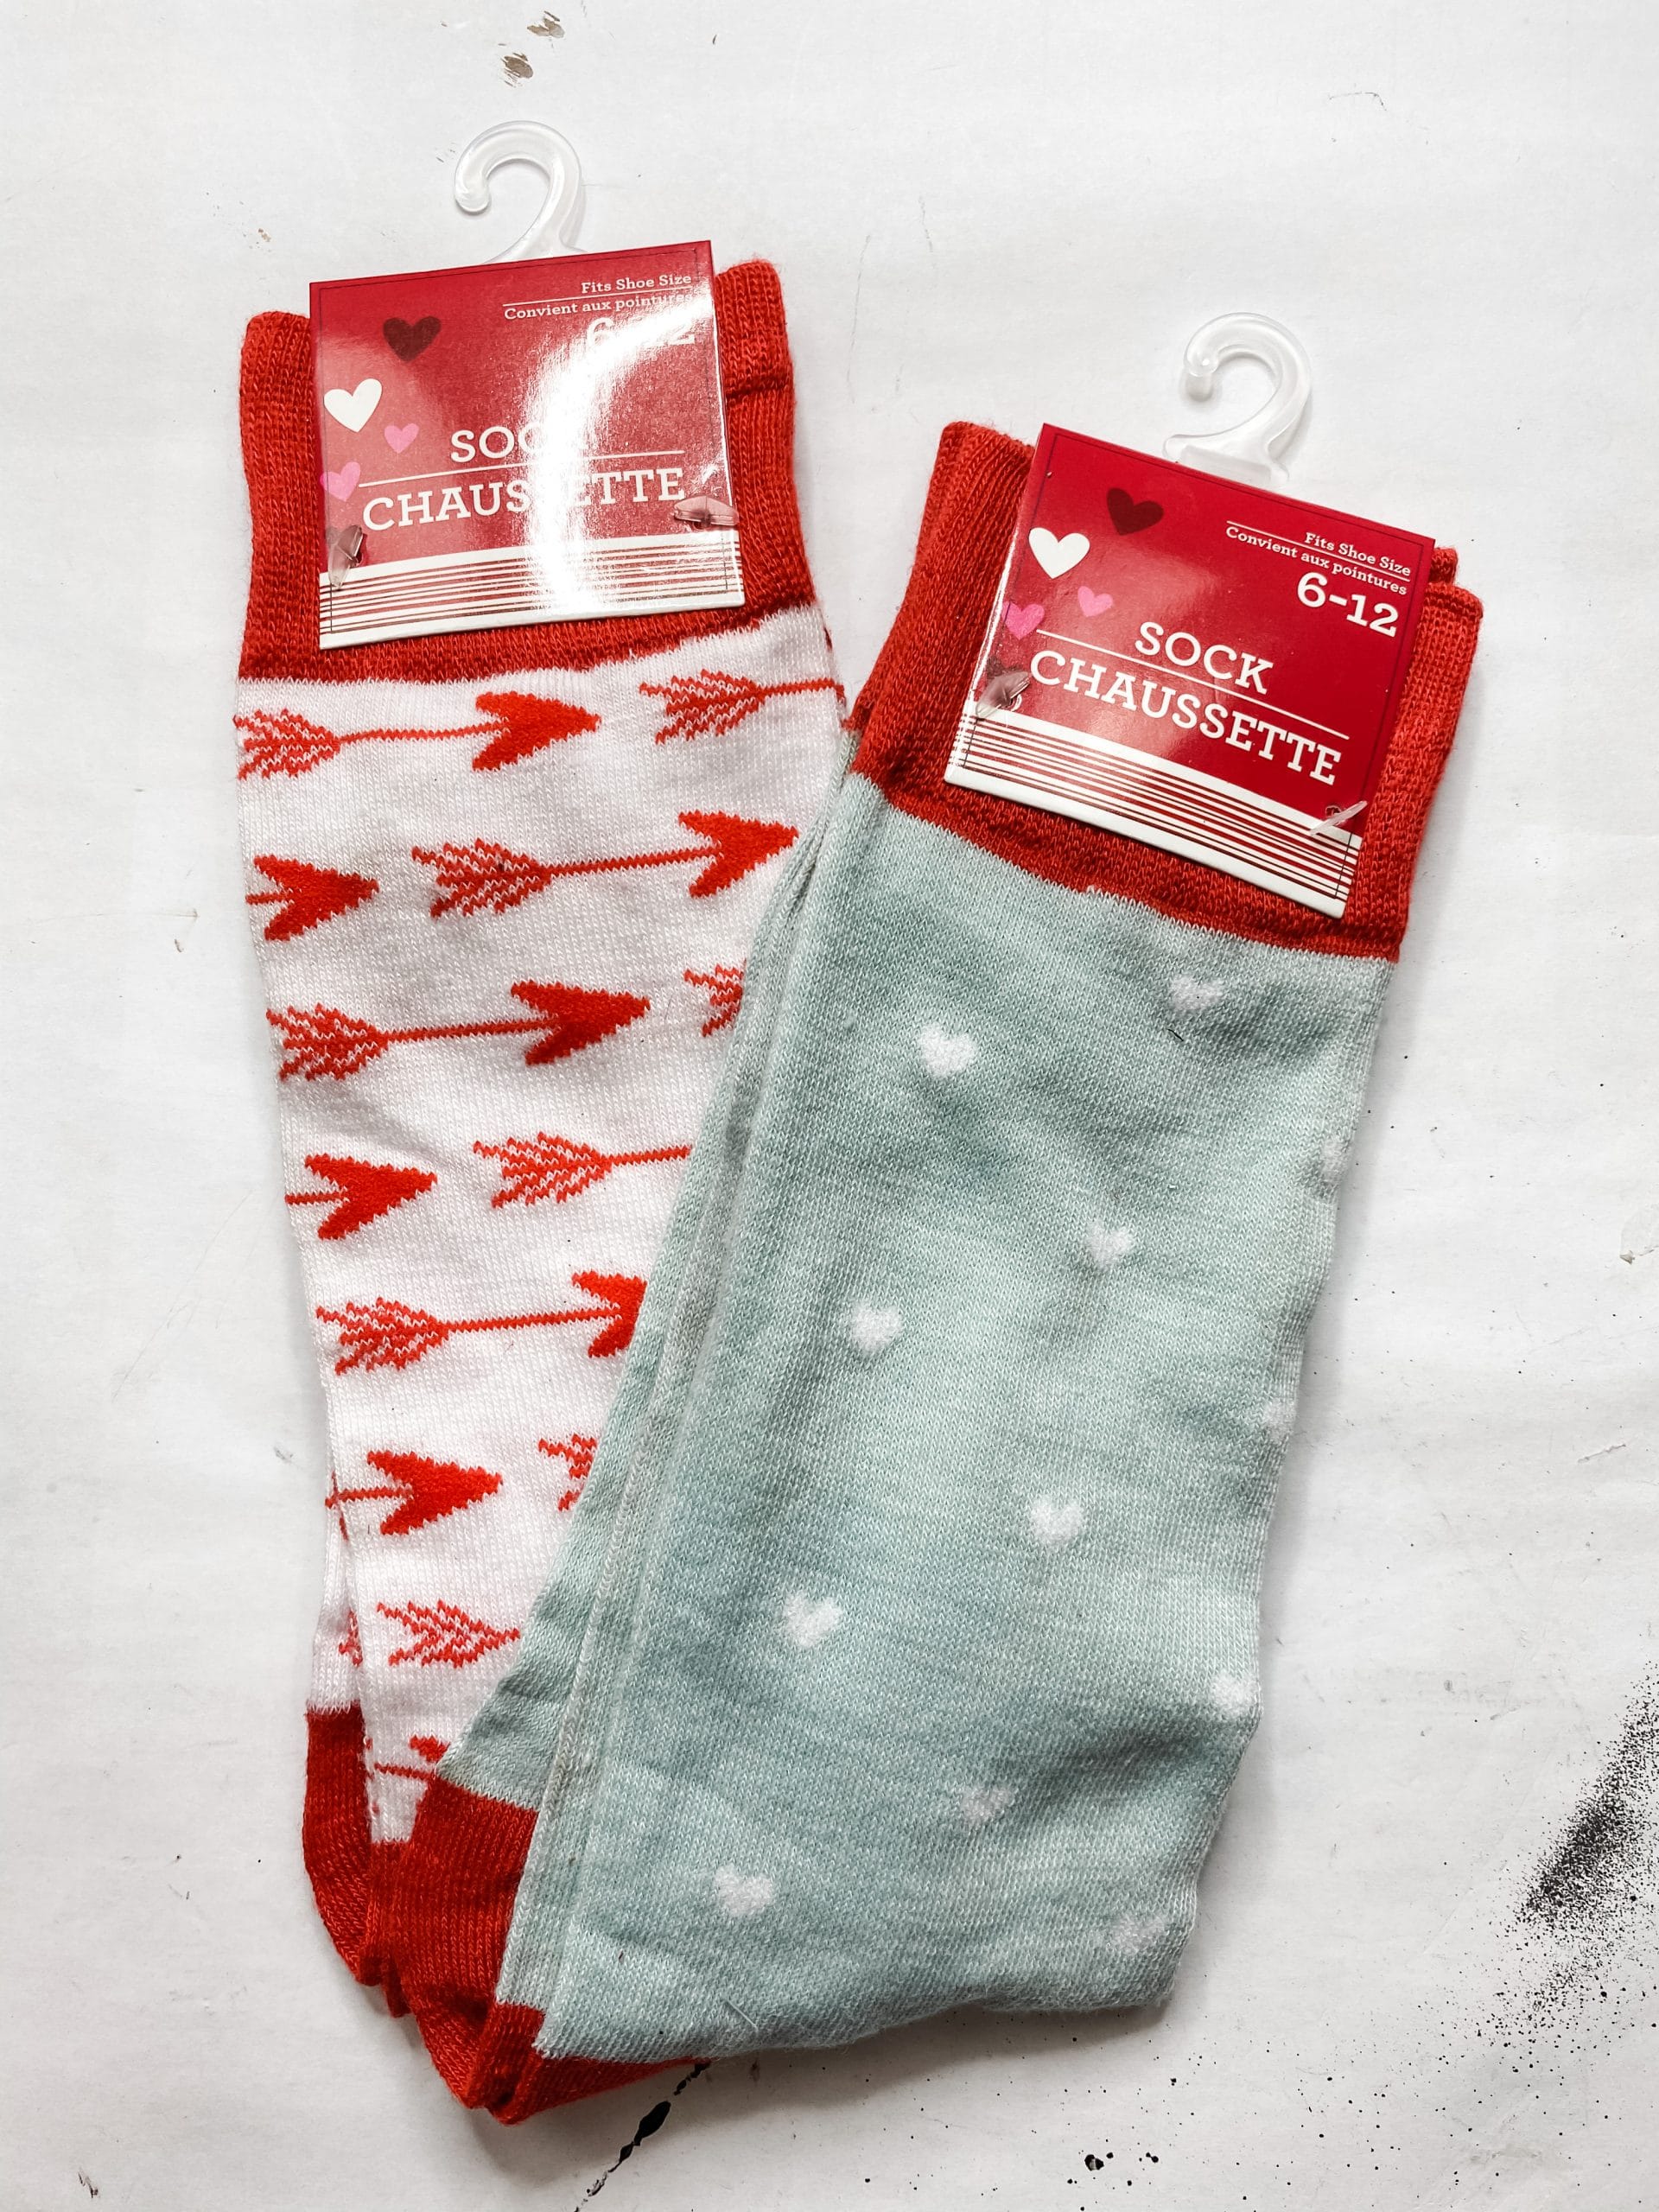
- Dollar Tree Valentine’s Day socks (2 patterns)
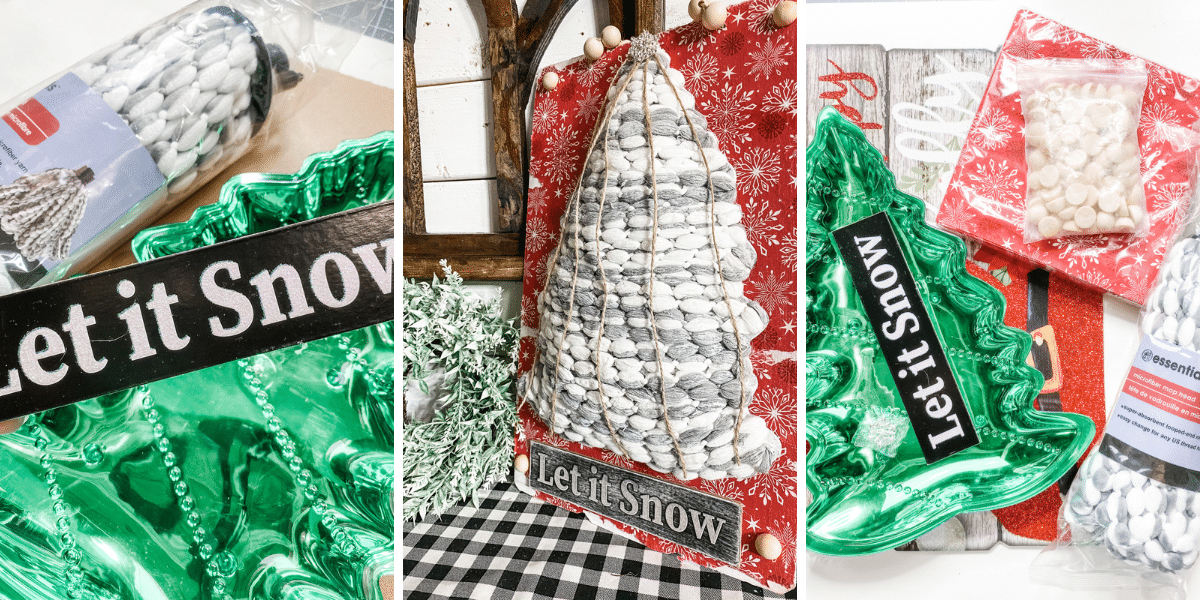
- Dollar Tree Mop Head
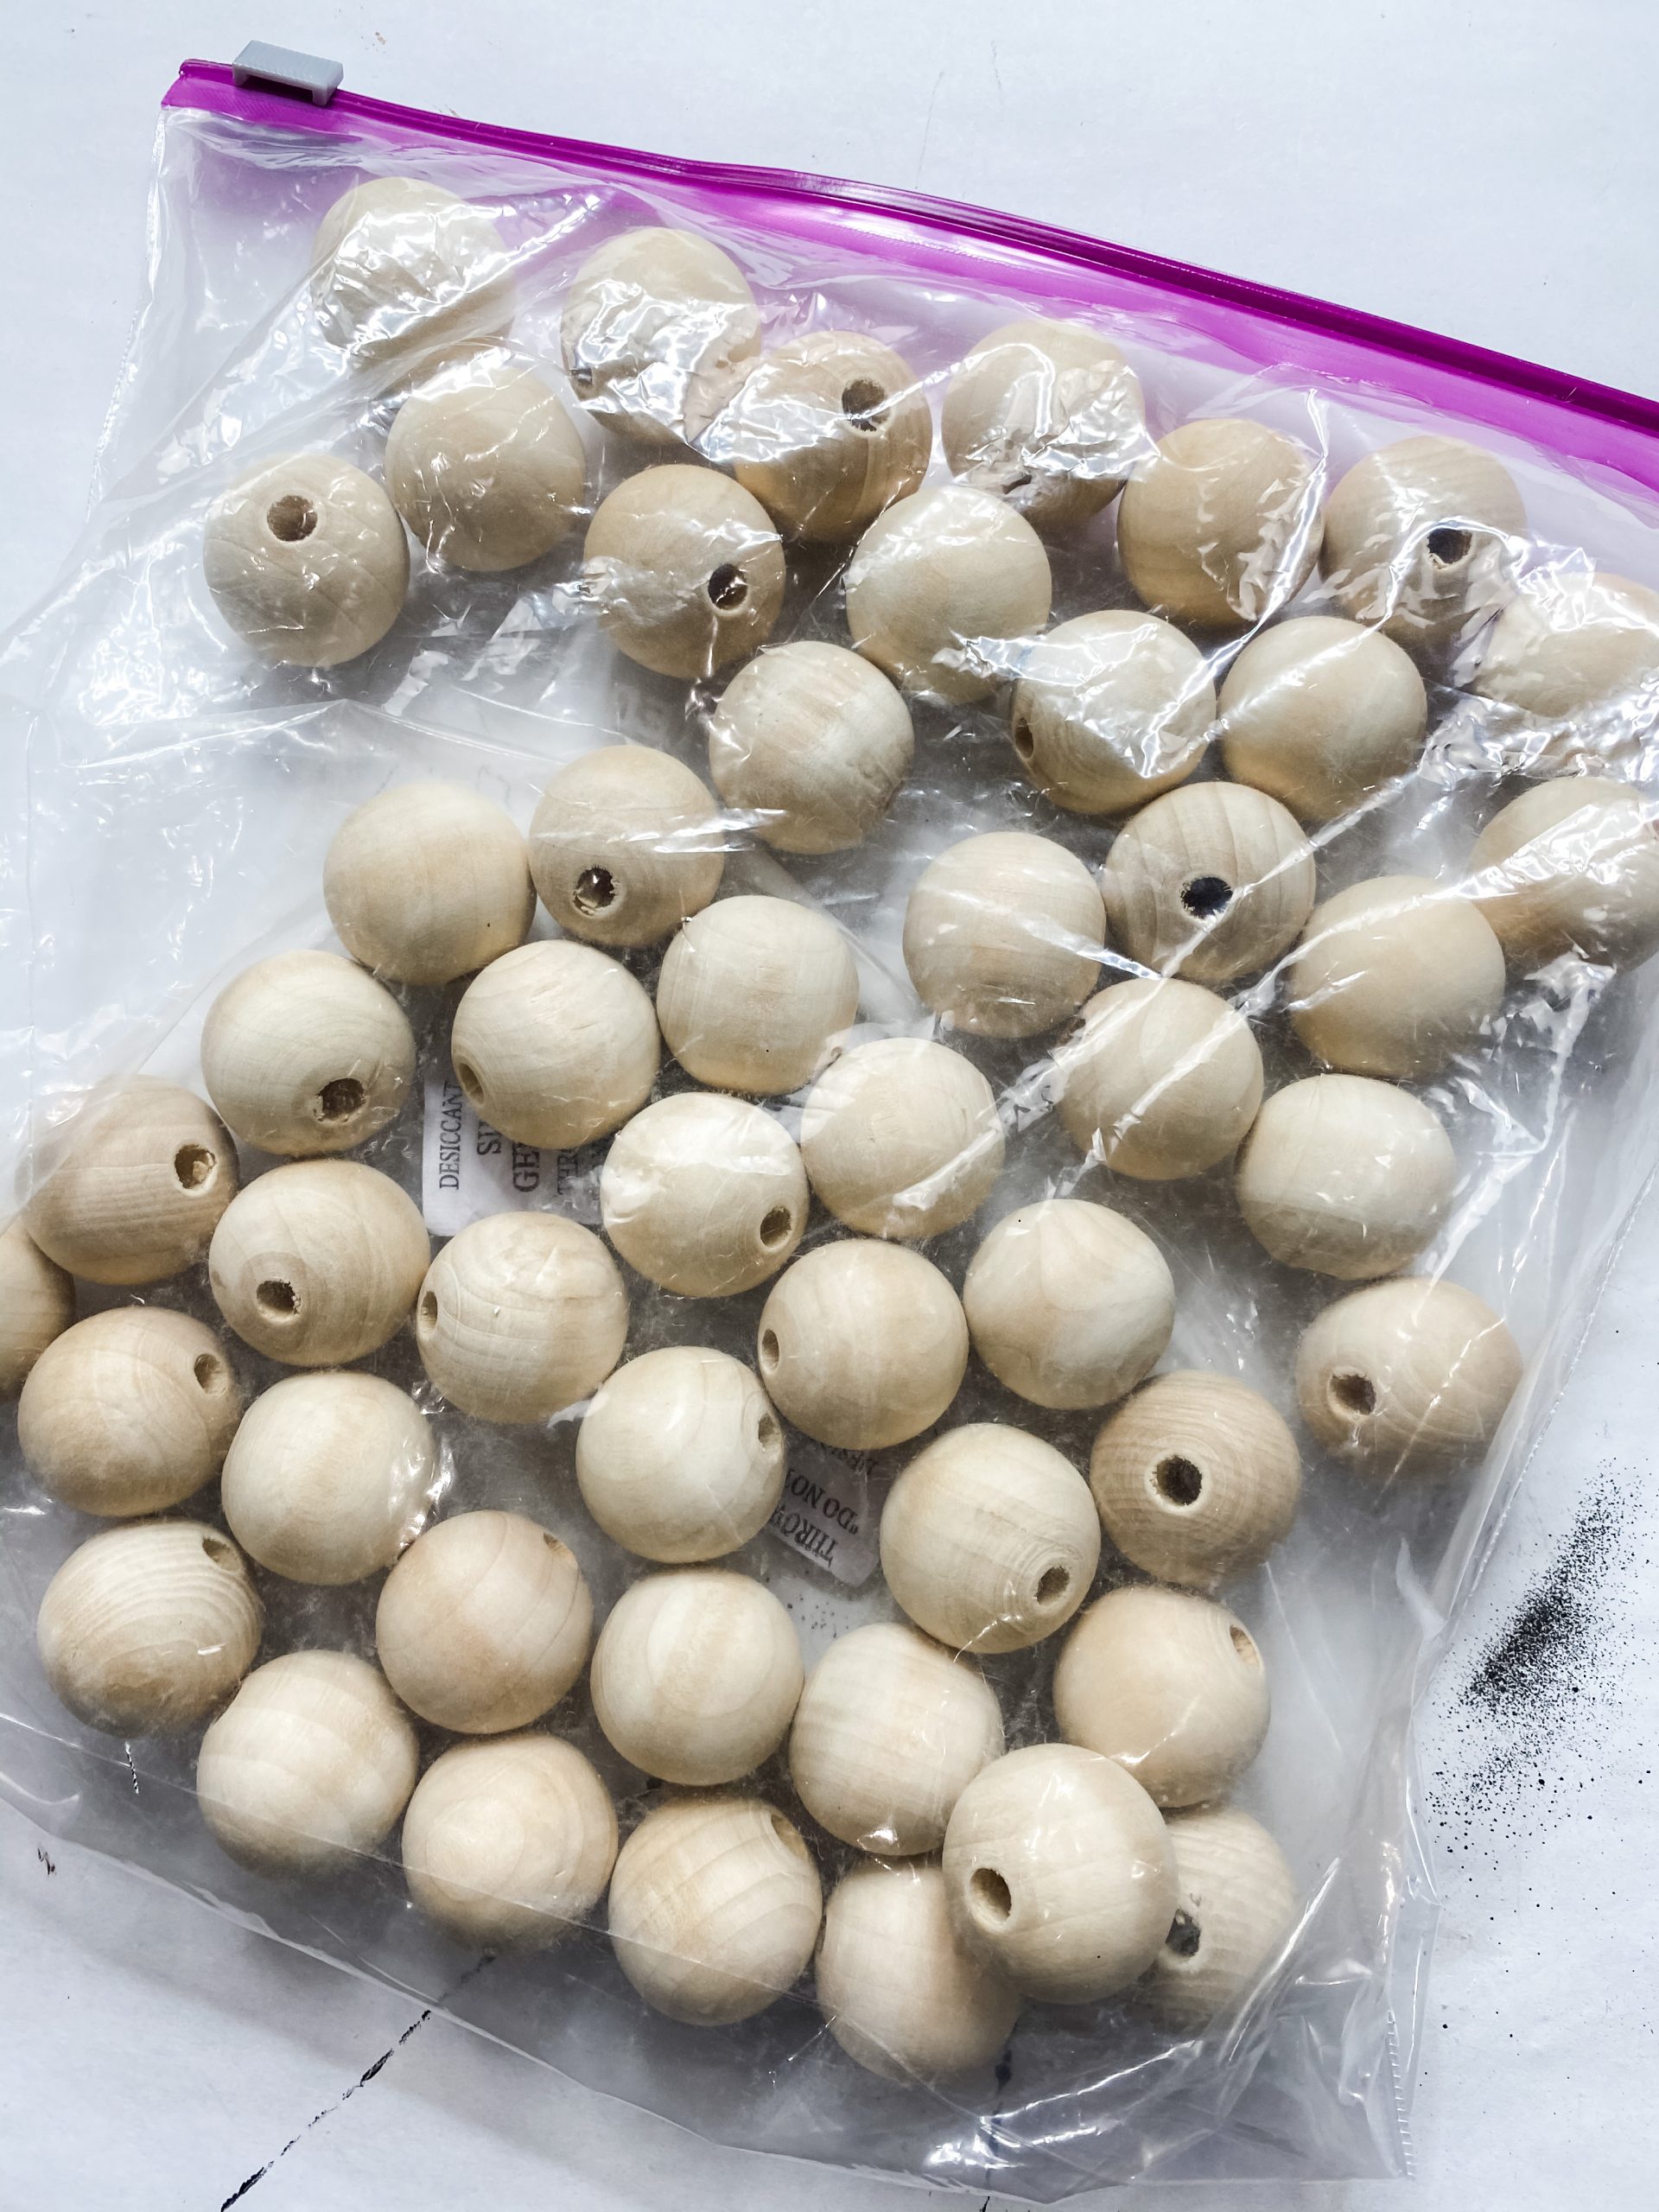
- Large Wood Beads
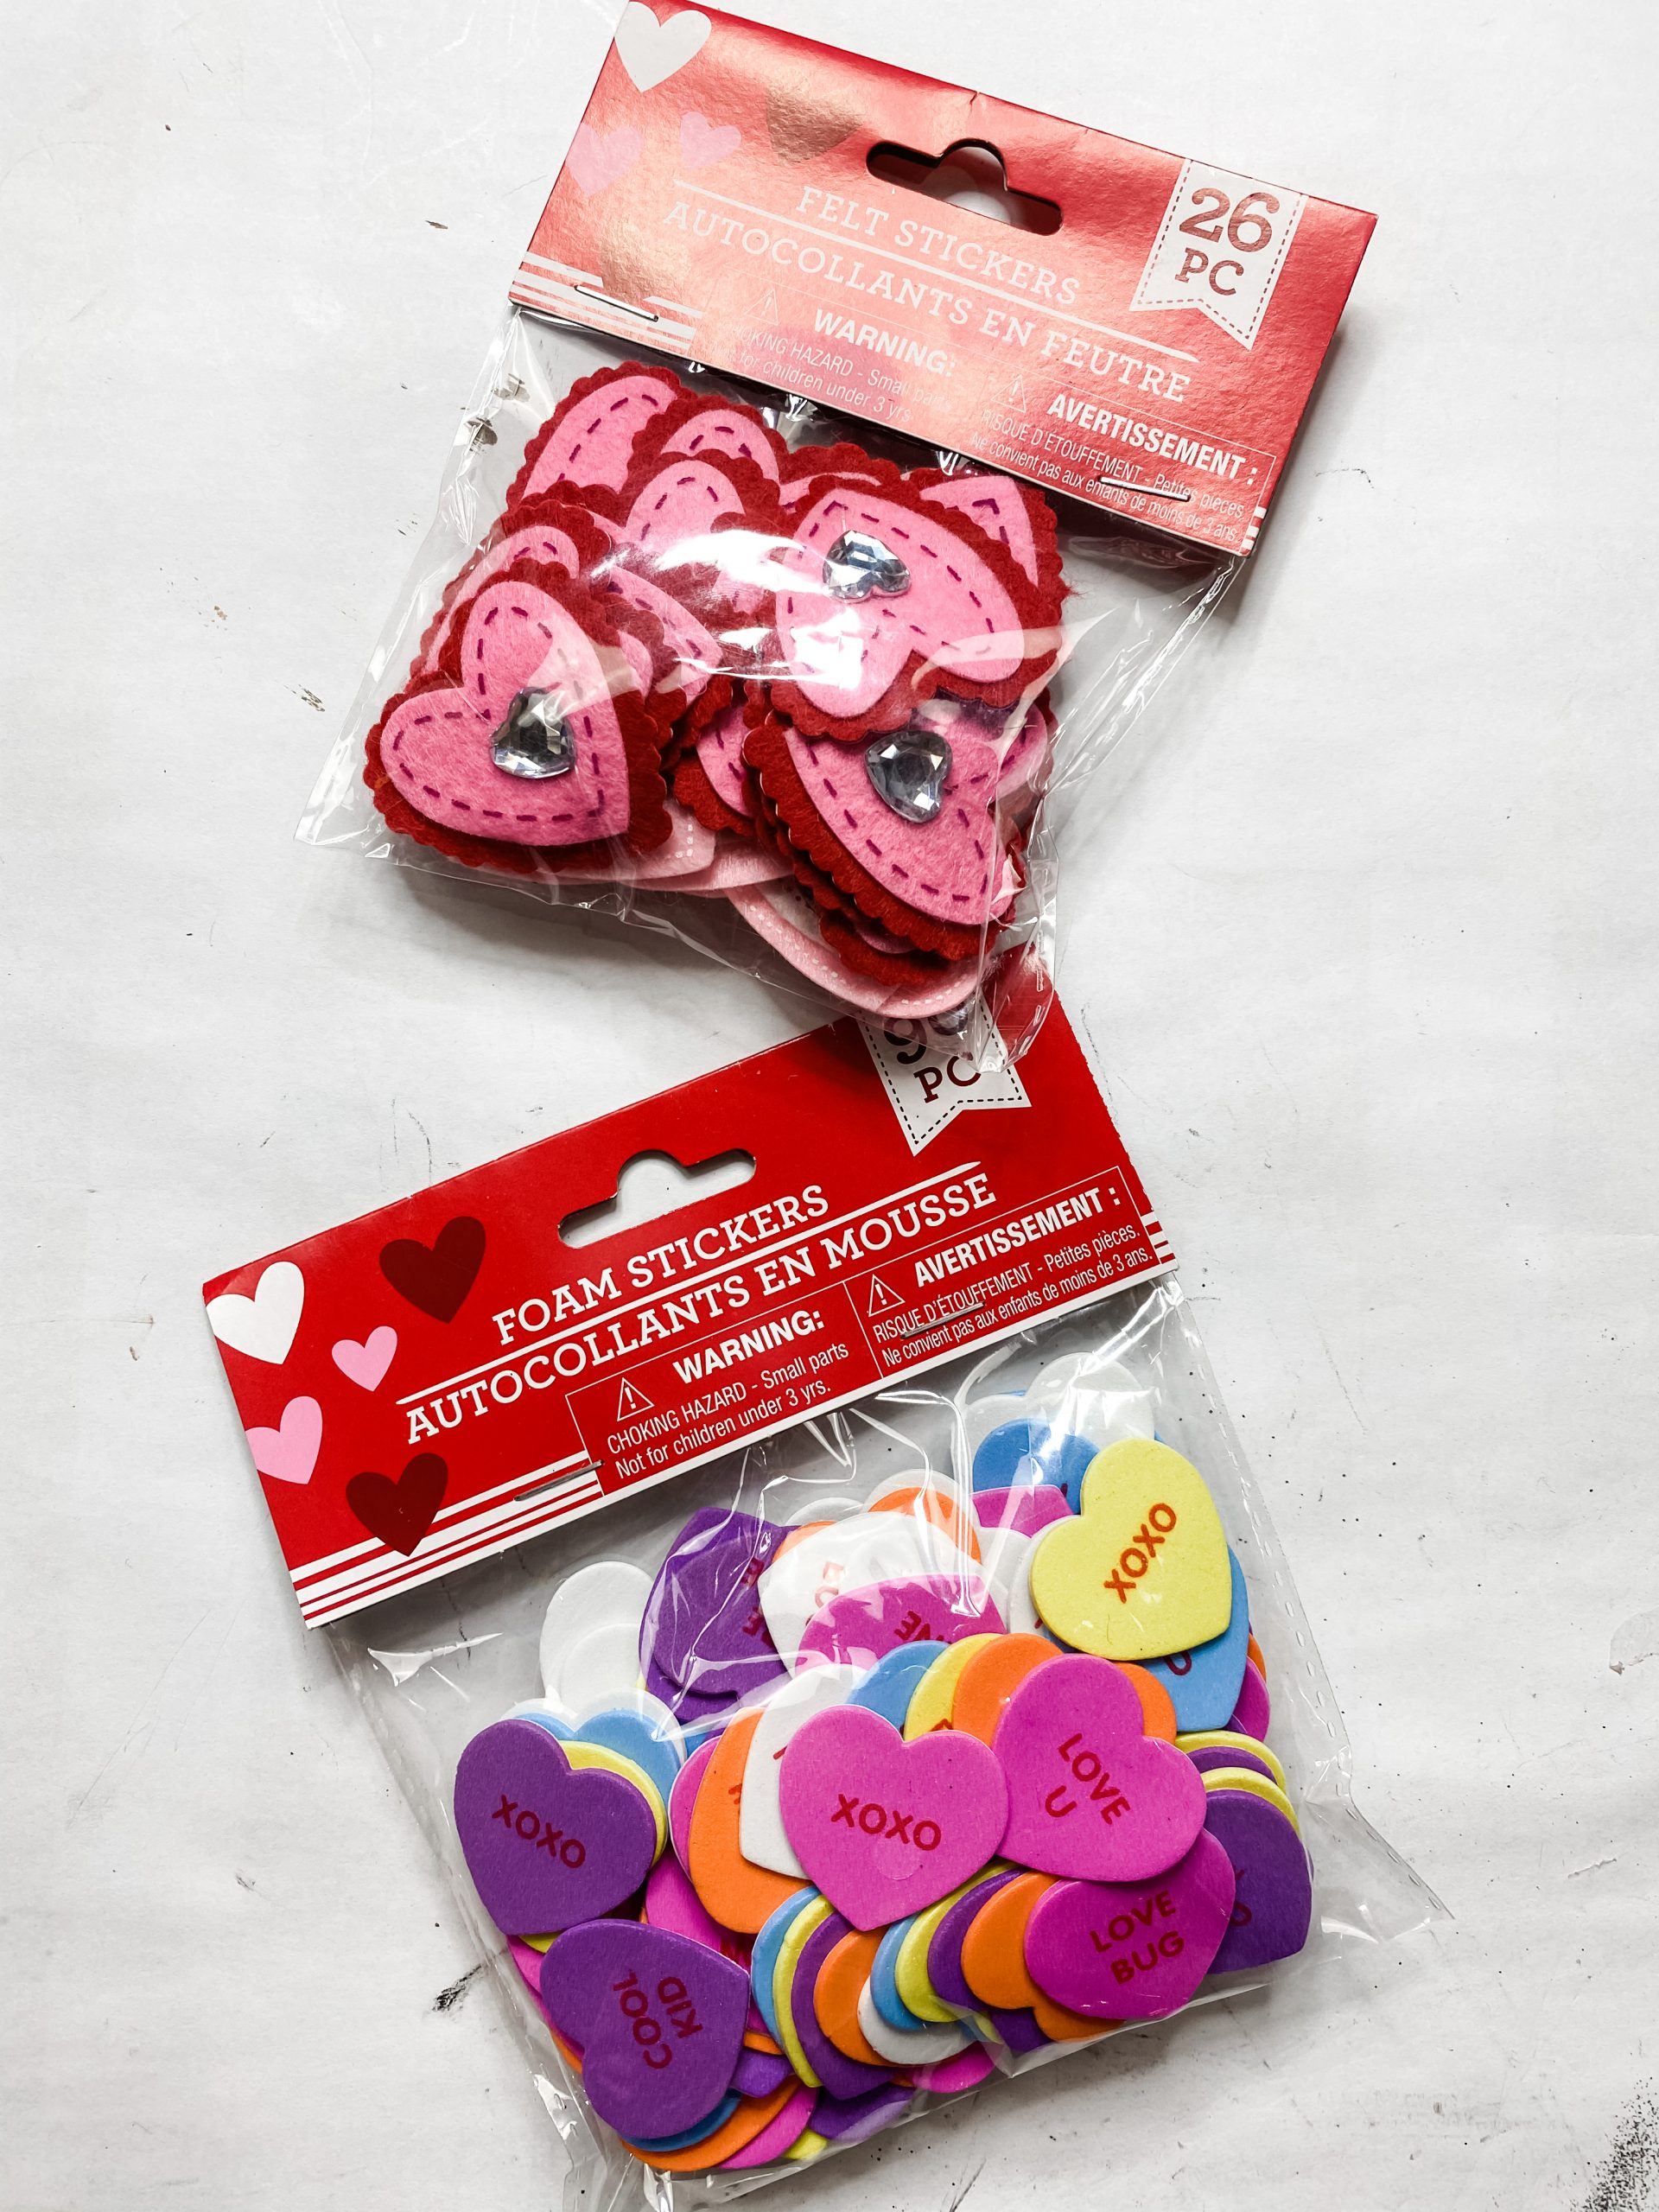
- Dollar Tree Foam Stickers
- Dollar Tree Felt Stickers
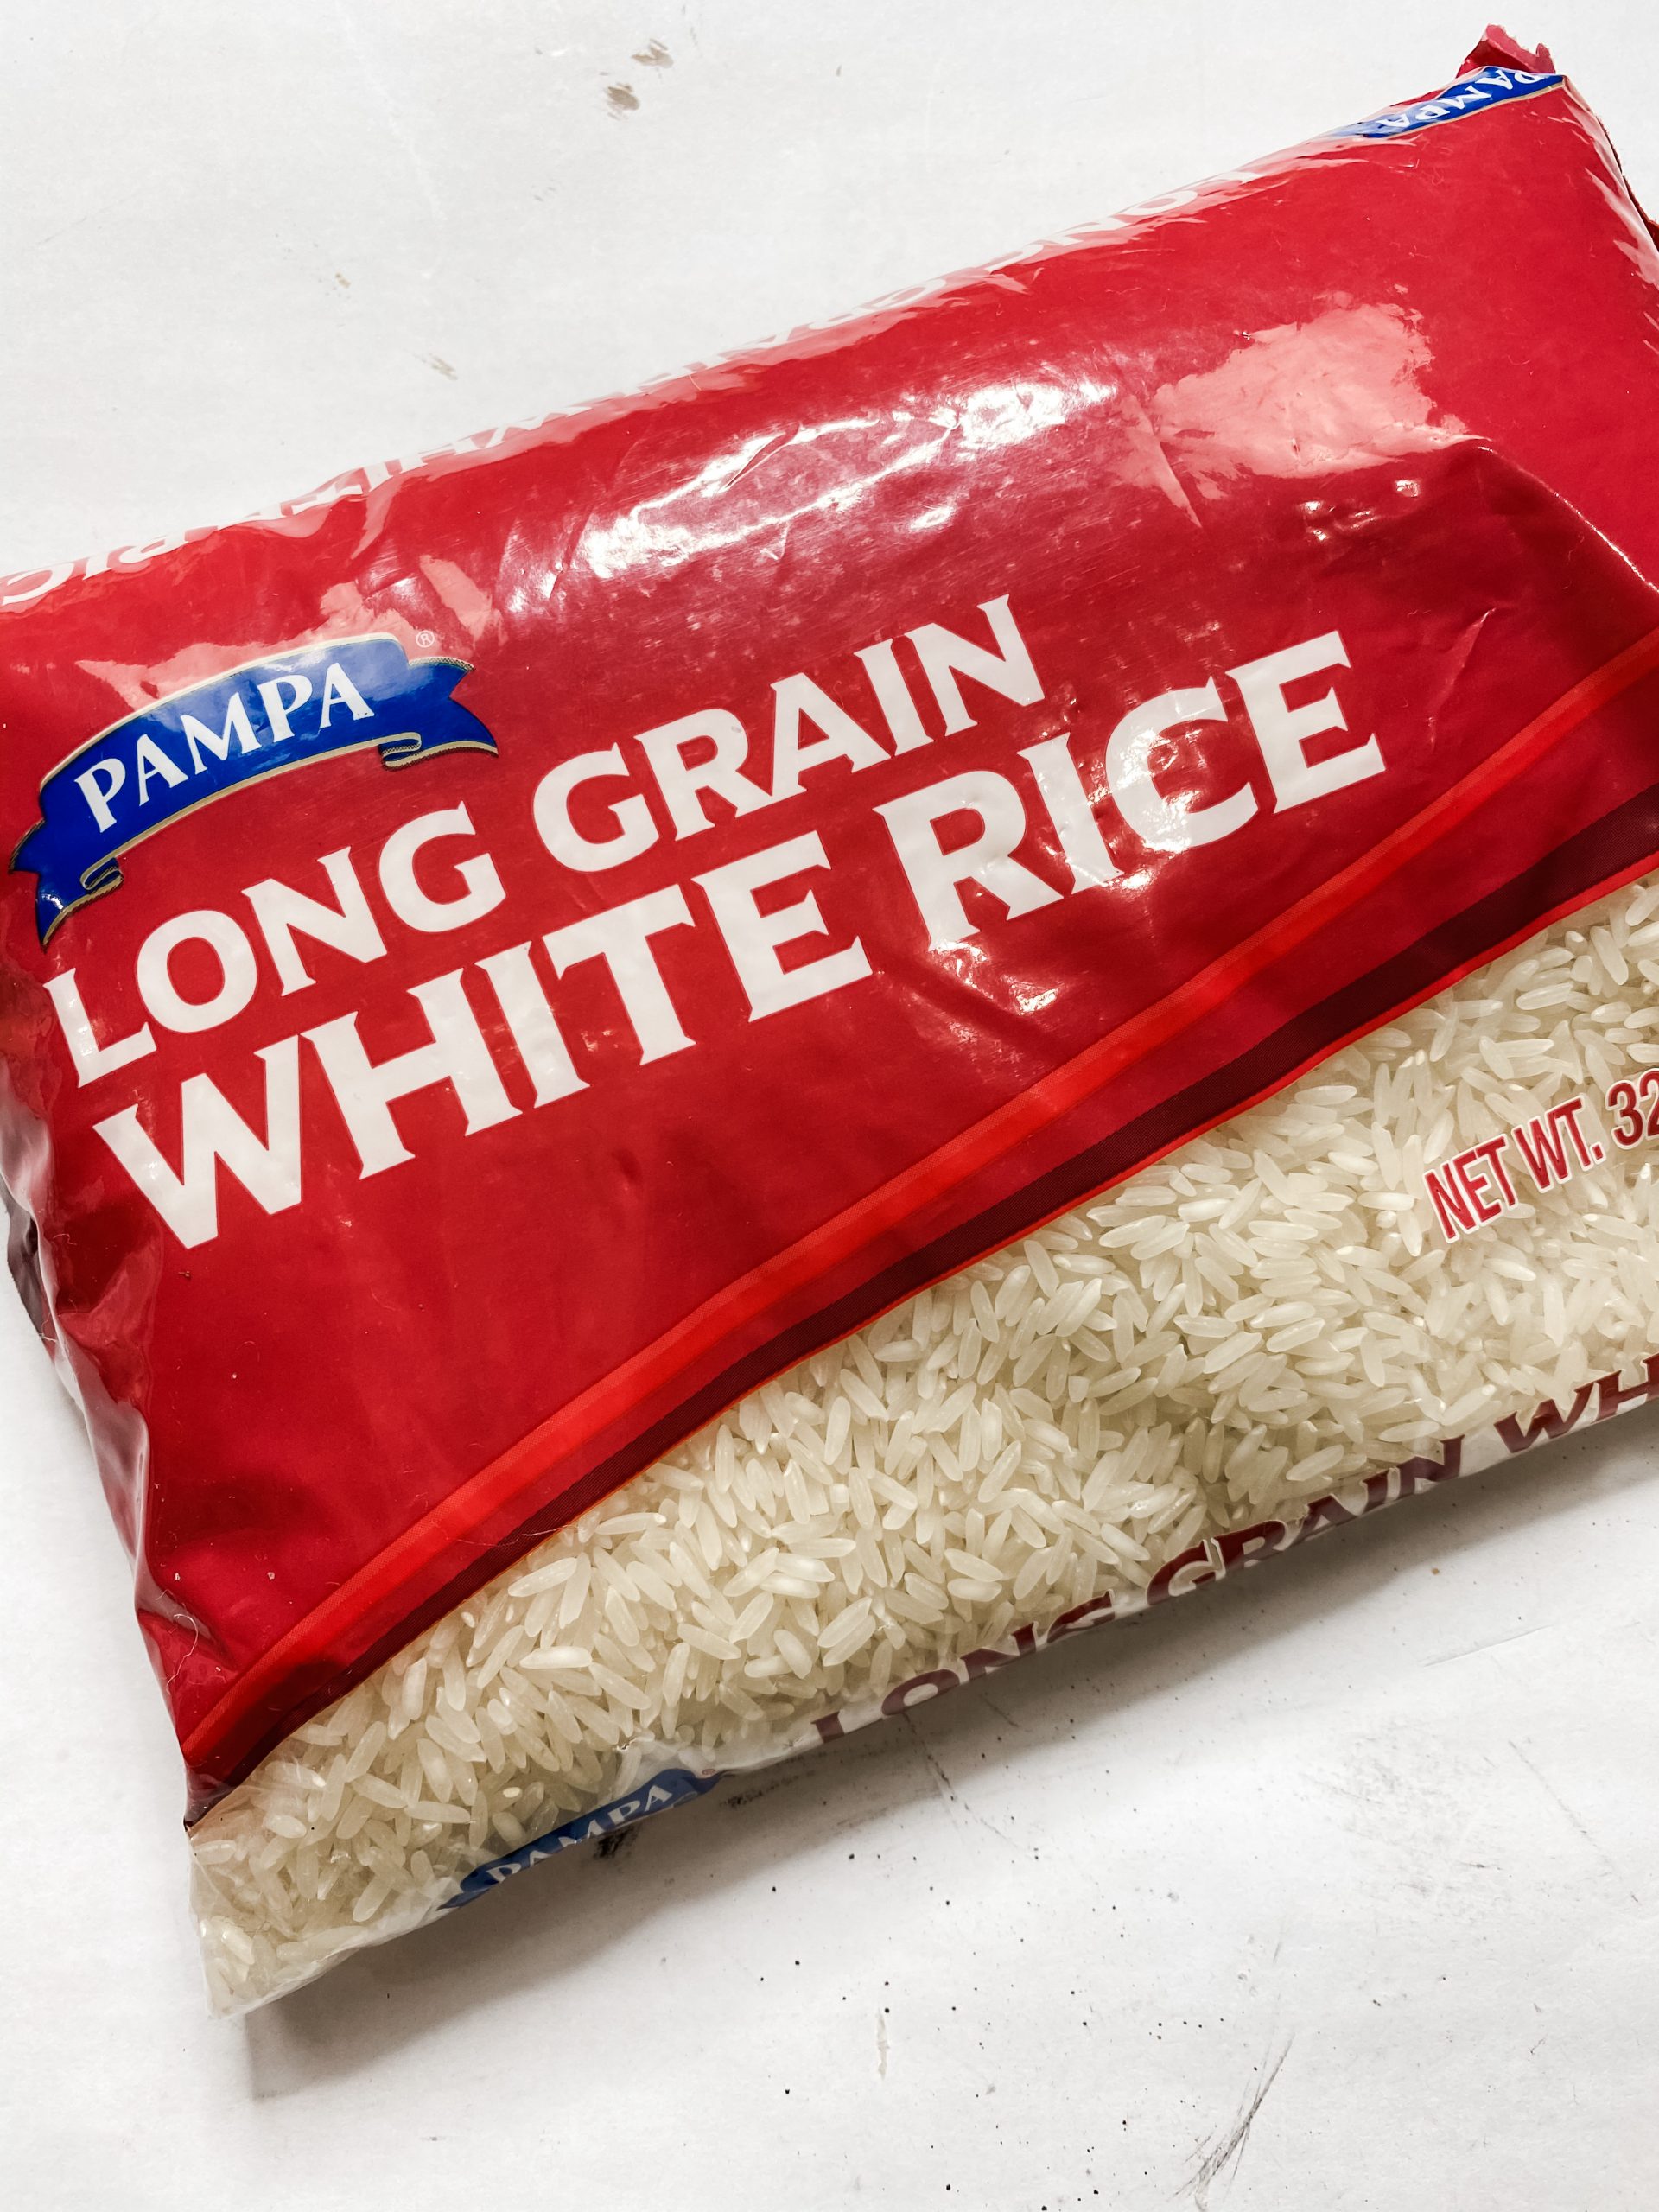
- Uncooked Rice
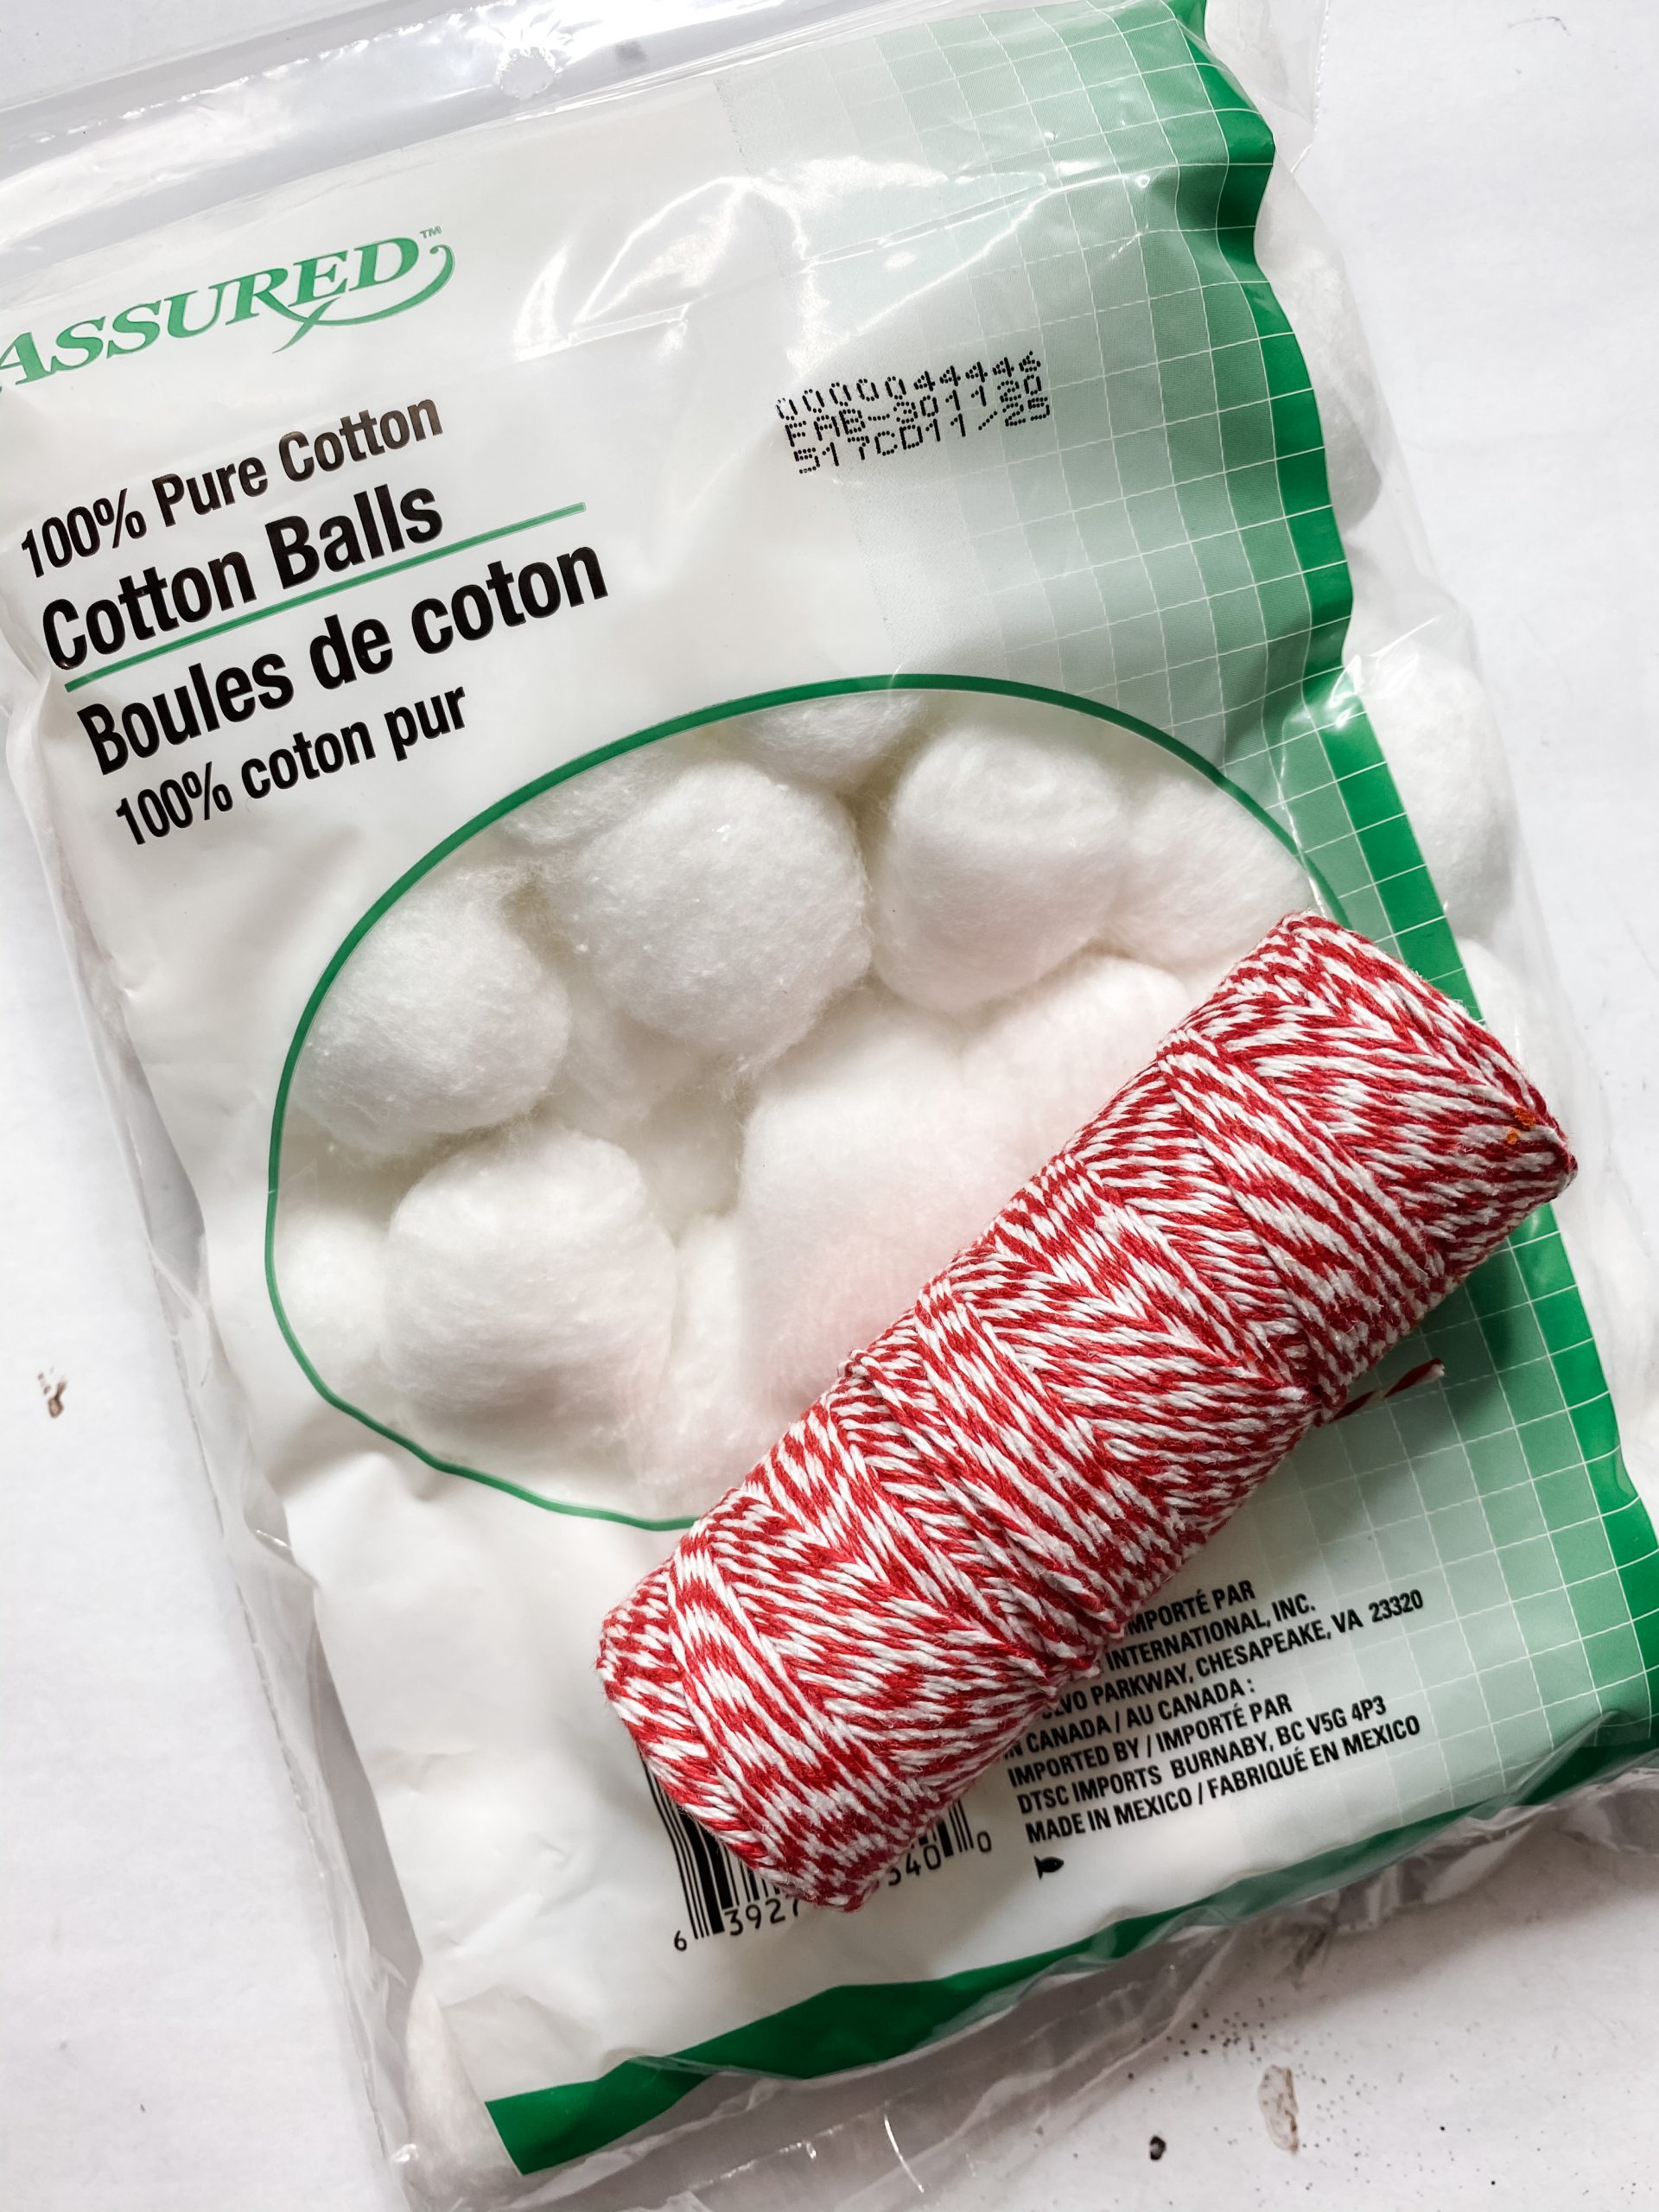
- Dollar Tree Red and White Baker’s Twine
- Dollar Tree Cotton Balls
- Red Paint
- Cup
- Hot Glue gun and Glue Sticks
- Scissors
Let’s get started
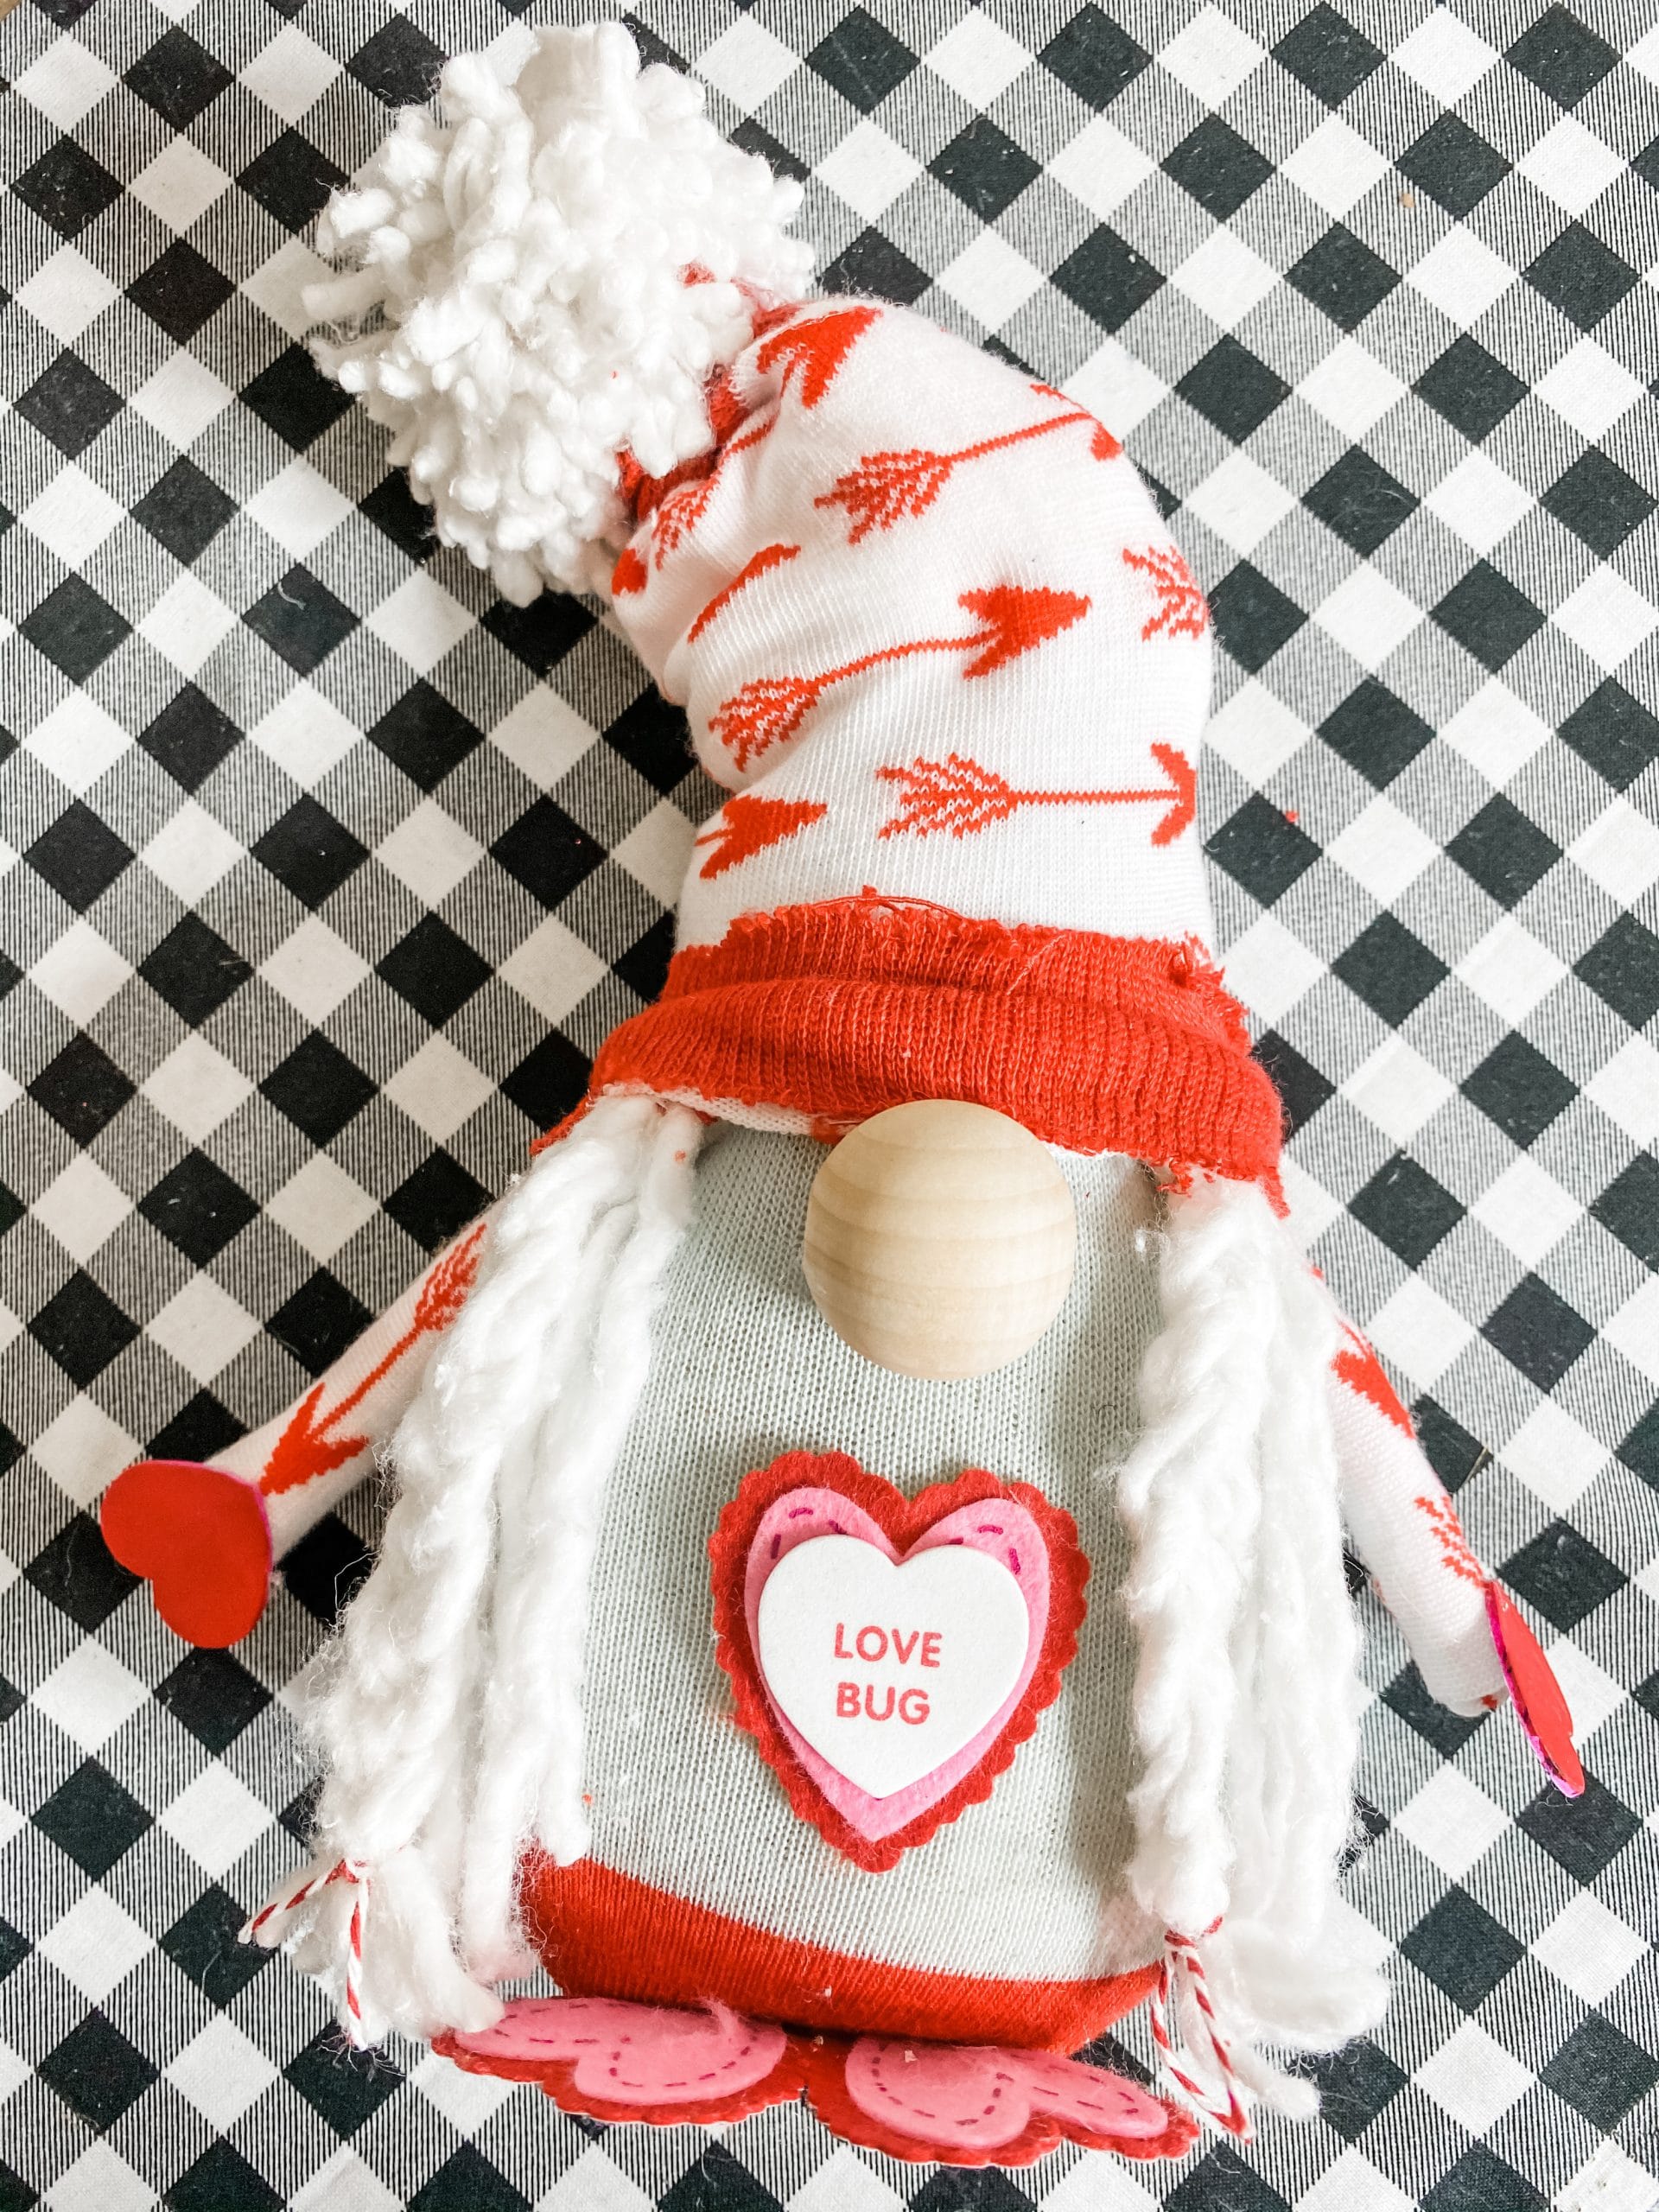
I am in love with how adorable this DIY Valentine’s Day gnome turned out! To start making this no-sew DIY project, you’re going to cut both socks at the ankle.
We are using the foot piece of one sock as the body of the gnome and the above-ankle piece of the other sock for the gnome’s hat.
I love using new items to bring my DIY ideas to life, and that’s why I decided to use Dollar Tree socks!
We could have easily used fabric to make this gnome, but there would have been more steps and could have made this project too difficult for some people.
You’re going to use the foot piece first to make the gnome’s body. Put the sock inside a cup and fold the hole over the opening of the cup.
Then, fill the sock with rice. Leave a bit of empty space at the top of the sock to close it with a zip tie.
When I pulled the sock full of rice out of the red solo cup I used, the sock had a pear shape. You want the base to be larger than the top so it looks like a little gnome’s body.
Once your sock has the right shape, close the open top of the sock with a zip tie. Get it as tight as you can so your gnome doesn’t lose its shape and rice can’t start falling out.
Cut the tail of the zip tie off with a pair of scissors. We are going to cover up the zip tie, so you don’t have to worry about making the top of the sock look pretty.
Make your DIY Gnome’s hat
For the hat, grab the above the ankle piece of the second sock pattern, some cotton balls, and baker’s twine. Start by tying the top of the sock with a piece of red and white baker’s twine.
Then, stuff some cotton balls inside the sock to give it the shape of a hat. Pull the DIY hat over the top of your gnome’s body and hot glue it in place.
You want a bit of the sock fabric loose, so hot glue about an inch inside the bottom of the hat.

Add the hair
I used a Dollar Tree mop head to make the little Valentine’s gnome’s hair. Remove the plastic piece that secures the mop strings together, unravel the mop strings, and grab 3 pieces of the unraveled mop strings.
I folded them in half and cut them to make 6 strings instead of three.
Next, use a piece of baker’s twine to secure the strings together and start braiding the strings. I did a simple 3 strand braid with 2 mop strings in each strand of the braid.
Tie off the bottom of the braid with another piece of baker’s twine.
Next, grab 3 more of the unraveled mop strings, cut them in half, and lay the braid on top of them. Secure them together by tying a piece of baker’s twine around the top of the mop strings.
You’re going to repeat this entire process a second time, so you will have 2 bundles of Dollar Tree mop head strings.
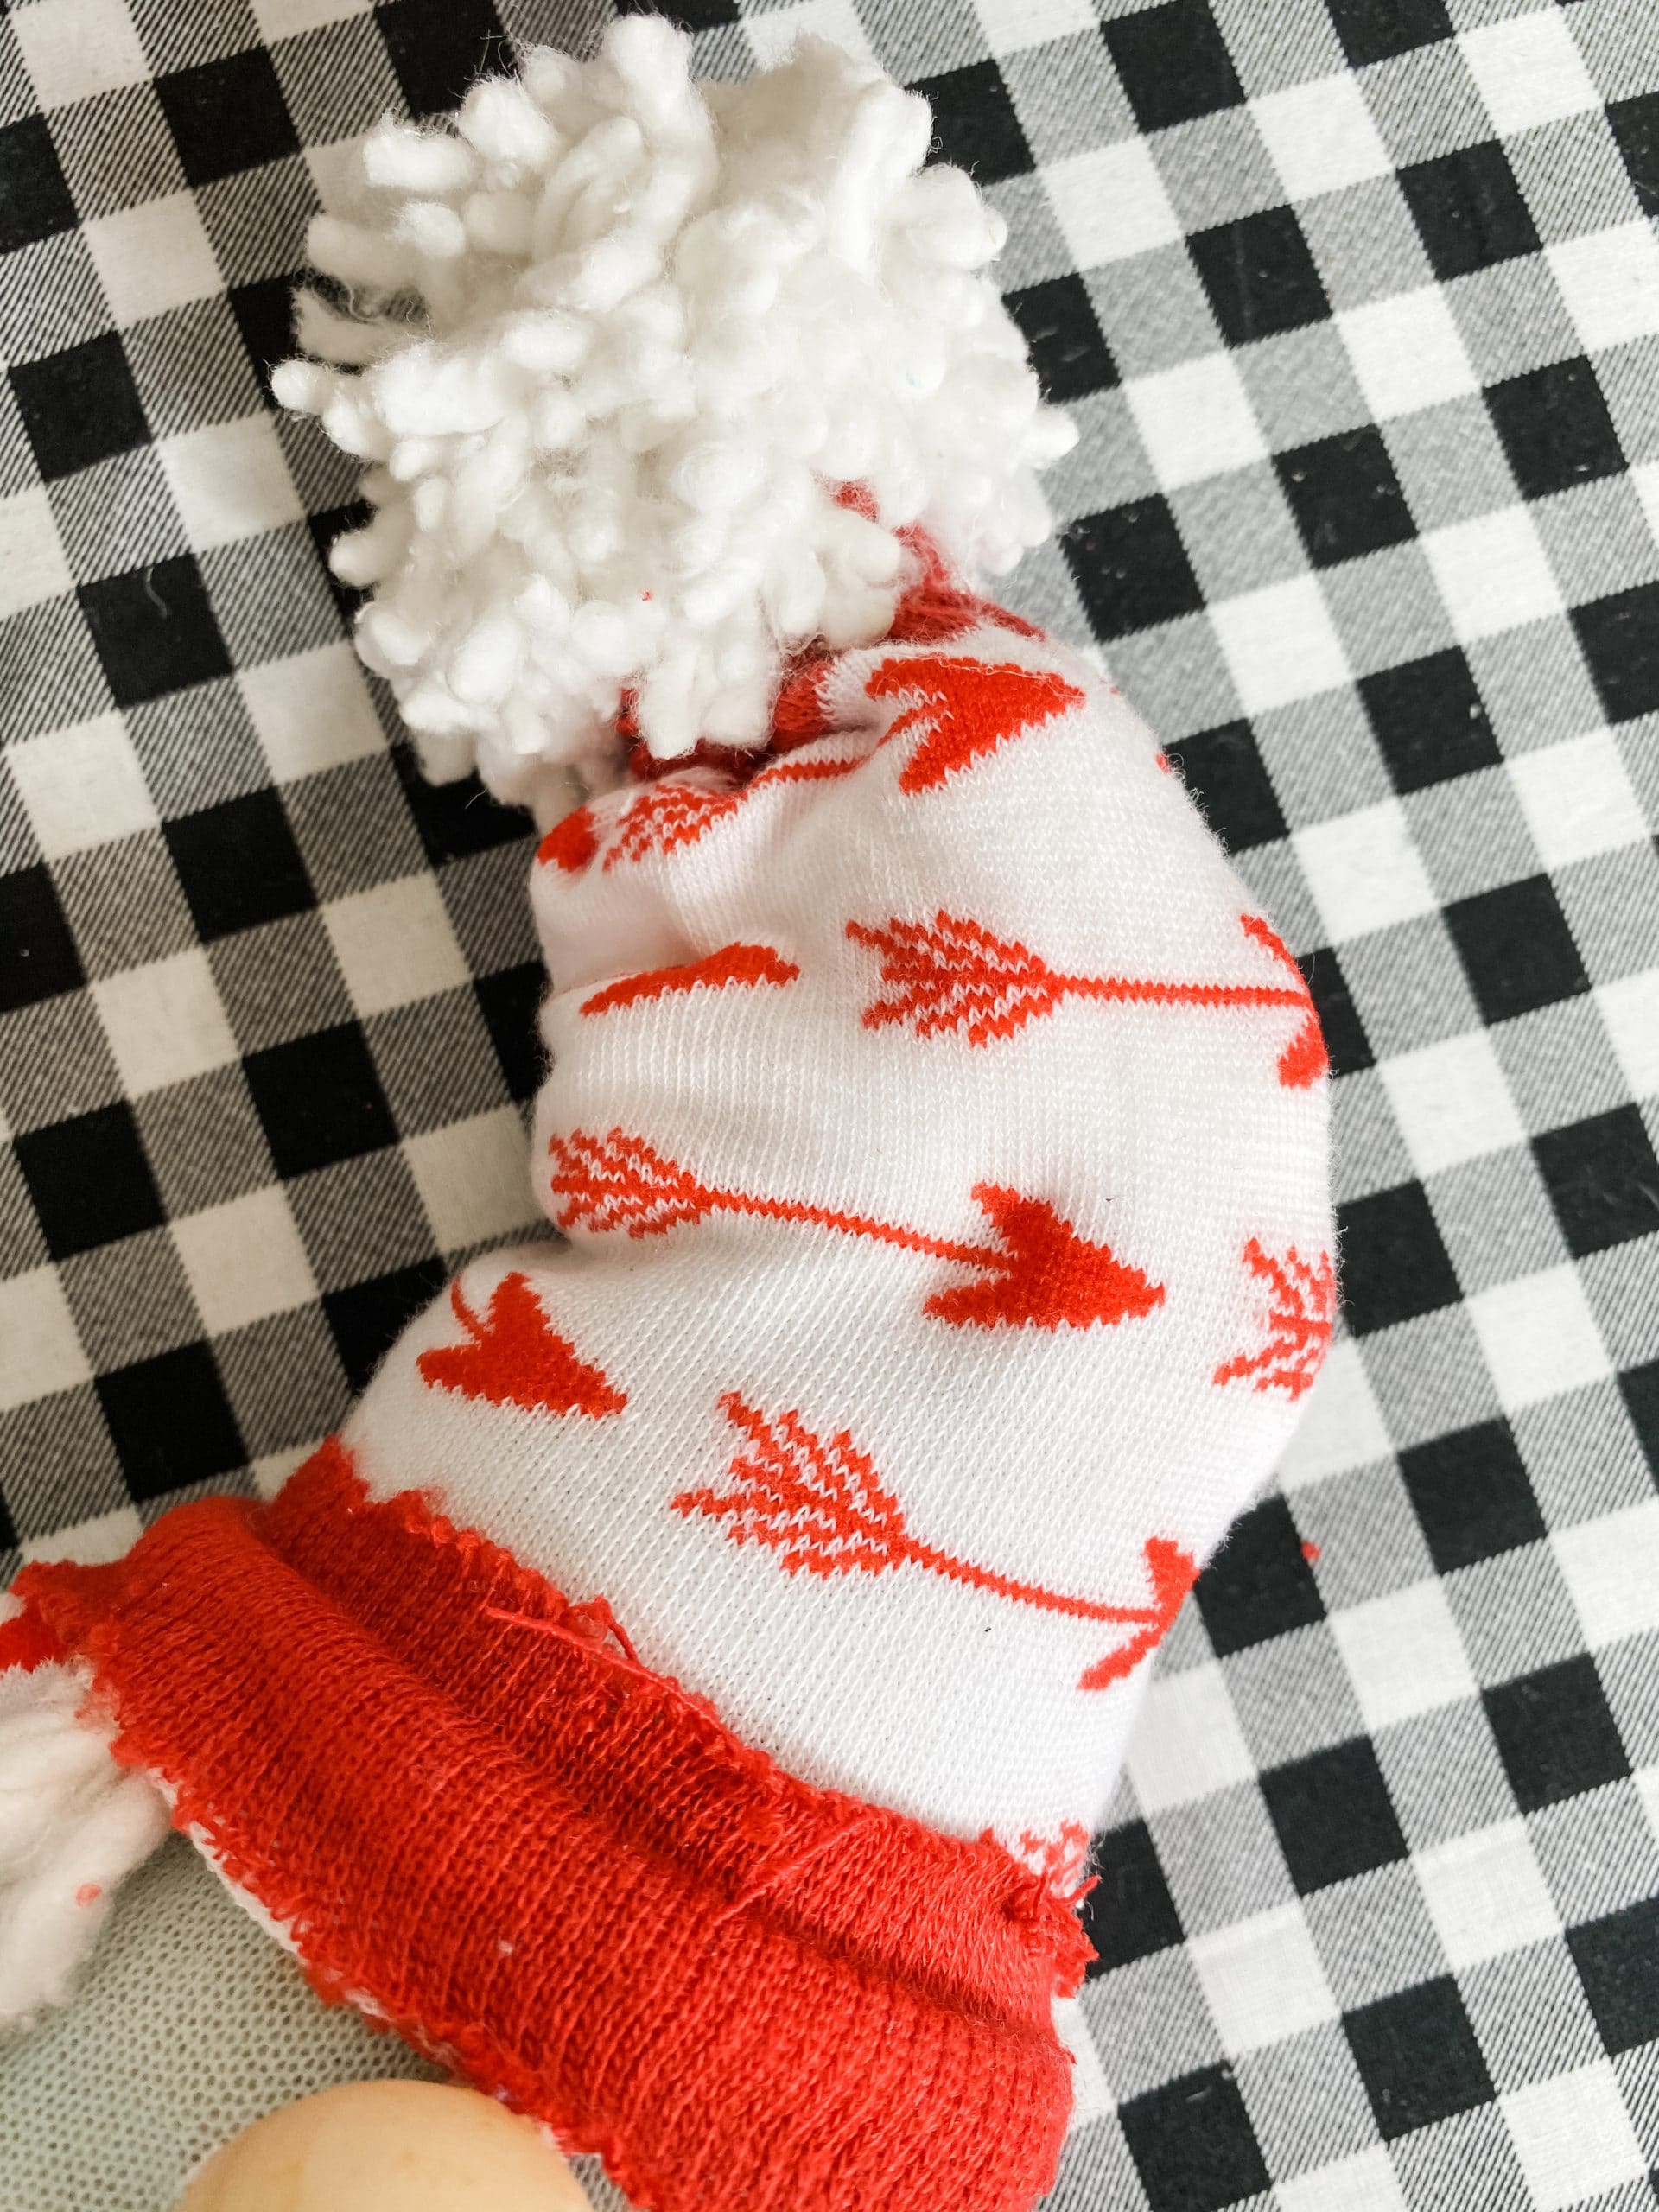
Make a Pom Pom for the hat
Grab a handful of the unraveled mop strings and wrap them around your hand. Use a piece of baker’s twine to cinch the center of the wrapped mop strings and secure it.
Then, use a pair of scissors to cut the ends of the mop strings and create a pom-pom.
Now, trim up the ends of the mop strings to make a clean, even pom-pom.
Hands, feet, hearts, OH MY!
To make the hands of your adorable DIY sock gnome you’re going to use 2 Dollar Tree foam stickers. I painted the stickers red with Craft Smart Red Acrylic Paint and an artist’s brush.
Allow the painted foam stickers to dry. I used my heat gun to speed up the process, but you can set them to the side because we have to make the gnome’s arms next.
I cut two pieces of fabric from the same sock pattern I used for the gnome’s hat. Then, roll the pieces of fabric and hot glue the ends to keep them together. These will be your arms!
Go ahead and hot glue the painted Dollar Tree foam heart stickers to the ends of the arms. Set them aside because we are about to make the feet!
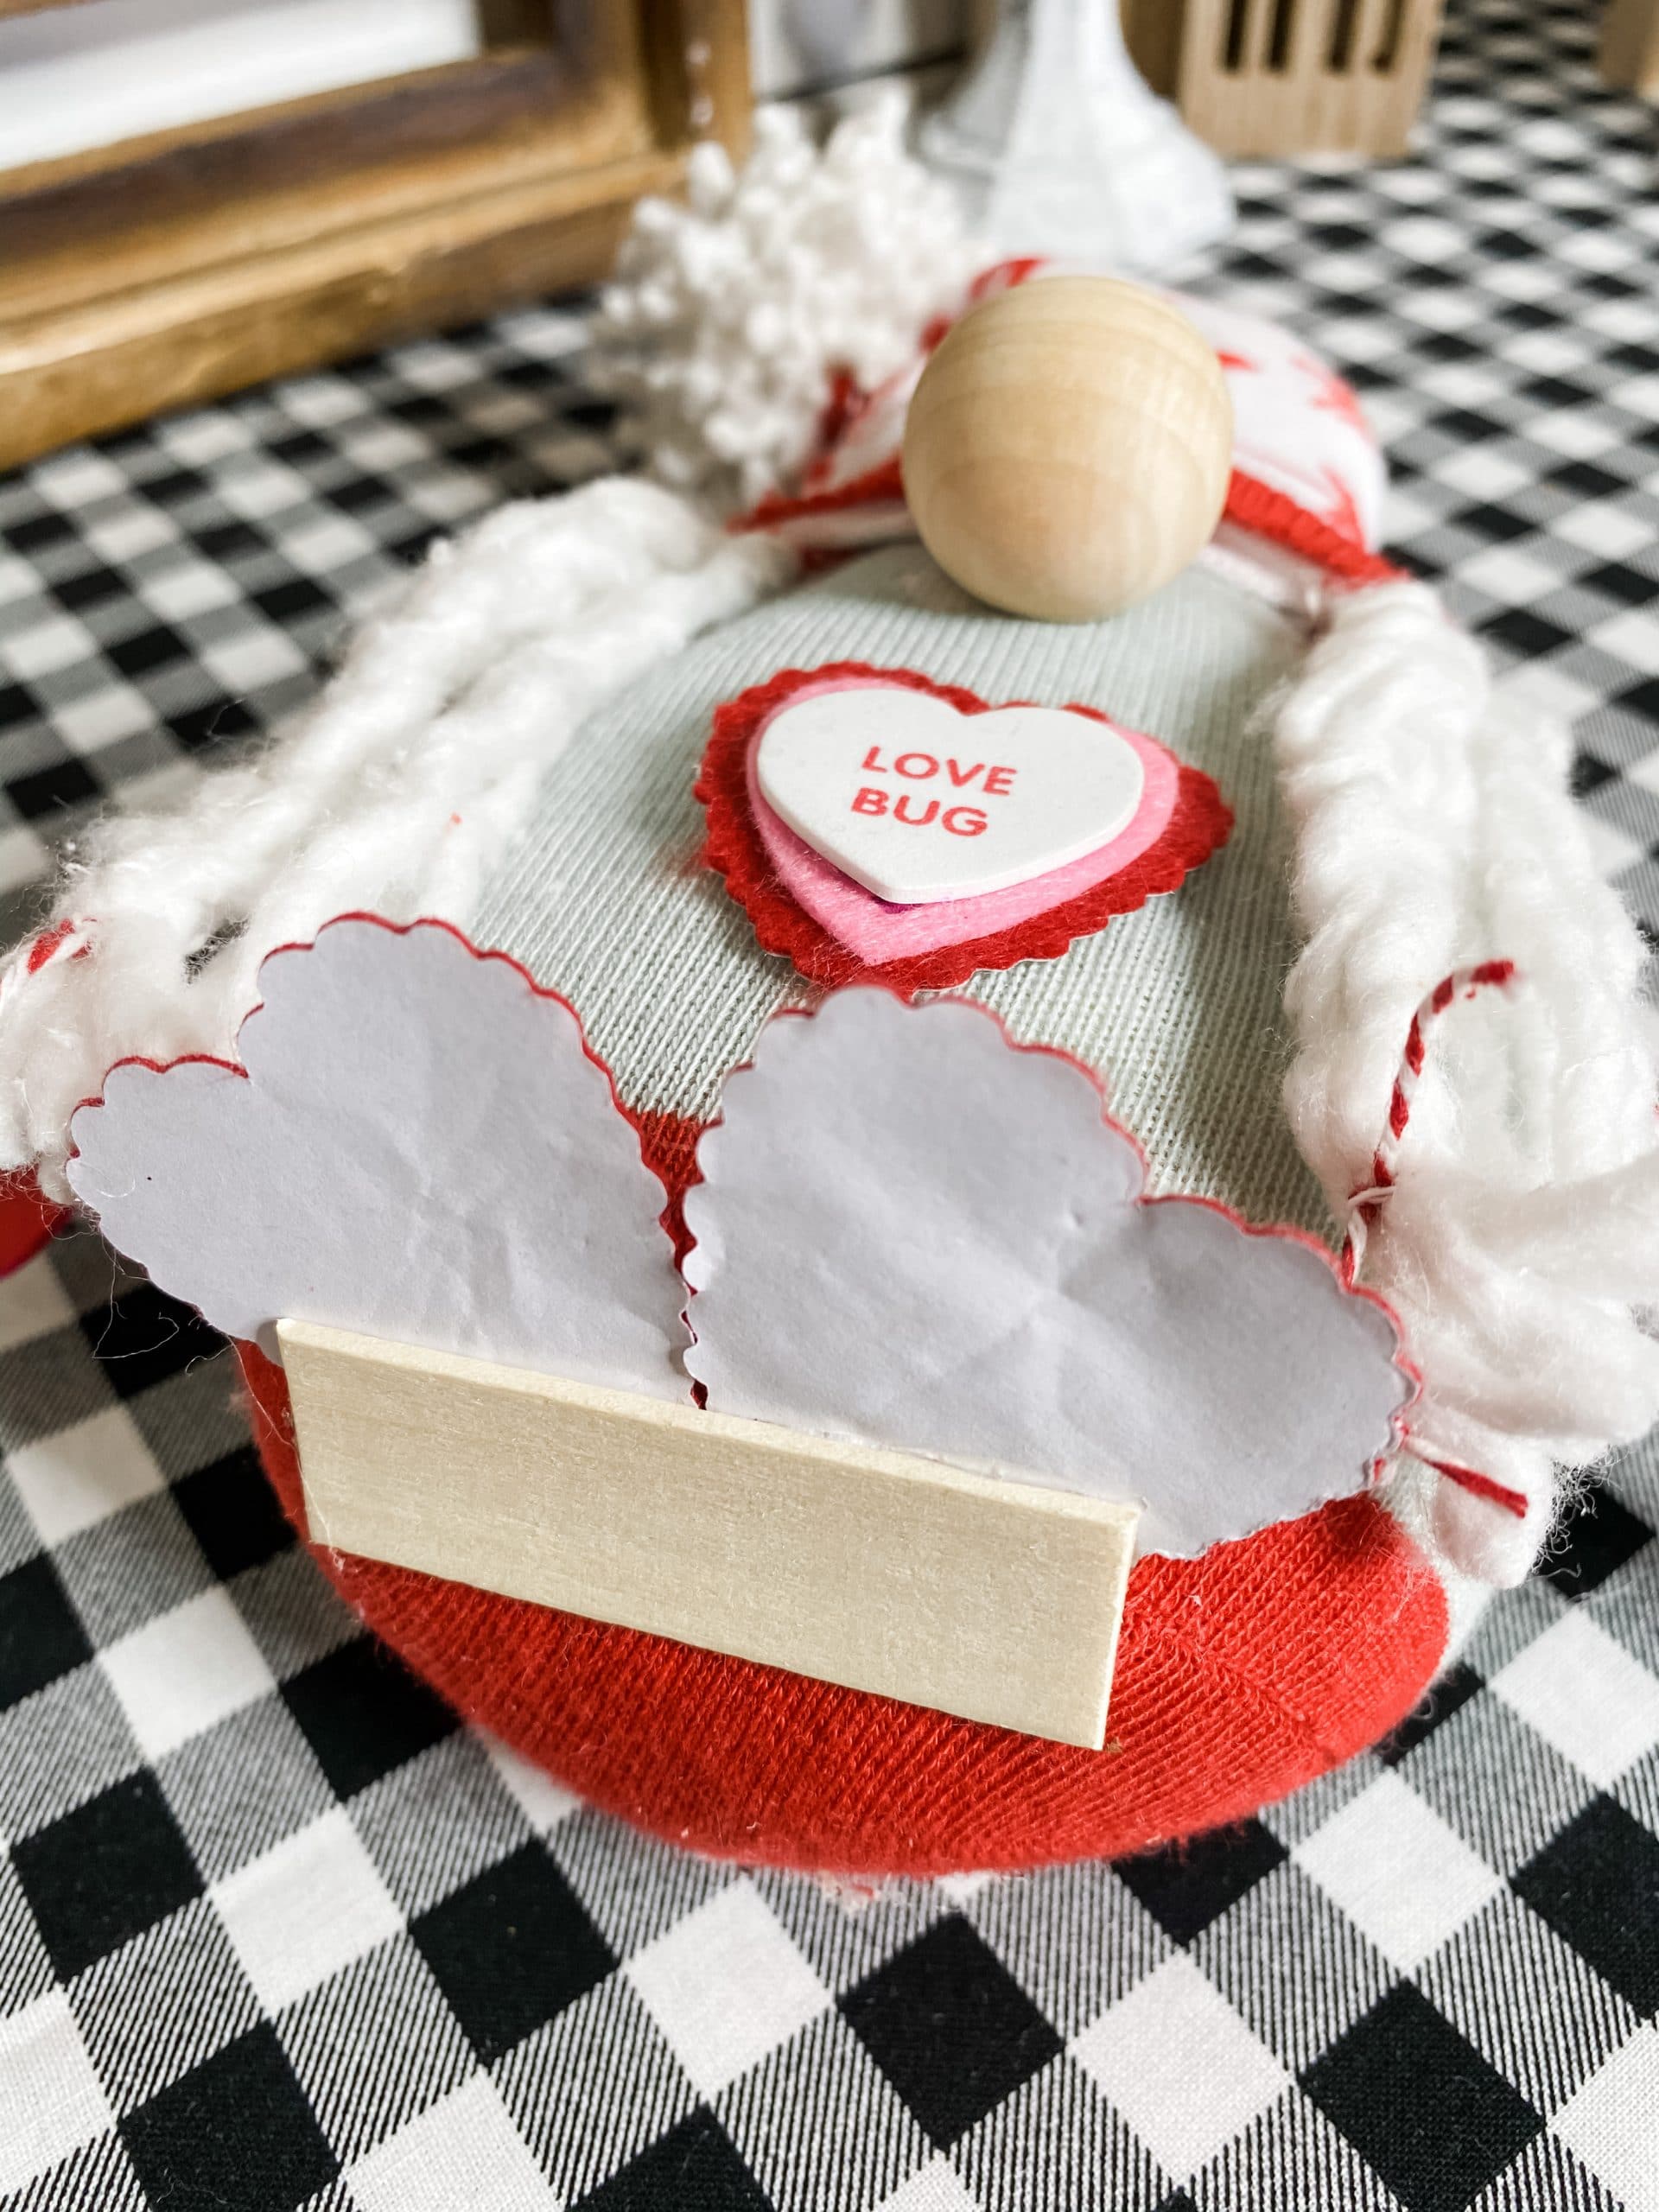
For the feet, I used two of the Dollar Tree felt stickers and a piece of a popsicle stick. I removed the jewel from the center of two felt stickers and hot glued them onto a trimmed popsicle stick.
Bring it all together
Now, we are going to start bringing all the parts of our DIY Dollar Tree Mop and Sock Valentine’s Day Gnome together!
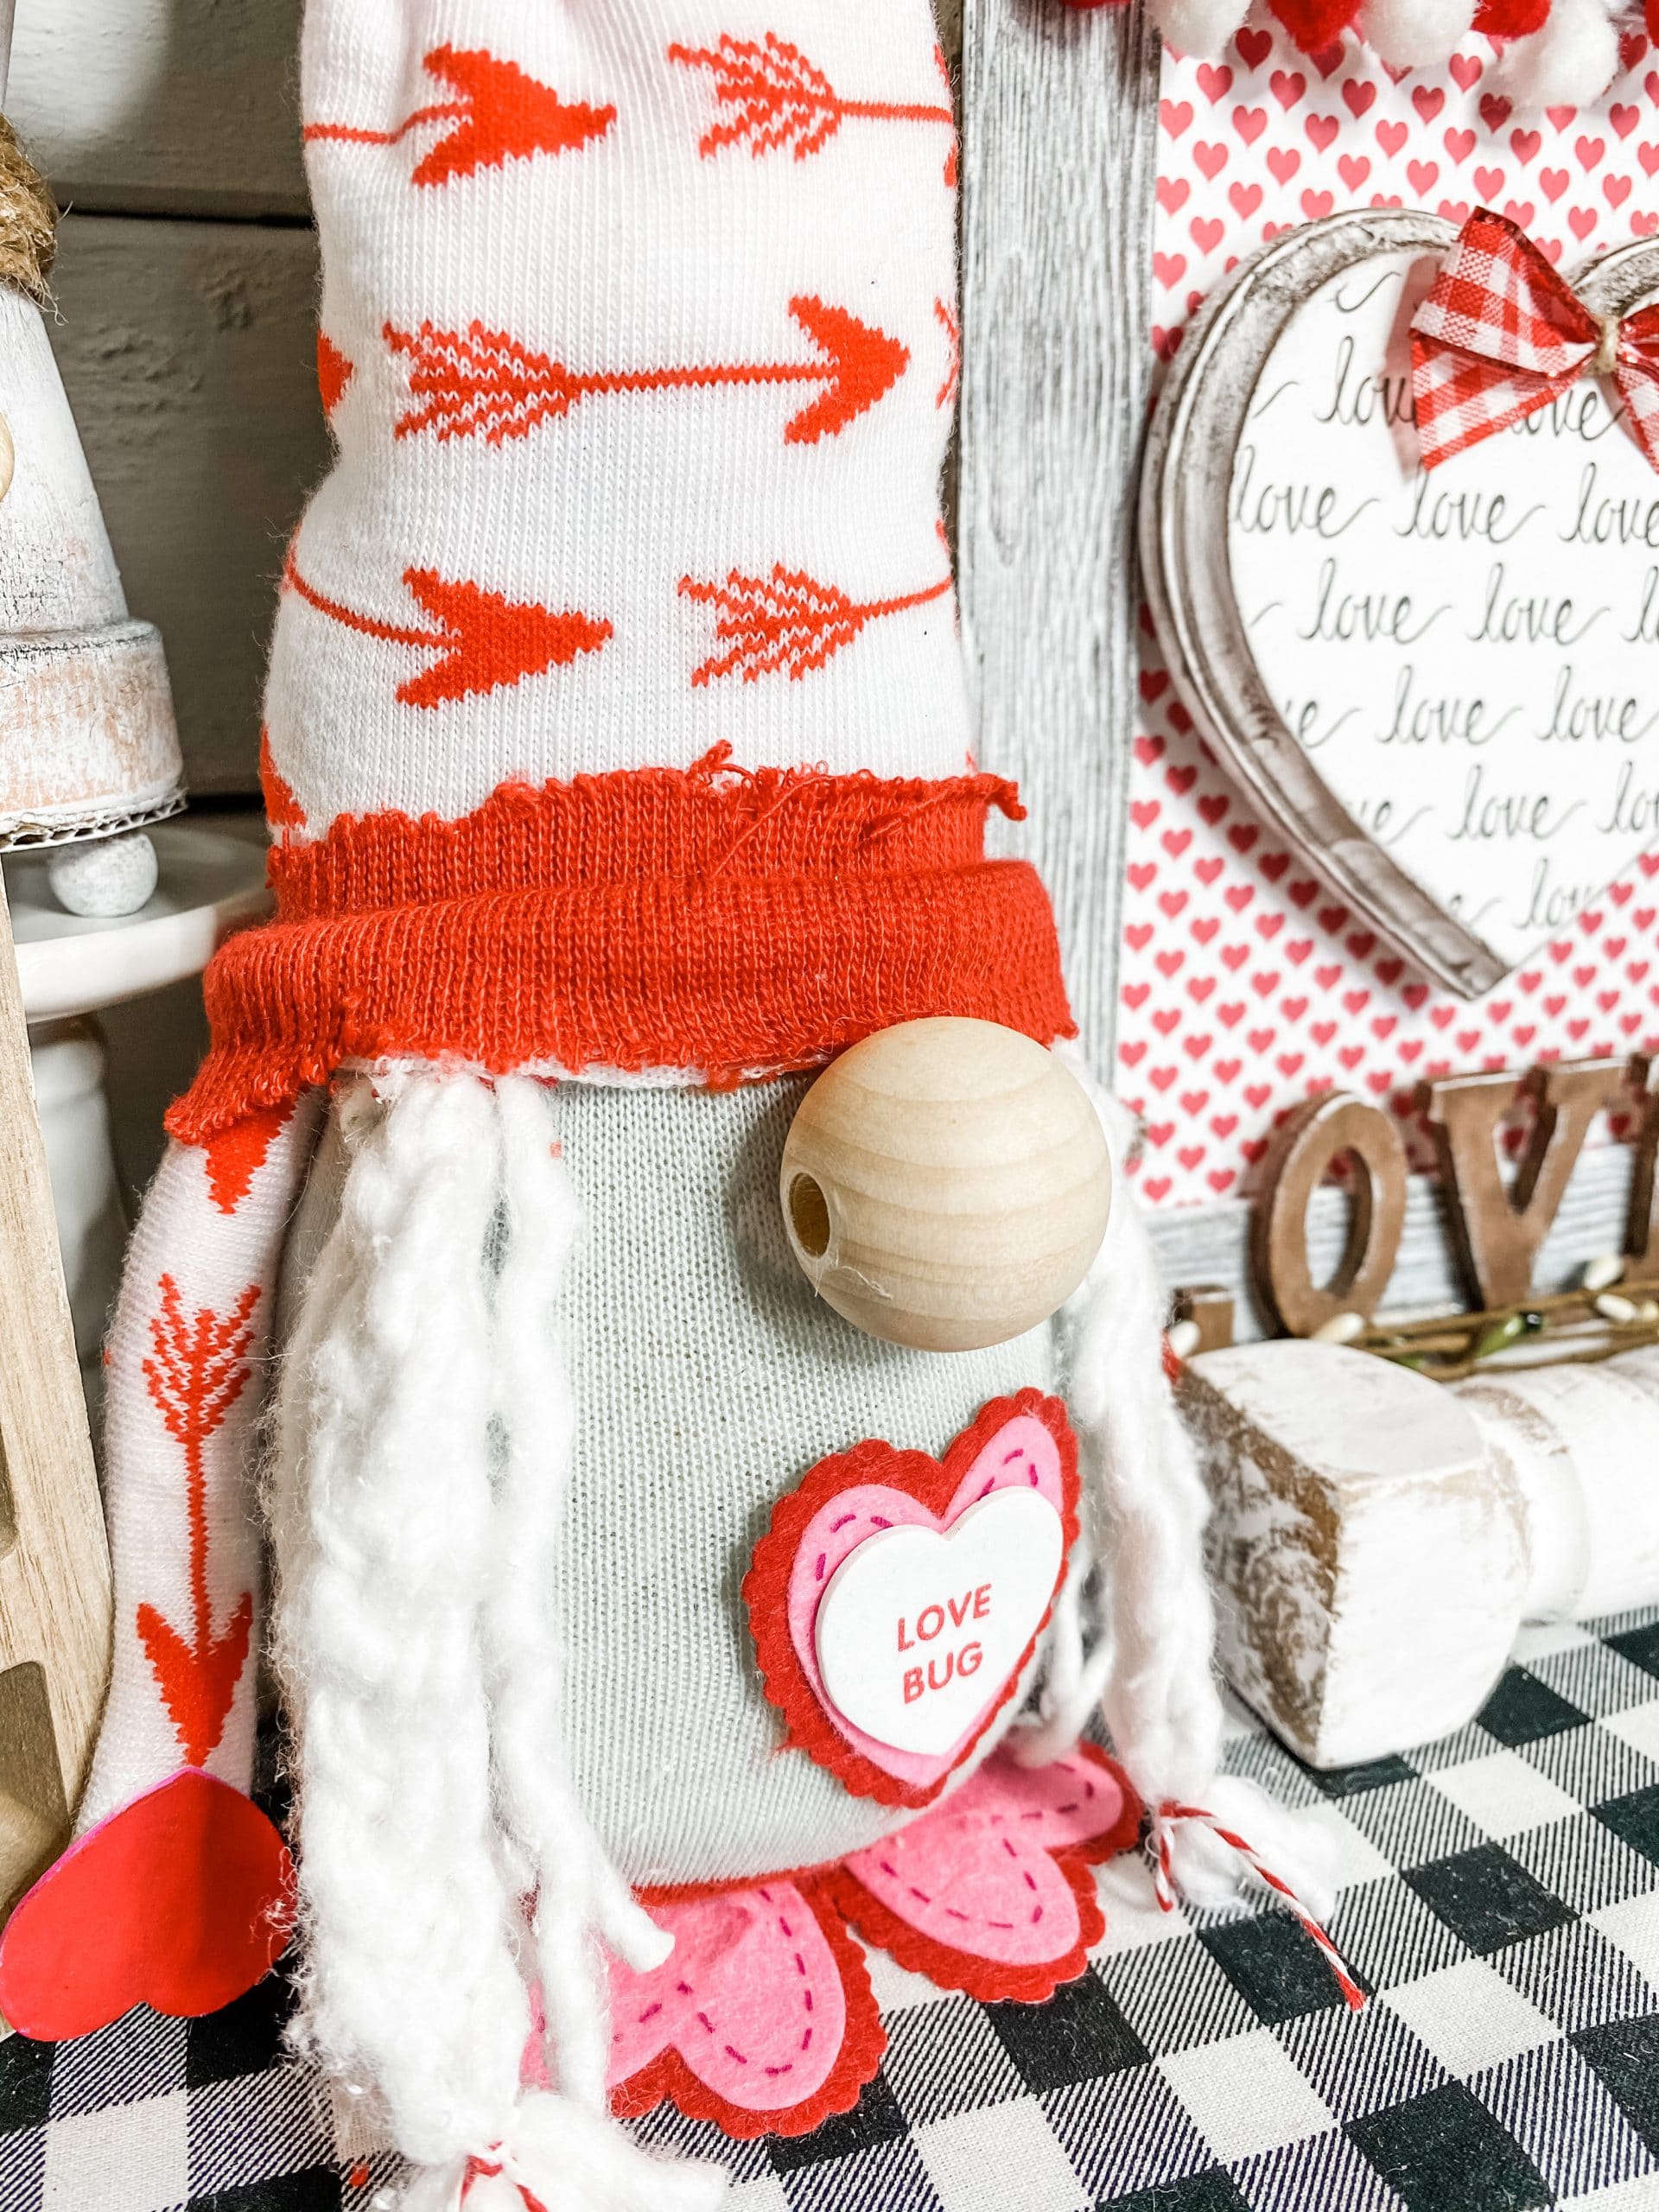
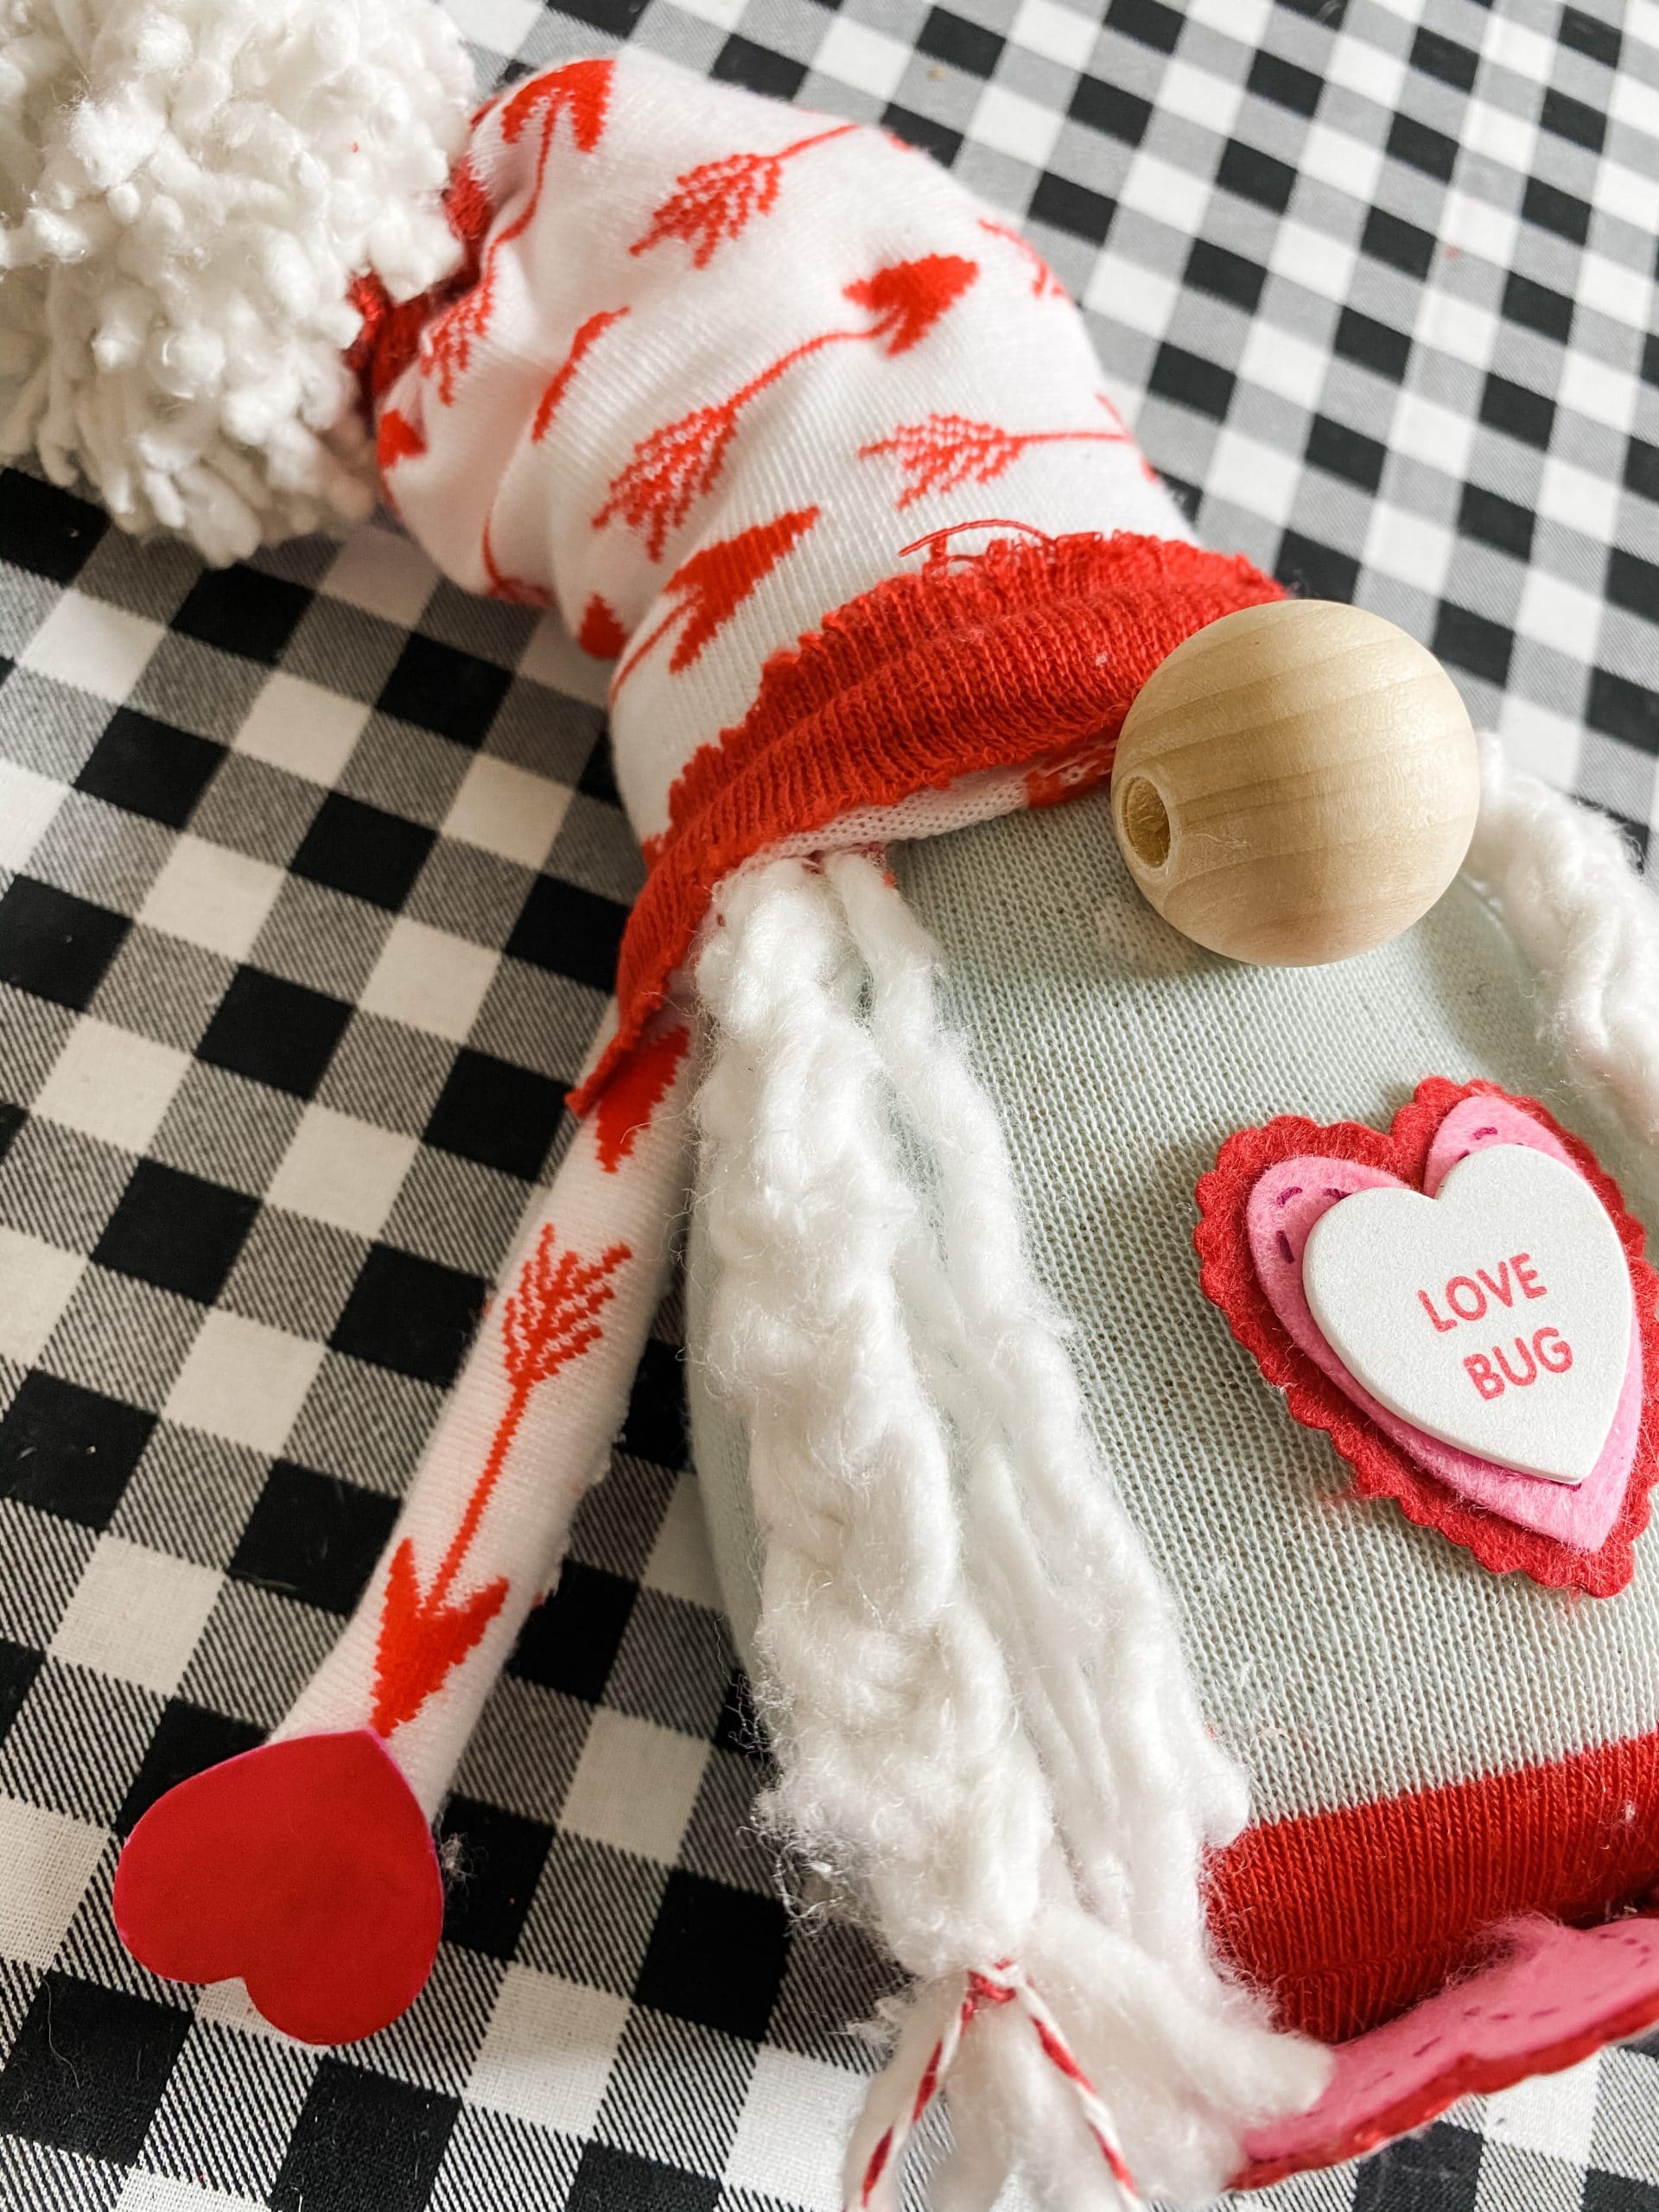
Start by hot gluing a single wood bead just beneath the sock hat. You want the sock to slightly bunch up above the wood bead.
Next, you’re going to hot glue the mop string bundles to the left and right of the wood bead nose.
Pull the bottom of the sock hat up and hot glue the top of the mop string bundles underneath the sock. These are your gnome’s hair!
Then, you’re going to add the gnome’s arms. Hot glue the top of the arms on the sides of the Dollar Tree sock gnome just underneath the bottom of the sock hat.
Finally, you’re going to attach the gnome’s felt sticker feet! Hot glue the feet to the very bottom of the rice-filled sock gnome.
The finishing touches
Only two things left to do with this adorable DIY gnome! I hot glued one of the Dollar Tree foam stickers to the center of one of the Dollar Tree felt stickers, and hot glued them to the gnome just below its nose.
Next, I cut the red top off the other red and white Dollar Tree sock and pulled it over the top of the gnome to be the band of his hat.
The last step to this adorable DIY gnome is to hot glue the mop string pom-pom to the very top of the gnome’s sock hat!
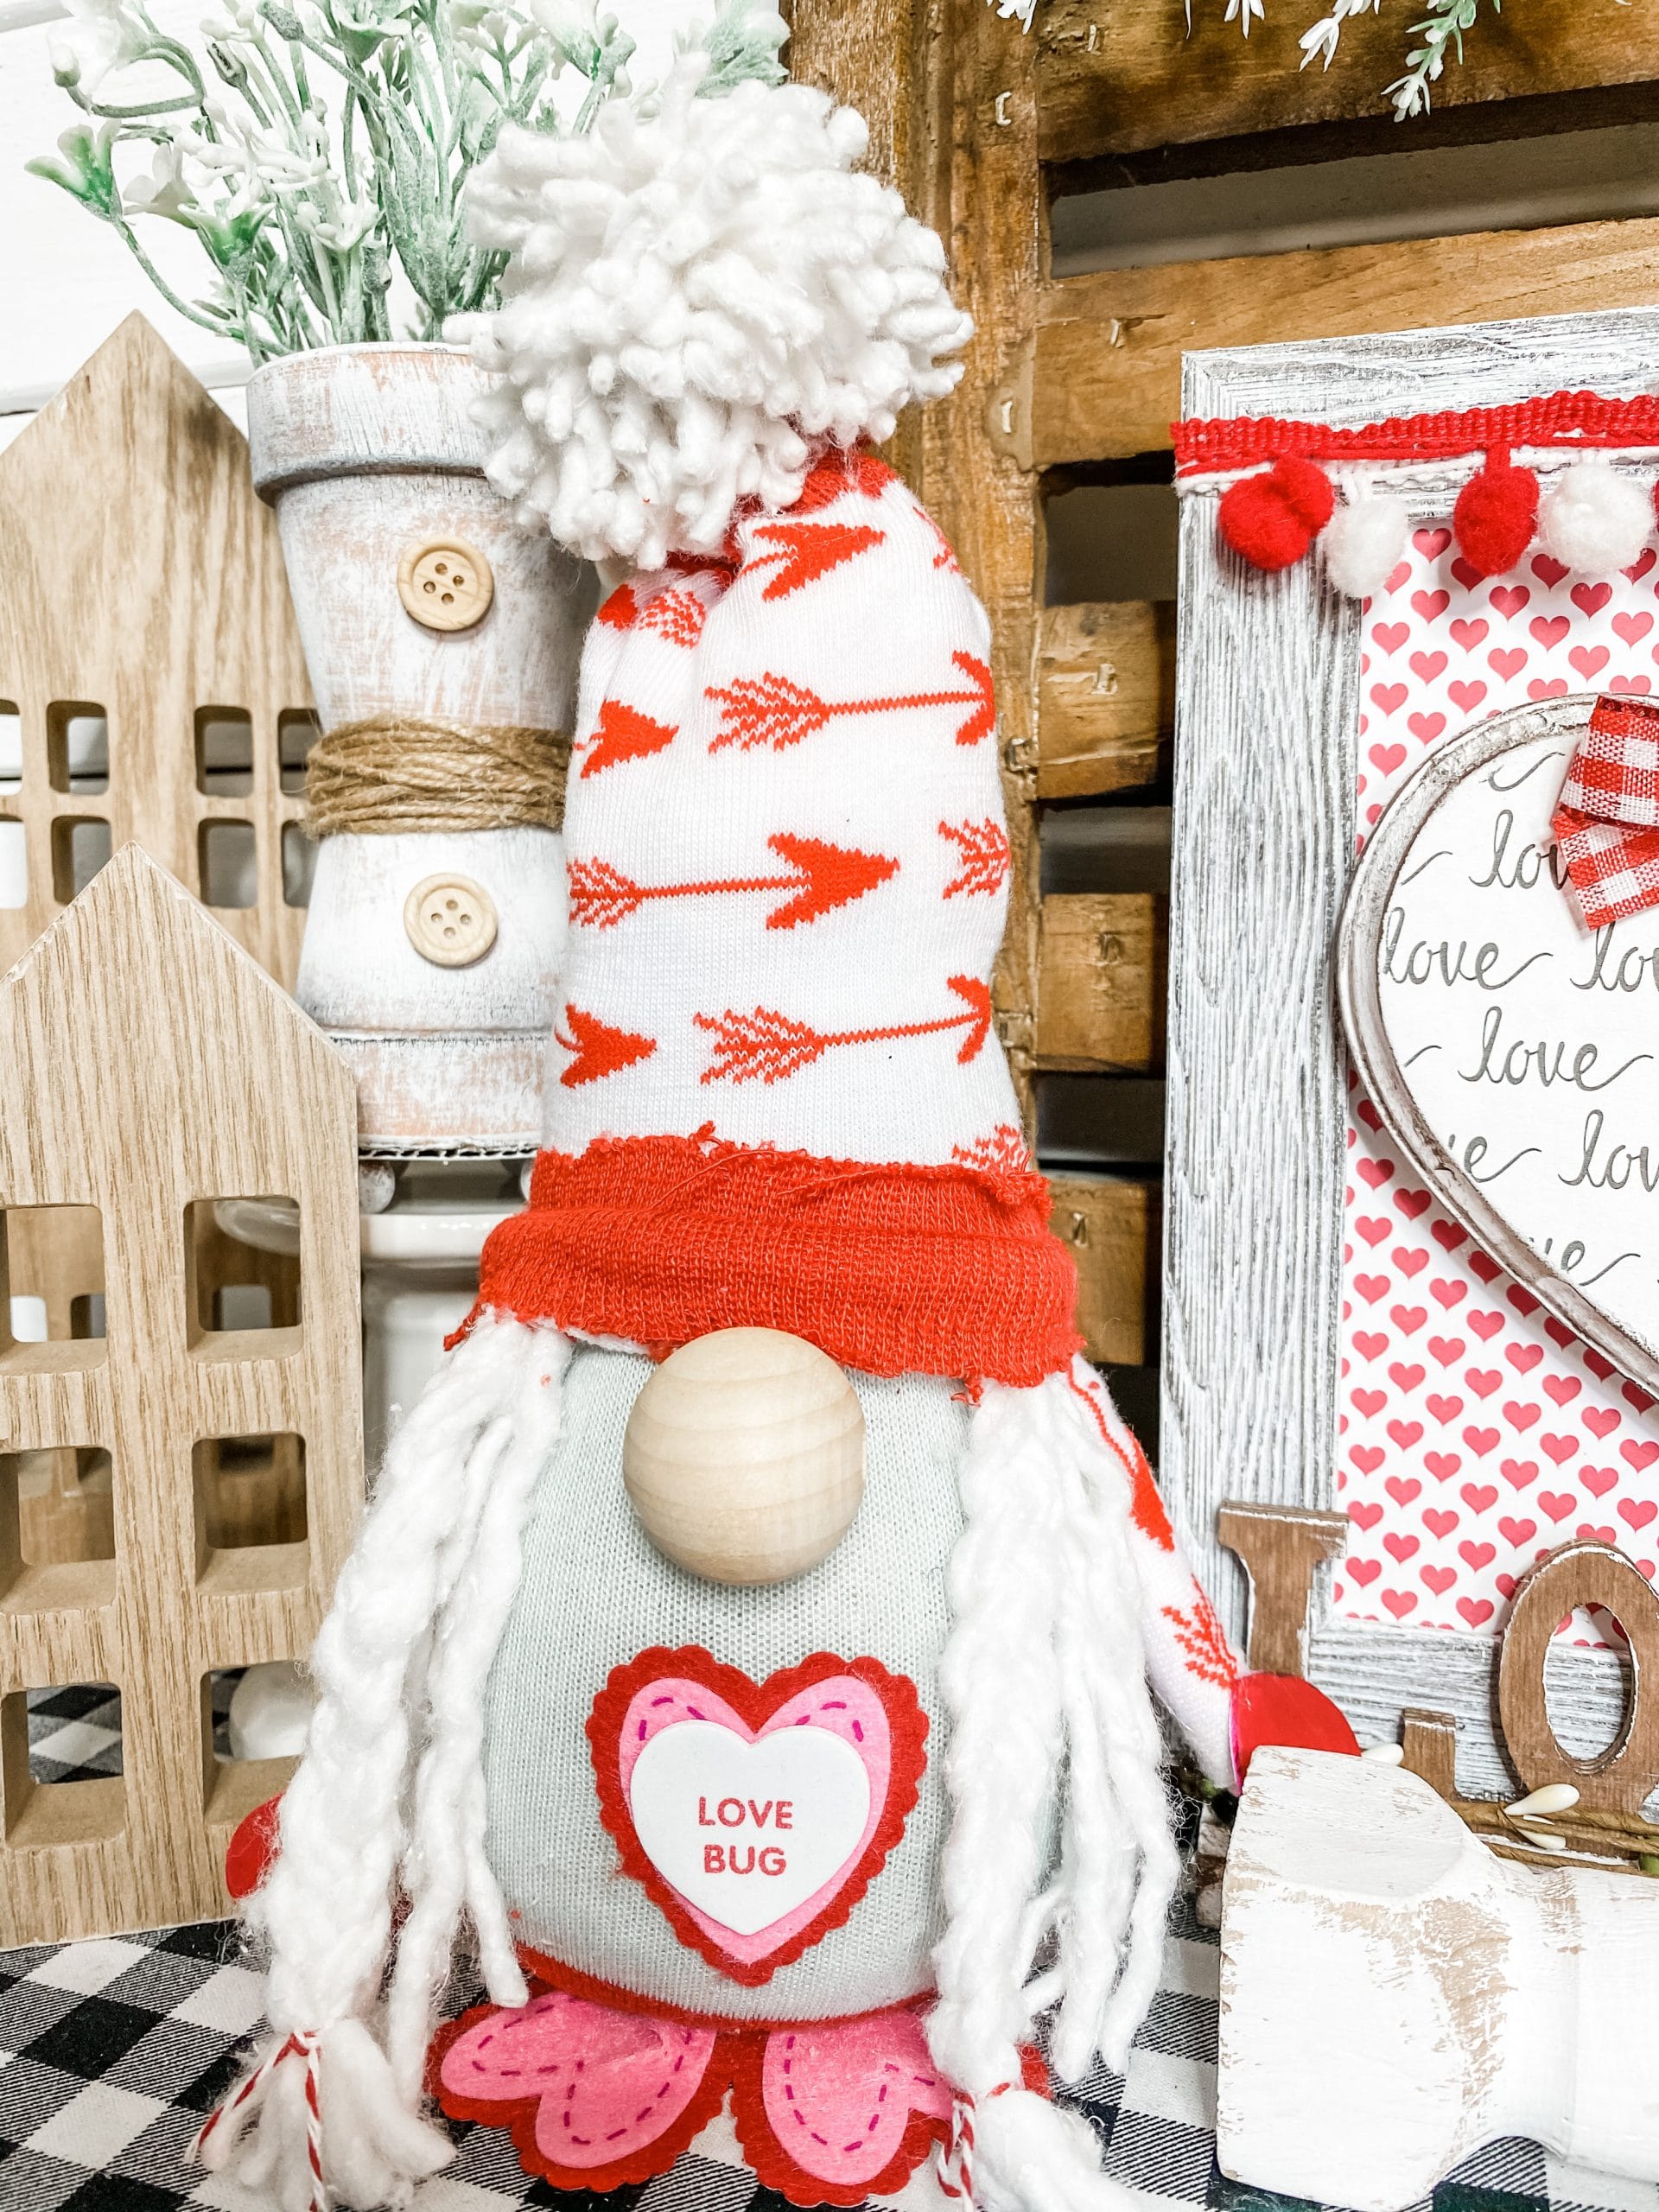
I hope you enjoyed this DIY Dollar Tree Mop and Sock Valentine’s Day Gnome as much as I did and decide to make one for yourself! I would love to see how yours turns out!
You should totally join my FREE Facebook group called On A Budget Crafts! It is a judgment-free community for DIY crafters to show off their projects and ideas.
If you loved this DIY you might also like this DIY Dollar Tree Mop Head Gnome!
Thanks for stopping by! XOXO Amber
You can also shop my ENTIRE AMAZON Favorites shop just click here! It’s packed full of all the things I use and love. Here is the supply list I highly recommend every creative have on hand!!
Would you also pin my blog for later and get on my newsletter alerts? I would love to have you join my #craftycrew.
Inspired? Leave me a comment below! I love hearing from my readers!

Join my free “ON A BUDGET CRAFTS” Facebook group!


This is a great idea! I love dollar tree so this will be perfect for me!
The cutest