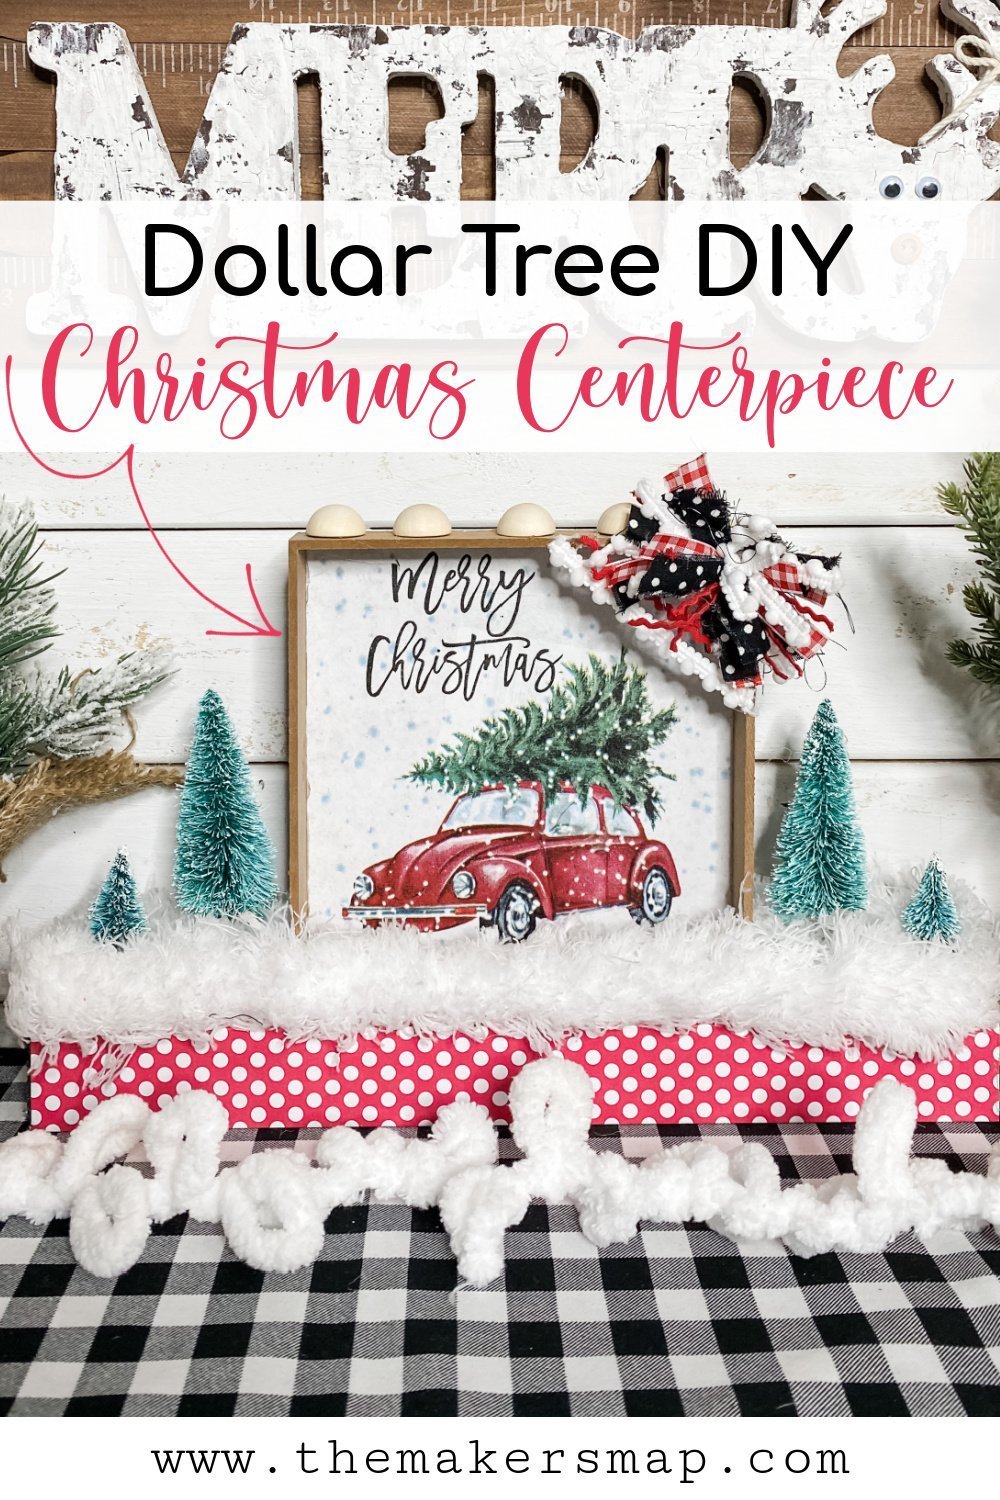
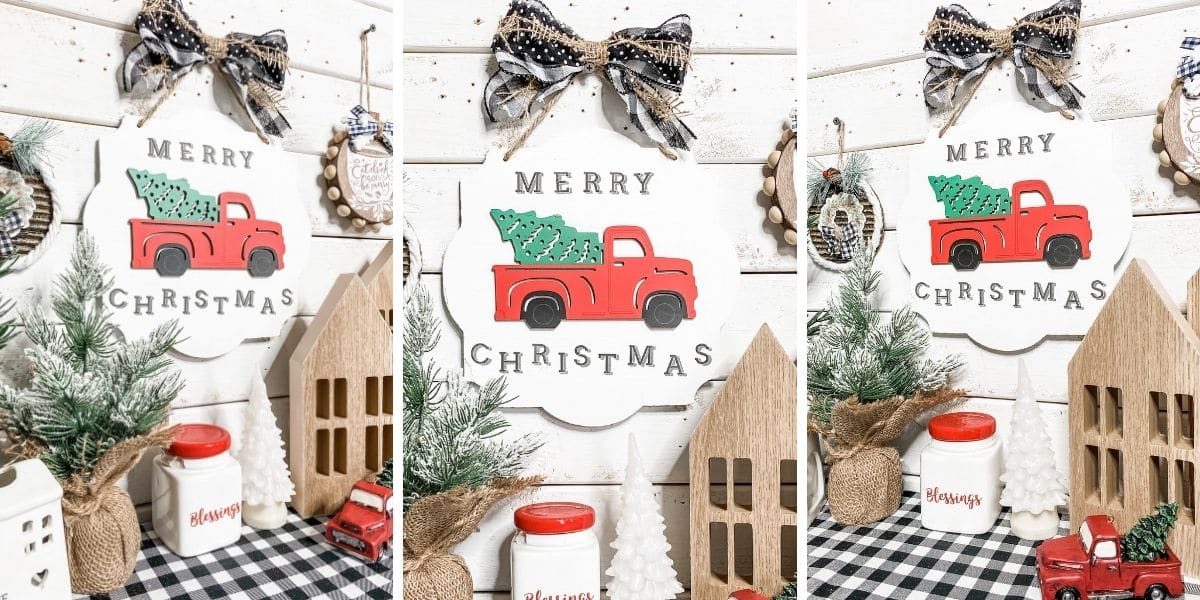
Merry Christmas Napkin DIY Shelf Sitter

Okay, I am not going to lie to you. I’m a little late getting this Merry Christmas Napkin DIY Shelf Sitter up on the blog for you.
But you have to understand, I have so many DIY ideas I want to share and only so much time! I made this holiday shelf sitter last year, but it’s almost fate that I didn’t get it up on the blog until this year because now I have Christmas napkin bundles for sale in my shop!
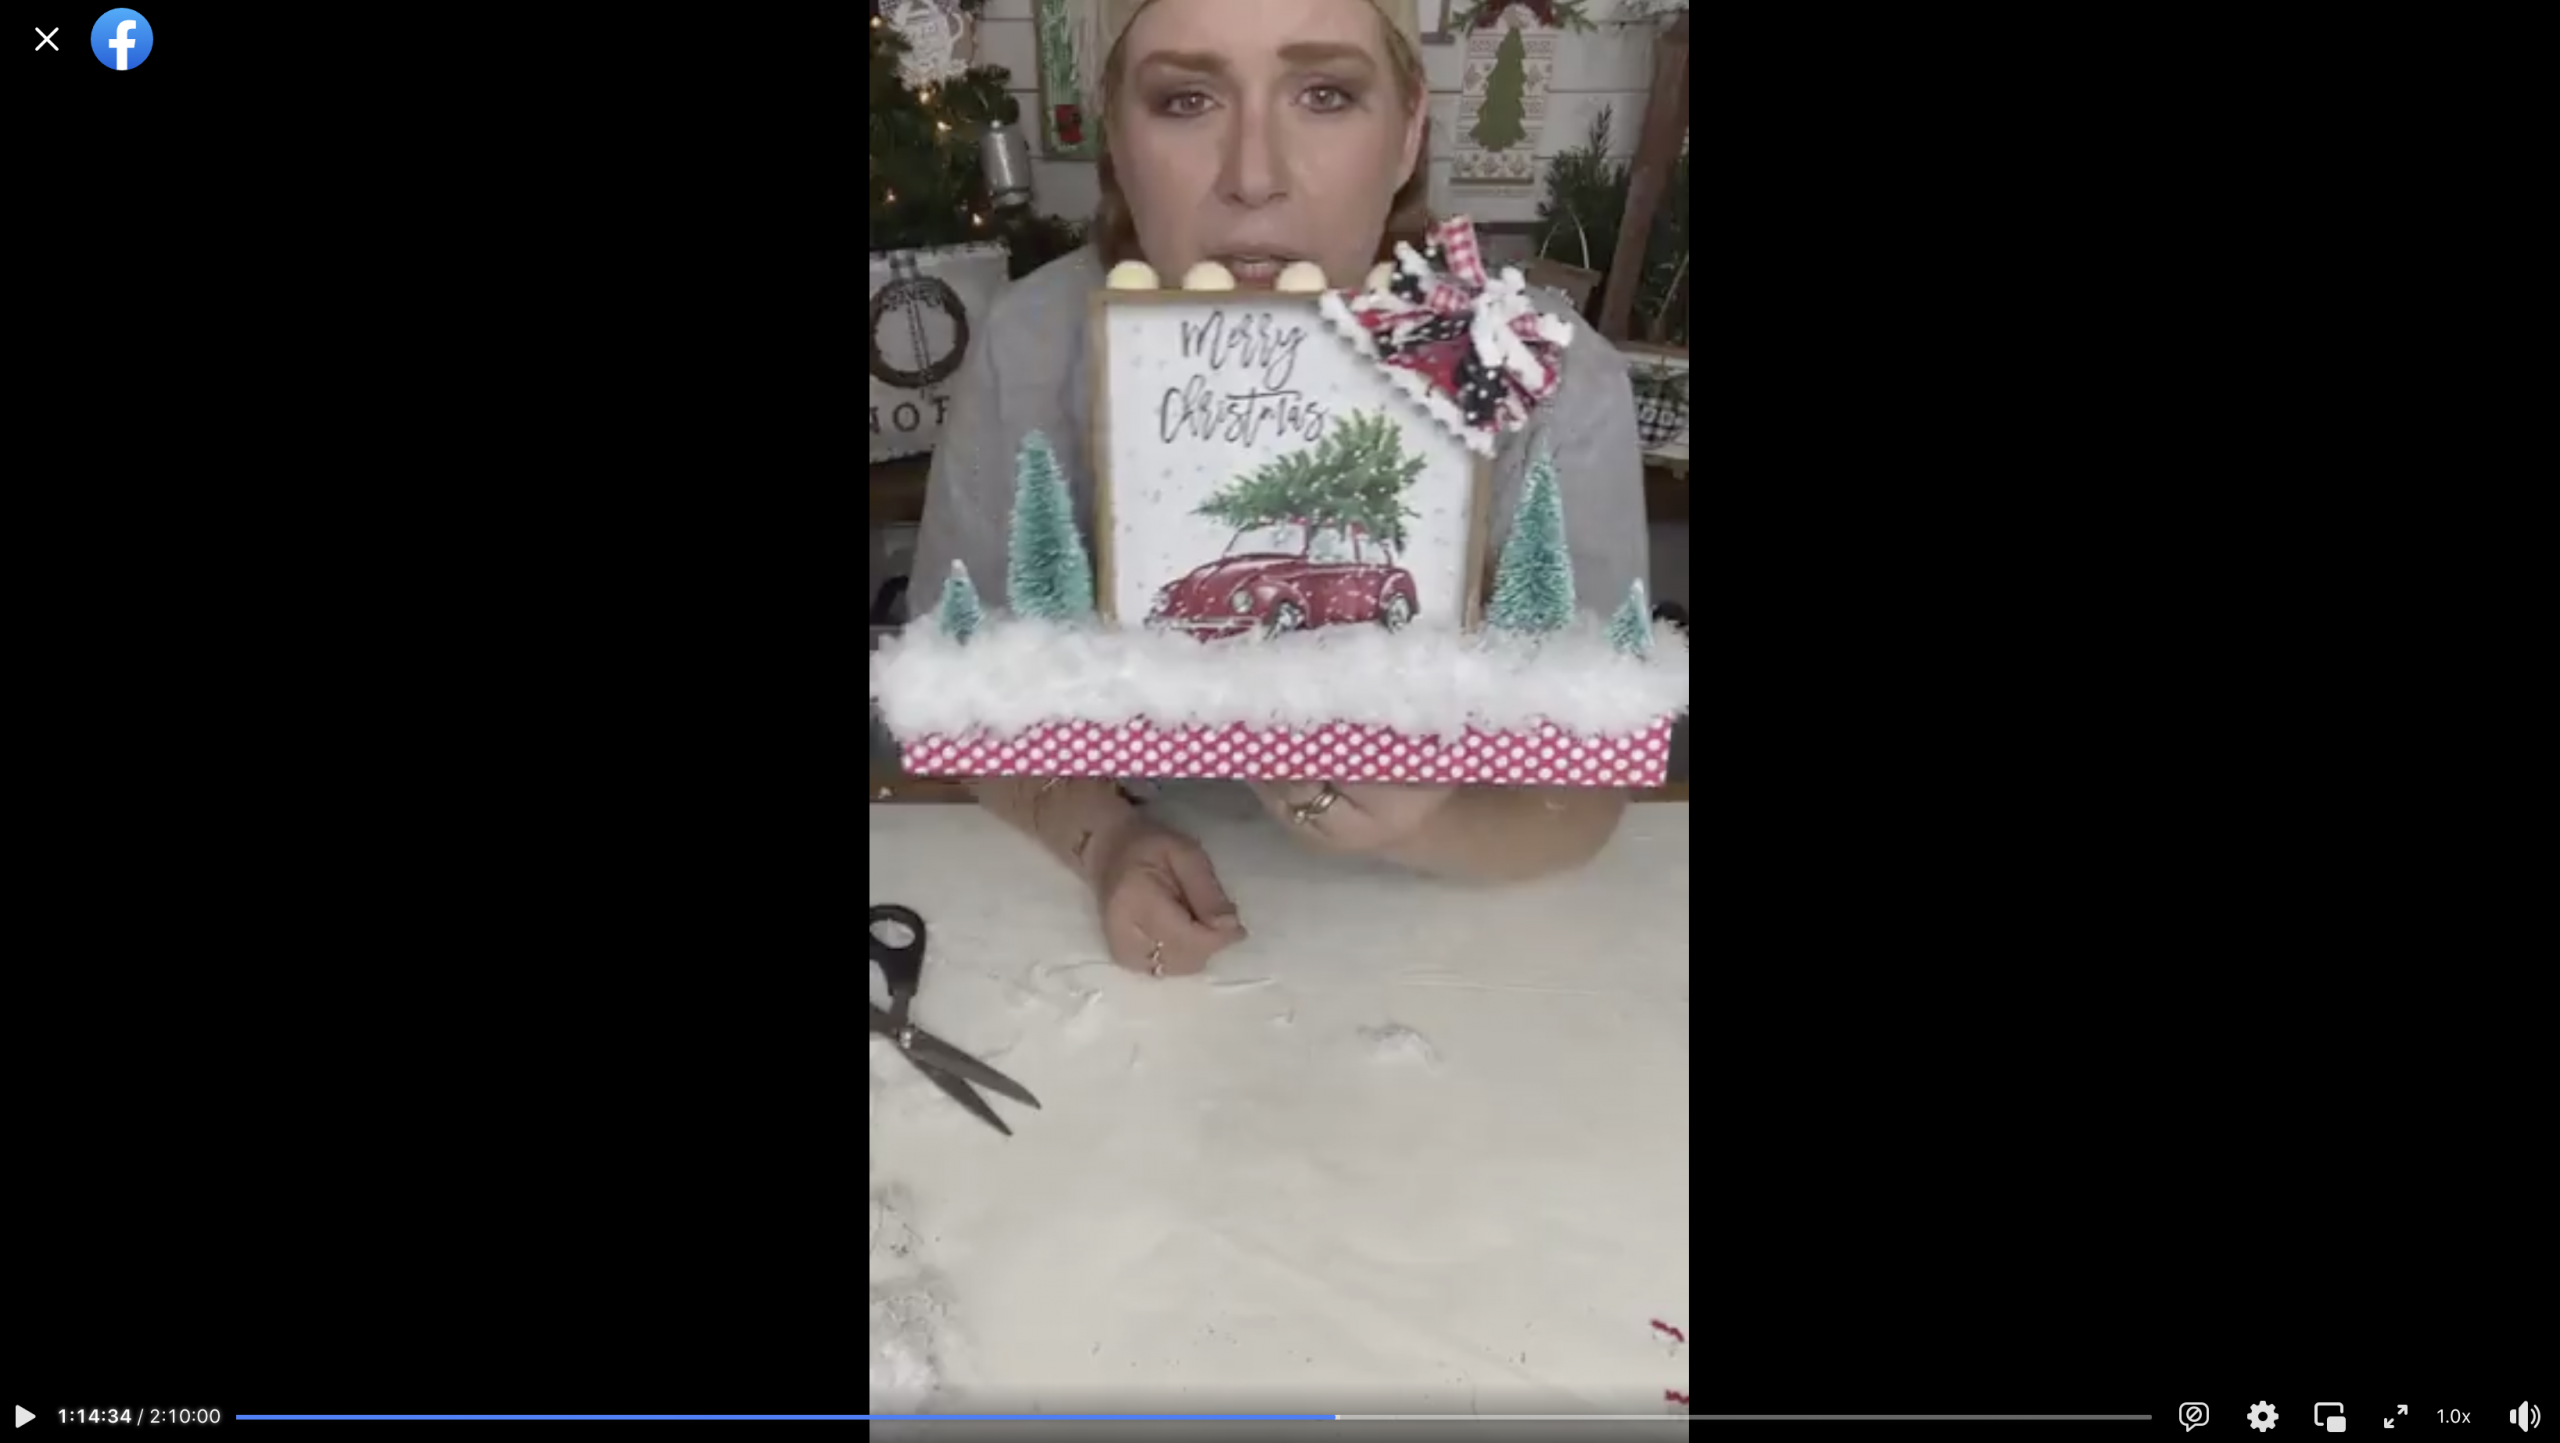
Watch the replay
I couldn’t make something this cute and not show my #craftycrew how I did it! I recorded the tutorial on how to make this easy Merry Christmas Napkin DIY Shelf Sitter during a Facebook Live video. If you want to craft along or see the step-by-step process, you can catch the replay!
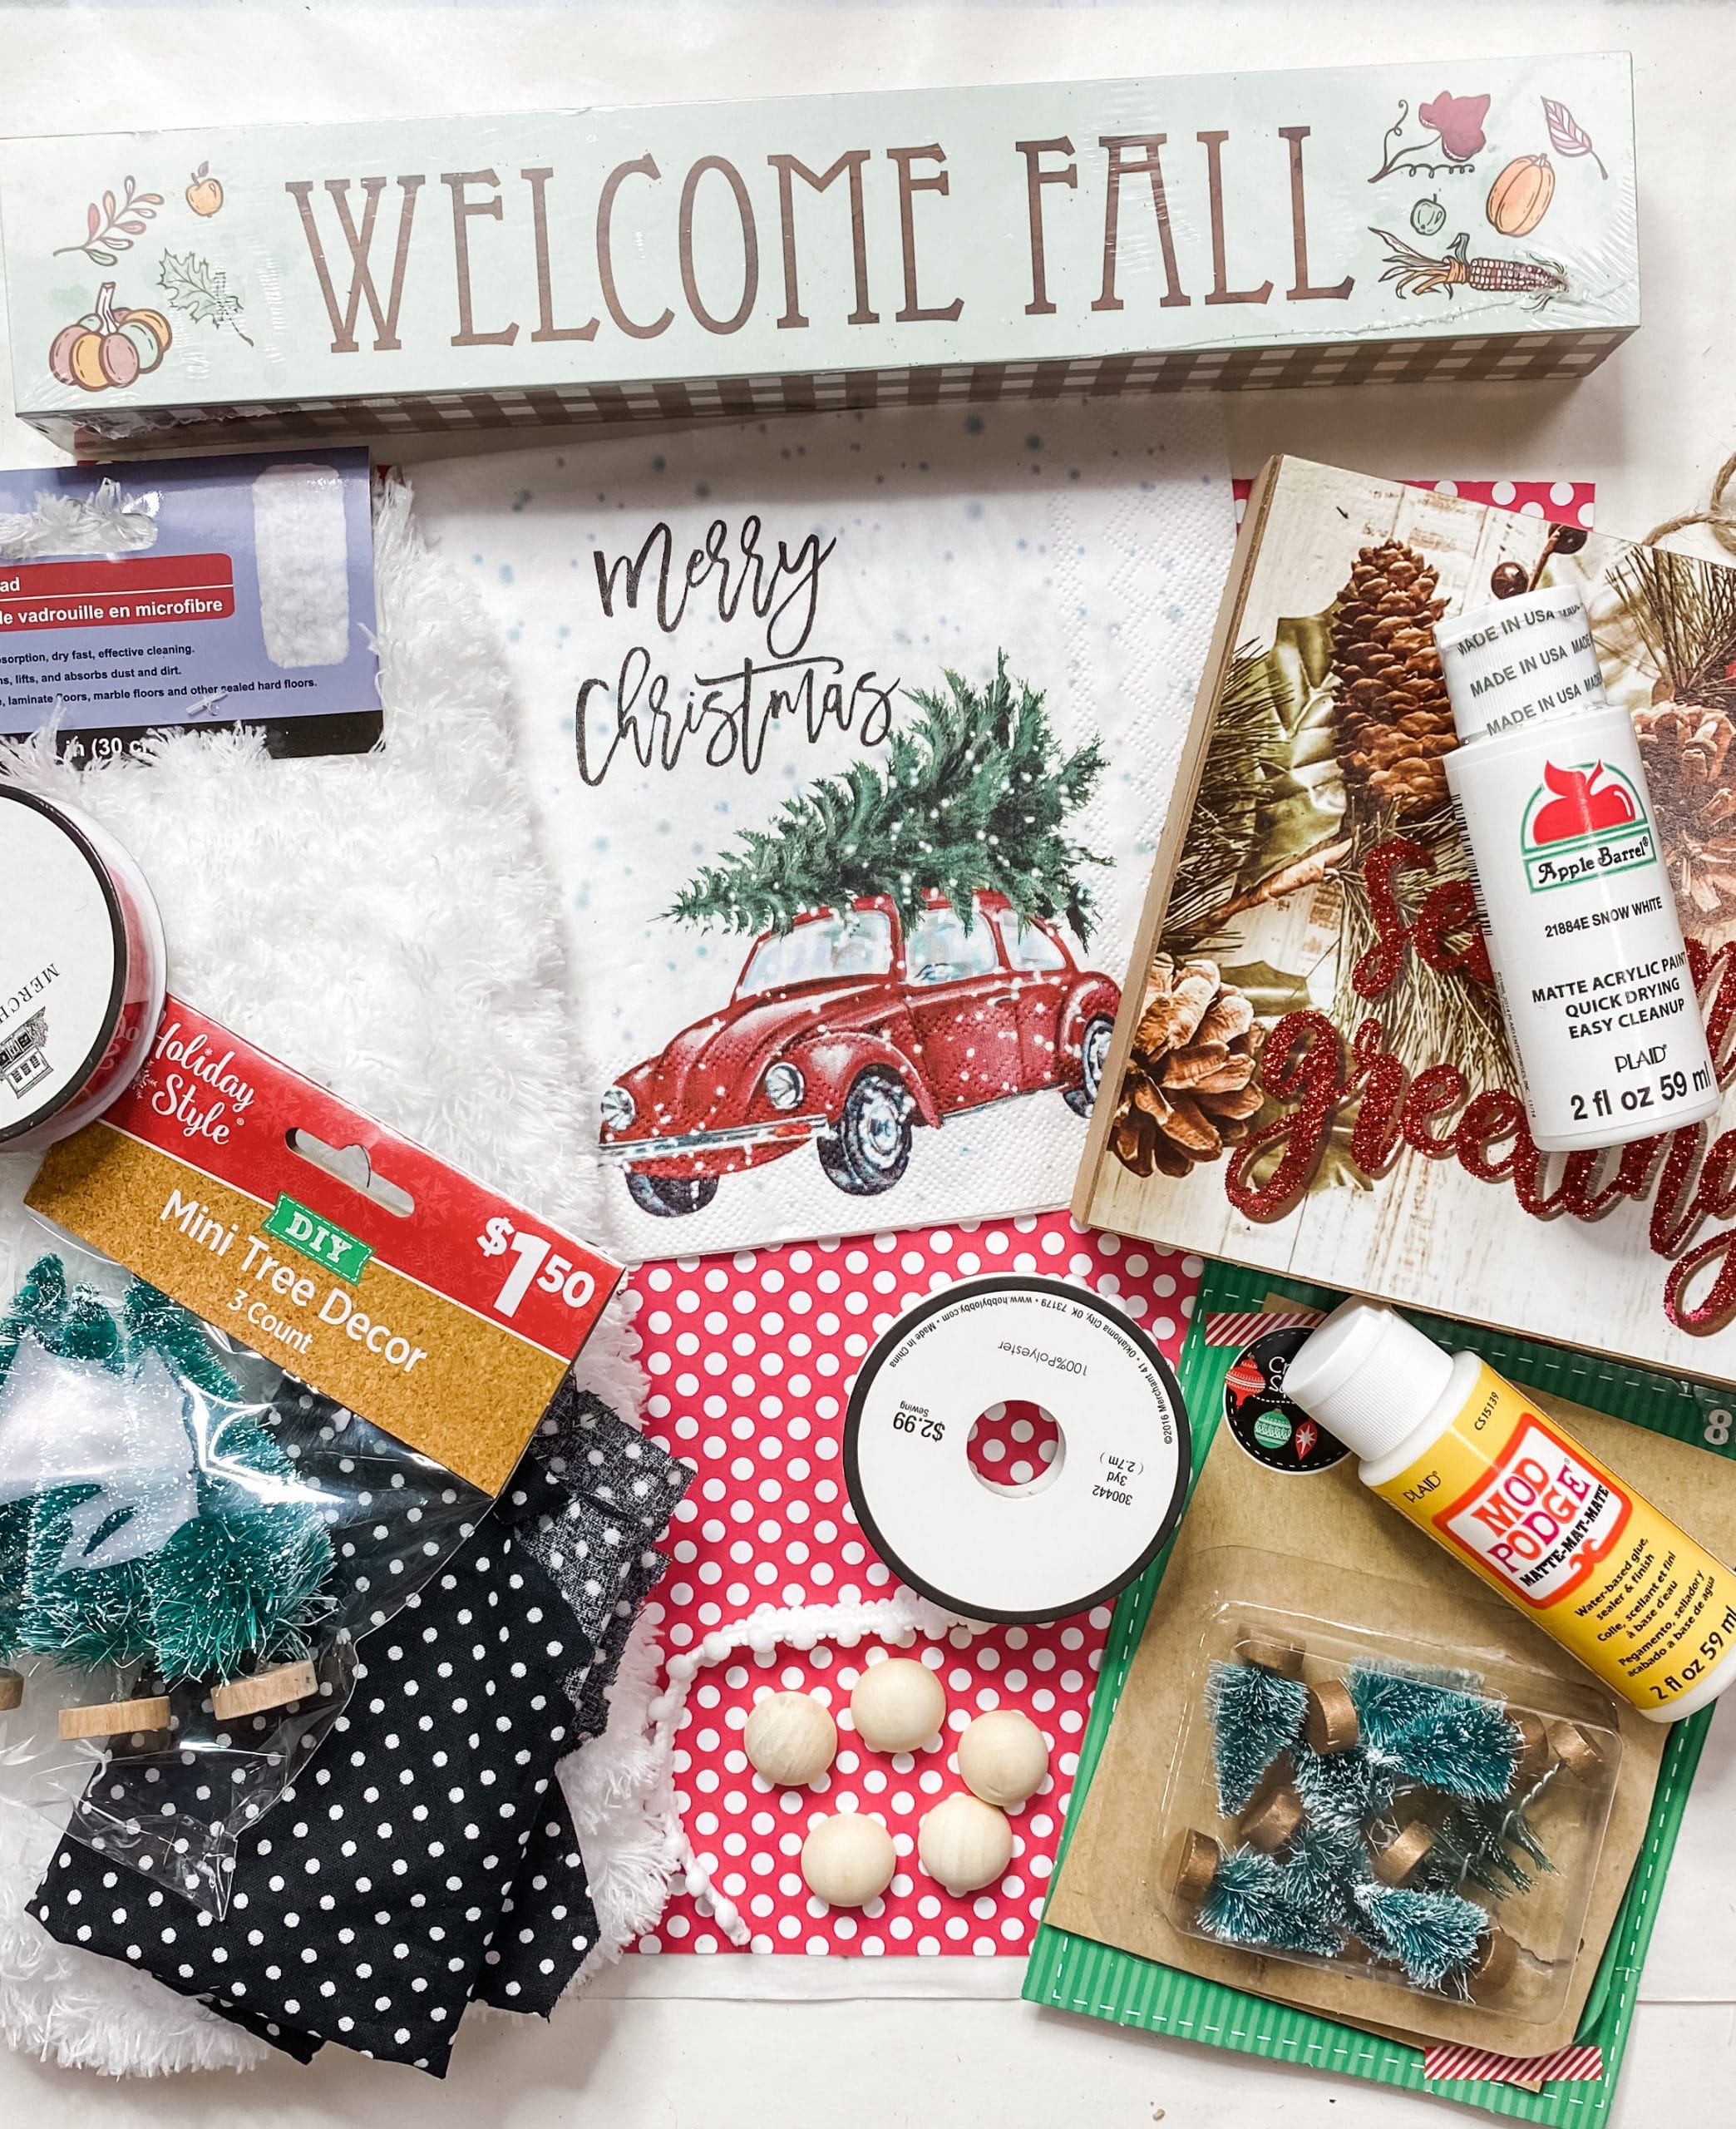
For this project, I will be using these items but you can substitute where you want.
“As an Amazon Associate, I earn from qualifying purchases.”
- Dollar Tree Wood sign box
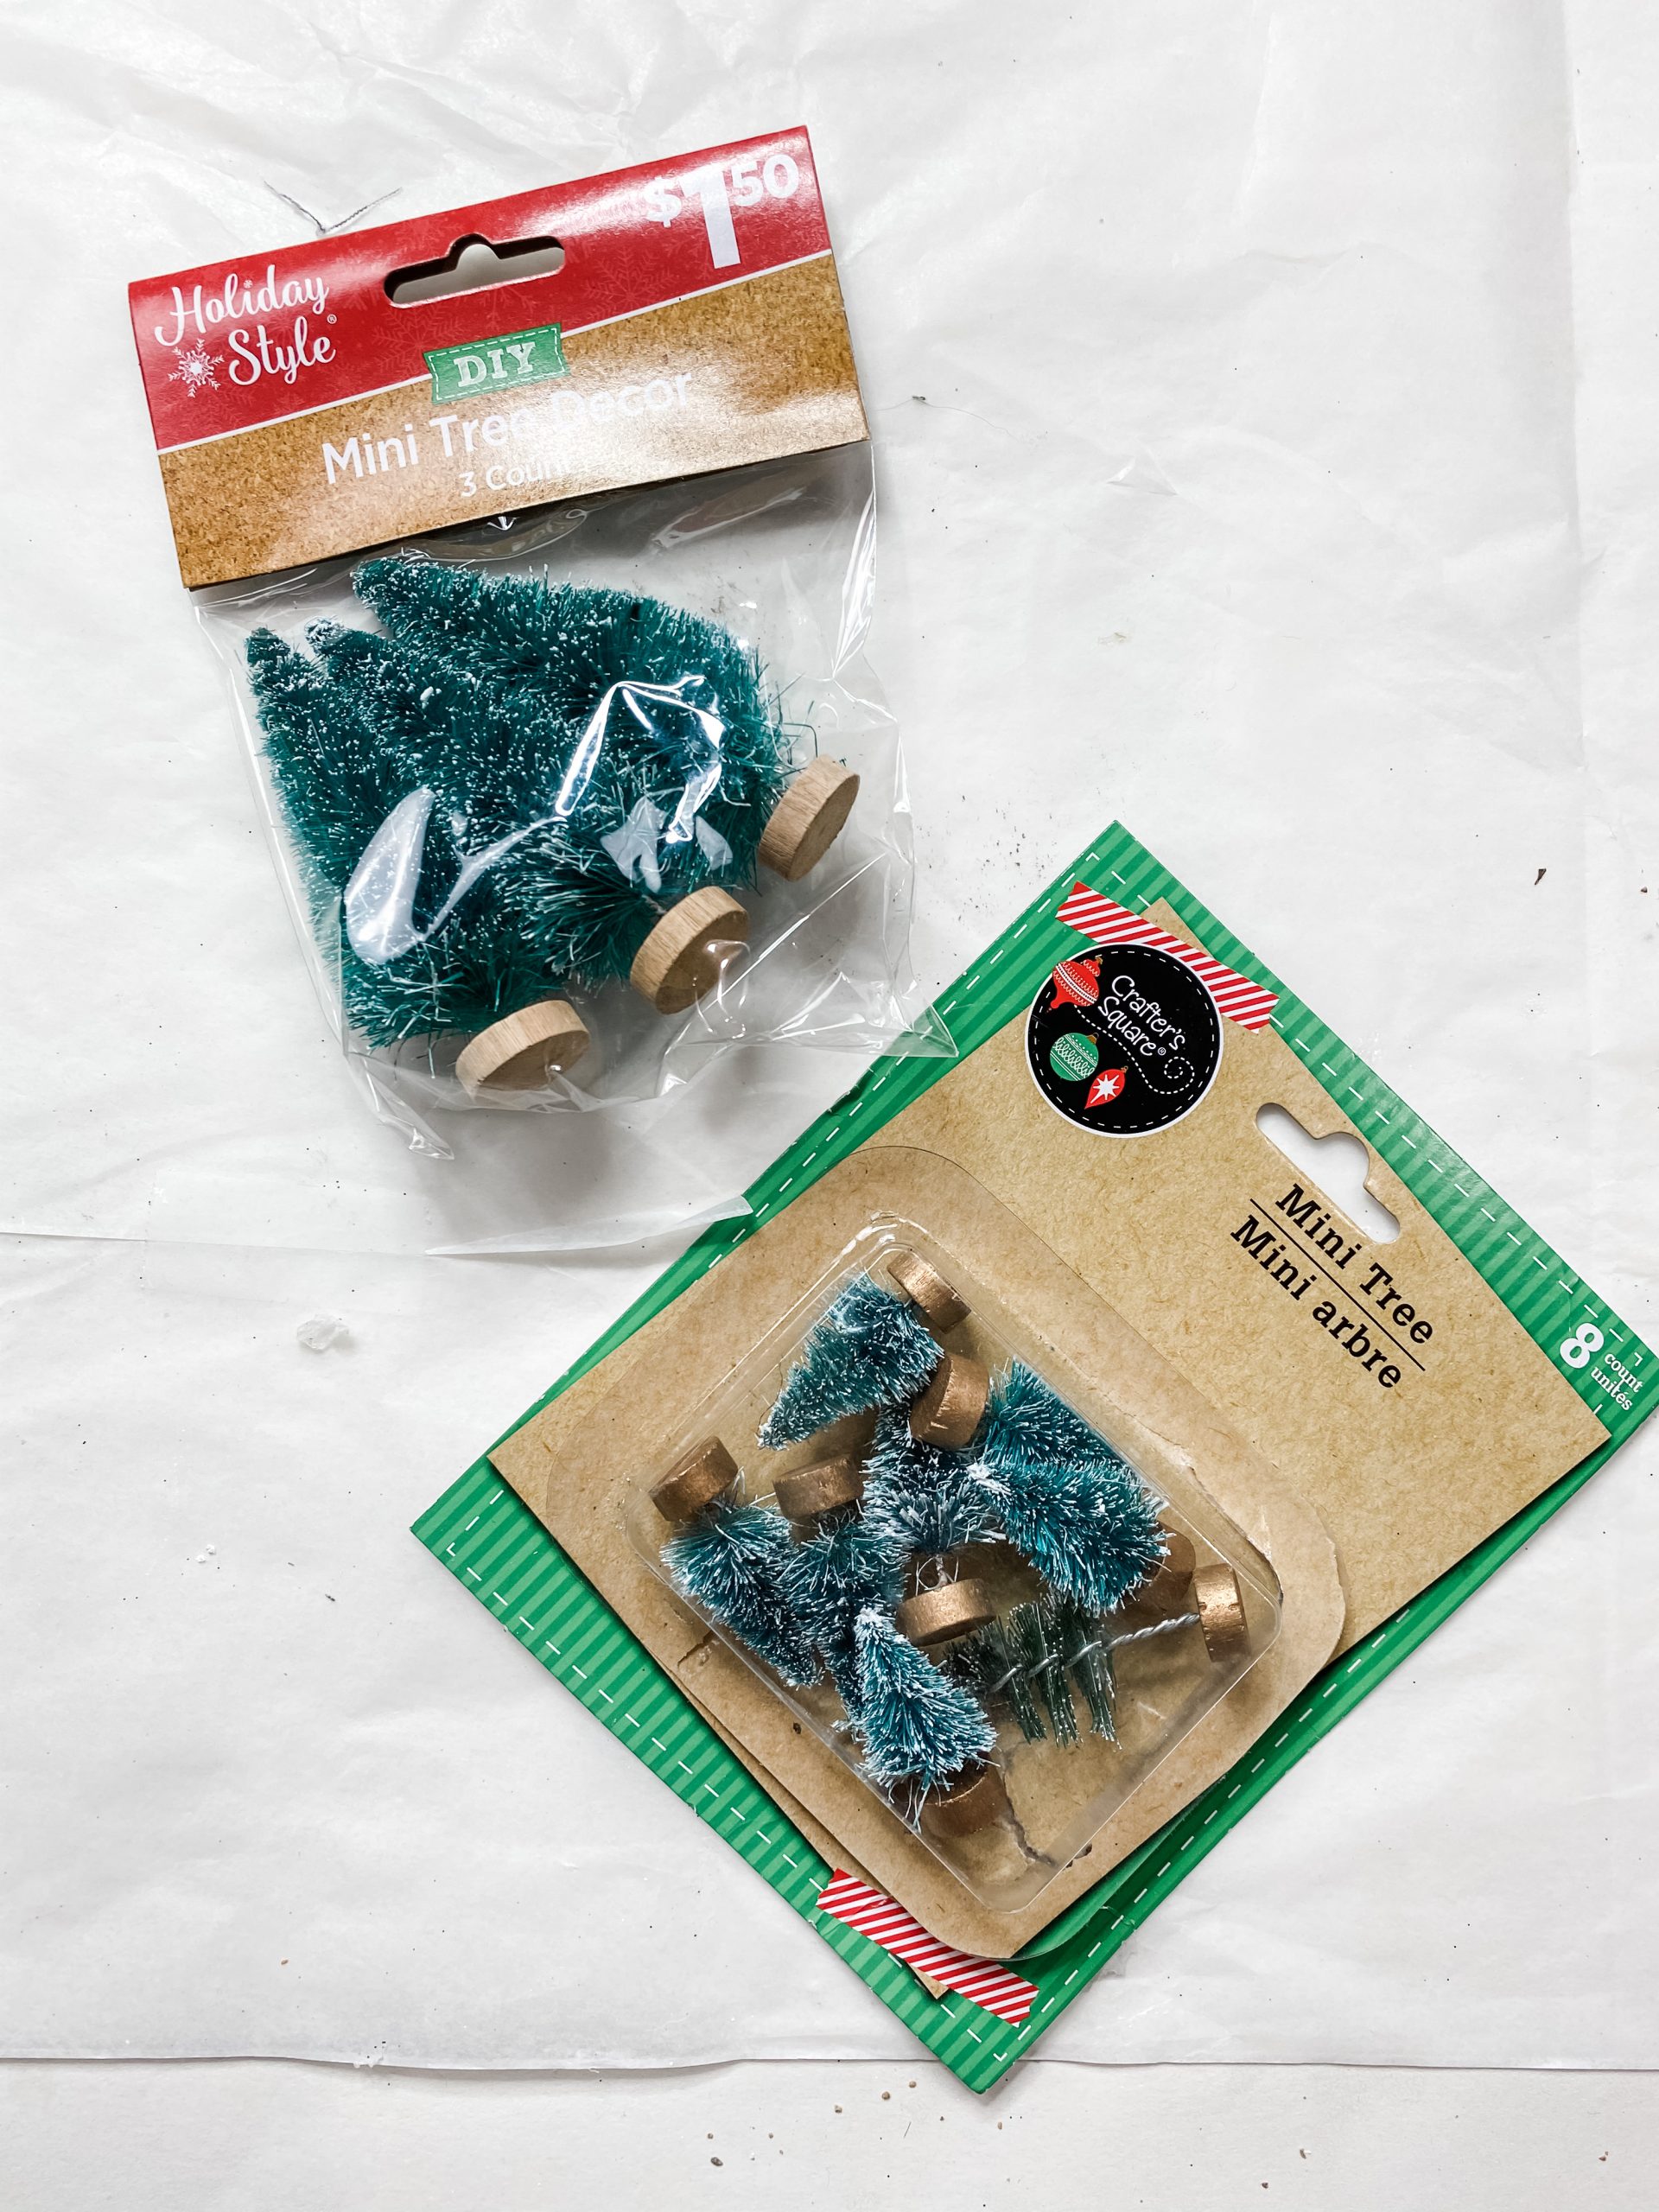
- Dollar Tree Mini Christmas Trees
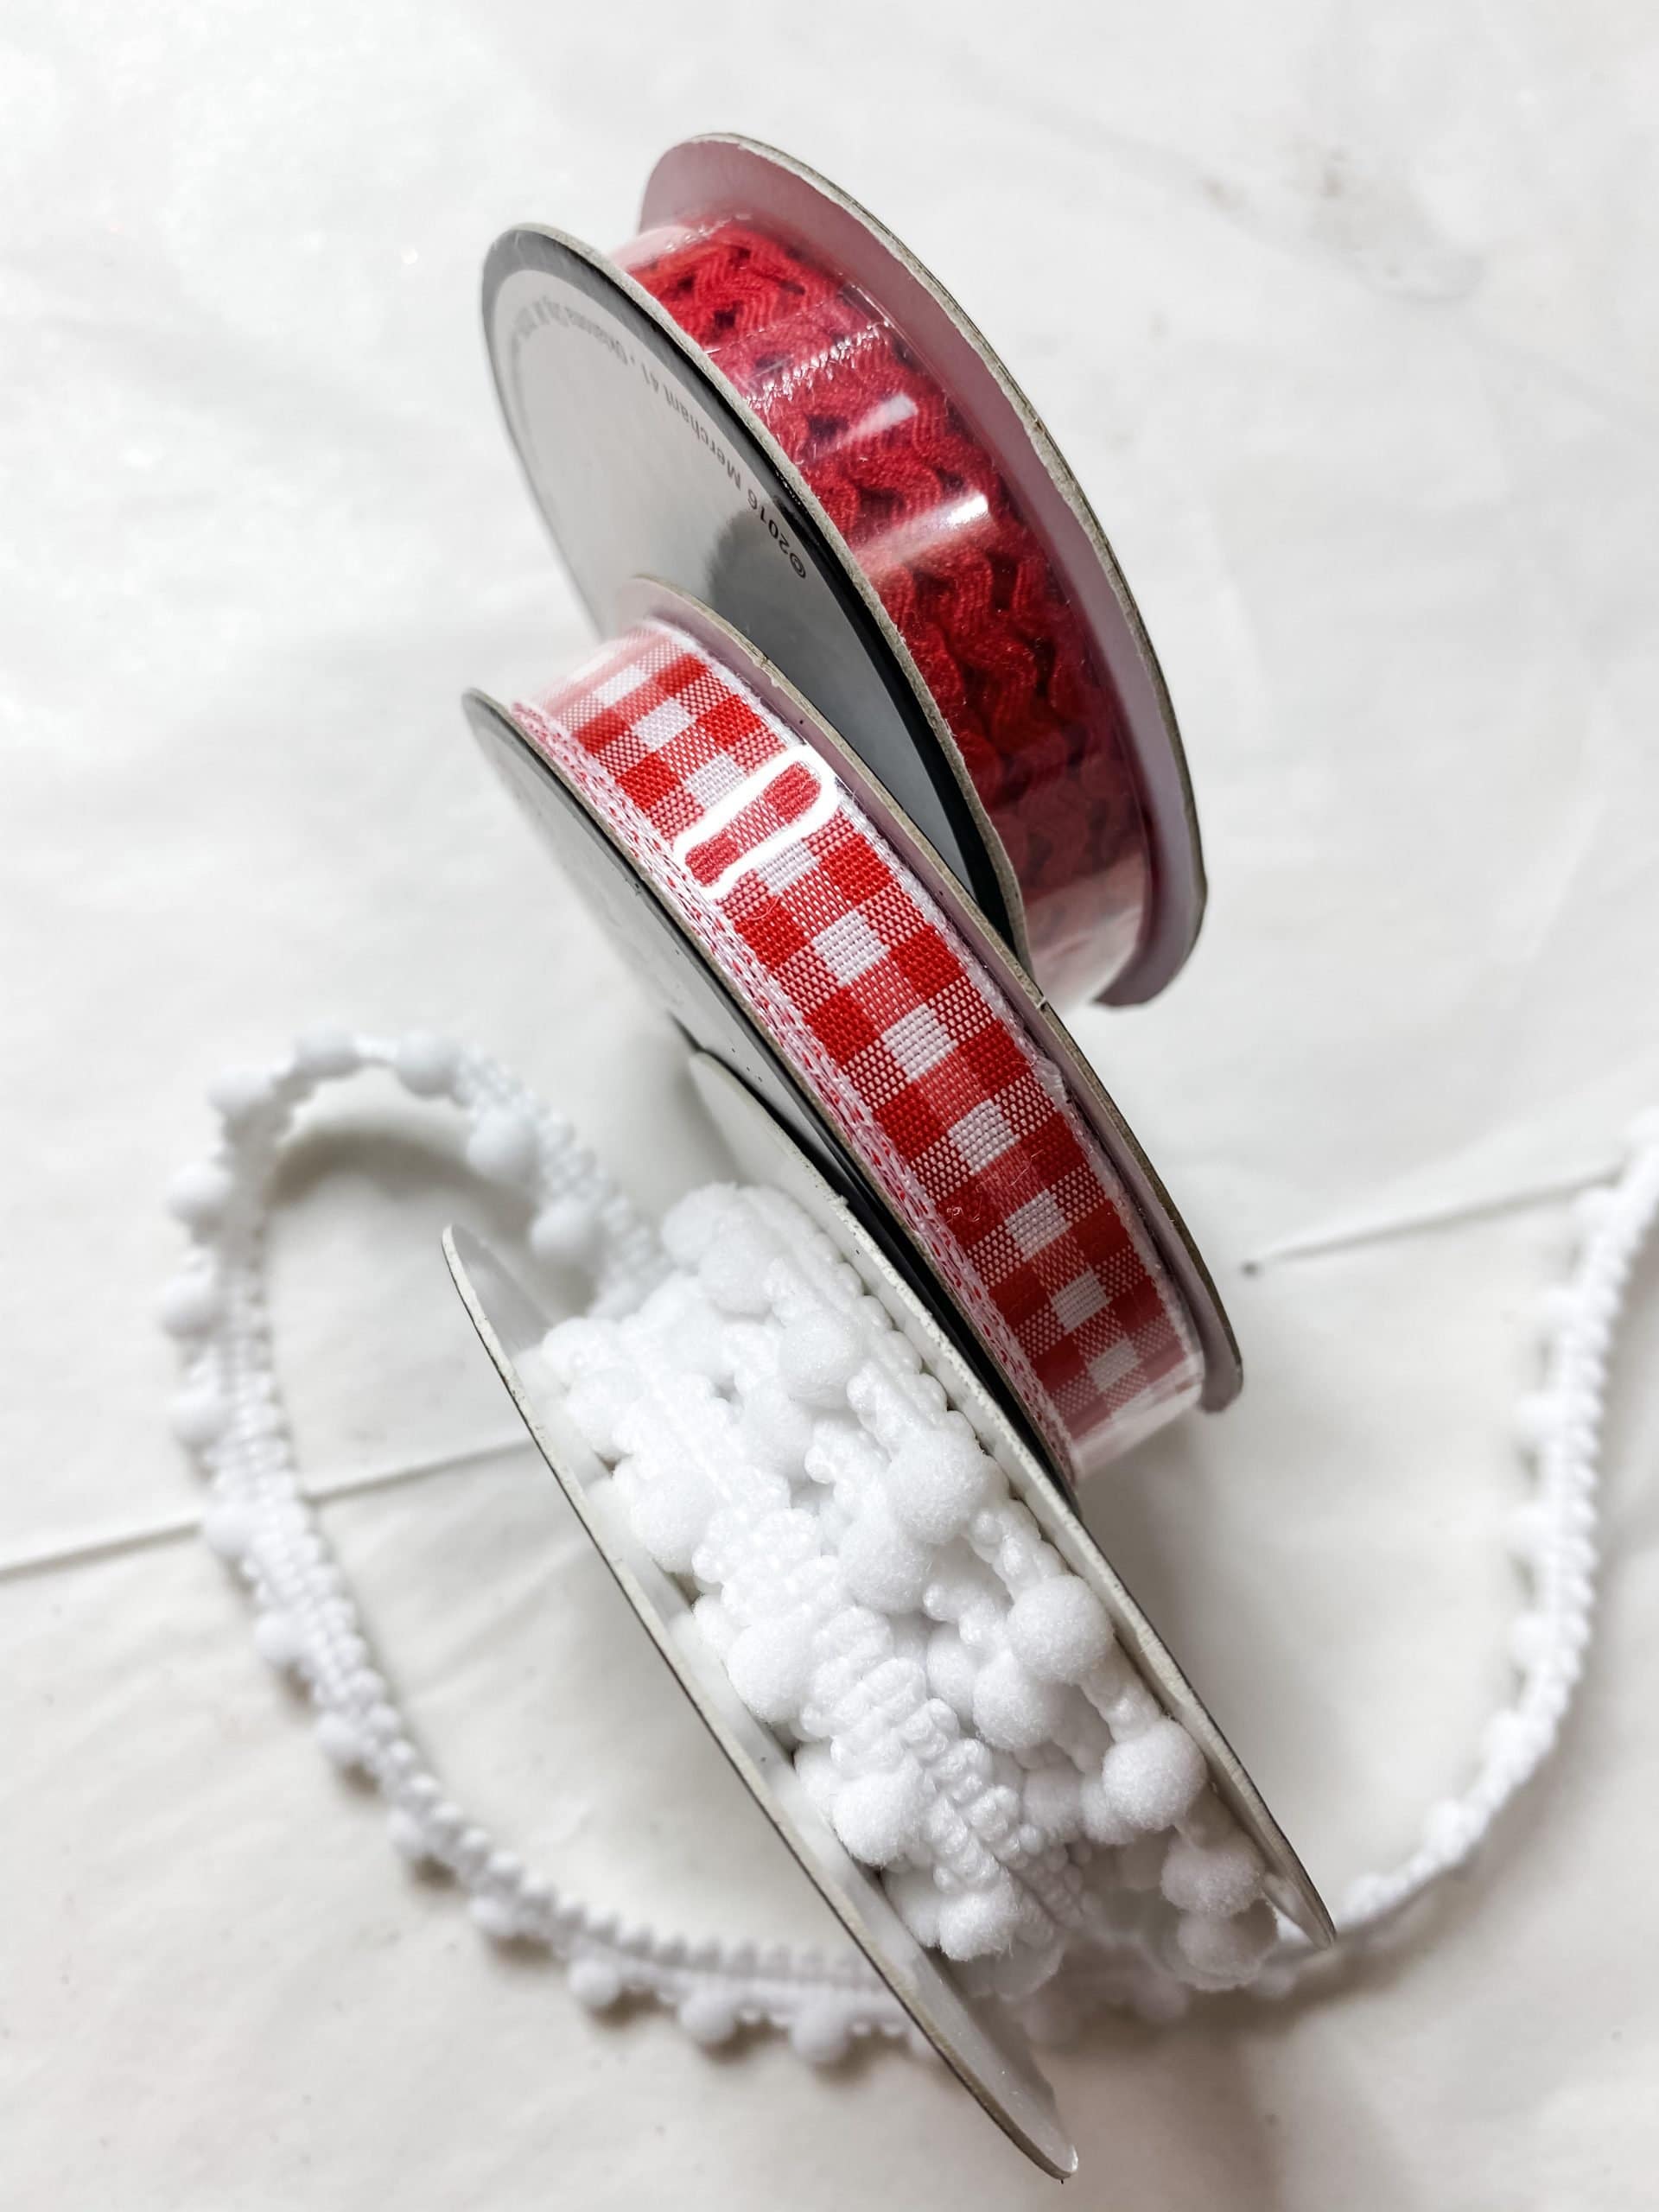
- Pom-Pom Trim Ribbon
- Dollar General Mini Christmas Trees
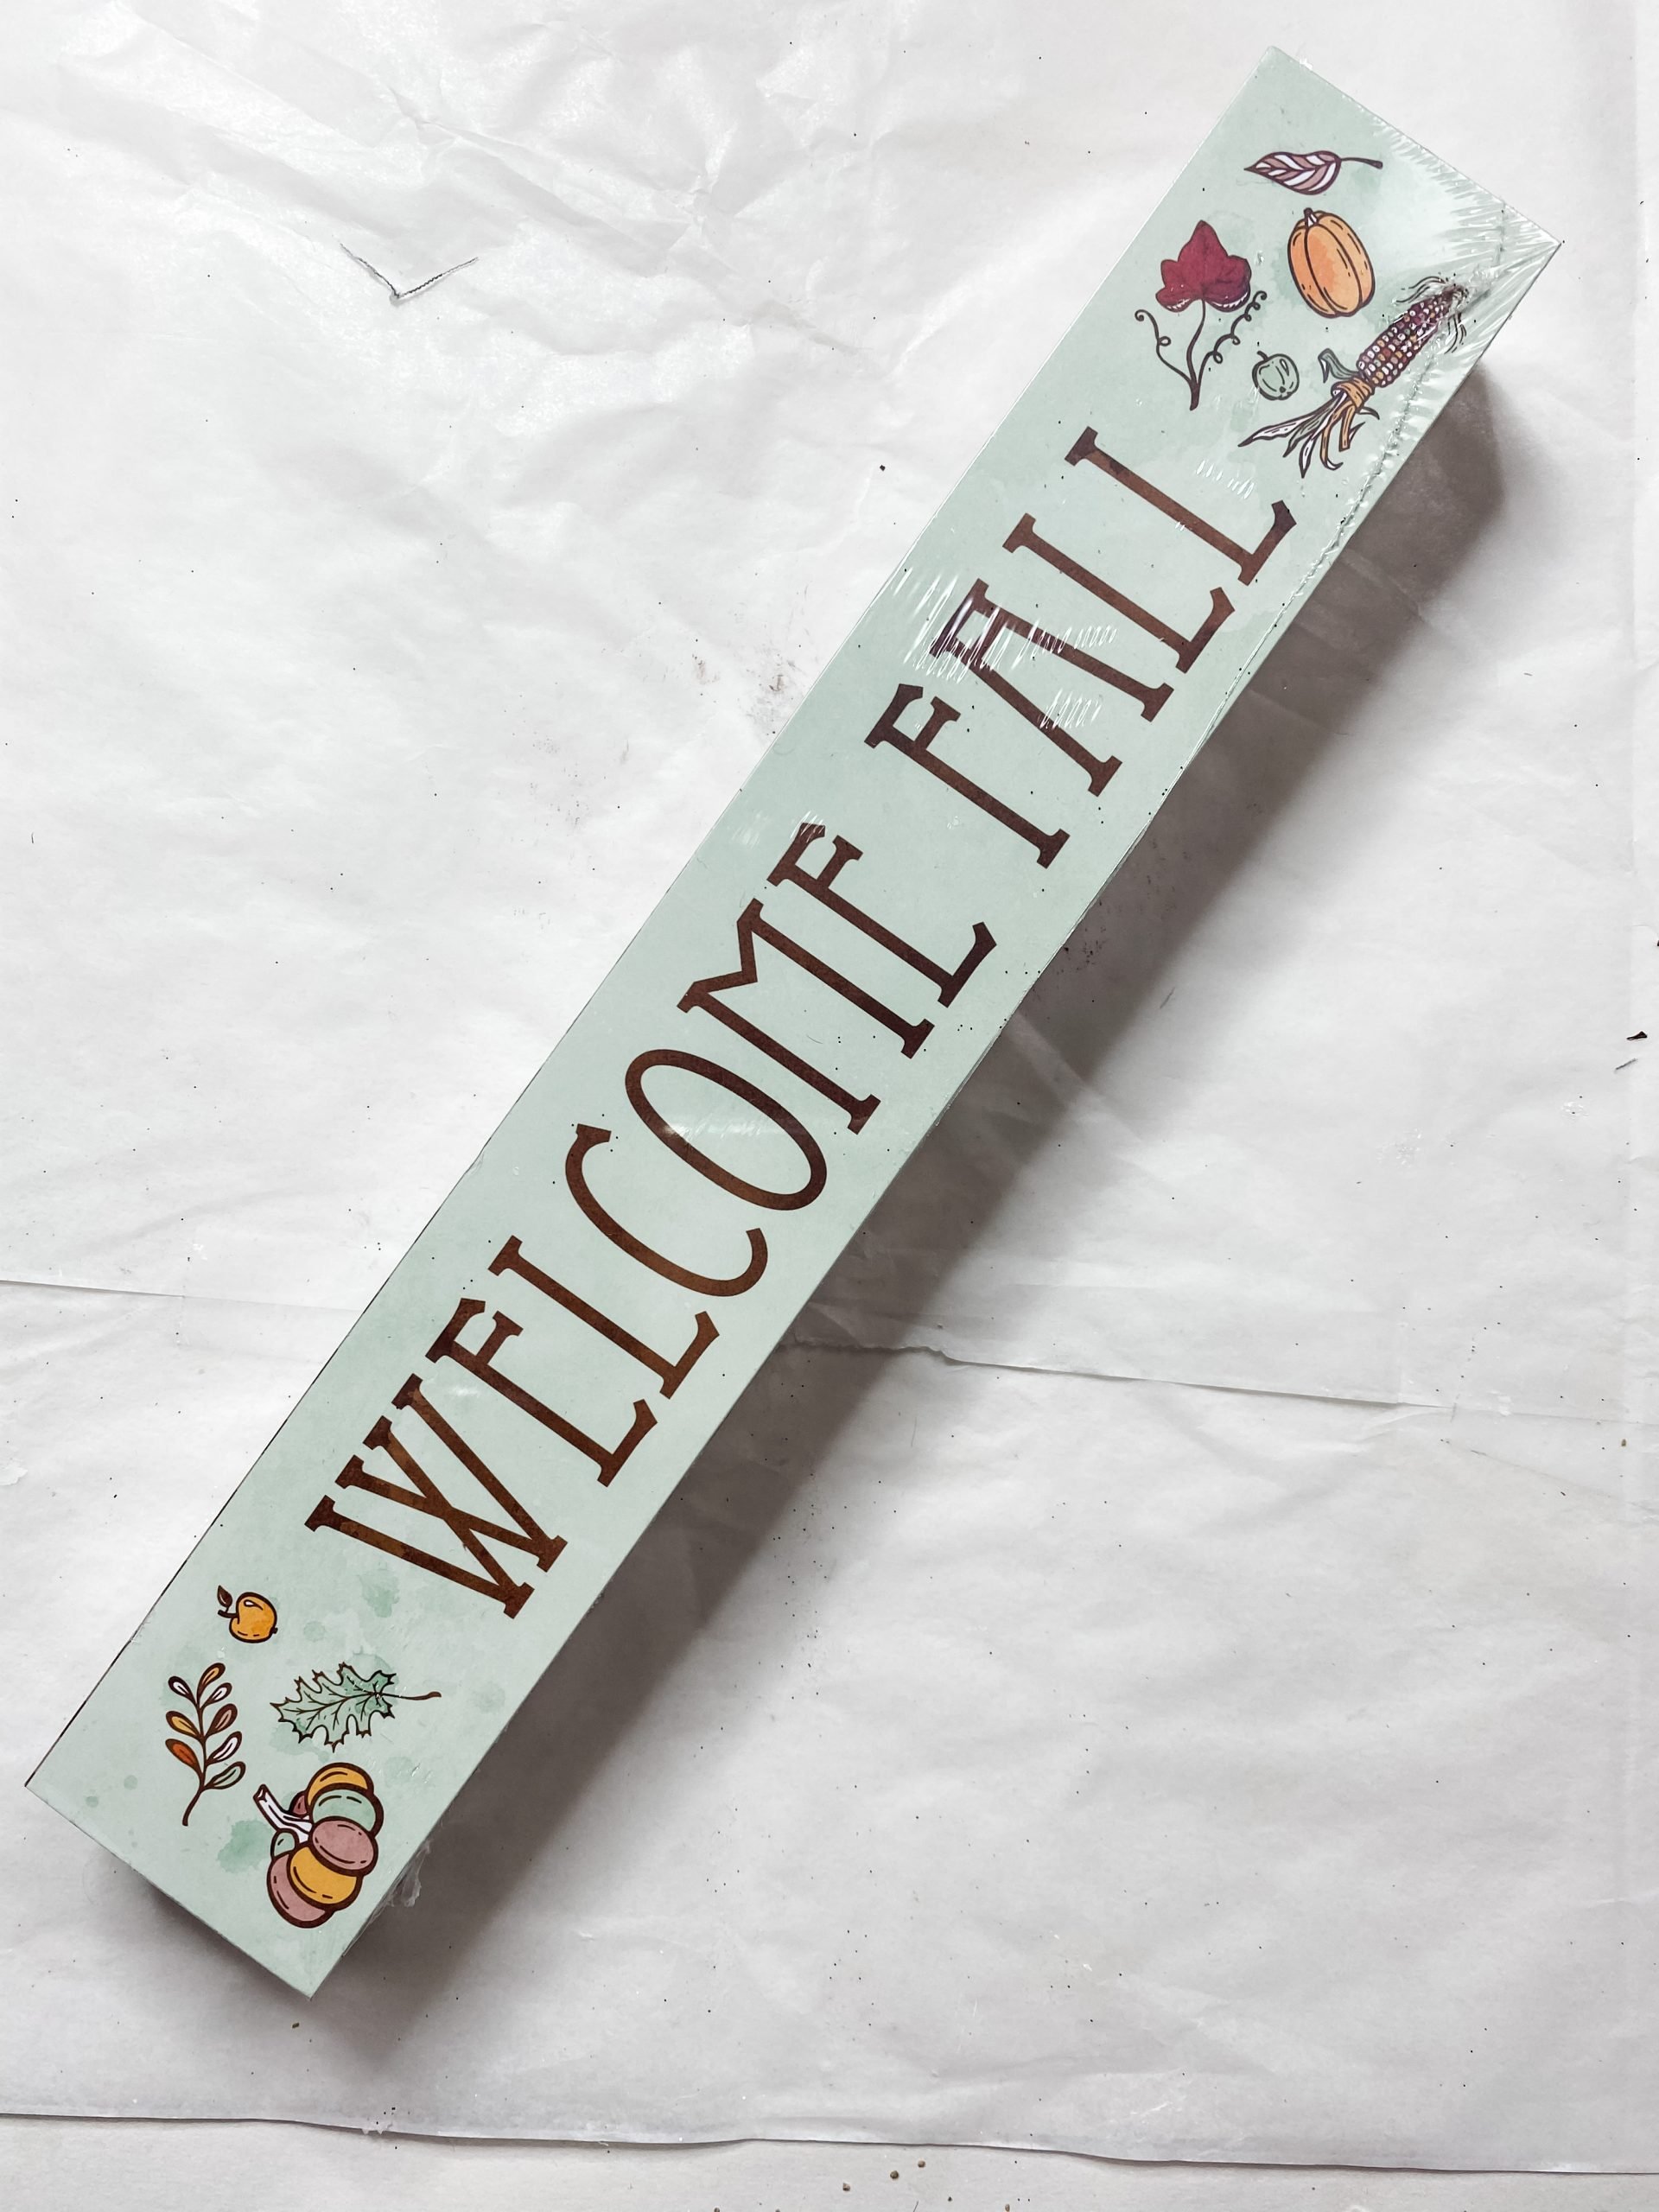
- Dollar Tree Welcome Fall Wood Block
- Red and white polka dot scrapbook paper
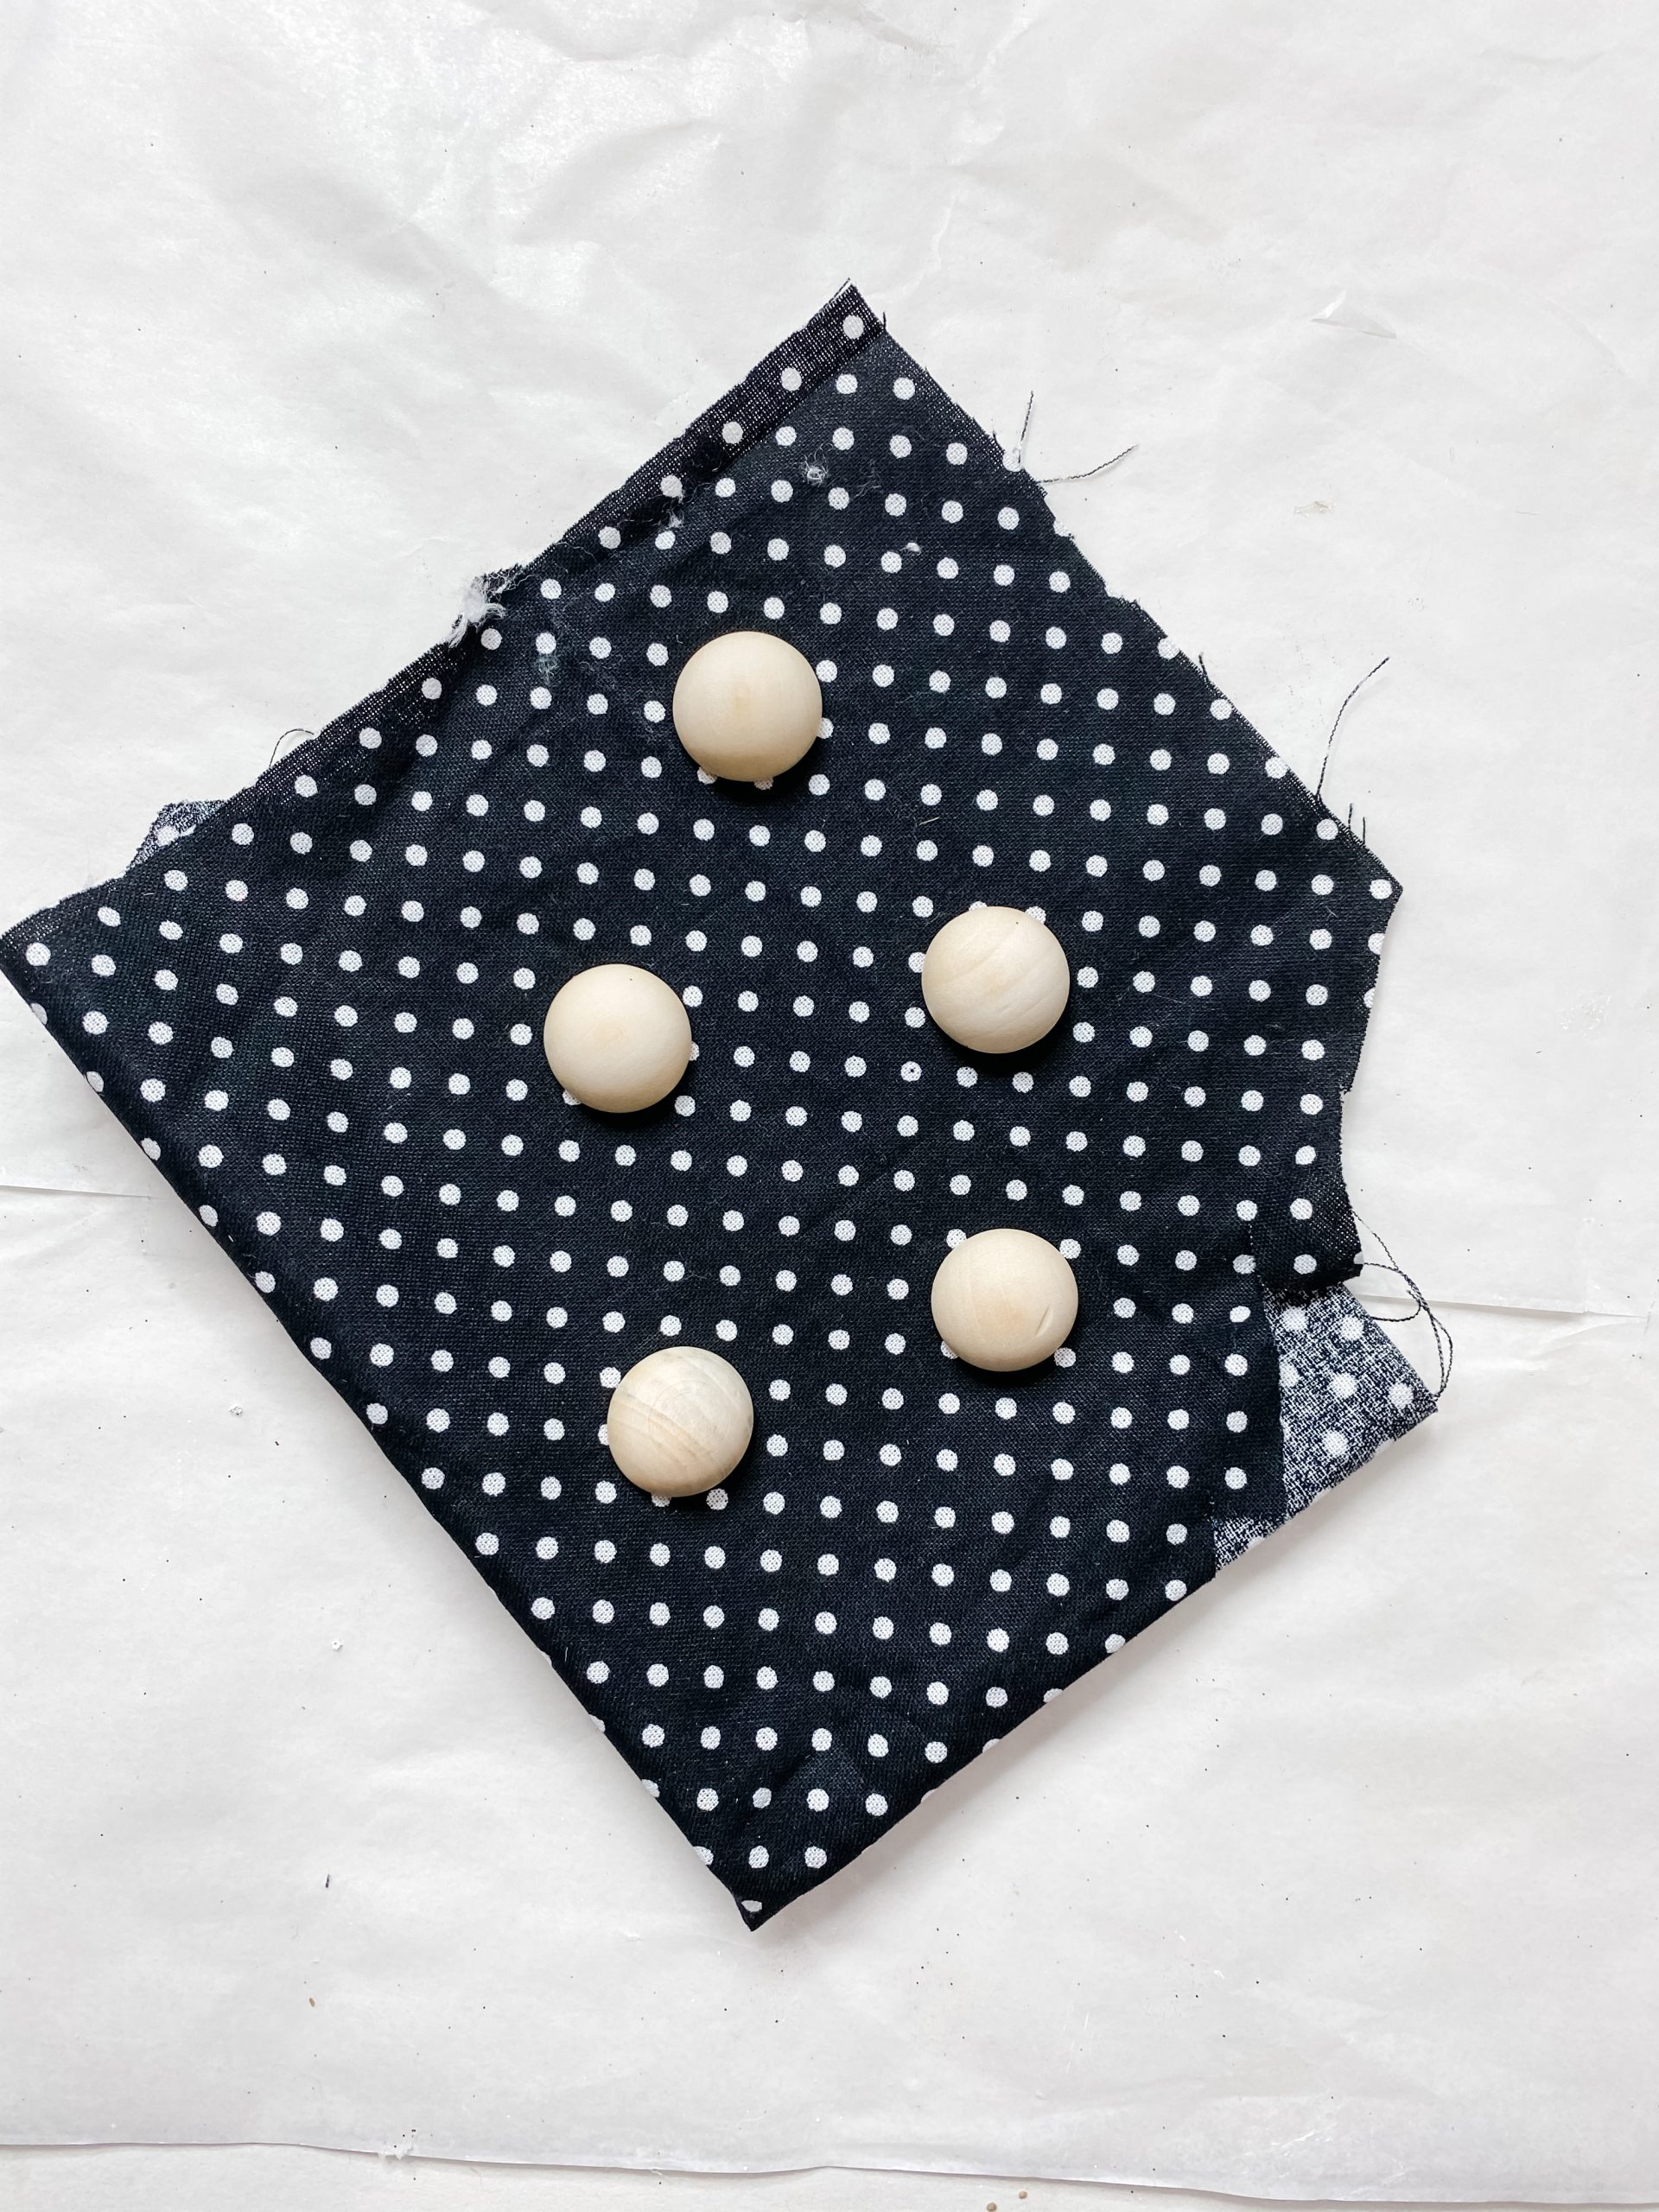
- Black polka dot fabric
- 20mm Half wood beads
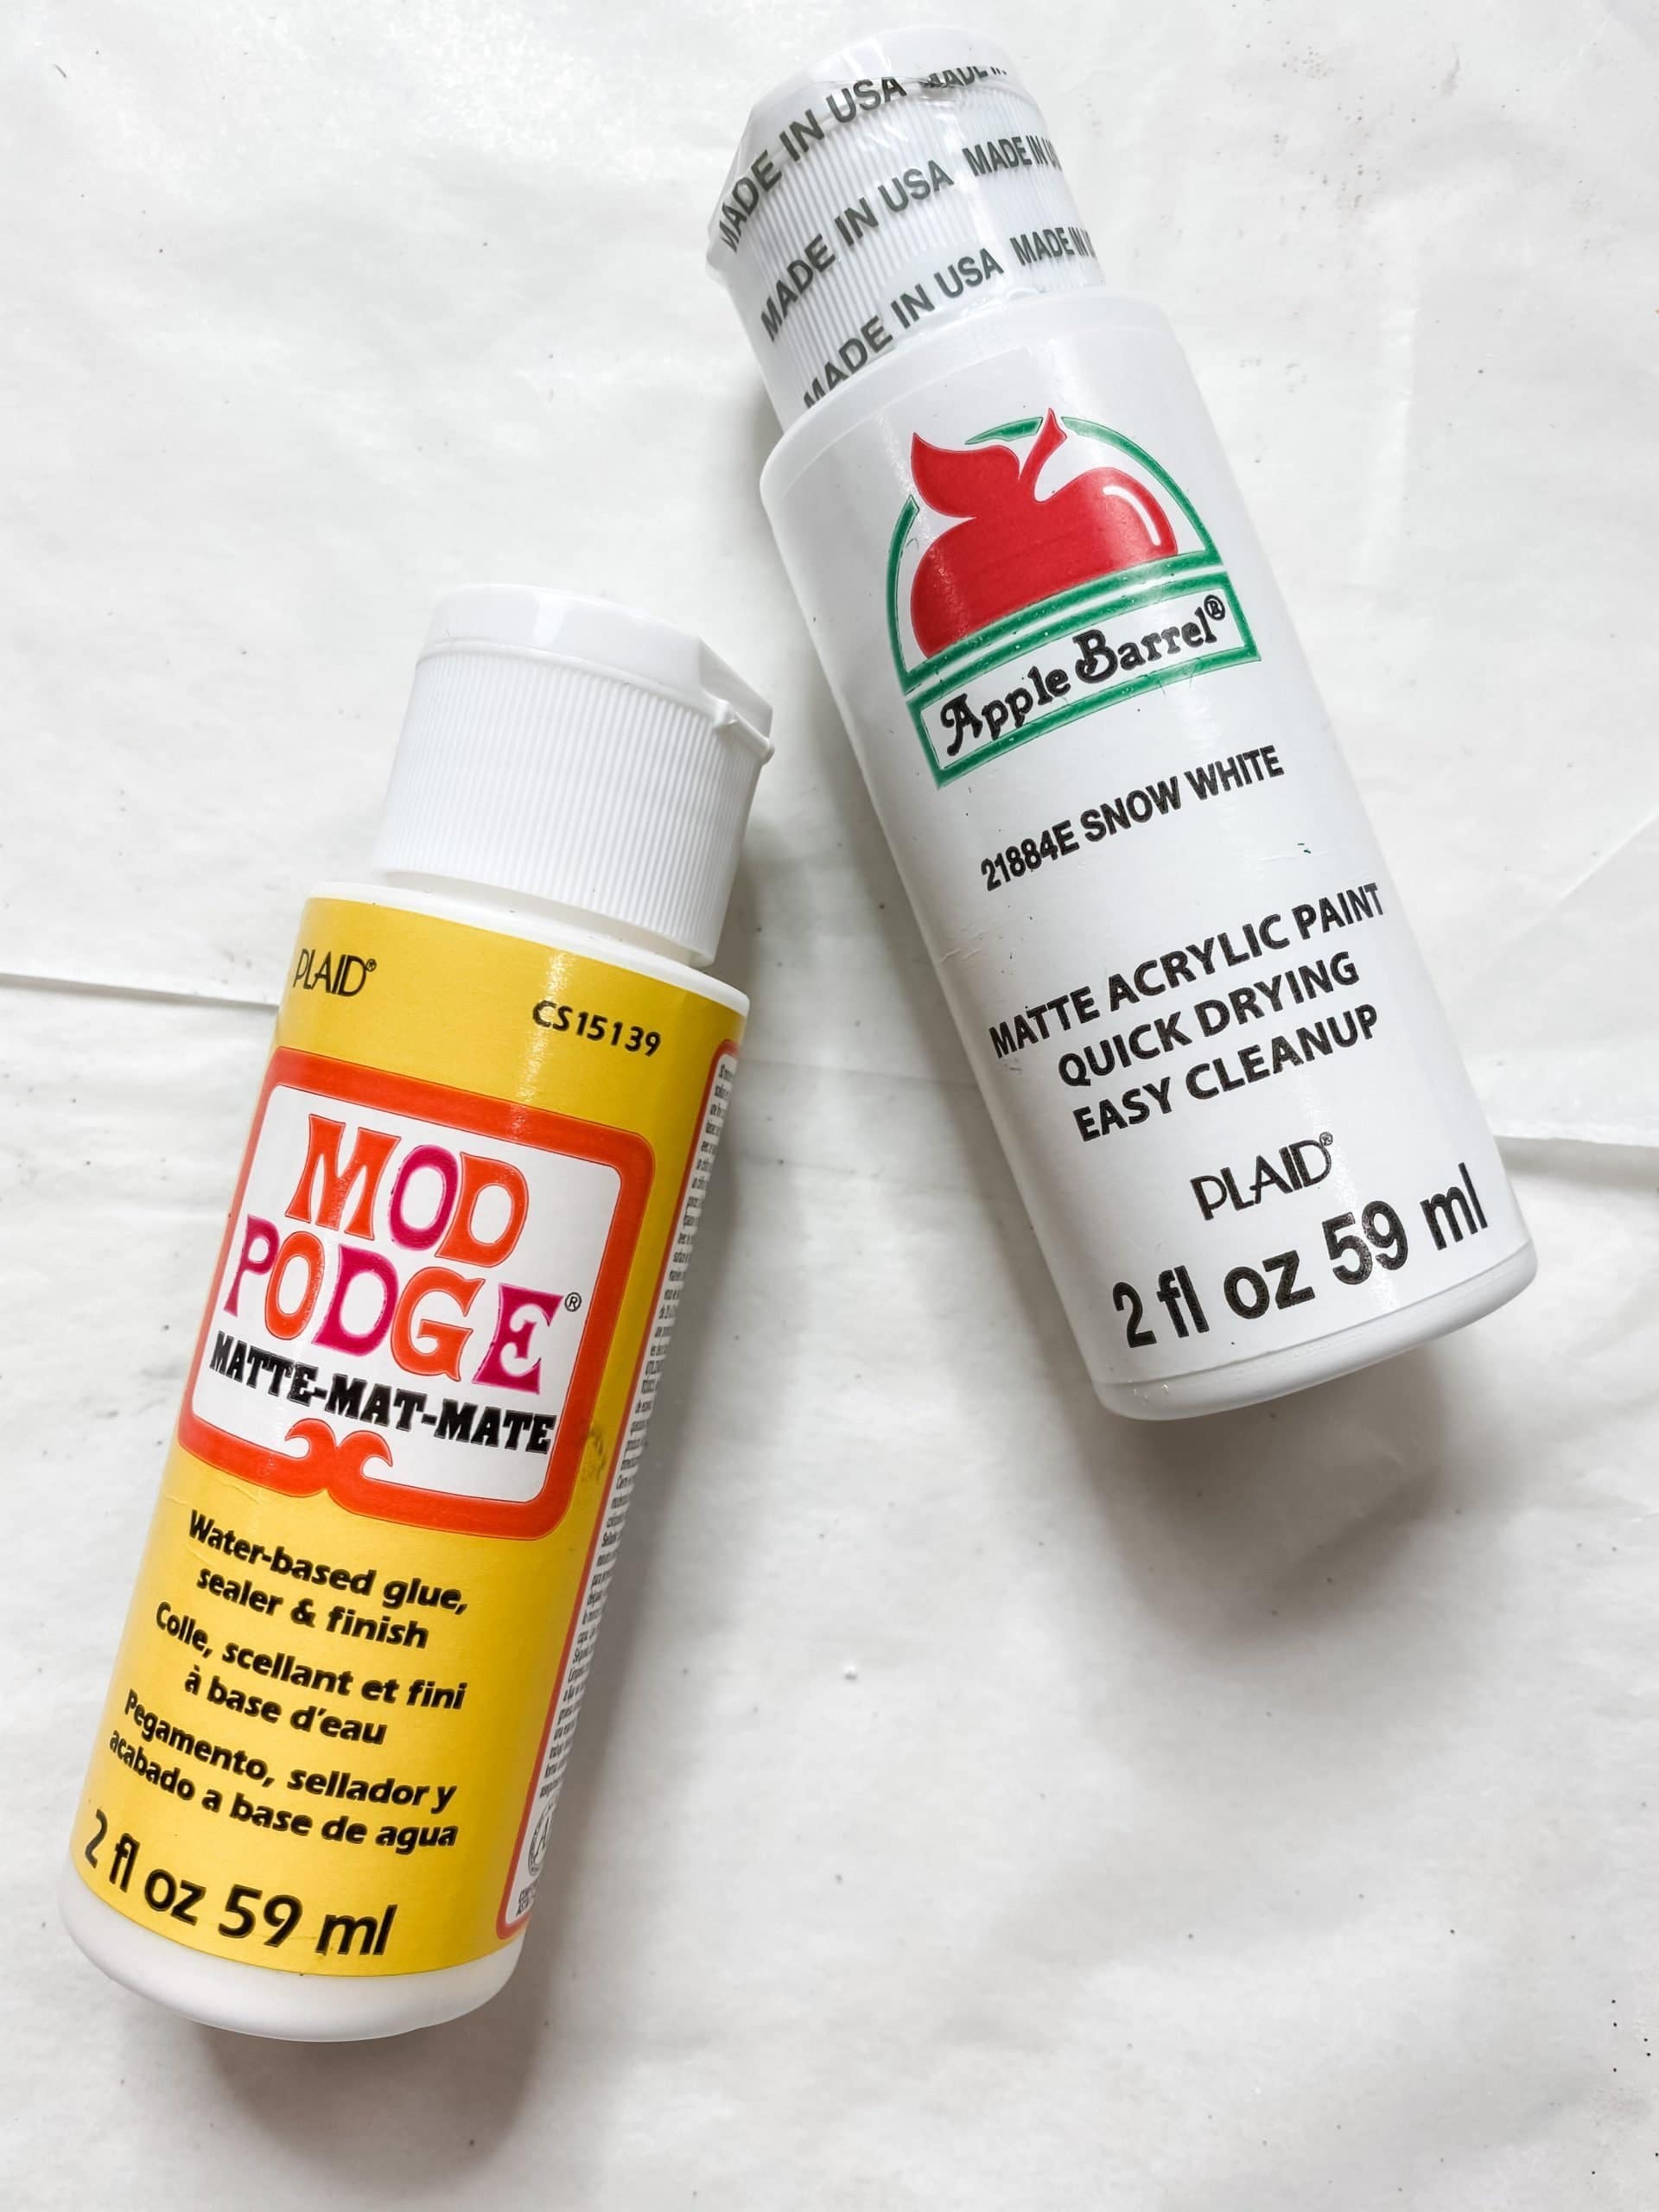
- Apple Barrel White Acrylic Paint
- Red Buffalo Check Ribbon
- Red ric rac ribbon
- Jute twine
- Merry Christmas Napkin from my Christmas mystery napkin bundle
- Dollar Tree Duster
- Mod Podge
- Putty Knife
- Glue Gun
- Heat gun
Let’s get started!
The Welcome Fall block from Dollar Tree had some cute buffalo check on the sides, but it was brown.
We can’t have brown buffalo check with a Christmas DIY! So, I covered the Dollar Tree block with red and white polka dot scrapbook paper from Hobby Lobby.
I love decoupaging because I feel like it is the answer to all crafters’ problems! Don’t like the design on something? Just decoupage a napkin, scrapbook paper, tissue paper, fabric, ANYTHING on top of it!
I traced the size of each side of the woodblock onto the Hobby Lobby scrapbook paper and then folded it on each line to show how the paper would fit onto the woodblock.
Next, I cut the piece out that I would need to cover the entire woodblock. If you want to know how to decoupage, the key is Mod Podge!
Apply the Mod Podge to the back of the scrapbook paper and place the scrapbook paper onto the surface of the woodblock. Try to be precise and prevent wrinkles or creases in the paper.
How to Decoupage a Napkin
Set the woodblock aside for the Mod Podge to dry, and grab the Merry Christmas Napkin.
We are going to decoupage the red car Christmas napkin from my Christmas mystery napkin bundle onto the Dollar Tree wood sign box, but first, we have to separate the napkin plies.
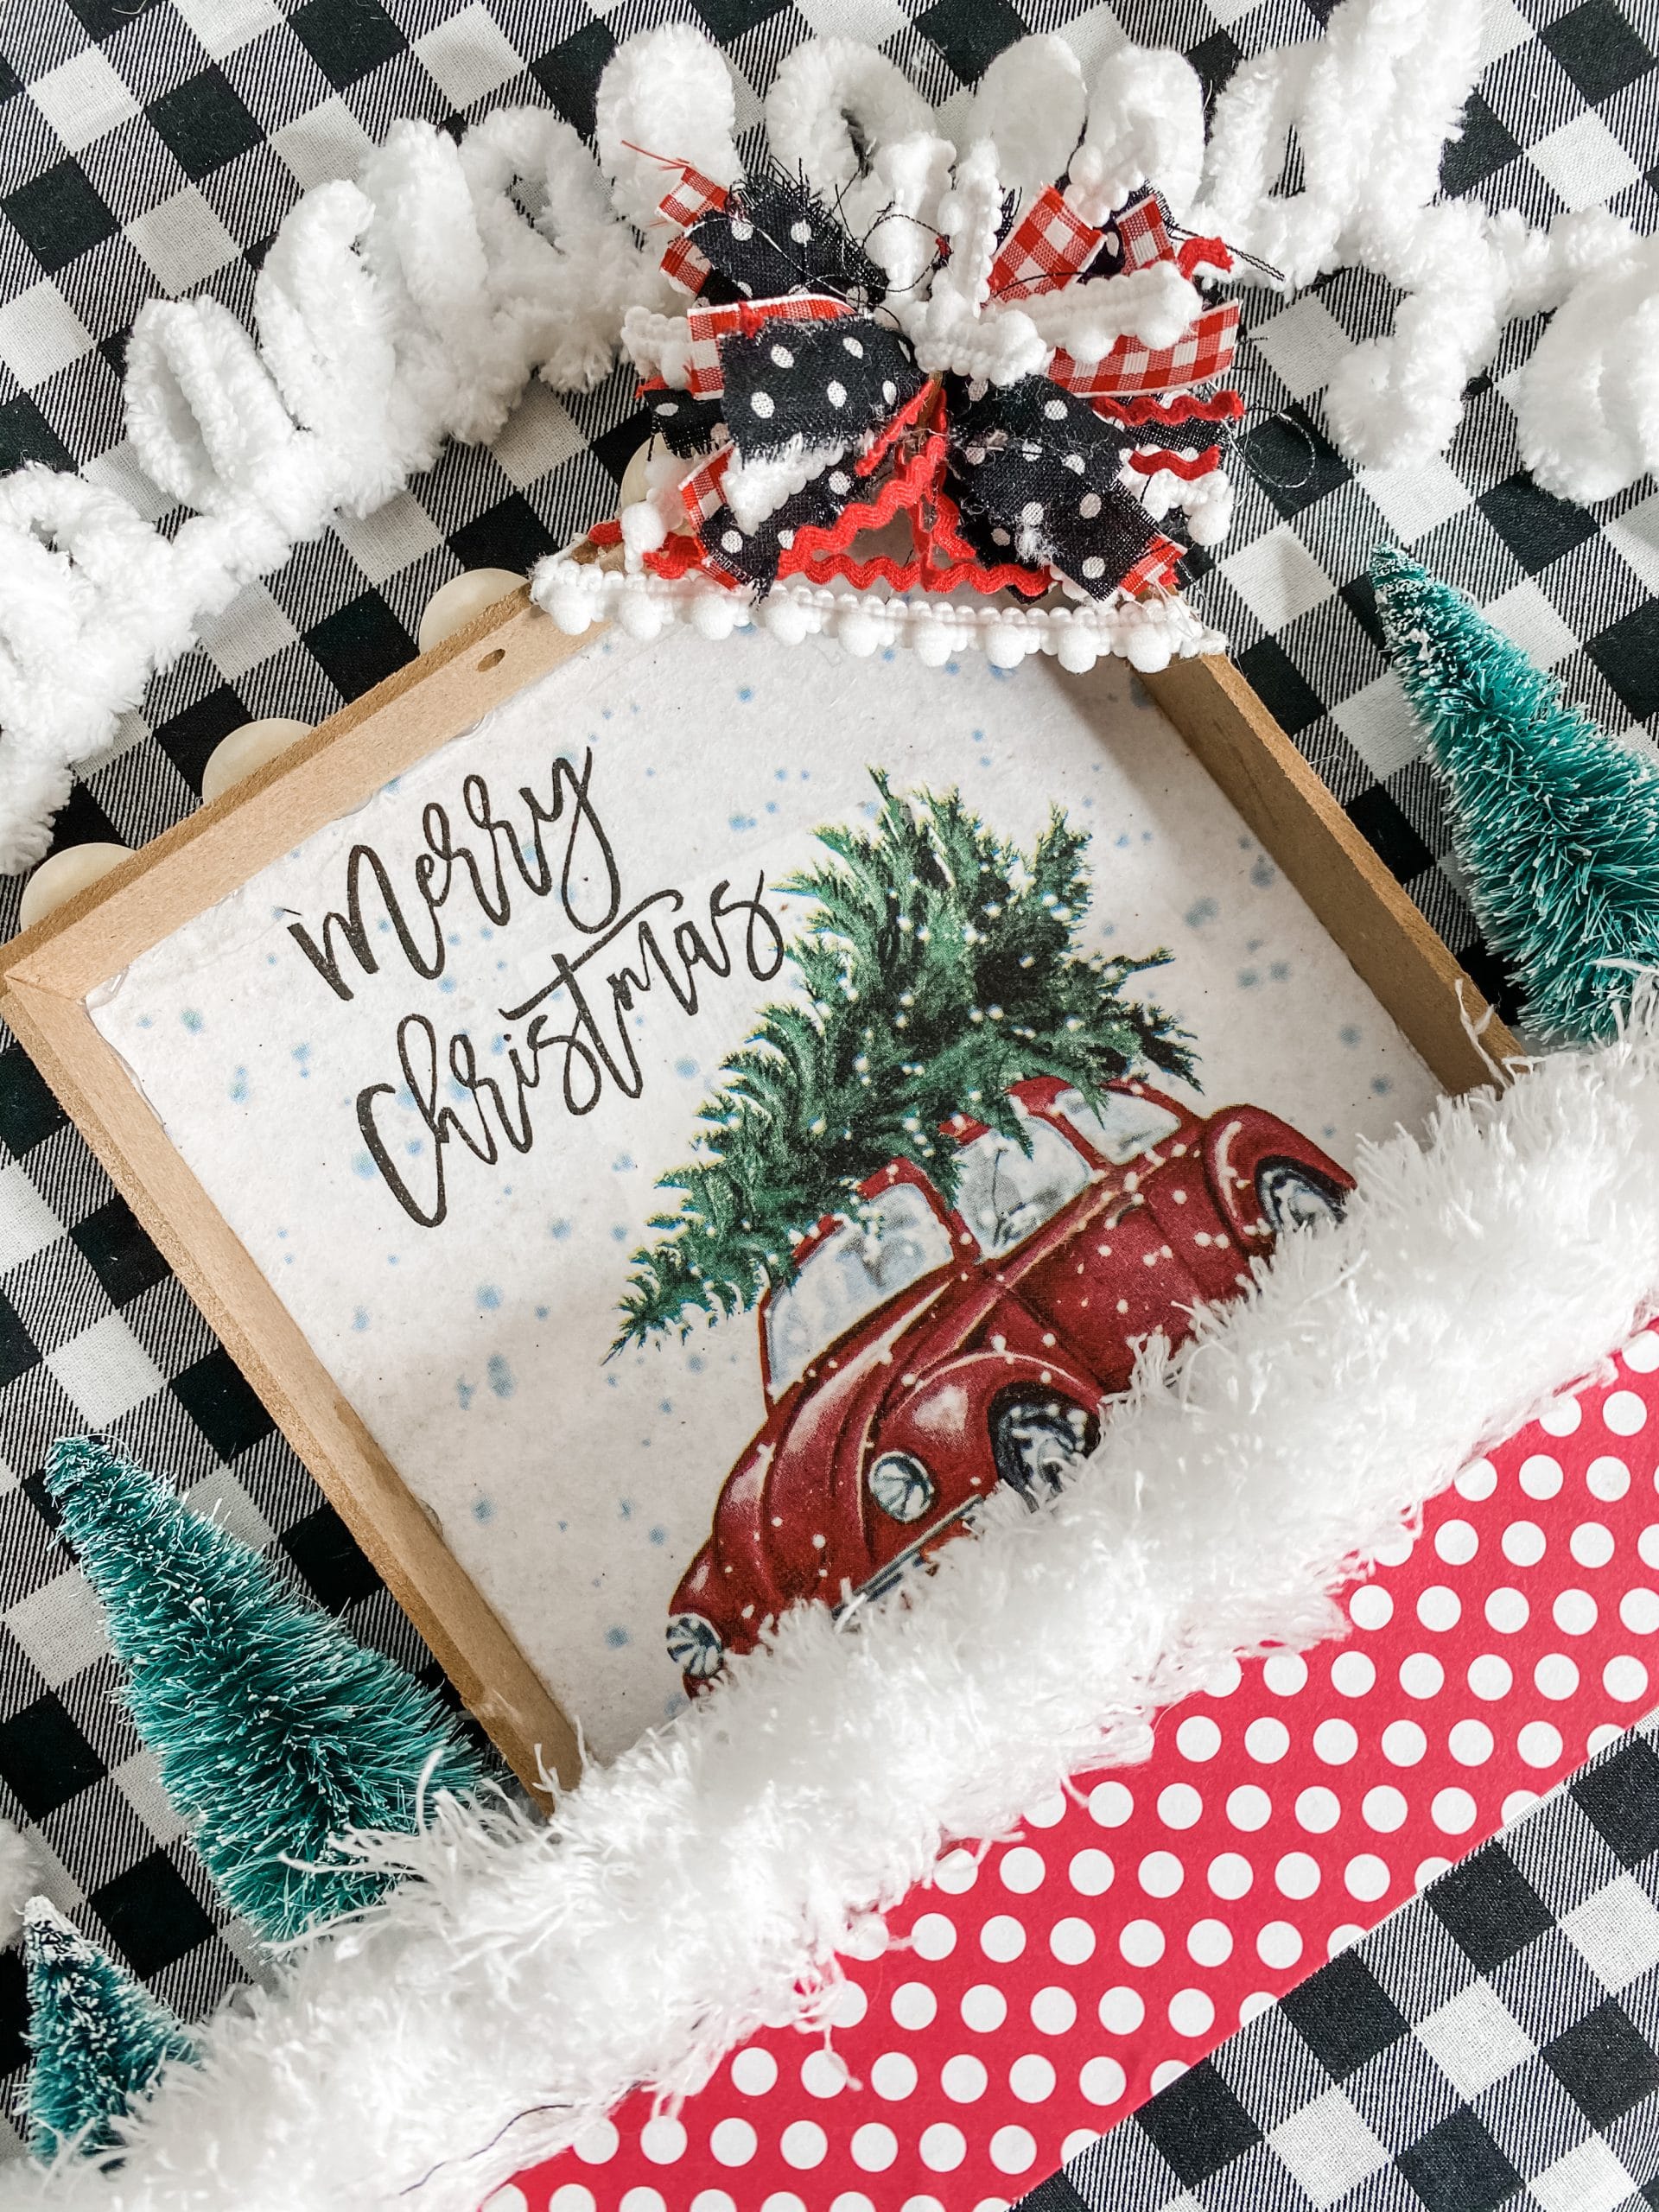
If you try to decoupage a napkin without separating the plies, the top layer won’t adhere properly to the surface and could start to peel up. Set the napkin to the side and let’s go to the next step!
Dollar Tree Wood Box Sign
I don’t usually do this next step, but I felt it was necessary for this easy Christmas centerpiece. Grab the wood sign box and a putty knife.
Use the putty knife to carefully pull the front piece of wood off the wood sign box. Normally, I peel the sticker off the back of the wood sign box, but I couldn’t get the sticker all the way off.
To fix this, I decoupaged a piece of white printer paper to the surface and covered the sticker.
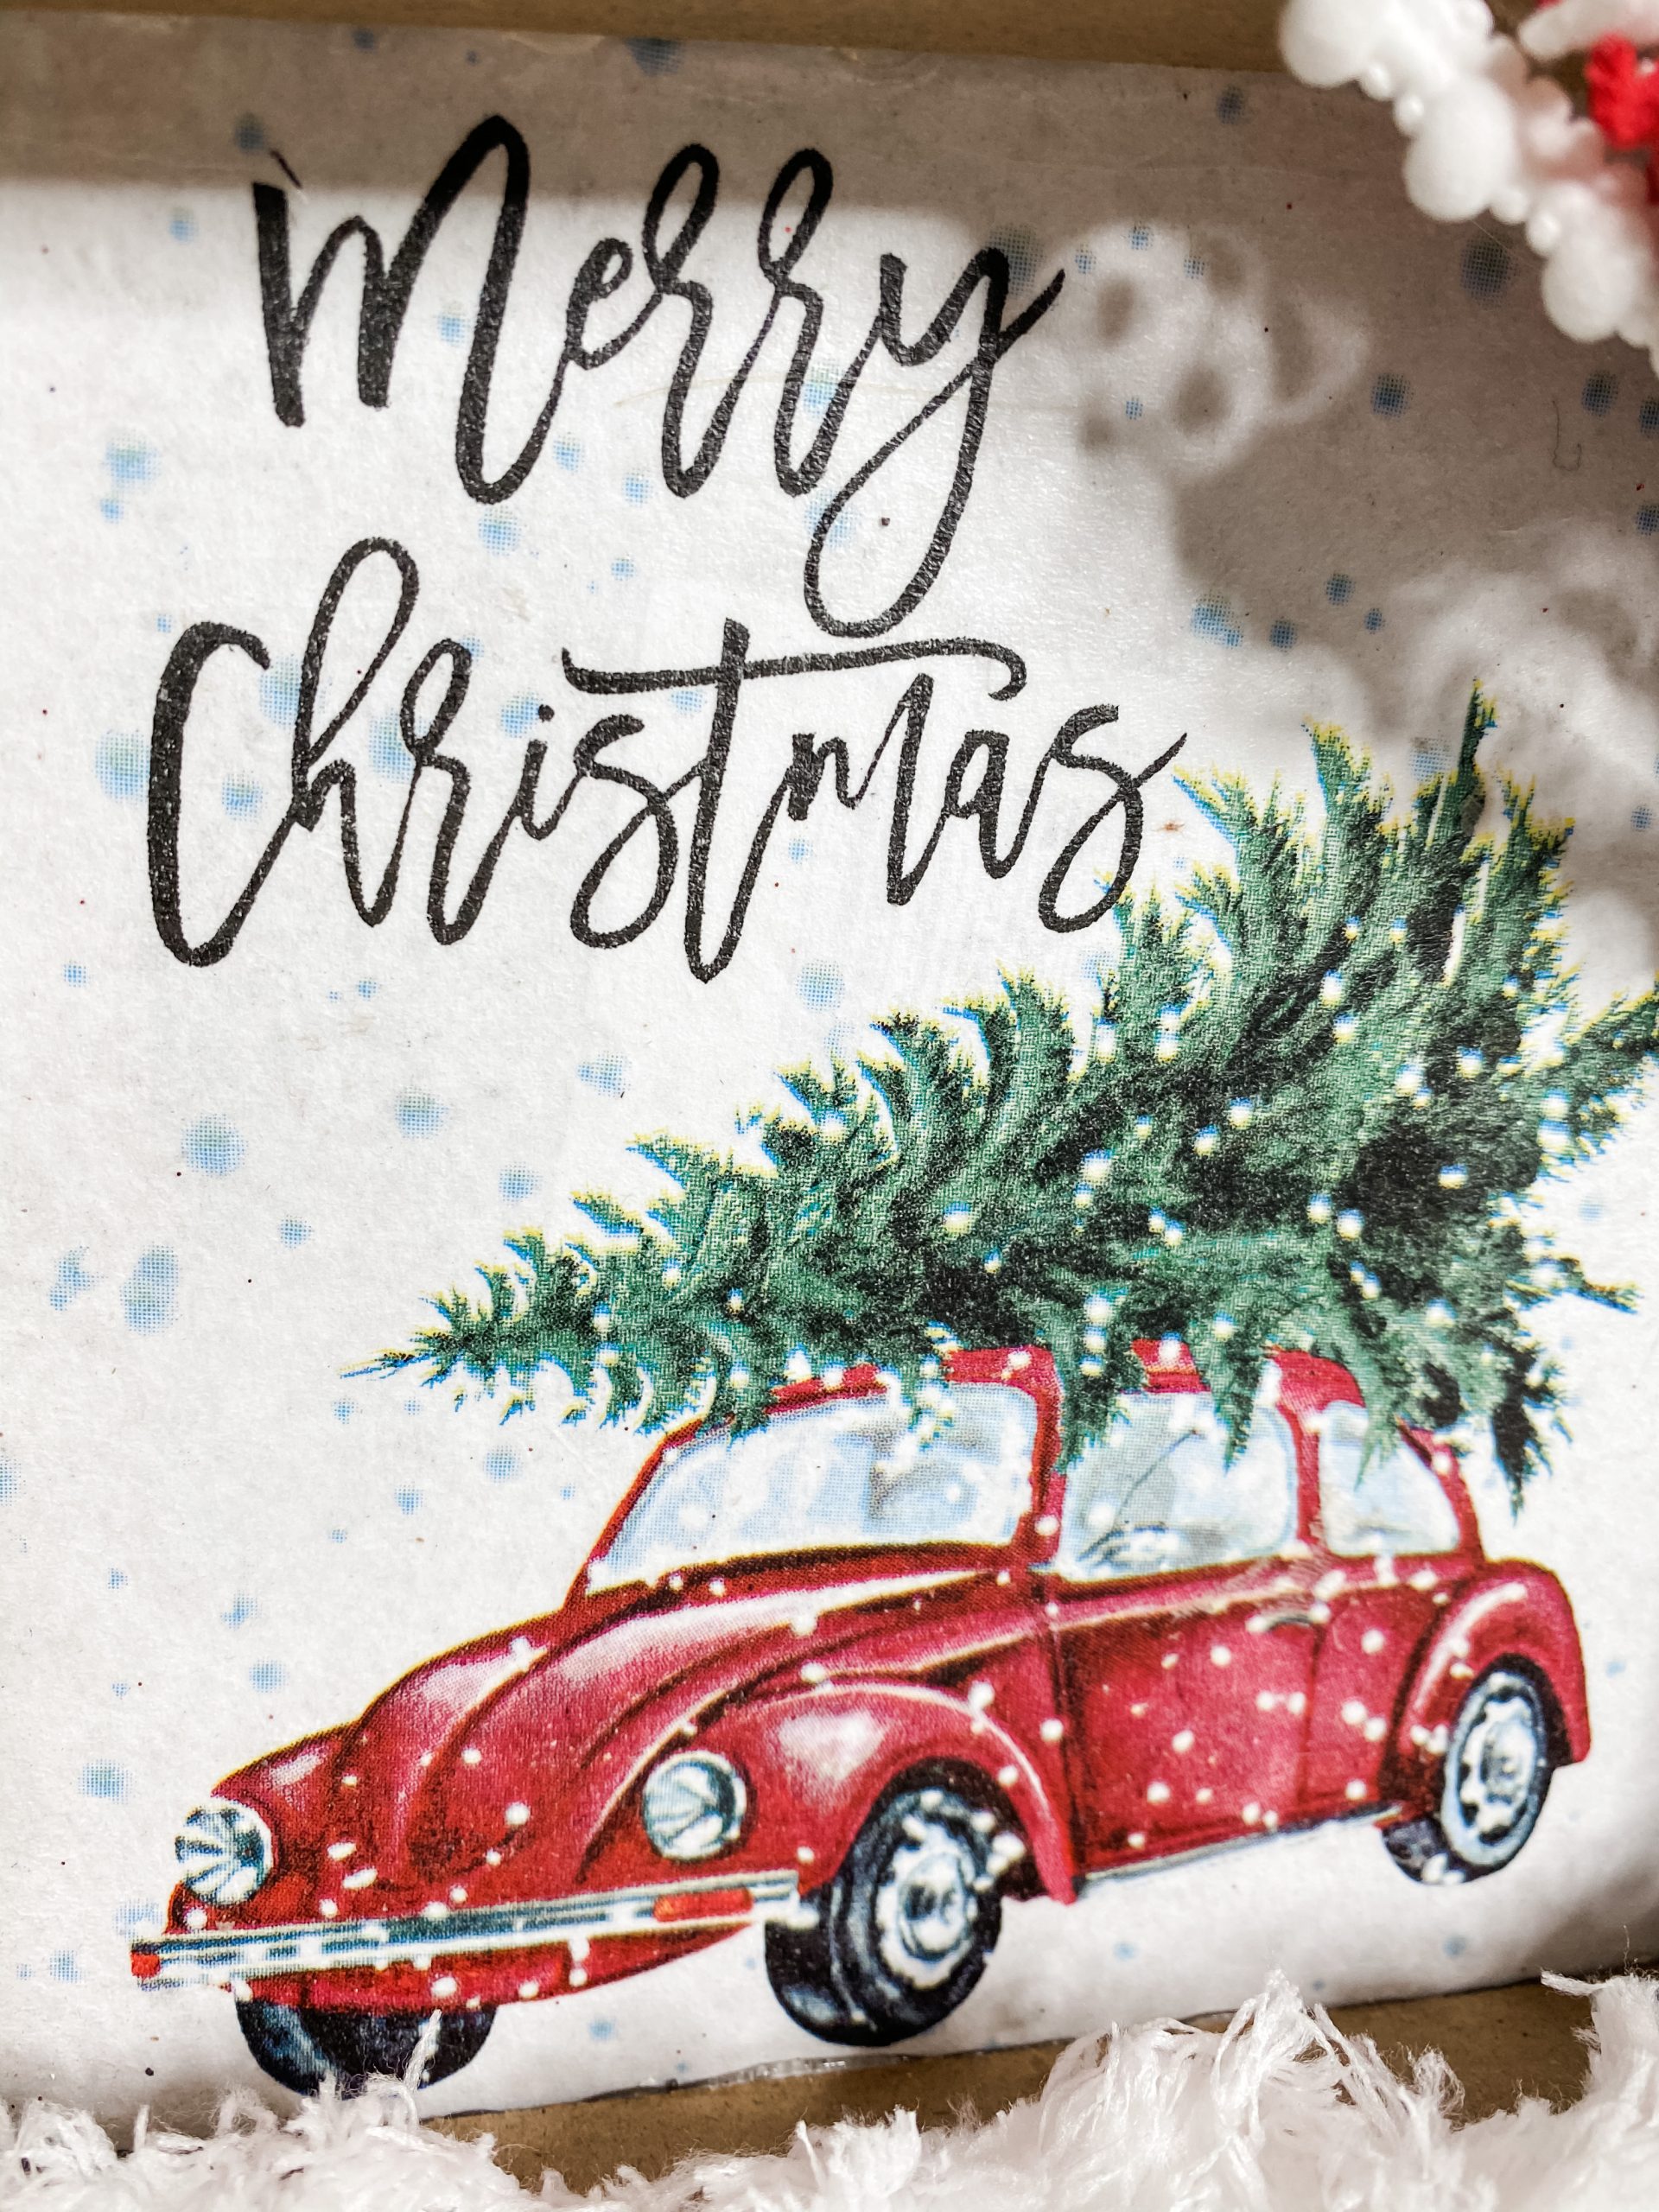
Next, I applied a coat of Mod Podge on top of the decoupaged computer paper and placed the napkin carefully.
To smooth out any wrinkles or bubbles in the napkin, place a piece of plastic wrap or Saran Wrap on top of the napkin and use a rolling pin to smooth out any imperfections.
Once the Mod Podge is dry, (I like to use a heat gun to speed up the drying process) hot glue the wood sign box frame onto the decoupaged napkin.
How to make a messy bow
First, I hot glued a strip of the pom-pom trim ribbon and red ric rac ribbon across the top corner of the wood box sign.
To make the messy bow, I cut several strips of the pom-pom trim ribbon, red ric rac ribbon, and red buffalo check ribbon. I cut slits in the black polka dot fabric and tore it into small strips.
Next, lay the strips of ribbon and fabric in an x-shape alternating the pattern with each strip. Add as many layers as you want to get the thickness and messiness you want.
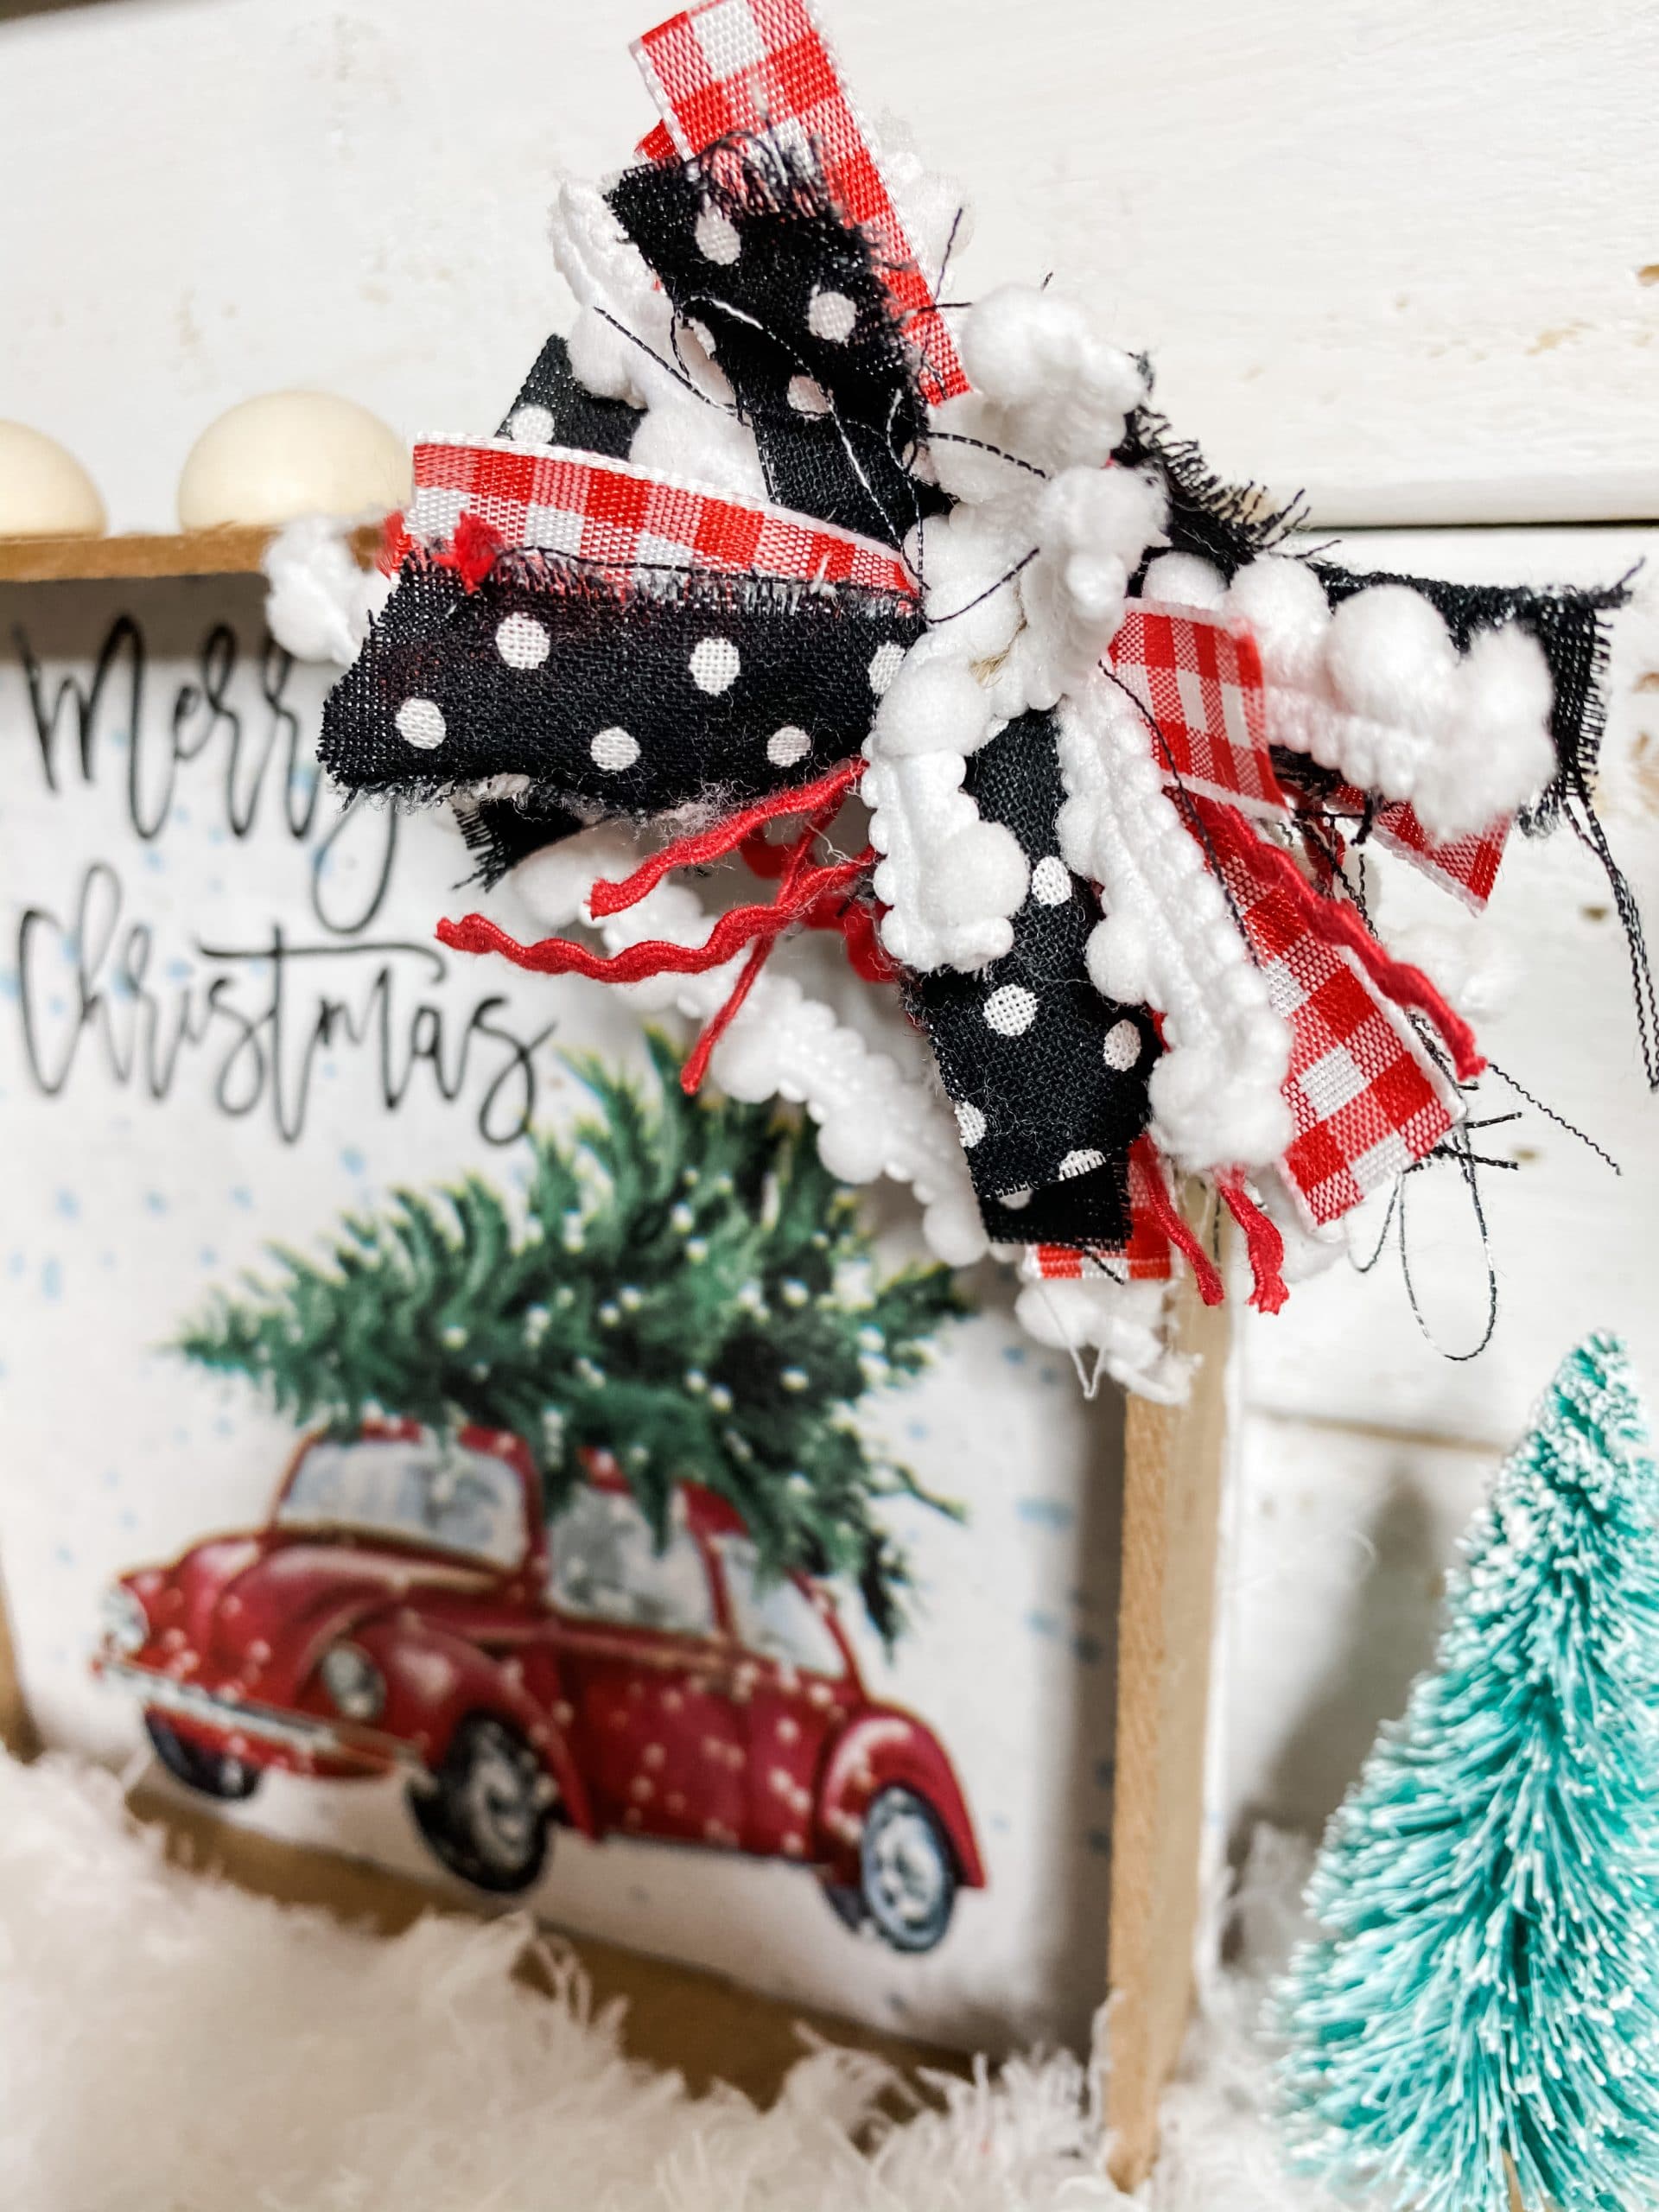
Finally, secure the center of the mini messy bow with a piece of jute twine, and hot glue the mini messy bow to the top corner of the wood sign box above the stips of pom-pom ribbon and ric rac ribbon.
To add some more embellishment, I hot glued 5 half wood beads to the top of the wood sign box.
Let’s make the base
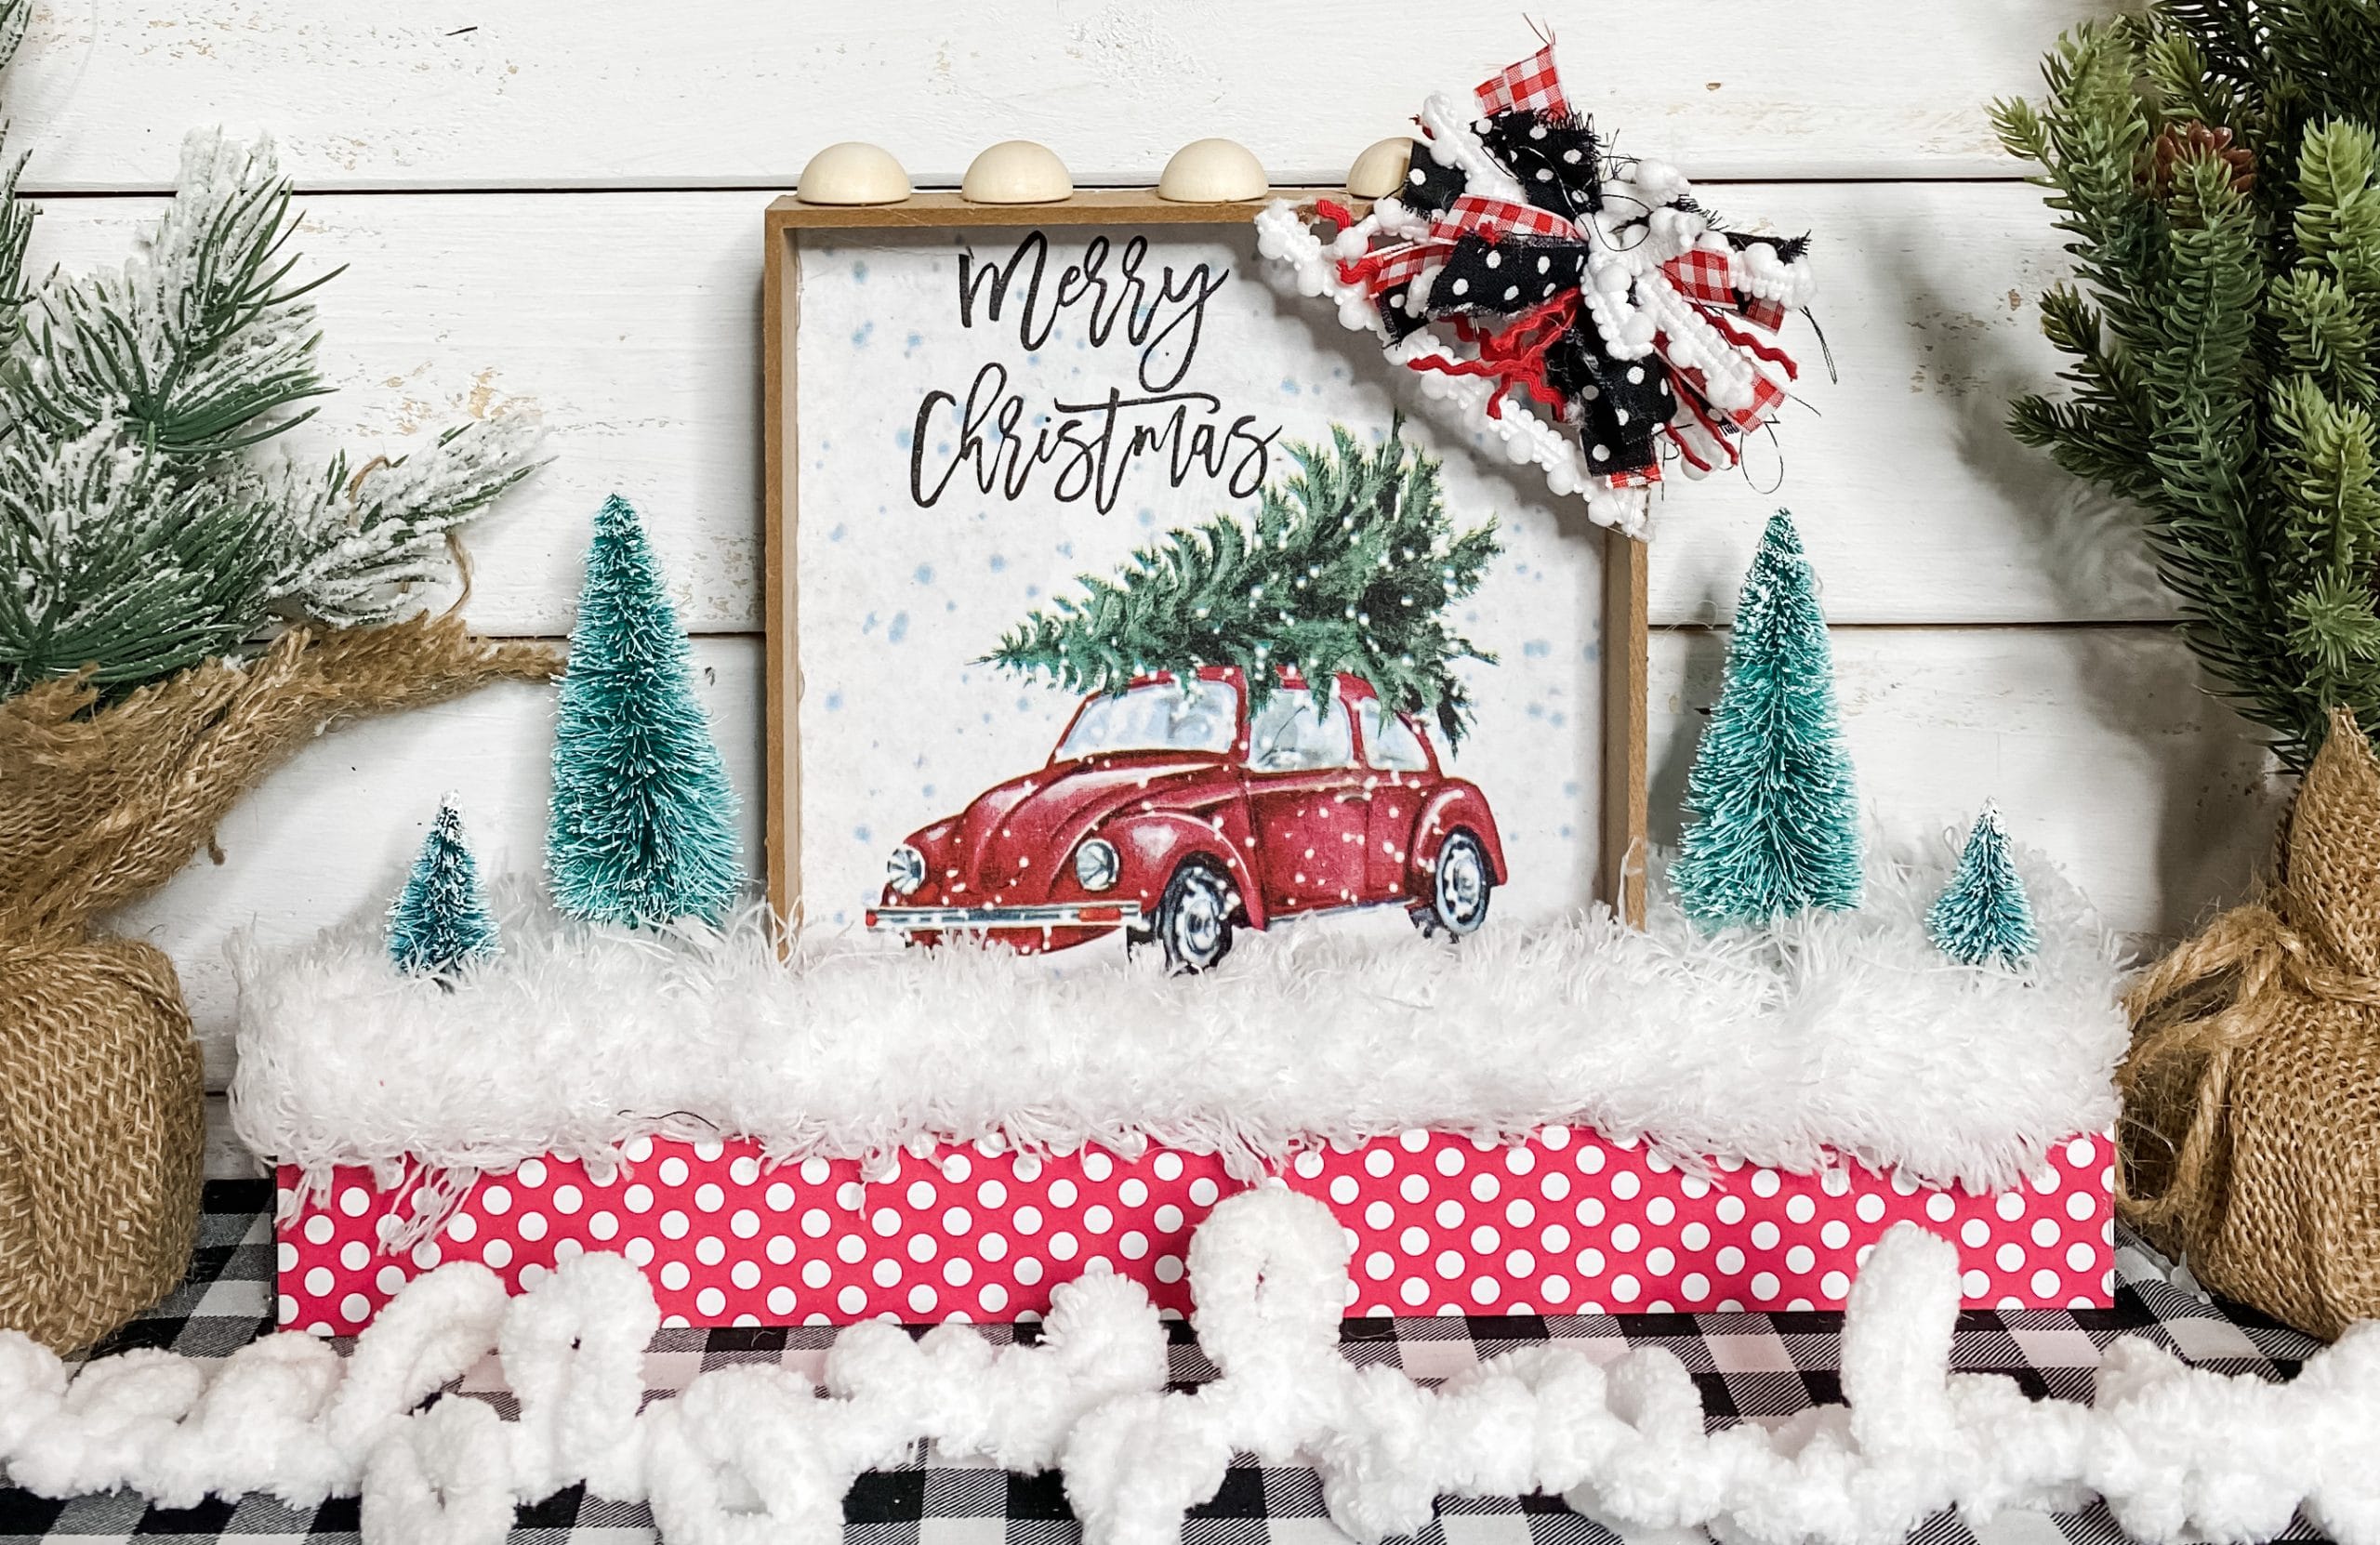
Bring the decoupaged wood block back. The Mod Podge should be dry by now. I used two of the Holiday Style (Dollar General) mini trees and two of the Crafter’s Square (Dollar Tree) mini trees.
I flocked the trees to have them match the Christmas napkin better. To do this, I lightly brushed Apple Barrel White Acrylic Paint onto the bristles of each mini tree.
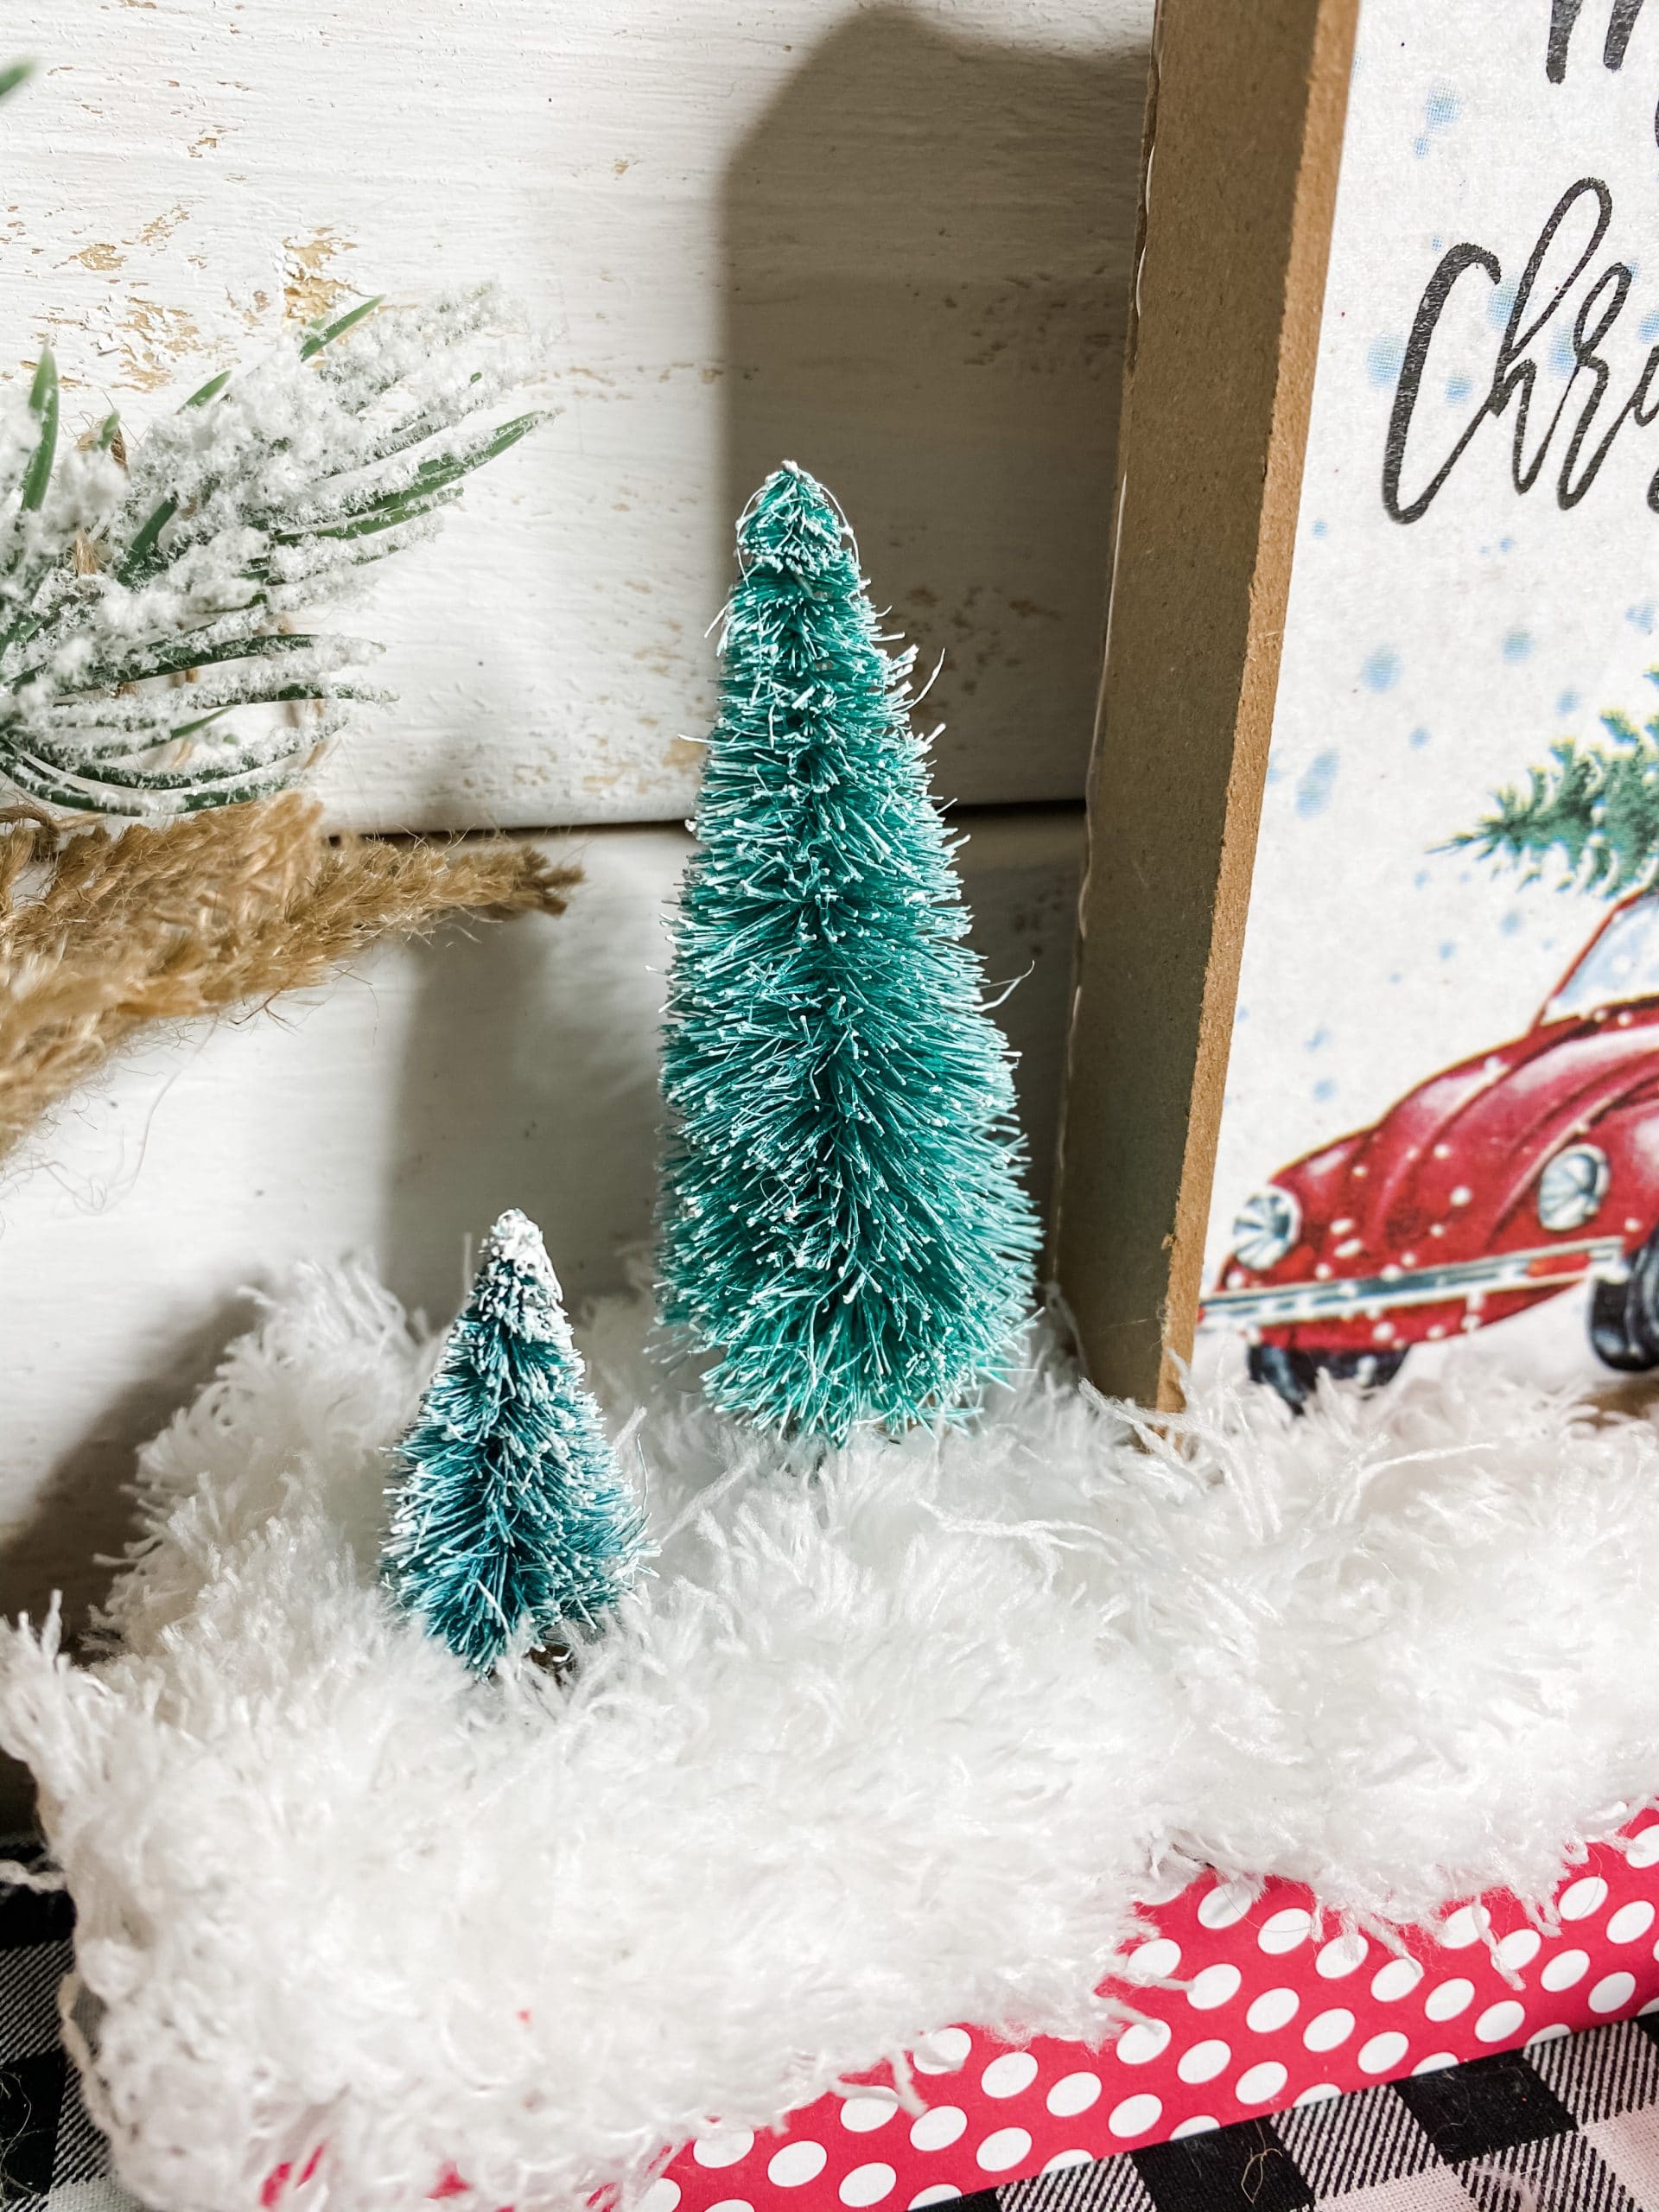
Hot glue the wood sign box to the center of the decoupaged wood base. Cut the Dollar Tree duster to fit on top of the woodblock base around the wood sign box and hot glue the Dollar Tree duster onto the decoupaged wood block.
Next, hot glue the mini Christmas trees onto the Dollar Tree duster. I did a large and small tree on each side of the wood sign box. Allow the glue to dry, and you’re all done!
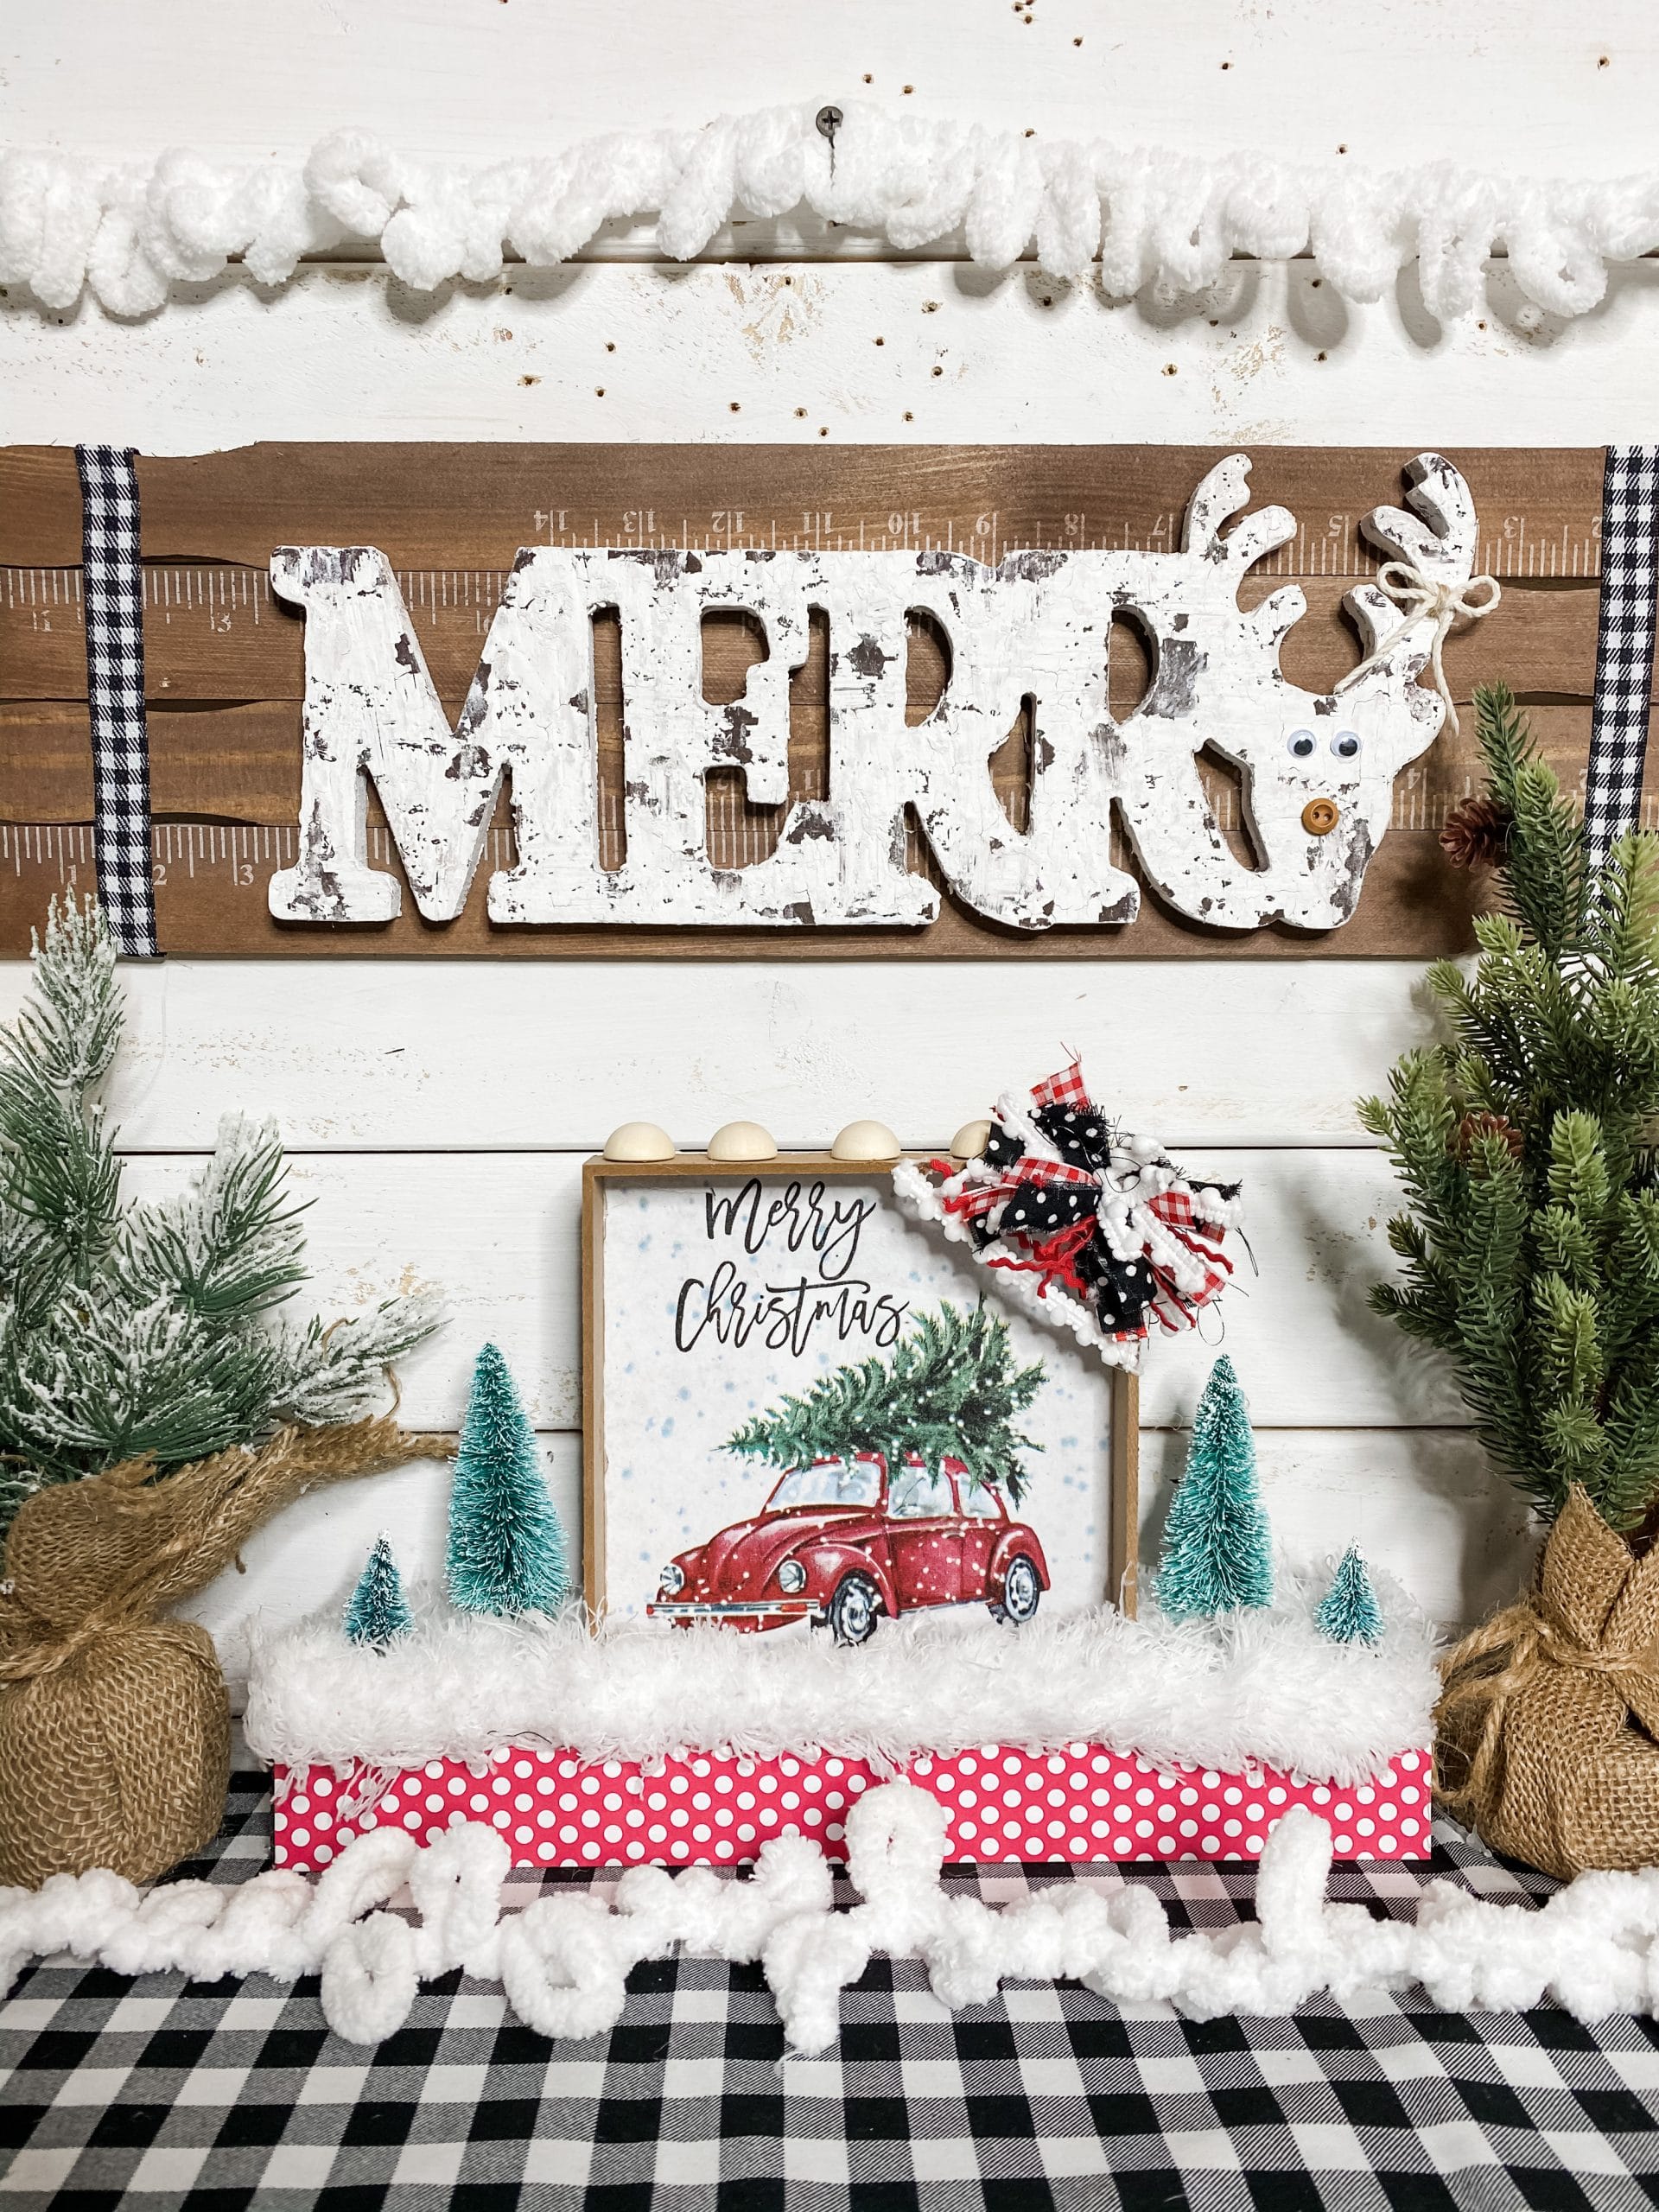
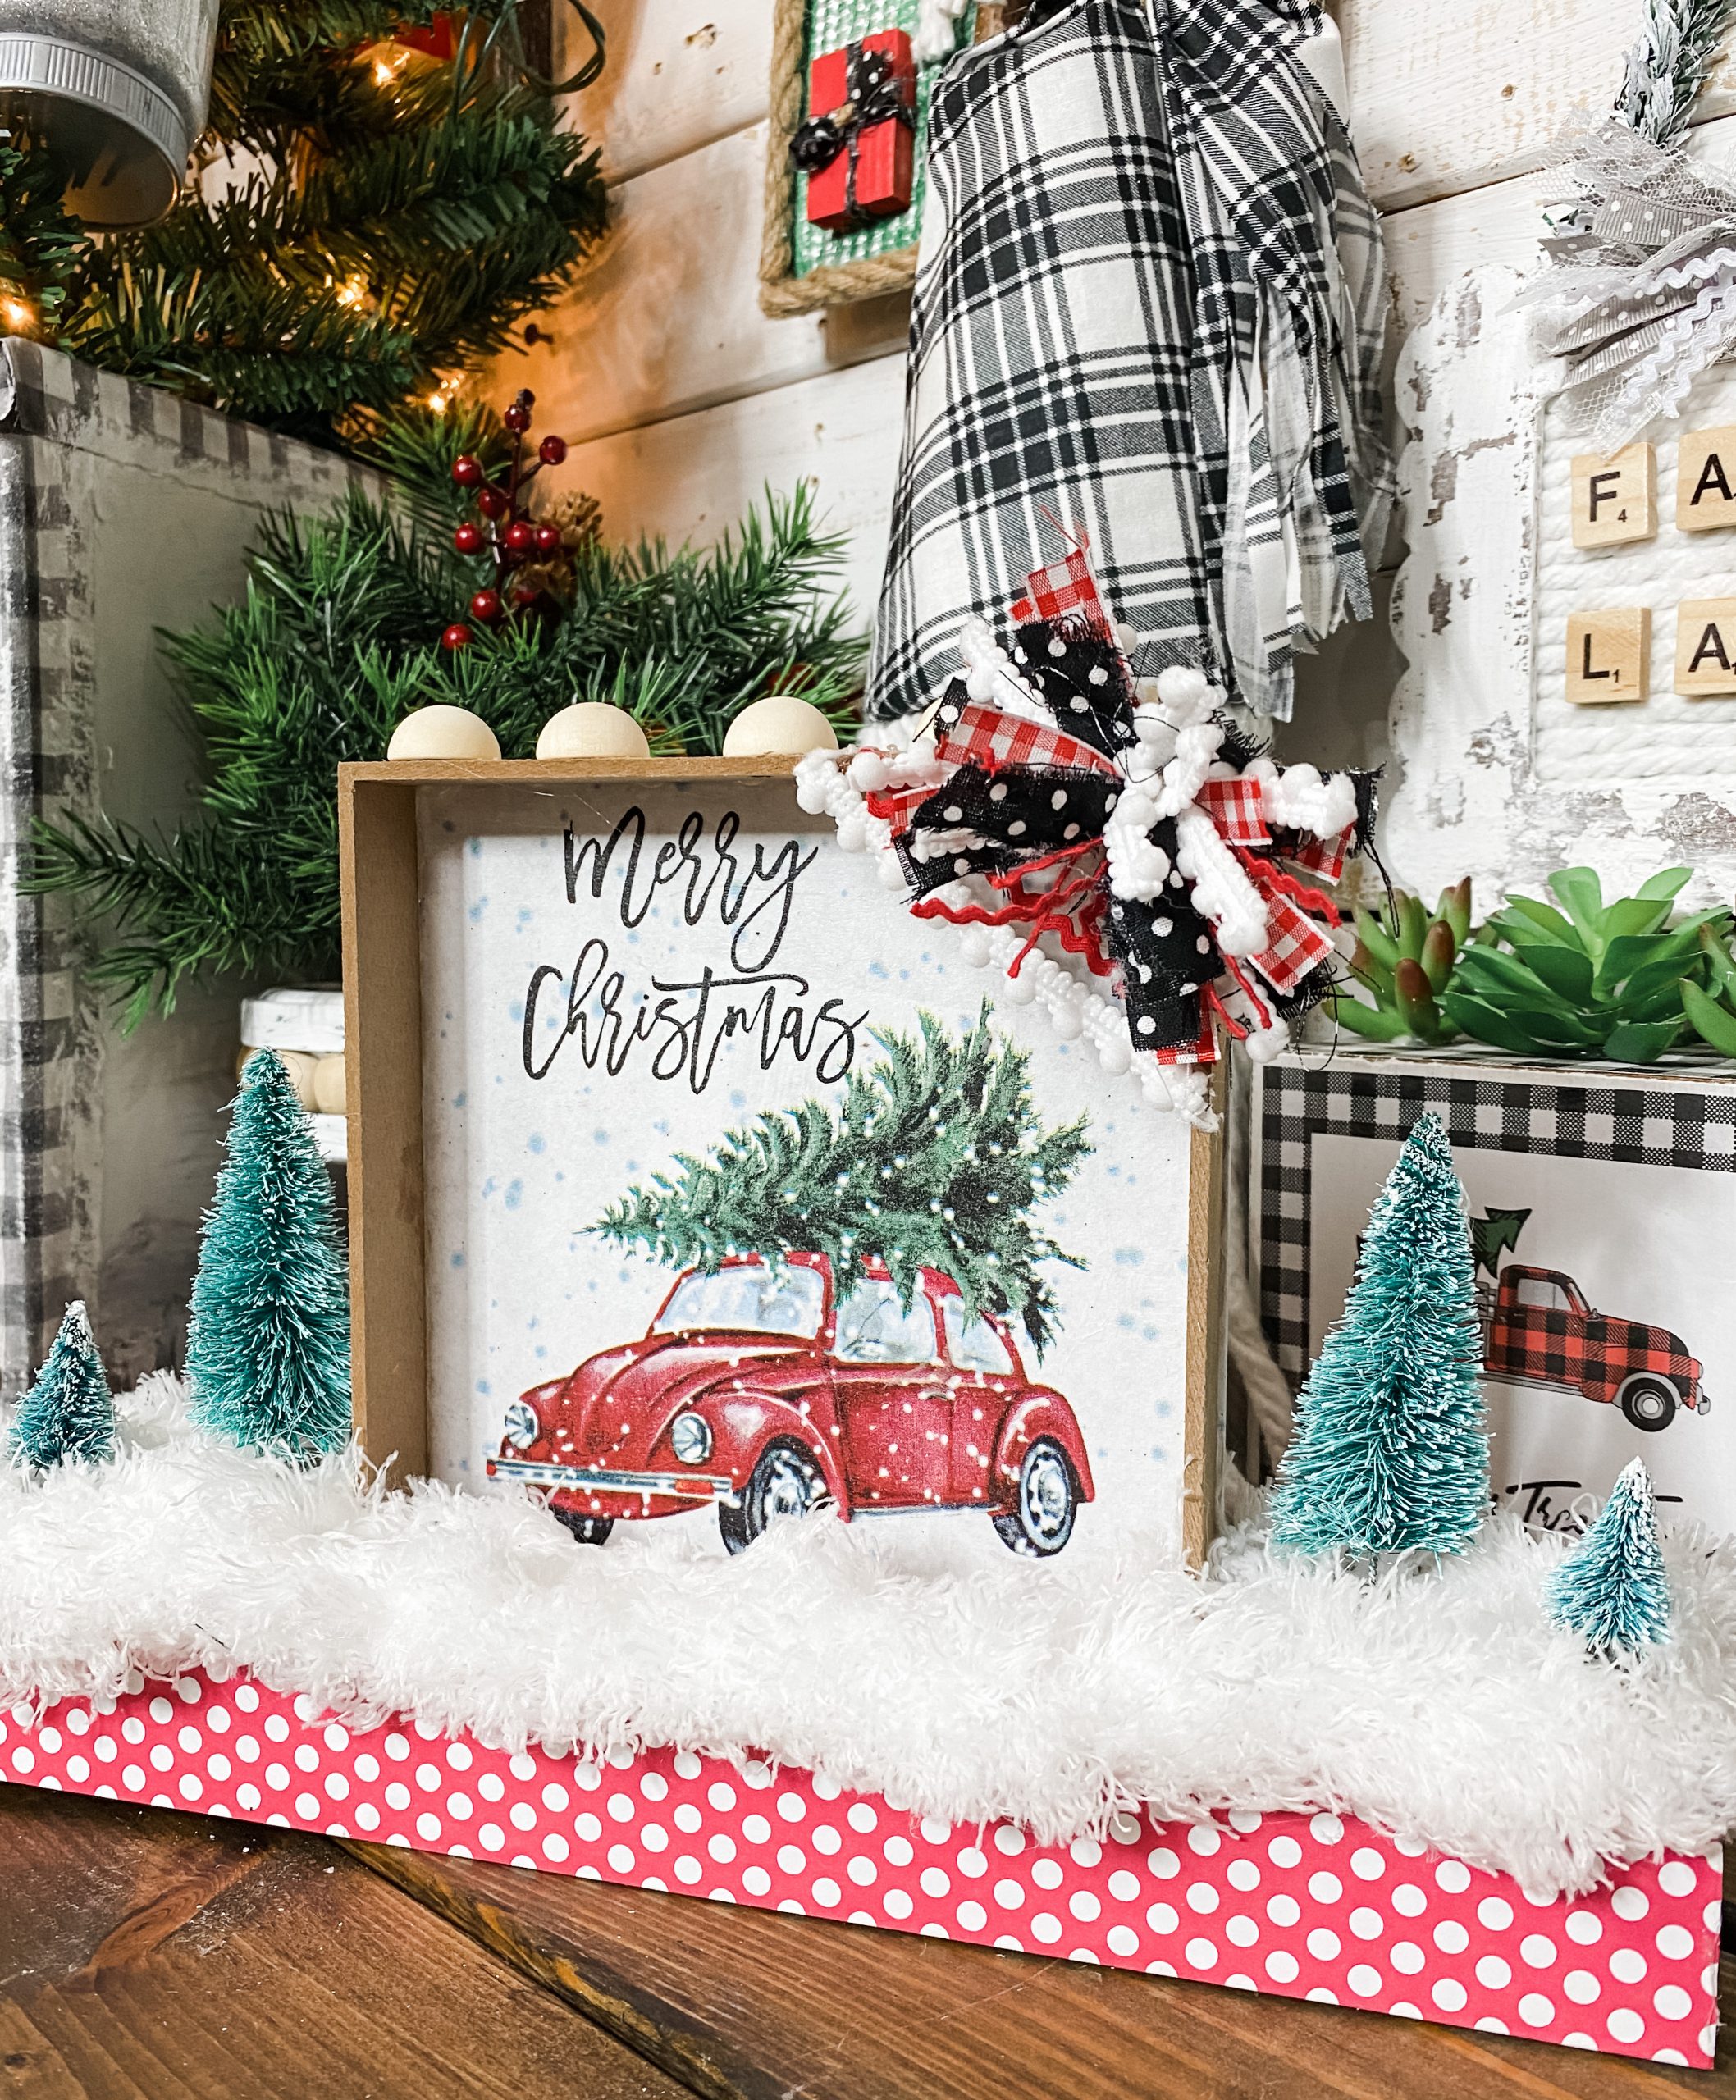
I hope you enjoyed learning how to make a Merry Christmas Napkin DIY Shelf Sitter as much as I did and decide to make it for yourself!
I would love to see how yours turns out! You should totally join my FREE Facebook group called On A Budget Crafts! It is a judgment-free community for DIY crafters to show off their projects and ideas.
If you loved this DIY you might also like this Christmas Ornament DIY with Cardboard!
Thanks for stopping by! XOXO Amber
You can also shop my ENTIRE AMAZON Favorites shop just click here! It’s packed full of all the things I use and love.
Here is the supply list I highly recommend every creative have on hand!! Would you also pin my blog for later and get on my newsletter alerts? I would love to have you join my #craftycrew.

Join my free “ON A BUDGET CRAFTS” Facebook group!
PIN THIS POST FOR LATER!


Love this napkin
Love this!❤️