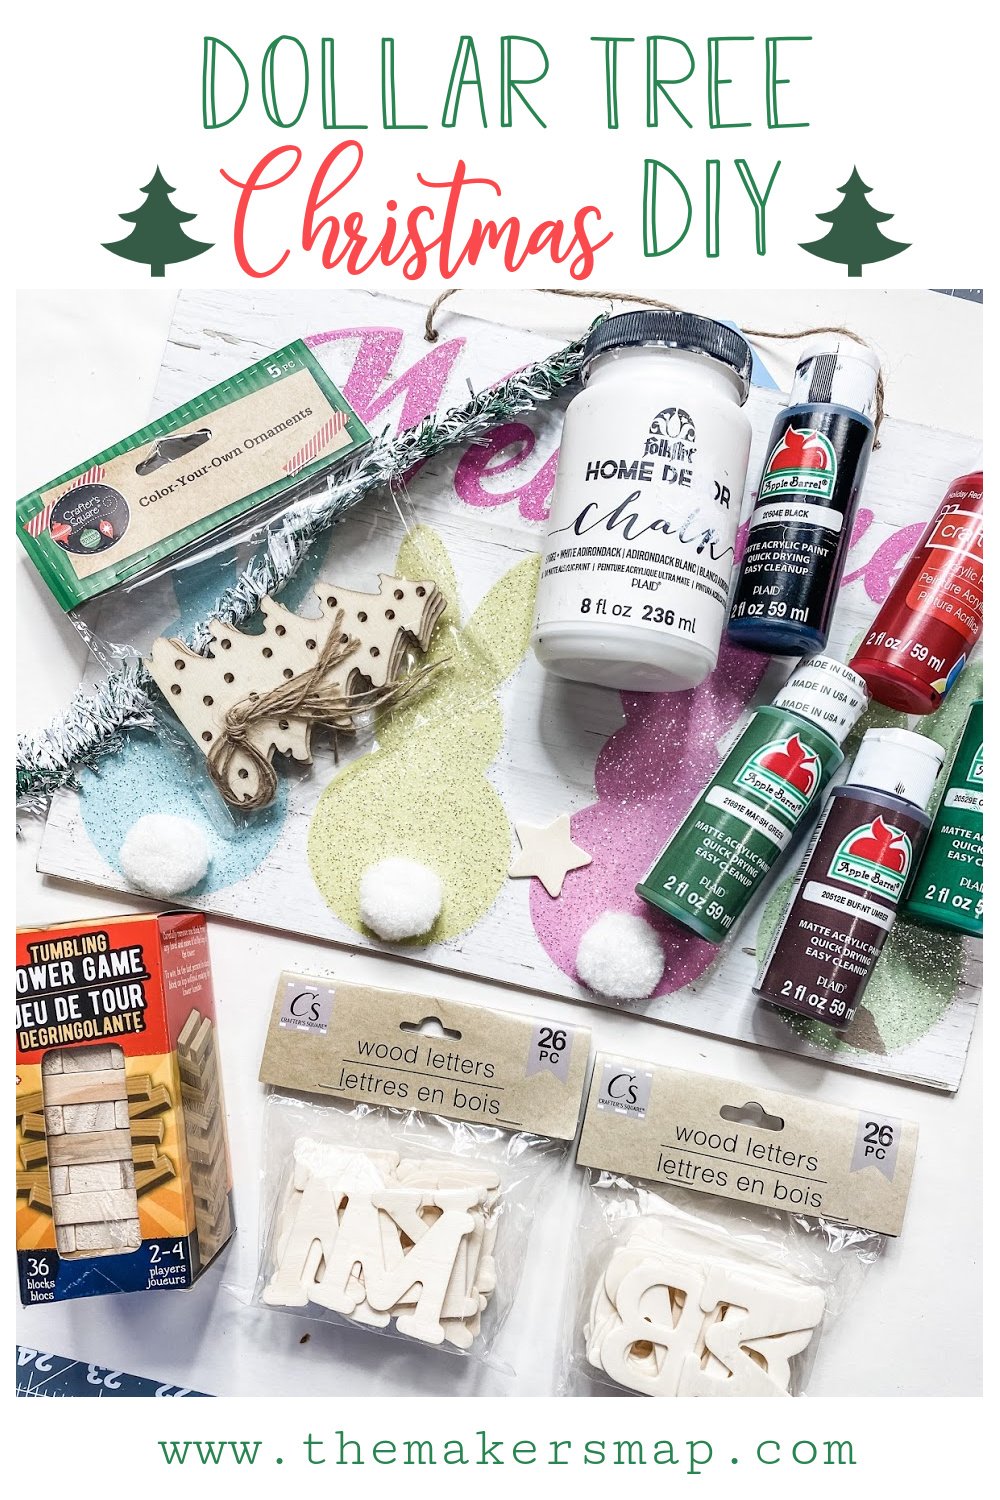
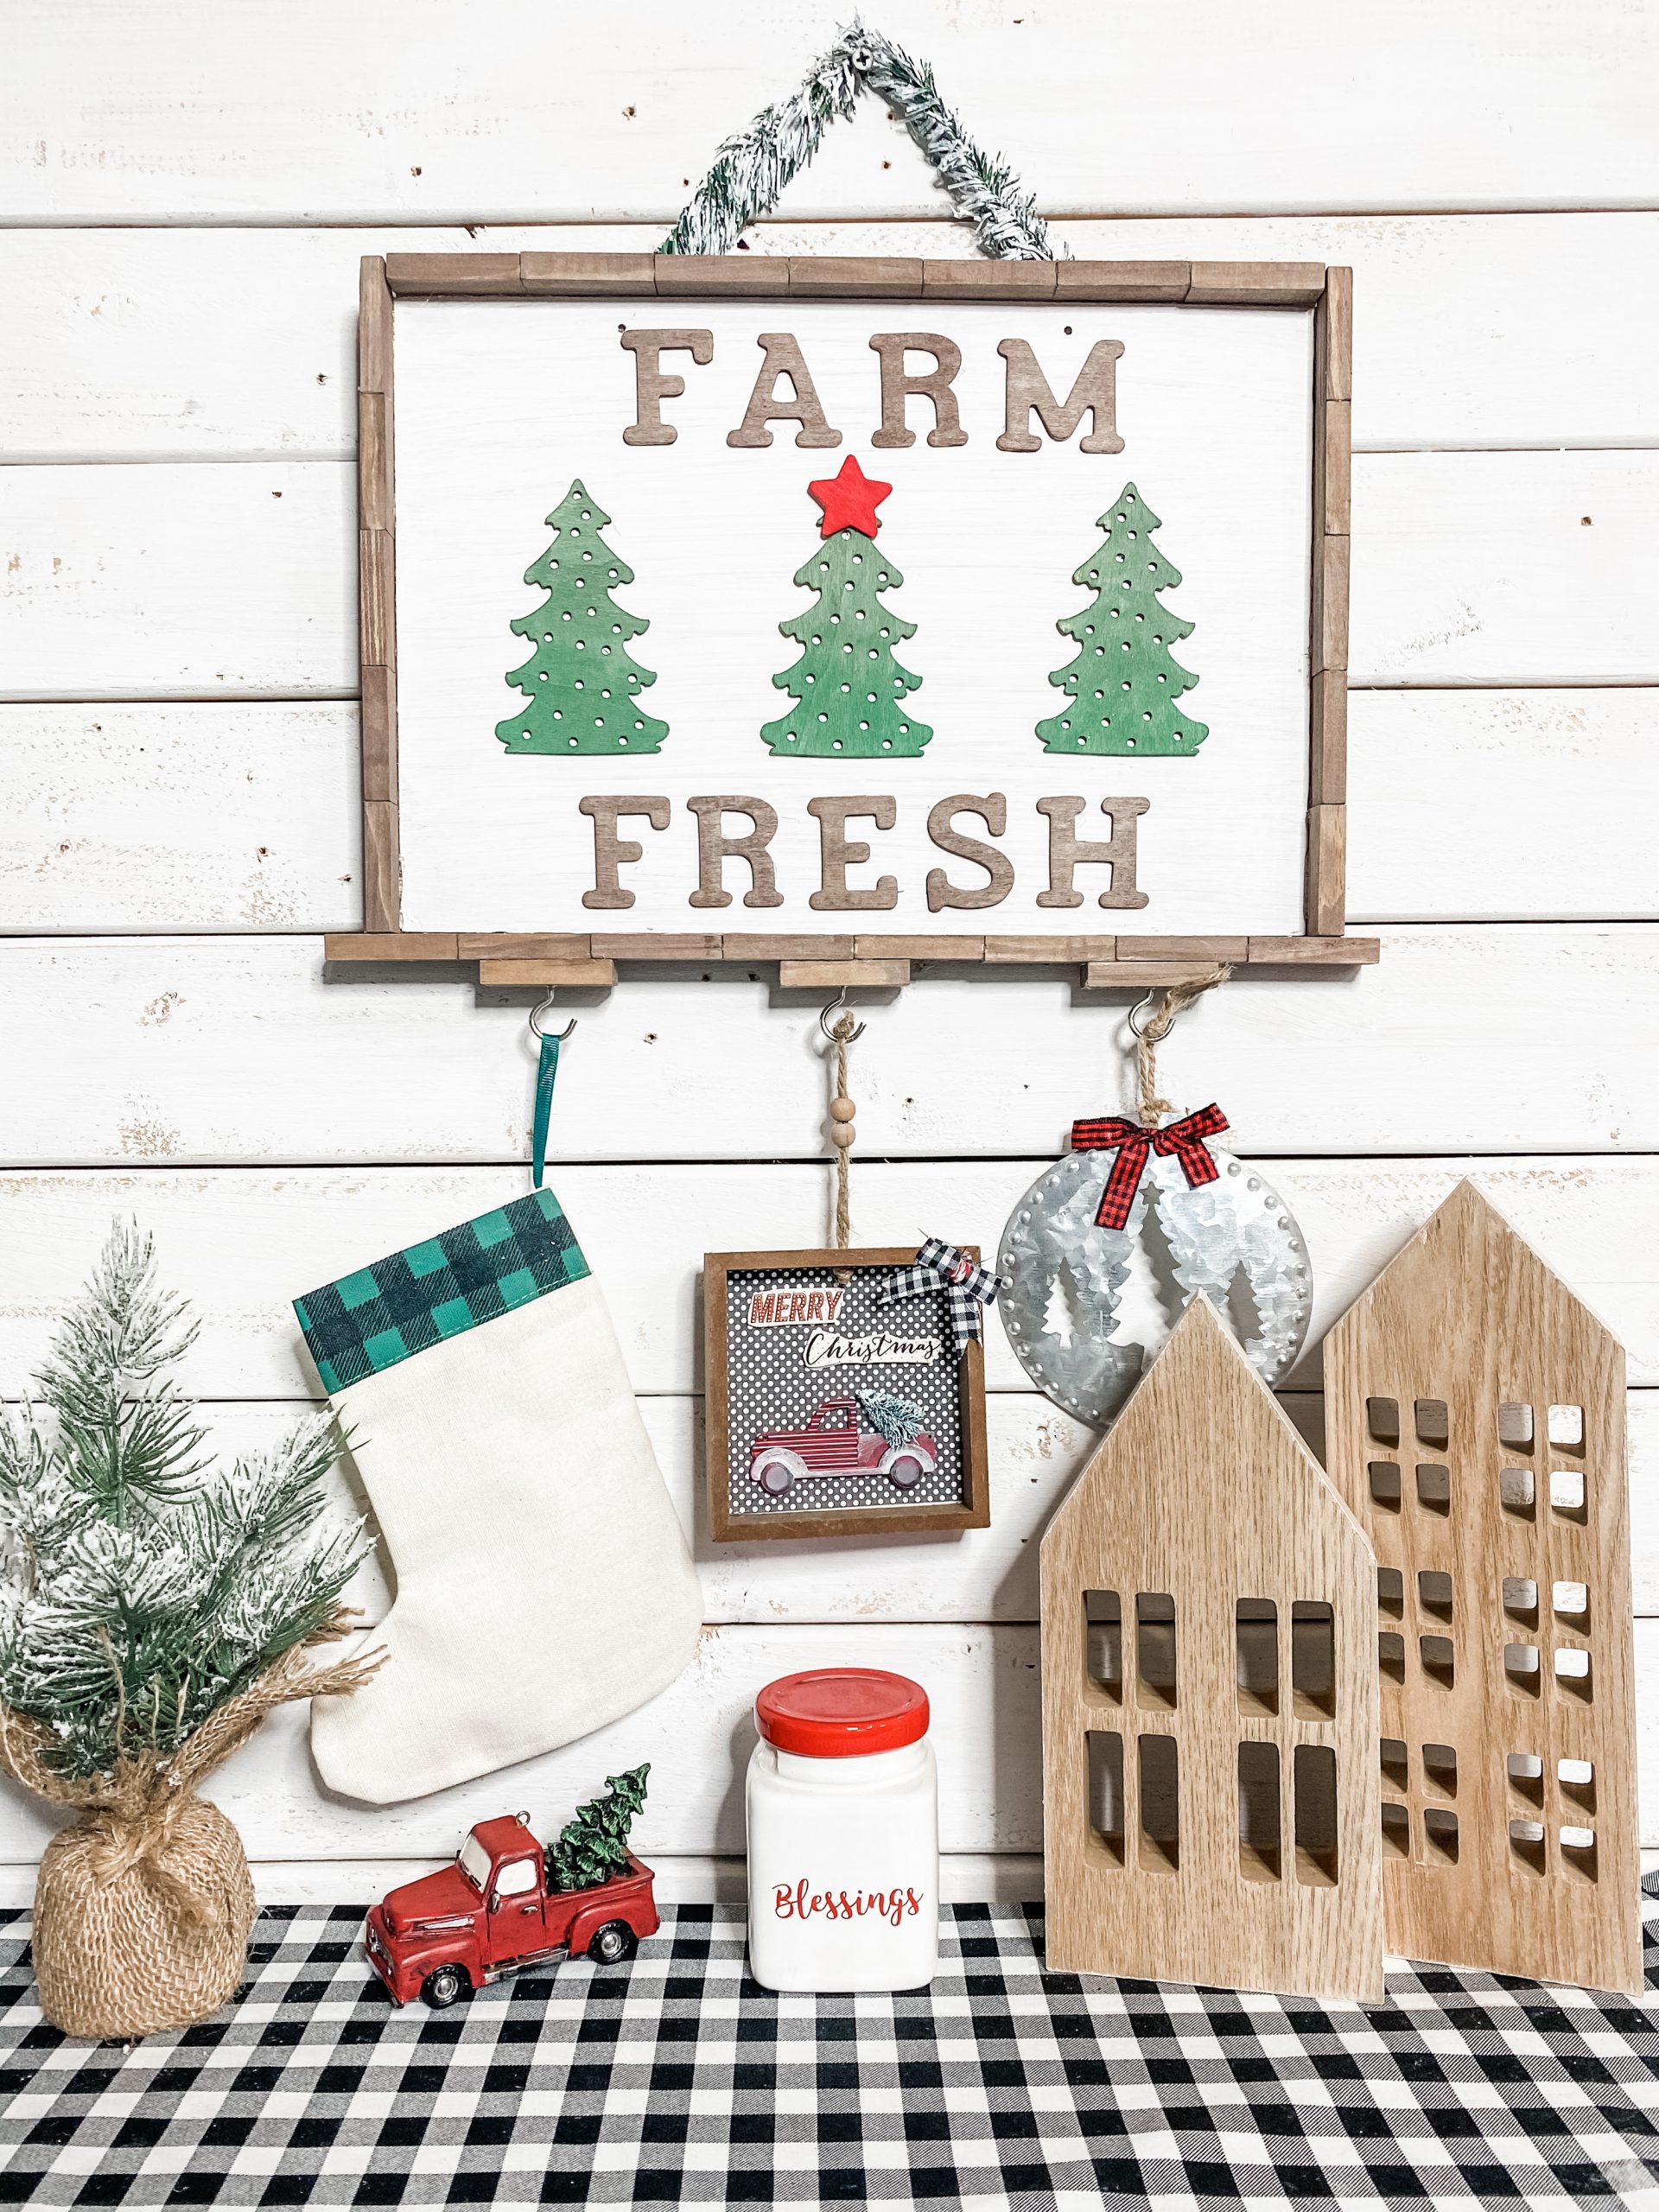
How to Make a $5 Dollar Tree Farmhouse Christmas DIY
Anytime I make something new, I usually have an idea of what or where I’m going to use it. When I was imagining How to Make a $5 Dollar Tree Farmhouse Christmas DIY, I was thinking about college students who are trying to decorate their dorm or apartment for Christmas on a budget and without putting a bunch of holes in their walls.
Everyone needs a place to hang their stockings, so that’s what I imagine this being used for in a student’s dorm or apartment decor.
If you’re a college student figuring out how to decorate a dorm room, this is an easy and cute DIY for you. All you need is a removable sticky hook to hang this on your wall!
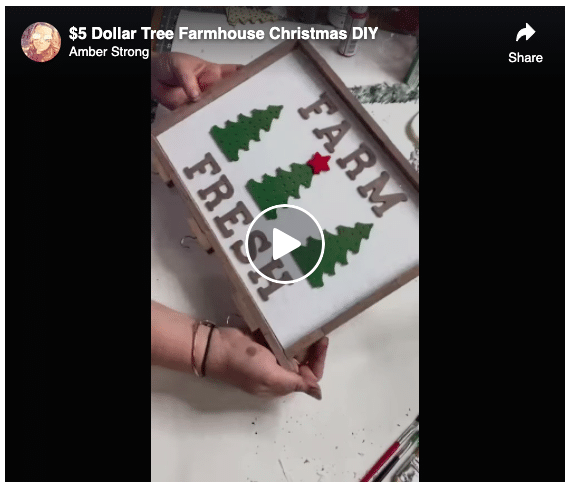
Check out the video tutorial!
Usually, I record my DIY crafts during a Facebook LIVE, but for this one, I recorded just the step-by-step of how to make this super easy Christmas DIY.
If you are a visual learner and really want to see the steps of how I made this adorable farmhouse DIY sign, you can check out the tutorial video!
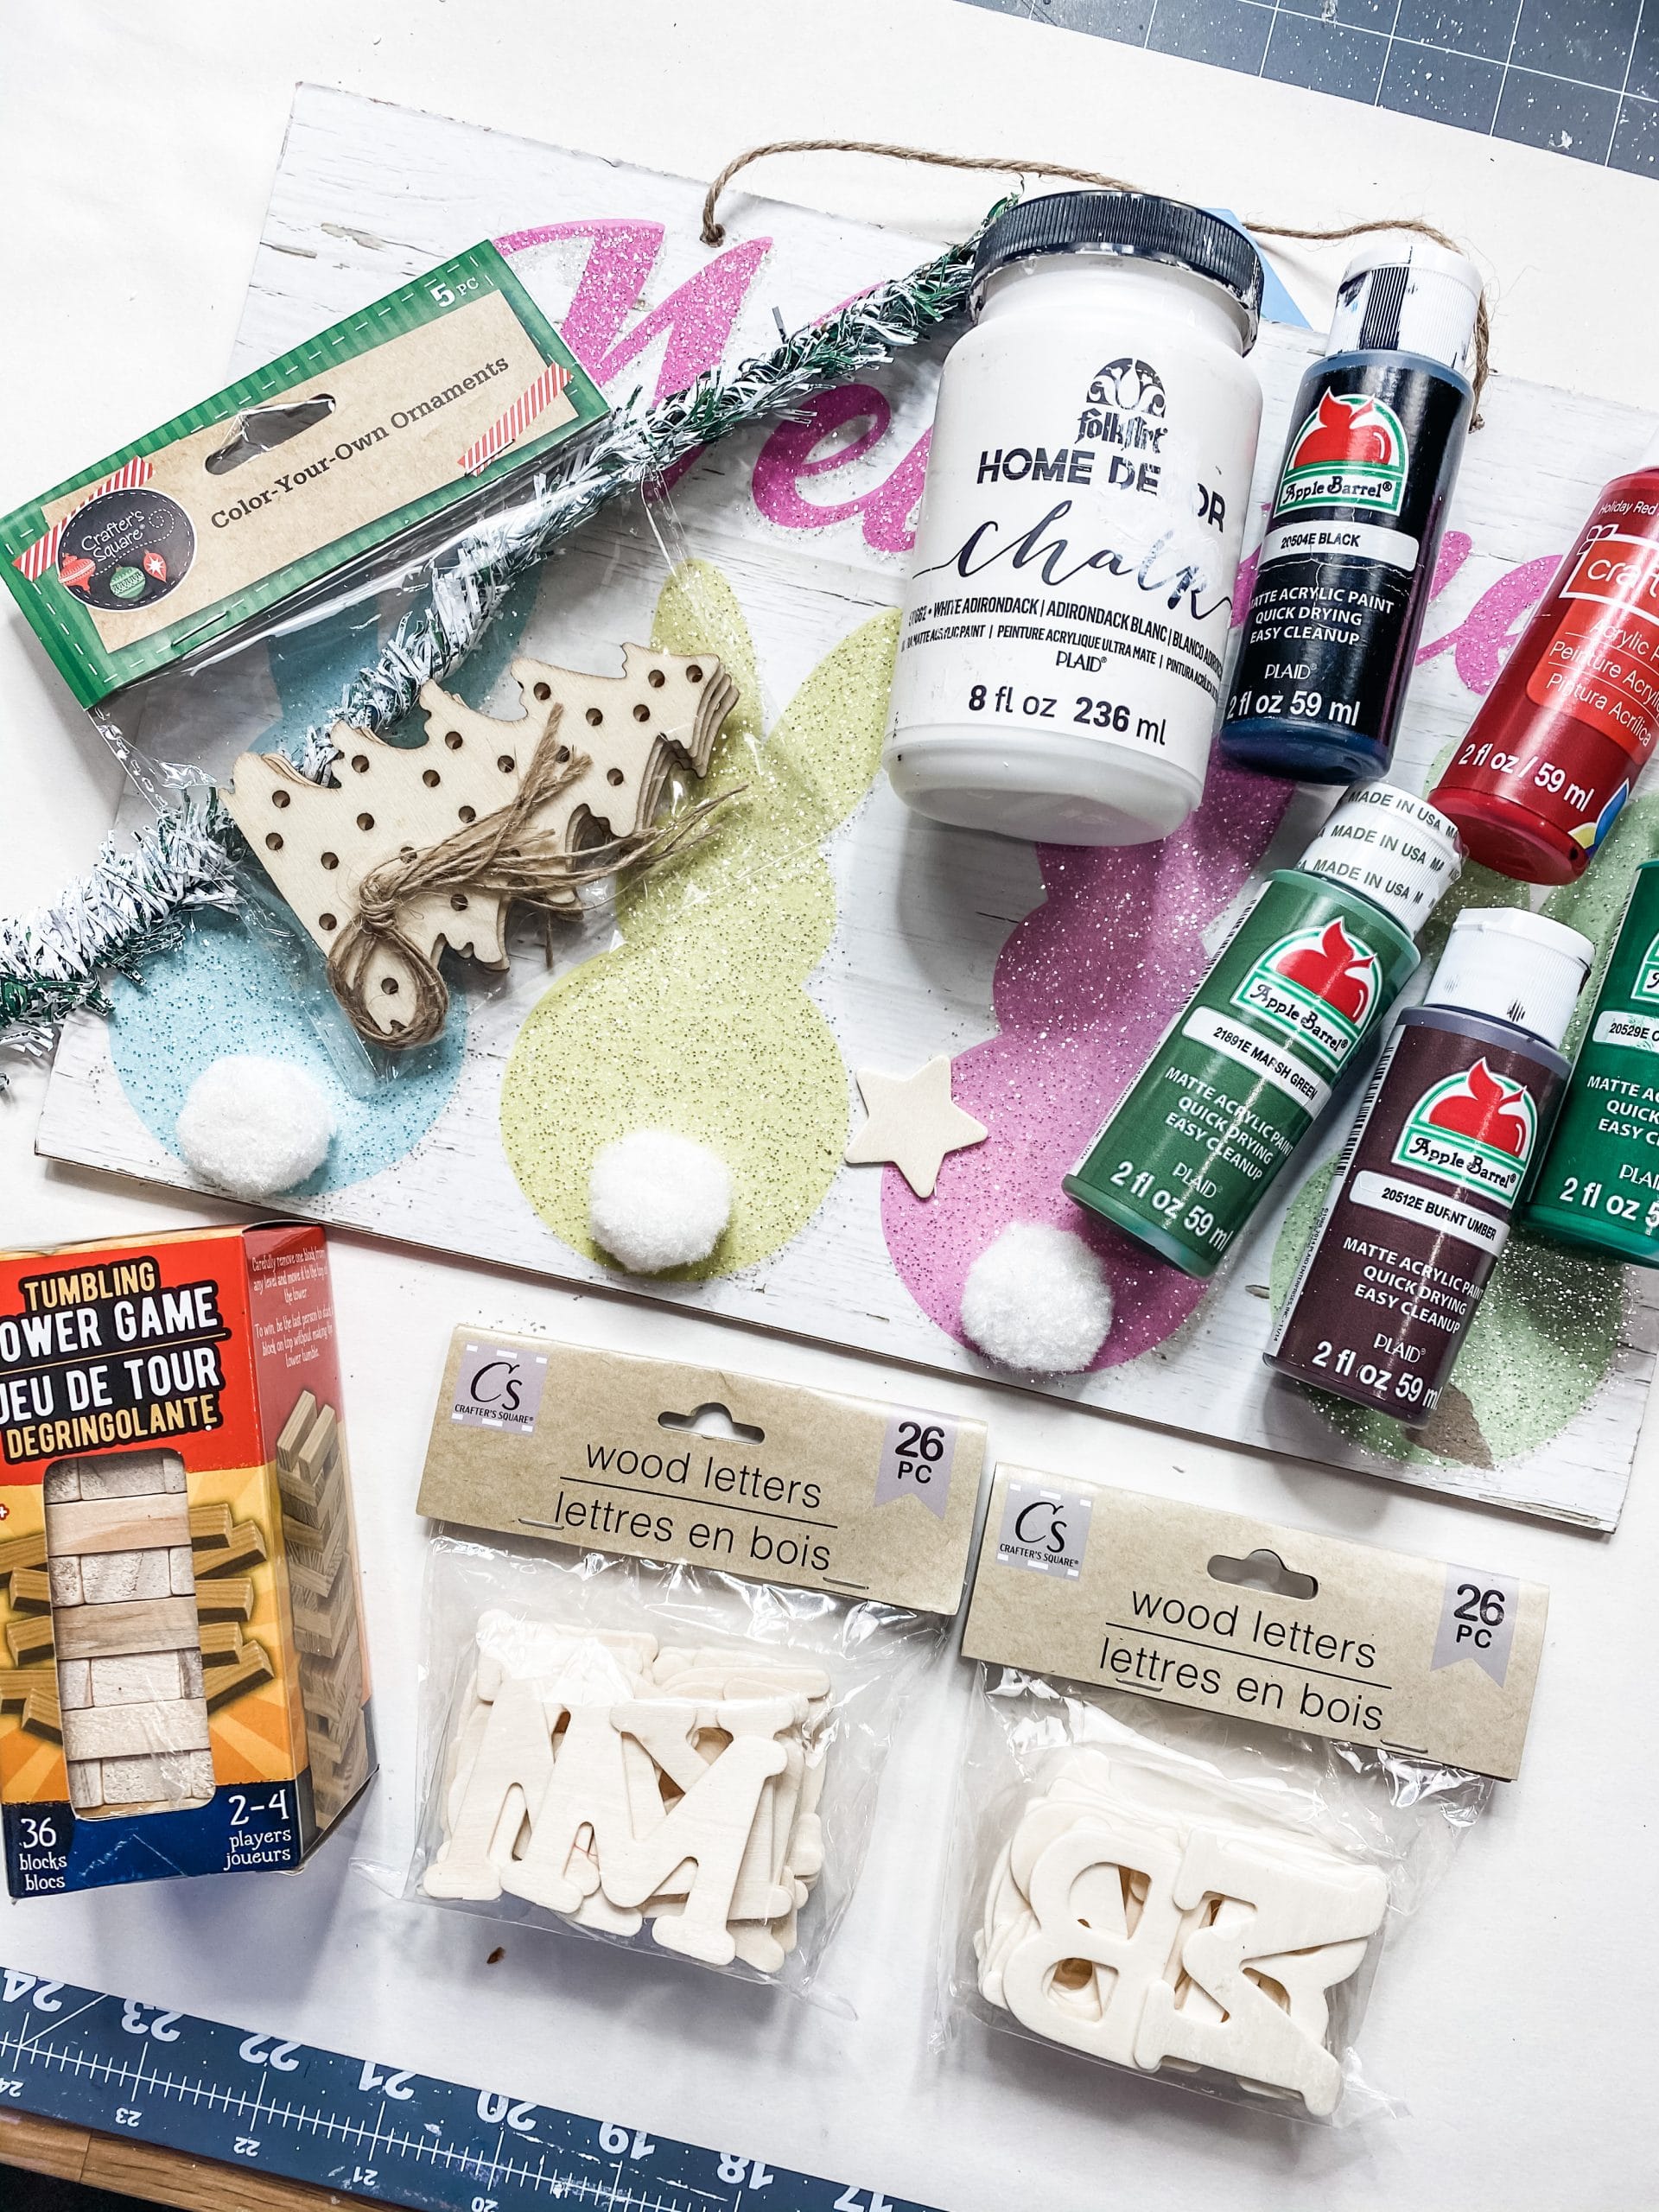
For this project, I will be using these items but you can substitute where you want.
“As an Amazon Associate, I earn from qualifying purchases.”
- Dollar Tree Wood Sign
- Dollar Tree Tumbling Tower Blocks (Jenga Blocks)
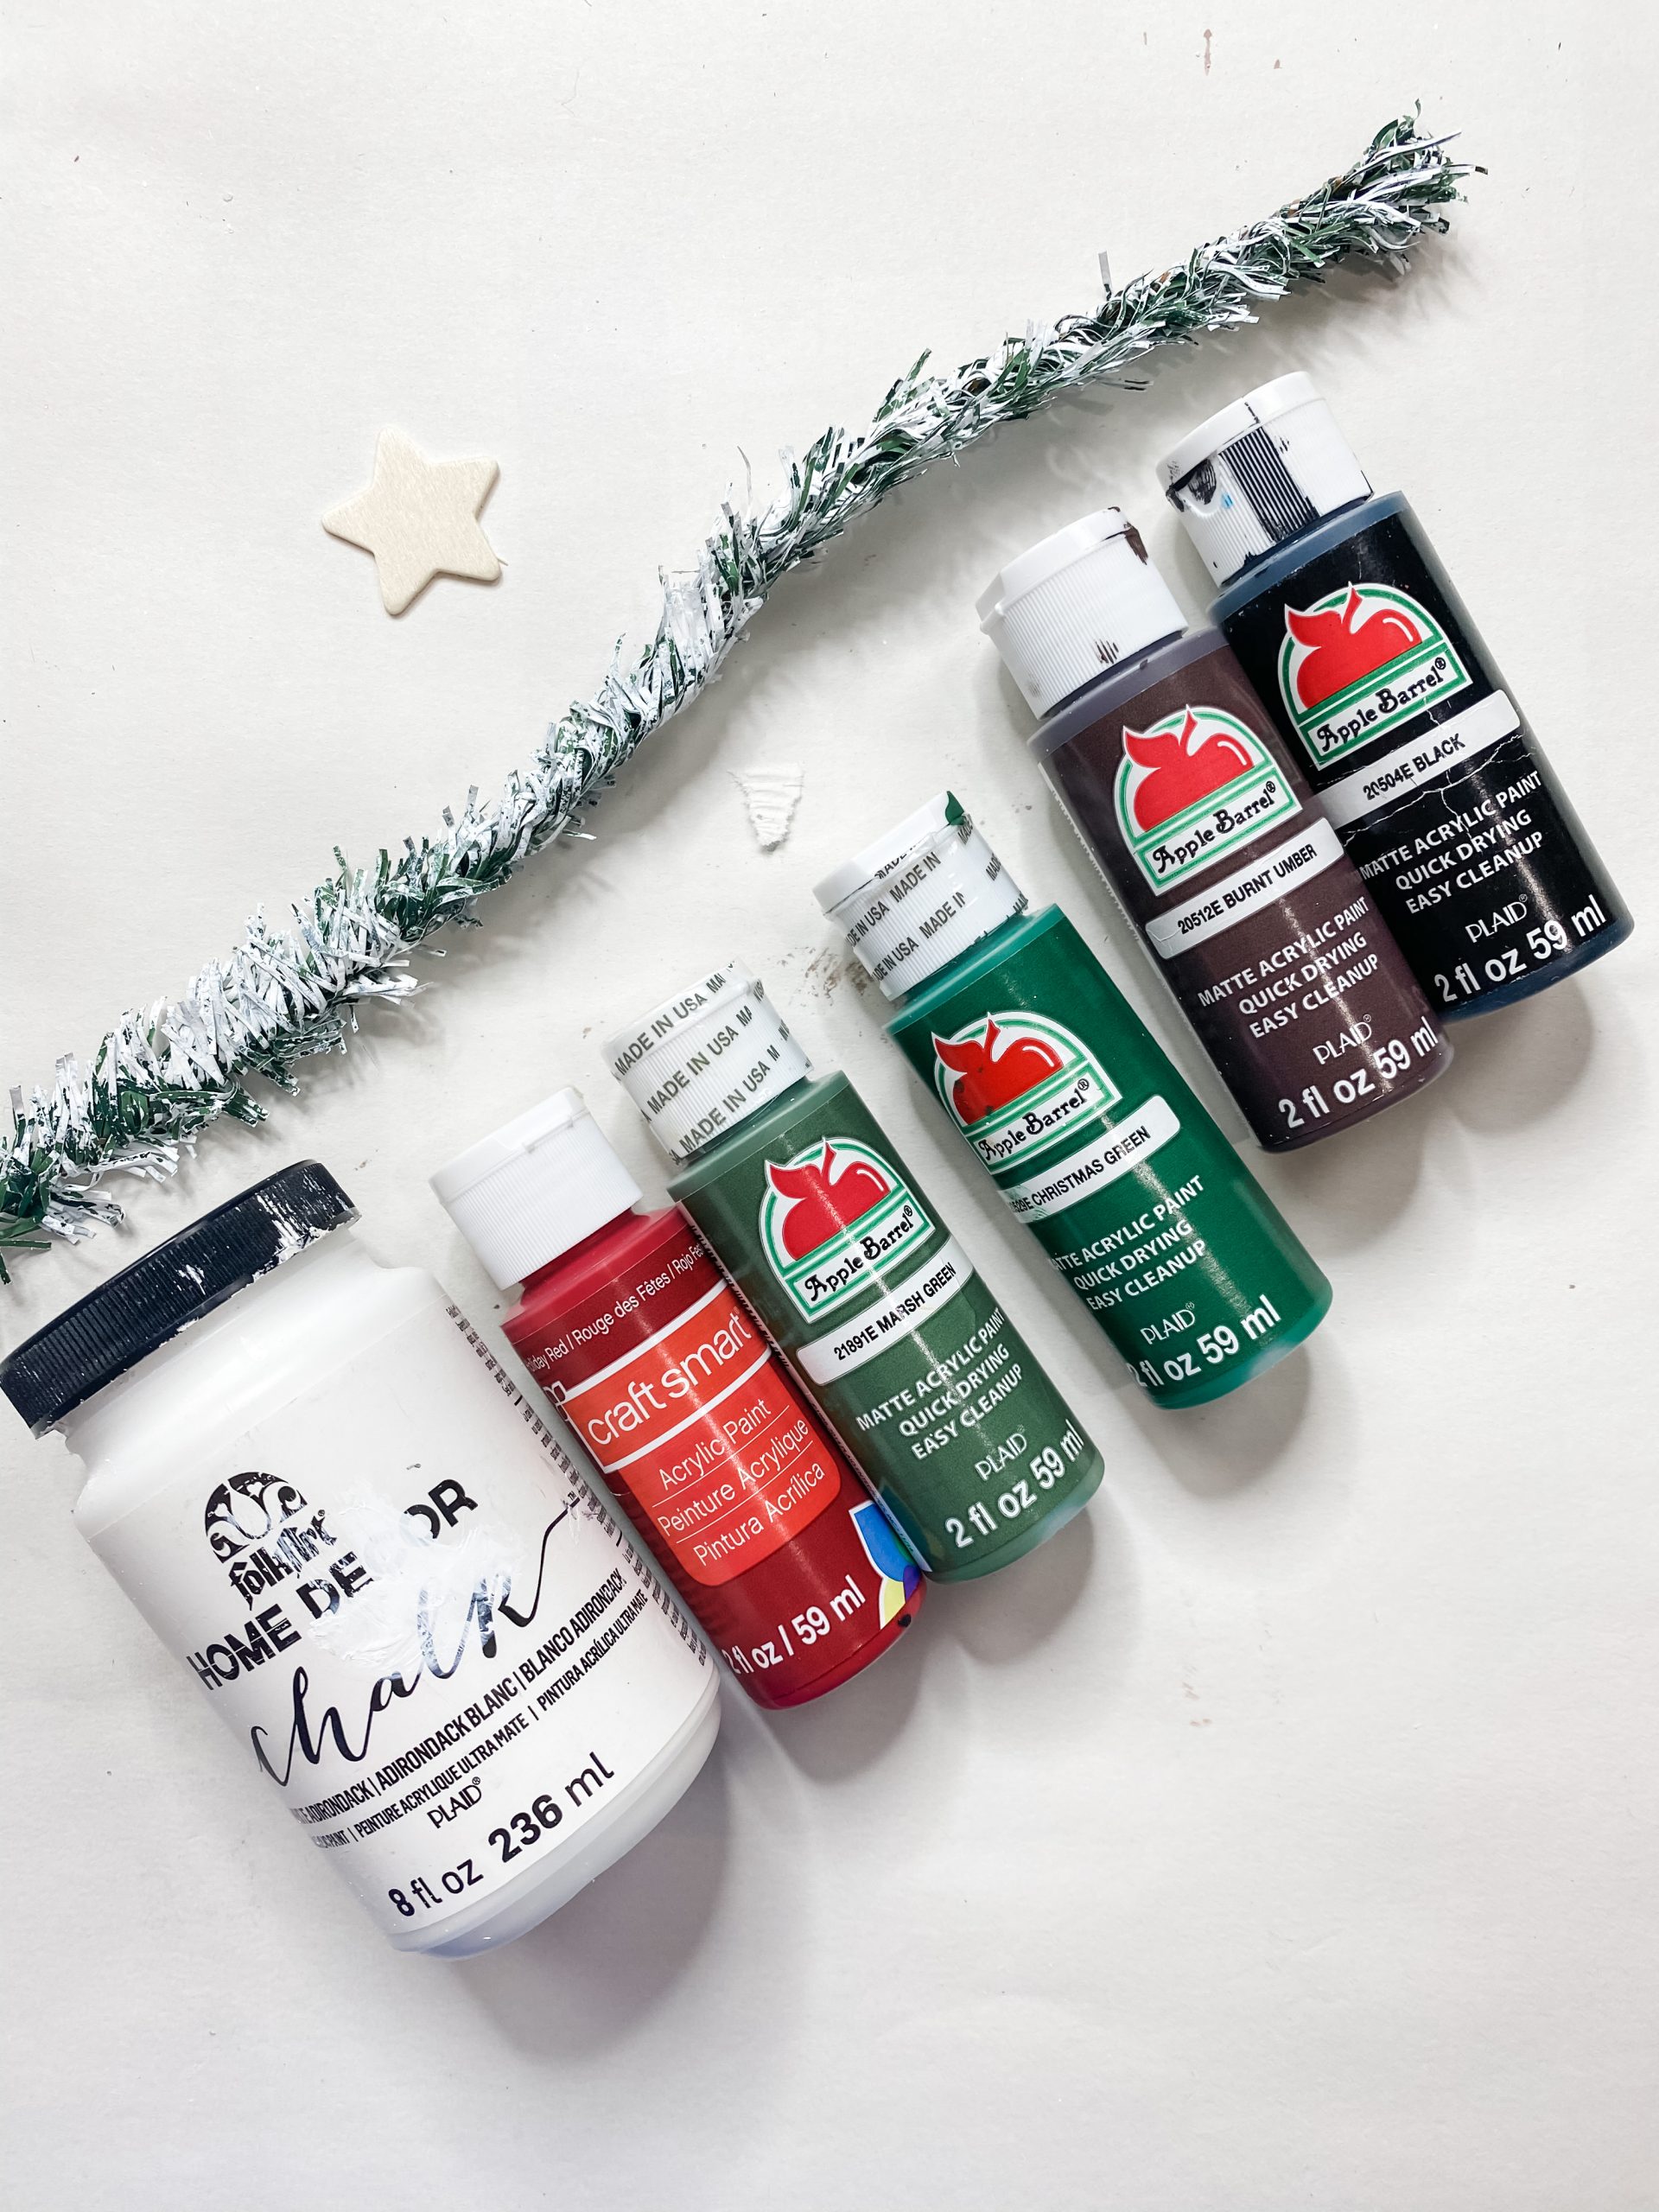
- Craft Smart Red Paint
- Wood Star
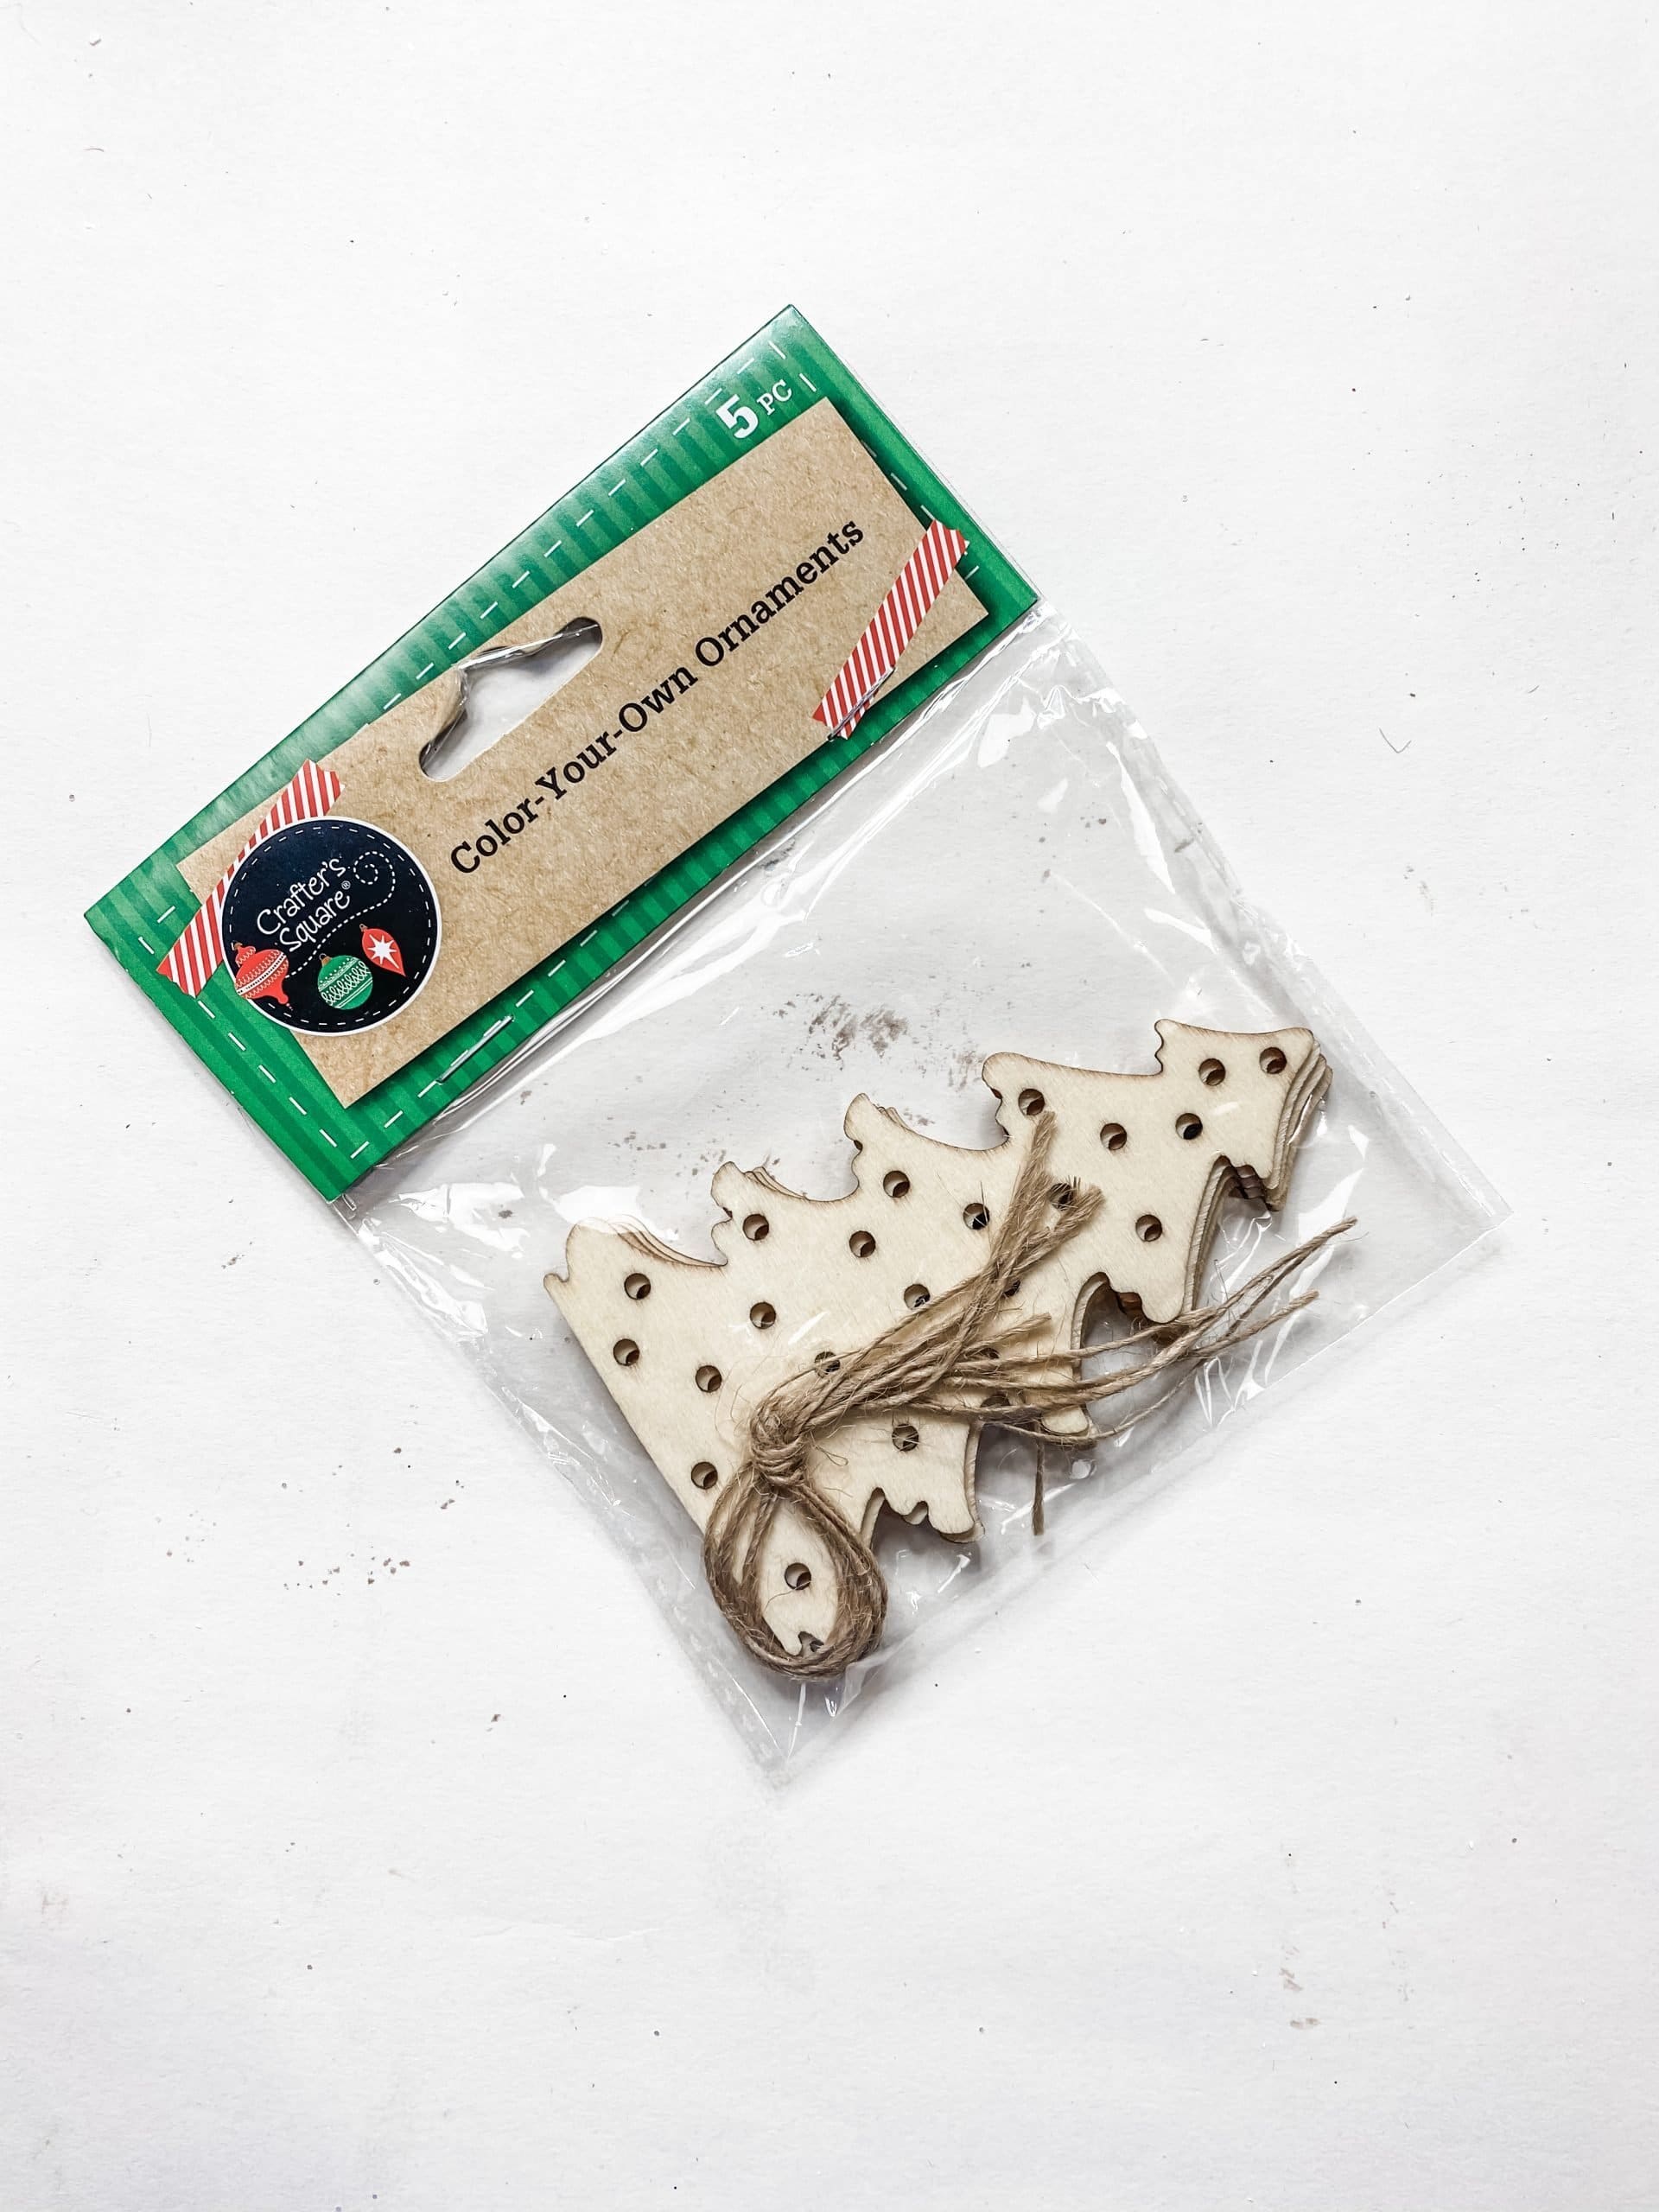
- Dollar Tree Christmas tree cutouts
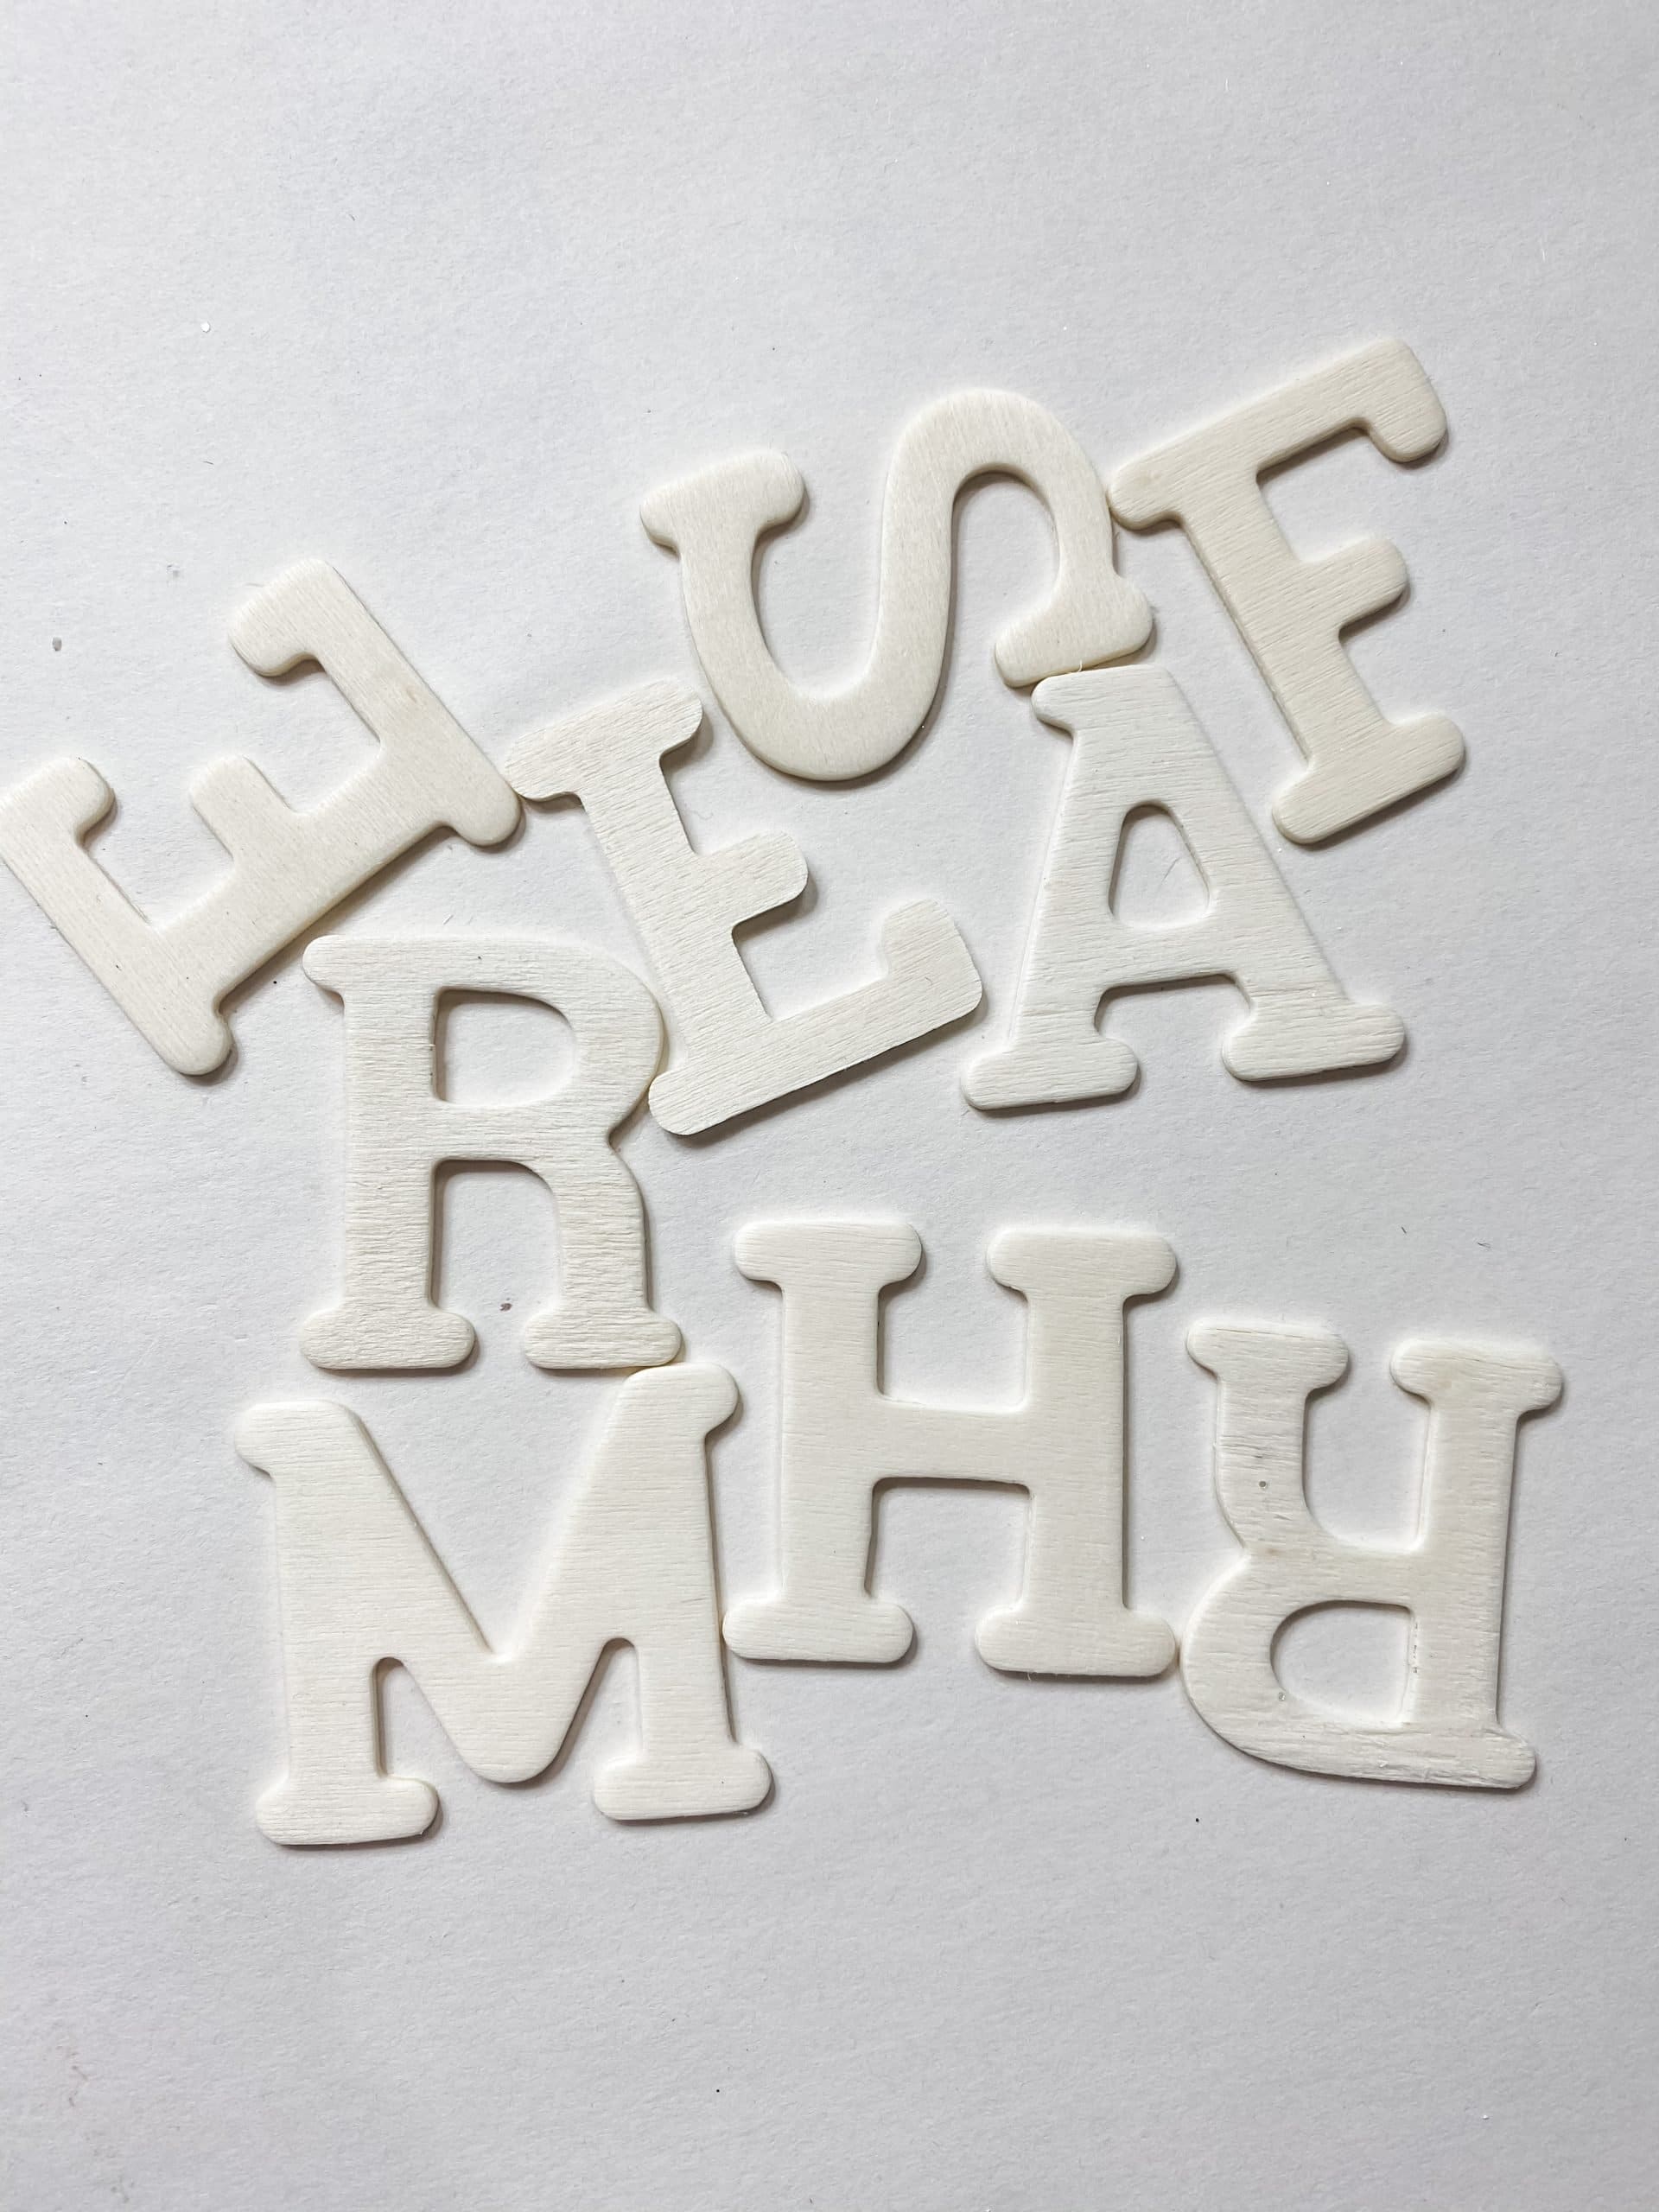
- Dollar Tree Wood Letters
- Apple Barrel Christmas Tree Green Acrylic Paint
- Dollar Tree Wired Garland
- Folkart White Chalk Paint
- Apple Barrel Burnt Umber Acrylic Paint
- Apple Barrel Marsh Green Acrylic Paint
- Glue Gun
- Heat gun
- Artists Brushes
- 1-in chippy paintbrush
Let’s get to the good stuff!
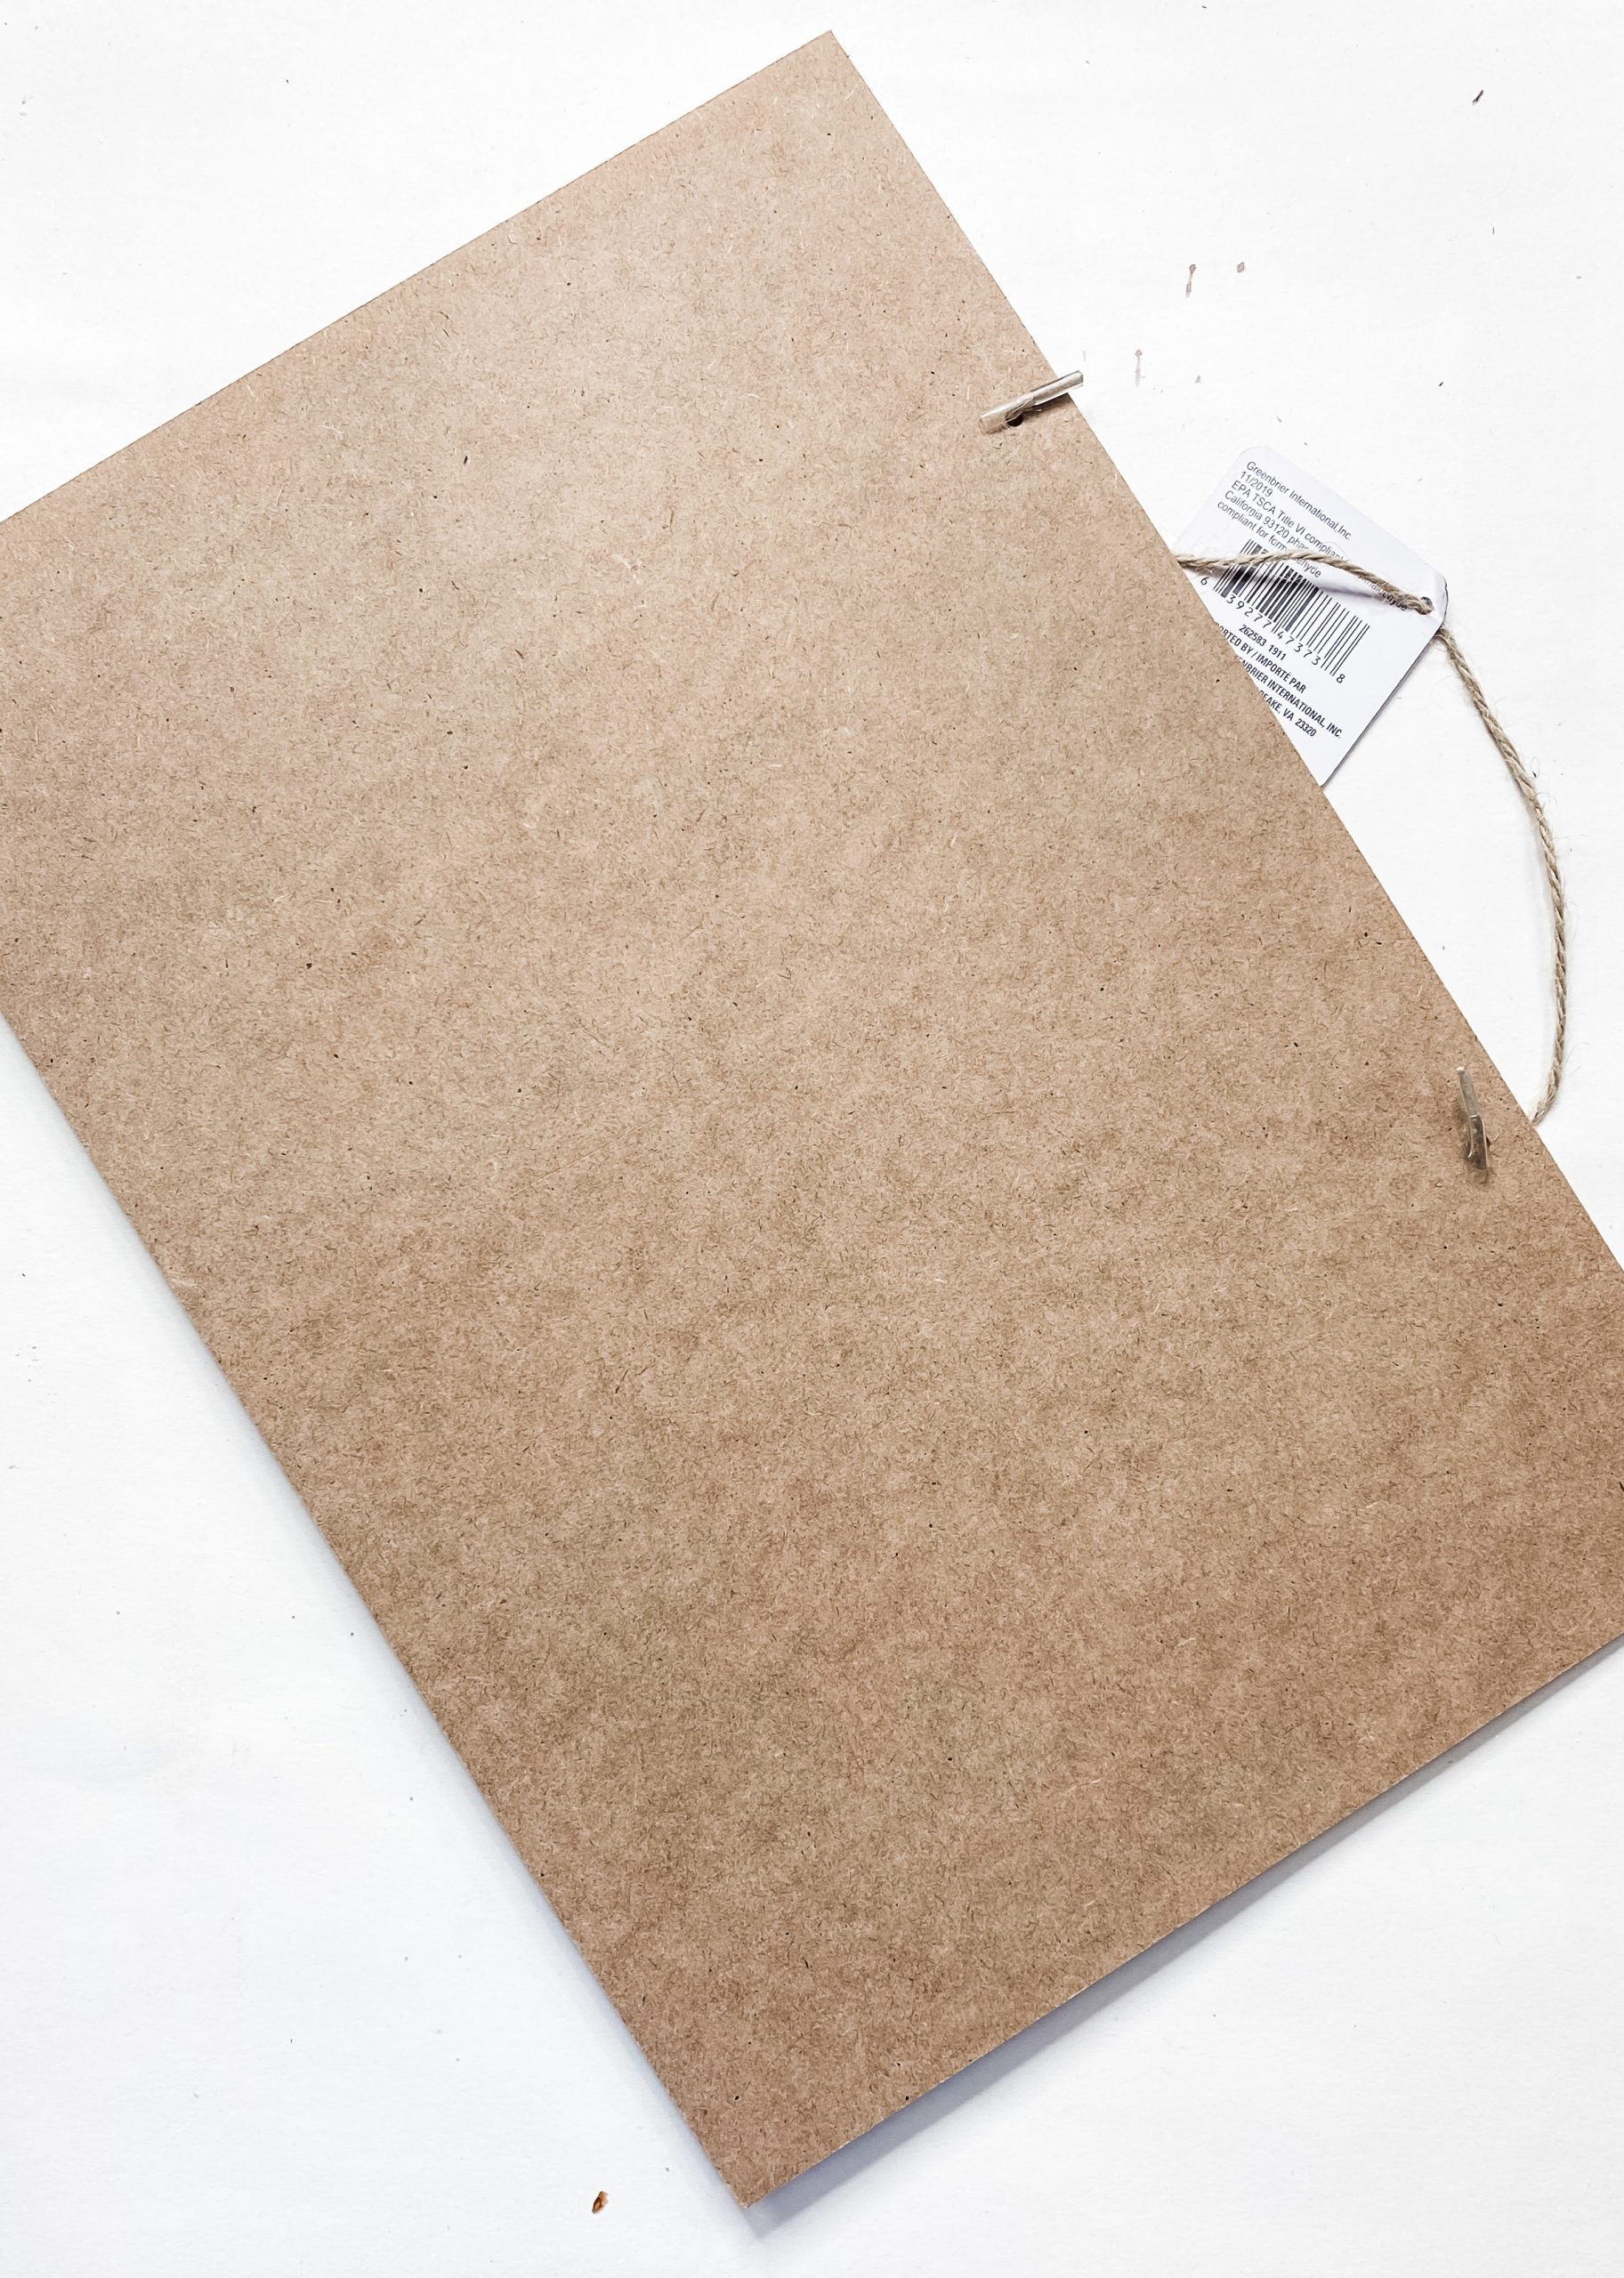
I used a Dollar Tree Easter sign to make this Christmas DIY, so I had to remove the little bunny tails and flip the wood sign over.
The back of these Dollar Tree signs are perfect for DIY’ing and you don’t have to worry about scraping all that glitter off!

Coat the wood with a layer of Folkart White Chalk Paint and allow it to dry. I like to use my heat gun to speed up the drying process. (You could use a hairdryer!)
Next, you’re going to decorate the Christmas Trees! I painted each of the 3 Christmas Tree wood cutouts with a coat of Apple Barrel Marsh Green Acrylic Paint first.
Then, I used the Christmas Tree green paint to the bottom halves of each Christmas Tree.
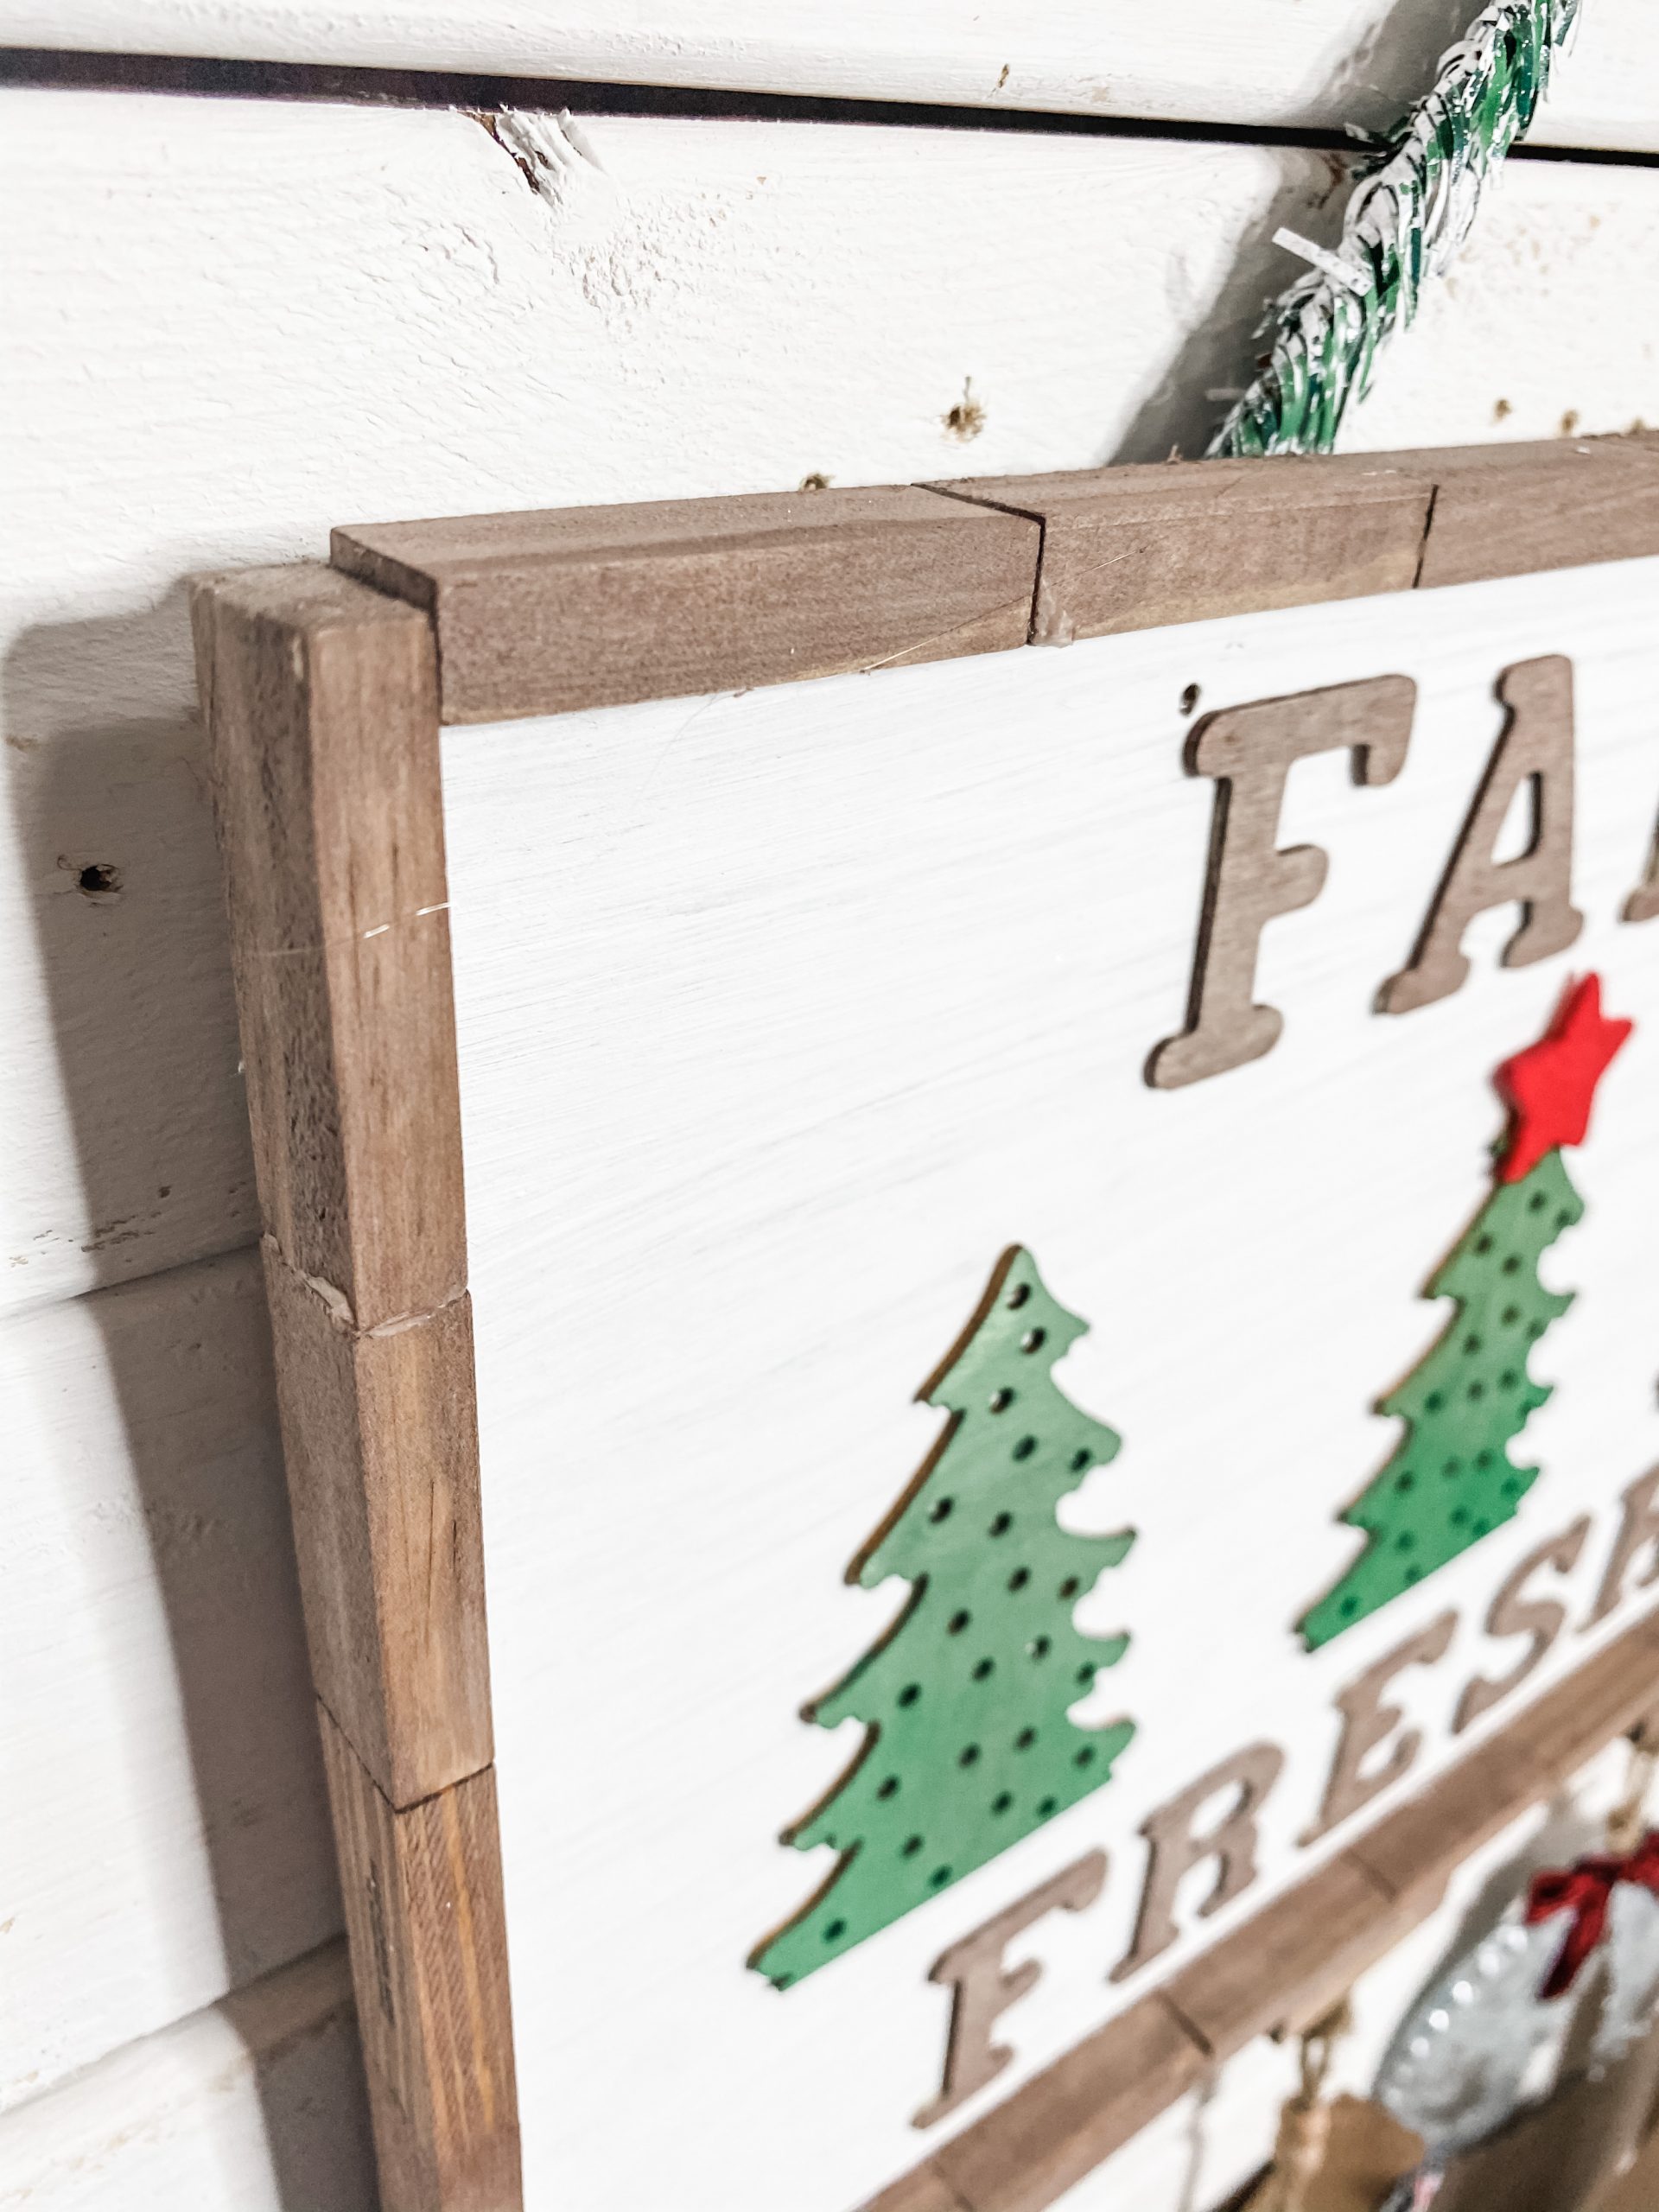
Make your frame
To make the frame around this Farmhouse Christmas Sign, I used 28 Dollar Tree Tumbling Tower Blocks. They’re pretty much Jenga blocks if you already have some of those lying around.
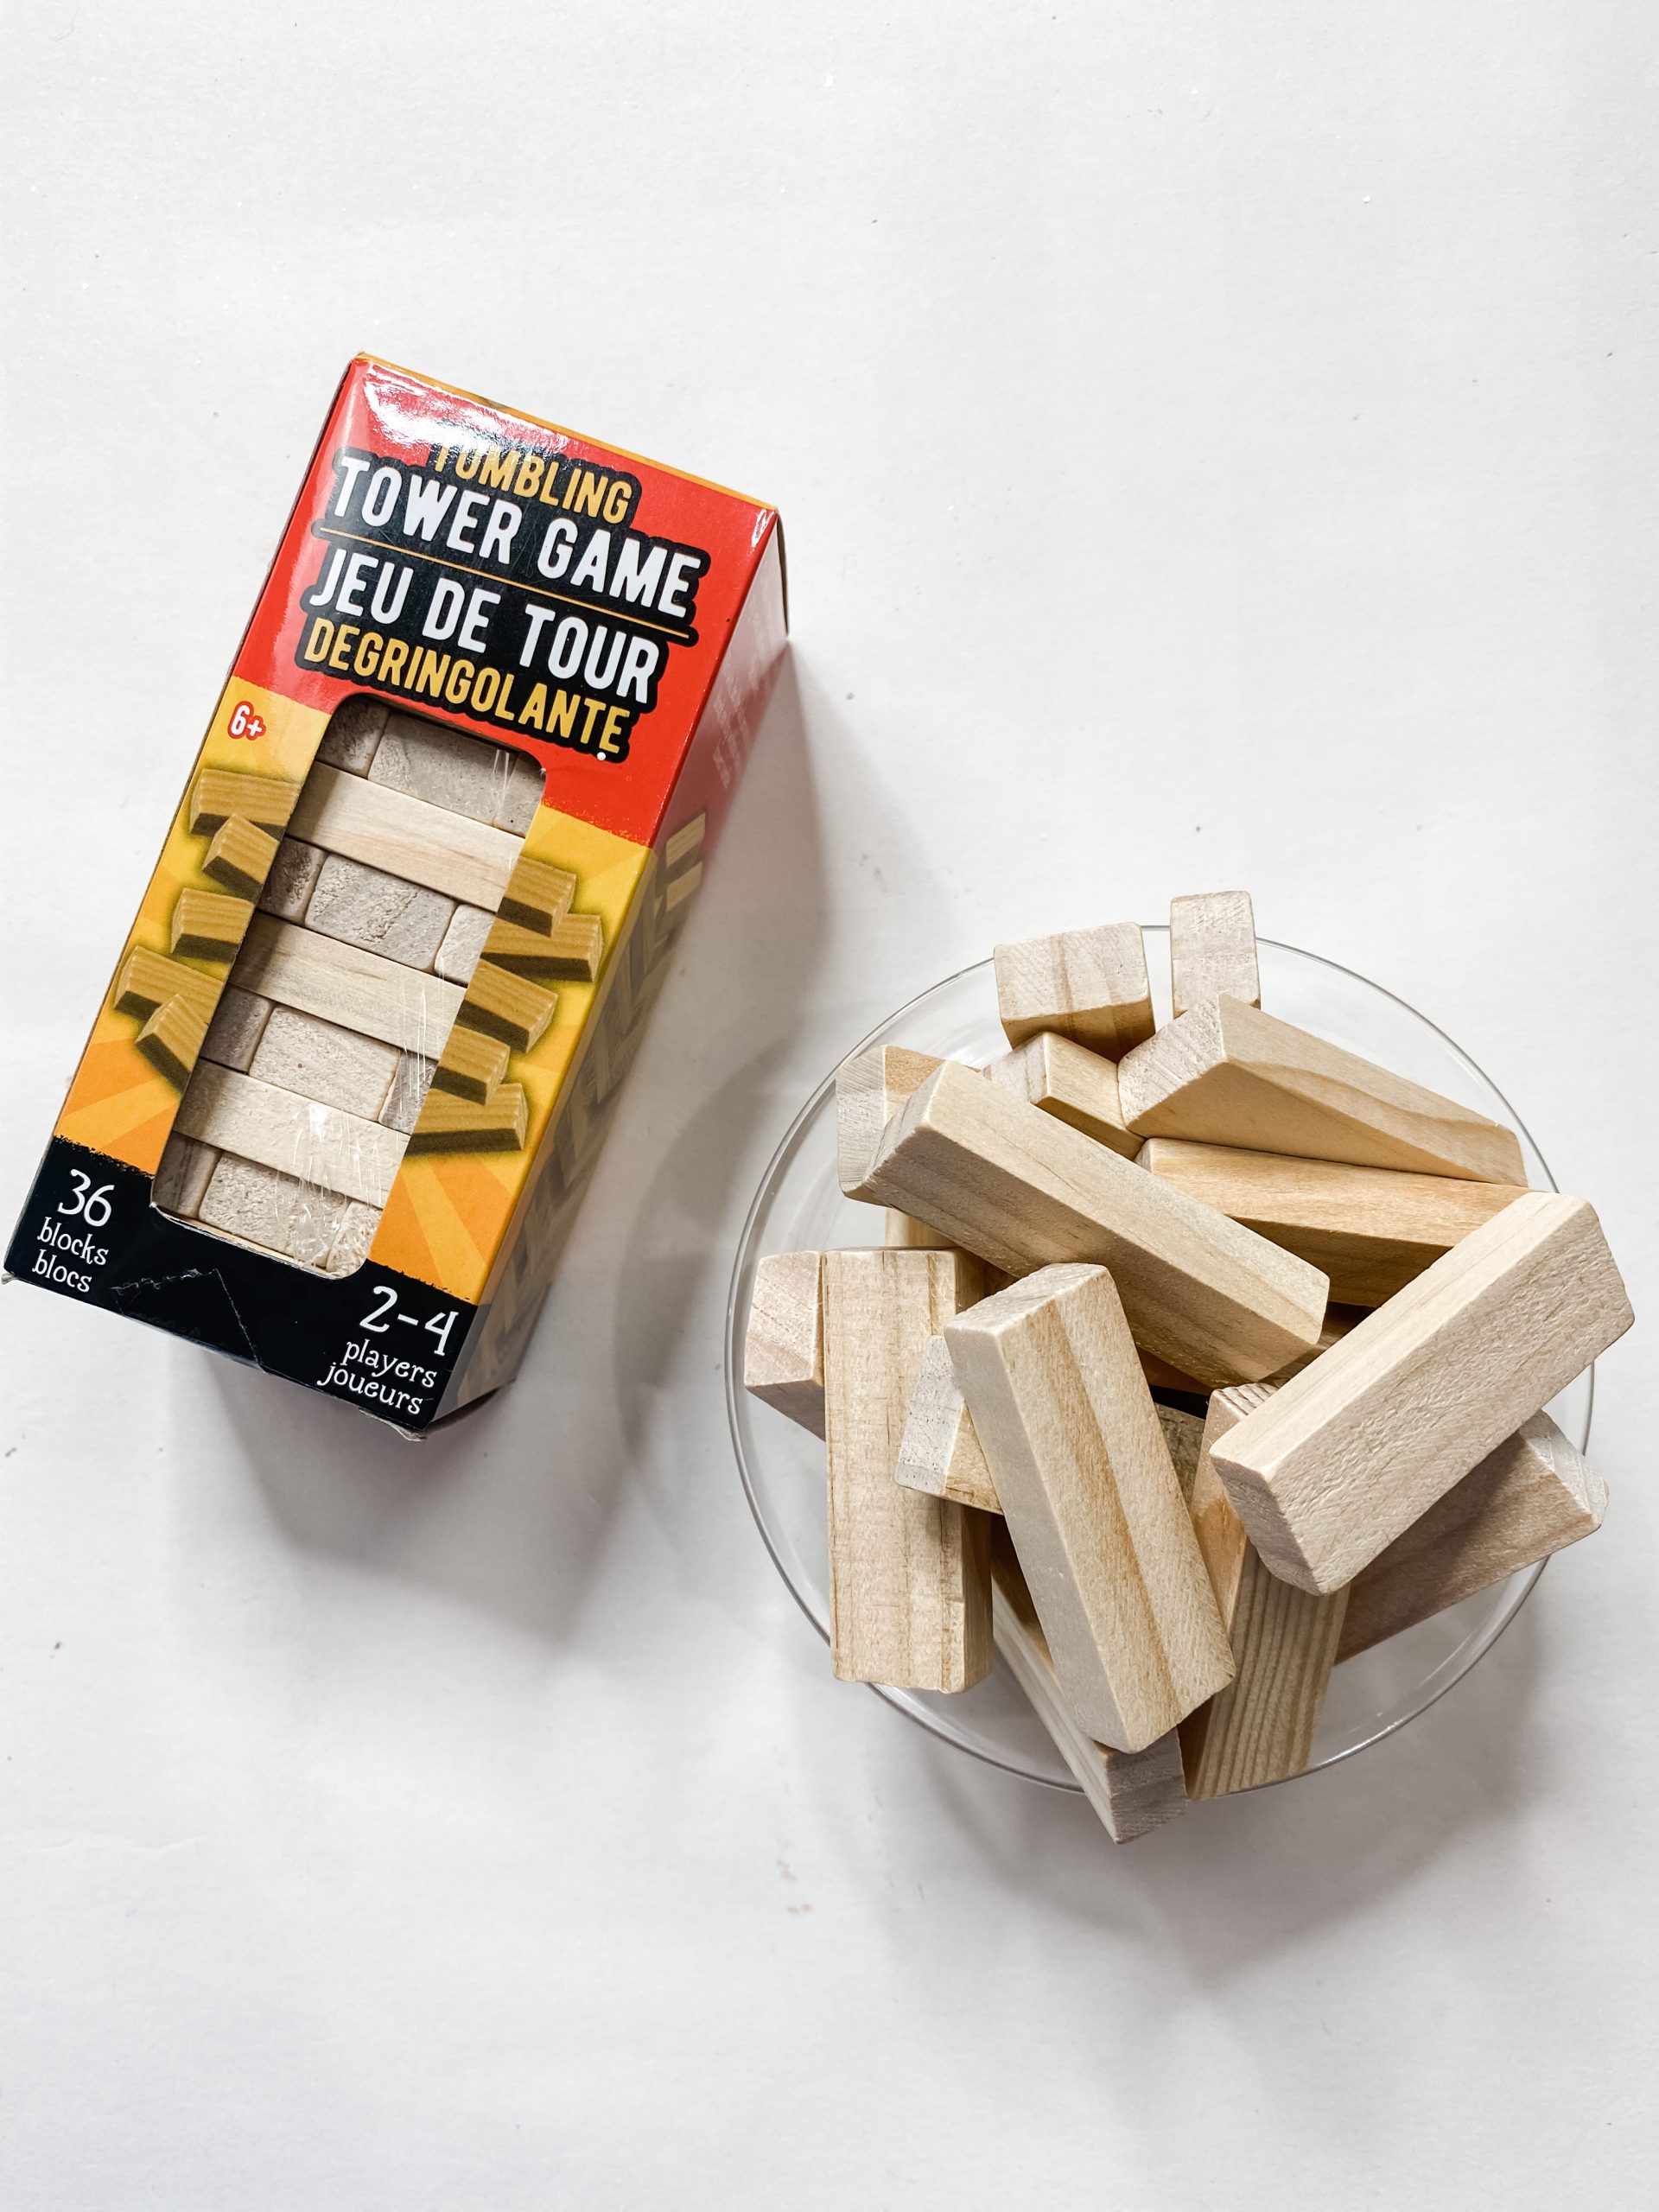
First, hot glue the Jenga blocks into 4 strips – one for each side. I used 5 Jenga blocks for the left and ride sides, 7 blocks for the top, and 8 blocks for the bottom.
For the last 3 blocks, I hot glued to the very bottom of the frame so that I could attach the hanging hooks.
I stained the blocks by mixing Apple Barrel Burnt Umber Acrylic Paint and water and spreading the mixture on the woodblocks with a baby wipe.
Adding the water helps the wood absorb the color and gives it a stained finish.
Once the blocks have dried, you can glue them to the edges of your wood sign. Set the sign aside to allow the glue to dry, and grab your Dollar Tree wood letters.
Farm Fresh
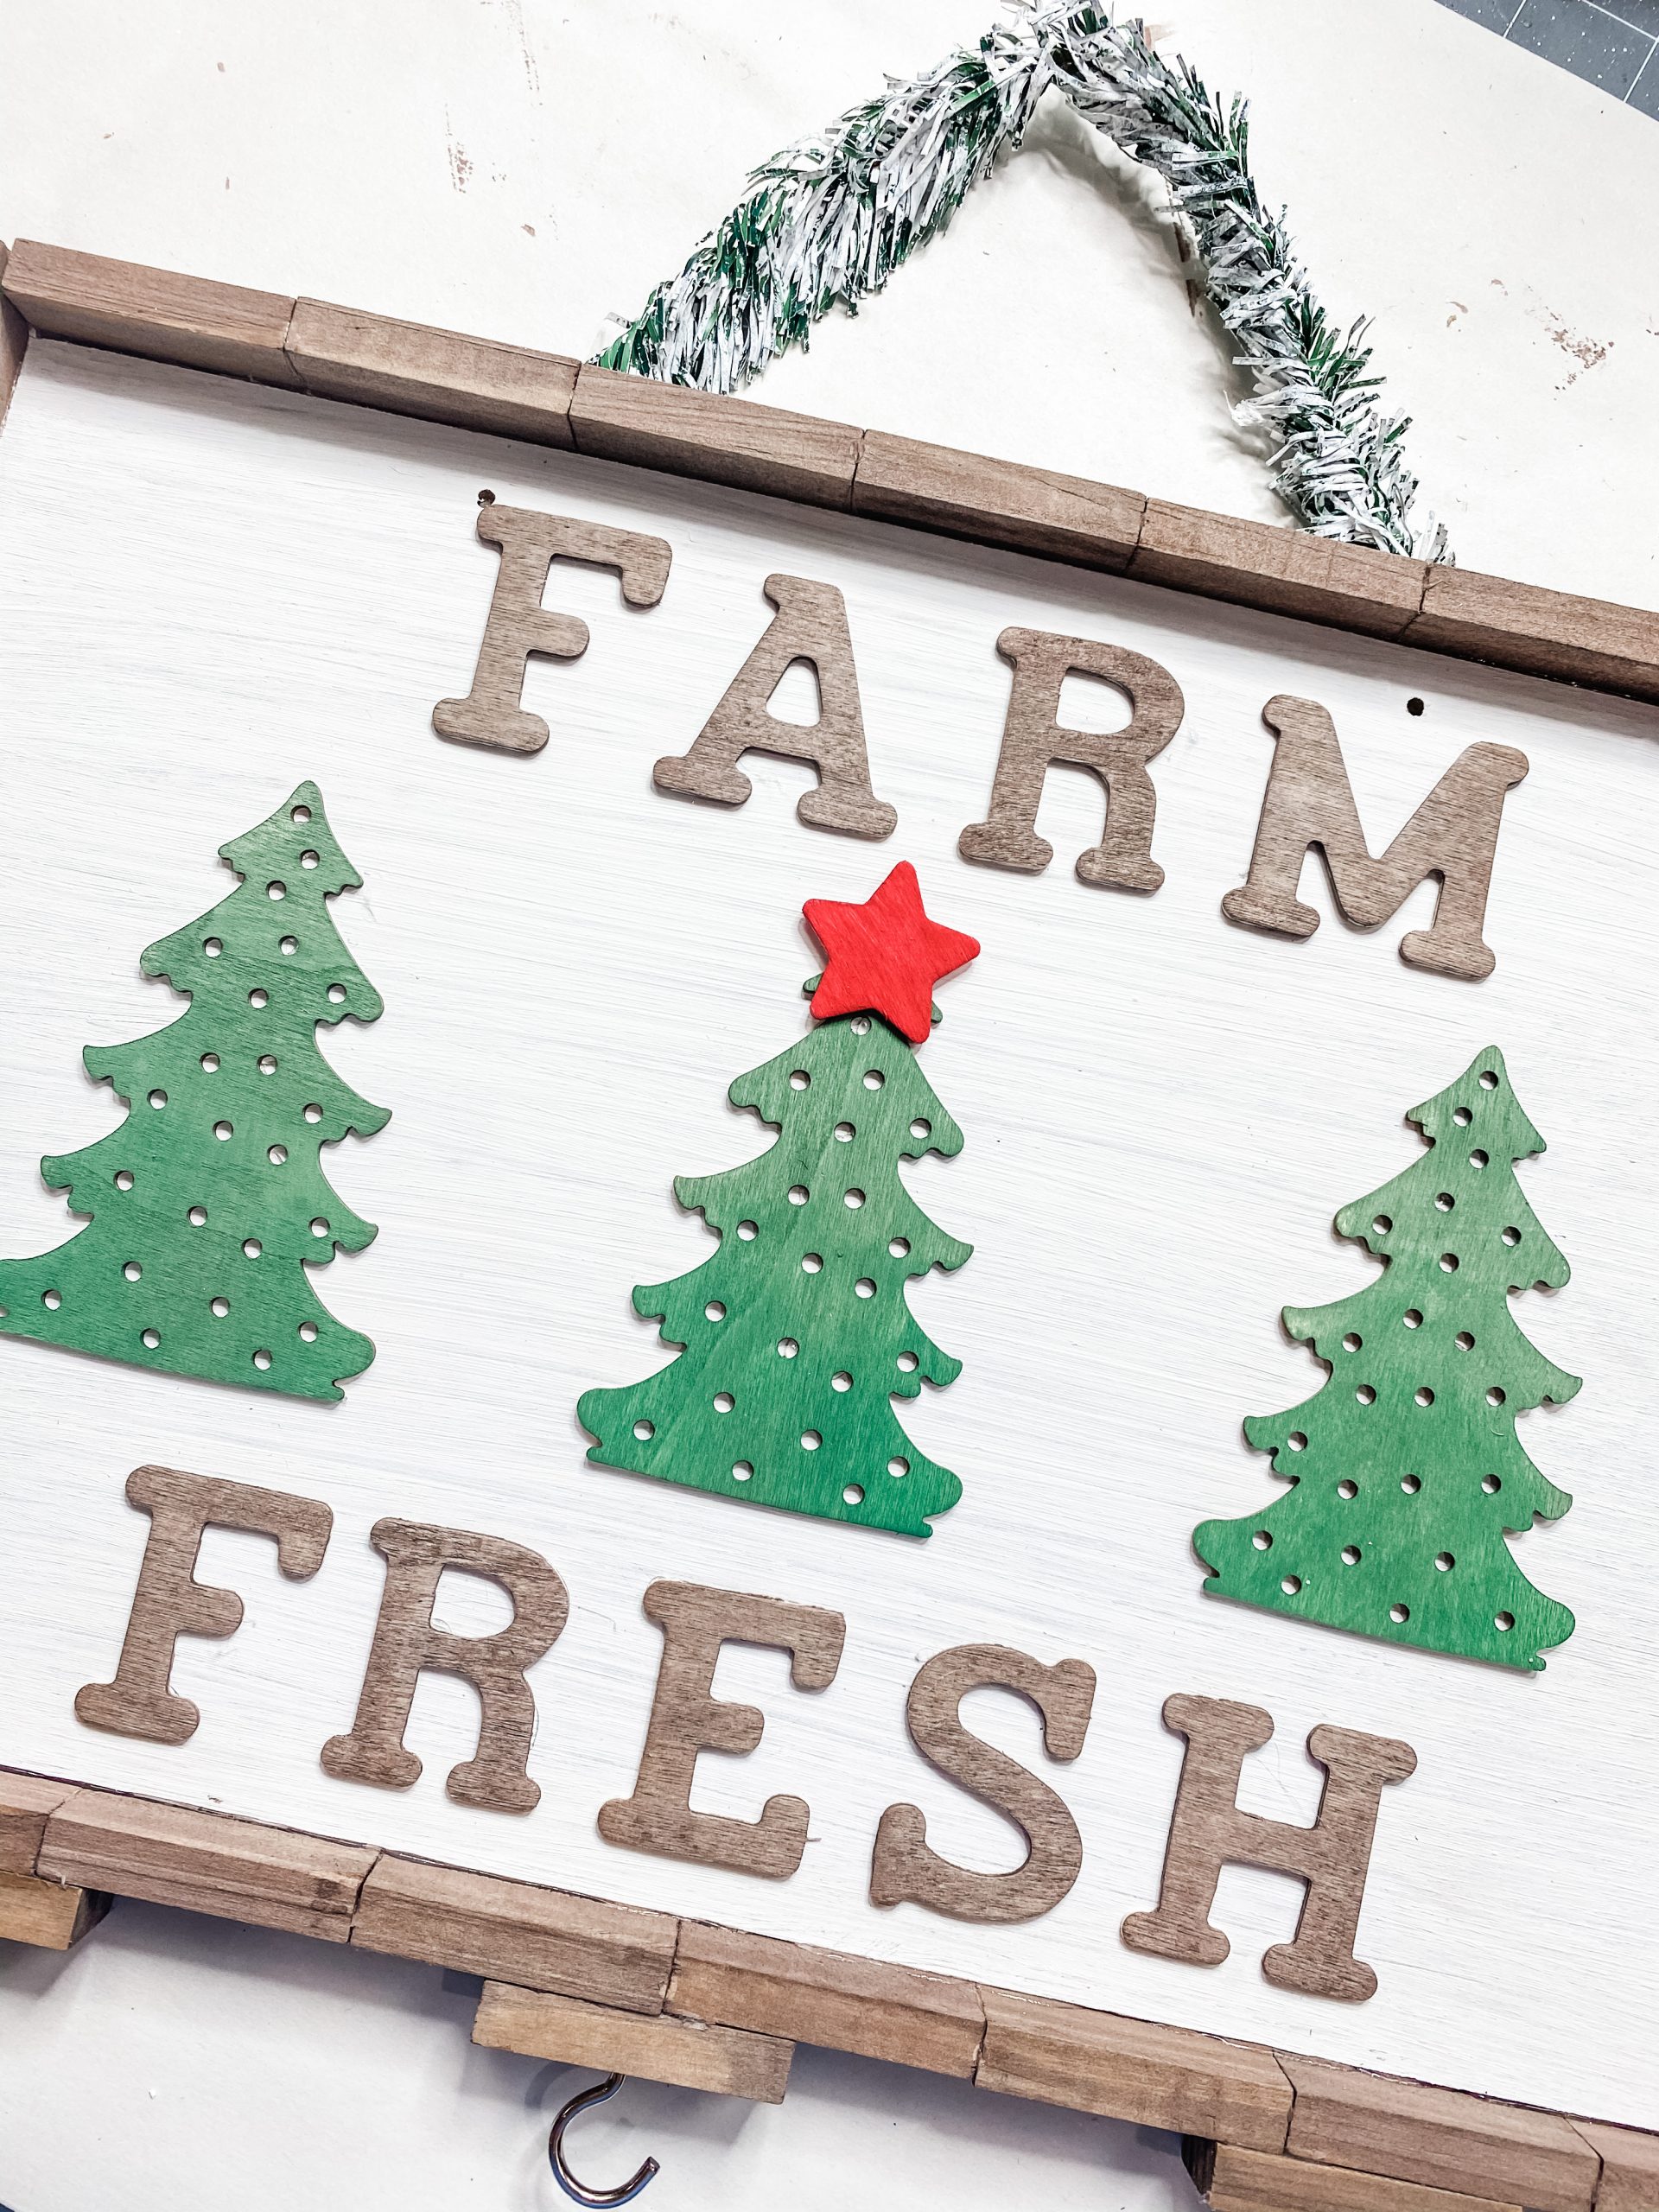
I stained the Dollar Tree wood letters with the same technique that I used on the Jenga blocks.
You can make your sign say whatever you want, but I decided to go with Farm Fresh. Merry Christmas would have been cute, too!
Once your letters are dry, you can start putting the whole DIY together! Layout the letters and trees to make sure they will fit the way that you want, and finalize their placements. Next, hot glue each letter one at a time.
Don’t take everything off to do this. Just lift each item one at a time and hot glue it right back down. This makes sure you don’t misplace or unevenly space your items.
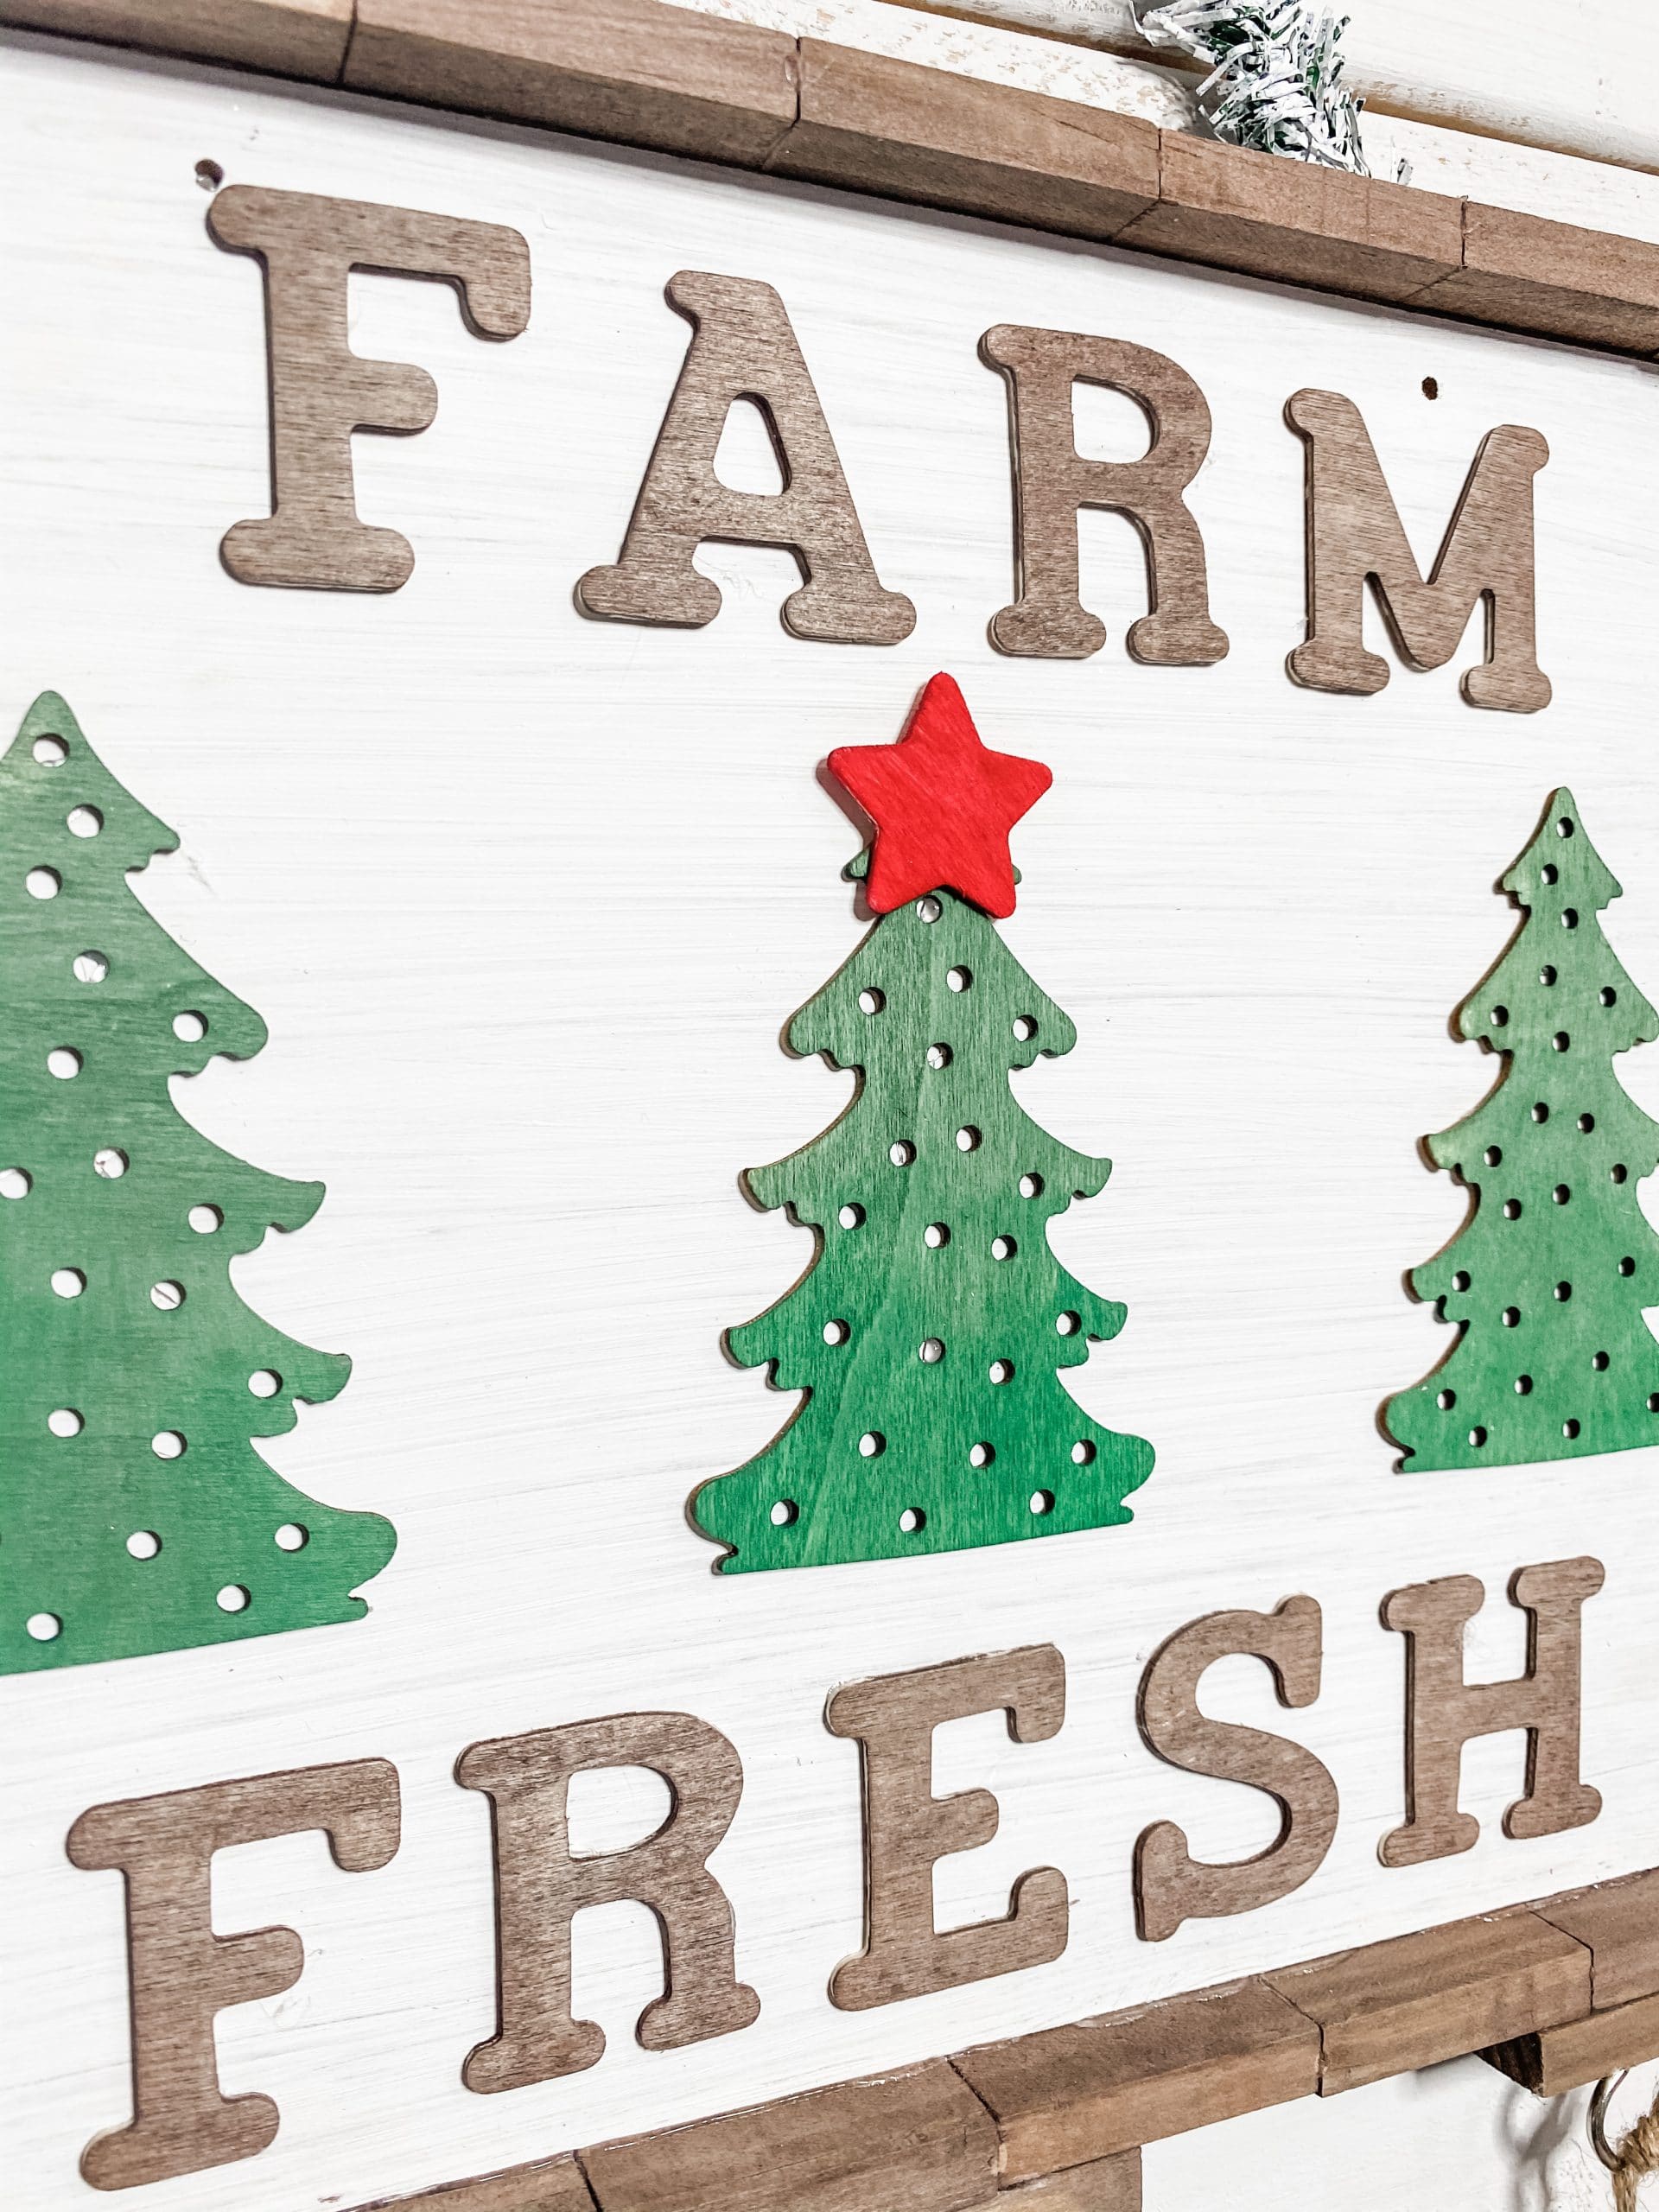
Finally, paint the little star with the Apple Barrel Red Apple Acrylic Paint and hot glue it onto the center tree.
I like the symbolism of the single star on the center Christmas tree, but you could add stars to each tree if you prefer it that way.
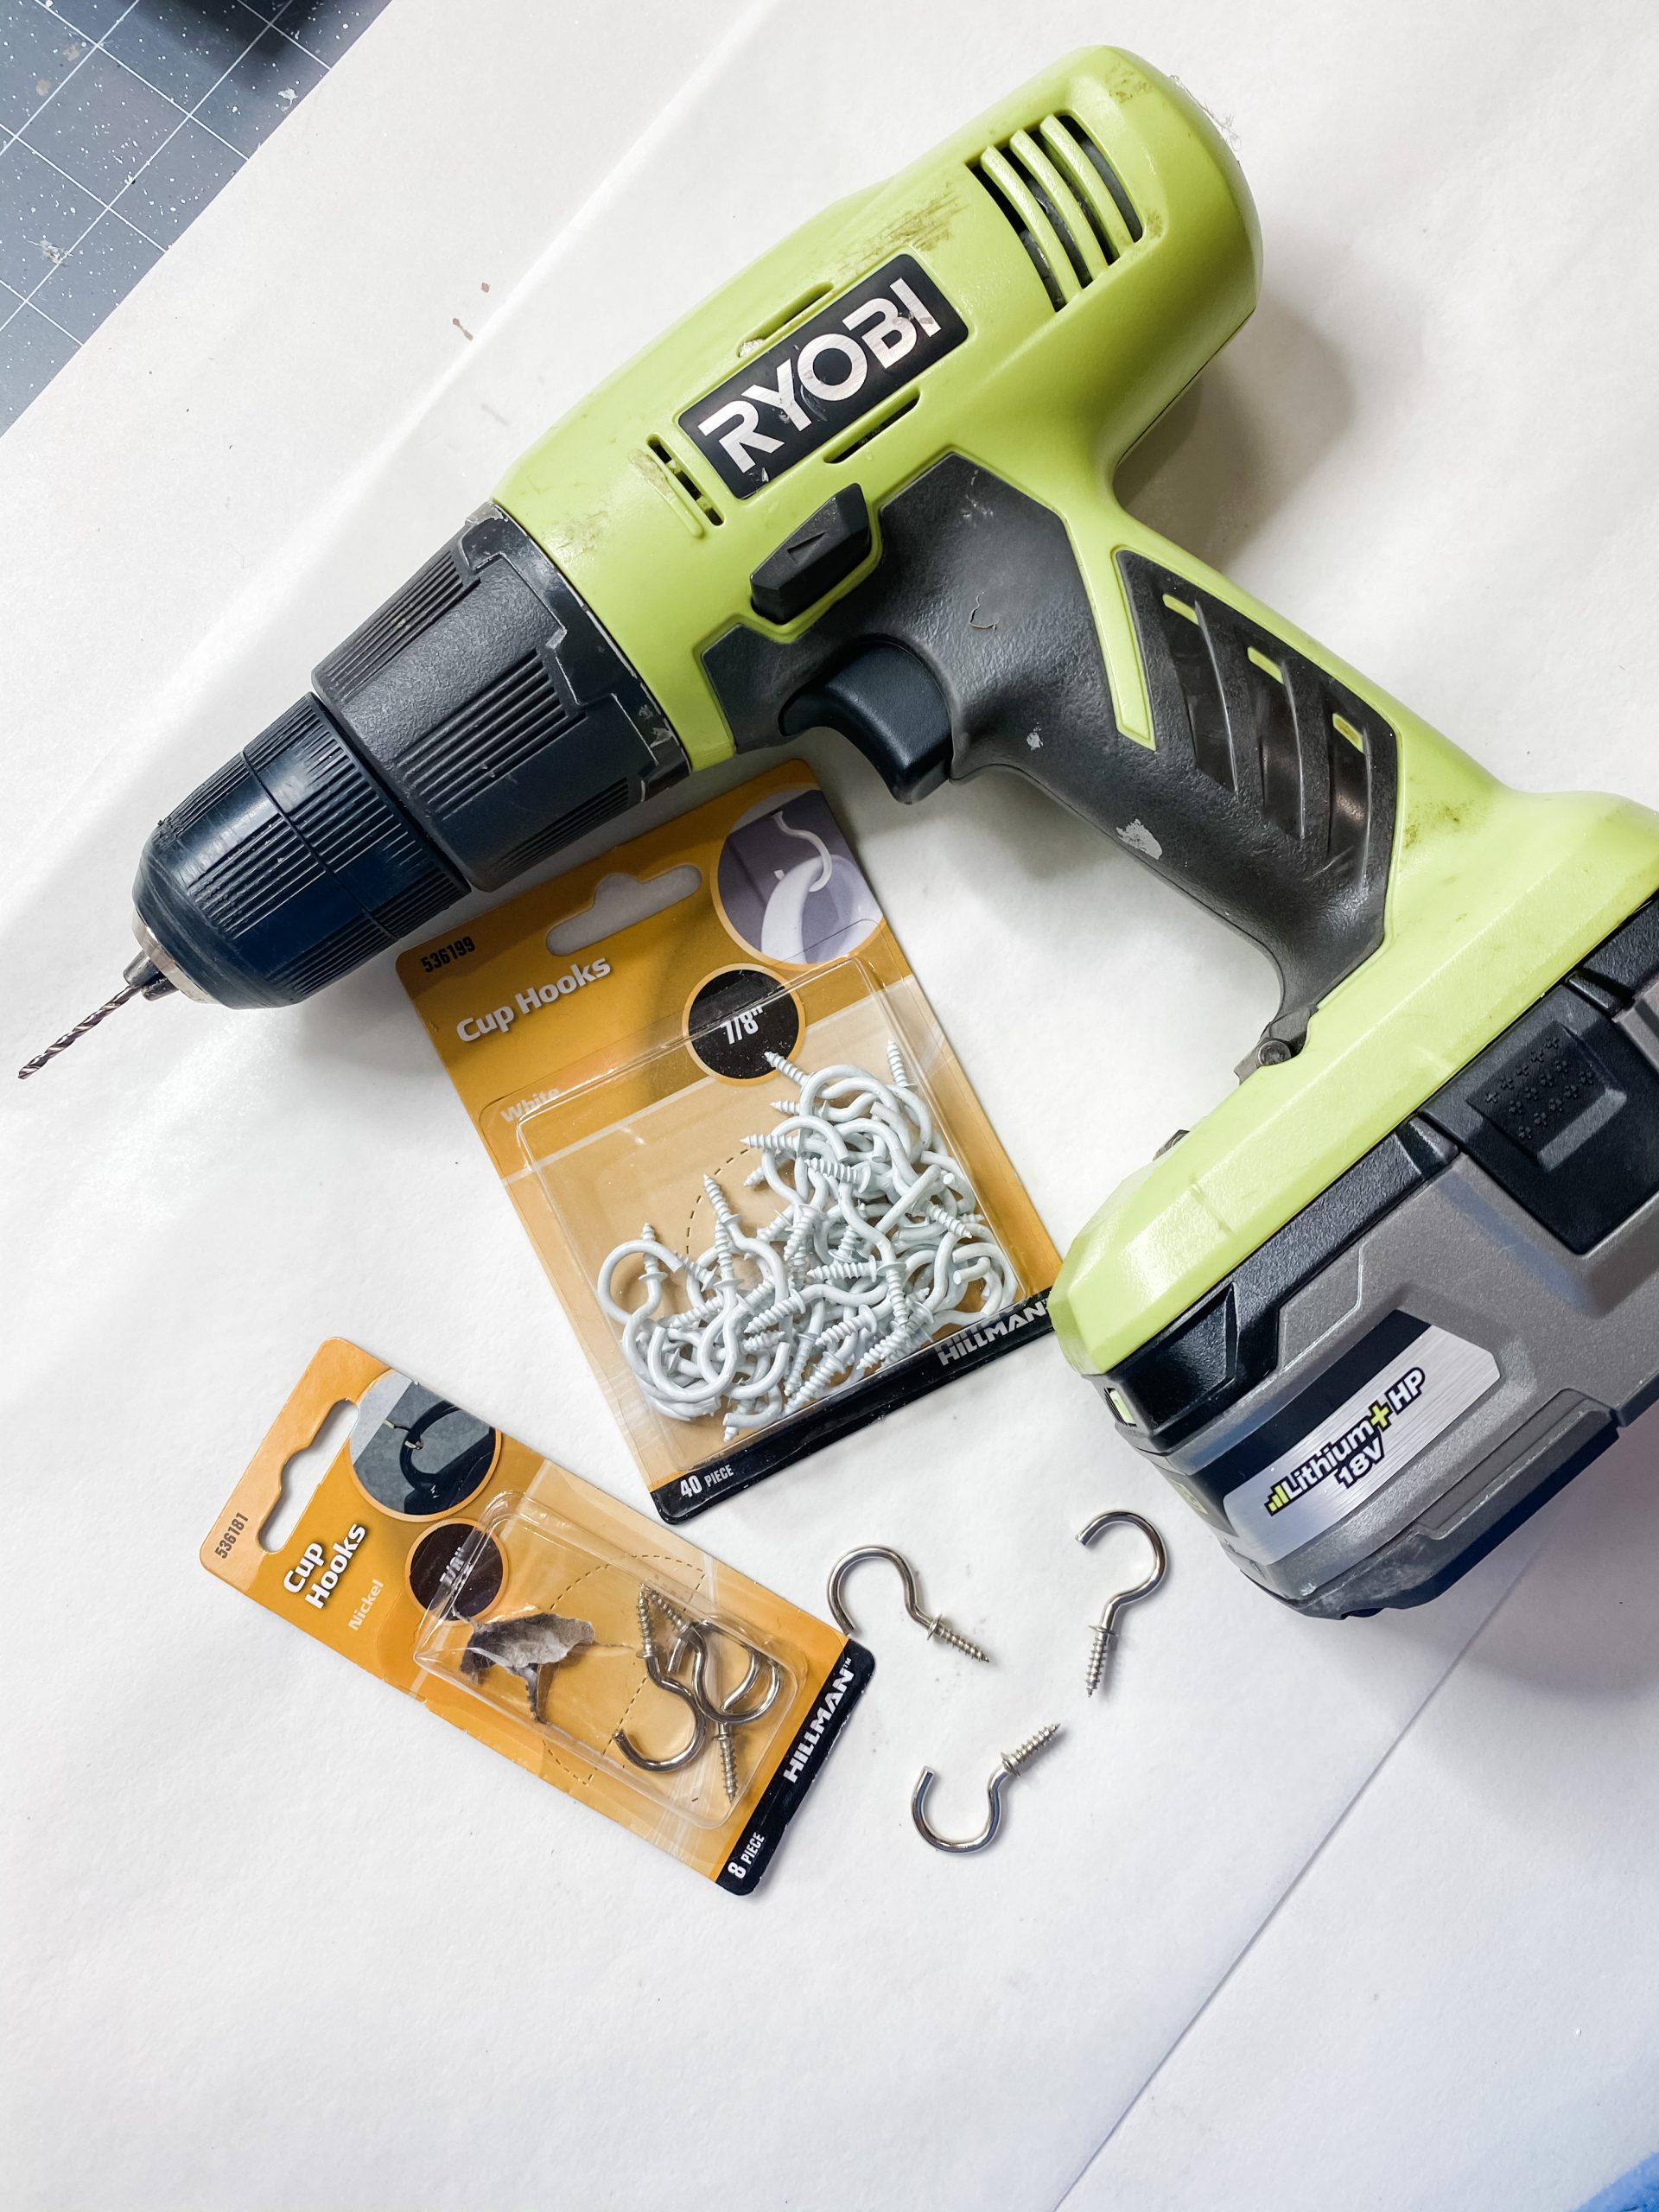
Add your hooks
The key to this easy Christmas DIY being perfect for a college dorm or apartment is the little hooks on the bottom that you could hang your stockings or even your keys on.
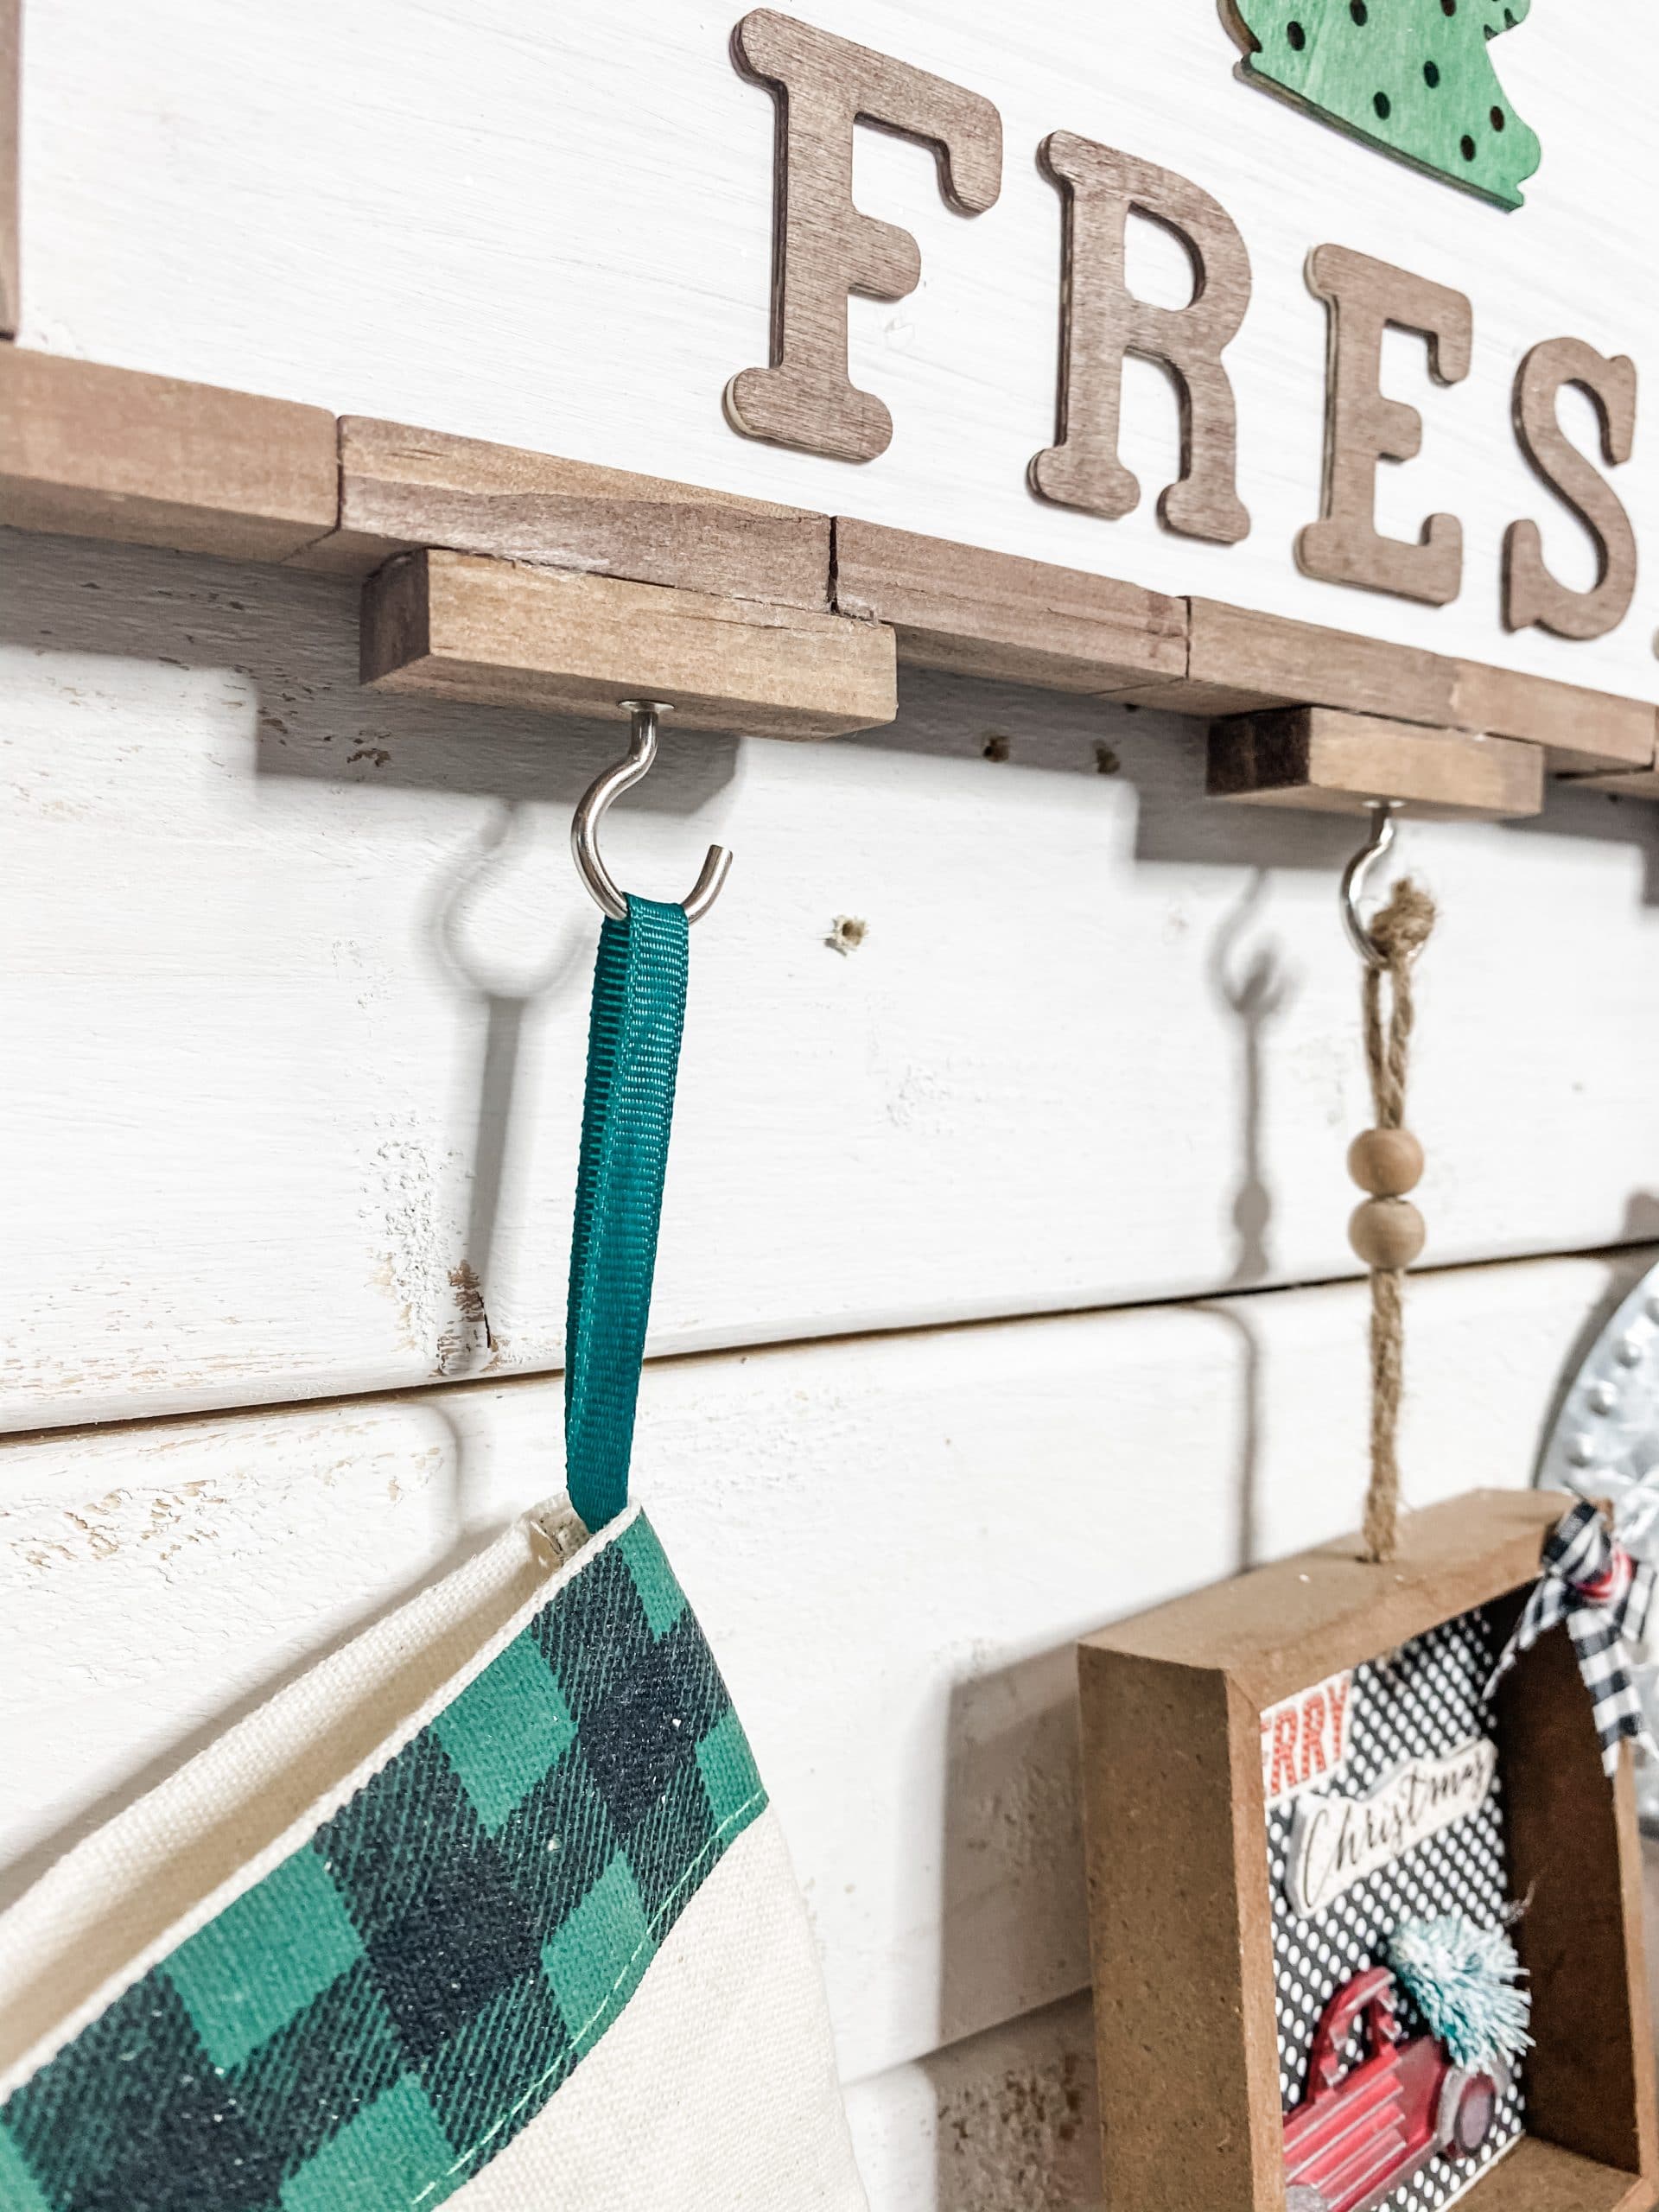
I had to hot glue the 3 extra Jenga blocks to the bottom of the frame that way these cup hooks wouldn’t go all the way through and puncture the sign.
The finishing touches
The last step of how to make a $5 Dollar Tree Farmhouse Christmas DIY is to attach the wired garland hanger.
The Dollar Tree wired garland doesn’t come painted, so just lightly dry brush the Folkart White Chalk Paint across the wired garland.
Then all you have to do is trim the garland to the length you want and hot glue it to the wooden sign!

I hope you enjoyed learning How to Make a $5 Dollar Tree Farmhouse Christmas DIY as much as I did and decide to make it for yourself!
I would love to see how yours turns out! You should totally join my FREE Facebook group called On A Budget Crafts! It is a judgment-free community for DIY crafters to show off their projects and ideas.
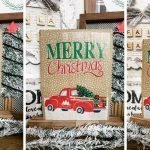
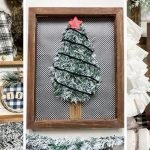
If you loved this DIY you might also like this DIY Christmas Tree Shelf Decor!
Thanks for stopping by! XOXO Amber
You can also shop my ENTIRE AMAZON Favorites shop just click here! It’s packed full of all the things I use and love.
Here is the supply list I highly recommend every creative have on hand!! Would you also pin my blog for later and get on my newsletter alerts? I would love to have you join my #craftycrew.

Join my free “ON A BUDGET CRAFTS” Facebook group!
PIN THIS POST FOR LATER!


One Comment