Classic Snowman Napkin DIY Winter Decor
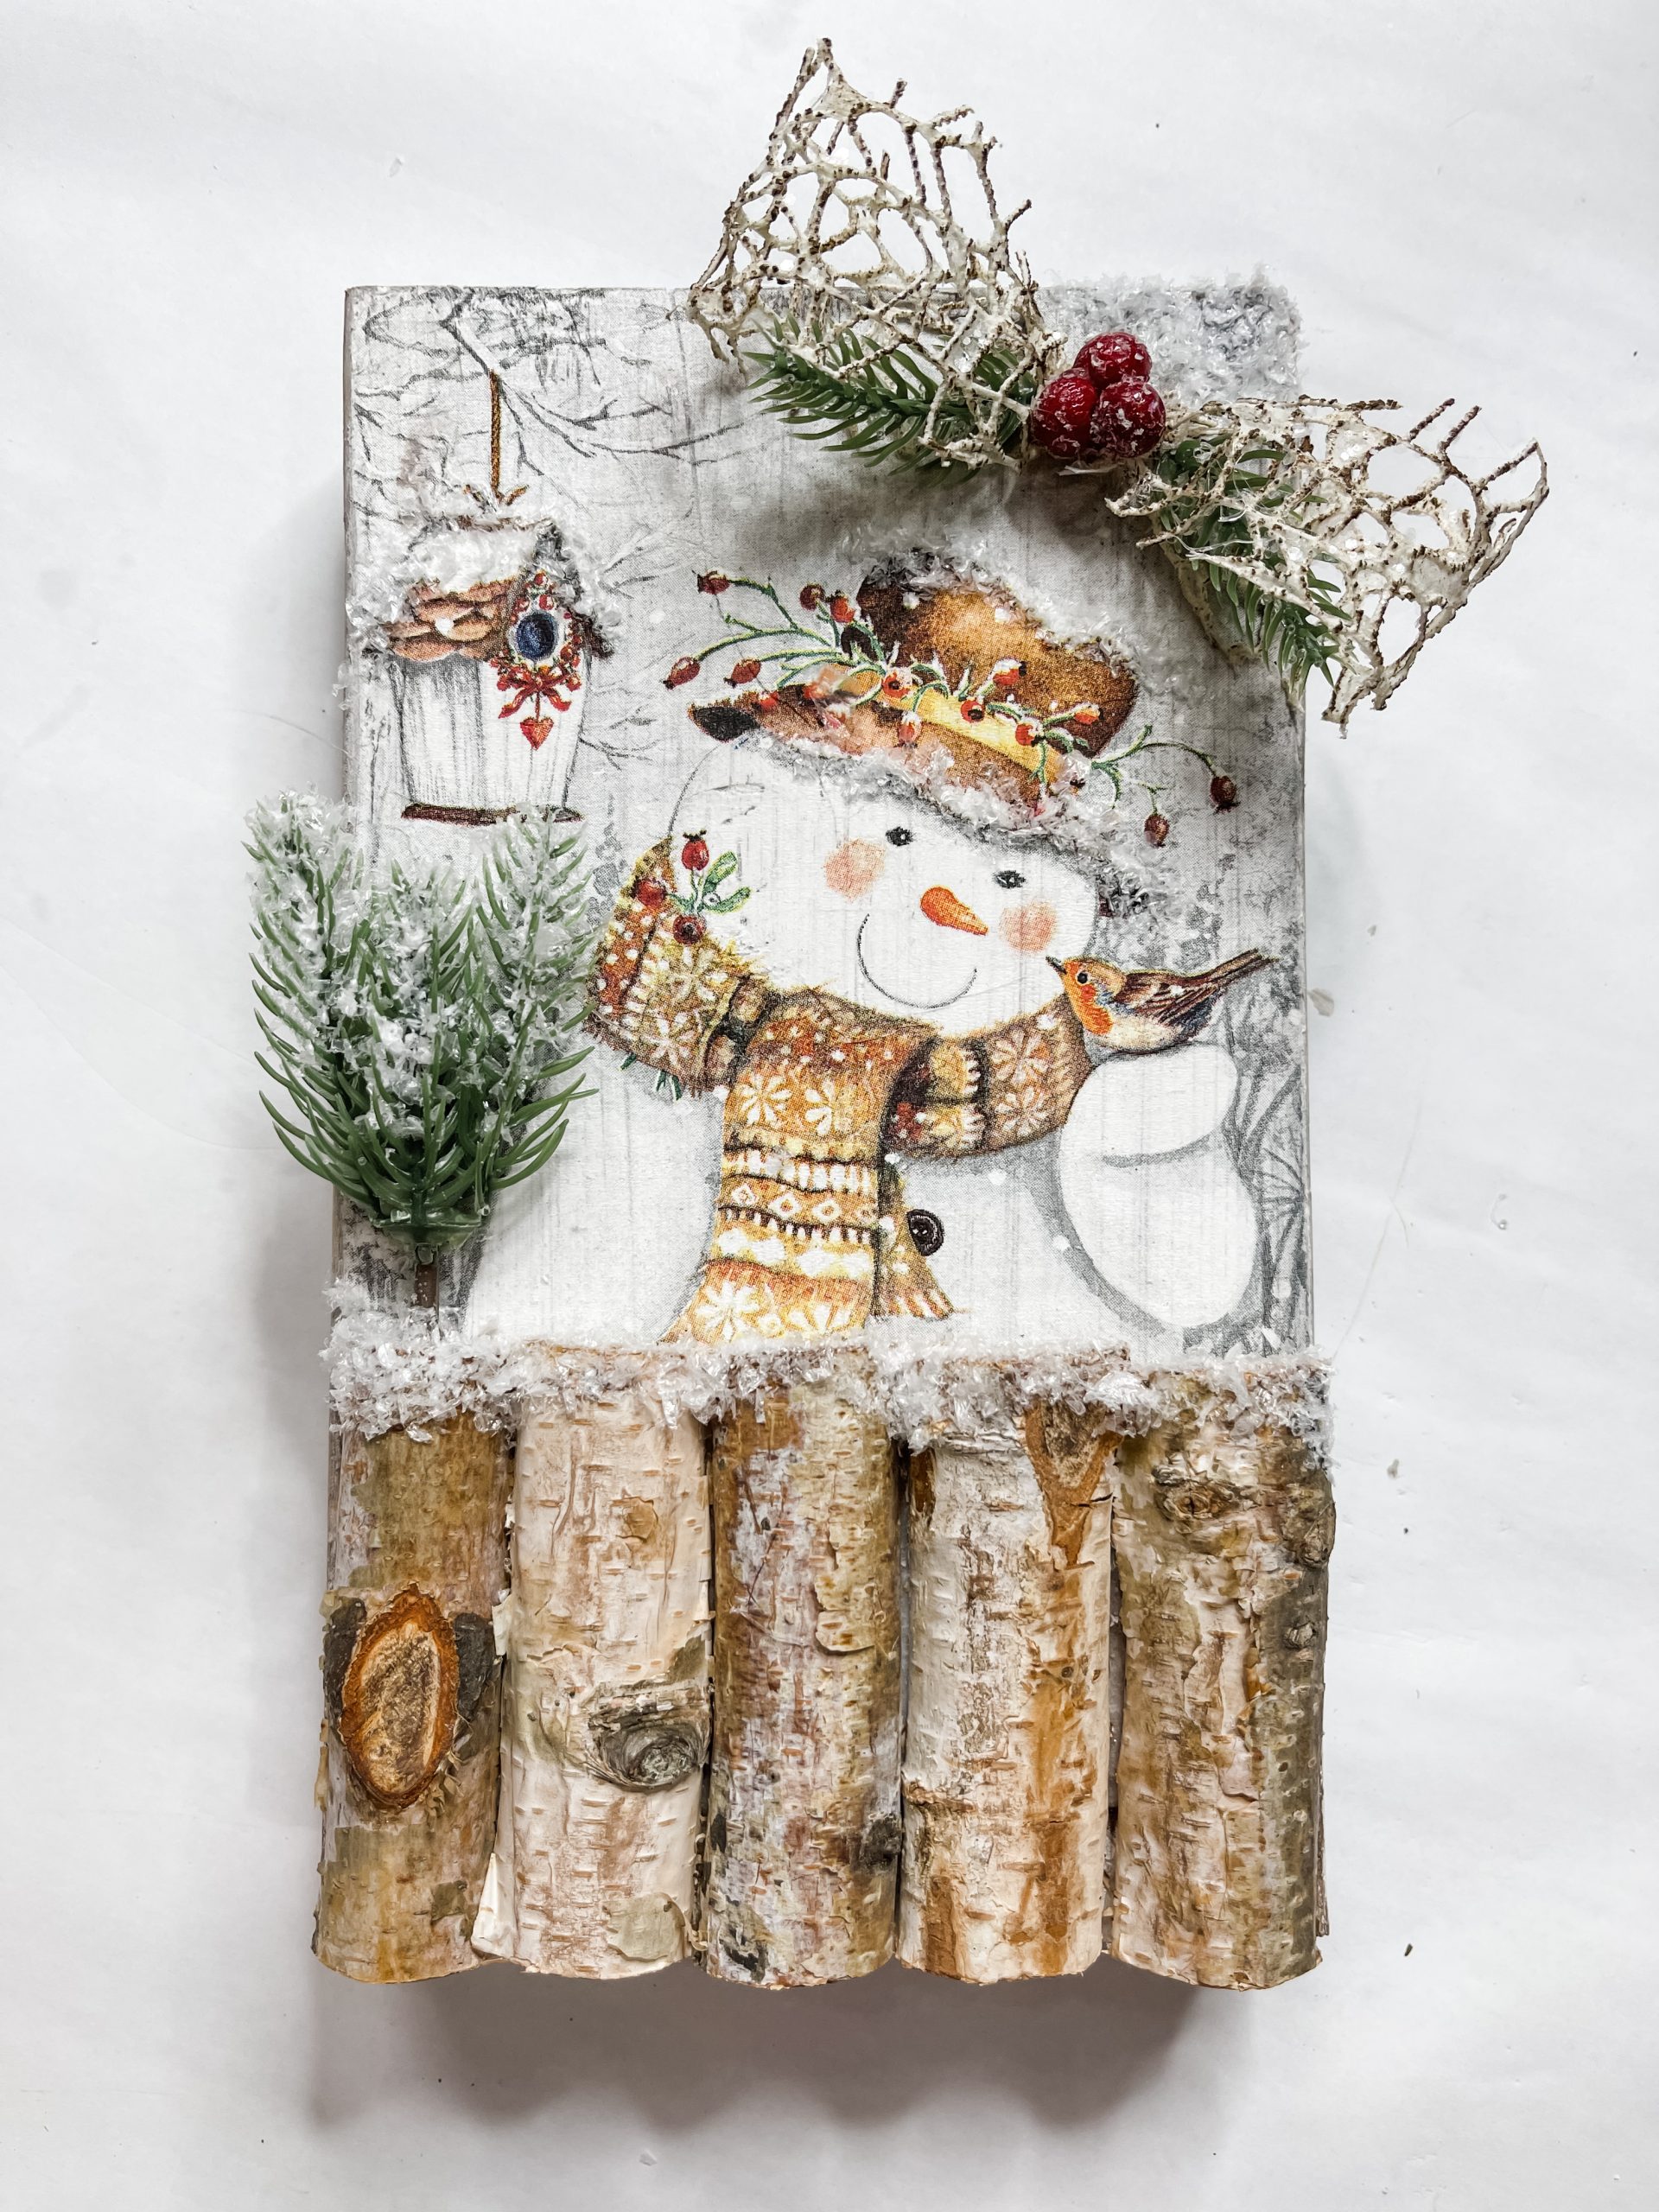
I think I stepped out the box a little with this adorable classic snowman napkin DIY winter decor! It isn’t like the projects I usually make, in my opinion, and that makes me love it so much more!
My favorite part of this project (other than the ADORABLE napkin) is how absolutely easy it was to make! With very few steps, you can be on day one of your crafting journey and still make this adorable project!
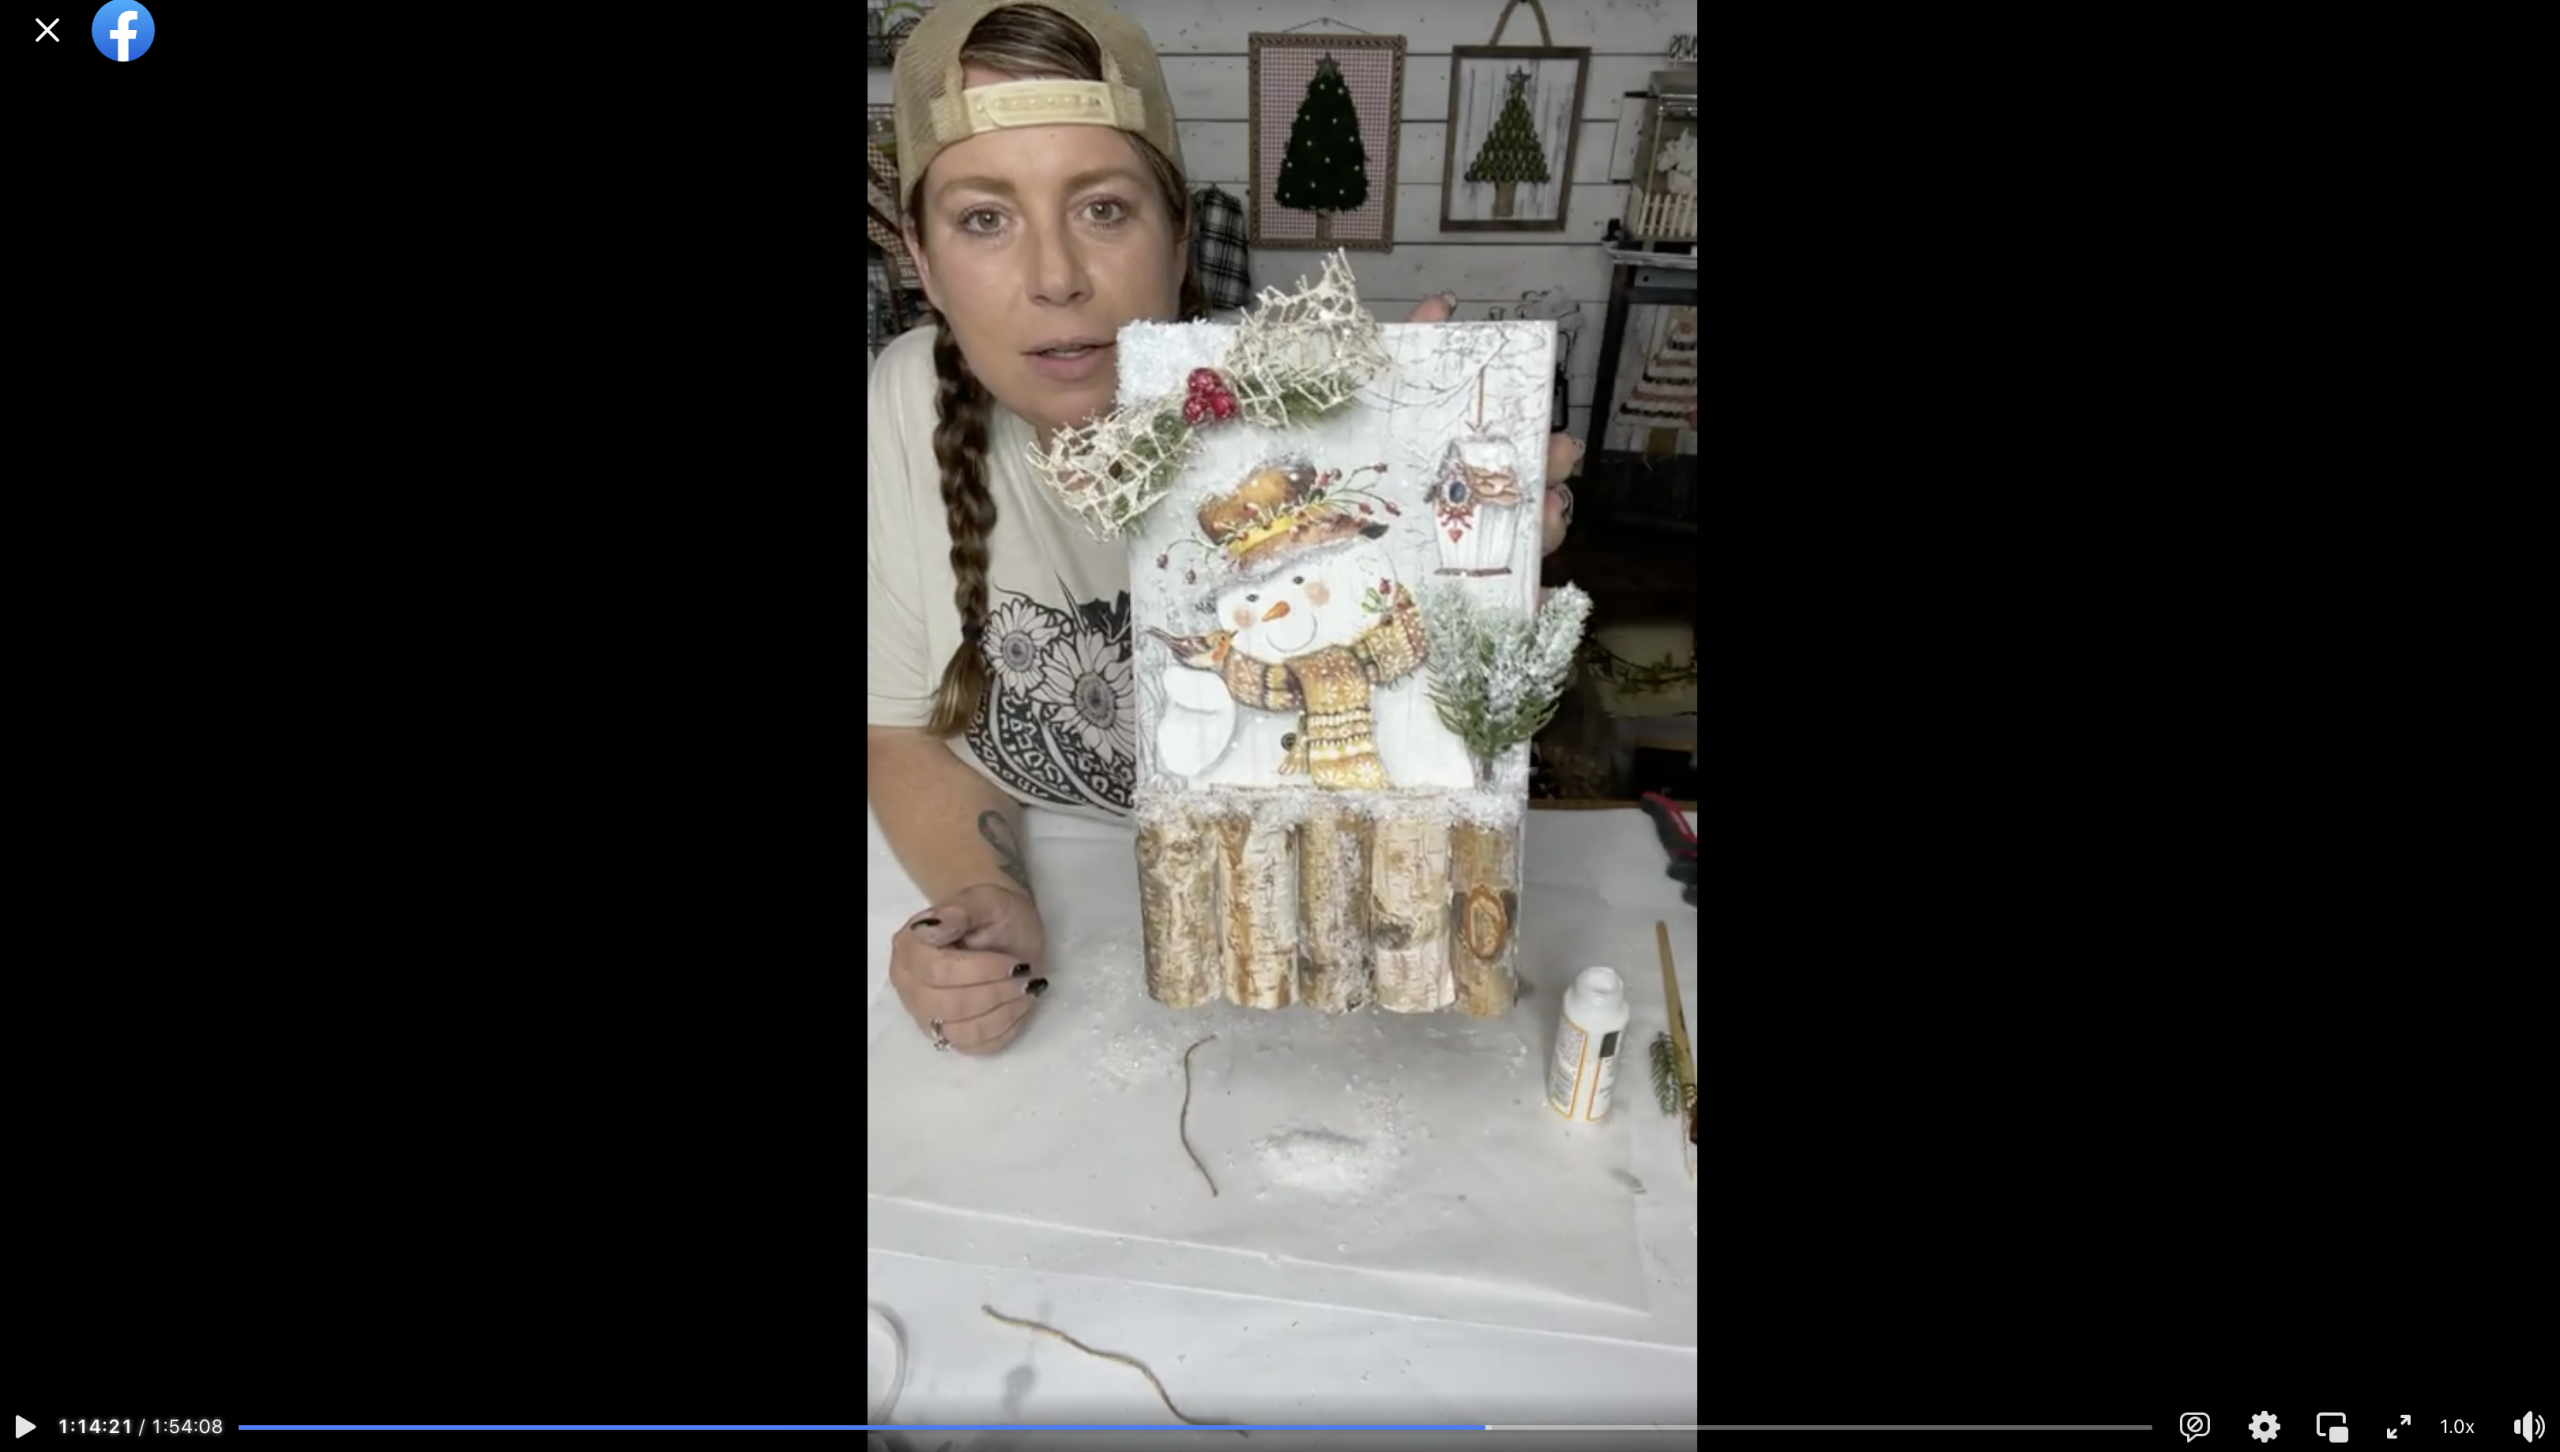
Watch the DIY tutorial
I recorded how to make this adorable classic snowman napkin DIY winter decor during a LIVE video on my Facebook page.
If you want to see the DIY process, craft along, or just join in on the fun conversations, you can watch the DIY tutorial on Facebook!
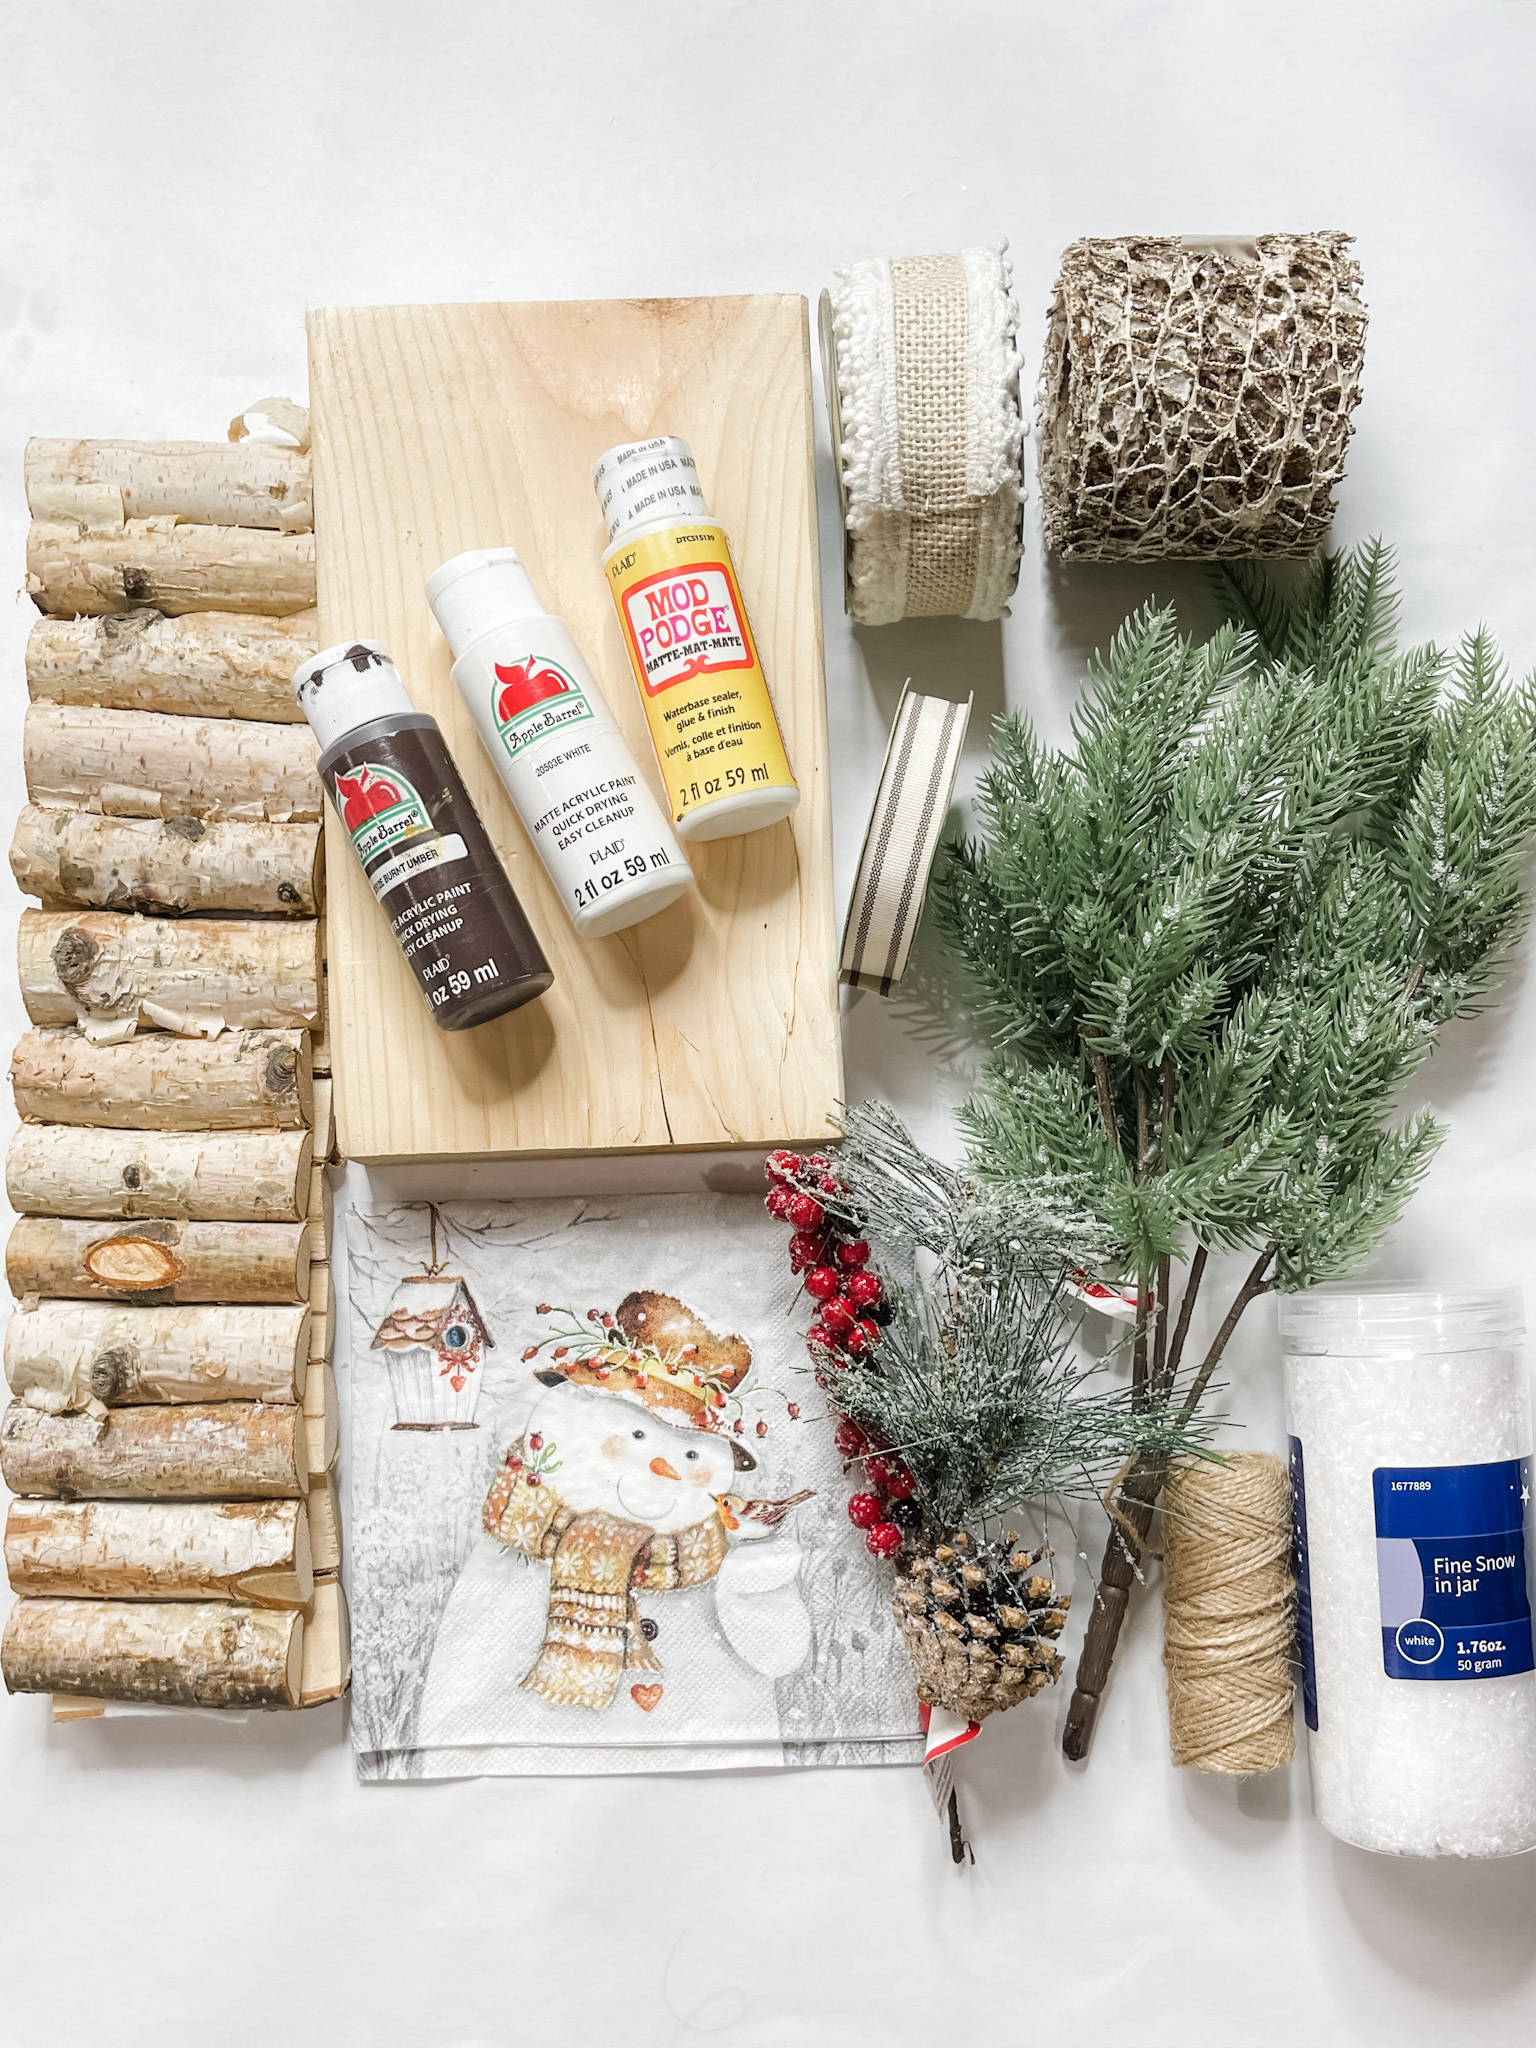
For this project, I will be using these items but you can substitute where you want.
“As an Amazon Associate, I earn from qualifying purchases.”
- Classic Snowman Napkin
- Wood Stems from Hobby Lobby
- 2×4 wood piece
- Dollar Tree jute twine
- Dollar Tree Fine snow in jar
- Christmas greenery sprays (with red berries)
- Ribbons (x3 patterns)
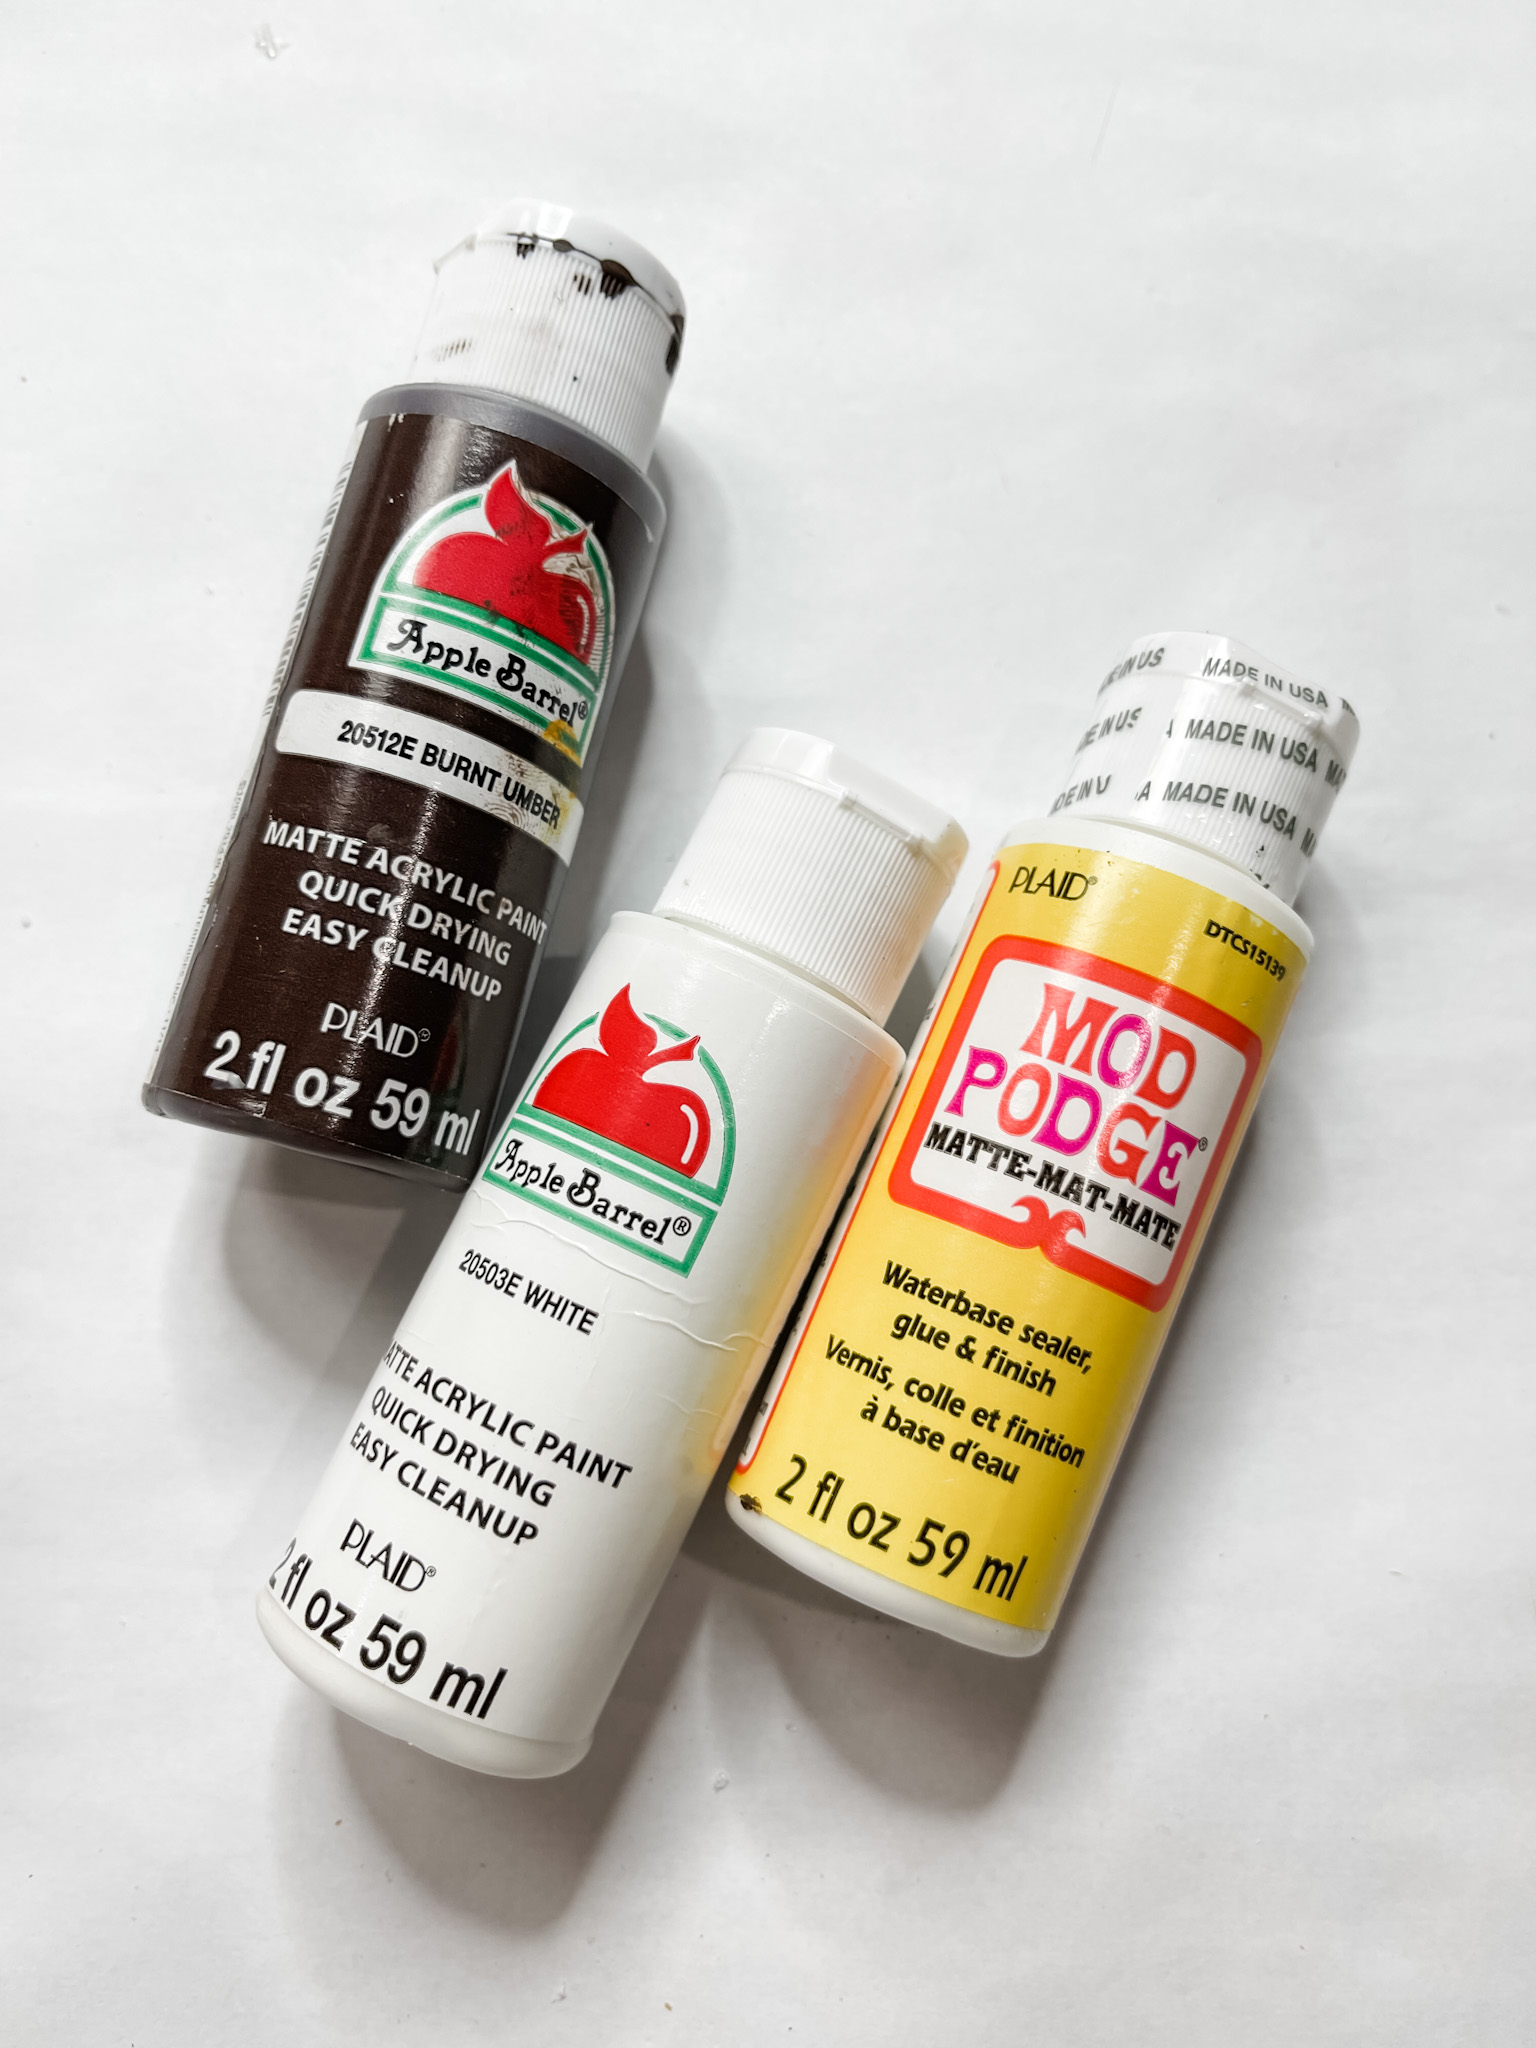
- Apple Barrel Burnt Umber Acrylic Paint
- Apple Barrel White Acrylic Paint
- Mod Podge
- Glue Gun and Glue Sticks
- Heat gun
How to Make a Classic Snowman Napkin DIY Winter Decor
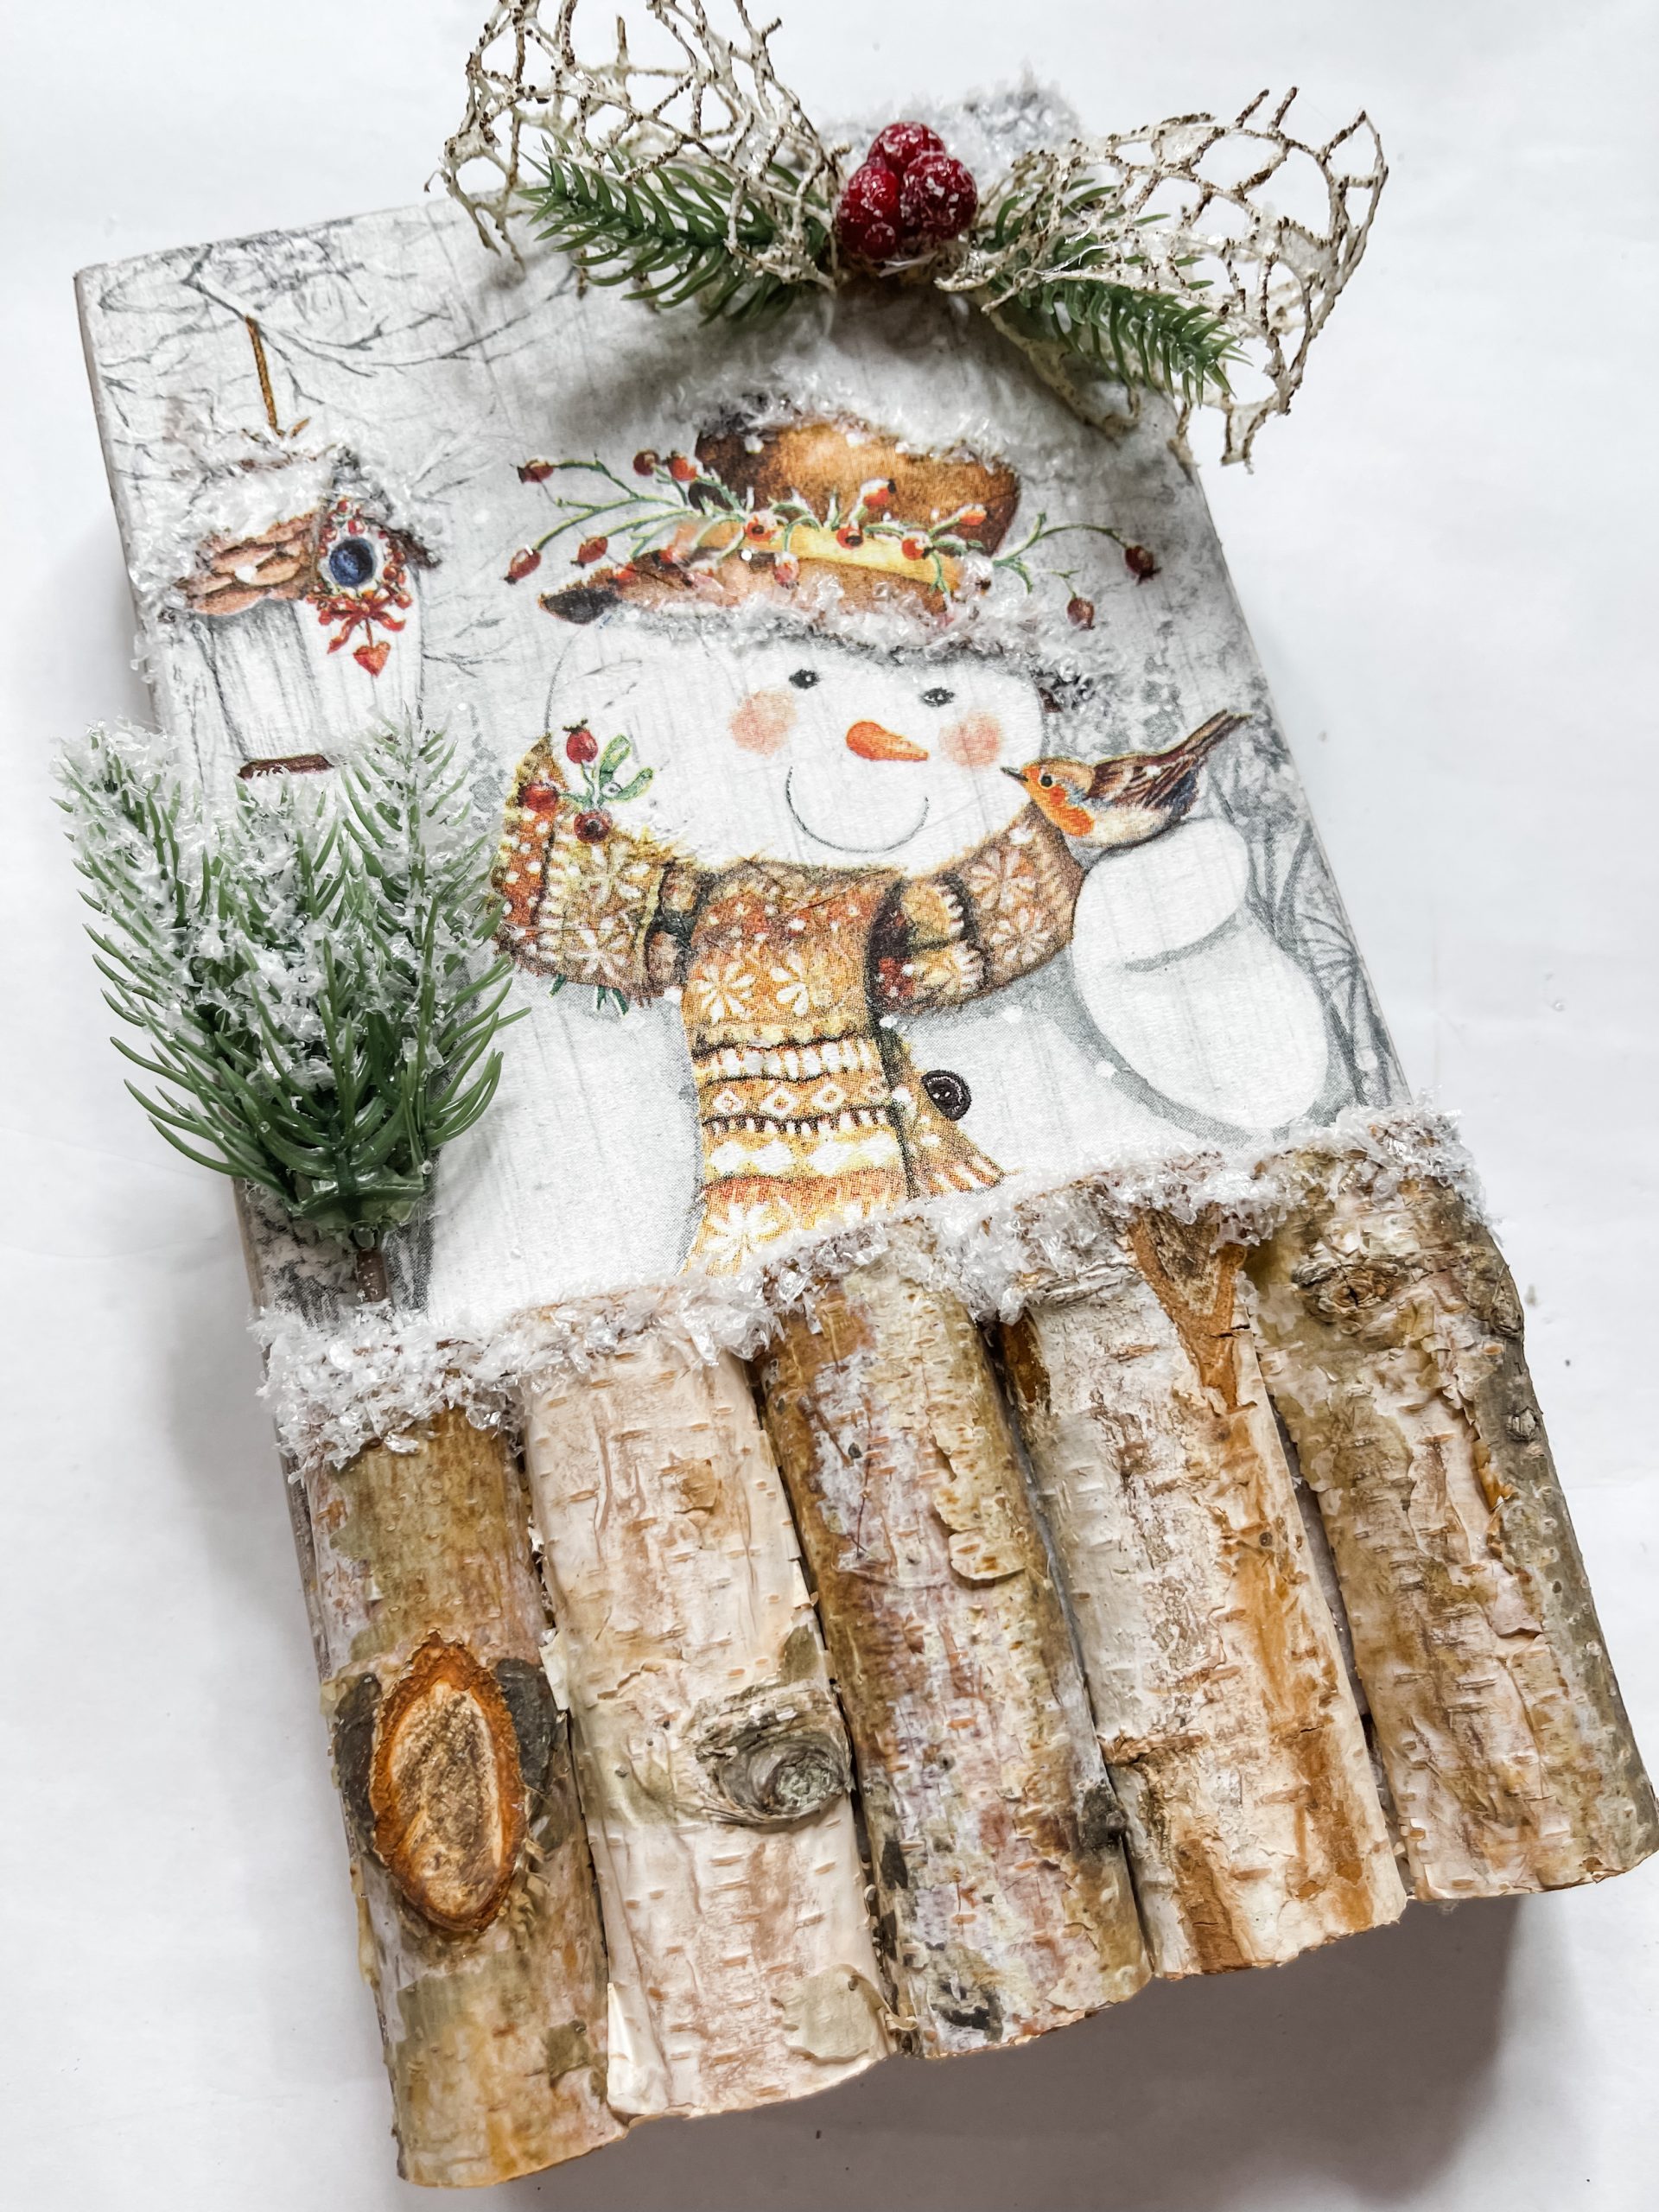
The first step of making this adorable winter decor is to stain the 2×4 piece of wood with brown paint. To do this, I wet the wood, pour the paint onto the surface, and use a wet wipe to spread it across the wood.

Then, use a clean wet wipe to remove any excess paint. I find that using this technique with paint is just as effective as using actual stain, but is much more budget-friendly!
You’ll want to let the paint dry completely on the wood, then you’re going to paint a coat of white paint. You want a decently even coat on the front but can make the sides slightly distressed.
Let the white paint dry completely, then separate the plies of your classic snowman napkin. Apply Mod Podge to the wood where you want to adhere the snowman napkin.
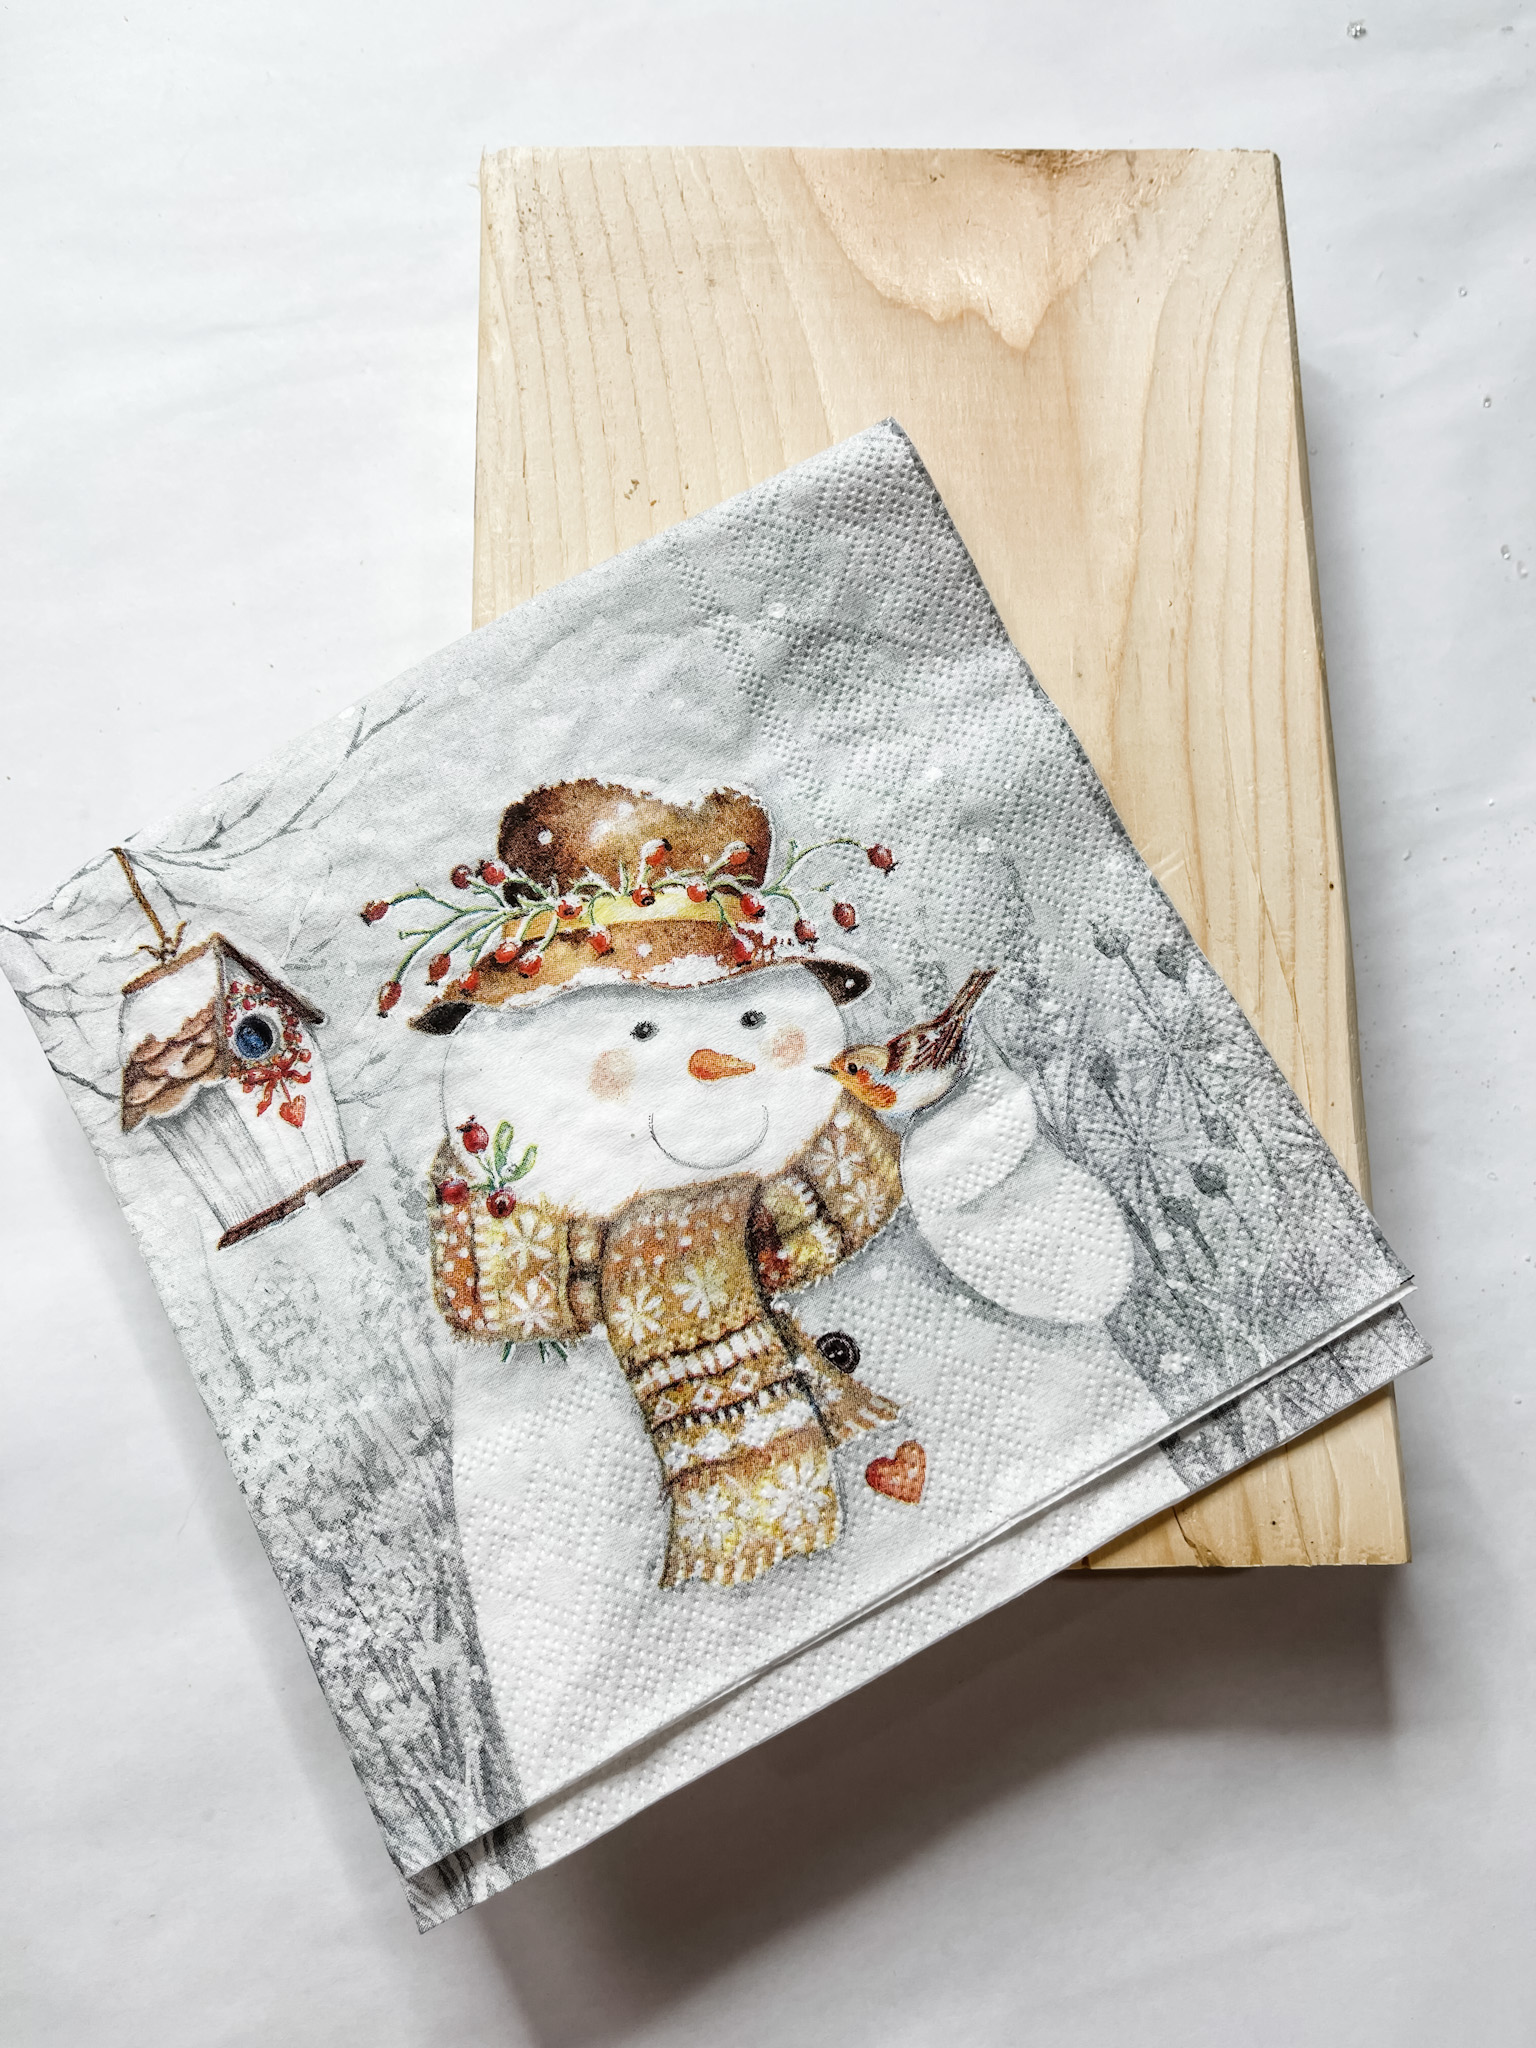
Carefully place the napkin onto the wood’s surface. Cover the napkin with a piece of plastic saran wrap and use a rolling pin to smooth out any wrinkles or bubbles in the napkin.
Once the Mod Podge is dry (I used my heat gun to speed up the drying process) use a sanding sponge to remove the excess napkin from the edges of the wood piece.
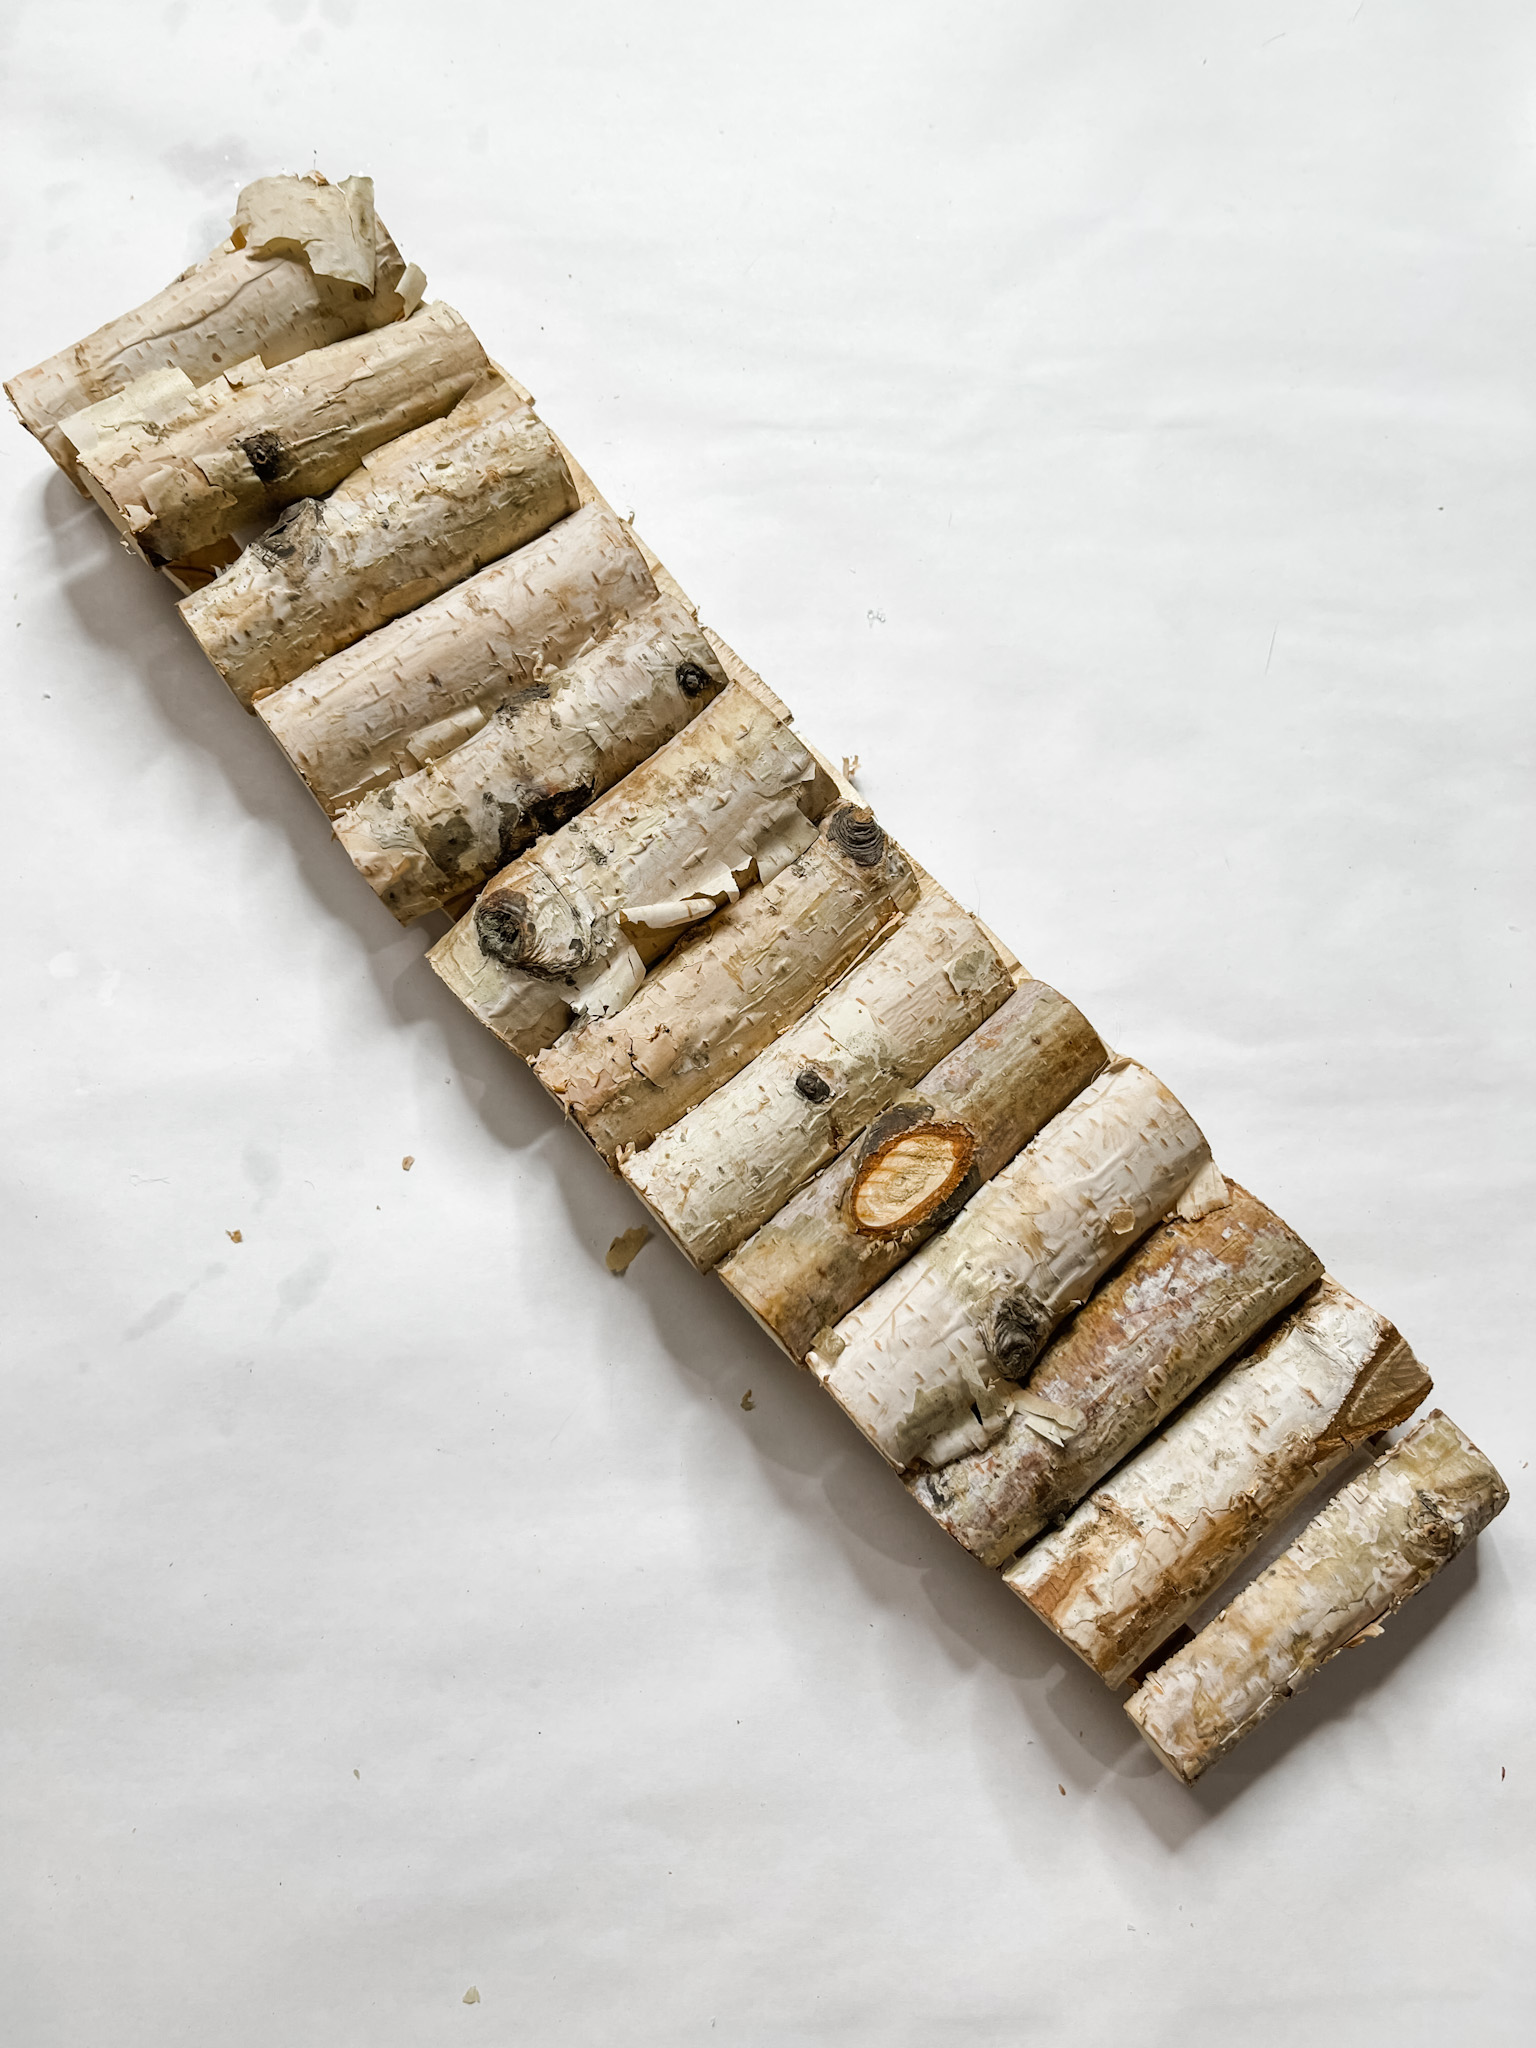
Next, I hot glued five wood stems across the bottom half of the wood piece and created a sort of fence in front of the snowman.
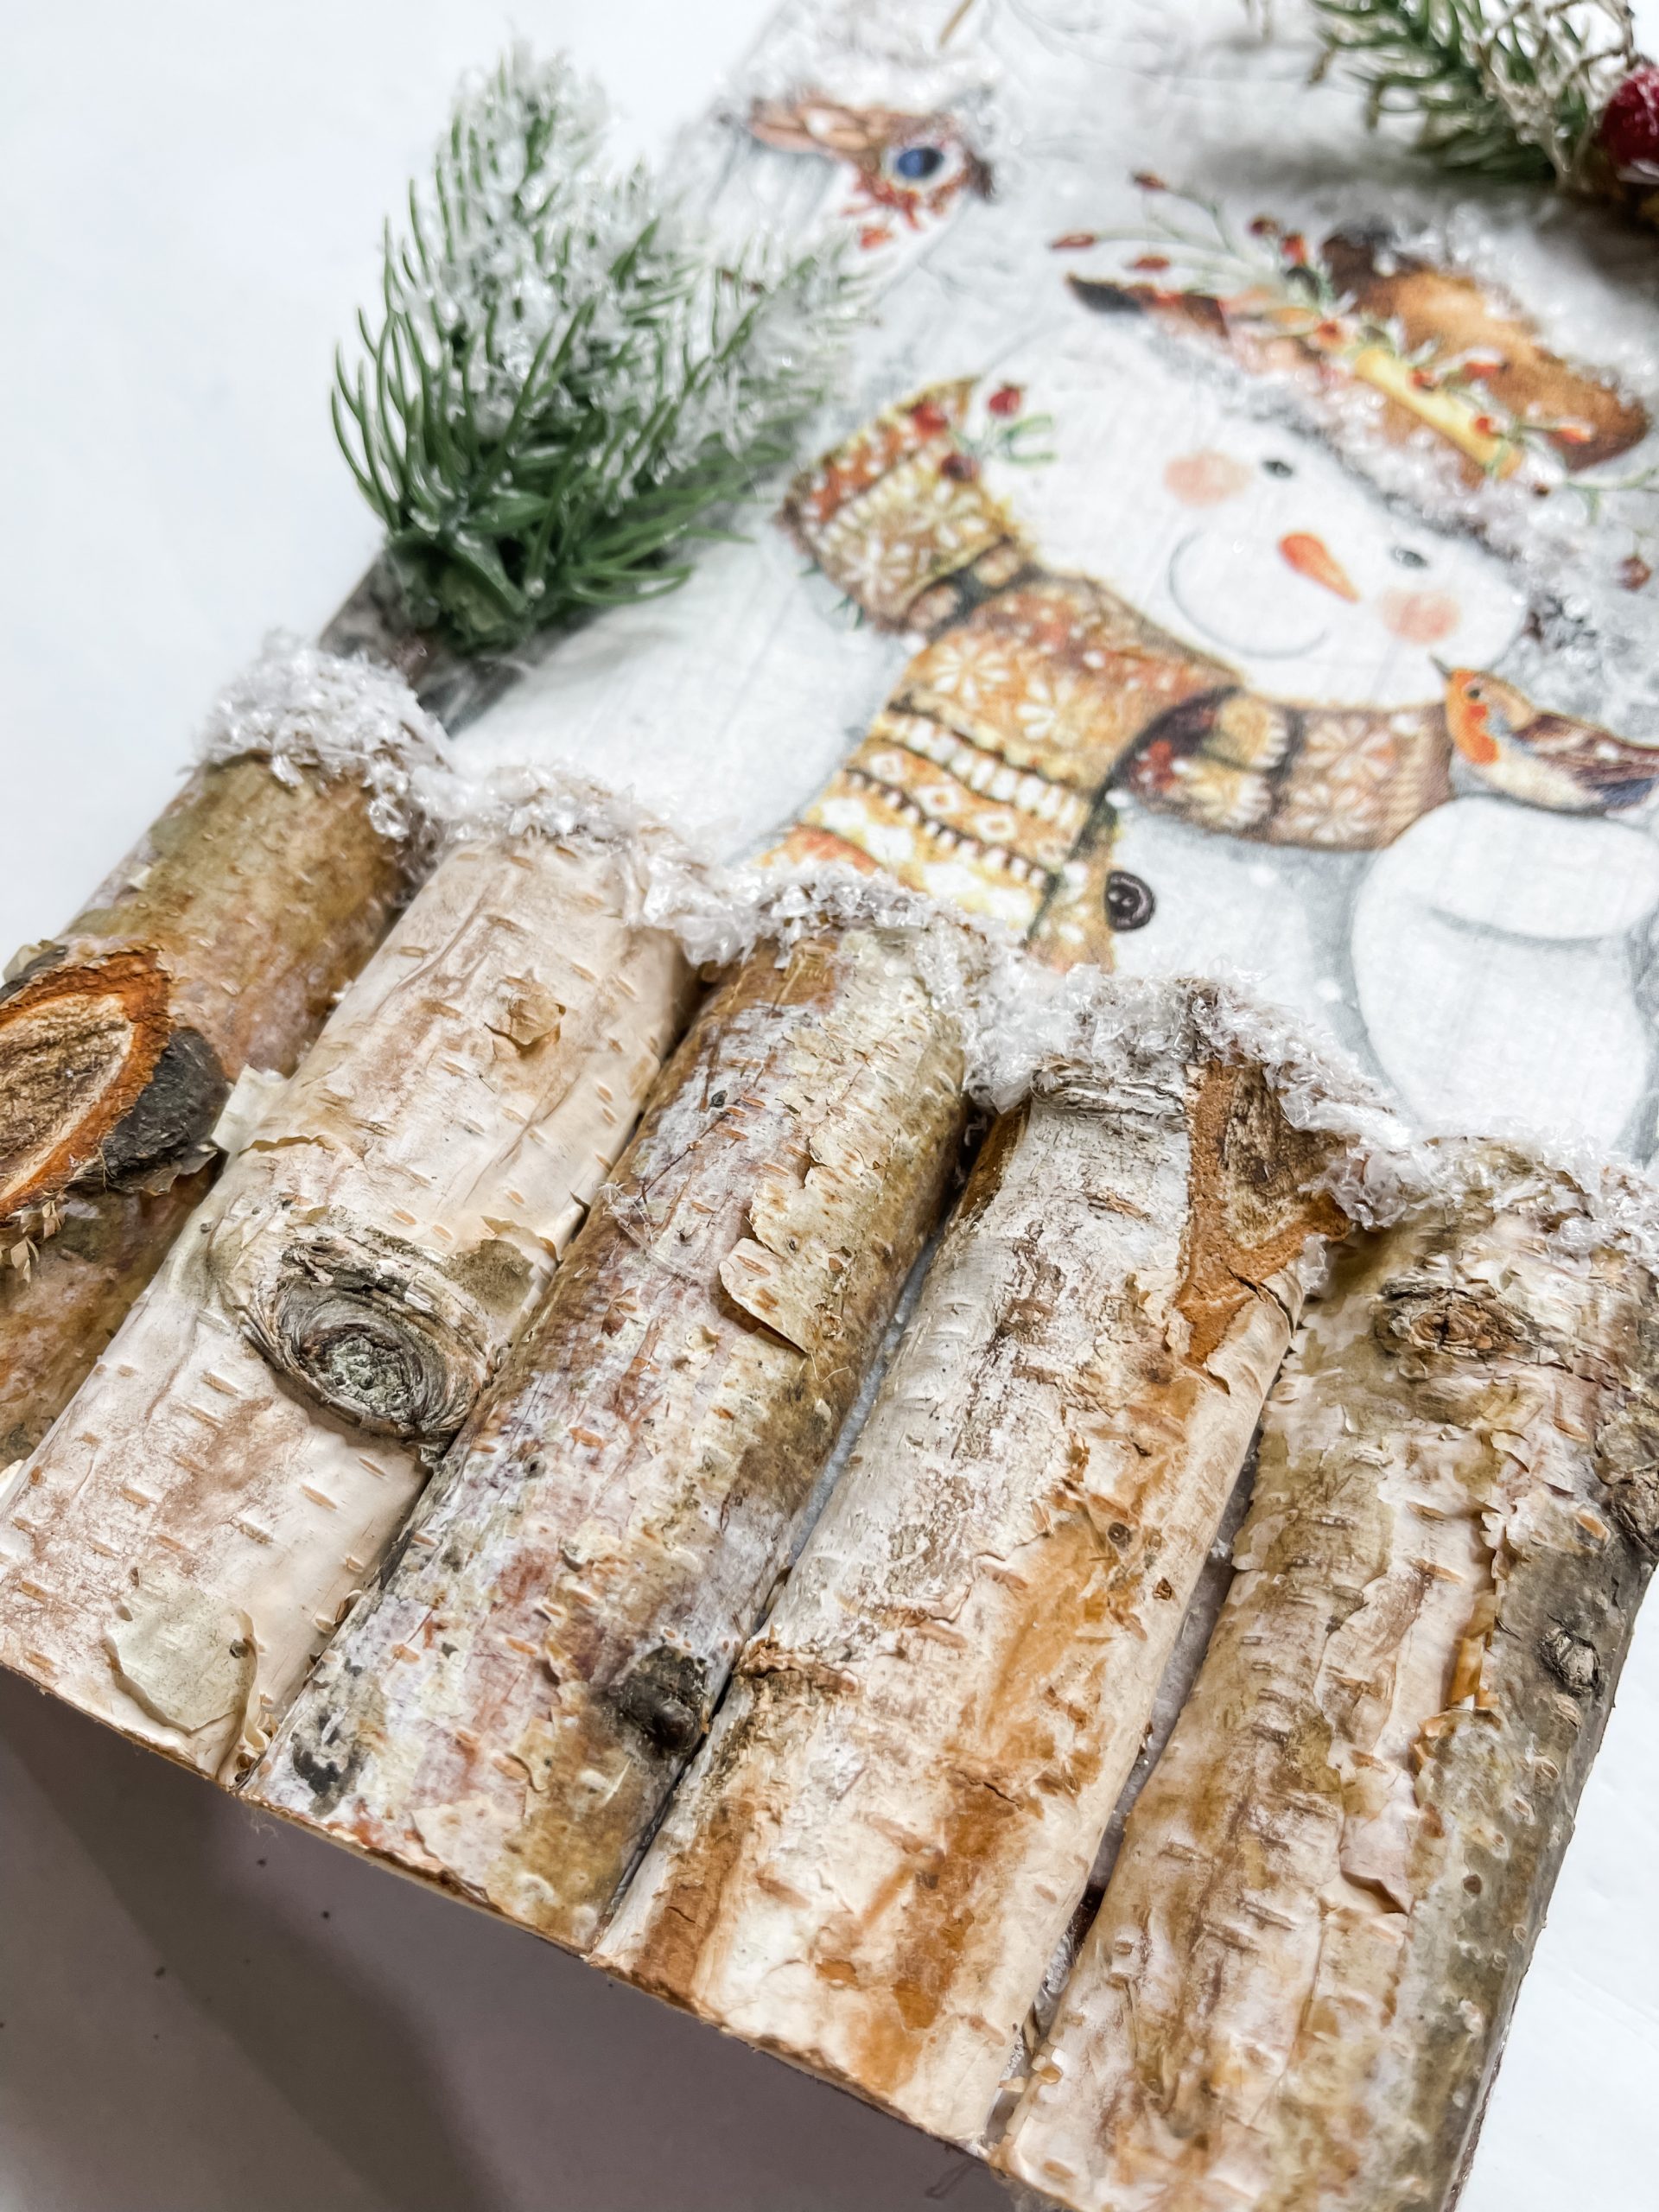
I lightly brushed a small amount of brown paint onto the wood stems to make them look a little dirtier. Then, I applied Mod Podge where I wanted my fine snow to stick, and pressed the snow onto the Mod Podge.
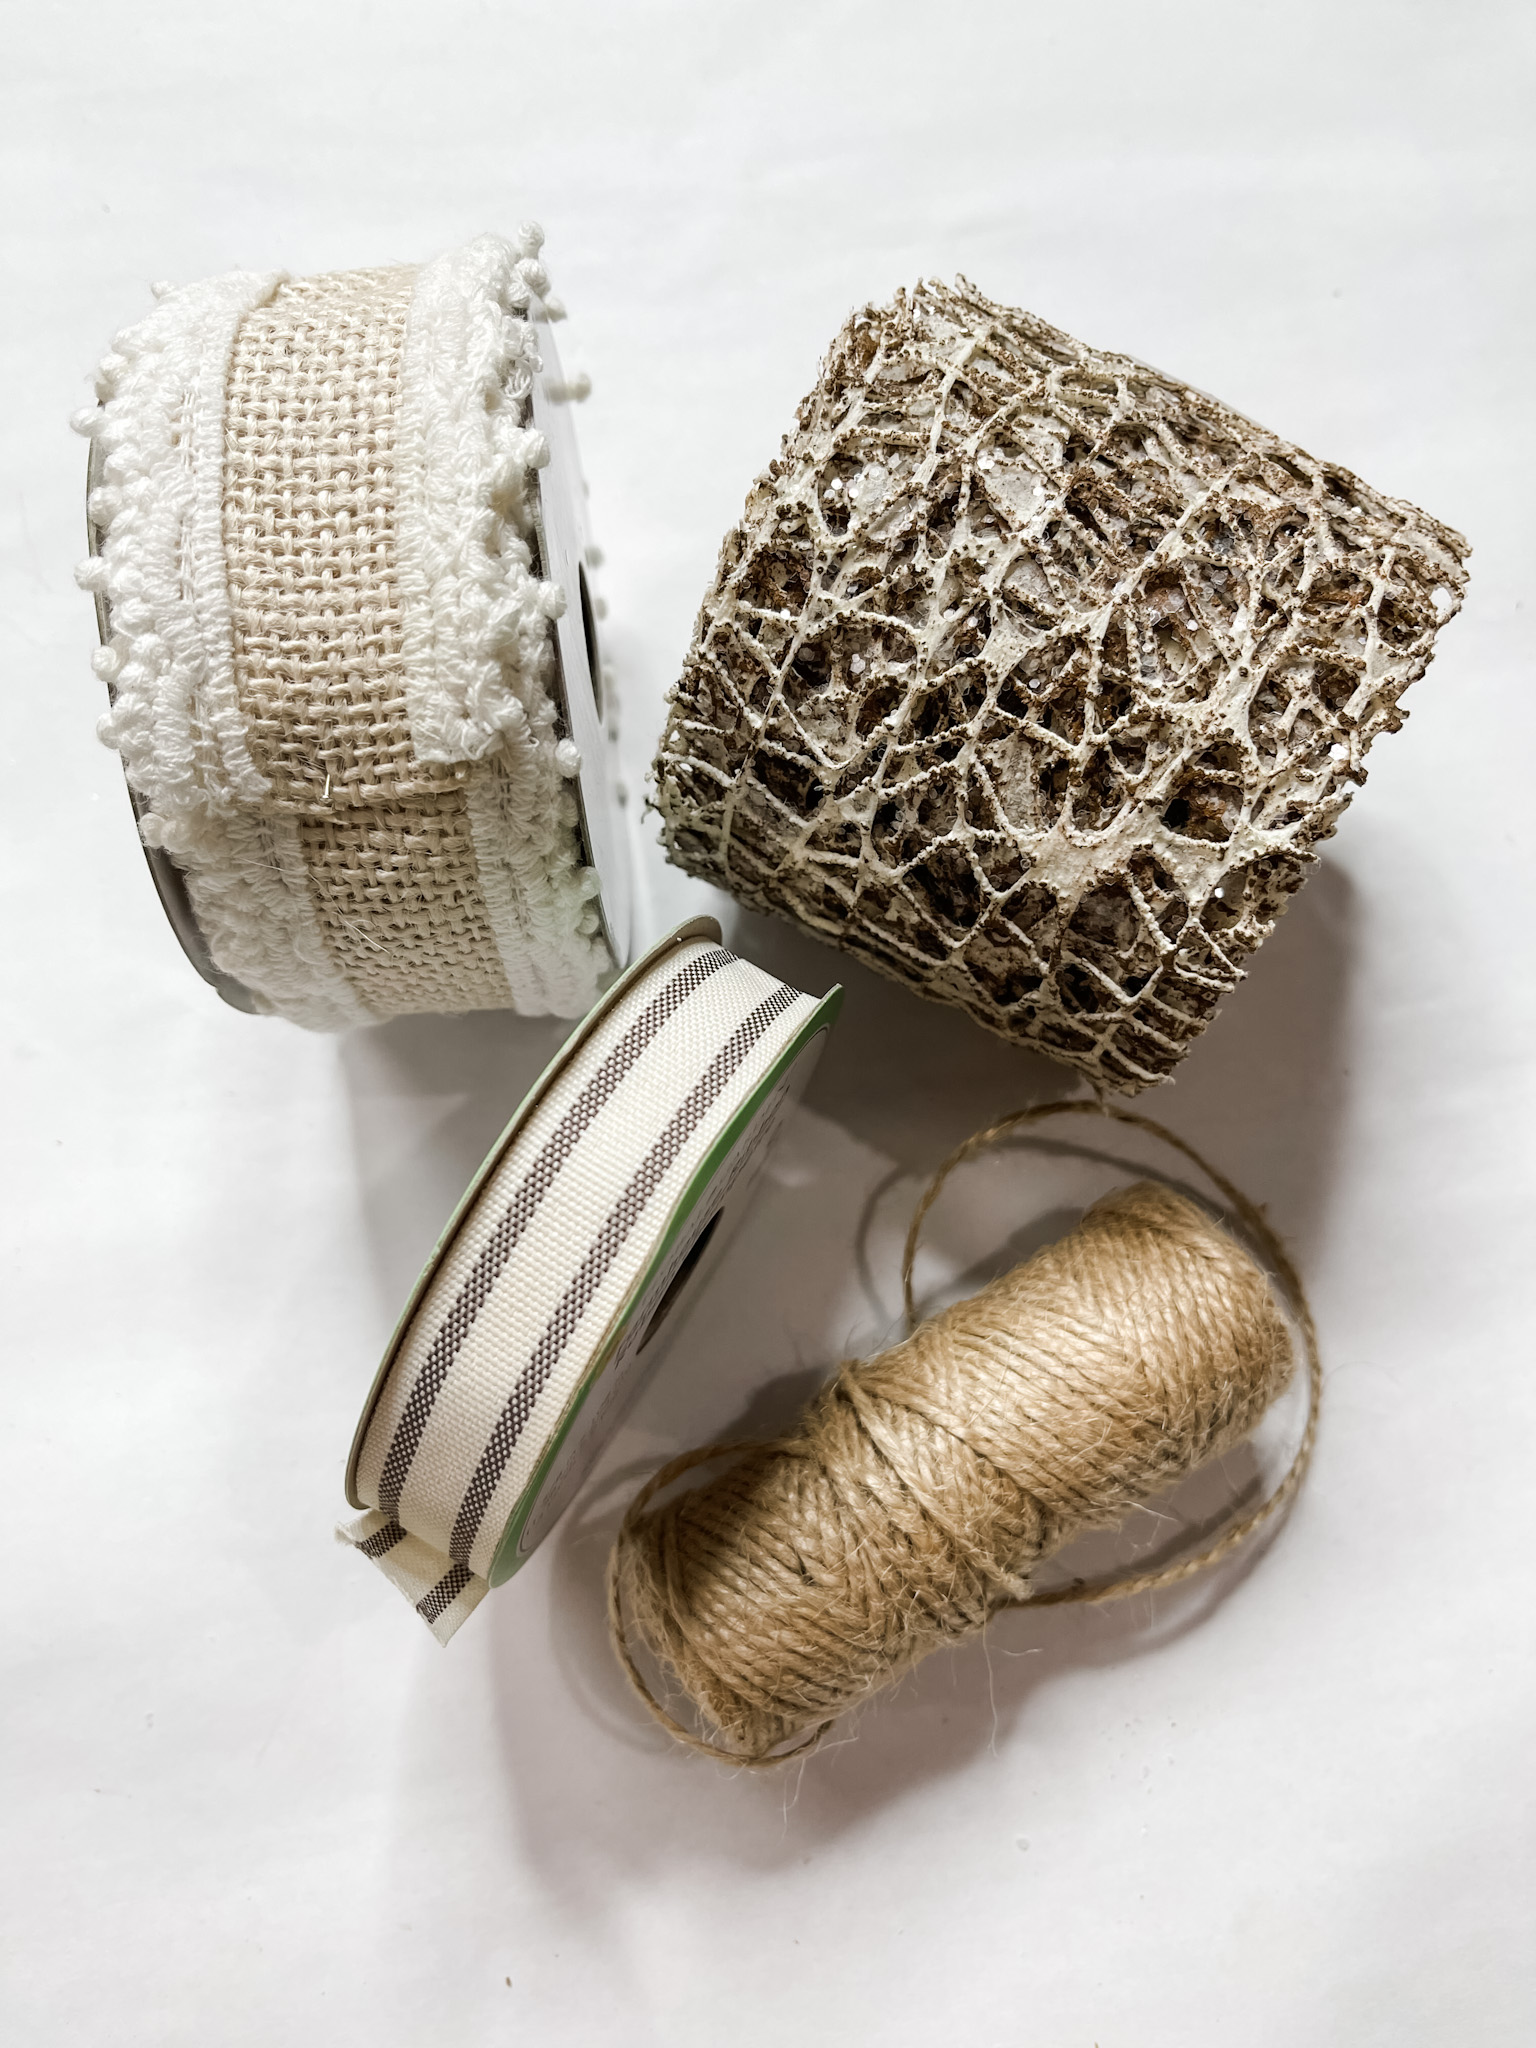
Next, I used my ribbon patterns to make a small bow! You can see exactly how I did that in the tutorial replay on Facebook (fast forward to the 1:00:00 mark).
Once I was happy with my bow, I hot glued it to the top left corner of my wood and hot glued some Christmas greenery pieces behind it.
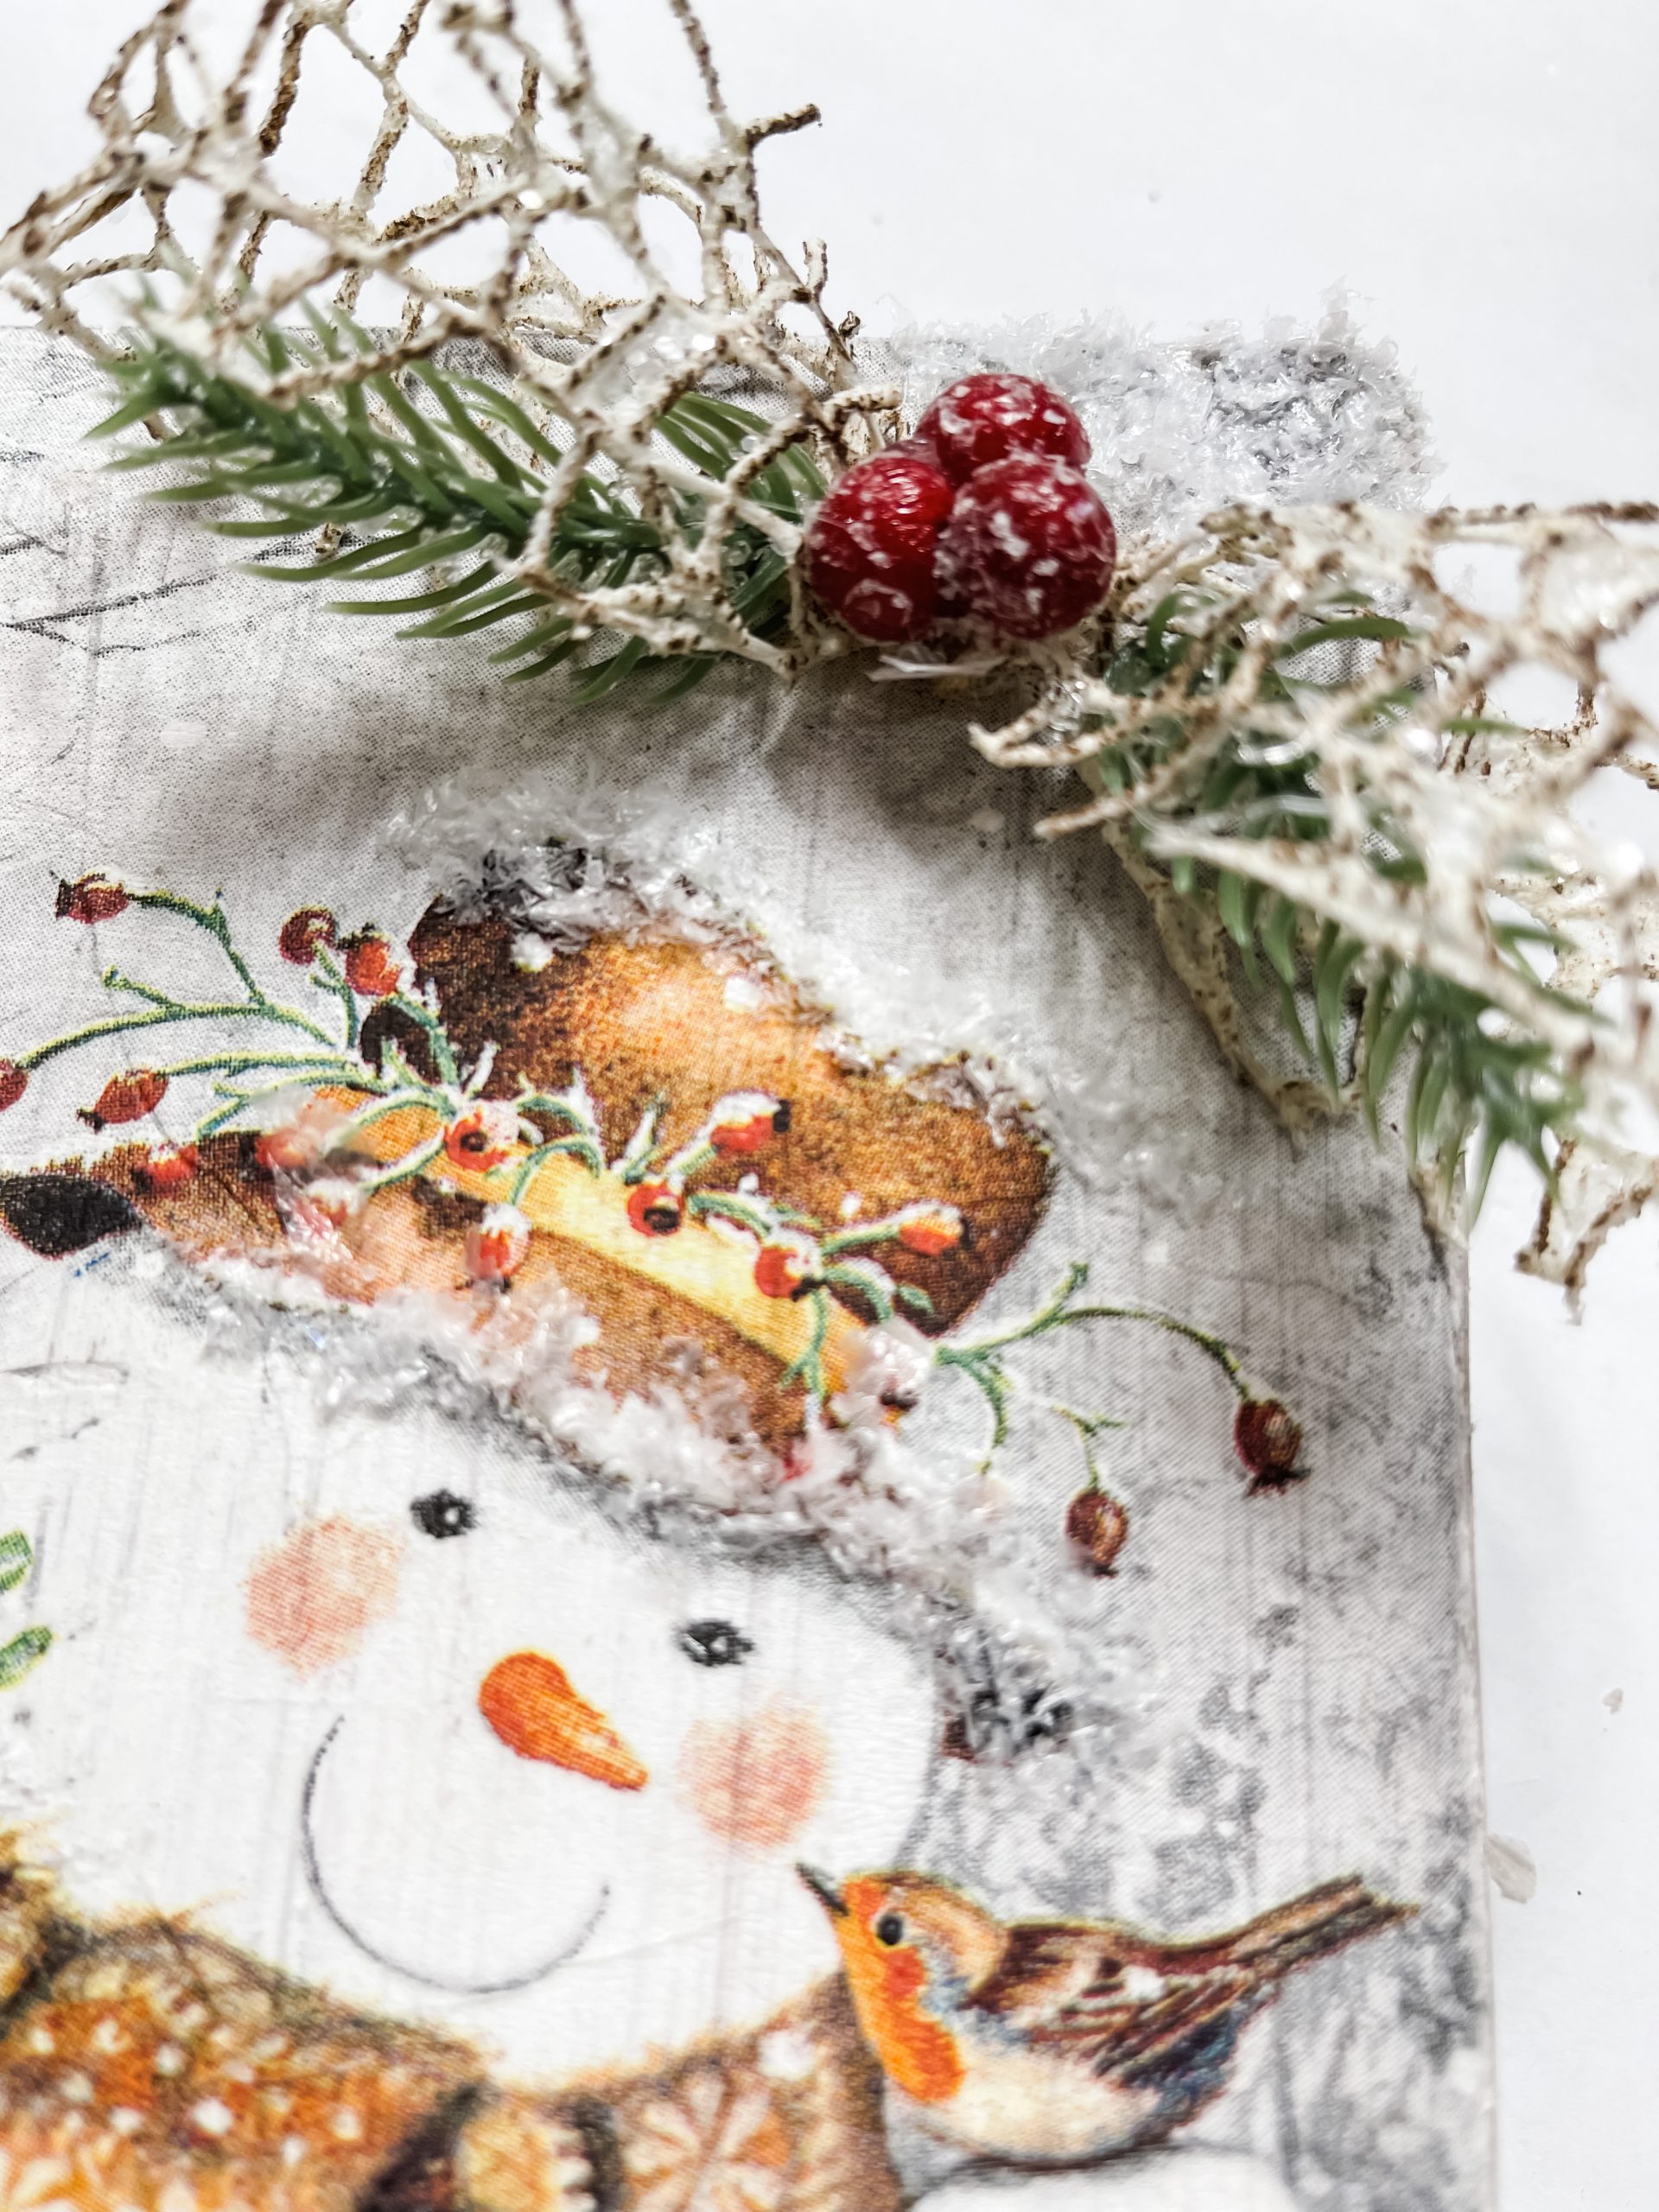
I also hot glued a piece of the greenery coming up from the fence like a little tree. I brushed a little bit of white paint onto the greenery piece and stuck some of the snow onto the wet paint.
Lastly, I hot glued three red berries over the center of my bow!
I hope you enjoyed this Classic Snowman Napkin DIY Winter Decor as much as I did and decide to make one for yourself! If you do, I would love to see how yours turns out!
You should totally join my FREE Facebook group called On A Budget Crafts! It is a judgment-free community for DIY crafters to show off their projects and ideas.
If you loved this Classic Snowman Napkin DIY Winter Decor, you might also like this Dollar Tree Gift Box DIY Christmas Decor!
Thanks for stopping by! XOXO Amber
You can also shop my ENTIRE AMAZON Favorites shop just click here! It’s packed full of all the things I use and love.
Here is the supply list I highly recommend every creative have on hand!! Would you also pin my blog for later and get on my newsletter alerts? I would love to have you join my #craftycrew.

Join my free “ON A BUDGET CRAFTS” Facebook group!


I love all of your crafts but this is my favorite its probally because I just love all snowmans.
Love this
I watched this live. I remember it was a scrap wood but it looks bigger than a 2×4 can you share the size wood?
I found the wood pieces at Hobby Lobby for 50% off today. I ordered the napkin from you. Can’t wait to make this.