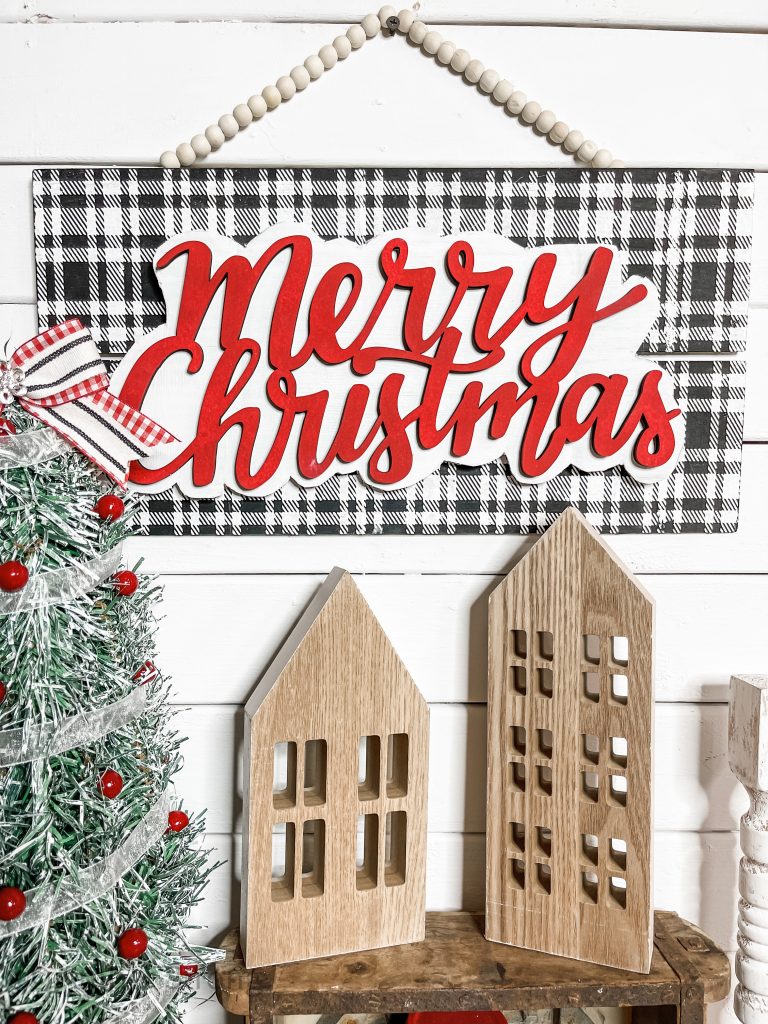
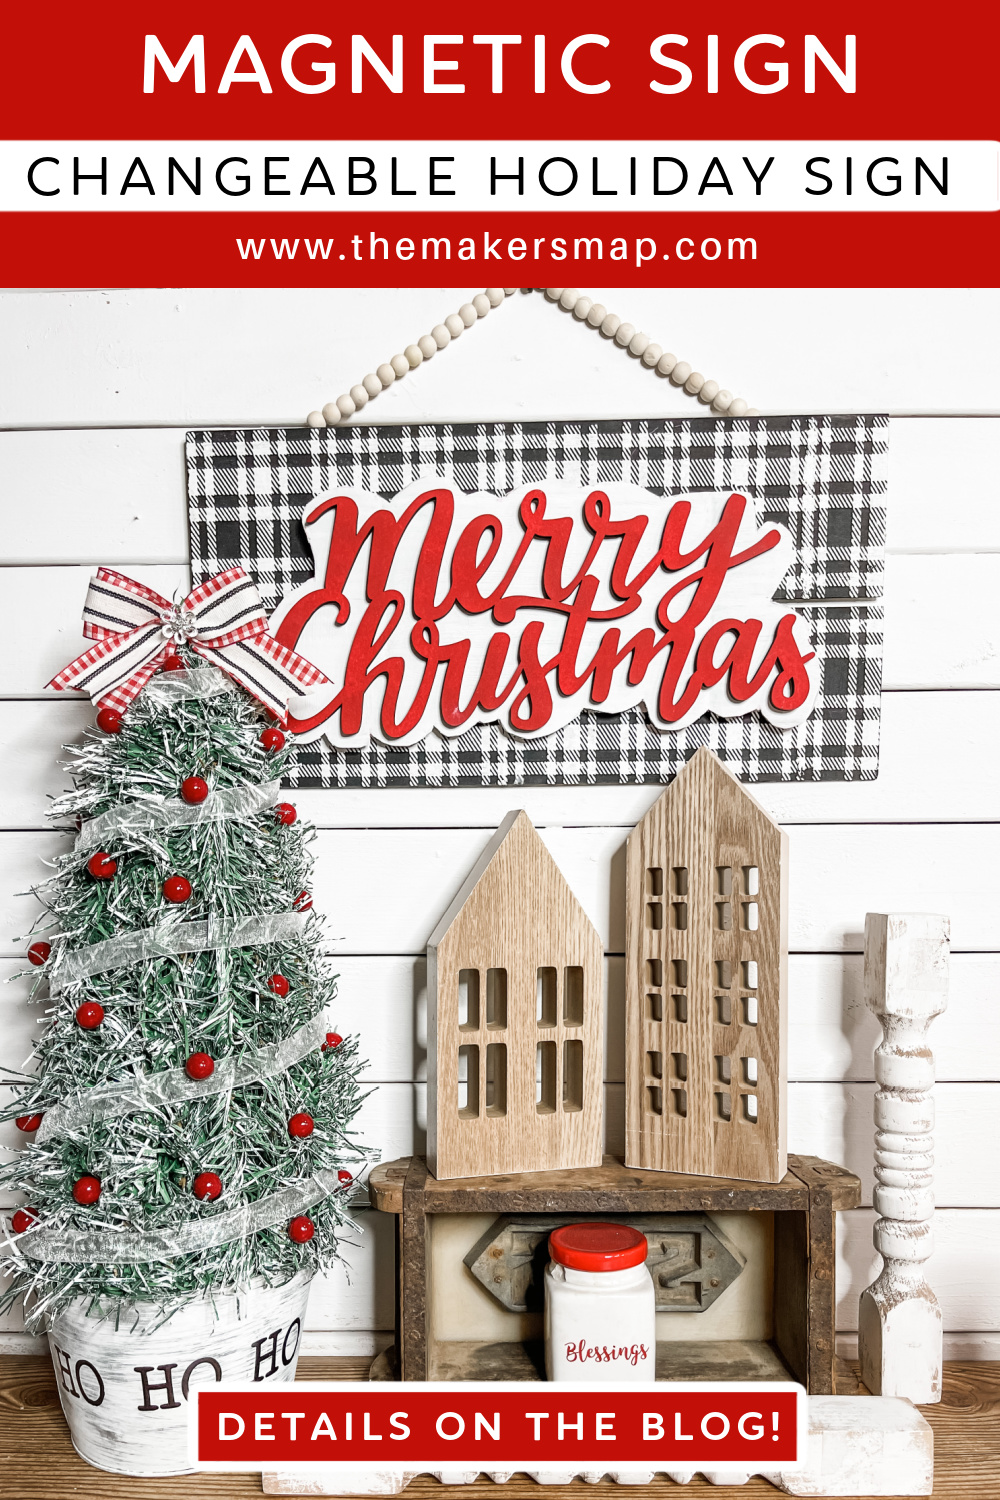
Simple Changeable Magnetic Sign
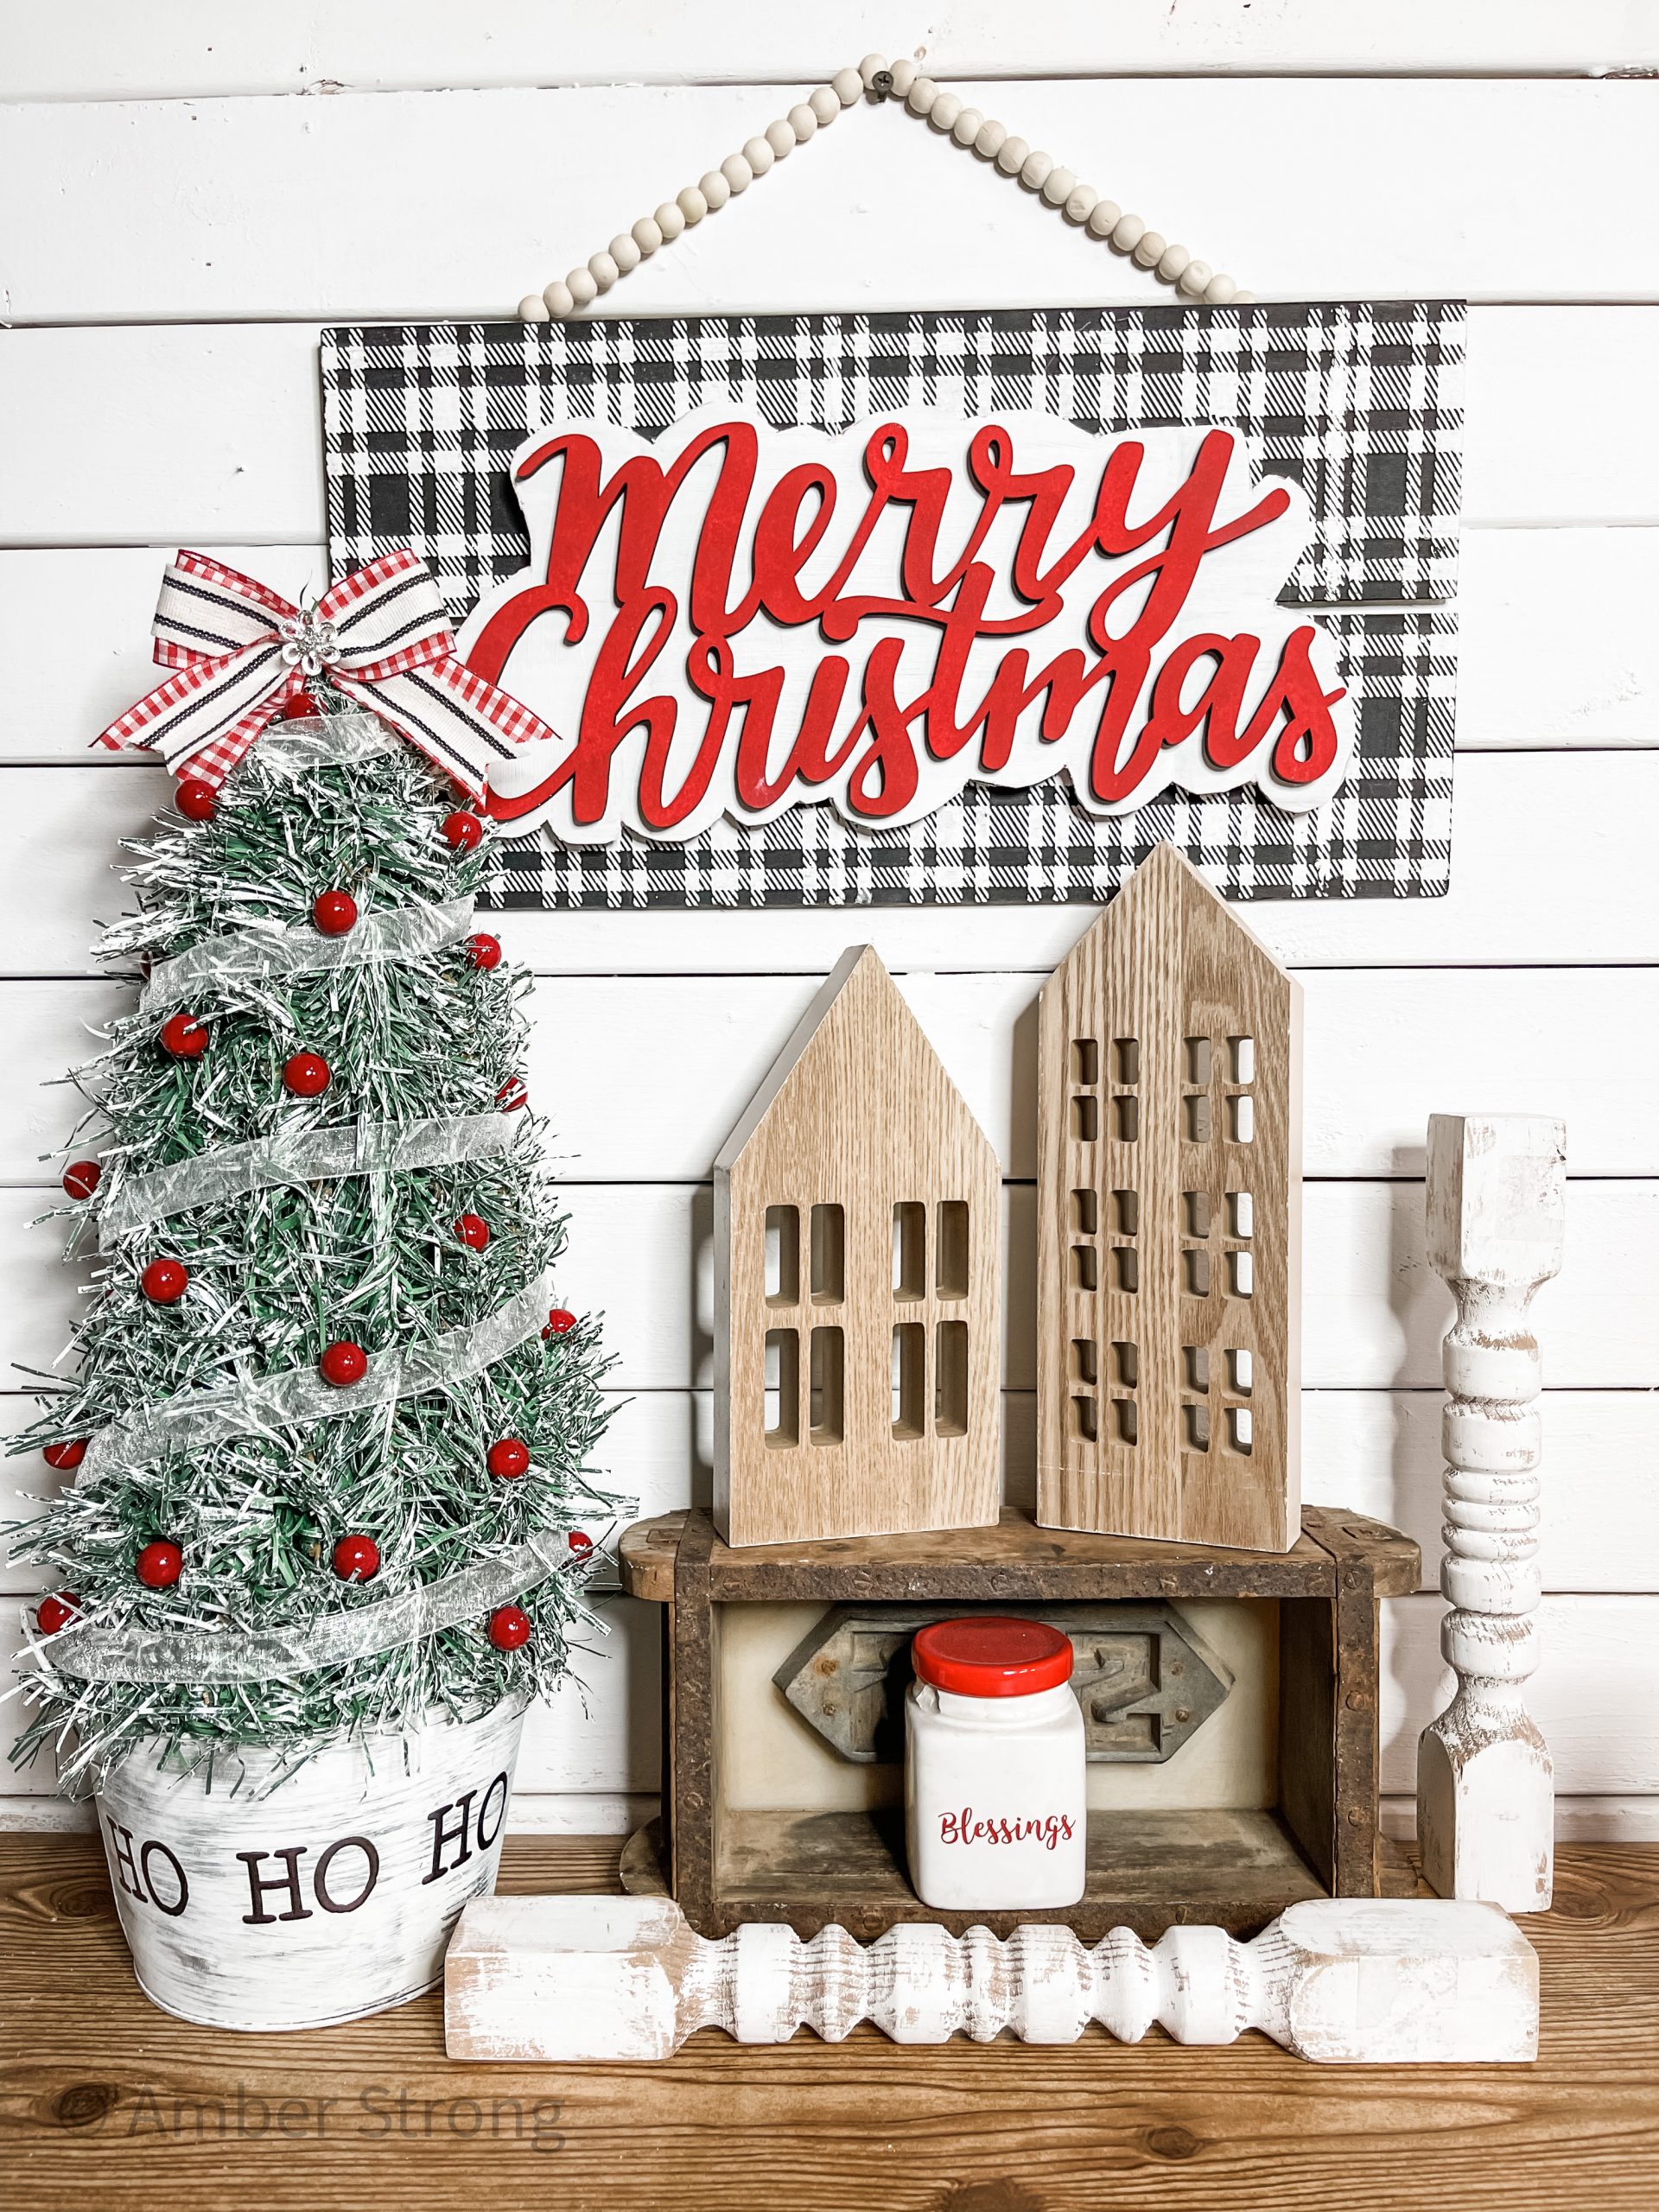
What I love most about this Simple Changeable Magnetic Sign is that while I made it for Christmas, I can swap out the Merry Christmas lettering for anything I like that works for any other holiday or season!
You can take the idea for making the buffalo check surface and use it on any other DIY sign idea you already have. The possibilities are endless!
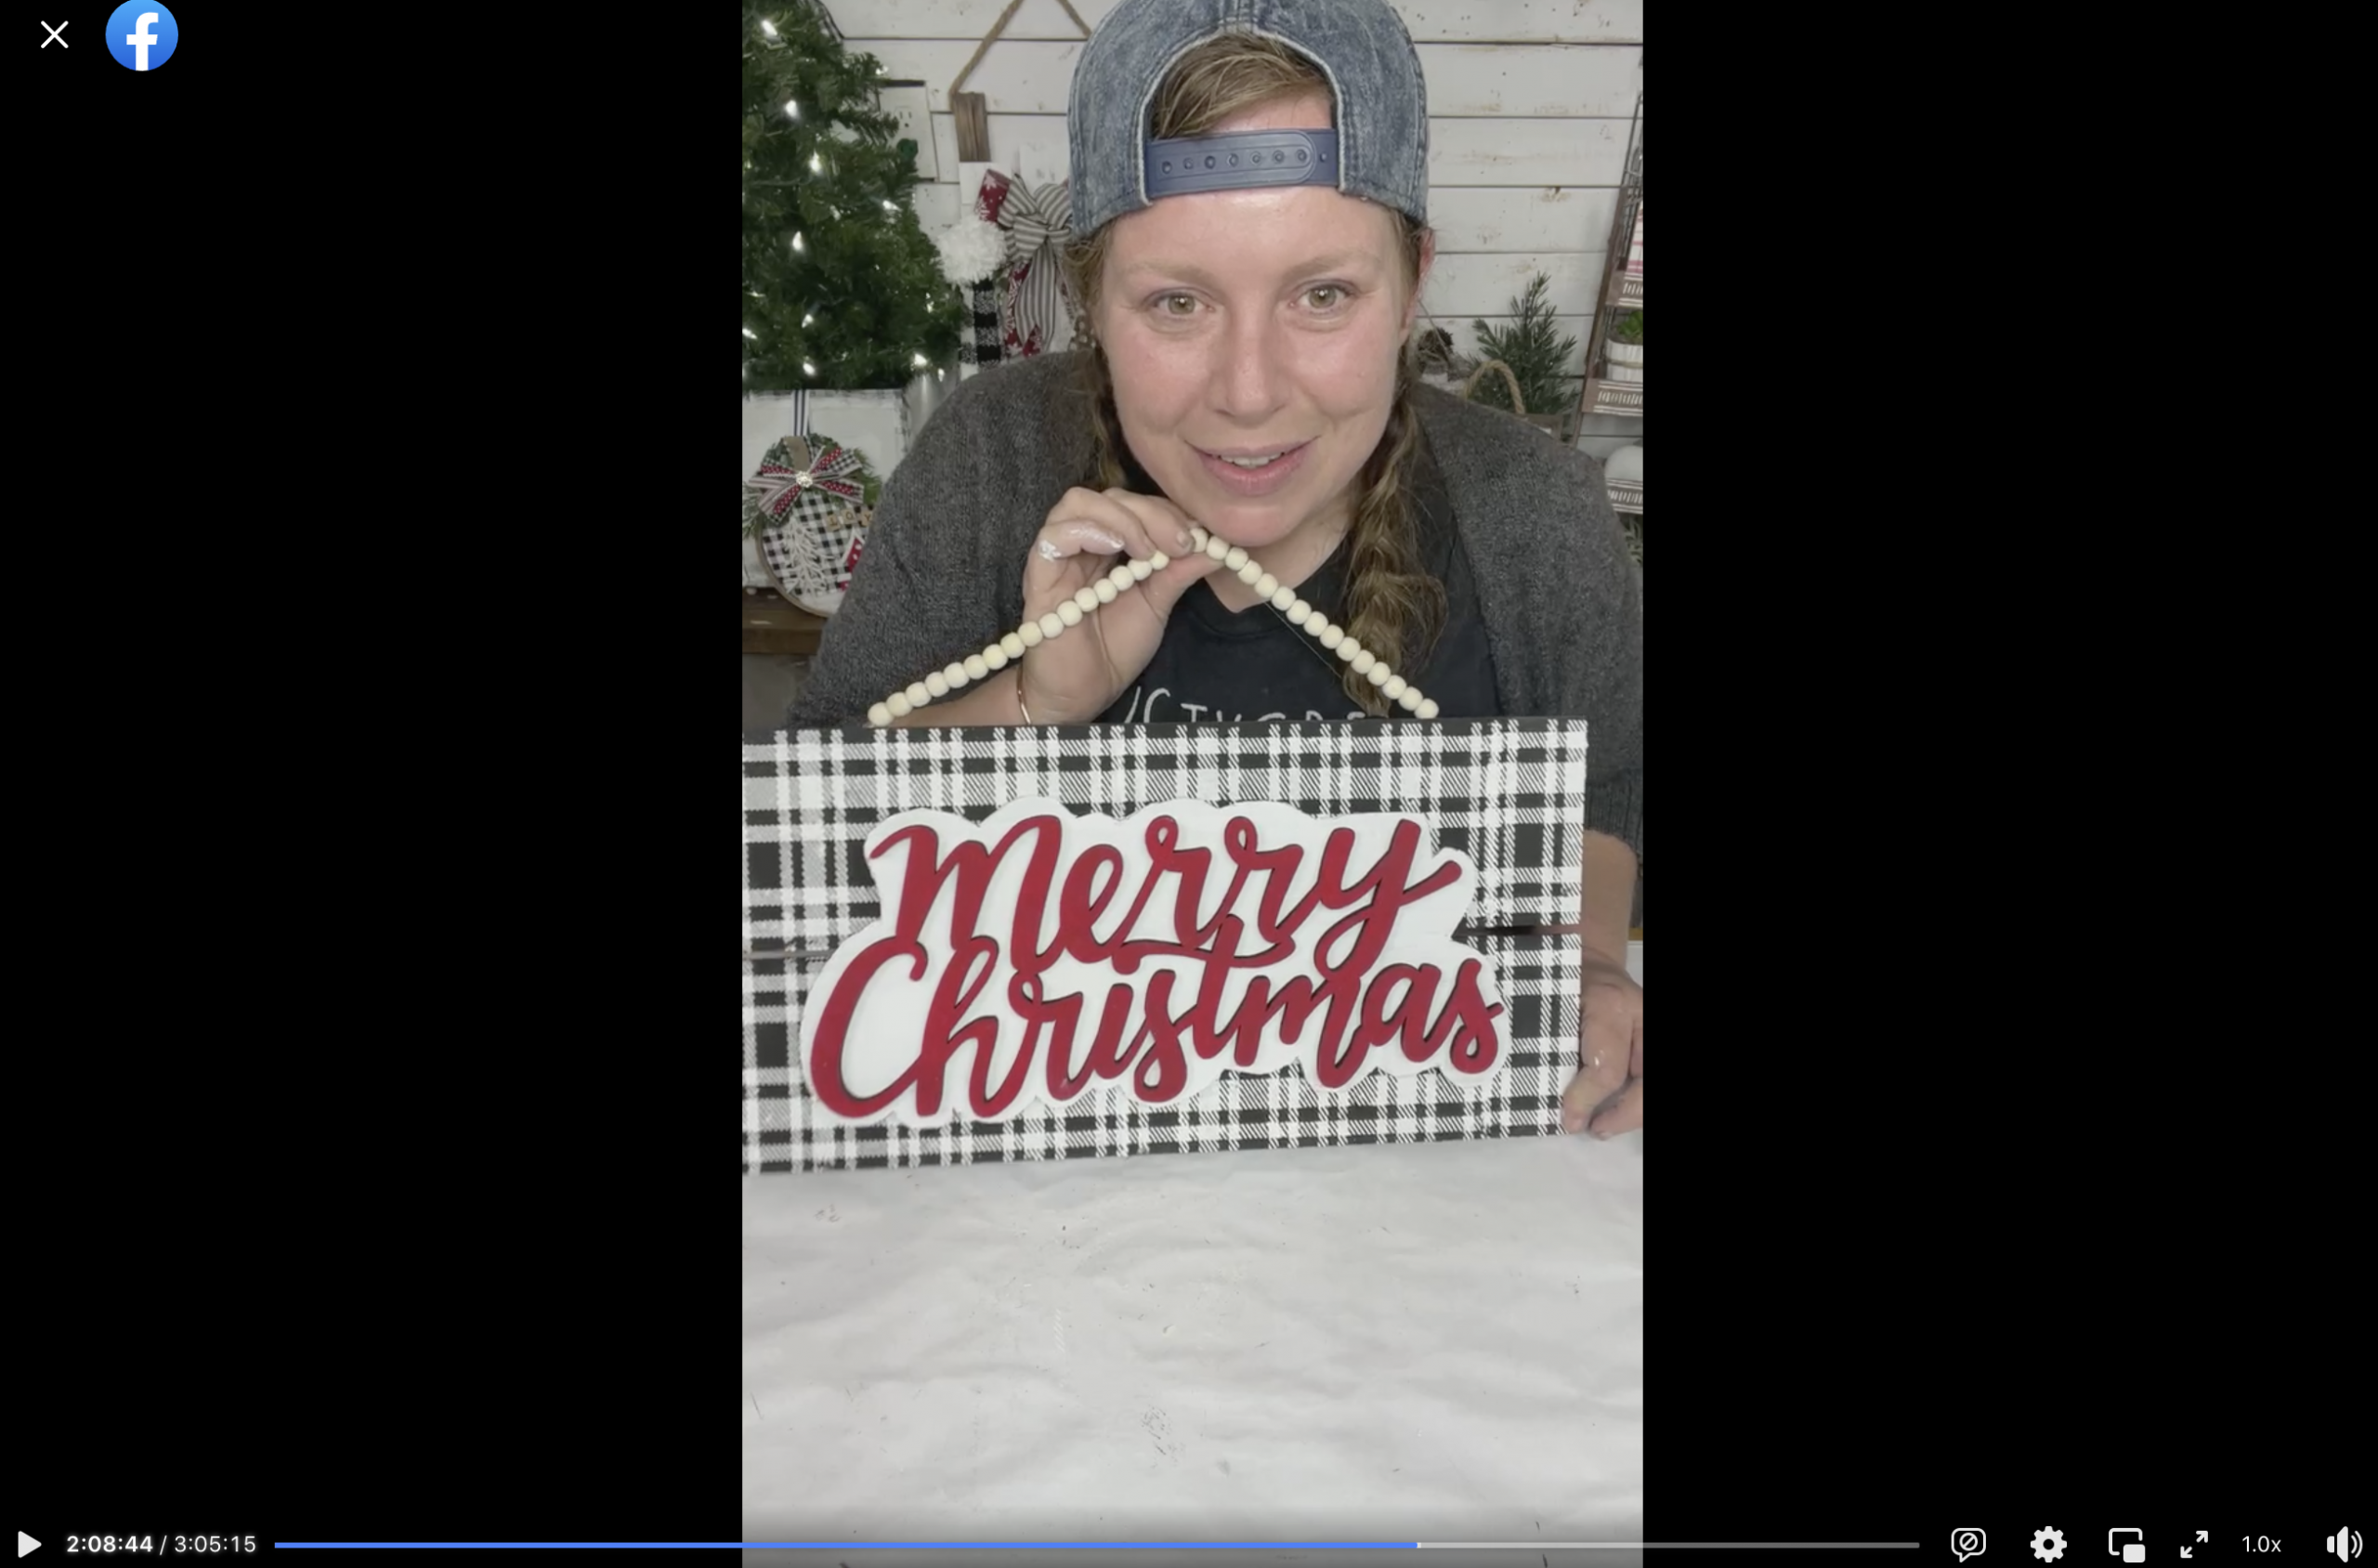
Watch the DIY tutorial
I recorded how to make this Simple Changeable Magnetic Sign during a LIVE video on my Facebook page.
If you want to see the DIY process, craft along, or just join in on the fun conversations, you can watch the DIY tutorial replay on Facebook!
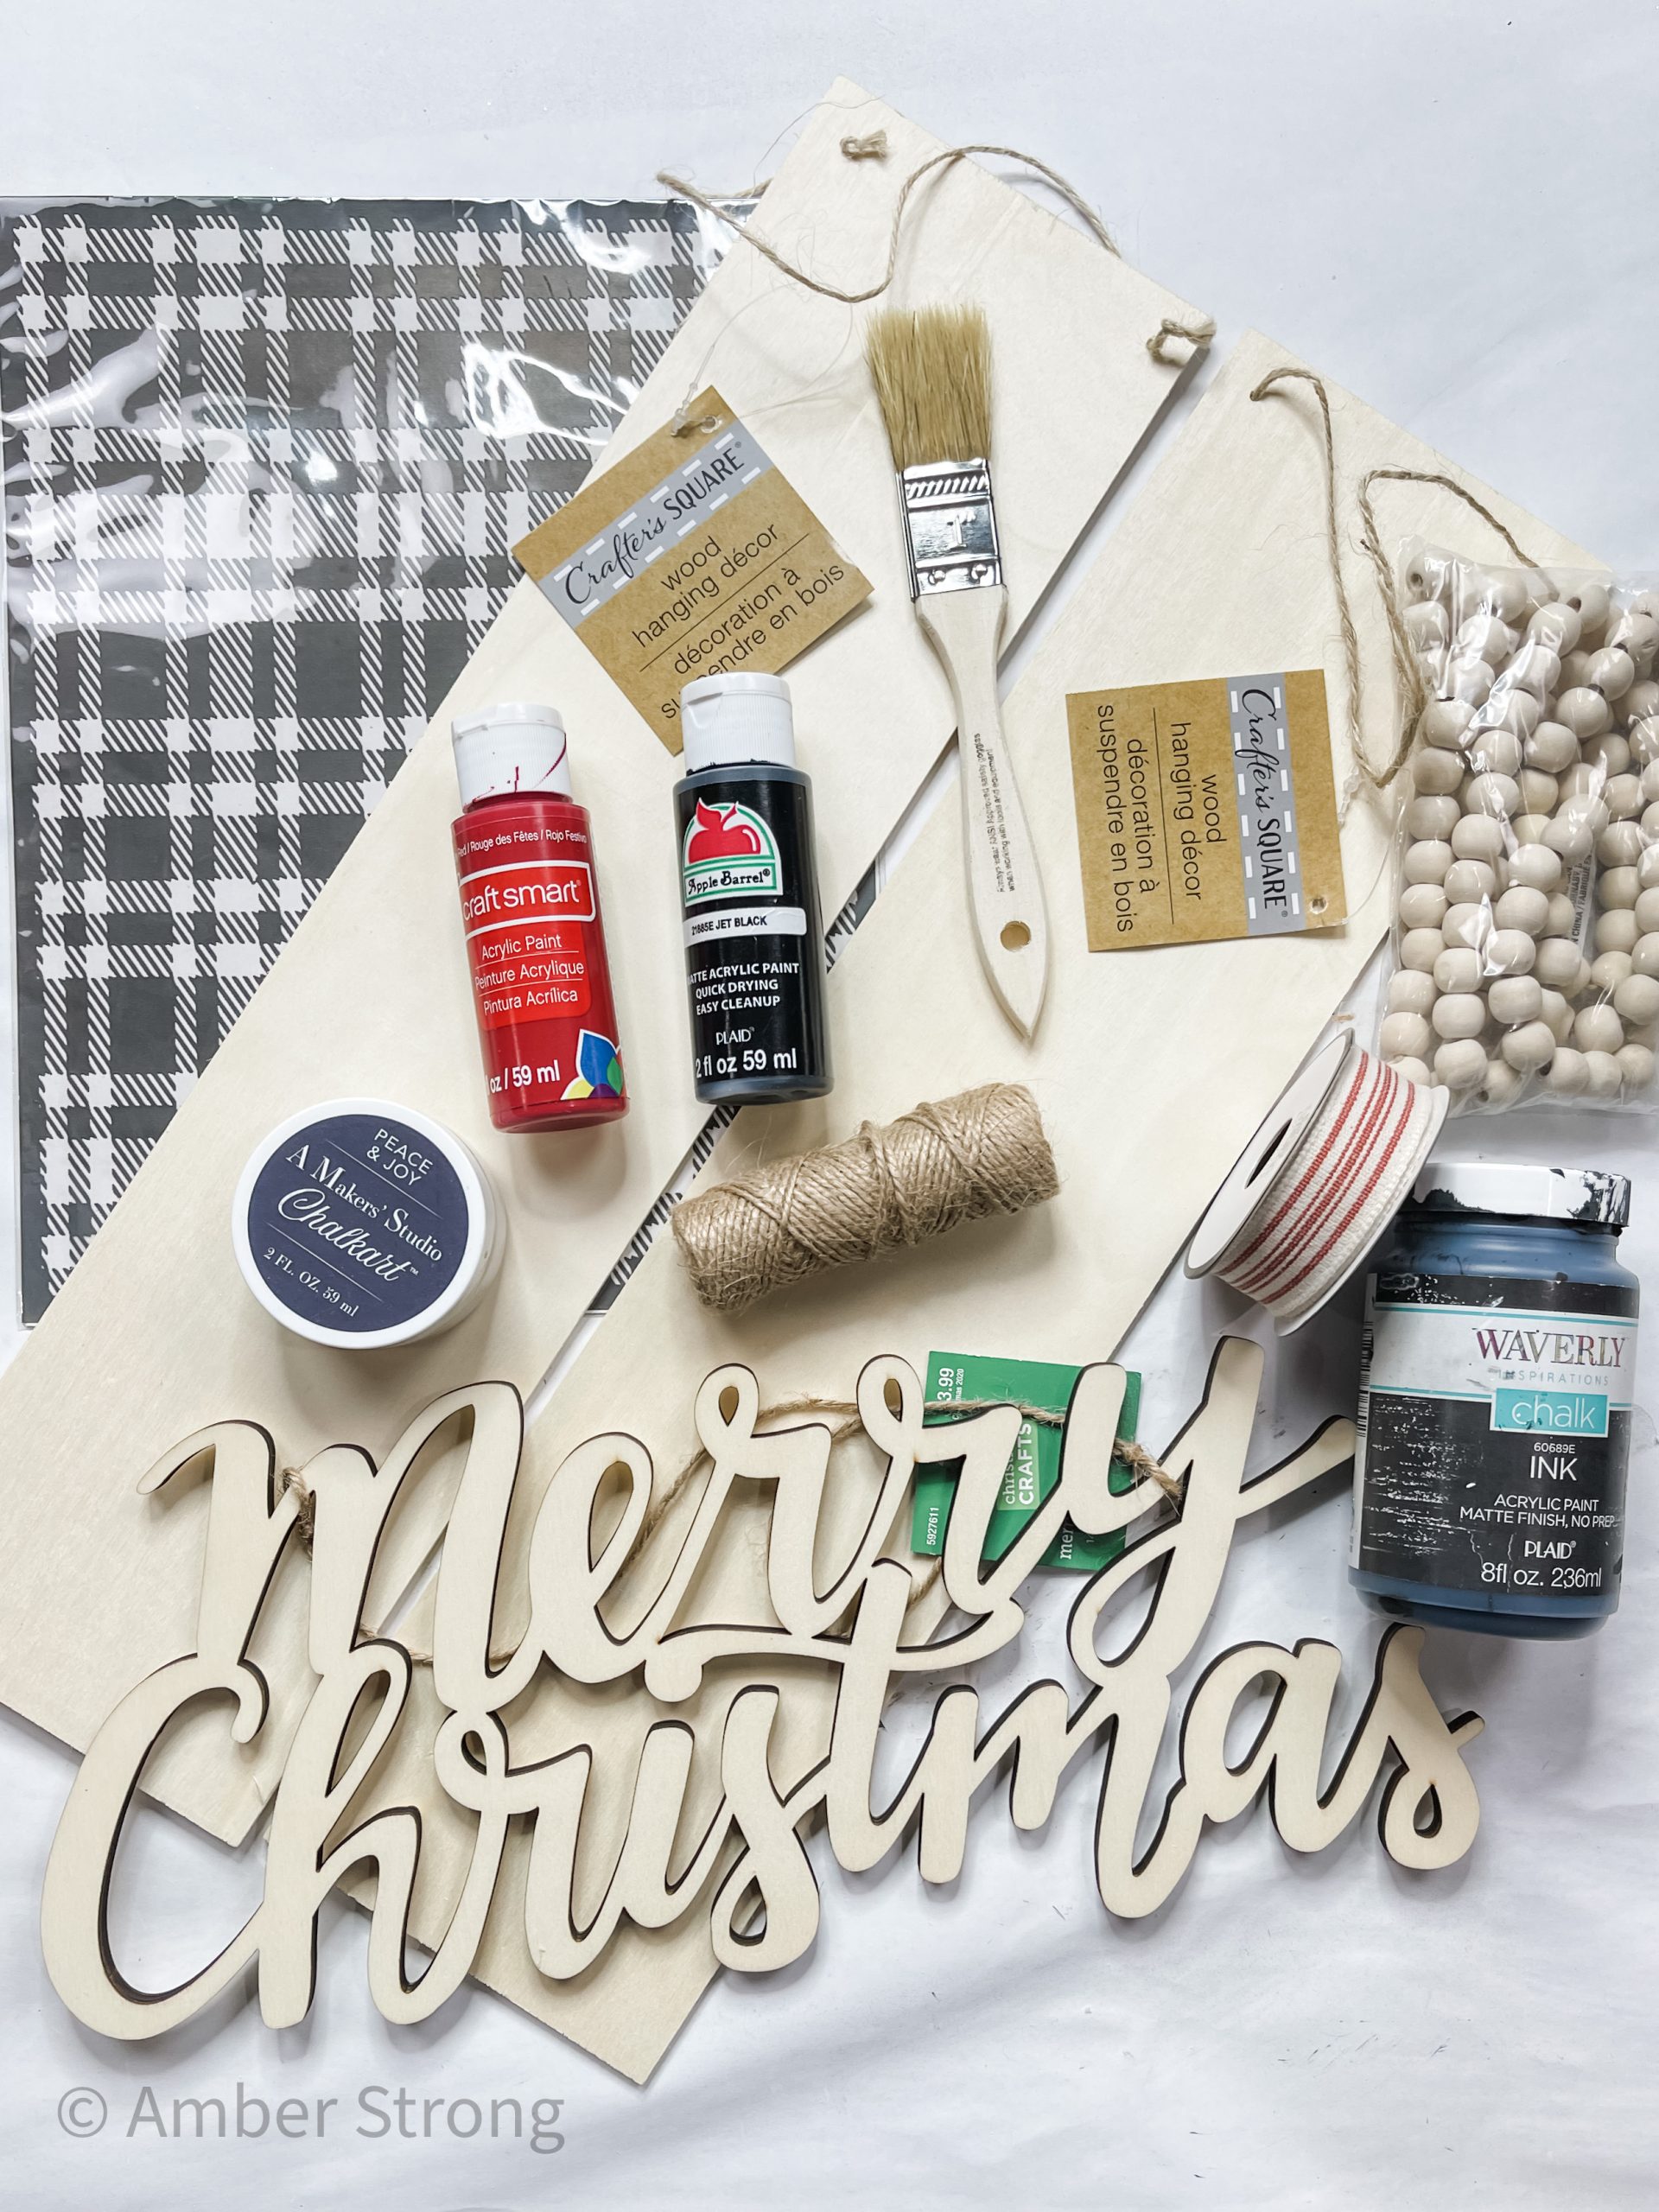
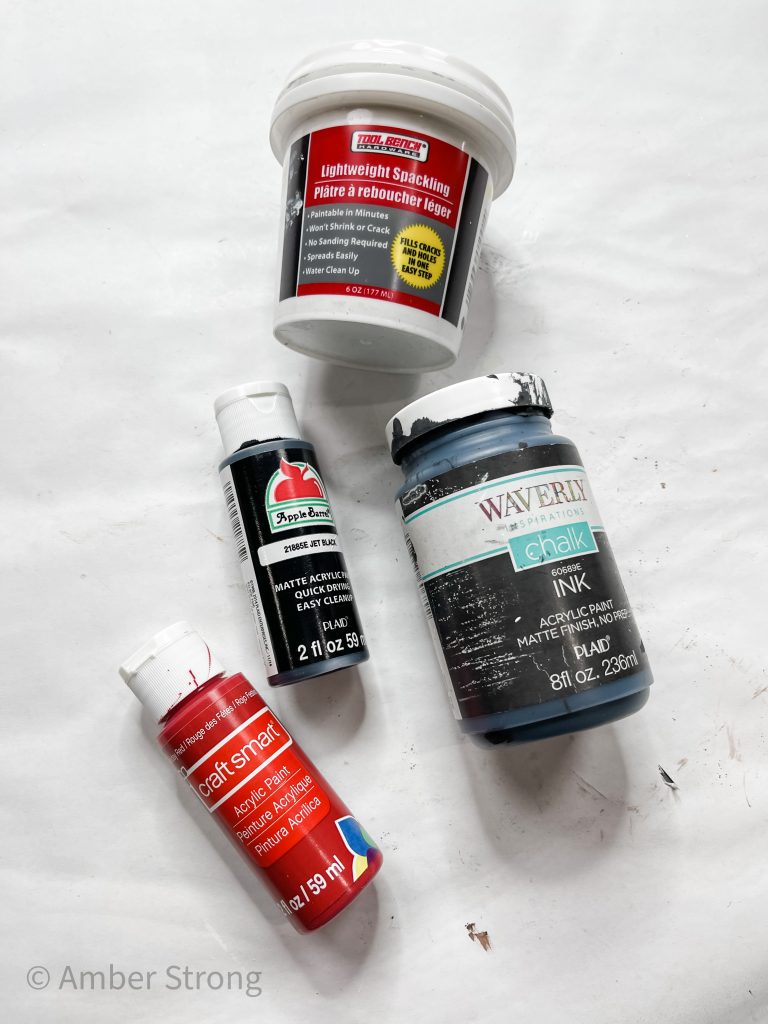
For this project, I will be using these items but you can substitute where you want.
“As an Amazon Associate, I earn from qualifying purchases.”
- Dollar Tree Wood Hanging Decor (x2)
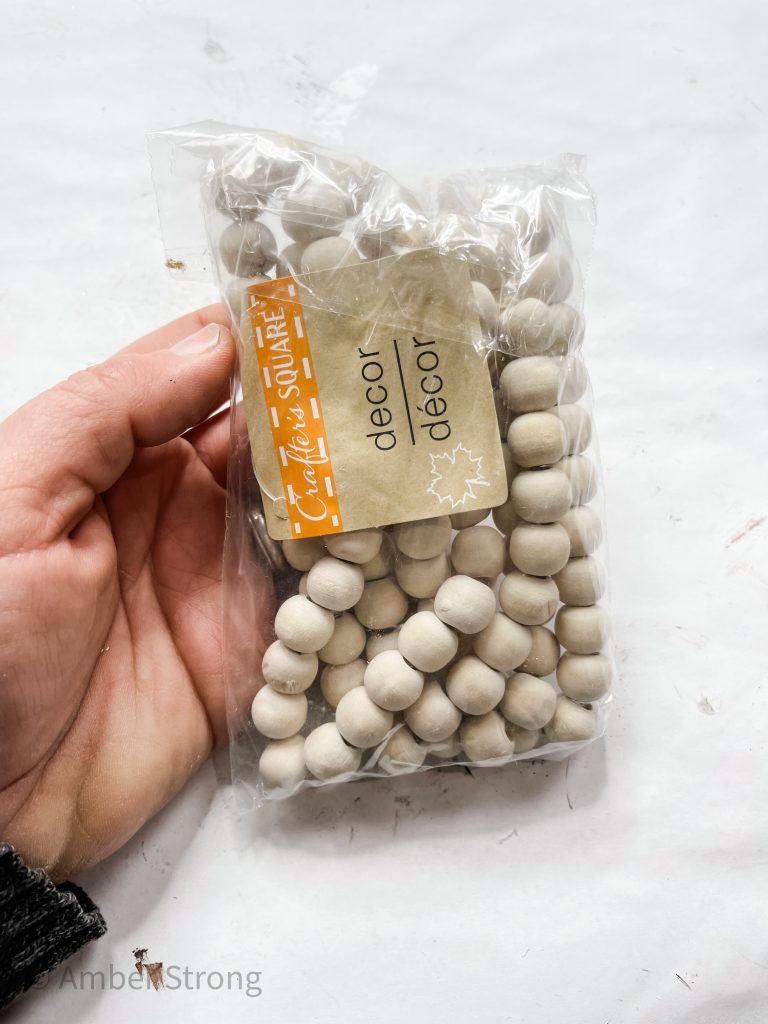
- Dollar Tree Wood Bead Garland
- A Maker’s Studio Stencil
- Dollar Tree Jute Twine
- Dollar Tree Spackling
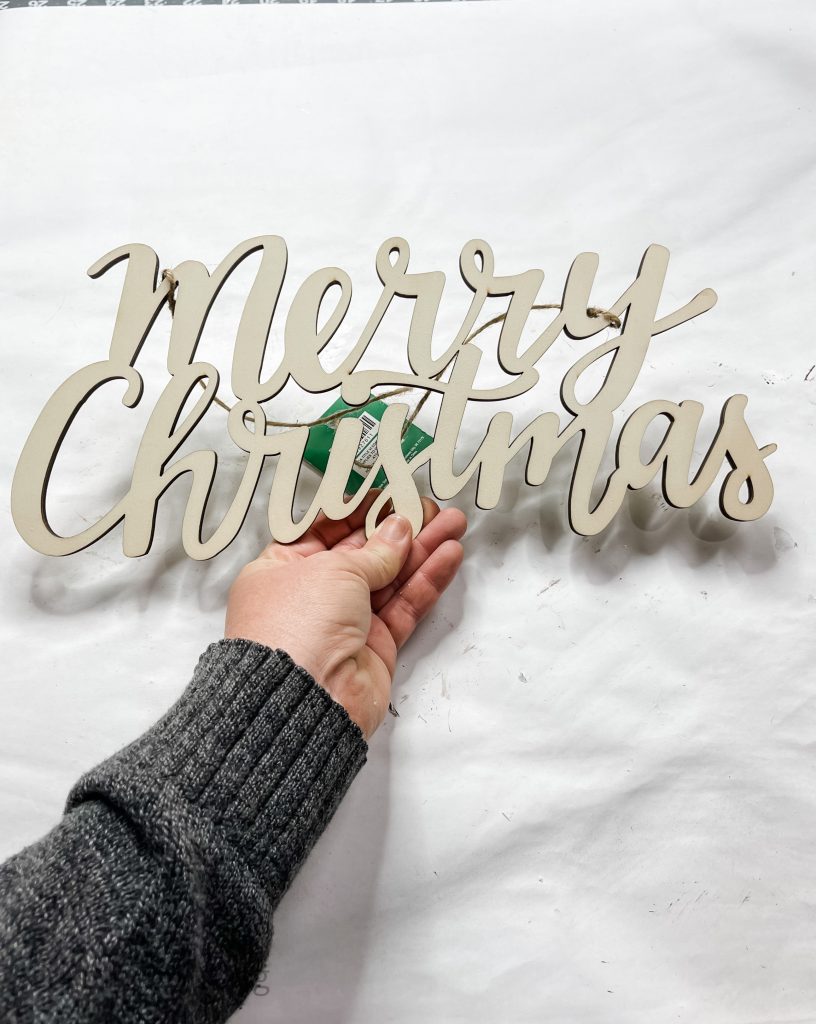
- Merry Christmas lettering (Hobby Lobby)
- Dollar Tree Magnet buttons
- Cardboard
- Waverly Ink Chalk Paint
- Apple Barrel White Acrylic Paint
- Apple Barrel Black Acrylic Paint
Craftsmart Red Acrylic Paint - Glue Gun
- Heat gun
How to Make a Simple Changeable Magnetic Sign
I started this project by removing the twine hangers from the two Dollar Tree wood plank pieces. Then, I filled in the holes from the twine with Dollar Tree spackling.
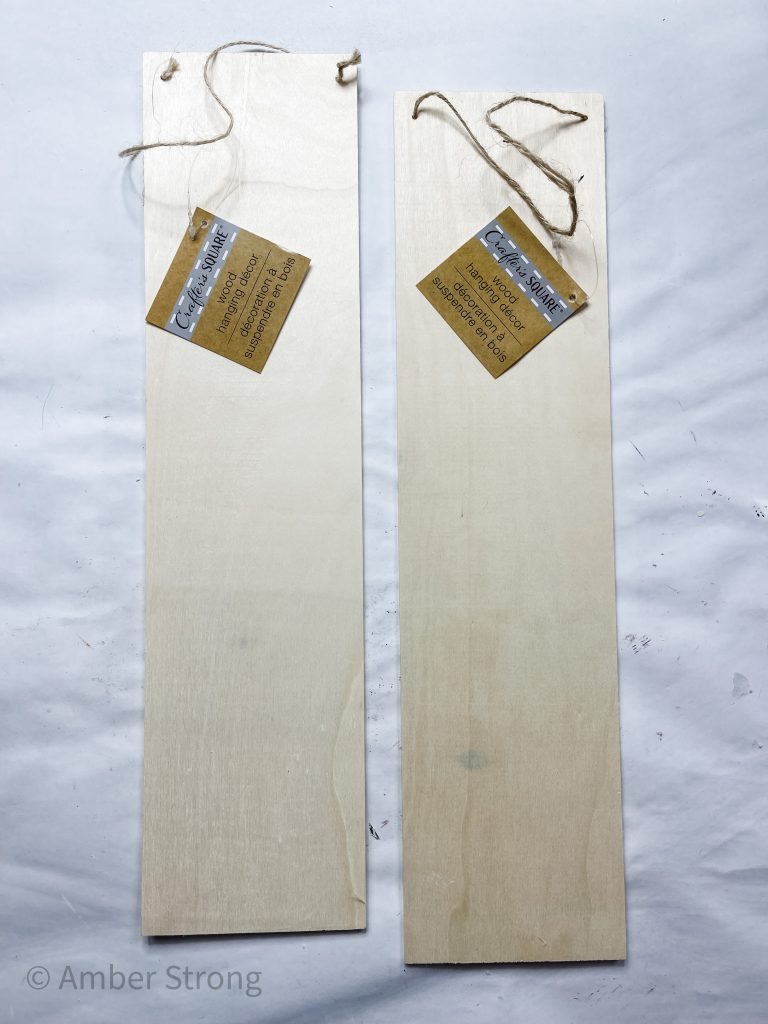
Allow the spackling to dry, then go over the surface with a sanding sponge to smooth it out. Next, I used a wet wipe to just clean off the planks and remove any dust.
Paint both of the Dollar Tree wooden planks with black paint. I used Waverly Ink chalk paint for this step. I also painted the edges of the planks.
You’ll need to let the paint dry completely on both planks. I used my heat gun to speed this up. If you don’t have one, you can use a hairdryer on the low-cool setting.
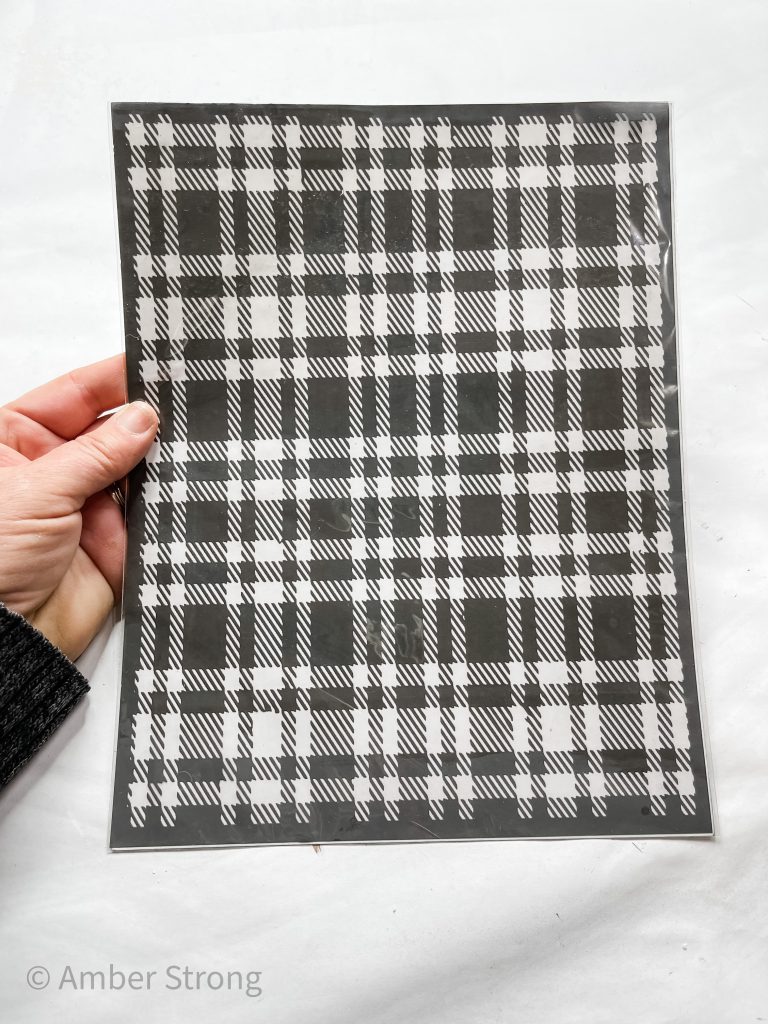
How to use A Maker’s Studio’s Stencil!
Once the paint is completely dry, get your stencil! The one I used is from A Maker’s Studio. Depending on the stencil you use, this process may be different for you.
Remove the adhesive backing from the stencil, set the two planks side by side, and place the stencil onto the wood.
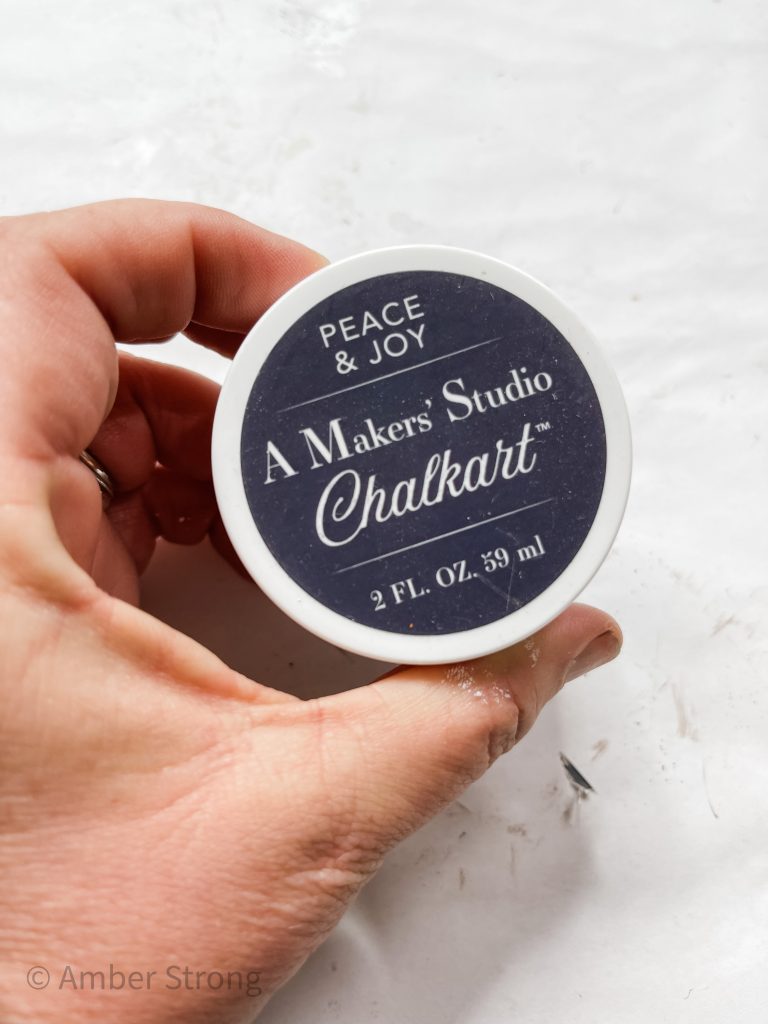
Next, I used white chalk paste from A Maker’s Studio and spread it across the top of the stencil. Let the paste dry a little, then pull the stencil up from the surface.
If you use the same stencil that I use, you’ll have to pull the stencil up and place it back down on the next section until the wood pieces are evenly covered with your pattern.
Allow the design to dry completely. Then, I stained two of the craft sticks with black paint and hot glued them on the backs of the wood pieces to secure them together.
Merry Christmas!
Now it’s time to paint the Merry Christmas lettering! I used red paint and evenly painted my Merry Christmas sign. Let the paint dry completely.
I placed the painted Merry Christmas on top of my piece of cardboard and traced a bubble around the lettering. Cut that bubble out with a pair of scissors.
Instead of just painting the cardboard with white paint, I applied a coat of spackling! The spackling provides a texture that you just don’t get with a coat of paint.
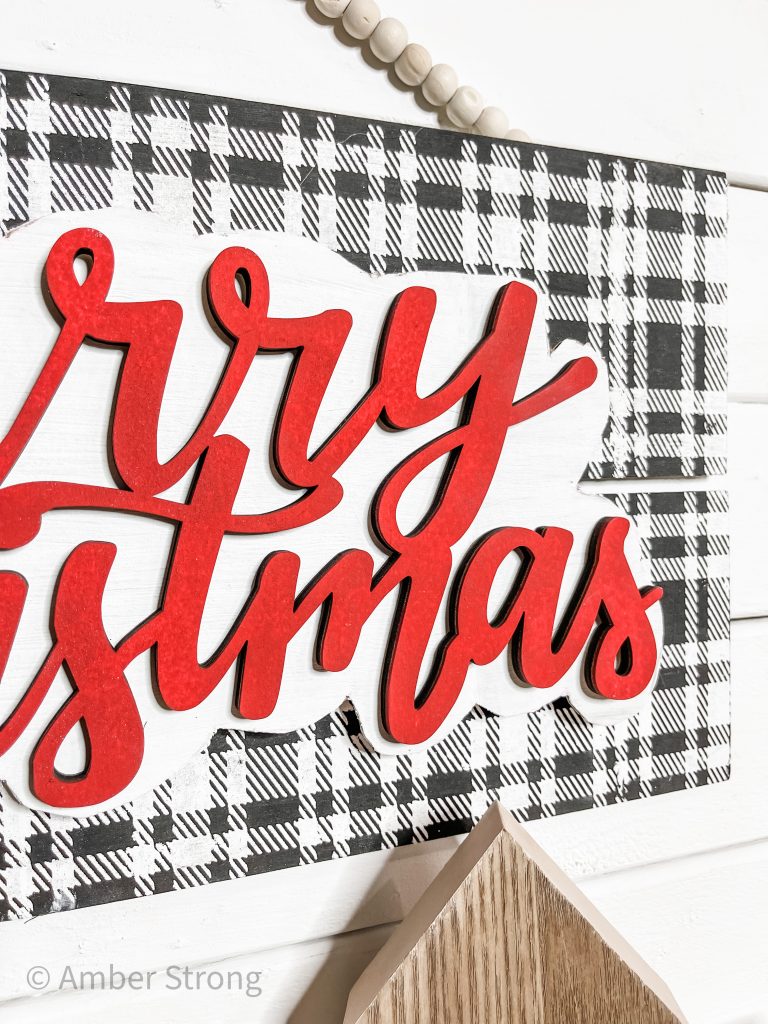
Let the spackling dry, then hot glue the painted Merry Christmas lettering onto the white cardboard bubble!
Bring it all together!
Before I hot glued the Merry Christmas sign and bubble onto the stenciled wood, I went ahead and hot glued the Dollar Tree wood bead garland to the back to create the hanger.
Then, I flipped the sign over and hot glued magnets to the back of the cardboard bubble. Put a dab of hot glue on each of the magnets and press them onto the buffalo check sign.
This makes your Merry Christmas sign interchangeable for any holiday or season!
I hope you enjoyed this Simple Changeable Magnetic Sign as much as I did and decide to make one for yourself! If you do, I would love to see how yours turns out!
You should totally join my FREE Facebook group called On A Budget Crafts! It is a judgment-free community for DIY crafters to show off their projects and ideas.
If you loved this DIY you might also like this DIY Christmas Tree Shelf Decor!
Thanks for stopping by! XOXO Amber
You can also shop my ENTIRE AMAZON Favorites shop just click here! It’s packed full of all the things I use and love.
Here is the supply list I highly recommend every creative have on hand!! Would you also pin my blog for later and get on my newsletter alerts? I would love to have you join my #craftycrew.

Join my free “ON A BUDGET CRAFTS” Facebook group!
PIN THIS POST FOR LATER!
I love this. Great to have a interchangeable sign. I need to invest in some of these stencils and paste. The way you use cardboard and turn it into beauty is amazing