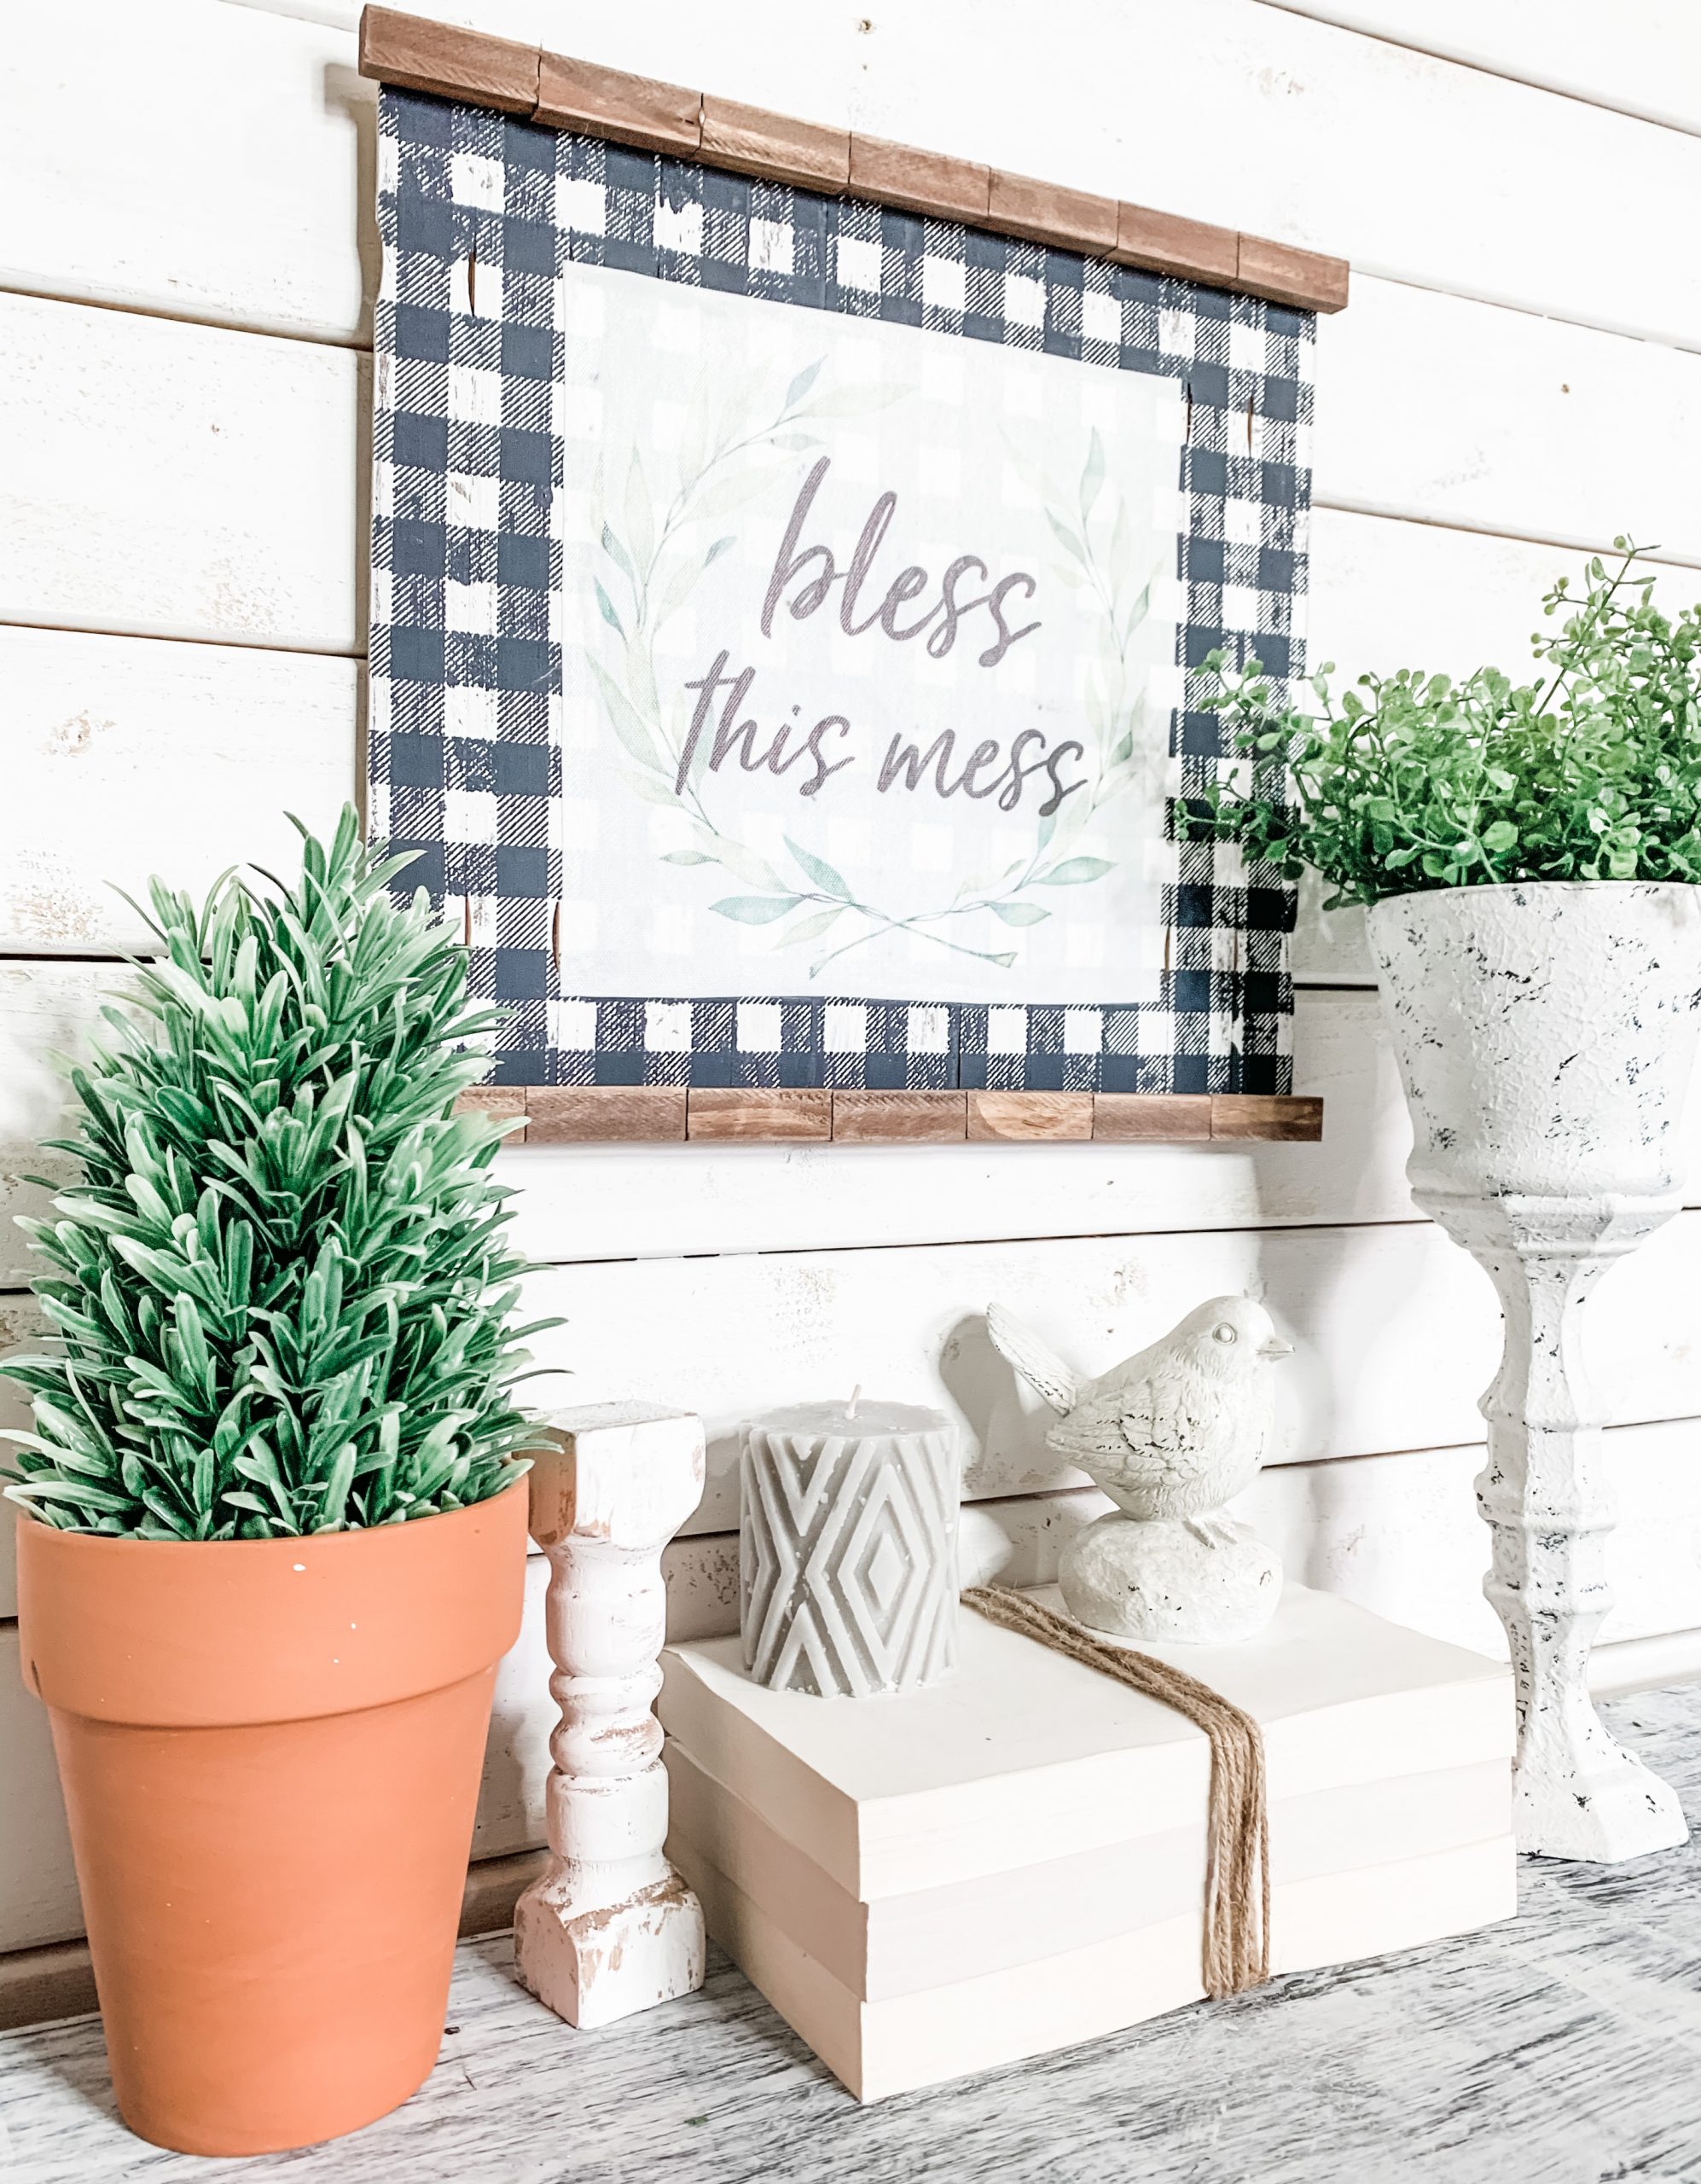
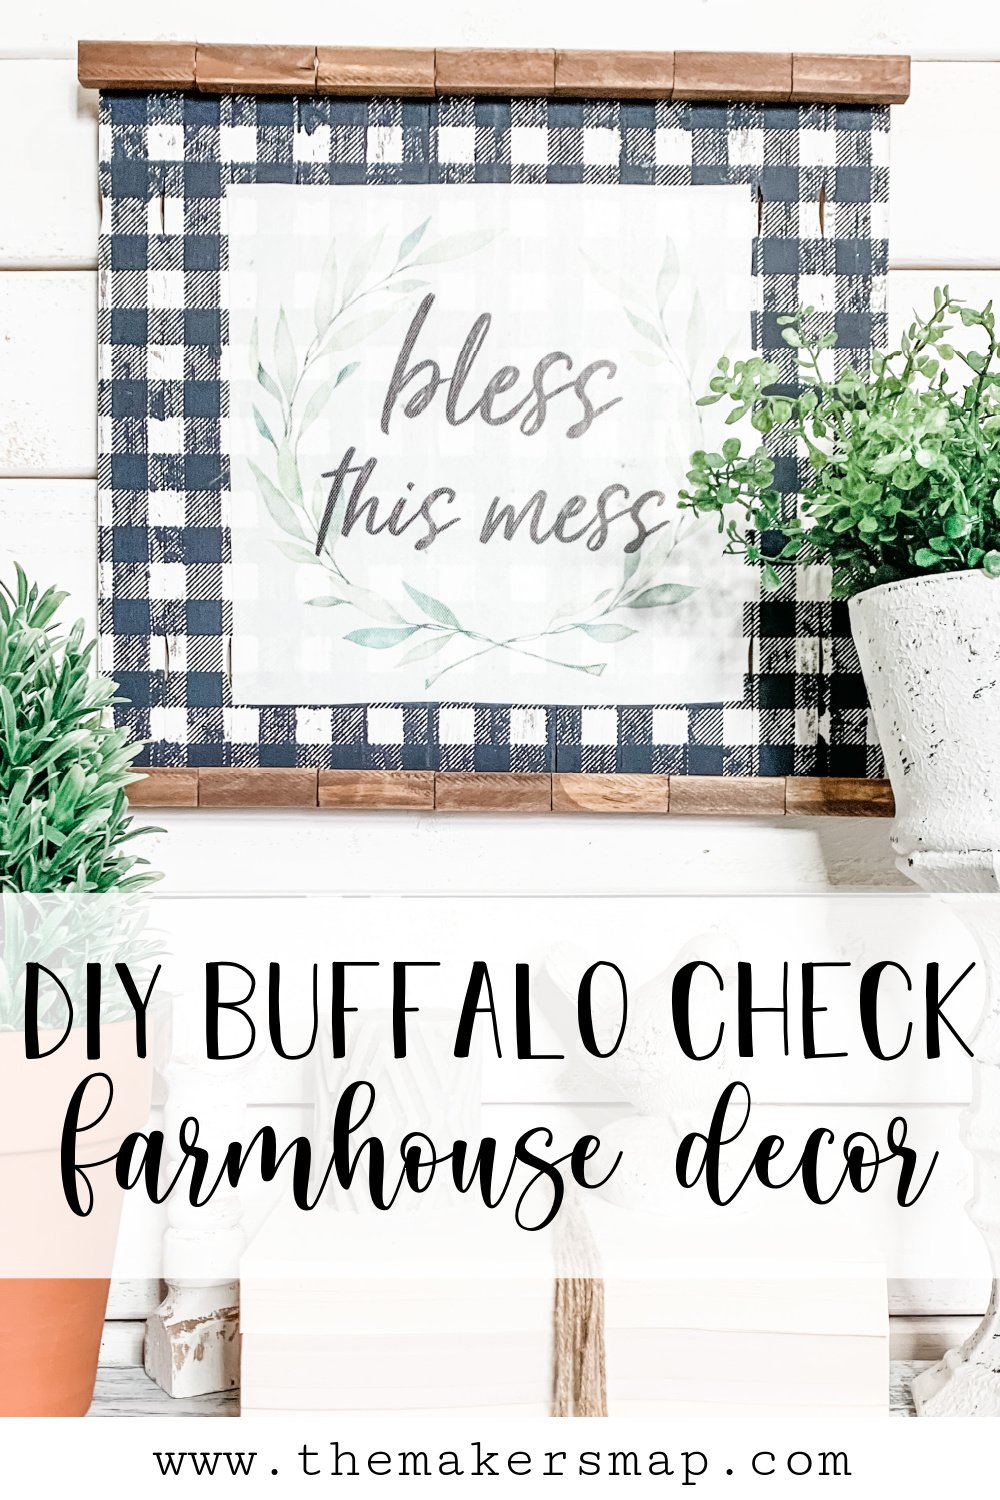
DIY Bless this Mess Sign
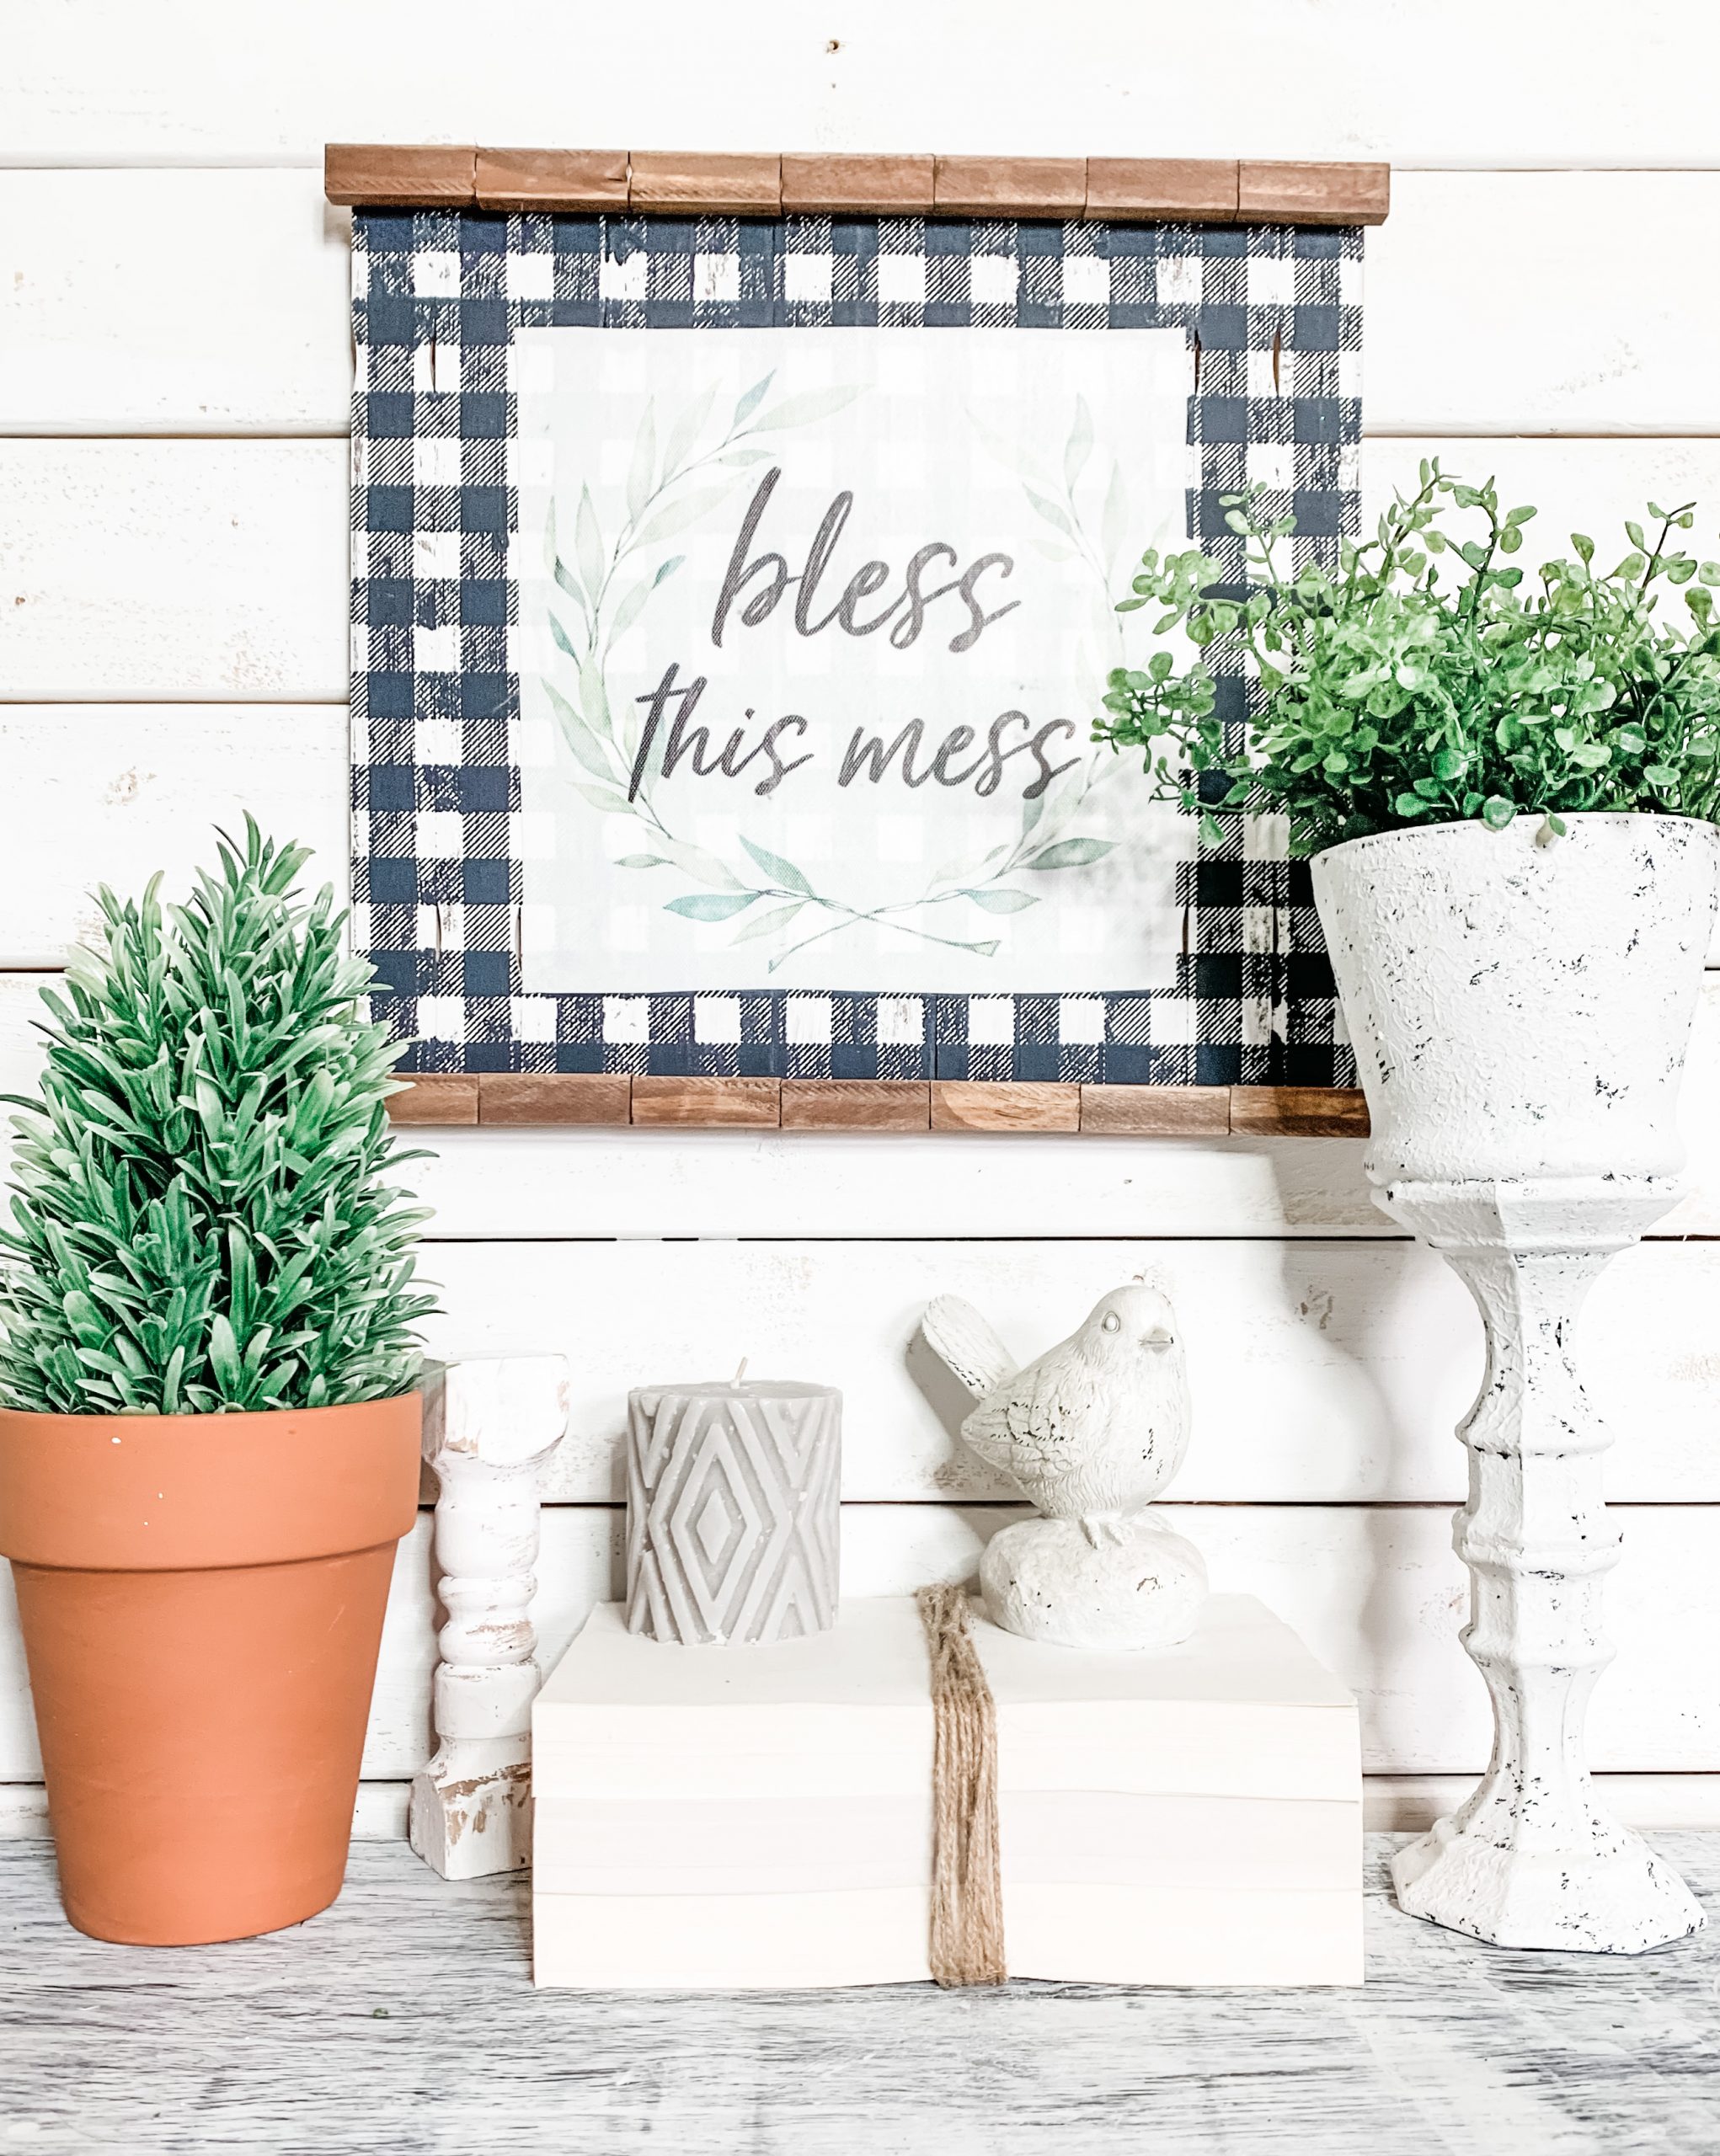
Is anyone so obsessed with buffalo check that they can’t wait to make this DIY Bless this Mess Sign? Don’t worry, I won’t judge you!
And yes, I said buffalo check stencil! If you get yourself a buffalo check stencil, you don’t have to search your local craft stores for the elusive buffalo check scrapbook paper anymore!
Watch the tutorial
I recorded how to make an adorable DIY Bless this Mess Sign during a LIVE video on my Facebook page, and, lucky for you, you can still watch the replay!
There was a good bit of chatting during the beginning of this video, so if you only want to watch the DIY, skip ahead to the 25-minute mark!

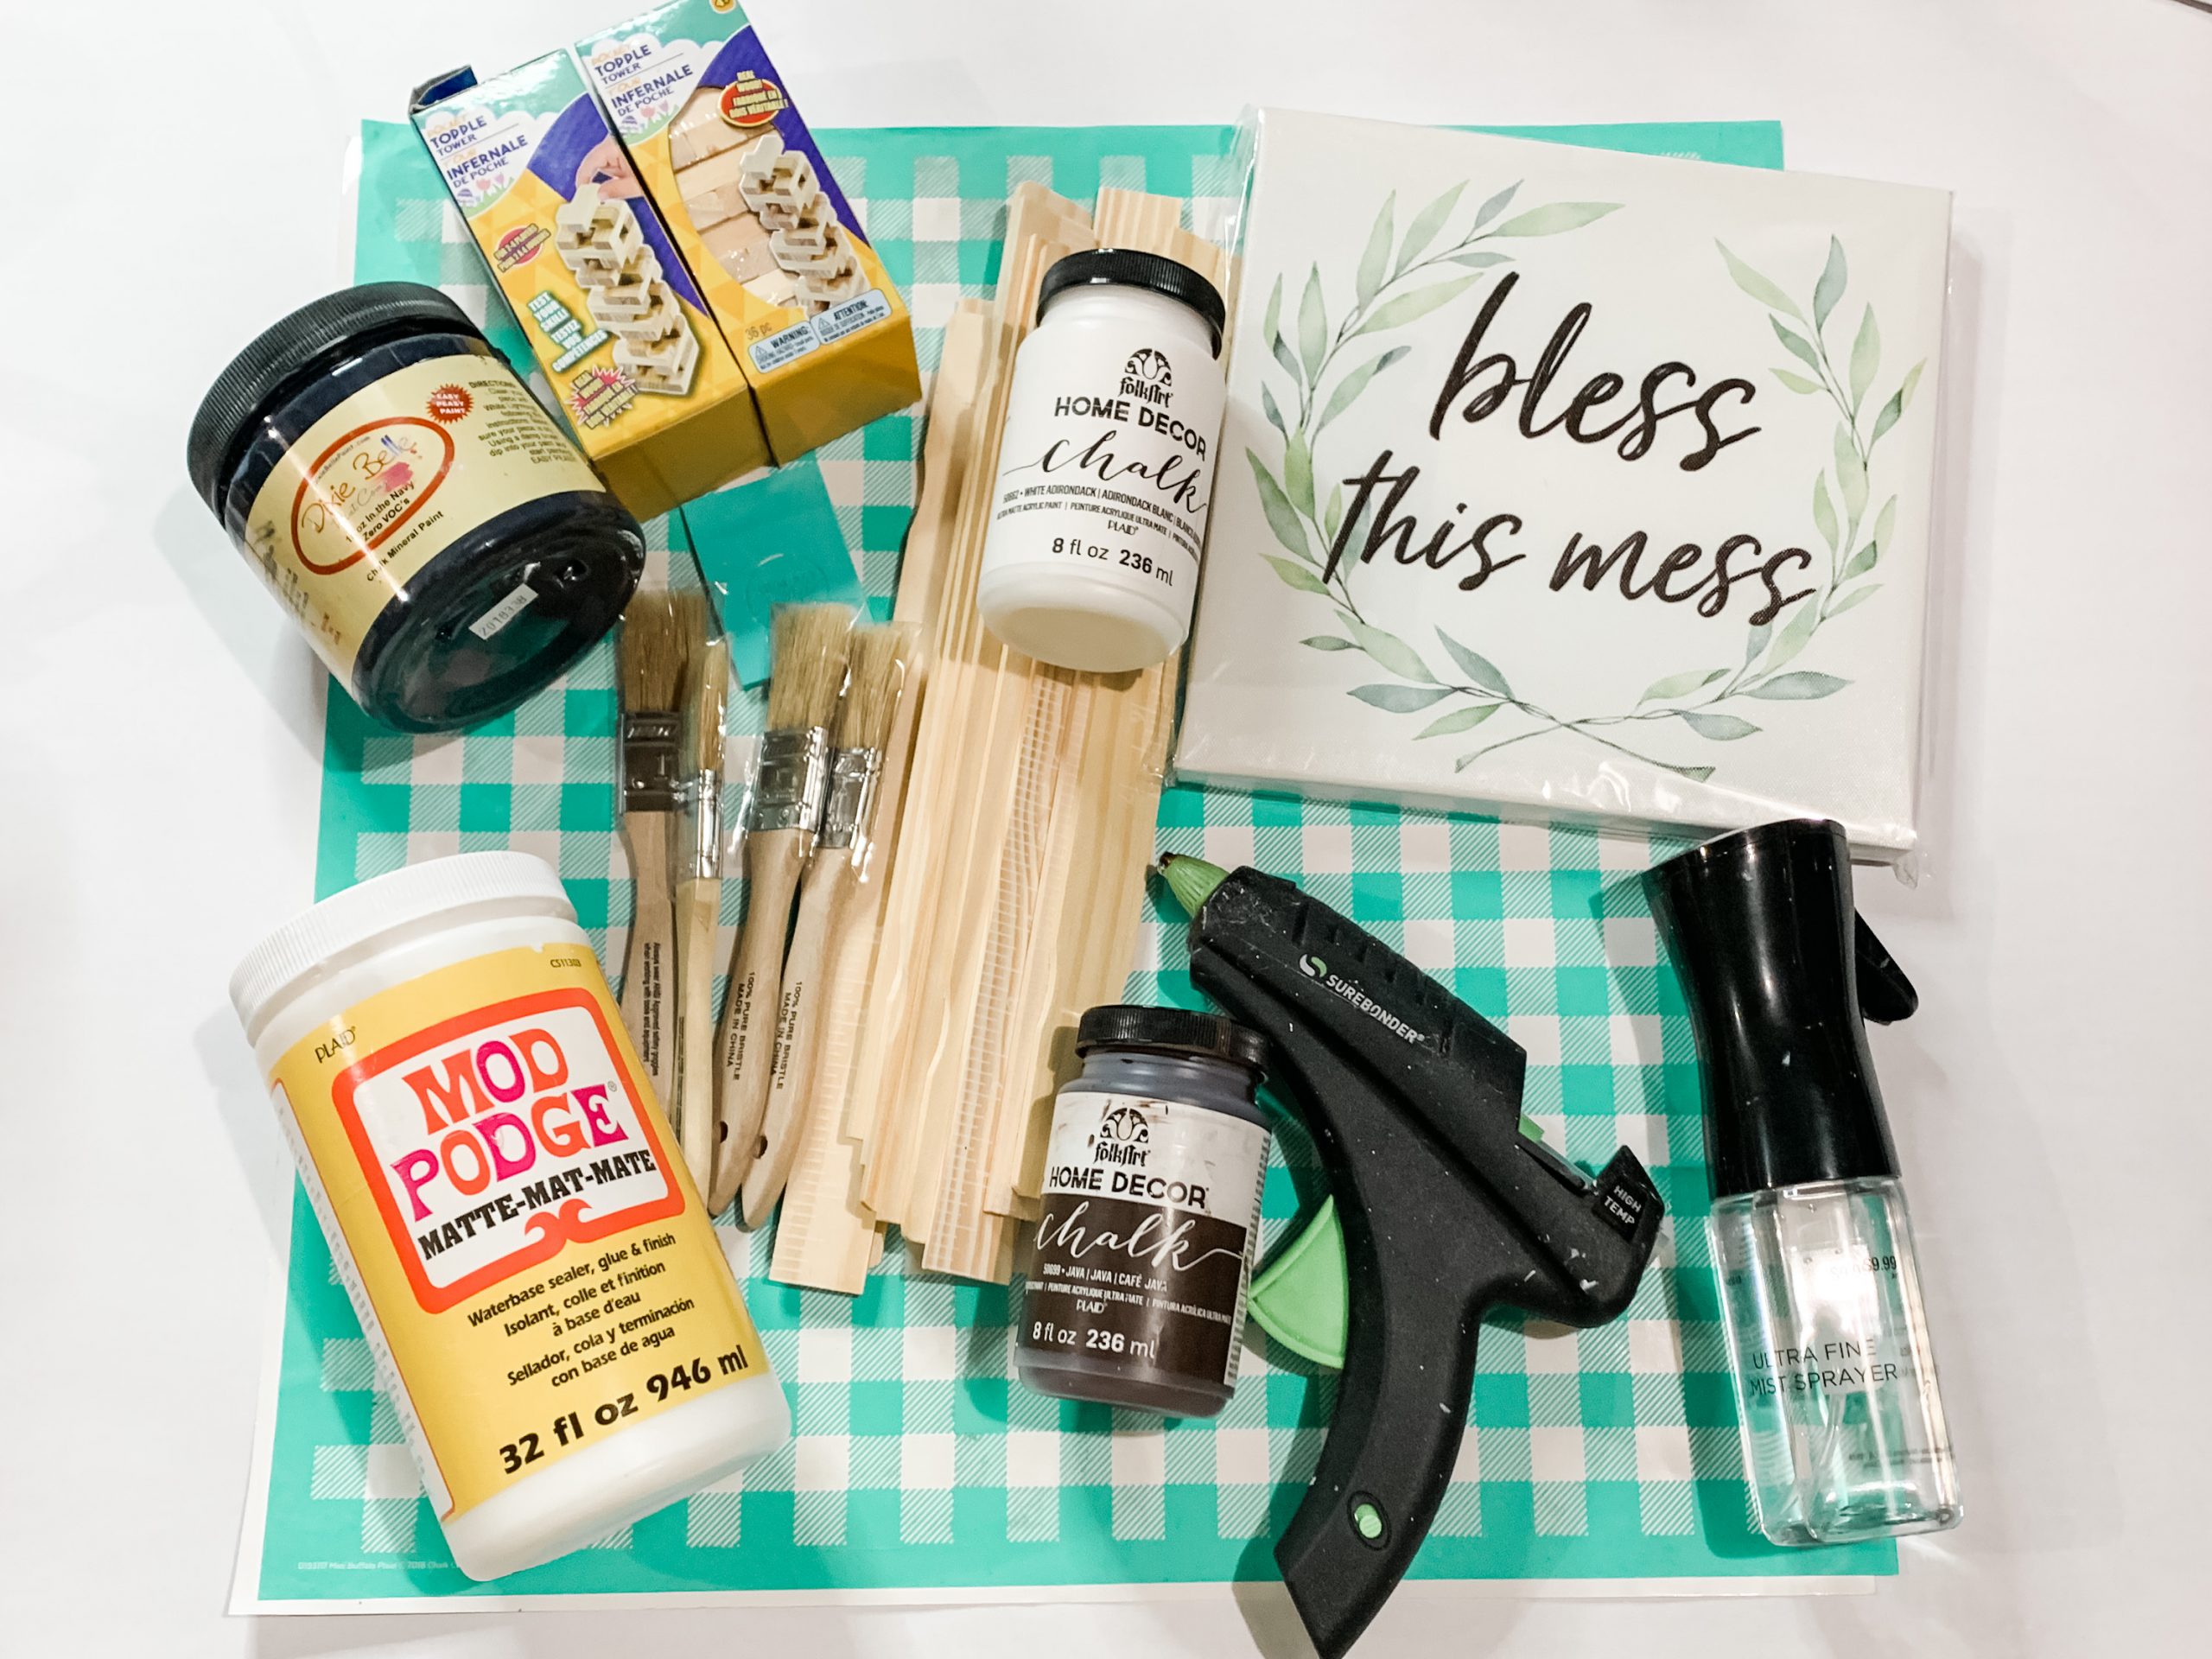
For this project, I will be using these items but you can substitute where you want.
“As an Amazon Associate, I earn from qualifying purchases.”
- Dollar Tree Bless this mess canvas
- Dollar Tree Tumbling Tower Blocks
- Buffalo Check Stencil
- Paint Sticks (x11)
- Craft Sticks
- Mod Podge
- Folkart Java Chalk Paint
- Folkart White Chalk Paint
- Dixie Belle In The Navy
- Hot glue gun and glue sticks
Let’s get started
Alright, the first thing you need to do is get your paint sticks and lay them out to create your surface. I used 12 paint sticks to create the backing for my DIY farmhouse decor, but you can make yours as large or as small as you’d like.
Next, I hot glued 4 craft sticks onto the back of my paint stick backing to secure them all together. Before we paint, we have to get all the Dollar Tree Tumbling Tower blocks we will need to frame the top and bottom of the sign.
I used a total of 14 Tumbling Tower blocks (7 for the top and 7 for the bottom). If you can’t find Tumbling Tower blocks at your local dollar tree, you can use Jenga Blocks, but they are usually more expensive.
Use a ruler or a straight edge to line up your blocks and then hot glue them together.
How to stain wood
Next, you’re going to stain the paint stick backing and the Tumbling Tower block strips. Use a wet wipe to spread Folkart Java Chalk Paint across the surface of the paint stick backing and the block strips.
The water of the wet wipe helps the wood absorb the paint and gives the wood a stained finish rather than a painted look. You could always use regular wood stain, but it is a bit too expensive for me.
Next, paint over the stained paint stick backing with white paint. I used Folkart White Chalk Paint, but you can use whichever paint you prefer.
I didn’t try for a full-coverage coat because we will be adding a lot more paint to this DIY Bless this Mess Sign with the buffalo check stencil. Plus, it adds to the farmhouse feel, in my opinion!
Allow your paint to dry and you’re ready to stencil! I used an adhesive buffalo check stencil from a company that I used to work with, but A Maker’s Studio has a comparable one (just smaller).
Time to stencil!
Apply your stencil to the paint stick surface. If your stencil doesn’t cover the full surface, apply the stencil to the edge of the sign and do your best not to get paint off the edge of the stencil.
Then, once you are done stenciling that portion of the surface, lift the stencil and replace it on the new area.
I used a mini squeegee to apply Dixie Belle In The Navy Chalk Paint to my stencil. You can use whatever color you prefer, I’m sure most people would prefer to use black, but I just love navy (it’s honestly my favorite color).
Pull your stencil off carefully. You don’t want to pull the paint up with it. Now, you can either go ahead and clean your stencil, or you can clean it after you finish the project.
I use Spray Away cleaner to clean mine, so even when it’s dry, it comes very clean! There’s nothing worse than ruining a stencil by not cleaning it!
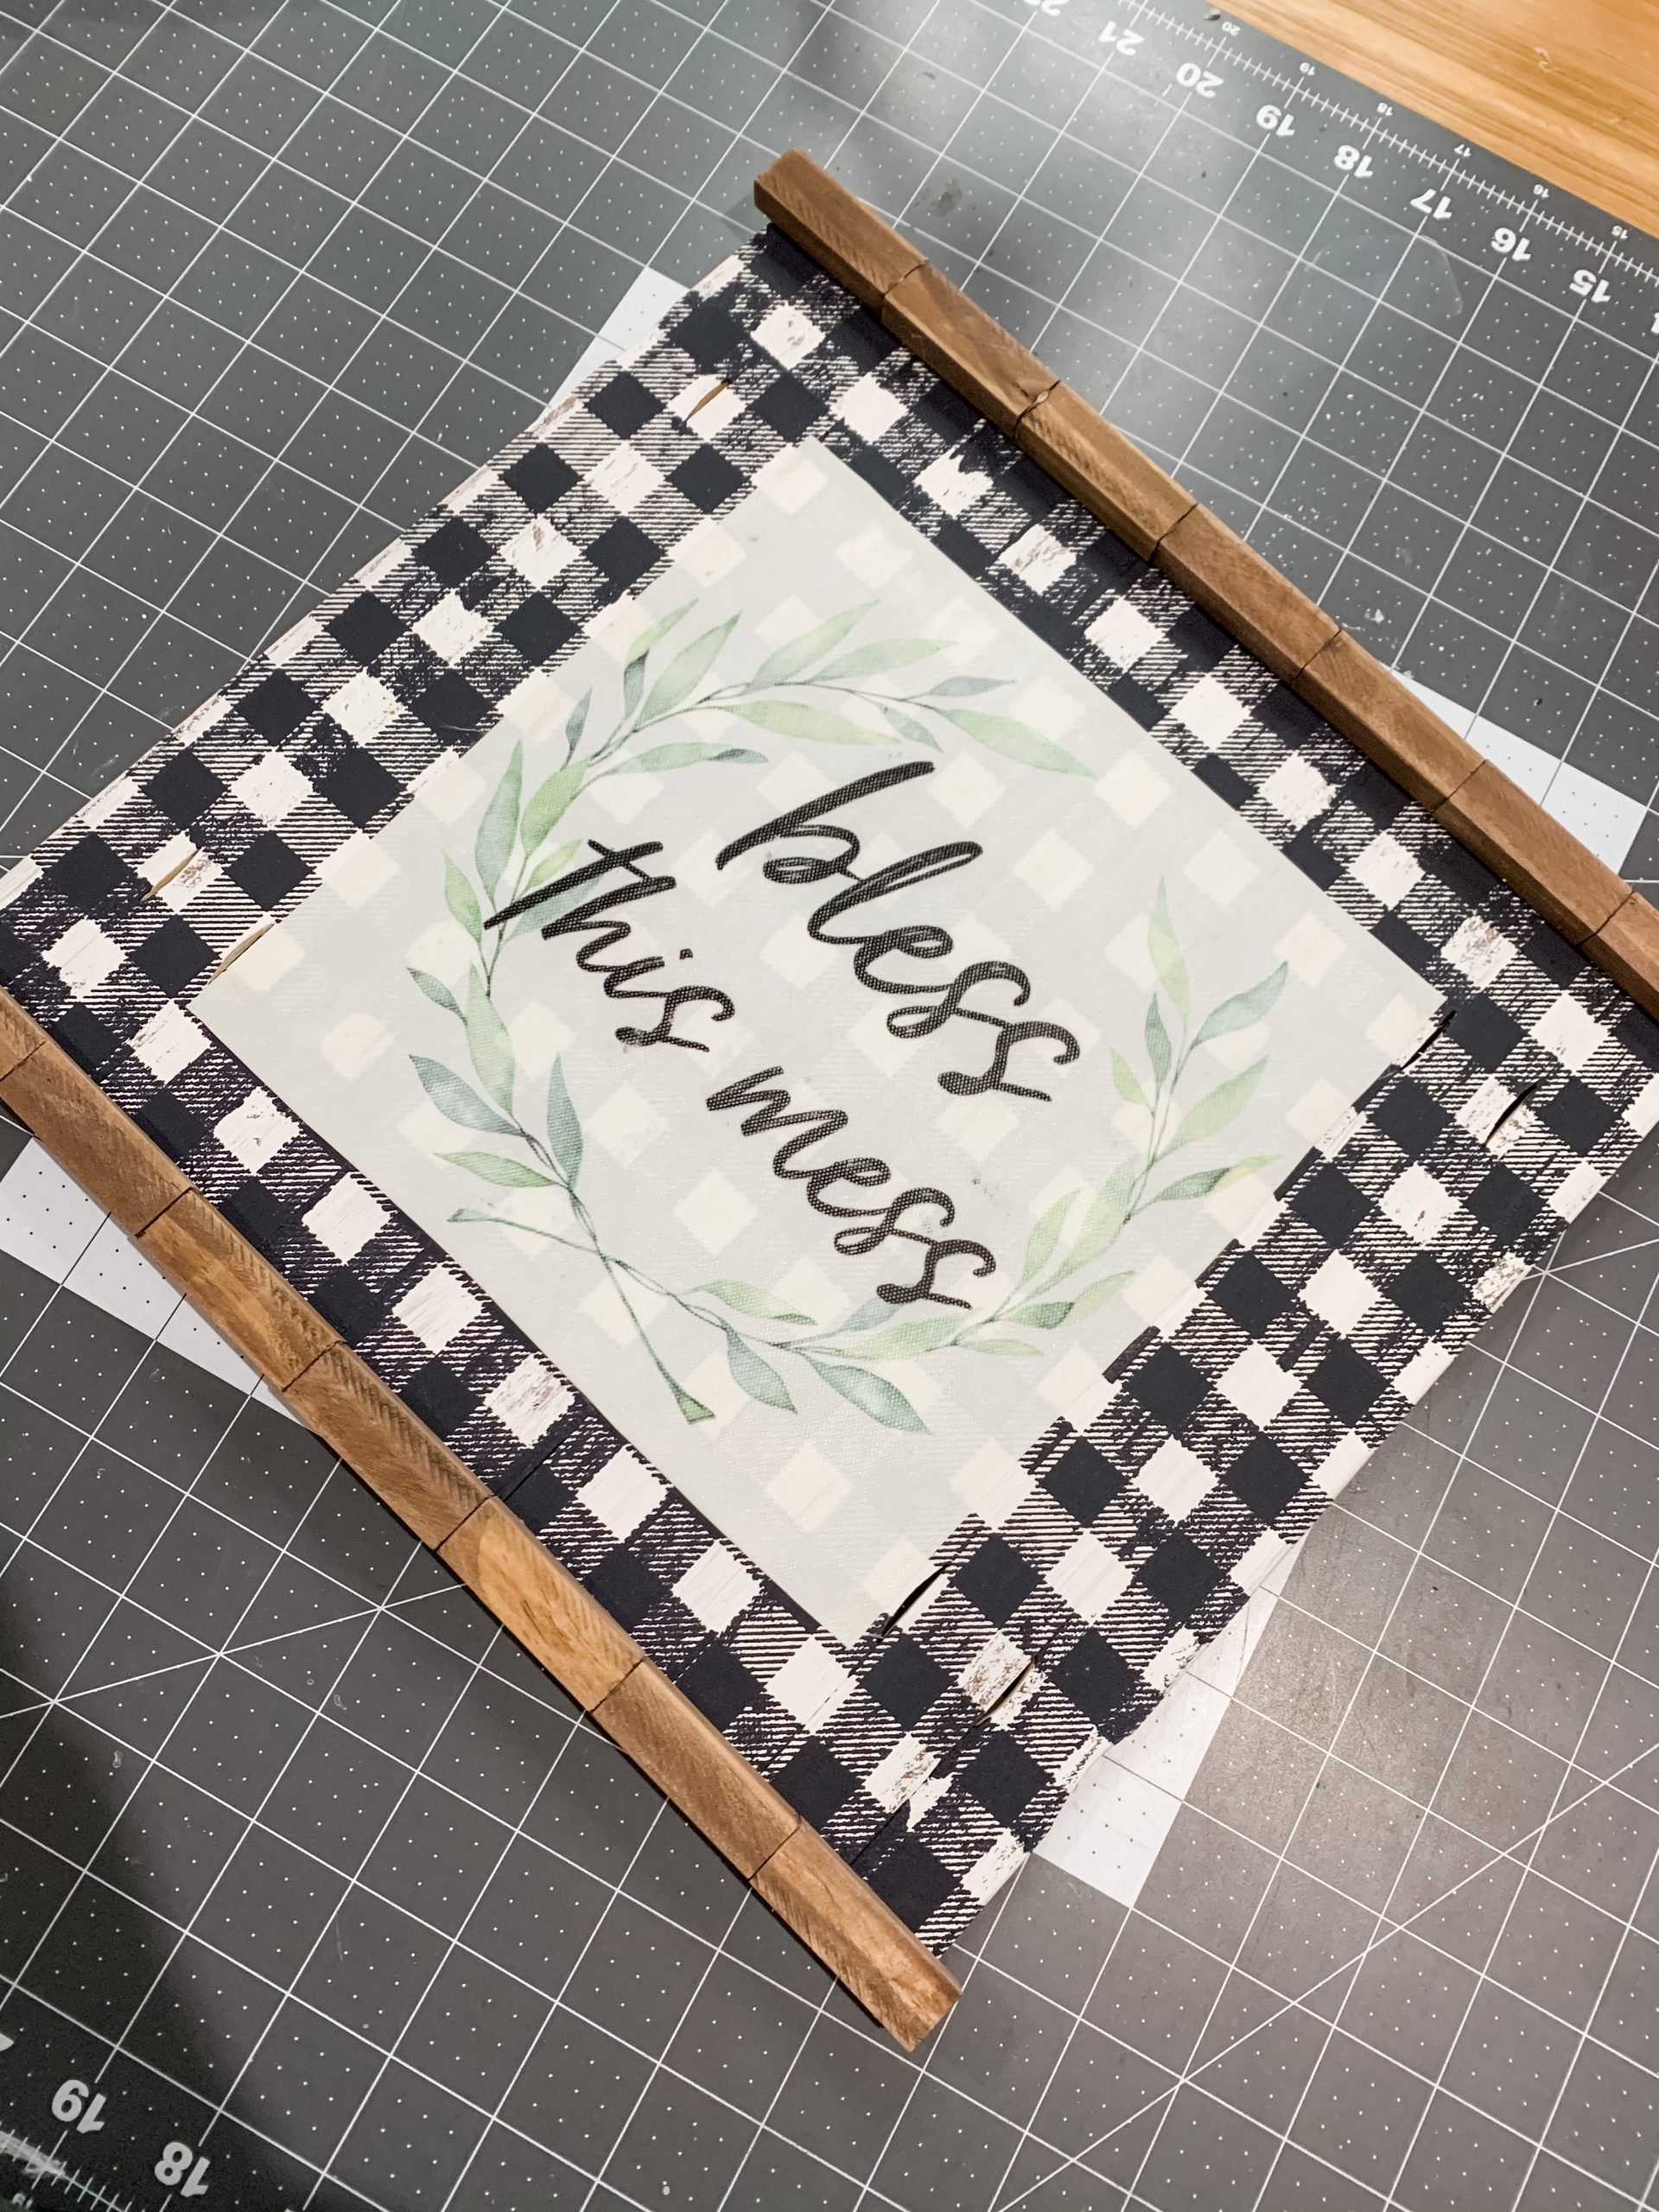
Bring it all together
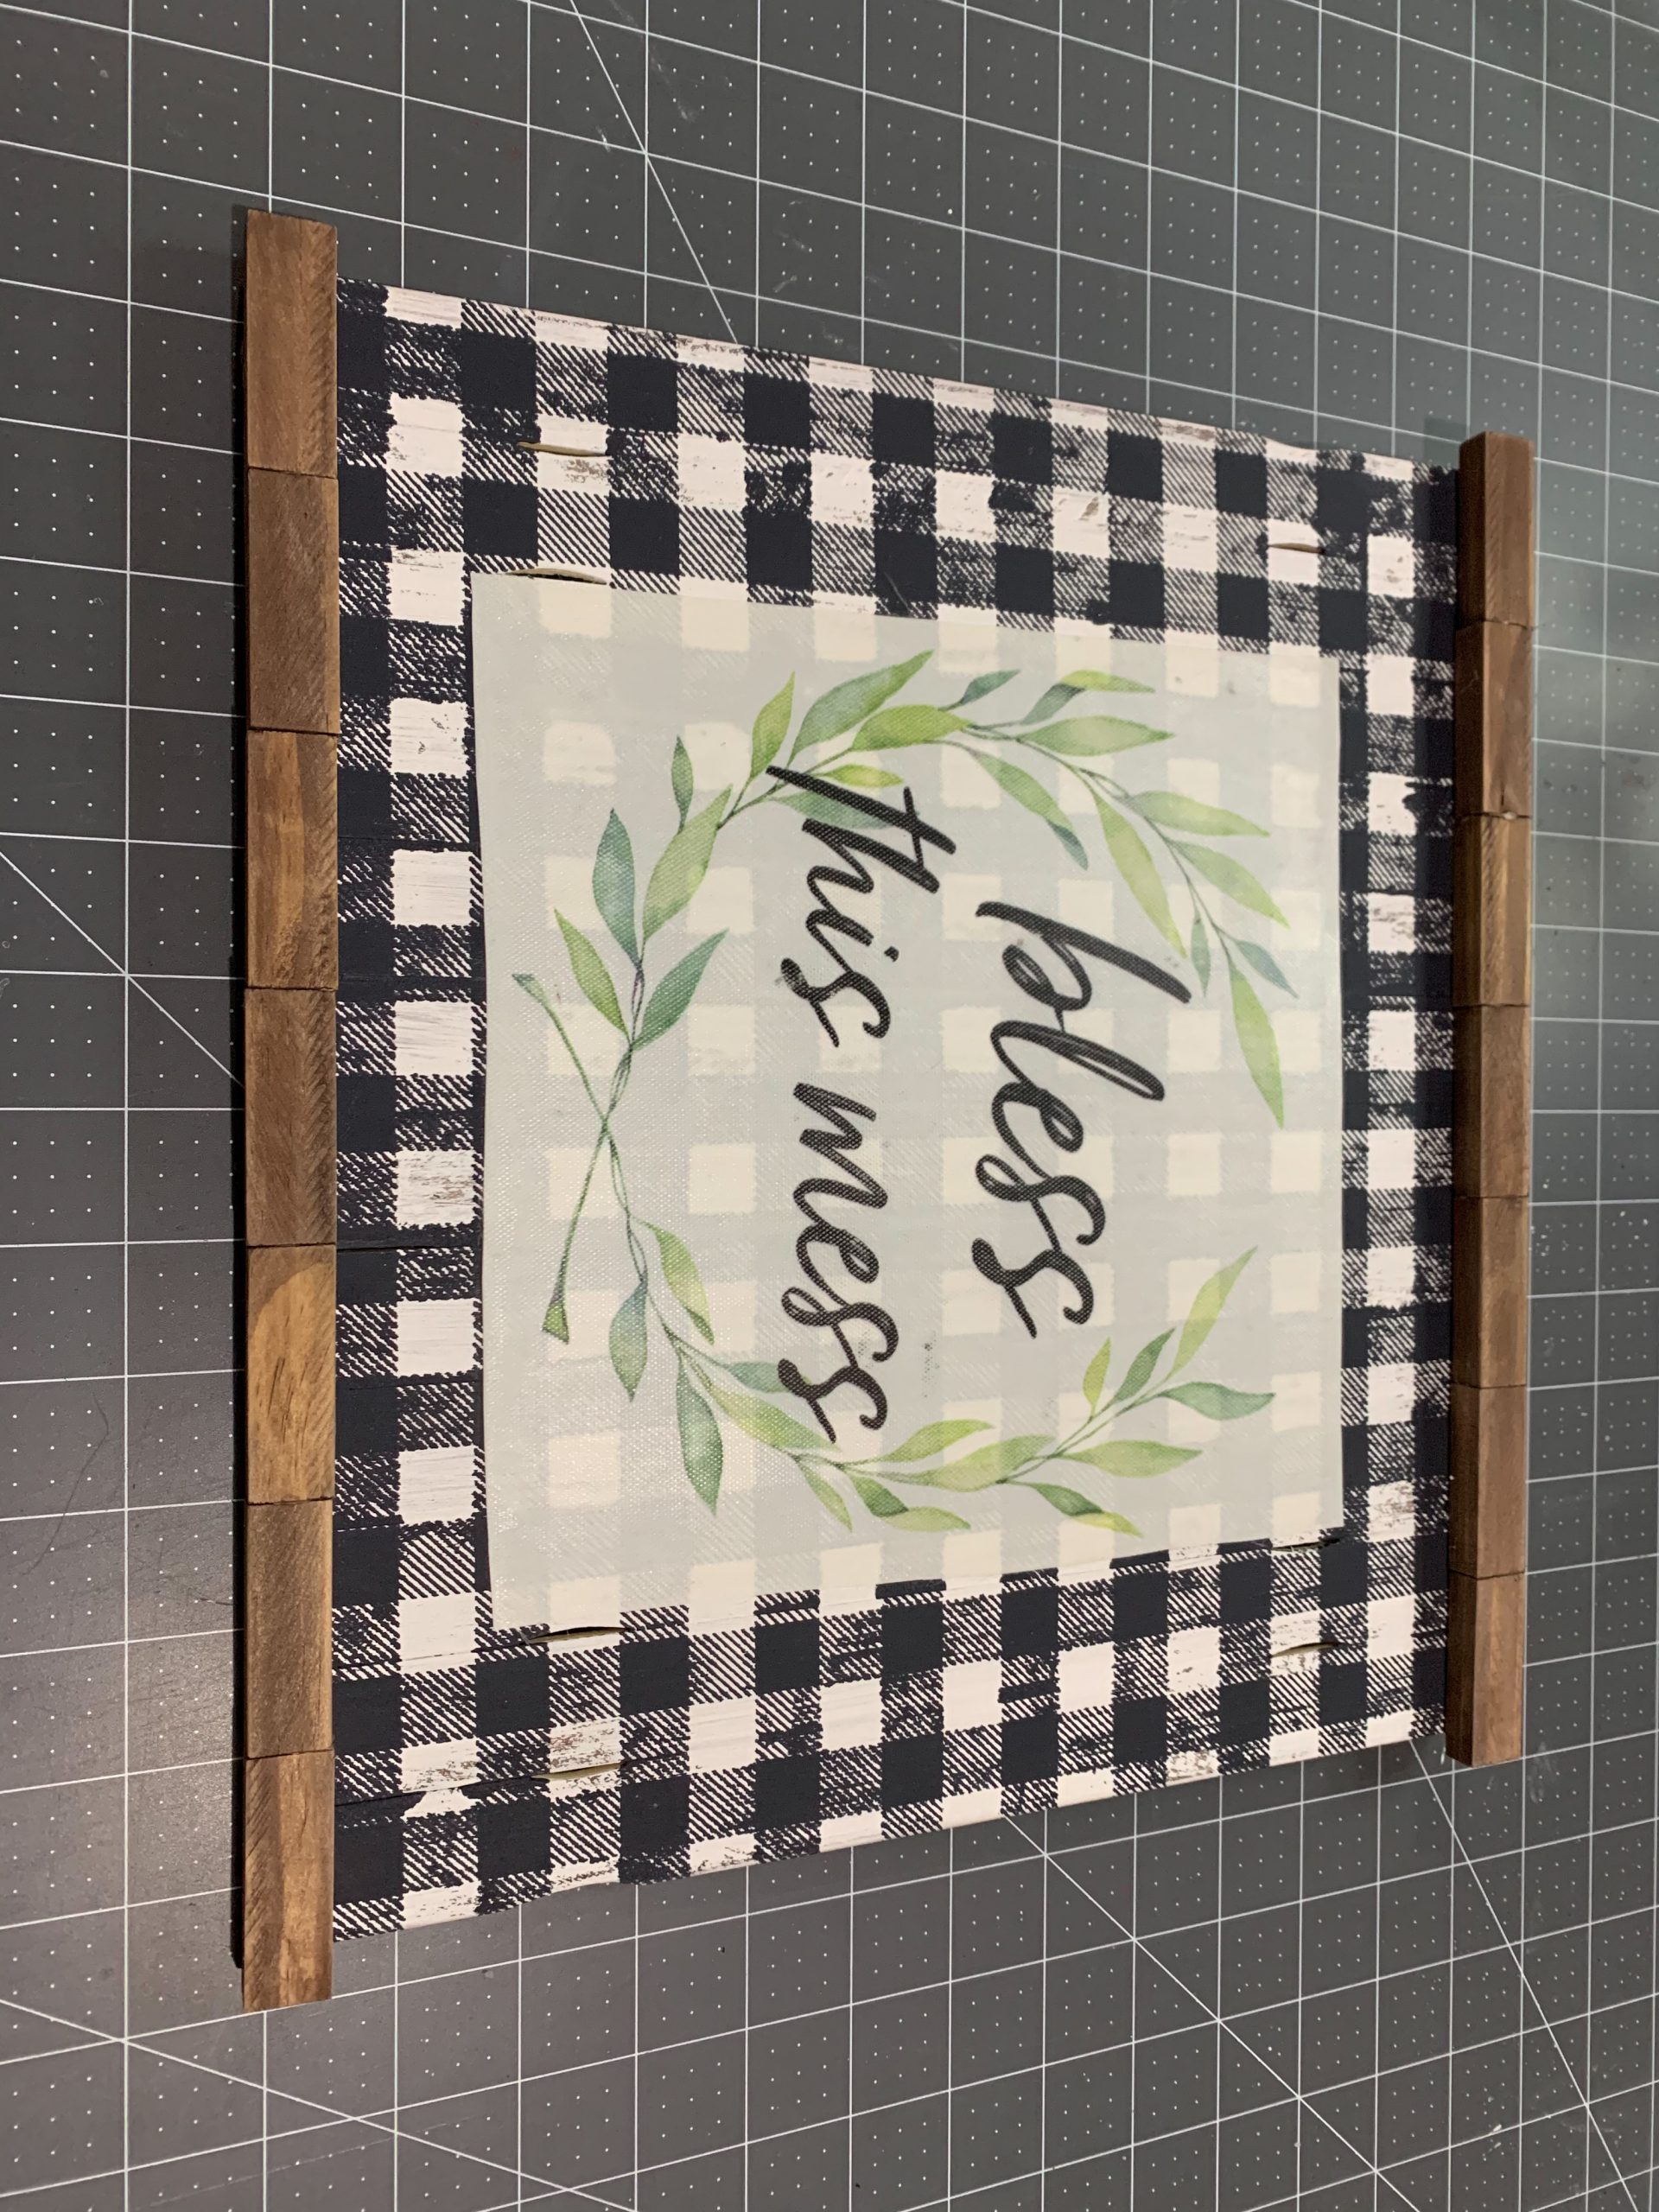
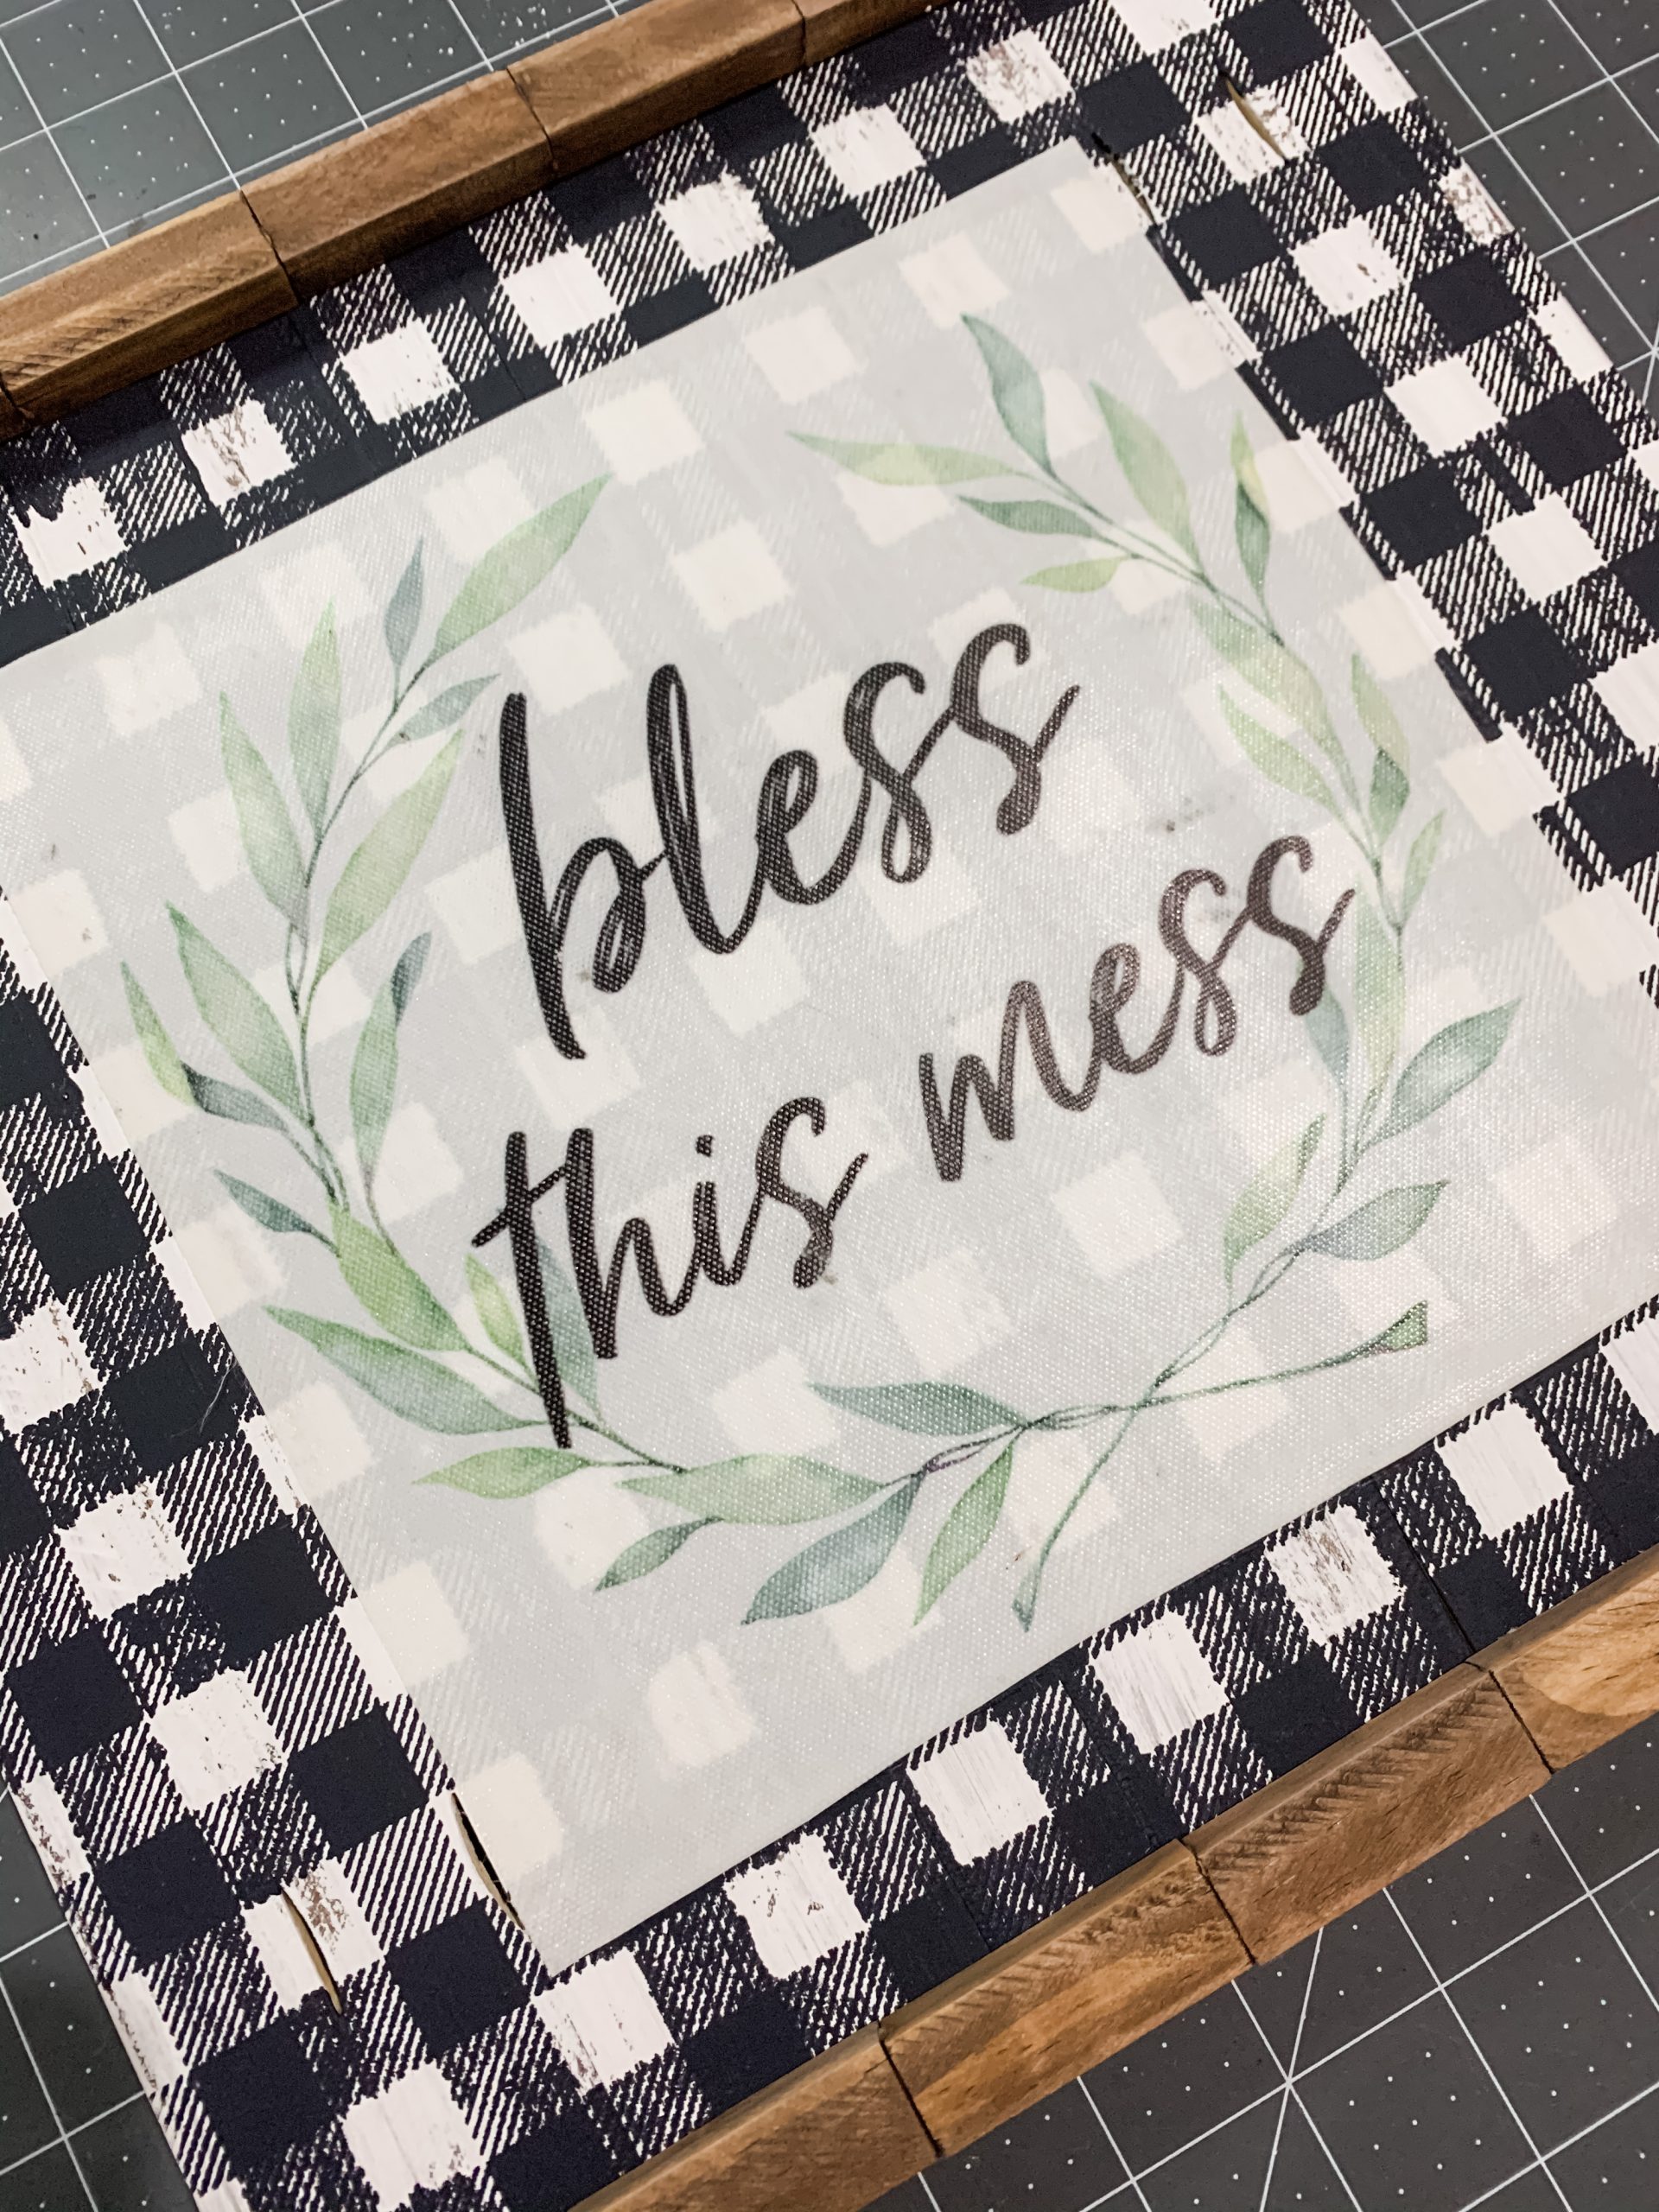
Grab your Dollar Tree Bless this Mess canvas and remove the canvas from its frame. You’re going to cut the canvas into an even square. To get straight lines, you can use an Exacto knife or a rotary cutter.
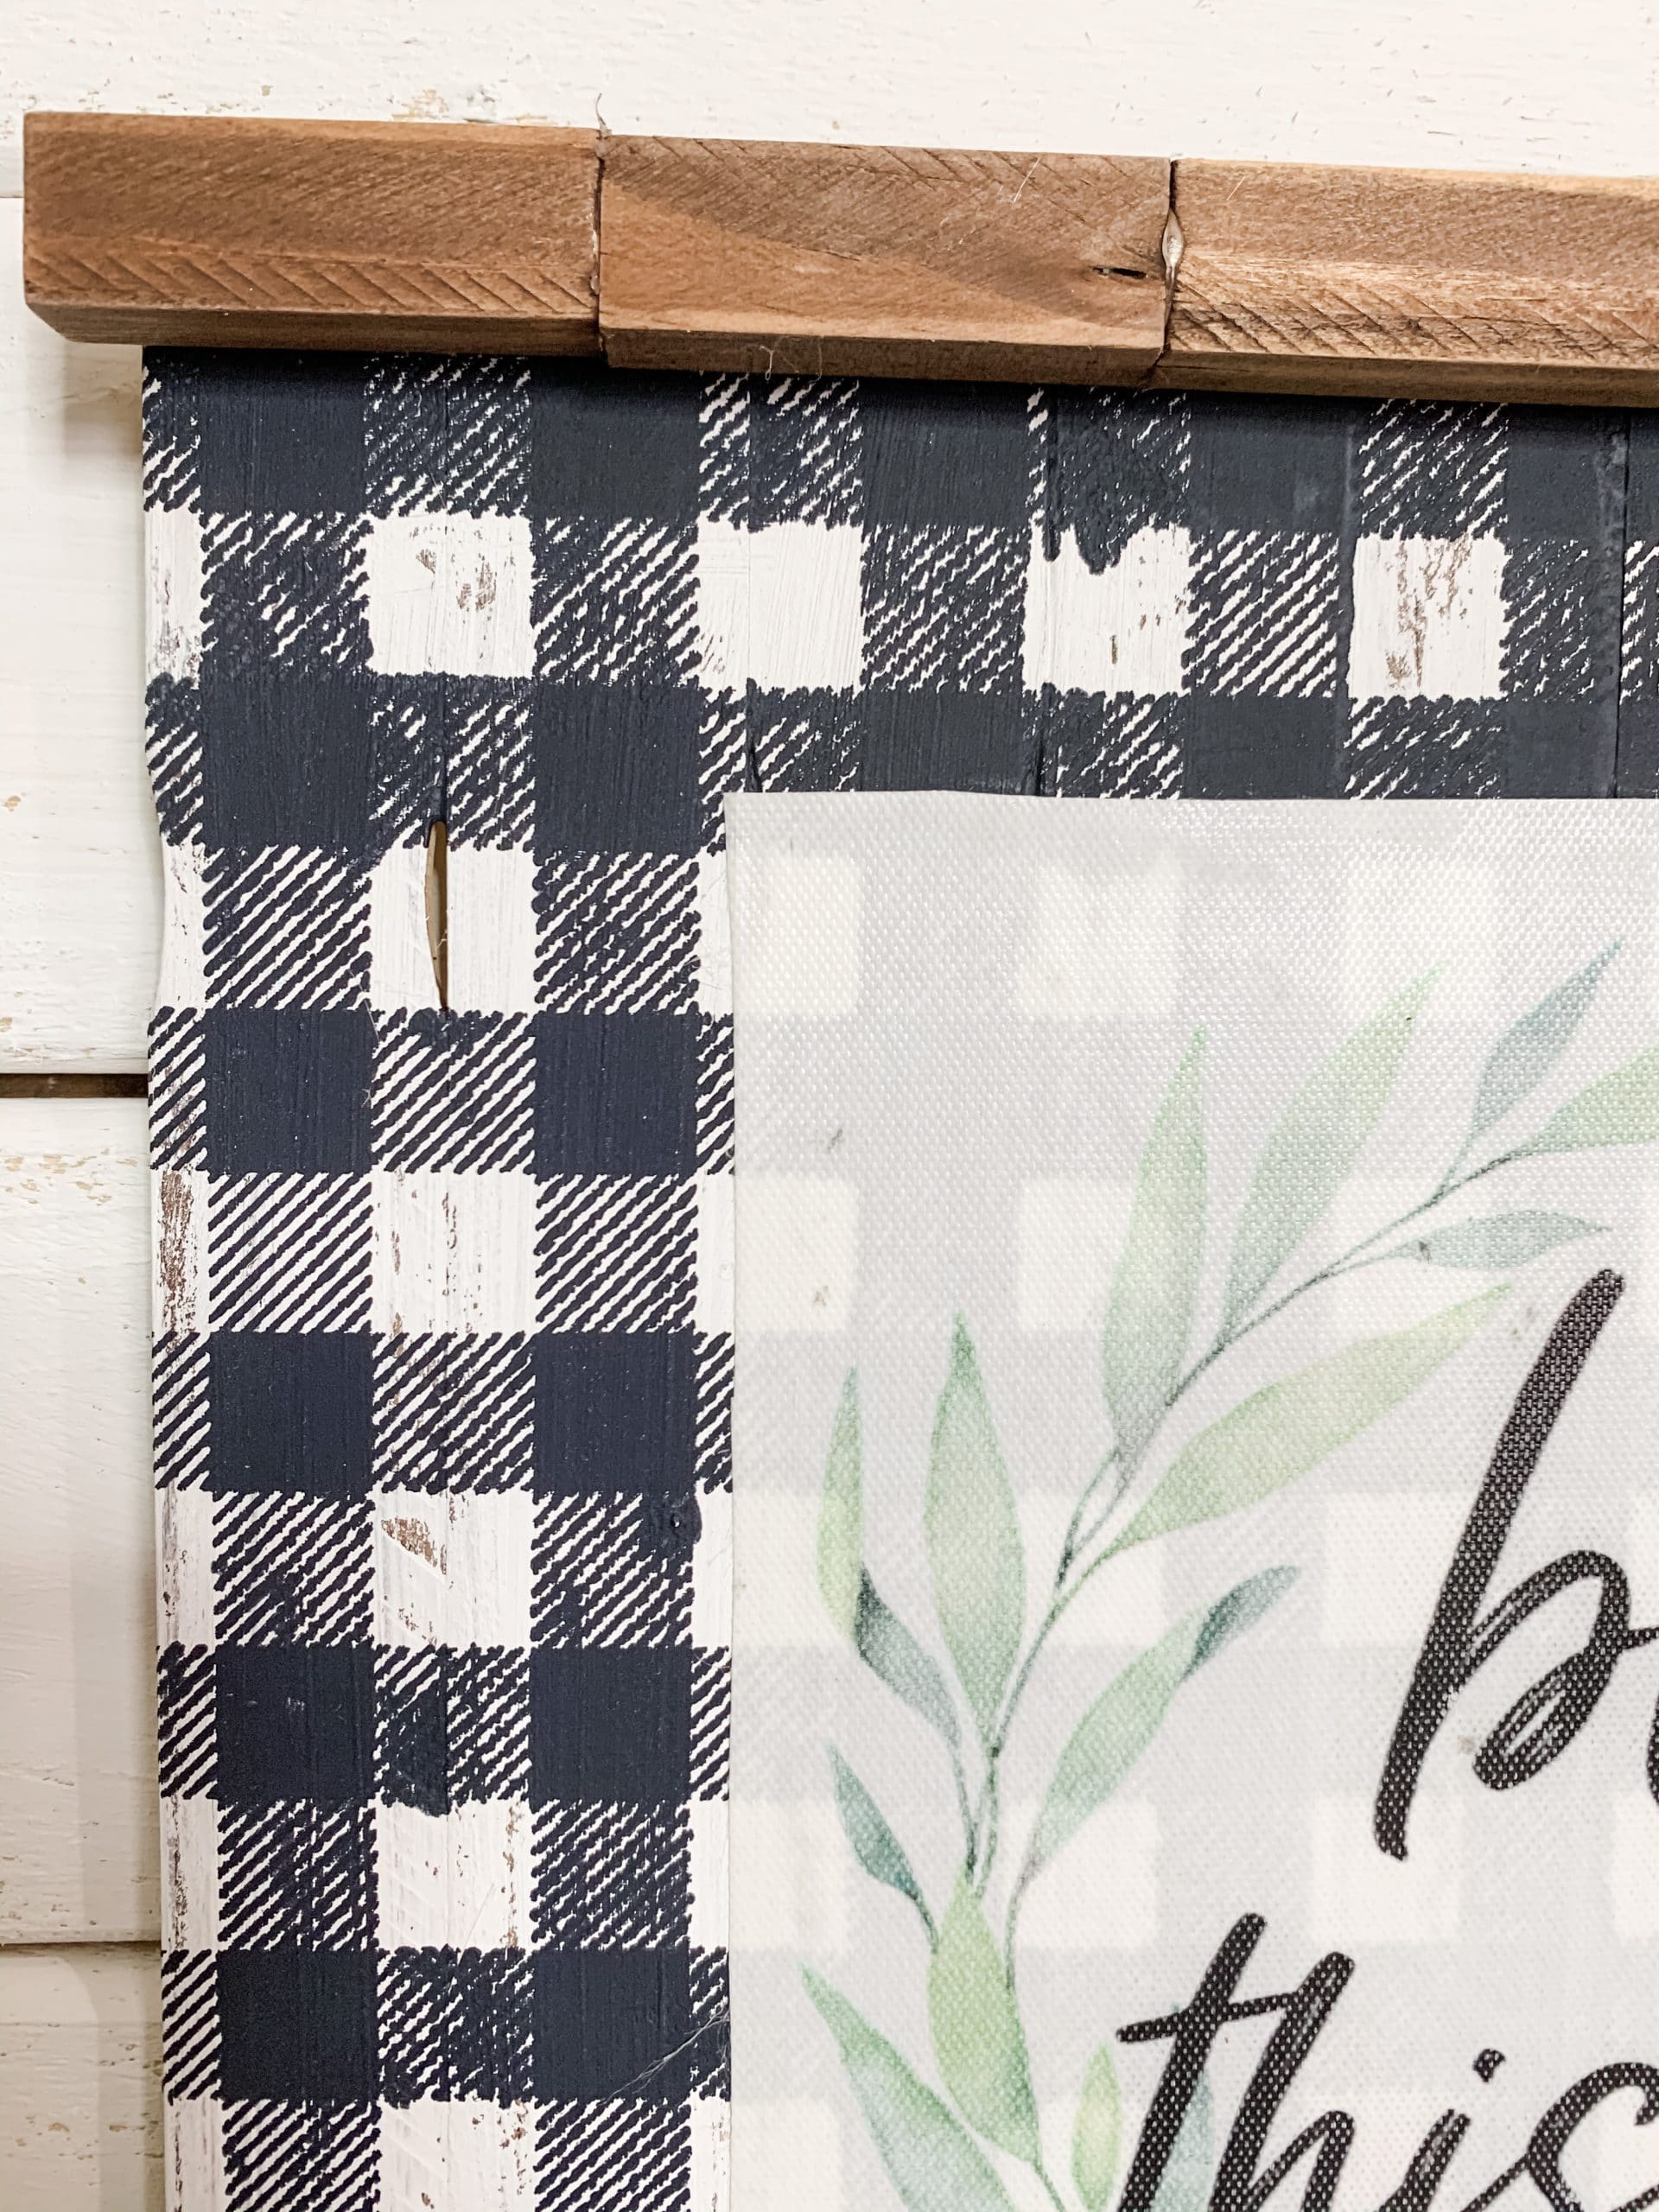
Next, hot glue the stained Tumbling Tower block strips to the top and bottom of the paint stick backing. Apply a coat of Mod Podge to the back of the Dollar Tree Bless this Mess canvas and place it on the center of your buffalo check sign.
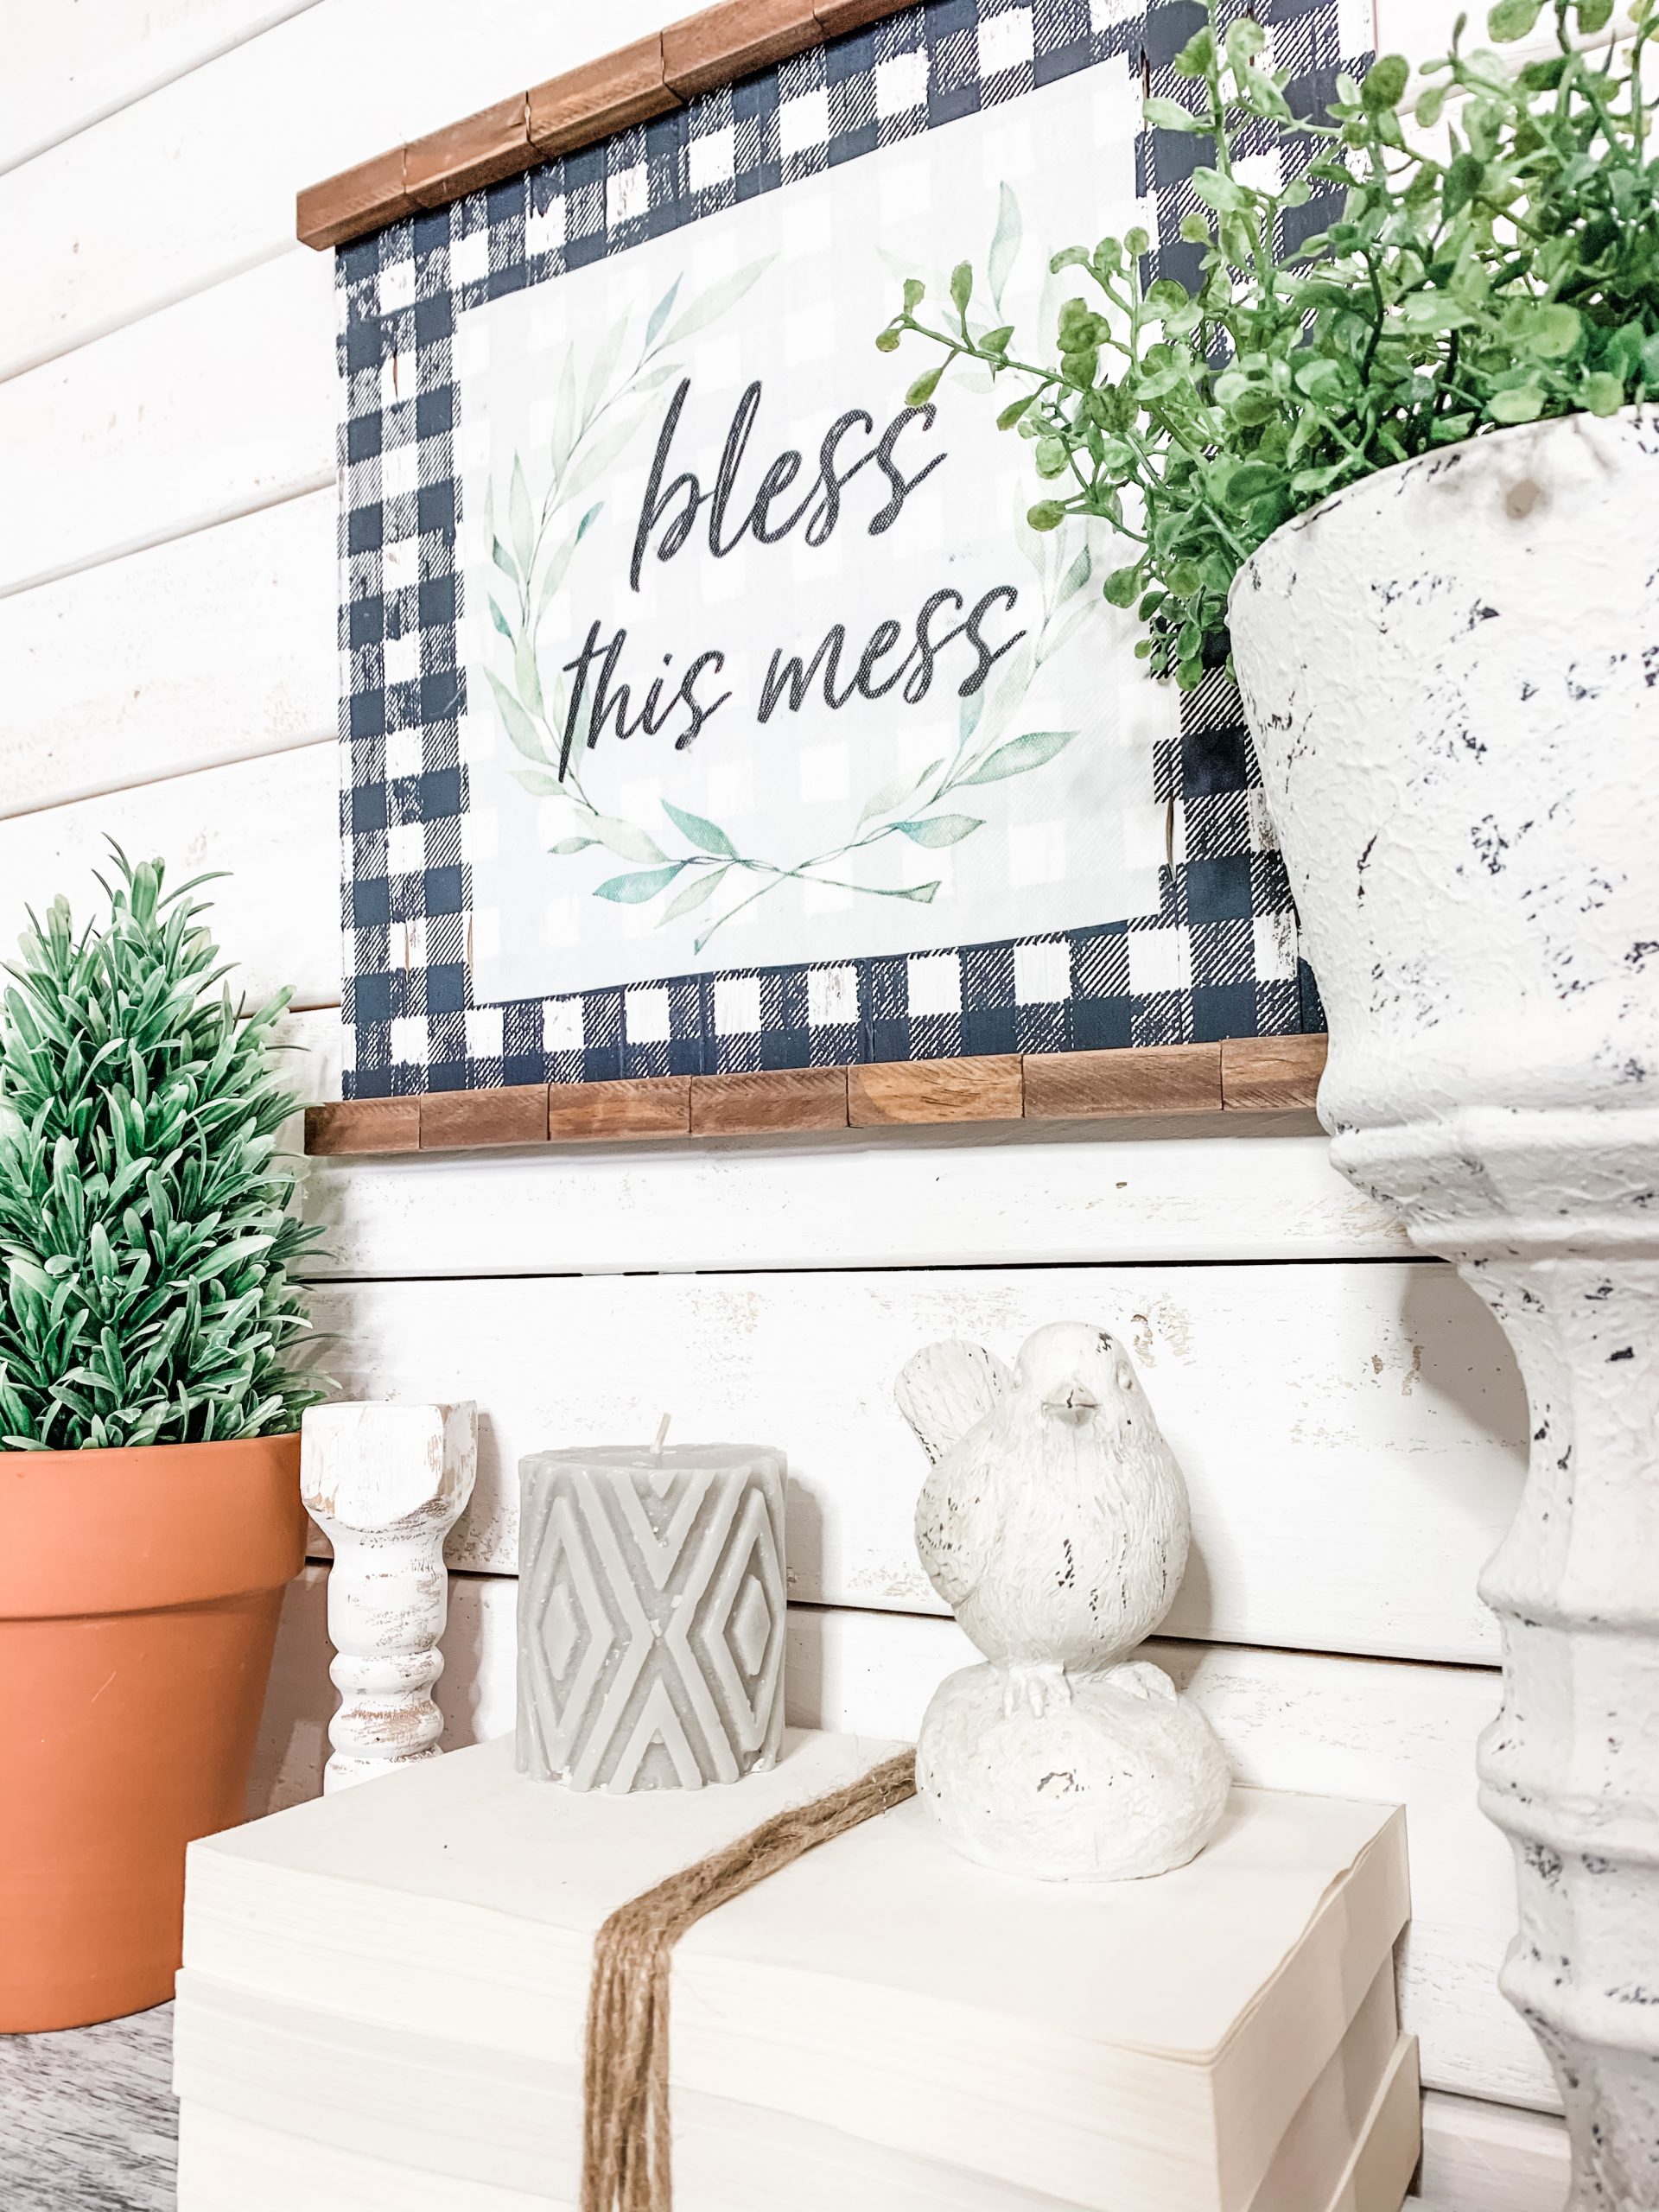
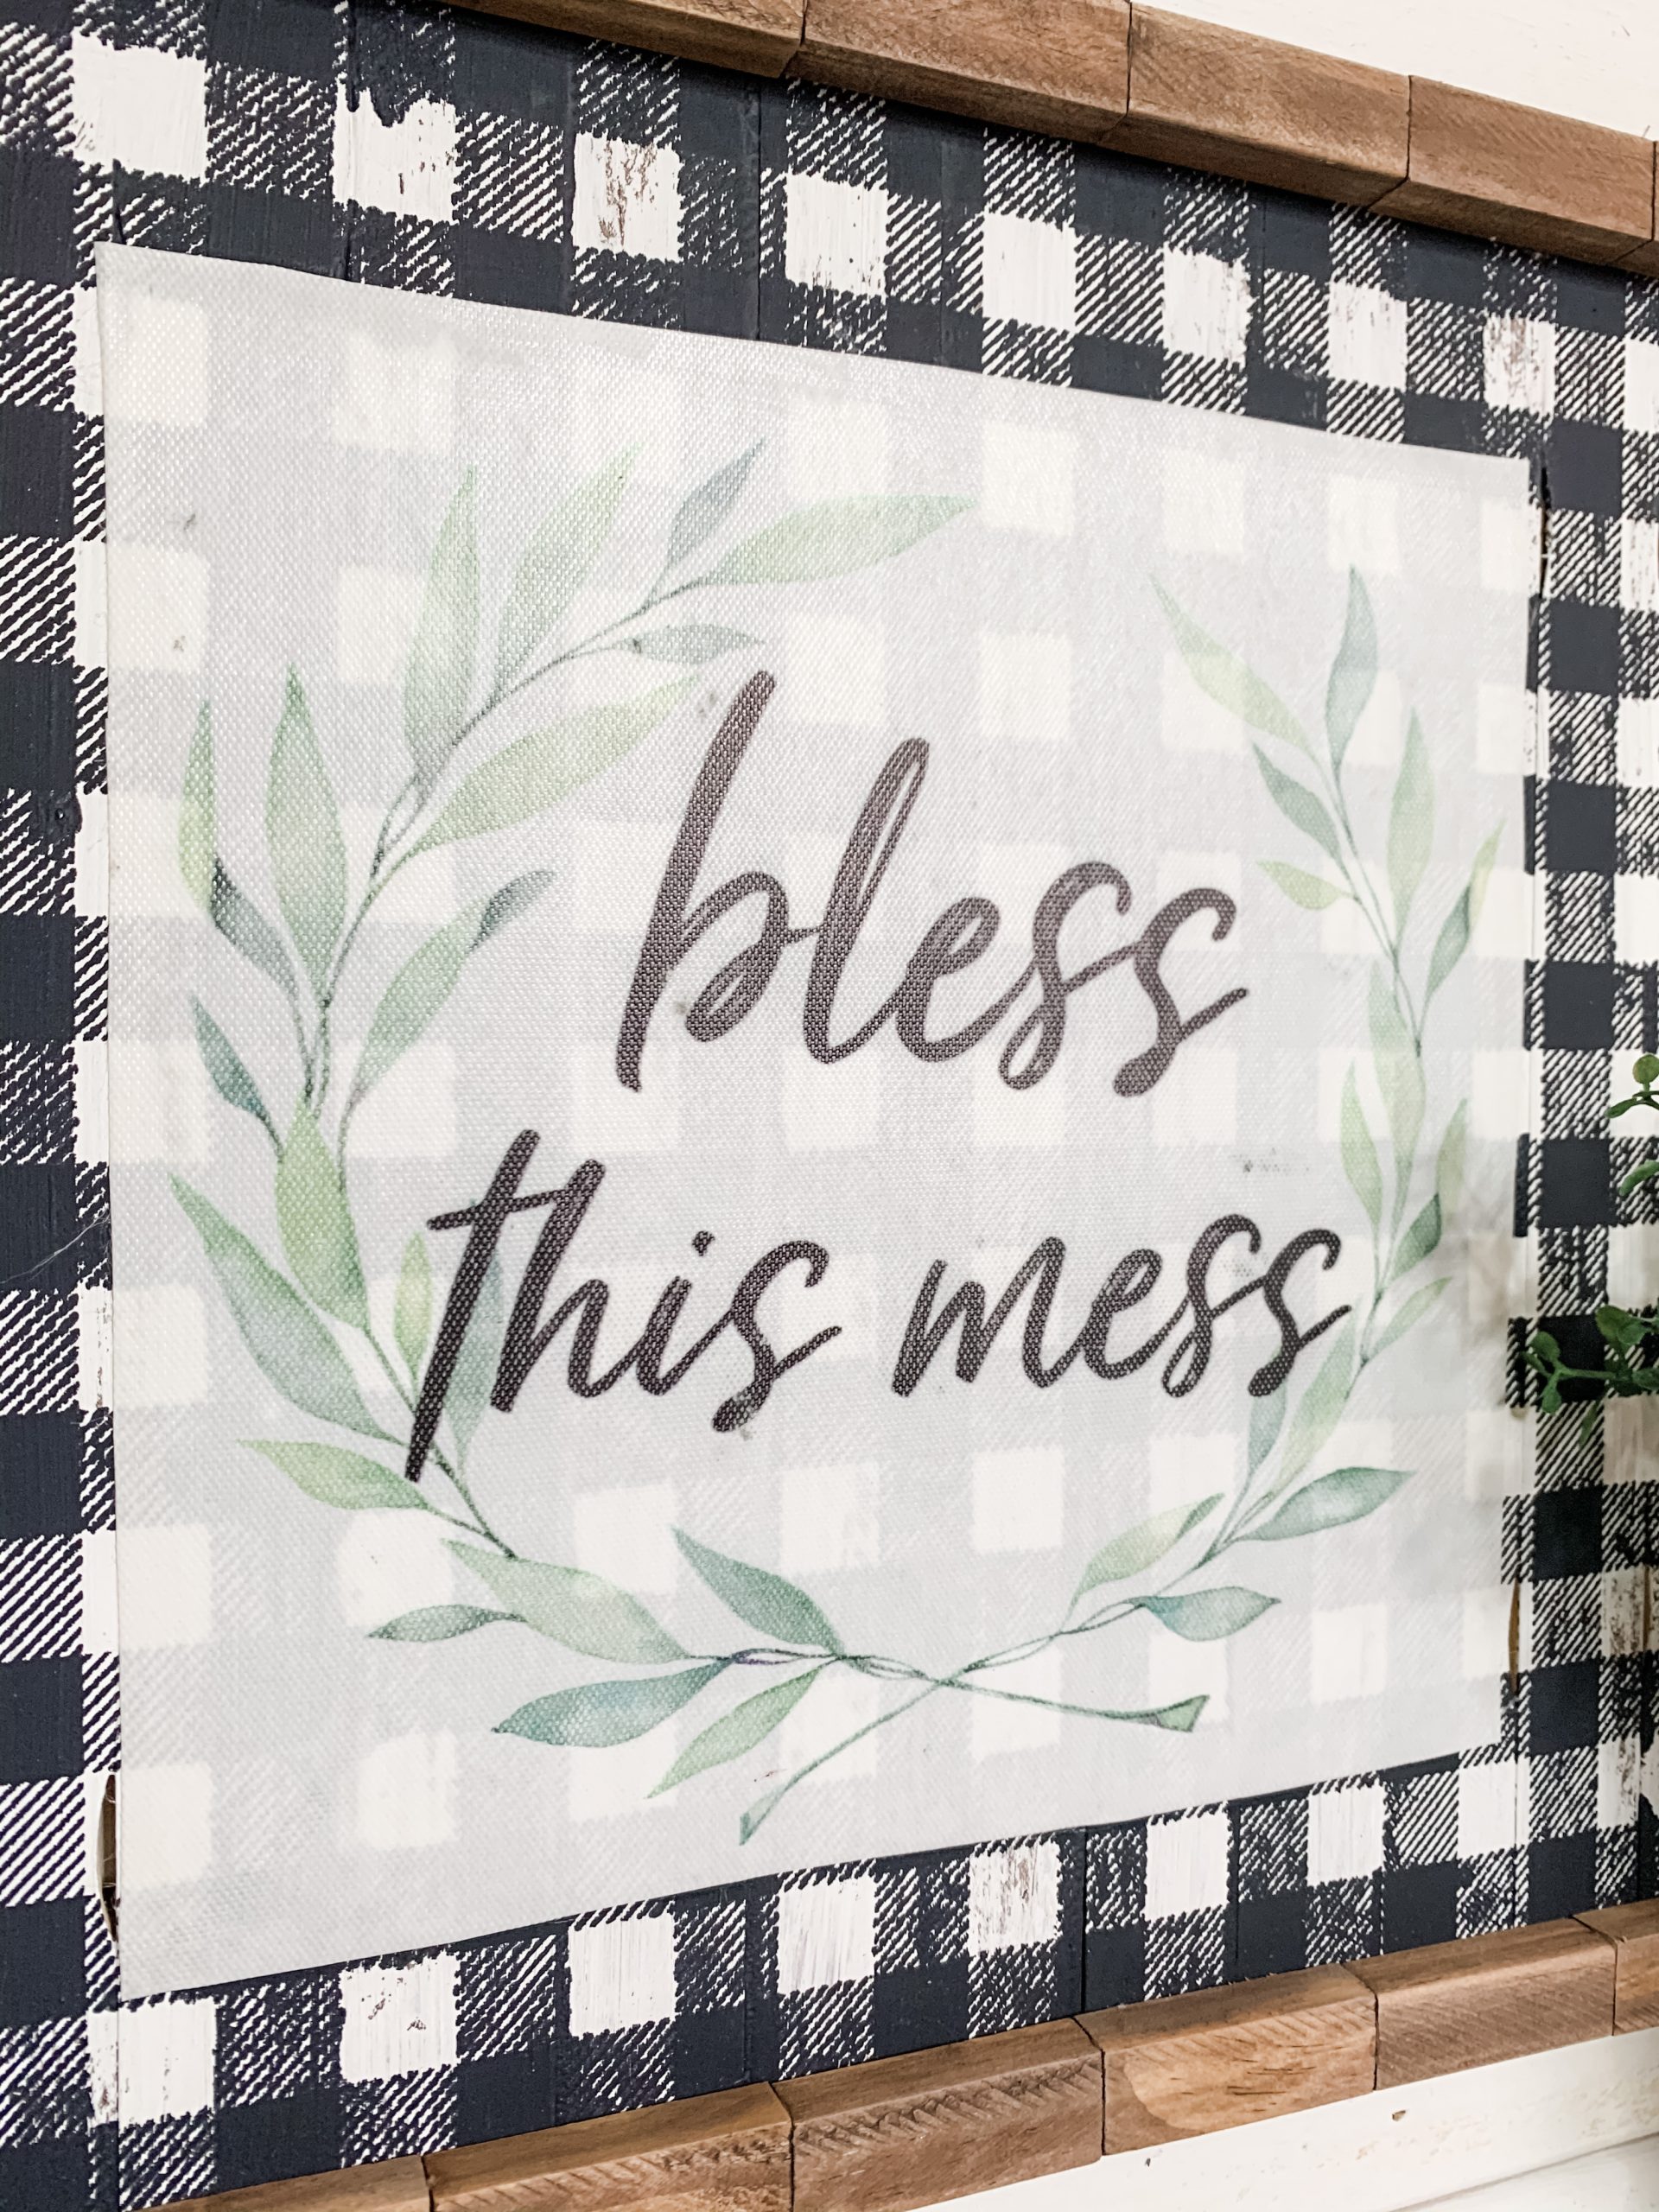
I used a wet wipe to smooth out the canvas and get it to really adhere to the surface. Then, once the Mod Podge has dried, you’re ready to decorate!
I hope you enjoyed this DIY Bless this Mess Sign as much as I did and decide to make one for yourself! I would love to see how yours turns out!
You should totally join my FREE Facebook group called On A Budget Crafts! It is a judgment-free community for DIY crafters to show off their projects and ideas.
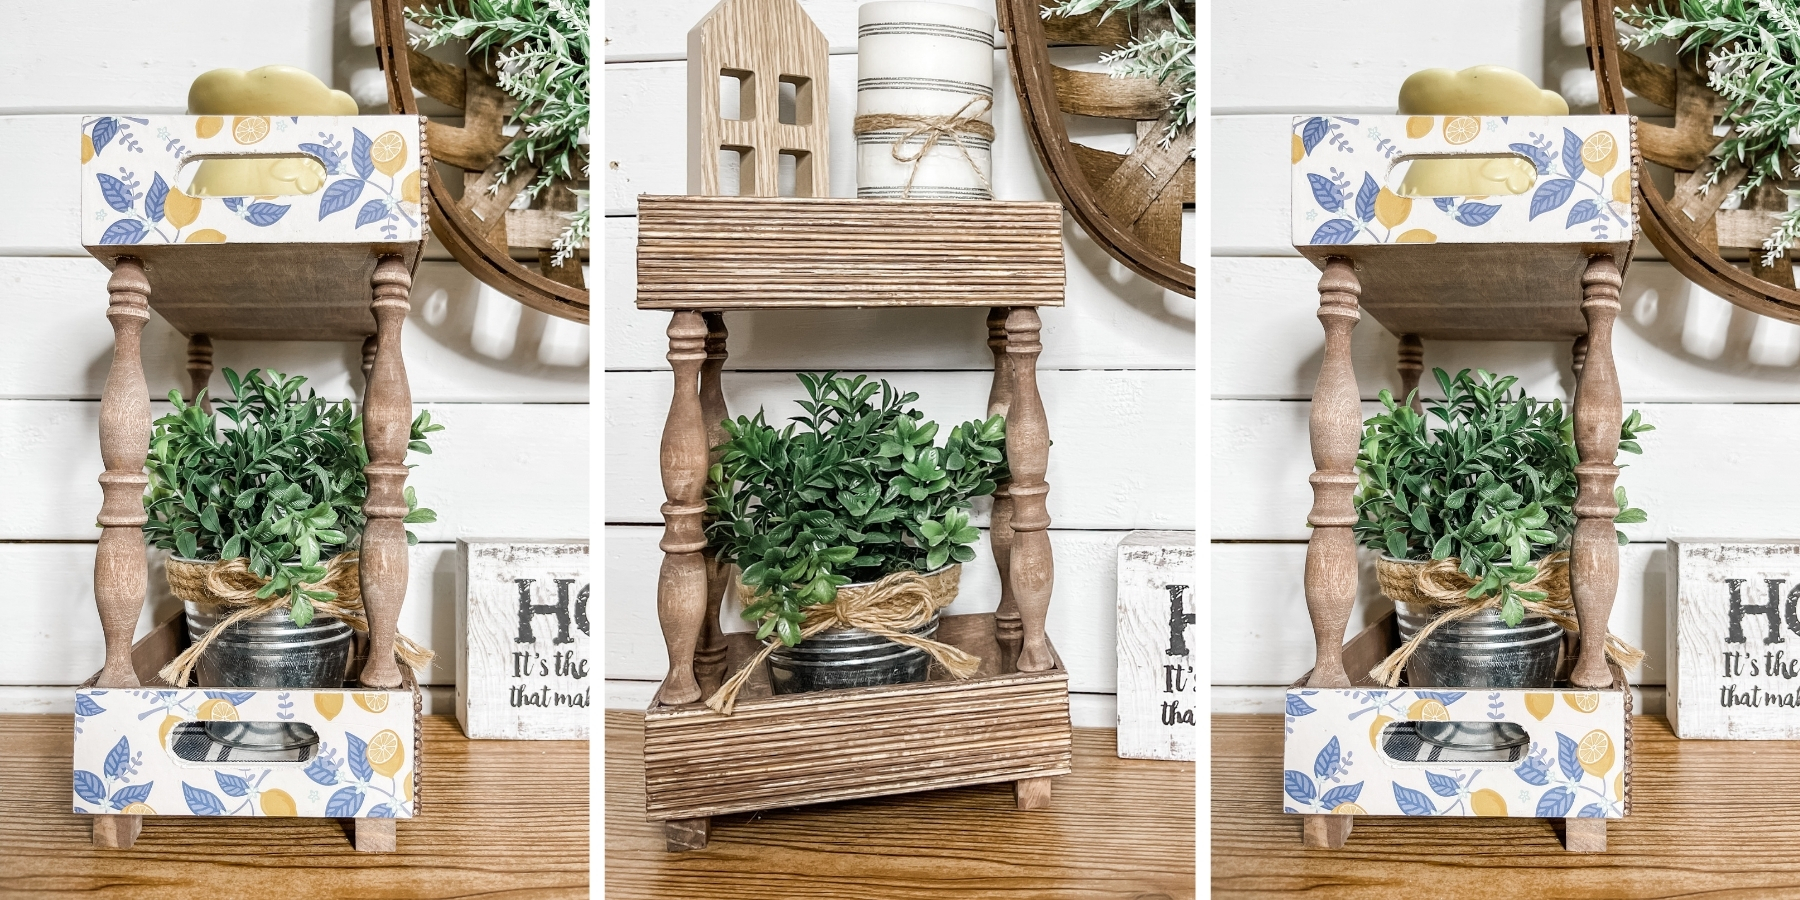
If you loved this DIY you might also like this DIY 3 Tiered Shelf!
Thanks for stopping by! XOXO Amber
You can also shop my ENTIRE AMAZON Favorites shop just click here! It’s packed full of all the things I use and love. Here is the supply list I highly recommend every creative have on hand!!
Would you also pin my blog for later and get on my newsletter alerts? I would love to have you join my #craftycrew.
Inspired? Leave me a comment below! I love hearing from my readers!

Join my free “ON A BUDGET CRAFTS” Facebook group!


Love this