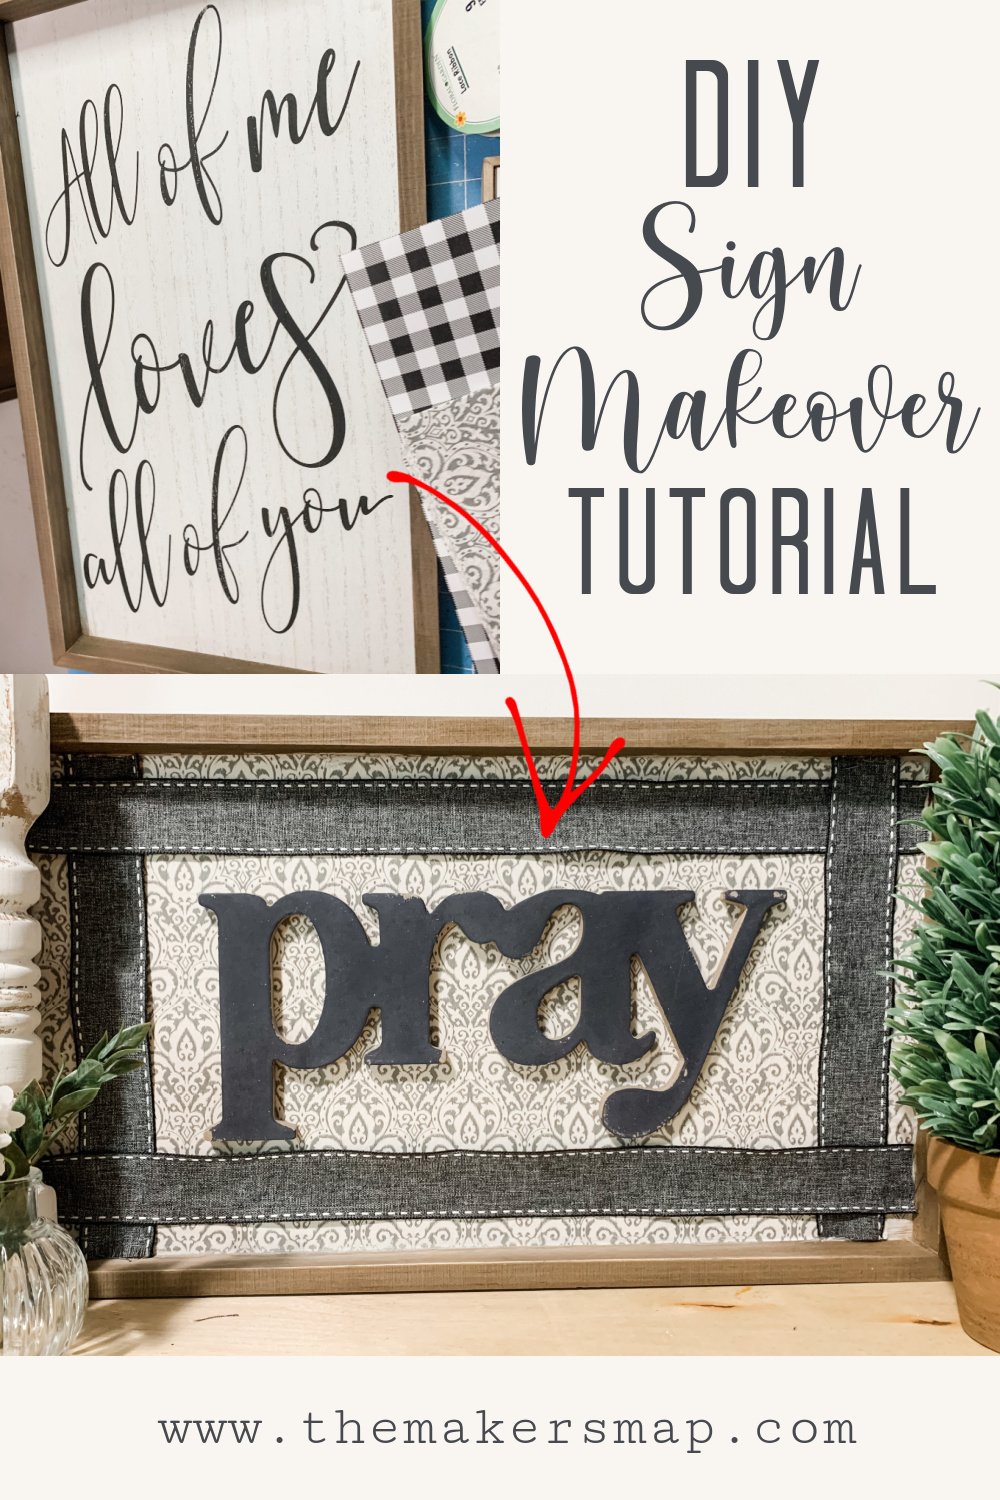
DIY Farmhouse Sign Makeover
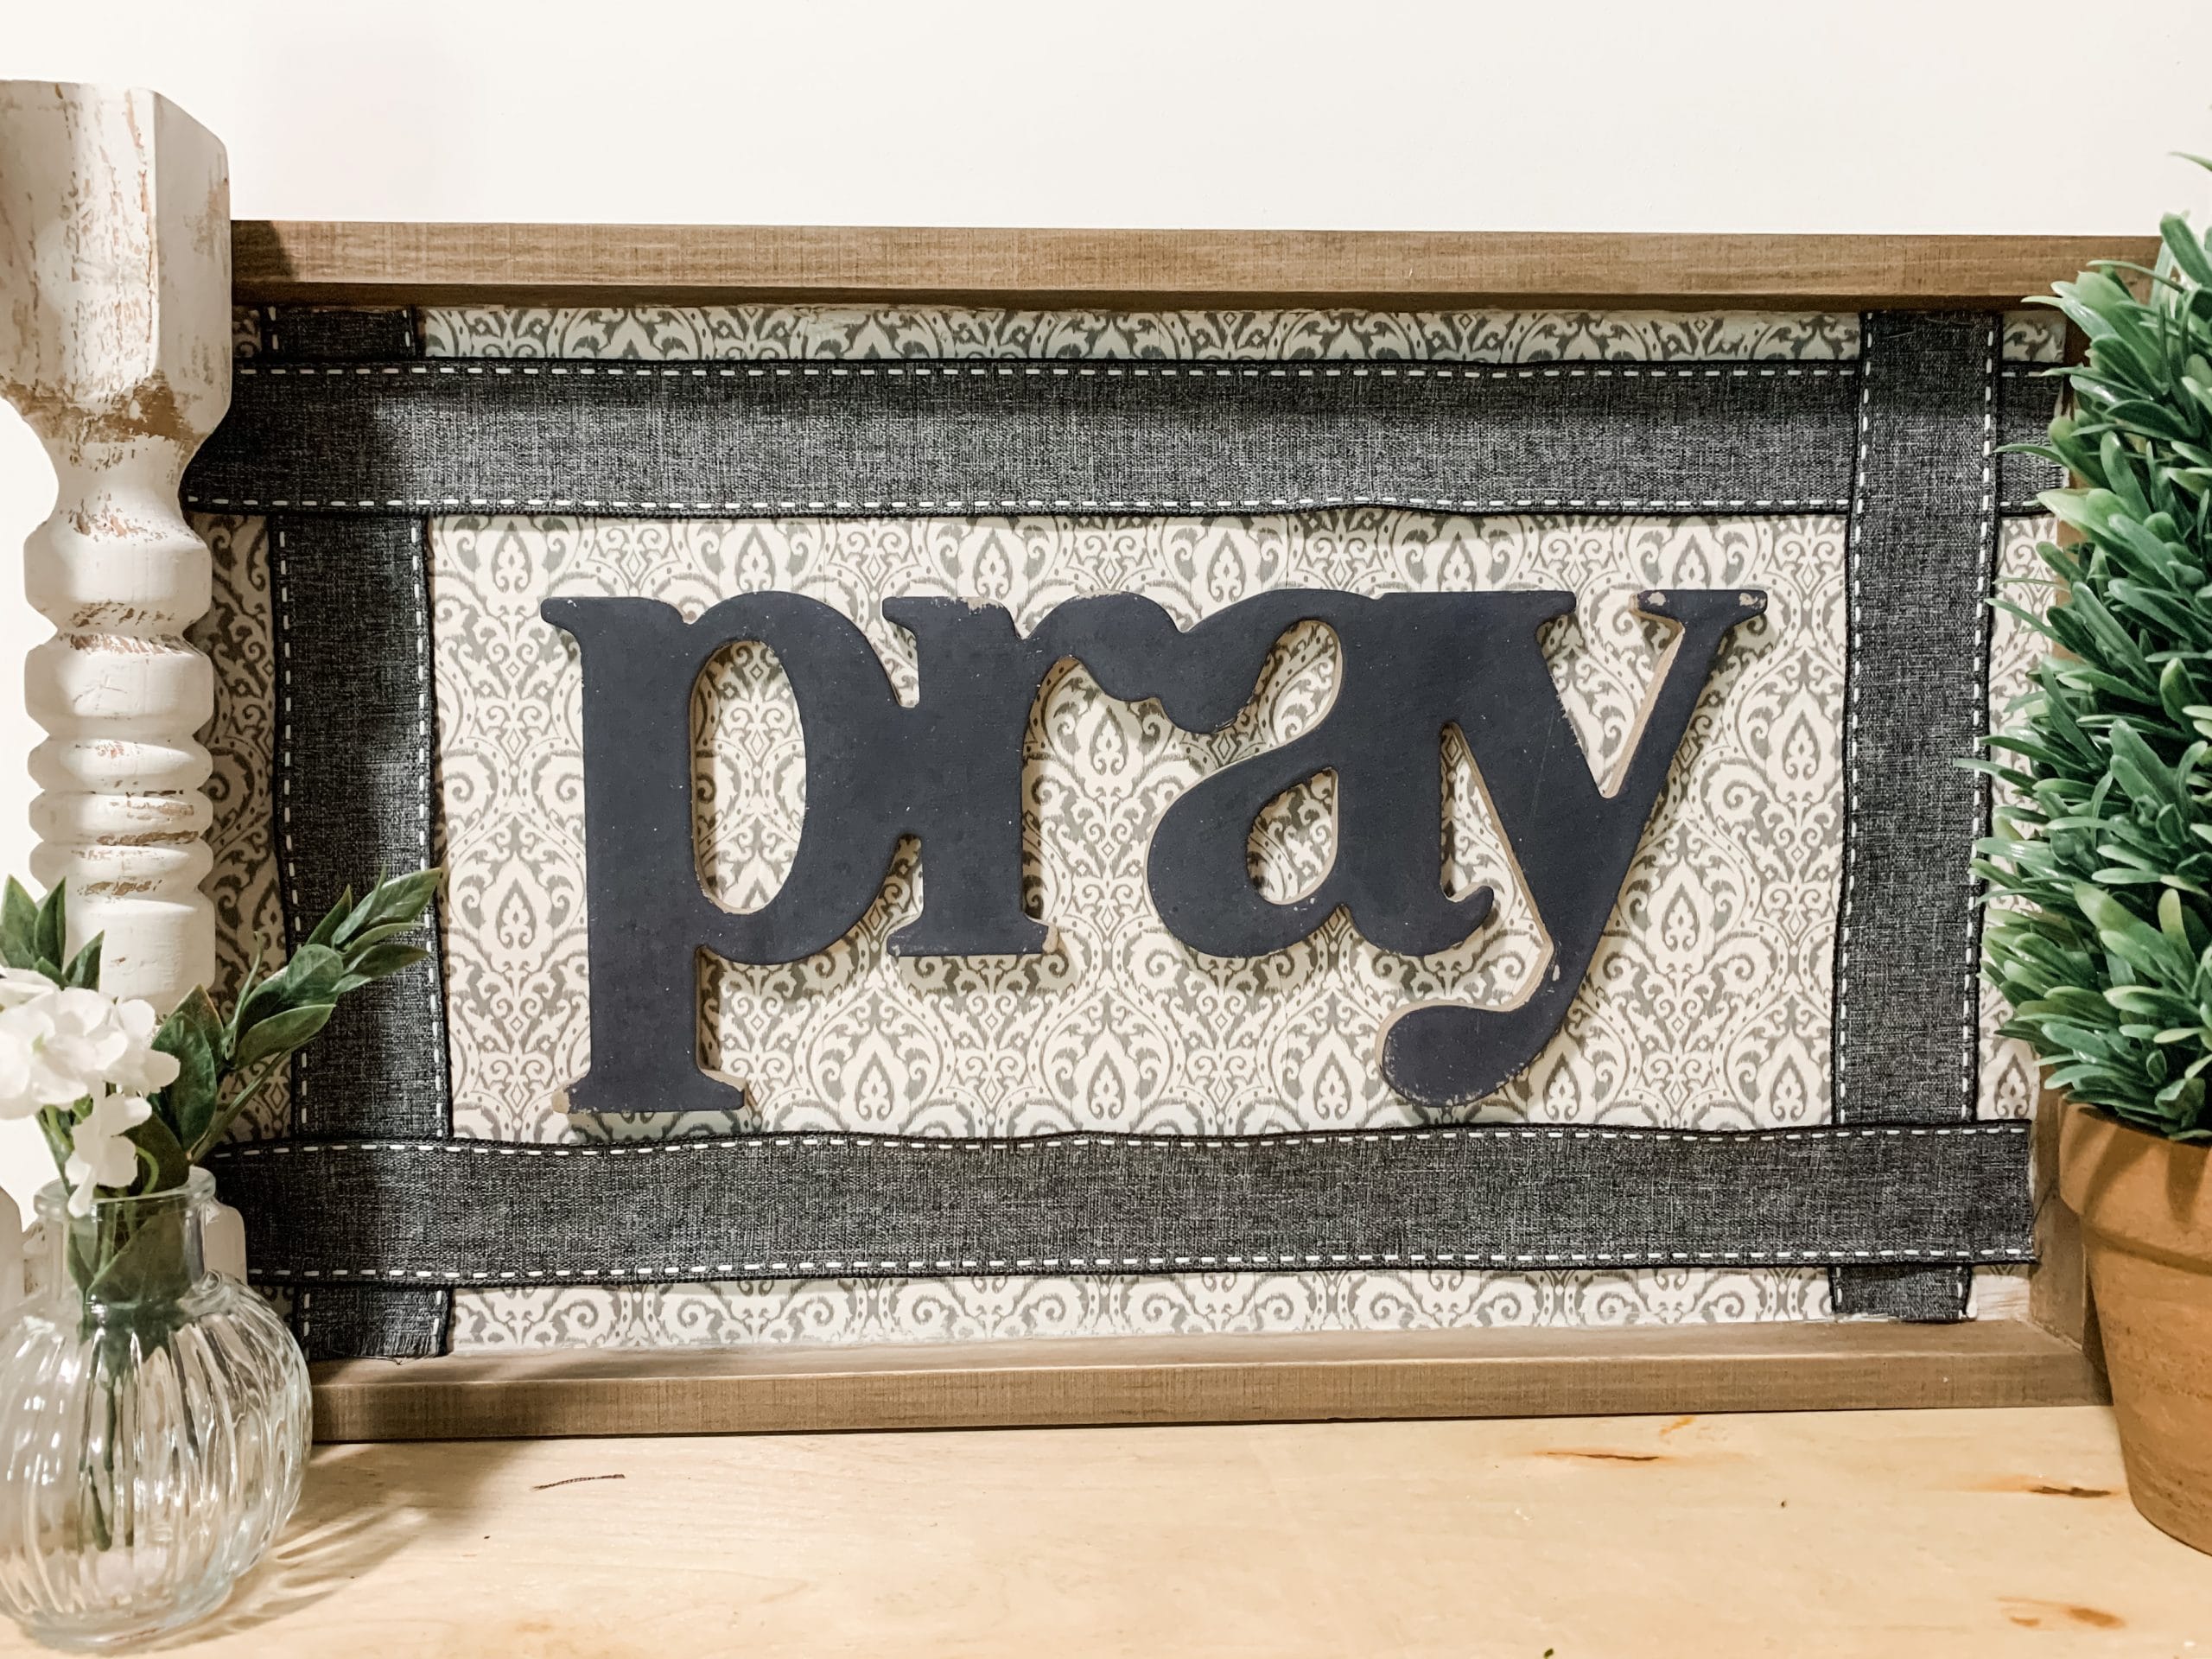
How cute did this DIY Farmhouse Sign Makeover turn out?? I made this adorable pray sign to go in my bedroom, and it has been hanging on my wall for quite some time now!
This DIY project is so easy to make, and even easier to customize!
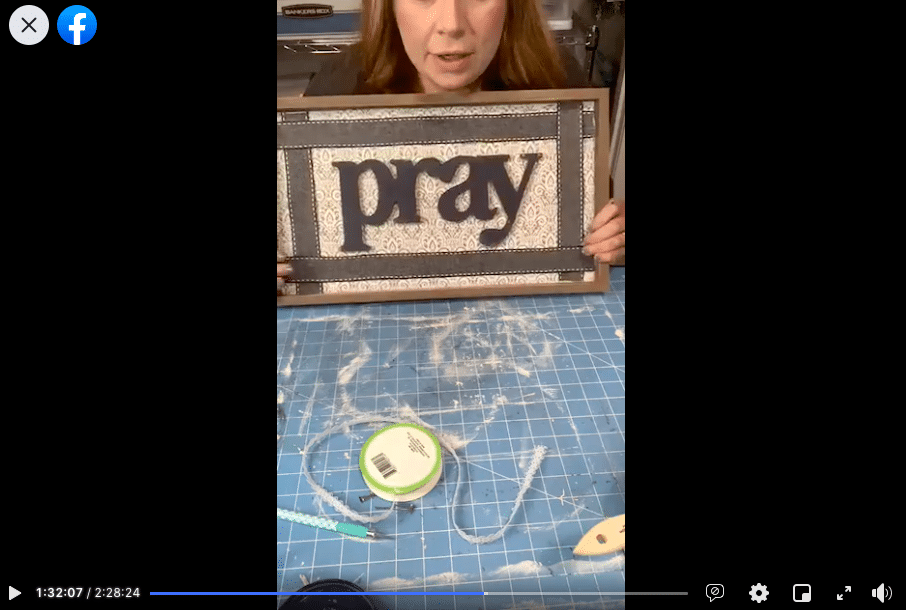
Watch the replay
I made this easy DIY Farmhouse Sign Makeover during a Super Crafting Event with 3 Easy DIY’s! The first project is an adorable boho flower, the second is this sign makeover, and the third is a farmhouse wreath and buffalo check decor!
To see how I made this vintage esque pray sign, fast-forward to the 52-minute mark! Watch the replay to join in on the crafting fun!
For this project, I will be using these items but you can substitute where you want.
“As an Amazon Associate, I earn from qualifying purchases.”
- Hobby Lobby Farmhouse Sign (on Clearance!)
- Tissue Paper
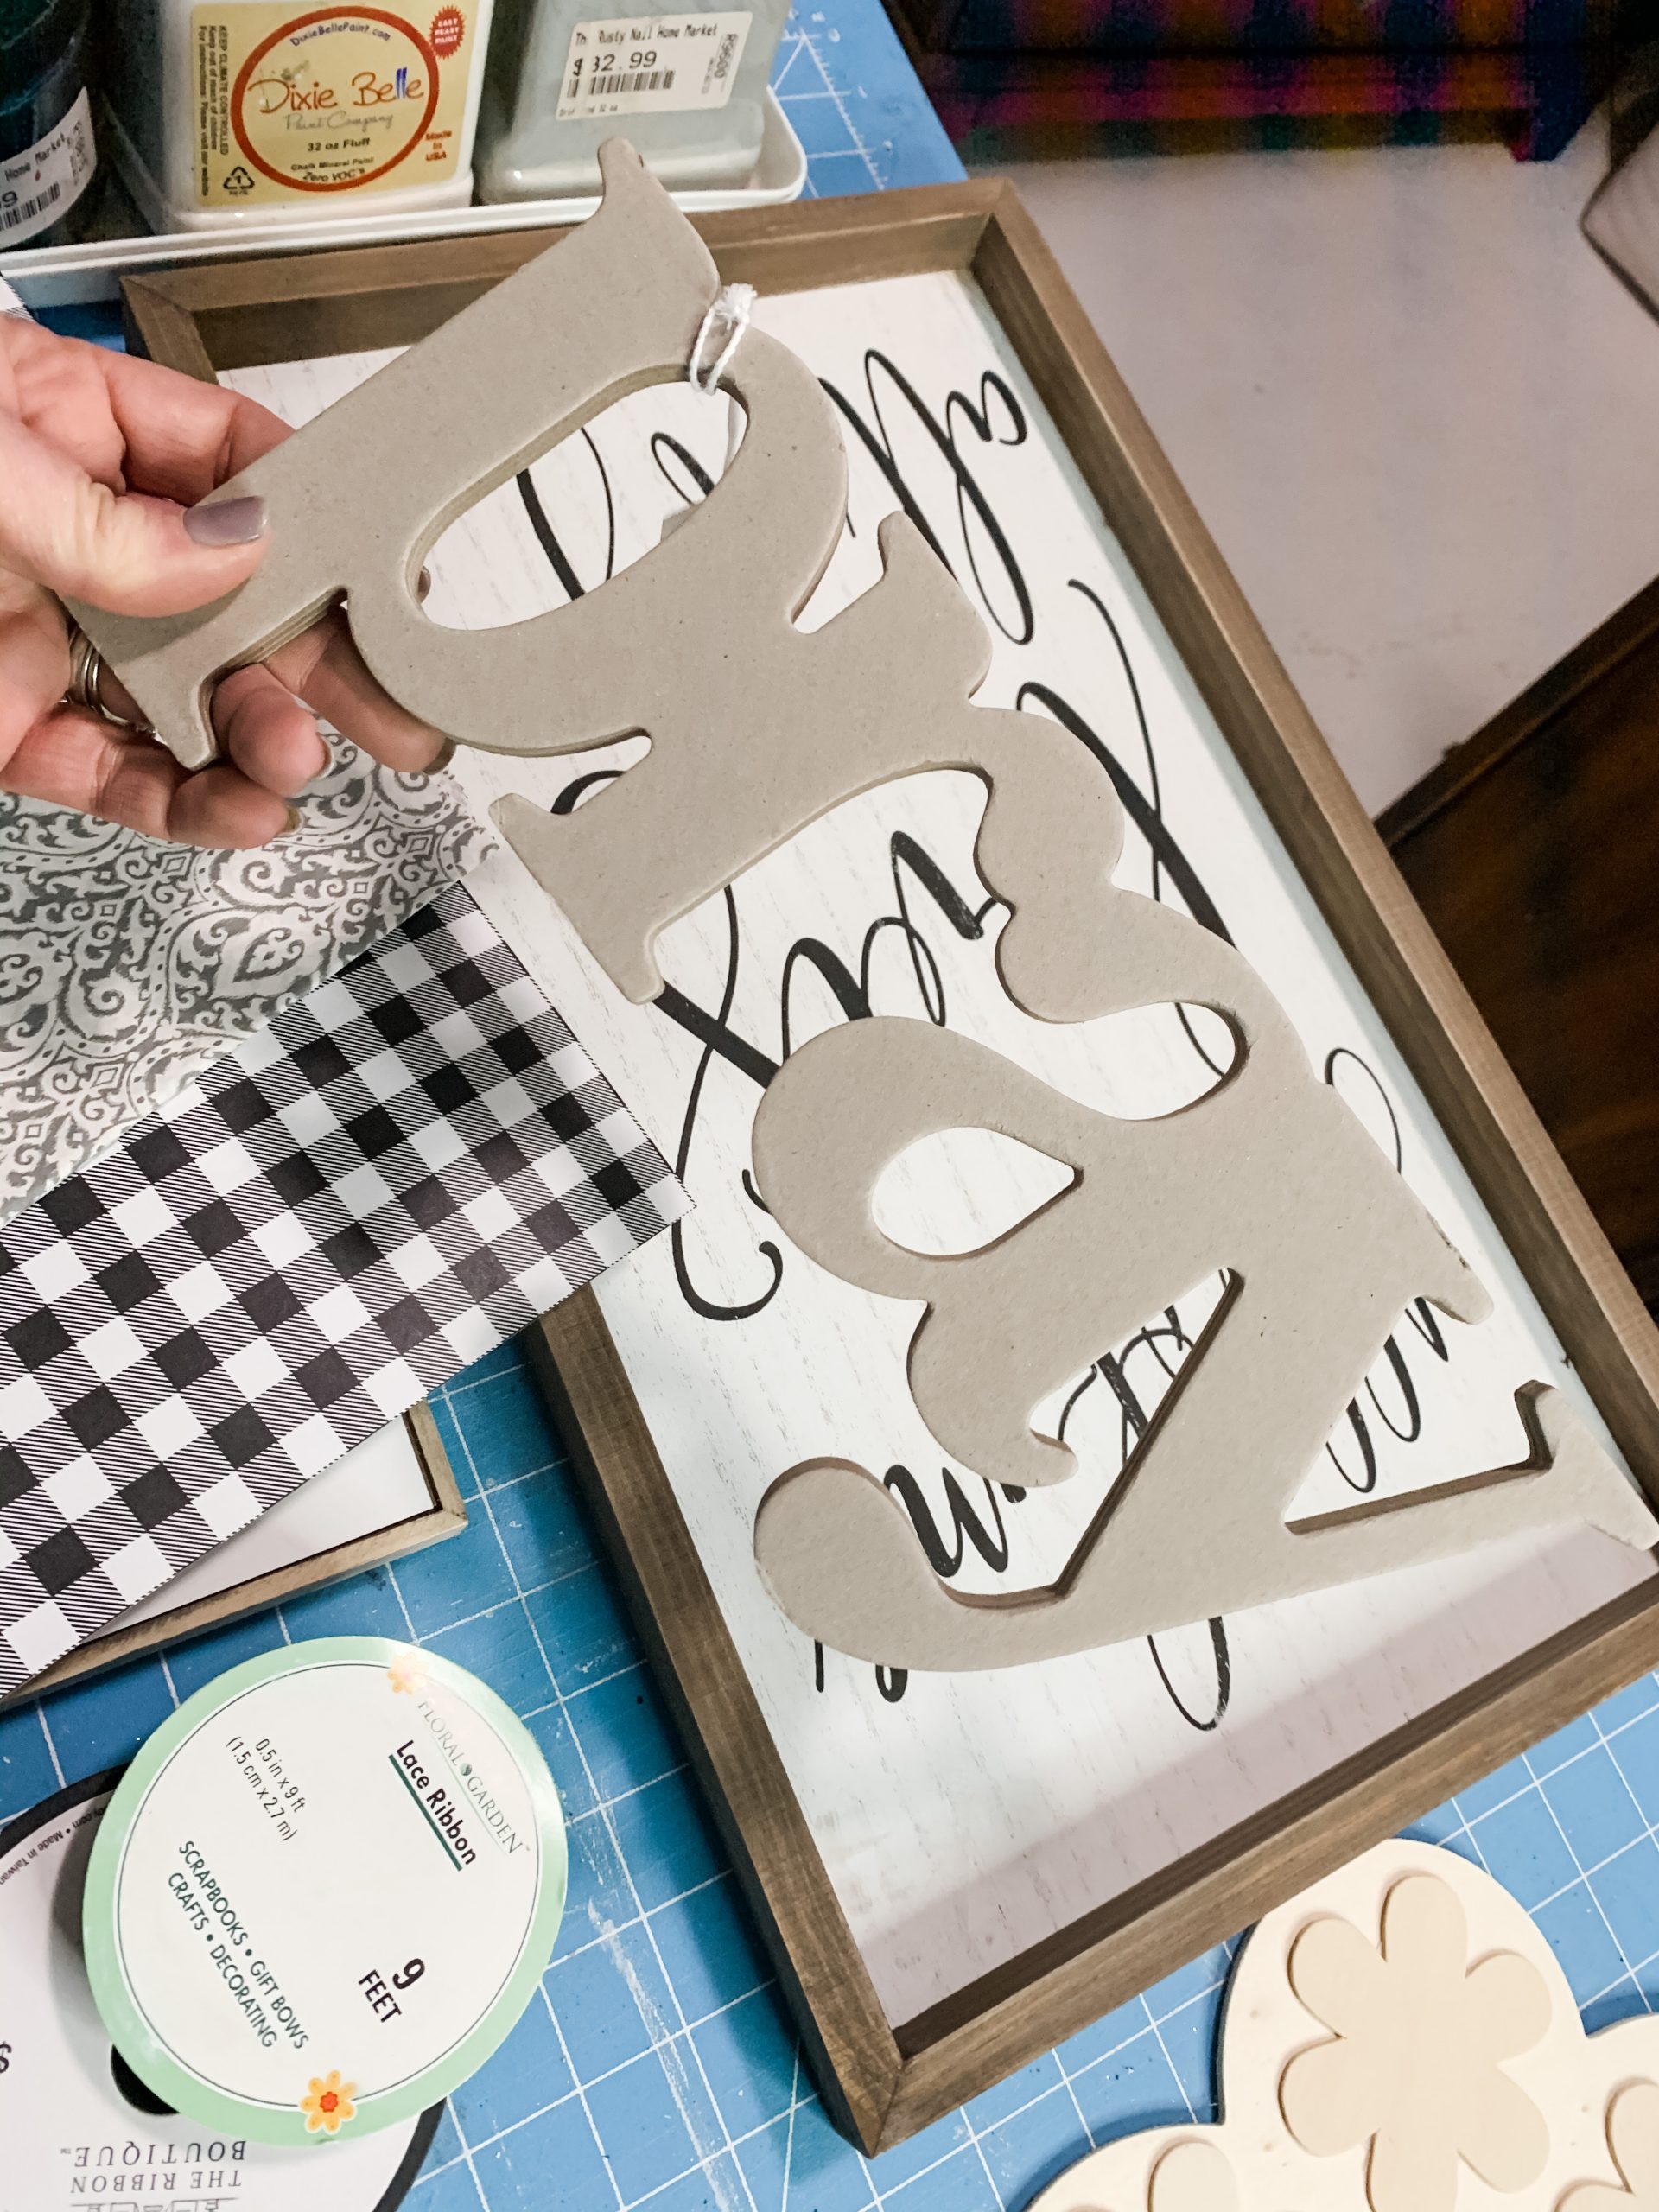
- Pray wood lettering
- Navy burlap ribbon
- Dixie Belle Fluff Chalk Paint
- Dixie Belle In The Navy Chalk Paint
- Hot glue gun and glue sticks
Let’s get to the good stuff!
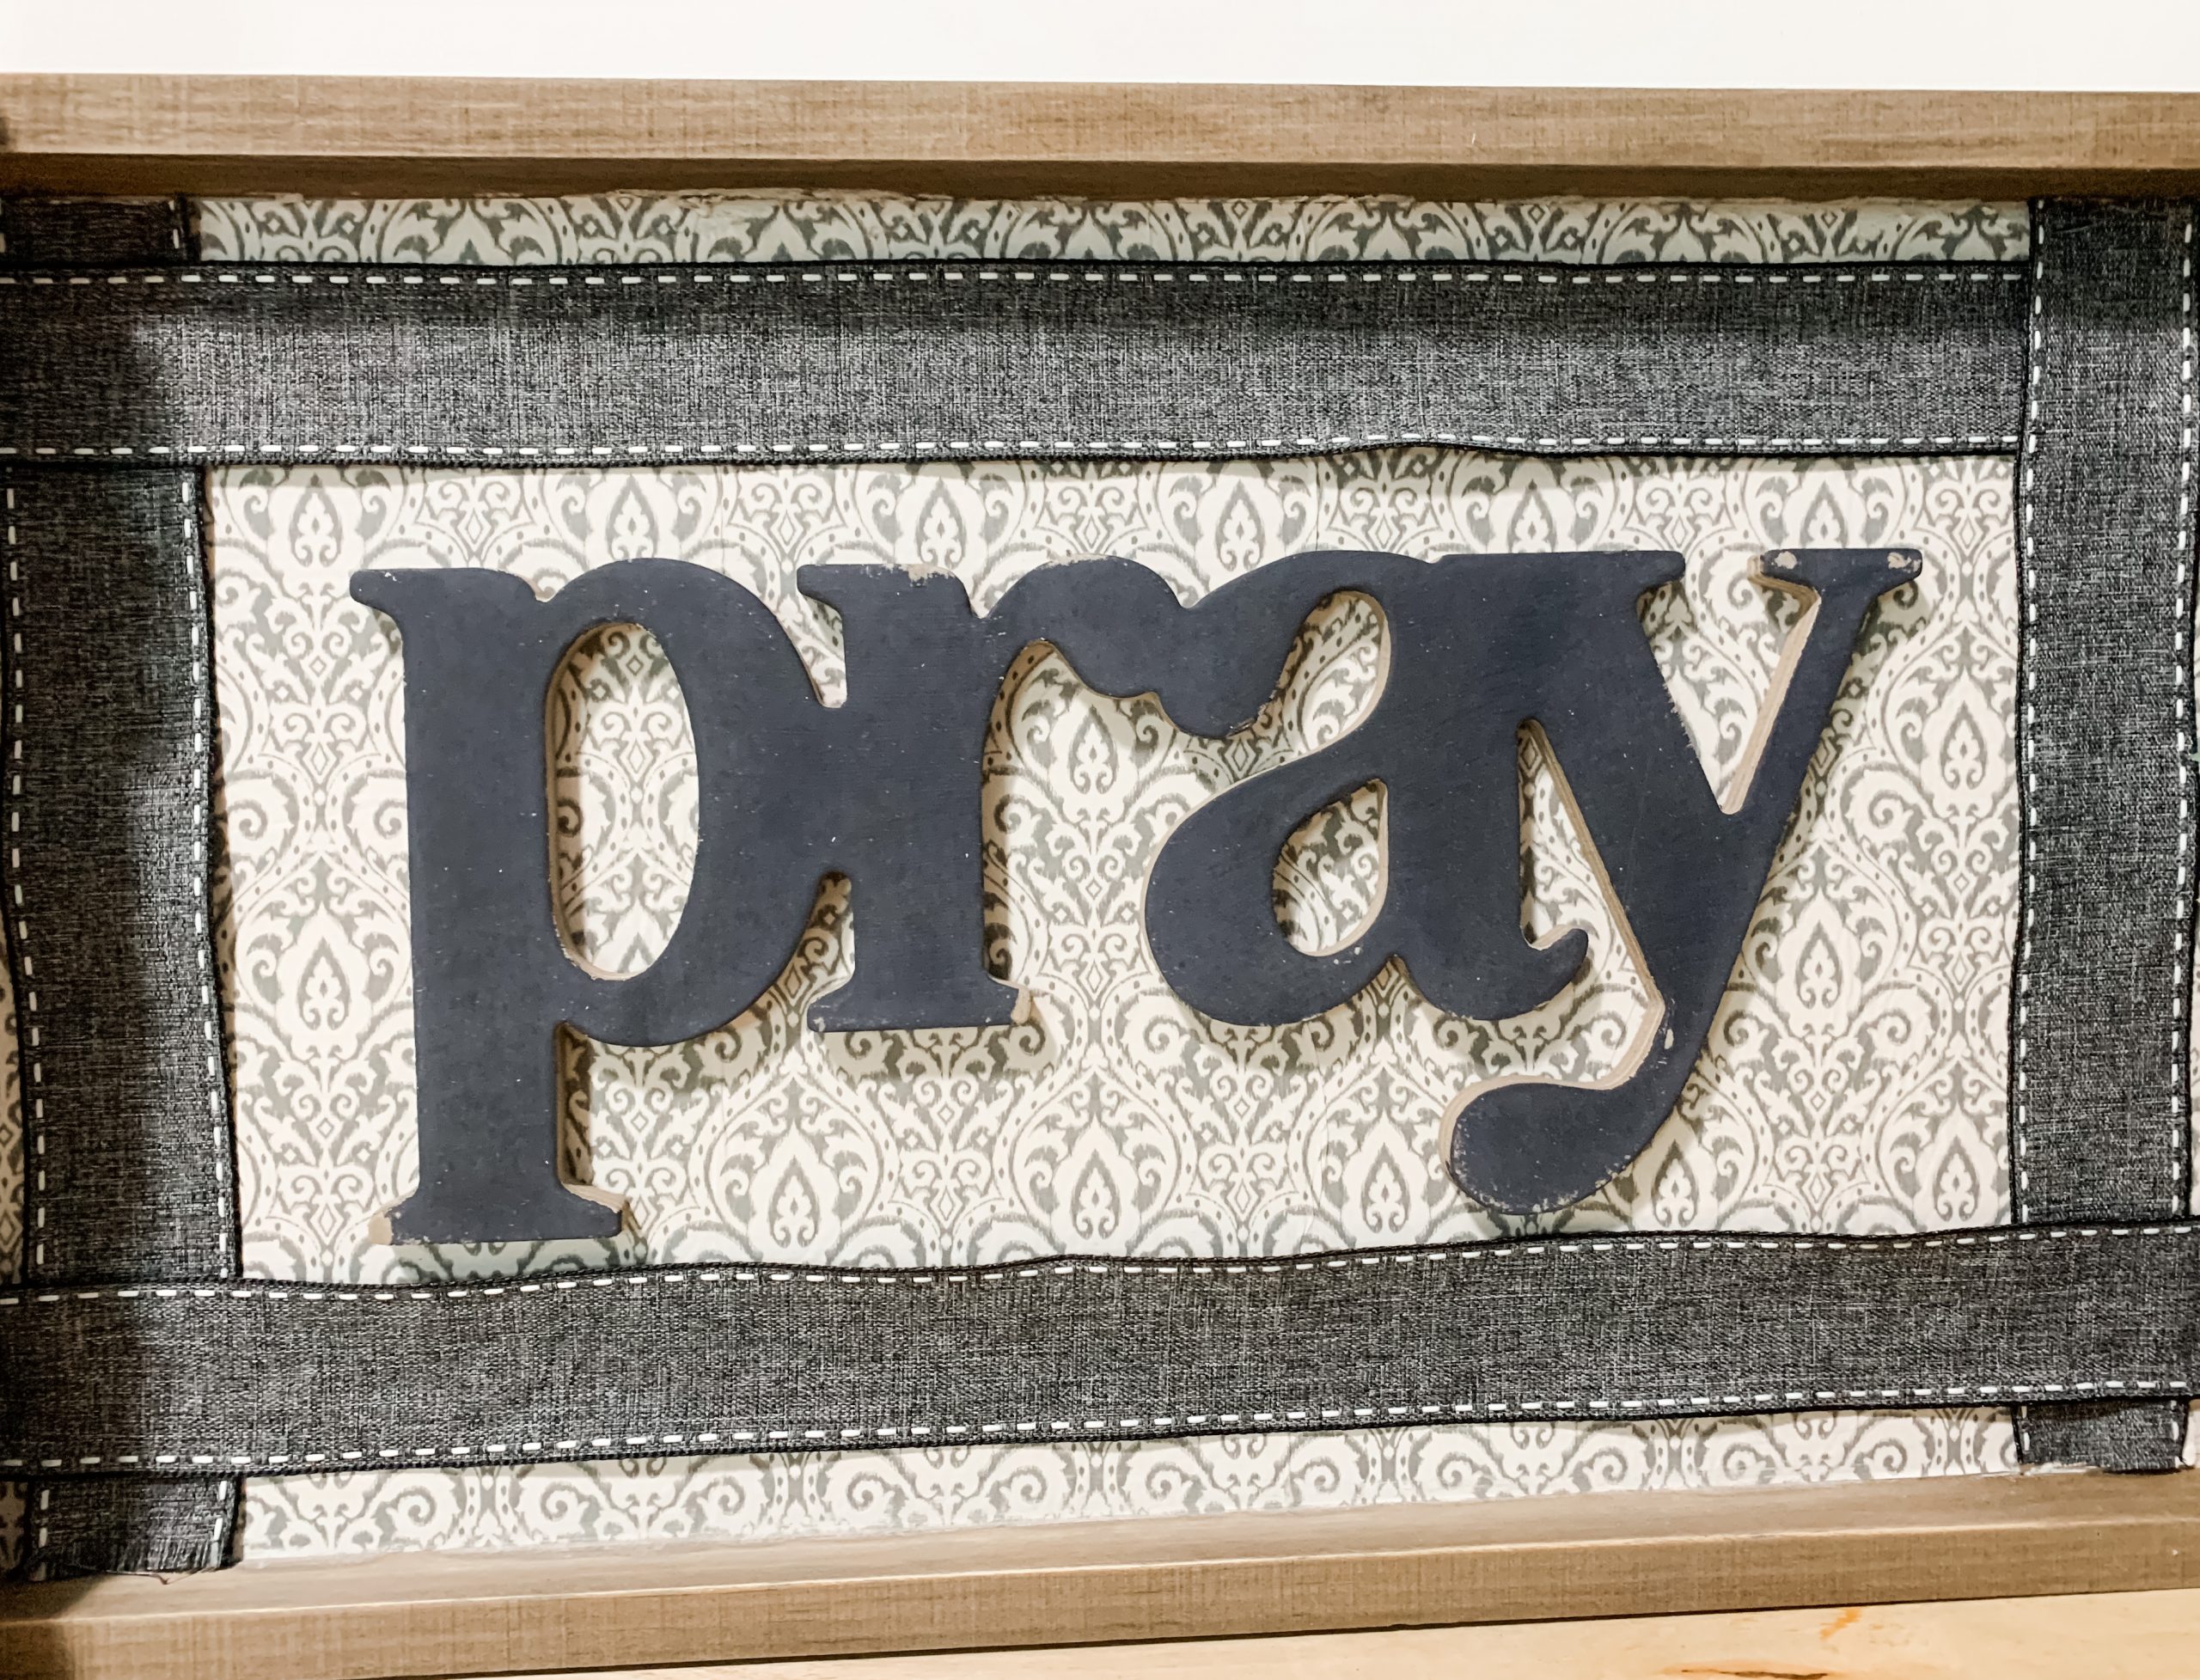
I found this farmhouse sign at Hobby Lobby on clearance and was able to snag it for only $5! However, I wasn’t a fan of the print (no offense, John Legend), so I decided to cover it up and make this sign match my navy bedroom decor.
Before I could decoupage the tissue paper I chose, I had to paint over the black lettering. I used Dixie Belle Fluff Chalk Paint, and I only painted the face of the sign because I wanted to keep the wood color for the frame.

Once you have the lettering covered up, allow the white paint to dry and get your tissue paper and some Mod Podge.
Apply the Mod Podge, starting around the edge of the face of the sign, and brush the Mod Podge inwards towards the center of the sign.
How to decoupage
Then, separate the tissue paper plies. This is going to allow the tissue paper to securely adhere to the sign. Otherwise, the ply with the print might not adhere properly and could peel off in the future.
Carefully place the tissue paper onto the Mod Podge. Try to avoid creating any wrinkles or creases, but if any form, you can ball up a piece of plastic saran wrap and use it to smooth out the imperfections.
I then used an Exacto knife to cut the excess tissue paper from the sign. This makes sure I get straight edges and that they don’t fold up onto the sign’s frame.
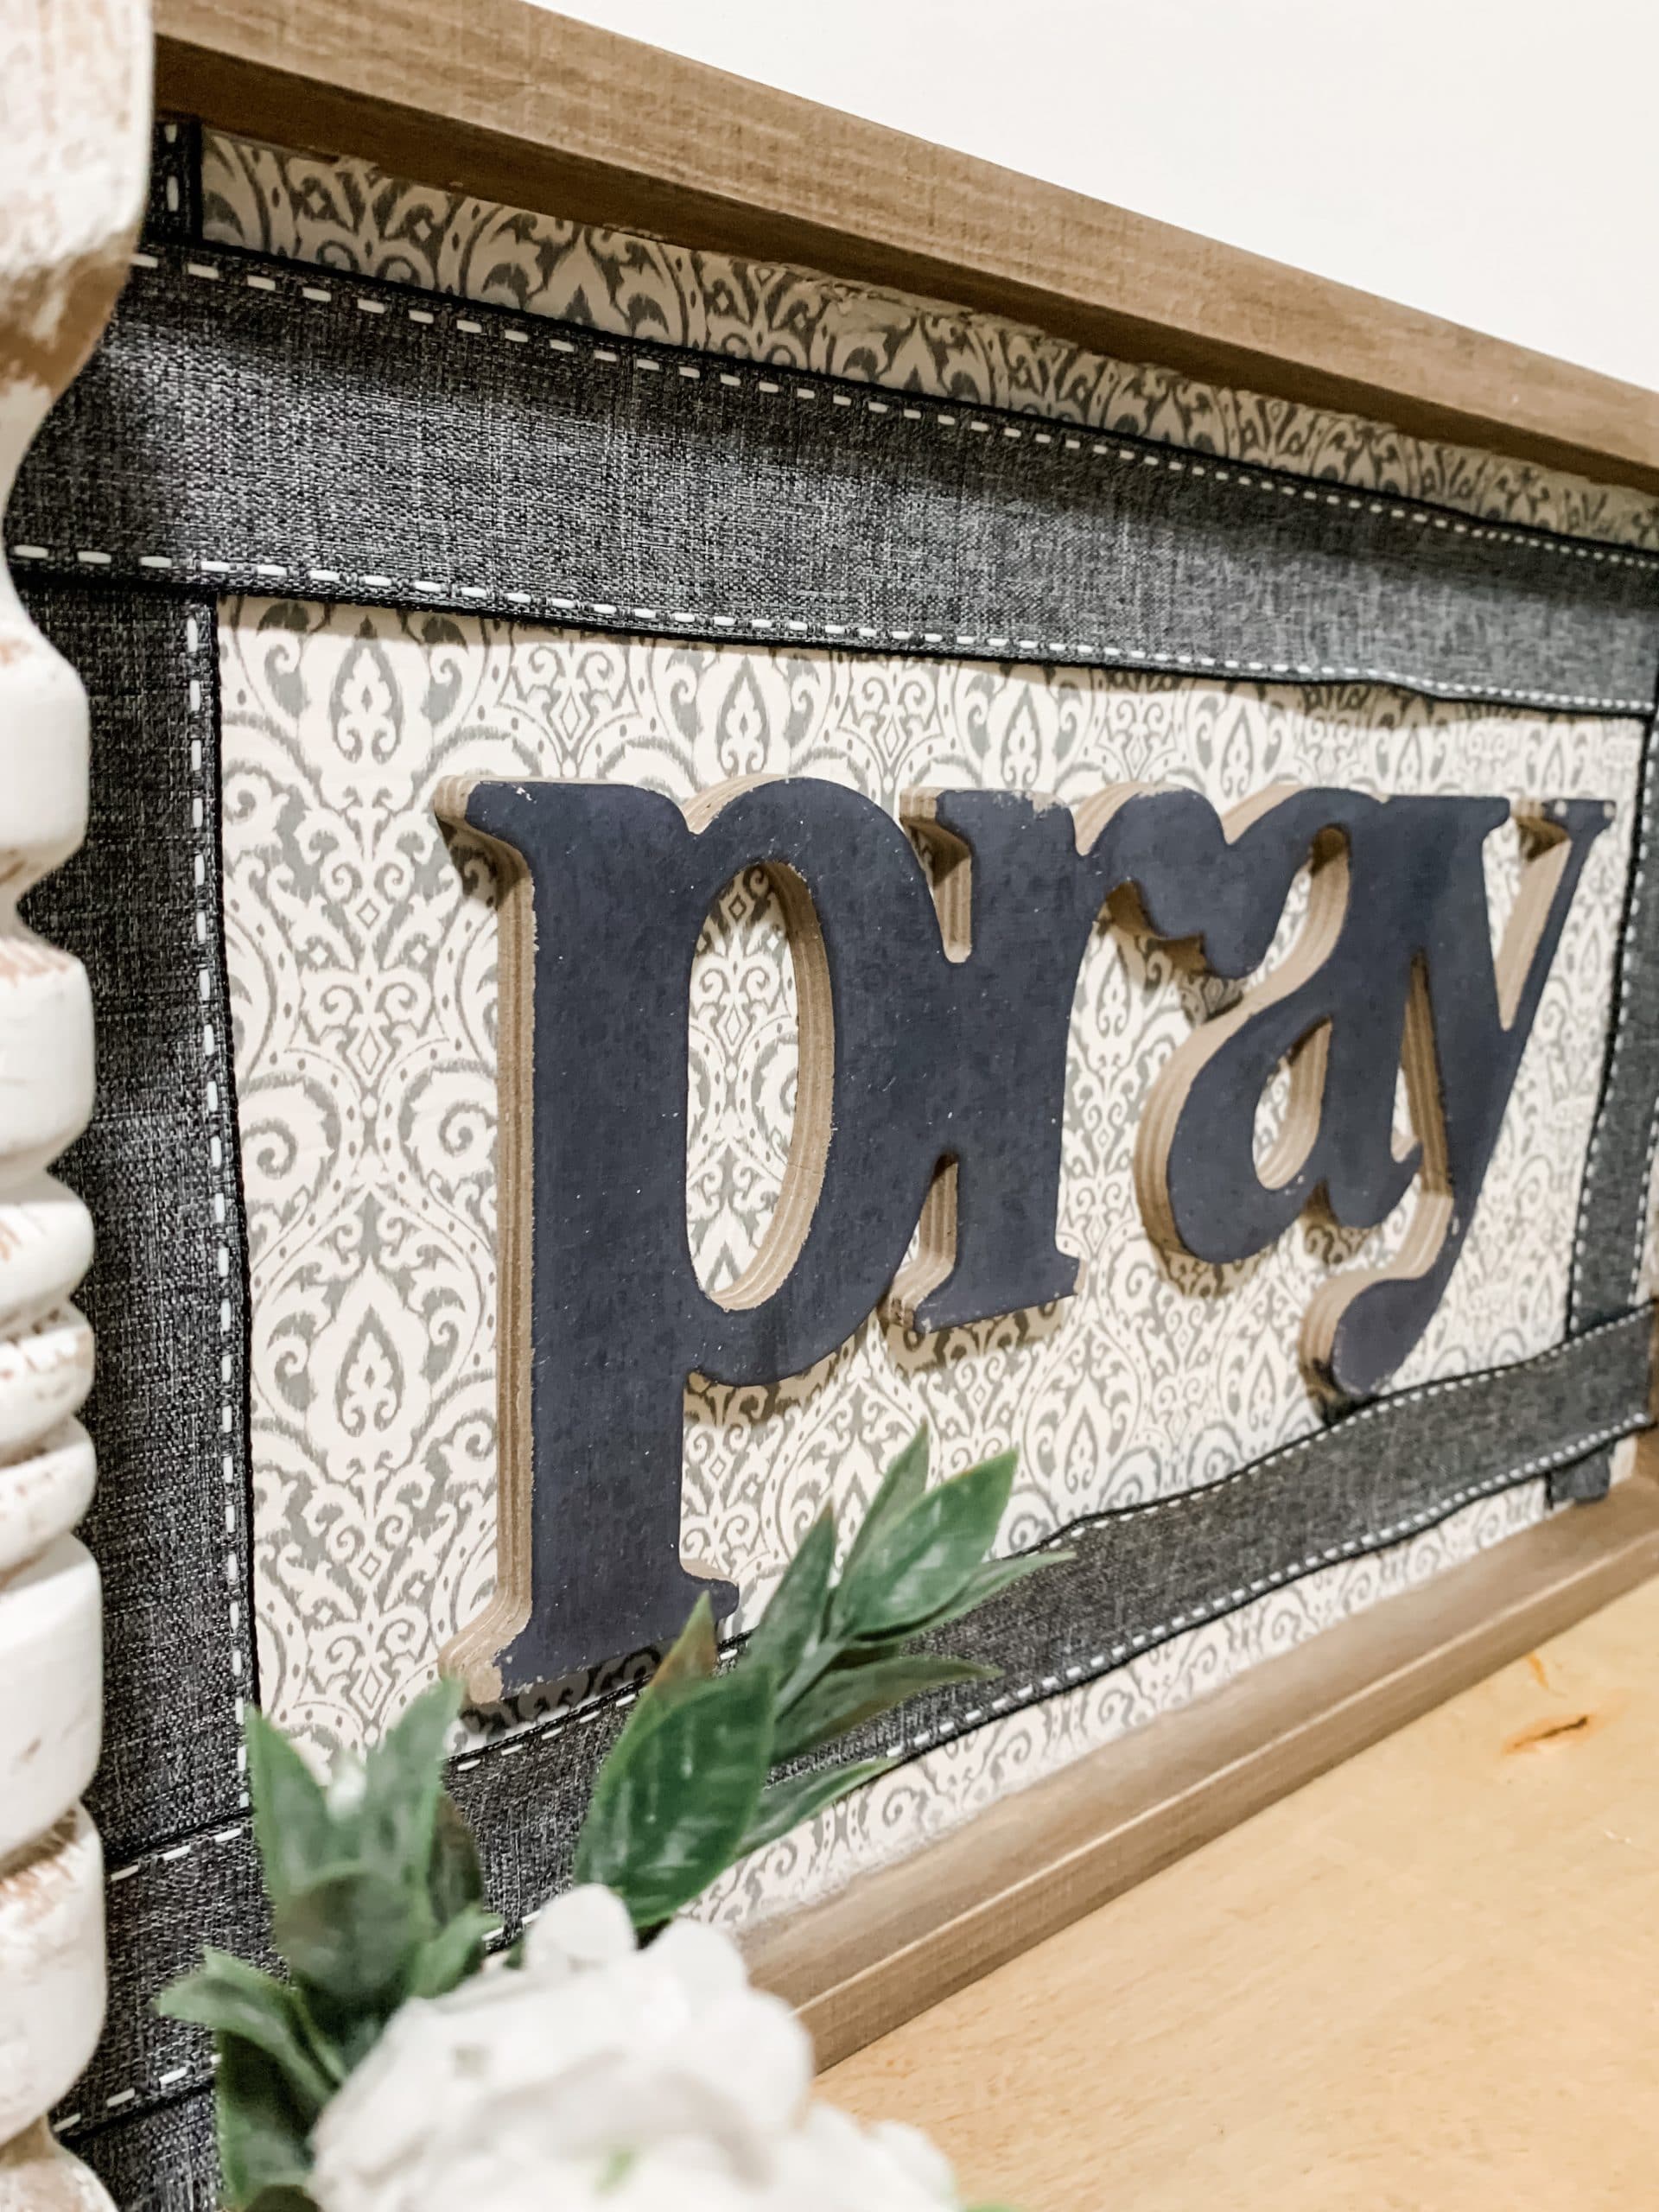
Pray
You can set your decoupaged farmhouse sign to the side for now. We are going to paint the pray lettering next. I used Dixie Belle In the Navy because my bedroom decor had a navy color scheme.
I used a chippy paintbrush and painted the entire lettering navy. Once it dried, I went over the lettering with a sanding sponge.
This gives the lettering a faded, vintage esque finish. Once your lettering is finished, go ahead and hot glue it to the center of your sign.
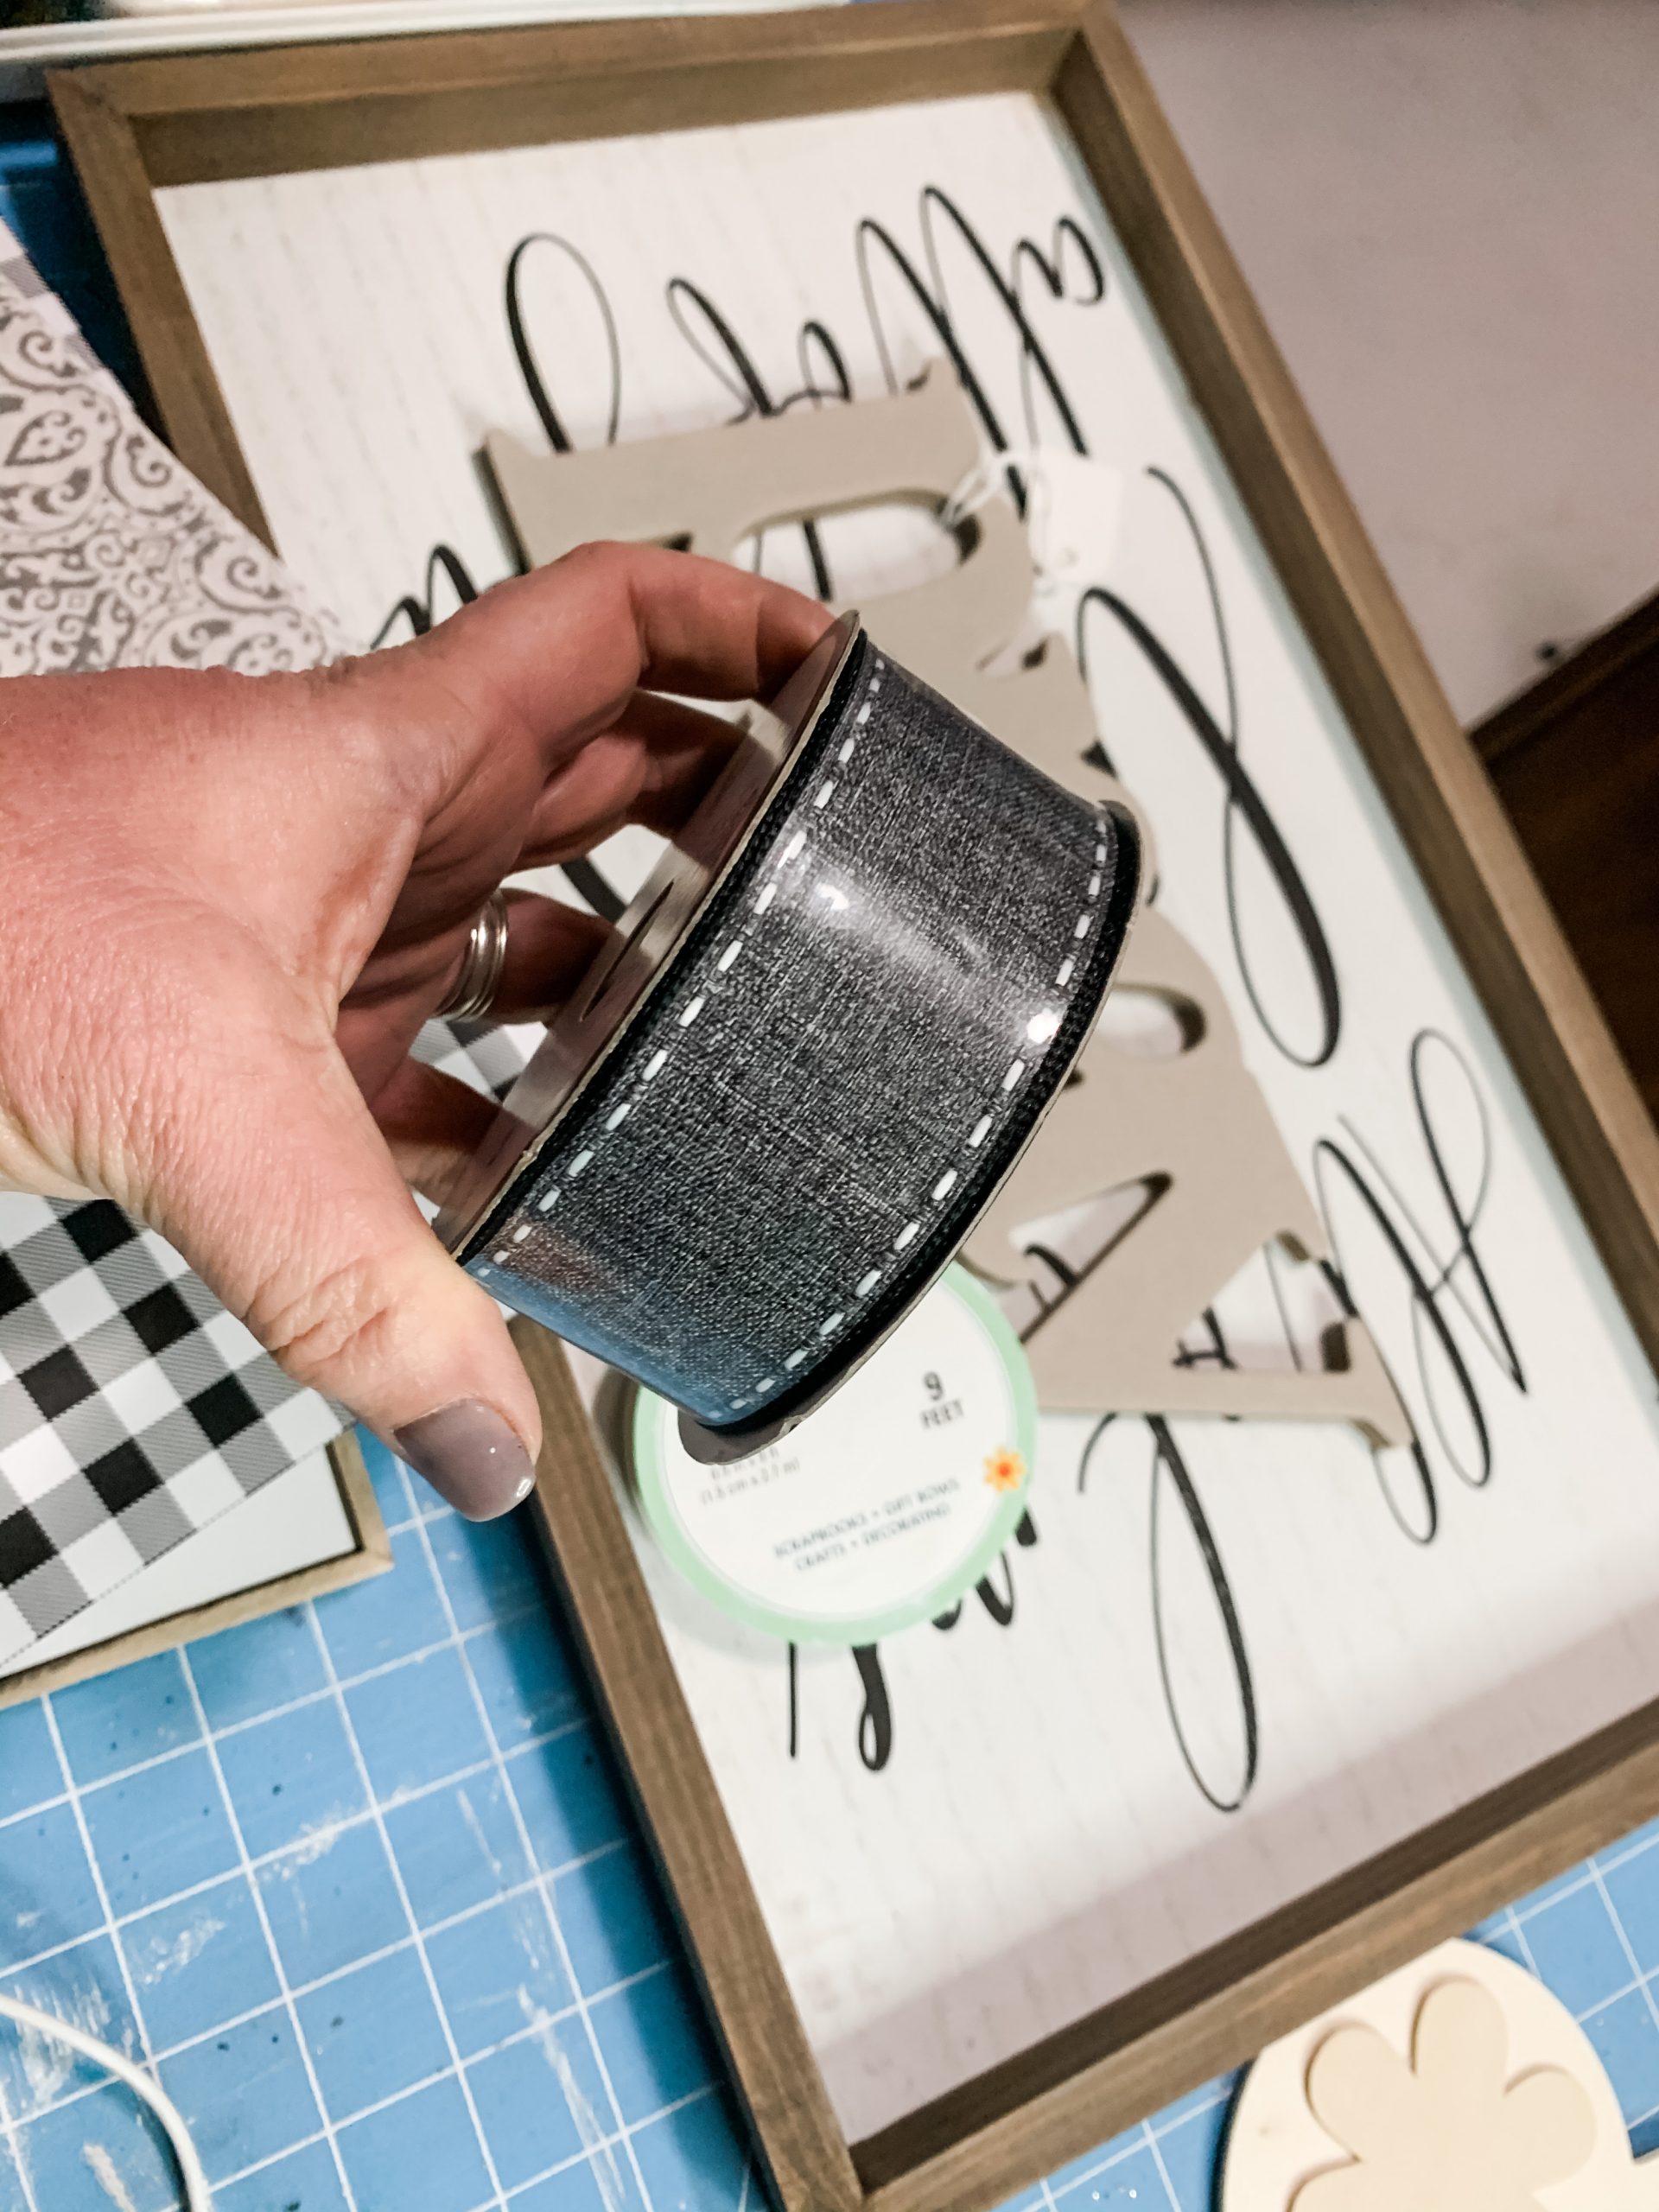
Lastly, you have to add your ribbon strips! I placed them one at a time, so they overlapped one another in the corners. I was going to add some white lace ribbon over the burlap ribbon, but I decided against it while I was making this adorable DIY decor.
I hope you enjoyed this DIY Farmhouse Sign Makeover as much as I did and decide to make one for yourself! I would love to see how yours turns out!
You should totally join my FREE Facebook group called On A Budget Crafts! It is a judgment-free community for DIY crafters to show off their projects and ideas.
If you loved this DIY you might also like this DIY Dollar Tree Fall Topiary!
Thanks for stopping by! XOXO Amber
You can also shop my ENTIRE AMAZON Favorites shop just click here! It’s packed full of all the things I use and love. Here is the supply list I highly recommend every creative have on hand!!
Would you also pin my blog for later and get on my newsletter alerts? I would love to have you join my #craftycrew.
Inspired? Leave me a comment below! I love hearing from my readers!

Join my free “ON A BUDGET CRAFTS” Facebook group!


Absolutely beautiful
Love this one!!! Great idea with using the words at DT.
Oh my goodness!!! How I love these! They were before my “Amber” days!
Thank you Amber! This is beautiful!