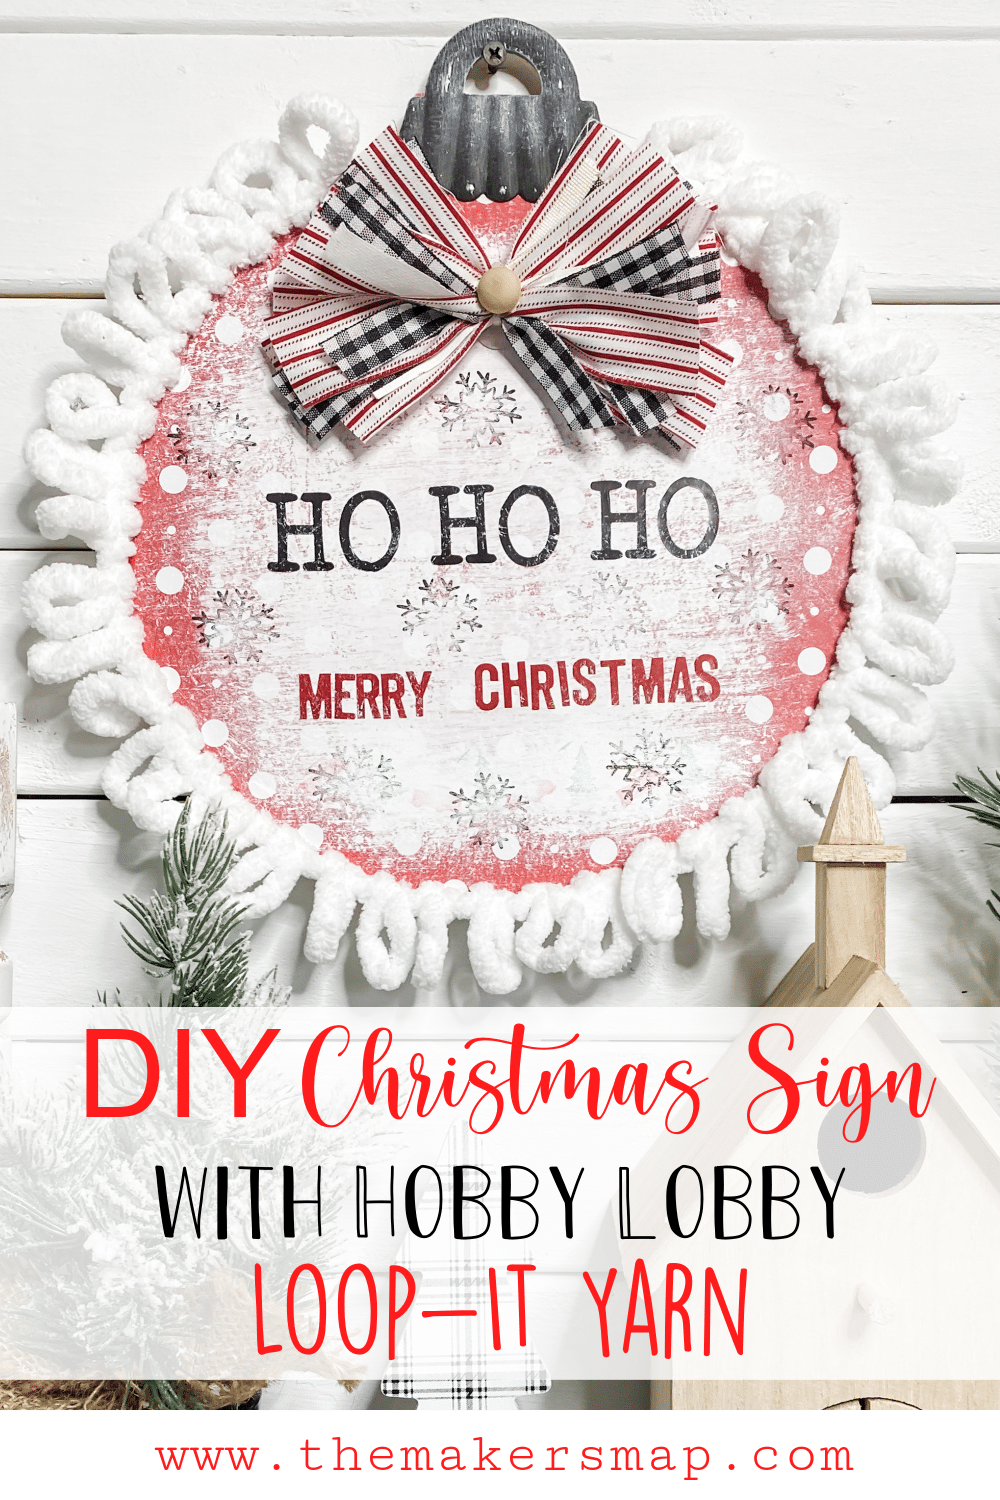
How to Make a DIY Christmas Sign with Loop-It Yarn
Making this easy Christmas decor DIY was a prime example of trusting your gut and getting creative! When I was planning out this DIY craft, I planned on using nautical rope, but about halfway through, I changed my mind and made this DIY Christmas Sign with Loop-It Yarn instead!
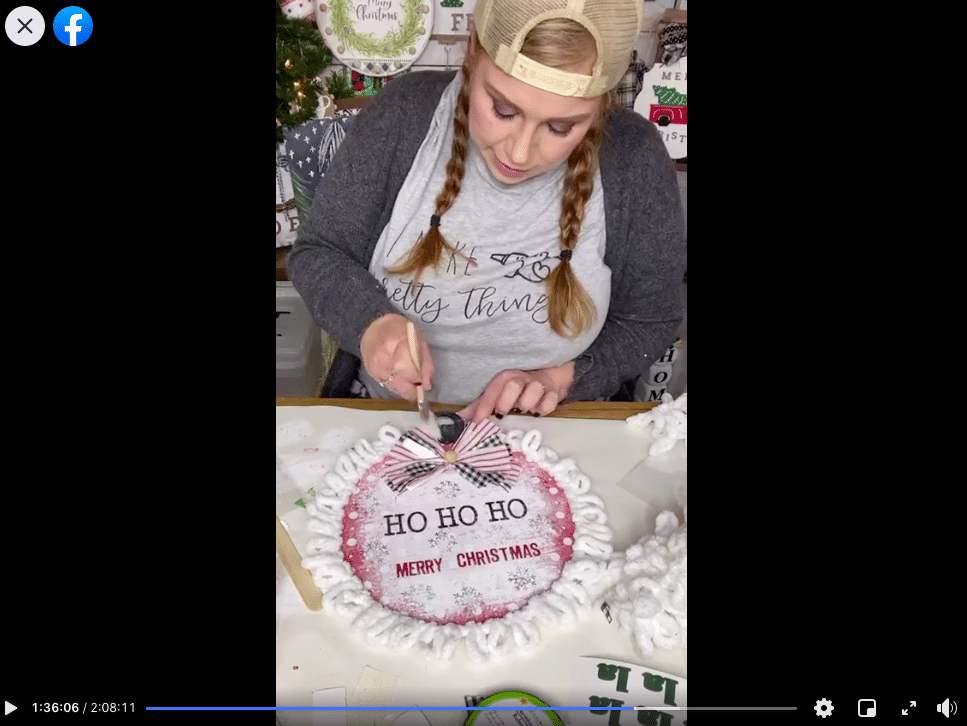
Watch the Replay!
As I said, I recorded the process of making this easy DIY Christmas sign during a LIVE video on my Facebook page.
I had so much fun with this craft project because I tried some things that I usually wouldn’t, took some advice and input from my viewers, and let the creative juices flow!
You can watch the replay over on my page if you want to see my process!
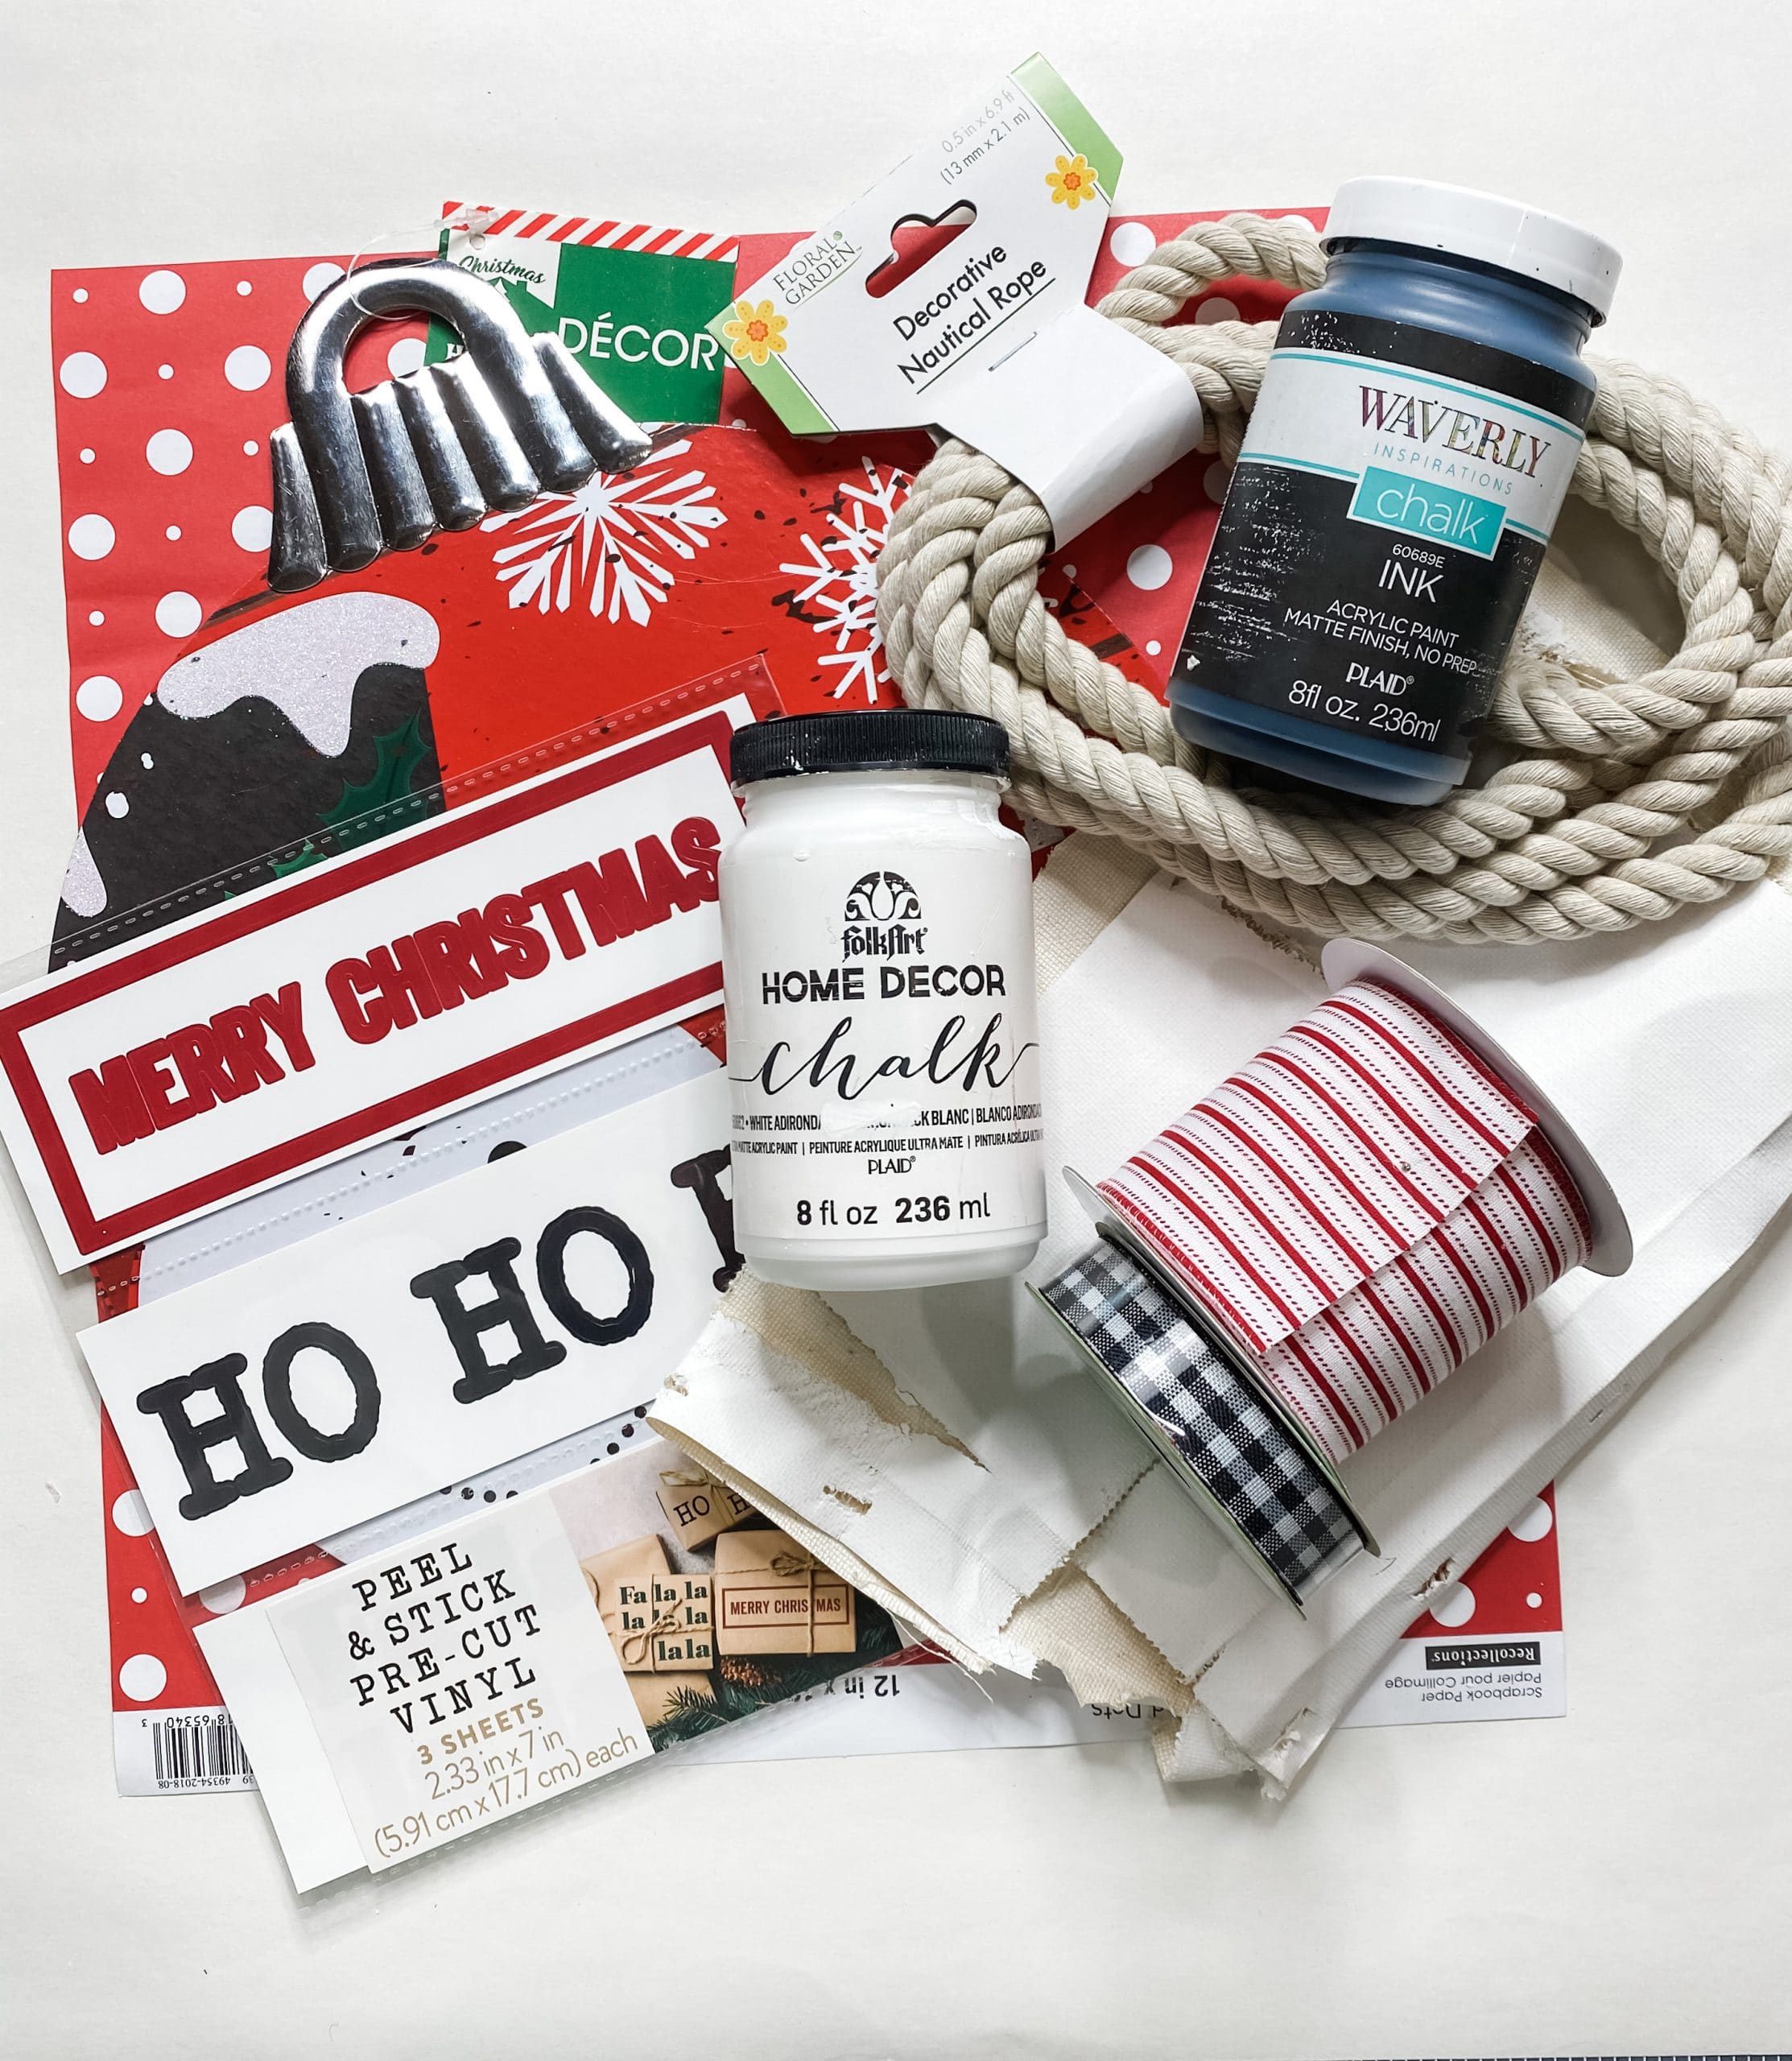
For this project, I will be using these items but you can substitute where you want.
“As an Amazon Associate, I earn from qualifying purchases.”
- Dollar Tree Wood Ornament Sign
- Dollar Tree Canvas
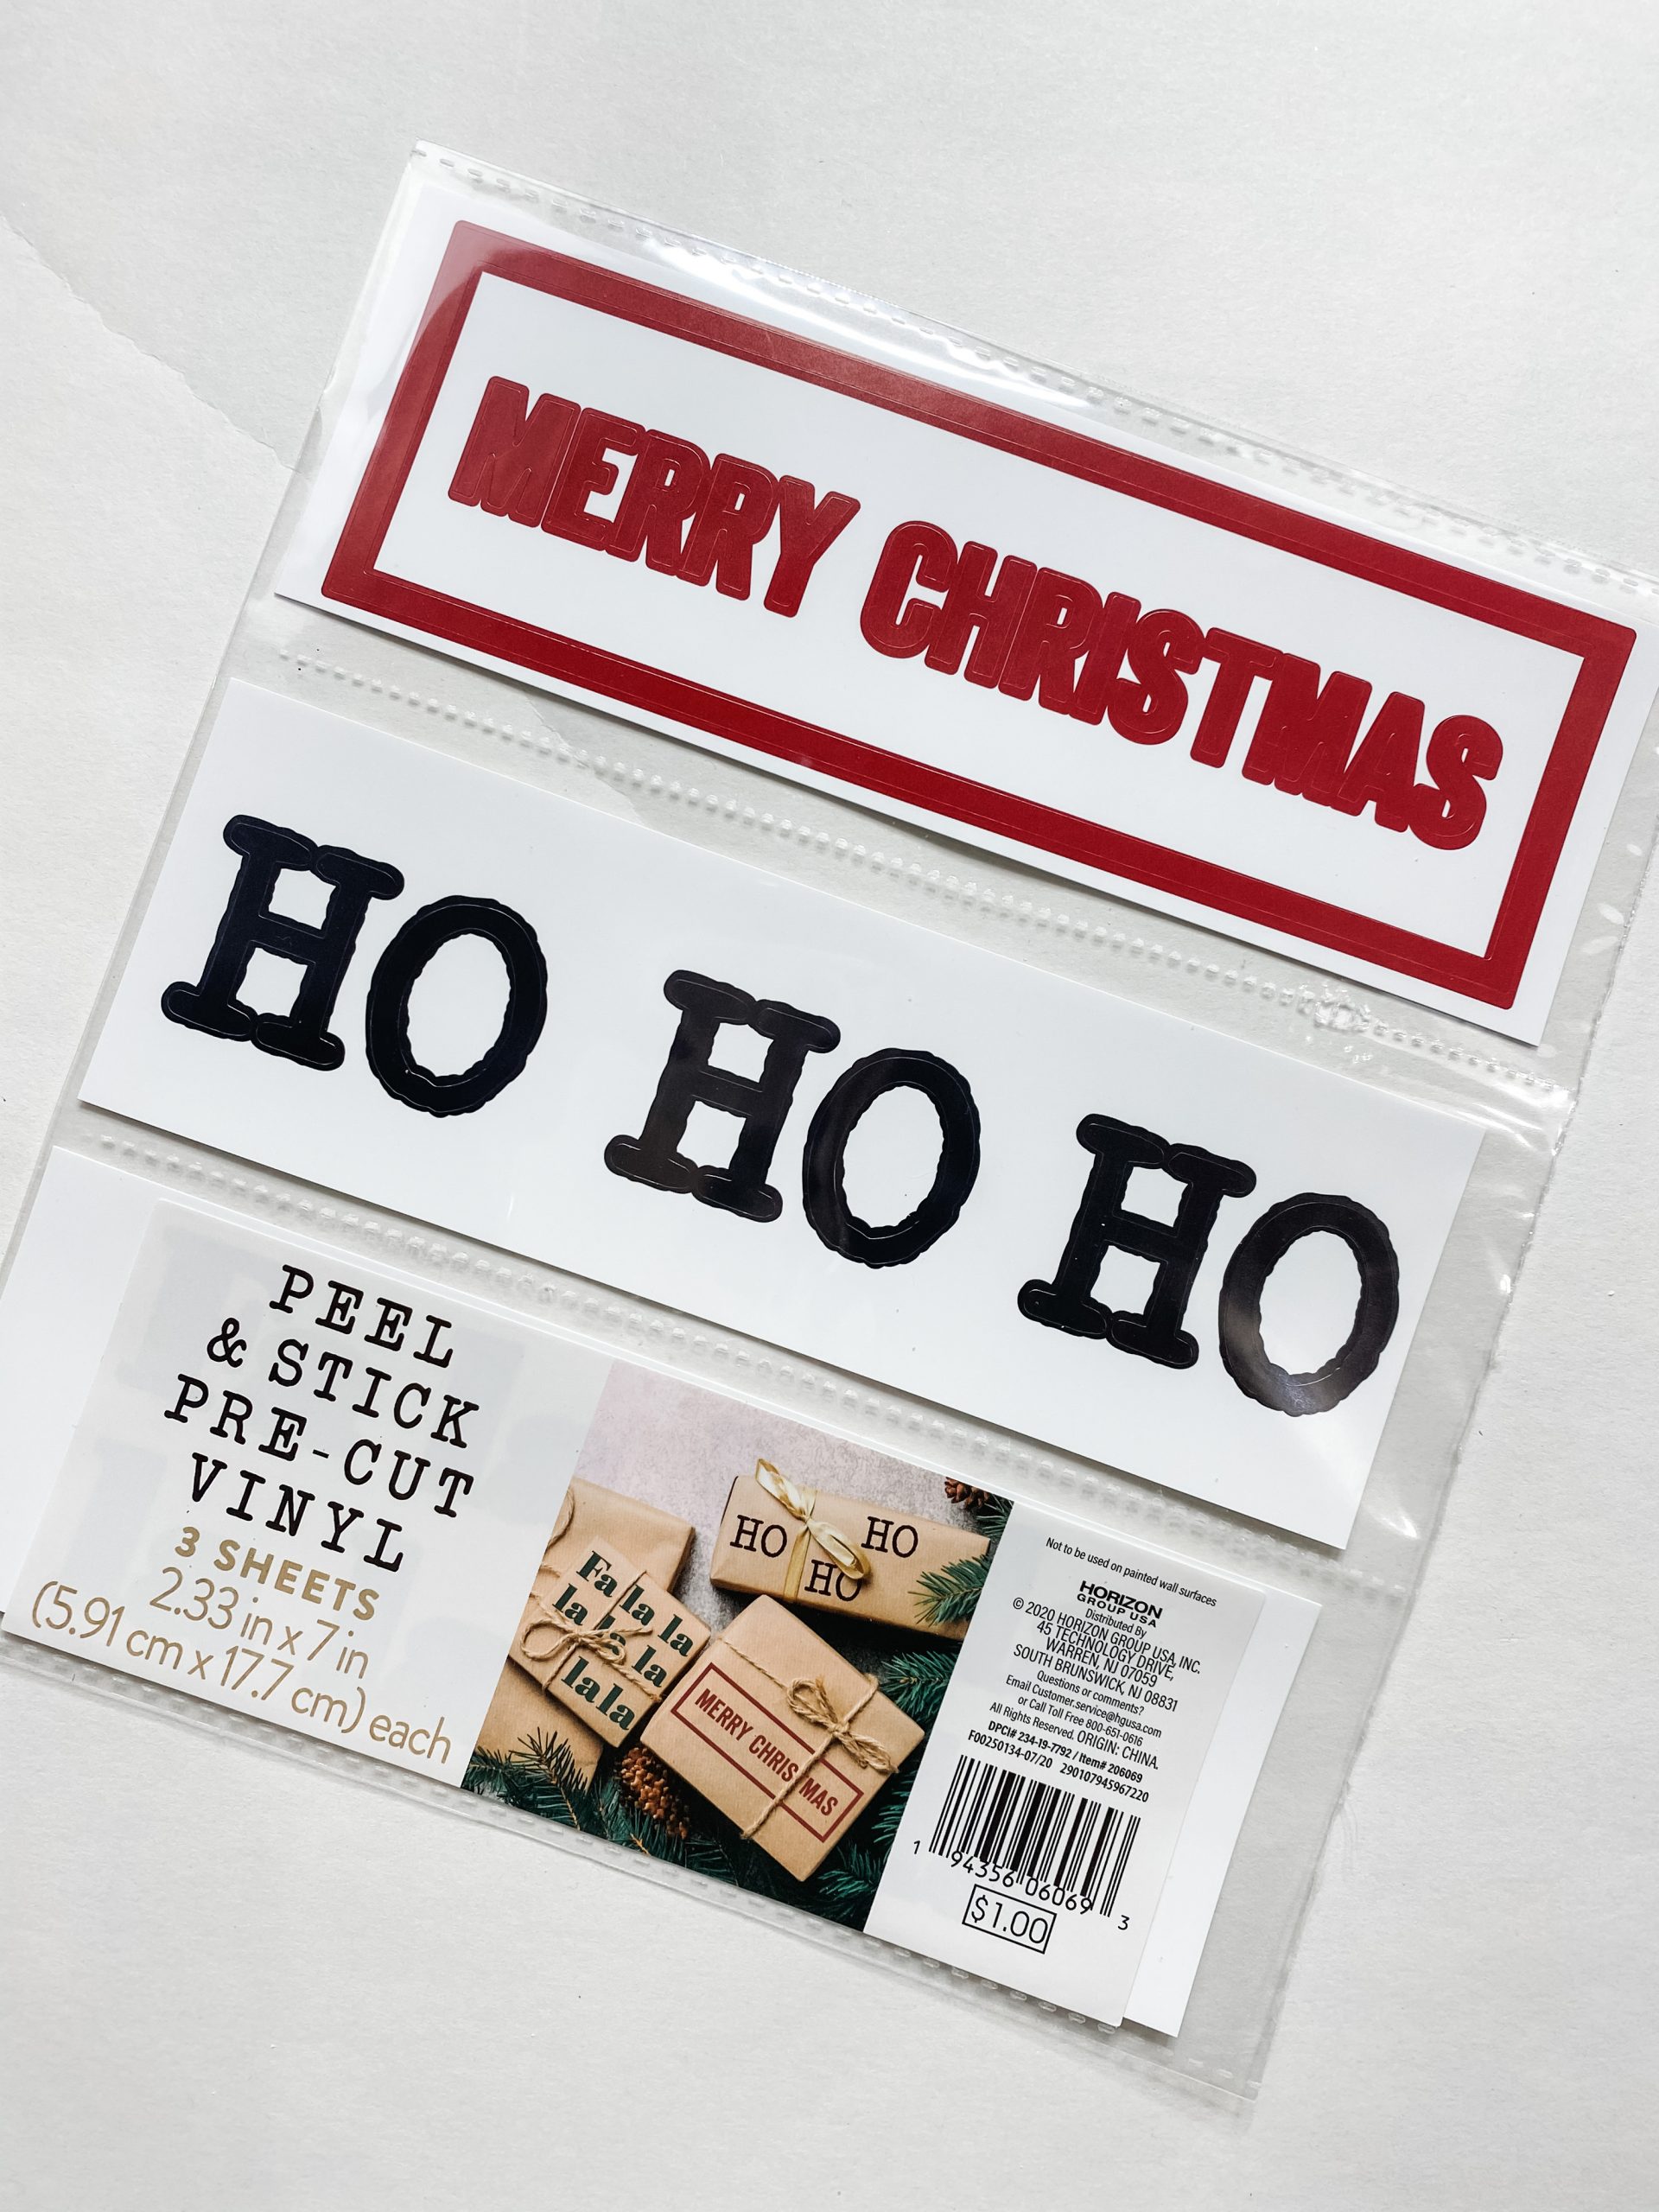
- Christmas Stickers (Merry Christmas/ HOHOHO)
- Dollar Tree Christmas stamps (red truck, green Christmas Tree, black snowflakes)
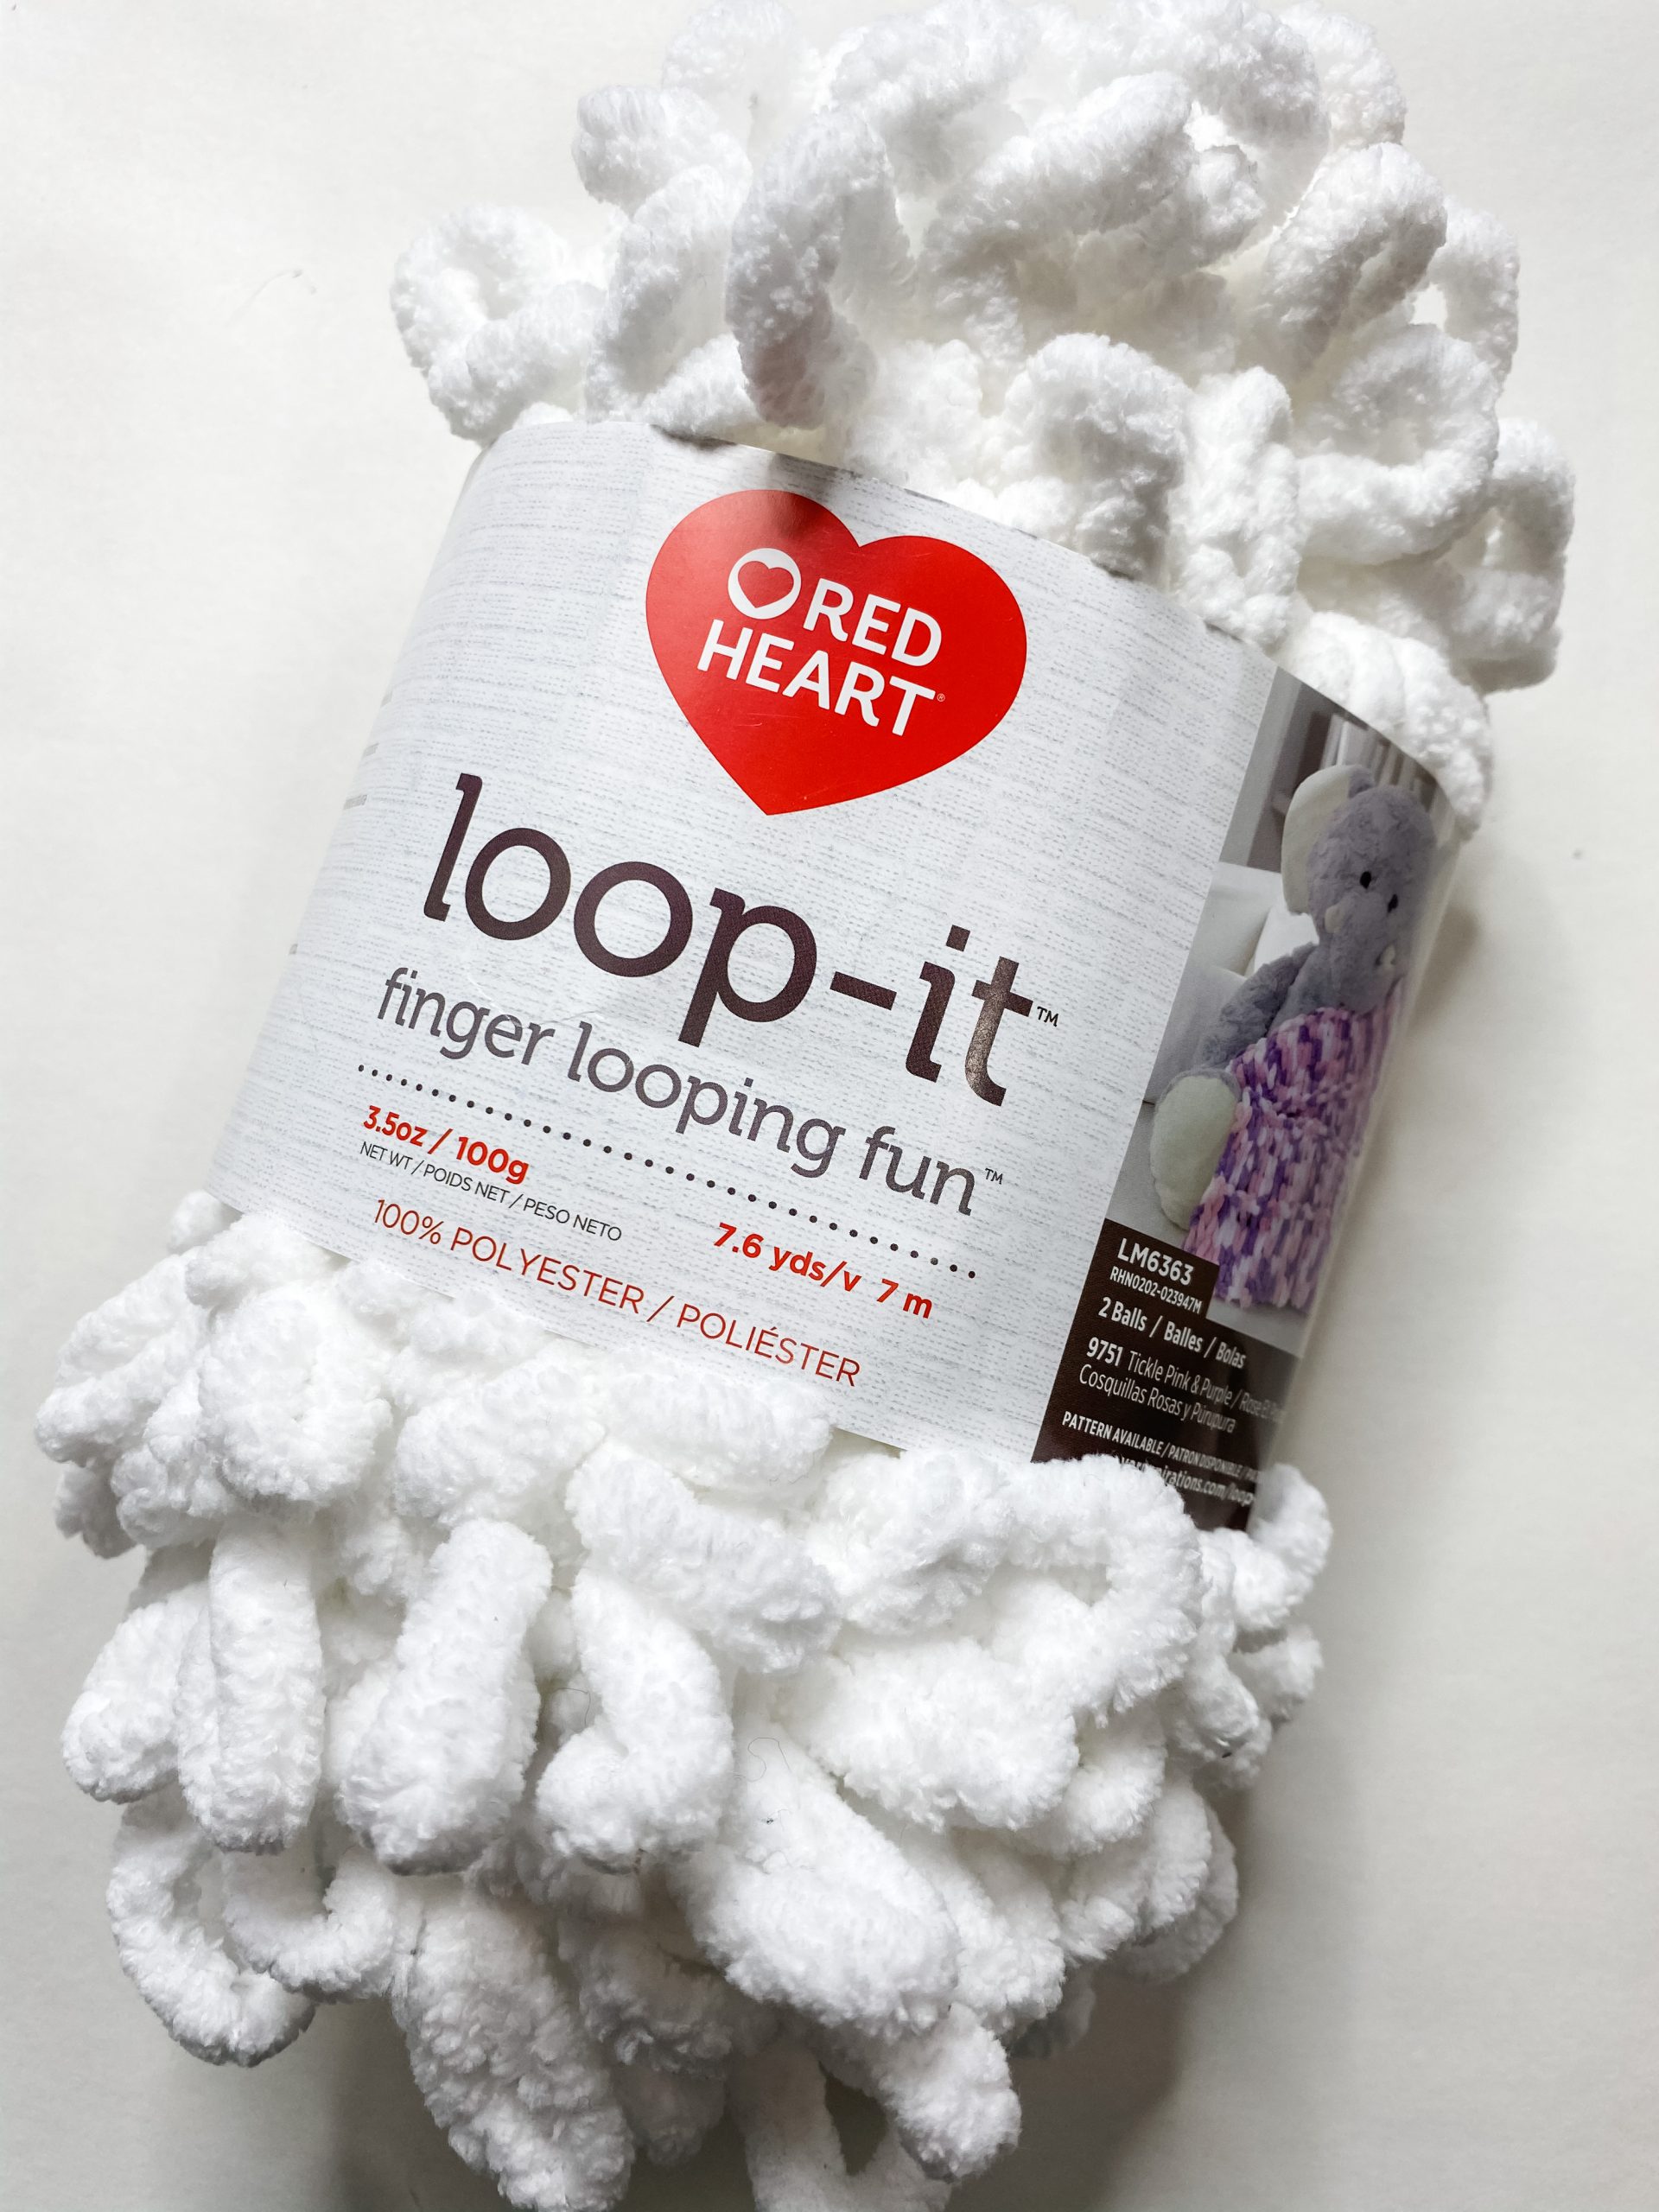
- Loop-It Yarn
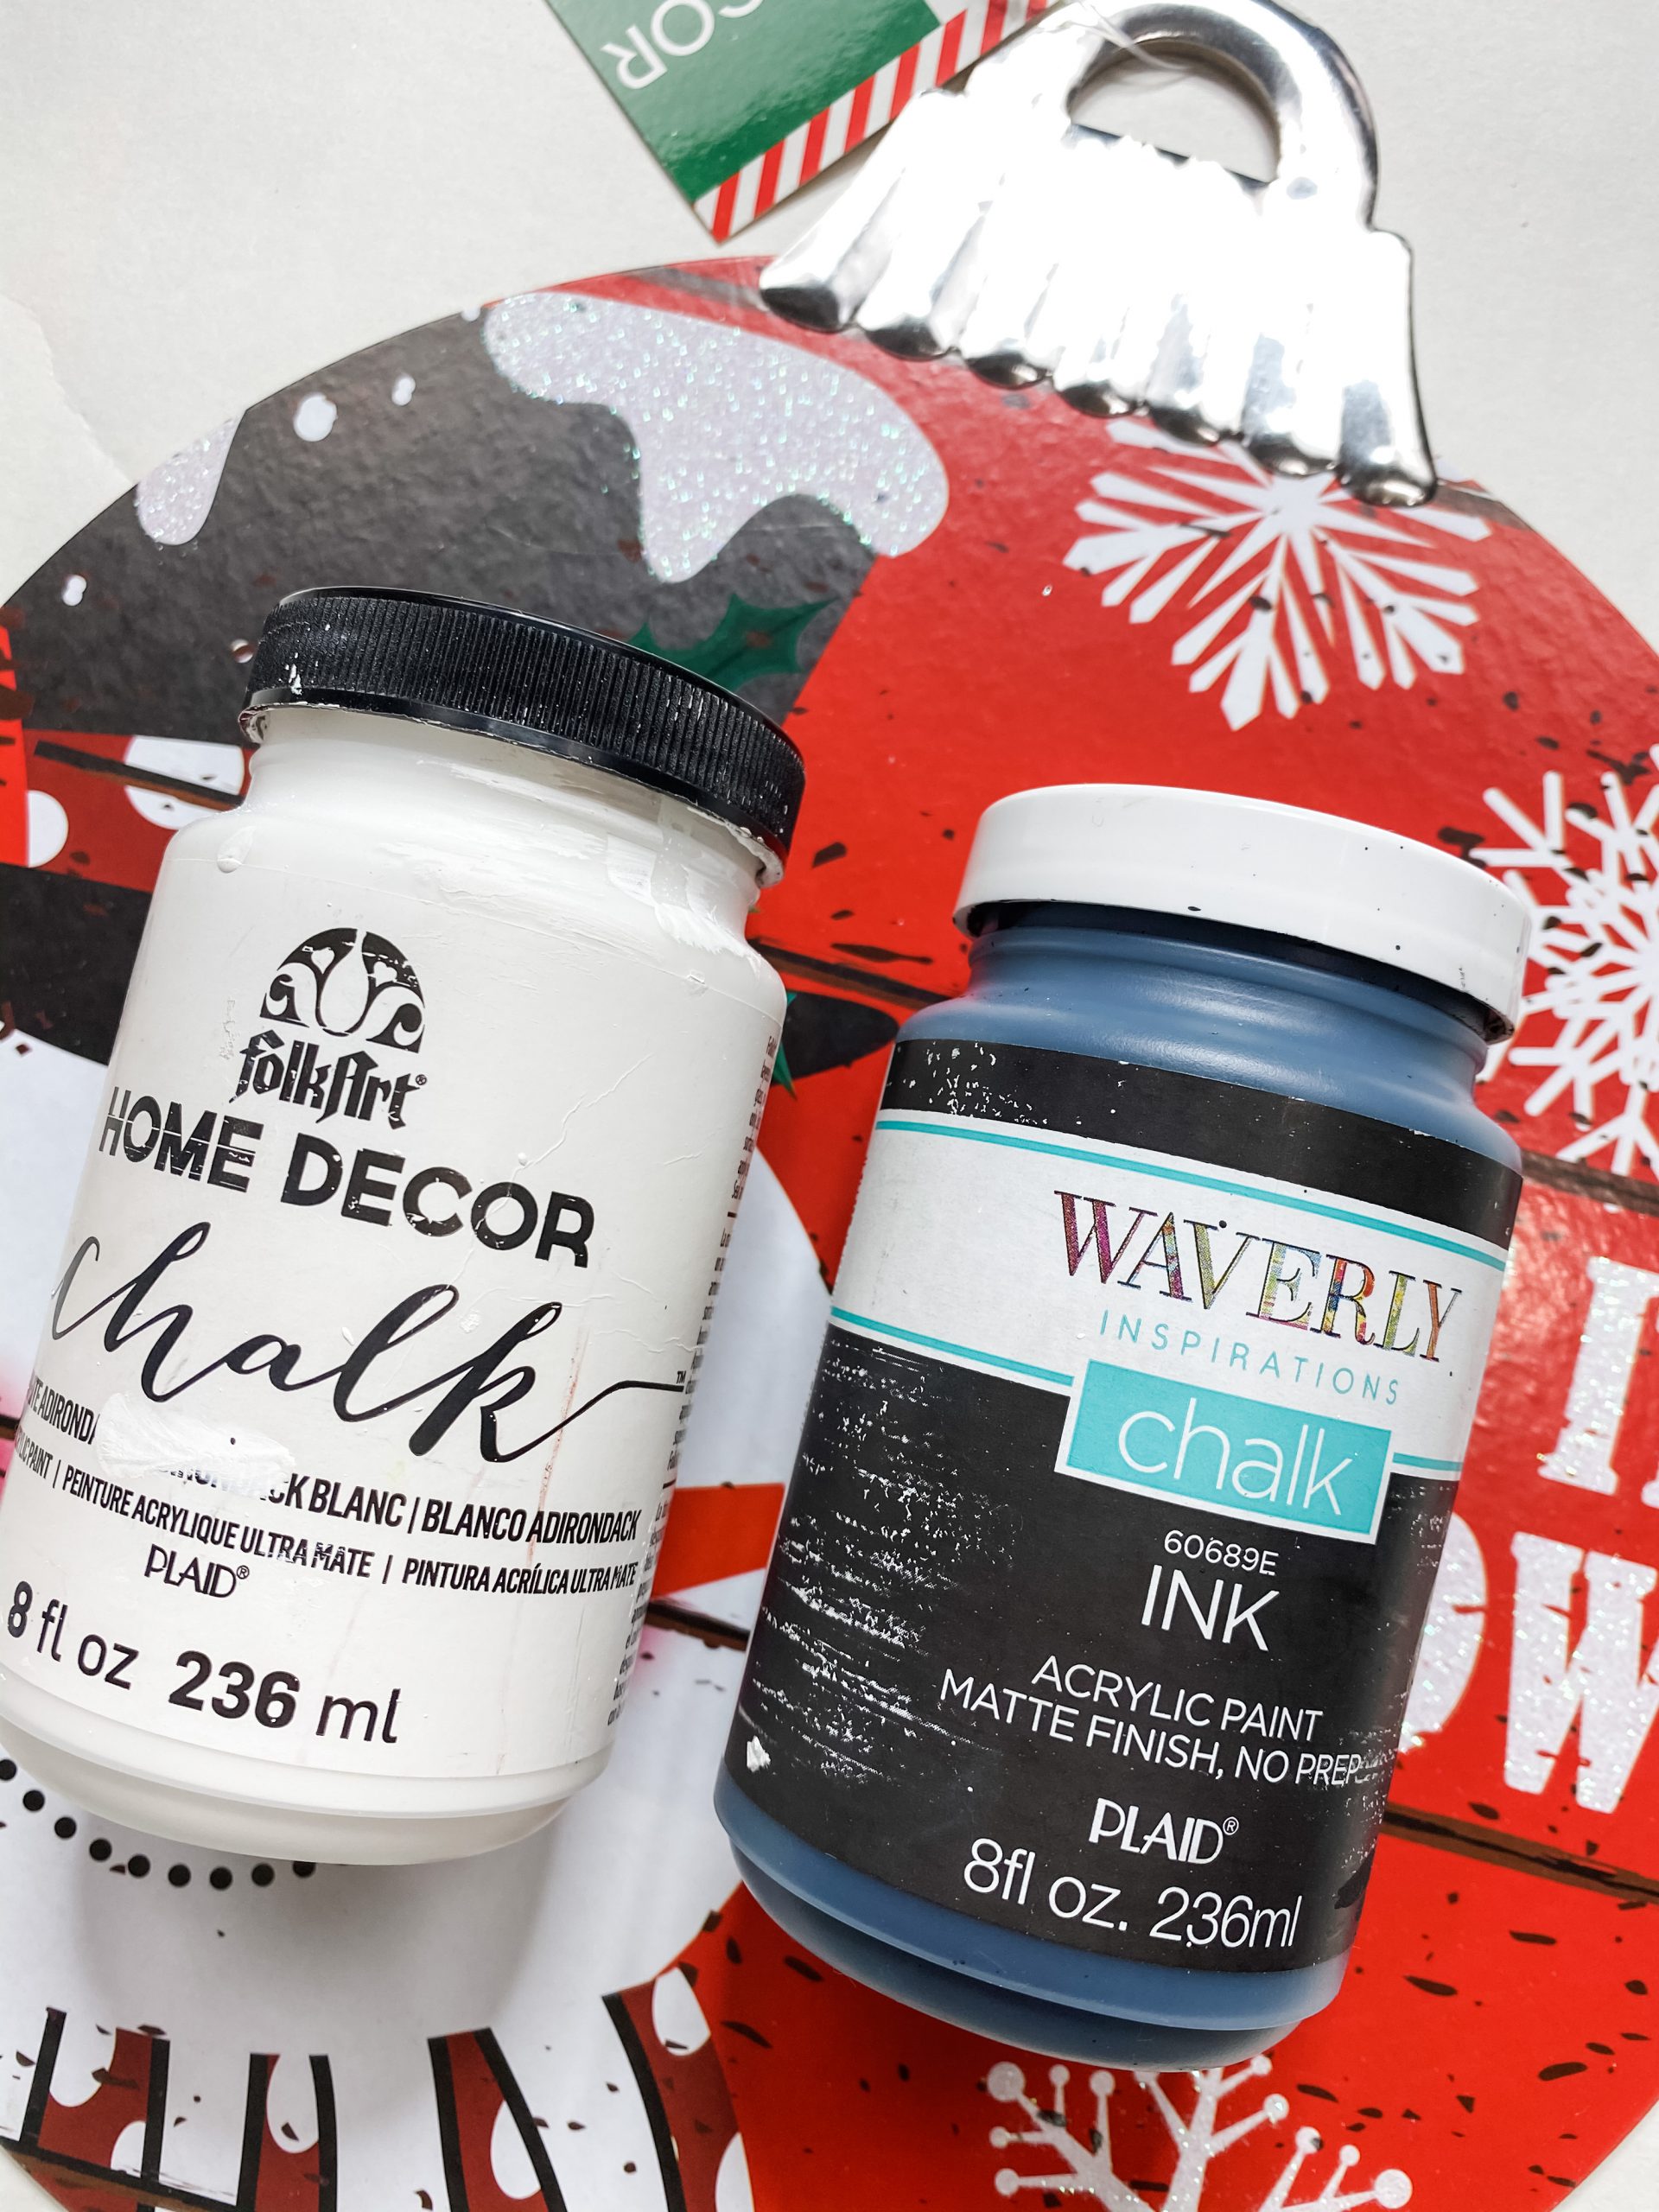
- Waverly Ink (black) Chalk Paint
- Folkart White Chalk Paint
- Dollar Tree Black buffalo check ribbon
- Dollar General Red/White Striped ribbon
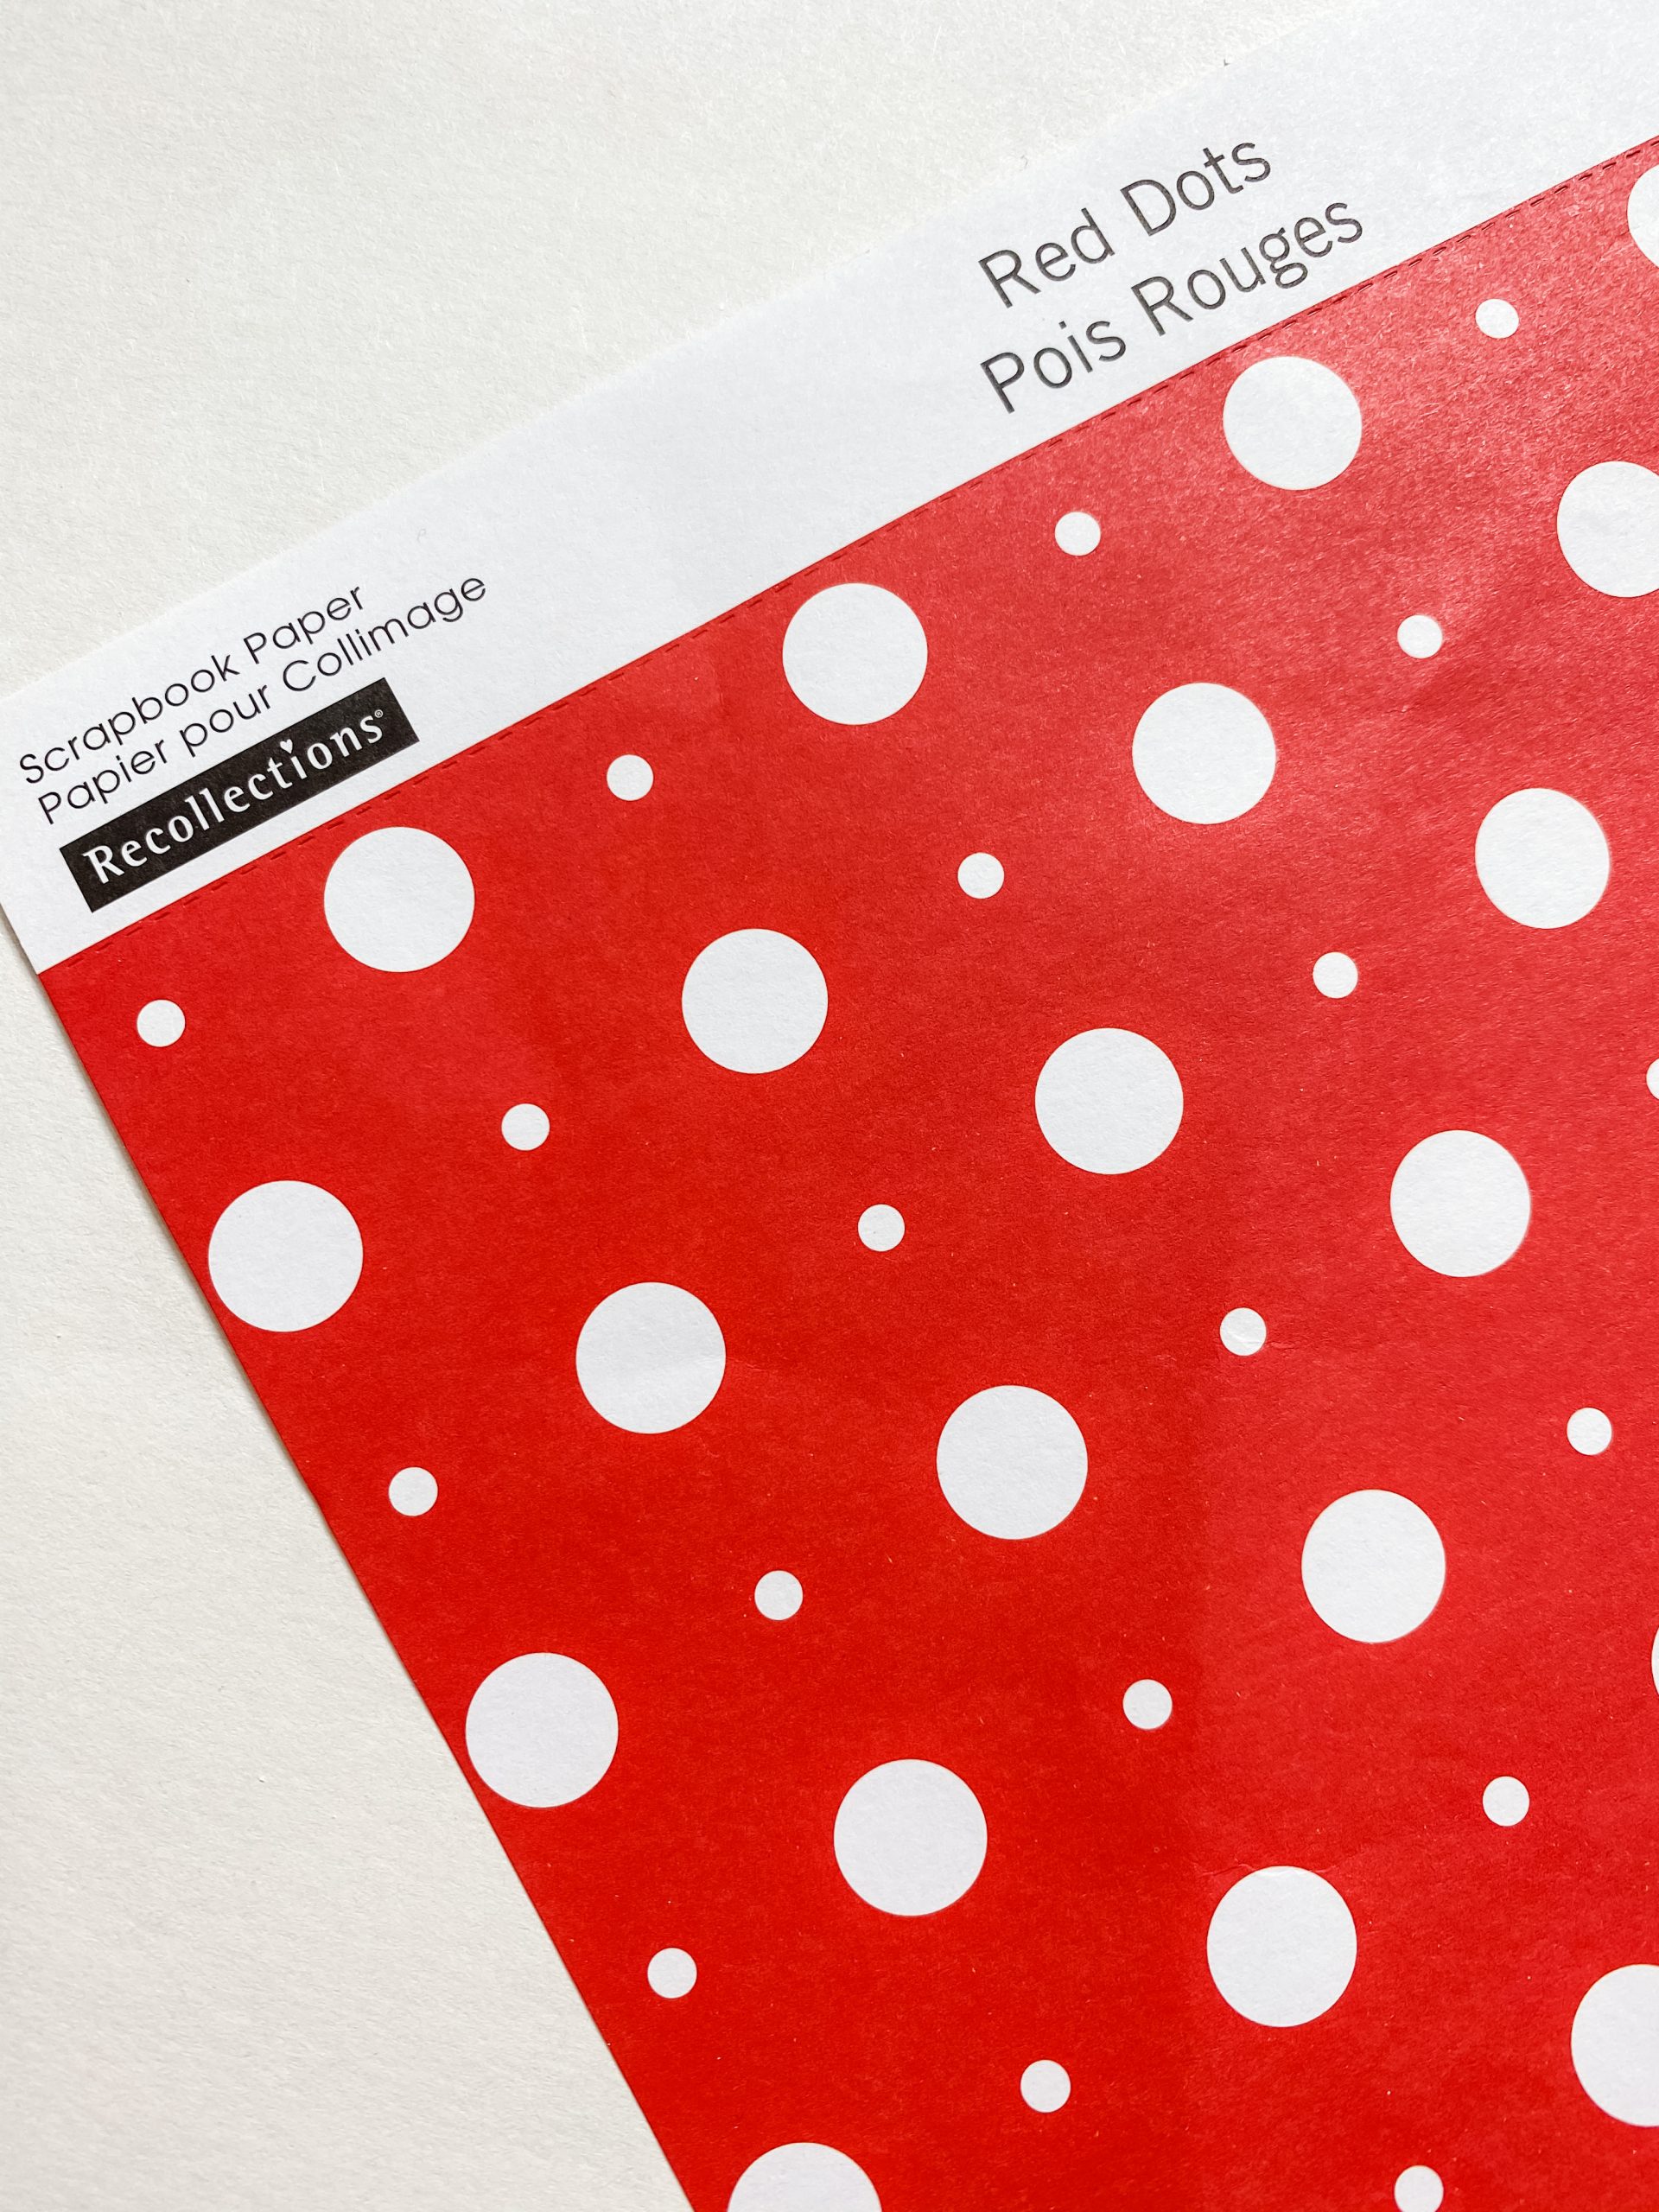
- Red and white polka dot scrapbook paper
- Half wood bead
- Elmer’s Glue-All or Mod Podge
- Sanding Sponge
- Glue Gun and Glue Sticks
- Heat gun
*I used Loop-It Yarn instead of the Dollar Tree Nautical Rope pictured below*
Let’s get started!
I absolutely love using Dollar Tree signs because their backs are so PERFECT for decoupaging! Some of their signs are actually cute, but I usually flip them over a decoupage something on the back.
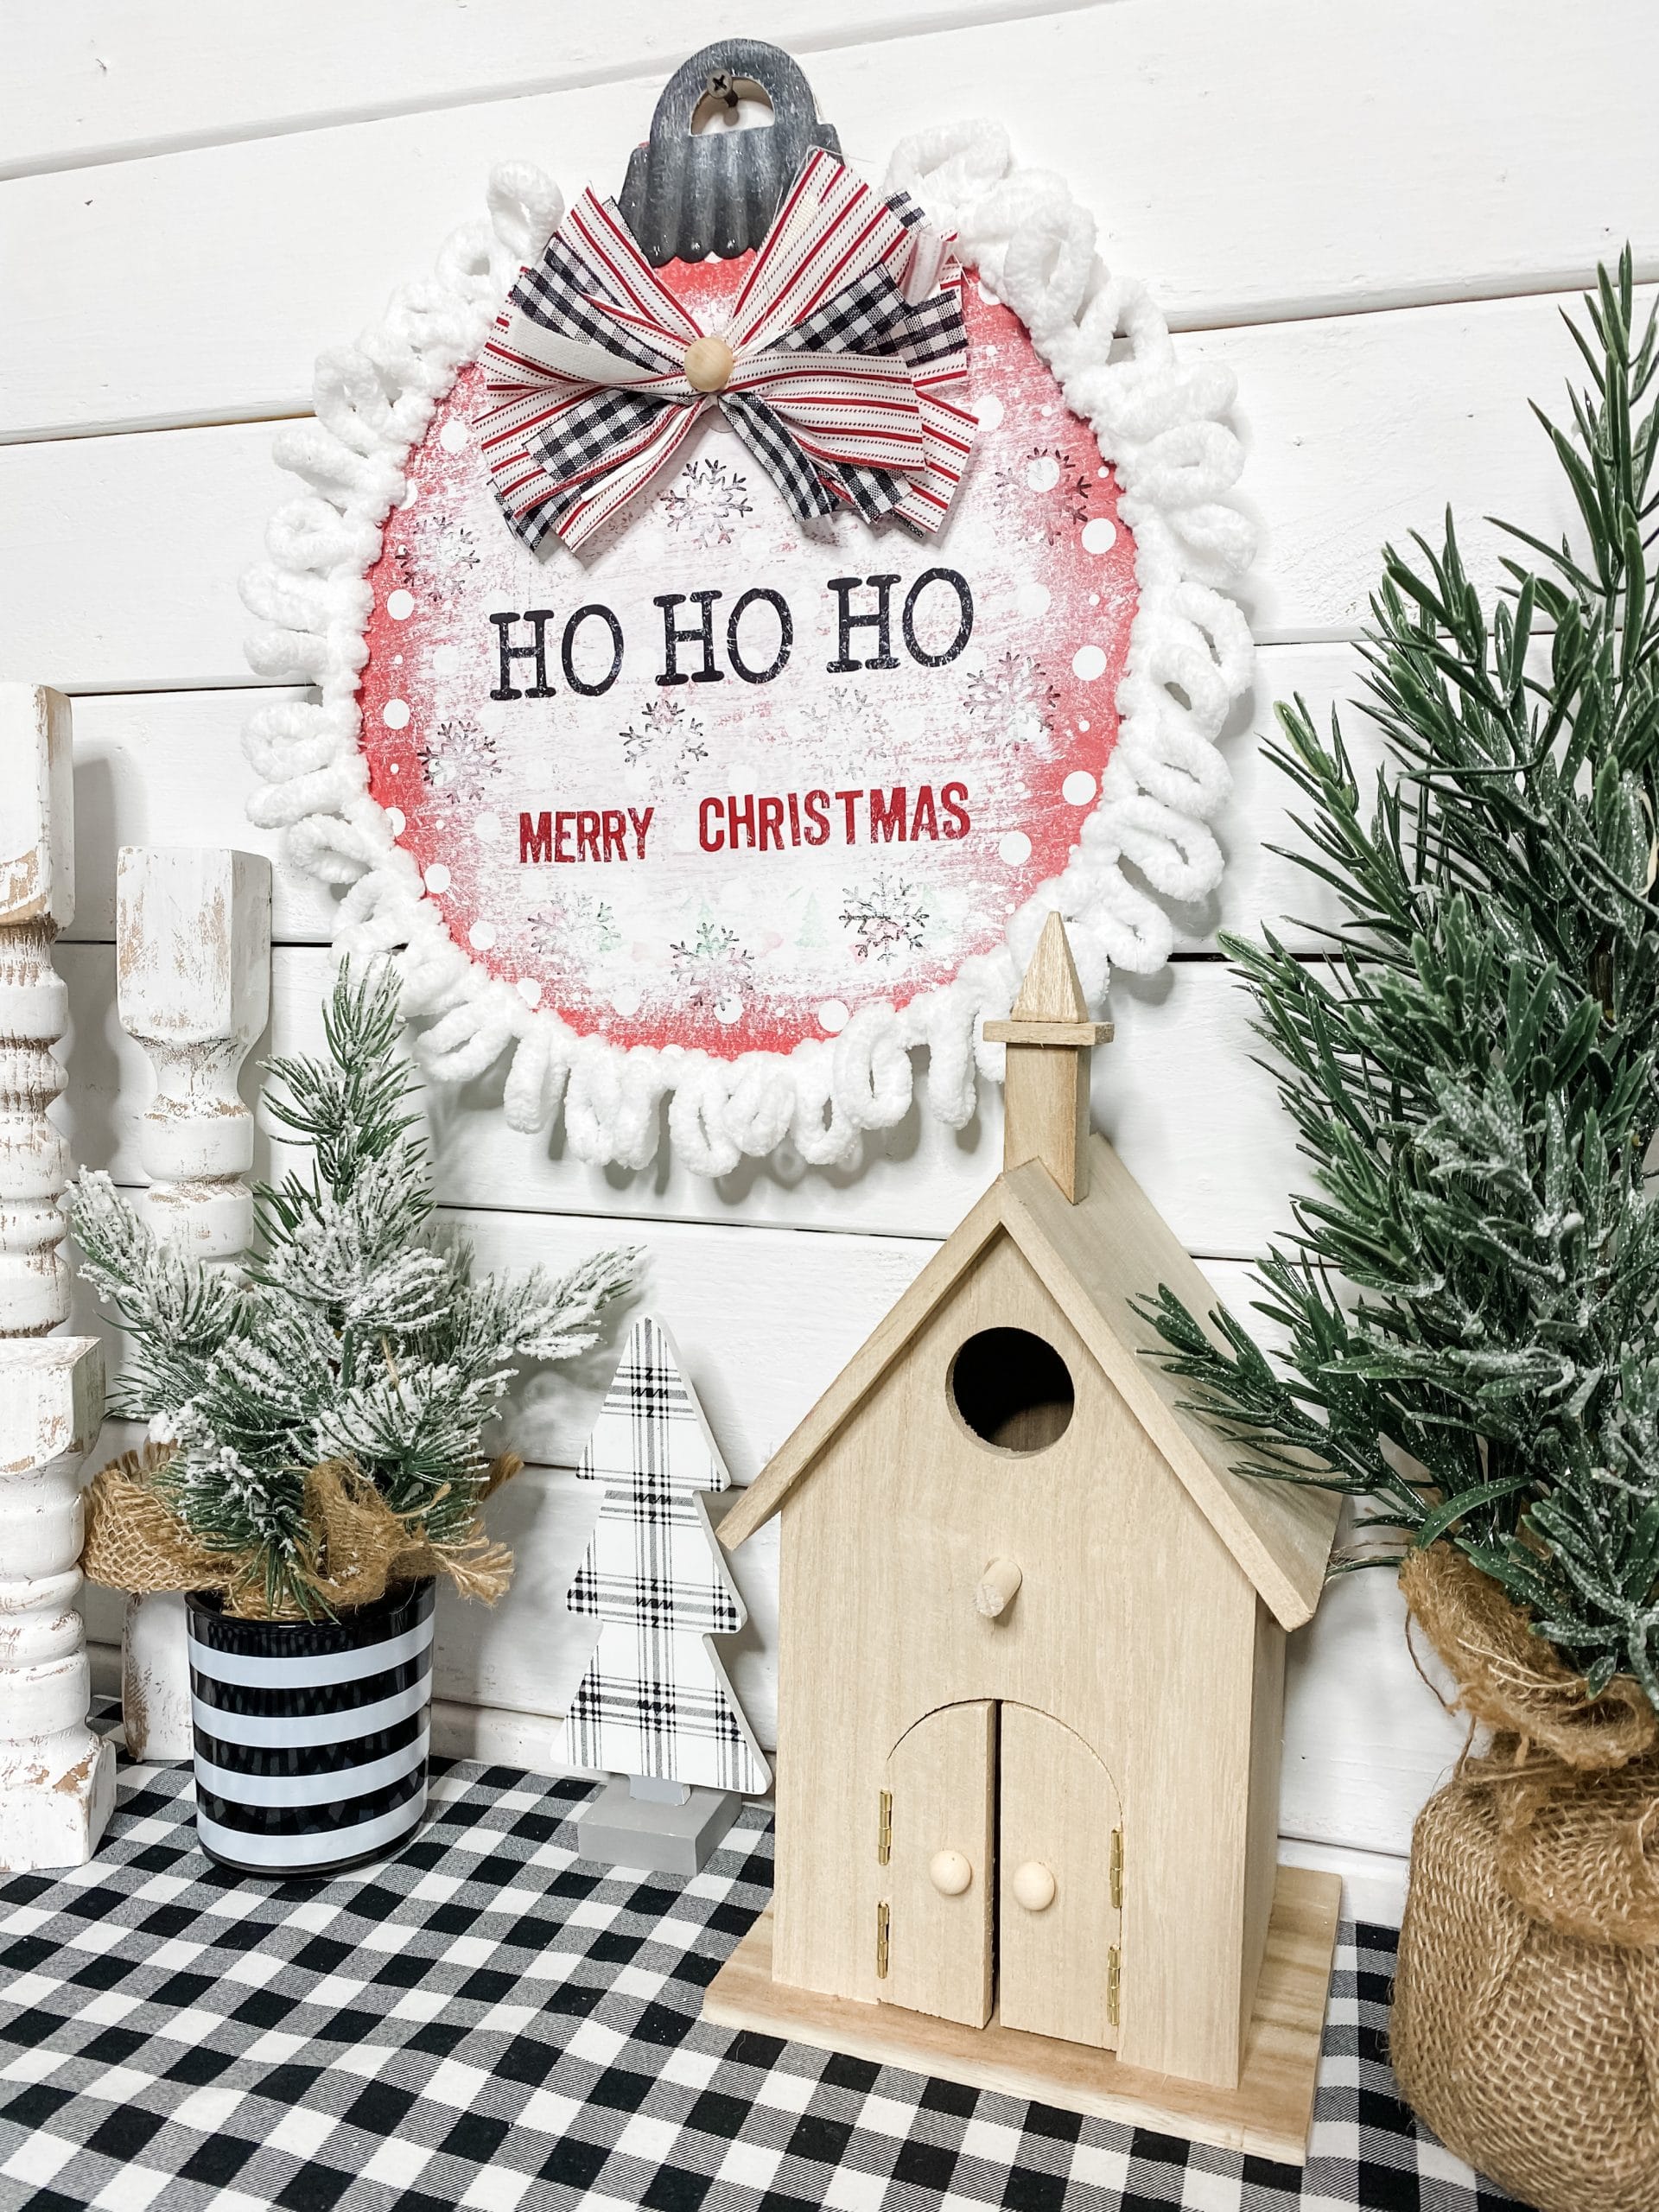
For this Christmas DIY, I used a Dollar Tree ornament sign that has a snowman design on the front. I really like this Dollar Tree sign because it has a metal attachment at the very top, just like a real ornament would have.
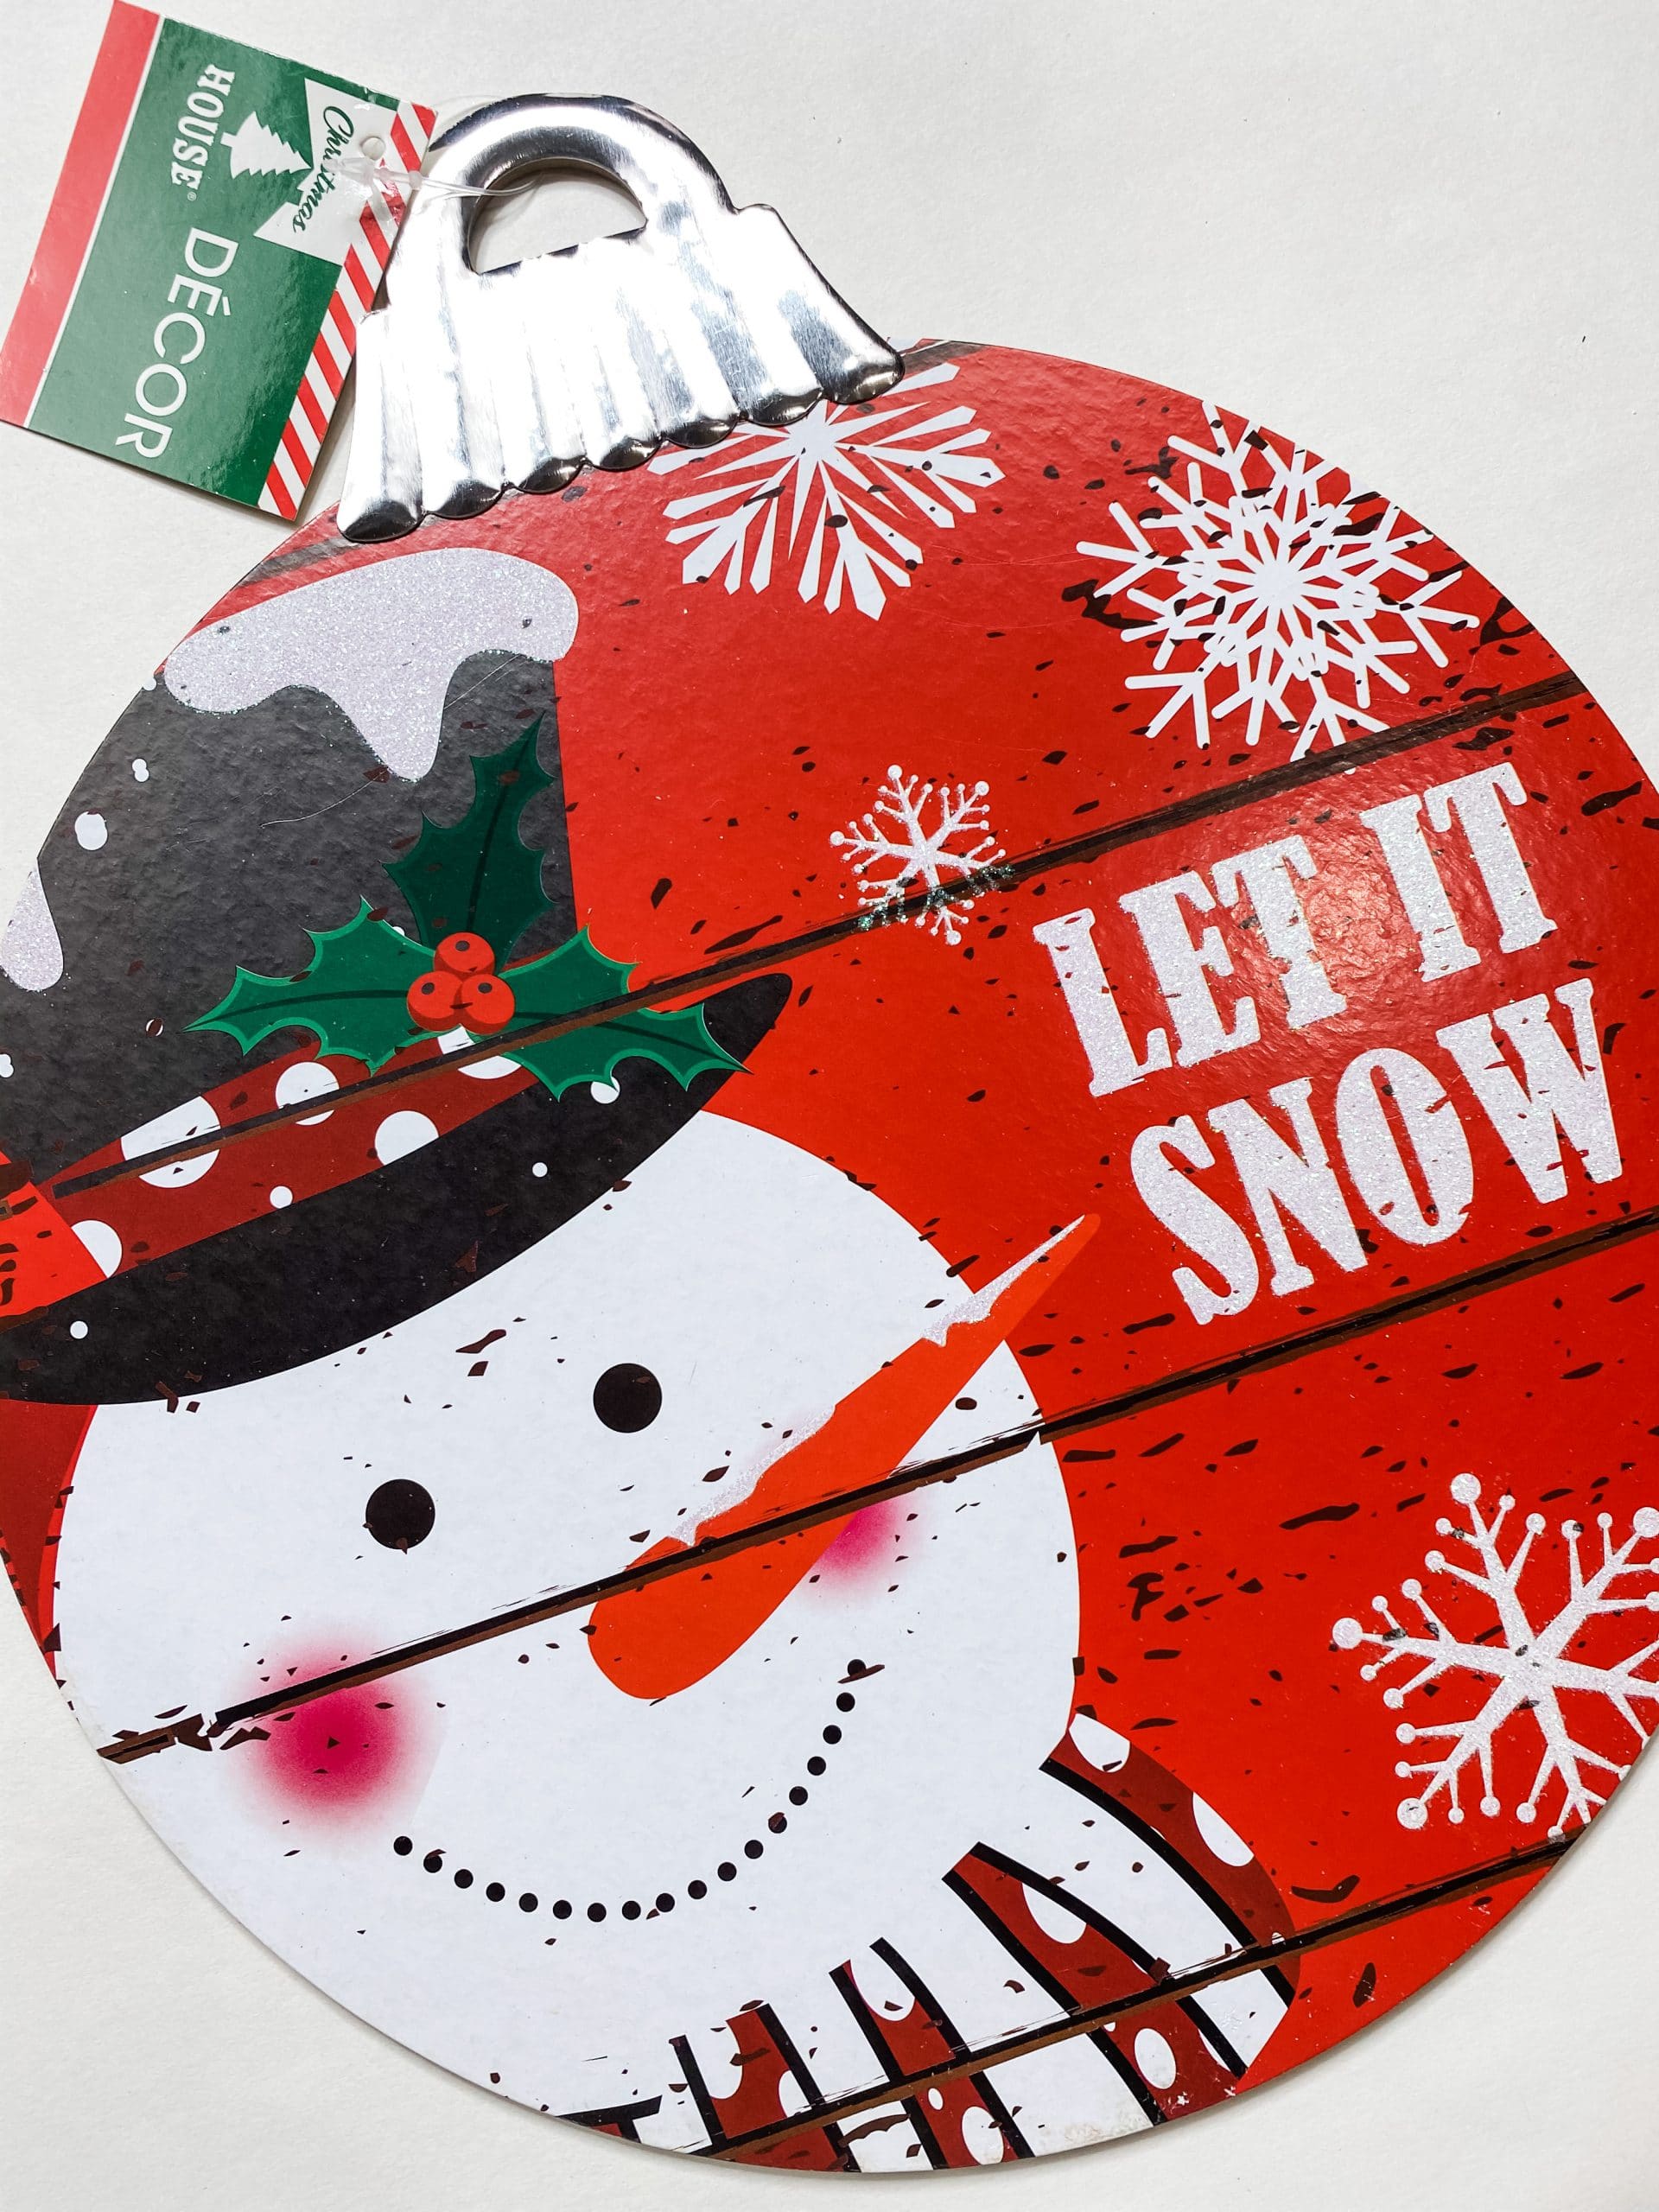
Step one is to remove the metal piece. I used a putty knife and pried it off of the wood sign. Set this aside because we will use this again later.
Next, I flipped the Dollar Tree sign over and decoupaged a piece of polka dot scrapbook paper to the back of it. To do this, cut the scrapbook paper to the size of the wood sign.
Coat the back of the wood sign with Elmer’s Glue-All or Mod Podge, then press the scrapbook paper onto the sign.
Cover the decoupaged scrapbook paper with a piece of saran plastic wrap and smooth out any wrinkles or creases.
Let it snow!
I wanted to give this ornament DIY a snowy look, so I used some Folkart White Chalk Paint. Pour some of the white chalk paint onto a small paper plate and use a chippy brush to dry brush it across the decoupaged scrapbook paper.
Start at the very center of the wood sign and move outward with your strokes. Remember, it is better to use too little paint and add as you go than use too much paint.
You can always add more, but it is much harder to take it away.
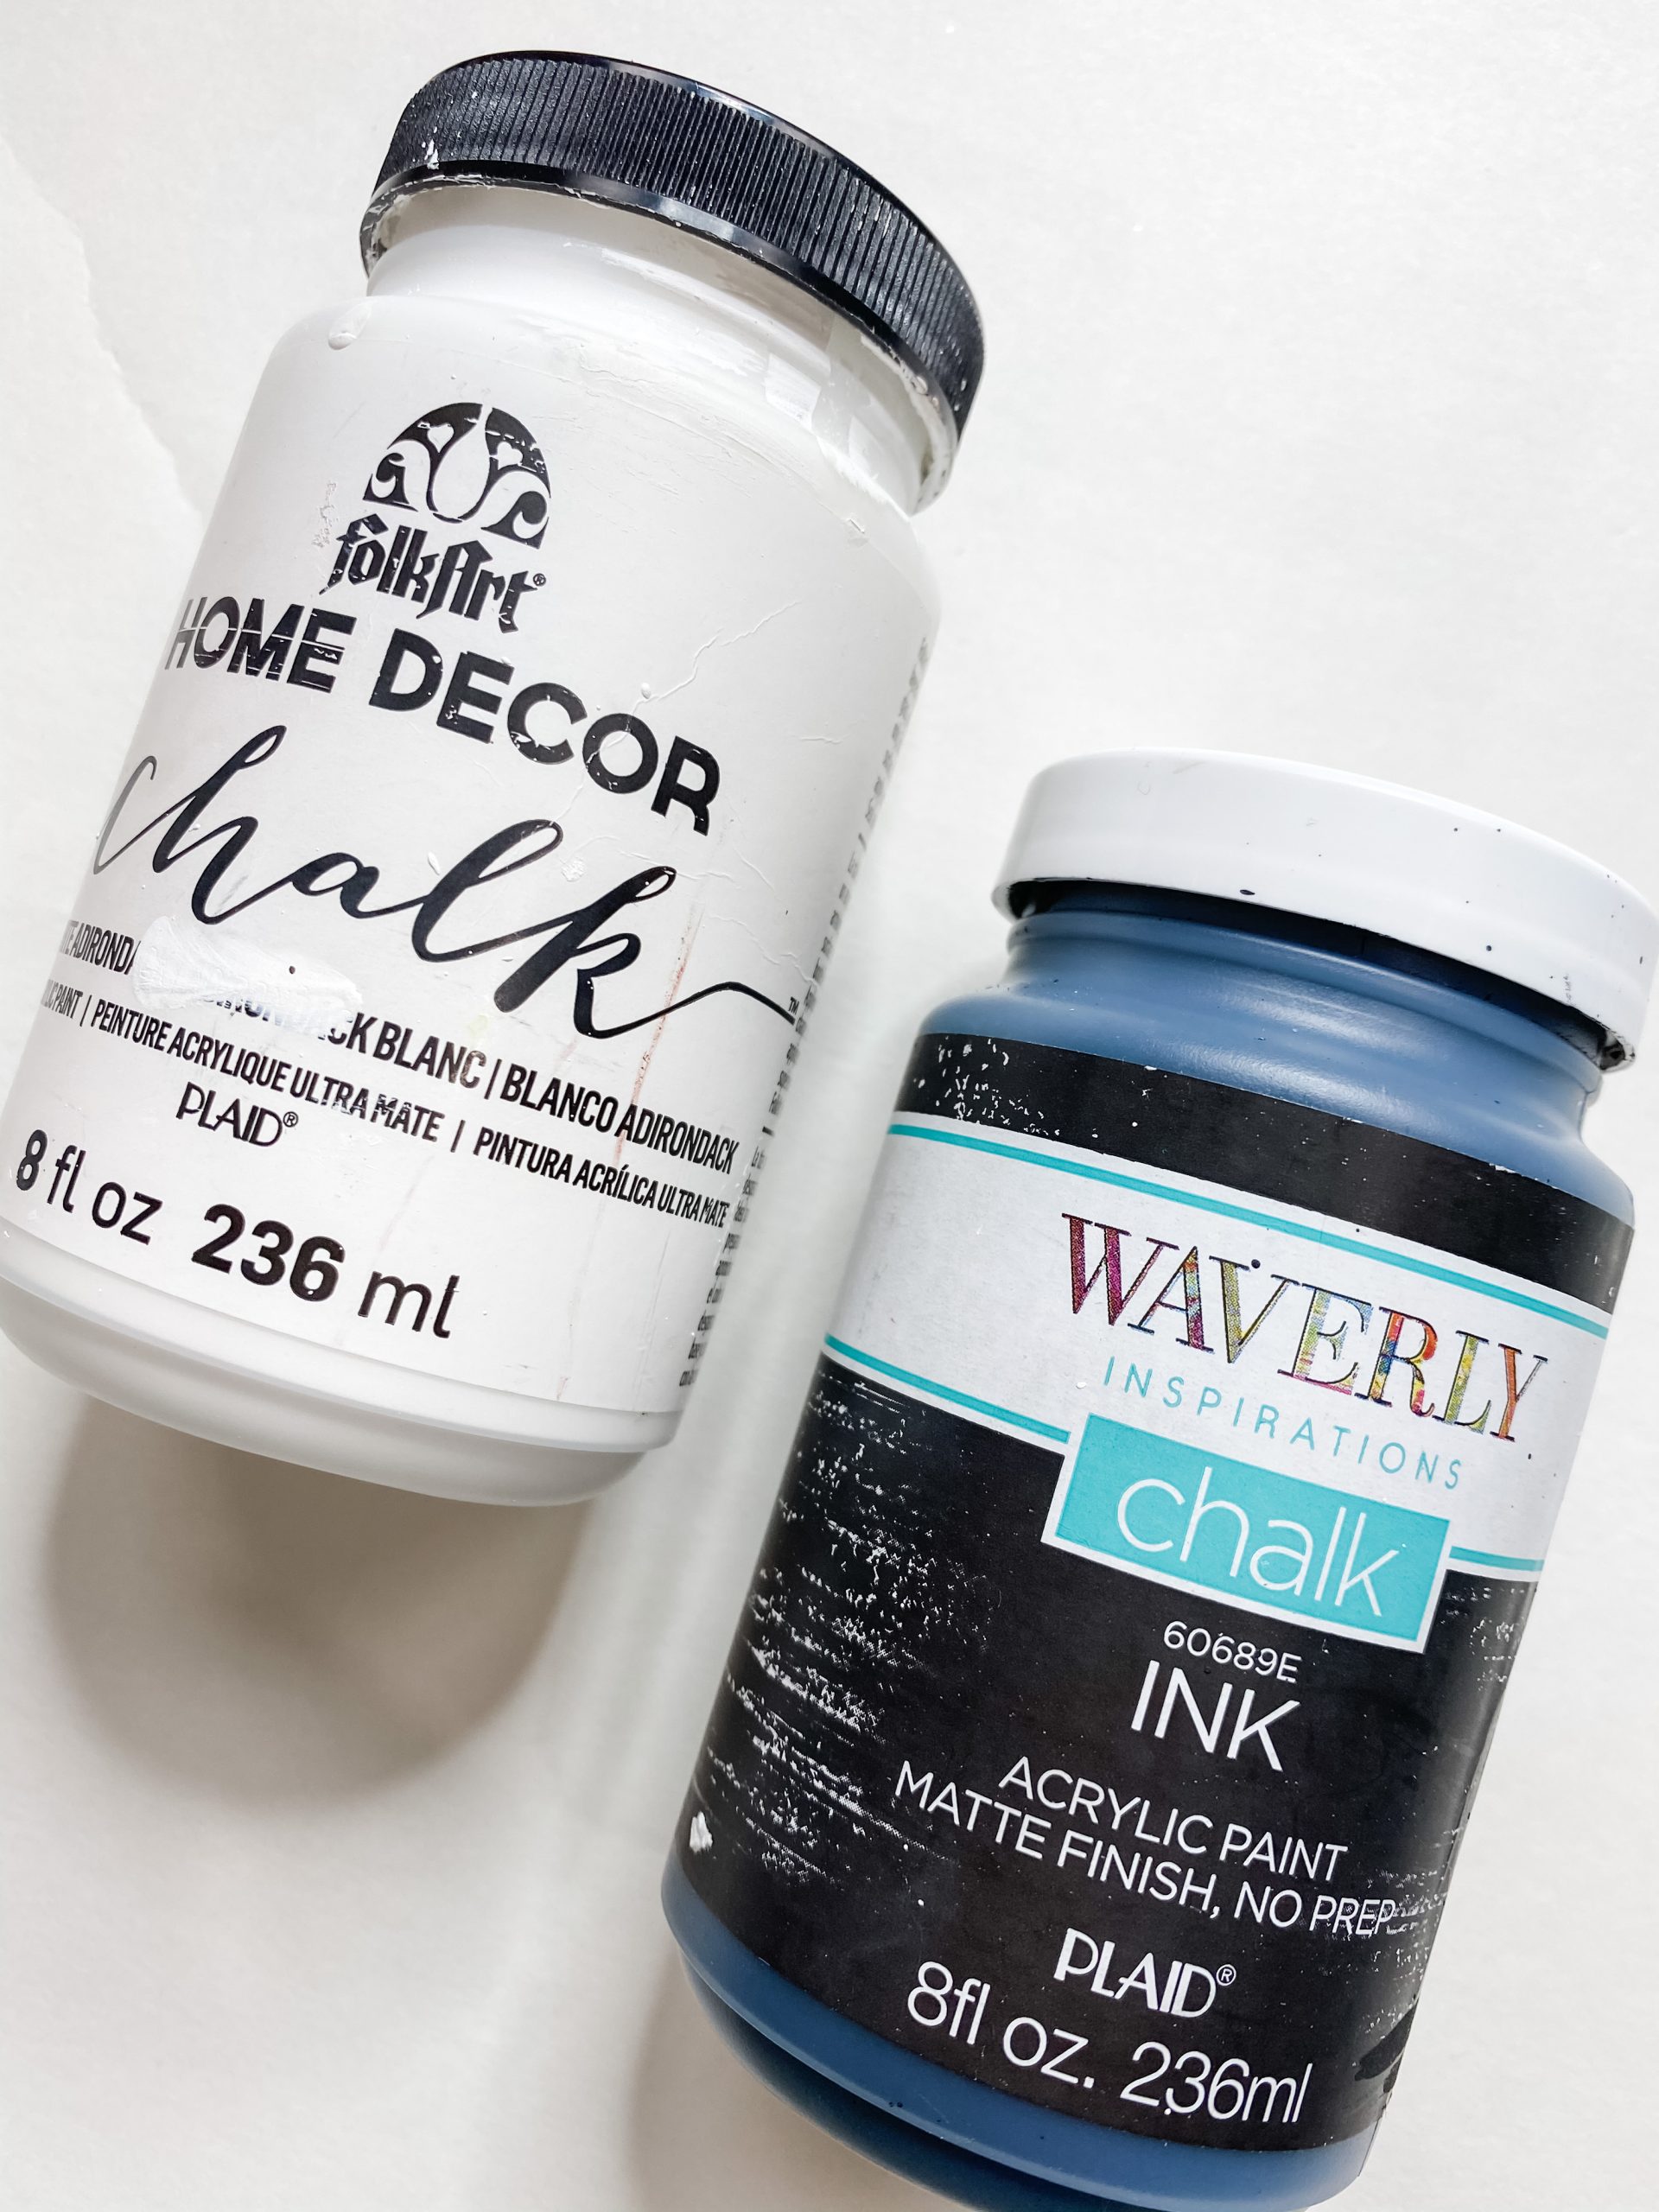
Alright, grab the metal piece we removed from the Dollar Tree sign at the beginning. I painted mine black with Waverly Ink Chalk Paint. Get an even coating and set it back to the side to dry.
How to make a bow
This bow is a little special to me because it answers a question that I get asked quite often: what do I do with the leftover Dollar Tree canvas when I only use the frame for a craft?
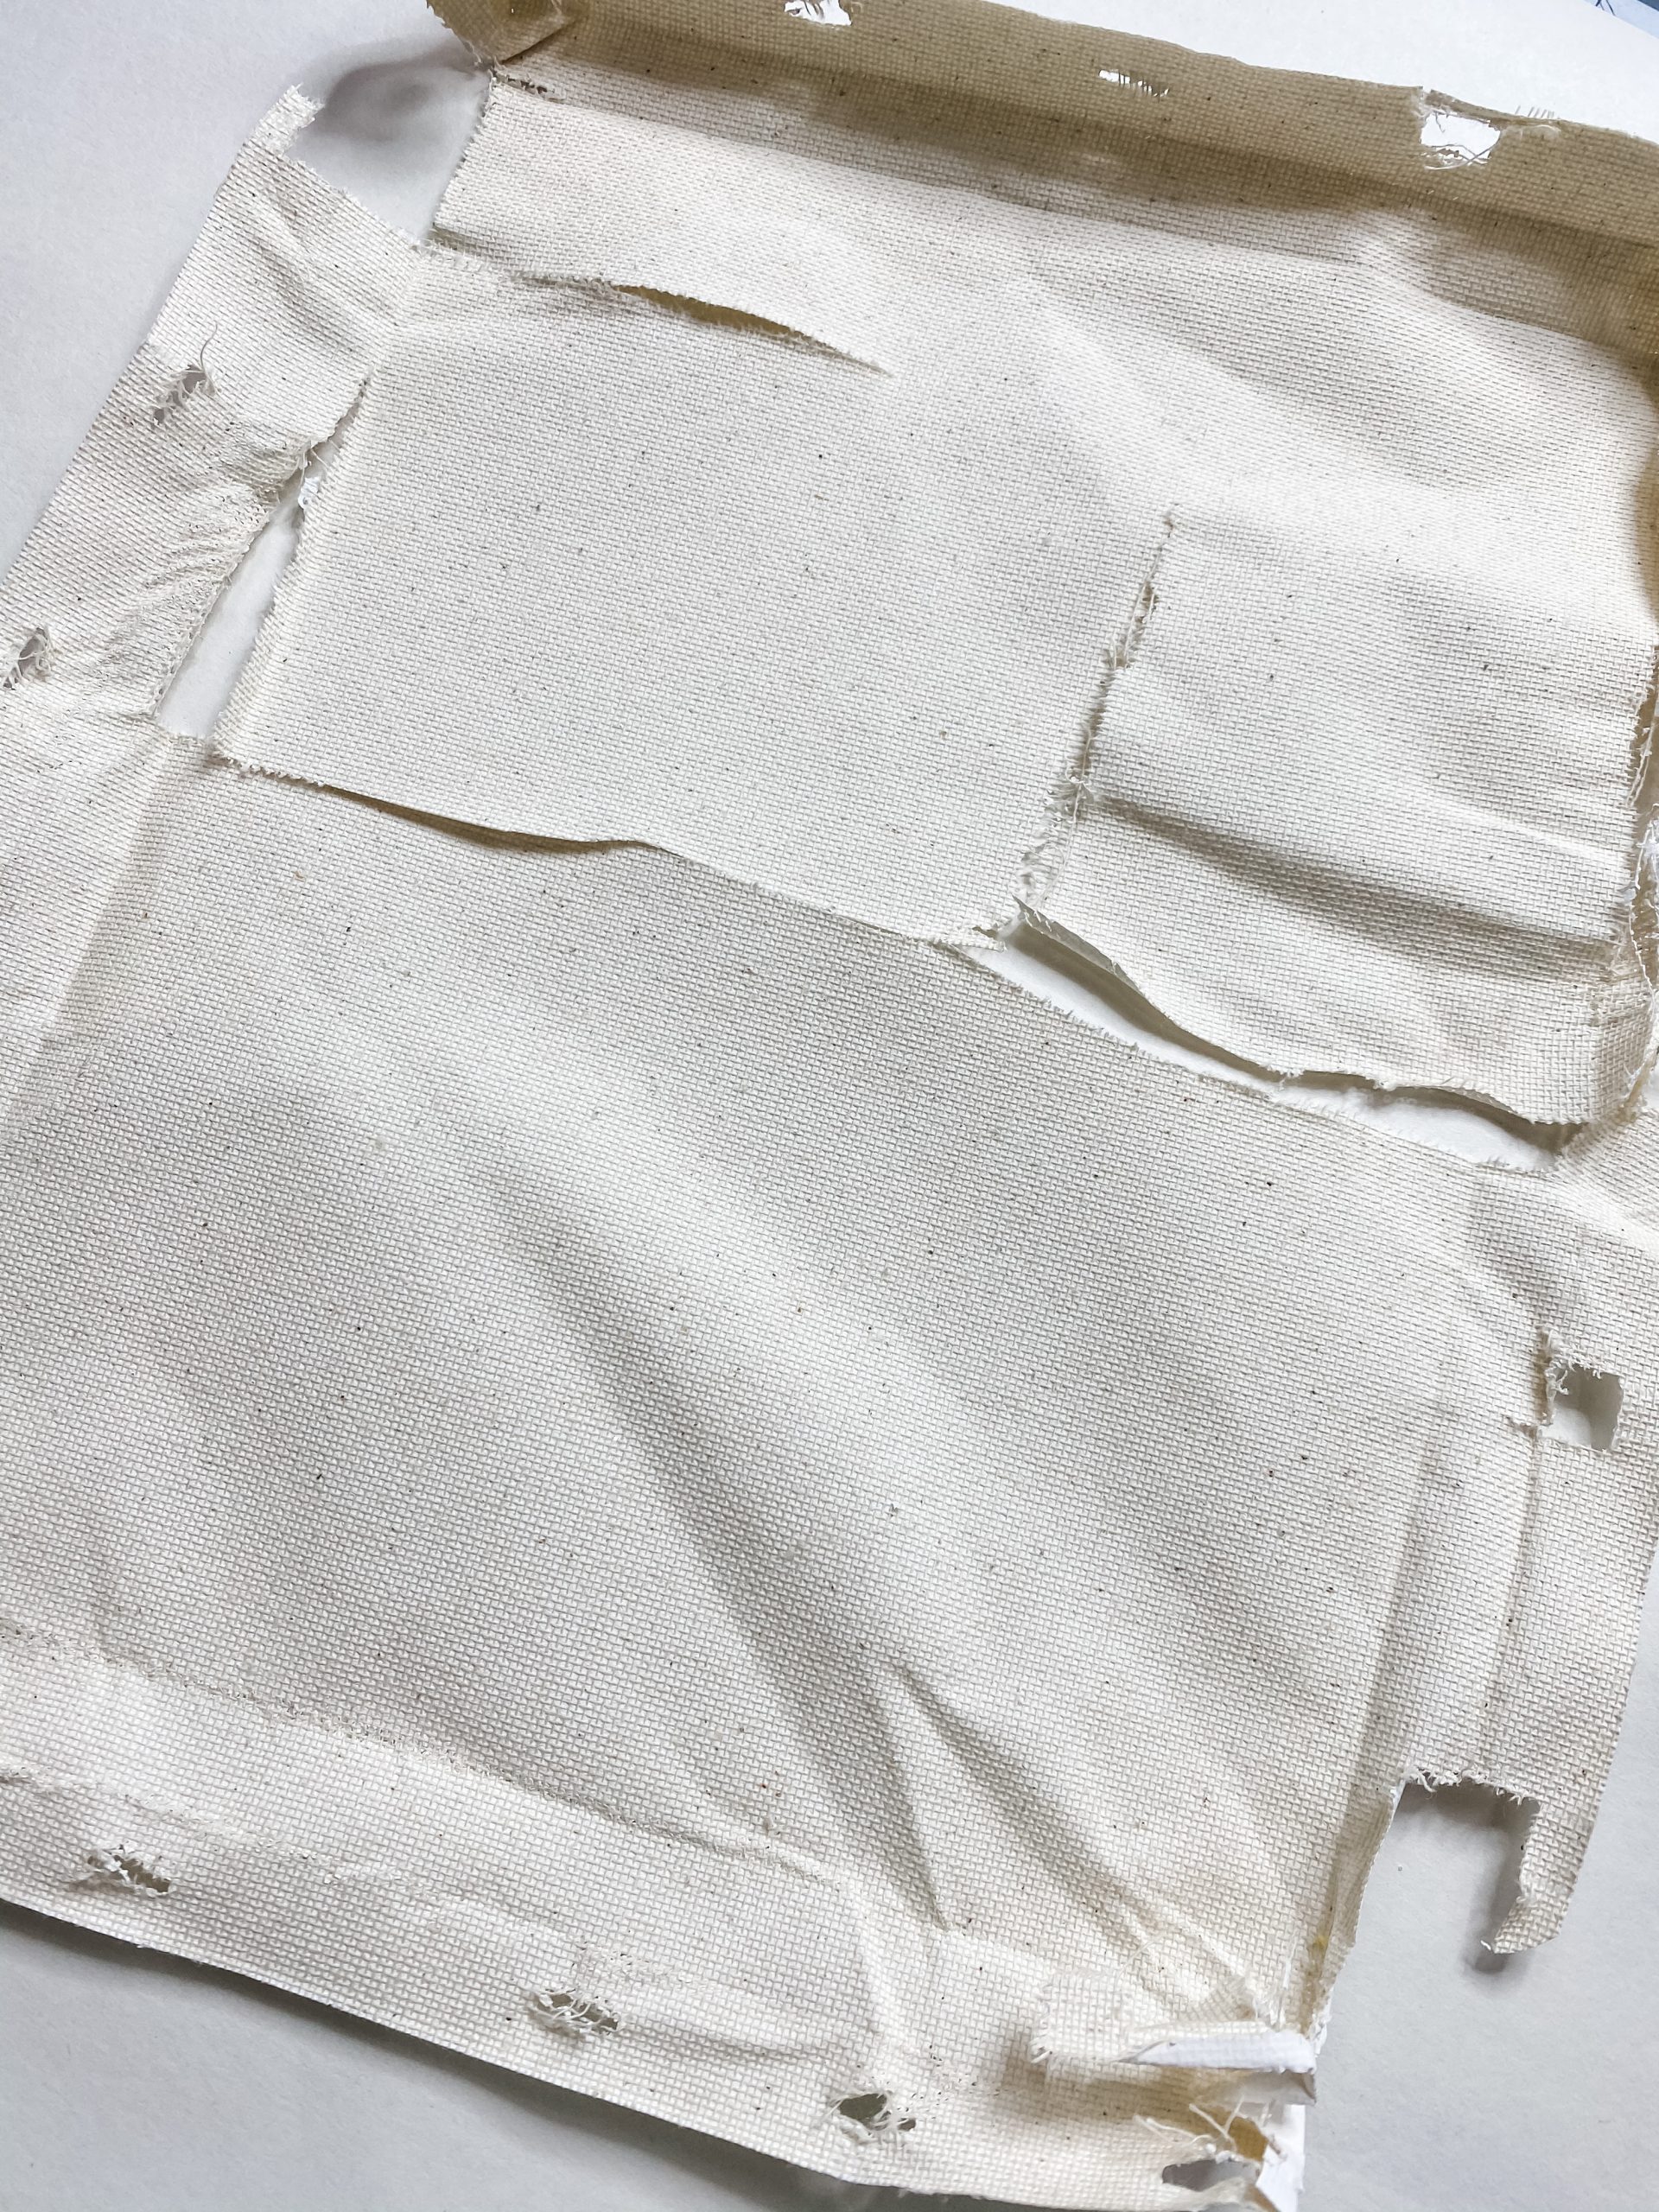
Well, here you go! I incorporated remnants of my Dollar Tree canvas into this adorable and easy bow!
I also used Dollar Tree black buffalo check ribbon and Dollar General red and white striped ribbon to make this easy x bow. Start by cutting the canvas remnants into strips. Then do the same with both ribbon patterns.
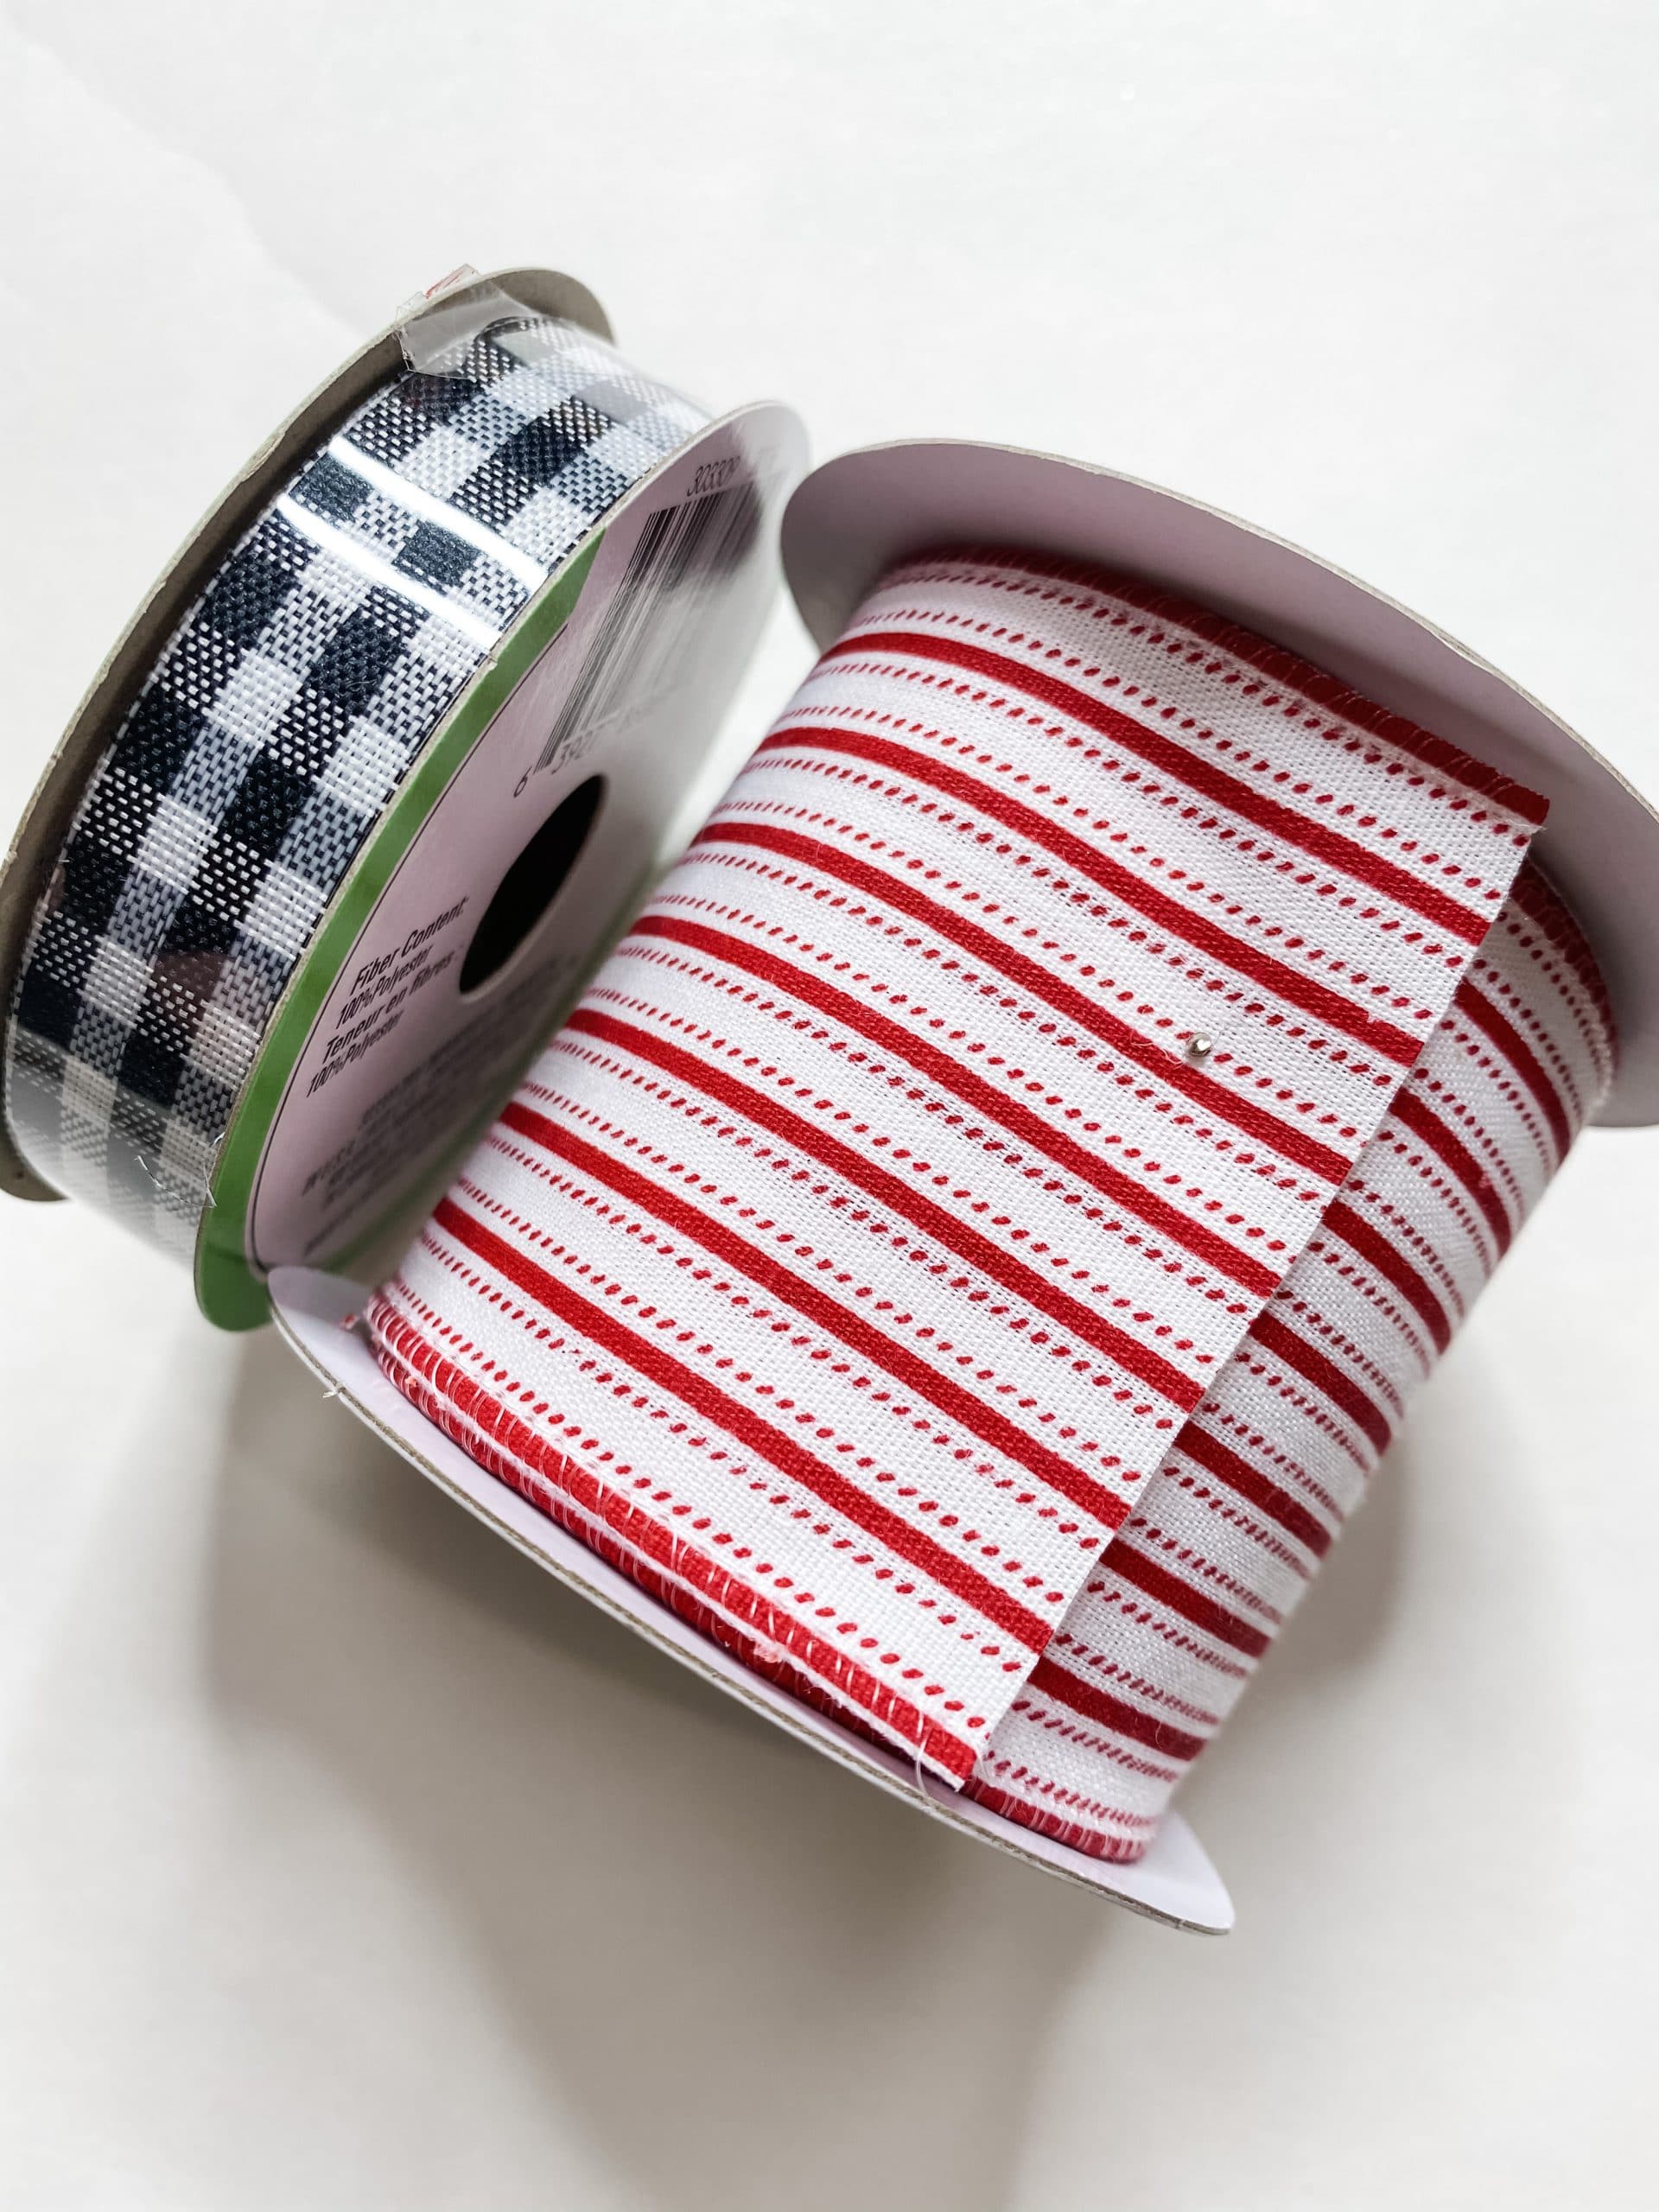
The Dollar General ribbon is 2.5in wide, so I cut each strip in half to make the width more visually appealing for this bow.
Next, place the ribbon and canvas strips in an x pattern alternating ribbon patterns and canvas strips.
Once your bow is as thick as you want it, secure the center with a small zip tie. You could also use another piece of ribbon, canvas, or a piece of jute twine.
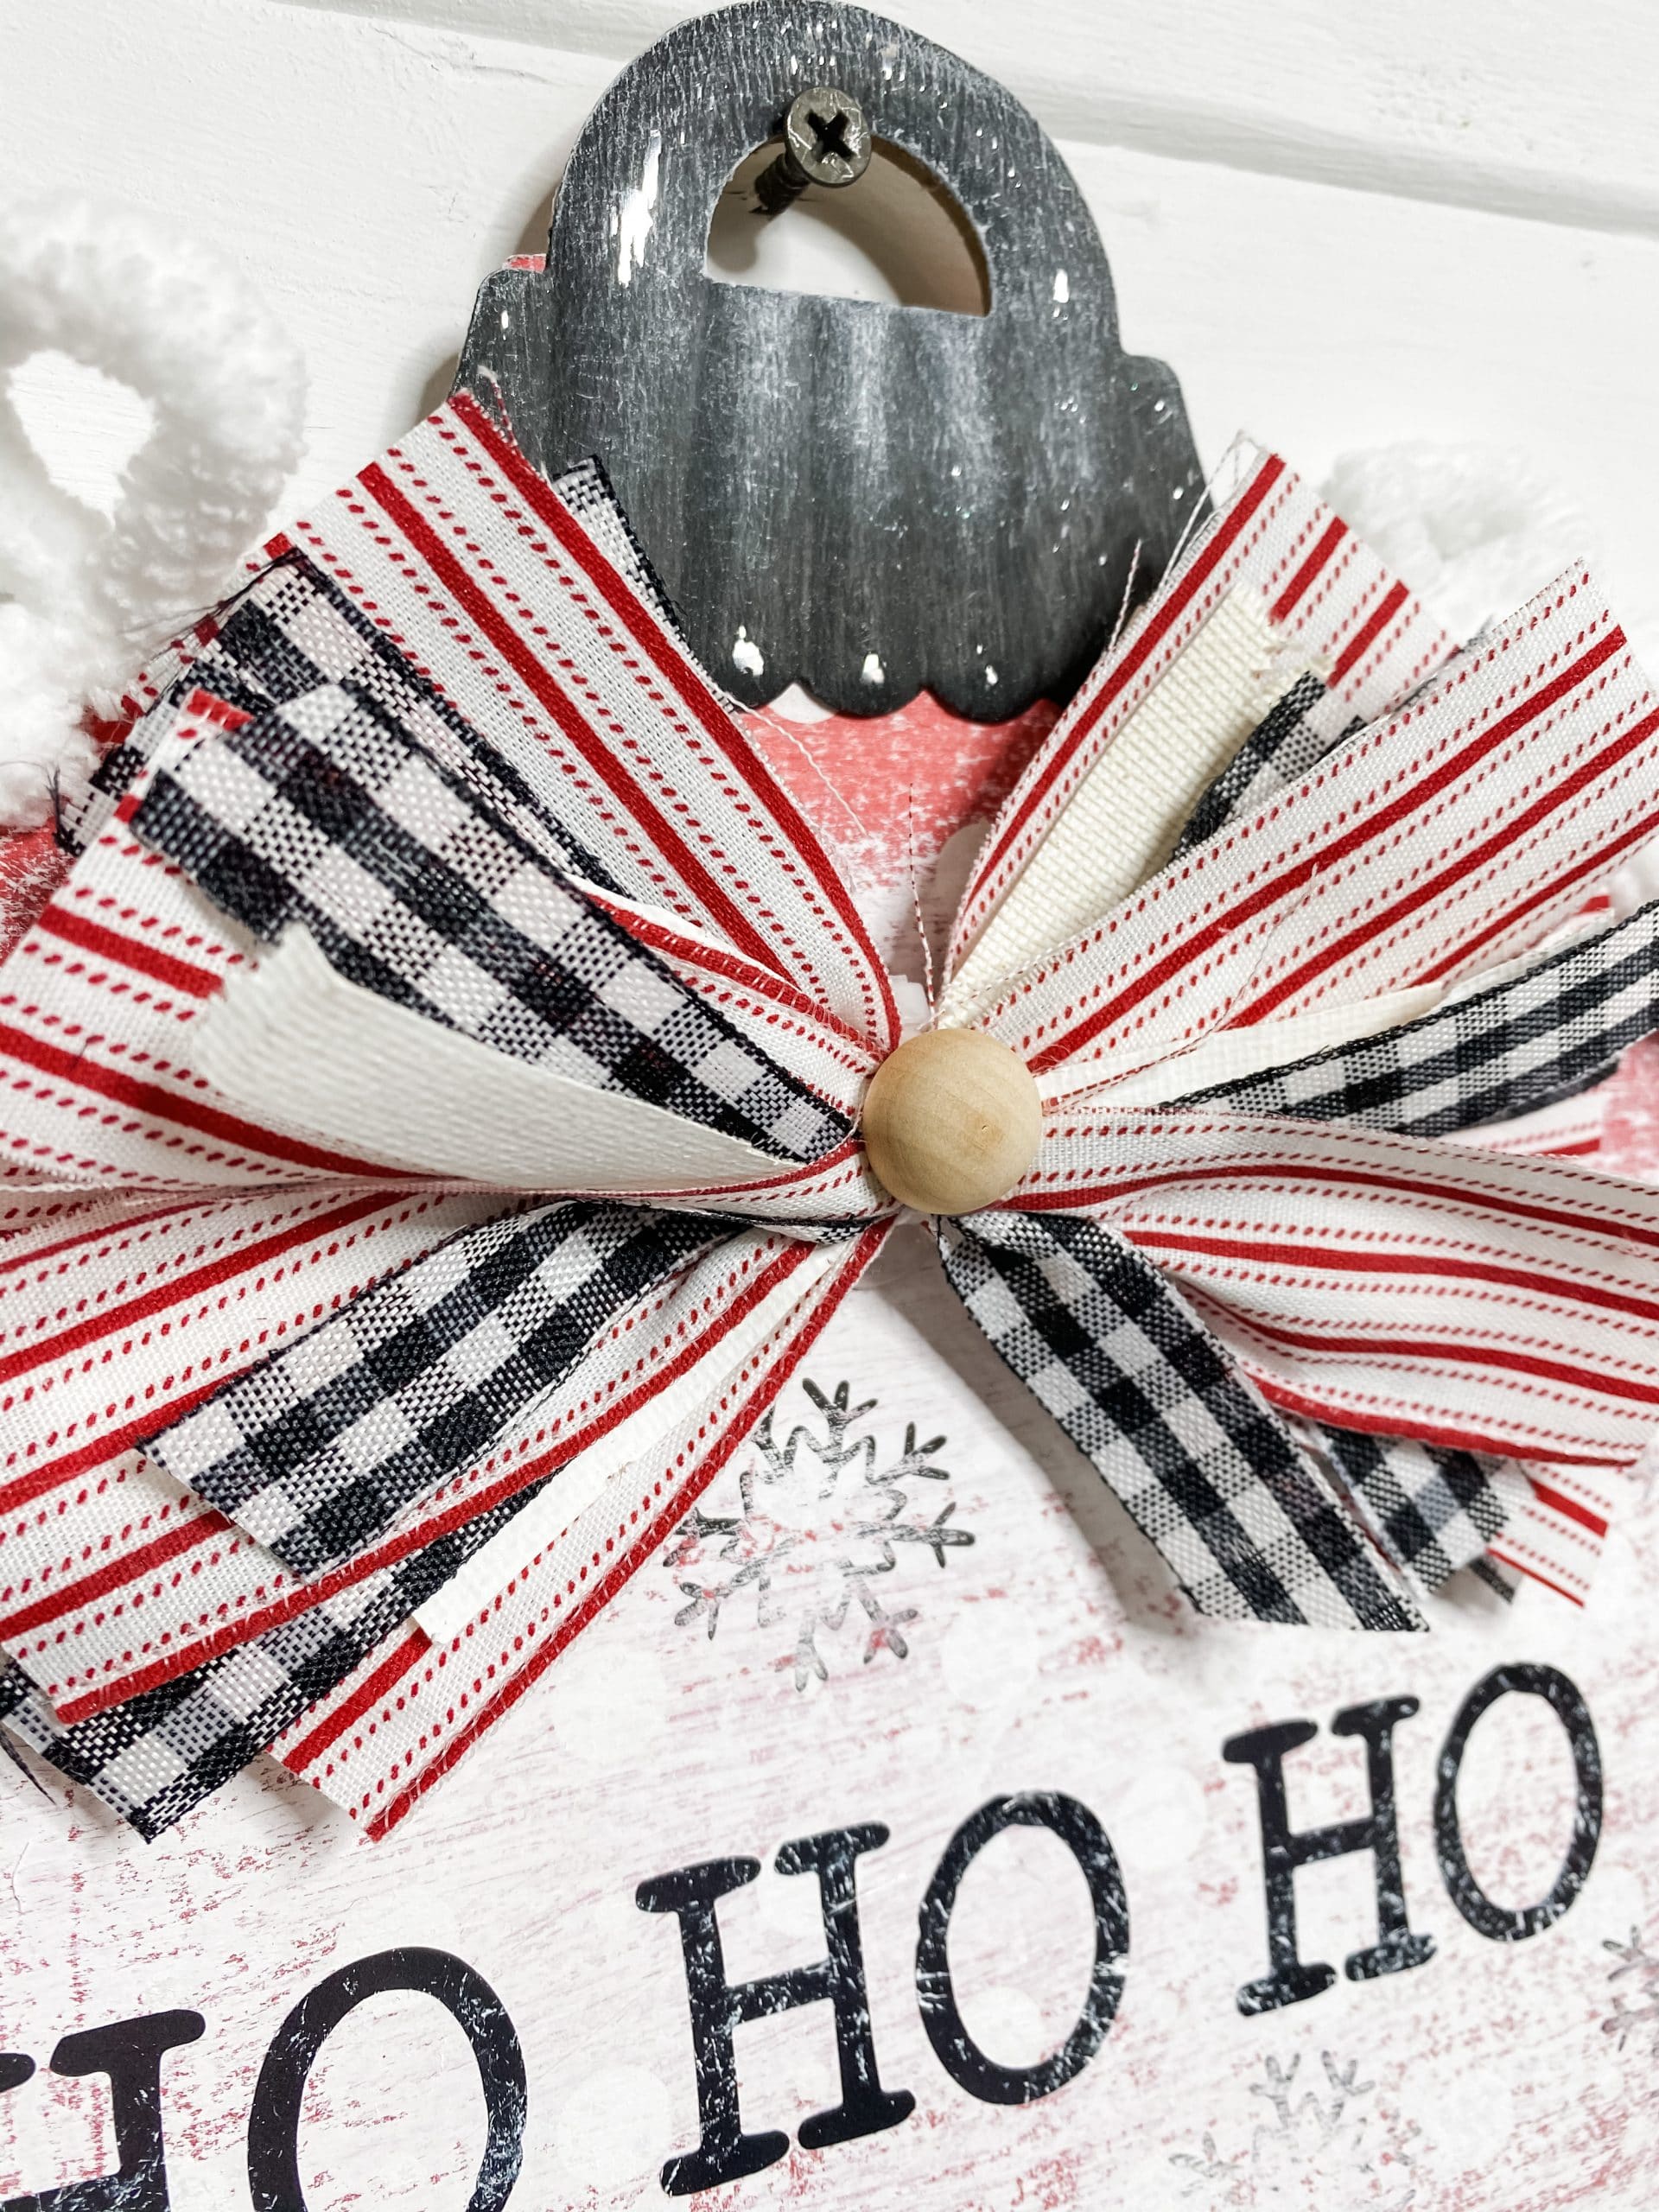
I covered the small zip tie with a half wood bead that I got on Amazon. They have a large pack with a variety of bead sizes, and I love to use these in my DIY crafts!
Start putting it all together
It’s time to start putting all the pieces of this DIY Christmas Sign with Loop-it Yarn together. Start by hot gluing the painted metal piece to the top of the ornament.
It’s going in the same exact place you removed it from, just on the back of the Dollar Tree wood sign.
Use a sanding sponge to lightly distress the metal piece and allow the metal color to peek through.
HO HO HO! Merry Christmas!
I found these adorable Christmas stickers at Target, and there were 3 in a pack for just ONE DOLLAR!
Honestly, I don’t usually use a lot of items from Target in my DIY crafts because they usually aren’t the most affordable, but these stickers were too cute to pass up!
I only used 2 of the 3 stickers, so I still have one leftover that I can use for a future DIY project. The Merry Christmas sticker had a frame, but I only used the letters.

You may have to use tweezers, but go ahead and place your sticker letters onto the Dollar Tree wood sign. Now, hot glue the bow to the top of the Christmas sign, underneath the metal ornament piece.
Get Creative!
So the rest of this project was not planned at all, and I think that is what made making this Christmas sign so much fun!
Some of my Crafty Crew viewers suggested I add some stamps to my sign, and even though it wasn’t in my plan, I decided to give it a try.

I tried the red truck and green Christmas tree stamps at the bottom, but I didn’t like it, so I ended up painting back over it.
I lightly brushed over the letters too. This helps the letters look like they’re were actually part of the design and not just stickers.
Then, I used some Target snowflake stamps with black ink and stamped them around the entire sign. I really liked the detail this added!
Try something new!
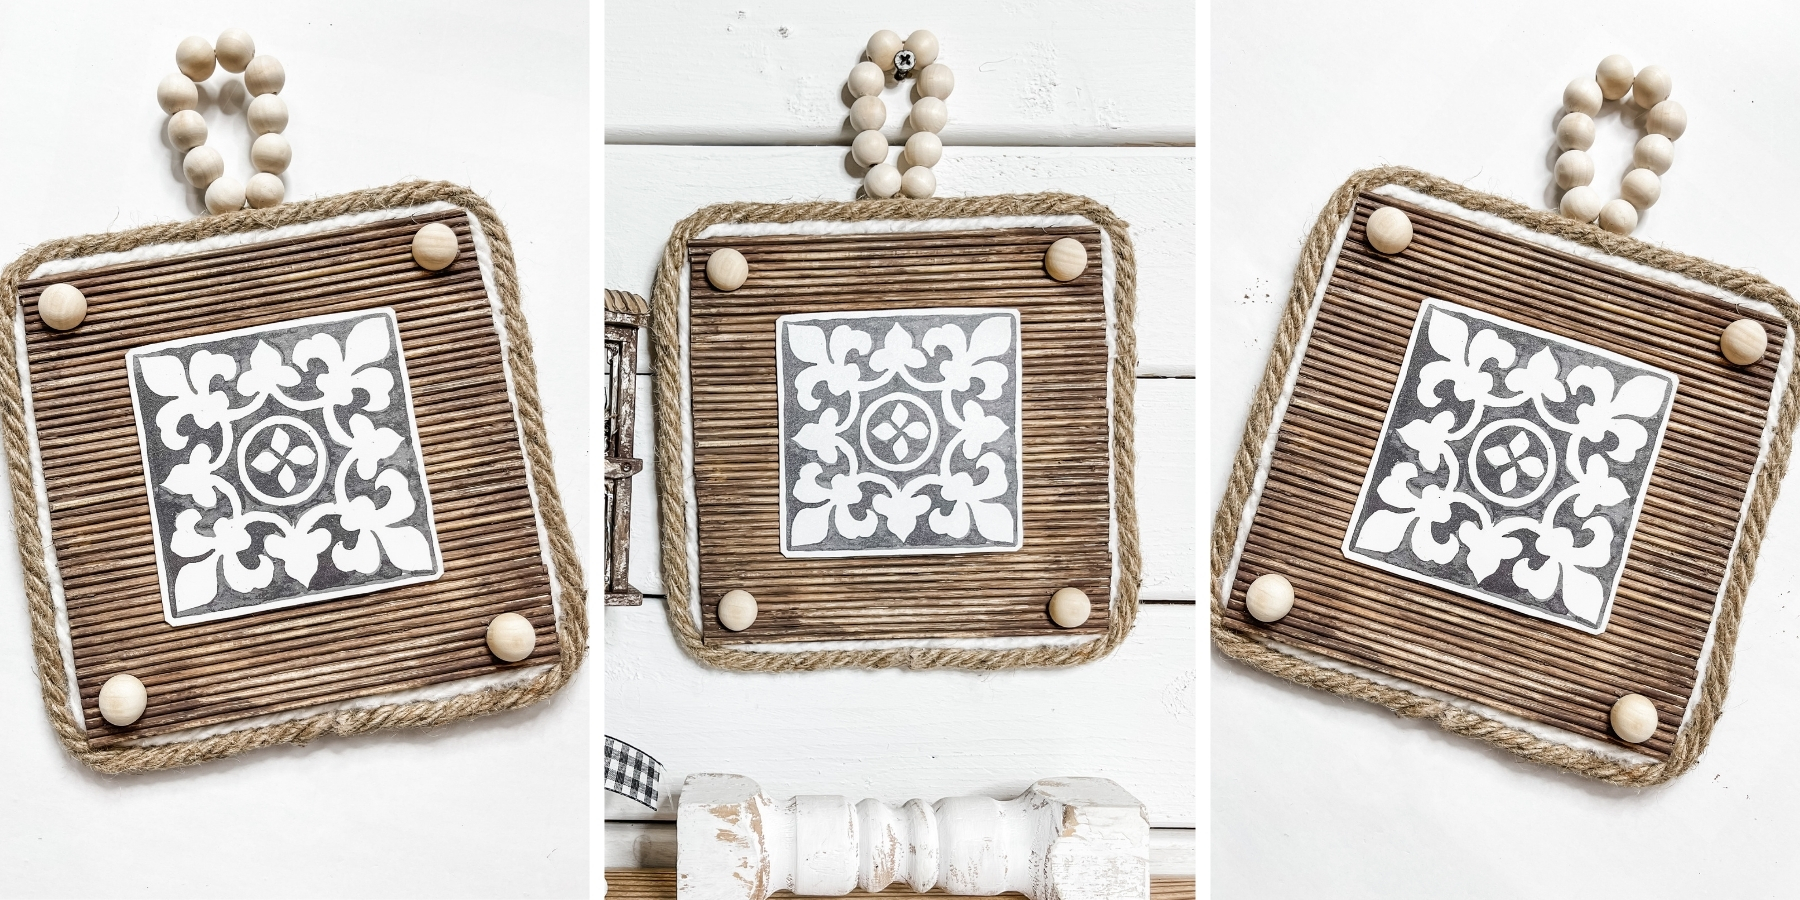
During my live video, I was talking about how I was planning on using Dollar Tree nautical rope to wrap around the edge of my sign, but I didn’t like how the color of the rope didn’t match.
My daughter-in-law, Michelle, then suggested I use loop-it yarn! My Crafty Crew (and me) were a little hesitant, but I decided to give it a shot!
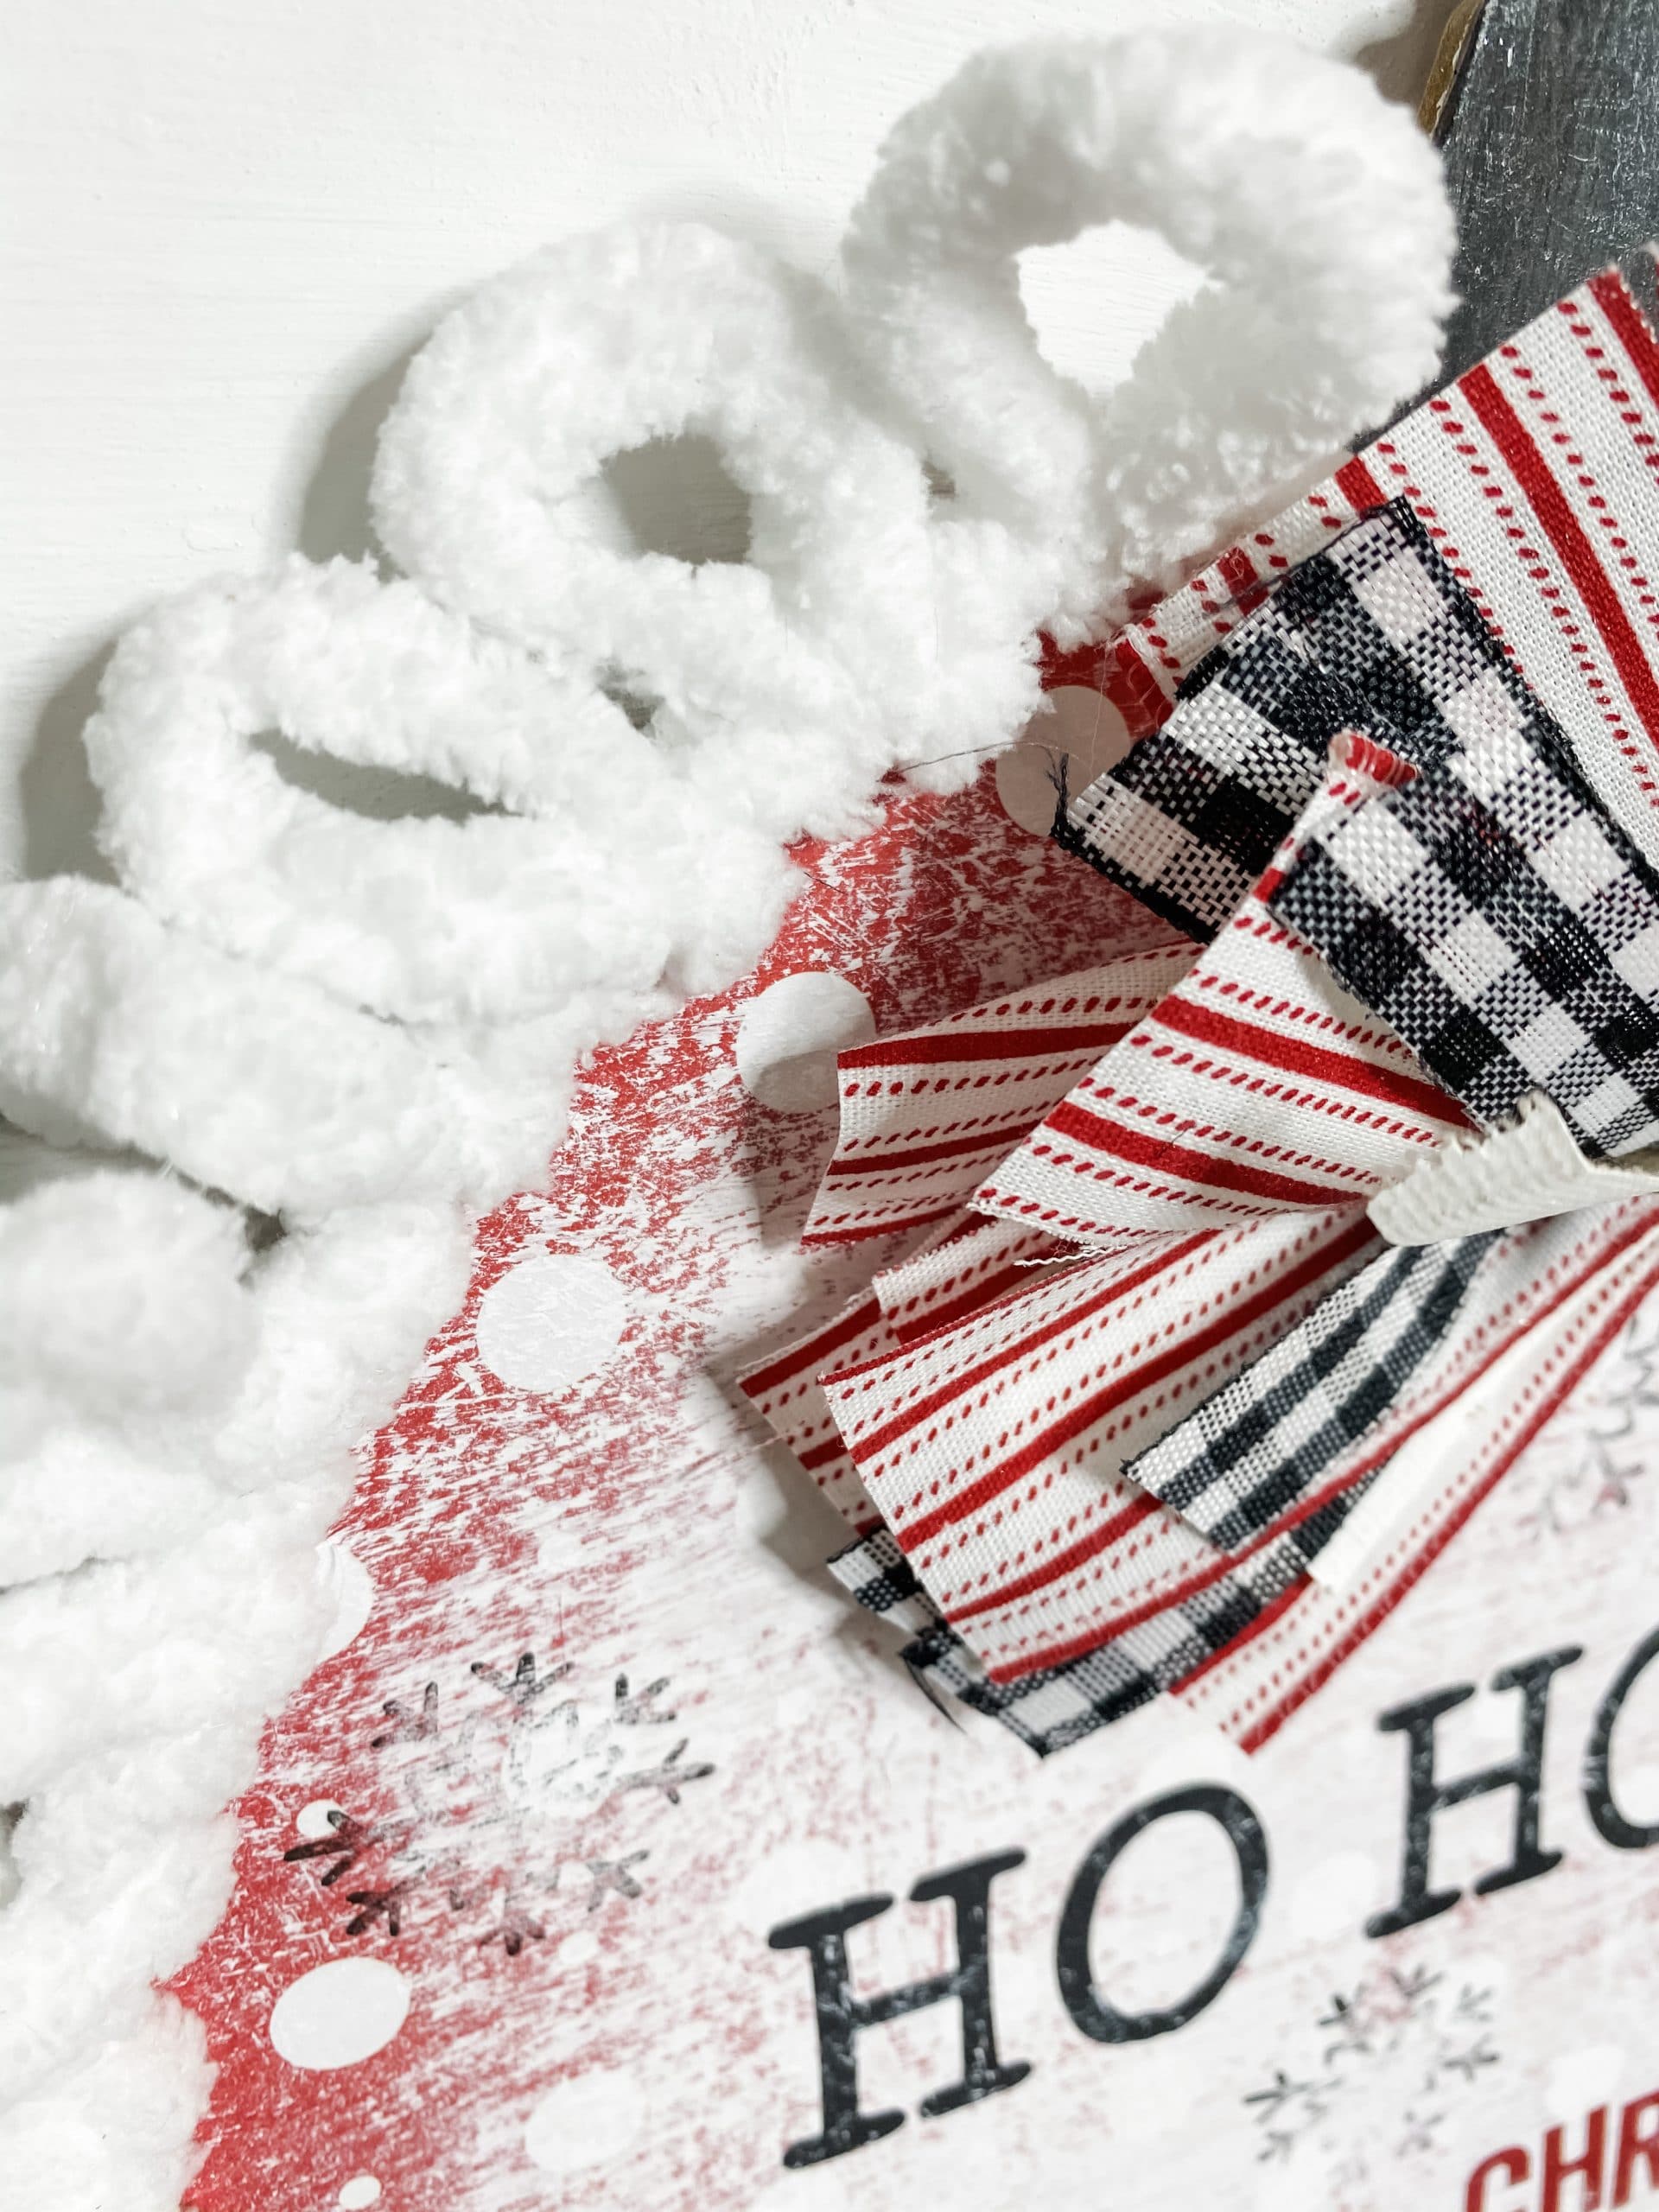
I hot glued the loop-it yarn around the edge of the Dollar Tree ornament sign but didn’t bring it all the way to the metal piece at the very top.
I was shocked, but I absolutely love how adorable the loop-it yarn looks! (It also goes with the red, black, and white theme I’ve been doing this Christmas season!)
I hope you had as much fun learning how to make this DIY Christmas Sign with Loop-it Yarn as much as I did and decide to make it for yourself! I would love to see how yours turns out!
You should totally join my FREE Facebook group called On A Budget Crafts! It is a judgment-free community for DIY crafters to show off their projects and ideas.
If you loved this DIY you might also like this Dollar Tree Cookie Sheet Craft with Free Christmas Printable!
Thanks for stopping by! XOXO Amber
You can also shop my ENTIRE AMAZON Favorites shop just click here! It’s packed full of all the things I use and love. Here is the supply list I highly recommend every creative have on hand!!
Would you also pin my blog for later and get on my newsletter alerts? I would love to have you join my #craftycrew.

Join my free “ON A BUDGET CRAFTS” Facebook group!
PIN THIS POST FOR LATER!
One Comment