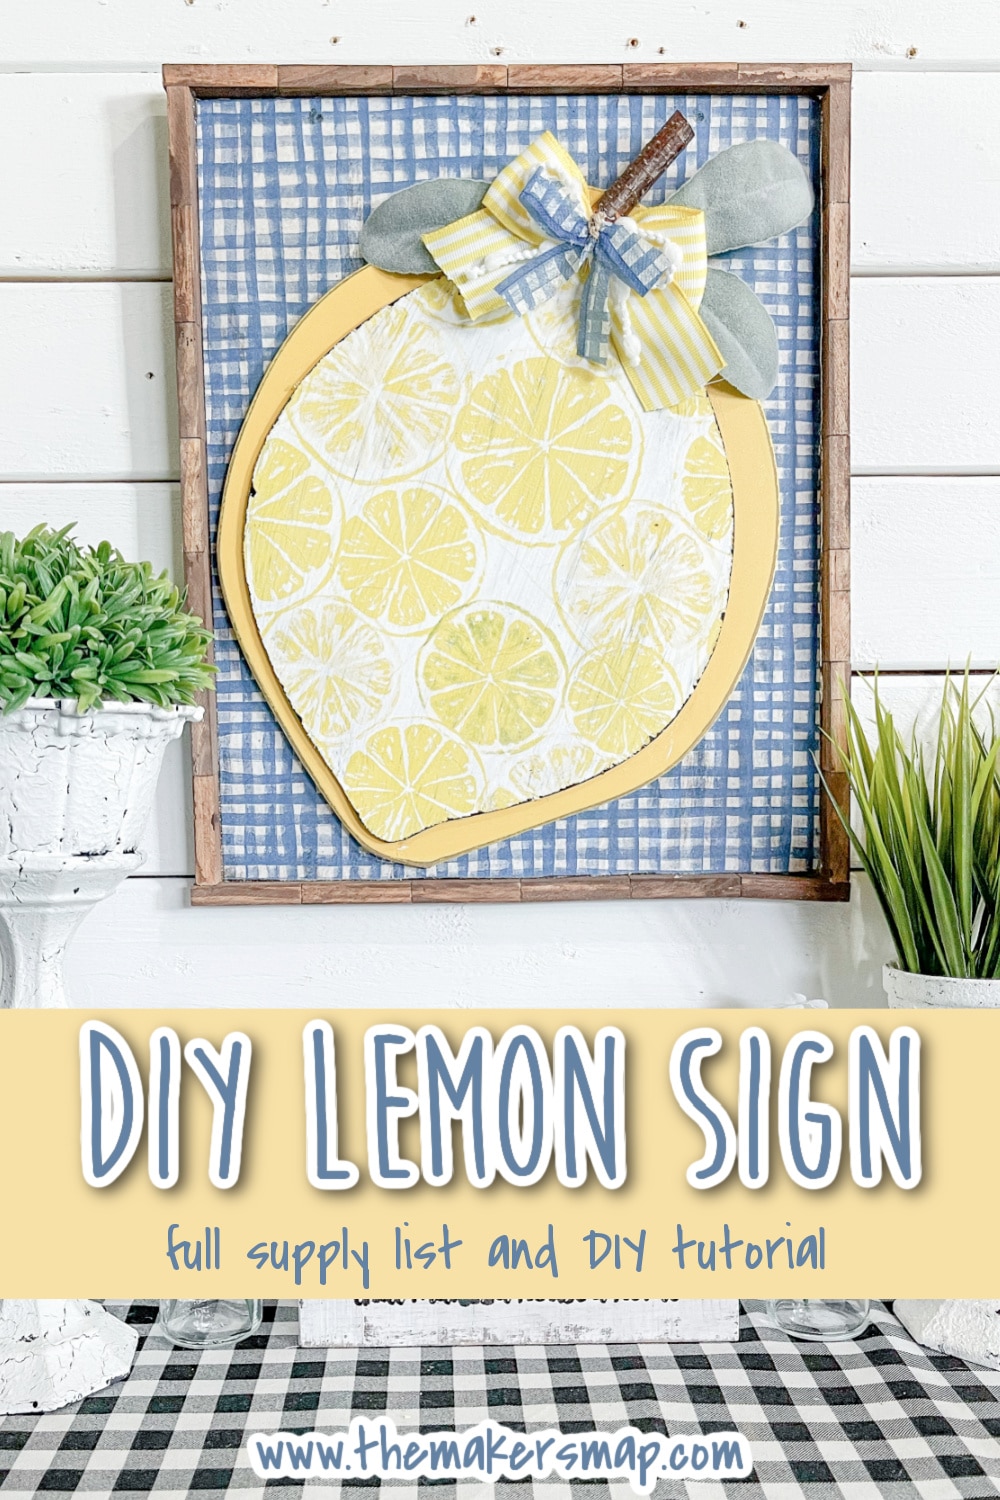
DIY Lemon Napkin Sign
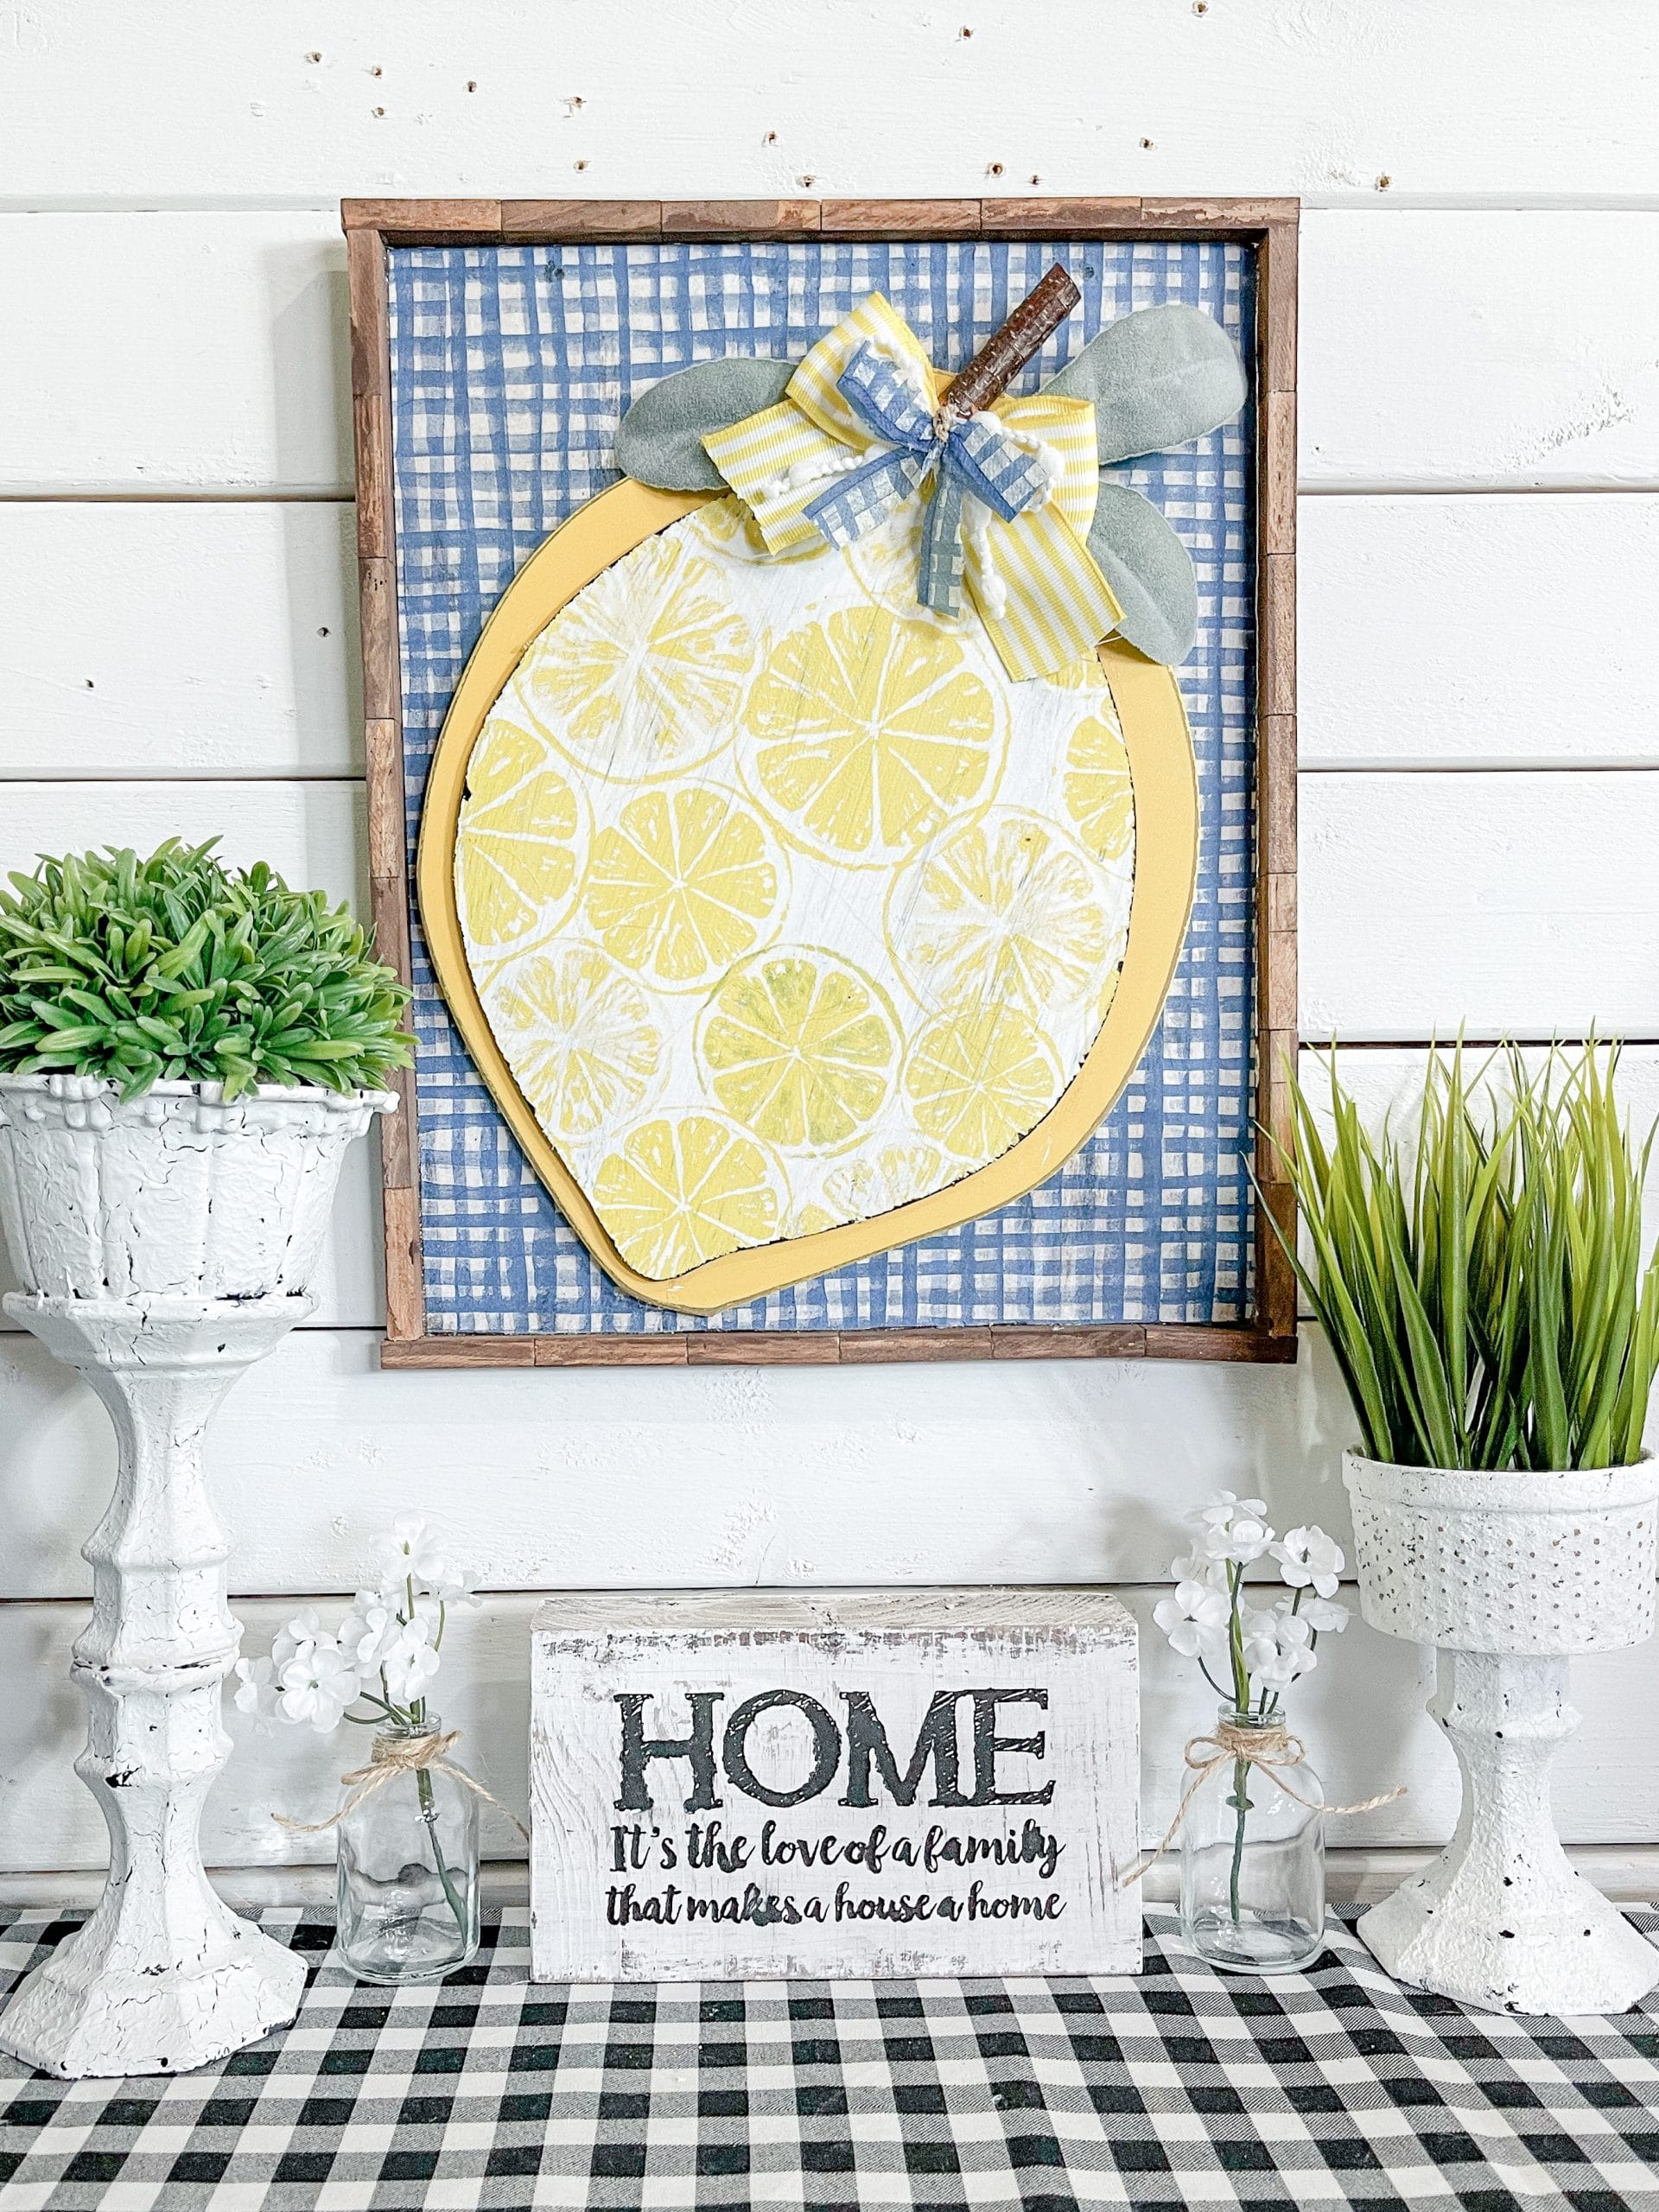
I don’t know what it is about lemon decor, but I absolutely LOVE it! And, according to Pinterest, so do a lot of other people! So, I made this adorable DIY Lemon Napkin Sign, and I think you’re going to be just as obsessed with it as I am!
This is such an easy DIY project to add just a little bit of color and personality to any space! I personally think this would be so cute in a kitchen or covered patio area!
Watch the DIY Tutorial
I recorded the how-to steps of this easy DIY Lemon Napkin Sign during a LIVE video on my Facebook page.
If you want to see the process, craft along, or just join in on the fun conversations, you can watch the DIY tutorial replay!
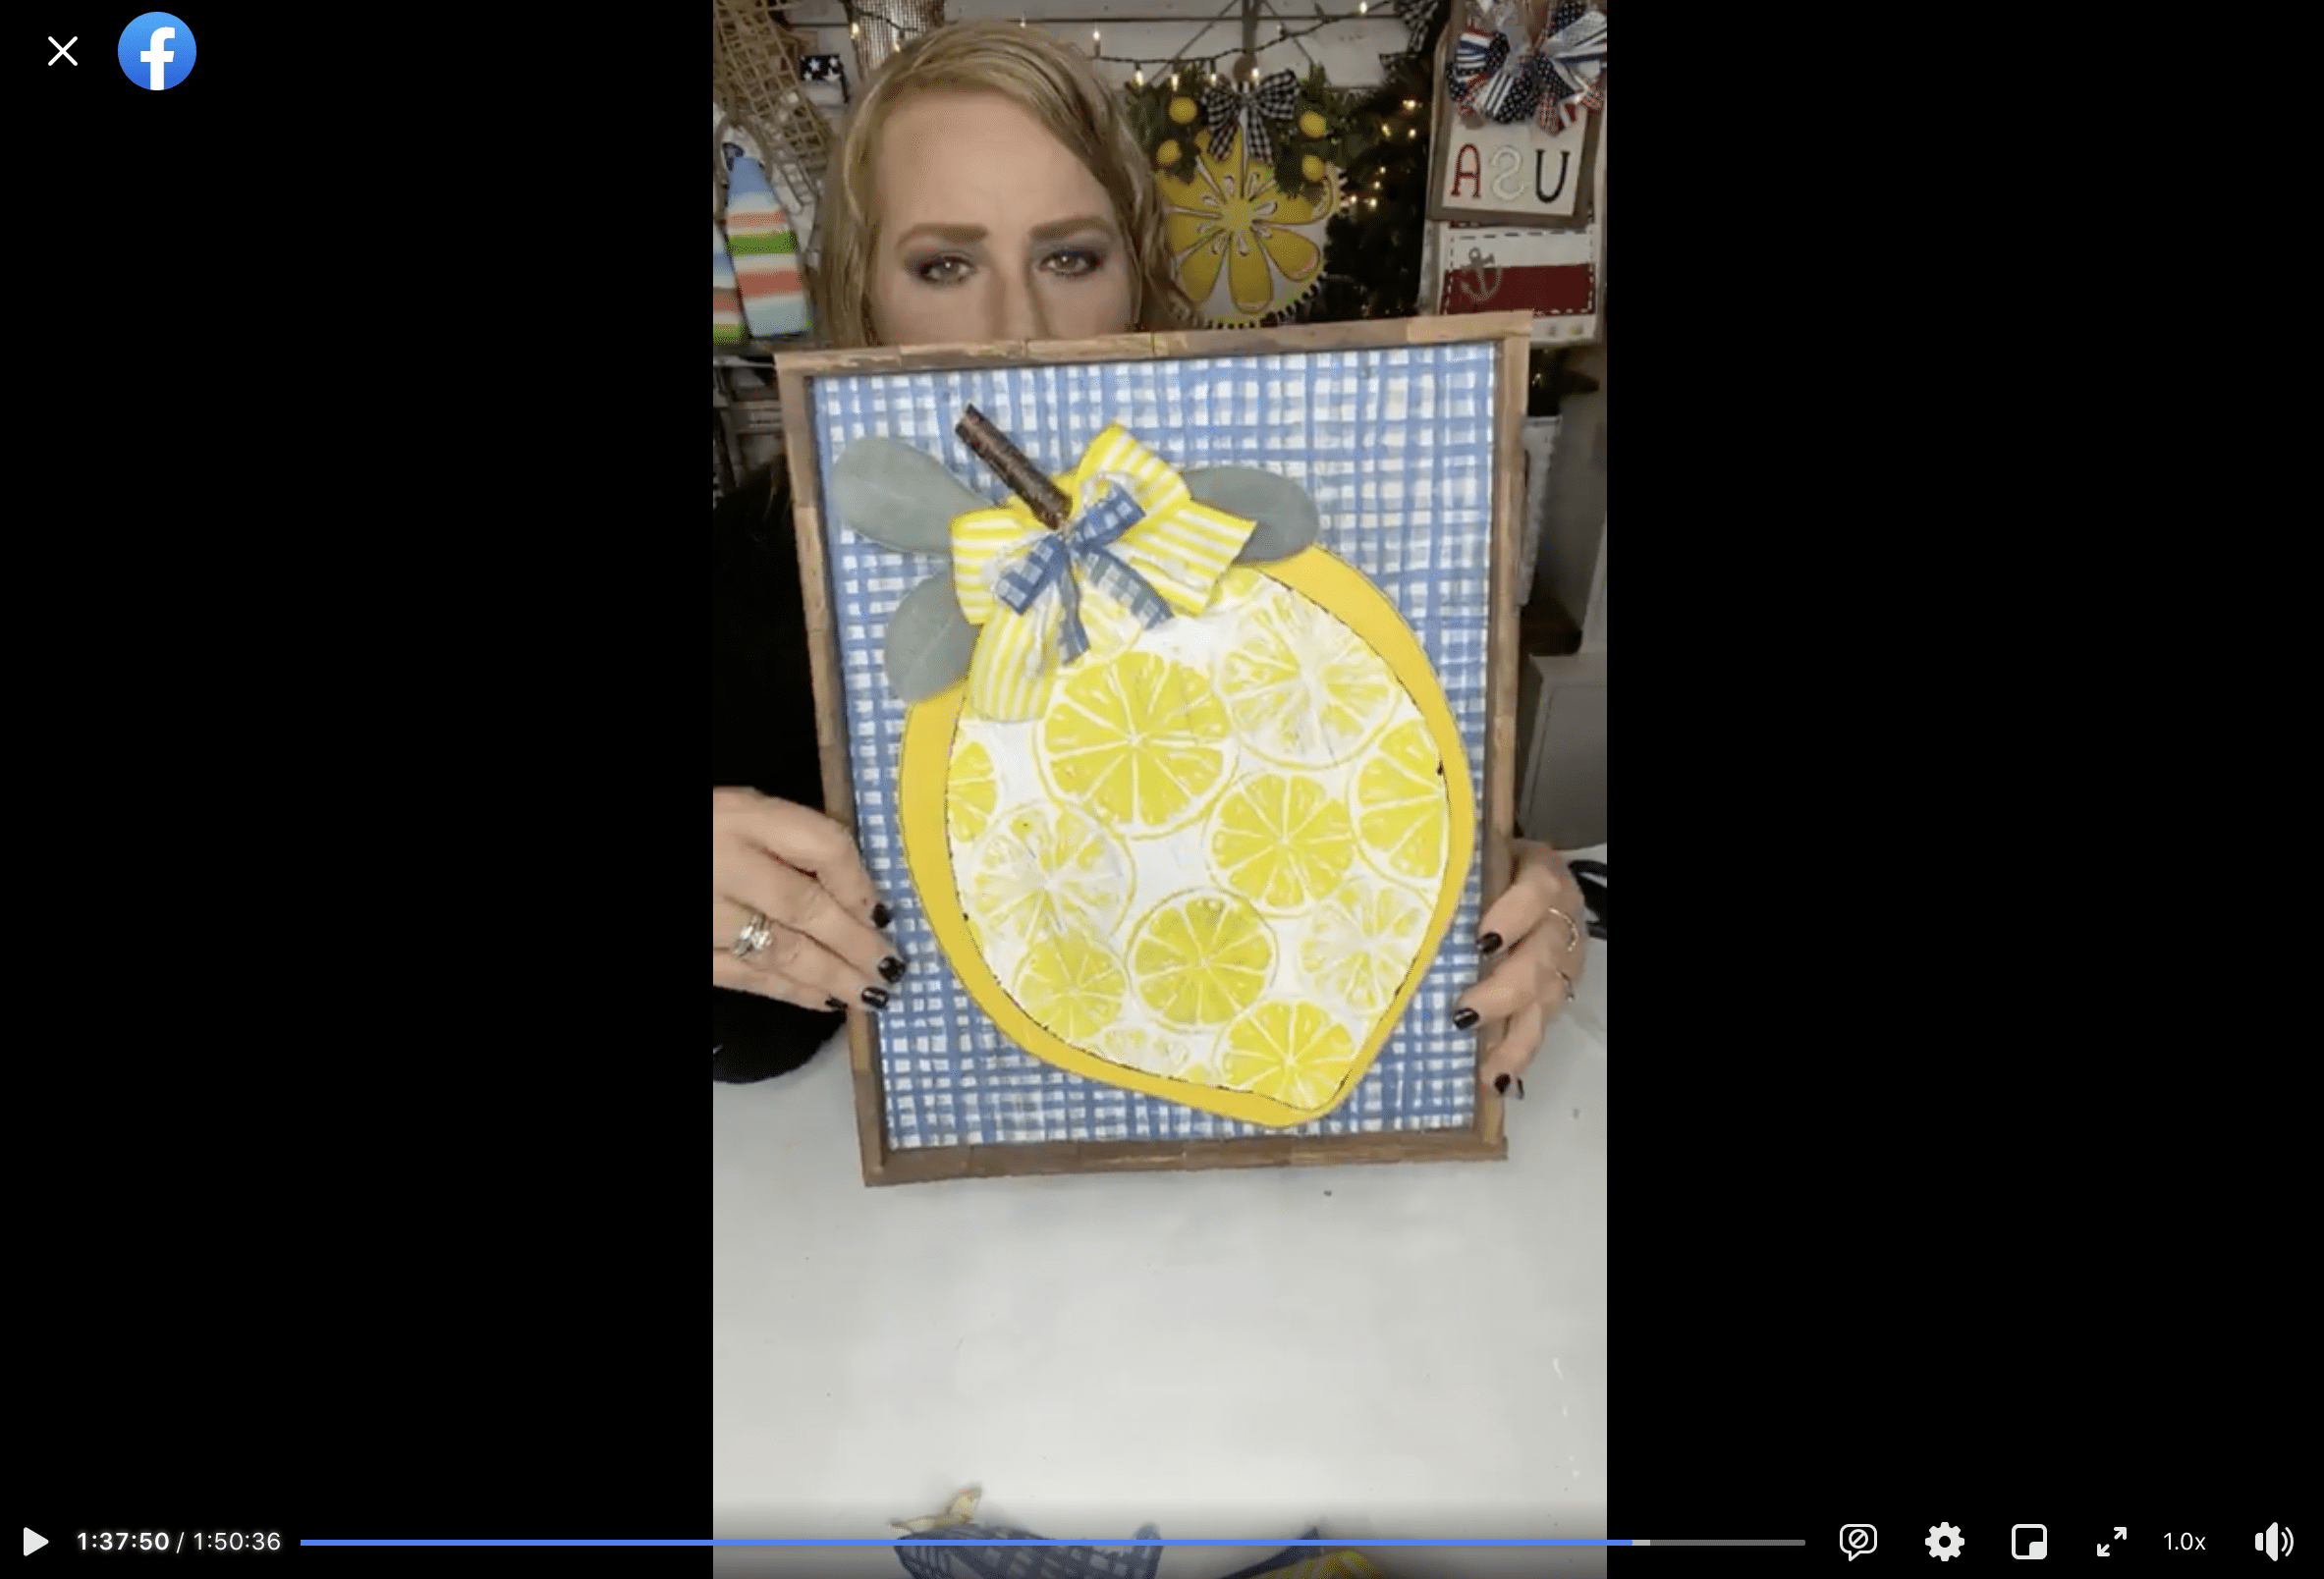
WATCH THE DIY TUTORIAL
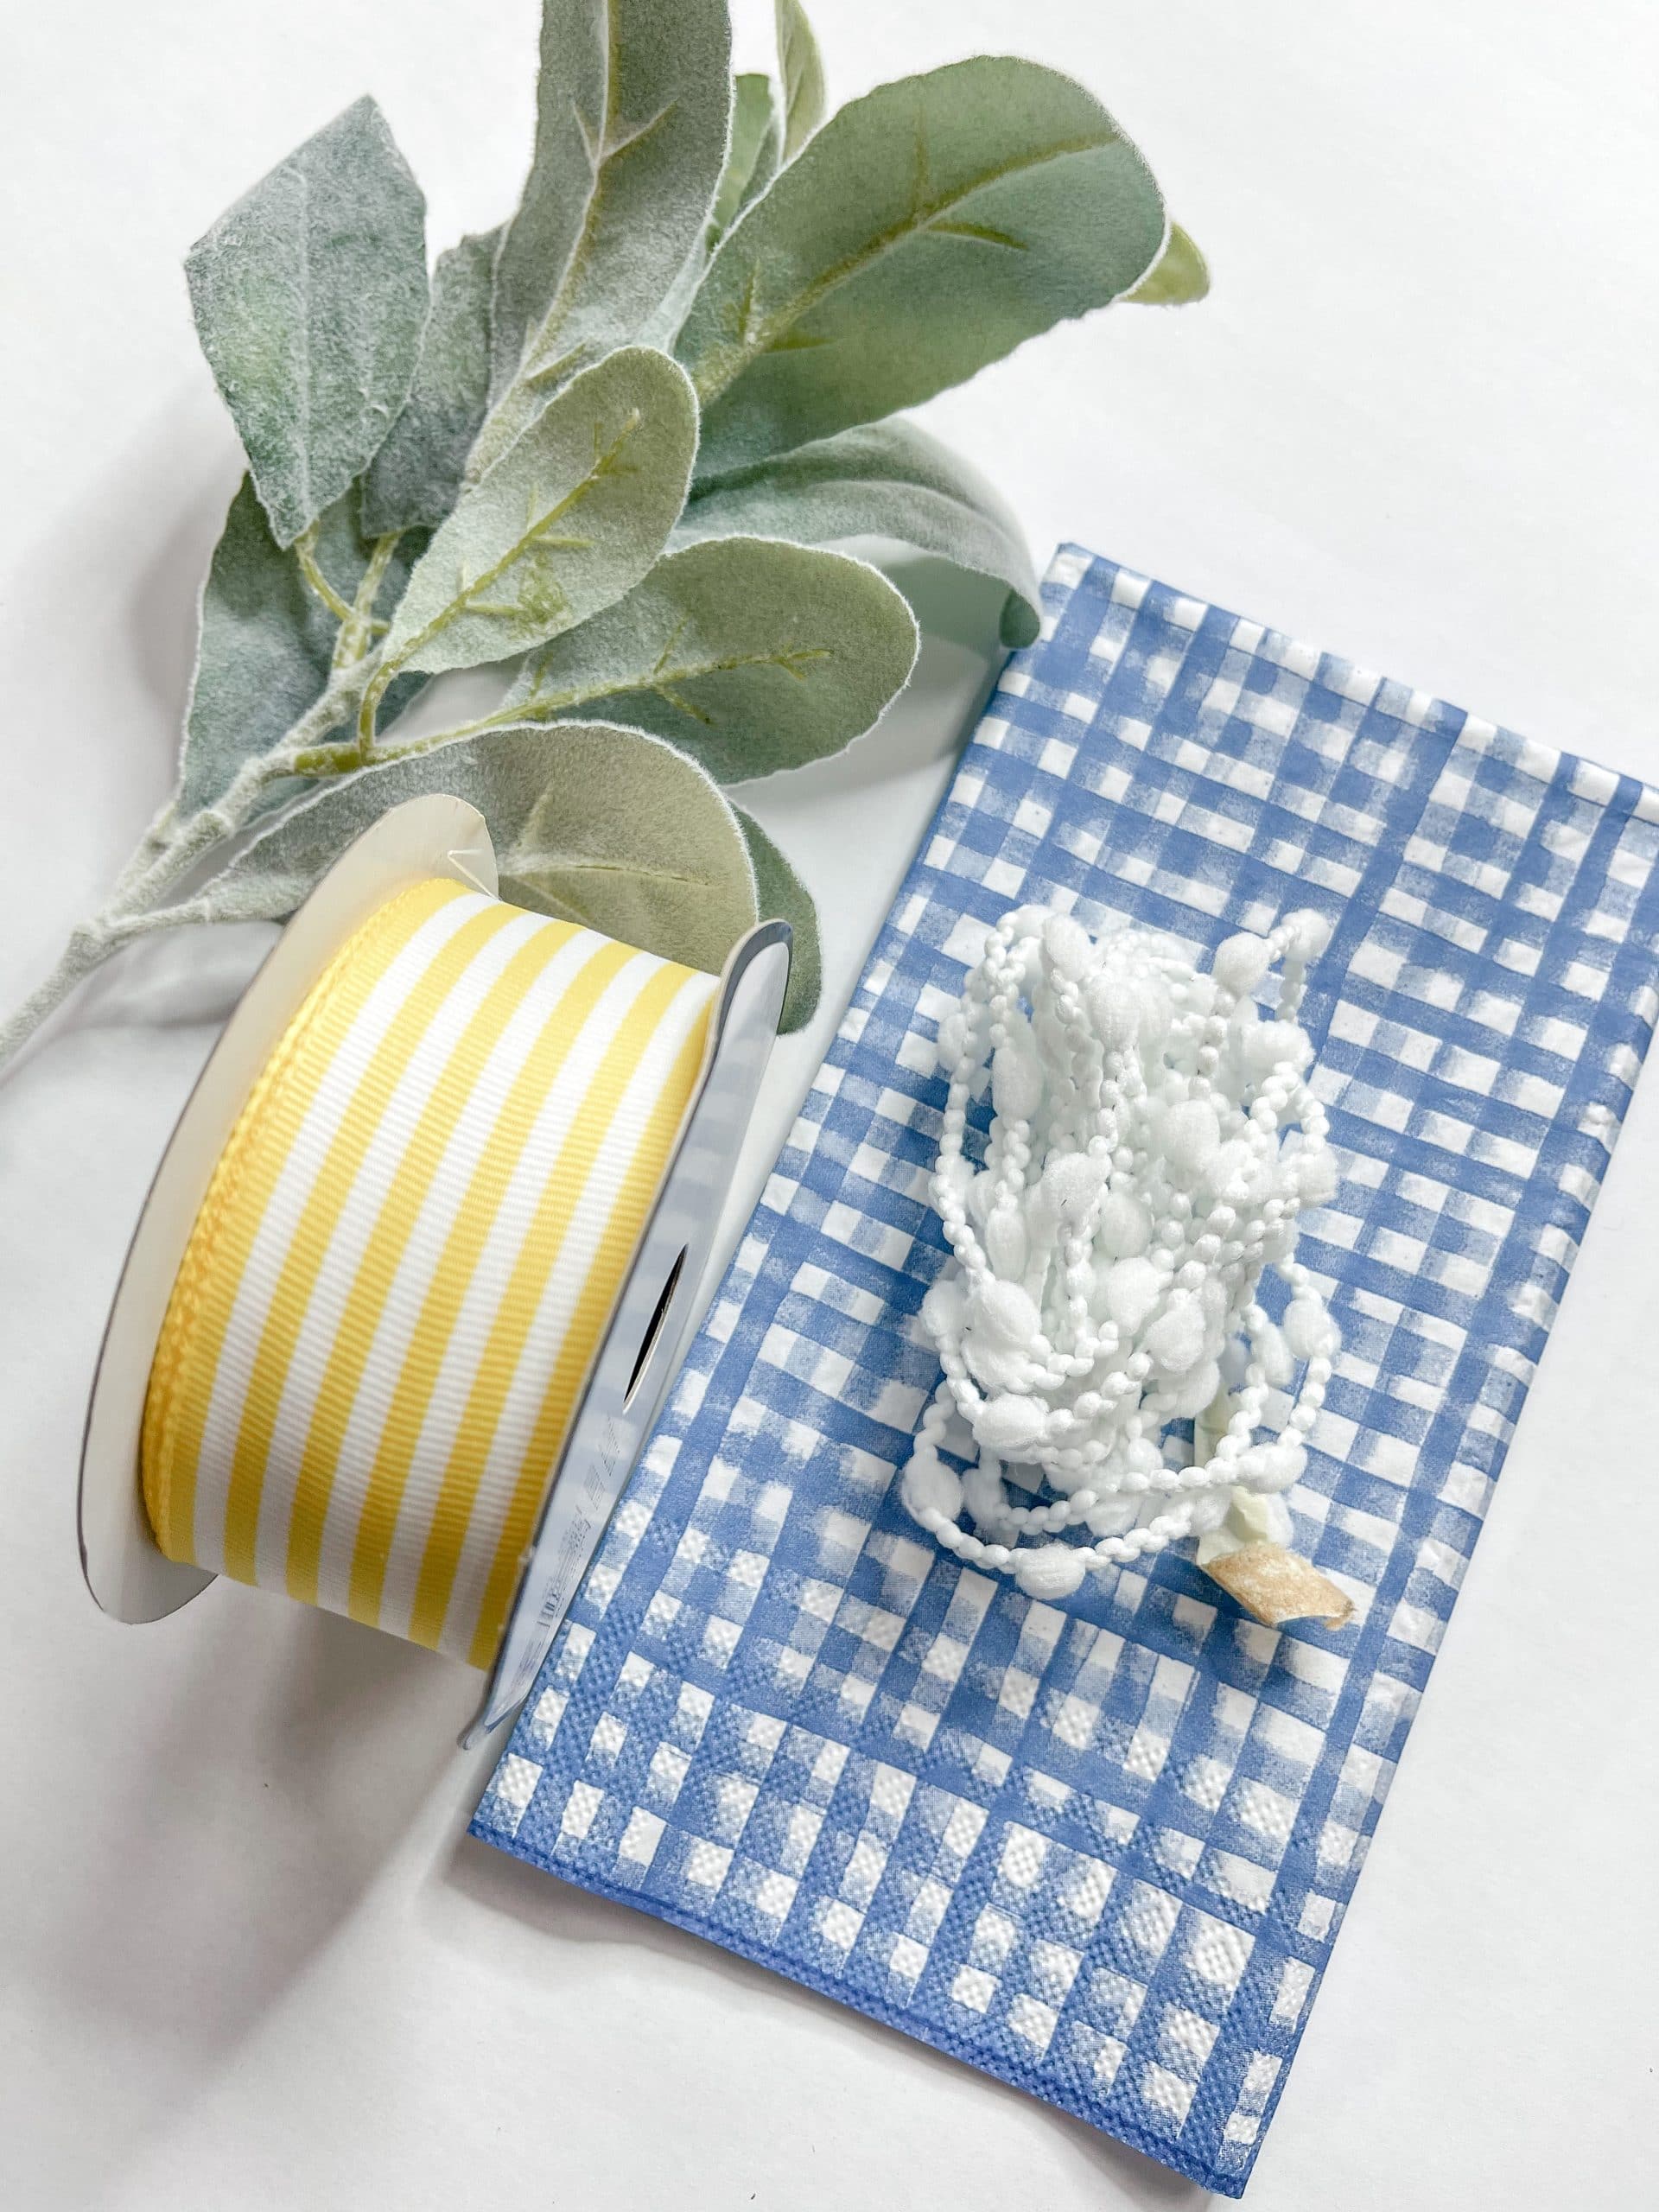
For this project, I will be using these items but you can substitute where you want.
“As an Amazon Associate, I earn from qualifying purchases.”
- Dollar Tree Sign
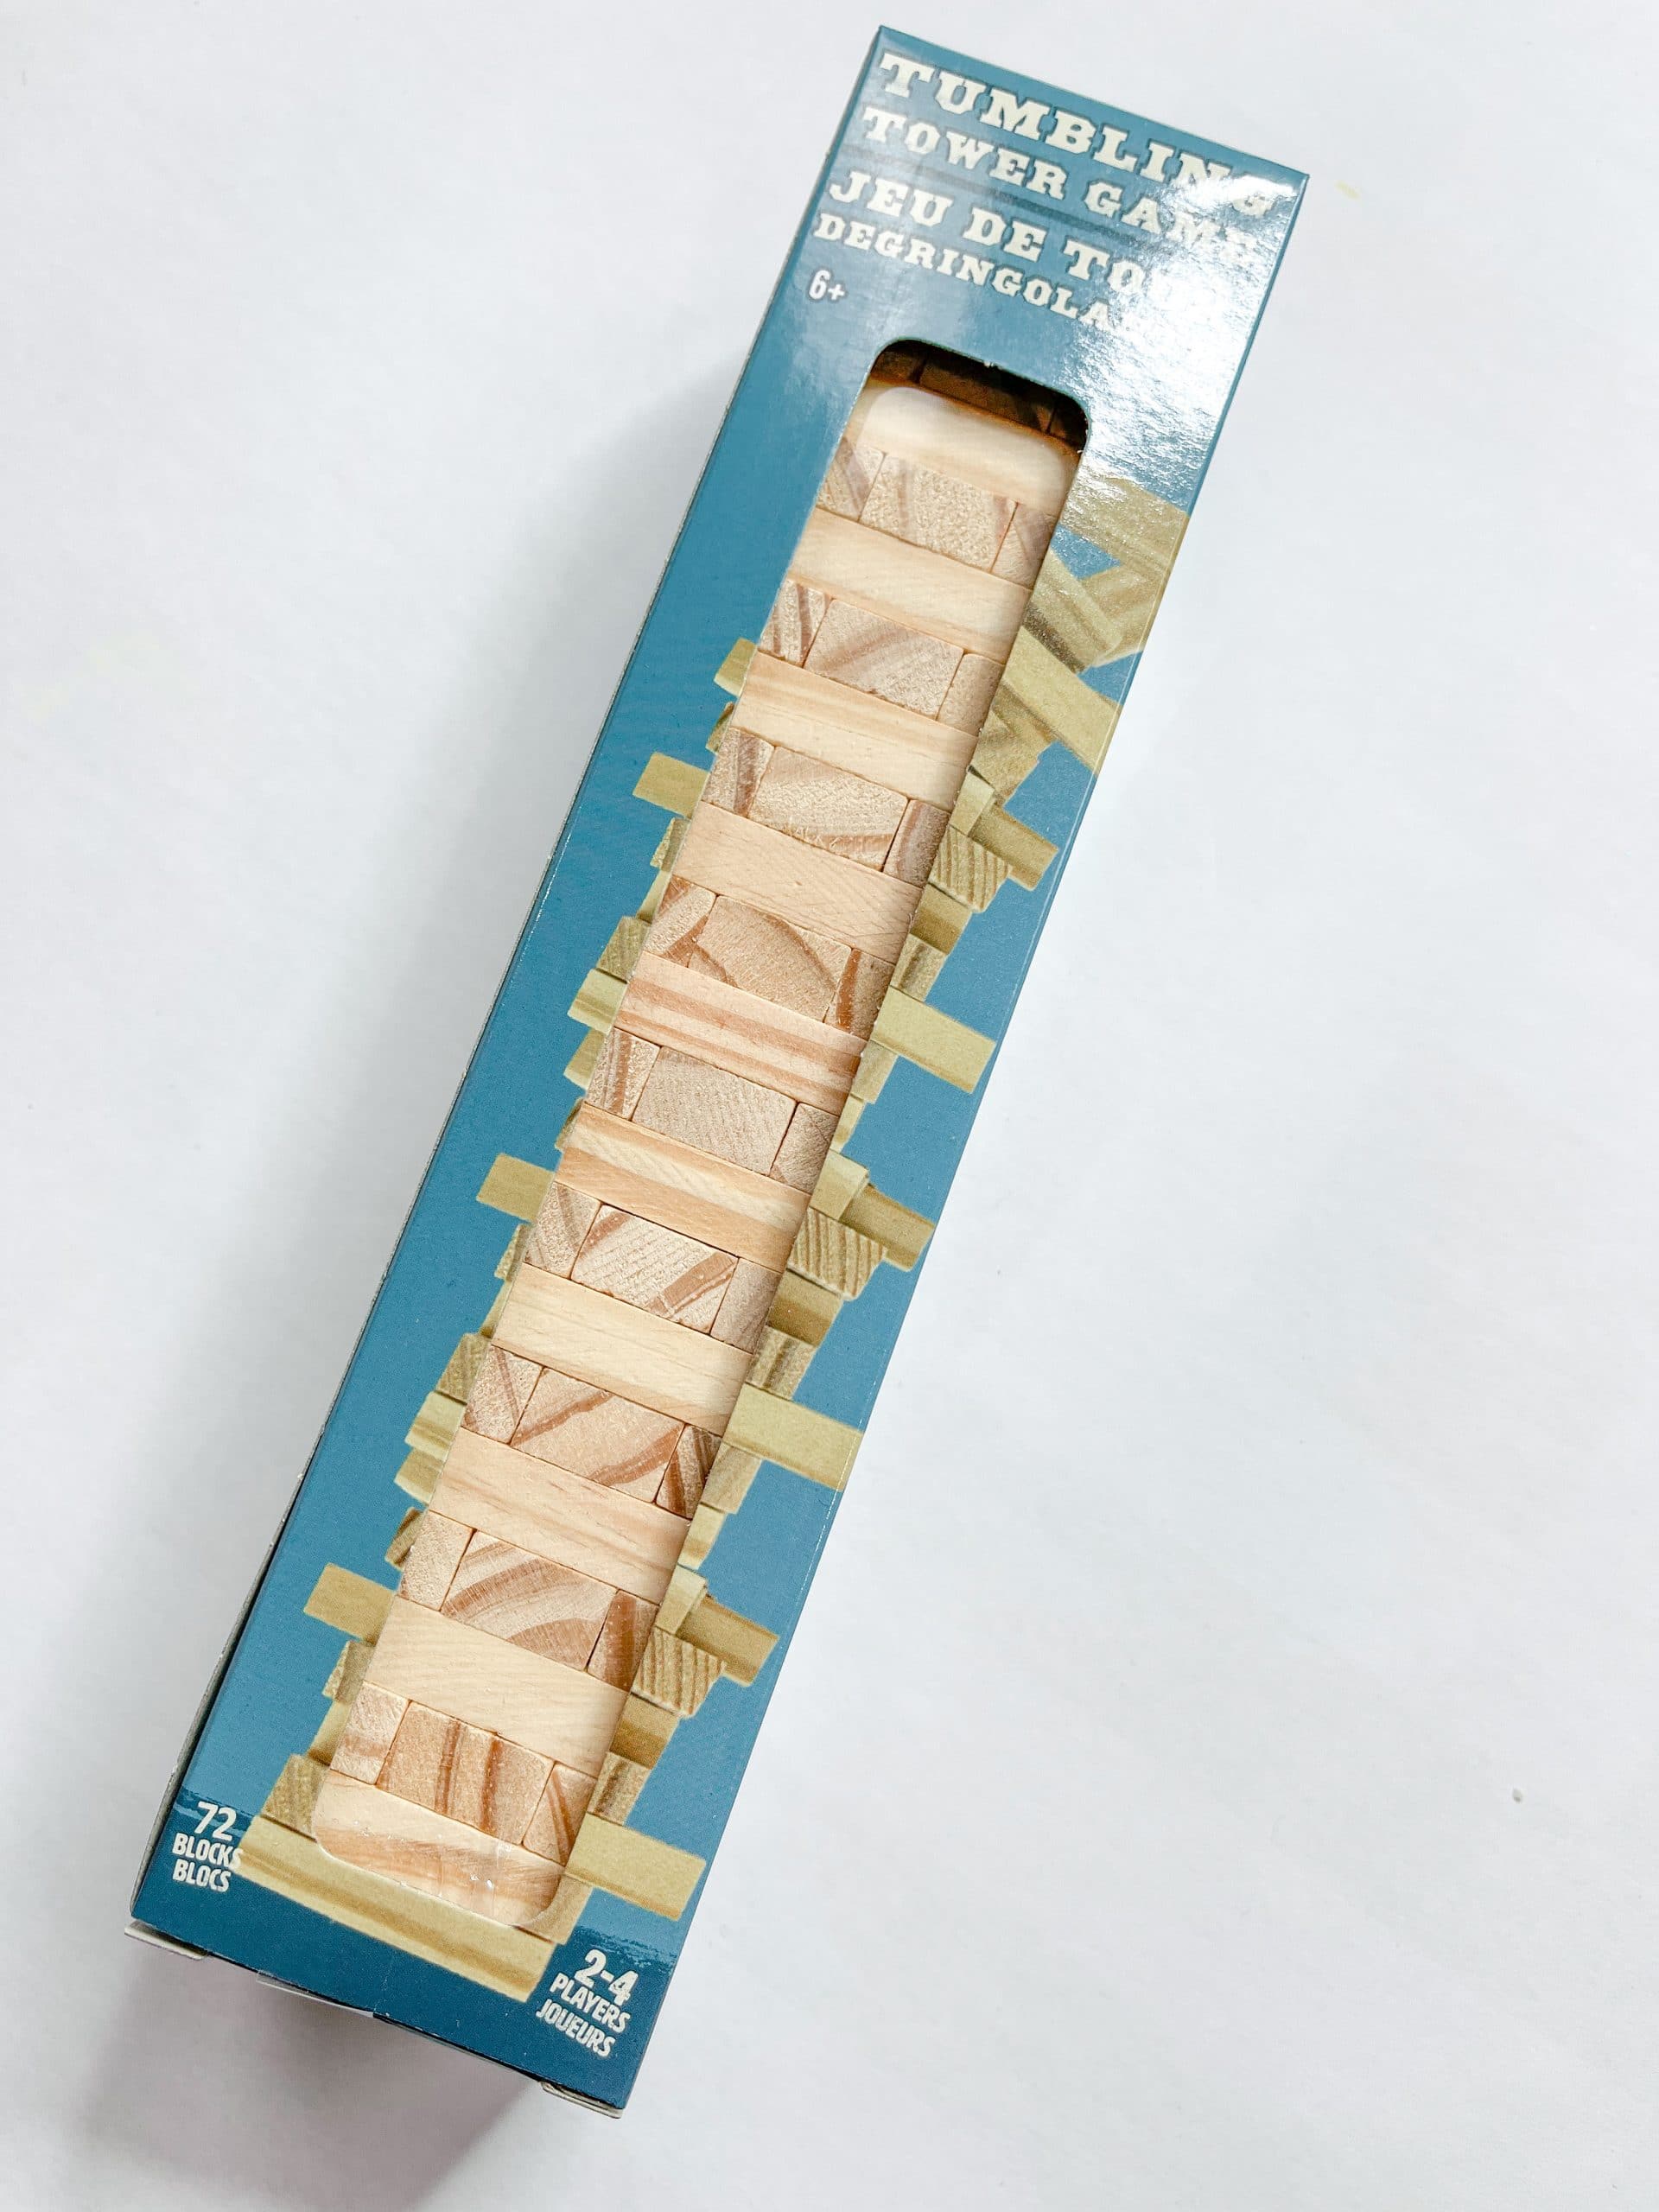
- Dollar Tree Tumbling Tower Blocks
- Chalkboard Lemon Sign (Dollar General)
- Dollar Tree Wood Stems
- Lamb’s Ear Greenery (Walmart)
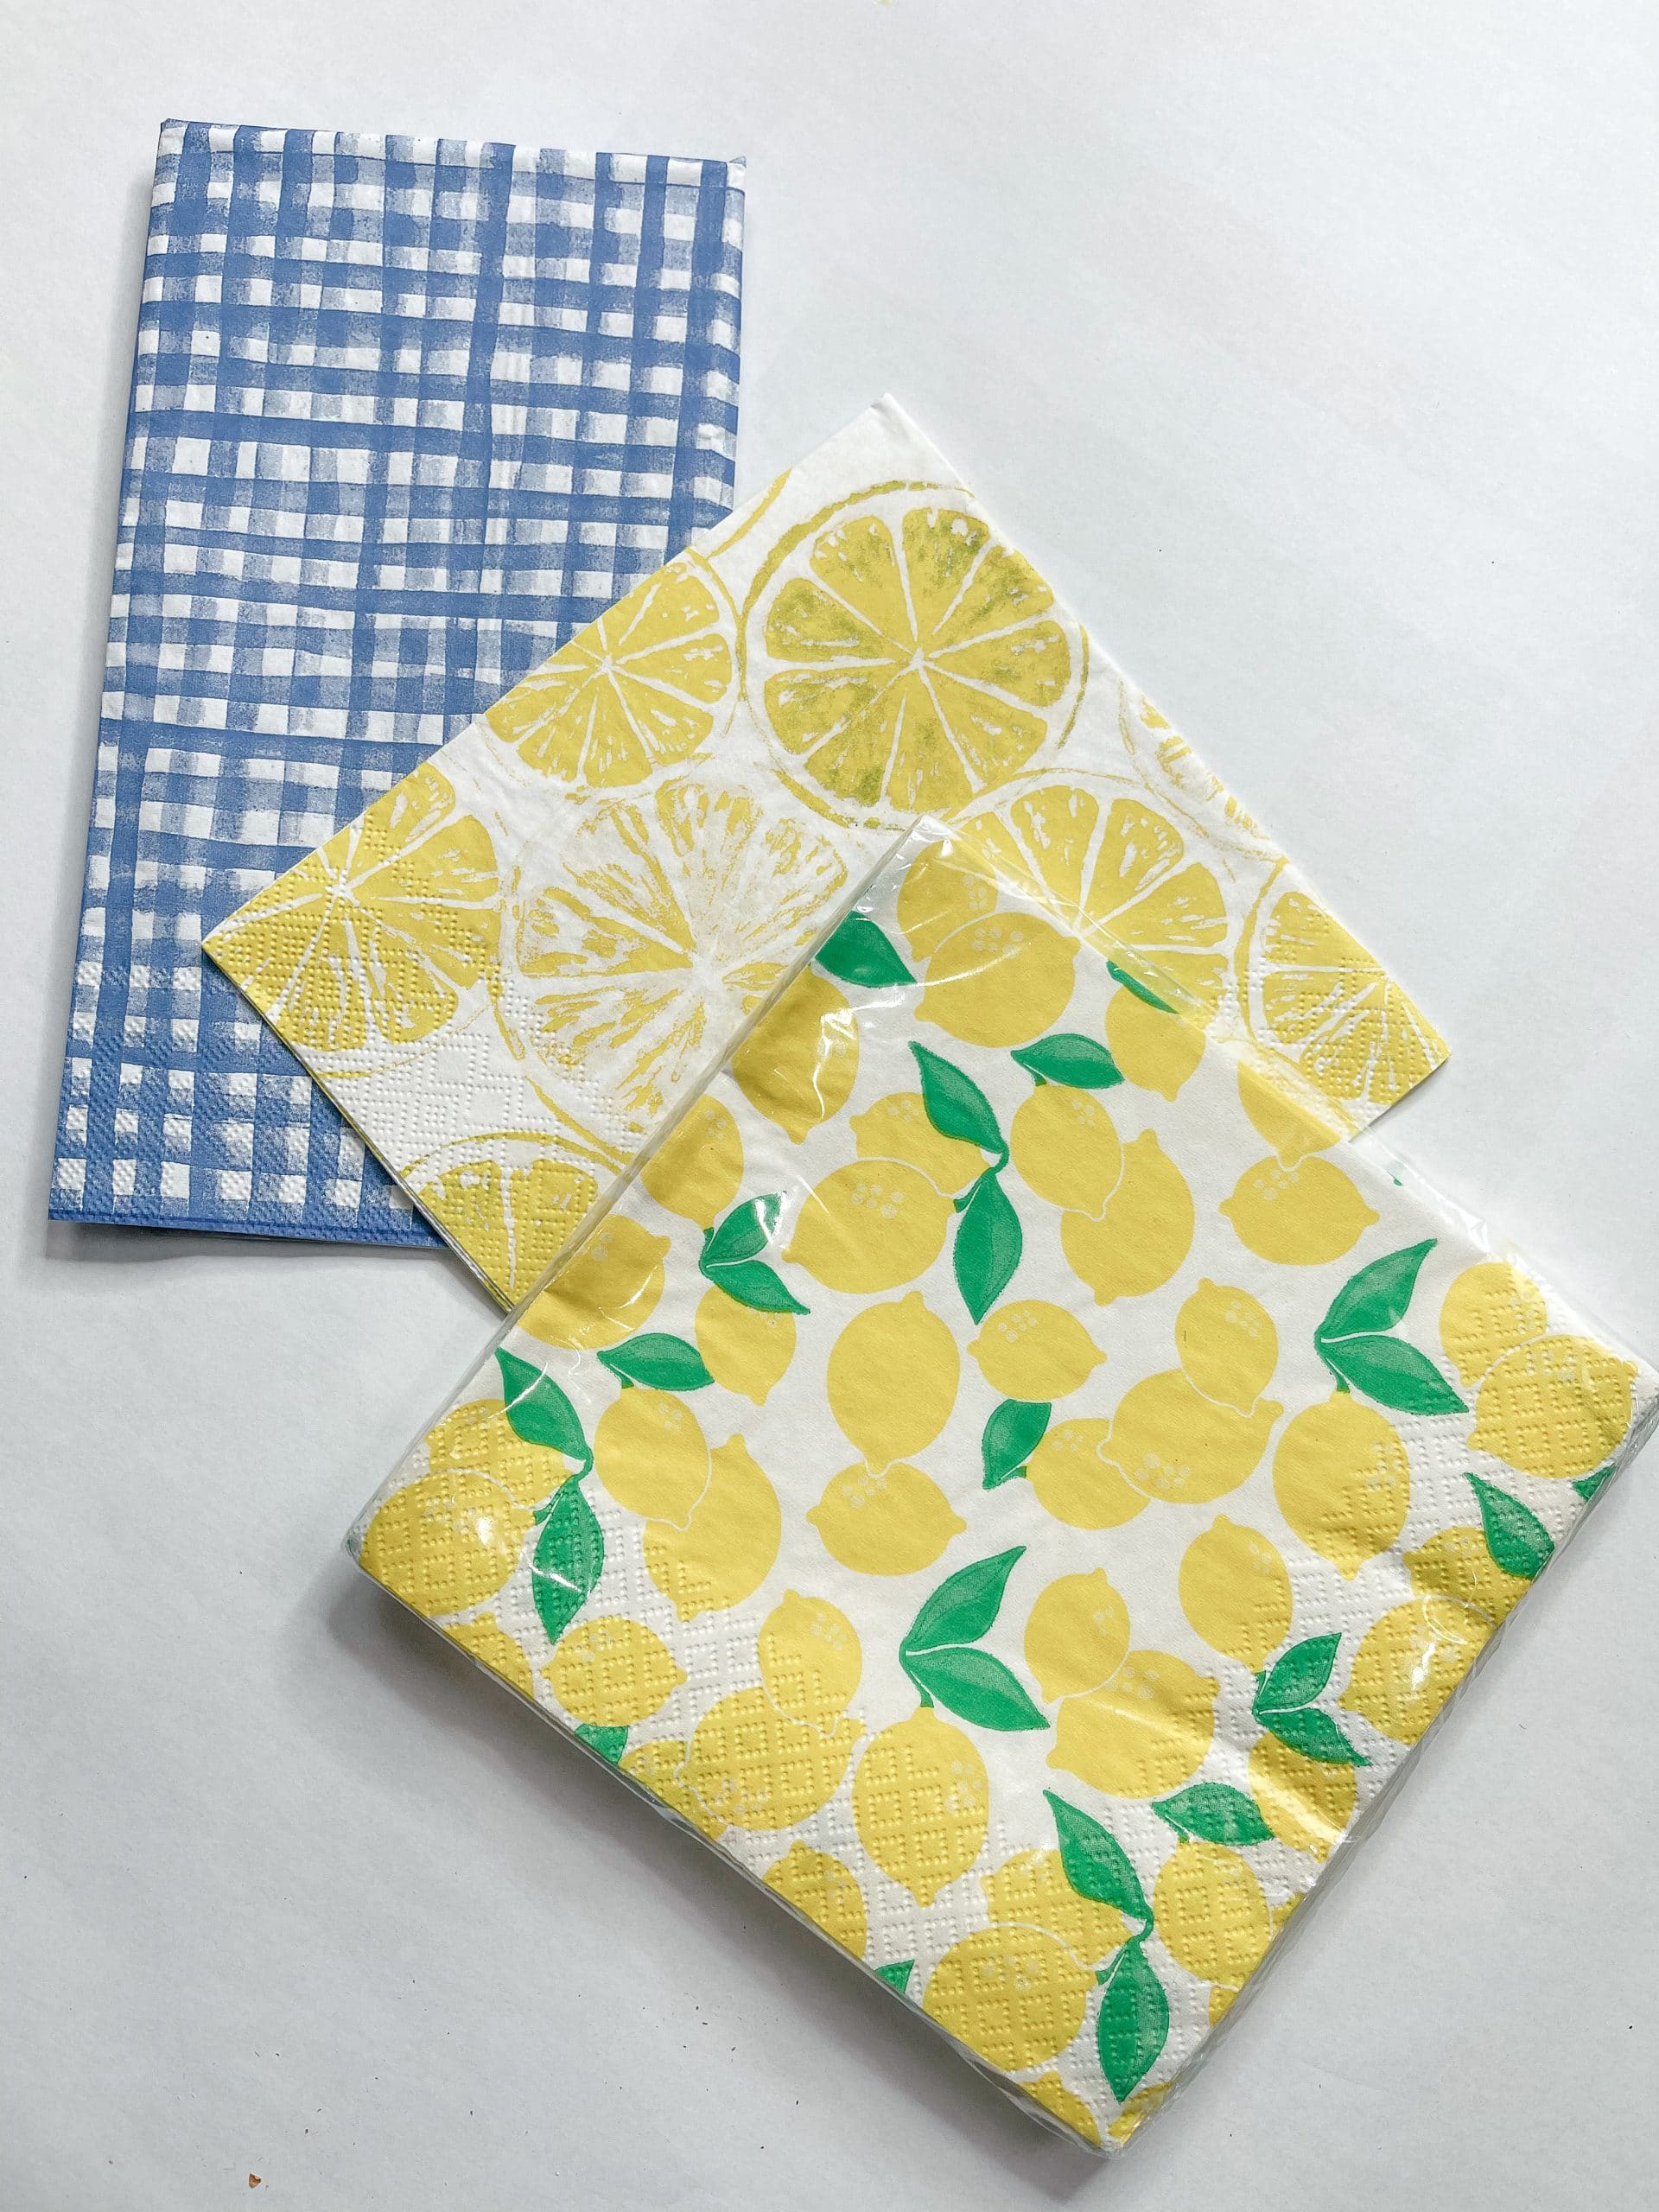
- Lemon Napkins (Home Goods)
- Lemon Slice Napkins (Home Goods)
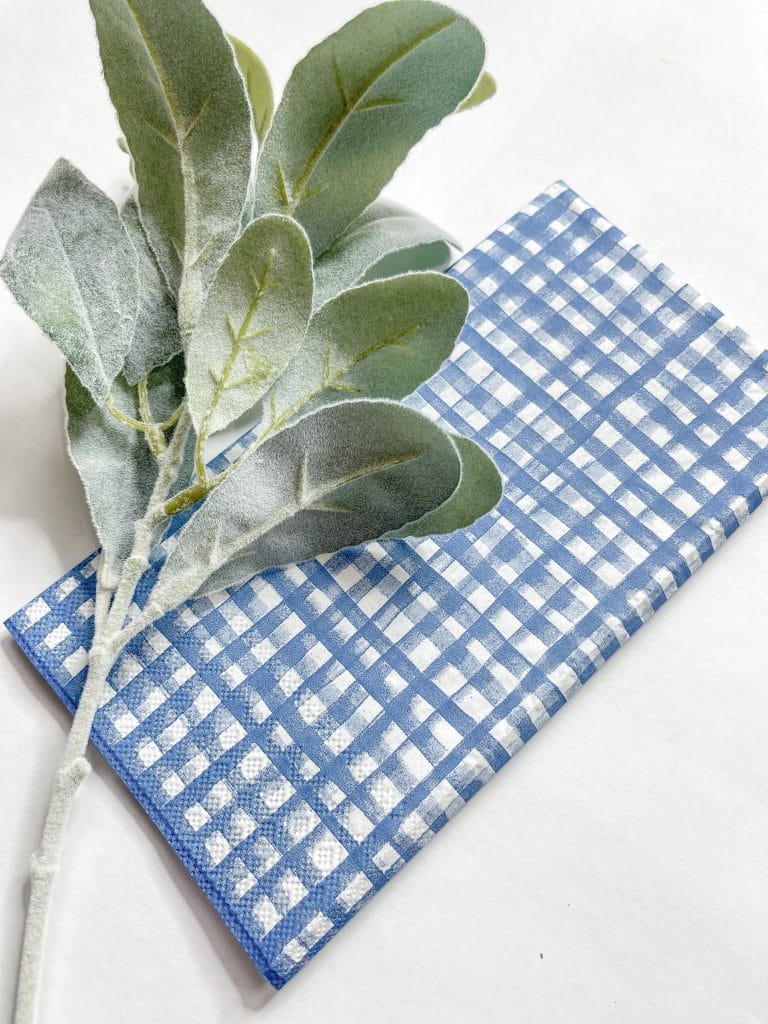
- Blue Buffalo Check Napkins (Tuesday Morning)
- Yellow Striped Ribbon (Hobby Lobby)
- White Pom Pom Wired Ribbon (Hobby Lobby)
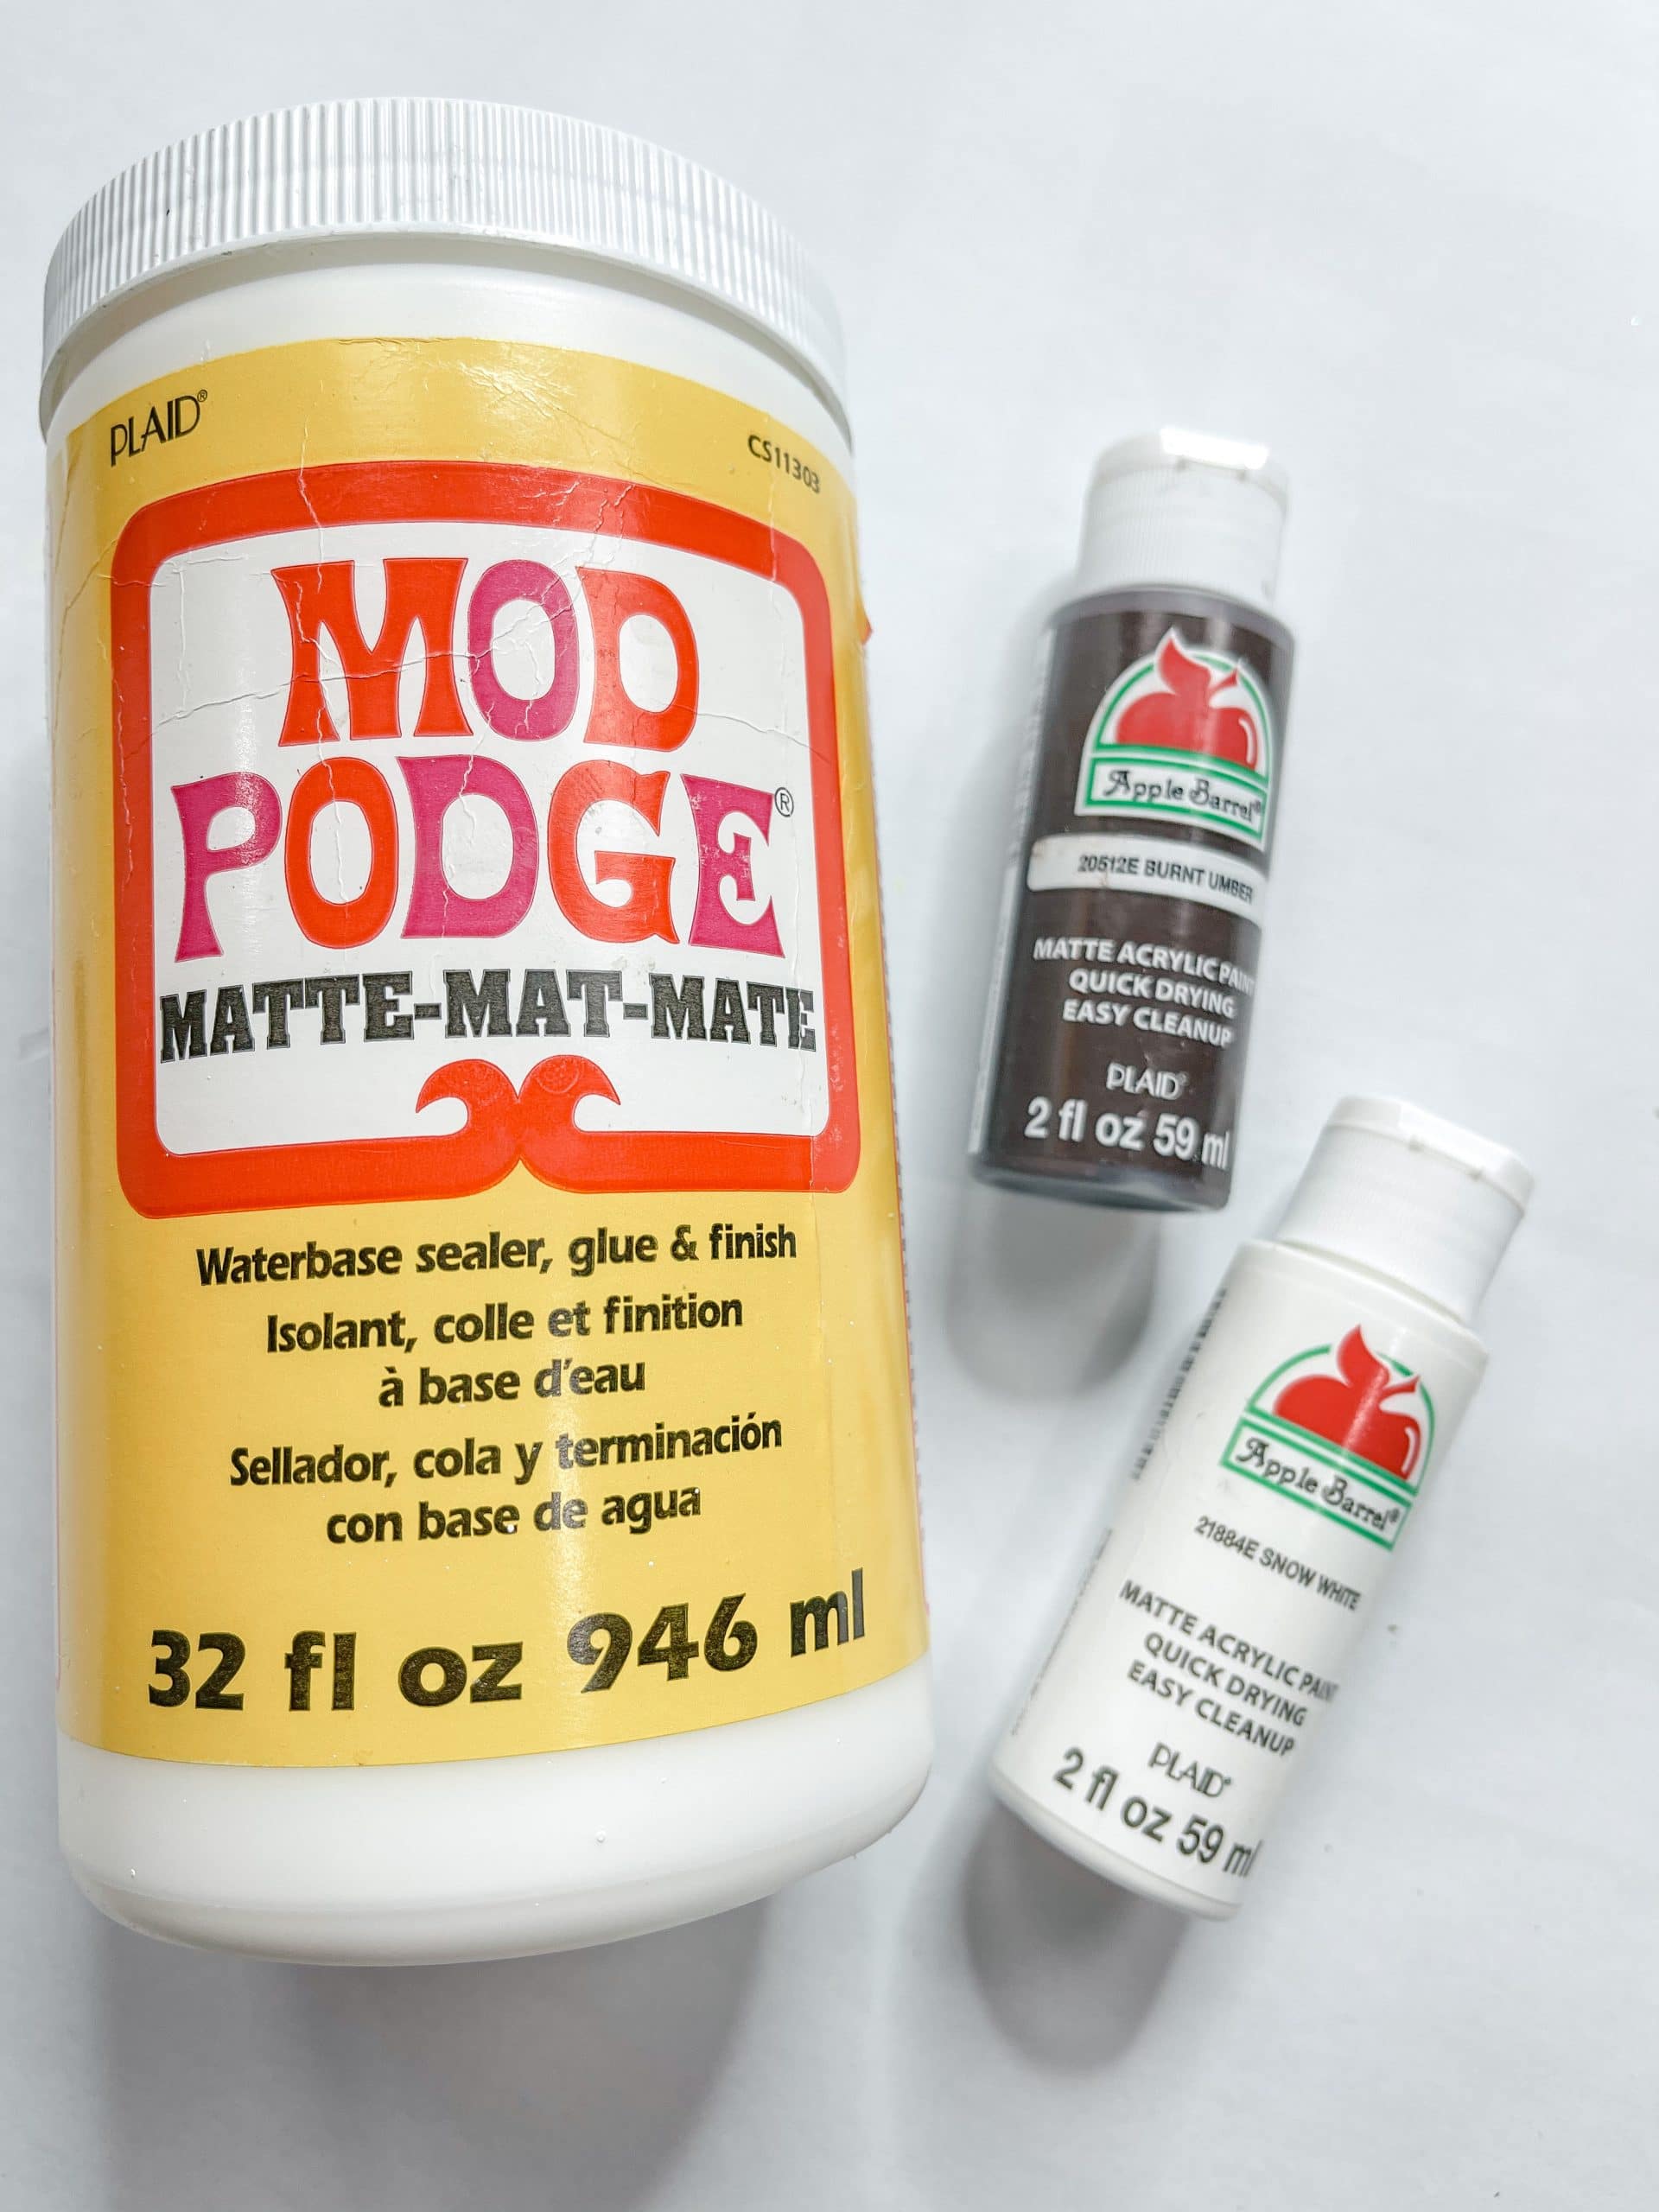
- Apple Barrel Burnt Umber Acrylic Paint
- Apple Barrel Snow White Acrylic Paint
- Hot Glue gun
- Glue Sticks
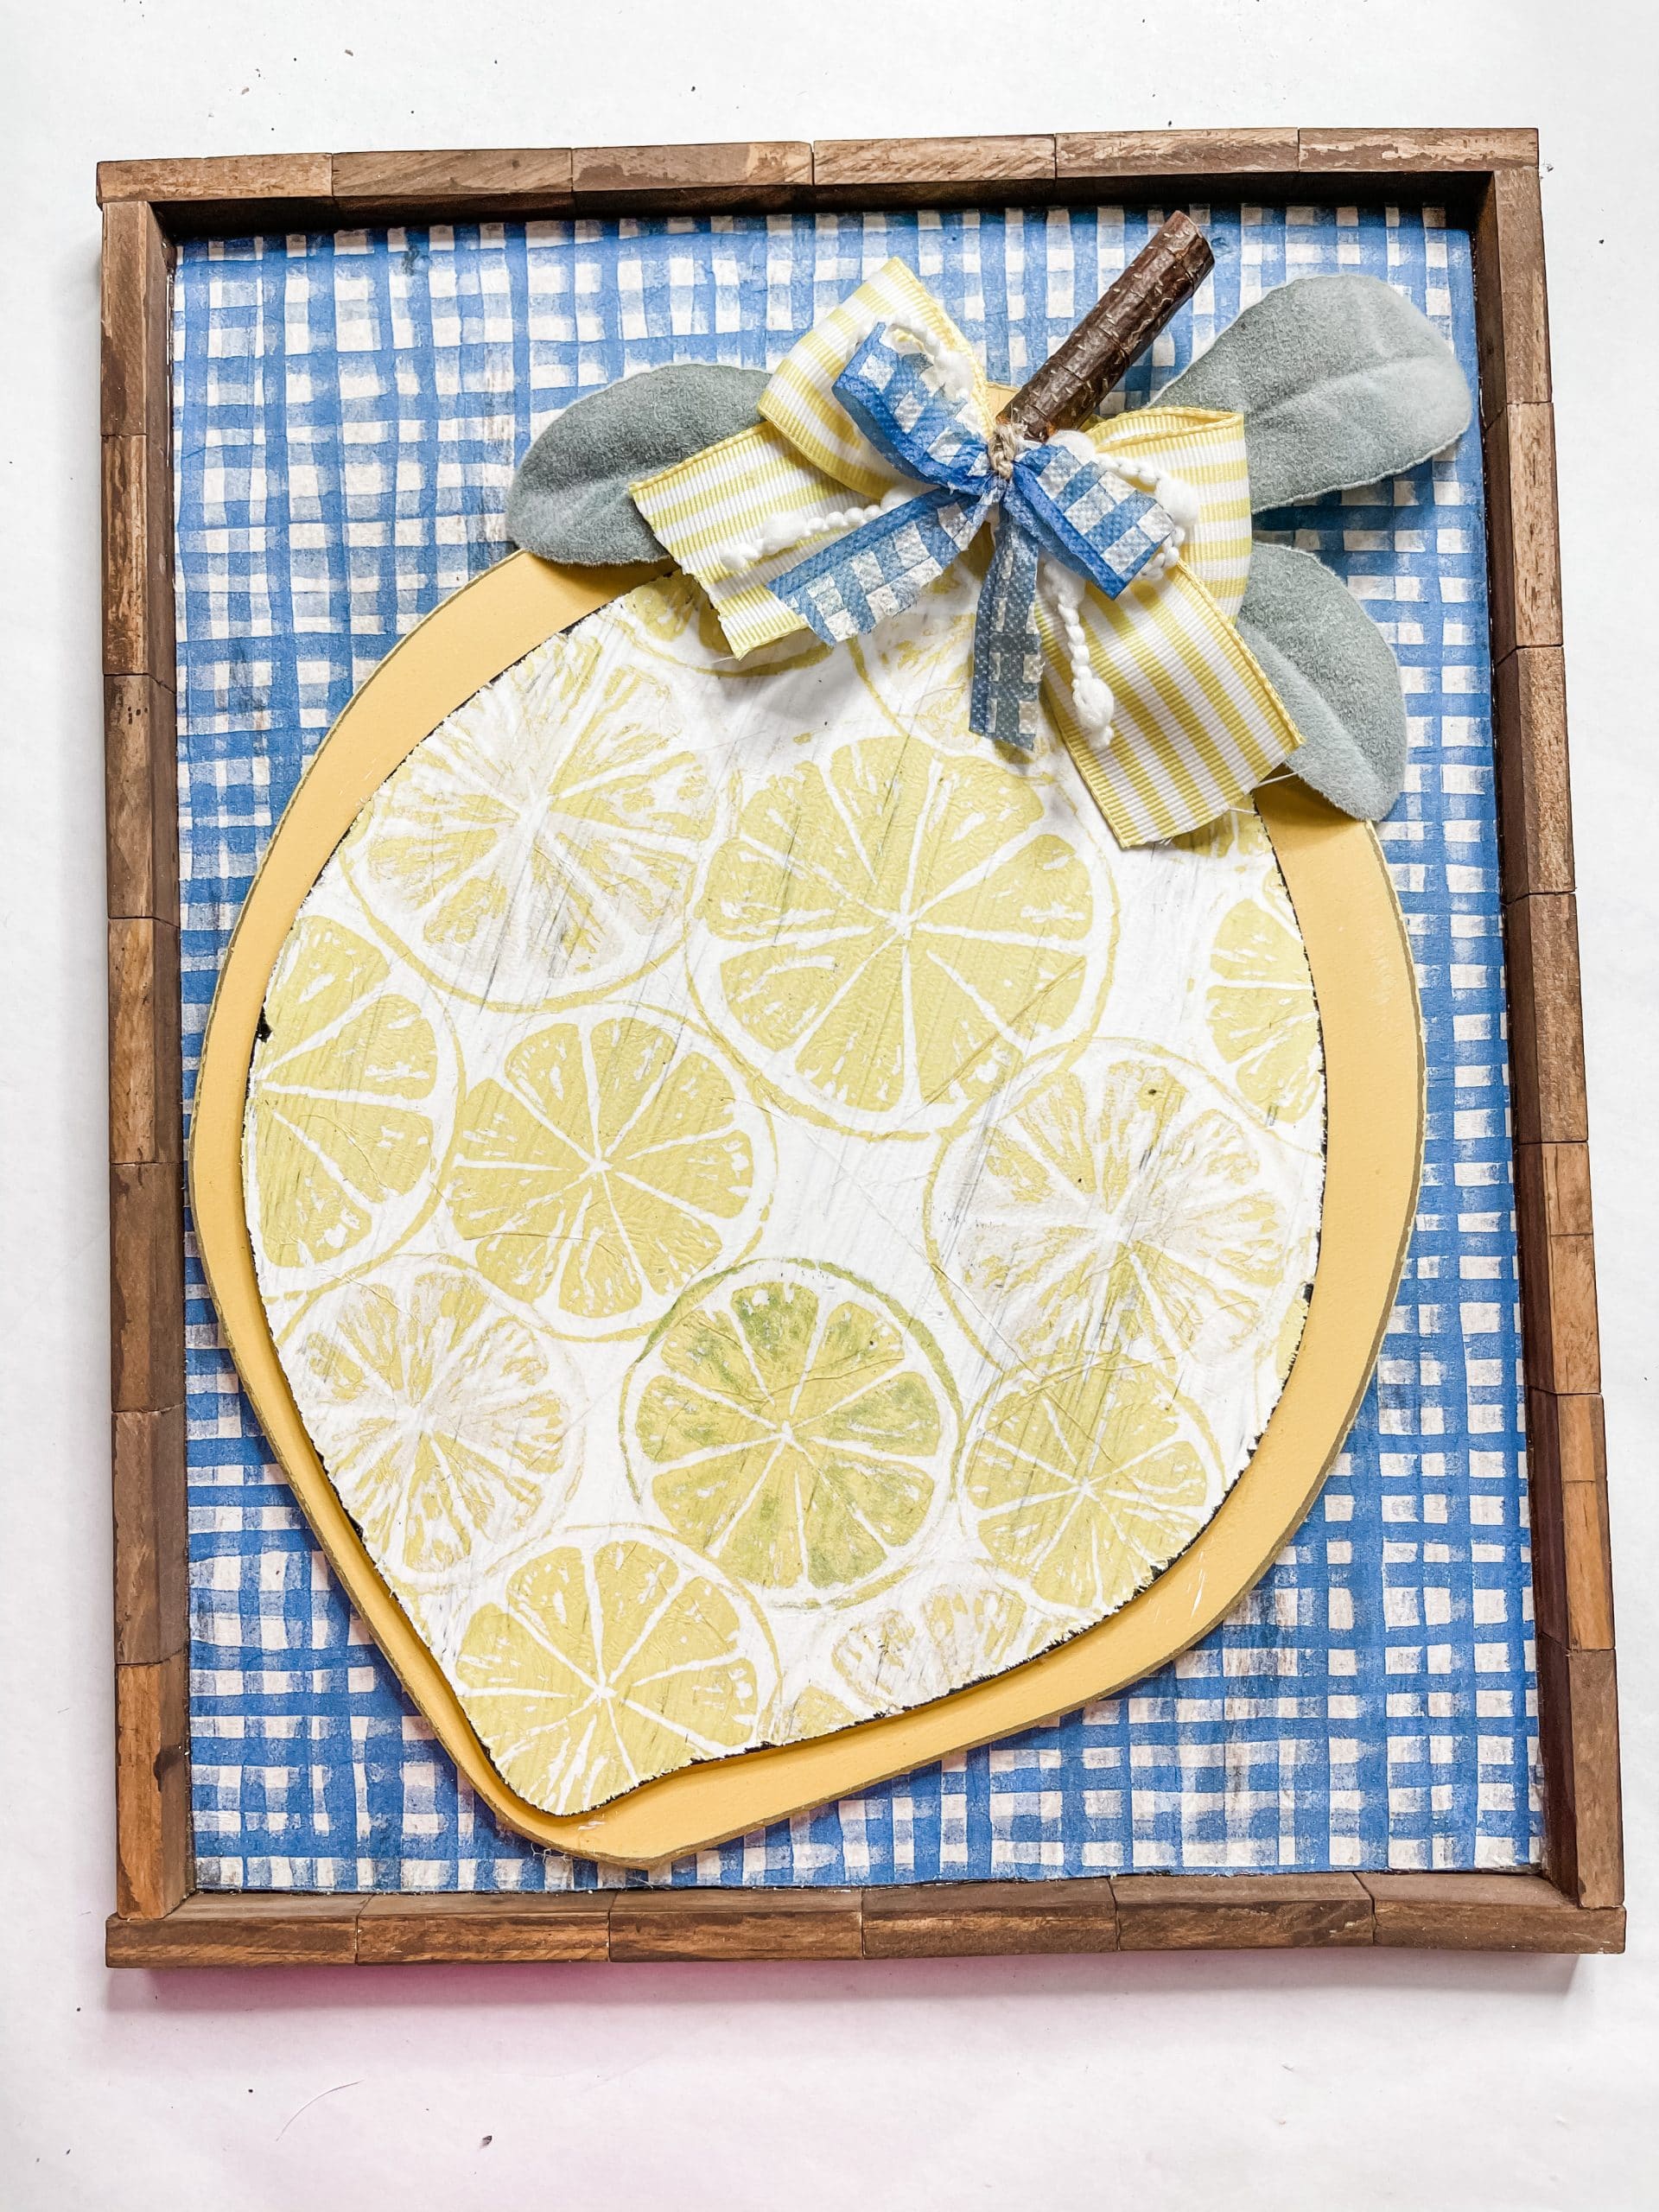
How to make a DIY Lemon Napkin Sign
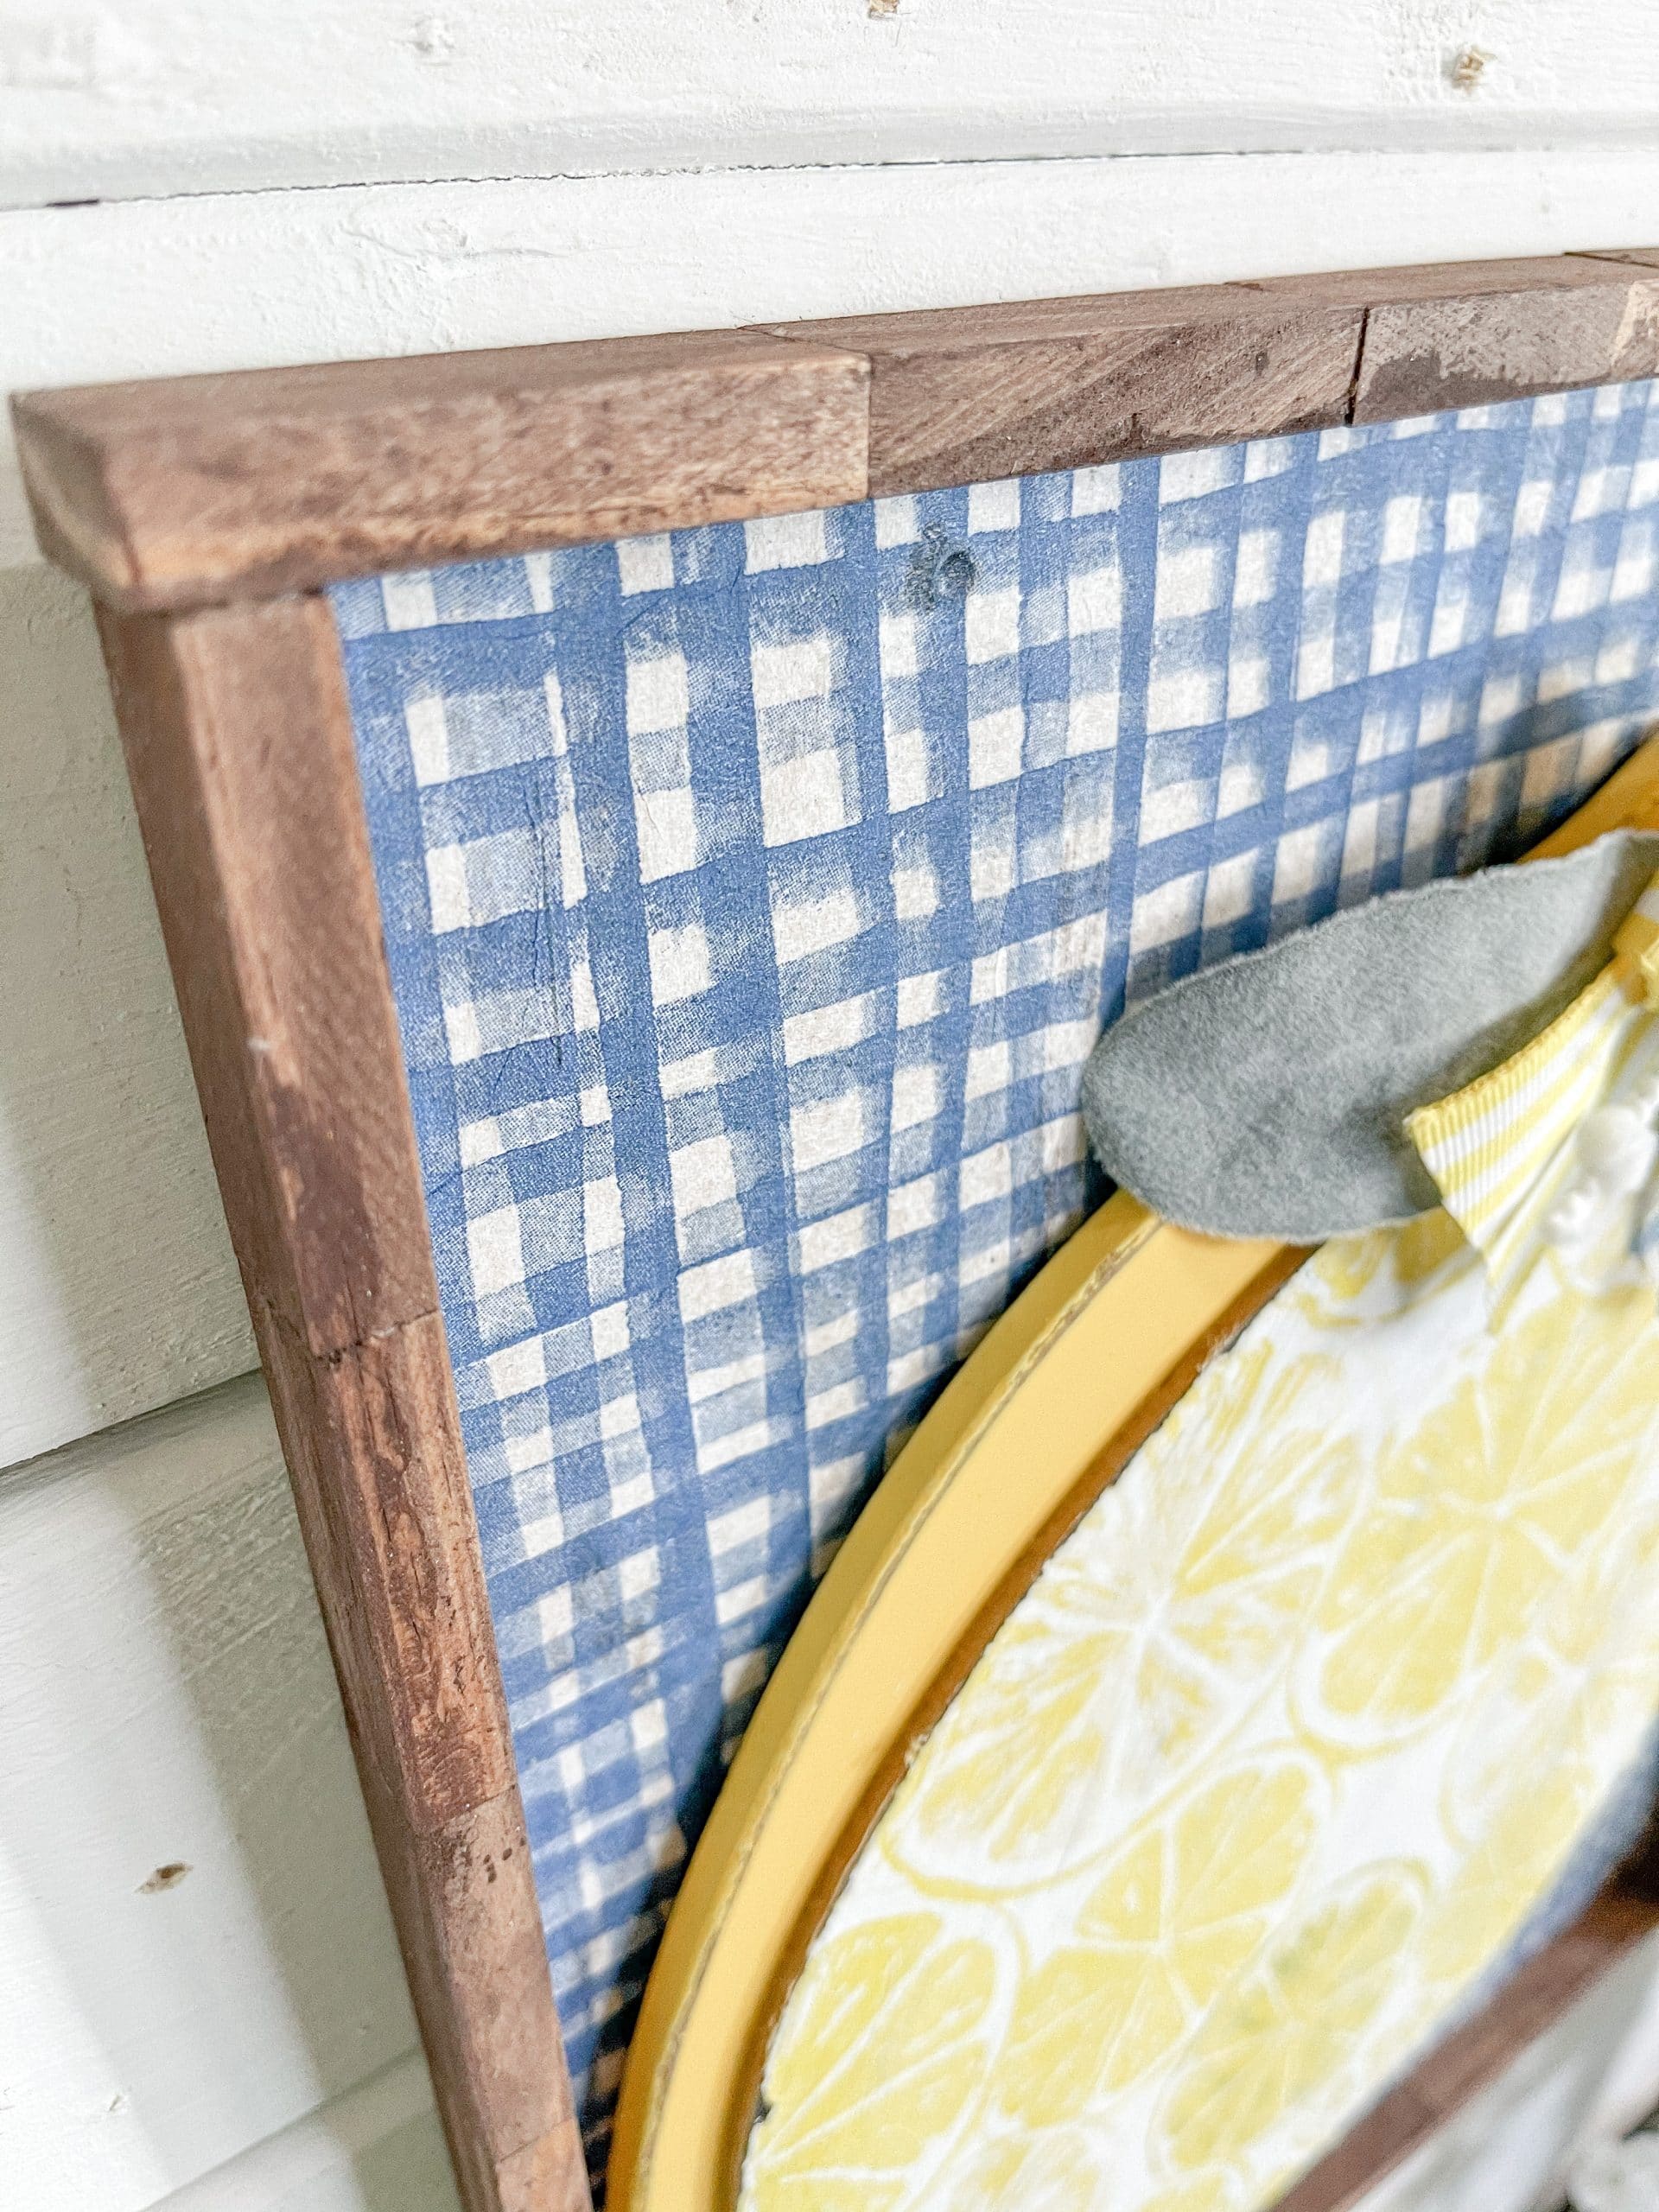
First, I laid out the Dollar Tree Tumbling Tower blocks down the edge of the Dollar Tree sign to see how many I would need. I realized that the sign was just slightly too long, so I had to trim it down a little.

Then, I removed the sticker from the back of the sign and painted the entire back with white paint. I like to use Apple Barrel acrylic paints because they are affordable and good quality for DIY projects.
I lightly brushed the white paint to get a white-washed finish rather than even coverage across the back of the sign.

Next, I got the lemon sign ready to use. I started by using my heat gun to remove the sticker at the bottom of the lemon, then used acetone to remove the writing at the top of the lemon.
Now, paint the entire chalkboard part of the lemon with white paint. This way the black doesn’t show through the napkin when you decoupage it onto the lemon.
Make your DIY frame
I used Dollar Tree Tumbling Tower blocks to create the frame for this lemon DIY decor, but you can also use Jenga blocks.
Hot glue the blocks together into four strips, one for each sign of your sign. Depending on the size of the Dollar Tree sign you use, you may need more or fewer blocks than I used.
I sanded down the blocks a little with a sanding sponge, then got ready to stain them. Pour a small amount of brown paint into a small bowl and mix in some water.
Use a wet wipe to spread the paint/water mixture across the block strips. The water helps the wood absorb the paint pigments and gives them a perfect (and affordable) stained finish.
How to decoupage
Before you can decoupage the napkins onto the signs, you need to separate the napkin plies. Otherwise, when you place them on the Mod Podge, the top layer may not adhere properly and could start peeling up later.
Apply a coat of Mod Podge to the back of the Dollar Tree sign and place the blue buffalo check napkin ply onto the Mod Podge.
Use a rolling pin to smooth out any wrinkles, creases, or bubbles that form in the napkin. I used my heat gun to quickly dry the Mod Podge, then removed the excess napkin from the edges of the sign.
Now, hot glue each of the stained Tumbling Tower block strips to the edges around the sign to bring your frame together.
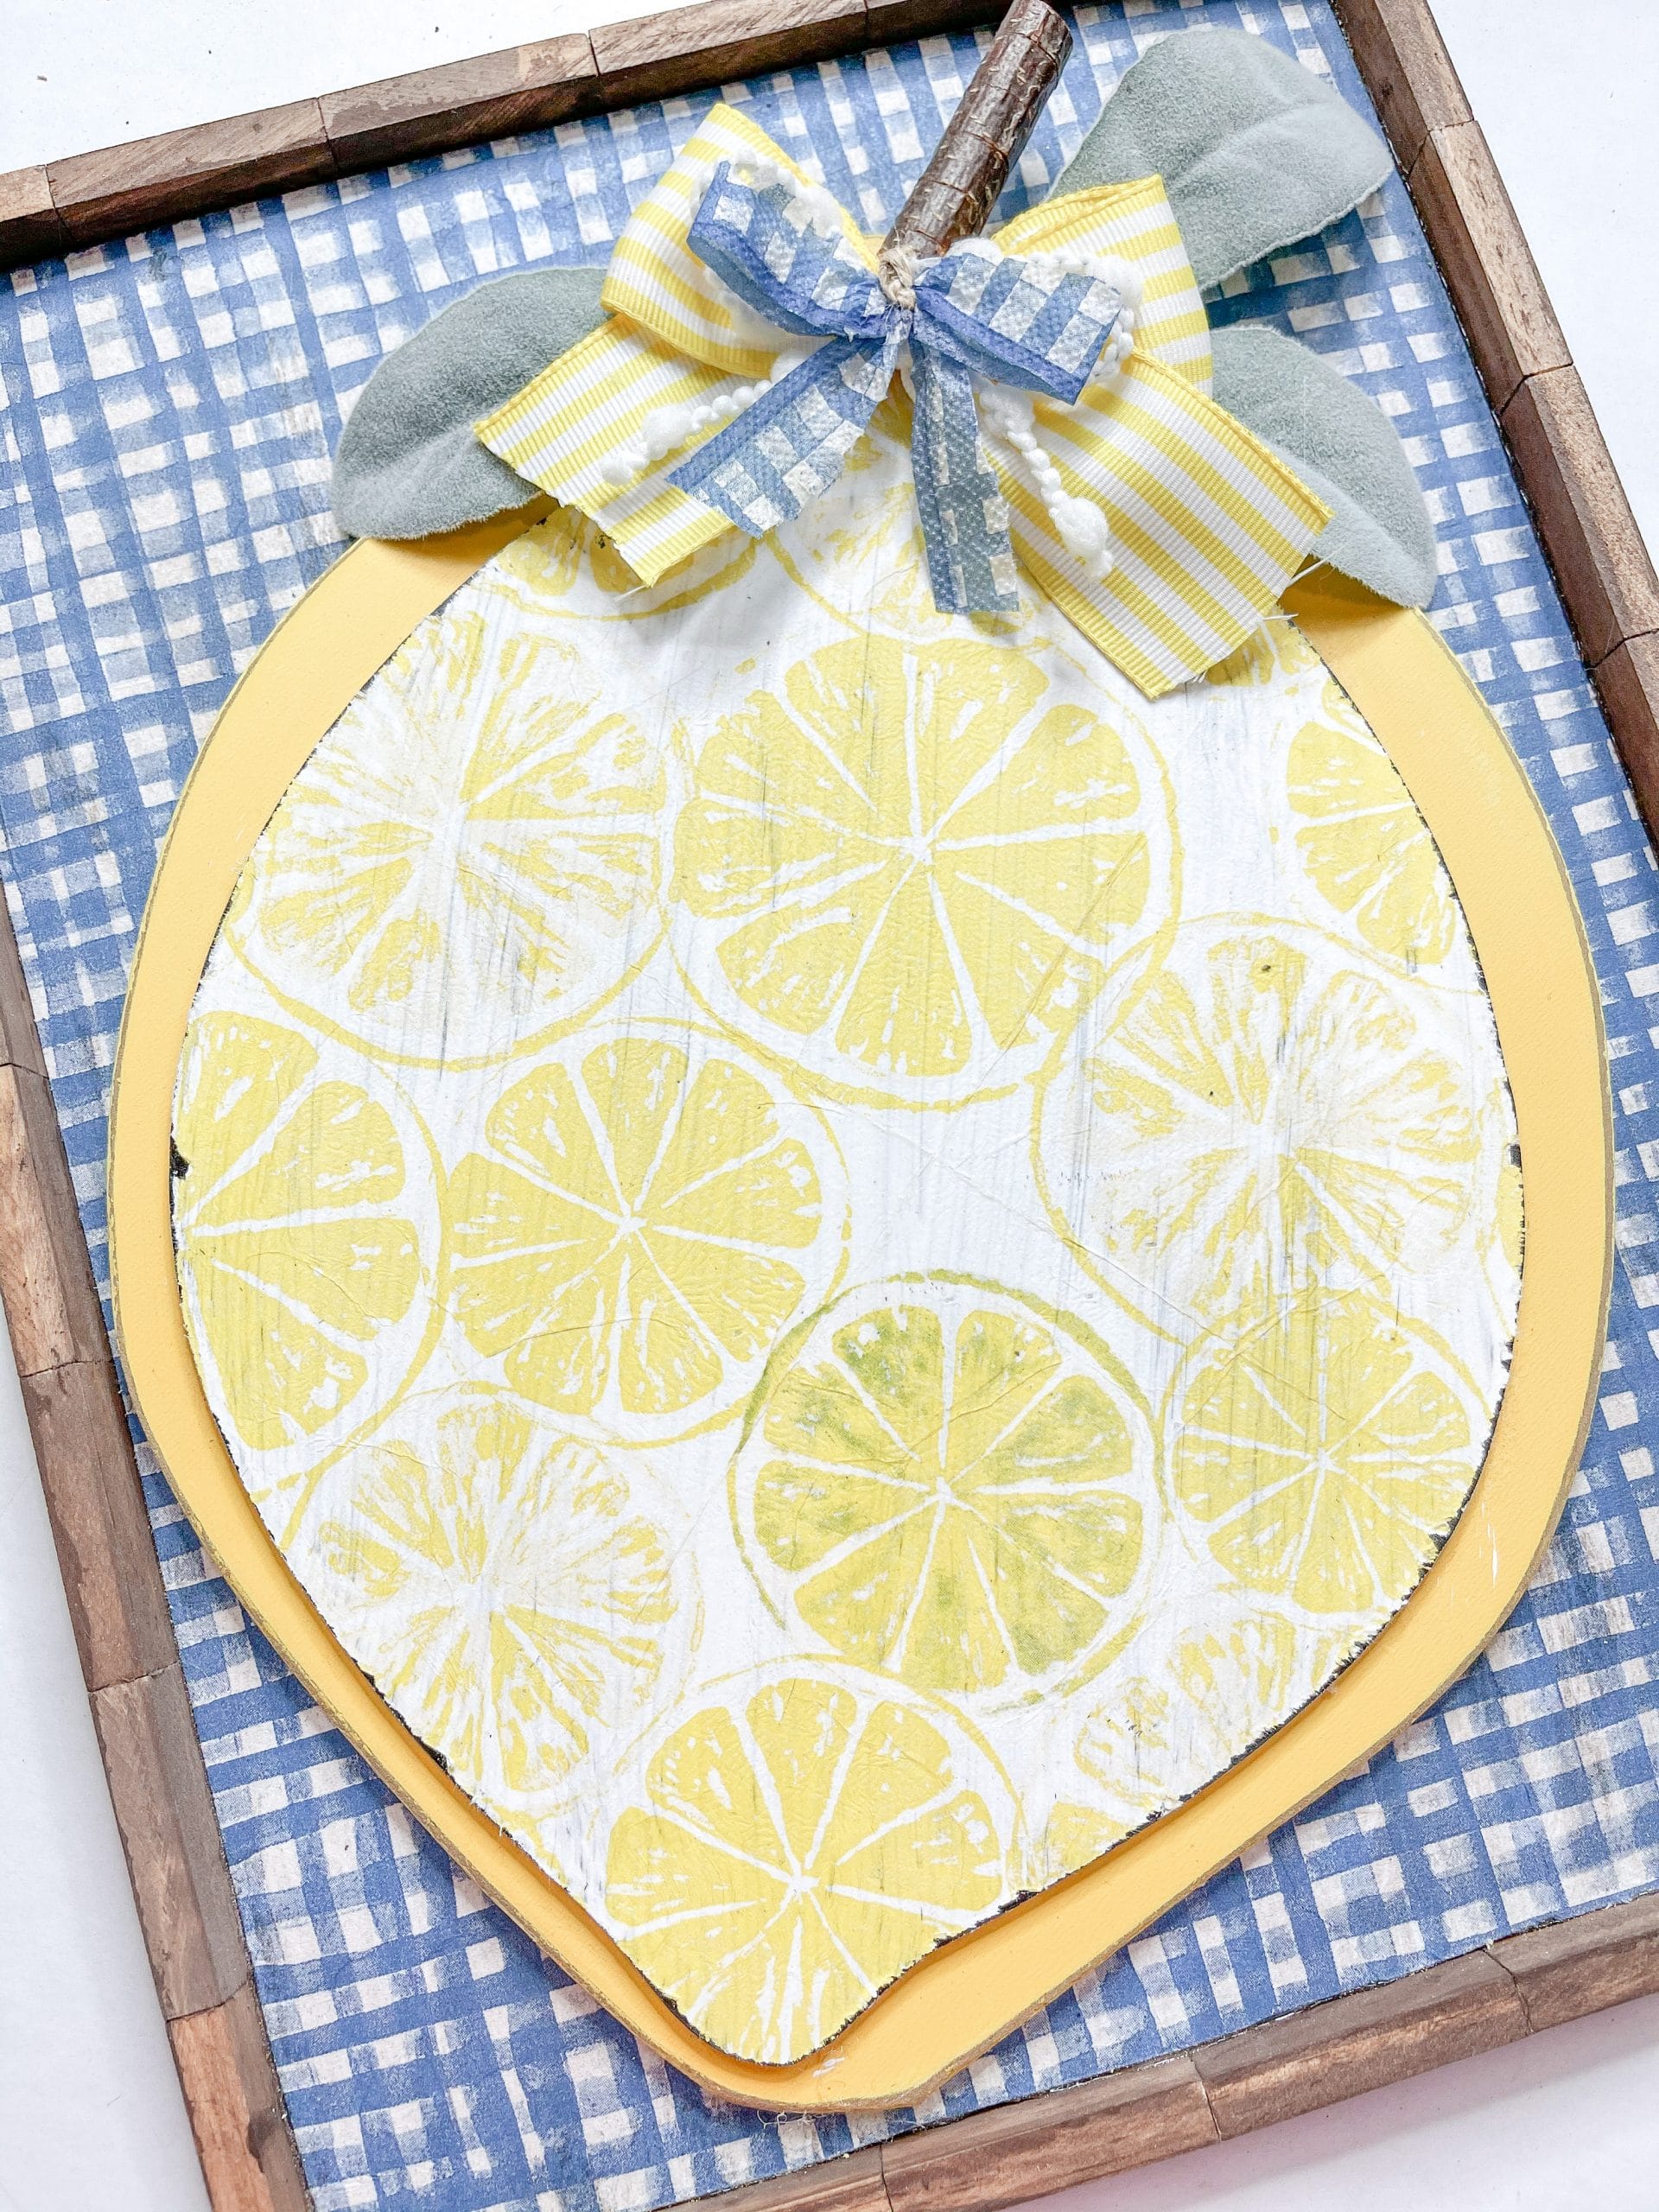
Next, you’re going to decoupage the lemon slice napkin onto the lemon sign. Again, apply Mod Podge over the white paint and place the napkin onto the Mod Podge.
Smooth out the wrinkles and bubbles, allow the Mod Podge to dry, then remove the excess napkin from the edges.
How to make a bow
I used some of the blue buffalo check napkin remnants and yellow/white striped ribbon to make the bow for this DIY lemon sign.
I folded the ribbon into the shape of a bow and secured the center with a piece of jute twine. Next, I did the same thing with a piece of the blue buffalo check ribbon.
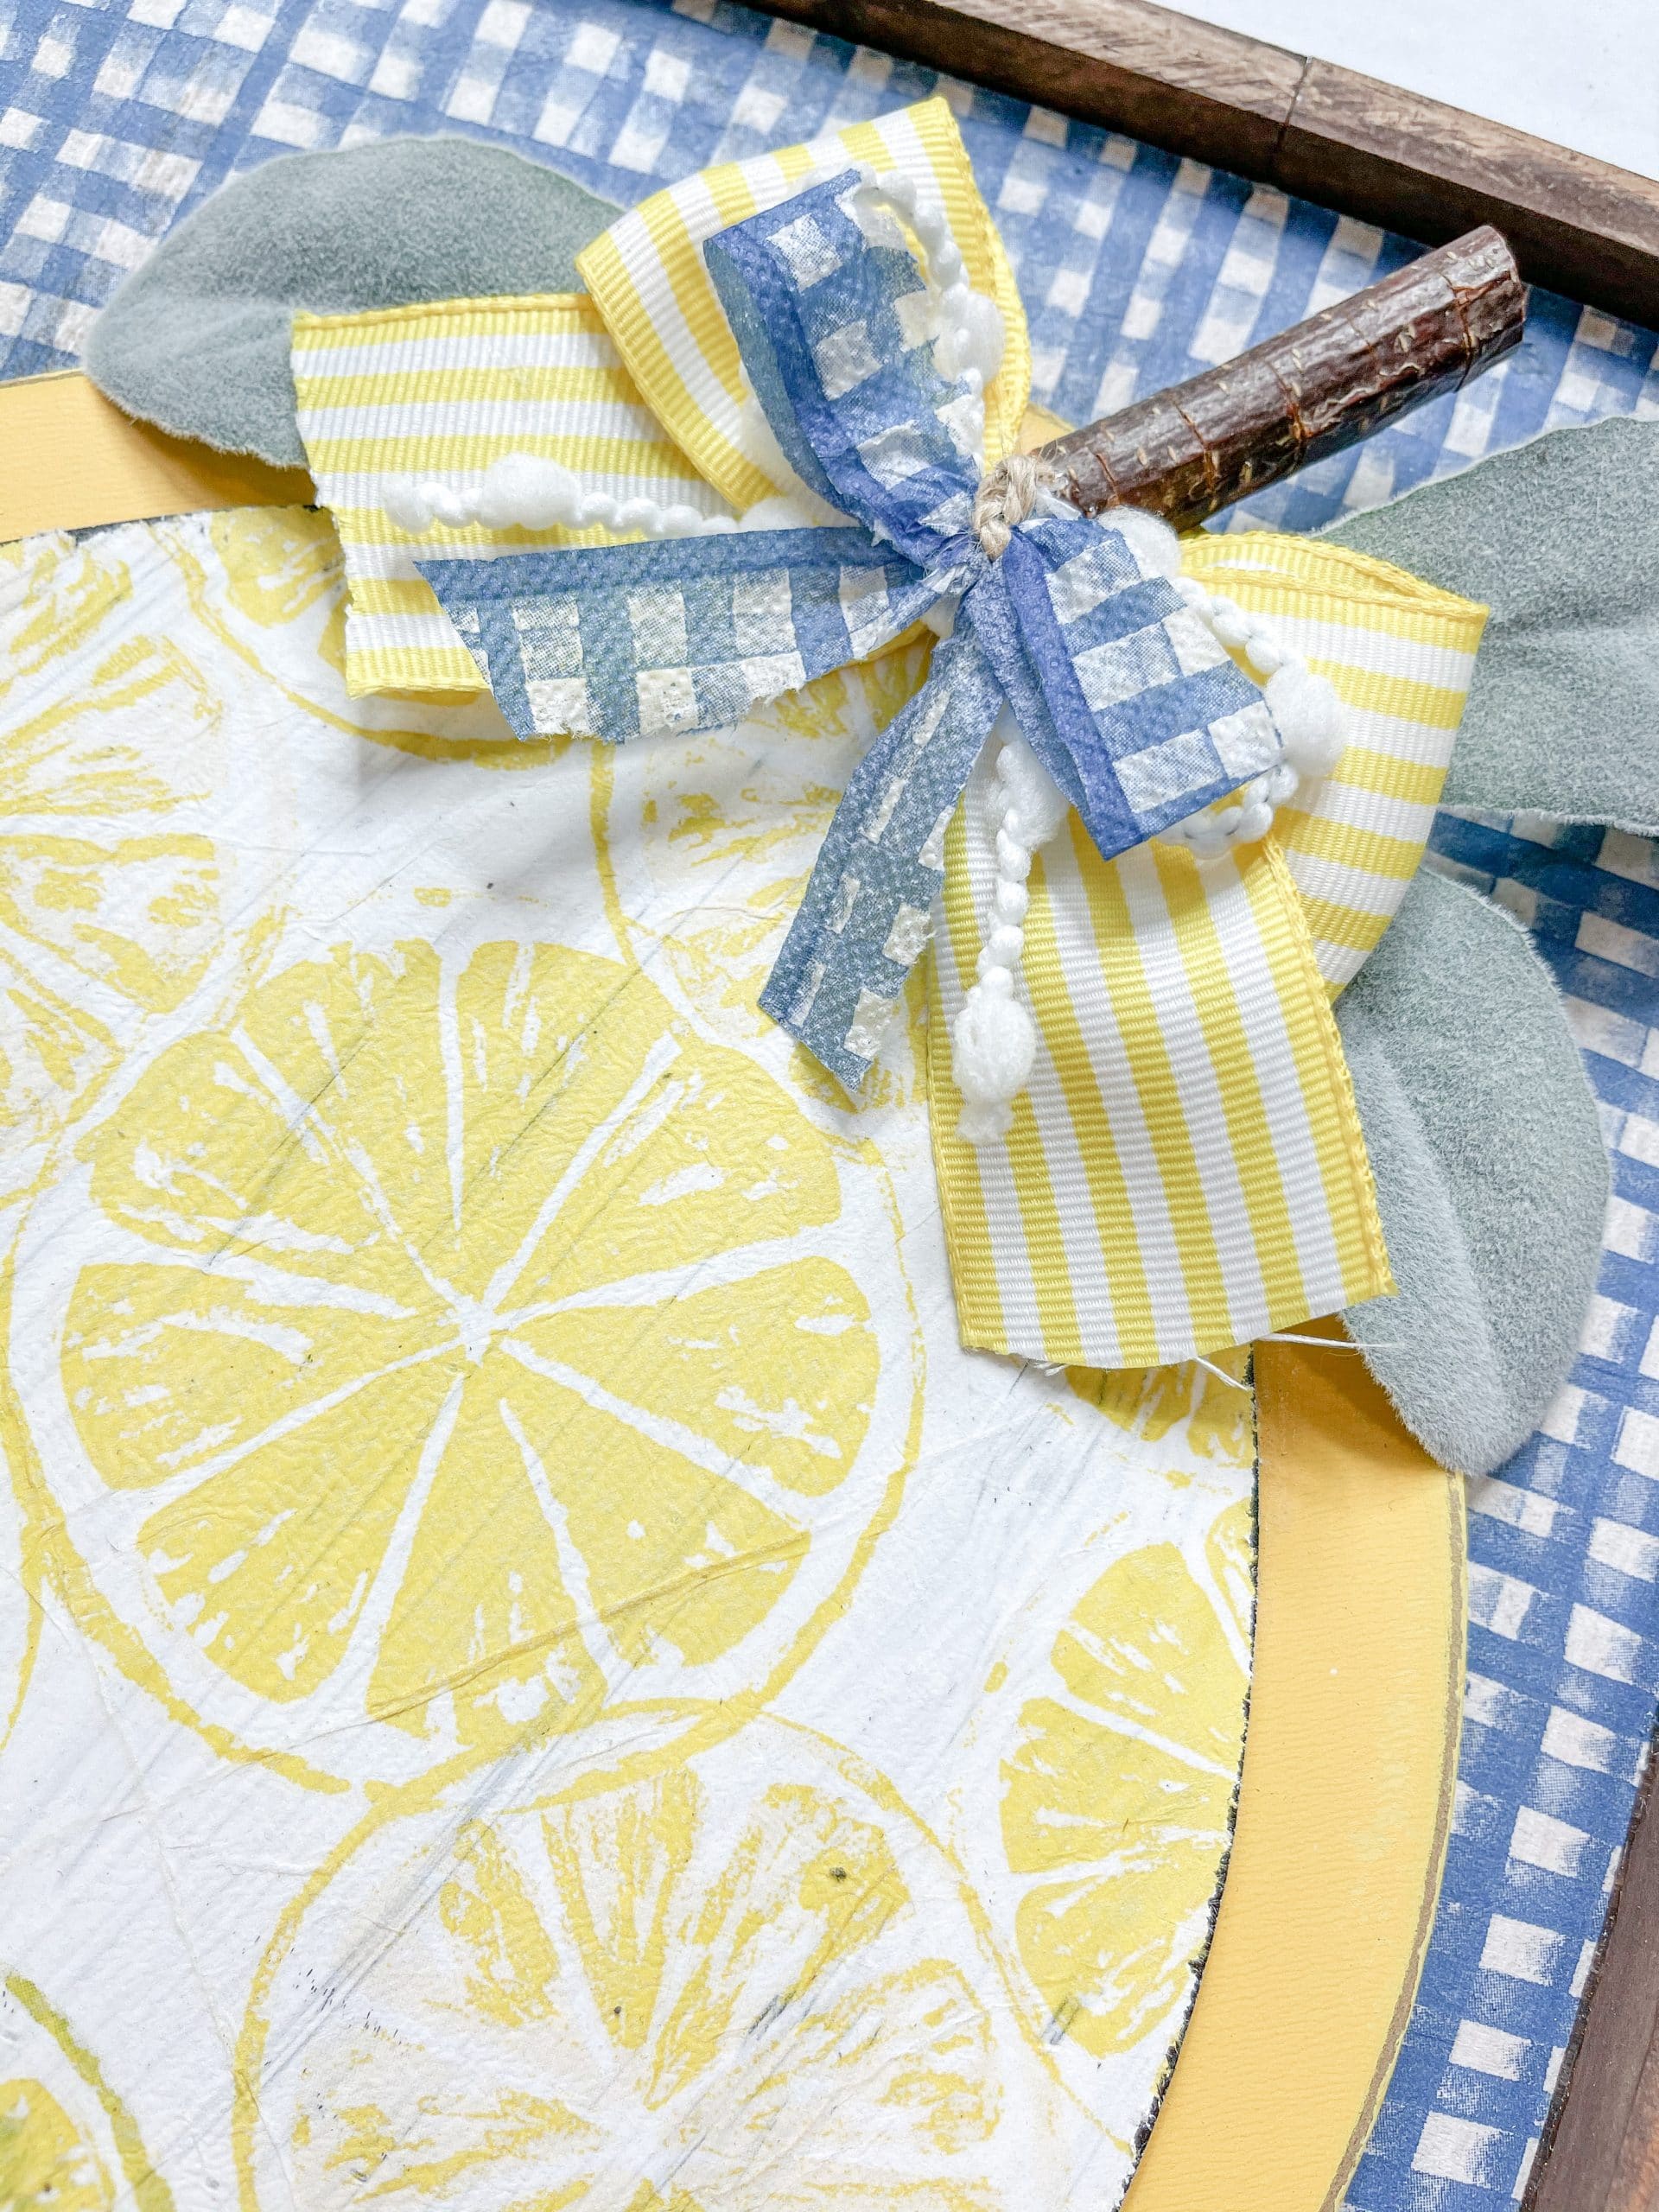
Then, I tied the white pom pom wired ribbon into the shape of a bow and hot glued it onto the front of the yellow ribbon bow.
Now, hot glue the blue buffalo check napkin ribbon on top of the white pom pom wired ribbon bow. I absolutely love how adorable this small, DIY layered bow turned out!

Bring it all together
Hot glue the lemon sign onto the decoupaged Dollar Tree sign. Then, hot glue a Dollar Tree wood stem to the top of the lemon sign.
Next, I pulled some leaves off the lamb’s ear greenery and hot glued them at the base of the wood stem.
Finally, hot glue the DIY small layered bow at the bottom of the wood stem! Once the glue is dry, you’re ready to decorate your home with this adorable DIY Lemon Napkin Sign!
I hope you enjoyed this DIY Lemon Napkin Sign for Summer or Spring as much as I did and decide to make it for yourself! If you do, I would love to see how yours turns out!
You should totally join my FREE Facebook group called On A Budget Crafts! It is a judgment-free community for DIY crafters to show off their projects and ideas.
If you loved this DIY, you might also like these Dollar Tree Lighthouse DIY Nautical Decor!
Thanks for stopping by! XOXO Amber
You can also shop my ENTIRE AMAZON Favorites shop just click here! It’s packed full of all the things I use and love. Here is the supply list I highly recommend every creative have on hand!!
Would you also pin my blog for later and get on my newsletter alerts? I would love to have you join my #craftycrew.
Inspired? Leave me a comment below! I love hearing from my readers!

Join my free “ON A BUDGET CRAFTS” Facebook group!
Awesome job, LOVE IT