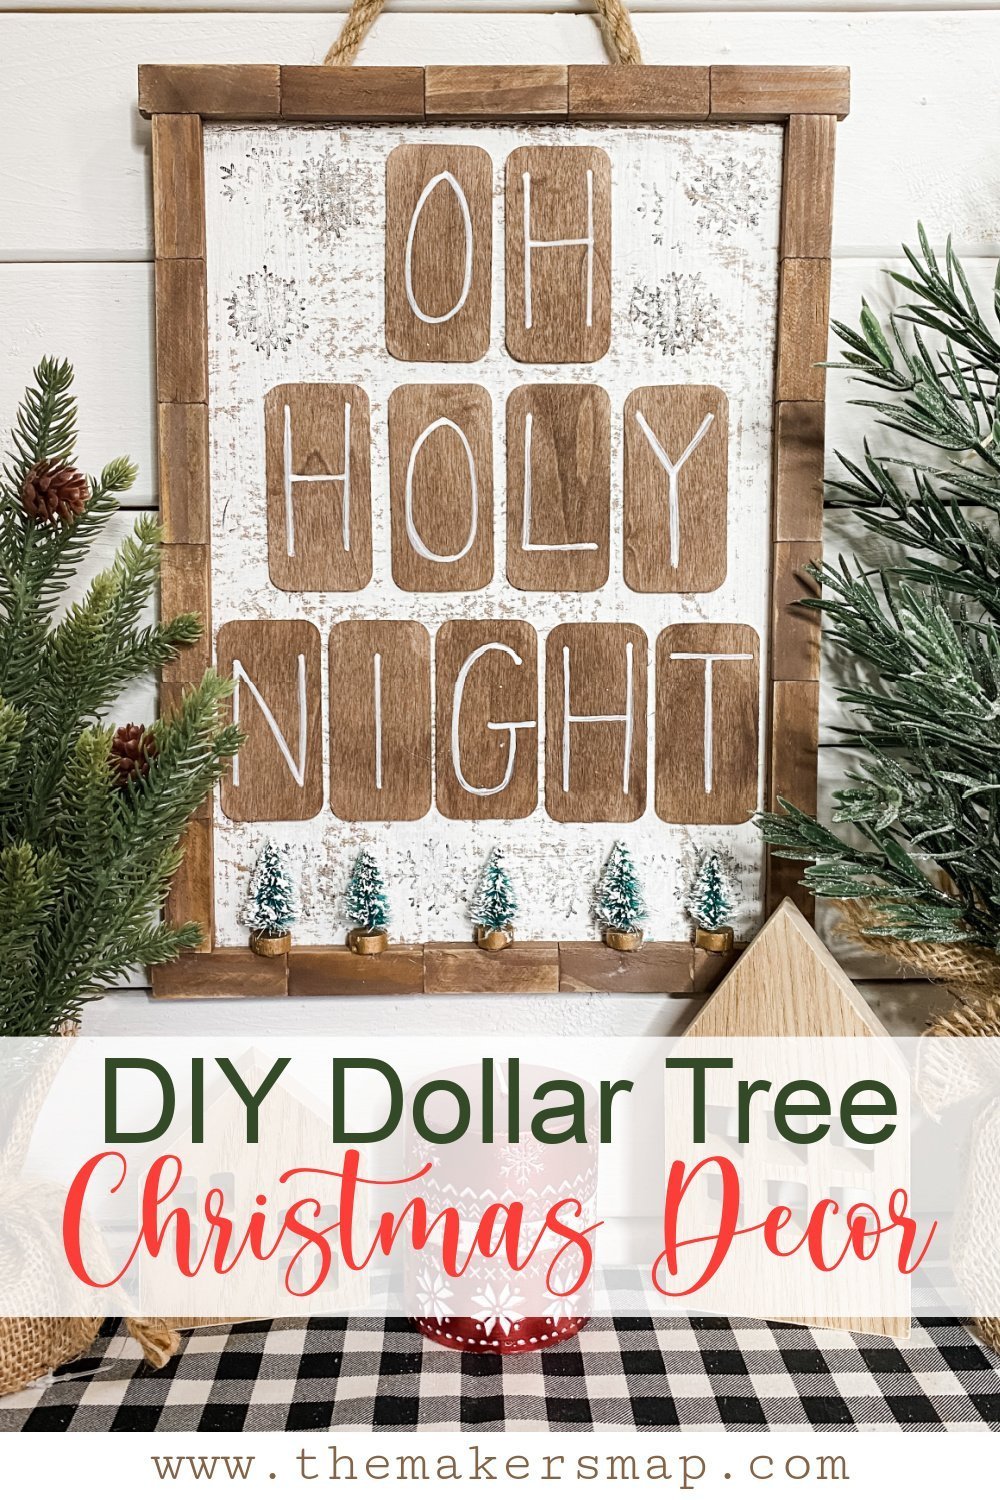
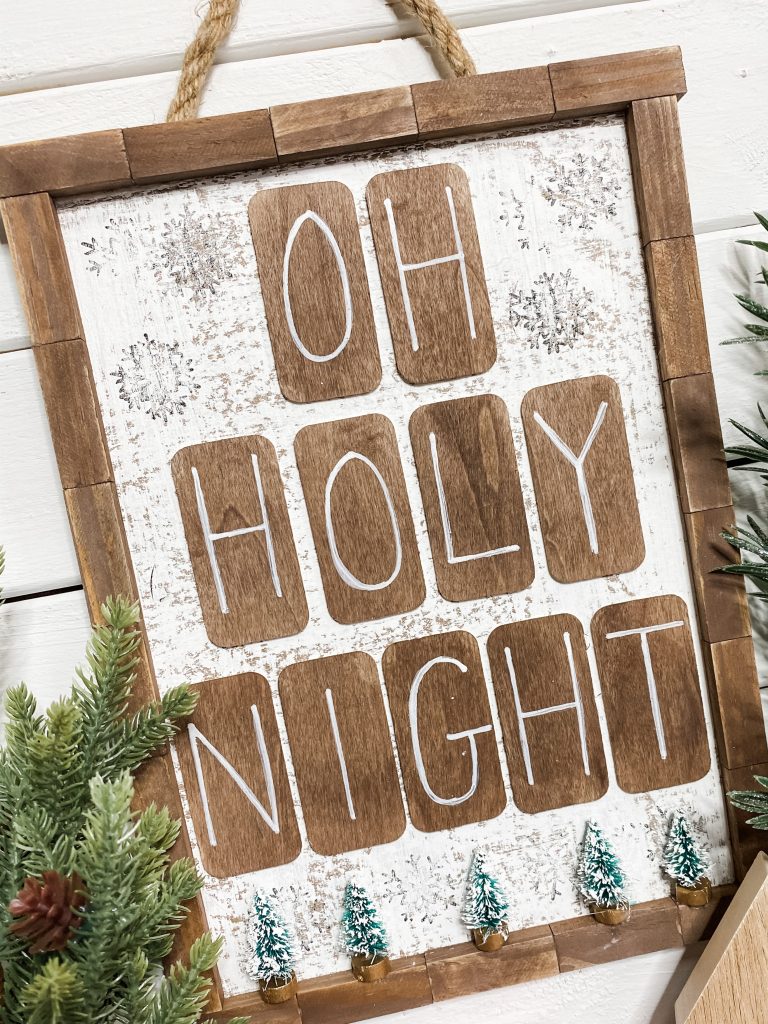
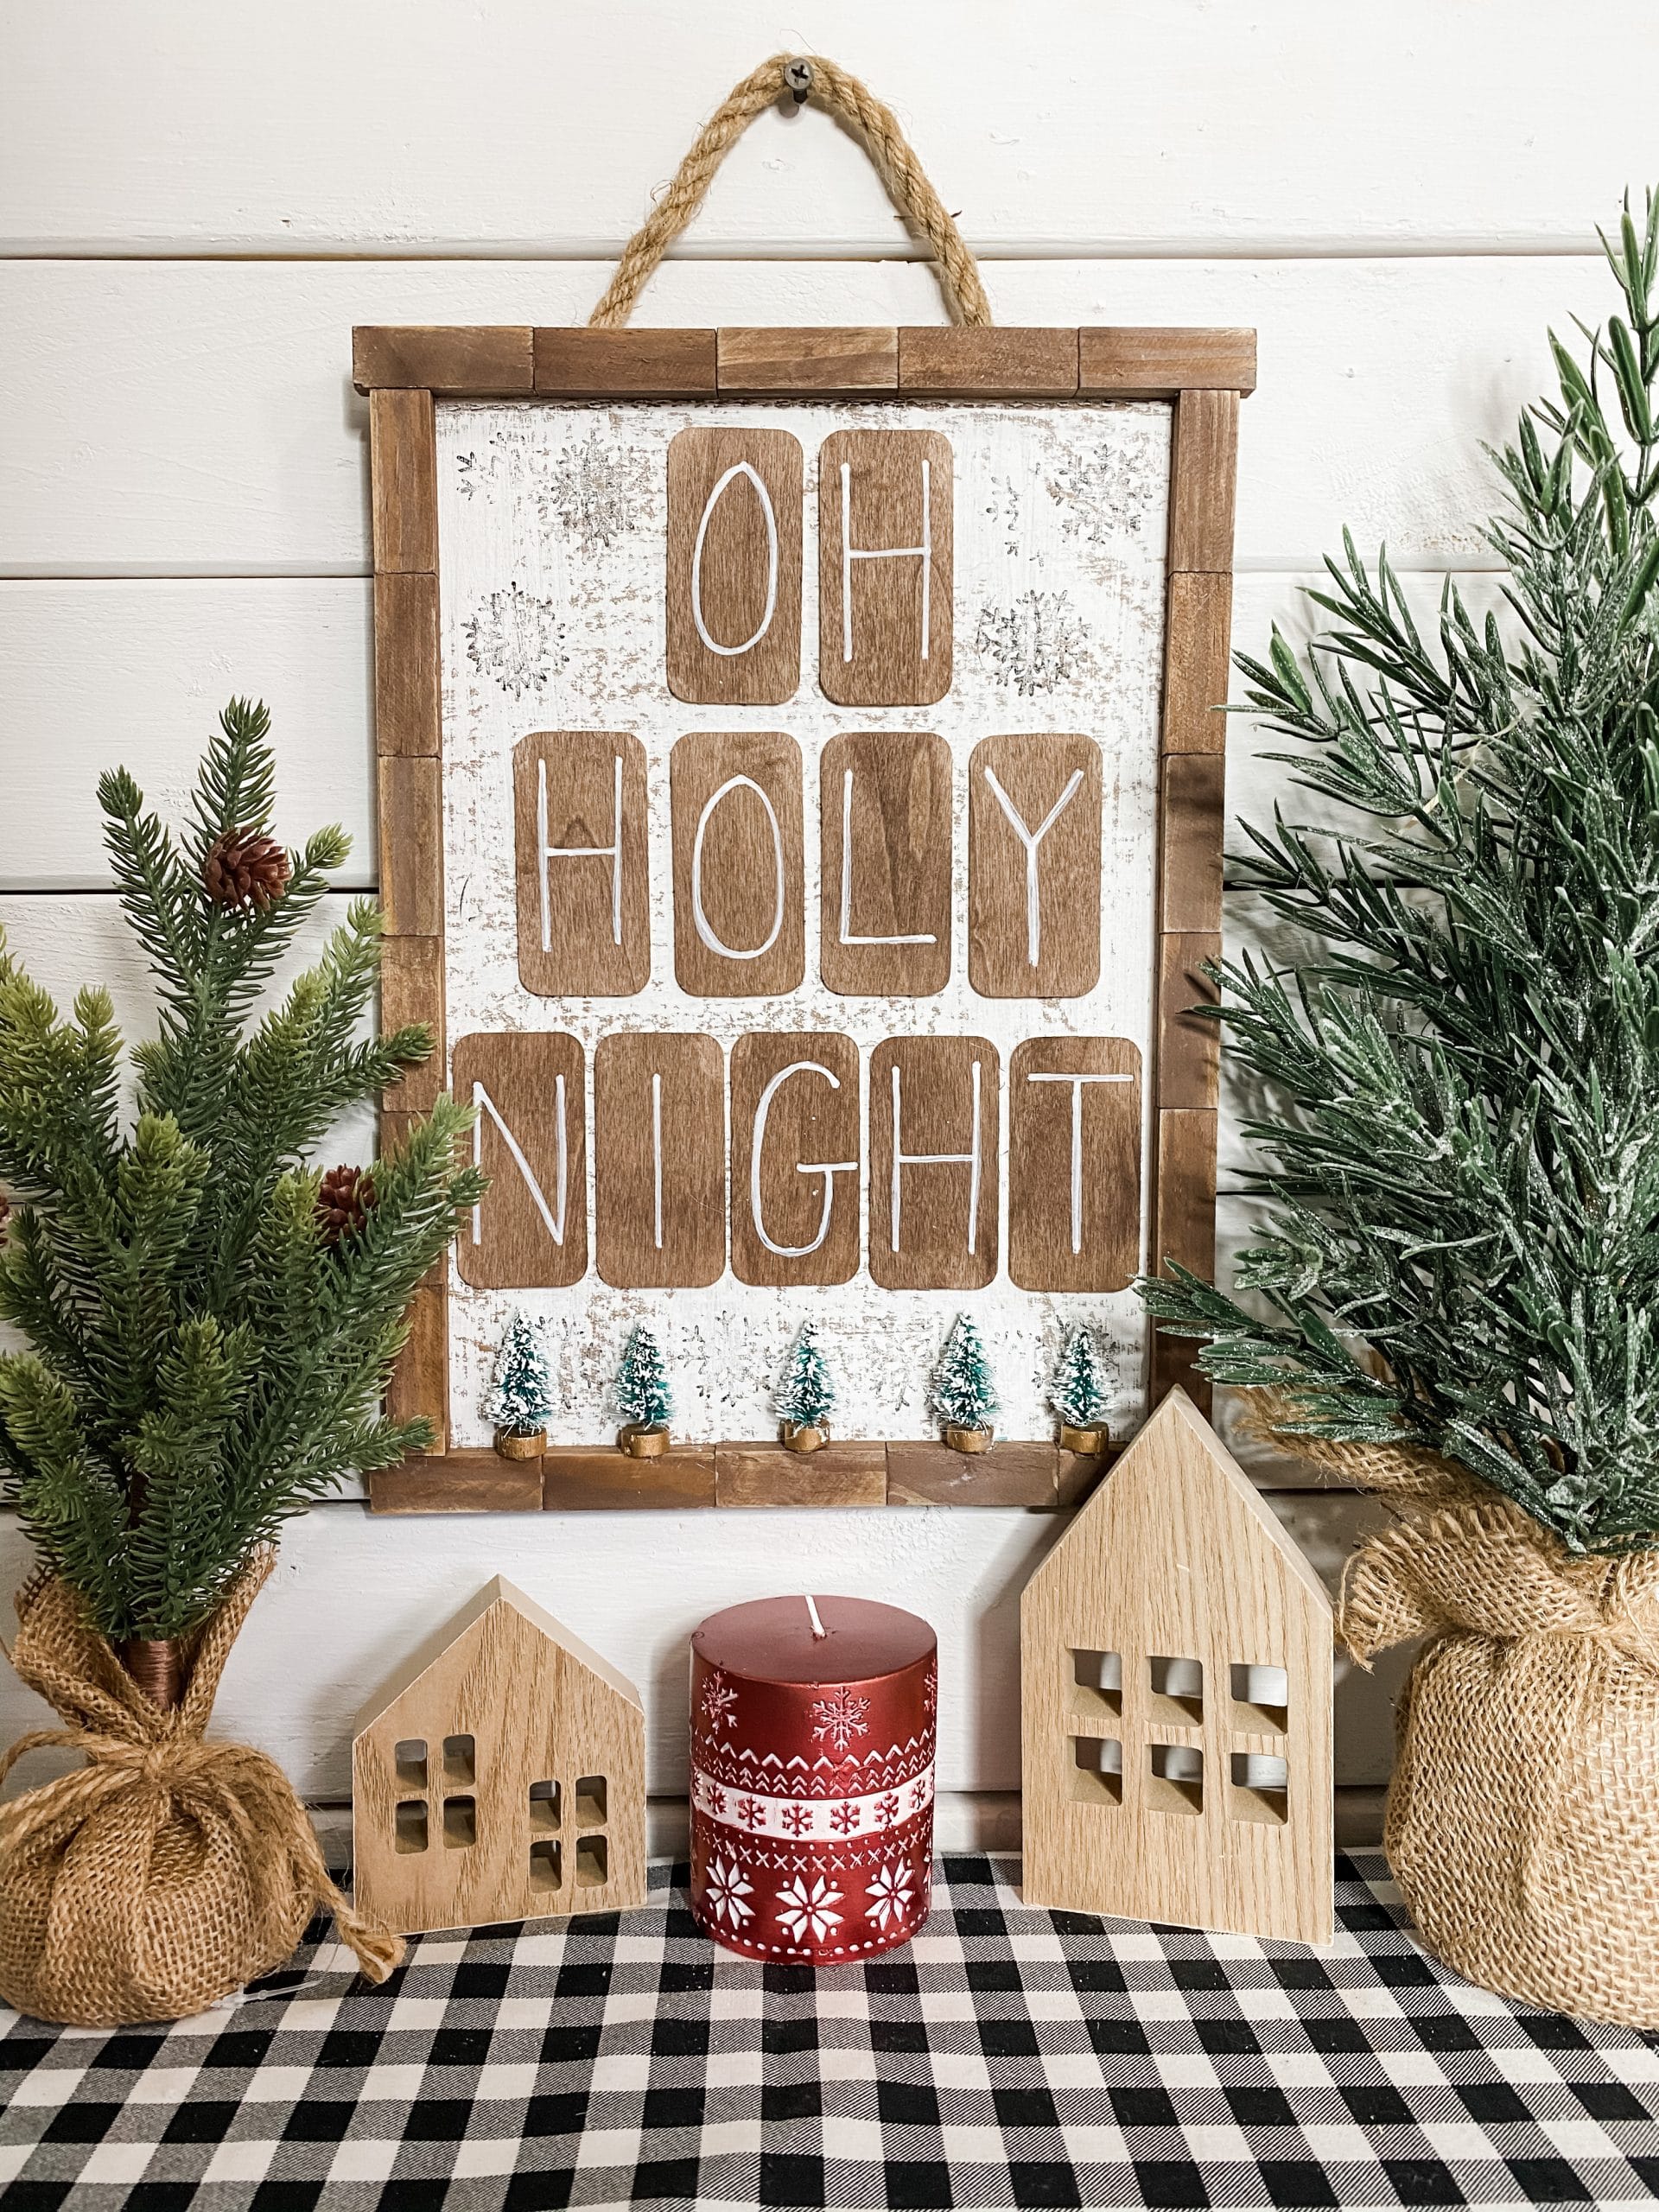
Oh Holy Night DIY Christmas Sign
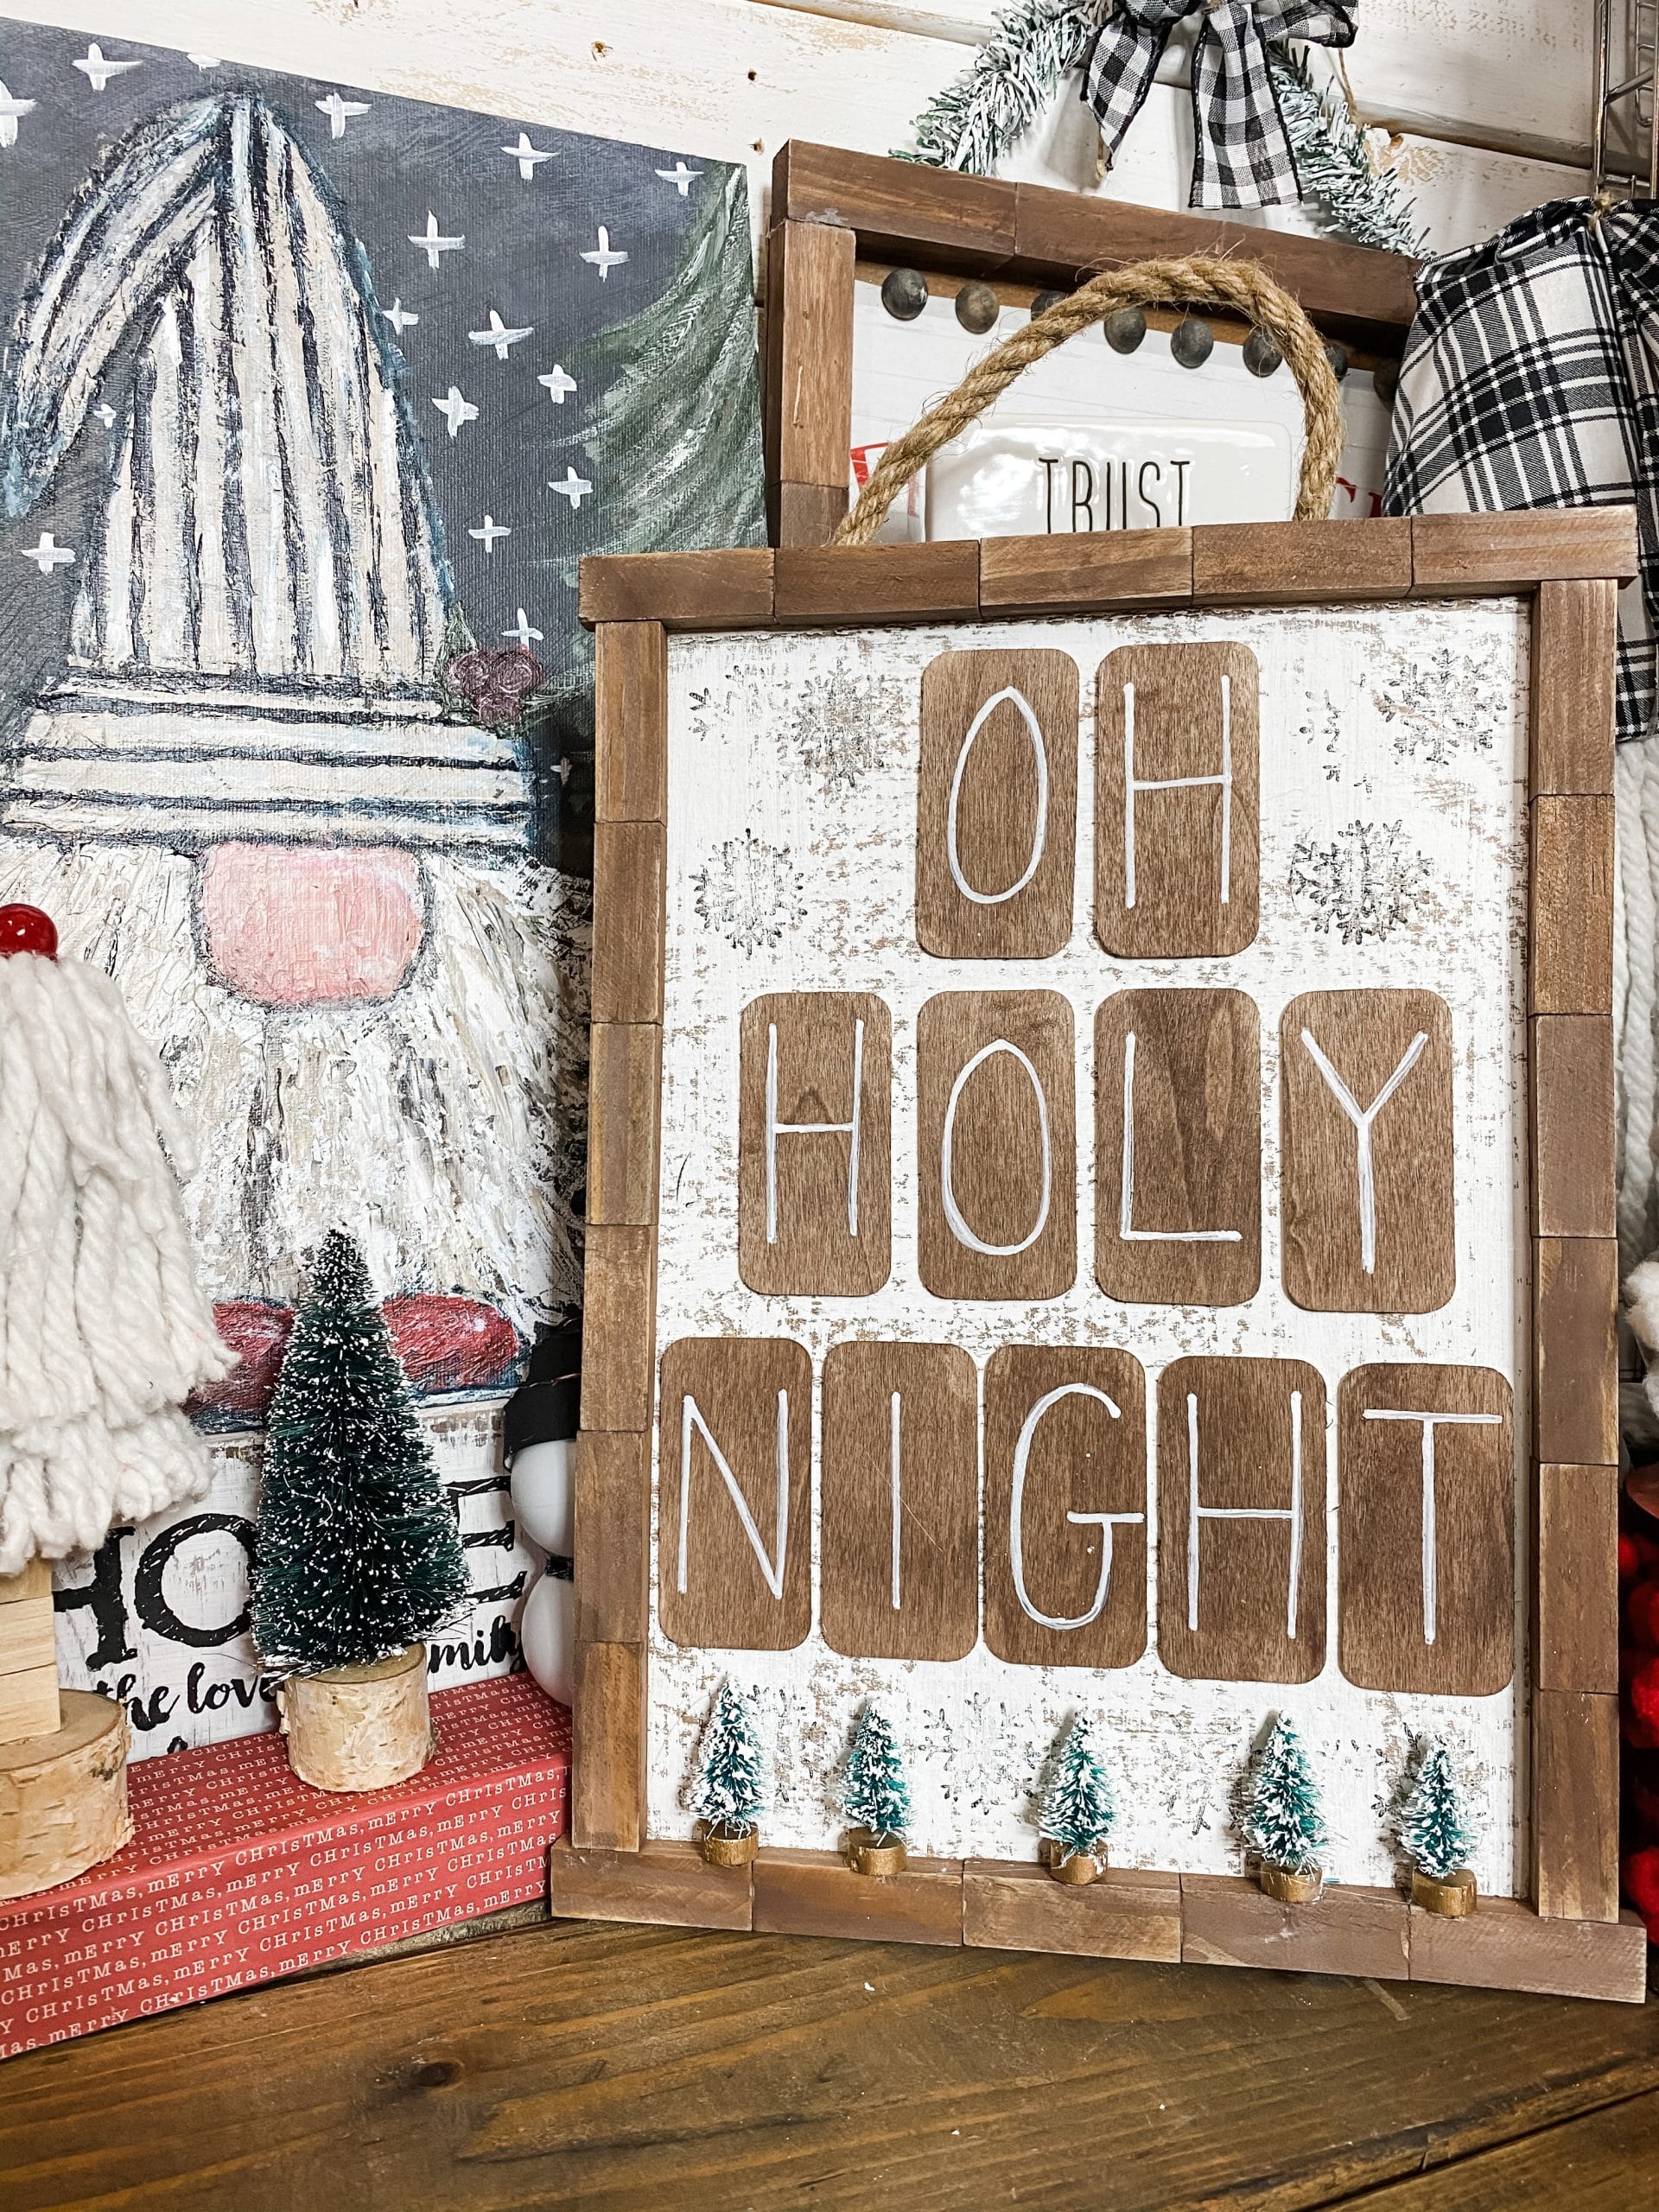
Y’all know that two of my favorite things are Dollar Tree DIY crafts and cardboard crafts. Well, this Oh Holy Night DIY Christmas Sign combines both of them!
I used Dollar Tree wooden dominoes, Tumbling Tower blocks, and a piece of cardboard to create this adorable Christmas decor DIY!
This is an incredibly easy and affordable holiday DIY that would be perfect as a kid’s craft!
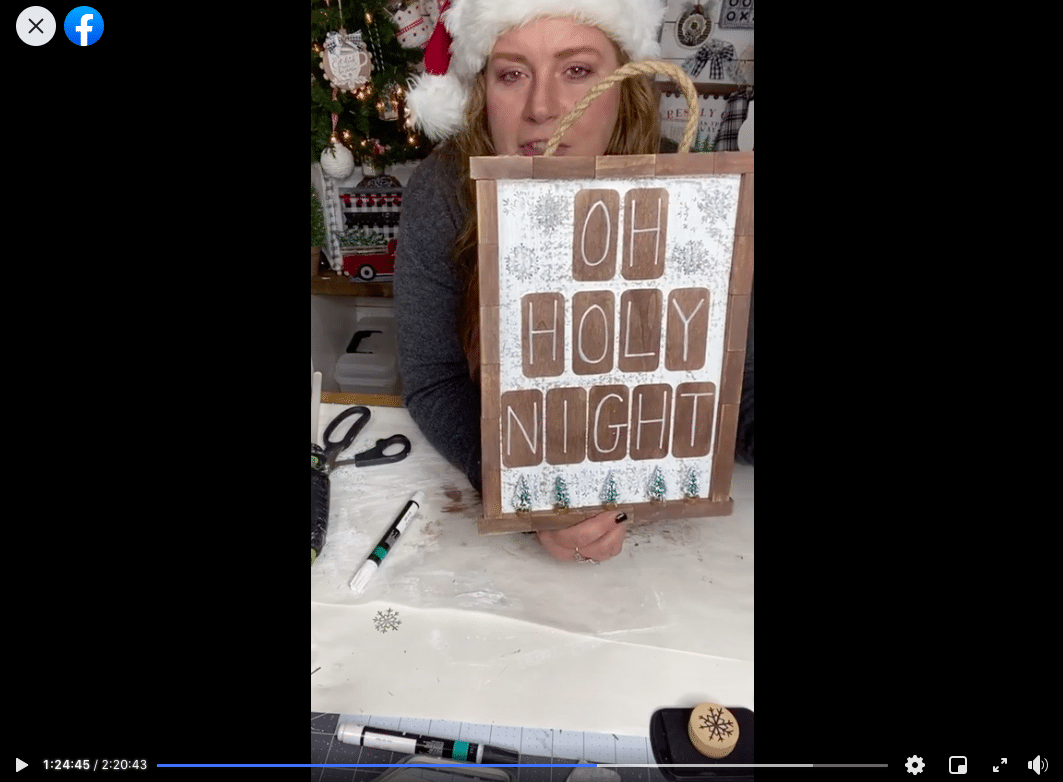
Watch the replay
I was feeling the holiday spirit when I made this super easy Christmas DIY during a Facebook LIVE video. I even brought out my Santa hat! It was a fun time full of crafting, chatting, and laughing!
If you want to see my process, craft along, or just join in on the fun, you can watch the replay over on my Facebook page!
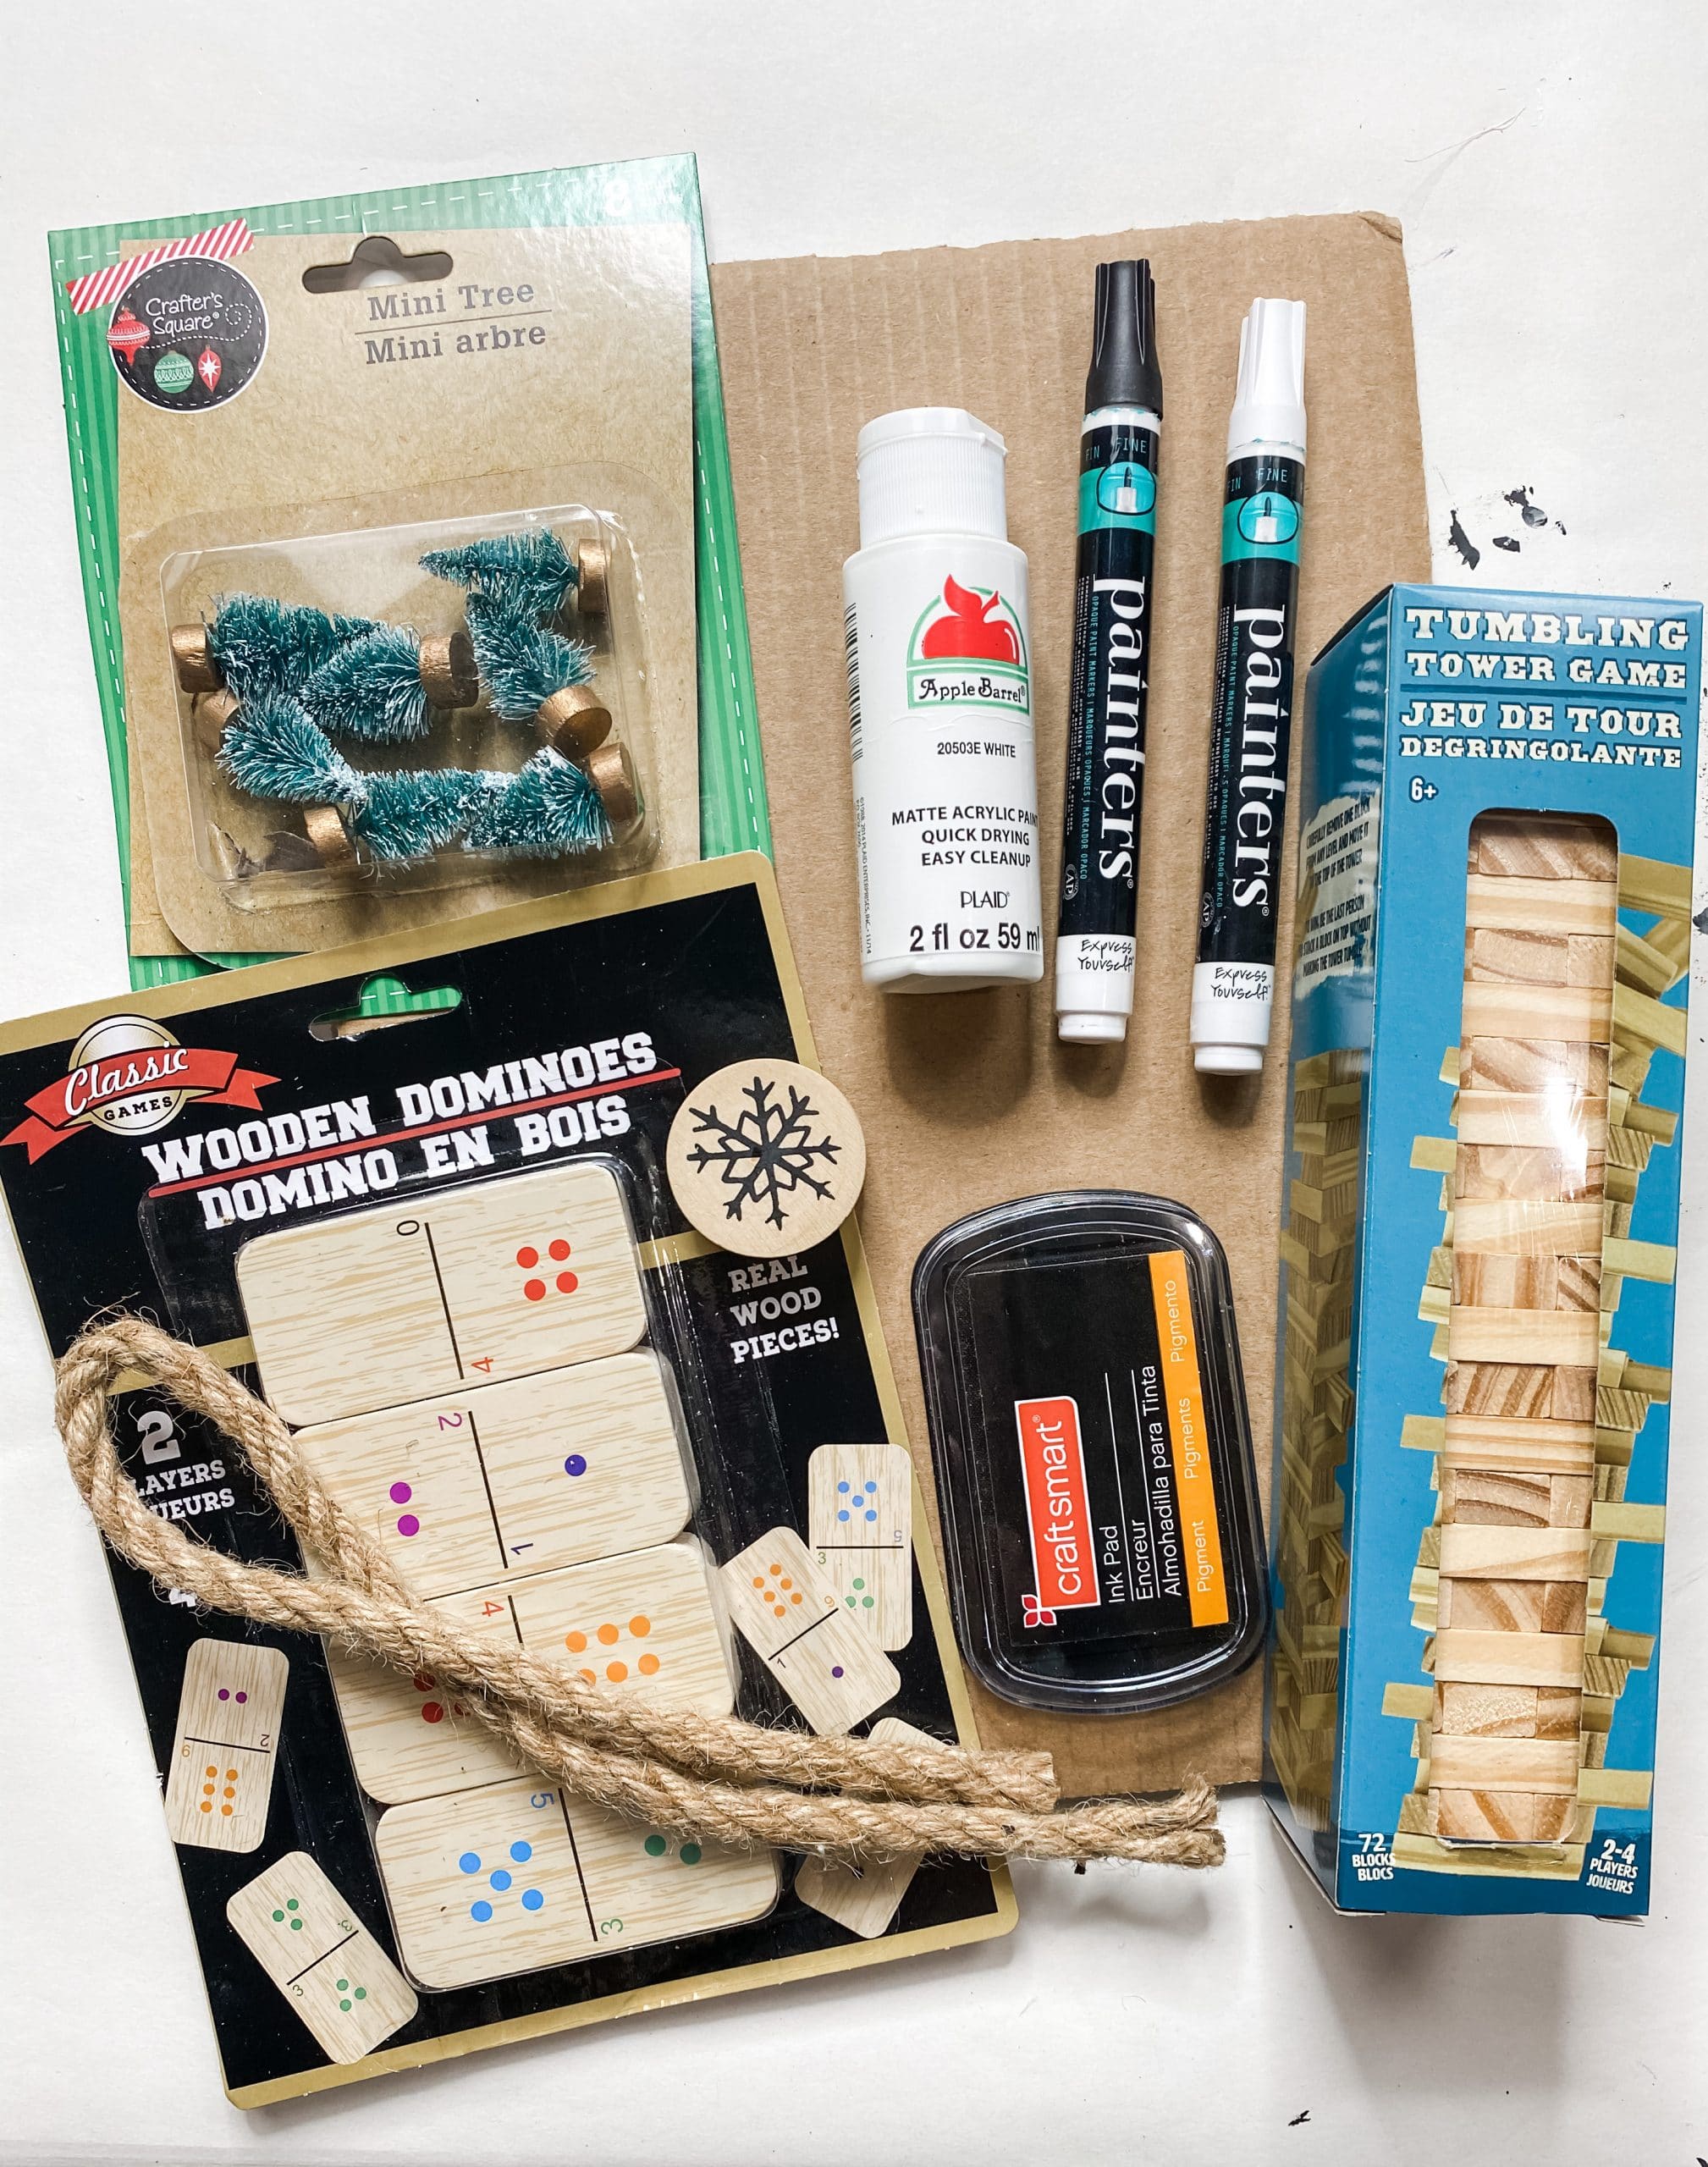
For this project, I will be using these items but you can substitute where you want.
“As an Amazon Associate, I earn from qualifying purchases.”
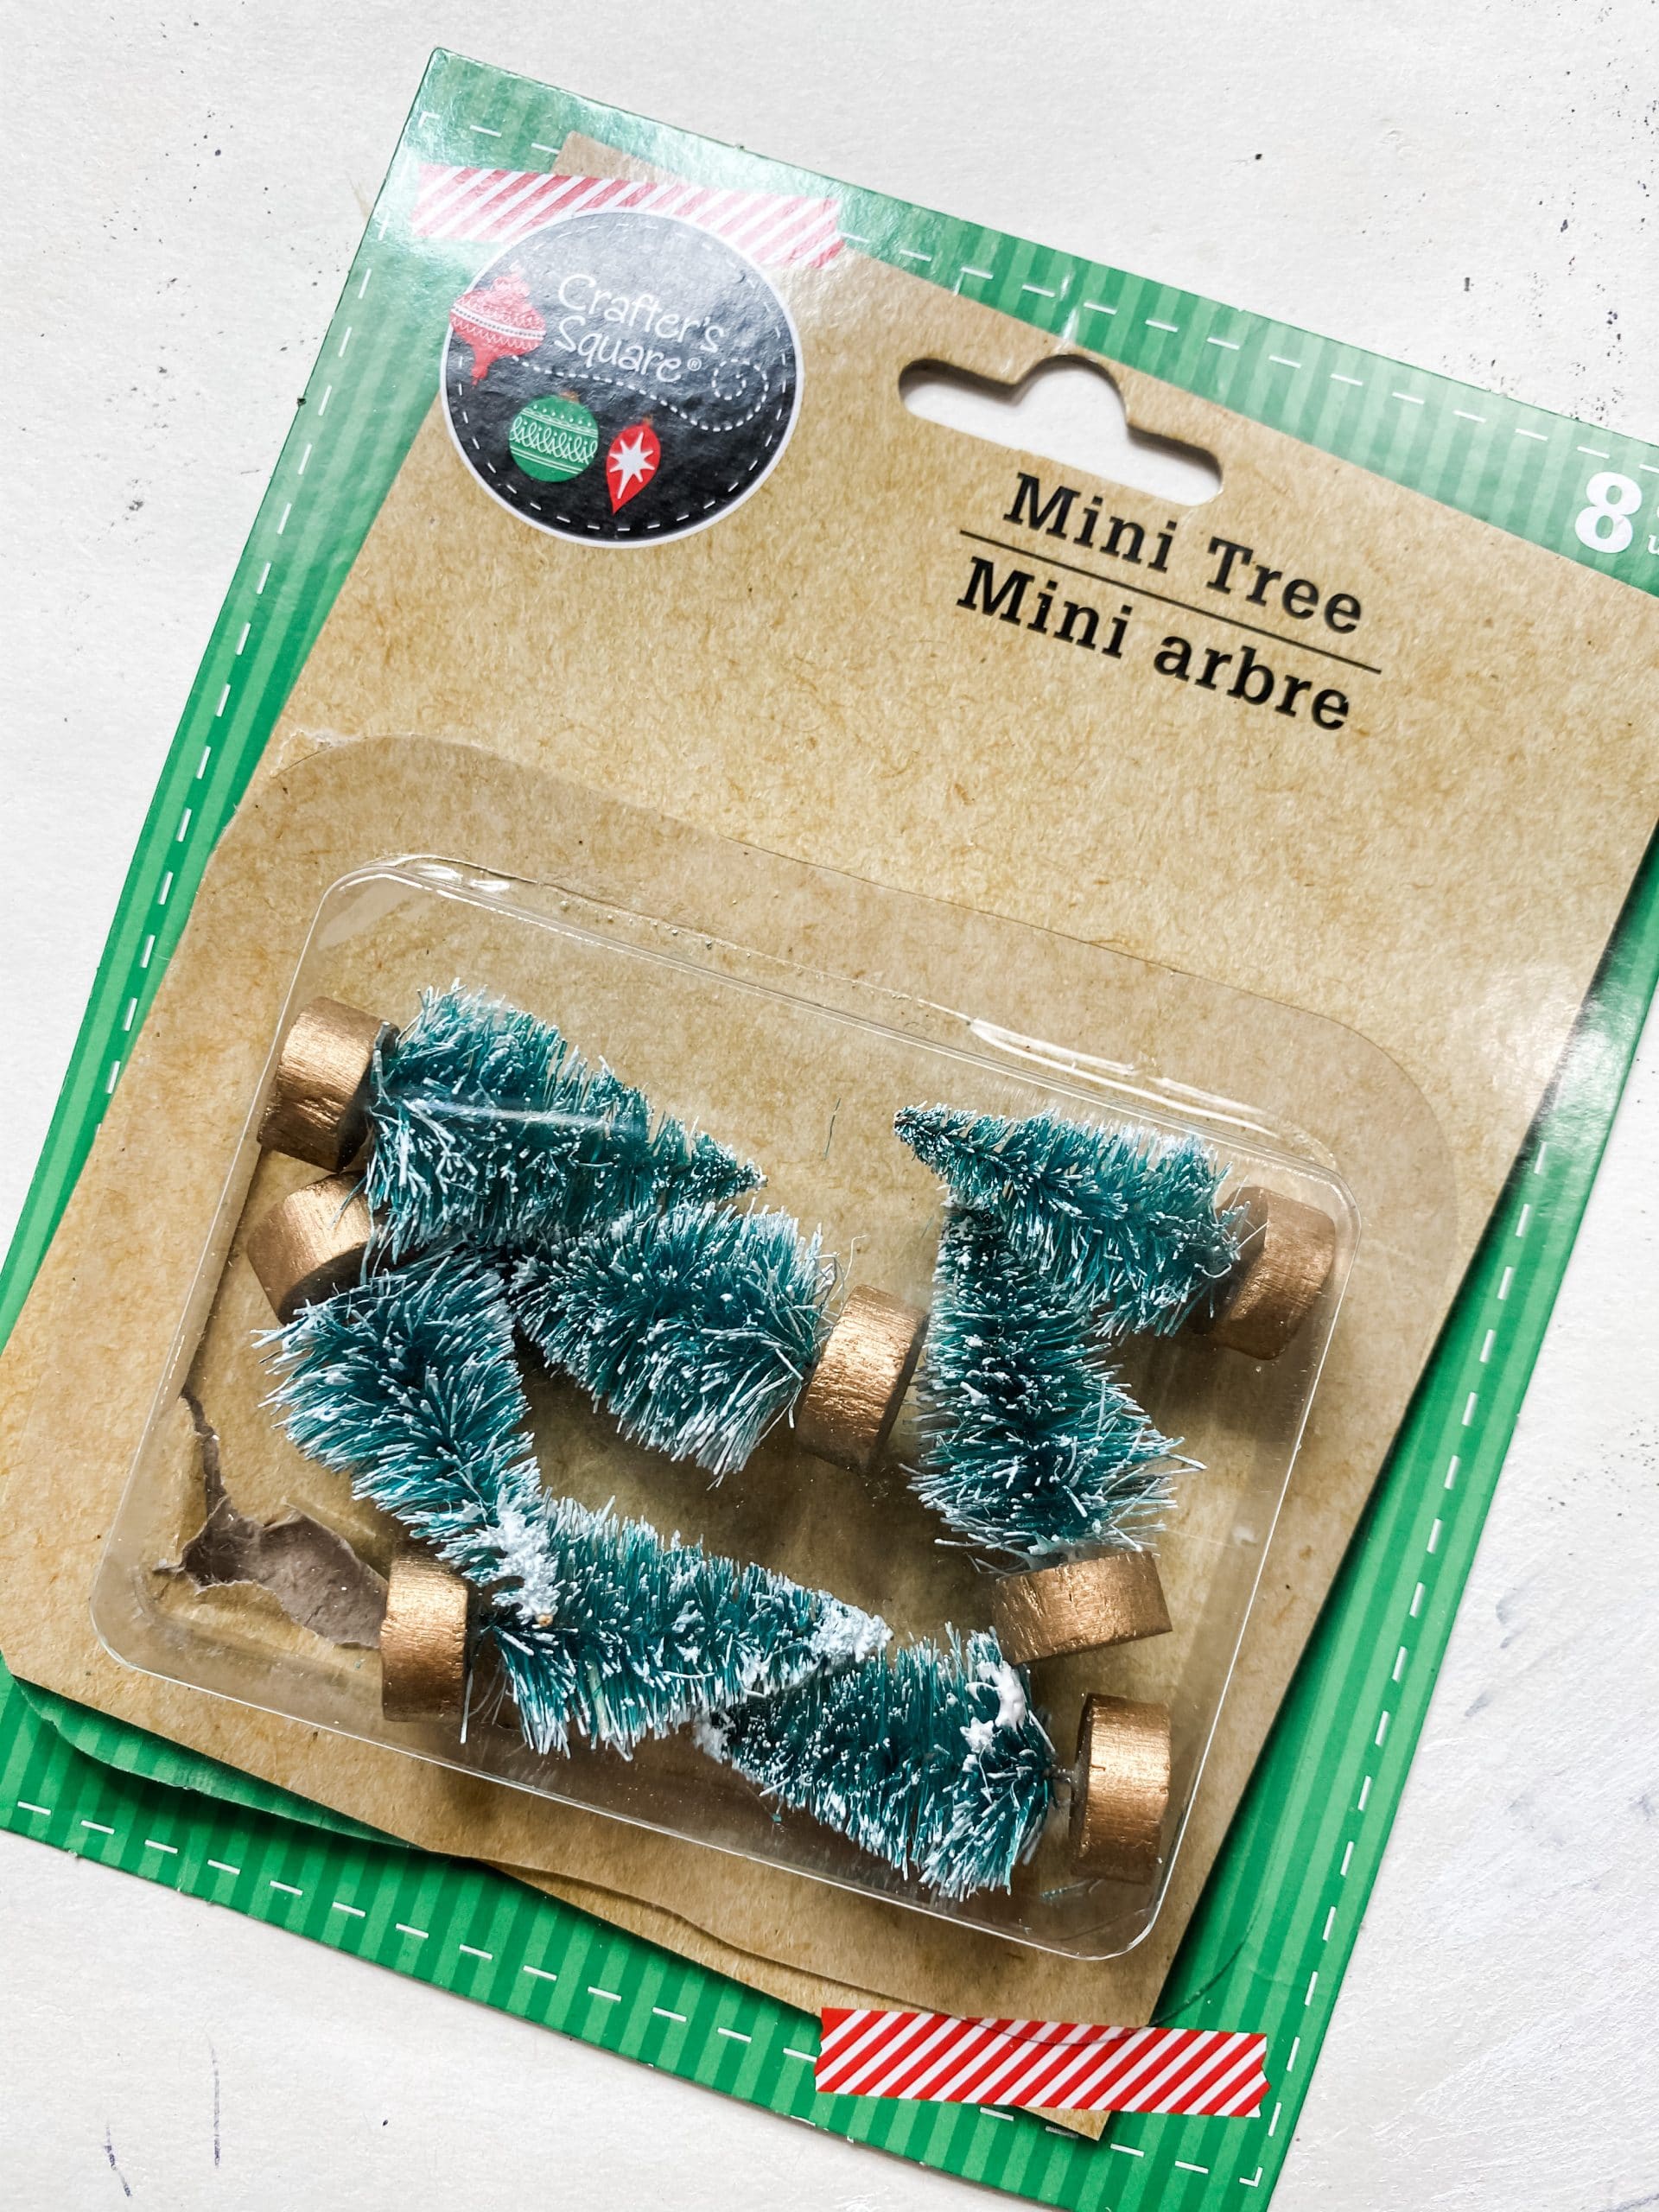
- Dollar Tree Mini Christmas Trees
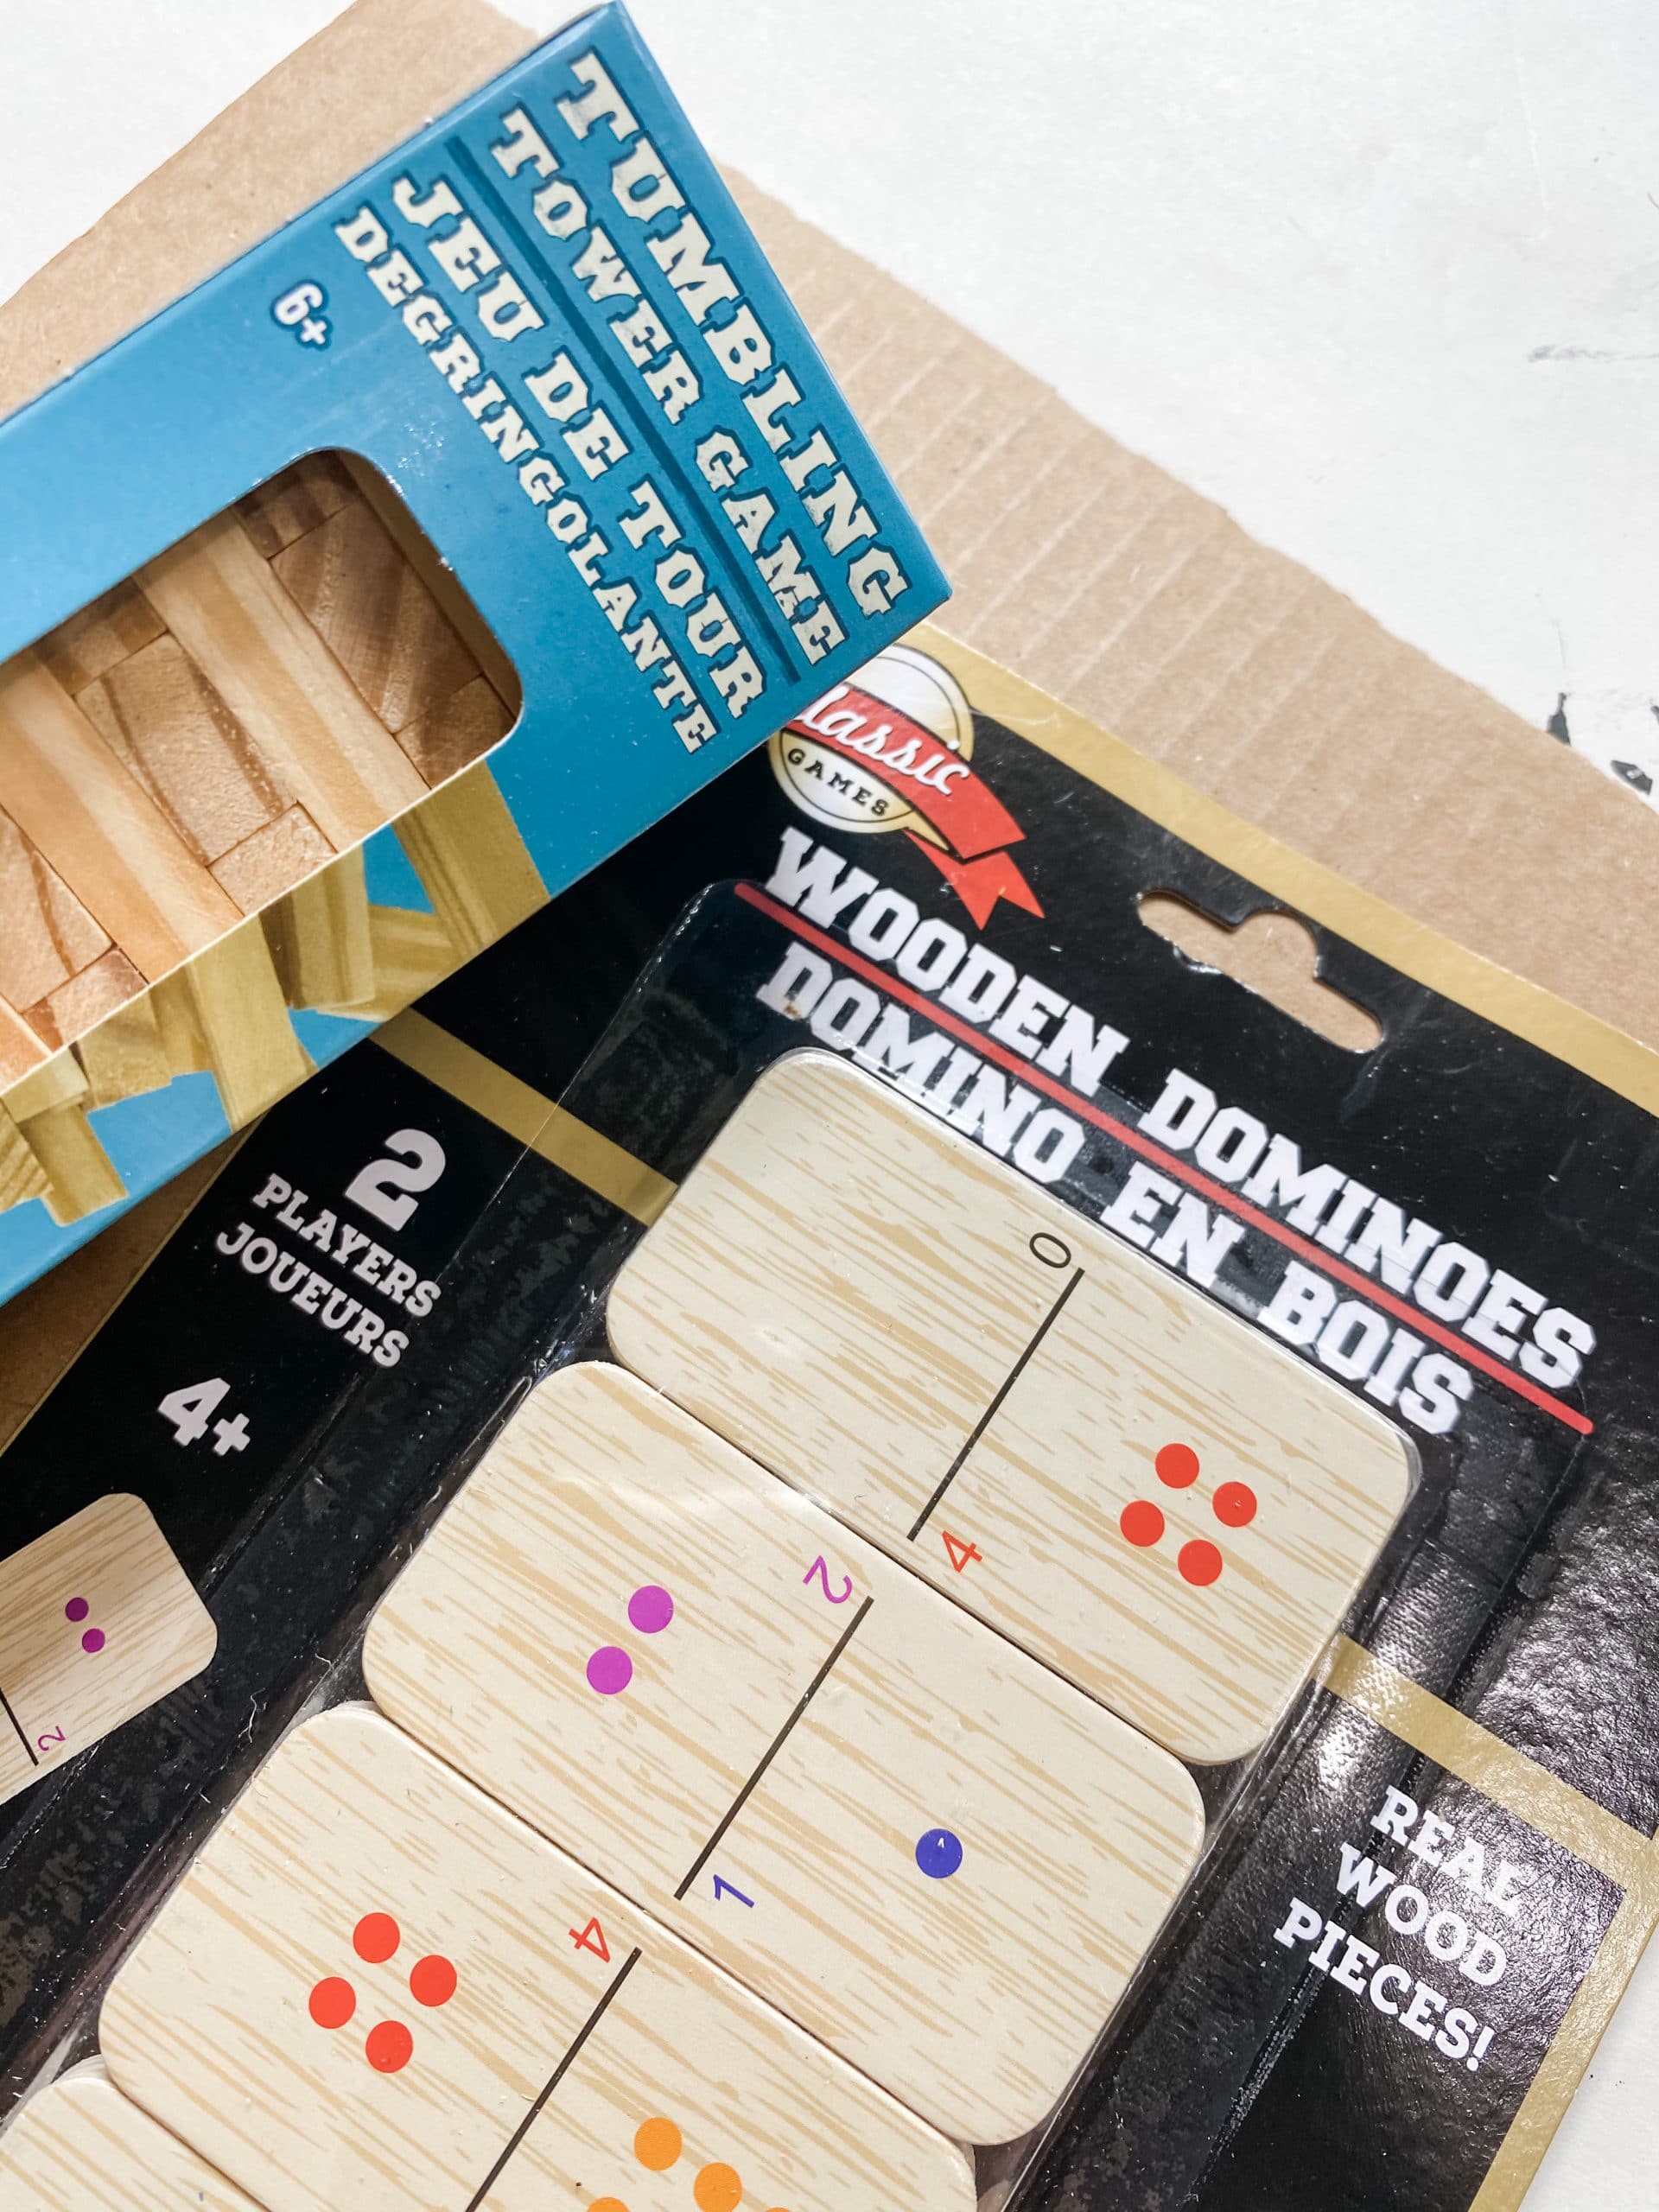
- Dollar Tree Wooden Dominoes
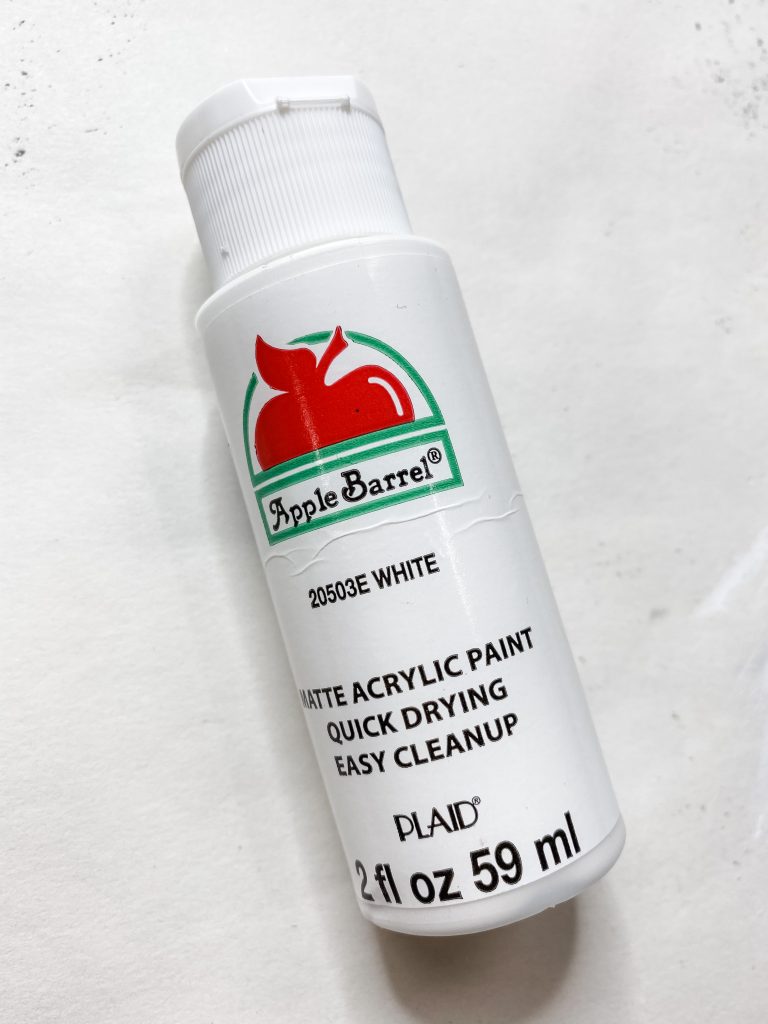
- Apple Barrel White Acrylic Paint
- Apple Barrel Burnt Umber Acrylic Paint
- Dollar Tree Tumbling Tower Blocks
- Dollar Tree Nautical Rope
- Black Fine Tip Painter’s Marker
- White Fine Tip Painter’s Marker
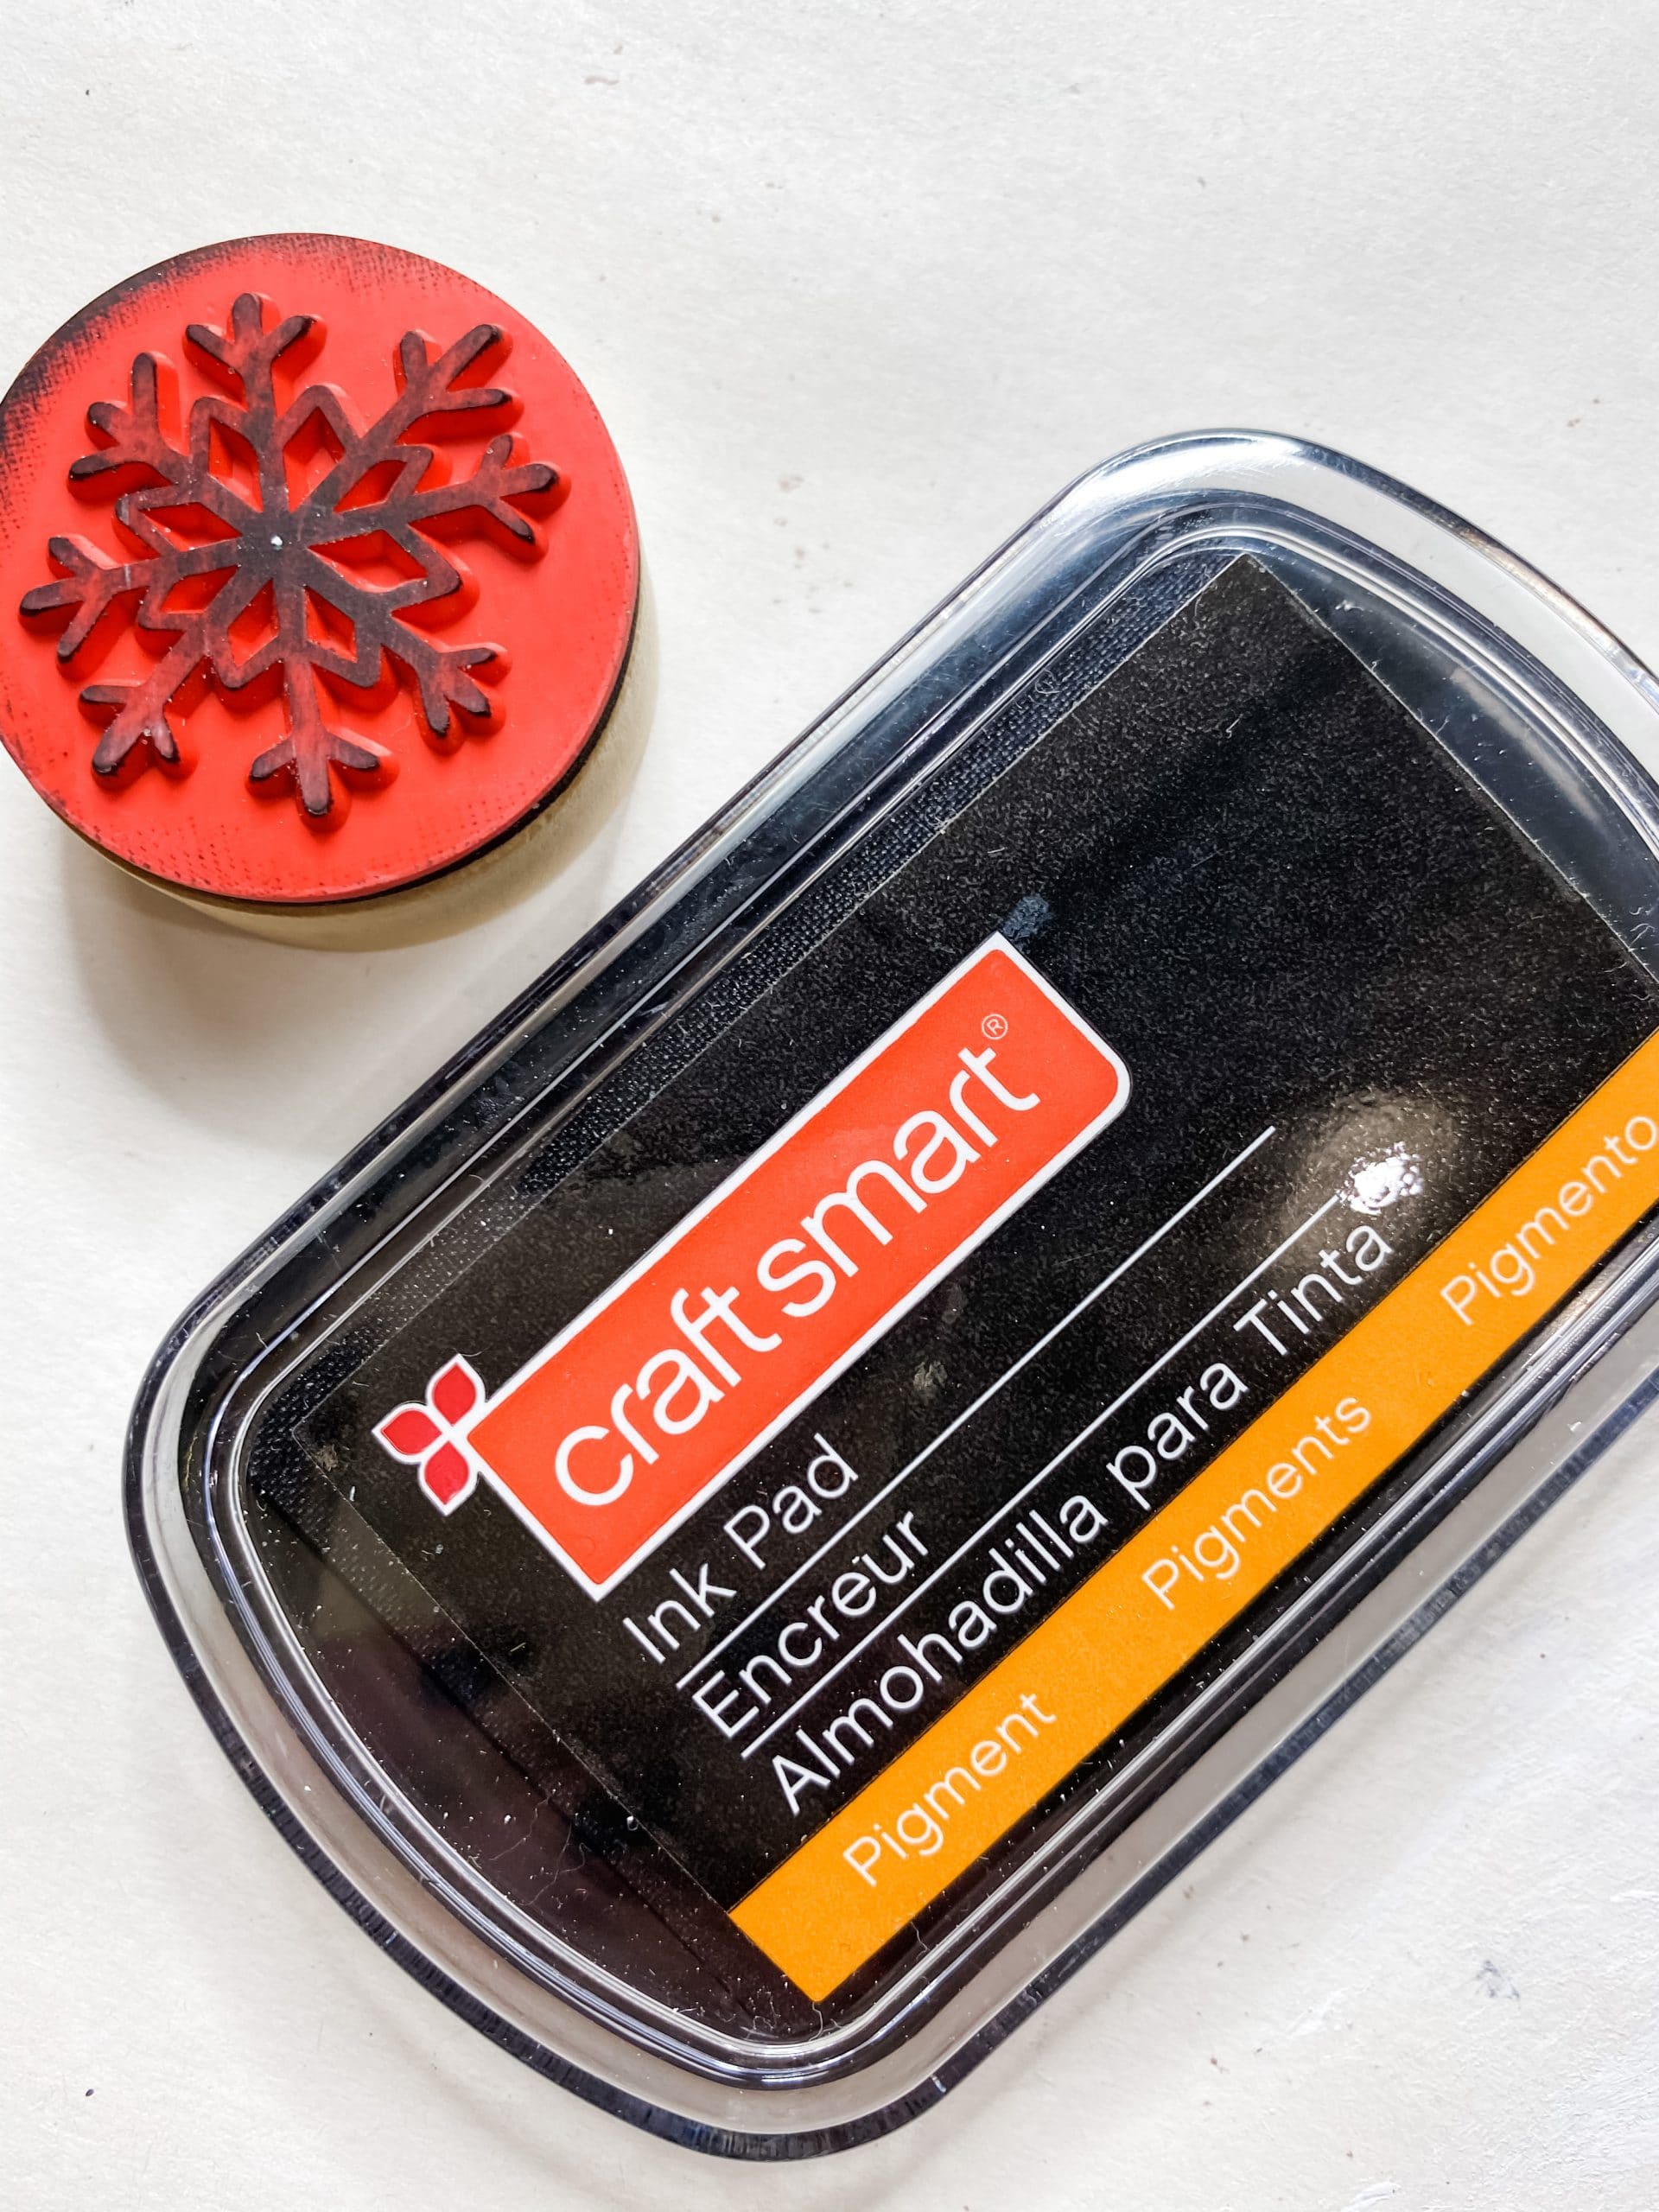
- Craft smart inkpad
- Snowflake Stamp (Target)
- Cardboard
- Glue Gun and Glue Sticks
- Heat gun
- Scissors
Let’s get started!
Step one to making this adorable DIY cardboard craft is to layout the Dollar Tree Tumbling Tower blocks to see how many you’re going to need, and figure out if you need to trim your piece of cardboard any.
So, lay the Tumbling Tower blocks (Jenga blocks) around the edge of your piece of cardboard. I used 22 Tumbling Tower blocks – 6 on each side and 5 on the top and bottom.
This made sure that I had enough room for the number of Dollar Tree wooden dominoes that I would need to spell out Oh Holy Night.
If you put a different phrase, you may need a different number of blocks and a different sized piece of cardboard.
Next, hot glue the Tumbling Tower blocks into the strips that you will need to create the frame for this DIY Christmas sign.
Again, I used 6 blocks for each side and 5 for the top and bottom. Allow the hot glue to dry, and then we will stain the blocks brown.
How to stain wood
To stain the Dollar Tree Tumbling Tower blocks (Jenga blocks), you’re going to first spray them with water.
The water will help the wood absorb the paint and give them a stained finish rather than a painted look. You could always buy a wood stain, but I feel like that is just too expensive!
Pour some Apple Barrel Burnt Umber Acrylic paint onto a paper plate and use a baby wipe to spread the brown paint across the strips of Tumbling Tower blocks.
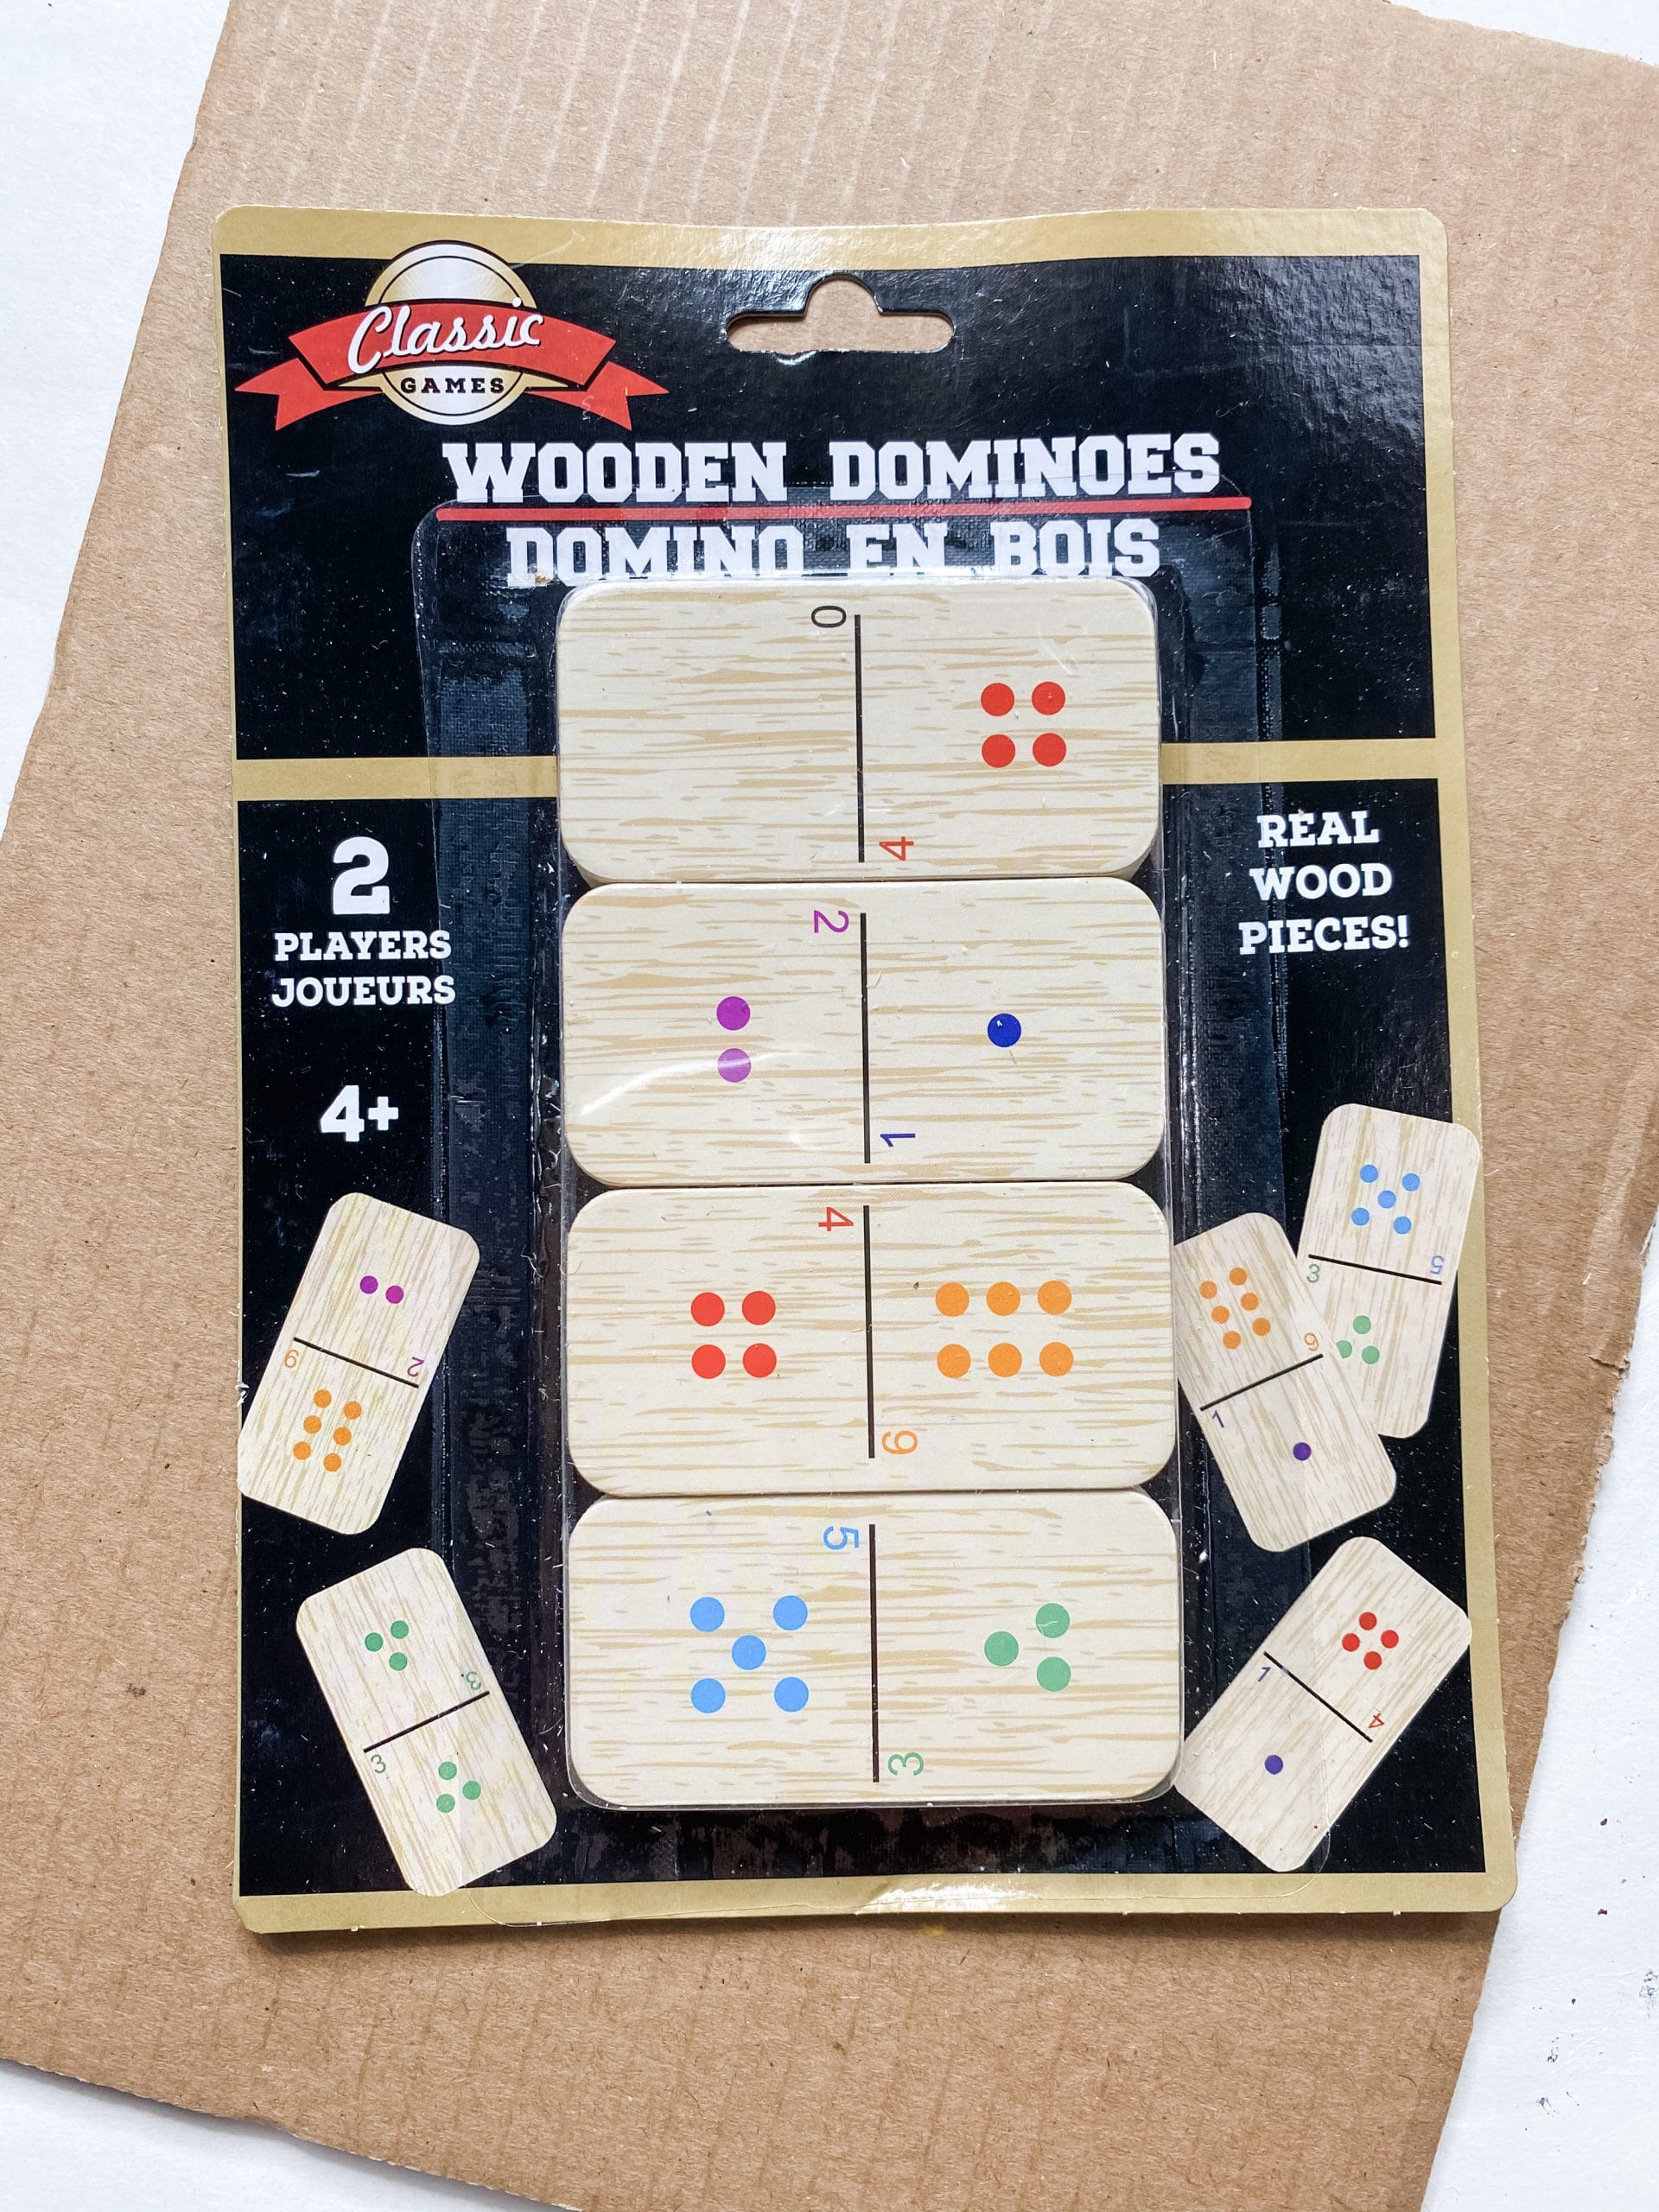
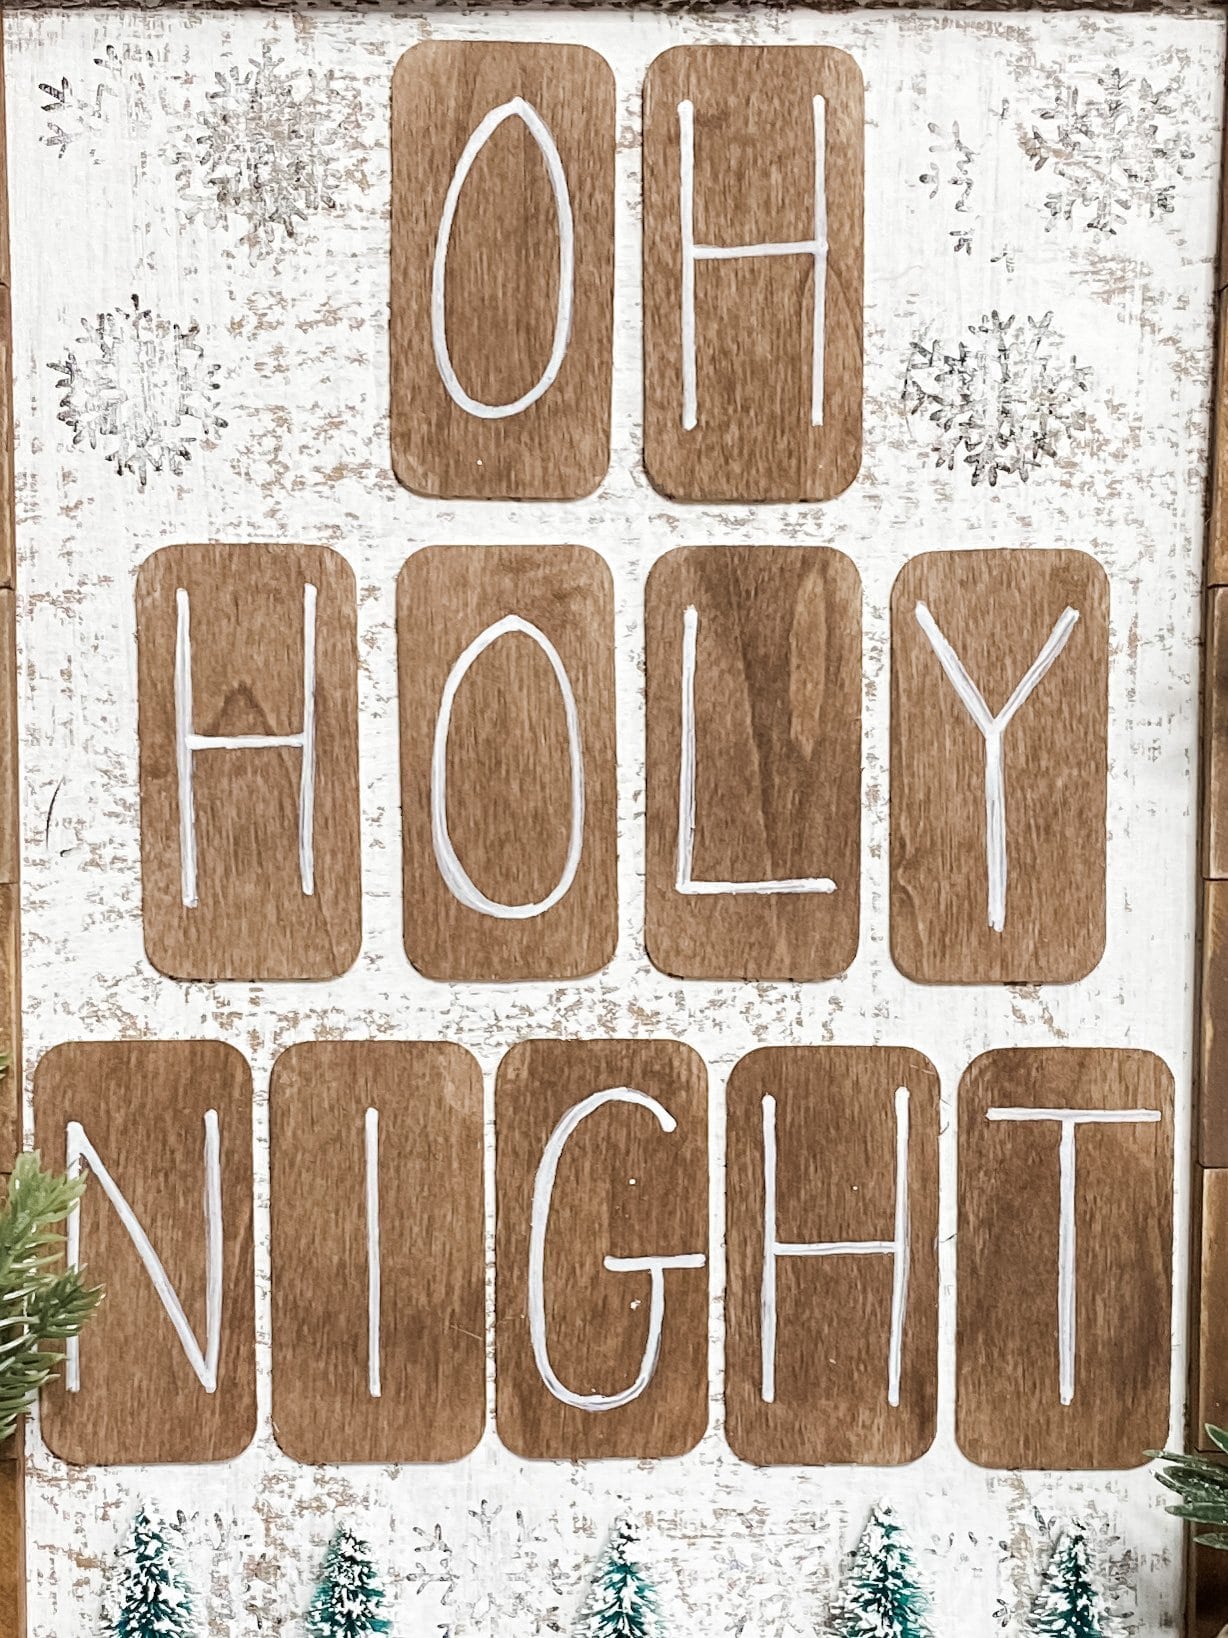
Next, you’re going to use the same staining technique on your Dollar Tree wooden dominoes. I used 11 of the wood dominoes because I was spelling out “Oh Holy Night.”
You only need to stain the side without the dots. We are going to hot glue the face down, so that side doesn’t have to be stained or painted.
Paint the cardboard
Instead of using a Dollar Tree canvas or sign box like I usually would, I decided to make this easy DIY idea even more affordable by using a piece of cardboard for the surface of the sign.
Dry brush Apple Barrel White Acrylic Paint across the piece of cardboard. Don’t do an even coat so that you get a kind of distressed look.
Change the direction of your brush strokes every couple of strokes to avoid getting prominent lines in your paint.
Allow the paint to dry, then hot glue the stain strips of Tumbling Tower blocks (Jenga blocks) around the edges of the painted cardboard.
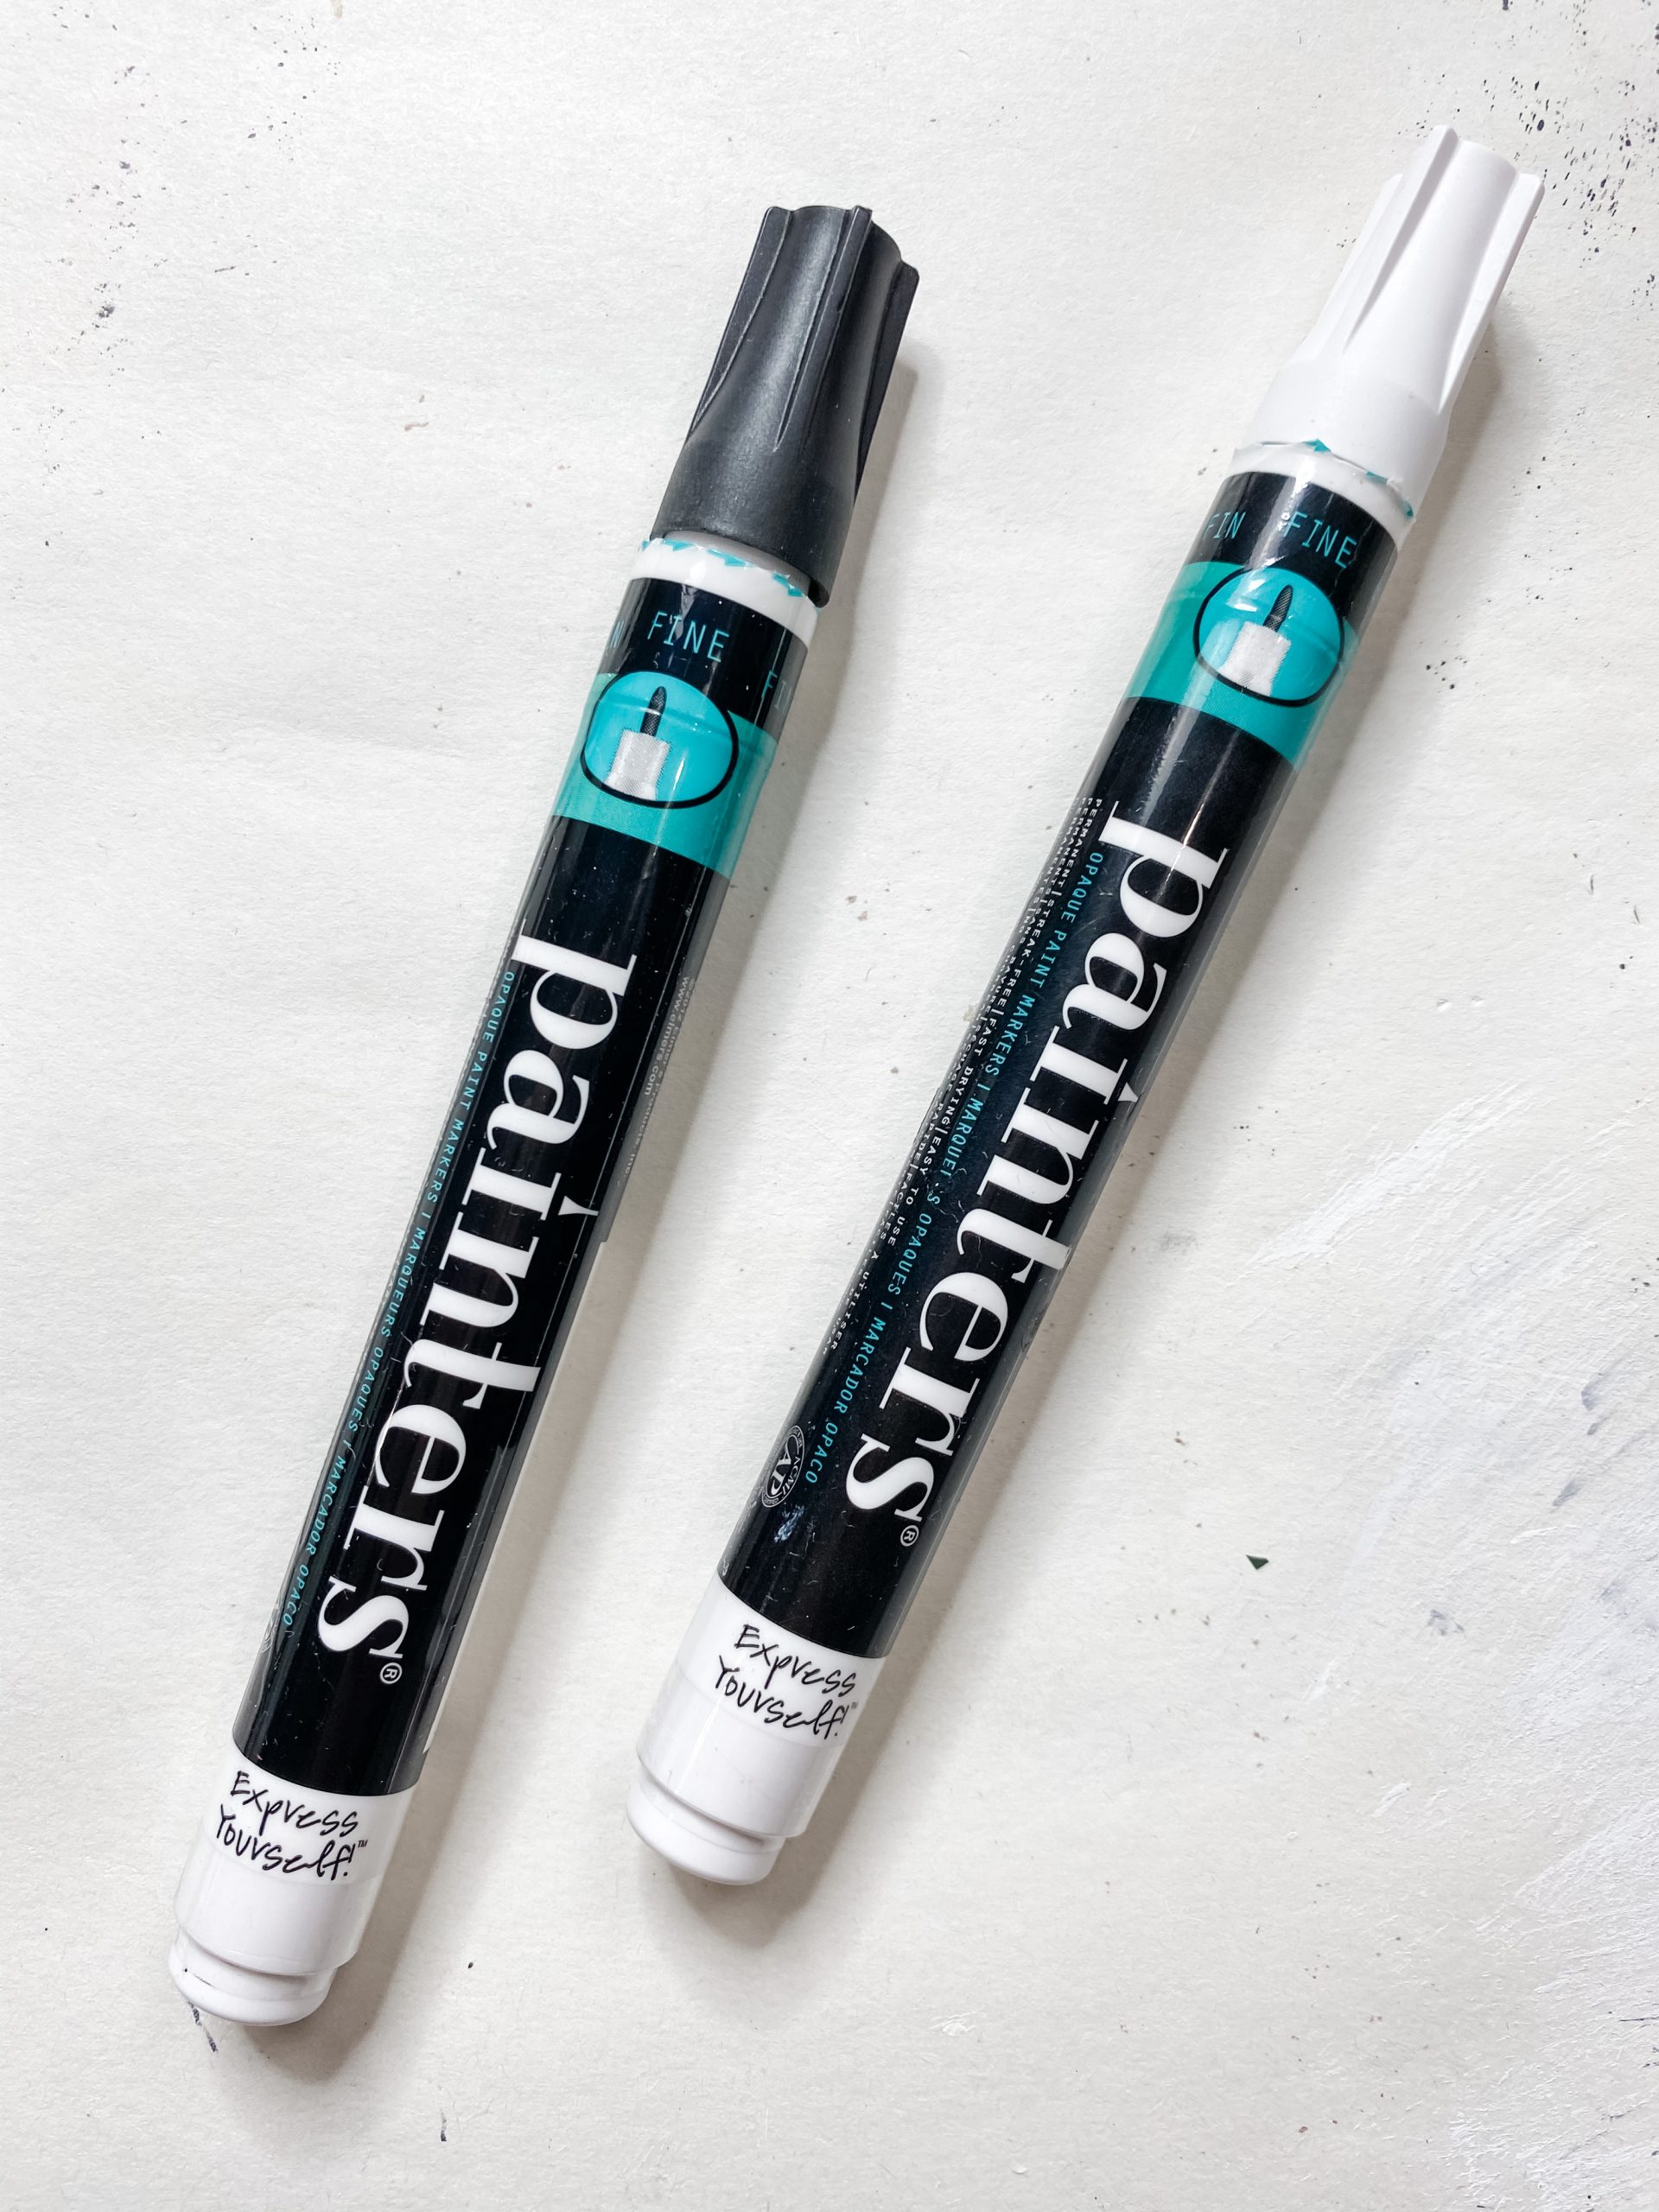
Now you’re going to add your saying to the stained Dollar Tree wooden dominoes. I used some fine tip Painter’s markers from Walmart.
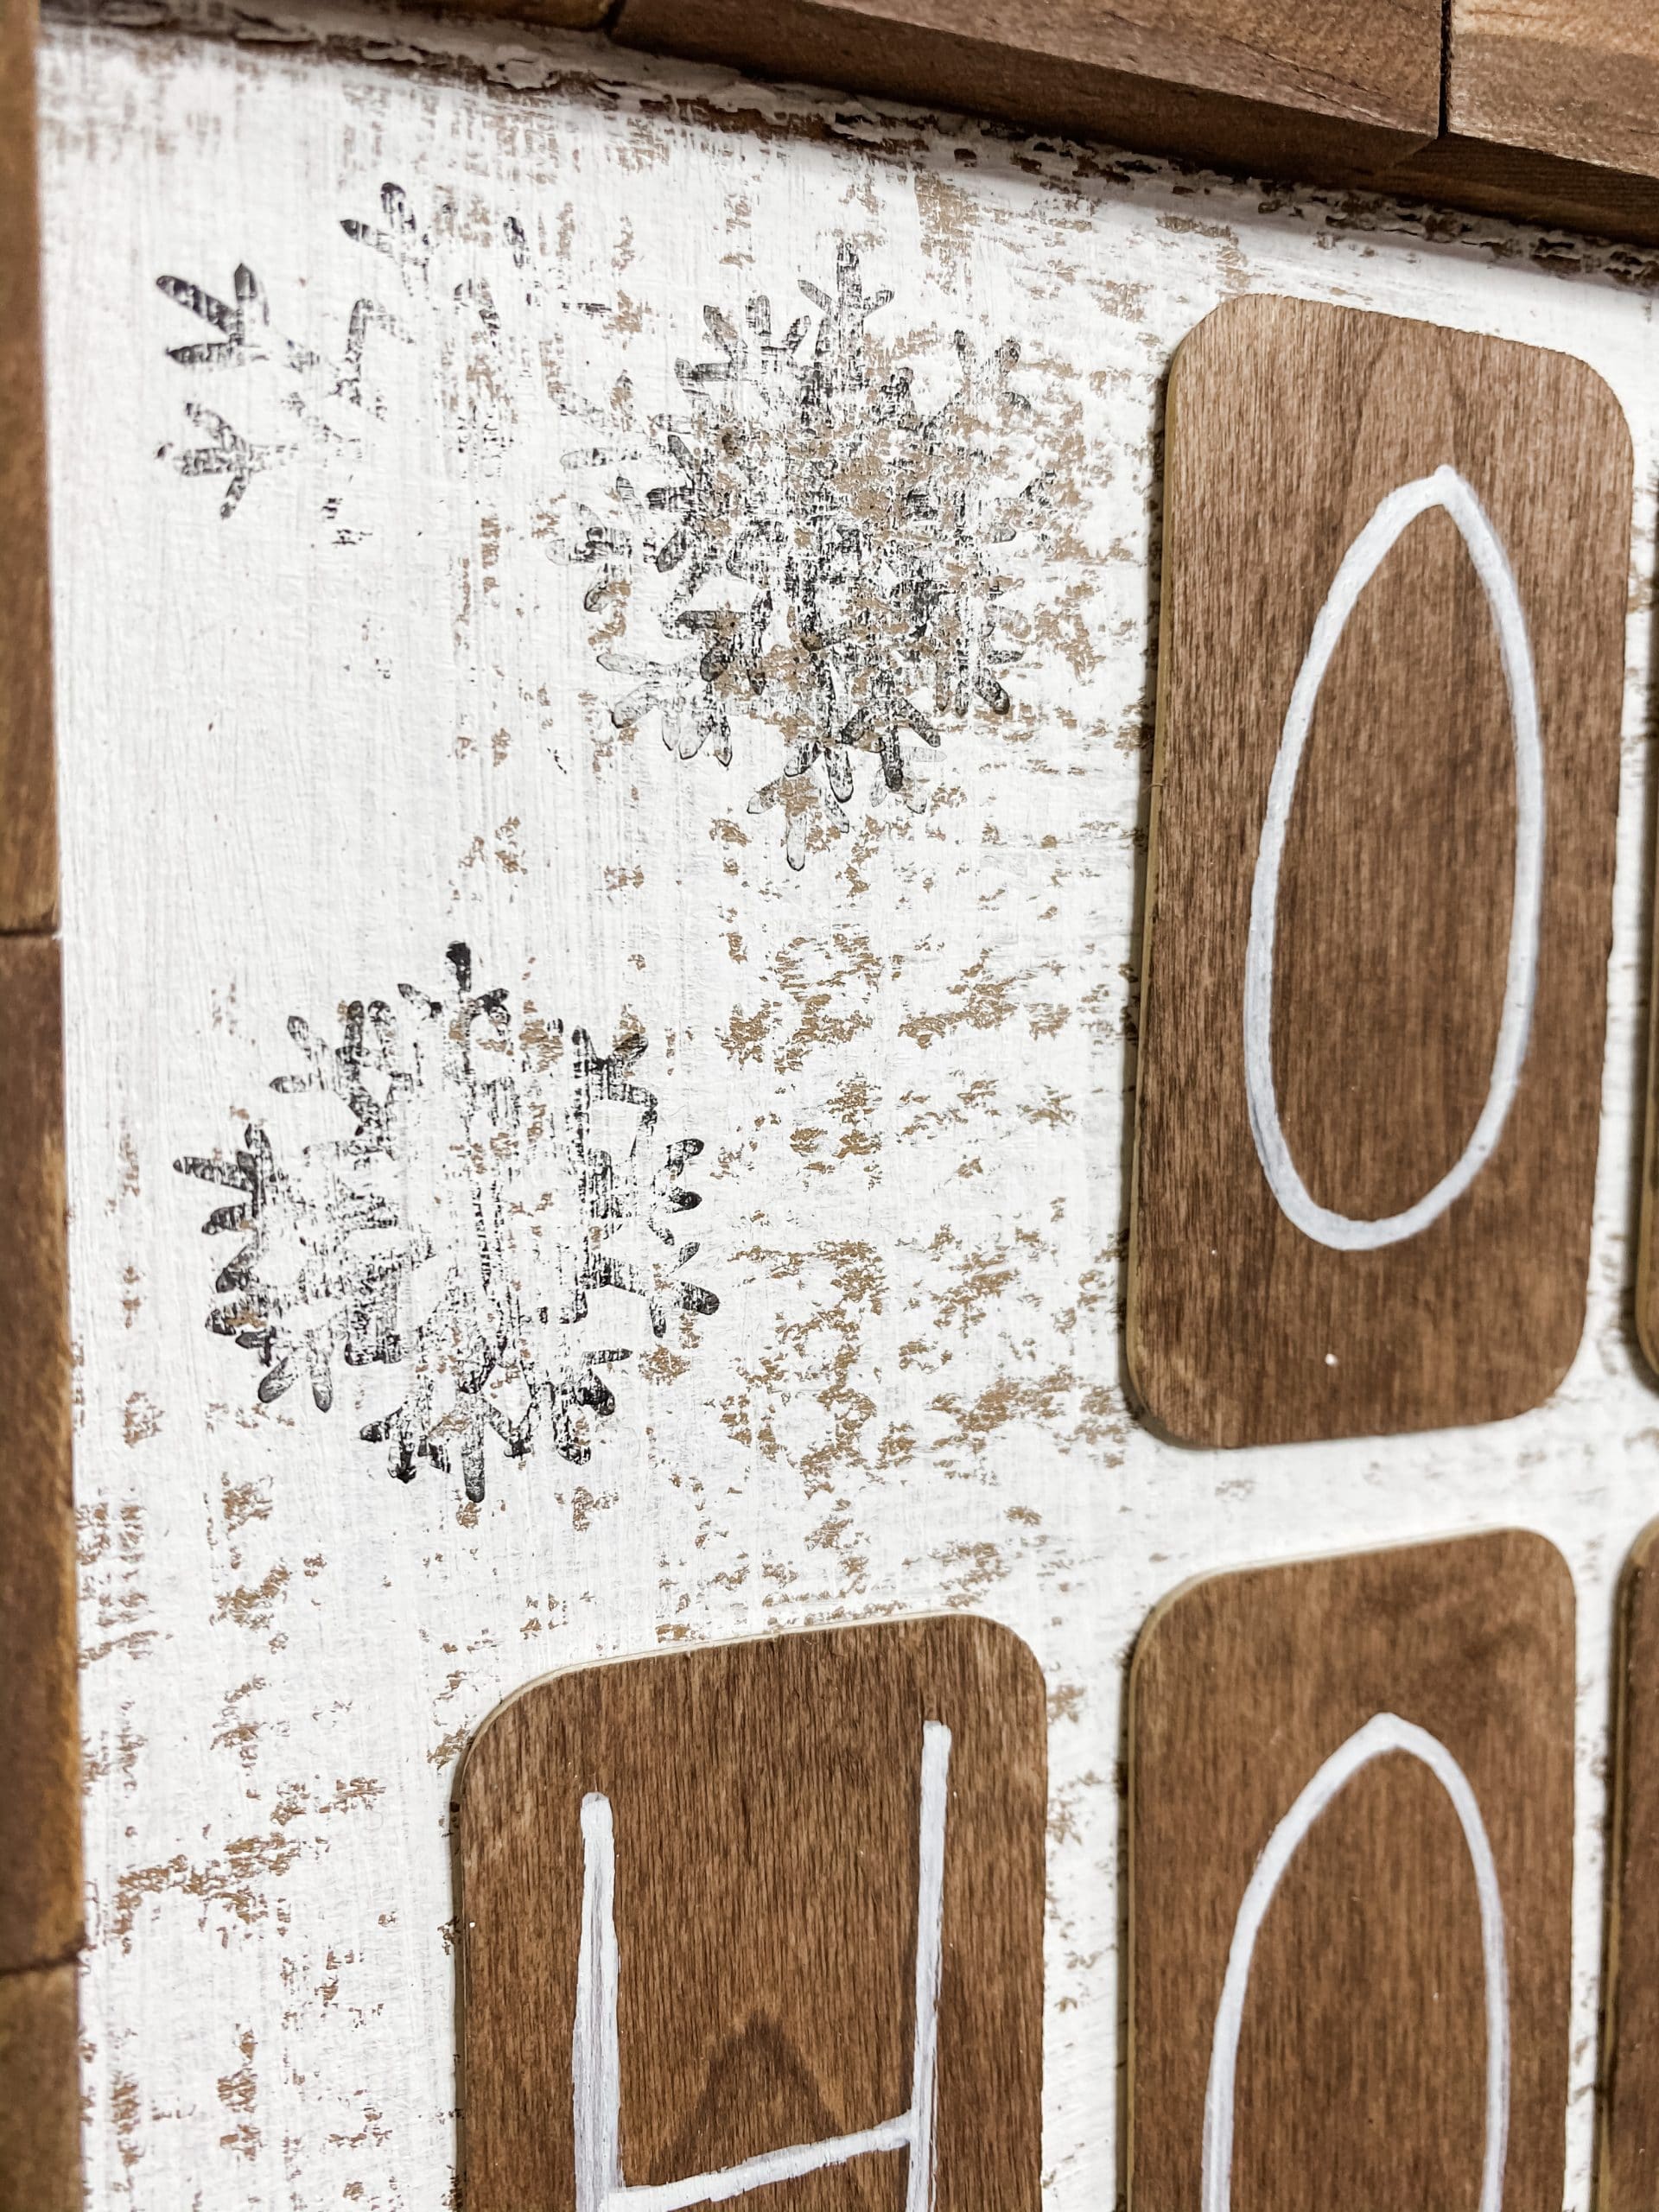
First, I wrote the letters onto the stained dominoes with a pencil. Once I was happy with the way the letters looked, I traced over them with a white Painter’s marker.
I did a couple of coats of each letter to make them pop as much as I wanted. You could also use rub-on transfers if you wanted, but I didn’t like the way the letters would have looked with rub-on transfers instead of painted on.
Allow the painted letters to dry before moving to the next step. We don’t want the letters to smudge when we hot glue them down.
Put a squiggle of hot glue on the back of each letter and press them into place on the painted cardboard.
If you want to get fancy, you could measure out where each letter will go so that they are evenly spaced and lined up perfectly. I’m just not that kind of person!
Let it snow!
I’m really happy I did this next step and didn’t chicken out. I tried out this adorable snowflake stamp on a Dollar Tree ornament sign DIY that I did not that long ago, and I really loved the detail it added to the project. So, I decided to use the same stamp on this DIY cardboard craft.
I got the snowflake stamp from Target and the inkpad from Michael’s. Just press the stamp into the ink pad and then stamp the snowflakes around the Oh Holy Night wooden dominoes.
If you aren’t a fan of the snowflake stamps, you definitely don’t have to add them to your project. I just want to be a source of inspiration for you.
Let’s hang it up
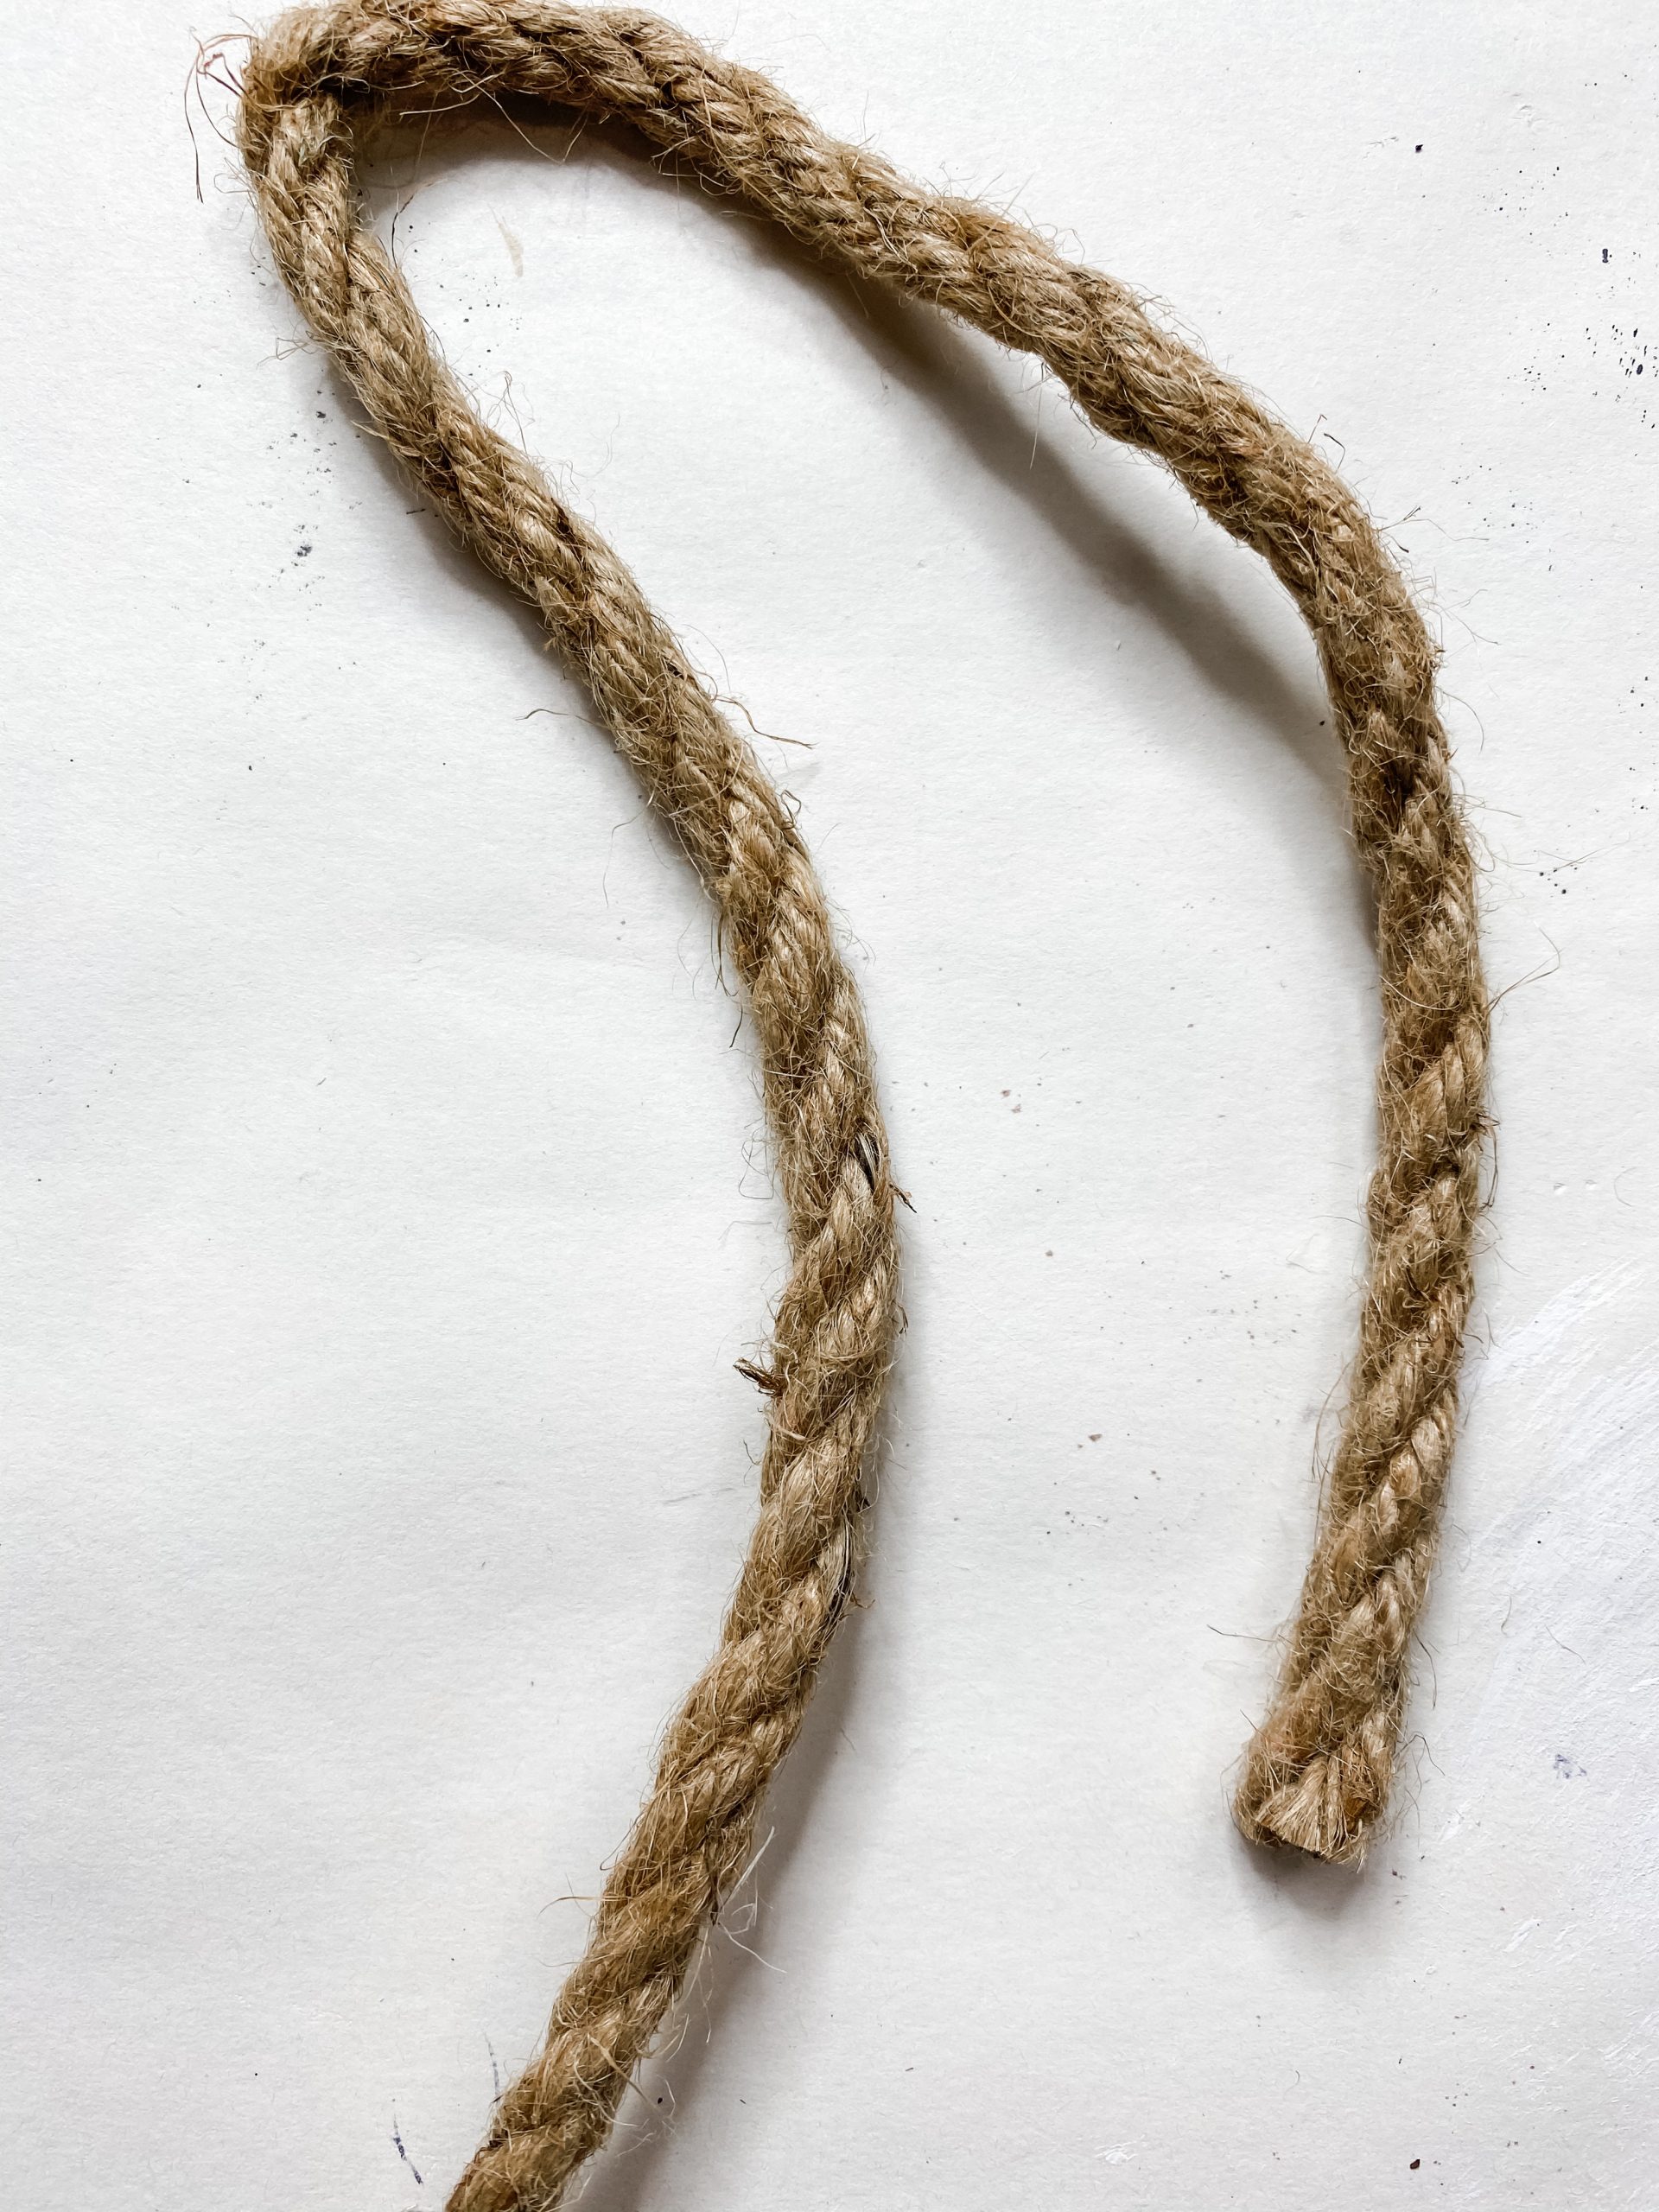
I used some Dollar Tree nautical rope to make the hanger for this adorable Christmas sign DIY. Cut the rope to the length that you want and hot glue the ends to the back of the cardboard sign.
You can always add a piece of fabric or ribbon over the ends of the rope to make your hanger more secure, but that is completely optional.
Oh, Christmas Tree!
I’ve used Dollar Tree’s mini Christmas trees before, but I mean, THEY’RE SO CUTE!!! I used 5 of the mini Christmas trees that I flocked with Apple Barrel White Acrylic Paint.
Just dry brush a bit of the white paint across each of the mini Christmas trees and allow them to dry. Then, hot glue them to the bottom of the Dollar Tree Tumbling Tower (Jenga blocks) frame.
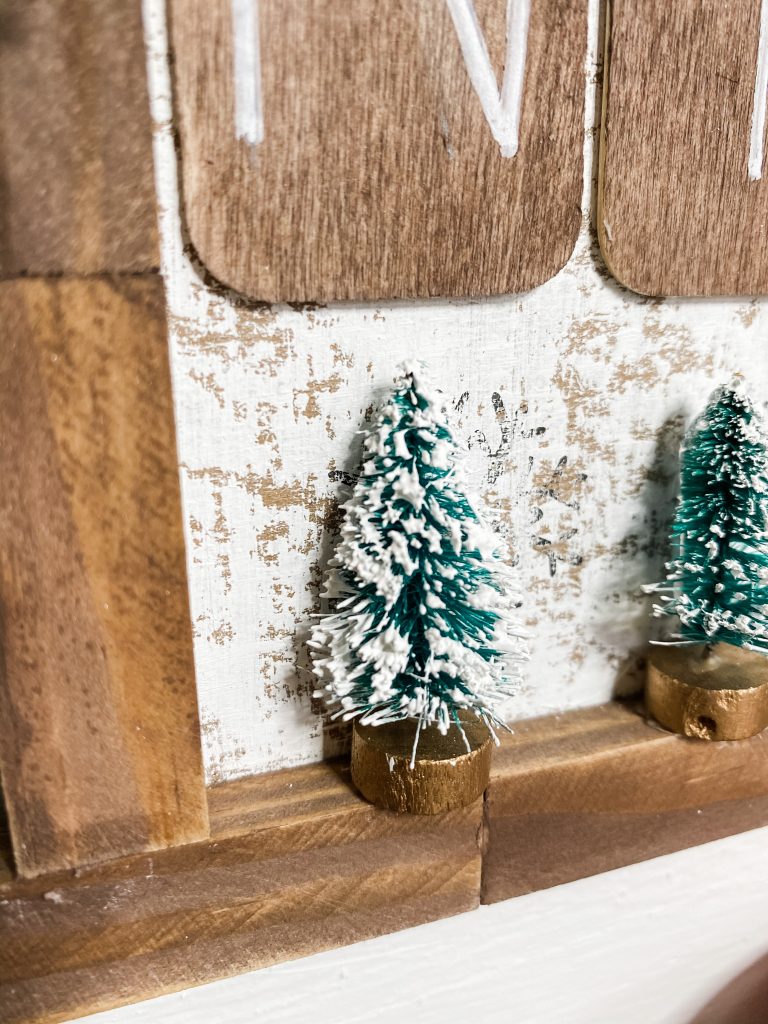
They are a perfect size and fit perfectly underneath the wooden dominoes! Once the hot glue dries, you’re all done making this Oh Holy Night DIY Christmas Sign!
Y’all, I am IN LOVE with how amazing this DIY looks! I mean, there are so many possibilities for how to reuse this idea for other holidays, seasons, or even everyday decor!
I hope you enjoyed this Oh Holy Night DIY Christmas Sign as much as I did and decide to make one for yourself! If you do, I would love to see how yours turns out!
You should totally join my FREE Facebook group called On A Budget Crafts! It is a judgment-free community for DIY crafters to show off their projects and ideas.
If you loved this DIY you might also like this Dollar Tree Gift Box DIY Christmas Decor!
Thanks for stopping by! XOXO Amber
You can also shop my ENTIRE AMAZON Favorites shop just click here! It’s packed full of all the things I use and love.
Here is the supply list I highly recommend every creative have on hand!! Would you also pin my blog for later and get on my newsletter alerts? I would love to have you join my #craftycrew.

Join my free “ON A BUDGET CRAFTS” Facebook group!
PIN THIS POST FOR LATER!