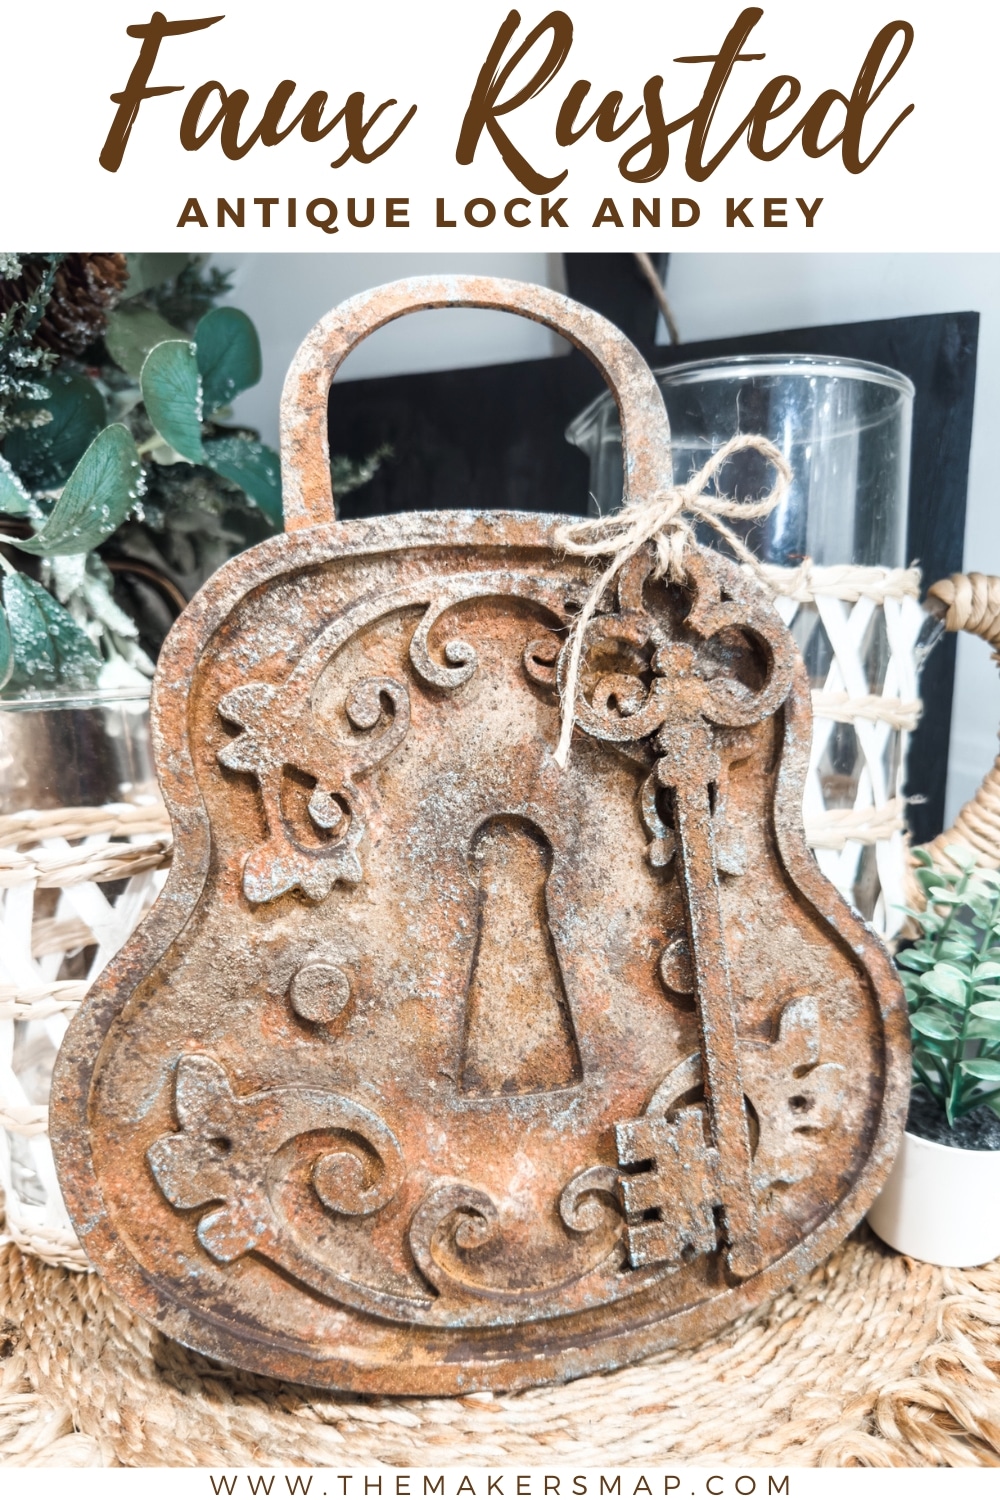
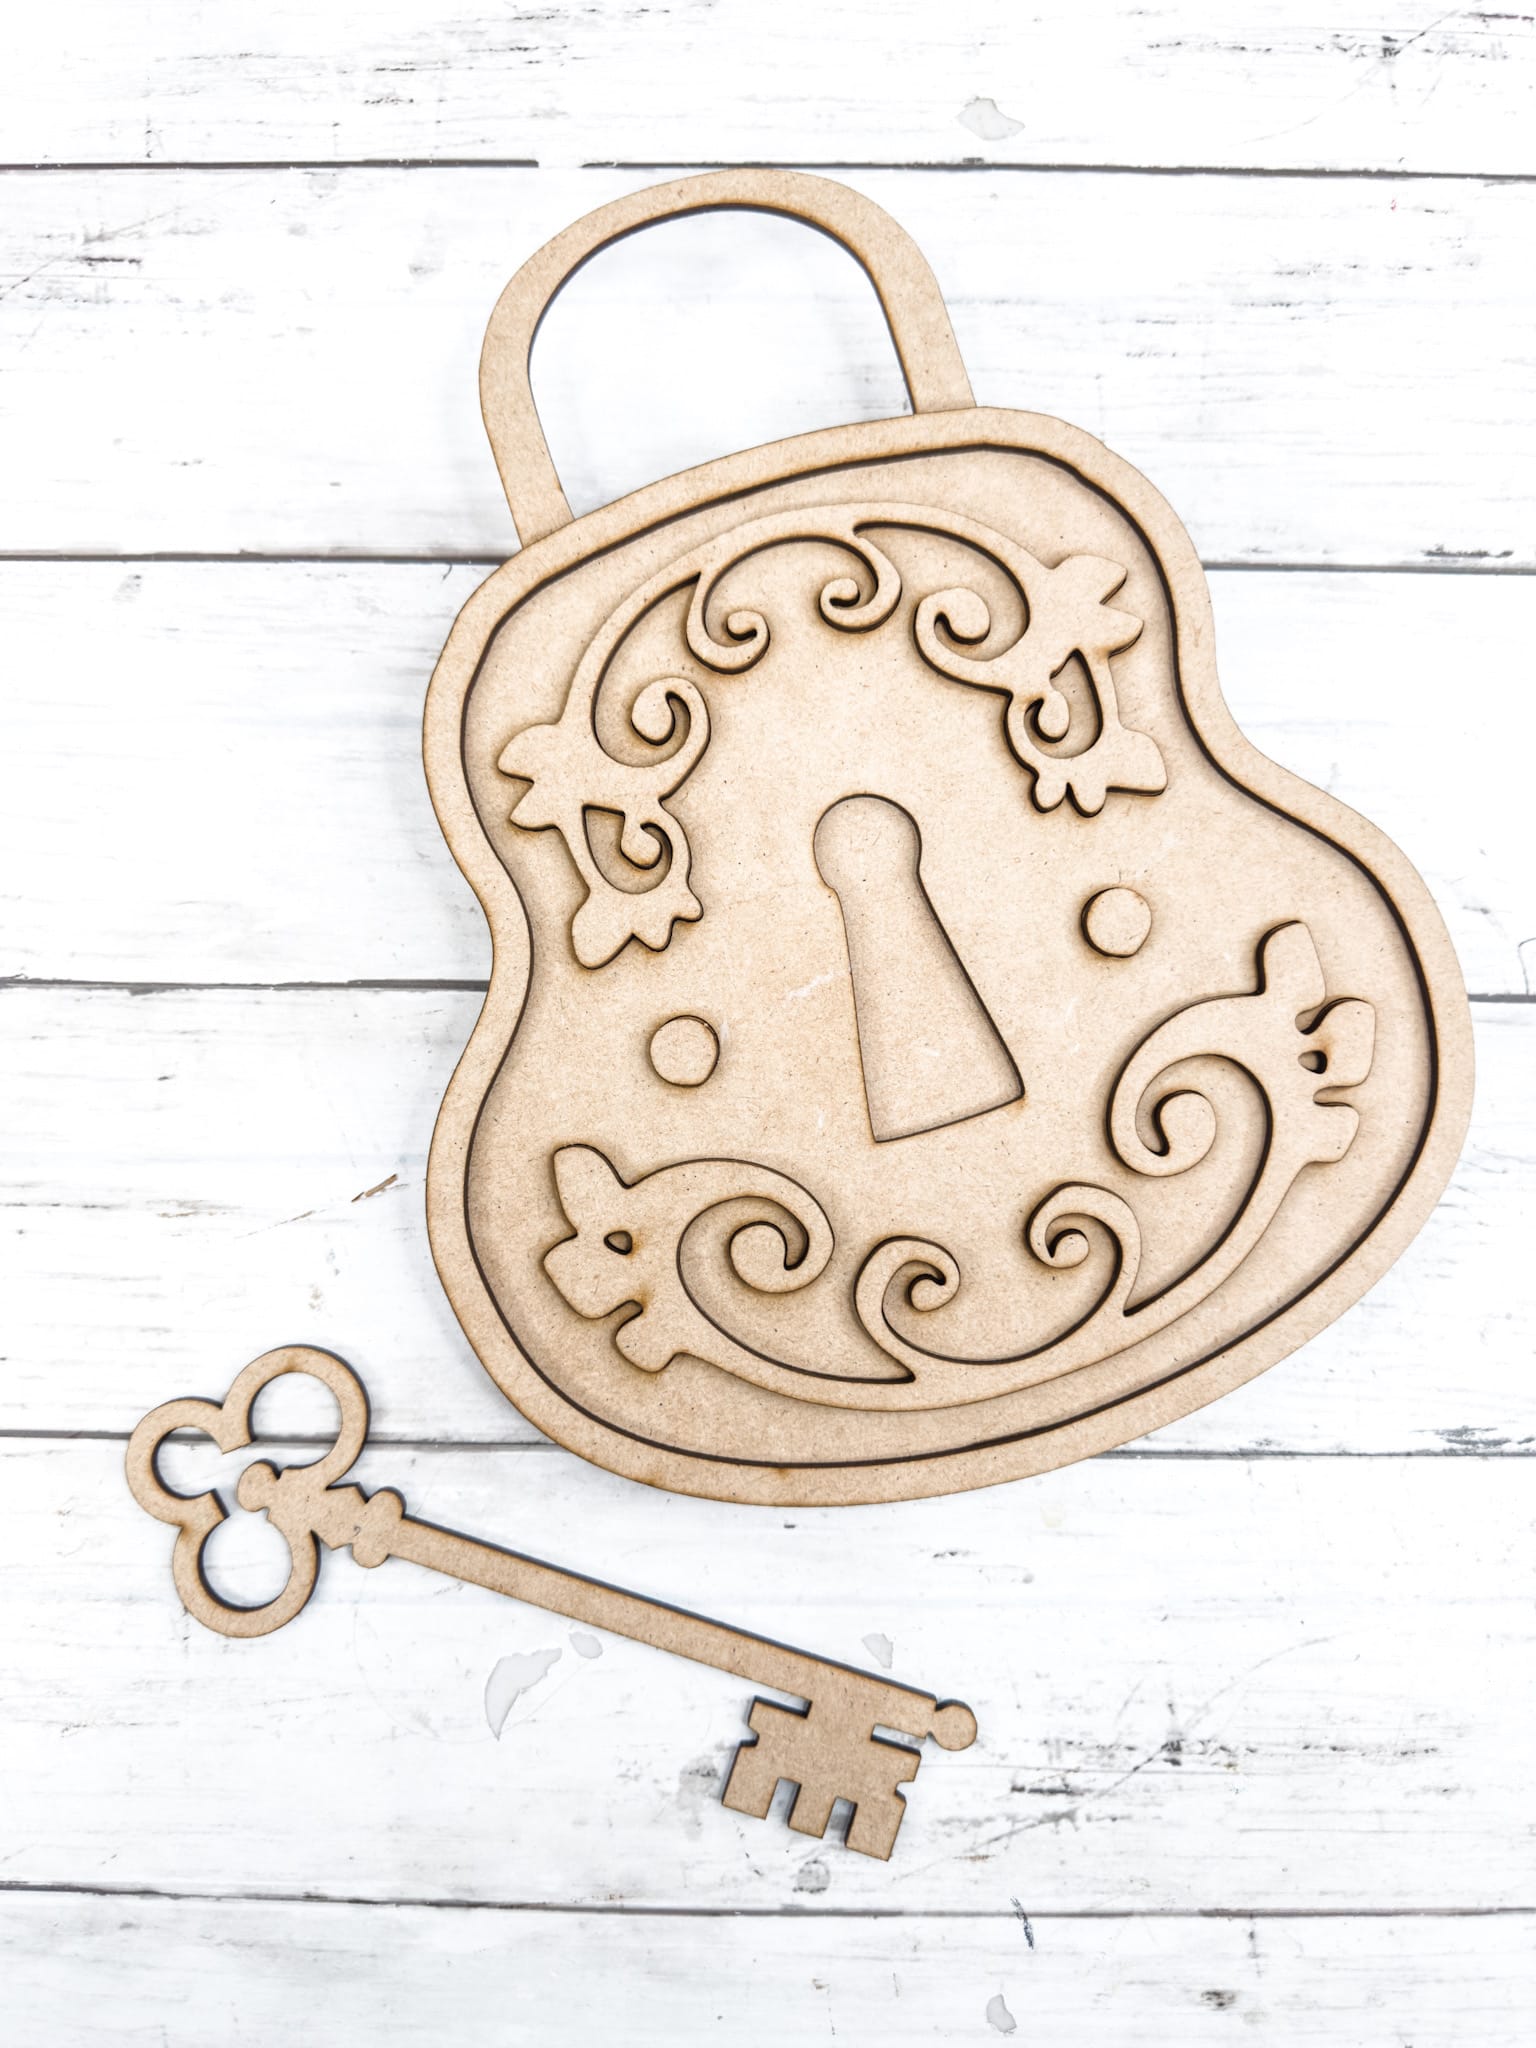
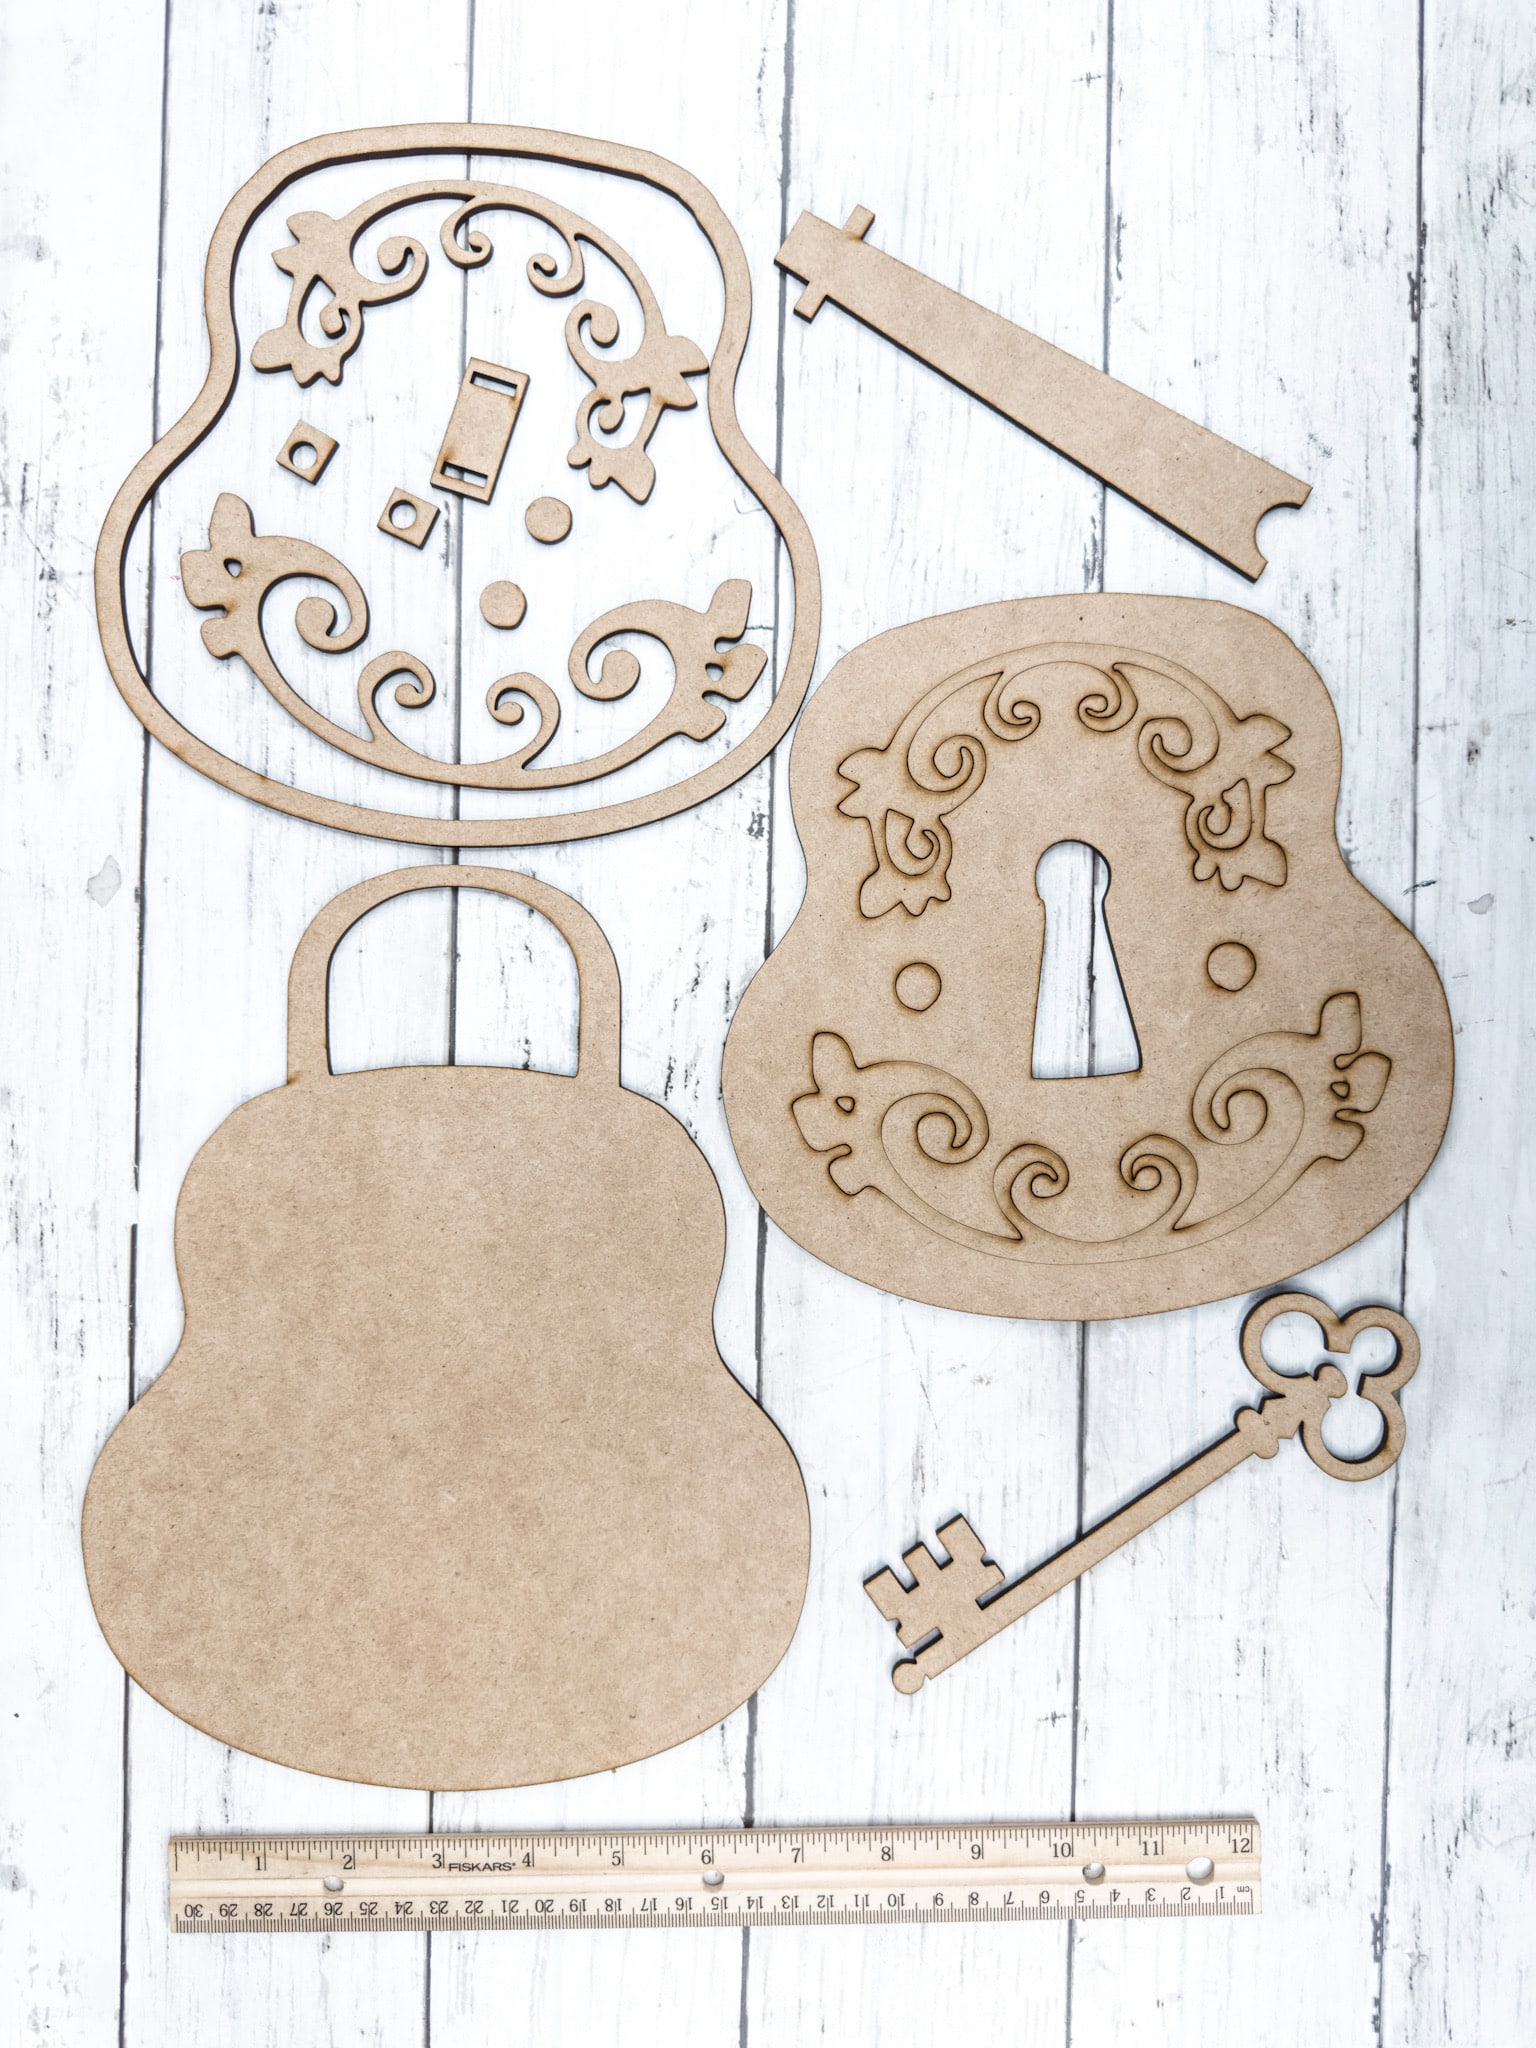
Faux Rusted Antique Lock and Key
Honestly, I blew myself away with this Faux Rusted Antique Lock and Key! I envisioned it rusted like a real metal lock and key, but with it being wood, I was sure it wouldn’t look truly realistic.
However, I was so wrong! With some patience and a few affordable supplies, I was able to turn a basic mdf wood lock and key cut out craft kit into a truly realistic appearing rusted metal antique lock and key.
That’s the beauty with crafting – you get to create the piece 100% how you see it in your mind and the possibilities are truly endless!
How to make a Faux Rusted Antique Lock and Key
I started this kit differently than I usually do when I’m crafting my craft kits. Typically, I will lightly sand each piece and then stain them all brown.
Sanding helps remove any residue that is left over from our laser machines during the cutting process and helps the wood absorb the stain better.
For this kit, I wasn’t going to stain it and paint it in a typical way, so I was able to skip the sanding process. You can still do it if you want to, though.
Instead, I started by assembling the kit. I glued all the layer pieces together to create the lock with StickFast Super glue.
How to create a DIY corroded faux rust finish
Once all the pieces were secured together, I started applying a coat of the DecoArt Metallic Rich Espresso acrylic paint to the entire ornate lock cutout.
While the coat of paint was still wet, I began sprinkling the baking soda onto the front of the ornate wooden lock. This helps create the textured finish for the corroded look I was going for.
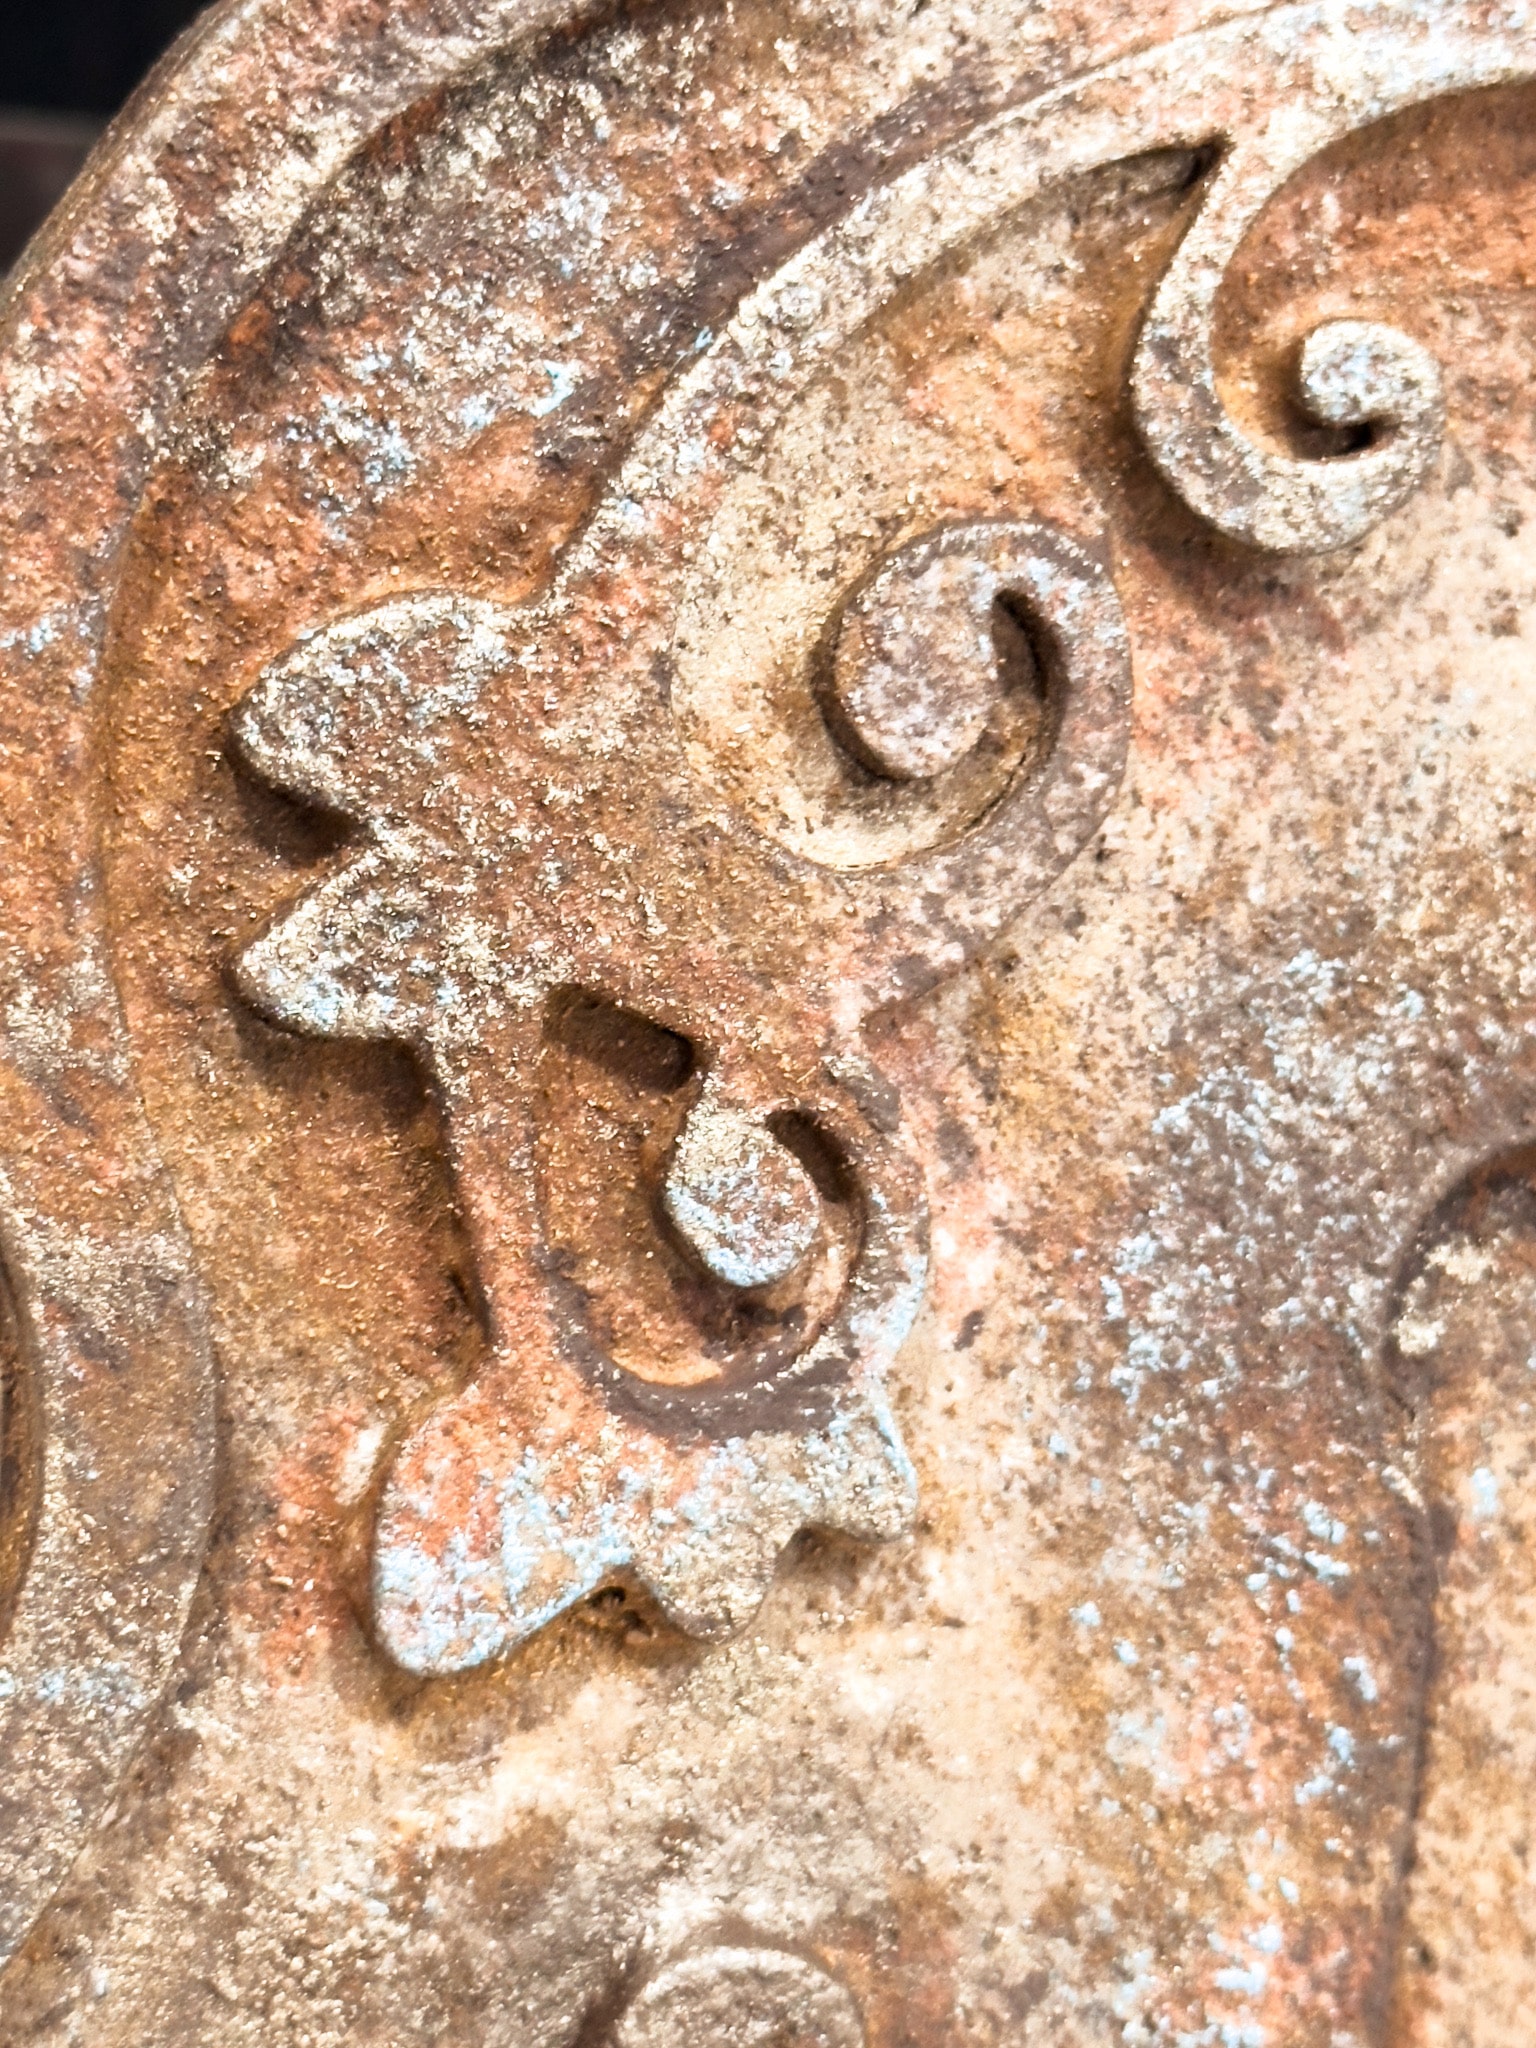
Next, I went in with the burnt sienna and applied it to random spots on the lock. This will be a project of layering, so we’re going to be doing this multiple times.
I sprinkled more baking soda onto the wet paint and dabbed my brush over the areas to blend the paint with the baking soda and create the texture.
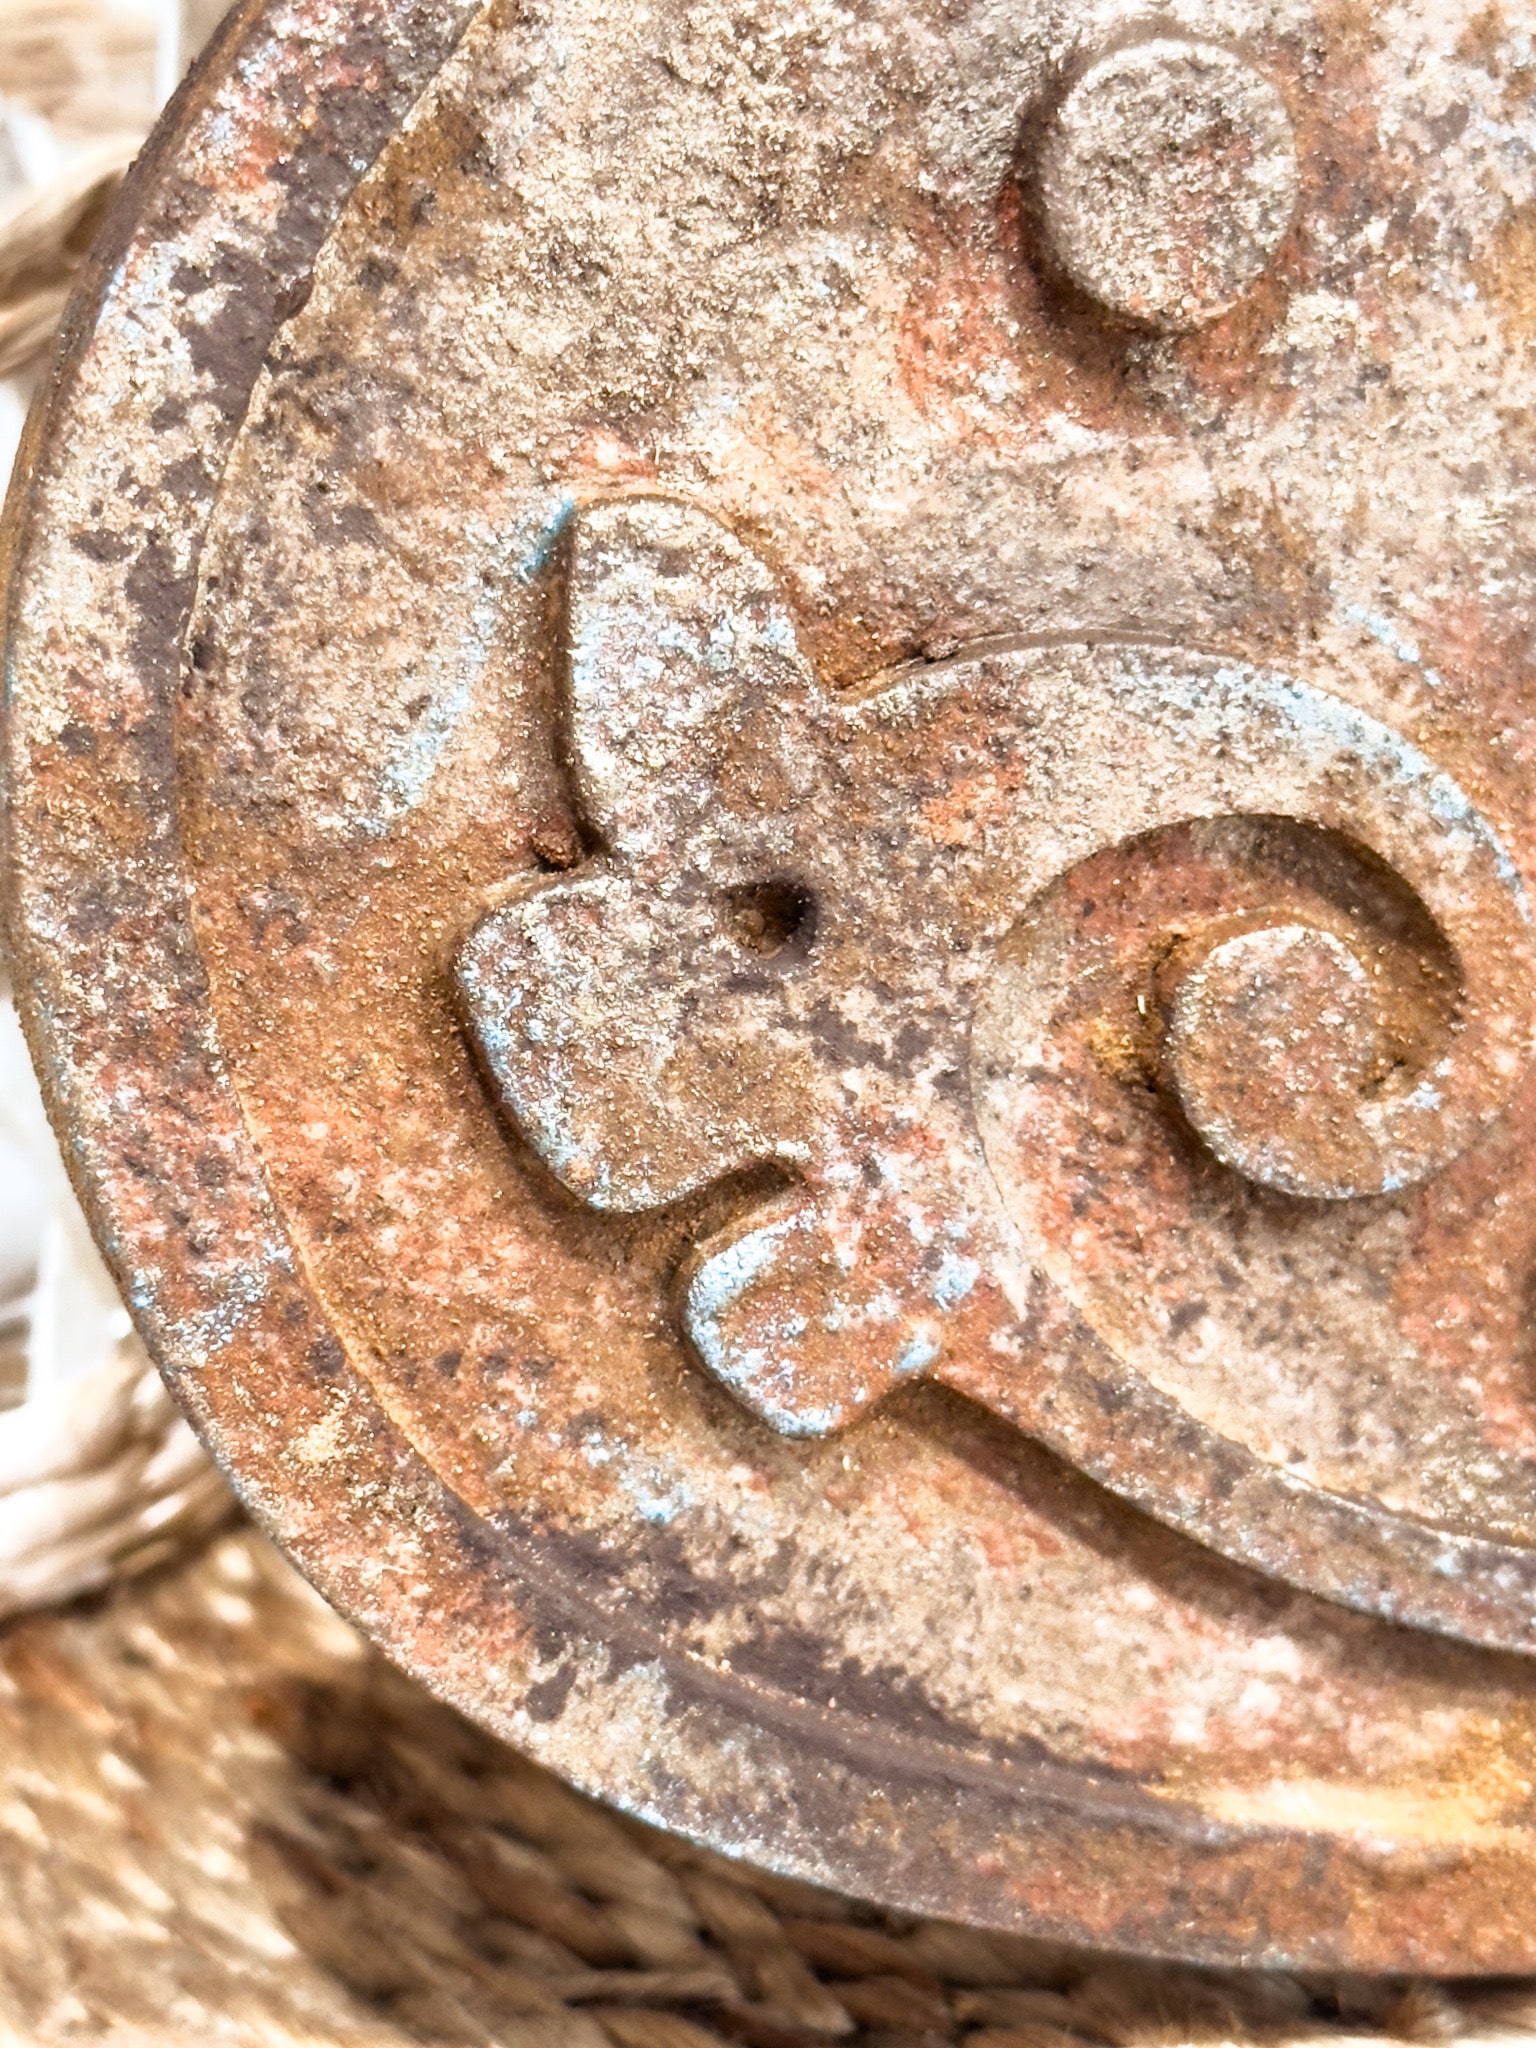
Next, I started dabbing Mod Podge onto the lock and sprinkled the cinnamon onto random places of the wet Mod Podge. Both the Mod Podge and cinnamon help add texture to this DIY faux rust craft.
Build the texture of the faux rust finish
I went in with my heat gun to quickly dry the mod podge and paint. I really started to feel excited here because I could SEE the texture start to build!
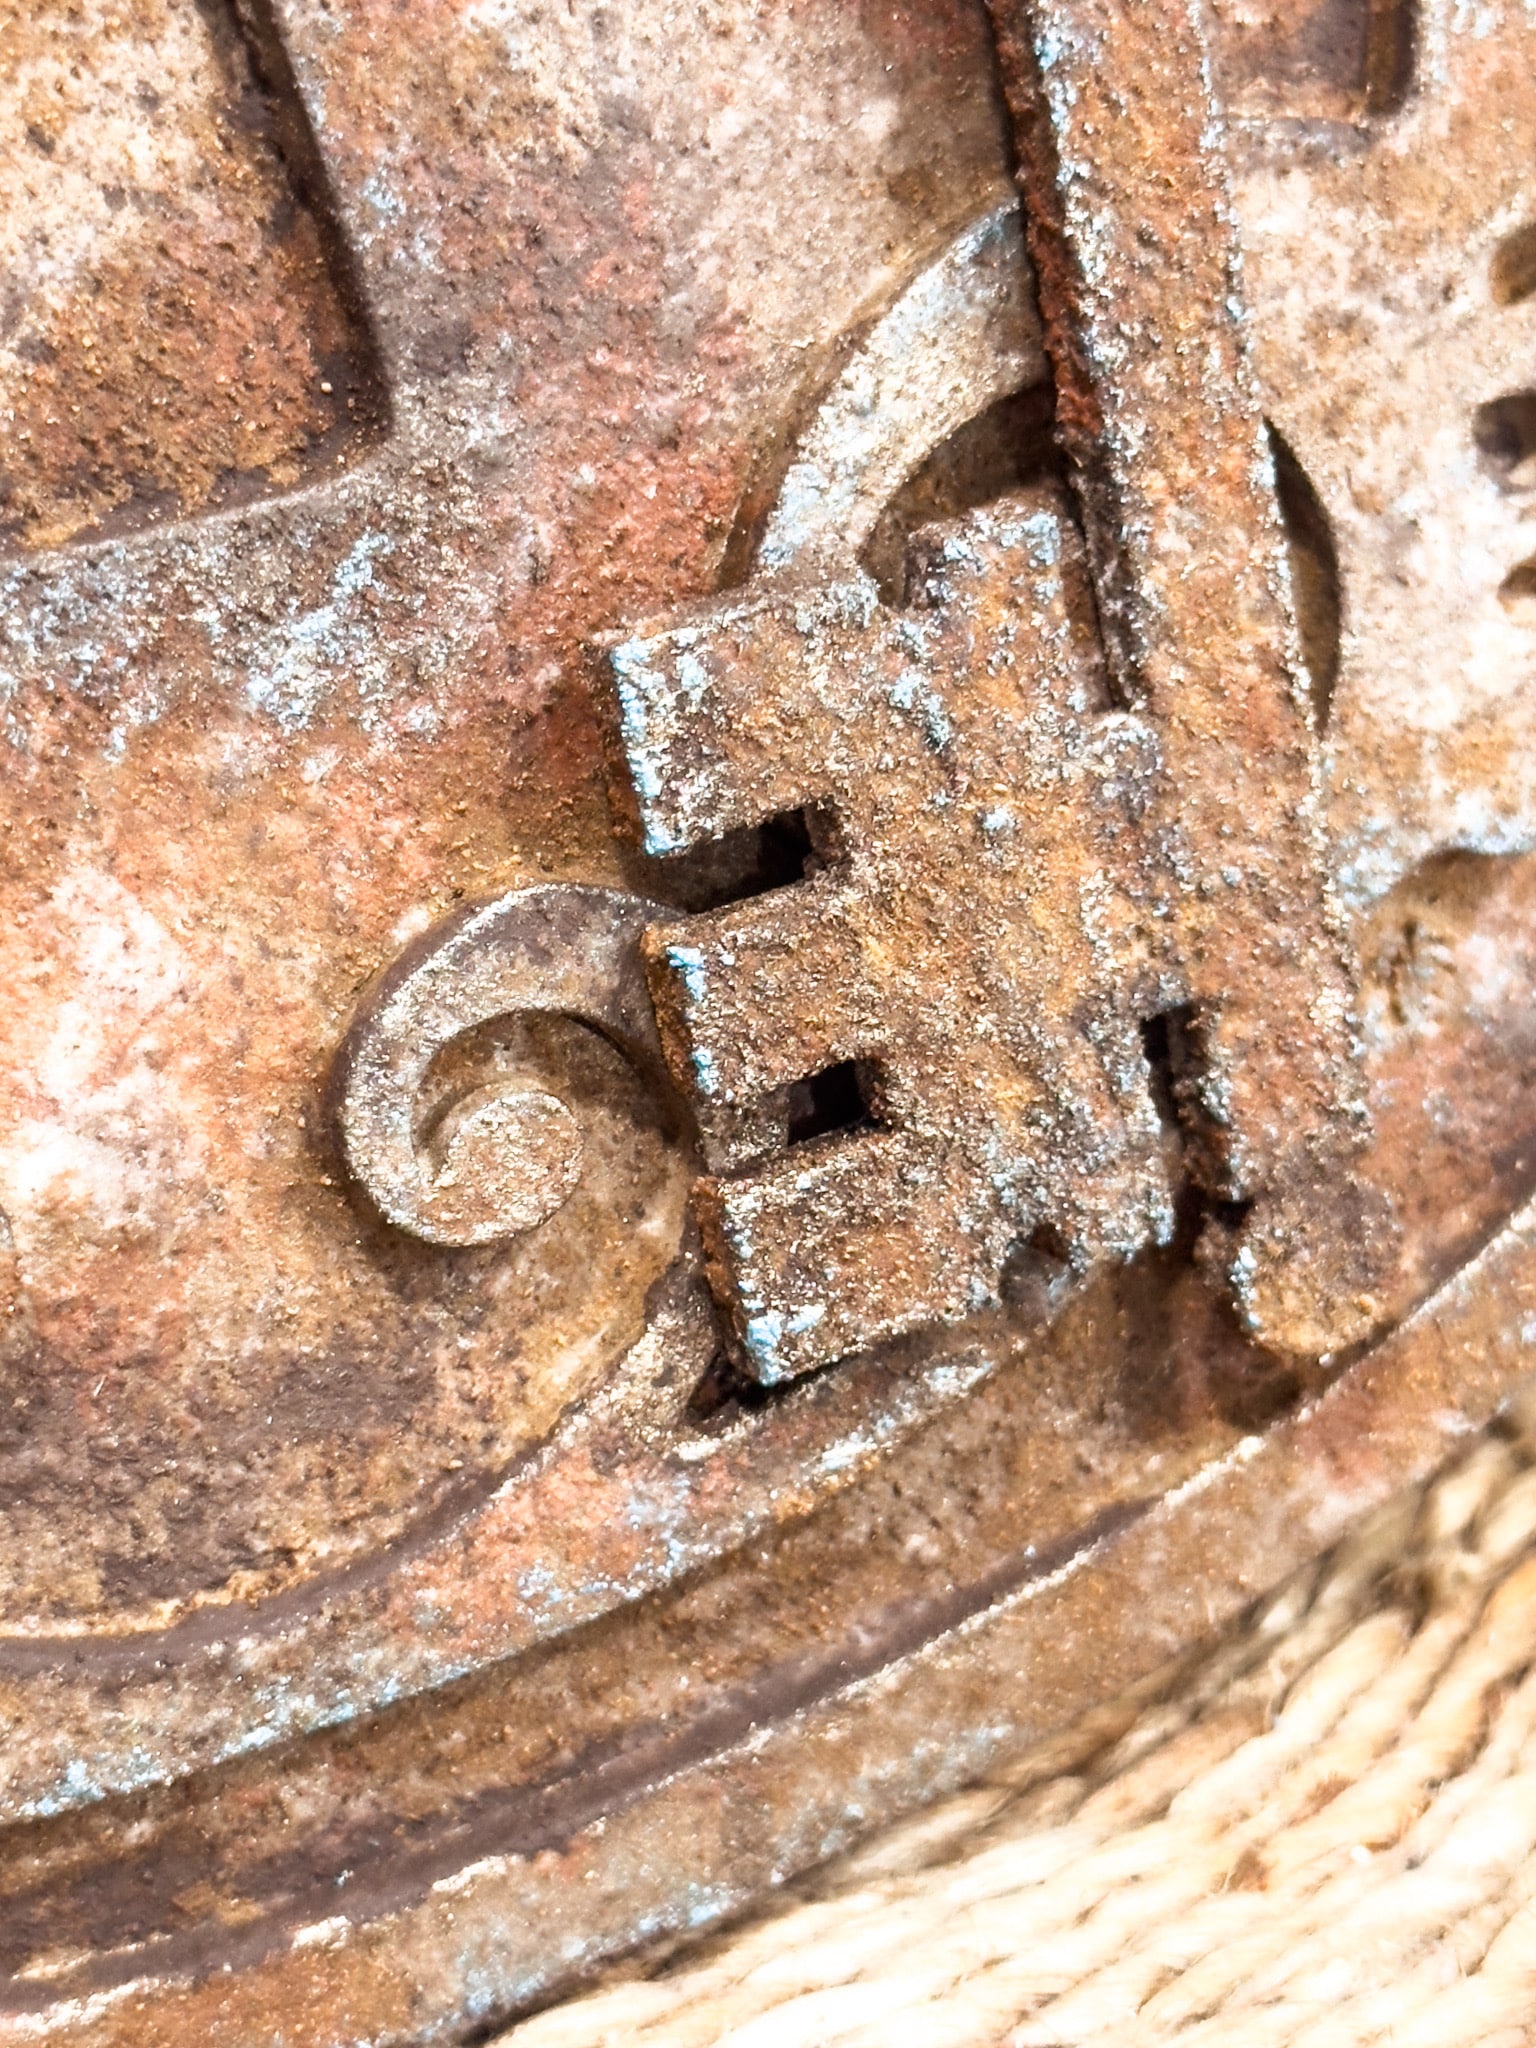
If you’ve ever looked at varnished metal, you’ll see that it has almost like a bluish sheen to it. So, next I started very lightly layering in the blue paint.
I applied very small amounts of the blue paint to a few areas of the lock and started dabbing layers of the remaining colors overtop.

There is no set pattern of placement when it comes to this. Just apply where you heart tells you to! Basically just repeat the process until you’re satisfied with the texture and look of your faux rust finish.
The finishing touches
Once I was finished with creating the DIY corroded faux rust finish on my antique lock craft kit cut out, I repeated the process on the key.
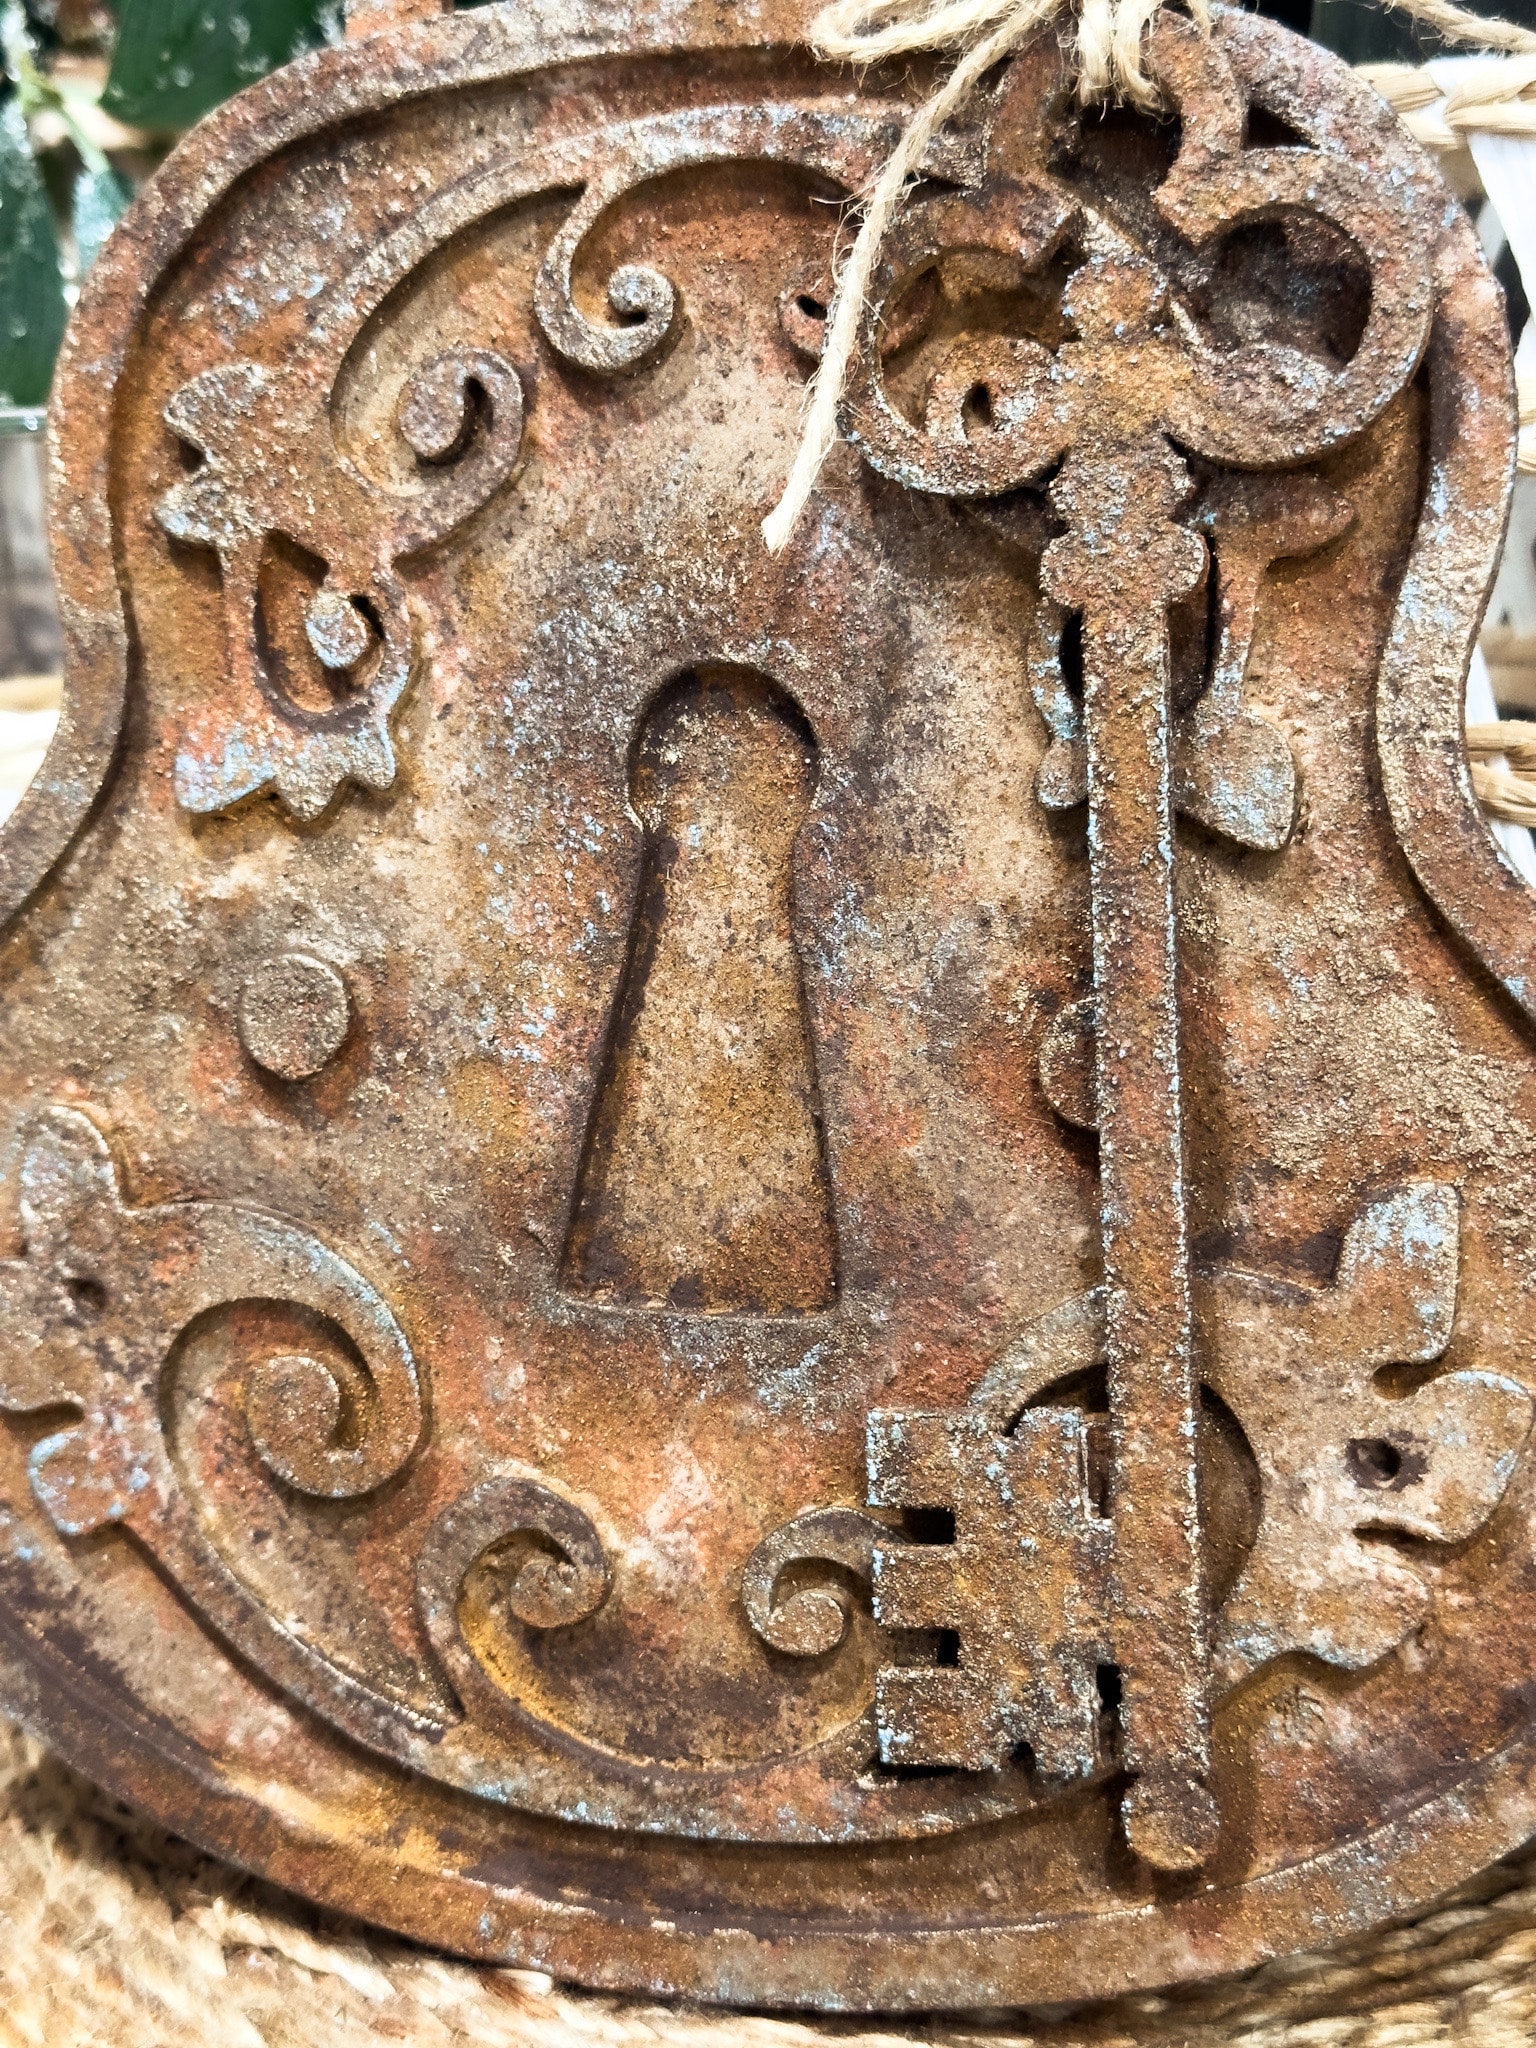
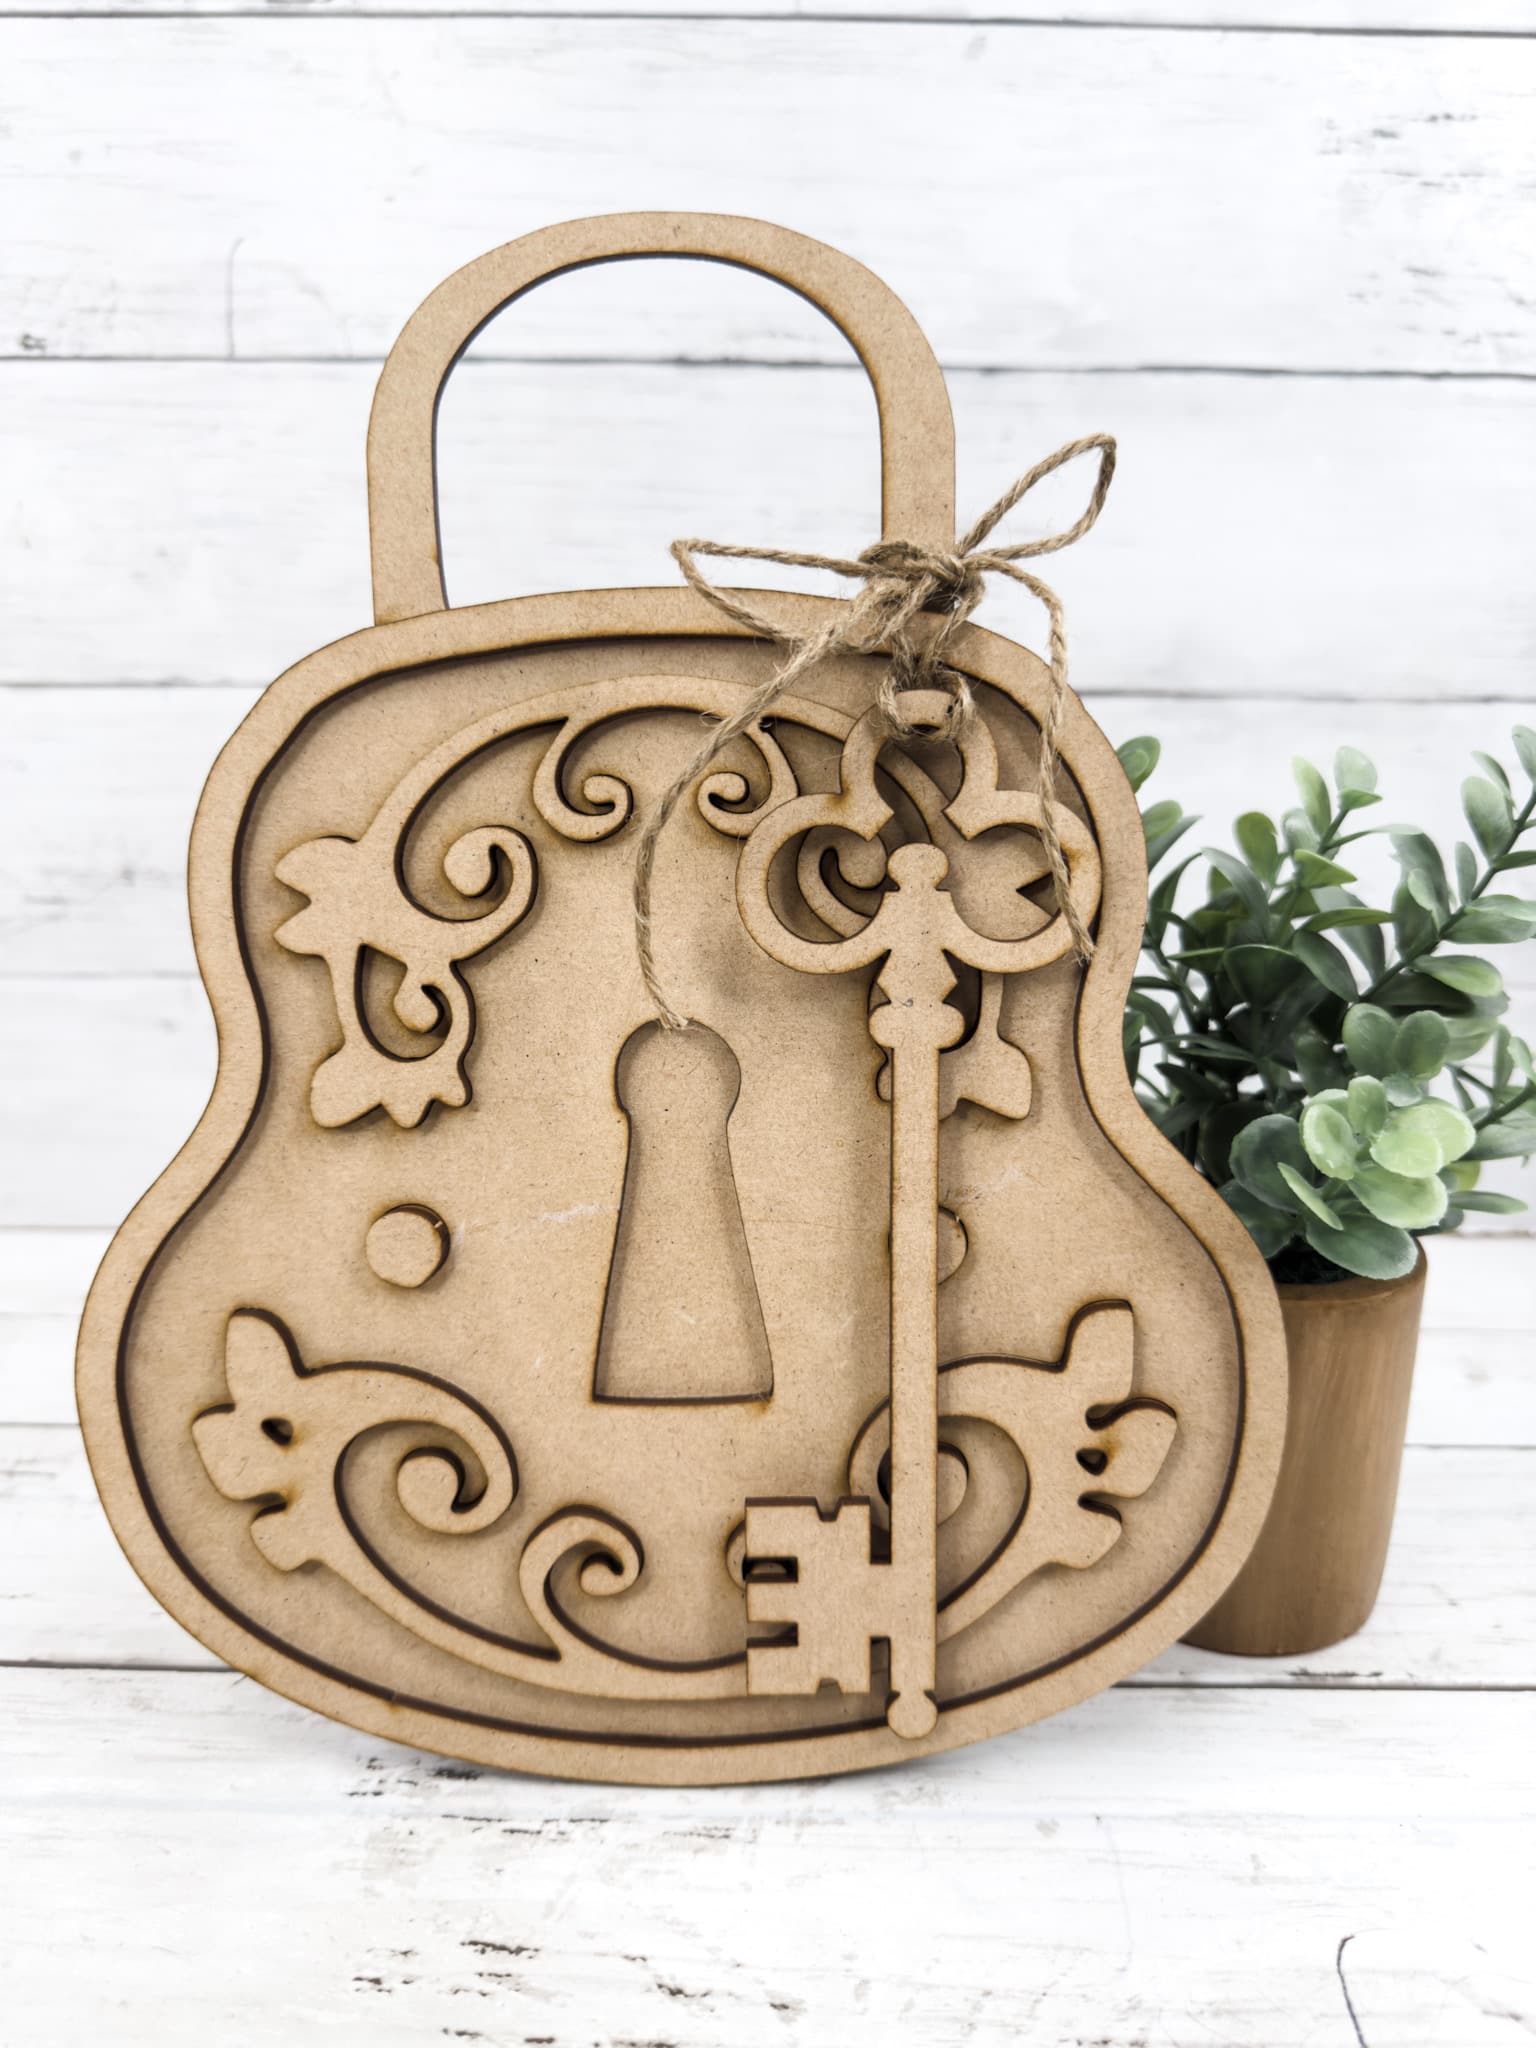
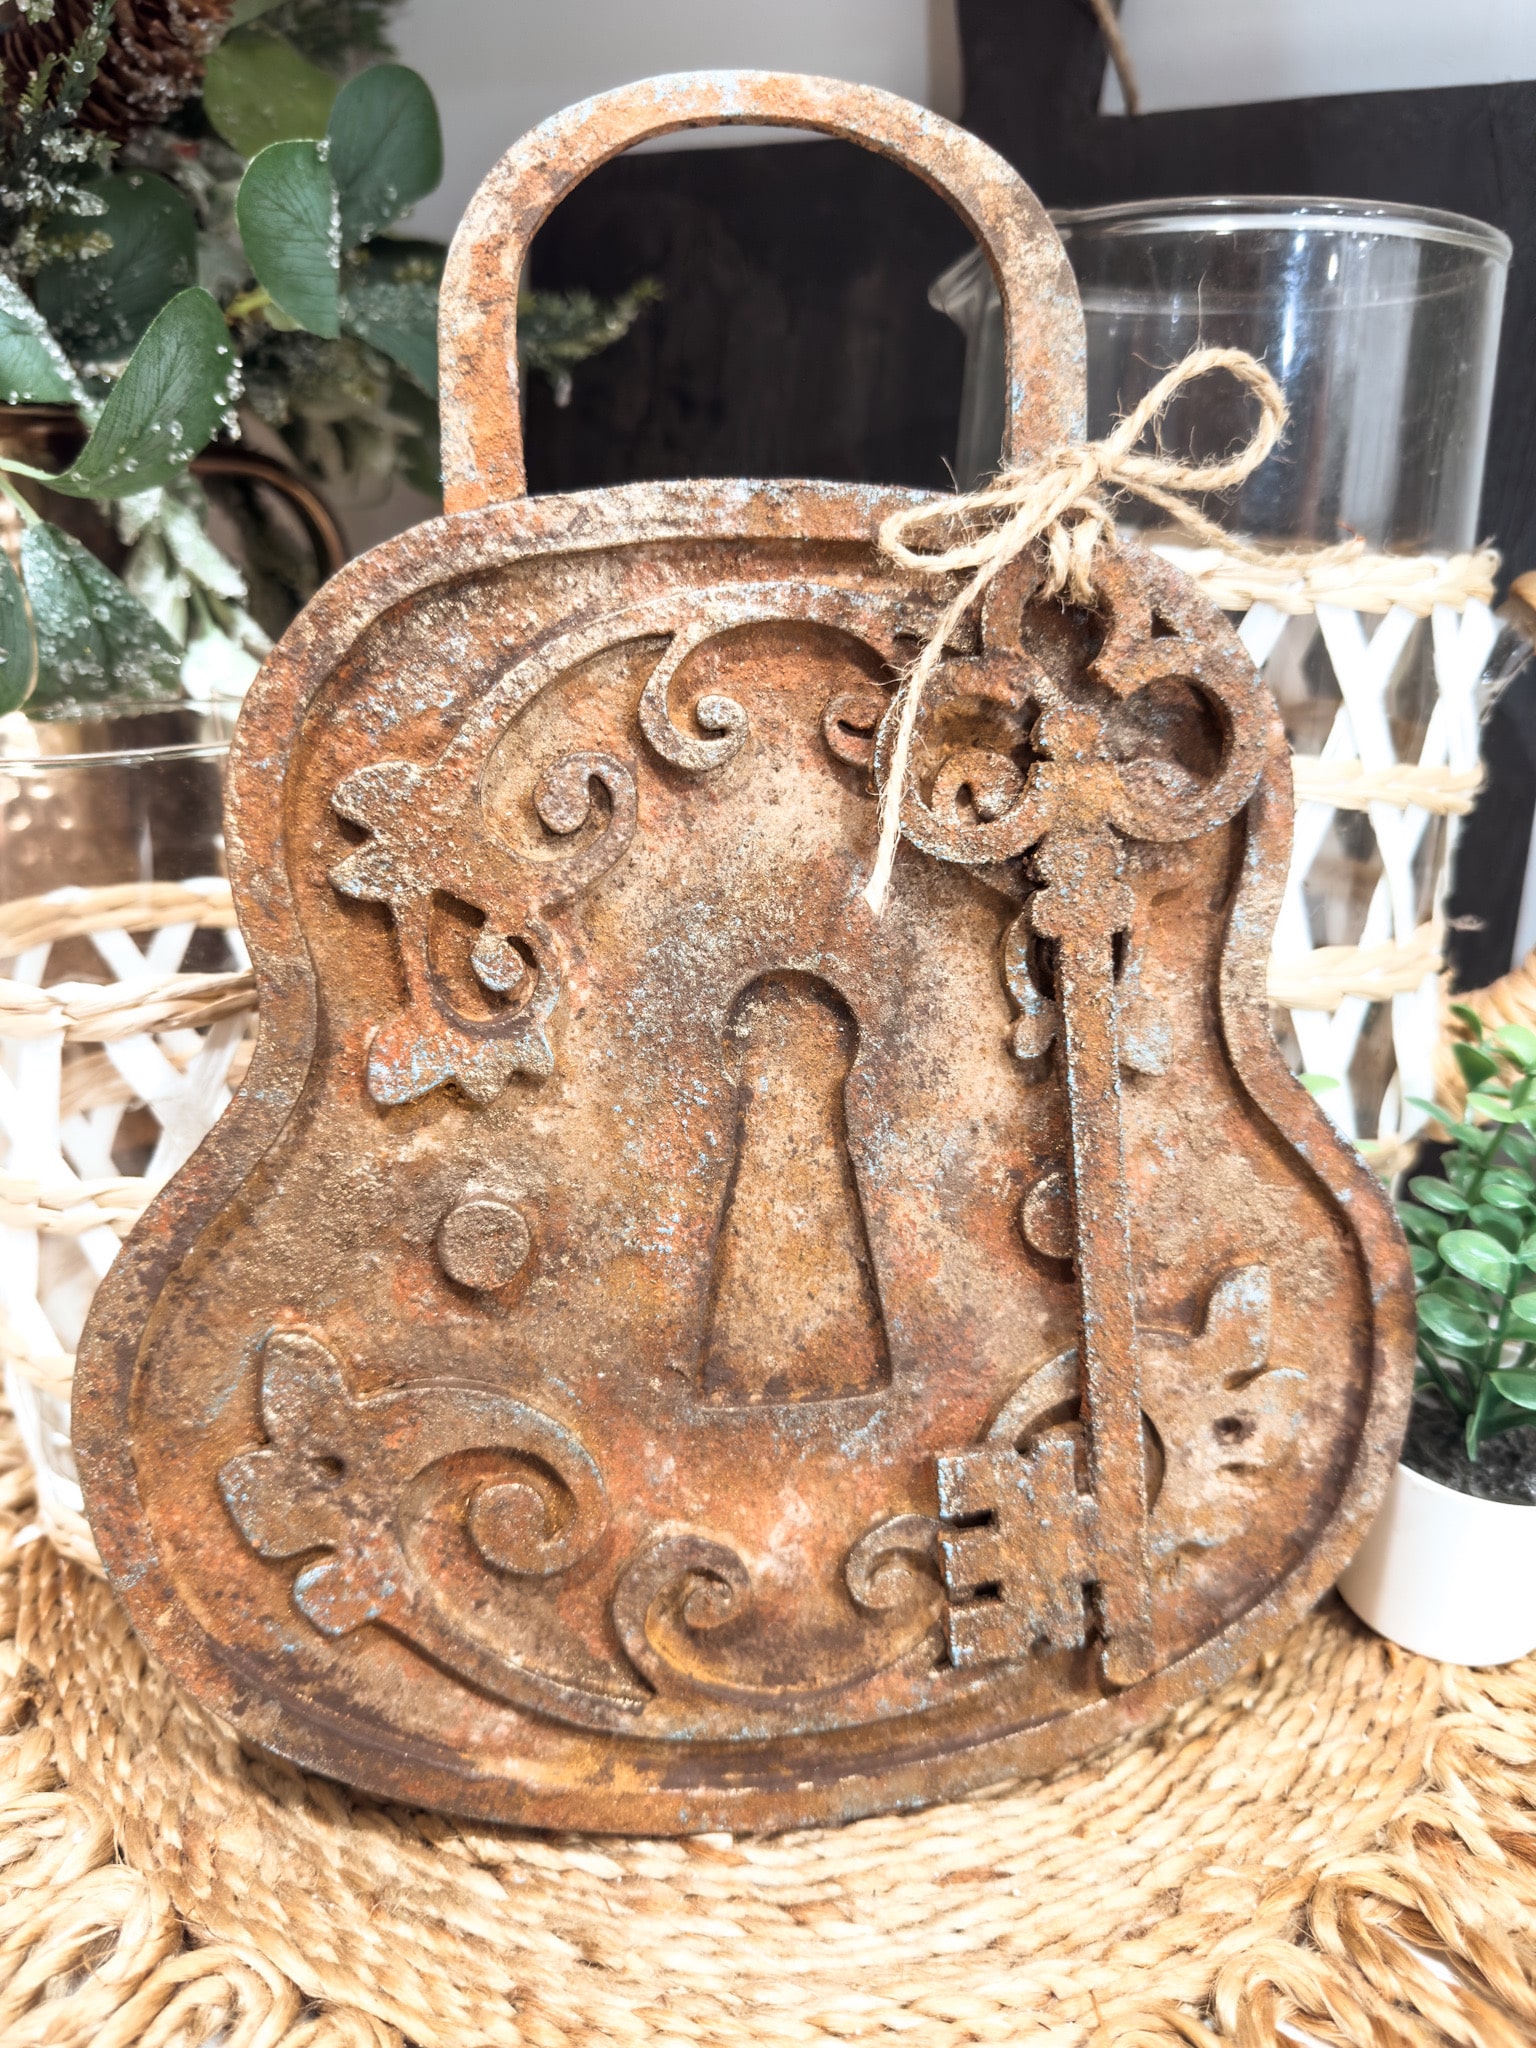
I dried the faux rusted antique lock and key with my heat gun a final time, then tied the completed key onto the lock with a piece of twine.
The final step of this project was to glue the easel stand to the back of the antique lock. It’s very simple to do, and allows you to prop your antique lock and key on a shelf or surface!
I hope you enjoyed this Faux Rusted Antique Lock and Key as much as I did and decide to make it for yourself! I would love to see how yours turns out!
You should totally join my FREE Facebook group called On A Budget Crafts! It is a judgment-free community for DIY crafters to show off their projects and ideas.
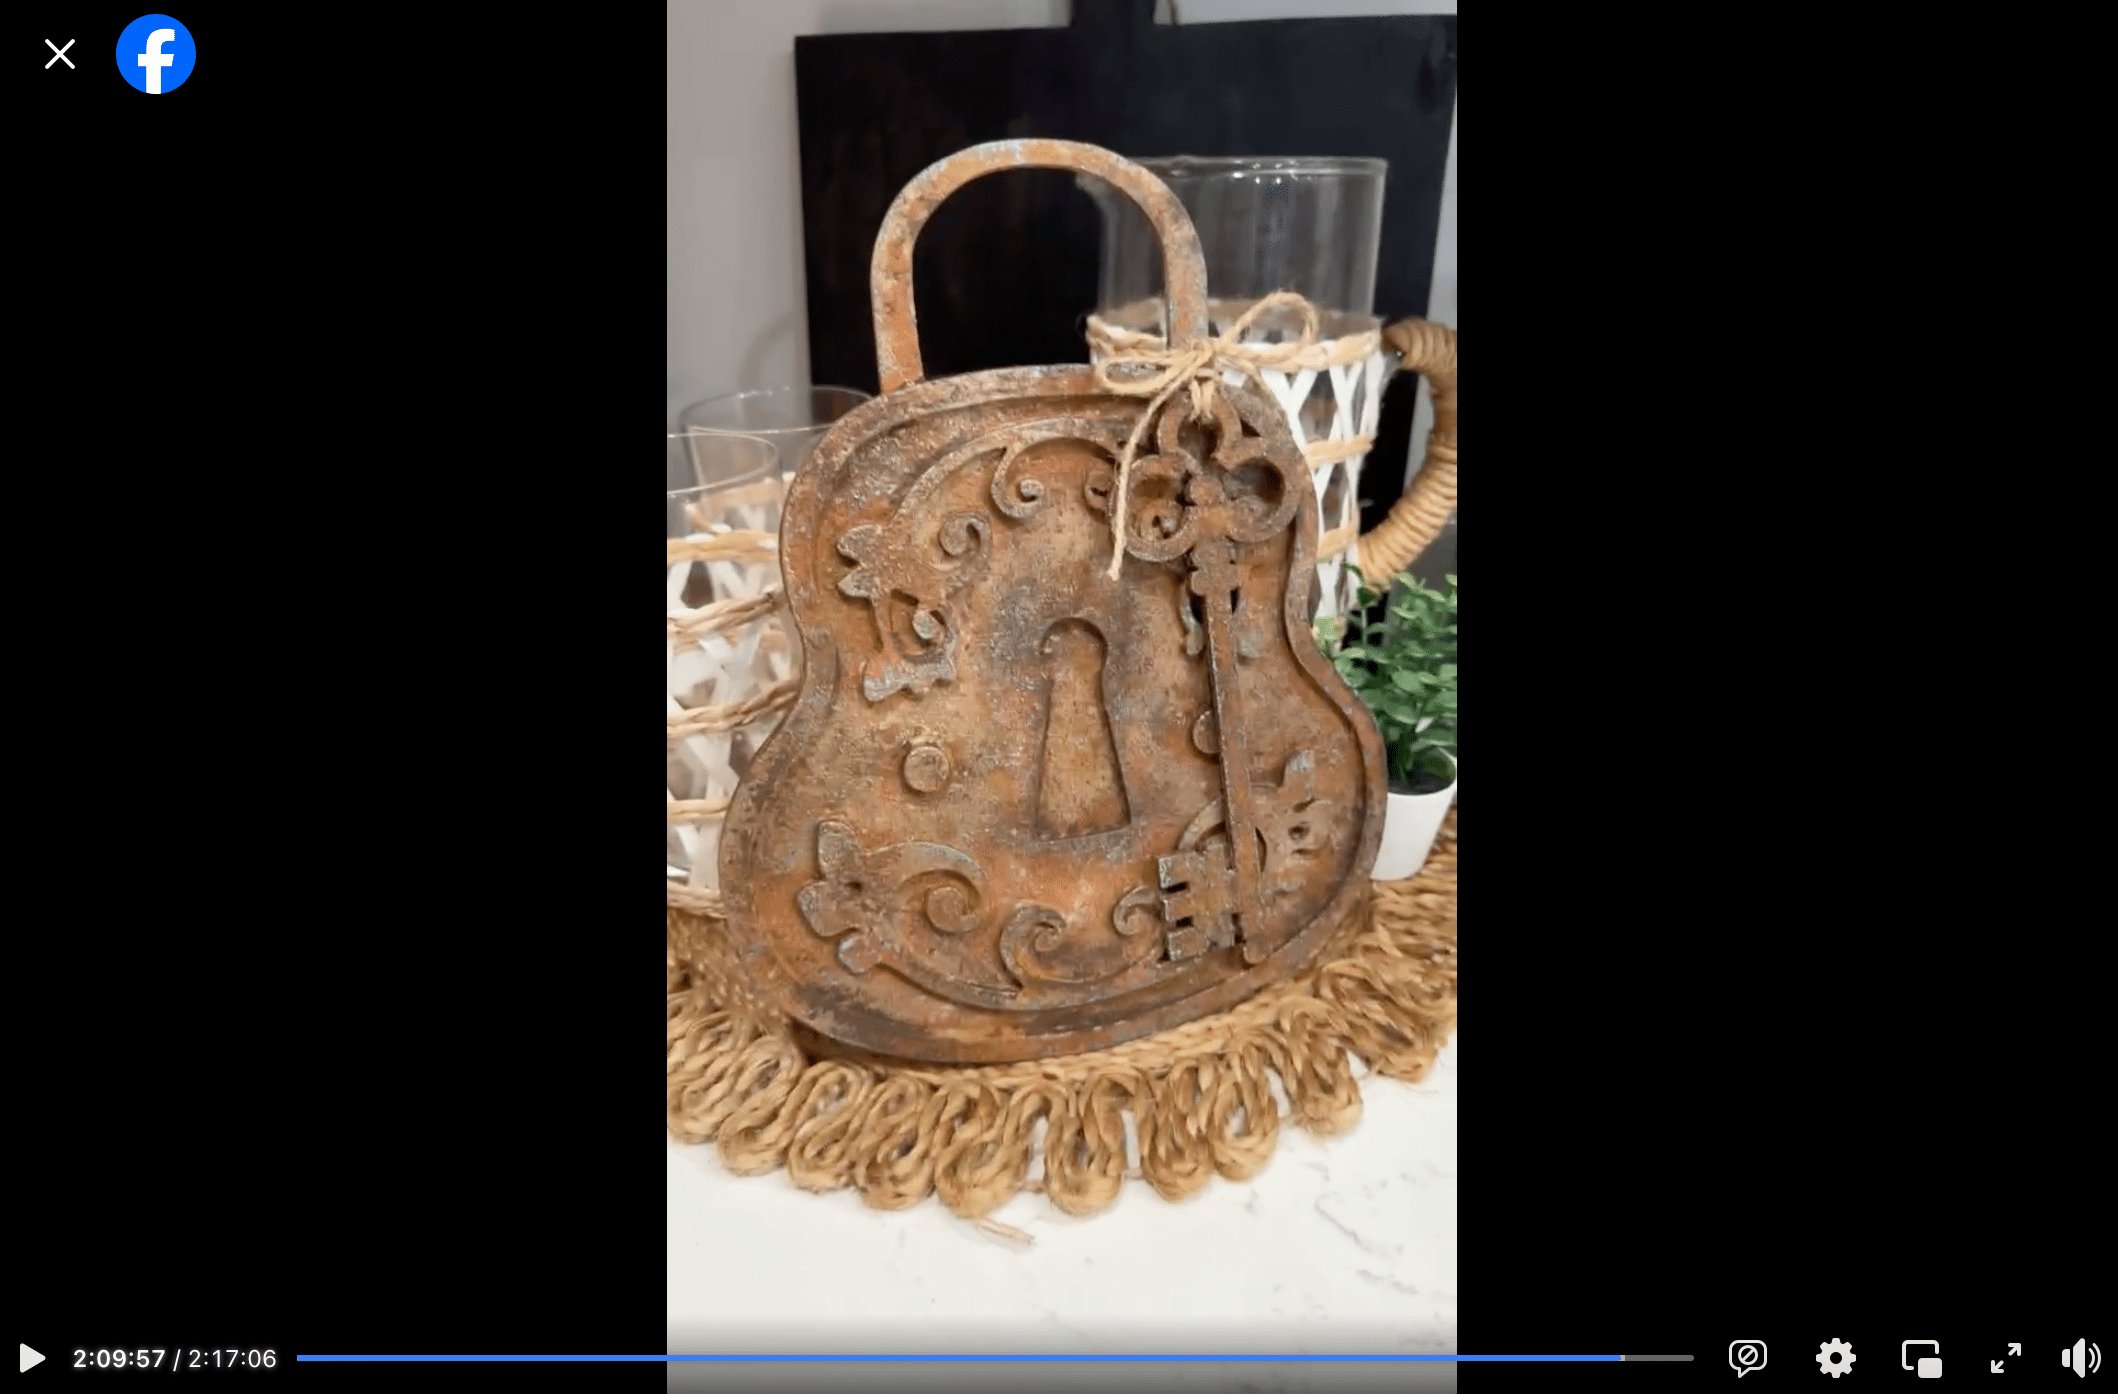
Watch the DIY tutorial
I shared how to make this incredible faux rusted antique lock and key during a LIVE video on my Facebook page.
If you want to see the DIY process, craft along, or just join in on the fun conversations, you can watch the DIY tutorial video on Facebook!
For this project, I will be using these items but you can substitute where you want.
“As an Amazon Associate, I earn from qualifying purchases.”
- Antique Lock and Key Craft Kit
- DecoArt Metallic Rich Espresso
- DecoArt Metallic Peacock Pearl
- Apple Barrel Burnt Umber
- DecoArt Aqua Sky
- DecoArt Traditional Burnt Sienna
- Waverly Antique Wax
- DecoArt Cinnamon Stick
- Mod Podge
- Baking Soda
- Cinnamon
- Gorilla Super Glue
- Hot glue gun and glue sticks
If you loved this DIY you might also like this DIY topiary!
Thanks for stopping by! XOXO Amber
You can also shop my ENTIRE AMAZON Favorites shop just click here! It’s packed full of all the things I use and love. Here is the supply list I highly recommend every creative have on hand!!
Would you also pin my blog for later and get on my newsletter alerts? I would love to have you join my #craftycrew.
Inspired? Leave me a comment below! I love hearing from my readers!

Join my free “ON A BUDGET CRAFTS” Facebook group!