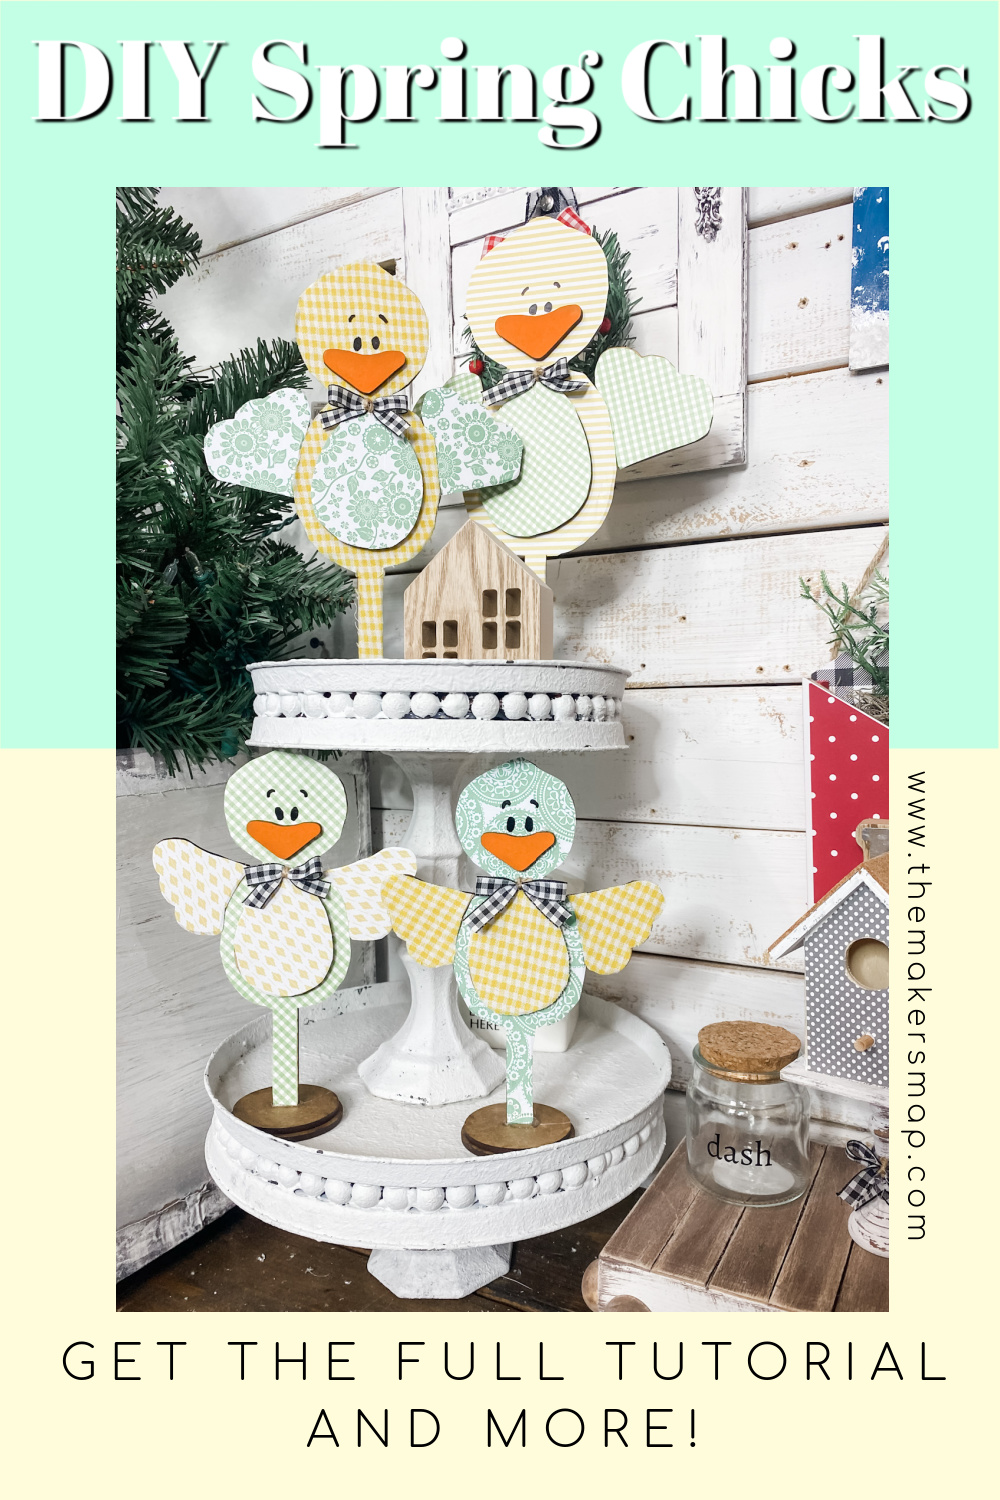
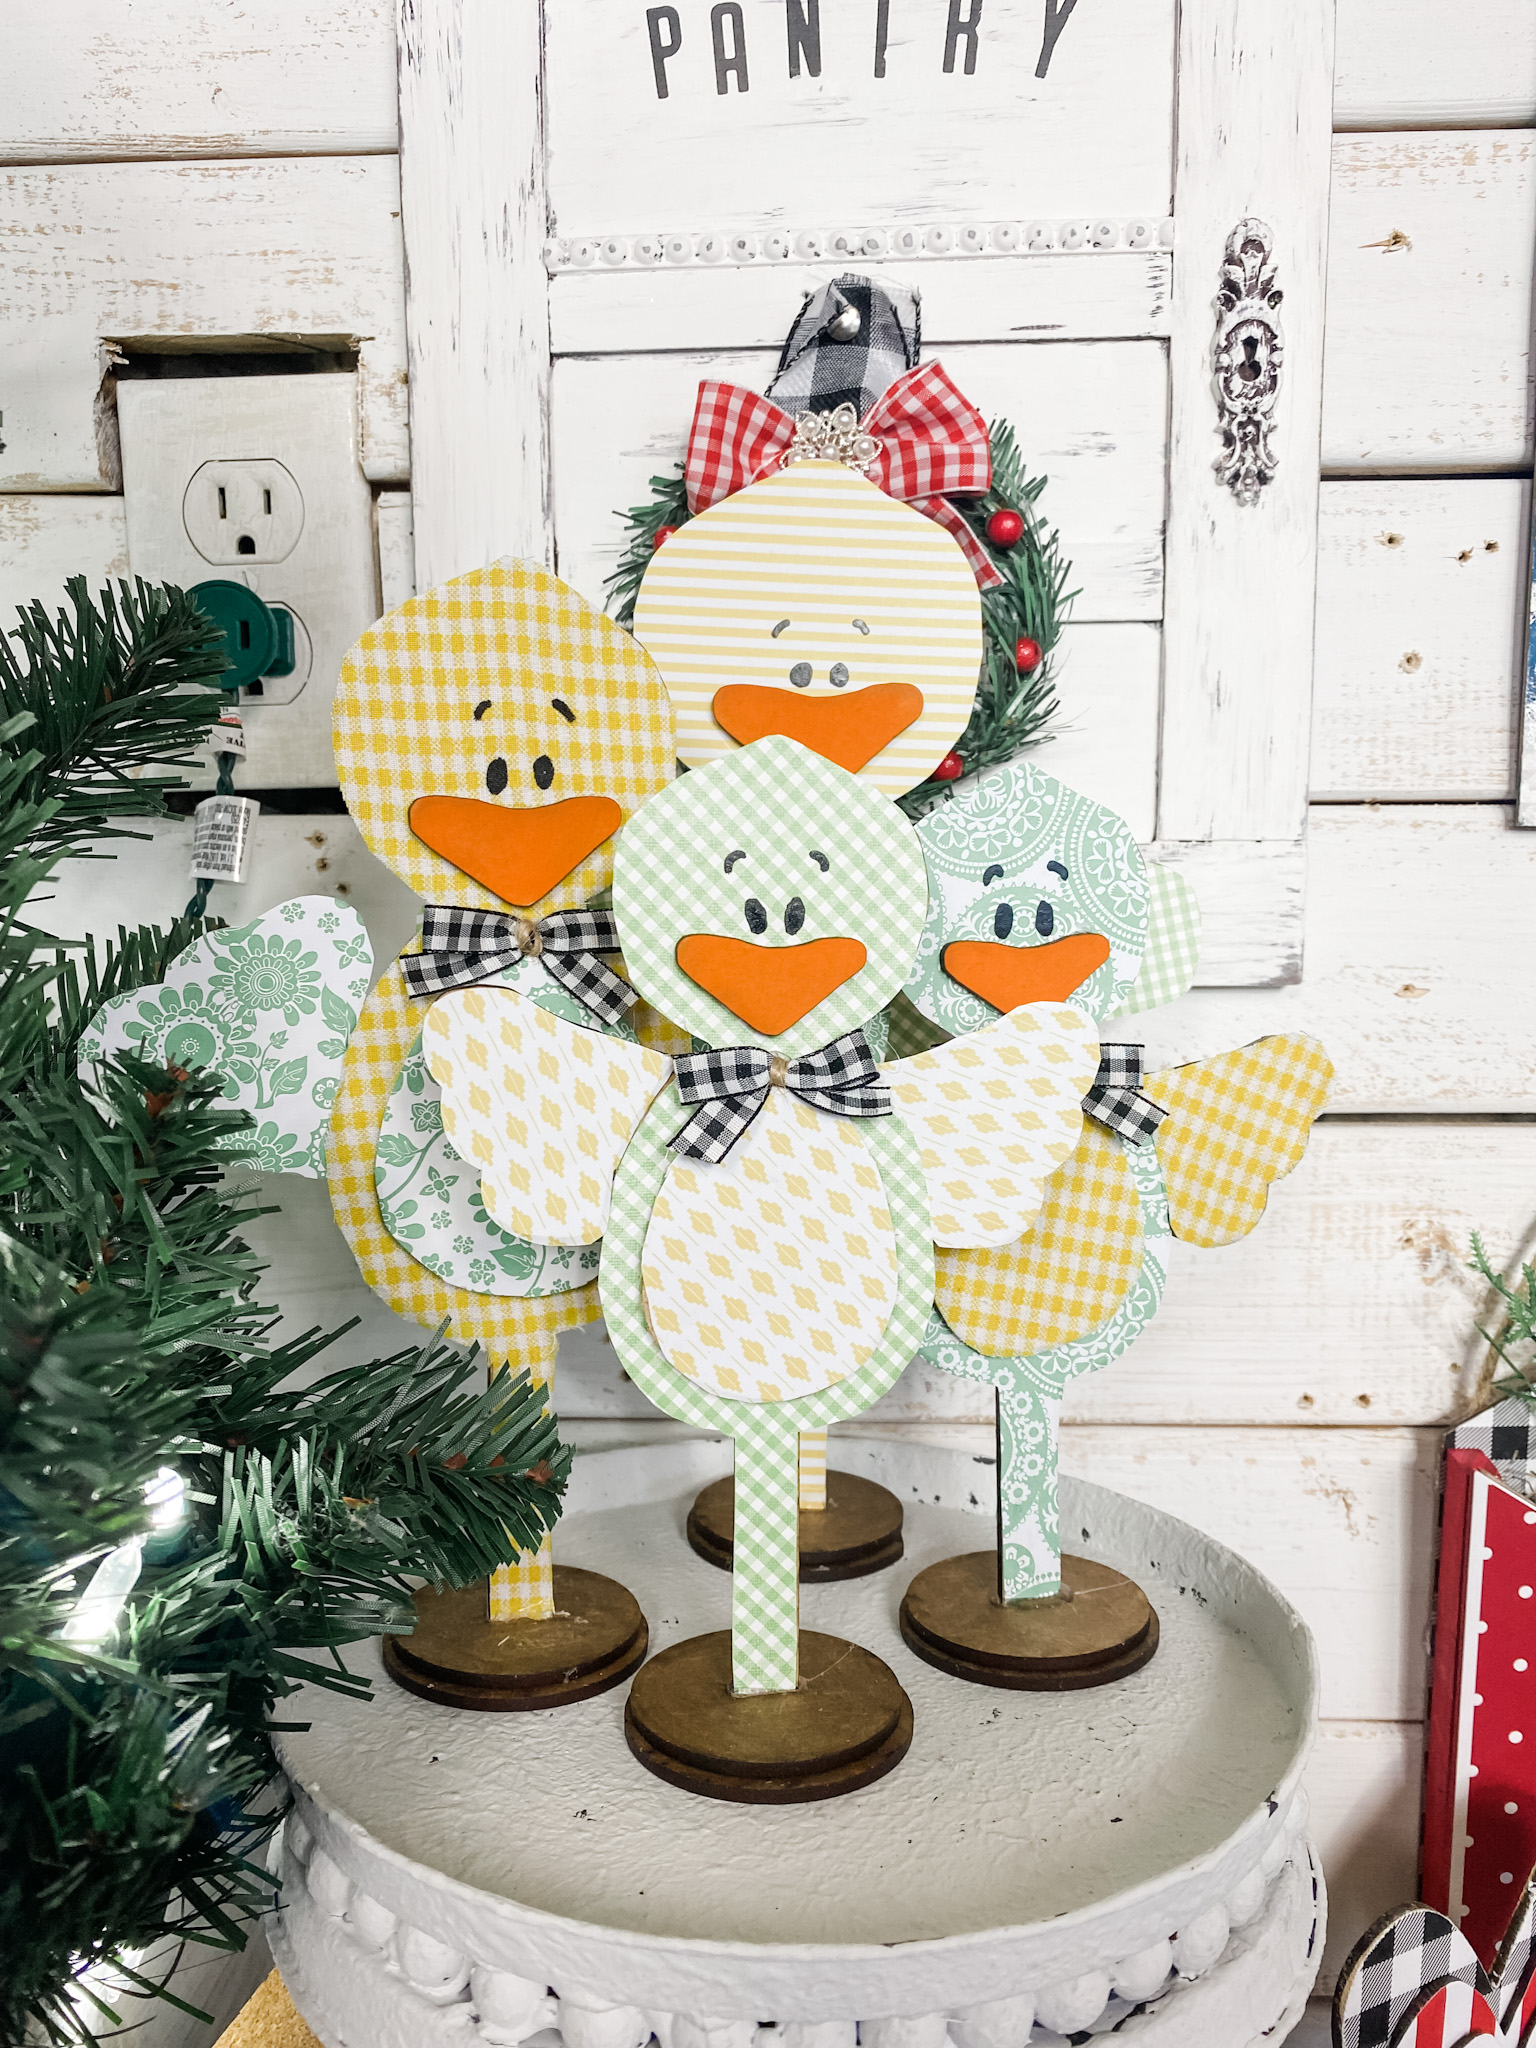
DIY Spring Chicks
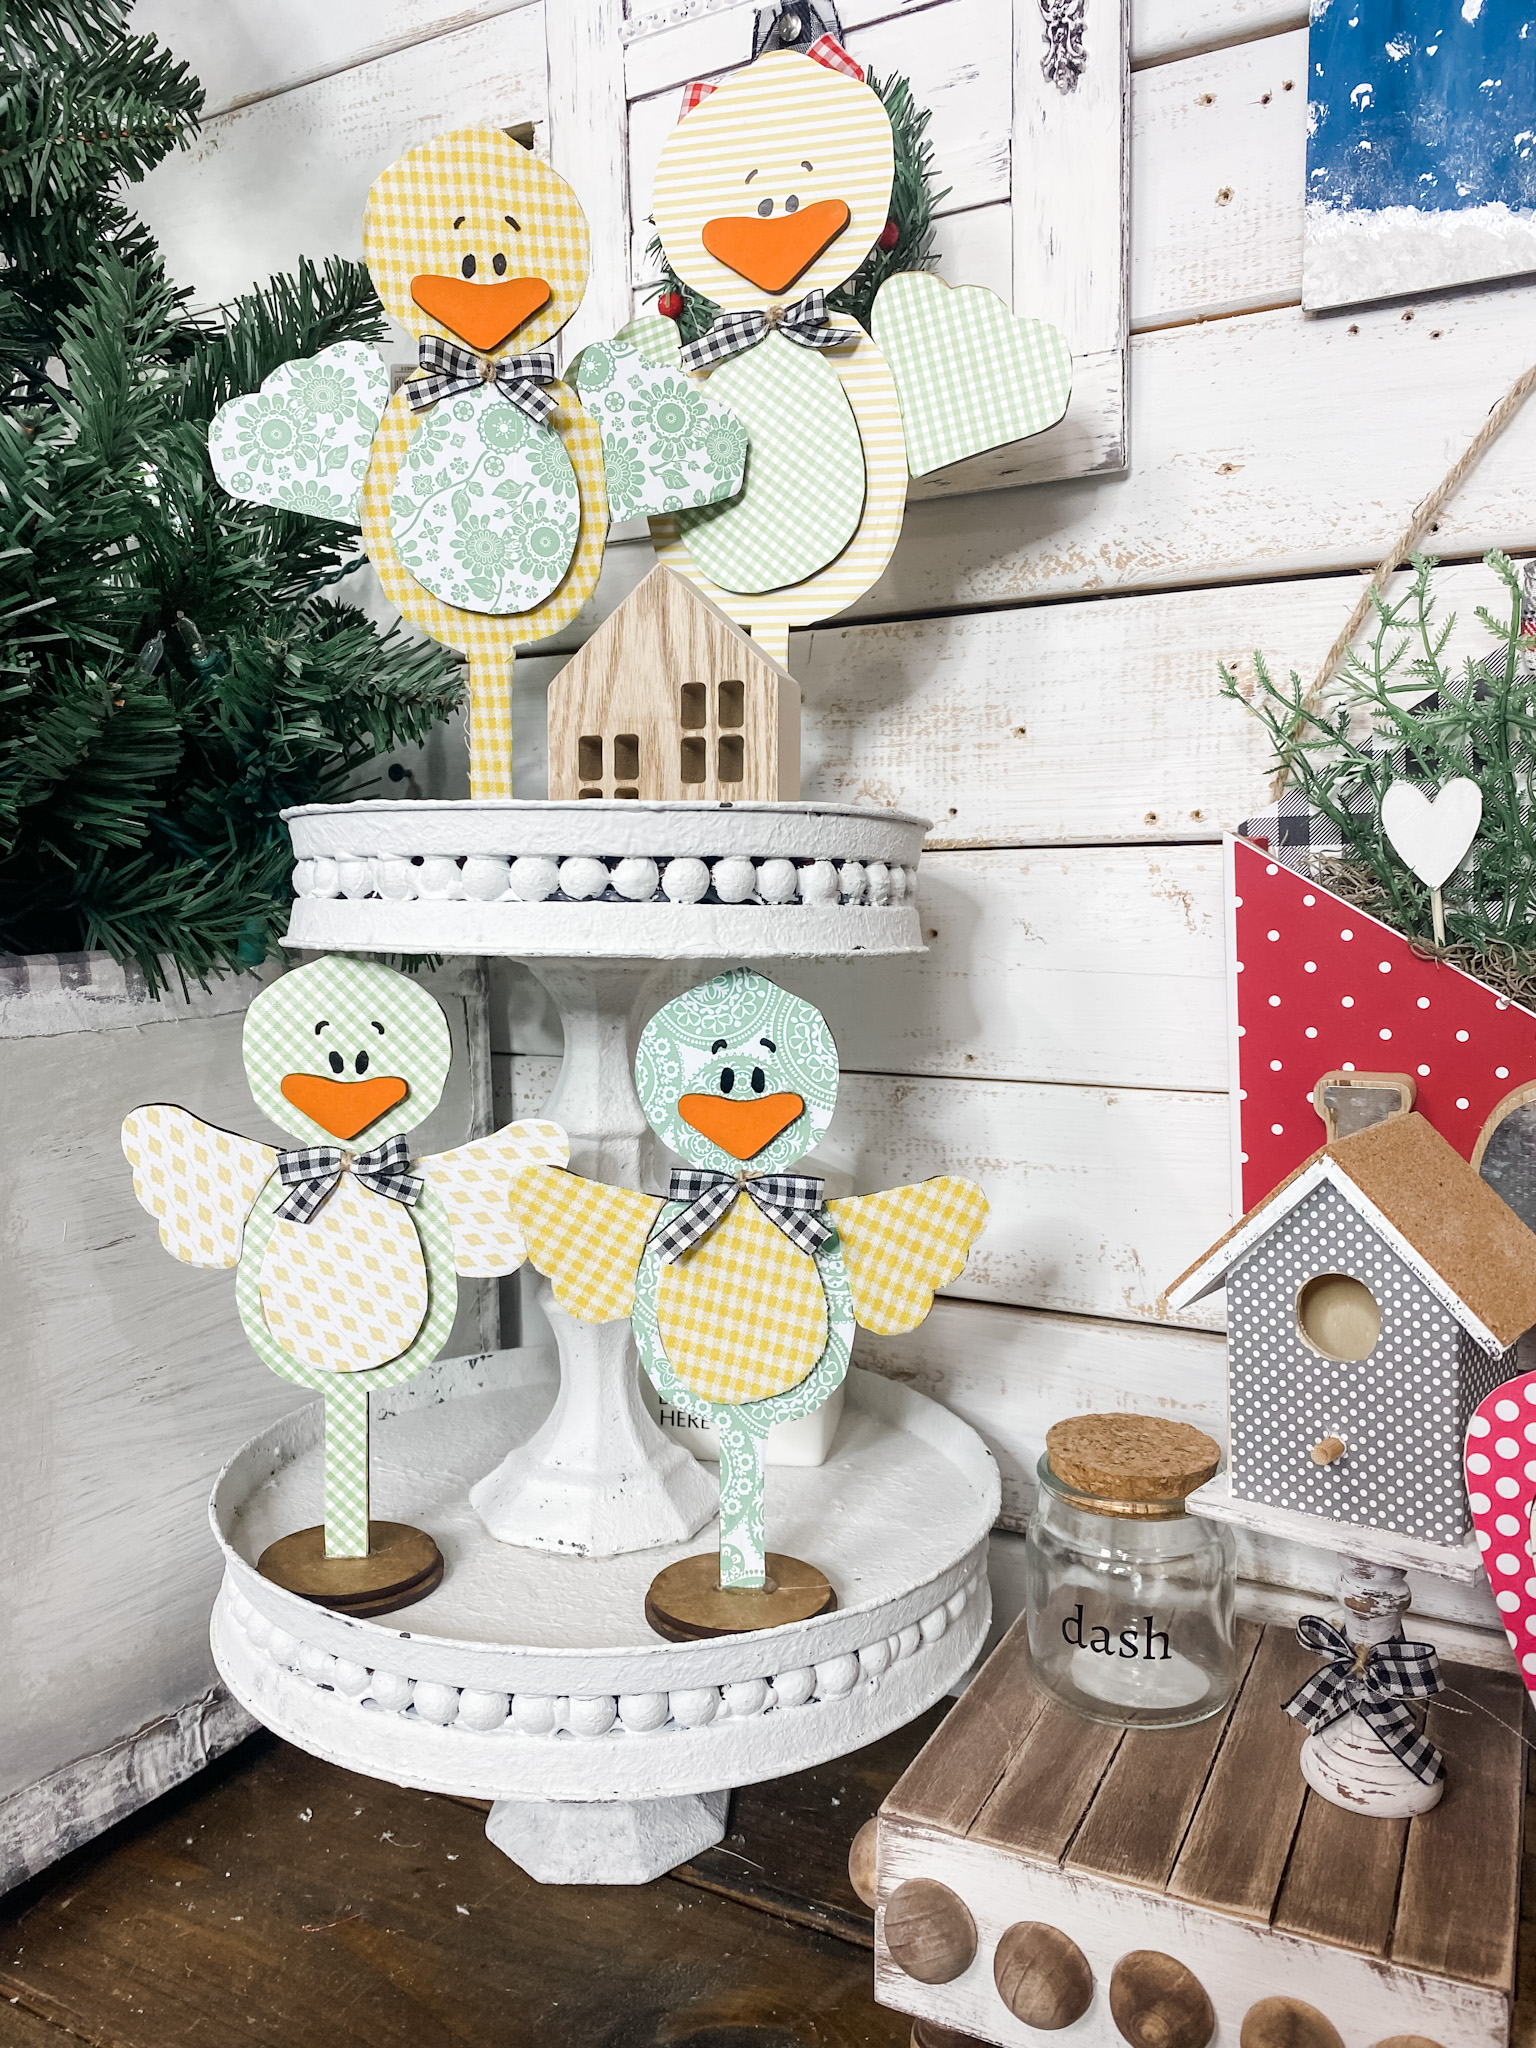
Making these DIY spring chicks was so much fun, not just because they turned out super cute, but also because I cut out the standing chicks on my very own Glowforge!
If you didn’t know, a Glowforge is an amazing 3D laser printer! You can cut and engrave acrylic, cardboard, fabric, food, glass, hardwood, leather, metal, and more!
I’ve been using my Glowforge to cut my very own DIY kits, like the adorable spring chicks!
More home decor ideas
- Repurposed Dollar Tree Rug DIY Pillow
- DIY Round Valentine’s Day Hanging Sign
- Rustic Valentine’s Love Sign
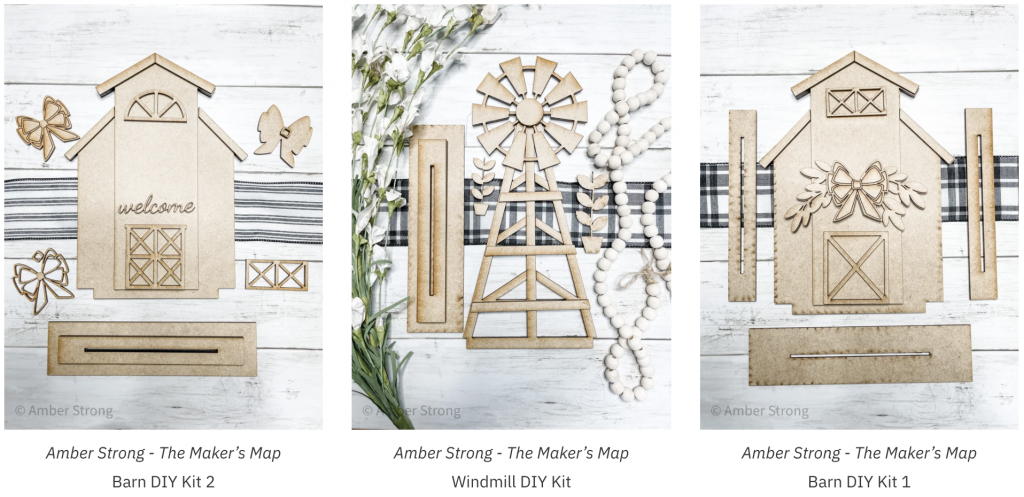
Get your DIY kits!
The standing hearts I used for this adorable DIY Spring Chicks project are one of many craft kits that I offer! My DIY craft kits are created using either MDF / HDF / Birch Wood.
Each kit is laser cut, packed, and shipped by myself and my team. We take great pride in providing you with items you can craft with and make adorable home decor with!
There are a variety of kits for different seasons and holidays. Check out the DIY kits today!
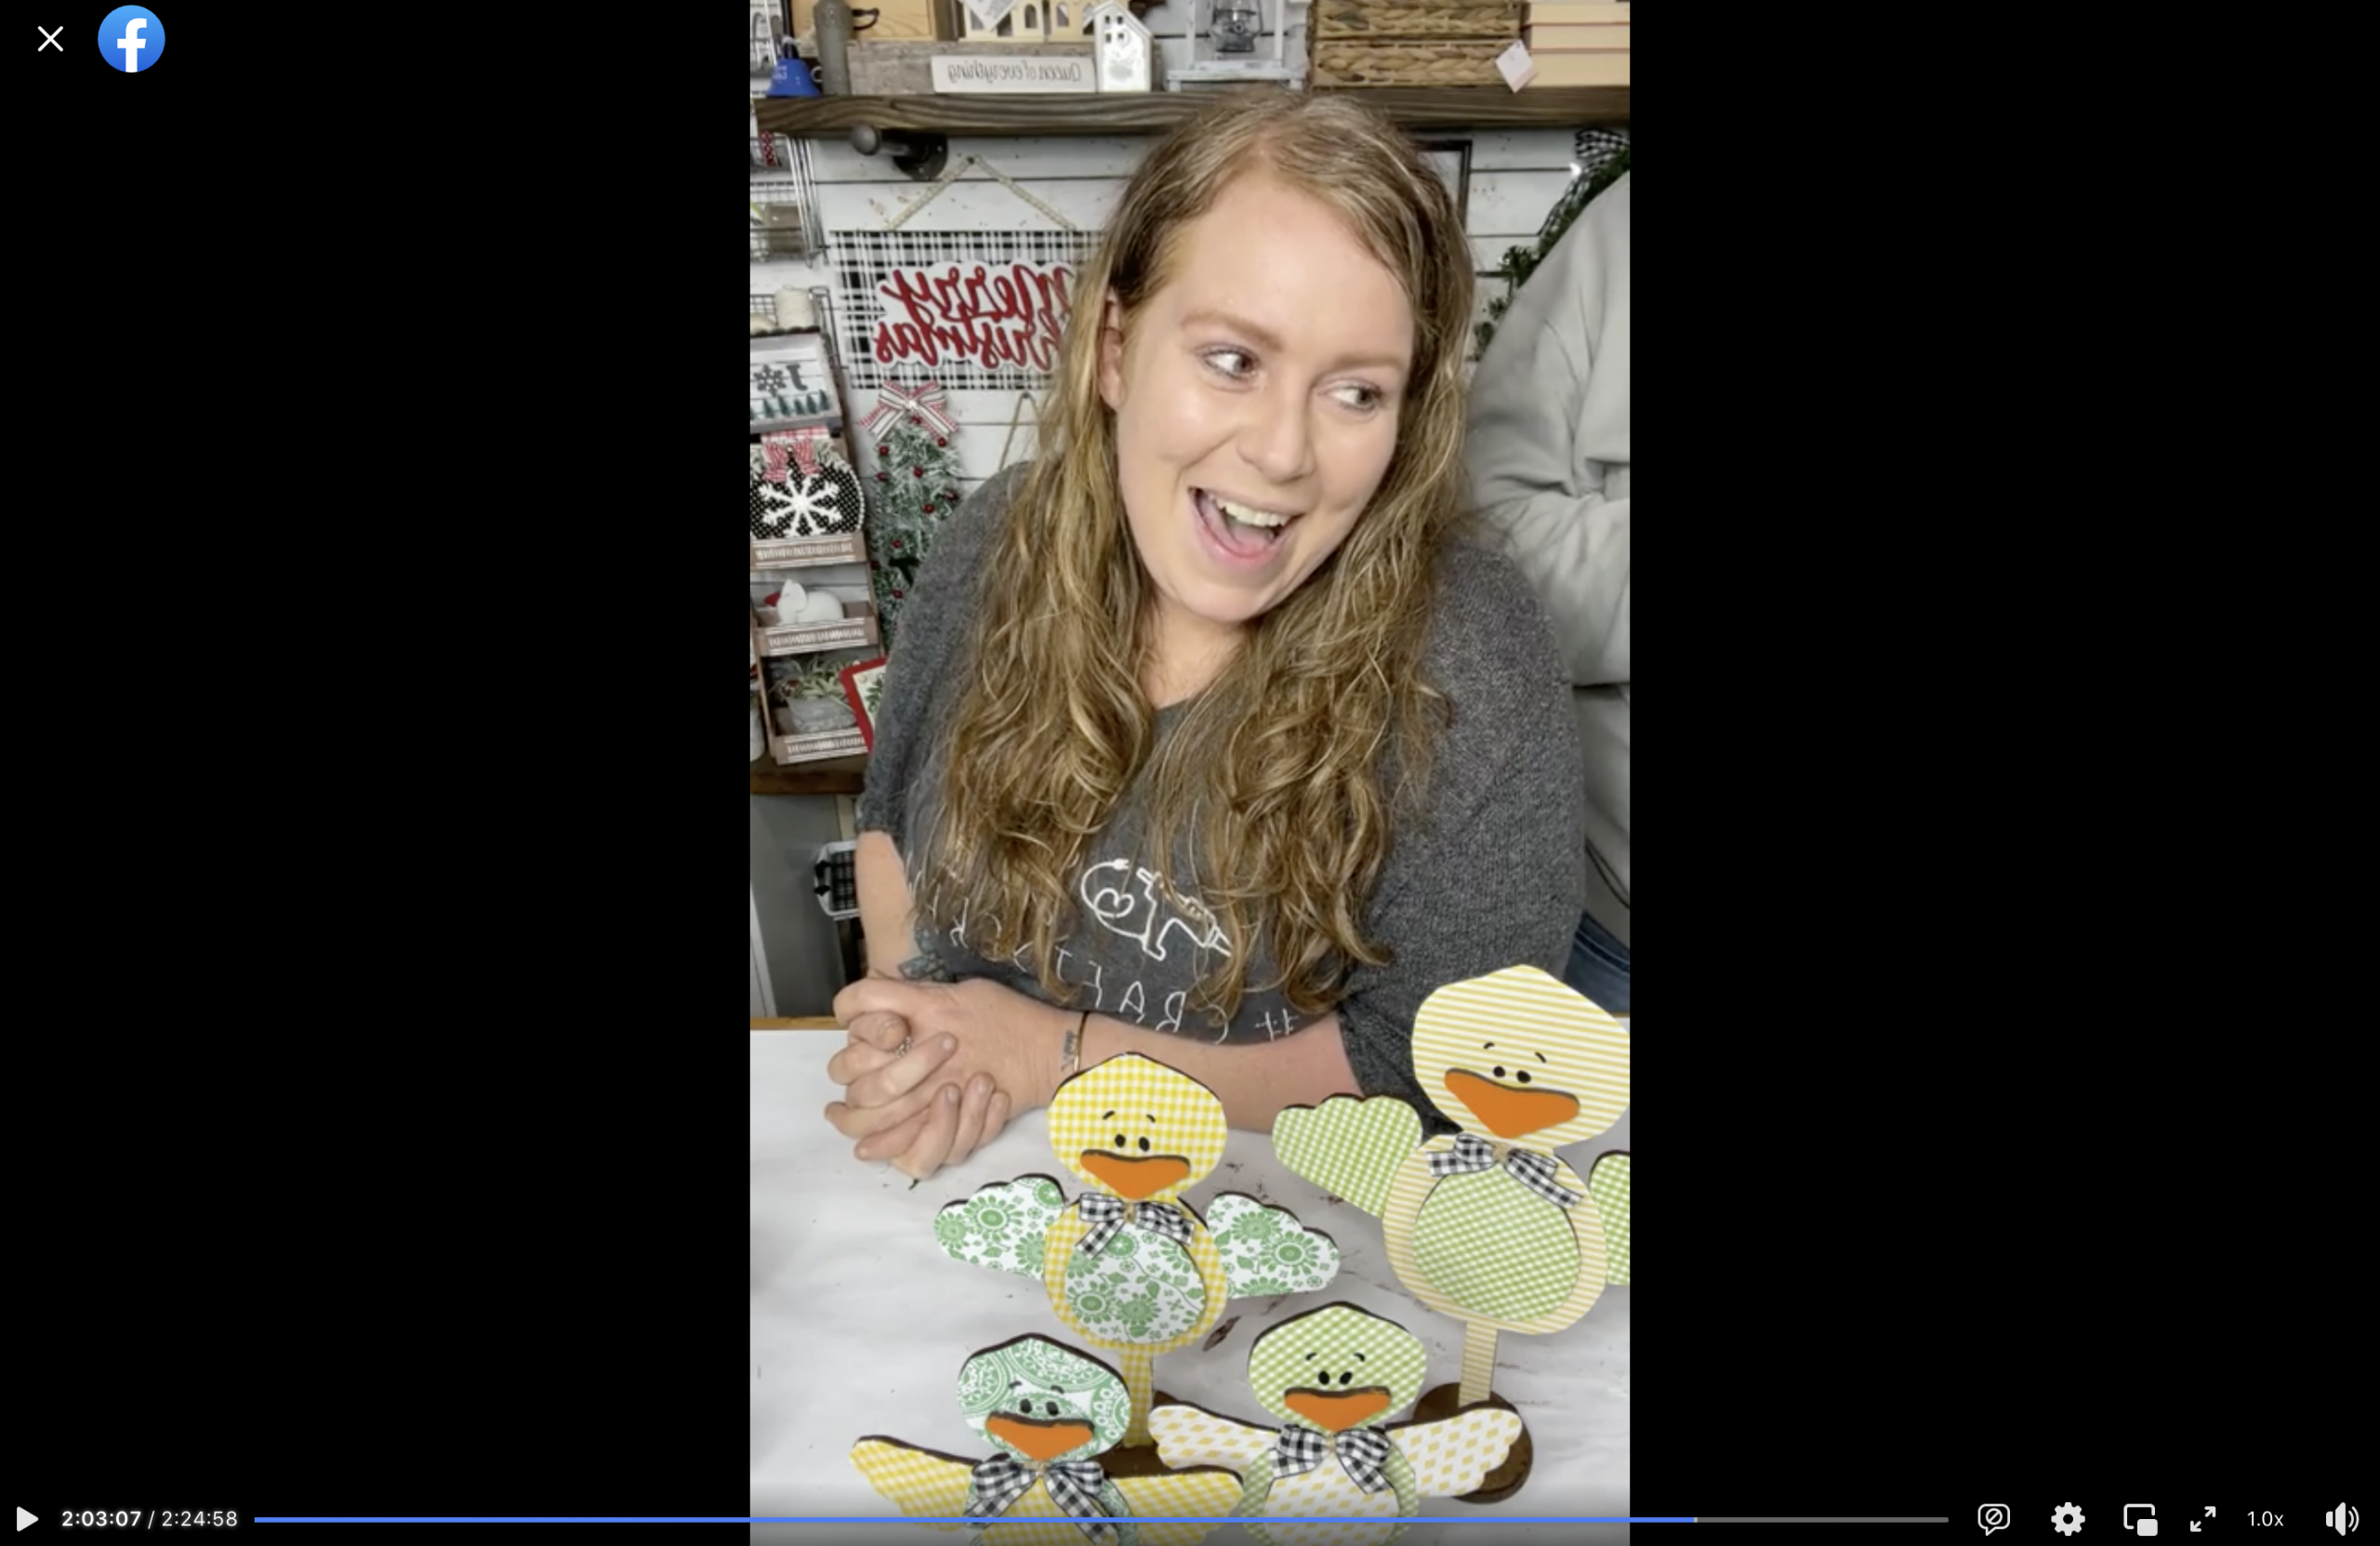
Watch the DIY tutorial
I recorded how to make these adorable DIY Spring Chicks Decor during a LIVE video on my Facebook page.
If you want to see the DIY process, craft along, or just join in on the fun conversations, you can watch the DIY tutorial replay on Facebook!
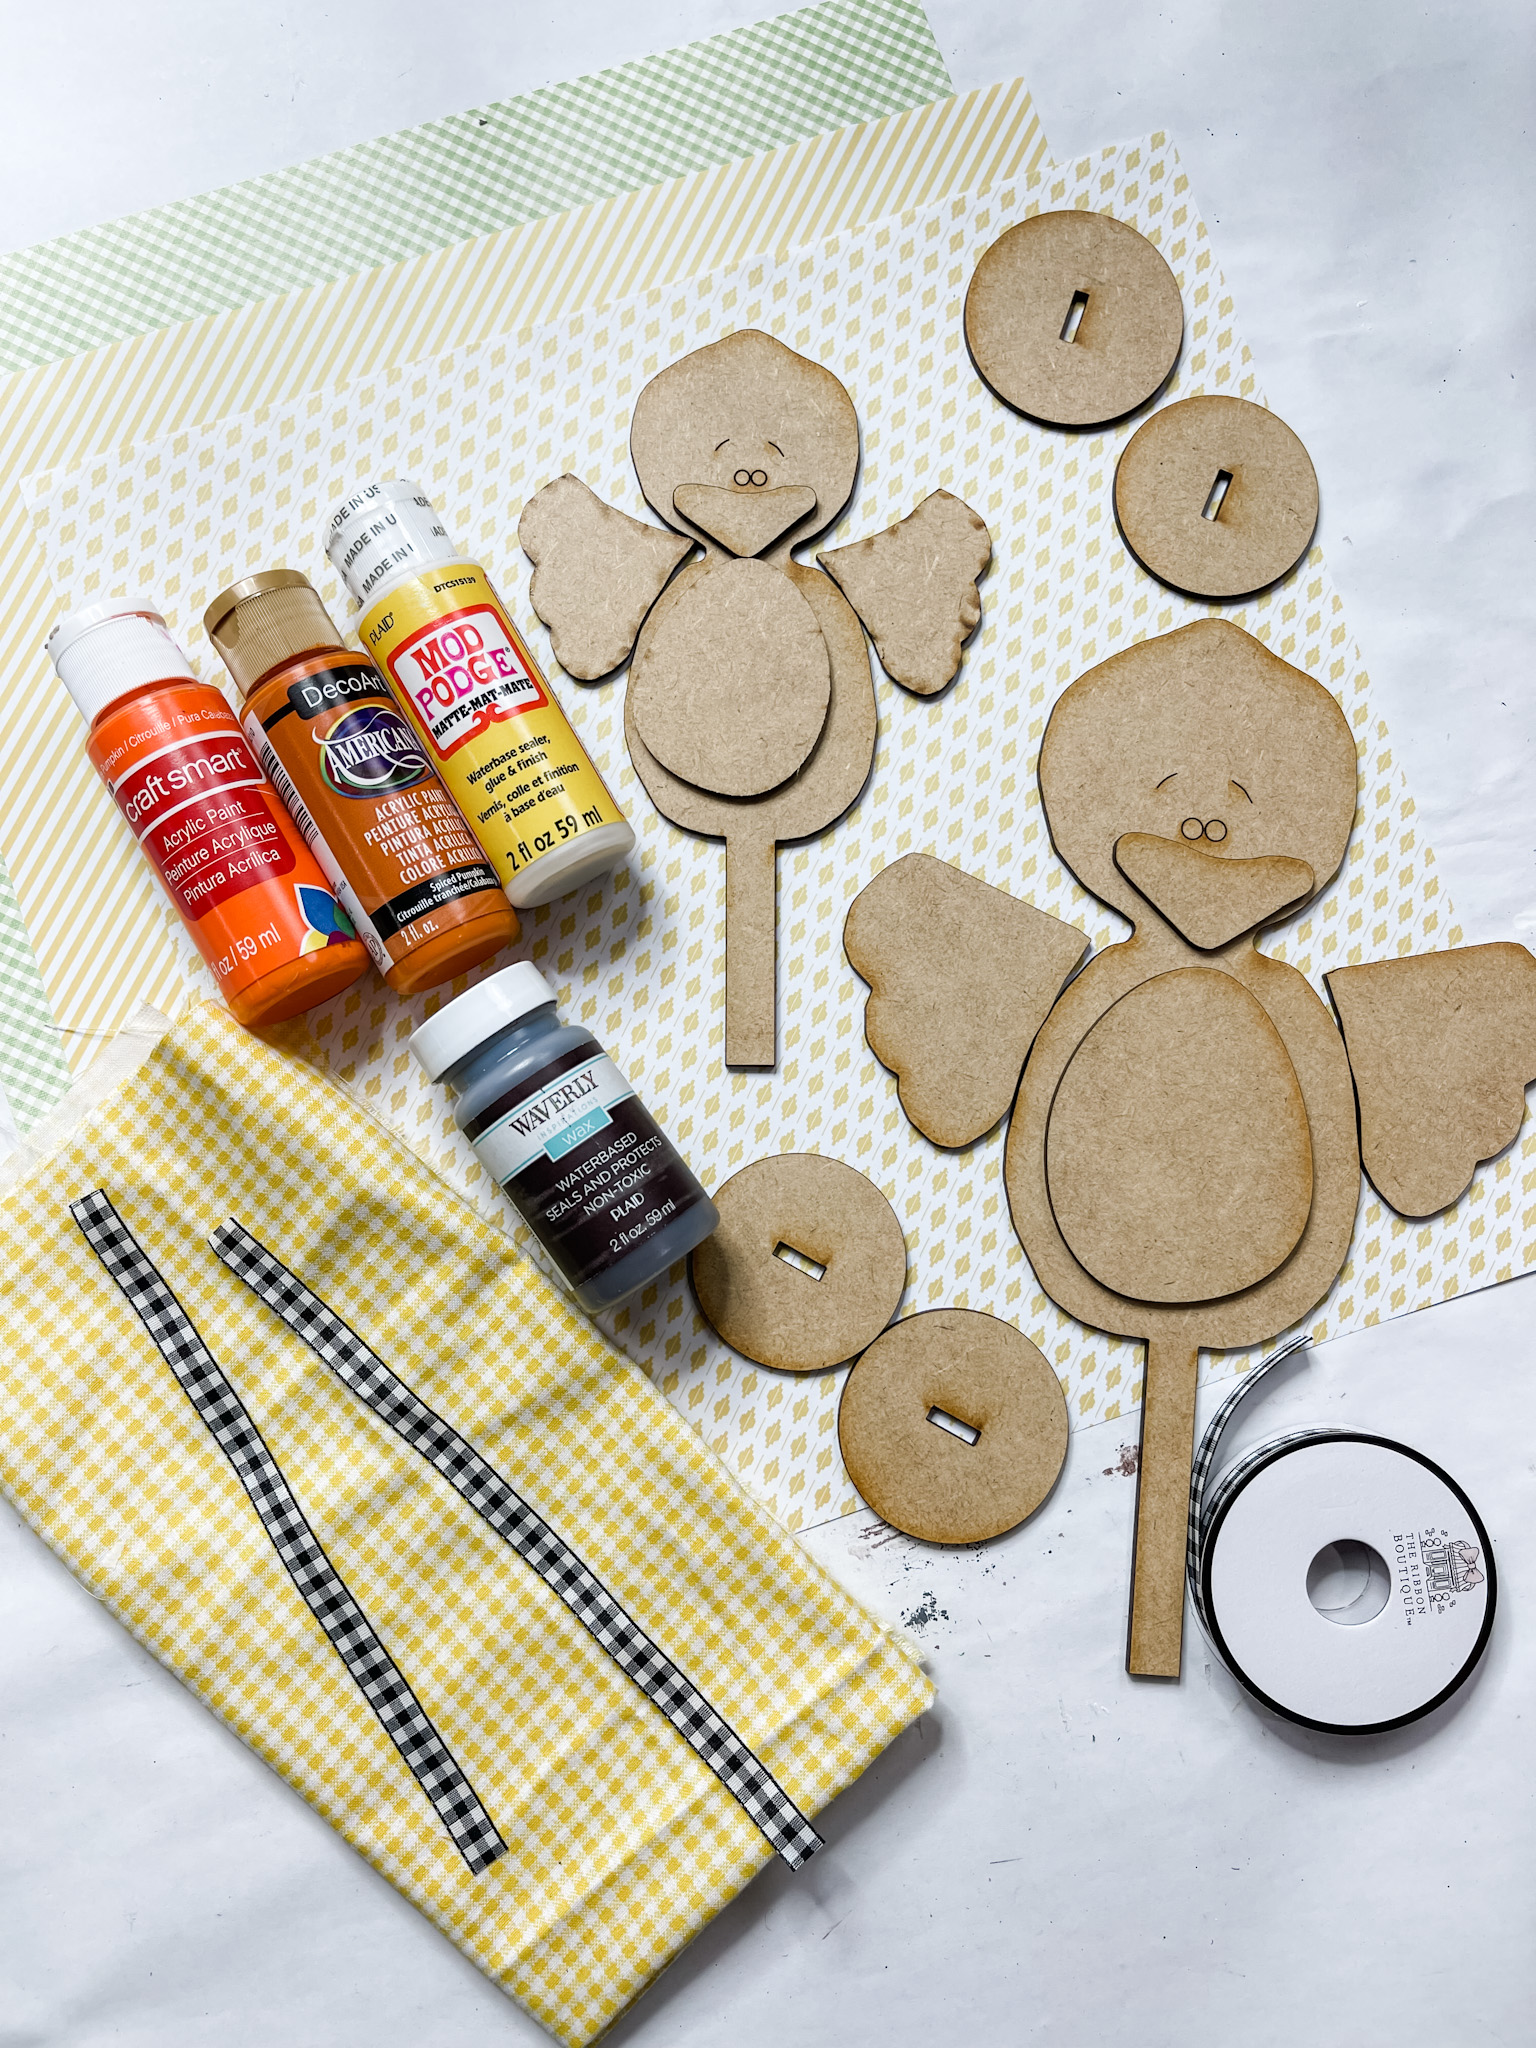
For this project, I will be using these items but you can substitute where you want.
“As an Amazon Associate, I earn from qualifying purchases.”
- Spring Chicks Kit– Comes with all the wooden pieces needed to assemble the chicks. To complete the project, you will need the additional supplies below.
- Dollar Tree Buffalo Check Ribbon
- Variety of Scrapbook Paper
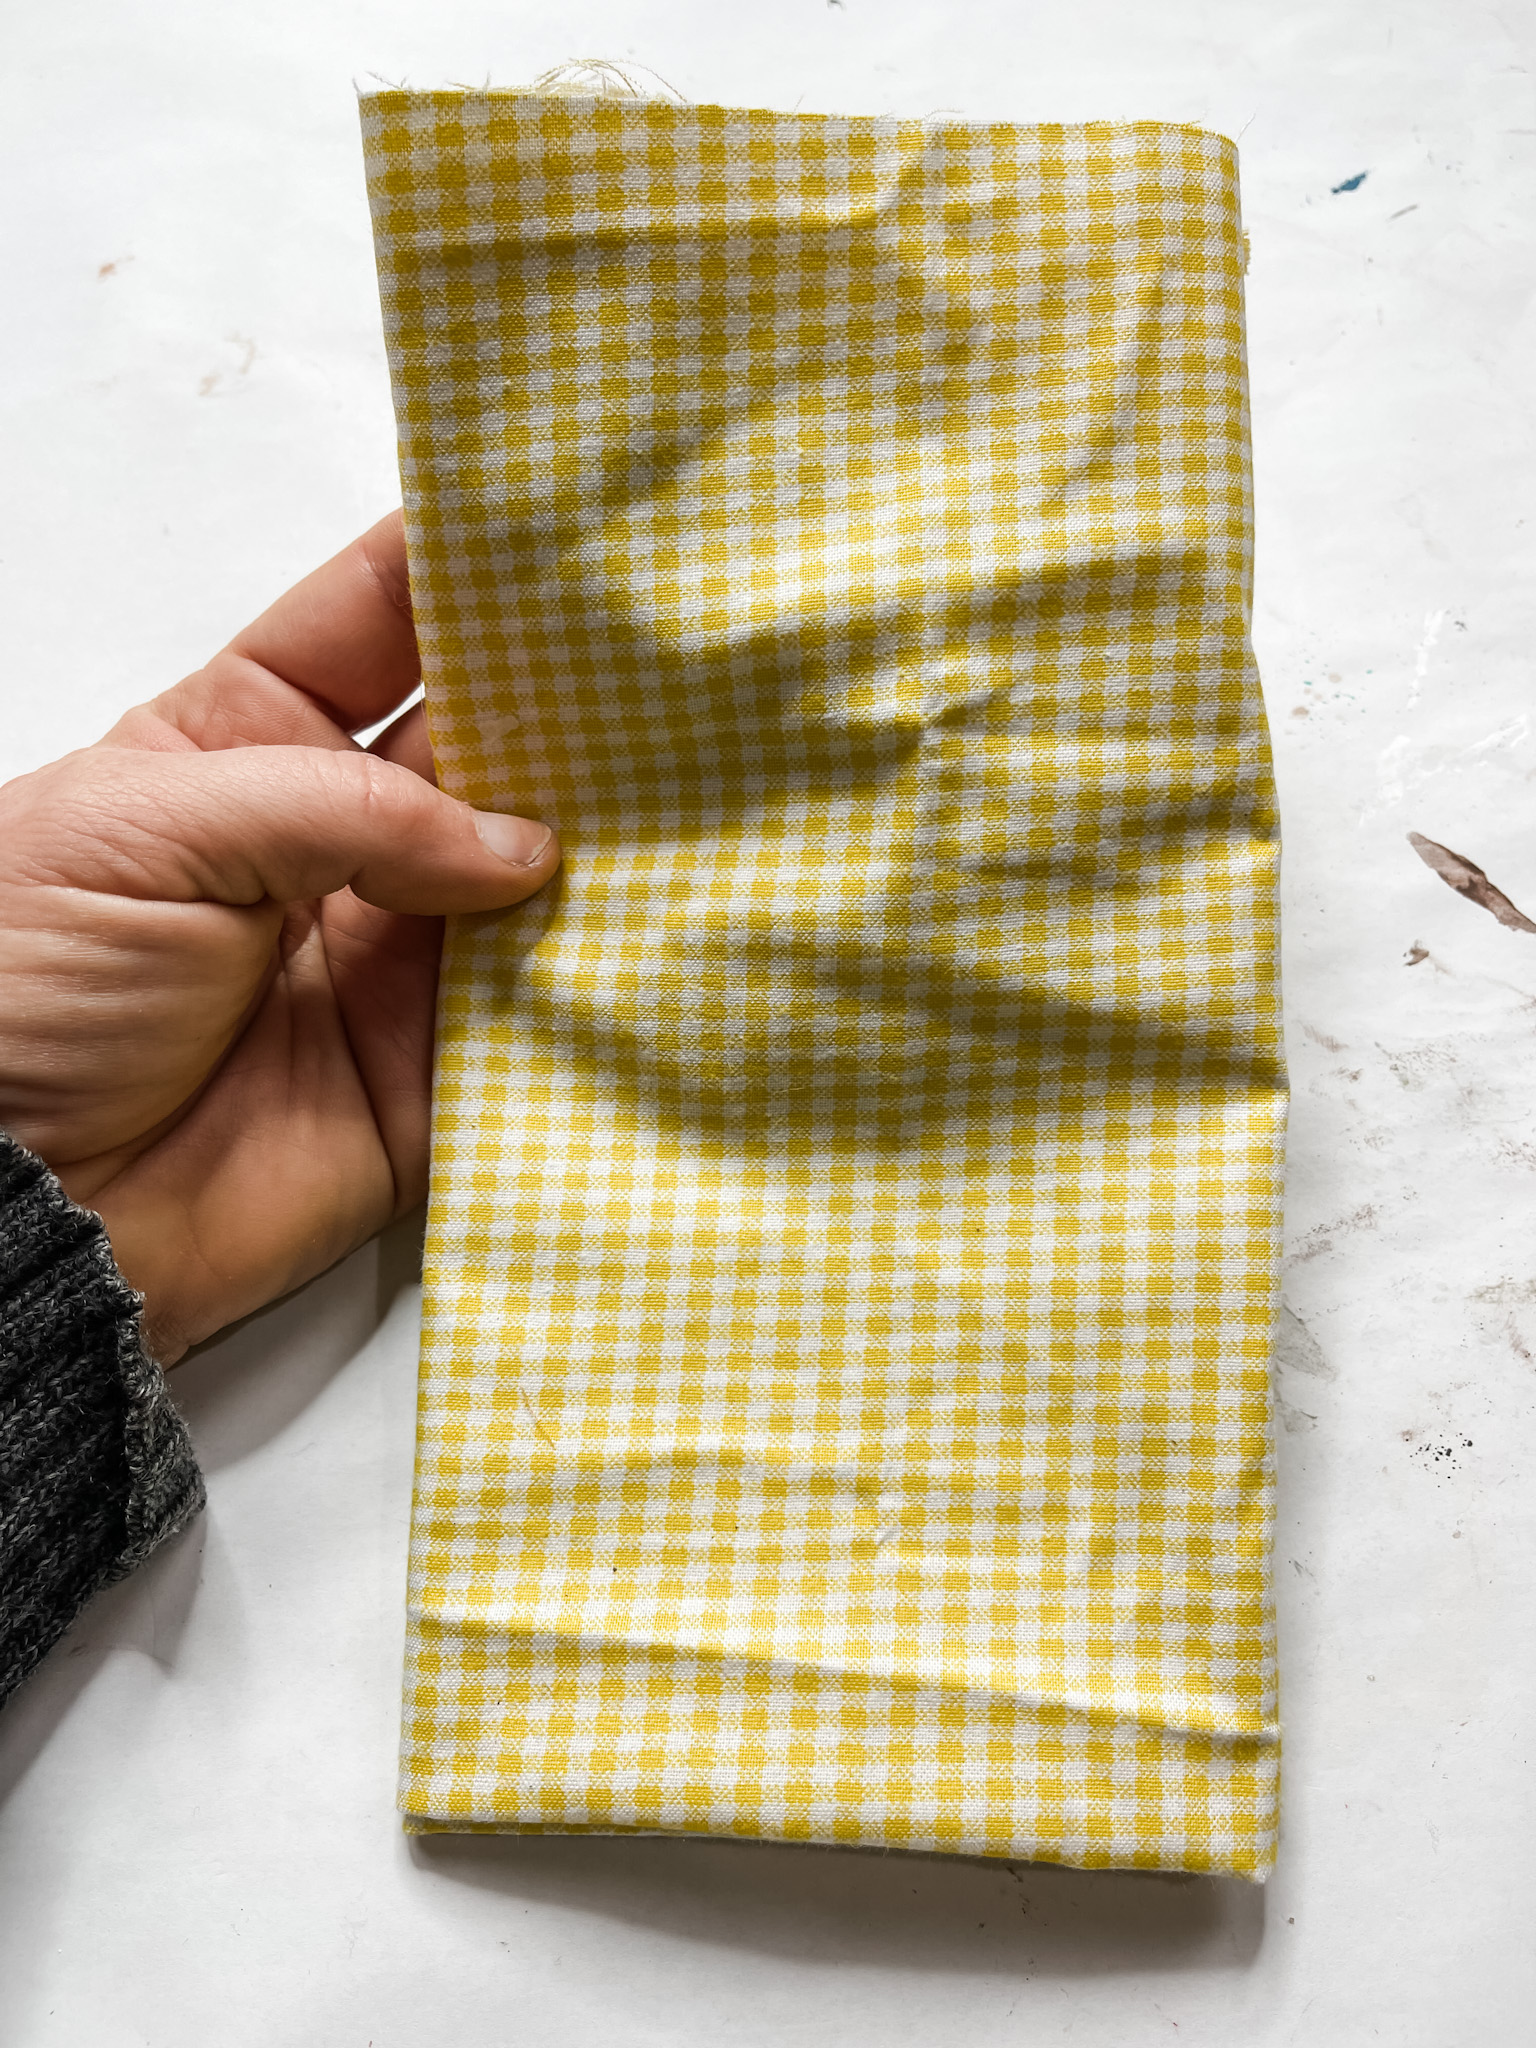
- Yellow Gingham Fabric
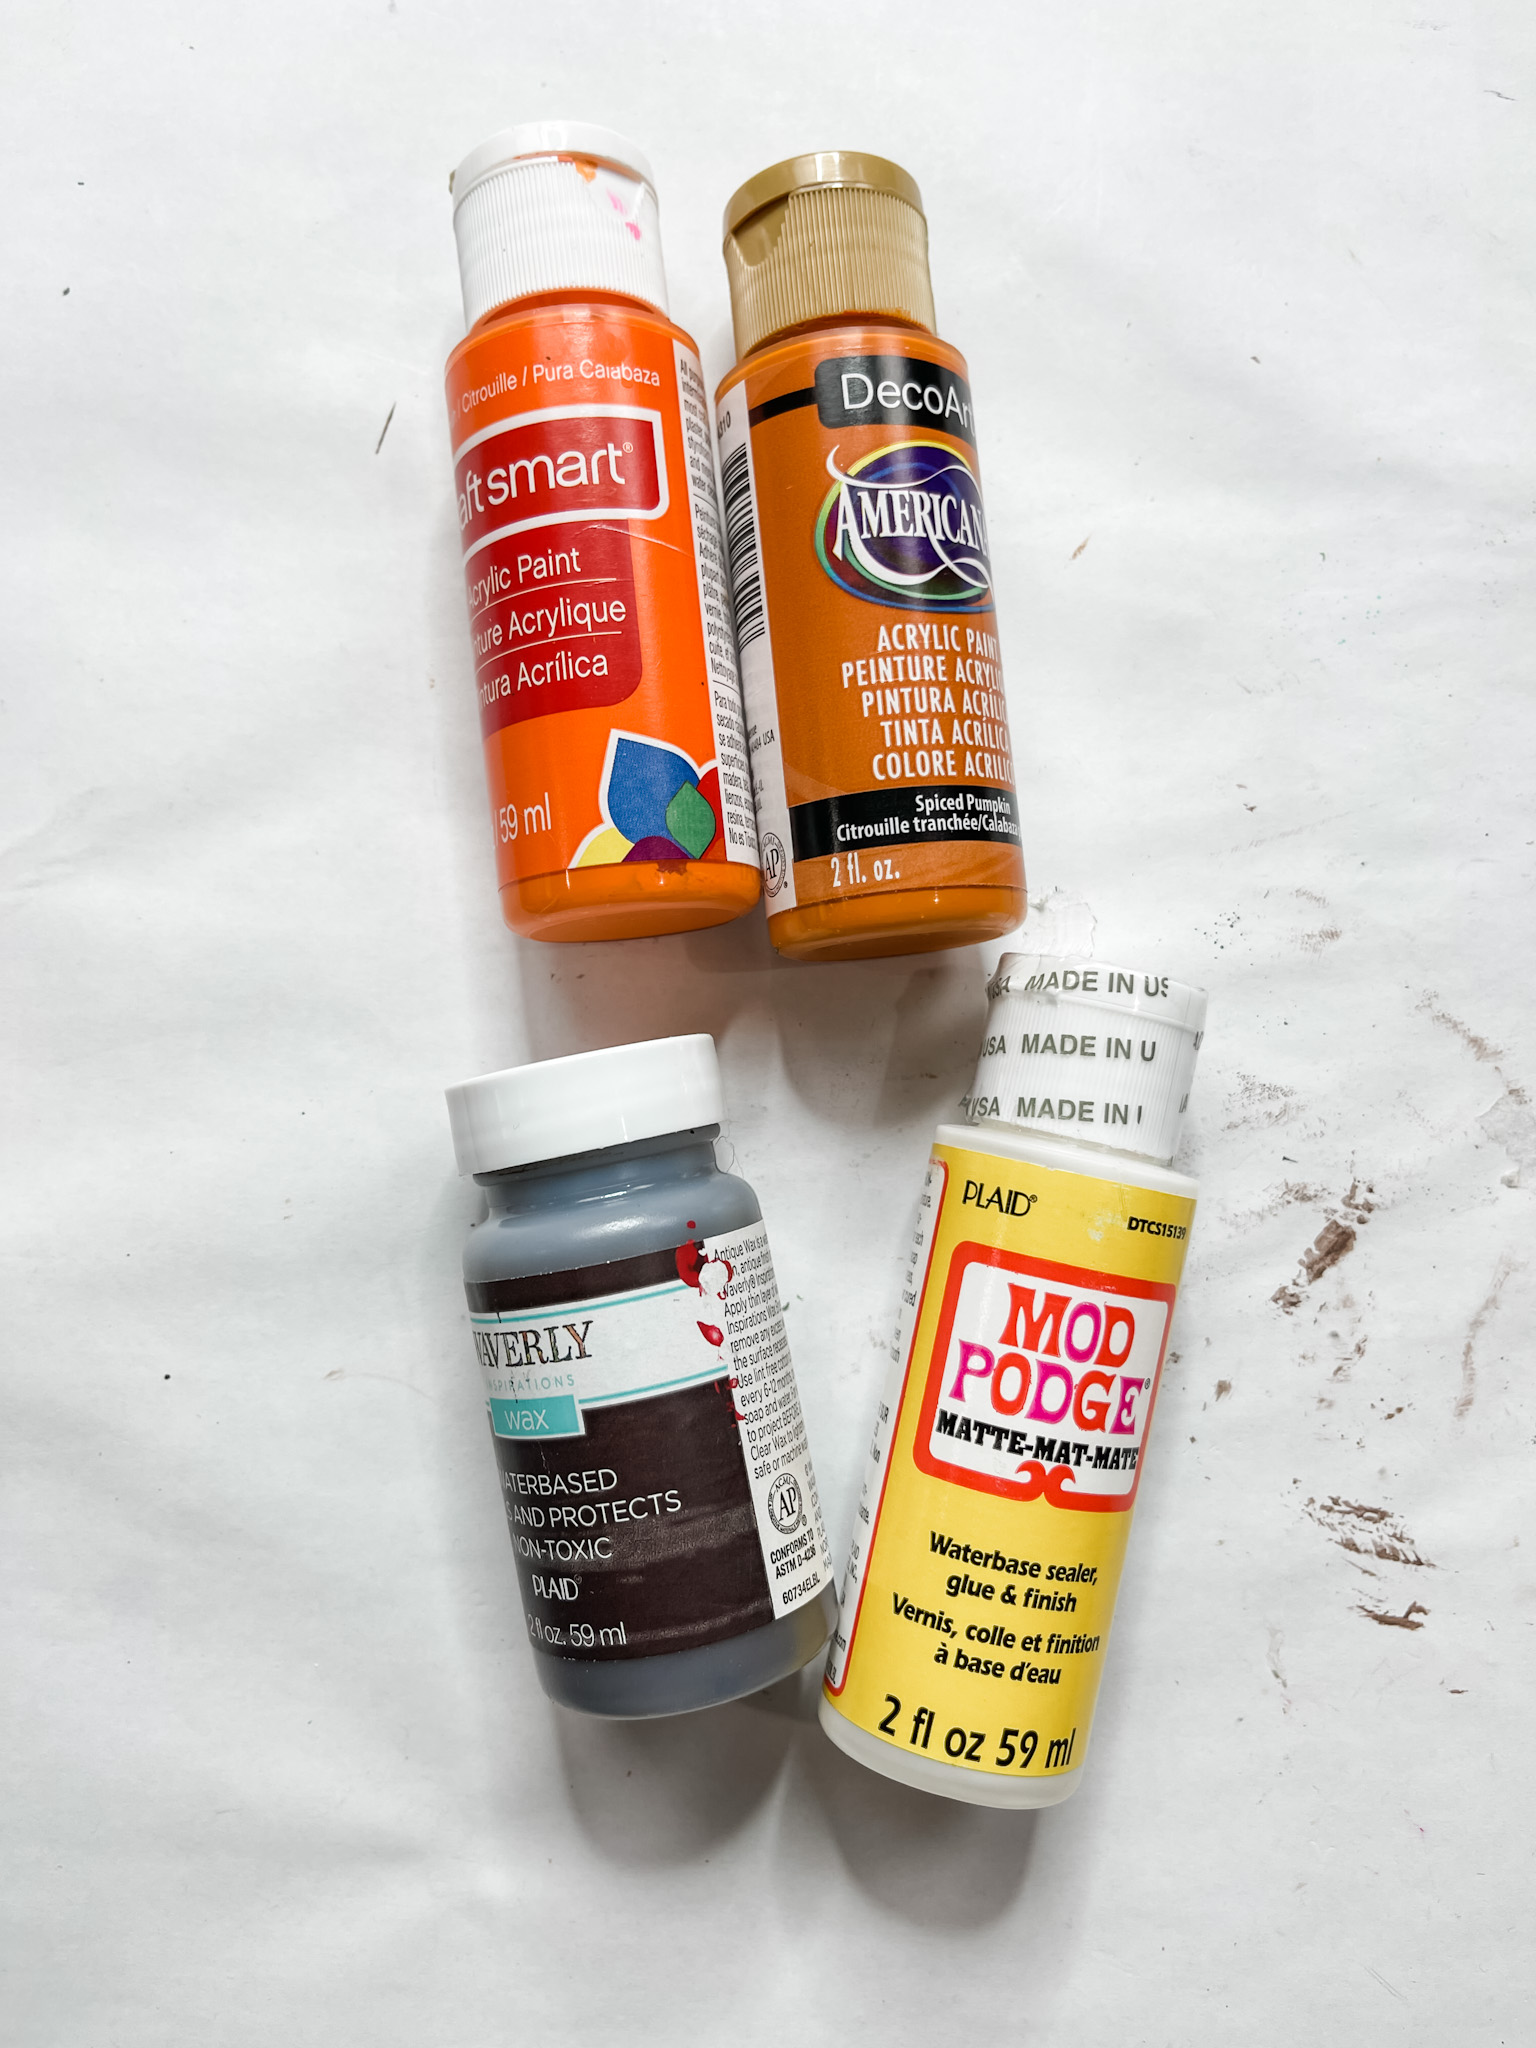
- DecoArt Spiced Pumpkin Acrylic Paint
- Craftsmart Pure Pumpkin Acrylic Paint
- Waverly Antique Wax
- Mod Podge
- Hot Glue gun
- Glue Sticks
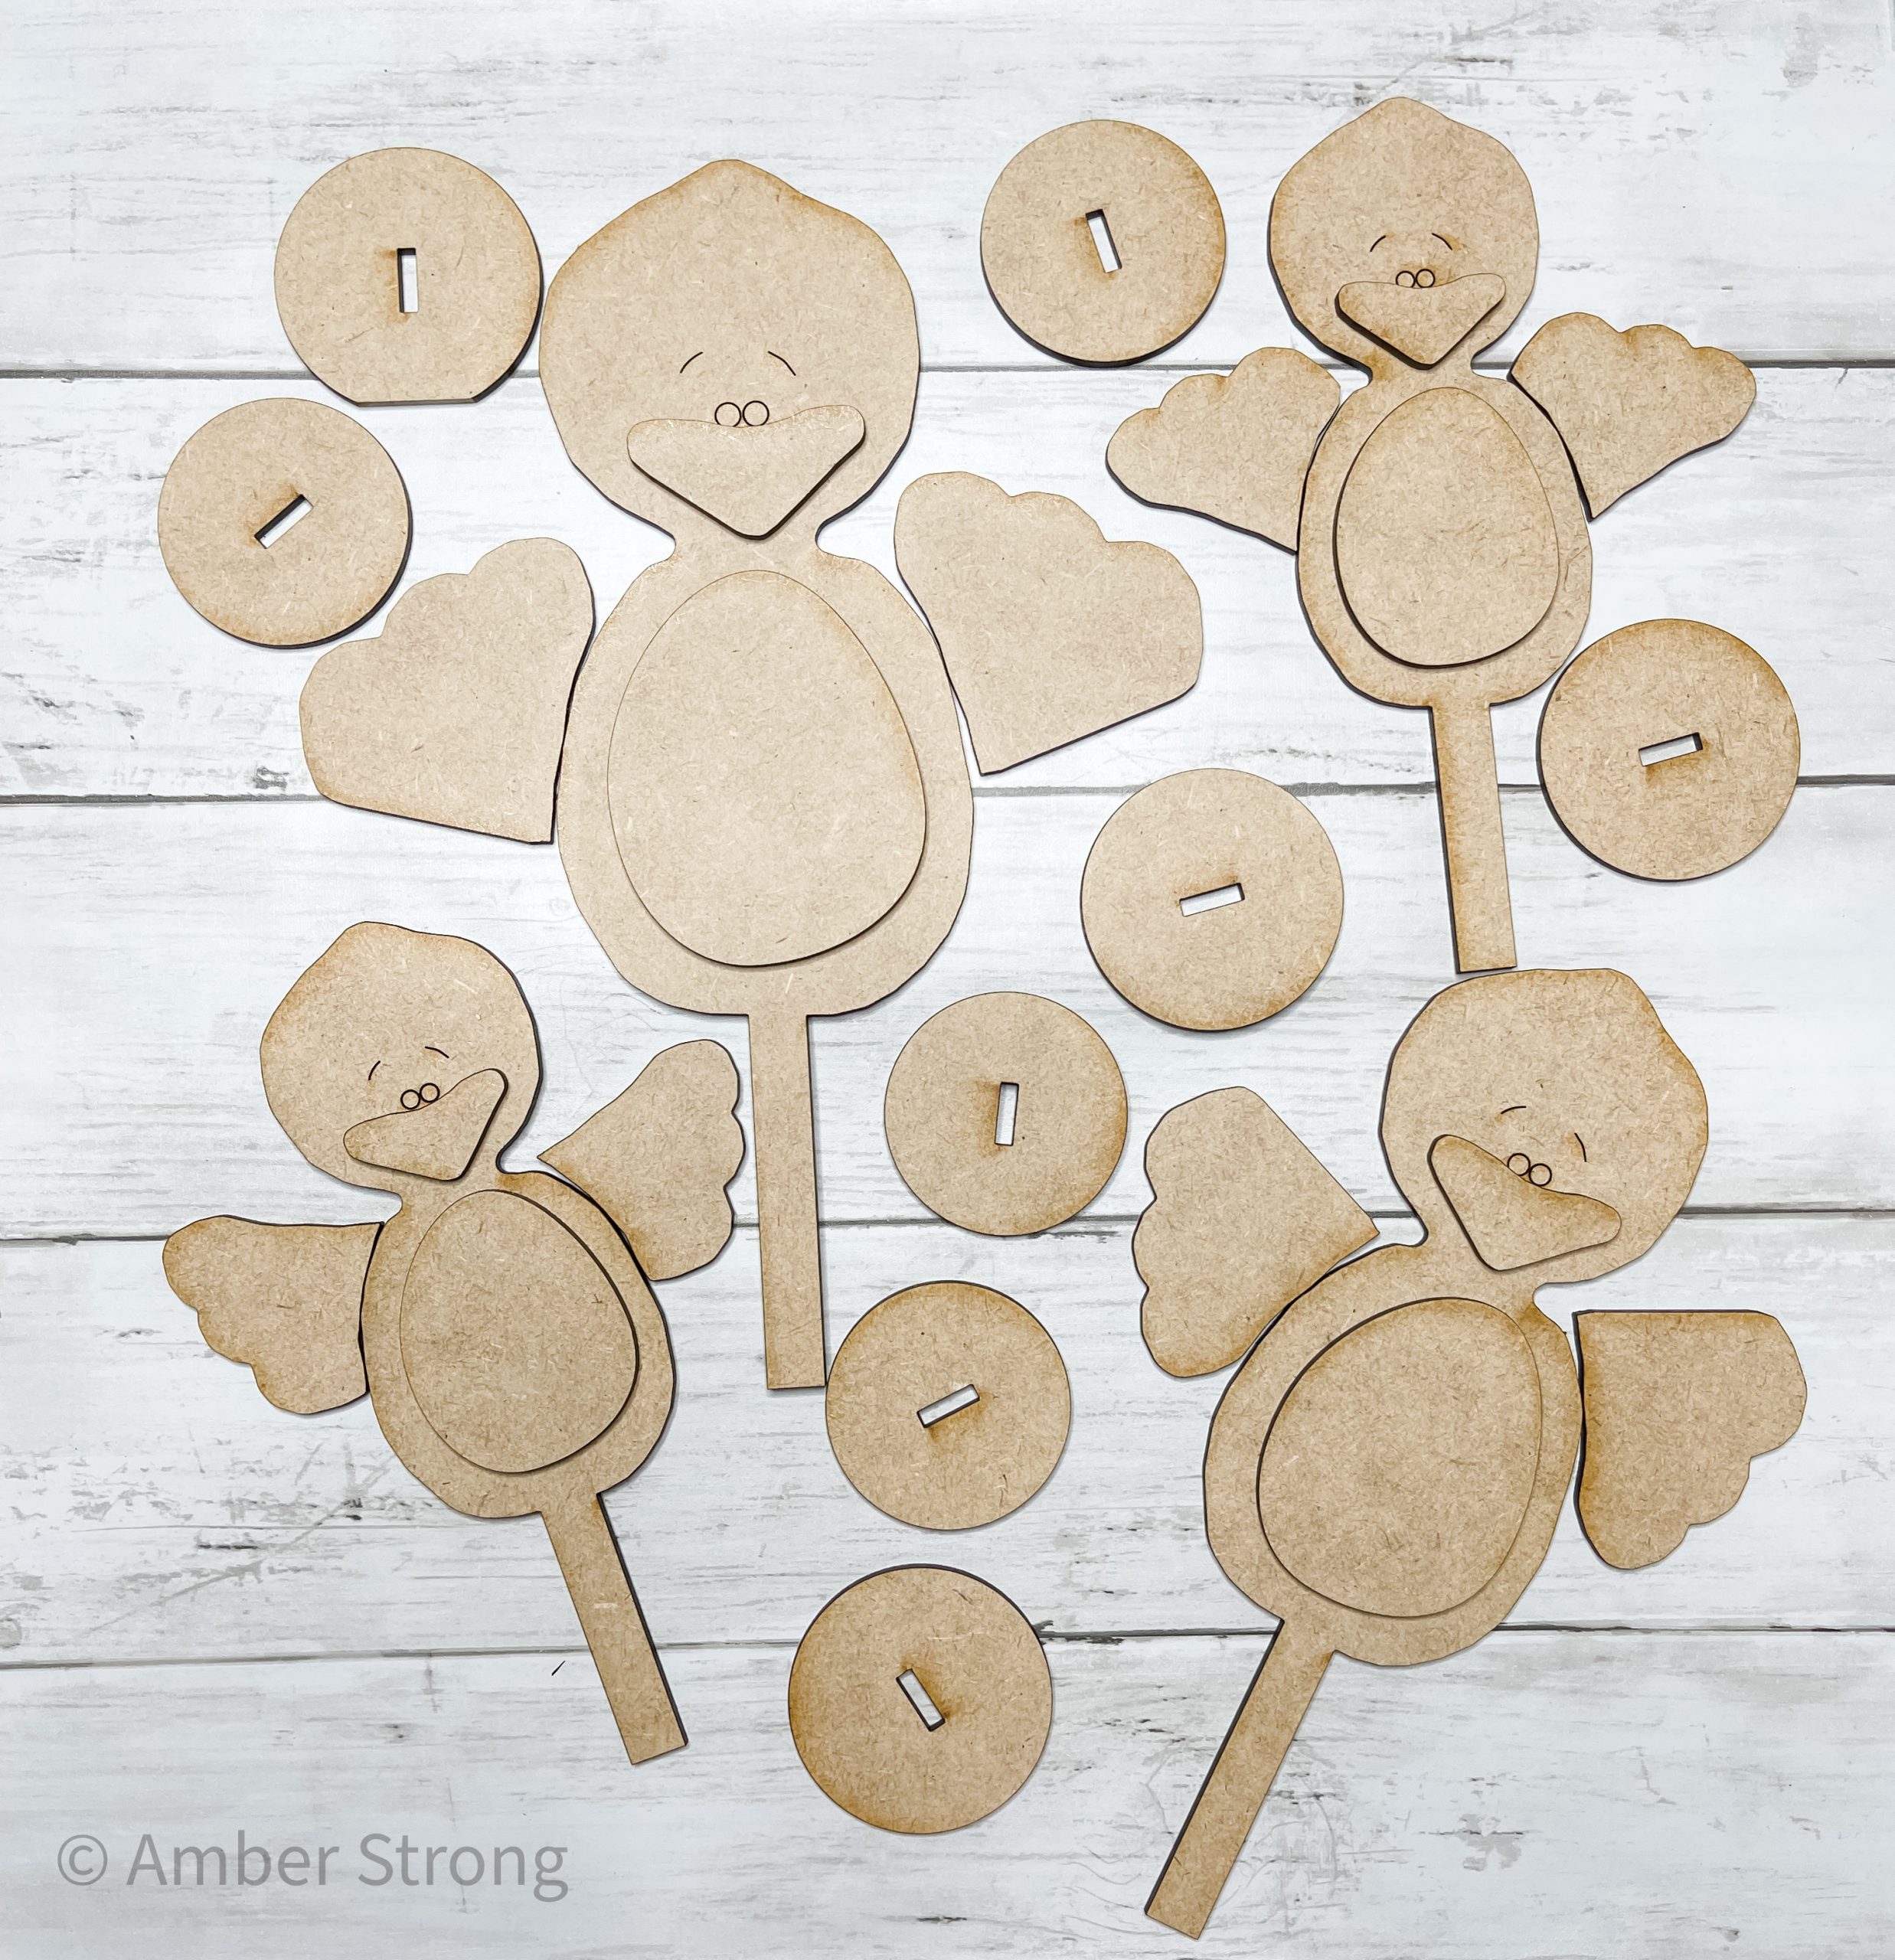
How to Make DIY Spring Chicks
Using my standing chicks craft kit to make these adorable spring chicks is so easy! The most difficult of this project is picking your patterns!
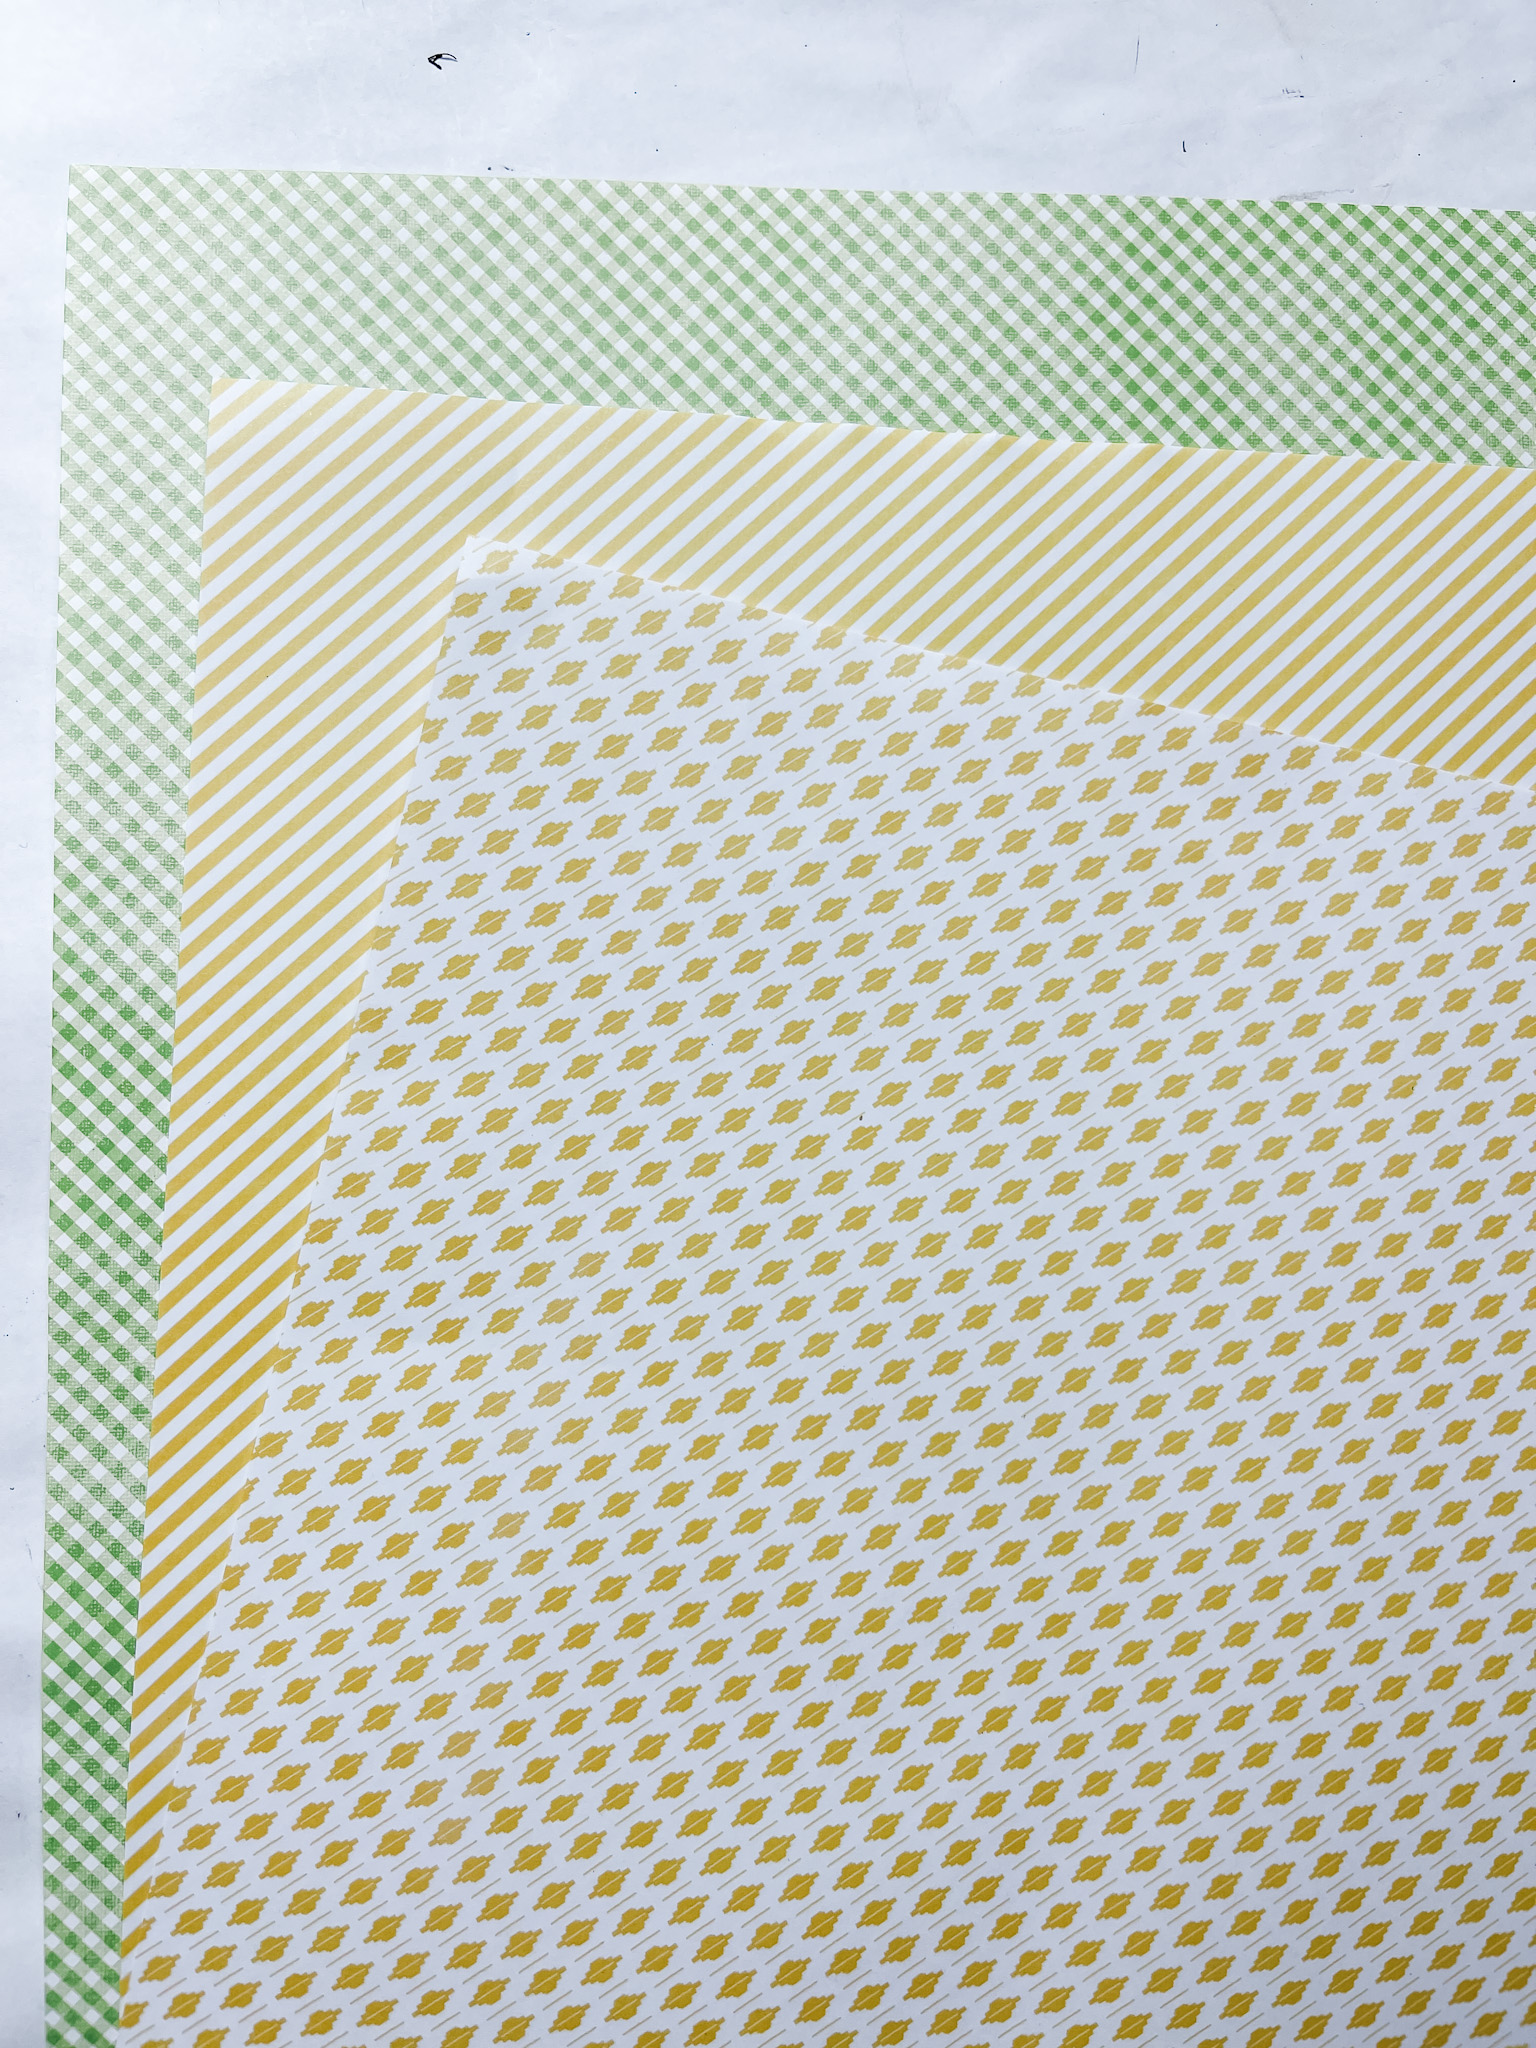
I used three different scrapbook paper patterns and one fabric pattern for my spring chicks. I like to get them on sale at Hobby Lobby!
Once you have your patterns picked, you have to pick which pattern will go on what part of the chicks. The standing chicks kit comes with 4 different standing chicks with bases.
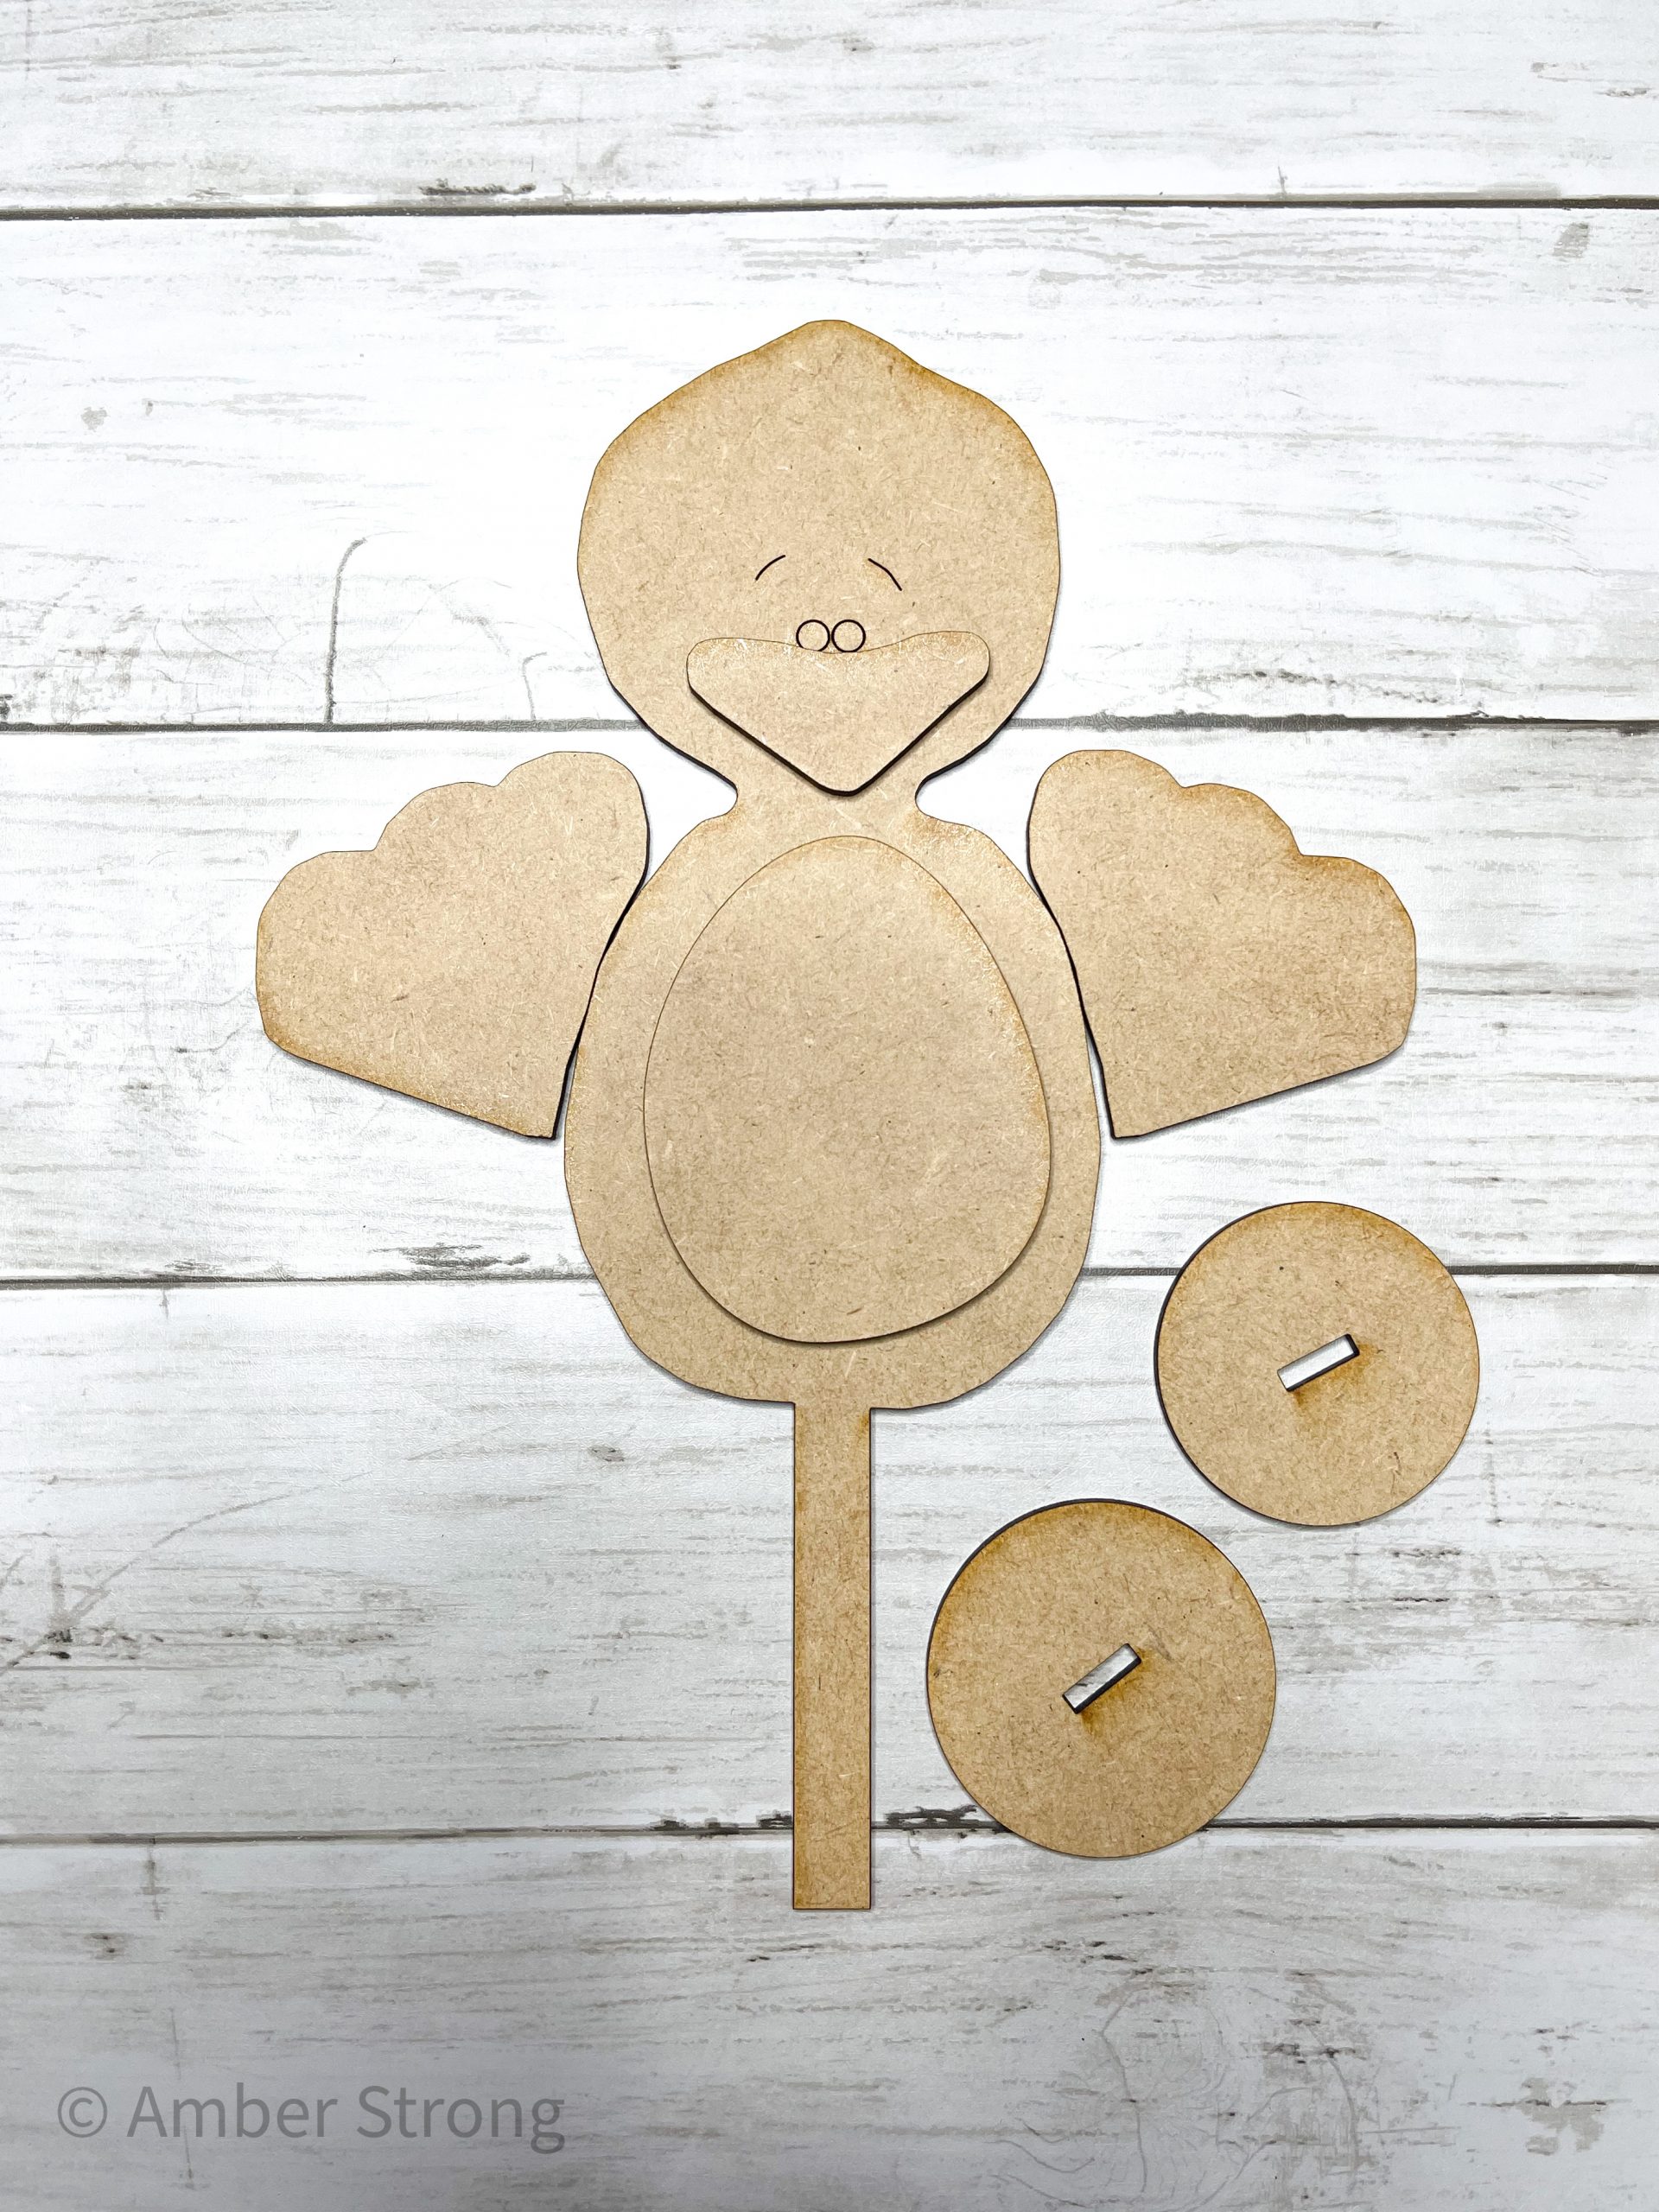
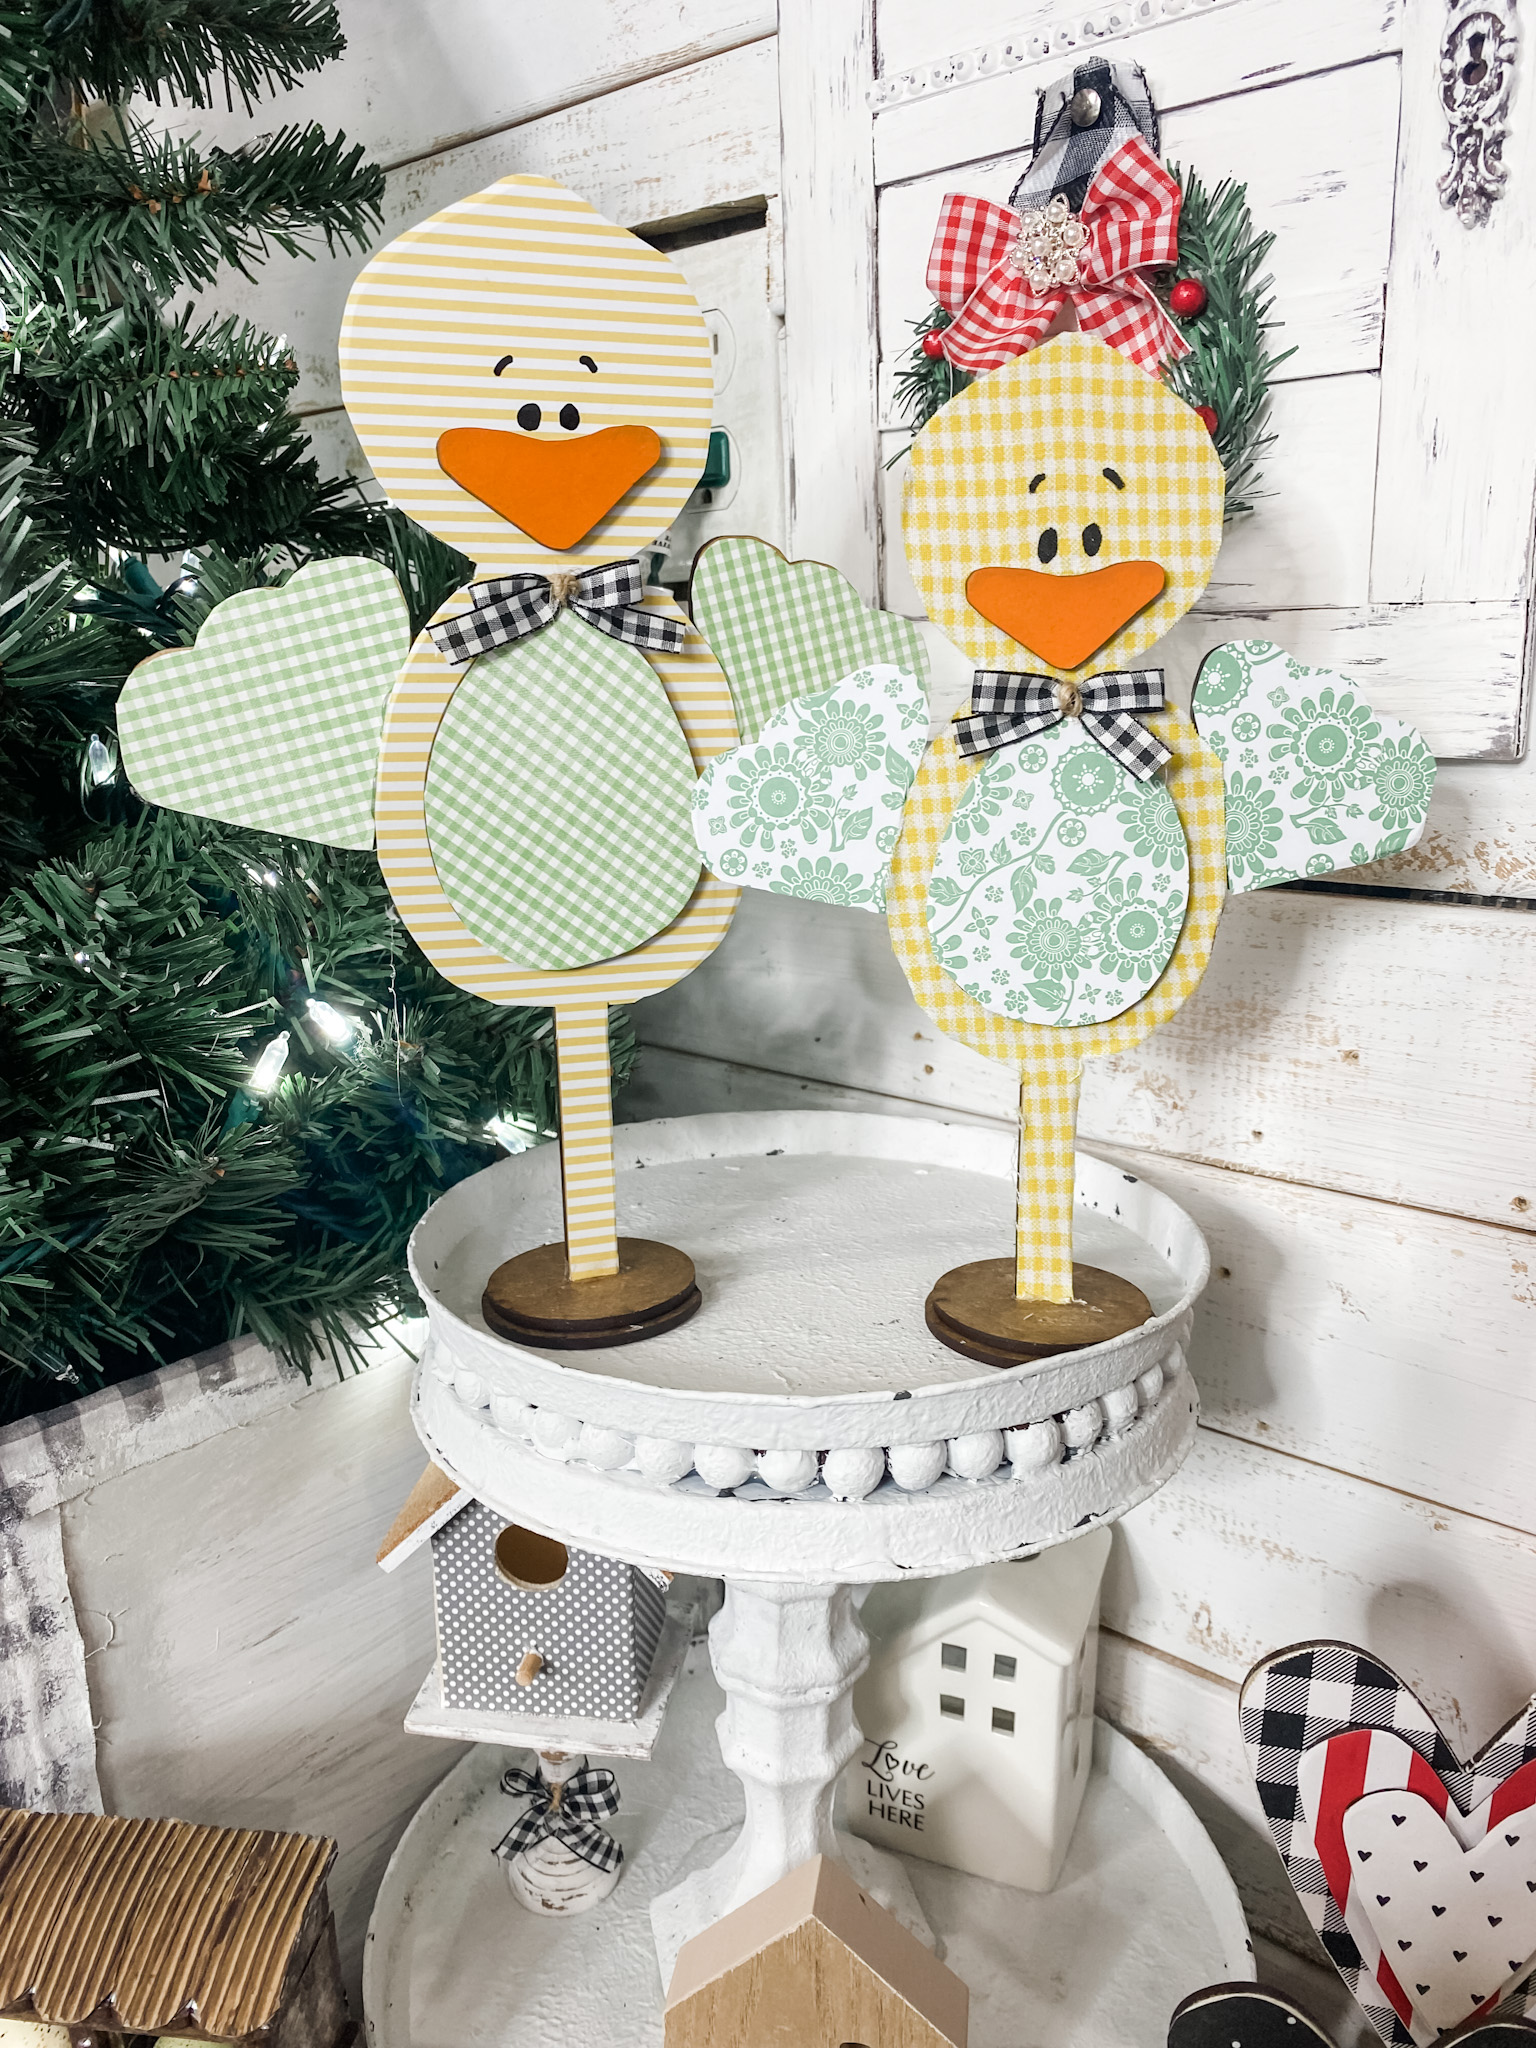
Trace the pieces of the chicks on the corresponding paper/fabric that you want on that piece and cut each piece out.
Once you have each piece of the chicks with its corresponding fabric/paper cutout, you can start decoupaging!
How to decoupage on your spring chicks
Apply a coat of Mod Podge to each piece of the standing chicks and place the corresponding fabric/paper onto the surface.
You can ball up a piece of plastic saran wrap and use it to smooth out any wrinkles or bubbles in the paper/fabric on each piece of the chicks.
Next up are the bases! I stained each of the bases for my standing spring chicks. To do that, you’ll need wet wipes, water, and Waverly antique wax.
Pour a small bit of the wax on a paper plate and pour or spray in some water. Mix it together and use a wet wipe to spread the mixture across each of the bases.
I used orange paint to paint the beaks for each of the chicks and used my heat gun to quickly dry the beaks and the bases.
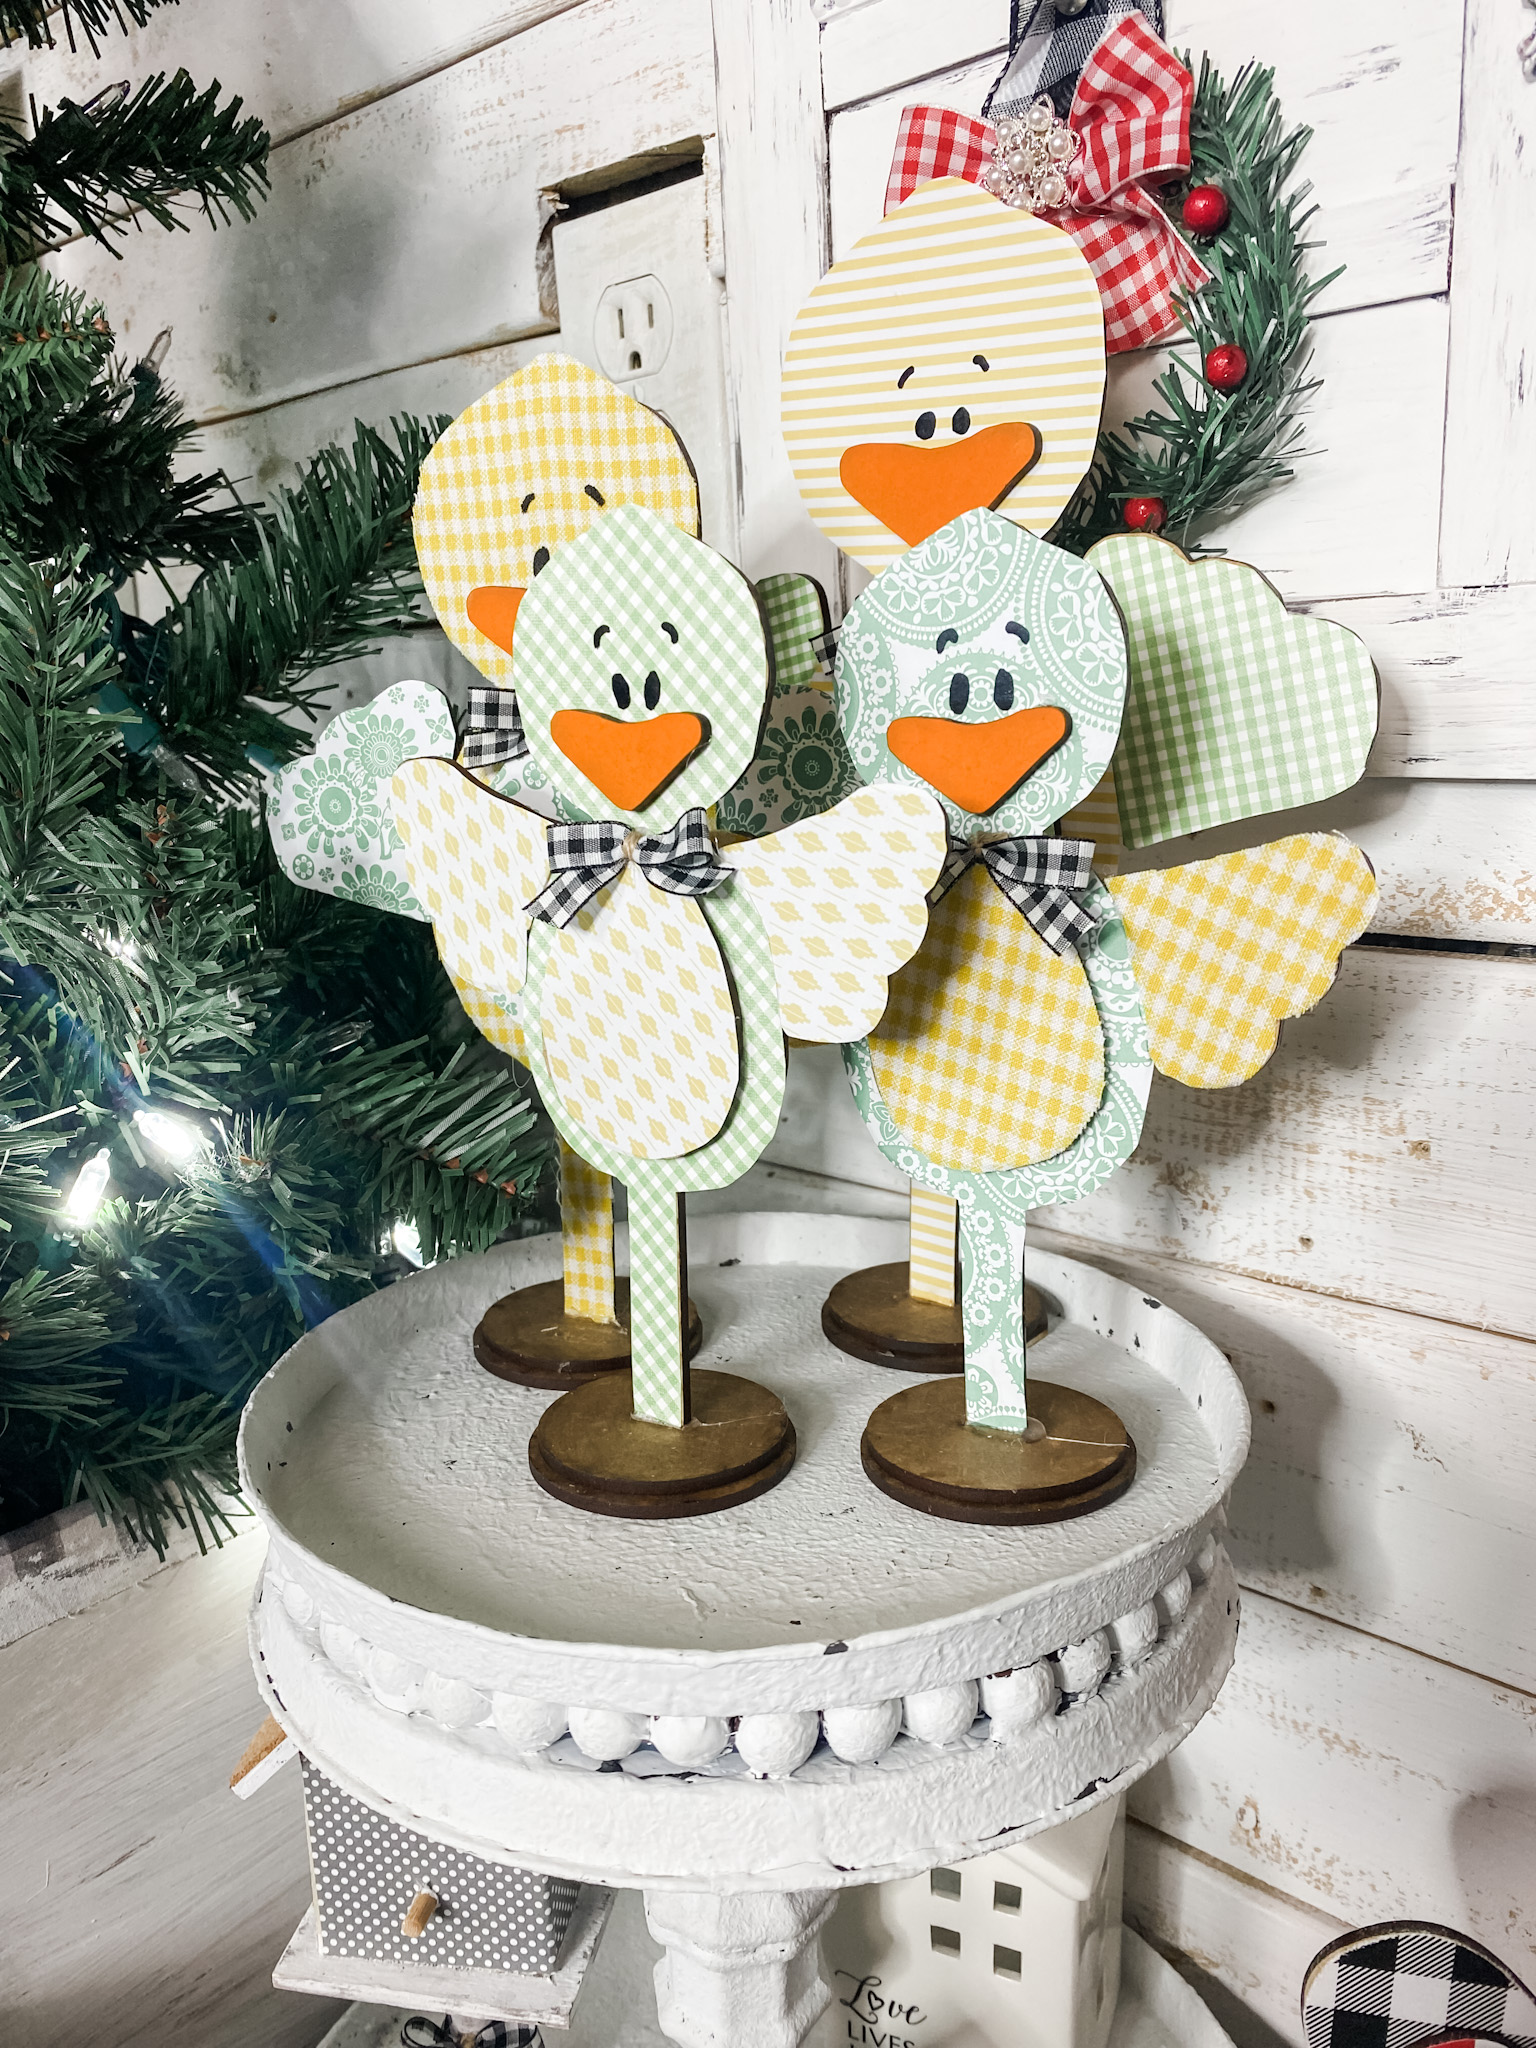
Assemble your DIY standing spring chicks
Make sure the paint and Mod Podge are dry on each piece of your spring chicks, then you’re ready to start assembling them!
I used my hot glue gun to secure each piece of the standing chicks together. Tie a little bow out of the black buffalo check ribbon, secure it with twine, and glue it onto your chicks as a little bow tie.
Lastly, I used a black paint pen (you can also use a simple black marker) to draw the face on each of my chicks.
If you love these cute little chicks, you have to check out my other DIY kits!
Also, check out the napkin bundles available! These are great for DIY’ing with! You can decoupage them onto practically any surface and create unique, one-of-a-kind home decor!
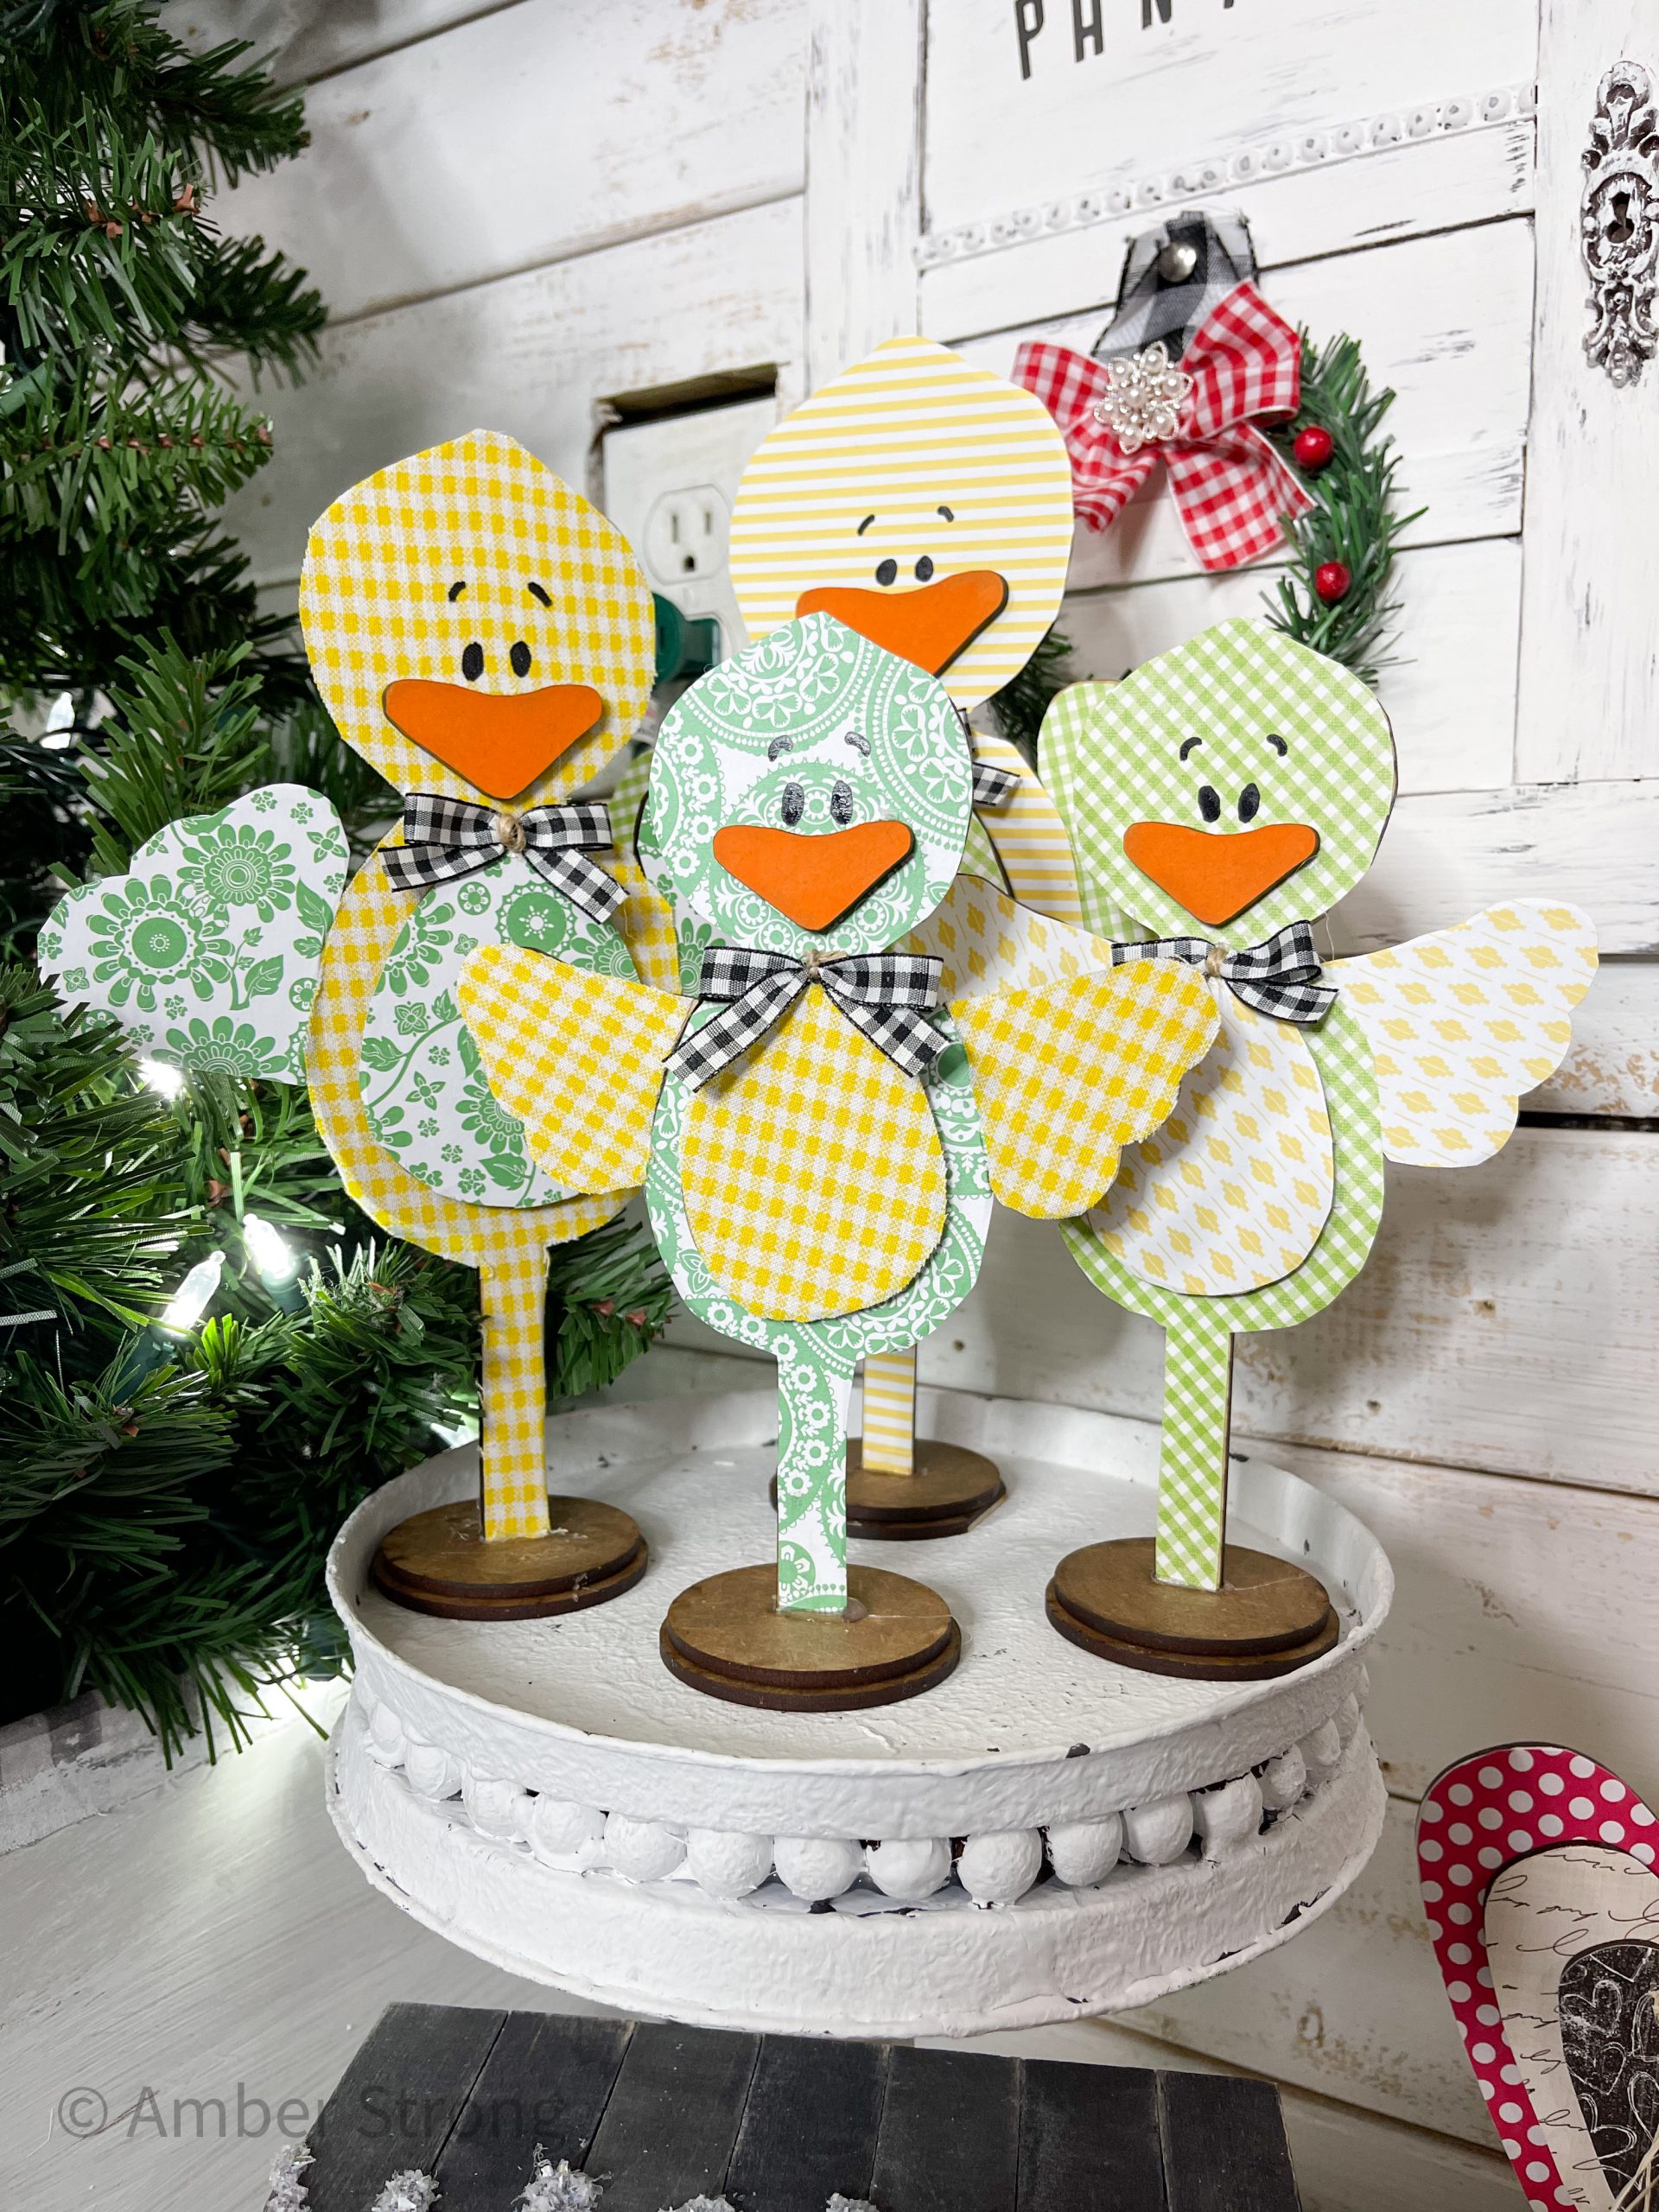
I hope you enjoyed this DIY Spring Chicks Decor as much as I did and decide to make one for yourself! I would love to see how yours turns out!
You should totally join my FREE Facebook group called On A Budget Crafts! It is a judgment-free community for DIY crafters to show off their projects and ideas.
If you loved this DIY you might also like this Dollar Tree mop head gnome!
Thanks for stopping by! XOXO Amber
You can also shop my ENTIRE AMAZON Favorites shop just click here! It’s packed full of all the things I use and love. Here is the supply list I highly recommend every creative have on hand!!
Would you also pin my blog for later and get on my newsletter alerts? I would love to have you join my #craftycrew.
Inspired? Leave me a comment below! I love hearing from my readers!

Join my free “ON A BUDGET CRAFTS” Facebook group!