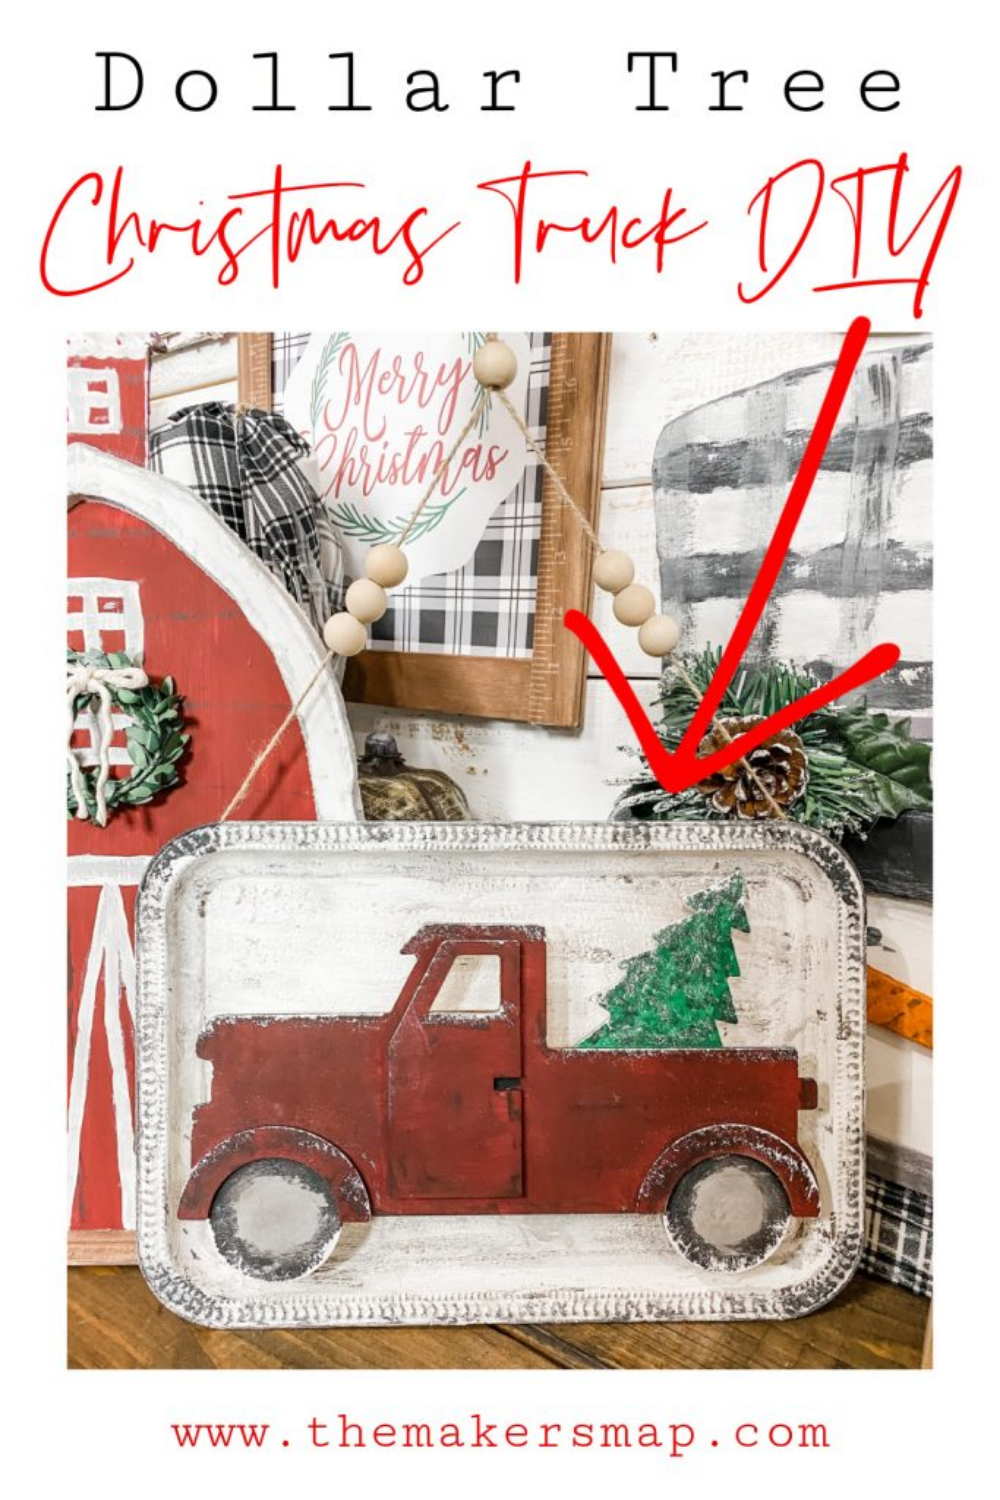
Easy Dollar Tree Christmas Truck DIY
I am always looking for cool ways to make cute home decor. One of my favorite things to do is just browse through my local Dollar Tree stores and look for inspiration. That’s how we got this Easy Dollar Tree Christmas Truck DIY!
I had so much fun making this LIVE with my #craftycrew, and even had my husband help me with it! (He is NOT crafty, so that should tell you how easy this project is to make!)
Watch the LIVE
As I said, I make this Easy Dollar Tree Christmas Truck DIY in a LIVE video over on my Facebook page.
If you want to see exactly how I made it, you can watch the video! I go step by step and even explain what I’m doing.
Remember, this video was made live, so there may be a bit of talking and chatting mixed in with the crafting. If that isn’t for you, no worries! You can fast forward to the parts you need!
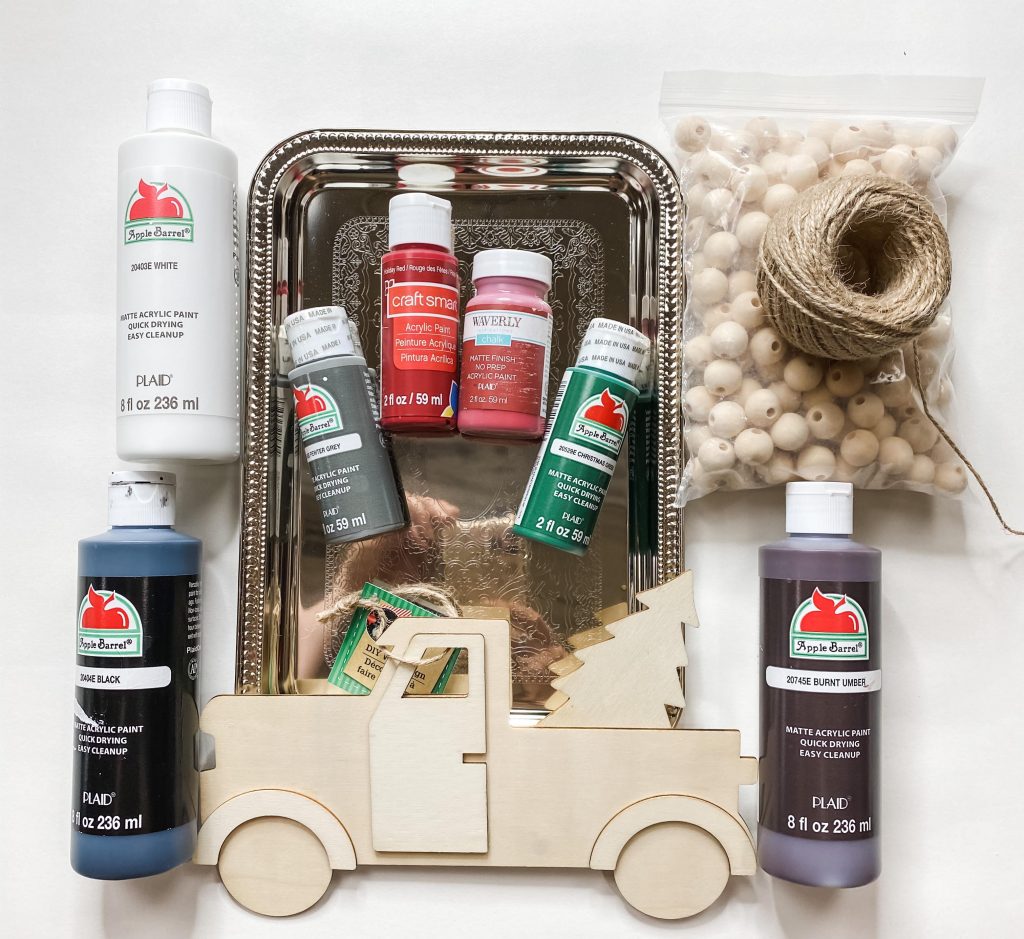
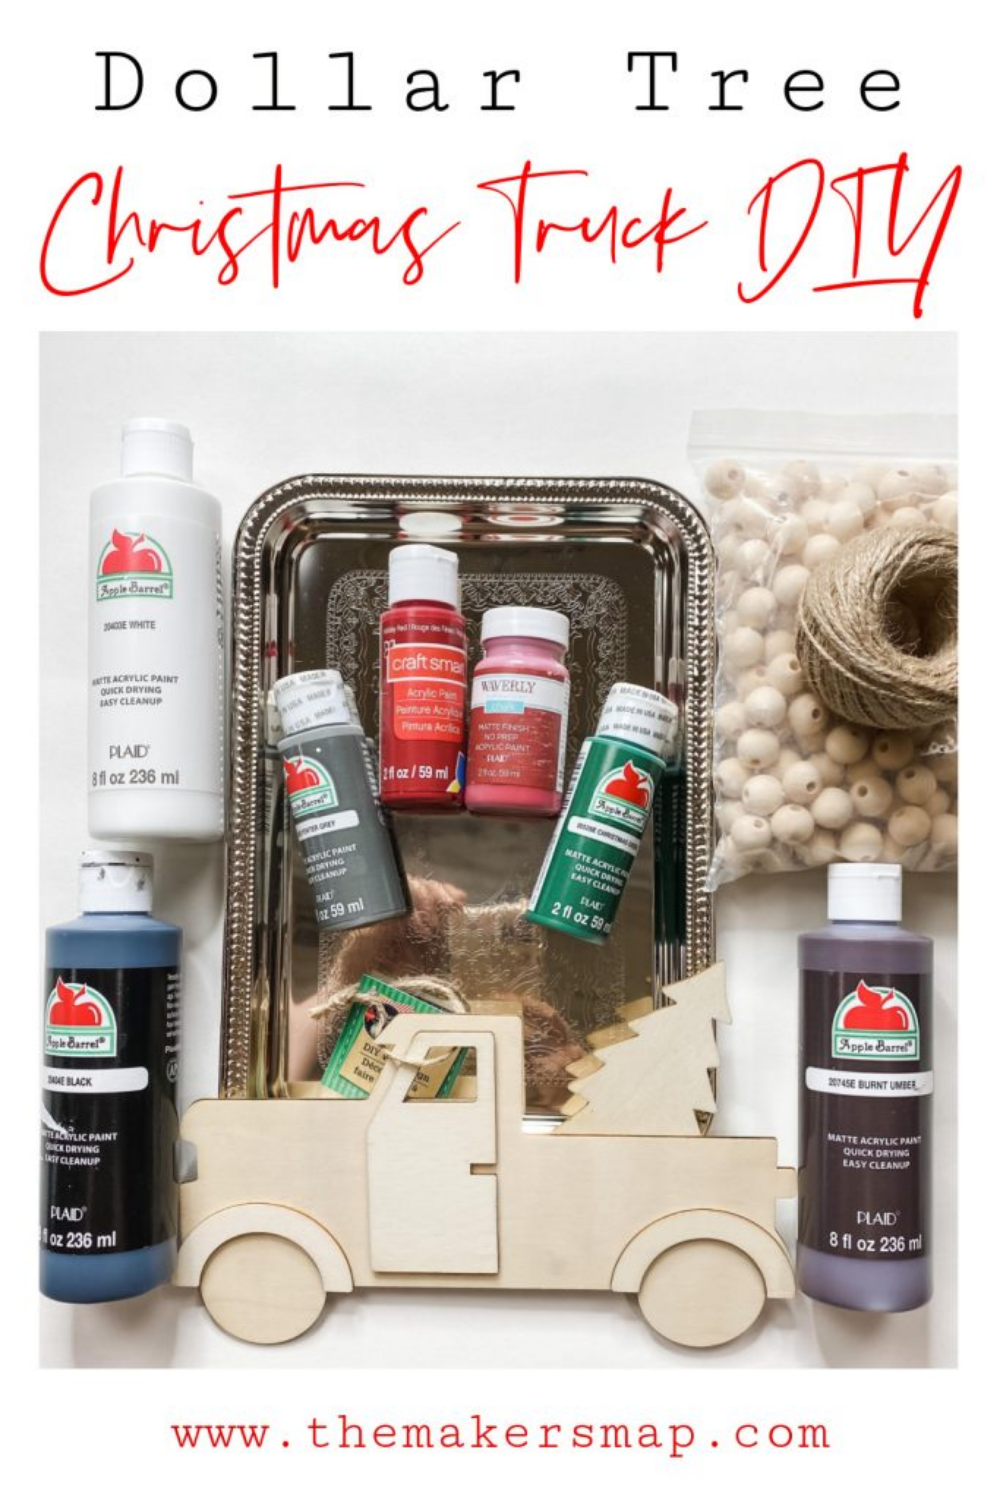
Here is what you need:
Just so you know, these are my affiliate links. If you purchase from these links, I may make a small commission, but it will not cost you any extra.
“As an Amazon Associate, I earn from qualifying purchases.”
- Dollar Tree serving tray
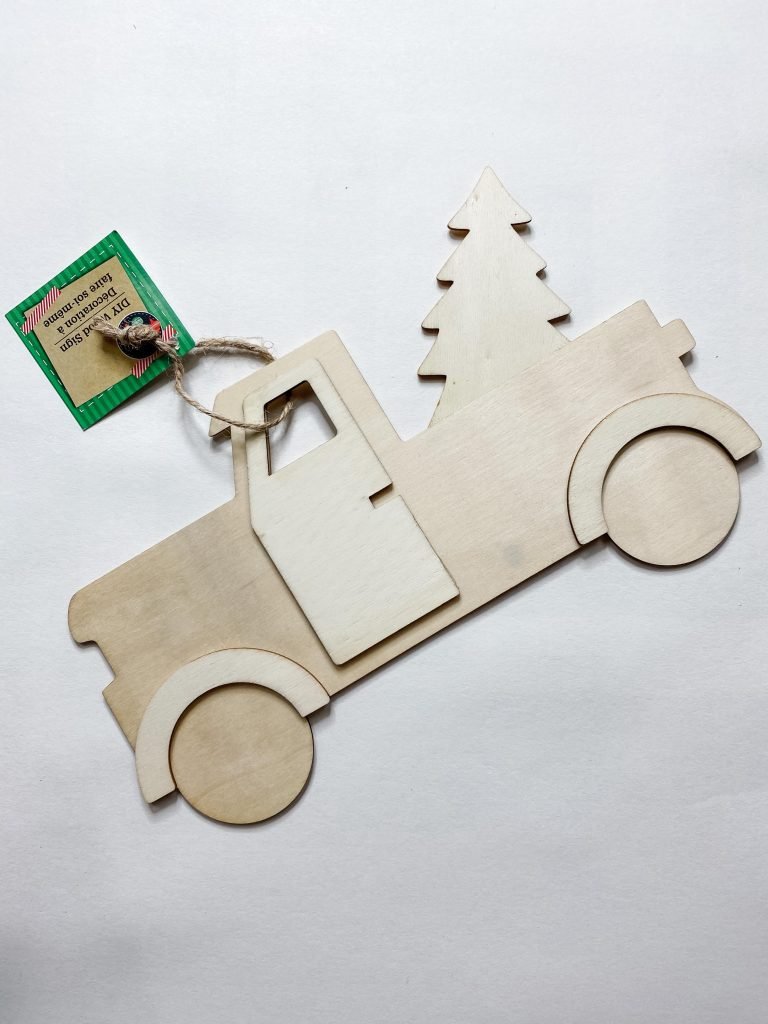
- Dollar Tree Wood Truck cut-out
- Black paint
- Dollar Tree Wood Cubes
- Green paint
- Grey paint
- Red acrylic paint
- Red chalk paint
- Brown paint
- White paint
- Jute Twine
- Wood beads
- Chippy brushes 1-inch
- Heat gun
- Hot glue gun and glue sticks
- E6000 glue
How to make an Easy Dollar Tree Christmas Truck DIY
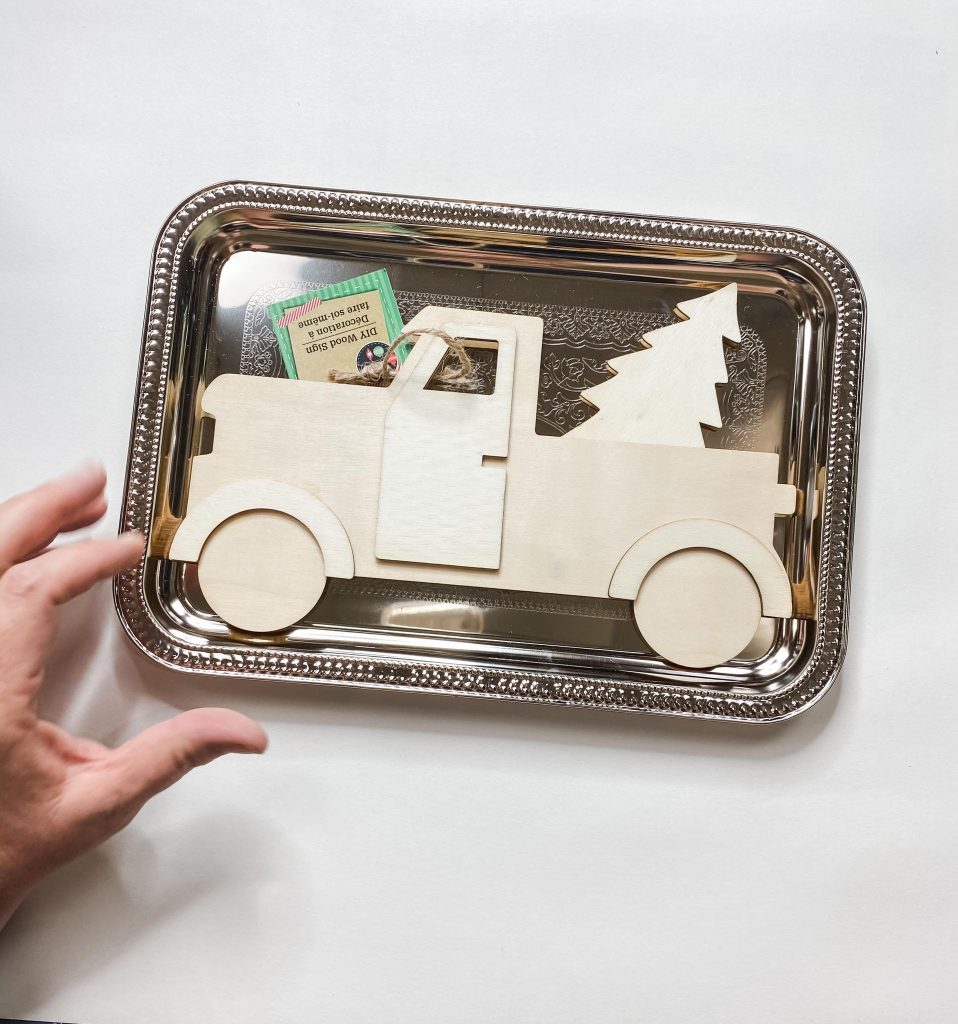
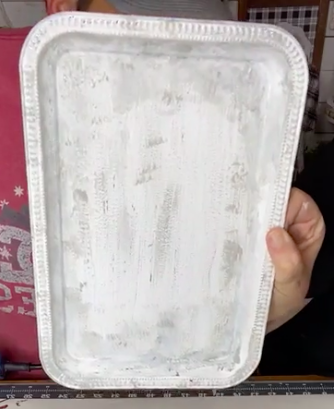
This craft is so easy to make, and I am so excited to tell you how I made it! To make this cute Dollar Tree Christmas Truck, you’ll start by painting the serving tray with your white acrylic paint.
You don’t have to get an even coat because you want it to have a kind of rustic, tarnished look when you’re done. This is the one I used, but you could use any kind of serving tray you wanted to.
Paint the truck
Next, you’re going to mix the red acrylic paint and black paint to get a darker red color for your truck. You want a deep red color.
Take your artist’s brush and paint the body of the truck with your custom red paint. The paint will need to dry before you move to the next step.
I like to use my heat gun to speed up the drying process. Now you need to mix some more black paint into the red paint to make a darker red. I took this and randomly painted sections of the truck to give it an aged look.
Paint the wheels of the truck black. There are more details we will add to the wheels, so make sure they dry completely before you move forward.
Next, paint the Christmas tree in the bed of the truck green. You’ll use the same technique you did with the body of the truck.
Mix some of the black paint with the green paint and randomly paint sections to give it more dimension and make it look more realistic.
The fine details
Next, you are going to add some more details to your serving tray. Paint random spots of the tray with the gray paint.
You can mix the white with the grey in different amounts to get different shades of grey. This is what you want it to look like when you are done with this step.
Now you’re going to use your black paint and an artist’s brush. Lightly brush the black paint around the edges of the serving tray to really give it that aged, tarnished look.
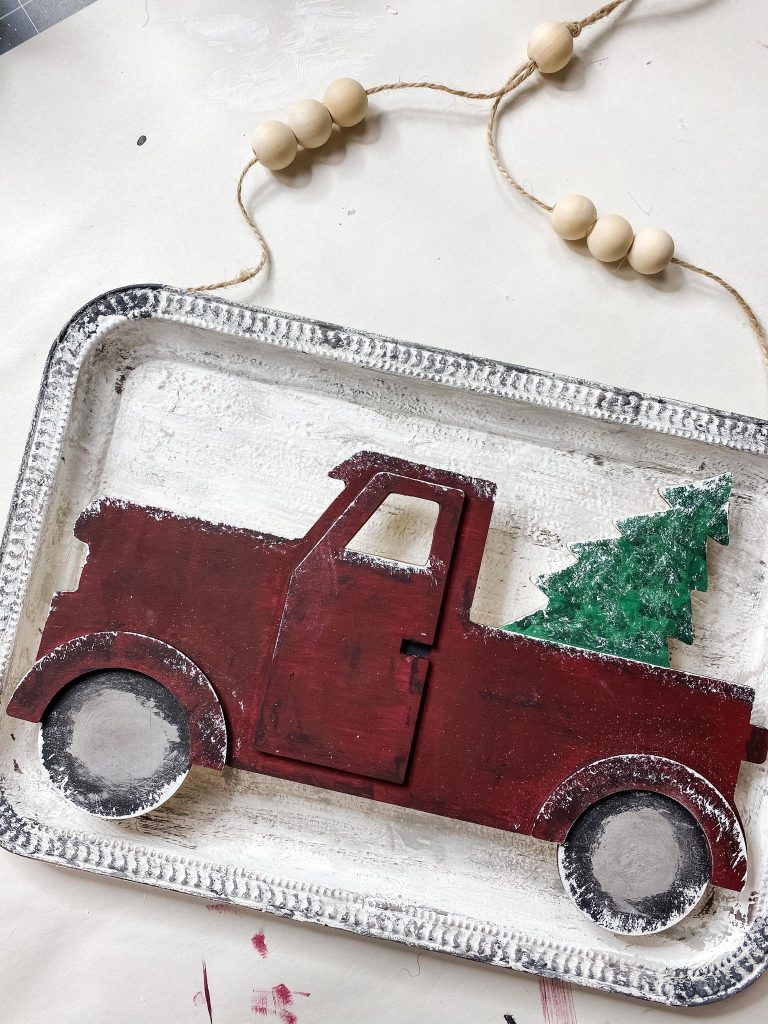
Next, I added the finer details to the truck. I used a 1-inch chippy brushed and white paint for this step. I lightly brushed the edges of the truck.
This helps add to the aged look and helps give the truck more dimension. It honestly makes the truck look like it has a bit of snow on it!
Remember how I said there were more details for the wheels? Now you’re going to use your gray paint to give the wheels hubcaps.
Just roughly paint a circle in the center of each wheel. You won’t imagine the difference this step makes for the overall look of this craft!
Put it all together
Now you have to attach the truck to the serving tray. Initially, I used my hot glue gun and attached Dollar Tree wood cubes to the back of the truck, and glued it down onto the serving tray.
However, the glue didn’t bond well with the metal tray, so I ended up using E6000 glue to attach the truck to the tray. Remember, E6000 takes 24 hours to dry.
For the hanger, I just used jute twine that I decorated with wood beads. You can do this part however you want to, but you can see exactly how I did it in this video.
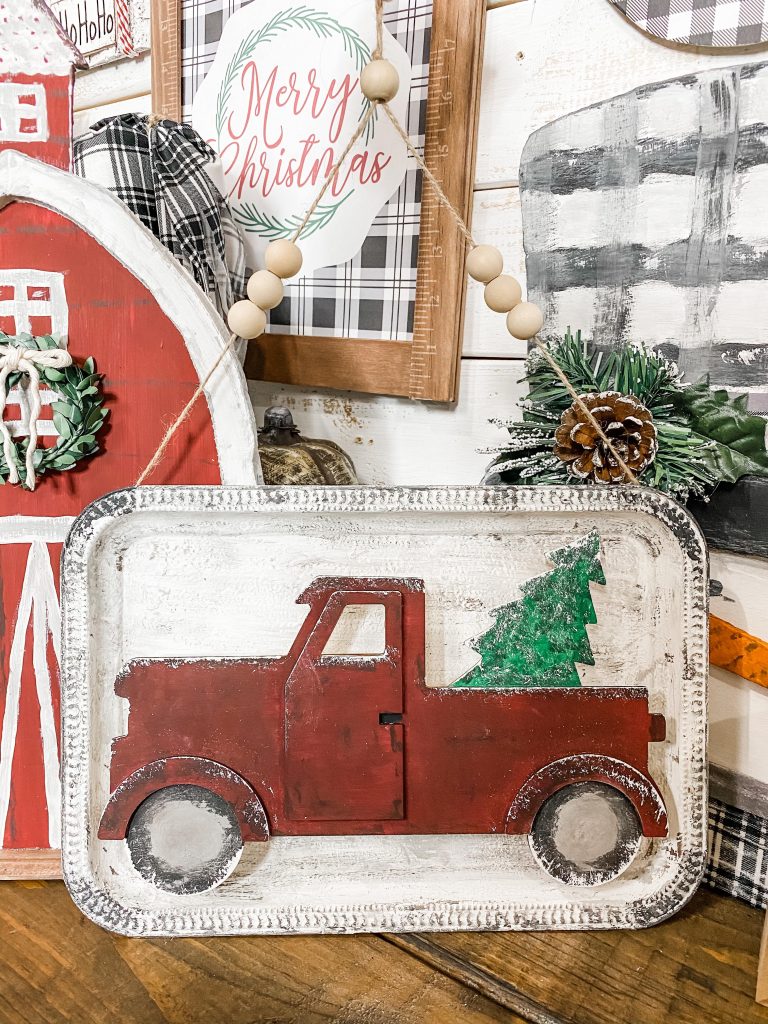
How cute is this??
If you loved this DIY, you might also like DIY Chippy Christmas Sign!
I hope you enjoyed this craft as much as I did! If you decide to make this yourself, I would love to see how it turns out! You can share your crafts in my FREE Facebook group called On A Budget Crafts.
Thanks for stopping by! XOXO Amber
You can also shop my ENTIRE AMAZON Favorites shop just click here! It’s packed full of all the things I use and love.
Here is the supply list I highly recommend every creative has on hand!! Would you also pin my blog for later and get on my newsletter alerts? I would love to have you join my #craftycrew.

Join my free “ON A BUDGET CRAFTS” Facebook group!
PIN THIS POST FOR LATER!


2 Comments