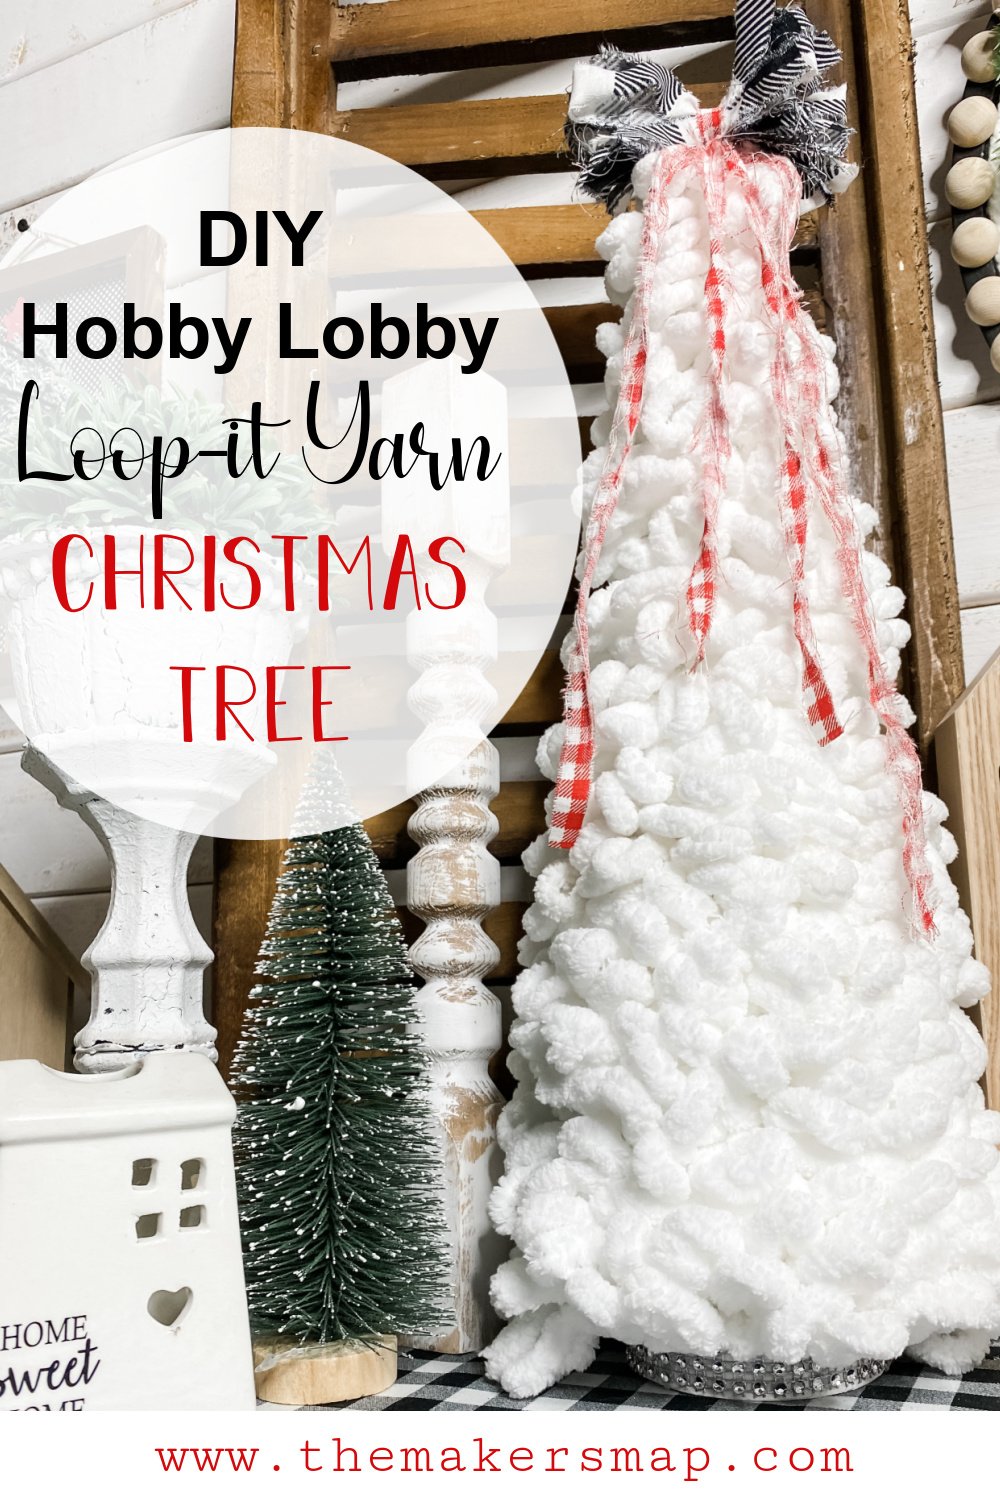
DIY Hobby Lobby Loop-It Yarn Christmas Tree
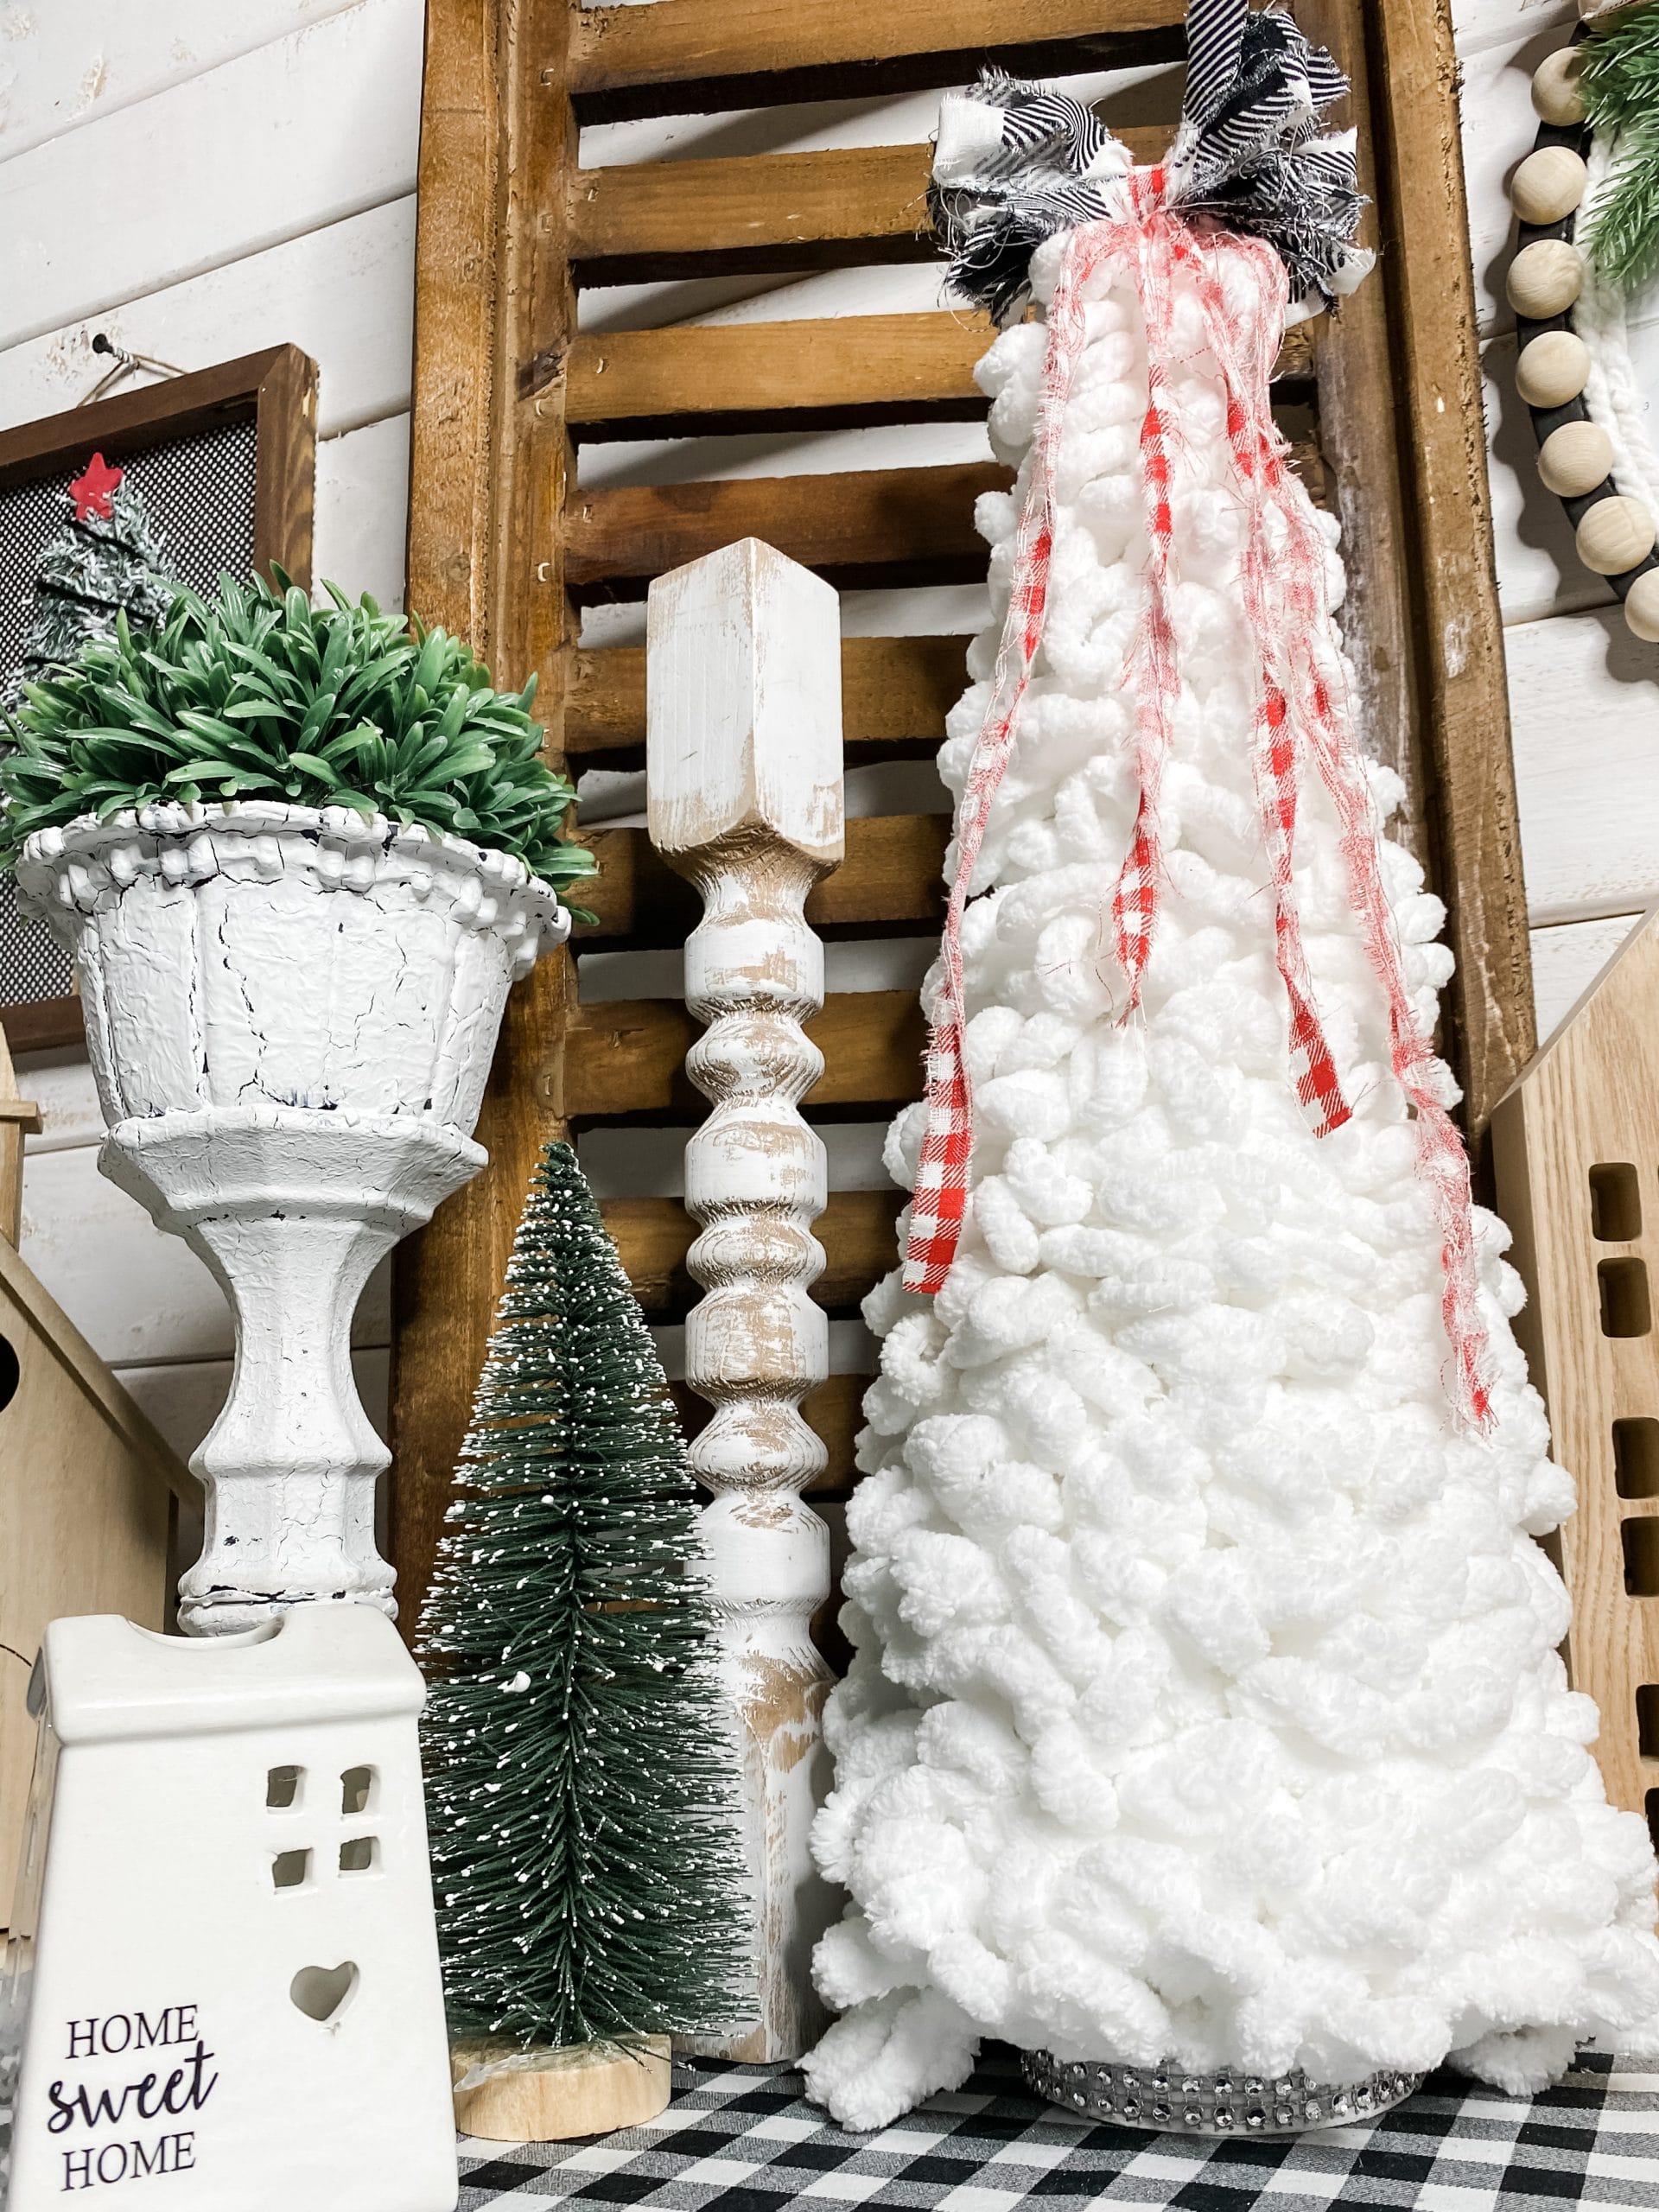
In South Georgia, we sadly do not get a lot of snow. But this super cute DIY Hobby Lobby Loop-It Yarn Christmas Tree makes all my dreams of a white Christmas come true!
I know that I make a lot of Dollar Tree DIY crafts, but I couldn’t resist this Hobby Lobby loop-it yarn and Christmas tree cone form.
If you want to bring some Christmas cheer into your house this season, keep on reading! This DIY Hobby Lobby Loop-It Yarn Christmas Tree is the perfect addition to any room in the house! It also makes a great table top Christmas tree for a centerpiece or a simple shelf sitter!
Watch the tutorial
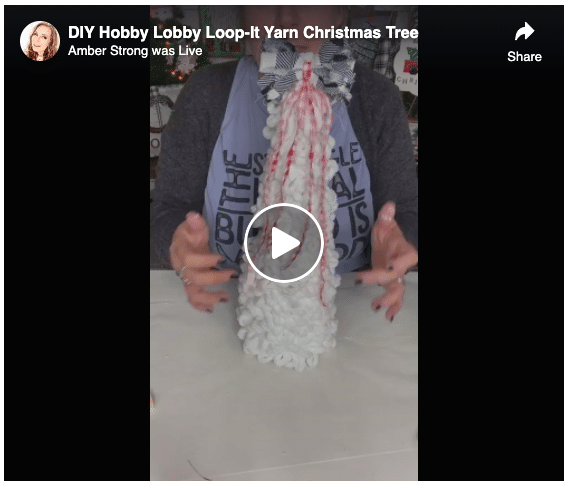
I created this adorable loop-it yarn DIY Christmas Tree during a Facebook LIVE video, but the replay is still available for you to watch! I love crafting LIVE so that my Crafty Crew can ask questions, chat, or craft along with me.
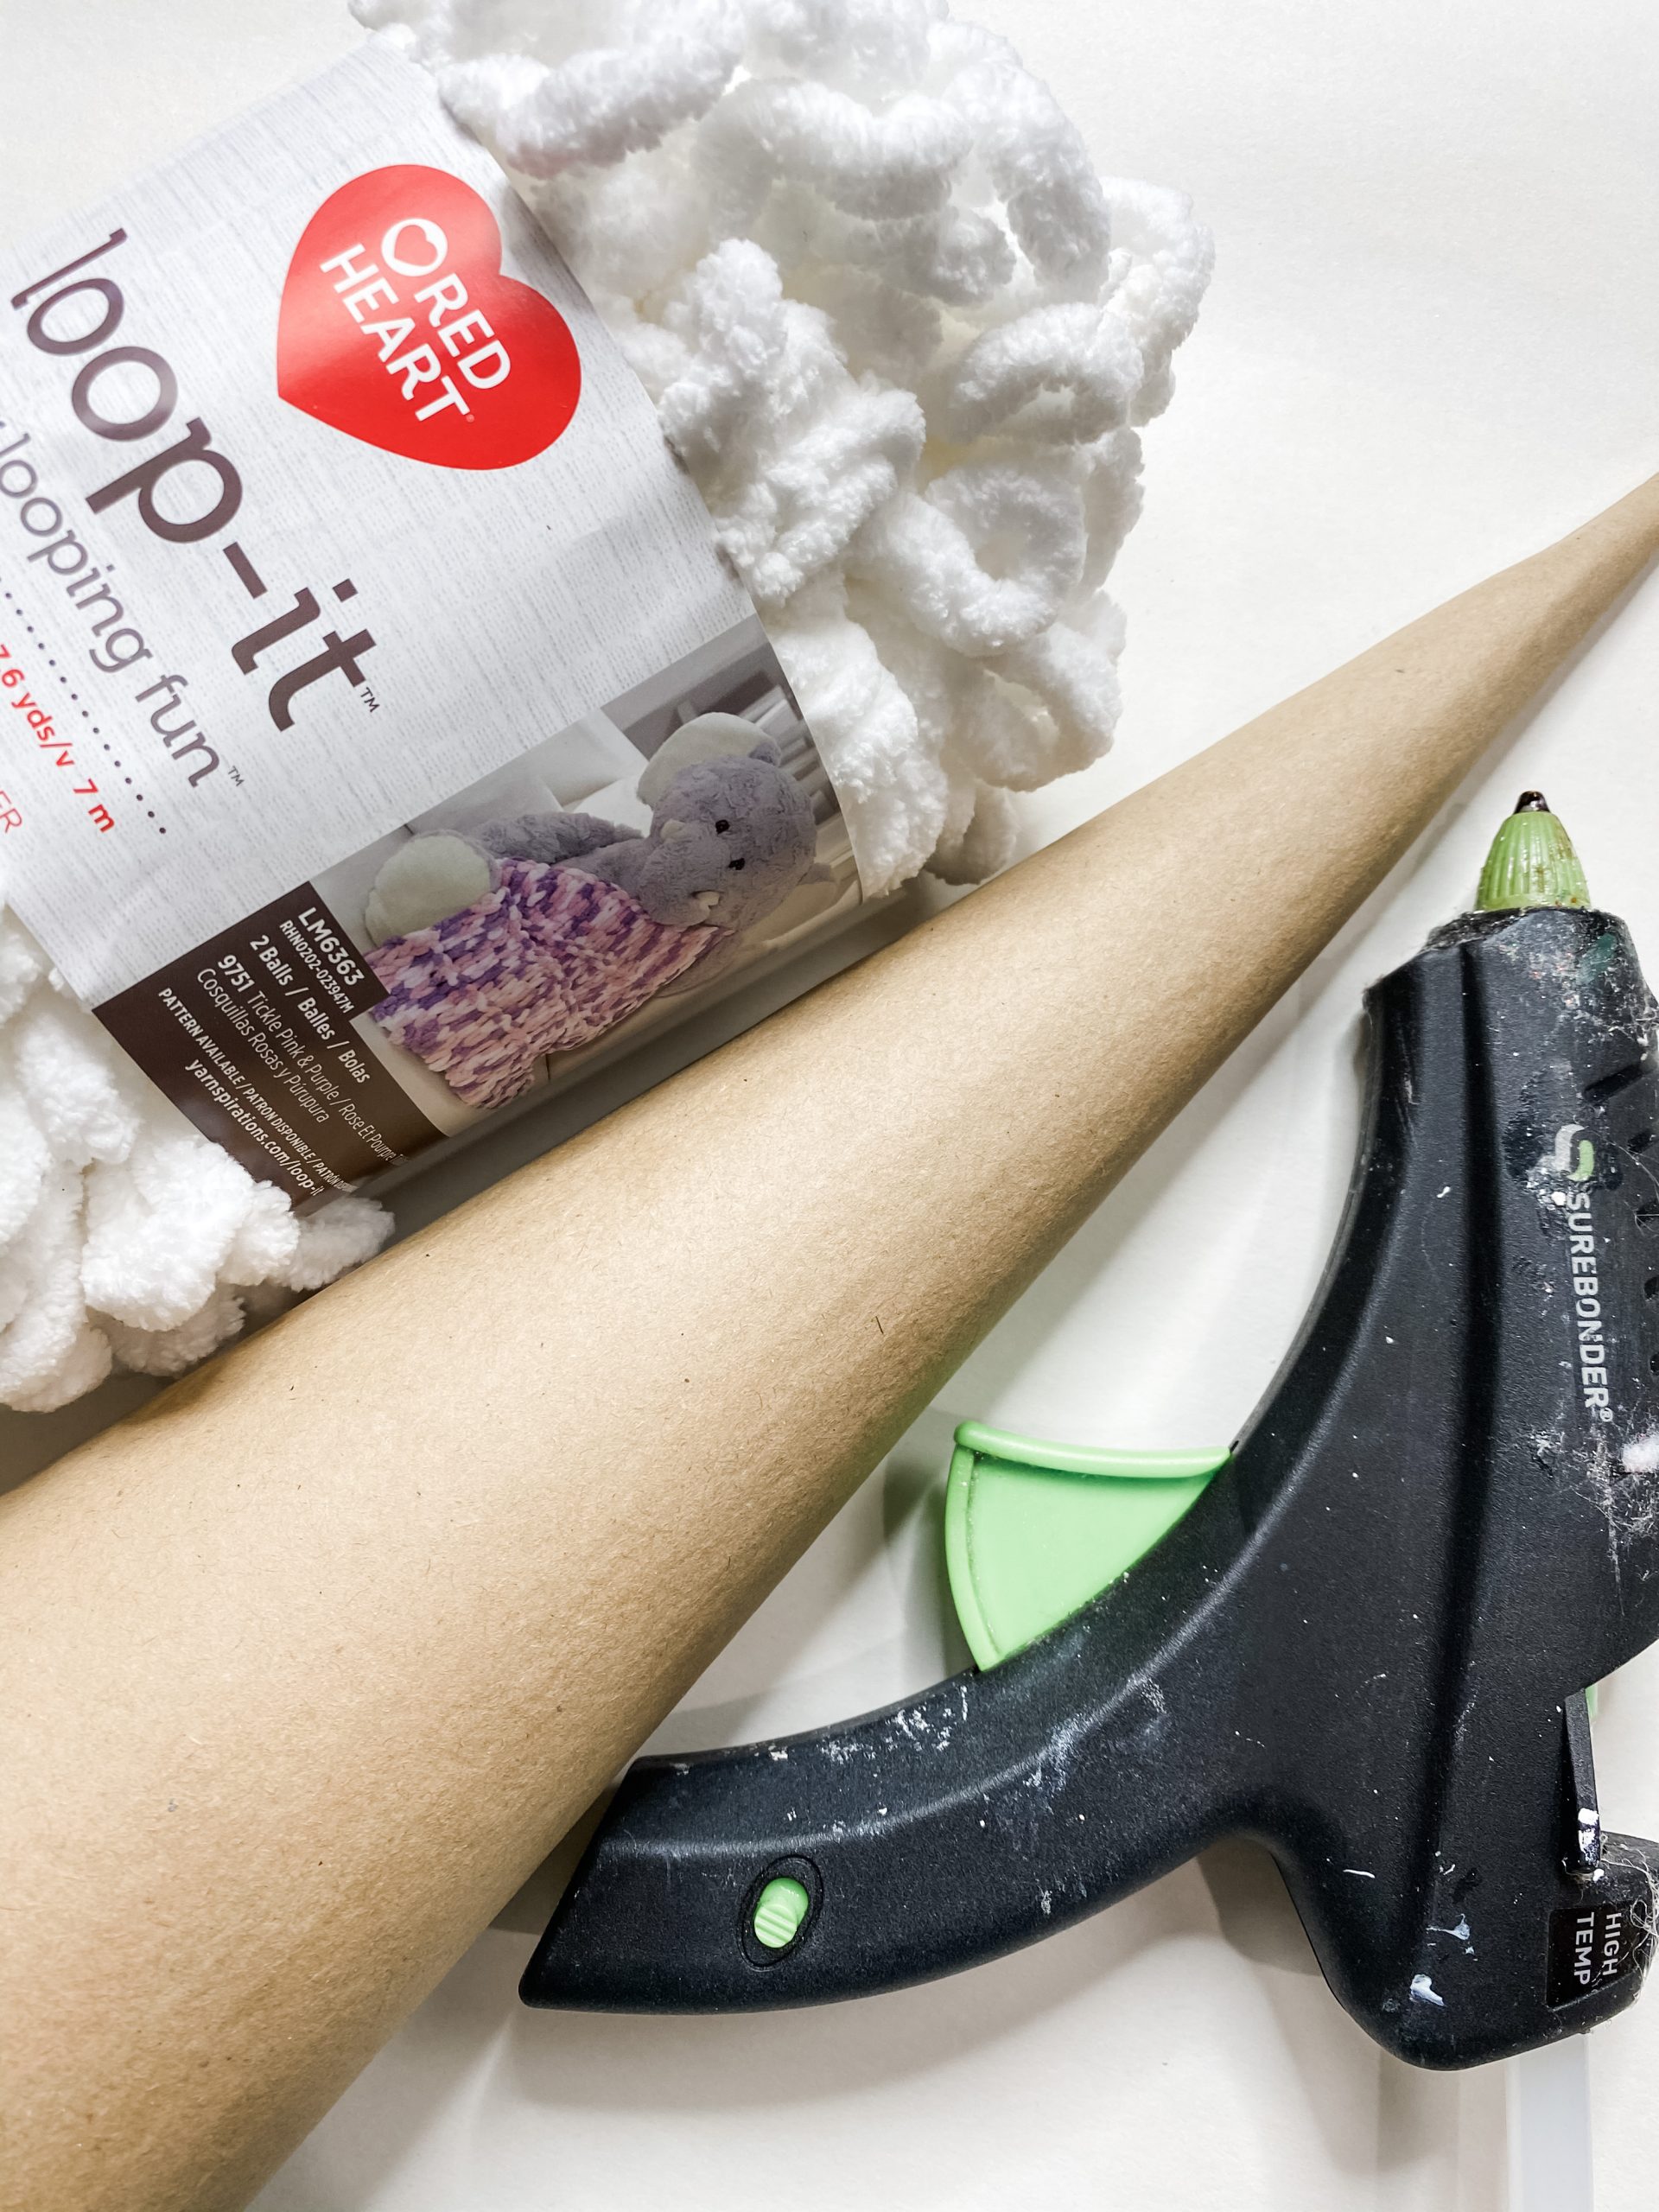
The supplies you’ll need for this project:
“As an Amazon Associate, I earn from qualifying purchases.”
- Loop It Yarn
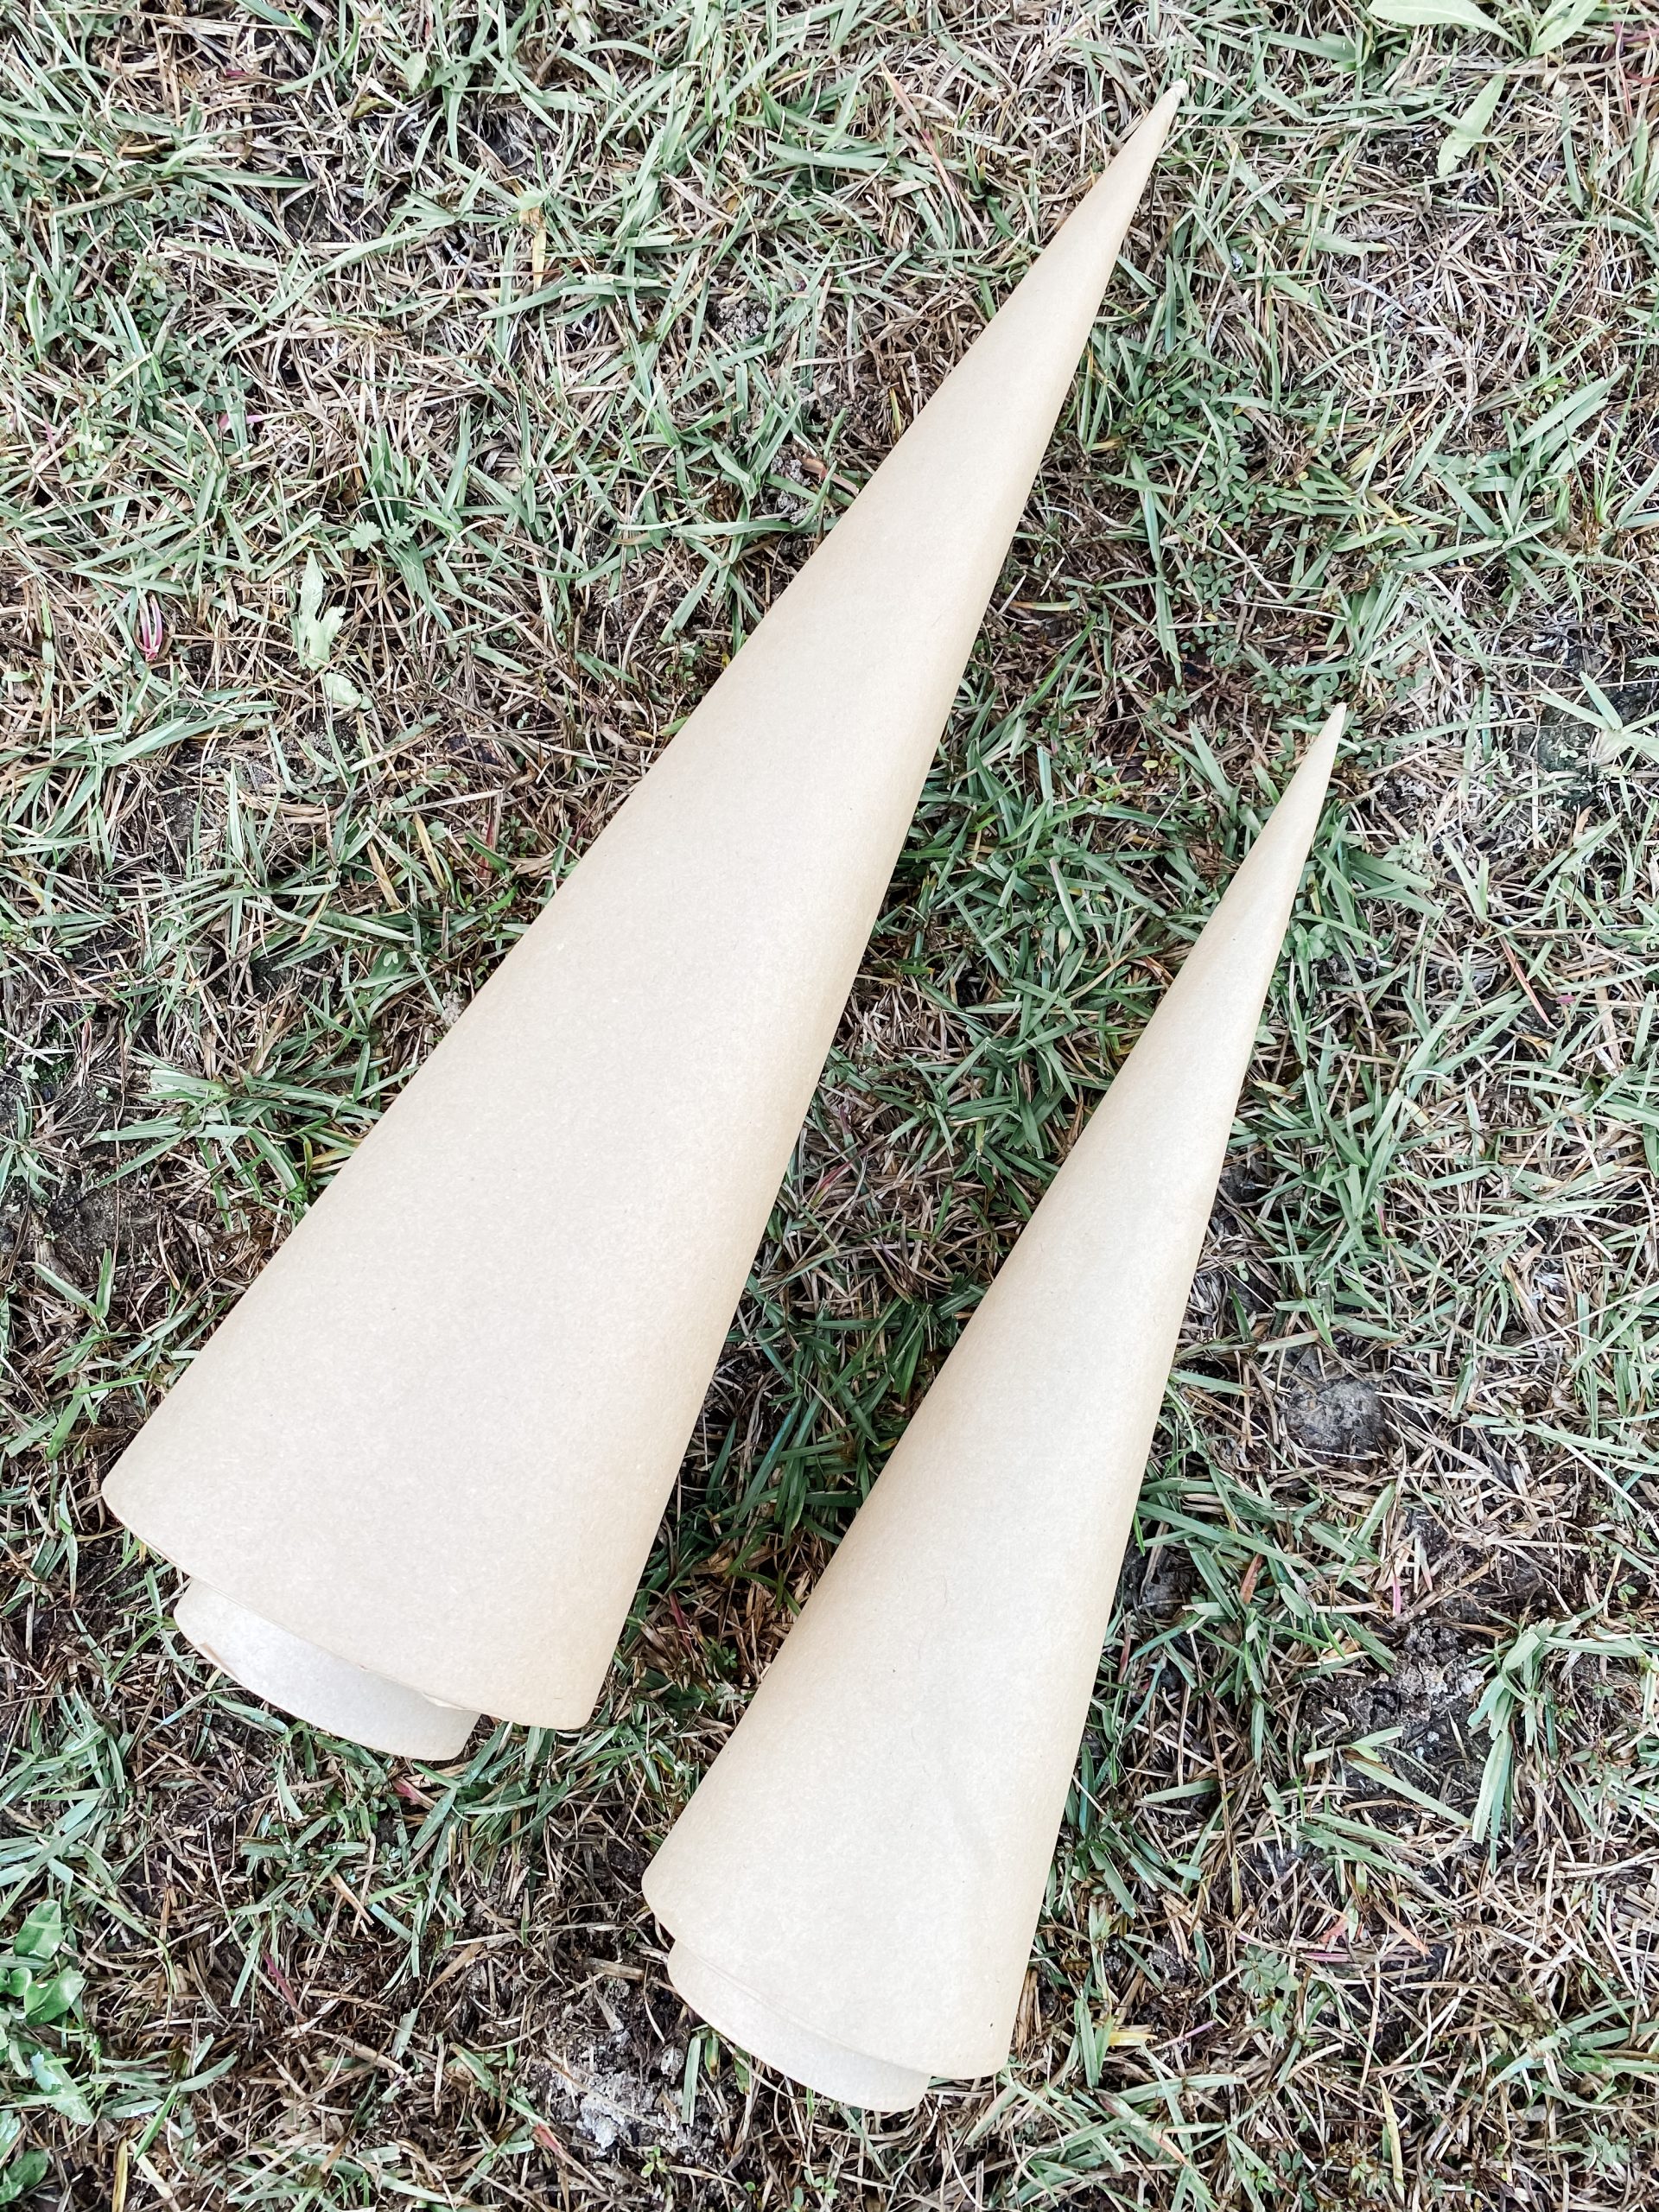
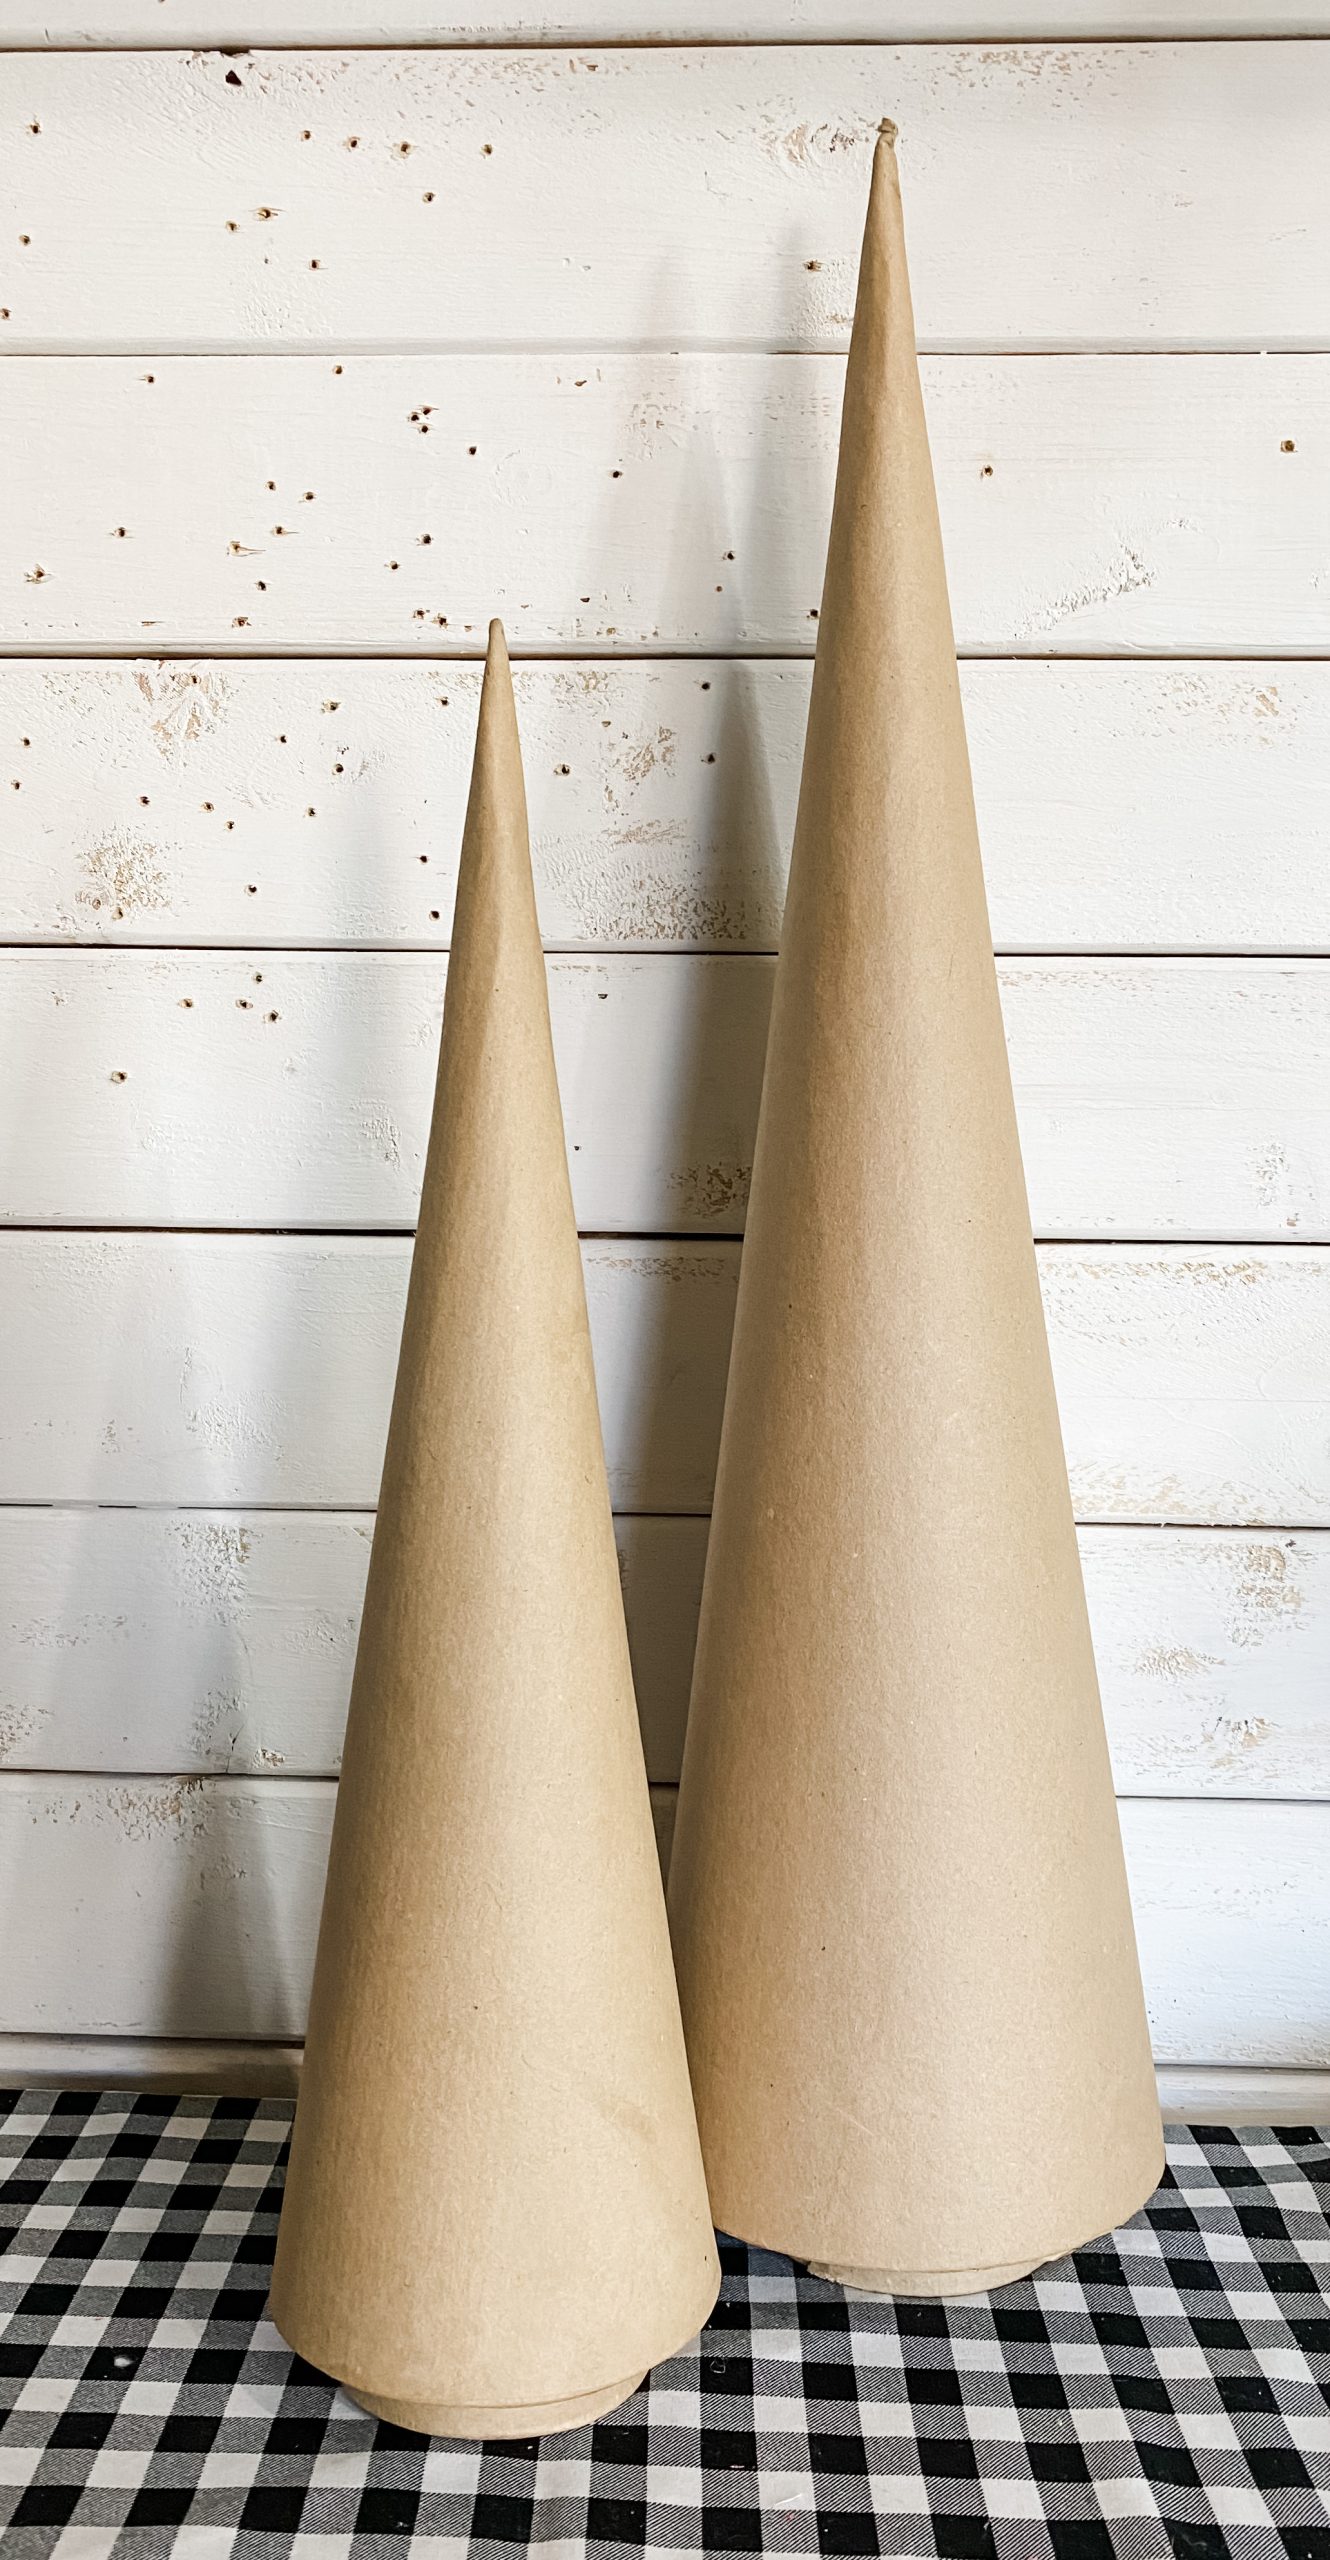
- Hobby Lobby Paper Mache Cone Tree
- Dollar Tree Black Buffalo Check Fabric
- Dollar Tree Red Buffalo Check Fabric
- Apple Barrel White Paint
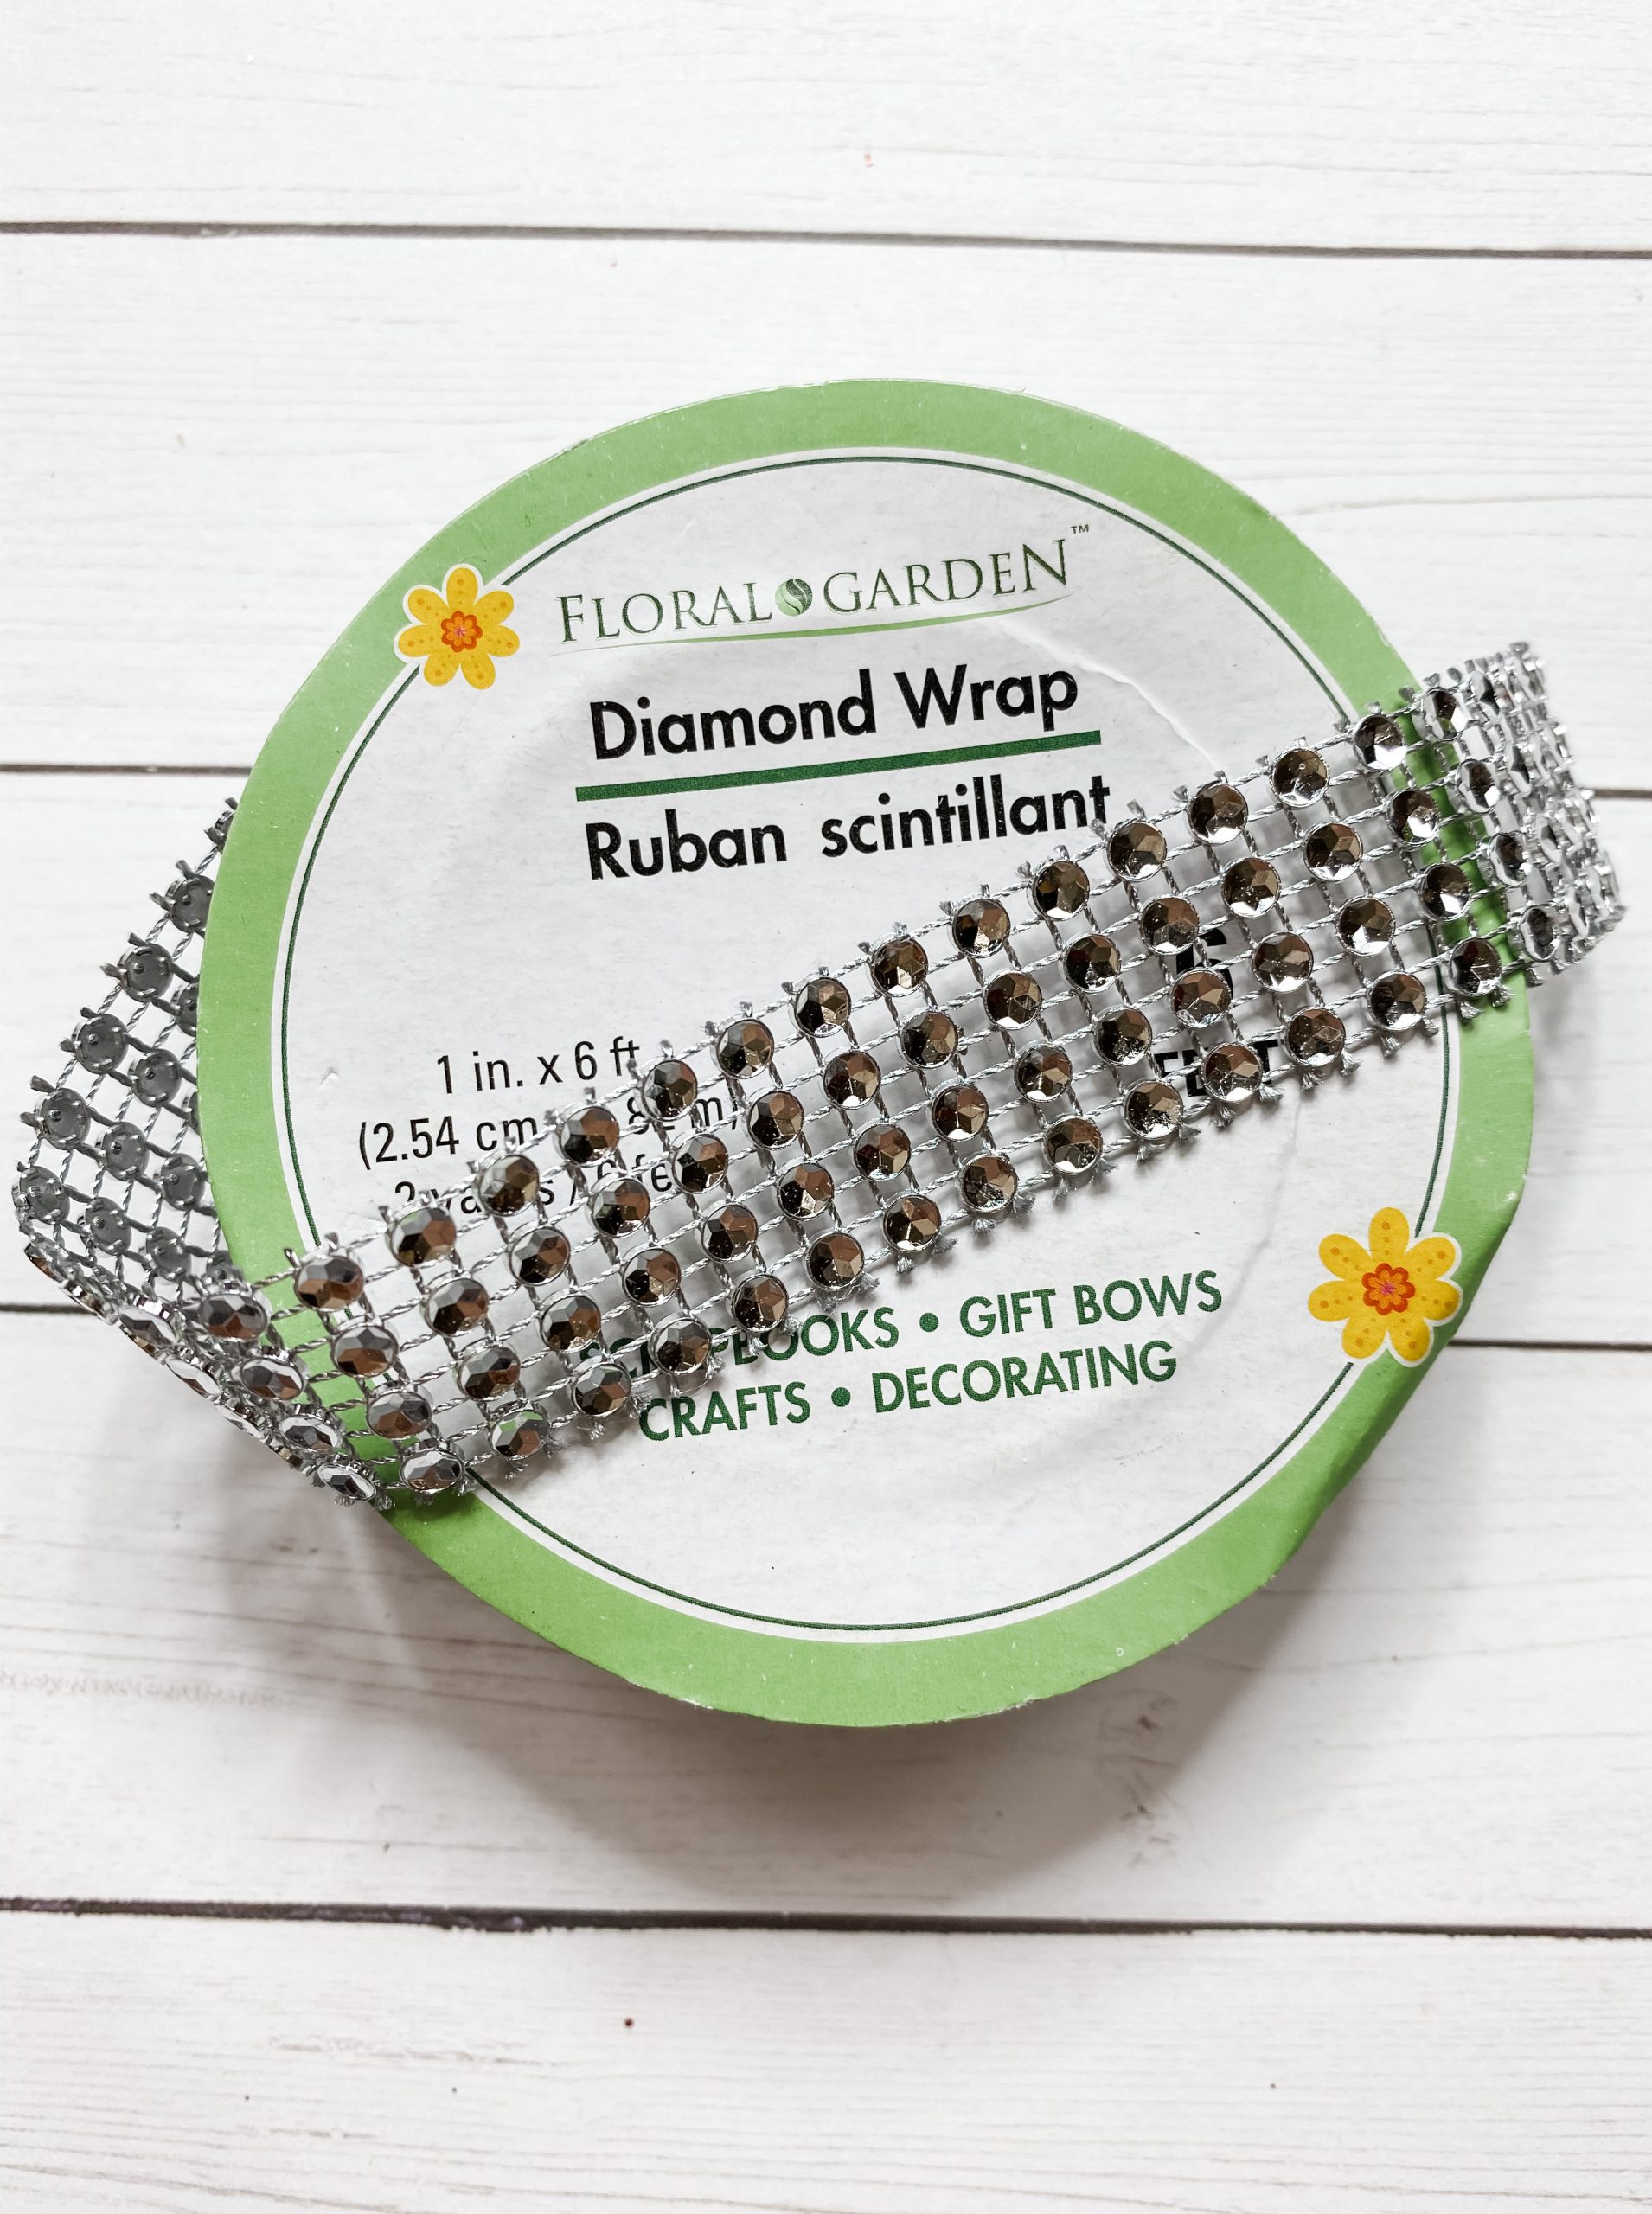
- Dollar Tree Diamond Wrap Ribbon
- Glue Gun and Glue Sticks
- Heat gun
- Scissors
Time to get started!
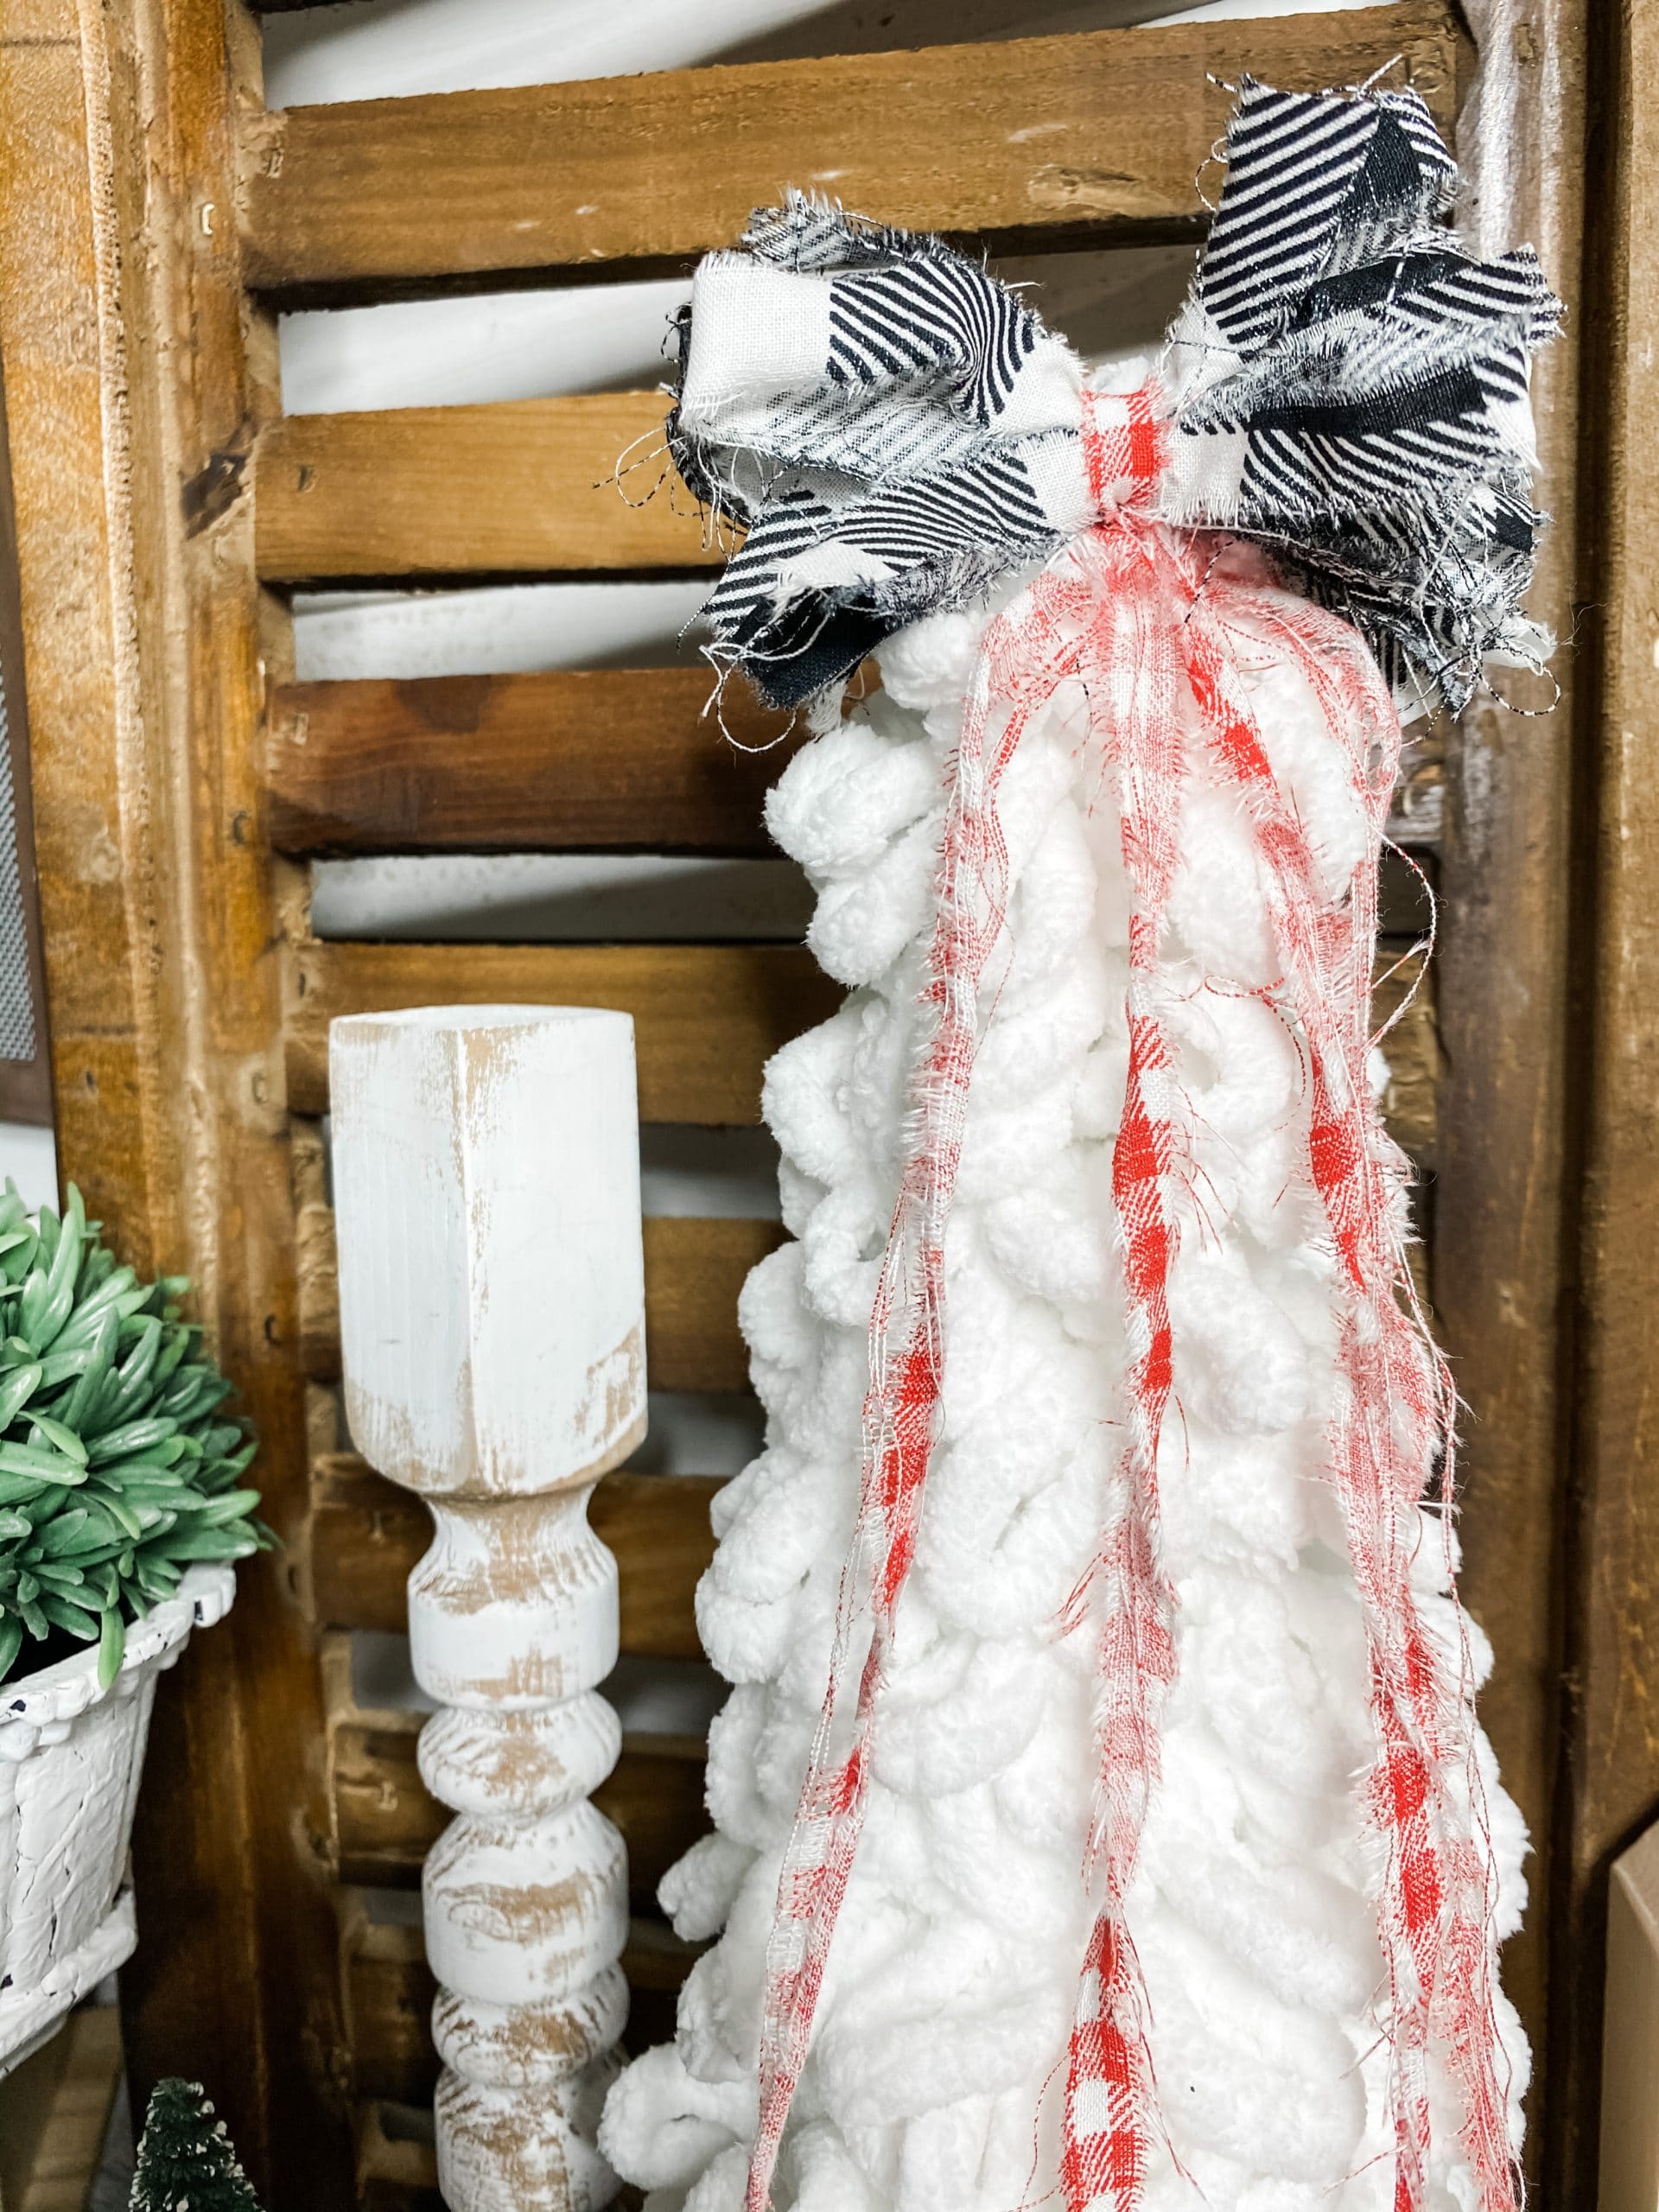
To get this DIY Christmas Tree Decor started, I went ahead and painted the entire base of my Hobby Lobby paper mache cone tree white with Apple Barrel Snow White Acrylic Paint. The cones have a light brown color that I don’t want to peek through the loop it yarn.
Make sure the paint is dry before you move to the next step! I used my heat gun to speed up the drying process. If you don’t have a heat gun, a hair dryer works great for this!
Time to get loopy!
Can I just say how much I love Hobby Lobby’s loop it yarn? I know, it is typically used for crocheting or knitting, but it adds such a unique flair to my DIY projects!
Alright, open up your loopy yarn and find the beginning point. You are going to wrap this around the entire Hobby Lobby Christmas Then, hot glue this to the base of your Christmas tree. Began to wrap the loopy yarn around your tree and wrap all the way up!
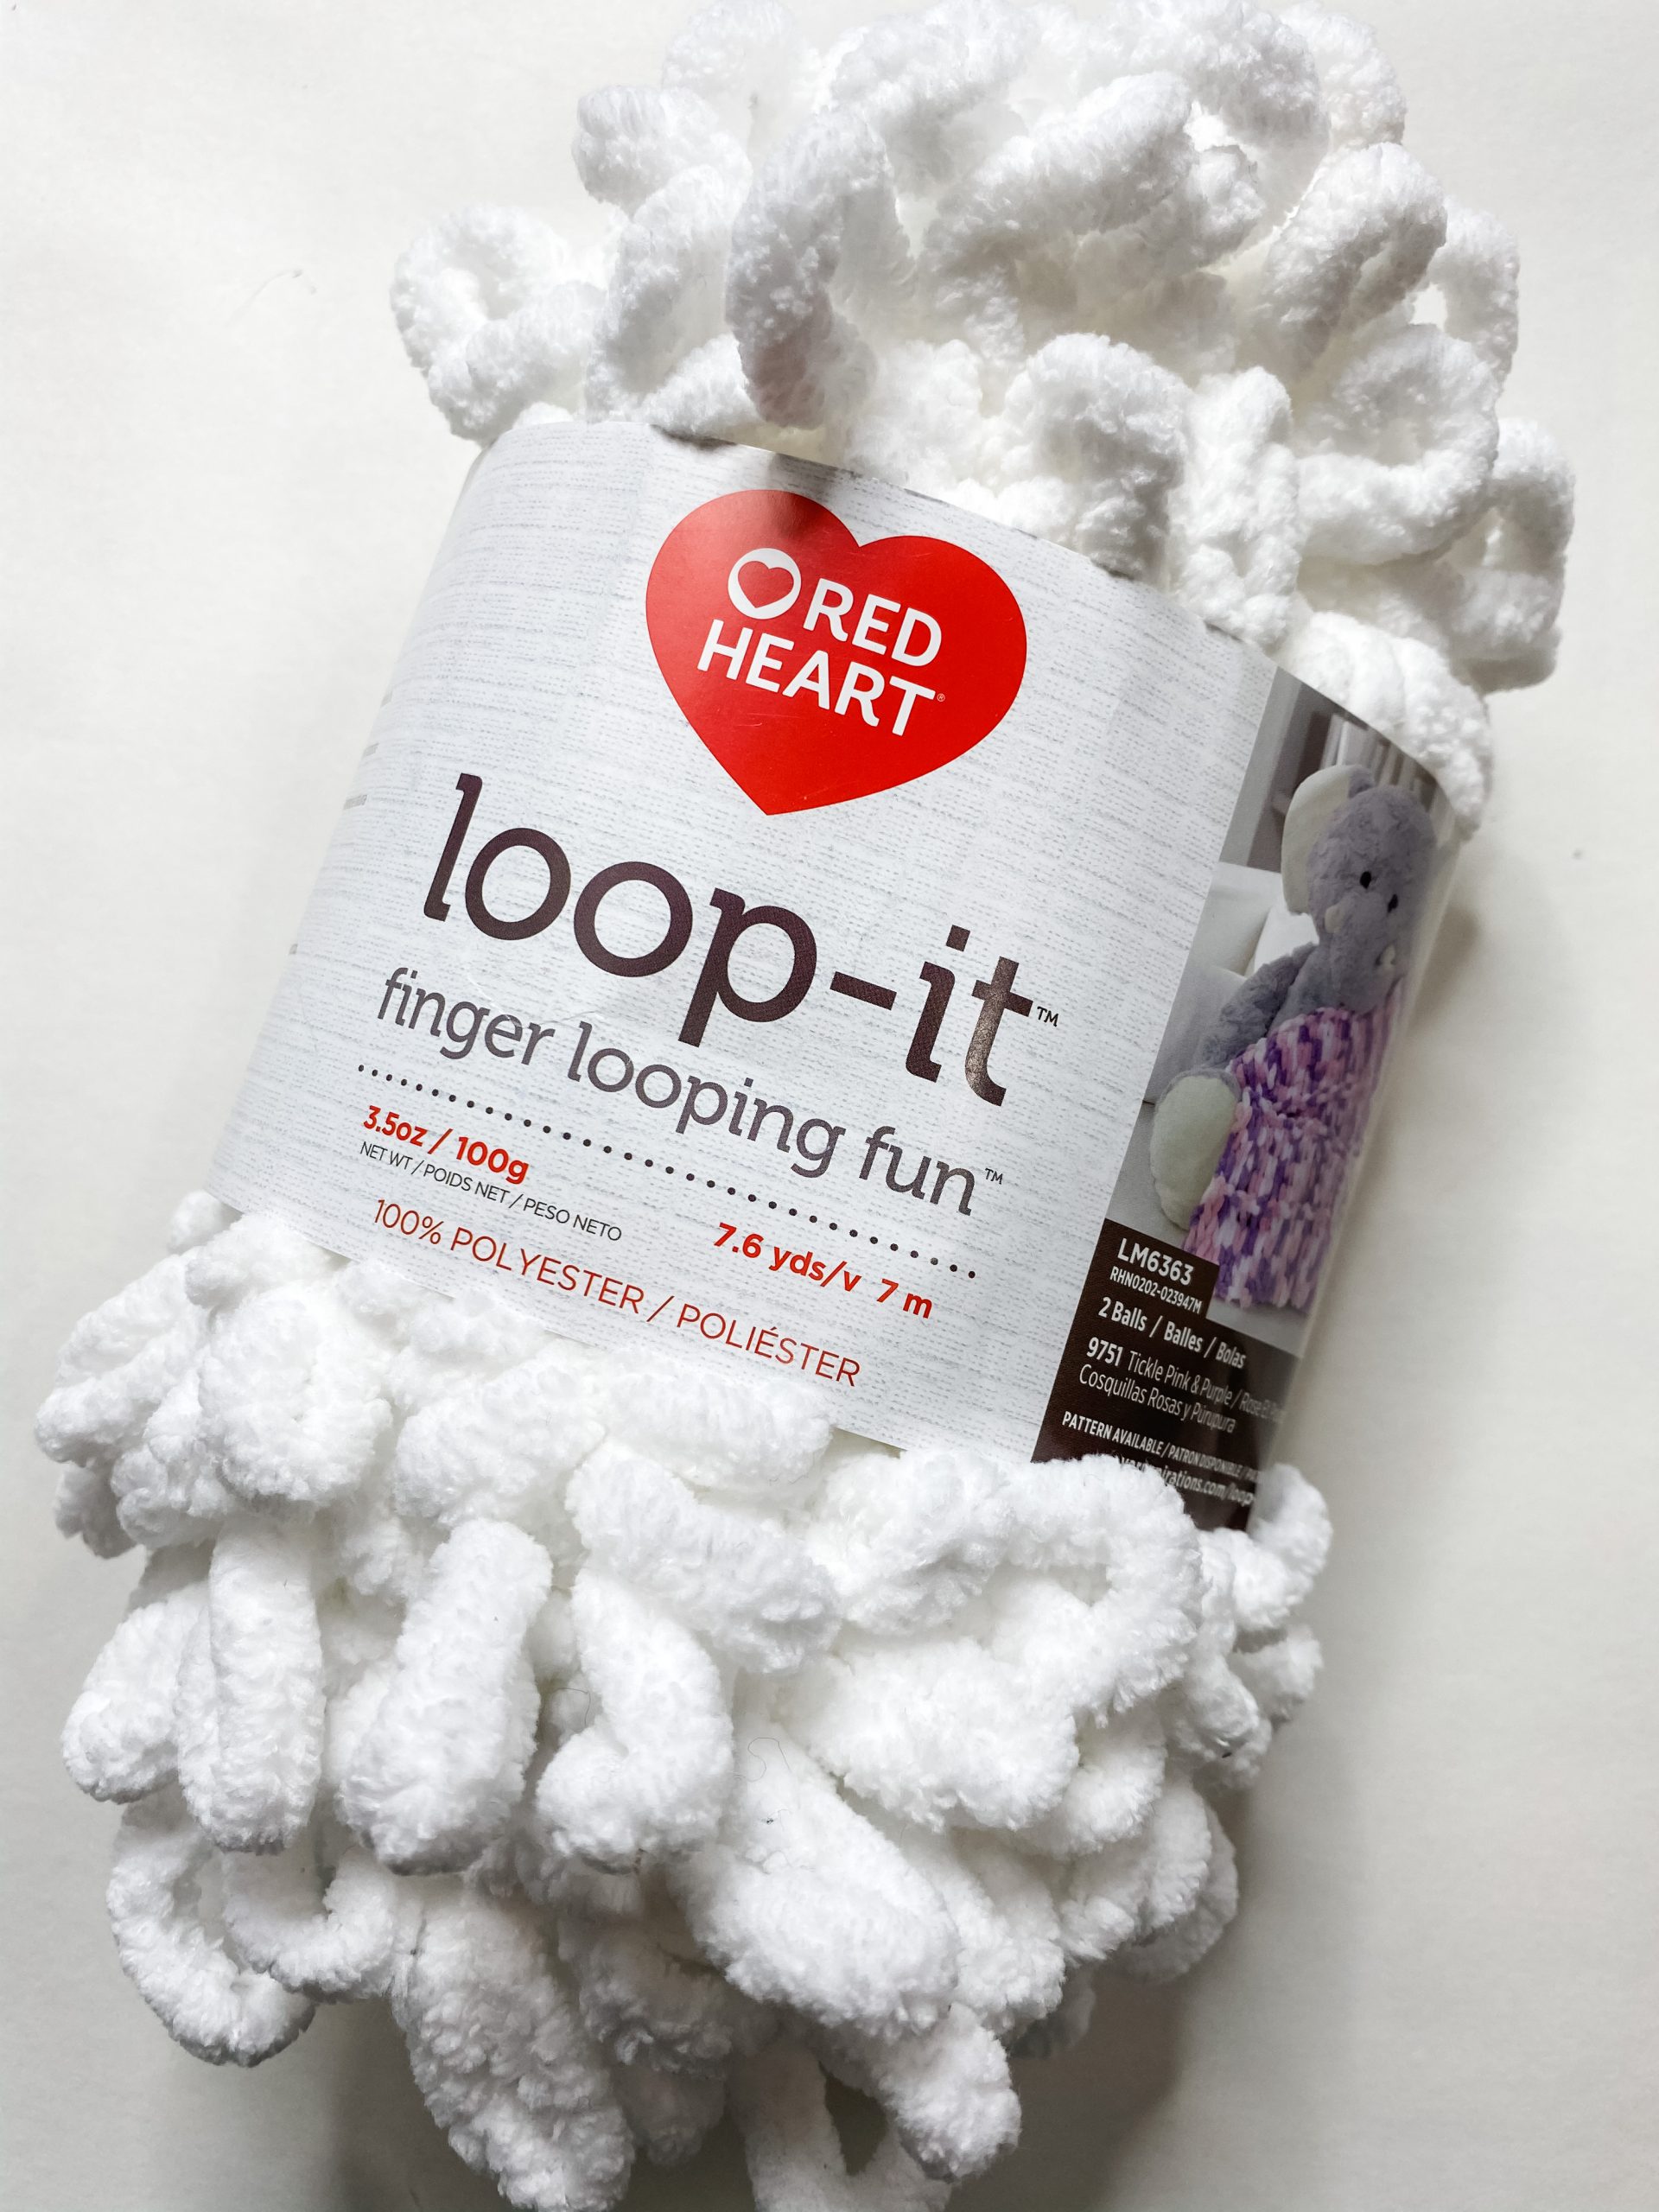
Make sure you pull the loop it yarn tightly as you’re wrapping it so you don’t see any empty spaces. When you get to the top of the cone tree form, push the loop-it yarn down to fit as much yarn on the tree form as possible.
You could also hot glue every couple of layers as you wrap the yarn around the tree form, I just wasn’t going to do all that glueing!
Let’s embellish
I wanted to add a little bit of bling to my Christmas Tree. I know, how rare! Honestly, I really am not a fan of bling or glitter, but I thought the Dollar Tree diamond wrap ribbon would be so cute around the bottom of my Hobby Lobby paper mache cone trees.
Measure the length of ribbon that you’ll need and trim it off the spool. Then, just hot glue the diamond wrap ribbon around the bottom. This is such a cute way to add a little sparkle!
Add a messy bow!
If you know me, you know I love my messy bows! I couldn’t resist adding one of these to the top of my DIY Christmas Tree Decor!
To make my messy bow, I ripped up some strips of my black Dollar Tree Buffalo Check Fabric. I prefer to tear the fabric rather than cut it because I really like the frayed edges.
To create the bow, I folded my first strip of fabric in half and then folded my second strip of fabric in half the opposite way.I placed the second strip of fabric on top of the first and kept repeating the process with more fabric!
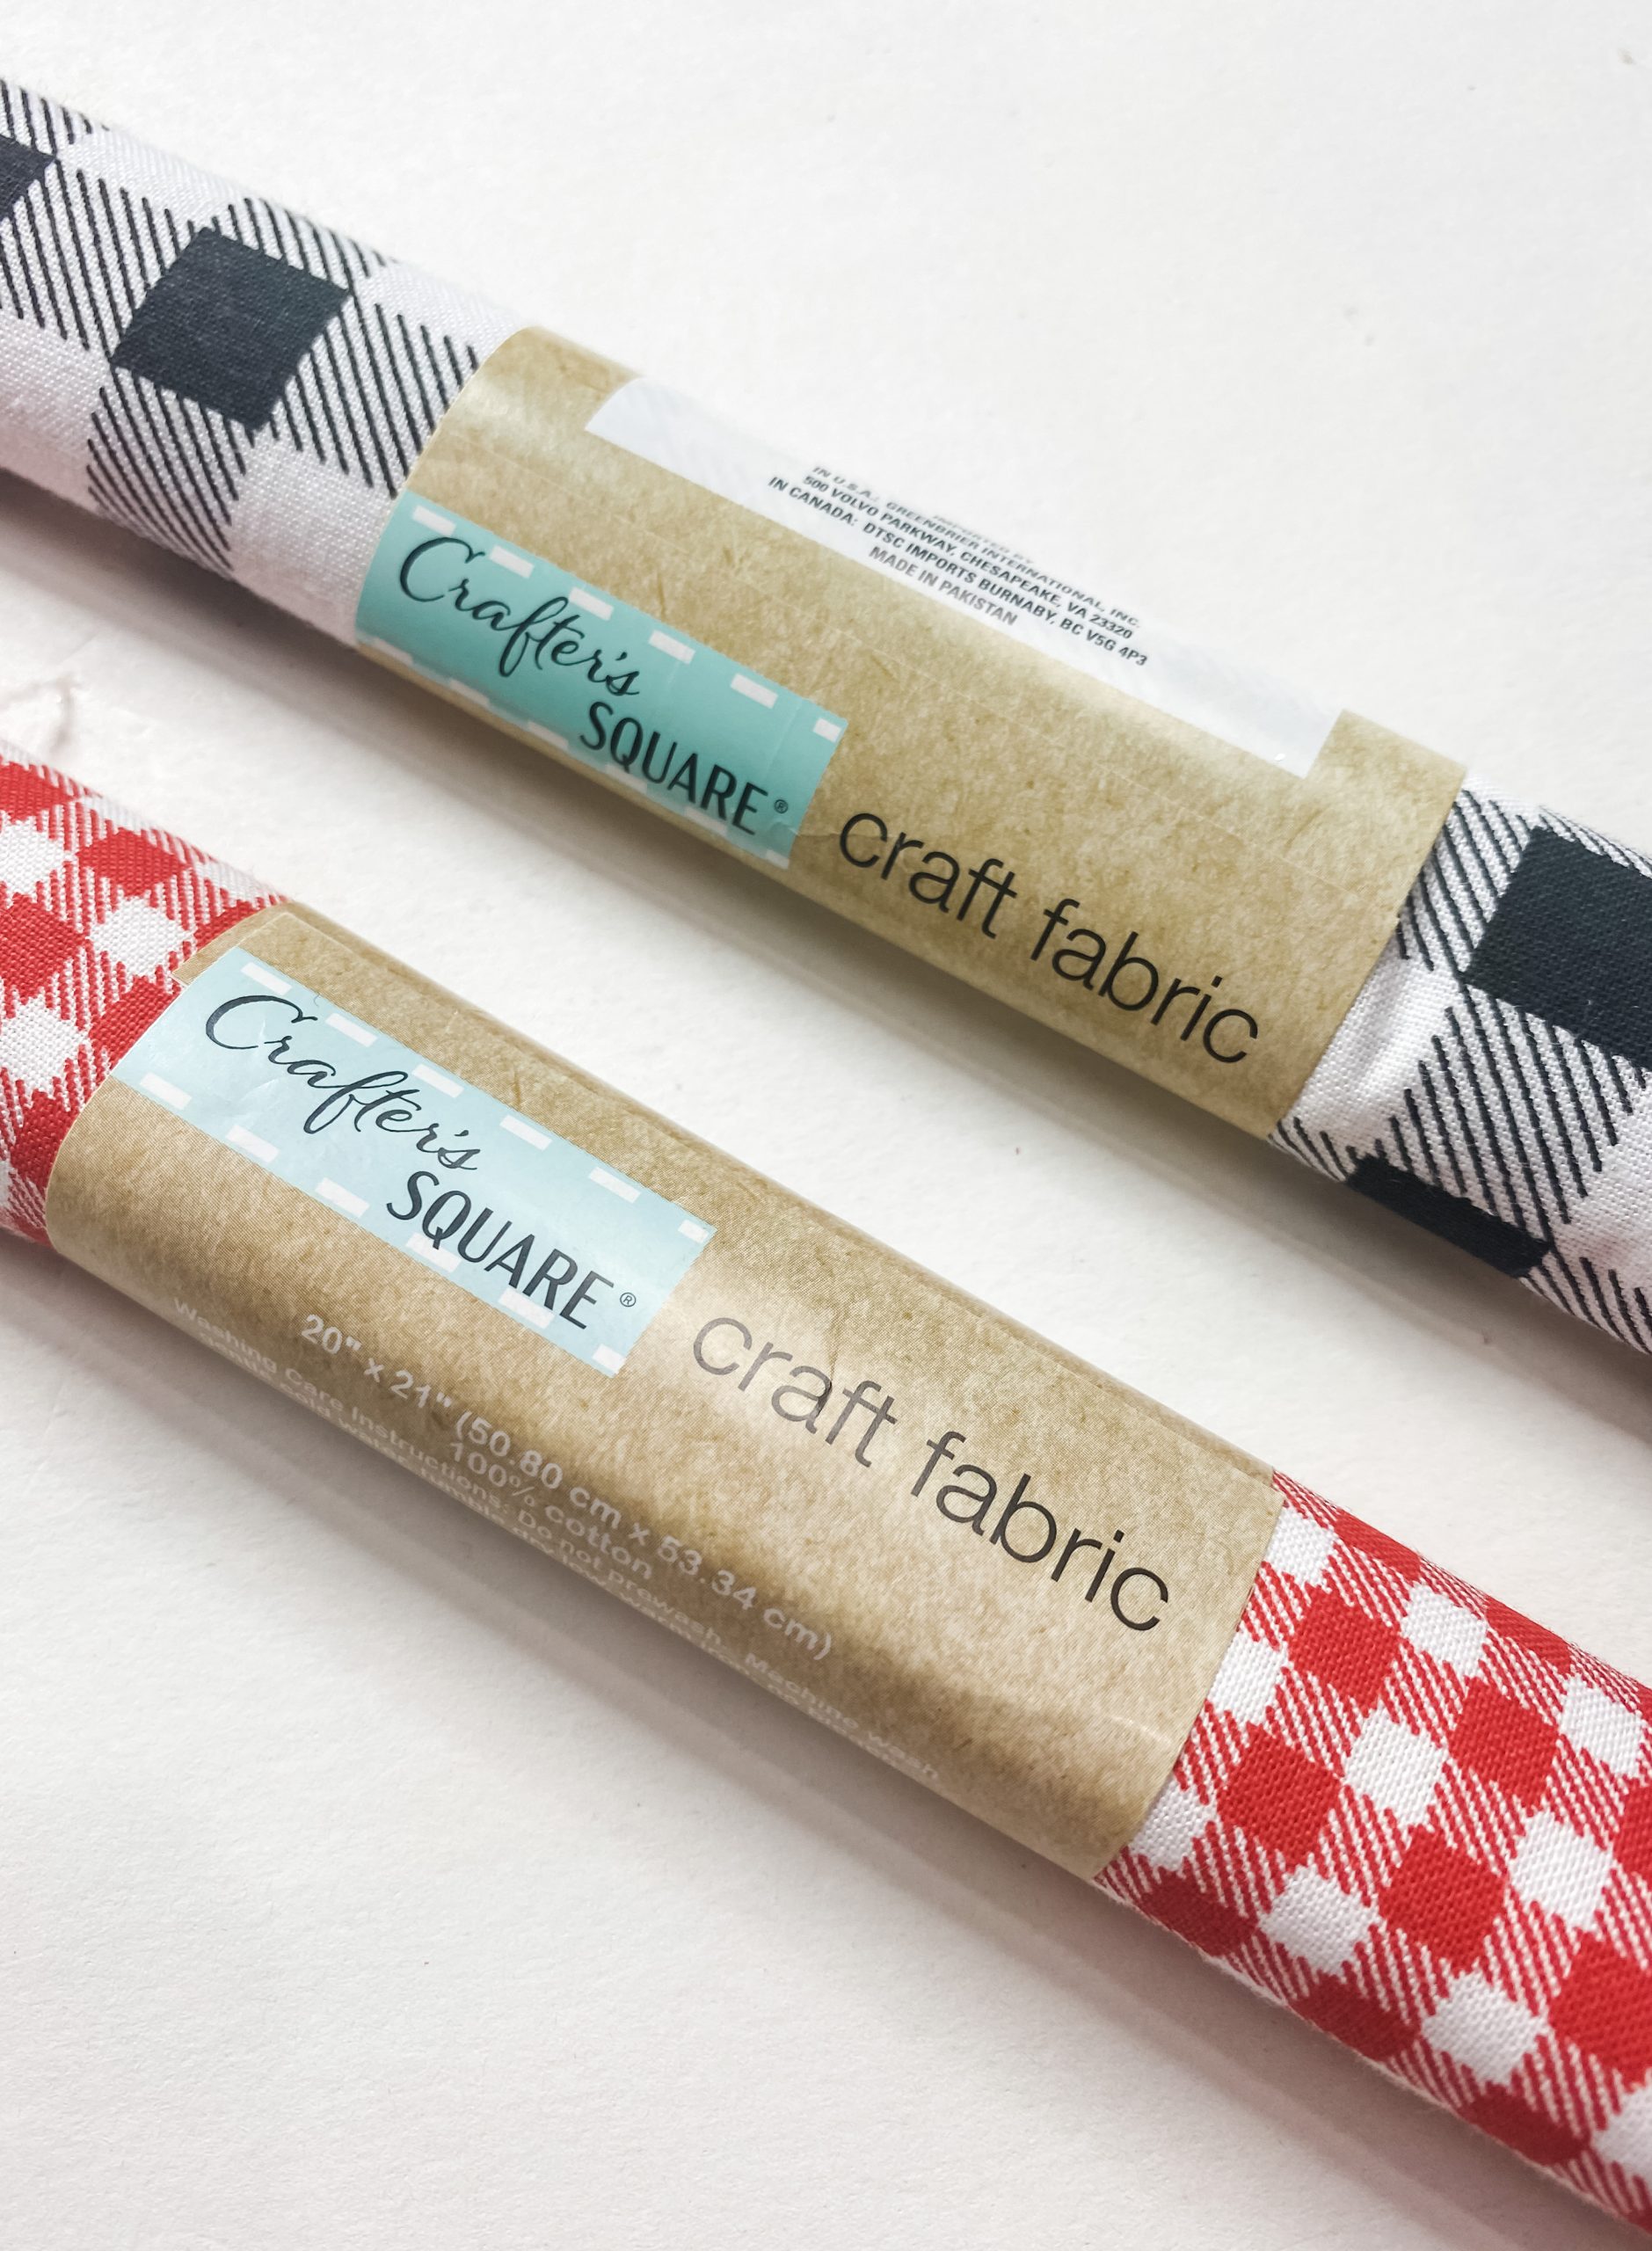
This can be a little confusing so make sure to check out the video if you need to! After I was satisfied with the number of strips, I secured the center of my fabric bow with a strip of the red buffalo check Dollar Tree fabric.
If you love messy bows like me, check out these posts! How to Make a Messy Bow Christmas Tree Topper, Easy DIY Layered Messy Bow, and How to Make Amber’s Napkin Bow.
Time for the finishing touches
Finally, I tied a strip of my red ribbon to the top of my tree to create a little tail for my messy bow! Then, I attached my messy bow to my DIY Christmas Tree with a little hot glue!
Y’all, I am in love with this DIY Hobby Lobby Loop-It Yarn Christmas Tree and can’t wait to make more!
I hope you enjoyed this DIY Christmas Tree Decor tutorial as much as I did and decide to make one for yourself! I would love to see how yours turns out!
You should totally join my FREE Facebook group called On A Budget Crafts! It is a judgment-free community for DIY crafters to show off their projects and ideas.
If you loved this DIY you might also like this Dollar Tree Cookie Sheet Craft with Free Christmas Printable!
Thanks for stopping by! XOXO Amber
You can also shop my ENTIRE AMAZON Favorites shop just click here! It’s packed full of all the things I use and love. Here is the supply list I highly recommend every creative have on hand!!
Would you also pin my blog for later and get on my newsletter alerts? I would love to have you join my #craftycrew.

Join my free “ON A BUDGET CRAFTS” Facebook group!
PIN THIS POST FOR LATER!


Loved it then and still do Amber!! 😍
Gorgeous