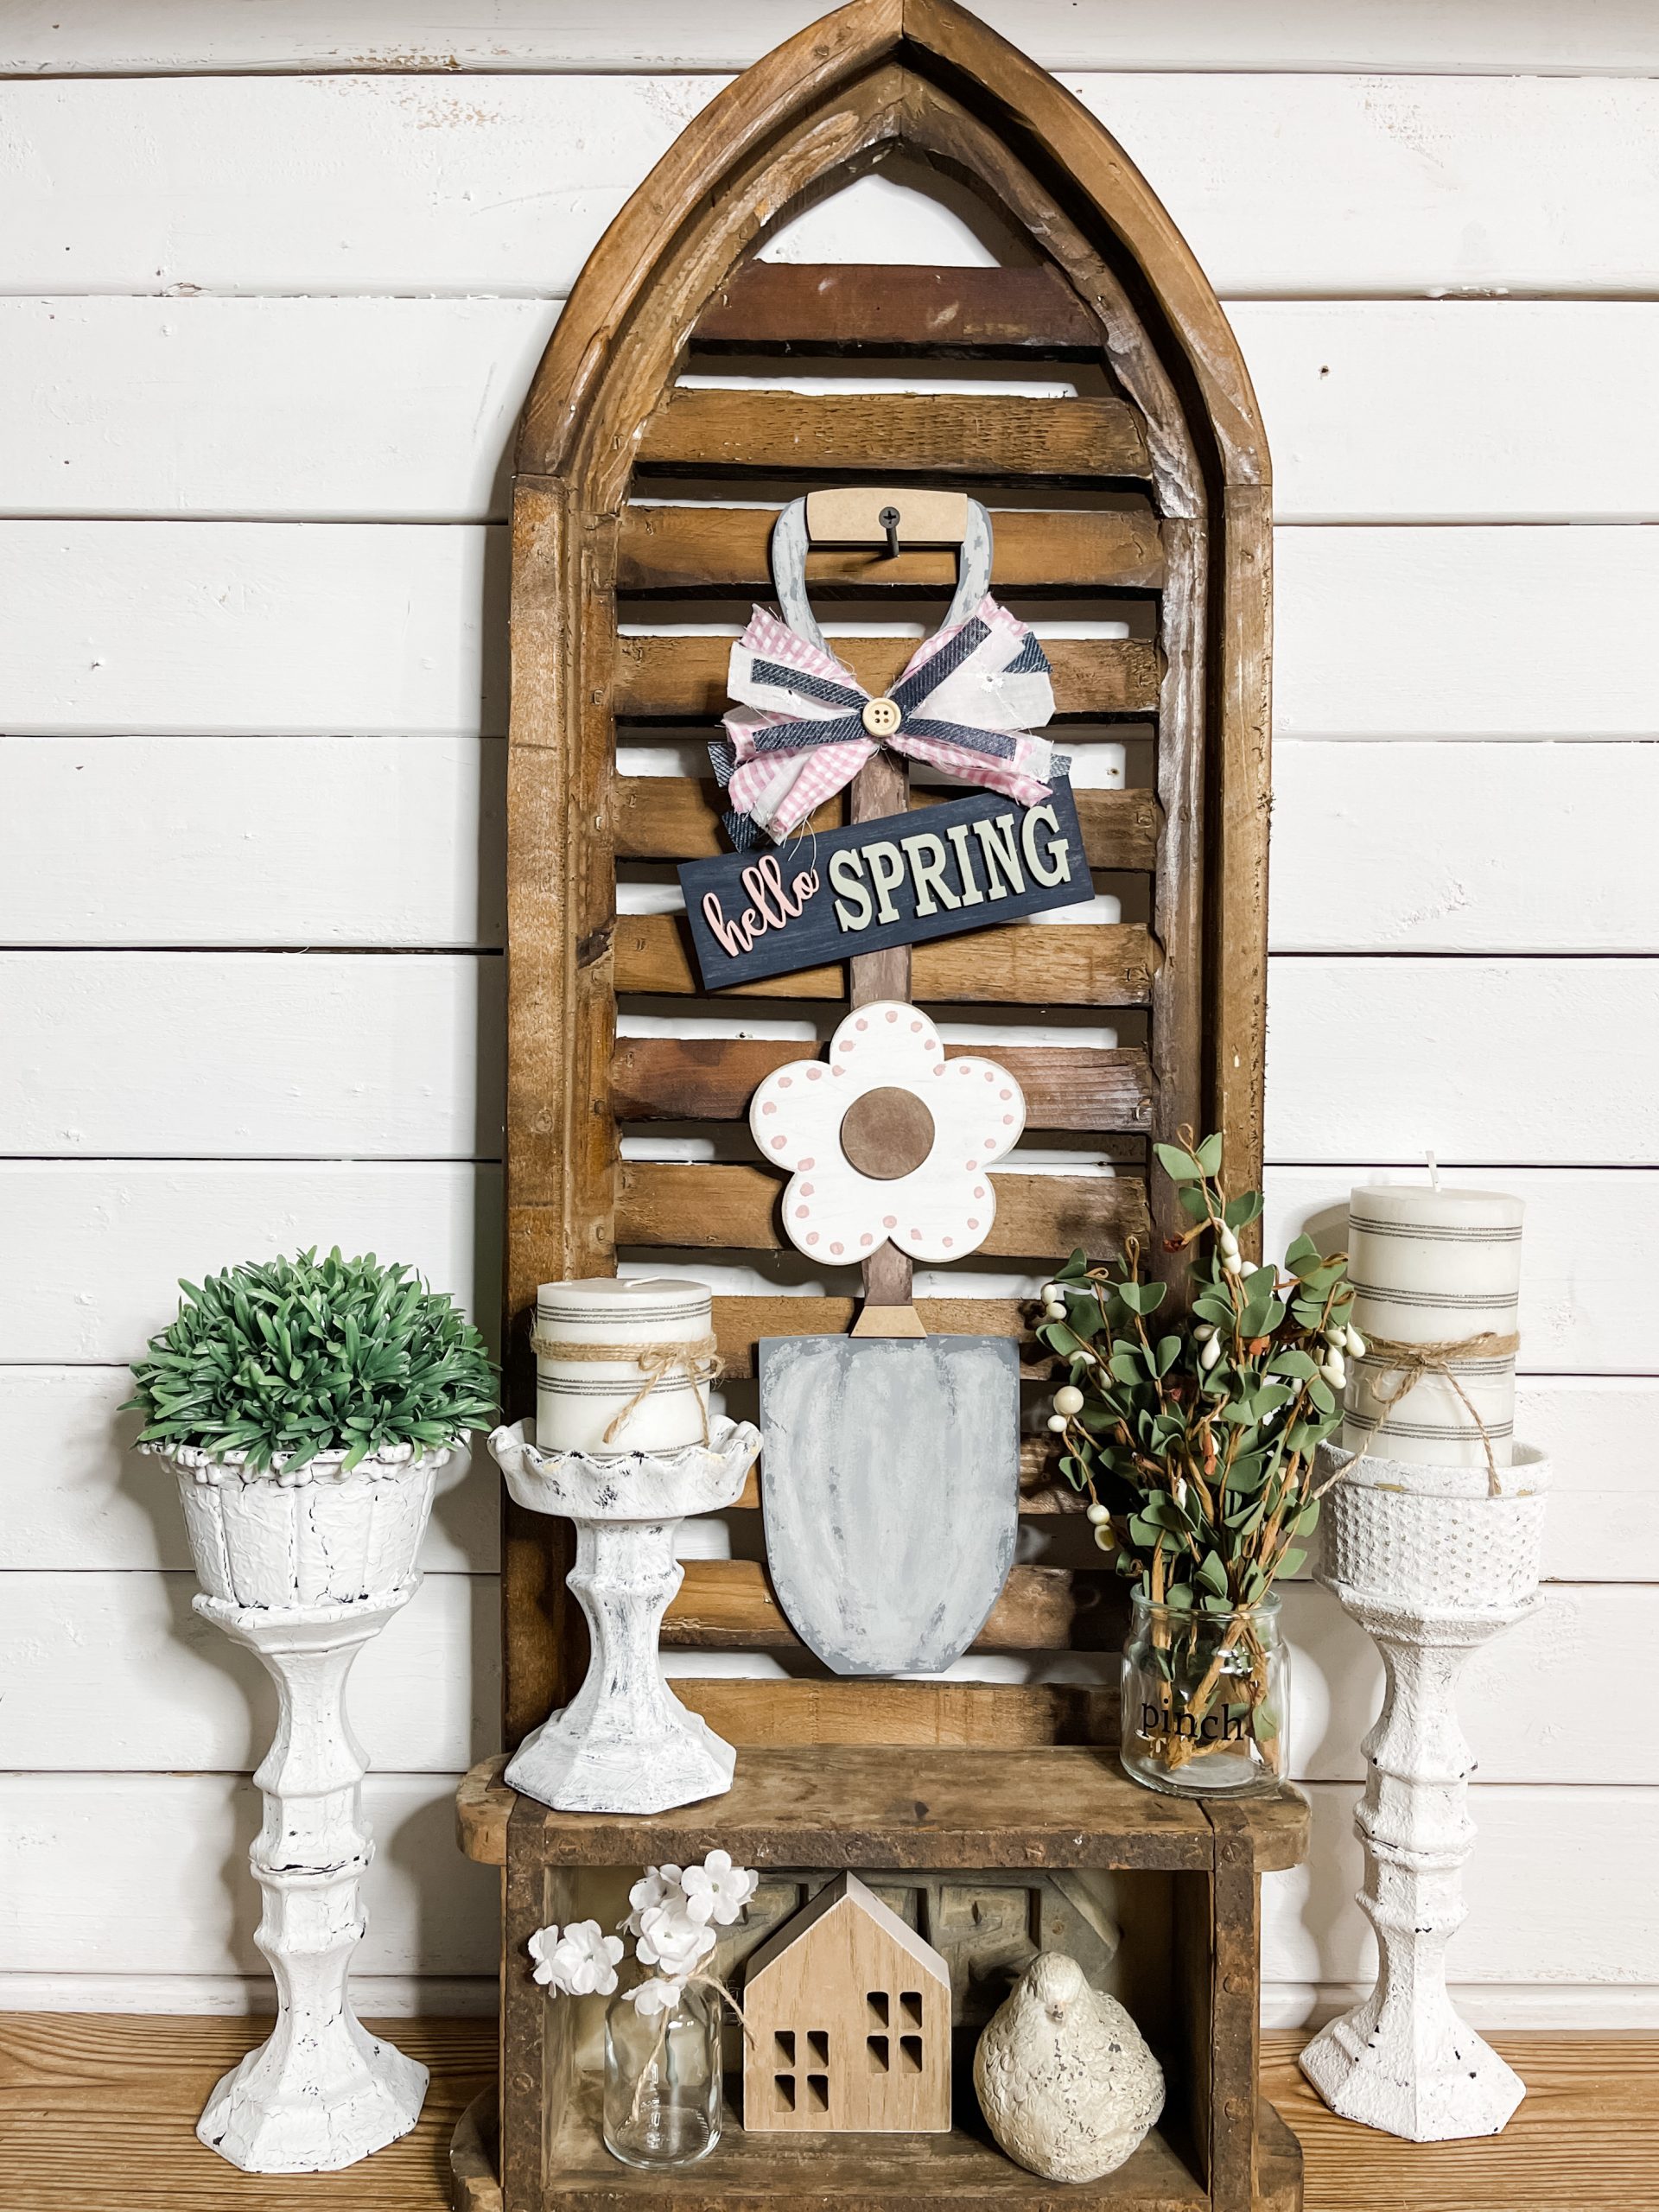
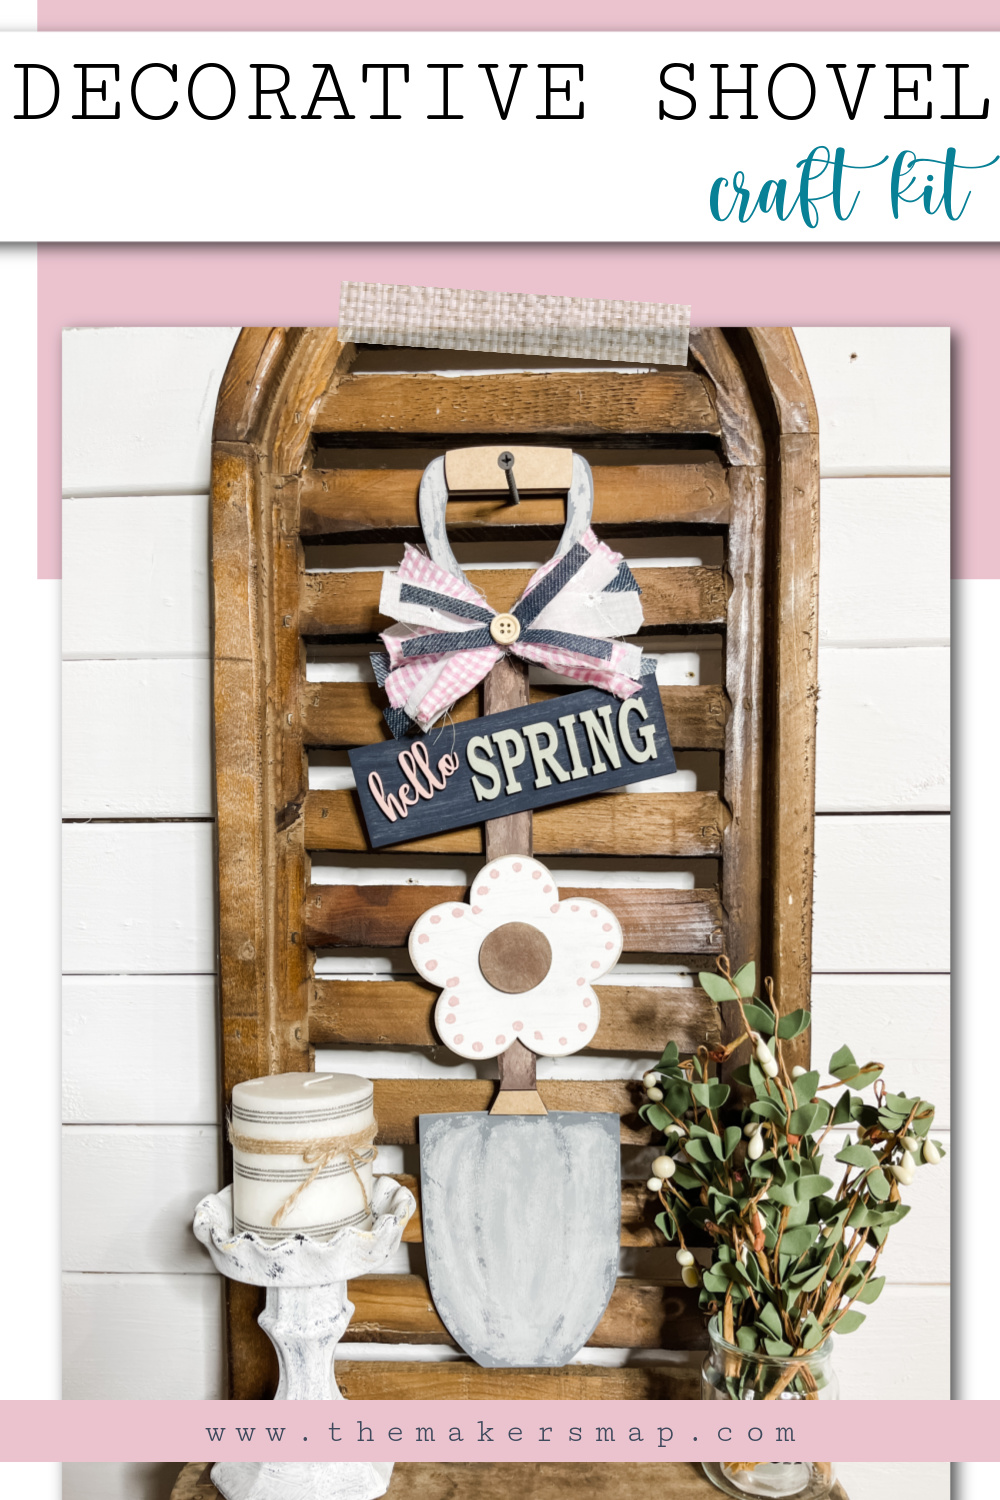
DIY Decorative Shovel
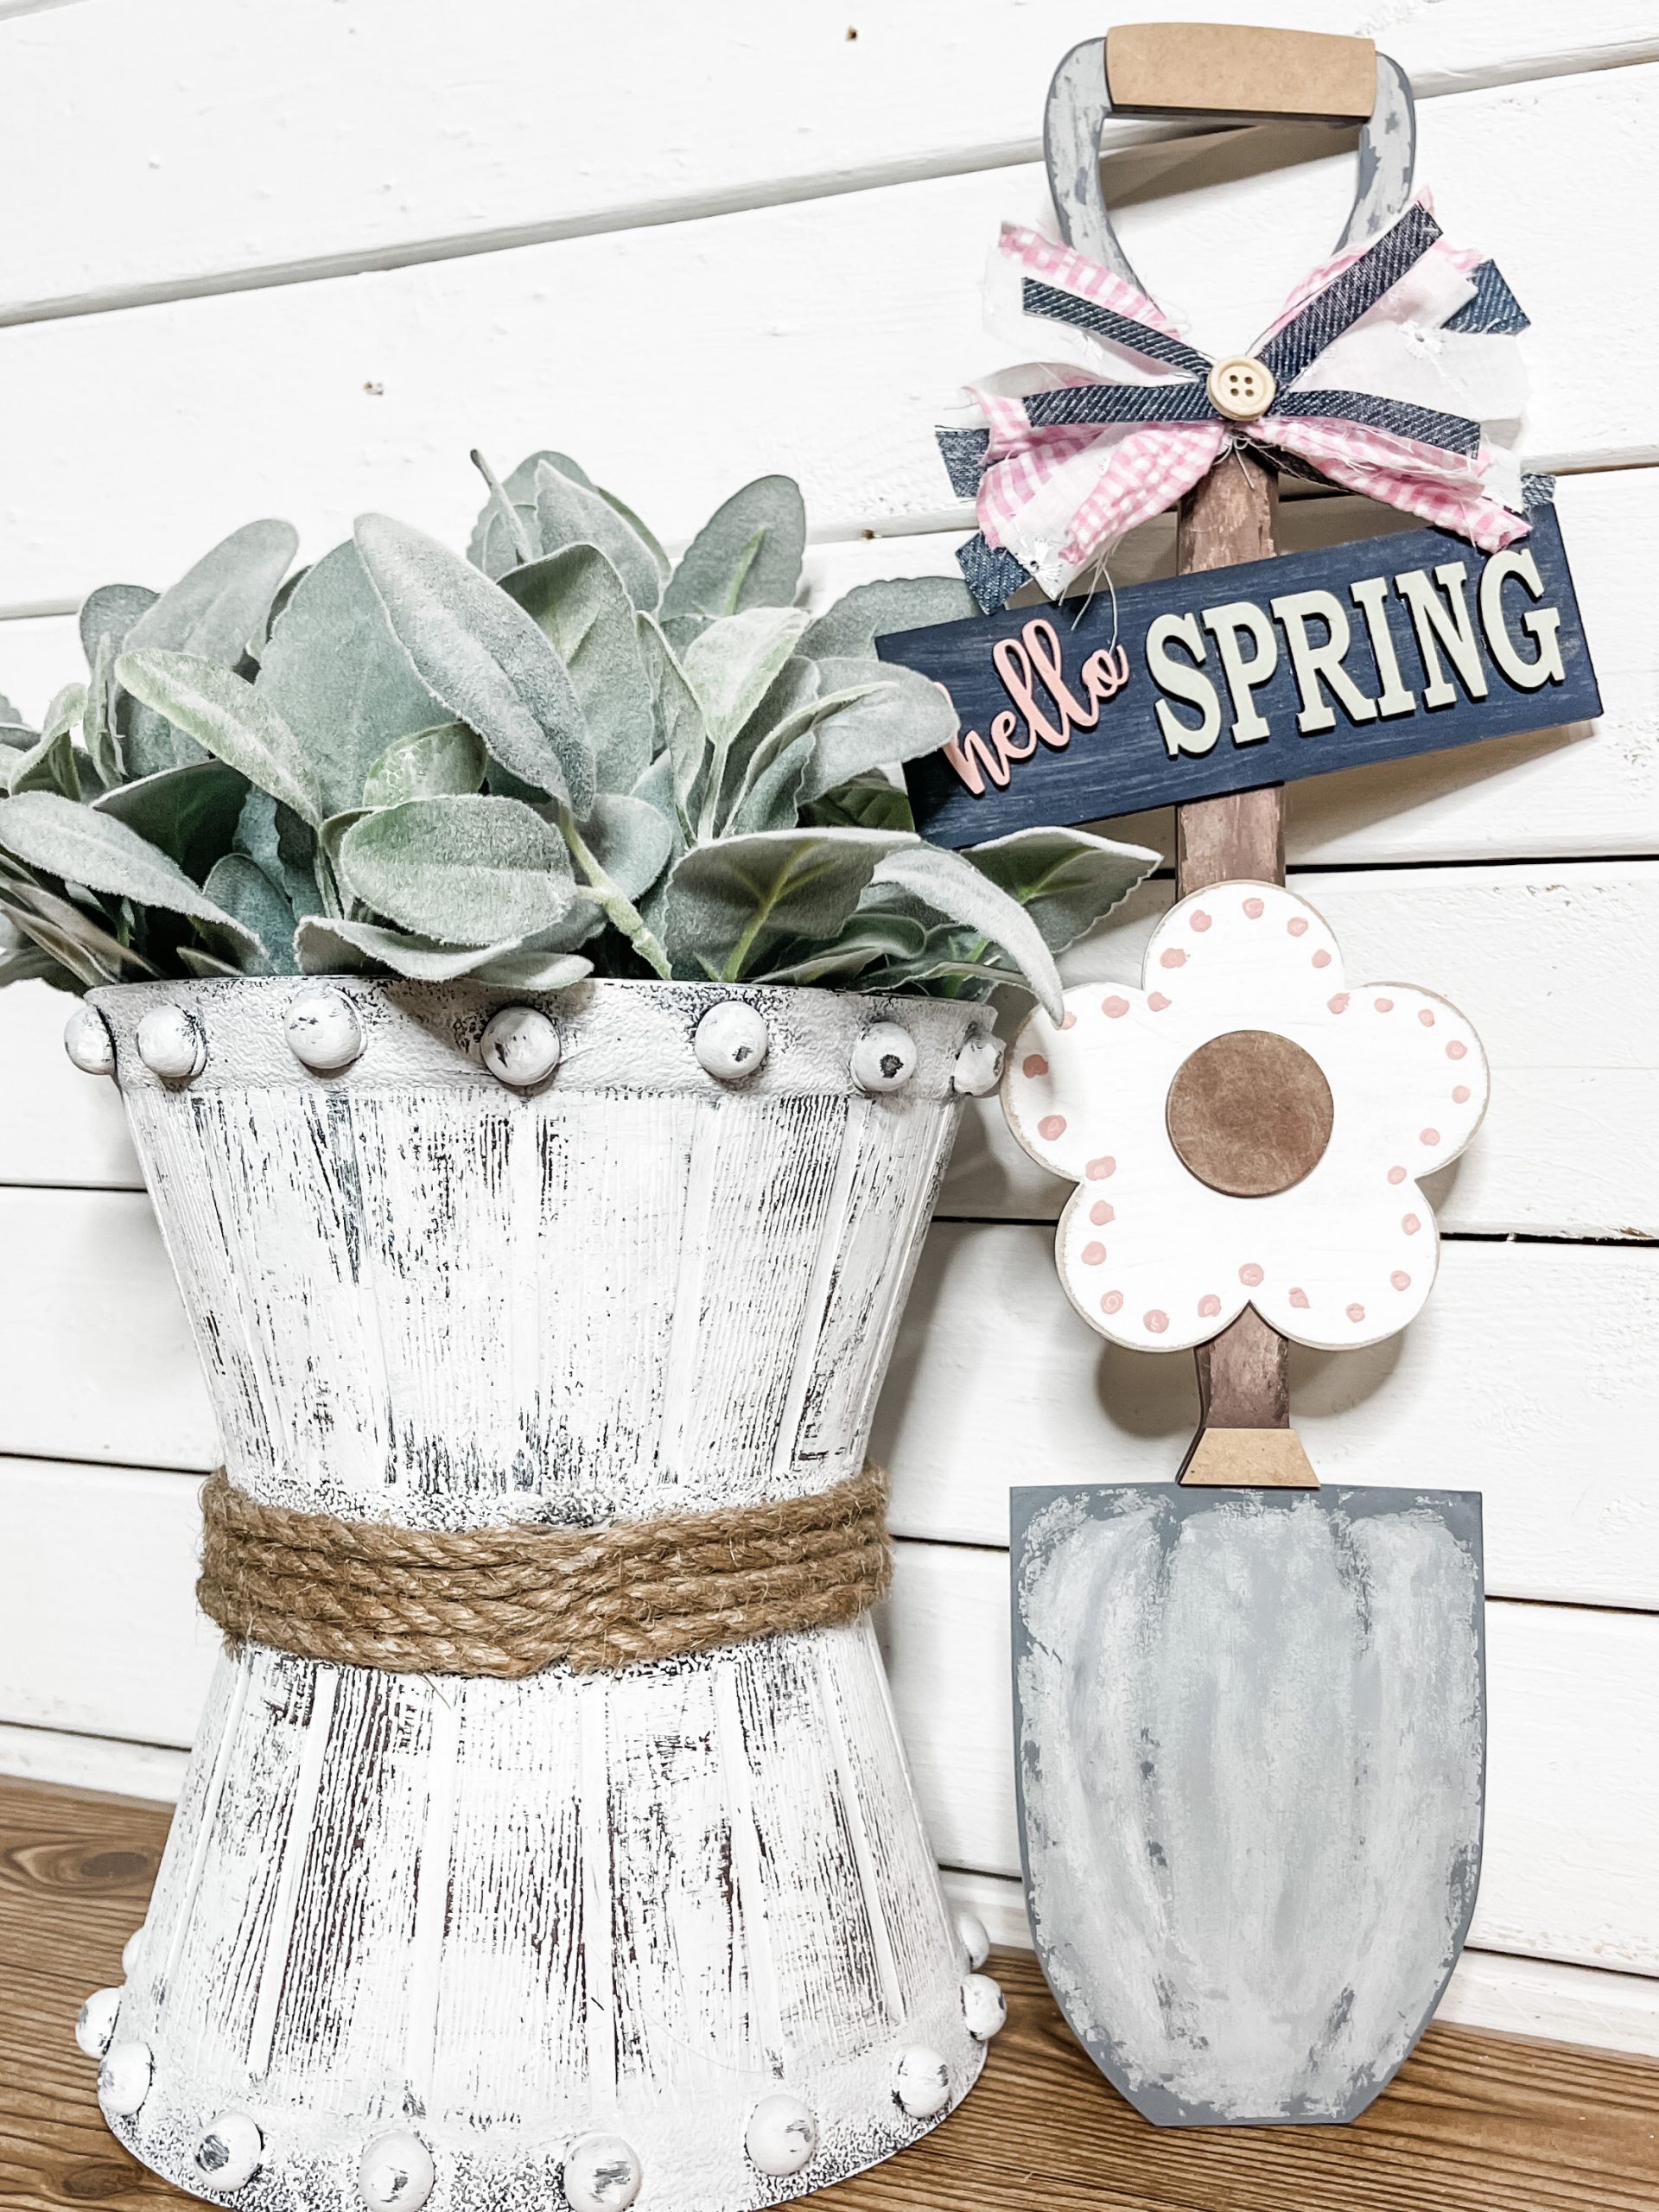
This DIY decorative shovel was so much fun to make and it turned out so stinking cute! You can hang this shovel on the wall, lean it on a shelf, or attach it to a wreath.
The possibilities are endless! Want to go for a more neutral or year round look? Leave off the hello spring and flower and swap out the ribbon patterns for some more neutral!
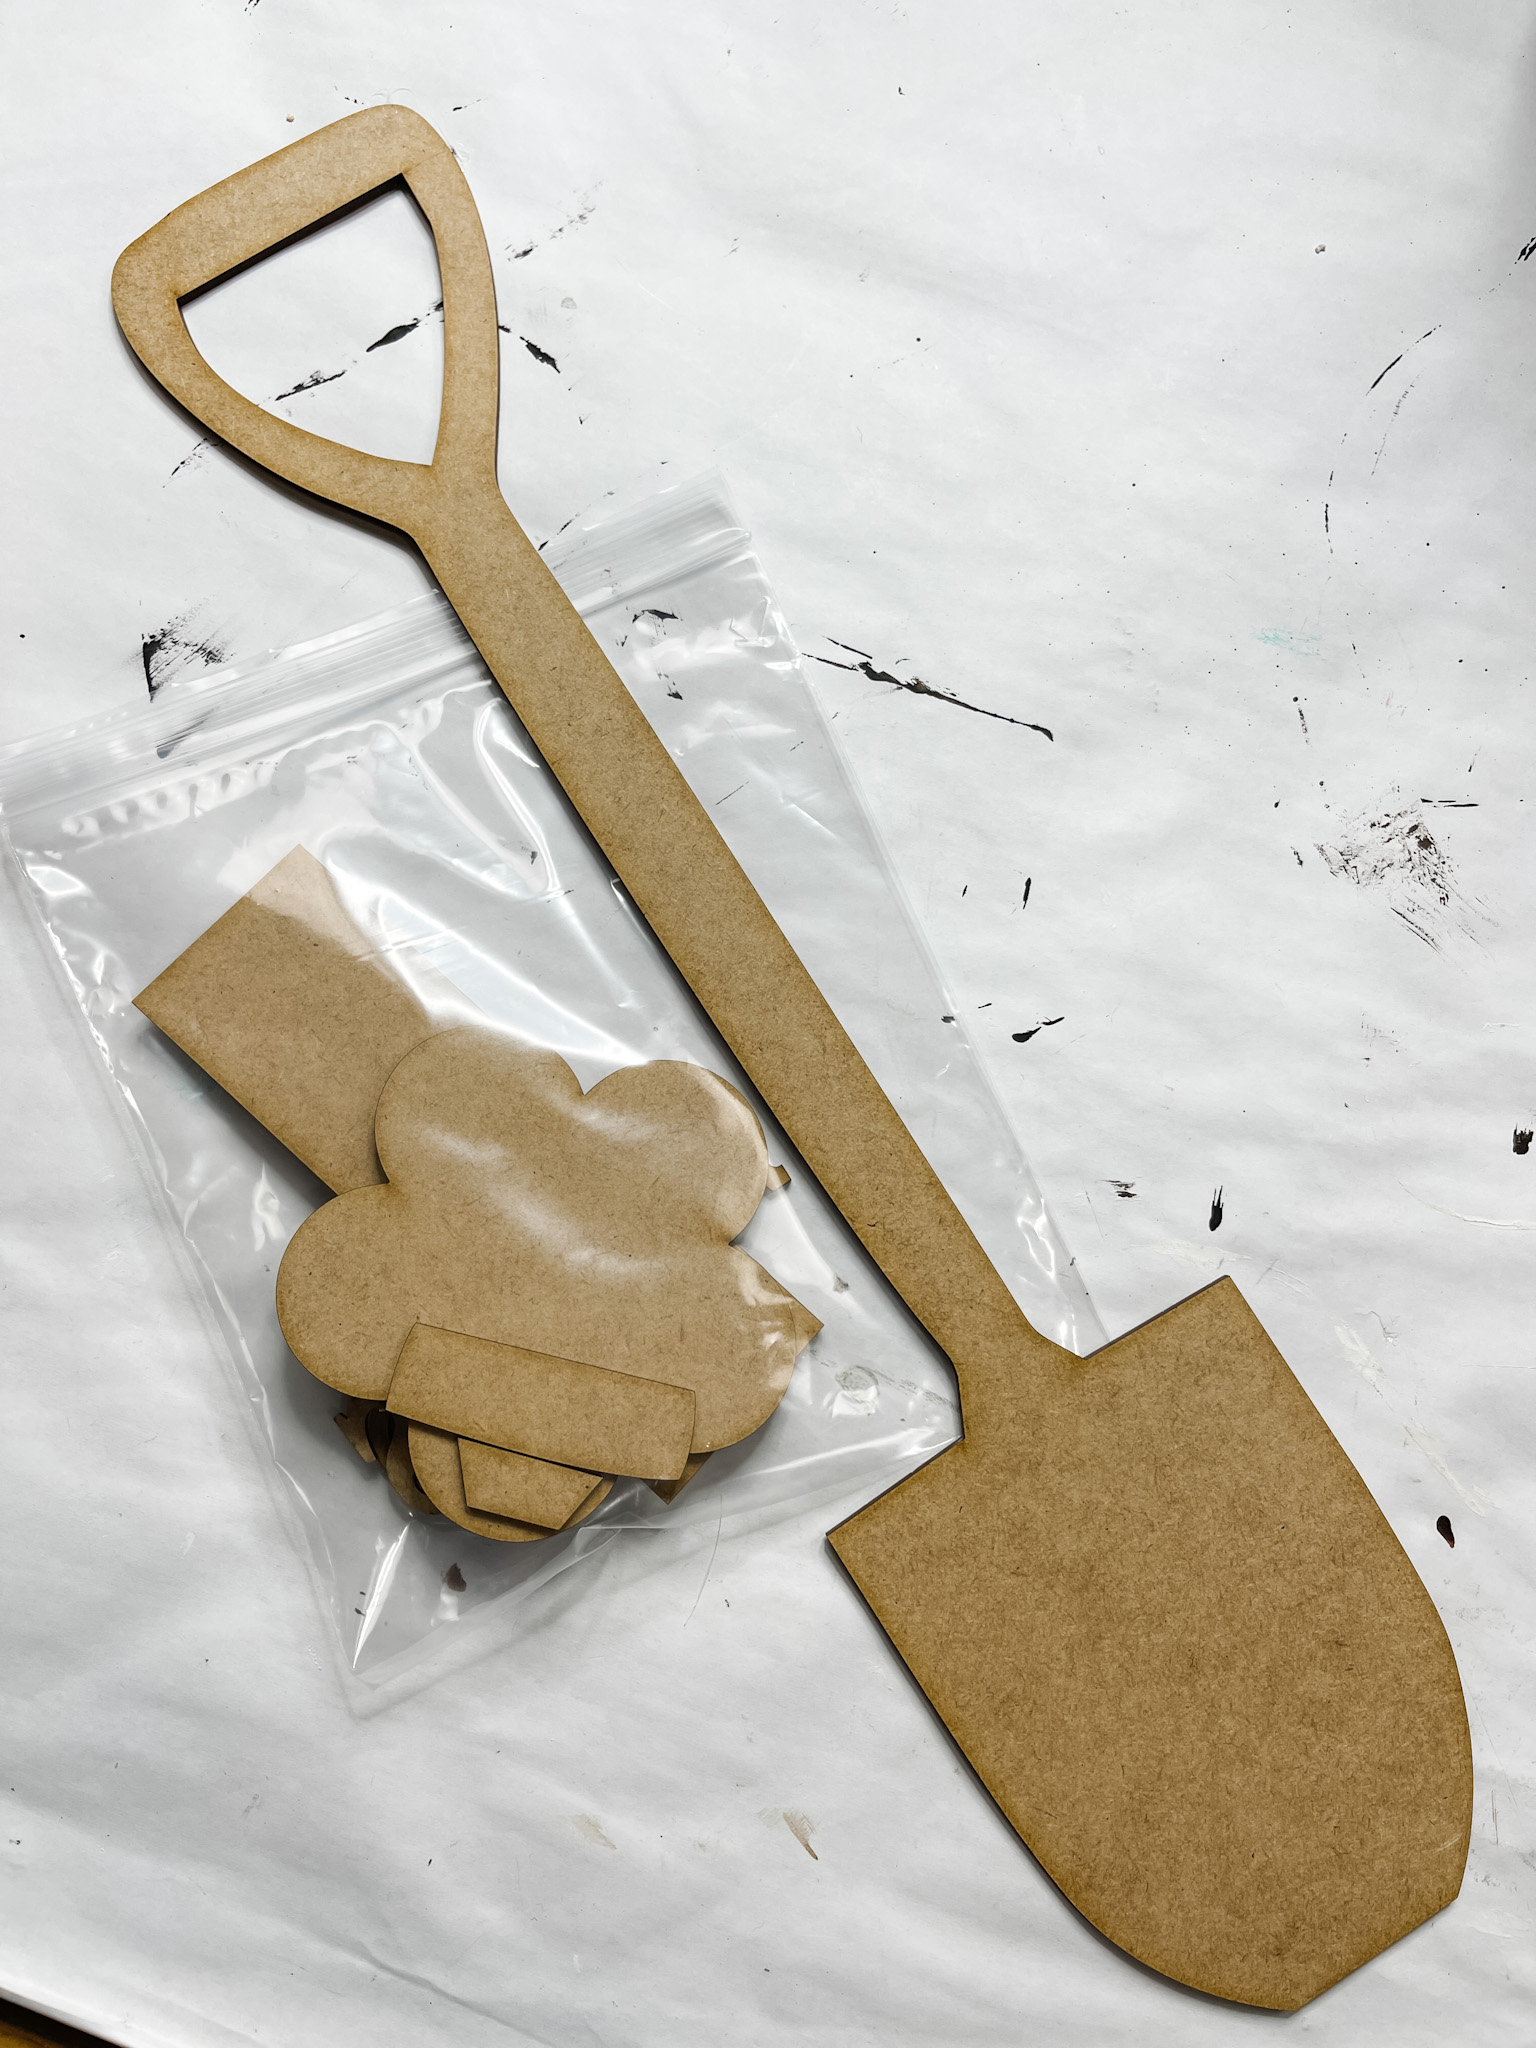
You get to fully customize and personalize the unfinished decorative shovel craft kit to make it match your decor style!
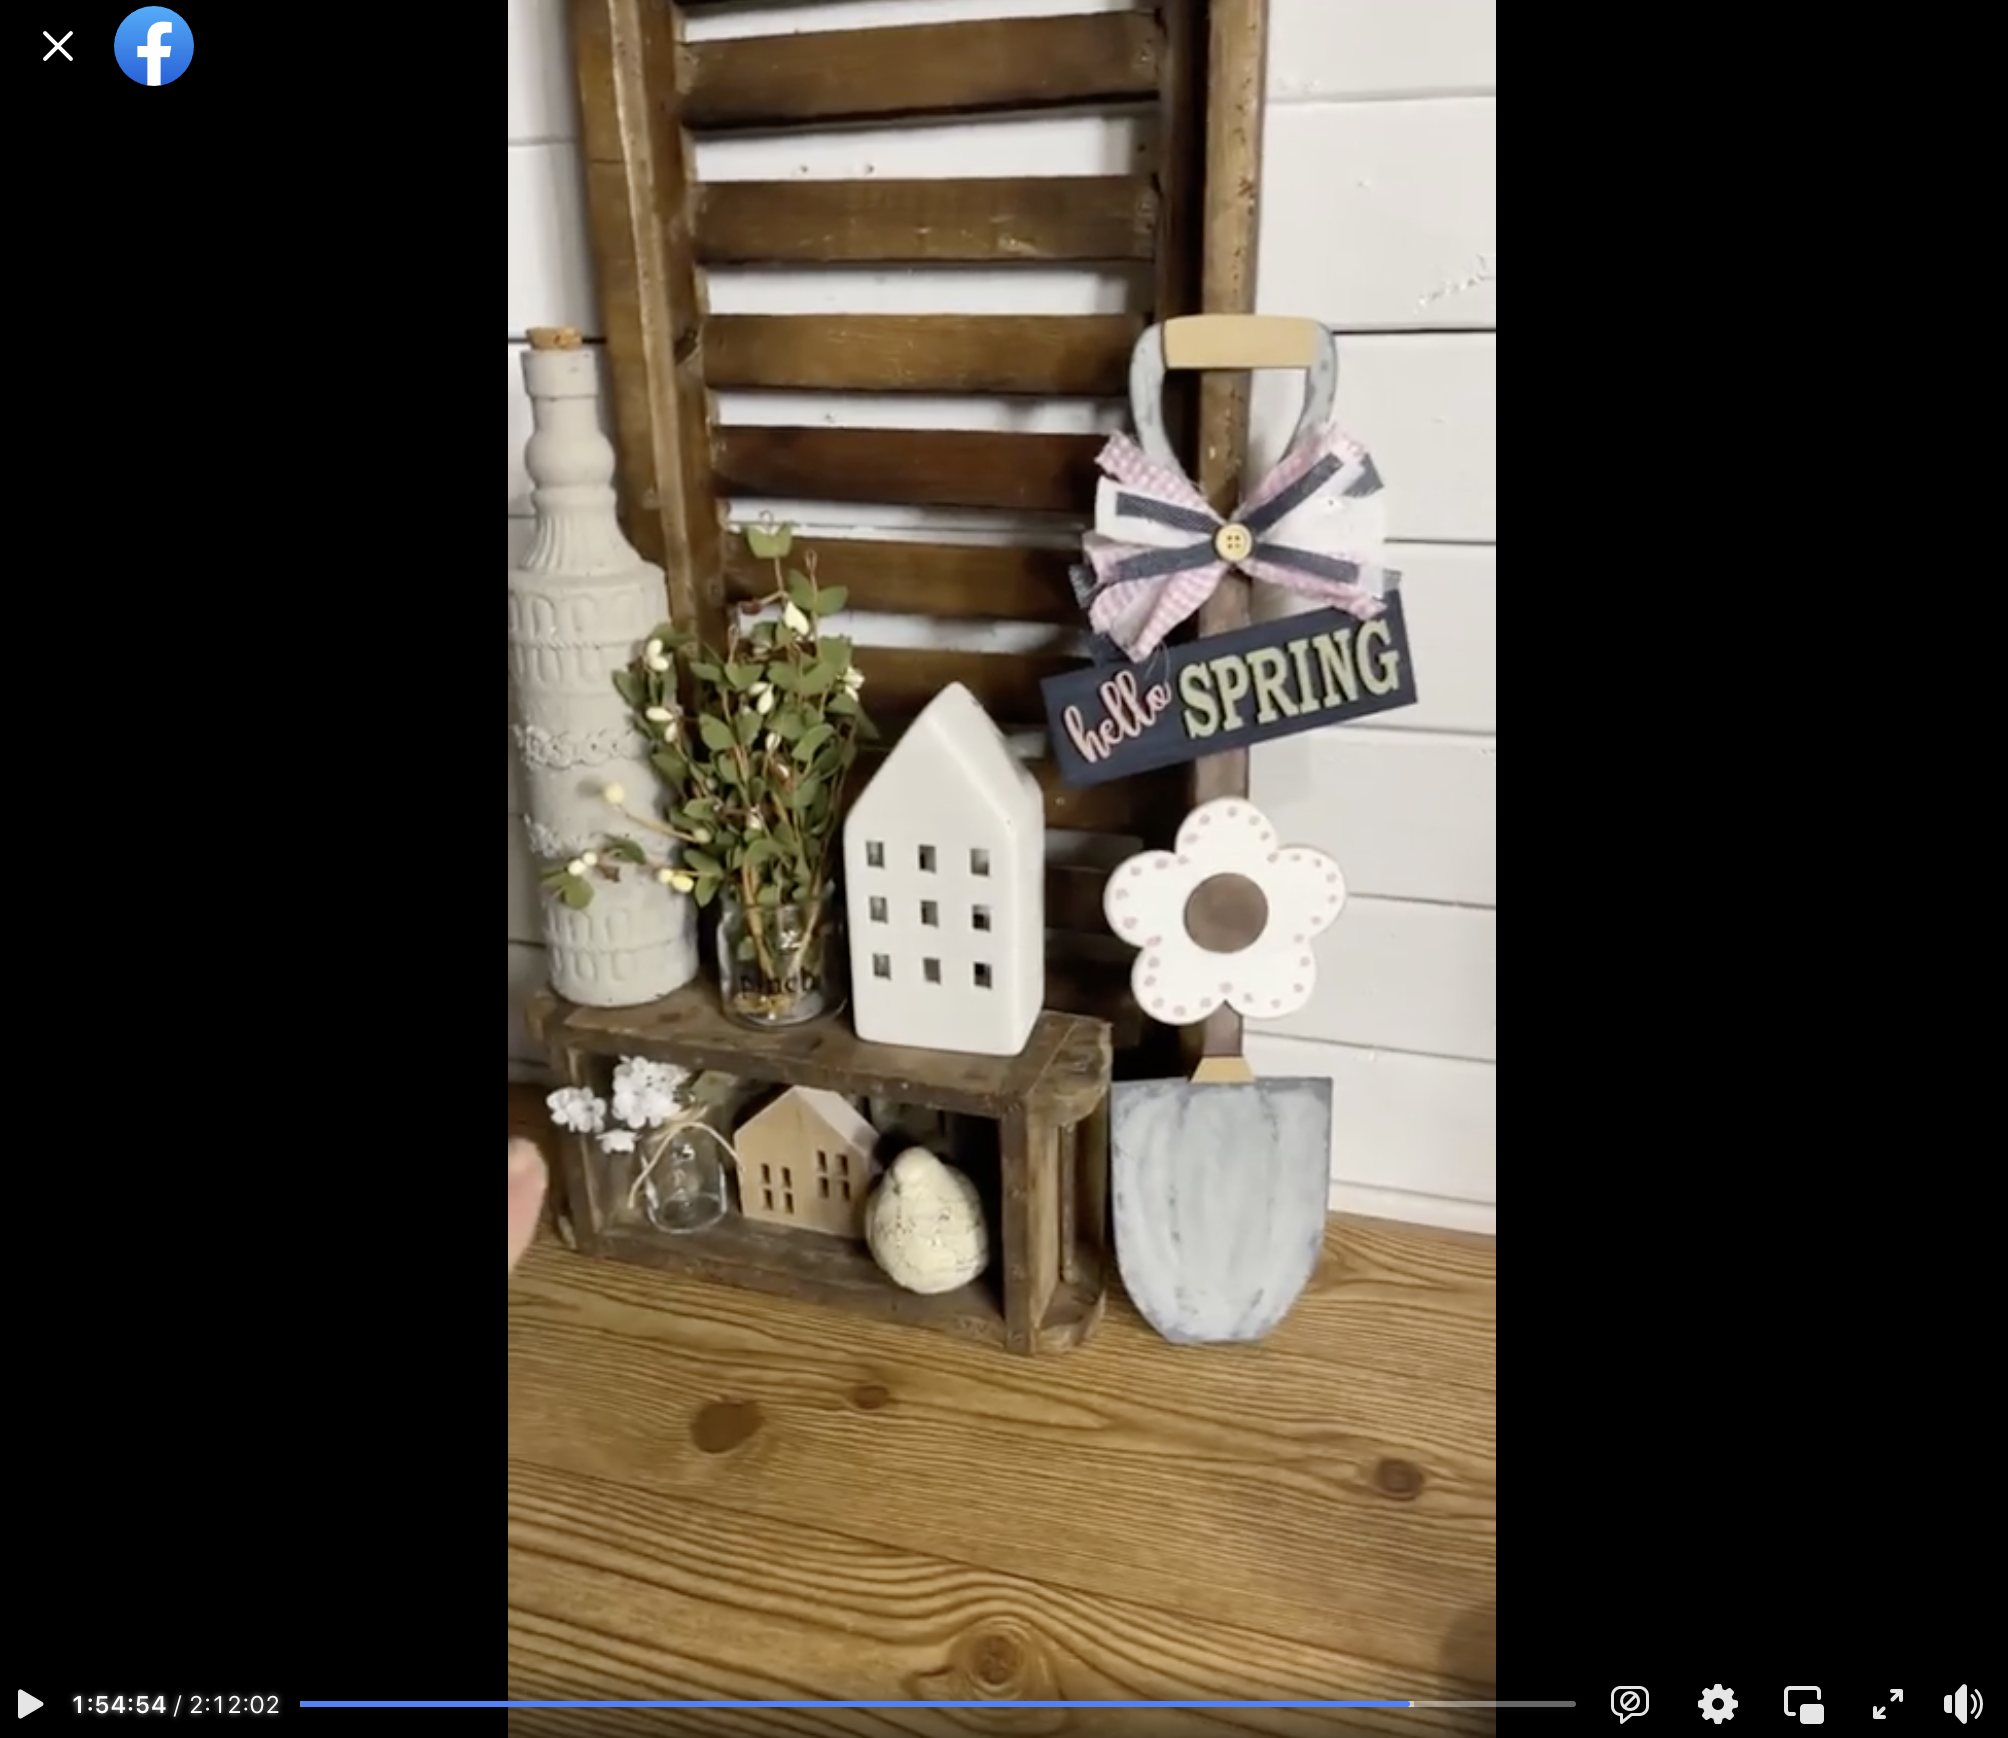
Watch the DIY tutorial
I shared how to make this super cute DIY decorative shovel during a LIVE video on my Facebook page.
If you want to see the DIY process, craft along, or just join in on the fun conversations you can watch the DIY tutorial replay on Facebook!
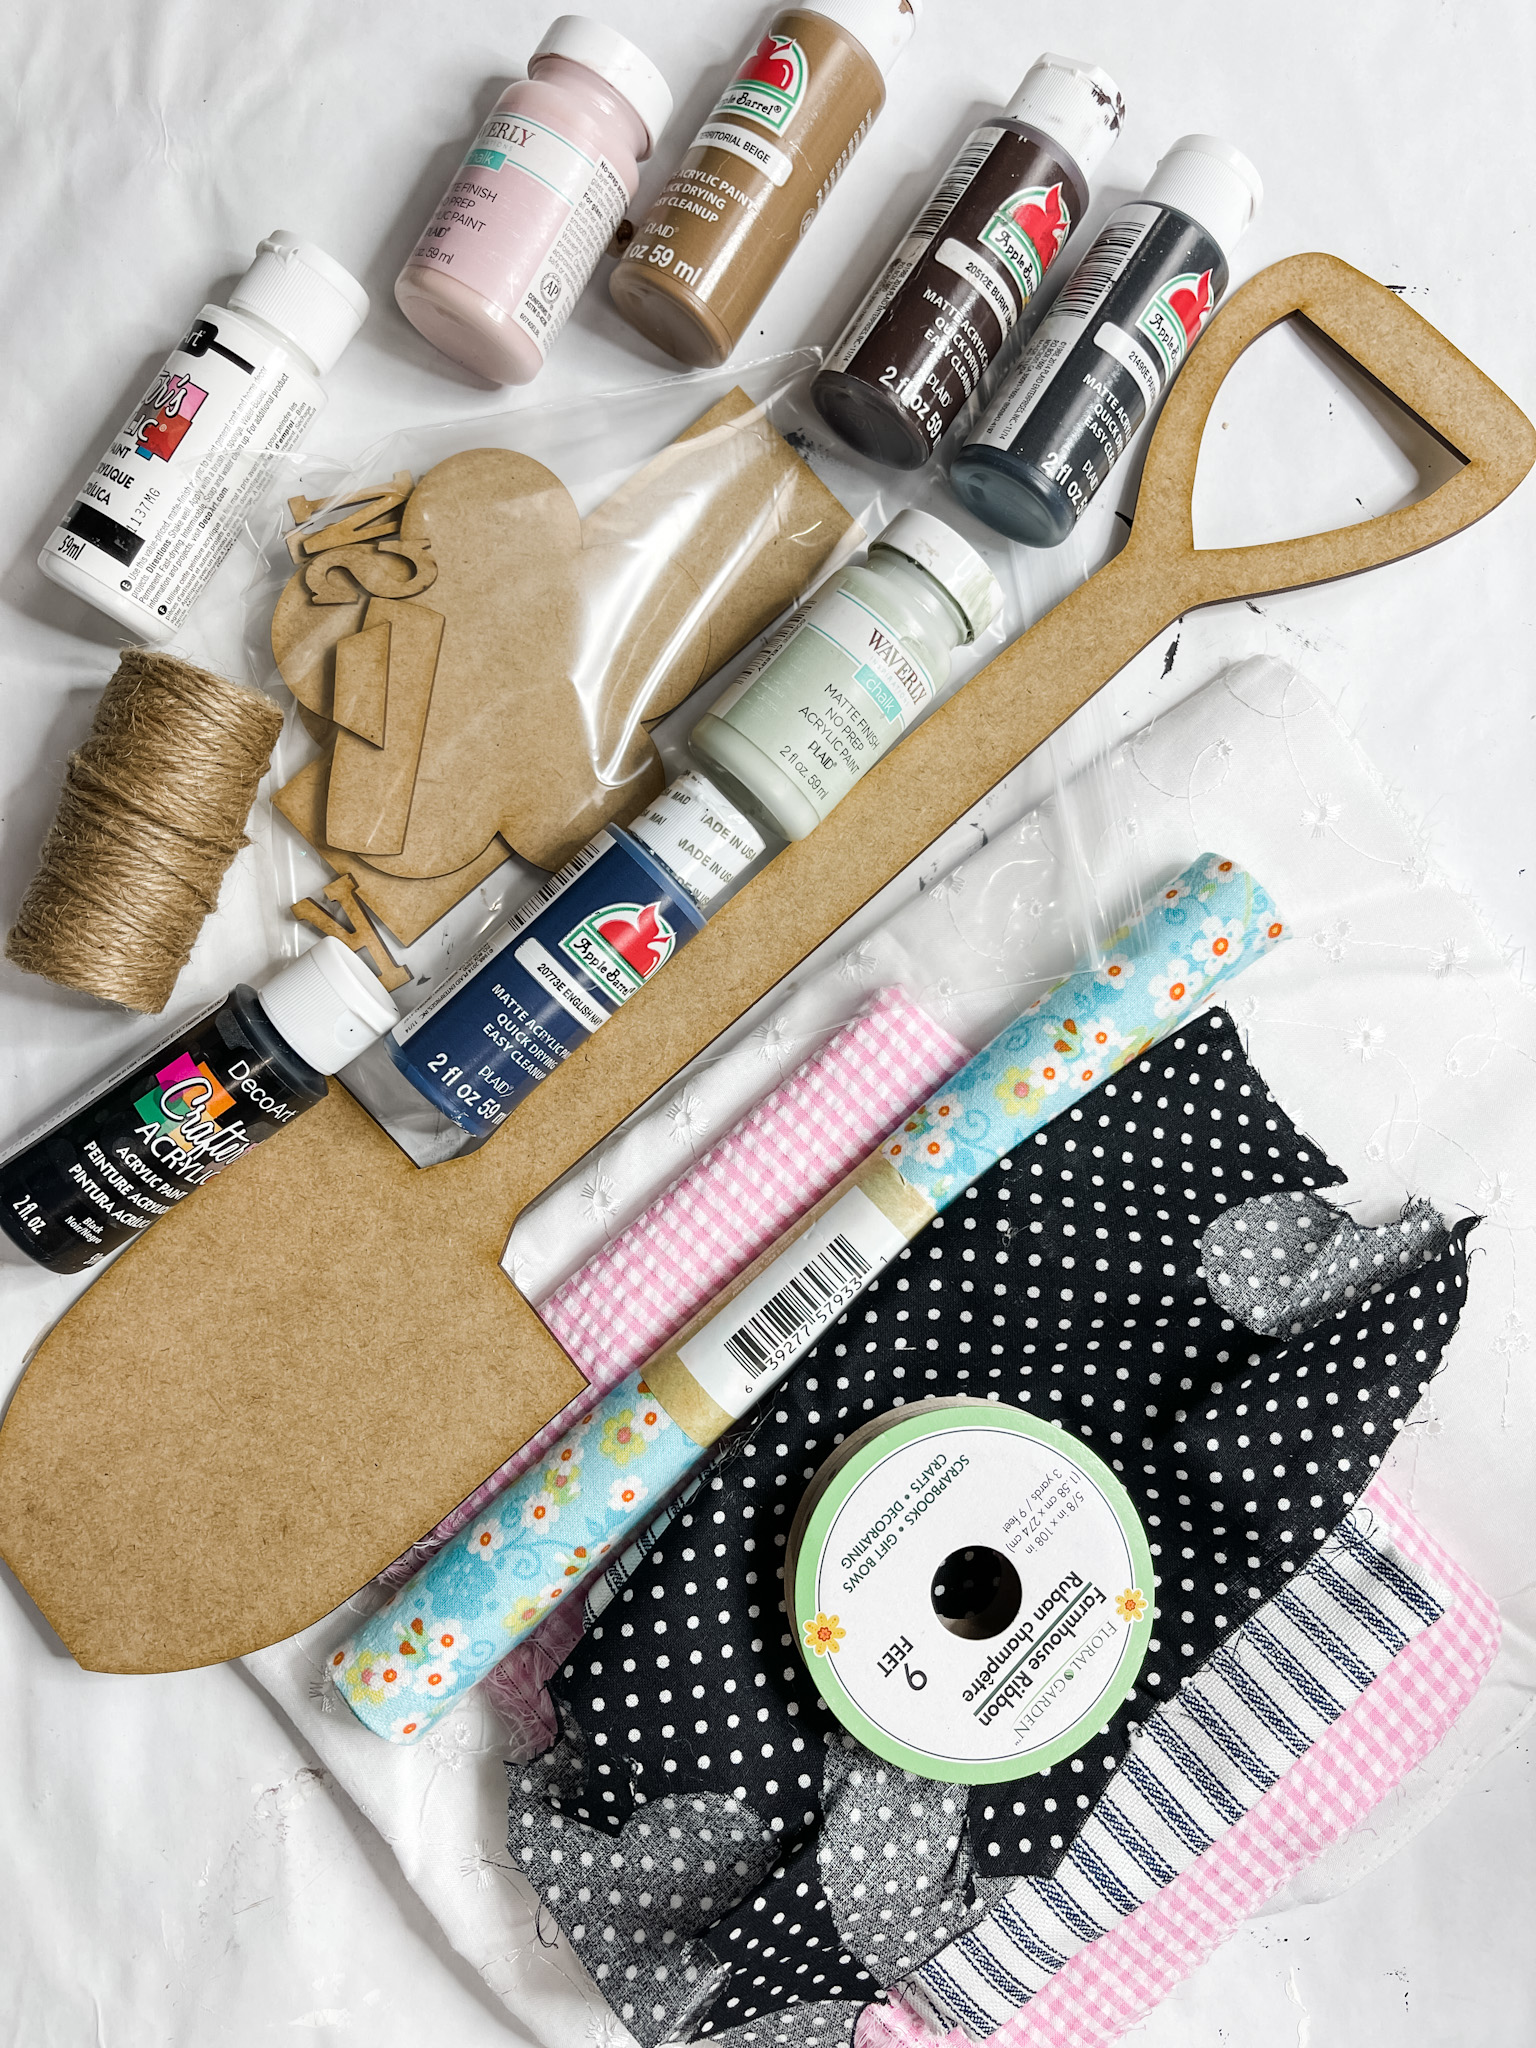
For this project, I will be using these items but you can substitute where you want.
“As an Amazon Associate, I earn from qualifying purchases.”
- Spring Shovel Craft Kit
- Dollar Tree Jute Twine
- Small button
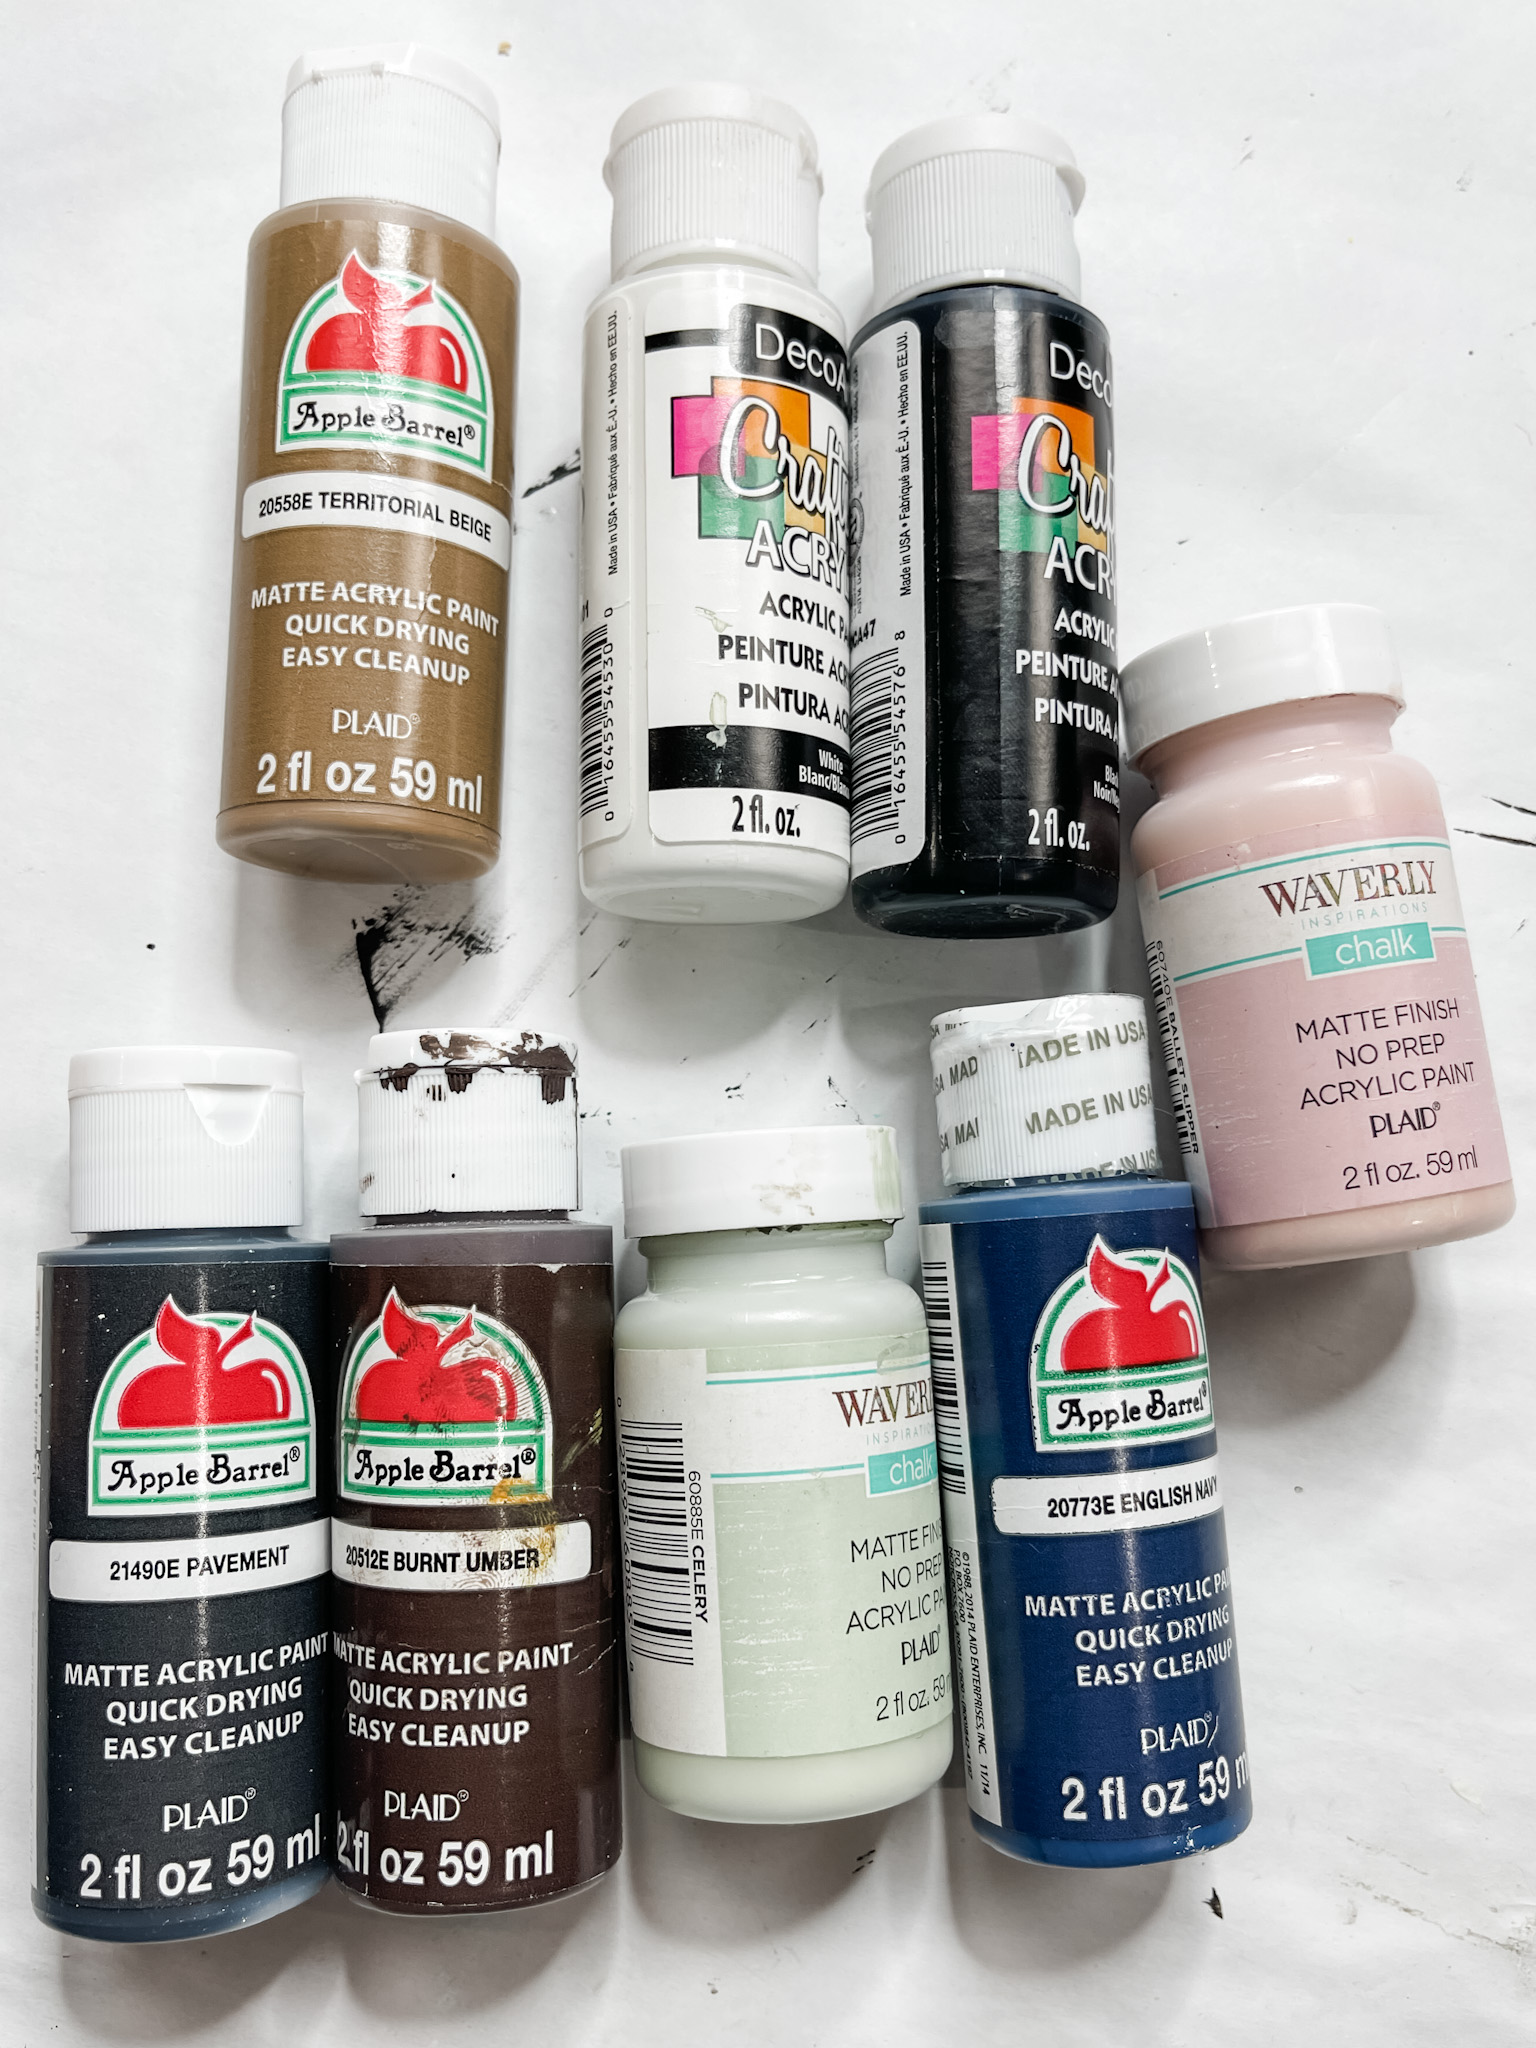
- Apple Barrel Burnt Umber Acrylic Paint
- Apple Barrel Territorial Beige Acrylic Paint
- DecoArt White Acrylic Paint
- DecoArt Black Acrylic Paint
- Apple Barrel English Navy Acrylic Paint
- Apple Barrel Pavement Acrylic Paint
- Waverly Celery Chalk Paint
- Apple Barrel Country Grey Acrylic Paint
- Waverly Pink Acrylic Paint
- Variety of fabric/ribbon of choice (for a bow)
- Hot glue gun and glue sticks
How to make a DIY decorative shovel
I started decorating my spring shovel craft kit by painting the handle of the shovel. I layered and mixed Apple Barrel burnt umber, territorial beige, and DecoArt white to make it look dirty.
Next, I mixed a bit of the grey paint with a little white and painted the shovel’s head and handle. That’s it for the shovel for now. Allow the paint to dry.
Mix a bit of the English Navy with some black to get a slightly darker blue, then paint the rectangle with the blue paint mixture. I used my heat gun to quickly dry it.
Next, I painted the hello lettering with Waverly pink paint and the SPRING letters with Waverly celery chalk paint.

I painted the flower with white paint, used a wet wipe to remove the excess from the surface, painted over the white with brown paint, and used another wet wipe to remove the excess brown paint.
You’re left with a light brown stain on the flower. Once the flower is dry, paint over the brown with an even coat of white paint.
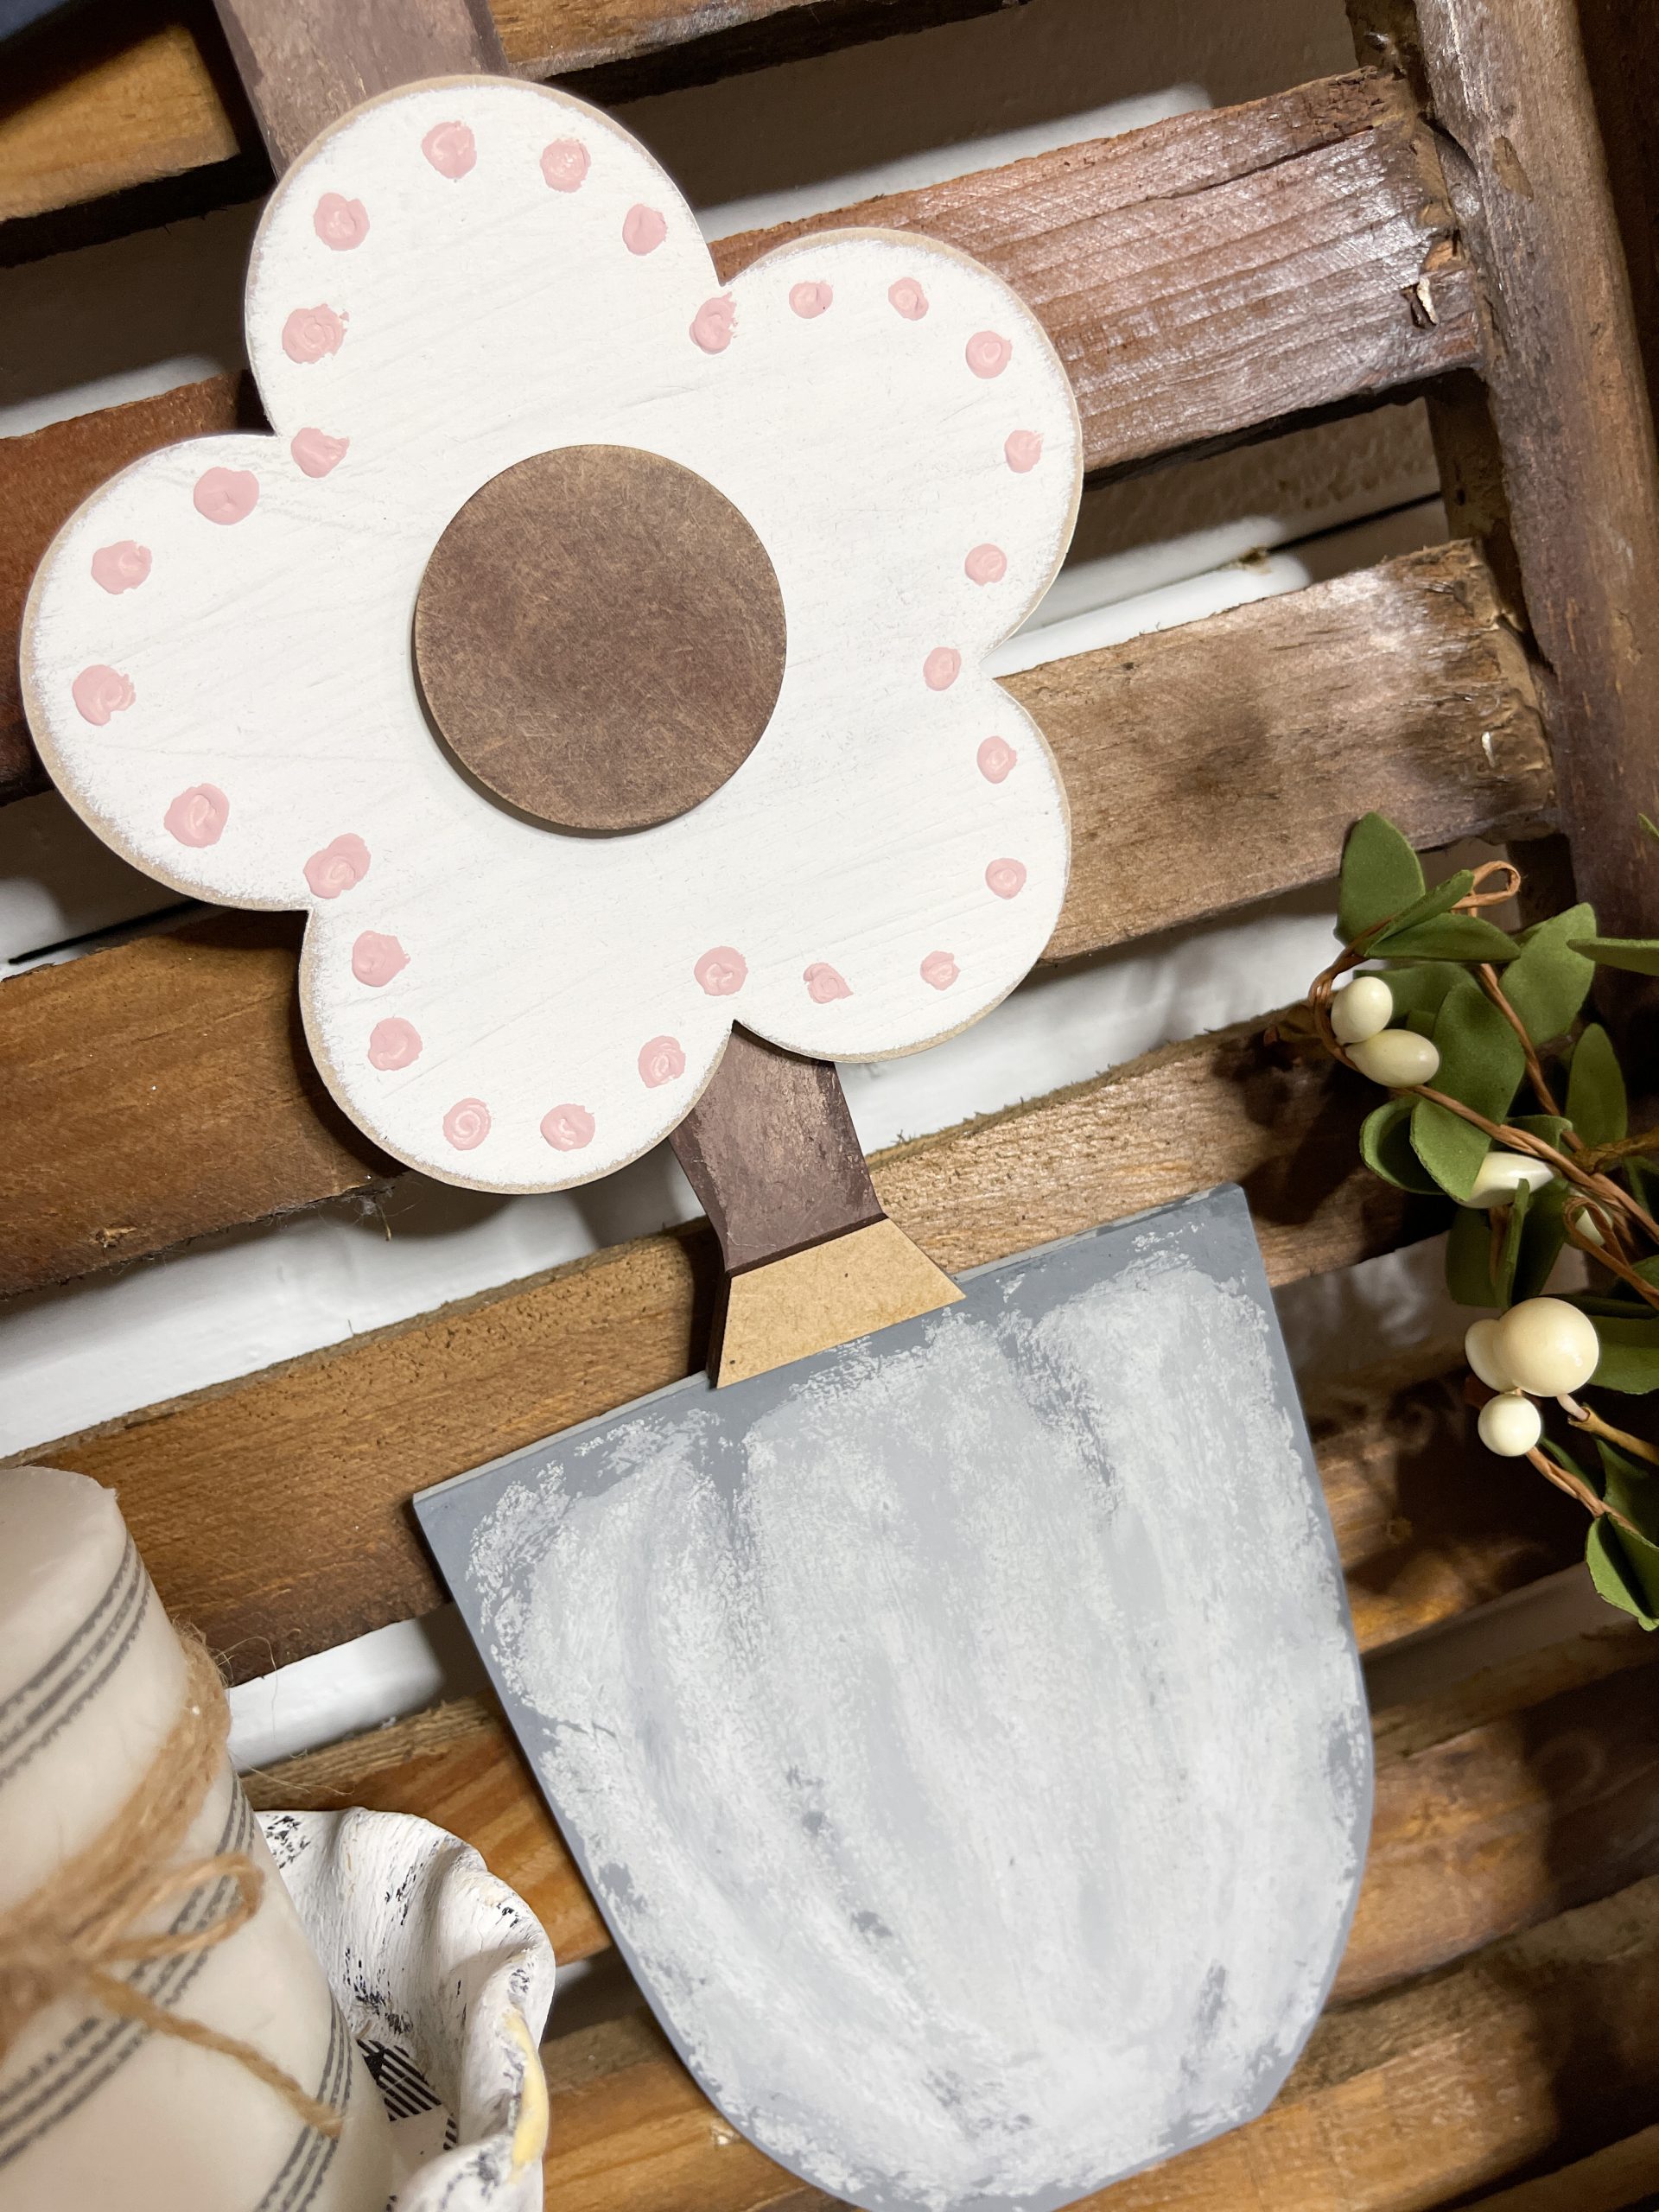
Allow the white paint to dry completely, then lightly distress the edges of the flower with some sandpaper. Paint the center circle for the flower with brown paint.
Next, I painted the detailing on the shovel, and you can see exactly how I did that in the video tutorial on Facebook.
Bring it all together
Glue all the pieces of the shovel together once the paint on each piece is completely dry. Next, I made the messy bow for my shovel.
Cut several strips of your fabrics and ribbons of choice for your messy bow. Lay them in an x pattern, pinch the center, and secure the strips together with a piece of jute twine.
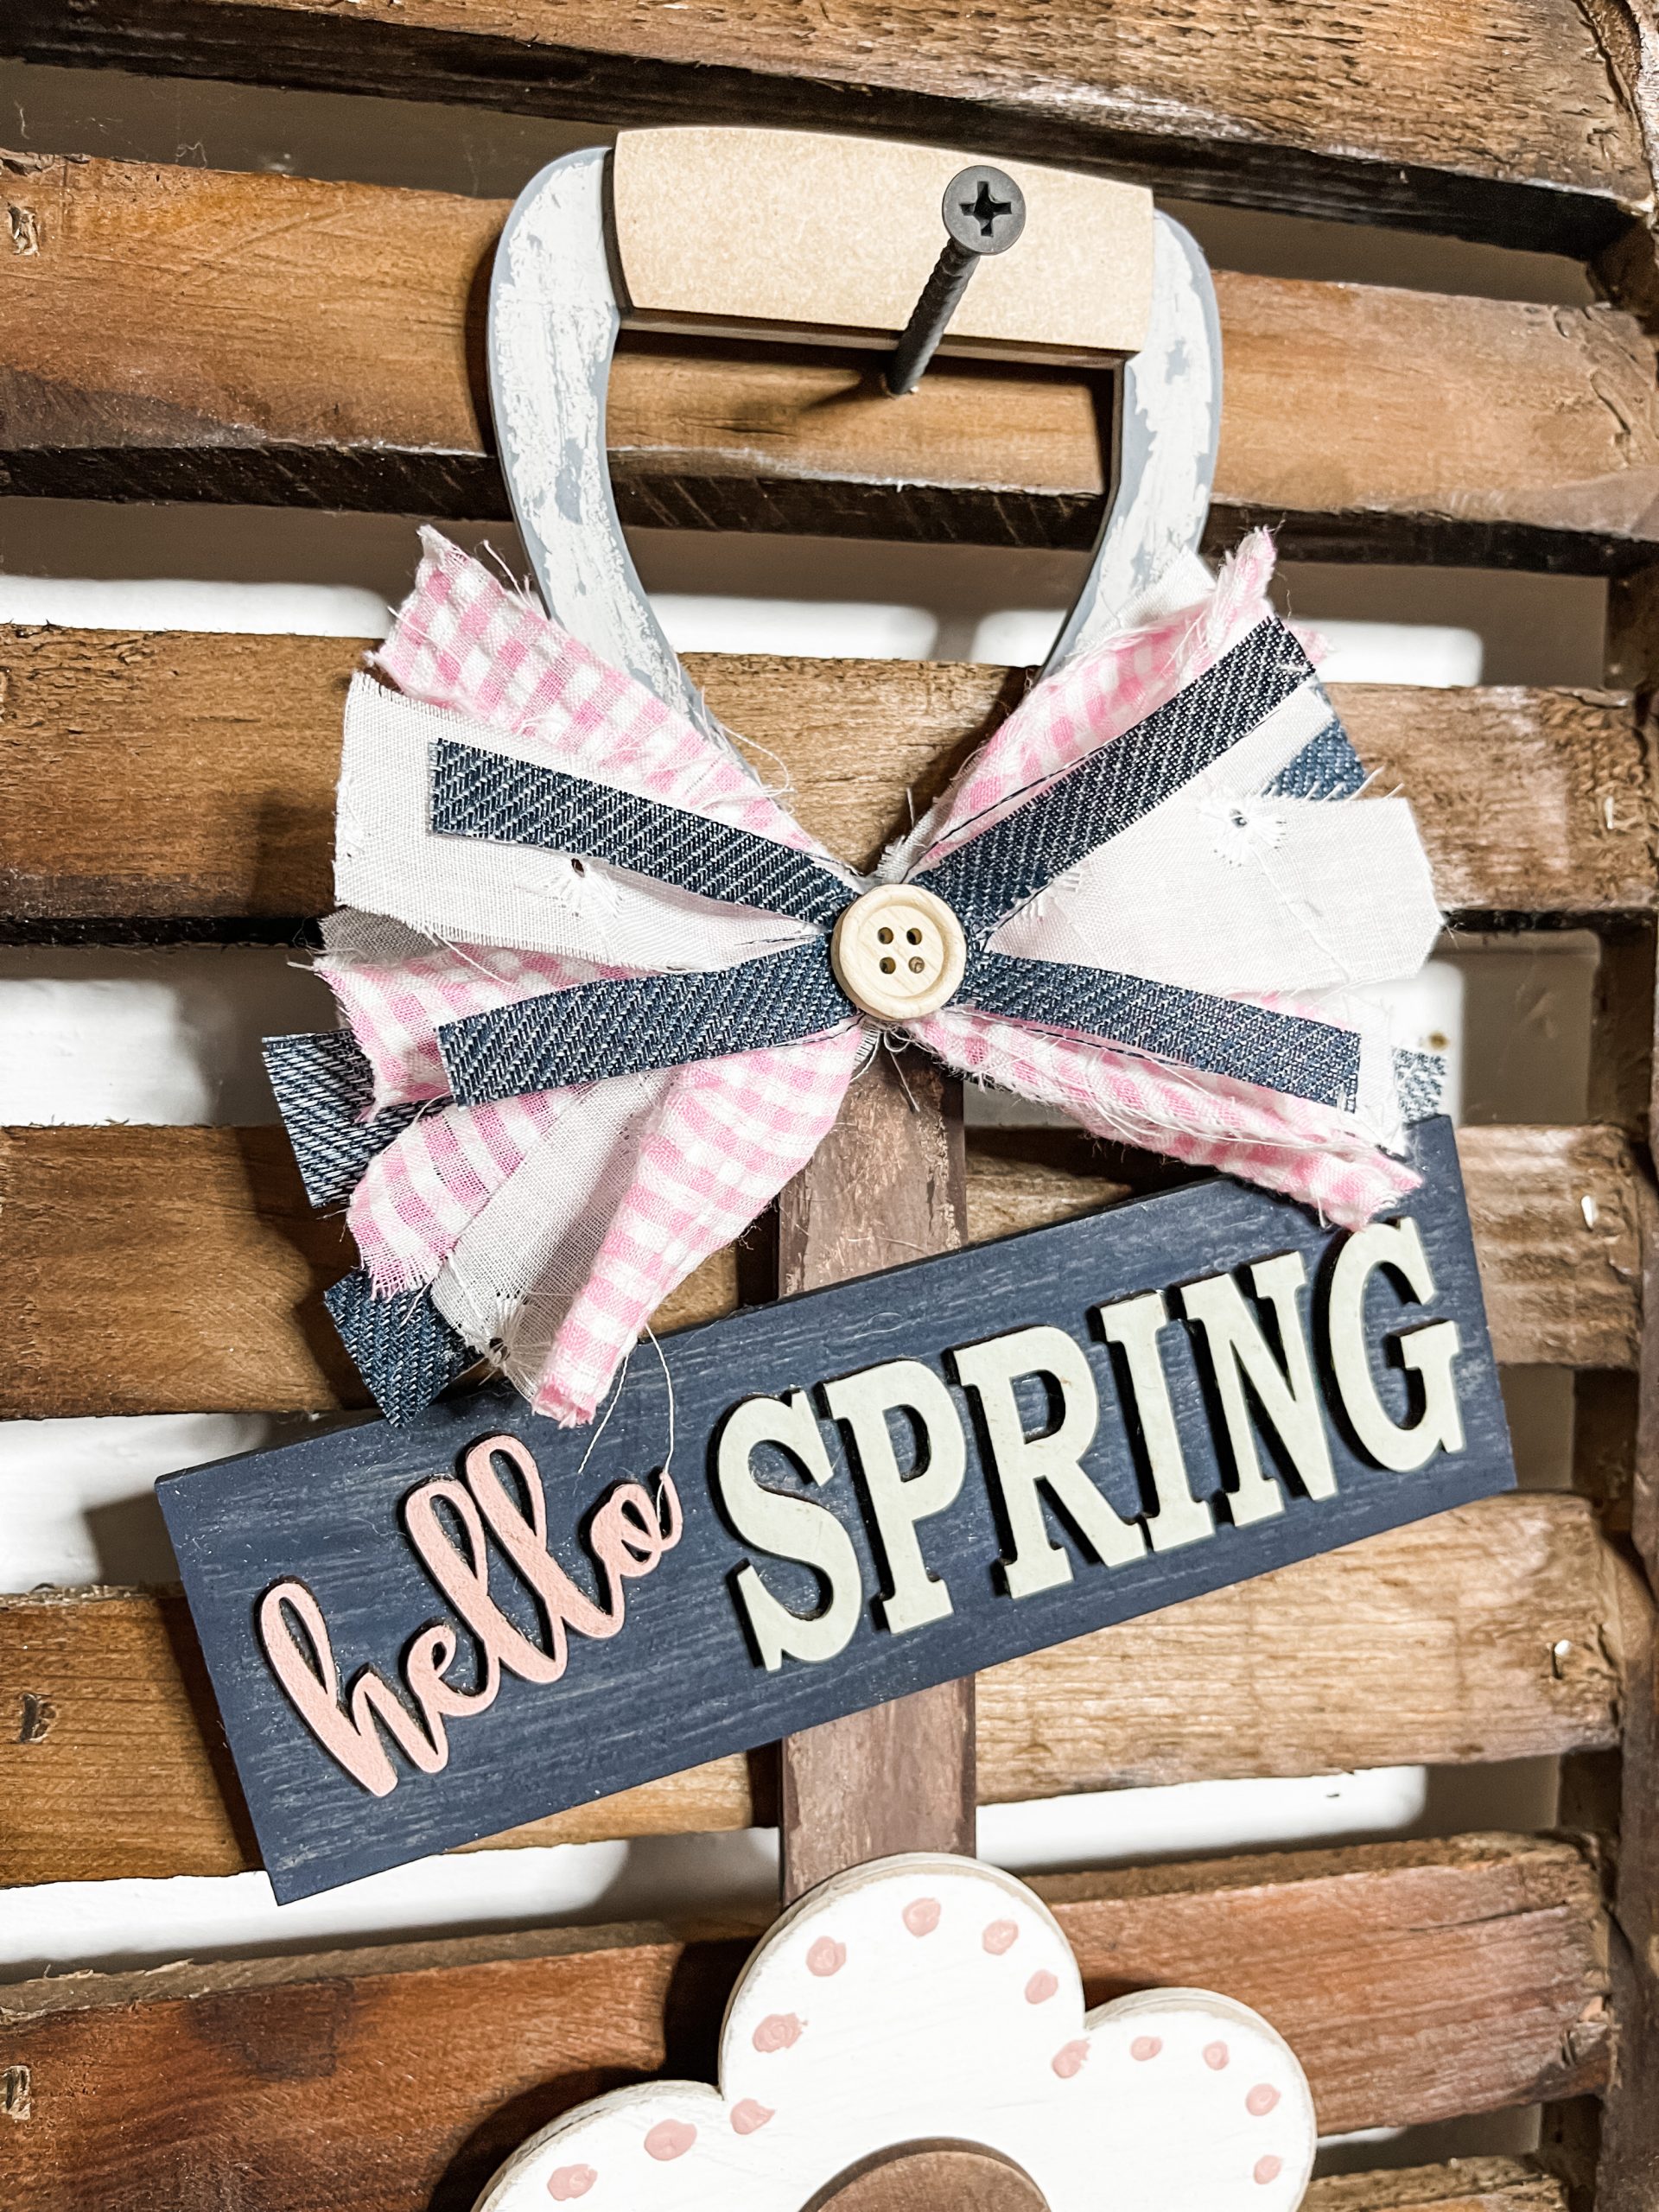
Trim the ends of the ribbon and fabric strips and glue the bow onto your shovel. Glue a small button onto the center of your messy bow!
Lastly, I painted little pink dots around the edge of the flower. Once the paint is dry, you’re ready to decorate with your shovel!
I hope you enjoyed this DIY Decorative Shovel as much as I did and decide to make one for yourself! I would love to see how yours turns out!
You should totally join my FREE Facebook group called On A Budget Crafts! It is a judgment-free community for DIY crafters to show off their projects and ideas.
If you loved this DIY you might also like this DIY topiary!
Thanks for stopping by! XOXO Amber
You can also shop my ENTIRE AMAZON Favorites shop just click here! It’s packed full of all the things I use and love. Here is the supply list I highly recommend every creative have on hand!!
Would you also pin my blog for later and get on my newsletter alerts? I would love to have you join my #craftycrew.
Inspired? Leave me a comment below! I love hearing from my readers!

Join my free “ON A BUDGET CRAFTS” Facebook group!

Awesome craft kit. A great addition to any home. Such a creative mind to come up with all these amazing craft kits